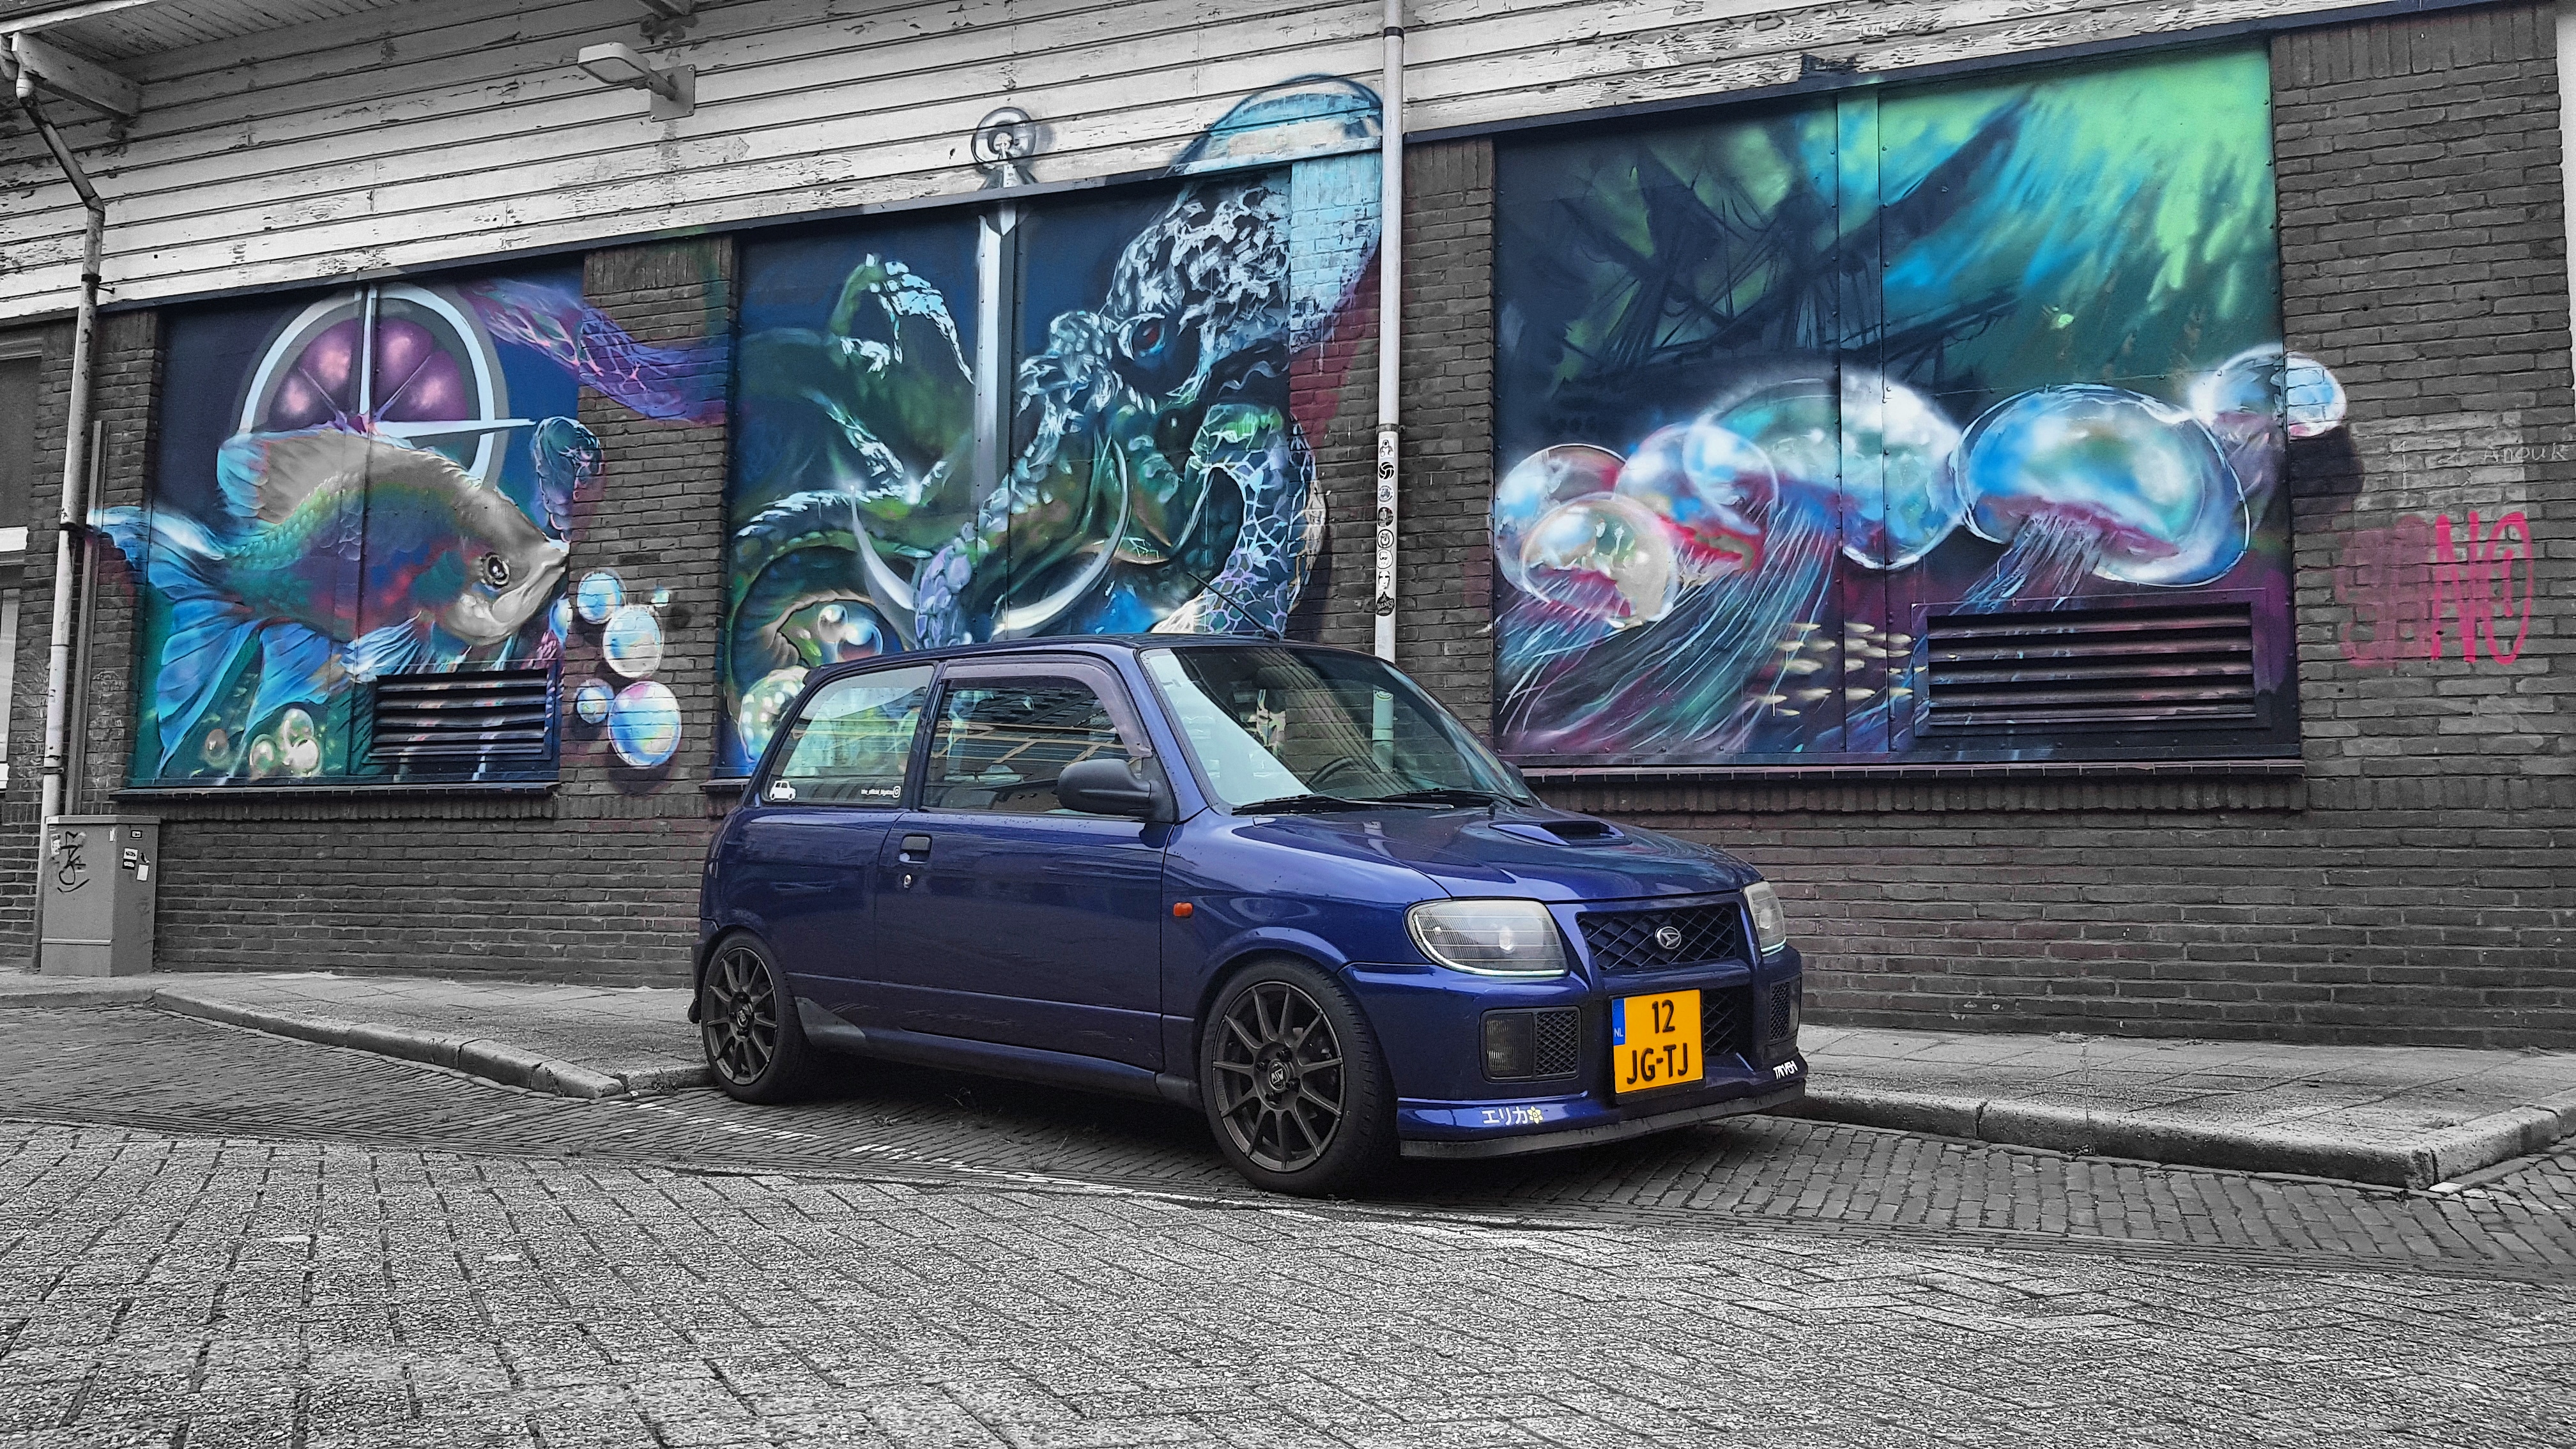
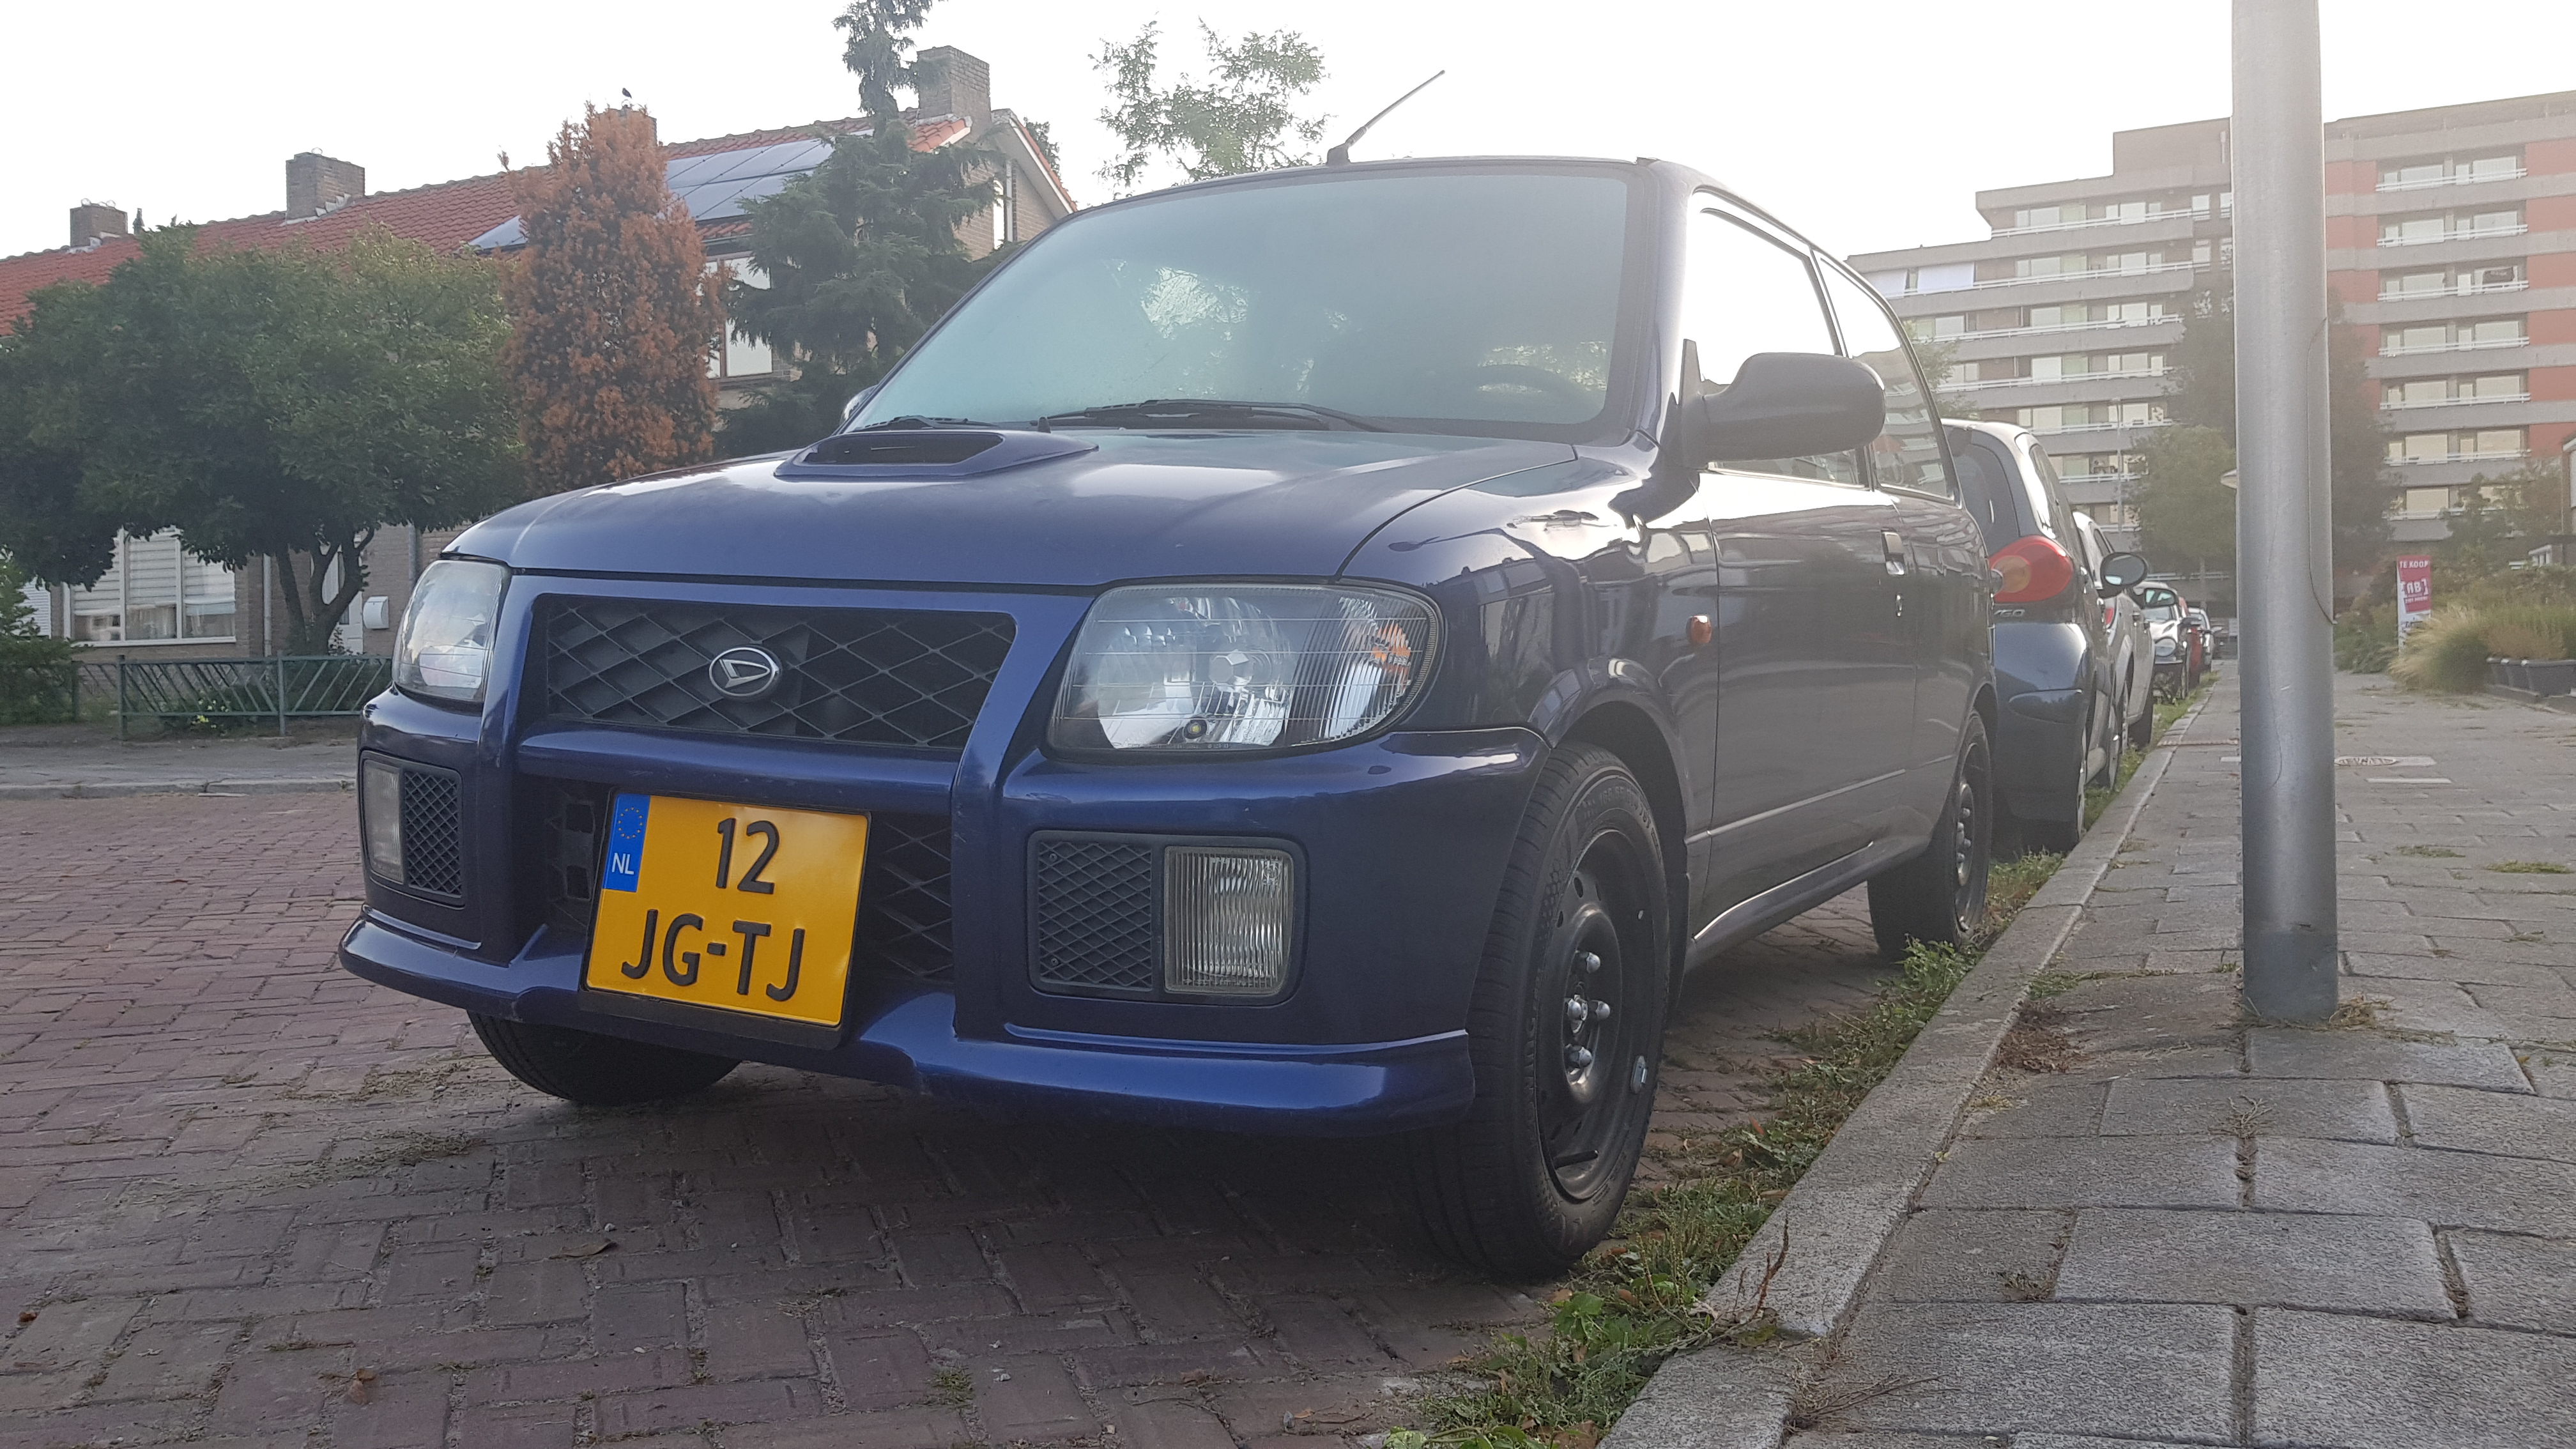
Welcome to my topic! I’m Daniël, born in 2000, and I’m from the Netherlands. The goal for my project car, The Blyatsu 2, is to make it the ultimate car/Daihatsu (for me at least). I made this topic to share my progress with you, but also to share my knowledge with you!
I’m pretty resourceful, if I may say so myself, and as i’m getting a lot of questions about what I did or how I did it, it seemed to me that it would be much easier if I just put all my knowledge in one place! If you have any questions, please send me a message on Instagram @the_official_blyatsu .
DISCLAIMER
Alright before we start, I want to point out a few things. First of all, I’m just going to put every change I’ve made to the car in here. So it might not be a real “mod”, but… yeah well it’s my topic so  . The second thing I wanted to point out is that I’ll go through the mods chronologically, so it’s not like “1. body, 2. suspension” etc etc. The last thing I wanted to point out is that although I discovered many things myself, I did not discover all of them myself or maybe I’m not even the first to discover it. So, disclaimer on that.
Right, it’s mod time.
MODS
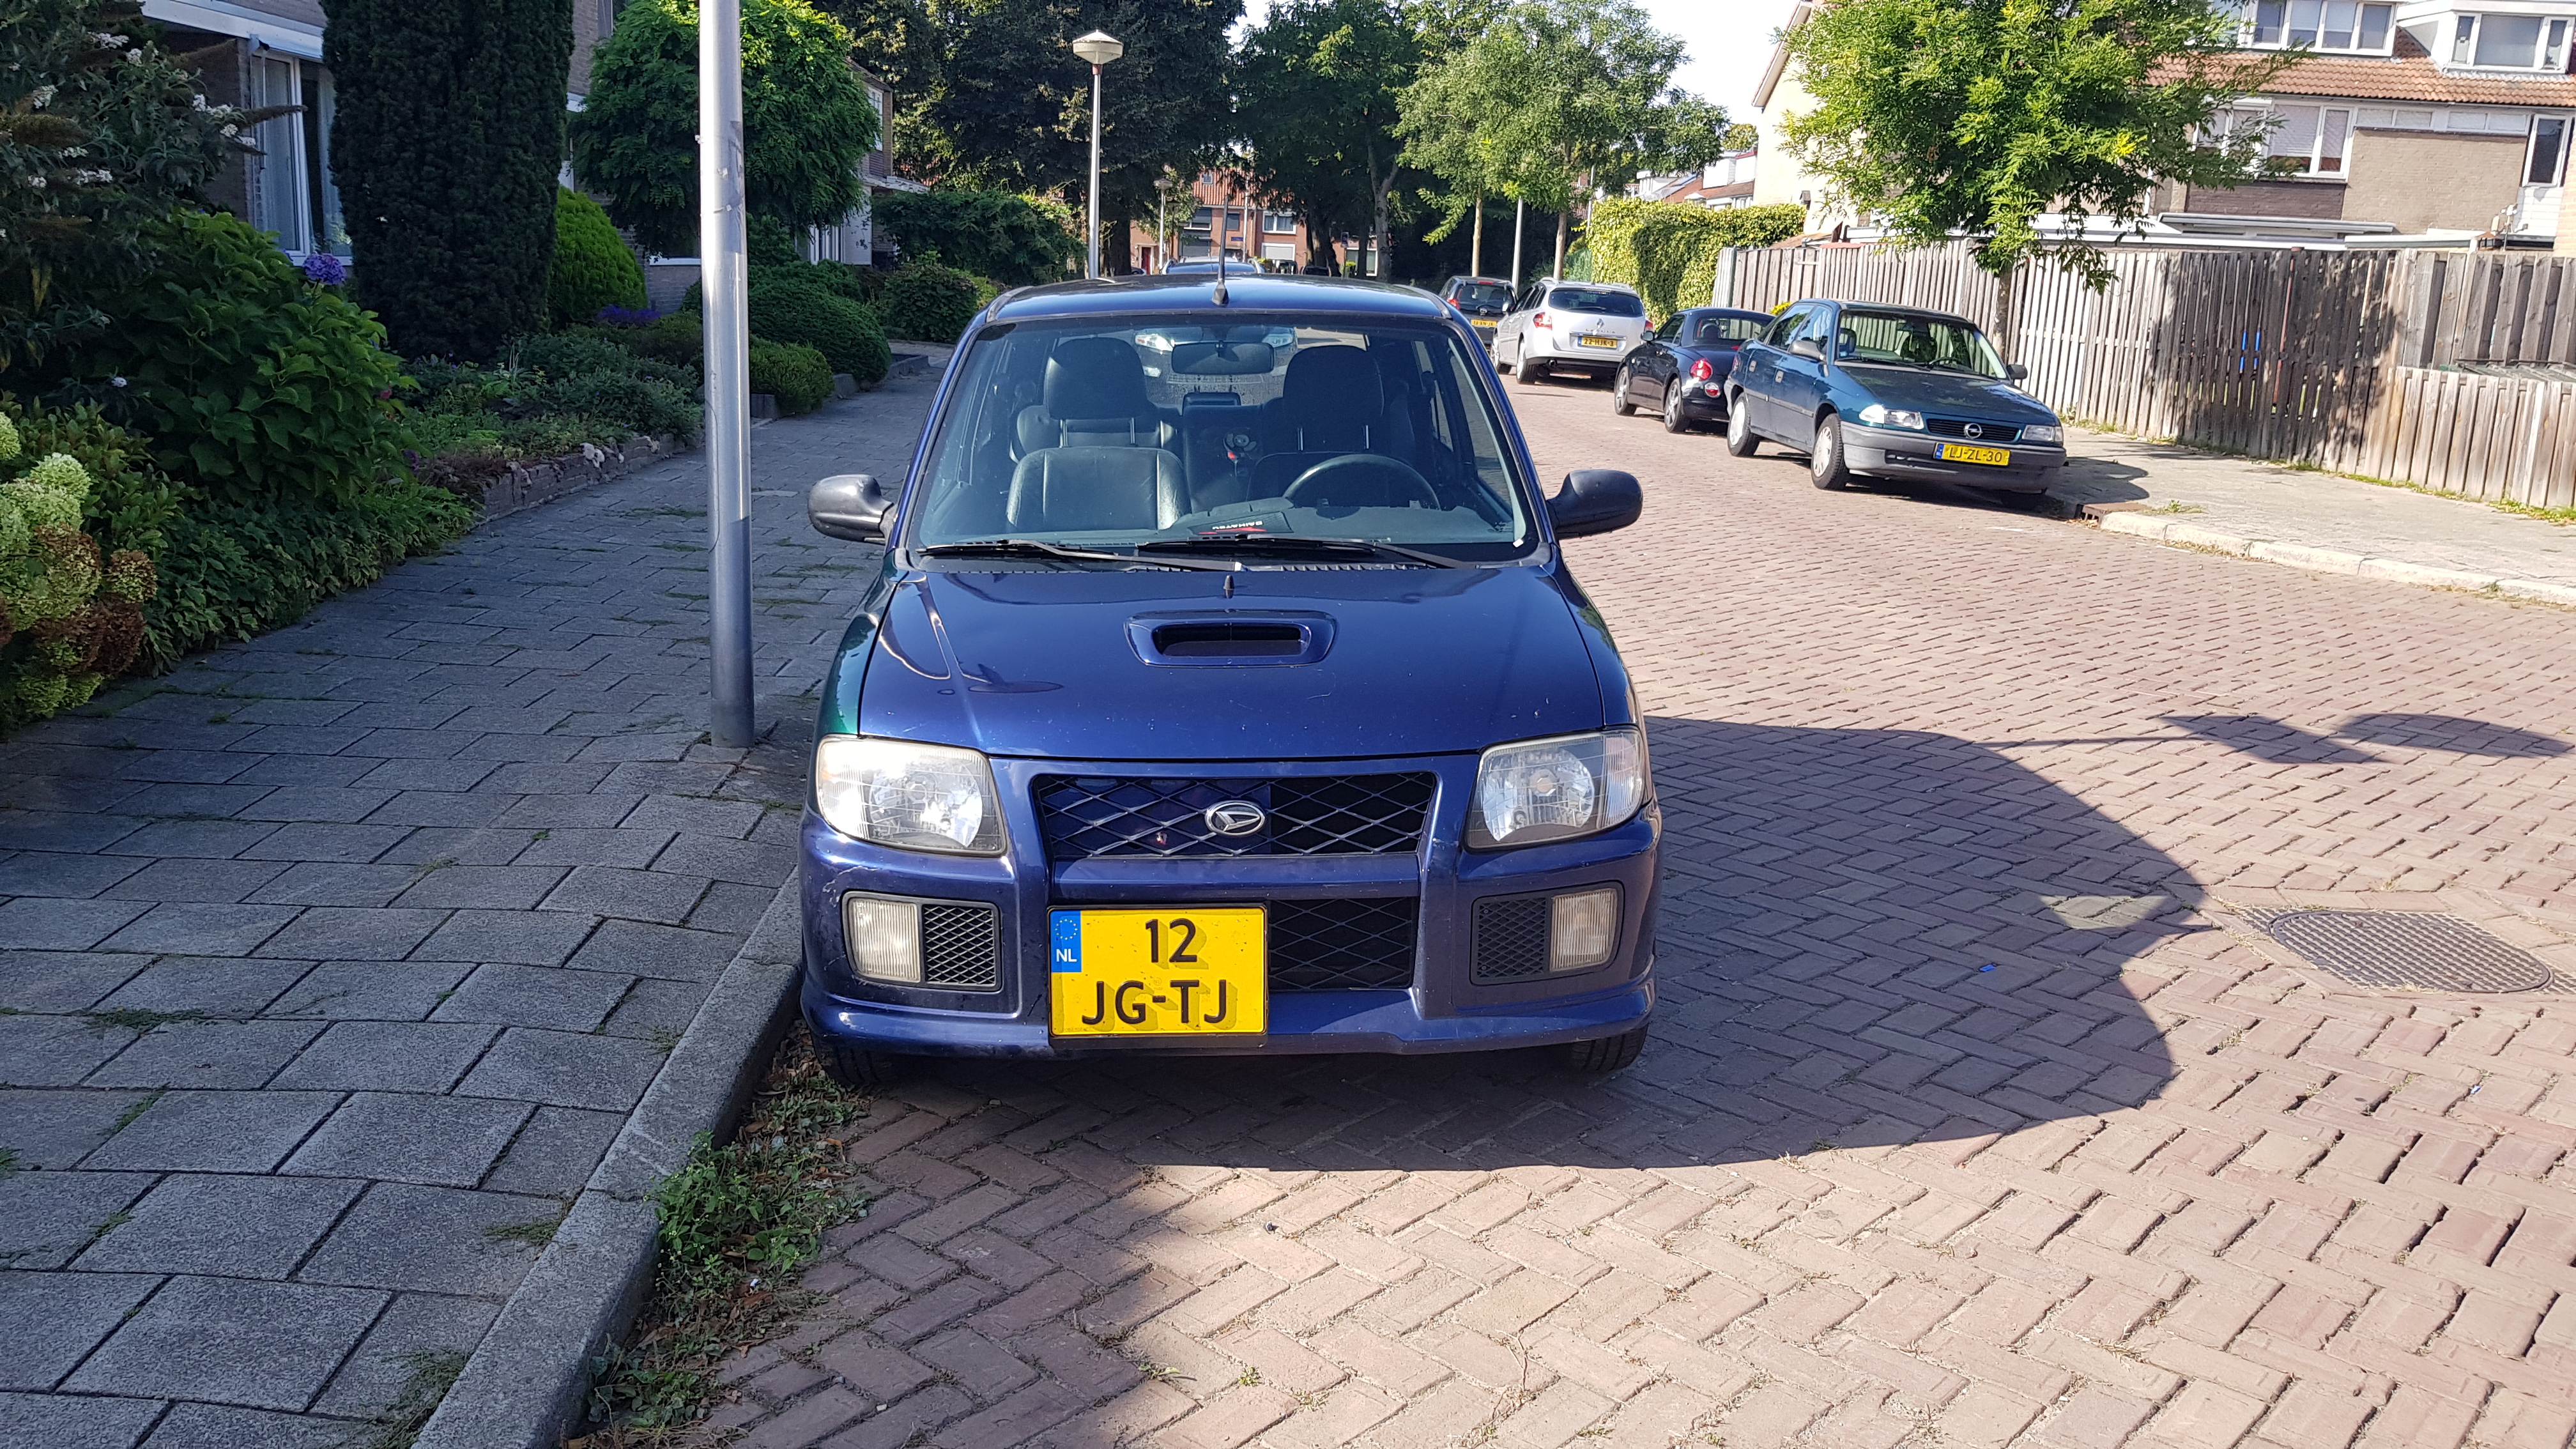
Avanzato/TR stuff
I kept the Avanzato bits under my bed because “I might get a project Cuore in a few years”. Yeah we saw how that went.
Anyways, installing them was pretty easy, as the hood is secured with only 4 bolts, and the front bumper with 9. At least, it used to be. there are a few holes where it is impossible to get a bolt in, and as a result of that it’s secured with only 4/9 bolts right now (two on the front and two on the sides).
DASHBOARD
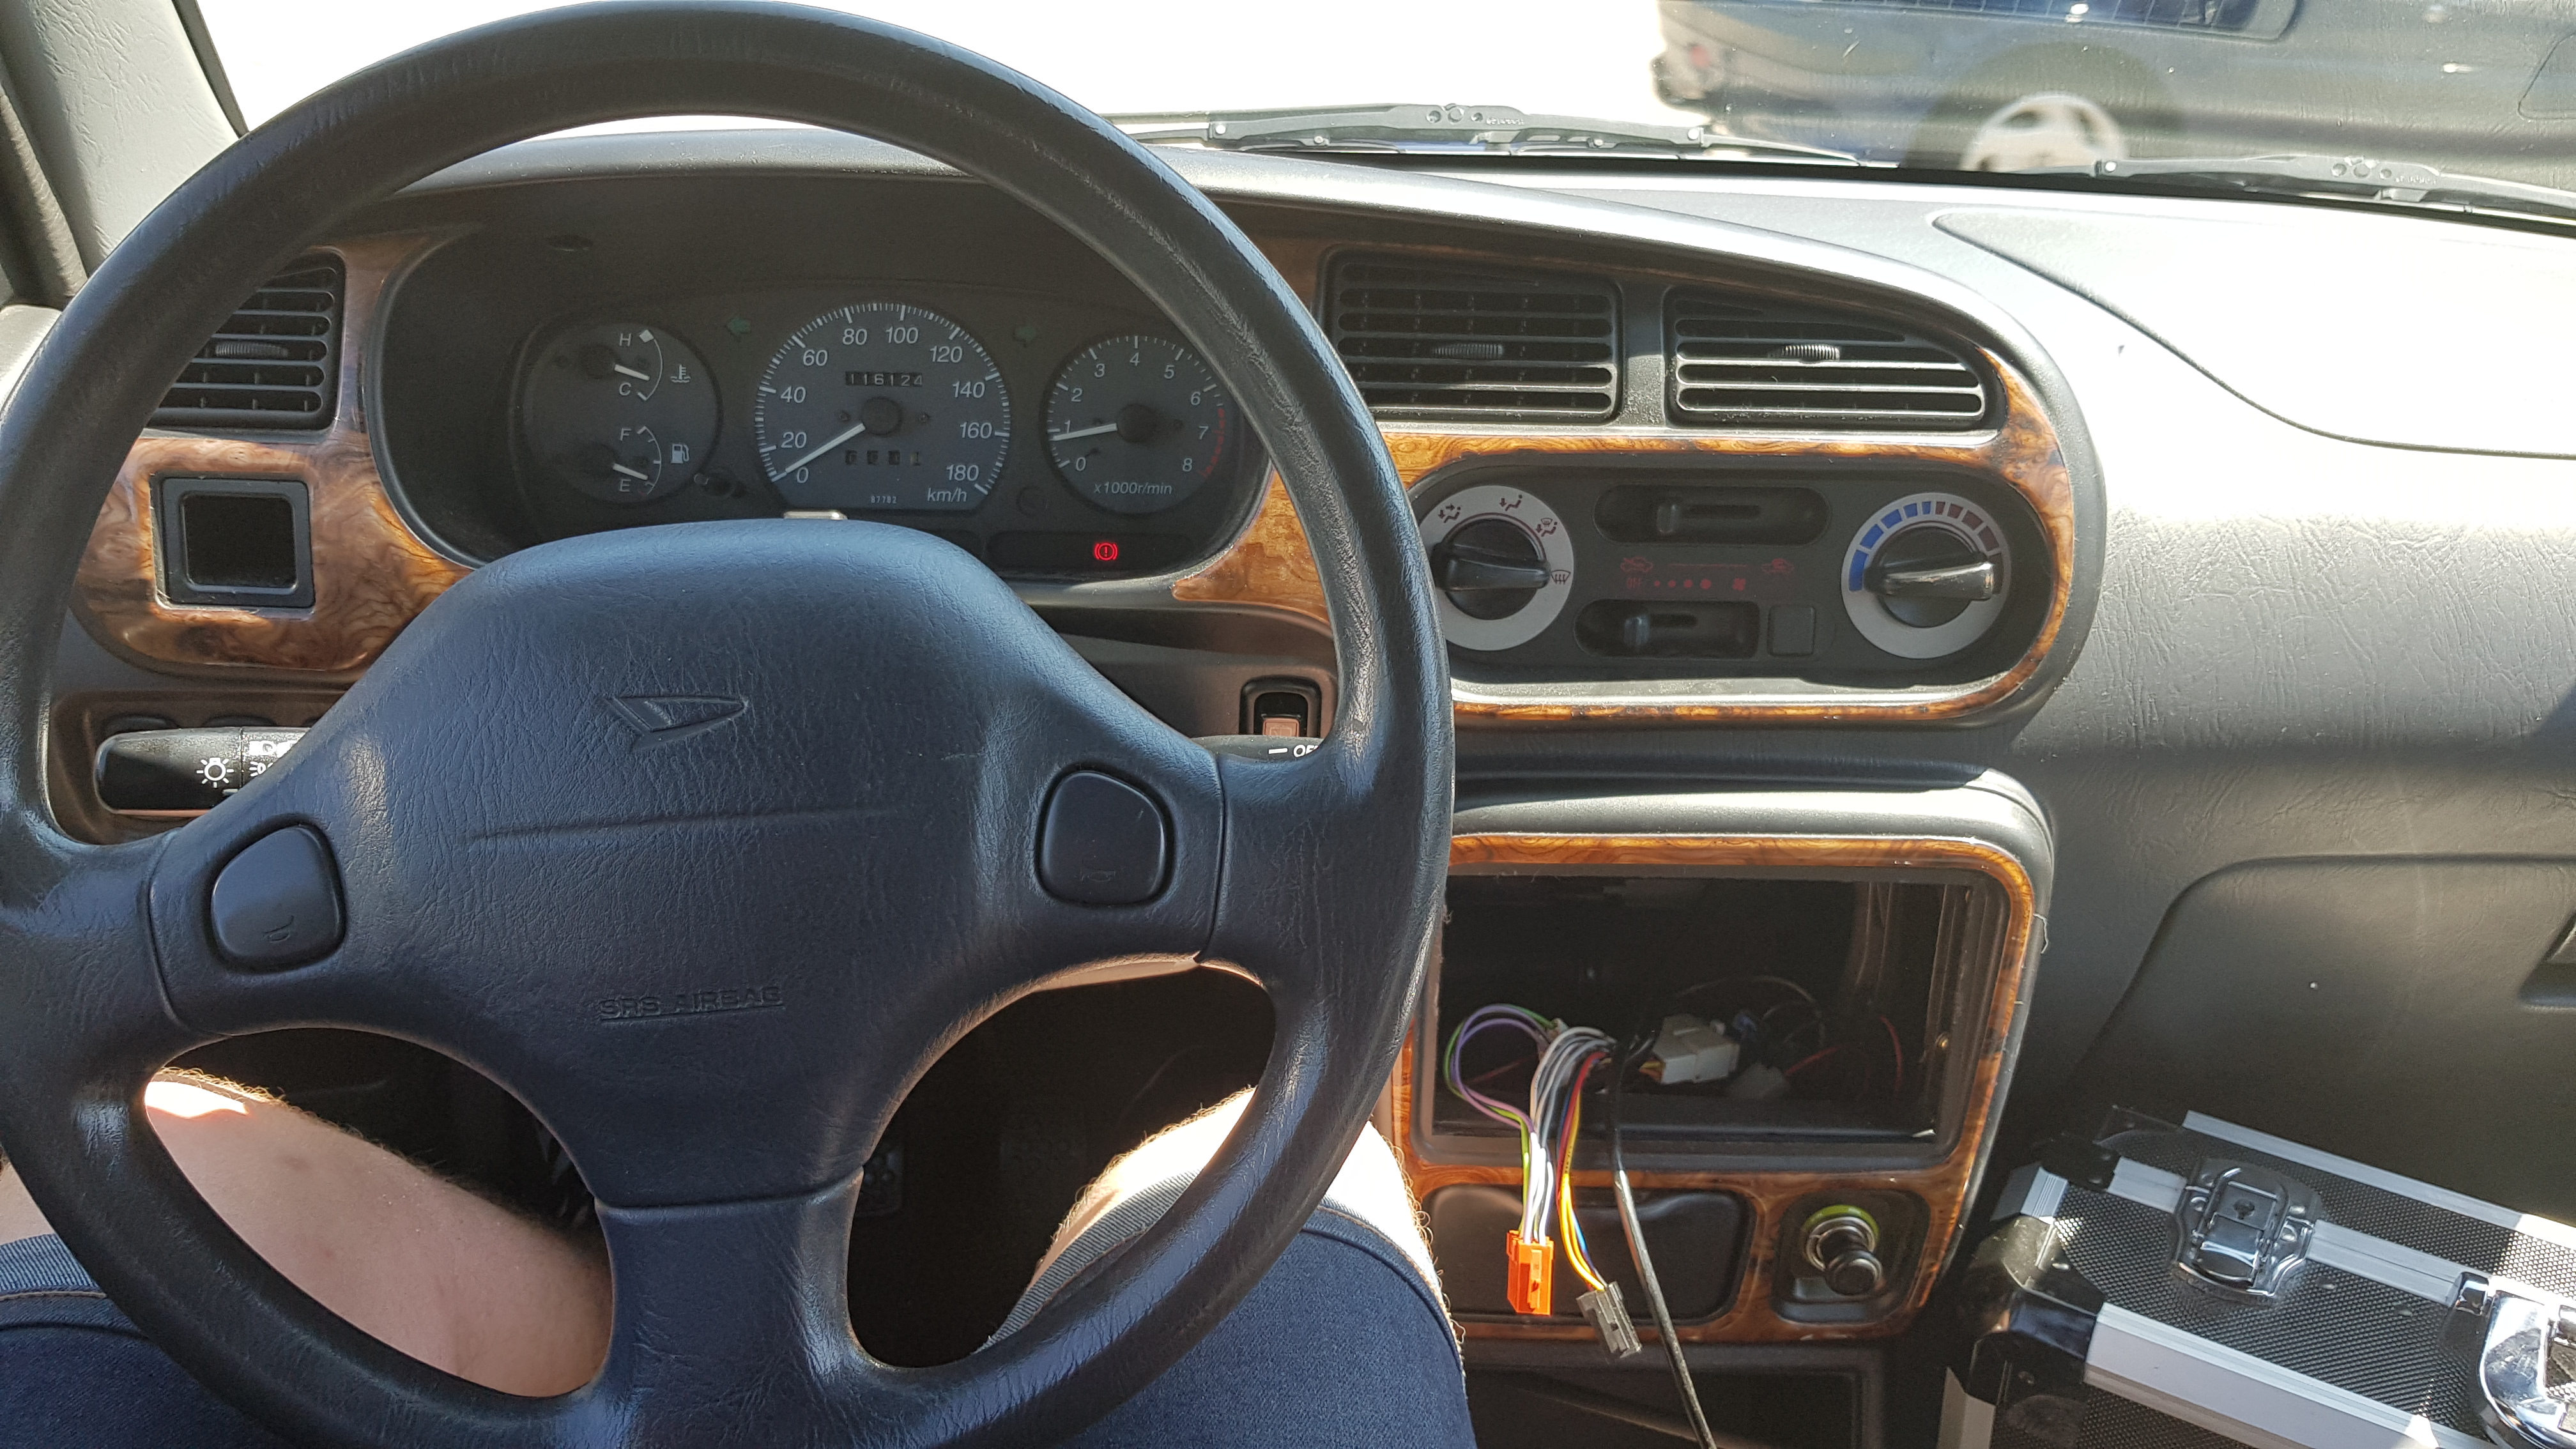
I took the gauges and heater control unit from a Sirion 1.0 (M1). The attachment points from the gauges are a little different, but you can try and swap housing bits with the stock gauges. And if that doesn’t work, just get a saw and cut everything off. It’ll be a bit wiggly, but it’ll stay in place.
I kept the “wooden” trim from the Blyatsu 1 and put in in as well.
HEAT SHIELD & PLASTIC COVER

Speaks for itself.
STEELIES
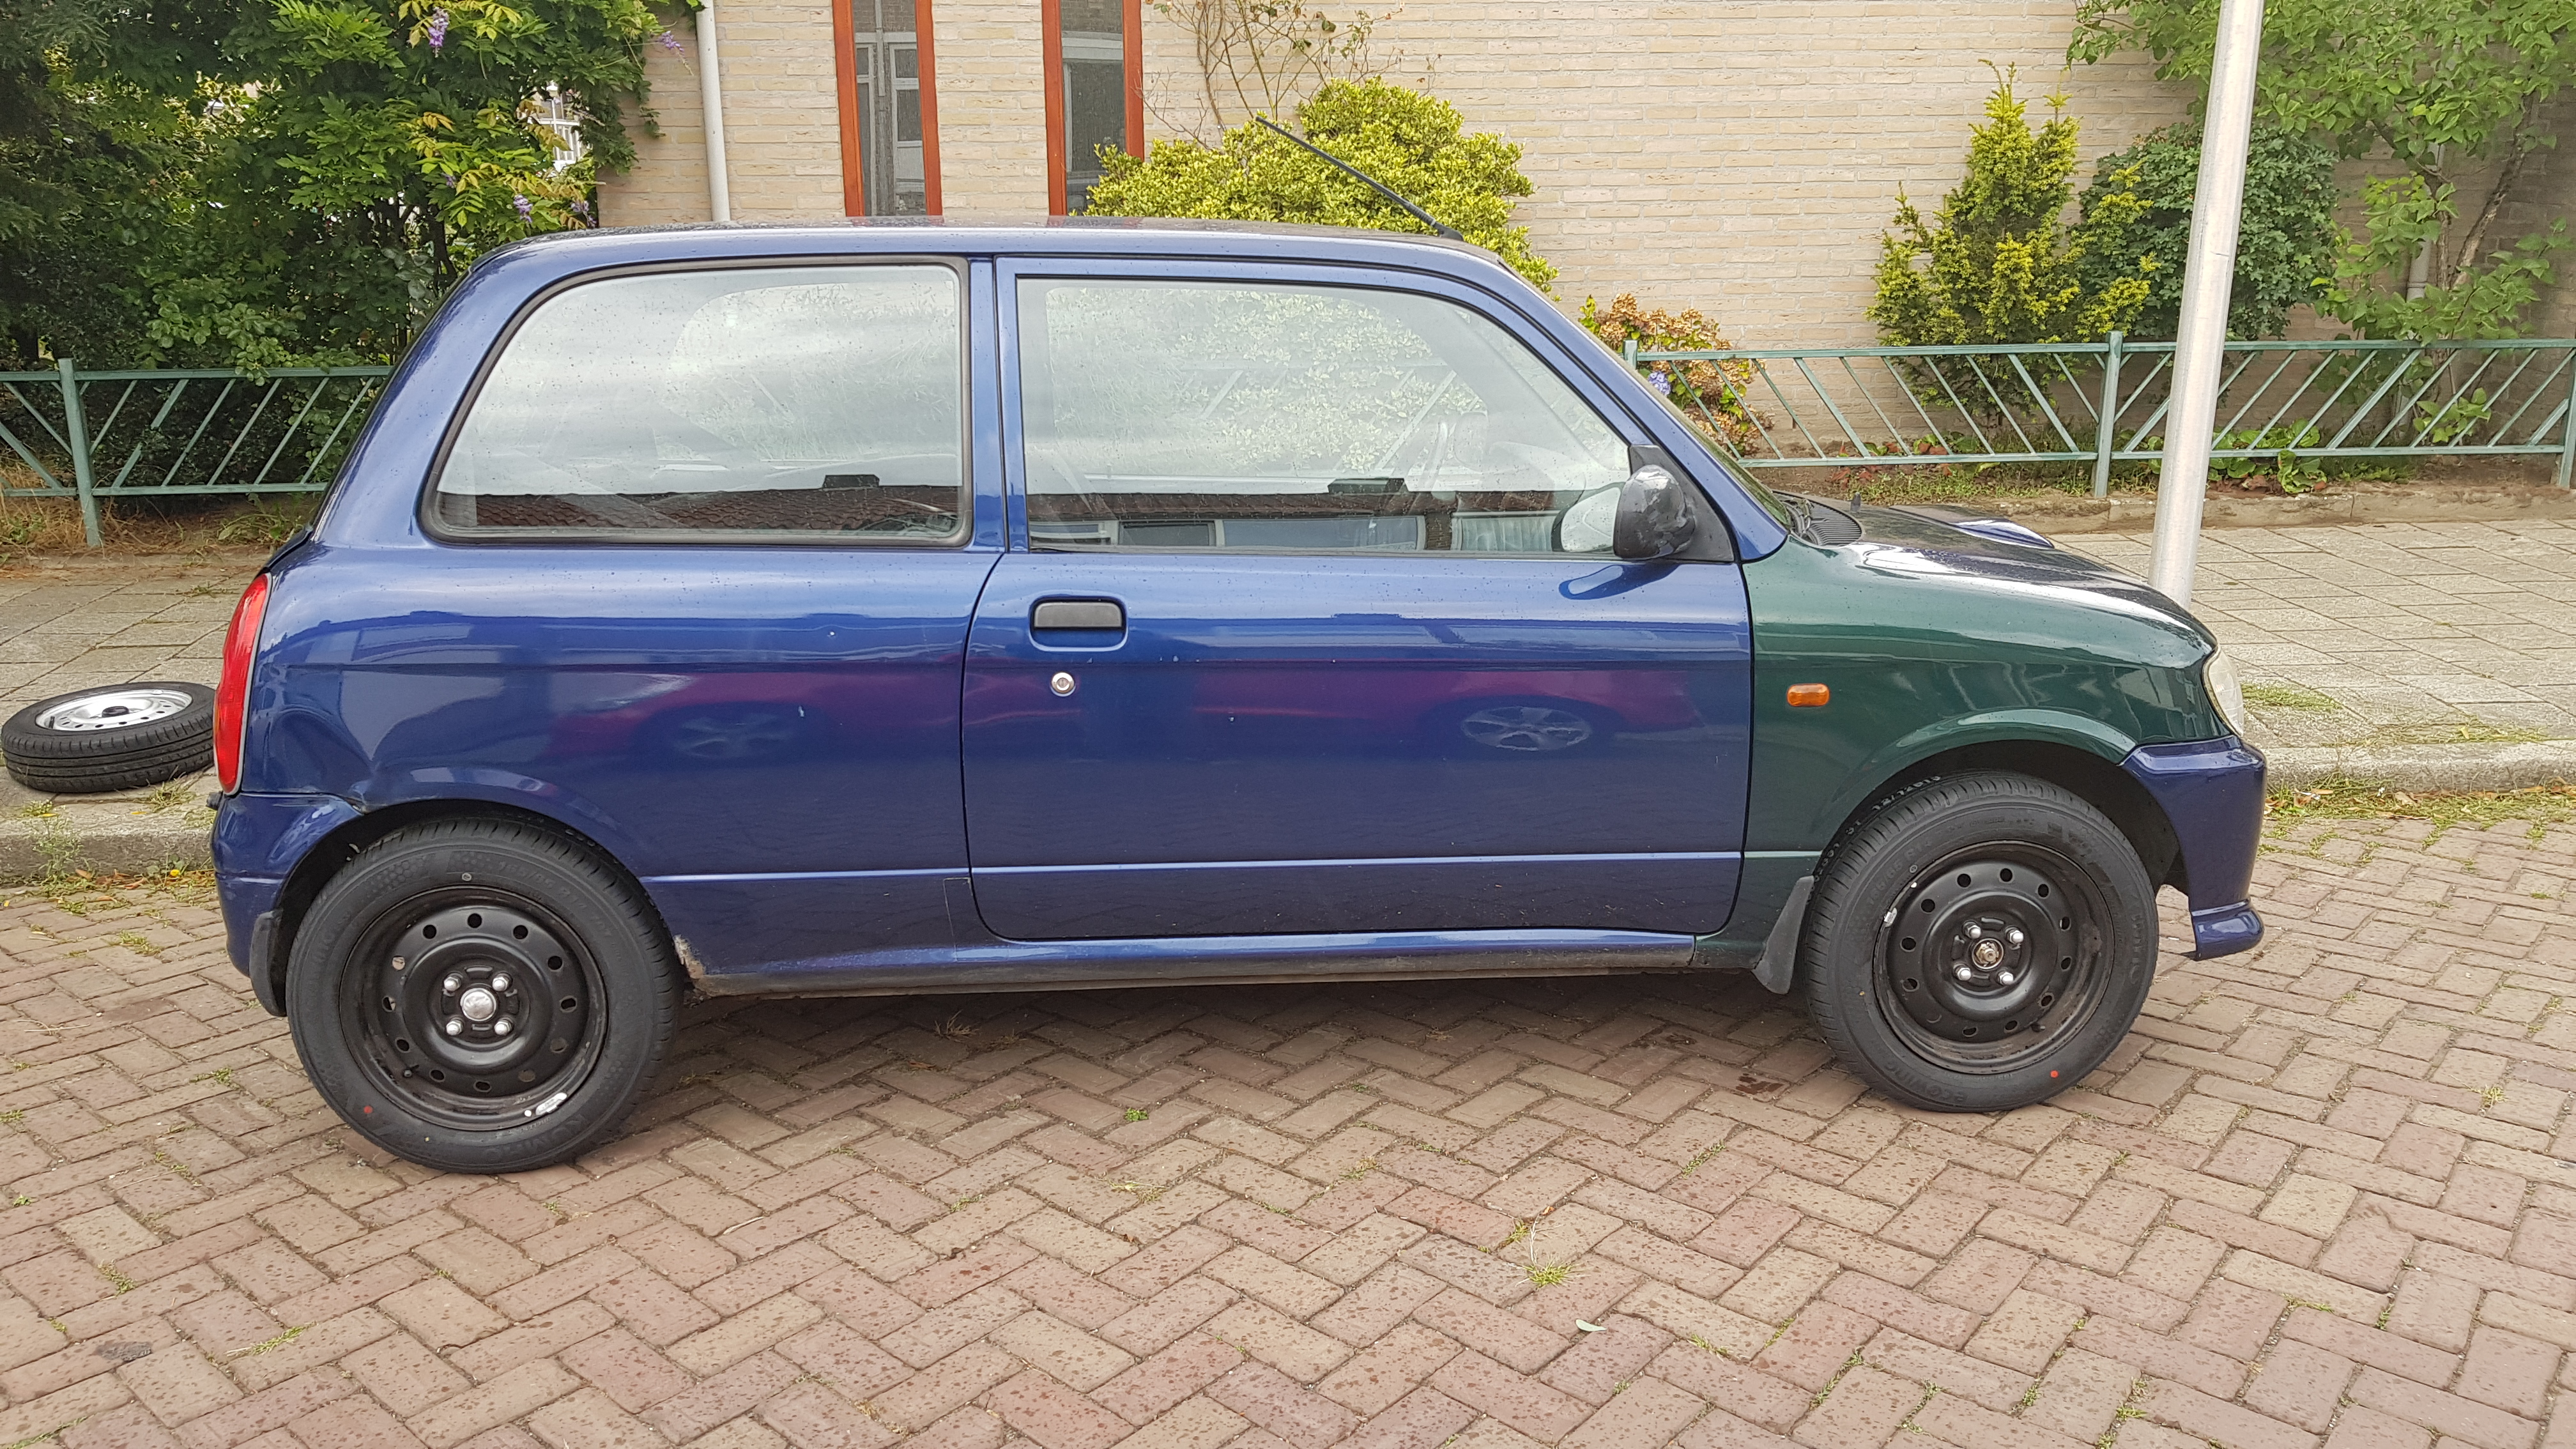
Yes that panel is green.
I needed some new wheels as the stock 13" steelies were fitted with sketchy tires, causing it to shake the steering wheel like crazy.
I thought it would be cool to go with black steelies, as a temporary option. I wanted decent rims someday, but I wanted to save money first. So I got 14" steelies from a Sirion (M1), and bought new tires. However, they were a little… big. Huge in fact. It looked like a monstertruck. But, it drove well and man did those tires grip!
SPOILER
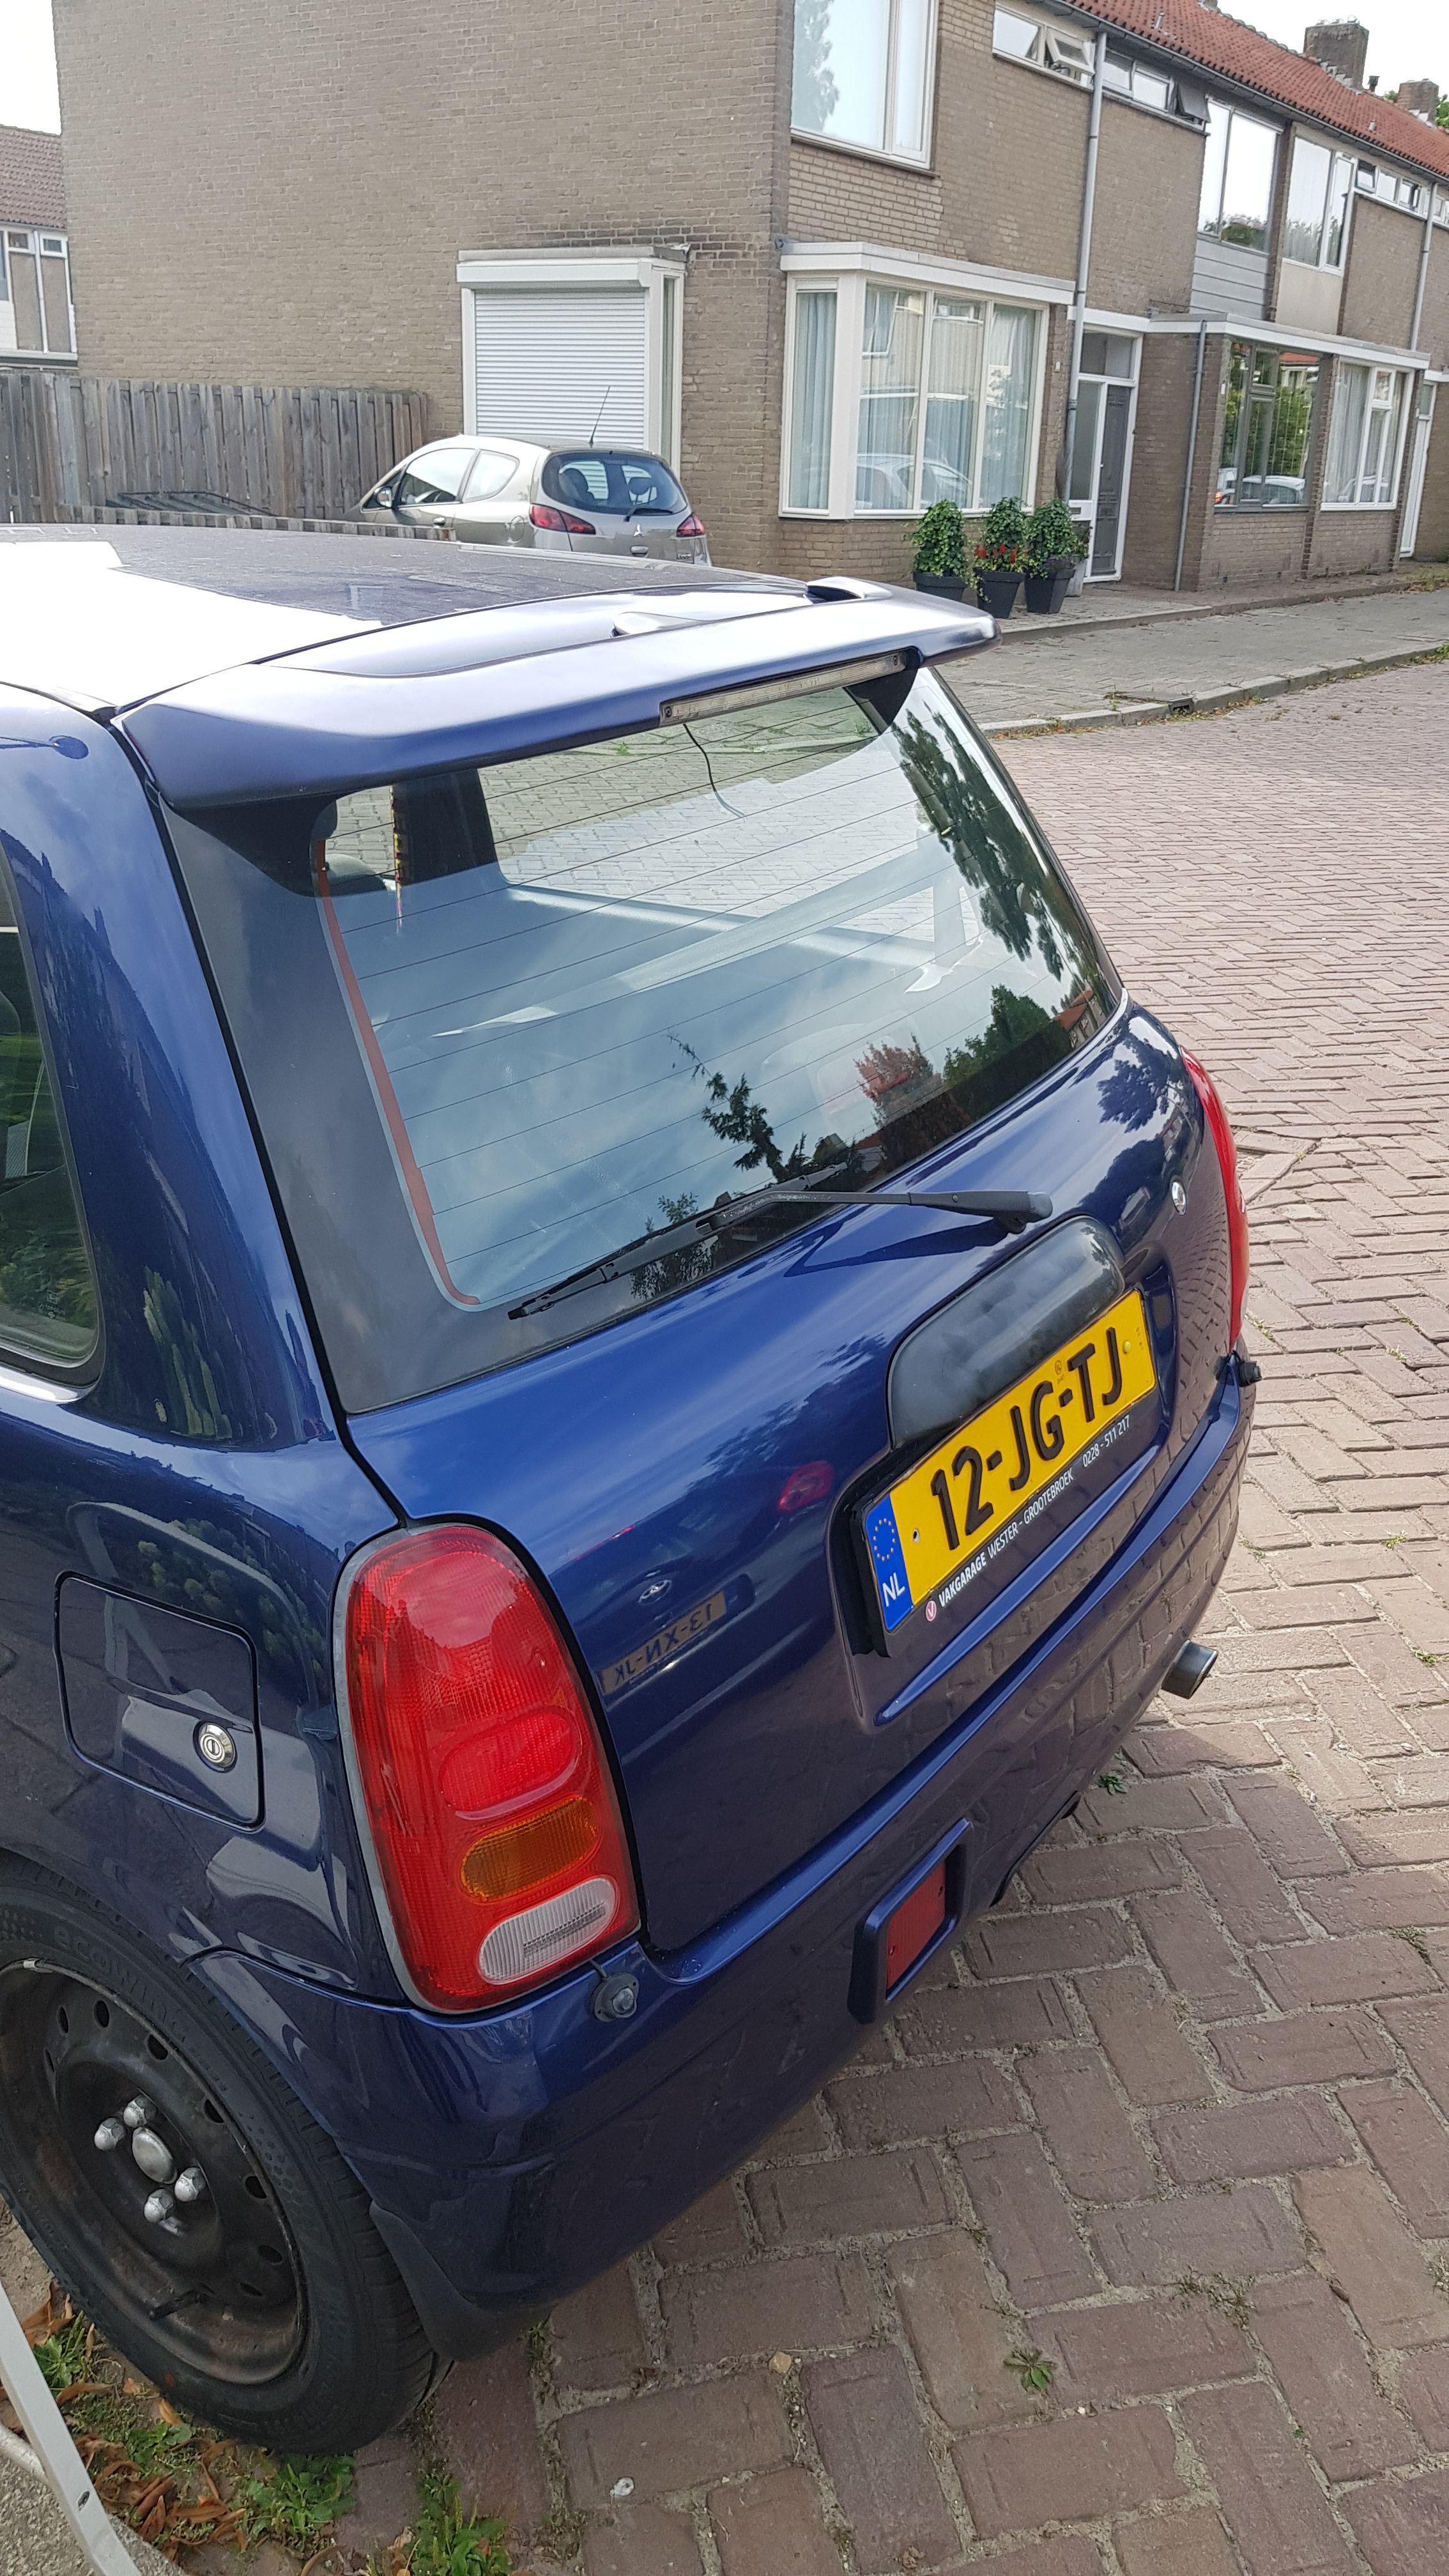
I bought a Avanzato/TR spoiler from someone whose Cuore had died and was sold in parts. The only issue was that the 3rd brake light didn’t work.
CHROME BITS AND CUPHOLDERS
Door handles, and shift boot. You can find these on a Sirion (M1) or YRV . You can find cupholders on some L7’s, L251’s, Sirion M1’s and YRV’s
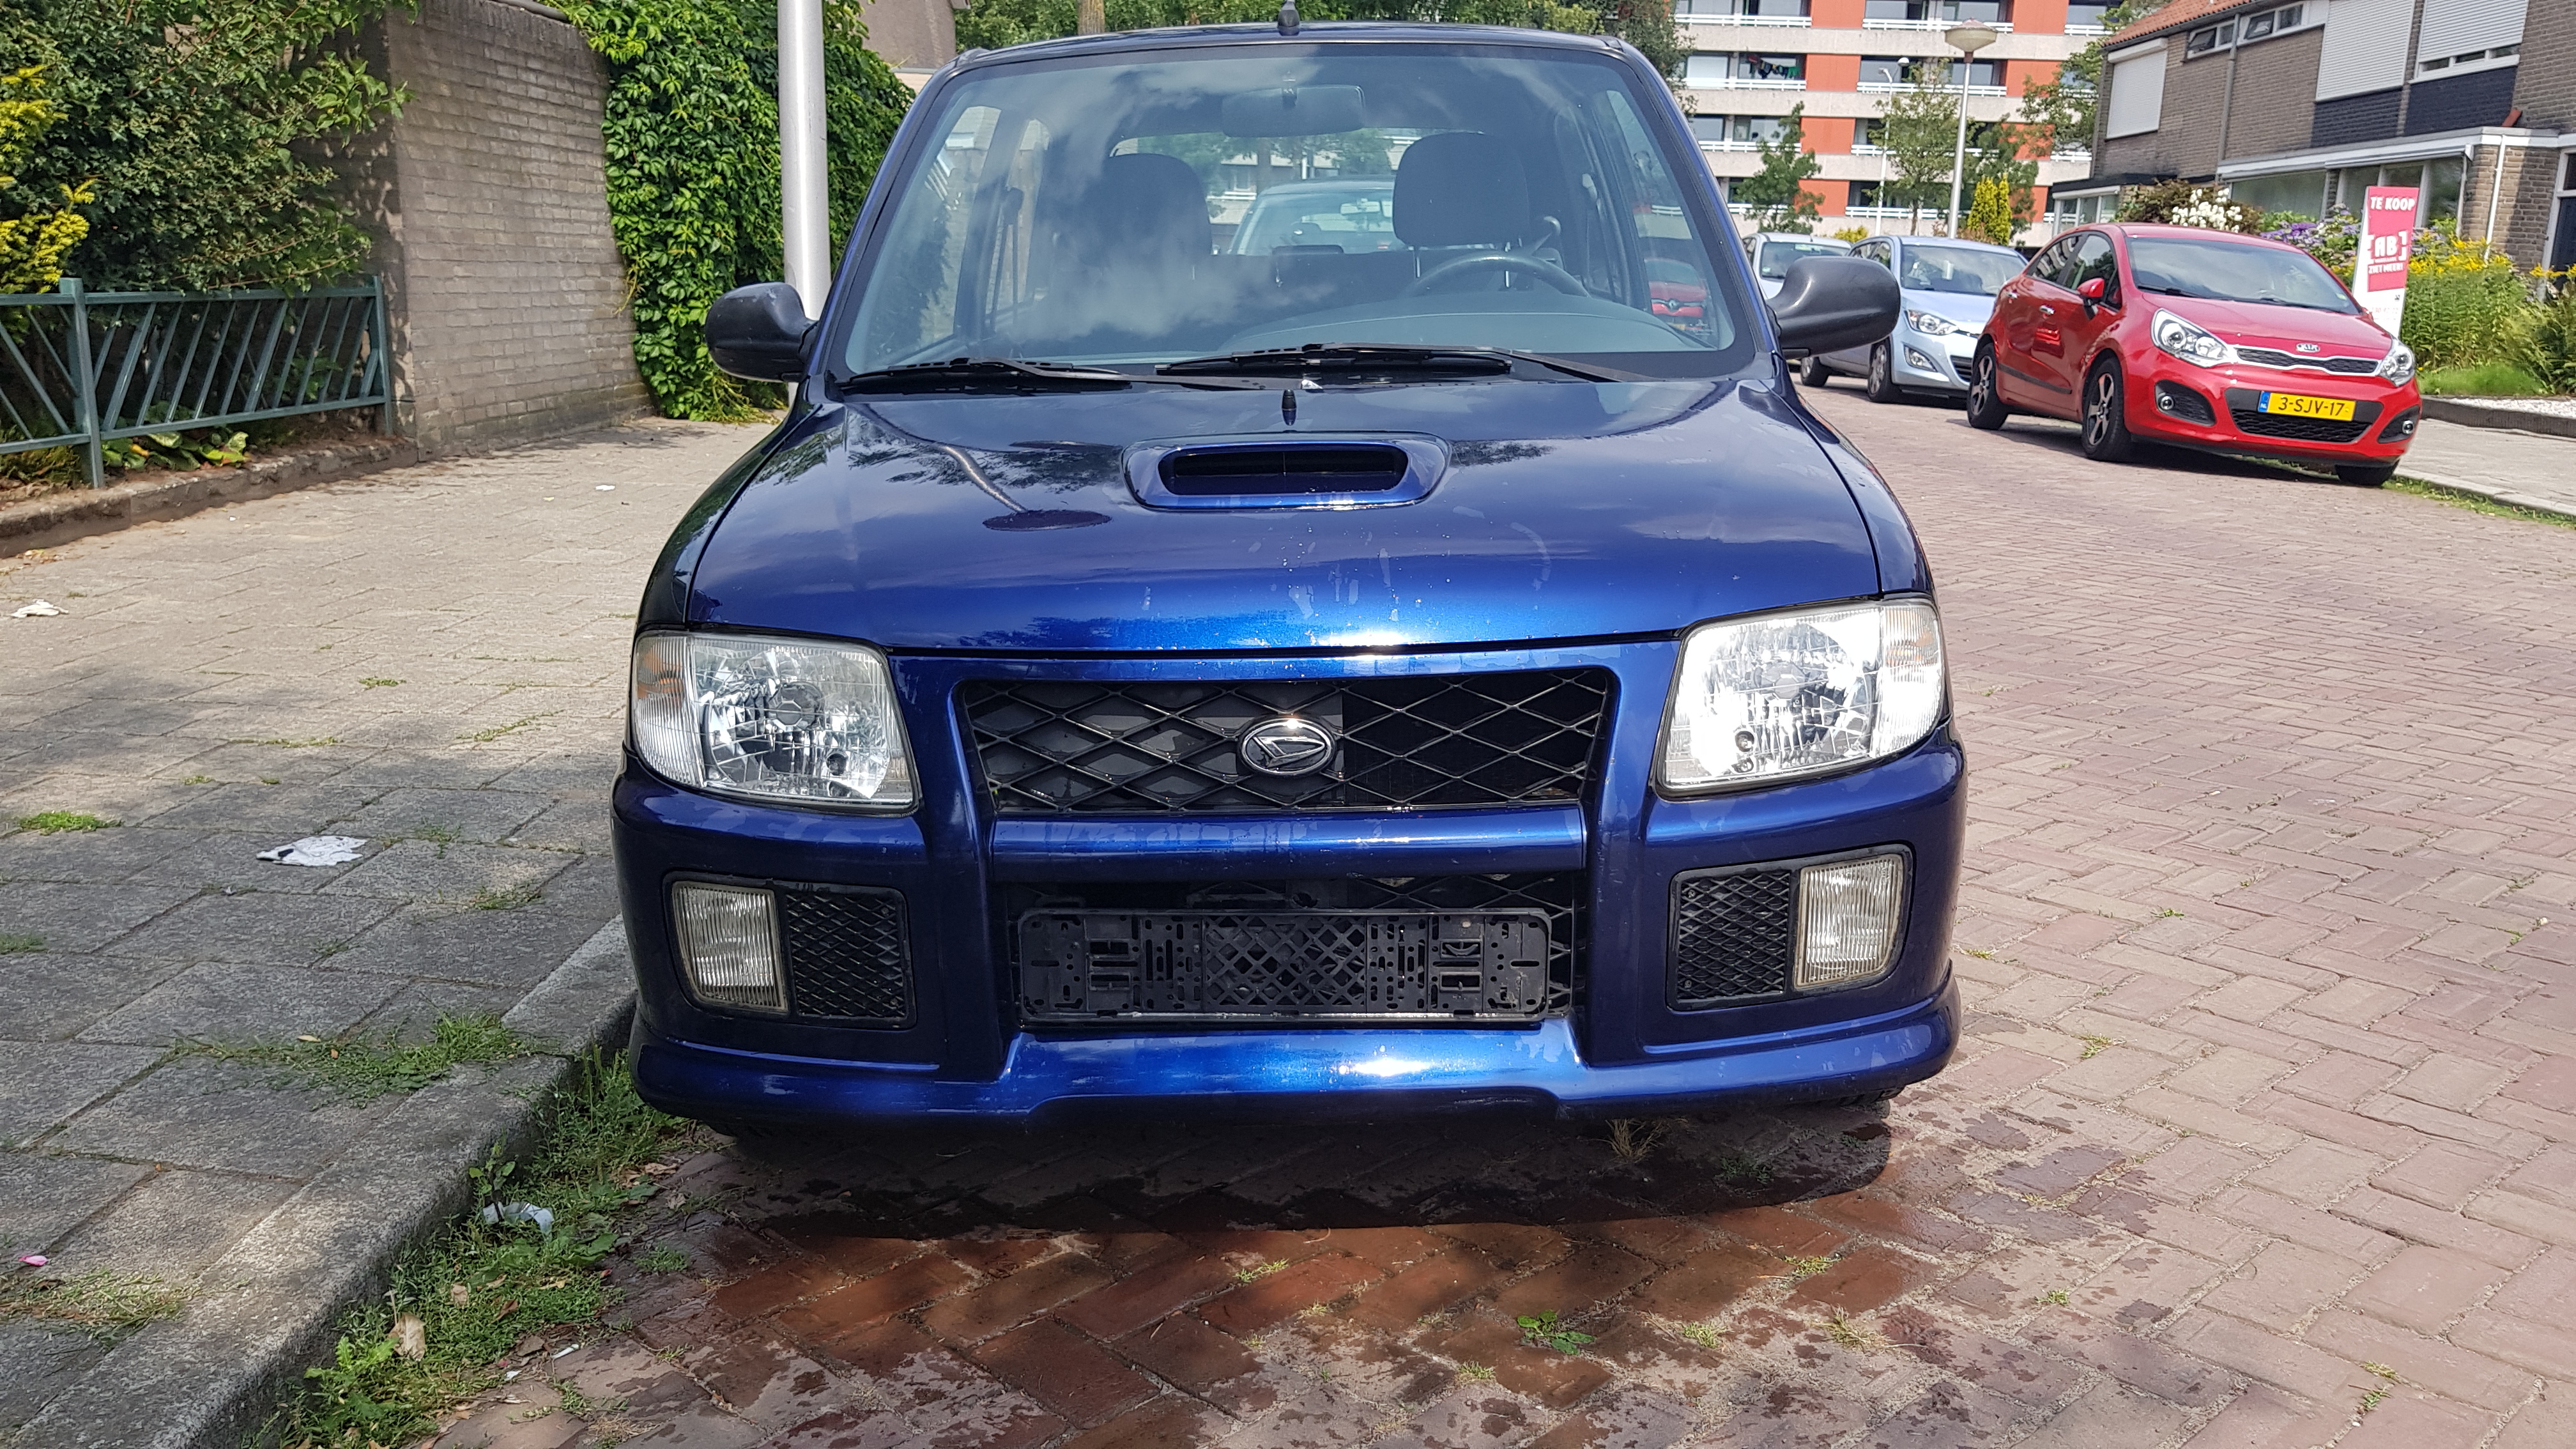
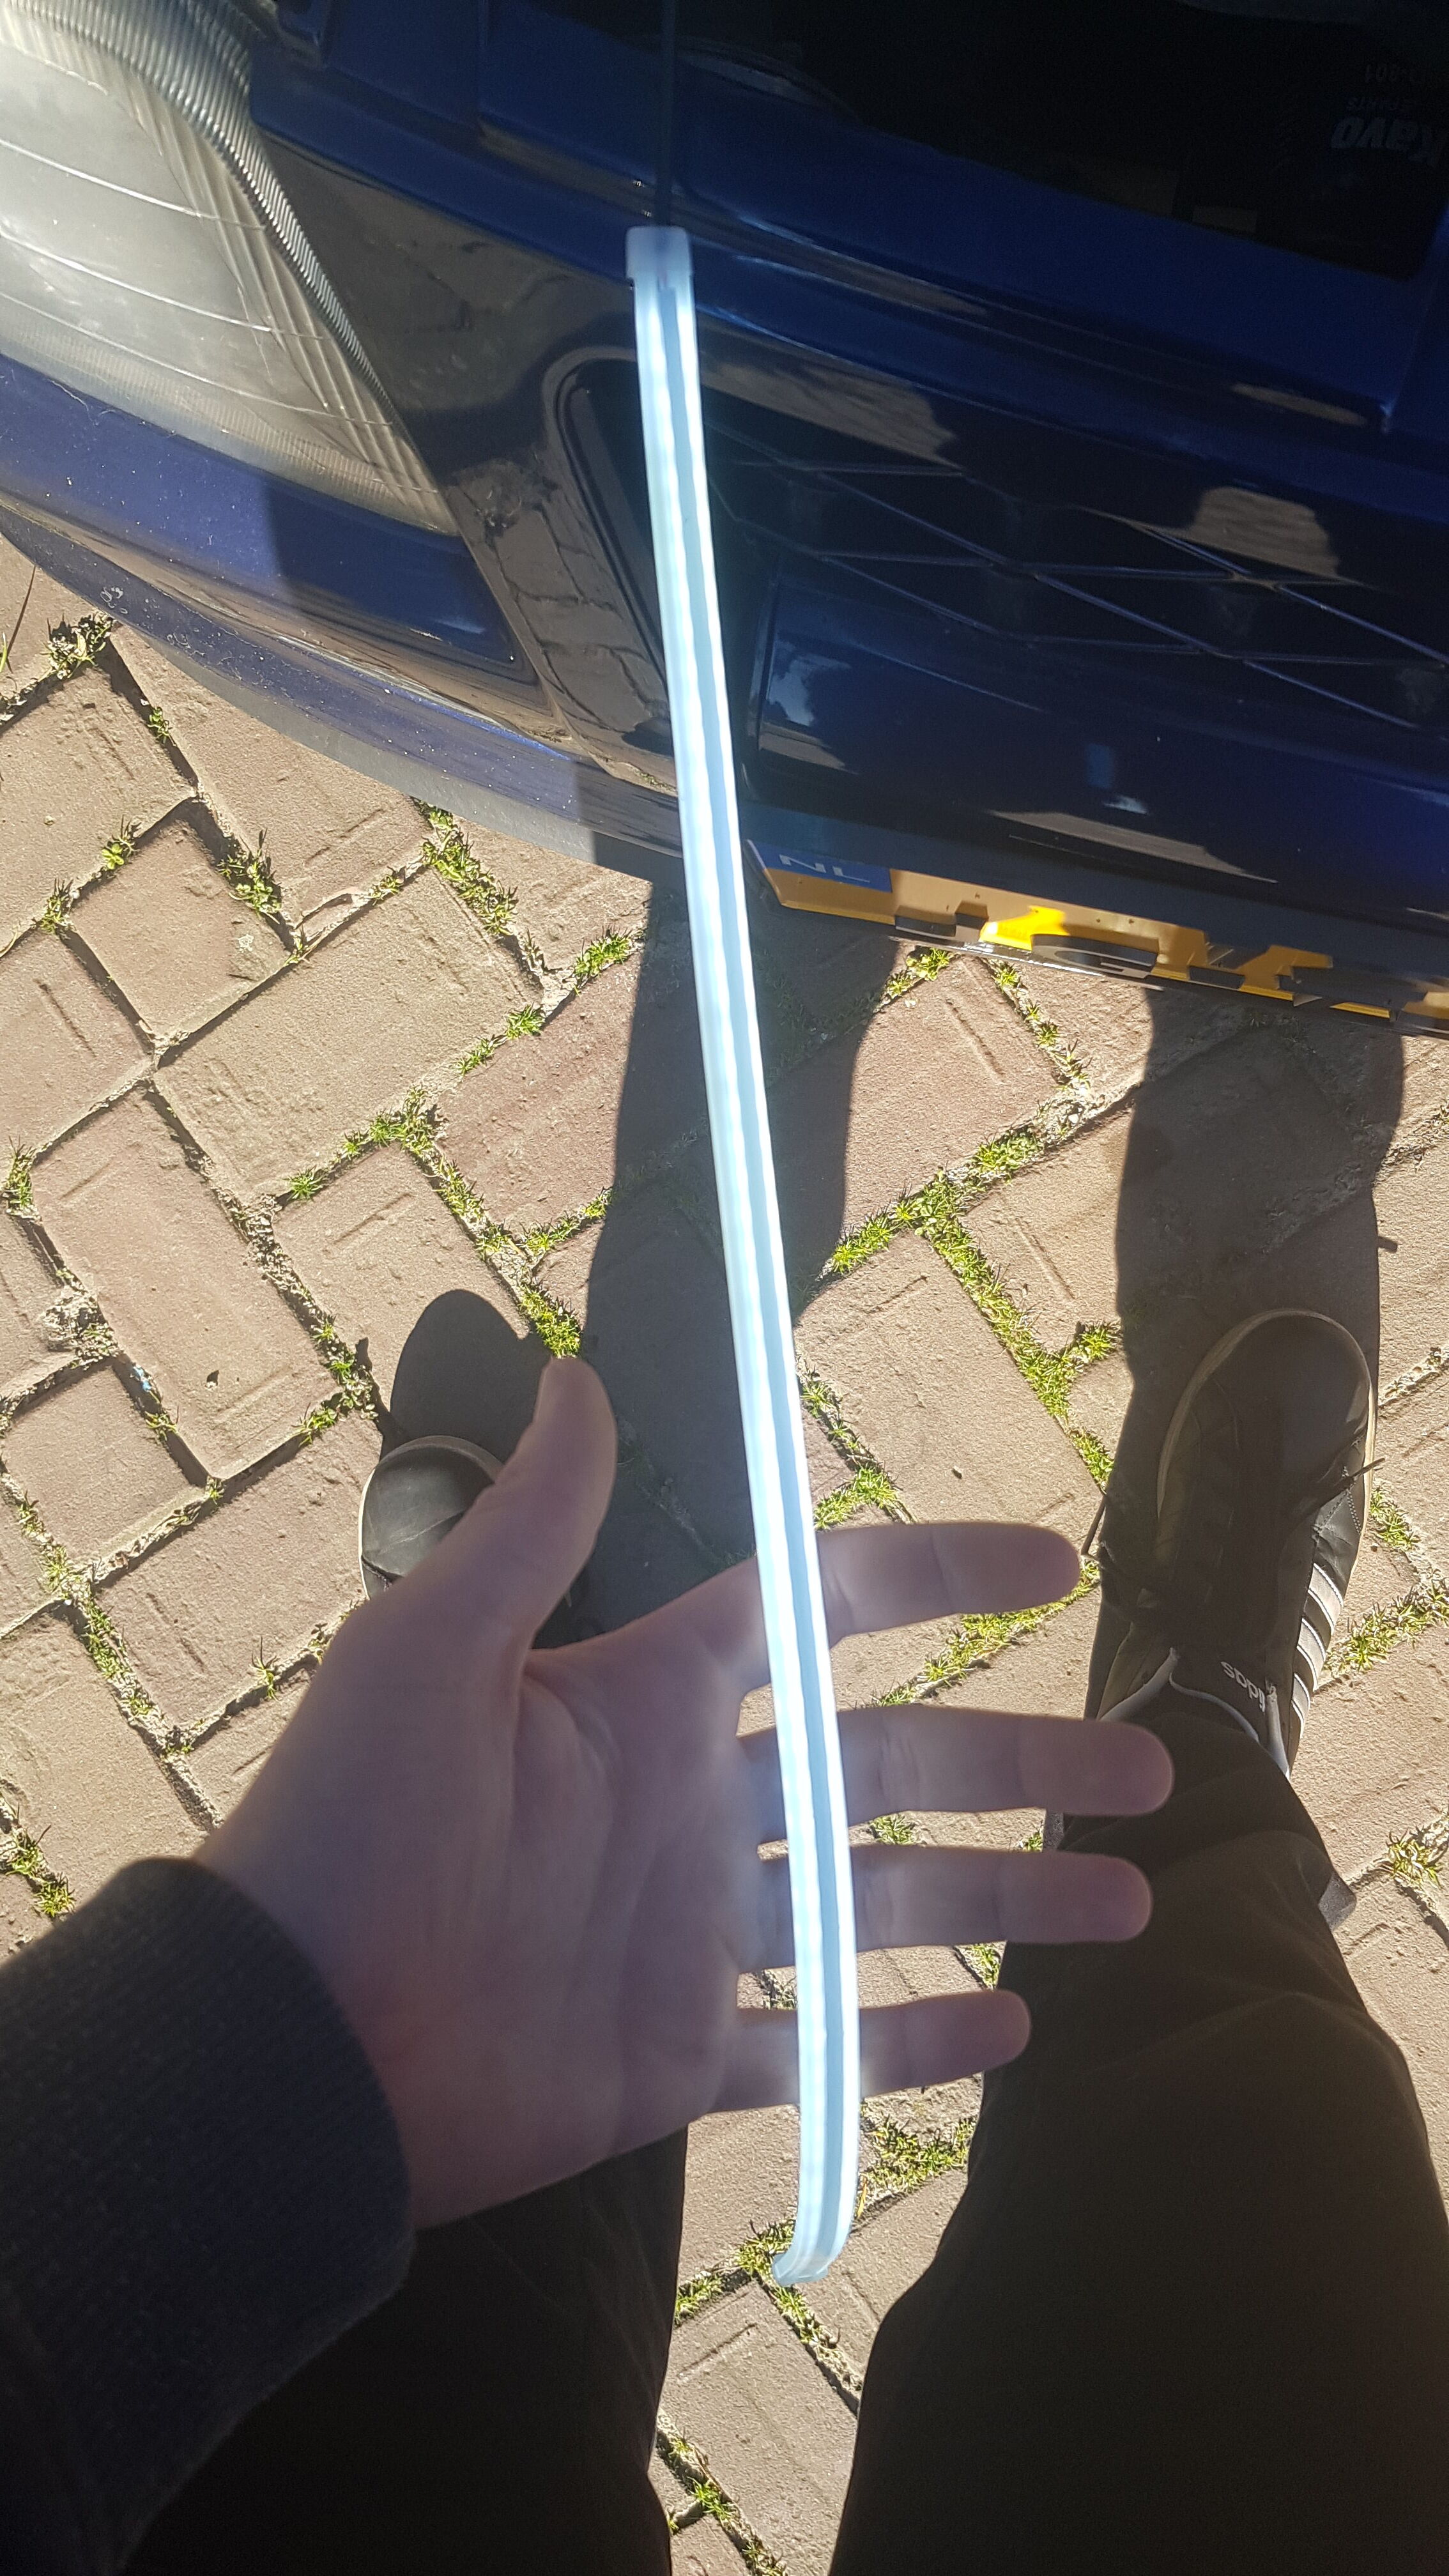
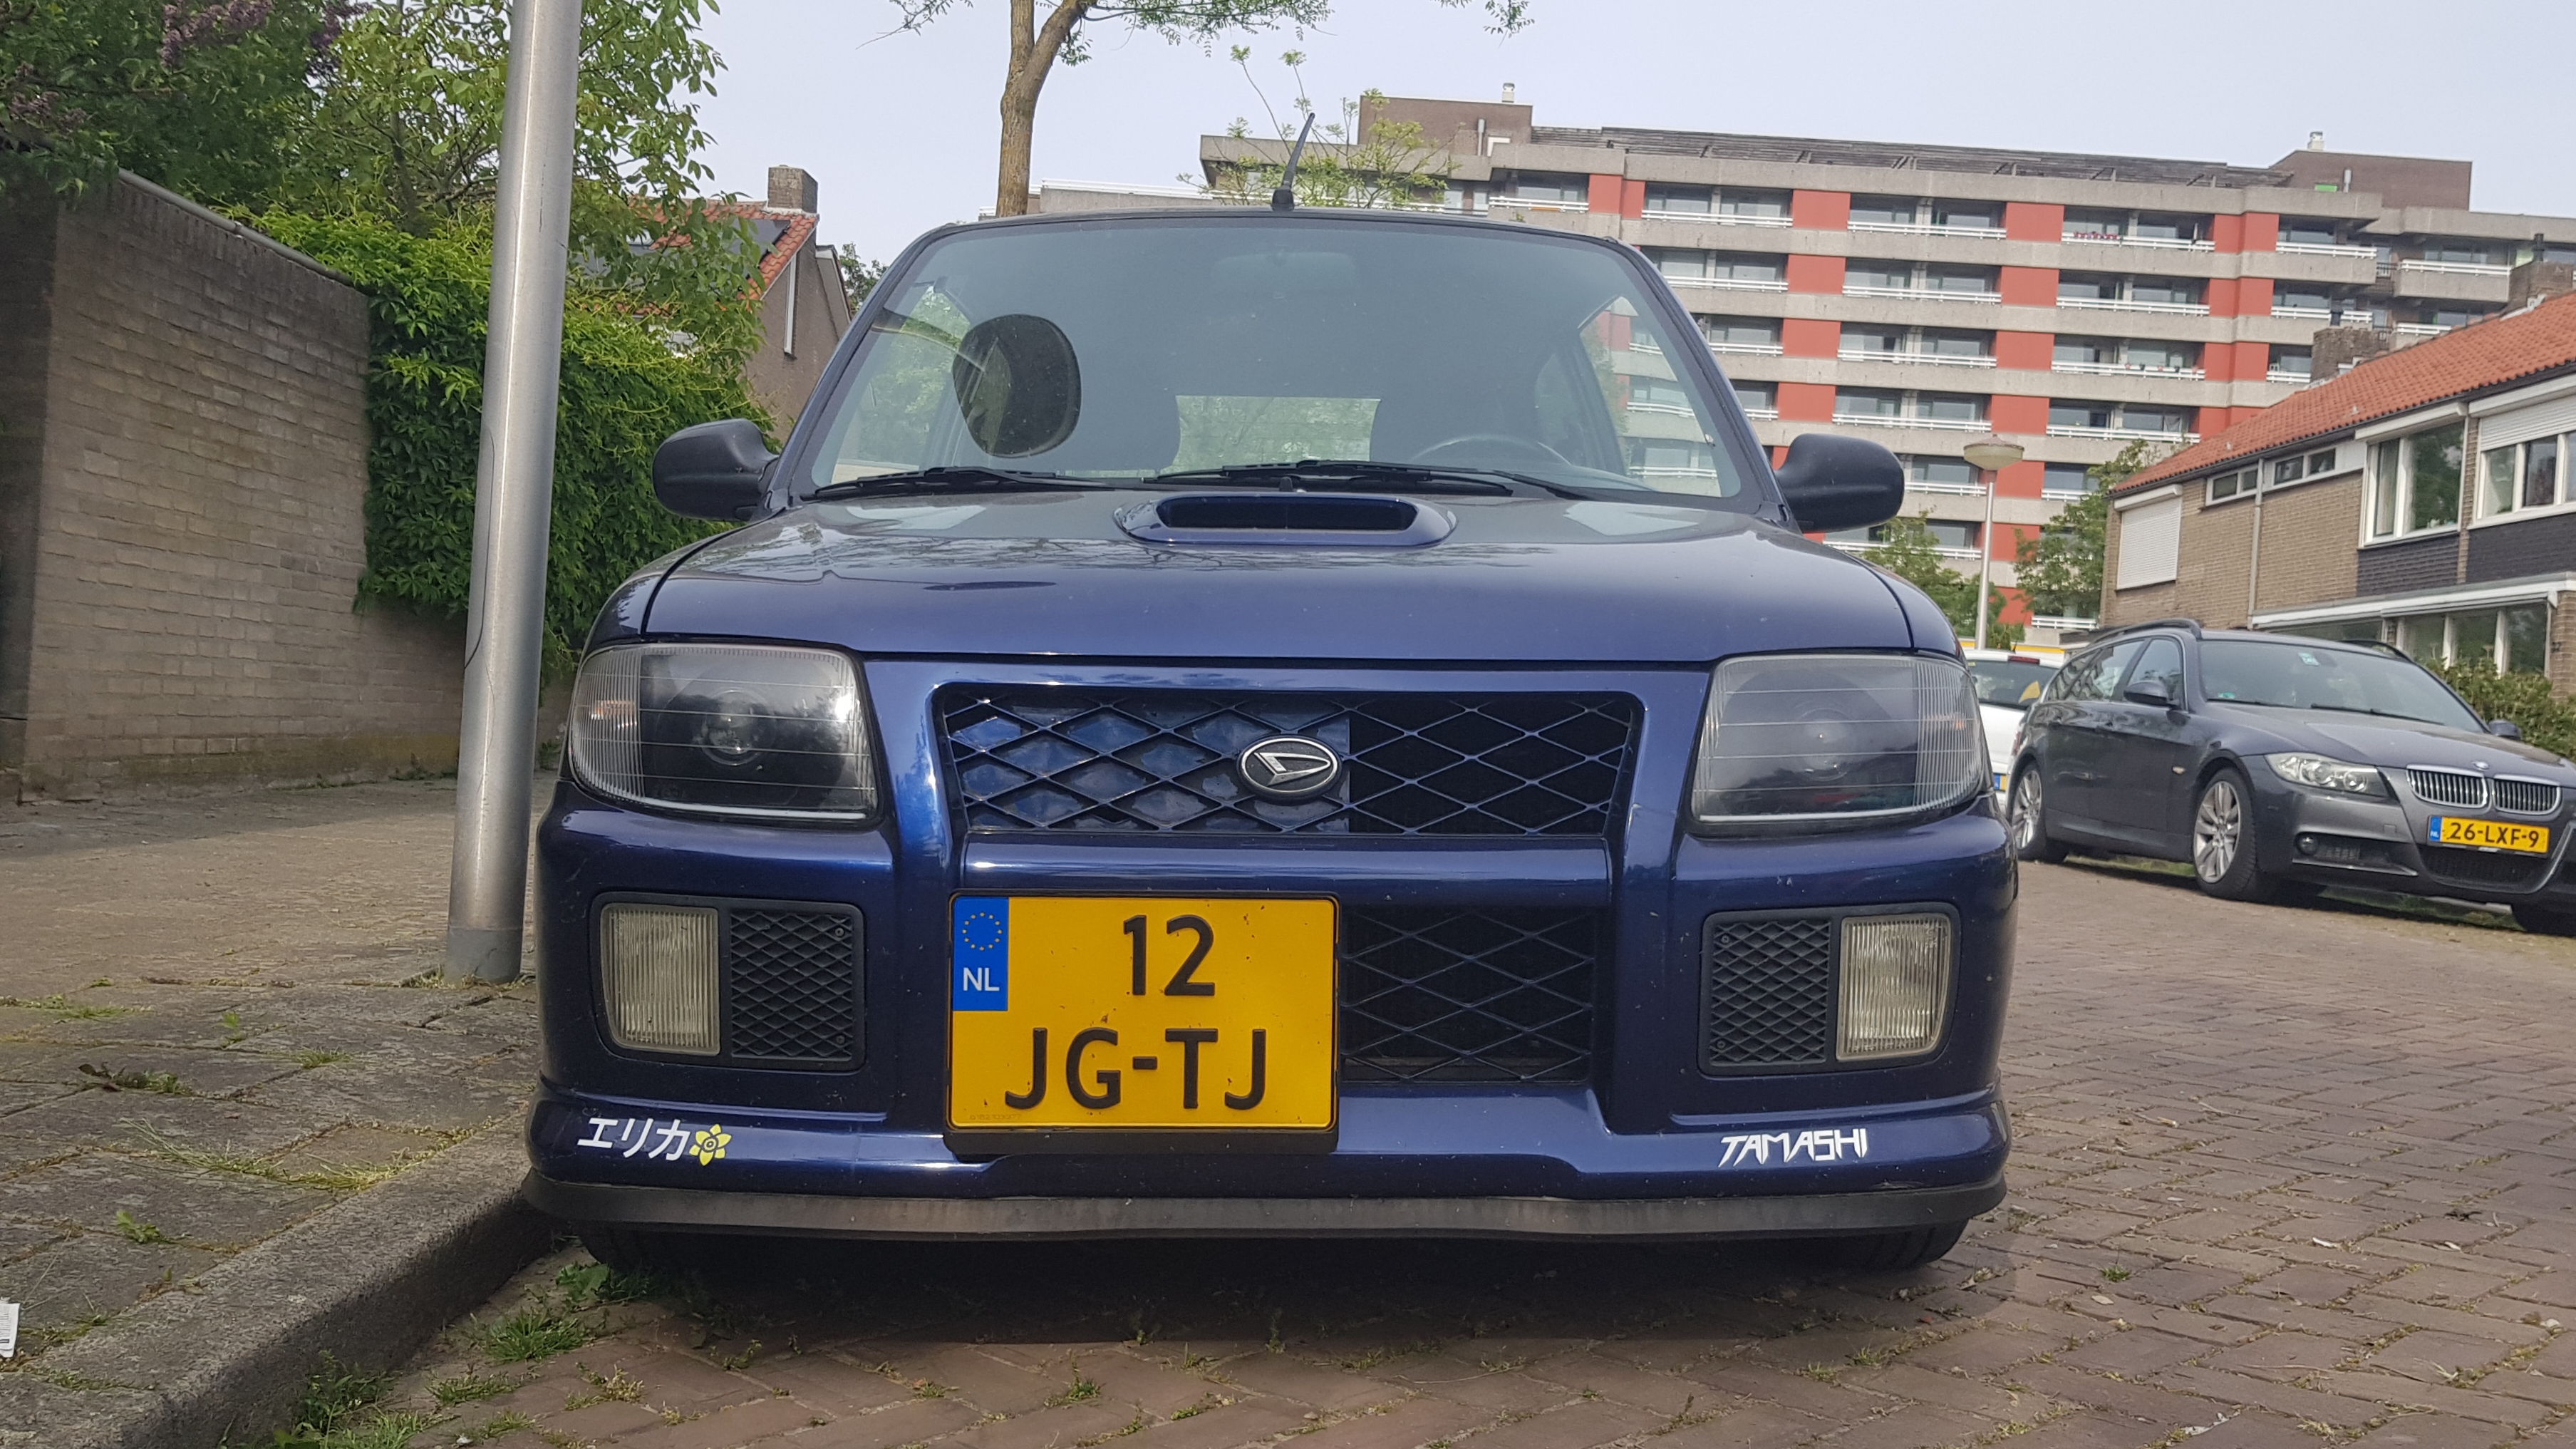
BLACK HOUSING HEADLIGHTS AND SQUARE PLATE
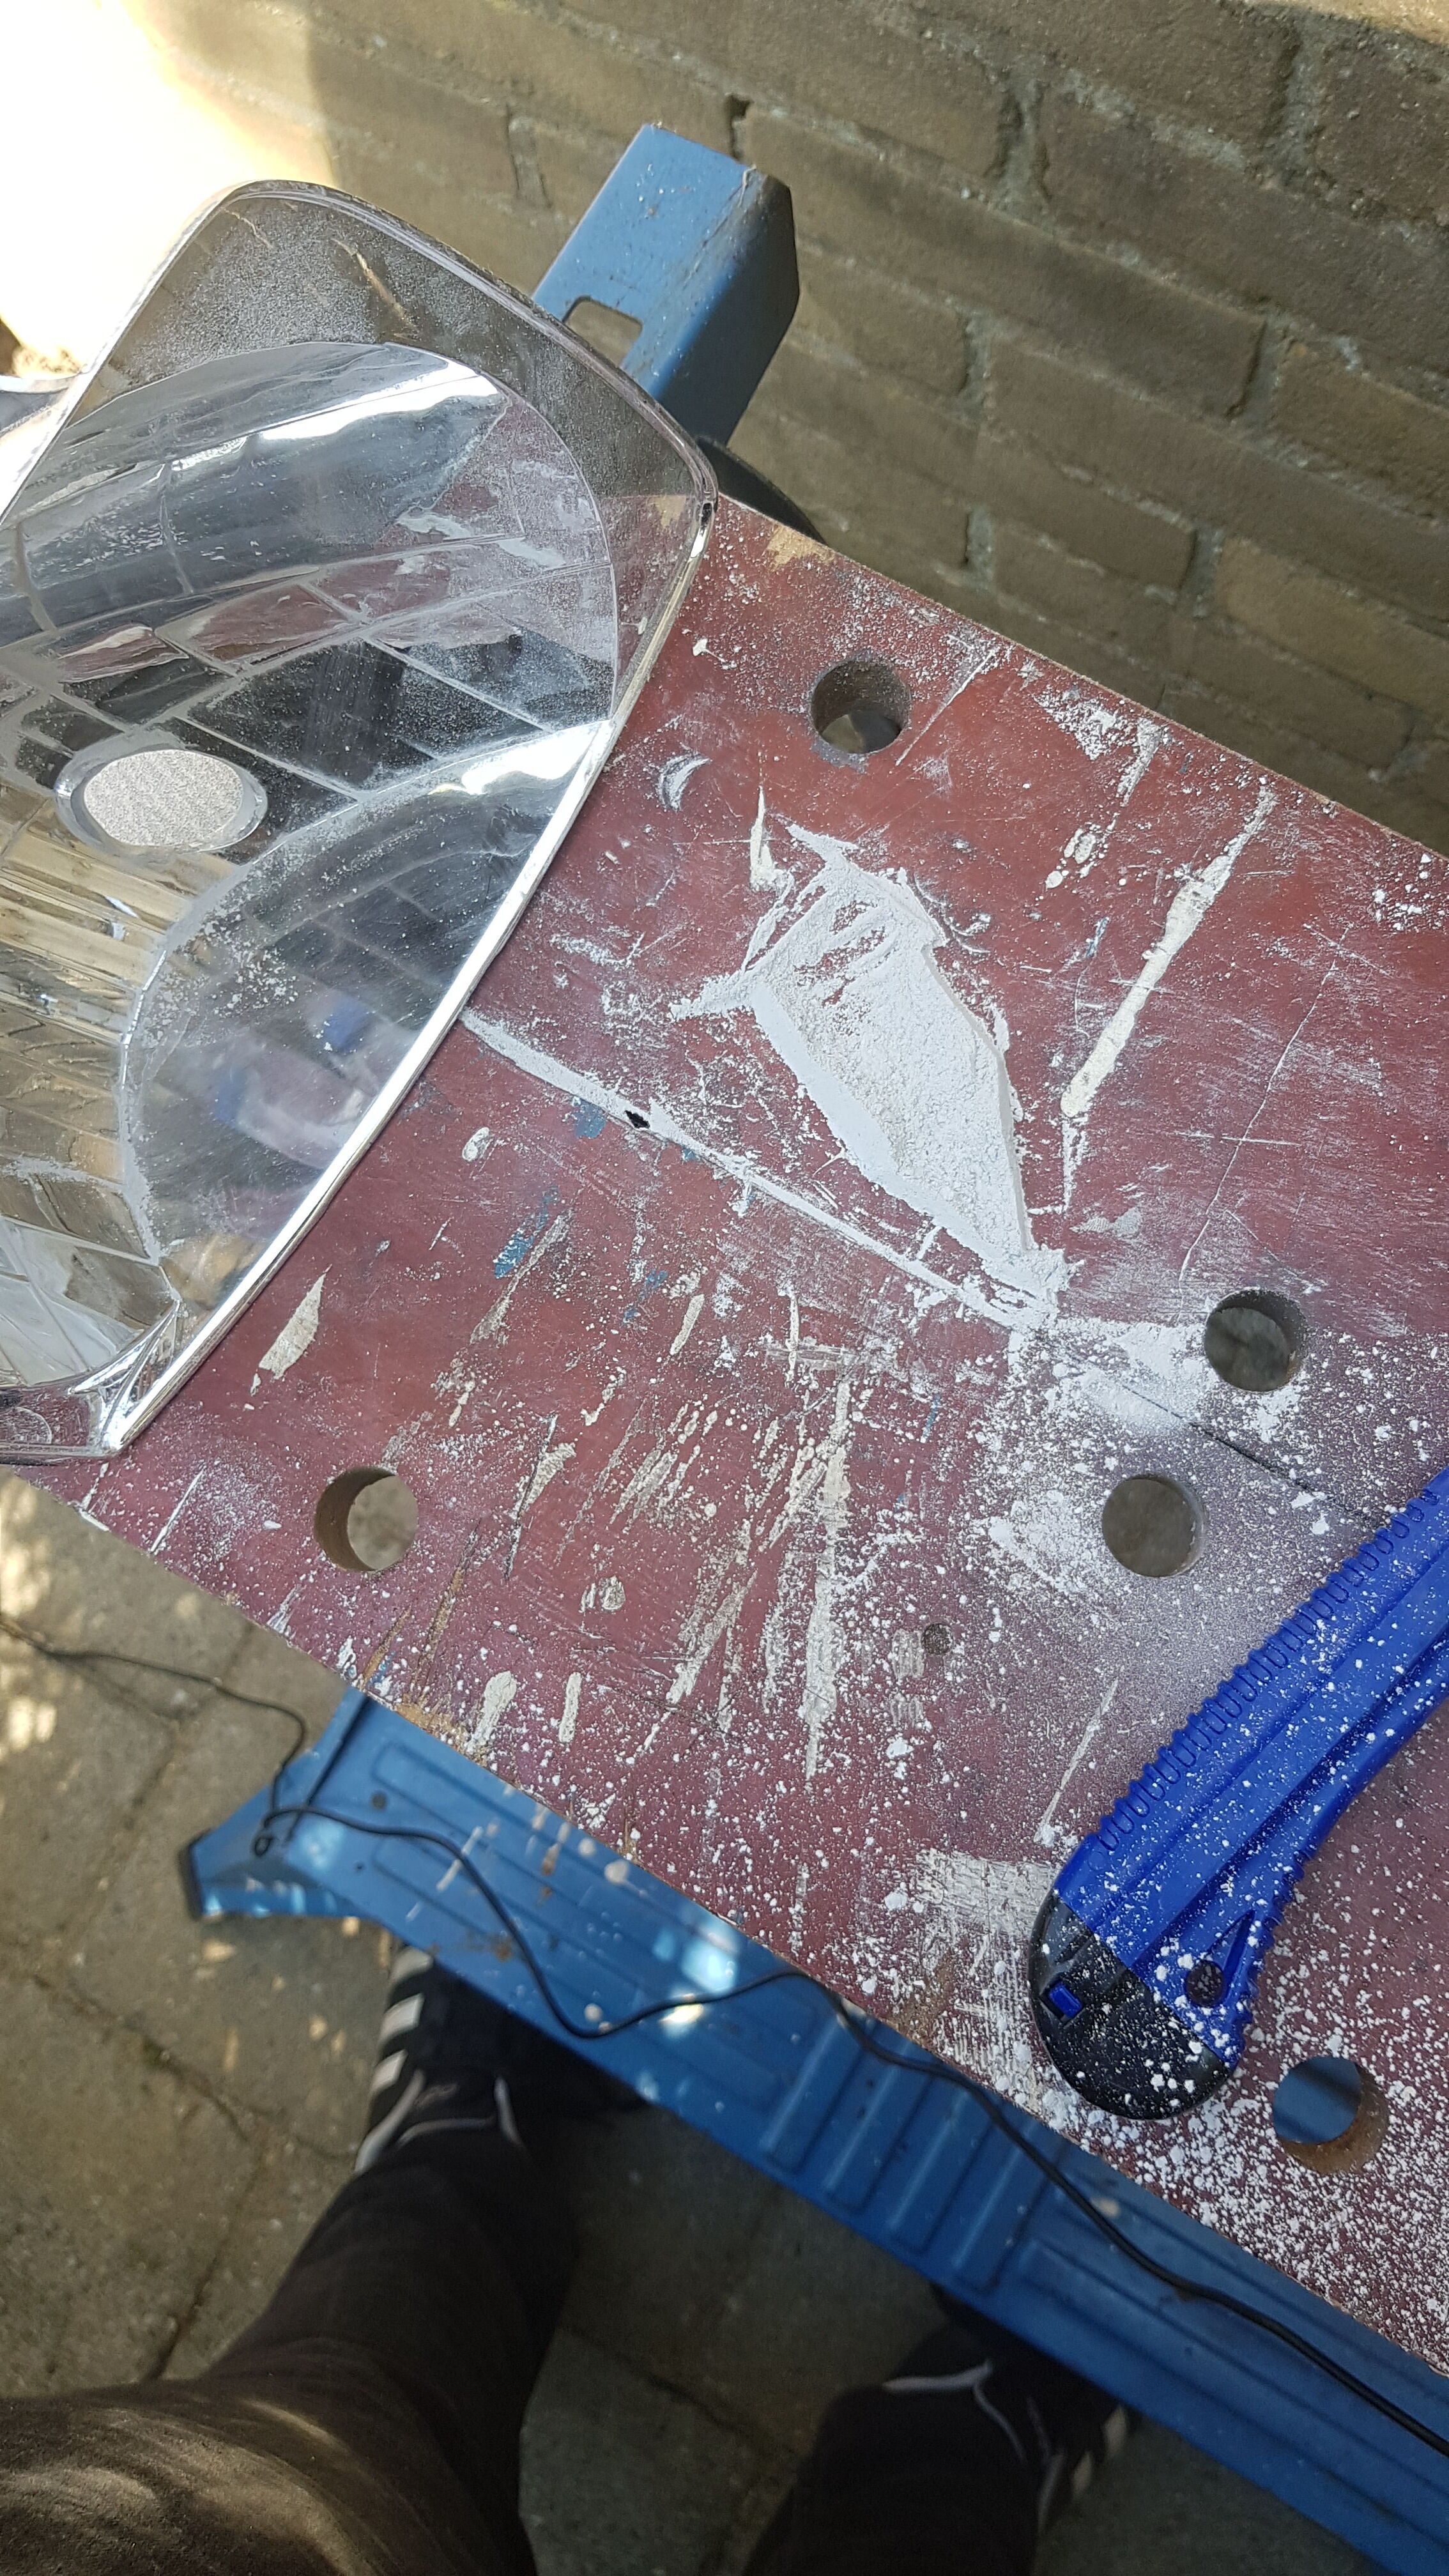
I took the headlights apart and painted the non-reflective parts black.
To take apart the headlights, you have to remove all the bulbs and screws, and then carefully take off the lens. You do this by heating up the edges, which softens the glue (butyl) which holds the lens in place.
The square plate looks a bit funny in this picture. That’s because the mounting point for the plate was cut off by the previous owner.
FLOOR MATS
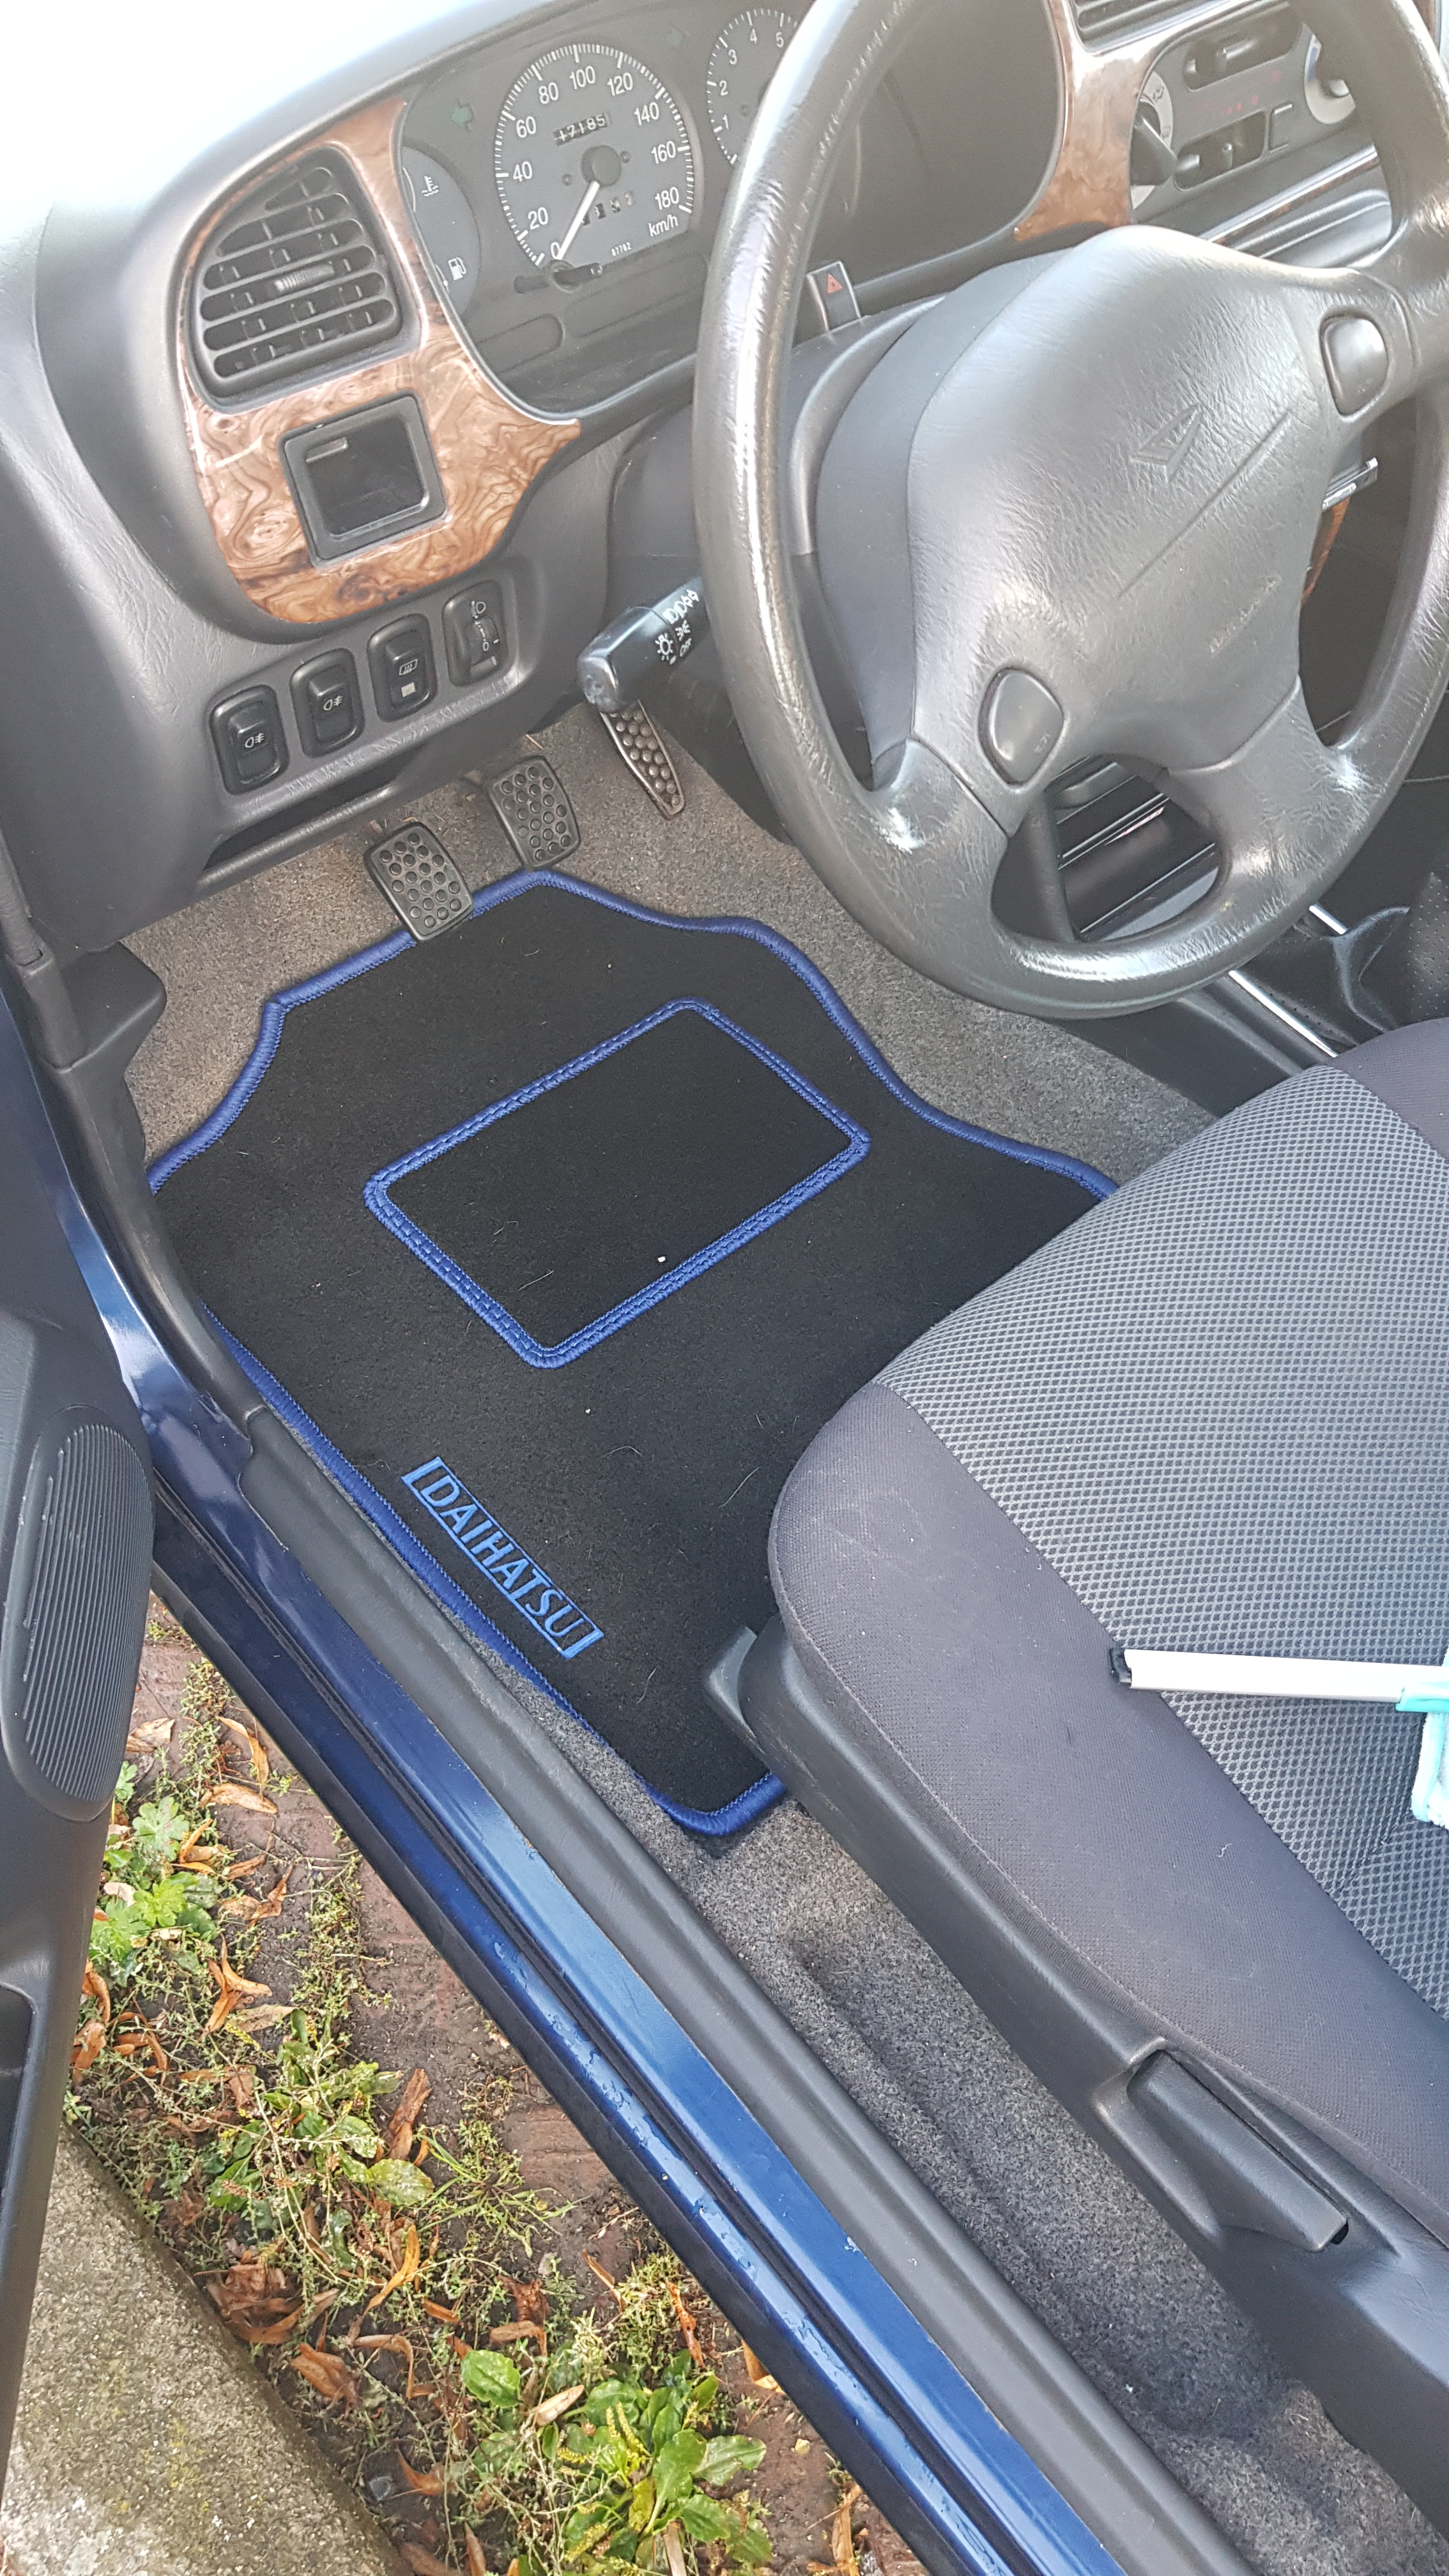
Someone offered a brand new set of mats for €20. They were made for an L251, but they fit in an L7 as well. Kind of.
FIRST STICKER
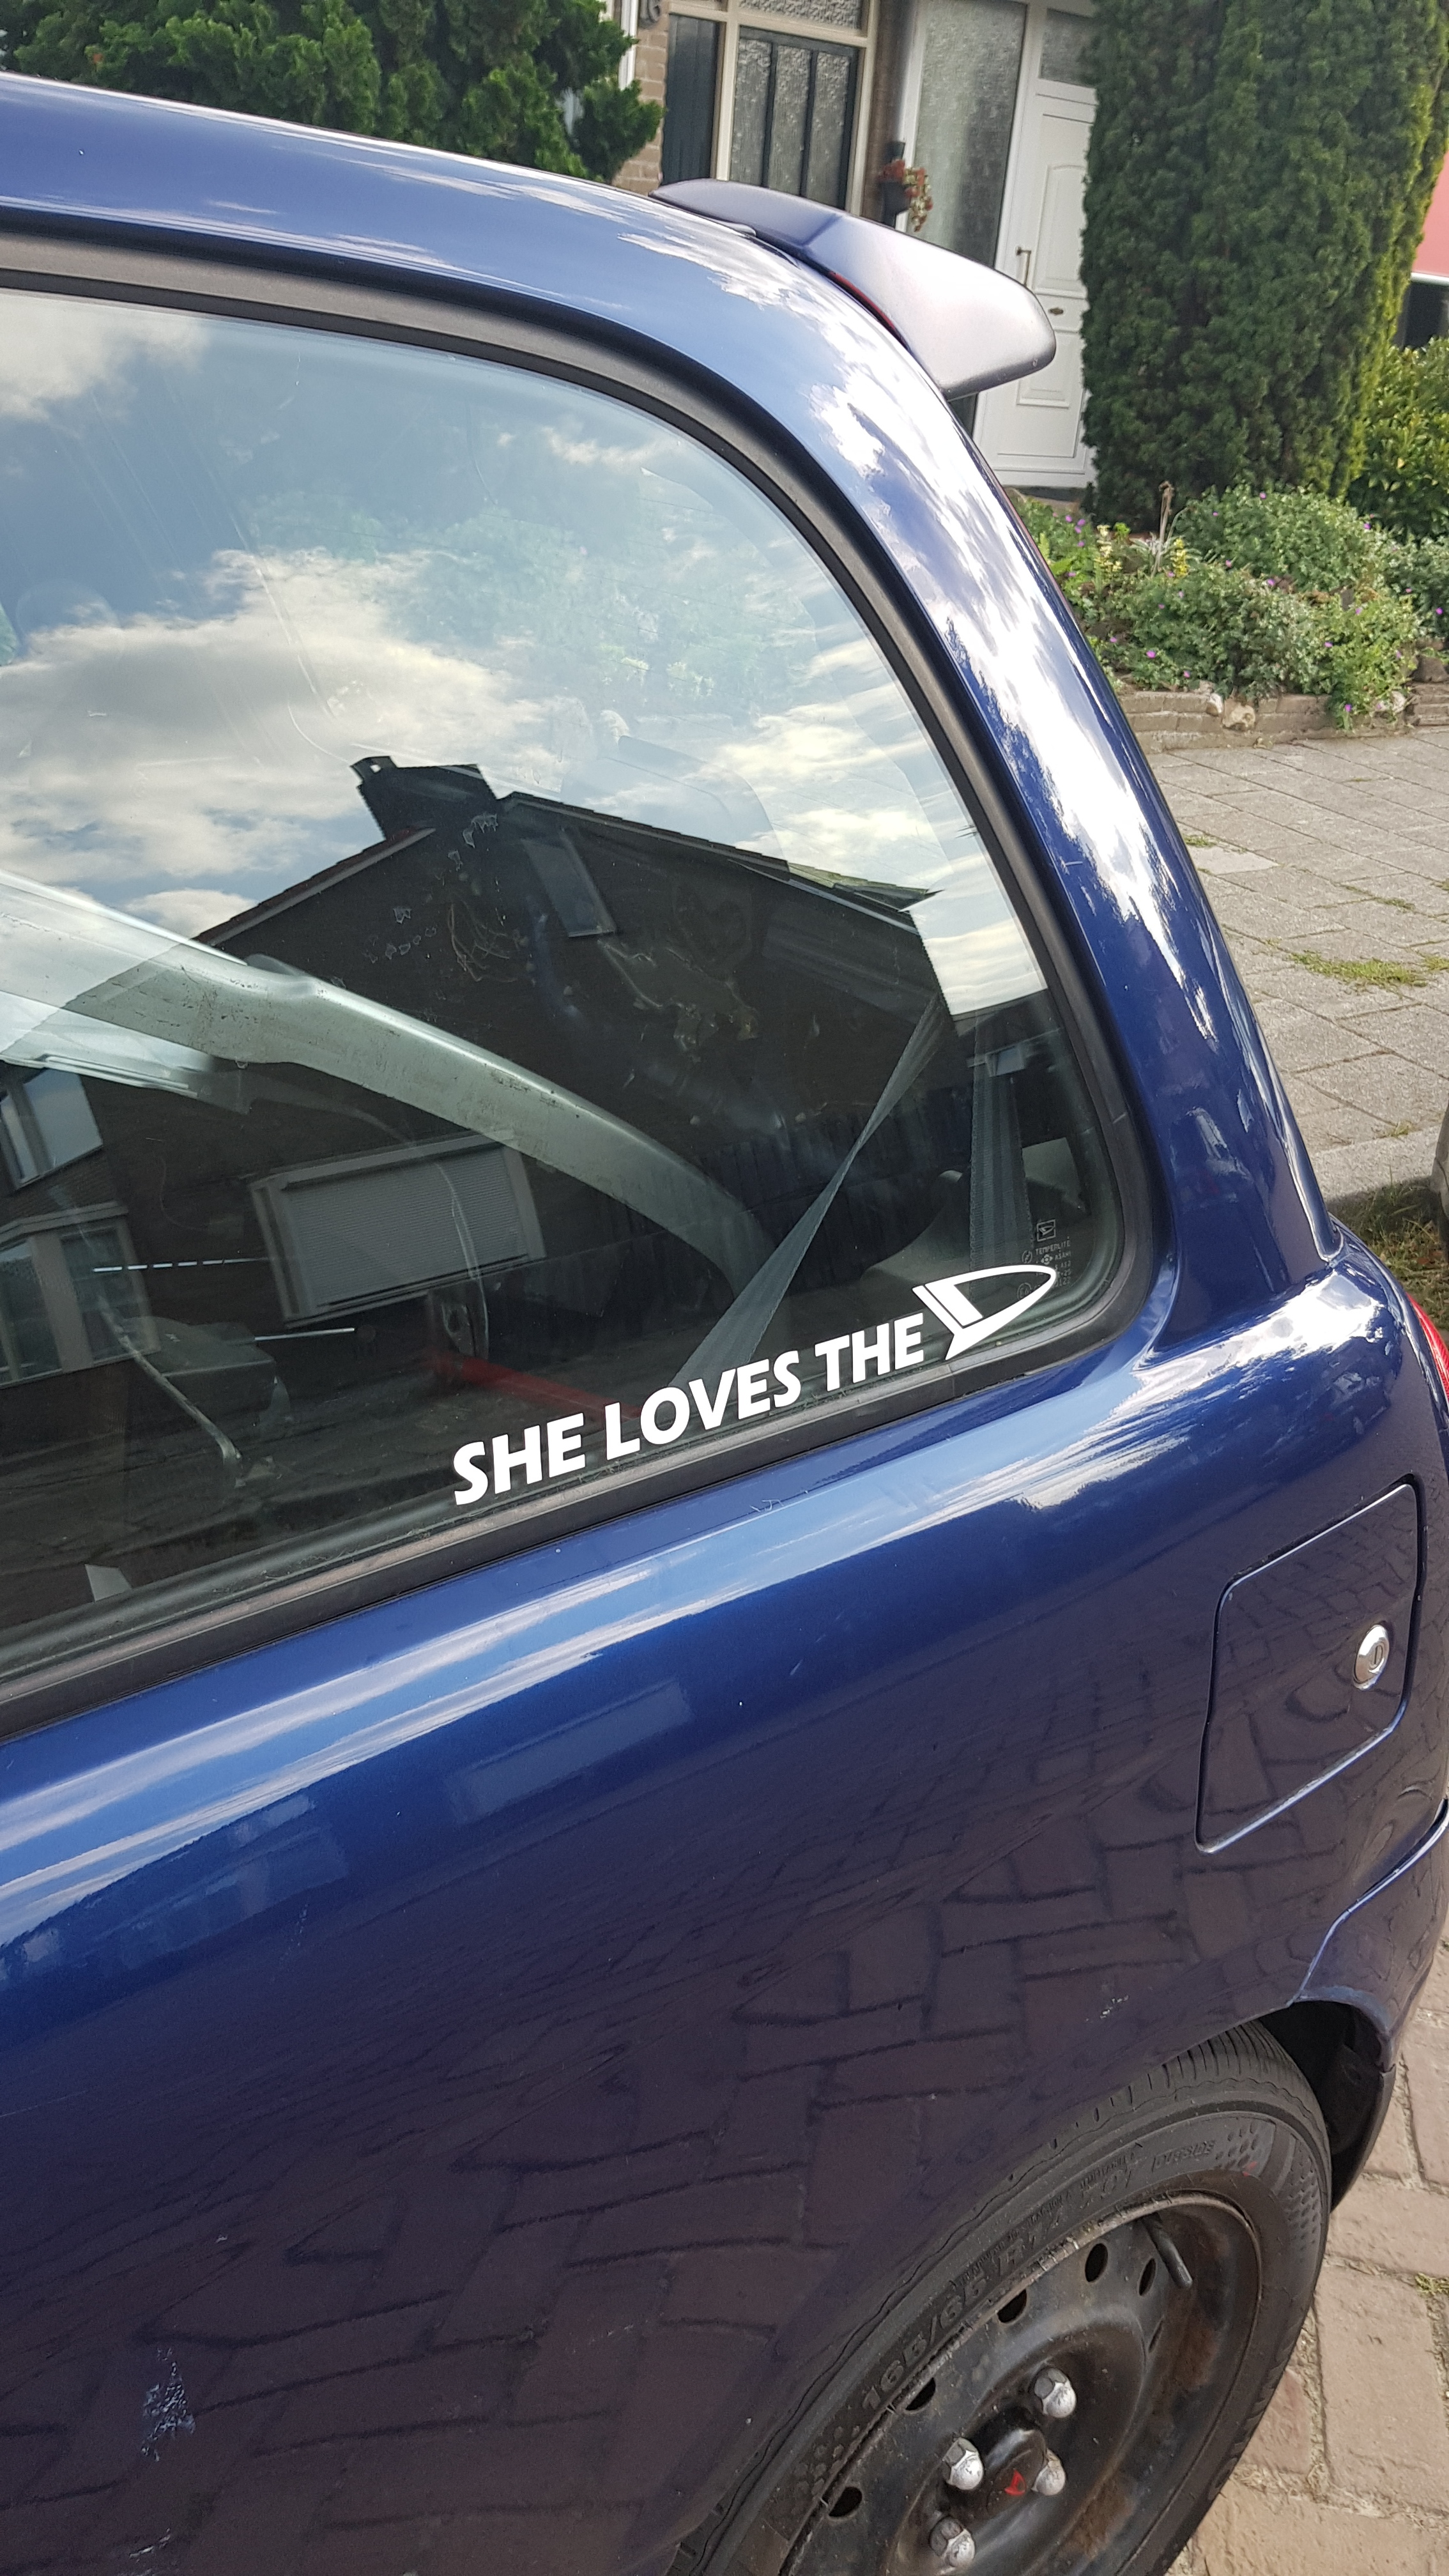
Well, not exactly a mod, but it makes people laugh so I thought I’d show you  .
.
LEATHER SEATS
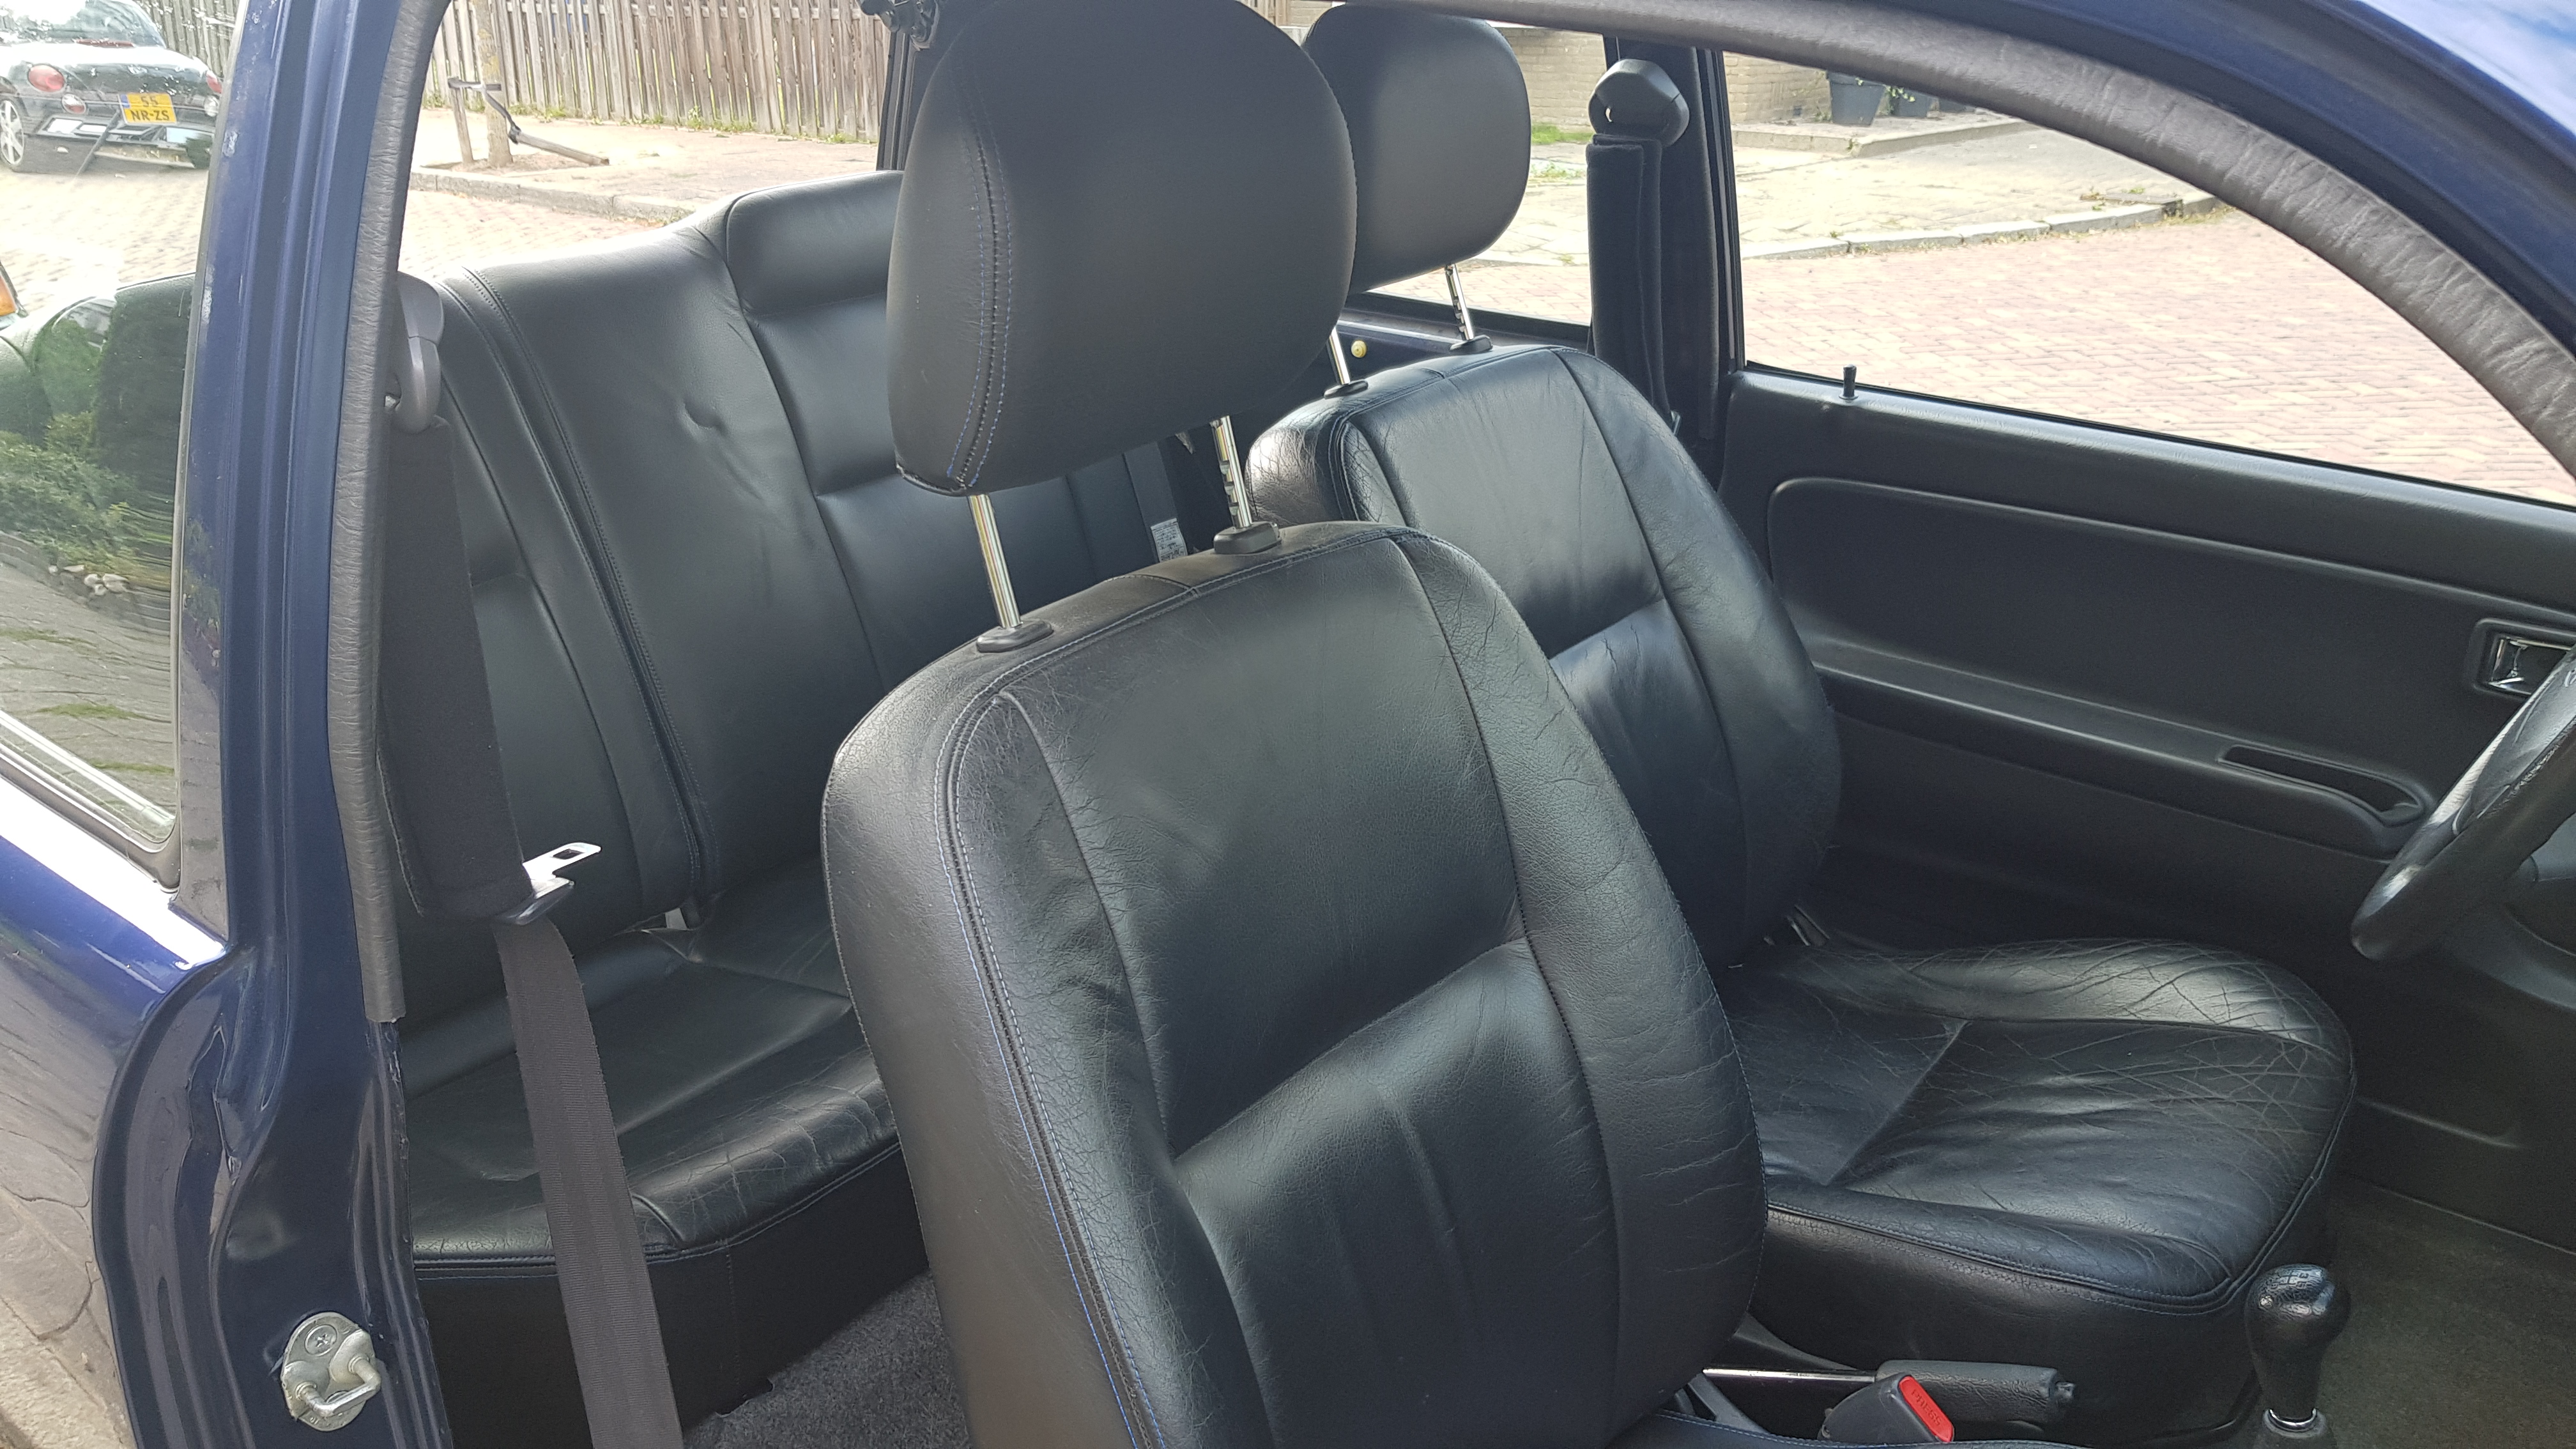
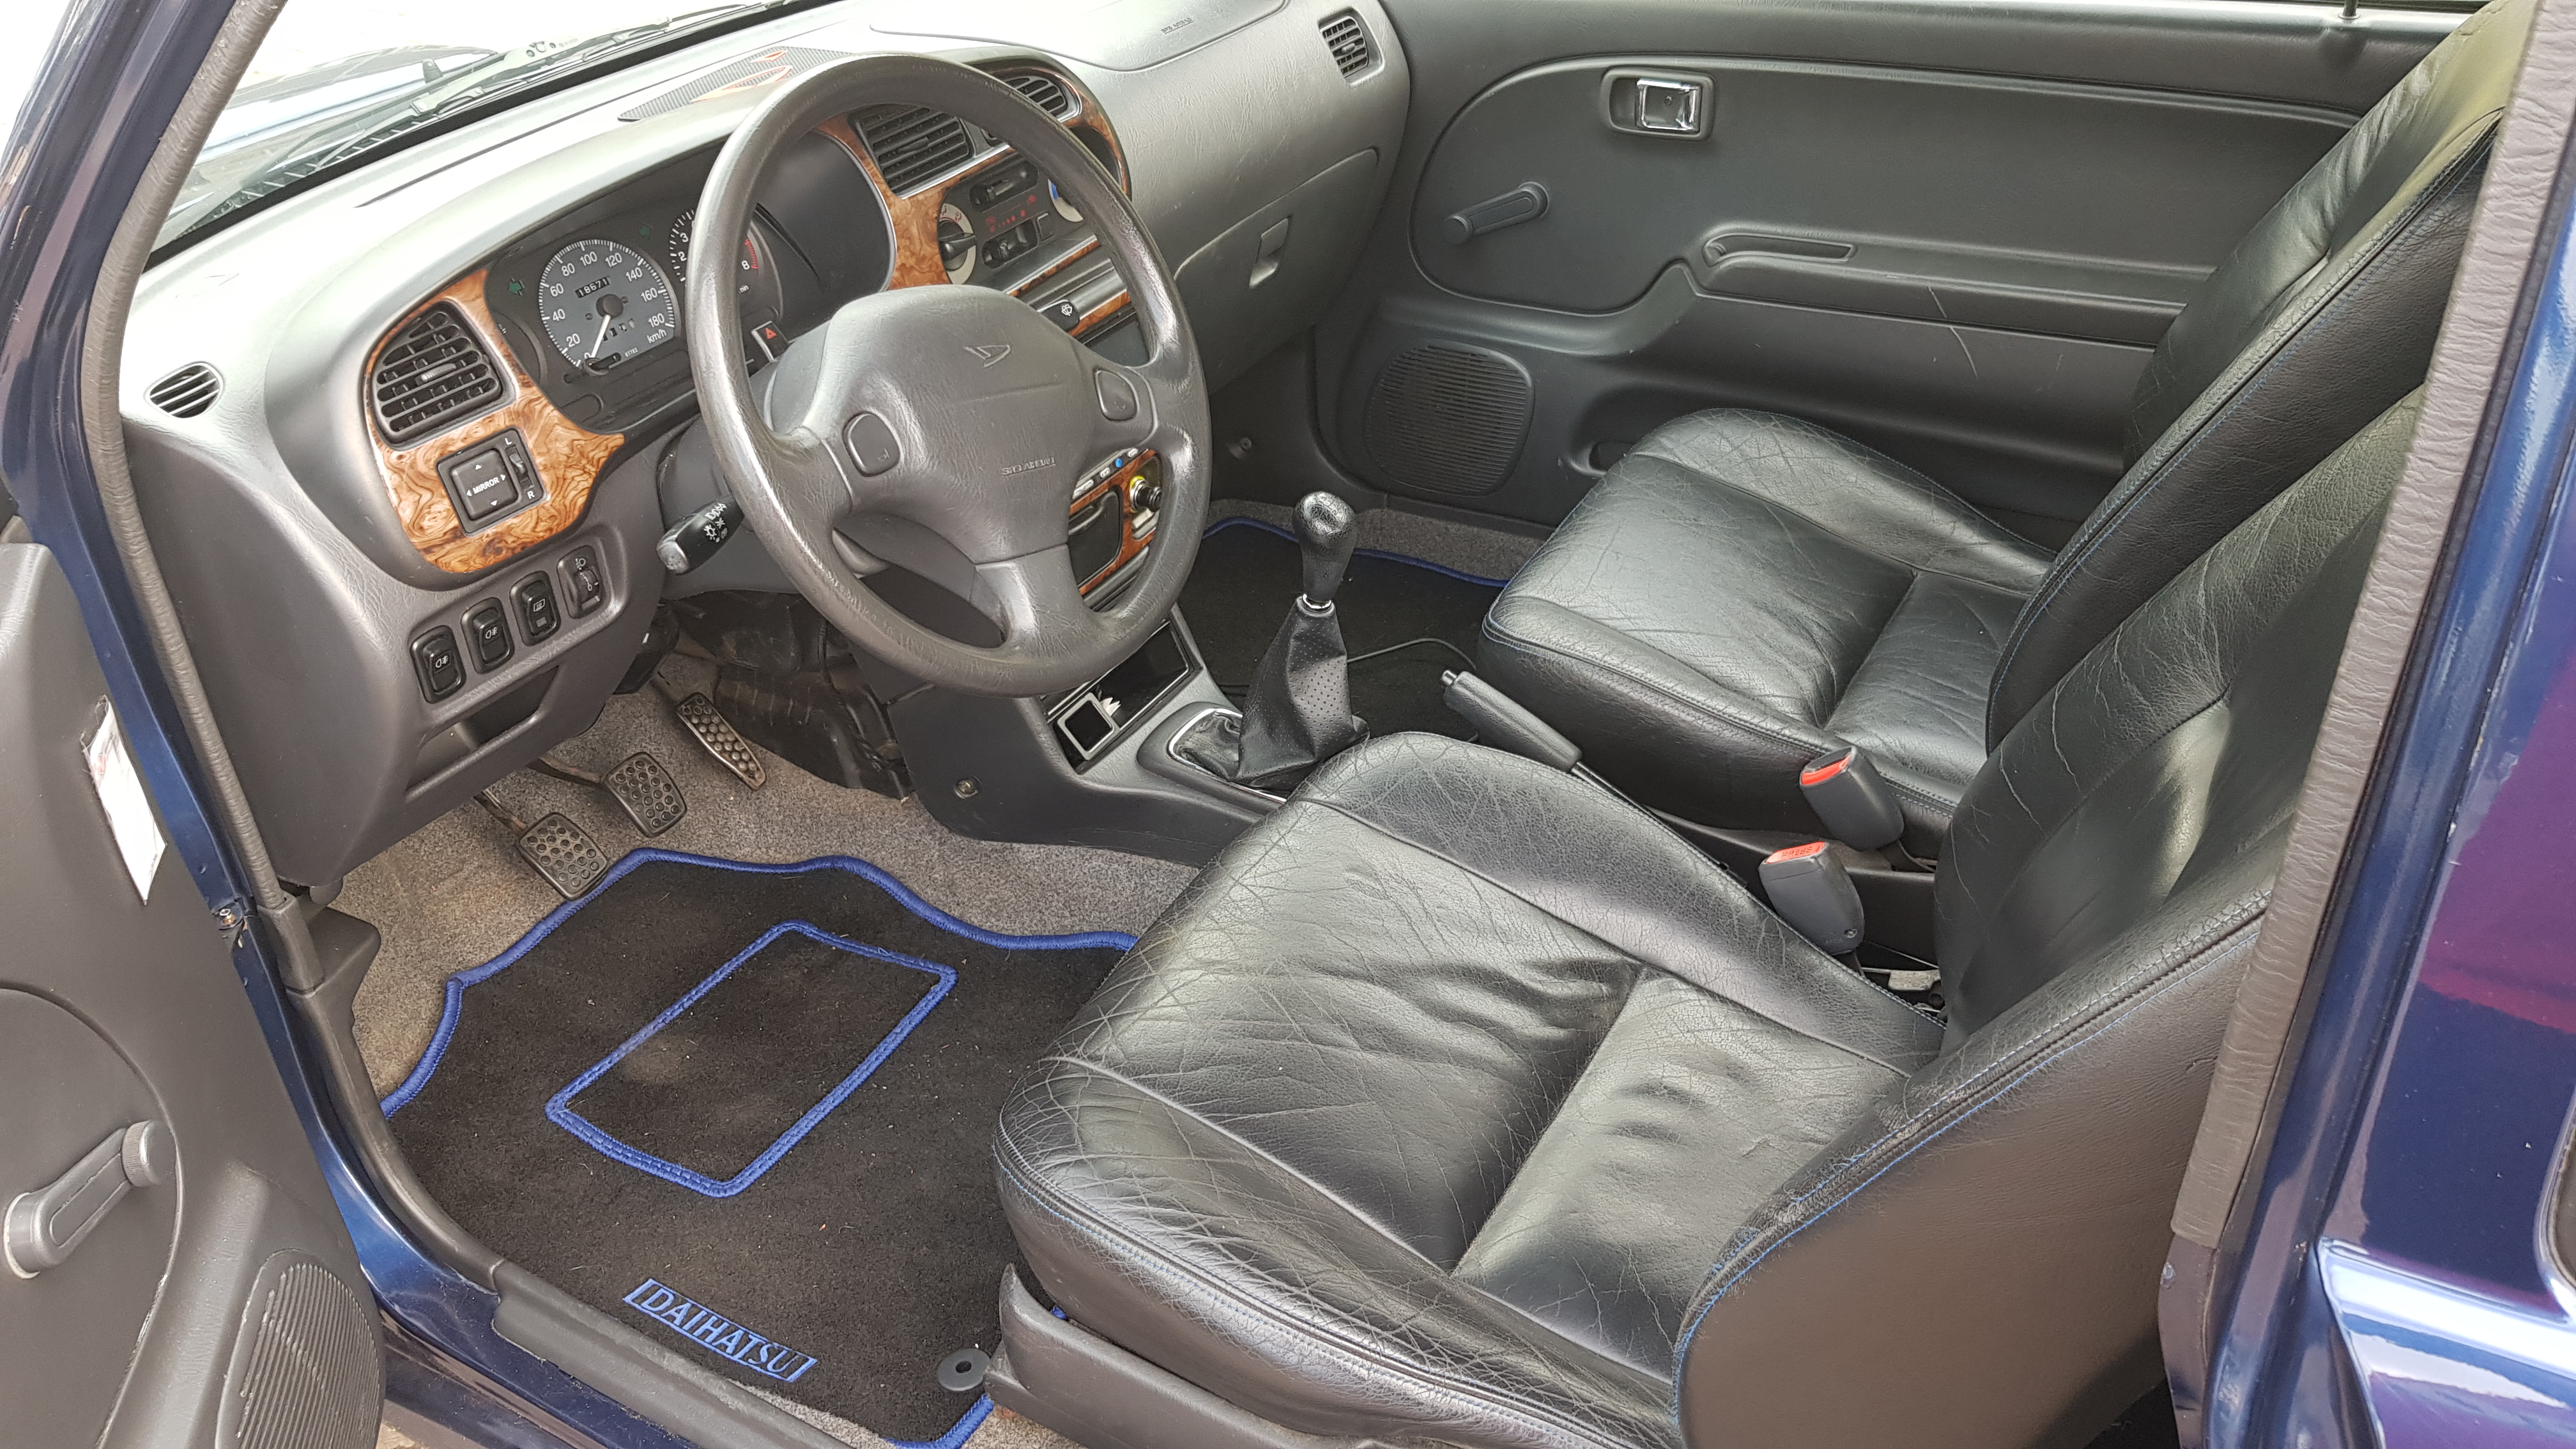
Leather seats in a Daihatsu Cuore. Yeah.
A friend of mine sent me a picture of a Cuore on a junkyard which had these seats and I thought: why not? I paid €75 for the lot and I think that’s quite good value!
NEW FRONT BUMPER
This bumper came from the same car as the leather seats. It was in better shape and so I could properly mount the license plate.
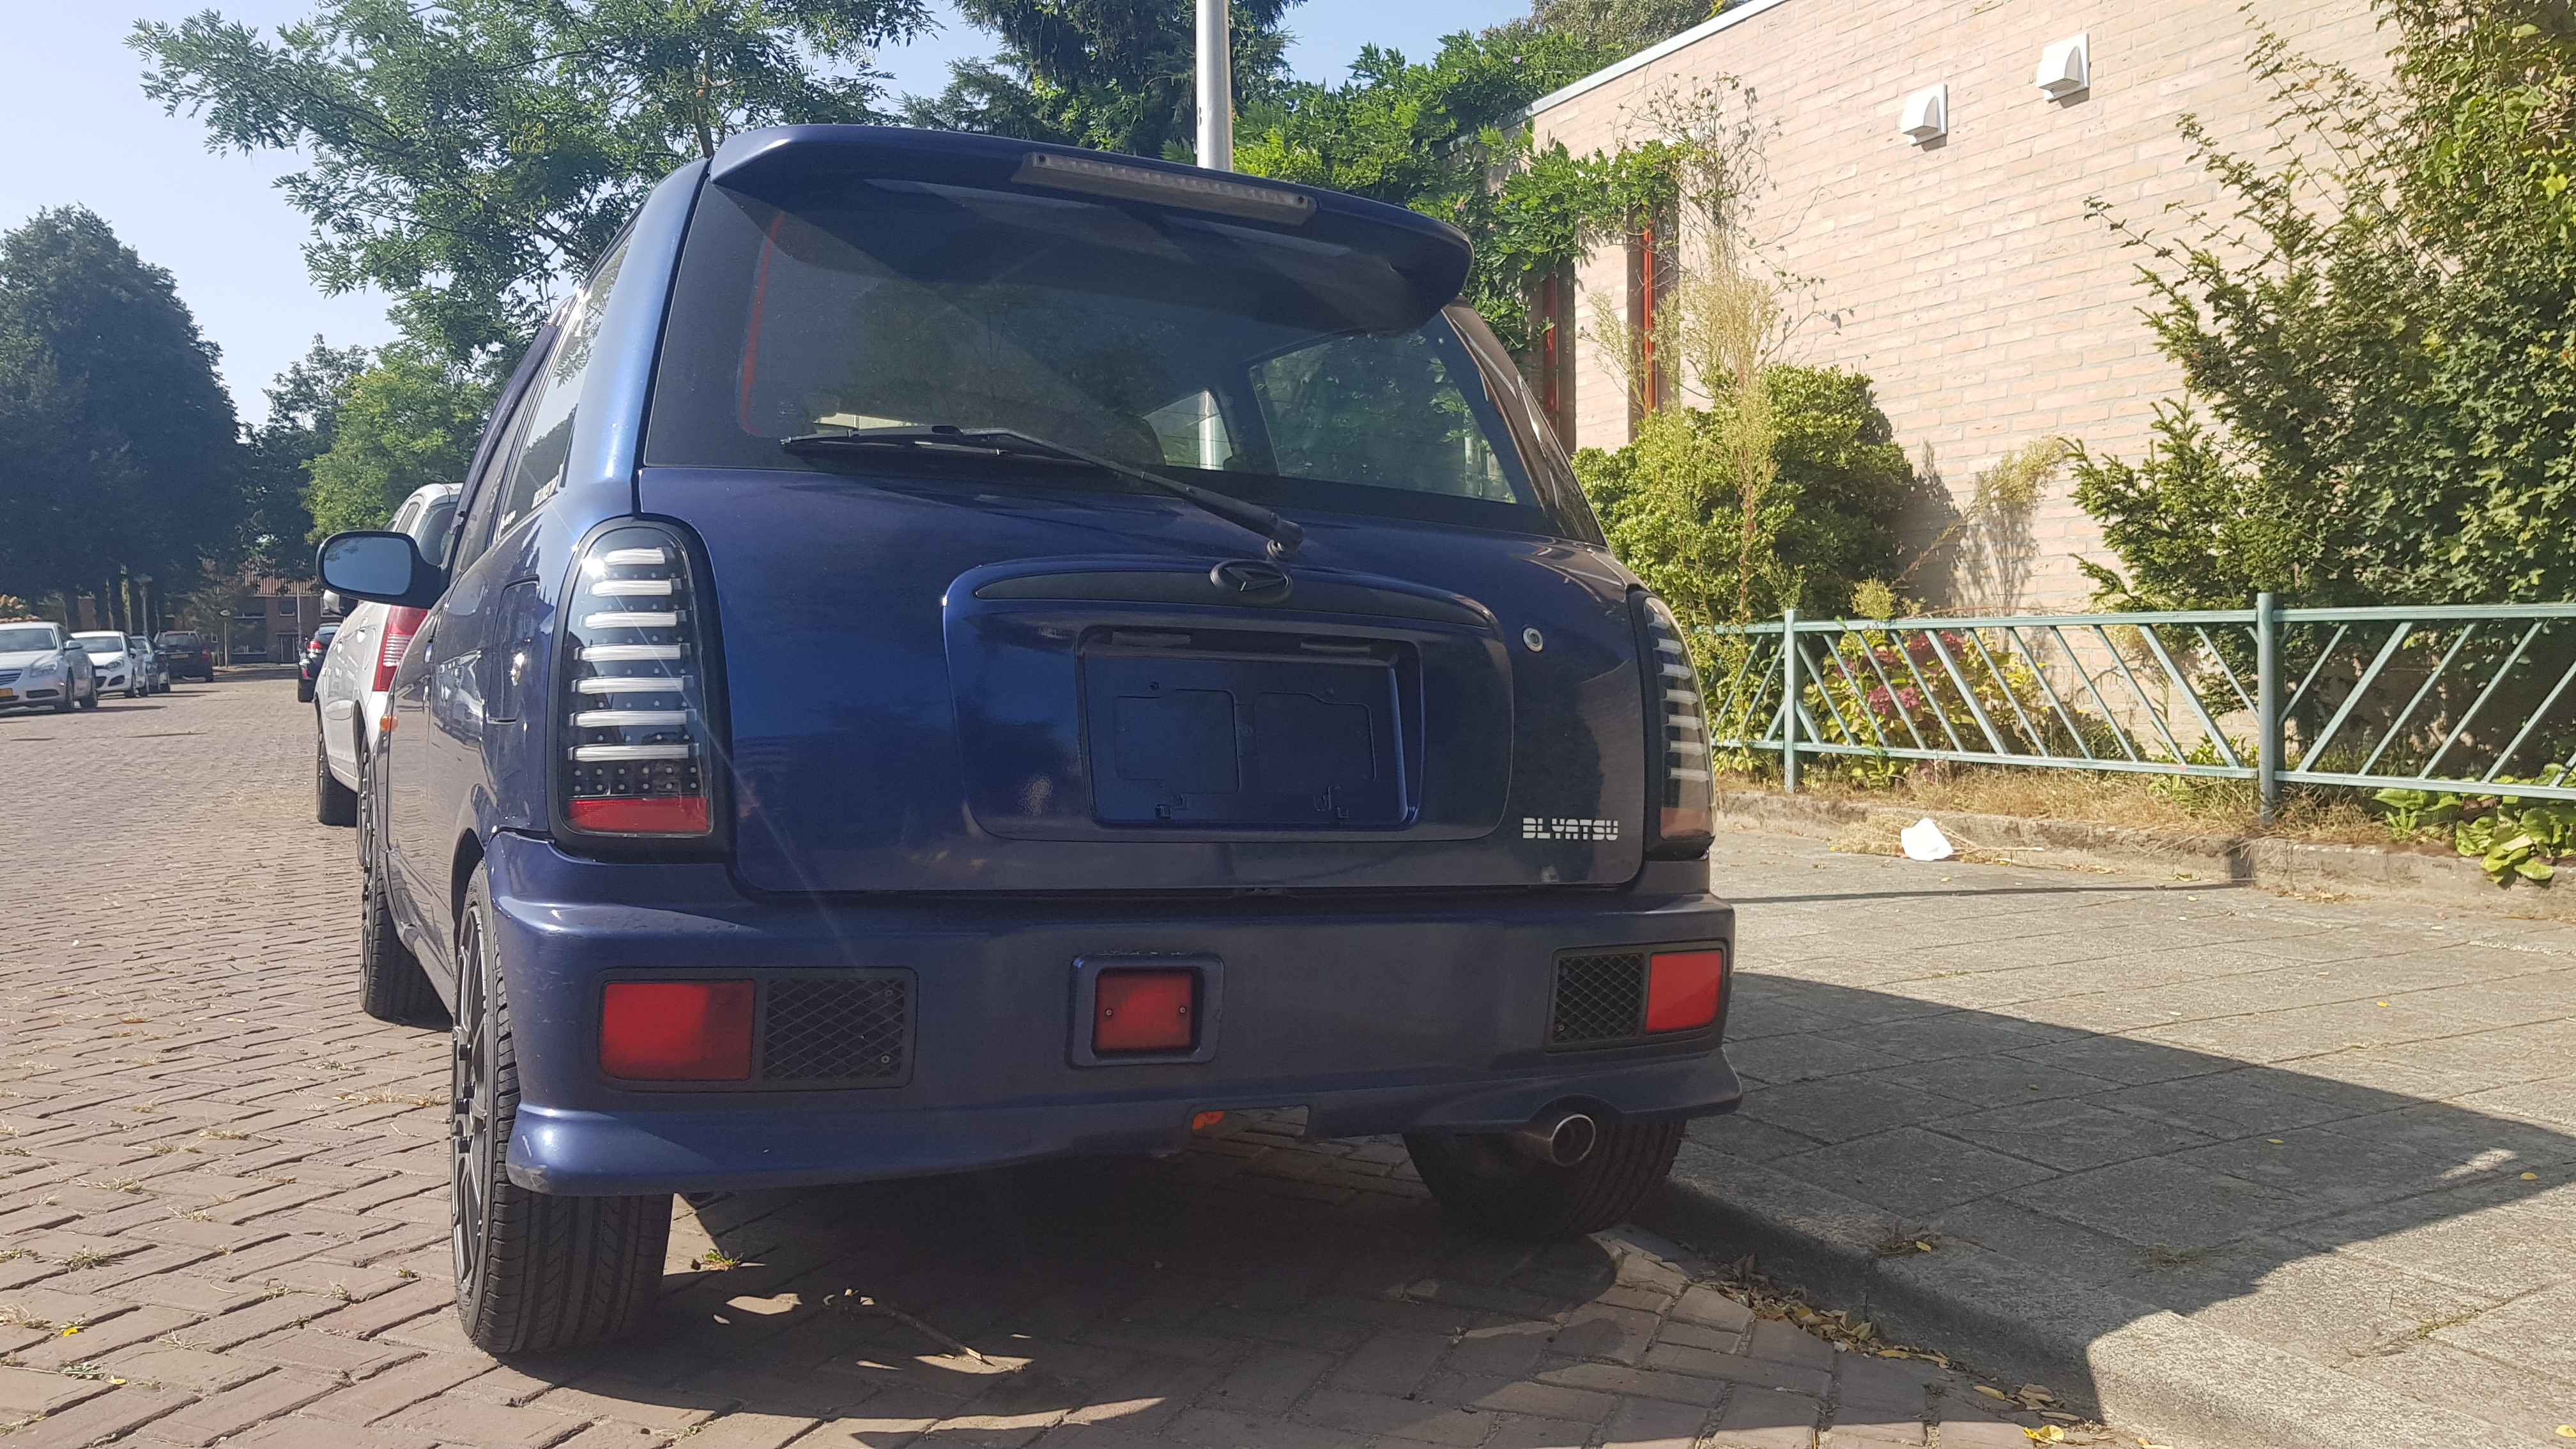
SQUARE PLATE REAR
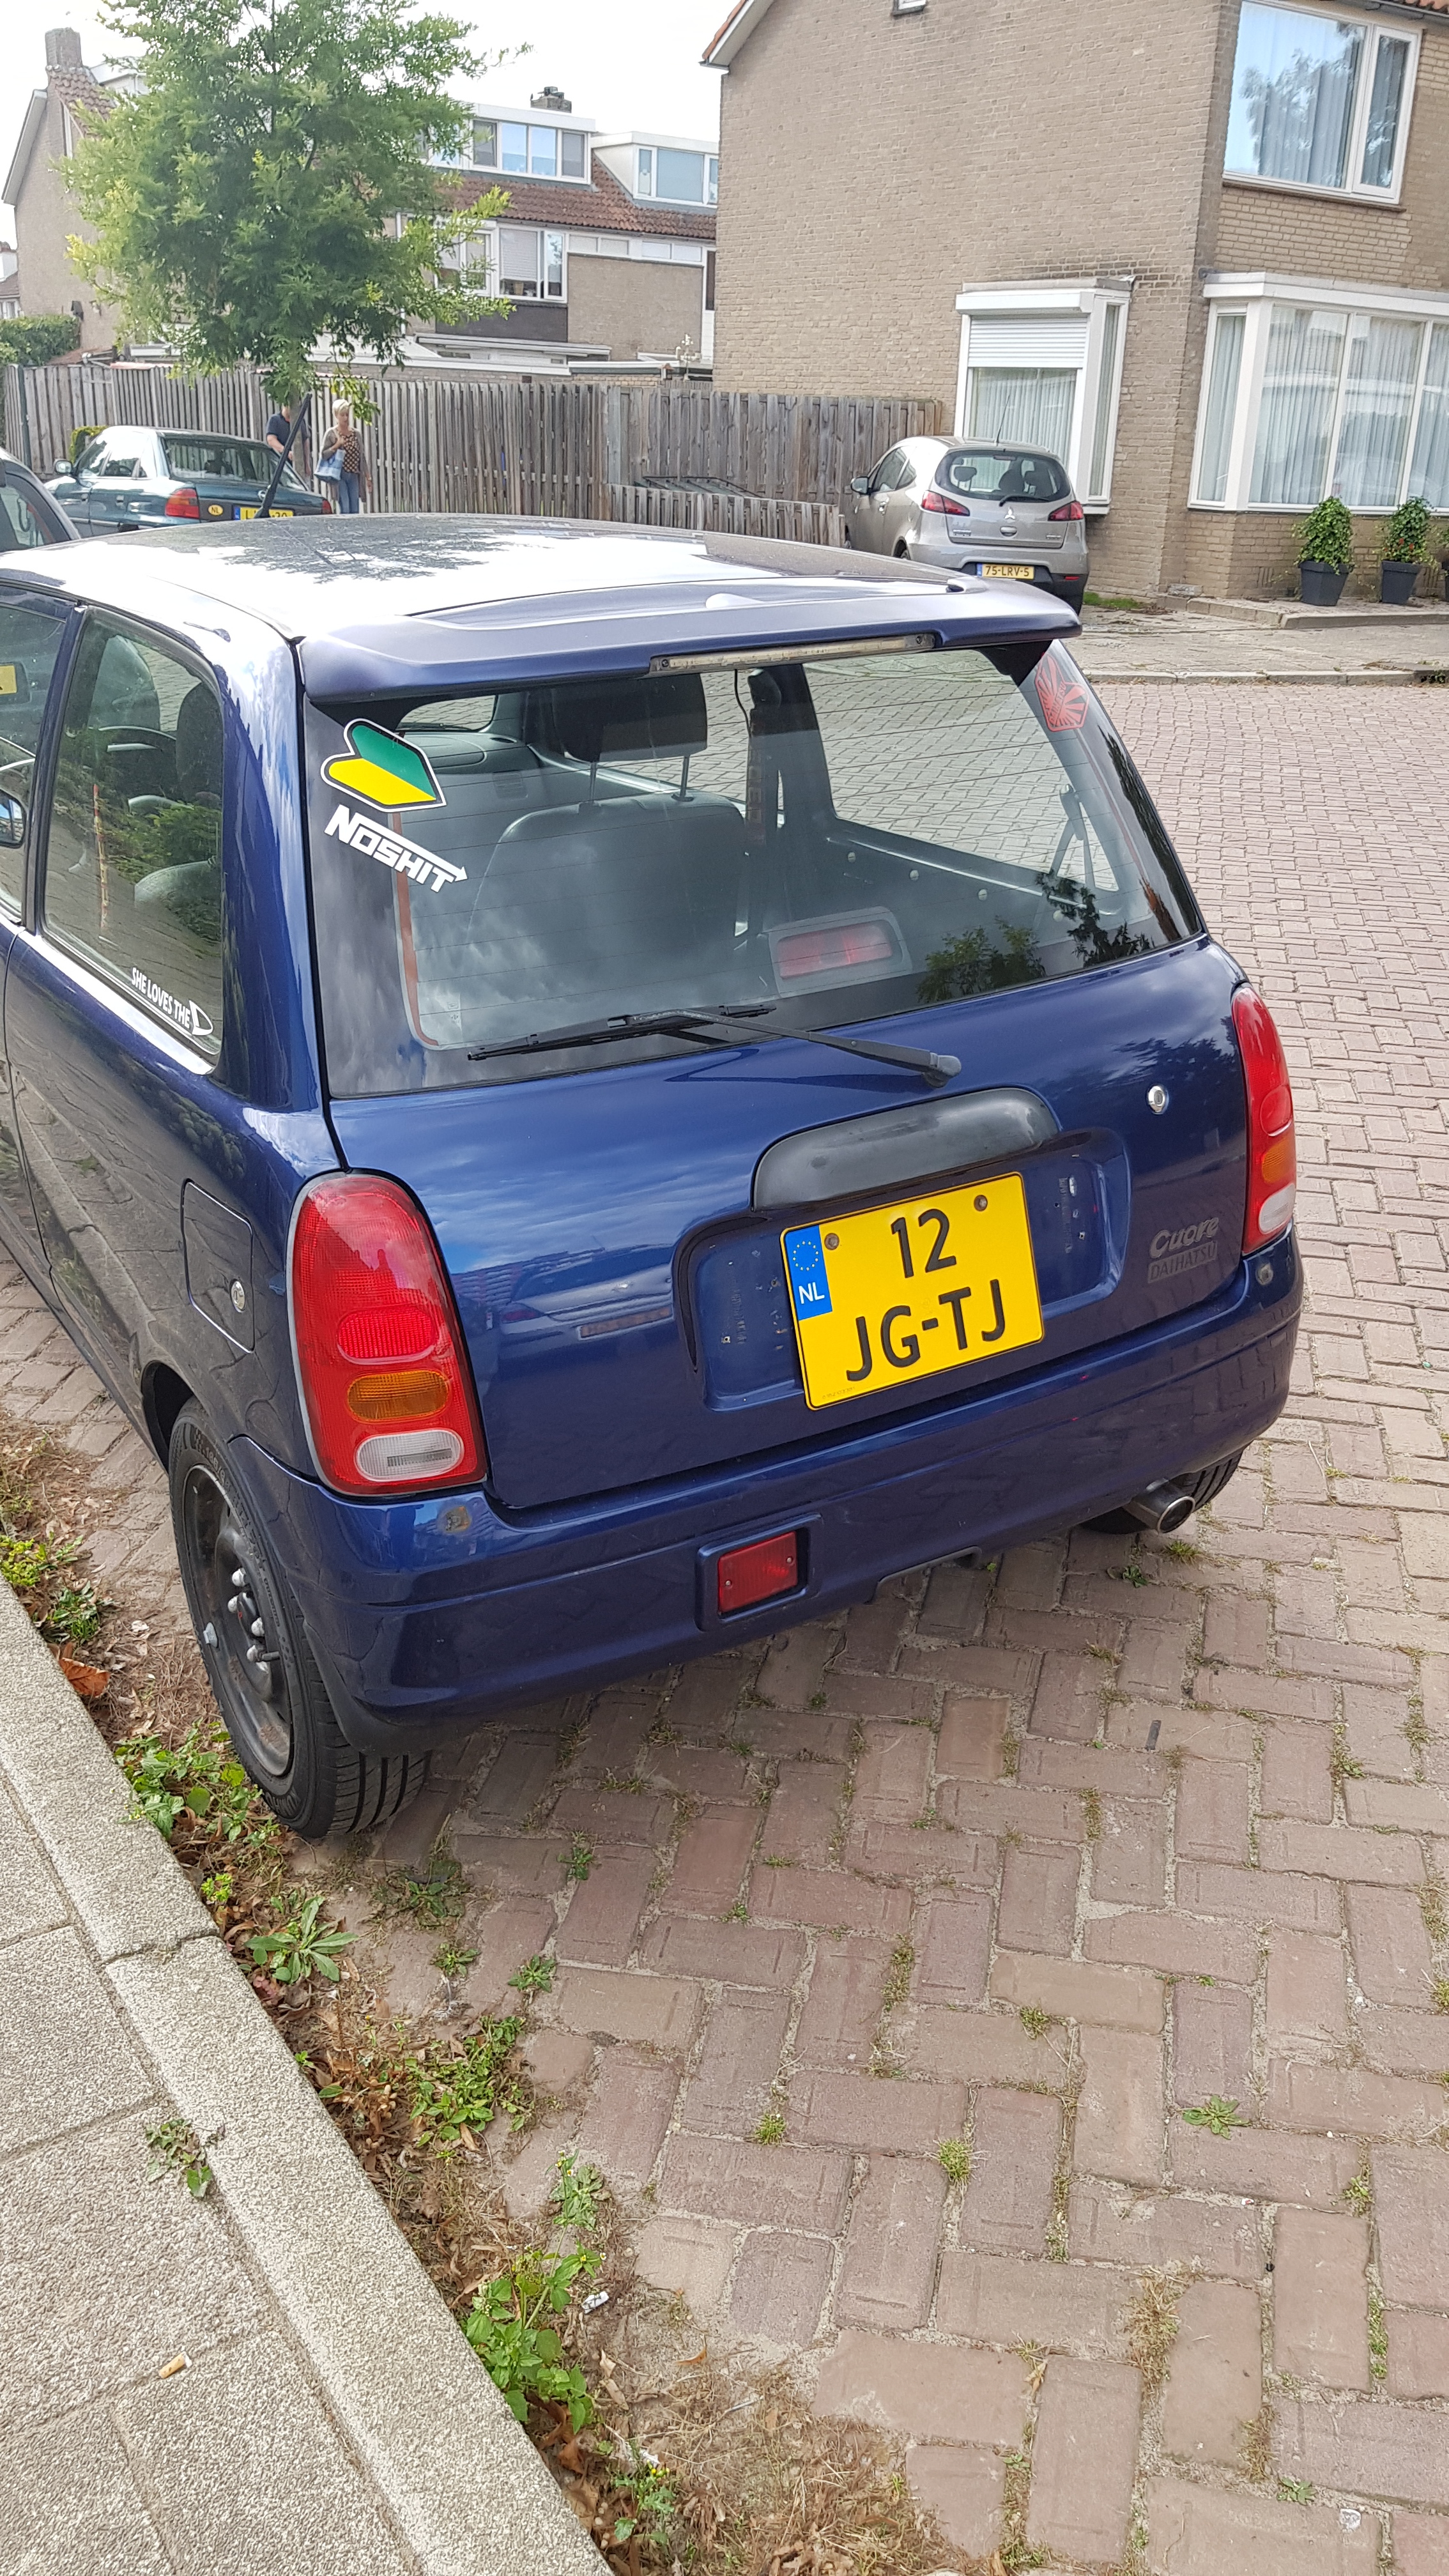
I know it looks a bit weird, but at this point the rear is not finished yet.
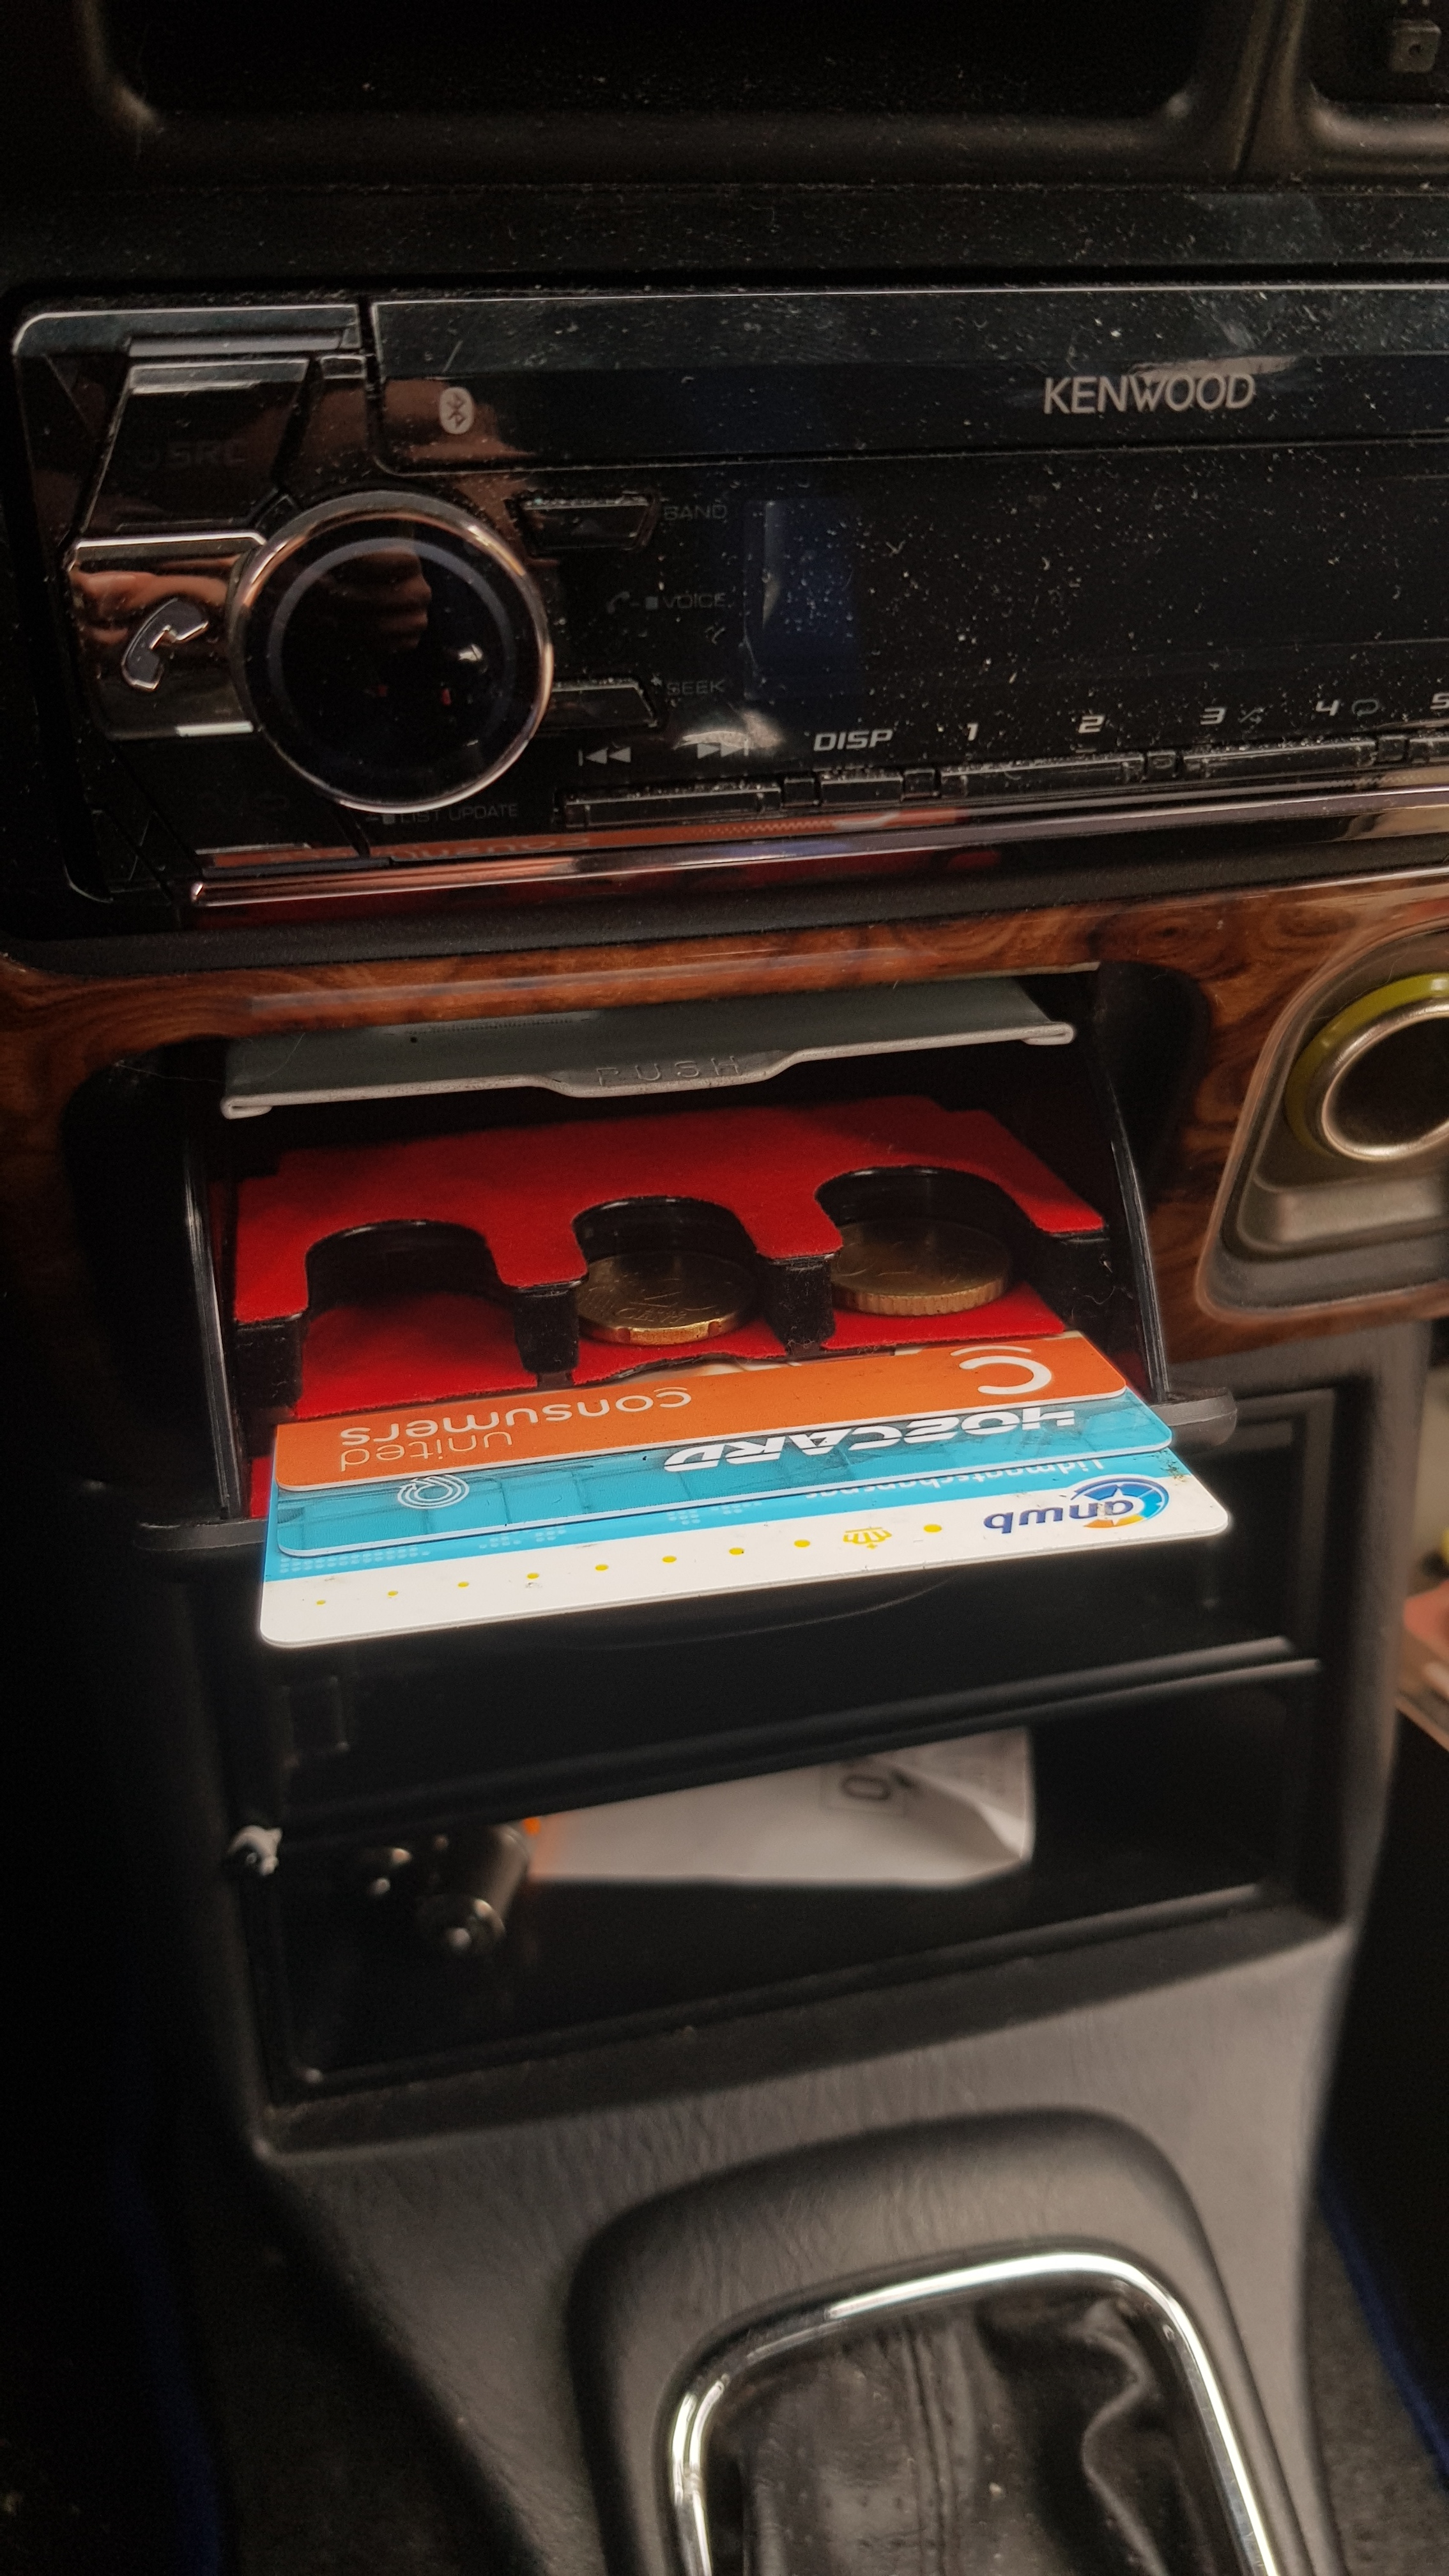
RADIO
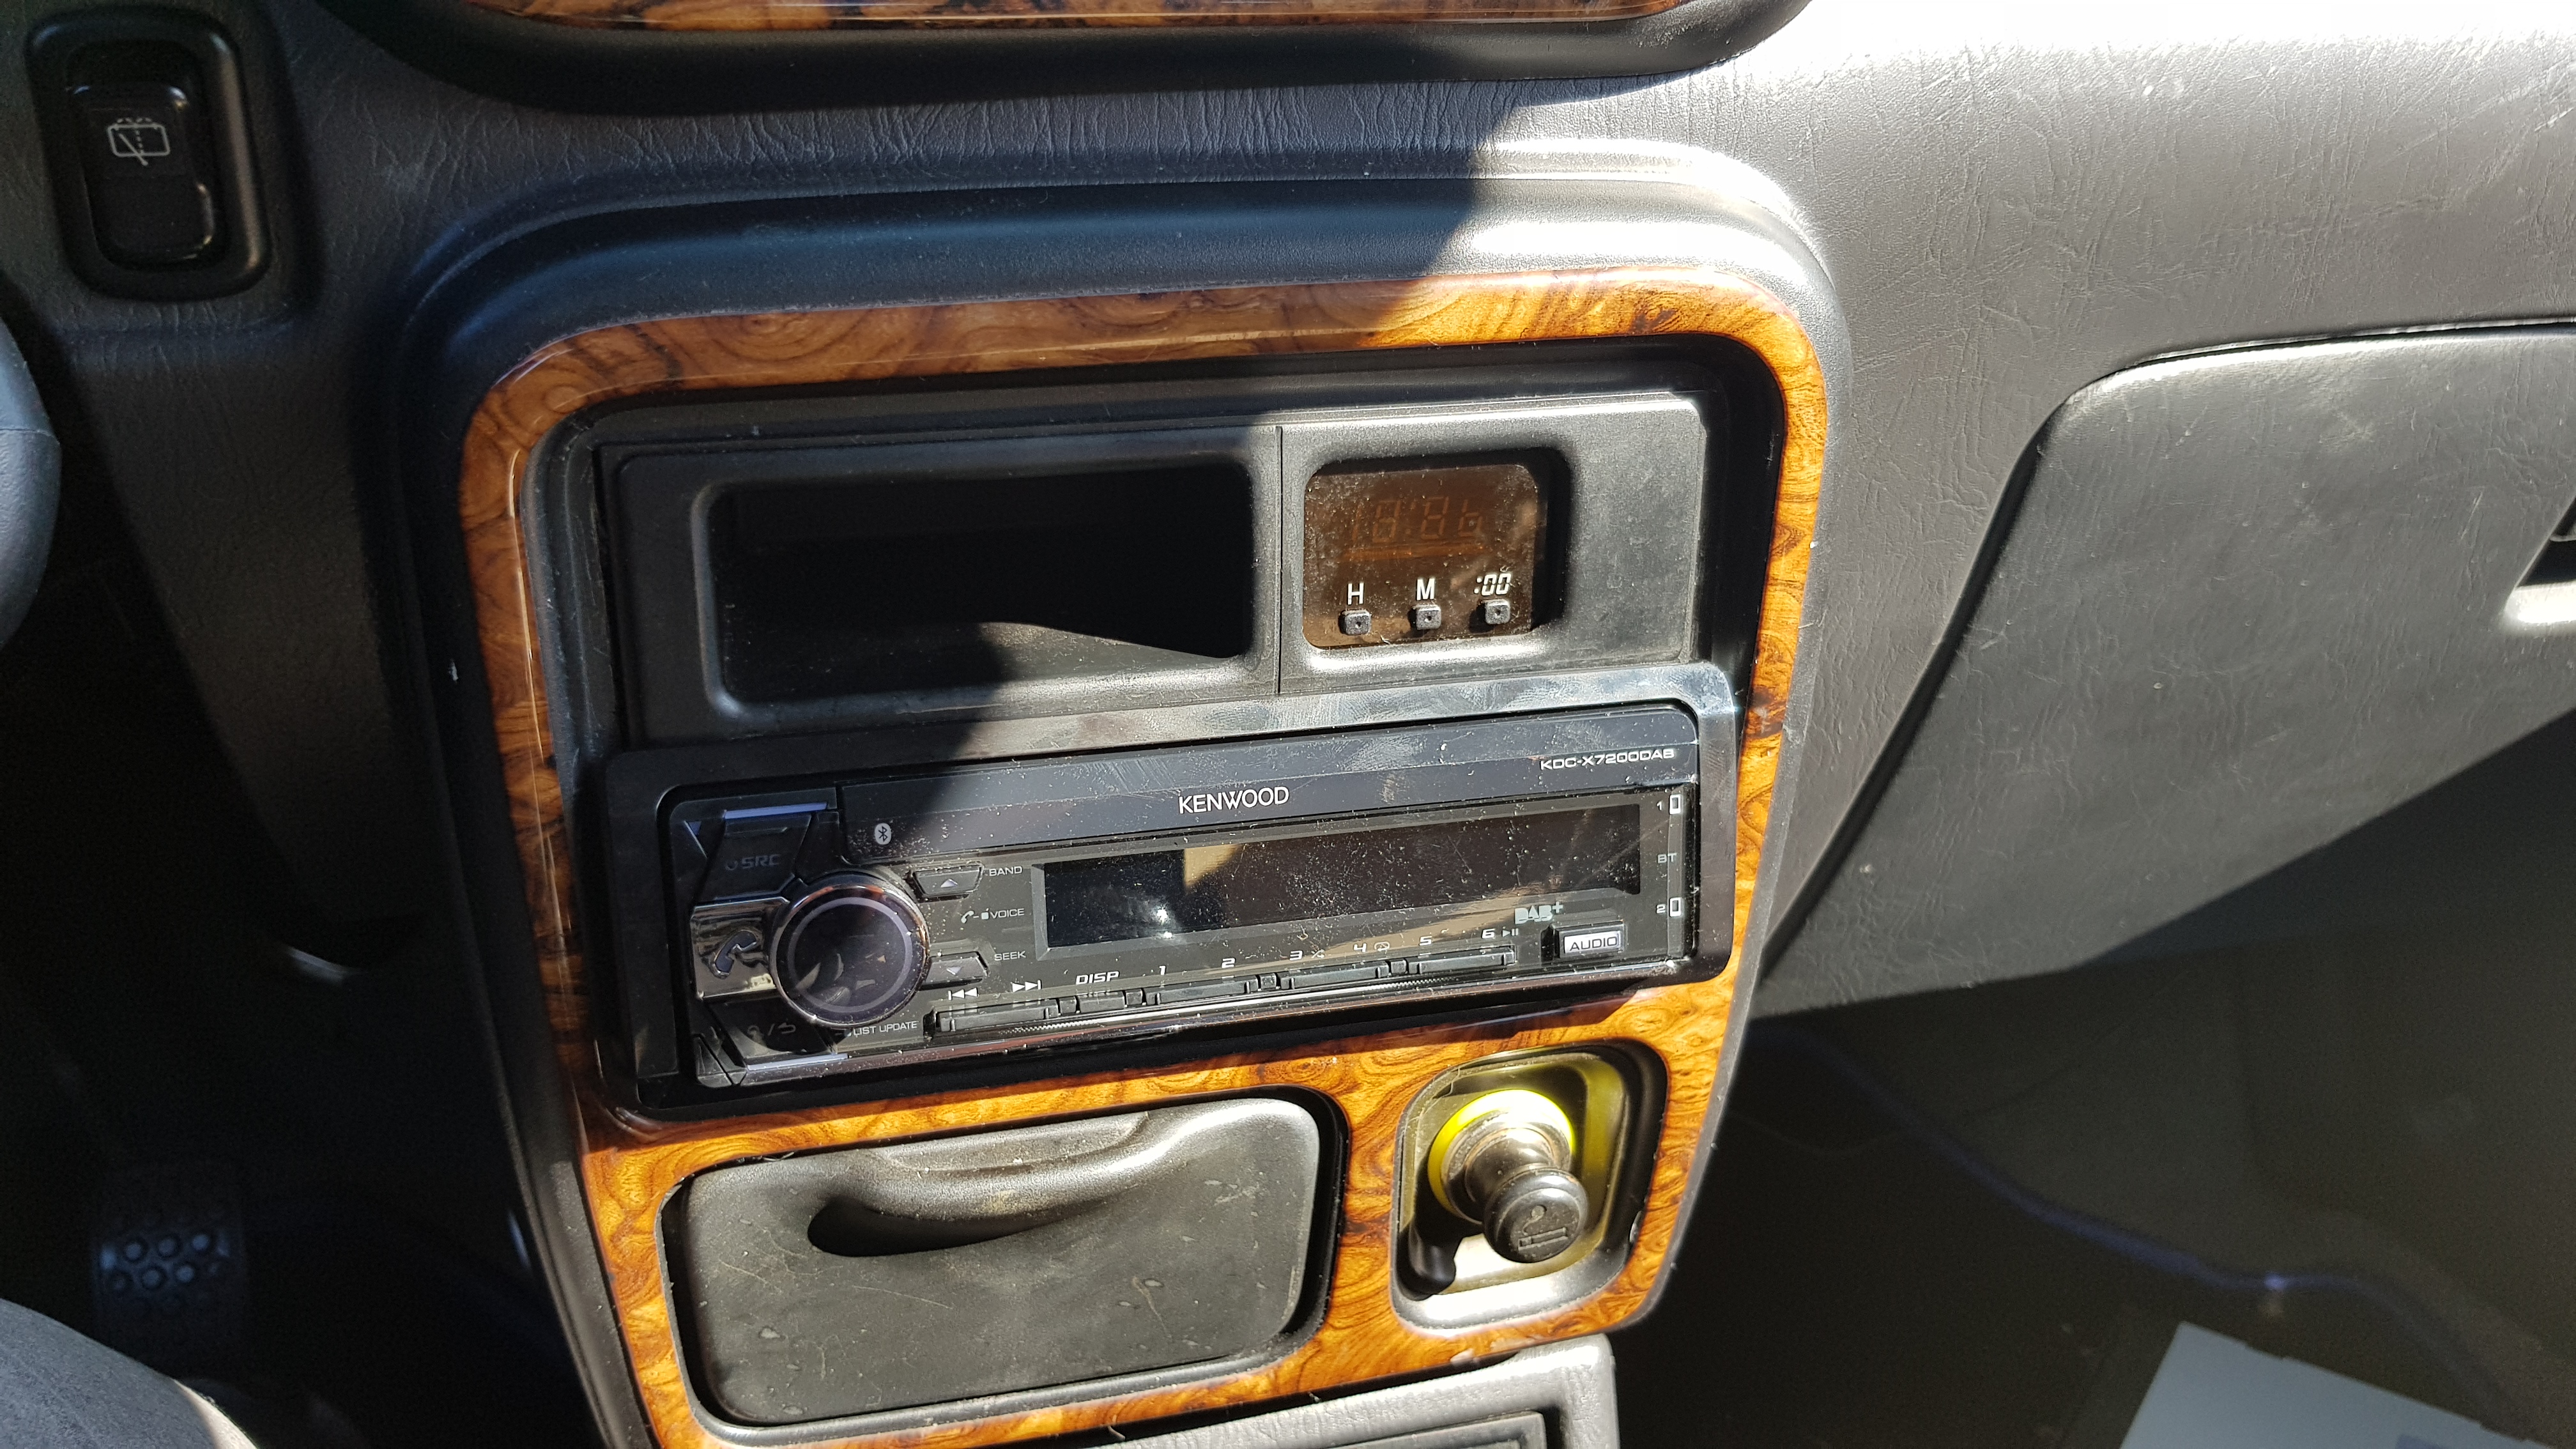
I was in need of a new radio, and so I bought this Kenwood! Works really well and looks sleek. I also fitted a clock which I took from a Move L9.
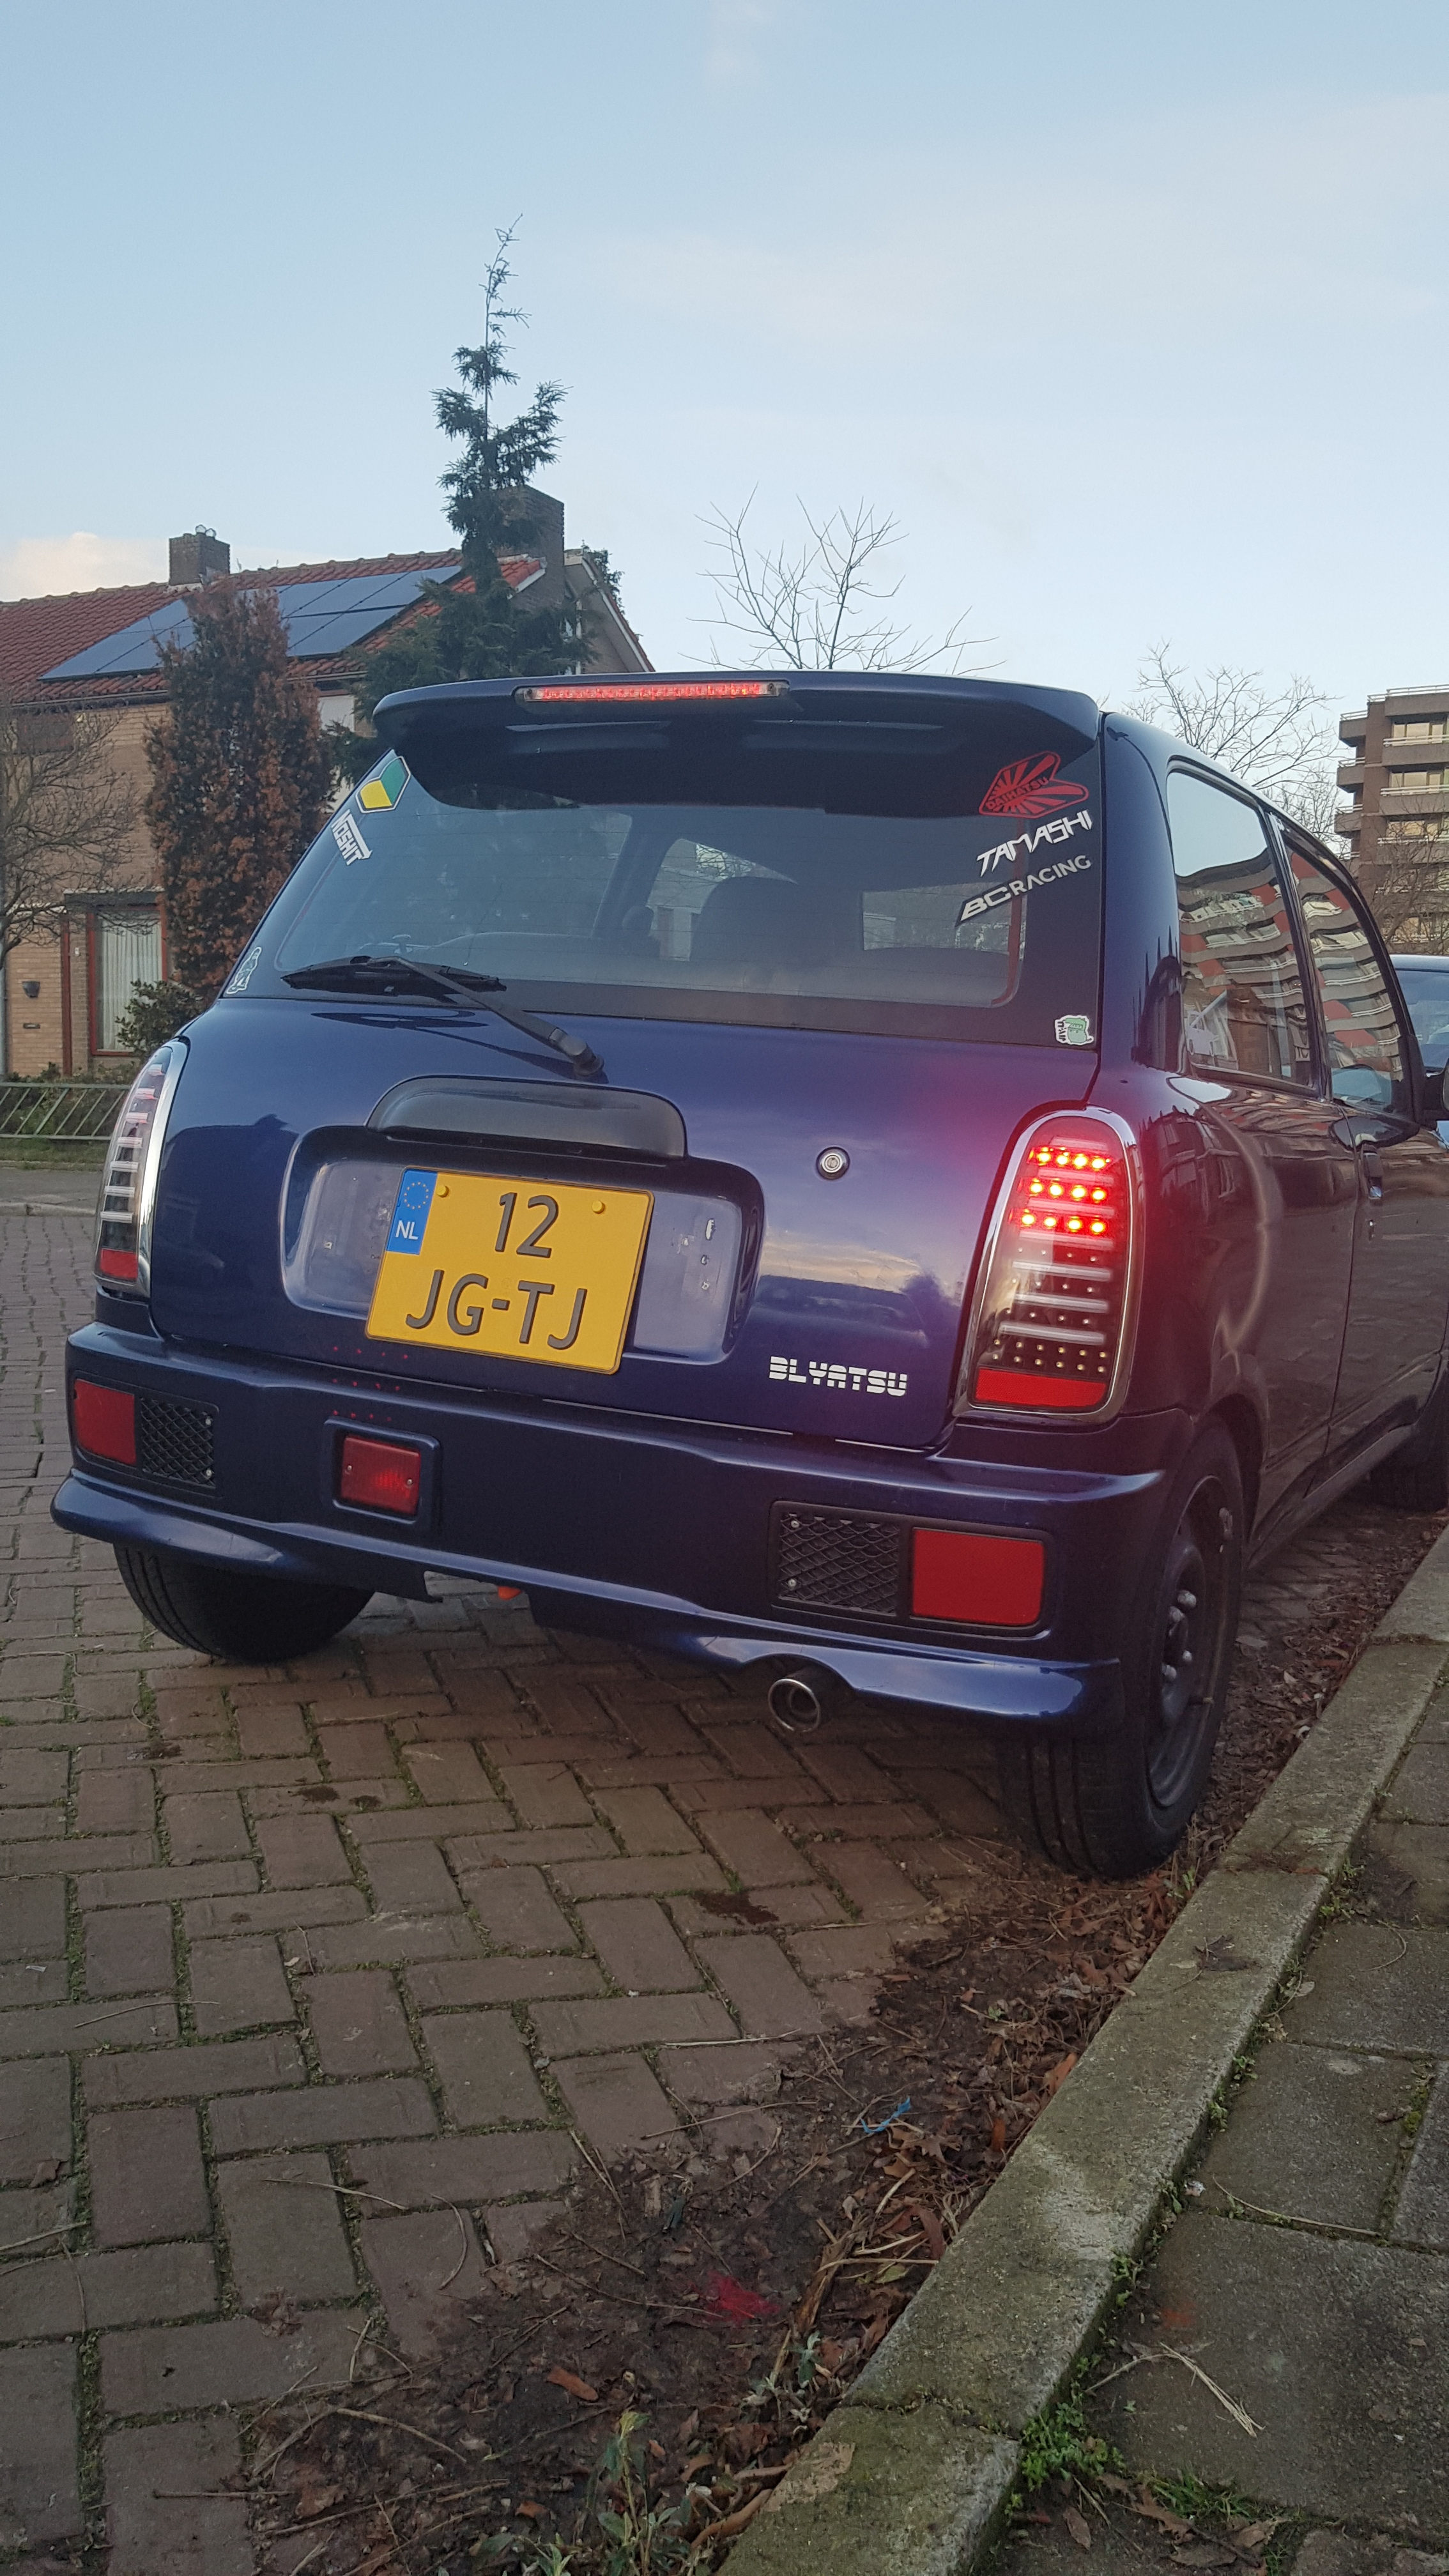
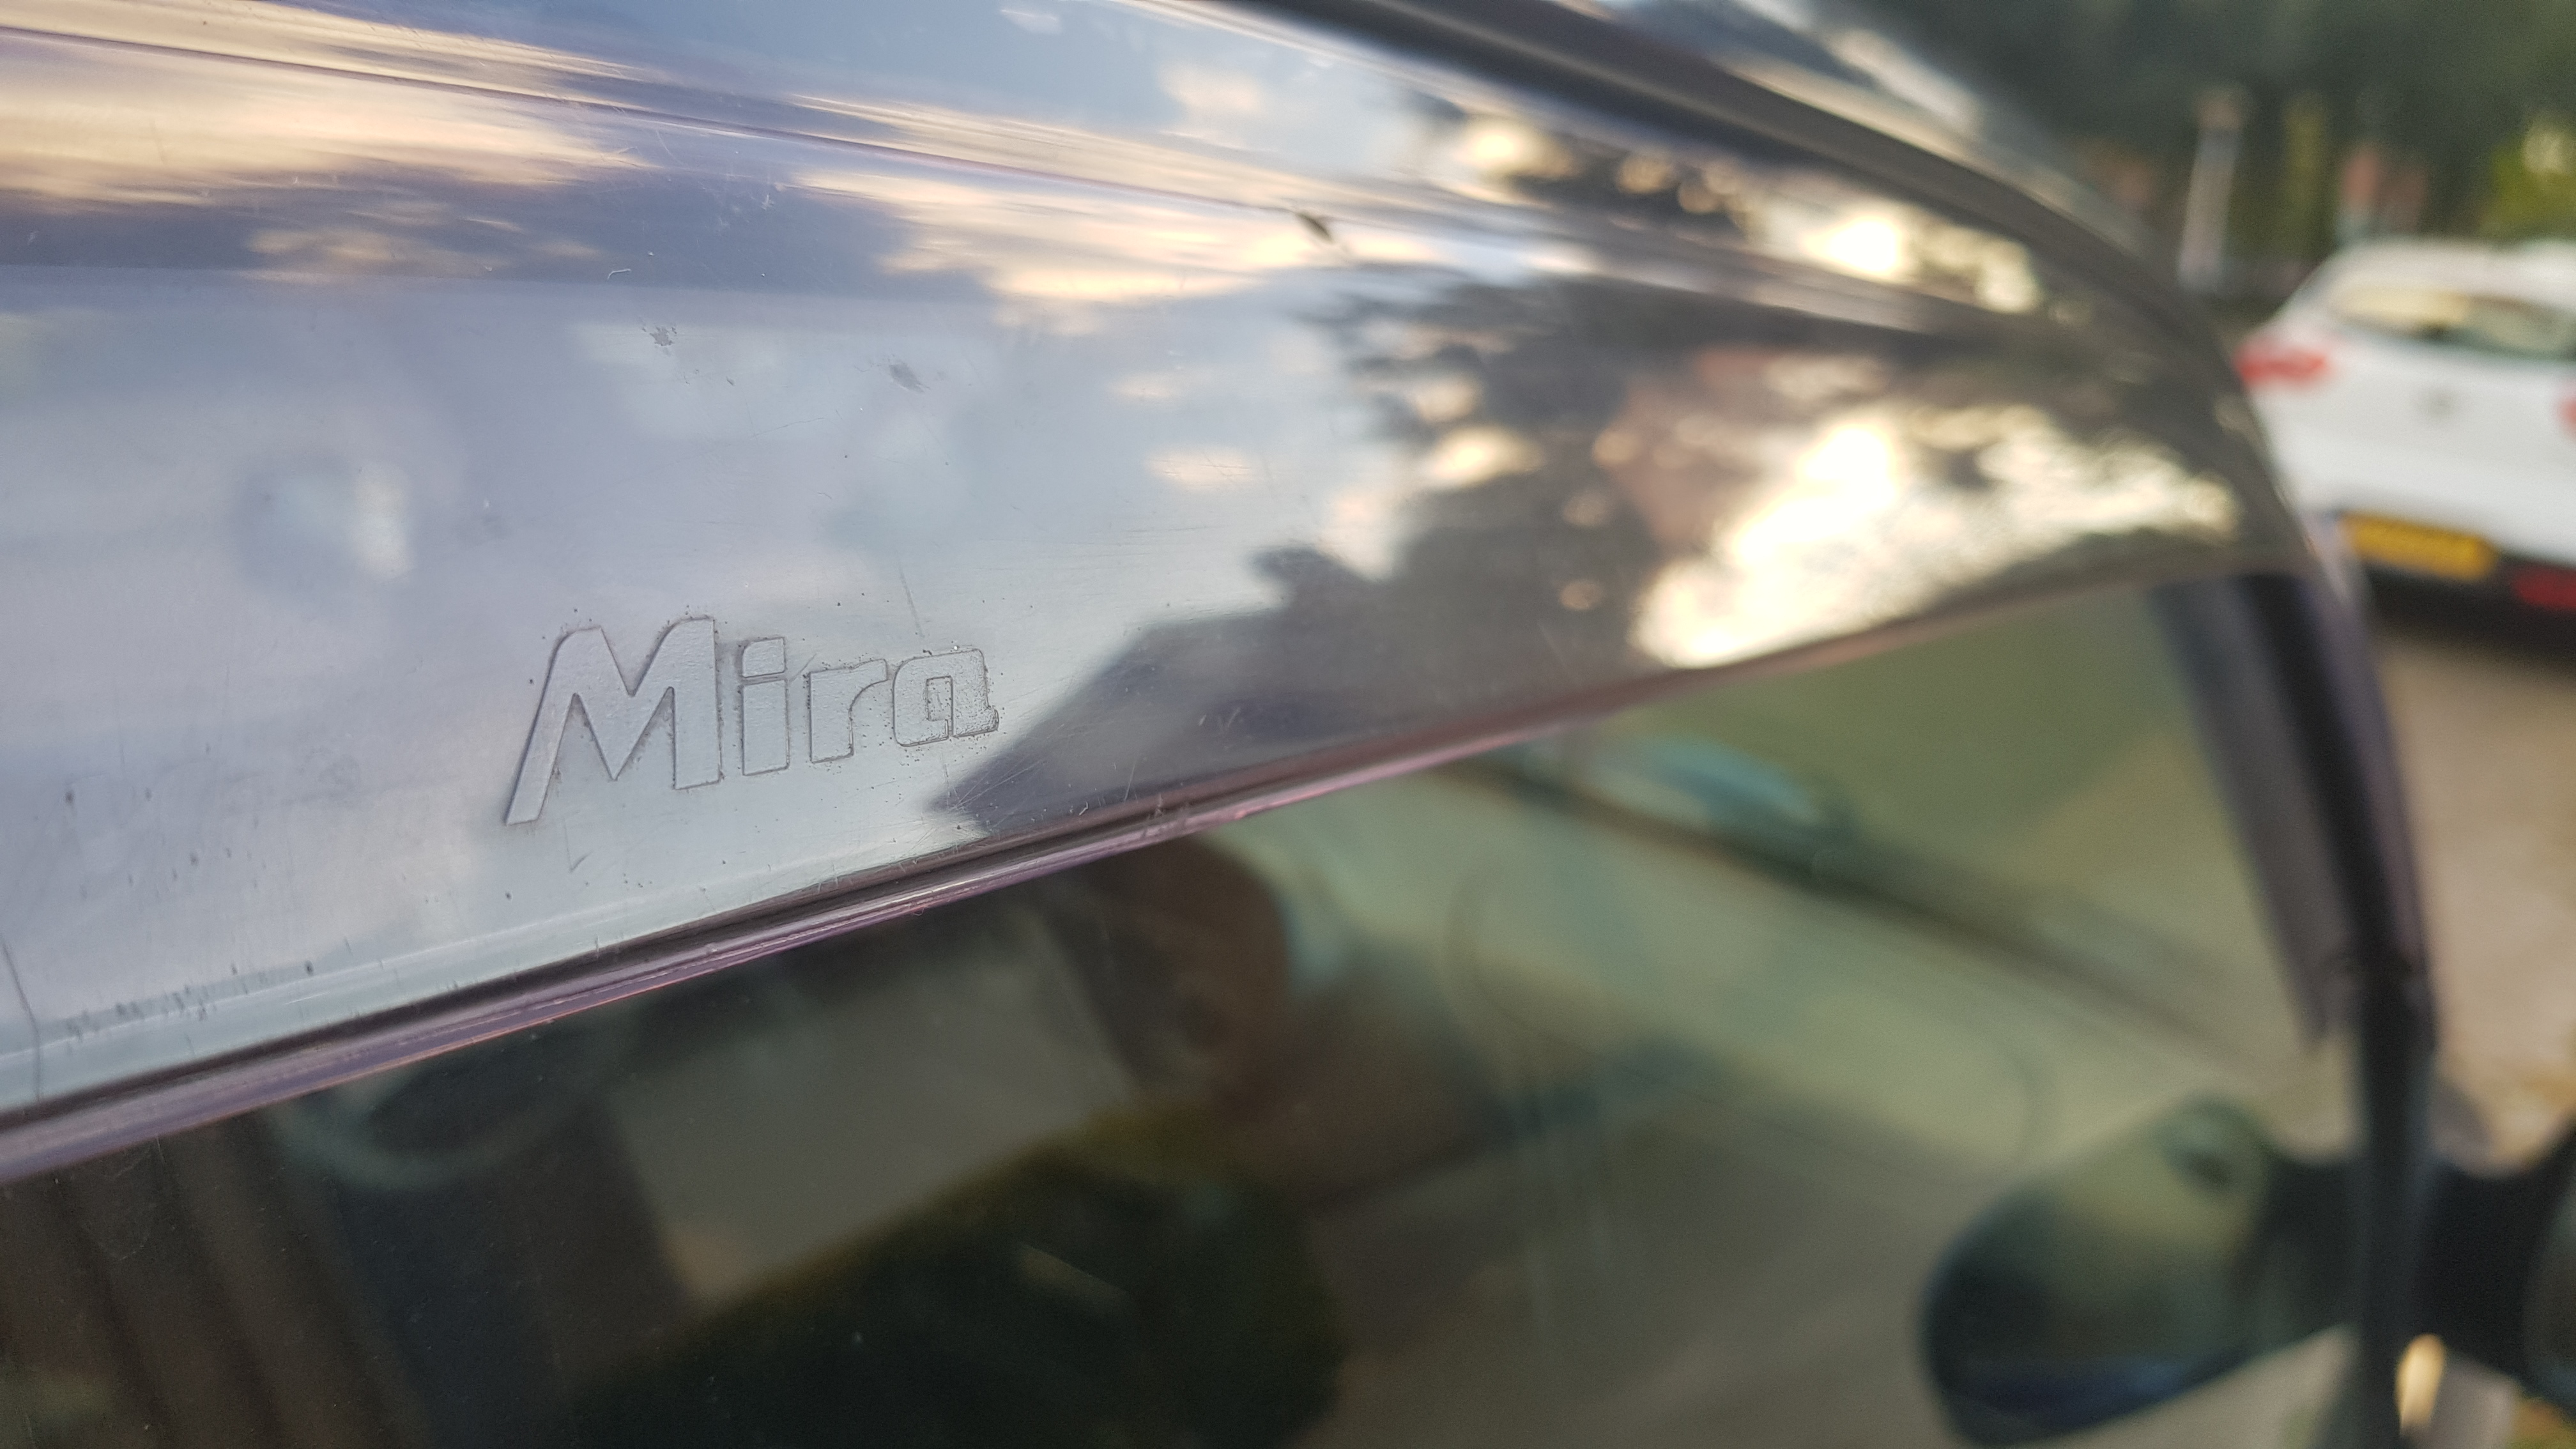
LED TAILLIGHTS
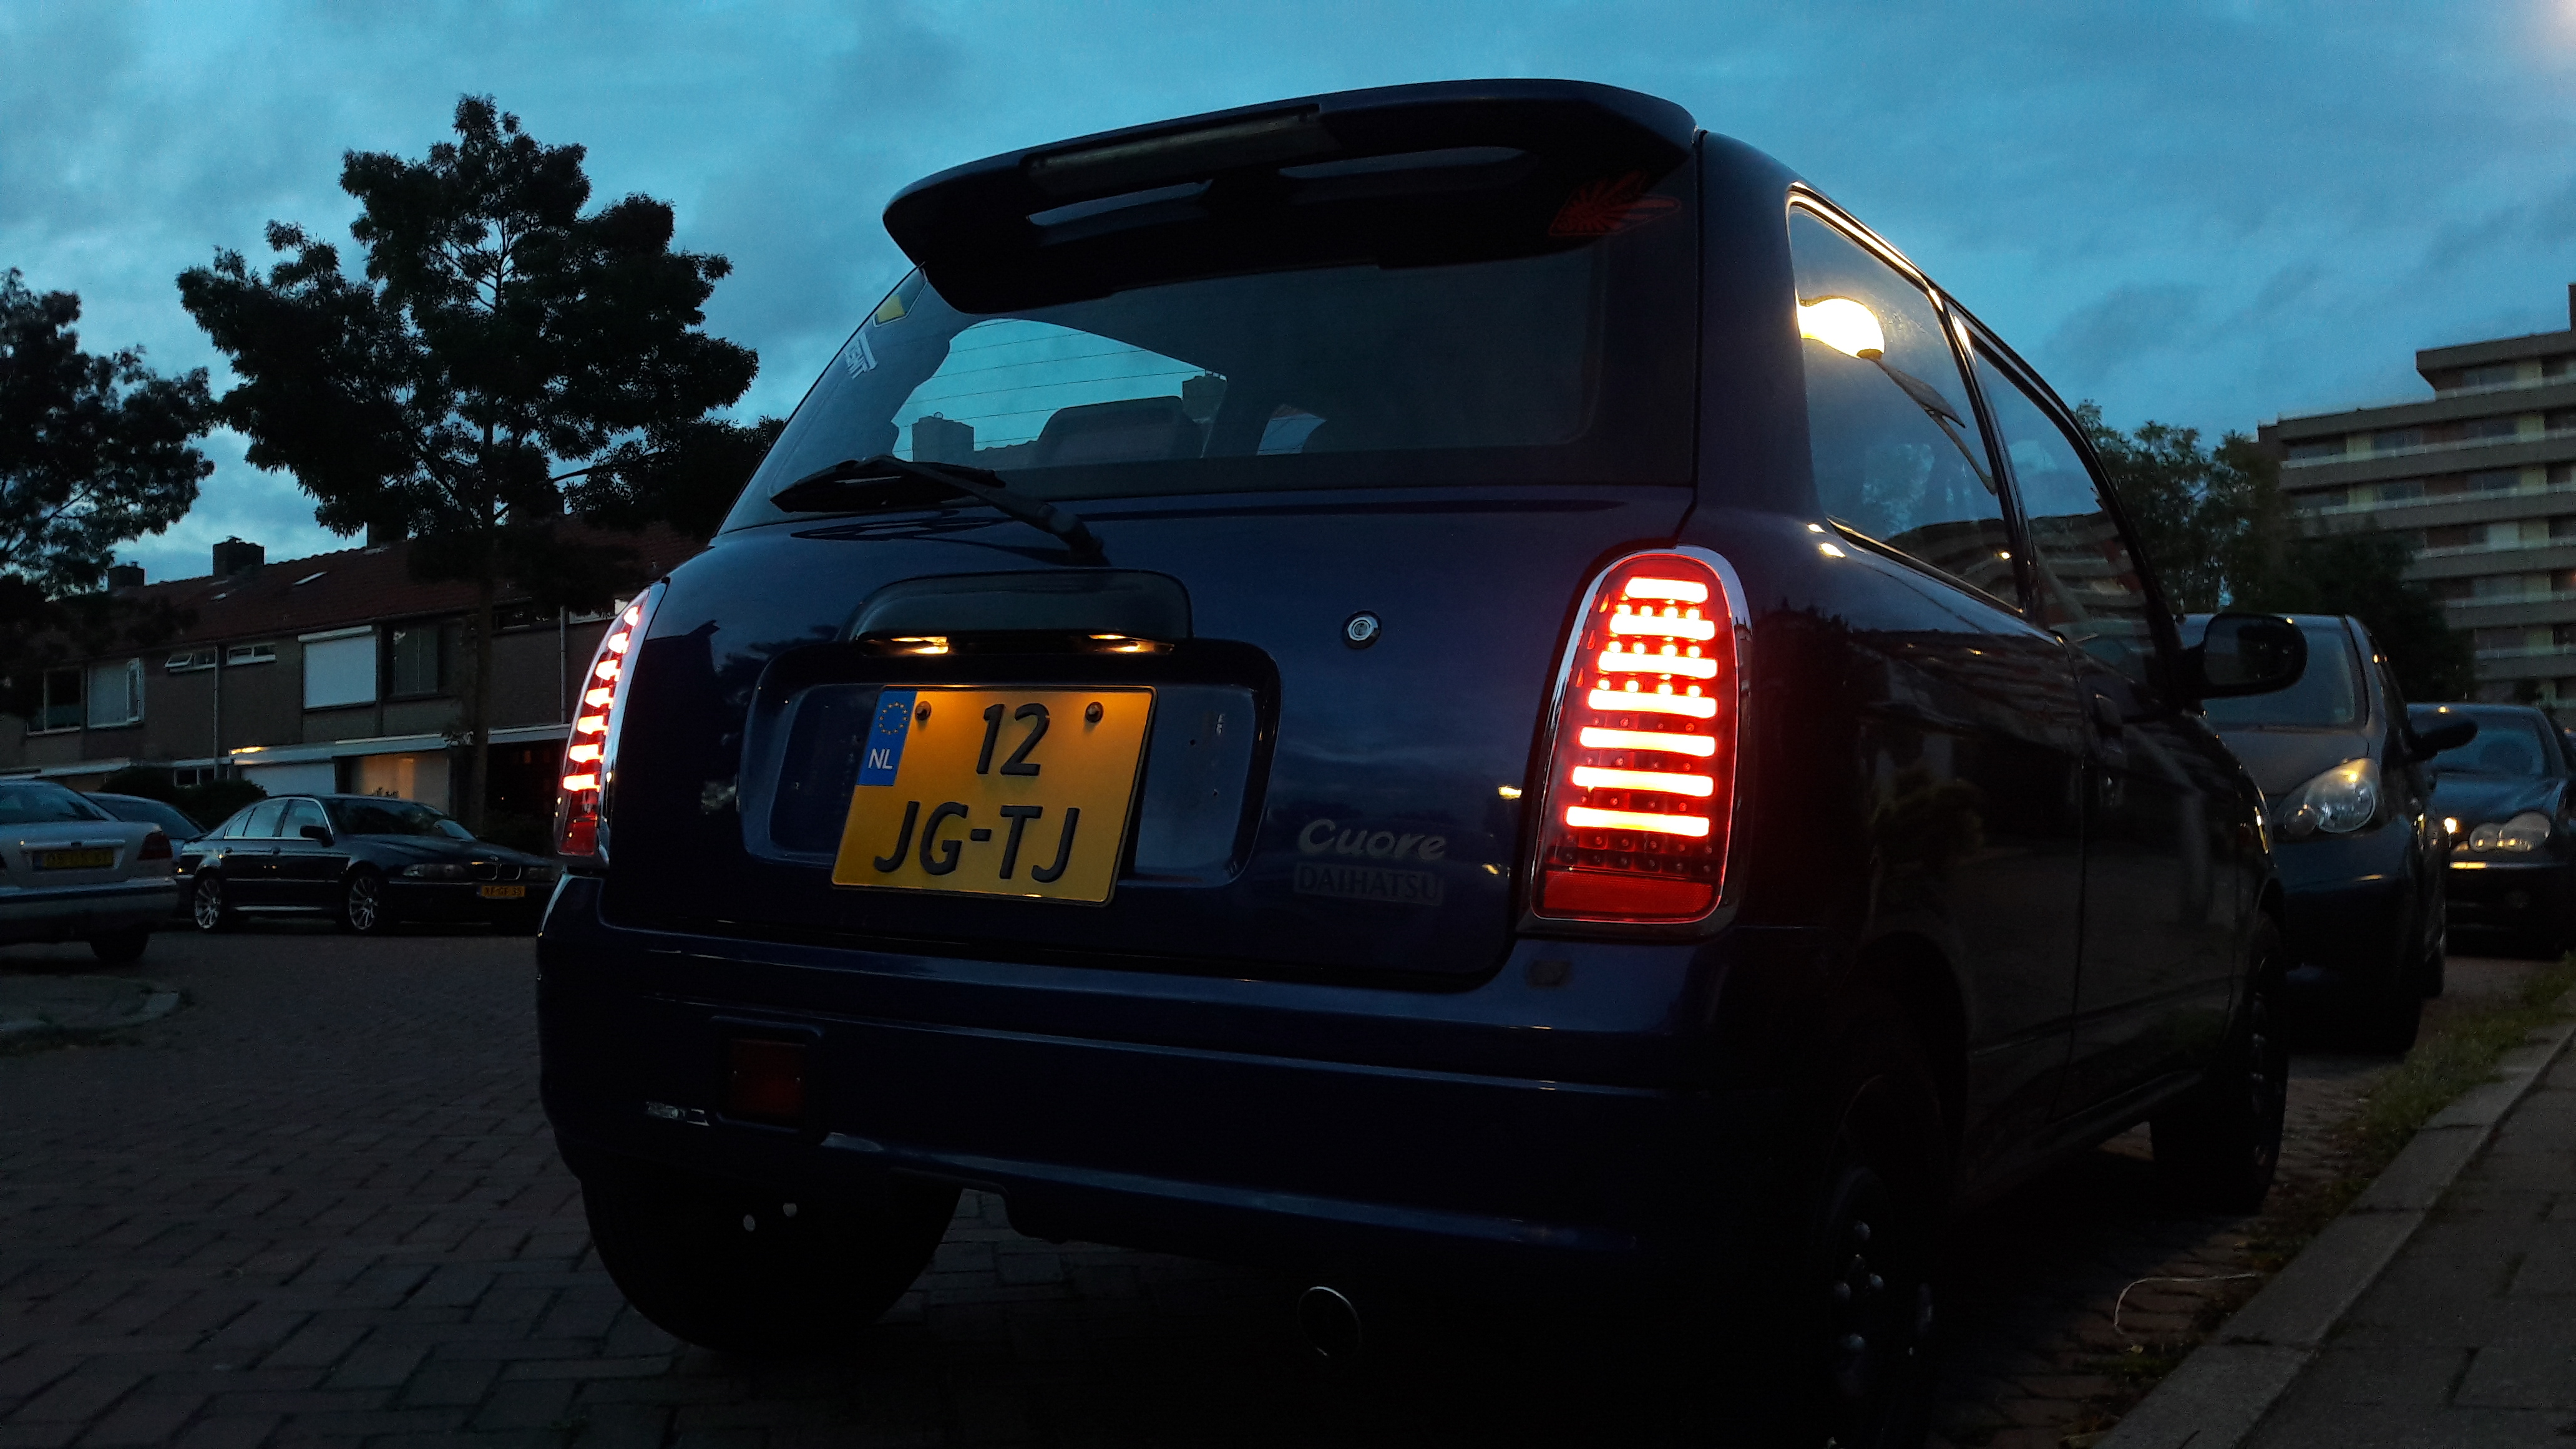
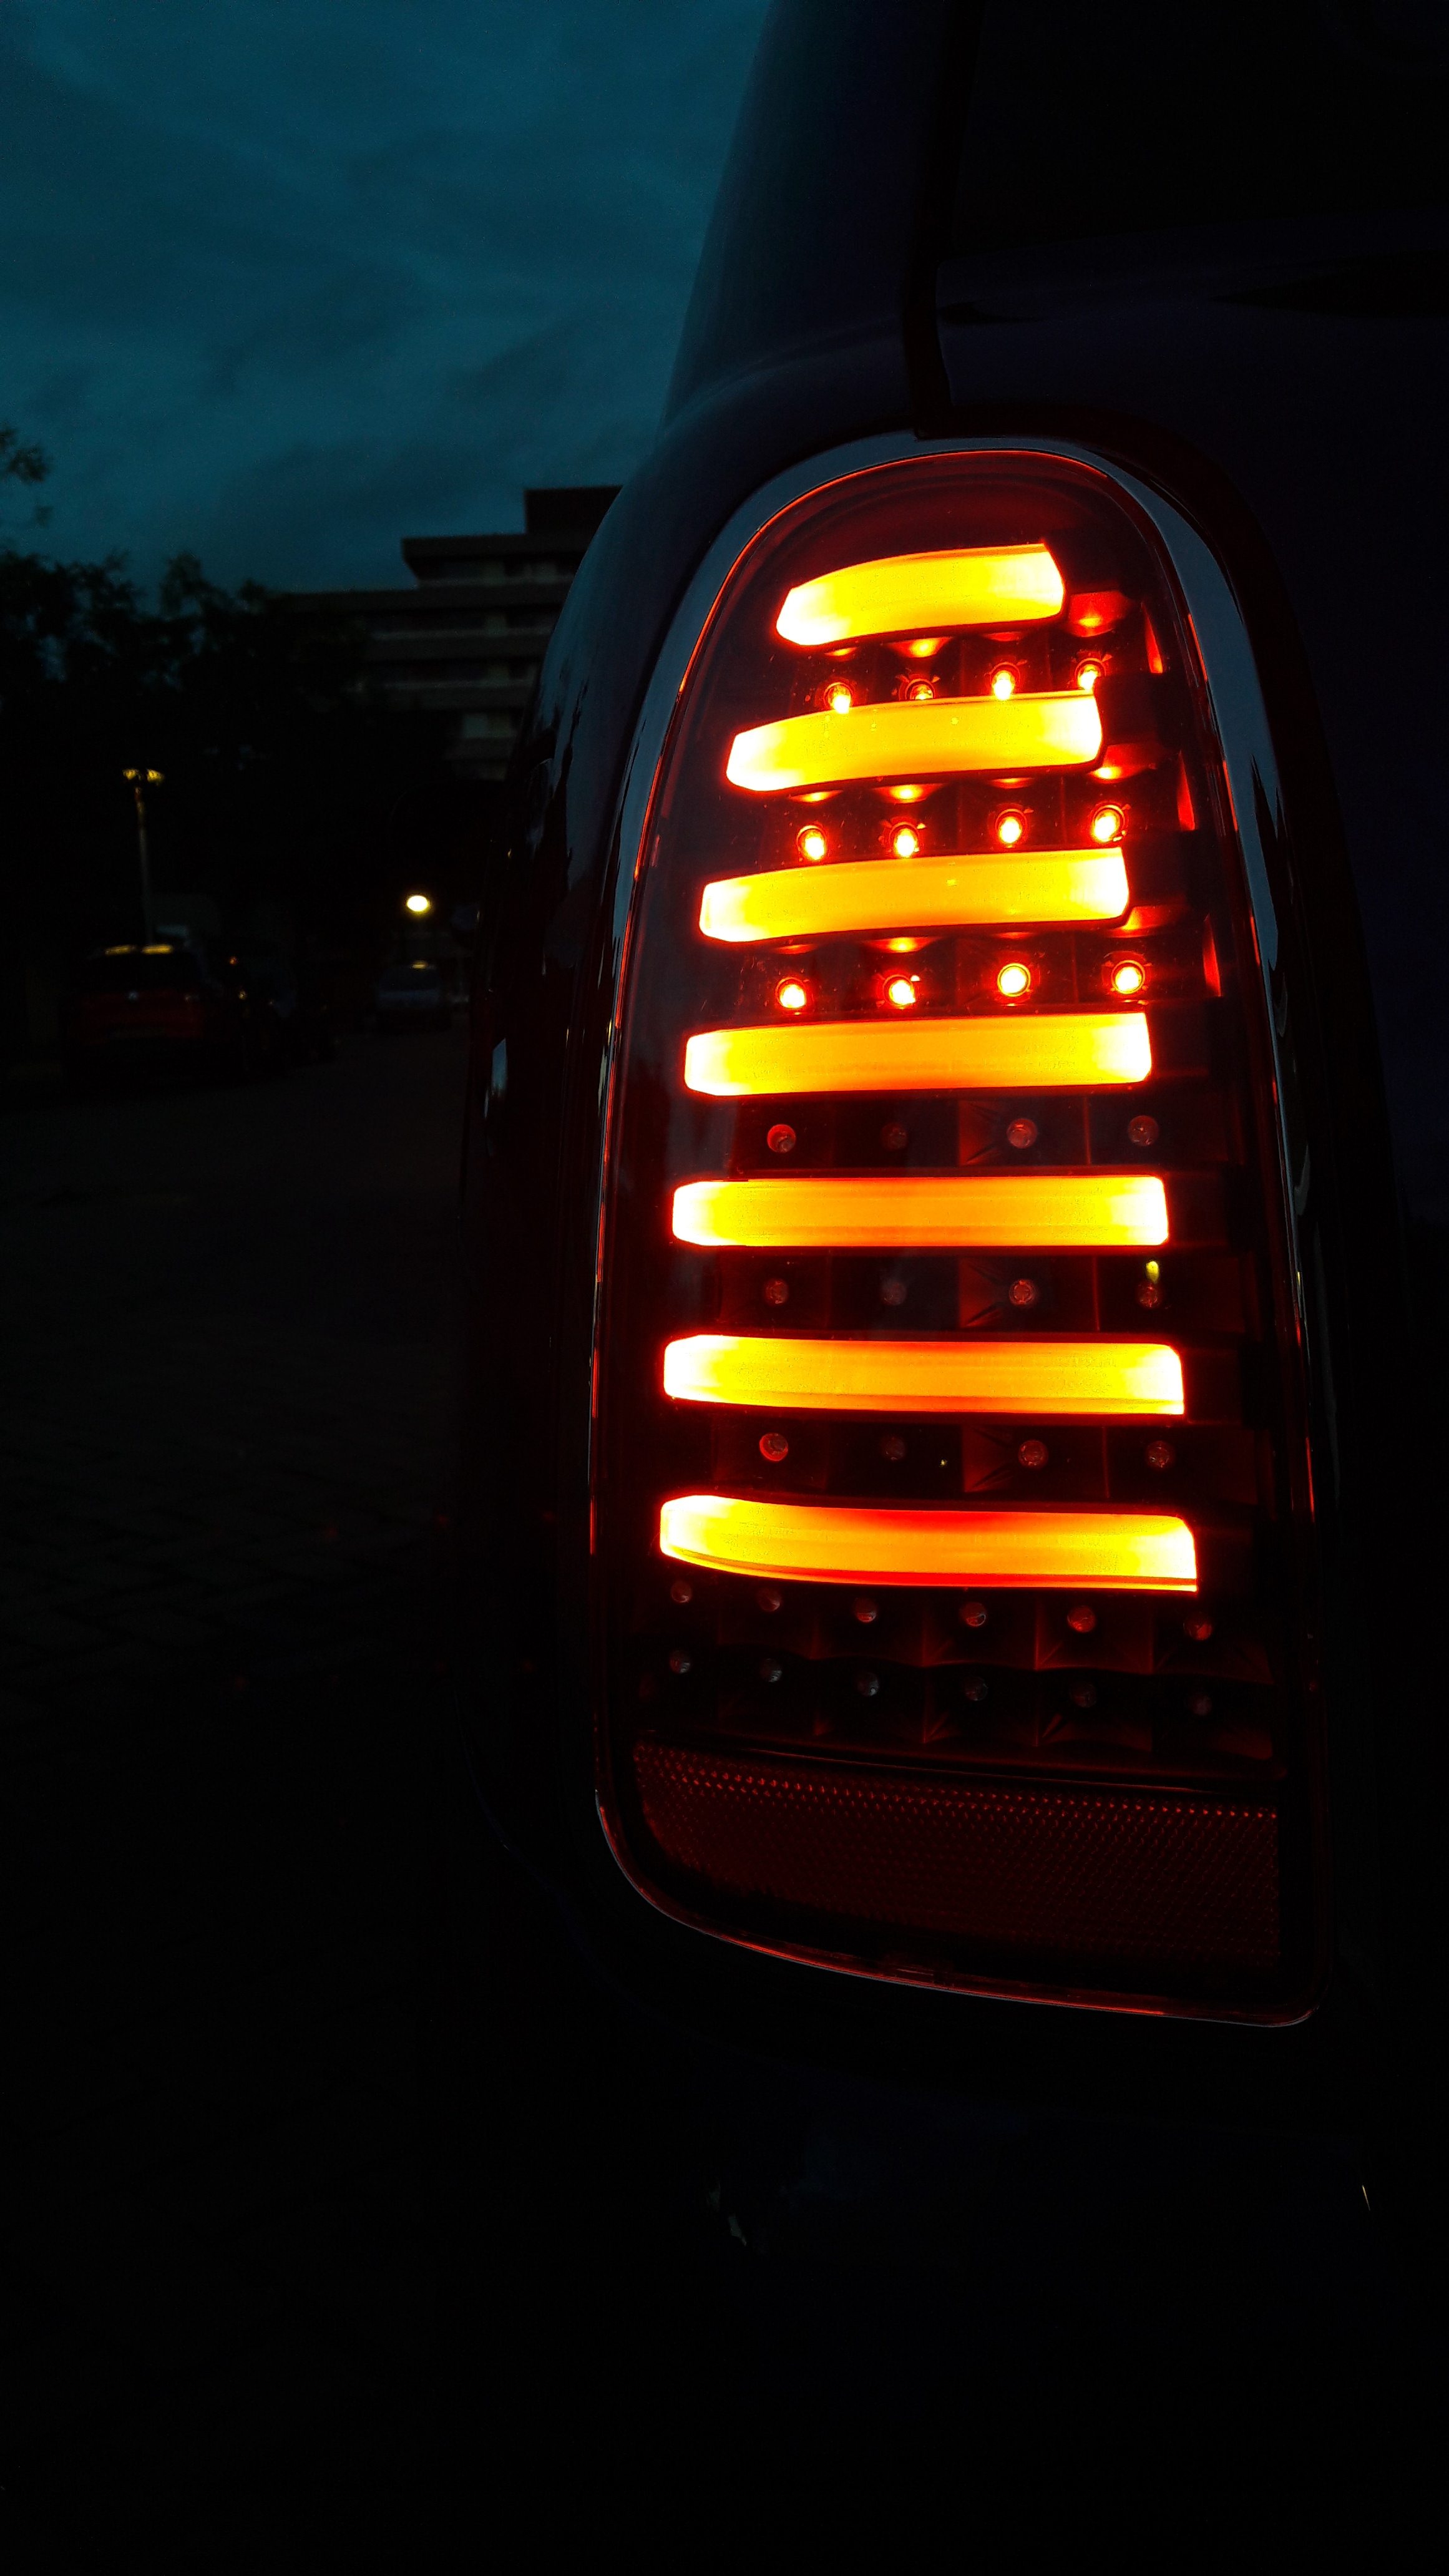
This is probably one of the biggest changes and one of my proudest possession! I got them in Japan (google Mira led tail), and after 2 months of waiting, I finally got them.
GRAN MOVE GAUGES
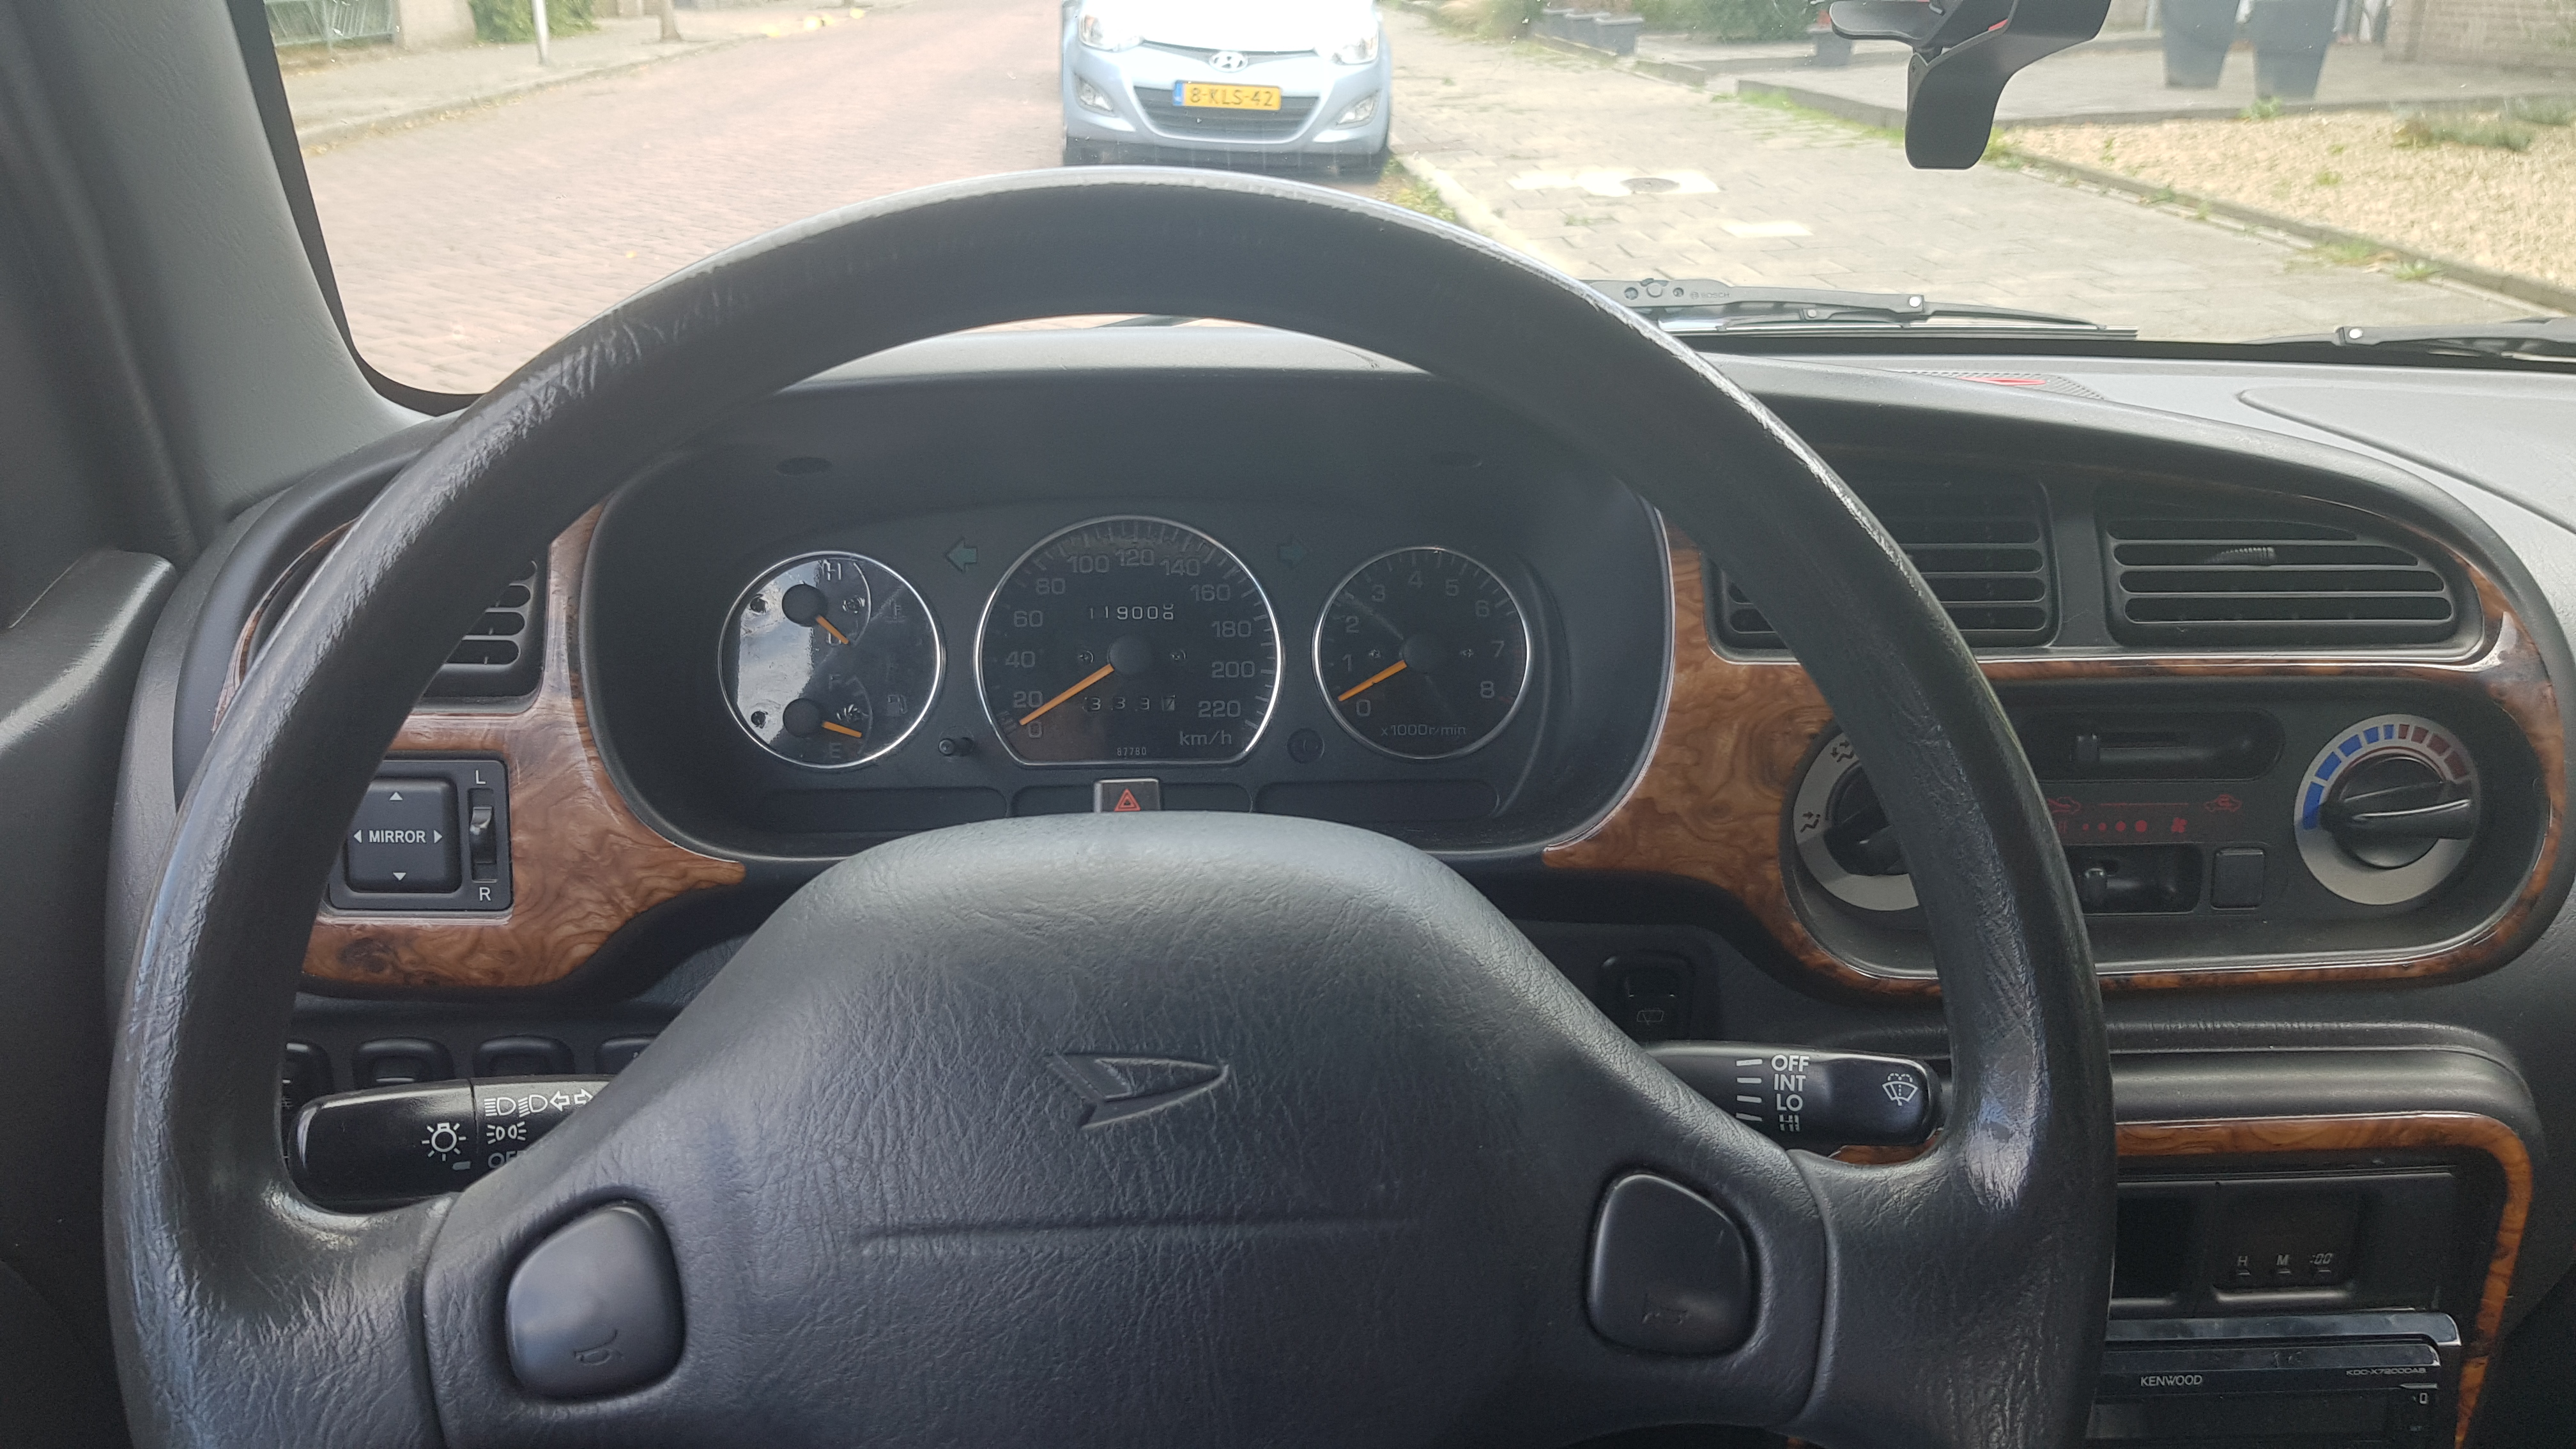
I took the gauges from a Gran Move (a.k.a. Pyzar), because I like the black plates better. The only problem is that the tachometer doesn’t work properly. I think this is because the Gran Move has a different engine (which has 1 more cilinder). However, this is an easy fix.
You can swap the tacho unit with the one from a Sirion 1.0 or a Cuore. Just put the tacho plate from the Gran Move on the other tacho unit and you’re good to go!
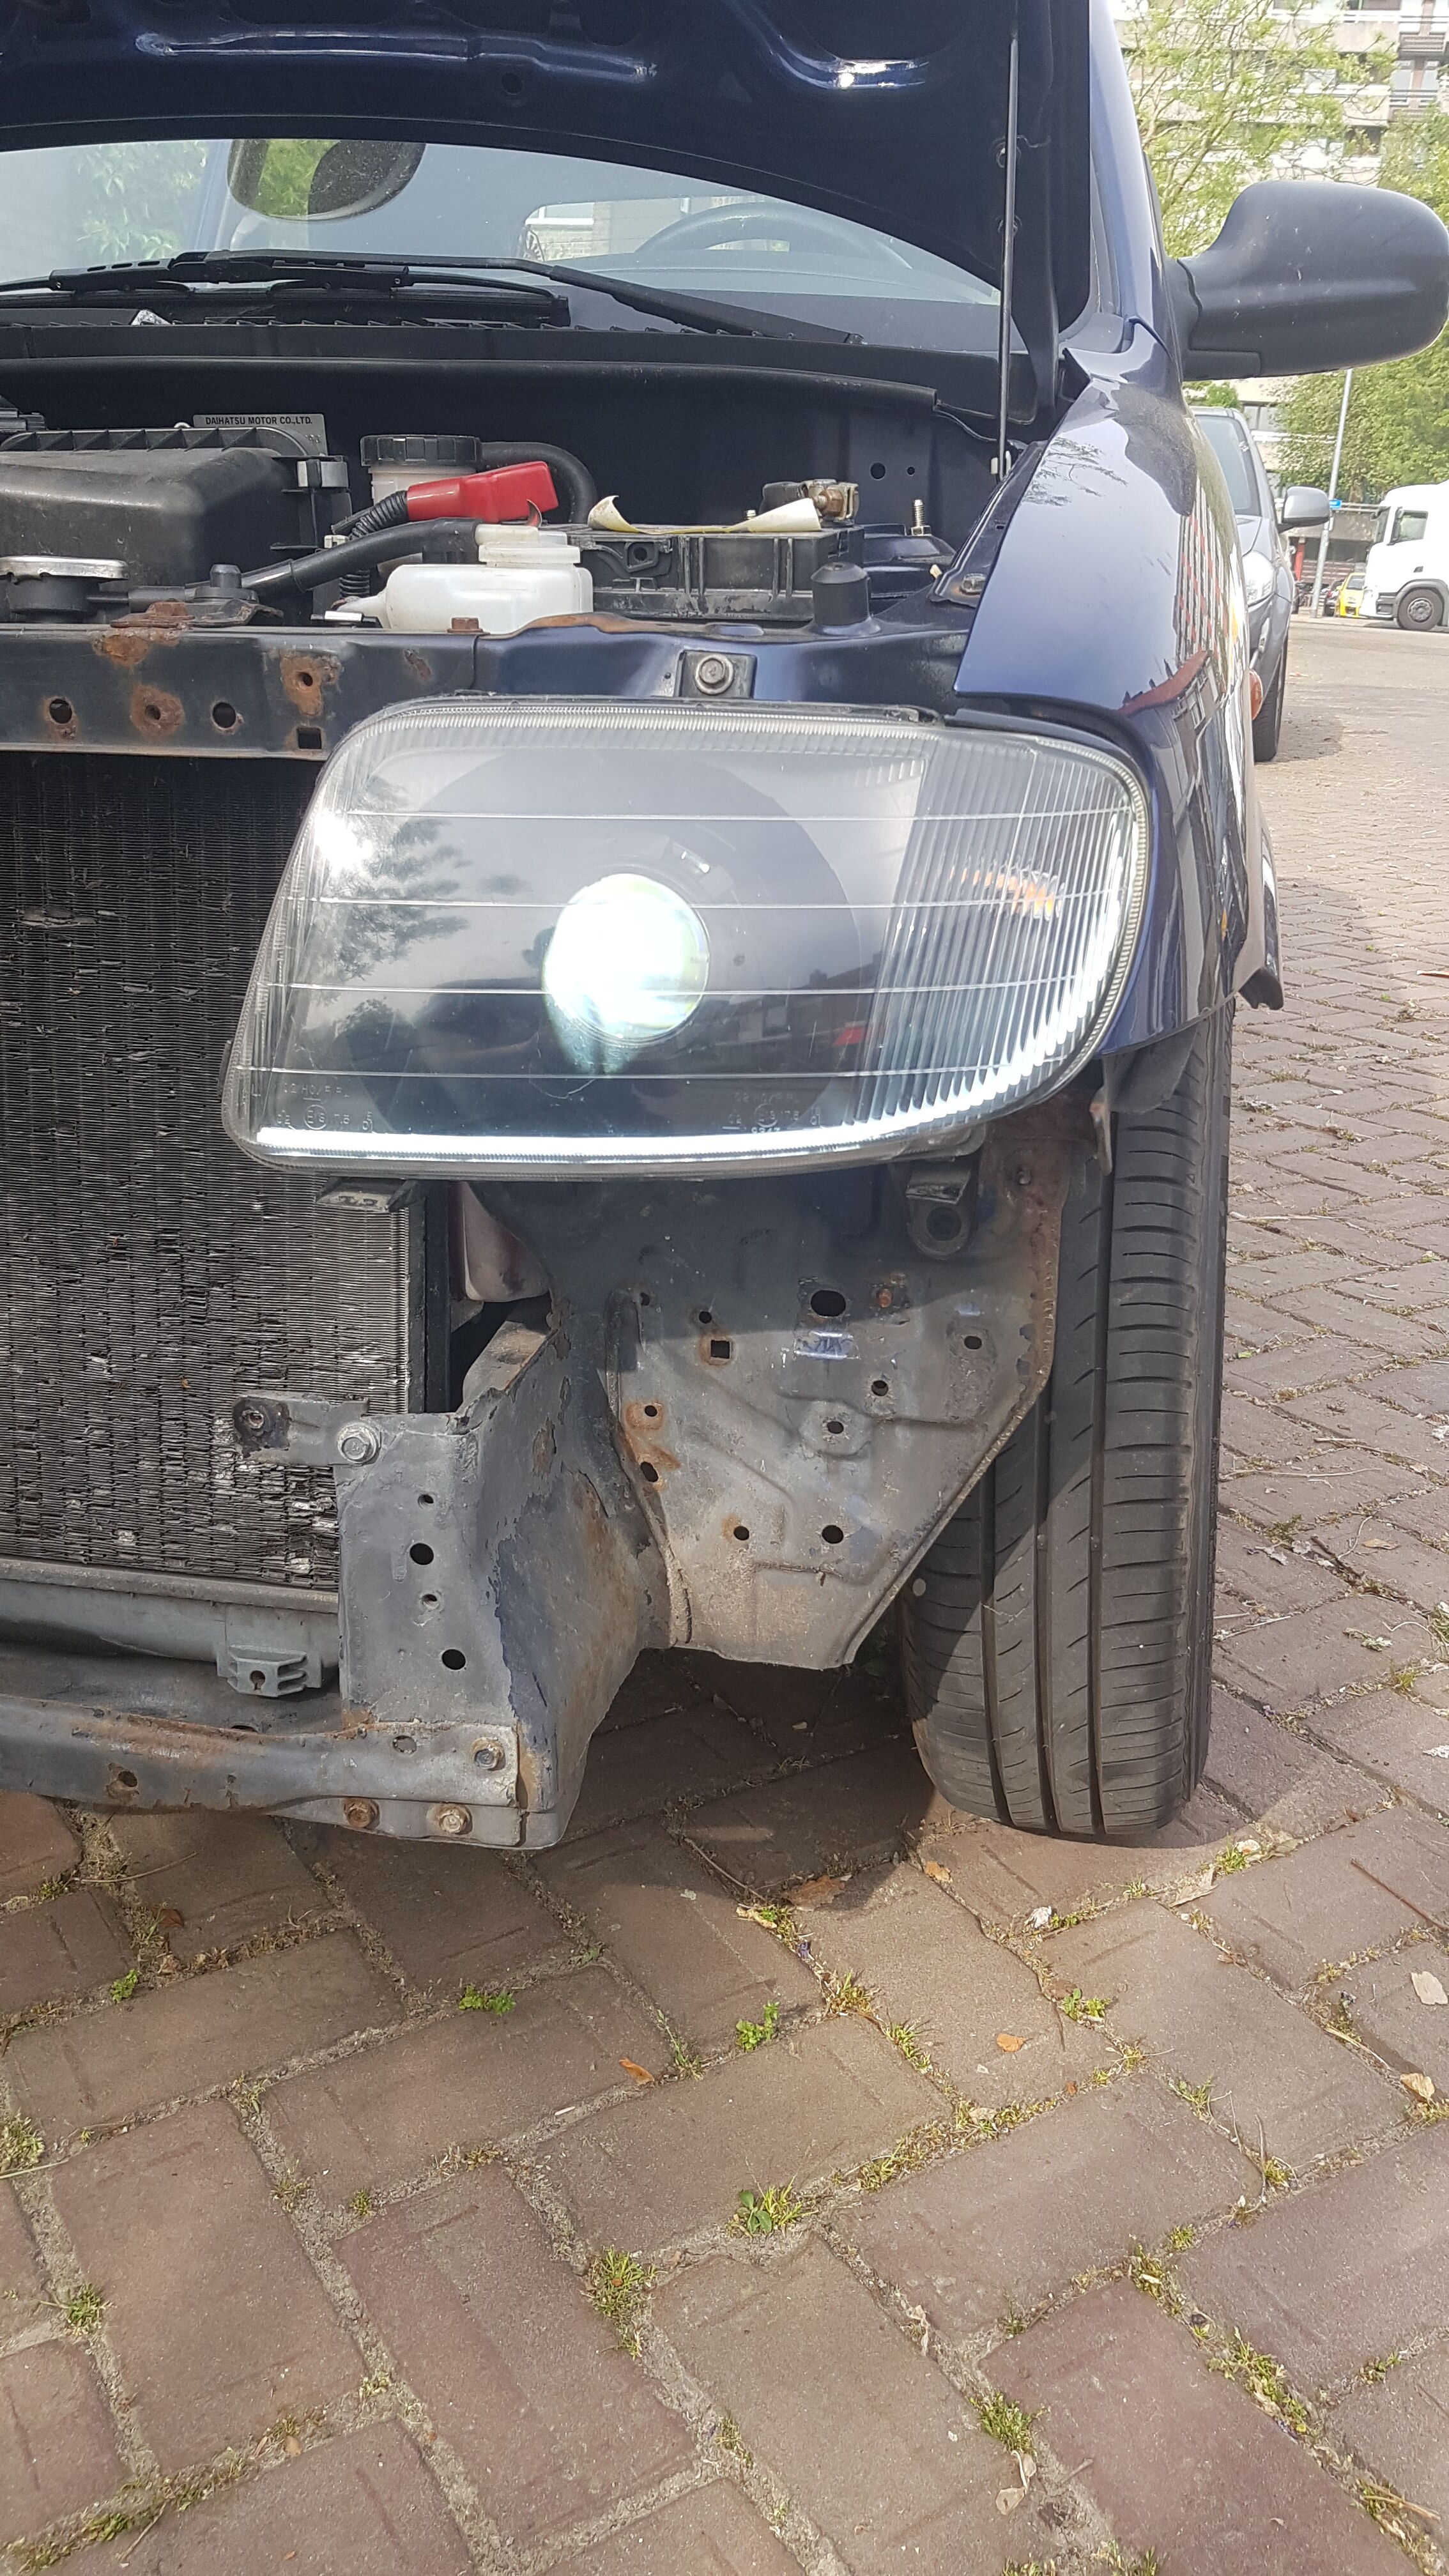
NEW FENDER
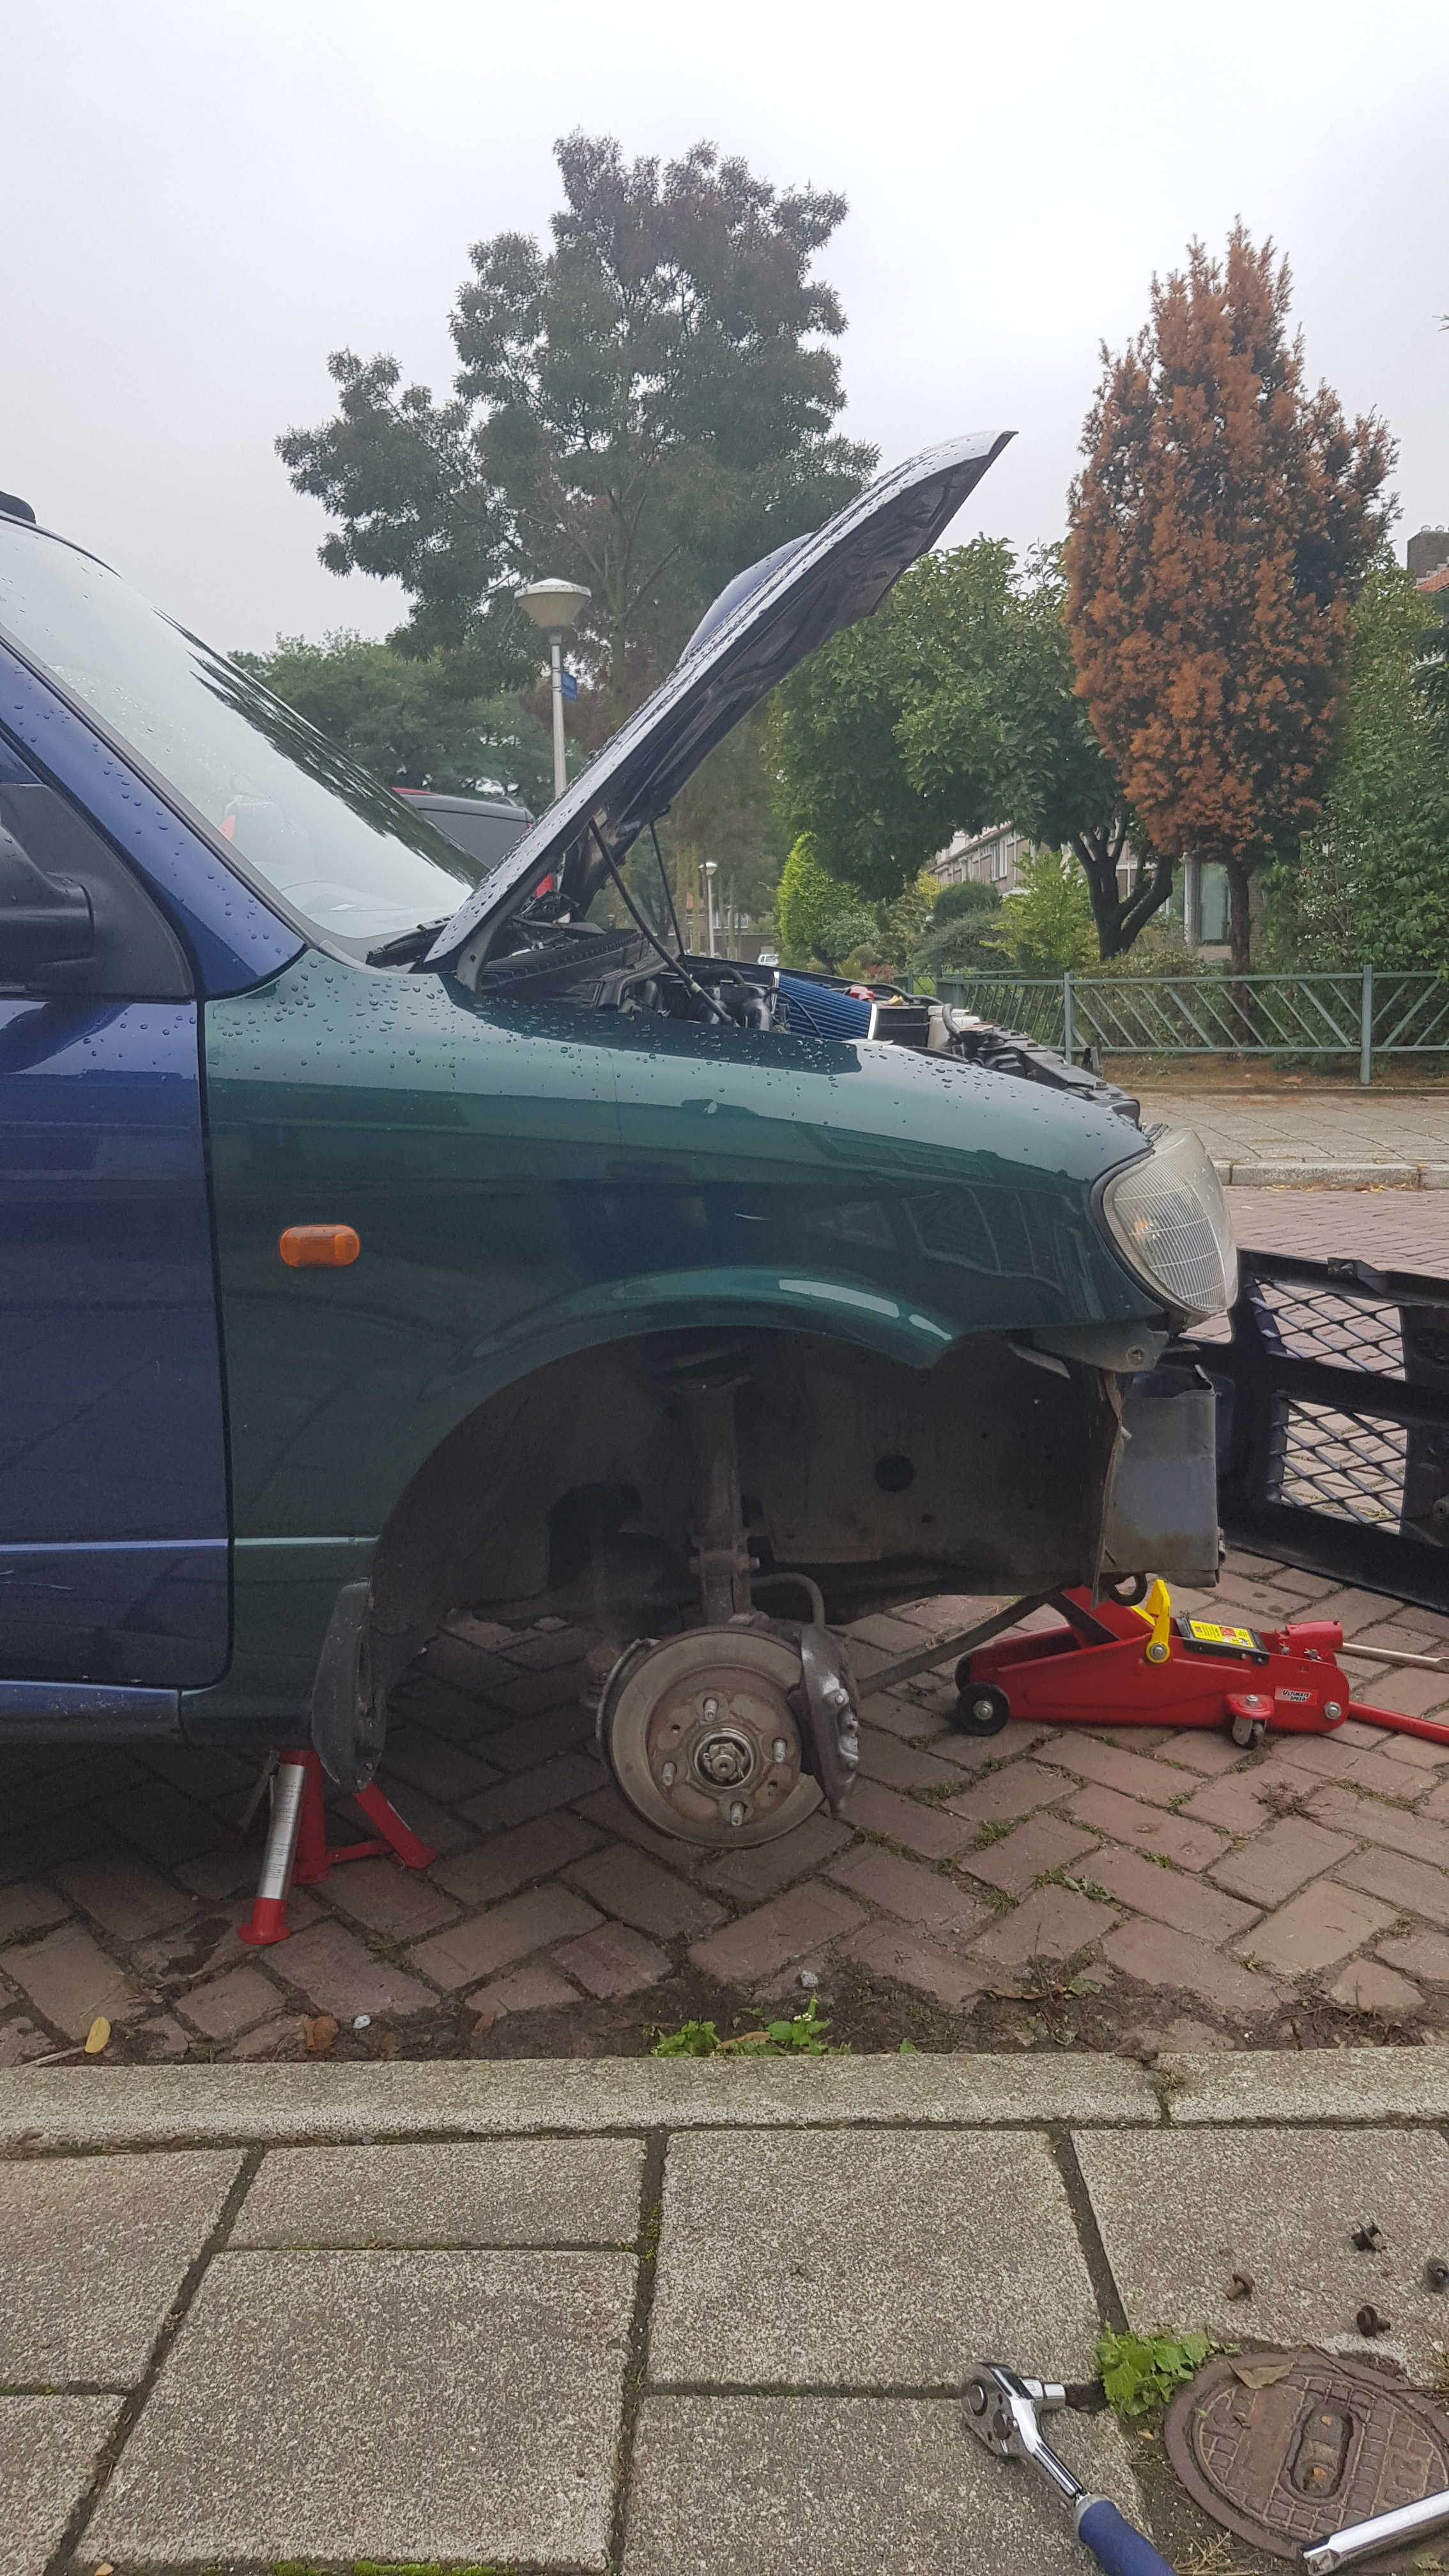
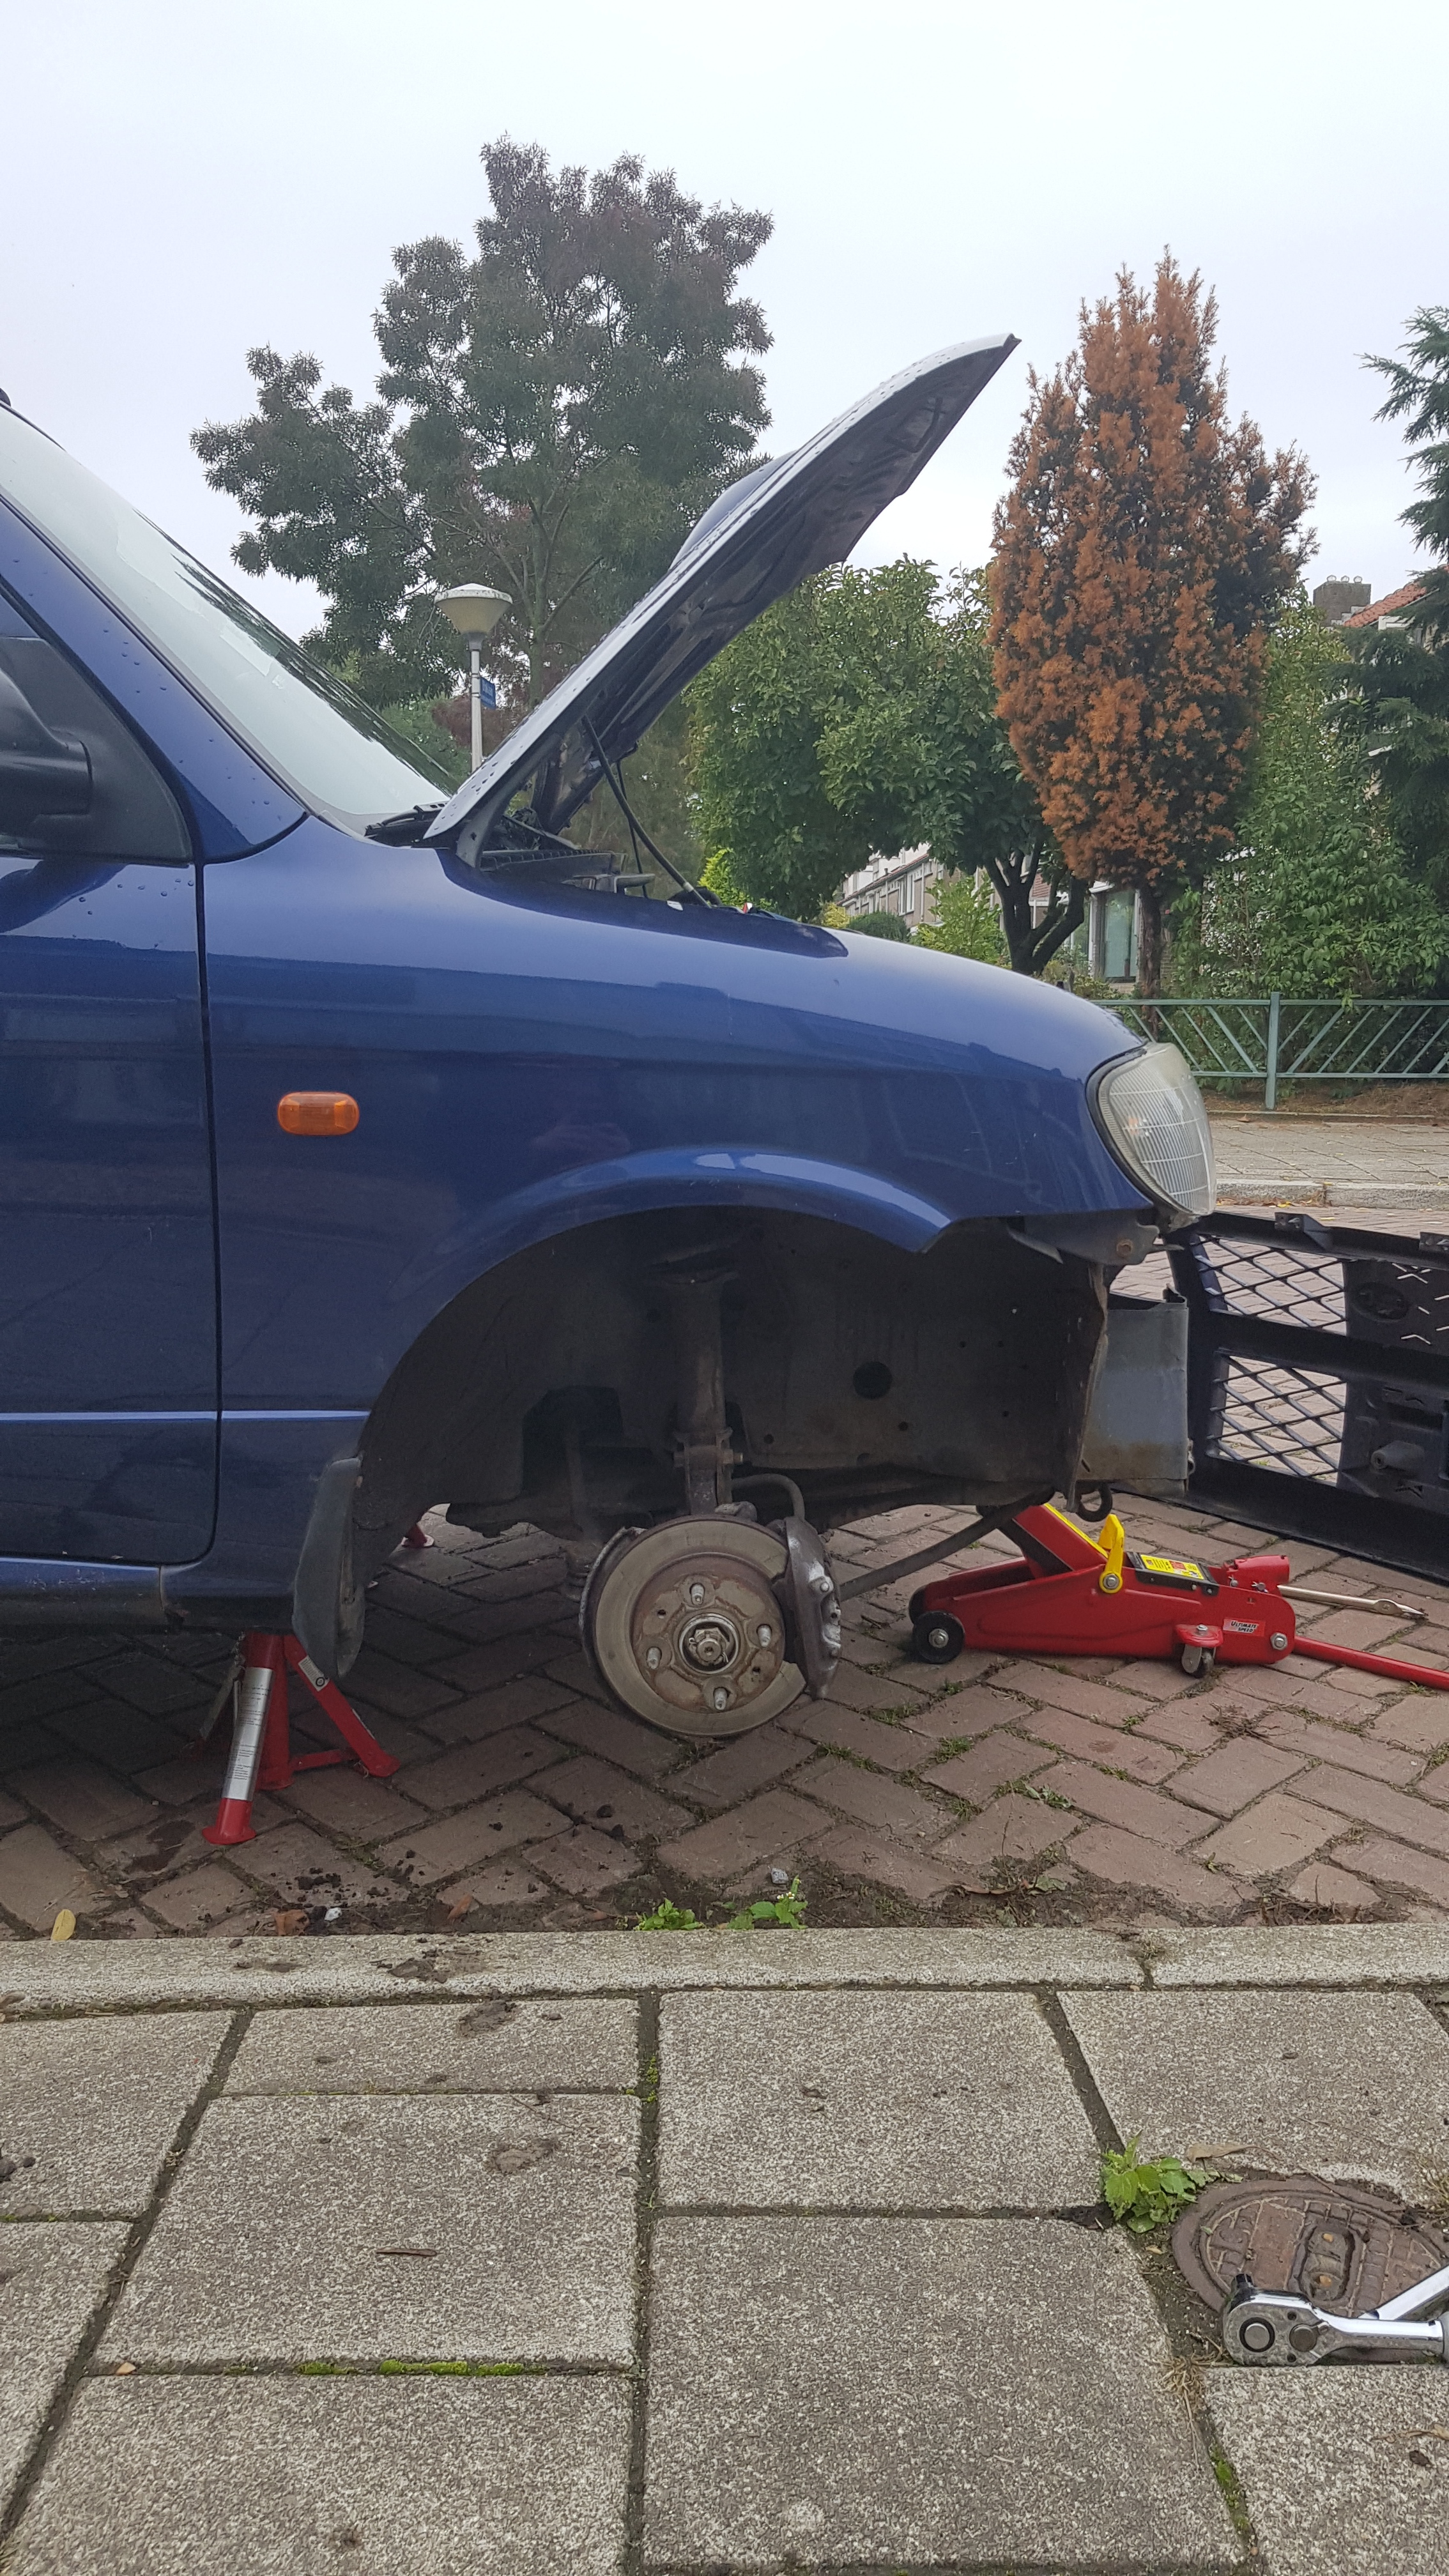
Bye green Fender!
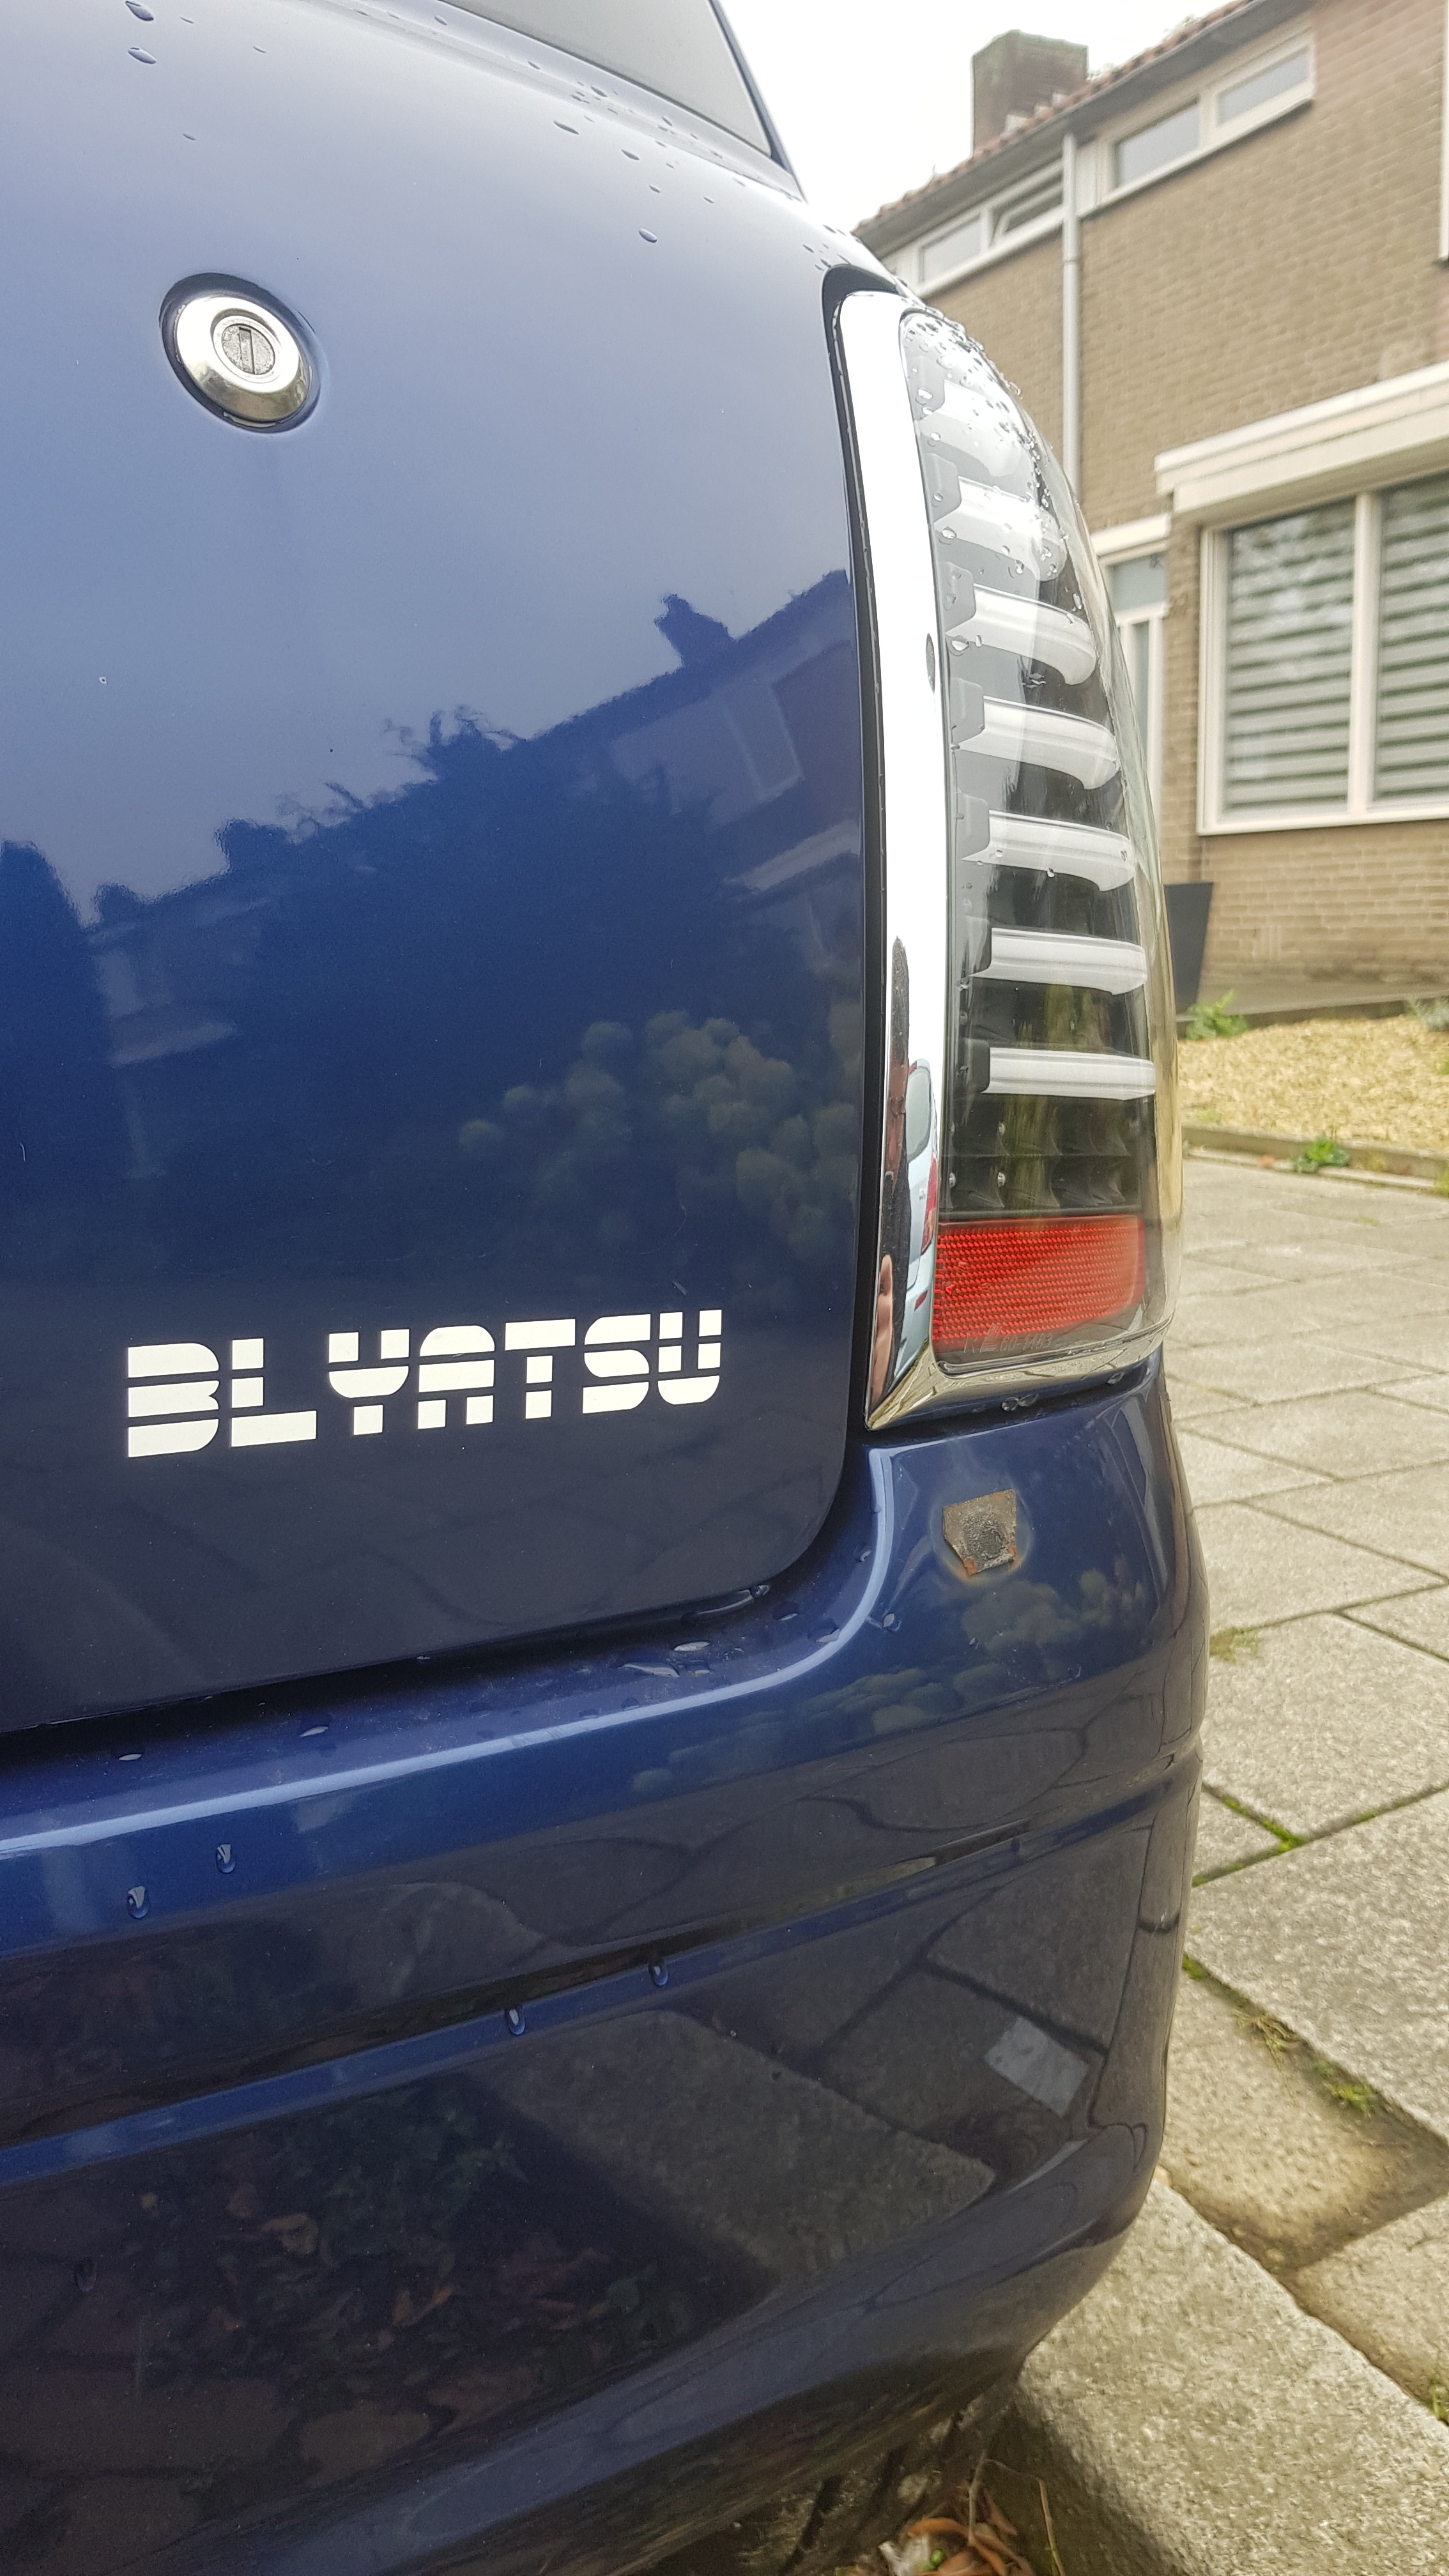
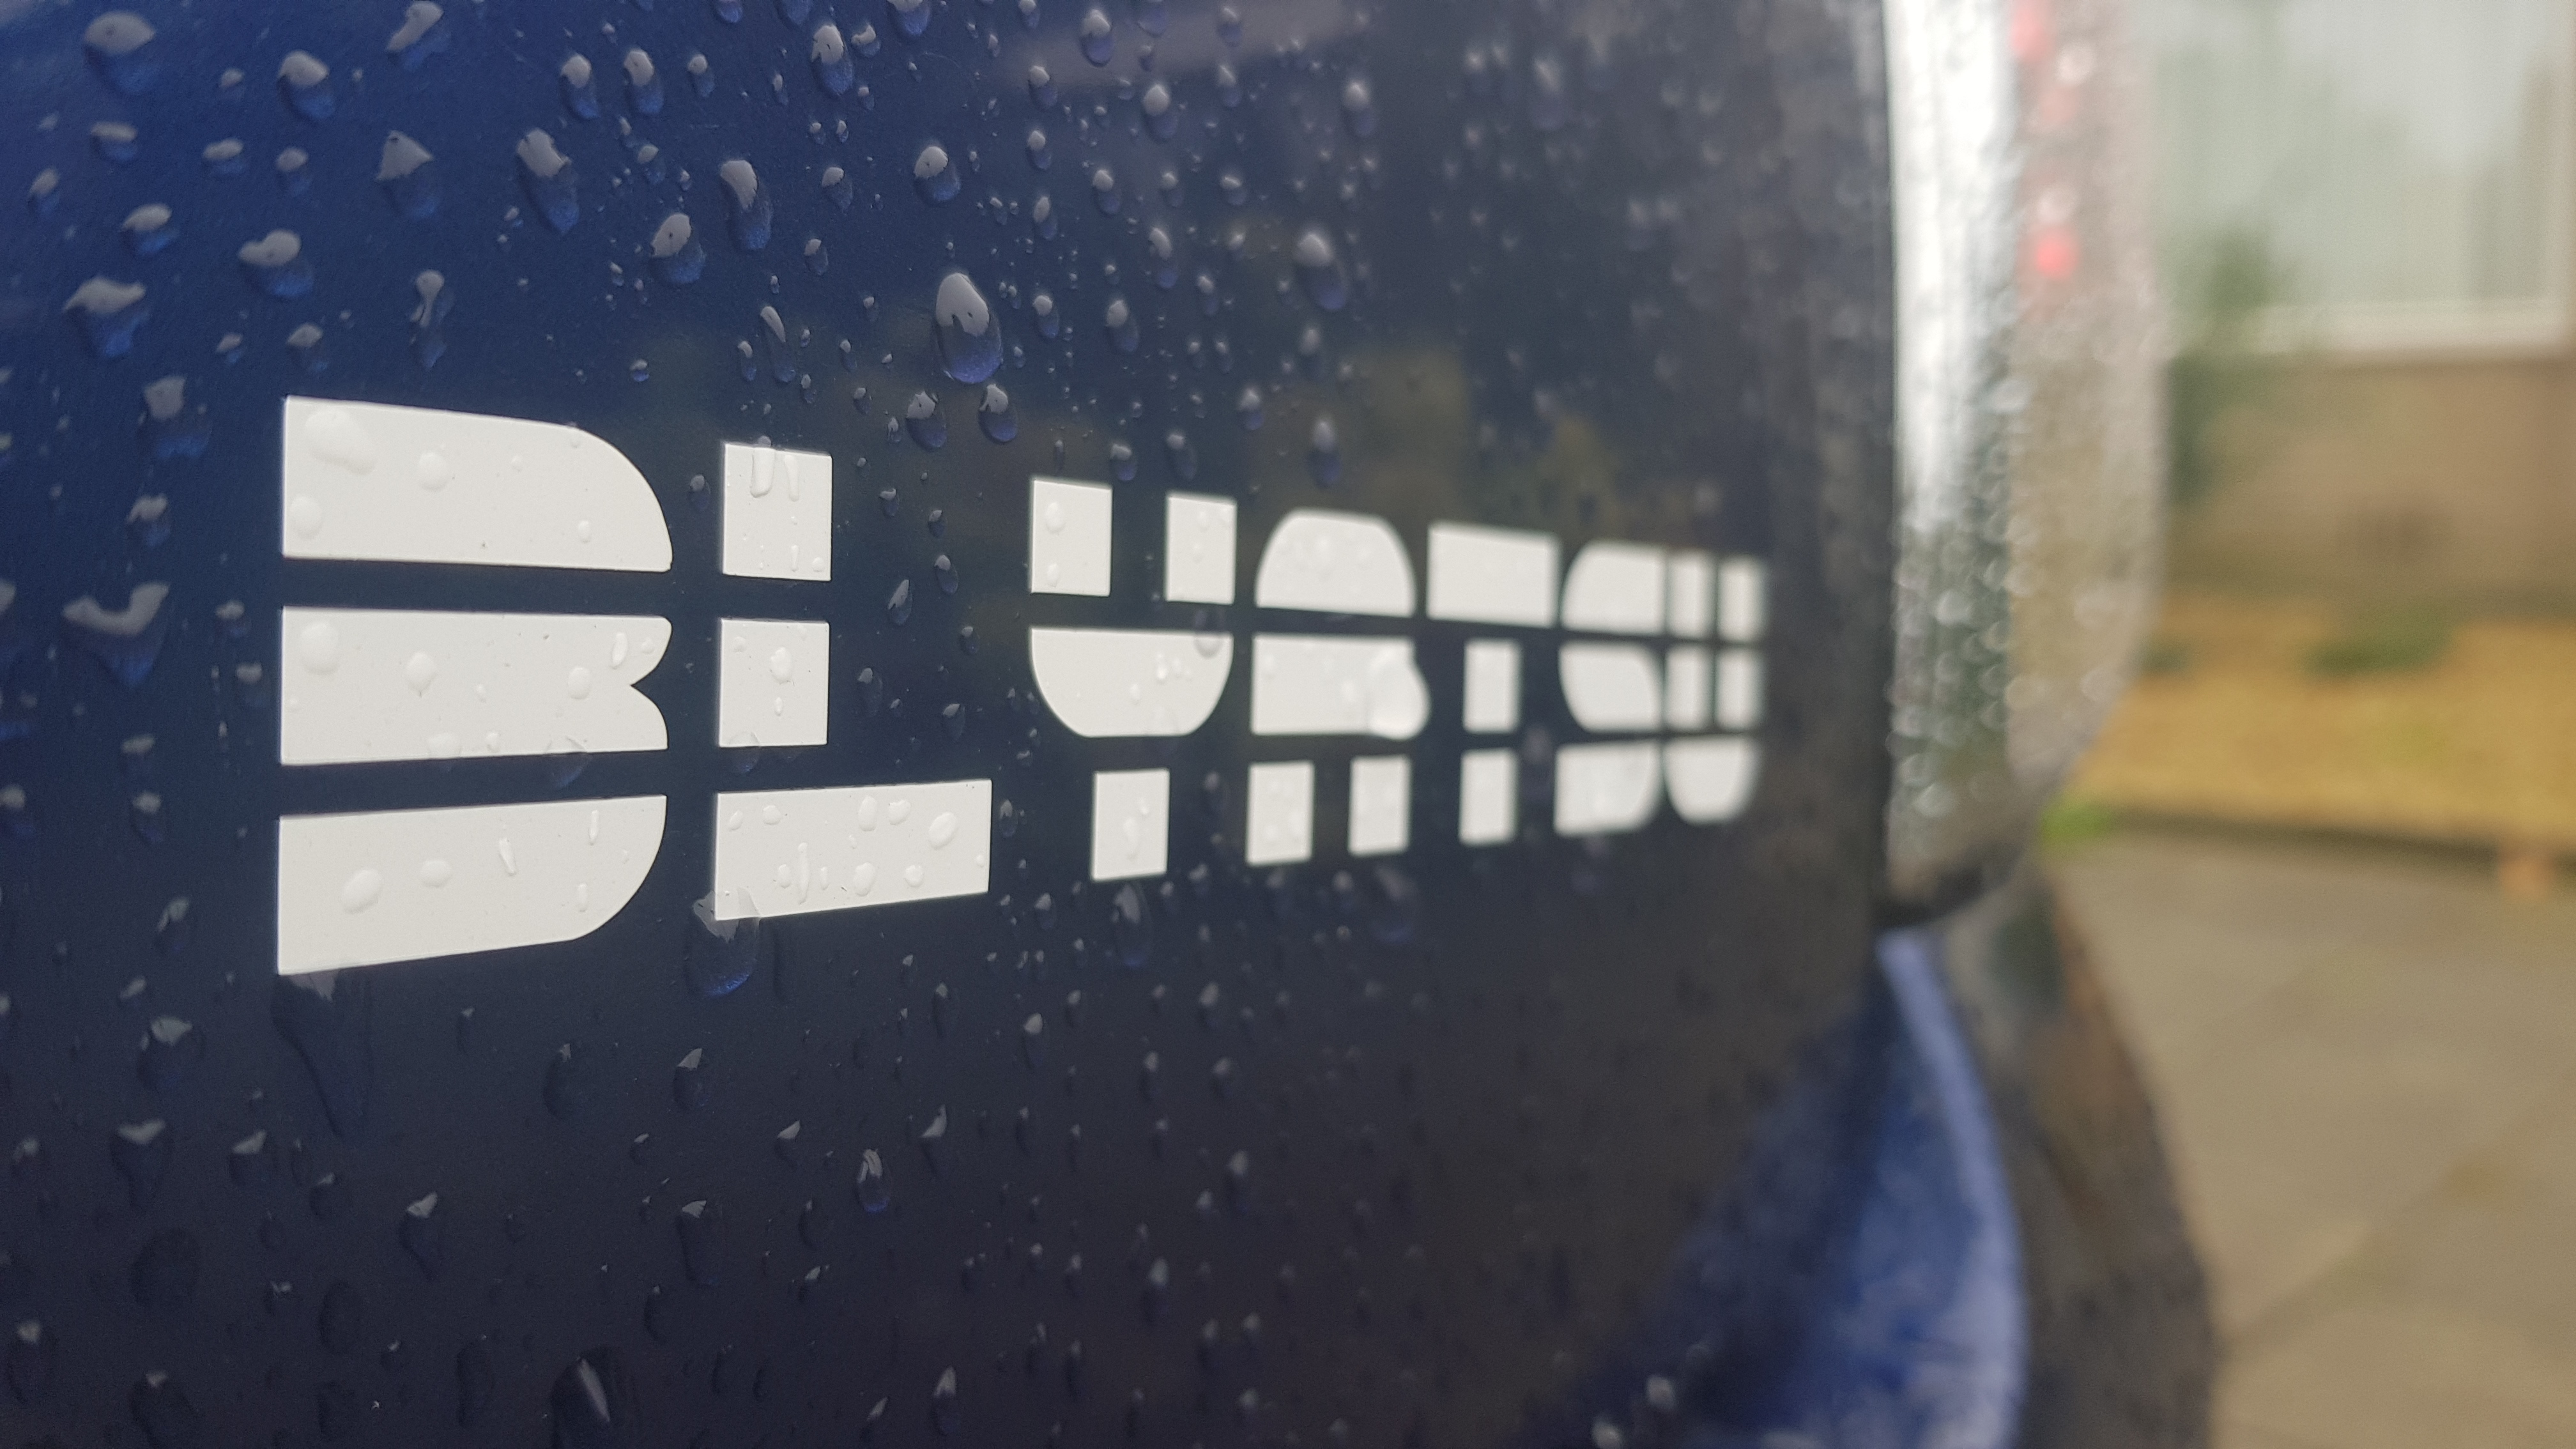
BLYATSU
JDM STEERING WHEEL
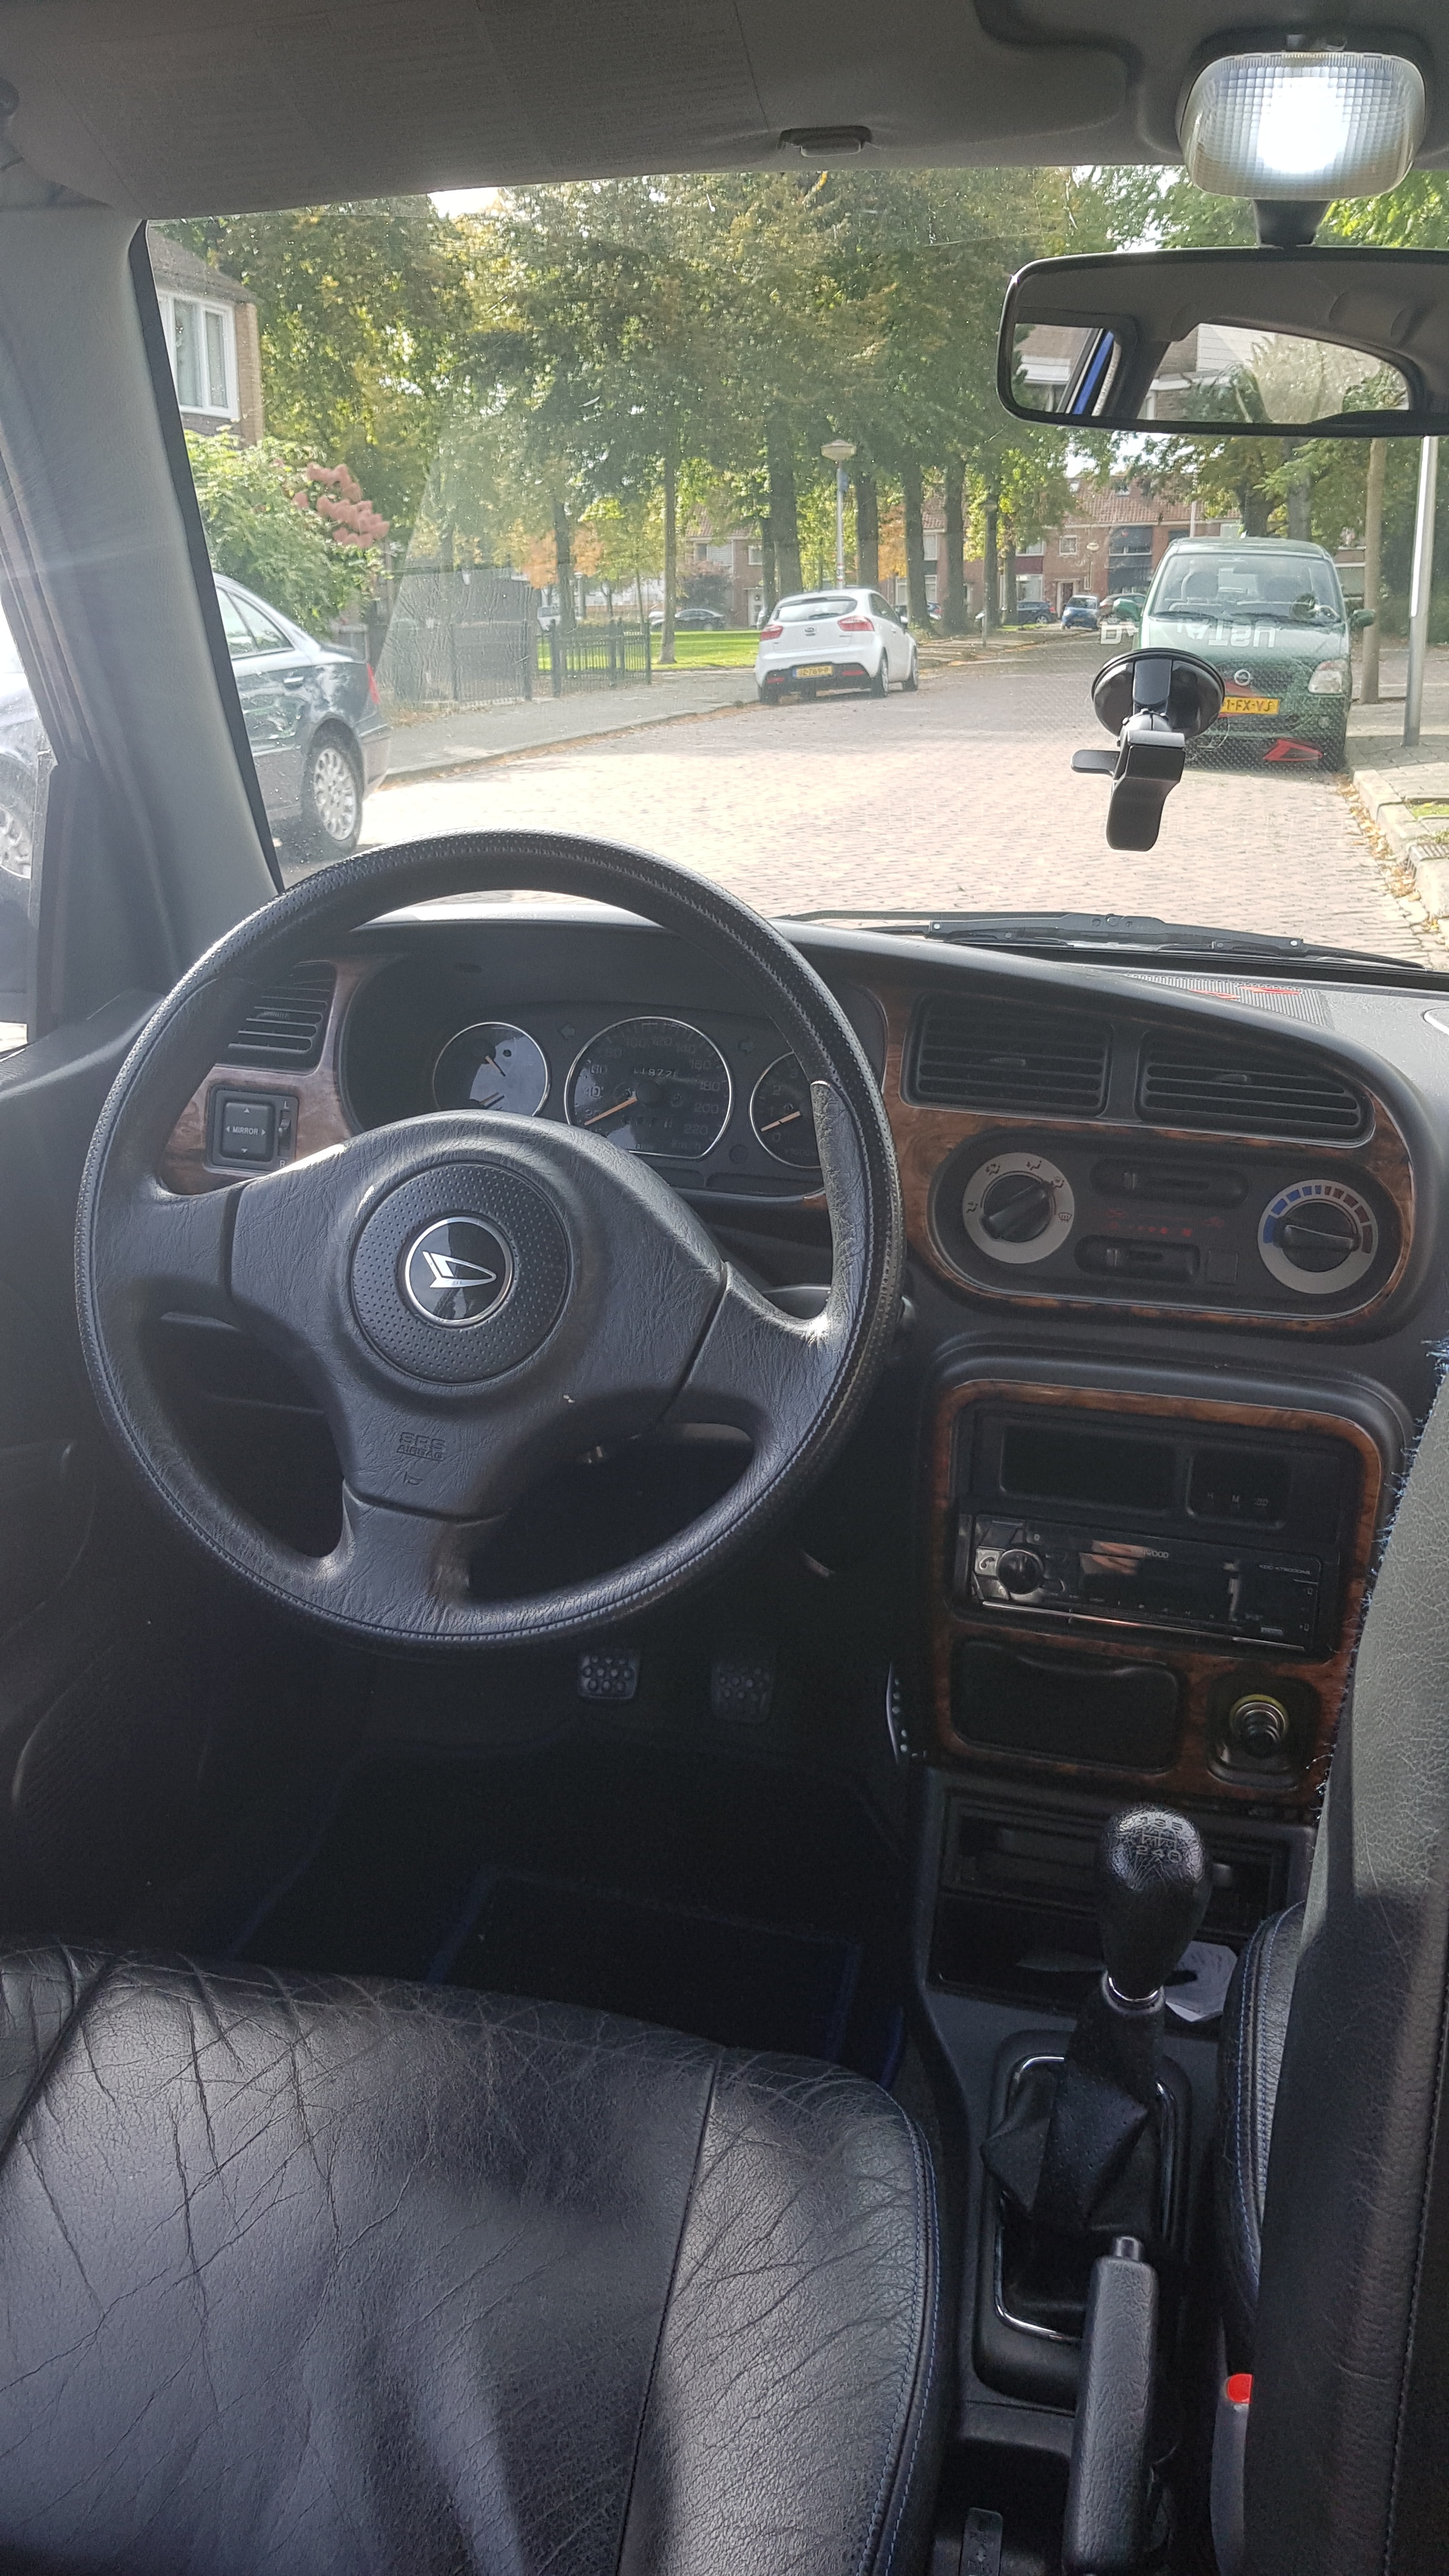
I got this steering wheel from a JDM Copen, and I think it looks way better than the stock wheel.
RED NEEDLES
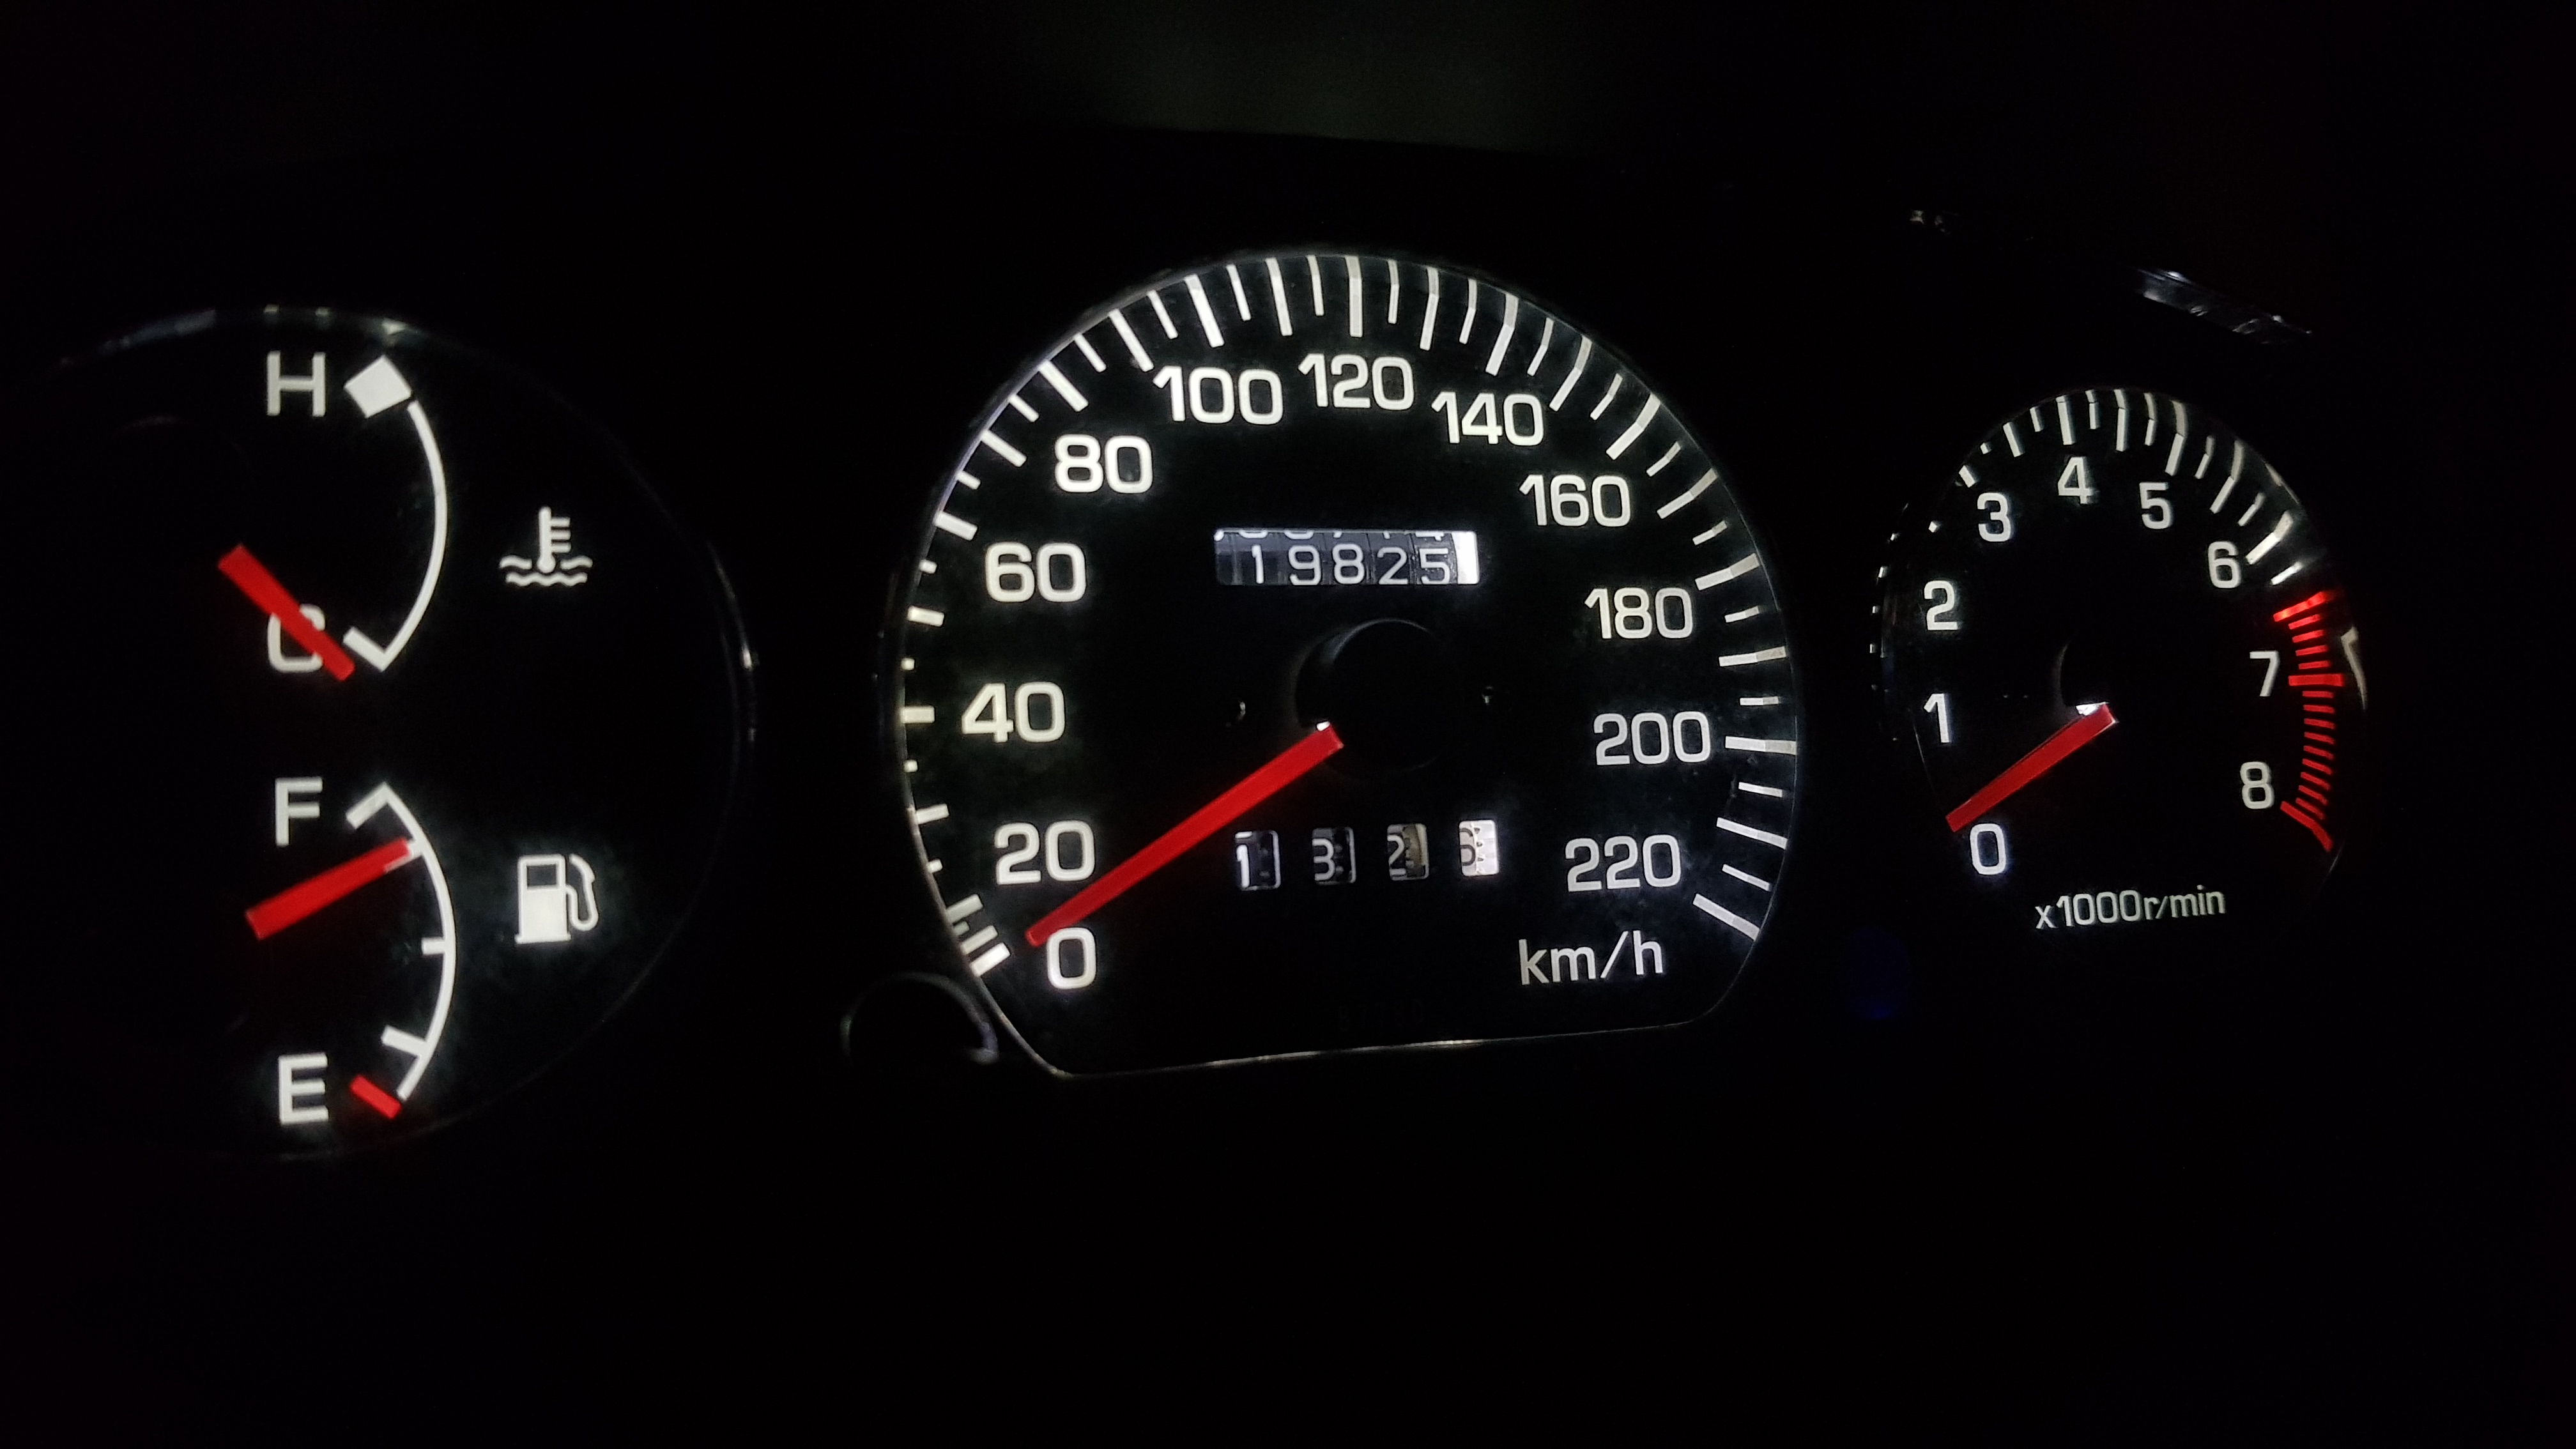
I didn’t like the orange needles, so I swapped them for red ones! I really really love this look!
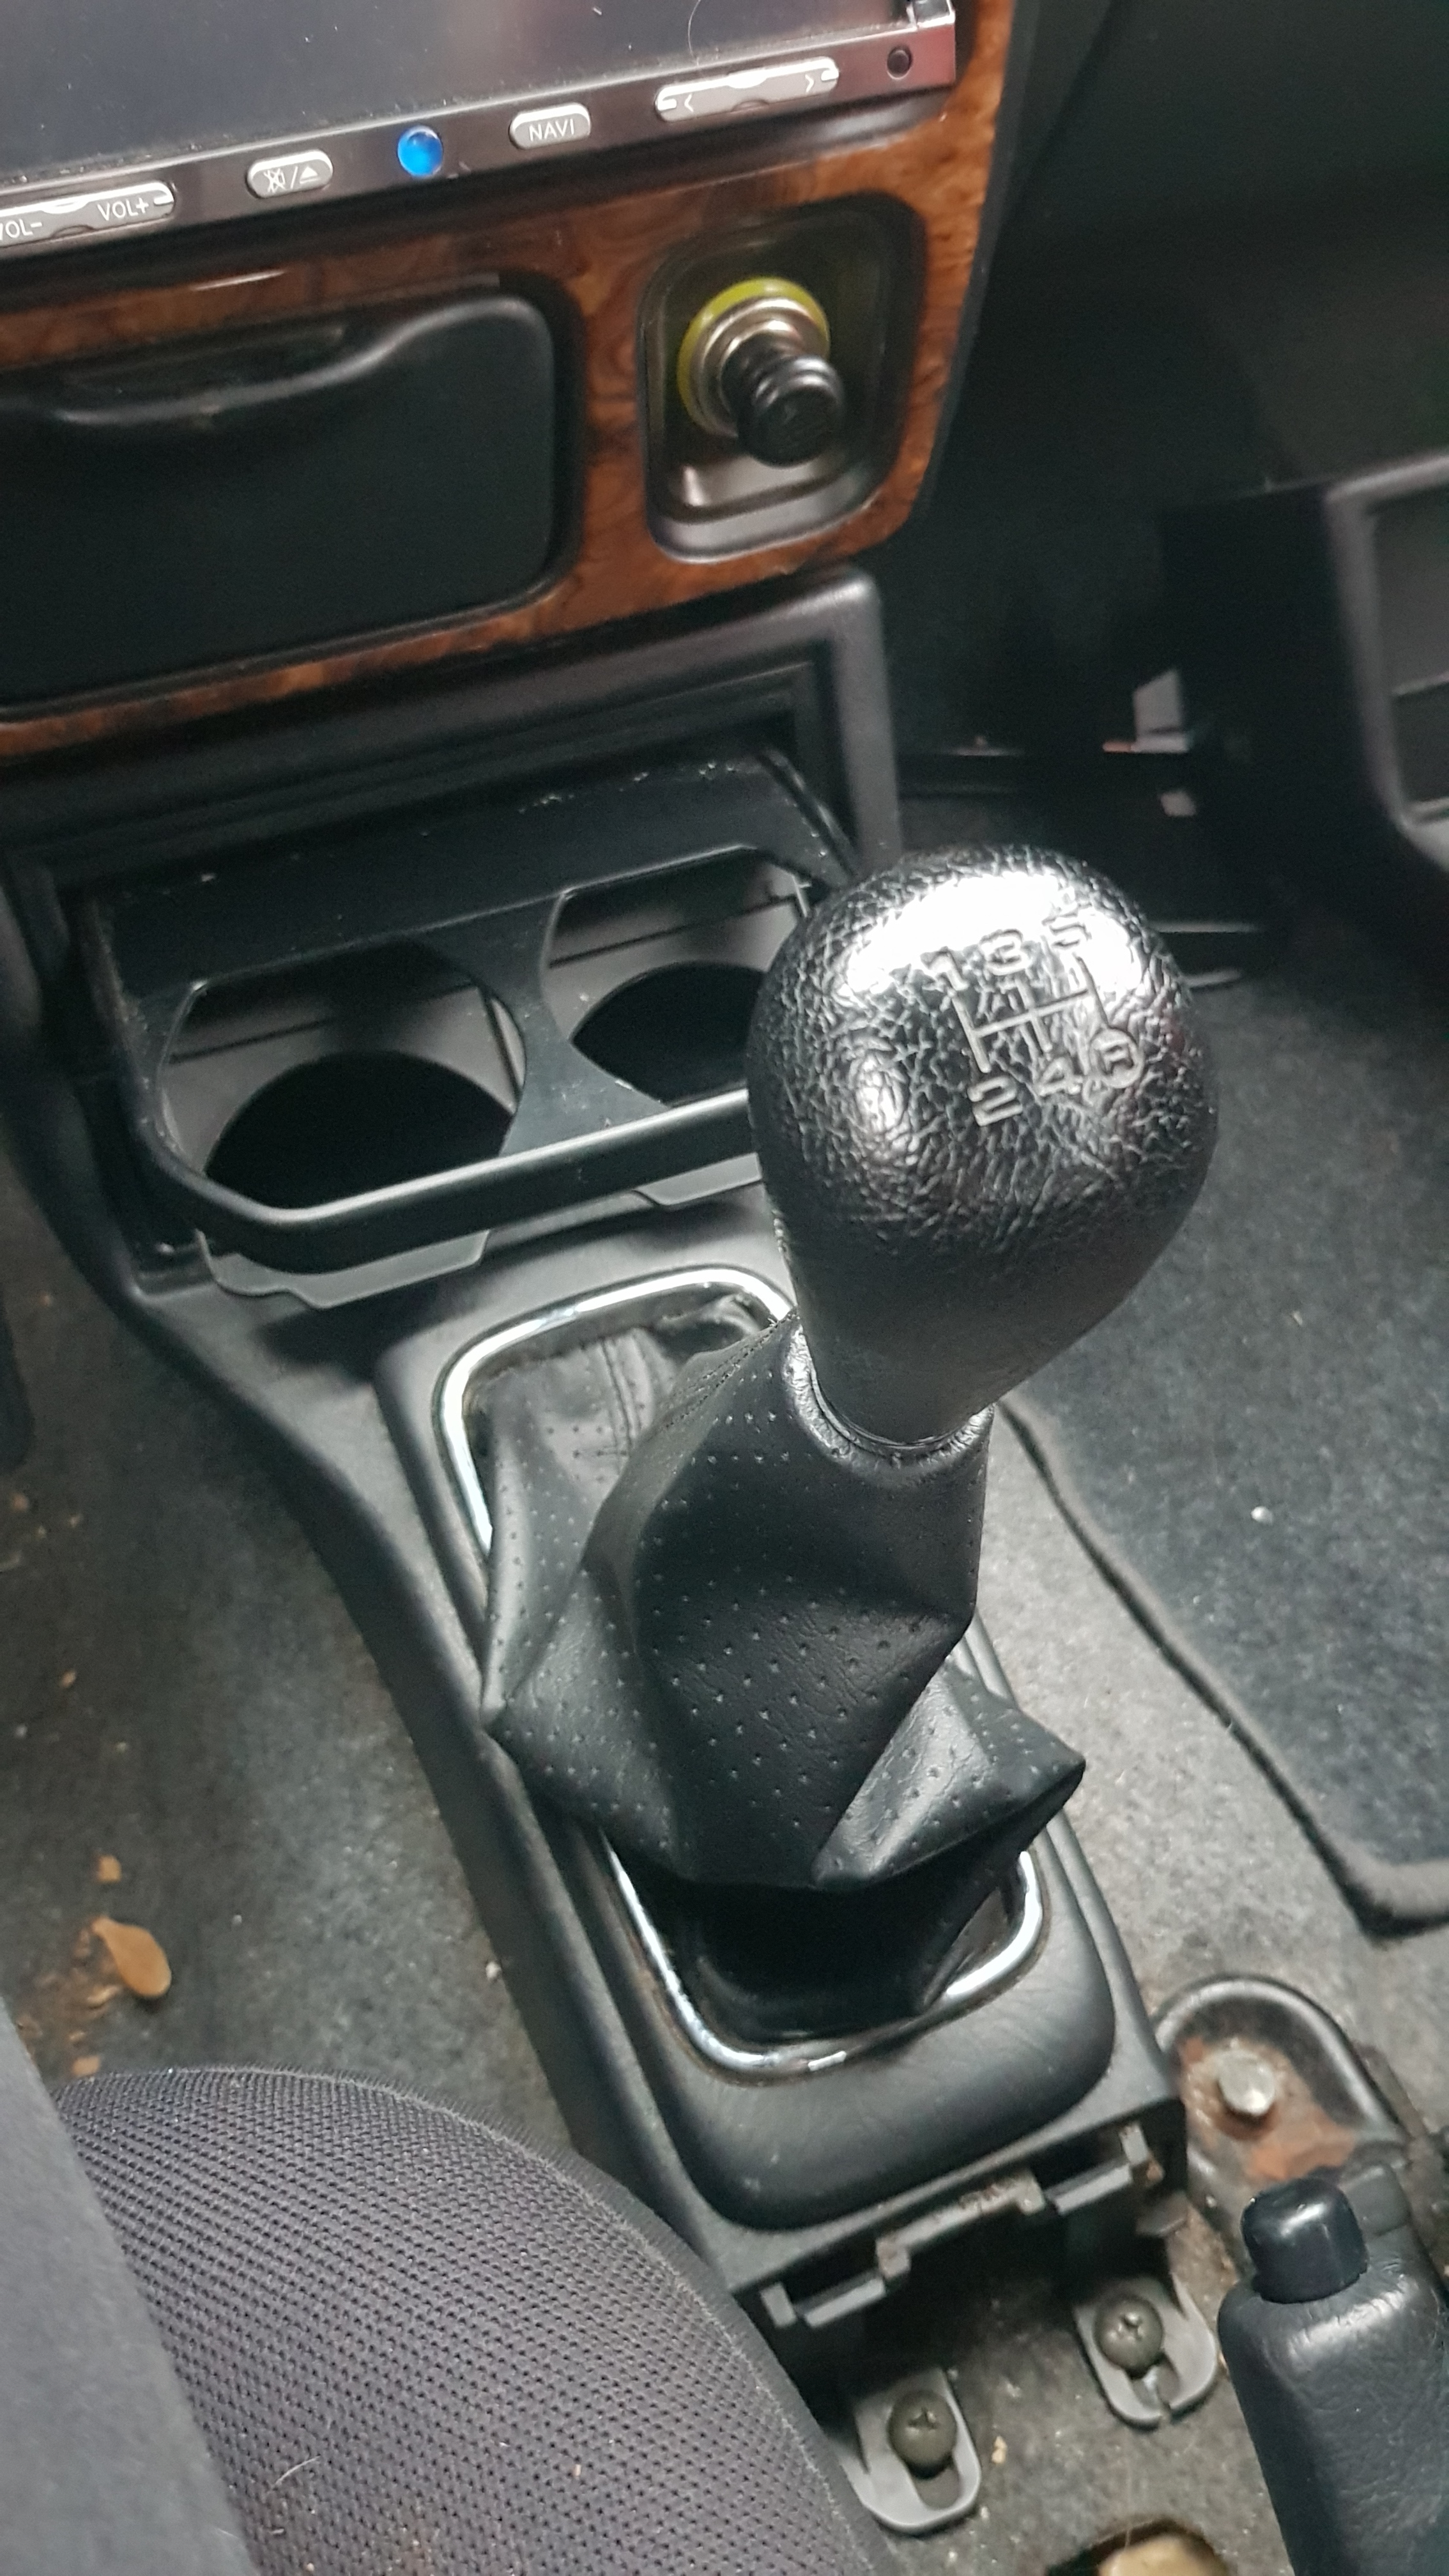
GEARKNOB
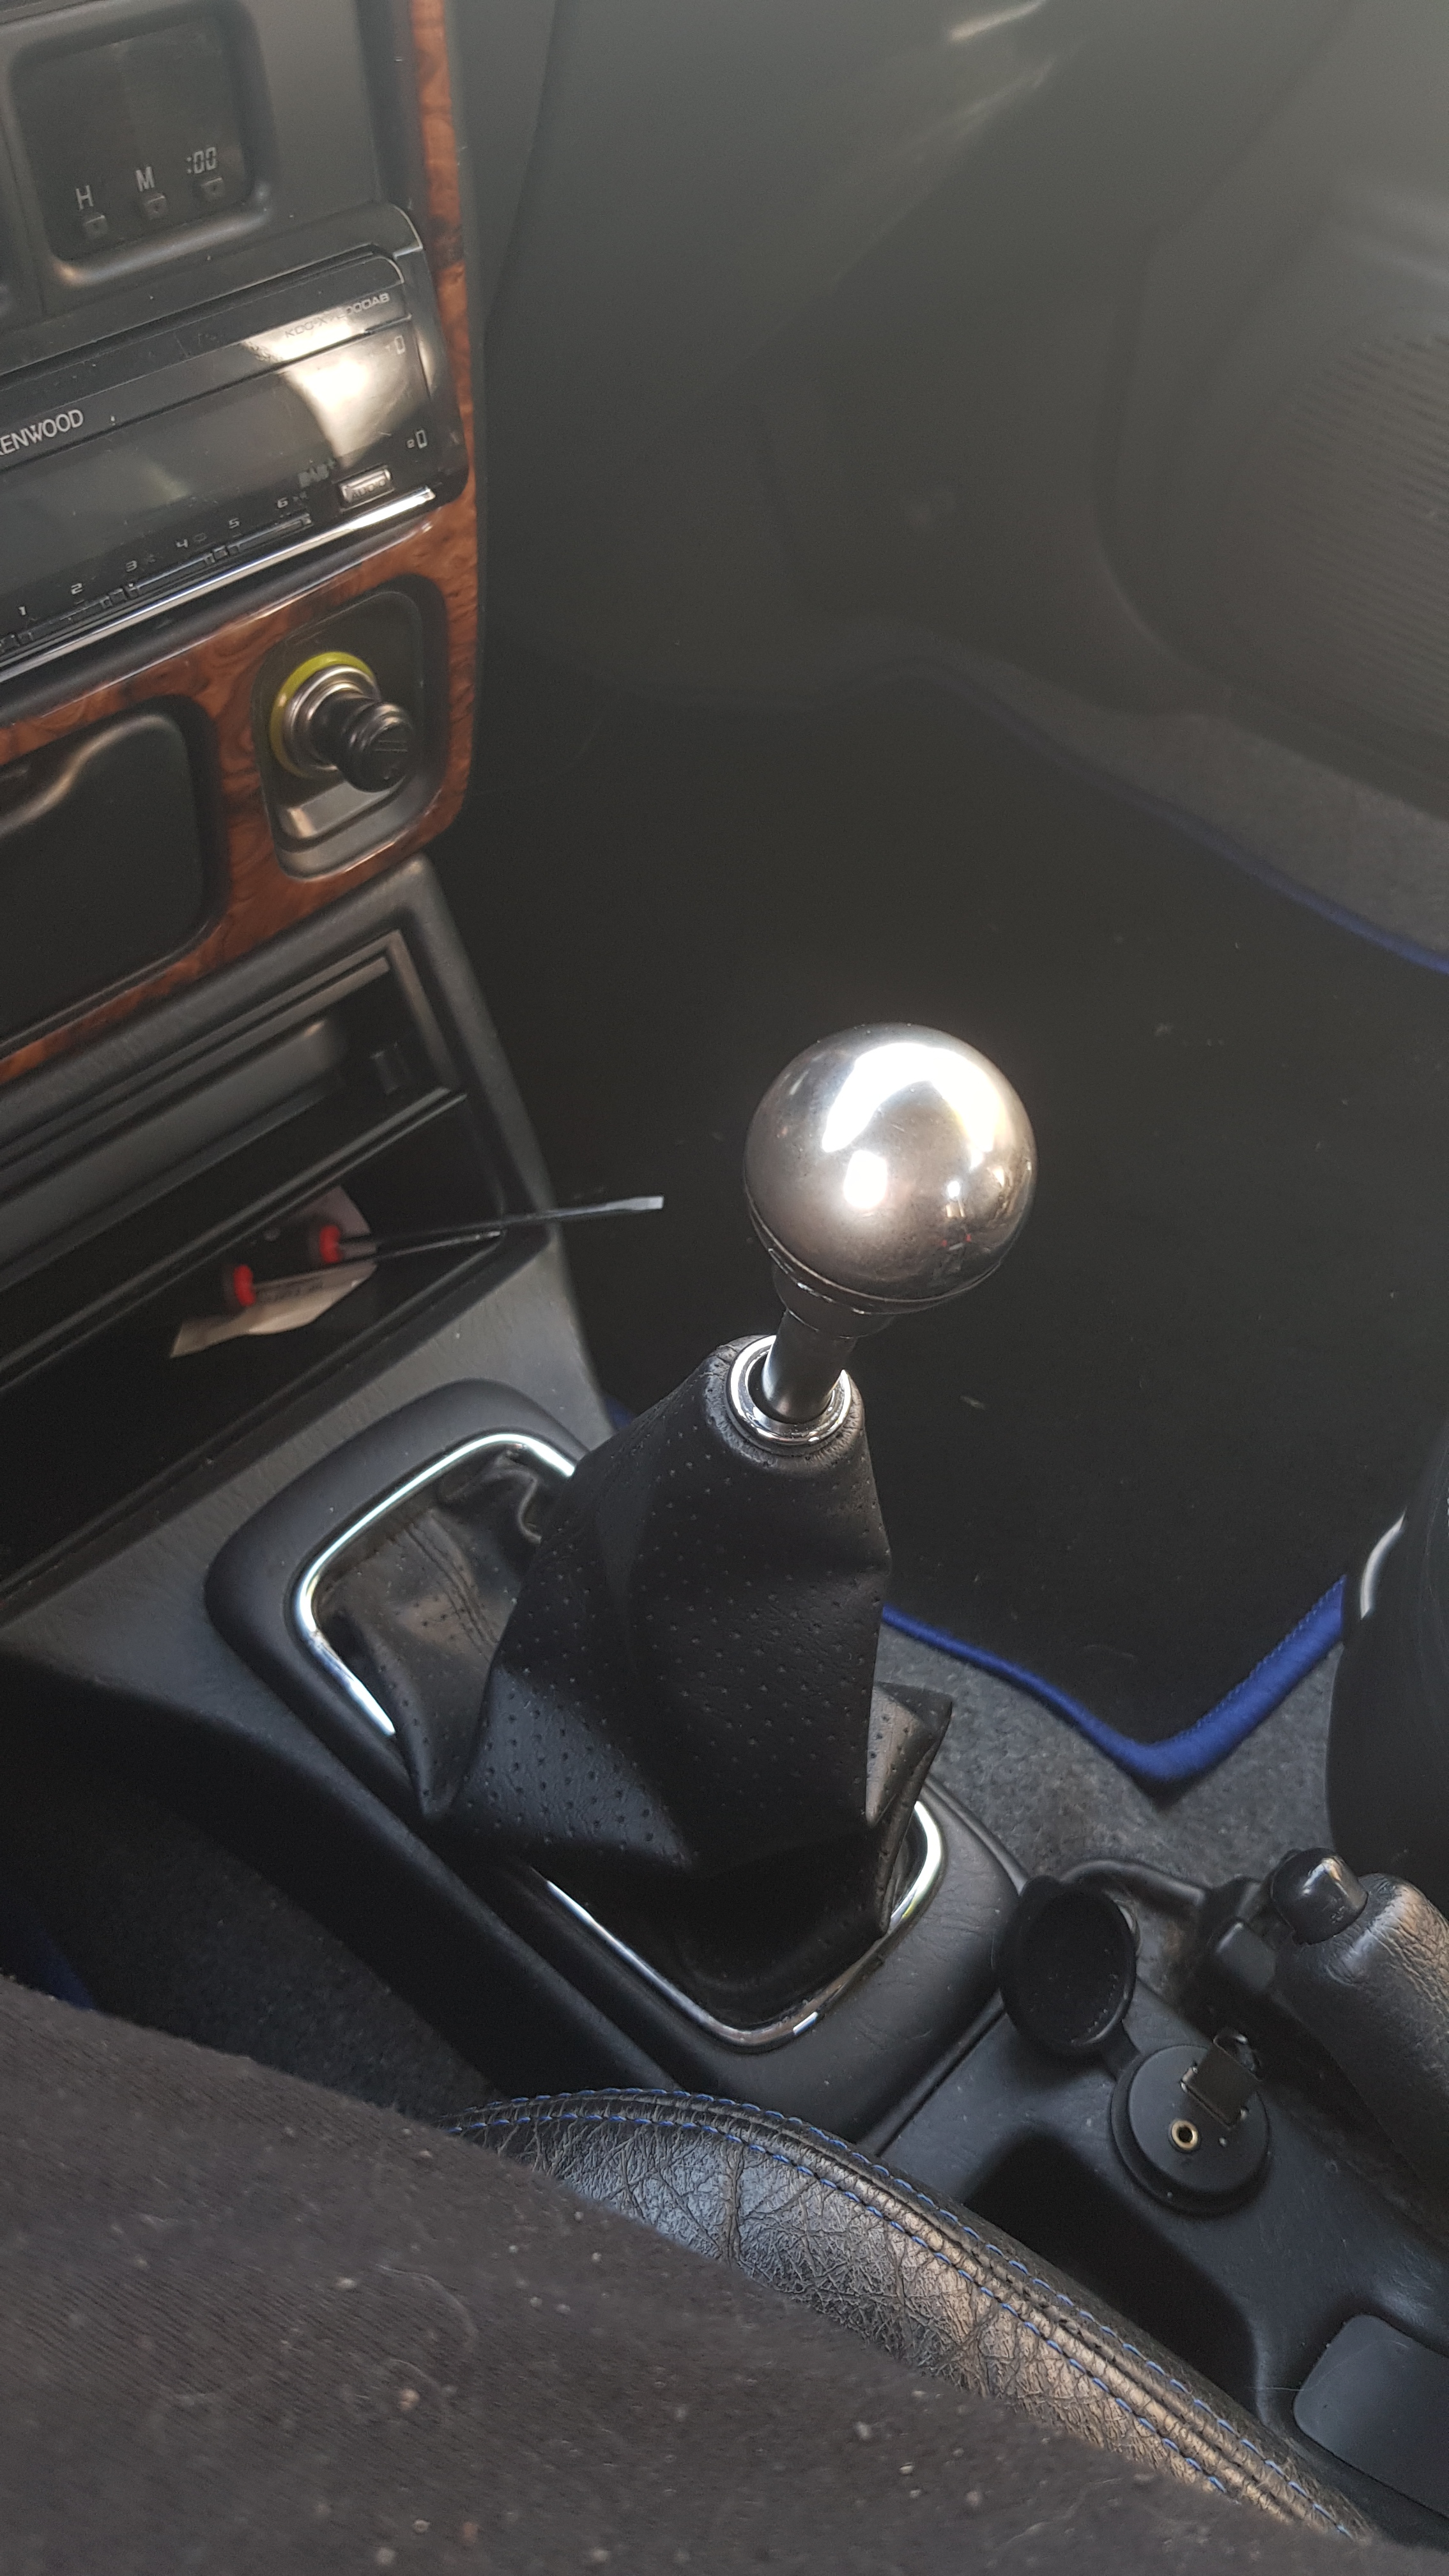
I liked the ball-gearknob-shift-thingy in the Copen, so I got one for the Blyatsu!
REARVIEW MIRROR
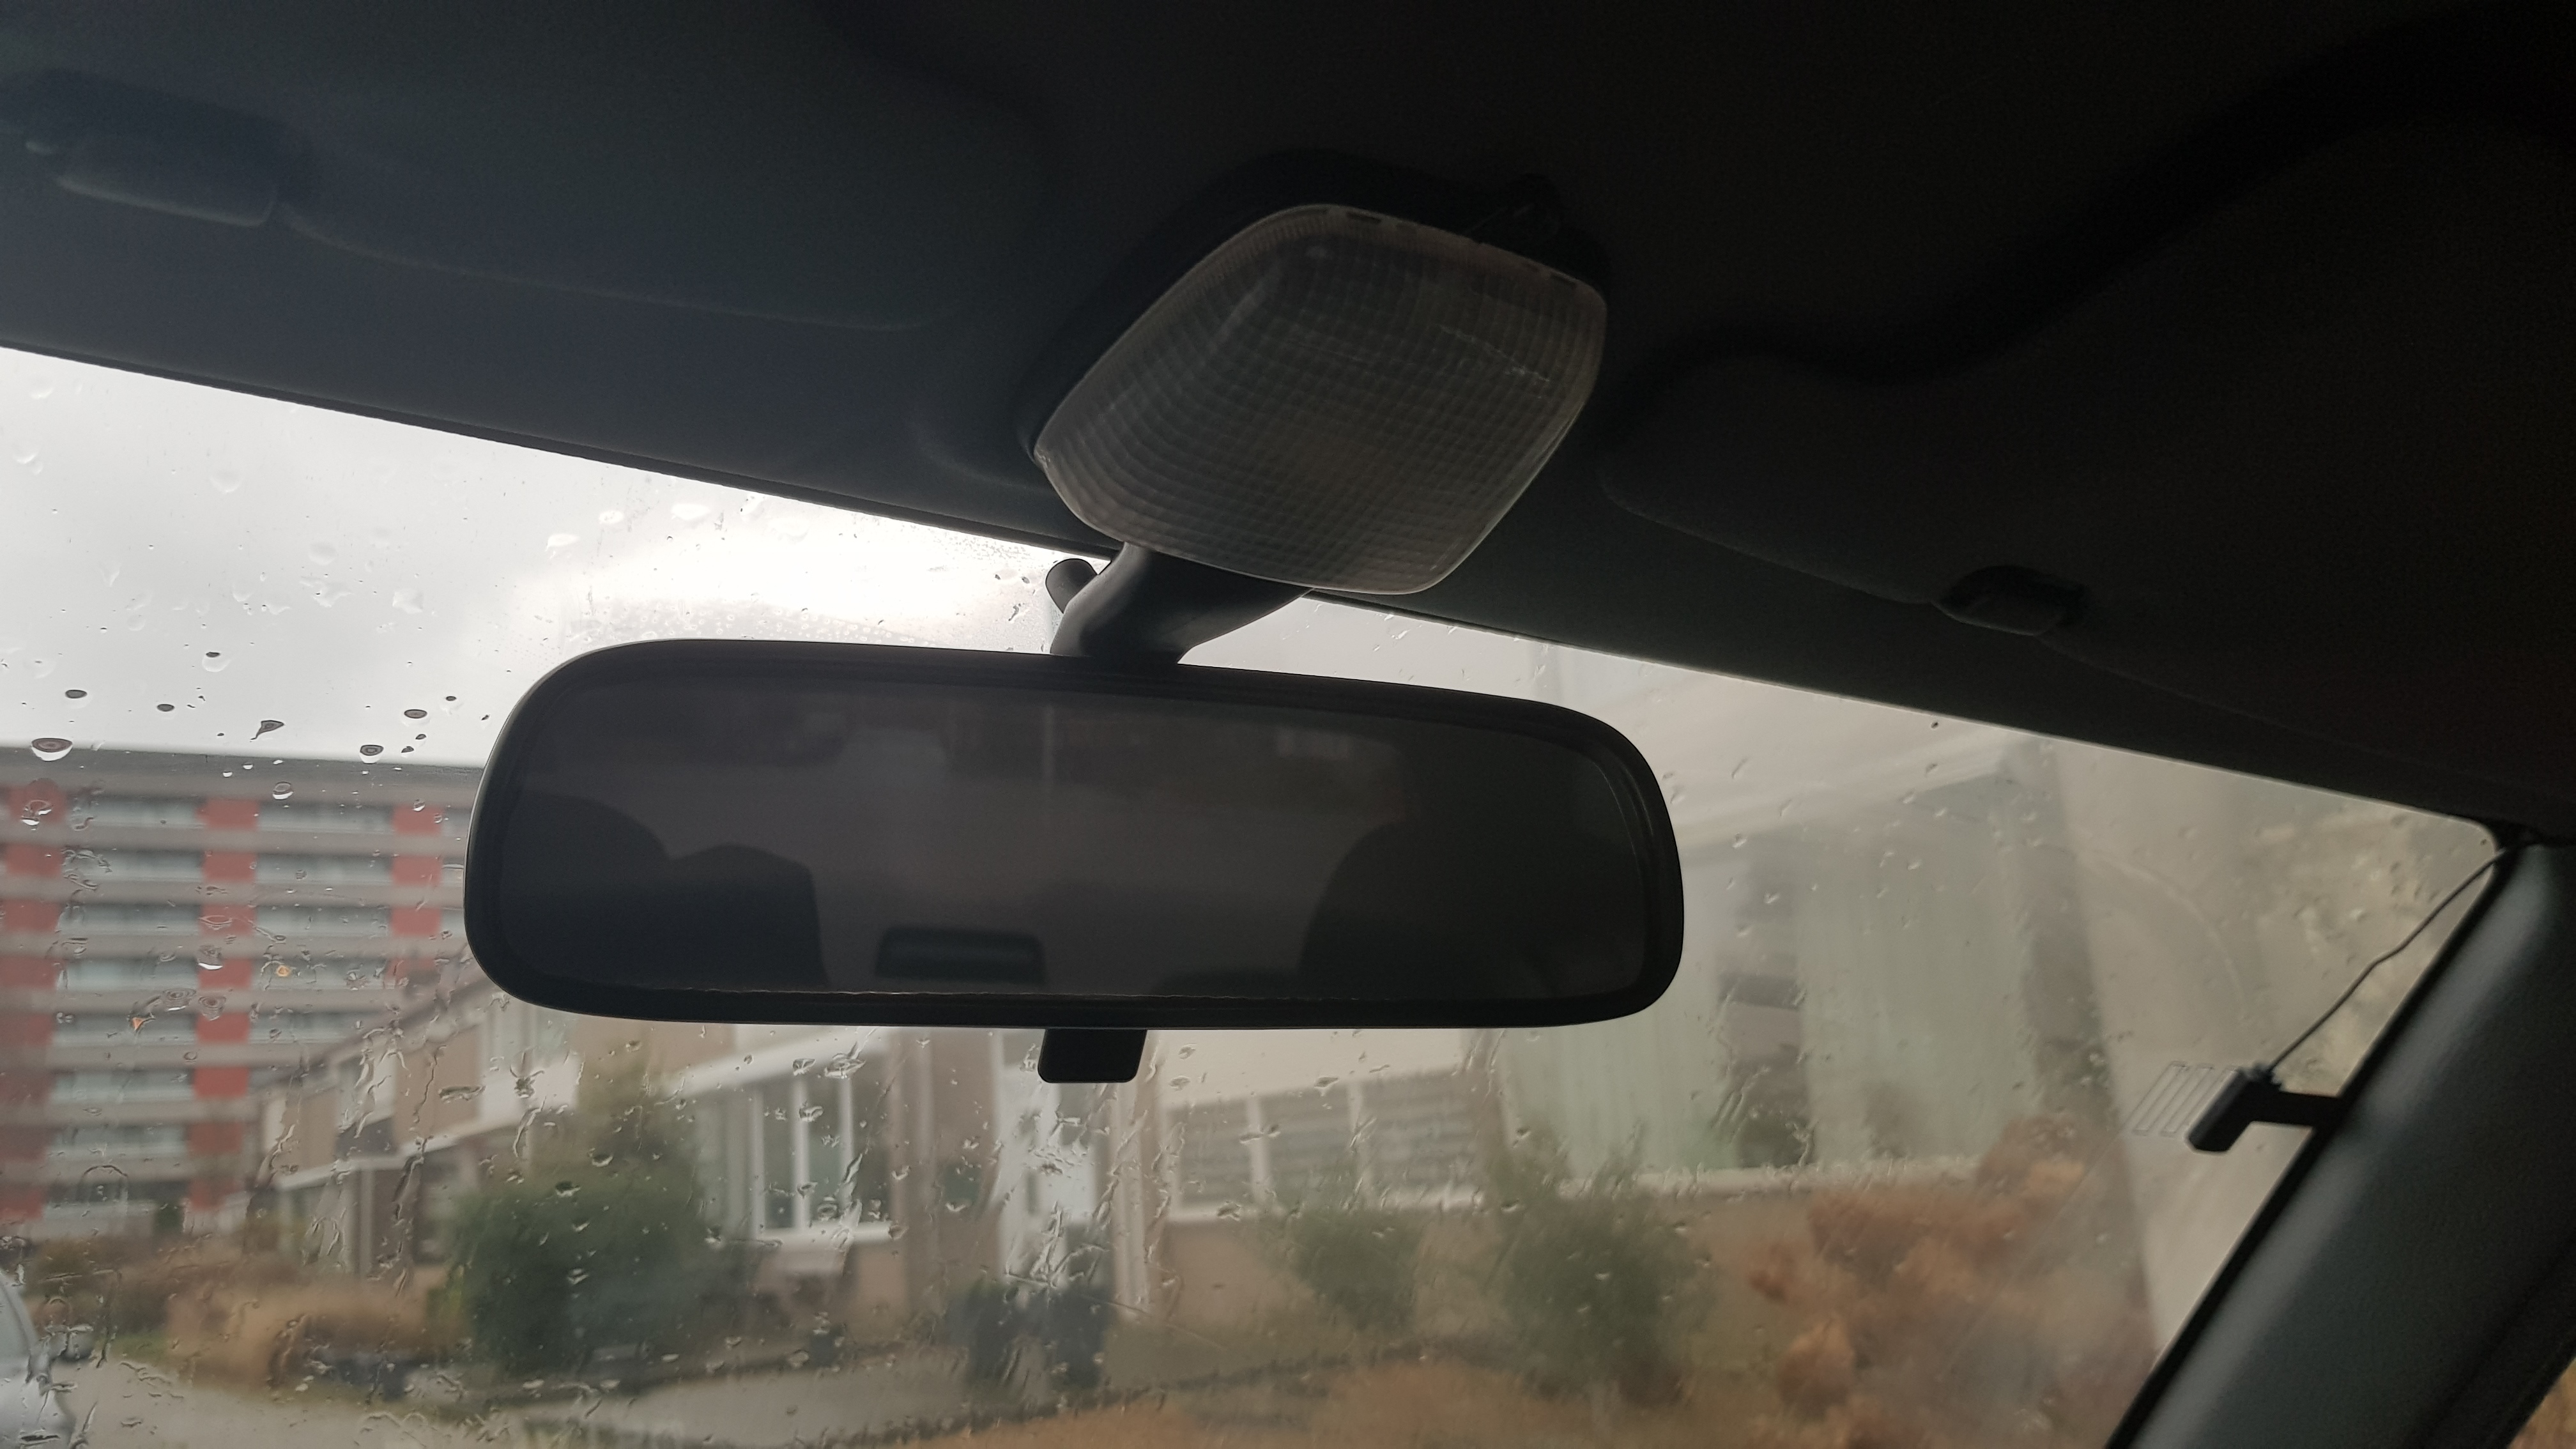
I needed a mirror with a dimming function, so I took one from a Sirion (M1).
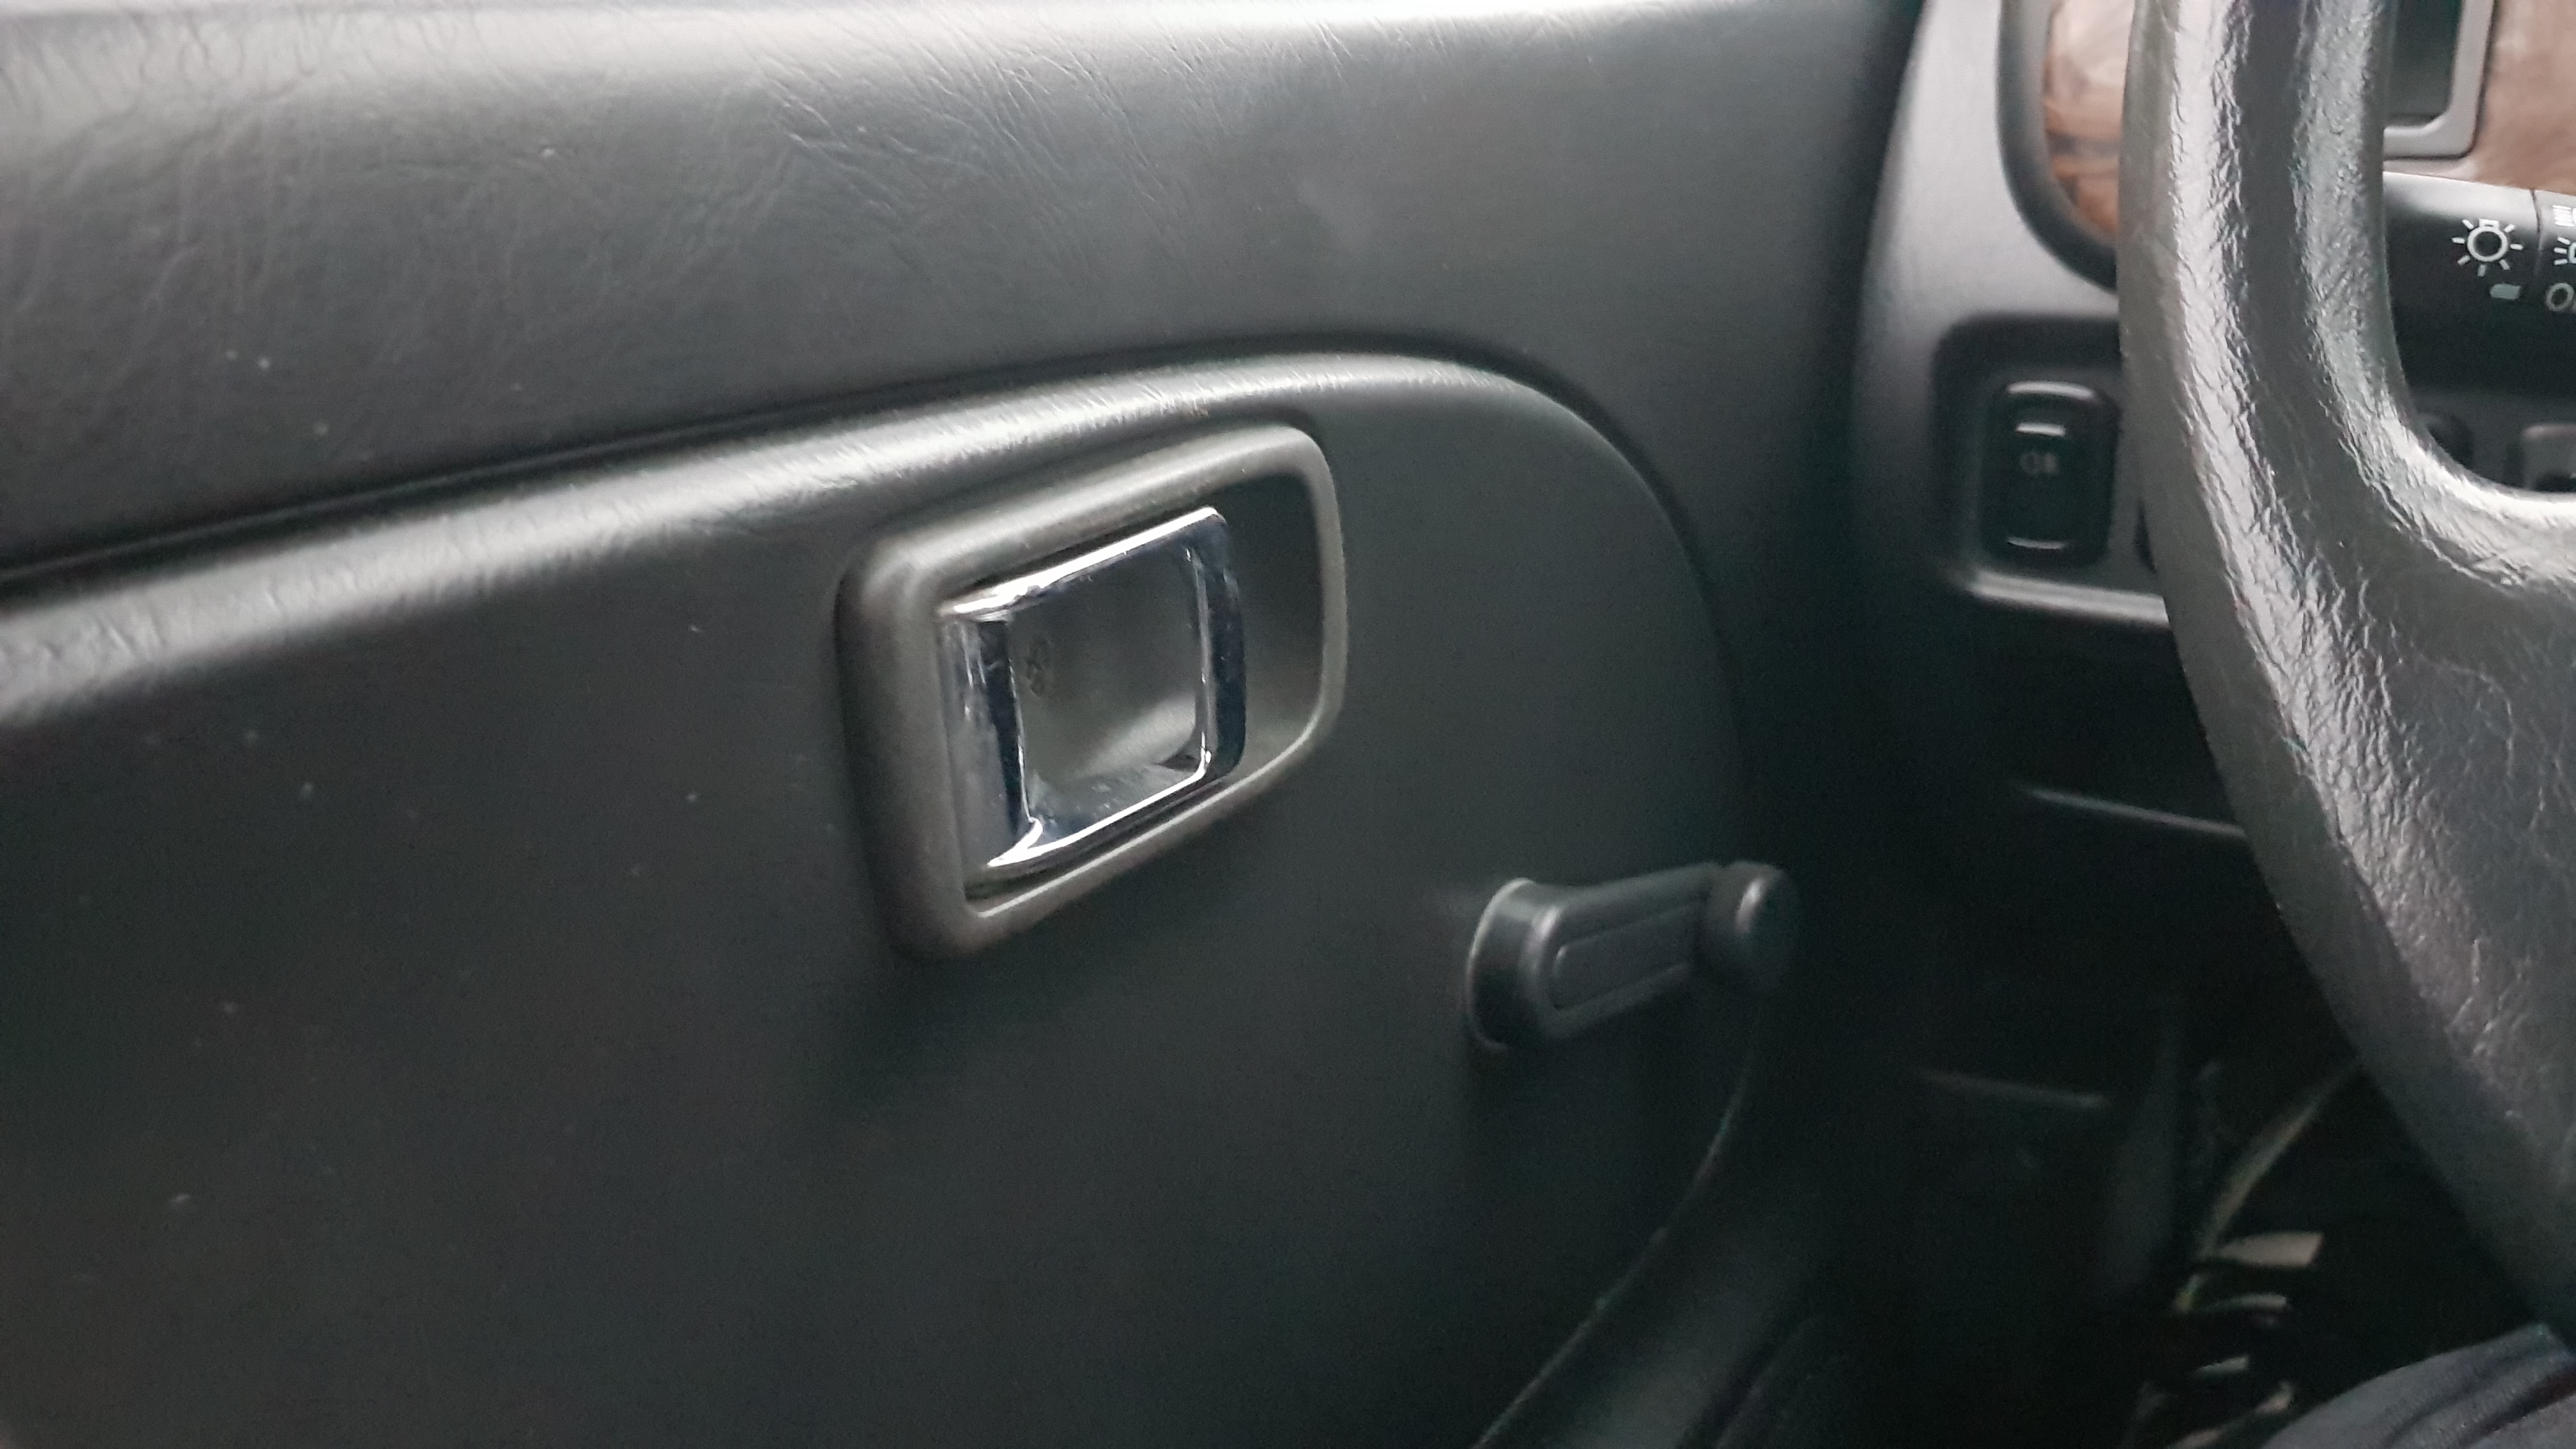
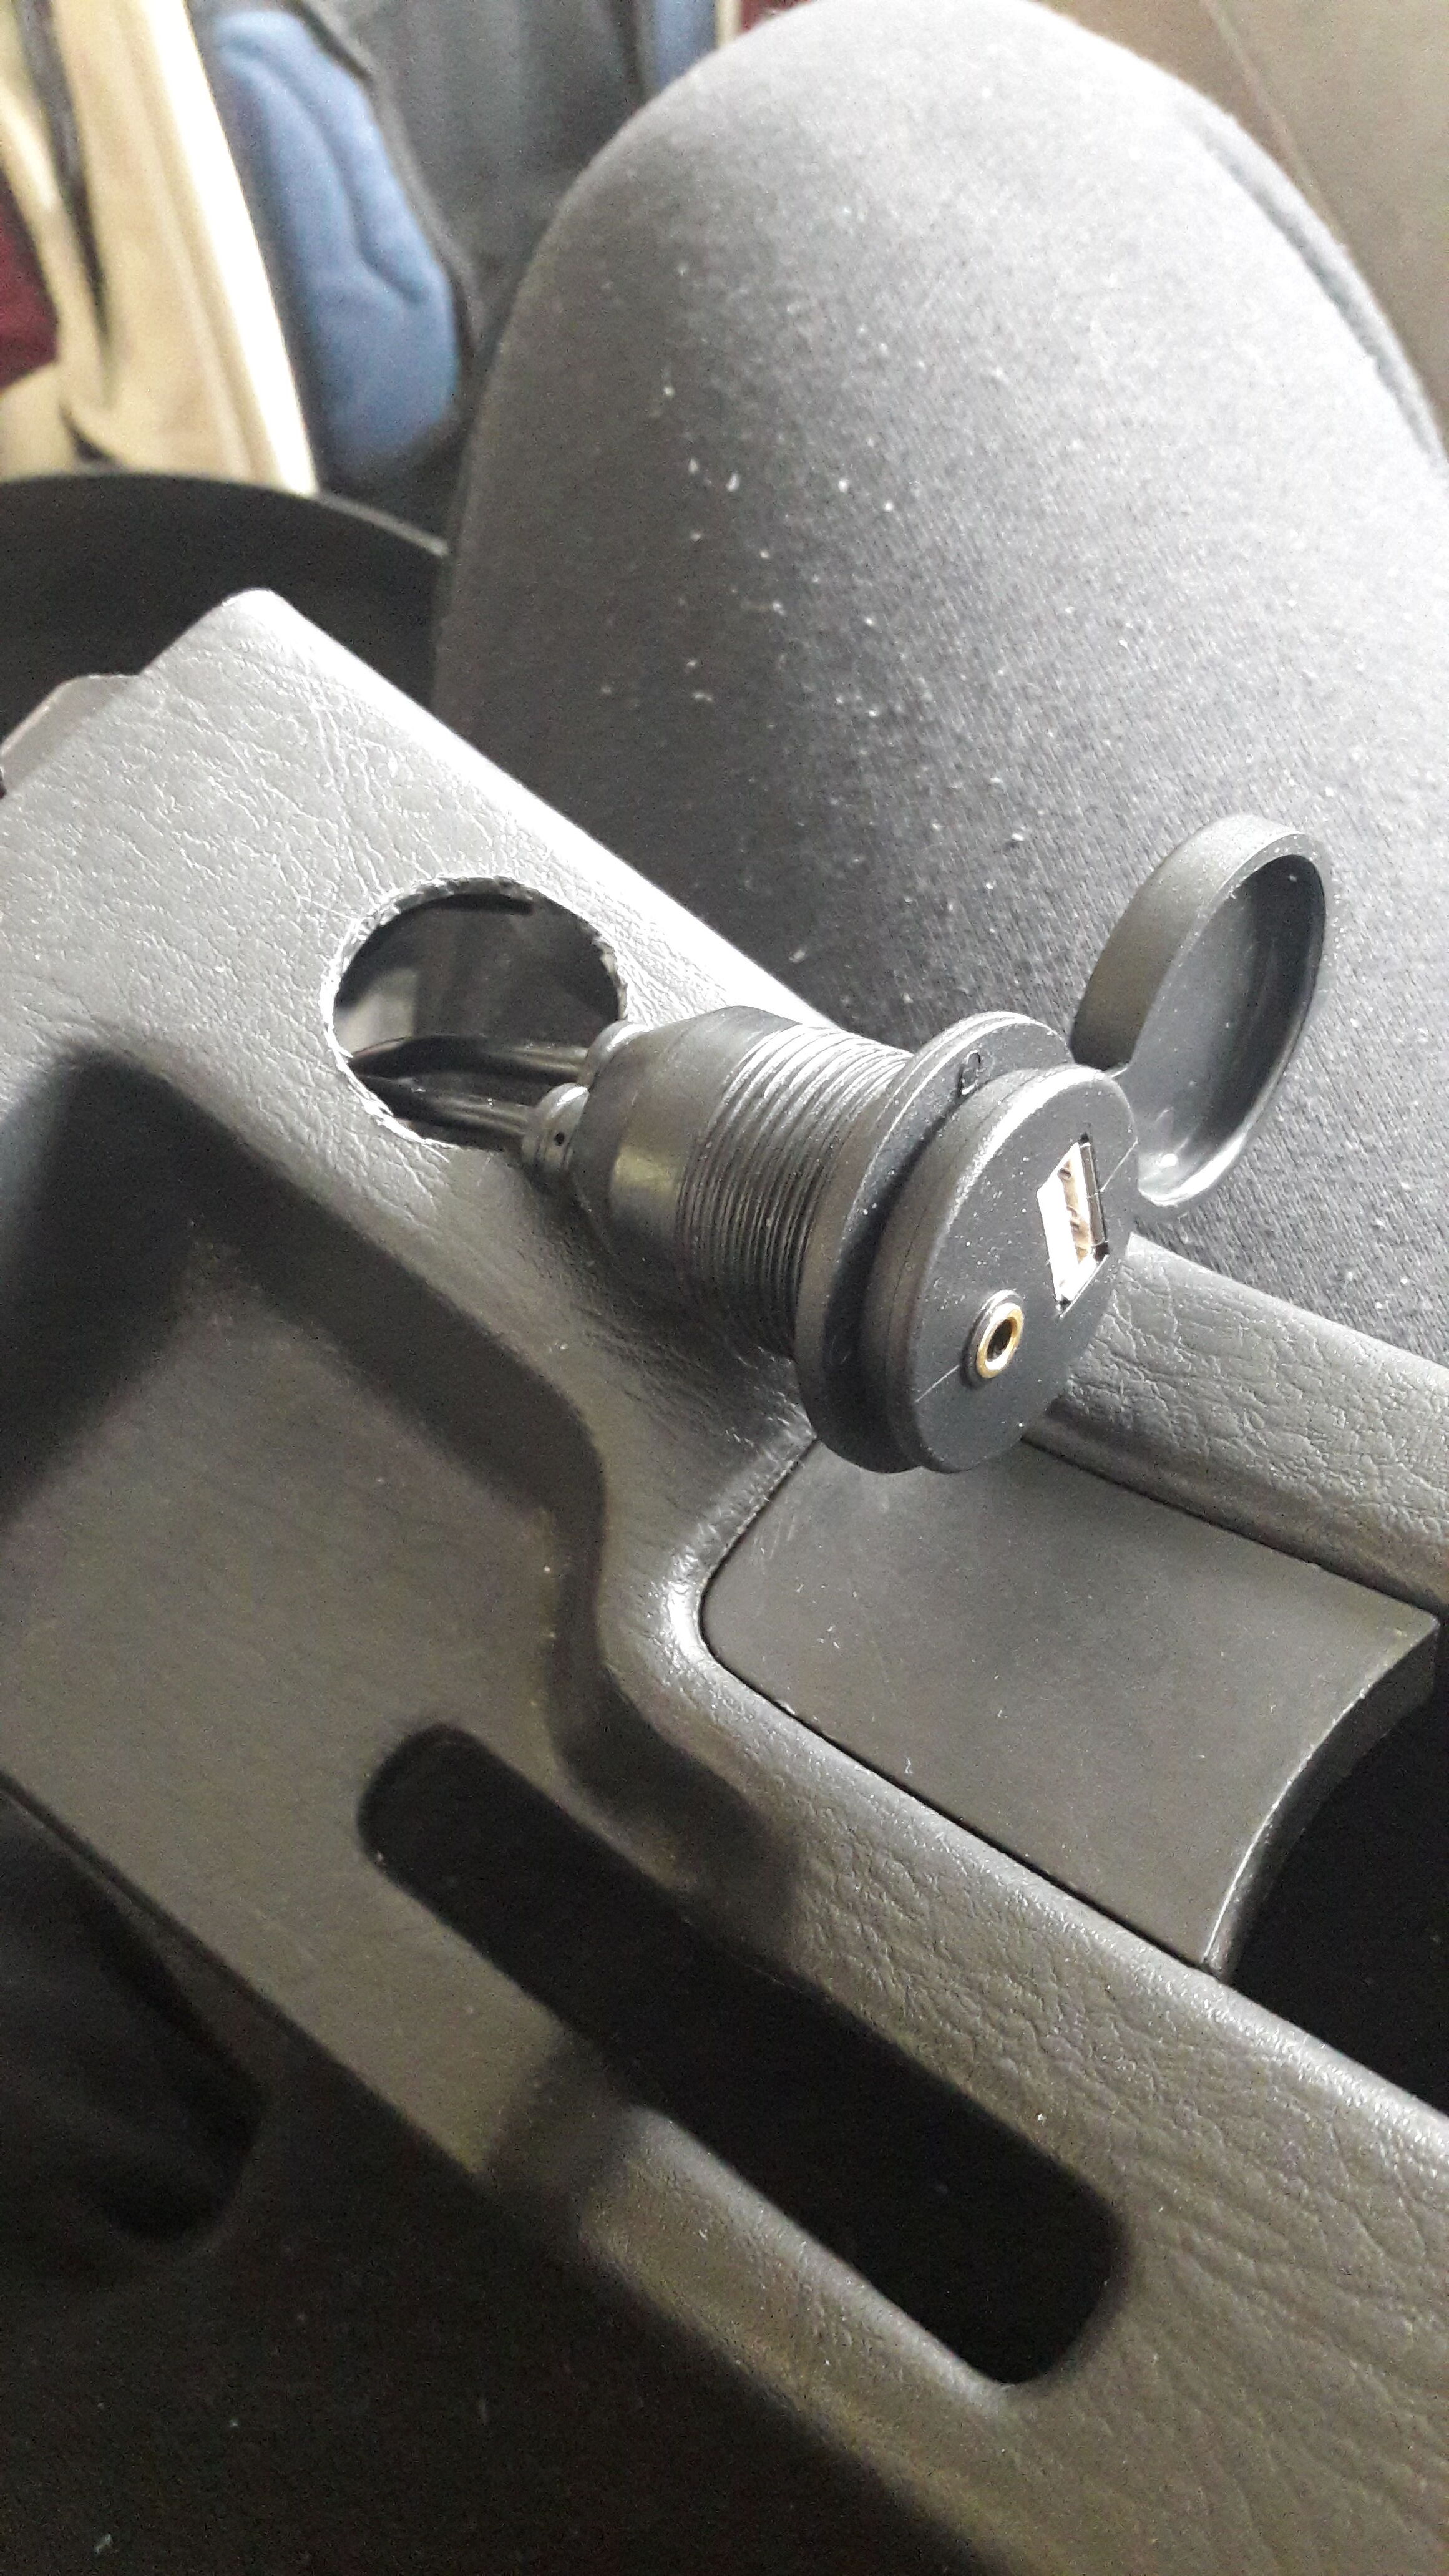
FUEL/TRUNK RELEASE
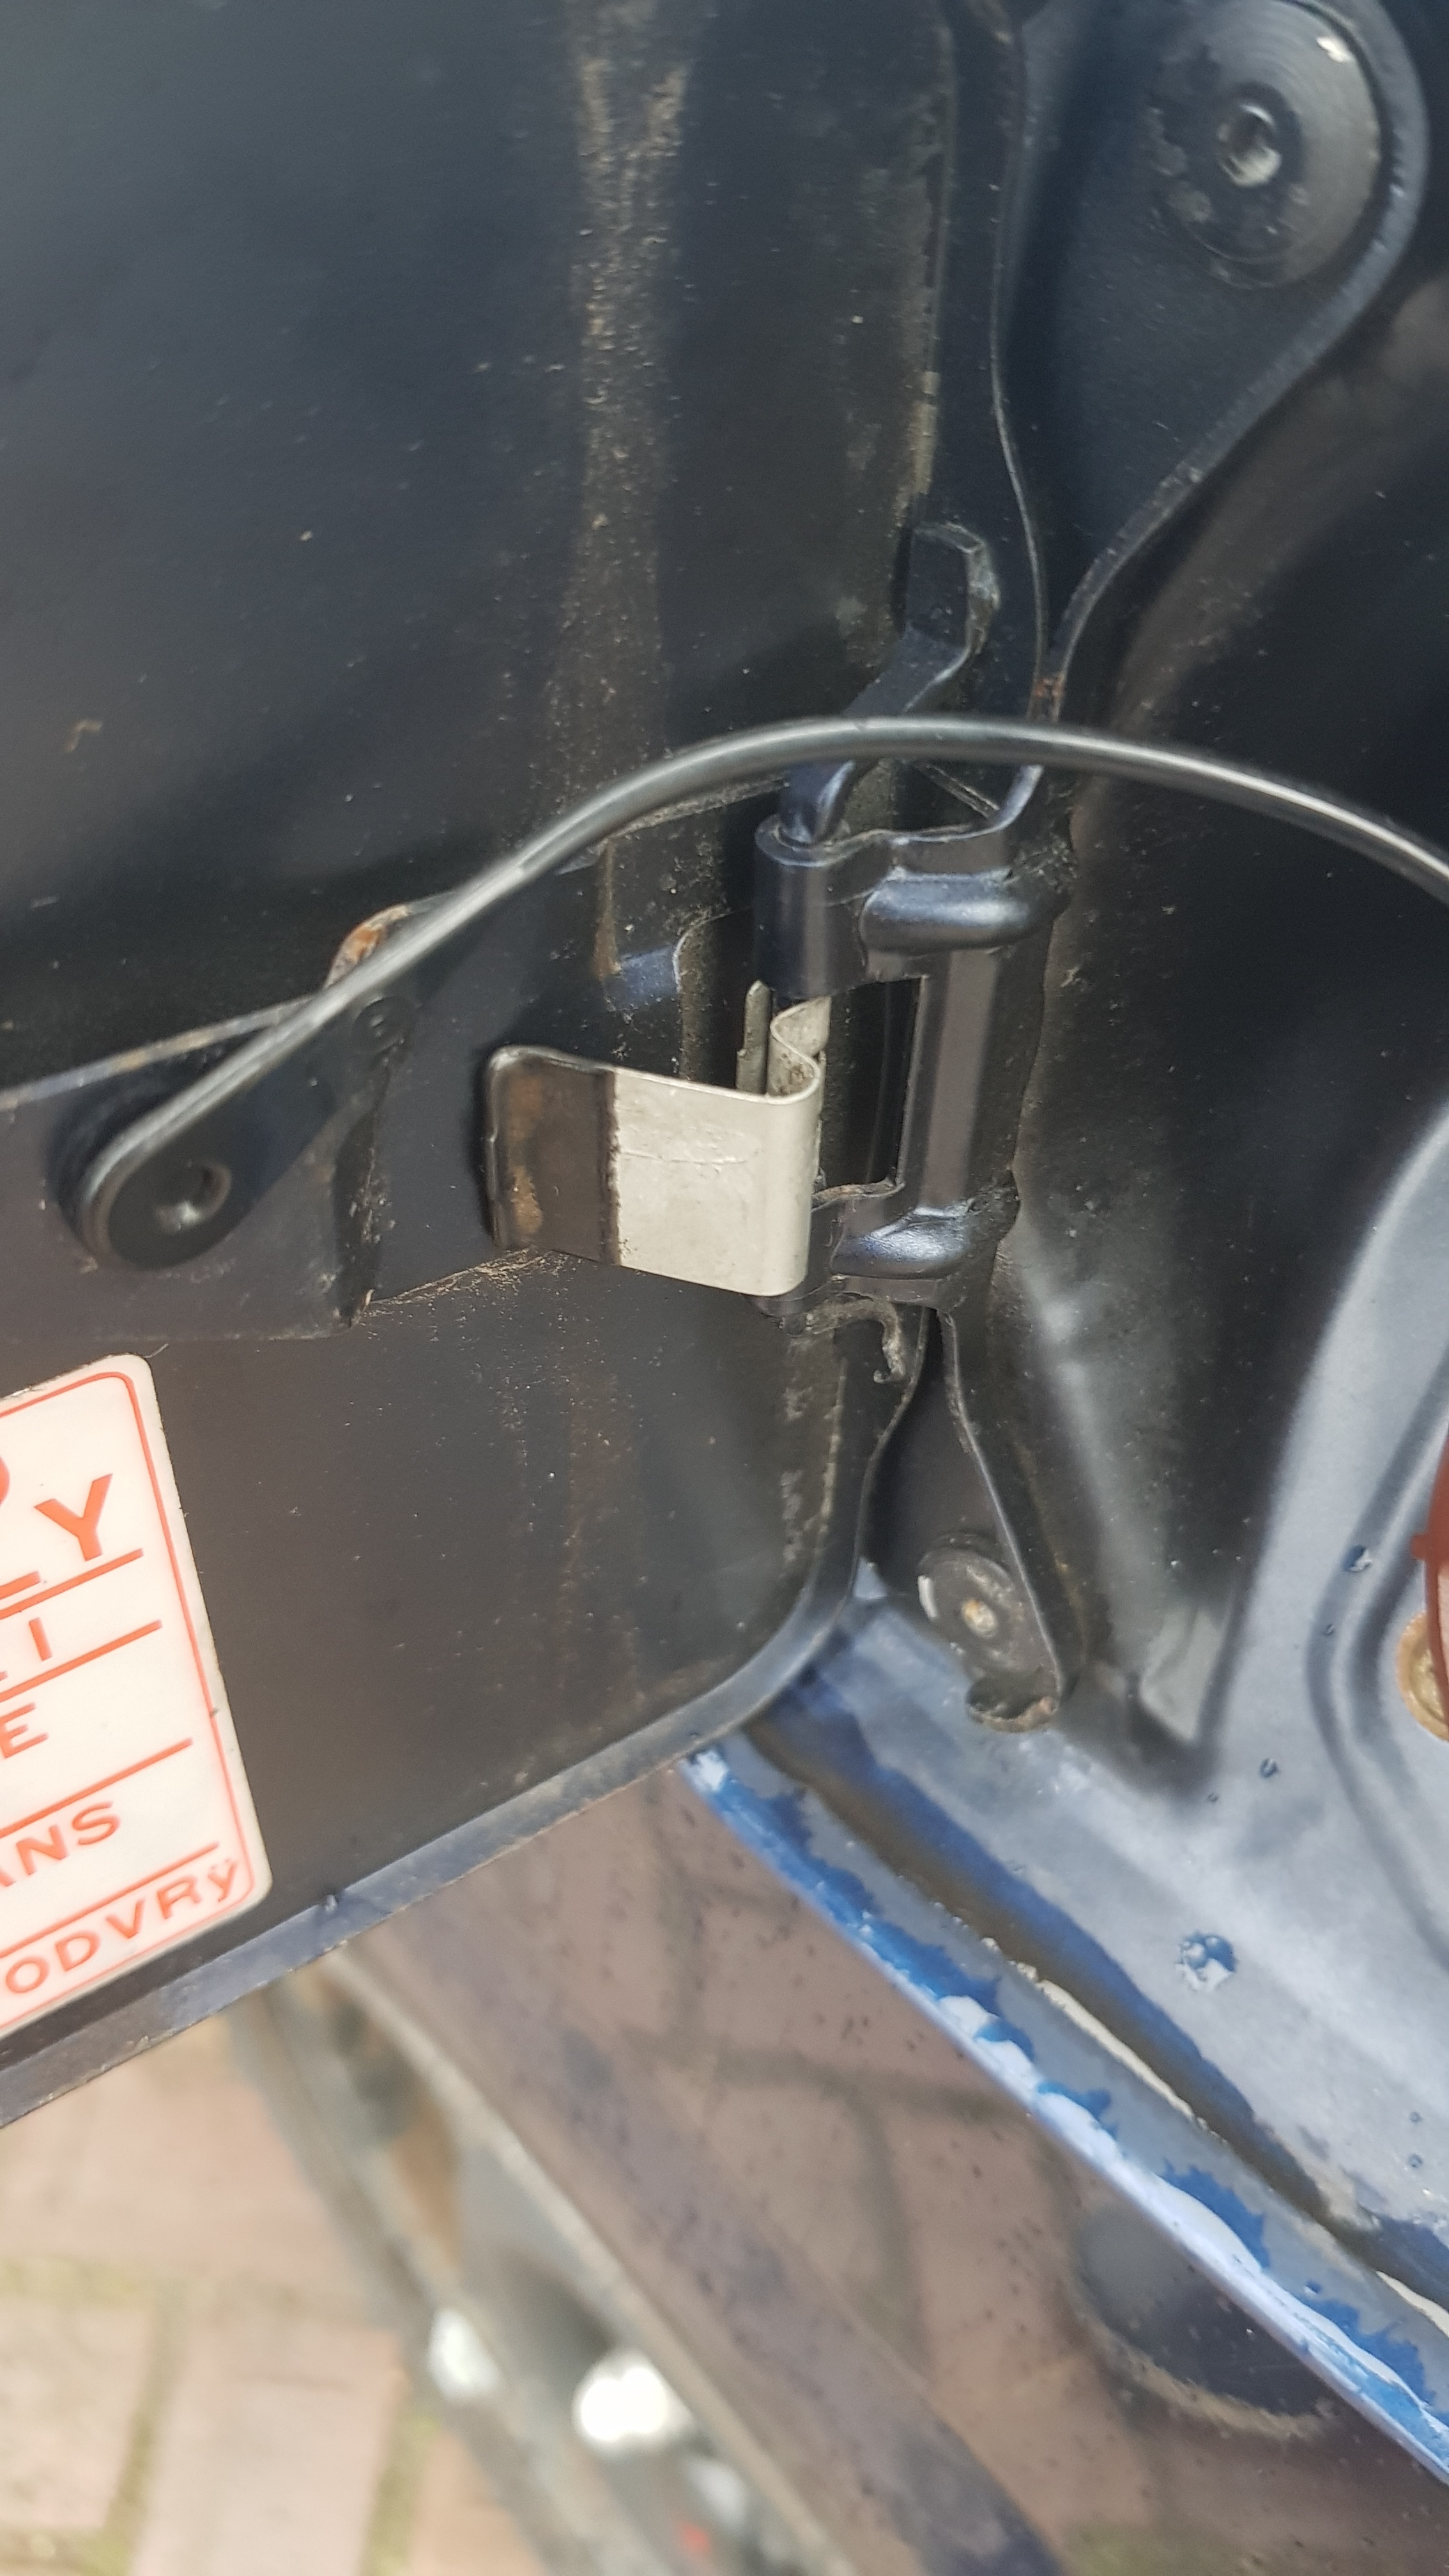
The top spec Cuores were equipped with a fuel and trunk release lever. I found one and as clumsy as I can be, immediately broke it. I got it sort of fixed by using an appropriate amount of tape, and it works fine!
BC COILOVERS
Finally lowered! Although it’s not particularly slammed, it still looks cool and drives way better
I M P O R T A N T
Some of you may consider lowering springs or coilovers, but don’t know what’s best.
My advise is this: if you want to go lower: buy springs. It’ll sit about 40mm lower, depending on what springs you’ll buy (VMAXX, Cobra for example), and as a bonus, it’ll improve the handling a bit.
If you’re looking for better handling and adjustability, you should definitely invest in an nice set of coilovers. I say “investment”, because good coils are not cheap. I got mine for €800 for example. You can buy cheaper coilovers, but in my opinion they’re not as good or adjustable as the BC coils.
REAR BUMPER AND 3RD BRAKE LIGHT
A few months earlier, I went to Germany to get a set of Avanzato/TR bumpers. I sold the front bumper, but kept the rear bumper. When I got it, is was silver, but a friend of mine painted it blue for me! That same friend helped me with the third brake light, which looks more modern than the stock one!
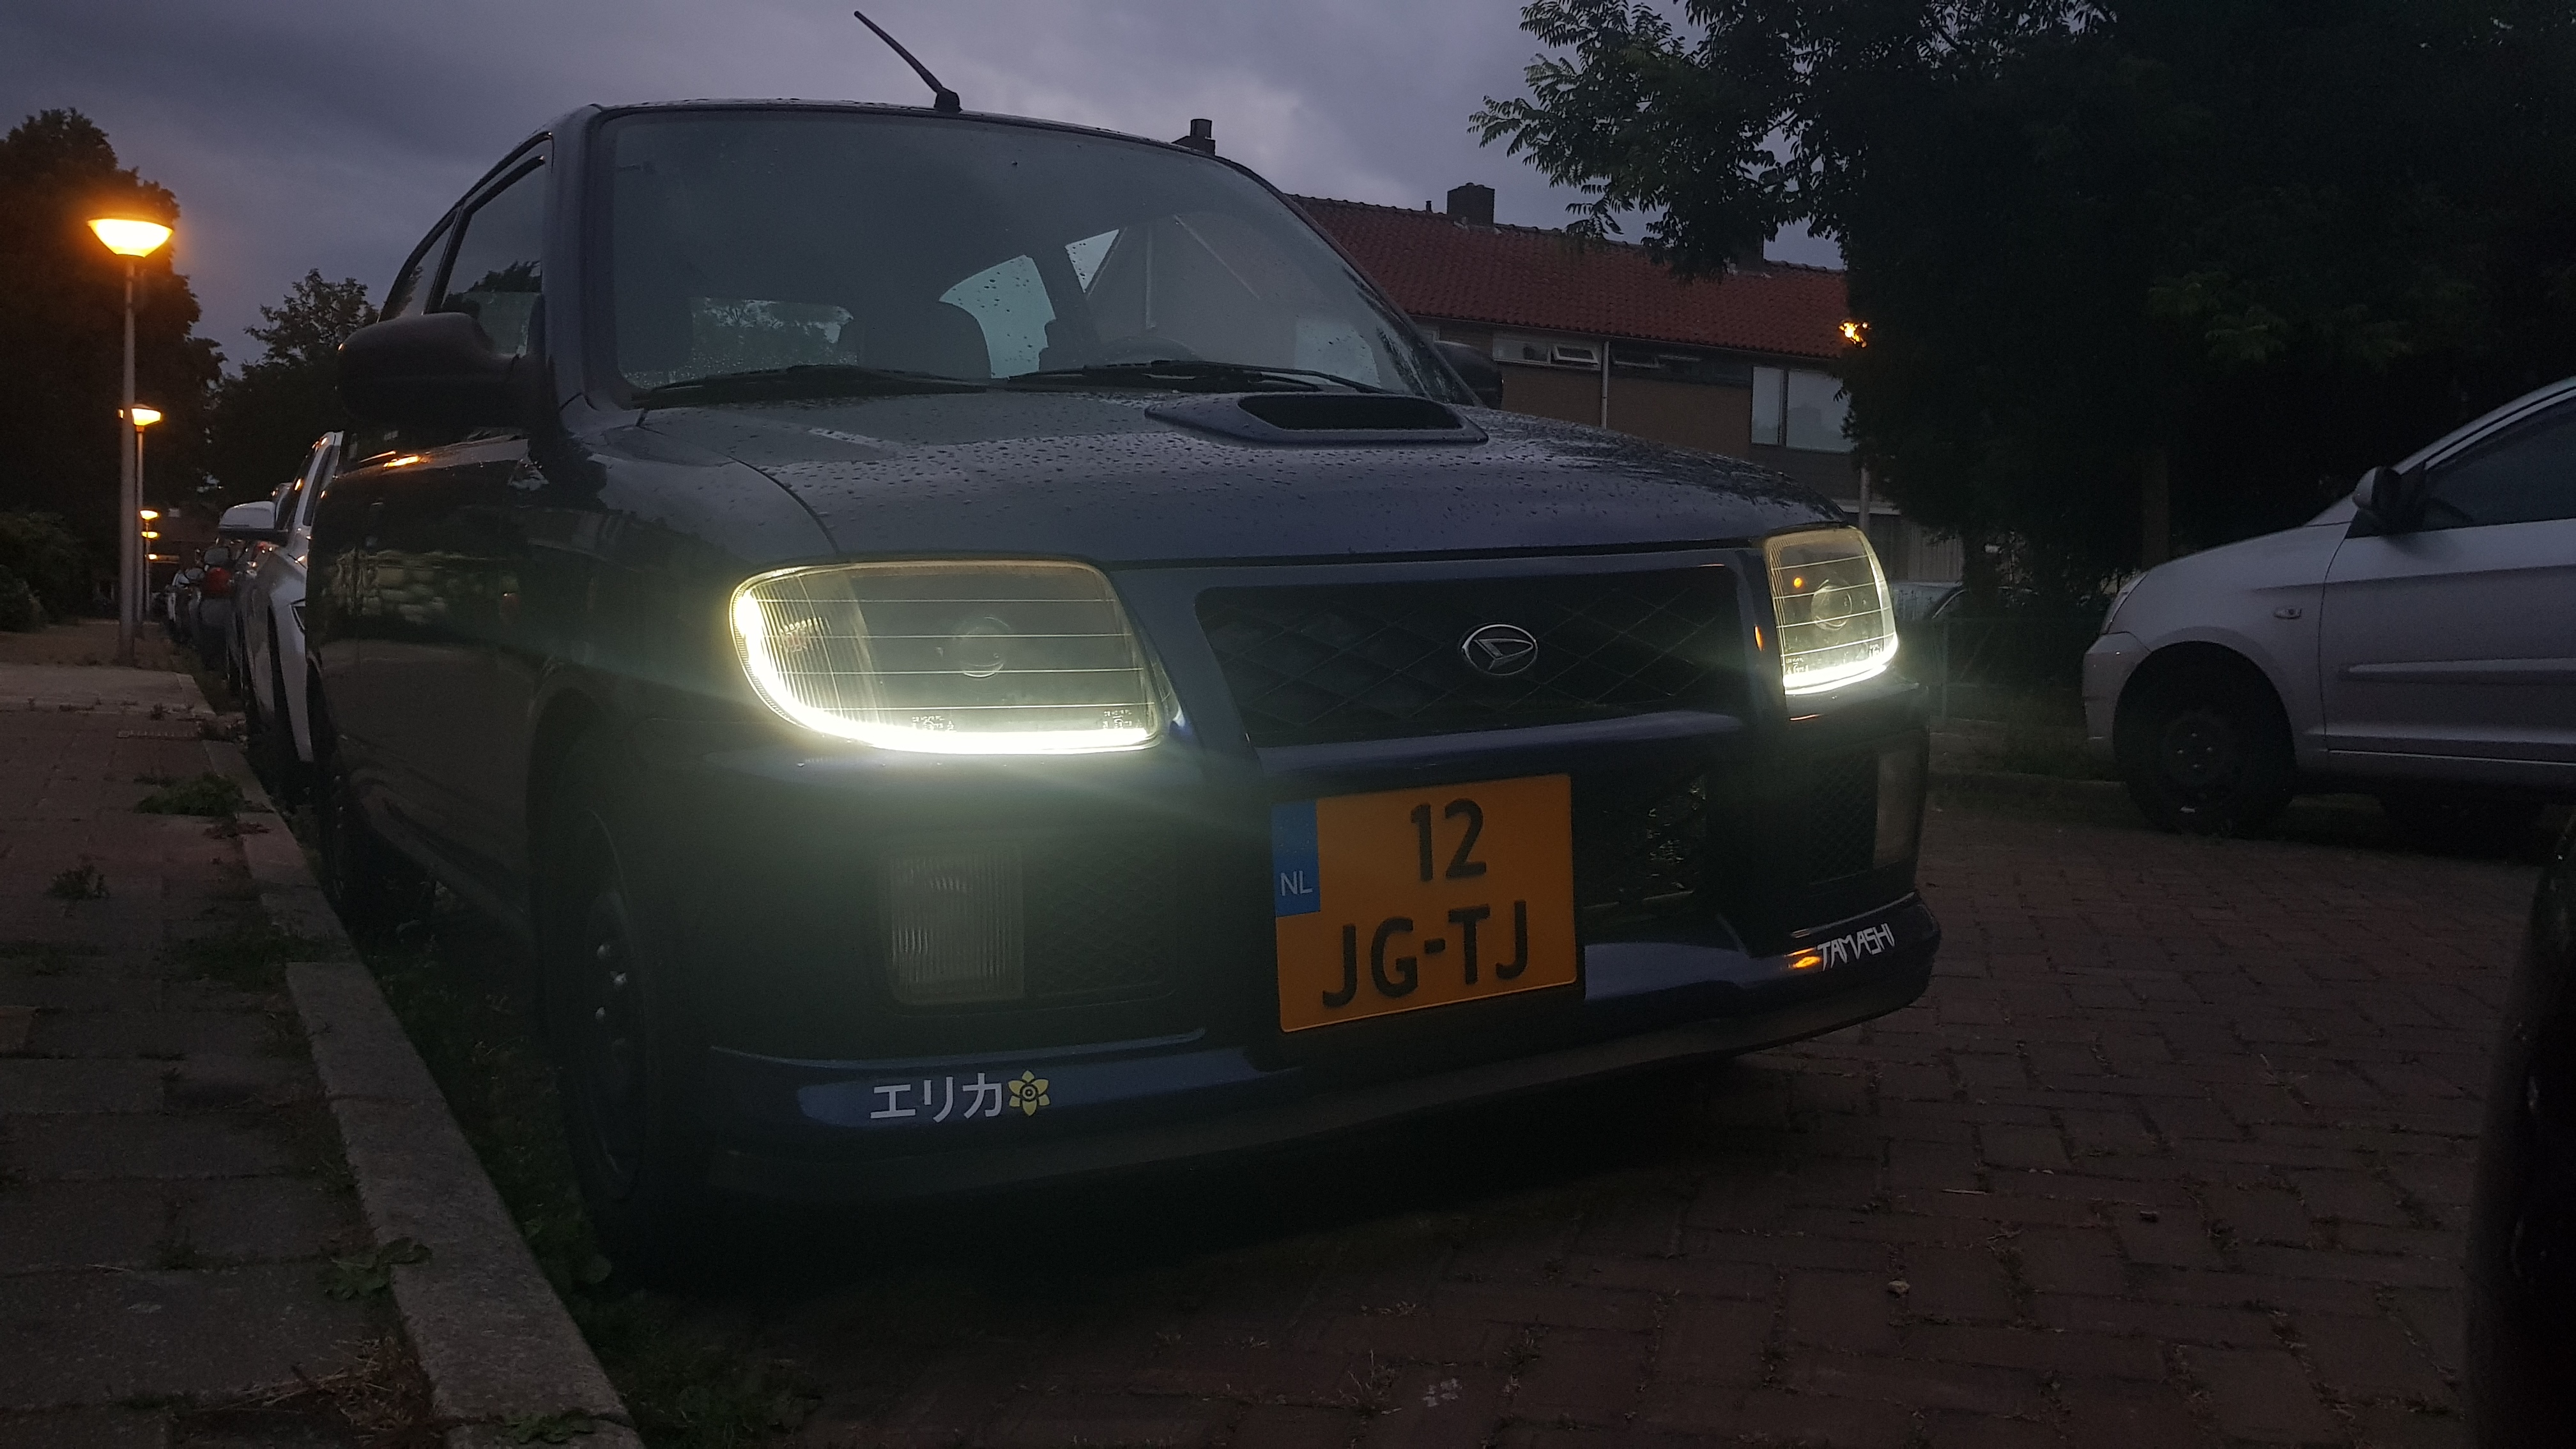
RETROFITTING THE HEADLIGHTS
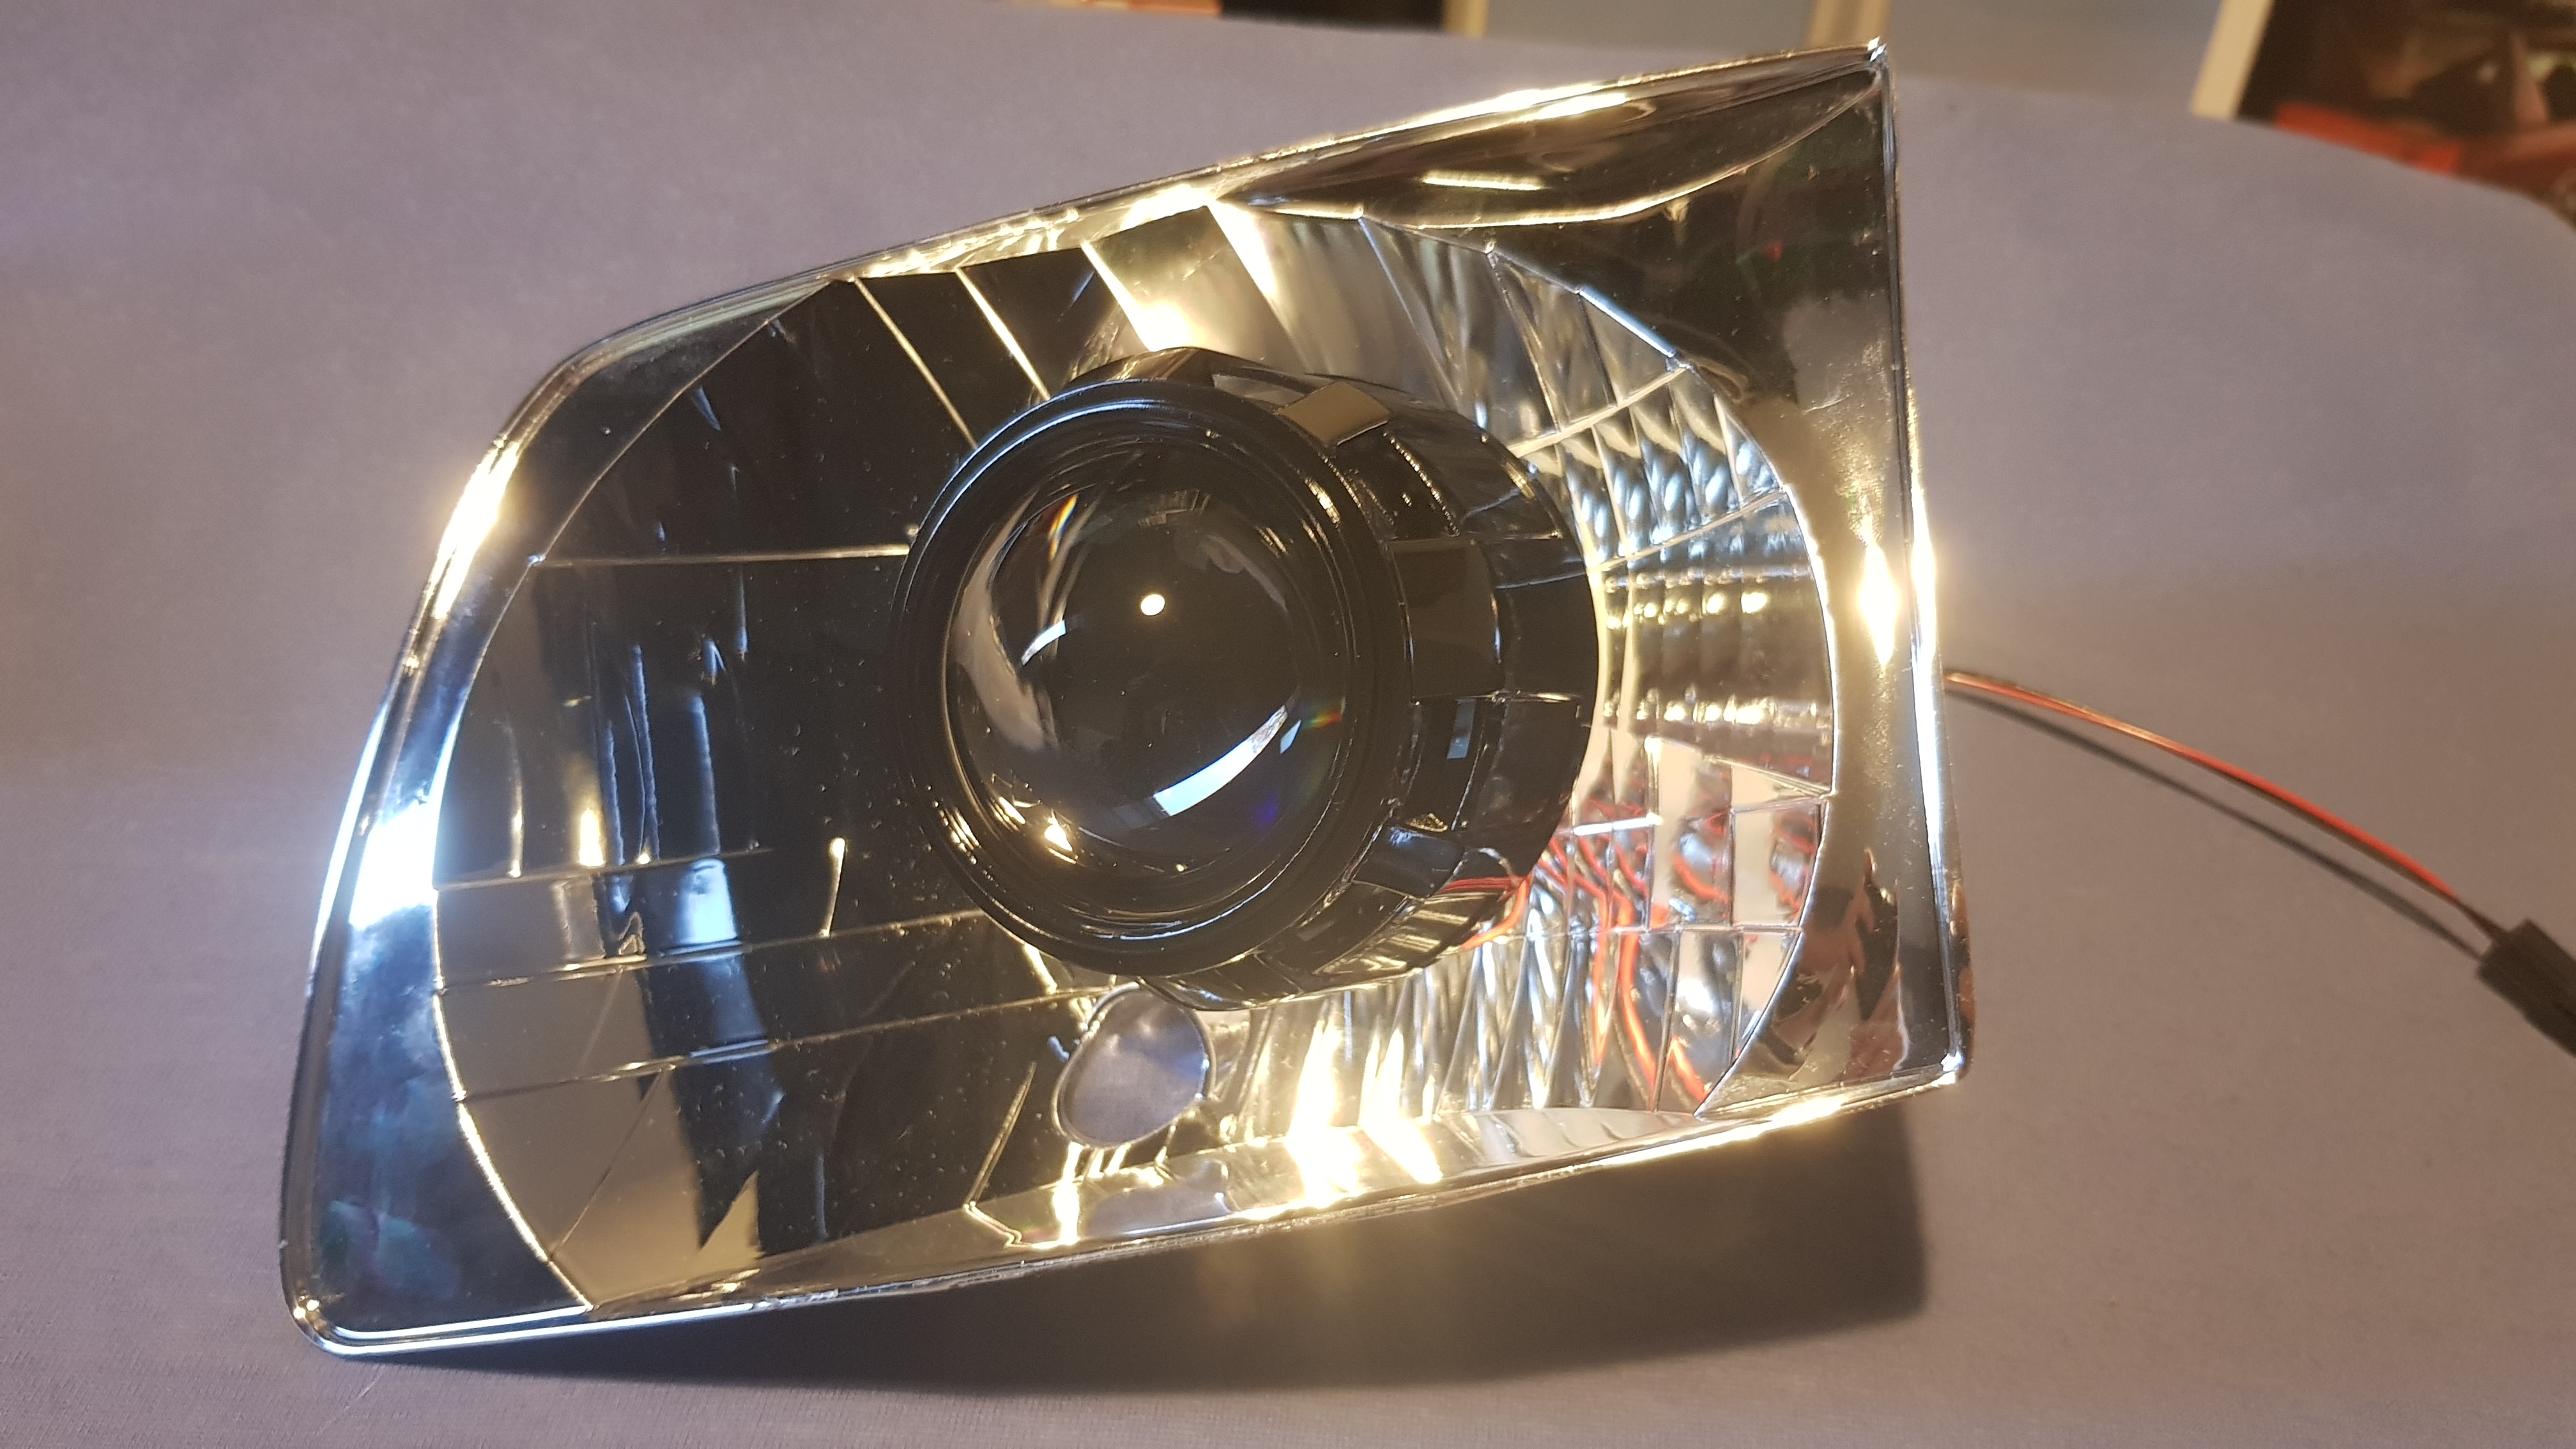
Testfitting the projector
I made a T10 plug so the LED strip would be powered by the parking light socket
Filled up the holes where the parking lights used to be
Testfitting!
The result!
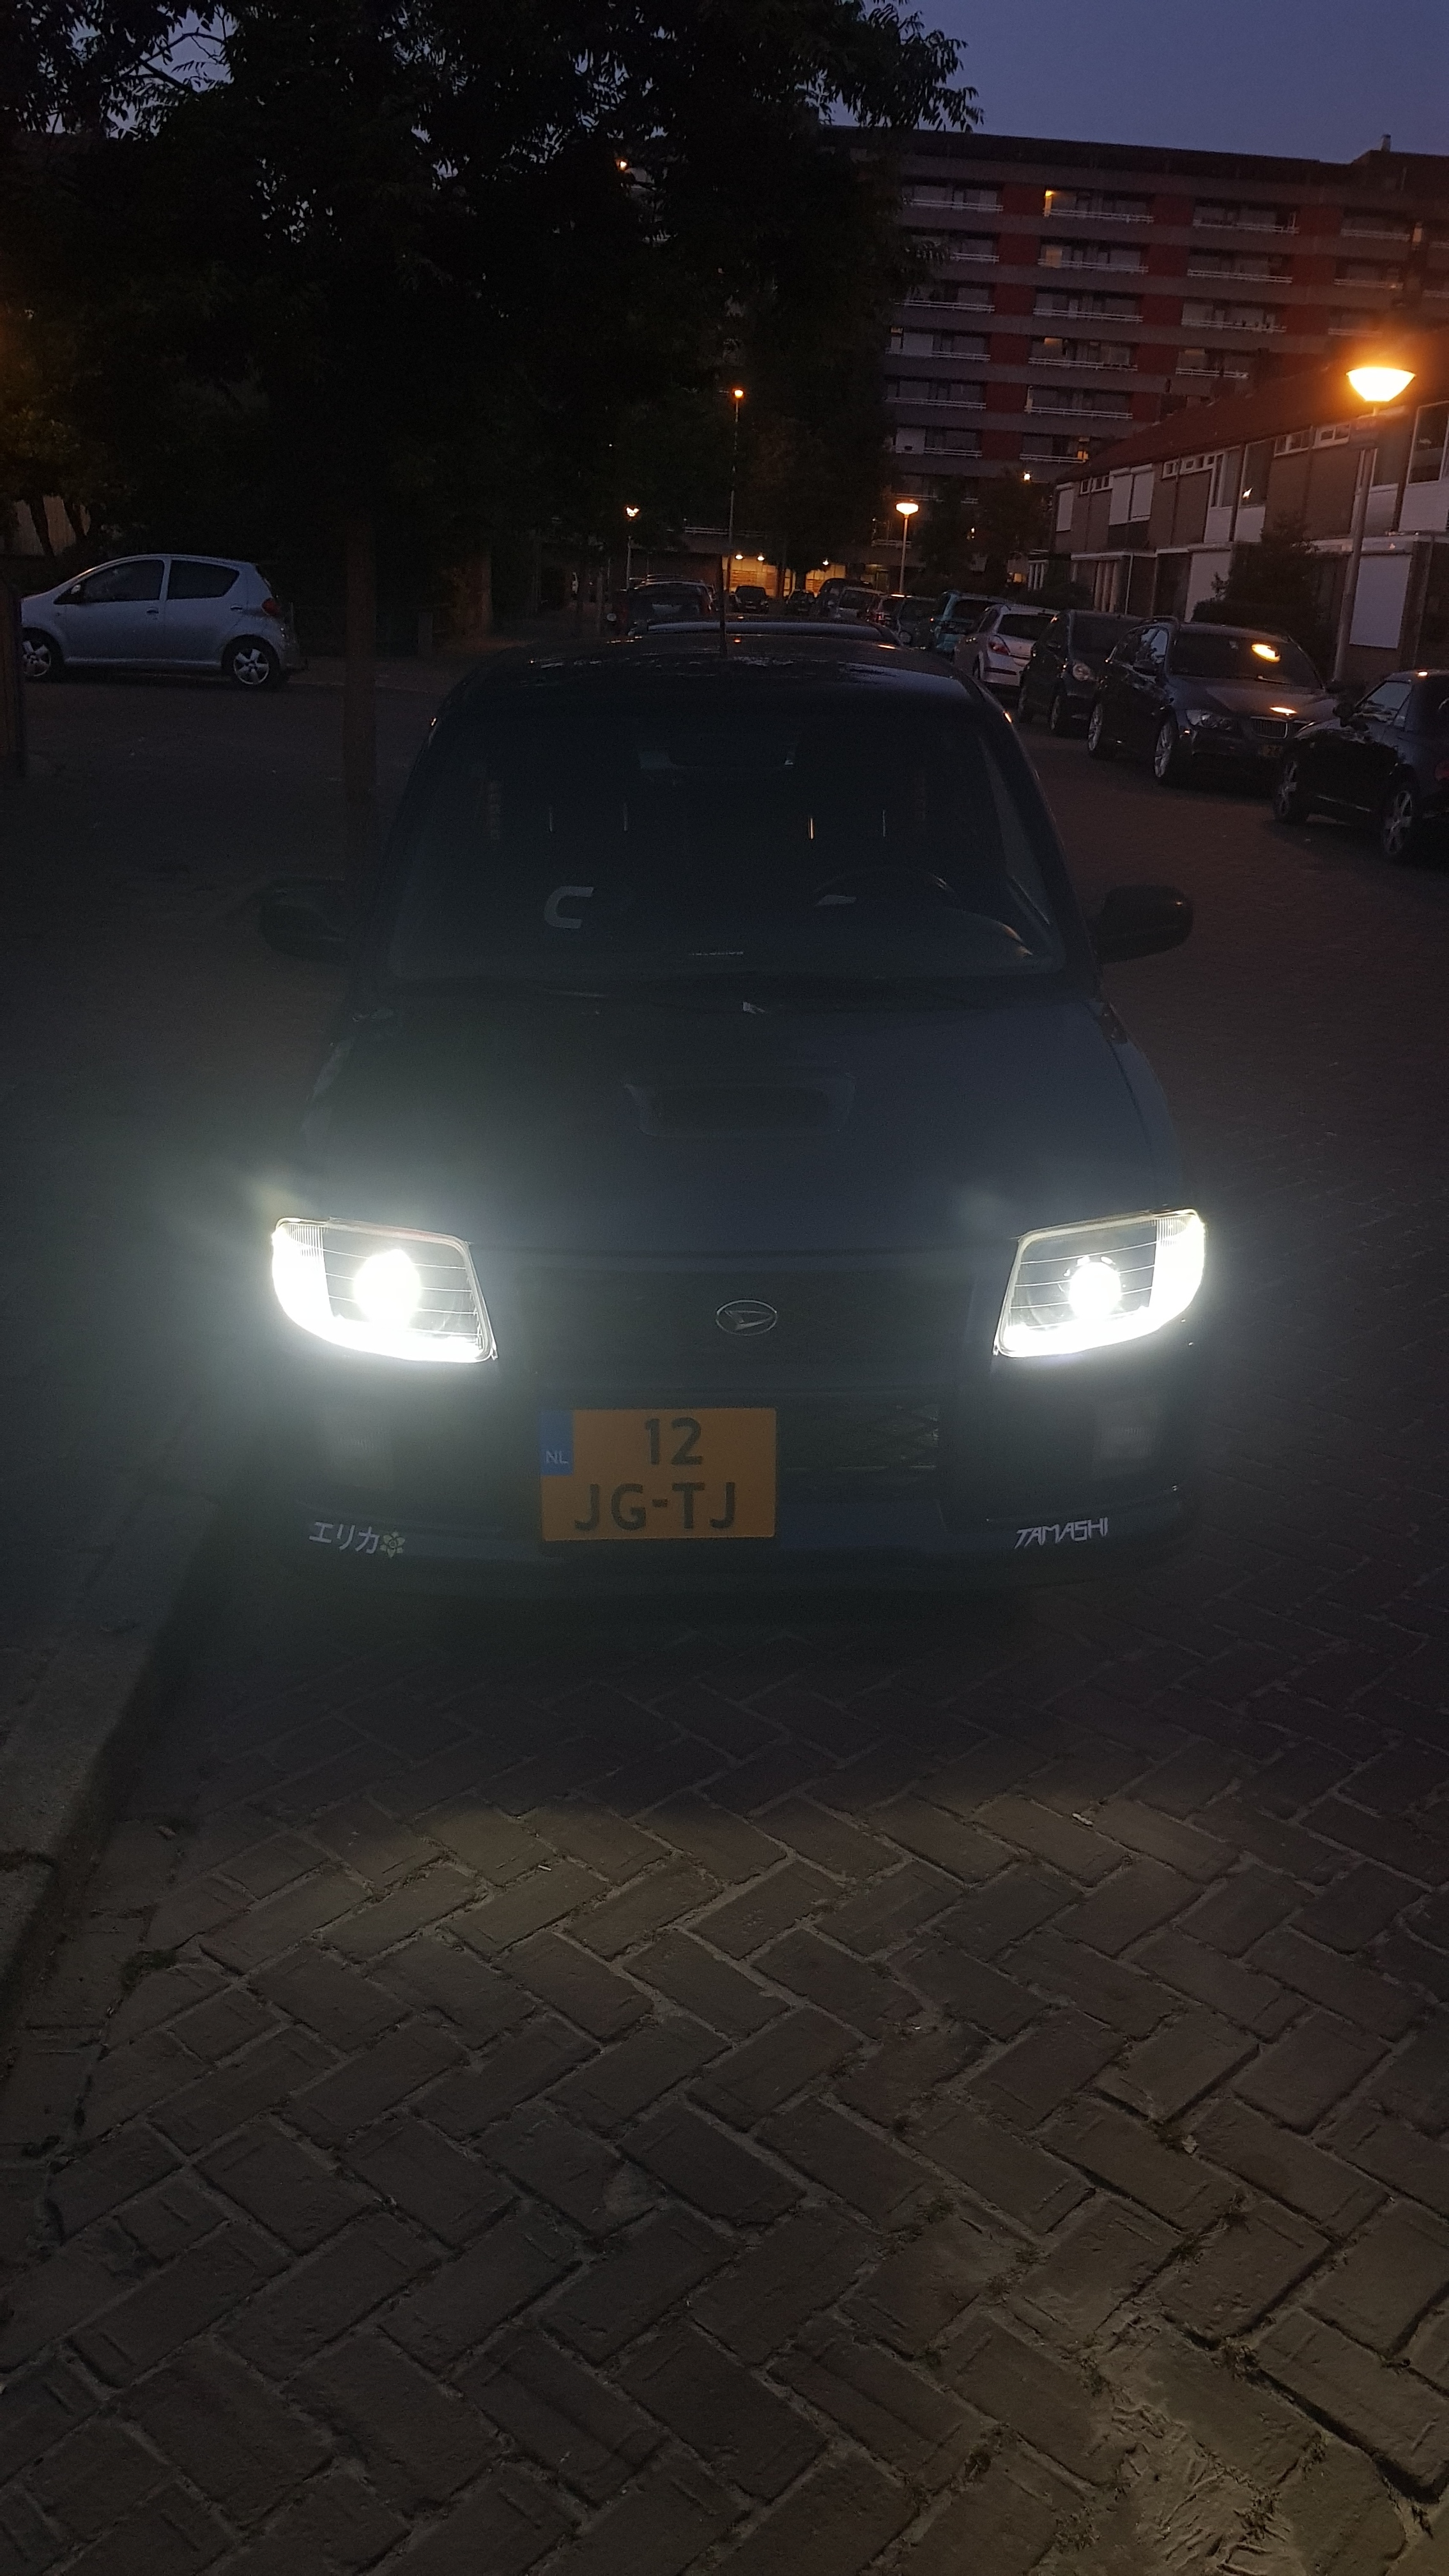
A little bright at night
After making it a little less bright
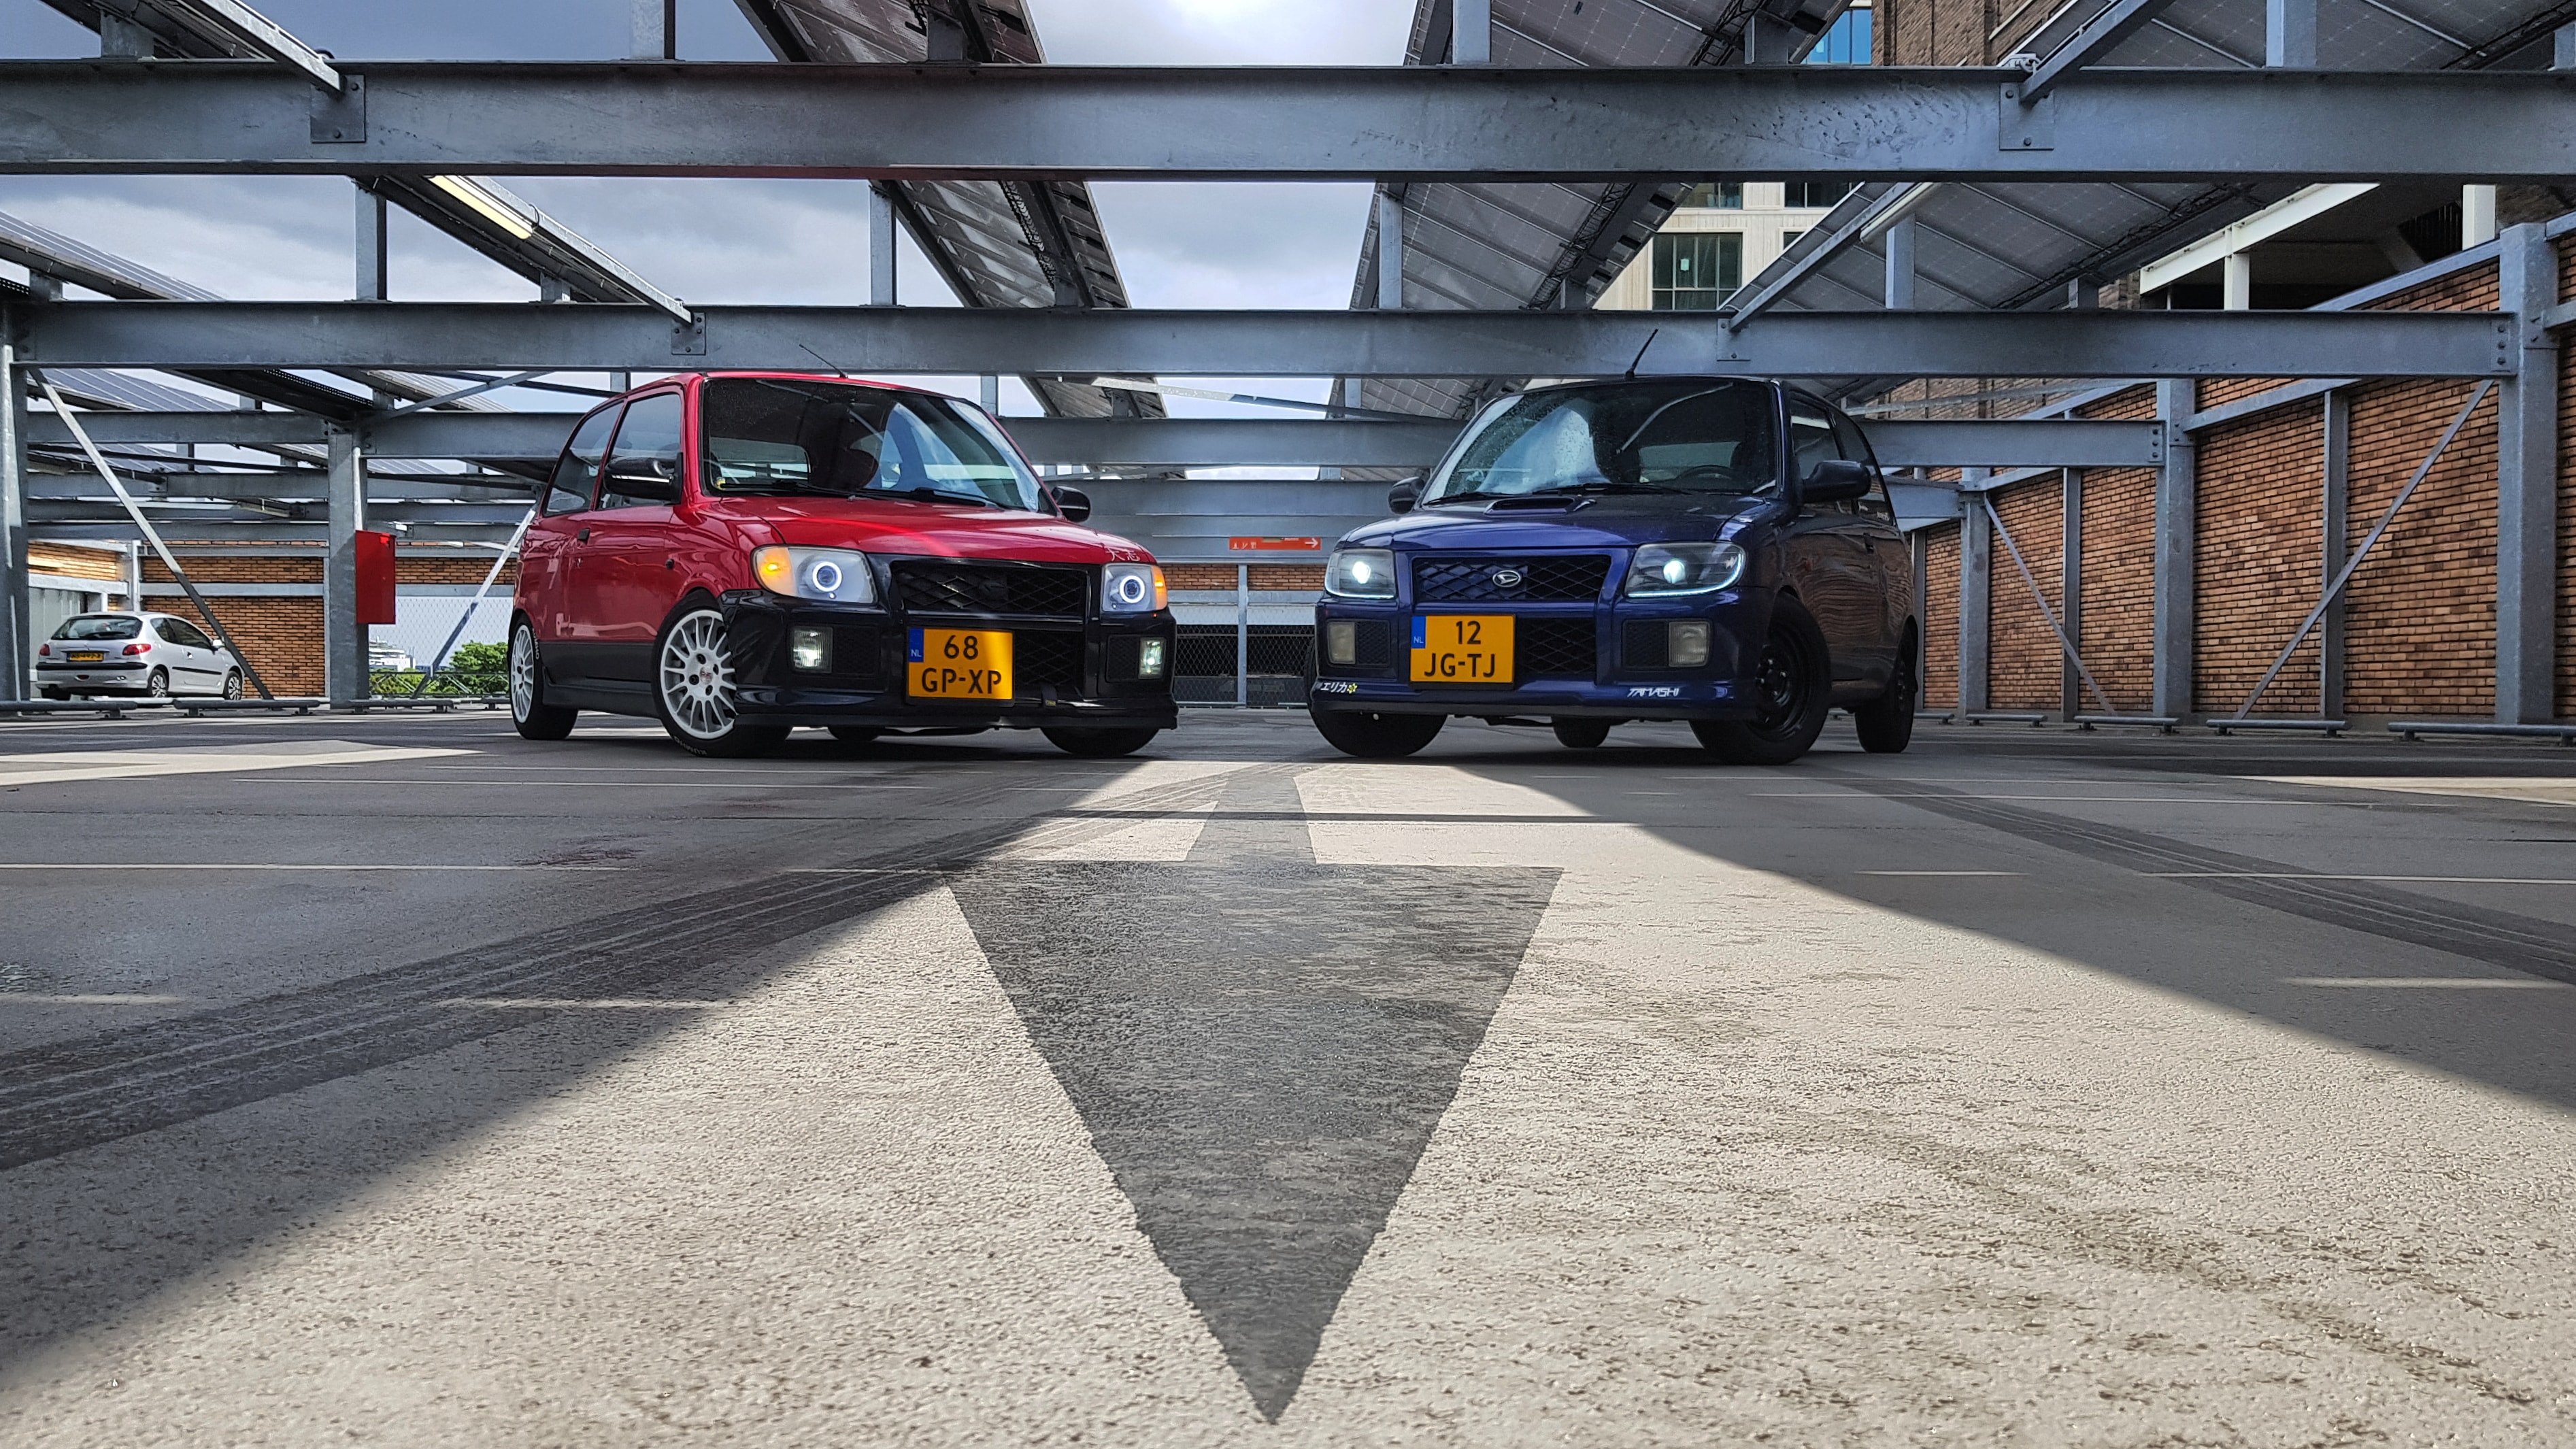
Together with @daihatsu.cuore who had also fitted her car with retrofits!
NEW RIMS (THE FIRST TIME)
I got YRV Turbo rims from a junkyard, because I wanted 15" rims and I like OEM rims better than aftermarket rims. There was however a slight problem (or so I thought) what made me throw them away, and go back to that steelie life  .
.
JDM GOODIES
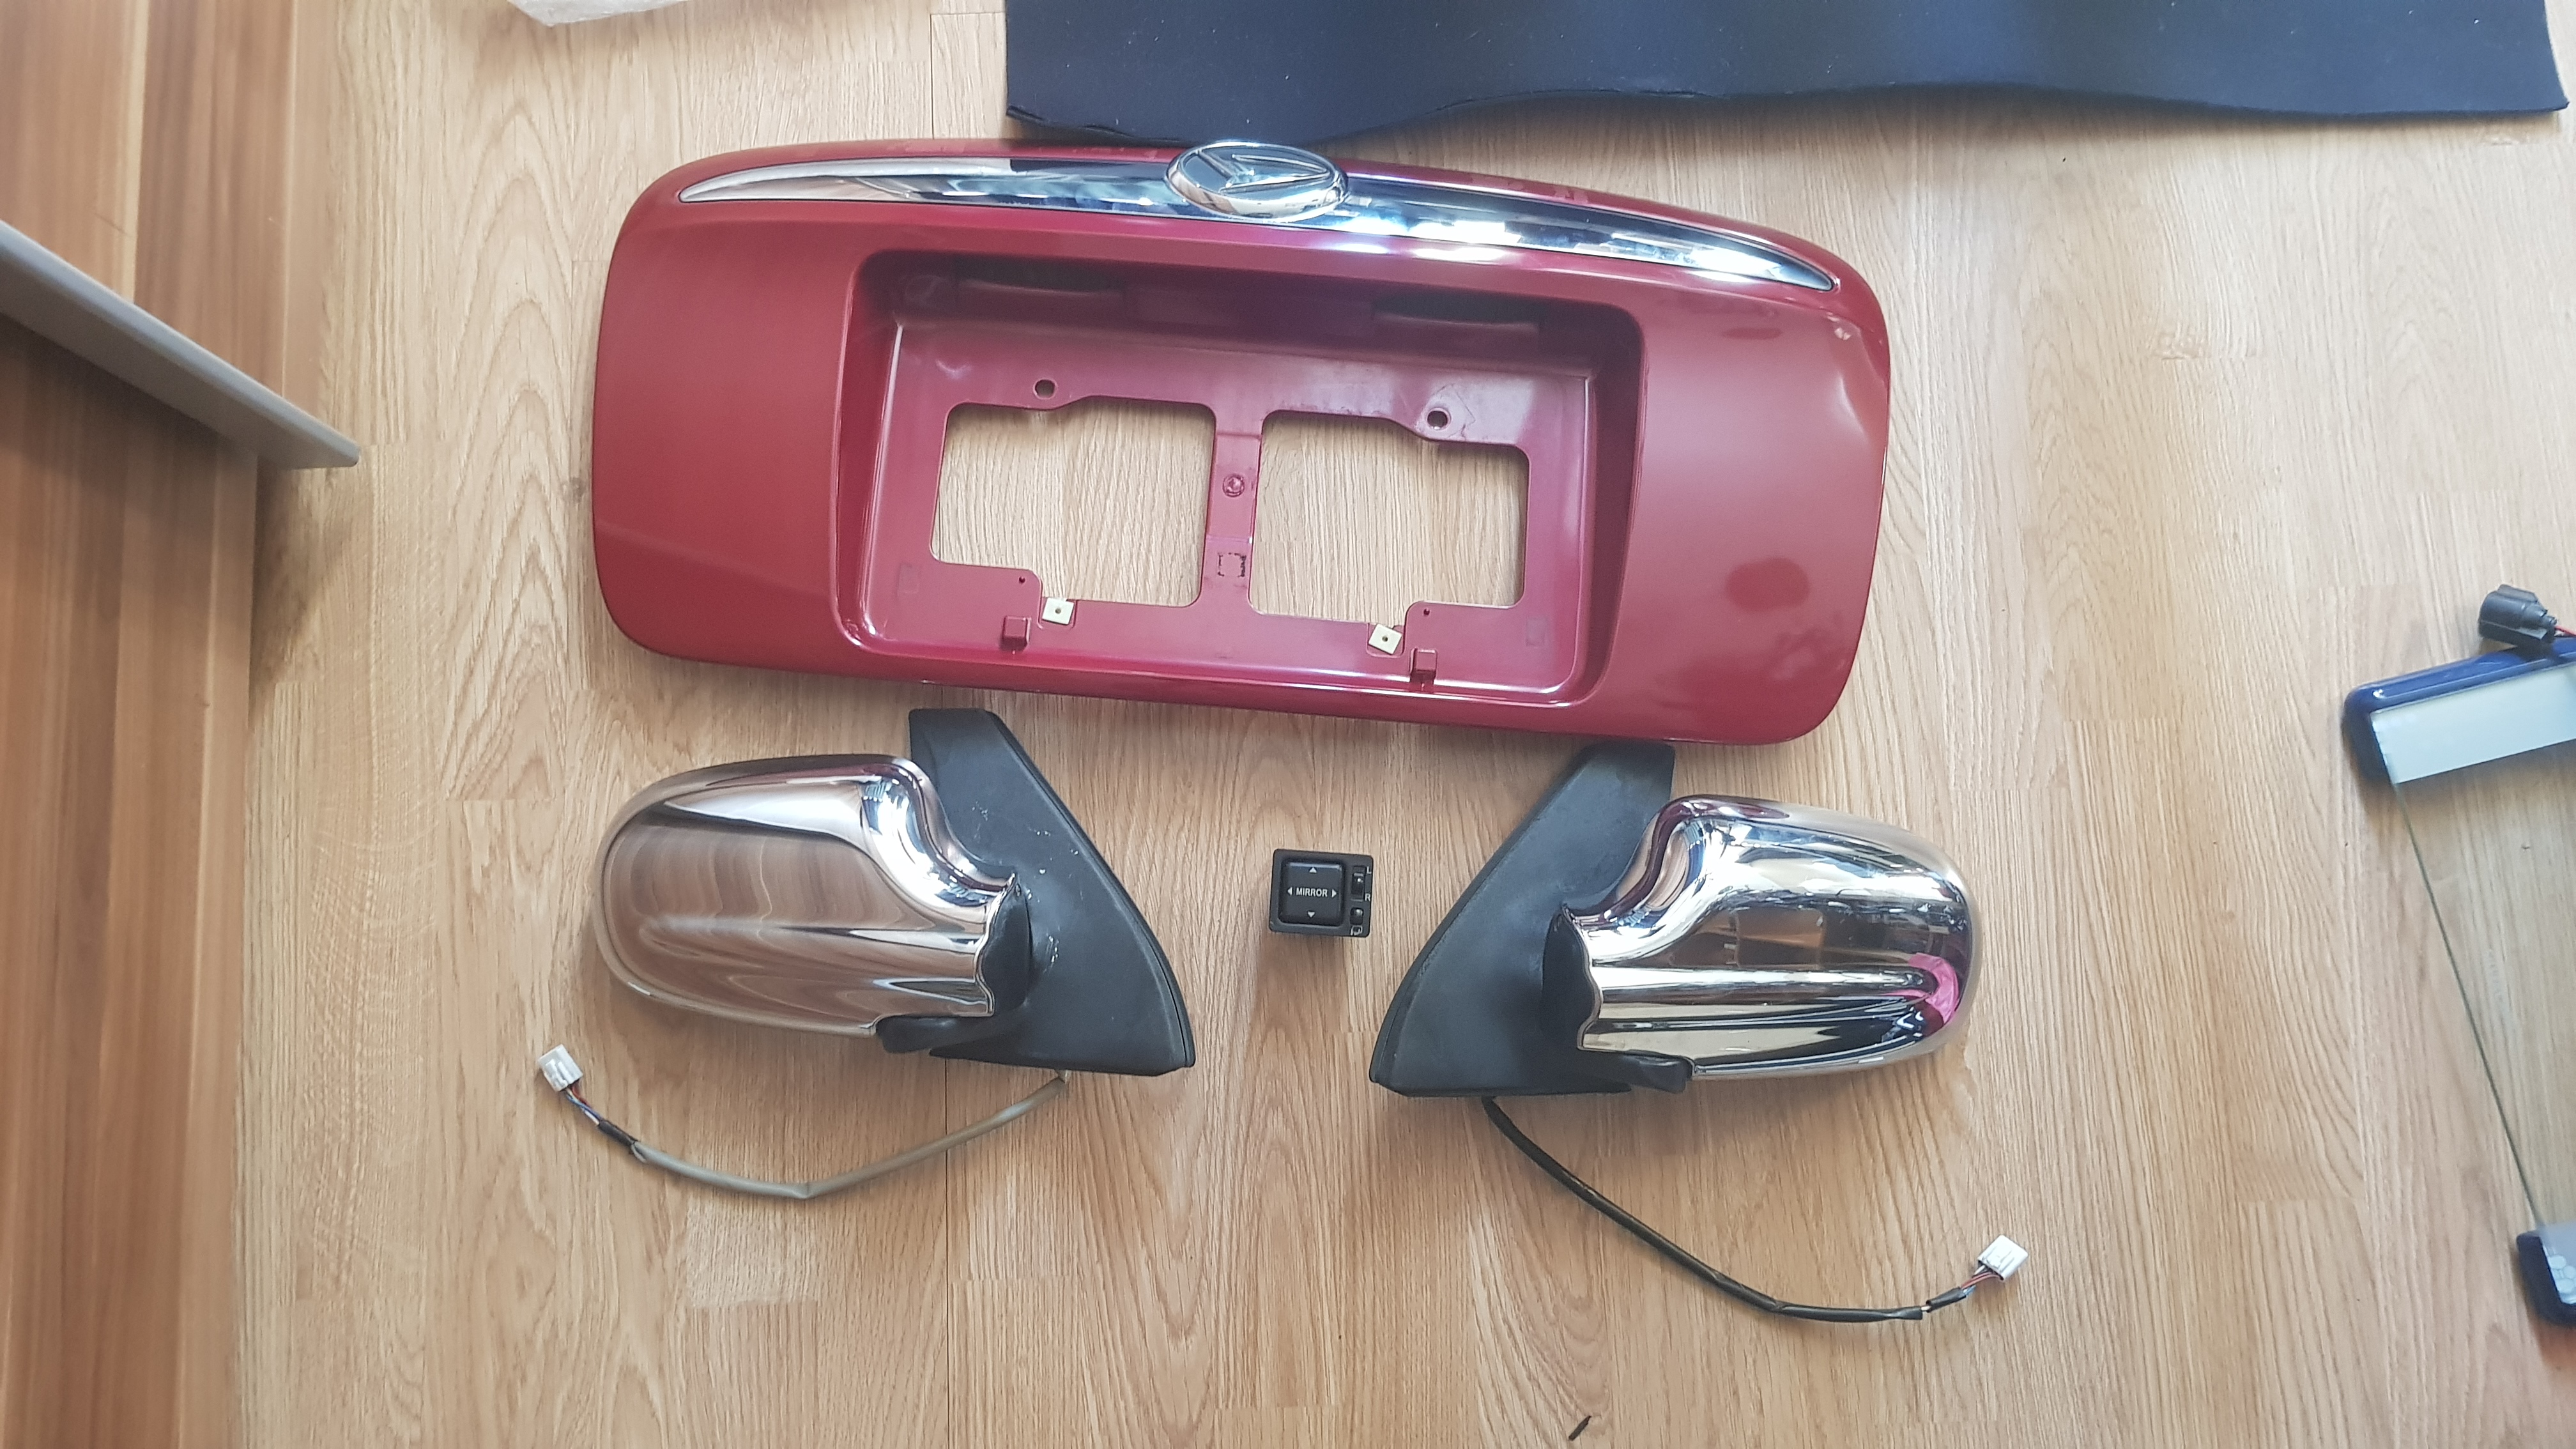
I ordered some JDM goodies on a Japanese auction! Mira Gino plate garnish, JDM mirrors, and an OEM non-smokers ashtray.
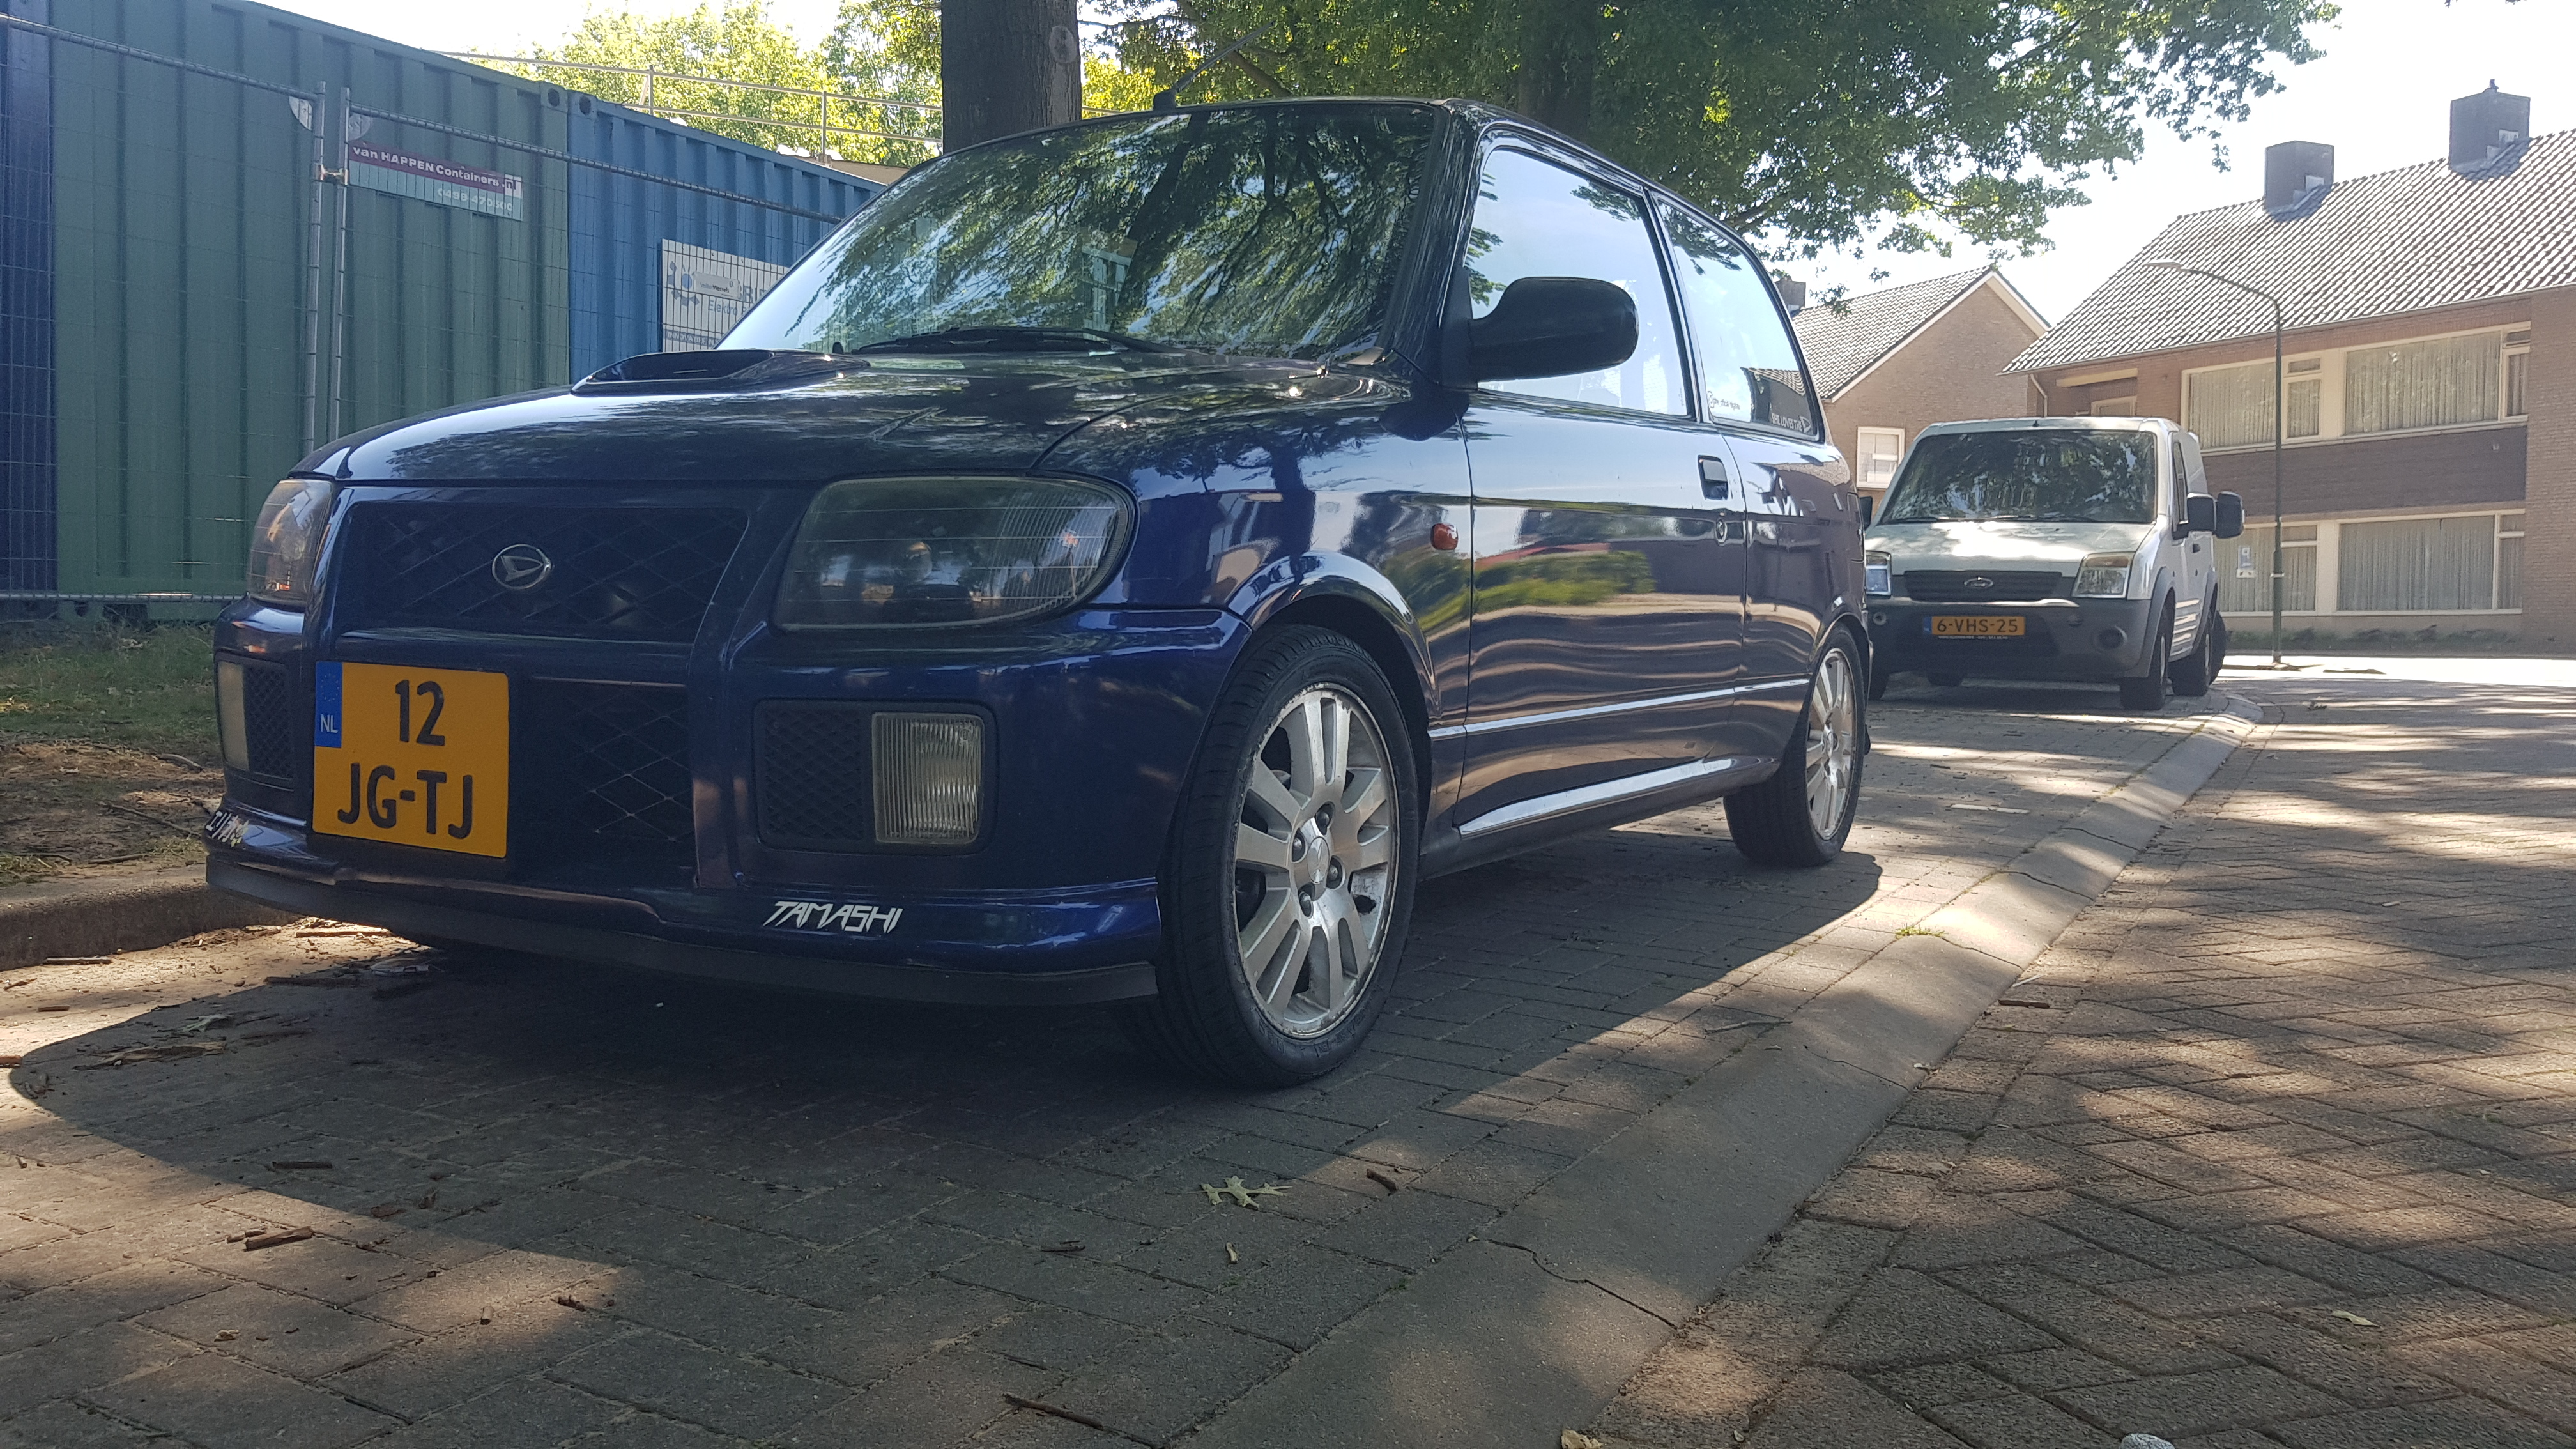
NEW RIMS (THE SECOND TIME)
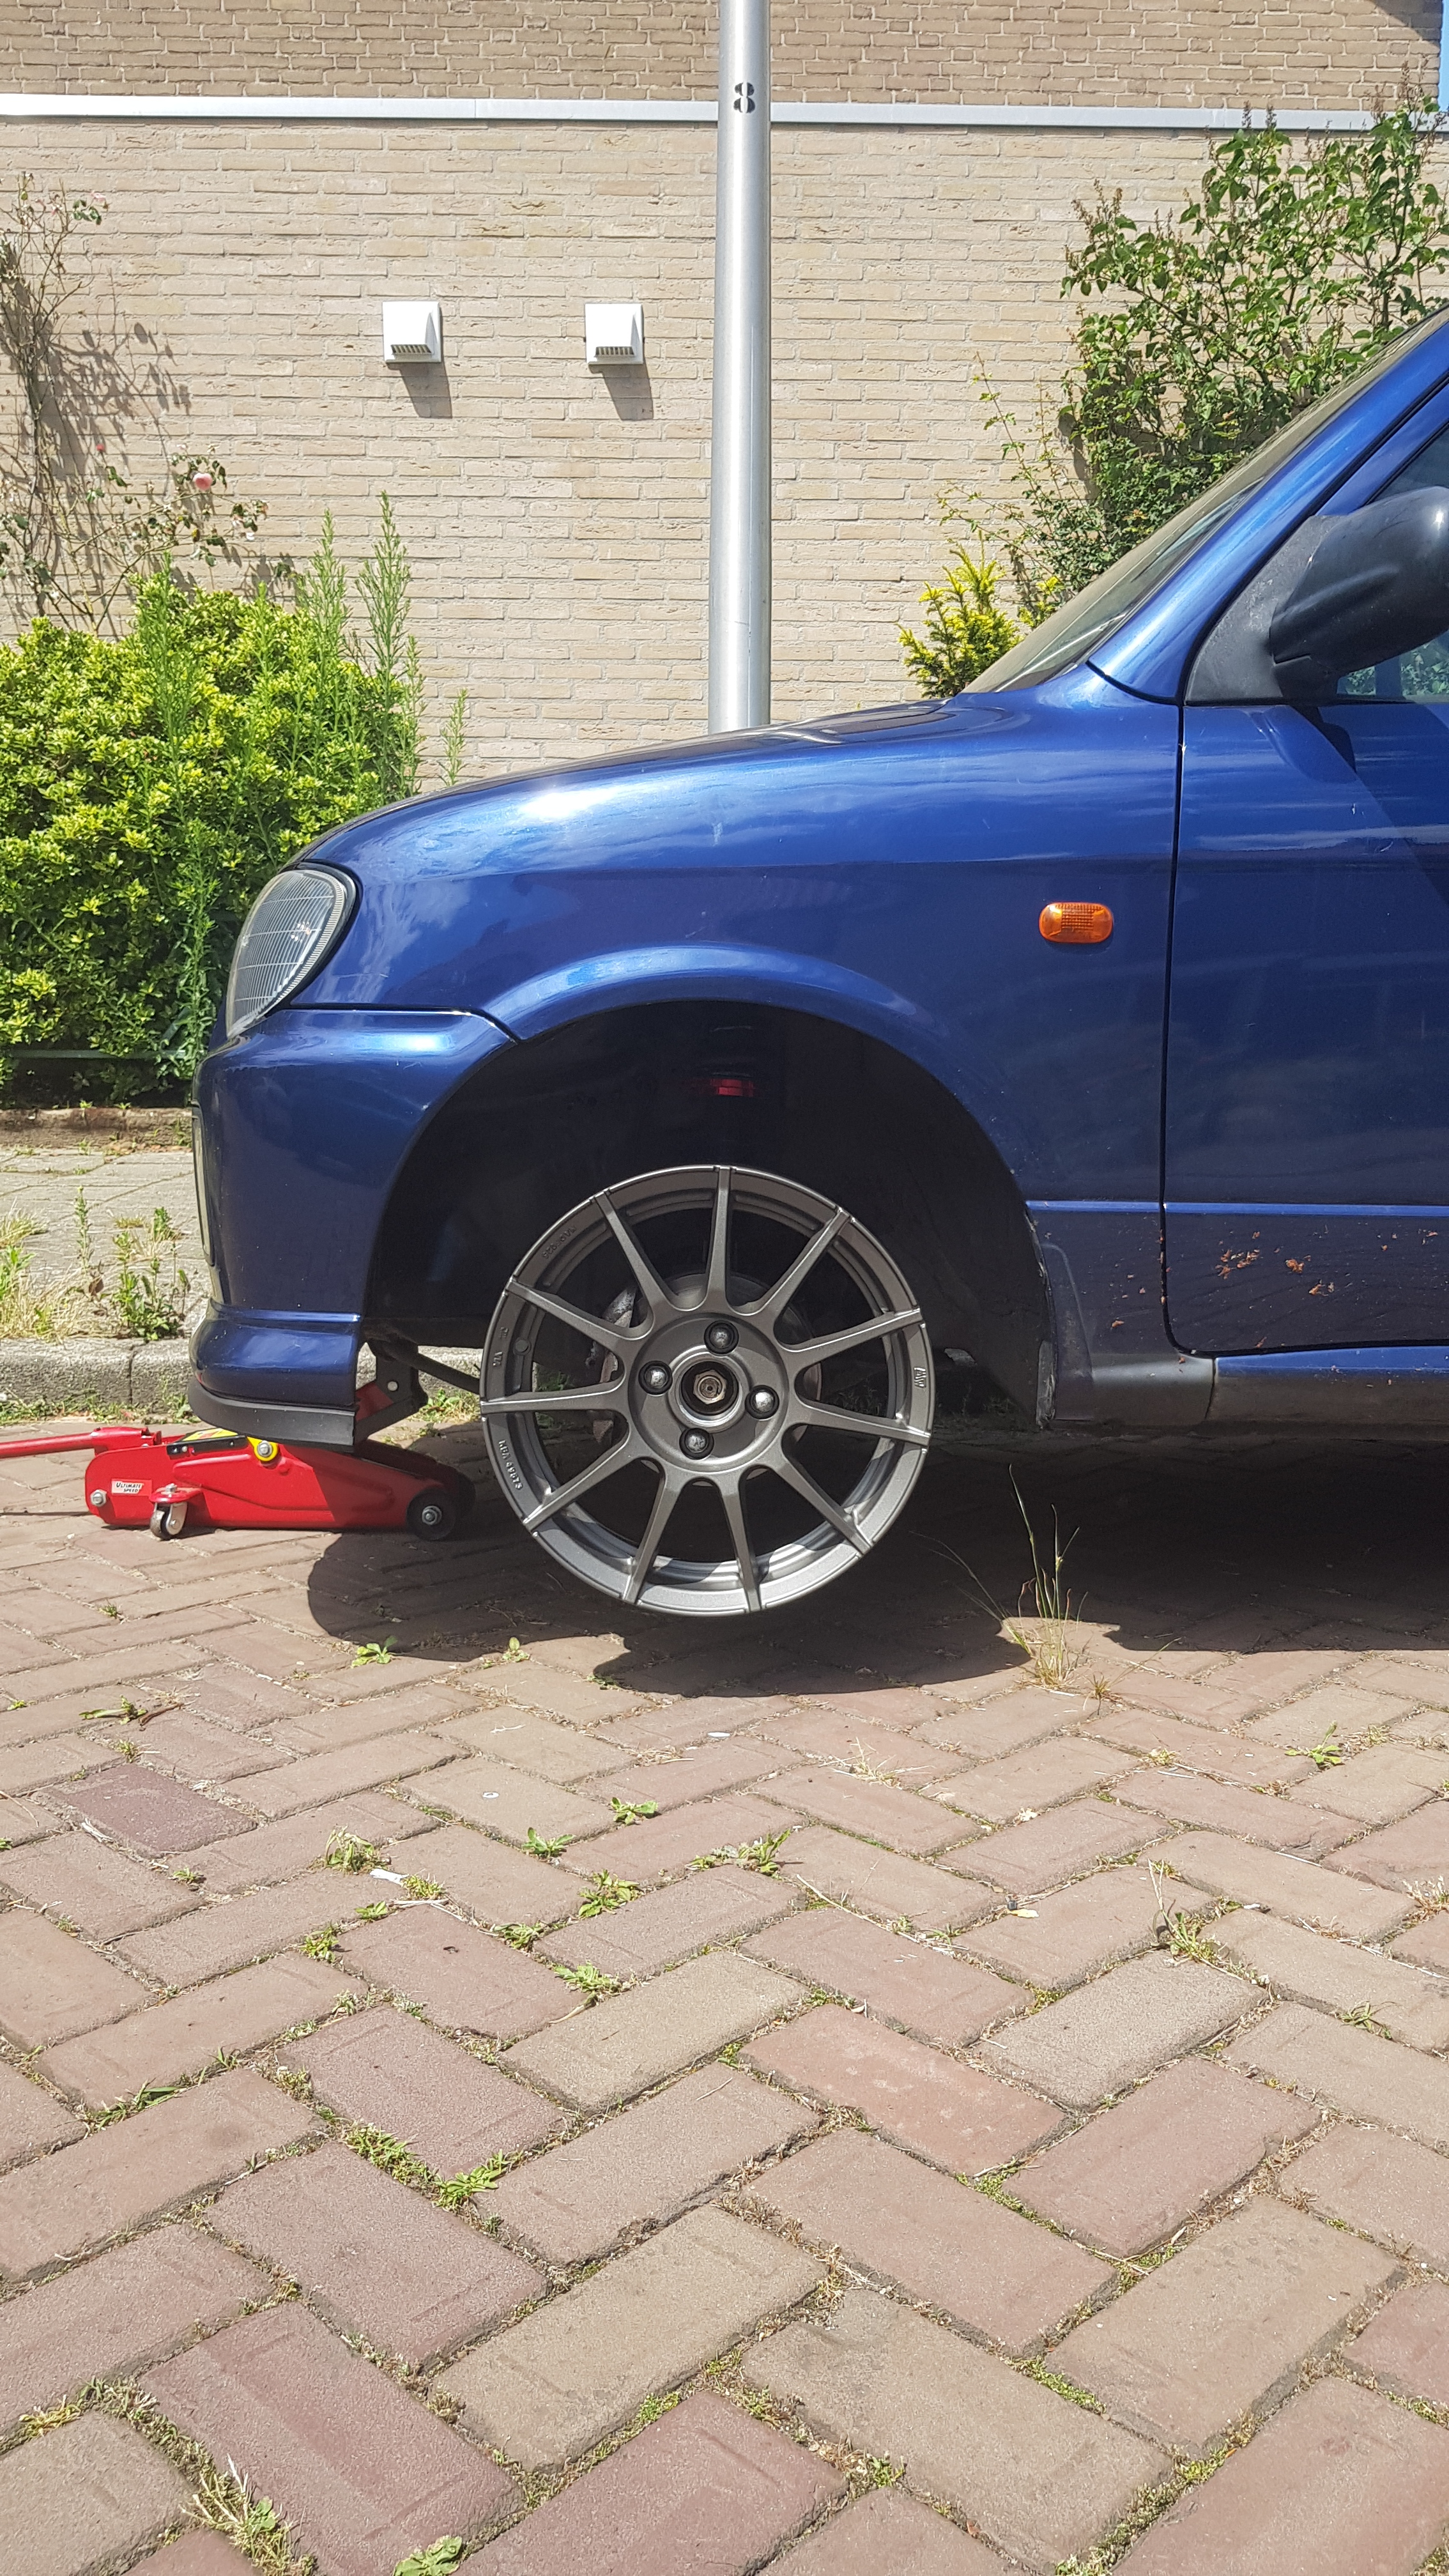
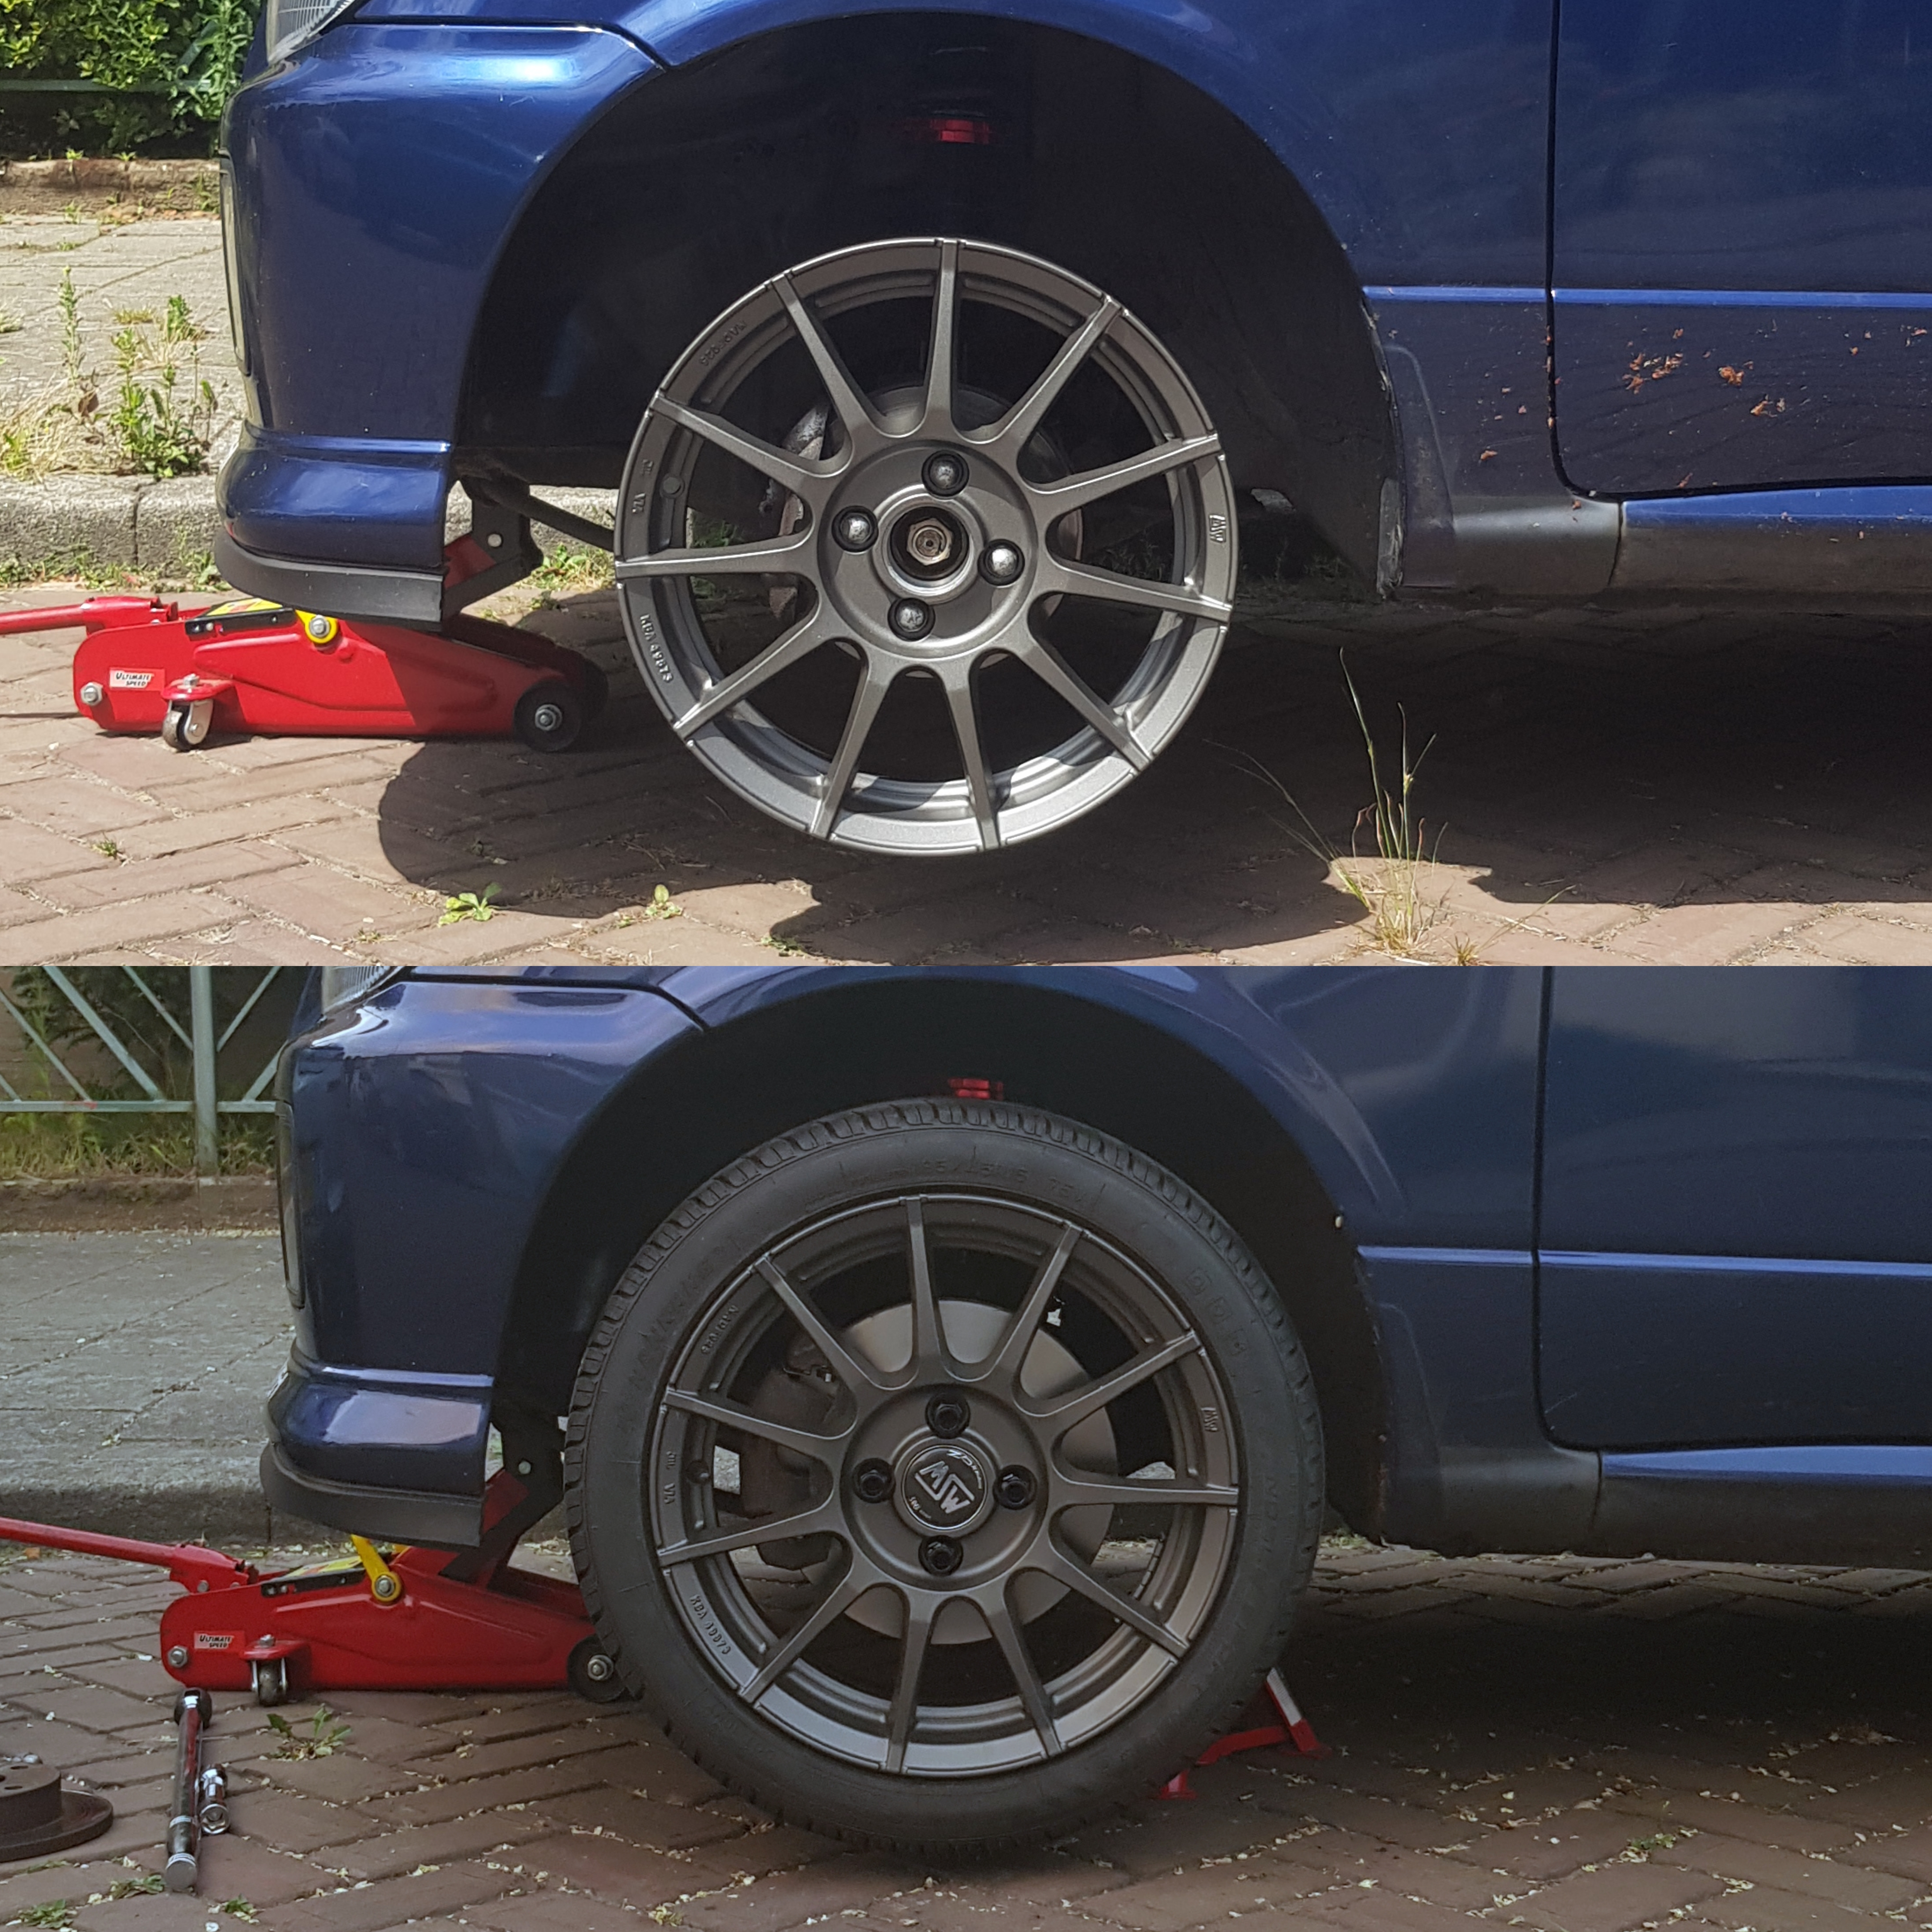
So the impossible happened. I fell in love with a pair of brand new aftermarket rims.
Specs:
MSW 85 in Gunmetal Grey
6Jx15"
ET42
4x100
And after fitting them with tires…
Nankang NS-20, 185/45/R15.
This combination of tire+rim fits perfectly! However, I had to raise it about an inch to stop it from rubbing when hitting speed bumps. The wheel arches need to be rolled, and then it should be good to go!
WIRING HARNESS SWAP
This is probably one of, if not the scariest project so far.
The wiring harness is basically your cars nerve system, so if there is just one thing that’s not working properly, your car might not start.
You’re probably wondering why the hell I would do such a thing, but here’s why. Al the pre-facelift Cuores got the same wiring harness. So if you wanted to fit your car with fog lights, the wires were already there. However, as this is a base-spec (STi) facelift model, there were no extra wires. If there would be, I could have working fog lights, power windows, and power mirrors.
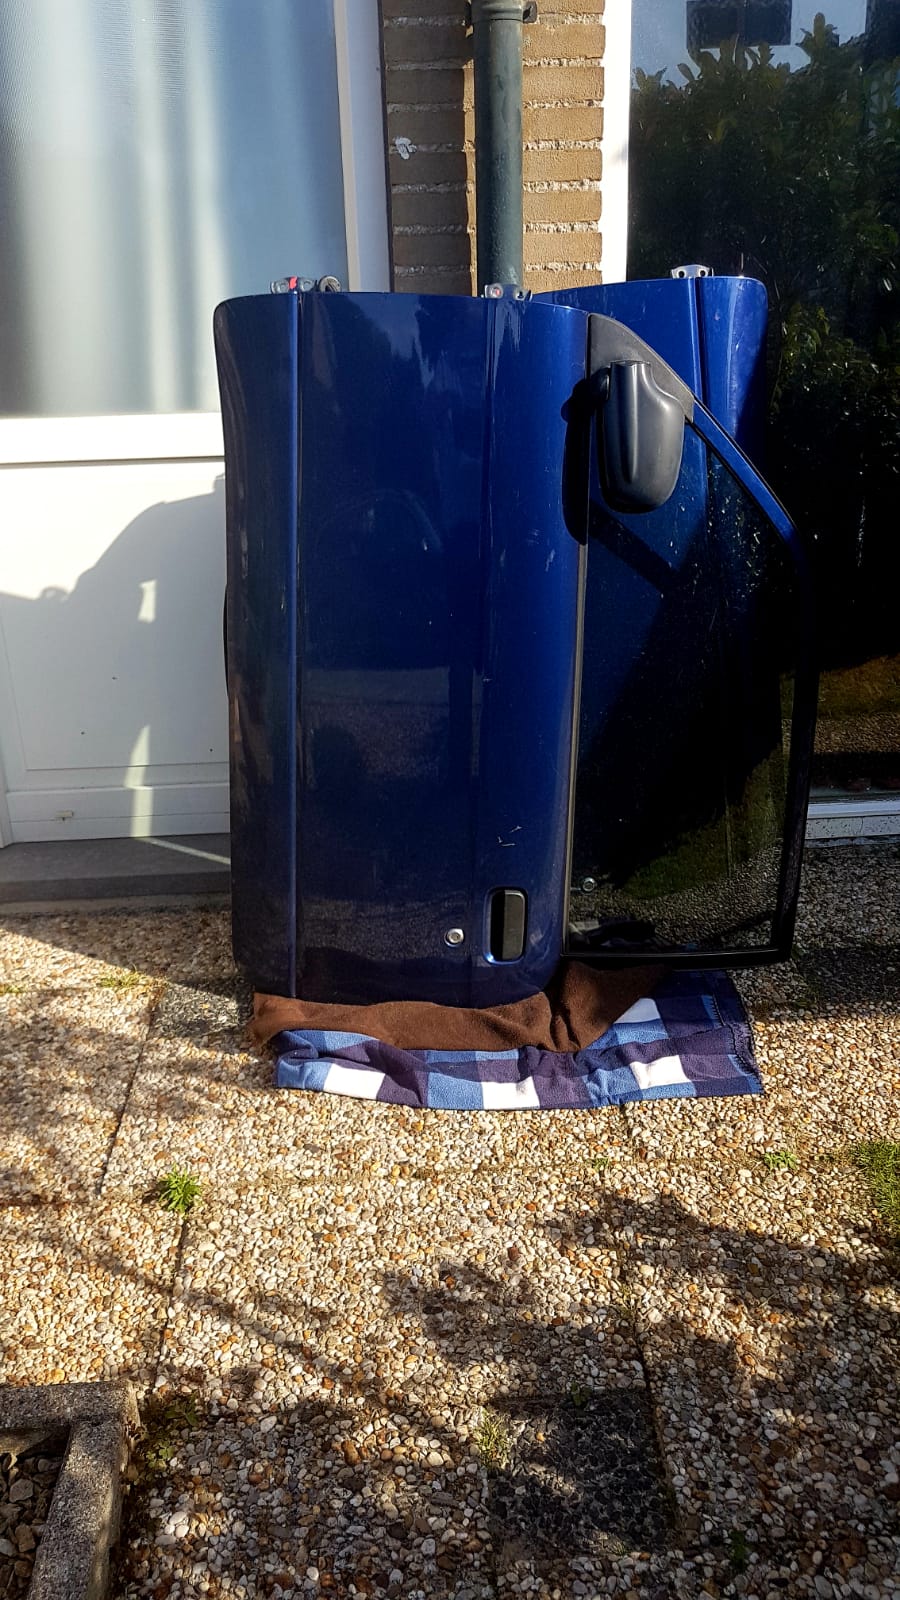
One day I saw this top-spec Cuore (RTi) on a junkyard, in blue. So… I took the wiring harness, the doors and a few other bits with me. It did fit in the car, but only just.
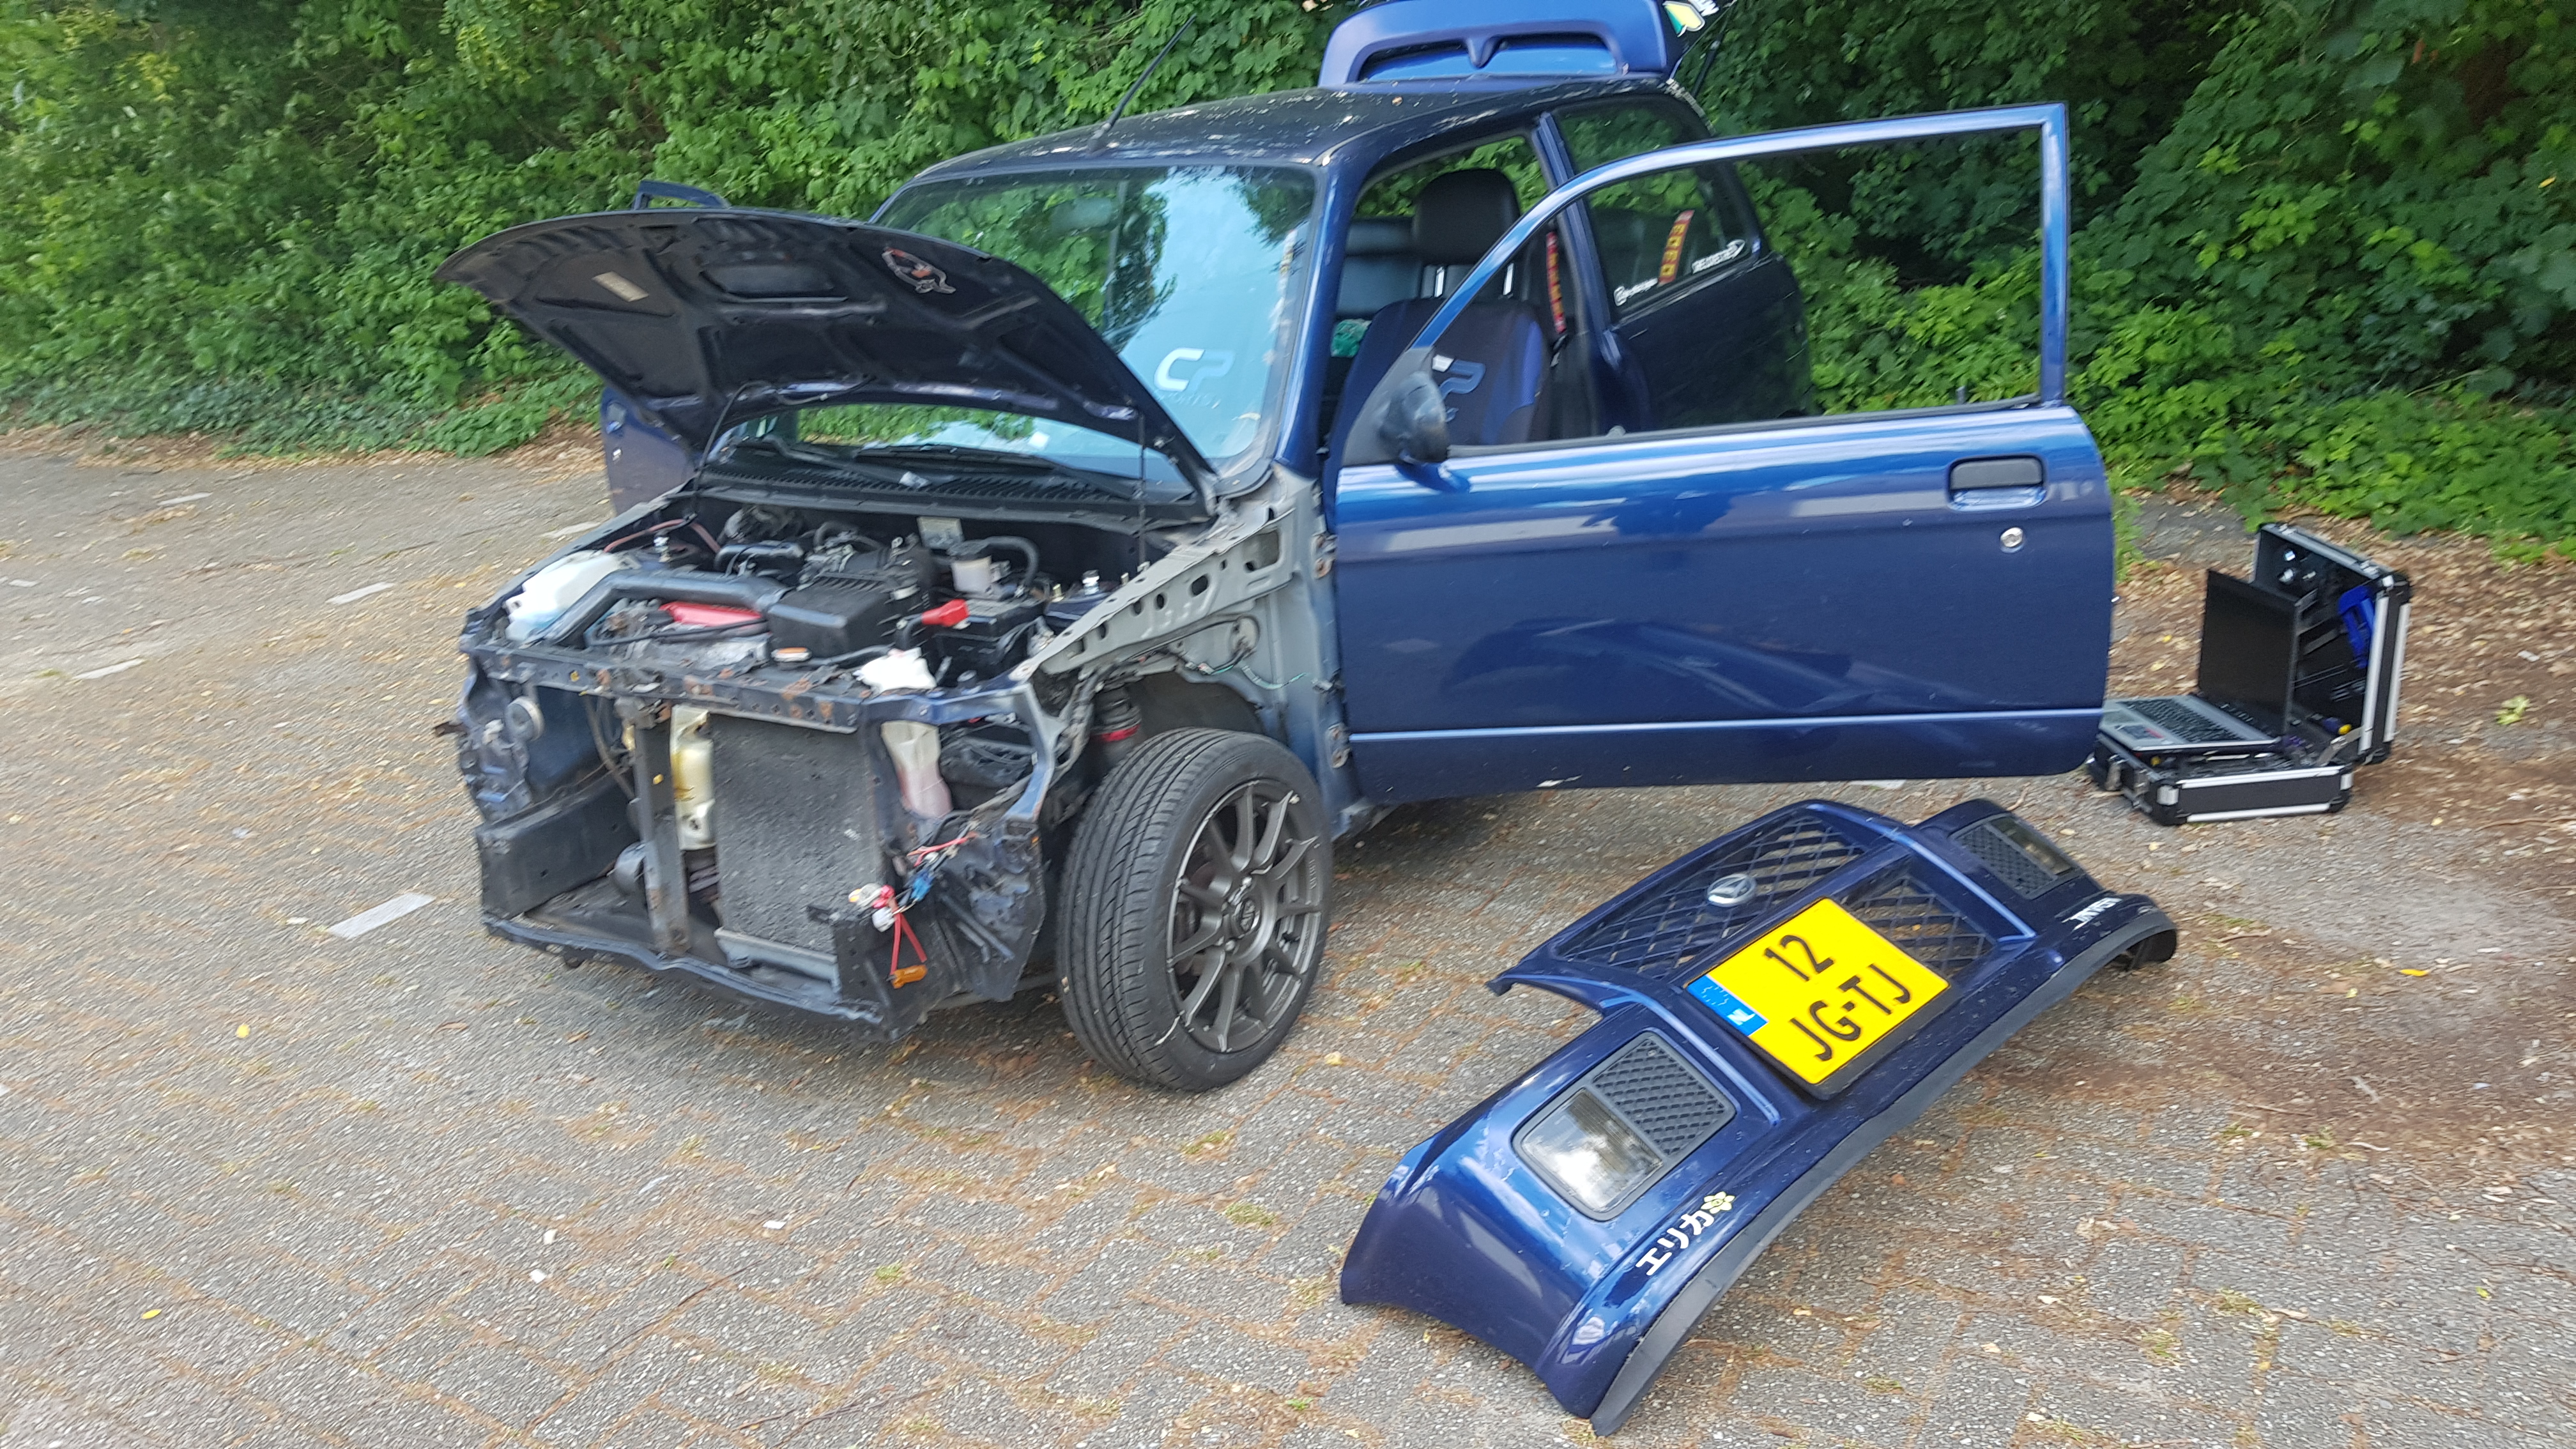
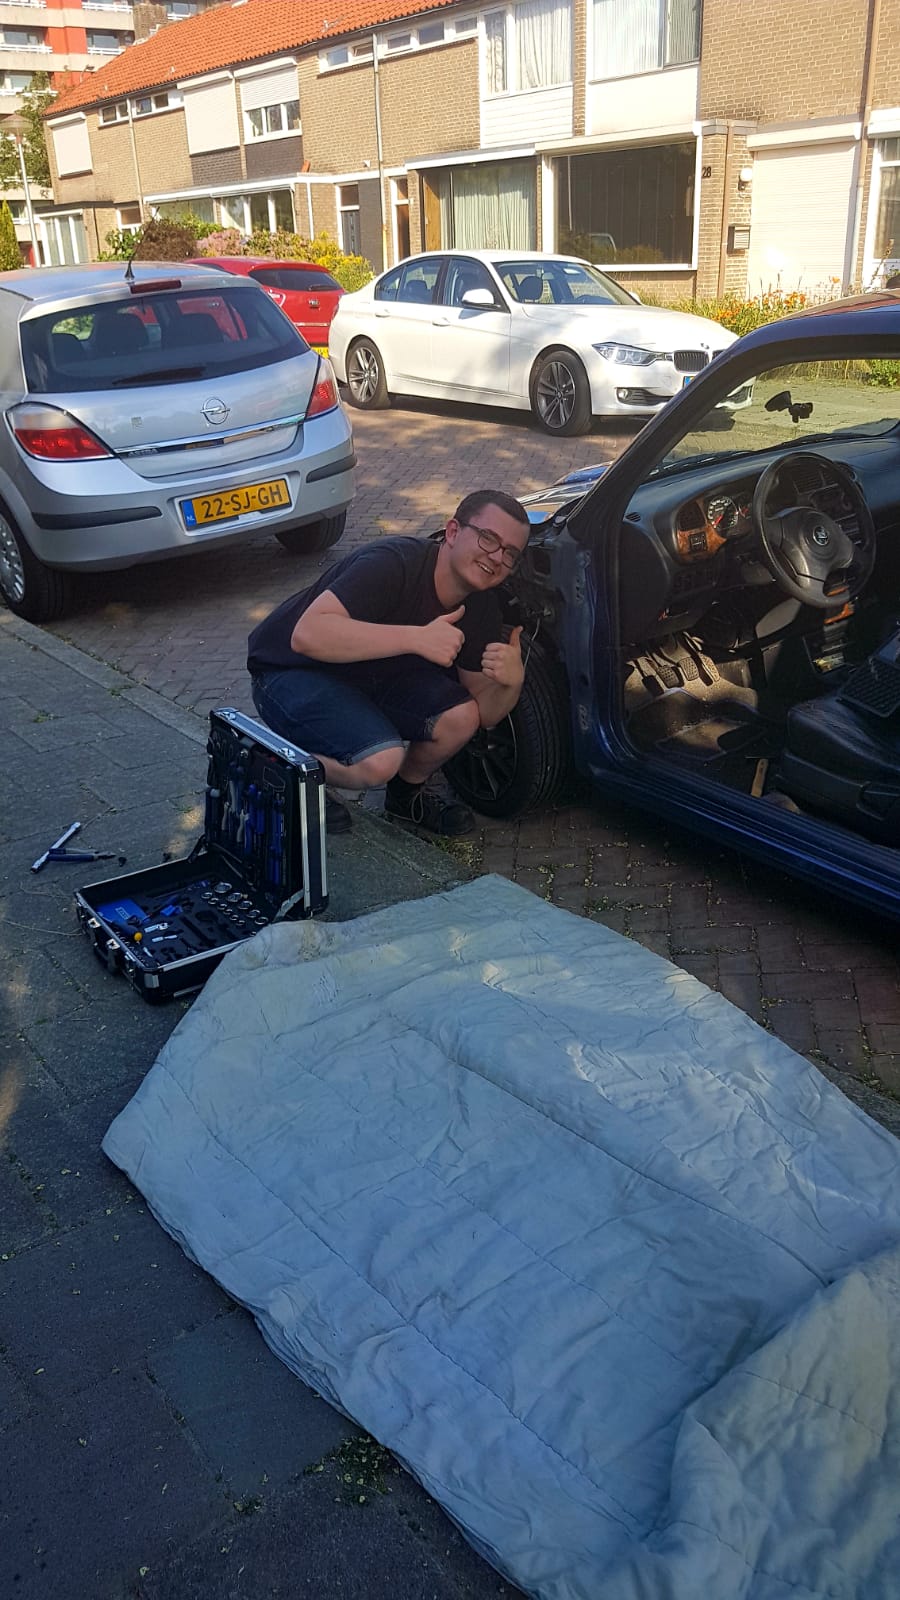
It took 2 days and 1 sister to install the new harness, and here’s how I did it:
-
Take apart the front of the car:
– front bumper
– fenders -
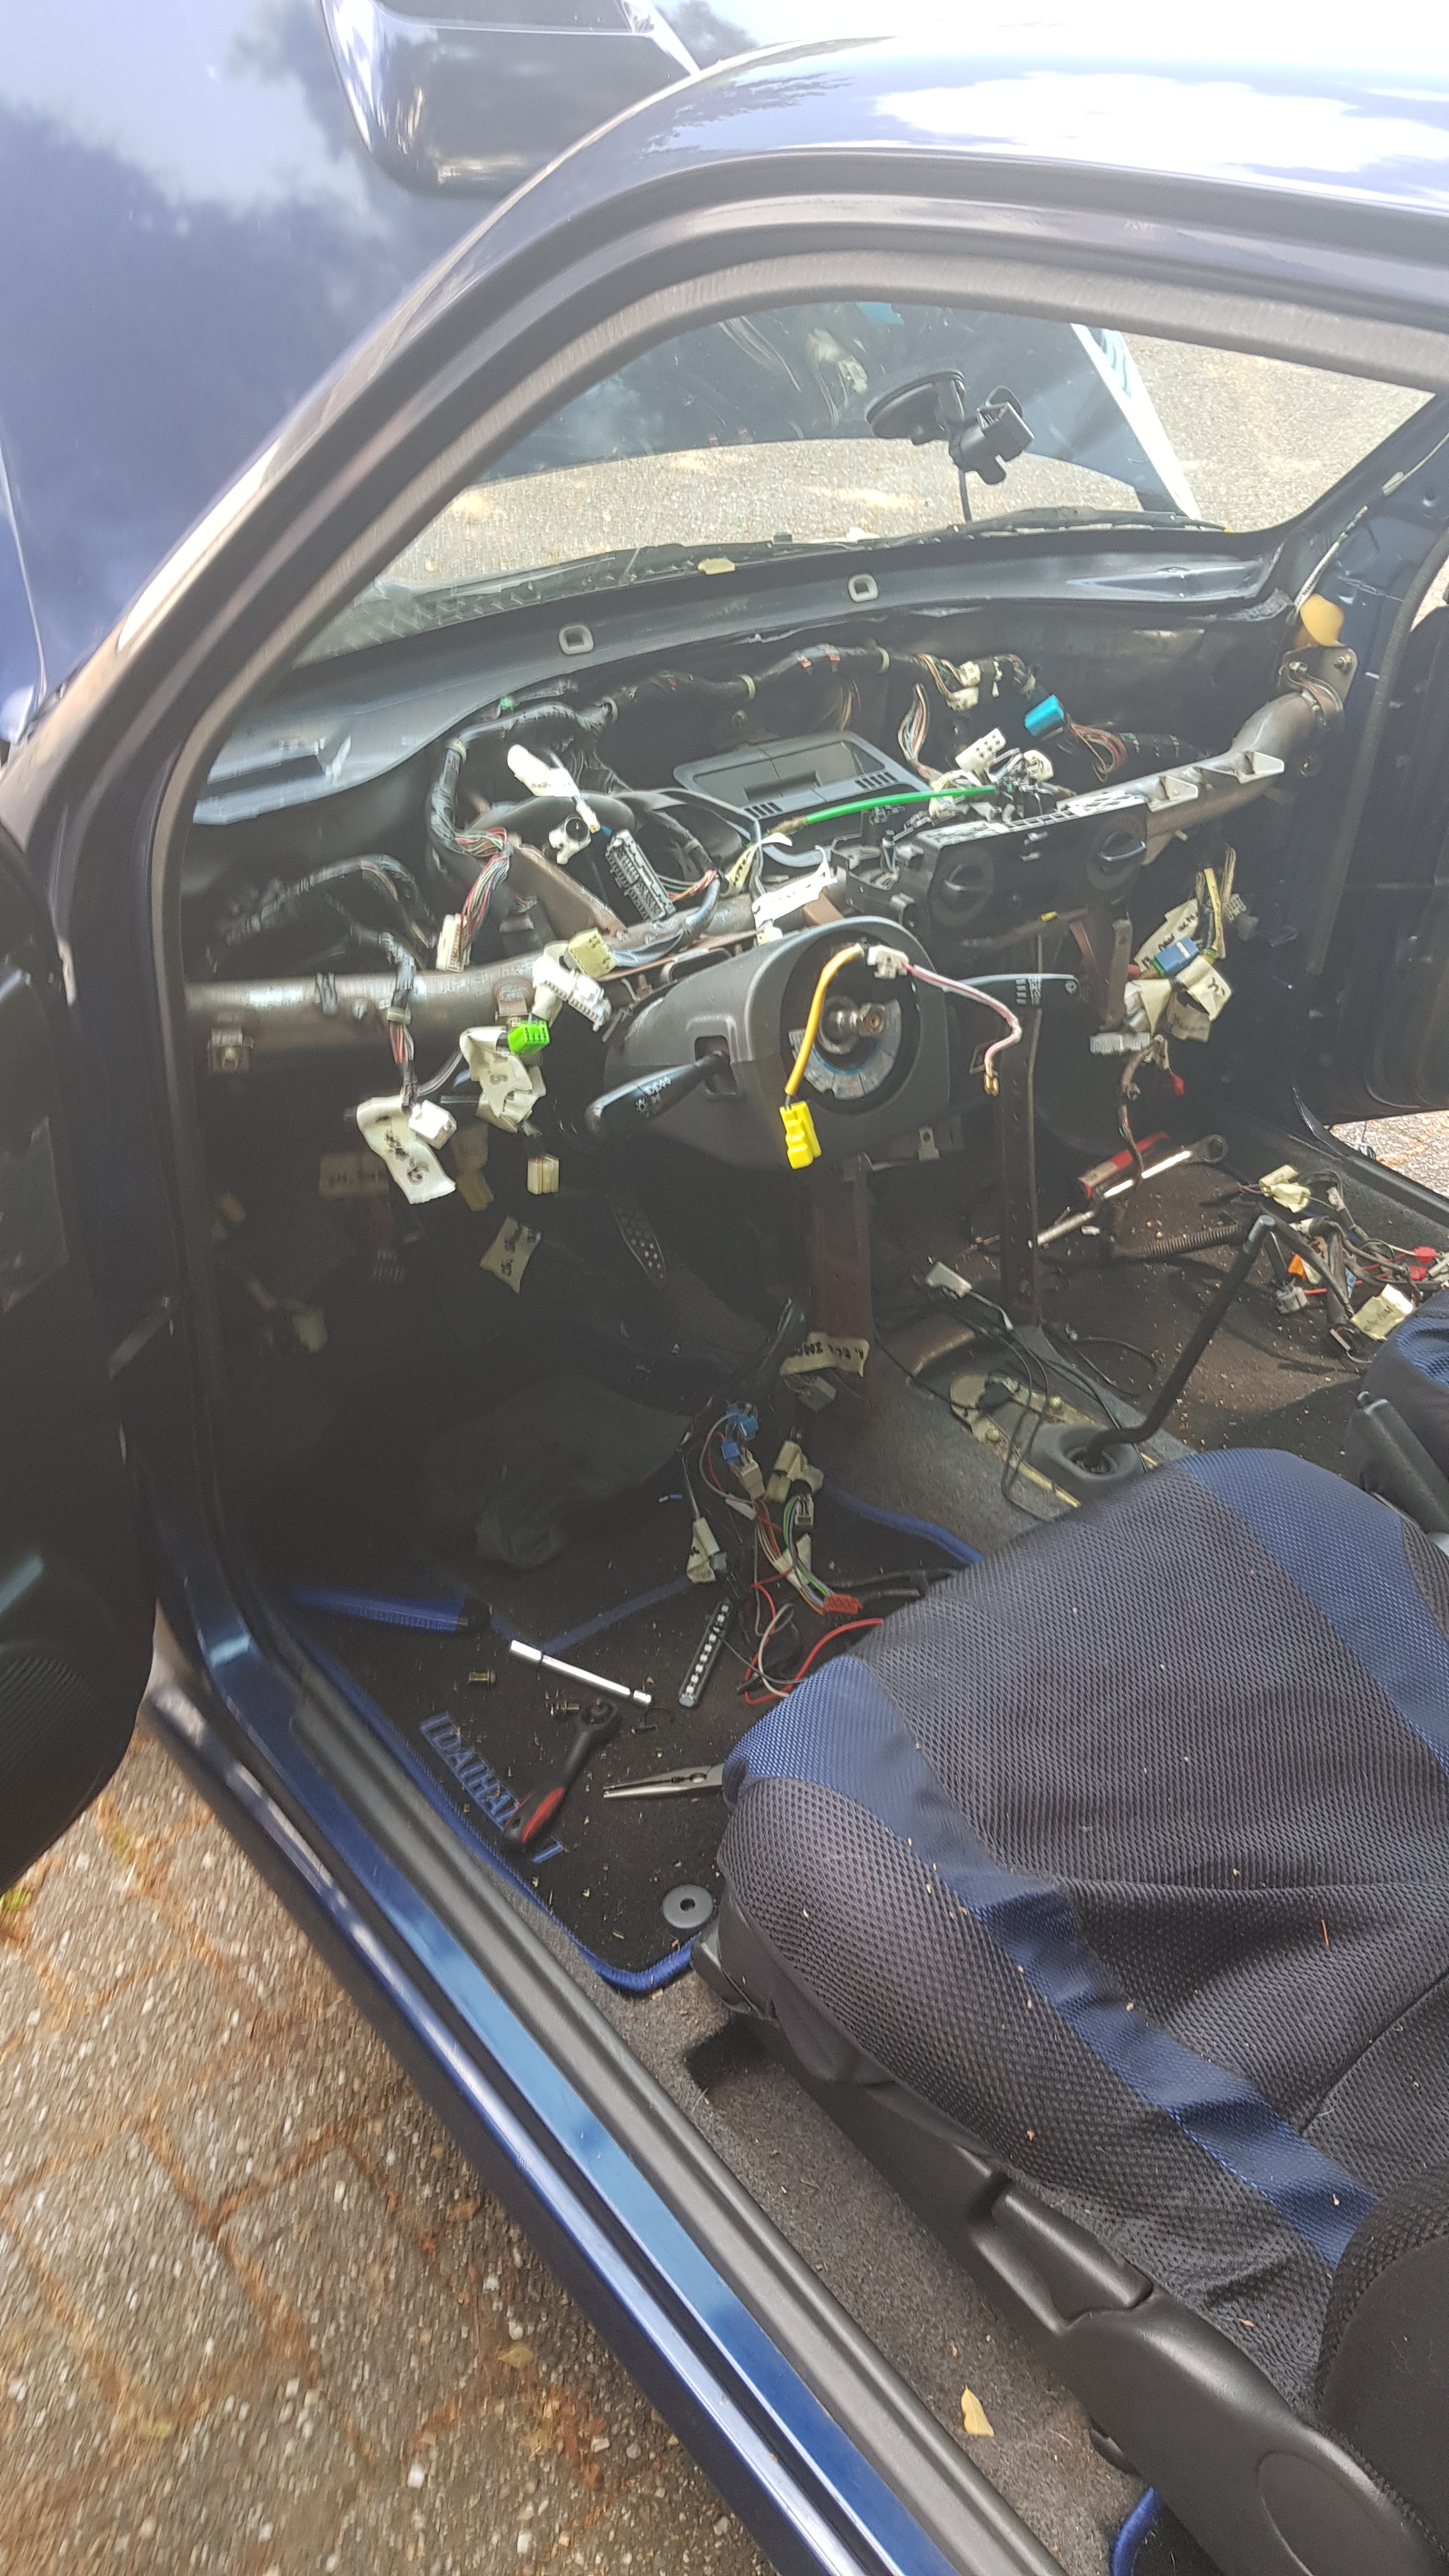
Take out the dashboard. To do that here’s what you need to take out first:
– gauges
– steering wheel
– center console (so the radio etc. but also the bits around the shifter and handbrake)
– seats, you don’t have to but it might be easier
– glove box
– passenger airbag (bolts underneath the dashboard)
– make sure to label all the bolts, so you don’t have to figure out what’s what when putting it back together.
- Disconnect every plug like this:
– take the plug
– label it with a tag and give it a number as well
For example: 11 ECU immobilizer
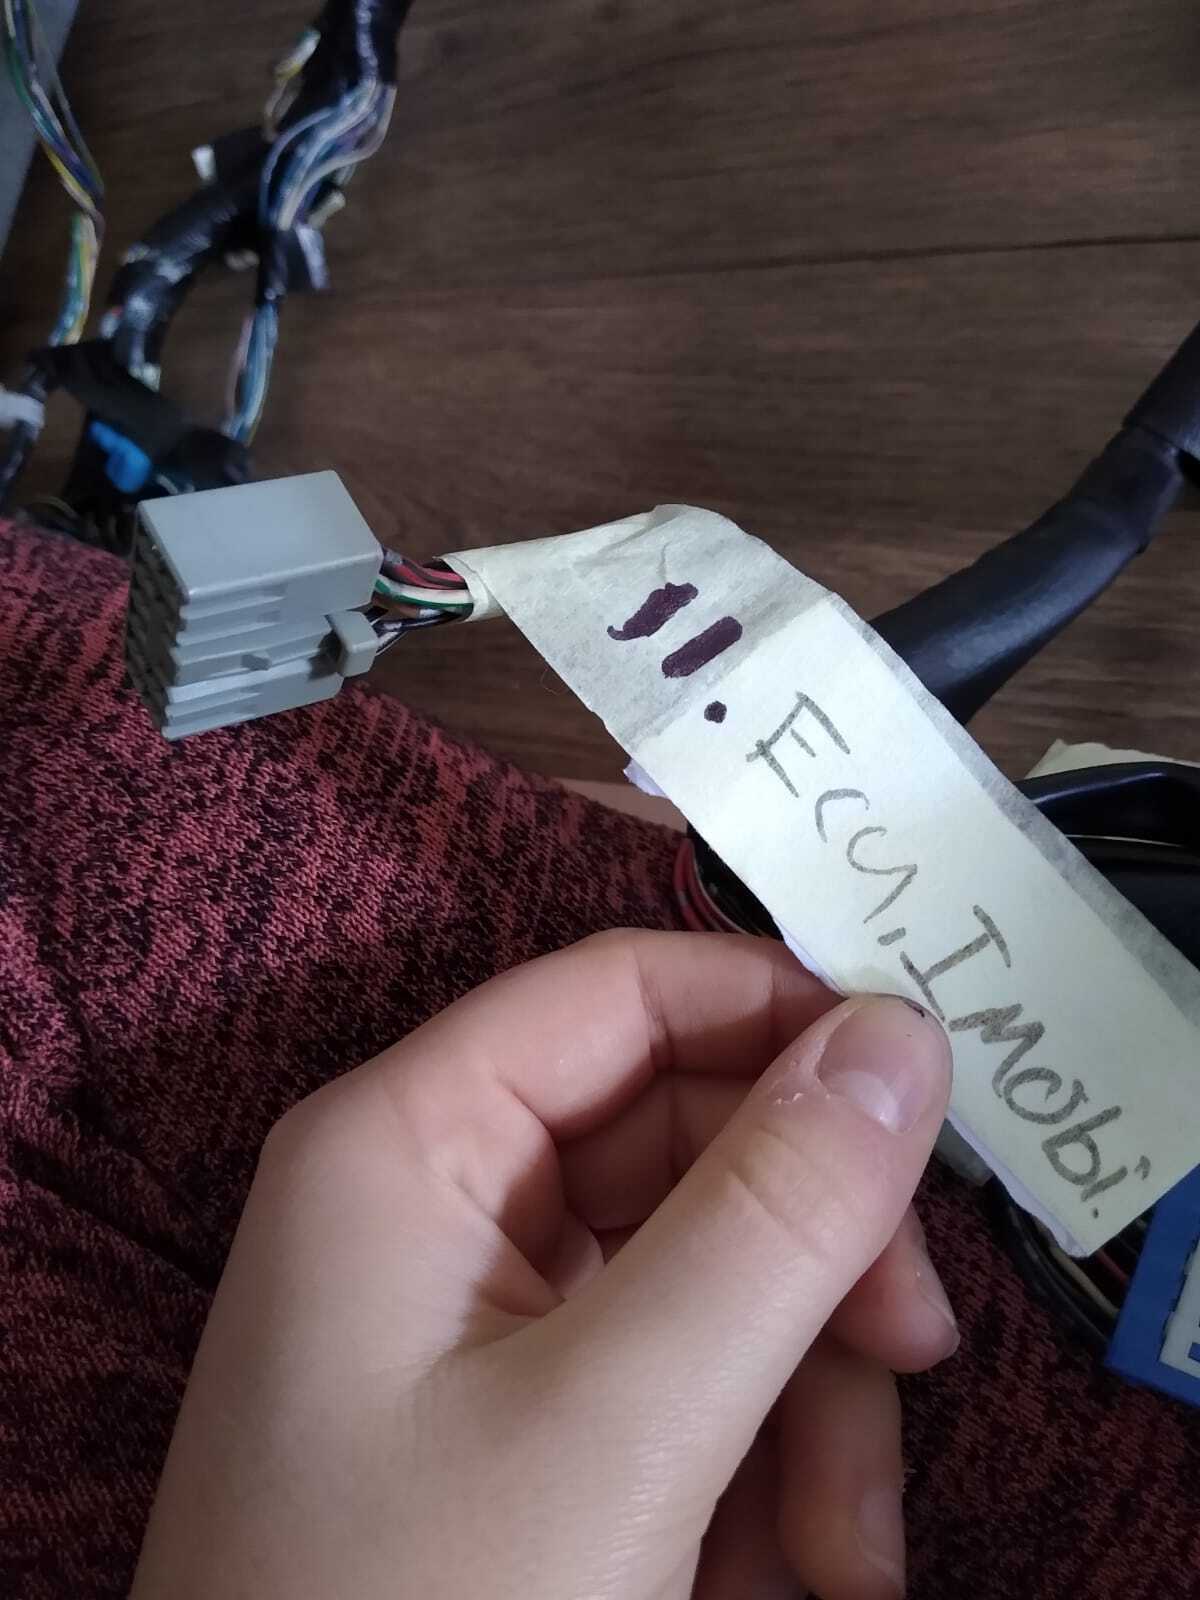
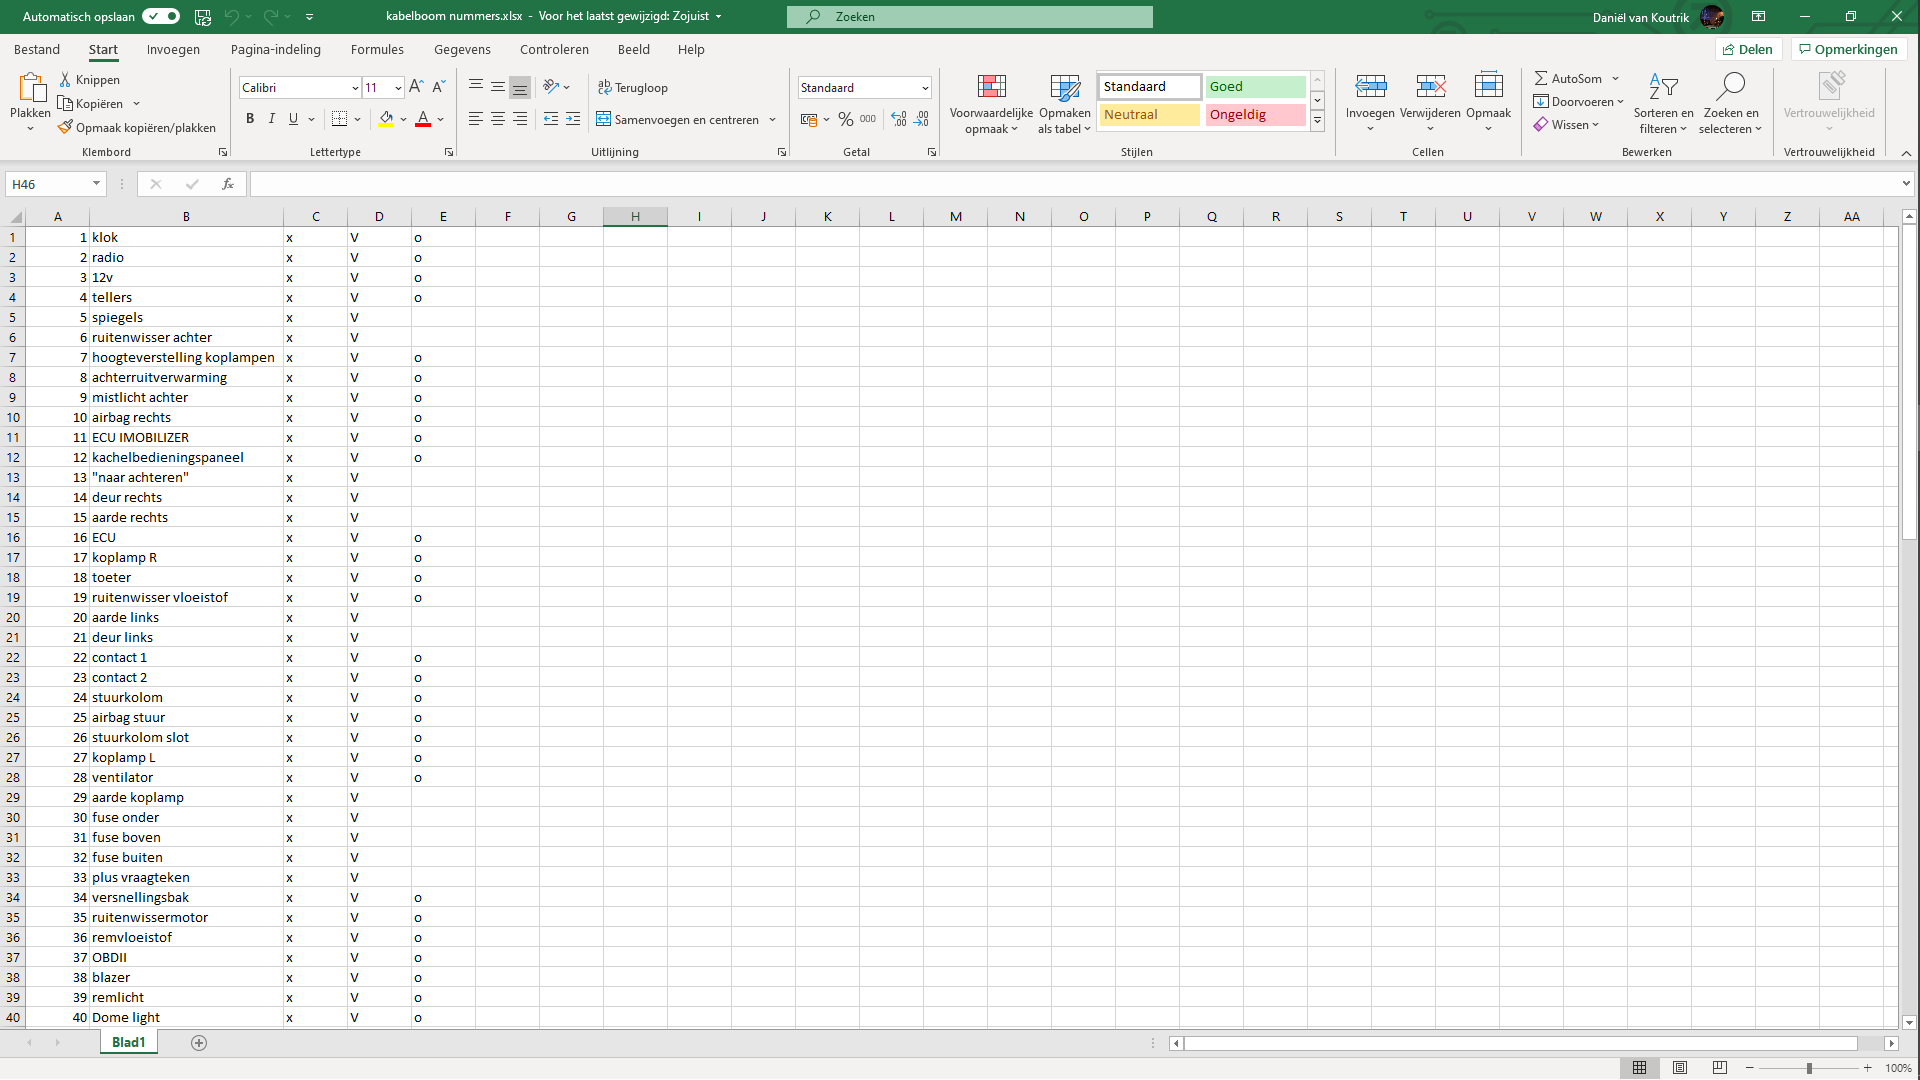
– then put all the numbers and labels in an Excel sheet, so you don’t lose track of all the numbers
– if there are any plugs that are not connected, you label them “X”
– also take out both fuse boxes, you’ll need the ones from the new harness
-
Labeling the new wire harness
Put both harasses on the floor next to each other and start labeling the new harness like you labeled the old harness. The easiest way to do that is to choose a starting point (the left headlight section for example), and work your way to the other side.
Another way to do it is to start with #1 on your Excel sheet and work your way up. The reason I didn’t do that, is because the new harness will have more plugs (for your power windows, and mirrors etc). Therefore, if you just follow the numbers, you’ll skip the unlabeled plugs.
By working your way from left to right, you’ll see every single plug. And when you do find a new plug, try to find its destination, label it, give it a number, and put it in your Excel sheet. -
Putting the new harness back in
Putting it back in is basically the same as getting it out but in reverse. The best thing to do is start were you ended with the old harness.
WARNING: make sure that the ECU and immobilizer are properly connected, otherwise the car won’t start. -
Testing
Before putting everything back together, make sure to test the harness by firing the car up. If there are any problems you can easily acces the entire harness. -
Put the dash back in, and the front of the car back on.
List of things I used:
- new wire harness
- fuse boxes (1 under the dashboard, 1 in the engine bay)
- tape and marker (for labeling the harnesses)
- zip ties
- small tools (like a ratchet, screw drivers, cutting knife, scissors)
- insulation tape
- motivation
- one sister
DOOR SILLS FIXED

I think nobody would be surprised to hear that my car had some rust issues. However, it was starting to become a serious problem, so I got it fixed by a local welder, and he did a pretty good job!
WIRE HARNESS PART 2
So the new wire harness was in, but the new doors were not. Until now!
BIG BRAKES
Some of you probably know that Sirion brakes bolt on to the steering knuckle from a Cuore/Mira. If you do, you probably also know that Copen brakes will fit as well. This is because they all have the same or similar steering knuckles.
I decided to take it a step further and see what other cars use the same steering knuckle.
The result: 254mm brakes from a Daihatsu Materia (a.k.a. Toyota bB QNC20, or Subaru Dex), and a brake caliper with a 54mm piston (instead of the Cuores 51 mm).
I ordered all the parts and I will be rebuilding the brakes hopefully very soon!
Here’s a list of brakes that would fit a Cuore:
Sirion (M1)/ YRV (M2): 234 mm
Copen: 246 mm
Brakes that may fit (MAY fit because I’ve never seen anyone doing it, yet):
Cuore L251: 234 mm
Sirion 2 (M3): 234 mm or 246 mm, depending on engine size
YRV Turbo/Cuore L275 (apparently): 246 mm
Materia (M4): 254 mm
Keep in mind that when you are swapping brakes, you might have to get new dust covers as well!
My advise is this:
234 mm is probably more than enough brakes for everyday driving.
246 mm will suit a sportier drive style, and I think they’ll last longer in terms of brake fade.
254 mm is probably overkill. Bear in mind that this is just a 700kg car, and it doesn’t need that much stopping power, especially with the stock engine. The reason I’m putting them on my car, is because I wanted to know if it could be done at all, and because I want to do a K3VET swap in the future.
WINDOW VISORS
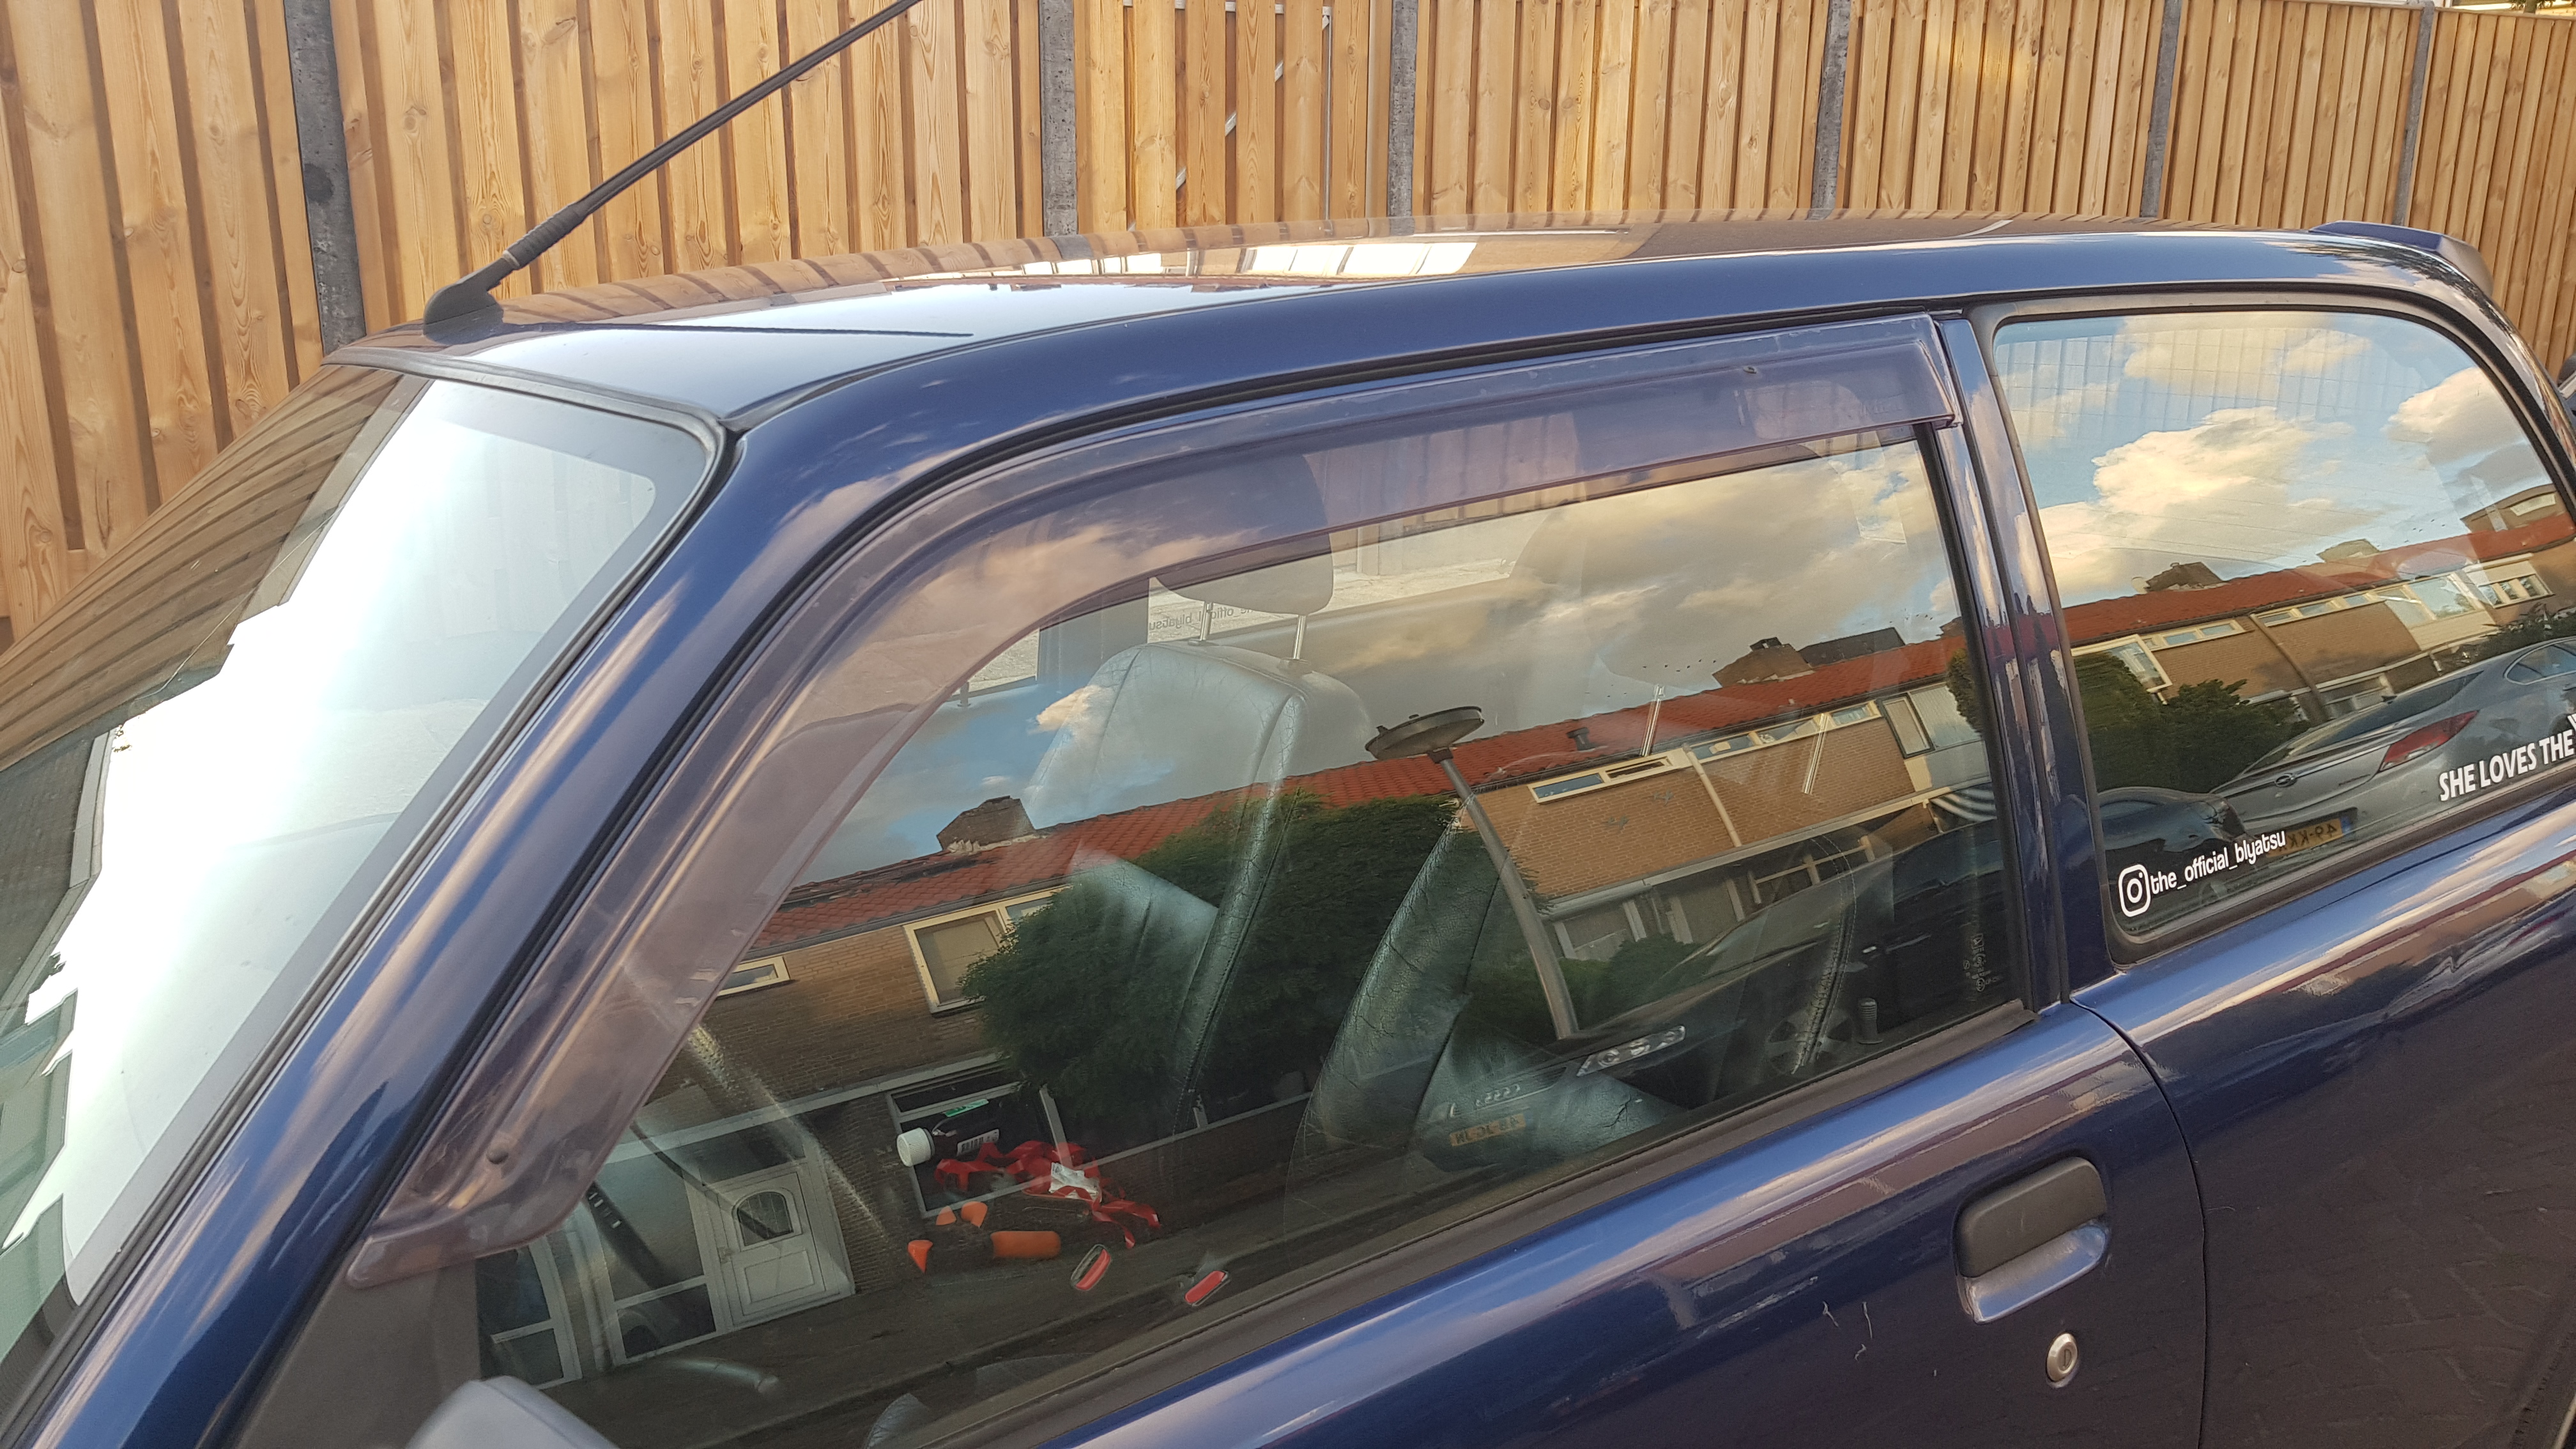
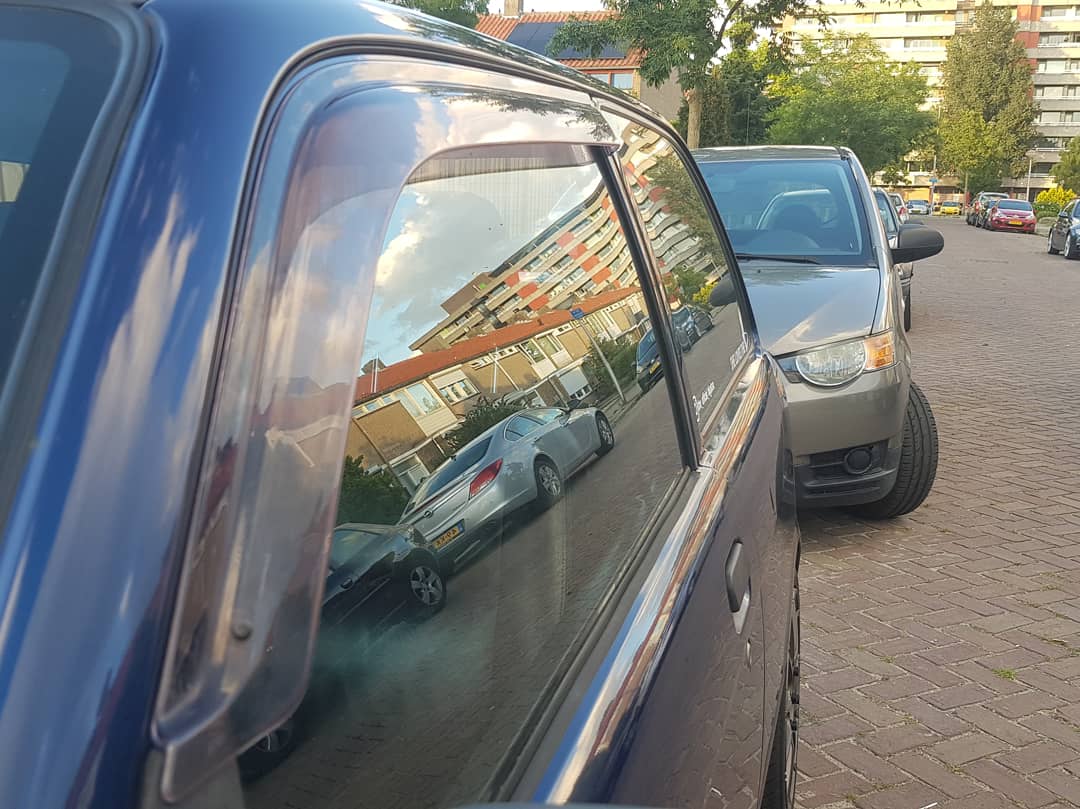
After months of collecting dust, I finally installed my window visors! They work great. Now I don’t have to suffer from heat, or wind noise anymore .
SEATS
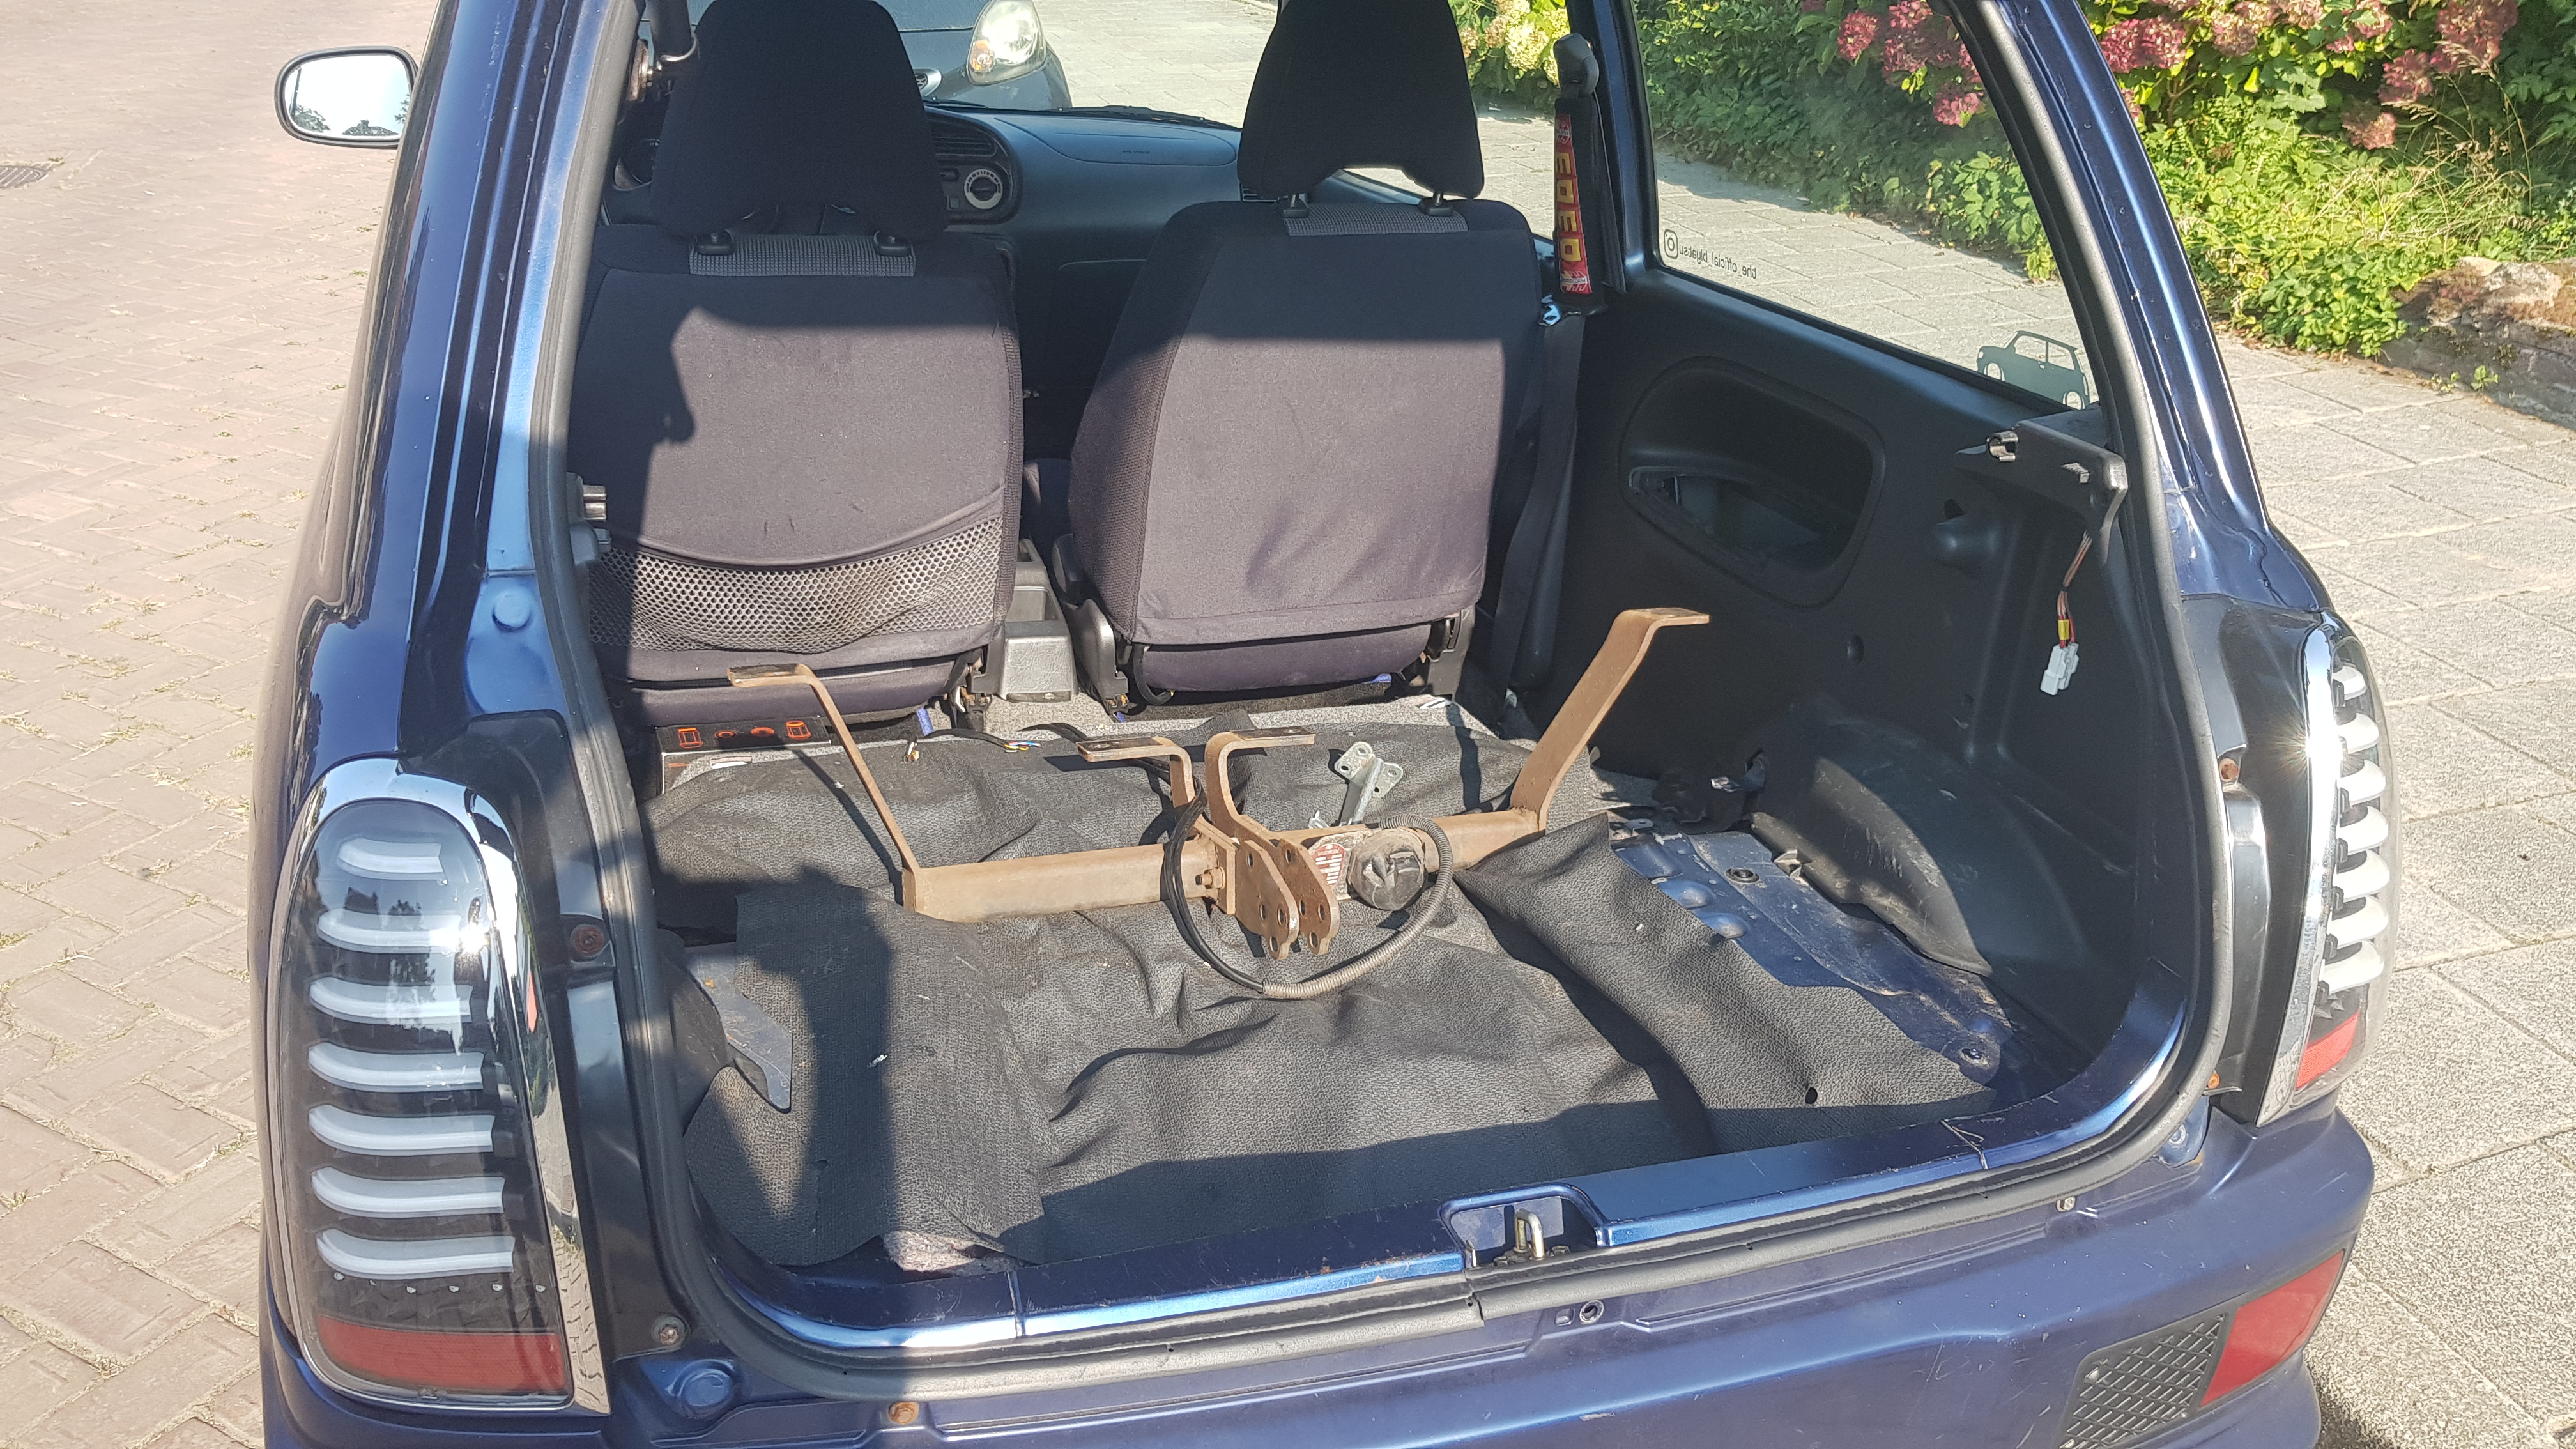
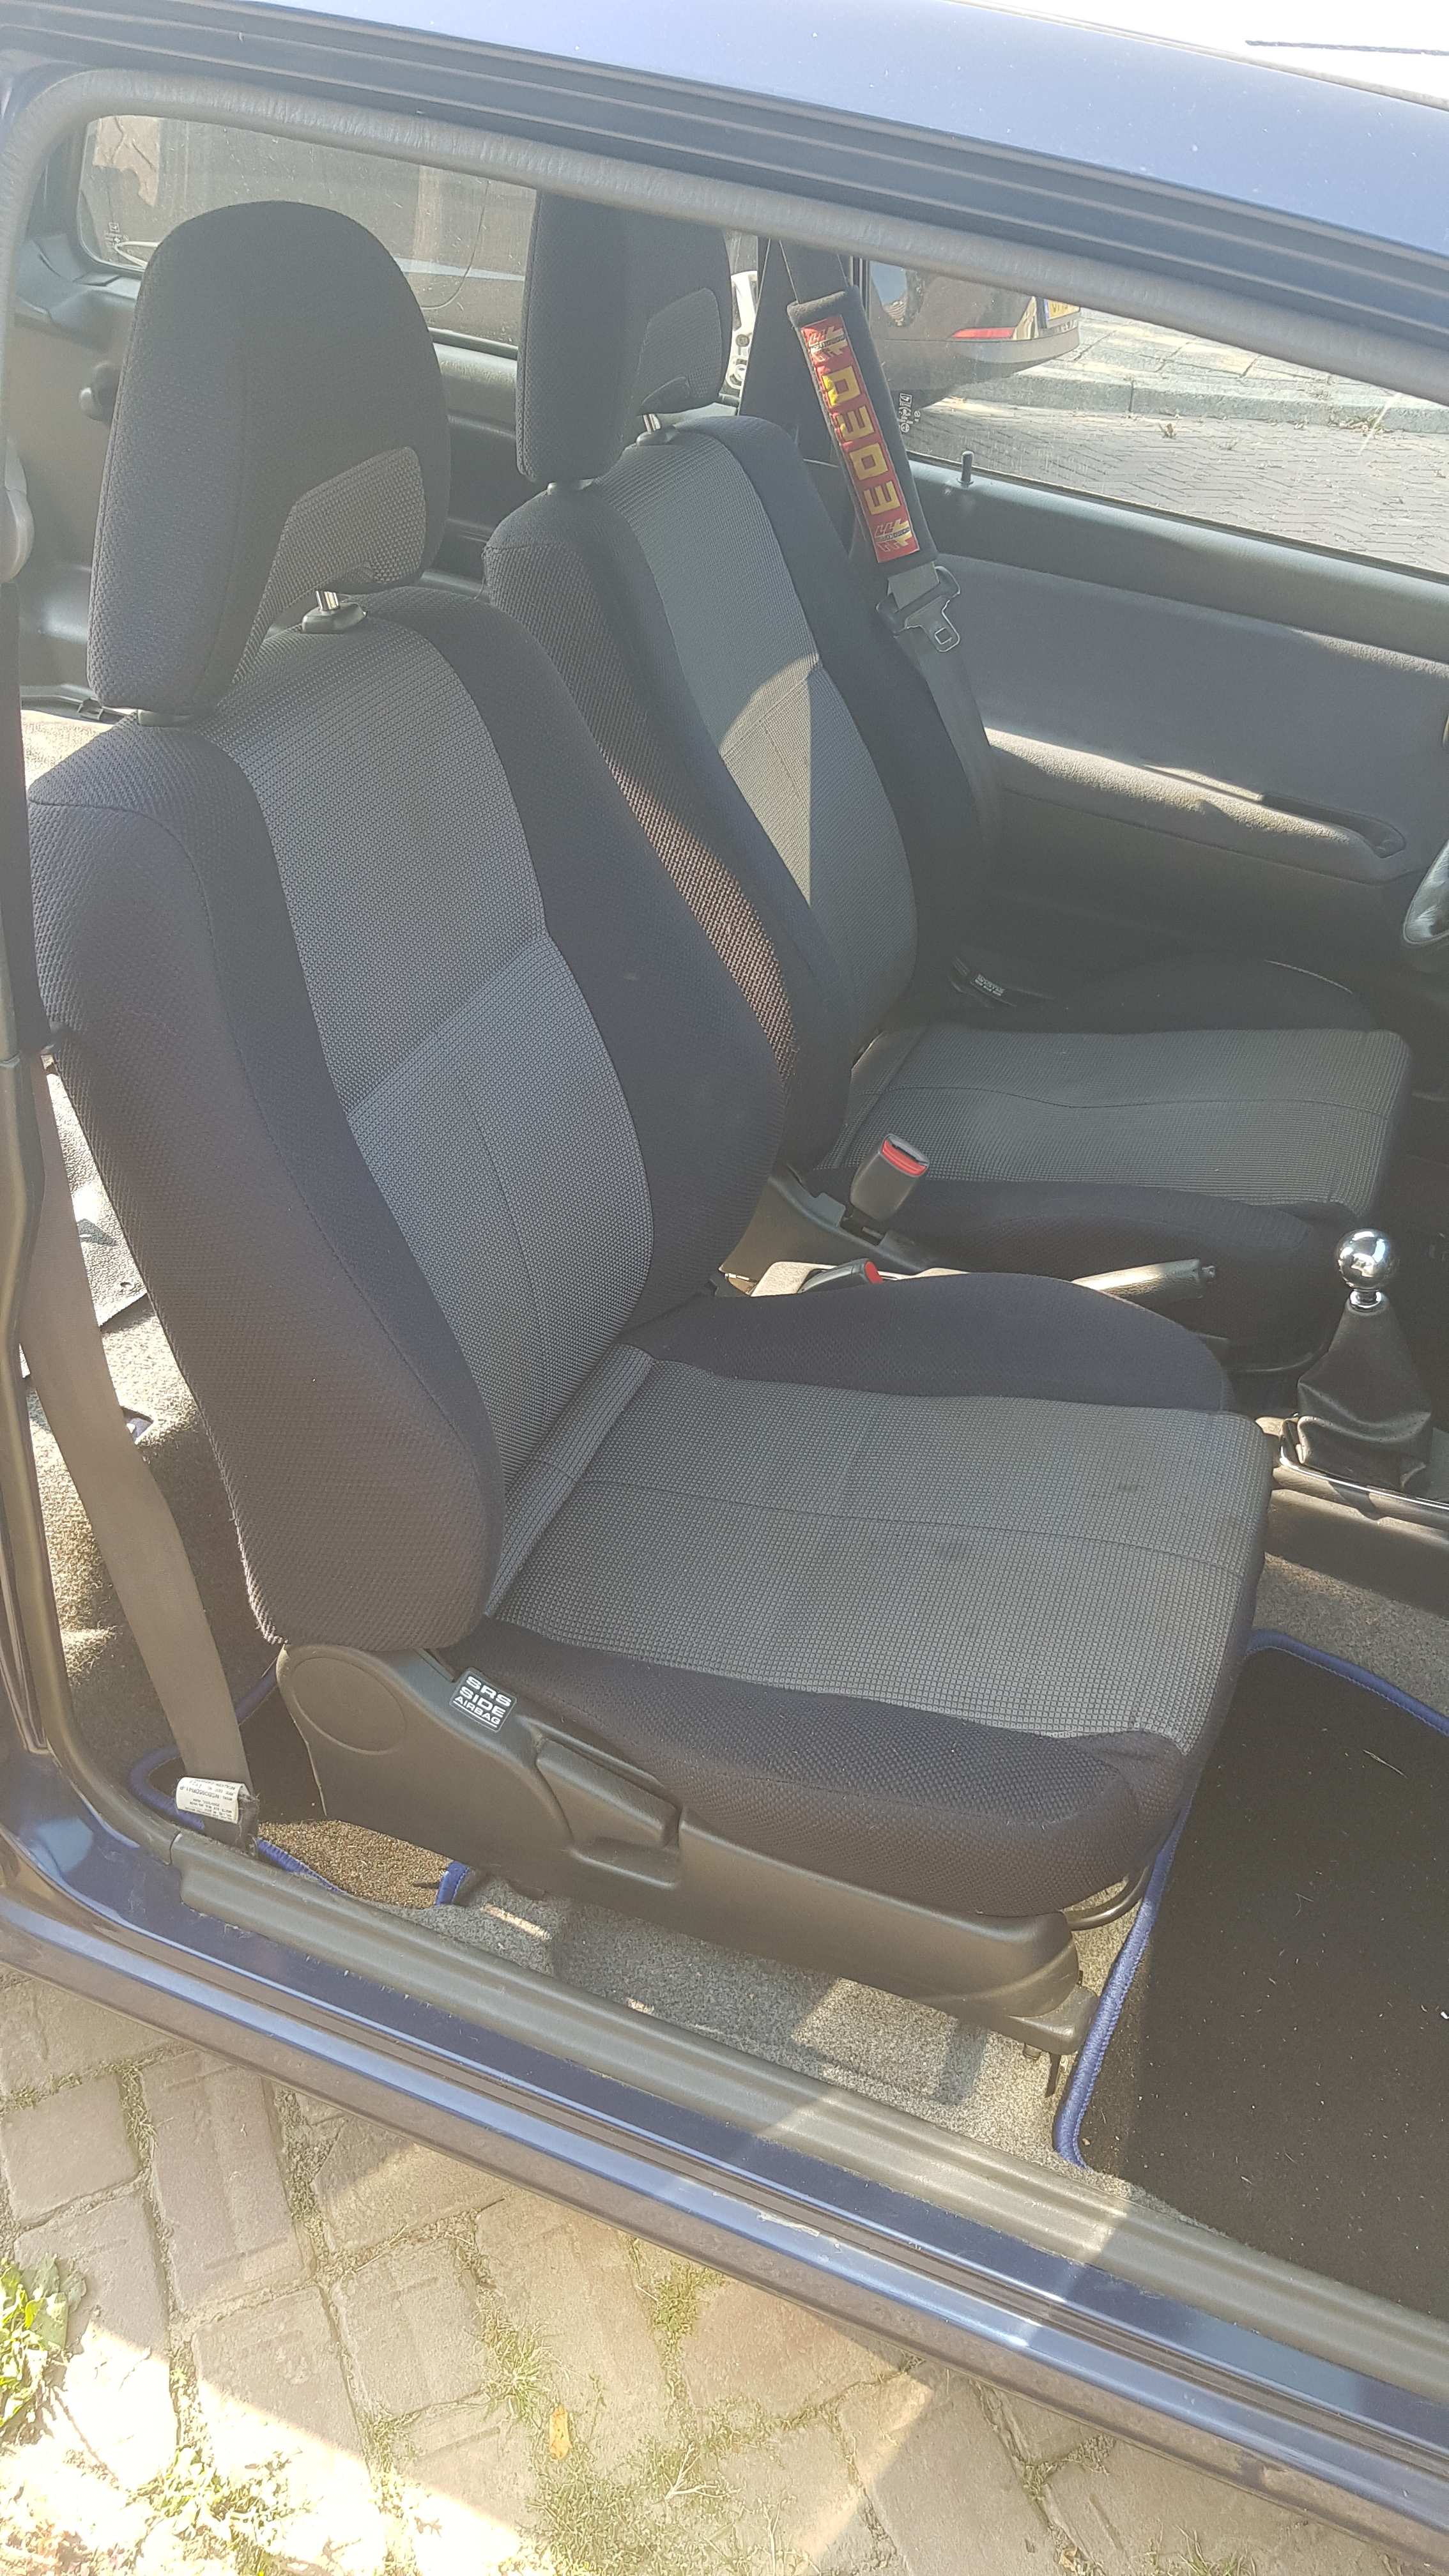
I sold the leather interior and got Sirion M1 seats from @Roffelkut .
I’m going to fit Recaro’s in the future, but in that case I’d have to sell only the old front seats. The thing is that I rarely have someone sitting on the rear seat, so I figured might as well sell the seats all together, and use that space for something that is useful to me.
SHORT SHIFTER
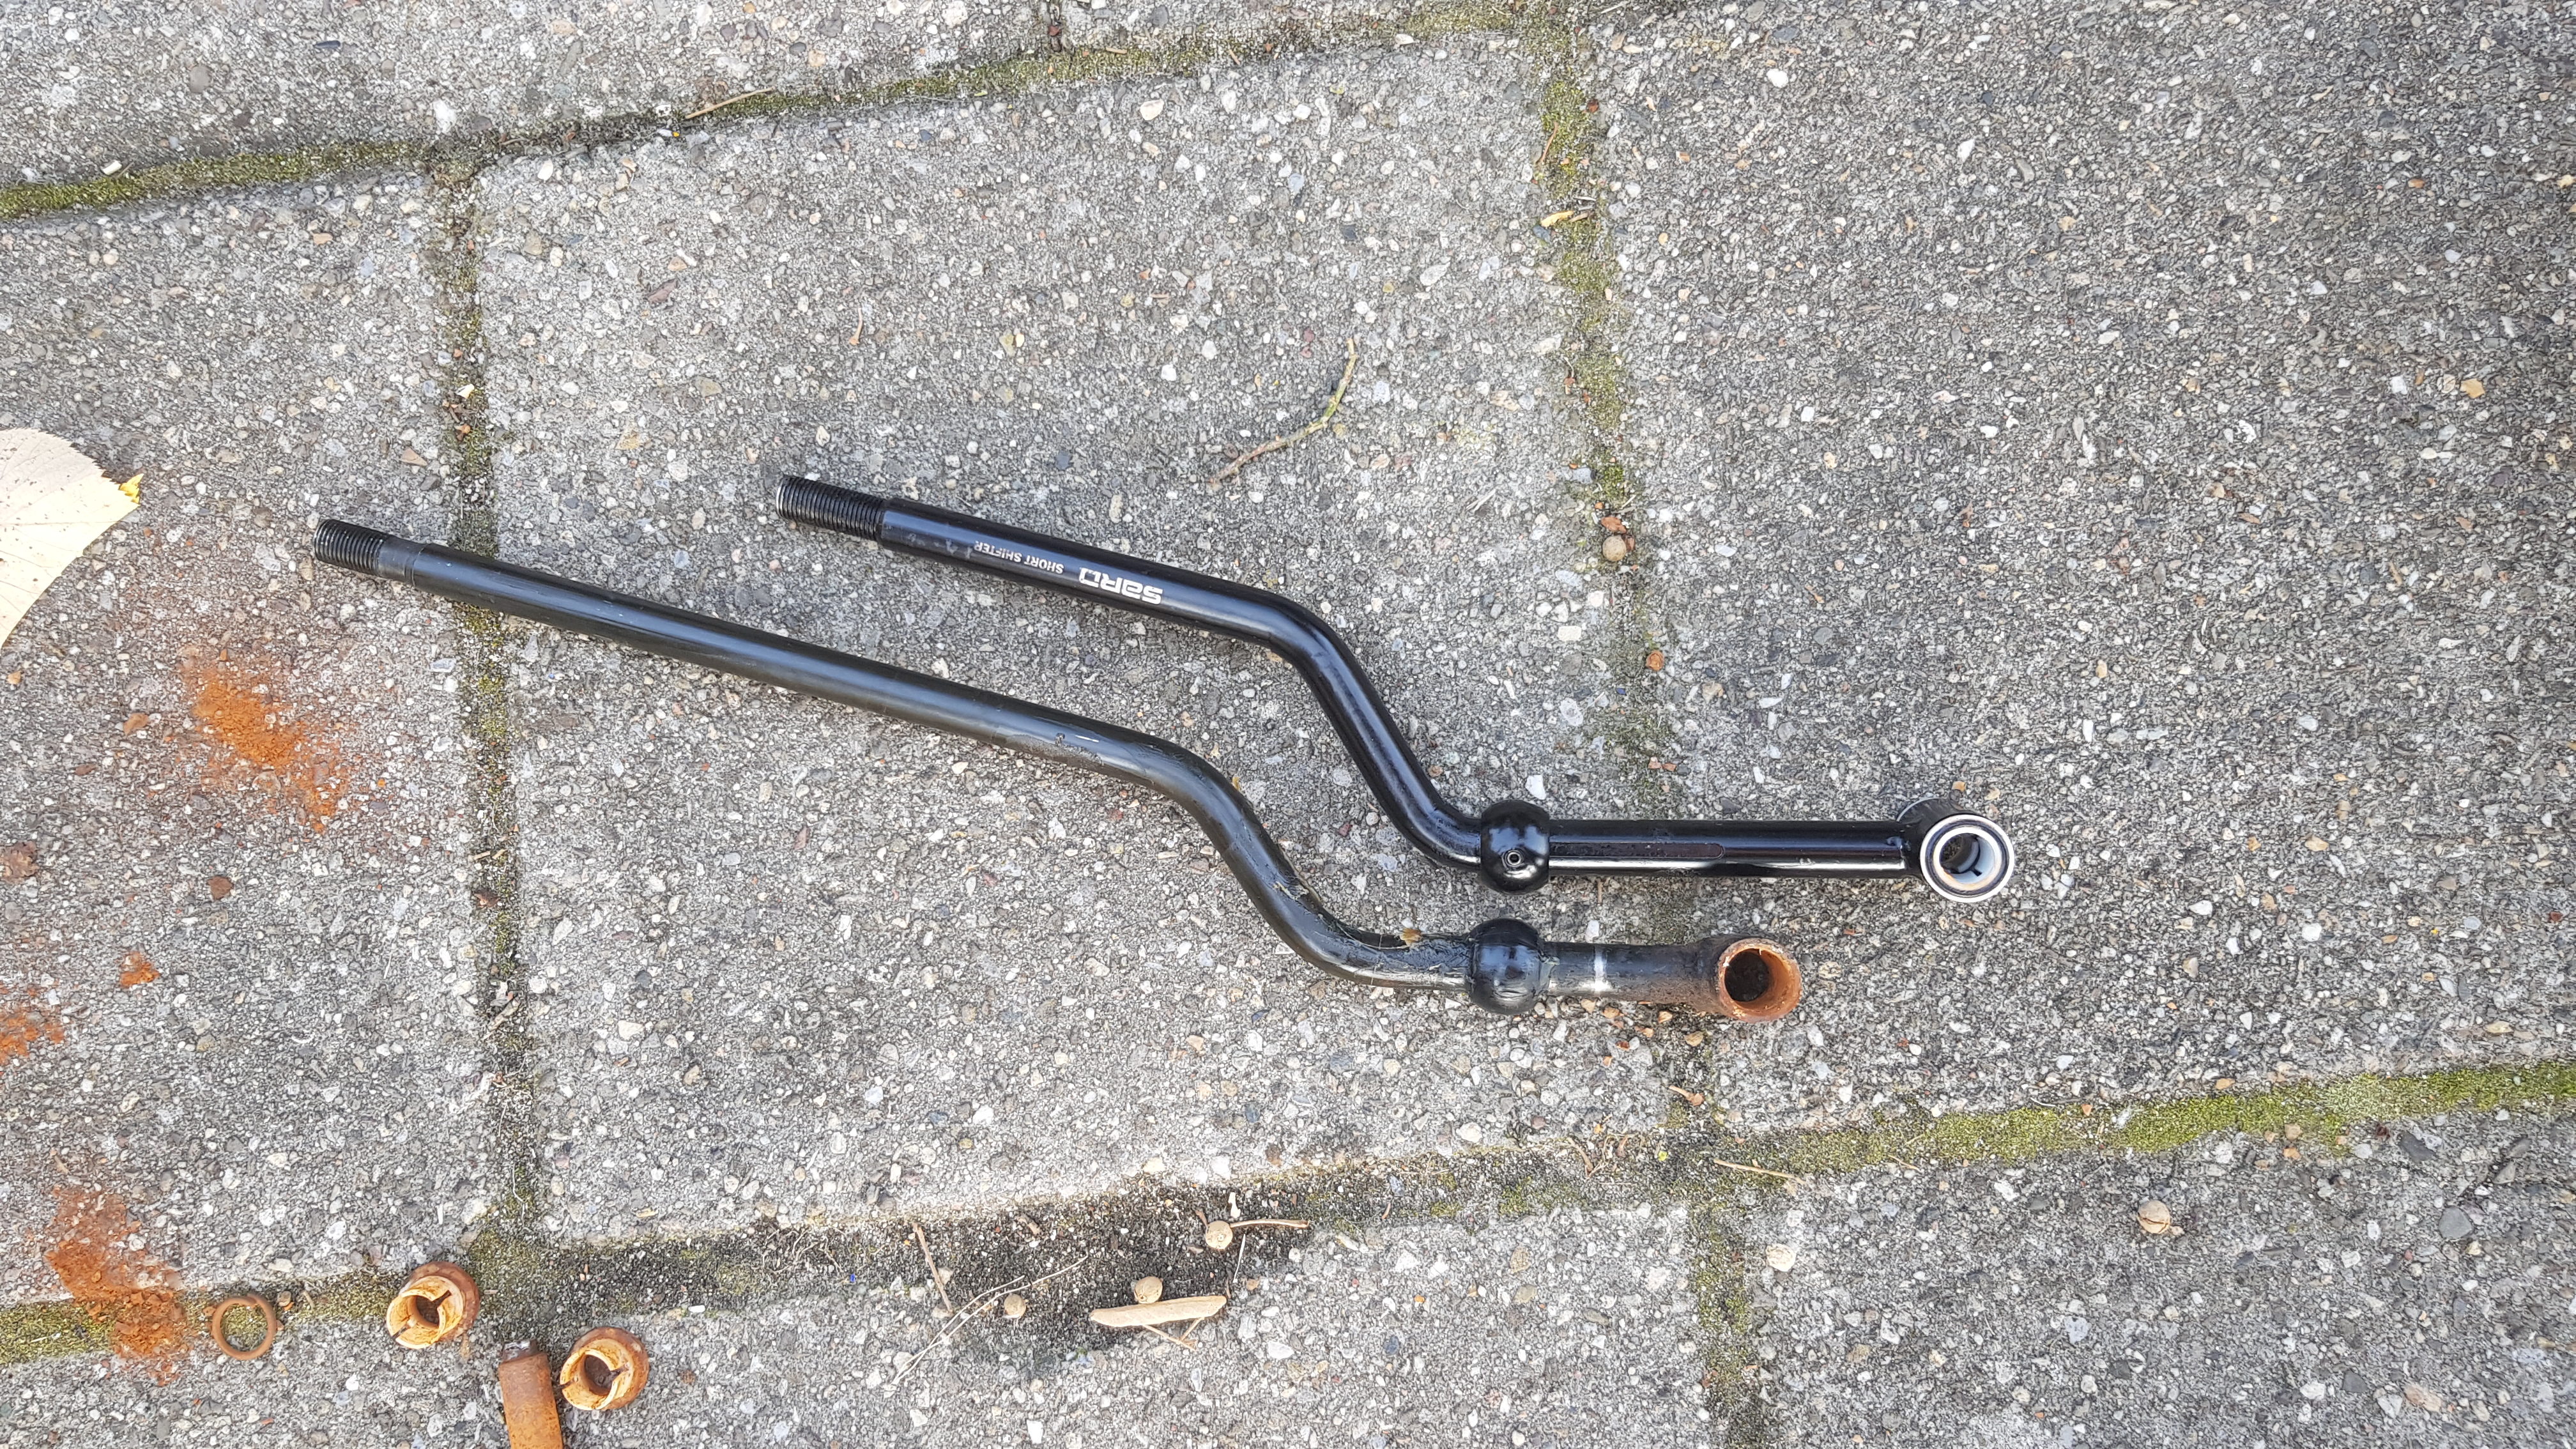
With the help of some friends we installed a short shifter! We also replaced all the bushings and rubbers, because the old ones were shot. The shifter feels amazing! However, the AliExpress shiftknob doesn’t feel all that great, and I might need to extend the shifter, because it’s a little low now and I need to stretch my arm whenever I shift.
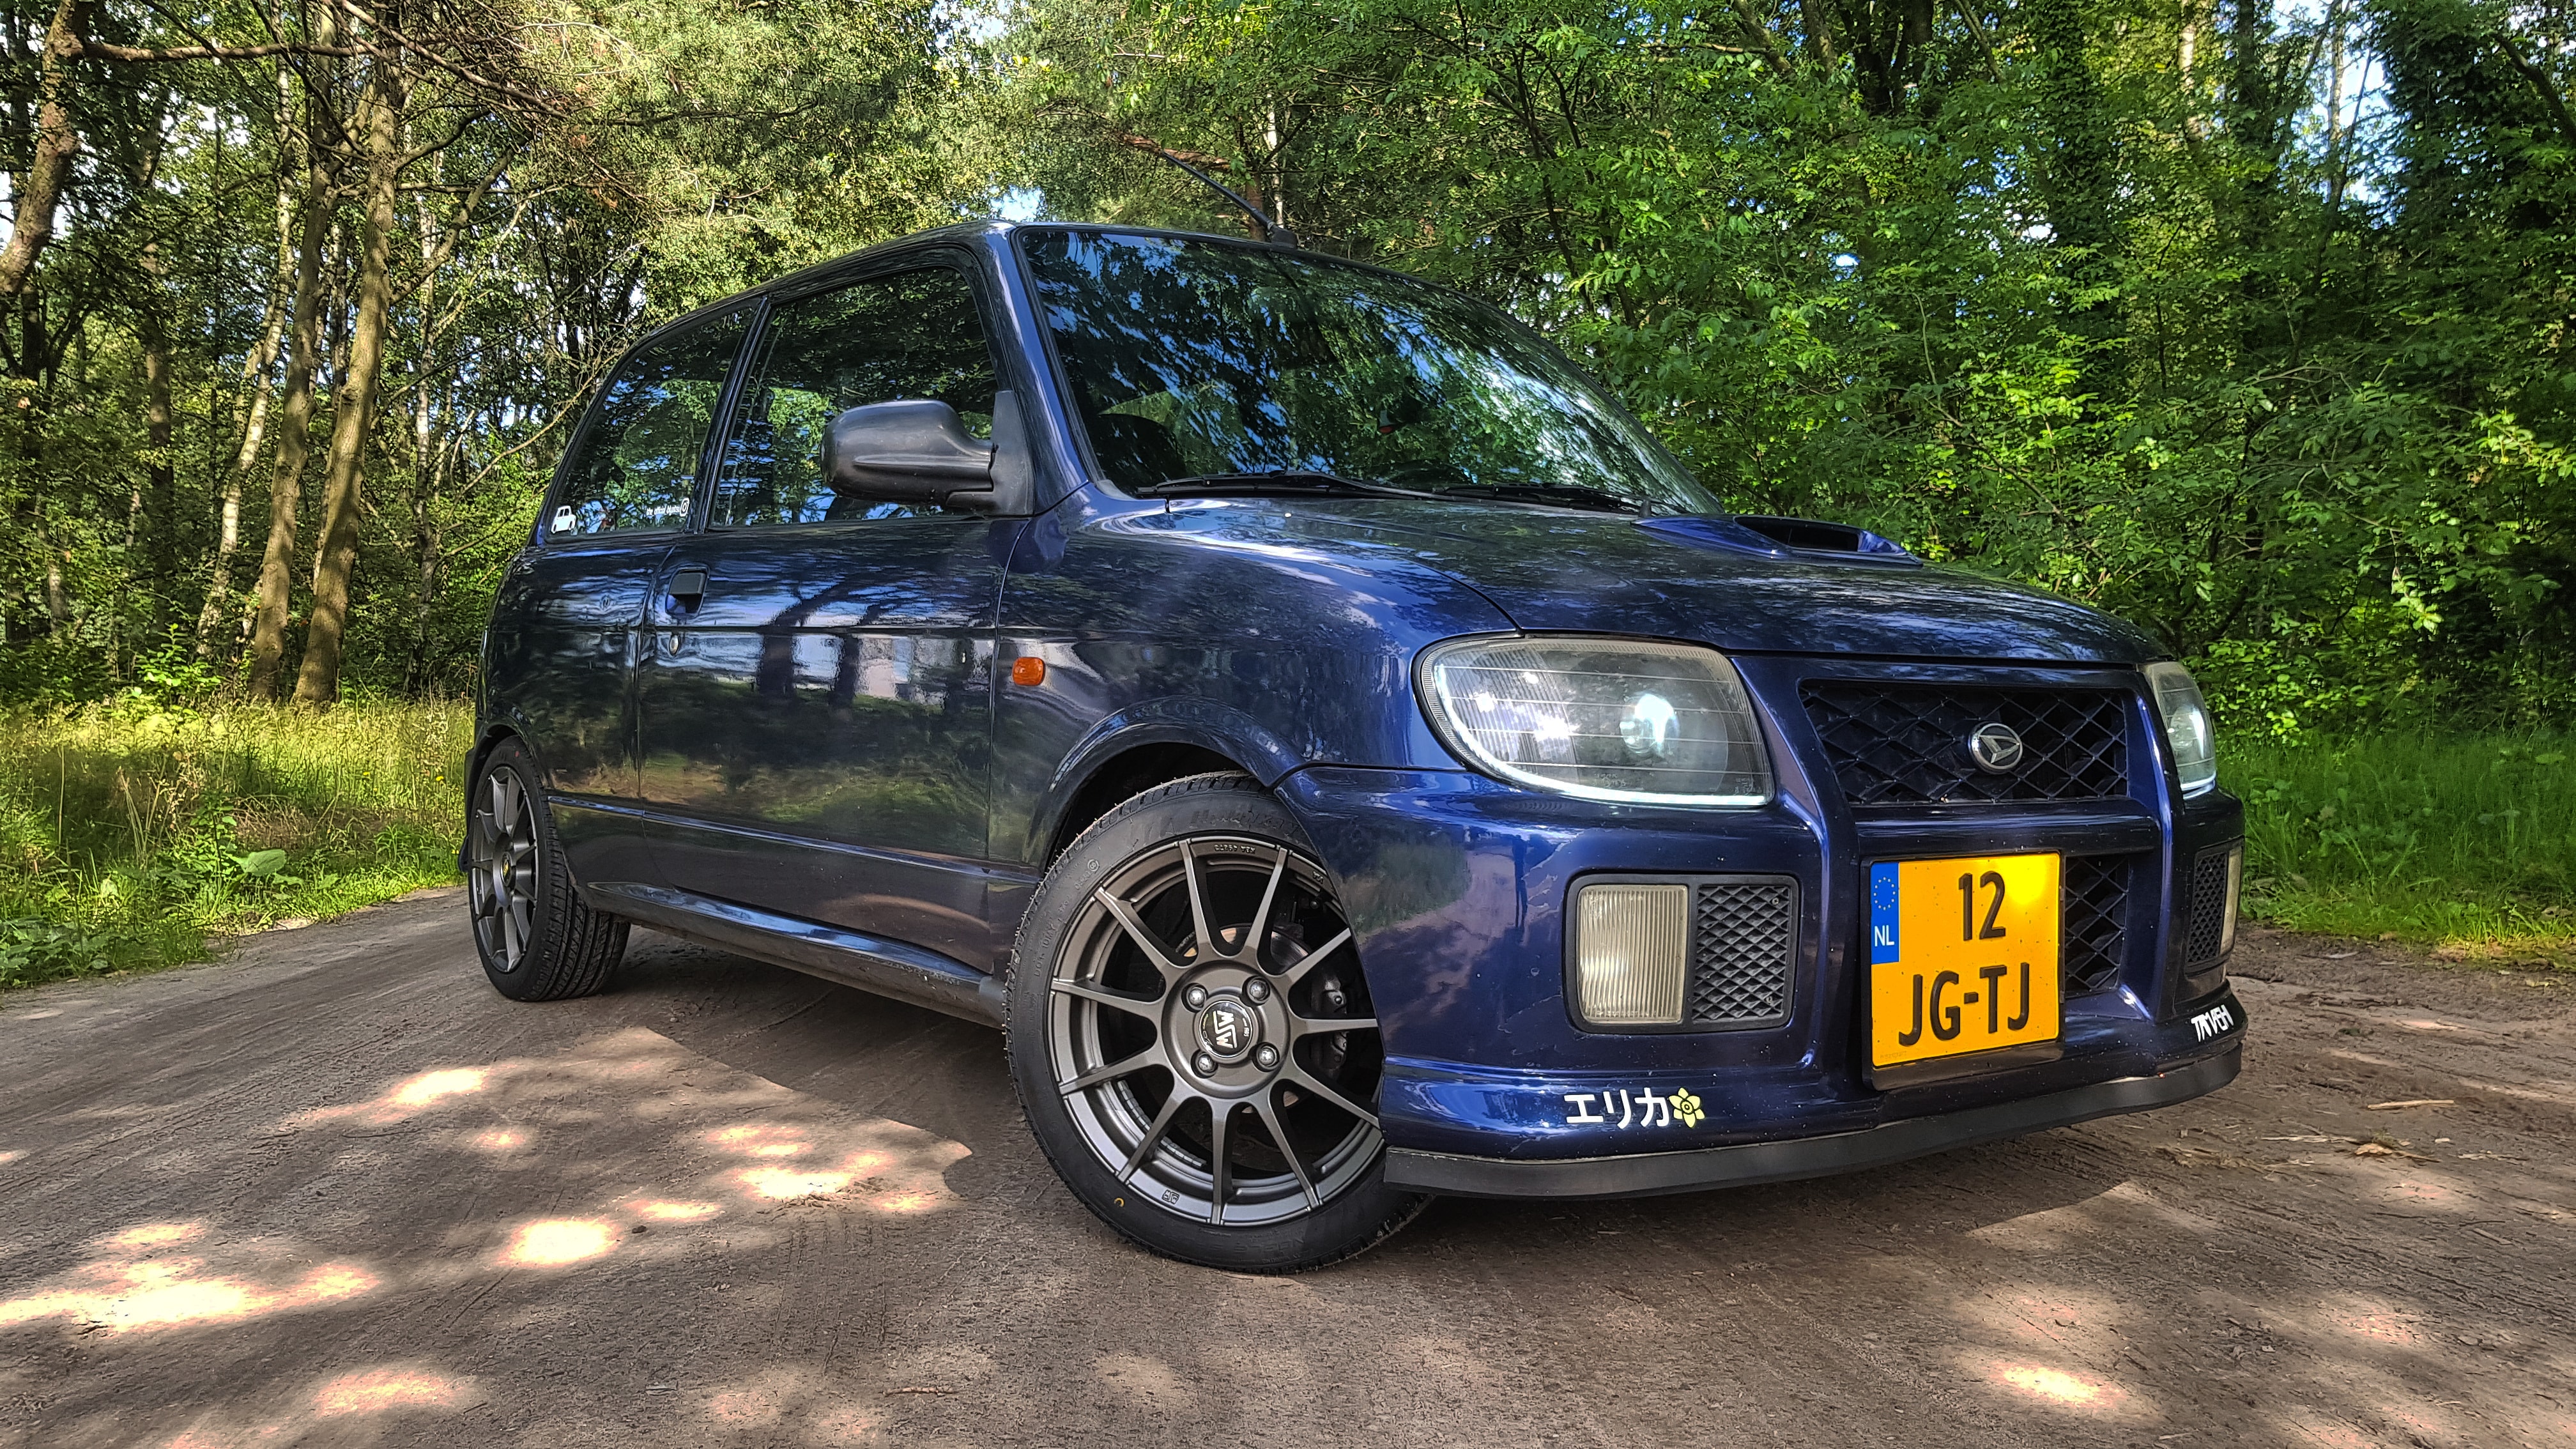
MORE LOWZ
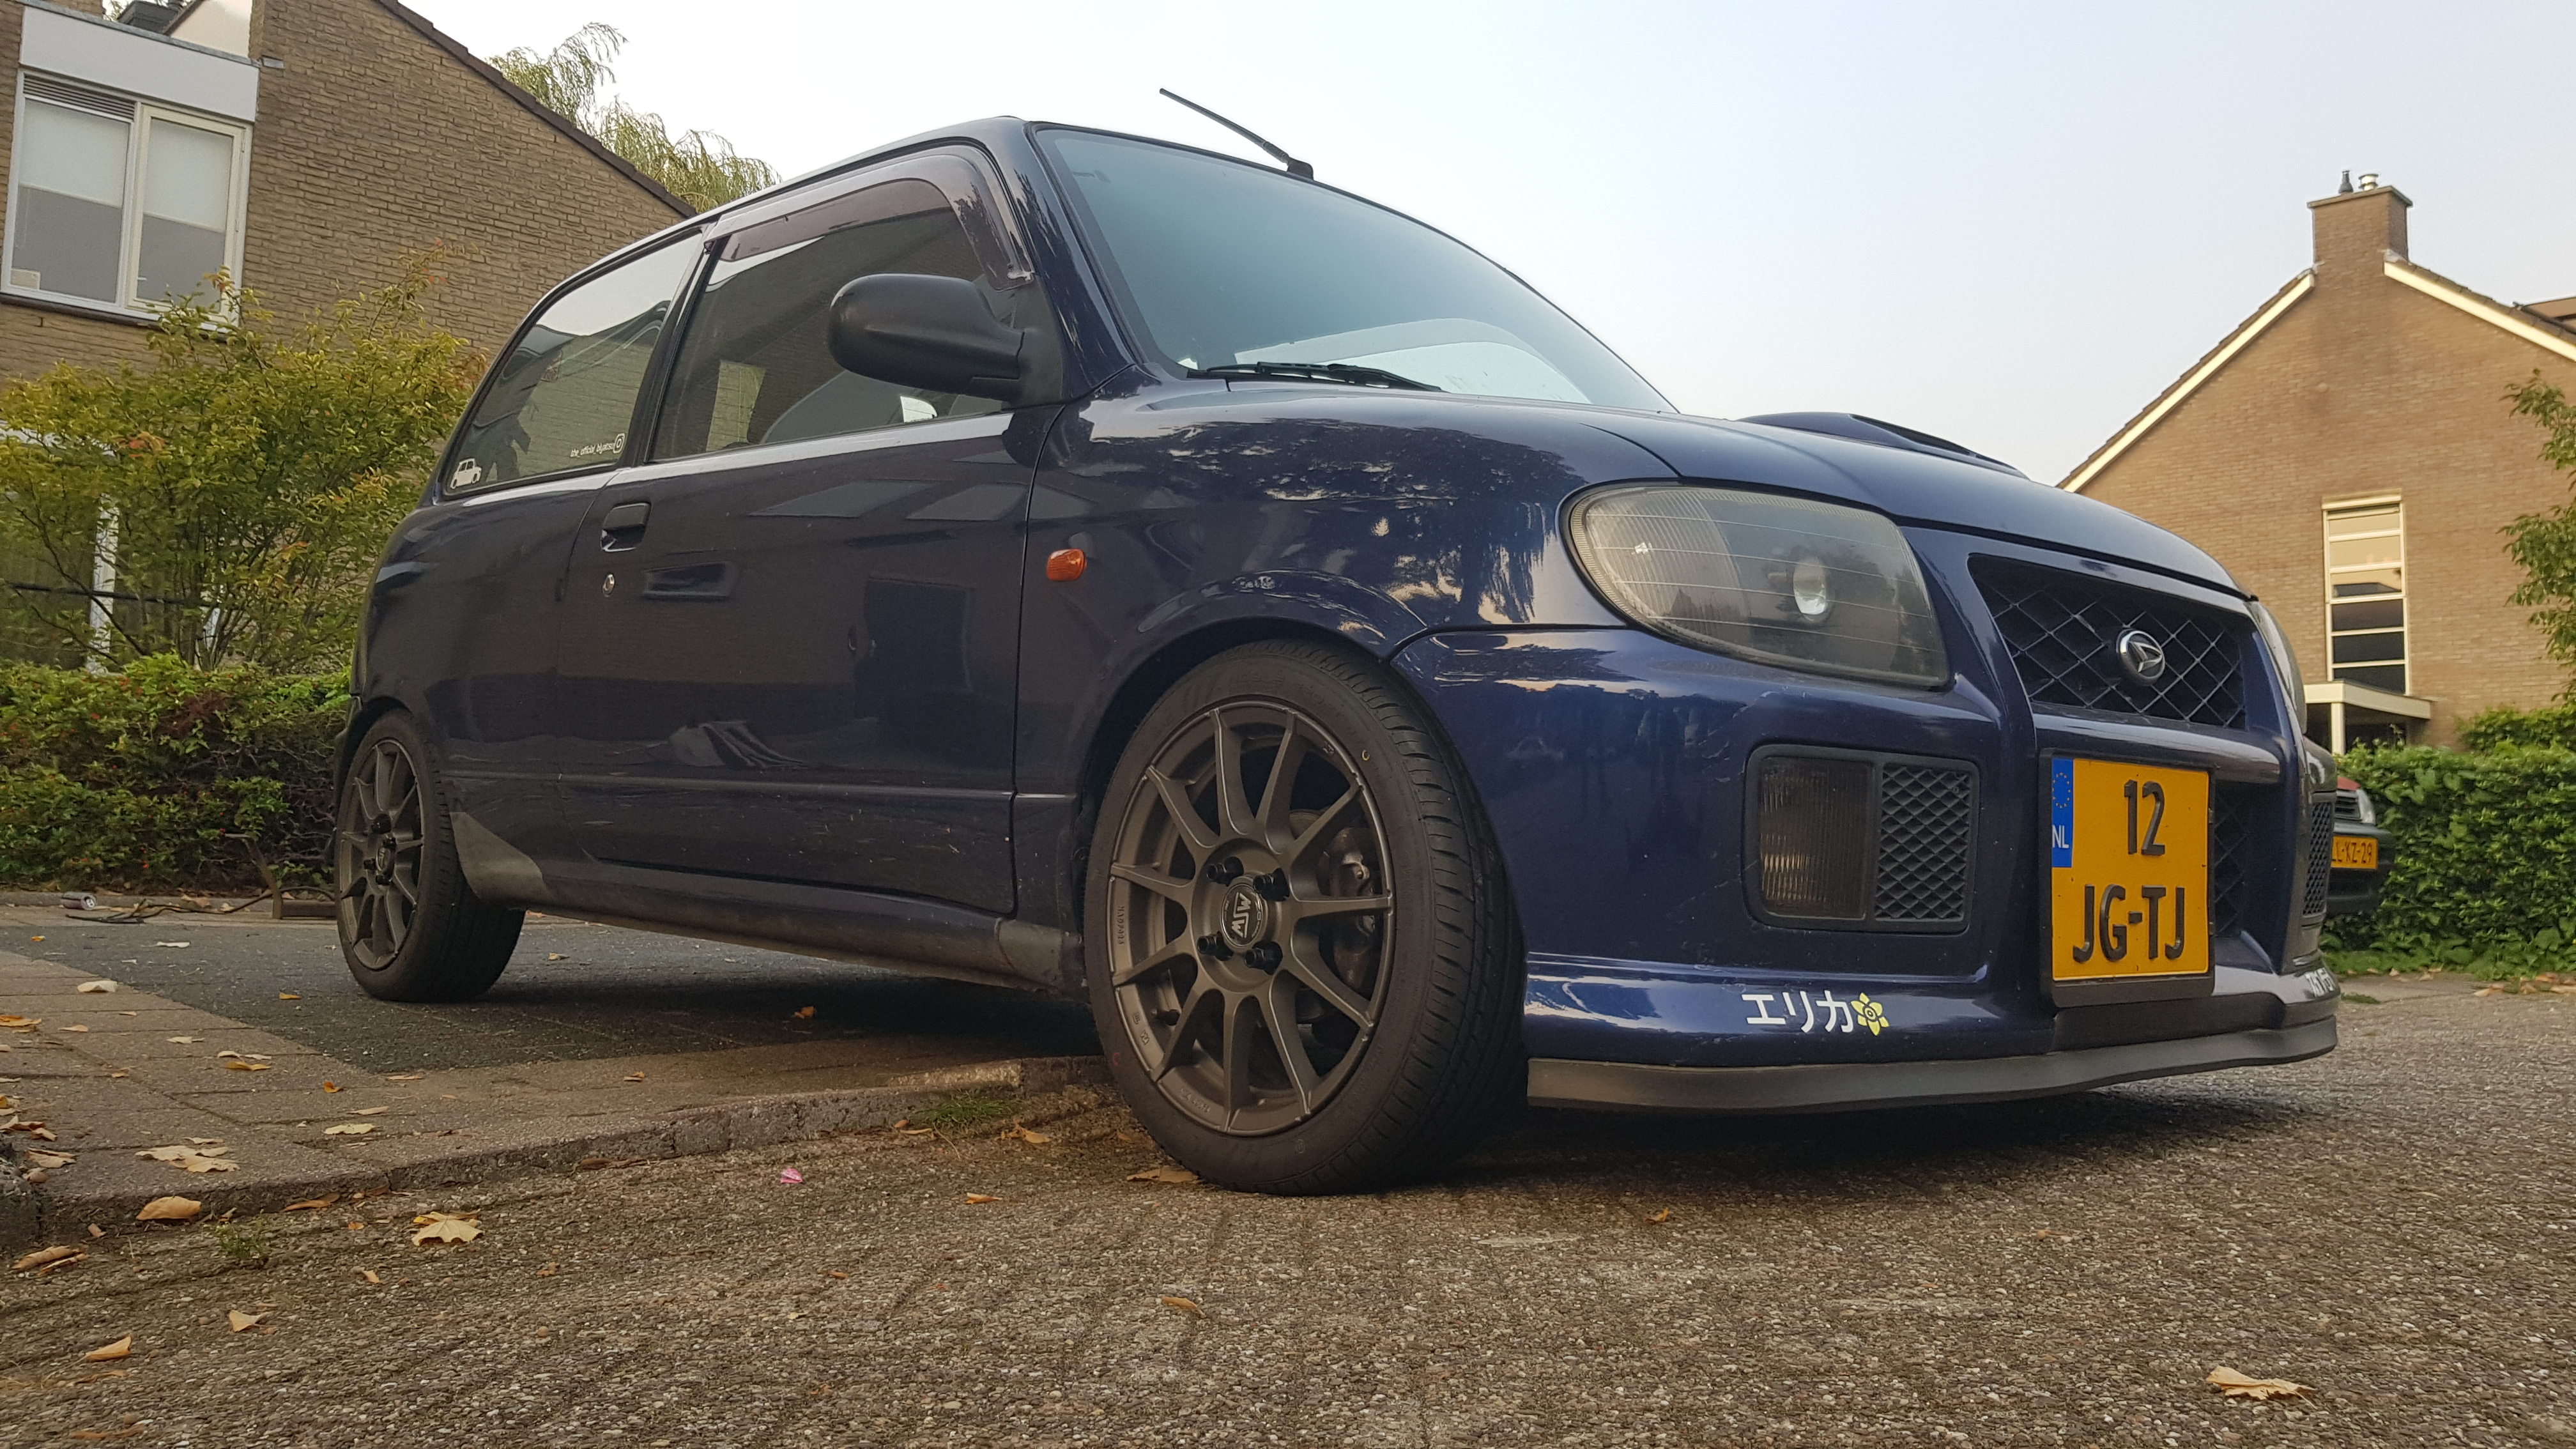
While installing the short shifter, we also rolled the fenders so the wheels wouldn’t rub anymore. After doing so, we could drop the car over an inch at the front, and about 2 cm at the back. For me, this is the perfect hight!
CHROME DELETE & MIRA GINO PLATE GARNISH
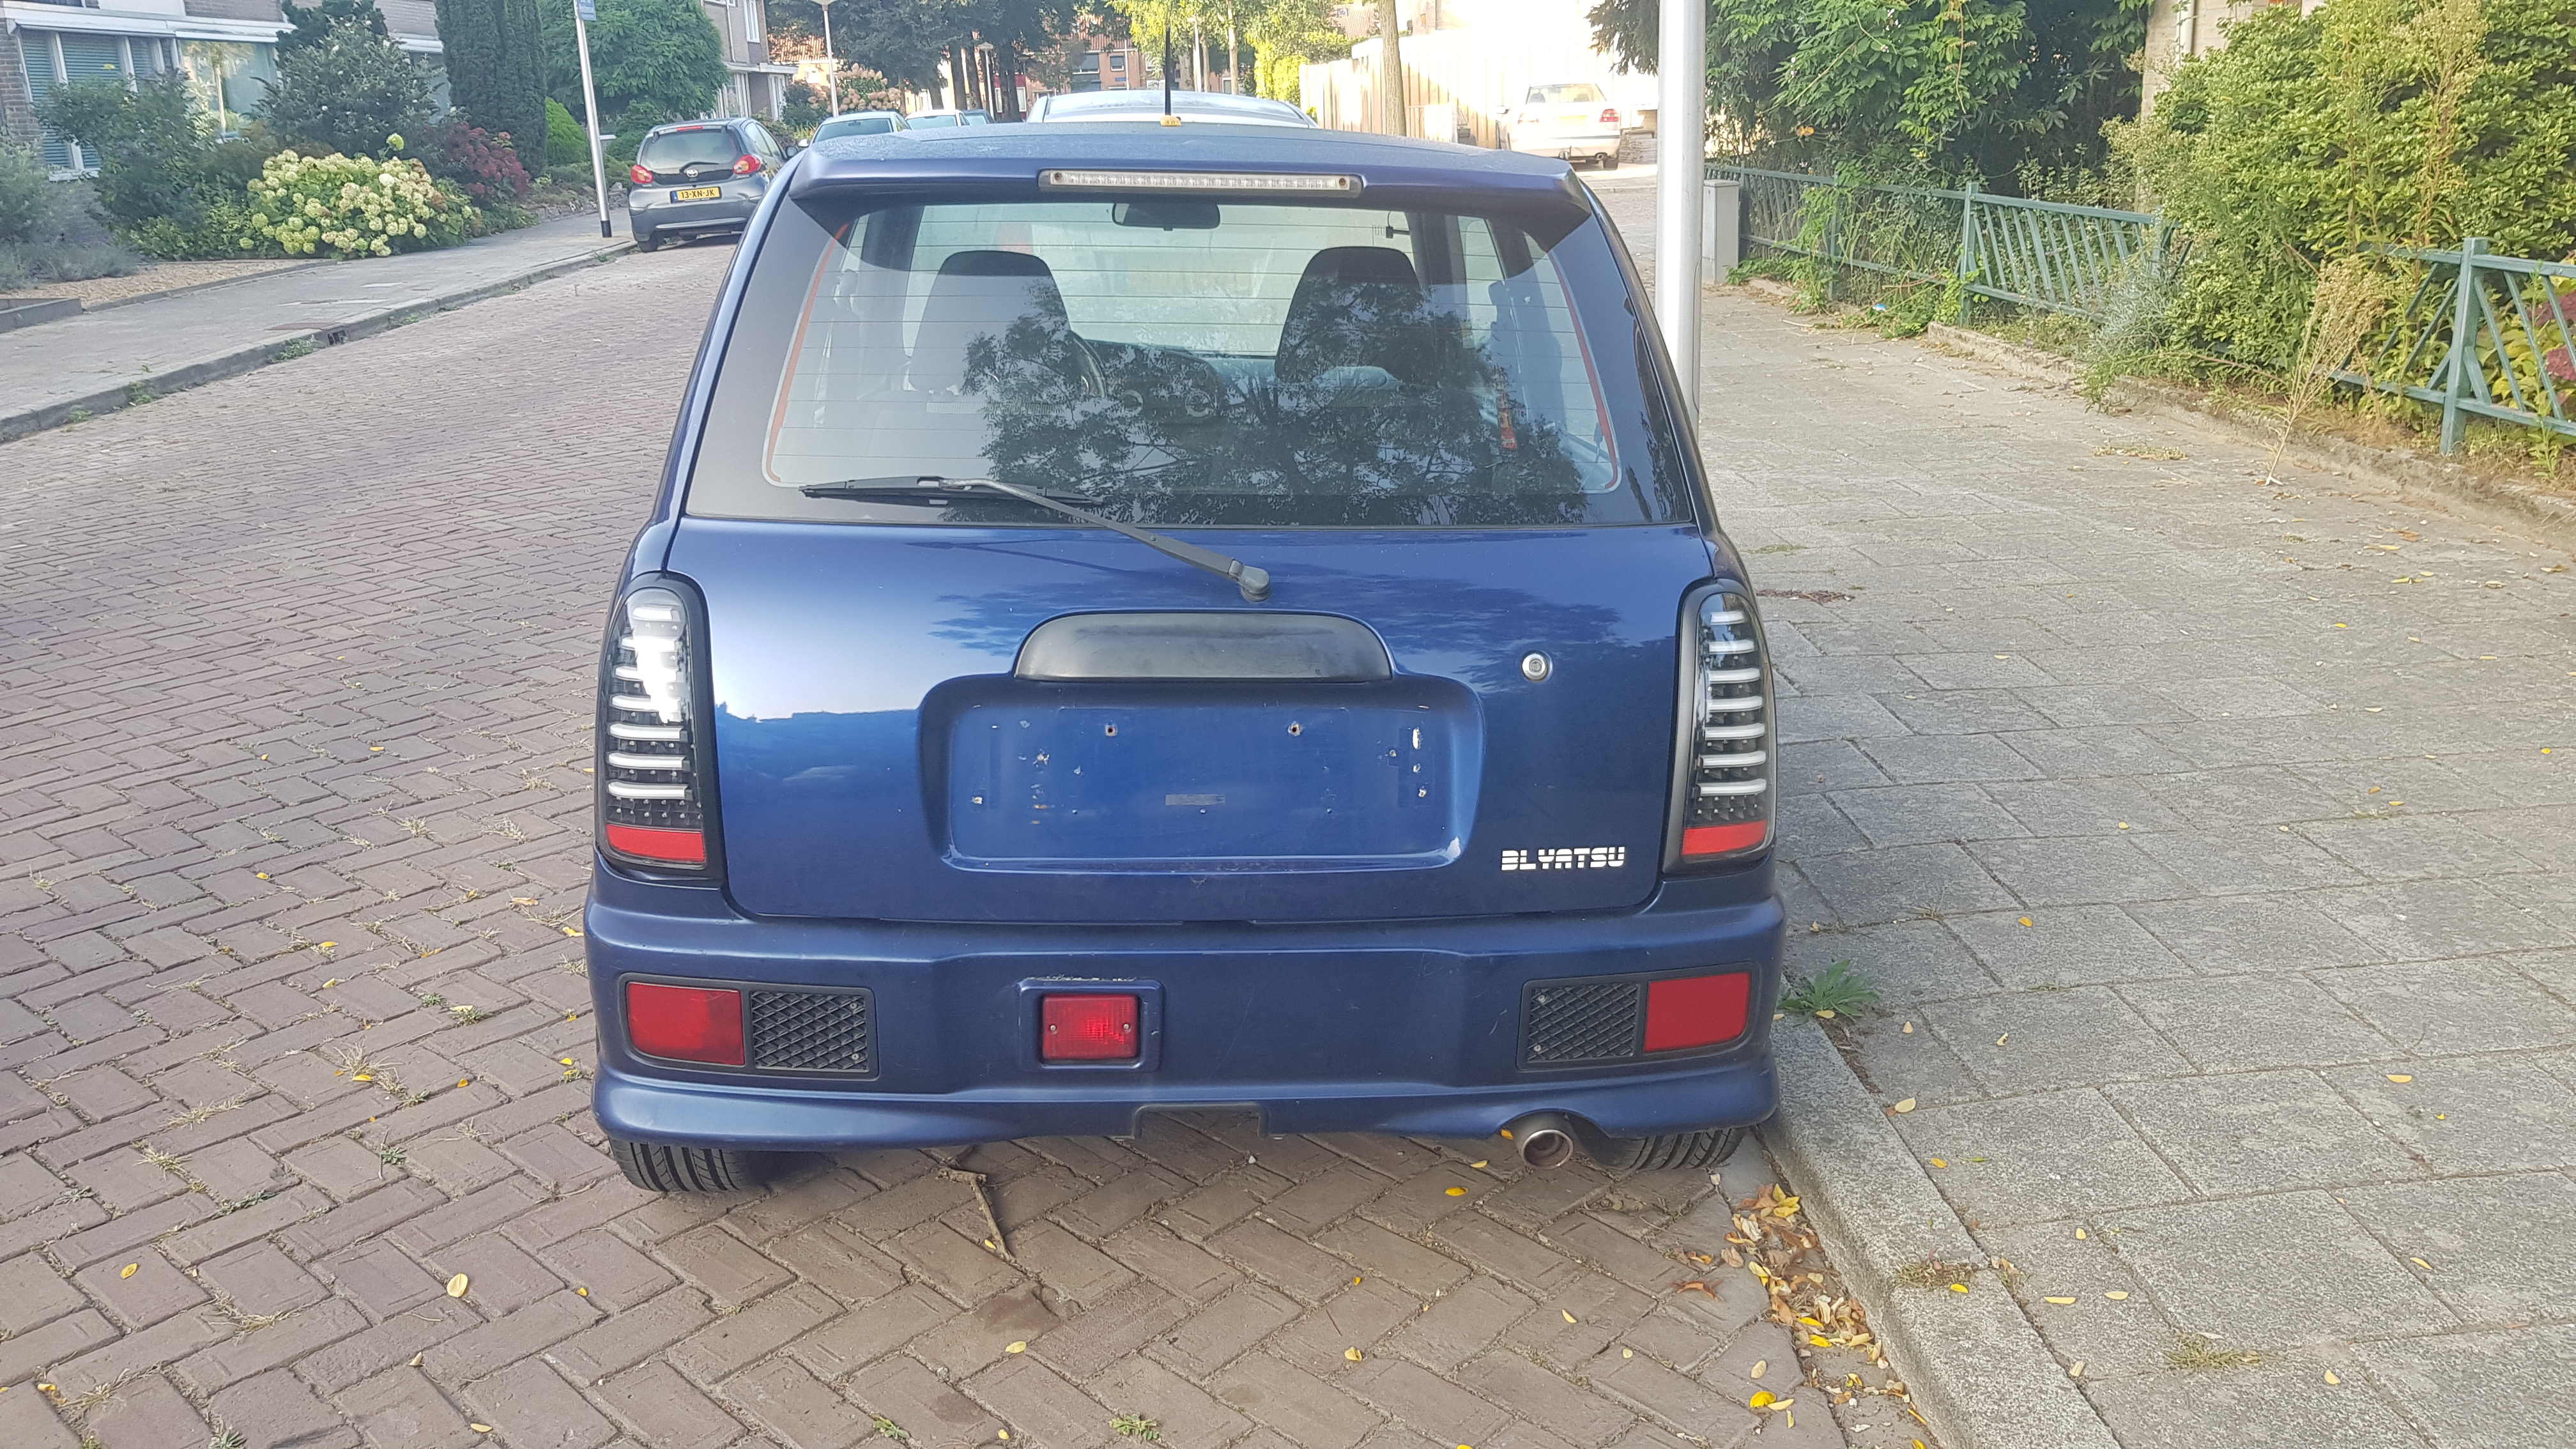
I wasn’t really happy with the chrome around the edges of my taillights, so I used plastidip to paint them black!
It took a lot of time (and money) to get this right (still isn’t but it’s fine for now), but the plate garnish is finally on the car. Here are a few pictures if the process!
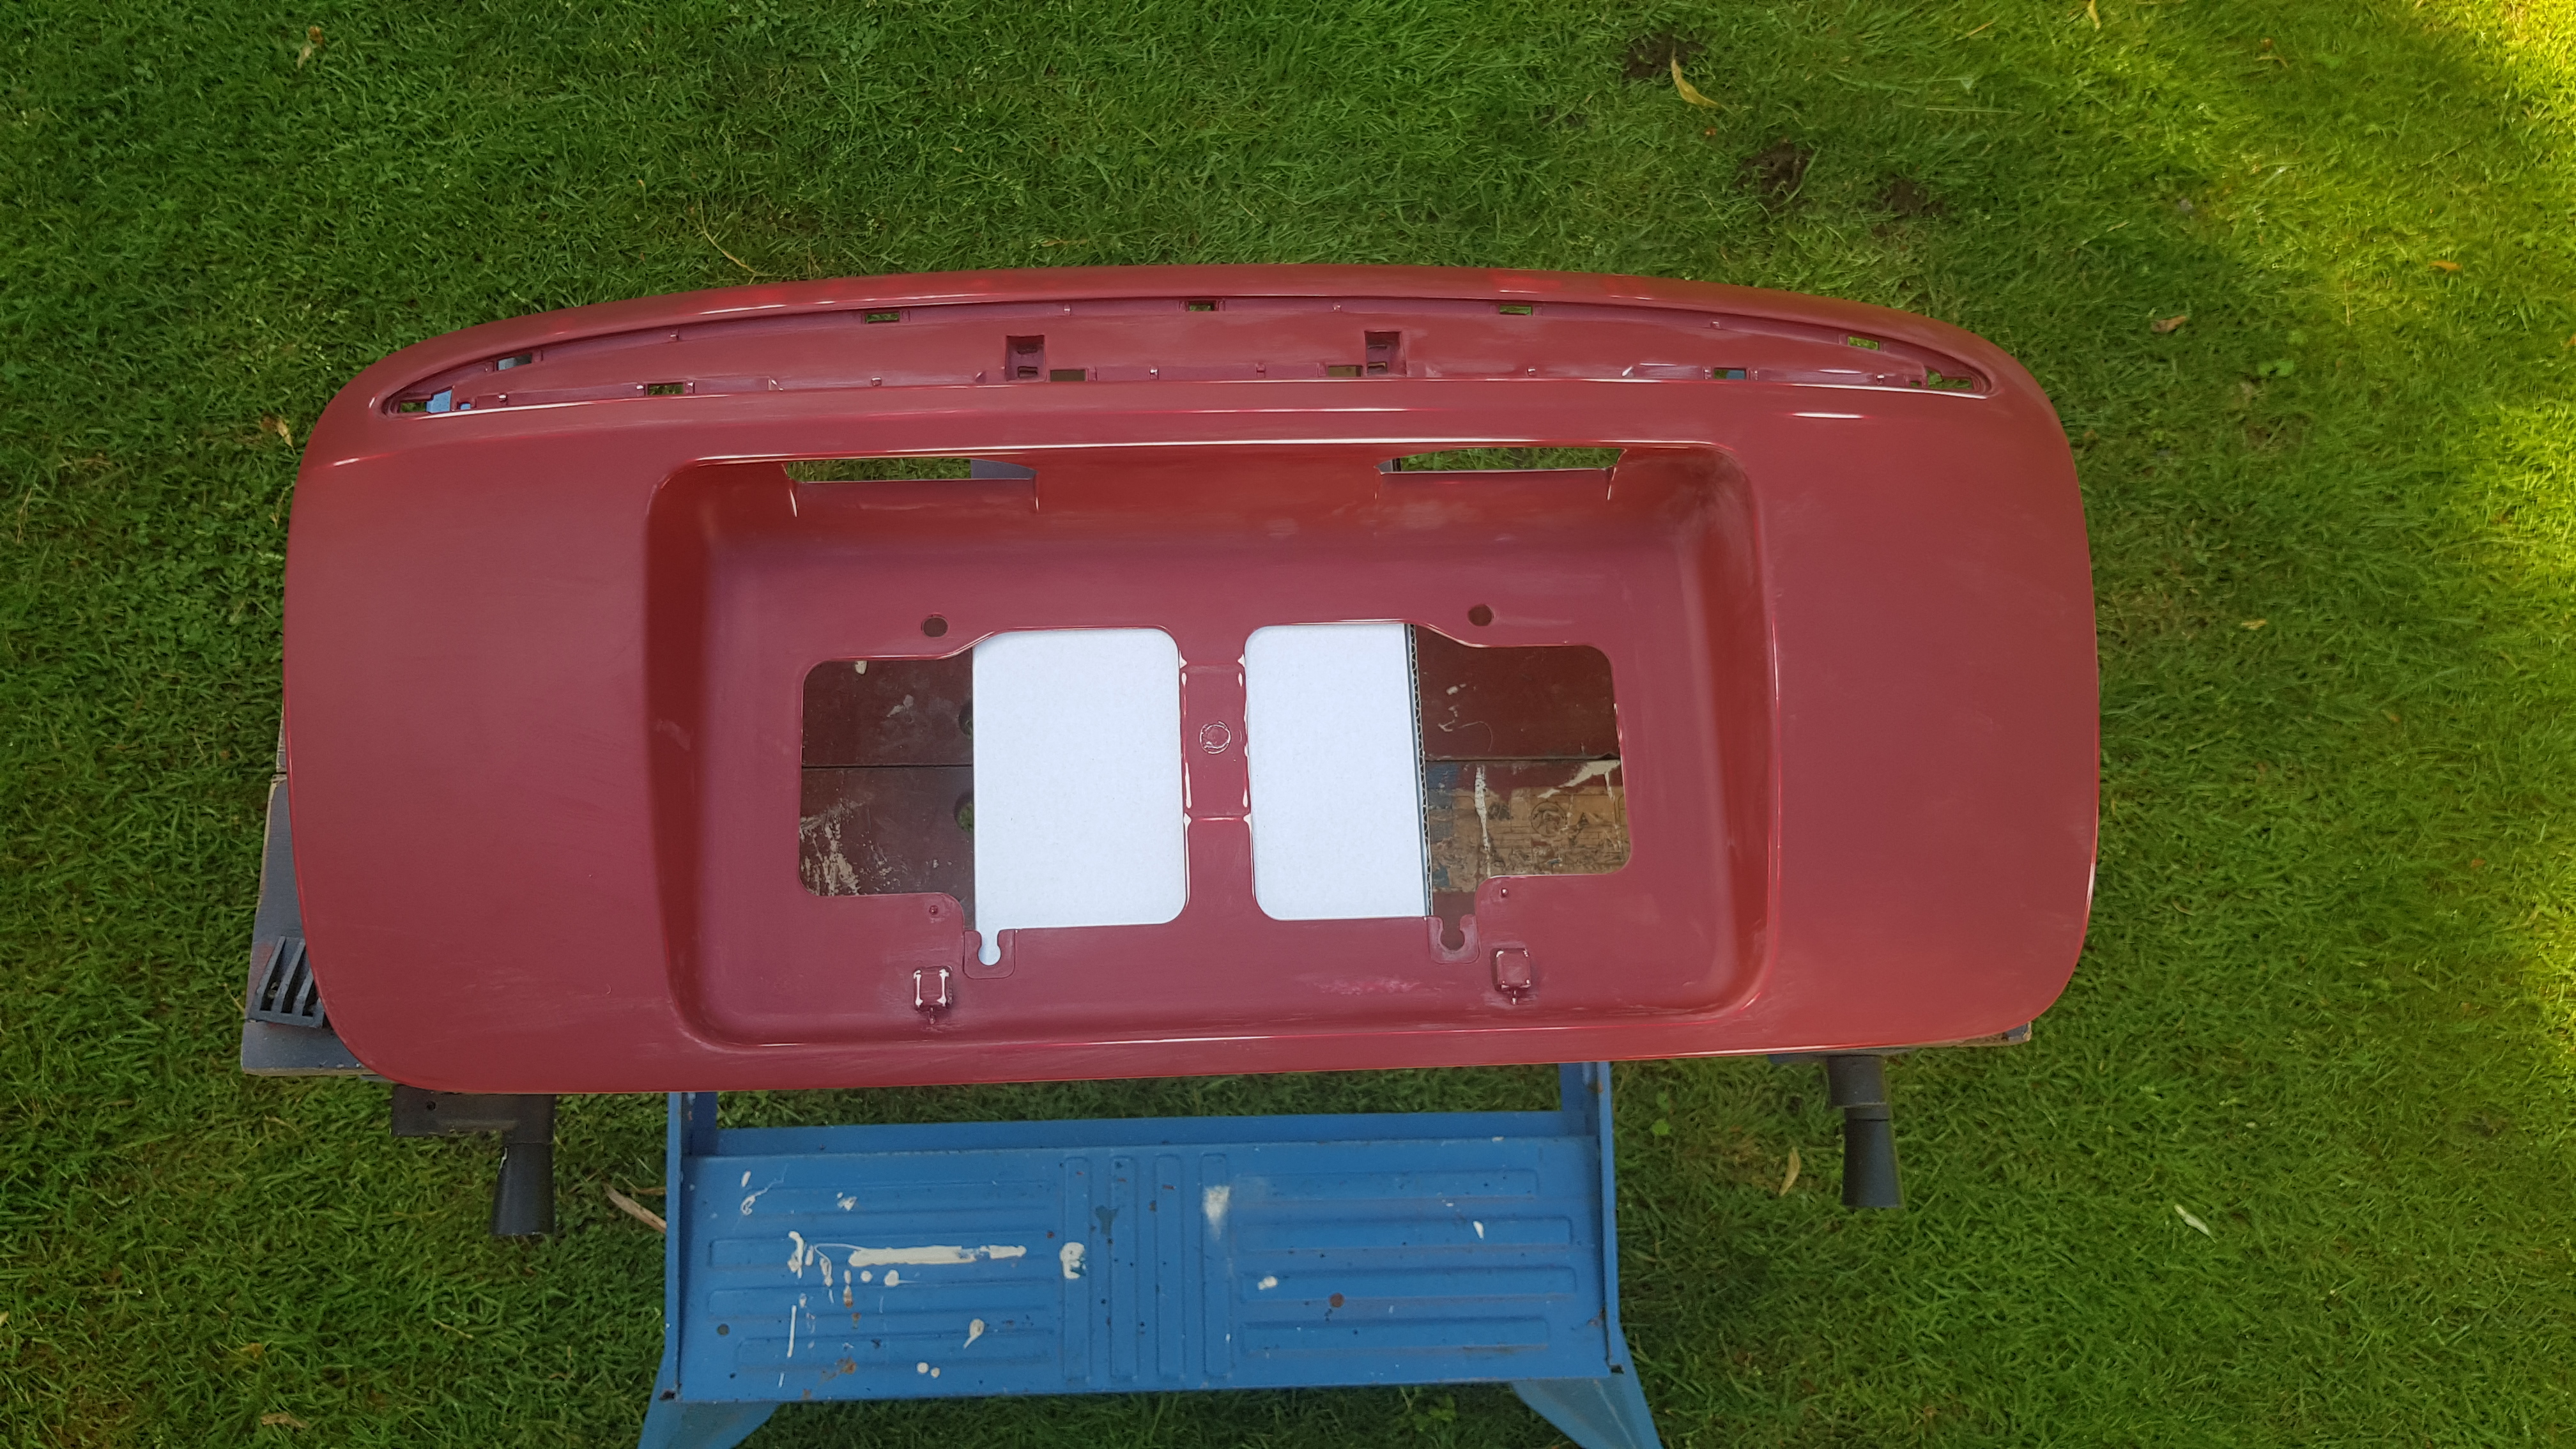
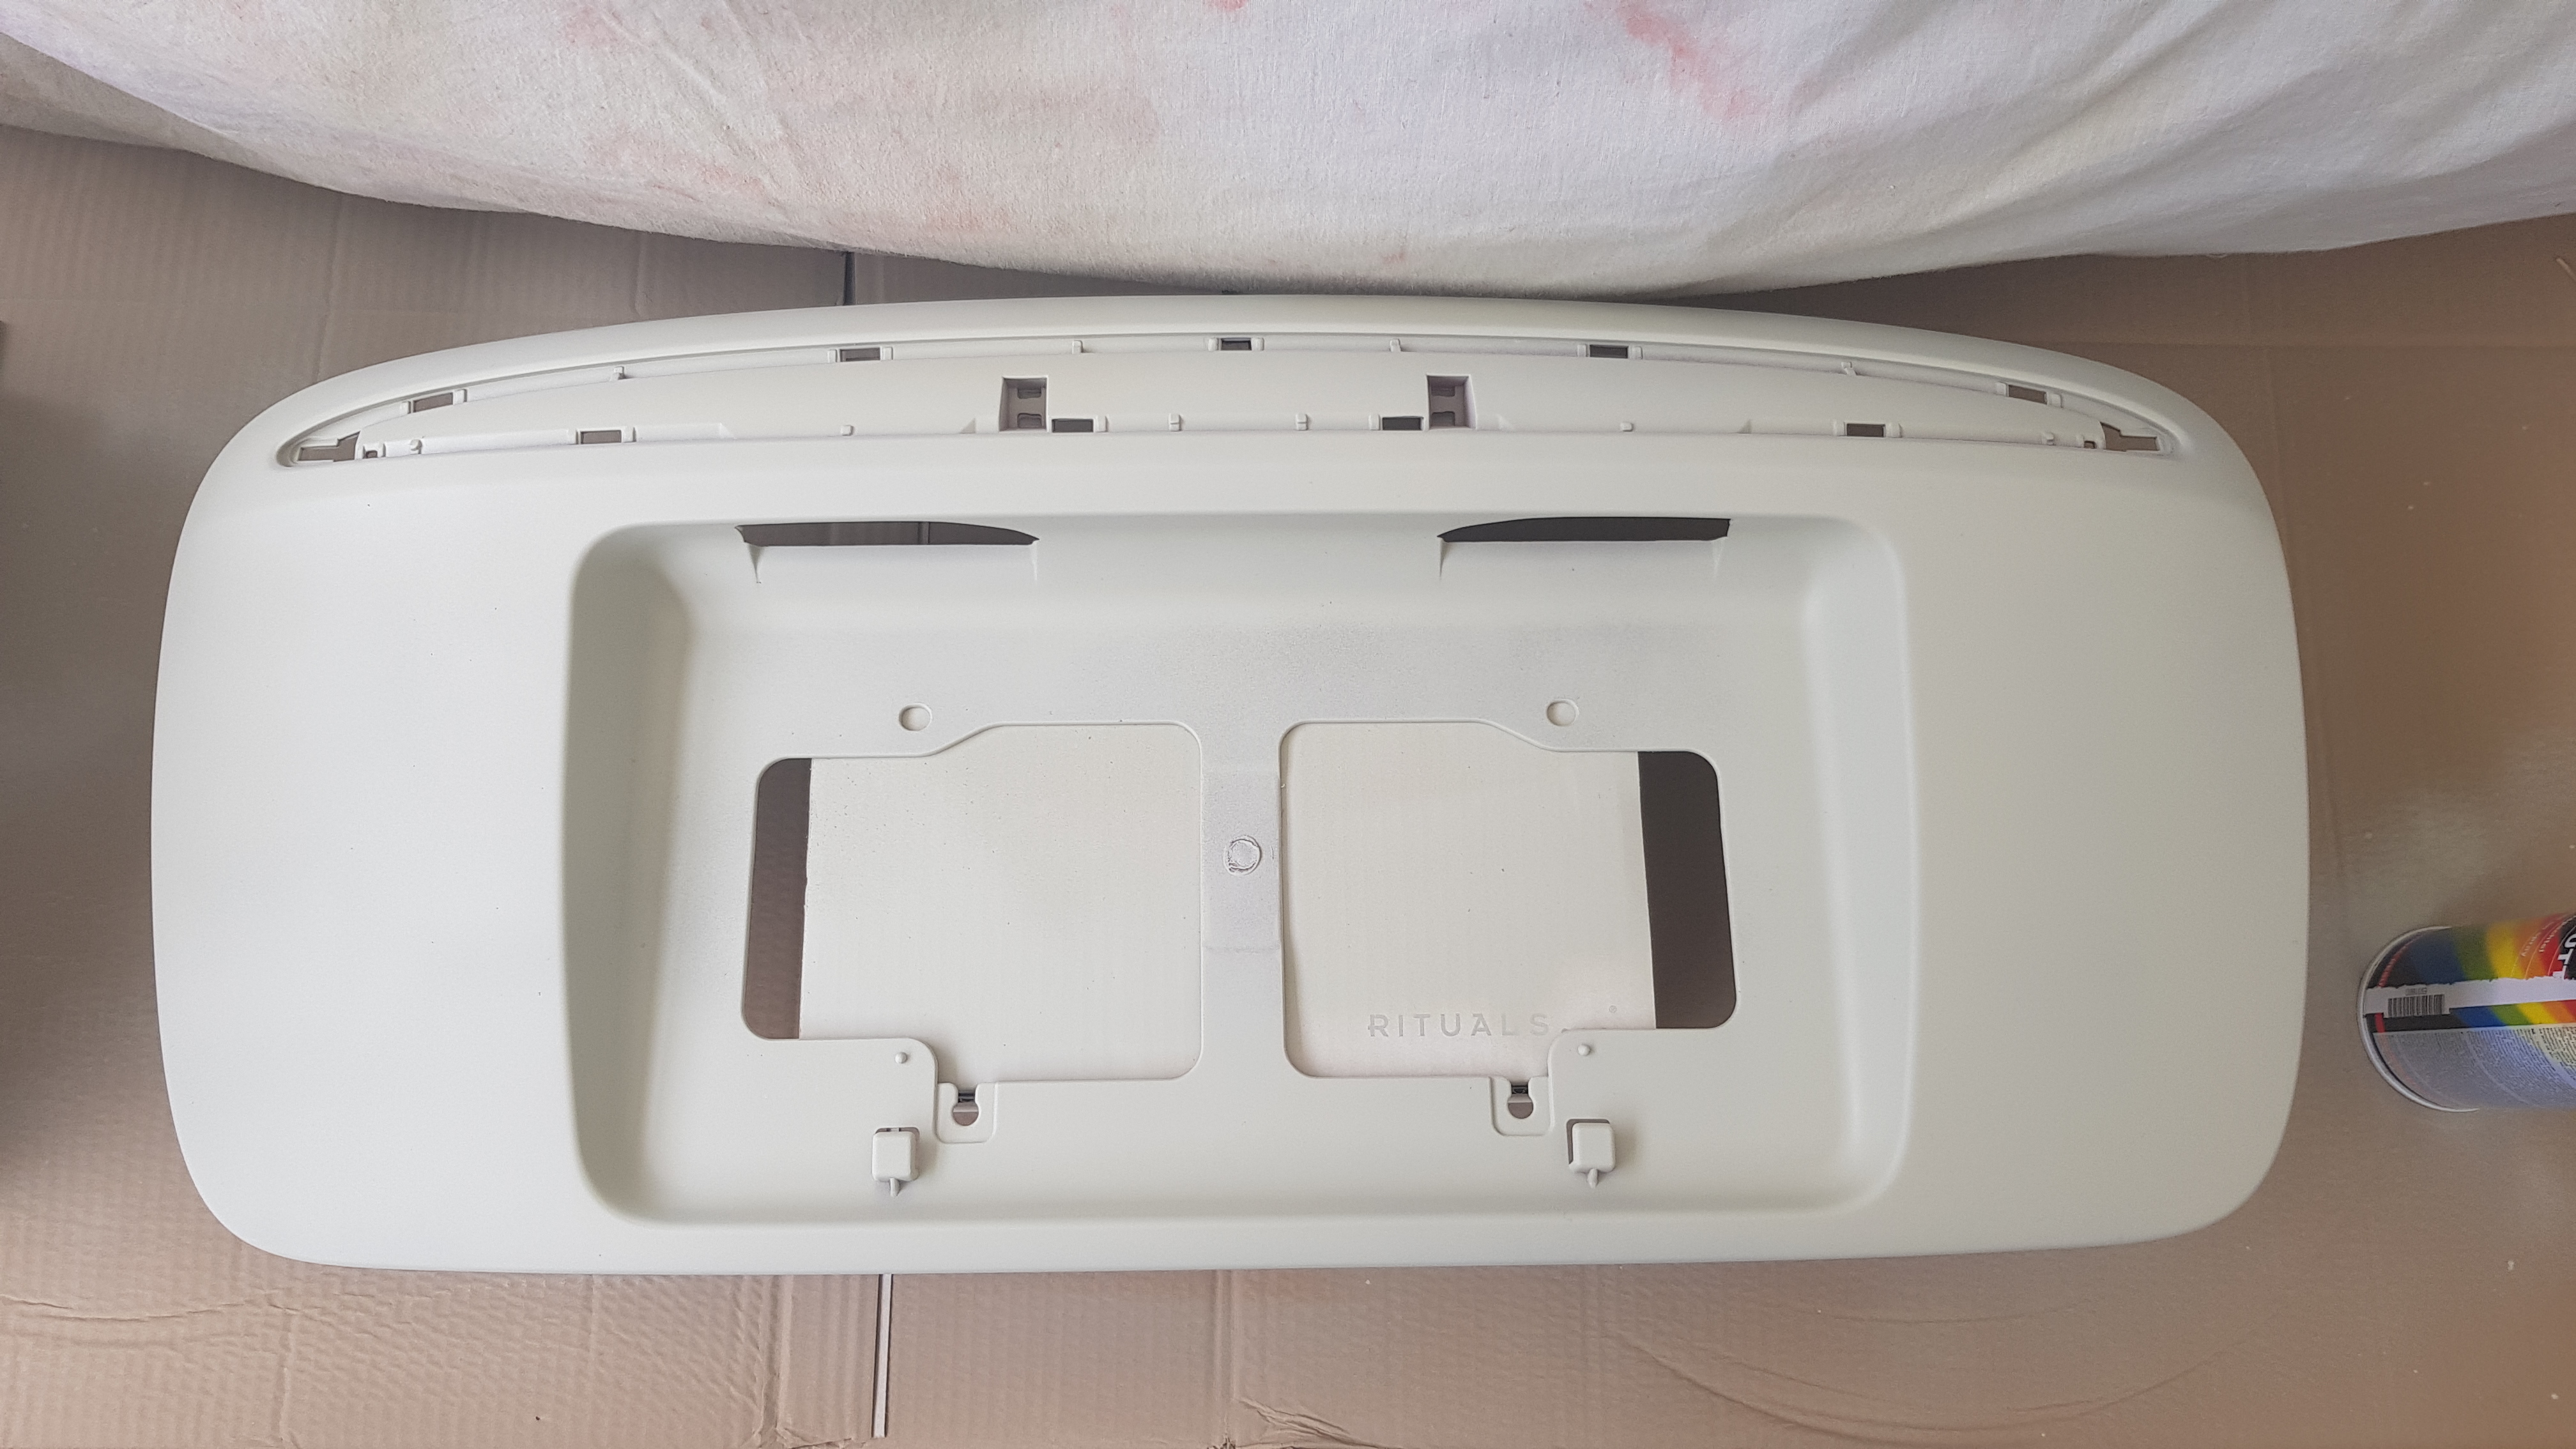
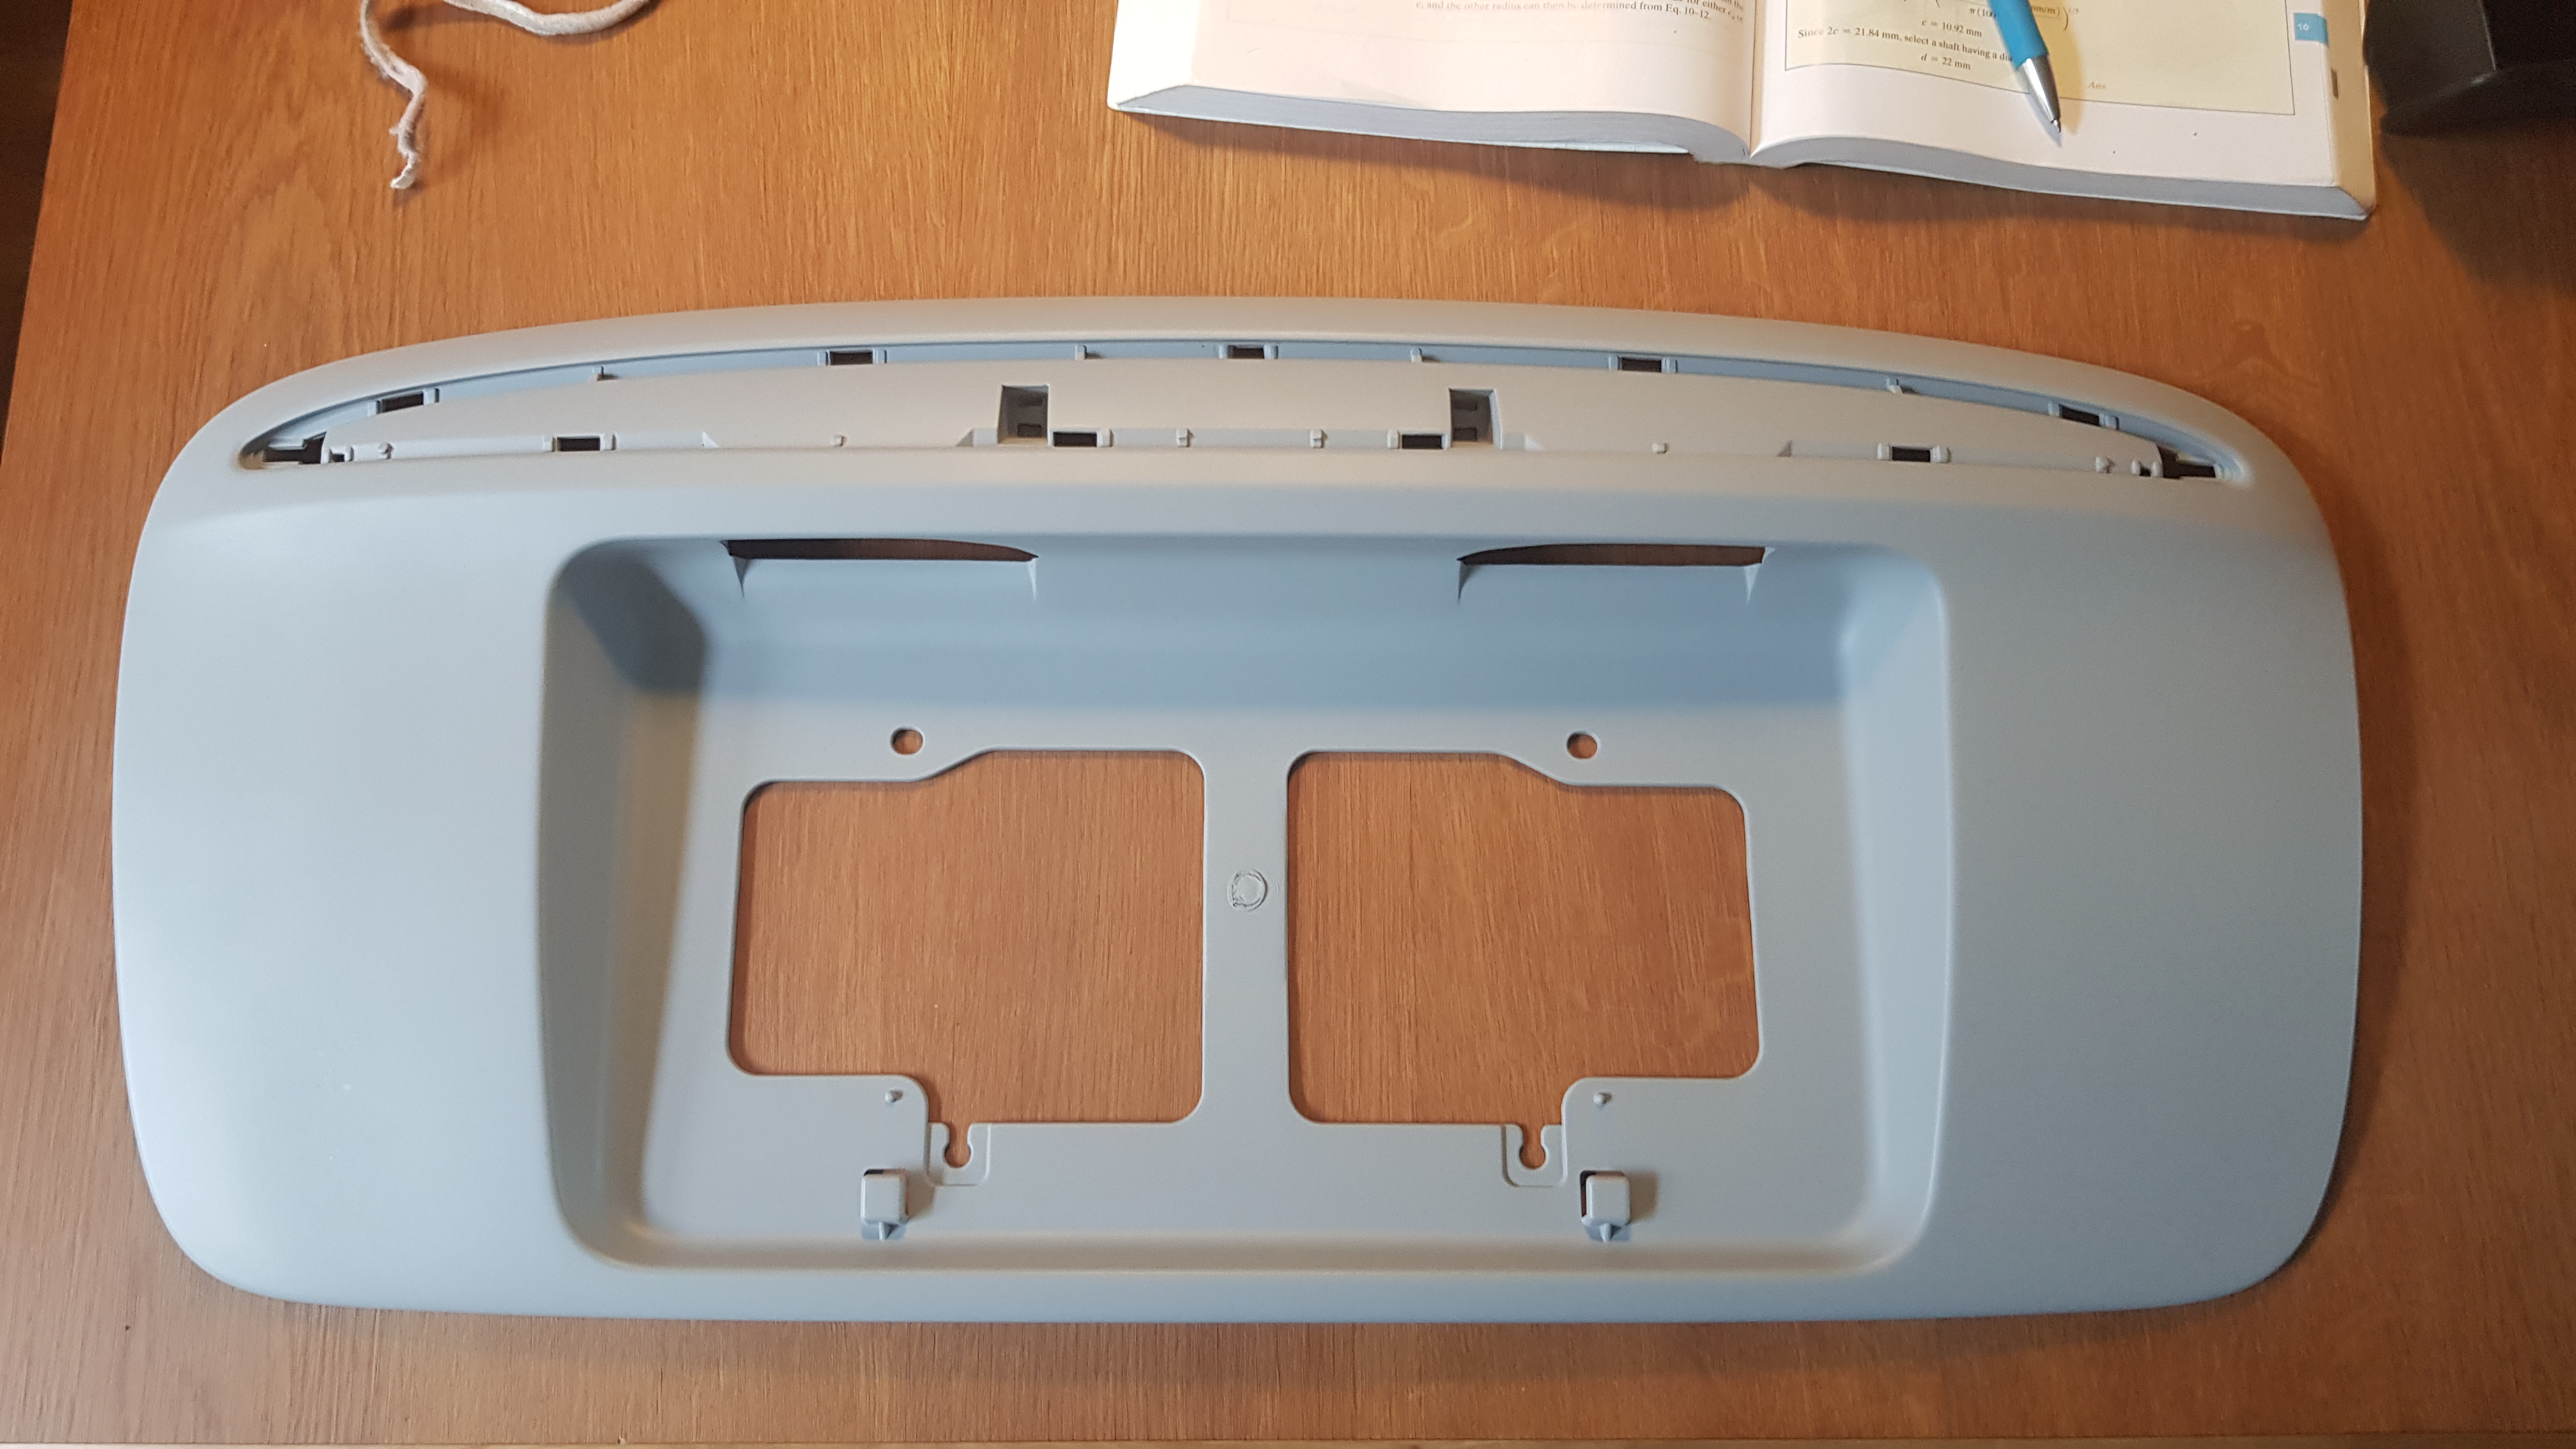
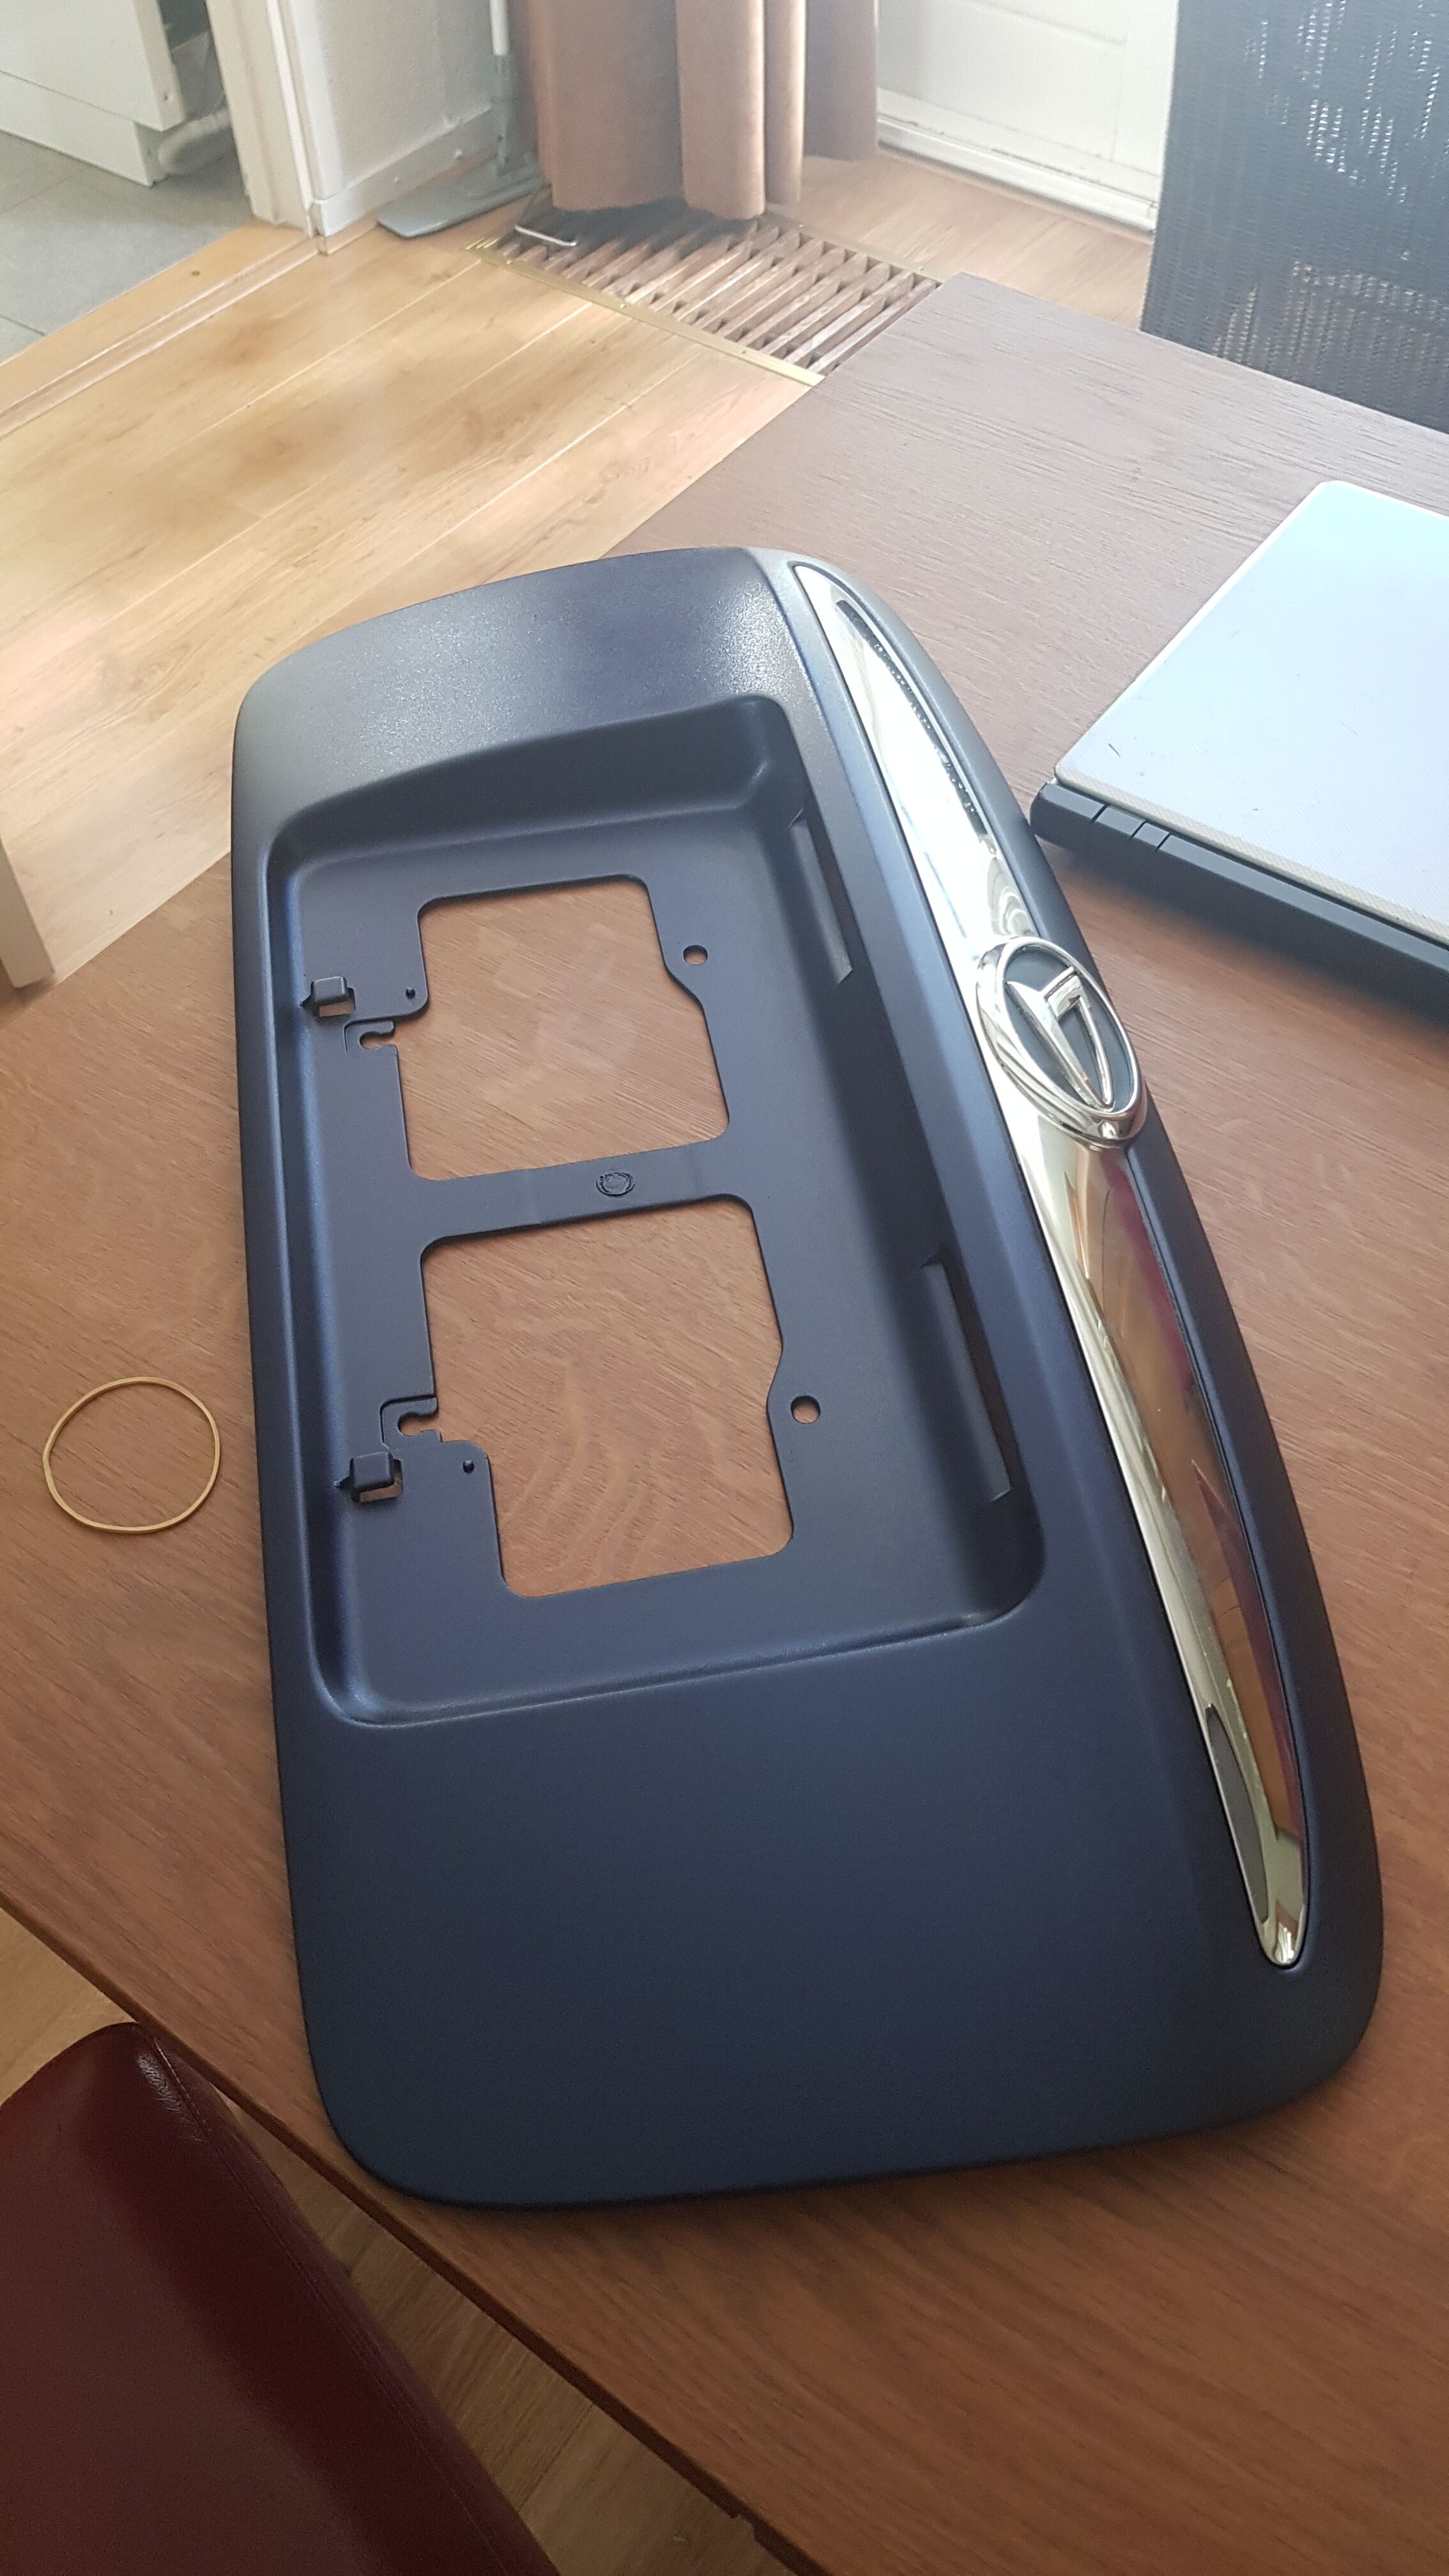
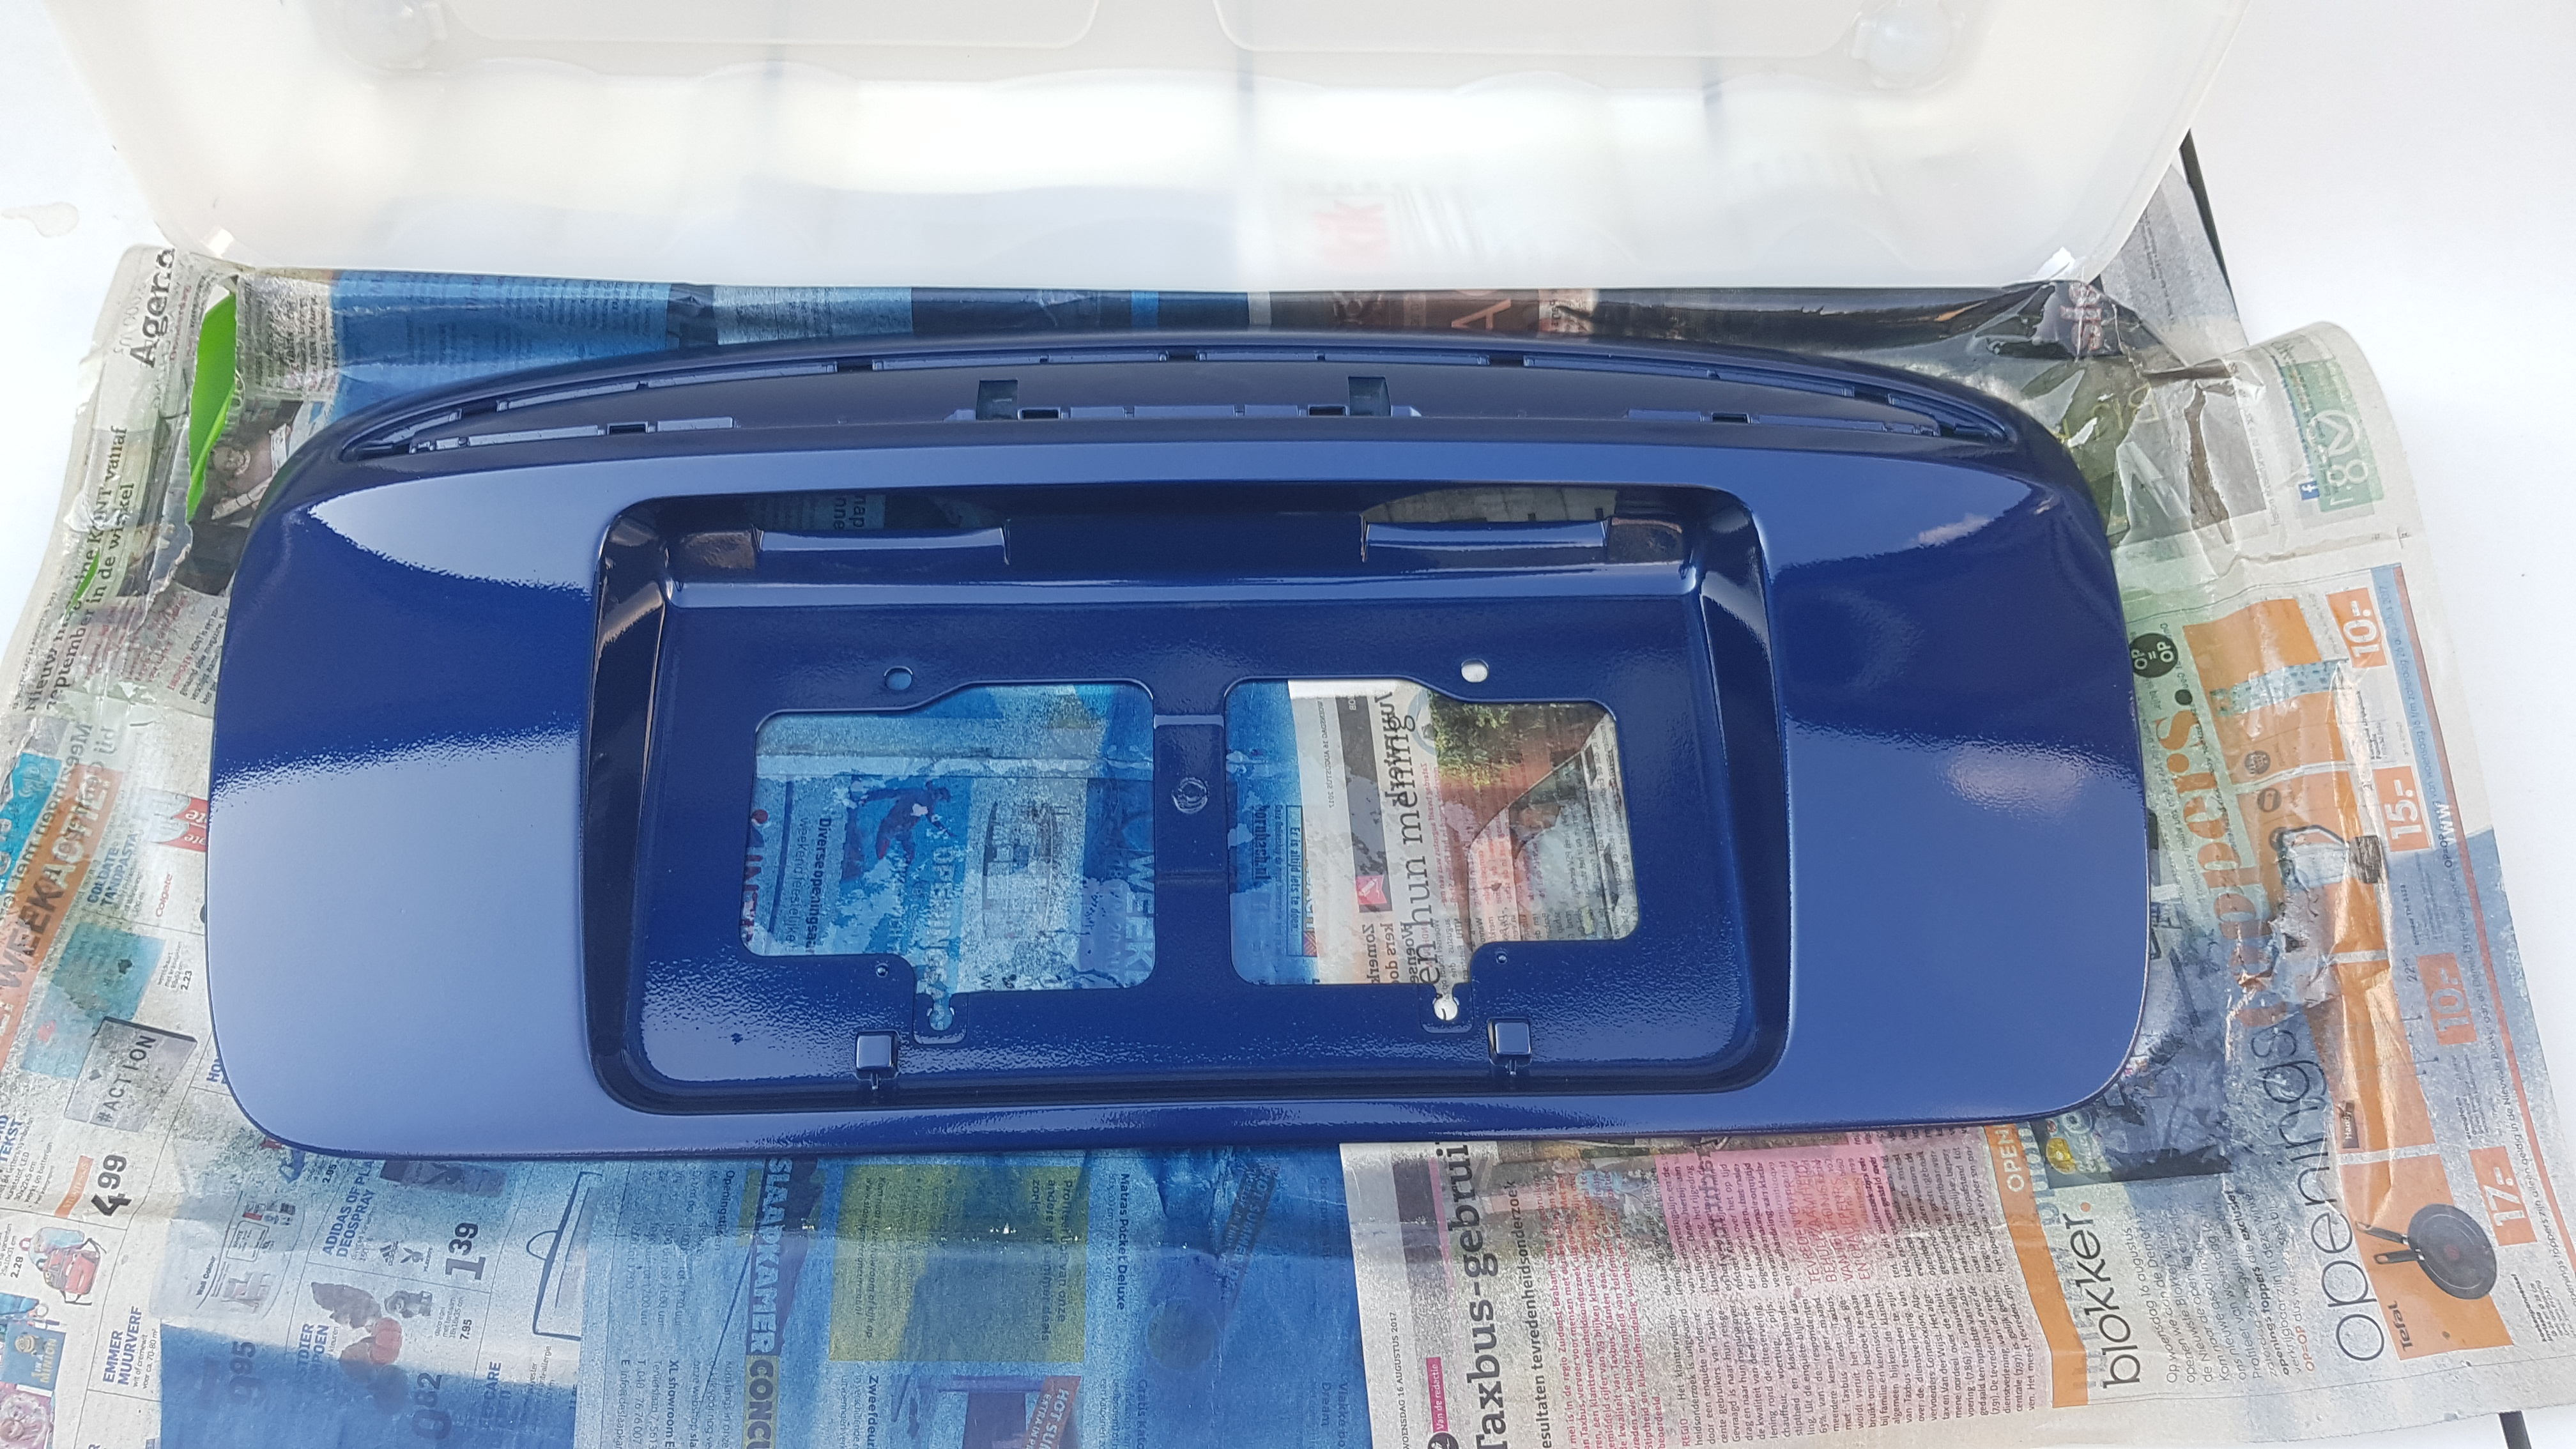
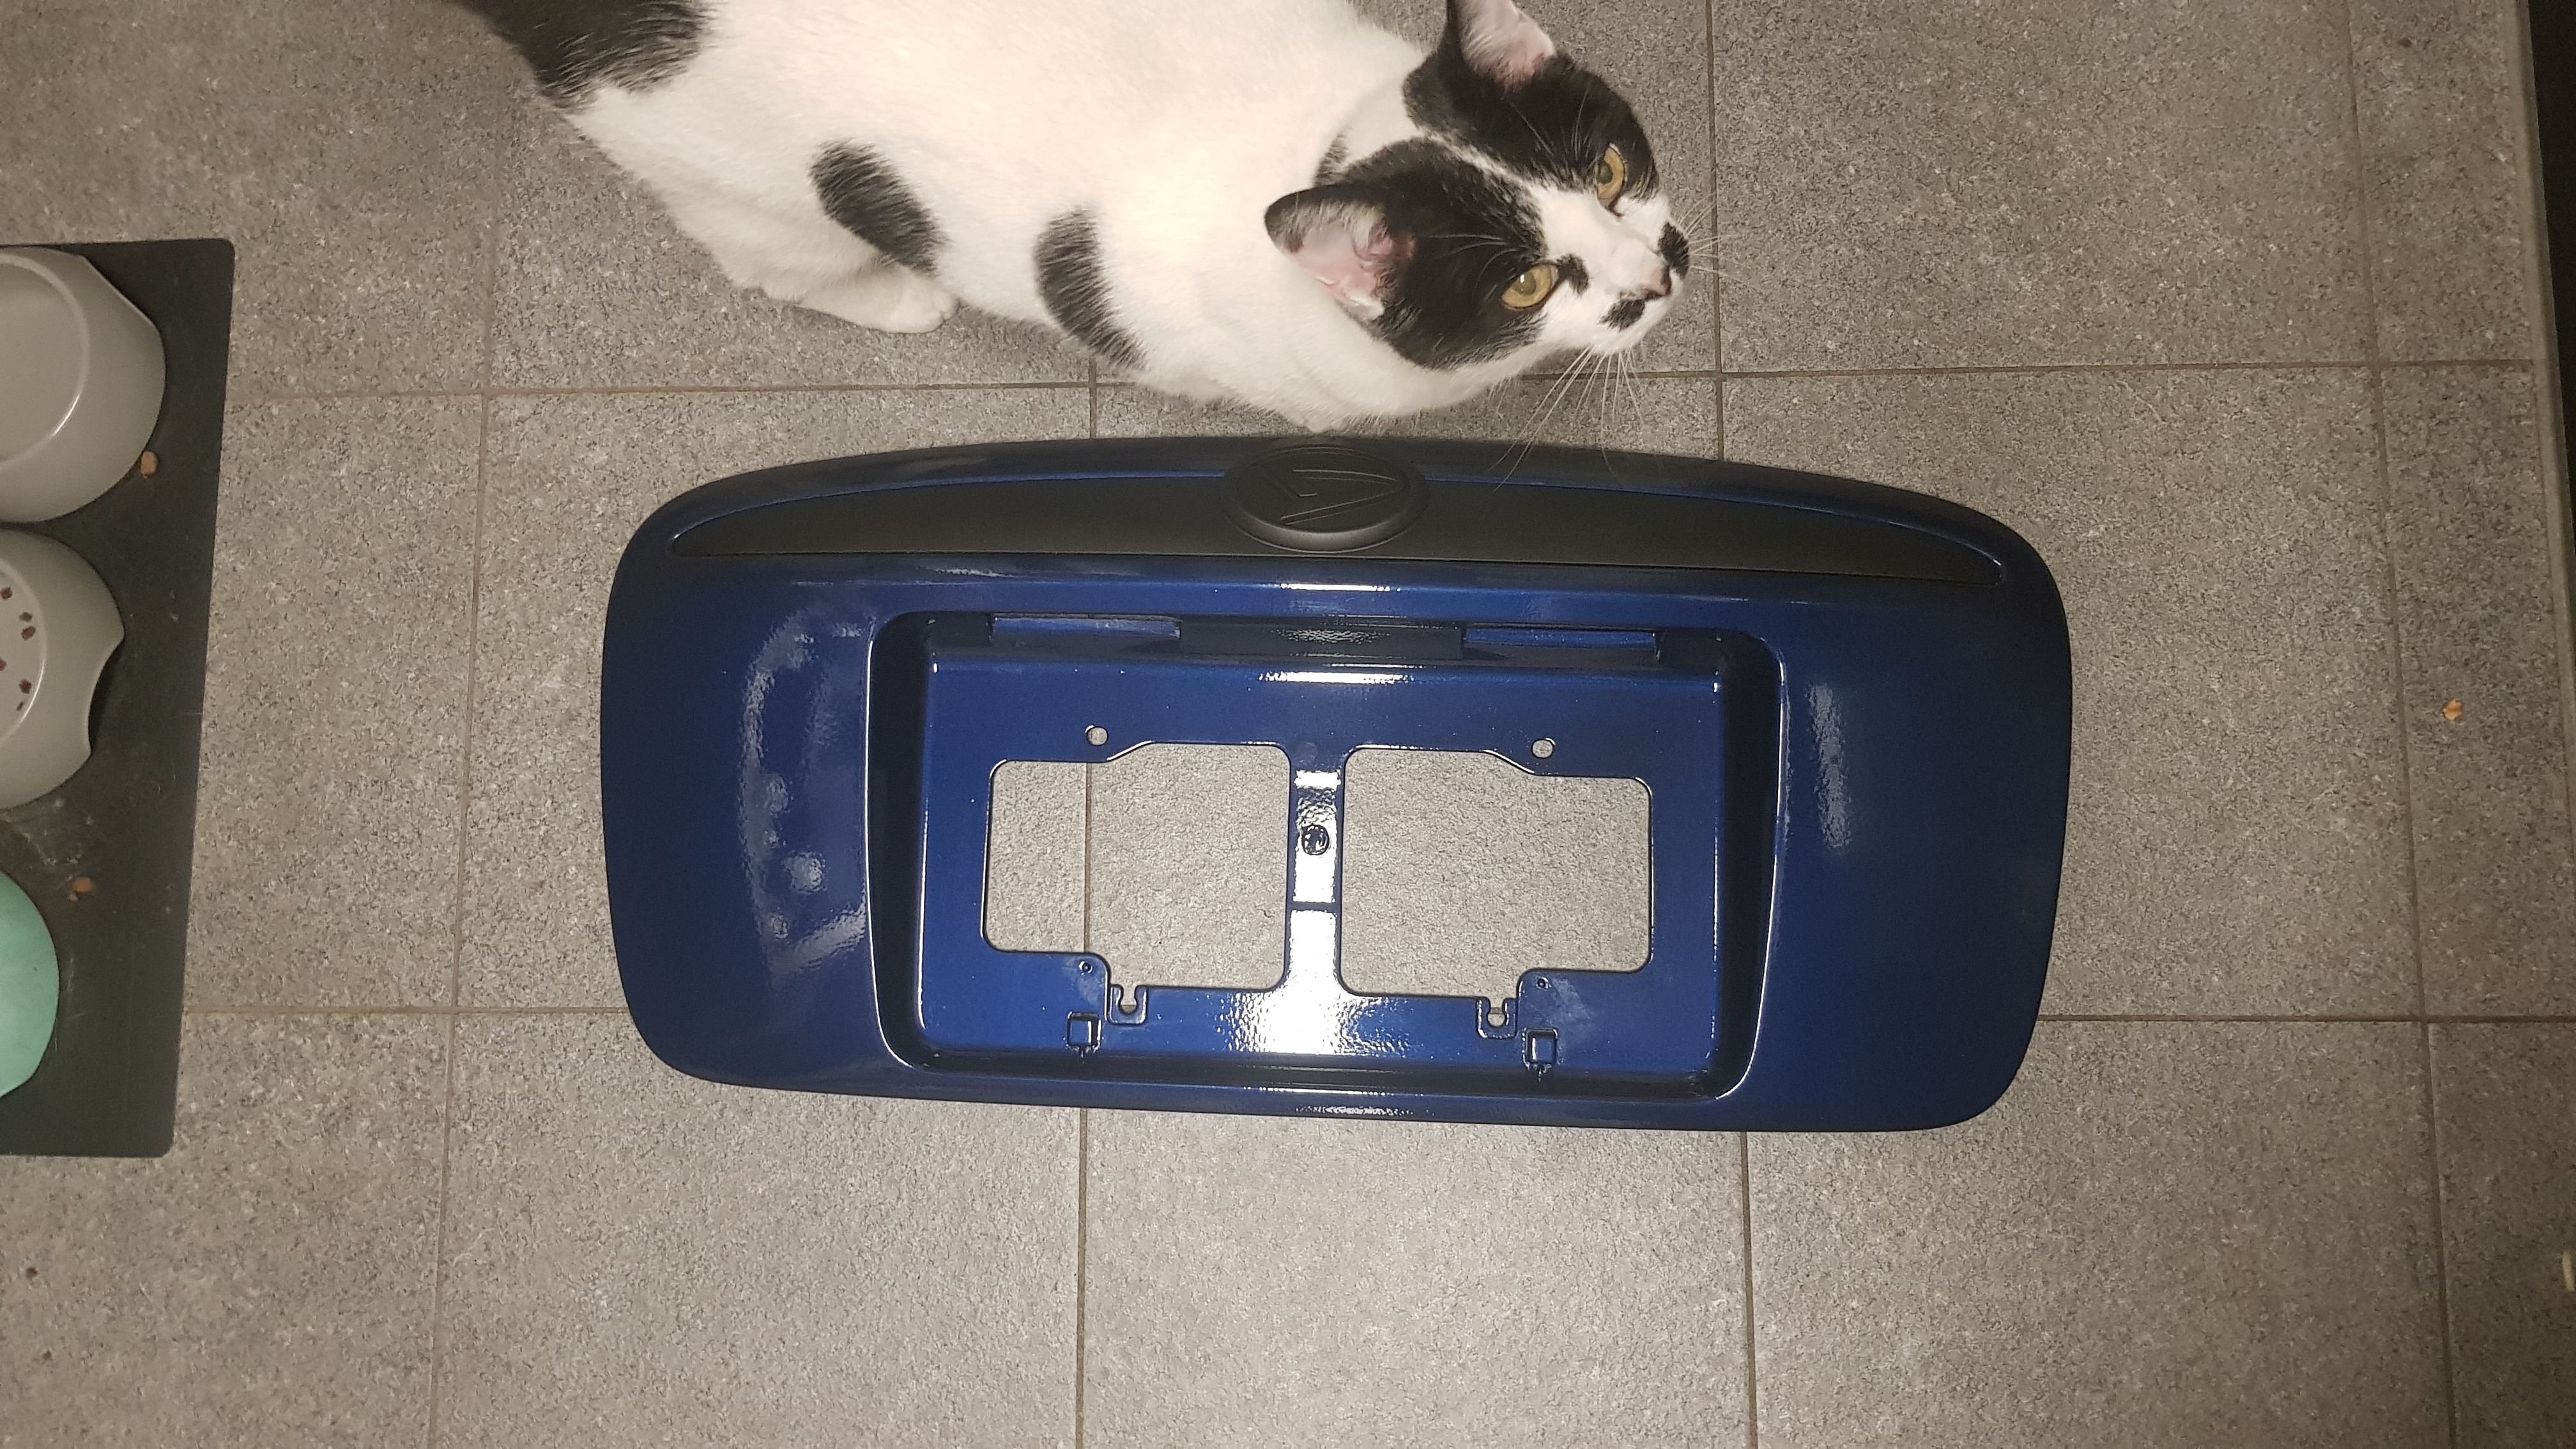
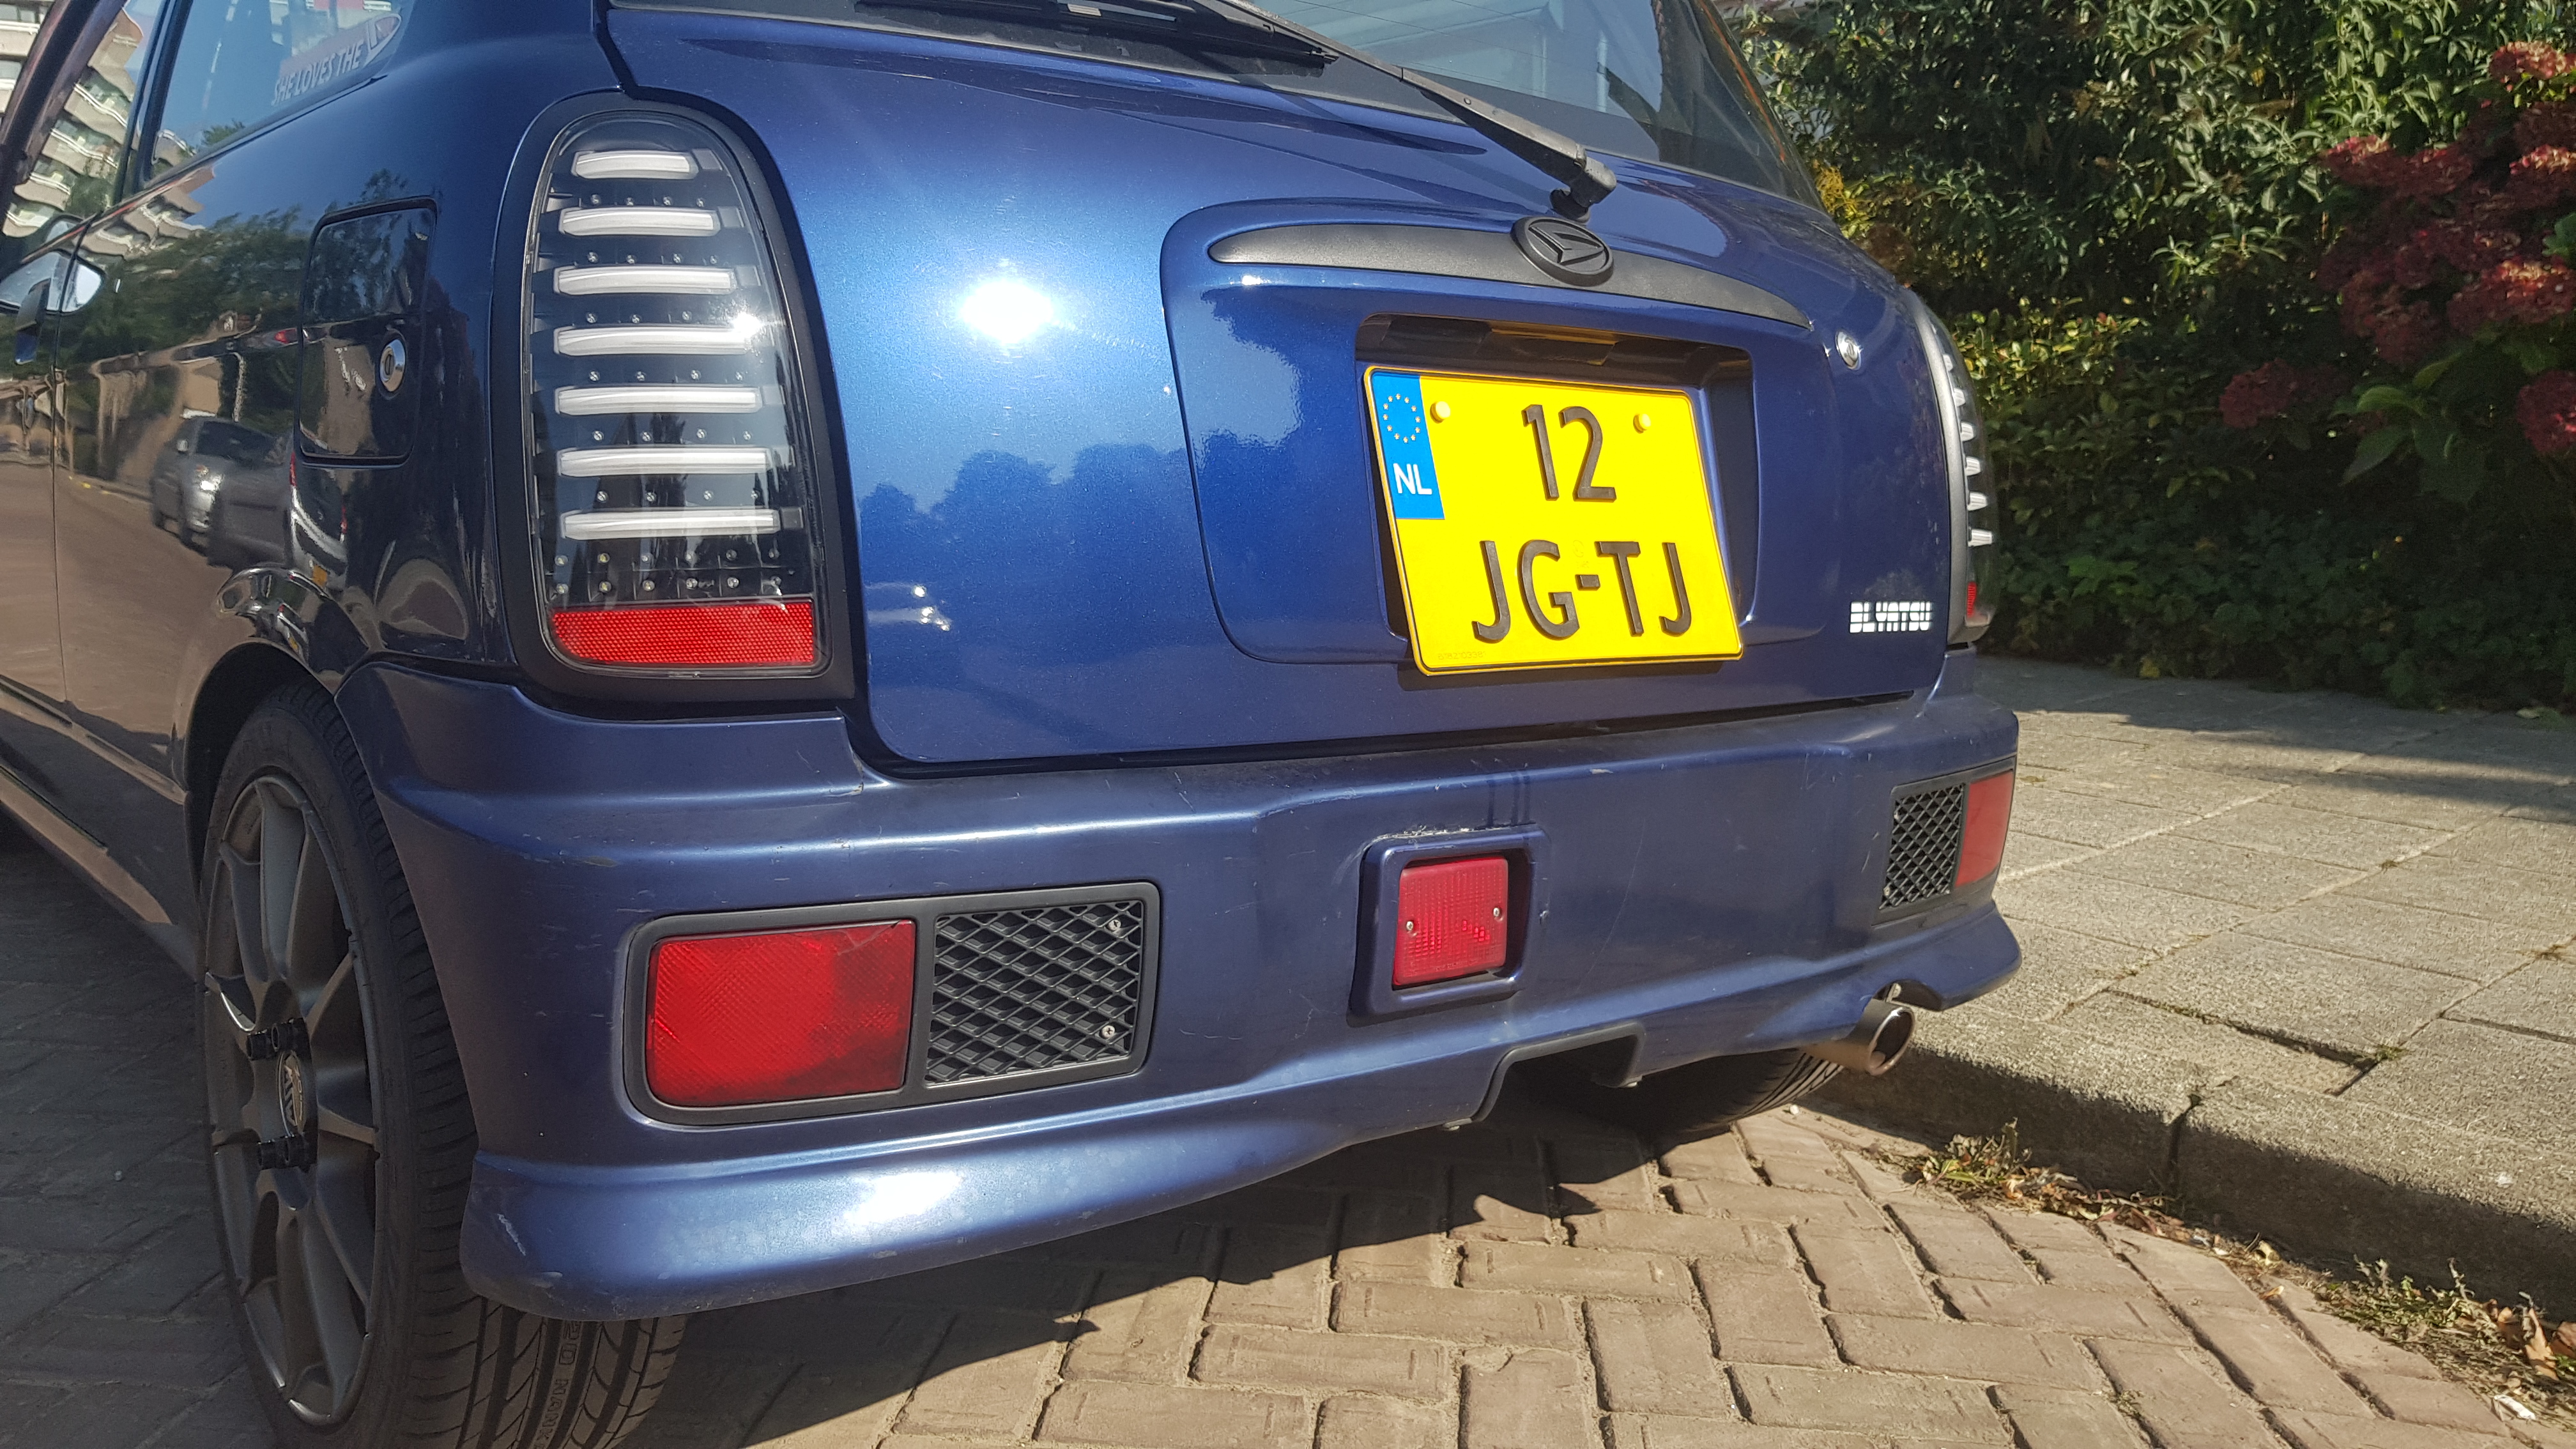

On pictures it doesn’t look all that bad, but standing next to the car you’ll see the paint has orange peel and a few scratches. As I said, I still have to get it right, but I think it’s okay, considering that this was my first time painting a body panel. I’m going to make a little brace to make the license plate sit a little higher.
Oh and I got rid of the stickers on my rear window, for a cleaner look.
FUTURE PLANS
Towbar
Fit the Recaro’s
Mirrors
Copen swaybar
K3VET swap (with a manual)
Please send me a DM on Instagram if you have any questions @the_official_blyatsu !
 . The biggest problem for me however, is that I don’t have a garage, driveway, or any other place to properly work on a car. Basically everything I do, I do on the streets. That doesn’t have to be a problem, but for doing an engine swap, it is. Next to that, I still owned the Copen as well back in the day, so a third car, as a donor, wouldn’t be the most responsible thing to do. So I figured, once the Copen is sold, I’d get a YRV Turbo donor car. I sold the Copen, but then, COVID happened, and everything came to a hold.
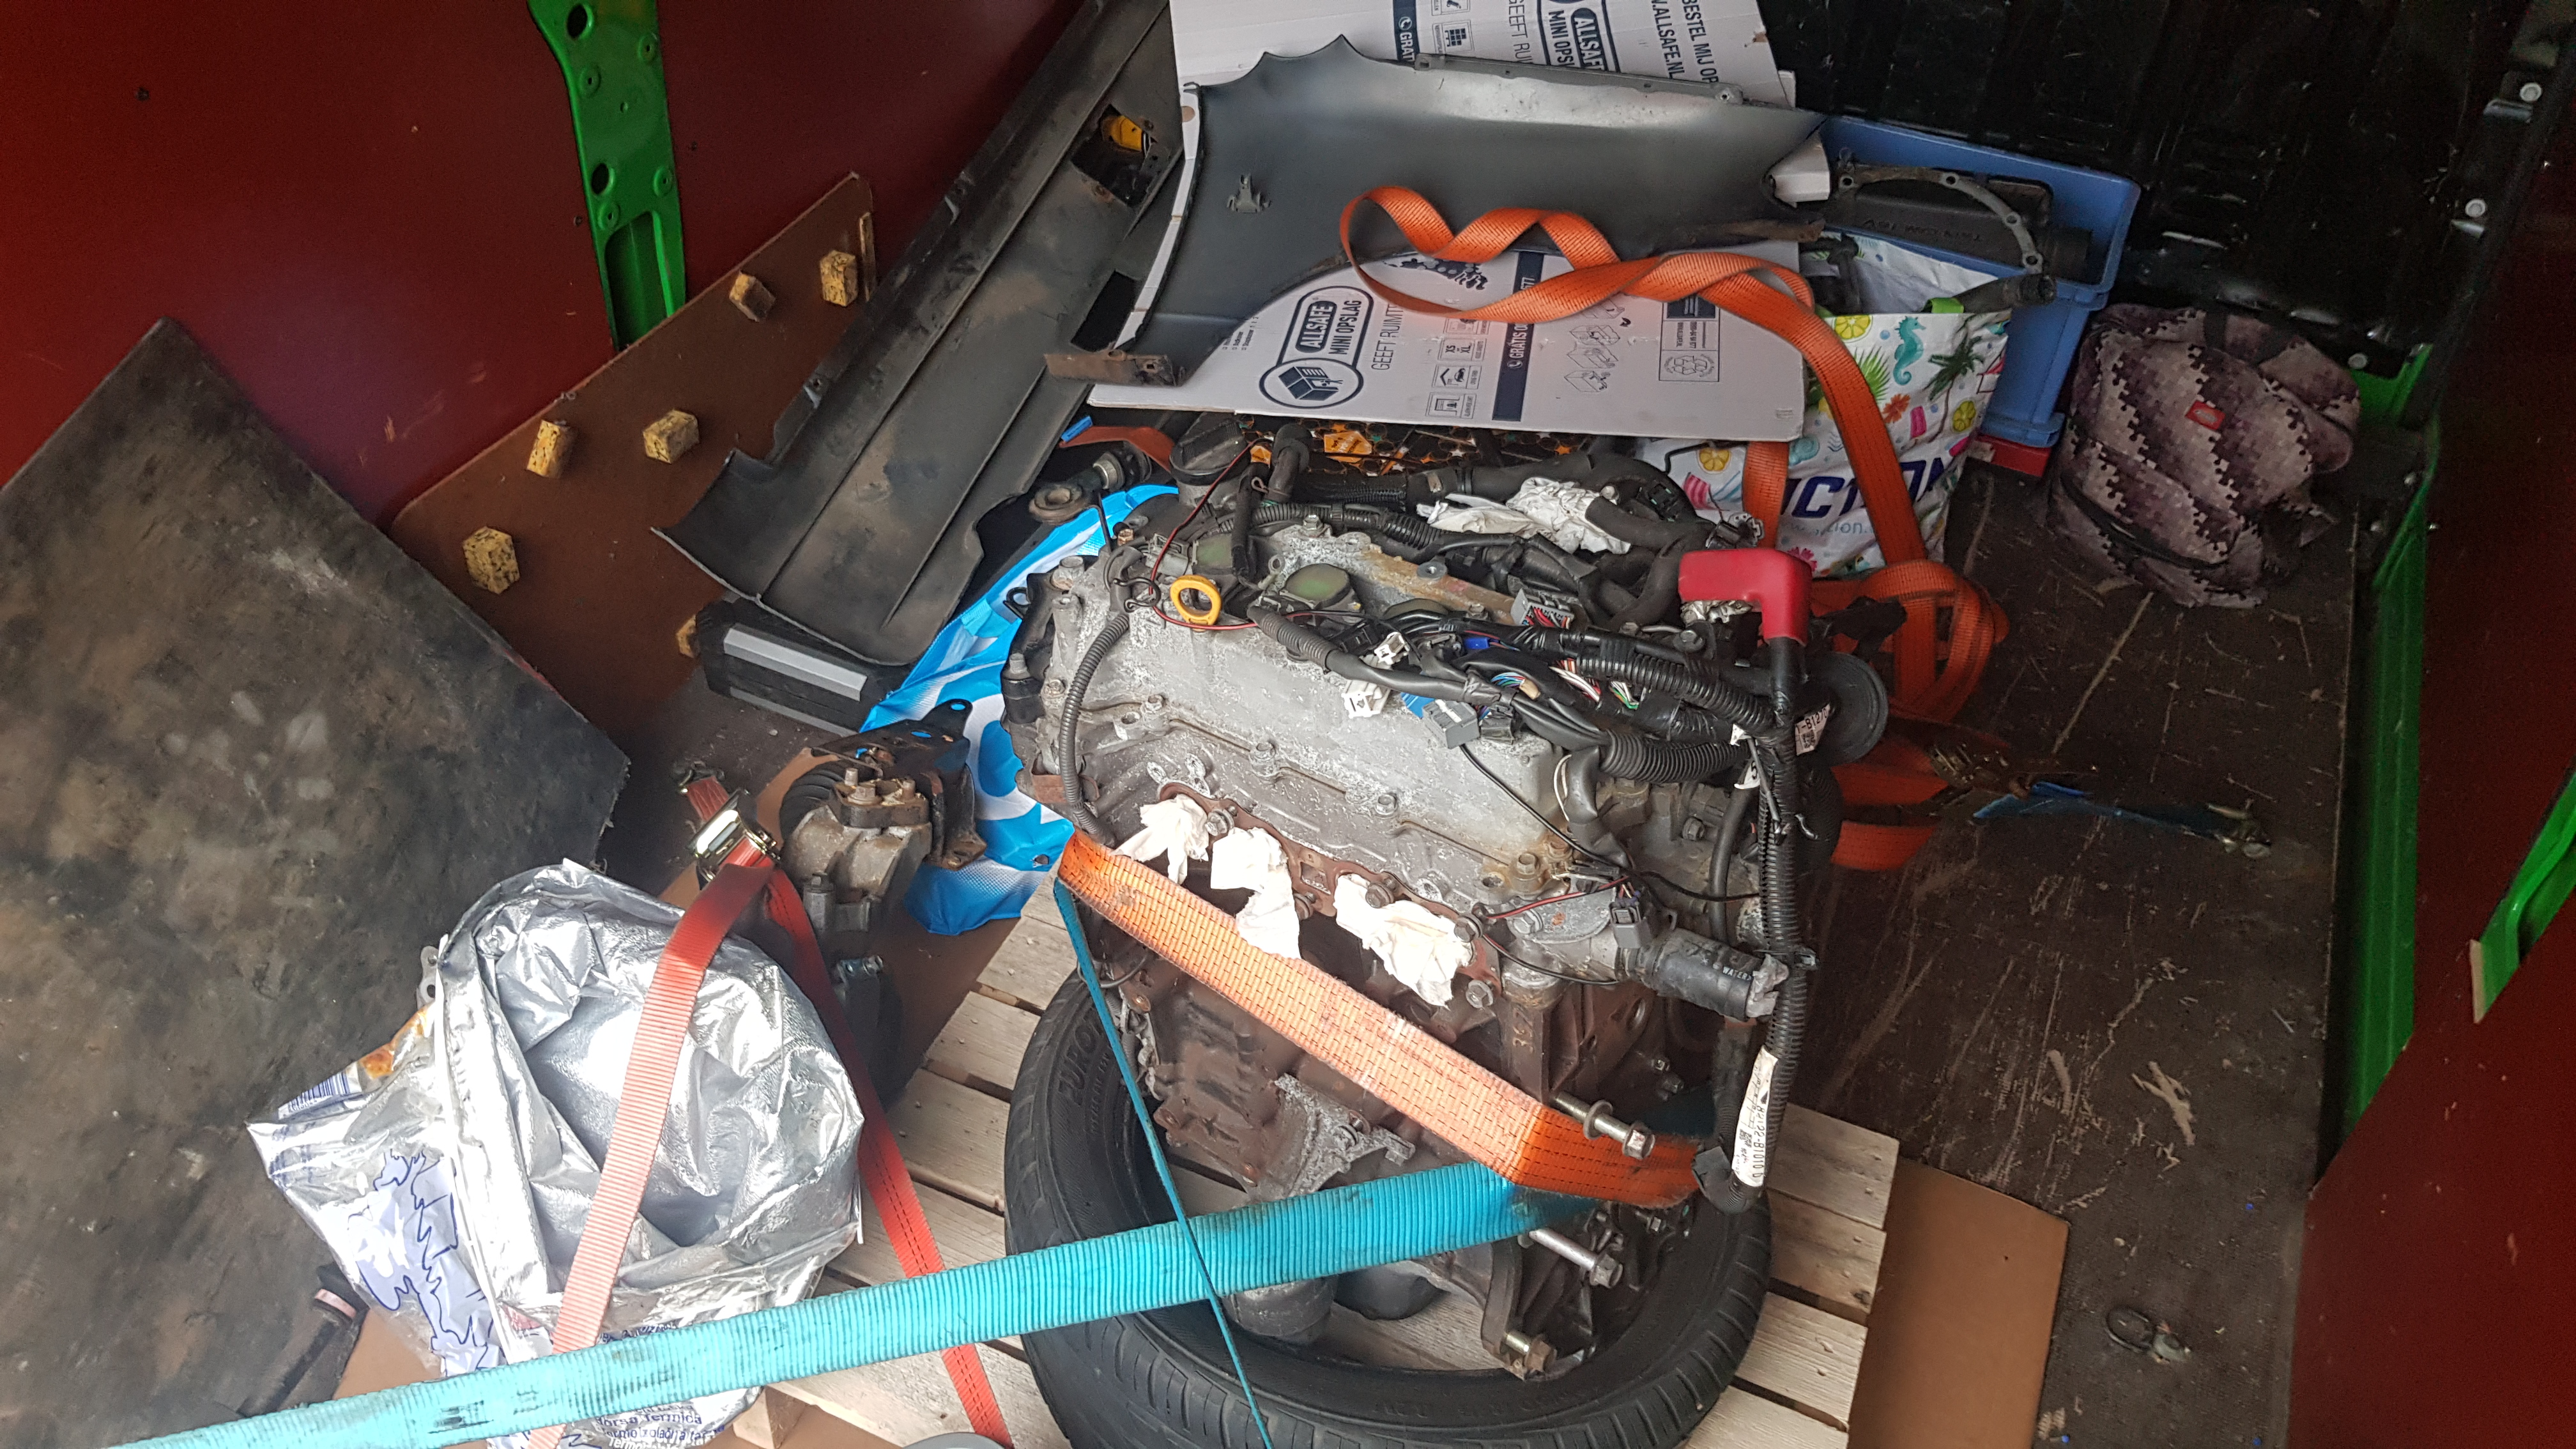


 . I’m not expecting diesel-like figures, but keep in mind that the M300 is about 200kg’s heavier than a Cuore. That’s still no guarantee, but it’s likely to make a difference!
 to be honest I don’t think I even get those number with my m300 now… Way to much fun to drive.
 . Btw, 1:17km is a pretty decent figure!
 .
.