James' Daihatsu Cuore L700 - SKD555

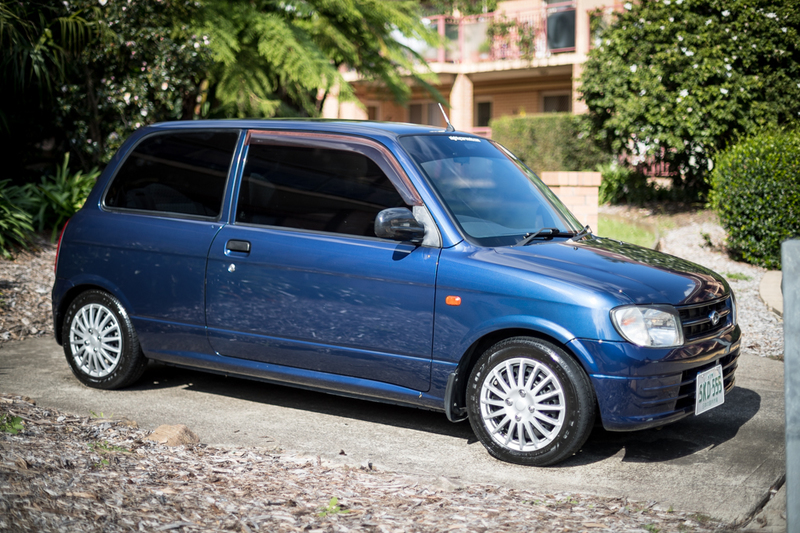
February 2017: This will be the start of something I know is going to be epic. It’s just to throw a turbo on this bad boy. It’ll be no easy task but with a HUGE thanks to Jenga it’ll be a little easier. Basically I purchased everything that wasn’t brought over when he converted from the 3 cylinder EJ-DE to the 4 cylinder K3-VET.

This includes:

Turbo - Garret T25, this Nissan 300ZX factory is basically brand new
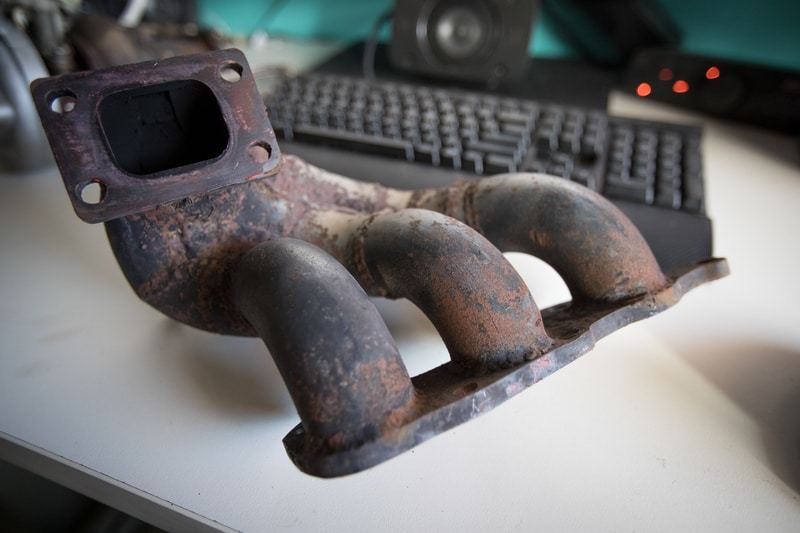
Manifold - Custom 3-1 turbo manifold
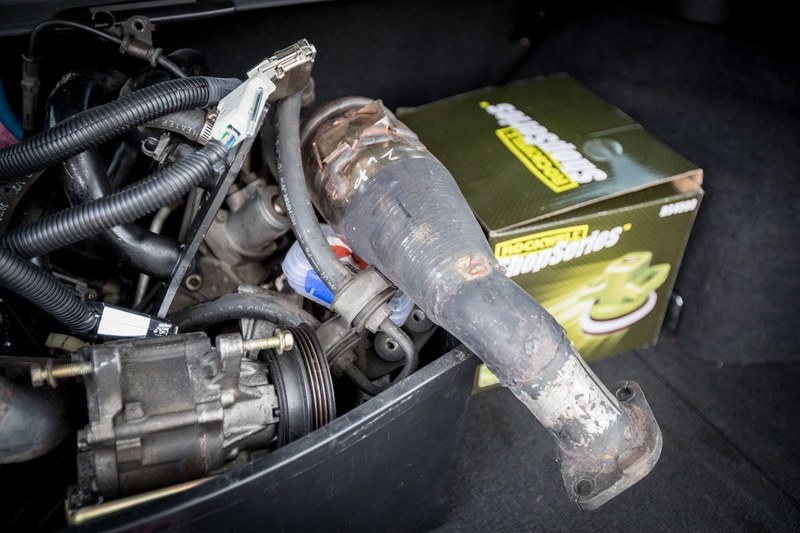
Exhaust - Custom Dump into Cat
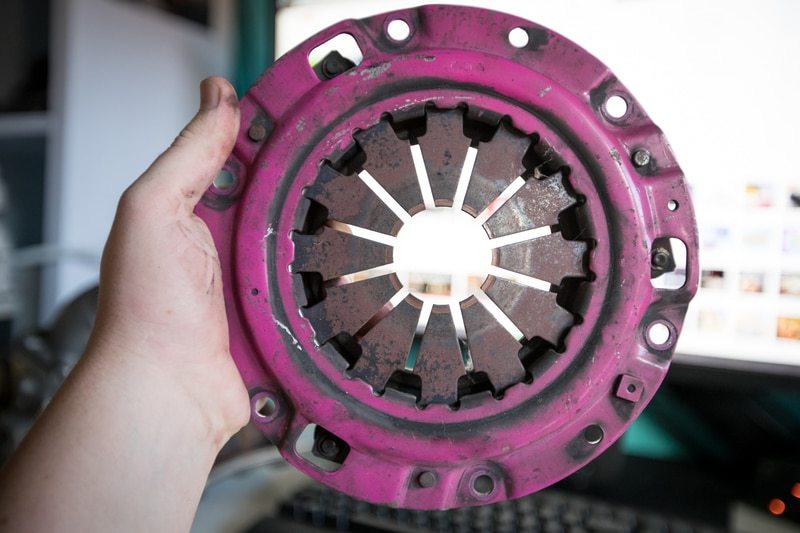
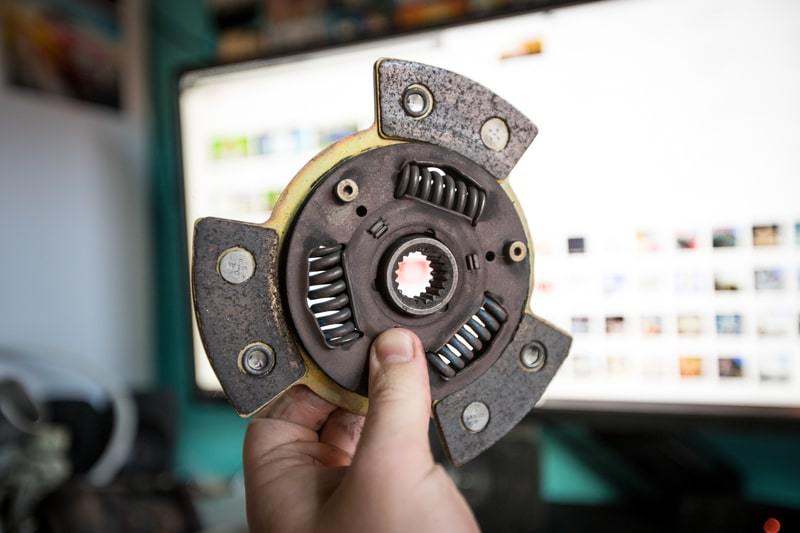
Clutch - Custom Exedy brass button clutch
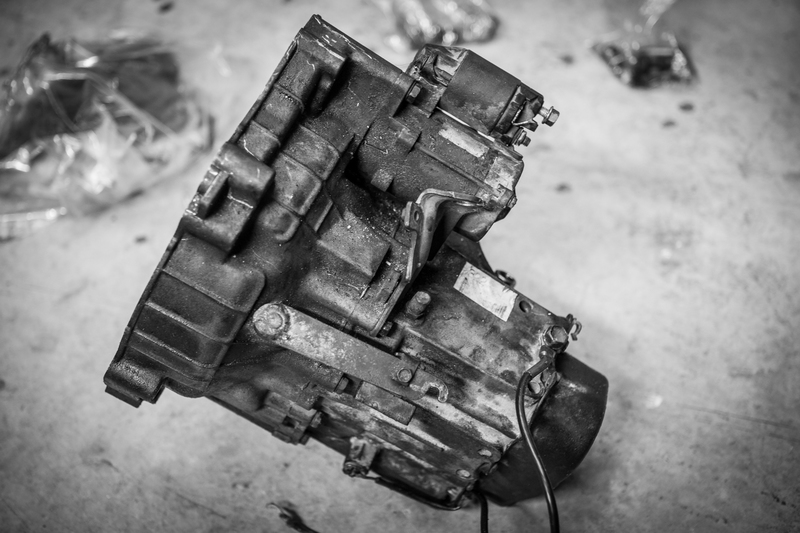
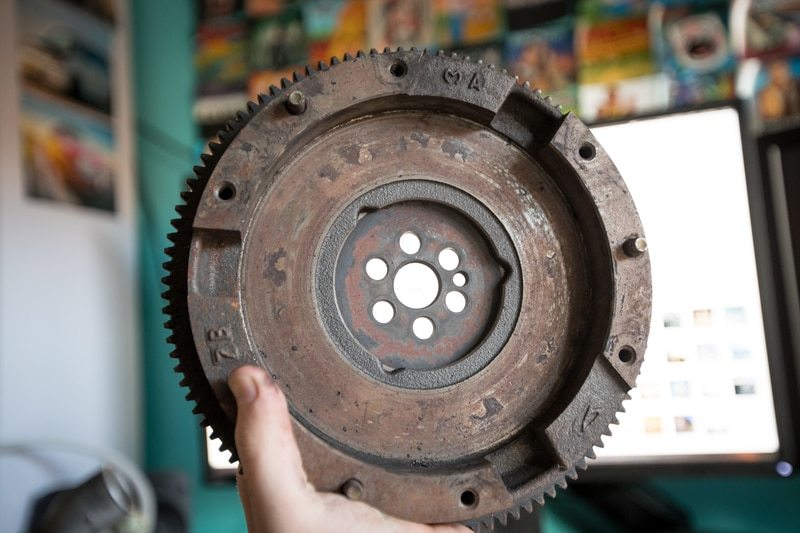
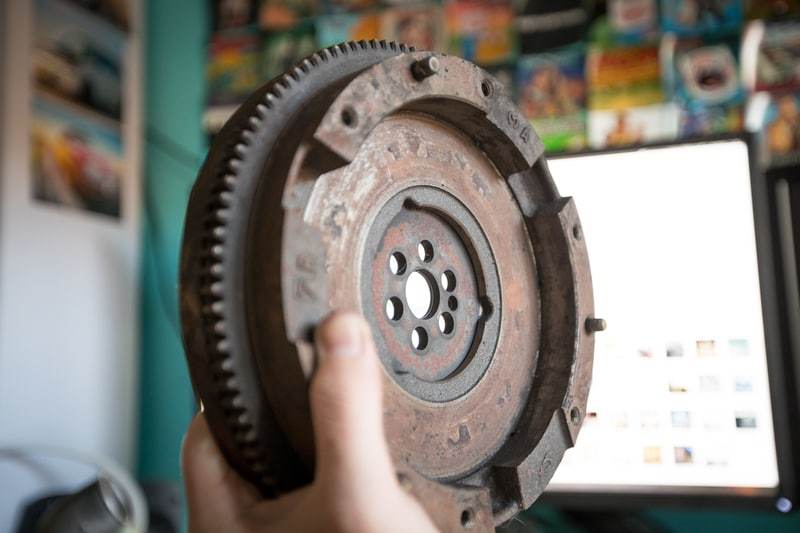
Flywheel - OEM unit, needs machine
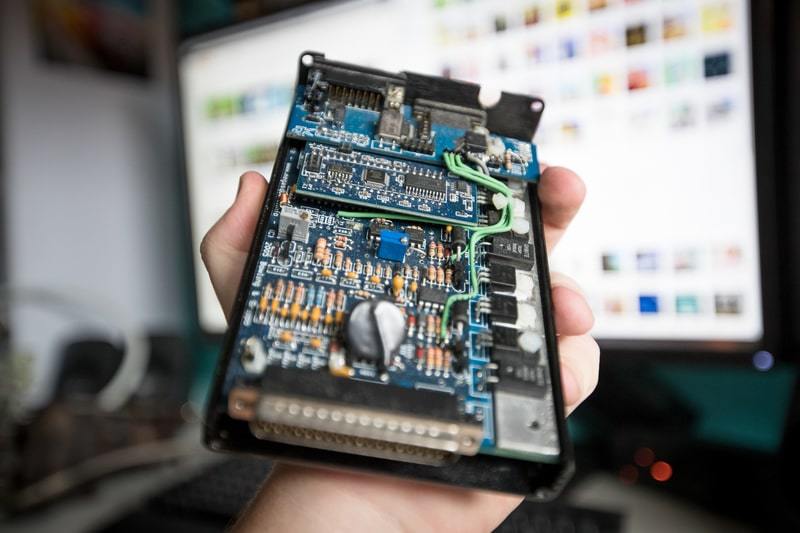
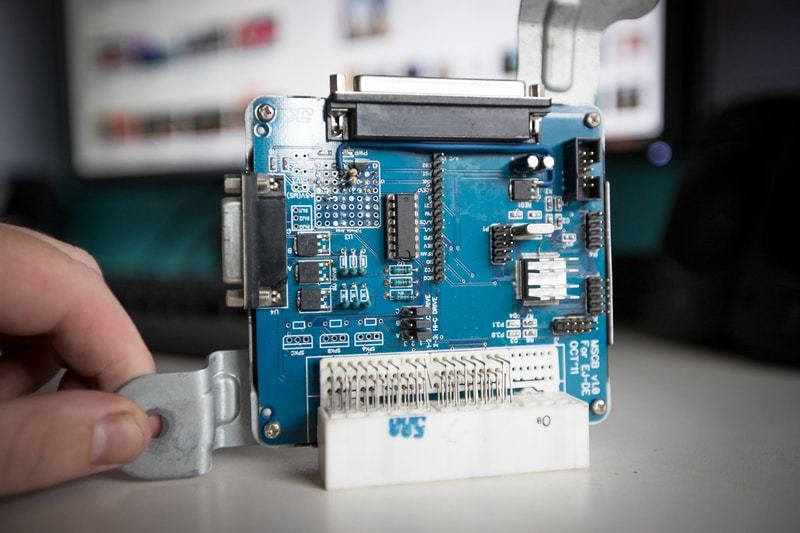
ECU - Megasquirt II with custom PCB and pinout

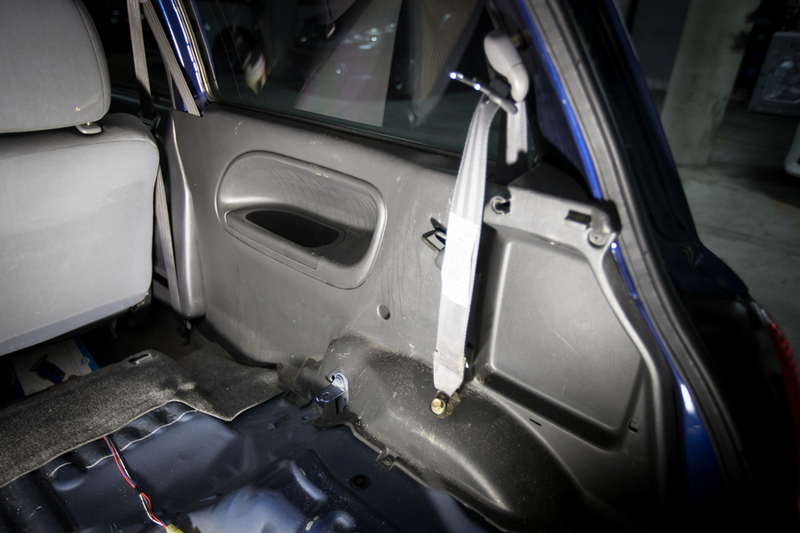
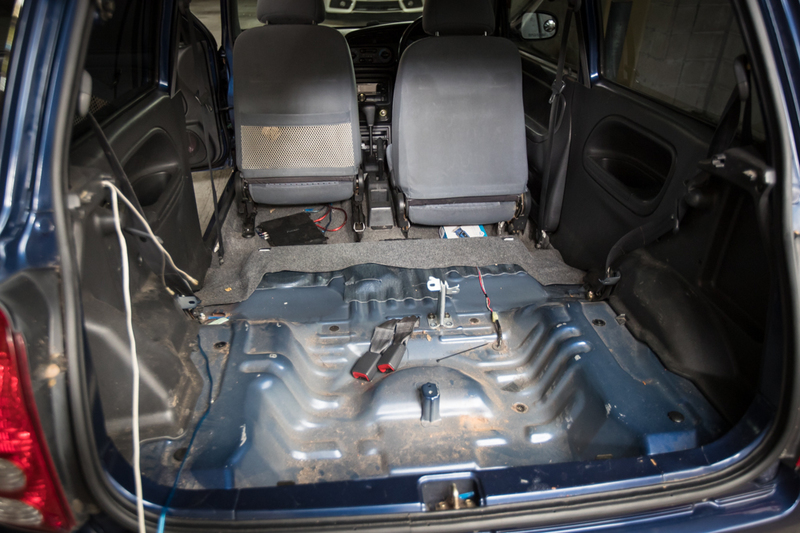
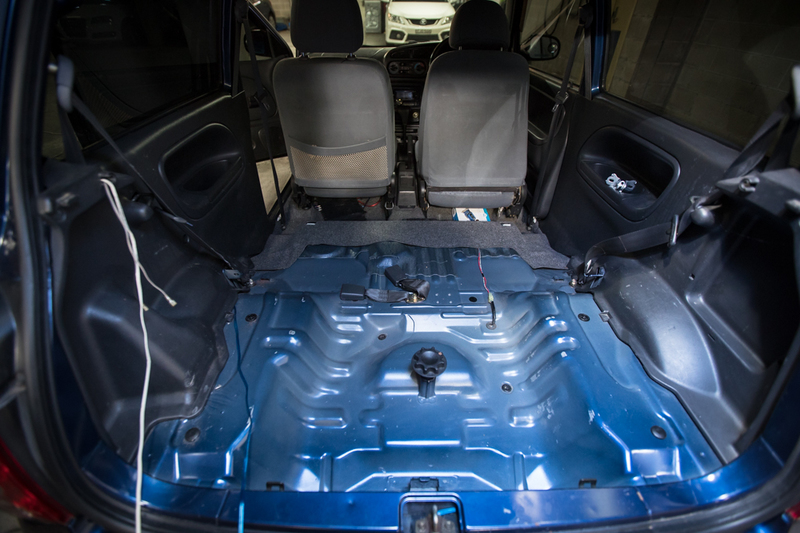
Time to get picture heavy.

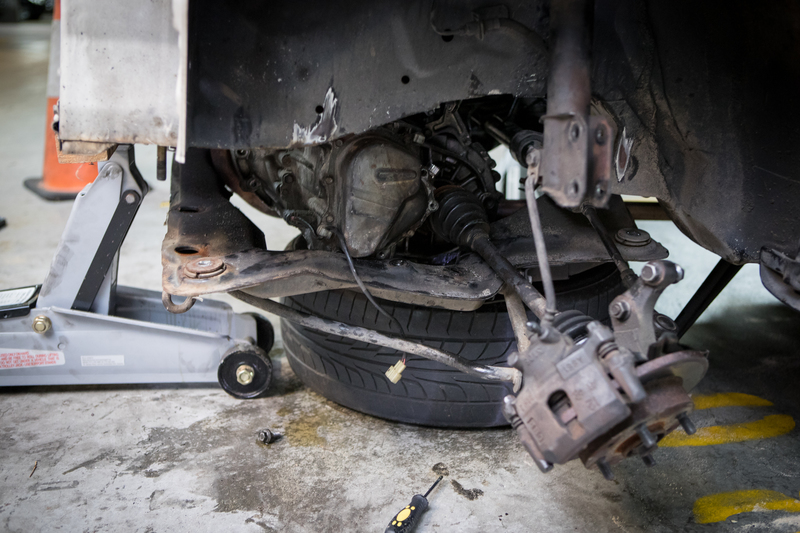
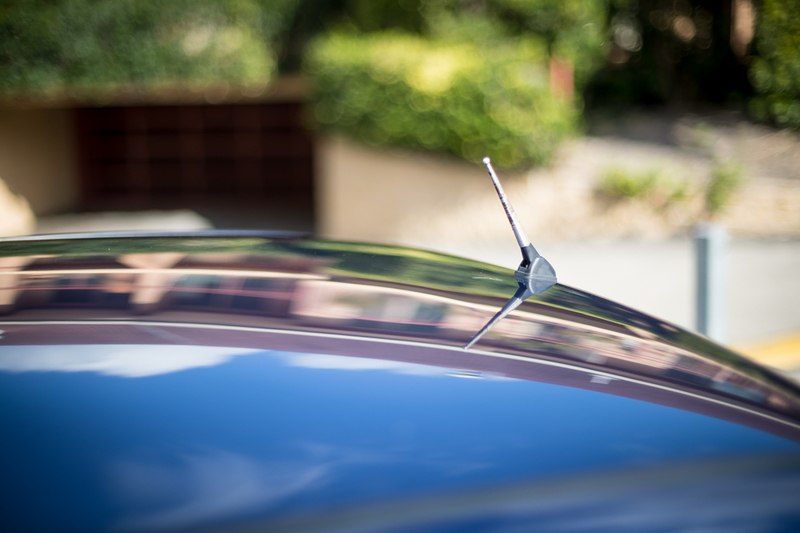
Lets start with the turbo.

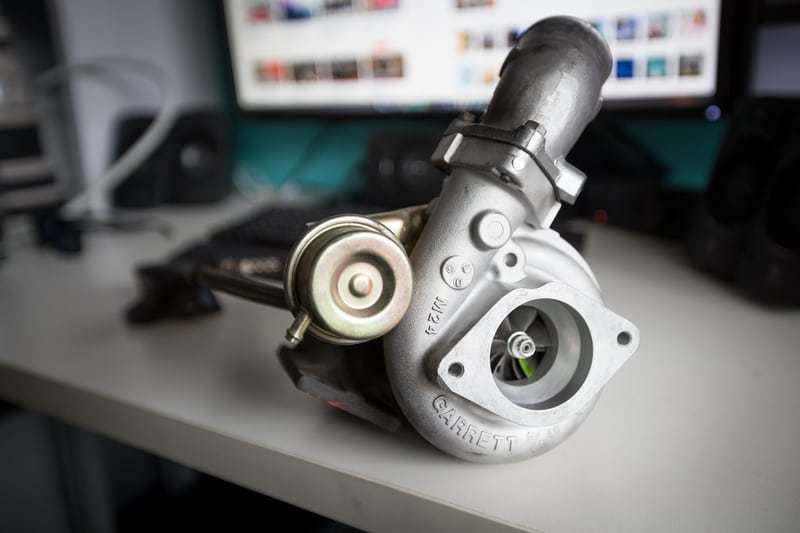
A custom adapter was made to make the mount a bit easier.

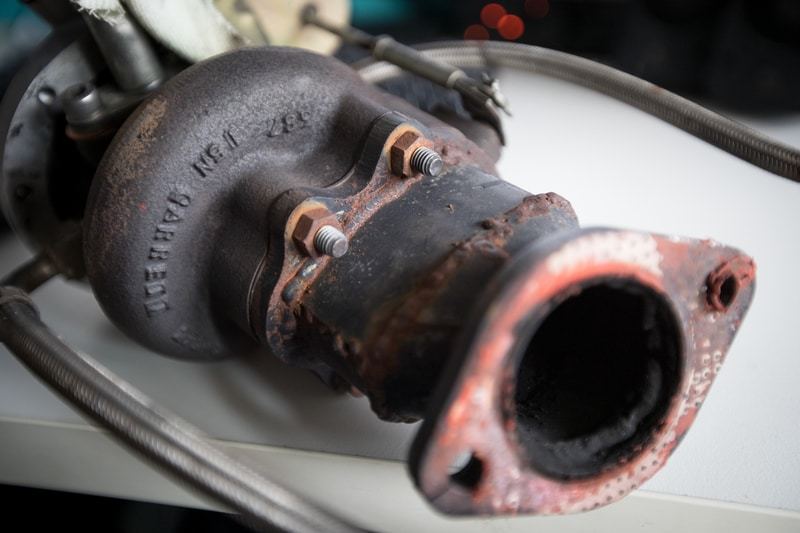
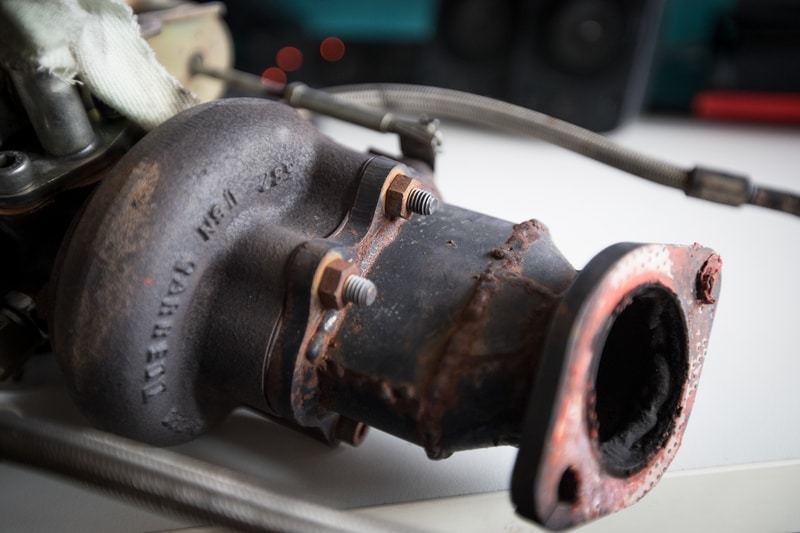
Custom made 3-1 manifold and dump pipe with.

Custom Exedy brass button clutch and pressure plate.

OEM flywheel, it will need a machine. Never held a flywheel before but holy shit this particular one is a HEAVY basted.

Lastly, my biggest reason for going this route. The car was always going to need an aftermarket ECU. Something like a Haltech was what first came to mind but after truely striking luck and finding all of this from Jenga, Ive now got the custom Megasquirt II that has been made to be a true plug and play system. No filling with repining or new harnesses. One or two things will need to be changed, like the factory O2 sensor will be replaced with a wideband but other then that plug and play, its even got a map on it for all the parts I will be using.

This is the actual ECU.

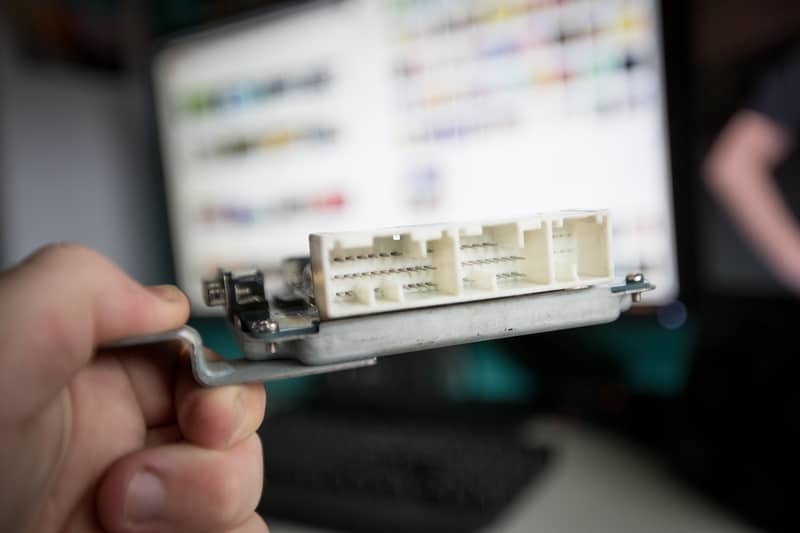
This is unit that basically converts the factory Cuore loom into the one that the Megasquirt II uses. The was designed and is completely custom.

So overall, Im pretty damn chuffed, but this is only the beginning, there is so much still to buy and make, but over the next few months it’ll all happen! Manual conversion should be happening in the next couple of weeks which means I can at least put this clutch in the car and get used to it, apparently its pretty aggressive.

4 Likes

Really looking forward to this, that turbo kit is basically plug and play. Super lucky to get hold of it!

1 Like

Thanks man, I sure am, he wasn’t even selling it, I just remember him saying that everything went into a cupboard and forgotten, I was lucky that he was willing to part with it all, but since he sold the car :frowning: there was no need for any of it. It will be sometime as there is plenty going on with my Subaru at the moment and there are a bunch of bits I still need to get. I’m probs another $1500ish away from getting everything sorted, but hey, 2K total is fine in my books :slight_smile:

2 Likes

Nice work. Cool to see build threads still happening

raises hand

I will help.

Awesome build so far, keen to see more progress!
Youre pictures are fantastic as well. :ok_hand:

I decided to give the old girl some long overdue love, being a daily driving and sitting outside at the train station most of its time, if I even bother to wash it it just goes brown again instantly. Time to fix it, photo doesn’t do it justice it was DIRTY!

I also had some other car wash that I won from awhile back, it was hard for me not to use my trusty Meguiars Ultimate Wash & Wax, but hey can’t hurt.

Sudsy goodness

Ah much better

Look at dat reflection

But it isn’t good enough, time for some Ultimate Wax

Oh yes, now that’s a shine, pitty it really shows the dents haha.

I’ve never noticed how different the colour was on the front bar, must have been redone in its life, oh well new front bumper will be going on soon

Damn she looks good!

3 Likes

Give Gyeon bathe+ a go it’s unreal. :wink:

2 Likes

I’ll certainly look into it thanks, I have just gotten a fresh bottle of other car wash, so might be sometime haha.

Something I’ve been wanting to do for some time now, is basically convert the Cuore a Handi, for those who don’t know, a version of the Daihatsu Cuore / Mira called the Handi, a two seater version with the back seats replaced with cargo area. Basically making the car like a mini van, similar to what Mary and Moog did to their show car.

Time for these to go.

Things had certainly gotten messy back here.

The barley connect 6x9’s and parcel-shelf came out.

Followed by the sub.

With all the to the side I could focus on getting the rear seats and material off, starting with the pesky switch that snapped off, nothing some pliers could help though.

Back section off.

It’s amazing what you can find buried beneath everything.

With everything off, all the bolts were marked and bagged. Then it was time for a good clean, man it was dirty back there.

A vacuum helped things but even the top of the tailgate was filthy, a but-load of baby wipes later and things were much better.

After a quick trip to Bunnings Warehouse I grabbed two large pieces of 16mm think MDF, this way I knew it would be strong and the weight was probably the same as what’s coming out anyway.

And thanks to a carpenter mate we began measuring everything out, it looks like we are going to run two pieces in the back so that it’s easier to get to the spare wheel if need be, plus it makes it much easier to cut and carpet later.

Let the cutting begin.

All the basics were cut but time has run out today, the next step is to somewhat prototype a design to go around off the stuff in the boot, then work out a mounting system and once all that is done I can carpet it all and make it look like it was factory.

6 Likes

That’s awesome man!
Always wanted to take my back seats out in the Charade so it’s good to have a little bit of motivation :smiley:

:open_mouth: 
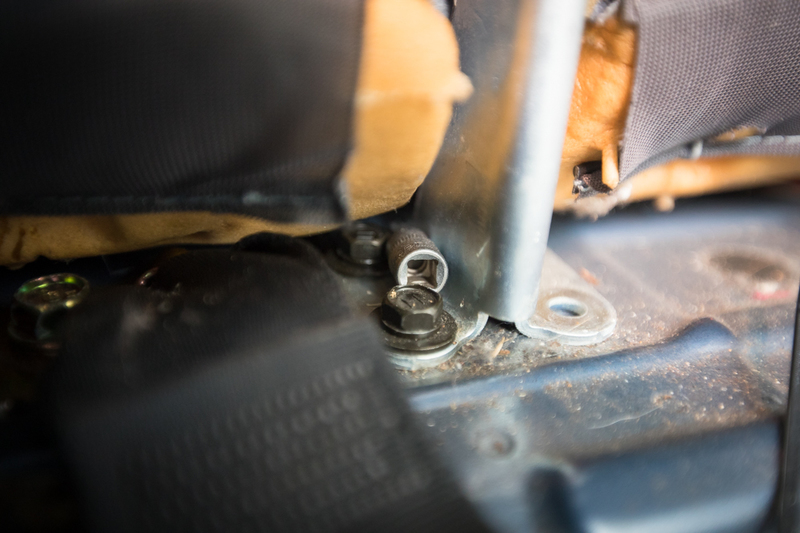
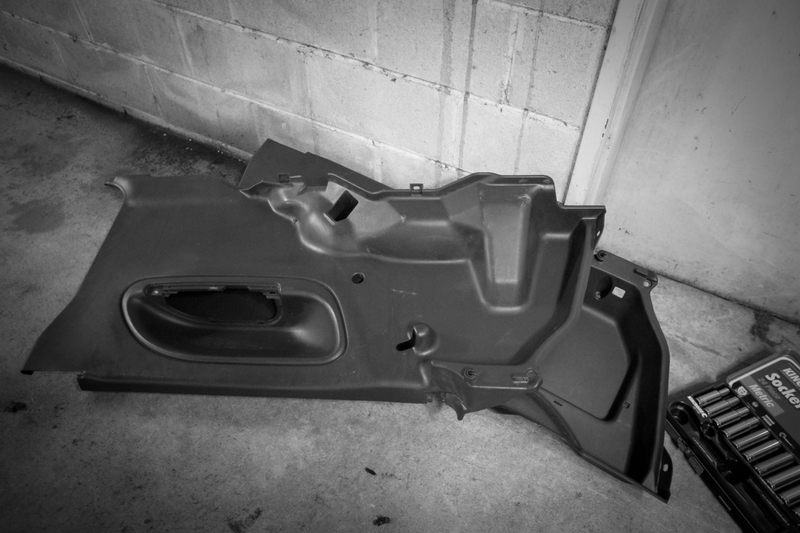
please tell me that’s the ever elusive 10mm socket :wink:

3 Likes

I had a little bit of time tonight so I thought I would continue with the stripping of the back. So I started taking off these side panels.

They needed to come off so that I could completely remove and delete the rear seat belts, they are in the way and aren’t needed anymore.

To the evil person who decided all cars need imperial bolts for seat bolts, even on a Japanese car with an entirely metric system, die sir, die. Anyway a quick trip to Bunnings and a 9/16 socket was acquired.

Side-panel and belt off for drivers side.

Despite I did this just to take the belts off I think I am actually going to leave them off and continue the MDF up the side, It could be a perfect place to put some nice 6x9 speakers on the side, almost like the spots were made for them.

Rinse and repeat for passenger side.

I love doing all of this, it’s just a great excuse to clean everything and go over my poor decisions that have been done in the past, like the utter rubbish speaker wire going on in the back. This is a forever car, so I want to make sure everything is perfection. Laters old speaker wire.

Man, so bare in the back now haha. Lots to come but having it completely empty gives me a much better idea of what I want to do.

One thing after driving the car for a day, holy shit balls the NVH is shocking. In fairness everything has been ripped out and this was an extremely cheap car to buy new all those years ago. In saying that once everything is finalised, the car is going to get COVERED in Dynamat, the slight weight it will bring doesn’t even bother me at all. Everything will lickely also get carpeted and I might even add extra insulation, time will tell.

3 Likes

So this absolute pile of shit, is finally going to be put to good use. It’s been sitting in storage for well over two years, with the soul reason of stealing the manual gear box and everything else that goes with that. Nothing turbo related can happen on my car until this box goes in it. Time to take the finger out and do it so this car can be scrapped. Here she is in all it’s turdness.

I want to make clear, these were not my design choices, but hey, 18 year old me loved it…

Anyway, car jacked up, time to remove stuff. I didn’t have to be super careful as everything was junk and couldn’t be used anyway. Air-box off.

Next up was the clutch linkage, cable clutch is so nice and simple.

Next thing was to remove the bottom mounts of the suspension, holding the hubs to the strut. This was I could remove the cv shafts from the box without having to take them off the hubs.

Pry-bar in and cvs popped out, surprised to see nothing actually holding it in on that side, interesting.

Yes we should have drained the box before, anyway. I was surprised to see it actually looked pretty healthy, no metallic bits. Smelt like arse though.

Shifter linkage was next to come out.

Bolts bagged and labeled, these won’t be on the auto so cast loose these.

Once all the mains things were out it was time to begin removing all the bolts connecting the bell housing to the block, they were tricky.

Photos really help to keep track of everything.

There is still a bit to do but hopefully everything can get sorted tomorrow and we can have everything off and out. There will be a couple more things to grab off the car but then it’s finally going off to be scrapped.

2 Likes

Soo i pretty much read through the whole thread, it was very entertaining haha
Plus your photo are really good!
Btw i think it would have been easier if you took out the whole subframe.
Its doesn’t take that long in my experience :stuck_out_tongue:

Look forward to seeing this build come to life! Cheers

Thanks man, I think taking the sub frame out will certainly be the plan in my car. The this needs to roll at the end of the day so it made it easier haha.

1 Like

So day two. After finding all the sneaky bolts holding the box on, including the dumb bolt near engine mount. Anyway, we managed to actually seperate the box from the block but there just wasn’t room to completely get it out, damn. So we did what we should’ve done from the start, dropped the k-frame.

Yes expect sketchy as shit, I don’t normally roll this way but the ONLY thing of value is the box, everything else was going in the bin.

So being fairly unprepared and tire would become to perfect k-frame stand…

And with that, it came away from the frame, finally, box out!

Sorry for the lack of photos but the anger levels were too high at that point. My mates face said it pretty well.

Would you look at that, box in a box.

The rest of the will be attacked tomorrow, where all the remaining bits will come off.

2 Likes

Hi there, i see your thread building Turbo-L700, I’m about turbo my EJ-VE 1.0L engine. just wondering about ECU like how much you got it for and how can i get same plug and play setup like that? Cheers

Hey mate, unfortunately I can’t really help you with either. I got the ECU as part of a bundle deal from another forum member. @WoodWorx is getting one and might be able to help you on the price side. as far as the plug and play sense, the ECU is actually a completely custom one off unit created by the pervious owner of it, he is an electrical engineer. Your best bet would be to purchase a standard Megasquirt and re-pin the factory harness plug.

September 2017: Once again, the car has been neglected mods wise. It’s just too damn practice and awesome to be fiddled with, plus I’ve been investing a huge amount of time and money into the Subaru recently, and because of that I kinda always need to Cuore to be working perfectly when I need to make part runs. BUT I SAY NO MORE. I’m pretty happy with where the Subaru is at the moment and I’ve decided that no more mods will be done for the rest of the year, all resources will now be spent on the Cuore. There is so much I want to do.

Something that did break a few months ago is the power windows, first the passenger side but most recently the drivers side. I was interested to see what the actual issue was.

And straight away, it was very clear.

Yeah not in good shape, oh well good riddance, time to go back to old school. switches and motors out.

Then all of the old wiring be ripped out.

Once that was done any old mounting hardware could be removed.

It was then a rinse and repeat affair for the other side, I completely forgot there was the central locking thing still in here, that also come off.

The rest of the loom could then be pulled through and removed.

And lastly the motor, nice and bare.

I just need to get some manual handles which I’m pretty sure are in the parts car so that can be done at some point later in the week. Next up. One of the main things that I did on the Subaru was a full audio overhaul, which meant there was heaps of left over goodies that could be brought over for a nice upgrade over what is currently in the car.

I upgraded to a Sony CarPlay headunit in the Subaru which meant that the old Sony XAV701BT could be reused in the Cuore, this is going to be a HUGE upgrade compared to the current JVC KW-DB60AT.

While I was never a big fan of it, it will be a great addition to the Cuore. It got a but ton of inputs including mic for hands free and rear view camera, both things I will be implementing in time.

Also has two VERY long USB cables for what ever devices one could need, I wanna look into a clever way of mounting these but again that will come in time.

I’m keen to get onto the headunit but I’m waiting on a couple of things to get that going first, like a new harness and the reverse camera. But what I do have in the meantime is a shit tonne of sound deadener left over from the Subaru install, more then an entire bulk pack. This was great news and was really going to be put to good use.

It’s no surprise to me that considering this was one of the cheapest new cars in the country at the time that things are really built to amazing standards and the car is far from being refined. It’s never really bothered me but this was a good time to start fixing that.

While the door skins were off I thought that would be a good place to start., Before anything everything got a very good clean to ensure perfect adhesion.

The old, trusty but slightly rooted Kenwood DualMags came out, they really need to be replaced but will do again for now.

It’s likely that I’ll replace the fronts with a nice set of Morel Tempo Ultra 602 Integra’s, which I’ve used for the rear of the Subaru, they are fairly decently priced and perform very well.

I started with the inner skin as this was where it really needed it the most, being such extremely thing sheet metal.

Moving onto the outer.

This panel cover thing also needed a healthy dose, it got it and made a world of difference.

With the sorted it was time to move to what has likely been the worst of all, the boot.

Alot of the problem came from this.

Before and after.

Then the res of the inner and outer could be done.

Man that made such a huge difference, I need to do something with the numberplate though, there is still just a touch of rattle in that area. Oh well, moving onto the second worst area. It was nice and ready to be using bigger cuts here.

Other side.

That’s it for today but man already. Such a huge difference, it’s like a new car. And there is still plenty to do.

2 Likes