That’s a really rad rad
I want one
That’s a really rad rad
I want one
Got it sent by xpxtreme in malaysia…really good to deal with ![]()
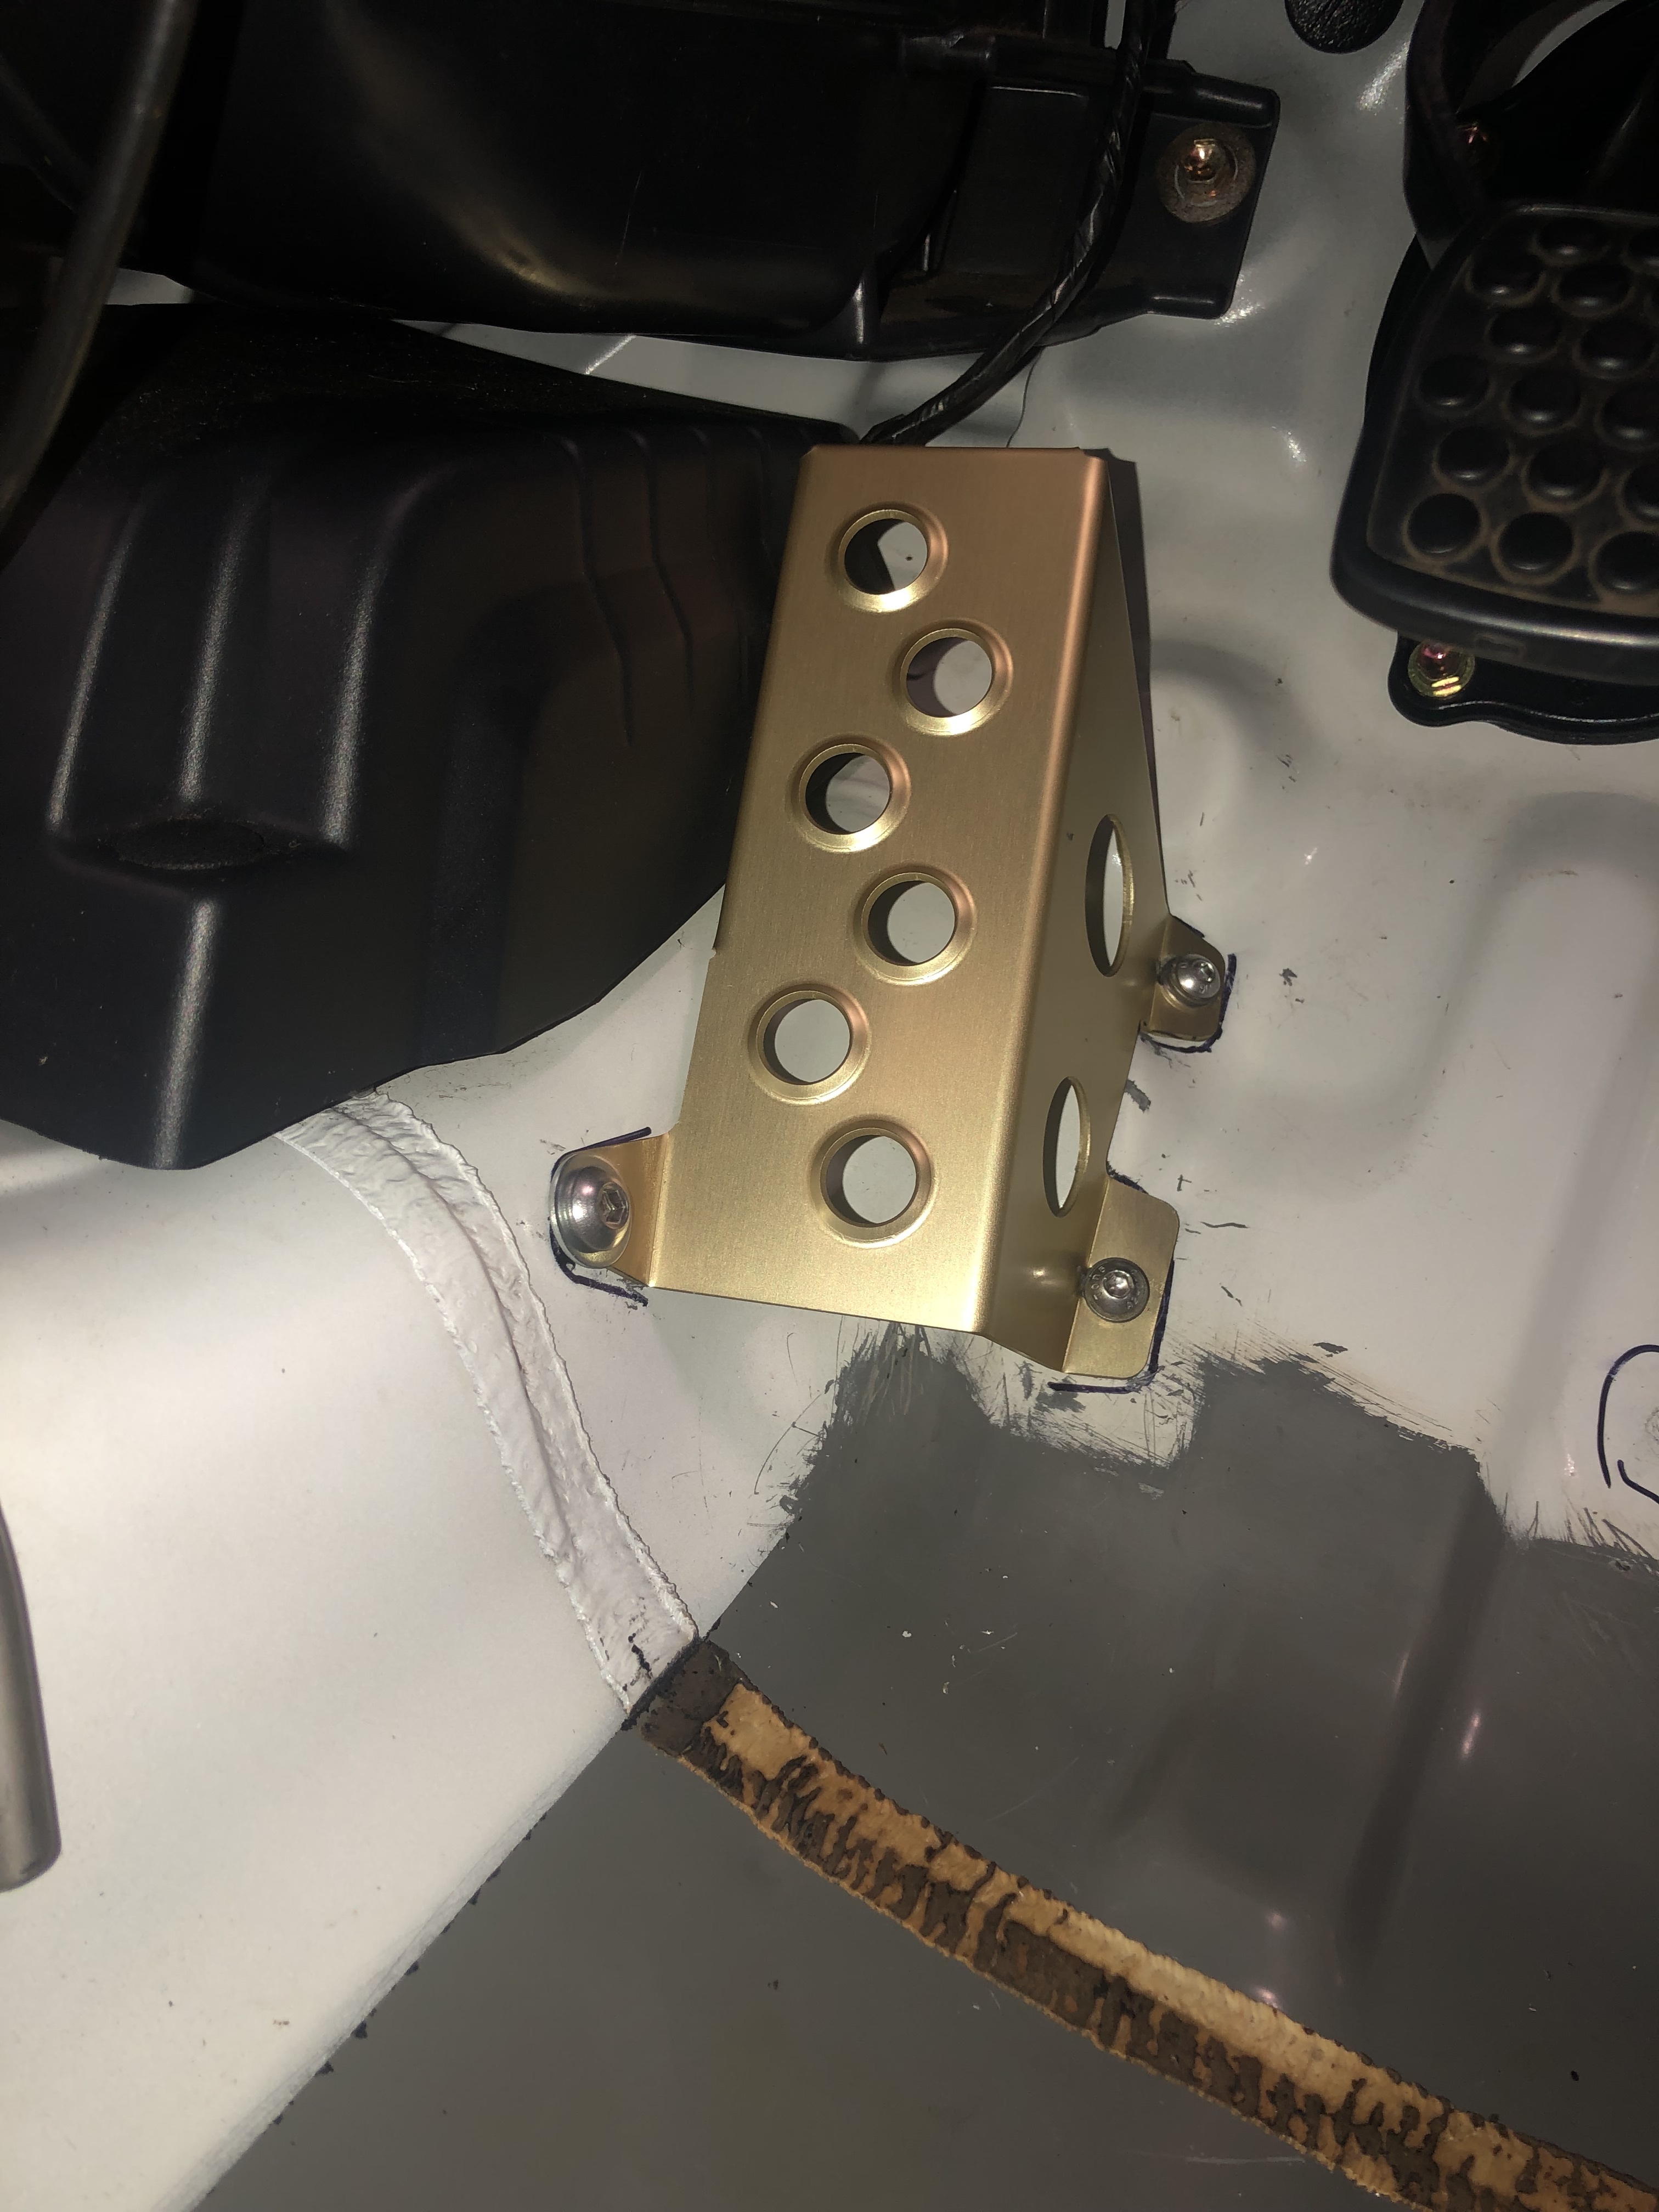
After failing to get an OEM footrest (discontinued part) I risked getting a Dsport copen one in an attempt to make it fit…so grabbed one via amazon and crossed my fingers
Well with some careful bending of the mounting tabs, and drilling, tapping and nutserting a few holes in the car it fits perfect and is solid as!! Much better height than the OEM would be and i tucked it right over thebside so it clears the clutch movement by heaps with my huge feet ![]()
I also trimmed 1.2kg off the footwell plate that sits under the carpet to keep the heel hump and save some weight, I will double side tape or velcro it down to the floor as i may remove it altogether later anyway if my heel goes nowhere near it (as its only there in that case to shape the carpet)
Another little touch I always liked was putting an auto brake pedal on or making the brake pedal large enough so as to 1) Never miss it and 2) be able to get both feet onto it. The later was for left for braking and being able to switch feet when coming to a full stop and being able to get the left foot free to push the clutch in.
Interesting! I really need to practice some left foot braking
Start in regular driving. Even use you left foot on the accelerator to get the brain tuned to the gentle action. Start using the left foot on the brake (disclaimer here - practice in a safe area and maybe not on public roads). Clutchless down changes with syncro boxes are possible so long as you not try to beat the syncros. I would like to think I am at the point where even now on my road car I can brake as well either foot and there are times I hover the left foot over the brake in readiness to stop or slow down. Left foot braking while using the throttle can make the nose tuck in reducing underteer and with a turbo car it can help build boost.
only problem with using the header spot for the wideband is you are only getting the reading from one cylinder not all 4
I was intending to run the gauges wideband post header/pre cat
But the ECUs O2 sensor where it is, pretty sure the m300 etc uses this single cylinder location
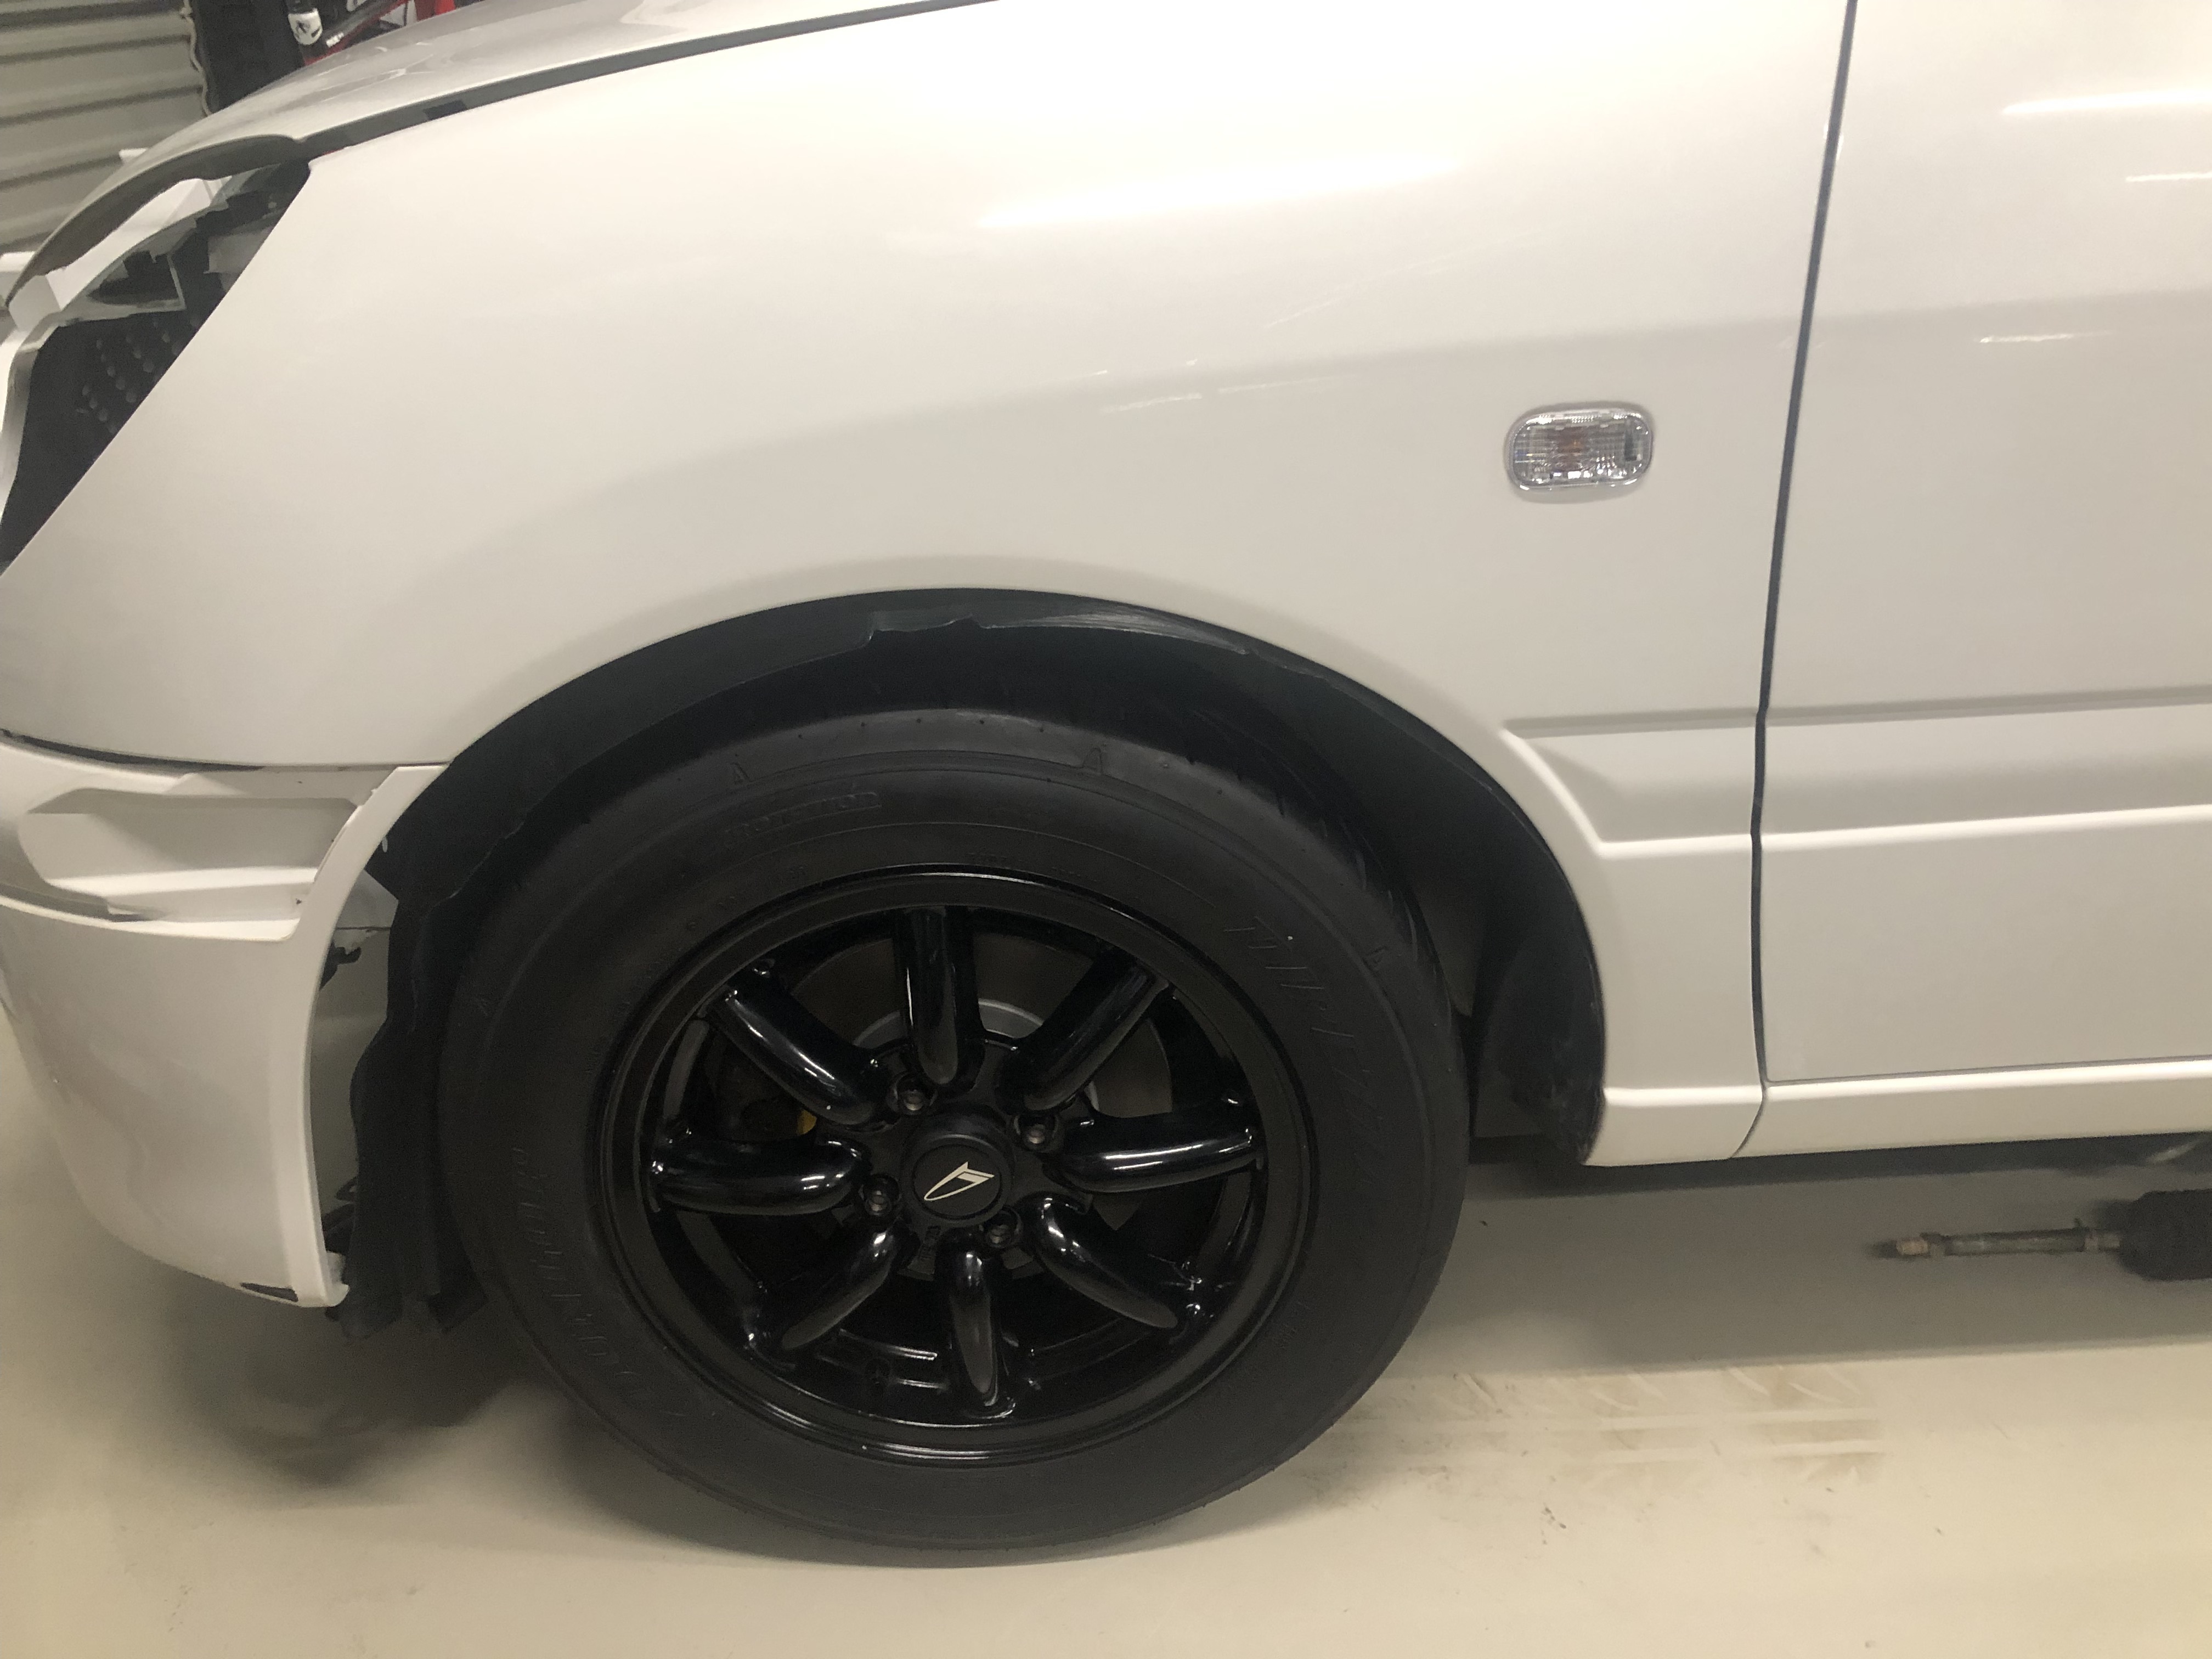
Scored some clearworld indicators thanks to import monster, also came with an L700 solid rear shifter bush in the box to firm up the shifts.
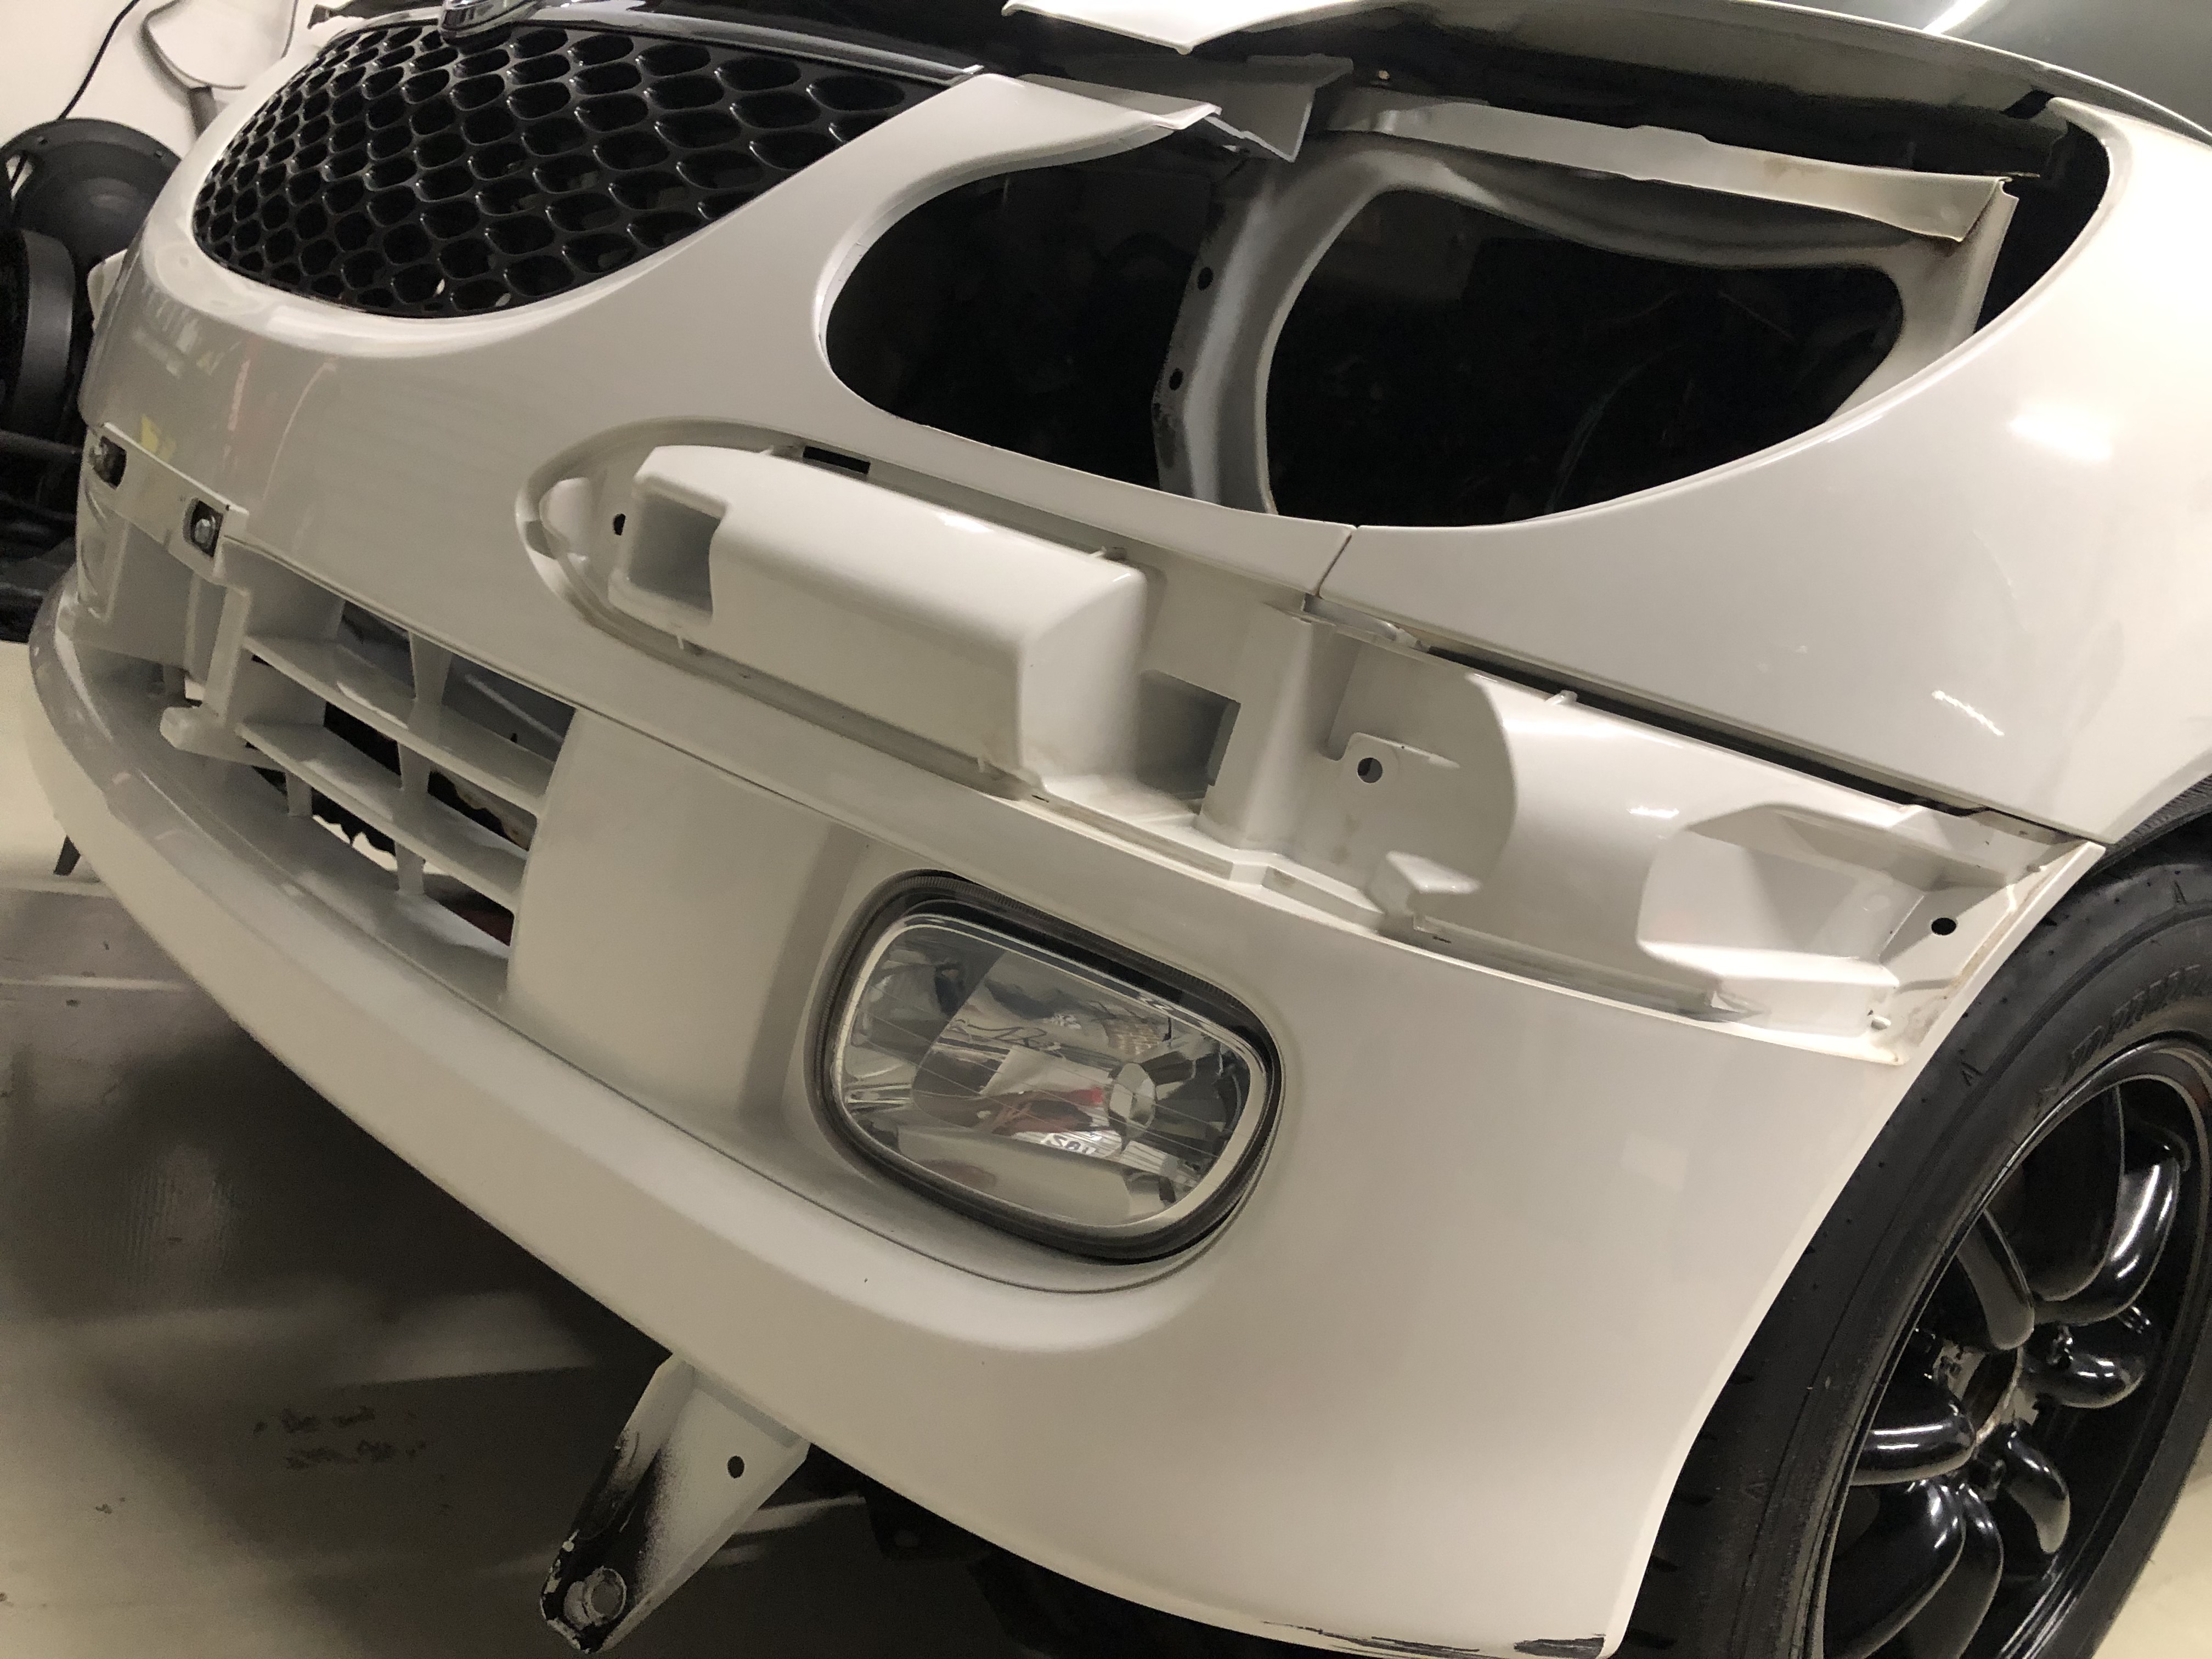
Ugly betty has started to be pulled down now its rego has lapsed, with the rear bar, side skirts and spoiler off ready for paint when the replacement drivers side door comes
Still don’t think ill run the skirts as theyll have to be stuck down due to no holes in the sills, and that makes the front fenders annoying to remove easily
So will probably run the rear bar for the muffler cut out, and standard sills much like the X4 storia does (maybe ill get my mate to make X4 stickers for the doors but make them X2 ![]() )
)
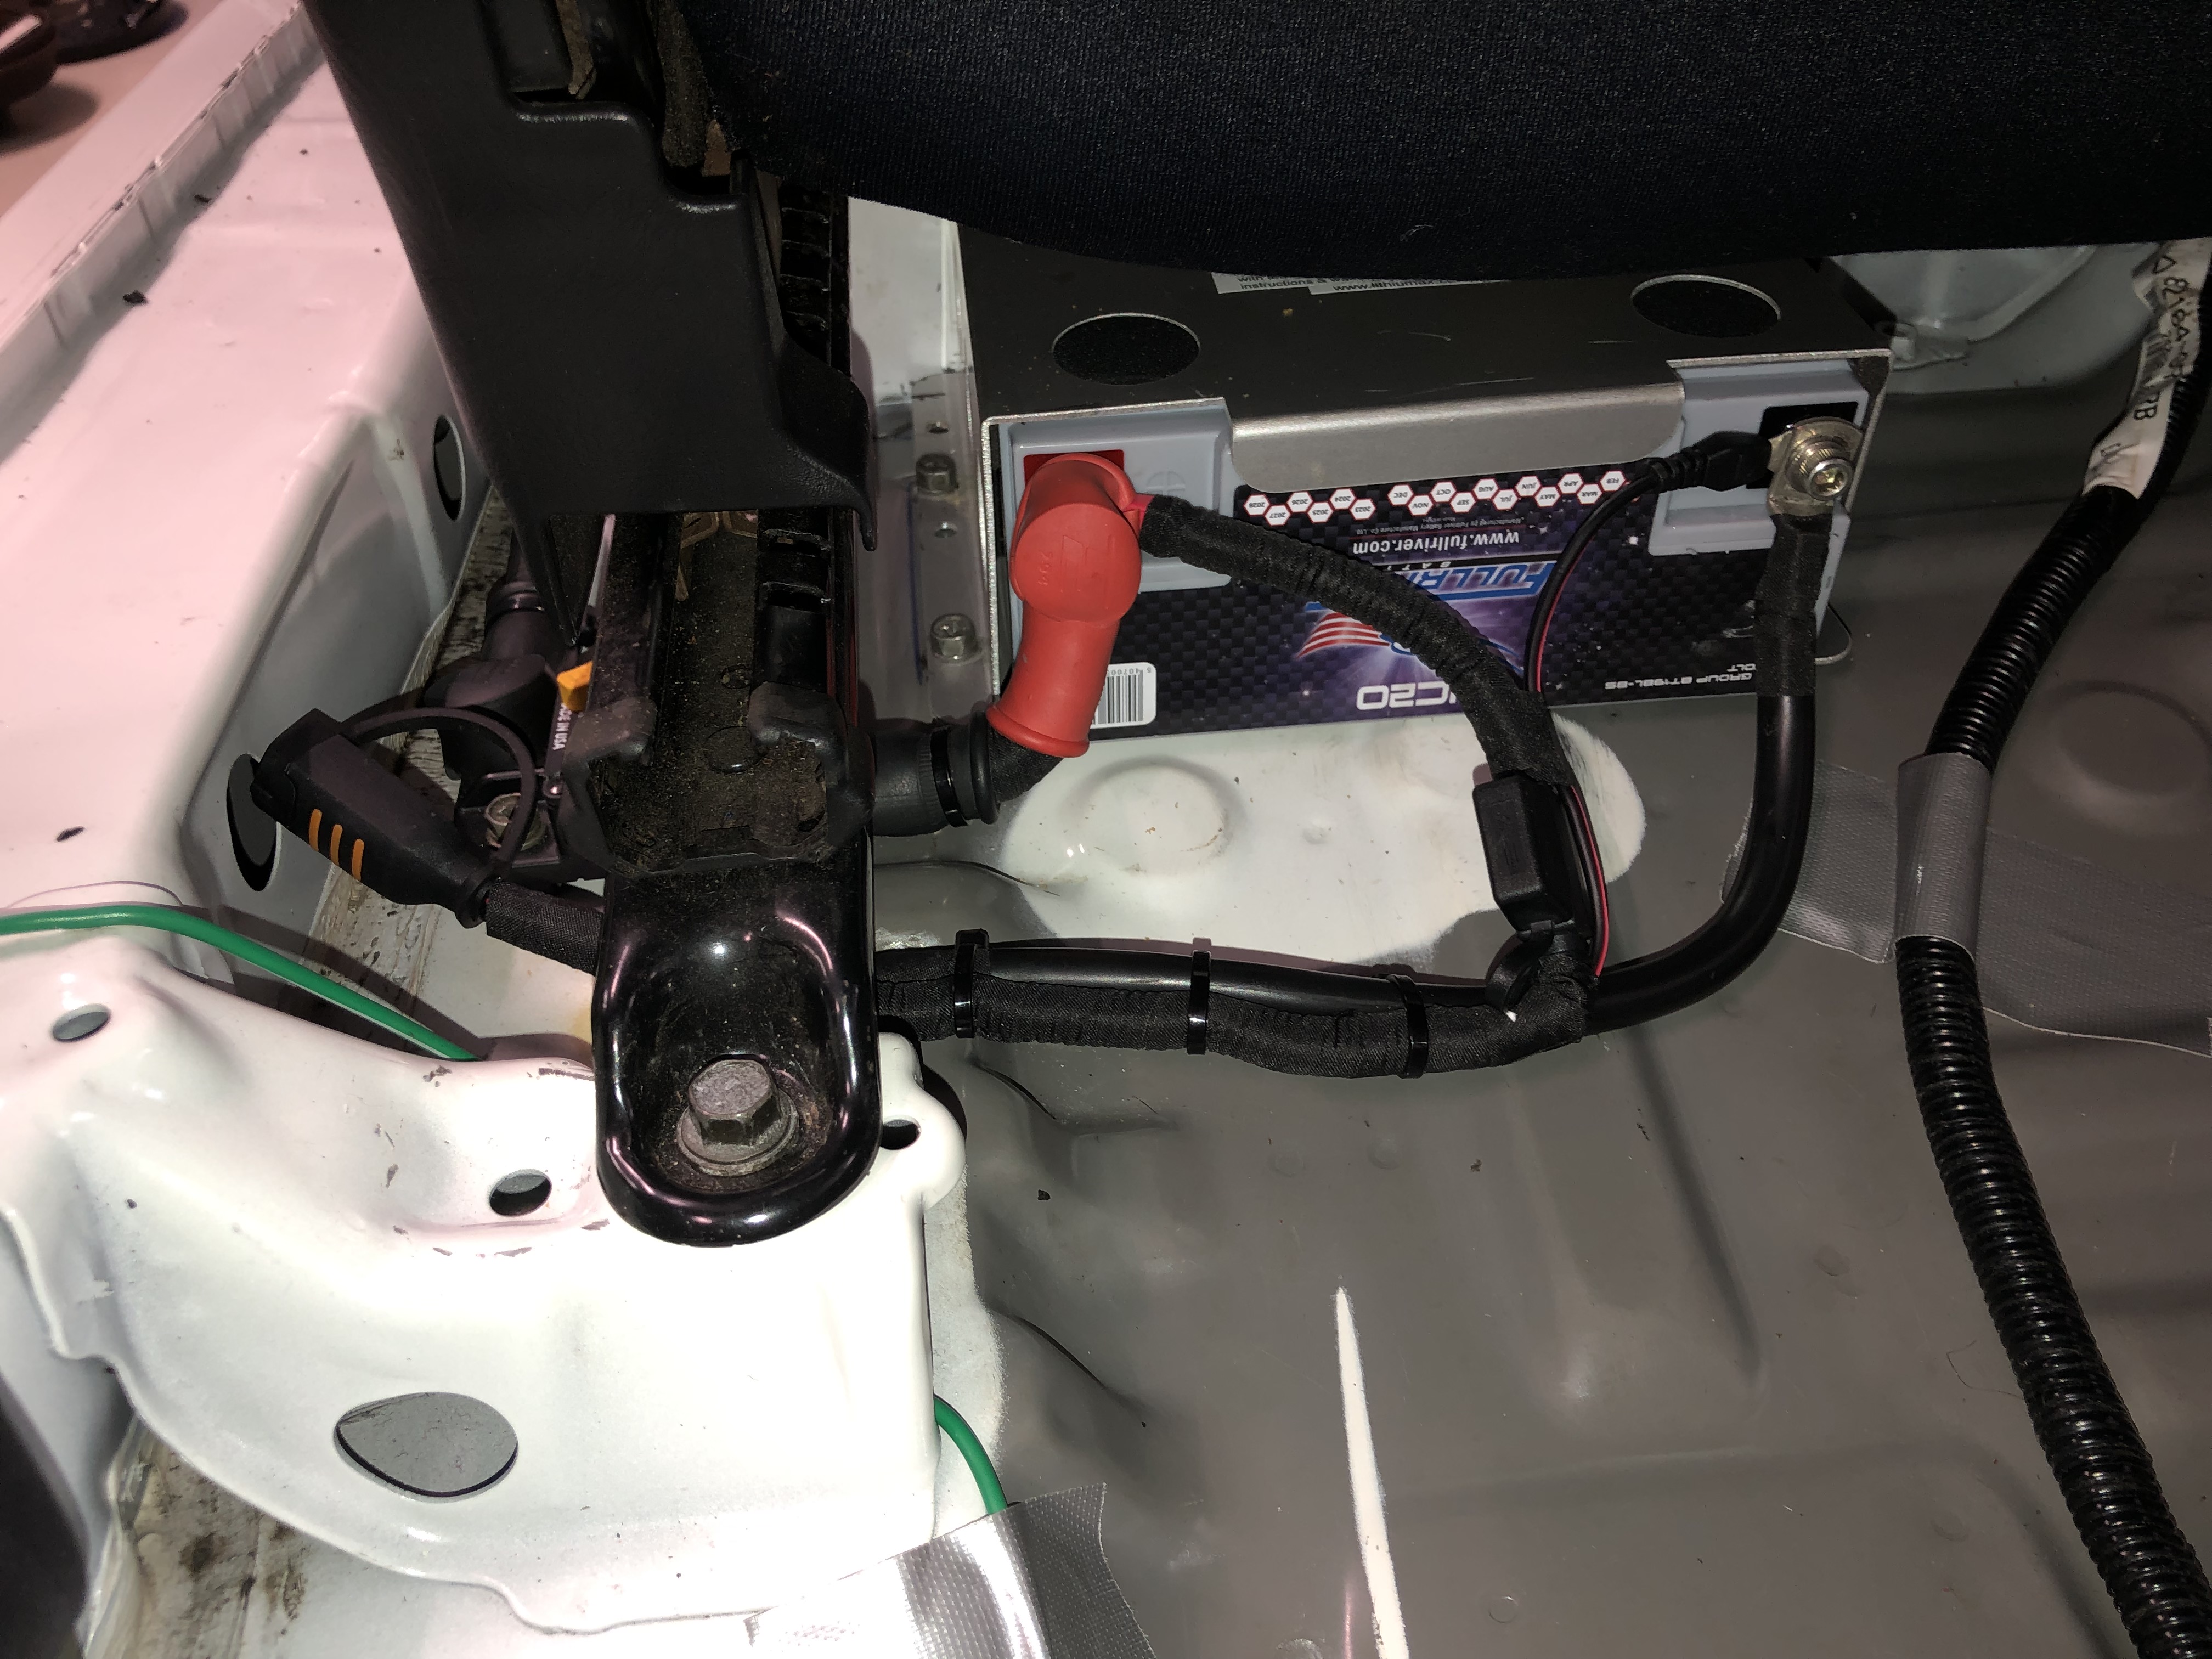
Drilled the stock battery mount off, ground back the rust and bogged the drill marks ready to smooth out, prime and paint. Yes its ugly atm lol, but will look much better after some love. This will allow a better cold air intake position and maybe a hole for a cold air feed
I also am rust converting the slight rust on the engine bay seams and will clean, prime and paint them (probably all the strut towers and main chassis section as well) when the bays empty before the engine goes in
Front foglights from the GTVi were moved across, yeah its a bit of weight but they look so much better lol…i like a car to still look good ![]()
And finally i noticed the m101 body had additional rubber sealing on the front doors top edges, so cleaned it up and moved it across…definitely adds to that “thunk” when the doors closed and fill a decent gap…original m100 is the same as the rear door shown
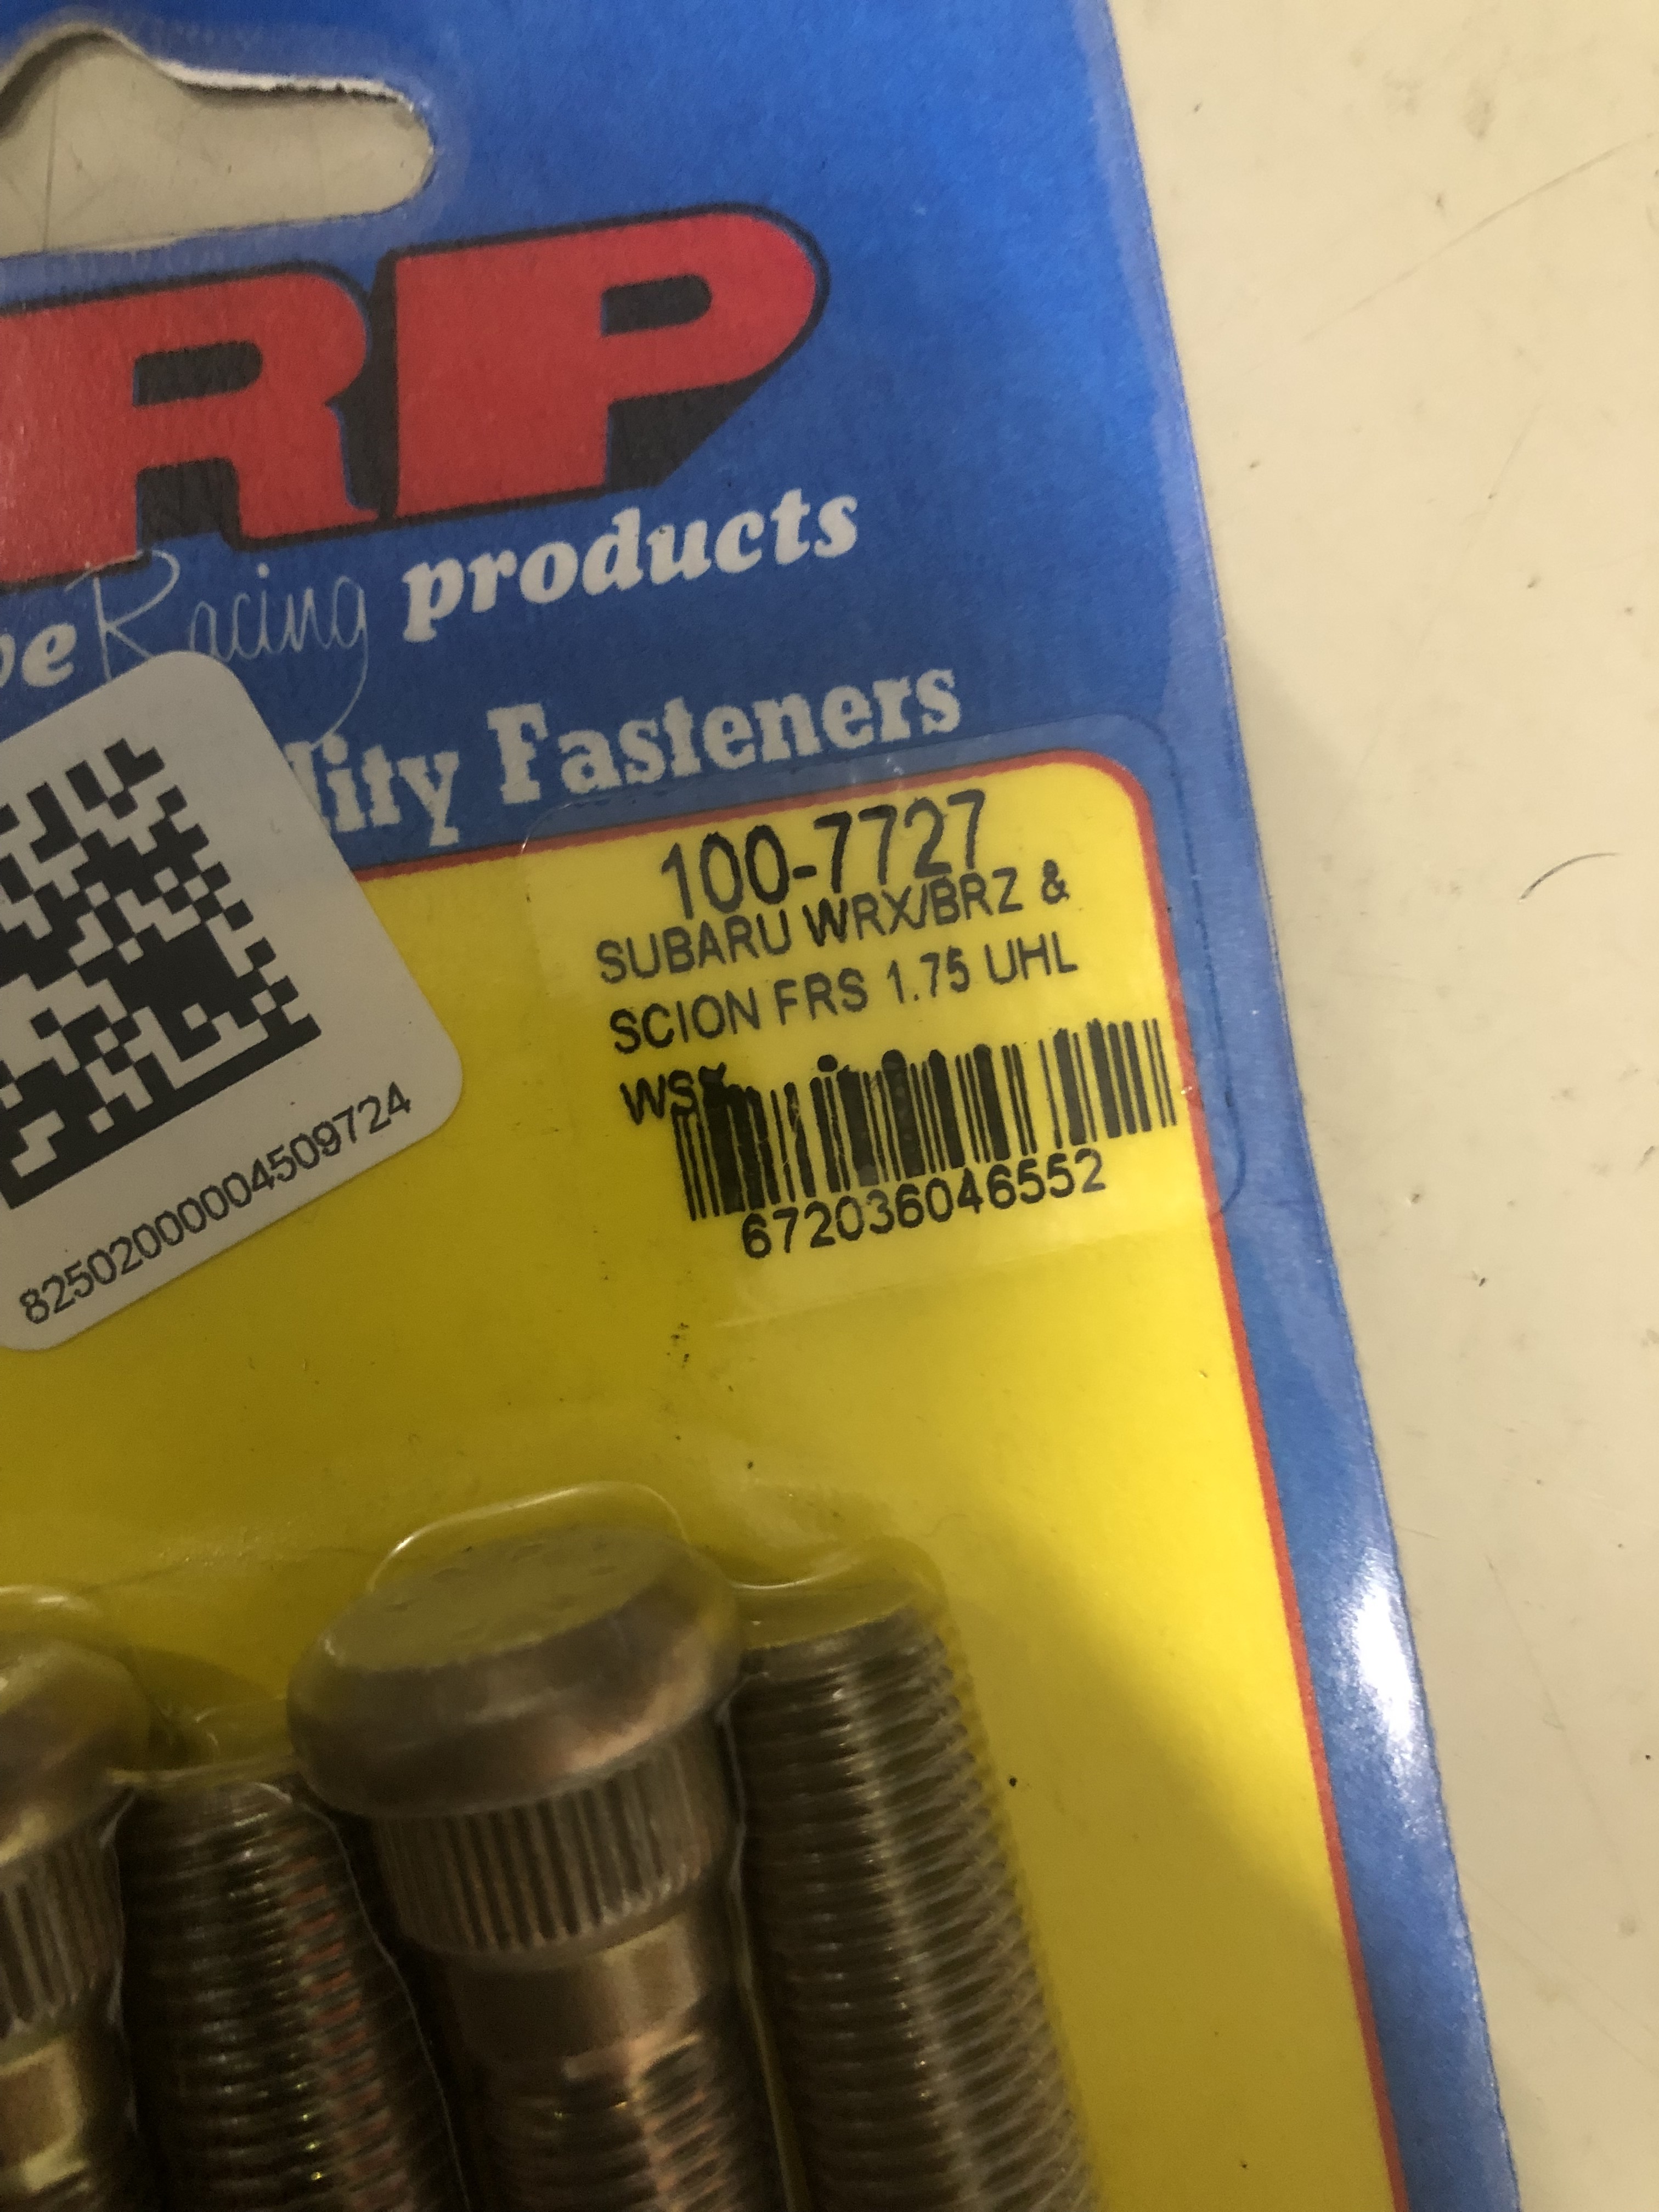
After installing the muteki open ended wheel nuts i quickly realised there was minimal thread being engaged and didnt inspire confidence in me for racing
So i went researching a longer/stronger alternative, after much investigation i noted the arp BRZ/WRX “standard” length stud should fit (arp 100-7727)
These give around 7mm more thread and should be much stronger! Thread fully engages now and after 20 years of service a new set of studs were a good idea
Also the bonus is a swap to a 1.25 thread pitch vs the original 1.5 pitch ![]() lucky they accidentally sent me an m12x1.25 set of nuts!
lucky they accidentally sent me an m12x1.25 set of nuts!
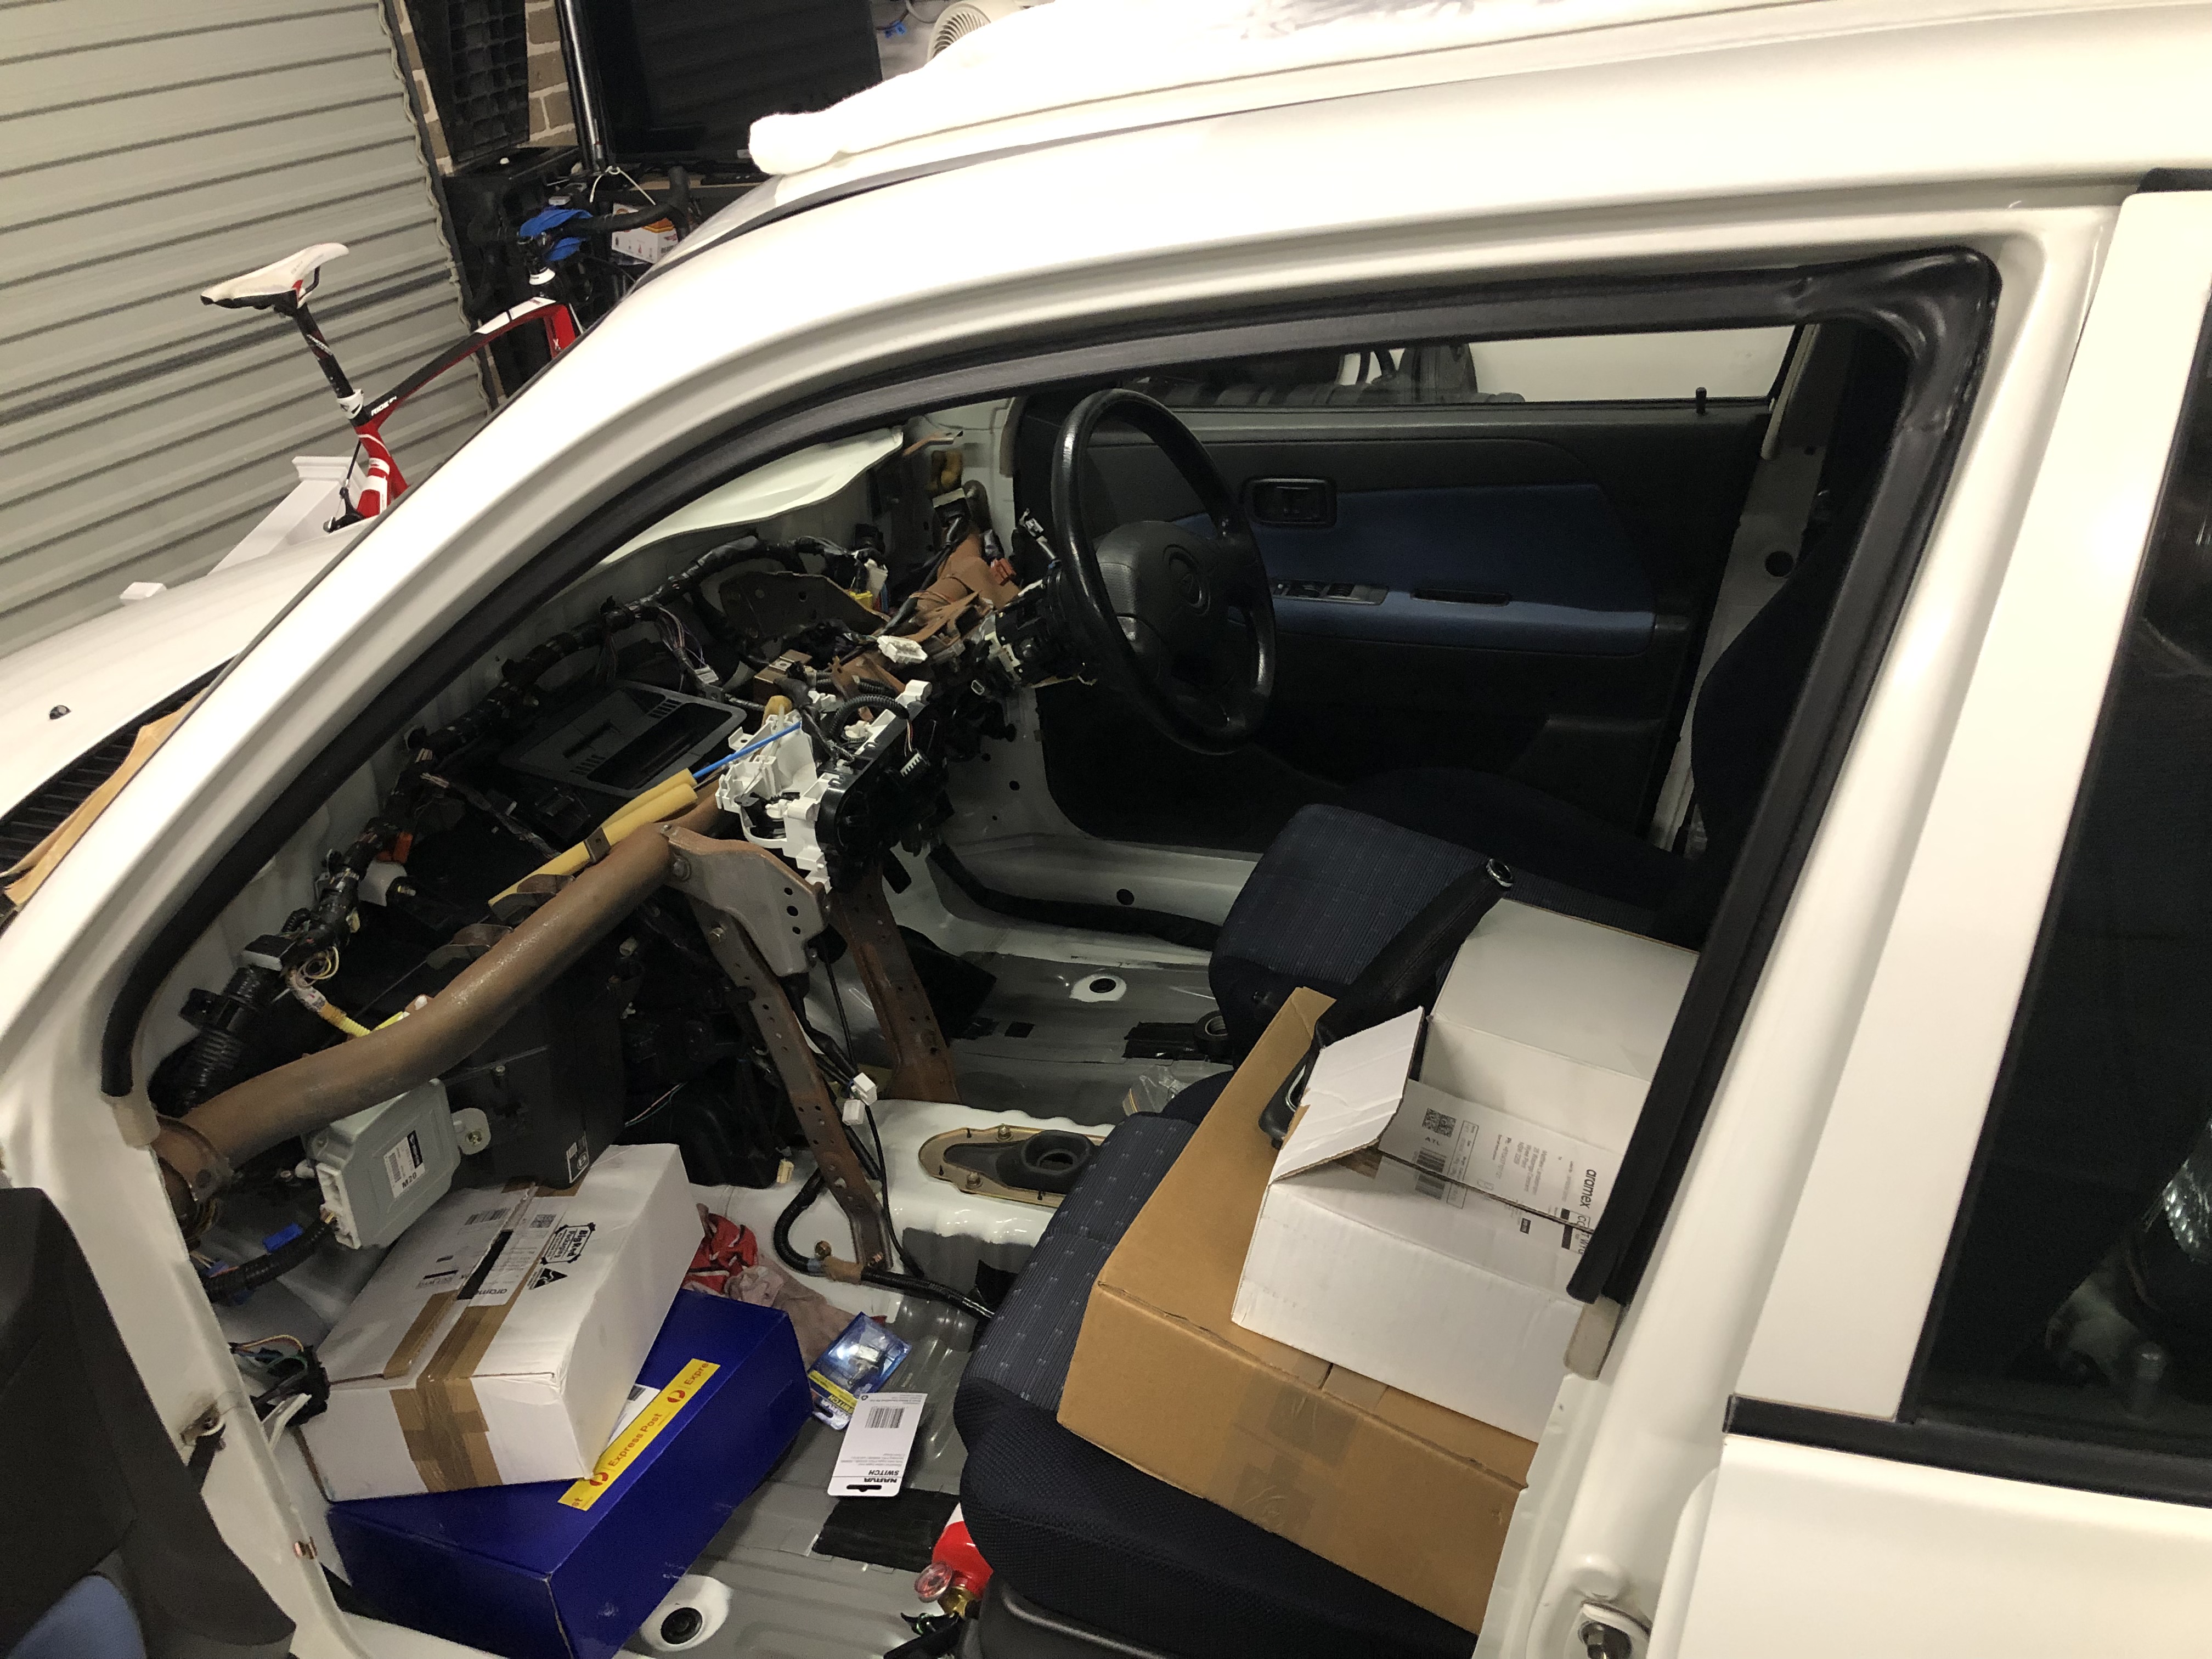
Wiring loom is fully swapped over to the m100 now, just throwing in an alarm and gps whilst the witings all exposed before laying the carpet back down.
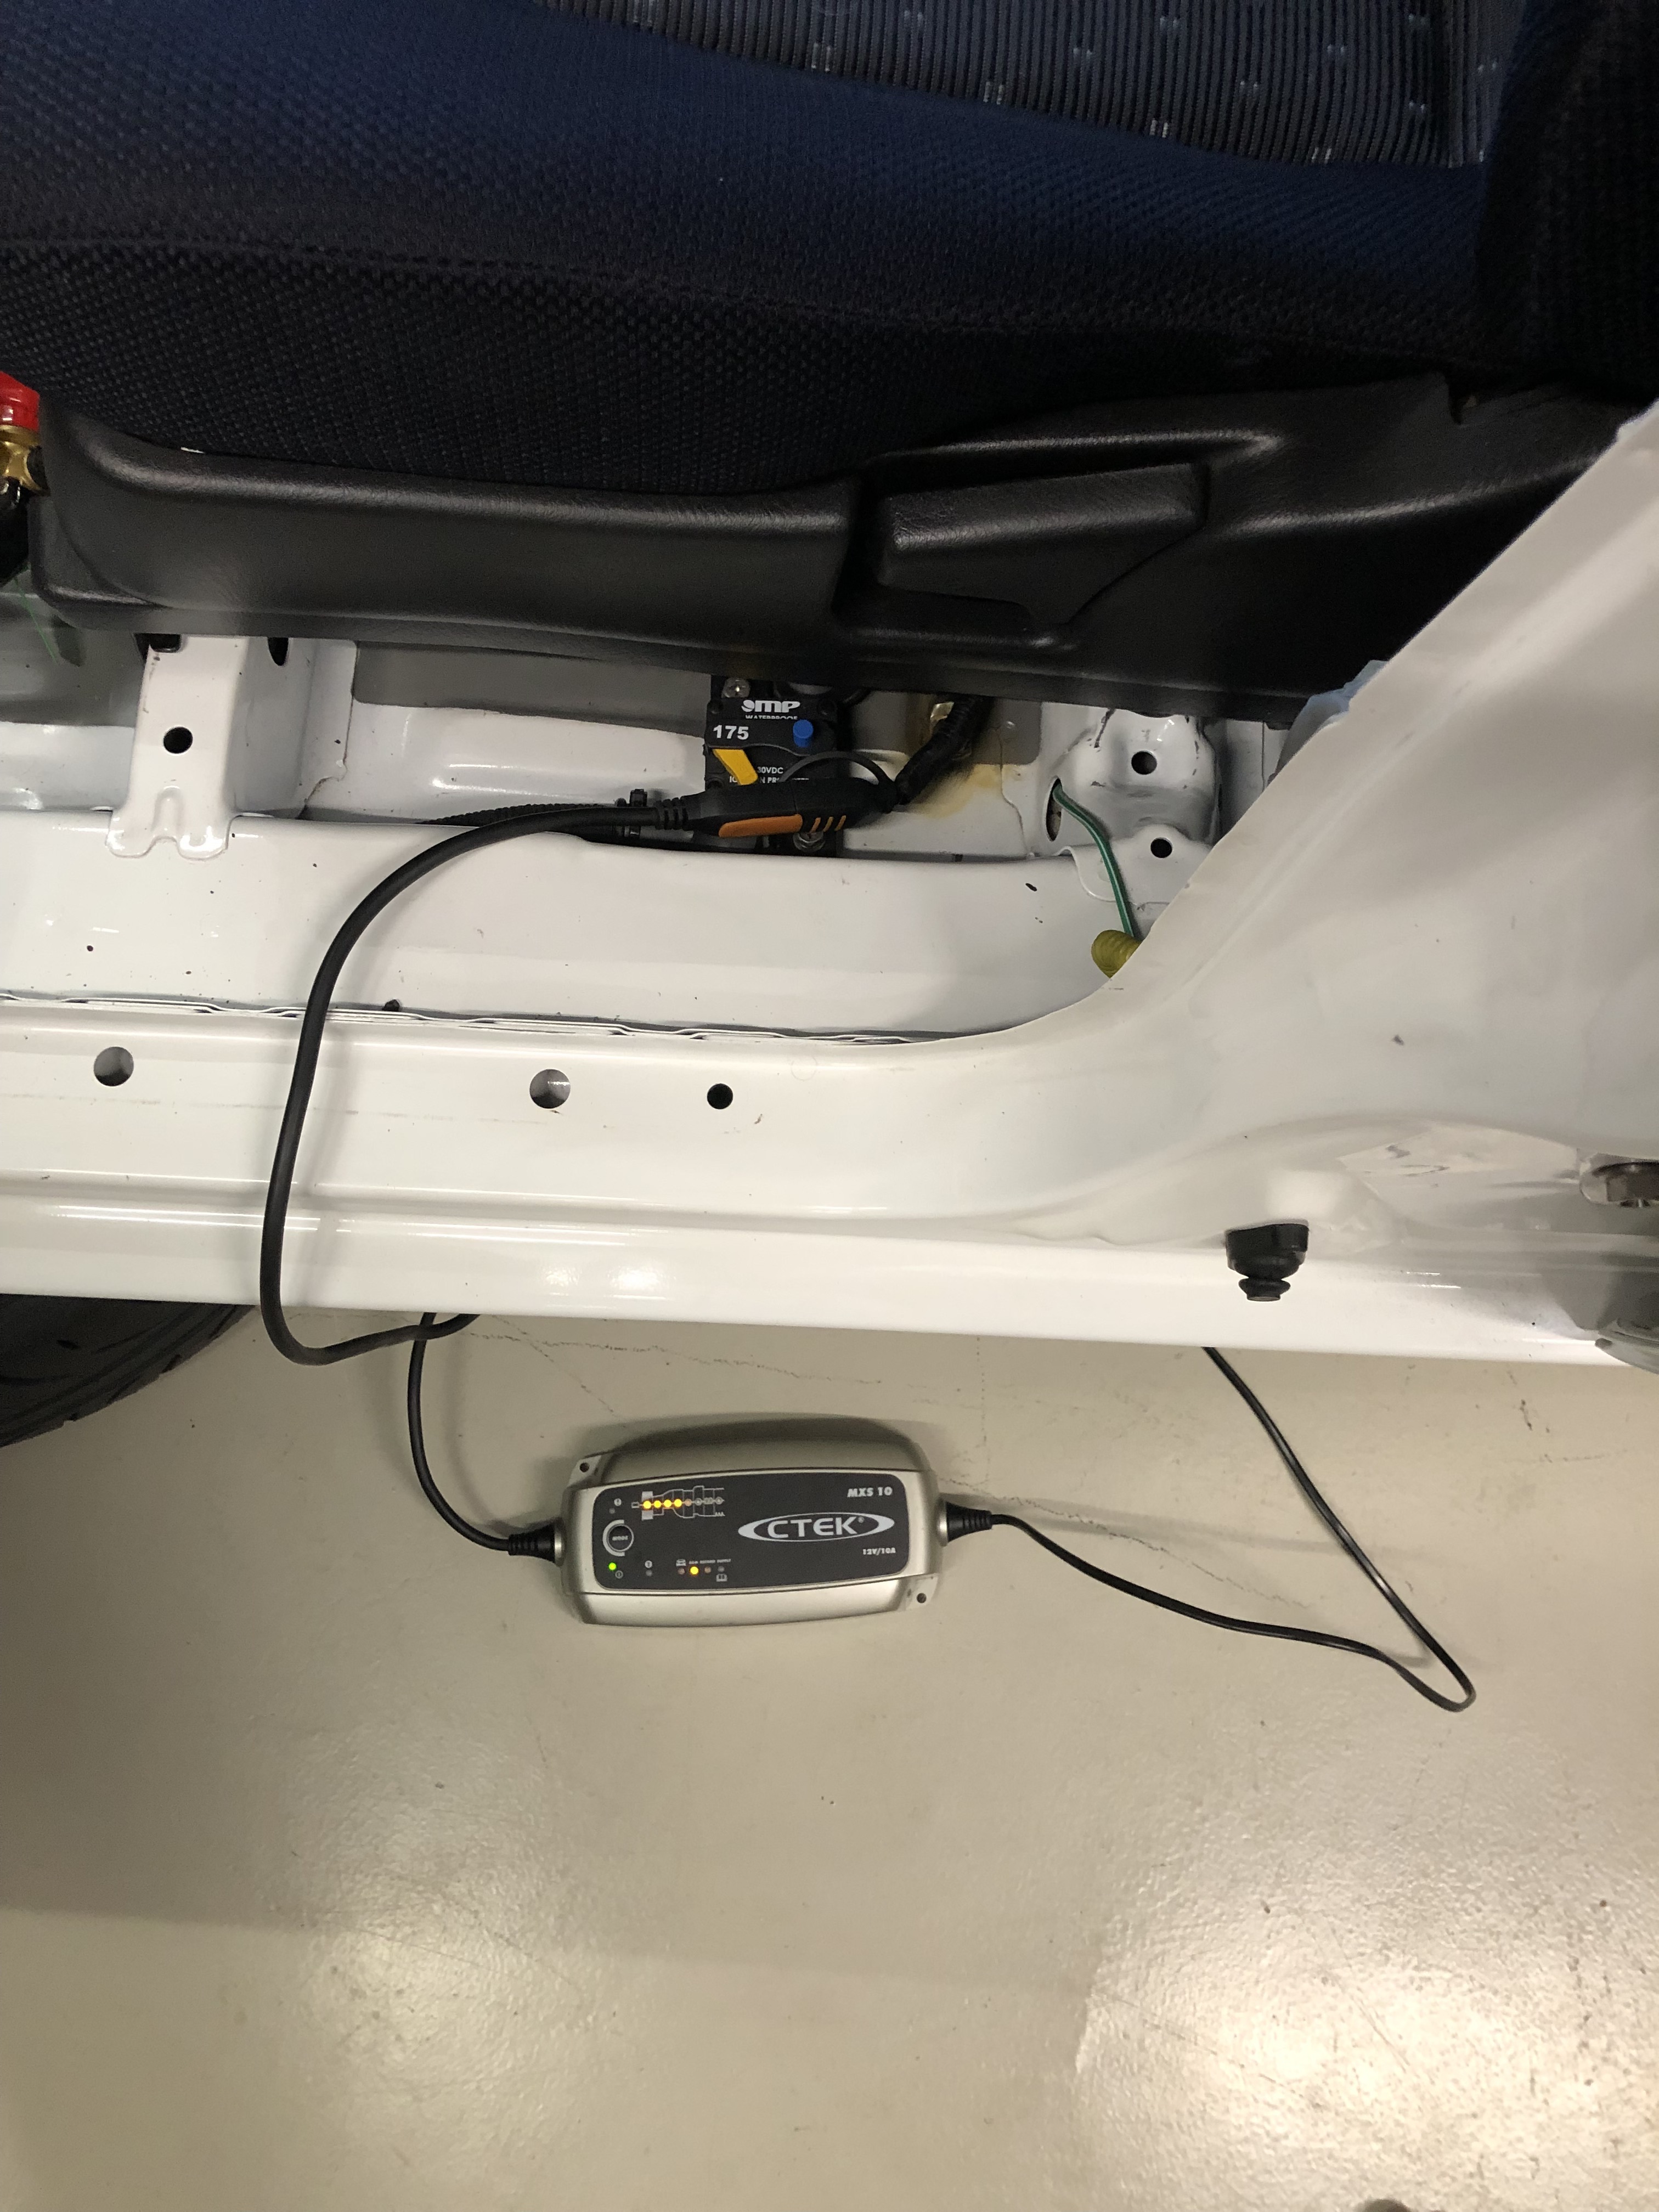
Chucked in a hardwired CTEK charger port and fuse to keep the little HC20 battery topped up when garaged as well
Started pulling the rear torsion beam, hubs/brakes, fuel tank etc out of the m101 and moving onto doing the same with the m100.
Ill decide on the better parts of the two cars, clean/paint and put it all back together. Just have to try remove the rear abs tone rings and swap them onto the newer m100 brake covers and them put some new bearings in on every corner
Also will give the torsion bar a trim to clear the tyres a bit more and give it a paint job along with the fuel tank if required
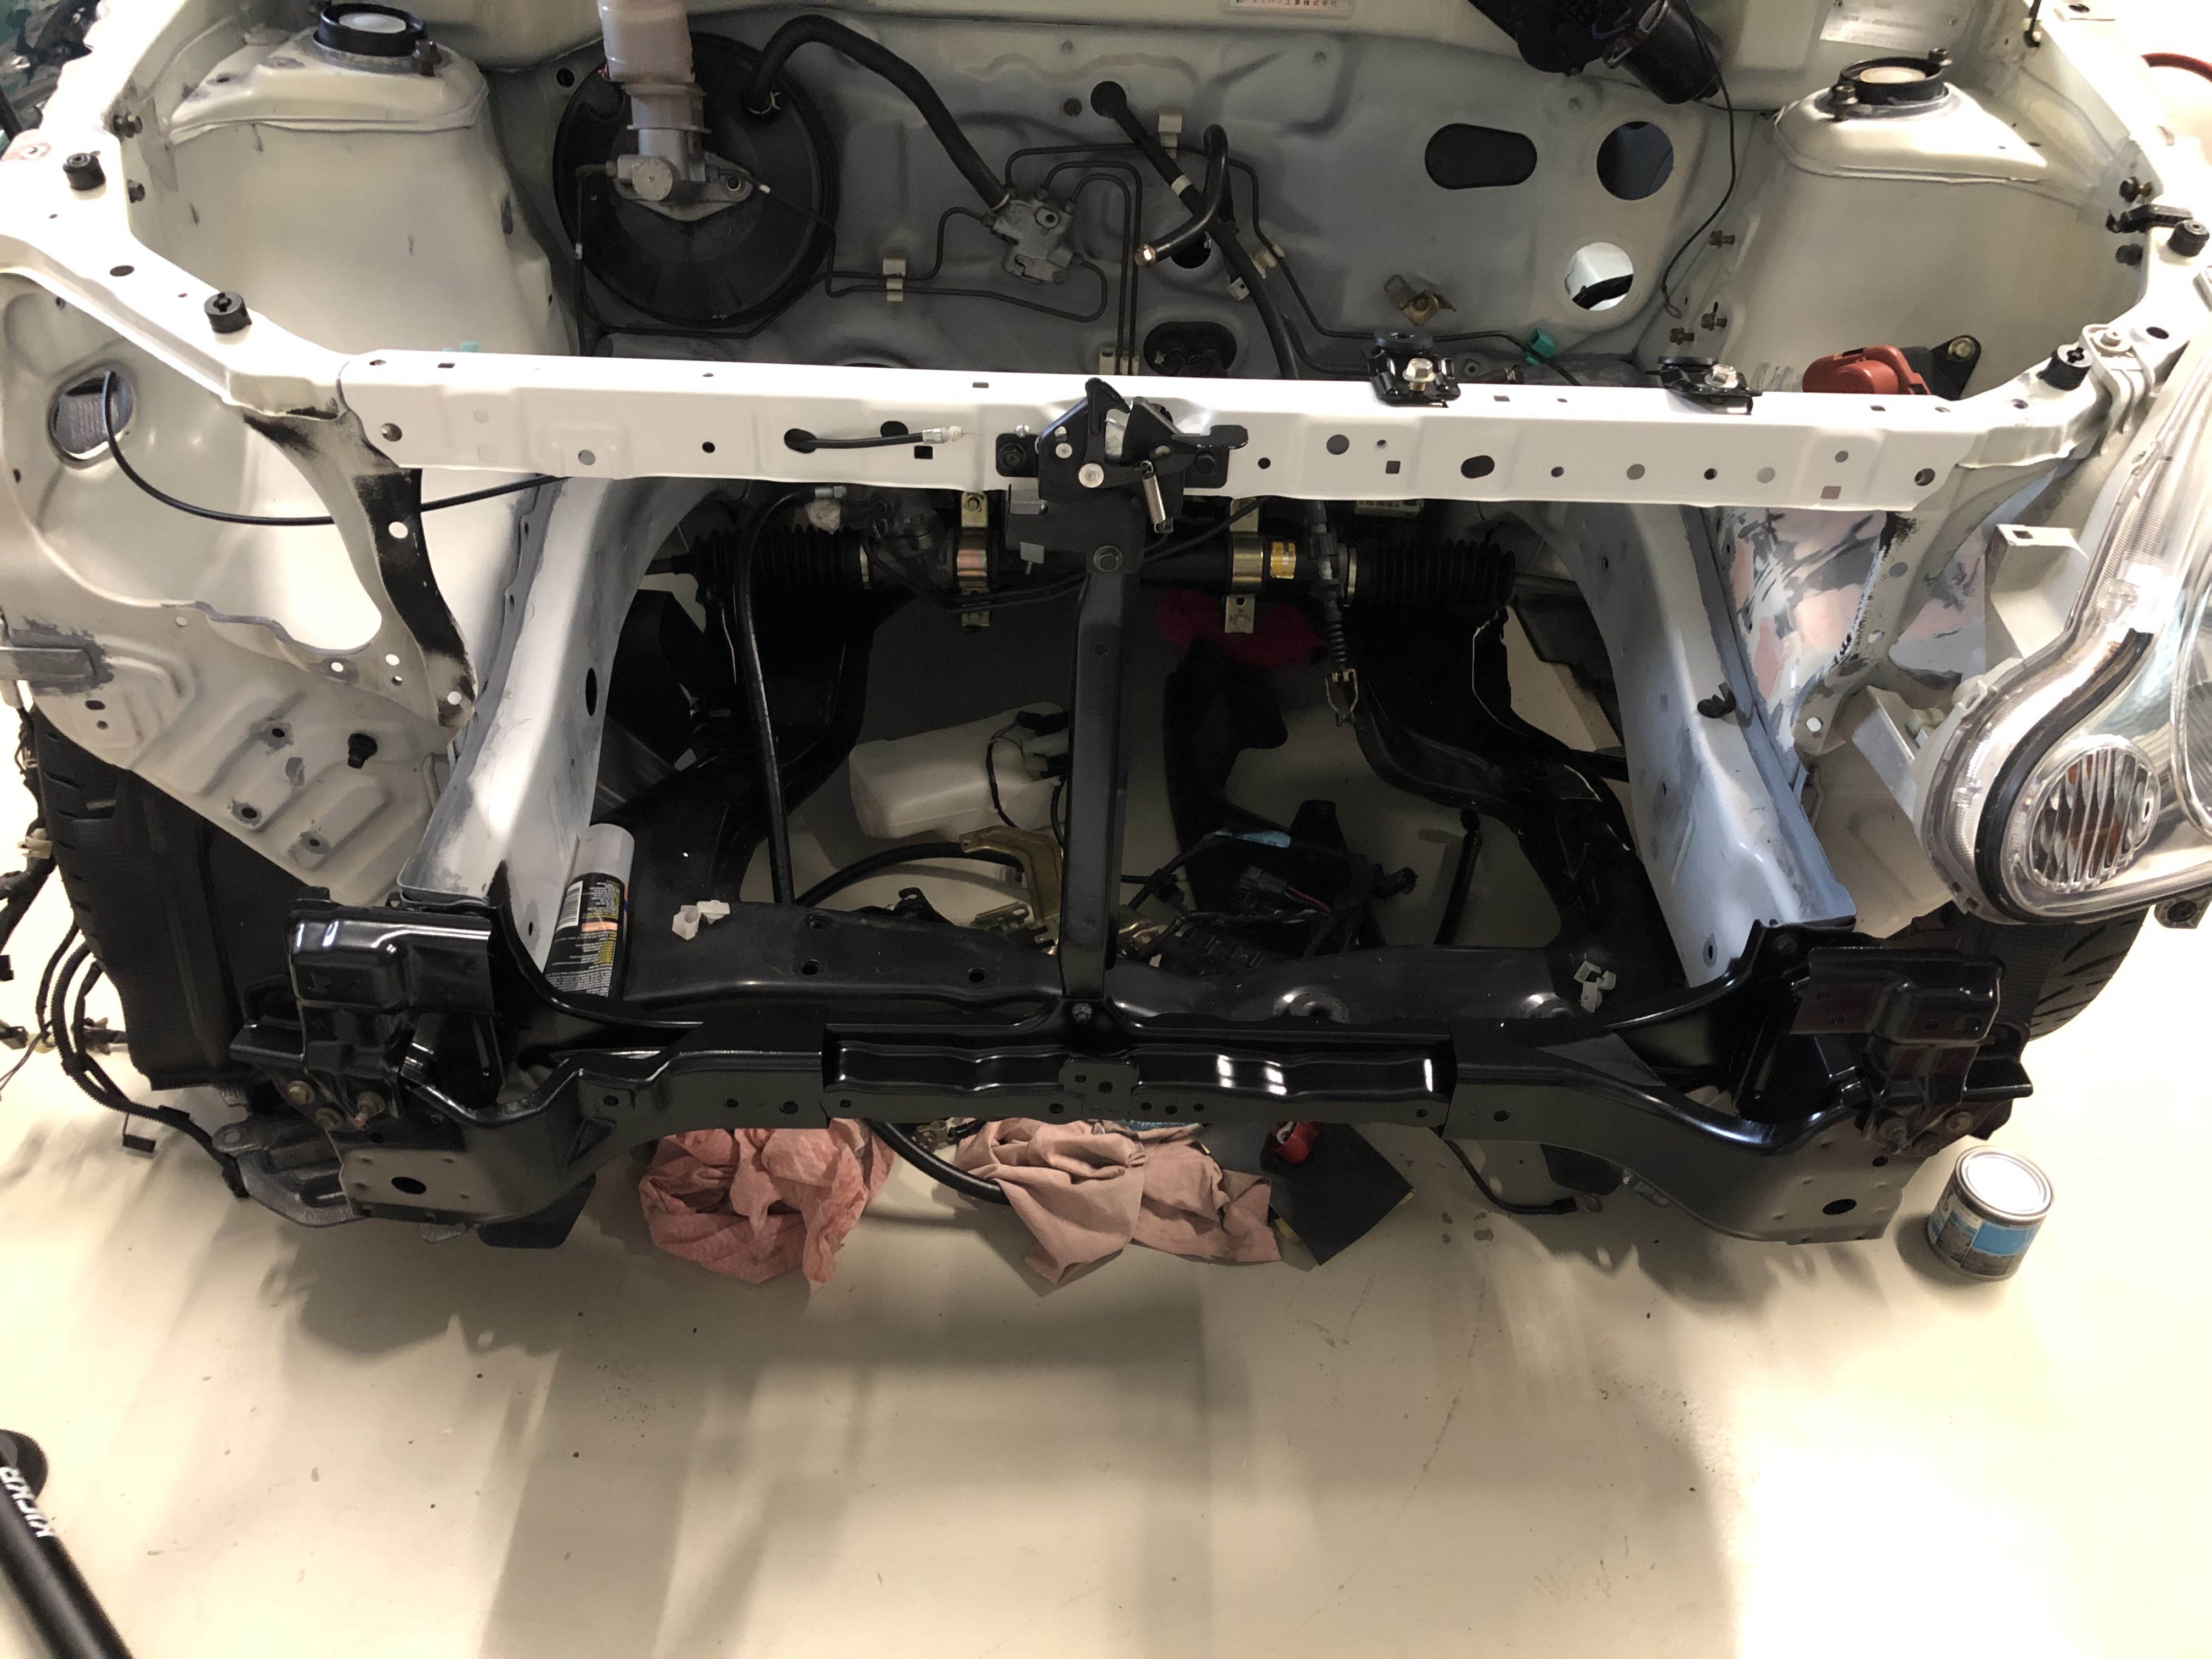
Front support bar from the m101 got cleaned up and paint along with the T-bar and test fitted. The main support bar is needed for the swap as it clears the front engine mount, and is also much lighter than the m100 bar (im assuming the m100 one is more solid due to the subframe rubber bushings, so the bar solidifies the front end)
Also about to remove all the brake lines to swap all abs gear in and will give the engine bay a quick paint touch up (nothing fancy, just some rust converting and a touch up, particularly over the now removed battery tray)
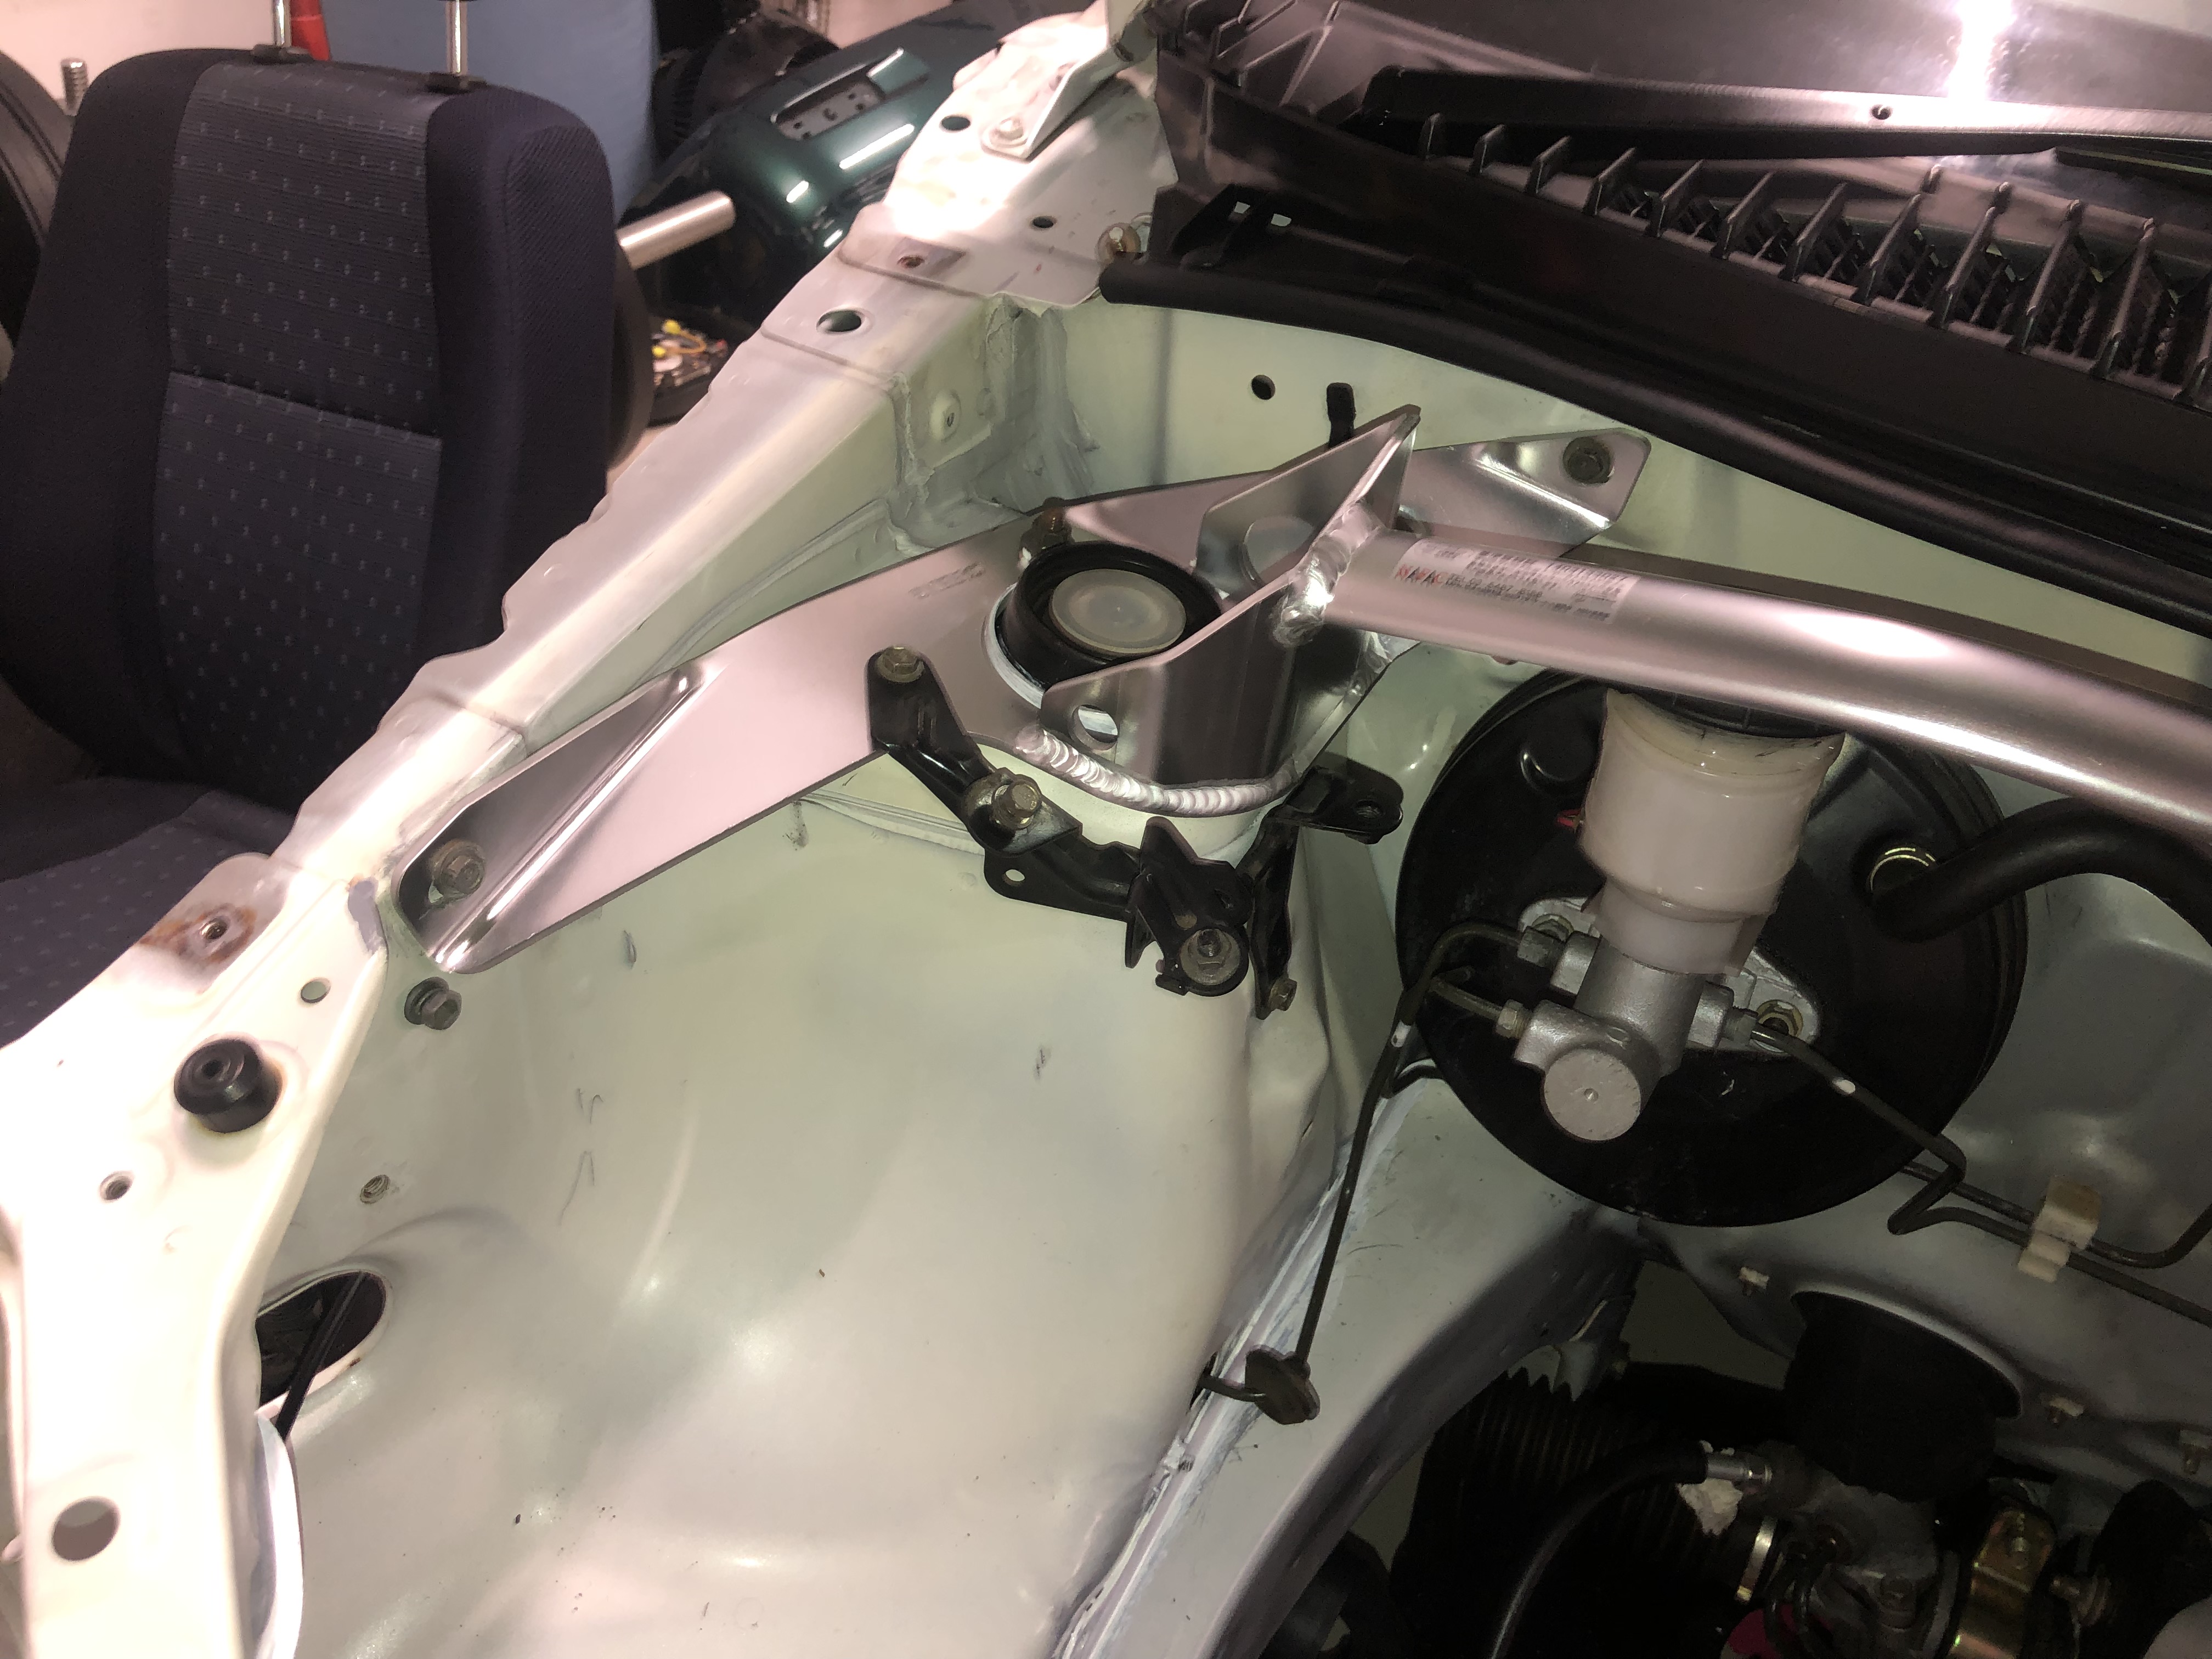
Ultimate yahoo auctions score of a cheap carbing alloy strut brace, yeah they may not do much but they look cool lol
I need to trim the power steering/washer bottle mount and repaint as im running the JDM washer bottle on the passenger side and it also won’t fit with the carbing brace….will just get a trim and then mounted with an extra rivnut
Also finalised the VE commodore remote battery positive terminal and battery cable run….took it under the passenger fender and opened up an existing hole to keep it clean……a grommet, some corro conduit and some tape keeps it all safe
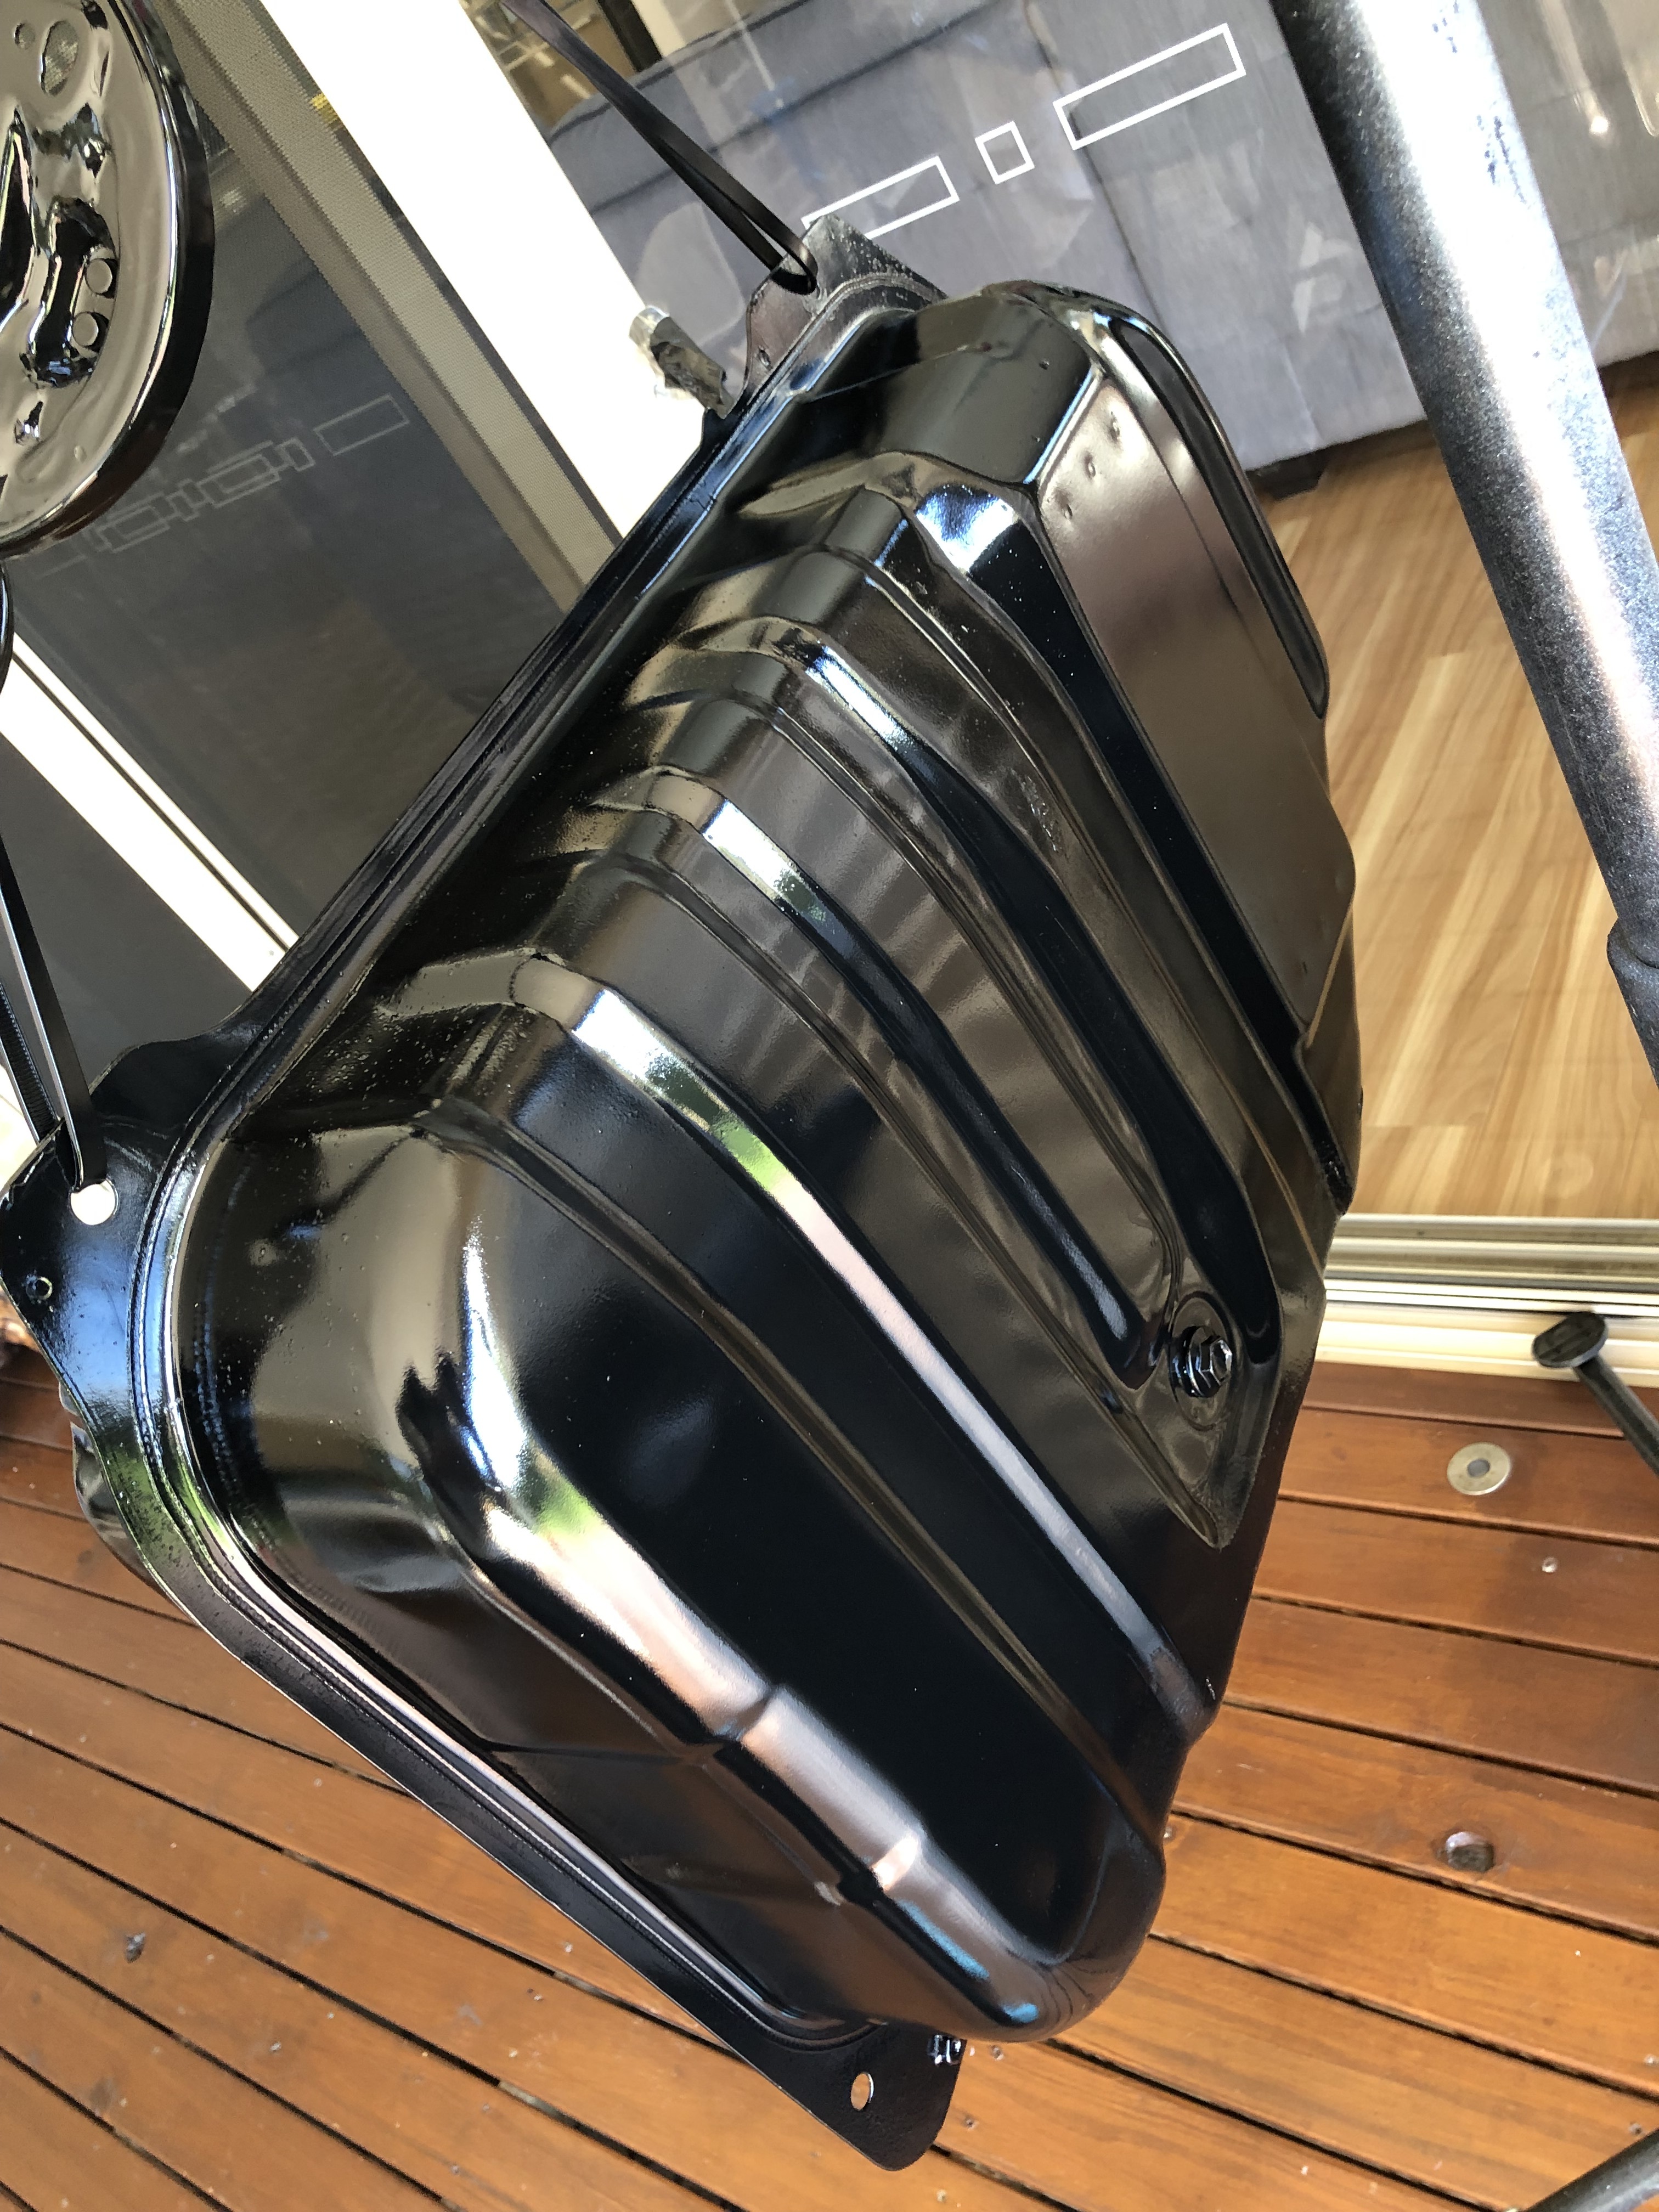
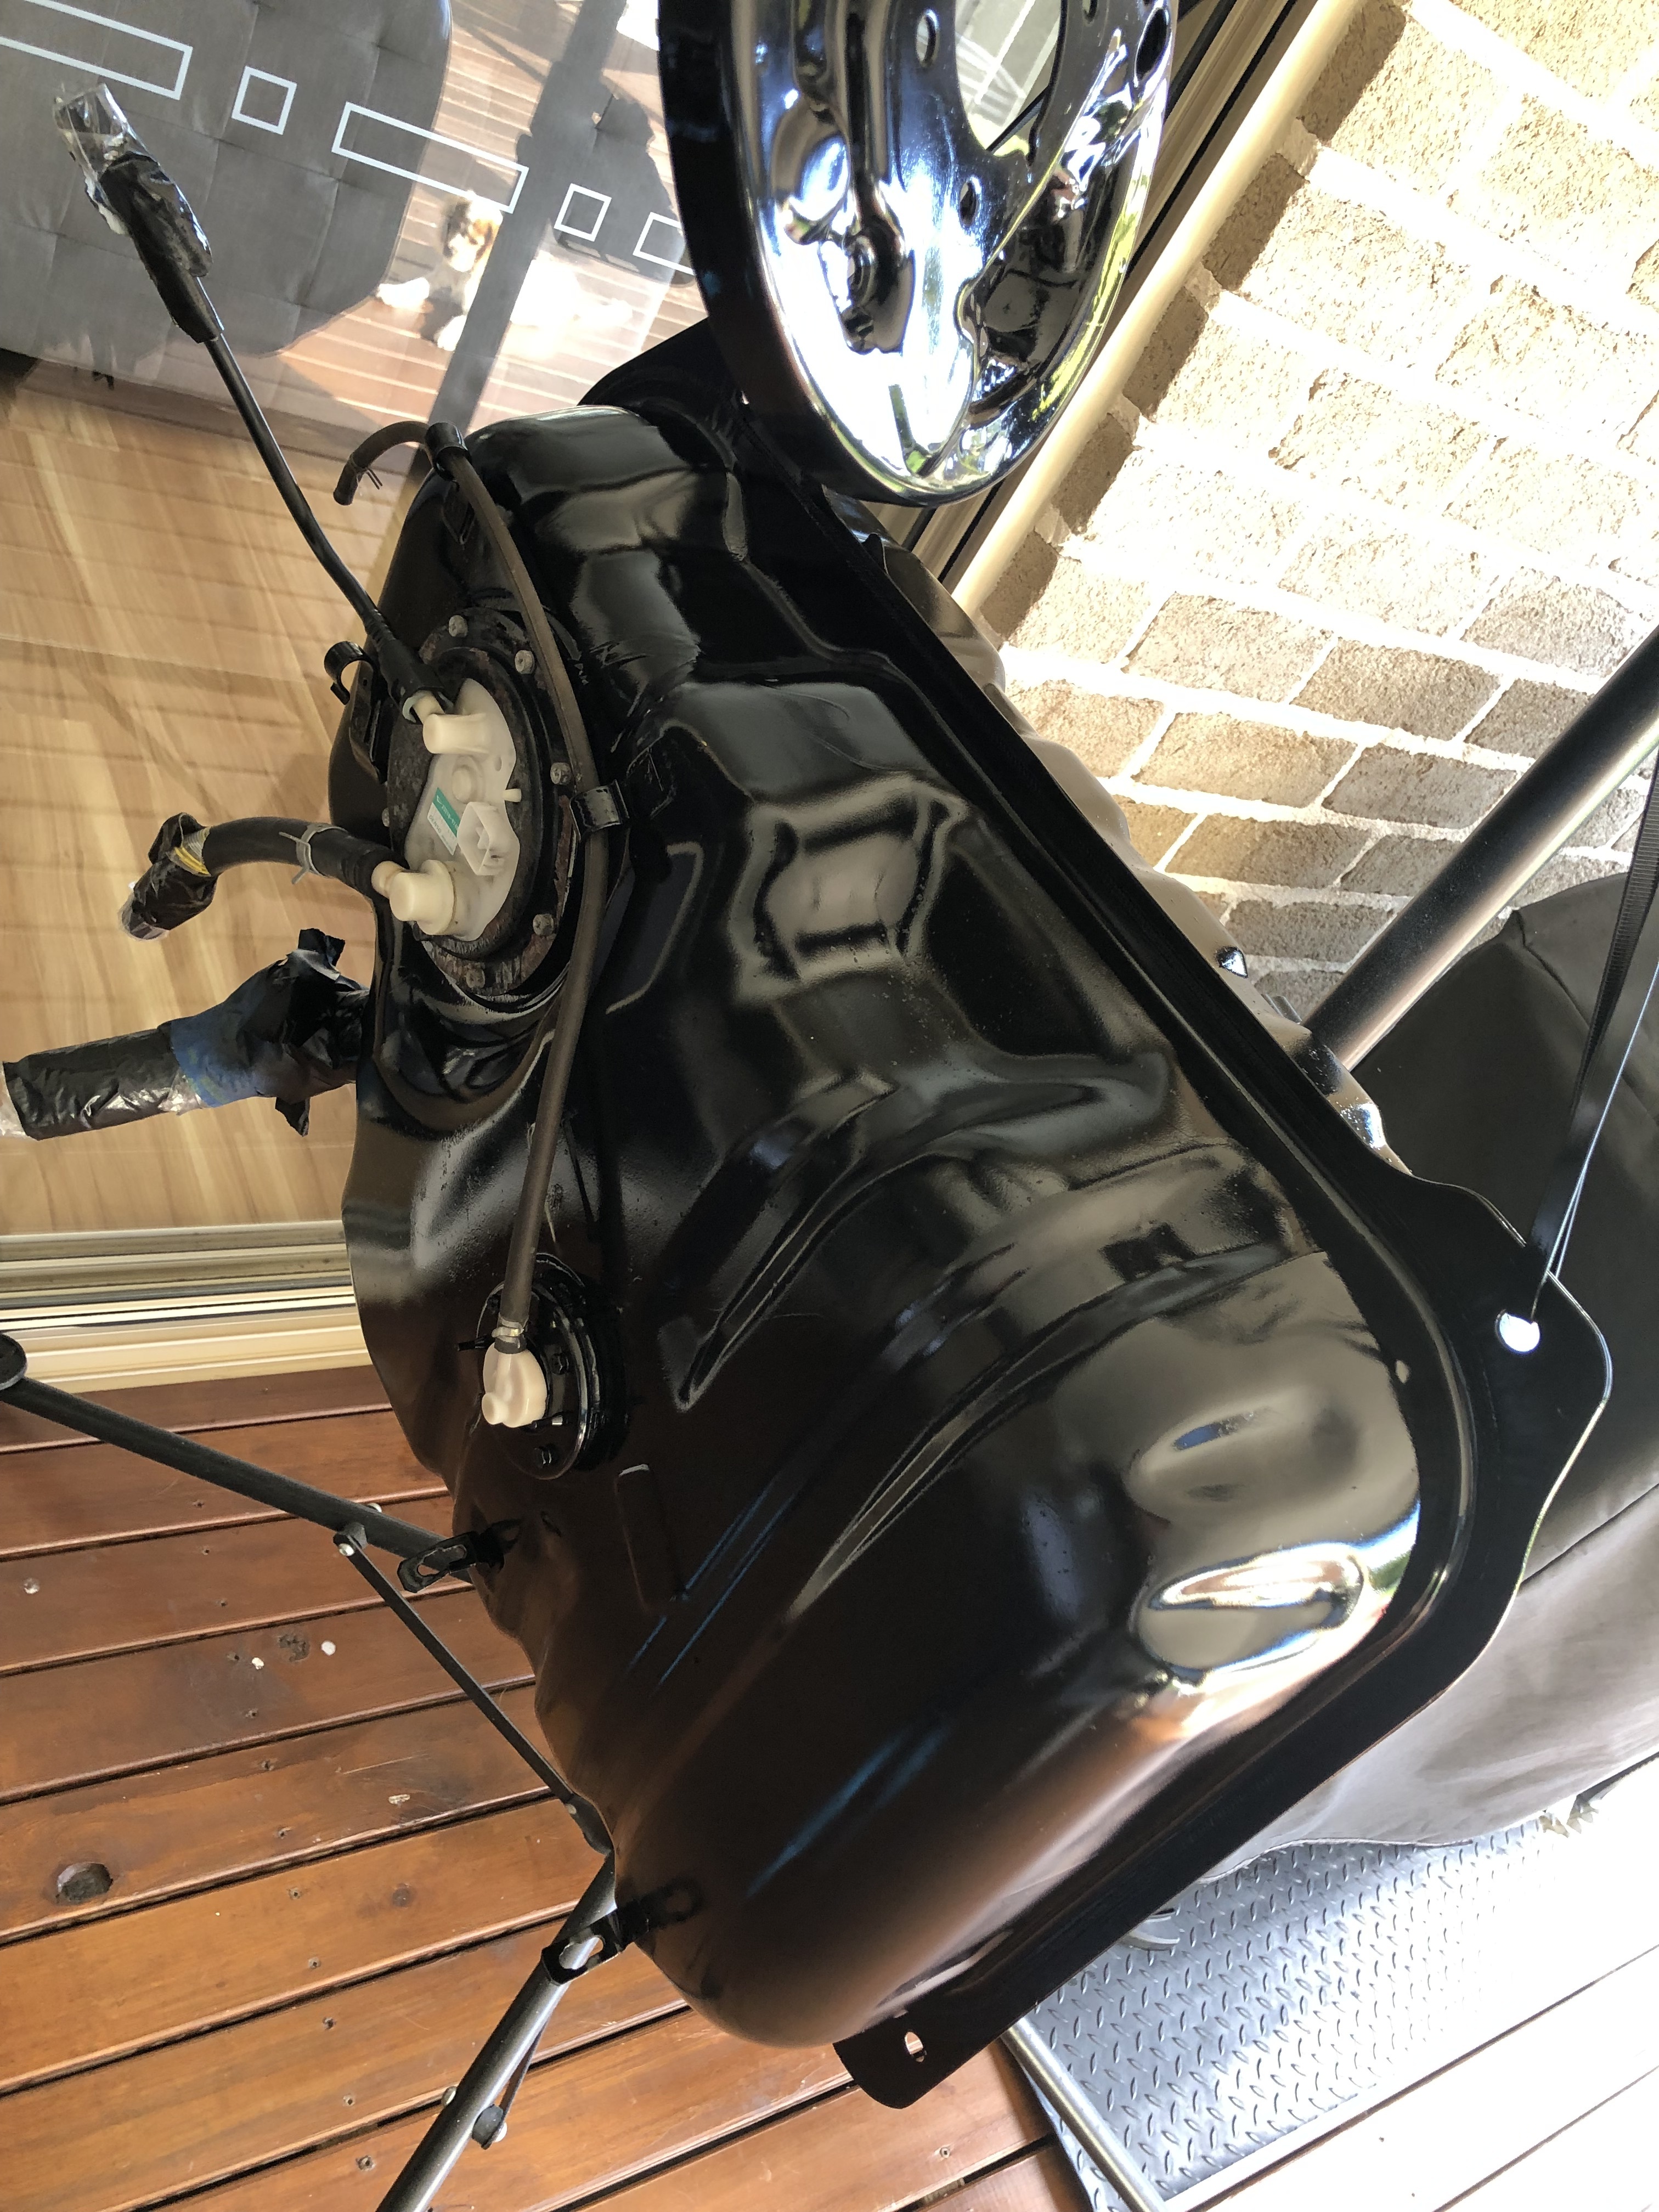
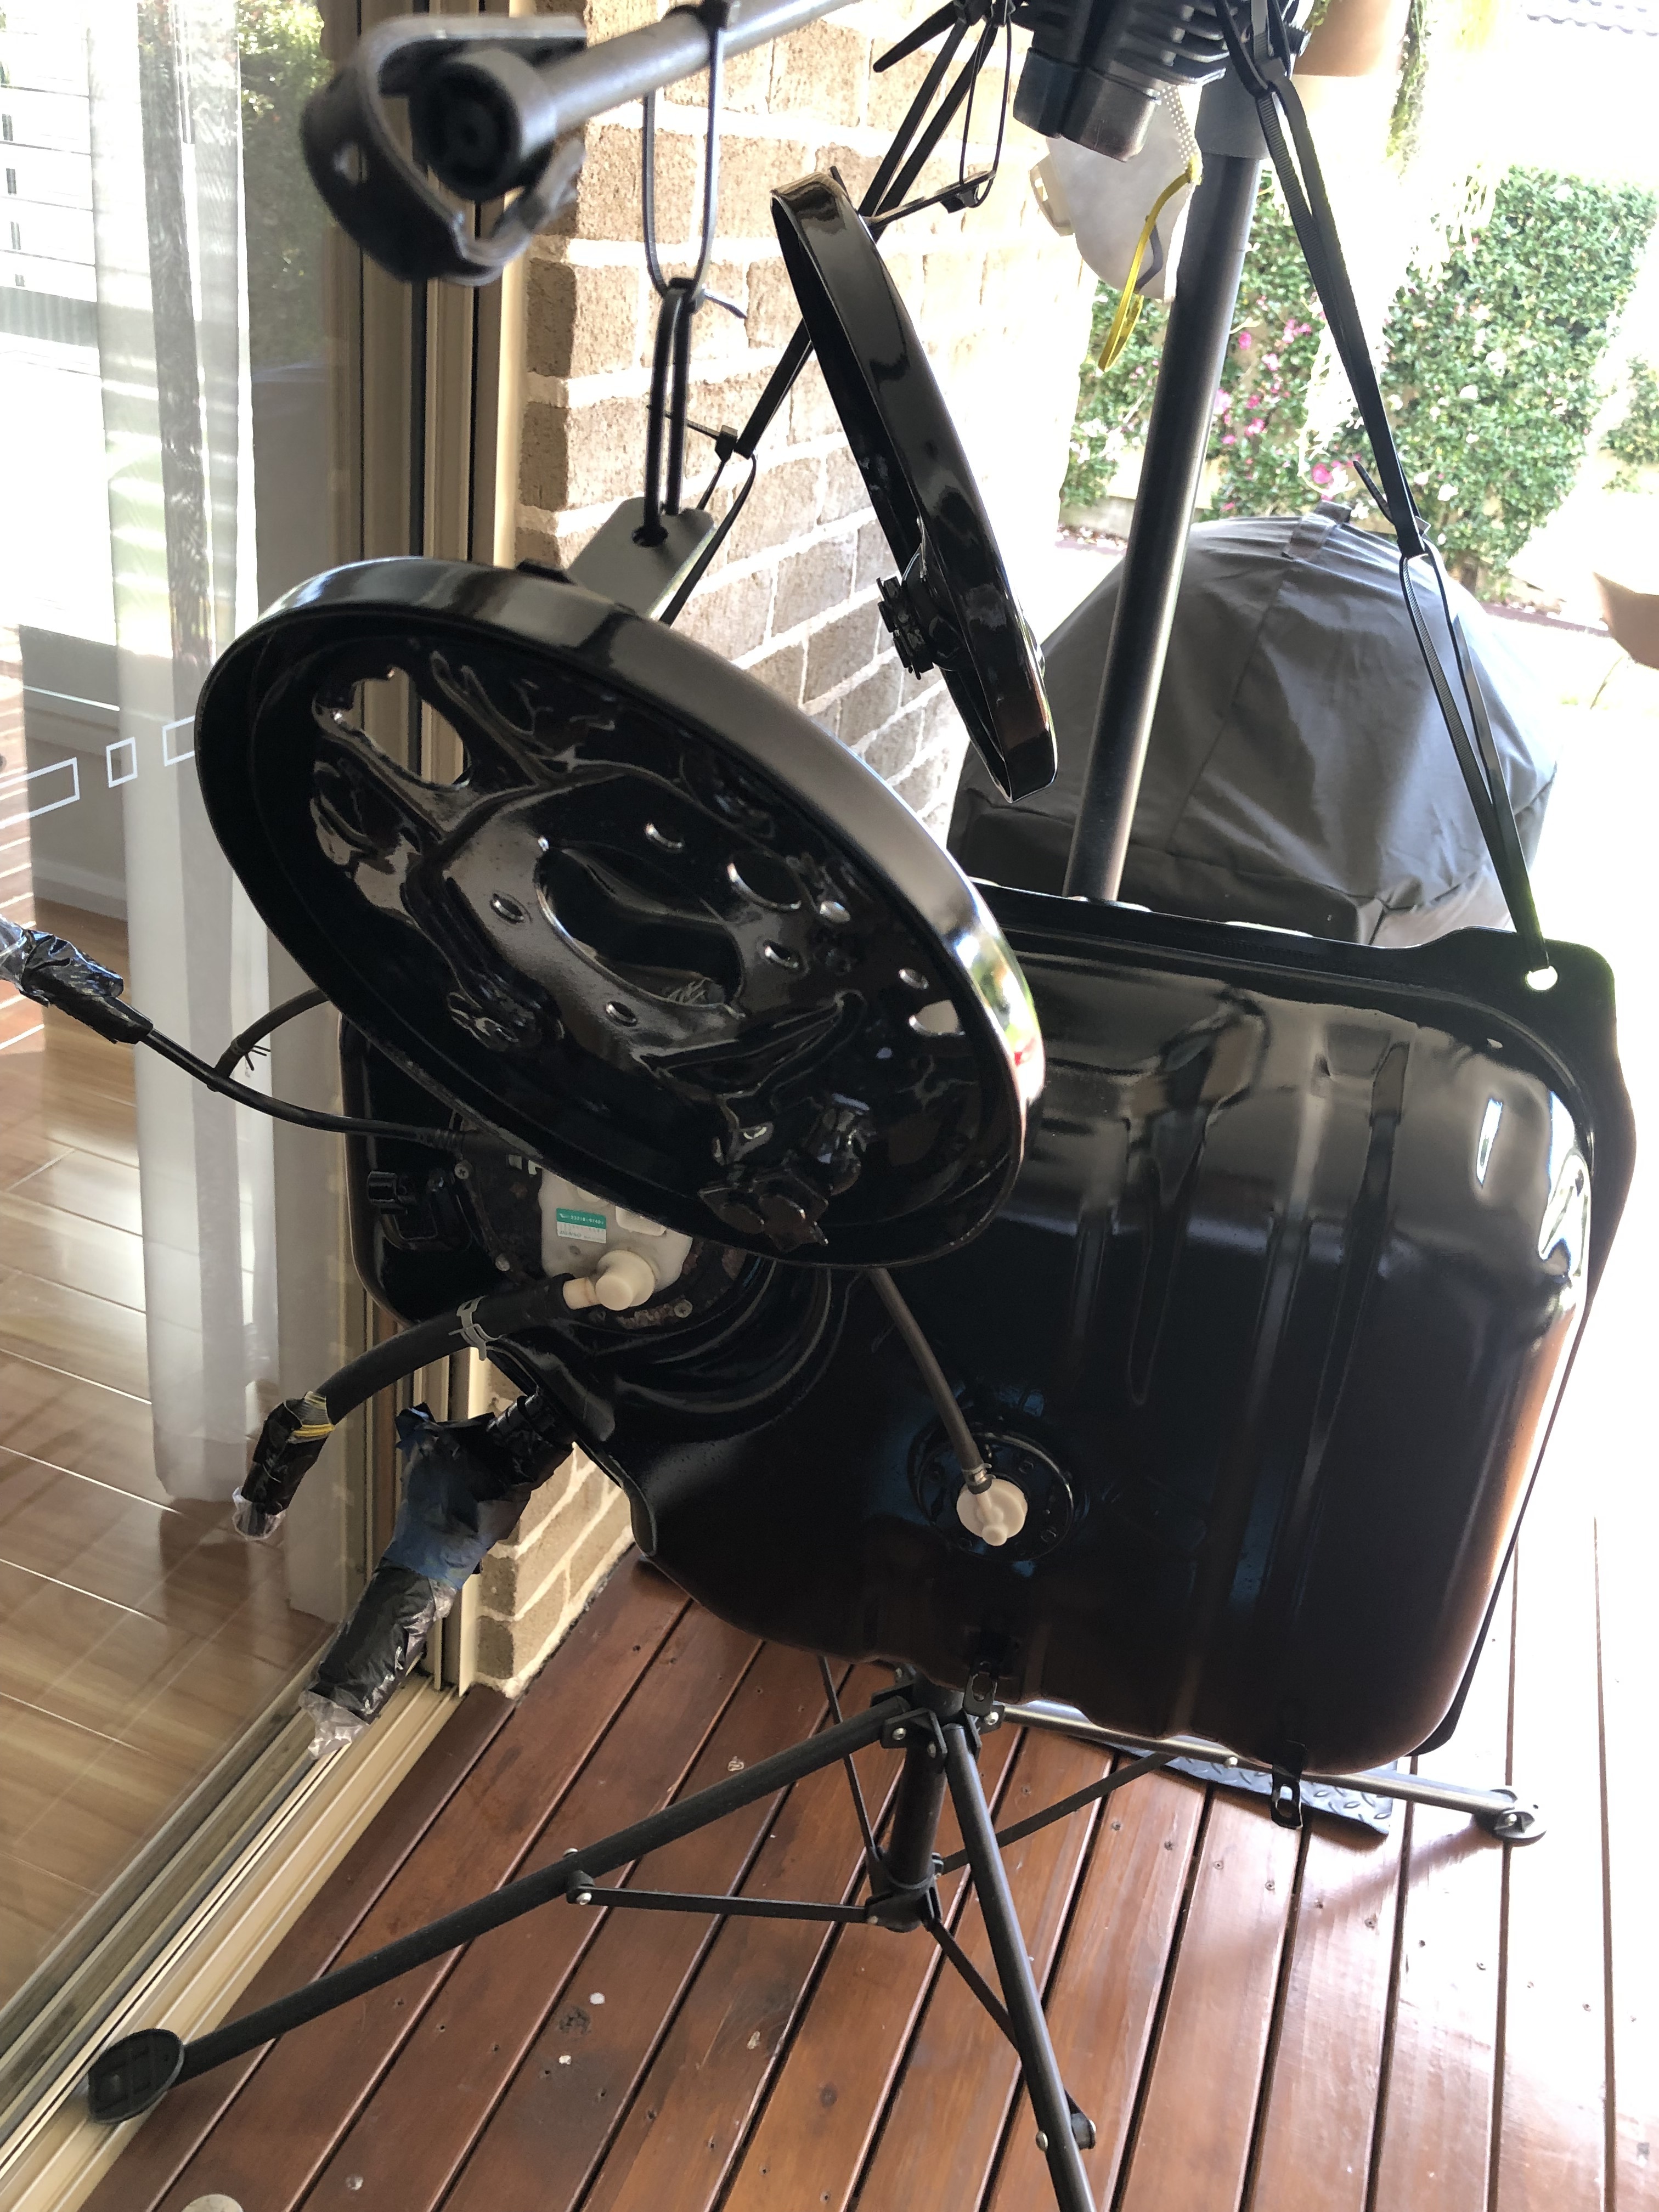
With the fuel tank and rear end out to check everything and replace brake lines i attacked some rust and repainted whatever i can….also opened up the tank and checked the pump/filter etc
Ill order a new pump soon enough, and plan to cut an access port above the pump housing and will use a section of the wreck shell to make a lid for the hole
Rear torsion bar is getting a clean up and some sika m252 added to the voids after a dipshit mechanic screwed my spare rear bar putting new bushes in ![]() and then some fresh paint (after trimming some metal to clear the tyres a bit more than the 1mm they have atm
and then some fresh paint (after trimming some metal to clear the tyres a bit more than the 1mm they have atm
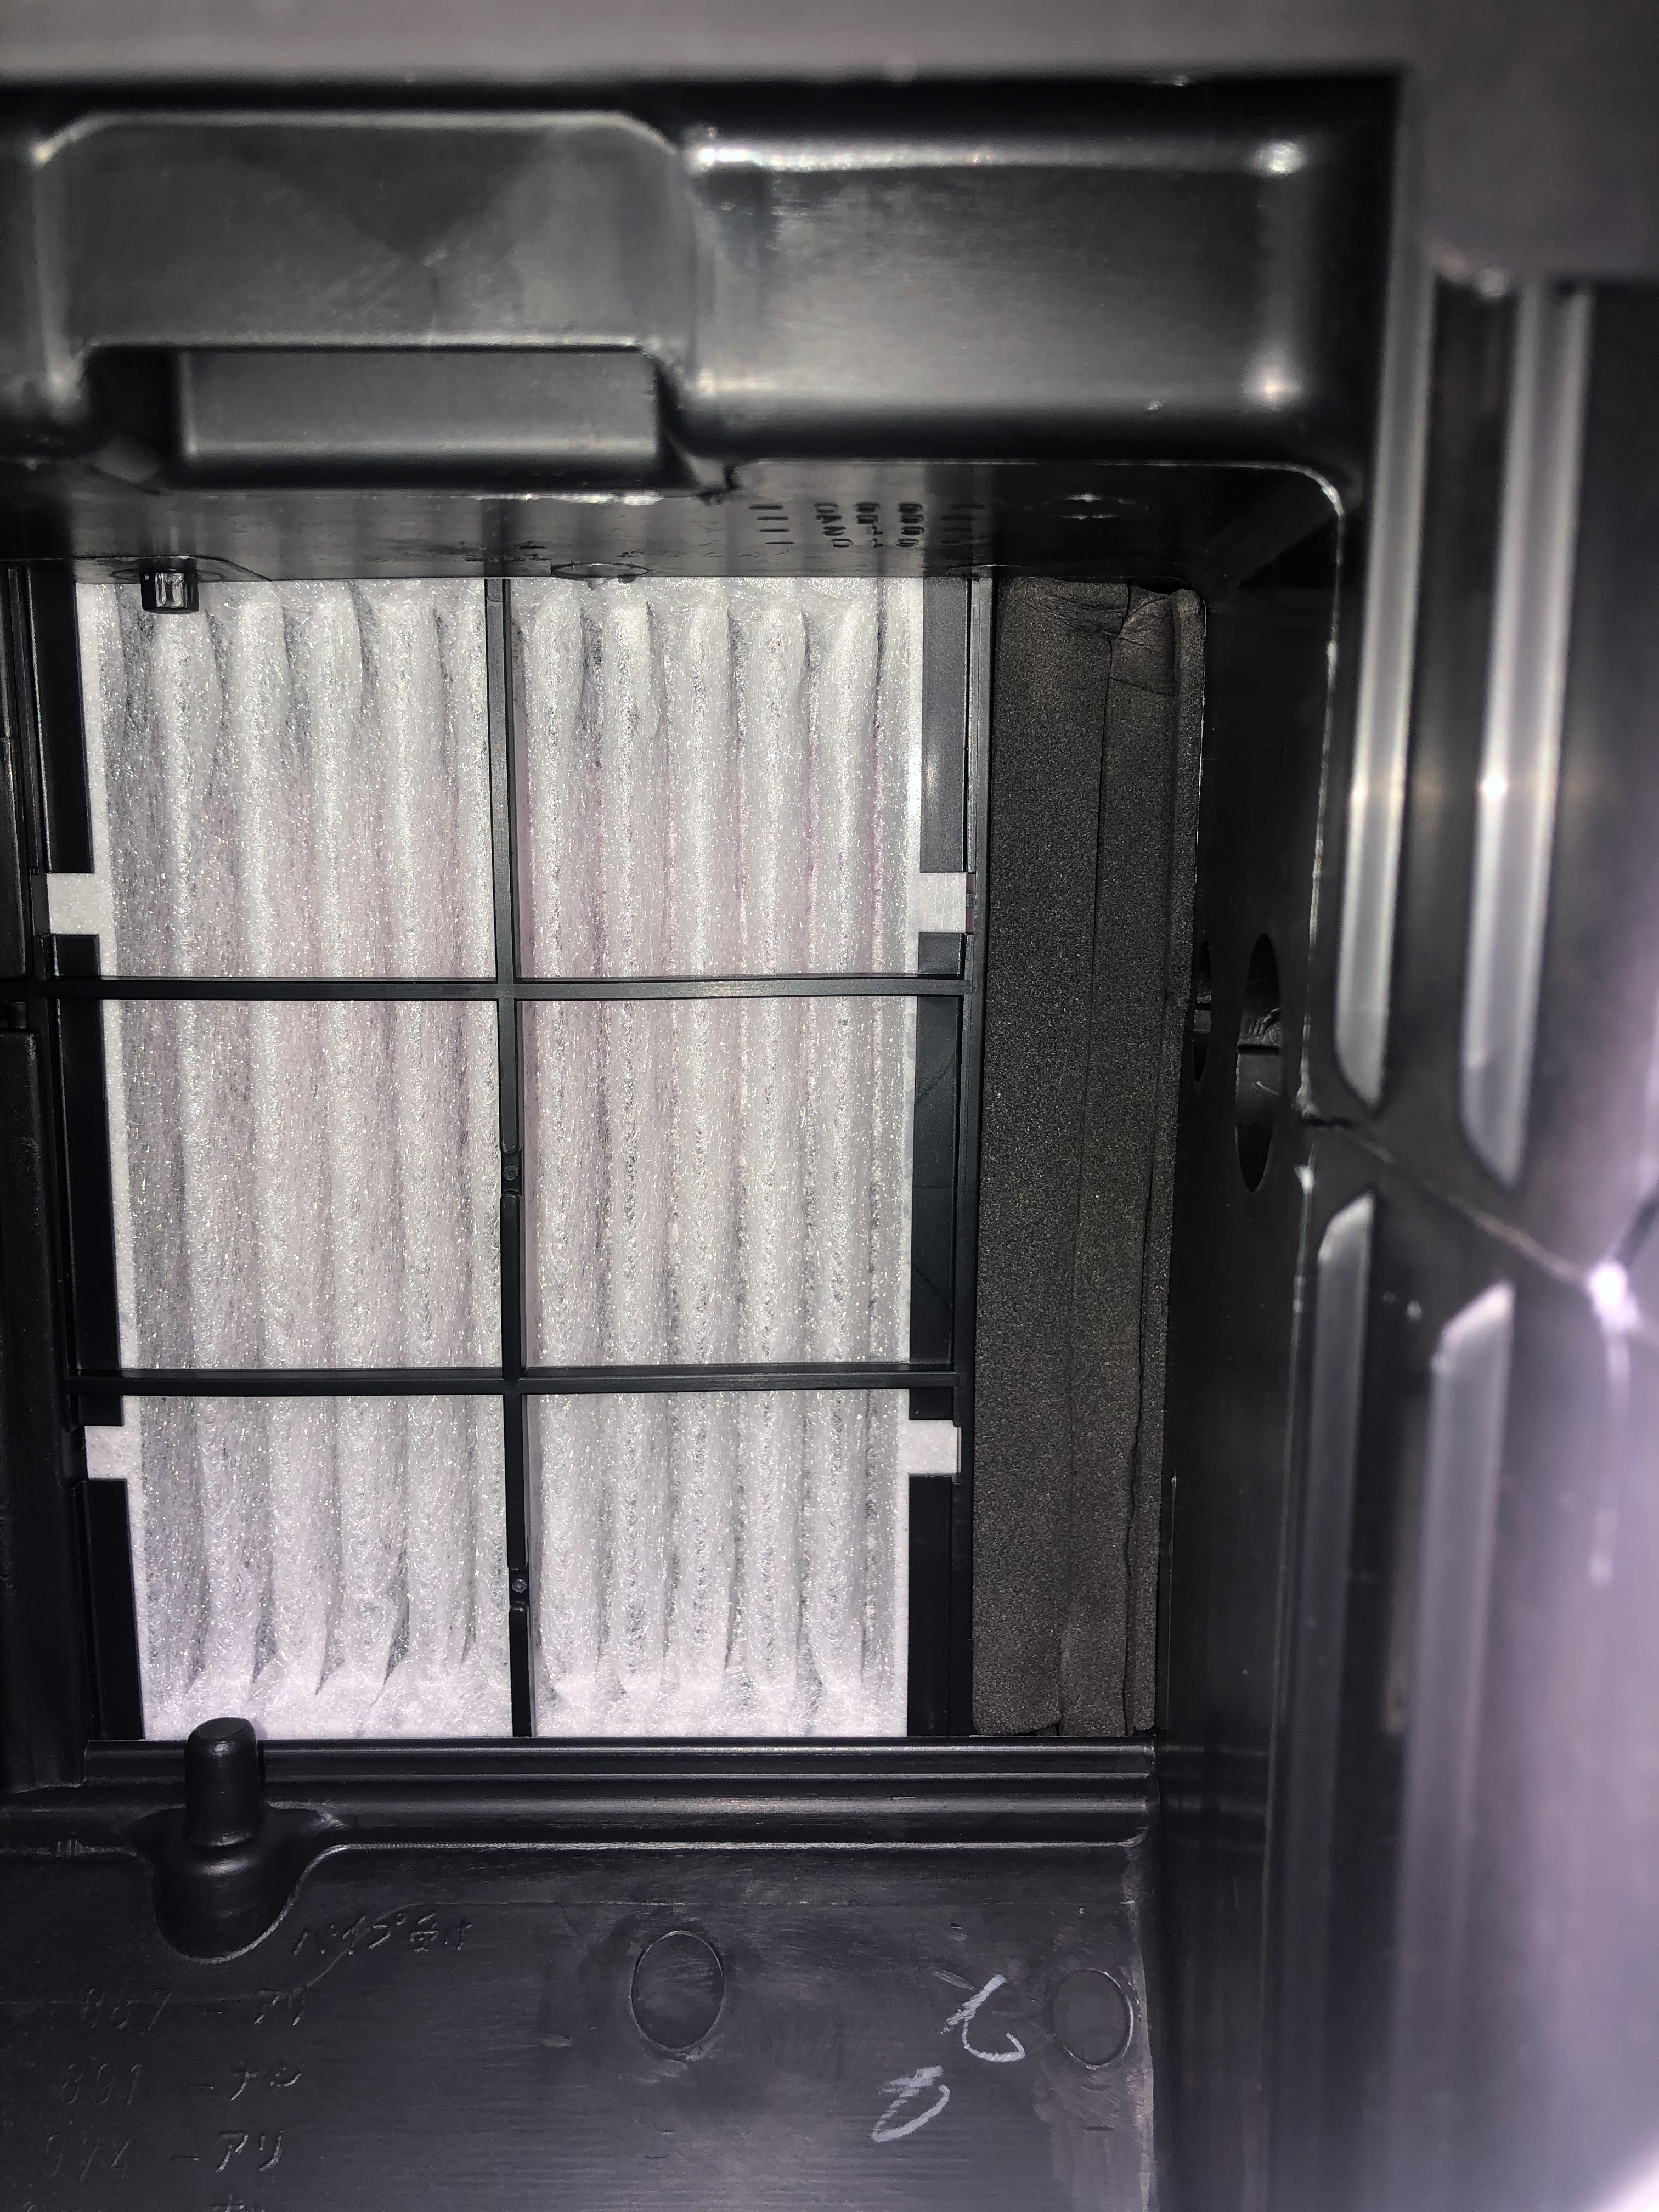
Figured pretty quickly the optional cabin filter for these doesnt quite fit (1 inch gap when in the housing??!) so i added some handy foam to fill the gap and ensure all air goes through the new filter
That gap next to the cabin filter is stock. My Gino was originally delivered with it but has the gap as well.
But i don’t see a reason it should be there.
Yeah thats mental lol, air and dust is usually going to take the easiest path around the filter?
Definitely think blocking the gap is the best option