For myself, that’s fine. However, as to not discourage anybody using my posts for reference, I’m trying to keep things as simple as possible, since I’ll be introducing home-made special tools and certain modifications in this thread.
Of course, I’ll post on my first thread periodically, so to keep it up there on the charts 
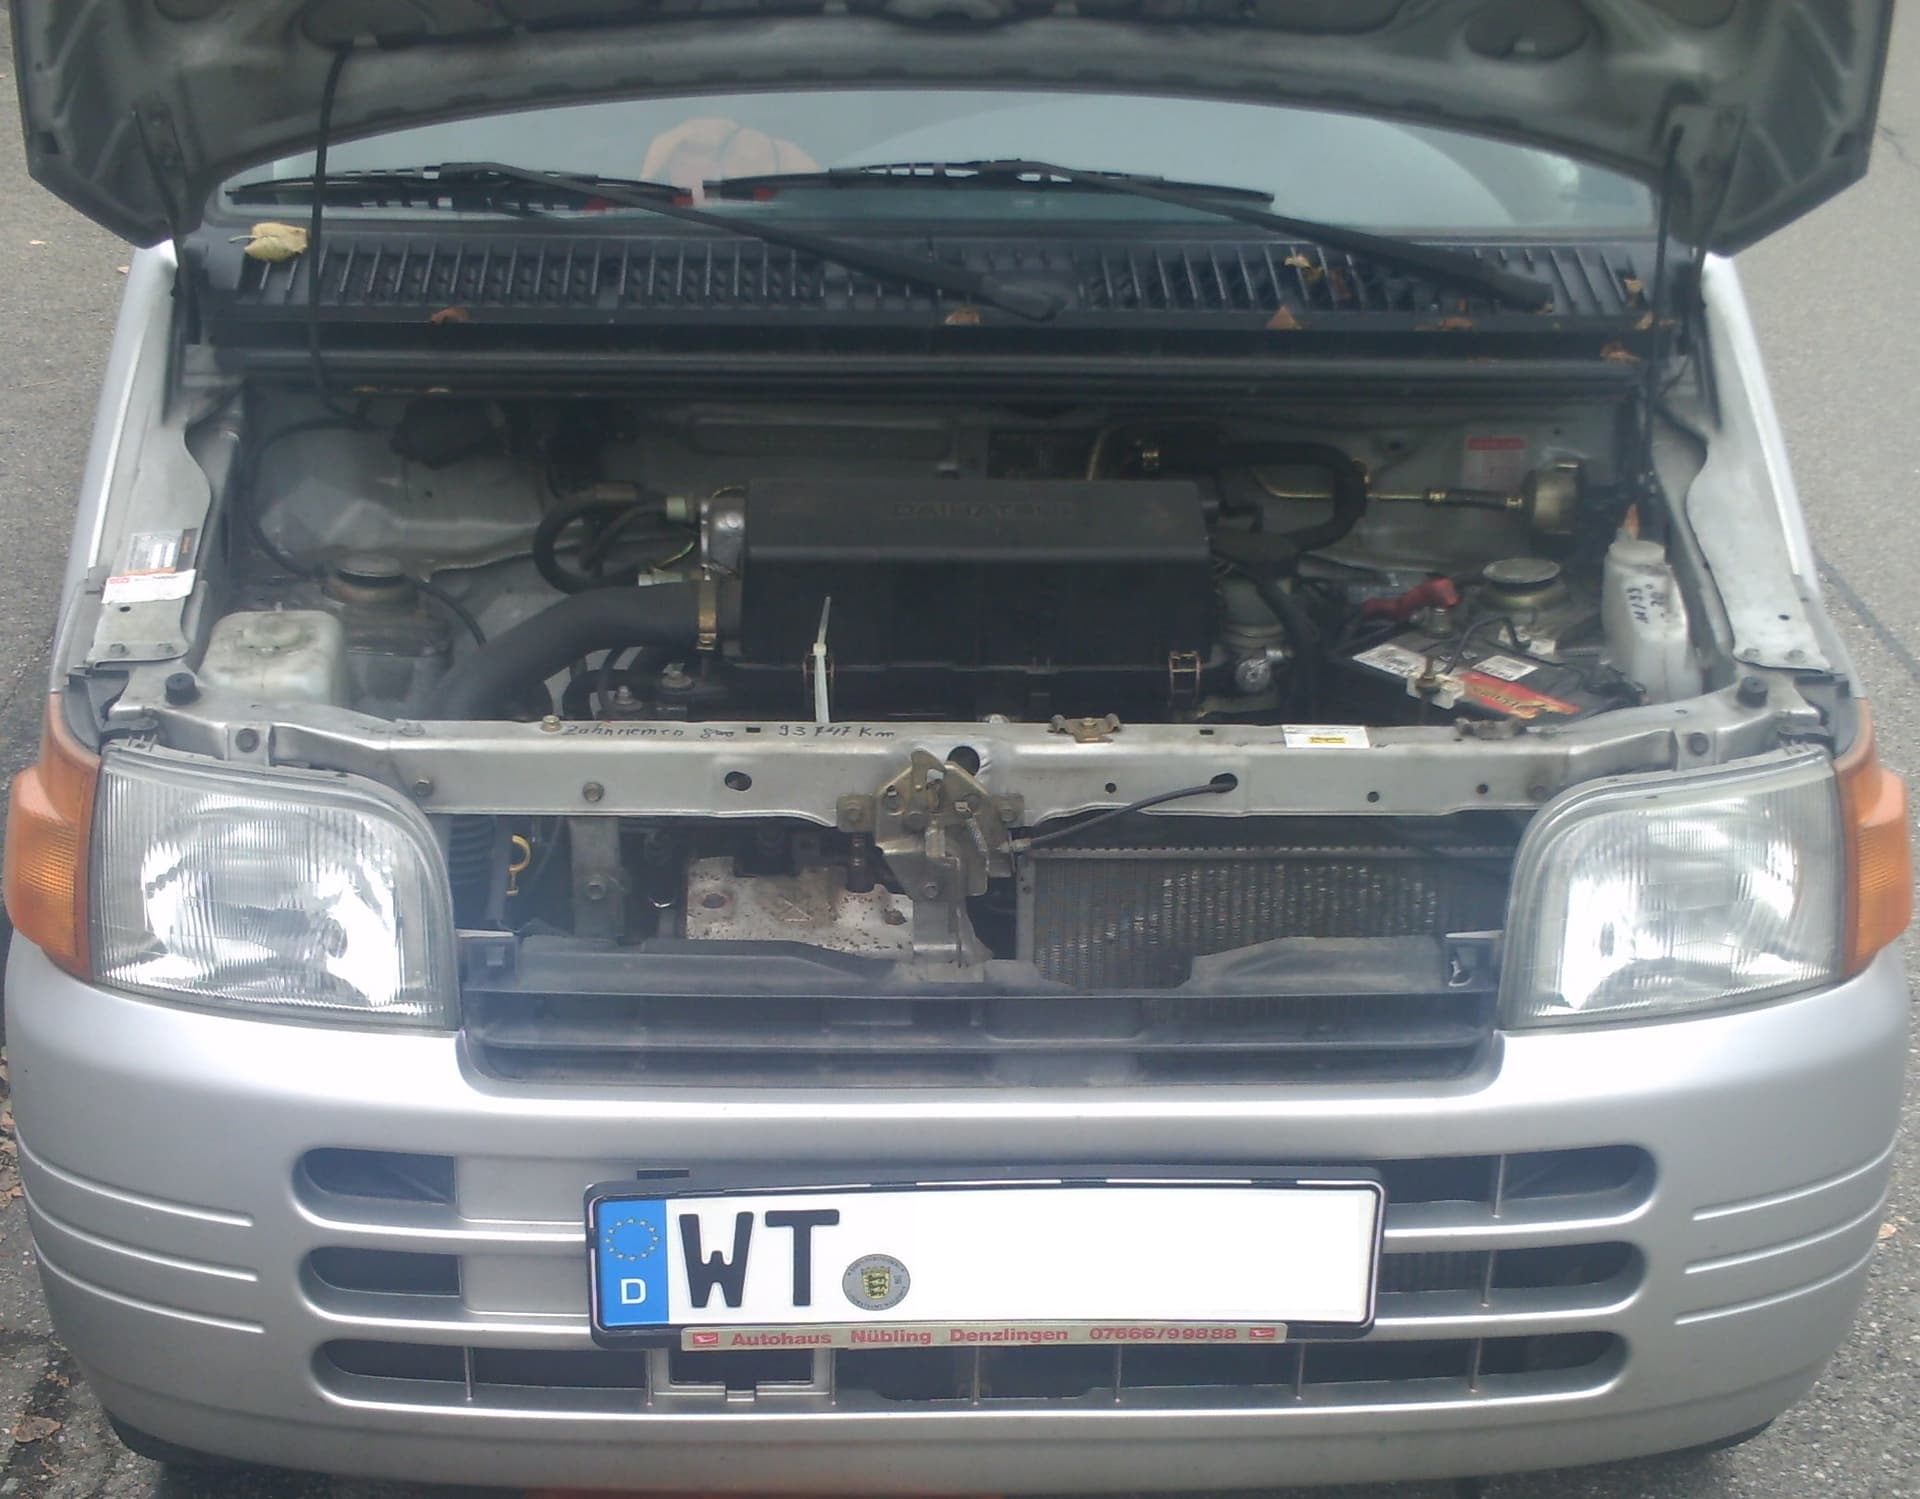
As with the previous 601, this one has also been bodged. Whether some of the bodging was performed by the second owner of a garage is yet unknown.
Improper bolts were used on this engine as well as the original bearing in conjunction with a new timing belt:

On the bulkhead, the graffiti says that the belt was replaced at 93,747 kilometers. What good that’s supposed to do without replacing the bearing is beyond me.
The tie wrap is holding a homemede shield of which is supposed to protect the spark plug wires against wiesel bites. Otherwise, the sheetmetal looks to be in comparitively good shape, for this old of a vehicle driven in this environment:
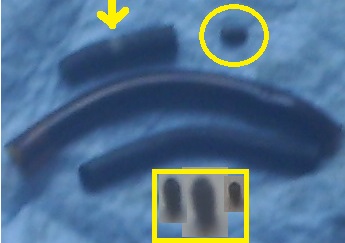
Here’s a closer look. Circled is the bolt used for replacing a proper one.
The arrow points to what appears to be a fuel line of which substituted the original vacuum hose. Whoever replaced it either didn’t know that there was an orifice placed within or simply didn’t care. I simply borrowed an orifice from that Swiss import featured in my first thread. Without this orifice, the engine will tend to consume excessive amounts of oil.
Not seen is the loosened bolt of which was supposed to hold the dipstick tube in place. The water pump is also fastened with this bolt. At such a low milage, I have my doubts that the pump replacement was necessary:

Since these photos were taken, I’ve been using a better camera. For those who don’t yet know, this is what the in-hose orifice looks like:
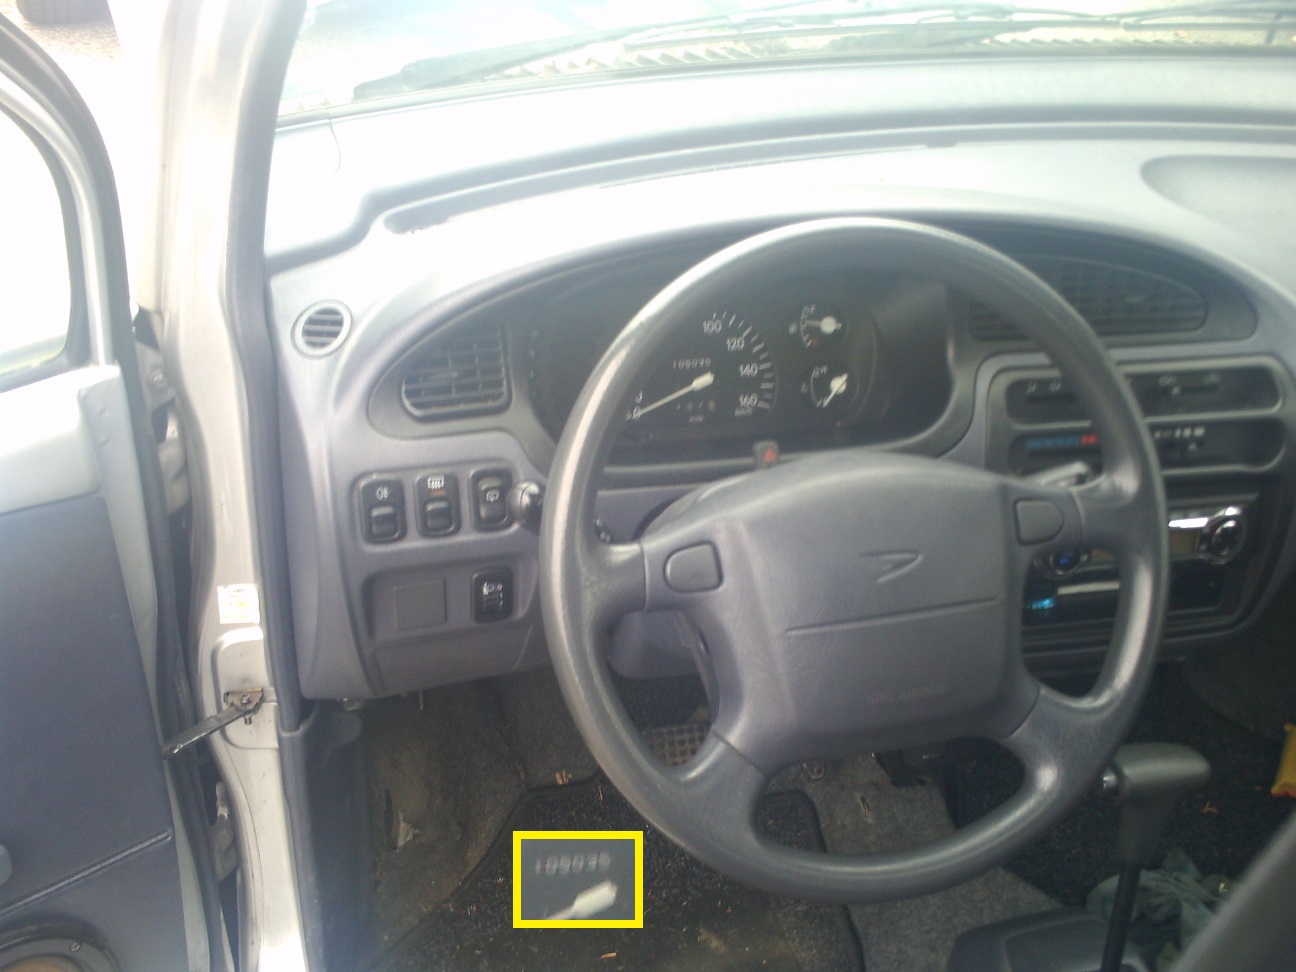
The instrument pod, just before cosmetic touches. what looks to be an aftermarket CD-player has been removed, since it’s function seemed to be improper:
Within the last image posted on this thread’s first post, the bucket was placed for trapping excessive oil of which I needed to unscrew the oil filter twice, in order to reach the proper level.
In dealing with the engine knock, I adjusted the valves of which had little effect. So then I dropped the pan and ran it through the dishwasher (Don’t try this at home, if you don’t live alone. Women generally find this practice to be distastefull  ). Because a considerable amount of oil was released through pan-removal, I was riddled as to where this oil oil came from of which wasn’t released through oil screw removal. To remedy this production-inherent imperfection, I proceeded to perferate each oil baffle with a 4 mm drill bit, so as to assure as complete an amount of oil-drainage as possible.
The oil drain was also filed as low as possible. In order to assure complete drainage, the oil drain would need to be turned 90°. One could either modify these pans accordingly or construct a pan using aluminium plate:

