Butchered replacement MOVEs diary

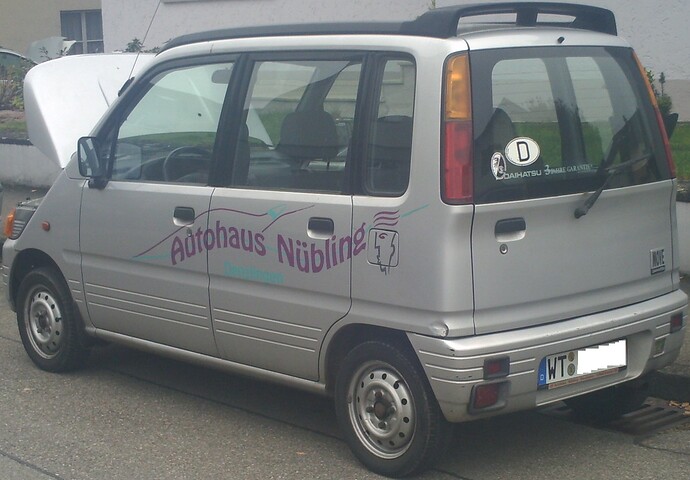
Continuing from this following thread: Butchered 601’s diary - Projects builds and rides - Live To Dai , I accompanied a friend on a purchase of a replacement MOVE for her L9 of which was burning oil and needed a replacement clutch. Her son found this on ebay and talked the price down from 700€ to 500, without even yet visitting the seller.
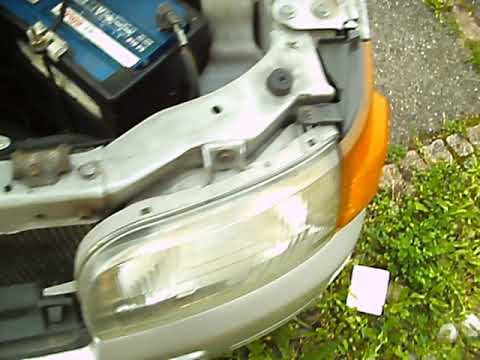
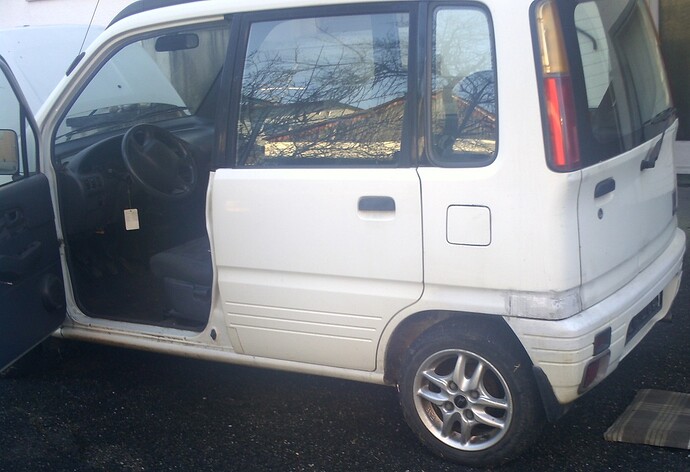
The first owner was an older female (typical of automatic transmission purchases) and it appeared to be garage-kept, since the headlamps weren’t yet faded. It only had around 105,000 kilometers and only minor surface rust was to be seen. Despite engine knock, I urged her to buy the car, since she had a spare engine in the wreck sitting in her barn. I made reference to this Swiss import pictured above, on my previous thread. By the way, she won’t give up the aluminium wheels :frowning_face:

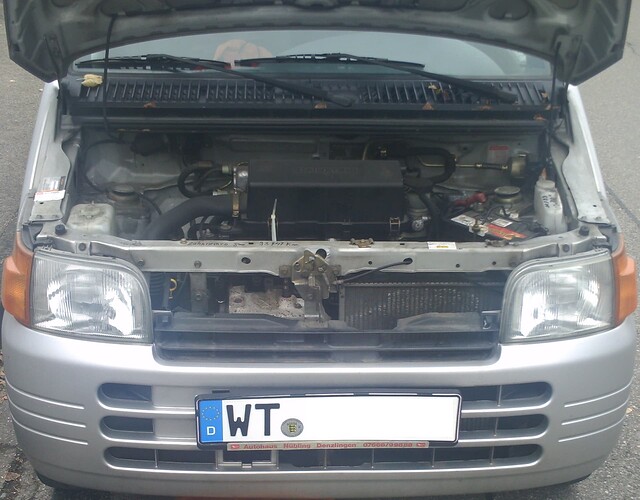
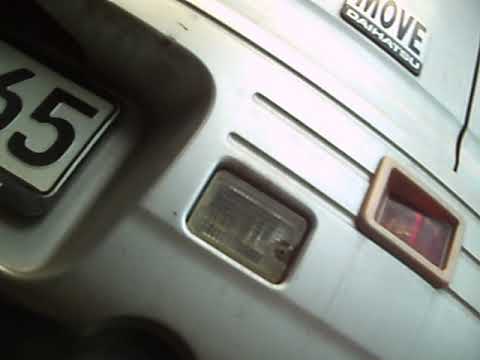
Here are photos taken upon delivery:

3 Likes

Just letting you know that when on PC it when you click the notification of a post on a thread then it will usually take you to the last post on the thread with only having to scroll up.
I’m not fussed about which way you do things just letting you know in case it is easier for you to keep it in the one thread.

2 Likes

For myself, that’s fine. However, as to not discourage anybody using my posts for reference, I’m trying to keep things as simple as possible, since I’ll be introducing home-made special tools and certain modifications in this thread.
Of course, I’ll post on my first thread periodically, so to keep it up there on the charts :grin:

As with the previous 601, this one has also been bodged. Whether some of the bodging was performed by the second owner of a garage is yet unknown.
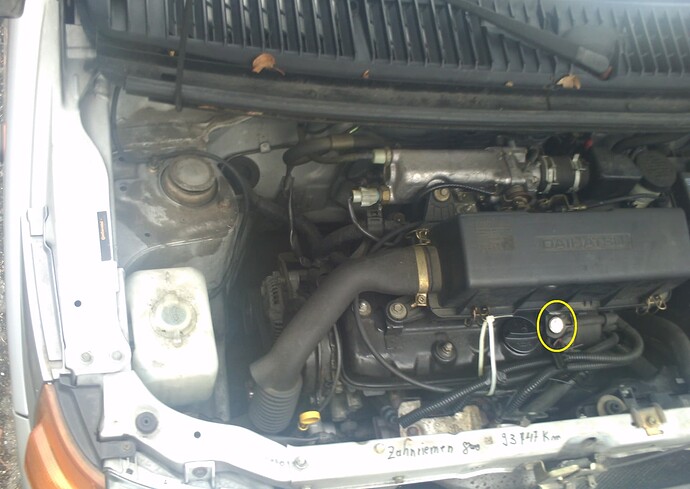
Improper bolts were used on this engine as well as the original bearing in conjunction with a new timing belt:
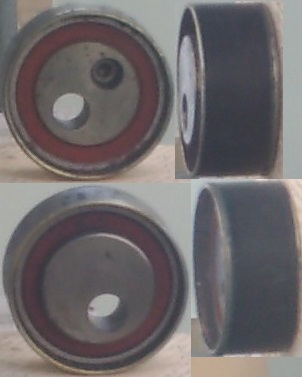
Spannungslag

On the bulkhead, the graffiti says that the belt was replaced at 93,747 kilometers. What good that’s supposed to do without replacing the bearing is beyond me.
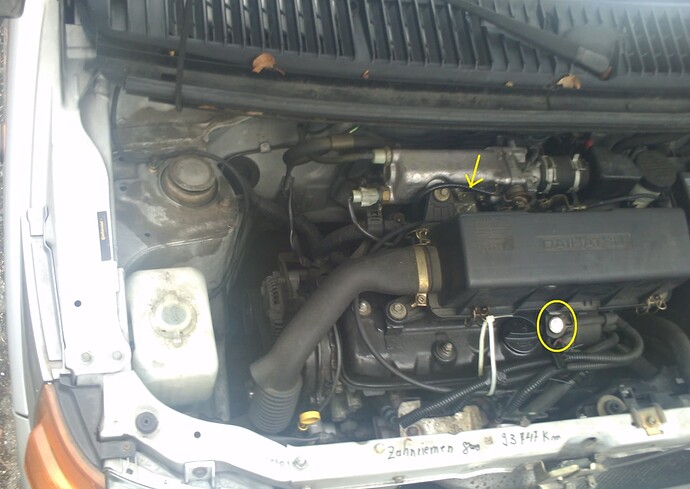
The tie wrap is holding a homemede shield of which is supposed to protect the spark plug wires against wiesel bites. Otherwise, the sheetmetal looks to be in comparitively good shape, for this old of a vehicle driven in this environment:

Here’s a closer look. Circled is the bolt used for replacing a proper one.
The arrow points to what appears to be a fuel line of which substituted the original vacuum hose. Whoever replaced it either didn’t know that there was an orifice placed within or simply didn’t care. I simply borrowed an orifice from that Swiss import featured in my first thread. Without this orifice, the engine will tend to consume excessive amounts of oil.
Not seen is the loosened bolt of which was supposed to hold the dipstick tube in place. The water pump is also fastened with this bolt. At such a low milage, I have my doubts that the pump replacement was necessary:

Since these photos were taken, I’ve been using a better camera. For those who don’t yet know, this is what the in-hose orifice looks like:
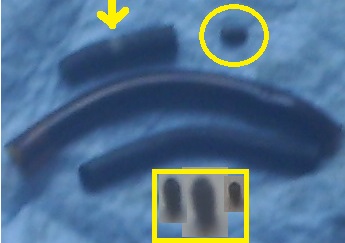
Düse_Dai

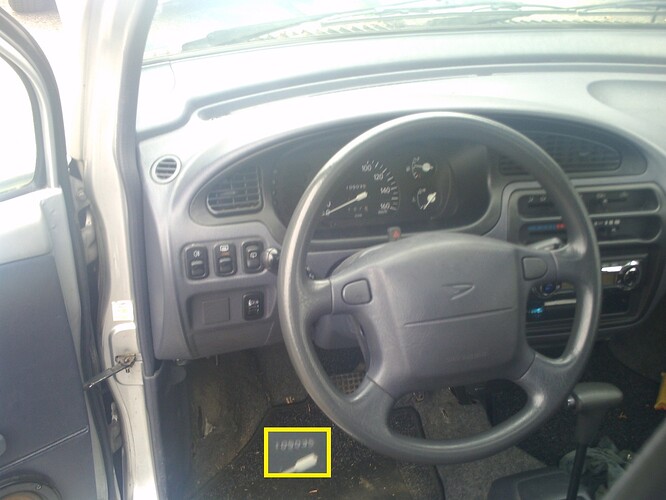
The instrument pod, just before cosmetic touches. what looks to be an aftermarket CD-player has been removed, since it’s function seemed to be improper:

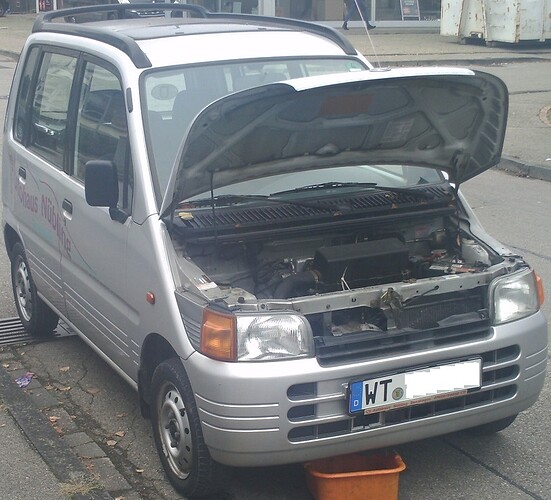
Within the last image posted on this thread’s first post, the bucket was placed for trapping excessive oil of which I needed to unscrew the oil filter twice, in order to reach the proper level.

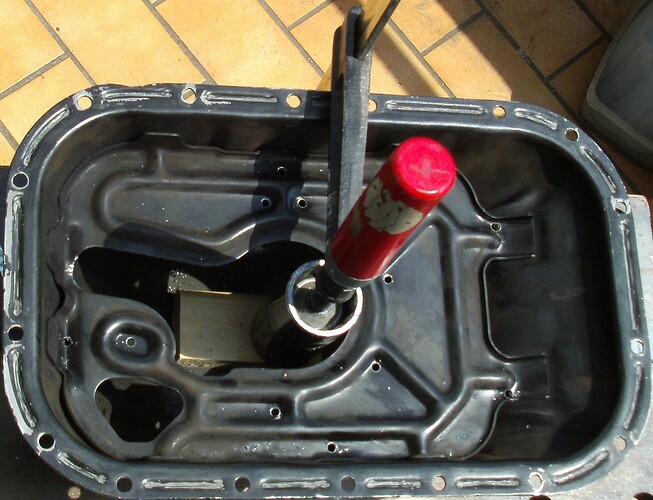
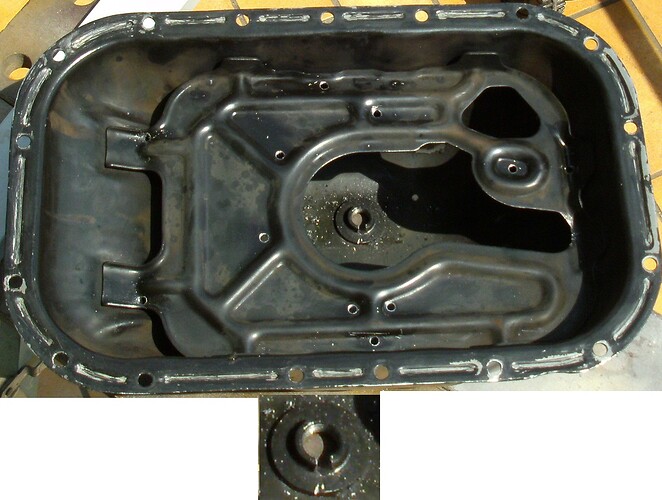
In dealing with the engine knock, I adjusted the valves of which had little effect. So then I dropped the pan and ran it through the dishwasher (Don’t try this at home, if you don’t live alone. Women generally find this practice to be distastefull :stuck_out_tongue_closed_eyes: ). Because a considerable amount of oil was released through pan-removal, I was riddled as to where this oil oil came from of which wasn’t released through oil screw removal. To remedy this production-inherent imperfection, I proceeded to perferate each oil baffle with a 4 mm drill bit, so as to assure as complete an amount of oil-drainage as possible.
The oil drain was also filed as low as possible. In order to assure complete drainage, the oil drain would need to be turned 90°. One could either modify these pans accordingly or construct a pan using aluminium plate:

2 Likes

As usual here, female customers are treated with massive disrespect, upon taking their vehicles for service, in this country.
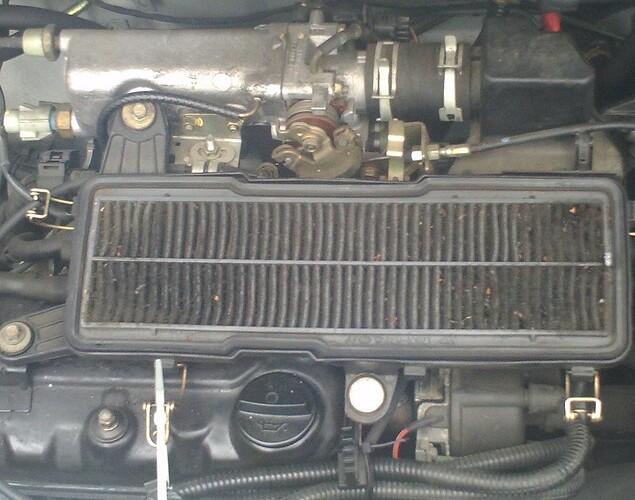
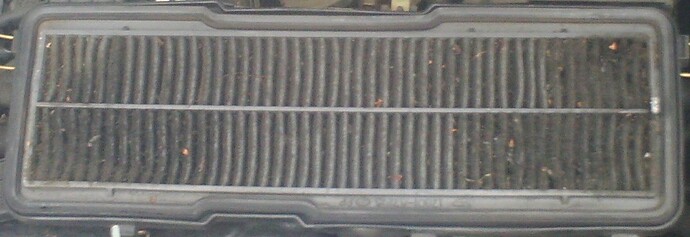
The following appears to be the original filter, despite dealership maintenance intervals having been documented:

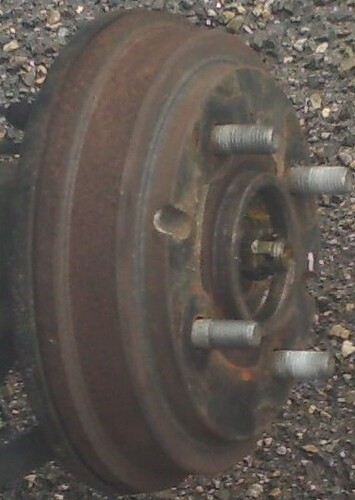
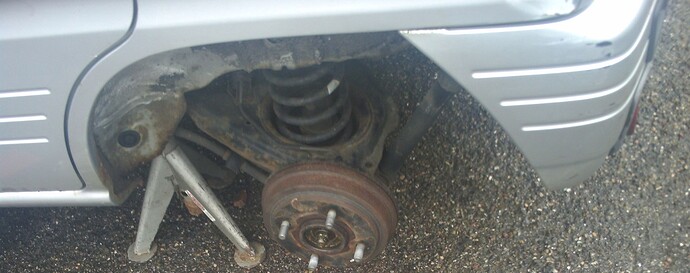
As I was in the process of rotating the wheels, I discovered that a wheel bearing cap wasn’t mounted properly and appeared to be perferated by a screwdriver. As I removed the cap, I discovered that the cotter pin was missing from the castle nut. The threads on the spindle were also damaged. I then swapped castle nuts from each side and installed new pins:

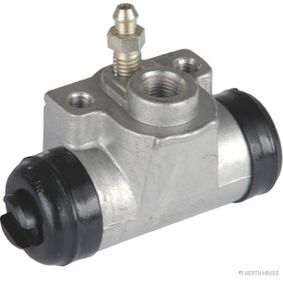
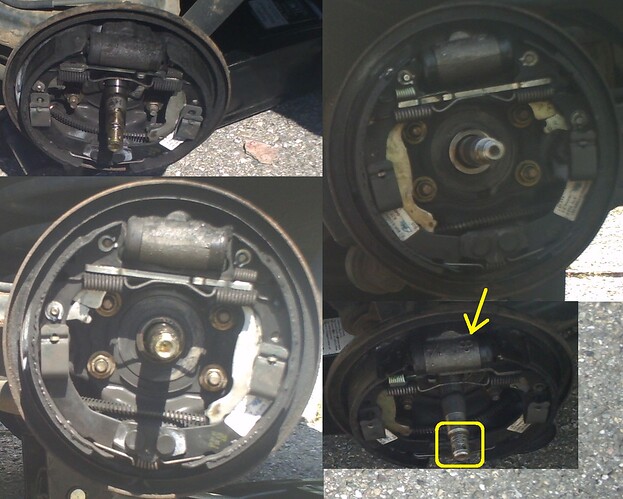
Later on, I discovered that the brake shoes have been renewed. Again because of either neglect or incomplete garage maintenance, both wheel cylinders were leaking. I didn’t bother attempting to repair them, because they were made from cast iron. Instead, I purchased new TRW aluminium cylinders of which will subtract from sprung weight and will not rust:

If I routinely flush the brake fluid, I shouldn’t need to replace them in the future.
I simply washed the brake shoes with brake cleaner spray and then continued putting them into service again:

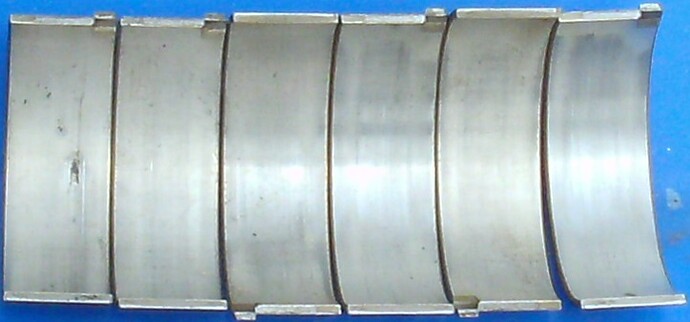
After having removed the oilpan, I began removing the connecting rod bearing shells.
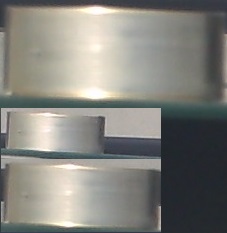
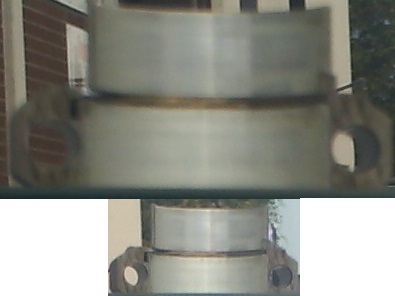
This is the condition of which they were in:

Lager_1_Oben

Lager_2

The following images were taken, using an improved camera. The damage almost looks deliberate, as if the garage doing maintenace purposely added debris into the oil filter, so that they could sell this woman a new engine. The bearing closest to the oil pump suffered the most damage and the bearing furthest away suffered the least.
The crankshaft throws were discolored, as if they have suffered from excessive heat:

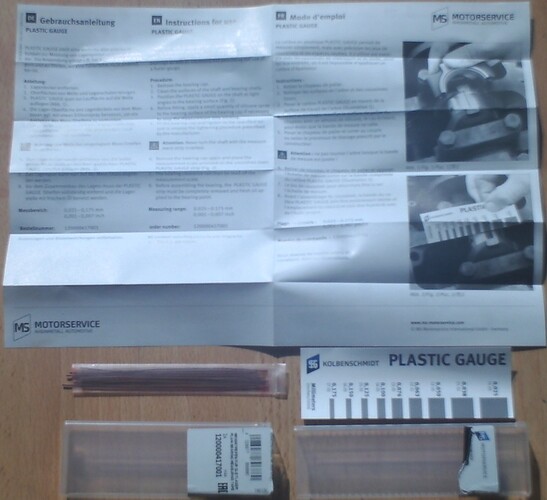
After having measured the clearances using “Plastigage”, the readings showed the clearances to be within the manufacturer’s specifications:

The wear was also progressive nearest to the oil pump:

Cylinder 1: 0,038 mm
" 2: >0,025 - <0,038 mm
" 3: 0,025 mm

The factory-tolerated specifications: 0,020 - 0,044 mm.

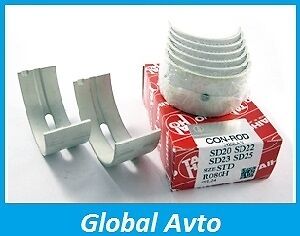
Bearings in standard size were extremely difficult to find. I didn’t wish to pay Daihatsu prices. I ended up finding a vendor in Bulgaria who would ship these at a very reasonable price:

3 Likes

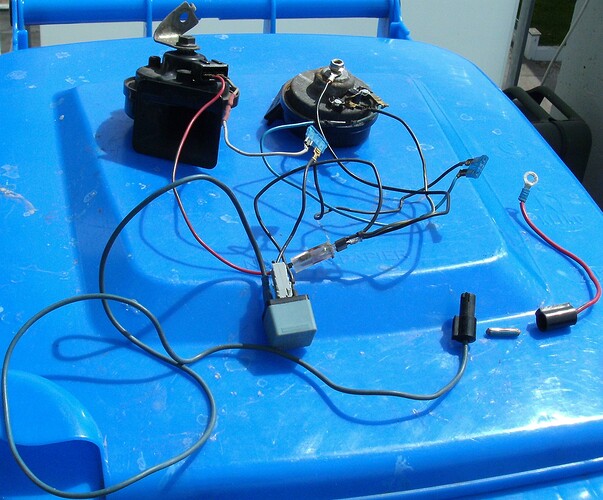
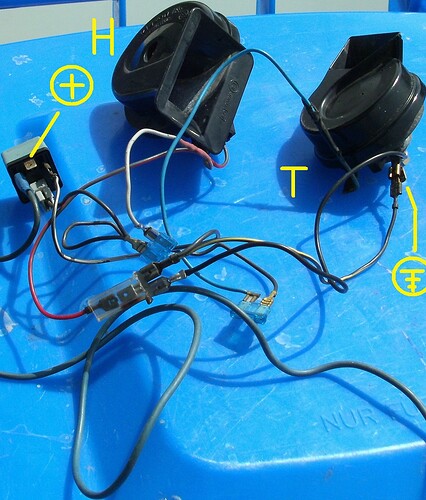
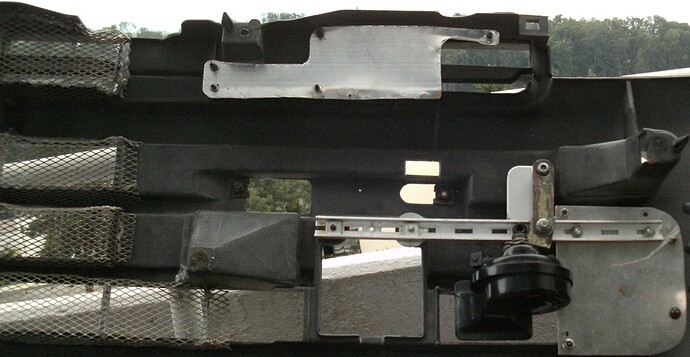
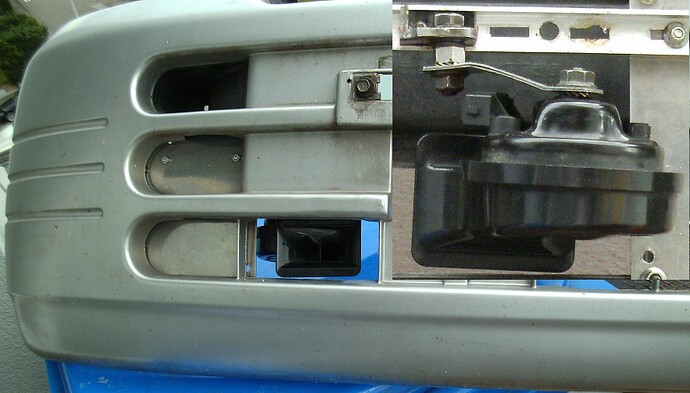
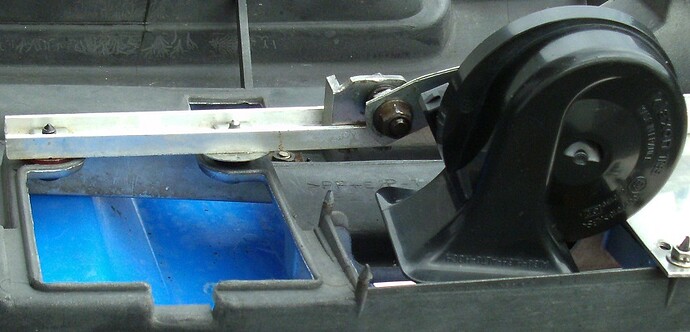
The clown horn delivered with these cars gives me the impression that I’m not being taken seriously in traffic. Japanese horns are for polite societies. In this country, warrior horns are required. So I went out and harvested some horns. Most of the high-tone ones are good. The low-tone ones corrode easier, for some reason. As soon as I found one that still functions, I started gathering the necessary fusing, wiring and relays necessary for the conversion. One of the horns was collected from a Mercedes-Benz and the other from an Audi:

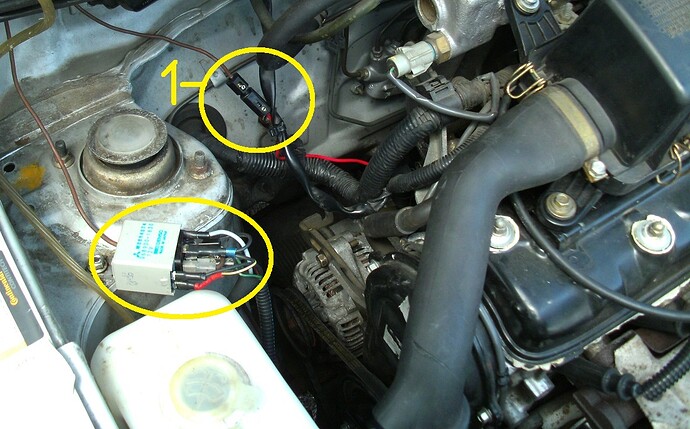
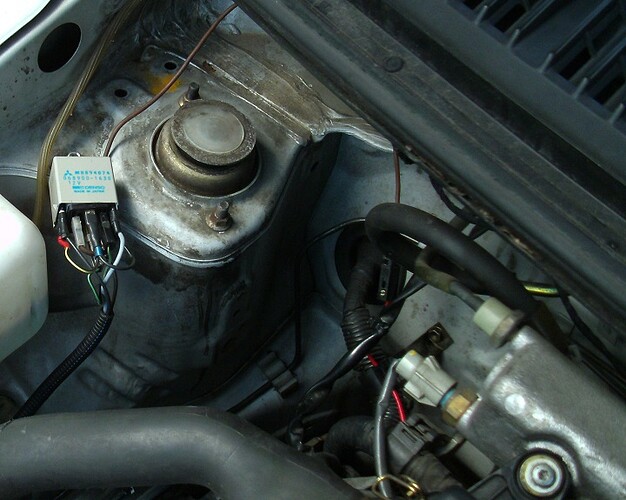
I had to go through some trial and error, in order to get it right:

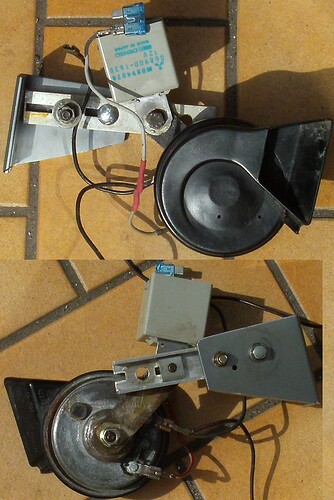
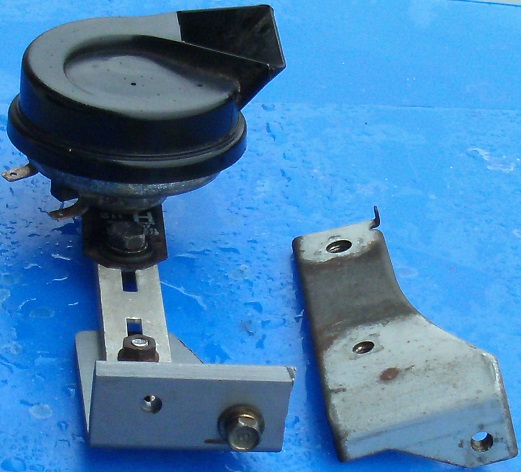
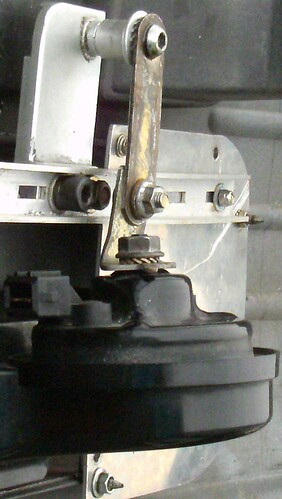
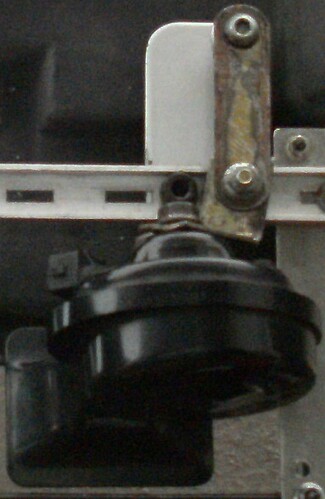
I ended up using the original Daihatsu spring assembly, for mounting the low-tone horn. This horn was mounted in place of the original. Later on, I ended up not using the original bracket. I explained why, further down in this posting:

Hupe_Neu_2

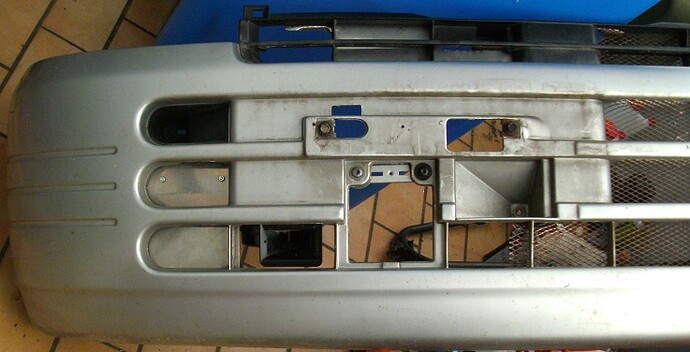
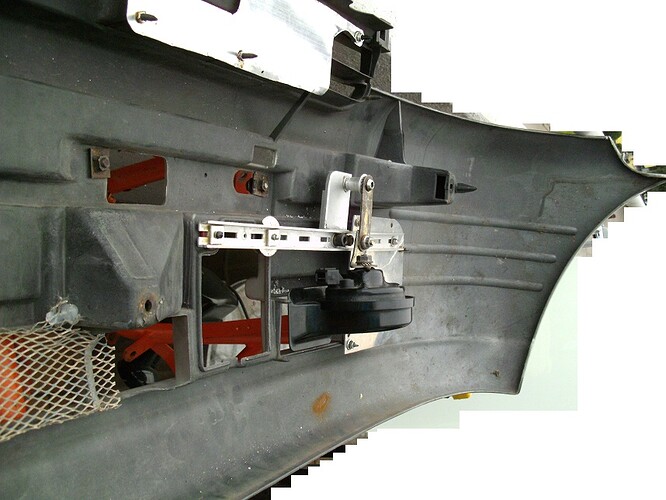
The high-tone horn had to find its place on the toy bumper, somewhere. There wasn’t much choice. I didn’t want to mount it in front of the radiator where a collision could propell it into the radiator. I also didn’t want to mount it too close to the catylist, because of obvious reasons.
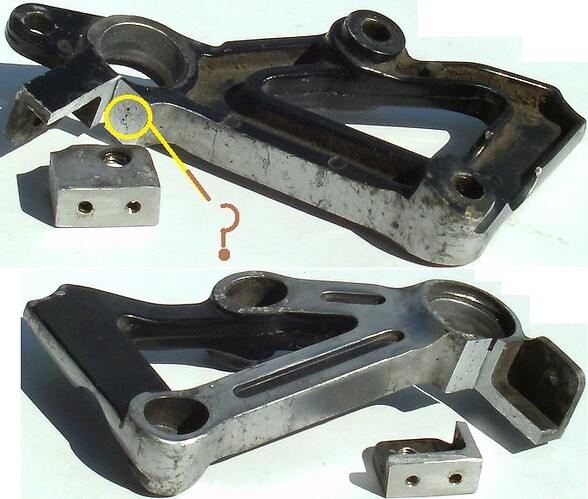
It wasn’t easy to gather bits. I ended up cutting a piece from a bracket of which used to be mounted onto my Yamaha SR 500:

To keep the hot wire as short as possible, I connected it to the alternator.
The Mitsubishi casing formerly housing a relay was used for housing the heavy-duty horn relay and a 15 ampere fuse for each horn. The main fuse connected in-line within the hot wire is rated at 20 amperes.
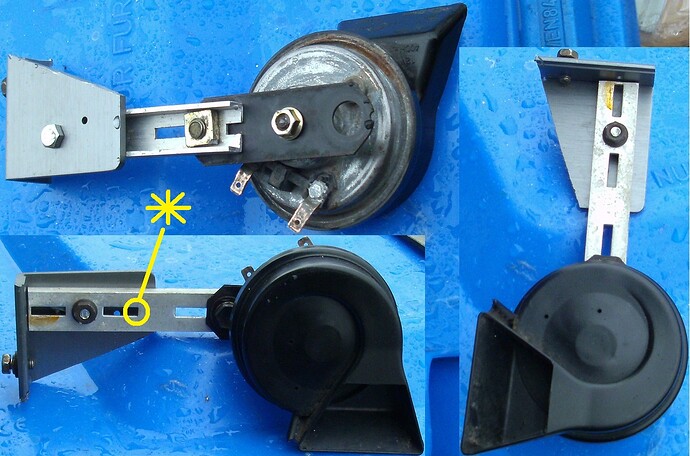
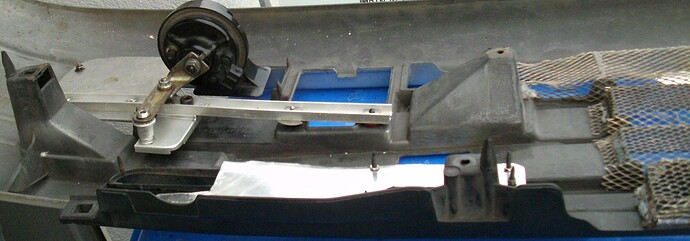
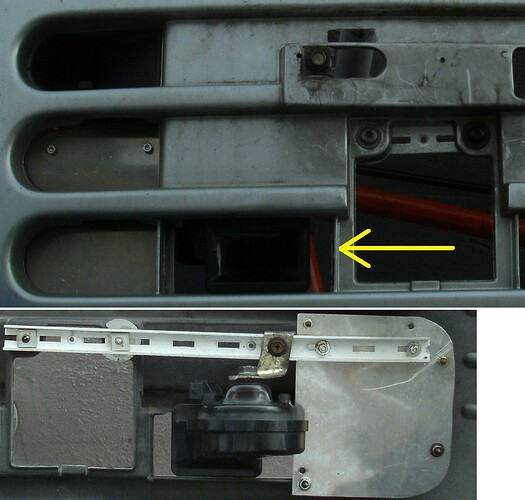
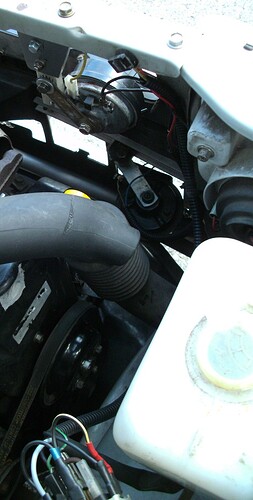
Several changes mounting these horns had to be undertaken, since I initially was unaware that the brackets holding these were the leaf springs necessary for oscillating the most decibels possible.
The image at the very bottom shows the final mounting:

Replacing the connecting rod bearings didn’t seem to help matters. Here is how the engine sounds now from the rear.
It’s difficult to determine if any irregularity is heard from the exhaust:

The knocking sounds more dramatic from where this video was taken. At the end of this video, both impolite horns are to be heard:

1 Like

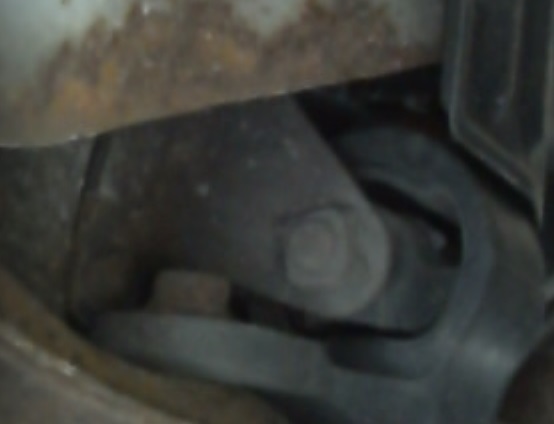
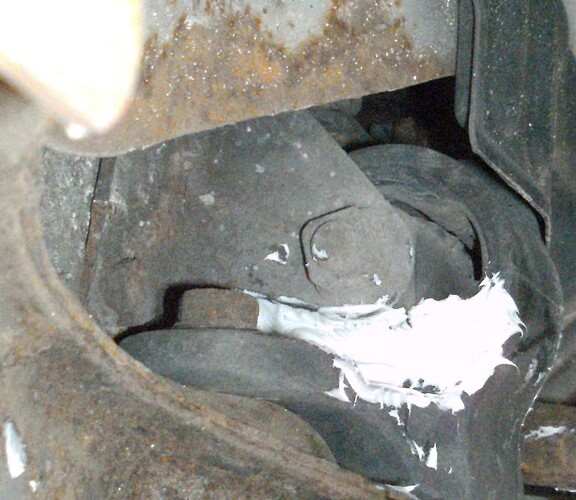
To counter the sagging of the transaxle mounting, I raised the unit and then injected grey silicone into the lower cavity. Grey silicone hardens stiffer than white and clear. However, using the grey option was perhaps not the best, since I can now feel the engine vibrating at idle. I could, of course, repeat the procedure, using either the softest white silcone or the other.
At best, if anybody is going to repeat this procedure, due to the lack of availability of new bits, the application should be done in stages, in order to assure proper hardening. I gave it 3 days time, so that each stage would be exposed to the atmosphere. I have gotten a complaint by a German forum member who has claimed that this type of repair failed on him. I pointed out that it failed because his silicone only dried from without, before he put his vehicle back into service.
Here, before and after images:

Aufhäng_Getrieb

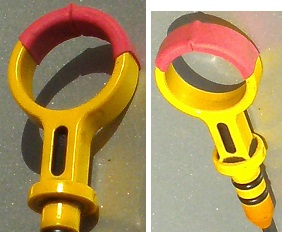
Here, a quick fix for a typical inherently annoying Daihatsu quirk. To keep the dipstick from biting, I inserted a piece of that shrinkable hosing used for electrical wire protection. Please don’t use a cigarette lighter. A hot air gun is the proper way:

Peilstabflick

I had to change the settings on the following video, in order to make it accessable to the general public. If it still cabn’t be viewed, please let me know.
Are ED engines known for the following knocking?:

2 Likes

sounds pretty usual but a little louder than normal but that might just be the video or maybe need tappit adjustment?

1 Like

I adjusted each tappet cold, using specifications from a 1973 Honda Civic. I did the same with my previous 601.
I cannot yet determine if the knocking synonymous with each rotation of the crankshaft is taking place or with each rotation of the camshaft.
I suppose, what I could do would be to adjust all of the play from each rocker arm and then rotate the crankshaft twice, while looking for irregularitive play between each rocker arm and the flat area on the lobes.
There are also two other possibilities. Since the waterpump has been replaced, I’m wondering as to possible bodging done there that would summon that knocking noise. The other possibility could be a slightly bent valve of which is hitting one spot. Since the timing belt has been replaced, the bodger performing this work could have let the valve hit a piston. But is still sealing enough to get through emissions inspection. I suppose, I could be able to see any valve to piston collision, using an endoscope.
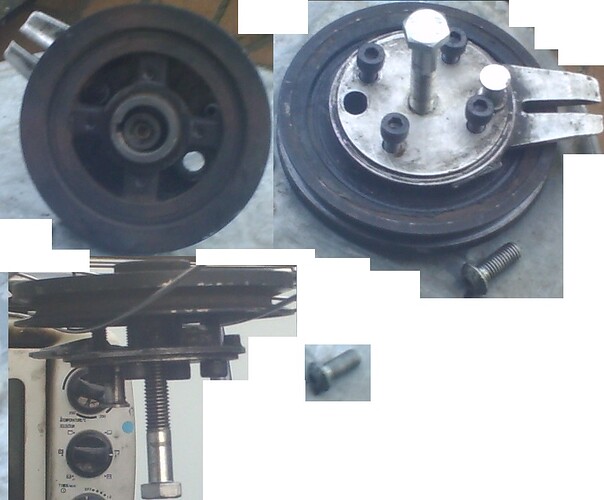
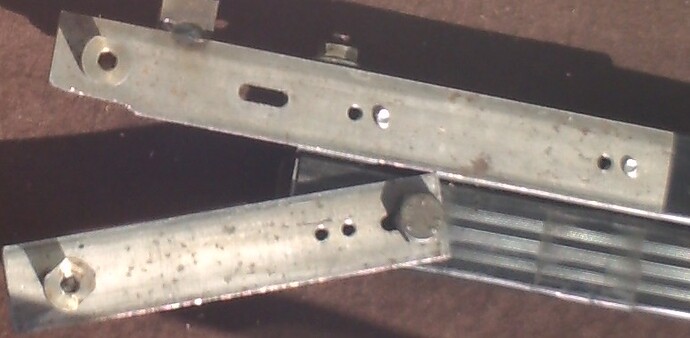
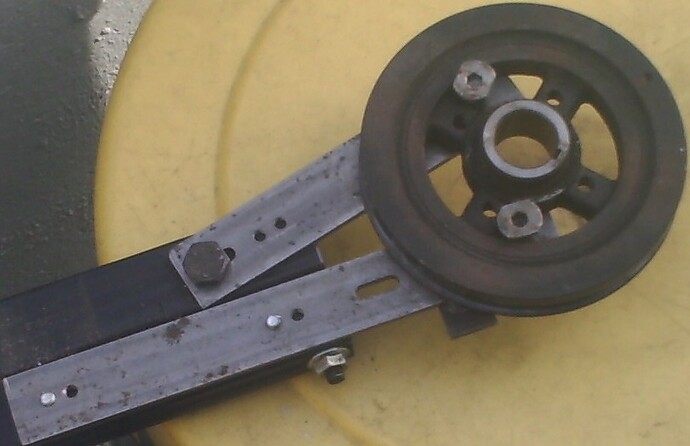
Before I could even remove the timing belt cover, I needed to somehow remove the damper. The bodger doing so tightened the bolt holding this assembly together to a torque specification of which superceeded the scale of my torque wrench. Because of this, I ended up fabricating a set of special tools of which held the damper in place while I unscrewed this bolt. I found one of my luggage racks of which wouldn’t apply to a 601 anyway and then cut it down. I pre-drilled steel plate was also found and subsequently cut to size. One of the existing holes was tapped out to 10 X 1 mm, before I screwed in a filed on both sides allen bolt of which held the rear chain-change mechanism on a bicycle (X and A). (E) also had to be cut out and filed to fit:

The filed allen bolts slip into the damper’s cut-outs and then lock in place:

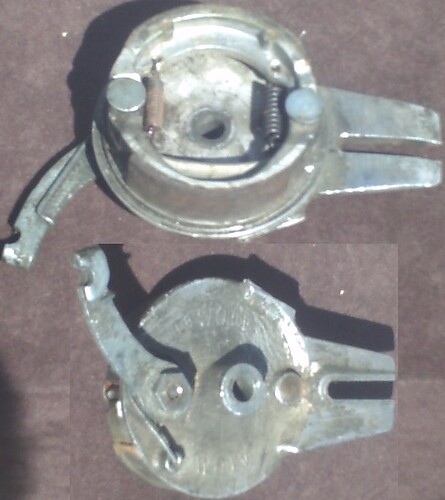
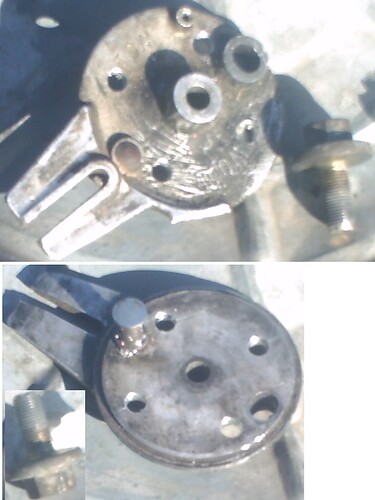
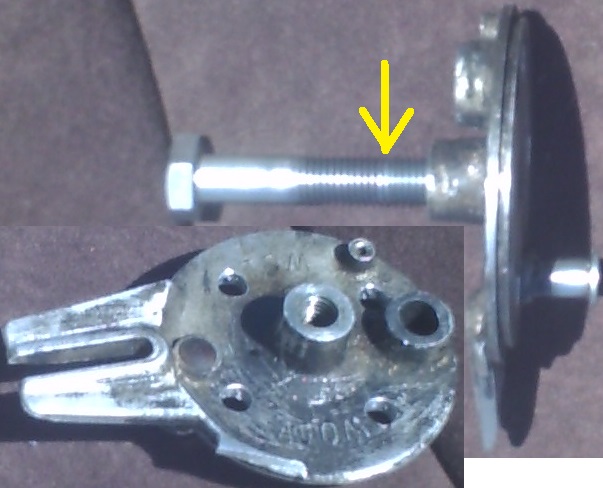
Once the bolt was removed, the damper didn’t want to move either. I’m assuming that the bodger who overtightened its bolt has glued the damper onto the crankshaft. Because of this, I had to fabricate a puller, since none of my pullers would fit. To do this, I dug out a backing plate from an old French mofa and began stripping it down:

Here shown next to the overtightened bolt:

In order to protect the crankshaft’s threads, a 10 mm allen bolt was inserted into the crankshaft, before the new puller was applied:

Because I didn’t have an appropriate bolt, I had to lengthen the threads of an existing one. Of course, the backing plate needed to have threads cut into it:

Abzieher_Dämpfer_Fert

2 Likes

After having replaced the wheel cylinders in late springtime last year, I had experienced absolutely no problems thereafter, until during late summer this year. Upon arriving home, I heard this metal on metal noise originating from the left rear wheel, while braking. I then raised that wheel and rotated it back and forth. I couldn’t summon any abnormal sound, once again. But suspected the premature wear caused by a once contaminated with brake fluid shoe. So then I went and inspected the fluid level of which was near its lowest point. Because I had driven during the day, chances are that I didn’t notice the warning light appearing. In any event, I filled the master cylinder’s reservoir full and then noticed an unusual amount of loss after each lengthy trip. I then noticed moisture below the cylinder. But it didn’t seem like it equaled the amount missing from the reservoir. So I then suspected a ruptured booster’s diaphragm. After having done a test, the booster didn’t betray failure. I haven’t yet removed the vaccuum hose connecting the booster, in order to located any brake fluid trapped inside yet.
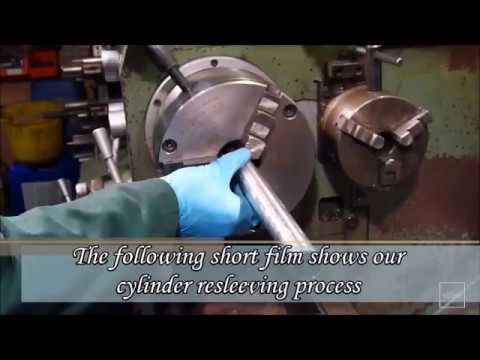
In the mean time, I have a second master cylinder of which I was to replace on that white 601 previously mentioned. Noticing that it was made out of aluminium, refurbishing it was out of the question, according to the manufacturer. So I contacted a shop in Britain of which sleeves used cylinders using stainless steel inserts:

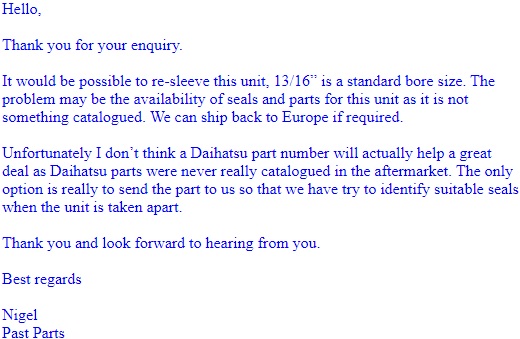
I then contacted this company, asking them if they would sleeve mine. They wrote back telling me that because the barrel is of a common size measured in inches, this would pose no problem:

Bremskraftverstärker_Nigel

I then wrote back on the 20th of September, telling him that I could deliver the seals along with the cylinder itself. I also asked if there was an option of just inserting the sleeve only. I can then do rest of the assembly myself. Since then, I haven’t received a response. I suppose that they have enough to do, in order to stay in business, without needing any of my commerce.
New master cylinders are no longer available here or are claimed to be “out of stock” which likely means the same thing. If I knew which unit or possibly units (Master cylinder with booster) would substitute for the one that I have, I wouldn’t hesitate in doing the conversion

1 Like

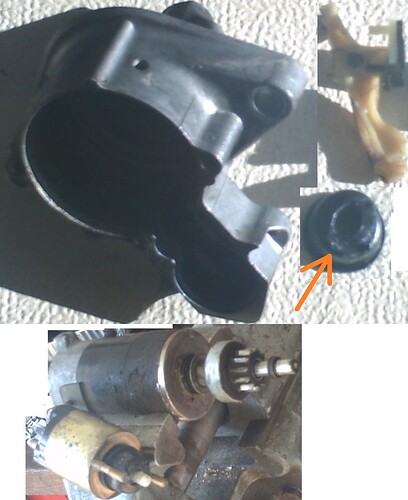
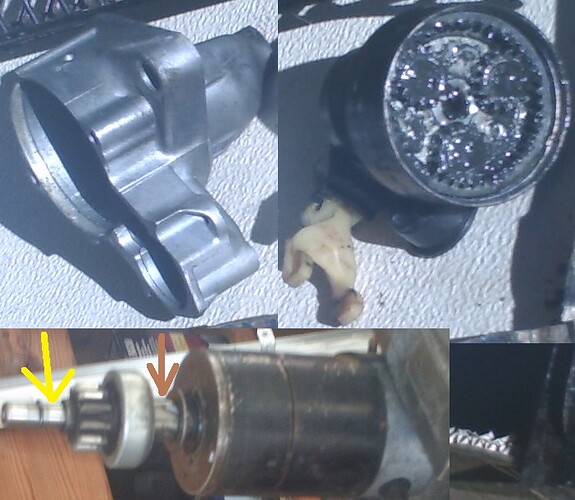
Since purchase, the starter motor made a dry-sounding noise. After having removed it, it was free of the debris found in starter motors of which were mounted to vehicles with manual gearboxes. Because mine is an automatic, I suspect that the additional engine heat caused the lubricant therein to varnish. The rubber boot is torn. But since no dust caused by clutch wear can enter, I just let it be:

The spring ring holding the starter’s clutch to the shaft was unusually stiff. In order not to risk breaking it, I also just left it be.
The planetary gears were accessable enough for relubricating. The shaft and spline gear were also lubricated at the spots shown:

2 Likes

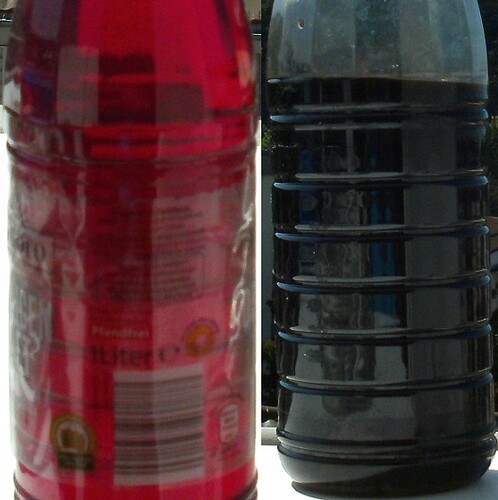
I did what looks to be the first transmission fluid change ever for this vehicle. I let the old fluid settle over a few months. Even then, it never cleared. The following foto was taken during the fluid change:

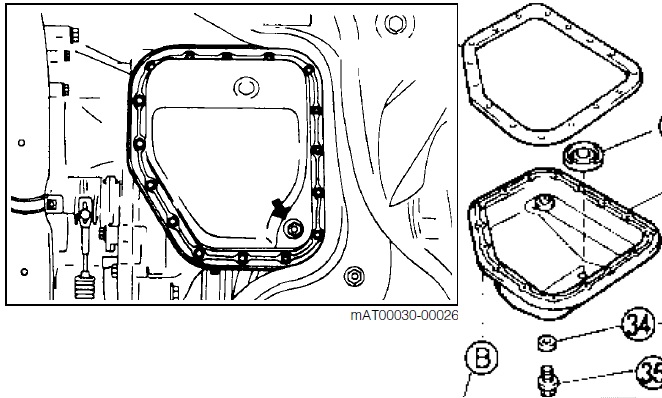
I would have prefered removing the pan, in order to inspect the magnet for residue and to cleanse the screen. The gasket was only available through a company of which has taken over Daihatsu’s parts network. I didn’t wish to pay their extortionate prices and then went on to find sheet cork for cutting my own replacement gasket. I wasn’t sure of the thickness (2 mm?) and if what was available would have been of an appropriate composite for this use.
I couldn’t even find a cross refernce chart making reference to this particular automatic transmission unit being shared with other brands. I don’t see any reason for Aisin to design a different oil pan pattern for the same transmission installed into a Nissan or Subaru, for example. If anybody here recognizes this pattern fitting onto a non-Daihatsu-installed vehicle, I’d be greatfull for being informed:

Wanne_AT

2 Likes

wow that fluid looks as bad as what was in my holden commodore

1 Like

The problem is that more of that mud was still filling the torque converter. They should have welded a drain plug onto the converter, as was done with automobiles equipped with the earlier automatics. I may consider getting the transmission flushed, after the engine gets either repaired or replaced. I would prefer just diassembling the entire transmission, in order to remove every drop

1 Like

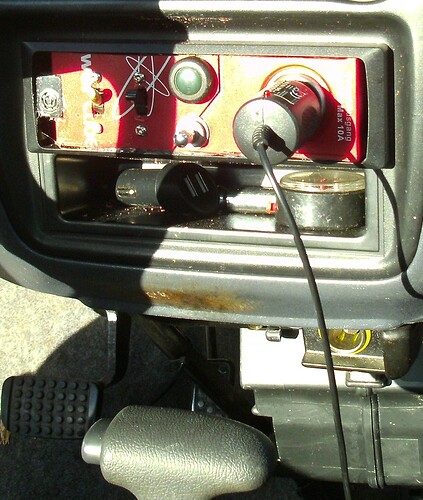
Since I don’t use a radio, I have replced it with a control panel of which I cut it out of a defective battery charger. From left to right, It consists of a headlamp warning buzzer, a switch for controlling the cigarette lighter mounted within that plate, a switch controlling the cigarette lighter mounted within the rightside rear panel, a swich controlling the reverse lamp undeneath a lamp signalling that the reverse lamp is operating and the cigarette lighter’s socket of which is used for operating the front camera:

The 601 series is notorious for headlight warning buzzer failure. The original buzzer is located within a multi-functional electronic unit. Instead of replacing the entire unit only because it won’t buzz seems impractical. Instead, I dug out a 6-volt buzzer of which works fine with the 12 volt board voltage.
Both cigarette lighter socket switches enables use of each camera only when needed. Limitting their use saves each chip’s storage space. There are also legal issues, regarding full-time filming.
The auxilliary reversing lamp switch enables the nightly illumination of an aggressing vehicle’s front number plate

1 Like

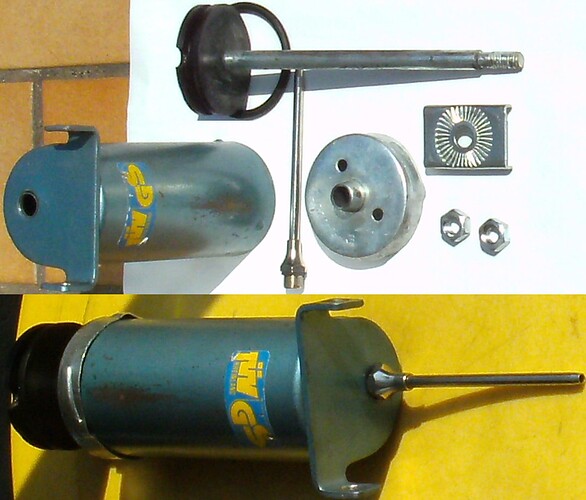
When I first checked the transmission fluid’s level, I discovered that there was too much in there, just like when I checked the engine oil’s level. Instead of releasing excess fluid of which I intended flushing anyway through the drain plug, I converted one of those cheap foot pumps over to a suction device and then removed excess fluid from the dipstick’s tube, instead . I removed the fluid from as far towards the bottom of the pan as possible, in order to remove as much settling debris as possible.
The threads for the football pump adapter tip are cut identically to those of the pump’s outlet’s:

2 Likes

Yesterday, a mate and I who both own Daihatsus visited a former Daihatsu dealer of whom has ran the shop for over 40 years. I showed him the original connecting rod bearings and explained to him that they all measured within specified tolerances, before I went ahead and renewed them. I told him that despite renewal of these bearings, adjusting the valve tolerances, replacing the oil with 20W-50 and putting the stethescope to the block, the engine still knocked.
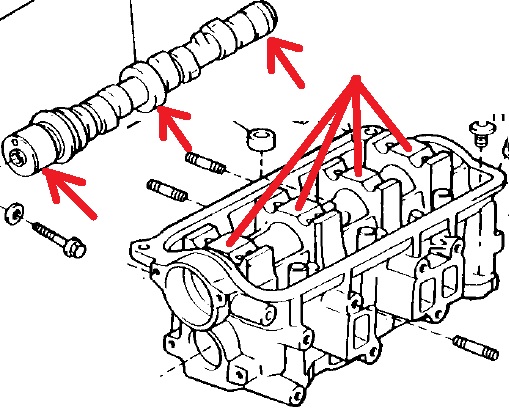
He explained to me that the ED10 and -20 series cylinder heads were the Achille’s Heel of this series, in that the camshaft journals would prematurely wear out at where the camshaft journals rode on them.
He then told me that I could still drive the car without problems. I don’t, however, wish to do so, because the clatter gets quite annoying at higher engine revolutions. Thus, taking some of the fun out of driving.
Sooner or later, the supply of these cylinder heads will exhaust. In order to avoid exhausting the remaining supply for other ED owners in need, my thought was to have the cylinder head line-bored and re-sleeved at the points illustrated:

Klapern_Stelle

Has anybody here had anything like this done before?

On my 1973 Honda Civic, I once have had the camshaft reground. What the shop did was to build up the lobes, likely through welding-on new material and then grind the lobes to a preferred pattern, before hardening them. I suppose, the second alternative would be to have the head line-bored and instead of pressing-in camshaft bearing sleeves, I could have the camshaft journals built-up and then ground down to fit the newly bored oversized journals

3 Likes

Line boring is something that is common for crank’s and in all honesty I don’t see any reason it cant be done for cam’s. I think if you did cam tunnels then you would try looking for cam shaft bearing’s that would fit. I mean they have cam shaft bearings in V8’s etc and although they are a different setup I don’t see why it wouldn’t work.

You wouldn’t just consider using and ef el head?

1 Like

Unfortunately, the camshaft bearings in V-8 engines are measured in inches and are also much too large. I could try locating any such bearings suitable for smaller Japanese or European engines. I’ve never seen any such bearings used in overhead camshaft engines using aluminium heads. Perhaps, an older Toyota or Nissan pushrod engine could provide these, if the camshaft journals were to dimensionally equate with that of the EDs.
As far as the EF EL head goes, this engine was never sold in Europe. Otherwise, if only the head could get replaced with that of an EF EL, without needing to replace the manifolds and timing belt, this would be a good idea.
After having typed in EF EL into the search box, the search engine couldn’t function with this too short of a question. Could anybody kindly link me to a thread concerning the EF EL?
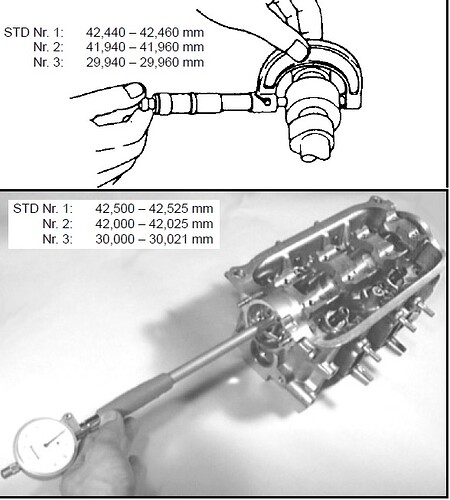
The following illustration shows that the journal size isn’t exotic. According to the specification charts shown, there are two available undersized head journals, as well as two available oversized camshaft journals. If so, why do the instructions call for replacing the entire head, when overly-excessive wear is measured?

1 Like

of coarse the v8 stuff is too big but all i was meaning is the idea is sound and as you have pretty much stated you would need to do some R&D for it to work. In regard’s to the efel head the manifolds are different so you would need them also as well as fuel rail and TB. In doing the swap though the ed timing belt is used. Would also probably need to run an fpr.

1 Like

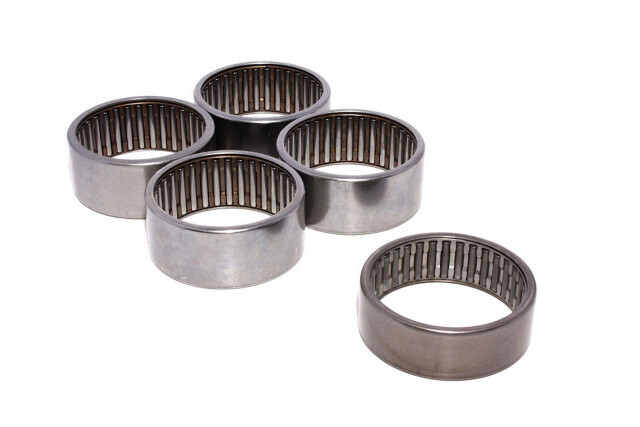
Here is something of which I’ve never seen before:

image

I’m guessing, such bearings could cause a significant drop in oil pressure.
The only aluminum block that I know of which was cast for accomodating a camshfaft was the following:

http://www.kingbearings.com/

However, this claim doesen’t seem to apply to the camshaft bearings:

Due to the differences in coeffiecint of expansion, one would assume that a steel bearing pressed into an aluminum block would risk the danger of spinning. Since cilinder heads reach higher temperatures than the blocks themselves, this could be the reason as to why the cilinder head material is used as the bearing surface. In which case, the bearings themselves would need to be cooled down significantly, before they could get pressed into a pre-heated cylinder head.

[quote=“evilhighway, post:19, topic:3870”]…you would need them also as well as fuel rail and TB…
…Would also probably need to run an fpr….[/quote]These are abbreviations for which bits?

1 Like