Like a lot of people, my working hours were affected by the covid pandemic and I was cut down to 3 days a week.
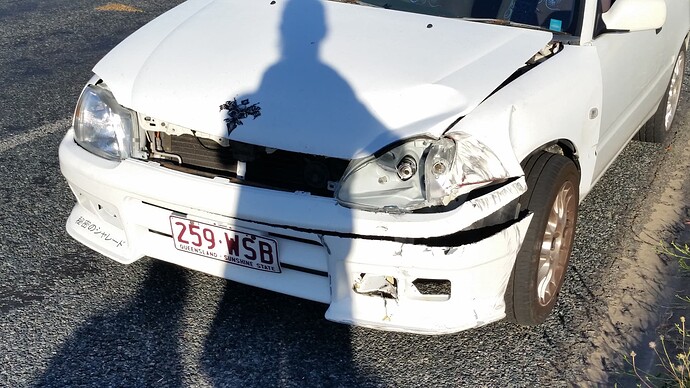
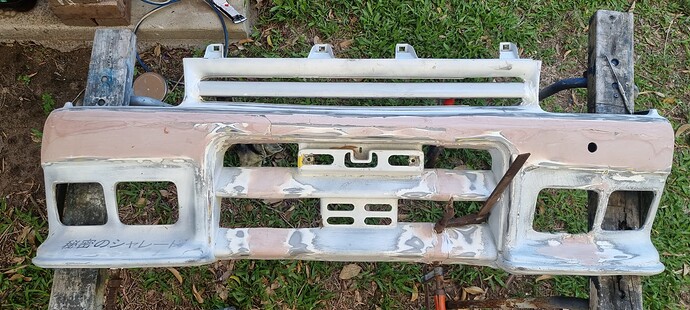
I hate sitting around and get bored easily so cleaned out the garden shed where I store spare parts and came across the remains of the Detomaso front bumper that I had previous modified to suit a G200 Smiley Charade
but alas it came to a nasty end ![]()
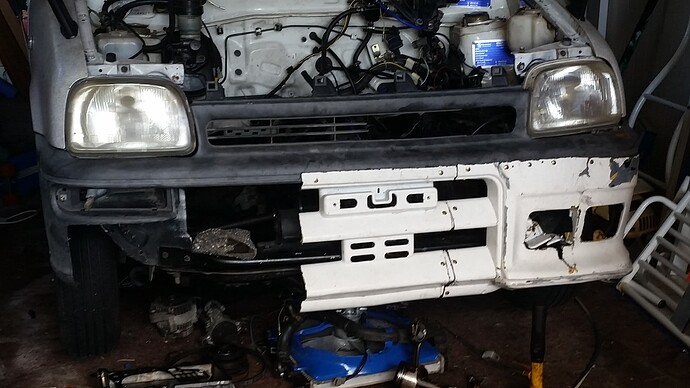
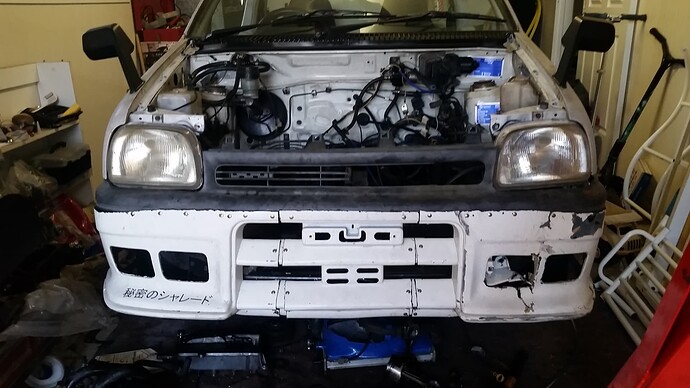
I looked at it then wondered how hard it would be to modify it to fit an L200 Mira and having a spare Mira bumper that had seen better days, I started cutting and shutting both together with no real idea what I was doing but having a vision ![]()
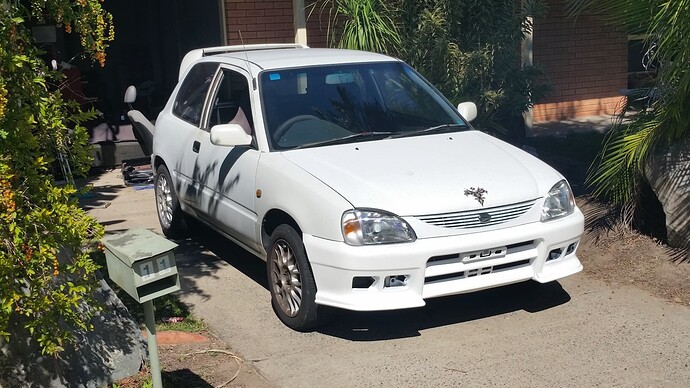
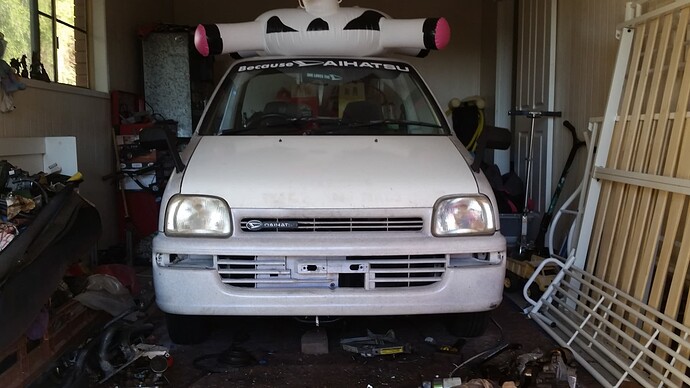
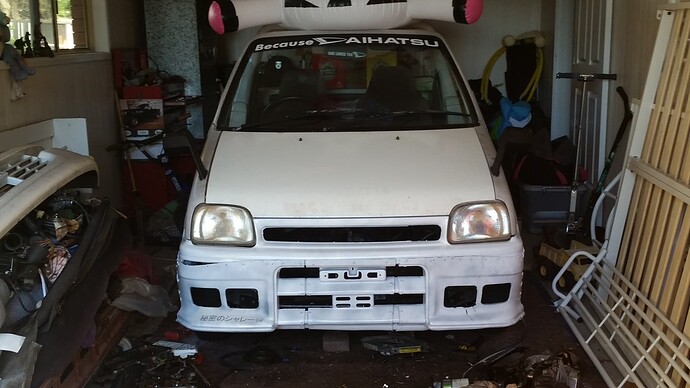
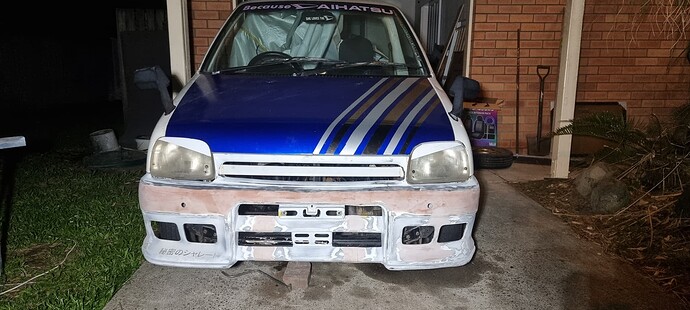
a quick coat of rattlecan white so it was all one colour the car went from looking like this with original bumper
to this
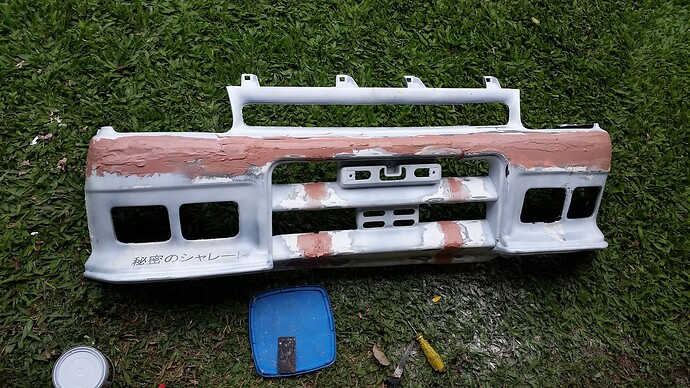
Screws held it together and marine grade white Sikaflex was used to stick it all together. After the sikaflex had cured for 48 hours the screws were removed and the process of filling in all the holes and joins with body filler began
It was around this stage that I thought I would get it as good as possible and use it as a cast to make a fibreglass mold so I could make the actual bumper out of fibreglass. Searching the biggest learning platform there is ( Youtube ) I watched a few tutorials on this channel ![]() and thought it looked easy, nice and straight forward with no rubbish, even for a beginner
and thought it looked easy, nice and straight forward with no rubbish, even for a beginner ![]()
I wasn’t too sure about the grill opening and so modded a piece from another grill to fit, holding it in with more sikaflex
After a final fit and last minute touch up sand
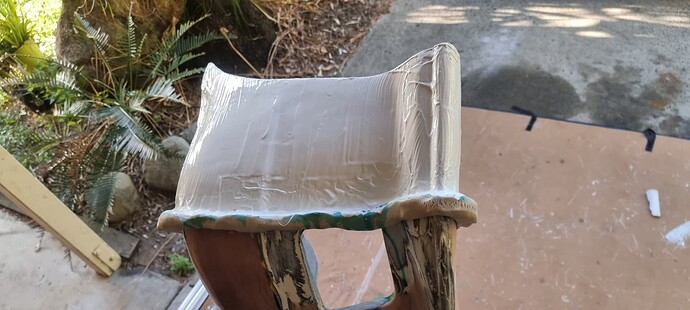
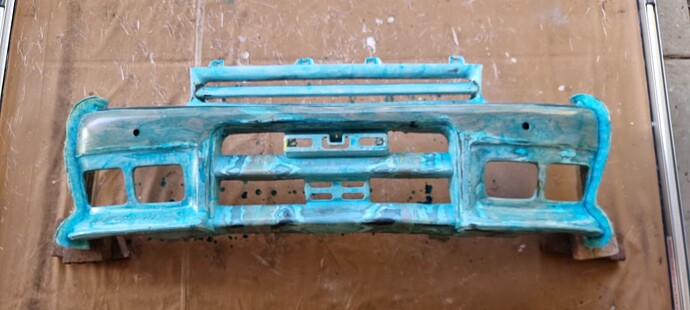
it was time to get down to business, 3 layers of mold release wax were applied followed by PVA Release Agent, then a piece of modelling clay to act as an edge for the side as it is a 3 piece mold ( explained in the video tutorial series) white gelcoat brushed on and the first fibreglassing that I have ever done had commenced
It was let cure for 48 Hours then same process repeated on the other end before tackling the middle part, that pva release agent is a pretty blue
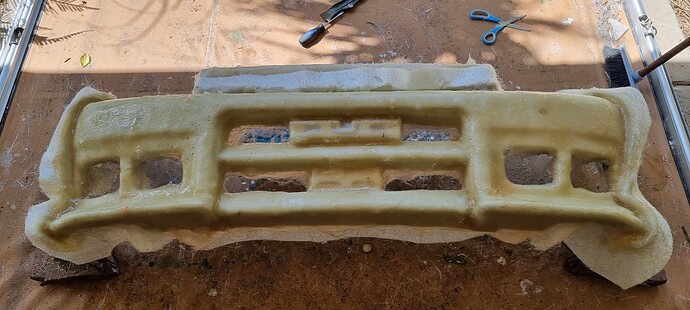
1 layer of 225 chopped strand mat and resin followed by 2 layers of 450 csm and I ended up with this monstrosity
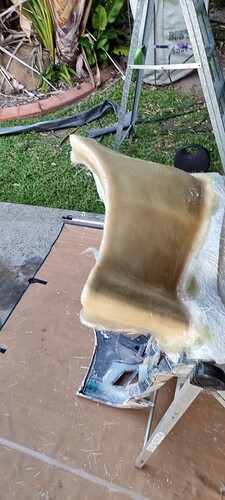
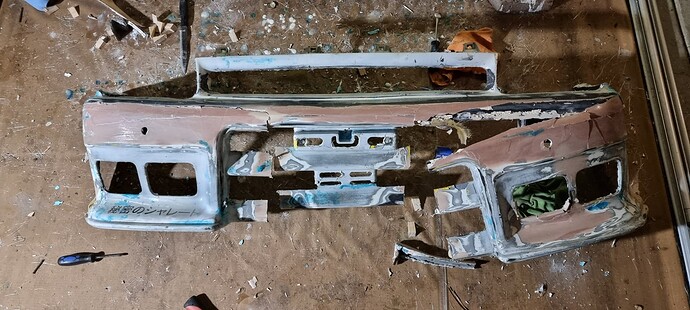
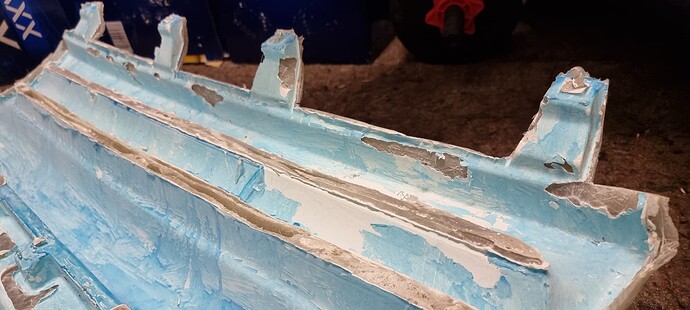
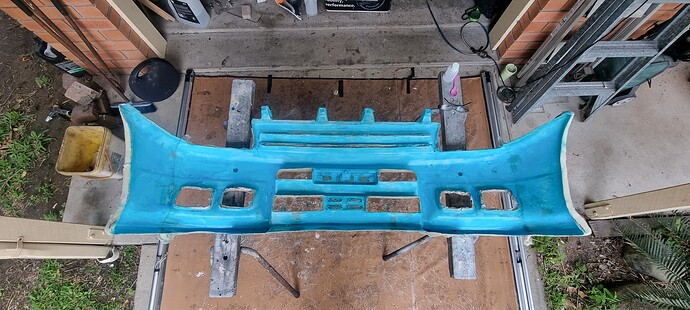
After letting it all cure for about a week due to work being busy, fun was had dislodging the mold from the cast
and this was the result
not the best finish, few air pockets and holes here and there but not bad for first effort
3 holes were drilled in both joins and the 3 pieces were bolted together, joins and holes filled with body filler, the whole lot given 3 coats of wax and pva release agent ( I Really do like that blue ![]() )
)
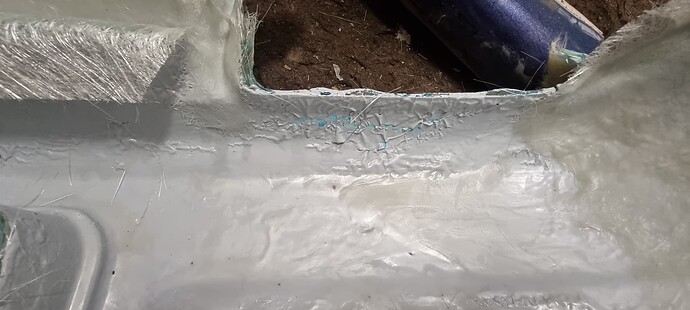
Gelcoat was brushed on, let cure for 24h then the first of the resin laid when a small disaster struck
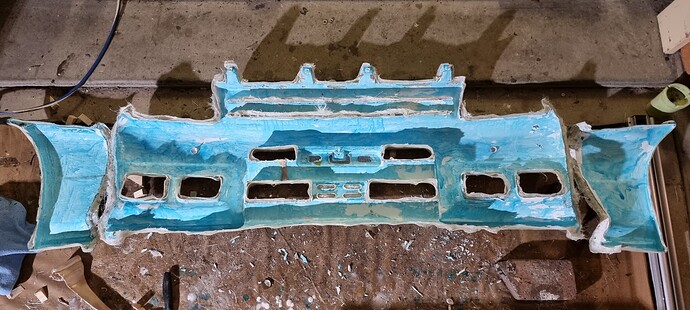
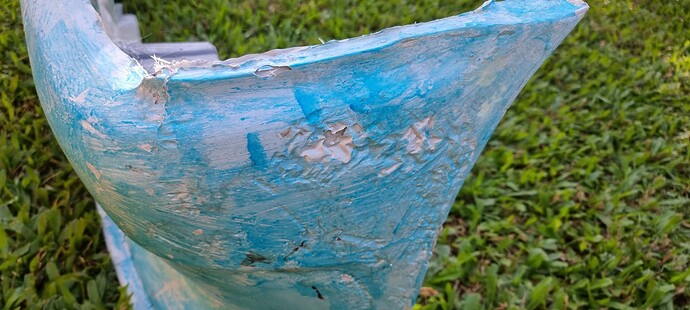
A lot of the gelcoat reacted to the resin, I was told that I hadn’t used enough of the MEKP hardener in the gelcoat
The plastic that surrounds the indicators in the Mira bumper was cut out and fibreglassed around to as 2 of the mounting points for the Mira’s are behind the indicators
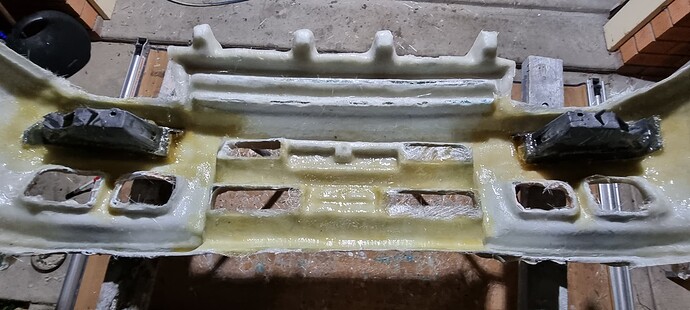
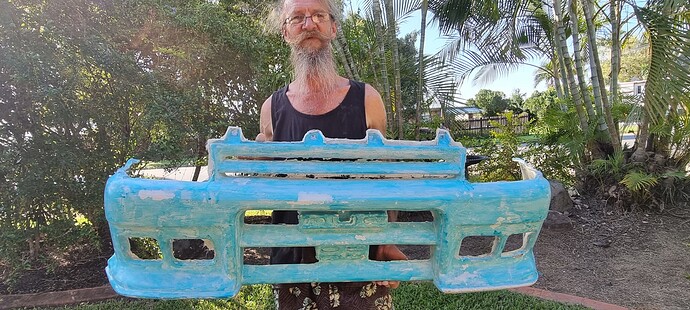
It was all let cure for about a week again before unbolting the end pieces and easing them off before easing the bumper out of the rest of the mold, revealing the result of all the gelcoat reaction
Overall though, I am very pleased with the final result
This is where I am at after 2 years off again on again working on this, needs to be sanded, filled and sanded again till smooth, all mounting holes drilled out, final fitting and painting.
Sorry for the long post, I got in a mood but stay tuned to see what it ends up like on the car
