Just checked them out but they only carry ES pads for Copen - AU$121.85;
Garage 88 are actually the Australian distributer for Dixcel, they put the Type ES’ on the store specially so I could order them. Give them a call and they can get you anything Dixcel make.
It seems I will get it cheaper from RhdJapan and like anything Japanese it is extremely efficient and highly professional as noted below.
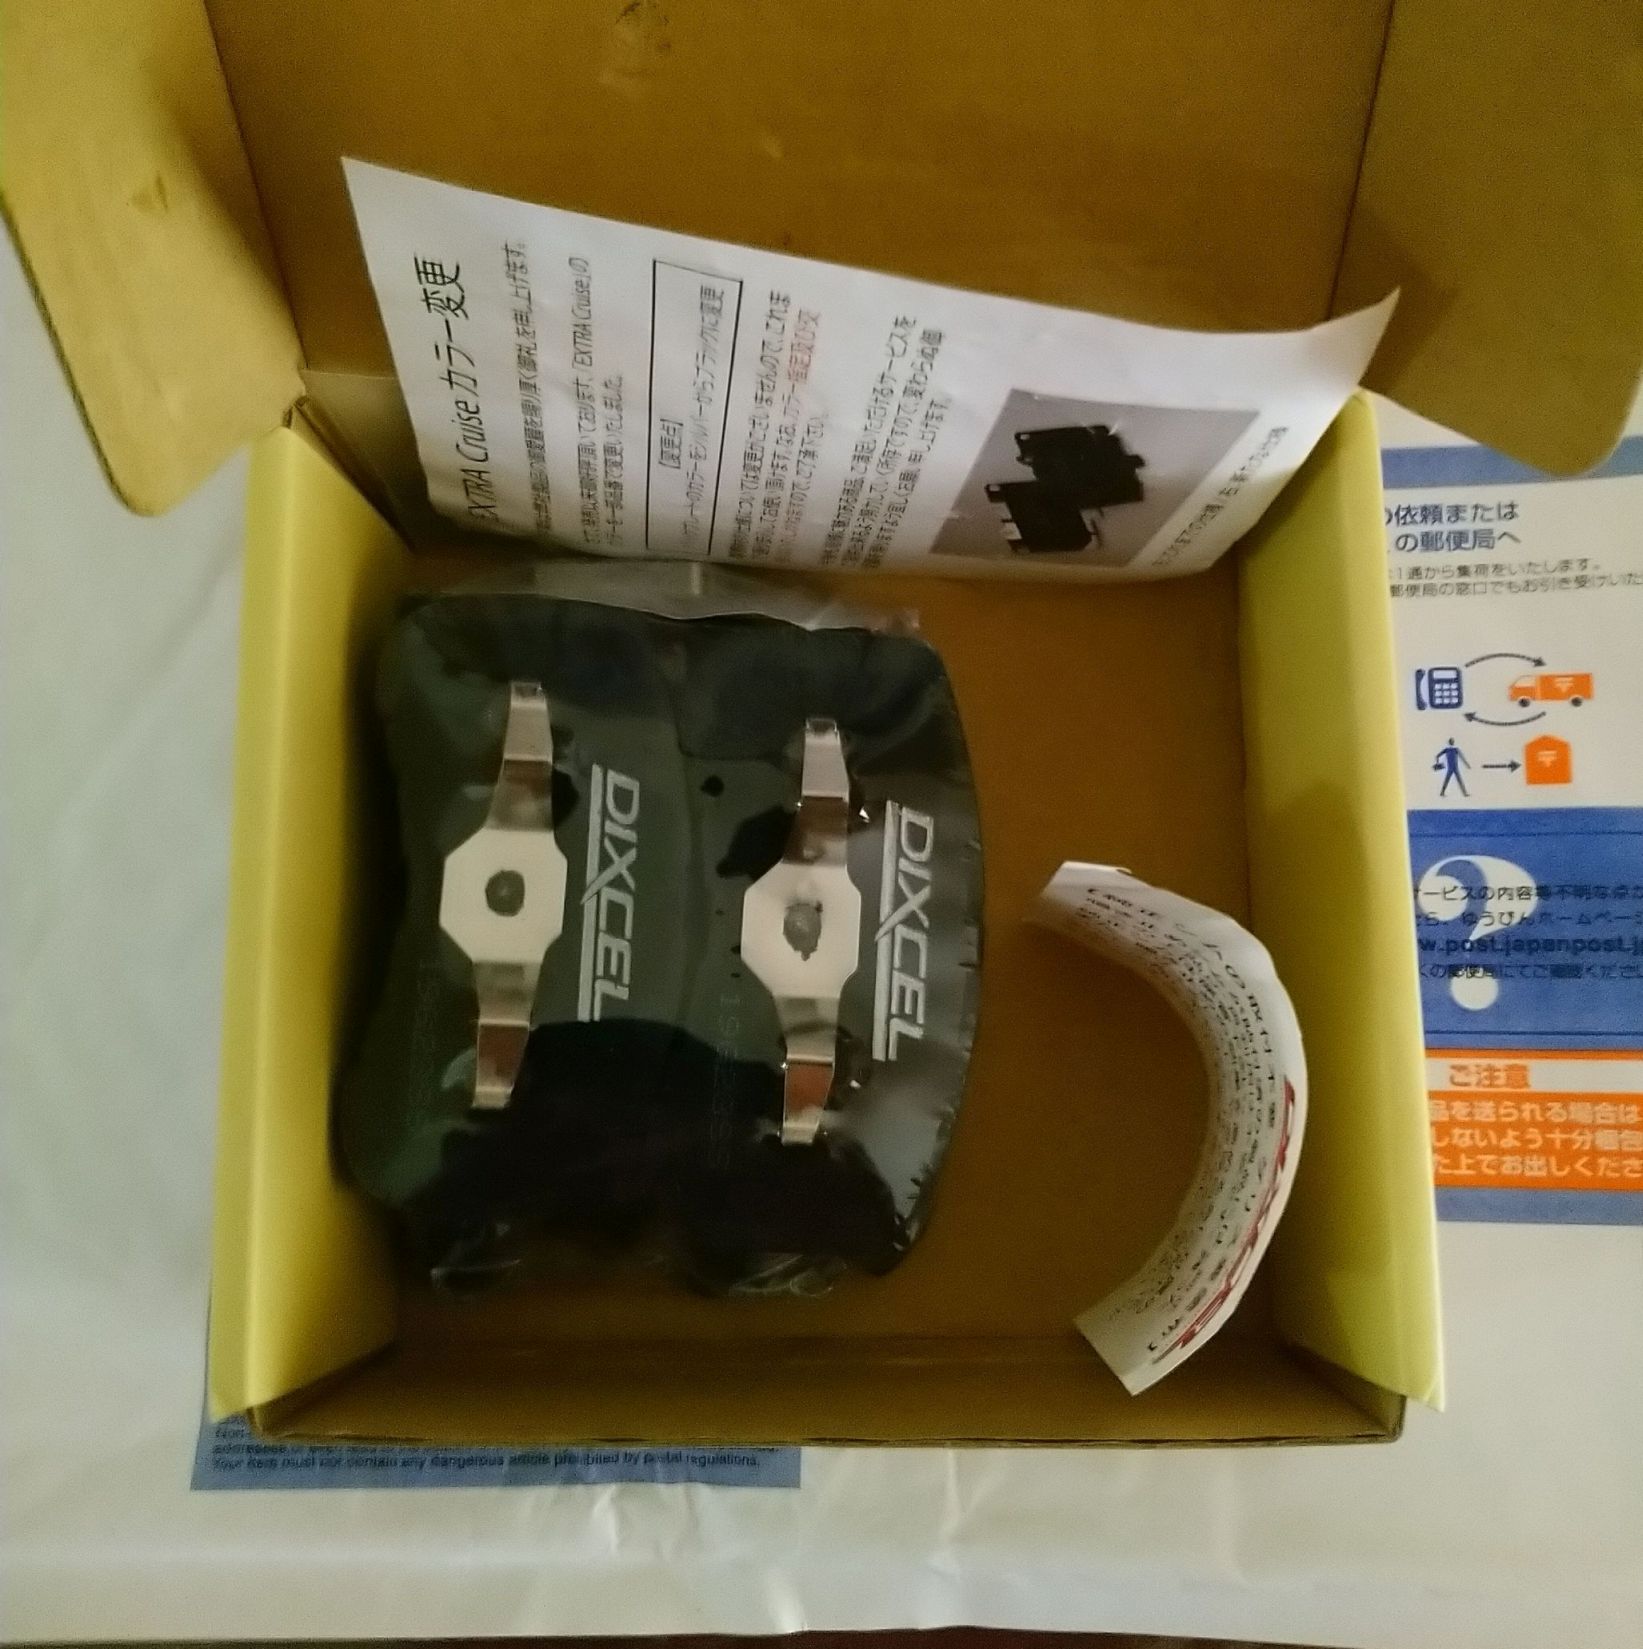
I just got a delivery today (Sunday) and out of all the parts I have ordered the one that had to come the furthest from Japan is the first to arrive;
- Ordered: 21.01.2020, Suspension, BC V1 Design VM Coilover Suspension Kit, still no ETA
- Ordered: 28.01.2020, Brake Pads, Dixcel Front Brake Pads Type EC, delivered 02.02.20 (on a Sunday by DHL)
- Ordered: 28.01.2020, Rotor, 2 x slotted, vented brake rotors, DBA495S, still no ETA
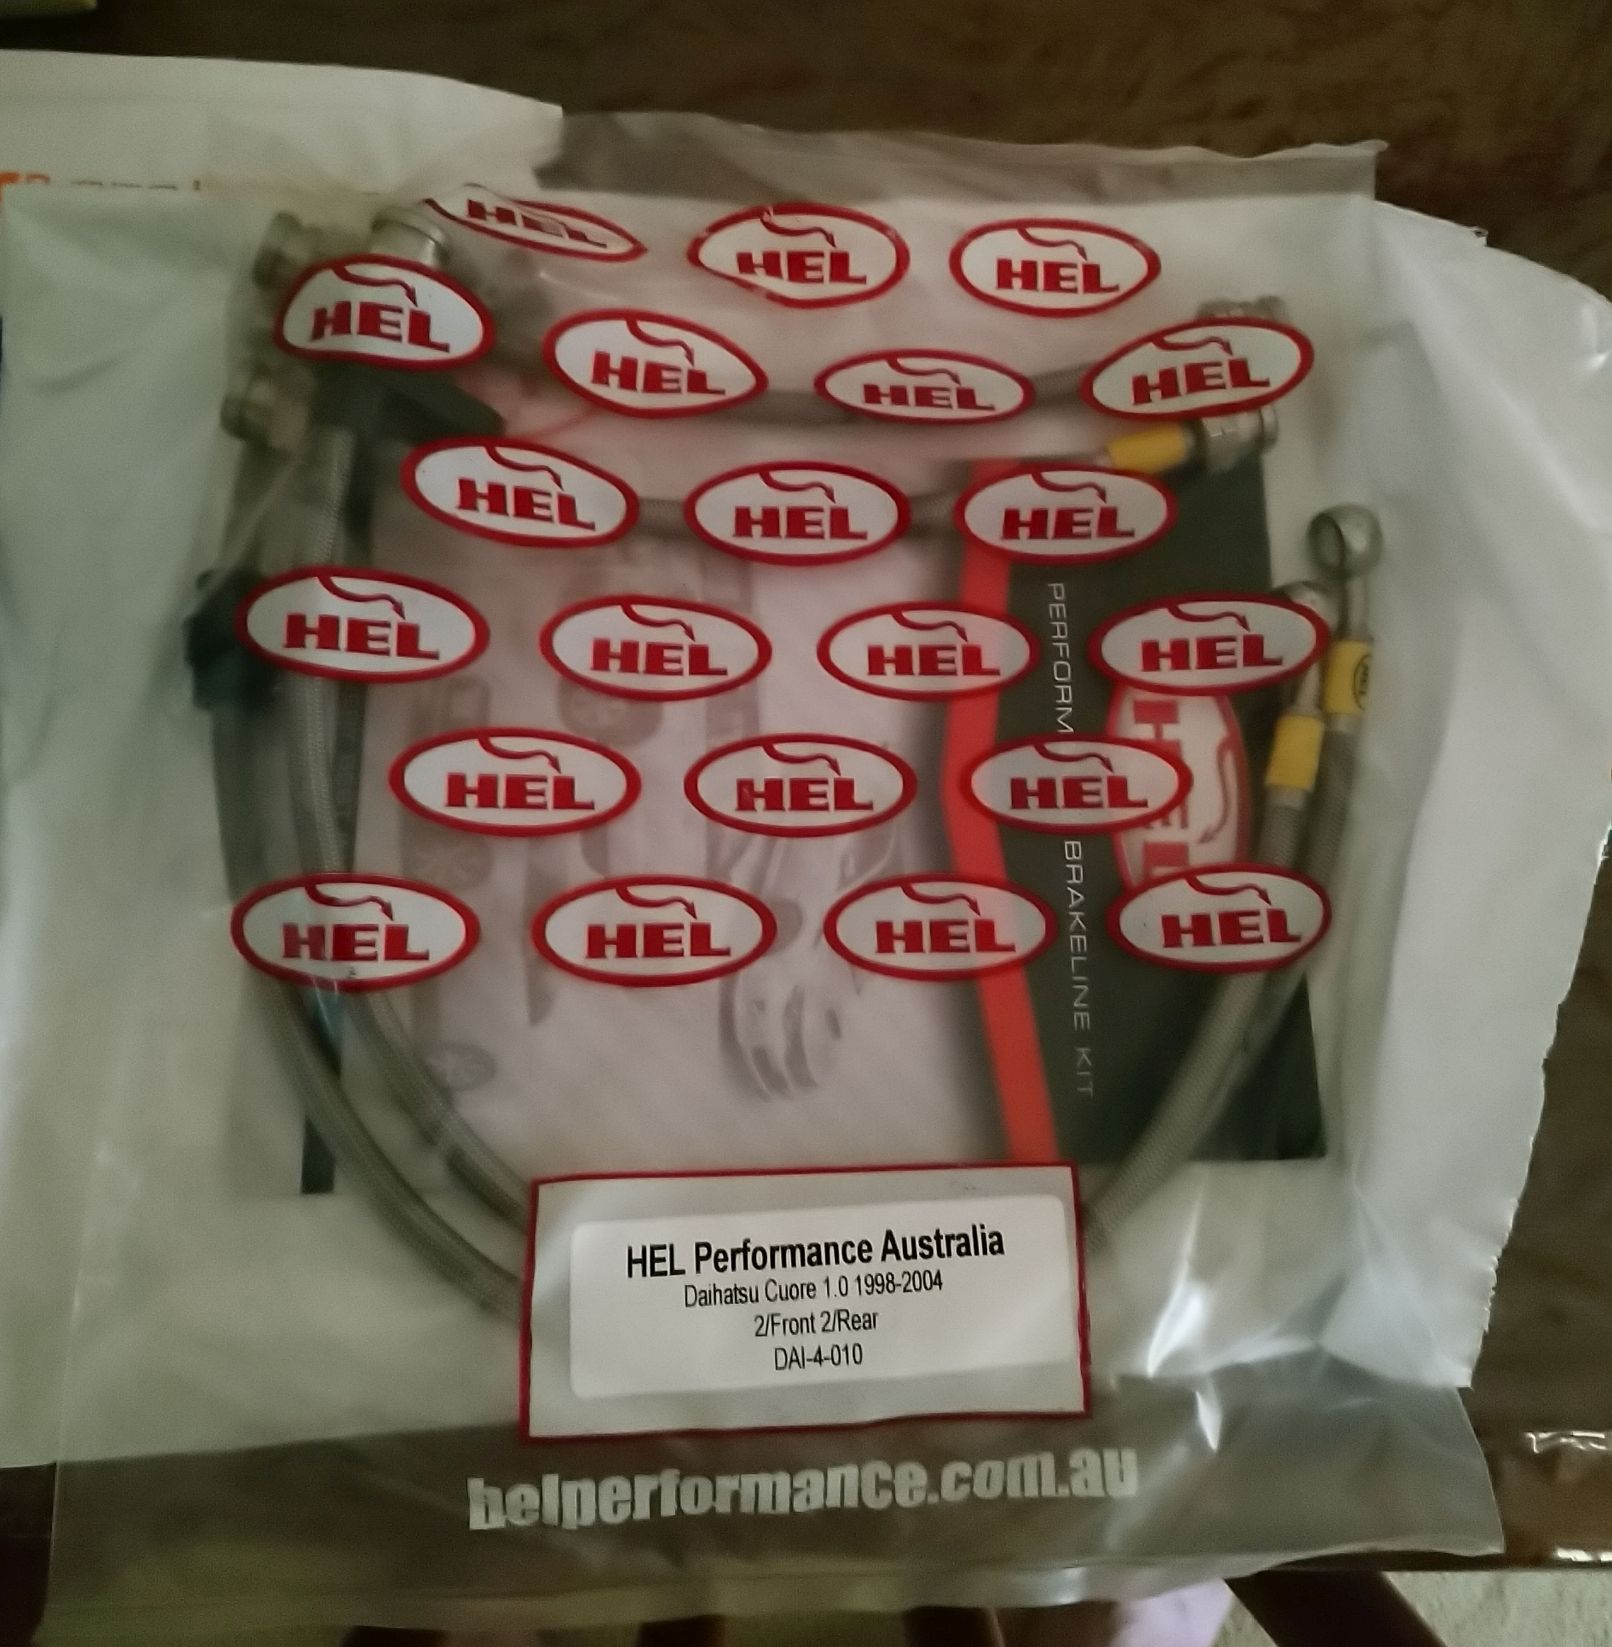
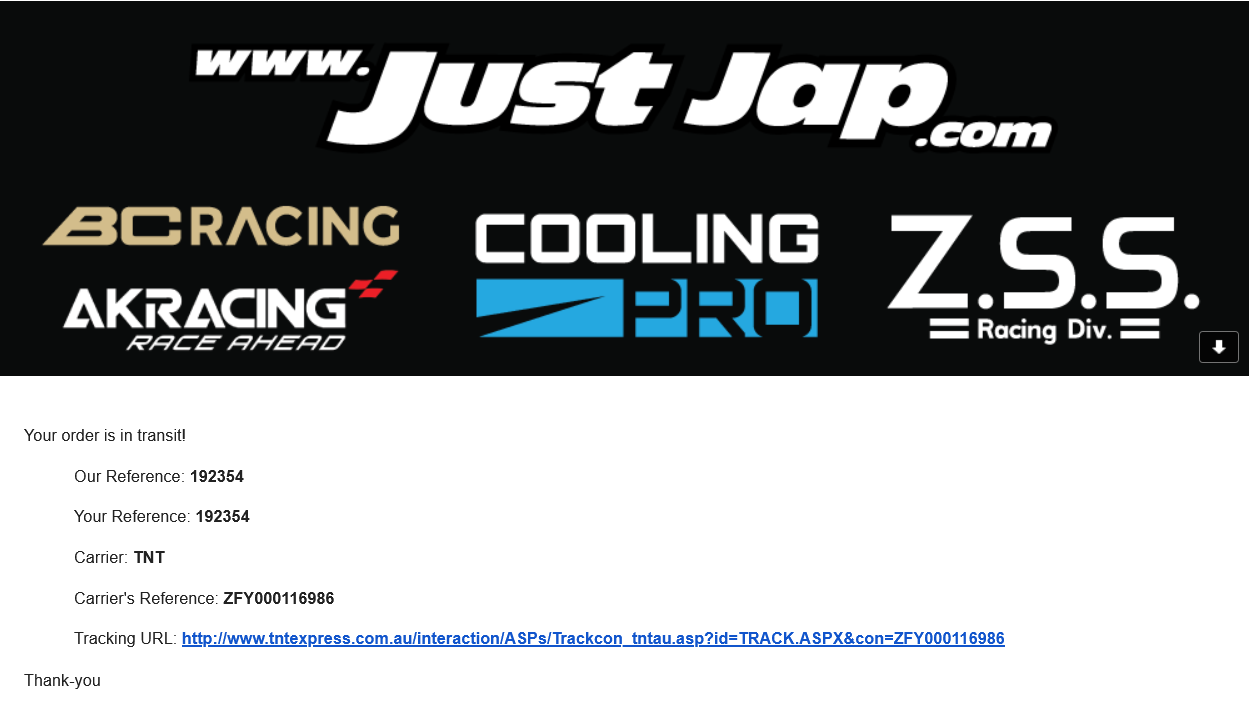
- Ordered: 29.01.2020, Braided Brake Lines, Daihatsu Cuore 1.0 (1998-2004) Braided Brake Hoses, HEL, DAI-4-010, en route with tracking number expected tomorrow, and
- calipers, donor vehicle viewed on 29.01.20, parts collected on 30.01 and taken to be refurbished and expected to be available for pick up tomorrow (03.02.20).

4 Likes
Great stuff mate, yeah japan EMS is freaking amazing. I love it and its worth the extra cost.
It must have gone the RHDJapan via EMS and then they dispatched it in a DHL satchel as it was double bagged.
So even if all the parts arrive over the next few days I only have an outside driveway to work on (carport is way to confined) and Brisbane’s weather is looking like we have the rest of the week as rain. Ironic we wait months and months for rain and nothing, as soon as the car parts start trickling in we get forecast for the whole week 


1 Like
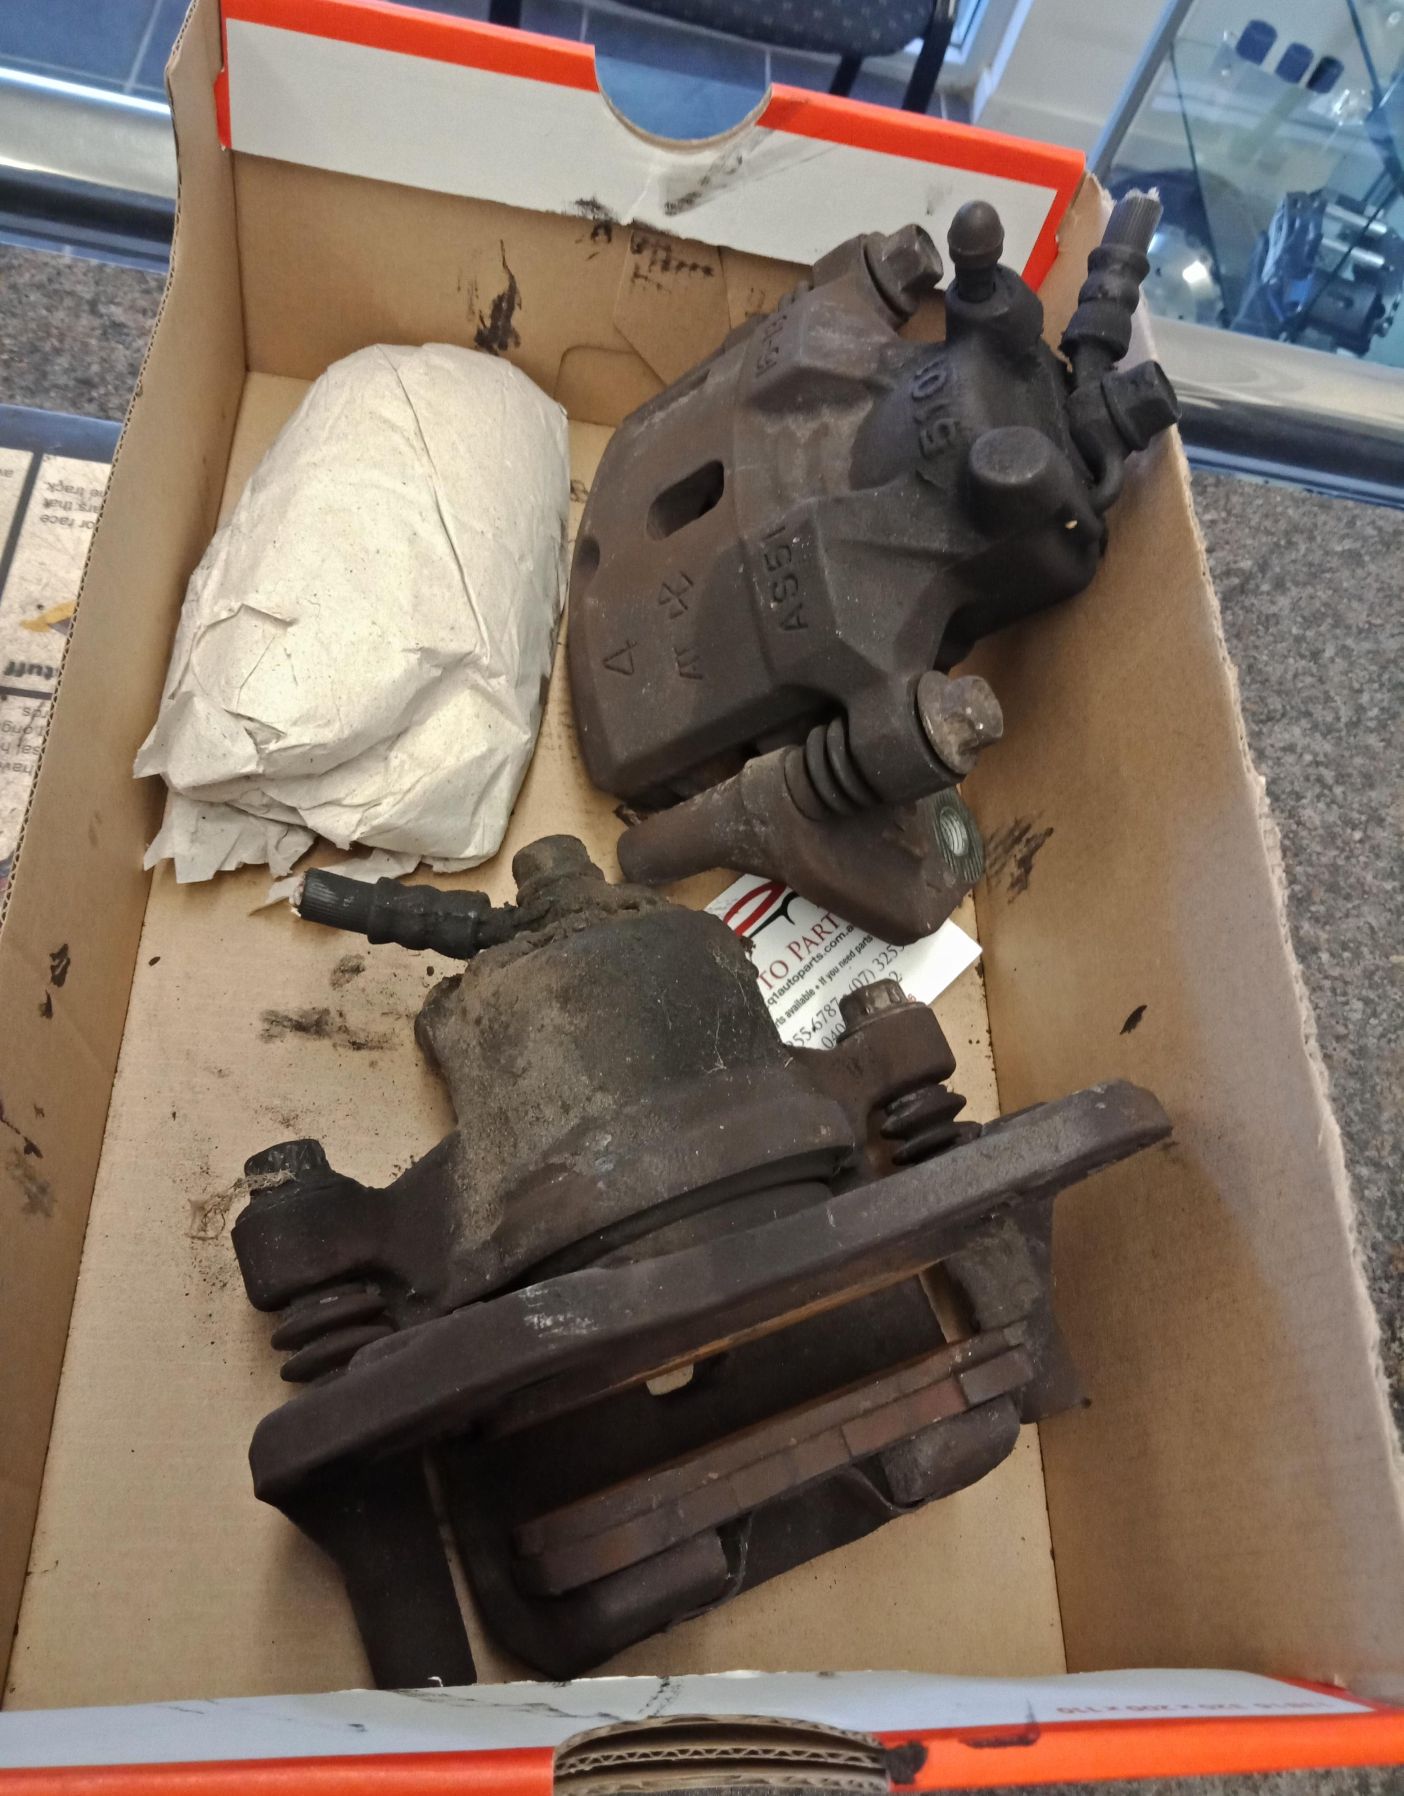
The donor vehicle was viewed on 29.01.20, and the calipers collected on 30.01 for $50ea. and taken to be refurbished, this is what they looked like when I dropped them off;
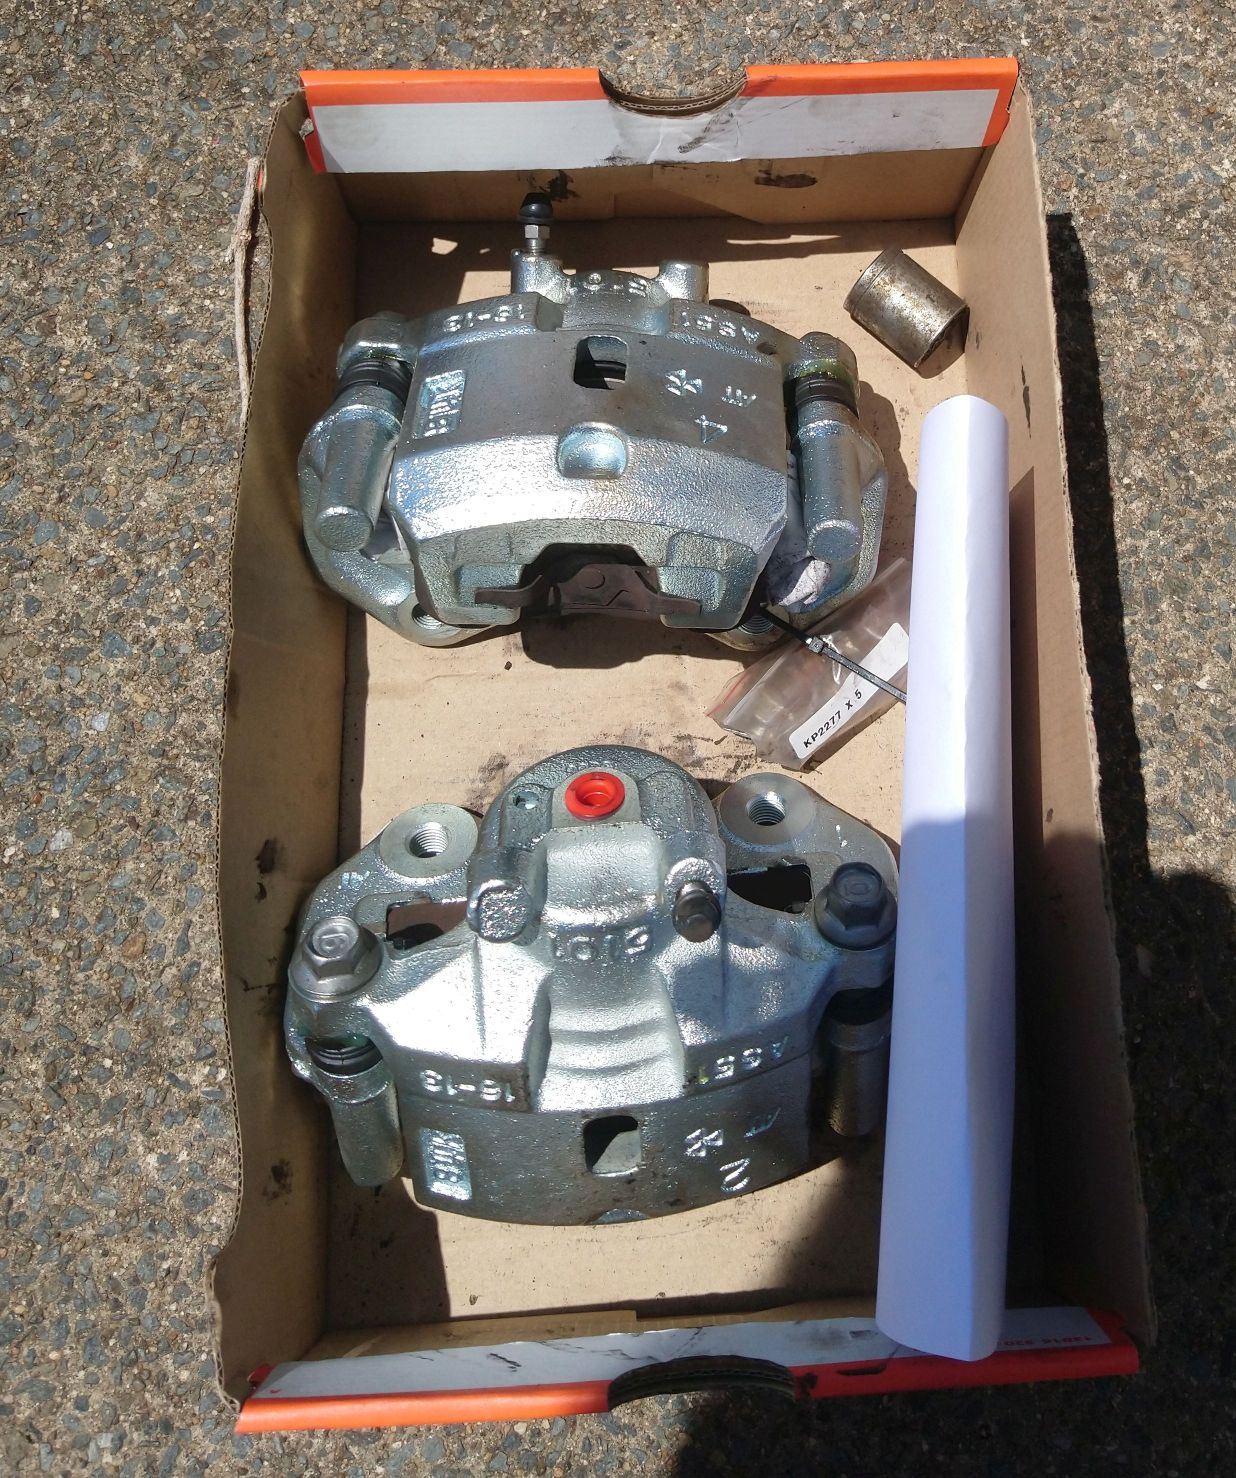
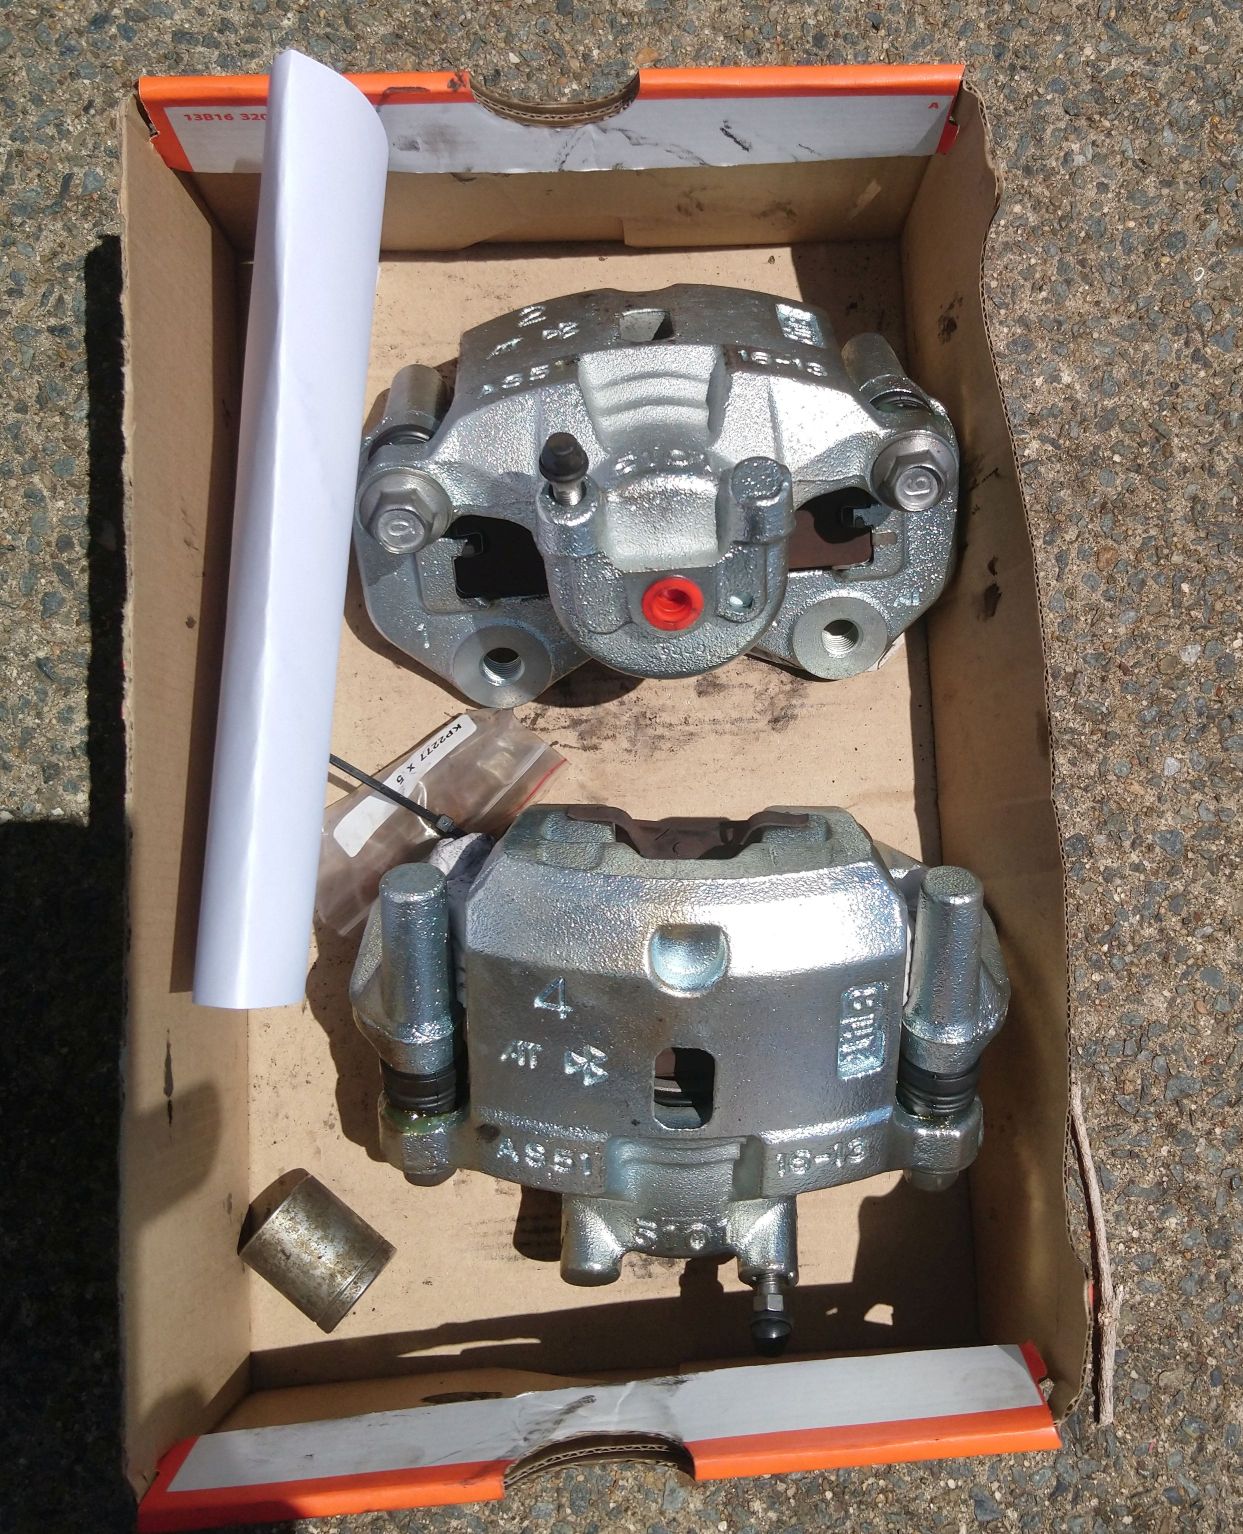
The calipers have come up really well and look like new after the zinc plating and seal kit but they are an absolute dust magnet for the old pads and are getting dirty quickly, still BHSS-TBS did an awesome job on them and for anyone in the Brisbane region I think they are worth seeing out at Capalaba;
https://bhss.com.au/brakes/calipers/
To have them both serviced was $316.25 and here is how they look;

5 Likes
The next piece in the puzzle arrives - HEL Braided Brake Lines and the work table is filling up fast;
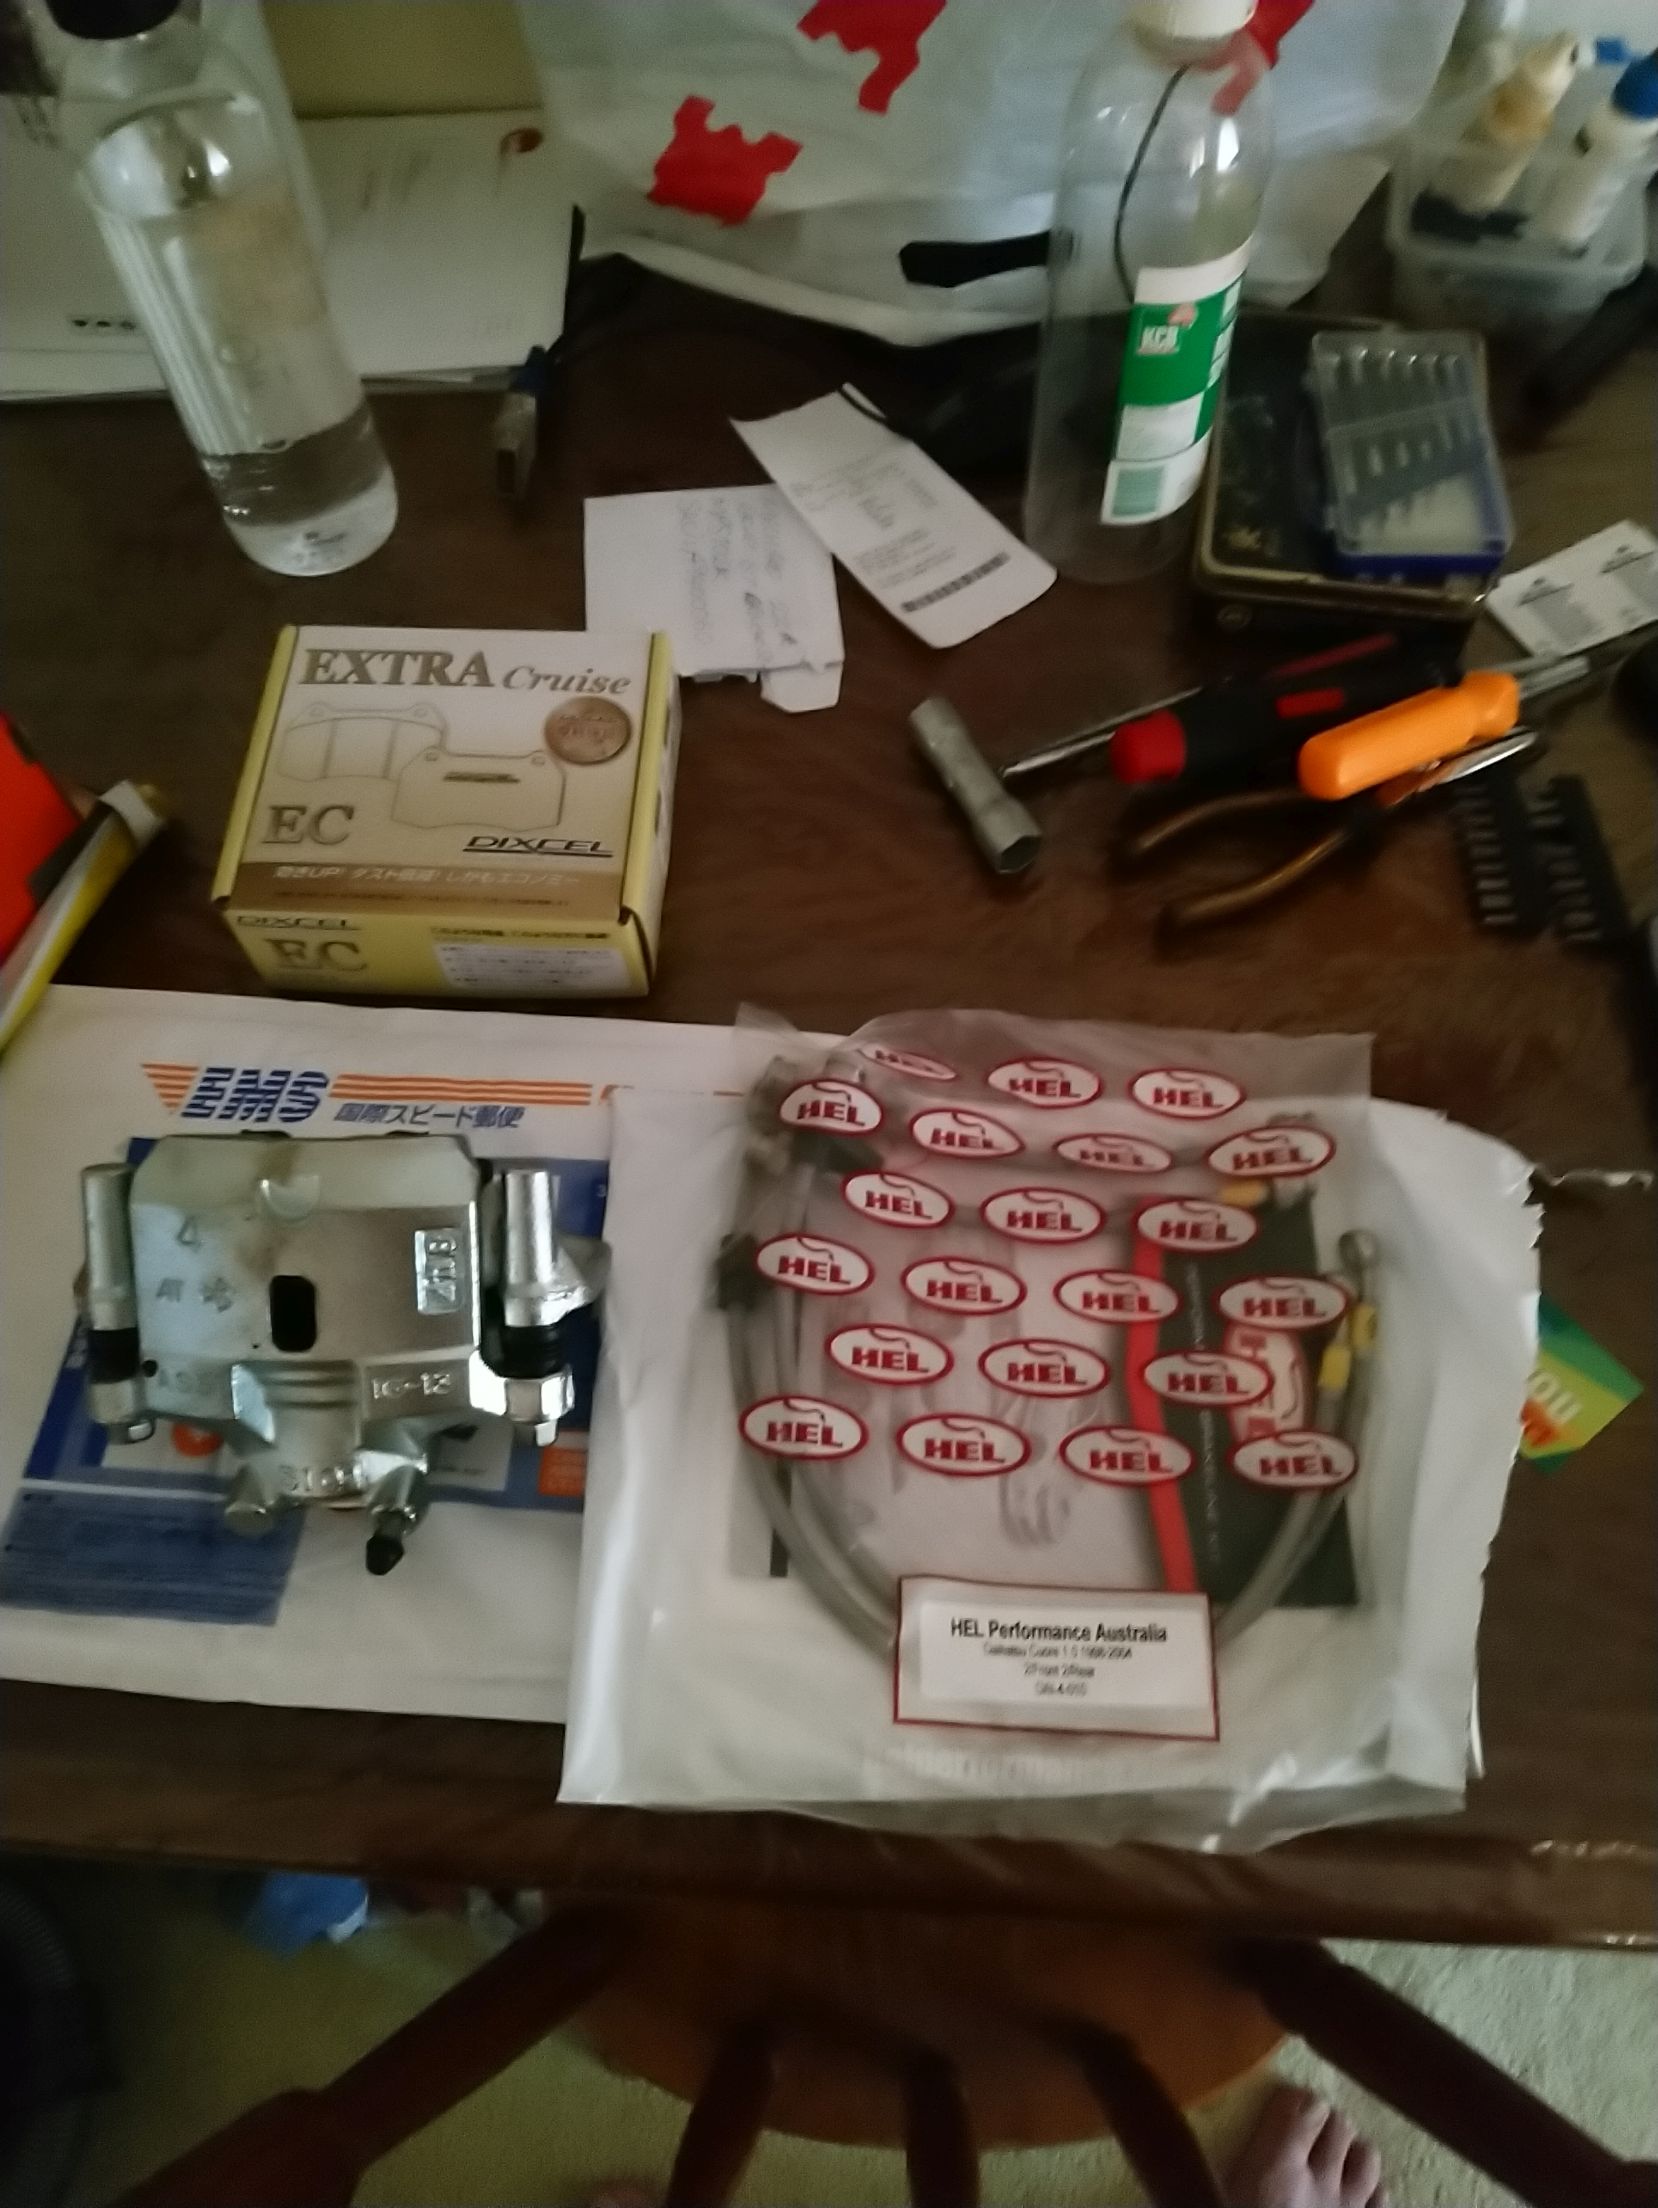
Going to call SCA to find out when Rotors are coming.
5 Likes
Final piece of the puzzle for the brake upgrade component arrived today, 2 x DBA495S Rotors and they were surprisingly heavy I also picked up some Brake Cleaner and Nulon Dot 4 Brake Fluid but I think I have run out off WD40 so another product needed;

Any thoughts on this method using one trolley jack and 2 jack stands (I have other scissor jacks if needed);
- Doing the rear first as I am only doing the lines, place car in first gear, chock front wheels, drop handbrake and then jack rear end and put on stands,
- bleed brake system from rear passenger and swap out brake line, then bleed that line until no bubbles and pedal solid,
- bleed rear drivers side, swap out brake line, then bleed that line until no bubbles,
- lower rear to ground and pull on handbrake and chock rear wheels,
- jack front end and put on stands, bleed passenger side and then swap out refurb. caliper with new brake line, new disc and add new pads and bleed passenger side,
- rinse and repeat for drivers side.
Should I revisit the rear brake lines and bleed again after bleeding the front and swapping over the whole front brake system?
Or should I be going front to rear starting from drivers position to the furthest from the driver?
Also would you put the news pads in the calipers and connect the new brake line before they get mounted and fitted onto the new rotor, as there would be no fluid in the cylinder and it would make it a lot easier?!?
2 Likes
Yes fit the pads in the front while there is no fluid in the calipers.
I would fit the lines to both sides and then bleed from the farthest corner. Your proposal should work, it’s just not the method I use. You’ll know if it does not work.
Your write up is fantastic.
2 Likes
Thank you - hopefully others enjoy it and find it meaningful.
On sleeping on it I am going to start at the closest to the master cylinder (driver side) and work my way to the furthest at the back, following a normal whole system bleeding/flush method.
Getting frustrated with the delay on the suspension I was considering contacting the suppliers in Taiwan directly as I only got a vague guesstimate as to ETA after asking for any updates;
http://www.bcec.com.tw/products/new%20products/products-V1.html
I then reviewed BC Racing Australia’s site and the kit I was interested in and noted they have now become $100 cheaper and the website stated ‘In Stock’;
Seeing that ‘In Stock’ made me call them and ask how come they have it In Stock but I am still awaiting an ETA and why is it now $100 cheaper - they said they reviewed their tracking number and it was expected to arrive to them by the end of the day and delays were possibly due to Lunar New Year. He put me on hold to see if he could get me that $100 difference and said afraid not as this new price only started today and I ordered at $1299. Hopefully they will arrive by Friday.
1 Like
Hey Jamie - how did you bleed the brake system to swap out the brake lines and calipers etc?
Did you do as advised in the Sirion tech manual?:
1.Remove the disc wheels. (Front)
Refer to Page C3-3.
2.Prevent brake fluid from flowing out, using the following procedure.
(1) Connect a bottle for air bleeding to the bleeder plug of the RH/LH front disc brake caliper Ay. Open the bleeder plug.
(2) Fully depress the brake pedal. At this point, secure the brake pedal Ay.
TOOL: Brake pedal pusher
NOTE
• This causes the port of the brake master cylinder S/A
to close. Therefore, any escape of brake fluid from the
brake hydraulic circuit can be prevented.
(3) Close the bleeder plug of the RH/LH front disc brake
caliper Ay.>
Or did you just open each brake line bleed valve as you were working on it and empty that line and swap it over with the HEL? If so, did you then bleed each brake line again after you had finished it before moving onto the next one or did you just wait till the end and then bleed the whole system?
The Sirion method above means the master cylinder would not dry out and you would just have to catch the fluid from each line?!?
Late Edit I asked the same questions to Jame’s via PM and he responded very quickly with:
You don’t have to empty the line, you’re going to lose fluid anyway, don’t forget you putting fresh calipers on it too. Install everything first, bleeding the brakes will be the last thing you do on the car.
It makes sense as well if I leave the cap on the master cylinder that fluid is in a vacuum and only a small amount will leak out the lines with the master cylinder remaining full unless I broke that vacuum (popped the lid). He also advised I get another 500ml of brake fluid.
When I changed out to D-Sport lines, we didn’t do anything special regarding procedure, leaving brake pedal depressed or cap on.
Just took a few repeats of: bleed, quick drive, more bleeding, quick drive…
Oh and a mid-job trip to get the right flare nut spanner
2 Likes
I bought a Sidchrome set for the job - overkill I know but I wanted them.
1 Like
Yeah flarenut spanner is a big one considering they’ve likely never come off before, mine took a good bit of force get get undone.
1 Like
I am jealous of those with workshops as I only have my driveway/carport. In Brisbane we have had the occasional shower over the last 8-10months with the lawn almost dying. Finally get all the parts and we have a week+ solid of rain forecast and today it was constant for at least 18hours. At least when the sun gets out it will dry quickly.
Hopefully get a window on the w/e to get into this job.
@applegeek897 Did you get that link to the copy of the Cuore (all Daihatsu) manuals?
The final part is on the way so looks like it will be suspension and front brake assembly all at the same time;
3 Likes
I’ve had access to a work shop on only a couple occasions, most of my work was still done in my apartment carport, I feel the pain haha
2 Likes
So finally today the suspension arrives - I missed TNT on Friday by about 10minutes and we had plans on Monday and Tuesday so I had to schedule delivery for today.
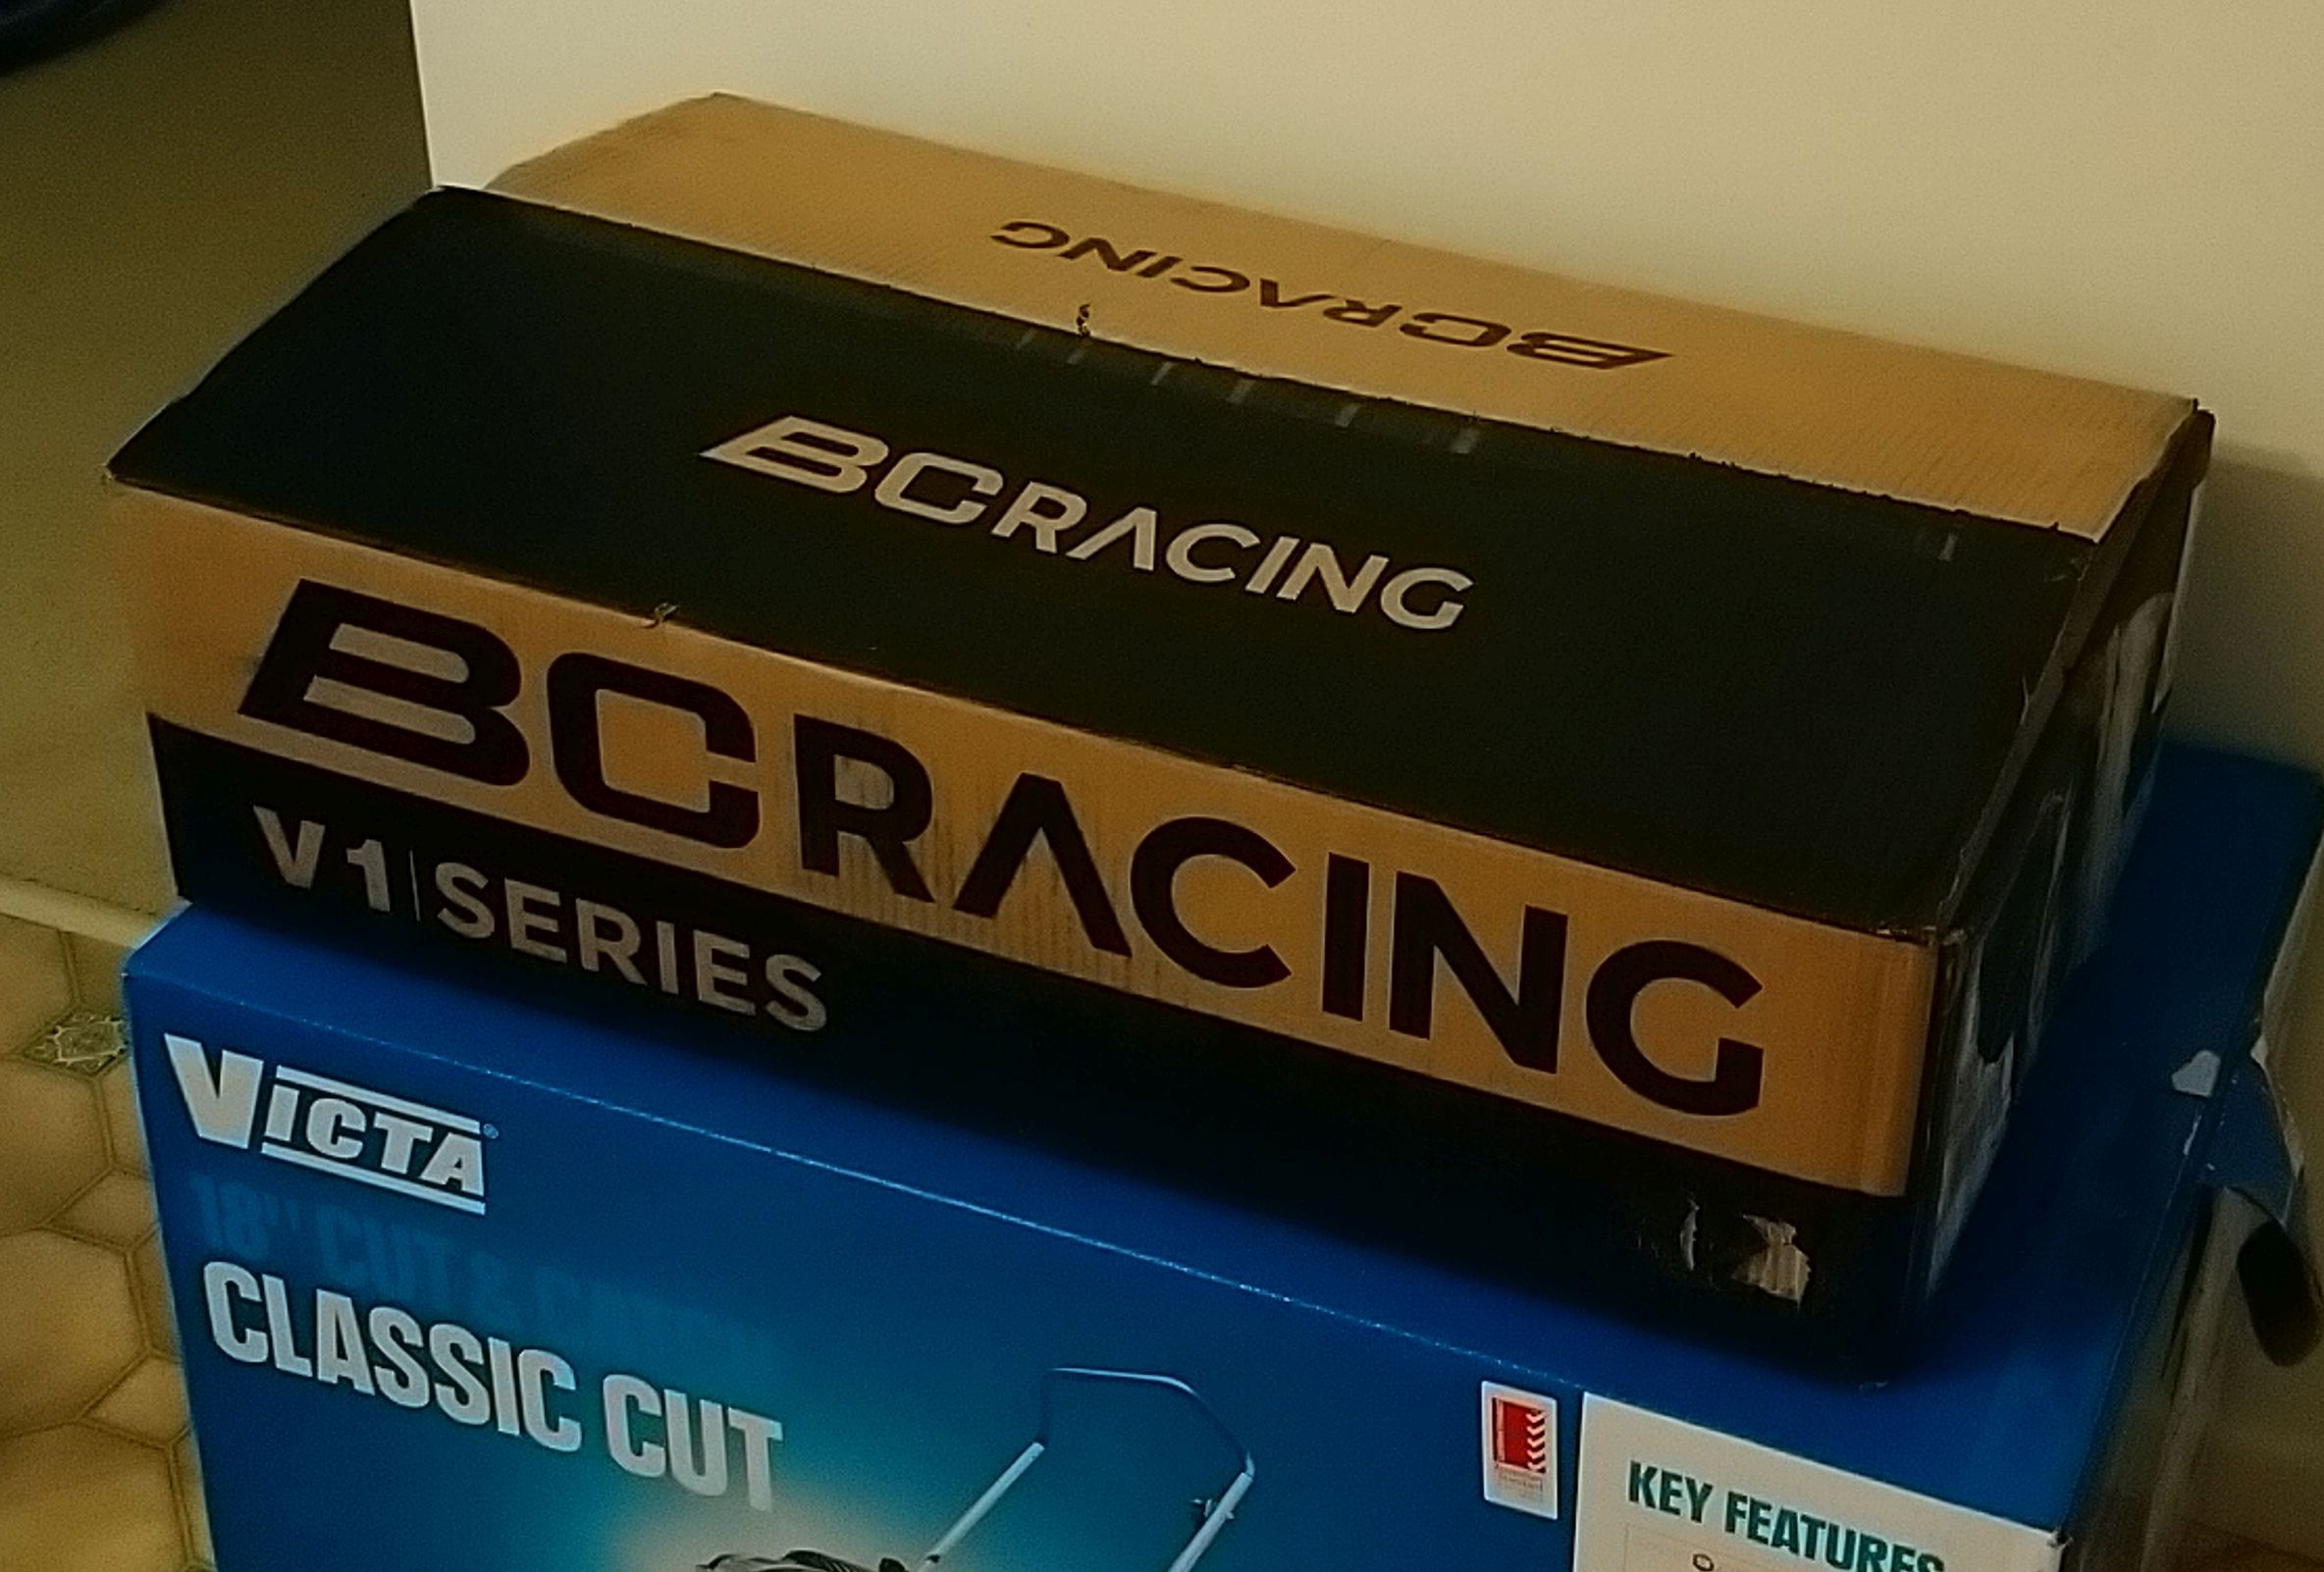
It was surprisingly heavy and around 25KG and I have to say very impressive packaging with 2 thick cardboard boxes (one inside the other) and then the parts in internal sleeves/pockets with bubble wrap, foam bubbles, etc, etc.
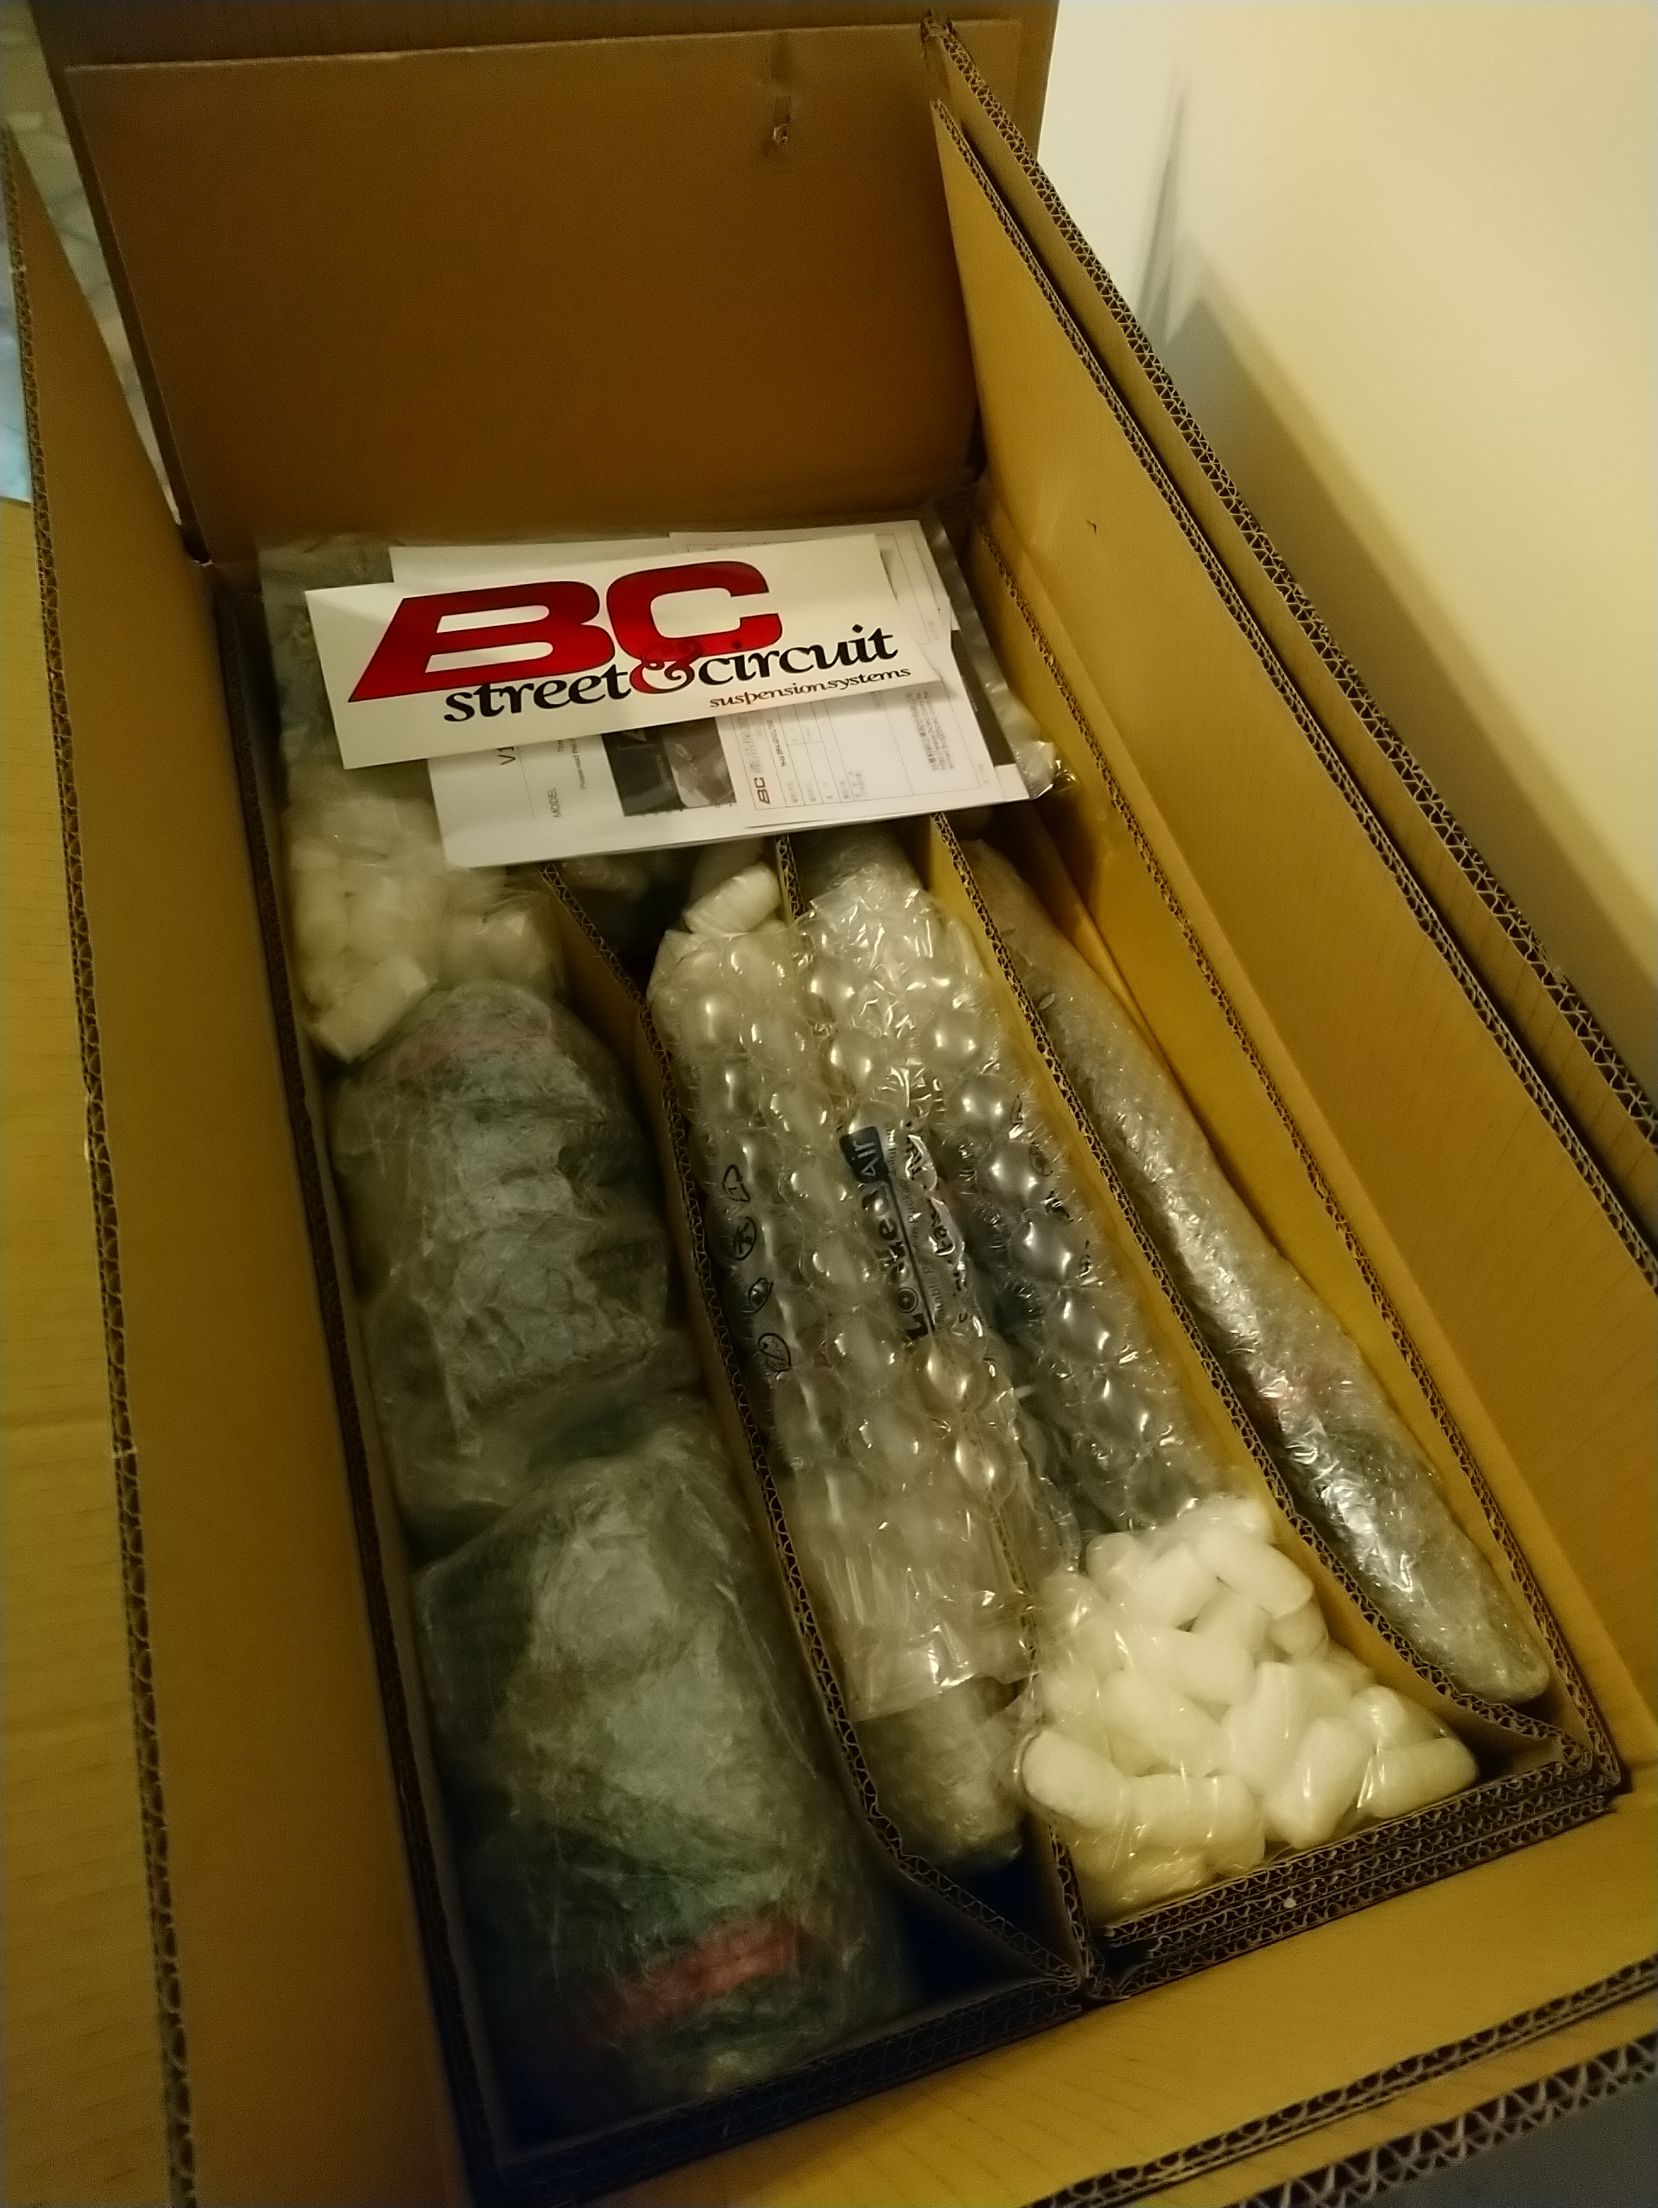
This rain is just not letting up so they are also awaiting till I can get a good day and get a meaningful start on the project and take some more detailed pictures. I know we need the rain but it is almost depressing how it is putting everything on hold atm and now we have a cyclone tracking down the coast so could be several more days of rain, some of it heavy:
2 Likes
I didn’t do the BC Racing suspension the justice it truly deserves yesterday so here it is including the C spanners.
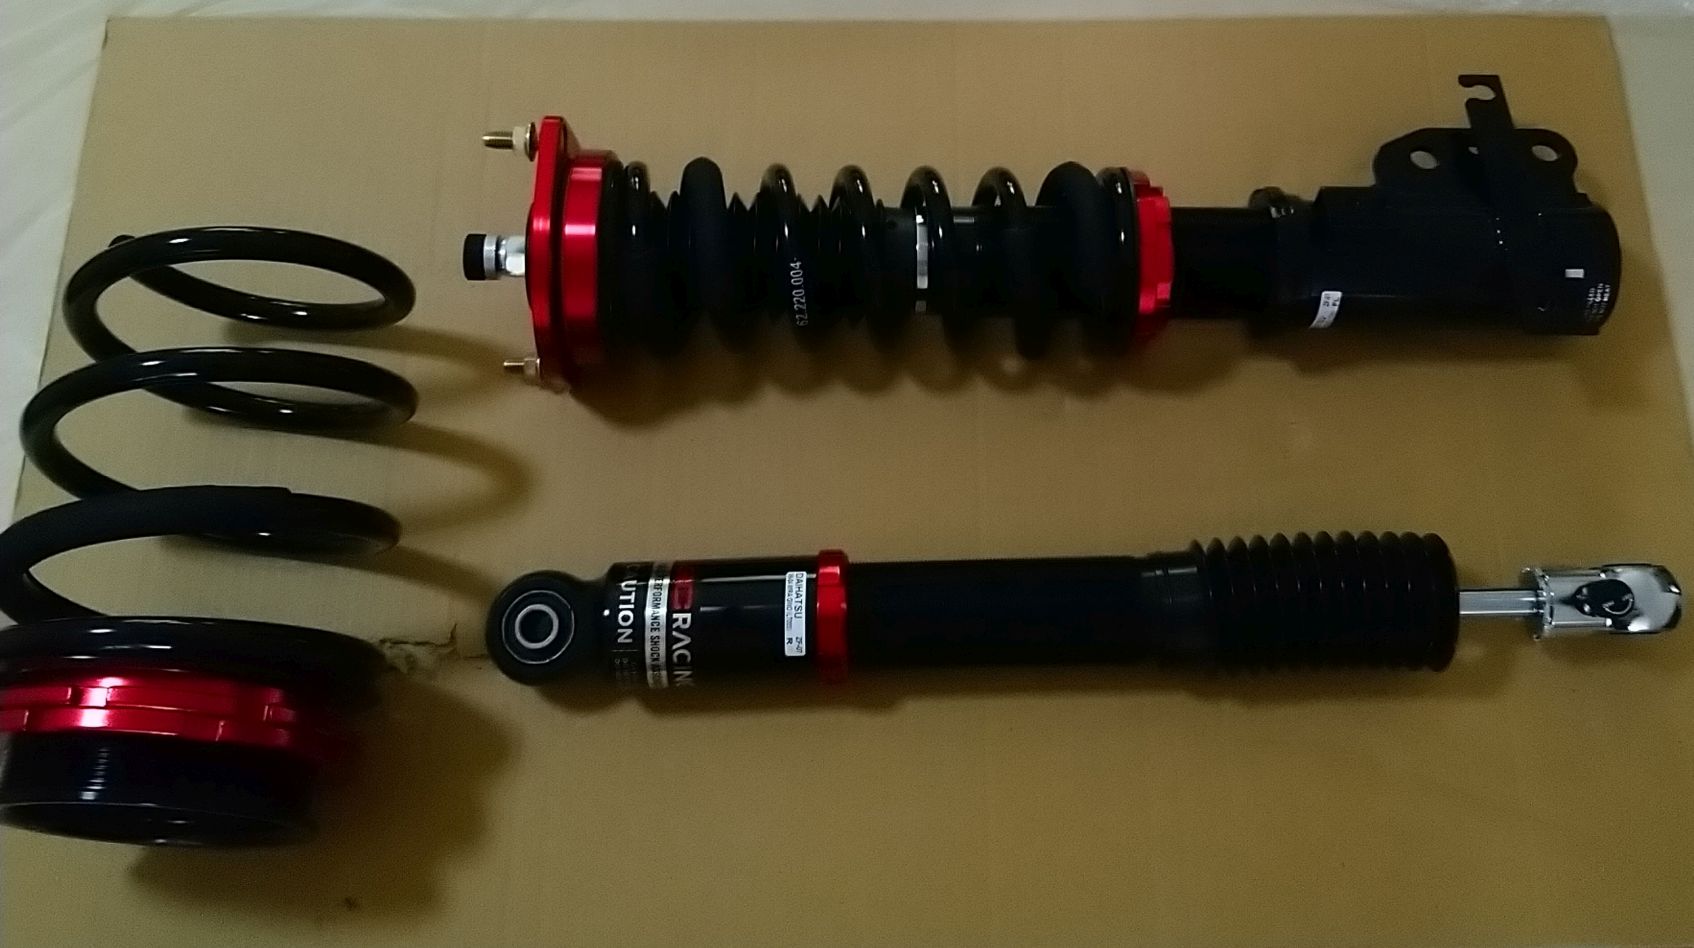
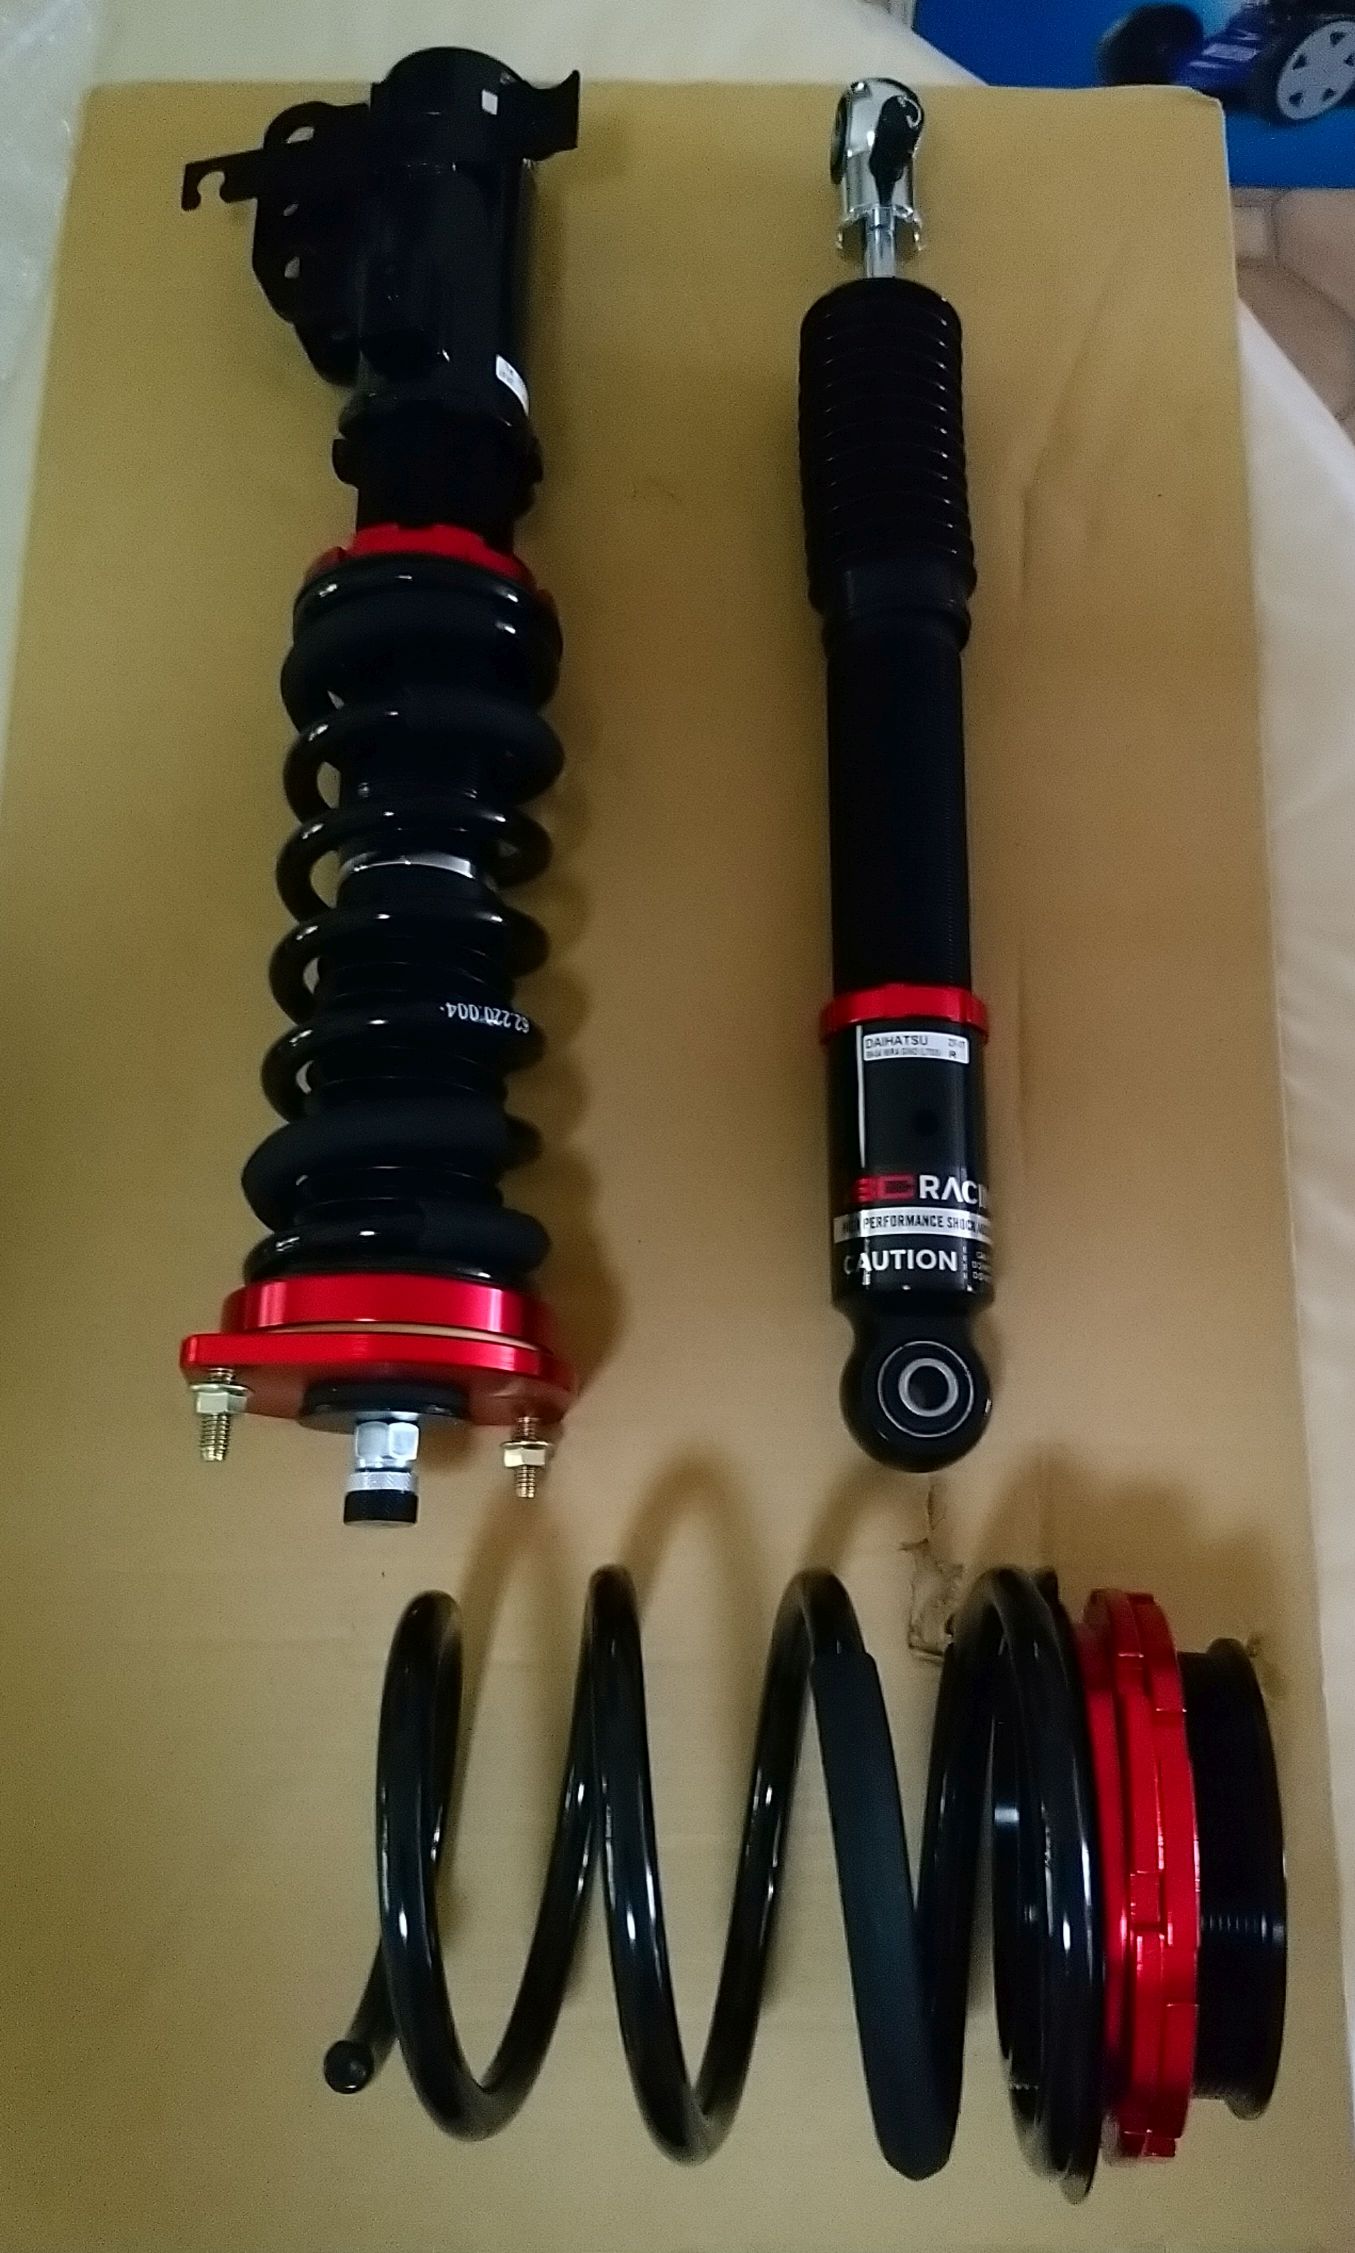
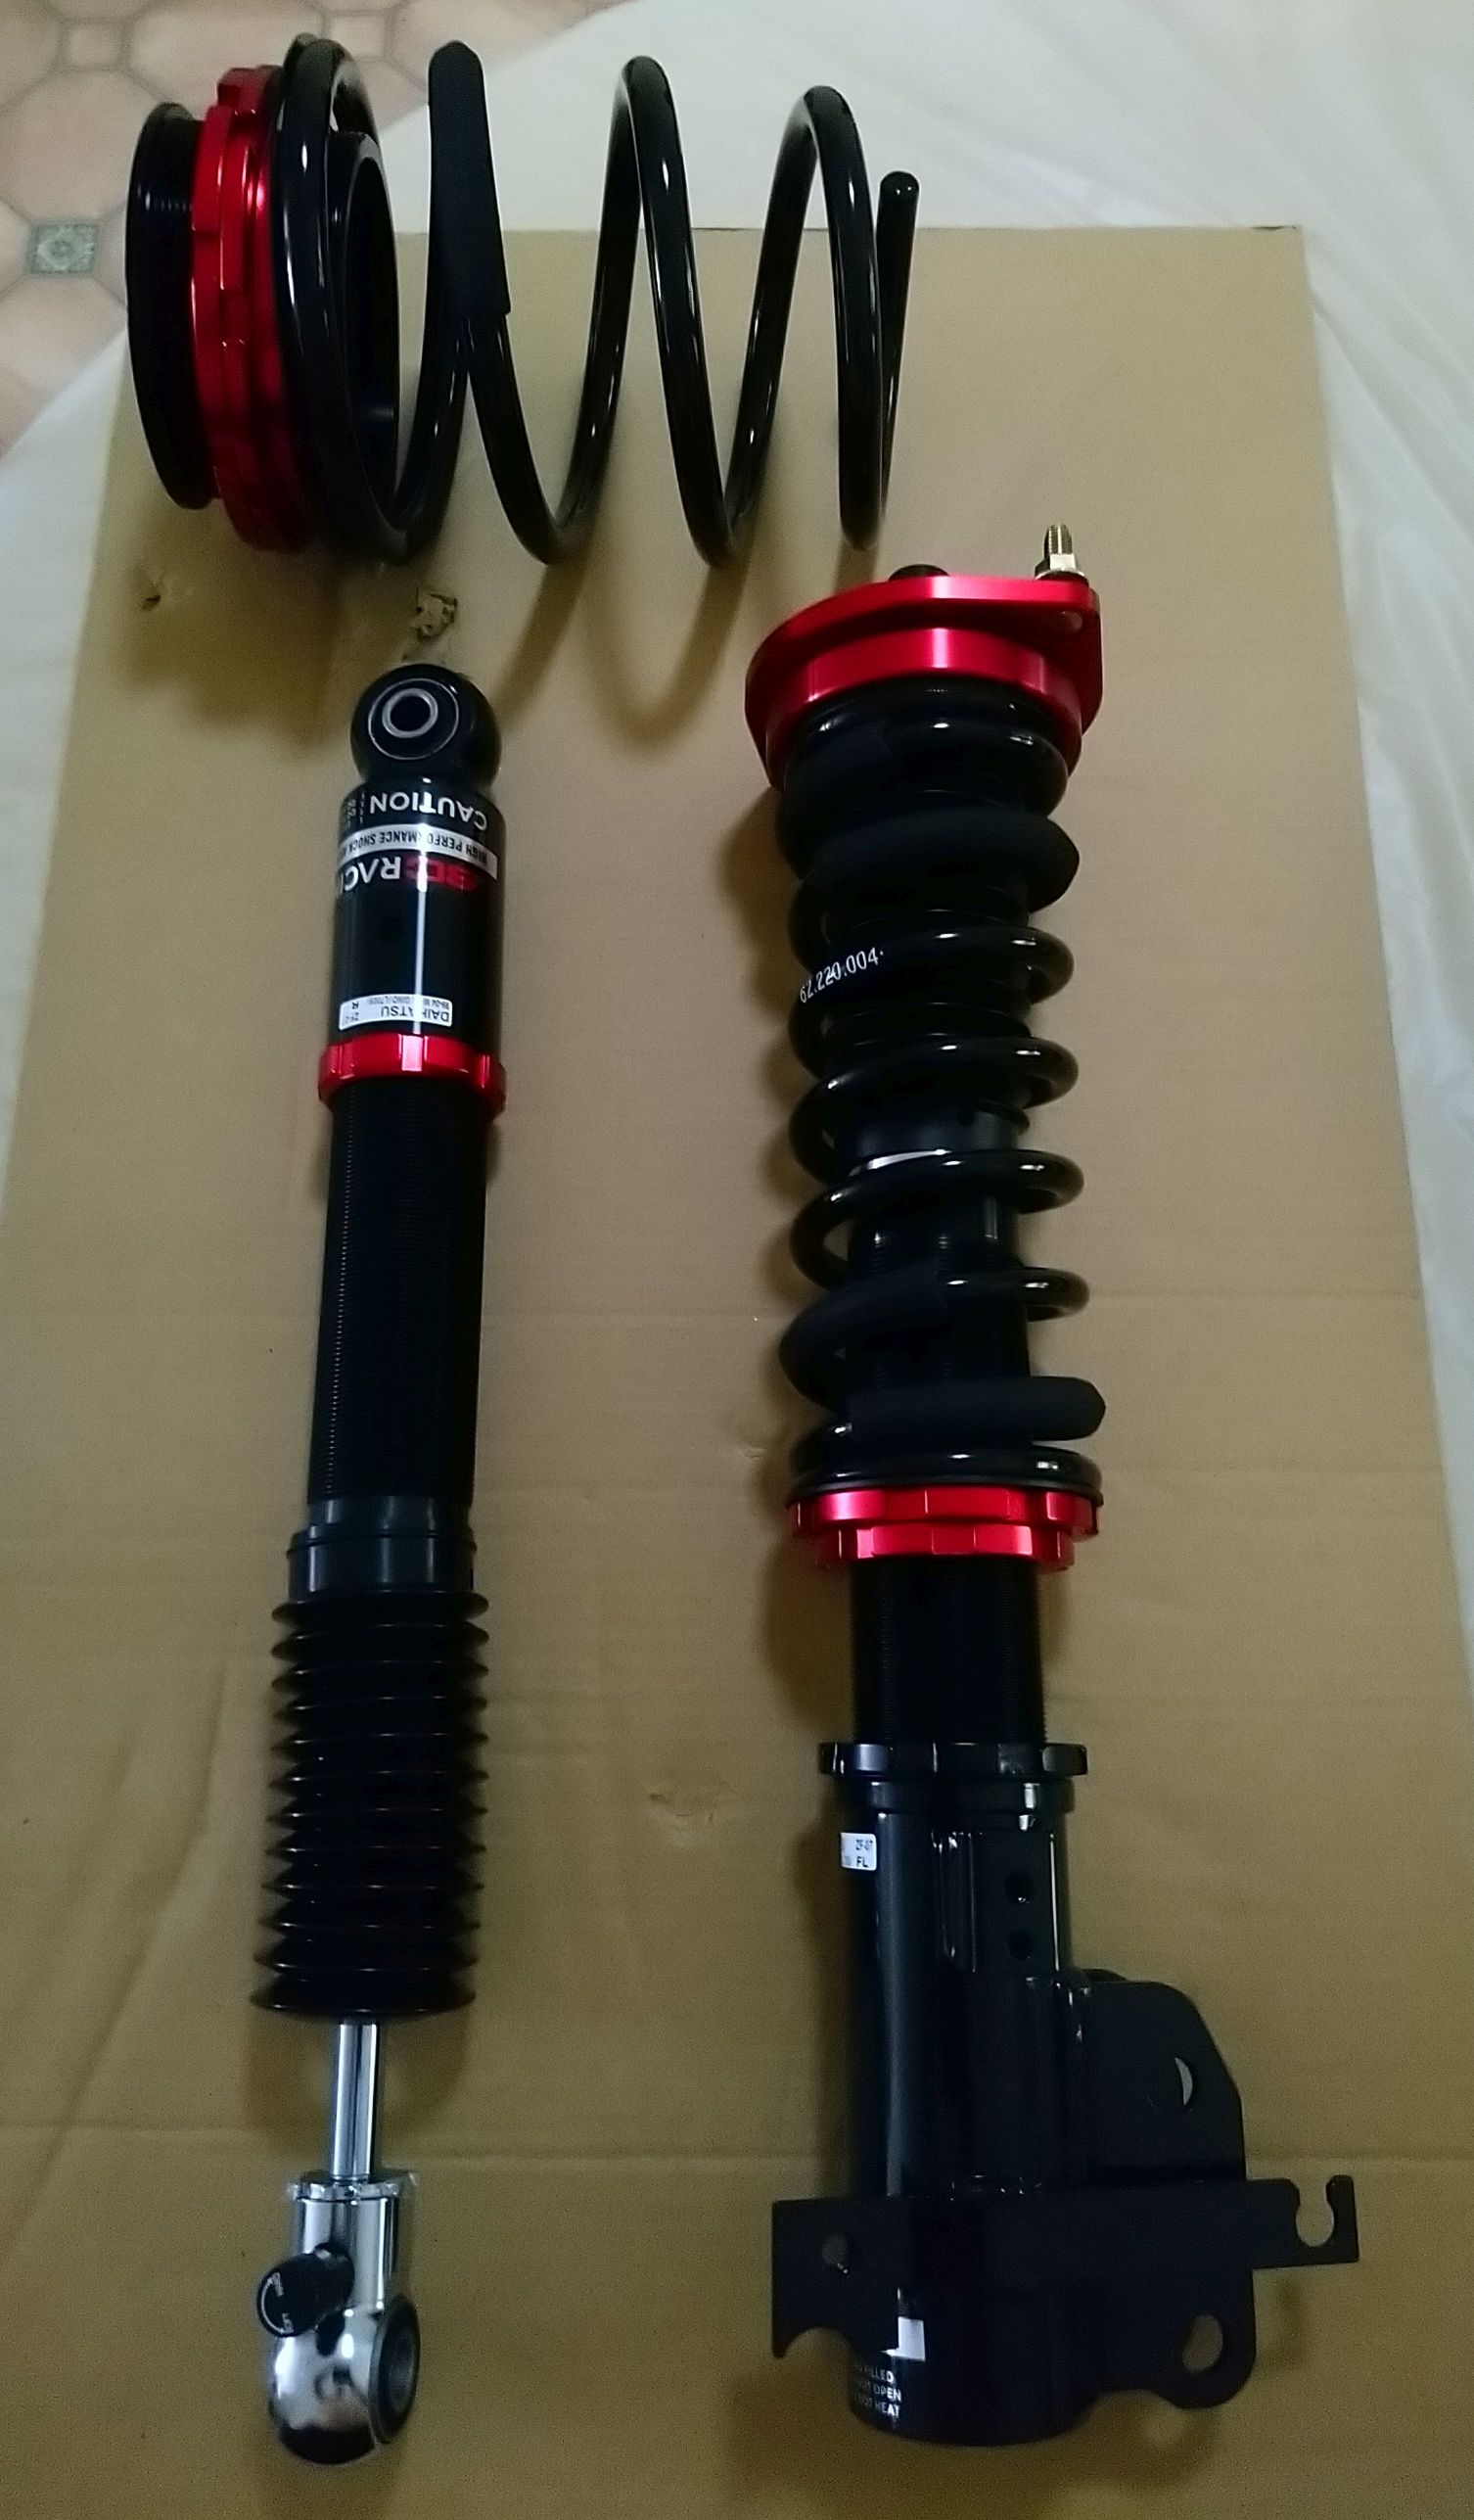

It is a quality product from the packaging, car stickers, the weight and the presentation of the equipment.
5 Likes
Is that some rubber sleeved onto the rear spring? Lucky you!
The front coilover has some as well not sure if it is functional or just protective (stop scratches)?!? I will have a good look.
Finally getting blue skies after many days of rain - hopefully things can dry out.
1 Like