As you all probably know by now, I currently have 2 Applauses so I thought I might as well document as much as possible while I own the cars. As I gain more information I’ll put it in this thread and place a link on this post in an organised fashion.
What generation Applause do I have?
Early models up until 1992 typically have the DAIHATSU logo in text with a grille that extends the length in between the headlights, these are called a Gen 1. There is Theta models that were made up until 1992 but I don’t know much about them.
Later models up until 1997? feature the (D) logo inside a chrome insert that fits inside the front grille metal and is removable, there are Gen 2s
Gen 3 have a completely different front, rear and interior to the previous generations. They also feature rear drum brakes. Production of these stopped in the early 2000s
List of Guides
Interior
Replacing the factory casette deck
Door Card Removal & Speaker Upgrade
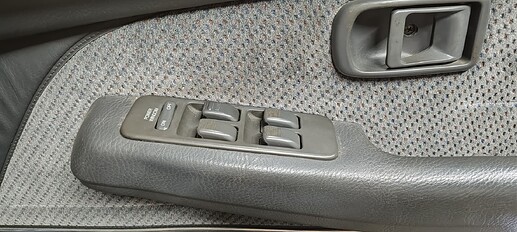
Window Switch Replacement
1 Like
== Door Trim Removal / Speaker Upgrade ==
(Credit to
@ybot for some photos)
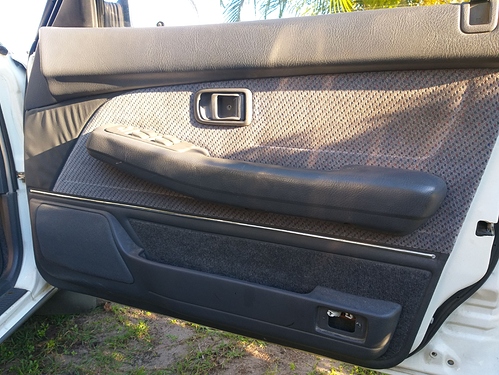
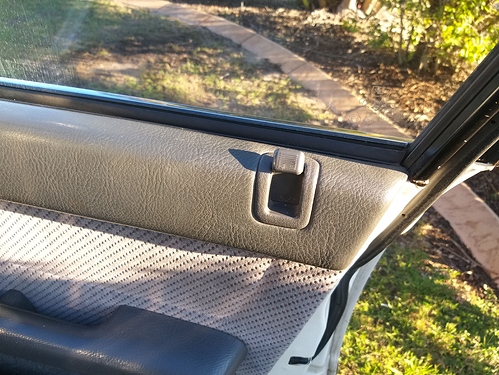
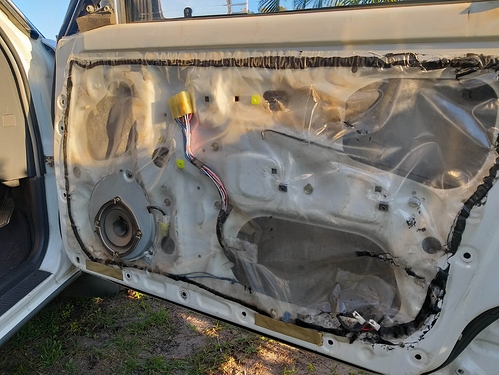
- Remove the door handle by removing the small screw holding it to the door, then detatch it from the connecting arm by lifting the rod up to unclip it. While youre here you might aswell remove the little light in the corner (already done in the photo) with its two screws.
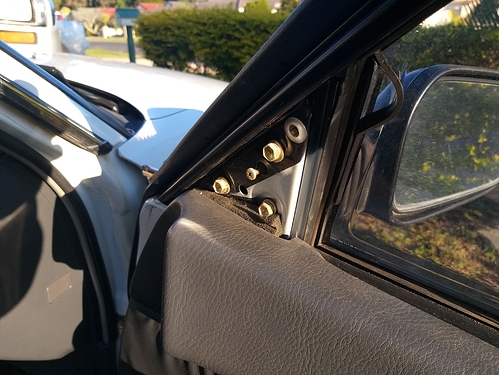
- Remove the trim surrounding the door lock, being careful not to mark the surrounding vinyl. Next to the mirror is a black plastic triangle, pull on it gently to remove it aswell (it makes removing and reinstalling the door card easier imo).
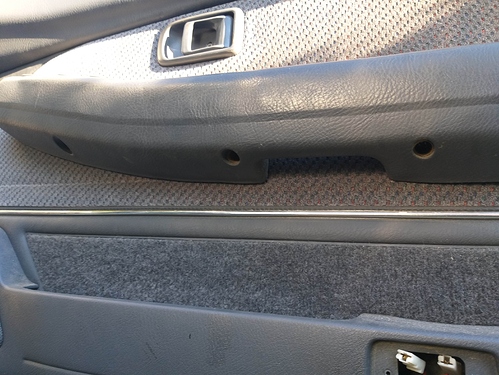
- If you have manual windows, remove the 2 screws holding the armrest in. If you have electric windows, remove the 3 armrest screws.
- There are several large plastic clips that keep the door card in place. They won’t need as much force as the door lock clip but will pop out nicely. Be careful not to break any clips or the door card as it may be a trip to the wreckers. If you have electric windows remember to disconnect the switches before pulling the door card away!! Best trick ive found is to bring the card out on an angle with the window wound all the way down.
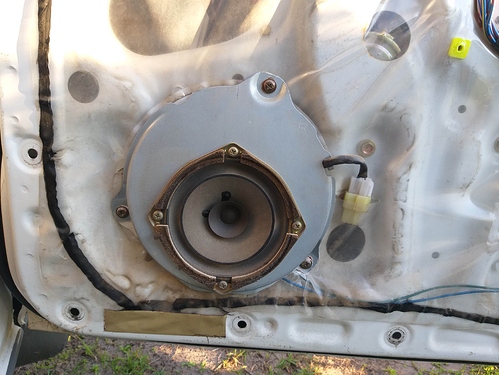
Your door card is now removed. While you’re here you might as well replace the possibly 30 year old speaker with something a bit more modern. They are 4" and i went with a pair of Kicker CSC4 speakers, suprising amount of bass for such a small speaker.
To do that all you need to do is unplug the existing speaker and take out the 3 screws holding the speaker sheetmetal in place, then the 4 screws holding in the speaker. The rest is pretty self-explanatory.
To re-install the door card, just follow the steps in reverse, just make sure your door handle connecting rod is in a easy acessable spot.
3 Likes
== Headunit Replacement ==
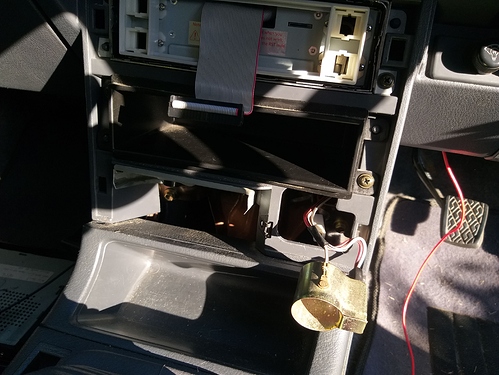
1. Remove the ashtray by pressing down on the top of it and pulling it out of the way. Behind it there is a single screw, remove it.
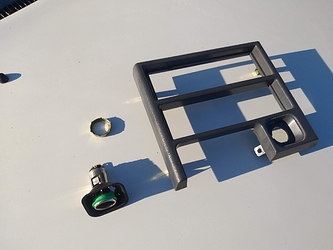
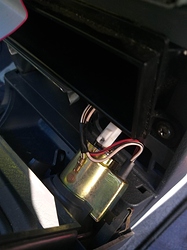
2. From the bottom of the surrounding trim, pull up gently until it unclips then slowly work the top clips out. Do not pull hard as the cigarette lighter and (if installed) the ashtray light will be connected and damage could be done.
3. Optional step, Remove the cigarette lighter to make working in the area easier. This is done by either removing the black pocket below the headunit and disconnecting or disconnecting the white plug on the top of the cigarette lighter and then unscrew the cigarette lighter into its individual parts, then the trim should pull away easy.
5 Likes
==
Window Switch button repair ==
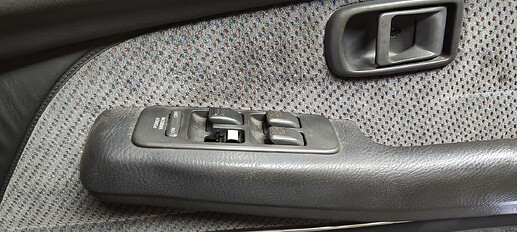
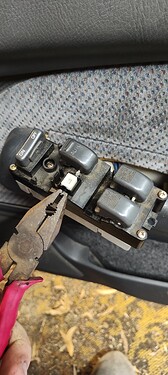
One of the switches on my drivers side panel had snapped off, so I scourced another one after a year of looking
1. Remove the window switch panel, you can either take the whole door card off (then you can unplug and take out of the car) or pry it out on an angle as to not break the metal tabs.
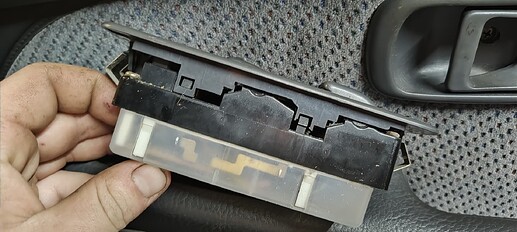
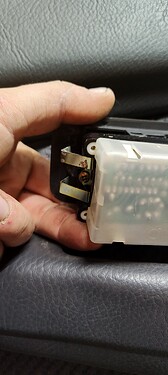
2. As seen in the picture above, carefully pry the 4 clips of the top plastic trim away, BUT before you go lifting it off you’ll need to take 2 screws out from underneath which hold the whole assembly together (including the clips). Picture below
3. Take the top trim off to reveal the individual switches. Use a pair of pliers to pull out the shaft holding them in. Replace the switches and follow steps in reverse to re-install.
3 Likes
