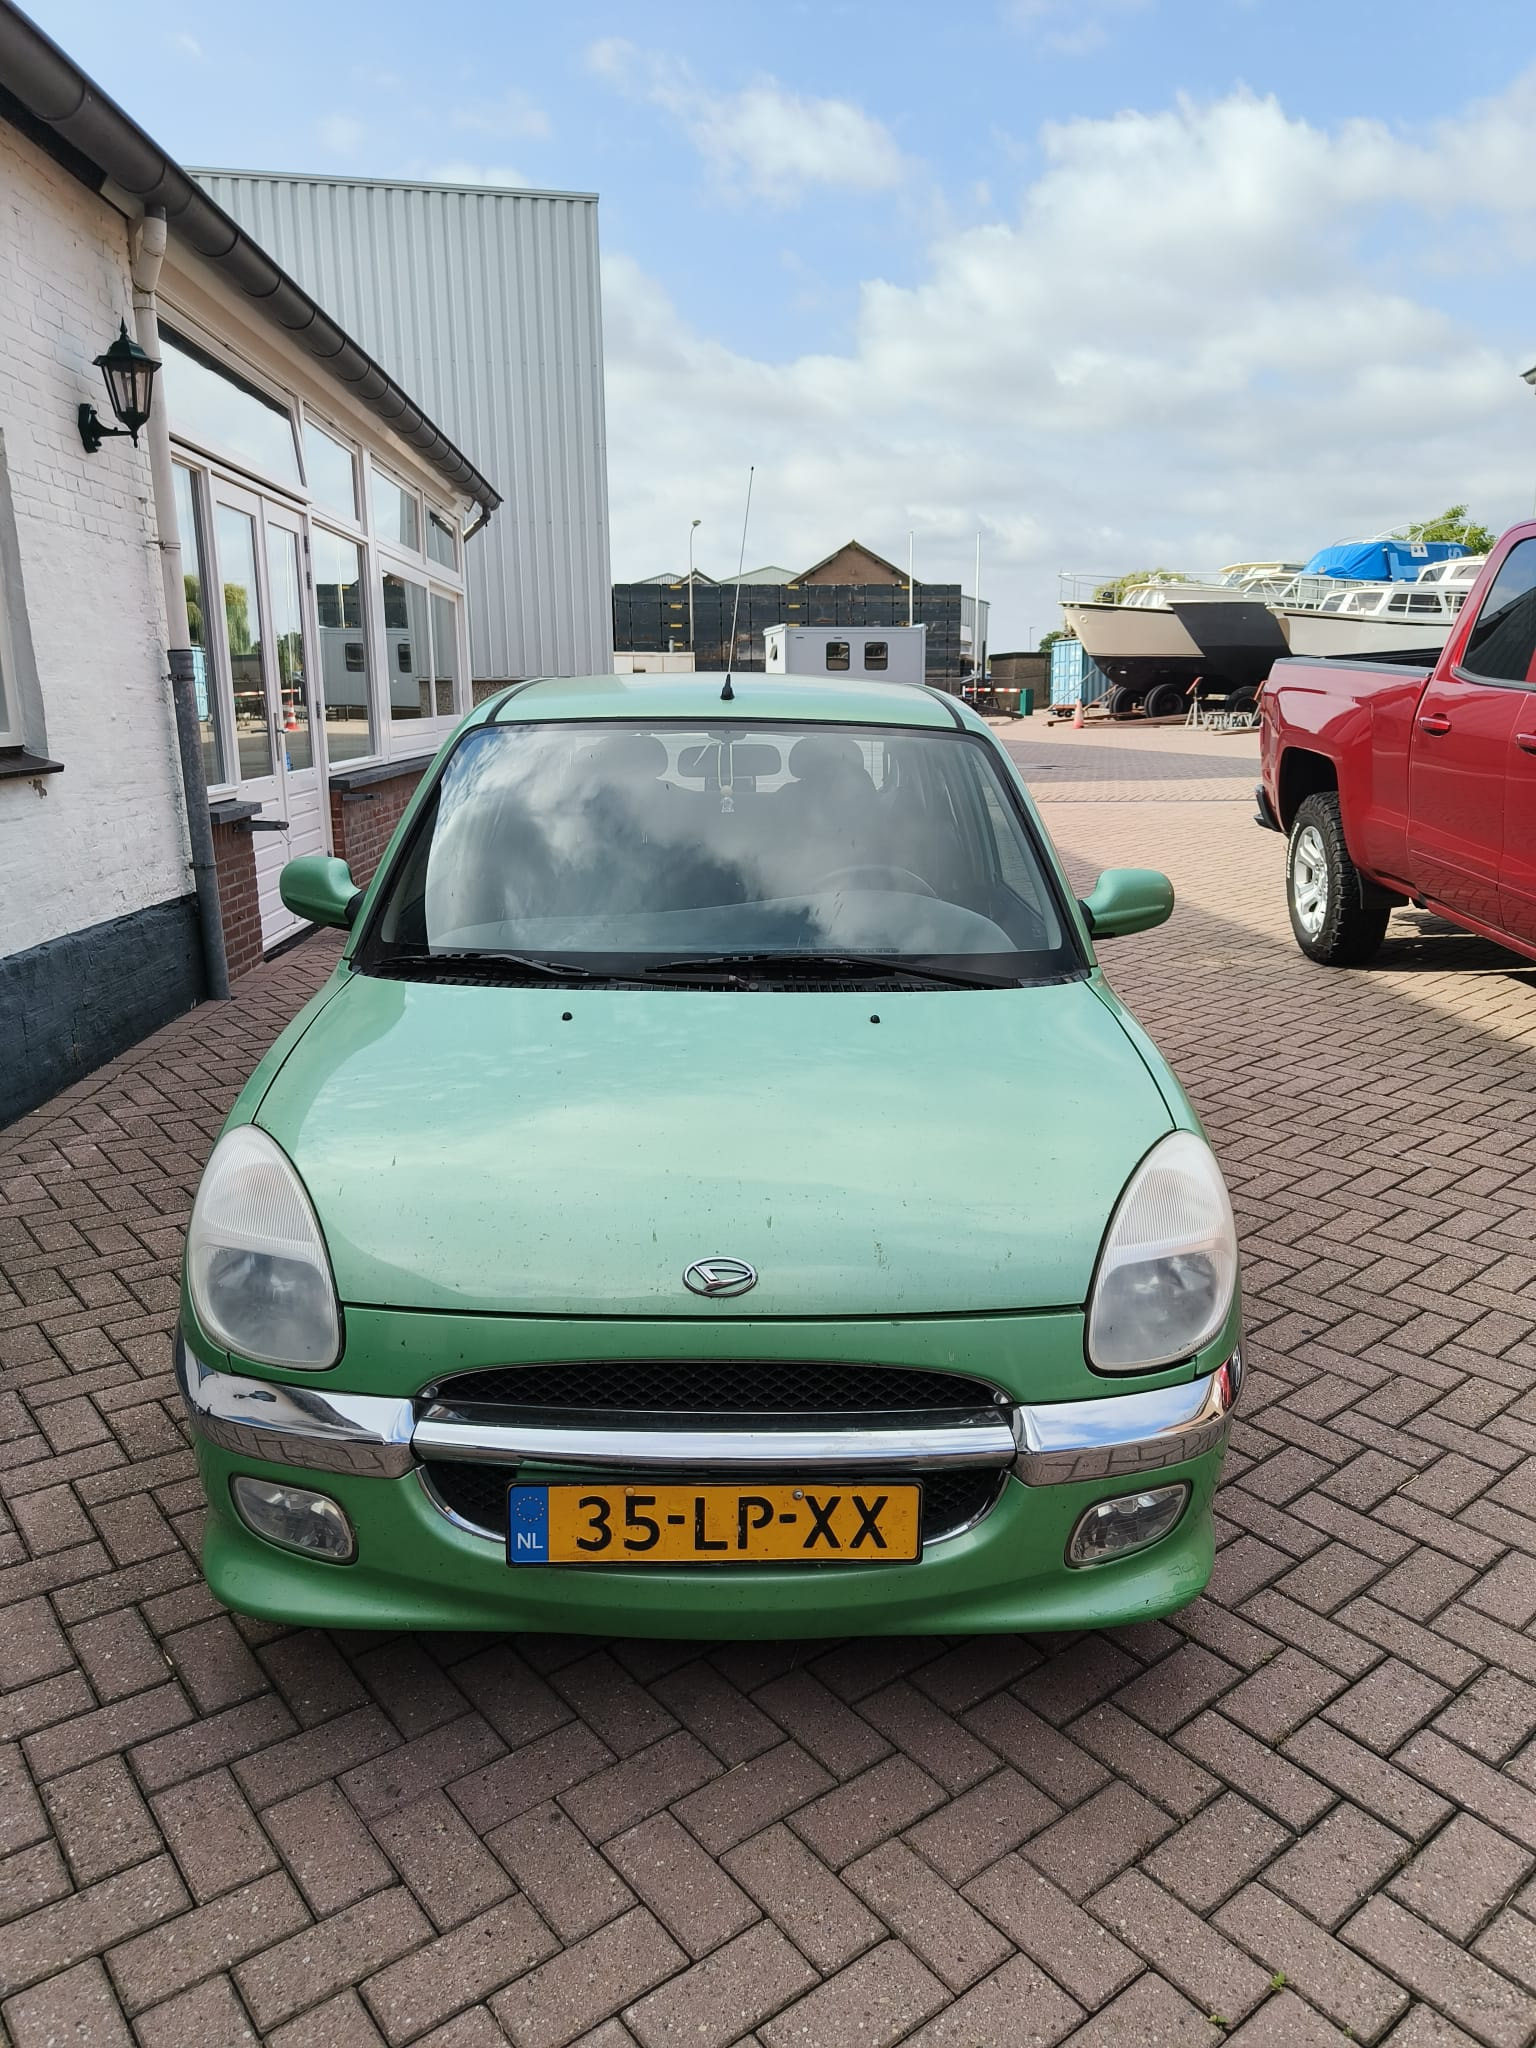
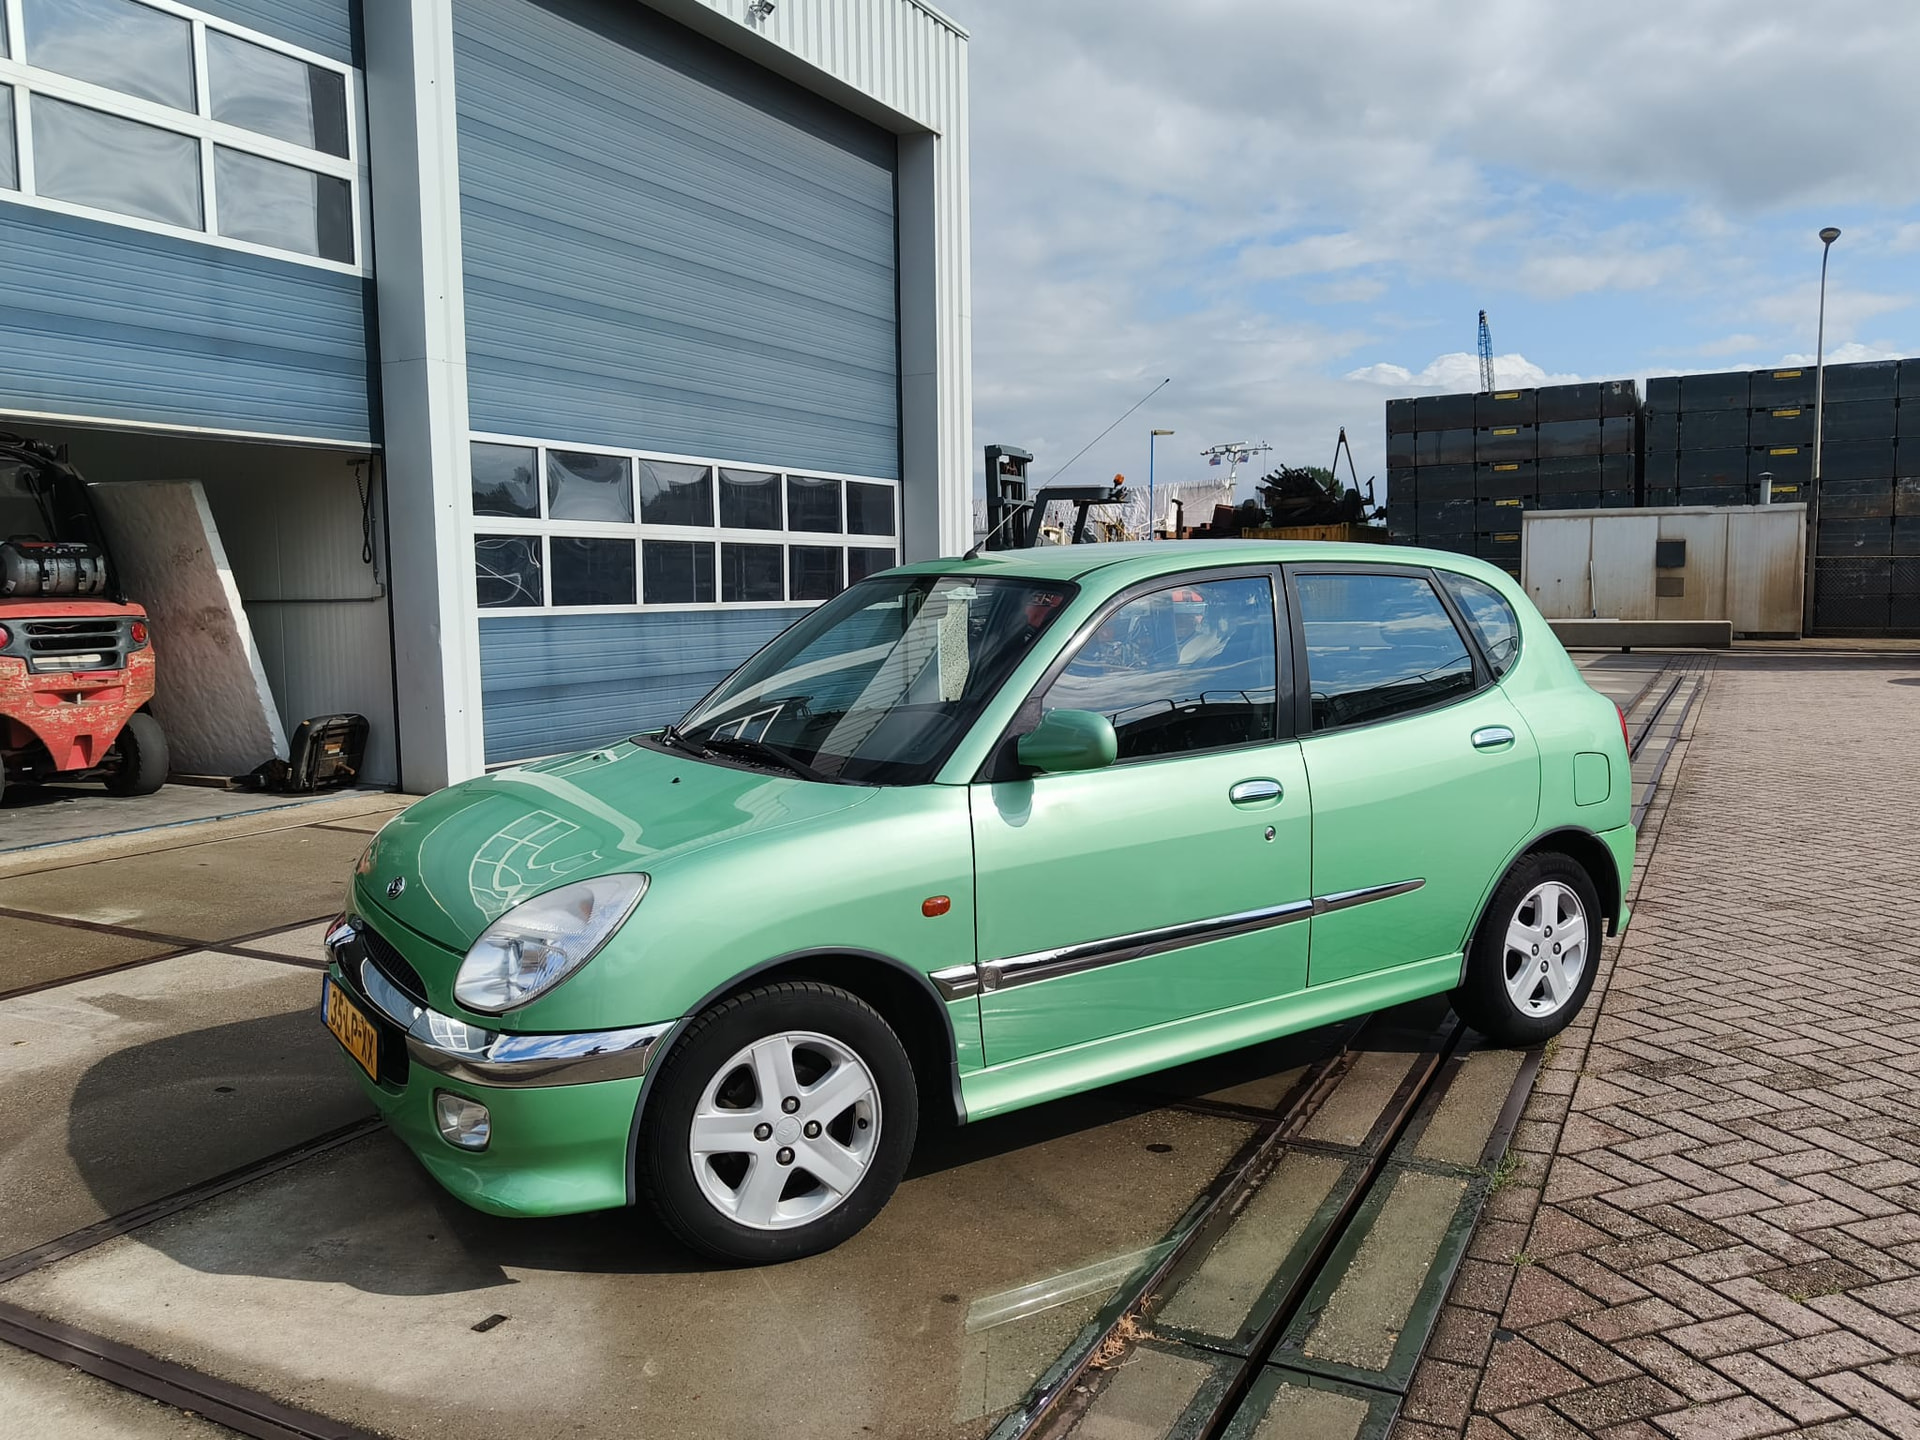
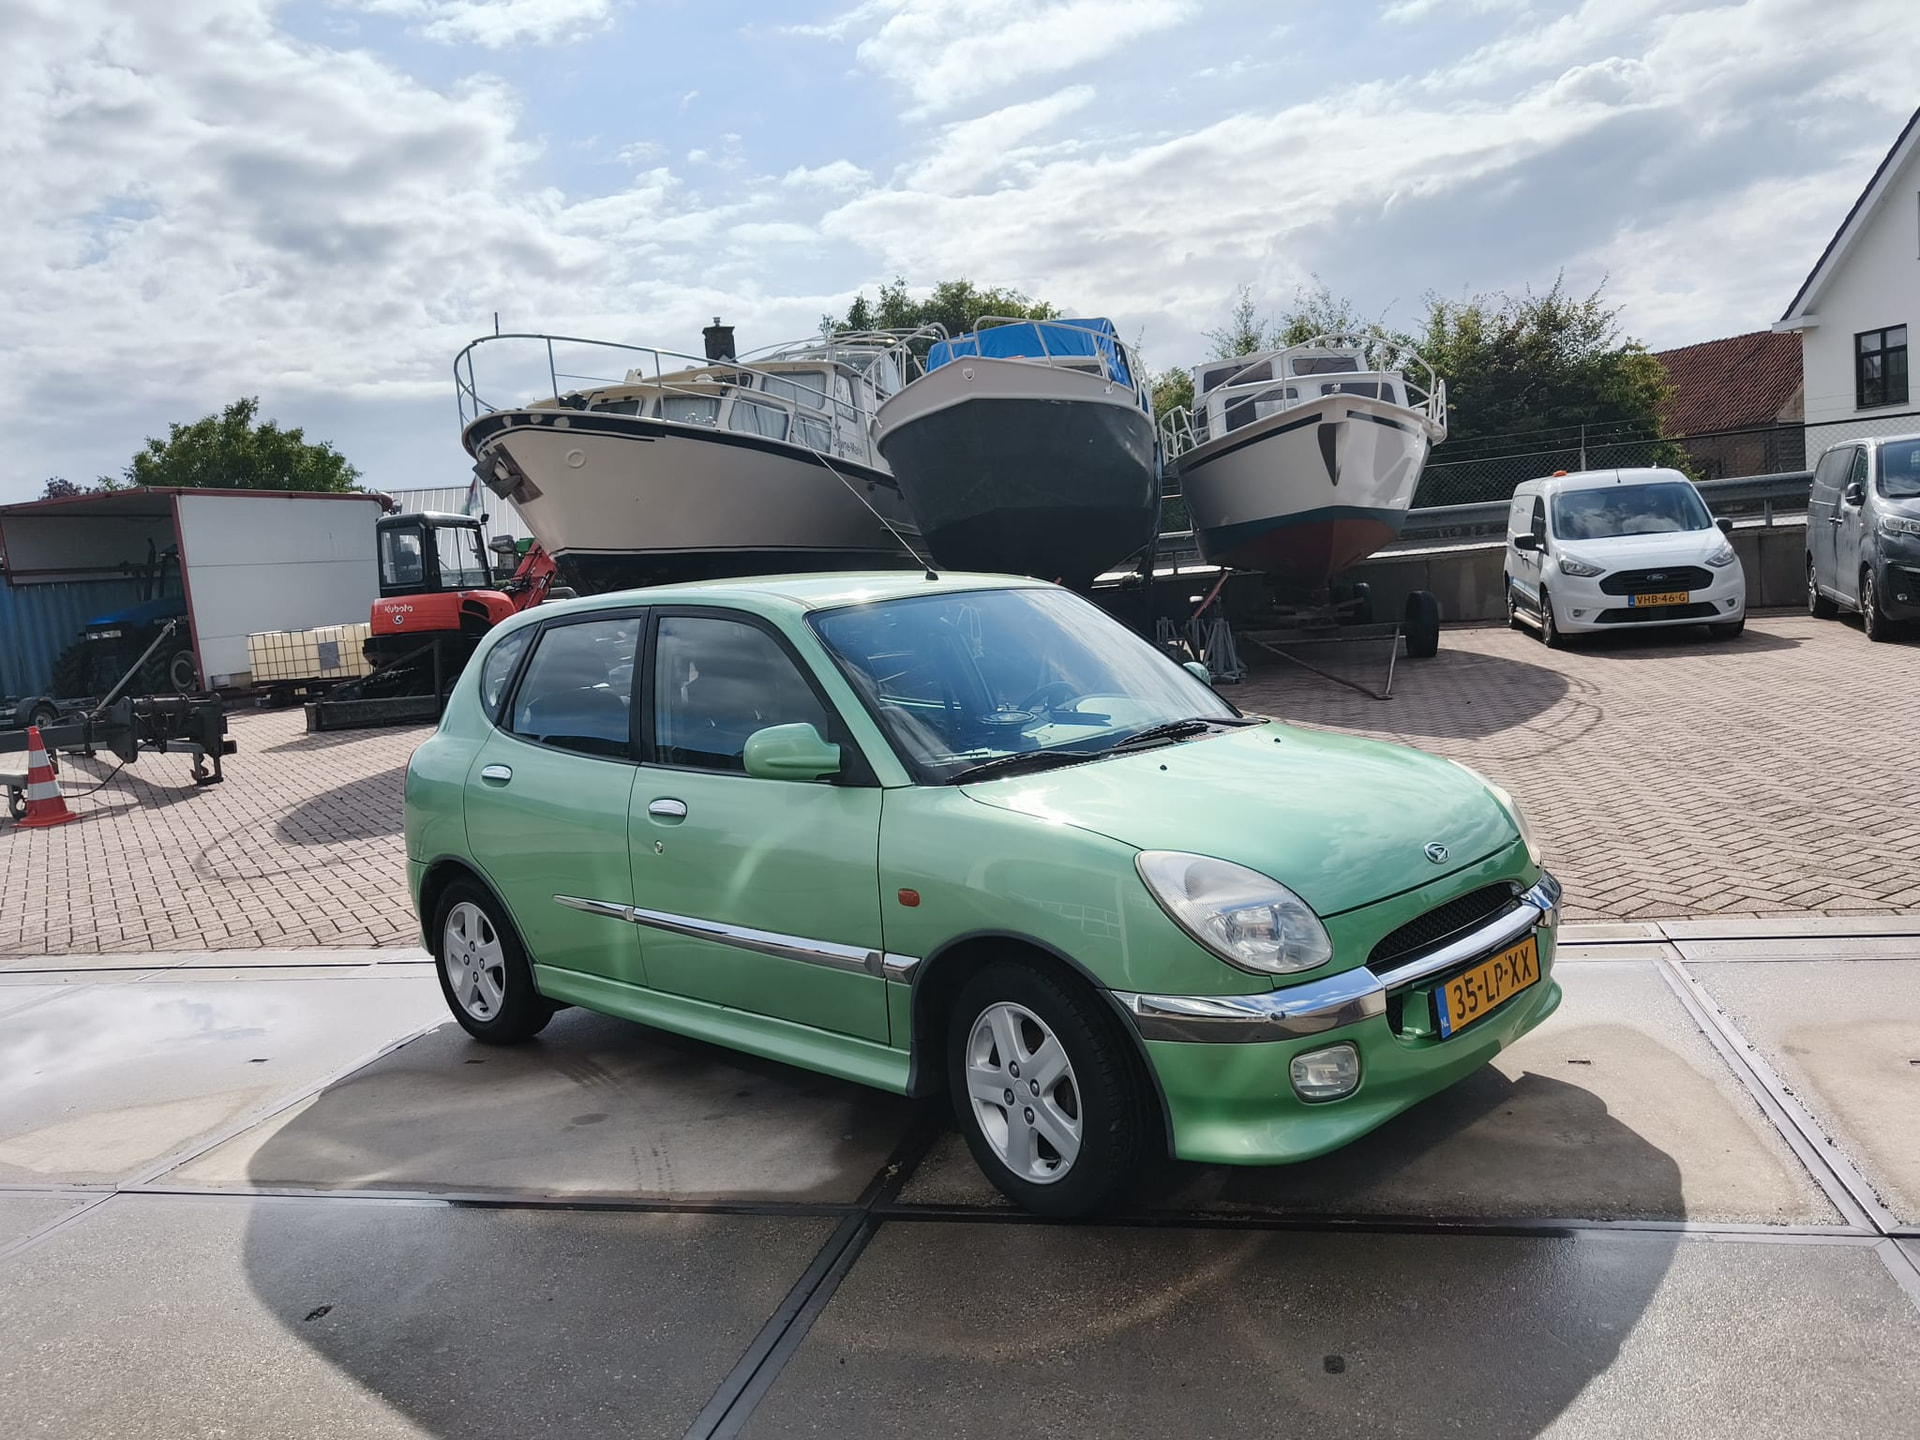
Daihatsu Sirion 1.3 'Kermit' simple build

It’s been a little over a month since I finally bought my dream first car. I’ve learnt everything I know about cars from youtube video’s so naturally, I missed a lot of things when I first inspected the car. There were a few red flags anyway like misaligned bumpers, limited service history, car was running when i arrived, dealer said the car had 0 faults, It was owned by an old man so was stationary for a while, etc. But the car itself is a big green flag, it was very cheap and ‘only’ 160.000km, so how bad could it be?
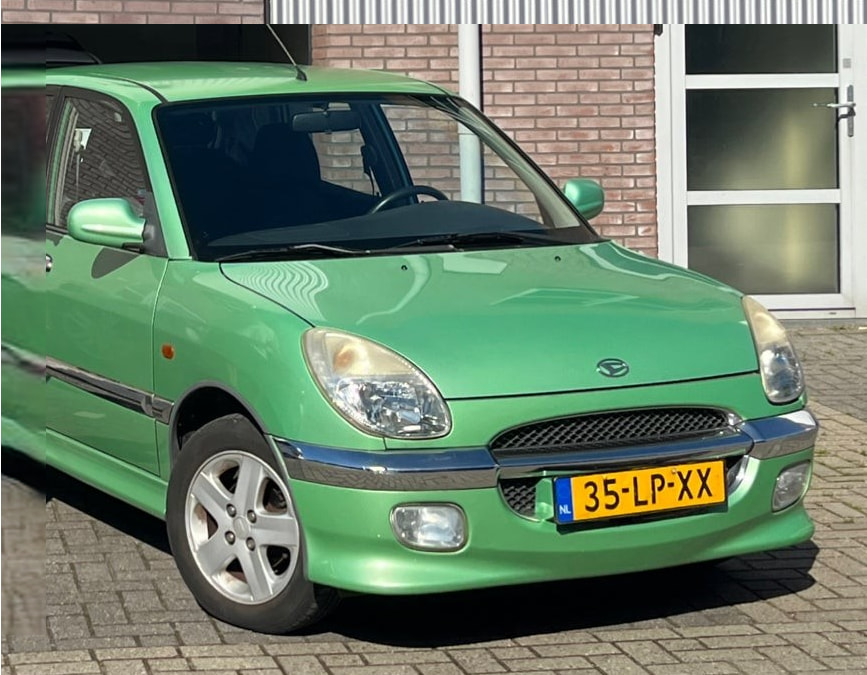
Luckily, its not too bad! I wanted a well running car I could learn to work on, so in my case it probably is perfect. My first to do list consisted of the following items:

  • Needs alignment
  • Replace gear mechanism rubbers and bushings
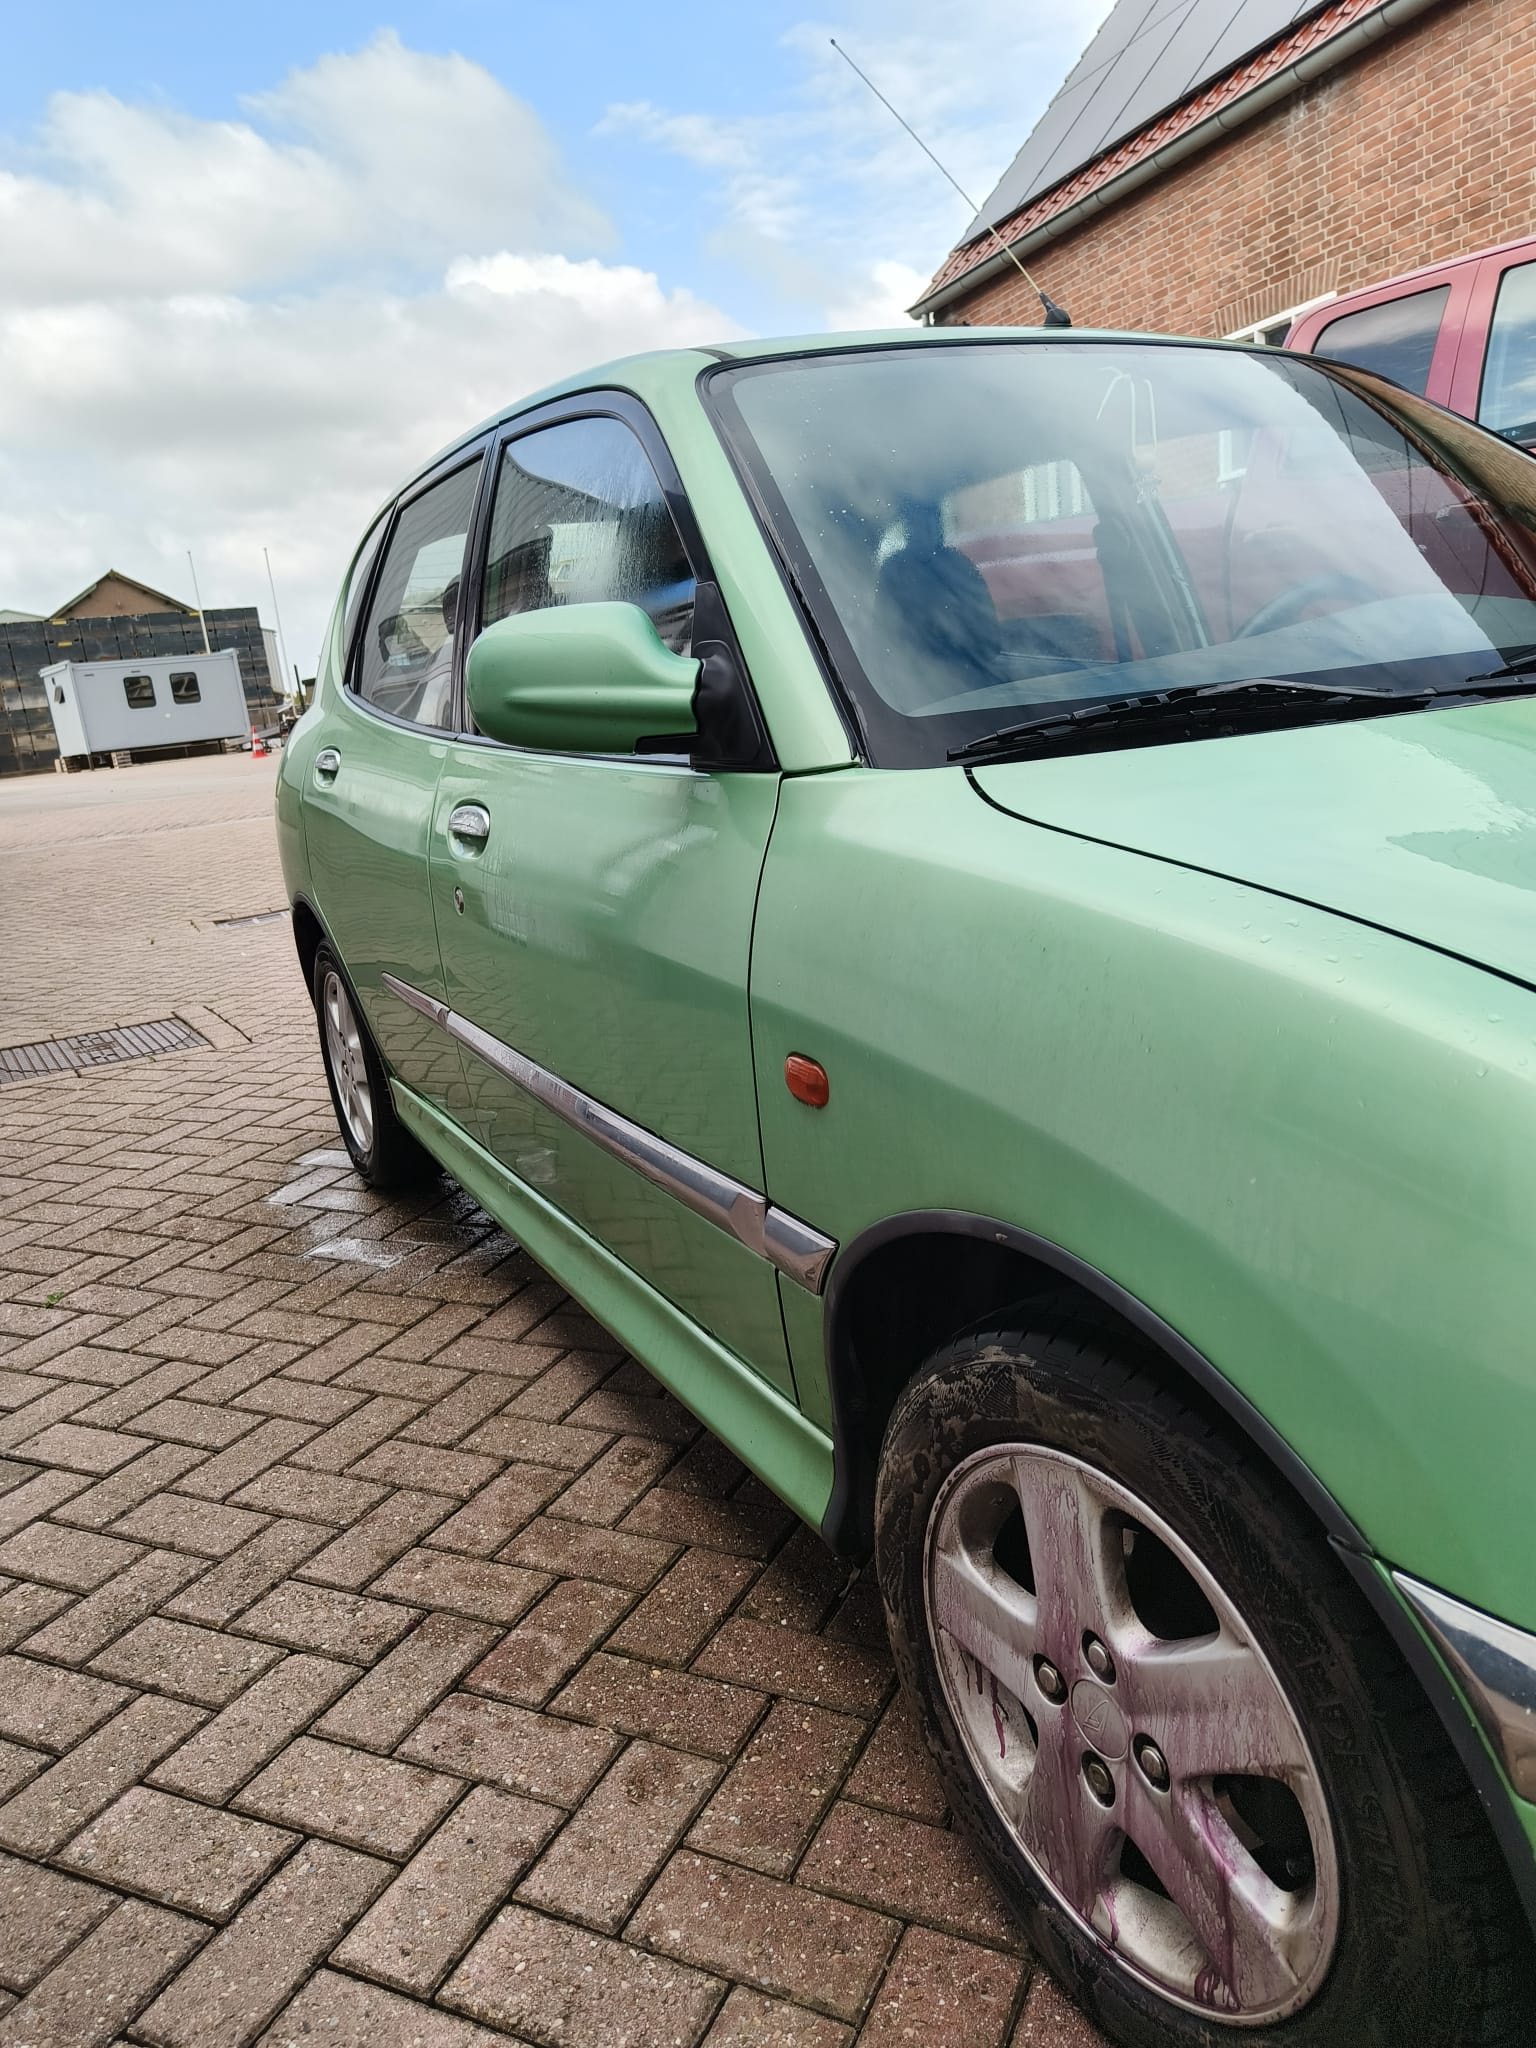
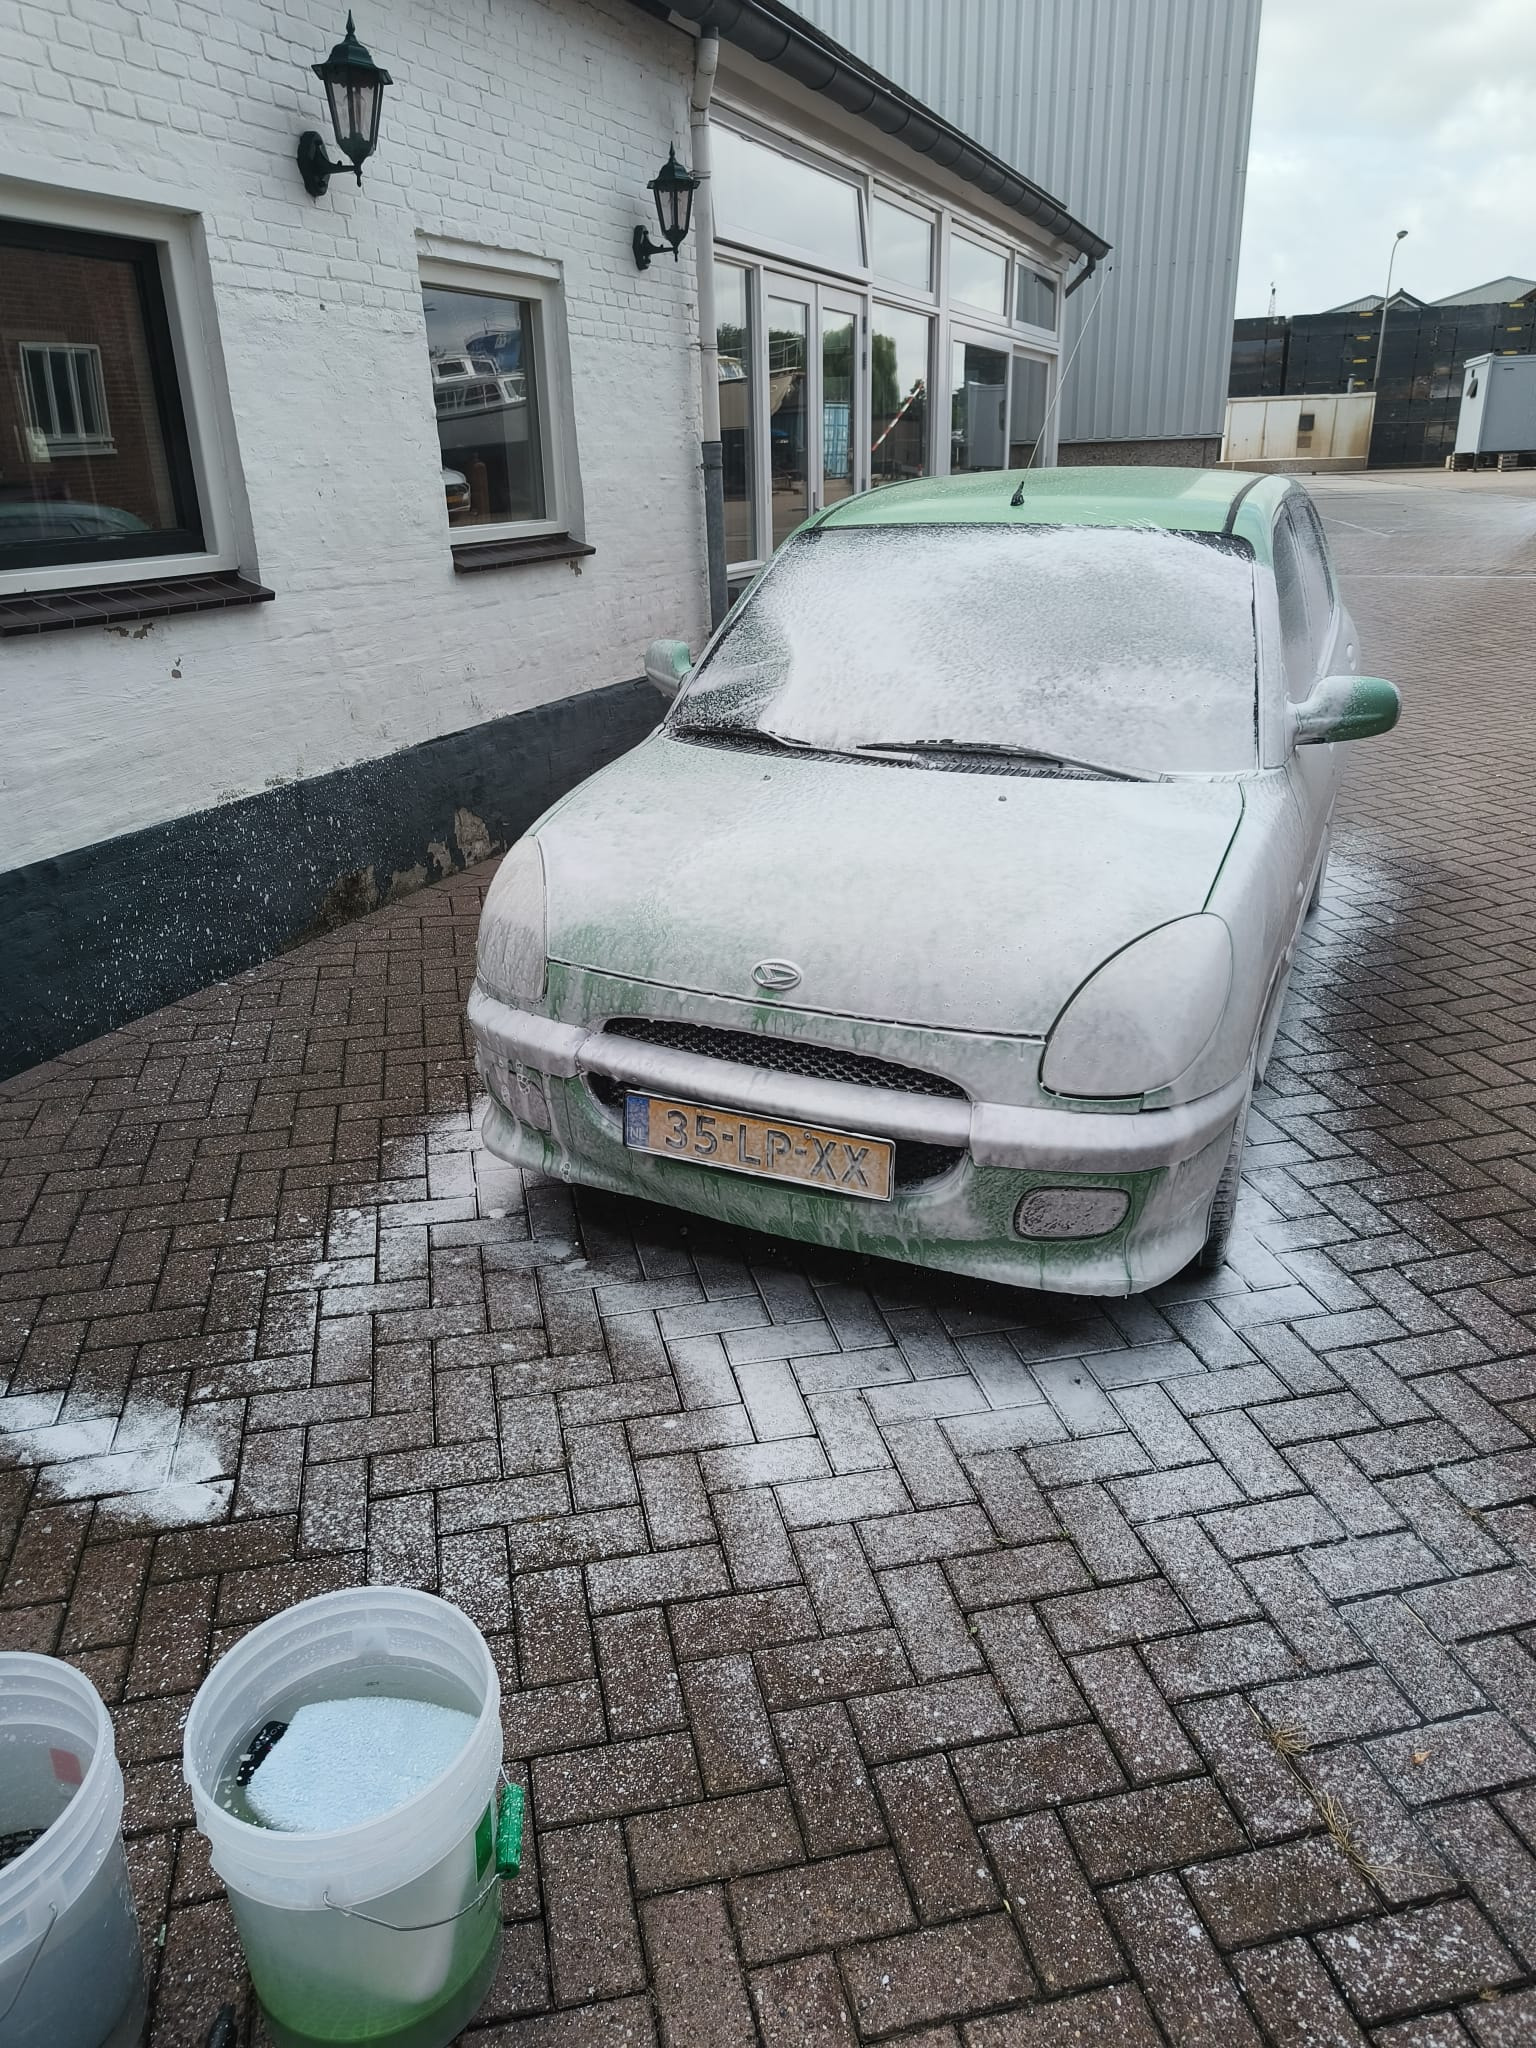
  • Clean the interior & Exterior
  • Polish the headlights
  • Replace right rear tyre
  • Fix door lock

I’m still a student so my goal for the build is to make it look good and drive fun while keeping spending to a minimum and doing as much myself as I can. First task was to do an alignment, one of the tings I wasnt comfortable with trying myself.
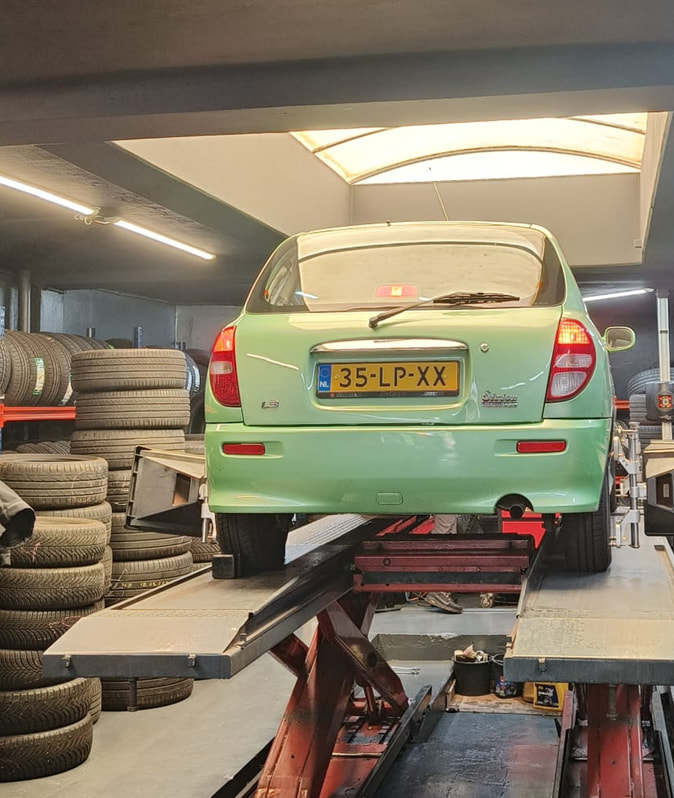
I found a cheap place close by and also replaced my 10 year old rear tyre at the same time. Only the one tyre because I may want to change to 15 inch wheels in the future. The other three dont look like they’ve been driven much. The car drove much better after that. Steering felt lighter and fewer vibrations.

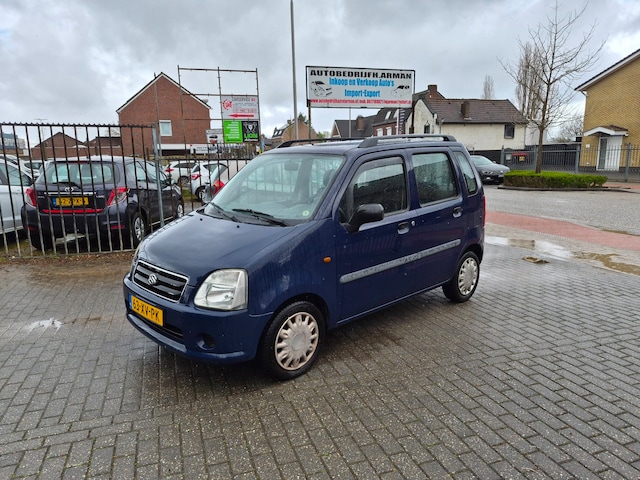
I planned a day of cosplaying car mechanics with my friends to tackle the remaining items on the to do list and added some more. The 4 of us all recently bought a cheap fun car to work on and make their own (suzuki wagon r+ not in frame around the corner)
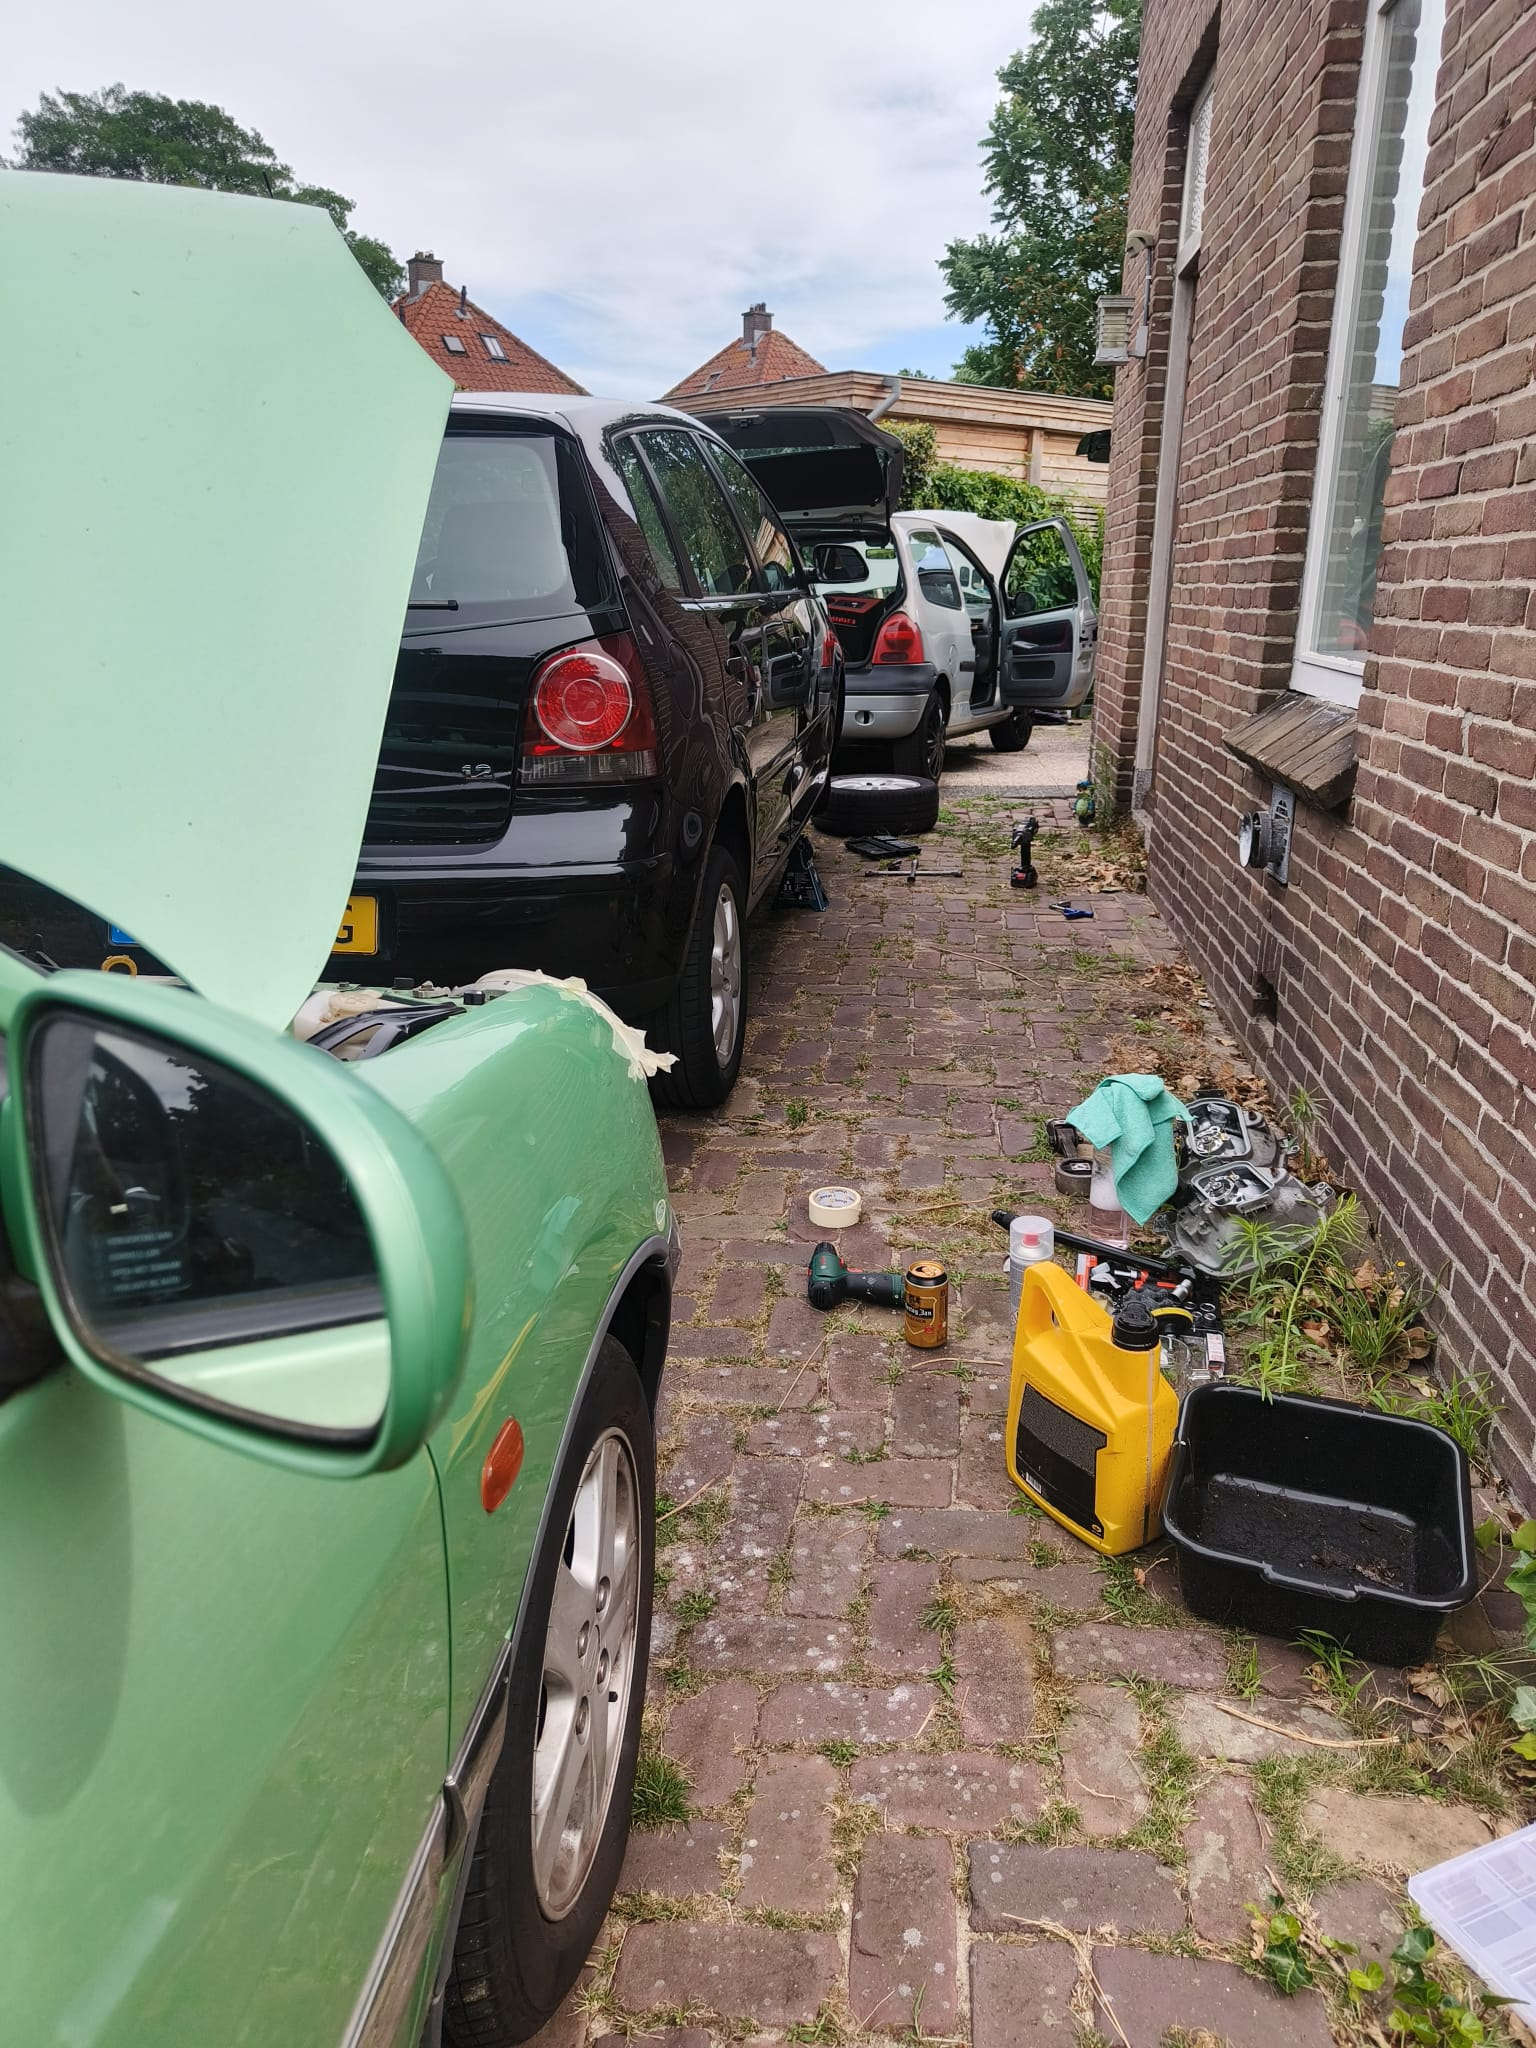
Since none of us really knew what we were doing nothing went acording to plan but we all managed to drive home so we count it as a succesful day!

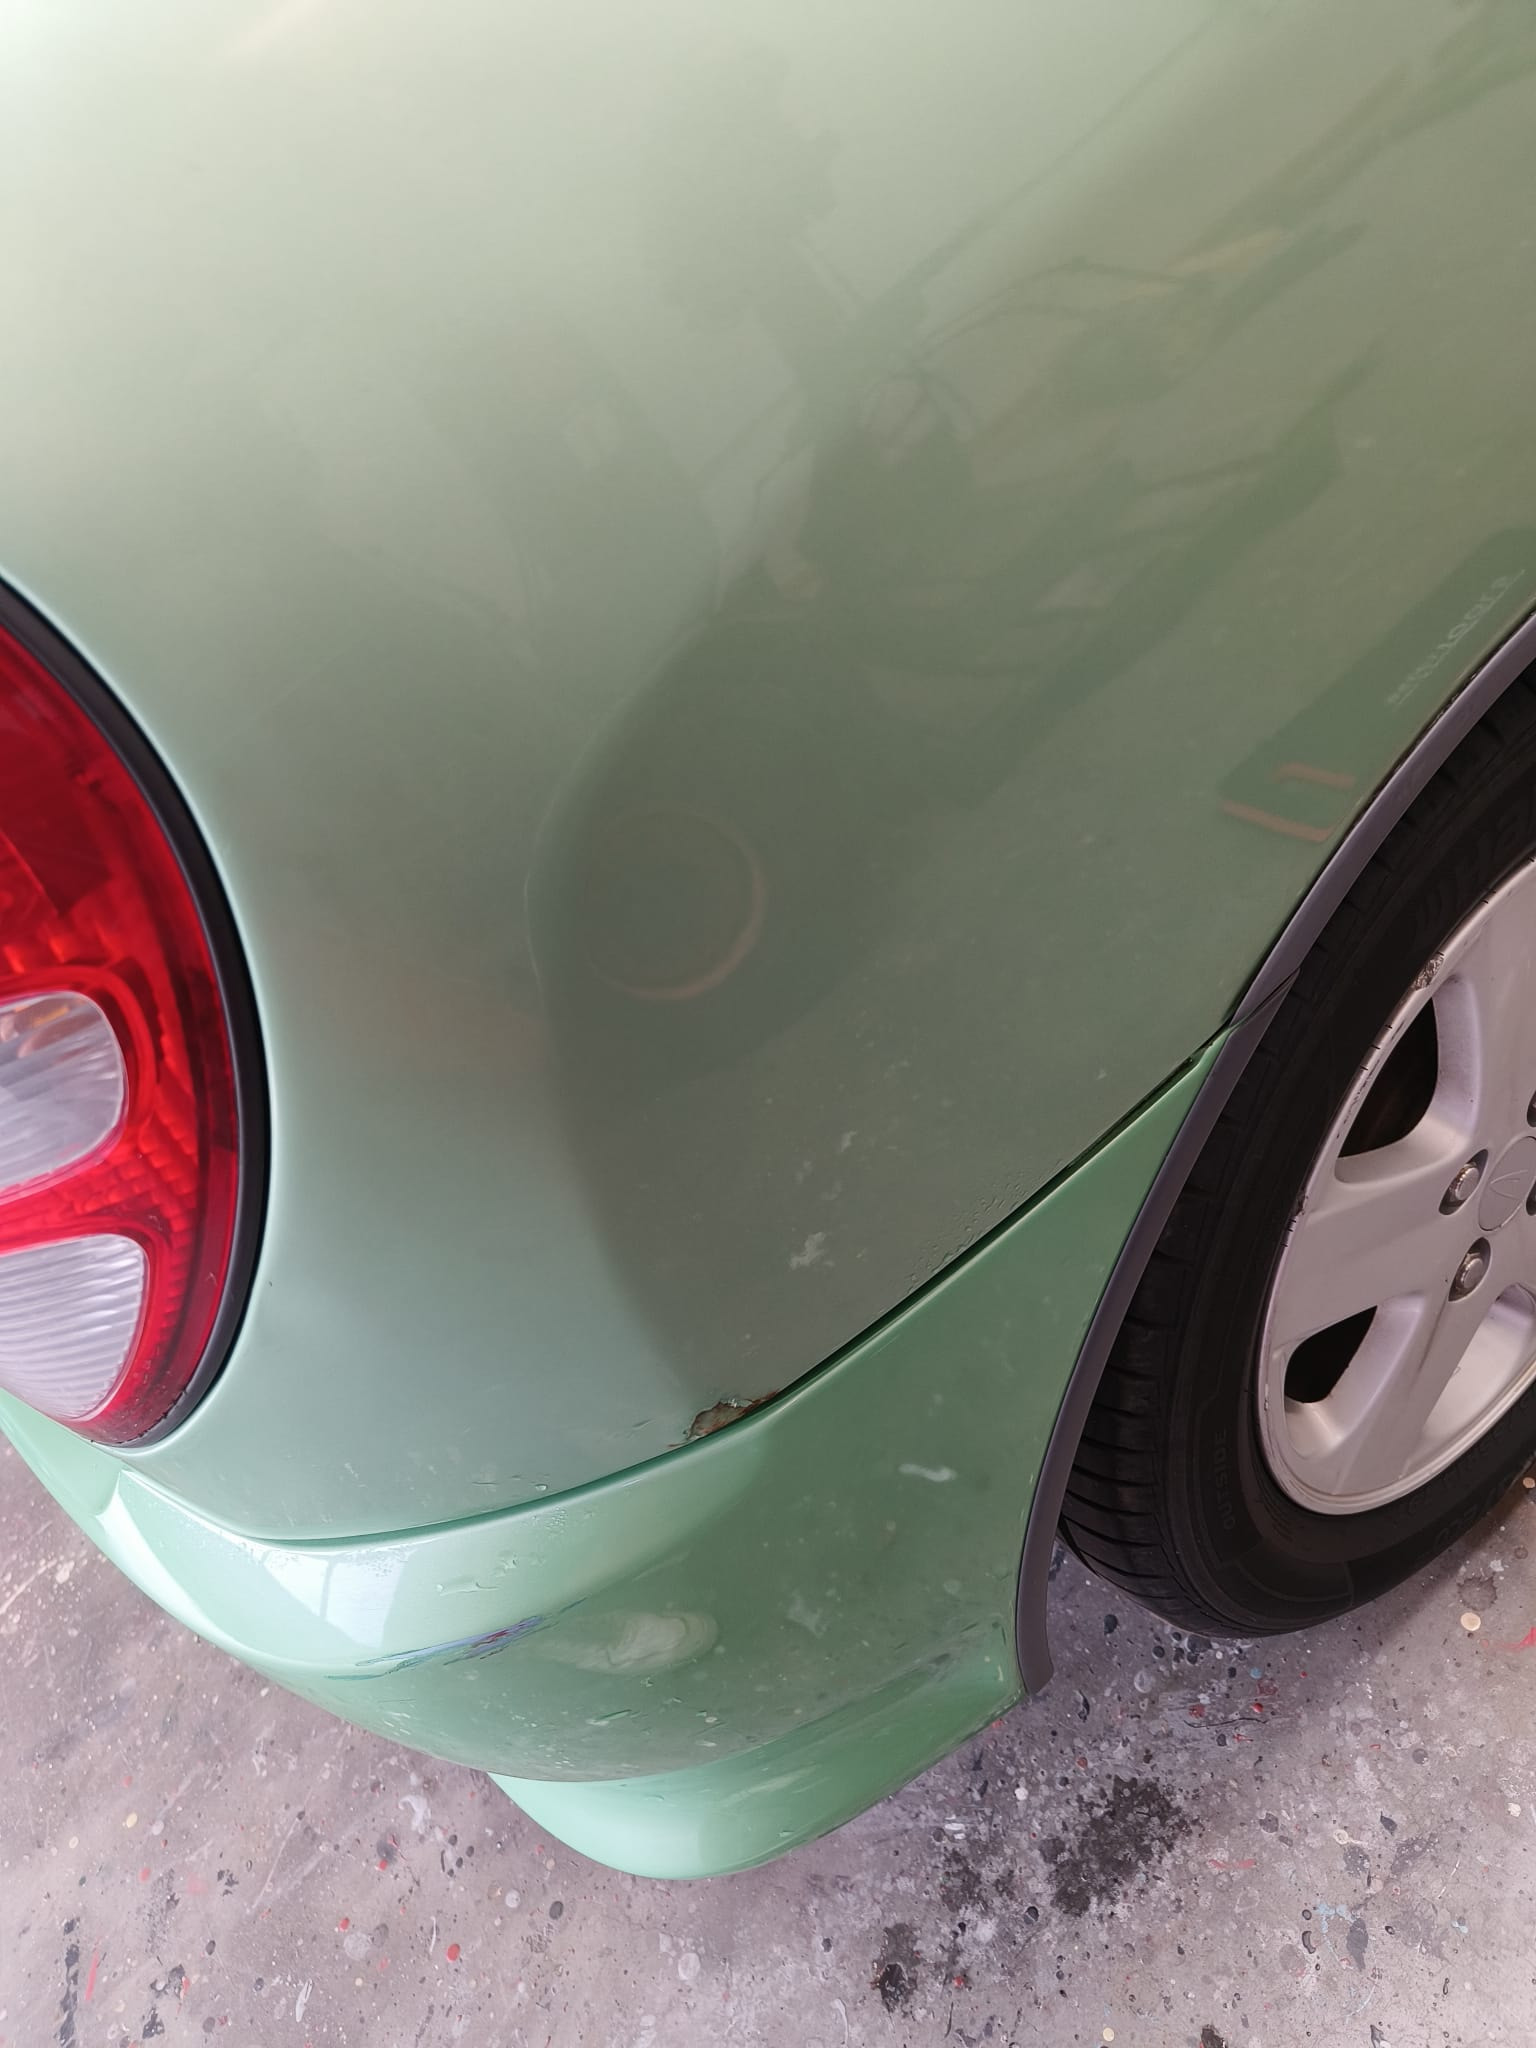
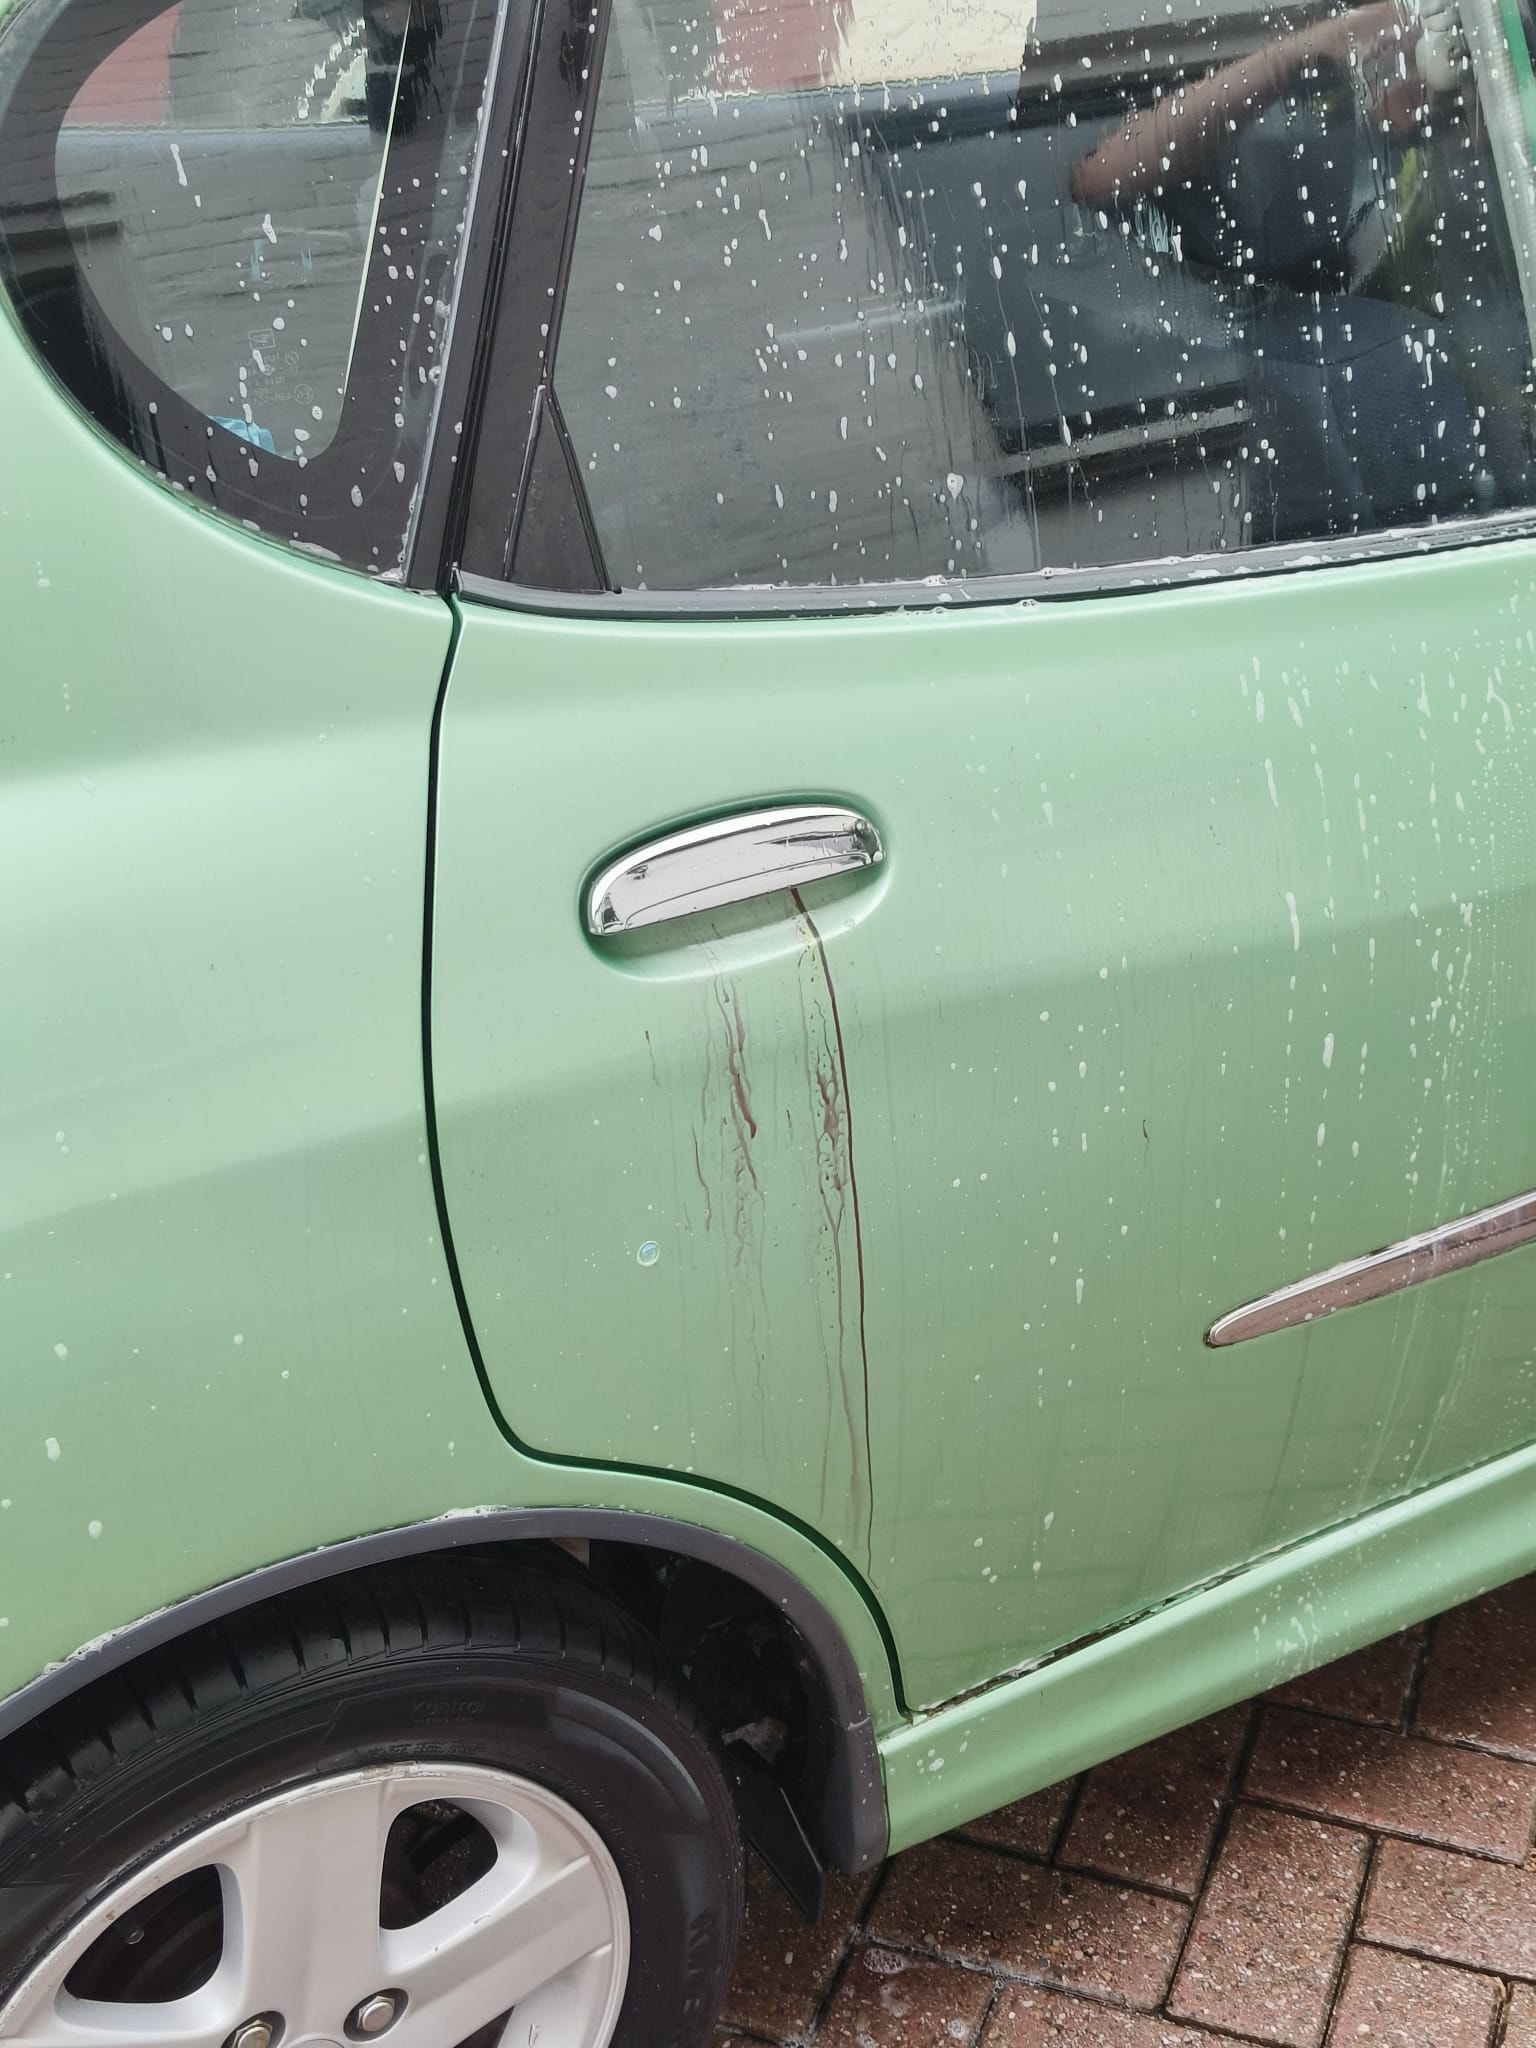
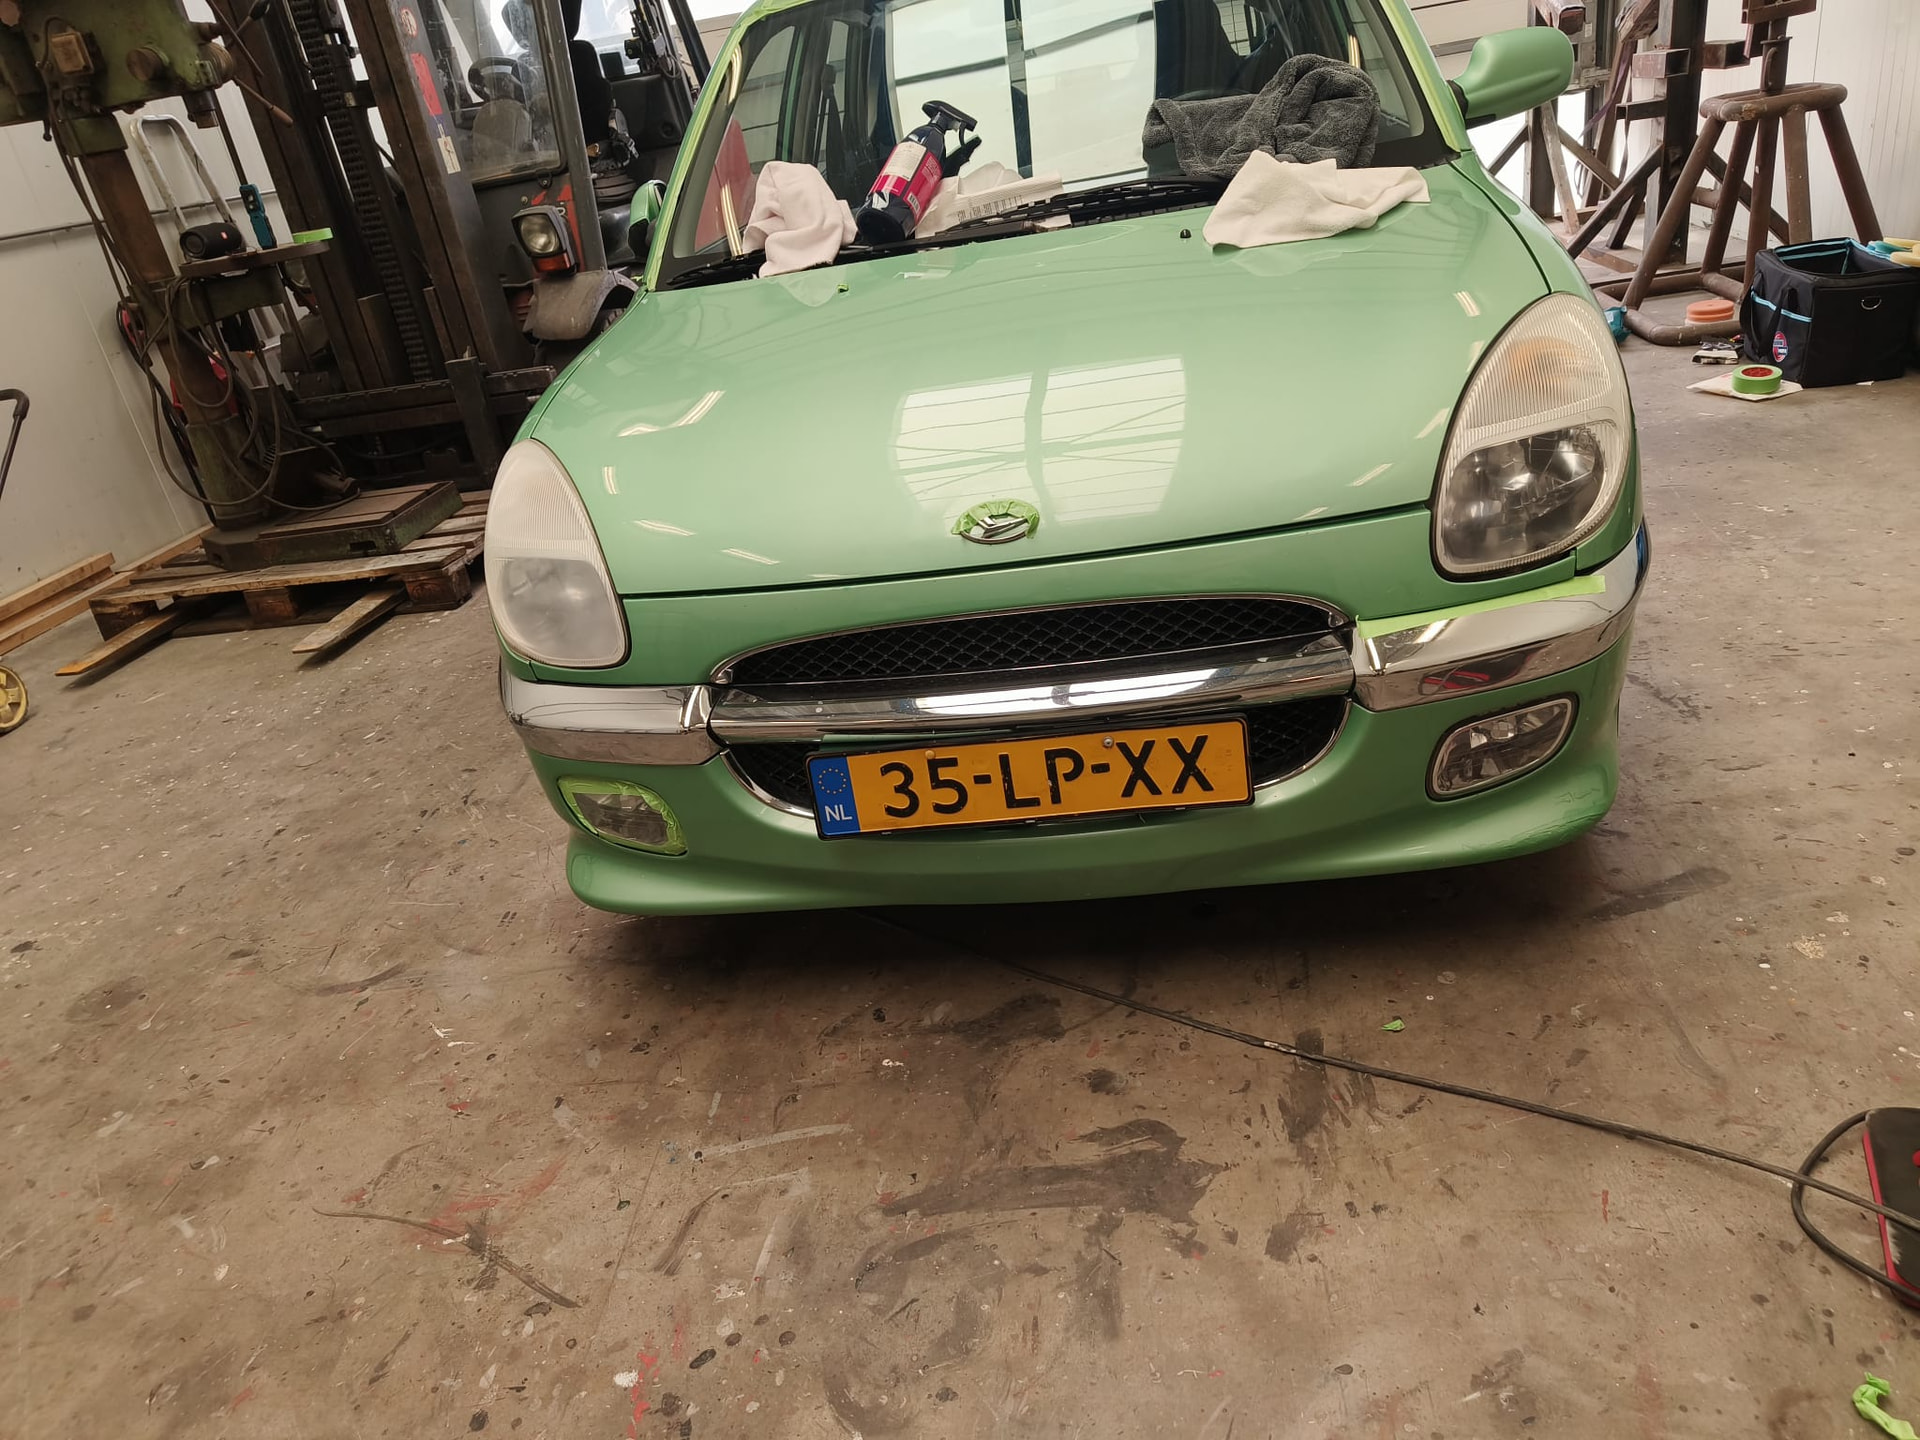
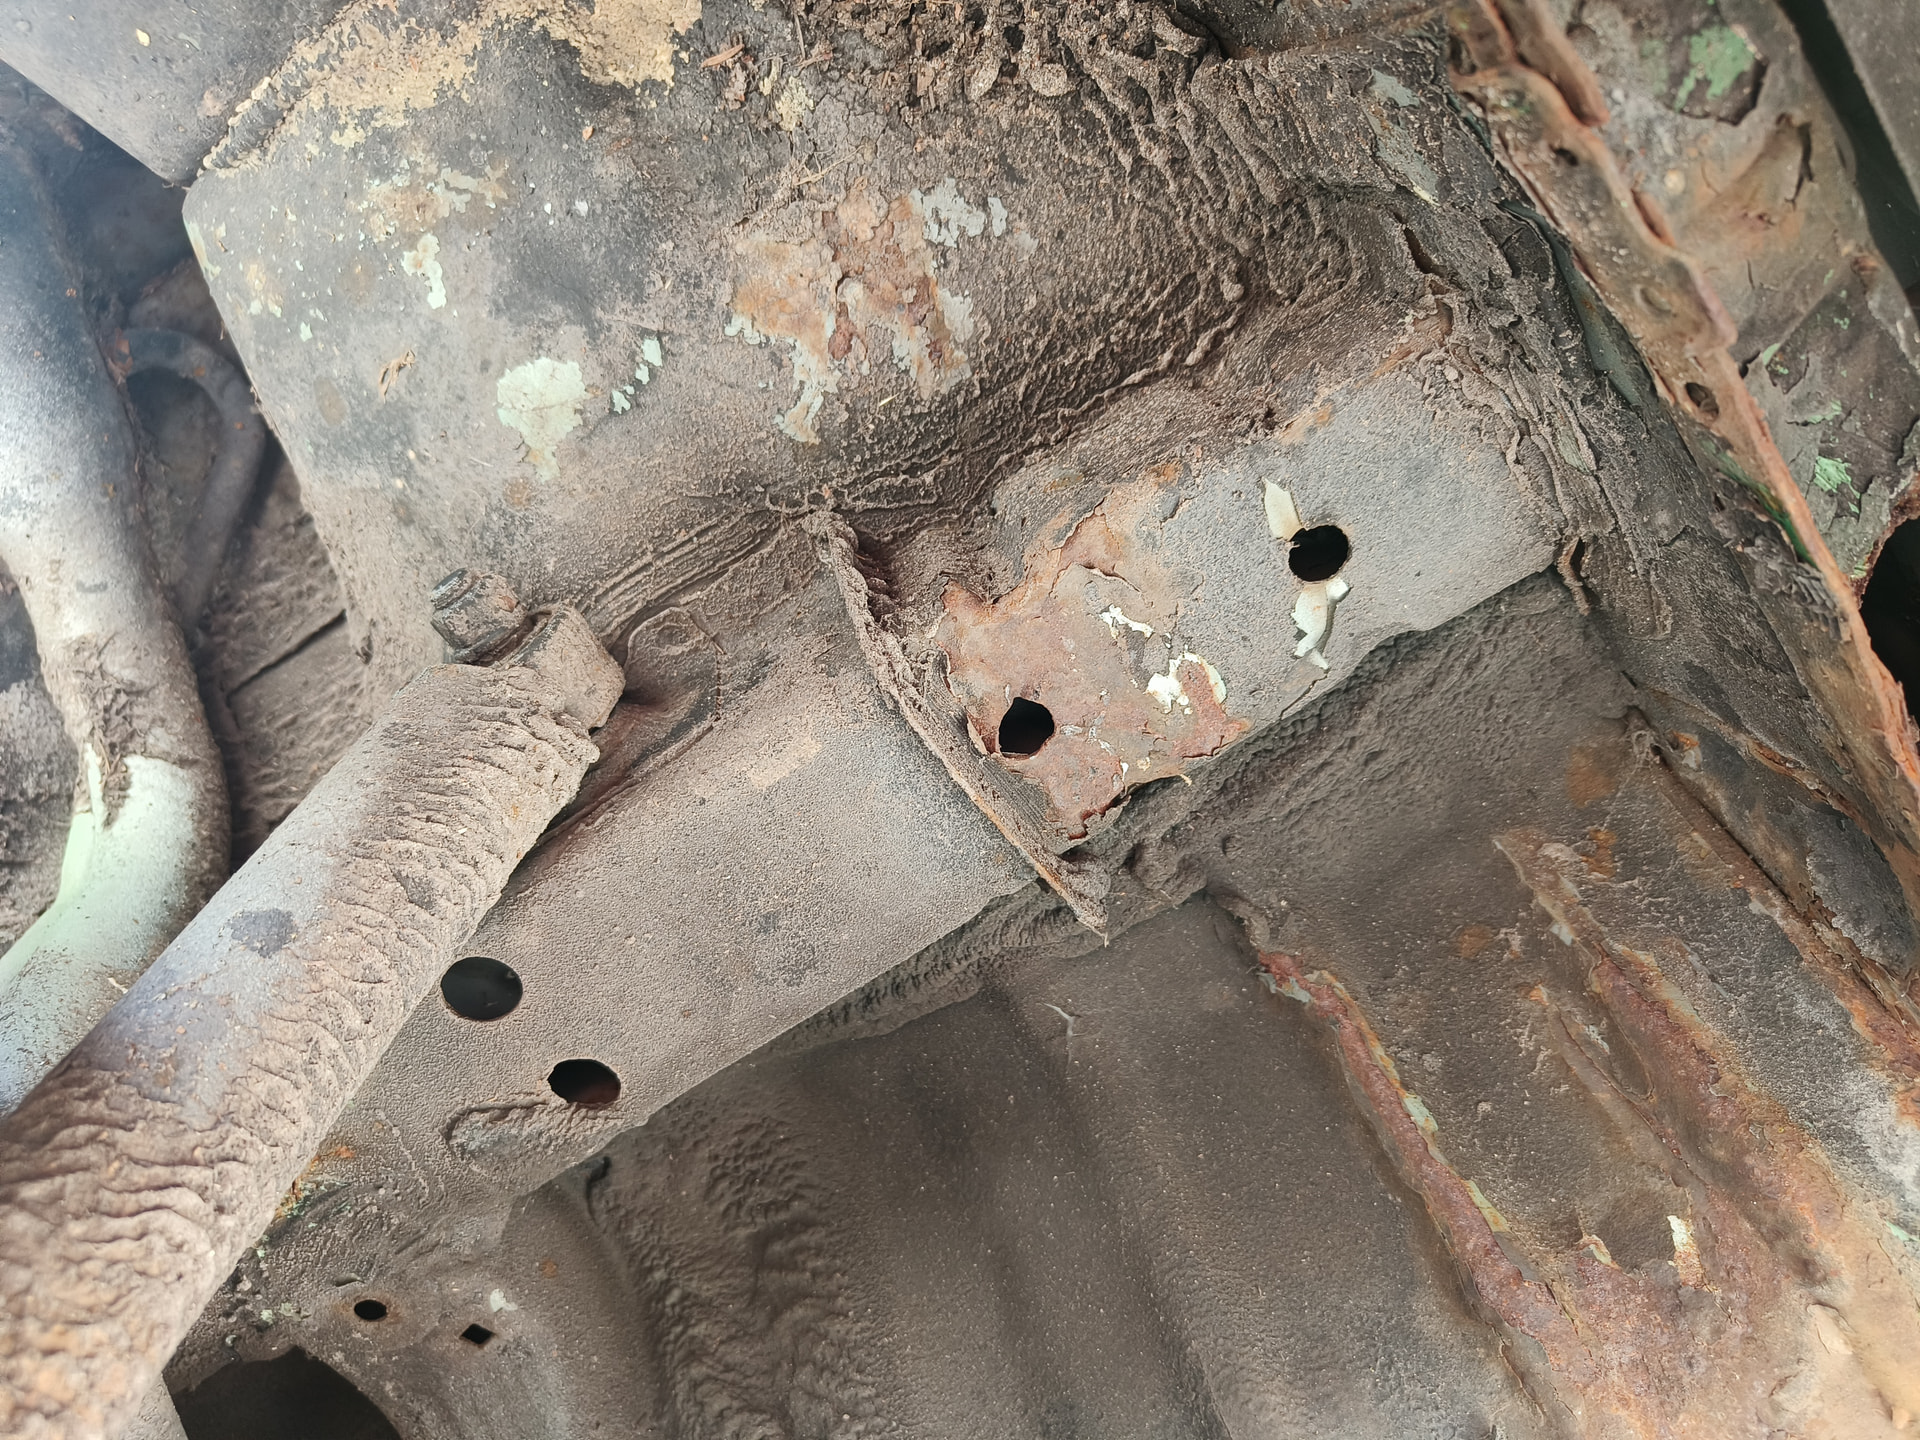
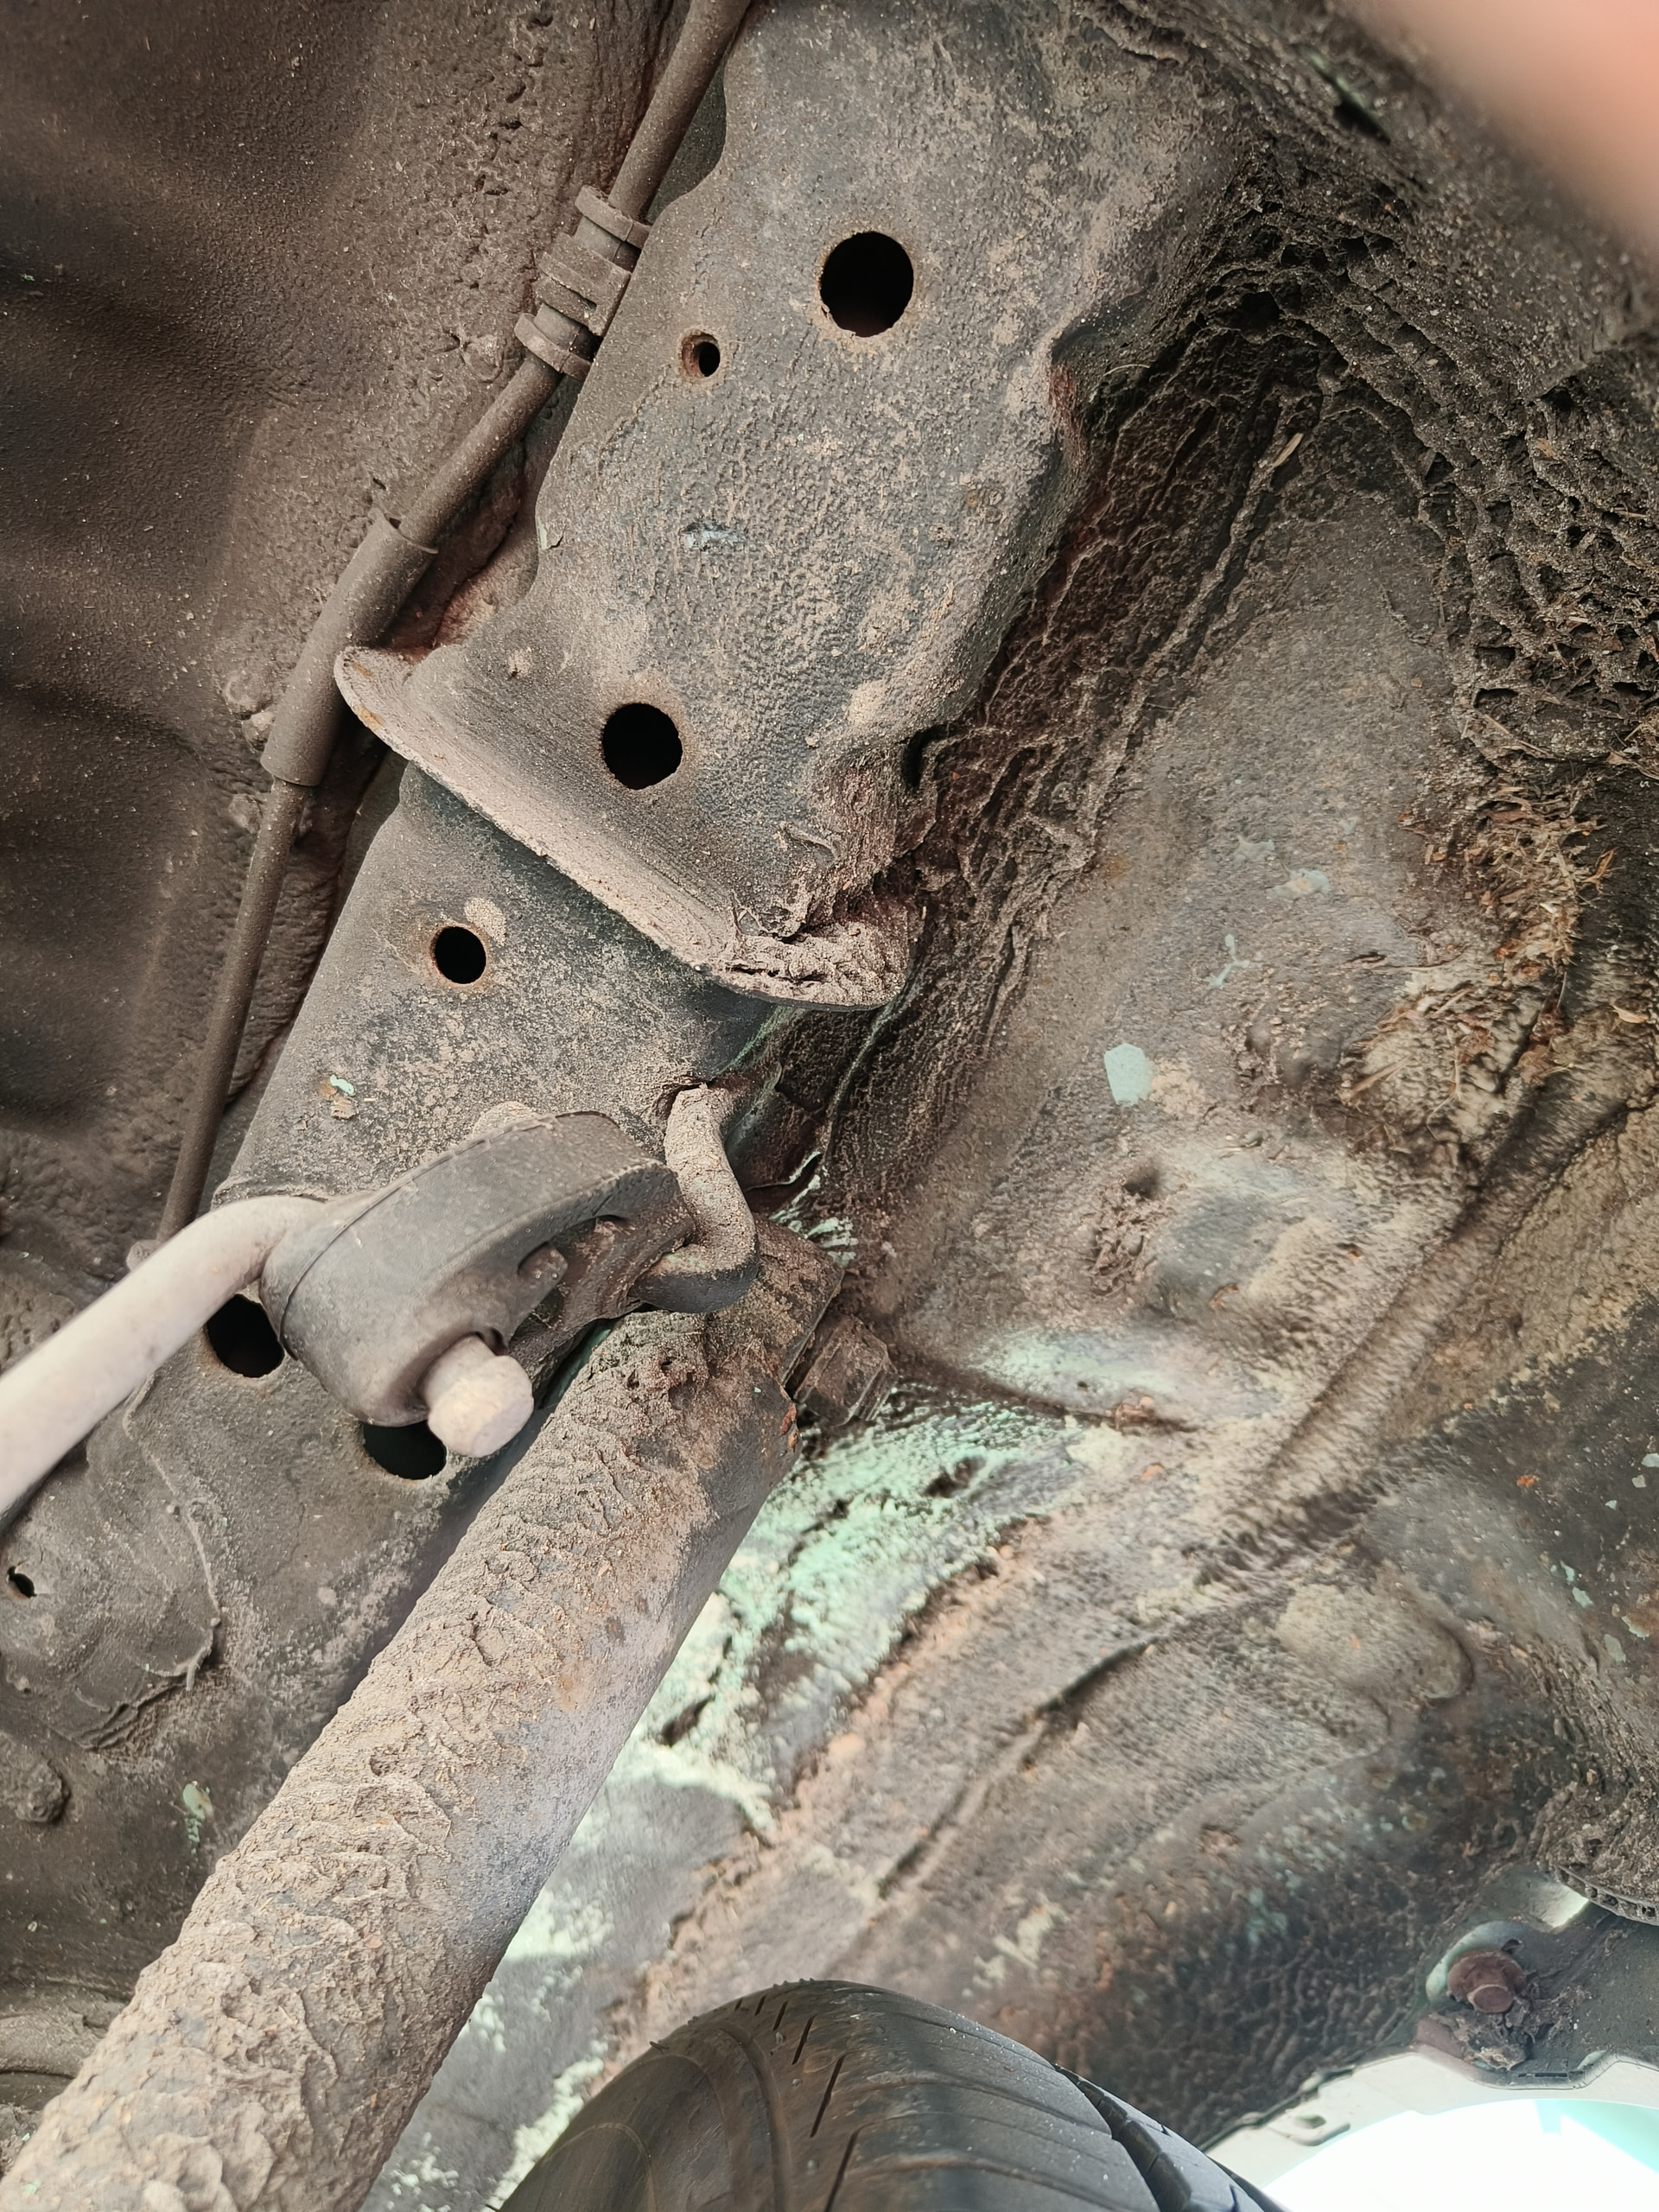
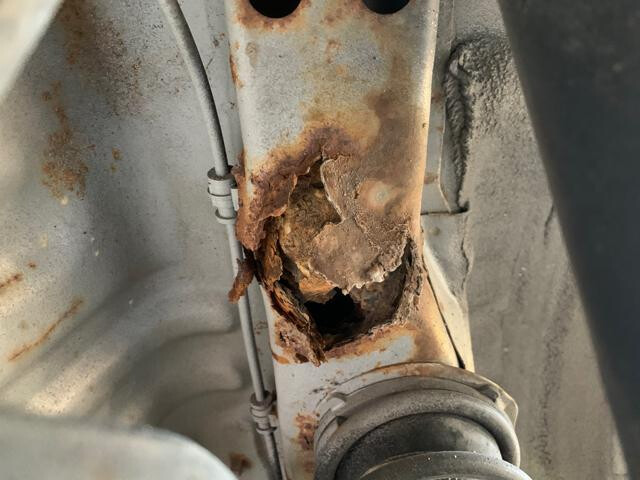
I ticked off sanding & polishing the headlights, servicing the car with new oil & sparkplugs, fixing the door lock by blasting everything with wd40, cleaning the oil that spilled all over my engine after losing the oil filler cap and spraying some rust spots in the rear arches with rust converter. Sadly there is a bit more rust than i initially saw when I bought the car…
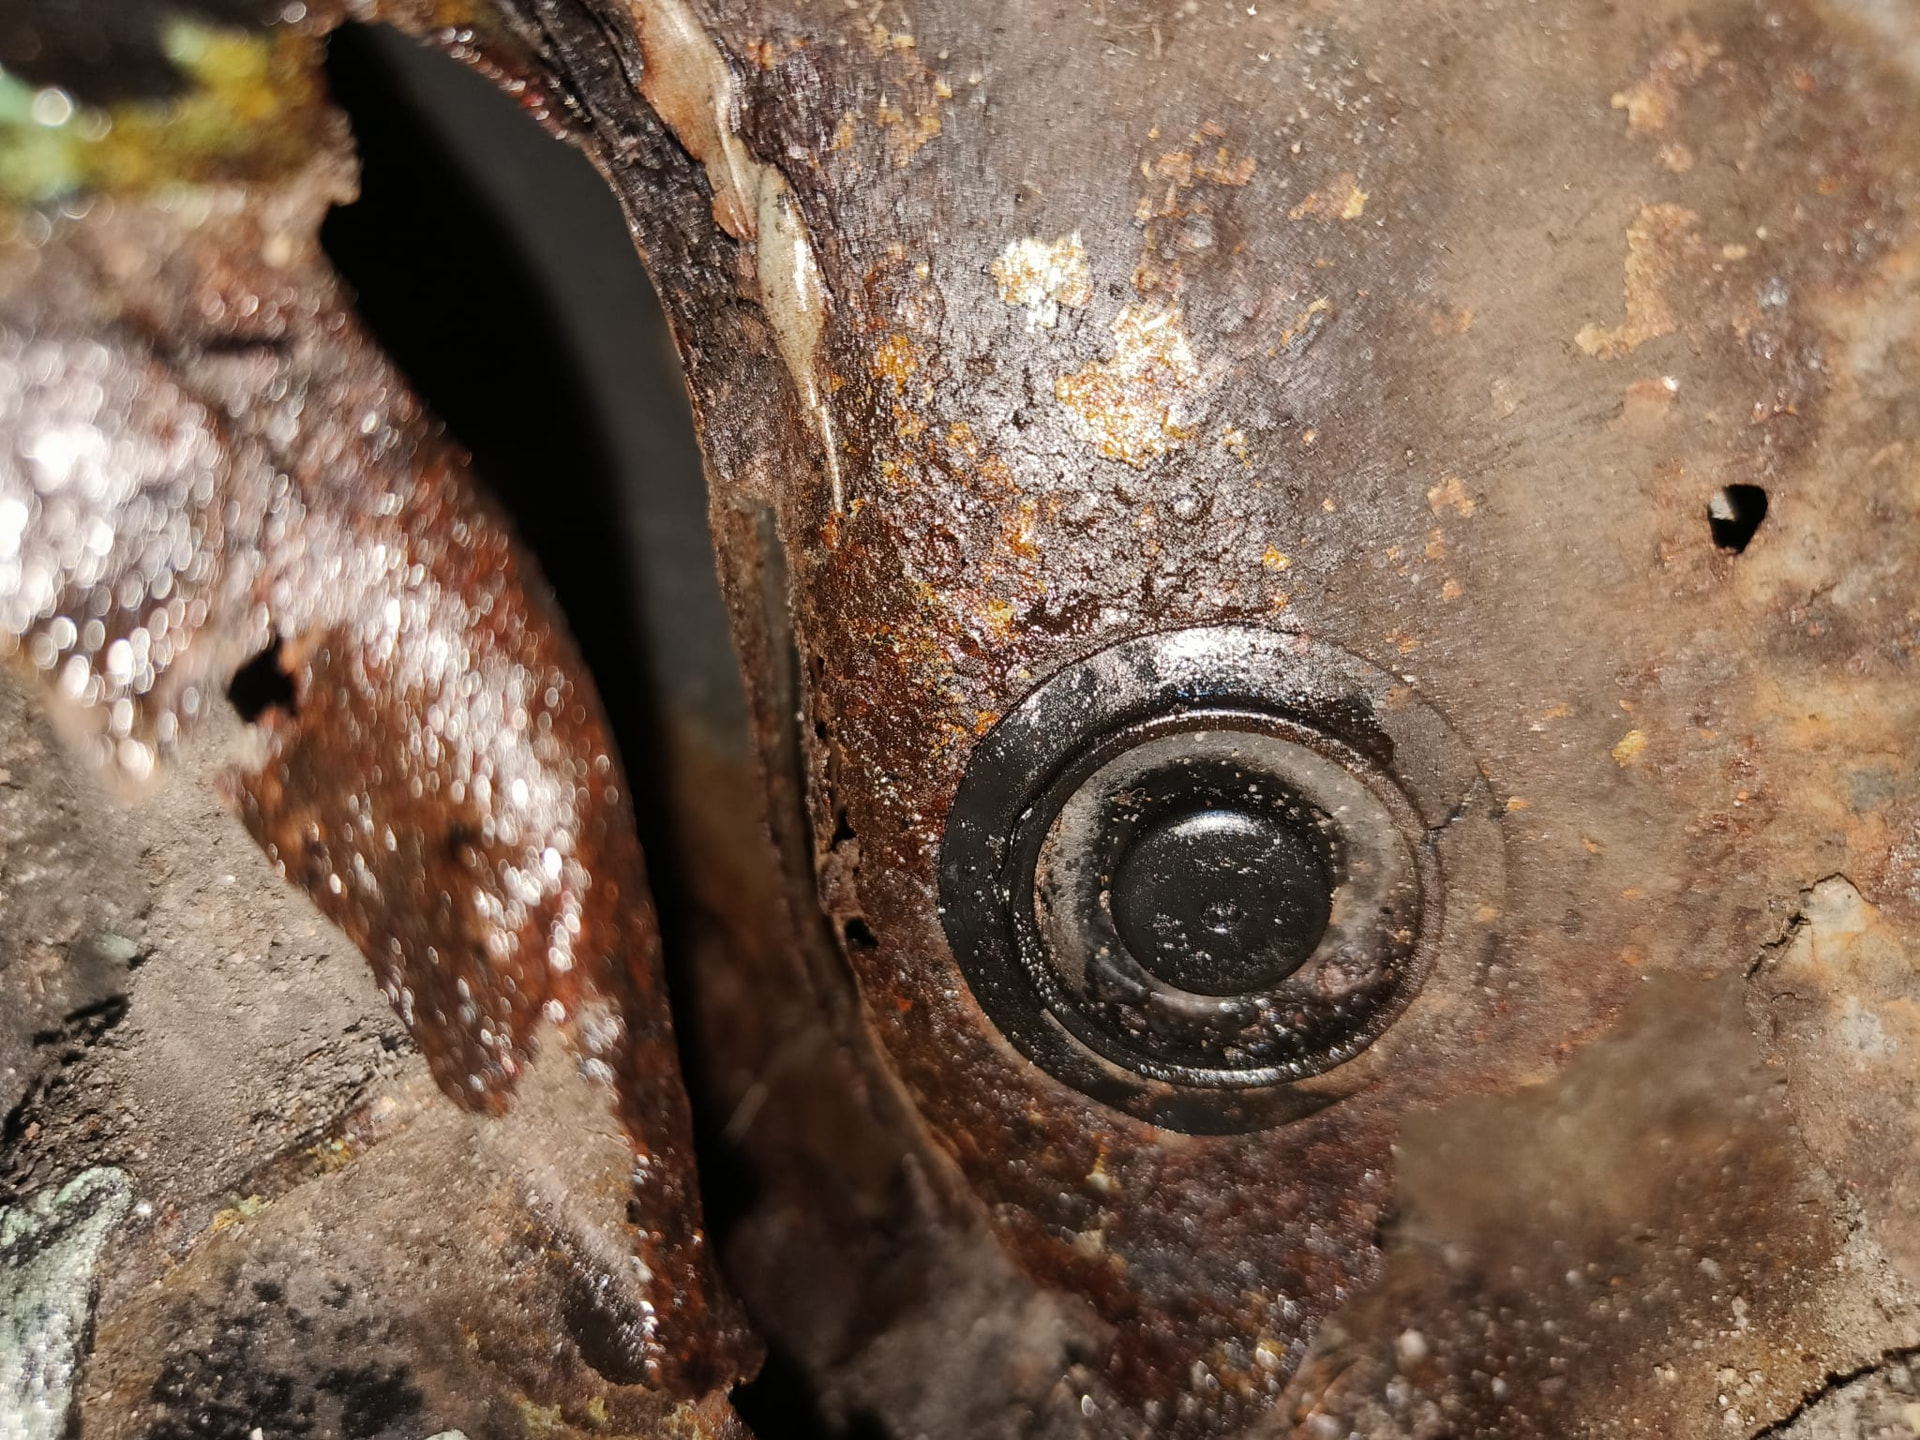
It looks like the rust is limited to this area in front of the right rear wheel arch. The parts around it were still solid. But I know I must do something to prevent it from spreading. I can’t weld (Yet!) so i’m hoping its not too bad?

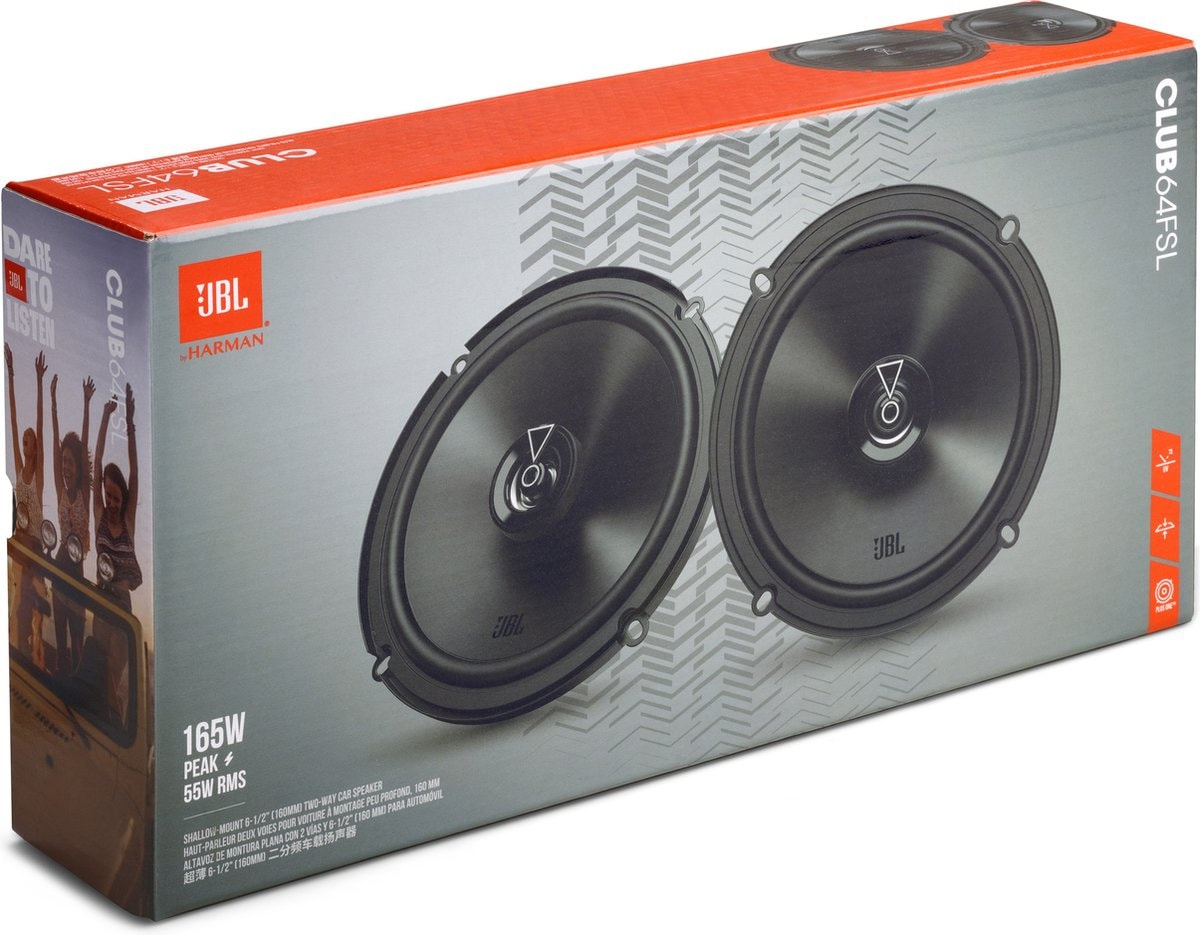
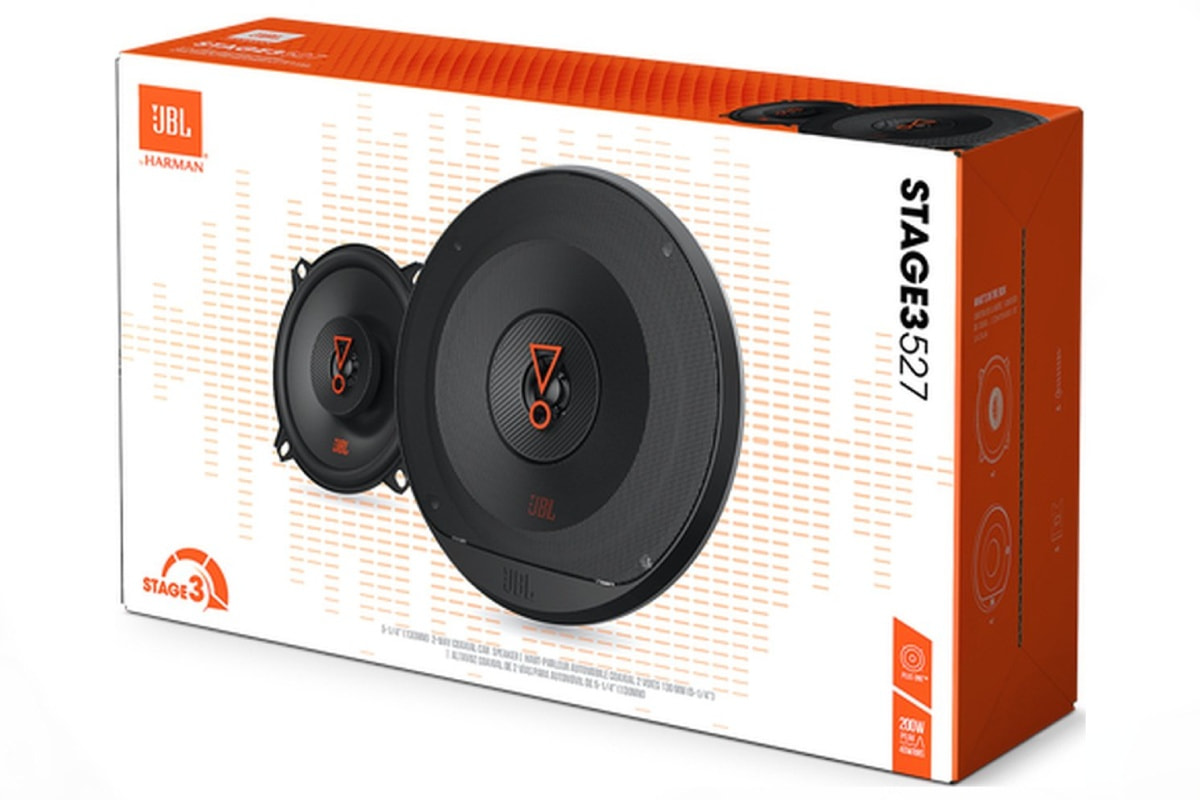
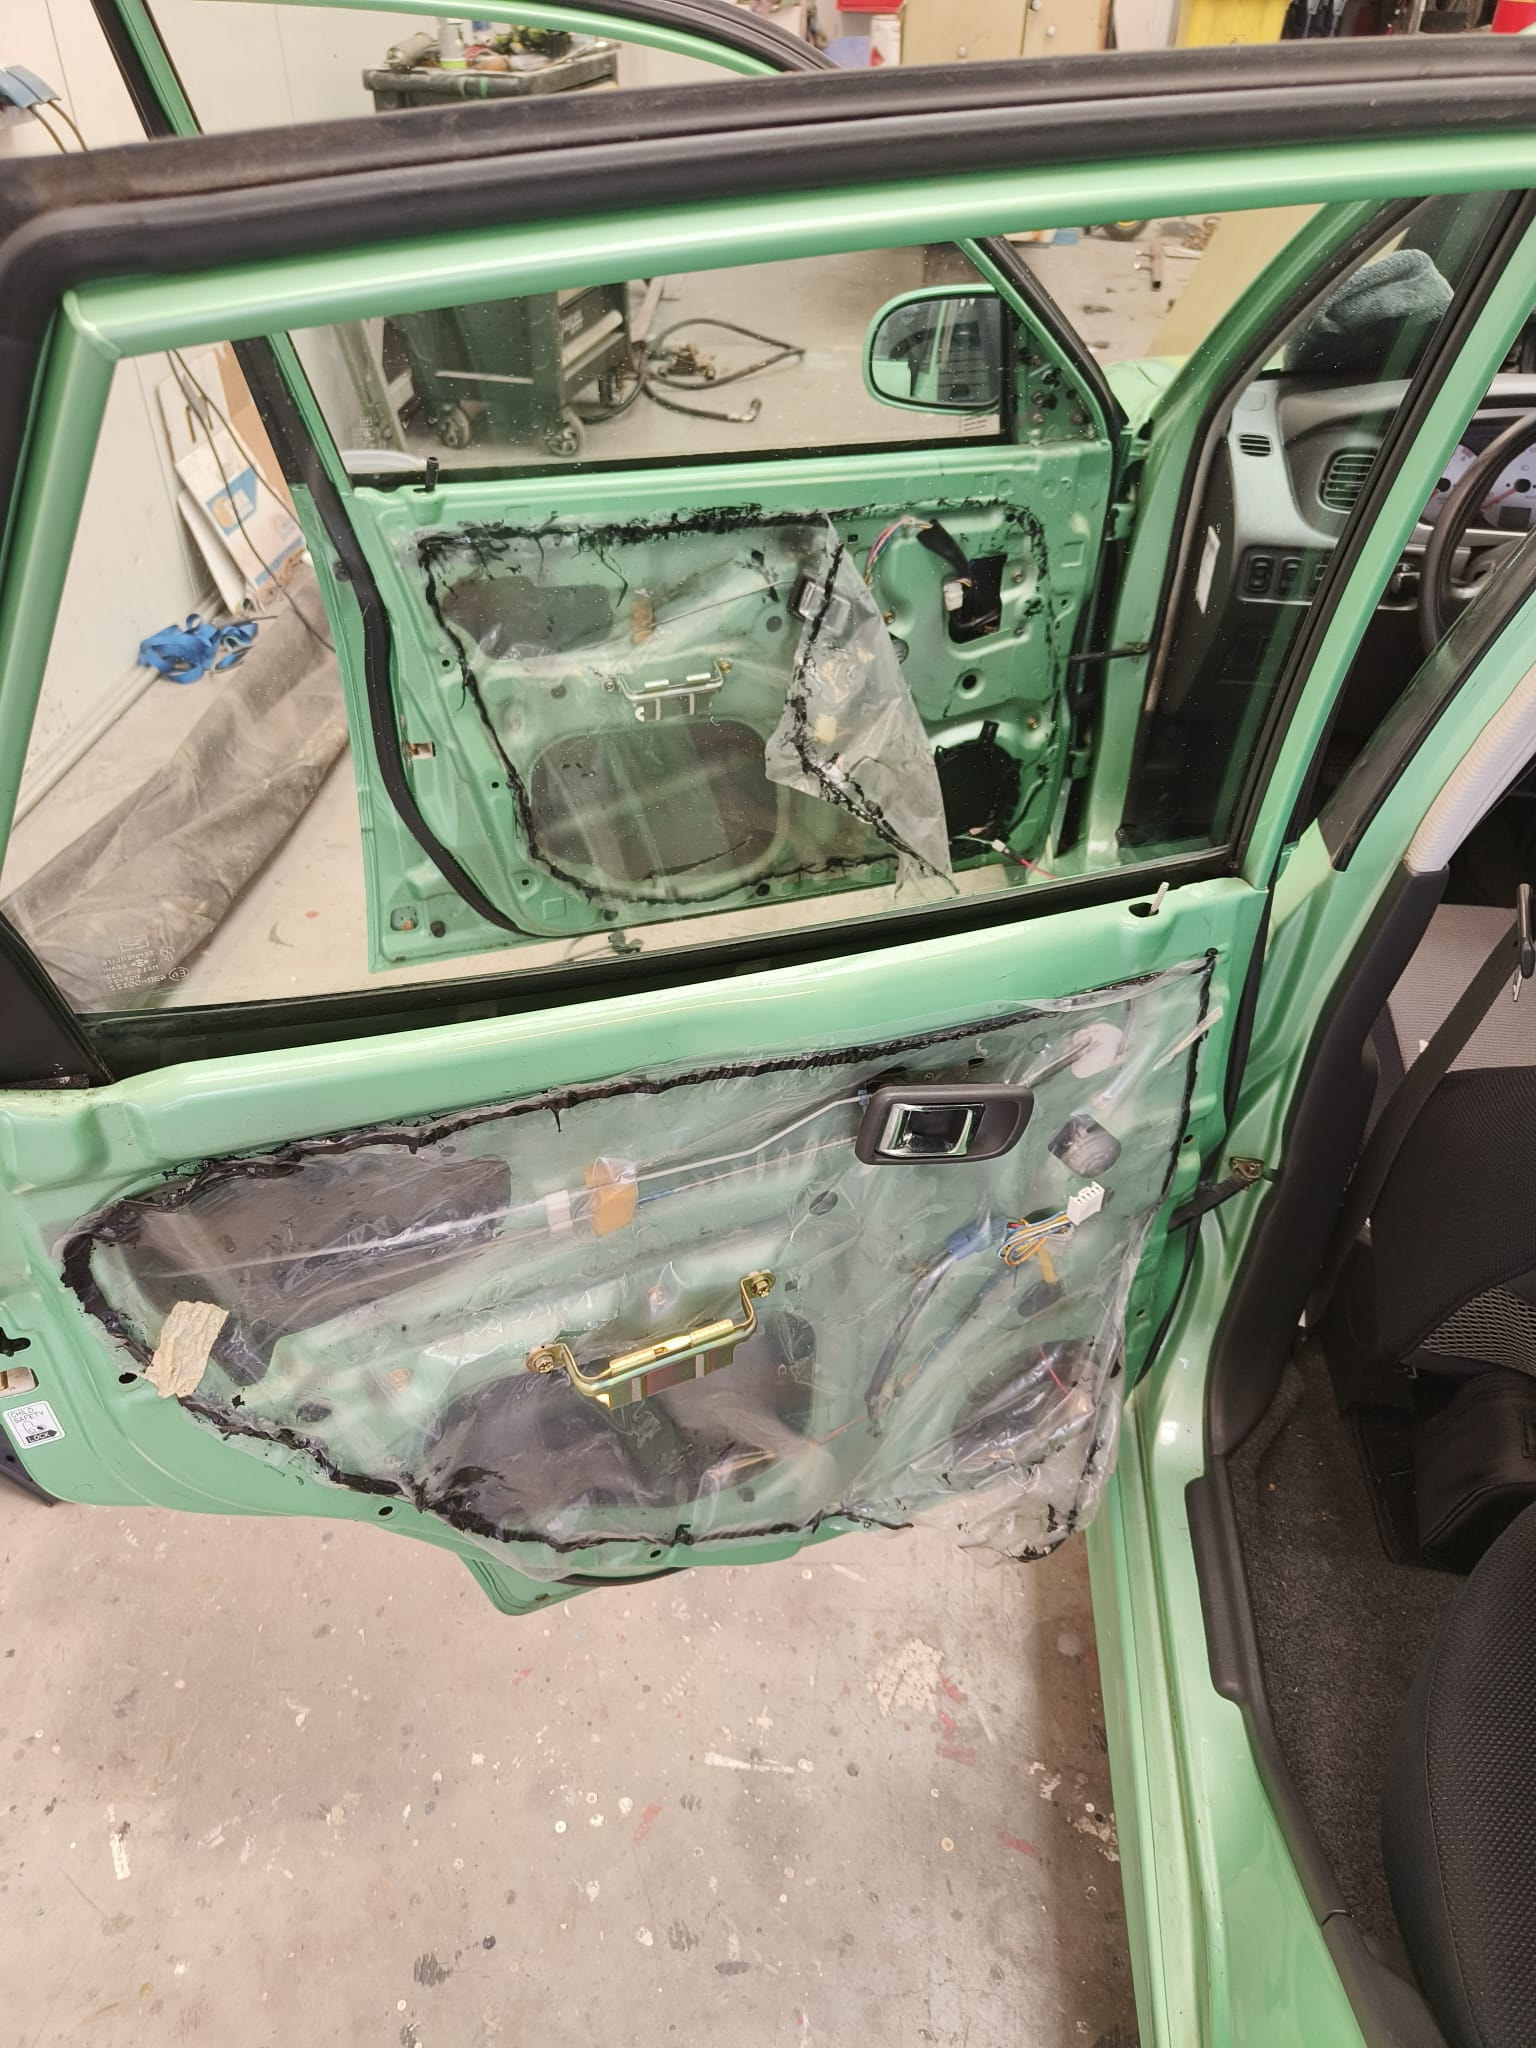
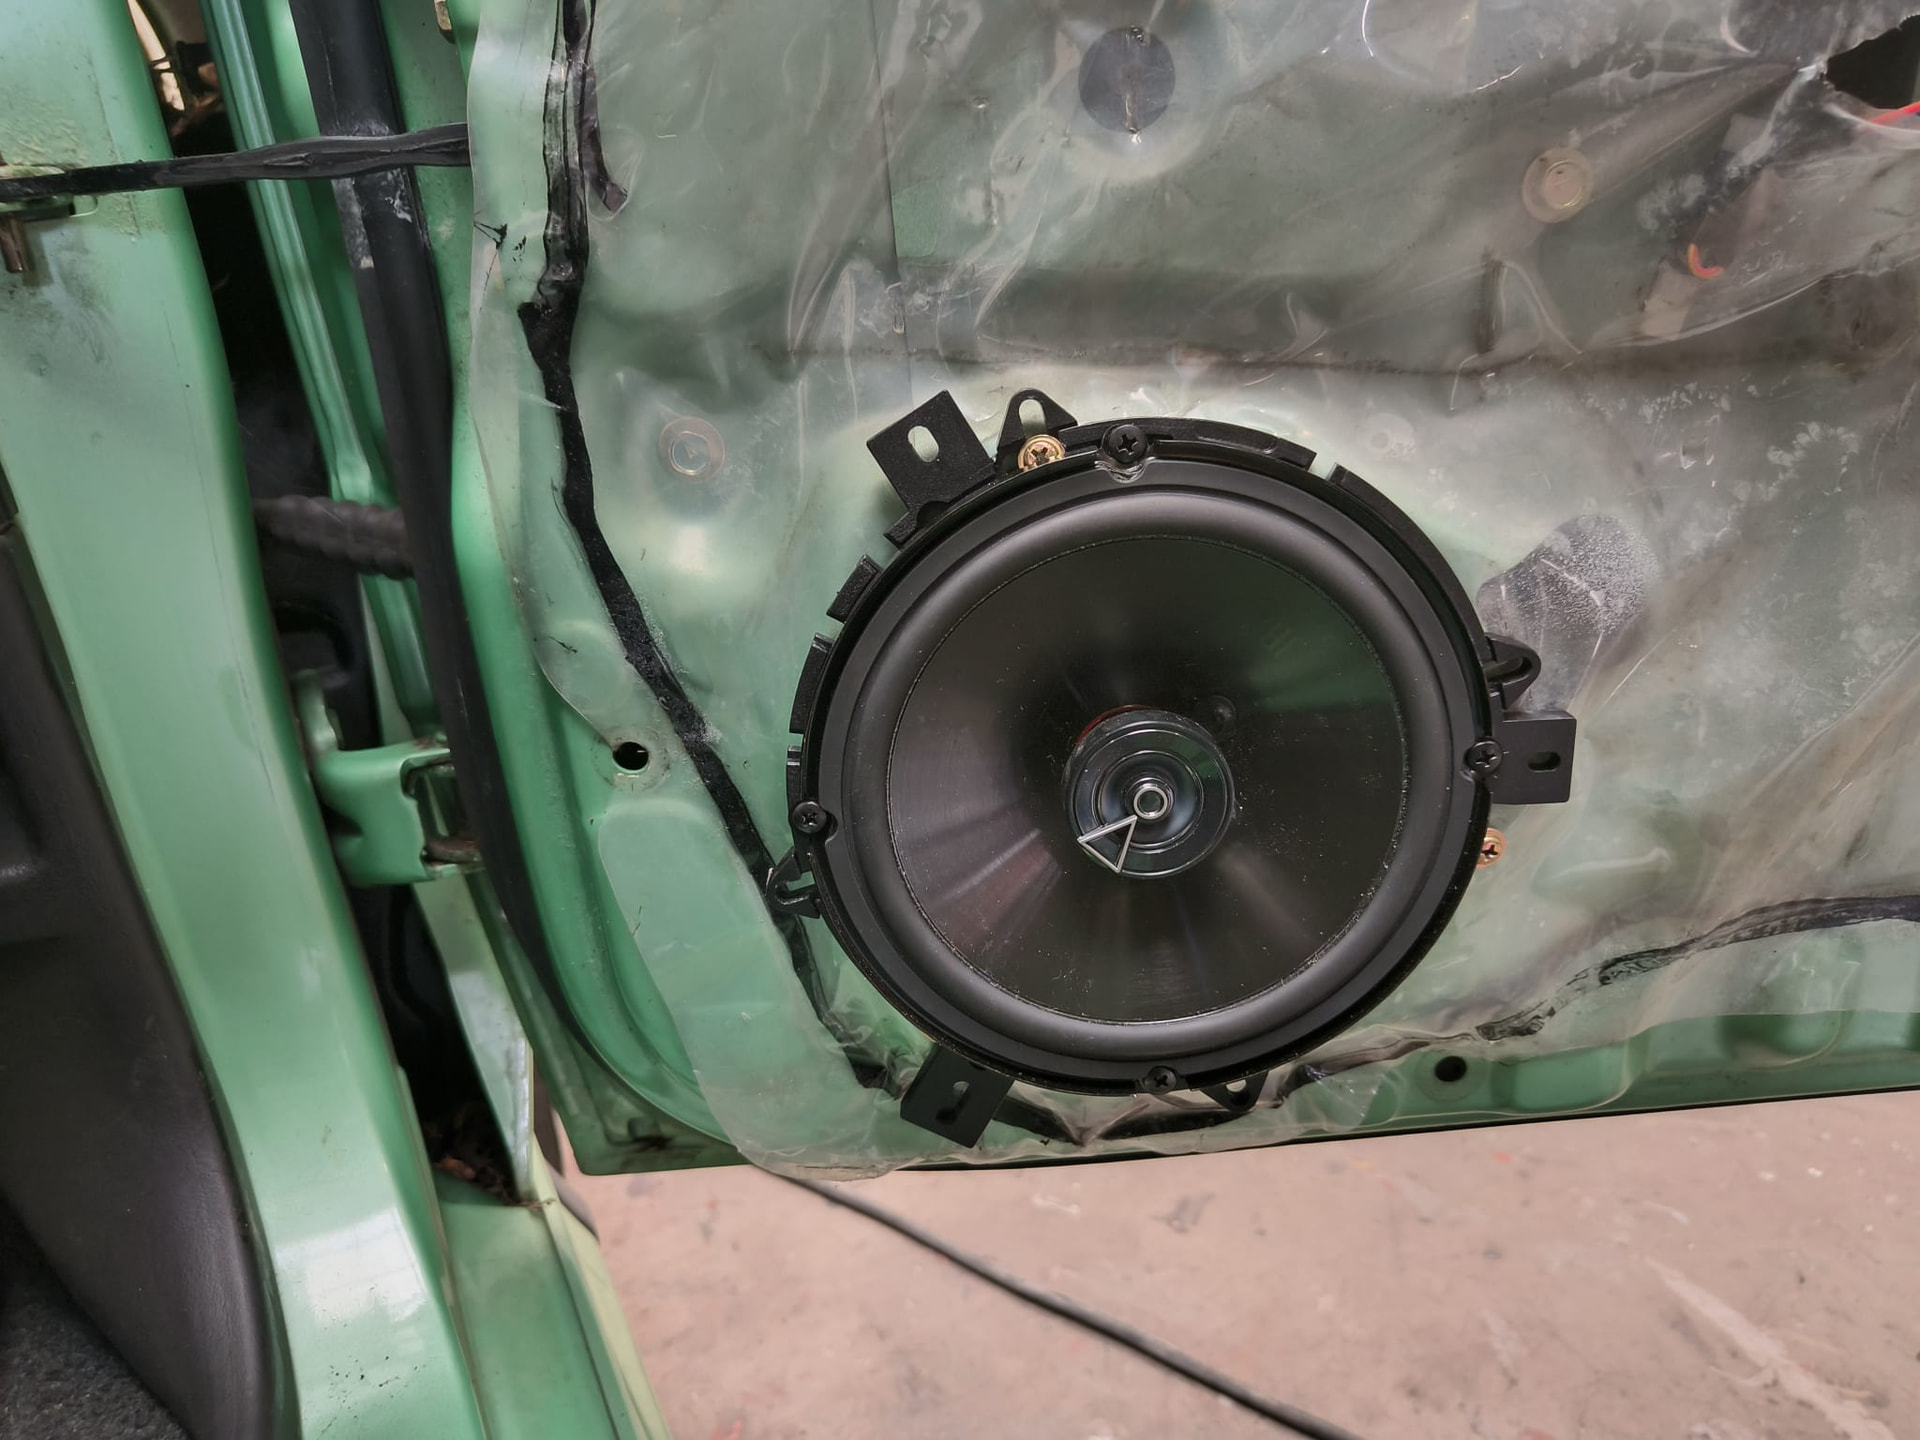
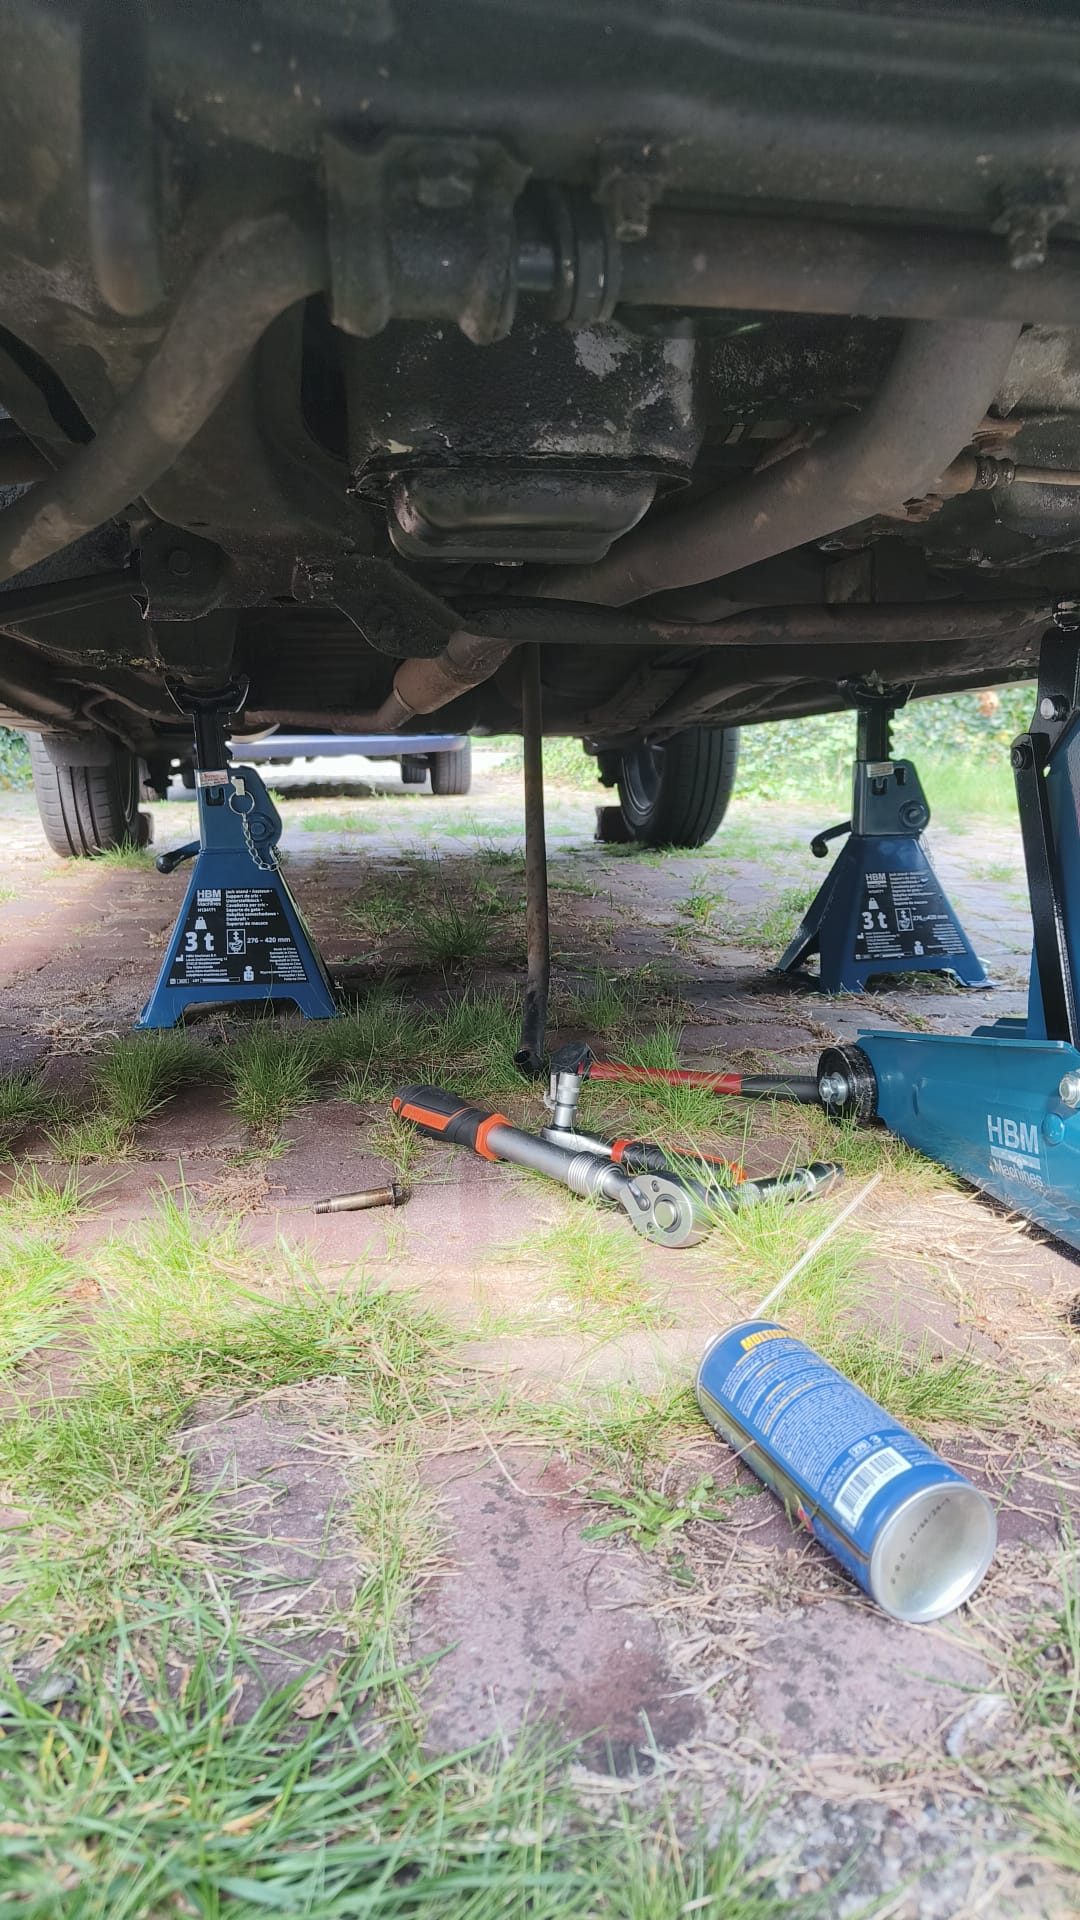
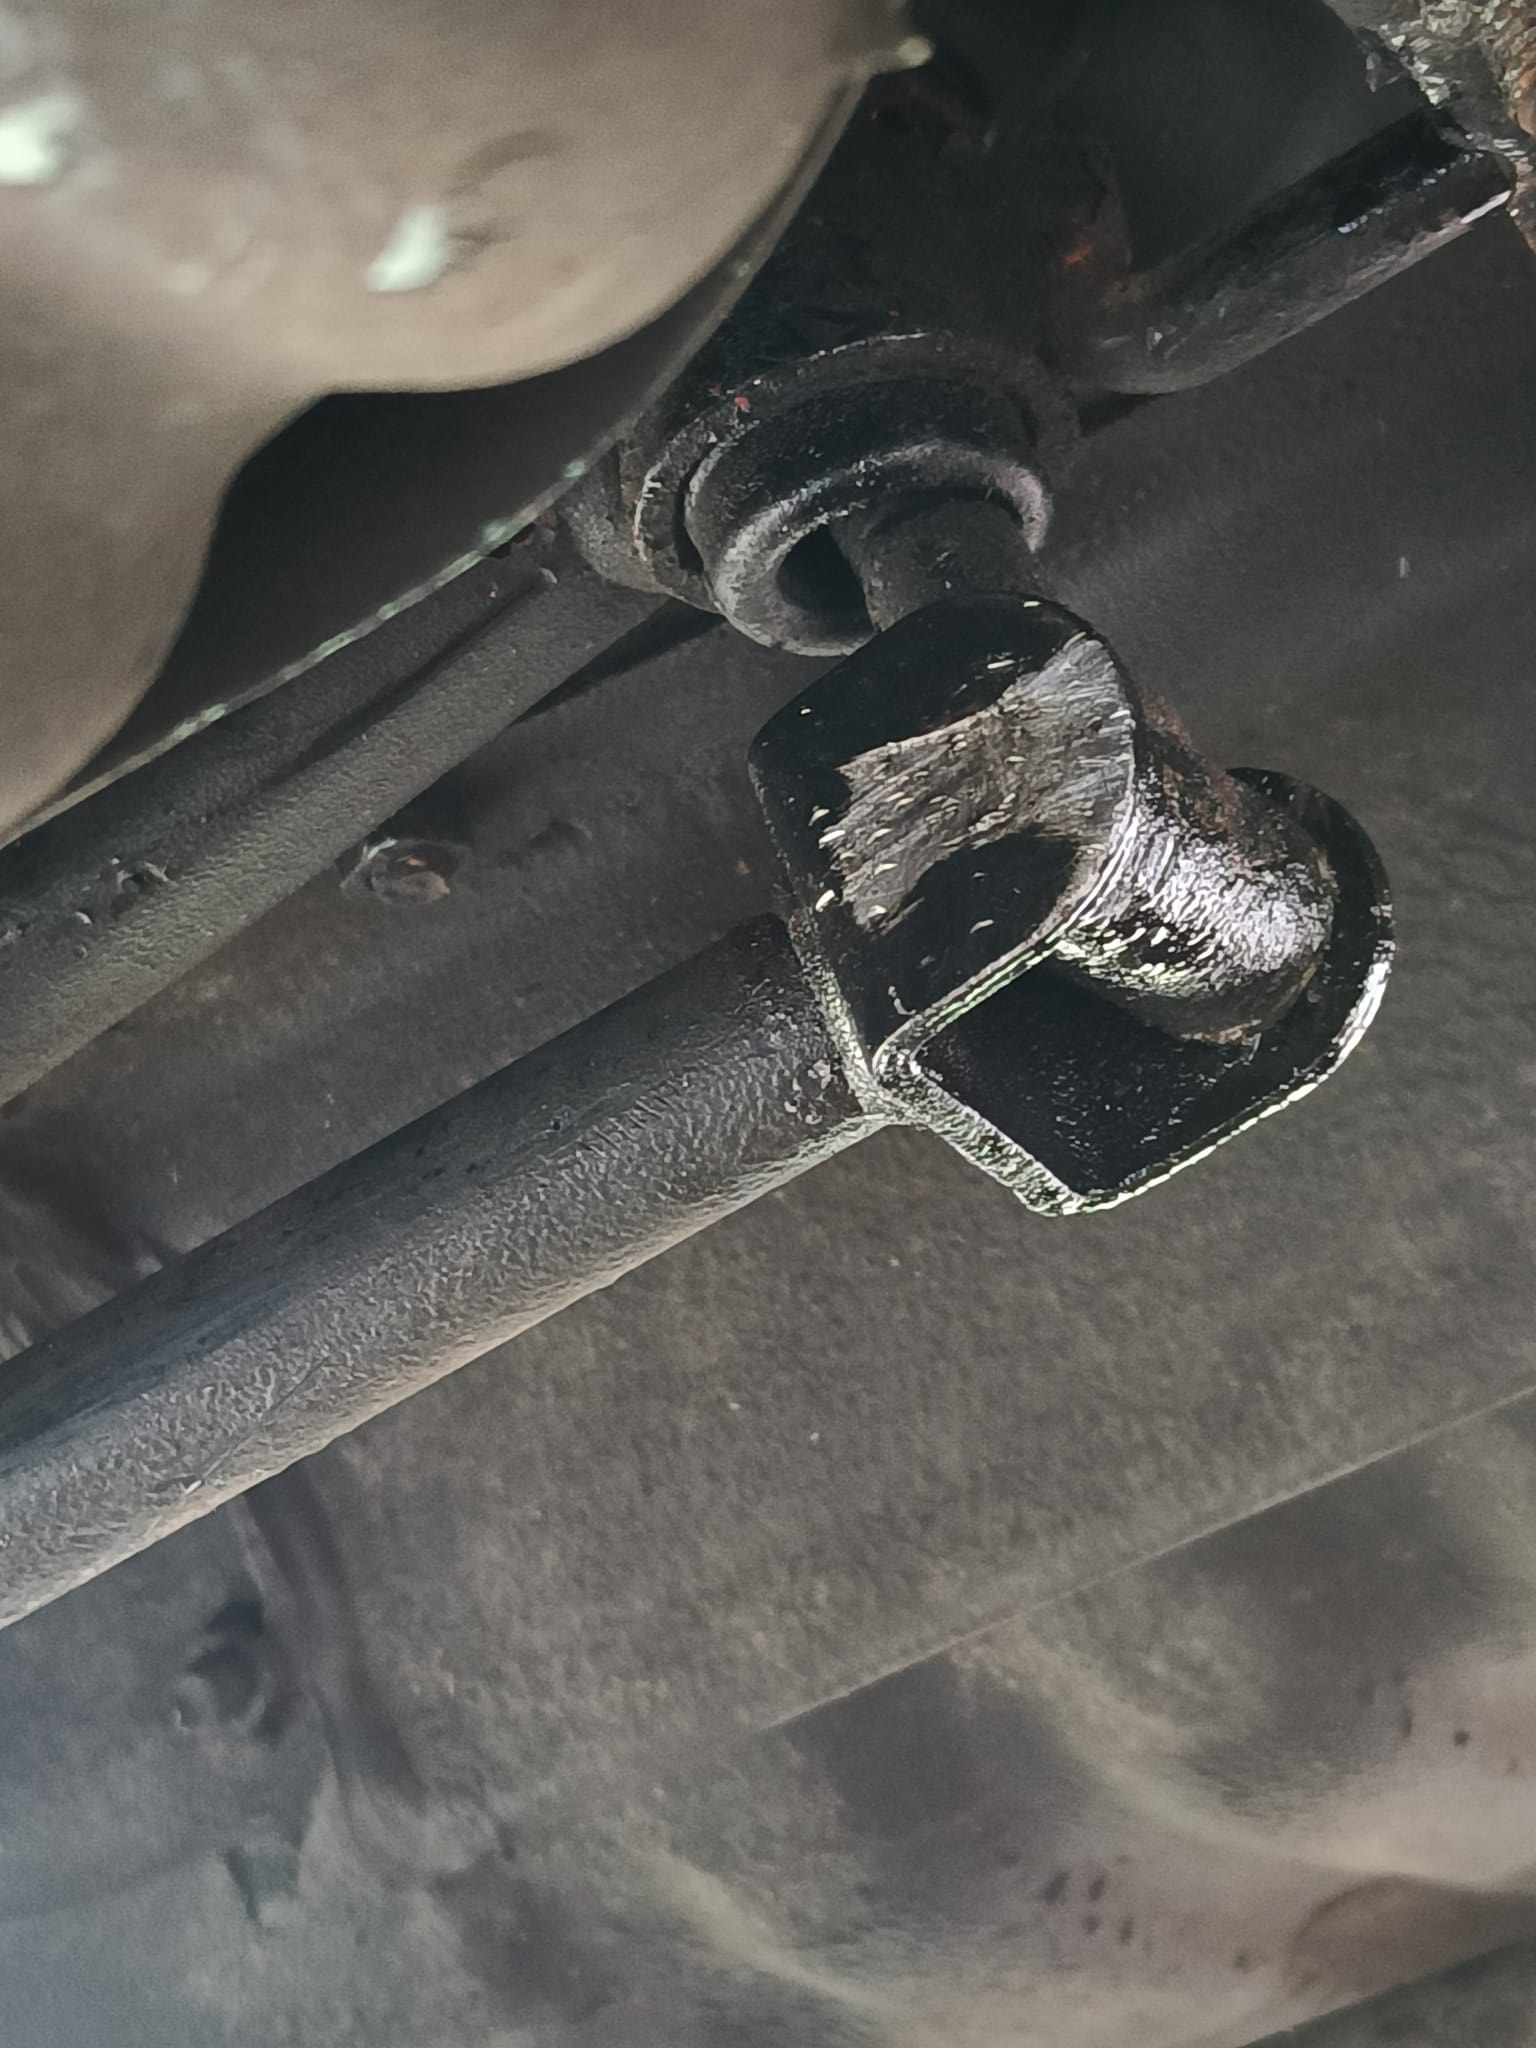
That’s where the thread ends for now. I was hoping to do the gear mechanism rubbers but my friend took all day to fix the breaks and we only have 1 set of axle stands. I’m also in the proces of buying 2 sets of speakers but the seller doesn’t seem to be interested in selling so hopefully they’ll have arrived by then too.
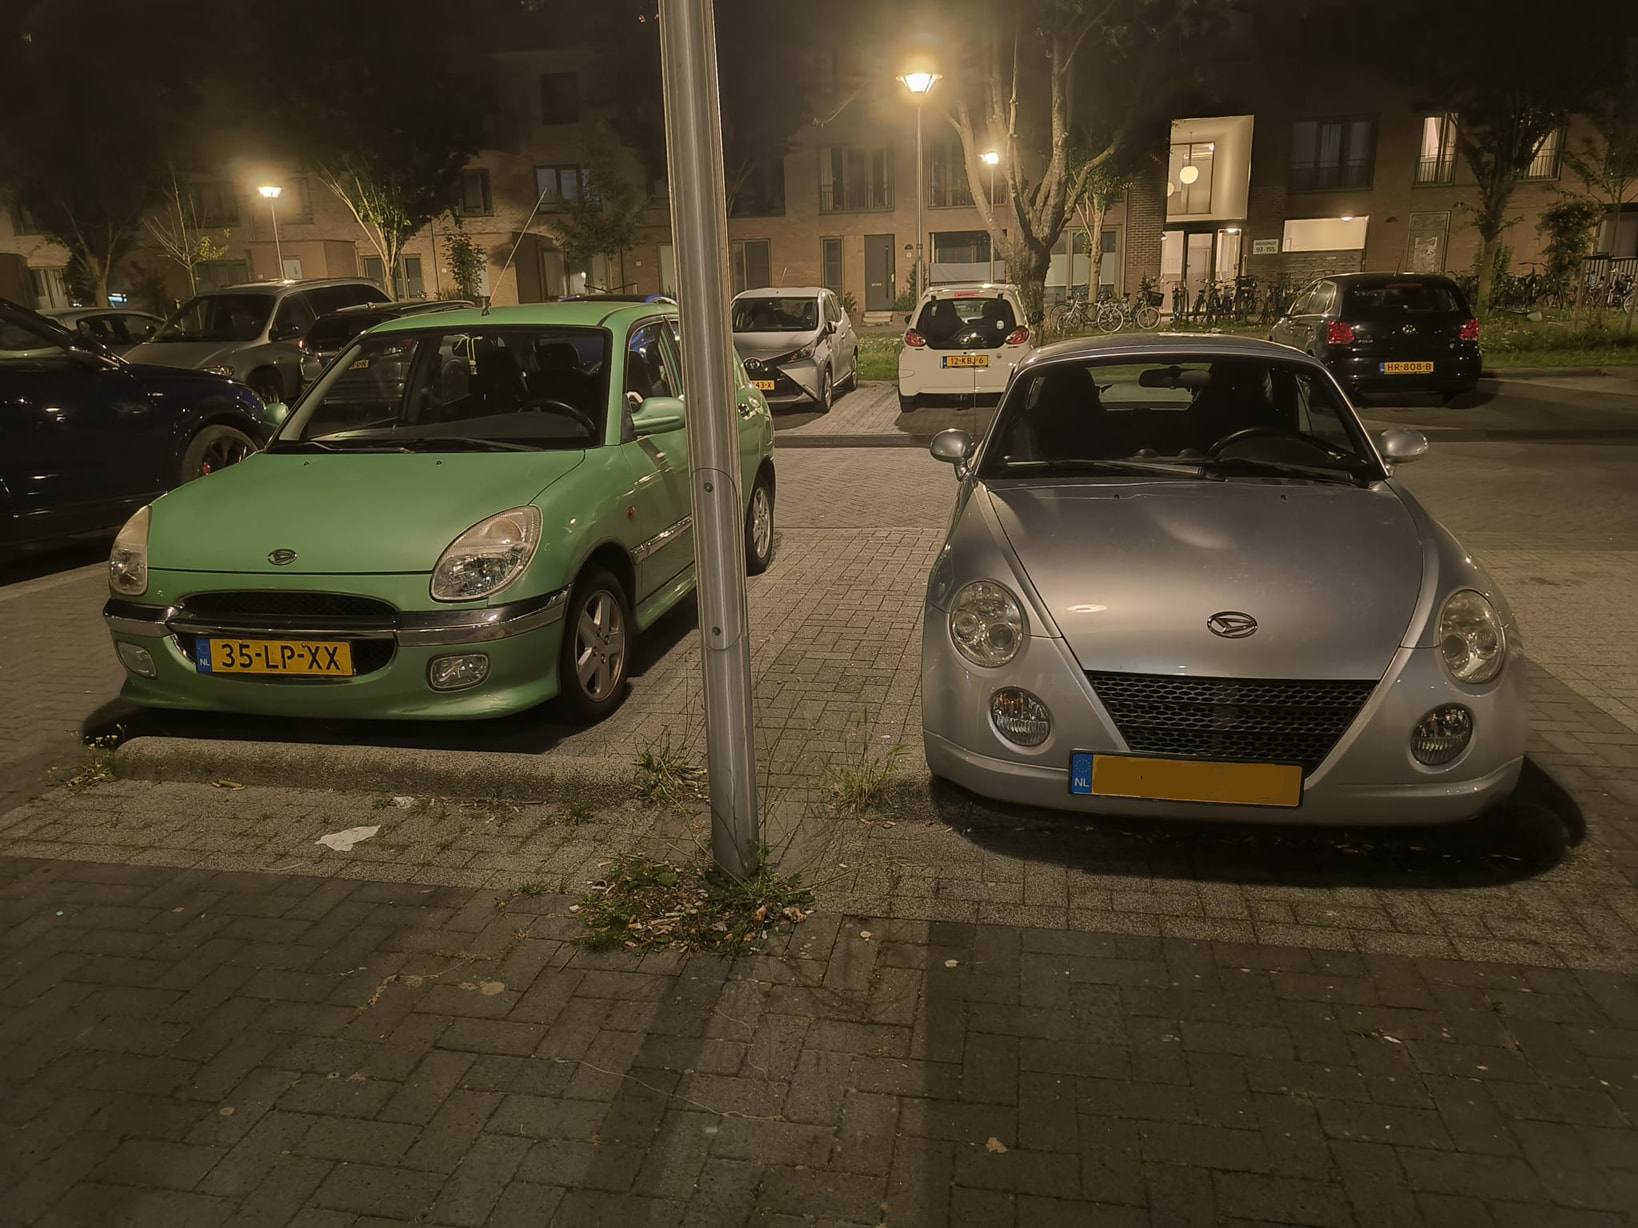
More updates to come!
5 Likes

Looks super tidy, congrats!

A bit hard to tell, but the rust patch looks superficial to me. Get some rust converter such as Vactan painted onto it, then some underbody wax such as Dynax UB and it shouldn’t get any worse. If you’re feeling brave, lever out that black bung and squirt cavity wax into that as well, but it might open up a world of horrors!

What do the rear chassis rails look like where the rear springs mount to the bodywork? They are a bit of a weak point on a lot of cars so try and keep them looking good by spraying cavity wax inside them (there are factory holes you can use for this) and it should give you a good few years motoring.

Mostly, go out and enjoy it! They;re great little cars and plenty nippy enough

2 Likes

damn the paint on it is fantastic

1 Like

The rust at rear chassis legs is a common place on Sirion1/move/cuore 501/701/900/251

When they designed it its a 3 plate construction the middle one rust away and rust is there

A lot Daihatsu scrapped because of that

May we see it?

Not this exact car but same spec, without the roof rails

2 Likes

I’ve only seen these with roof rails. Maybe, they’re extra for the Dutch market. I’ve read that manual windows (or was it power door locks?) were for the Dutch market, on first generation Wagon Rs (That one pictured is the second generation assembled in Hungary). My first generation has both power locks and only both front powered windows standard. Although, I could do without all of that, especially because the front right door’s lock isn’t dependable in winter.

I have temporarilly removed my rails, because they are made of aluminium powder-coated black (some Wagon Rs had plastic roof rails) and I wanted mine to look like aluminium instead. The cast ends are also heavier. Therefore, I’m thinking about trimming weight off of these, once the powder coating is removed.

Those second generation Rs are a definite improvement in both ergonomics and in manual shift mechanisms. The later ones even have variable intake camshaft timing, offsetting the lack of low-end torque of the earlier engines

1 Like

Yes the shifts are very nice on his wagon r too. I’d love for mine to be like that but we’ll see after i finally get to fixing it on the Sirion.

His wagon r is from 2006 with the opel/Vauxhall ecotec engine so it should be the fastest wagon r available (94hp version has more torque but less power and poor fuel consumption) It doesnt have any extra options sadly. No a/c, no powered Windows, no central locking.

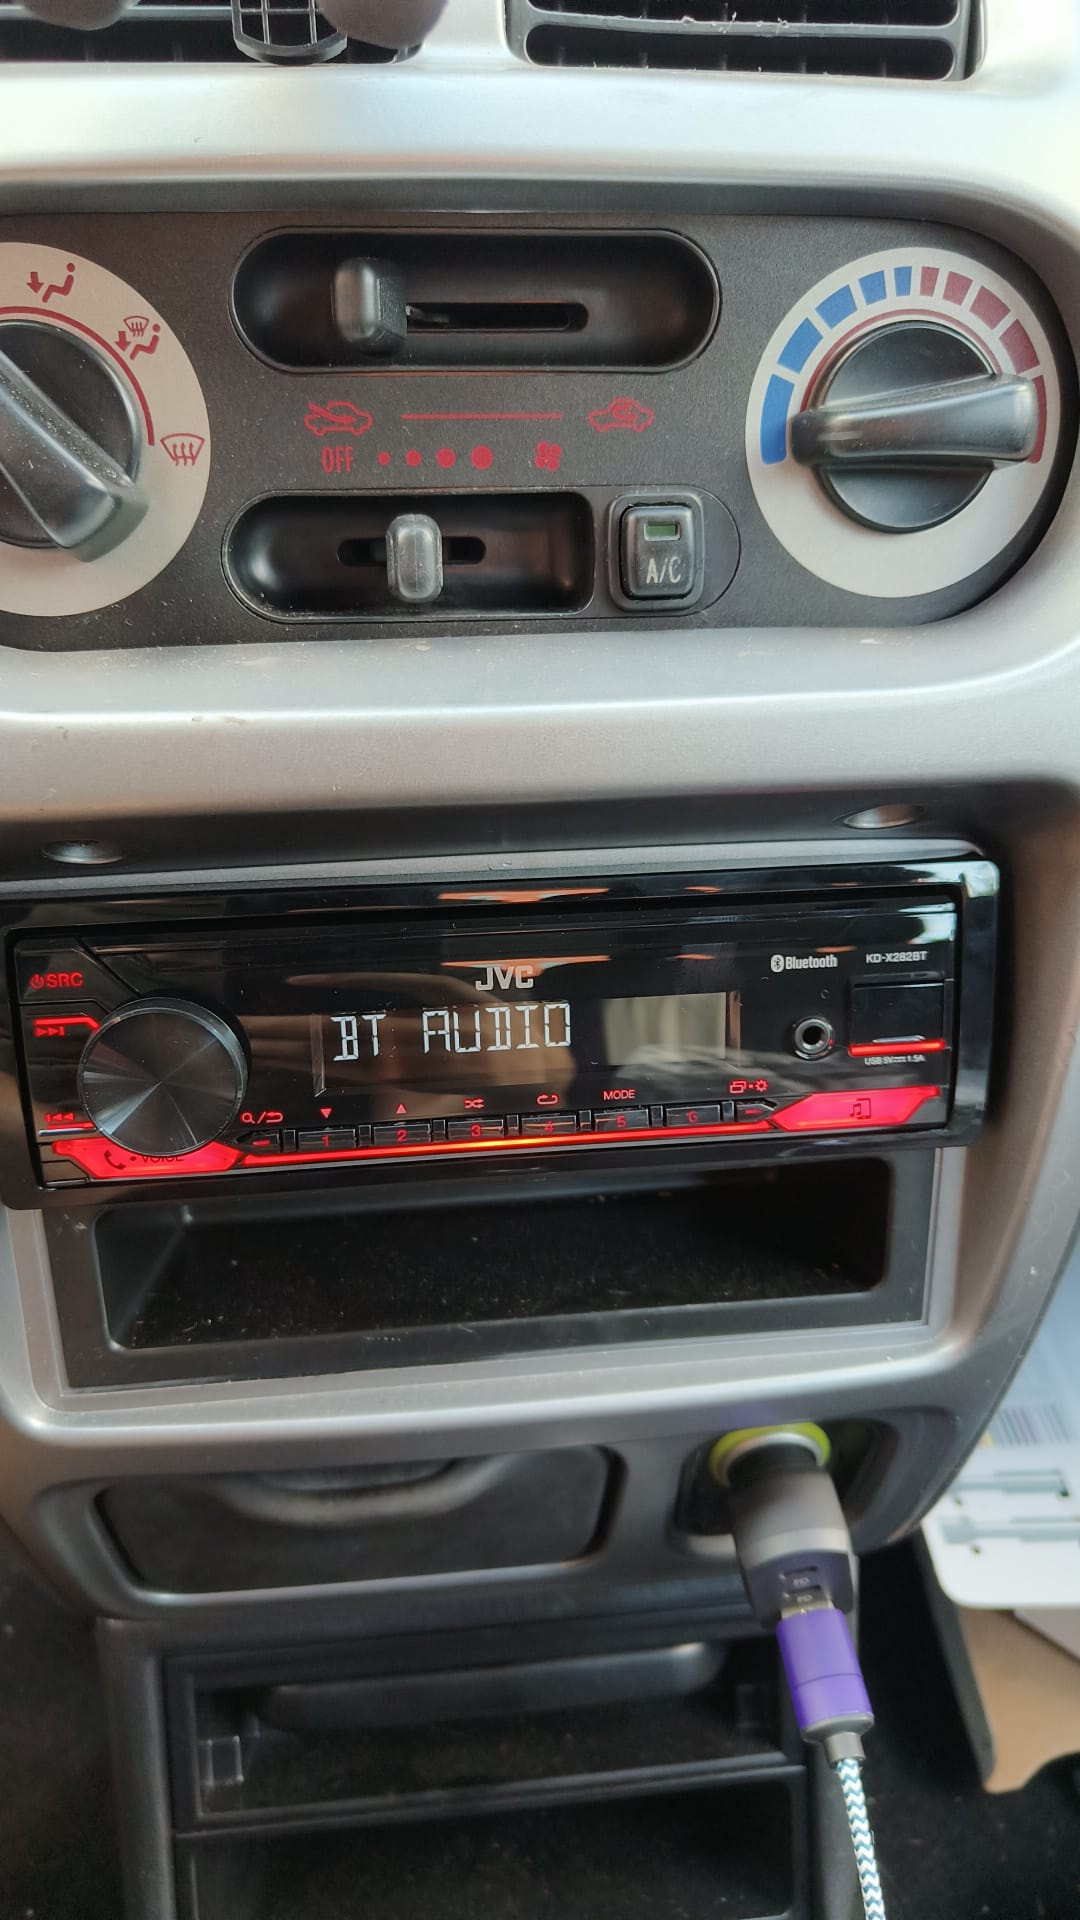
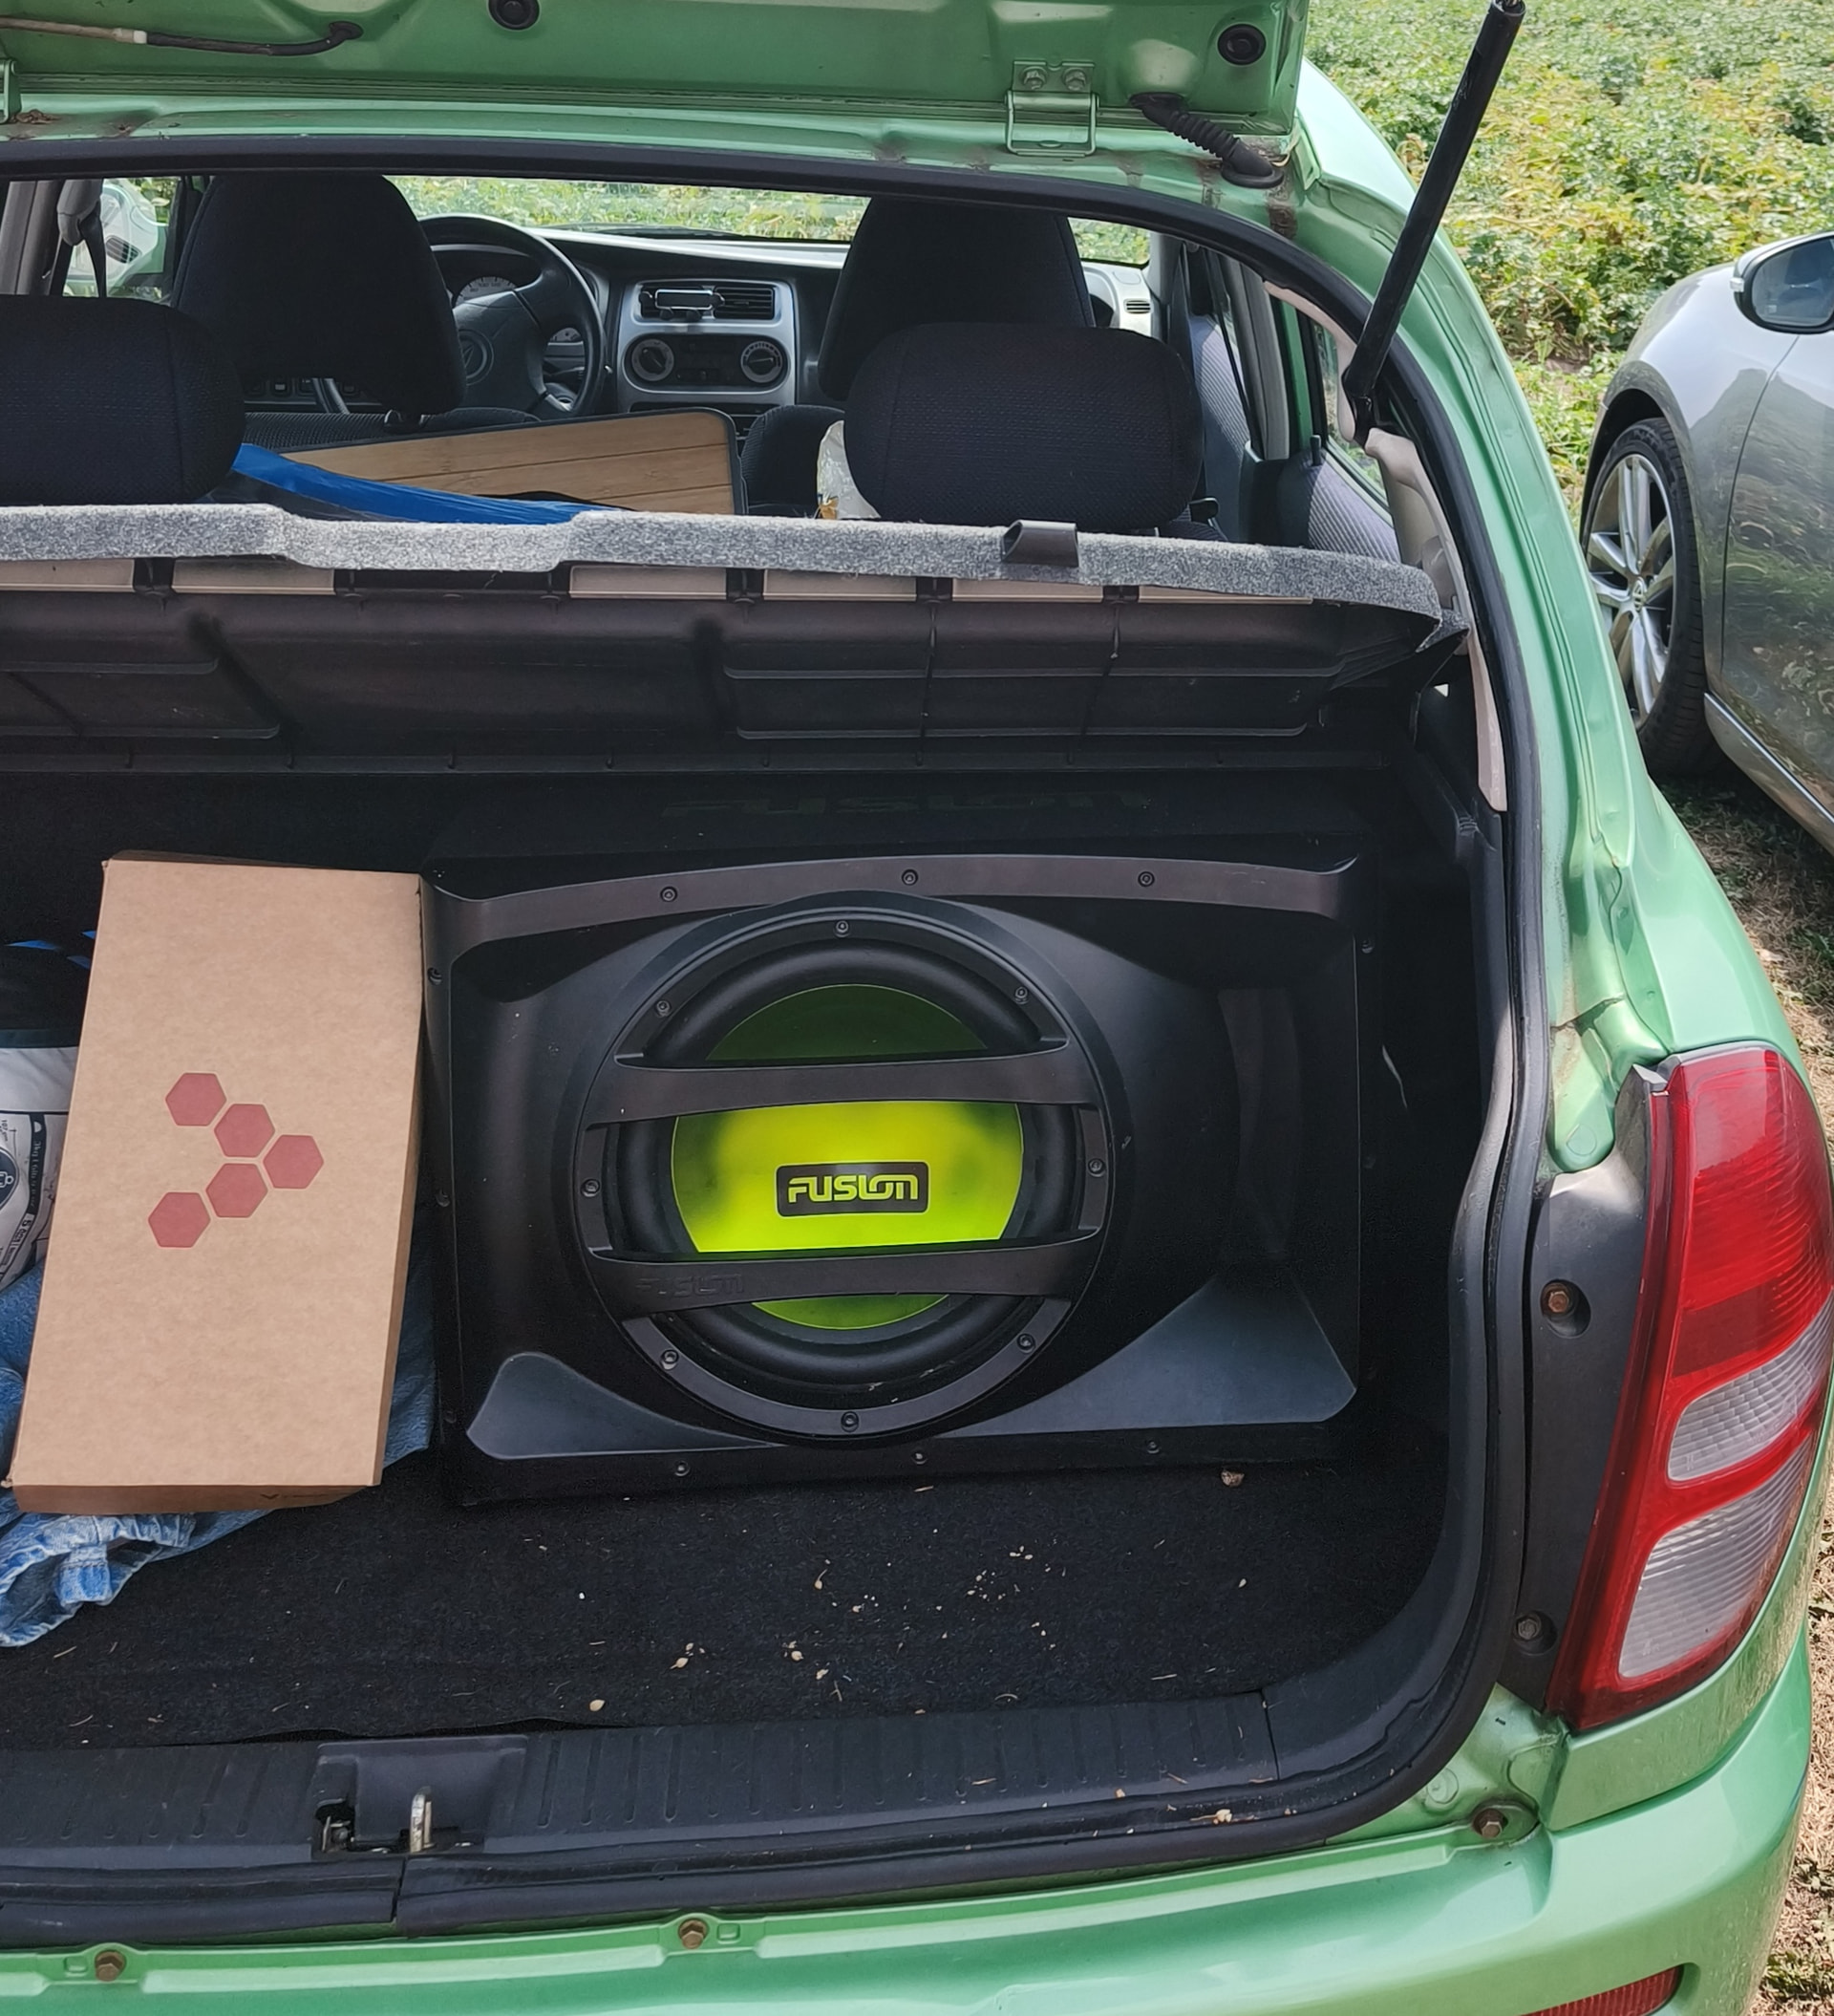
He does have an incredible audio setup since last weekend. Such a fun car, my friend absolutely loved it. Hes going to do exterior upgrades now since everything else is done.

My speakers are finally on the way so thats Next up on my list together with the shifter

2 Likes

It’s then an assembled in Poland Opel Agila which shares the same body shell with the Suzuki R. But has the Opel drivetrain, instead of the Suzuki’s Japanese one.

If it’s the same set-up as the Suzuki Rs, it would have a cable shift mechanism, consisting of two cables