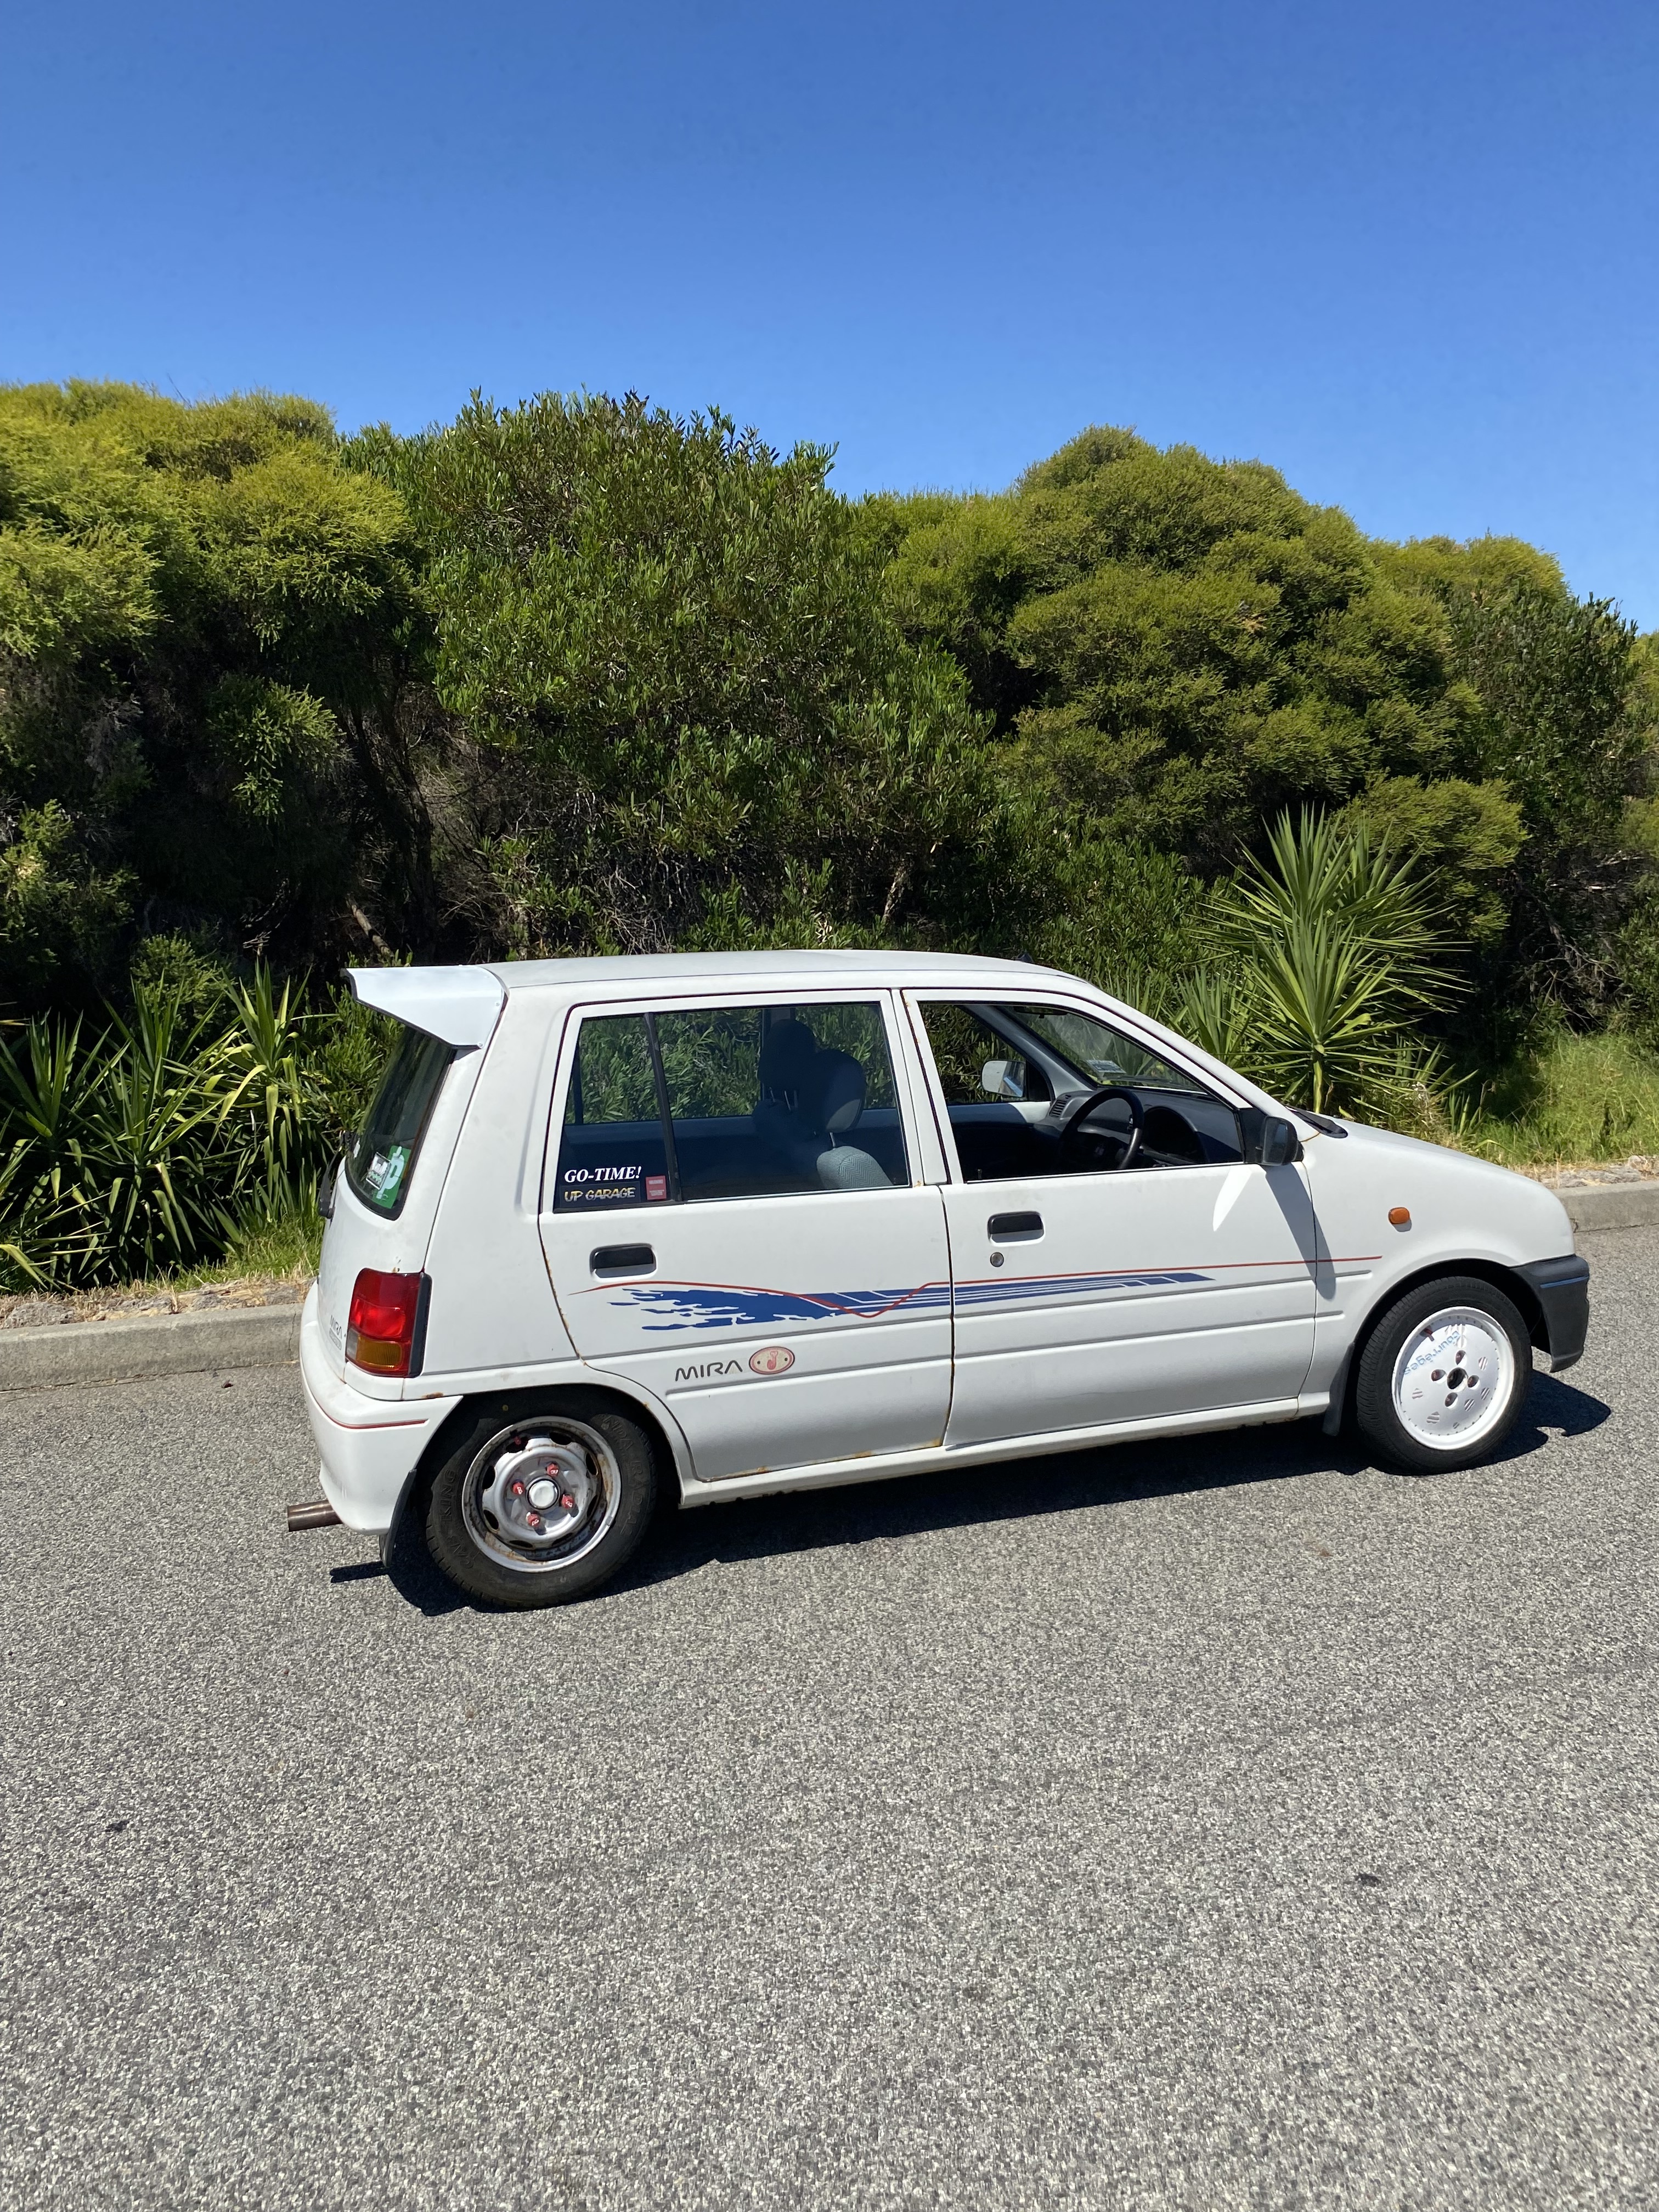
Hello all! i haven’t actually posted my build so i figured i would lay it all out. This thread will be in chronological order of everything i’ve done to it! This is my 1993 L200RS daihatsu mira. i got this car in late october of 2024 after my rav4 spun a bearing.
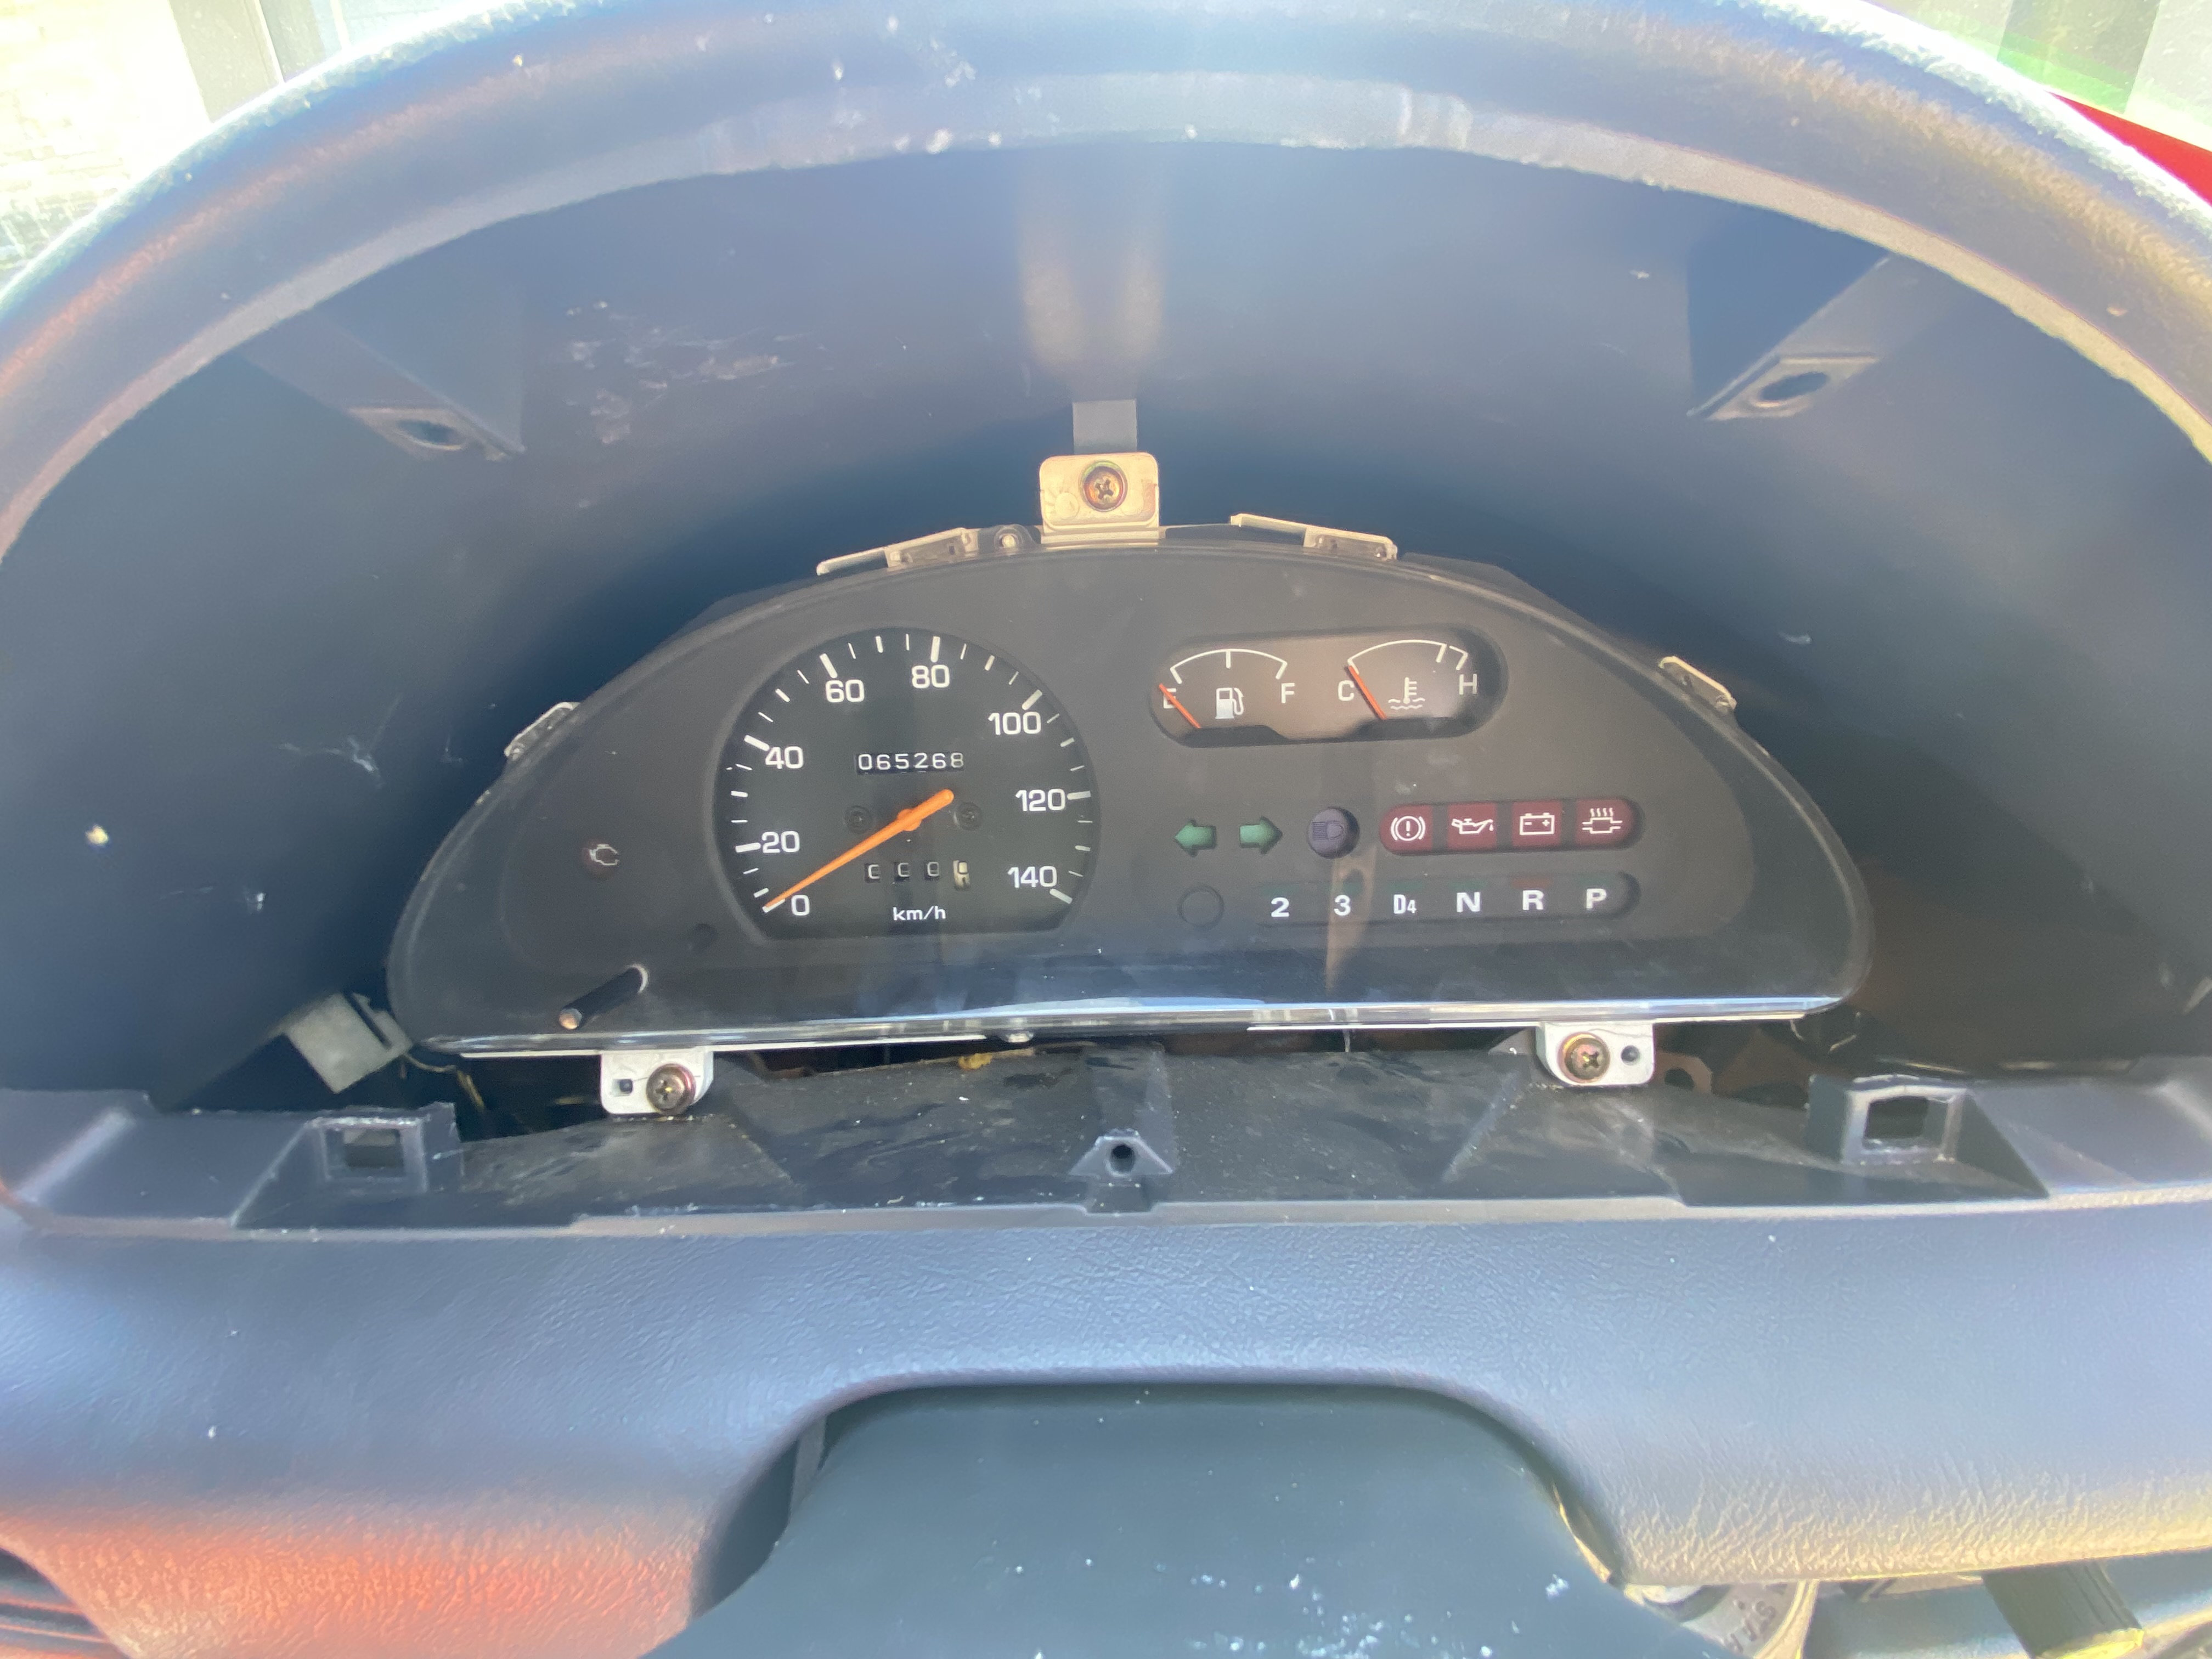
the story of the car is that it was owned by a older women, who did not drive it much. it sat in her driveway and became unregistered, then someone who lived down the road purchased it from her and re registered it, this owner really cared for the car and even got a nice pair of ACG Courreges for the rear (iykyk) but he moved out of the country and had to sell it quick. it then got picked up by a older car collector as a daily, he put it up on market place for 5k and i got him down to 4.2k, sounds like a lot but i haven’t mentioned the best bit. 60,000 original km!

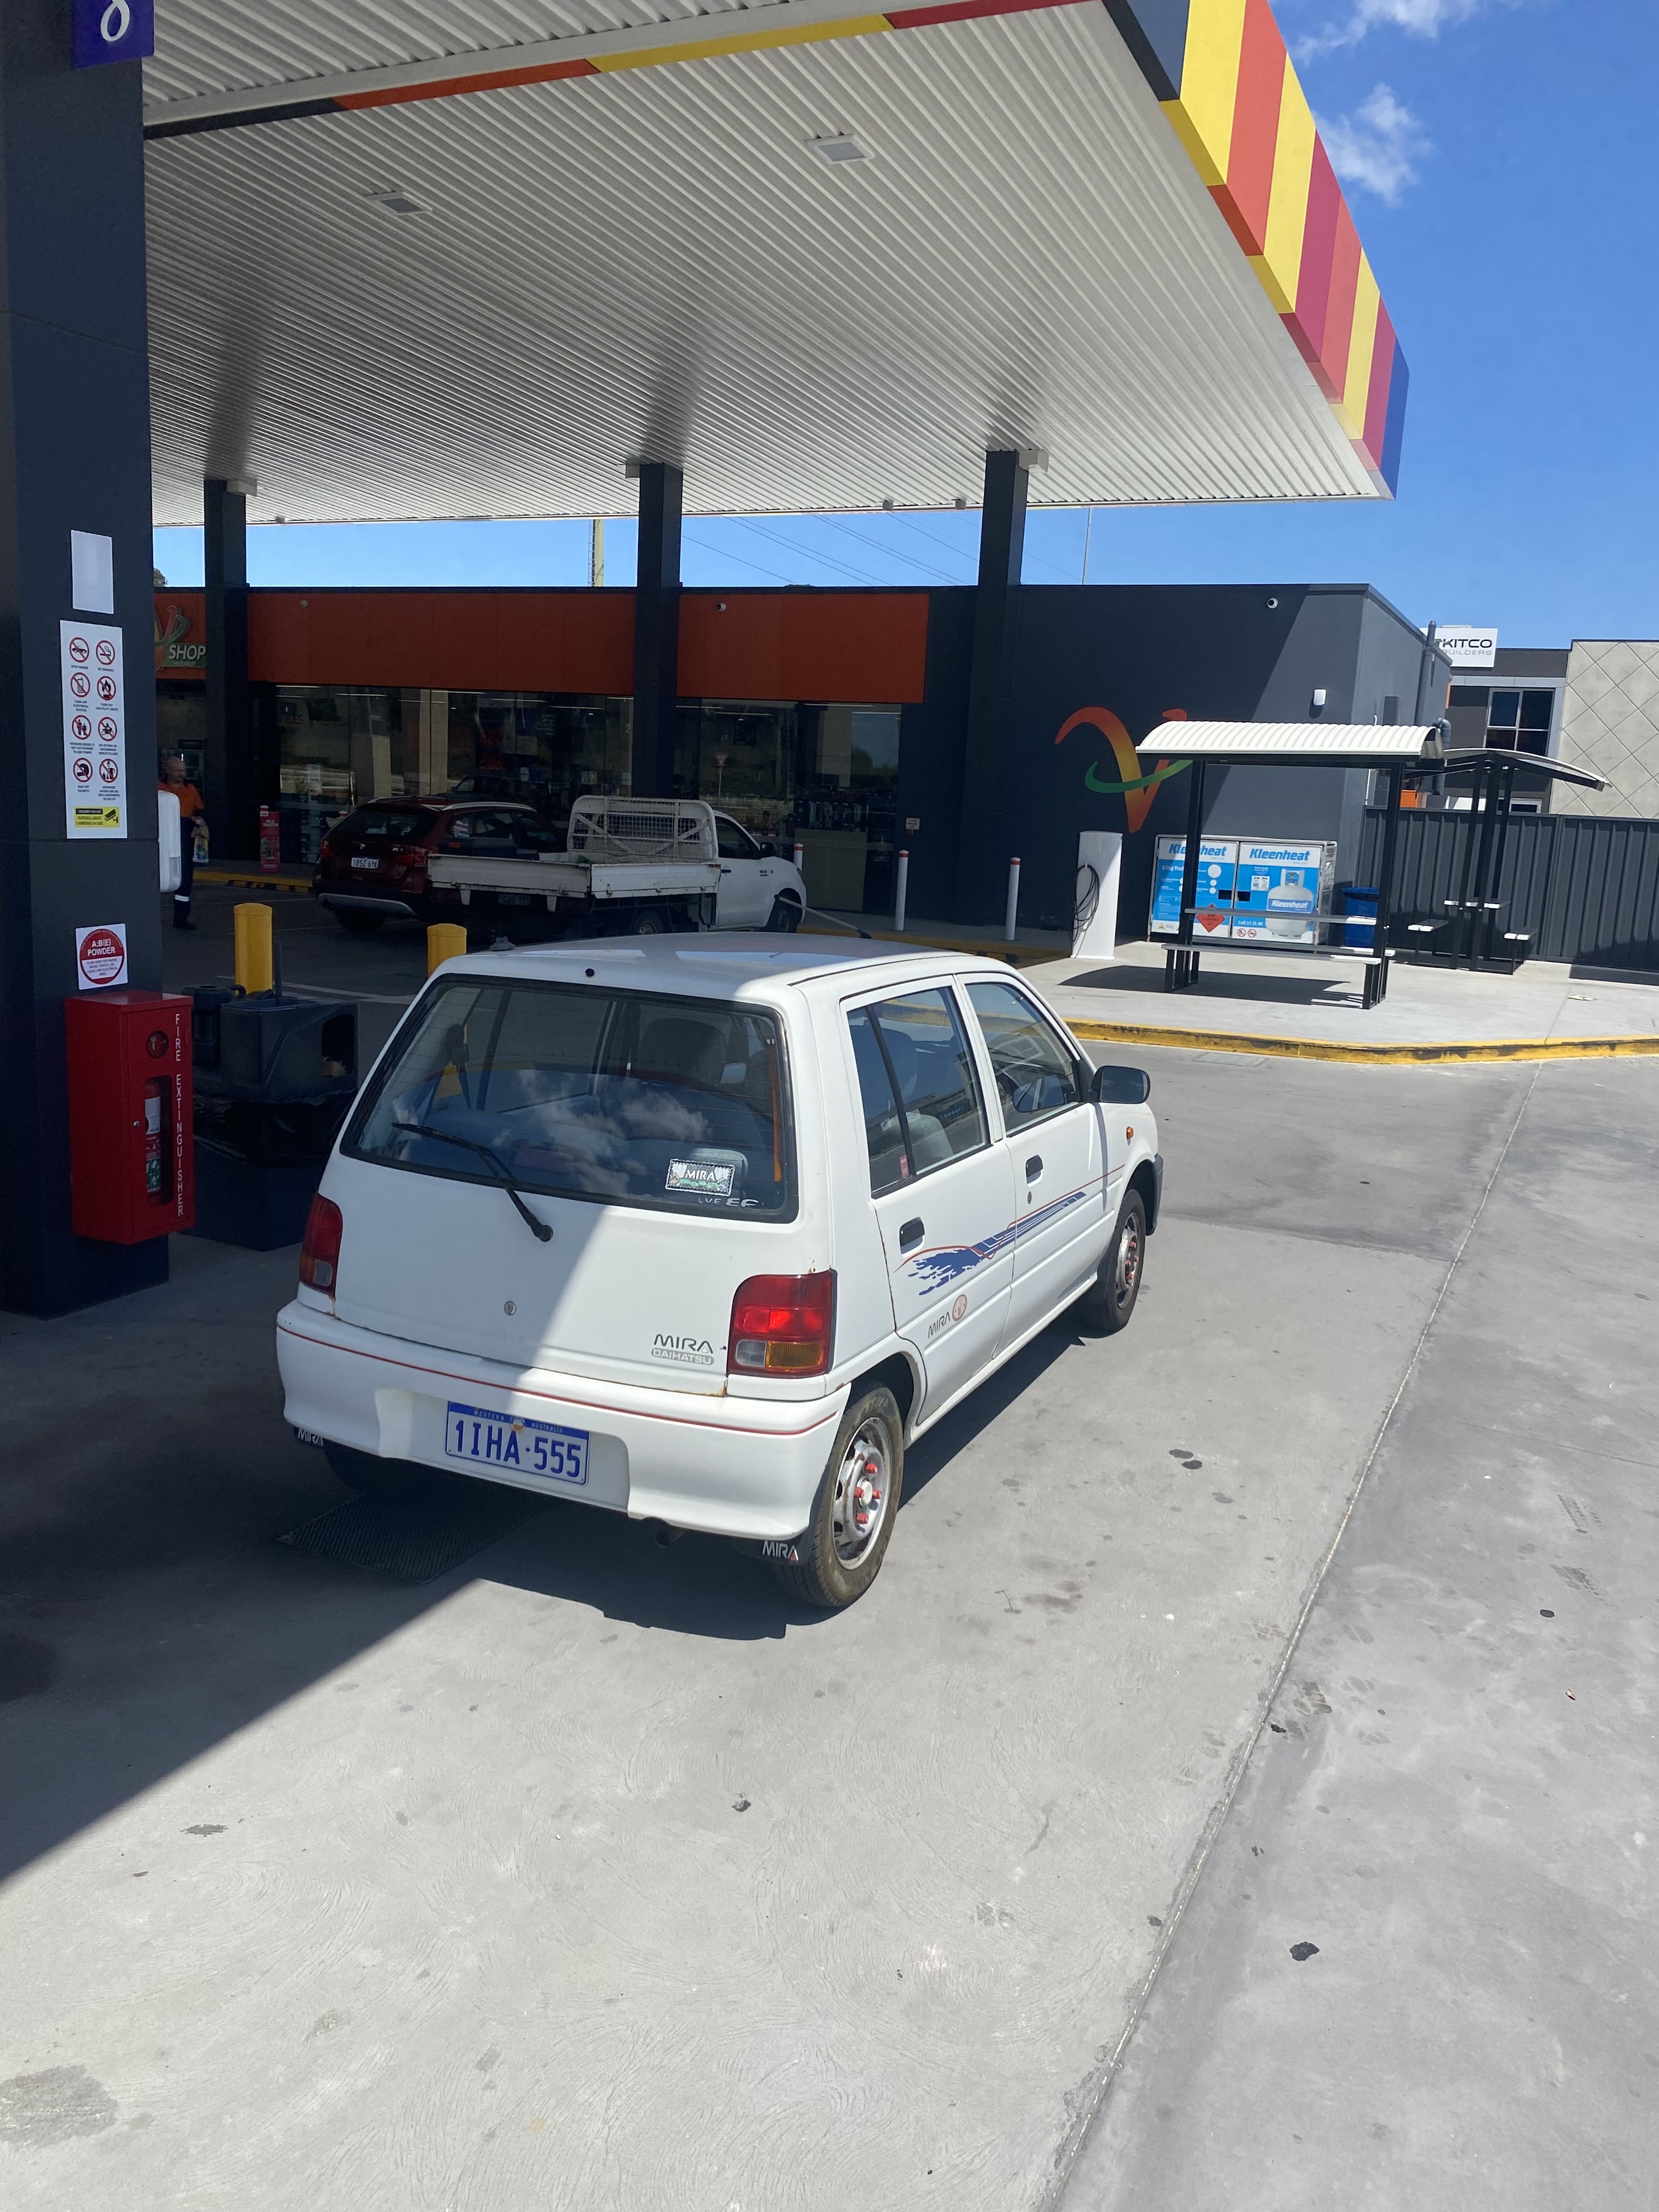

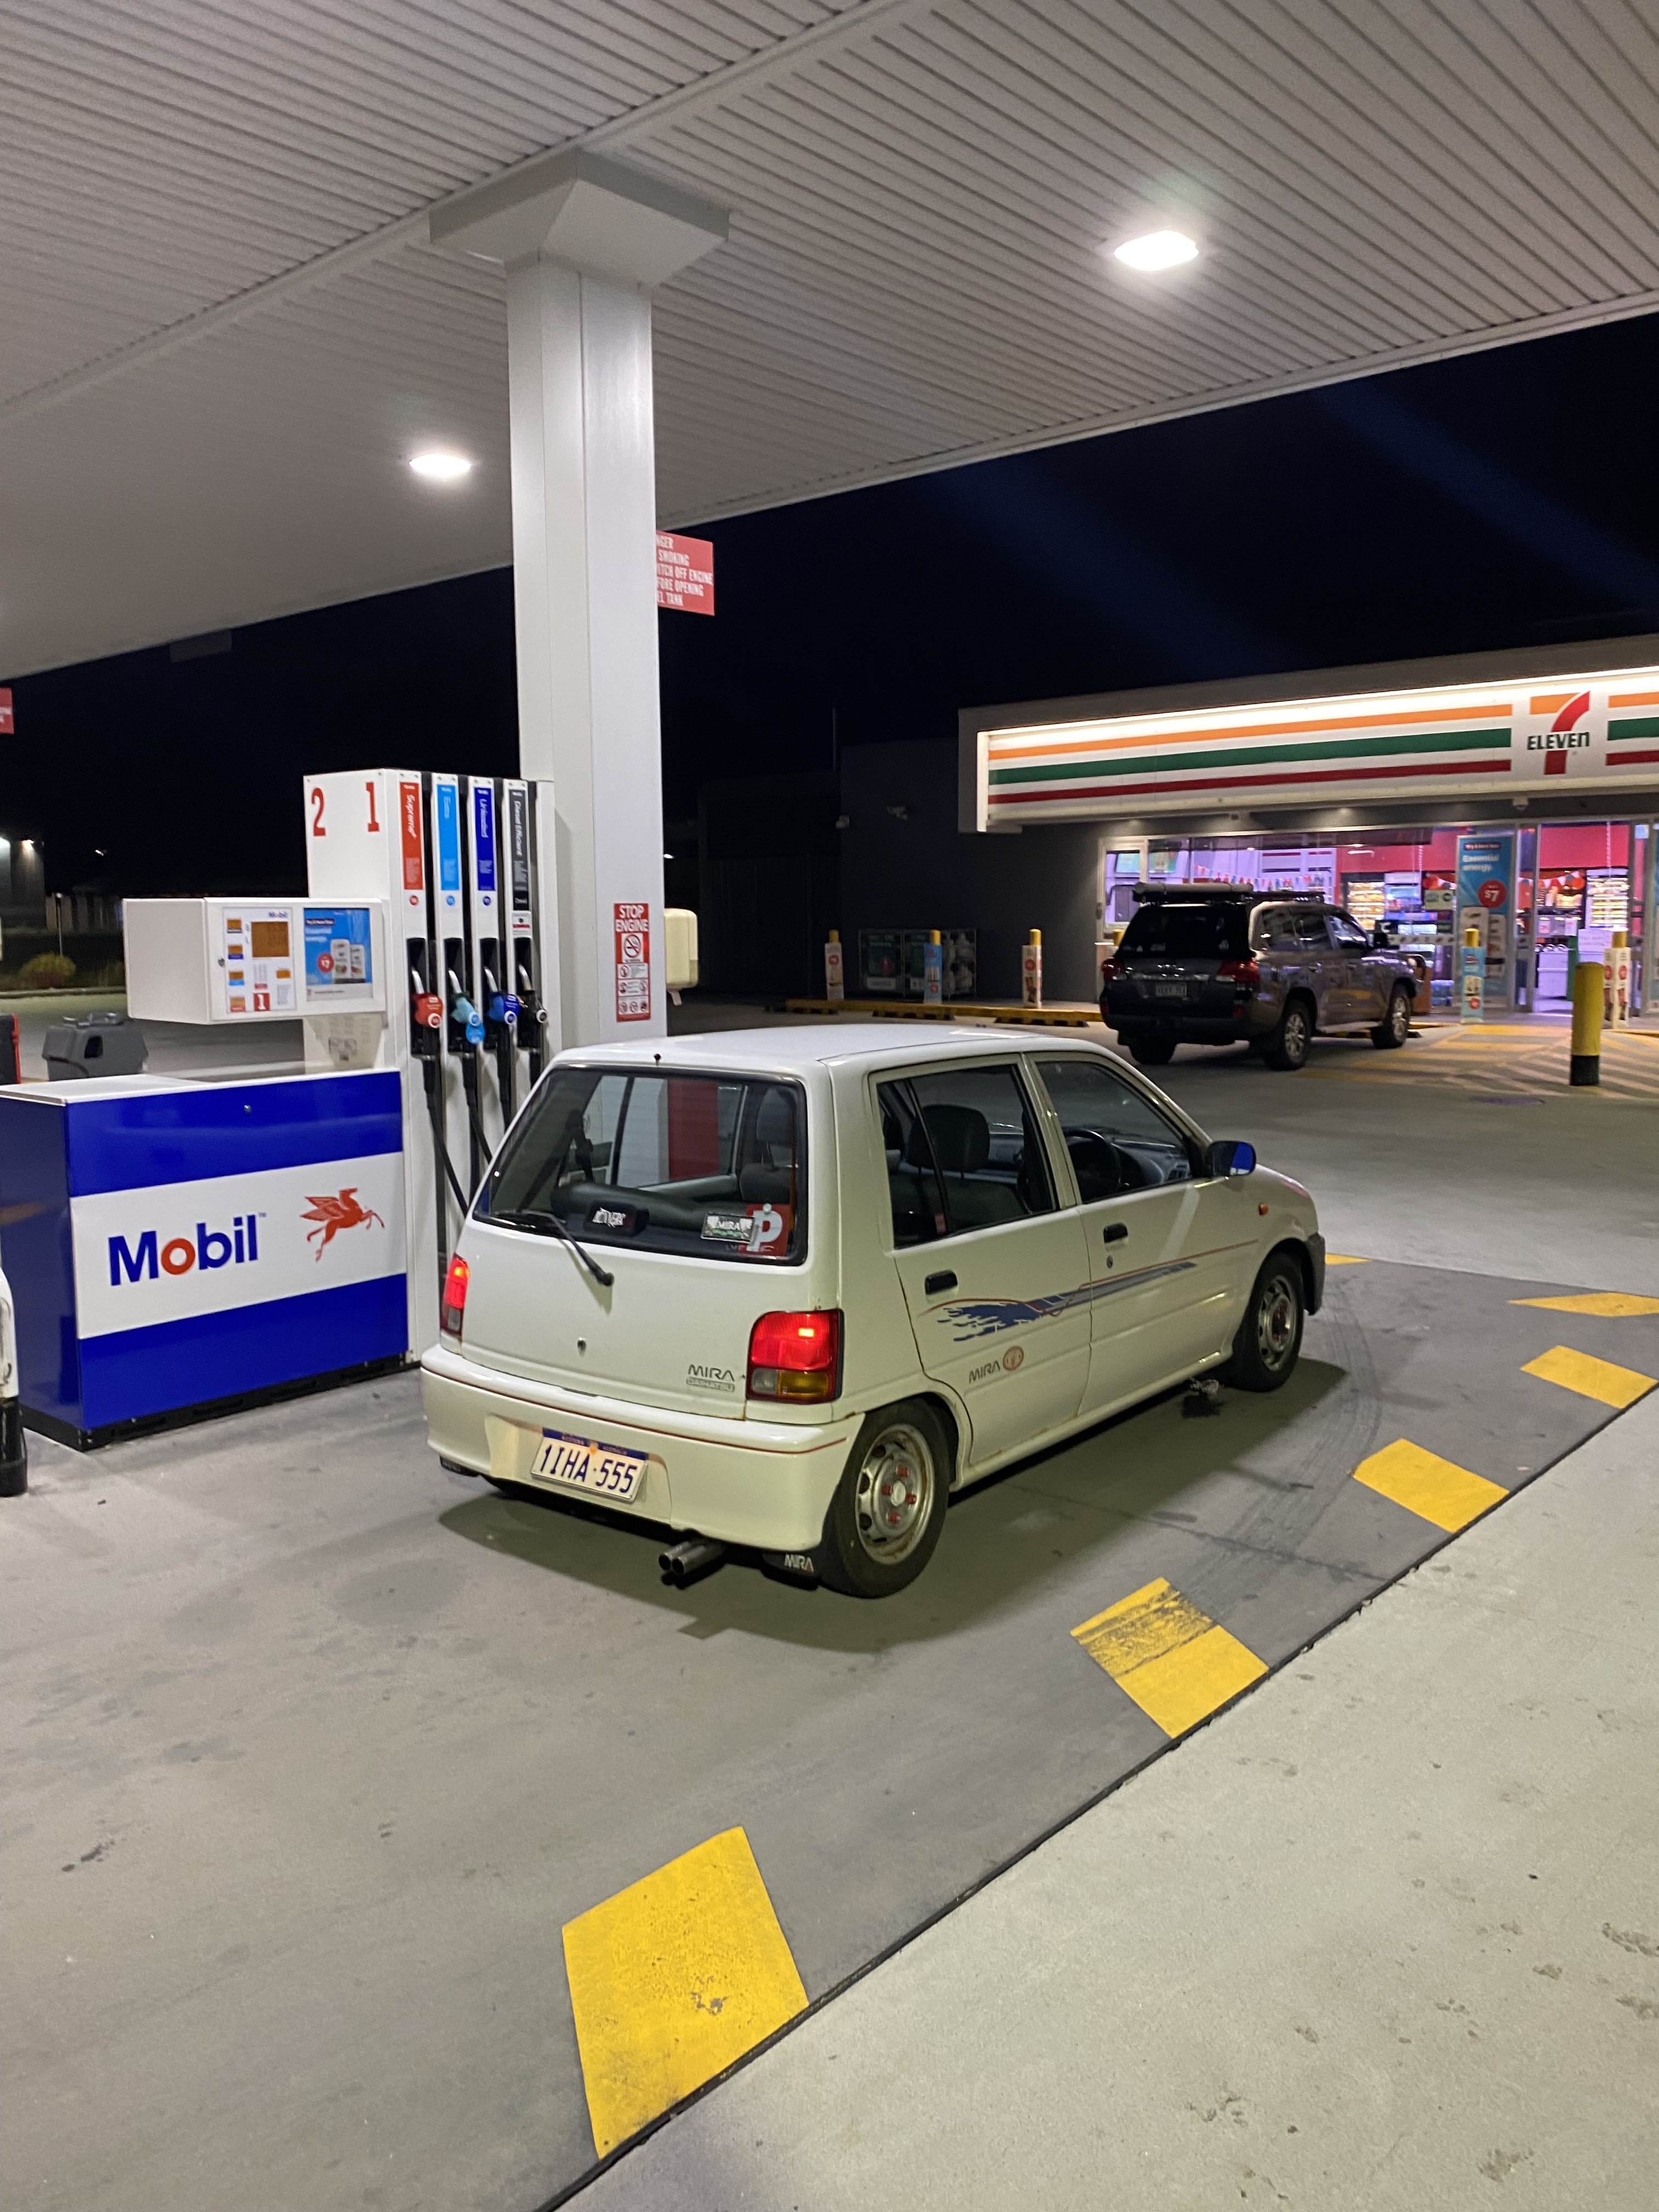
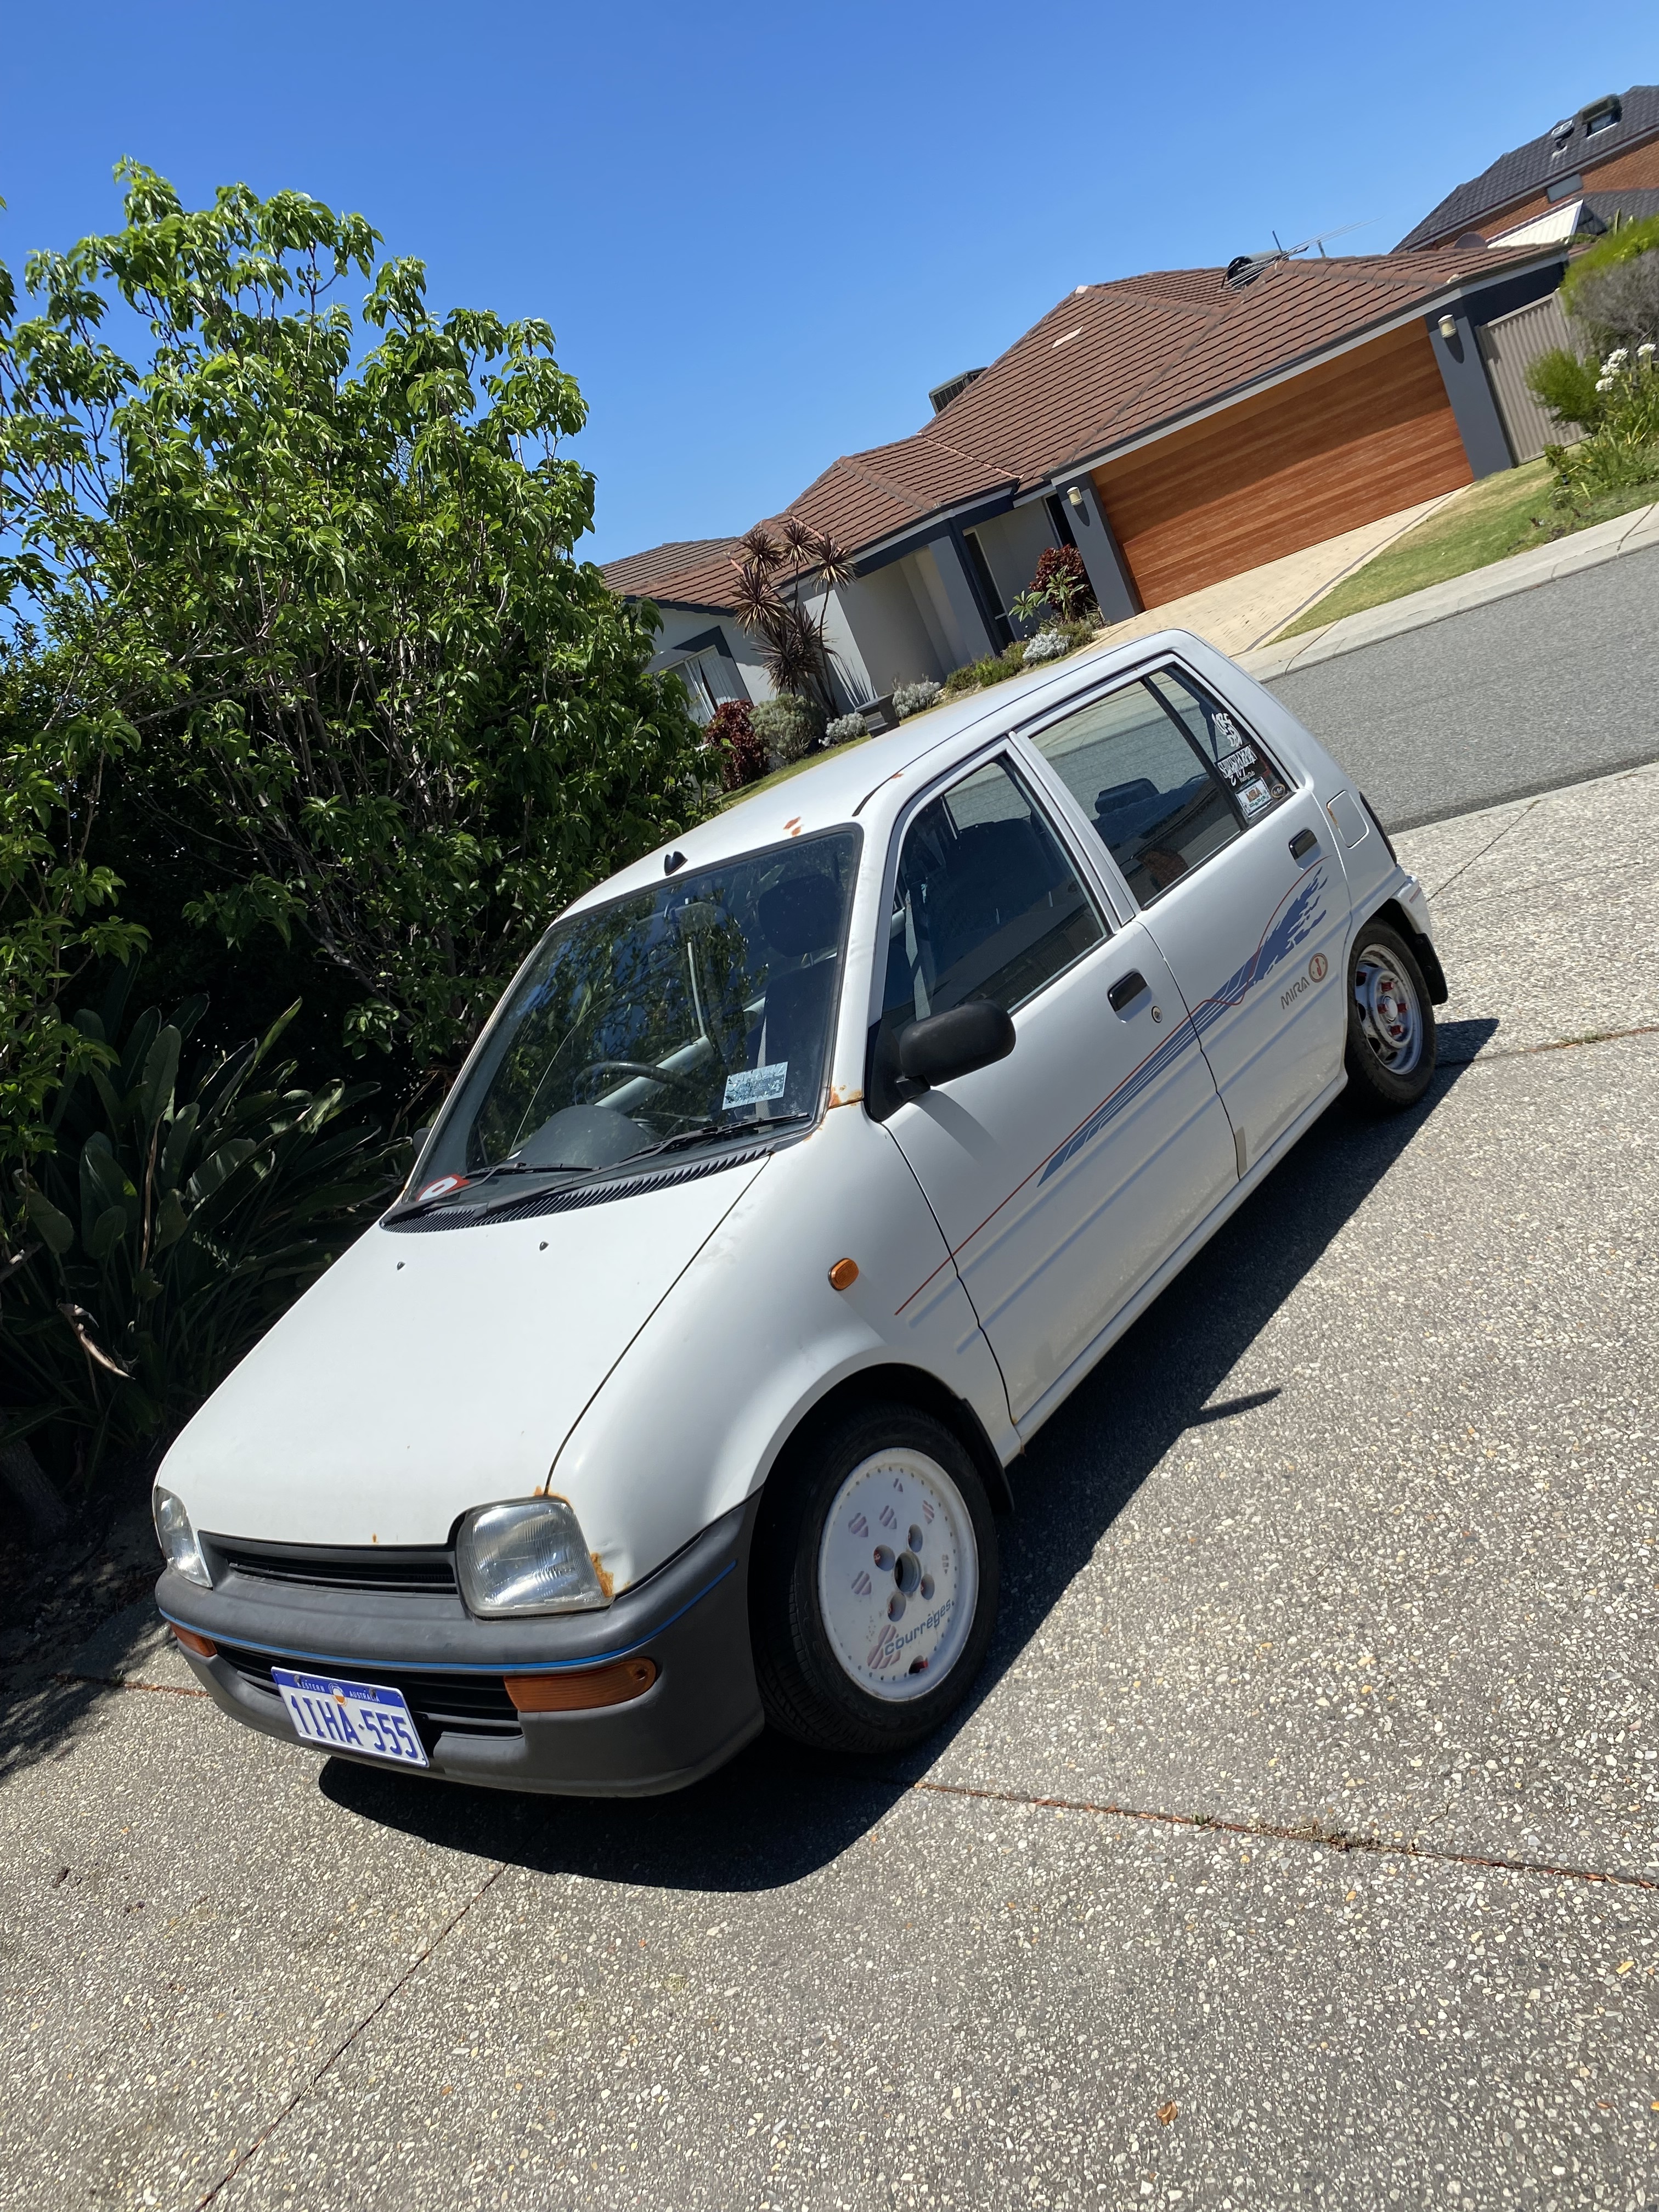
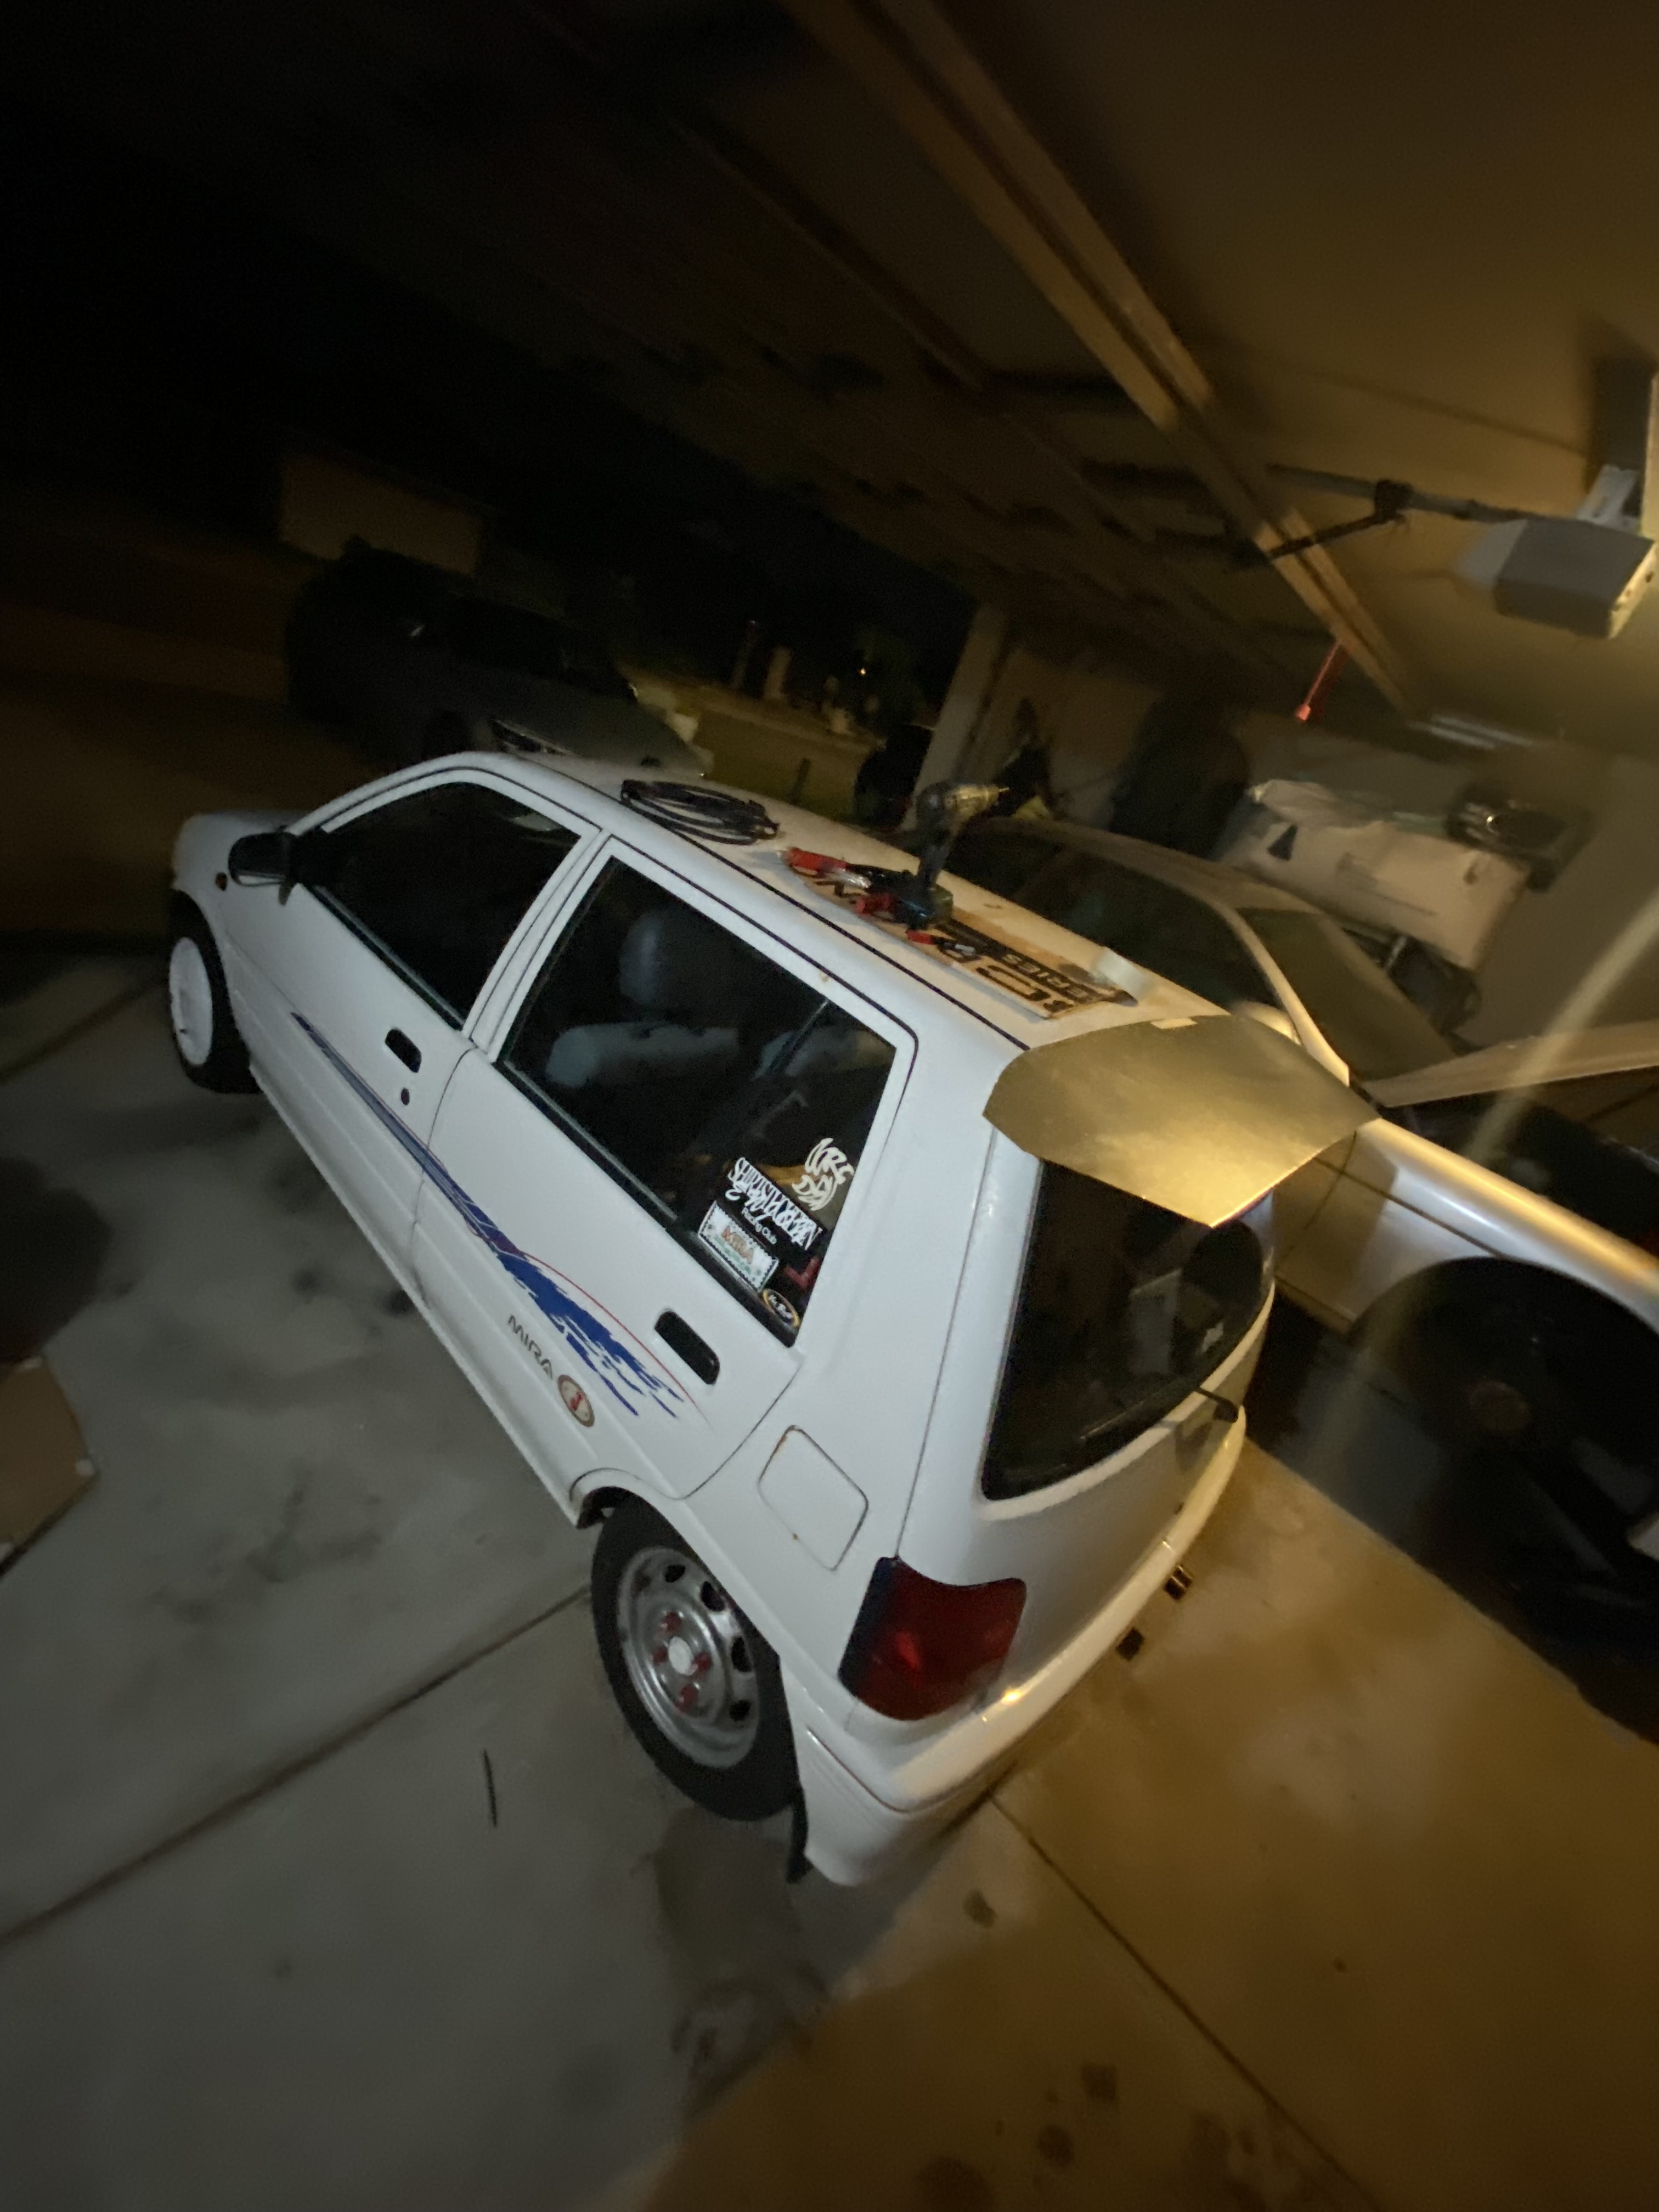
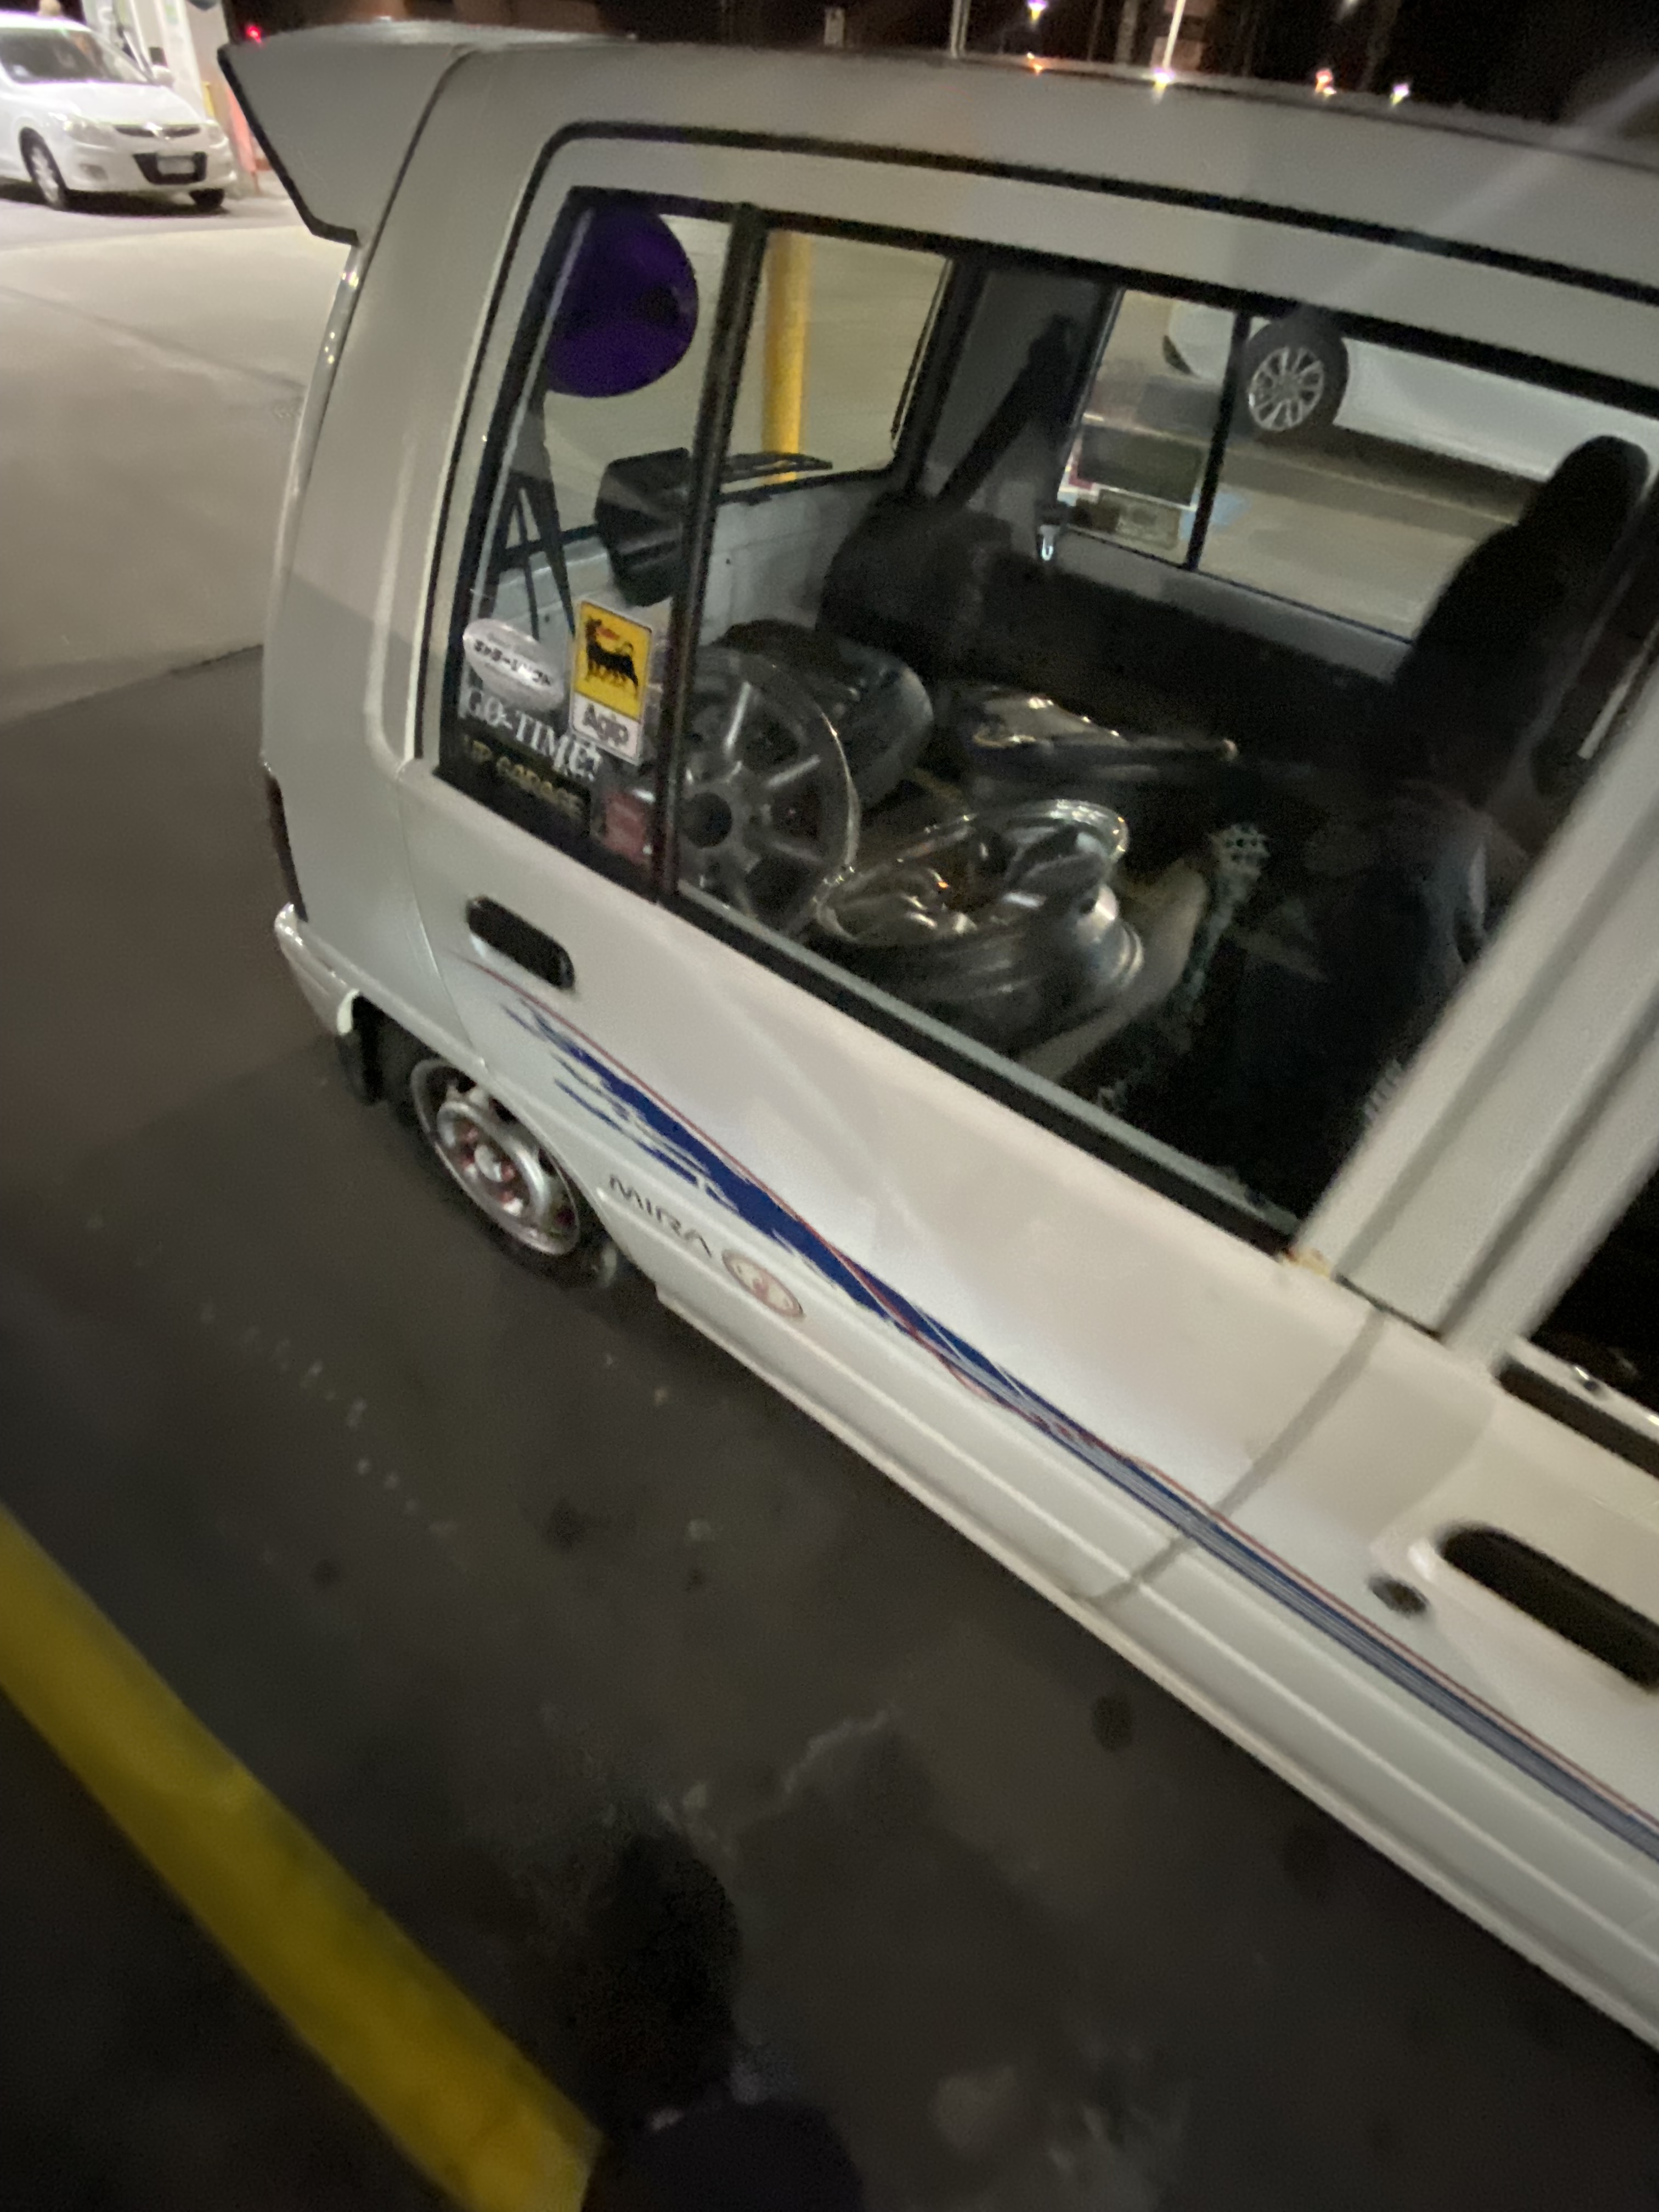
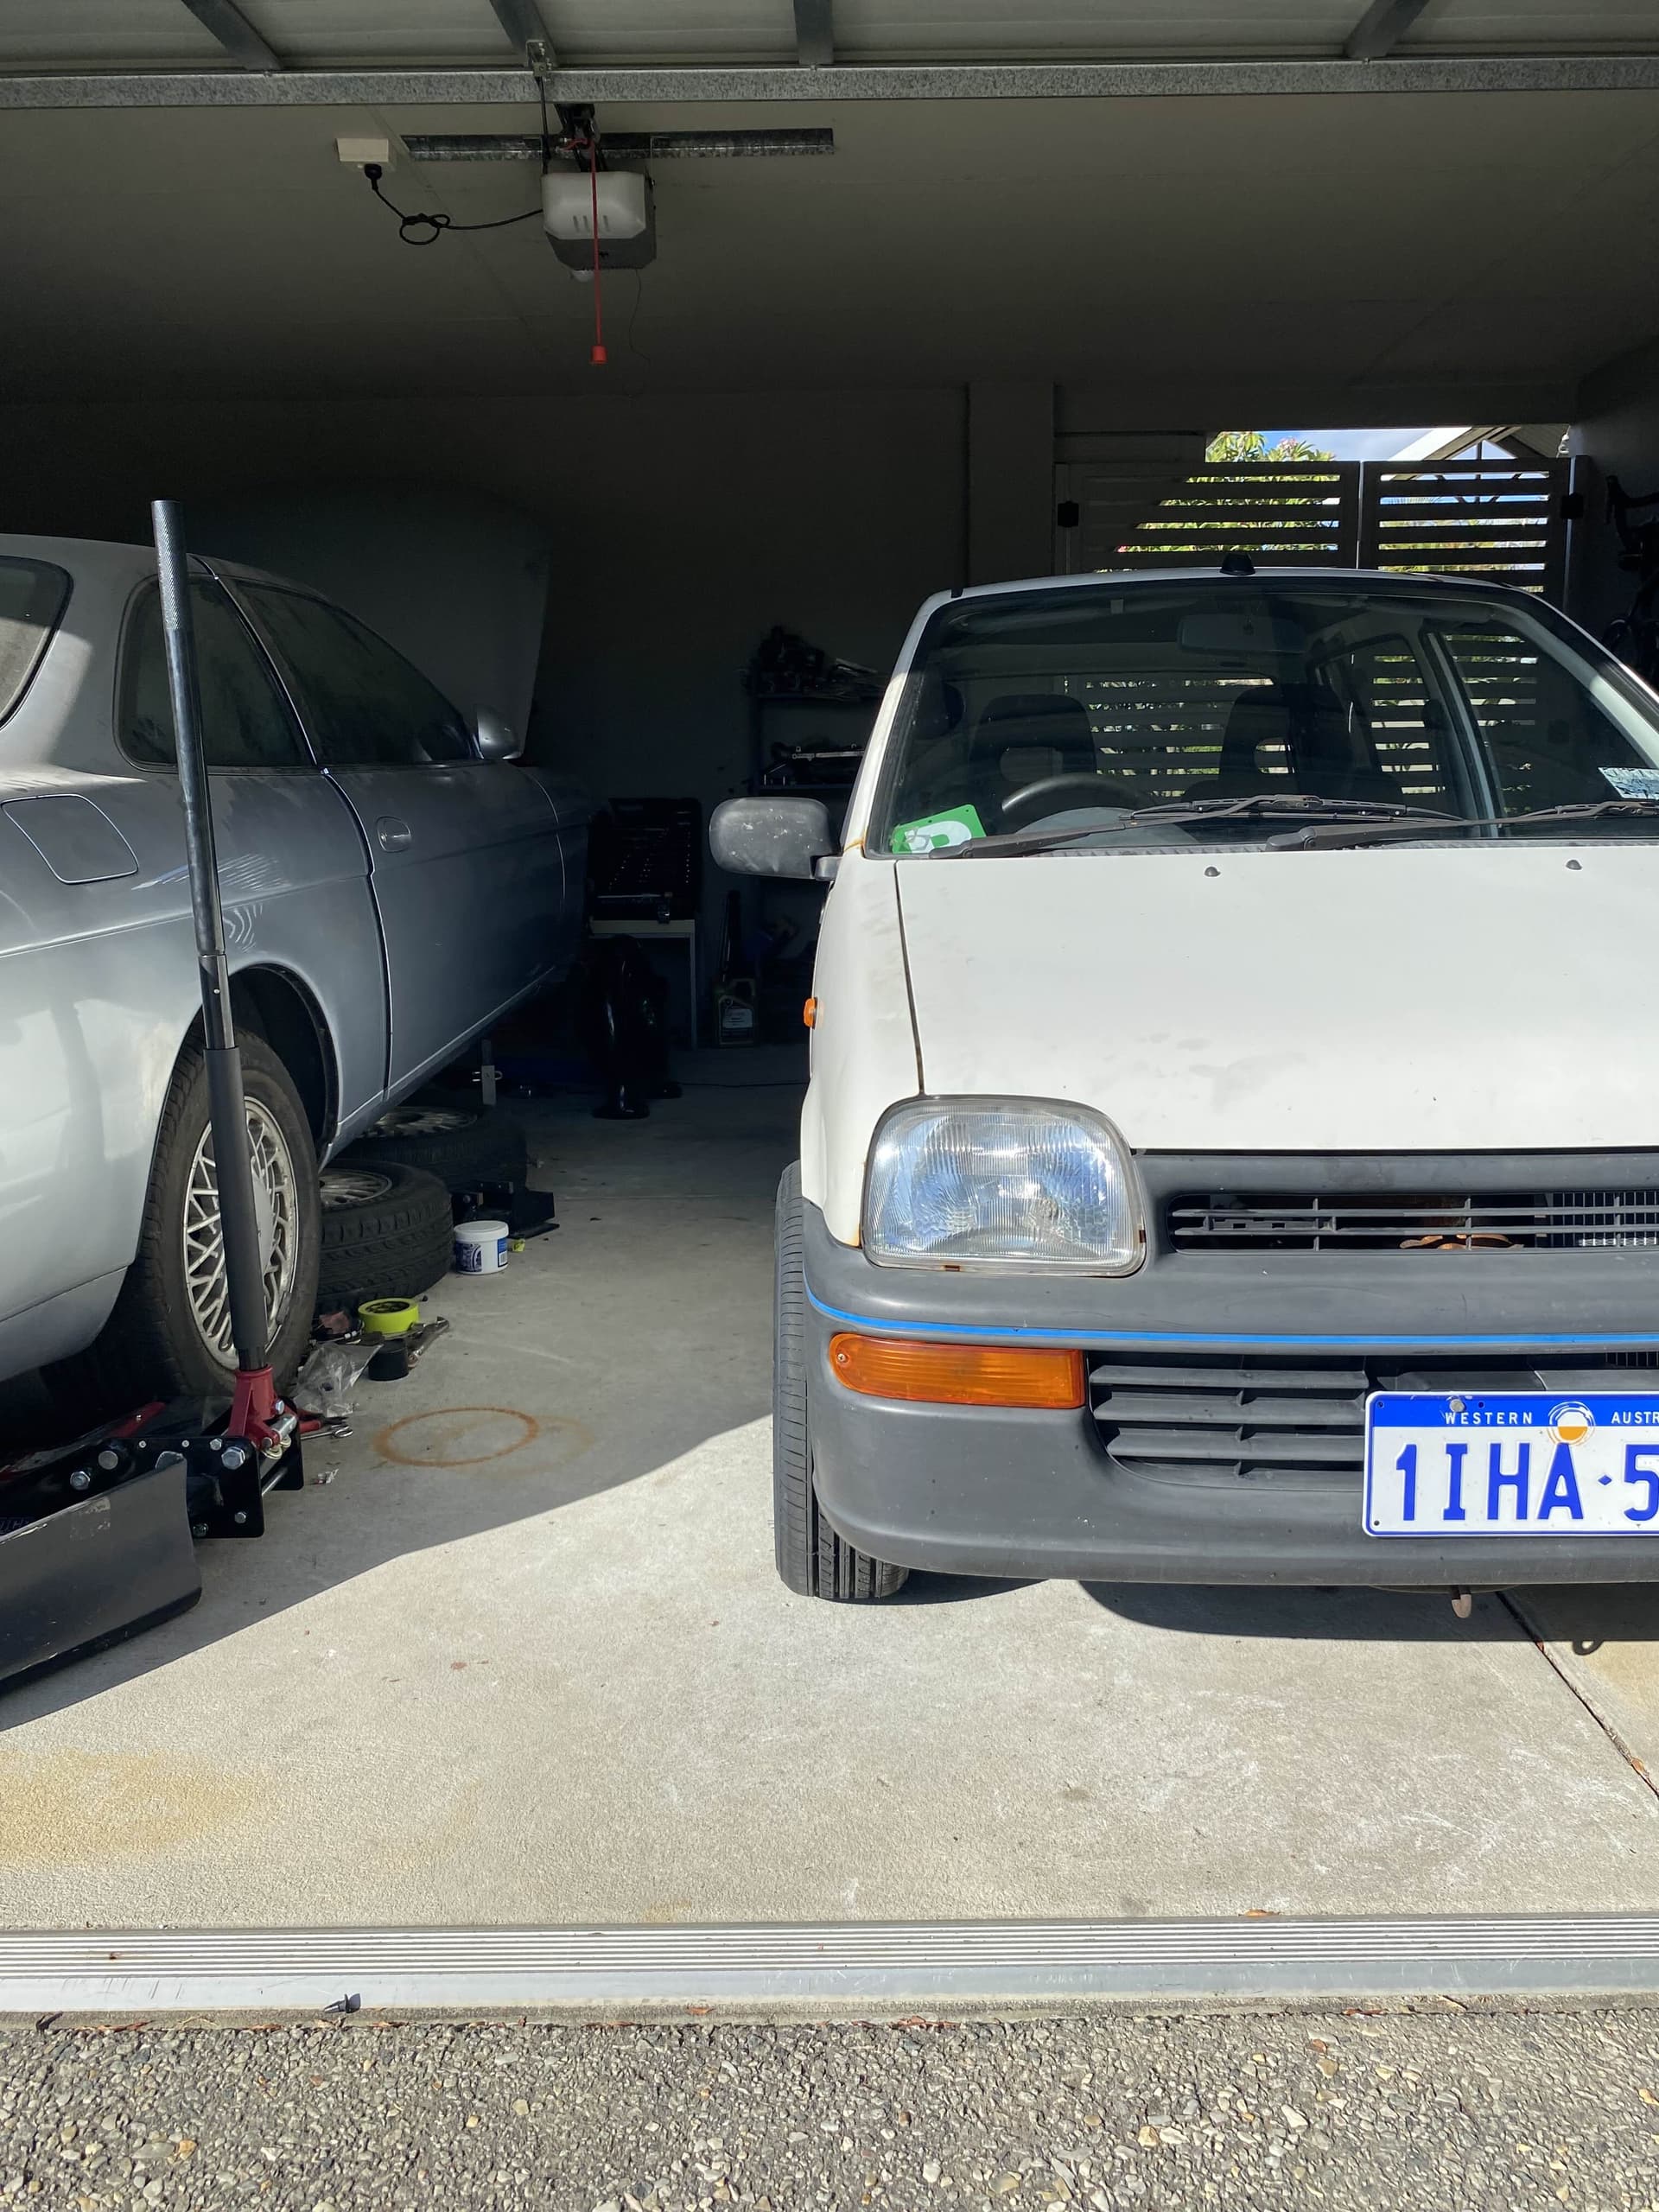
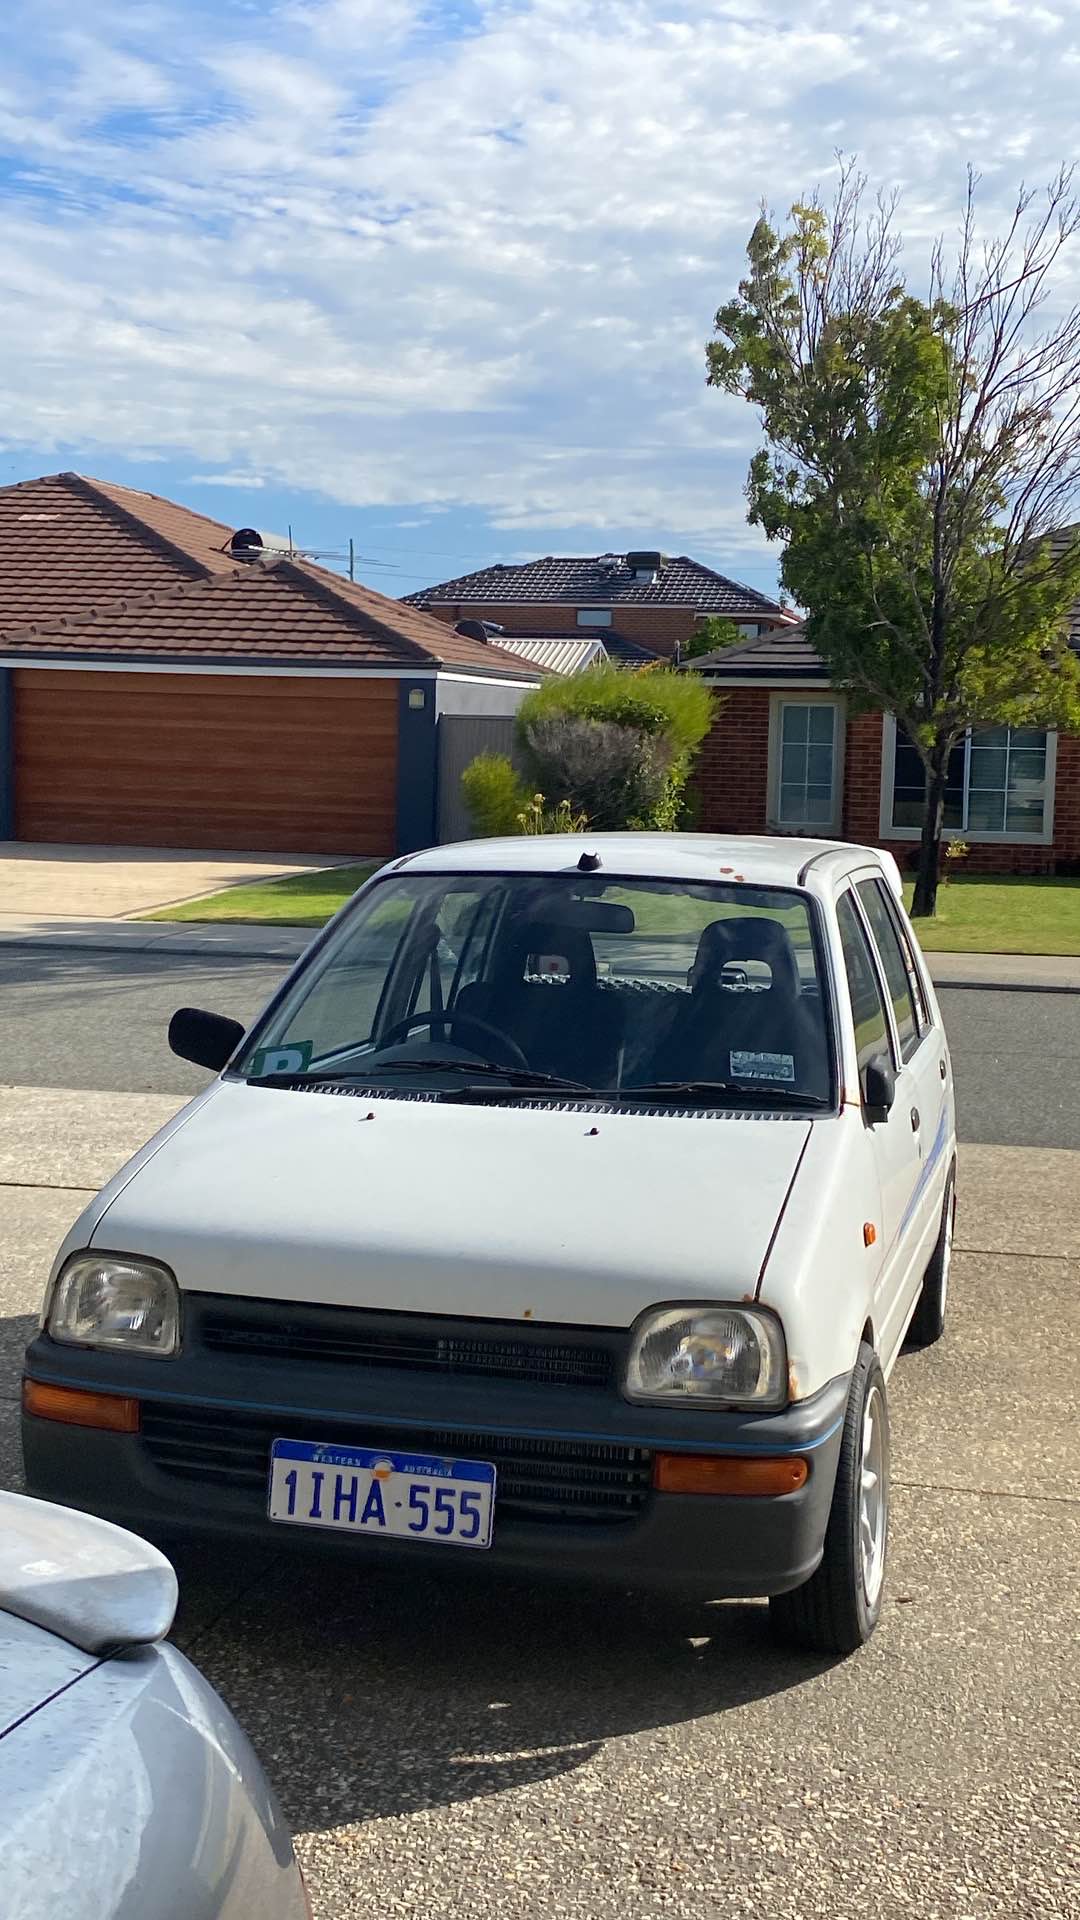
these are the first pics i took of the car when i got it! i thought it was broken because of how slow it was xD. first thing on the list was of course chopping the springs!
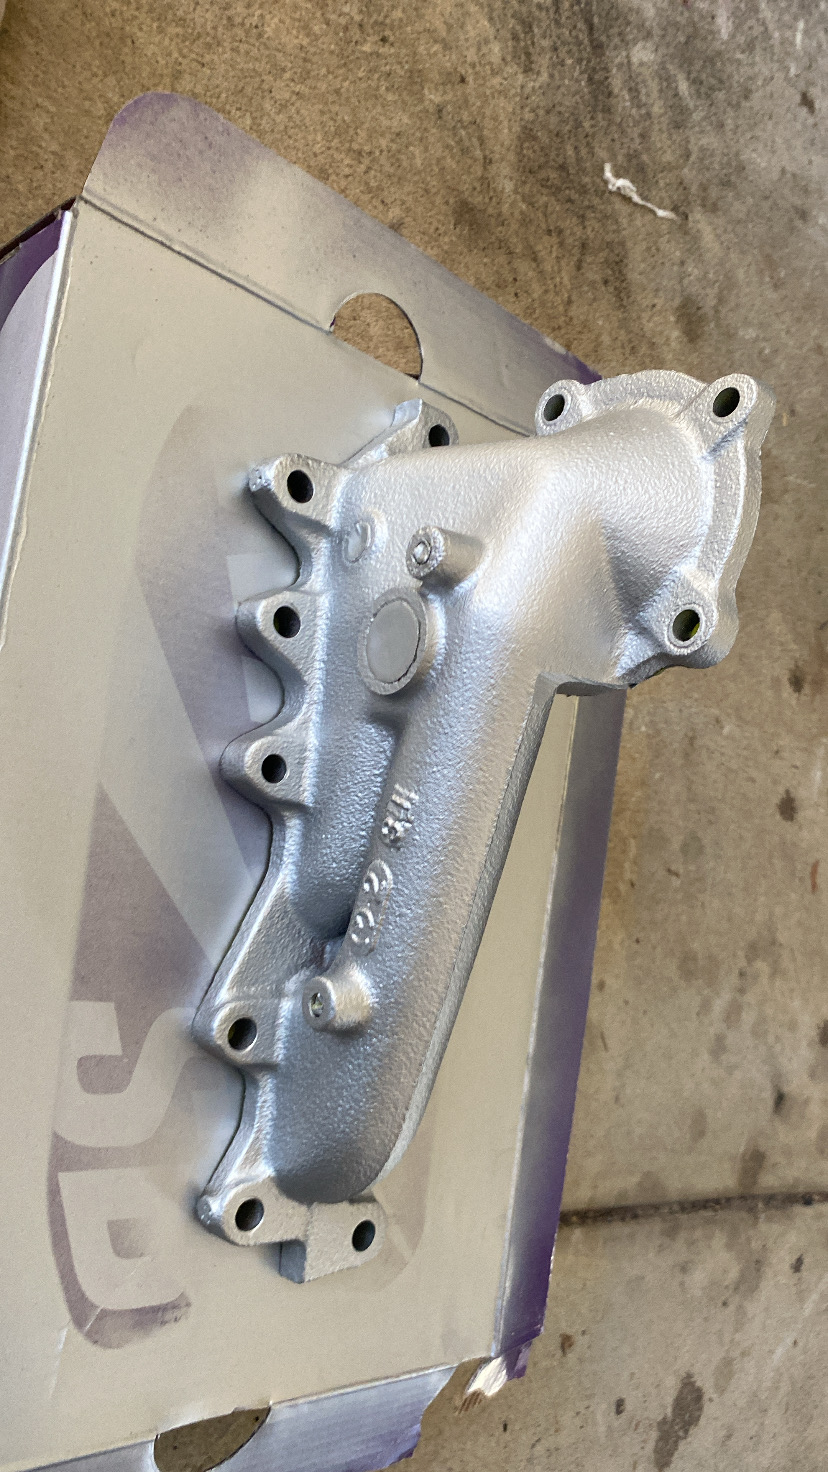
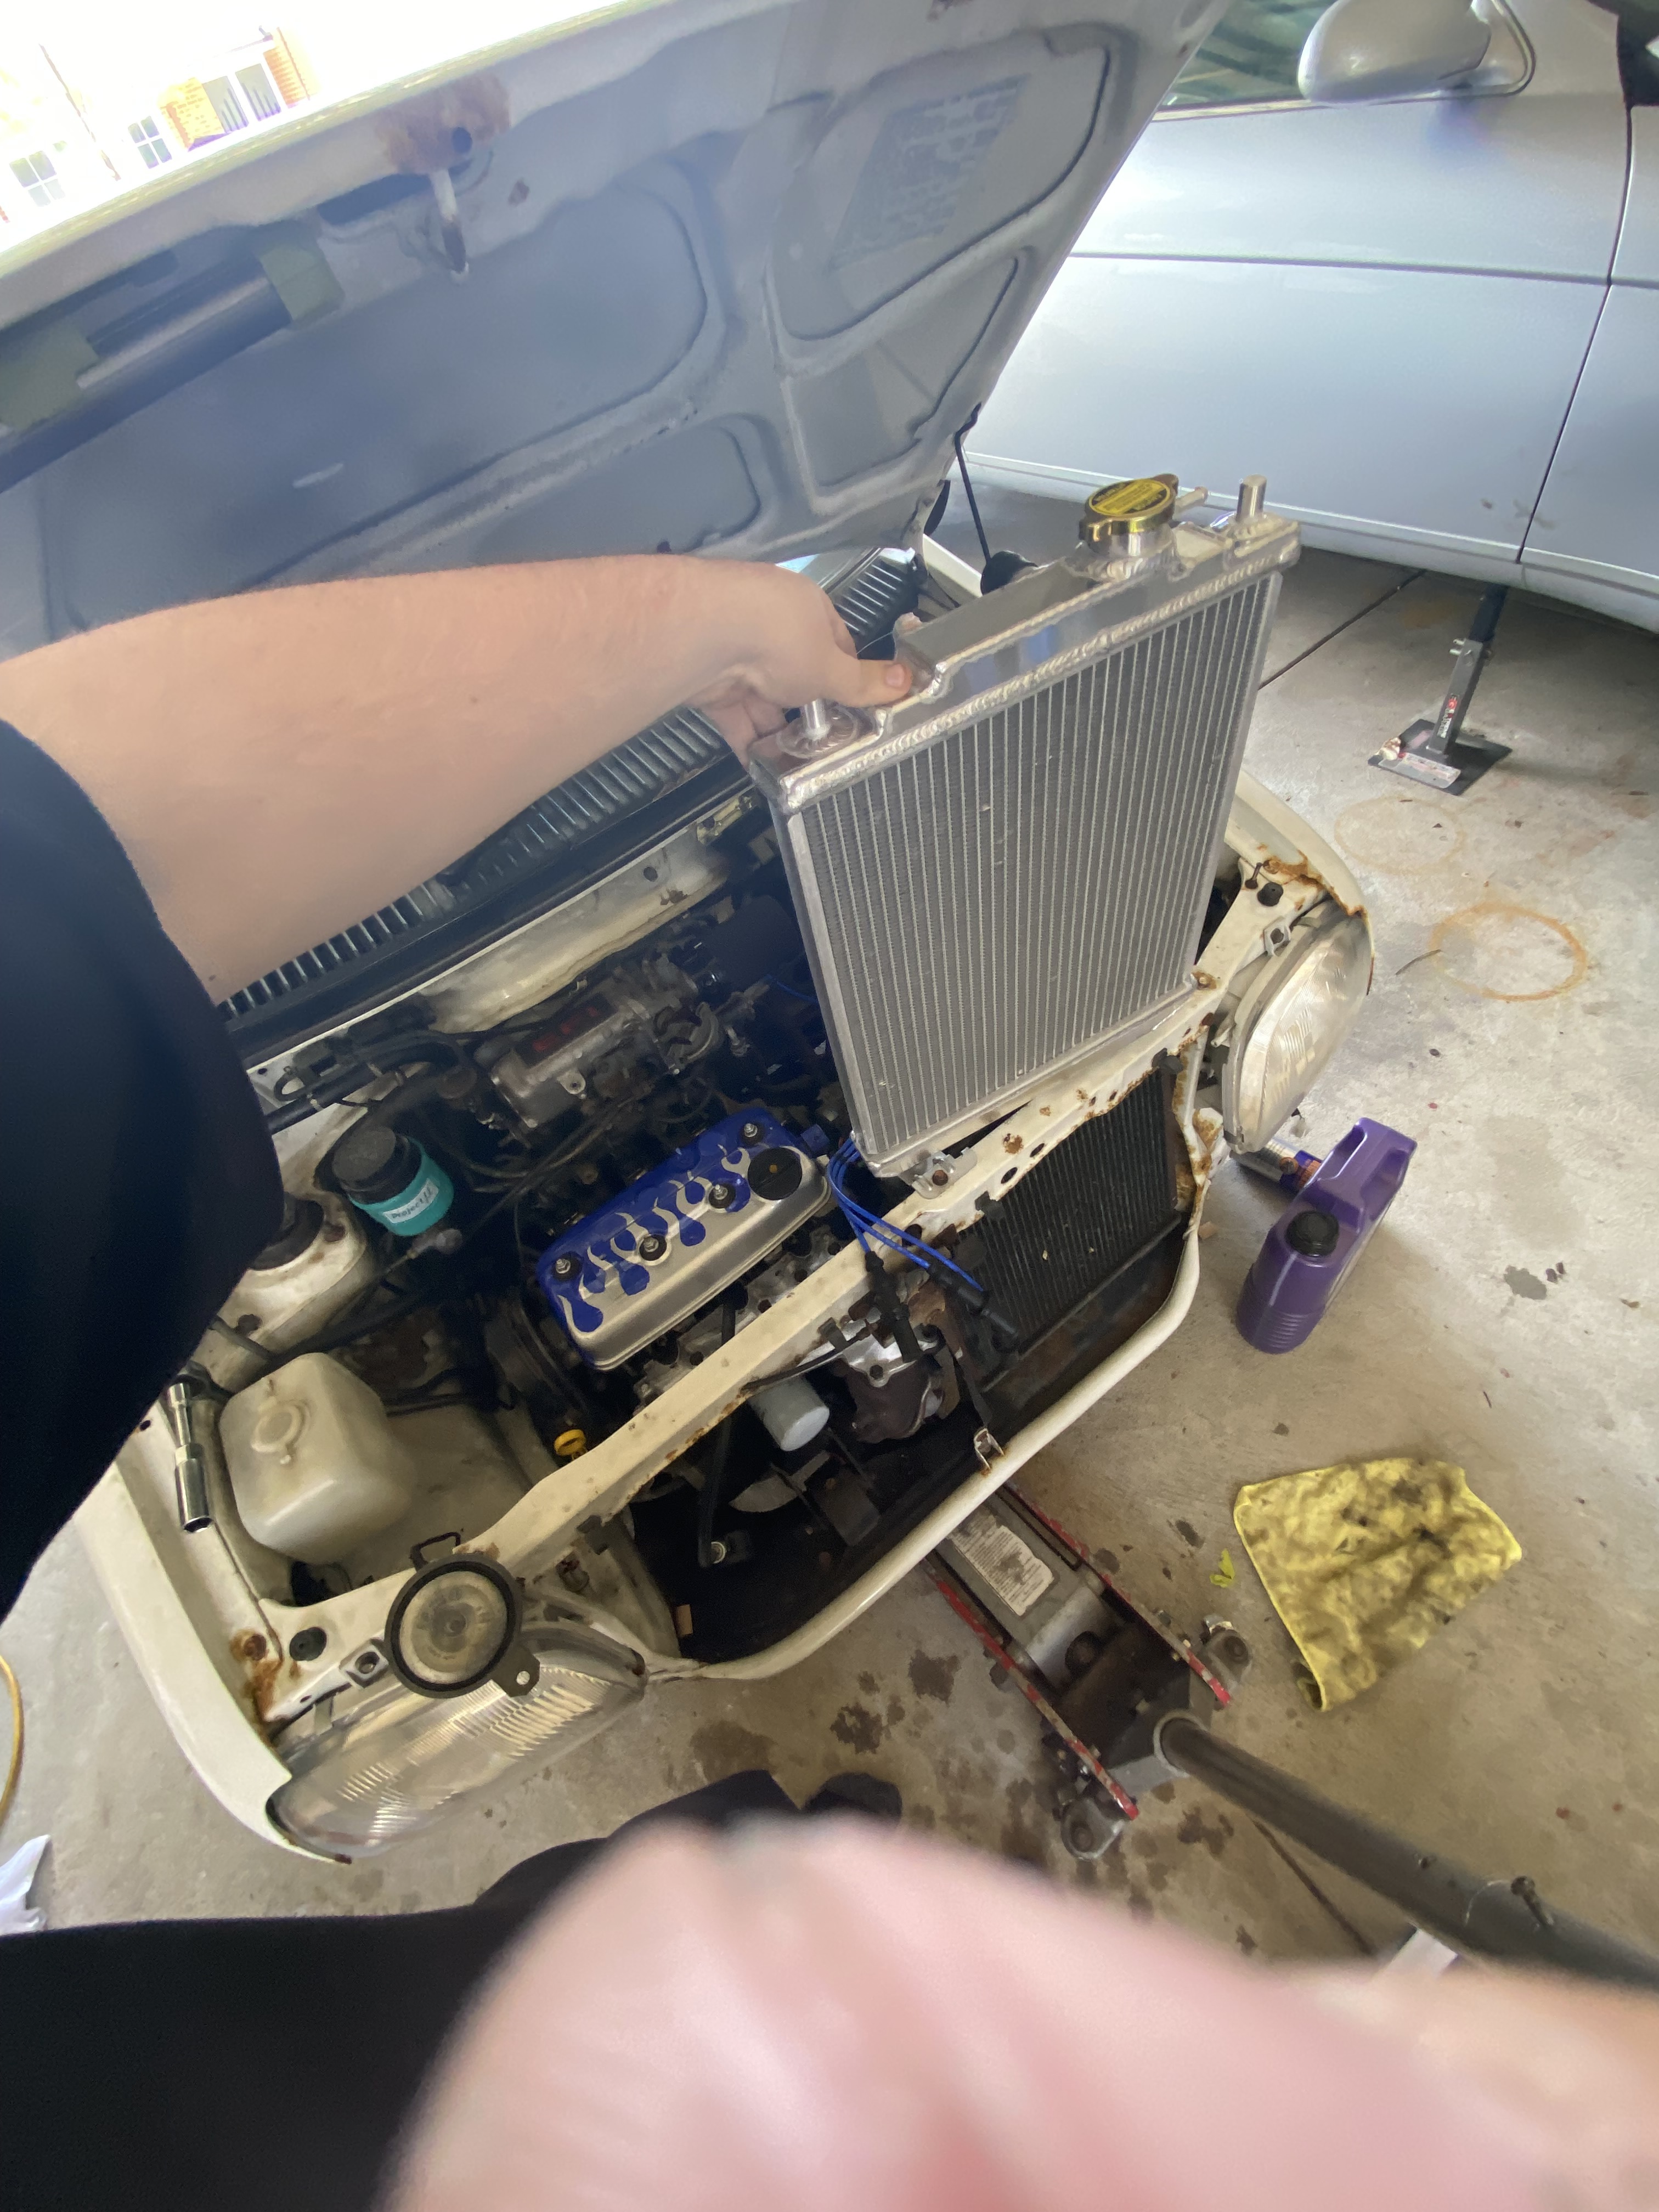
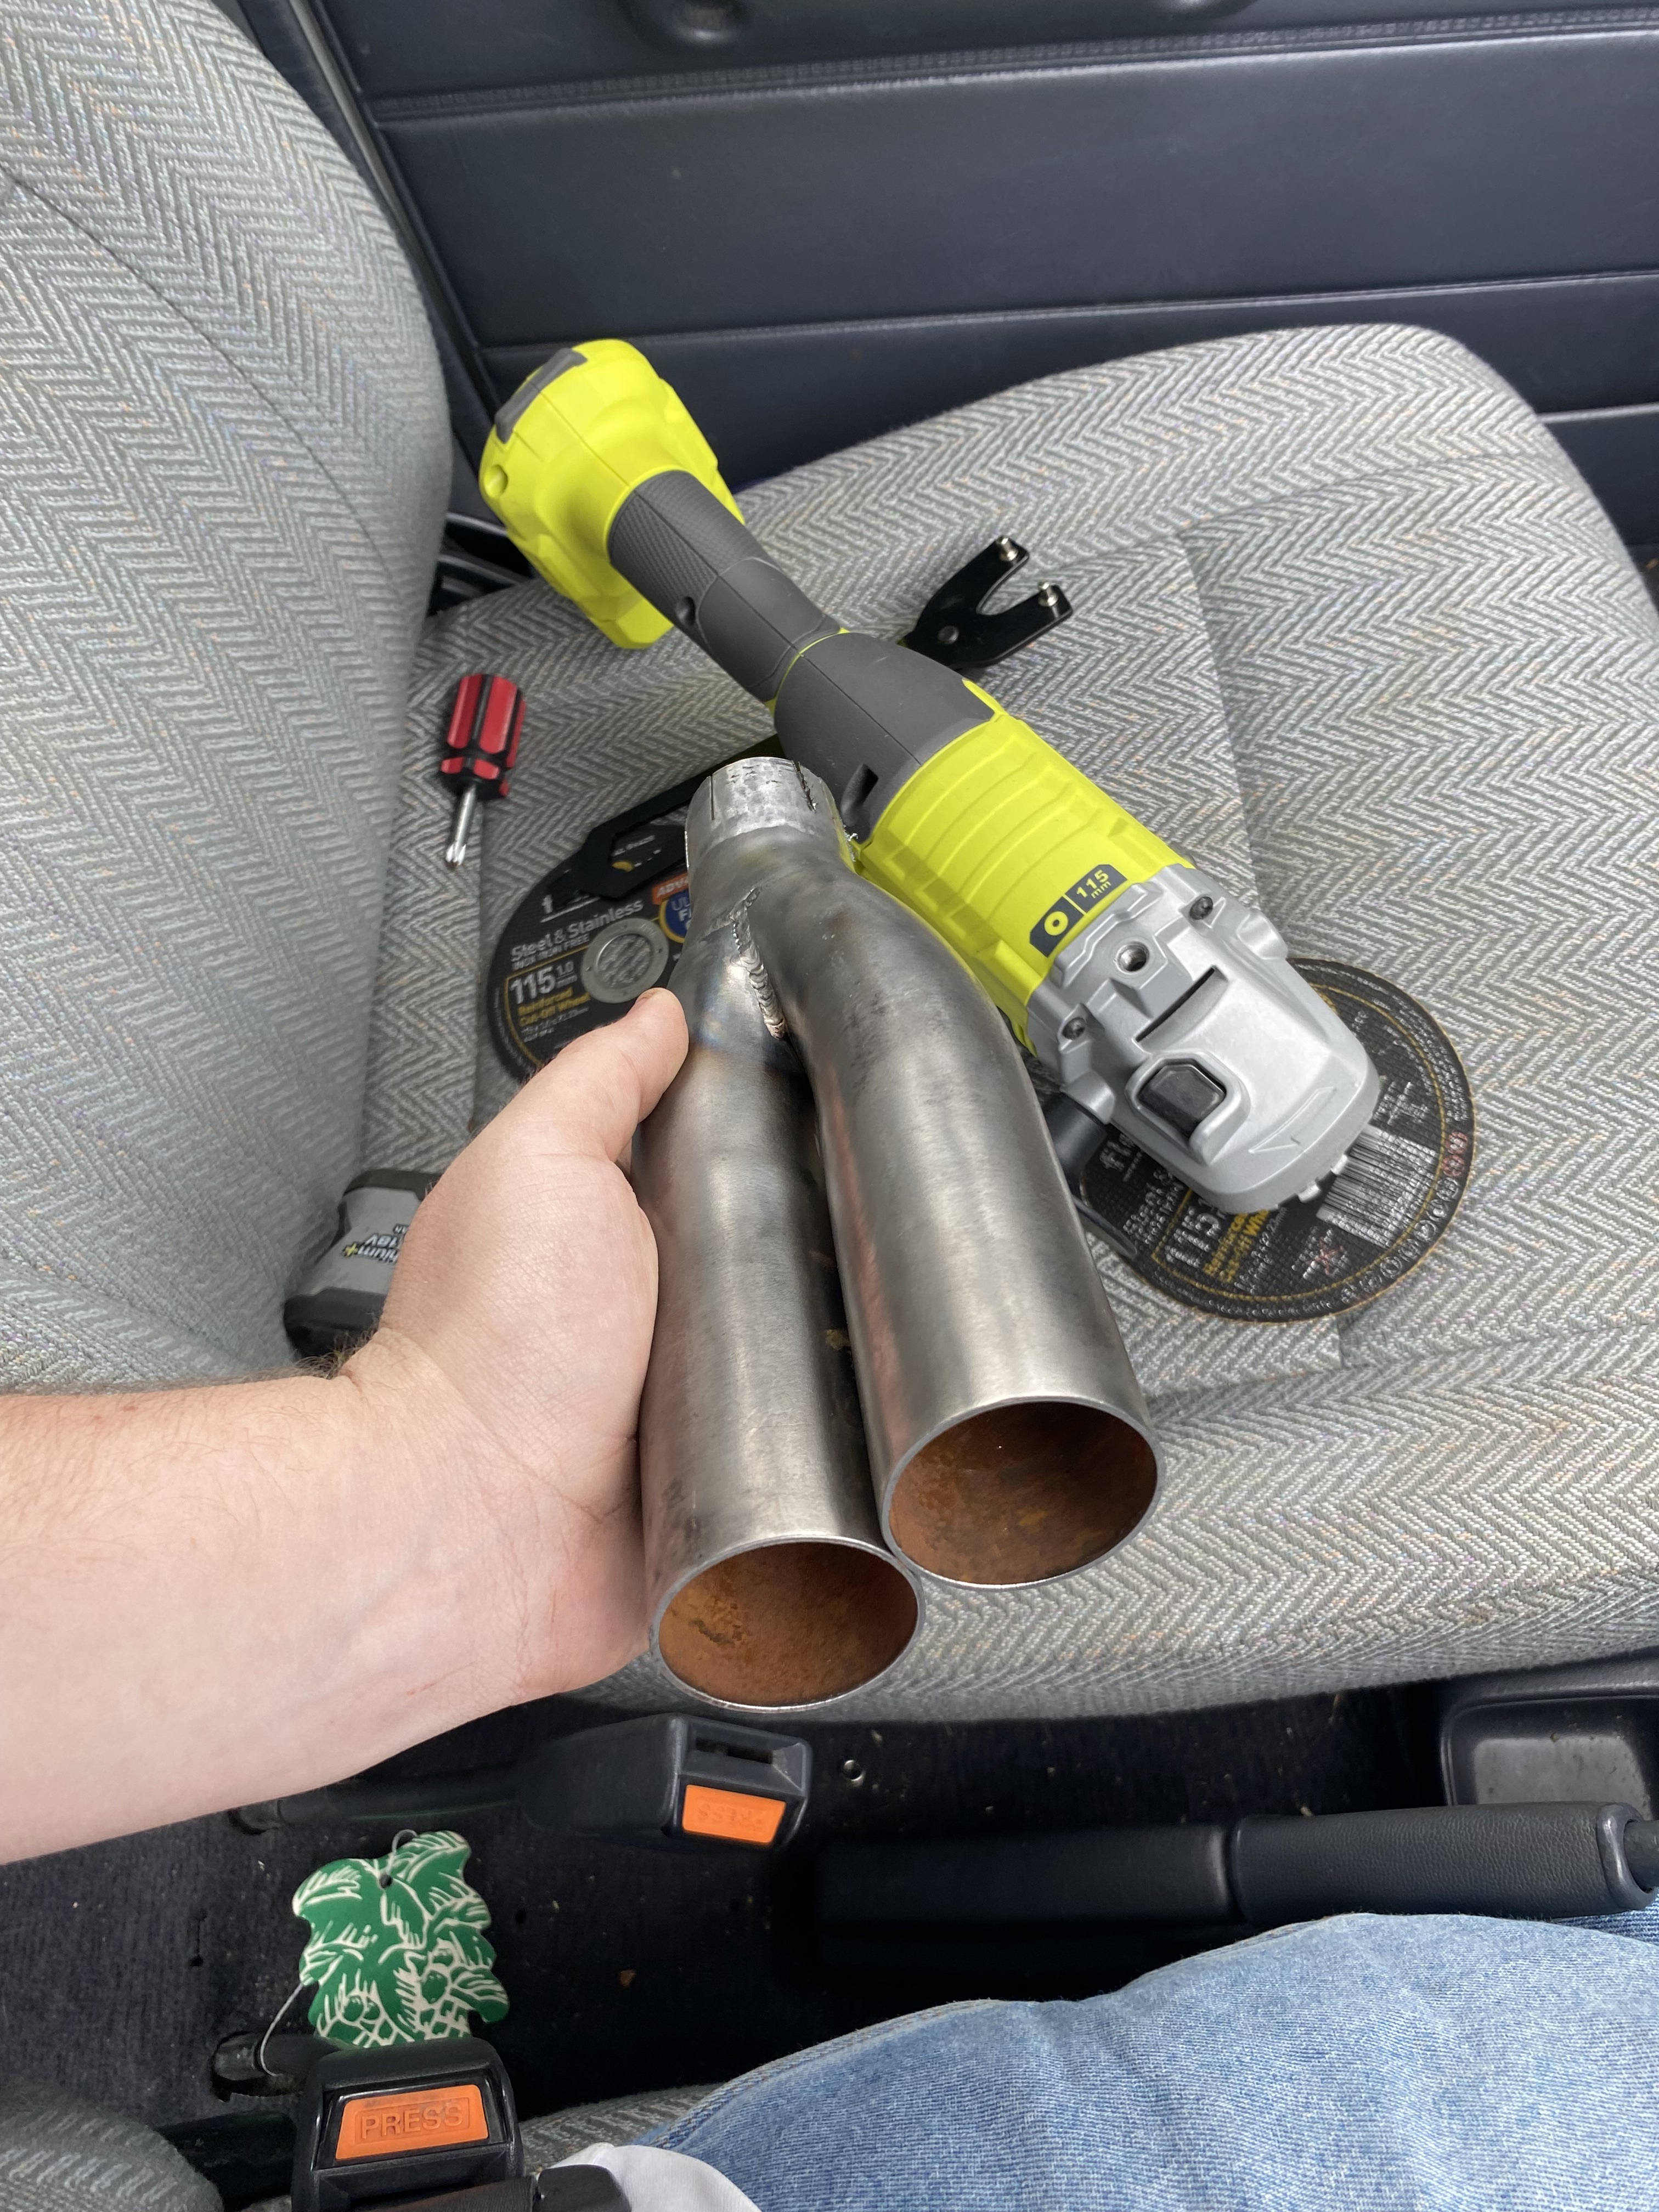
to get started on improving it, i started by replacing the exhaust manifold gasket because of a bad rattle and radiator, and of course some fresh paint ;).
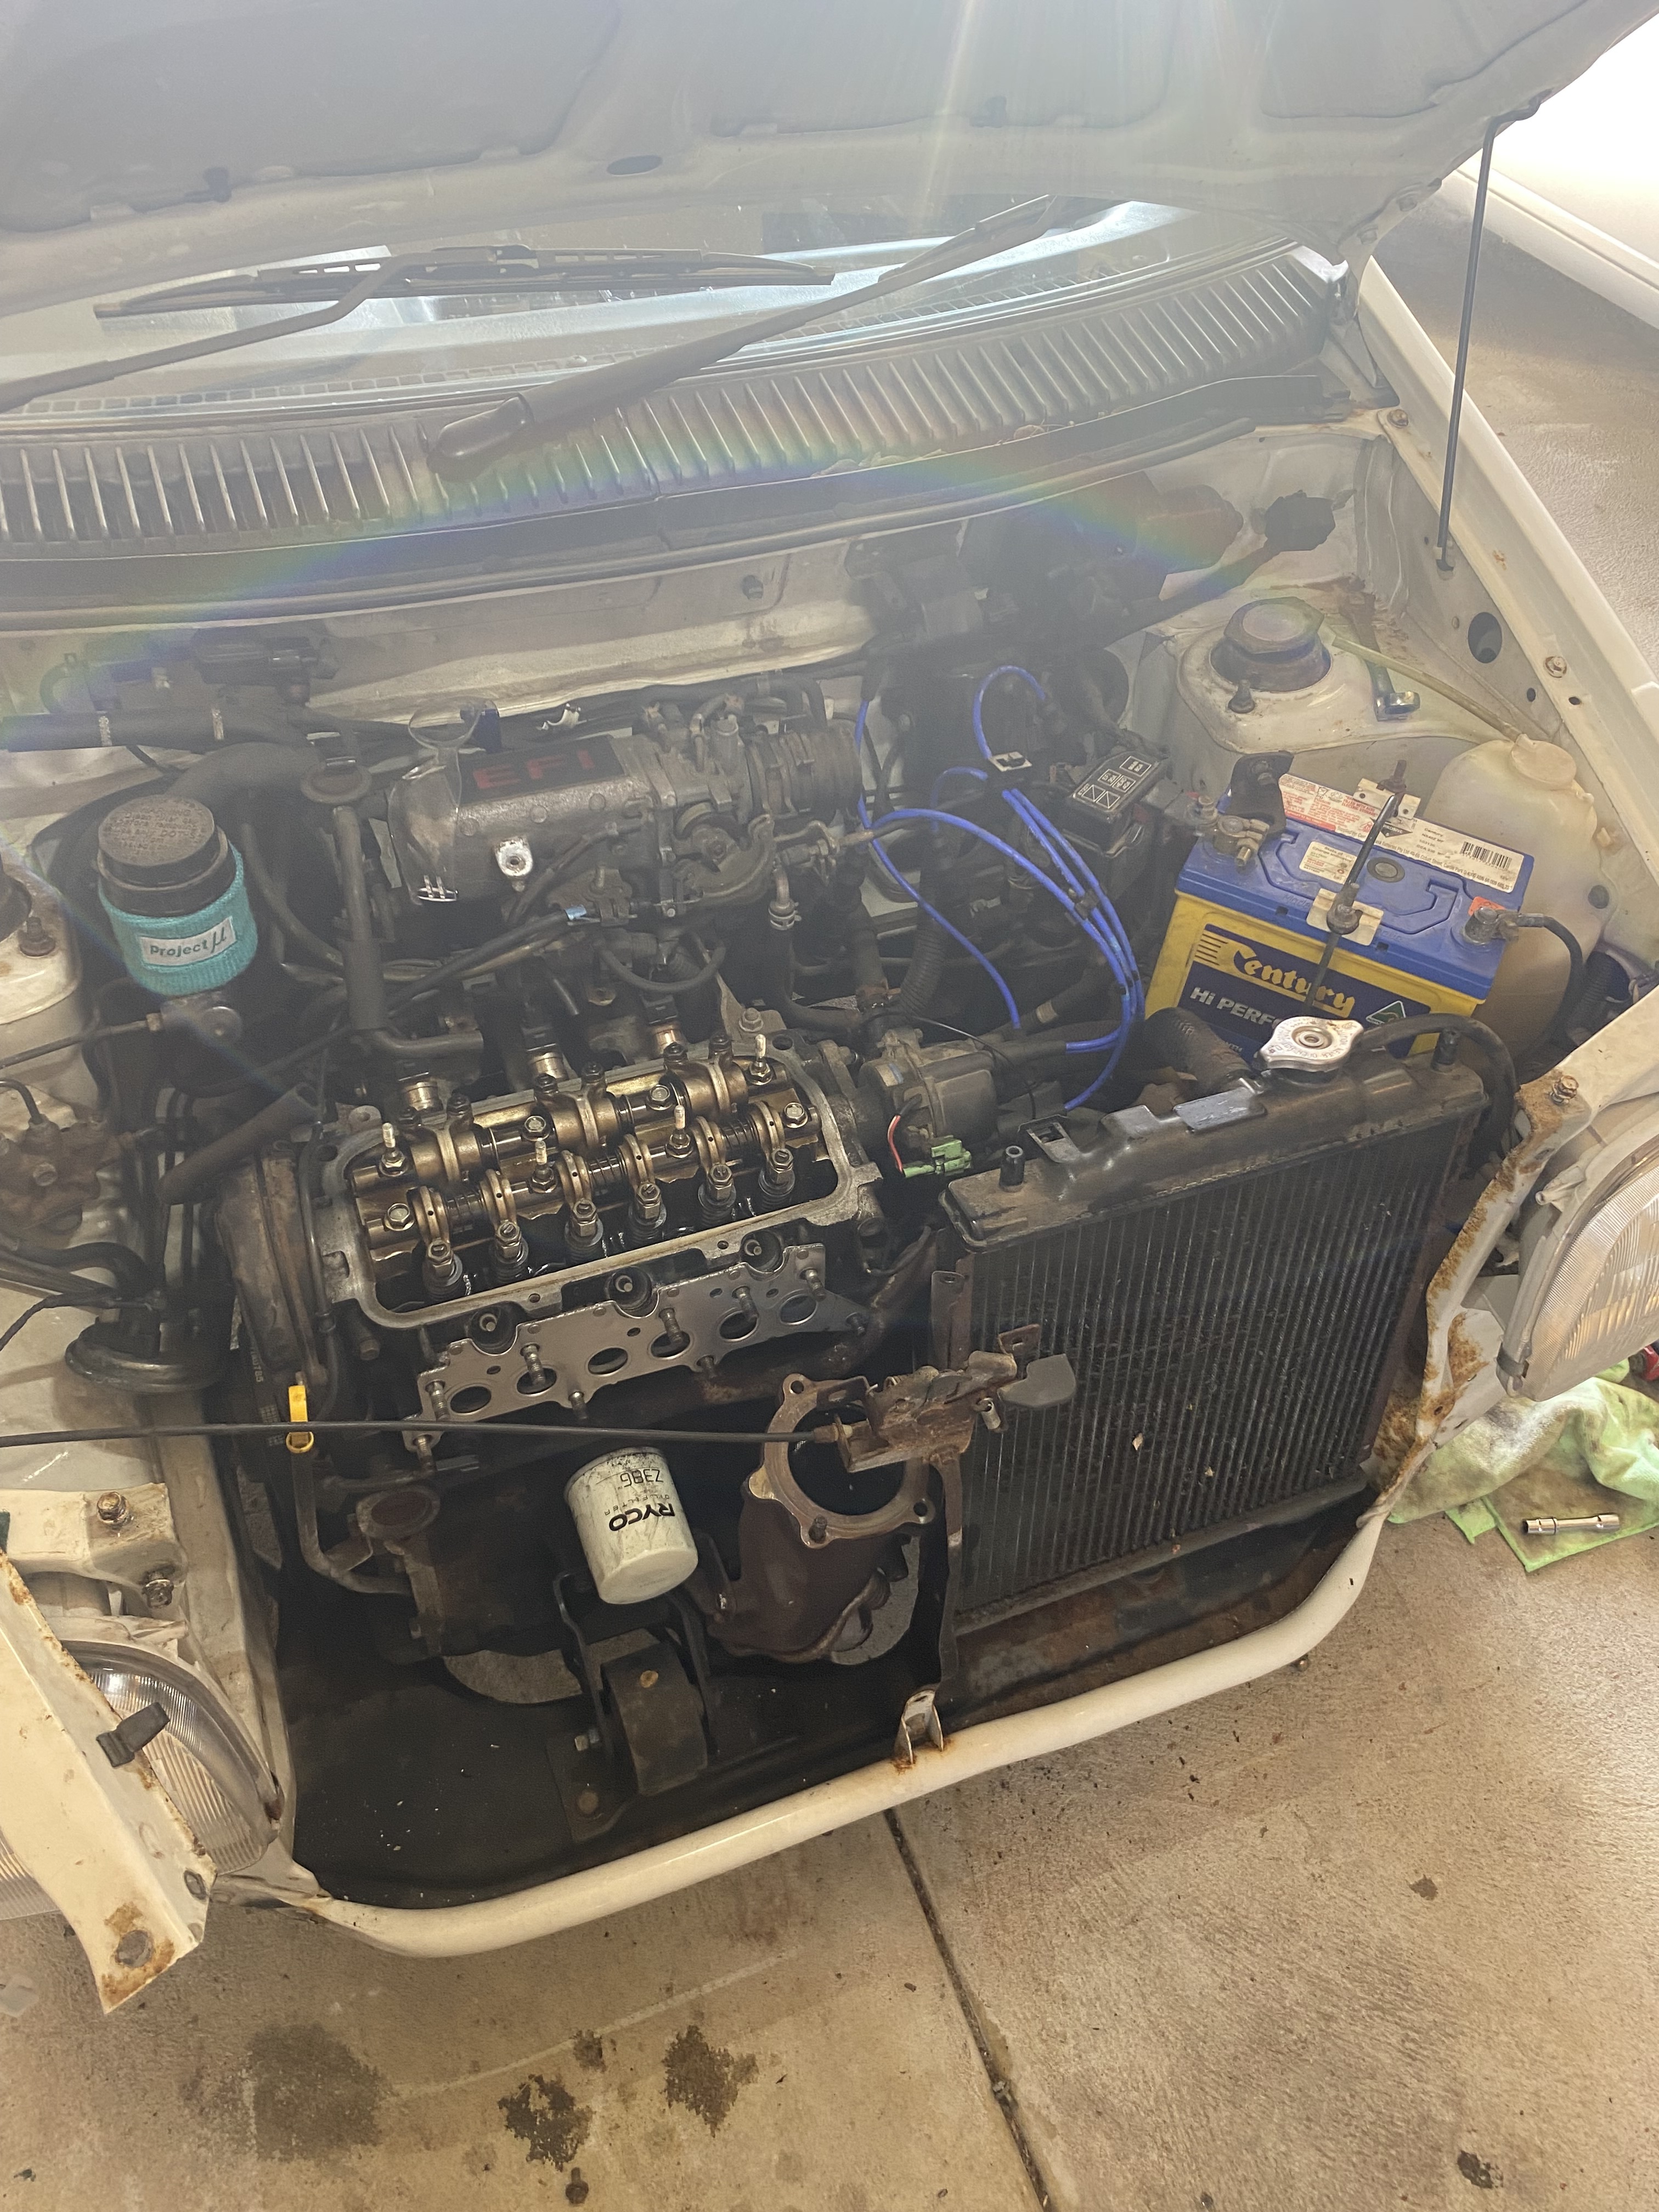
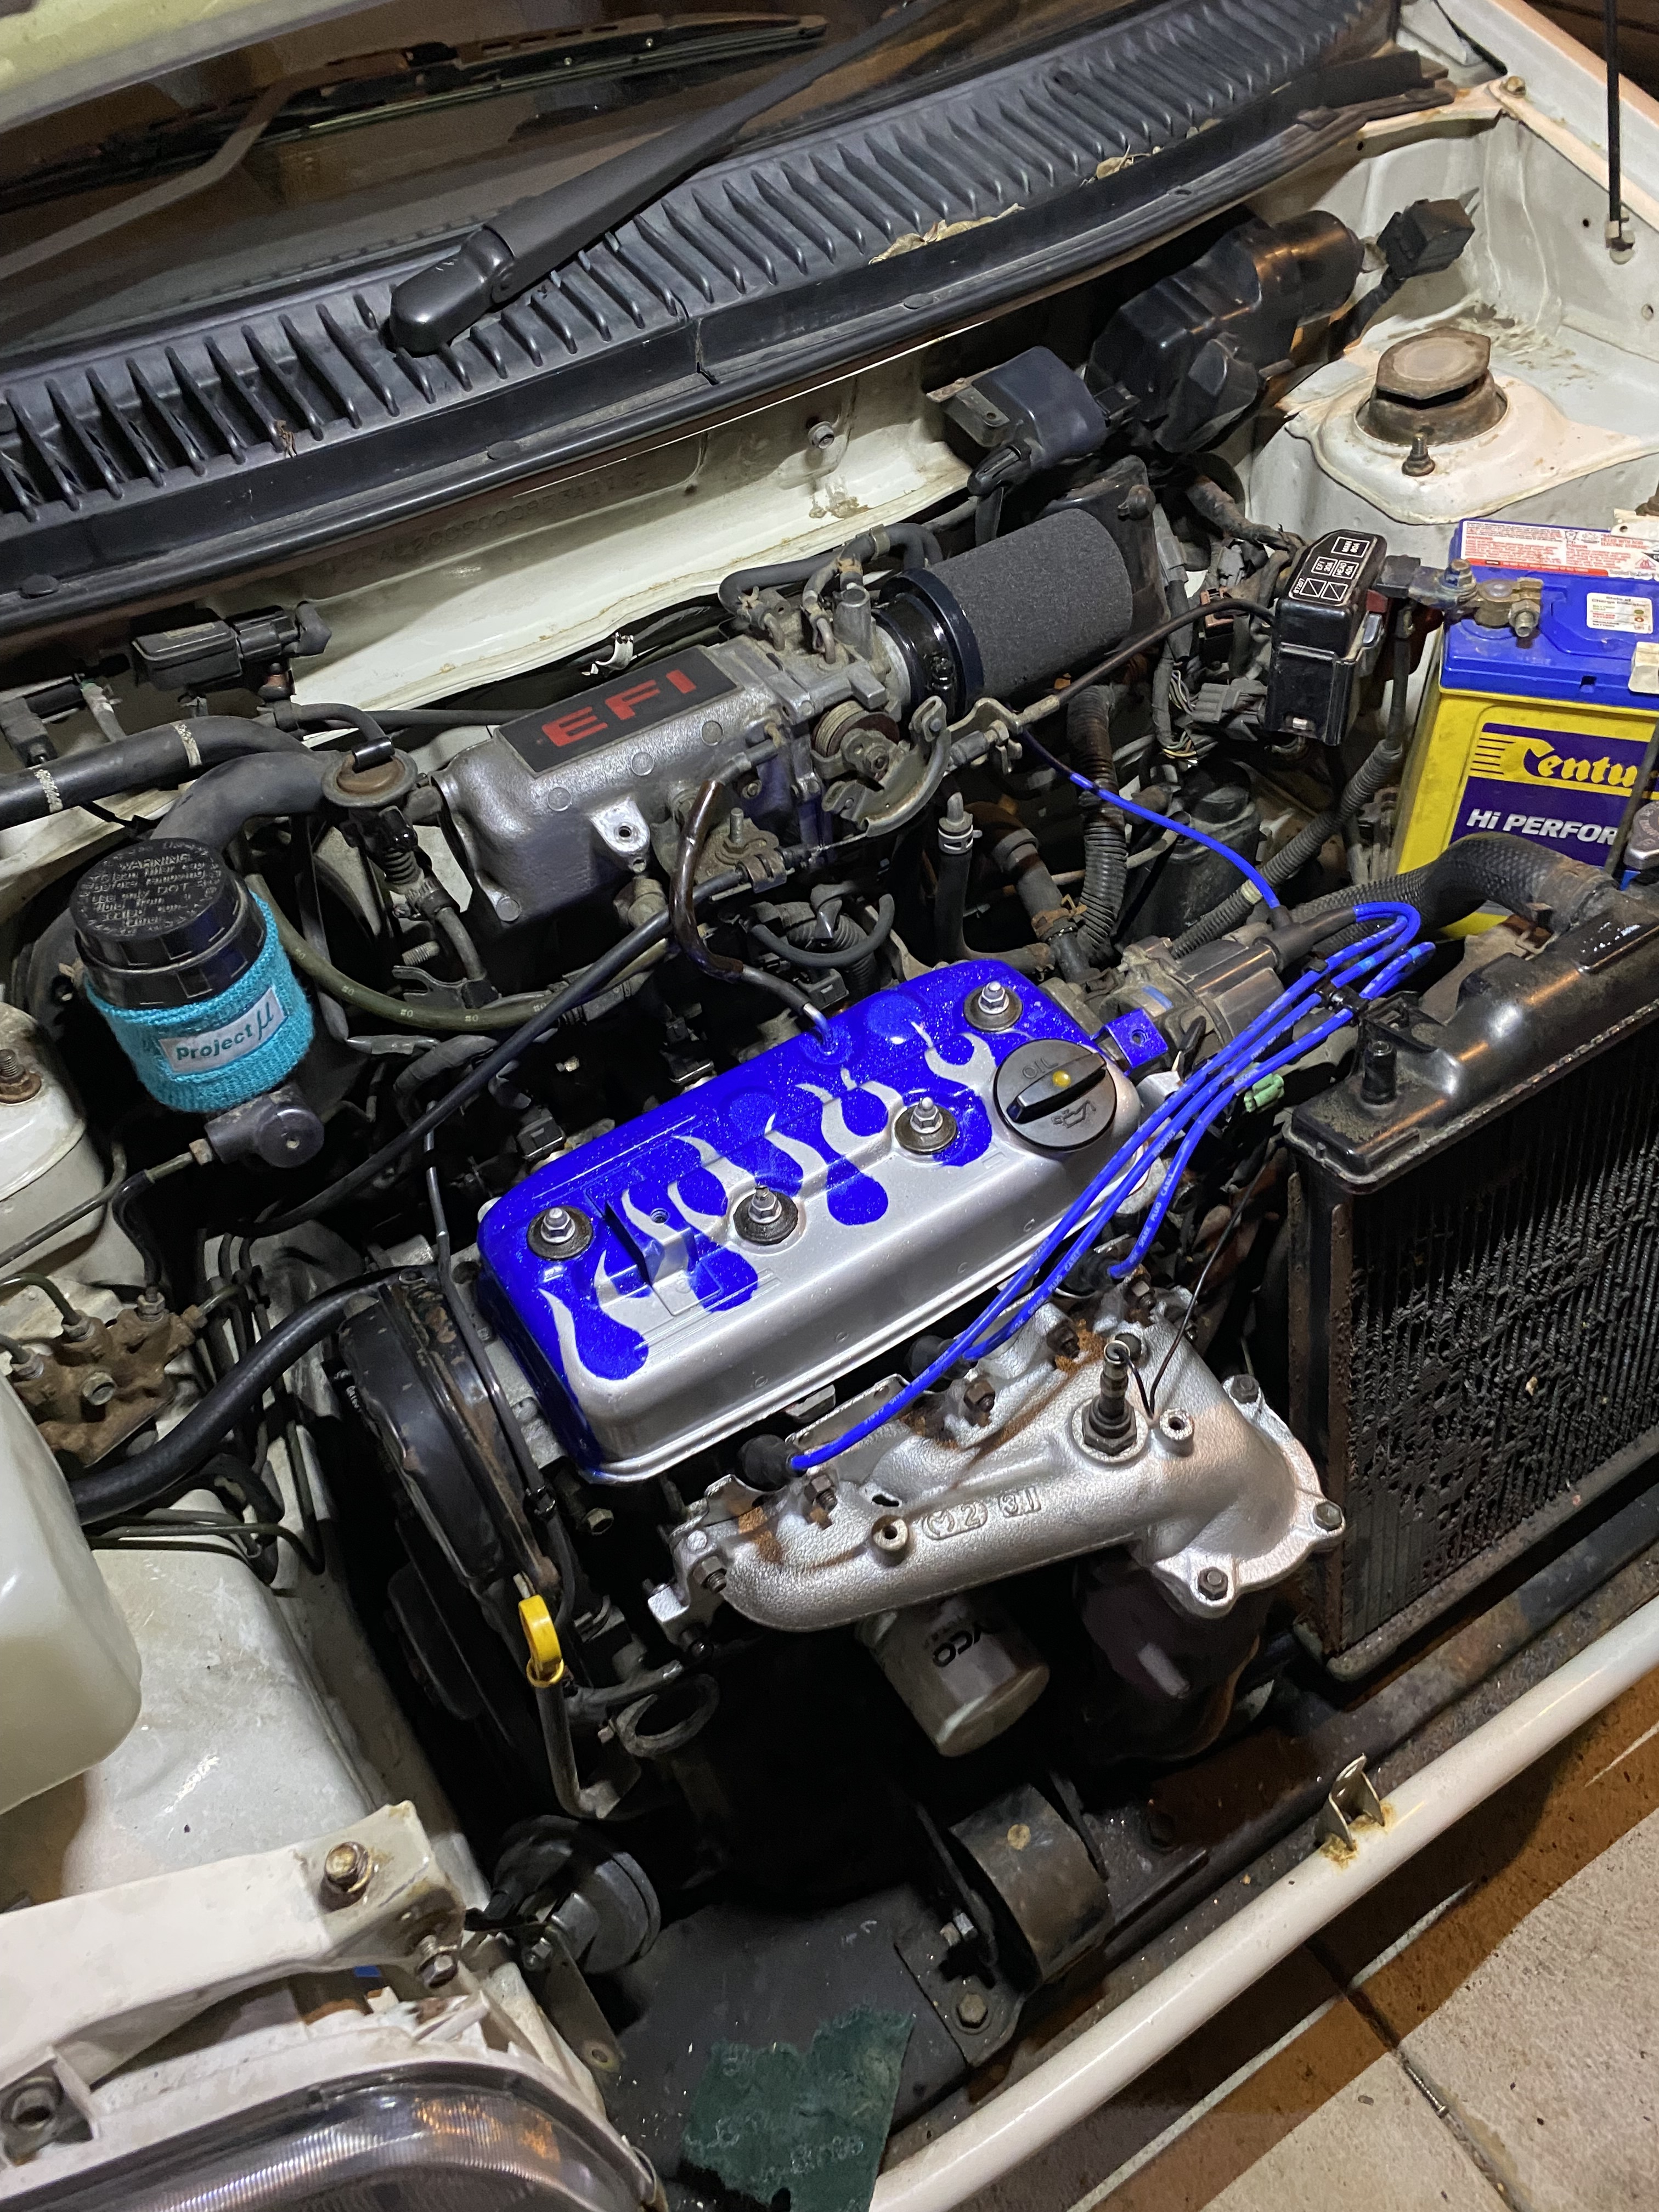
but then tragedy struck! i tried to start it and it was misfiring horribly, i ran a comp test and i got 0PSI on cyl 2! with help from a mate we concluded it was a stuck valve, so we gave it some love taps, and did the valve clearances, and it ran like a whole new car!
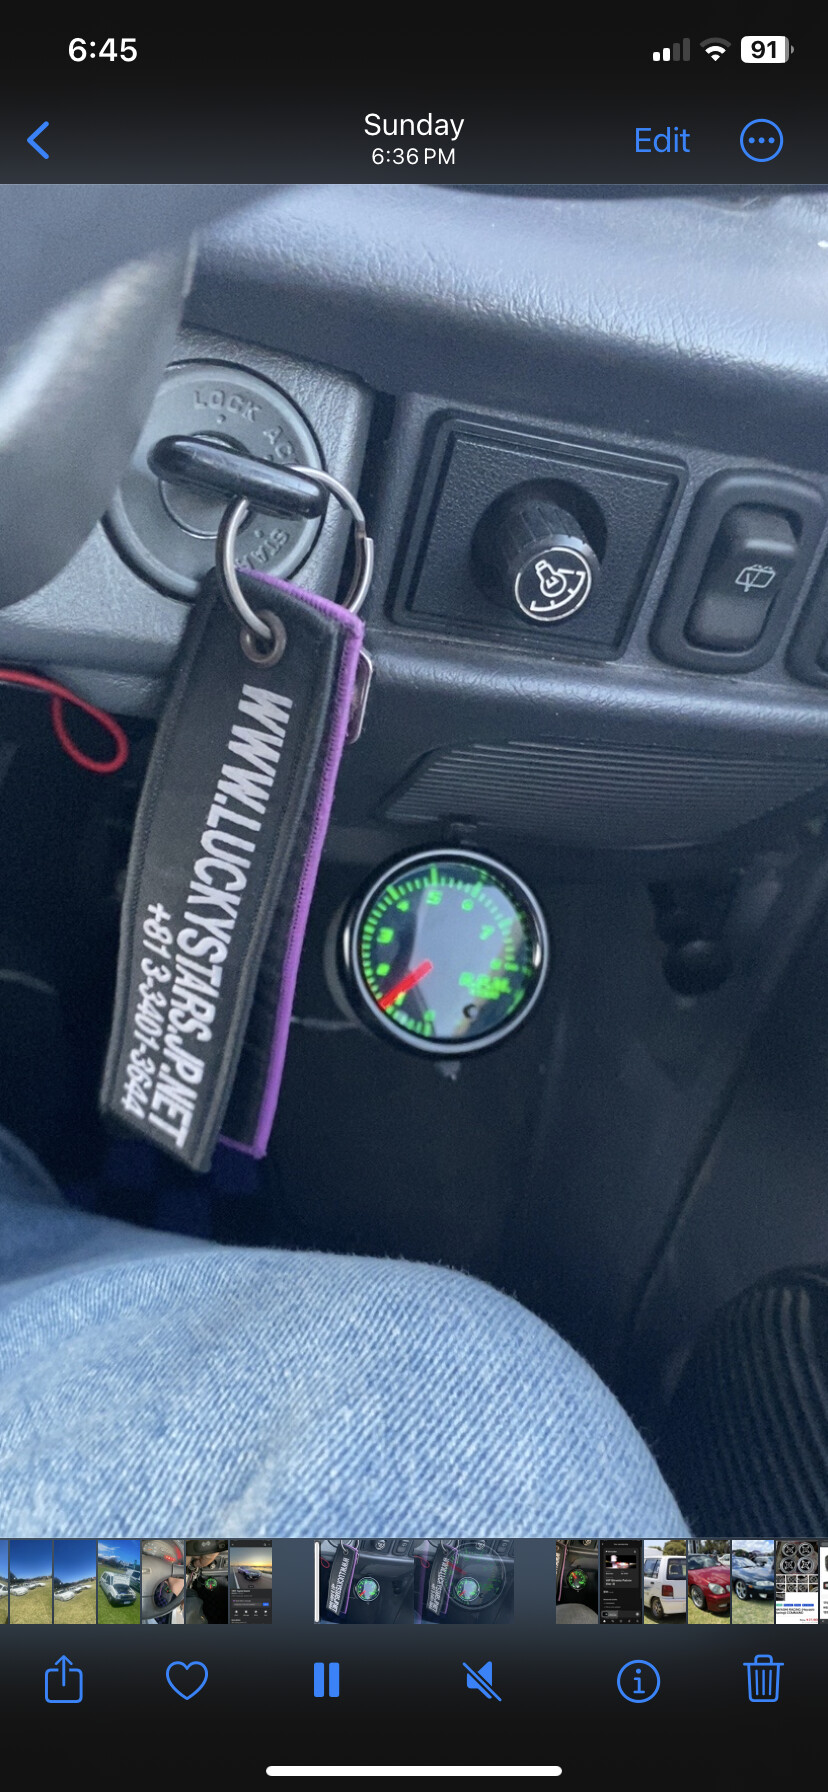
some more little upgrades like a rpm gauge and little blasties, and i’m falling in love with this thing!
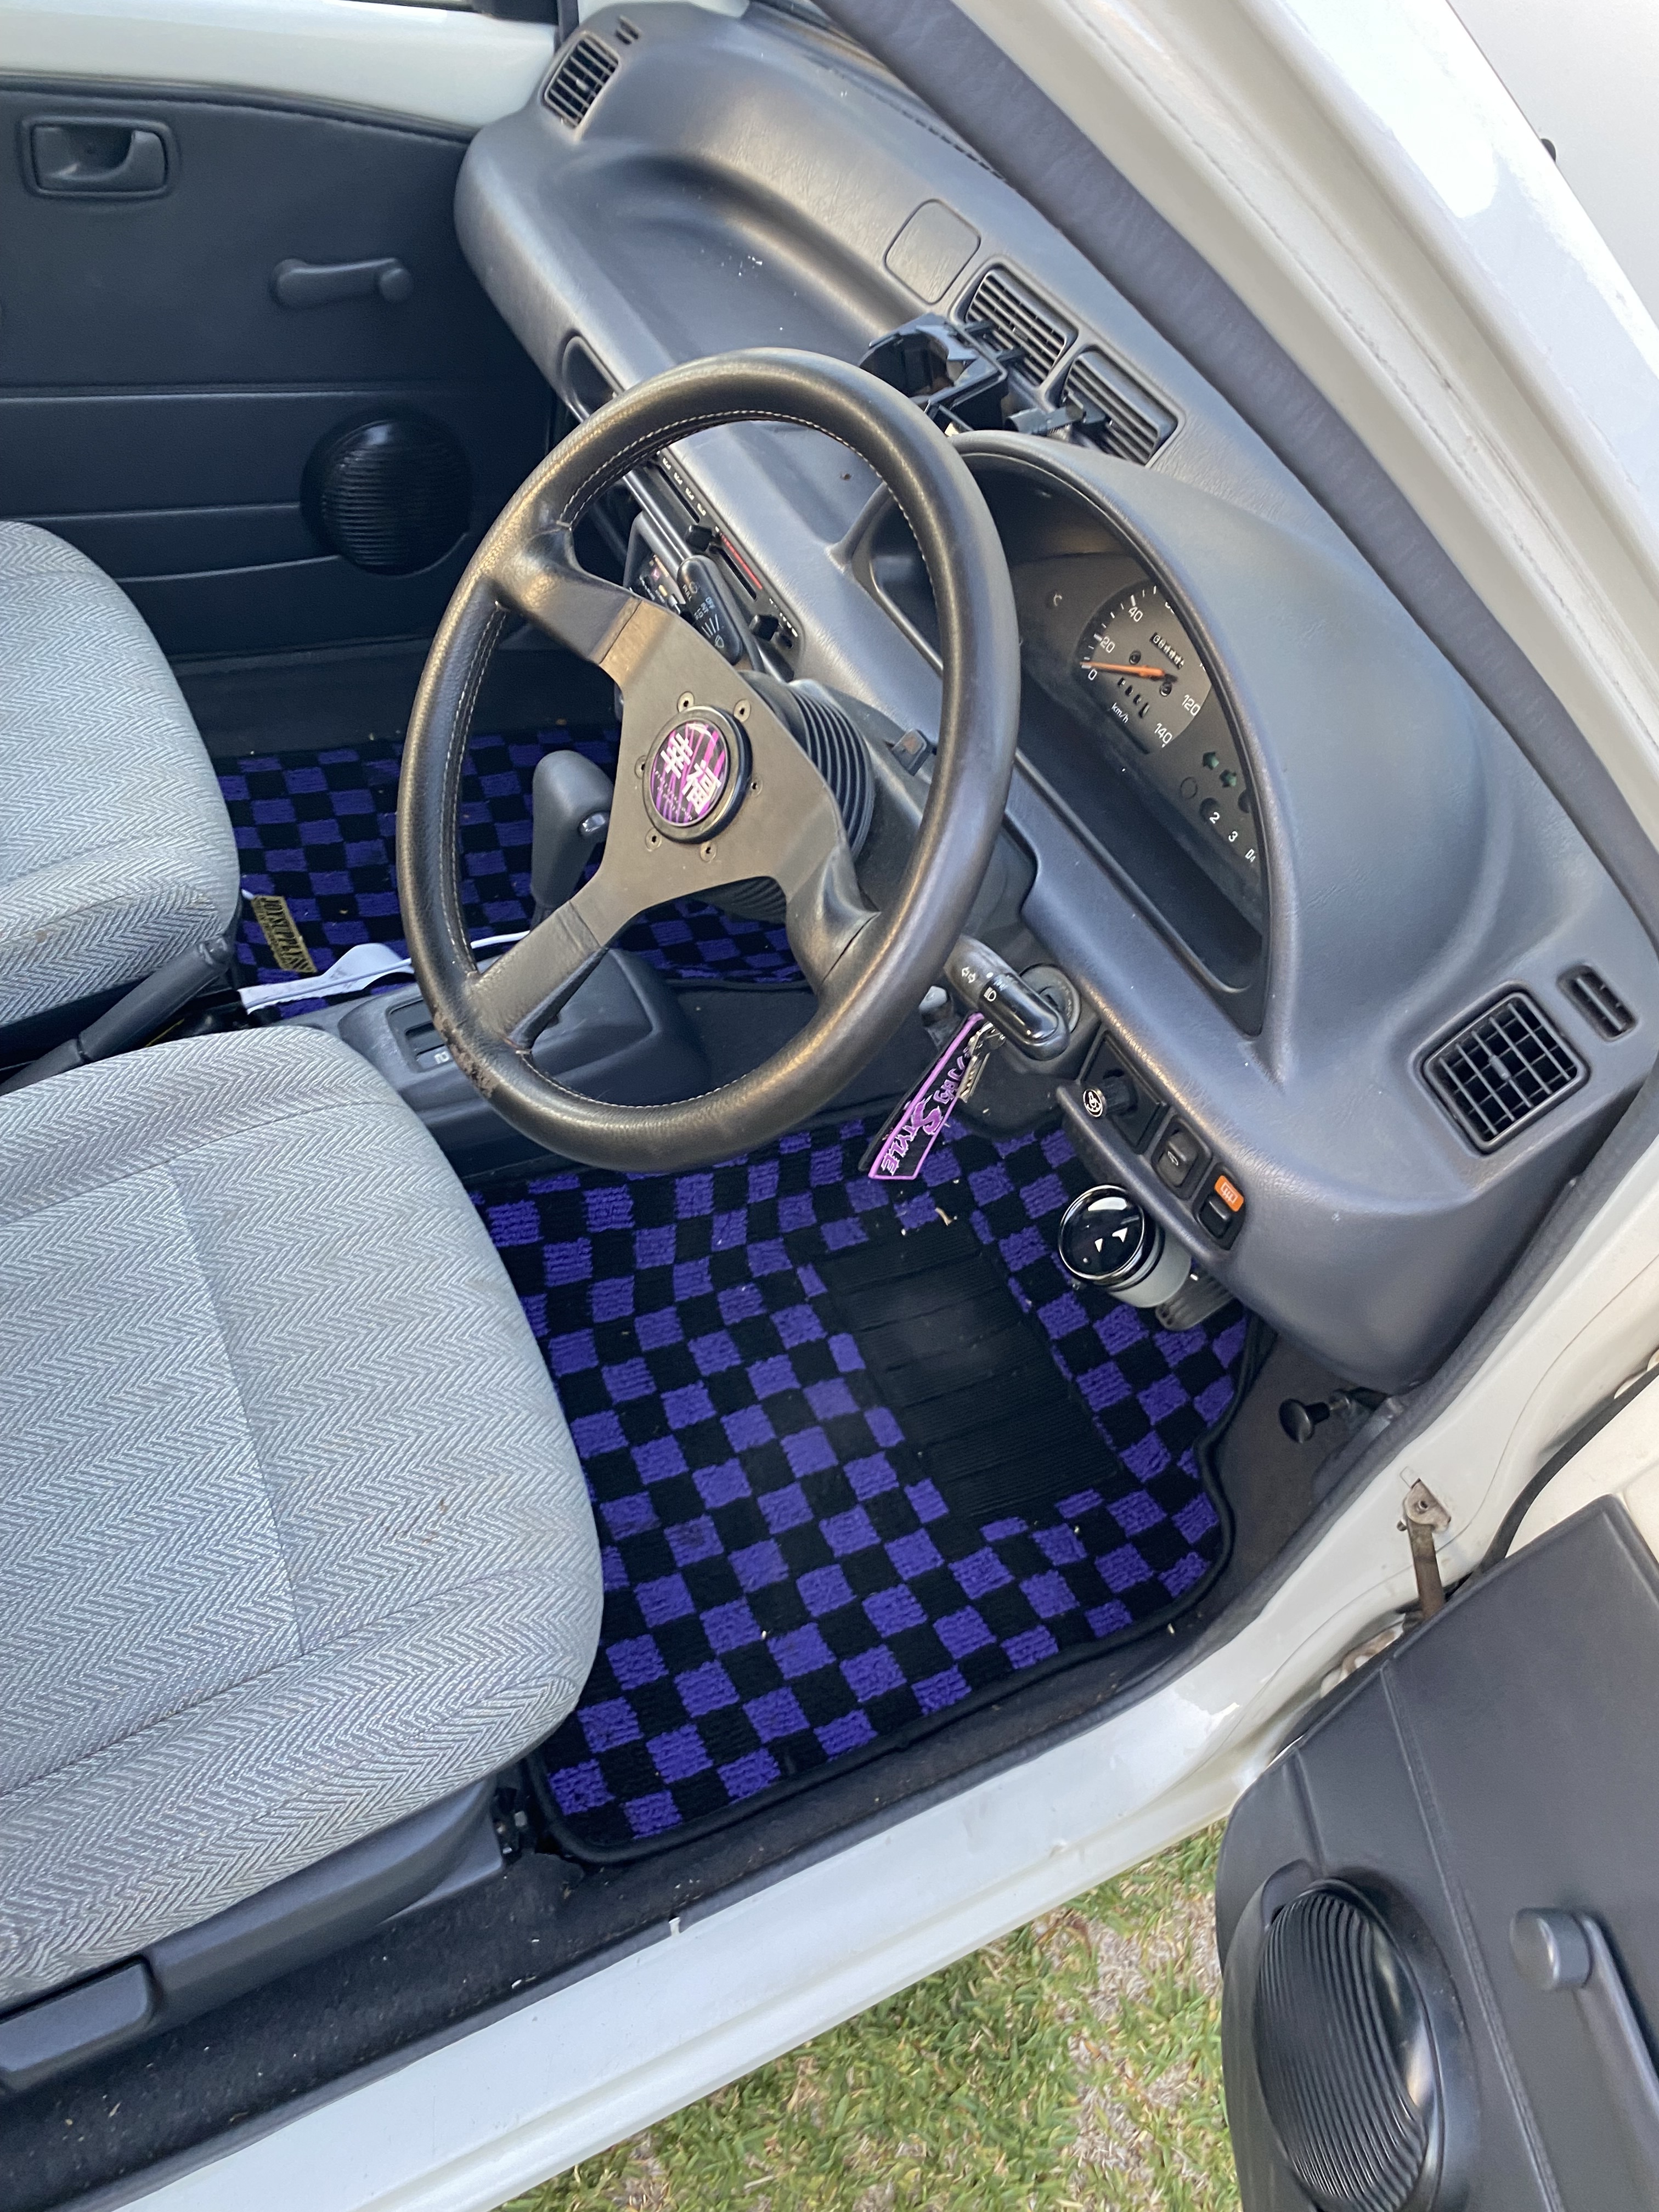
i picked up the ACG Courreges off the previous owner and while in japan i got a MOMO Monte Carlo for it, definitely changes the driving feel of the car.
now to work on that side profile
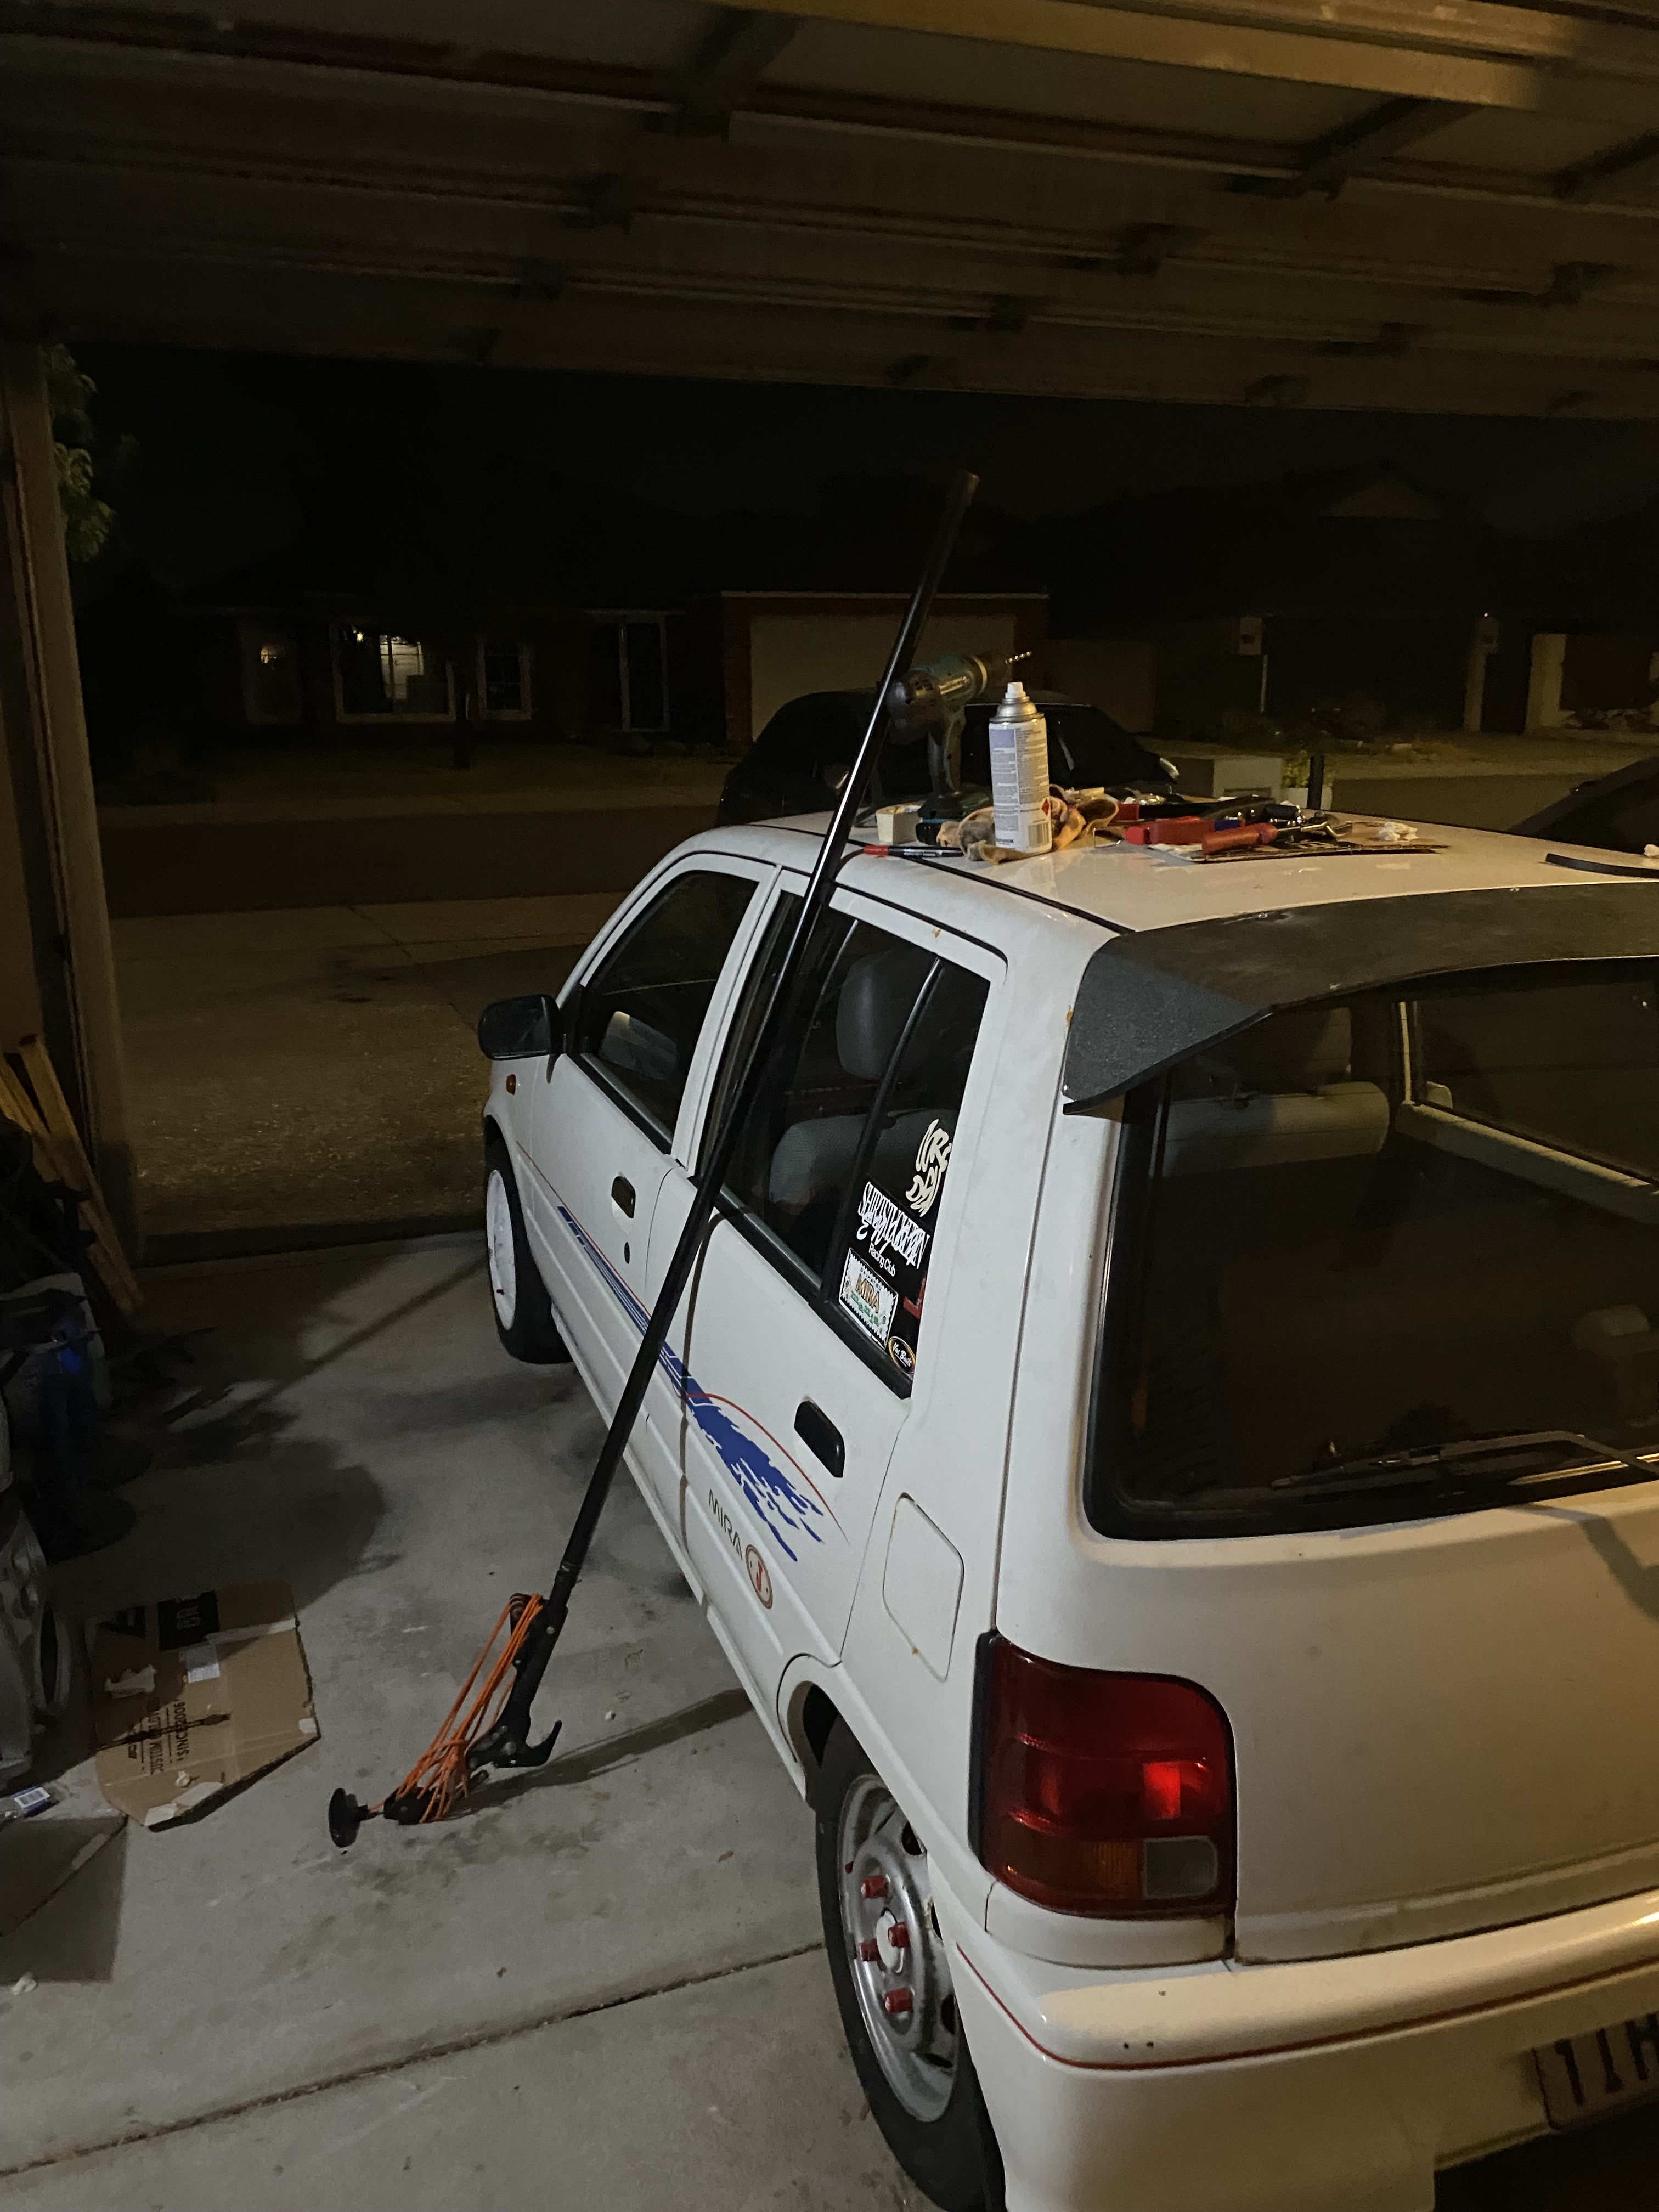
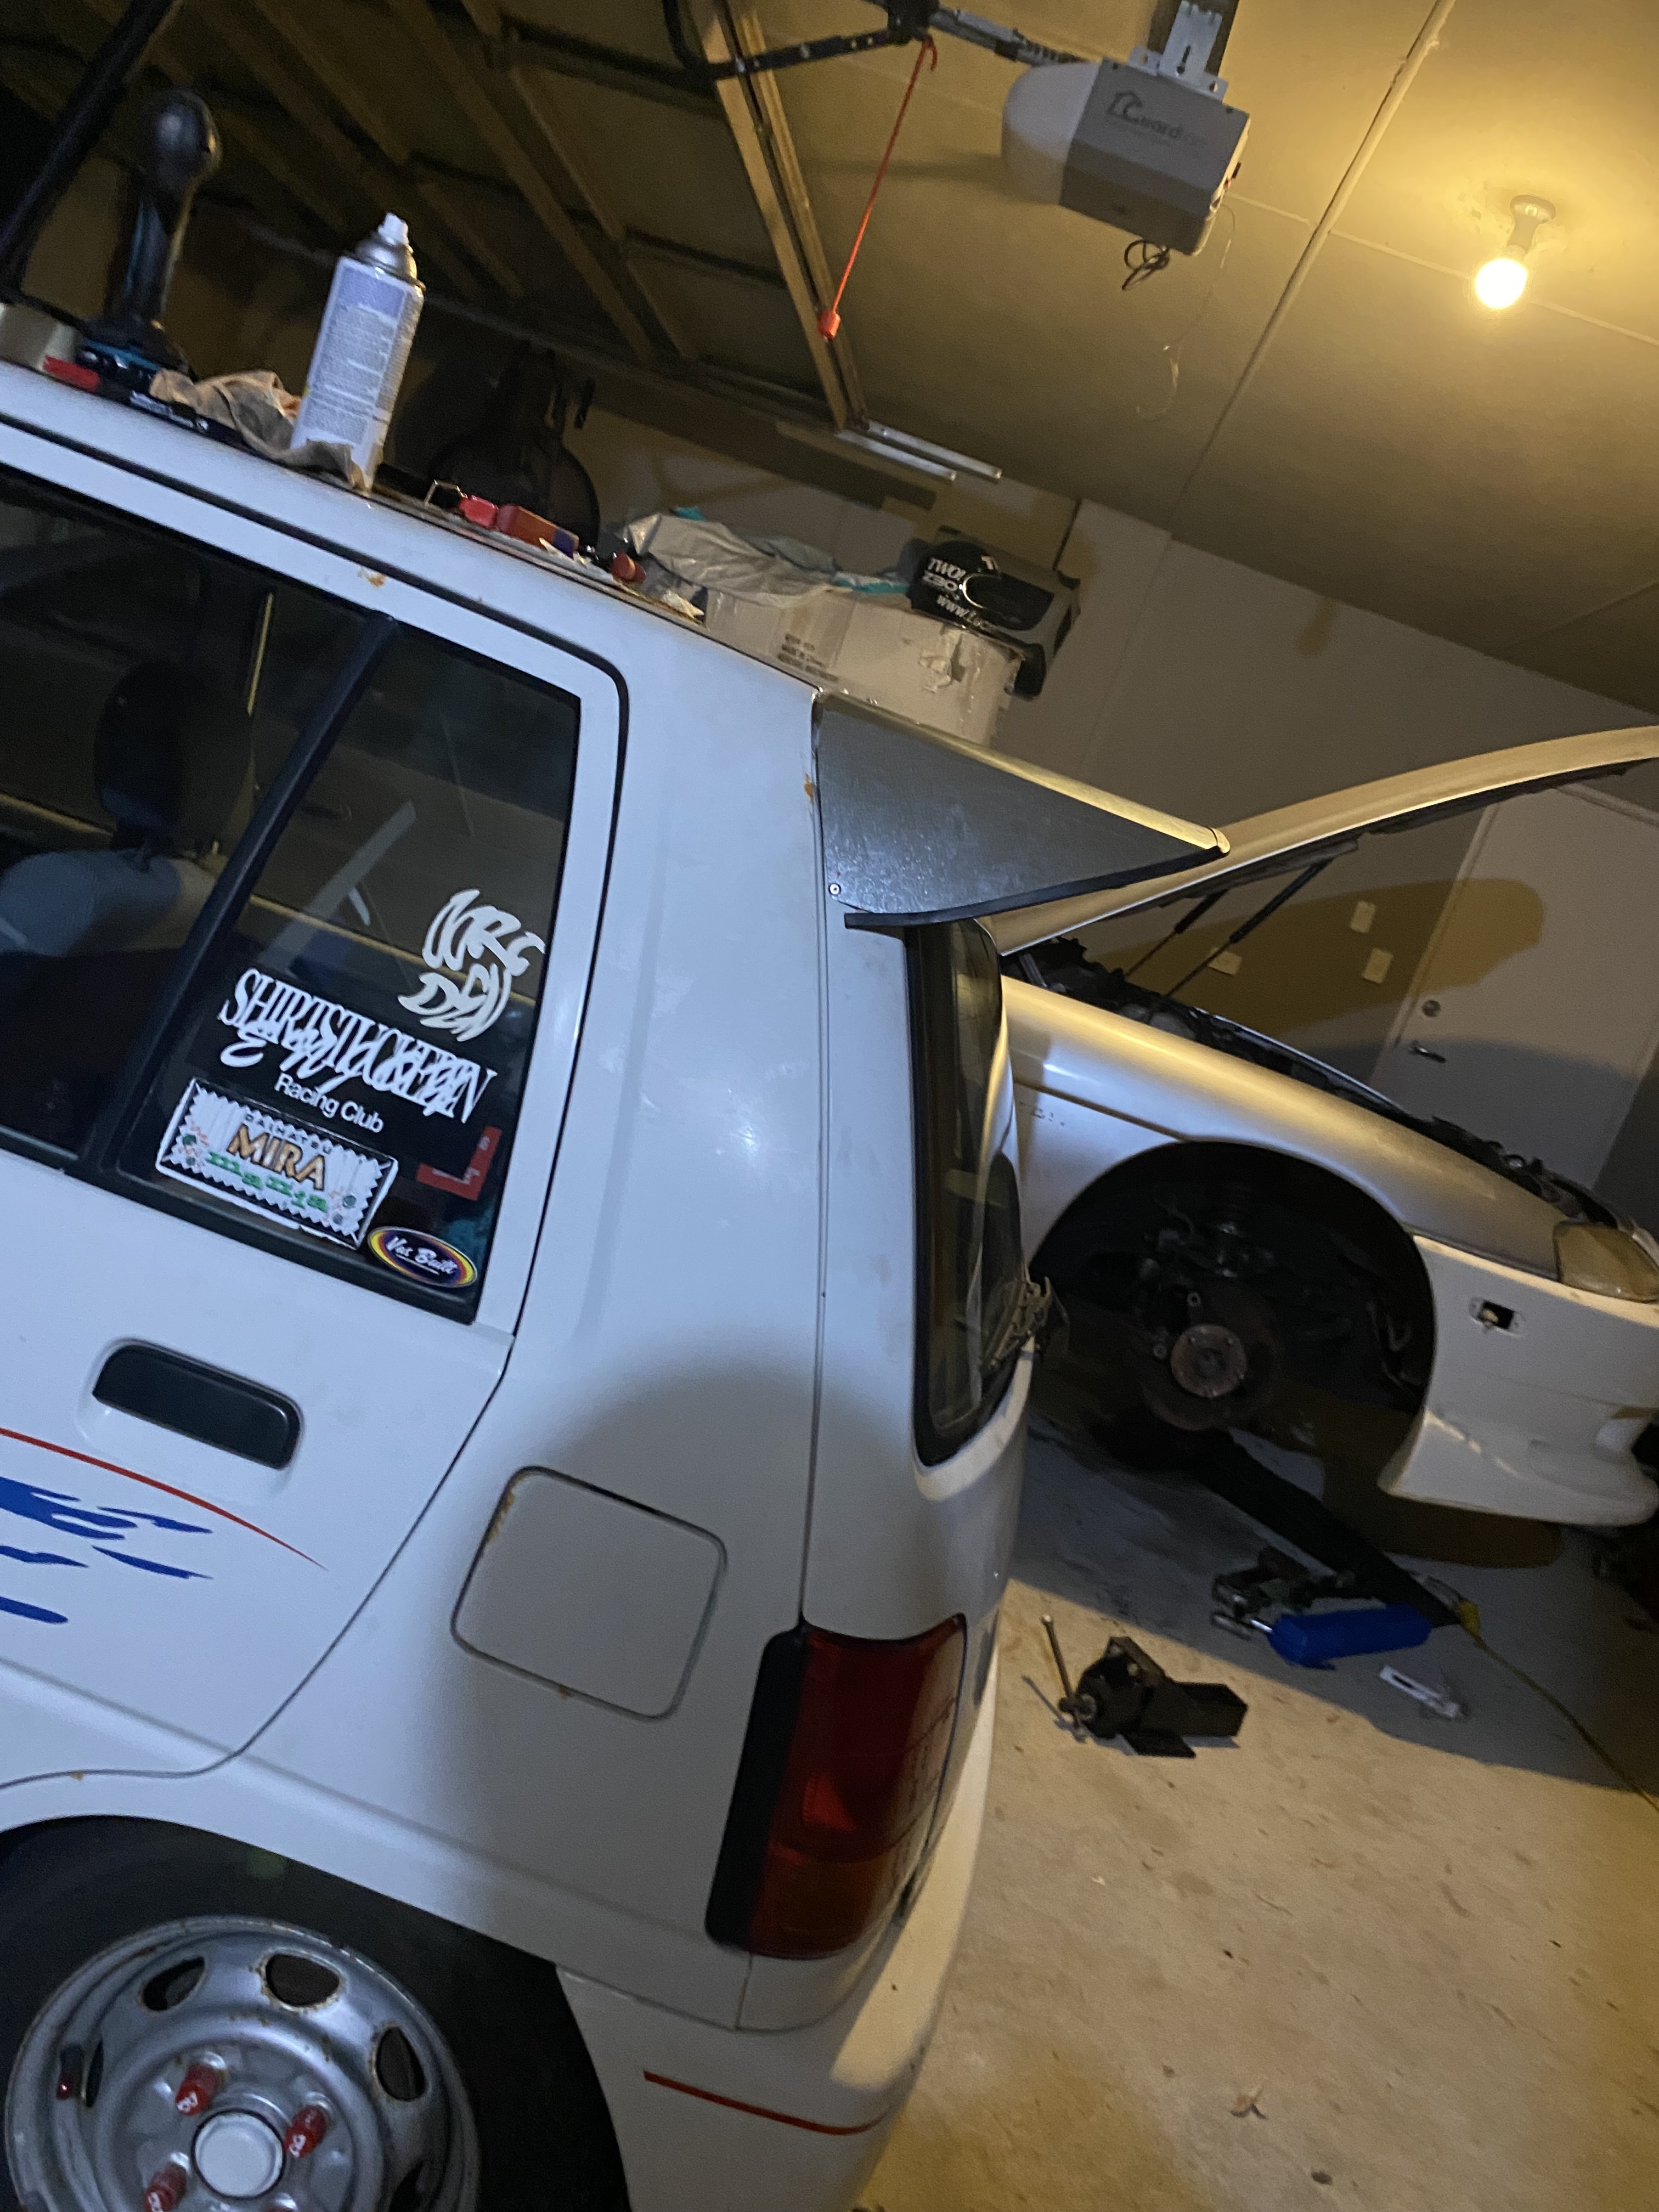
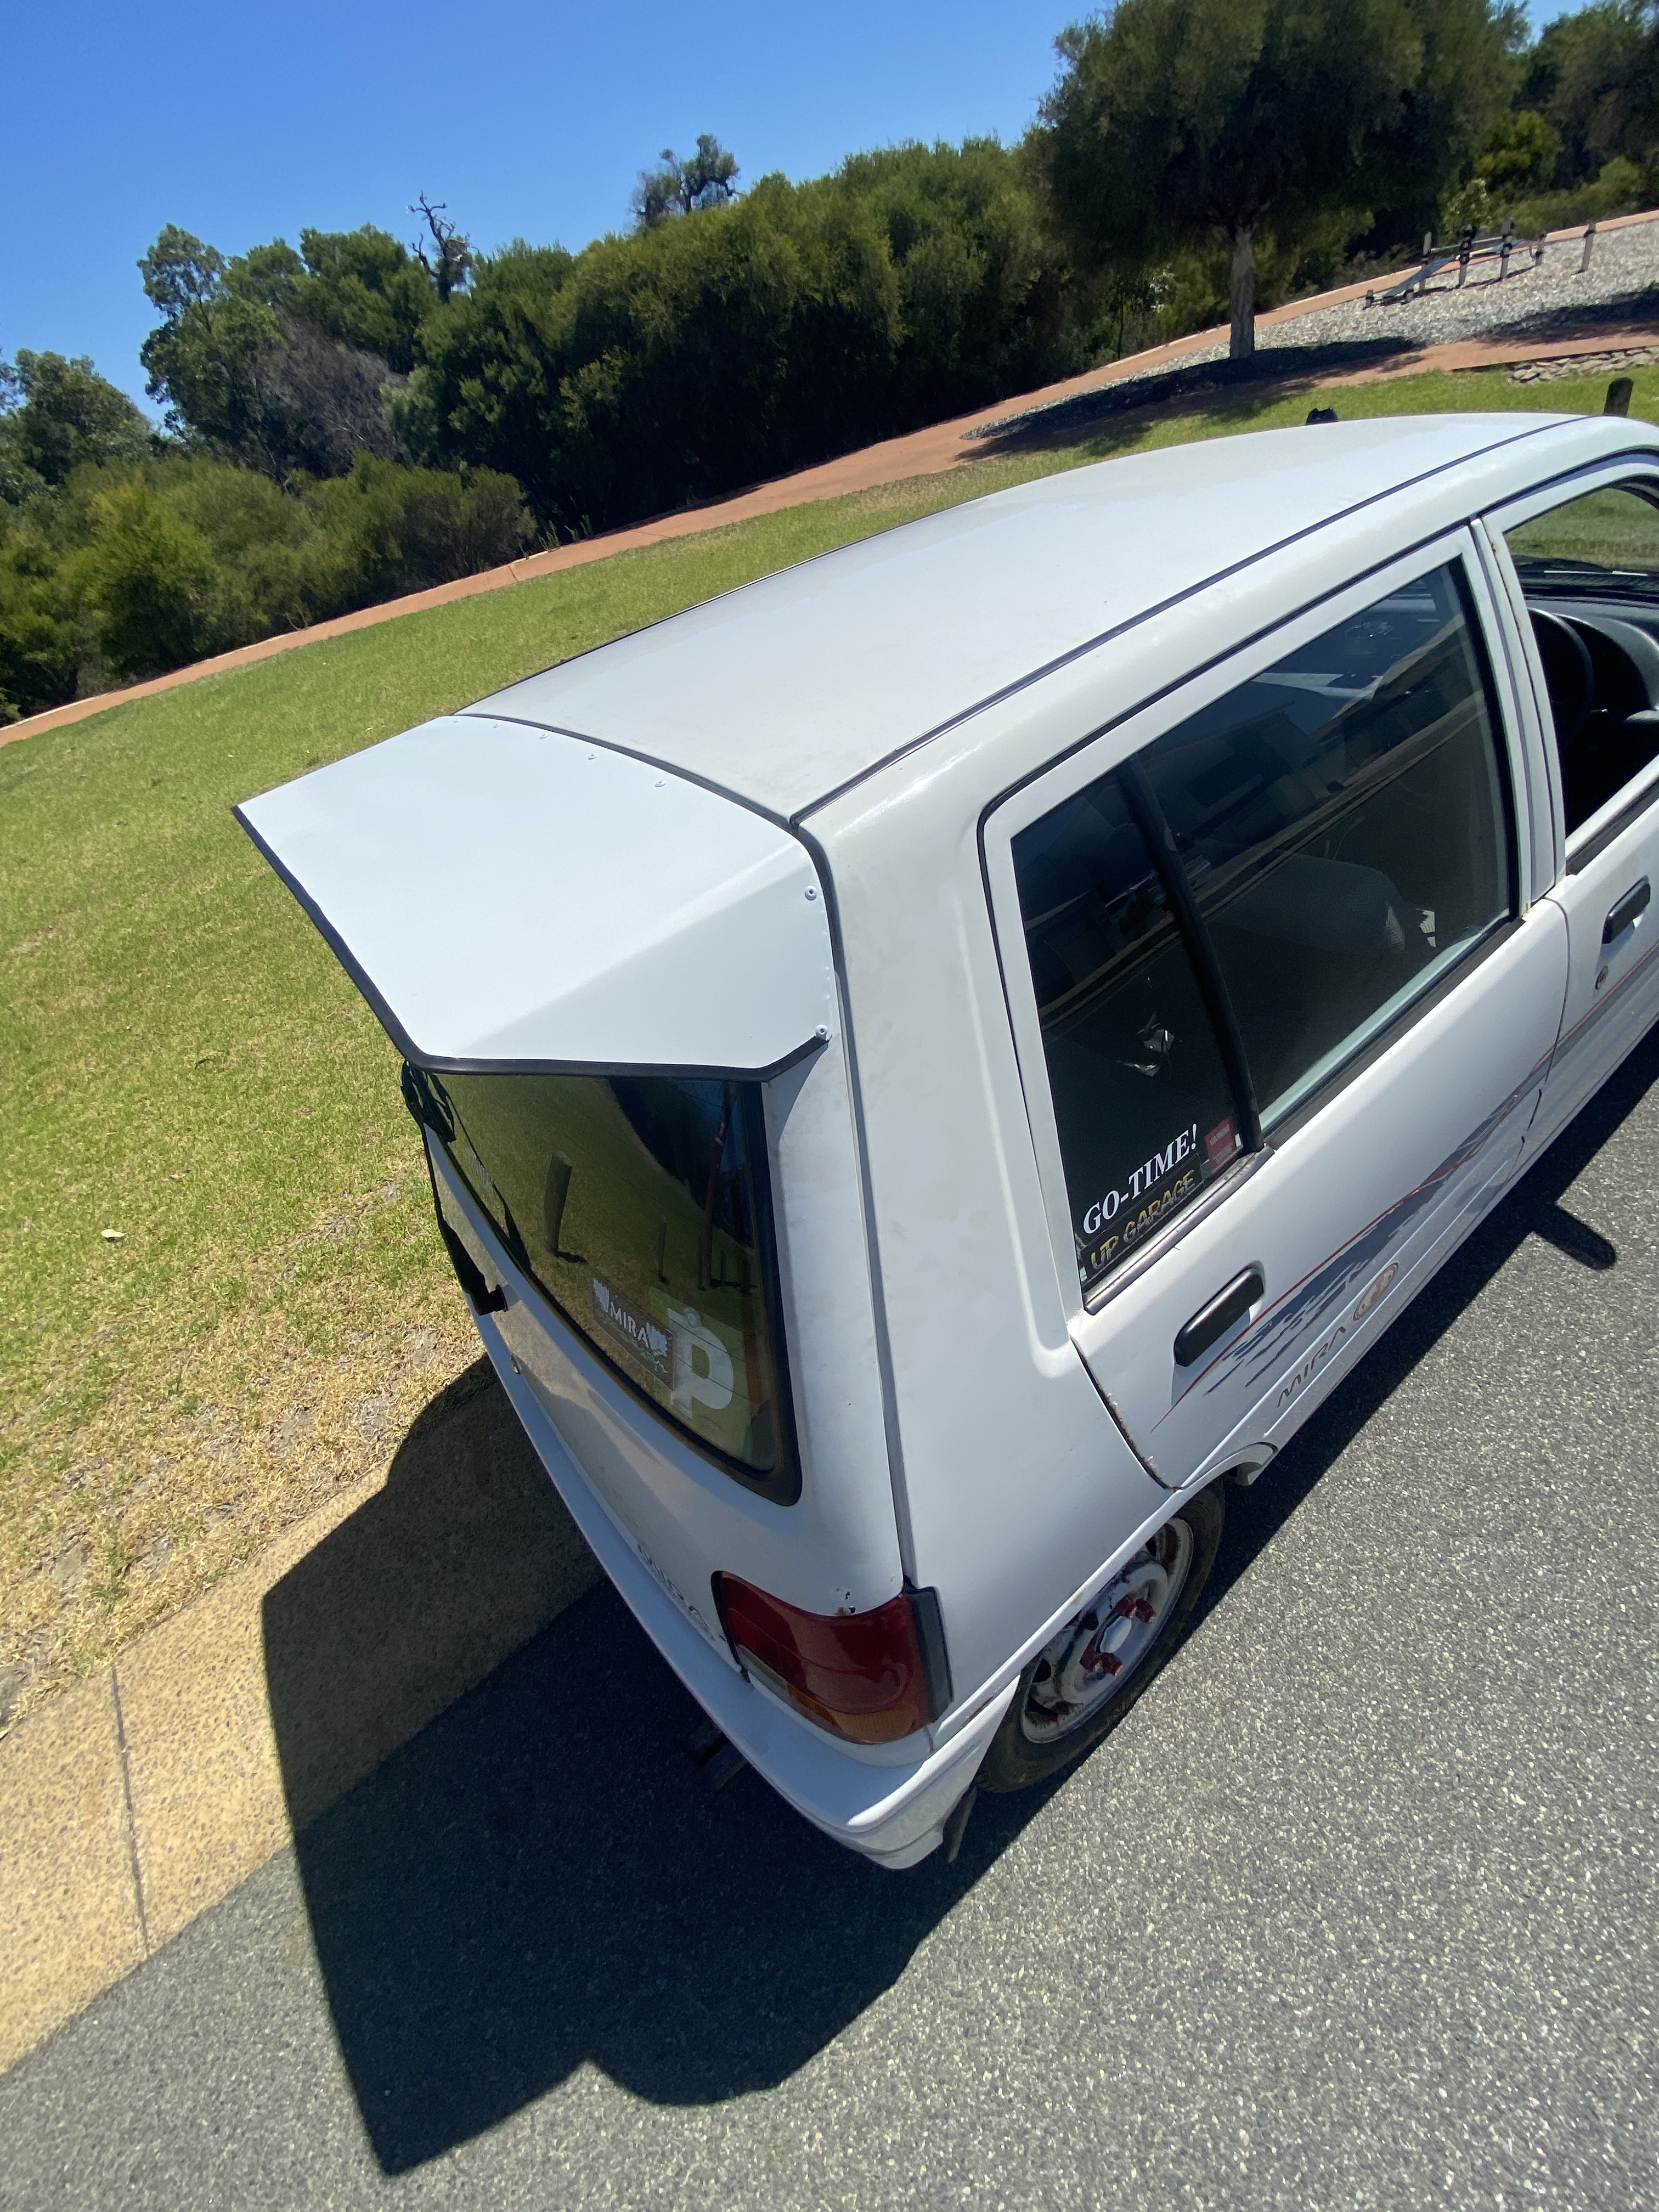
i made a roof wing out of sheet aluminium, i did this by first mocking it up with cardboard, then tracing it onto the sheet, after mocking it up on the roof of the car i marked were the start and end of the bends would need to be. i bent the metal by putting it on my letterbox and pressing wood blocks onto it xD. looked great so i riveted it in, and some fresh paint. now looks like a racecar! really loved making this and i think it changed the look of the whole car.
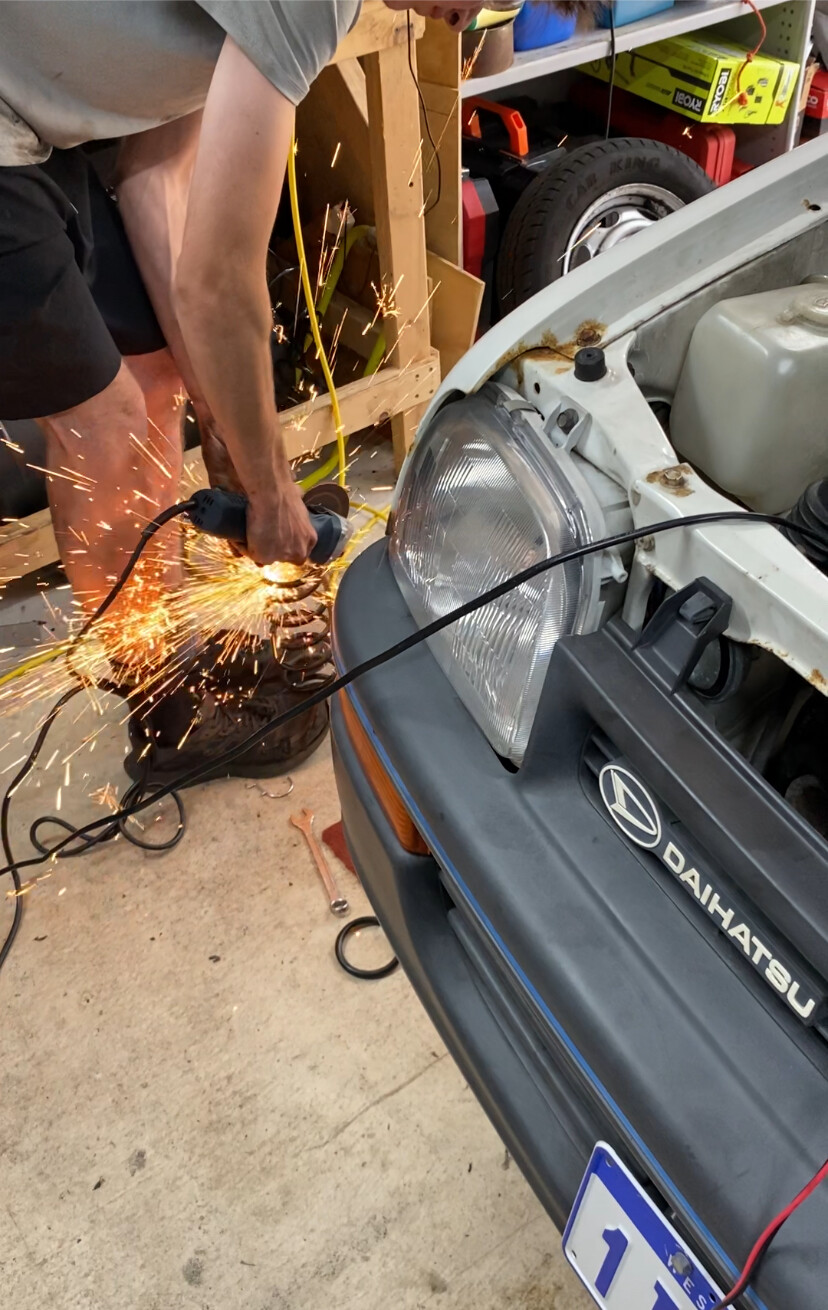
i was tired of flopping around like a fish during hard cornering, so i picked up the CRX seats off marketplace.
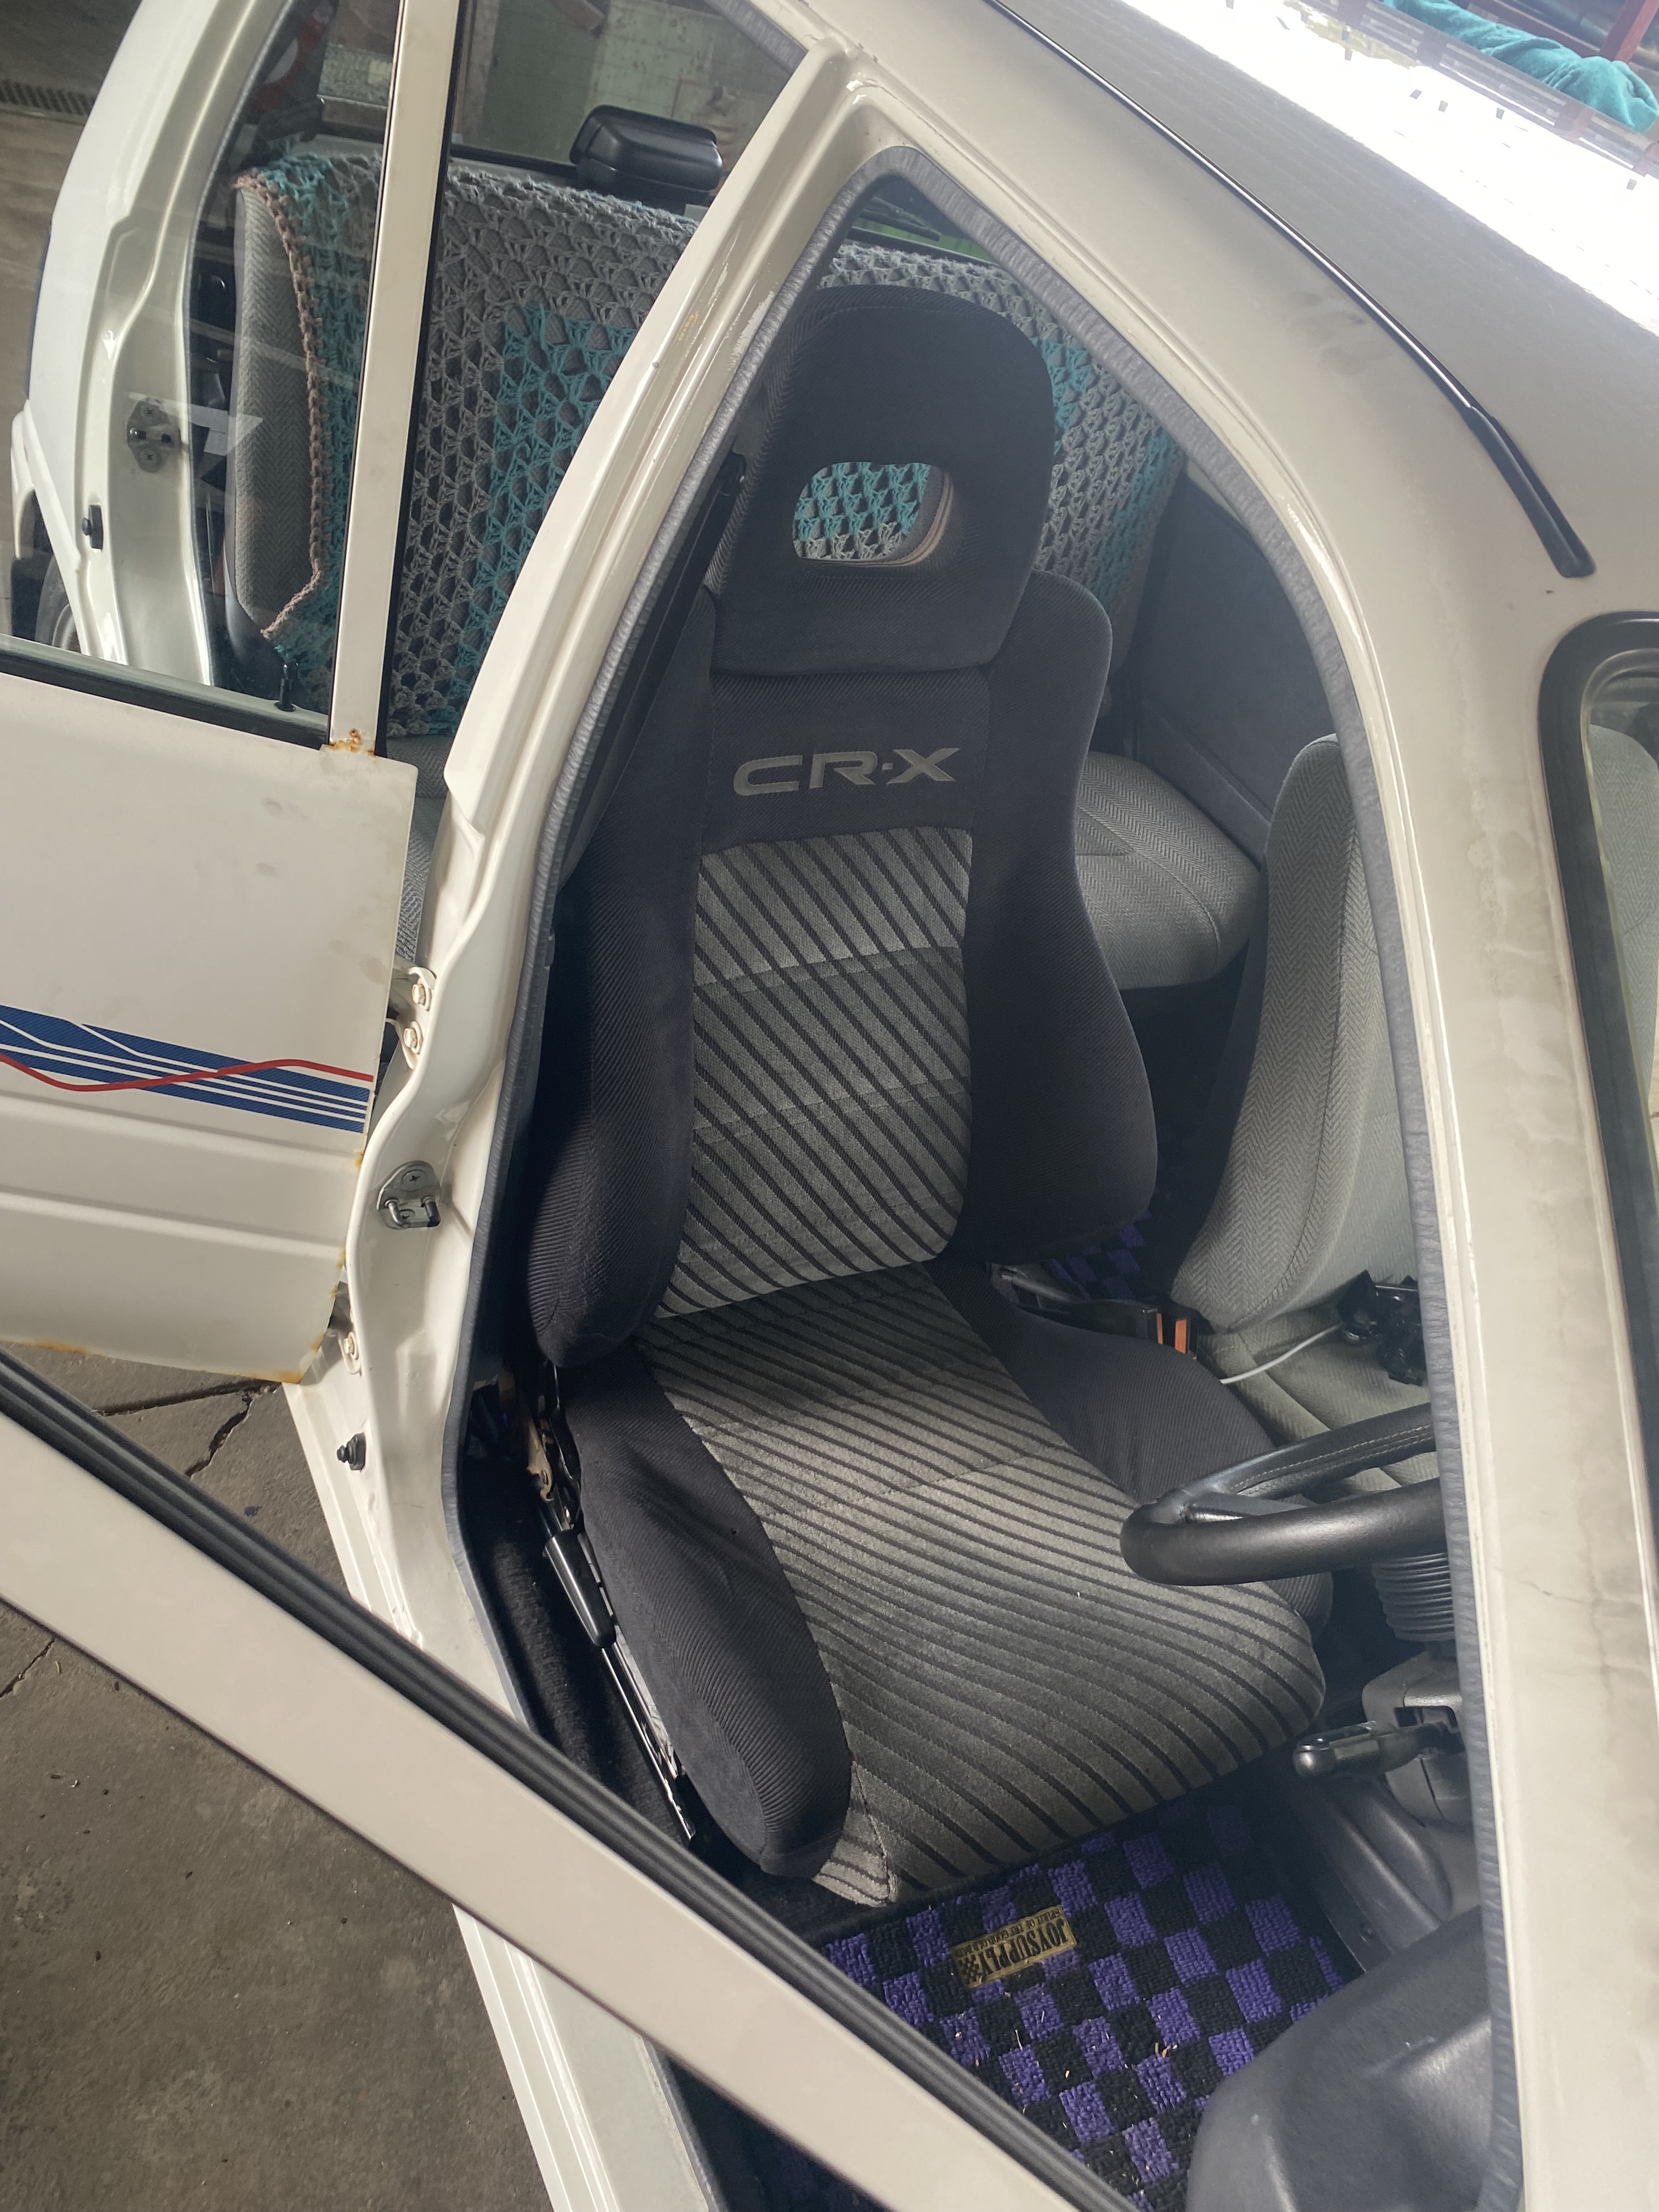

after angle grinding the original rails off the mira seats, then bolting and adapting them to the CRX seats, they fit great! did this project with my nonno and had lots of fun. makes it feel like i’m driving a f1 car!
now to fix the steelies on the rear
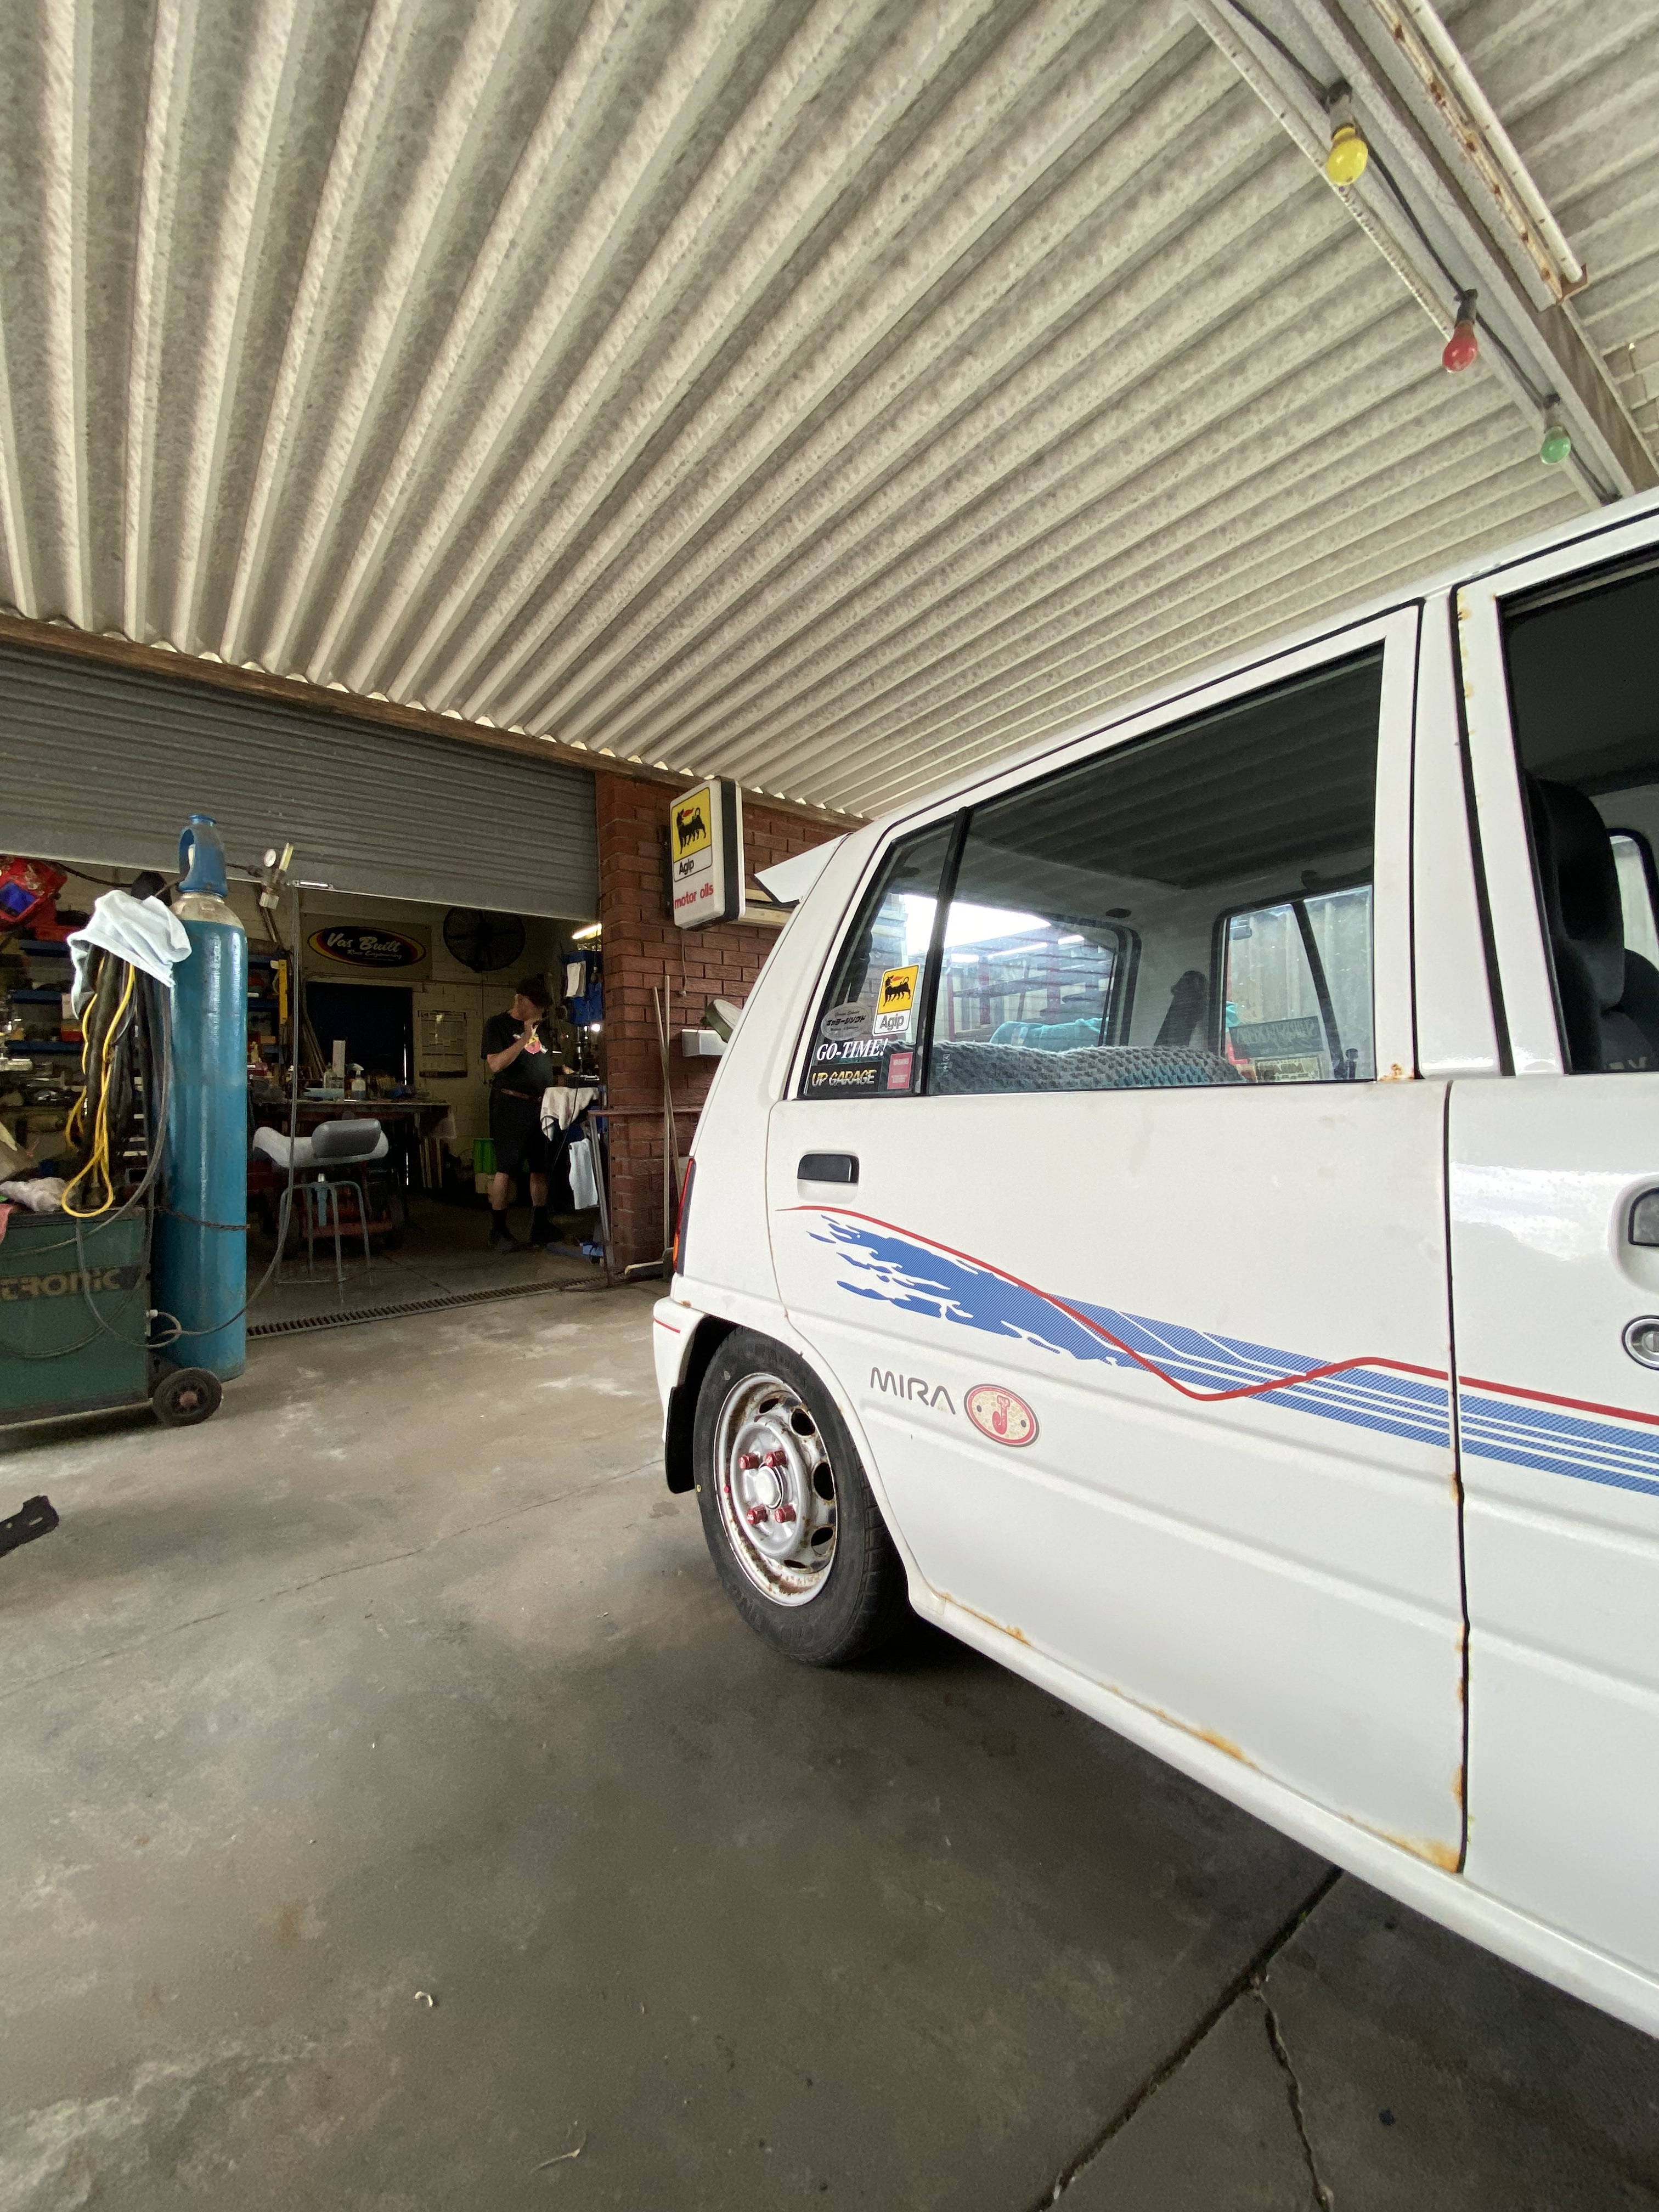
i was tired of the 12-13” front rake so i picked up these RS Watanabes off a previous l200 owner

but yet, another issue. the mira’s centre bore is 66.1mm and the wheels are 64ish! so when test fitting the wouldent clear and poke out/dont seat correctly. so i sent them off to the machine shop and get them back next week, i will update this thread once they are on! Thanks for reading if you are still here, i love to yap about my cars and this community has been so awesome!
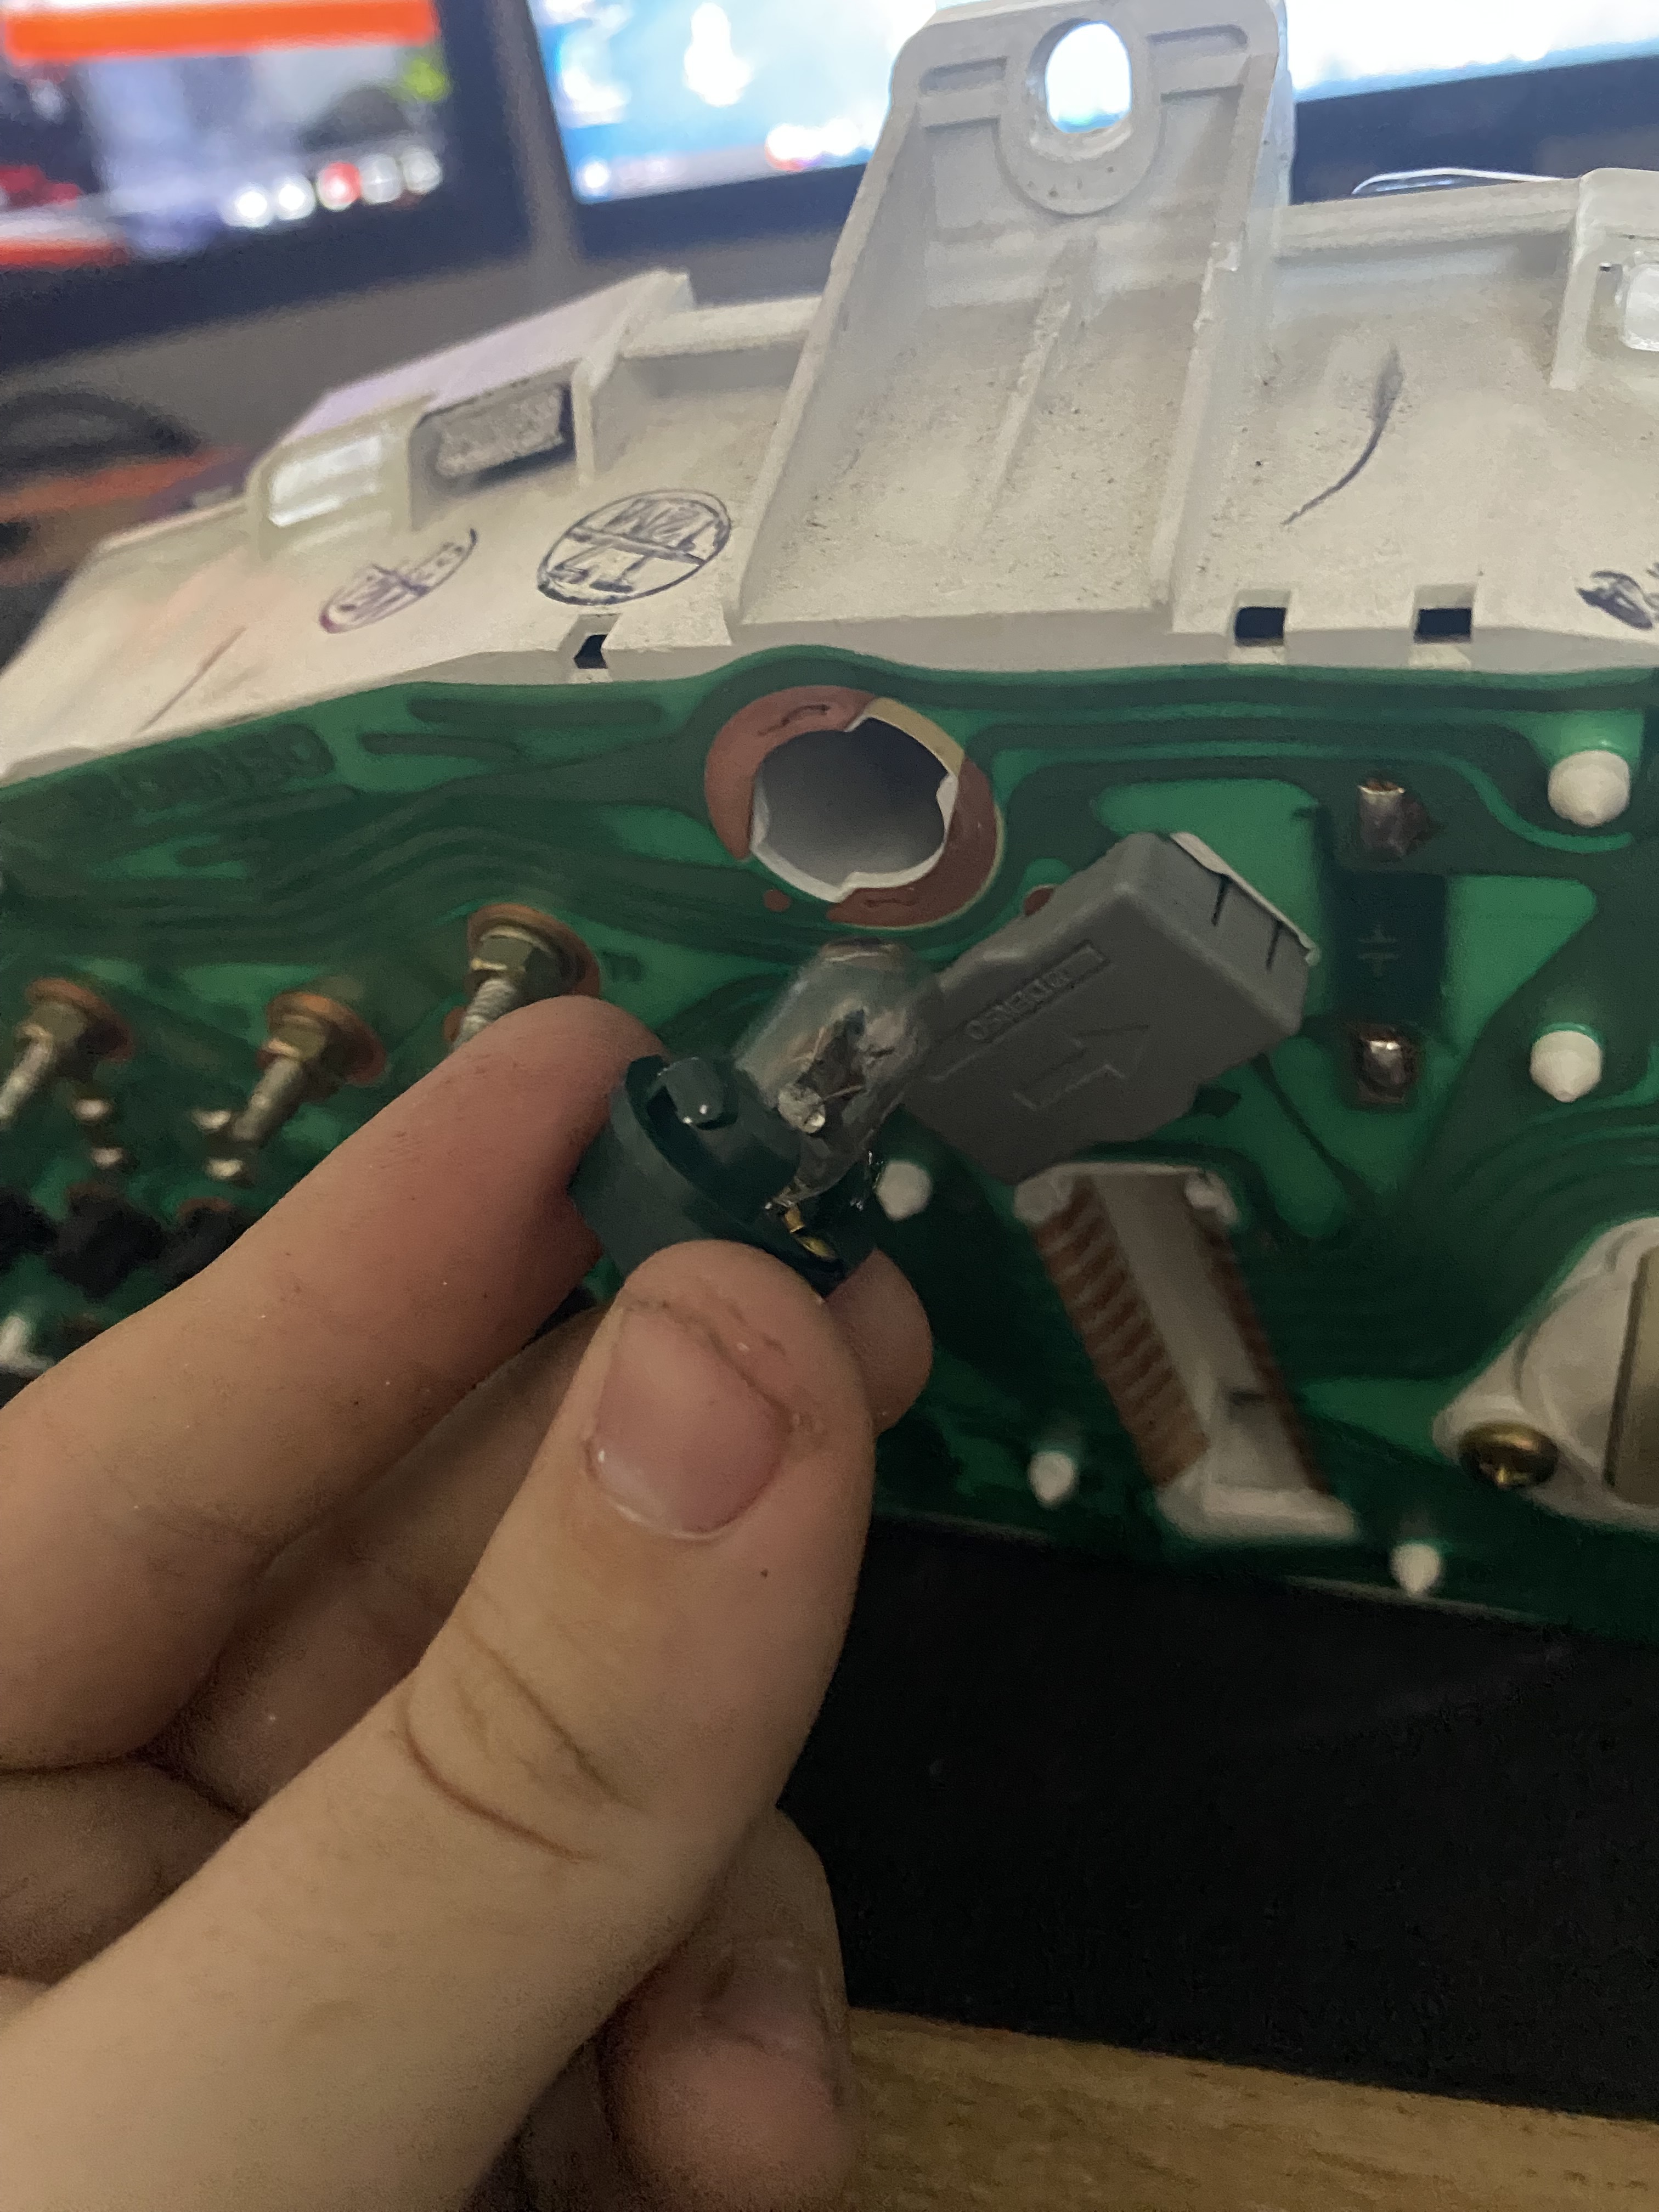
Update! i had the pink theme going for the interior so i decided to replace the green dash lights with pink ones. here’s a little guide on how to replace the dash/ speedo bulbs and remove the dash.
first start by removing the two top screws pf the dash surround

then remove the 2x bottom screws and 1x top screw holding the dash in.
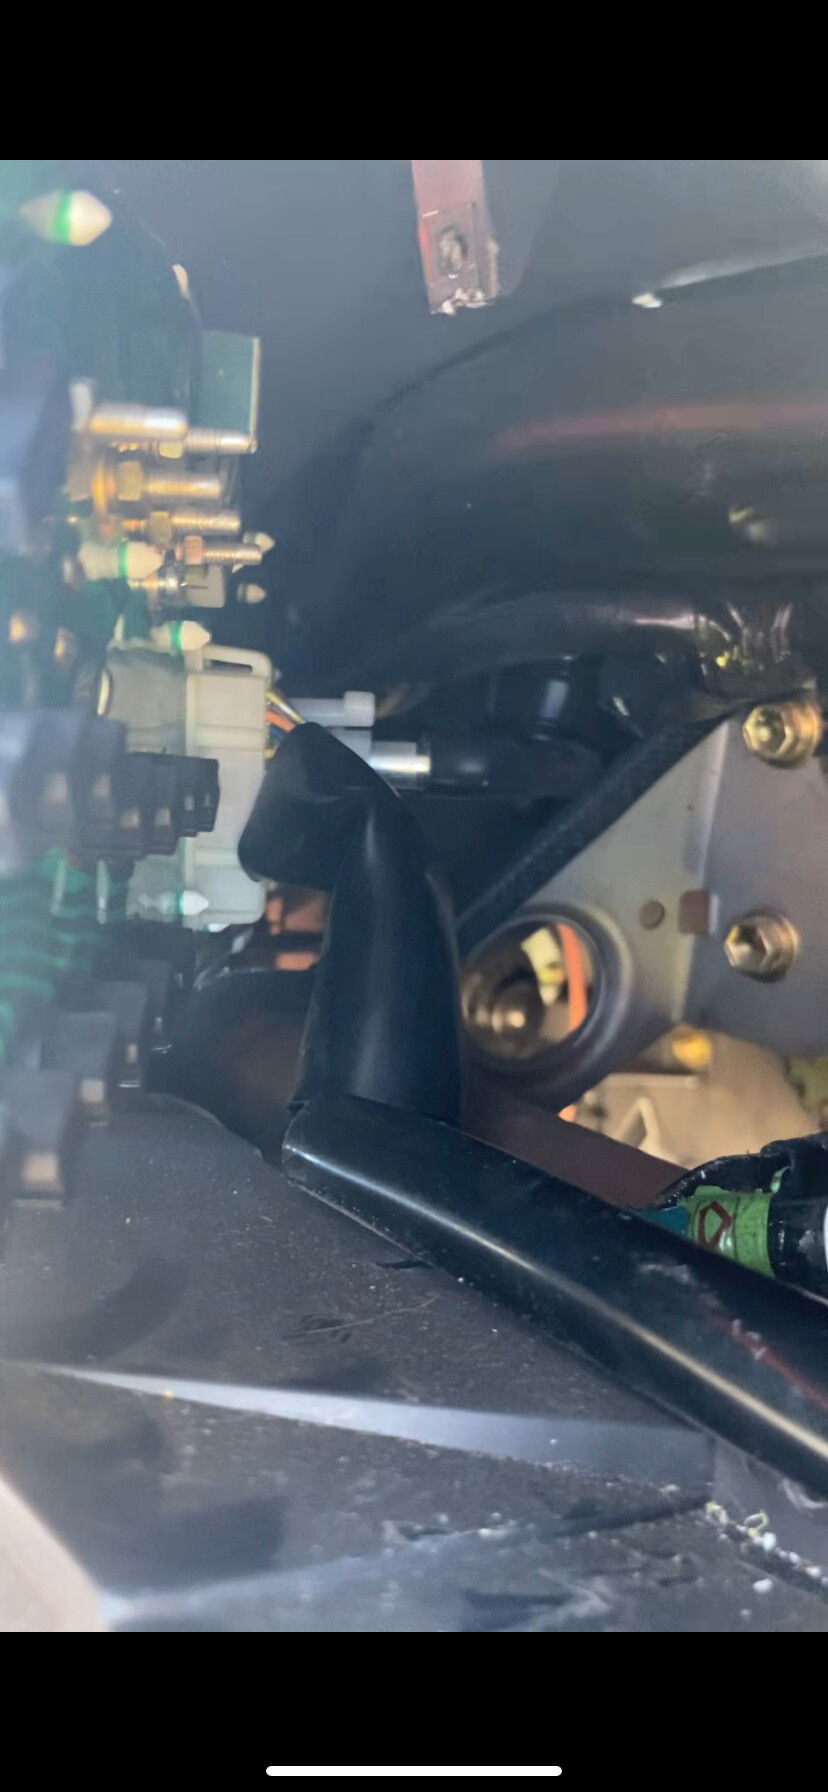
now it’s free remove the 2x electrical plugs, the right most one will be easy, just a push tab, but the middle plug has 2x clips holding it in, one on the top and one on the bottom, just push them in and wriggle the plug around to get it free. it also has 1x circle plug thing, that just needs to pull straight out but i found it difficult because of how stiff it was.
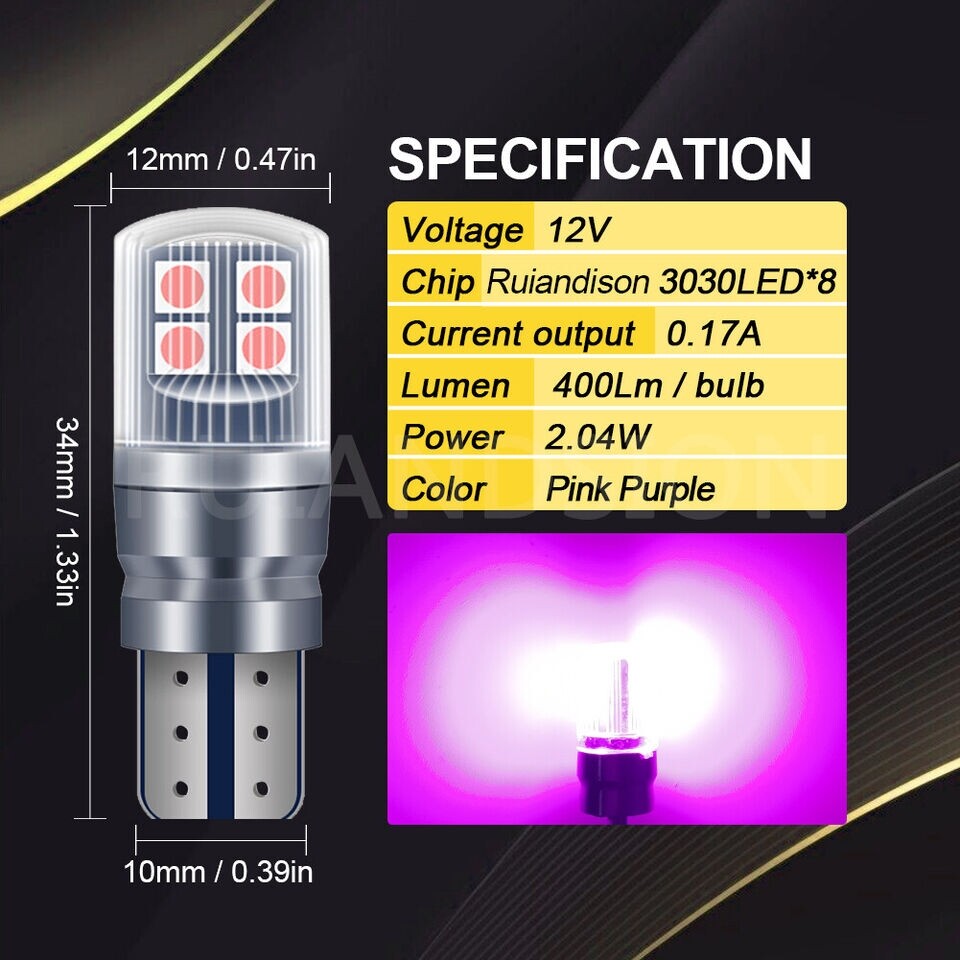
now for the fun part! you will need 2x w5w or t10 bulbs, i for mine off ali express for $3. the reason its green is because the origional bulb has a green silicone cap on it that tints the light, if you remove that (like in picturer) im guessing you would have white dash lights which could be a cool idea, also you could probably just colour the bulb in with a sharpie to tint it. take out the old light and pull out the bulb, then simply just swap in the new LED one, and that’s it!

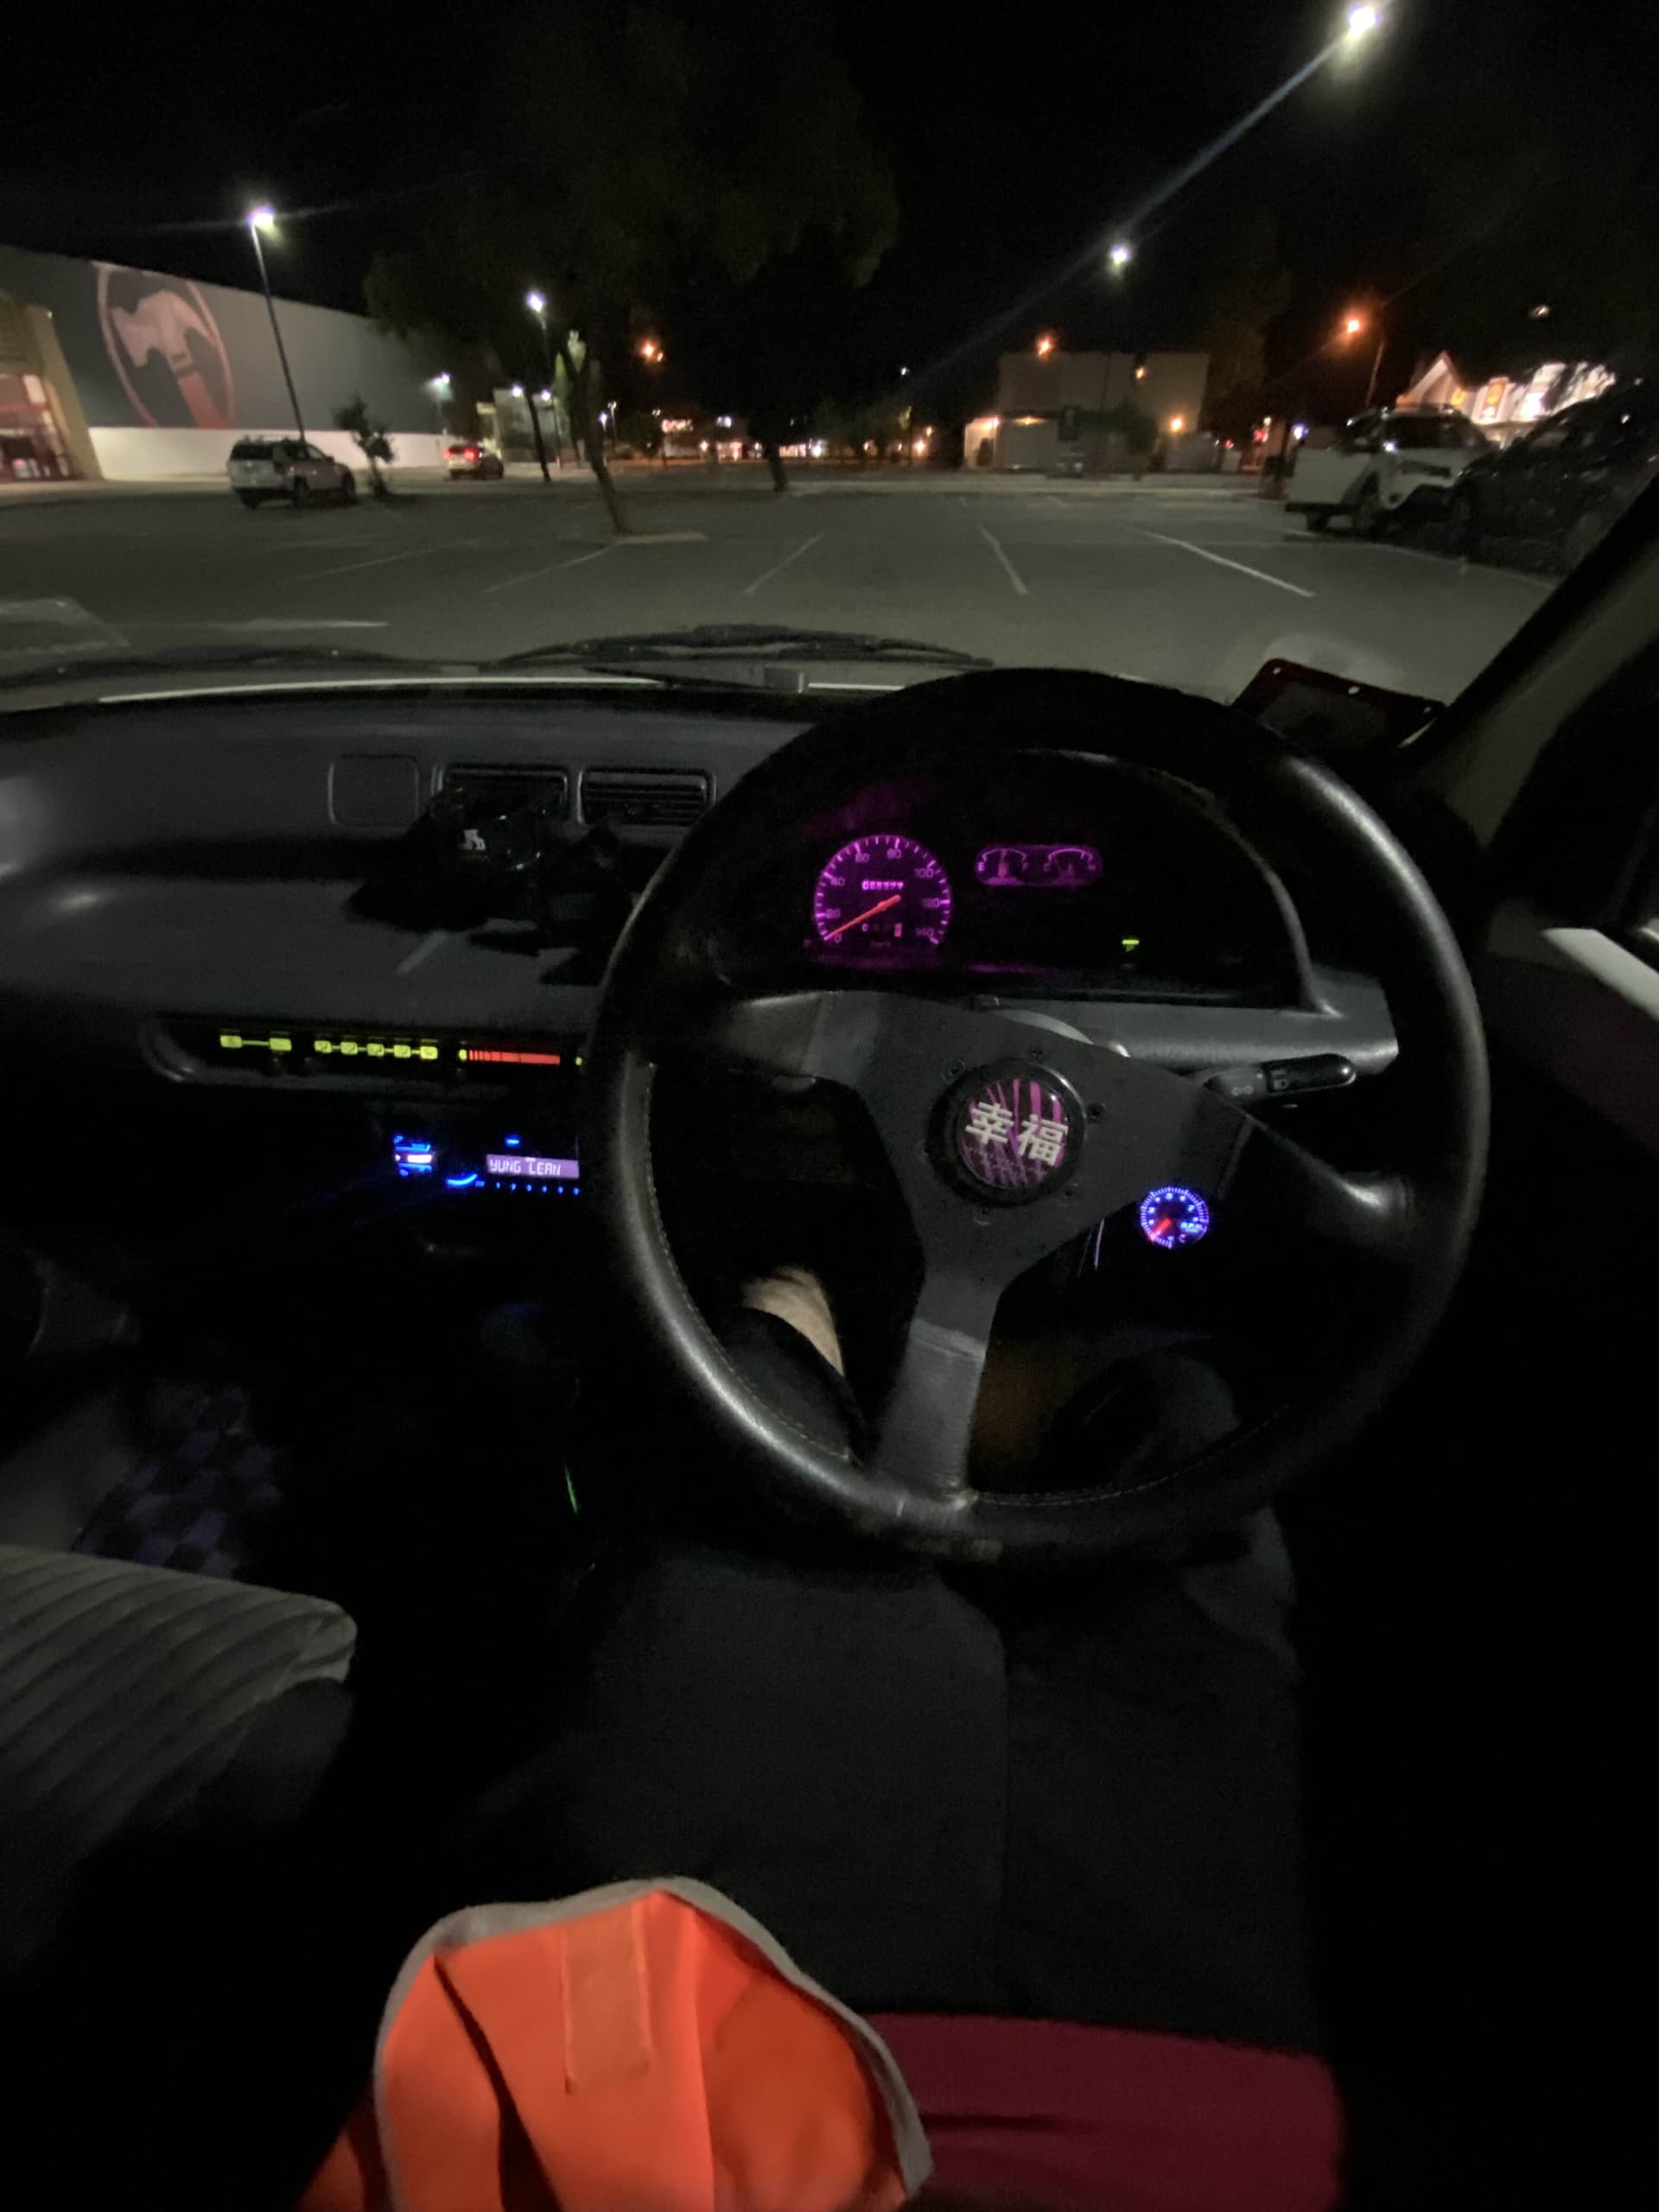
and here it is with the new LEDs
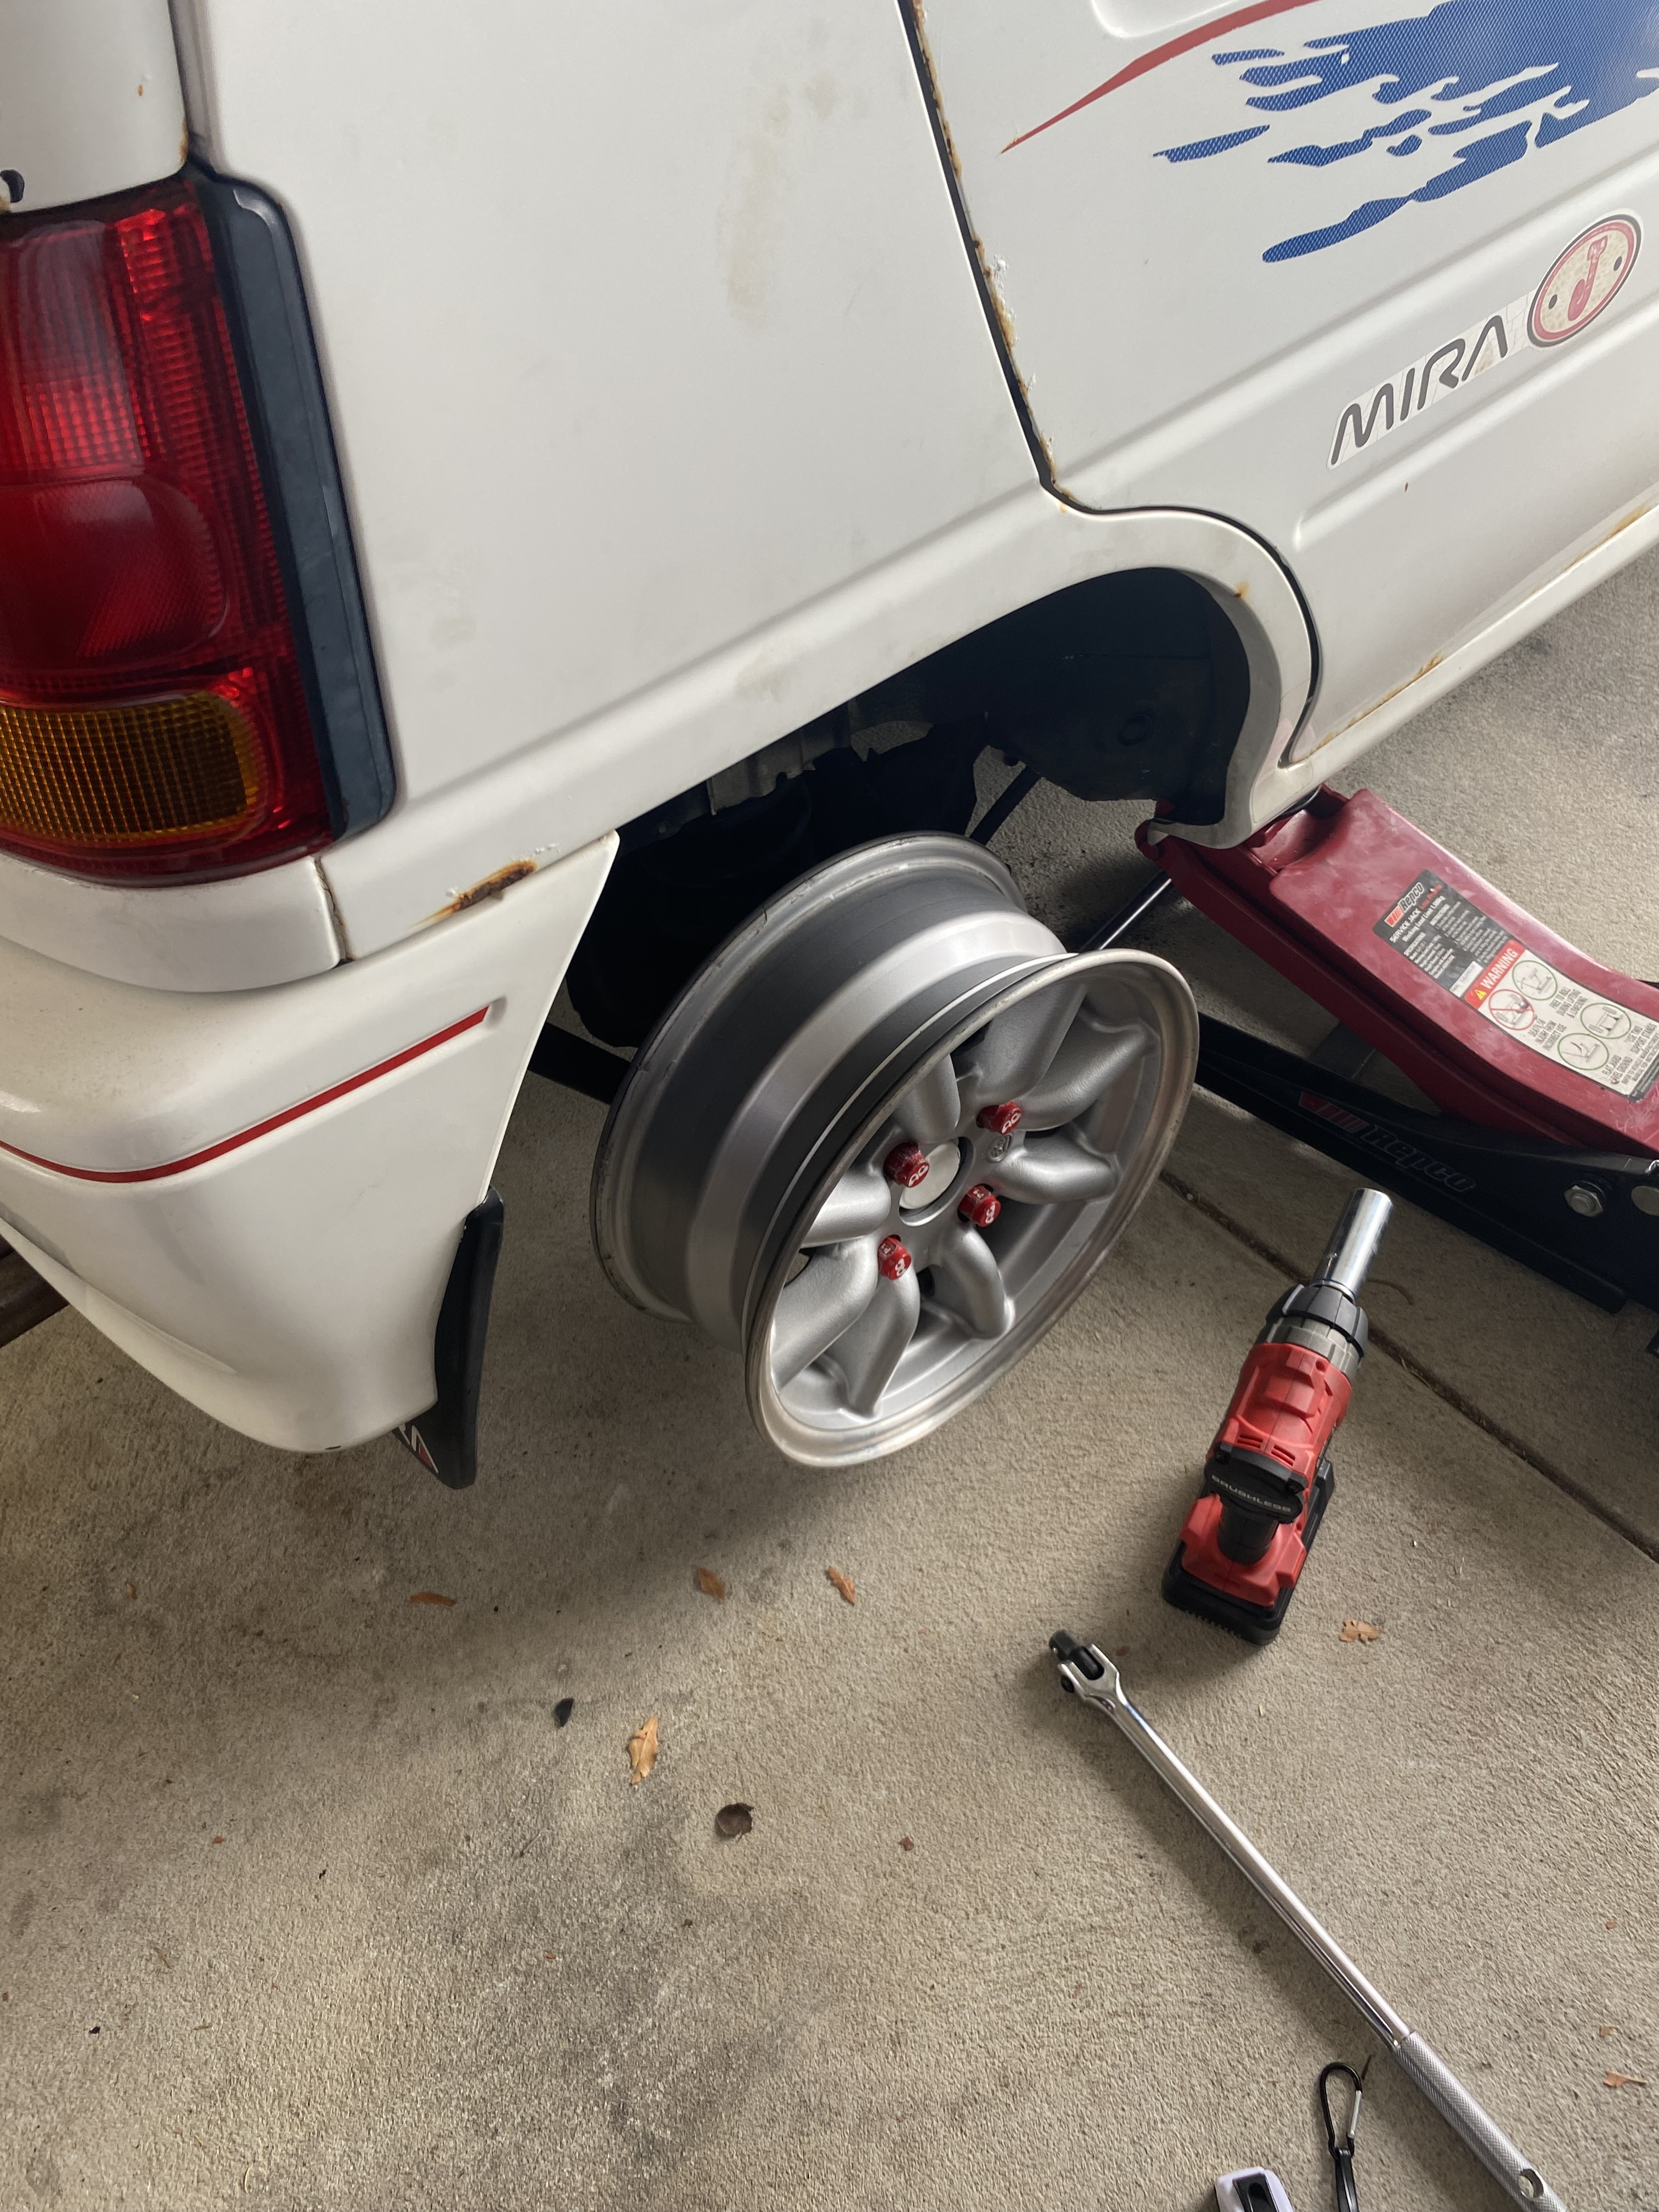
Update on the wheels, i tried fitting them on the rear but the car was too low and the wheels would contact the gaurd without even being on the floor yet, so i settled to putting them on the front.
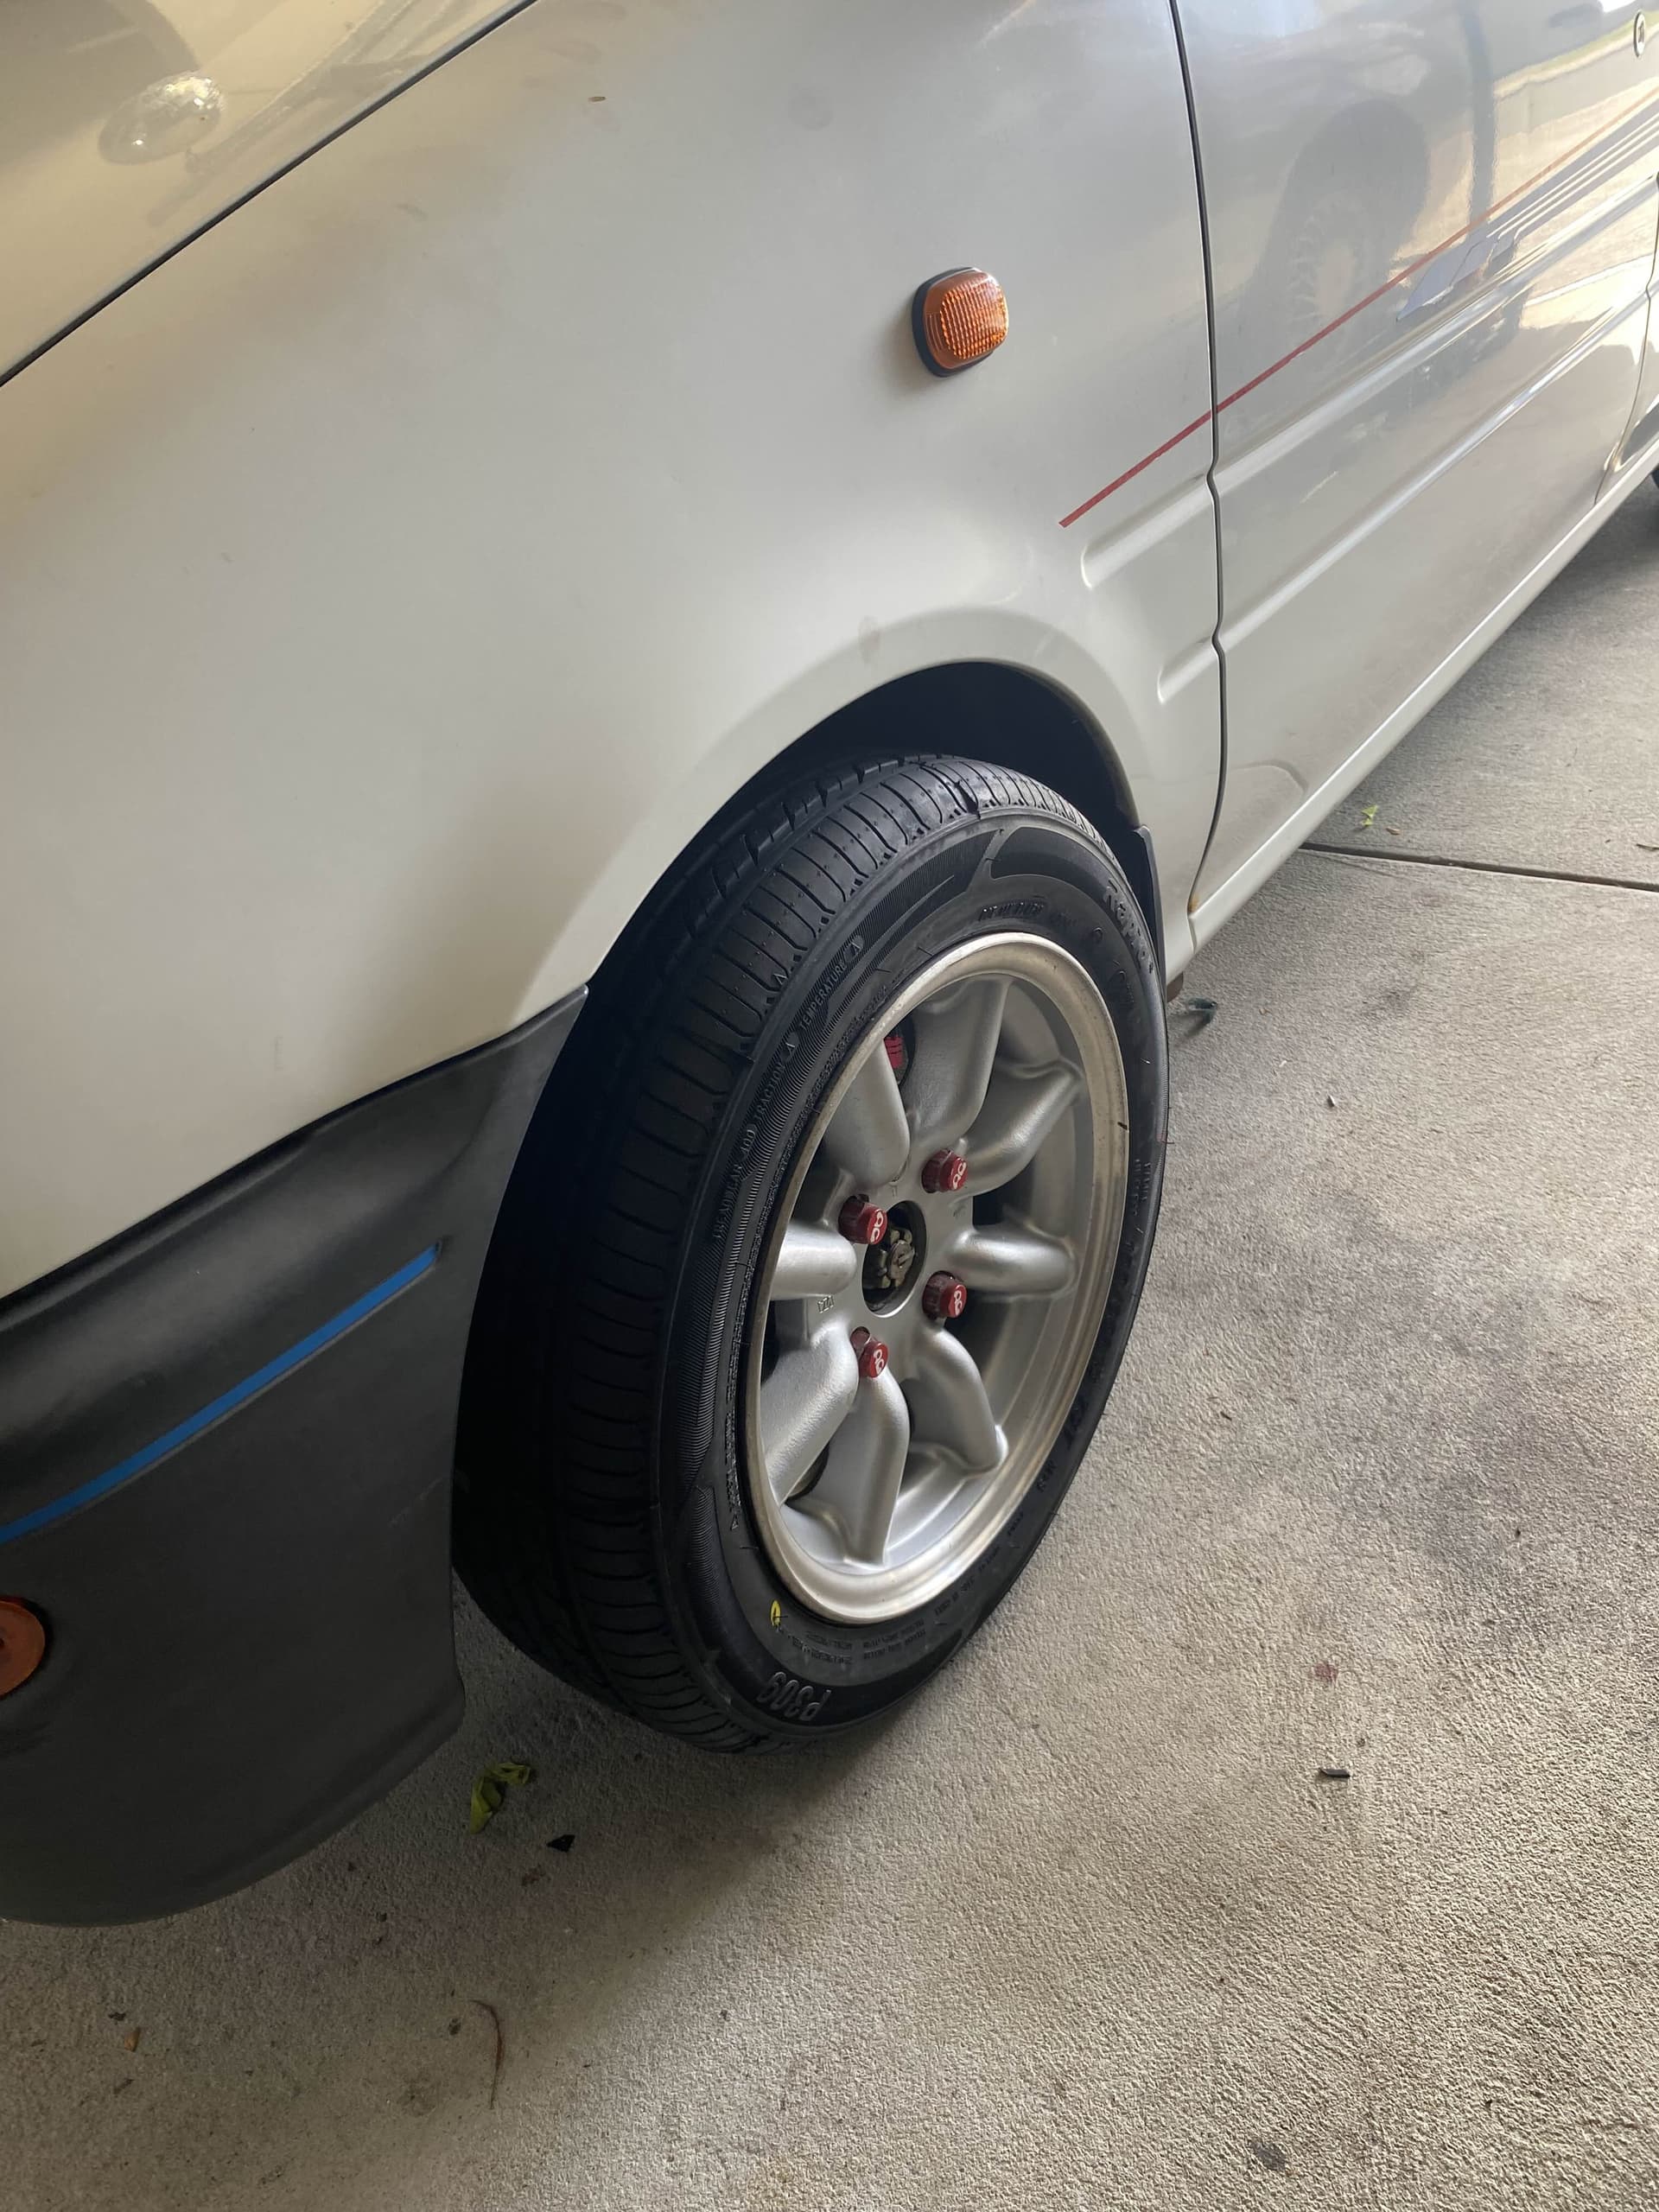
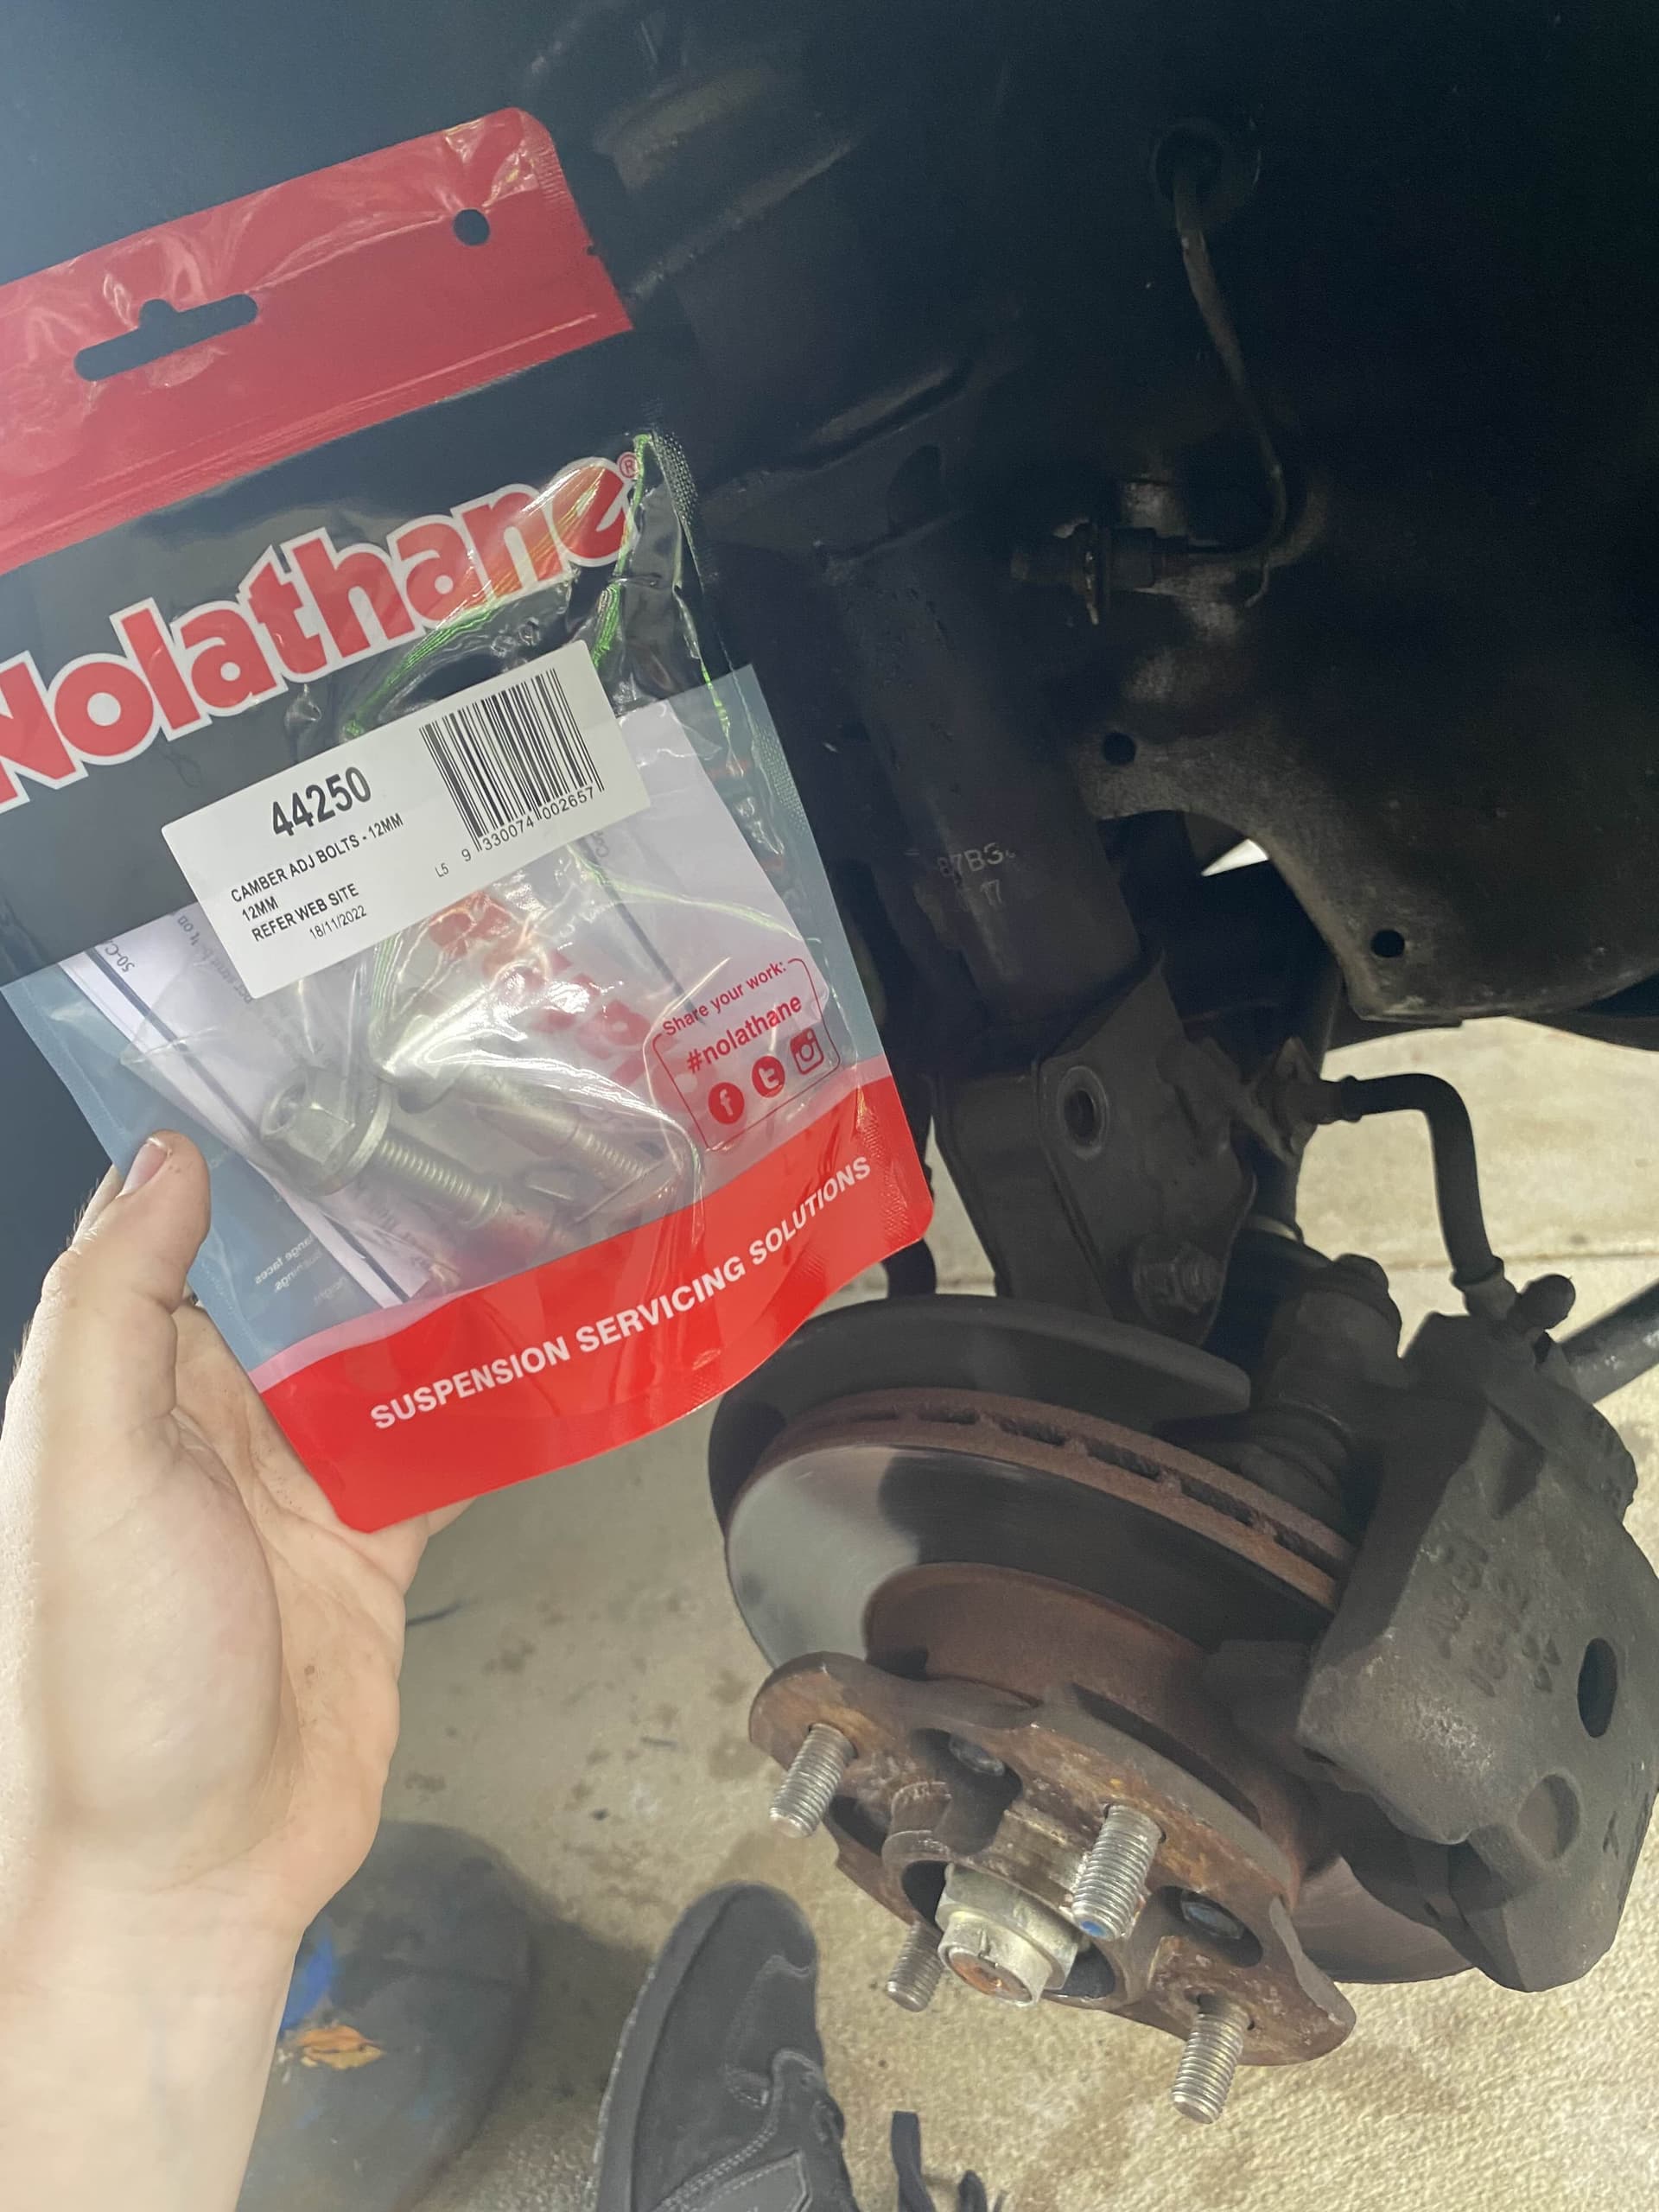
Definately very wide!, in order to get more camber to make the wheels fit a bit better, i decided to pick up some 12mm camber bolts from repco!
unfortunately, tragedy struck, i didnt realise the roads were wet and i came in a little hot to a round about and may have spun… smacked my rear left into a curb!
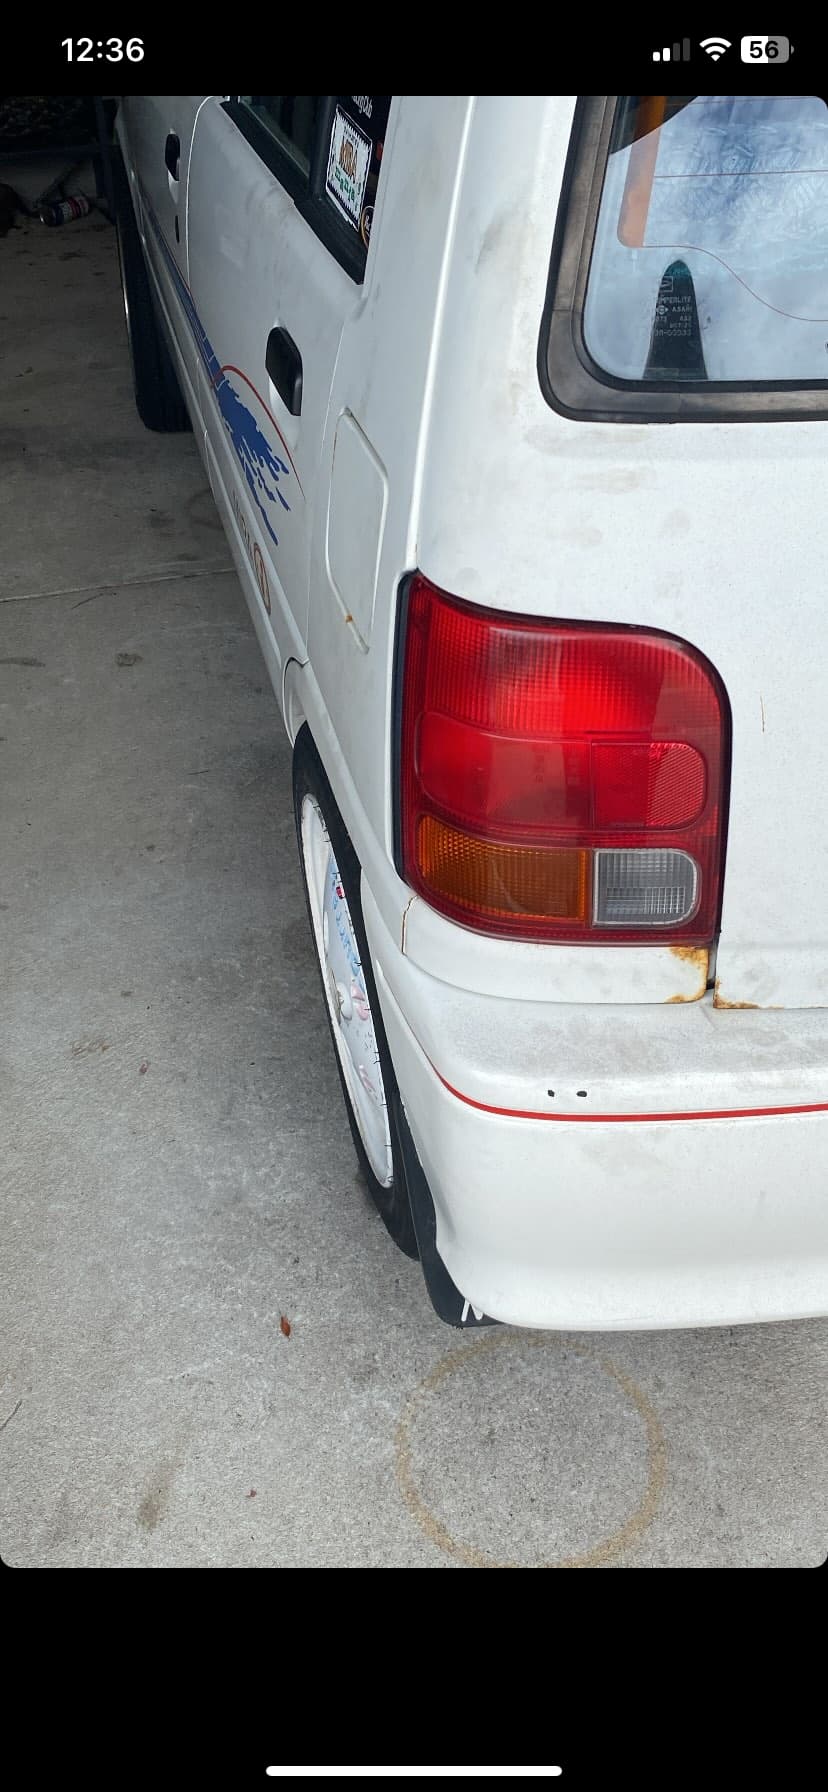
not my proudest moment :,(
but a good oppurtinity to refresh the rear, i will update the post when i do so!