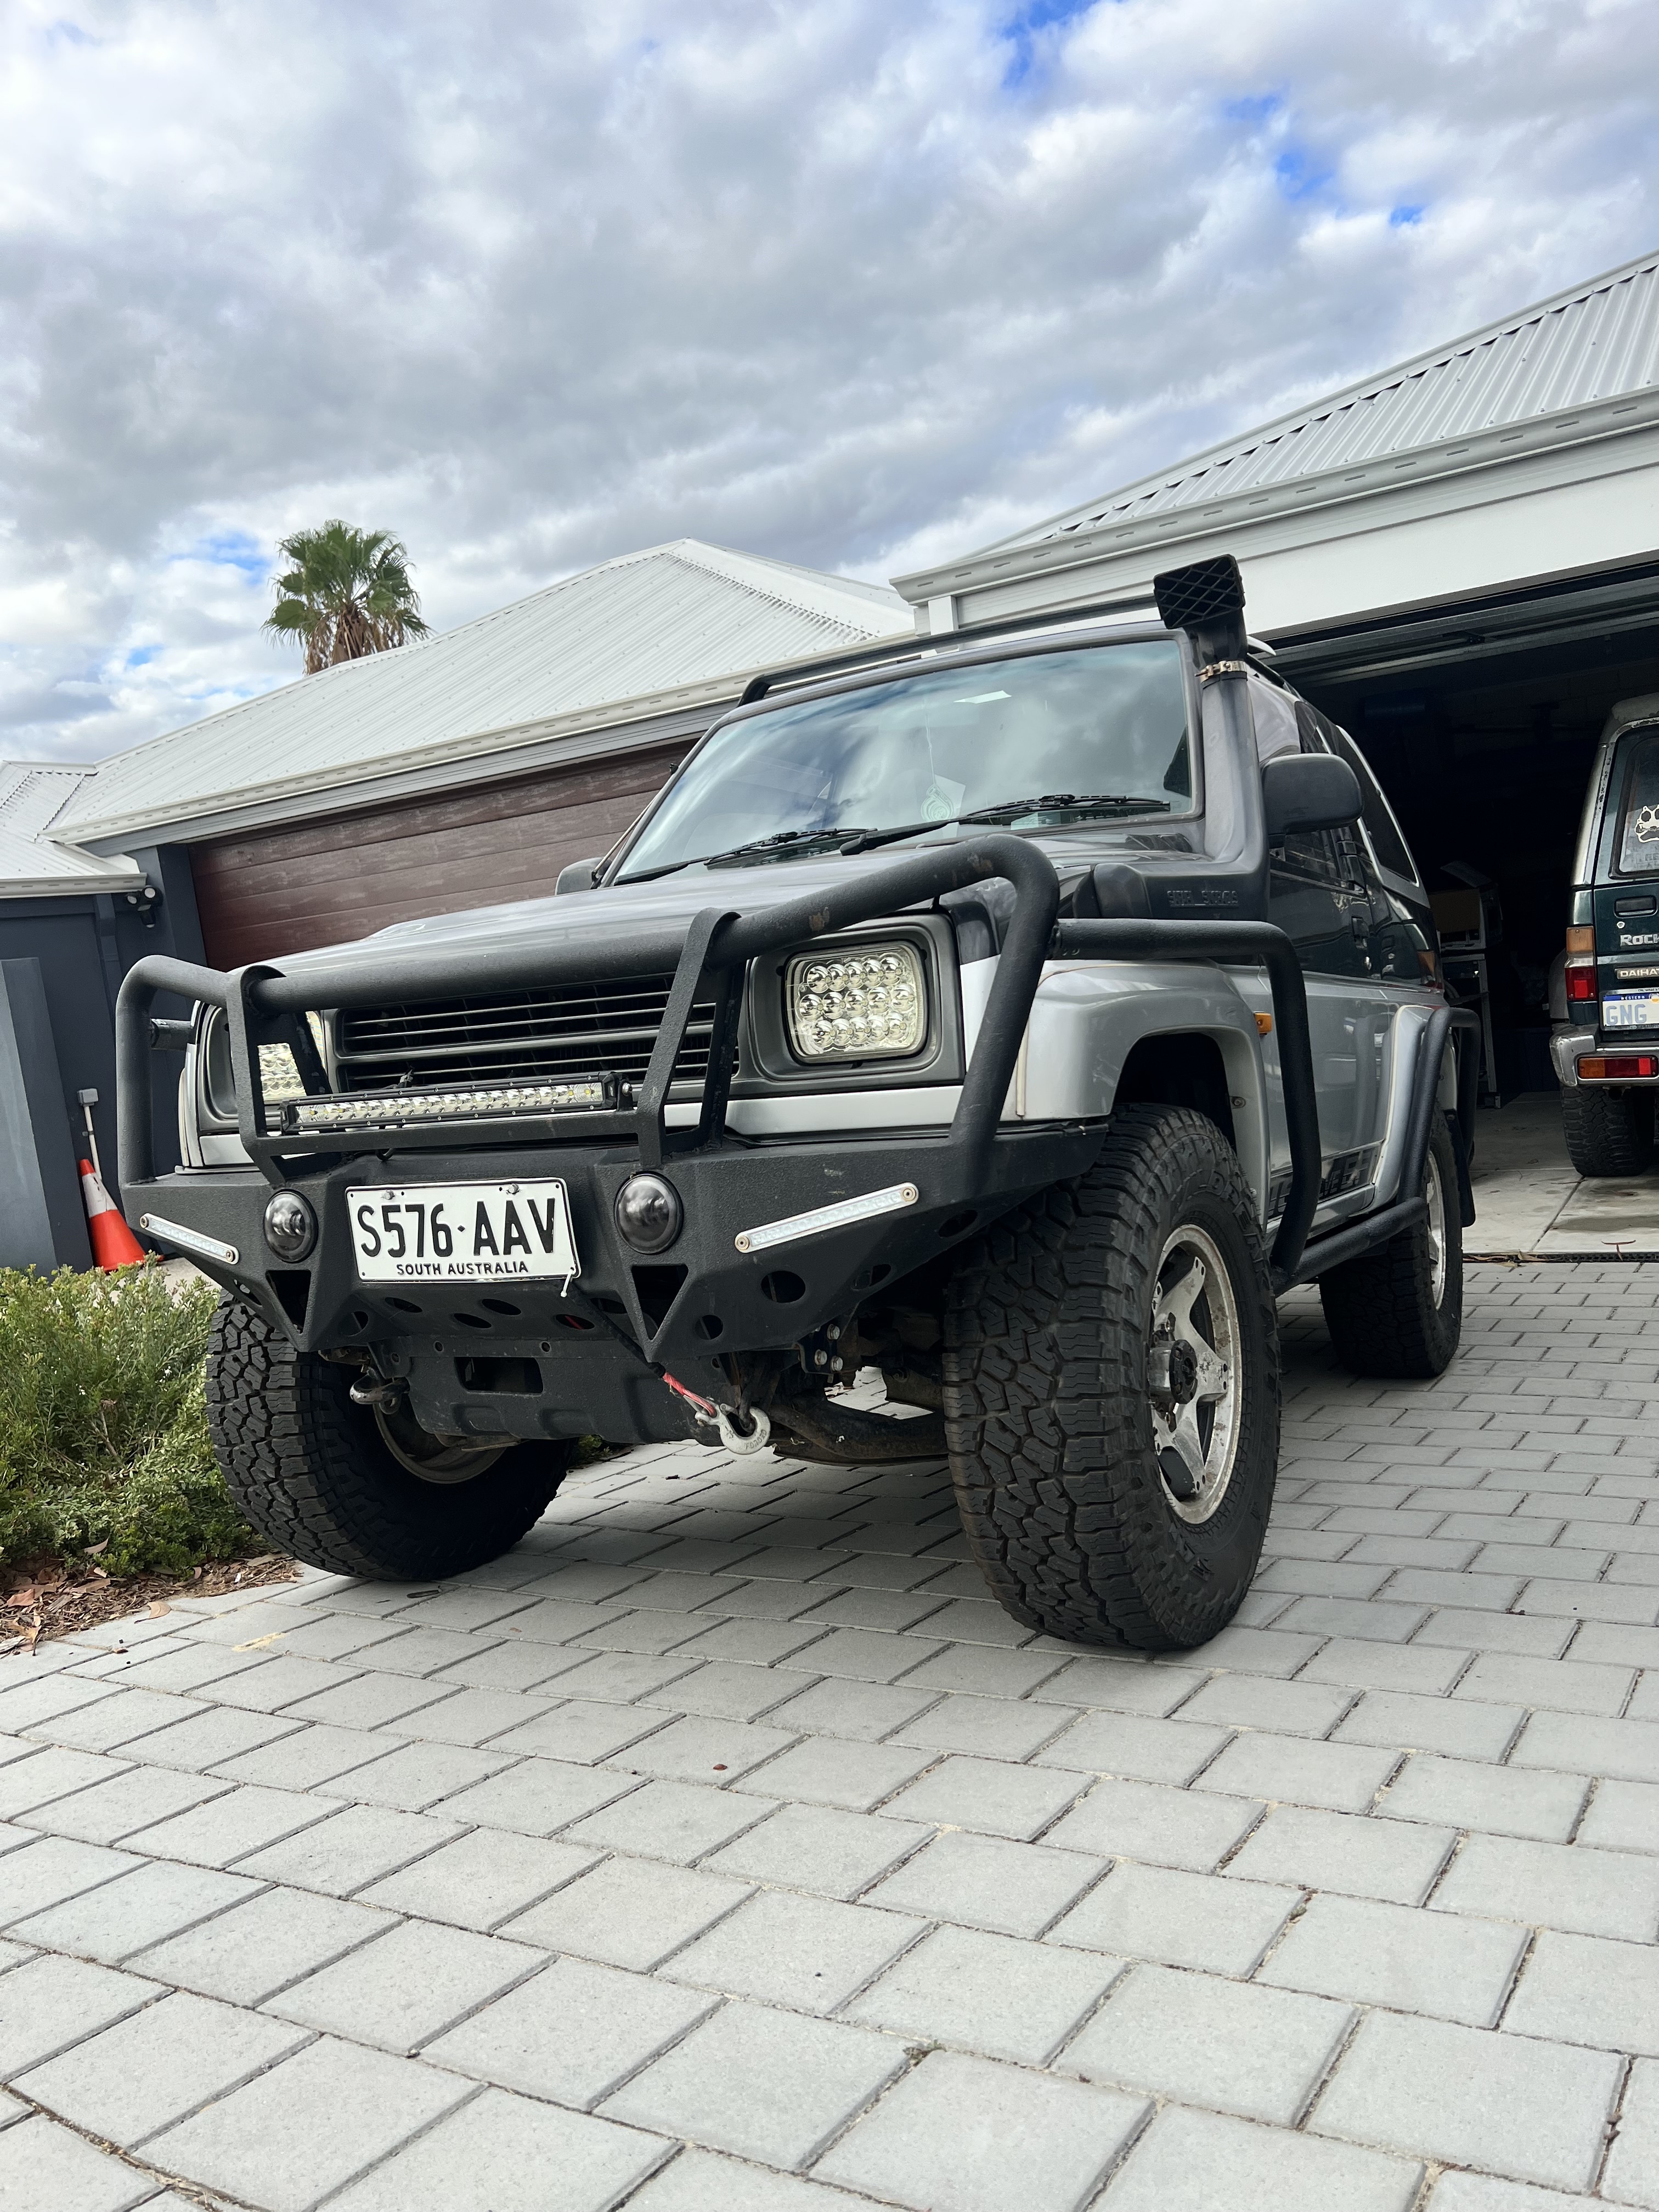
In a greetings thread. I introduced the world to my Feroza F300. A neat little bus with only 118 thousand on the clock, and a handful of off roading mods and accessories.
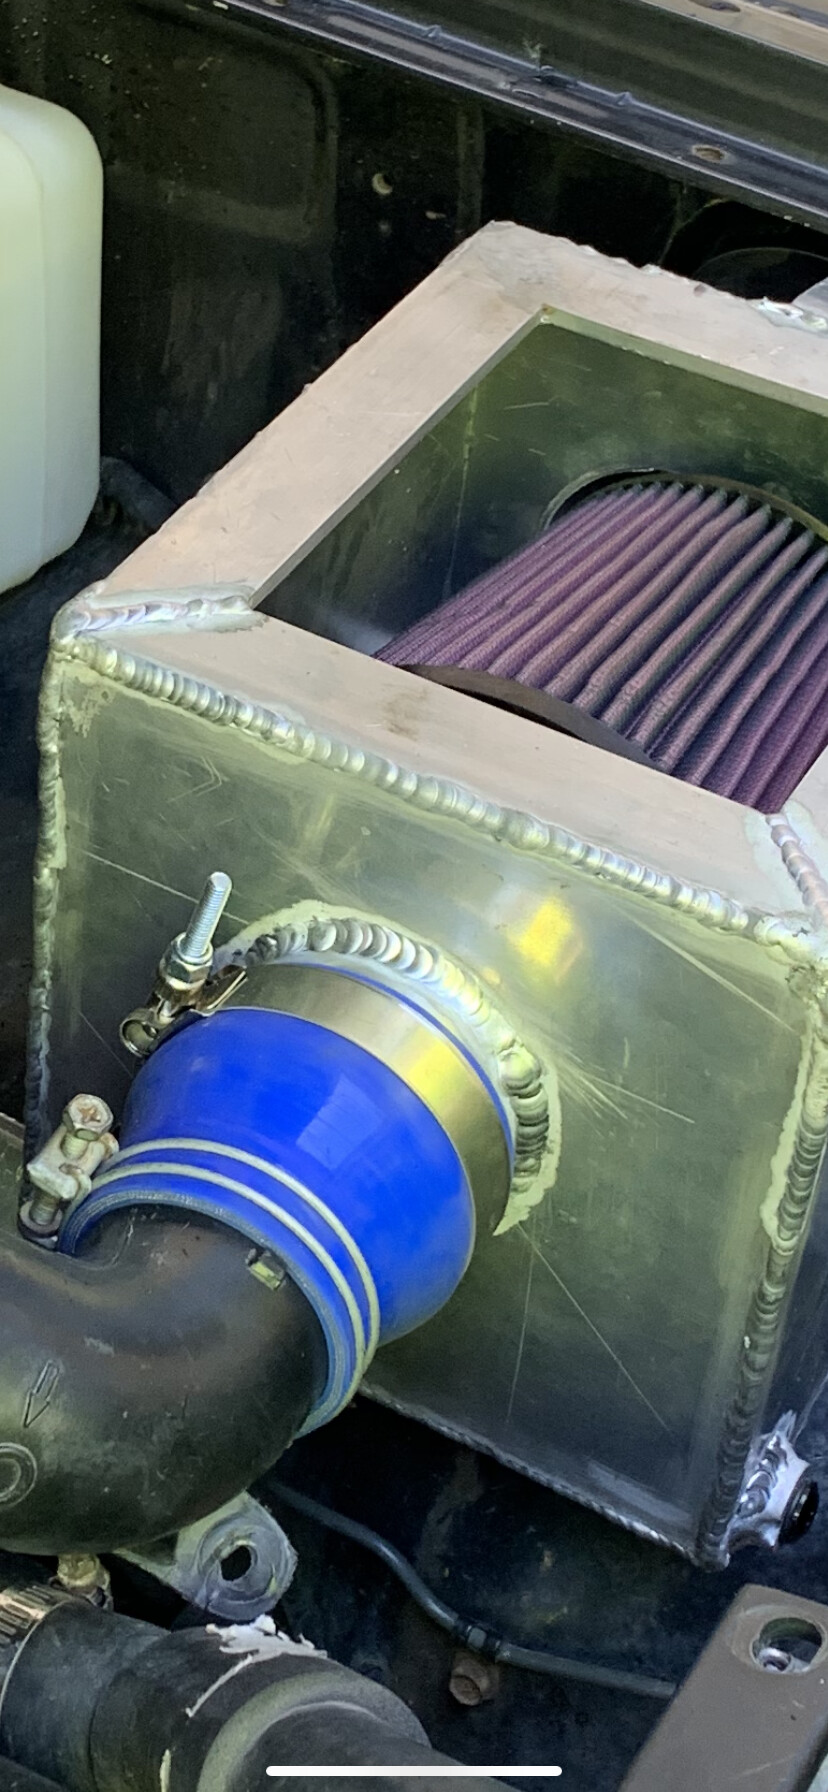
I built my own winch front bar. And since then gave TIG welding aluminium a go. Built an air box that incorporated the snorkel that was installed by a previous owner (terribly mind you), a clear Perspex lid for the ease of inspection of the K ‘n’ N Filter that was fitted inside the Airbox. And a new Intake pipe that deleted the absolute maze of baloney the OEM designed.
Here’s some pics of the Airbox with some average and half decent aluminium welds.
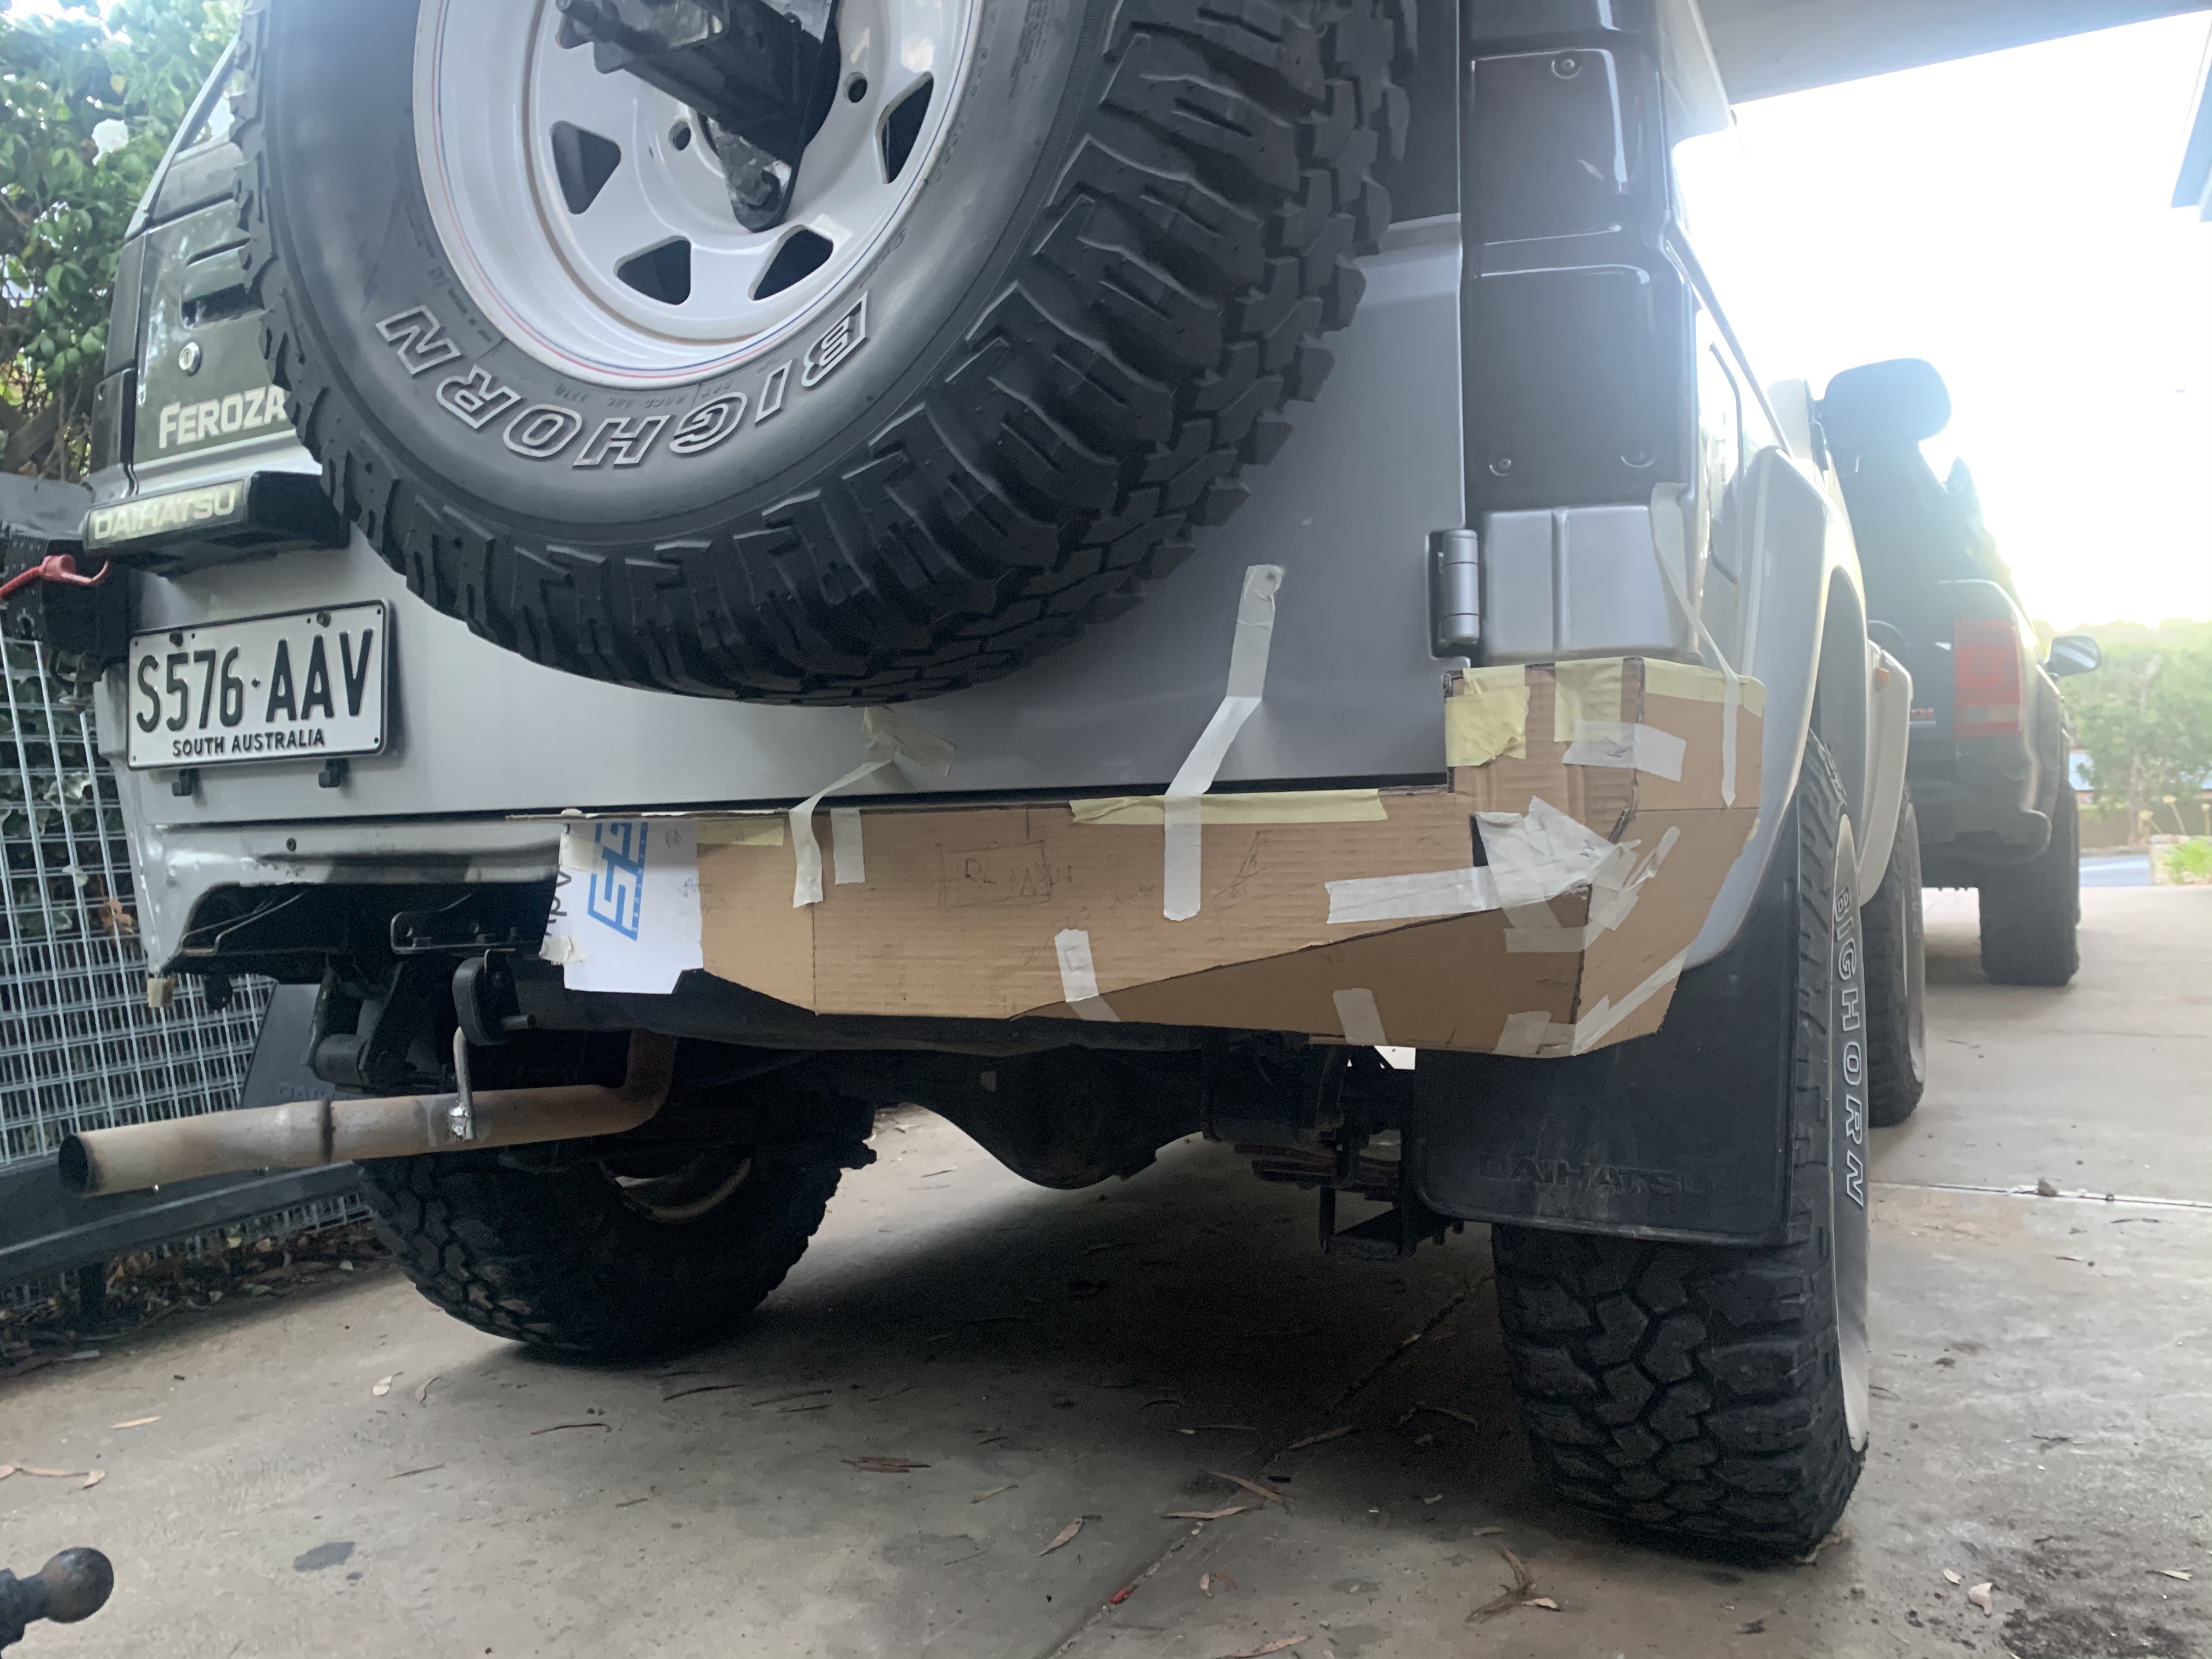
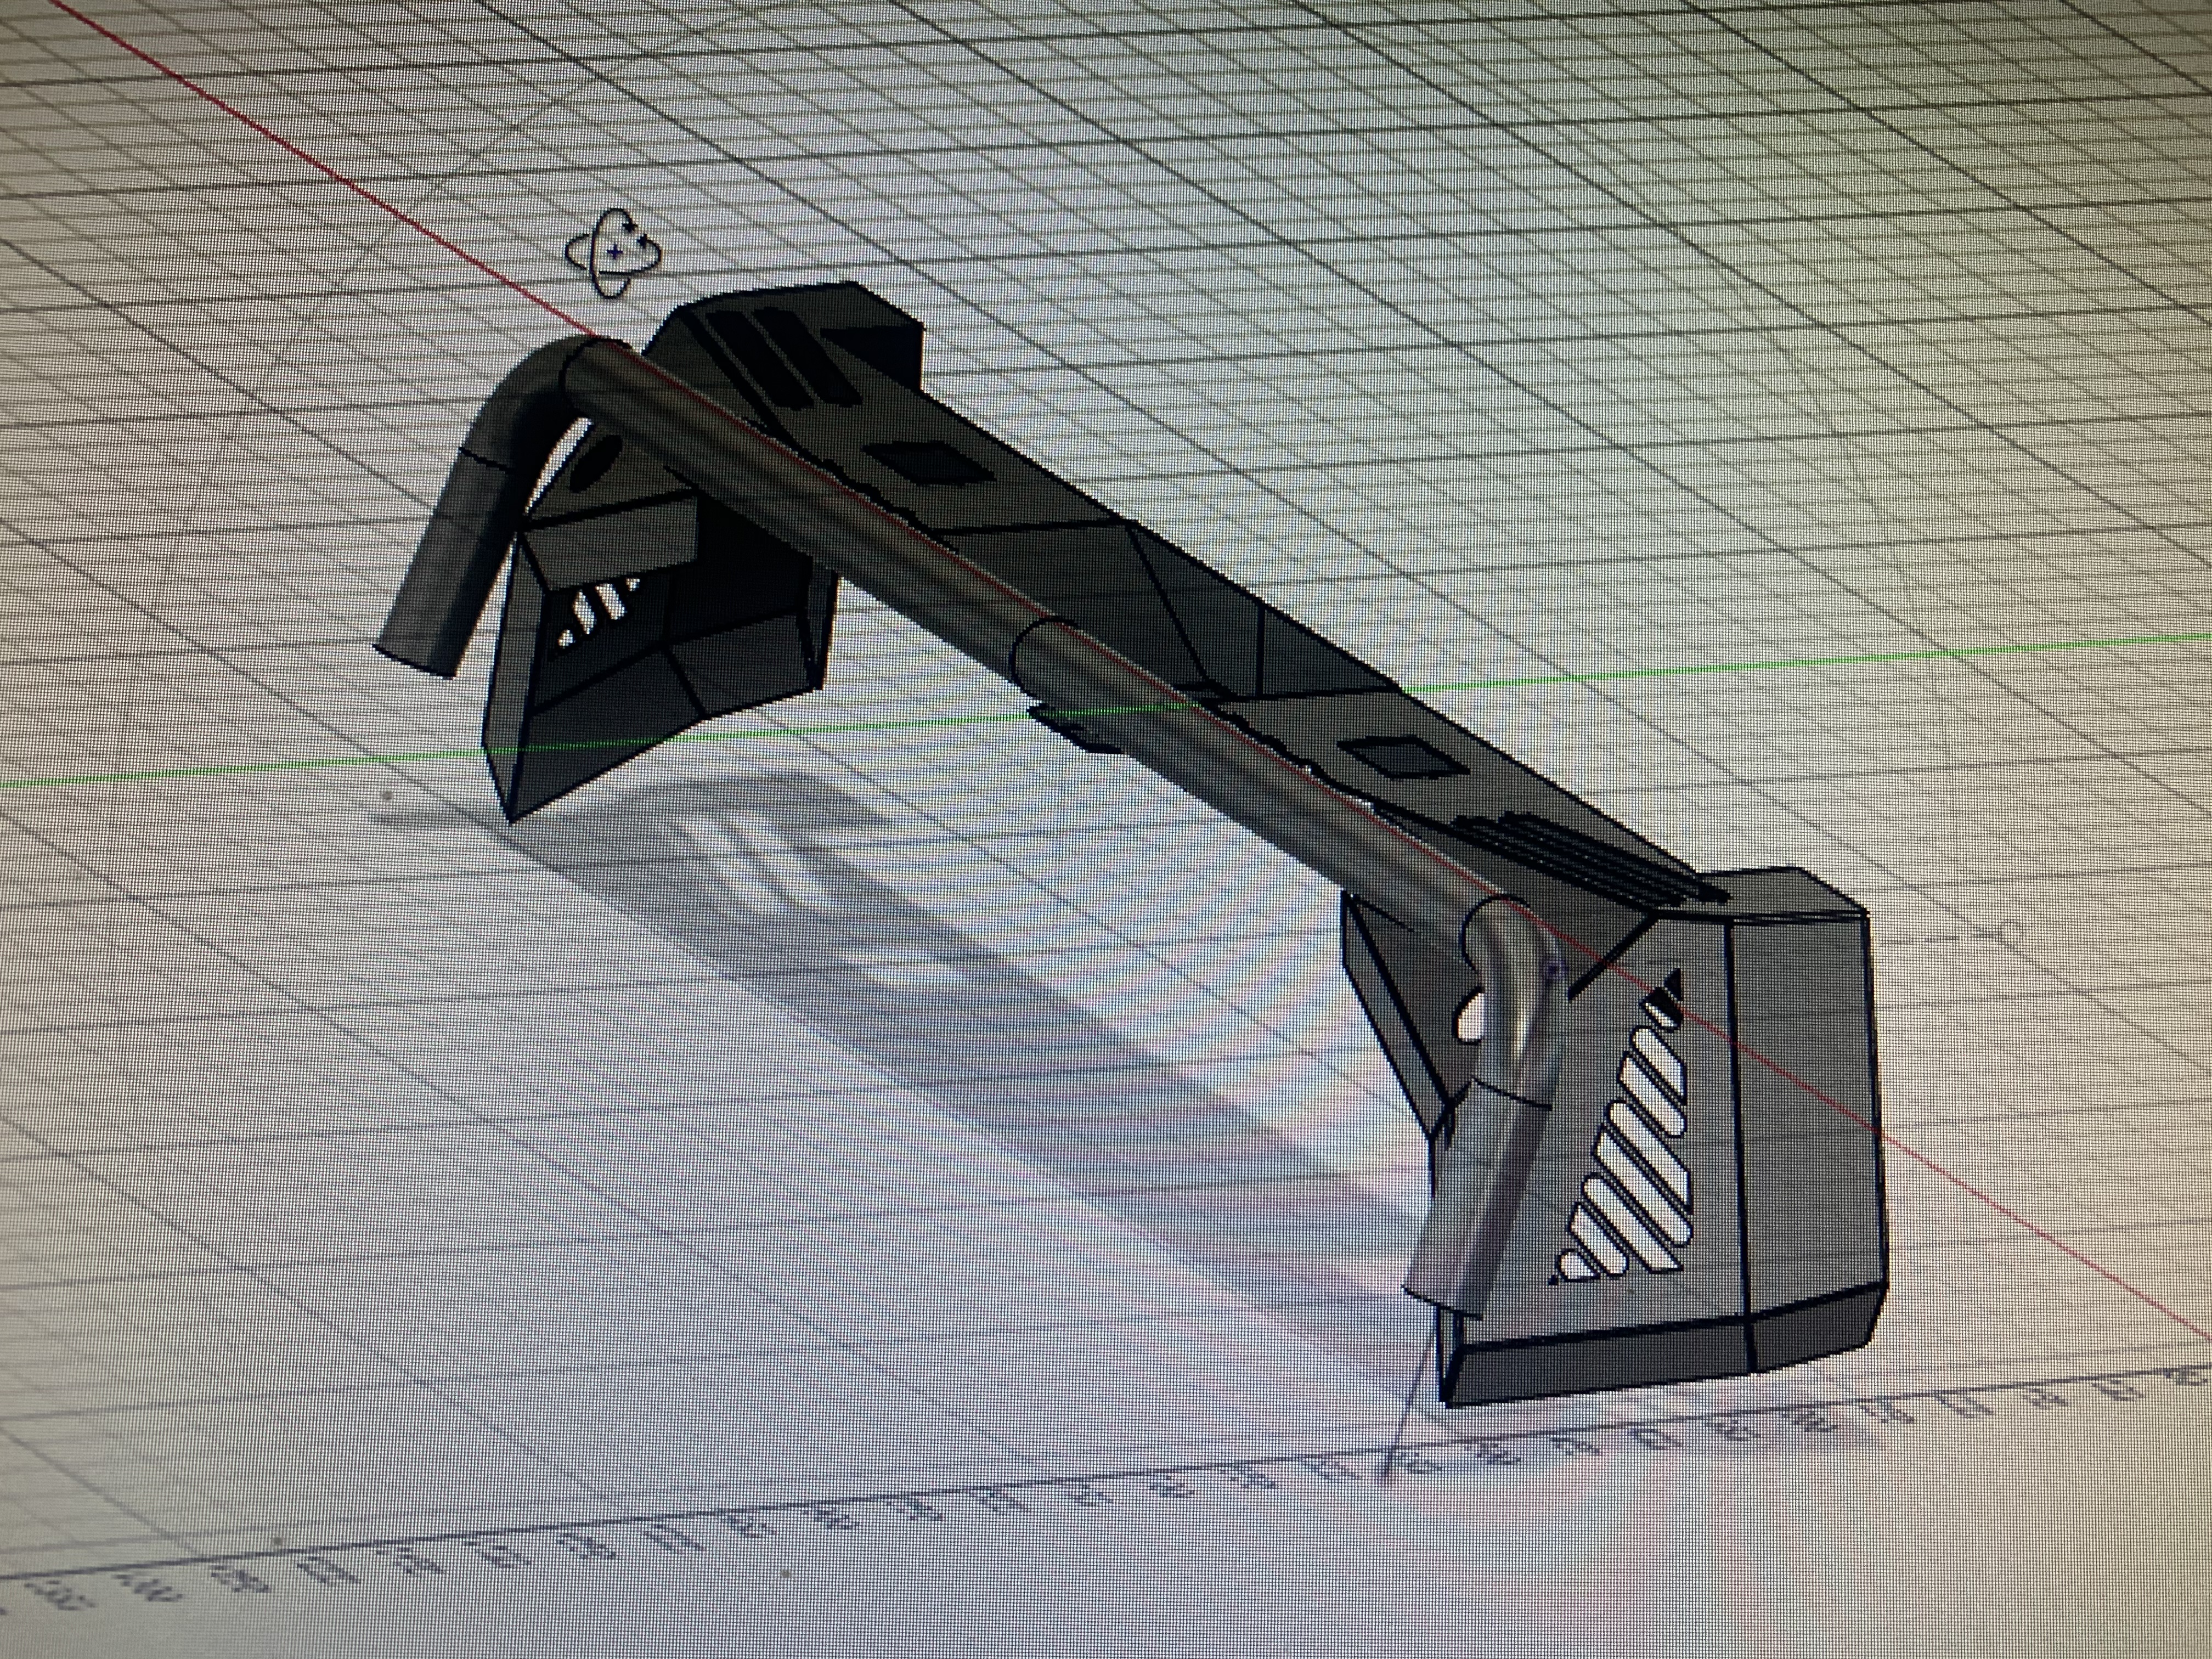
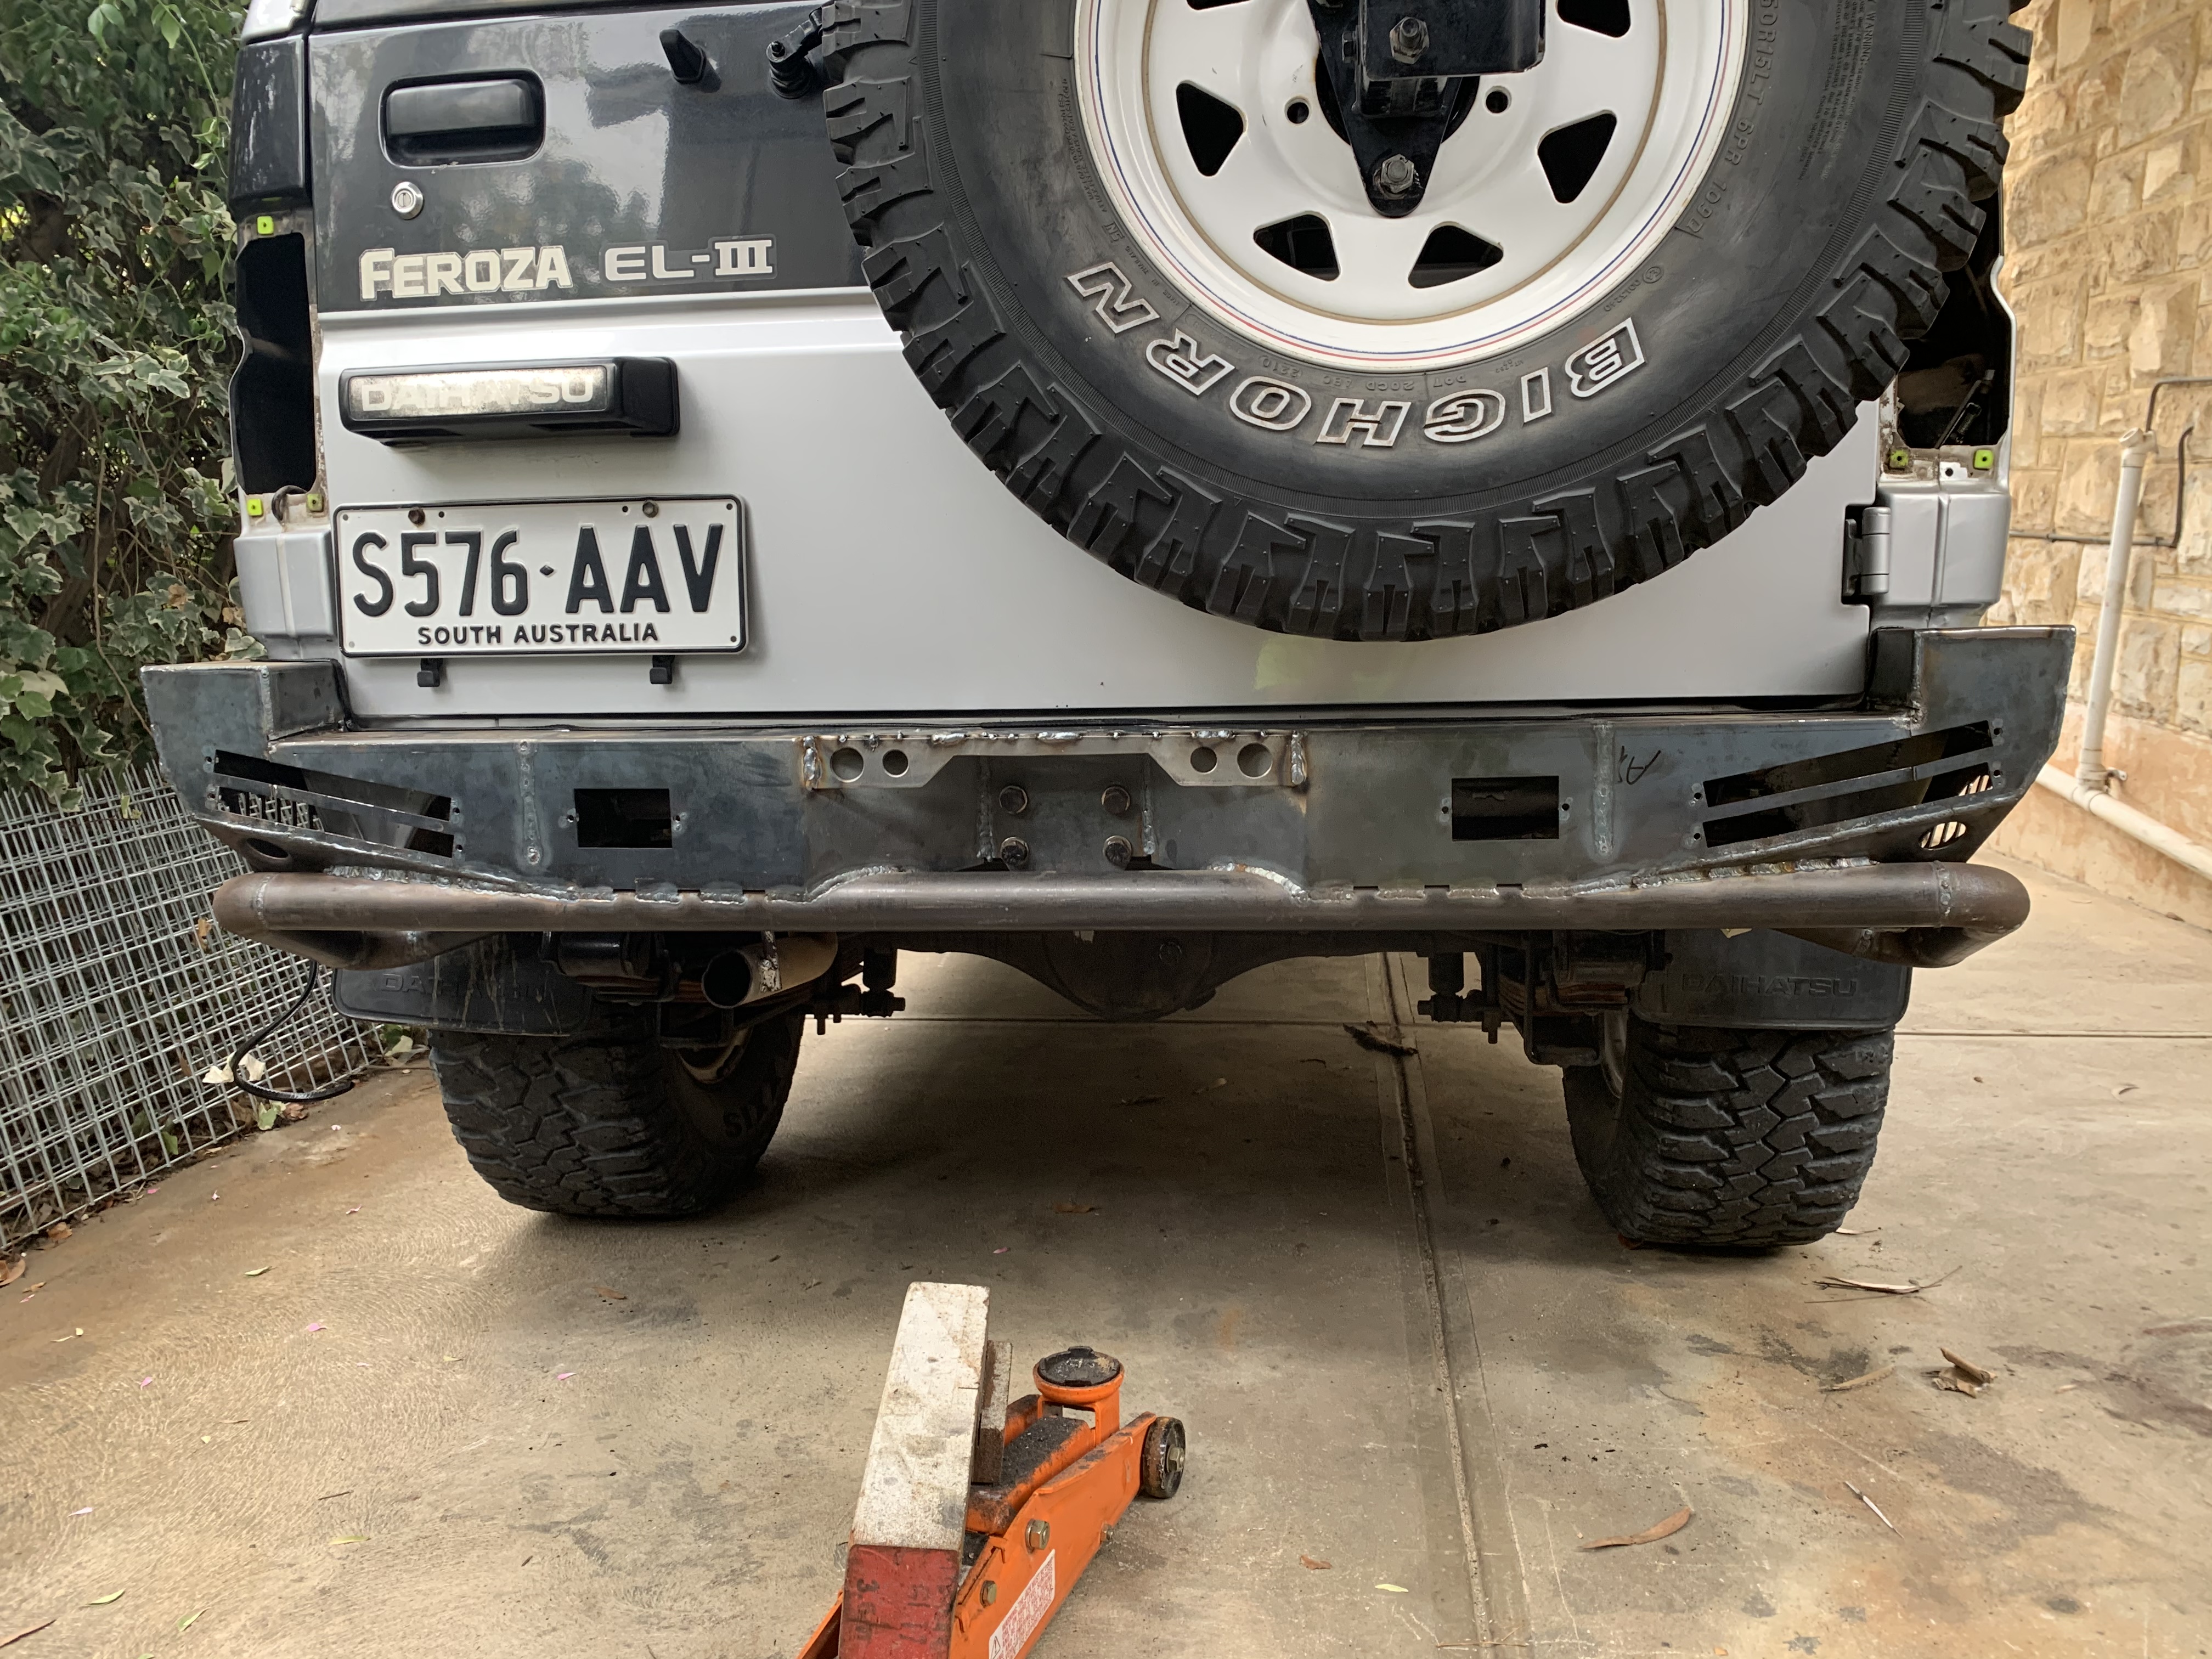
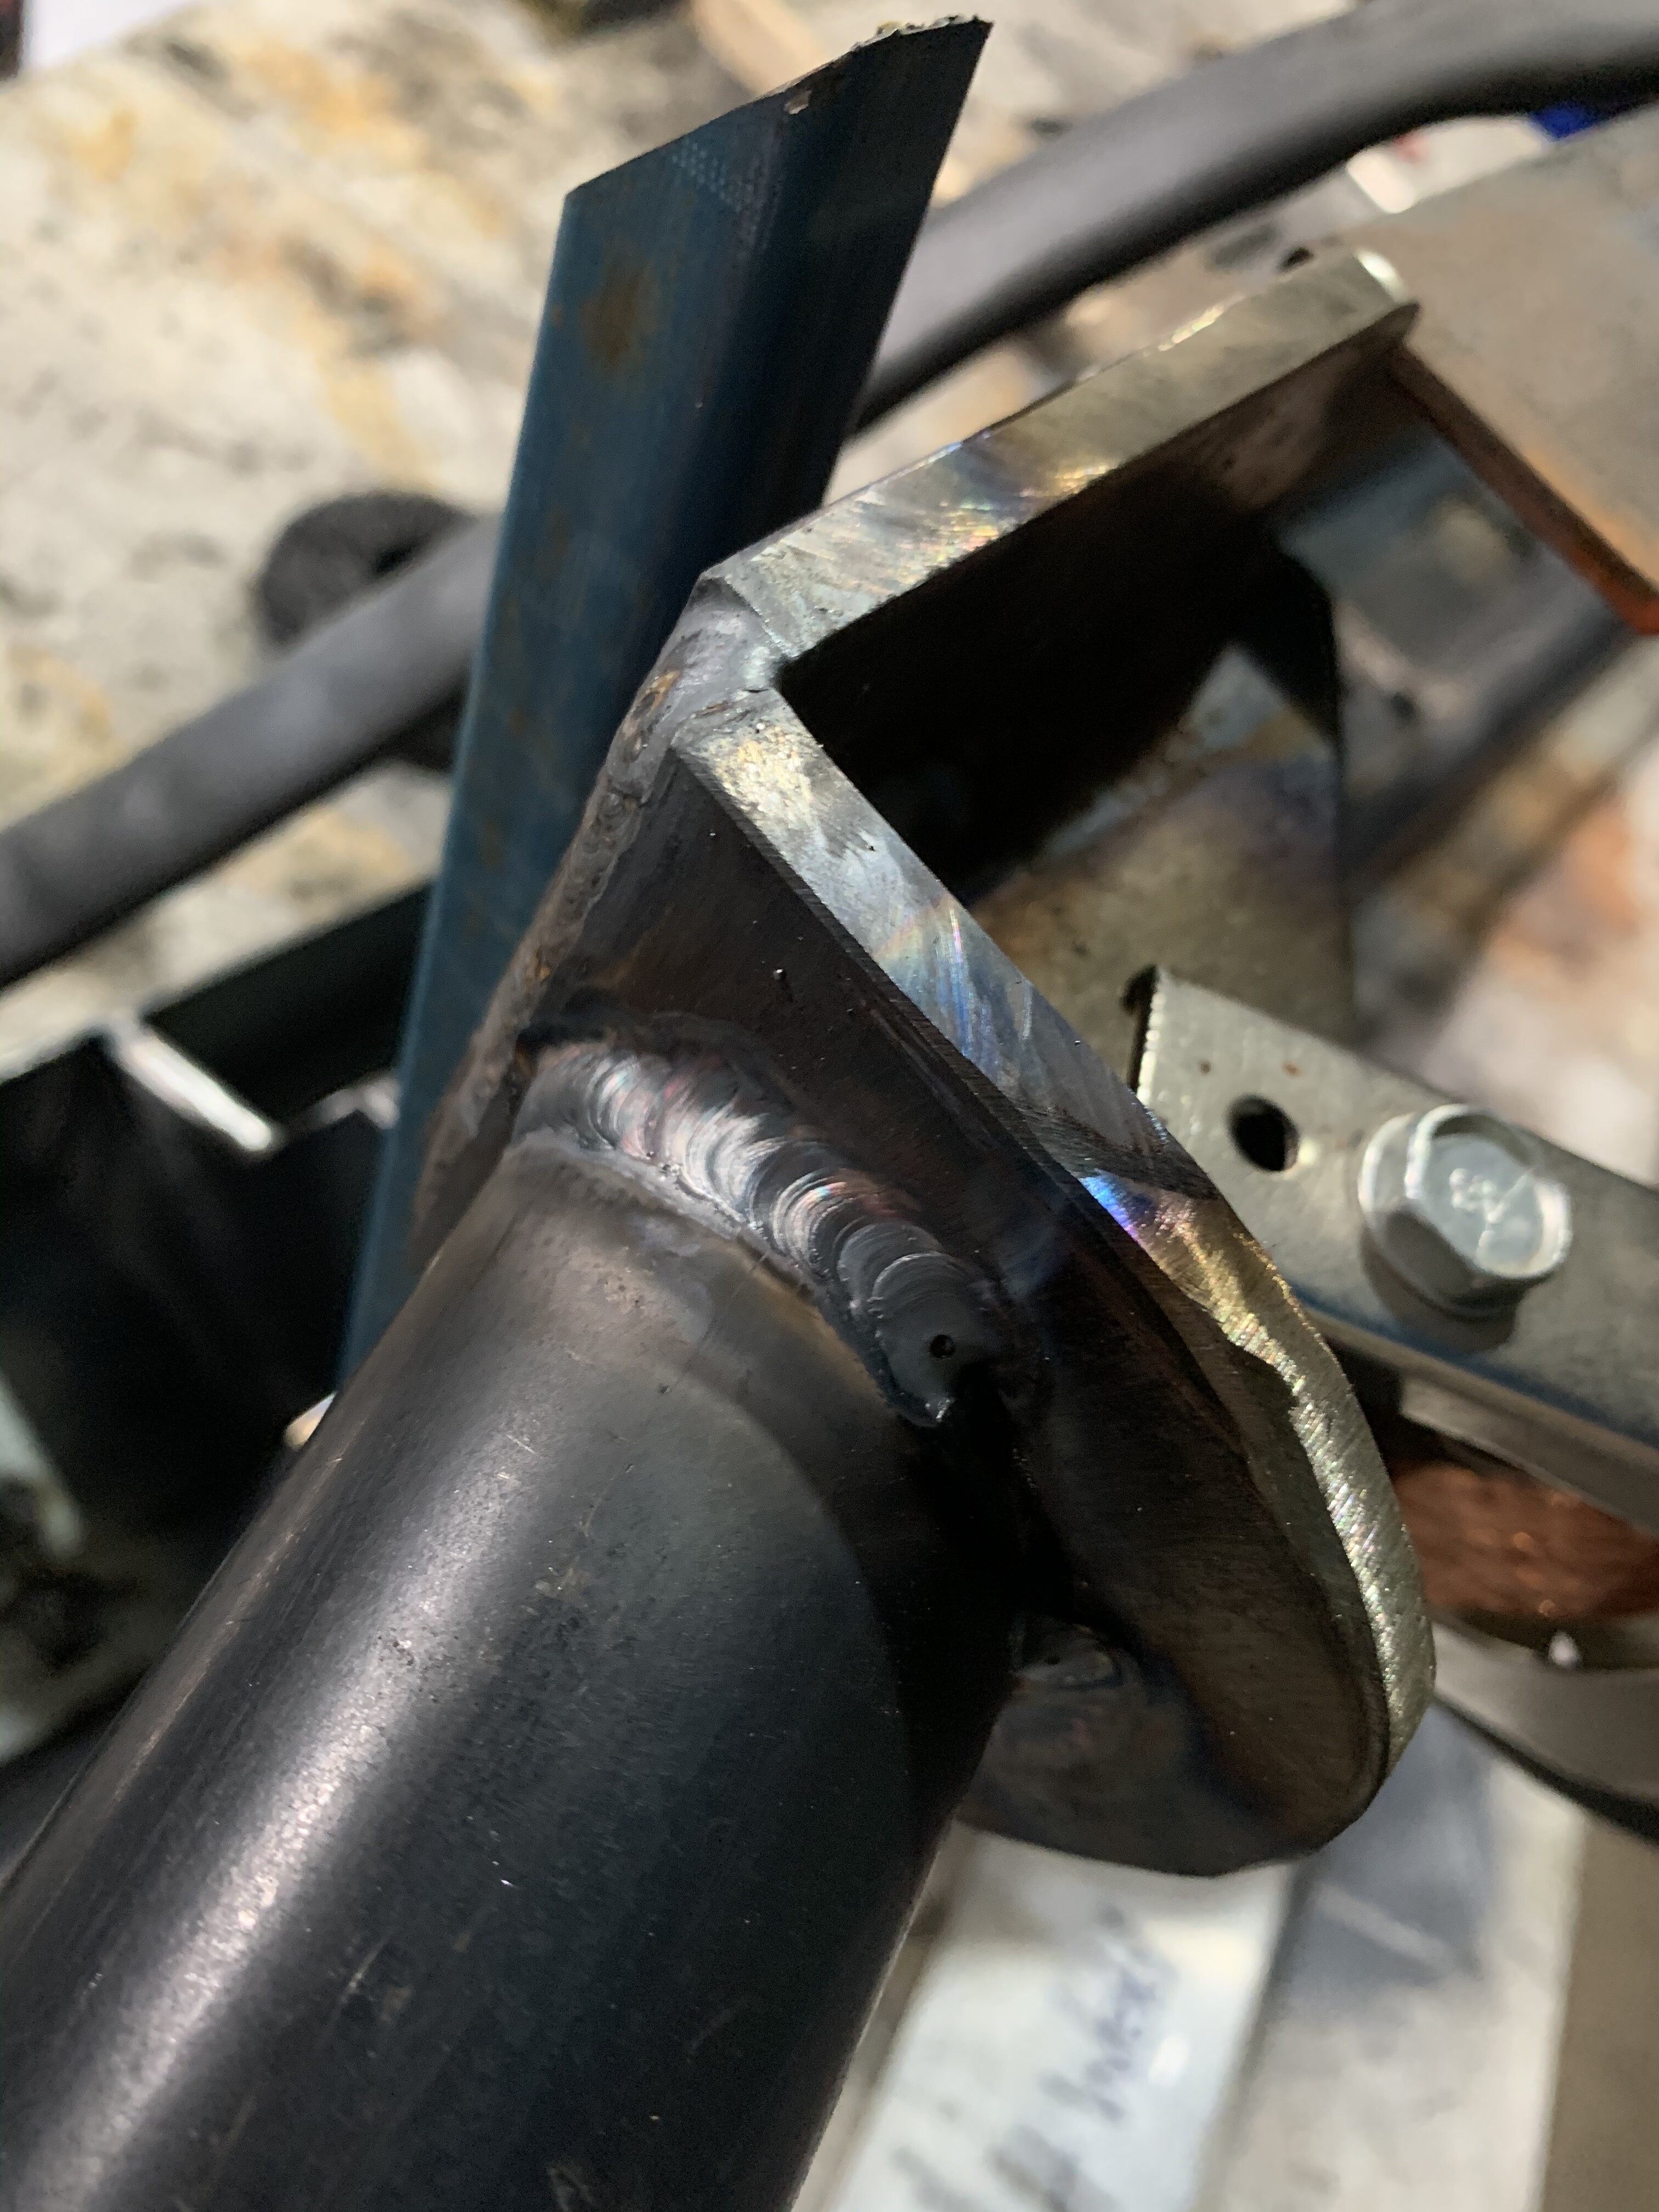
The work has continued on the little fella, this time I knocked up a rear bar. The approach was much different to the front bar, as all the mild steel plate was designed on CAD, laser cut and folded to shape. This greatly reduced the welding and grinding time. Also, the TIG welder was employed for the vast majority of this build, which was a fantastic learning curve on warpage and how to get around it. The steel plate was designed to hug NB40 steel pipe, that wraps around the sides of the rear and tuck back under the car and onto the chassis using L brackets and U Bolts (nightmare to install on the drivers side because of the 8mm gap between the fuel tank and chassis rail). Rather than bend the tube and have a large bend radius, I bought a cast iron universal bend and cut the required bend radius I wanted. Worked well.
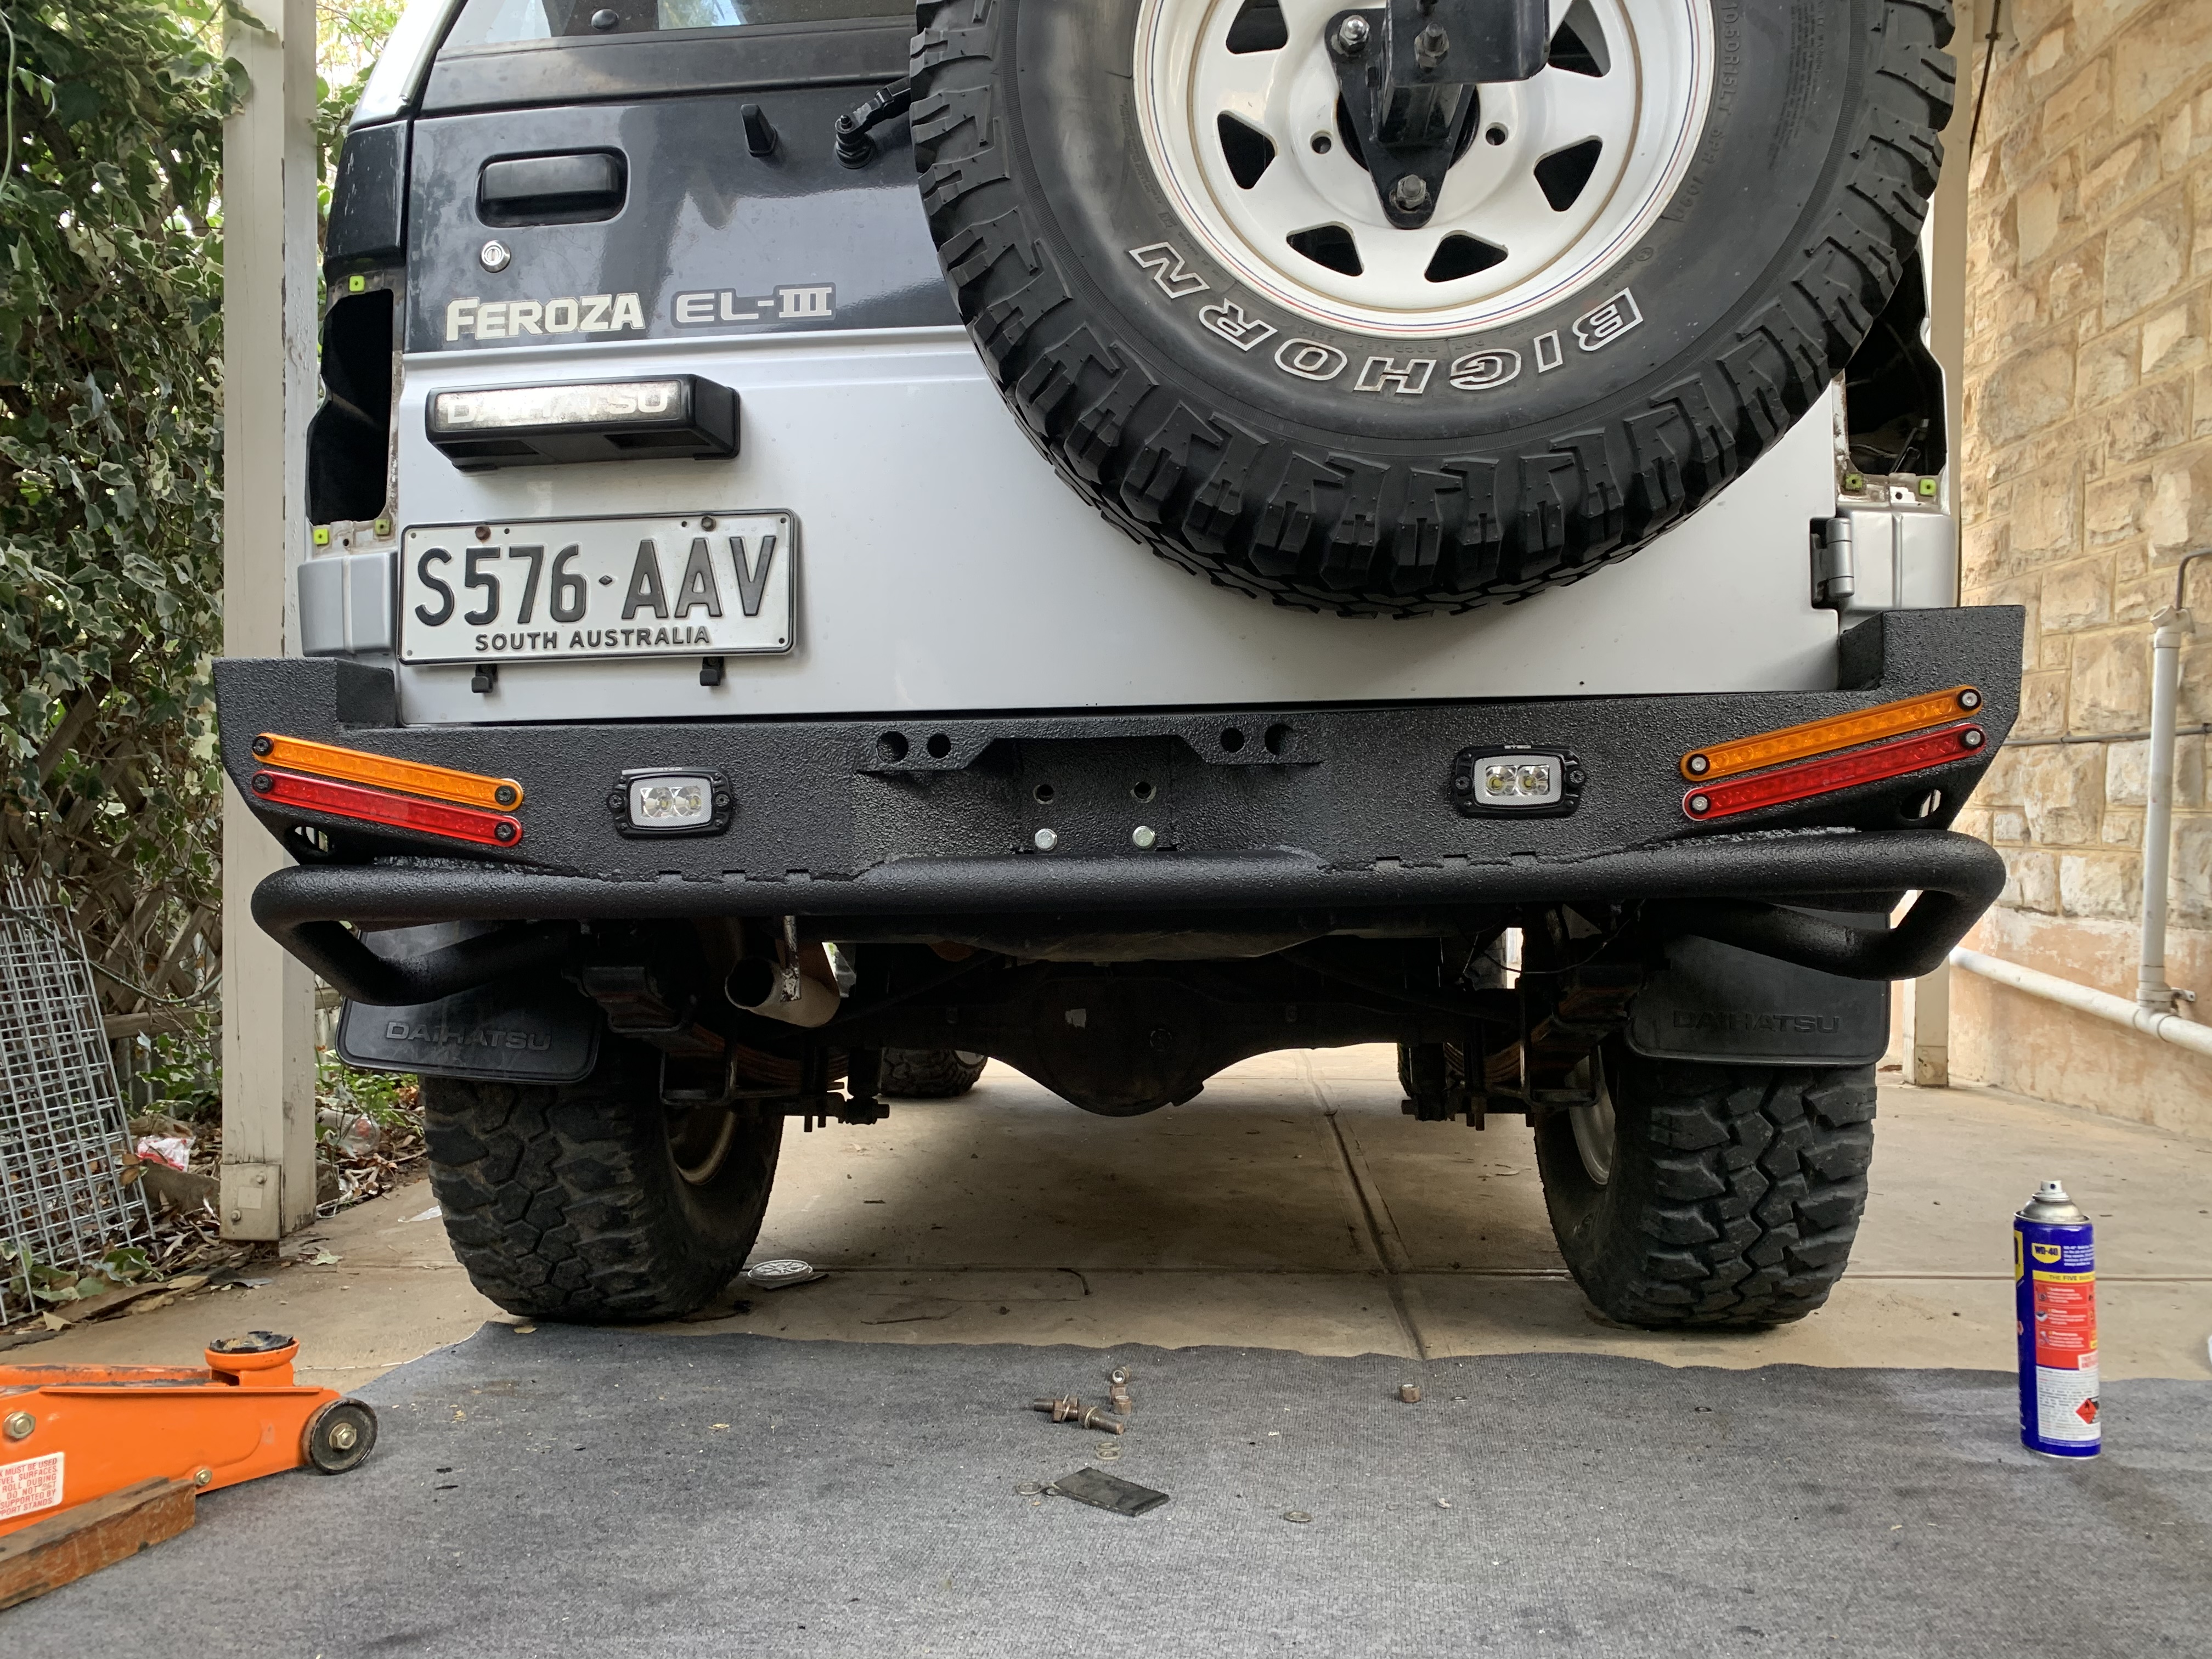
Went for the same style of lights as the front bar, sequential indicators (not sure if they’re legal on the rear)
With the reverse lights being good ol’ Stedi flush mount work lights.
Covered it in a Raptor Coat to hide all the blemishes here and there and she’s done. Rock sliders and scrub bars are next.
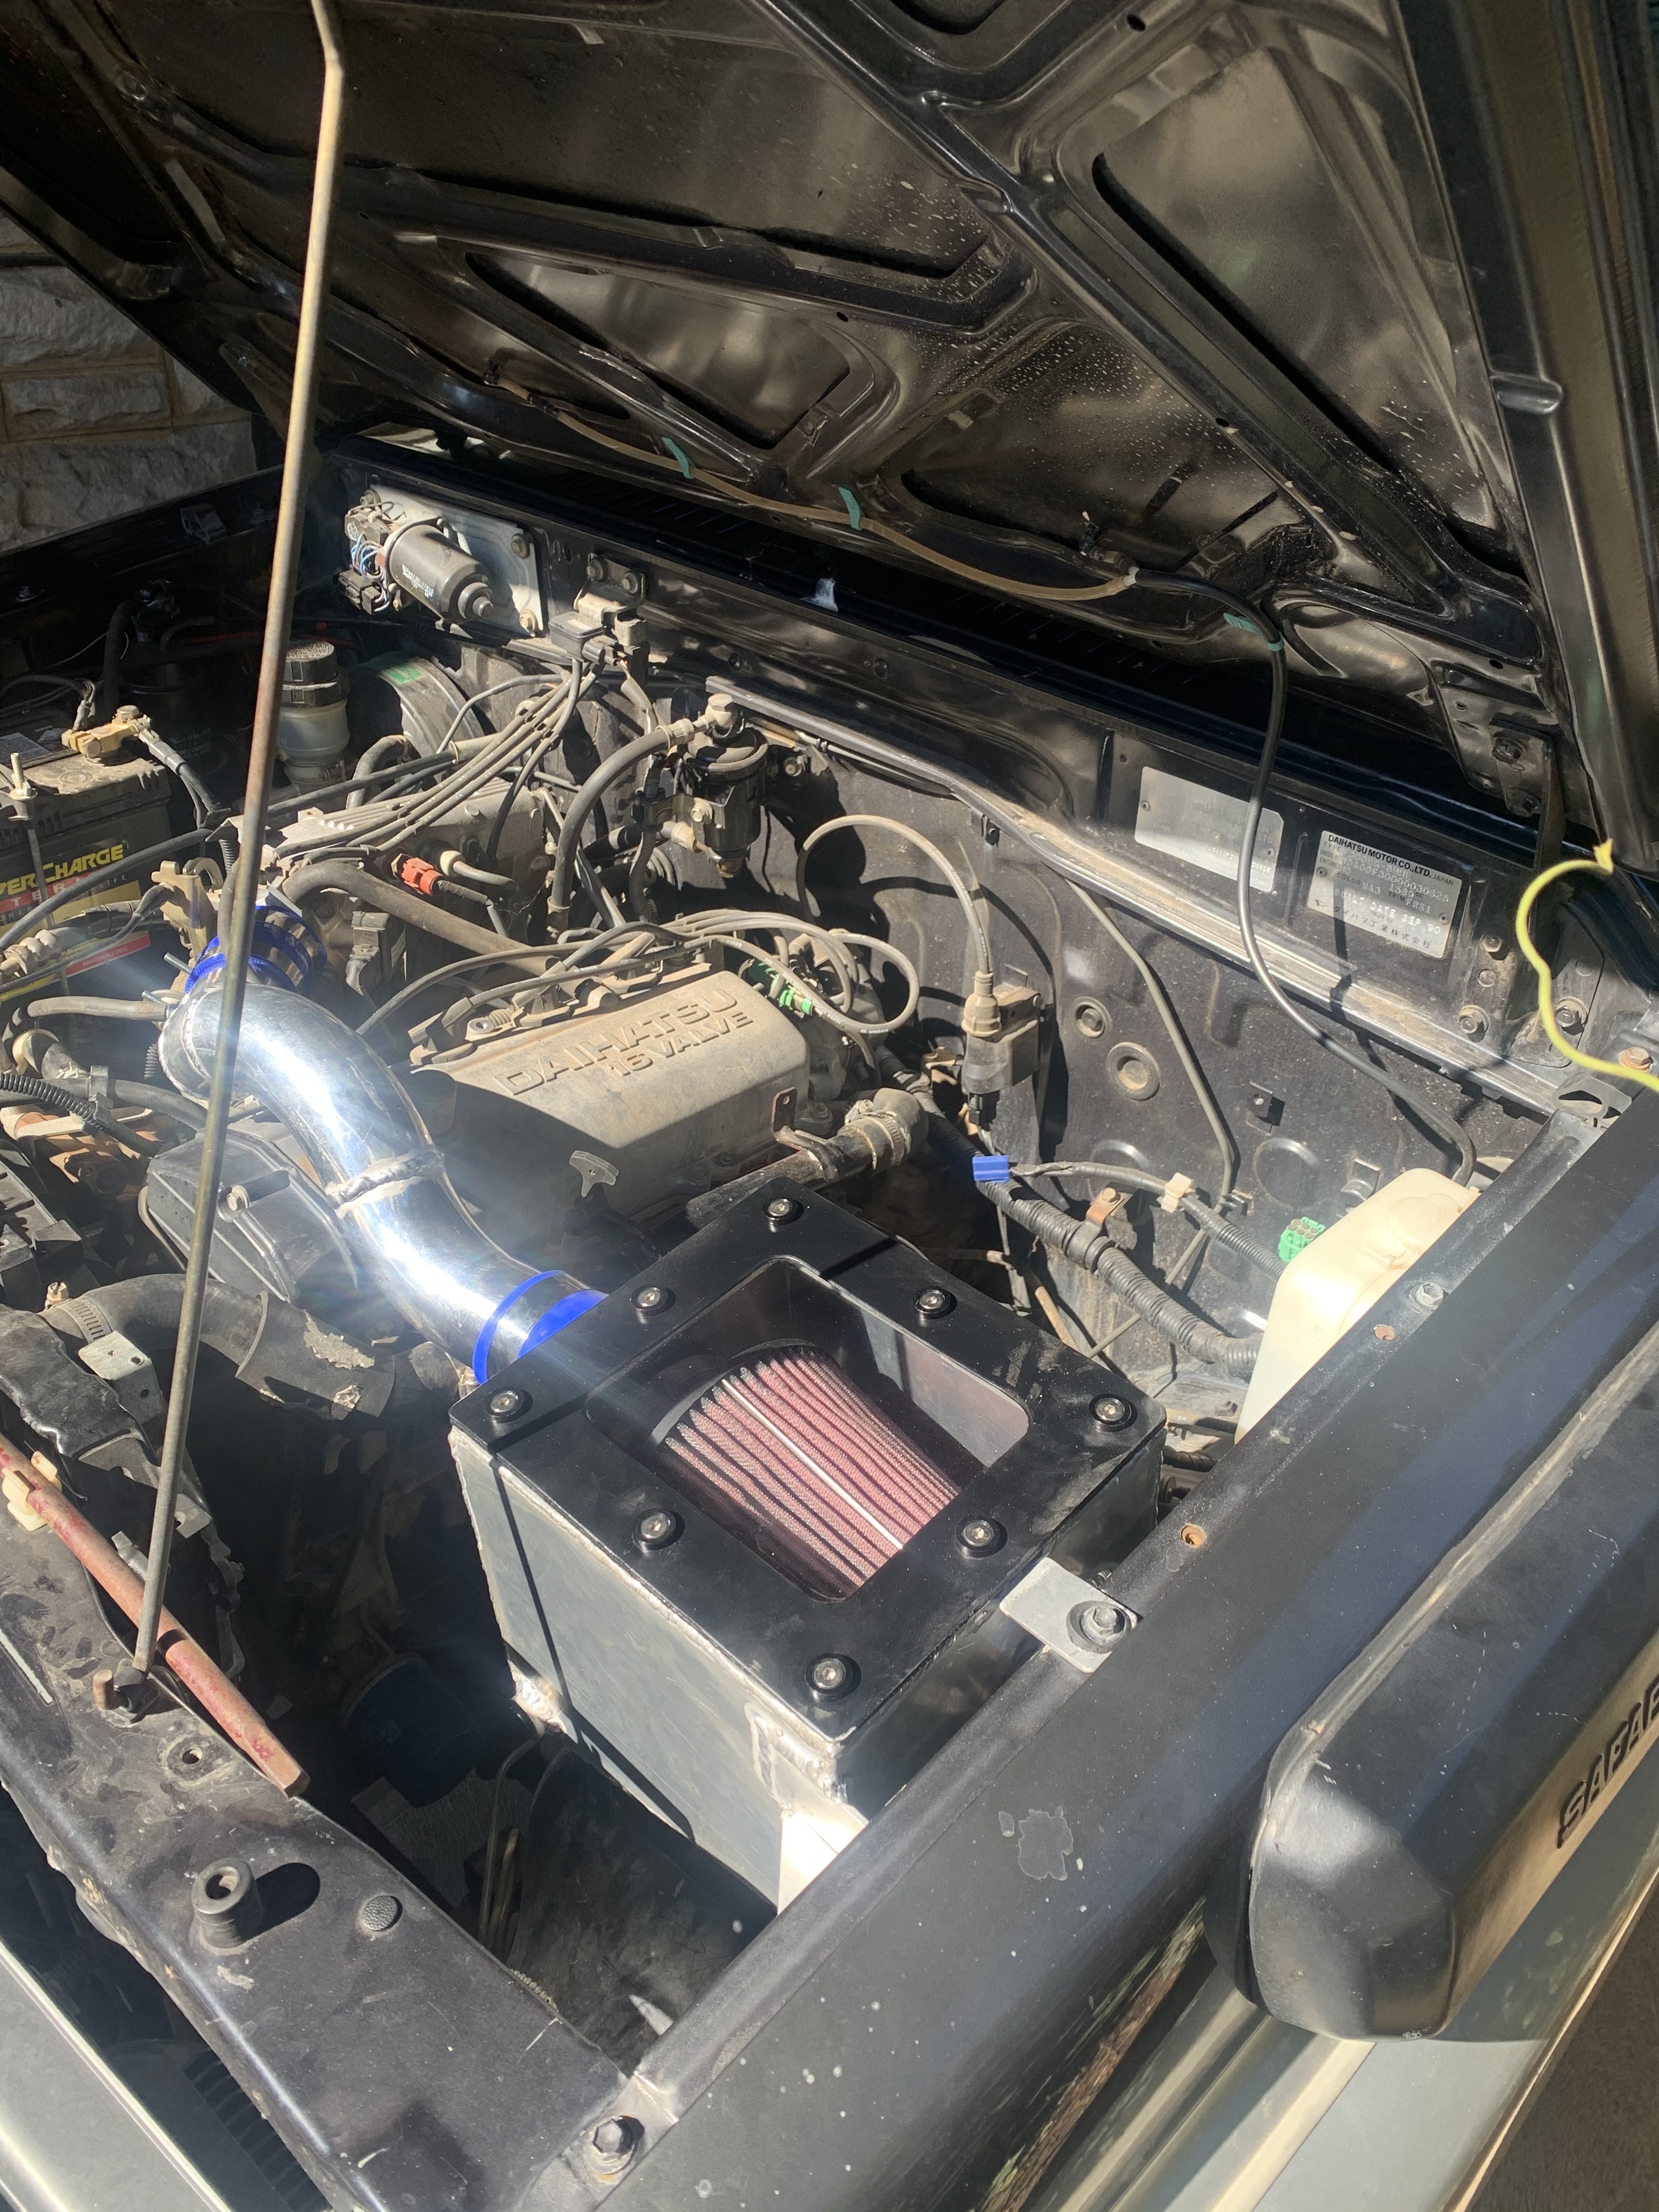
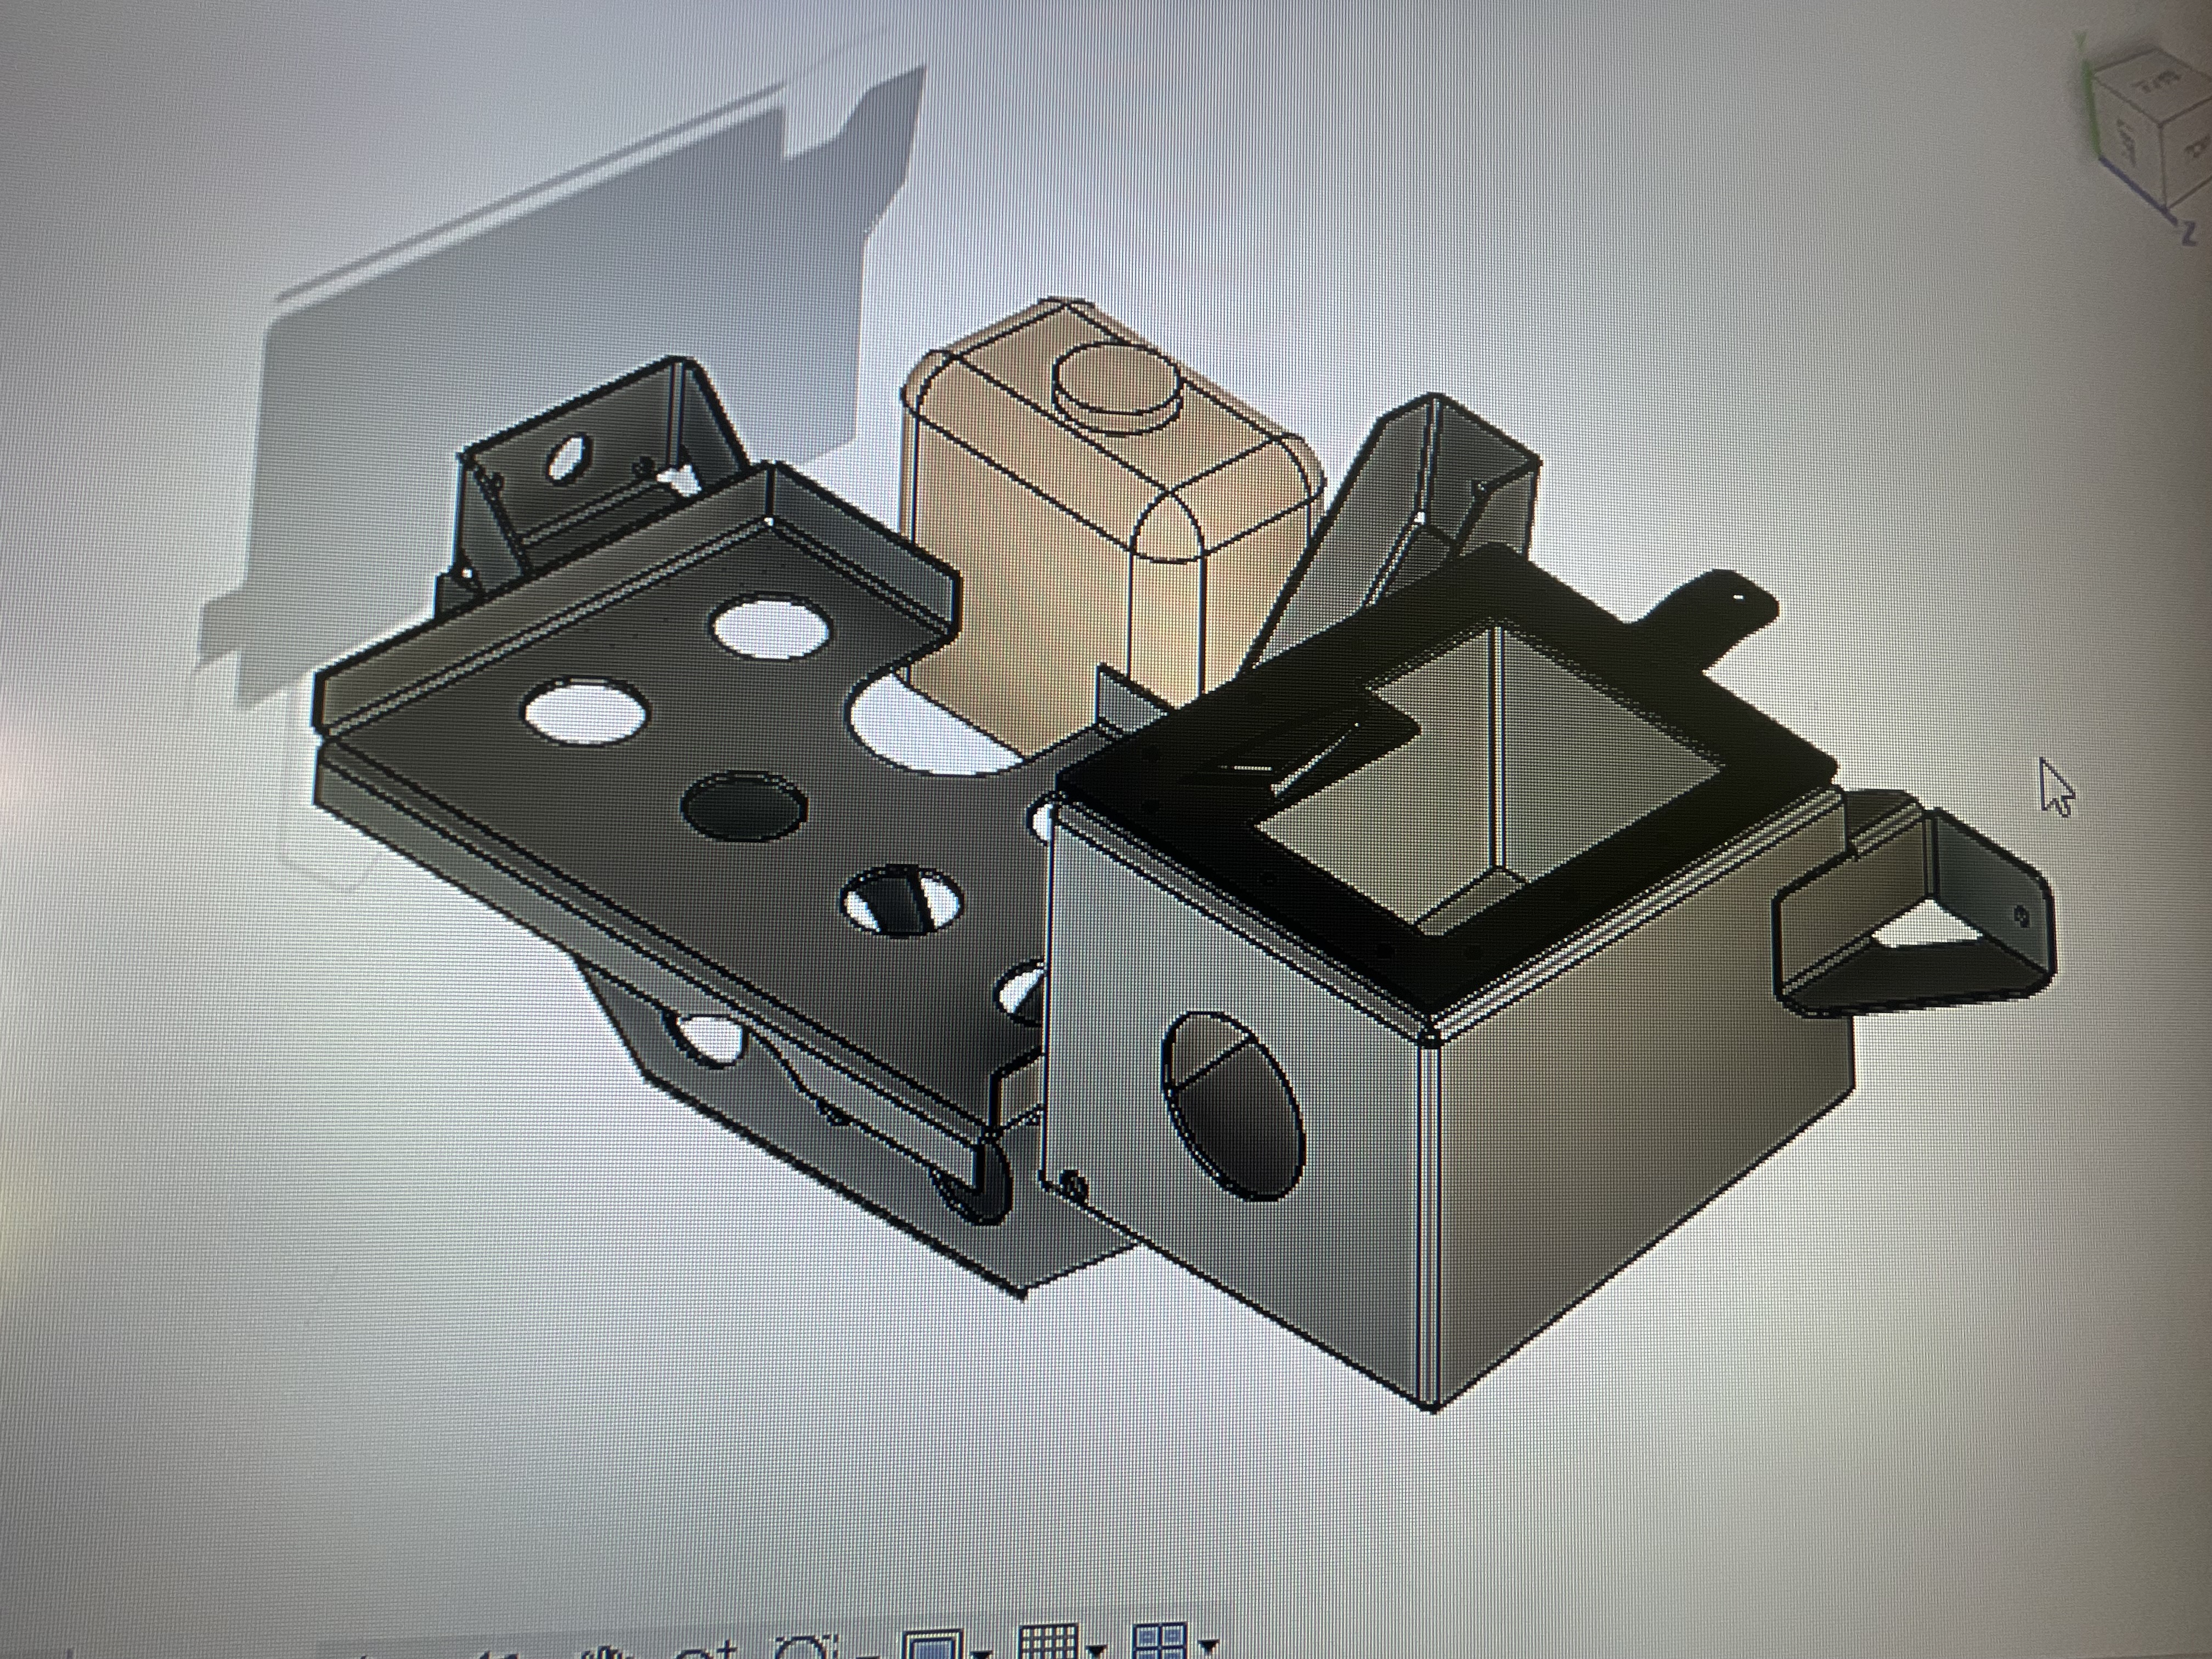
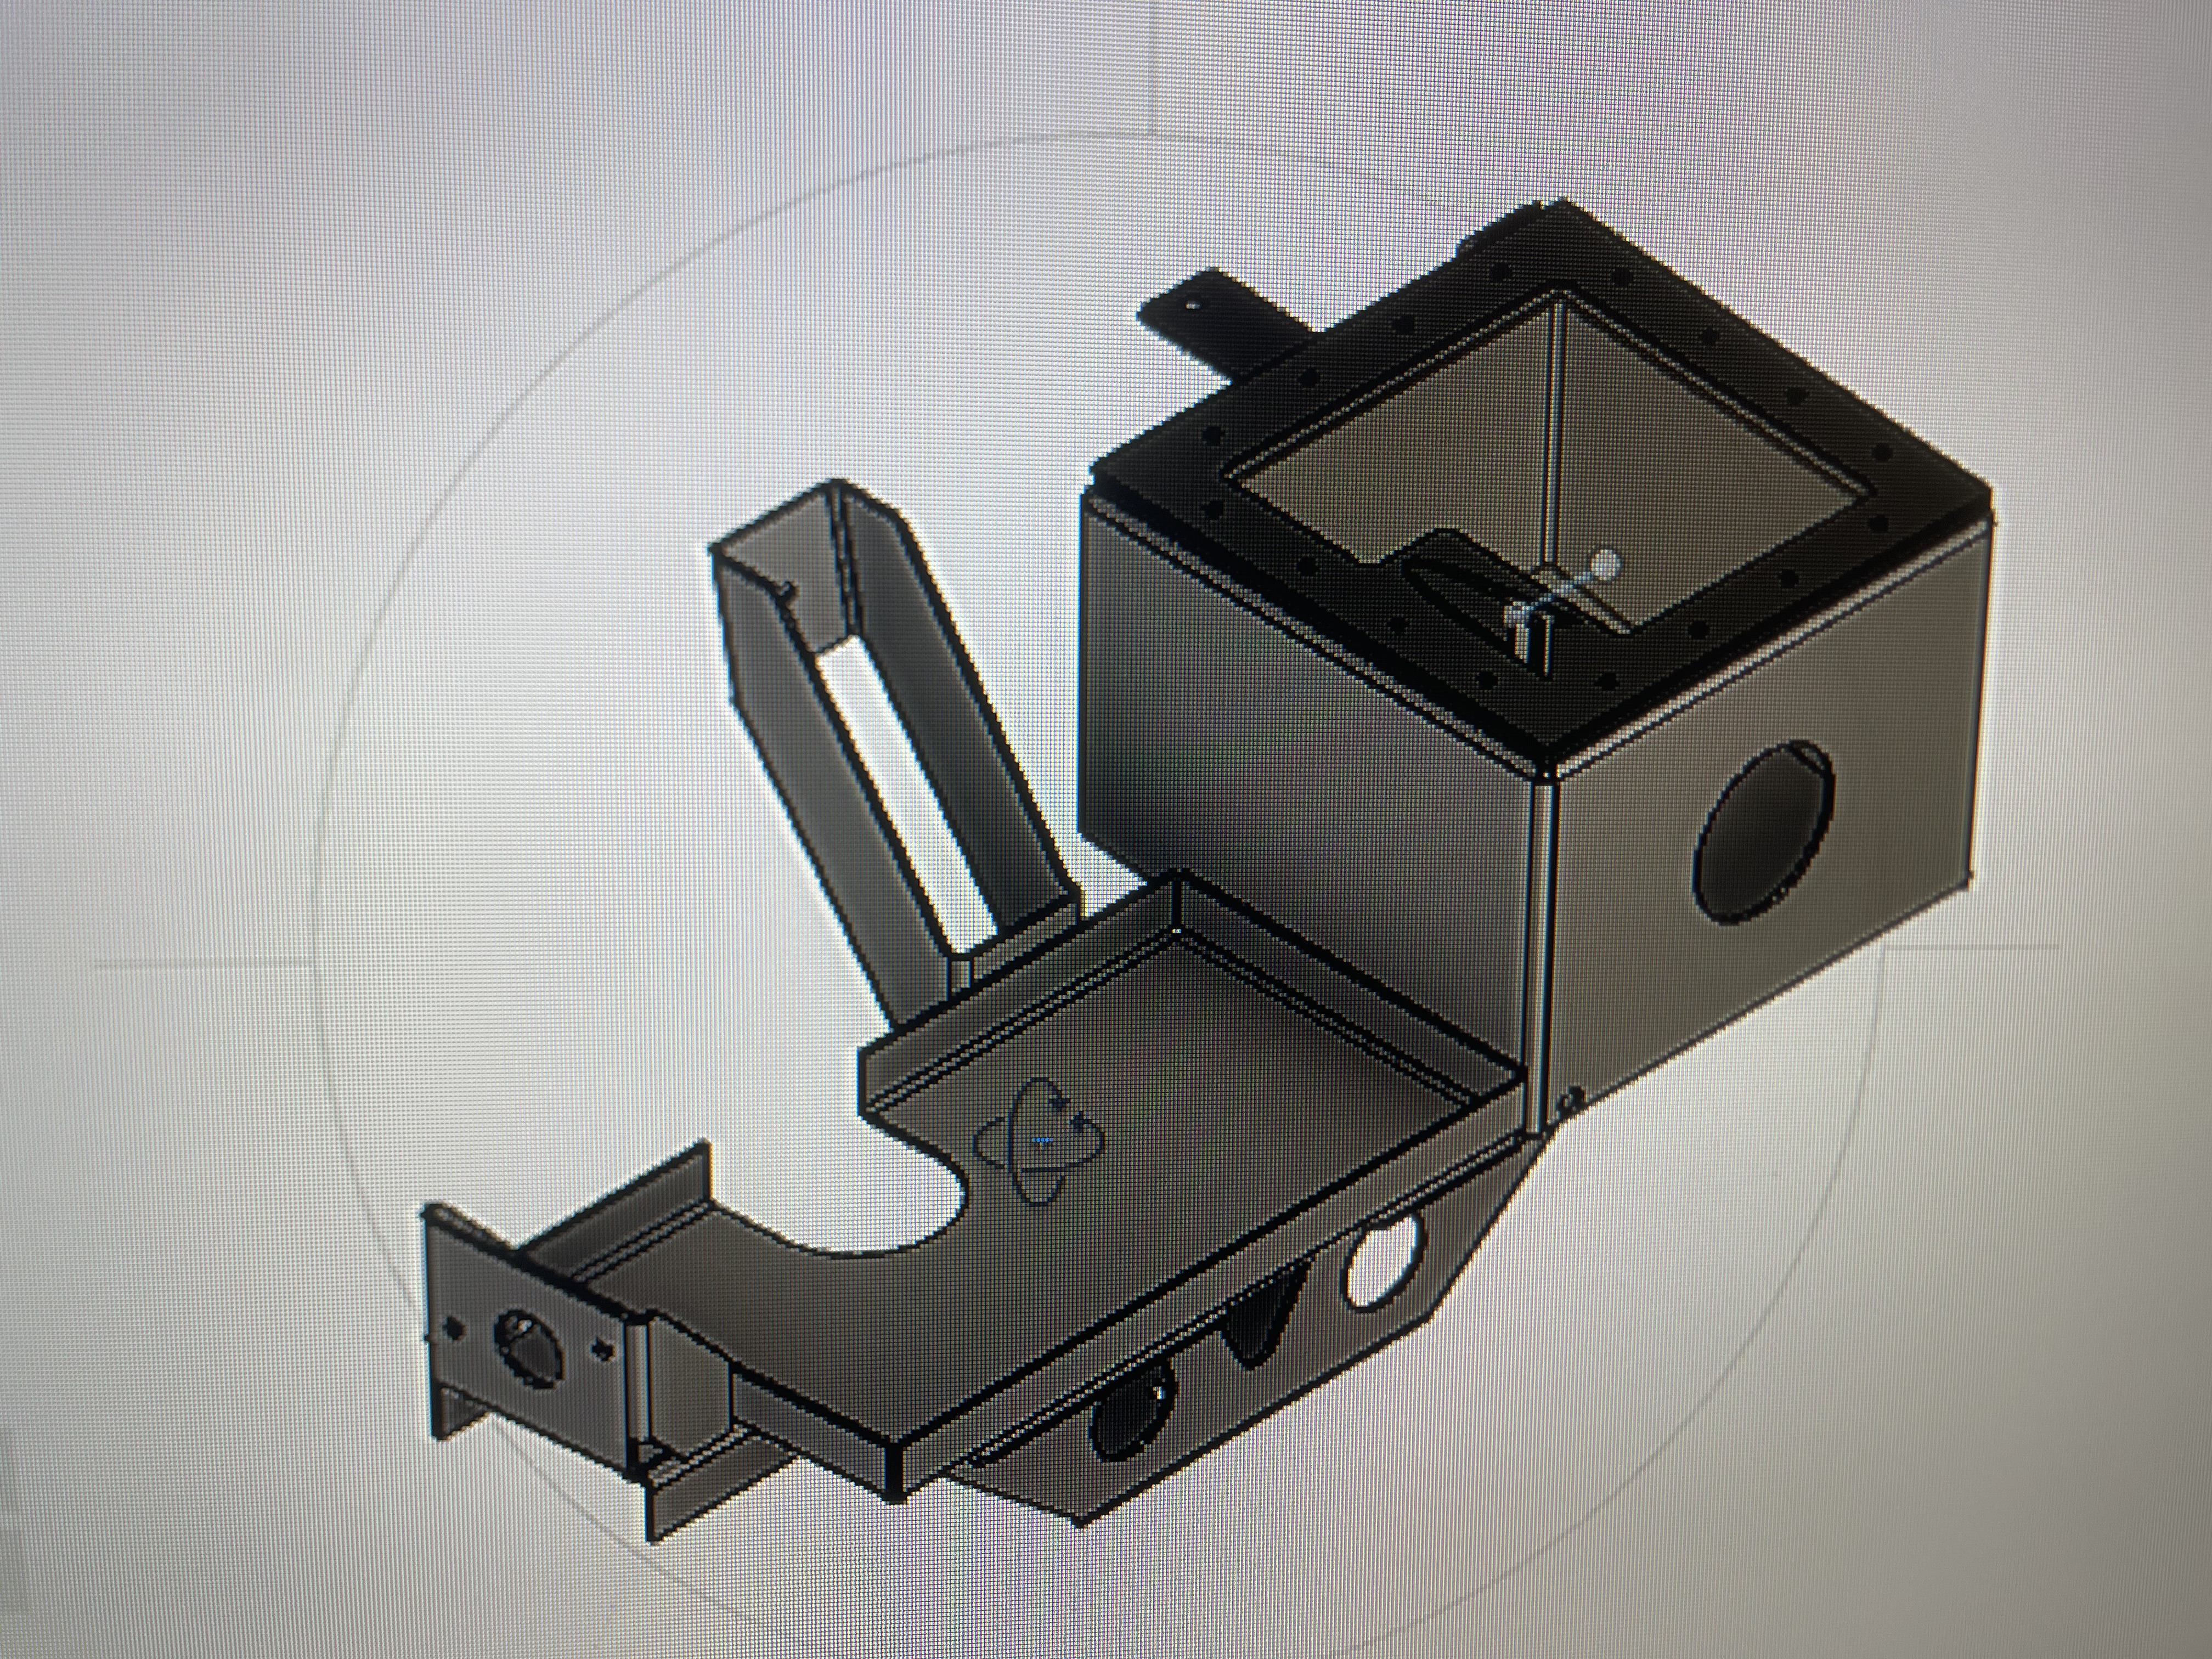
Along with the scrub bars and rock sliders, I’ll also upload some photos of the airbox upgrade:
Decided to do it all on CAD, and implement a battery tray, that will hopefully accomodate air conditioned models, as all the engine bay battery trays I’ve seen don’t fit around the aircon hoses.
So the measuring and designing began. Biggest hurdle was finding mounting points that are existing, and making everything fit under the bonnet.
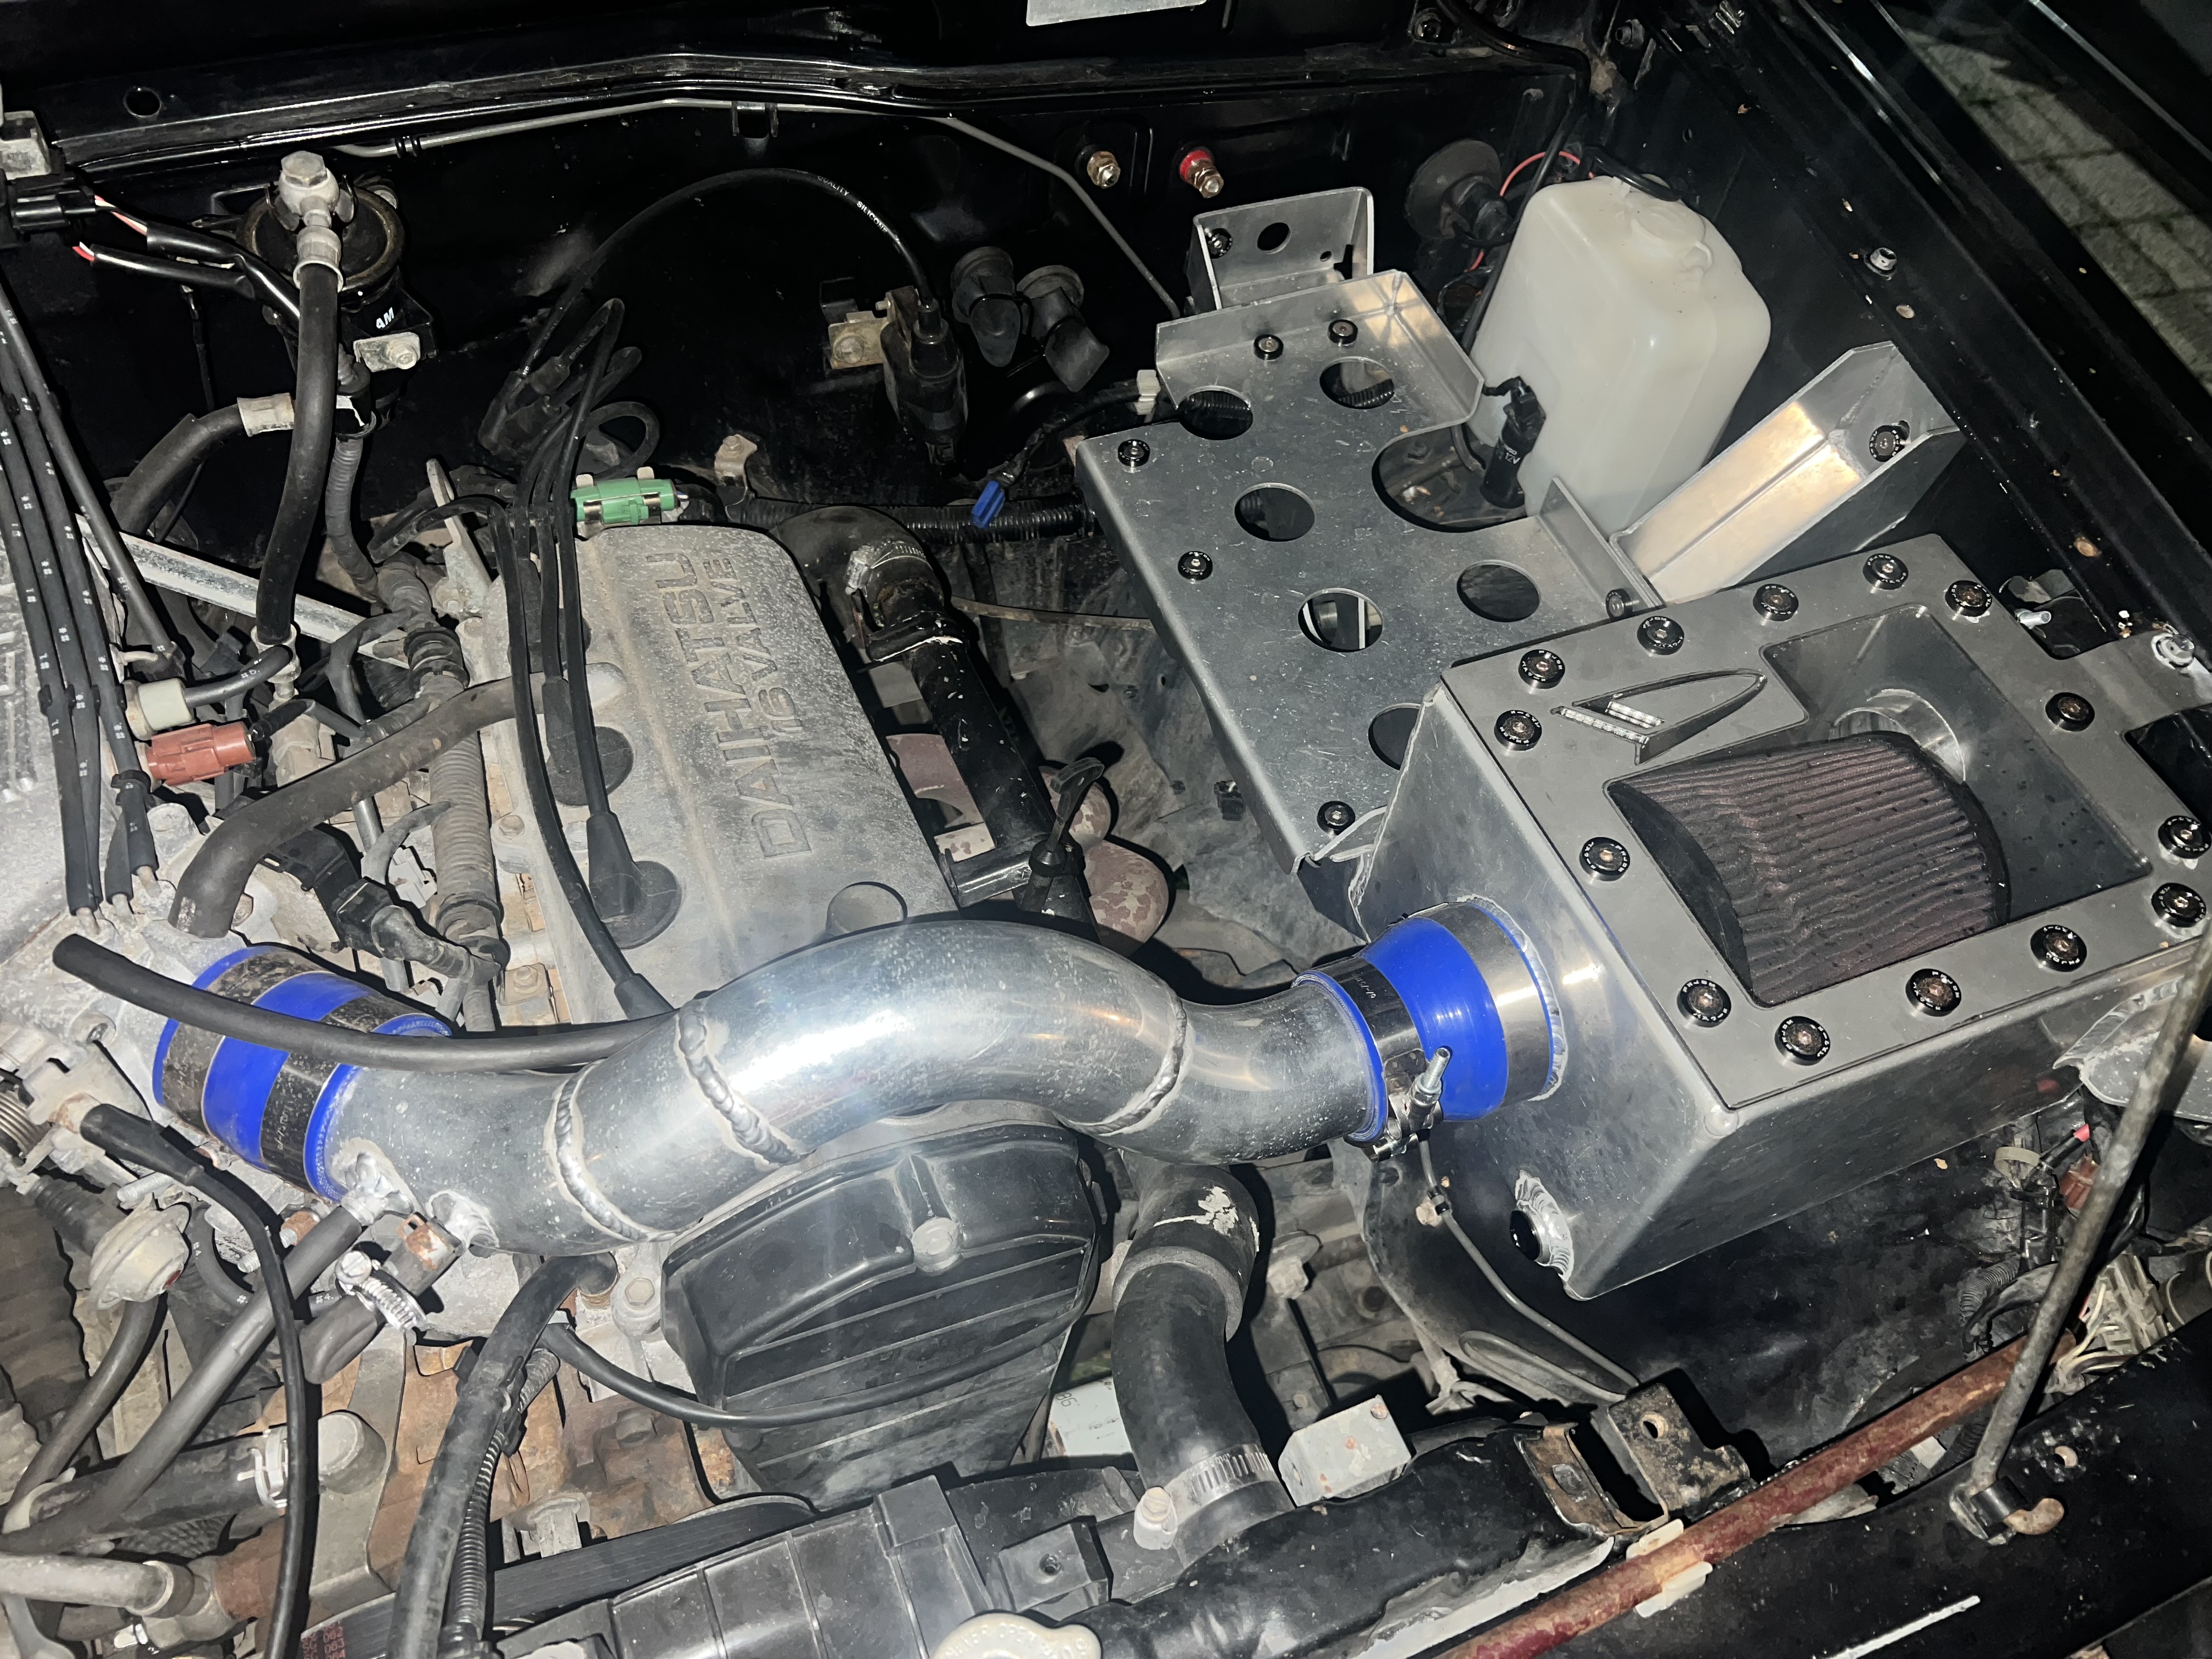
Anywho, here’s the finished result. Some of the brackets didn’t fit perfectly and some holes needed tweaking, which will eventually get changed on the CAD model.
I’ve yet to install my second-hand aircon system to see if I managed to circumvent the hoses with the battery tray’s position.