Hi all - this was originally posted on the old site by cigaretkretek. I have just fixed my tacho using this method so I thought I would re-word some of it and post it here.
Common Tacho issue with the Charade G100/G102.
Tools Needed:
• Screwdriver
• Soldering iron
• Soldering lead
• Solder wick
• Replacement Capacitors
• Some soldering knowledge
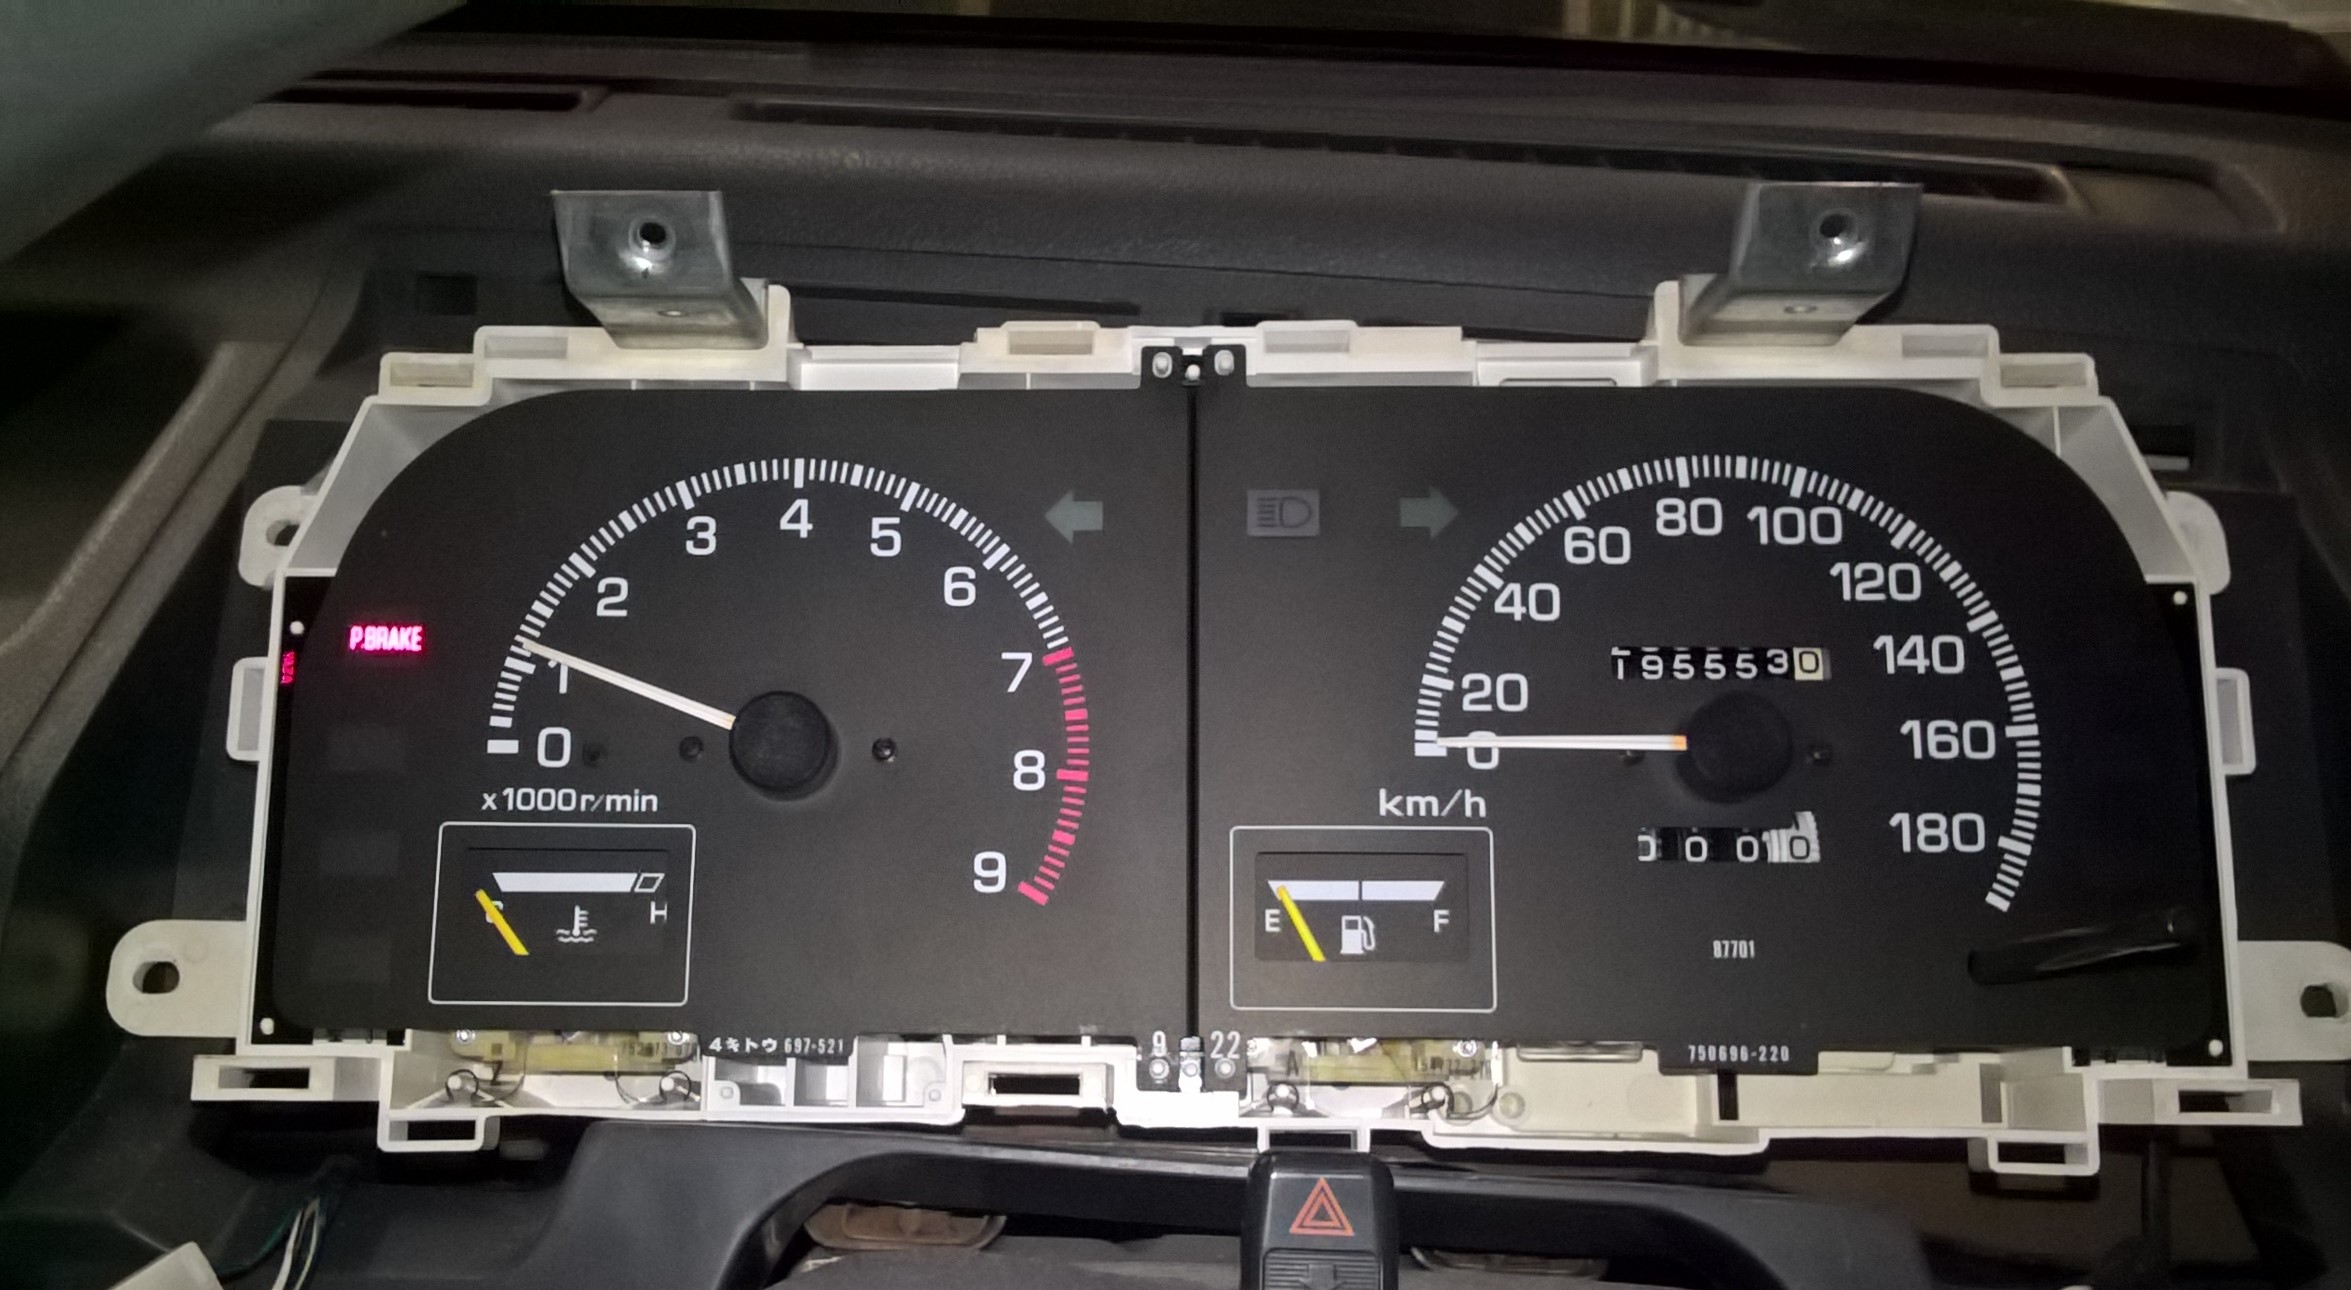
Remove the instrument panel from the dash board. Unplug the instrument connector and speedometer cable.
Remove the tachometer needle carefully – use a cloth with a flat screwdriver to prevent marking the gauge face. Unscrew the 2 screws under the needle. Underneath is a transparent plastic dash light reflector. Remove it. Unscrew 3 screws on the back of instrument that hold the tachometer board. Remove the tachometer drive assembly and board.
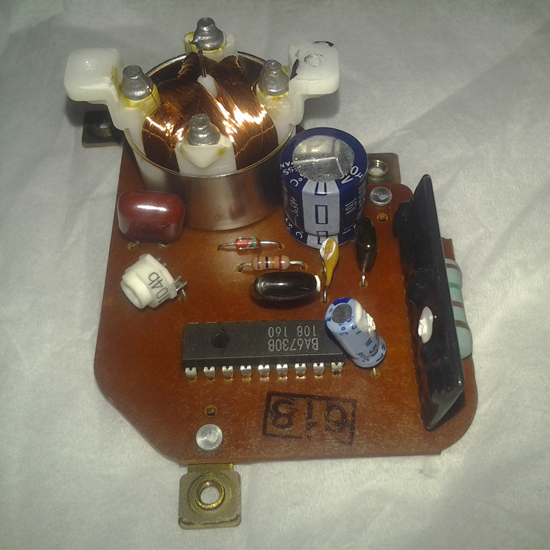
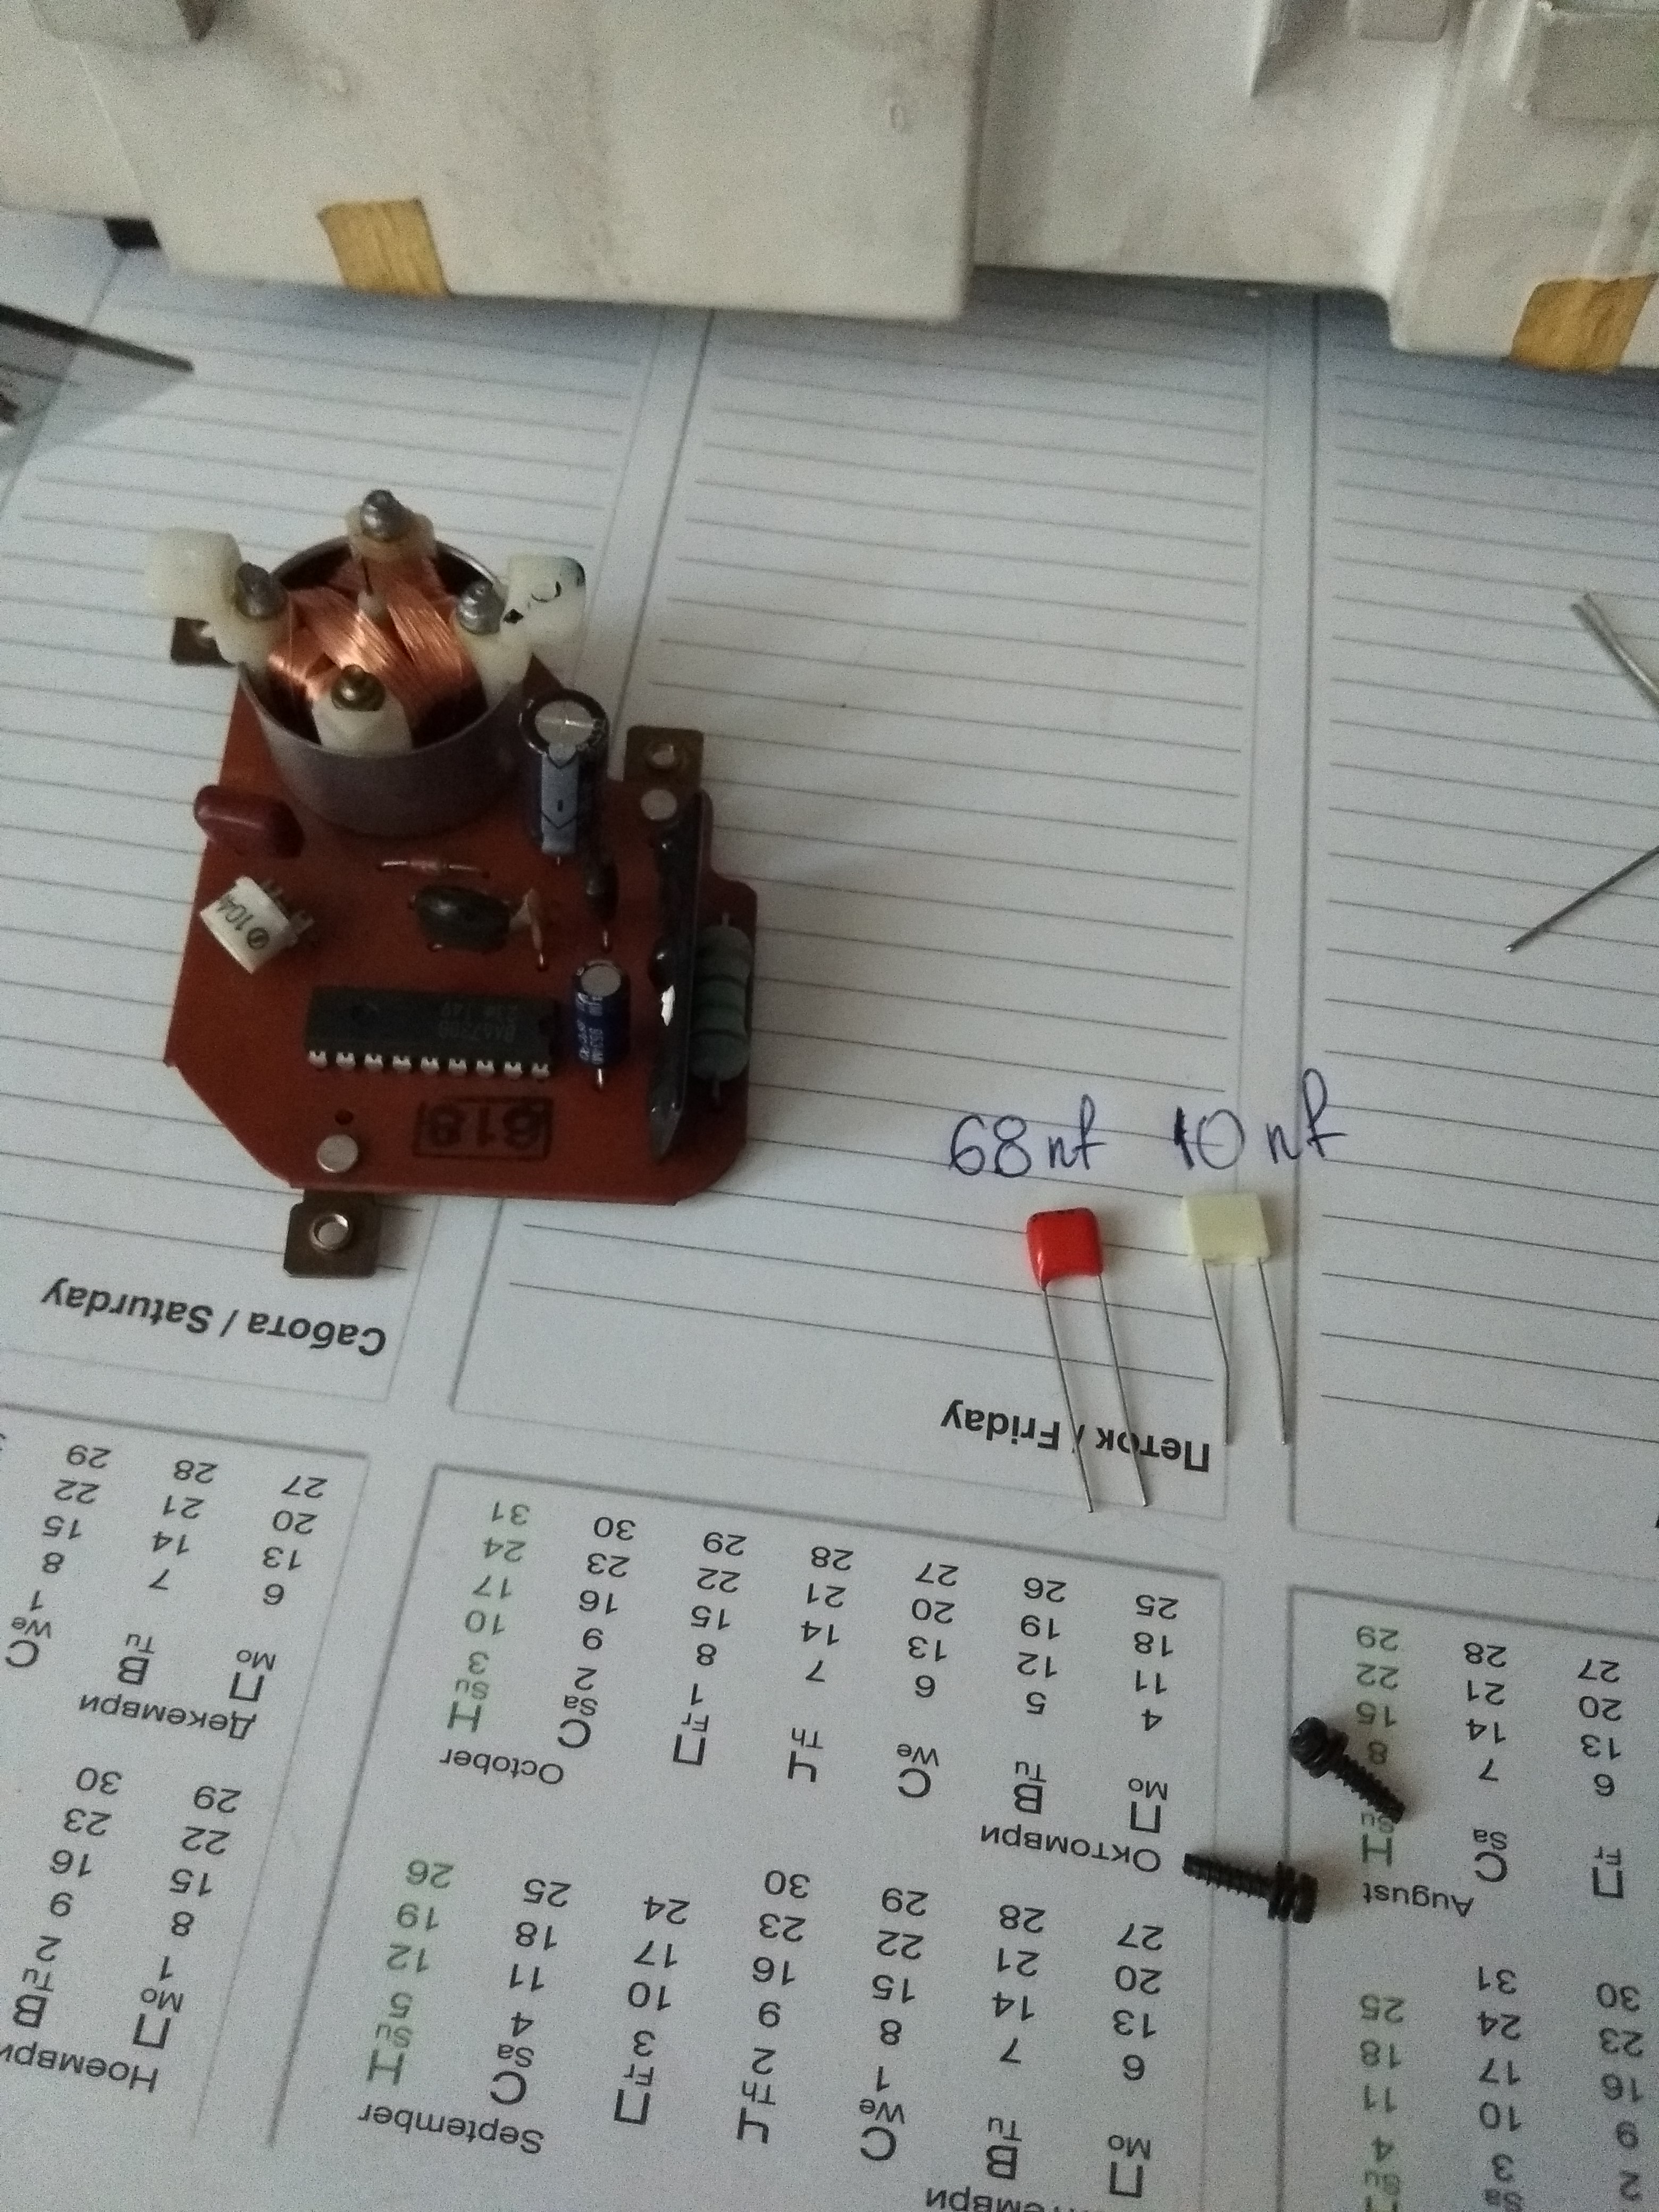
The most common issue is the capacitors. As they age their capacity decreases, this reduces their effectiveness in converting the signal from the ignition coil and driving the needle coil.
Refer to pic - replace capacitors (Elco) #3 and #4.
• Electrolytic Capacitor #3 6,8uf/16 volt (I have used 10uF/16 Volt as an alternative)
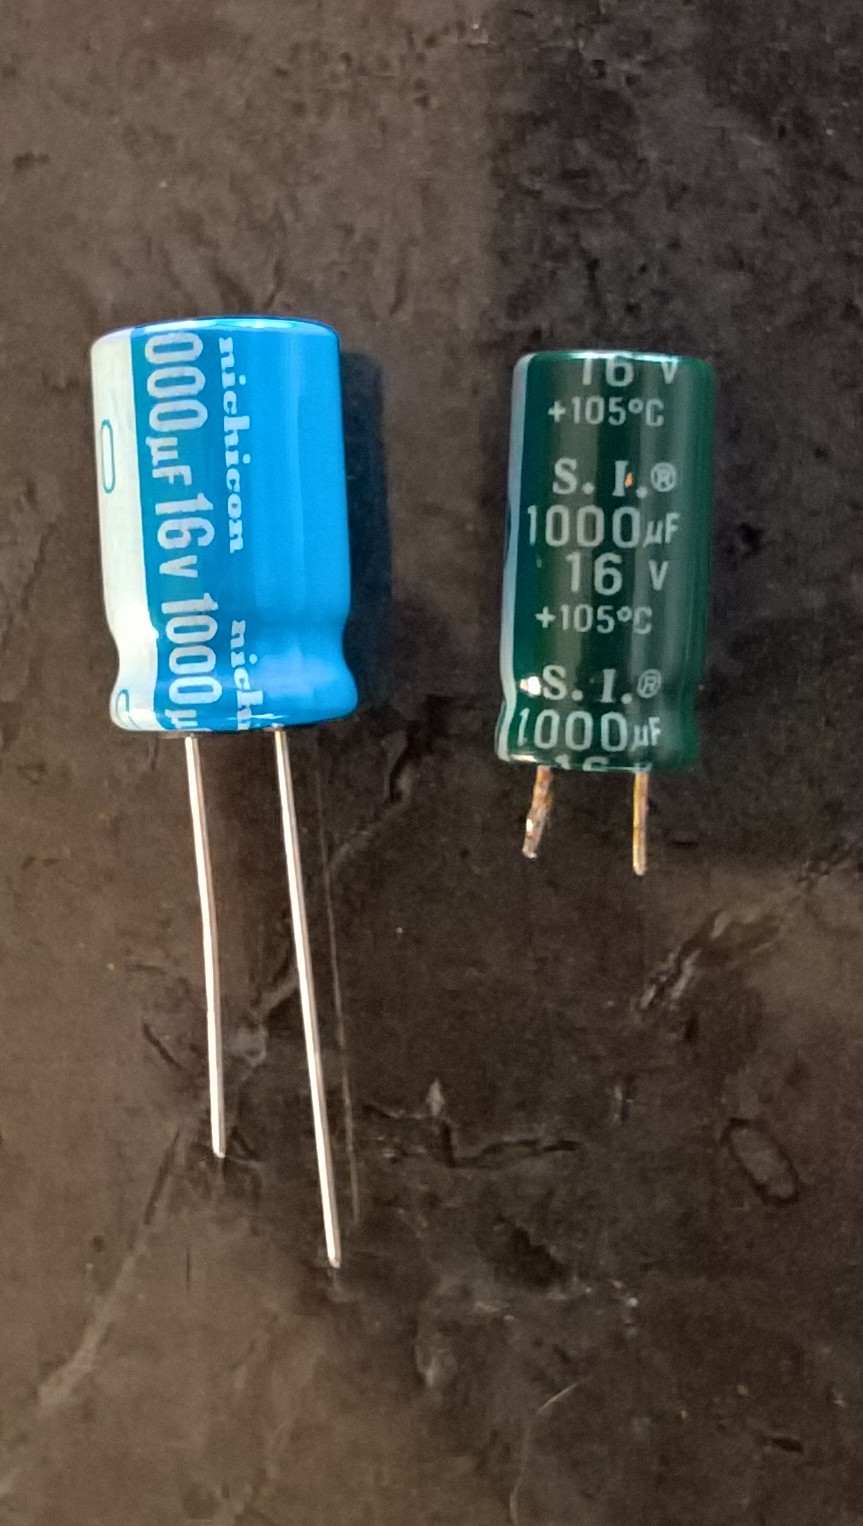
• Electrolytic Capacitor #4 1000uf/16 volt
Use the solder wick to remove the solder from the back of the PCB to remove the capacitors.
Note : Electrolytic capacitors are polarity sensitive - so ensure the replacements are oriented the same when soldering in place. After replacing the capacitors re-assemble the tachometer drive board and gauge face into the instrument panel.
Calibration of the Tachometer Needle:
Do not put the plastic instrument covers on yet - leave the instrument panel open. Re-connect the multi connector at the rear of the instrument assembly. Turn the key to ign. The oil and battery indicators will glow. Now place the tachometer needle on at 0 rpm – do this carefully. Start the engine – check operation.
If the tachometer does not work you may need to replace capacitors 1 & 2.
Re-connect the speedo cable, replace the covers and re-assemble the dash and enjoy your now working tachometer.
Credits :
C2W-Community Indonesia
Daihatsu Charade Indonesia
Daihatsu Charade Magelang
Stoked to see this re posted here. This is my next fix. My needle fell flat on the right hand side during high revs and has been stuck there dead ever since. It literally drives me insane that everything else in my beast works except the taco! Thank you!
I replaced all four parts but stil not working
My tacho was stuck at max but now on idle it says 1100 and with the key out it says 3500. When replacing part 3 and 4 i looked for polarity but for part 1 and 2 i didnt. Do those also care for polarity ??
Thank you so much. I never knew until now, that it may be possible to repair a G102 Tachometer.
I’ve swapped out Tachometers from wreckers, quite a few times, and still have a couple of dead ones from G102. If anyone wants them…hit me up…free.
Been there, t-shirt, you know. I replaced all of the parts, except the diode (nothing printed on, so no clue what type), the pot (didn’t want to adjust) and the long thin black thingy on the left in the first picture (made of unobtainium). I even managed to source a handful of those BA6730B chips from China. Result: as bad as before. So I think the long thin black thingy (mine is actually dark brown btw) is shot.
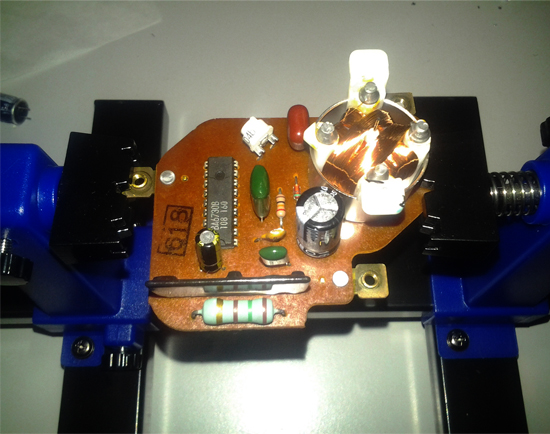
You can remove the PCB without pulling the needle by unscrewing the four screws which hold the coil, as you can see in the first picture.
Next step I’m planning: replacing the entire innards, still looking for a tach which can be butchered and made to fit.
If someone will take chances, just drop me a PM, and I will post you a BA6730B (as supply lasts - I think I have 3 or 4)
Mine does misbehave occasionally even after changing the capacitors - but it was completely dead before, so it was an improvement. That sucks that you have changed so many components and its still not right.
Just changed the no name brand Jaycar capacitors I used for the initial repair to Japanese made Nichicons from RS - the tacho is much happier, no more jumpiness.
just finish with change …capacitors 3 & 4…start some moving but not good…brand is Jackcon 1000uf and oder is some ST 6.8 uf 50v have no oder voltage…now will change 1 & 2