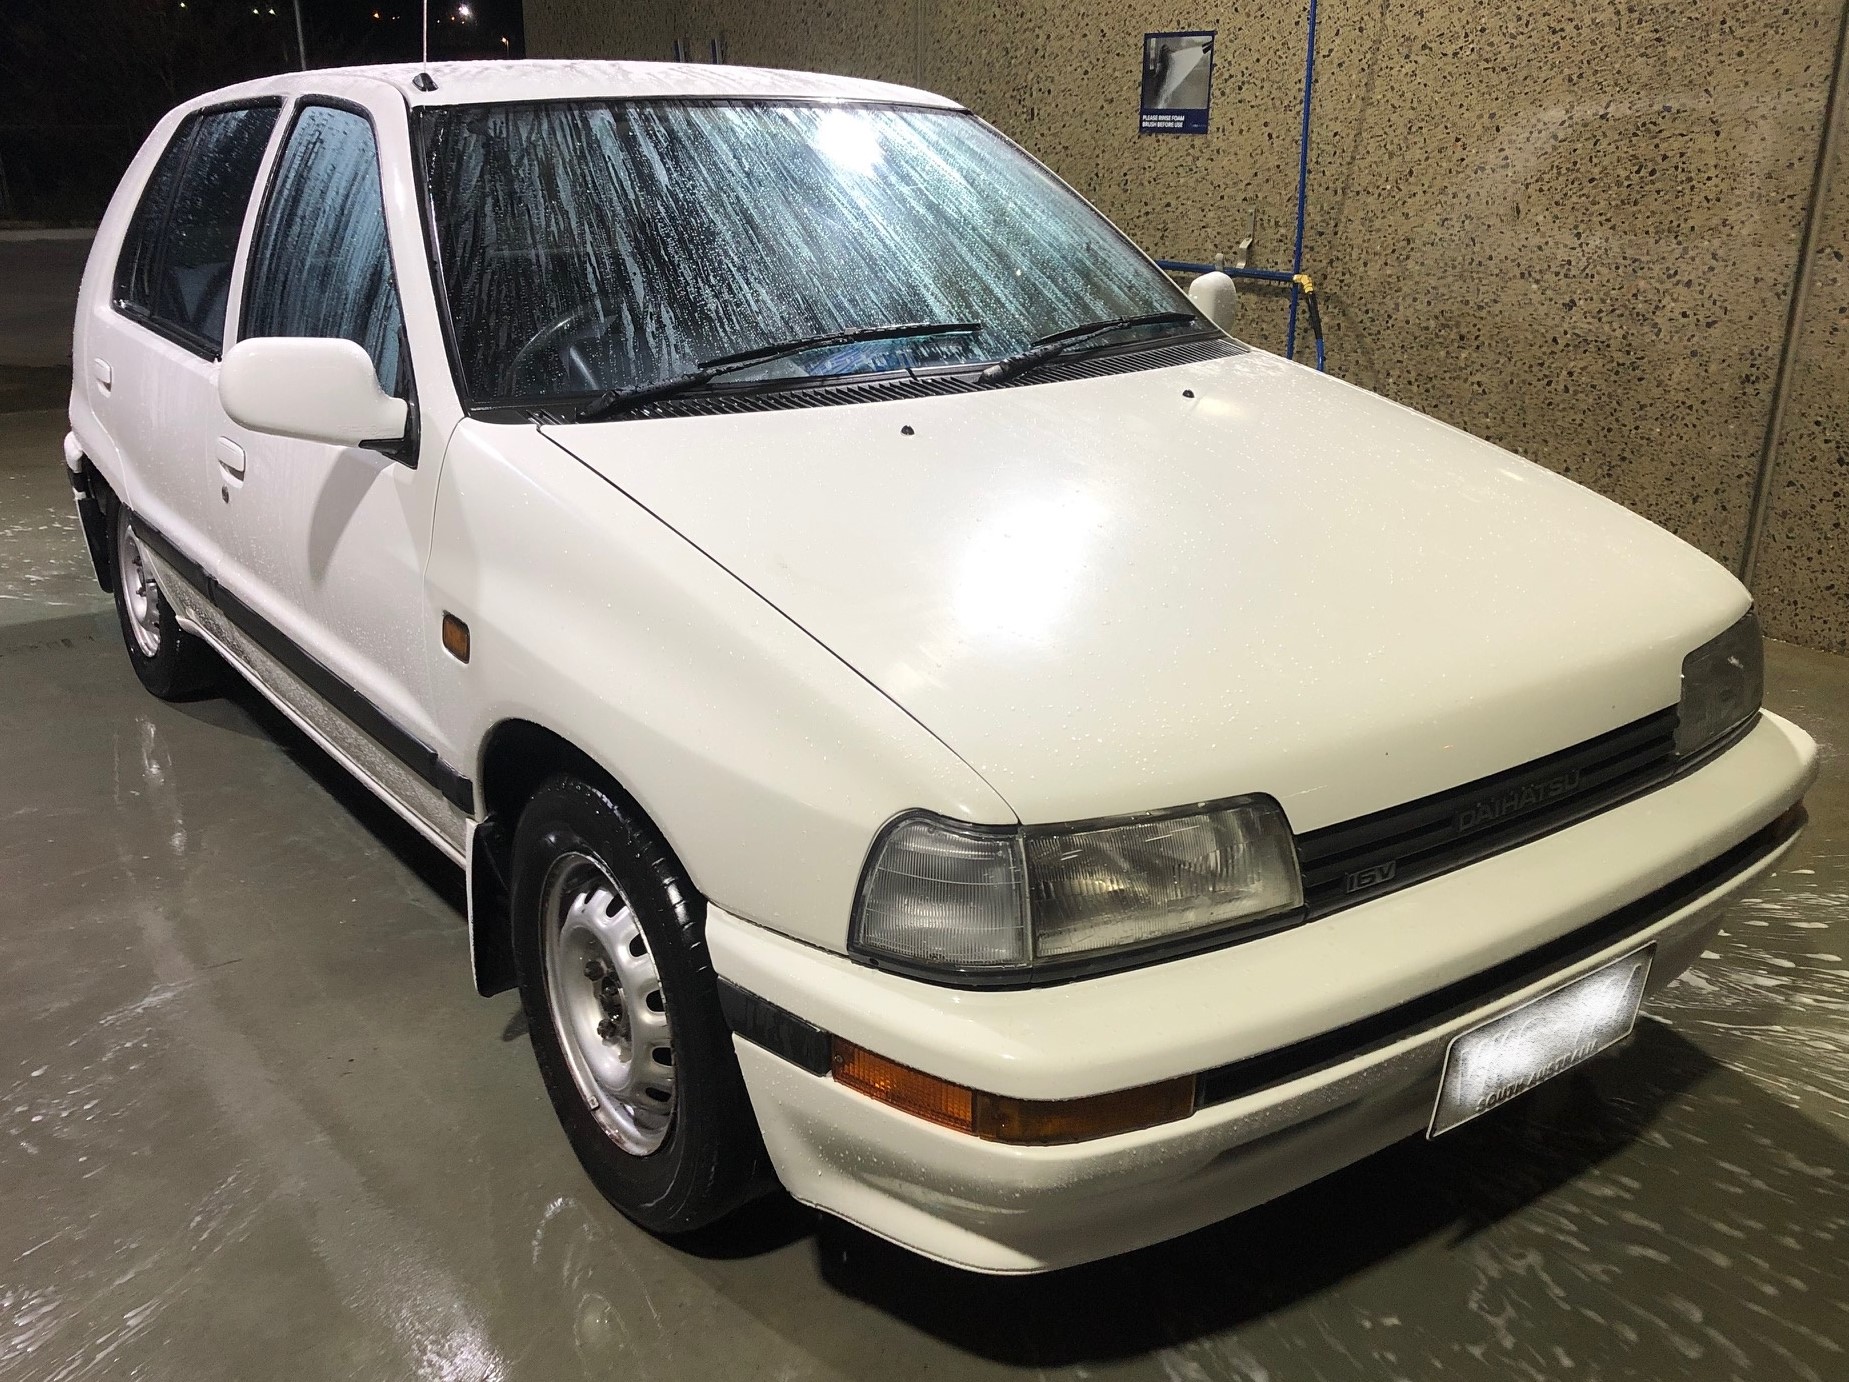
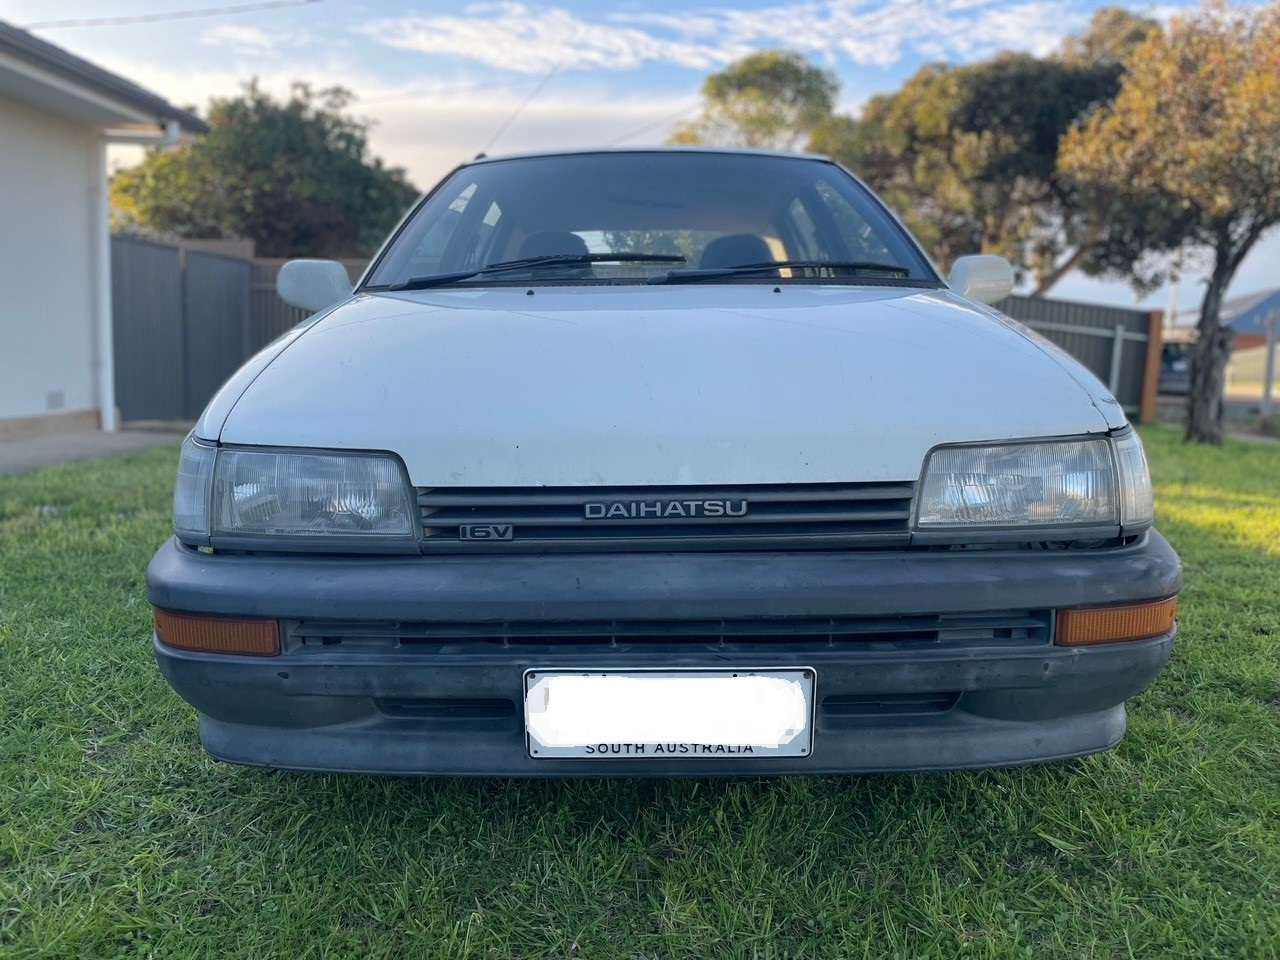
My new import HCE-E has arrived! I will be using this thread to post the builds progress. Plan is to do the prep work over the next few nights to the motor - removal of the old engine and replacement to commence this Tues/Wed. Super flipping excited. My mechanical experience has literally been that of one radiator replacement, and one timing belt - so this is new ground for me. Wish me luck Dai fans… shes beautiful
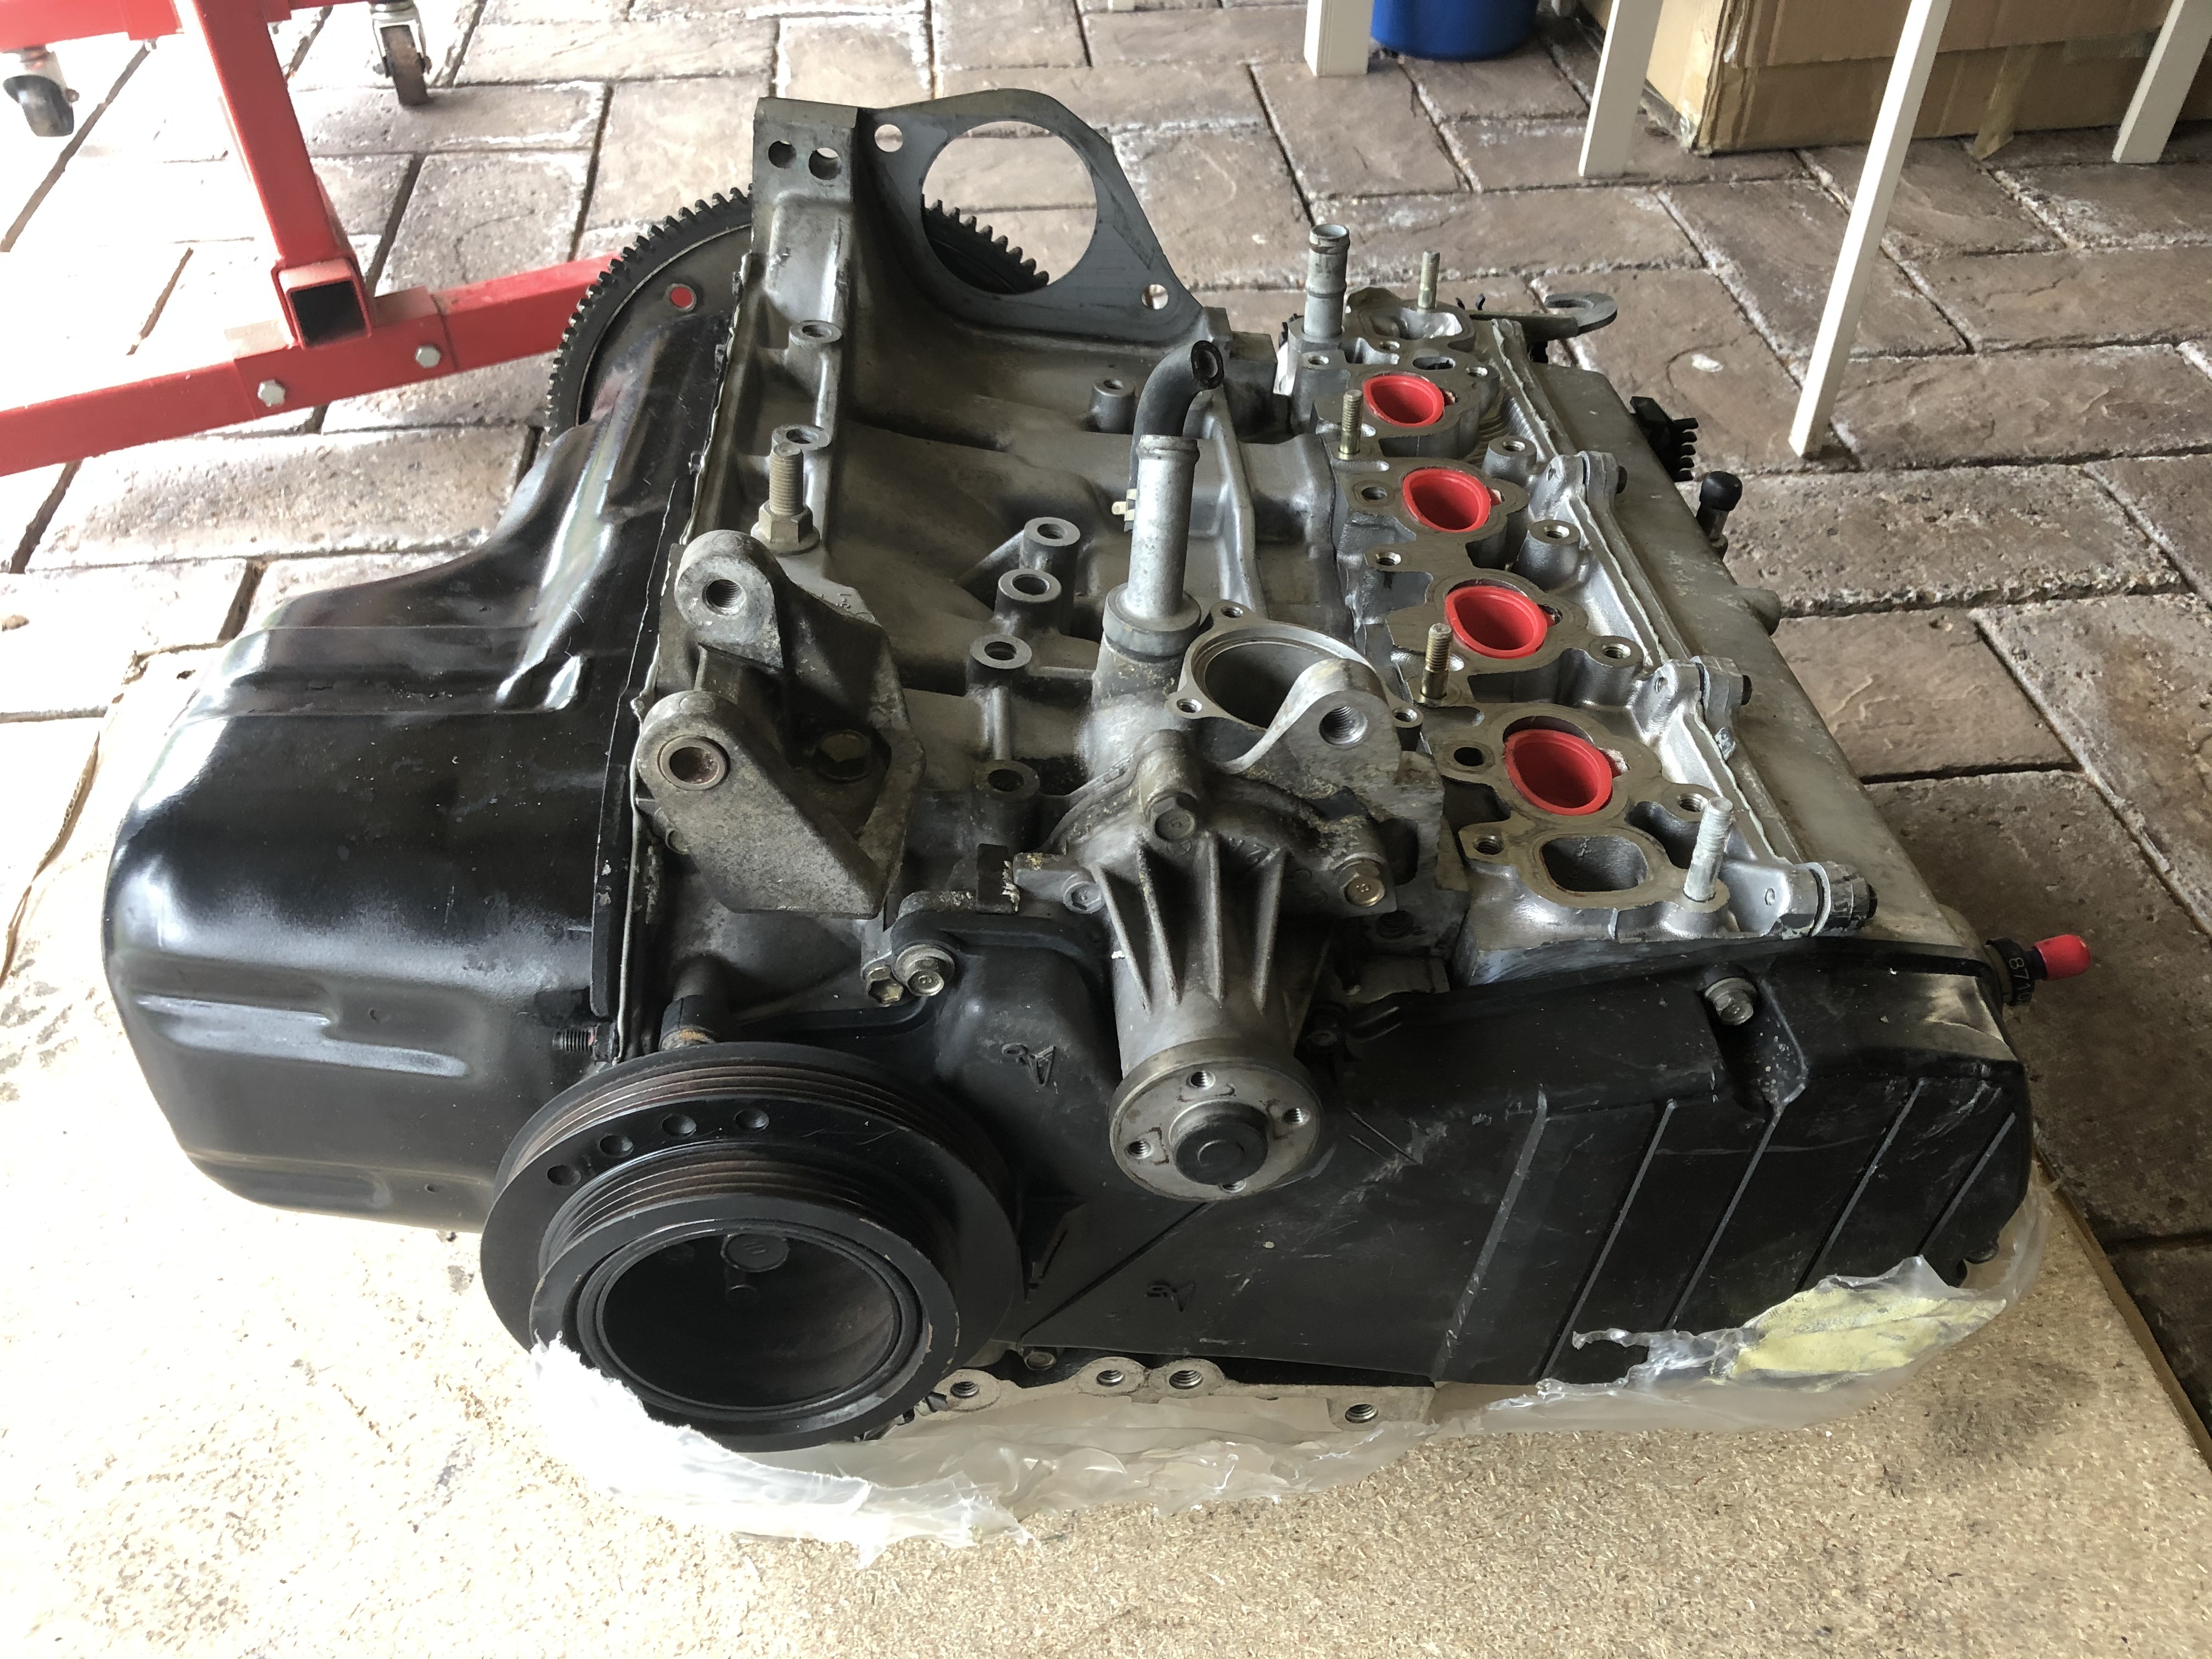
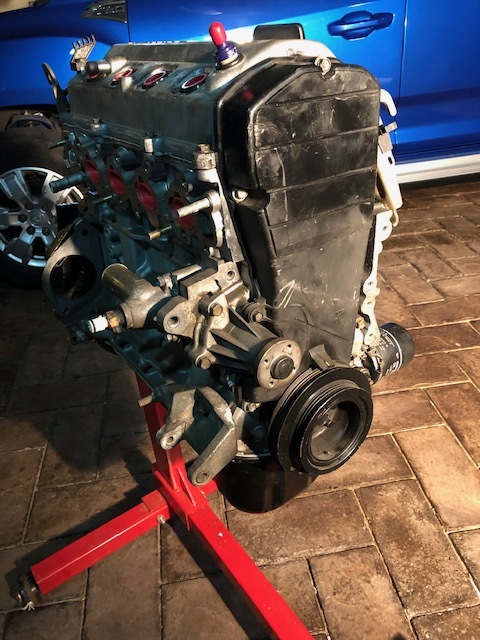
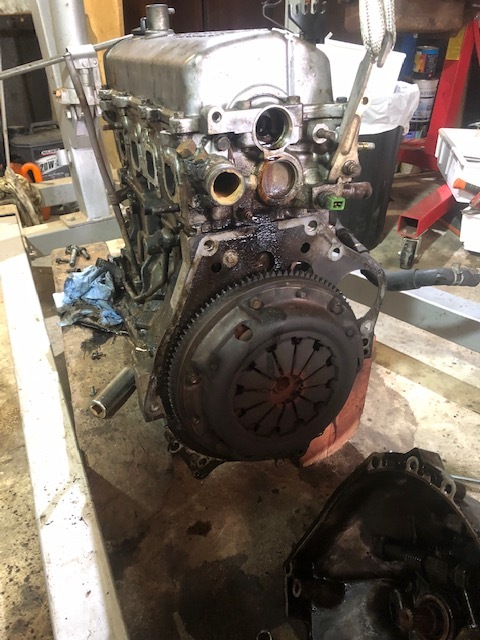
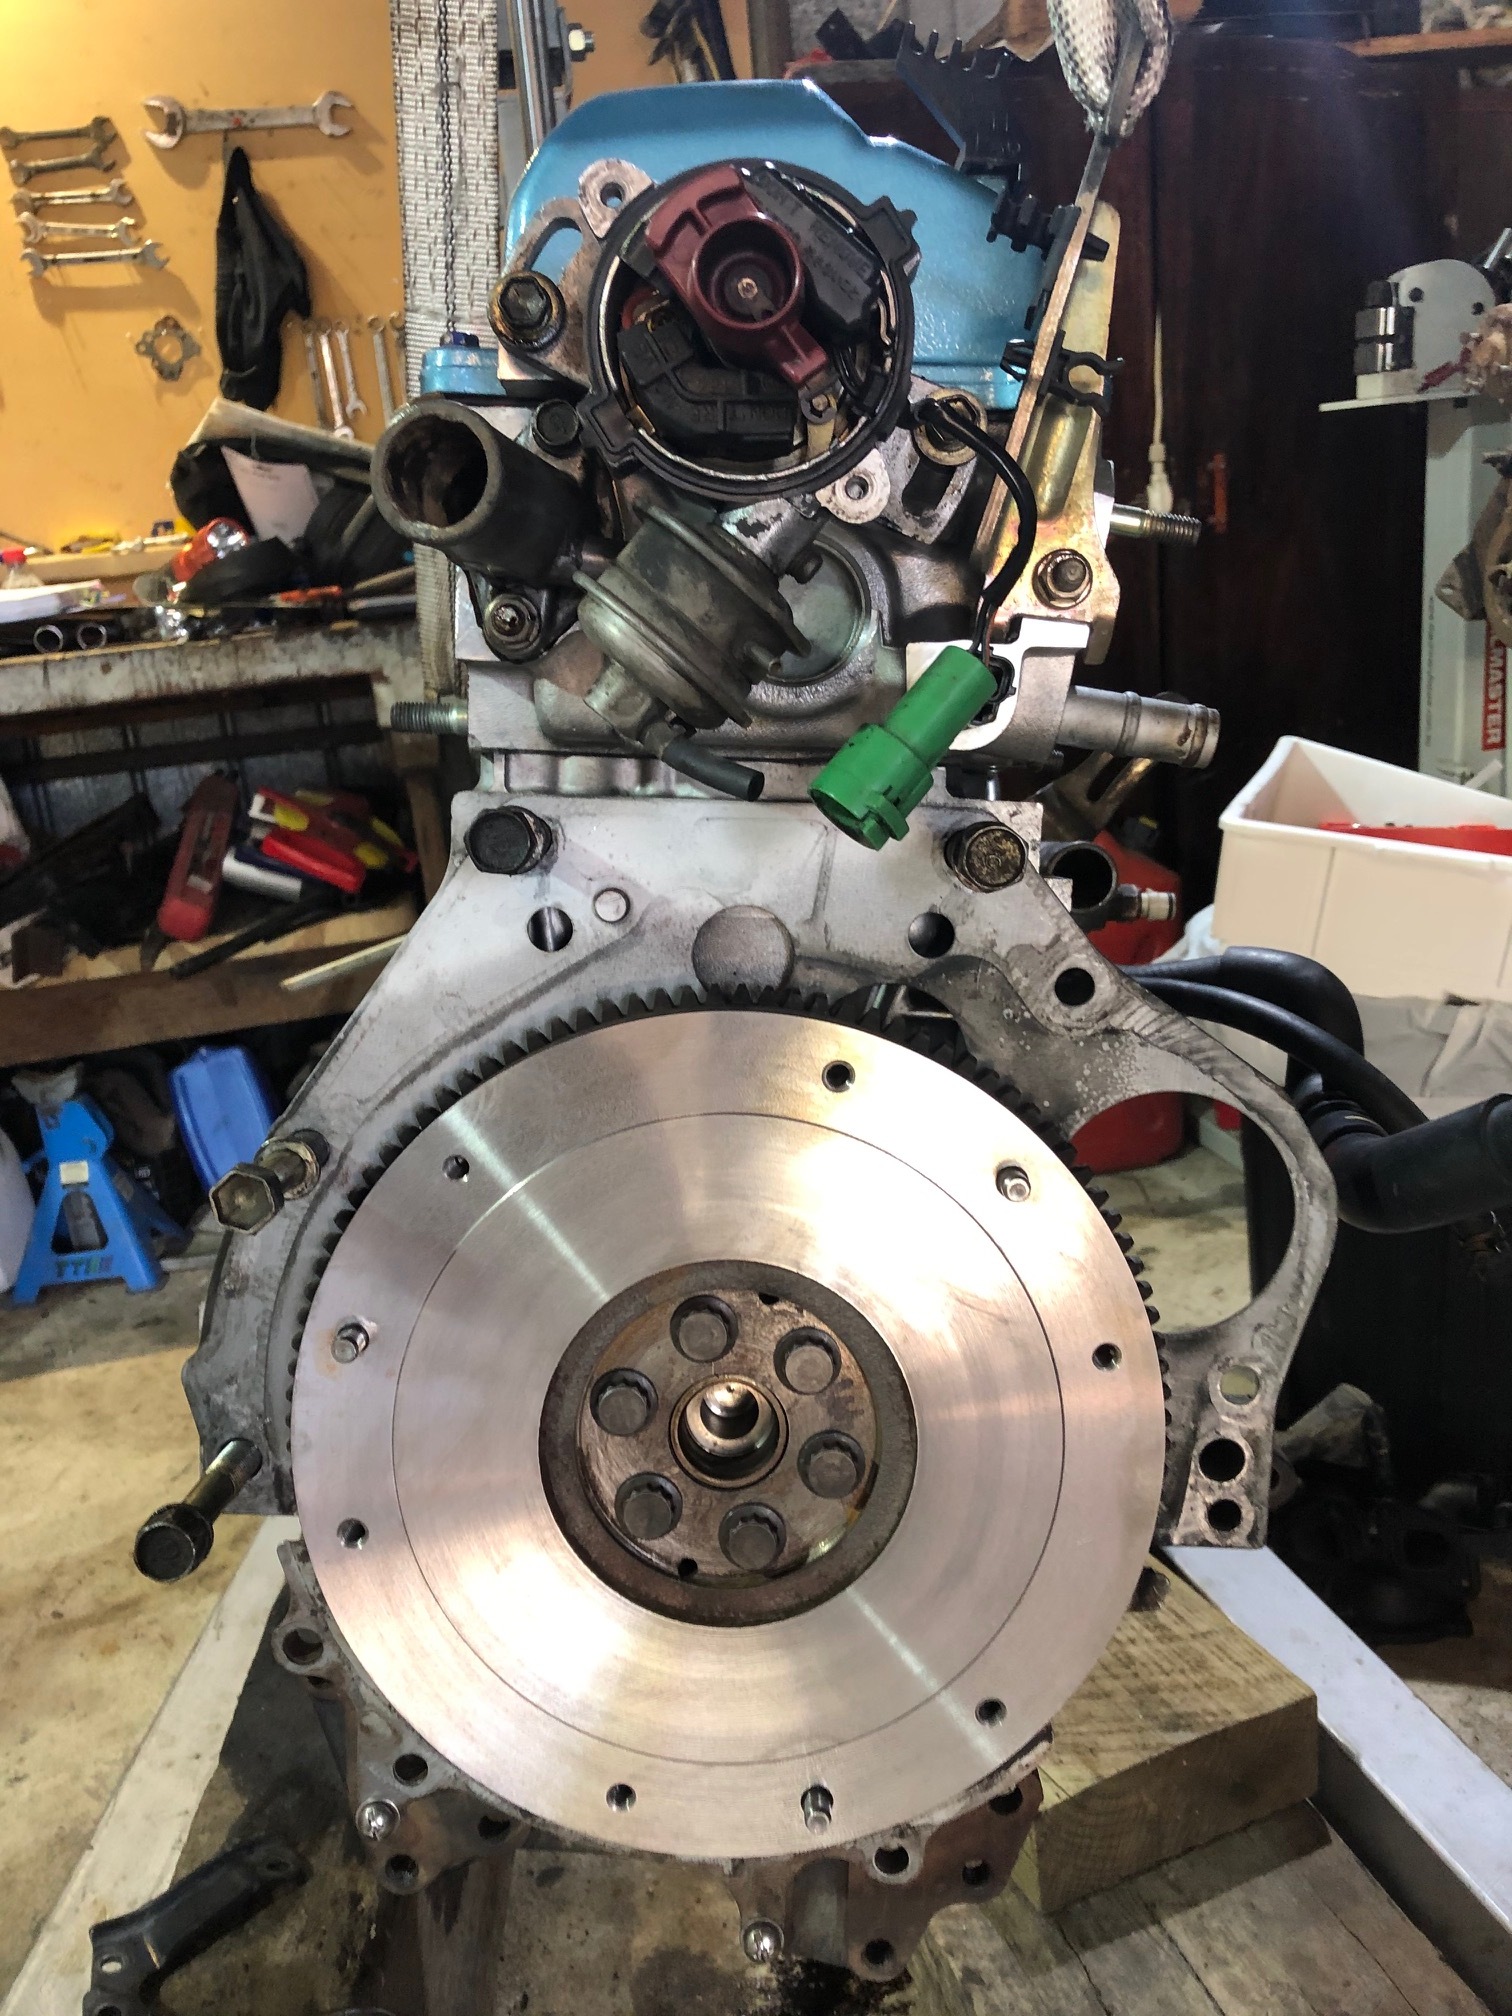
So got the Engine on the stand - and man am I happy. At first I thought this had been cleaned up so the outer looked good and I’d find the usual signs of high use and potential wear and tear
underneath, but hell - this thing is clean as!
Even had a factory DENSO Daihatsu oil filter!
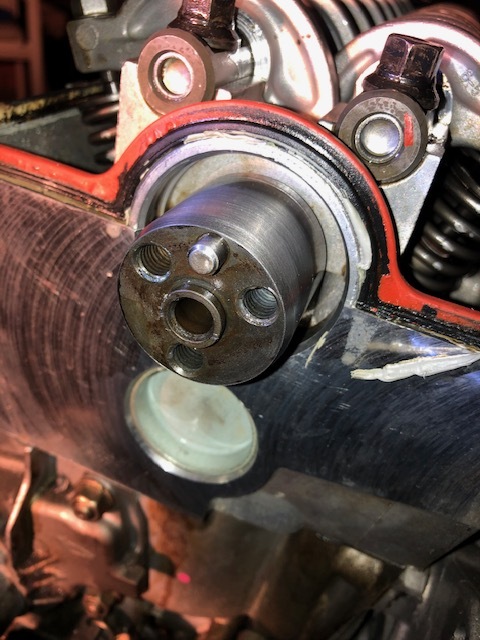
So as i took off the timing cover to begin the timing belt replacement - clean as a whistle! Replacing the belt felt like total overkill - but not worth the risk especially when you have access like this to just get it done !
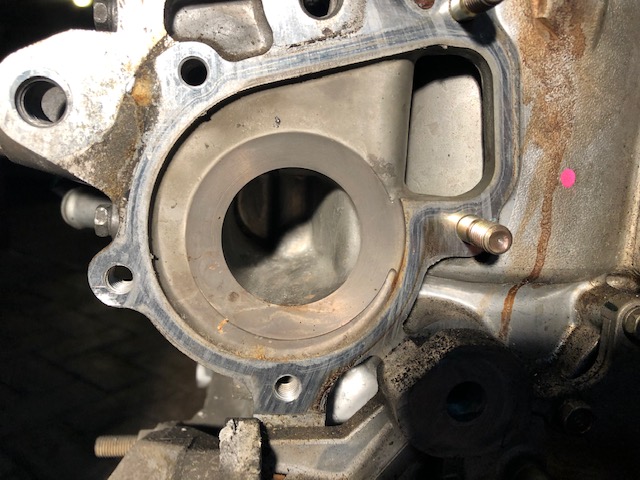
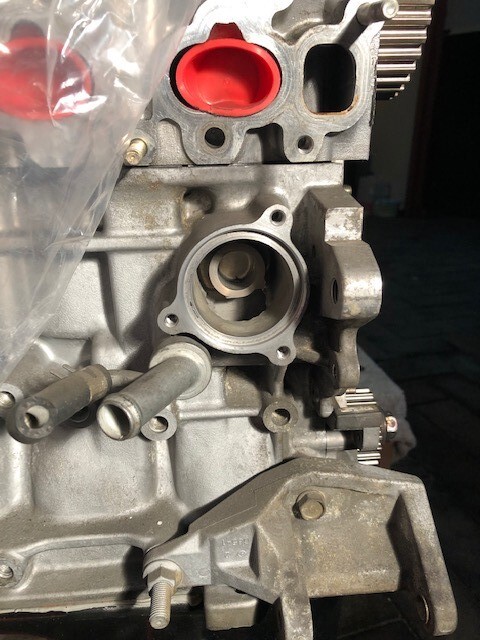
After hooking out the seals and replacing them - moved onto the water pump. It was also is great condition - now I have a spare.
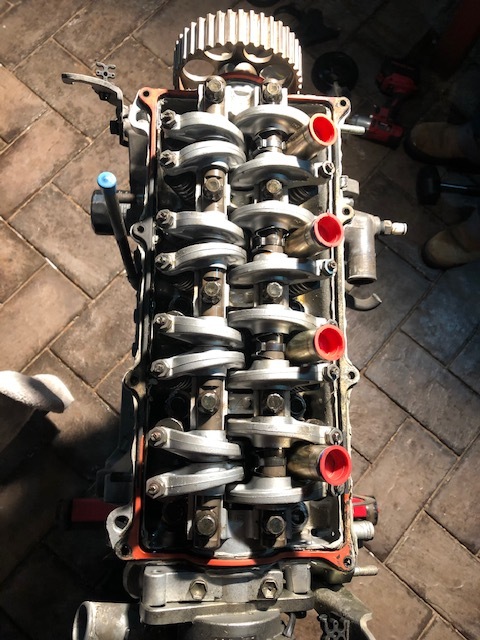
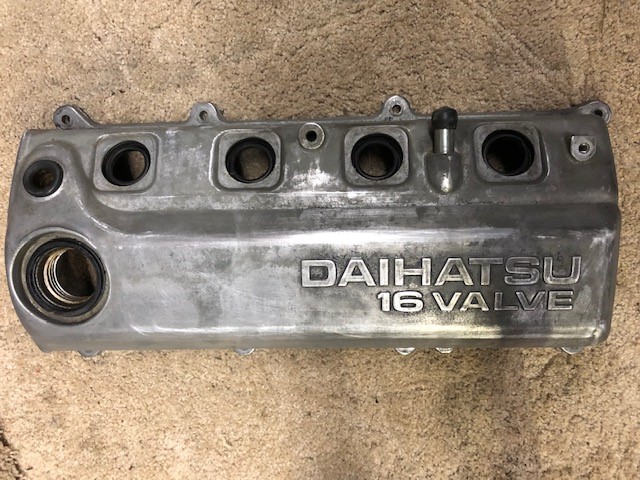
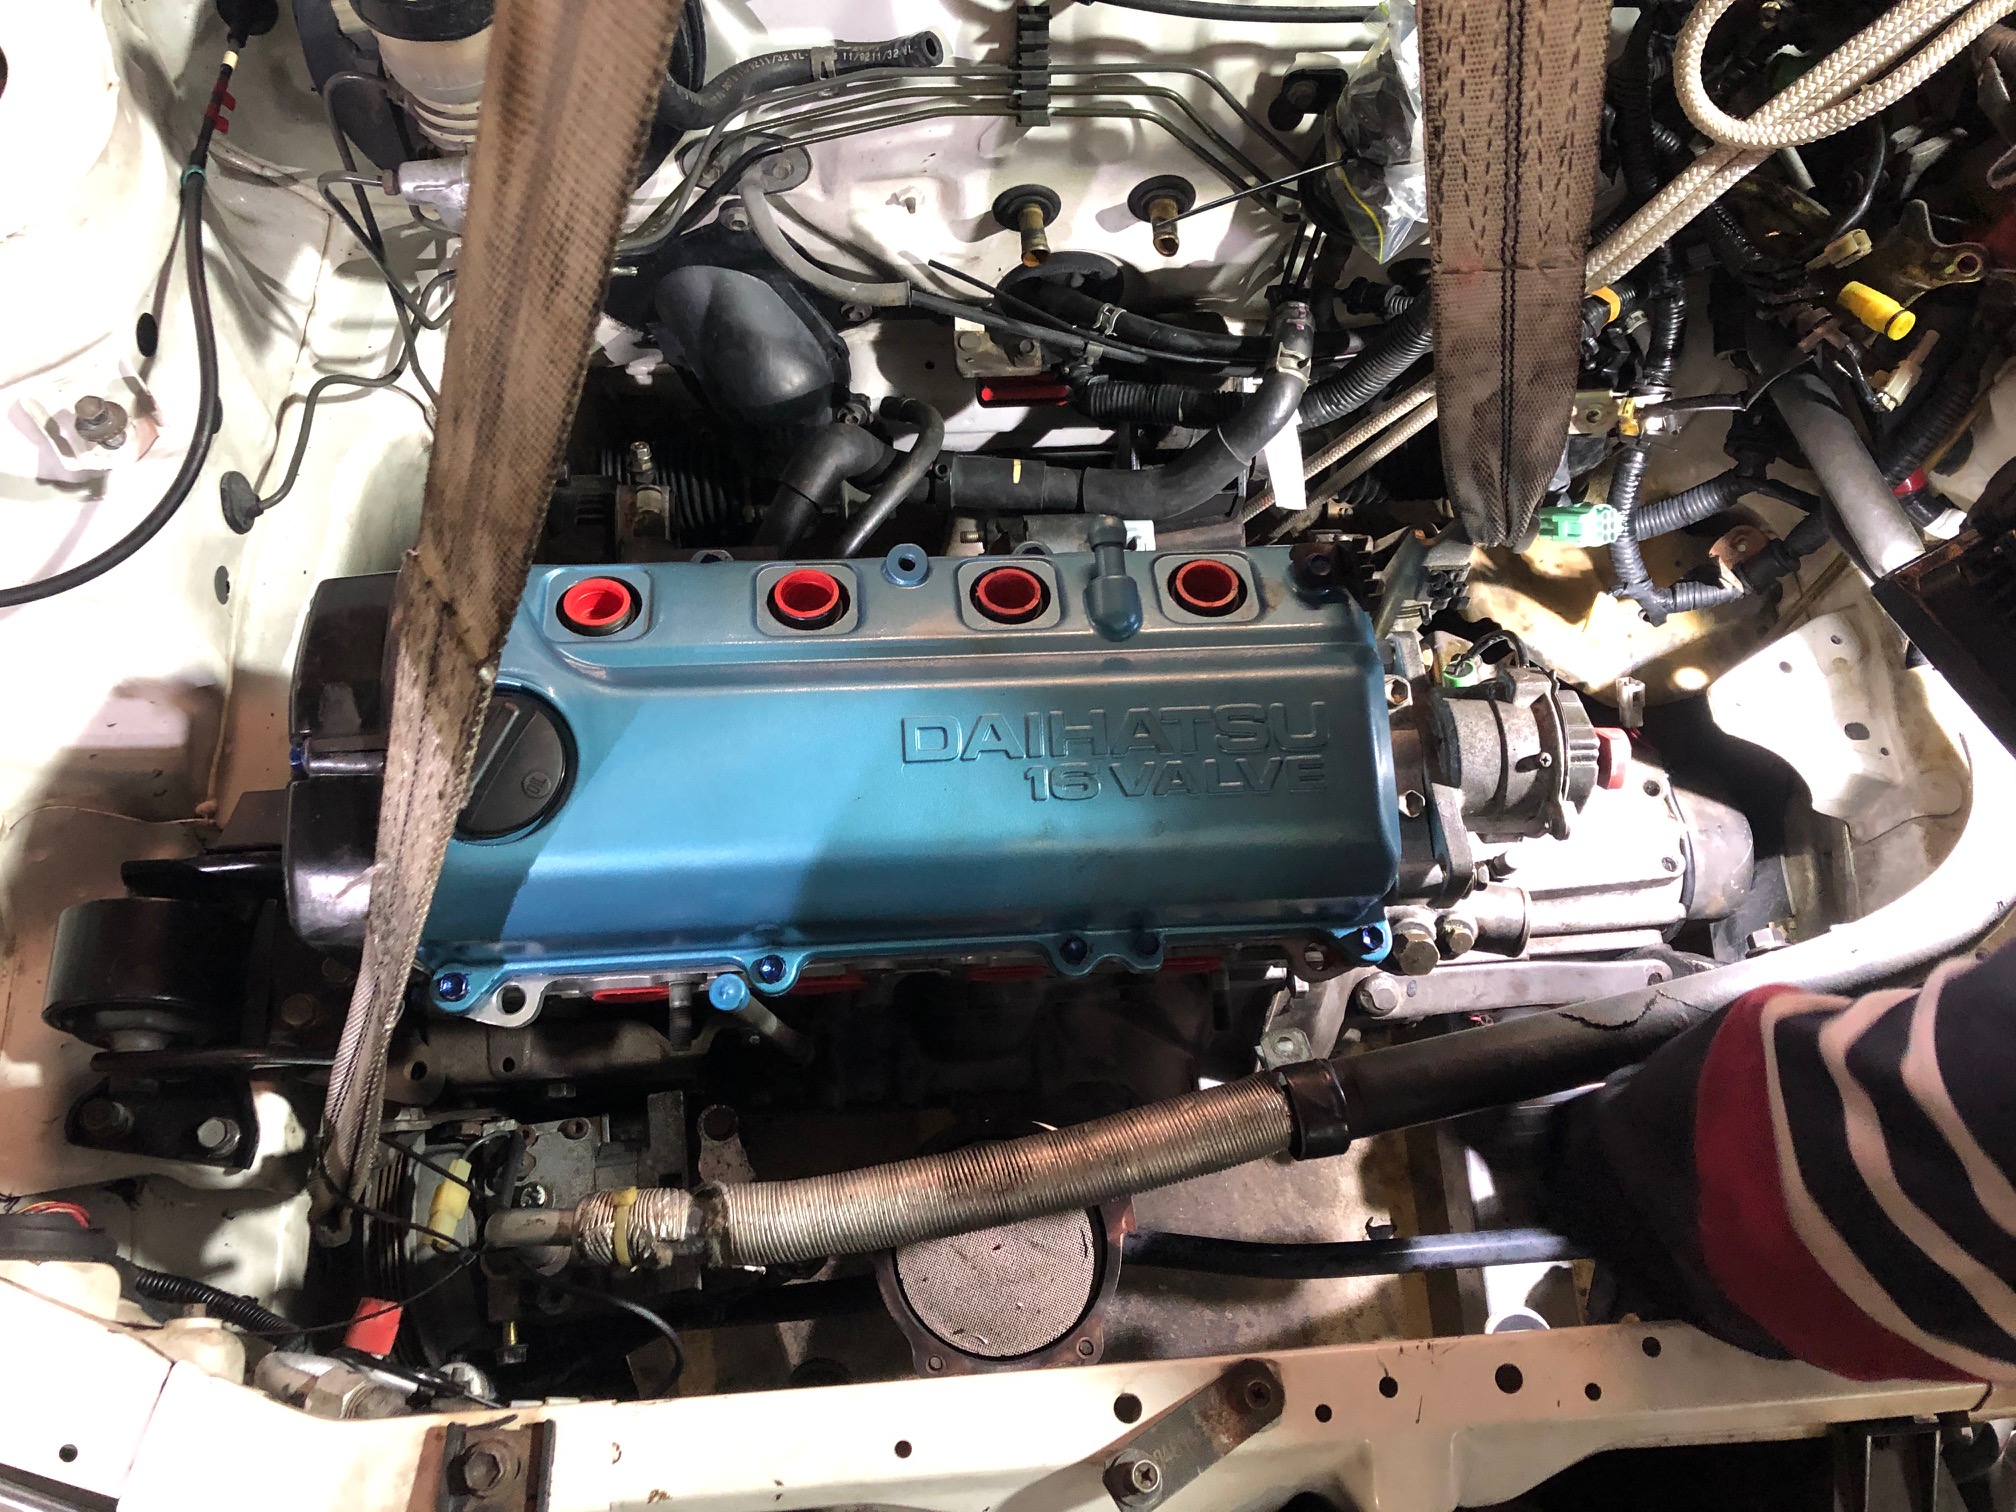
The view under the valve cover impressed me the most - the last timing belt I did, the internals of the head did not look like this! and the valve cover itself looked as if someone had a bonfire under there - took me forever to clean up last time. This time its going to take me about 30 secs.
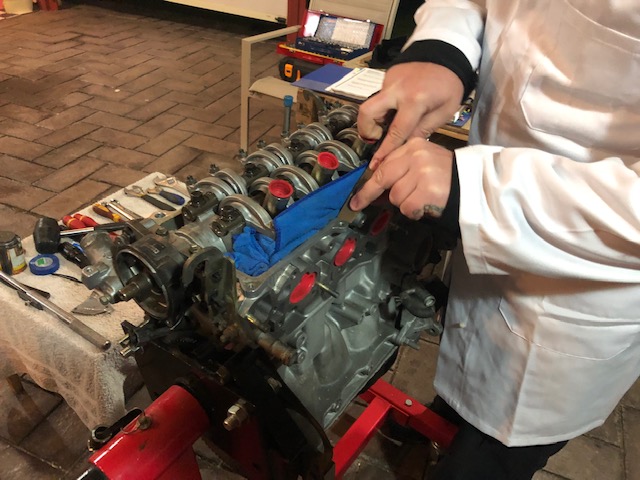
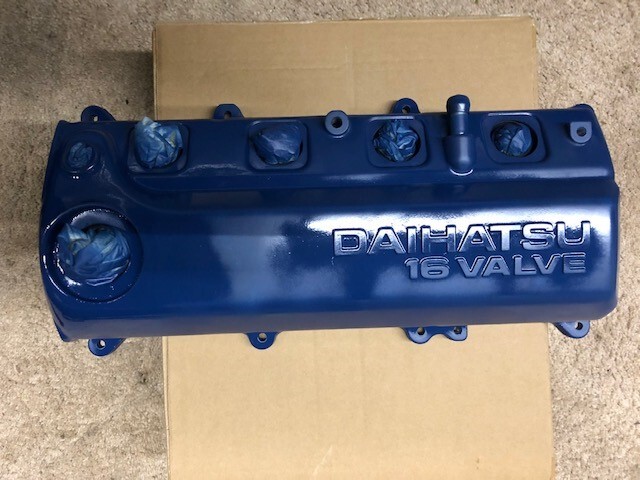
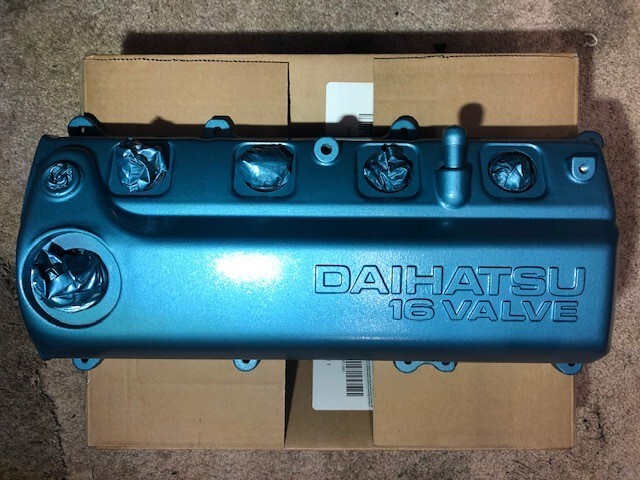
Tonight will be installing the new timing belt and parts, paint the valve cover, replace the rocker gasket, change the oil filter and might muck around with the A/C condenser.
Tomorrow I order my extractors!!!
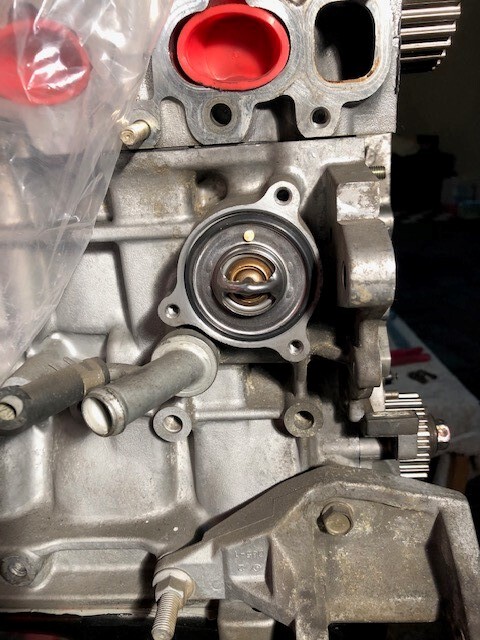
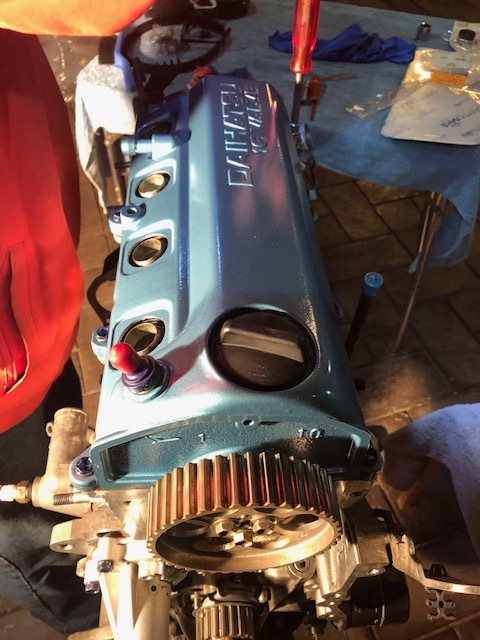
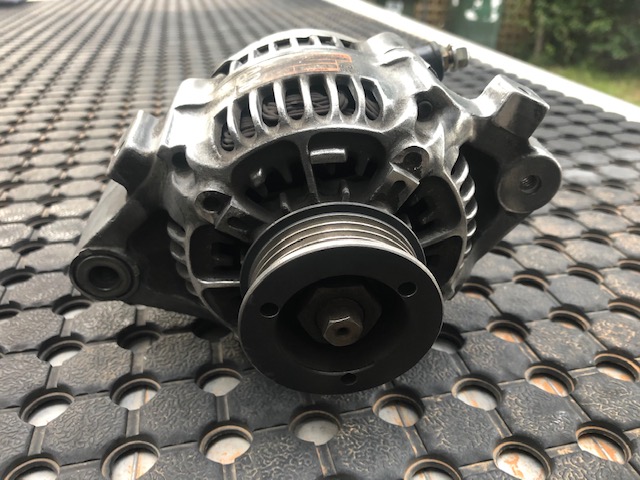
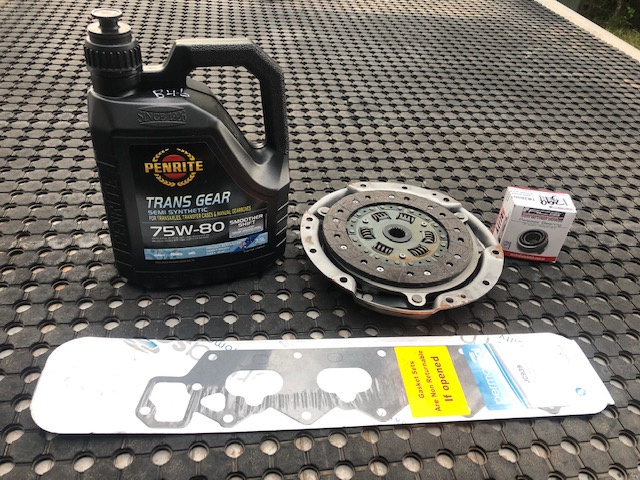
Well bailed out on extractors (for now) as I did not want to commit to something that may have meant I possibly wouldn’t finish in the time frame so leaving the exhaust for another day, and another thread! Timing belt done, water pump replaced, new thermo and thermo housing, cleaned up and painted the starter motor, painted the rocker cover. The new 1.3 is basically ready to go.
Did a couple of time lapse vids of the engine removal but not that good - plus phone was dying.
Will post if anyone is interested.
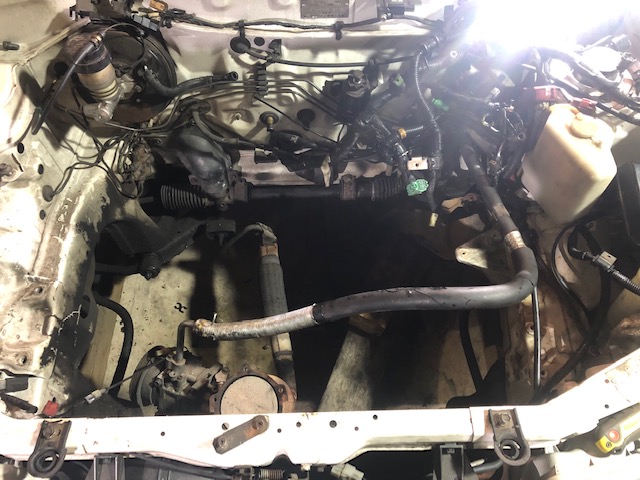
Engine out now.
Tomorrow will be:
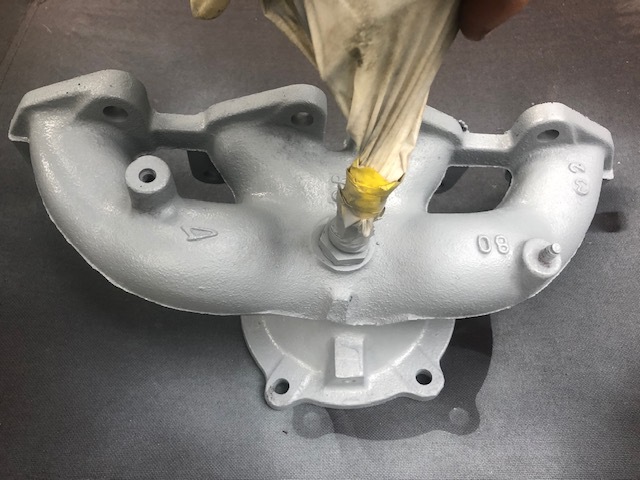
cleaning engine bay, sway bar, bonnet and anything else I can while I have the access. painting the exhaust manifold. Replacing broken CV boot. Install and test new engine.
Sorry if this is a bit of a bore to the more seasoned members - probably all basic stuff to most, but I get a lot of ideas, help and feedback from this forum so keen to share the love!
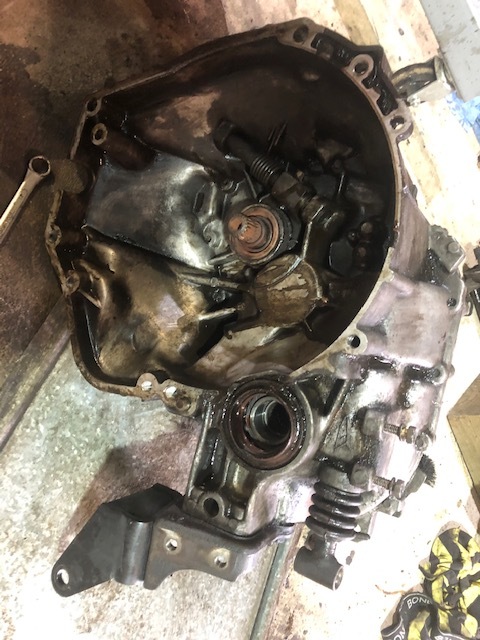
Well you can plan things - but sometimes things don’t go to plan.
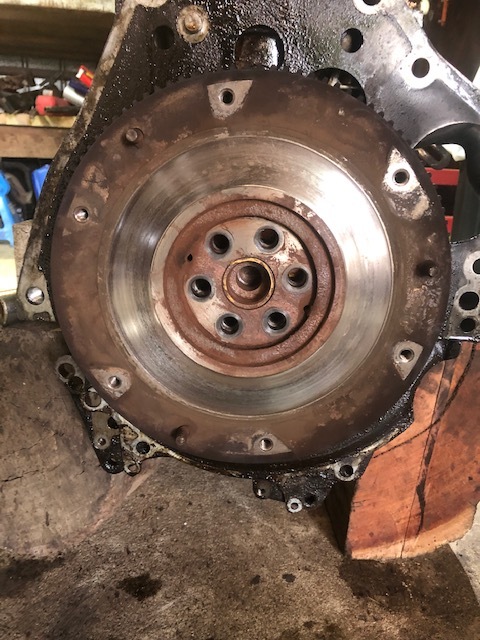
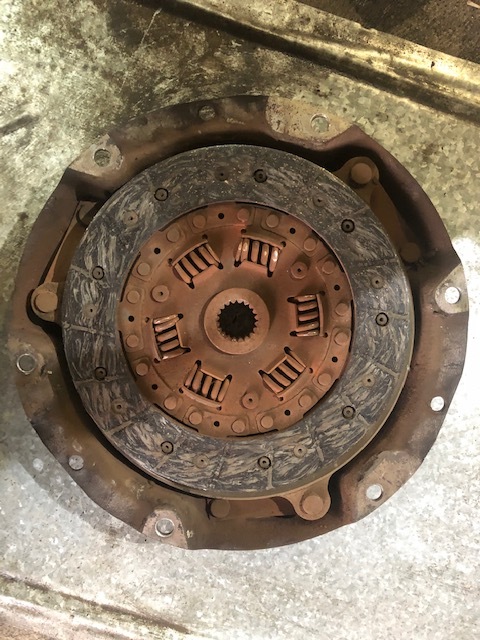
Once I got the trans apart - it was apparent the clutch was toast and the fly wheel needed machining, not to mention it was FULL of oil
Not the end of the world, but meant getting the engine back together and in the car was out the window!
Didn’t get to the CV yet - found a whole shaft for $150 so will pick it up and replace while its disassembled. Going to wrap my busted one in plastic and buy another boot, and refurbish to put away for a rainy day.
Had to swap all the brackets for the A/C condenser and engine mounts over as slightly different on this new engine I picked up - but gave me a good chance to clean them up nice and get all the oil of them.
All going well - install will happening this coming Monday or Tuesday - depending on my 9-5.
Hoping I can get a few helpful pointers and I’ll post over in Q&A.
I thought I was doing a good job of labeling the spider web of hoses as I removed them, but upon reflection I have done a shit job and it will now probably be the hardest part of the install! lol
Managed to get in out and in while keeping the A/C all intact so didn’t loose the gas, but did make maneuvering a little more difficult in an already confined space.
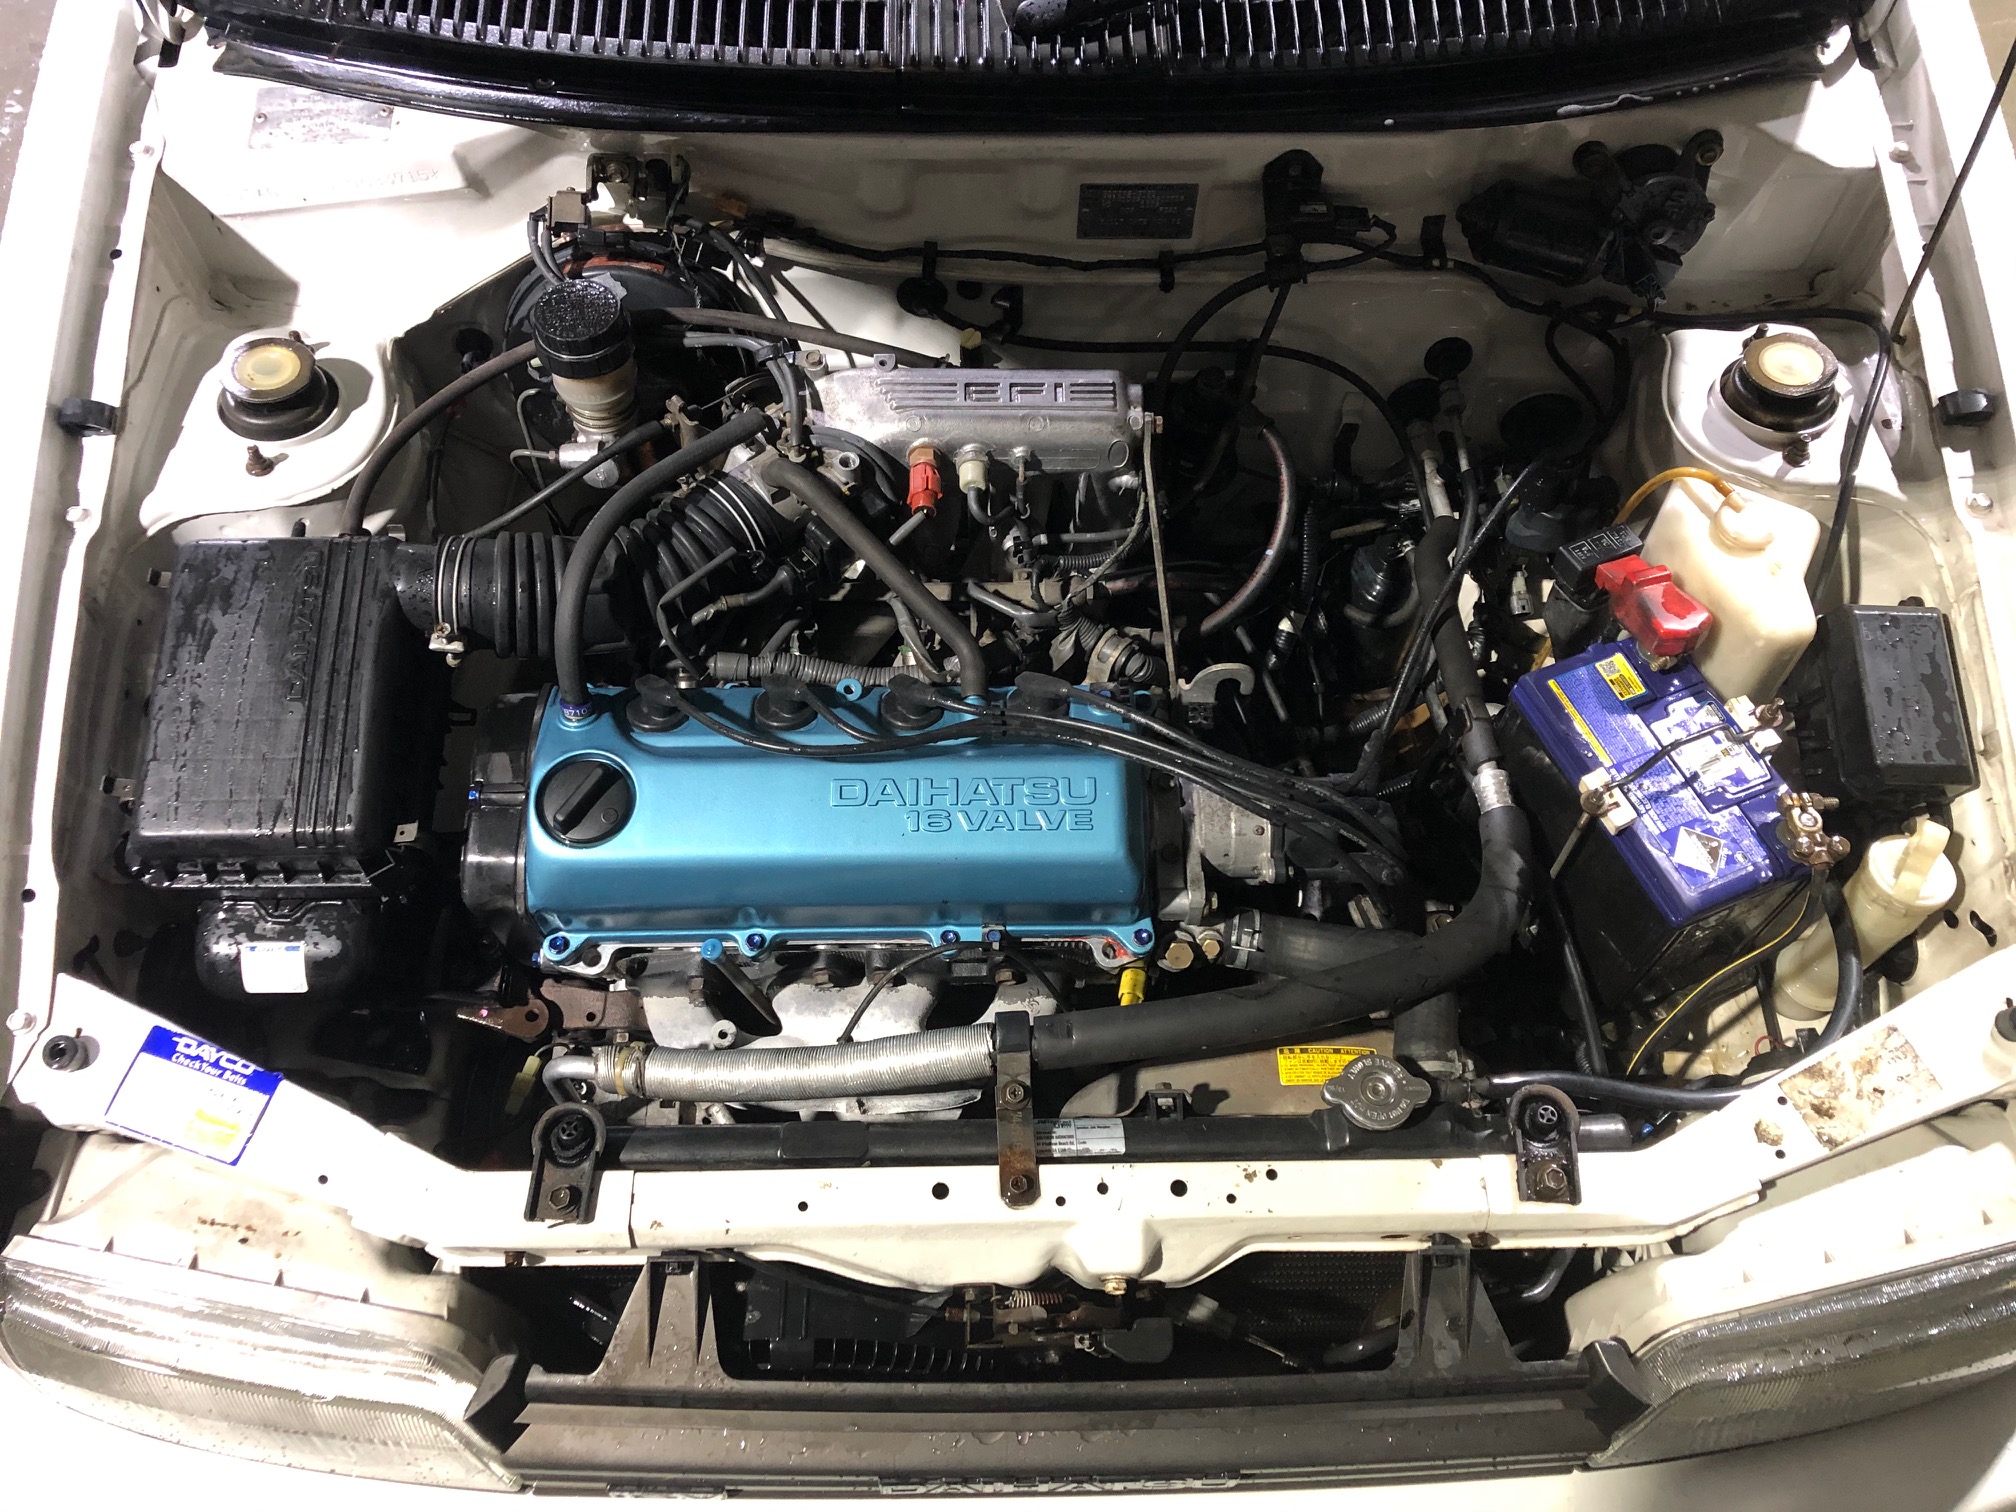
Another trip to you pull it as I didn’t label things as well as I should and had to trace and connect all the hoses back. One of the sensors in the block had a different connect than the loom so got one of them out of the old G100 at lonsdale that matched. The one in my old block was fused in for life.
After a but of mucking around got it all started and when for a slow test drive - not too bad first up. Some adjustments to do (once I learn how) to get it running primo. I had painted the exhaust manifold black with engine enamel but it literally all burnt off. Scared the shit out of me as I though the car was fucked - but just the paint smoking as it burnt off! Phew. Pretty annoying though.On initial start it idles a little low and you need to give it a tiny squirt to get the idle to kick in then it goes ok. Off to the car wash to get the layer of grease and dirt off her and back to some sort of clean!
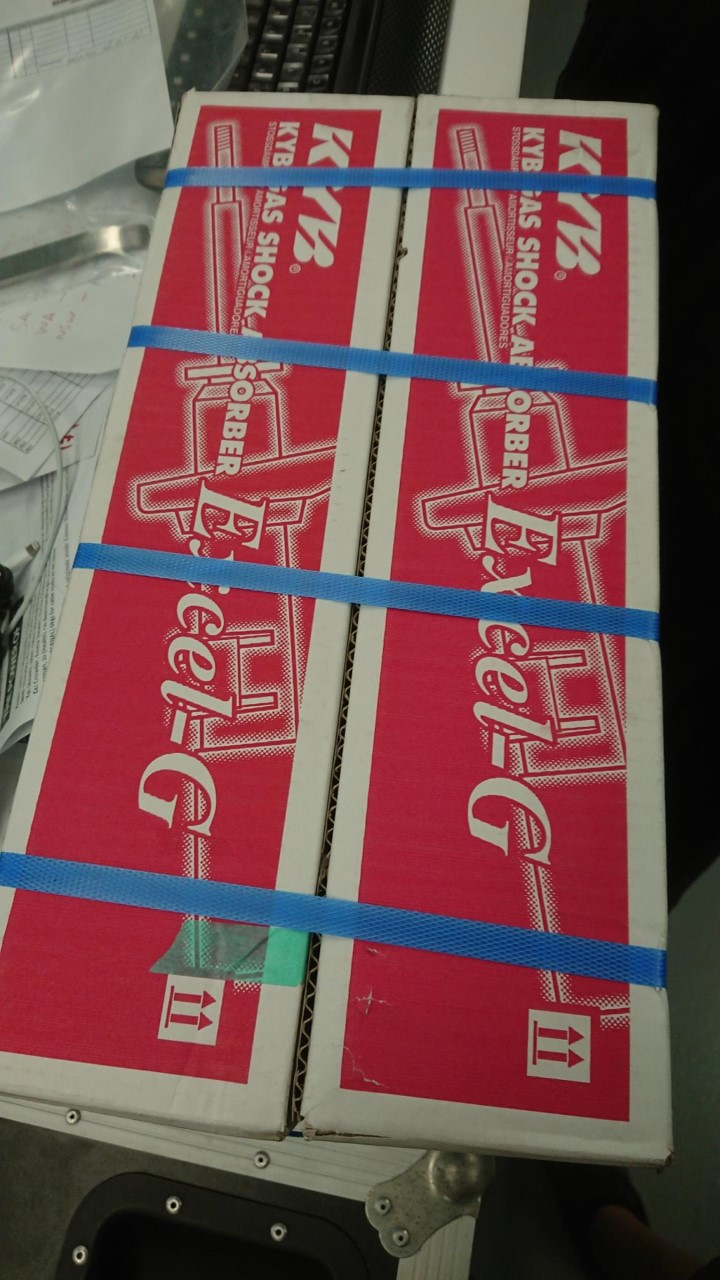
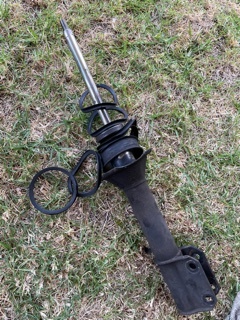
The old shocks were so fucked it was not funny. Could actually see a mark where the spring was hitting the body work…
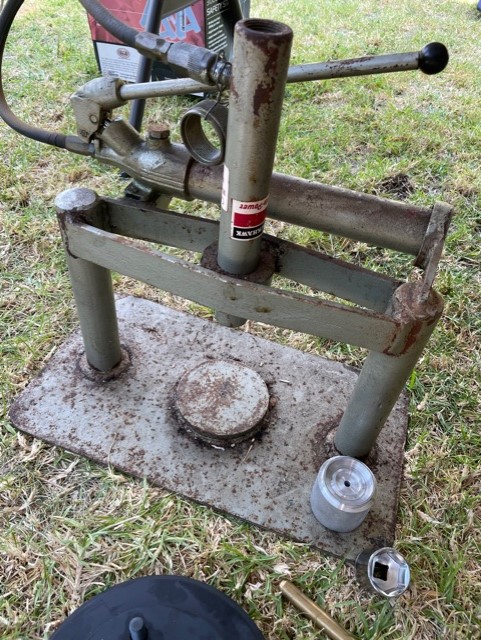
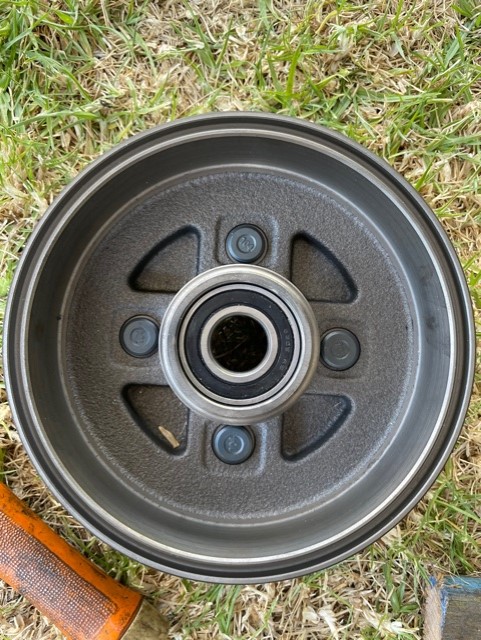
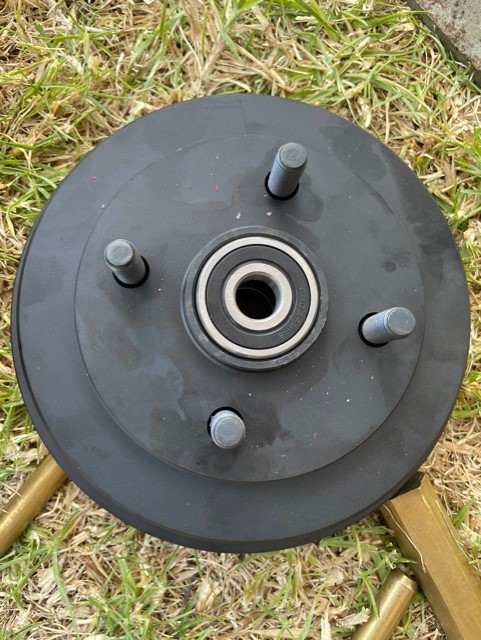
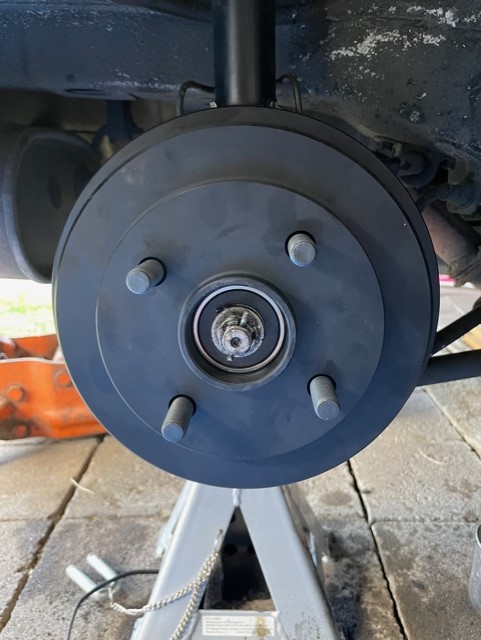
Then time for new bearings into the hub - luckily my old man had an old press lying about, and a lathe so we could machine up a couple of bearing presses for each size 6303 and forgot the other bearing now
So i knew the clunks would stop and it may be a little more comfortable but fuck, not being a car guy I had no idea how much this improved the handling of the car. What an idiot I am. Shouldn’t of been such a lazy shit and done this AGES ago.
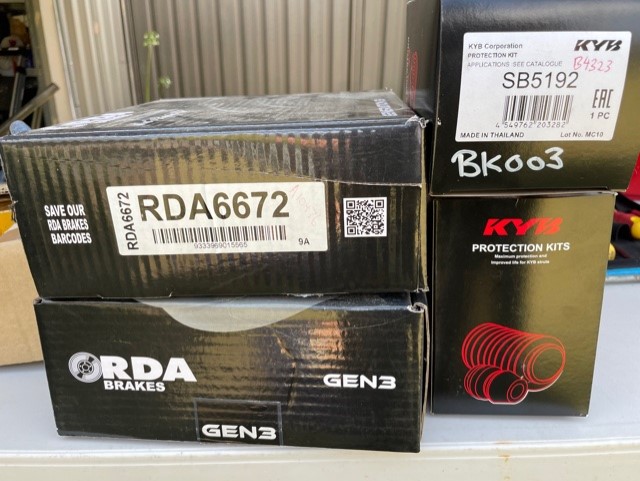
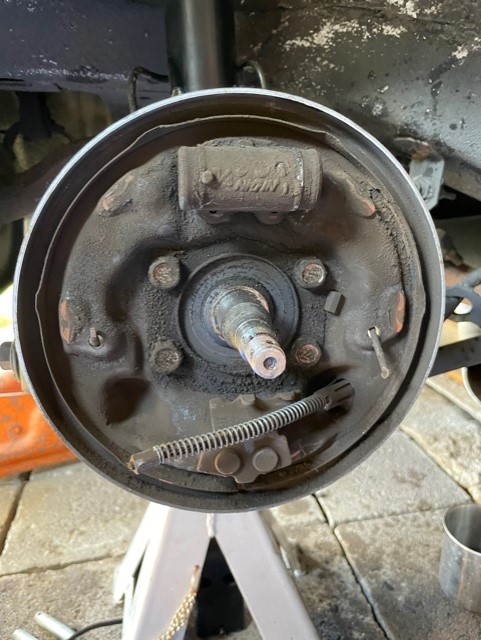
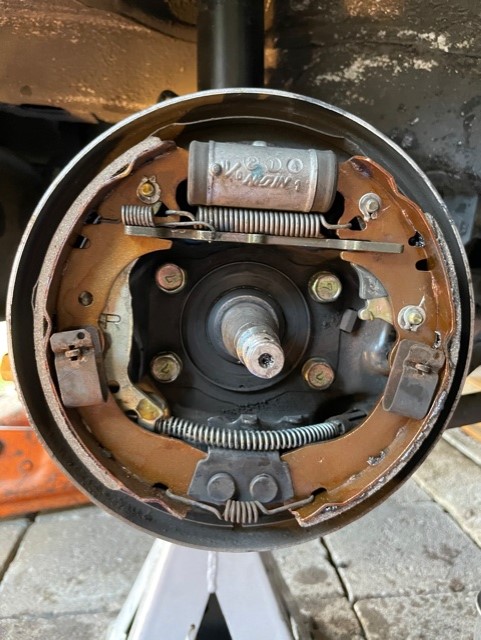
Now I just got to get the brakes and front shocks done and this things pretty good to go!
Prob just have to add some cancer removal for my next to do while I keep dreaming about extractors and exhaust haha
And speaker upgrades - man those dash speaker suck hard - but determined to keep the original head unit at all cost
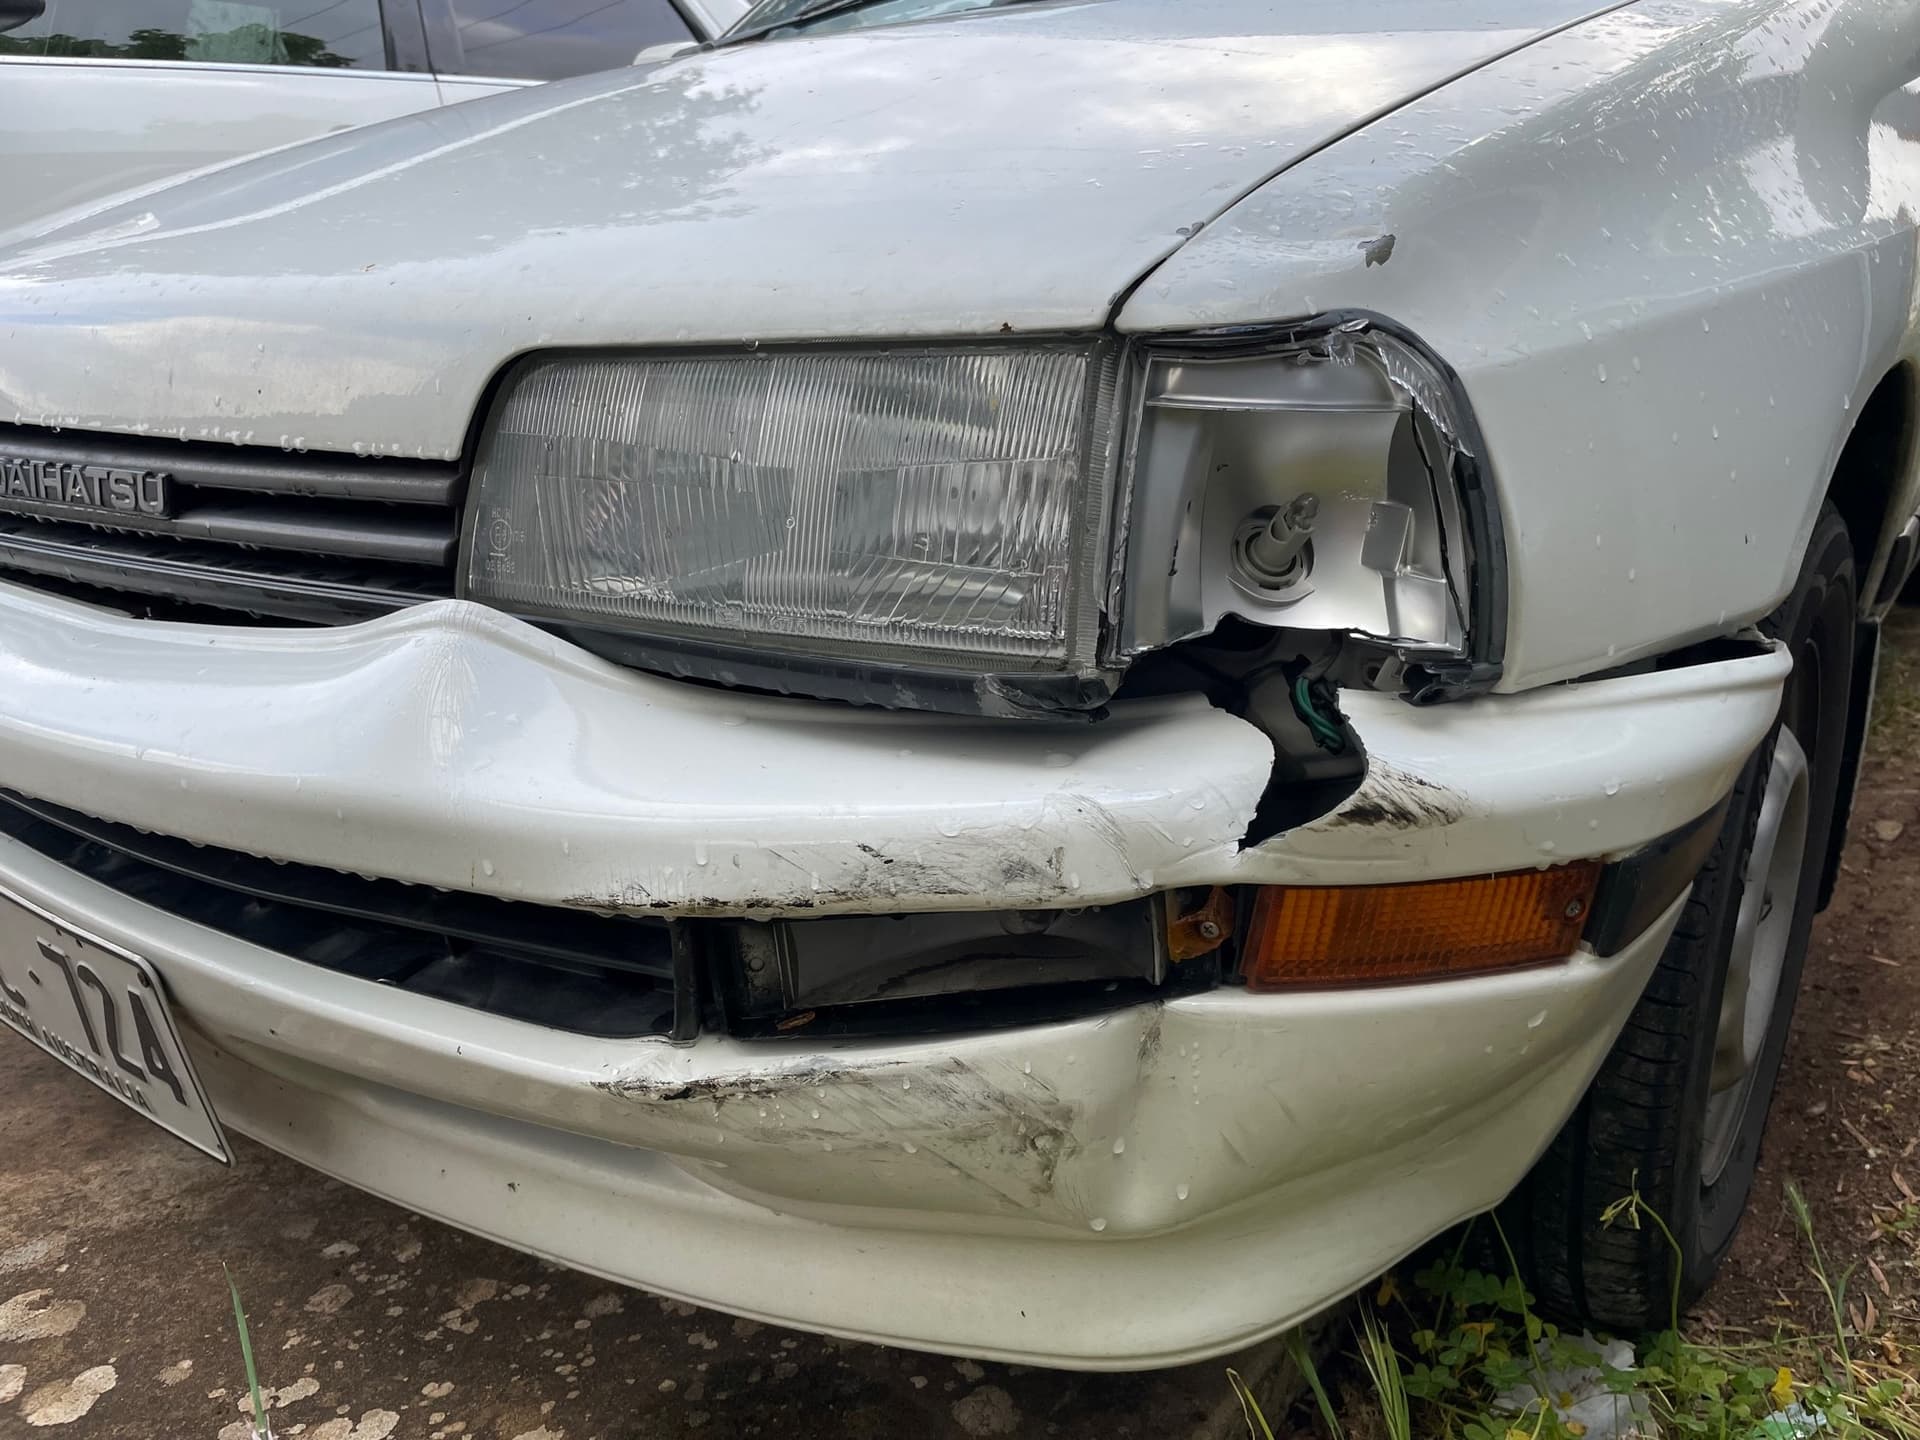
So driving home, two streets away, and some creep in a camry is veering all over the road. He pulls to the left gutter and stop (no indicator) i move into the middle of the road, and go to roll past him thinking he’s a lost uber driver…
Then.
thanks mate. yeah pretty much hit his rear drivers side wheel. no indication and just popped a u turn just before I got up next to him. could of been heaps worse