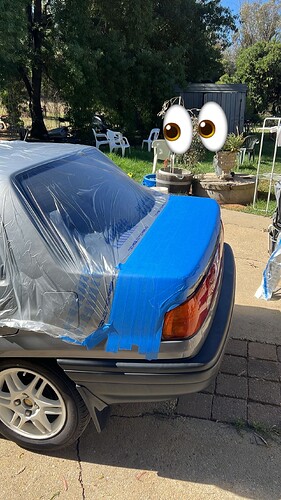
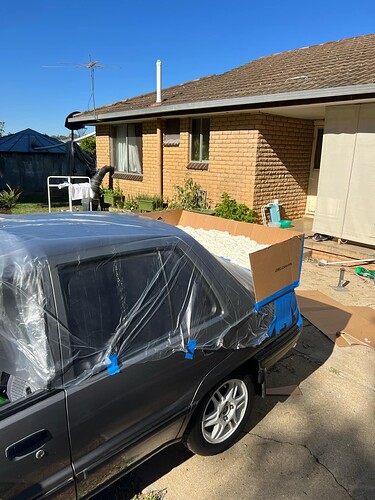
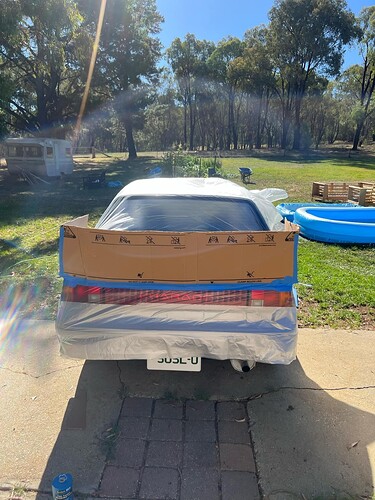
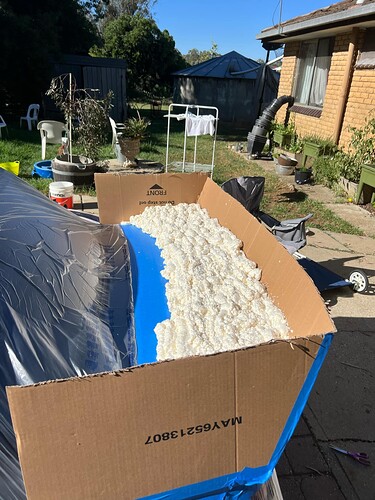
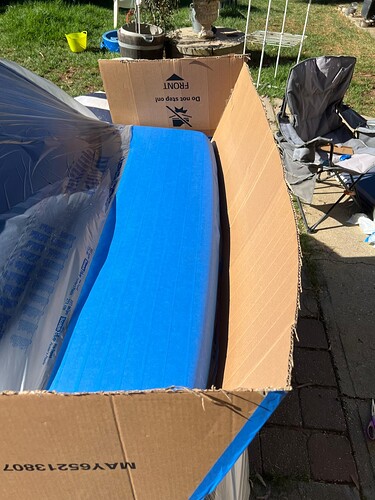
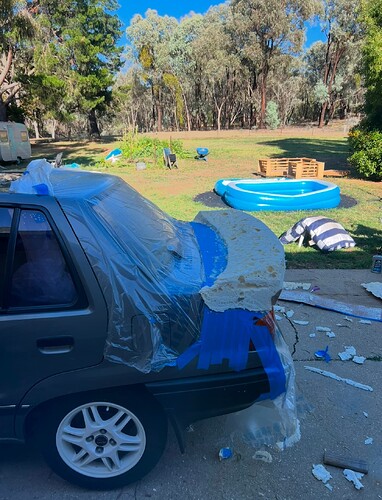
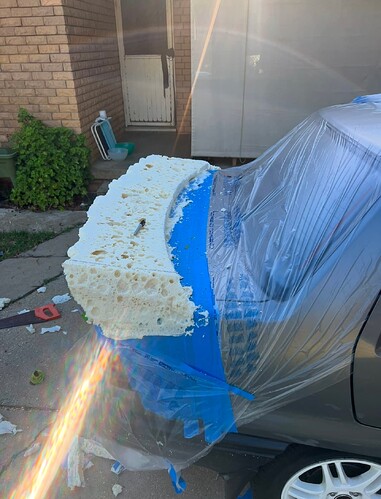
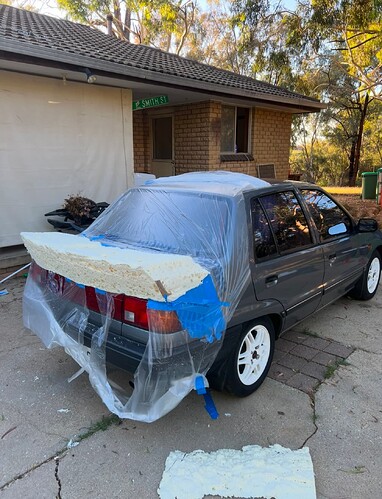
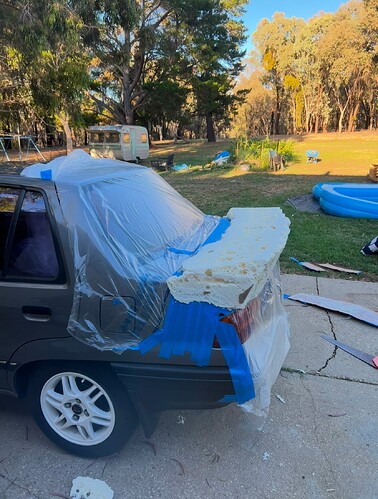
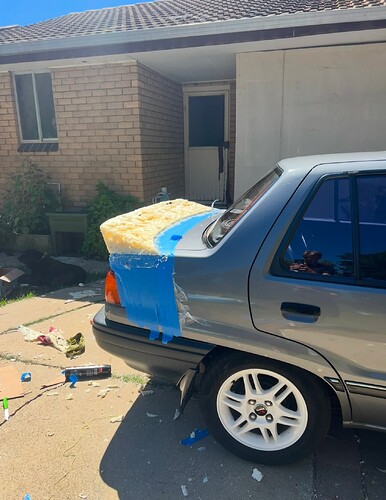
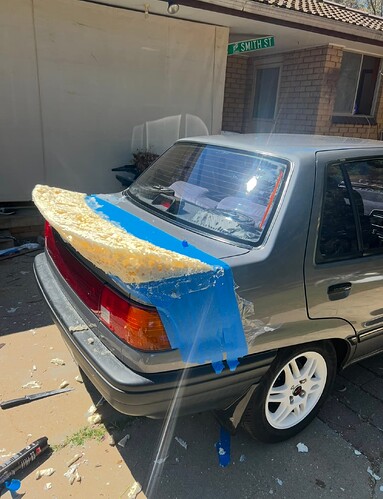
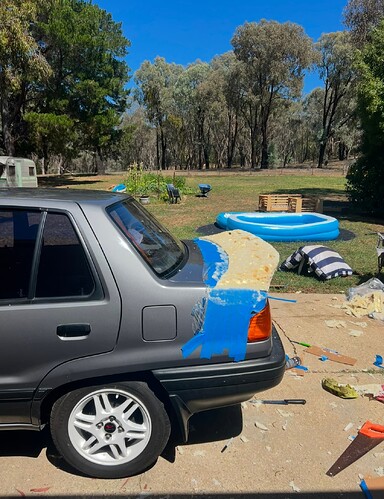
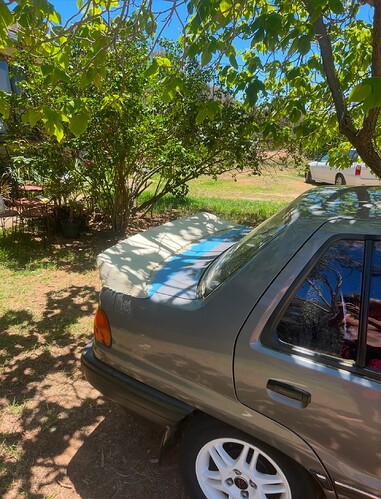
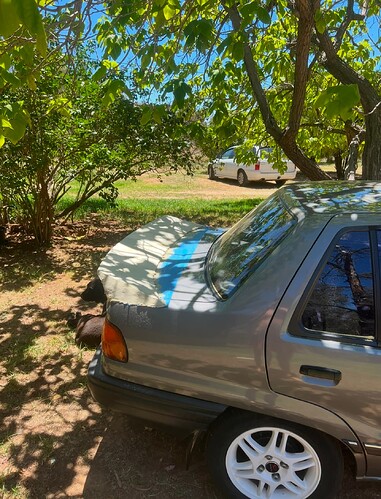
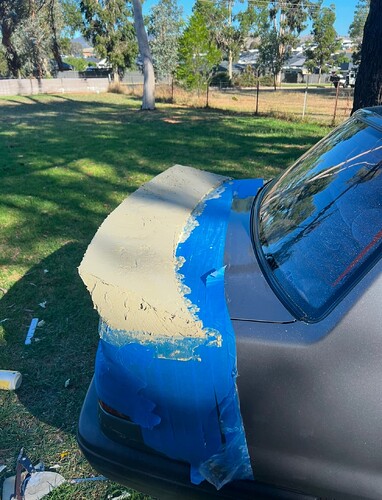
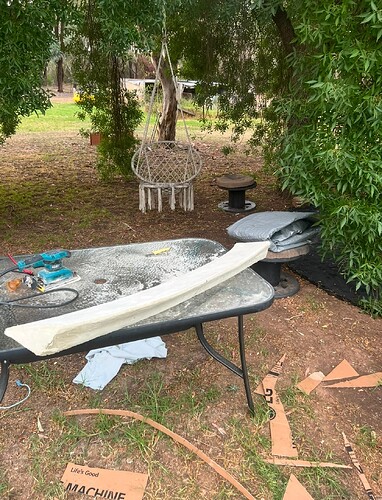
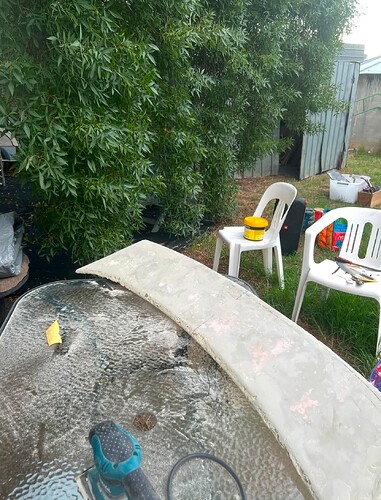
Hey guys, thanks for welcoming me to the forum. Today I started the process of building/shaping a custom spoiler for my G102. This is my first time doing anything like this so its definitely a lot of learning but honestly so much fun. Cant wait for this to be dry so I can start shaping! Will posting updates as I work through the process.
![08ab243e-c8fa-4fa5-8d0f-a9c6c231e339|375x500]
1 Like
Foam used in building construction can also be used. This is available in cans and lightweight, once dried
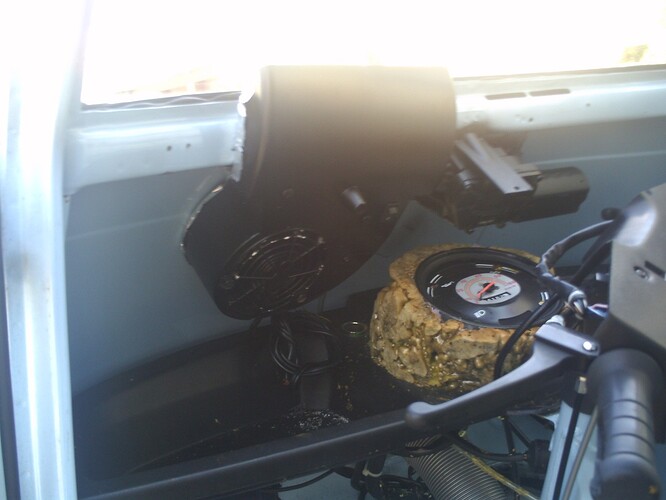
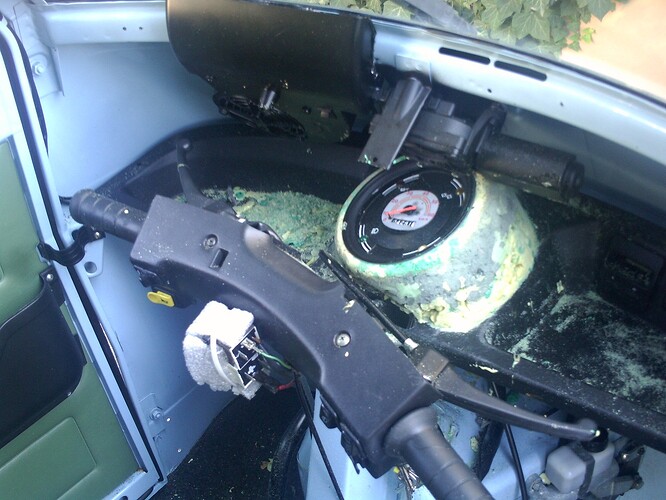
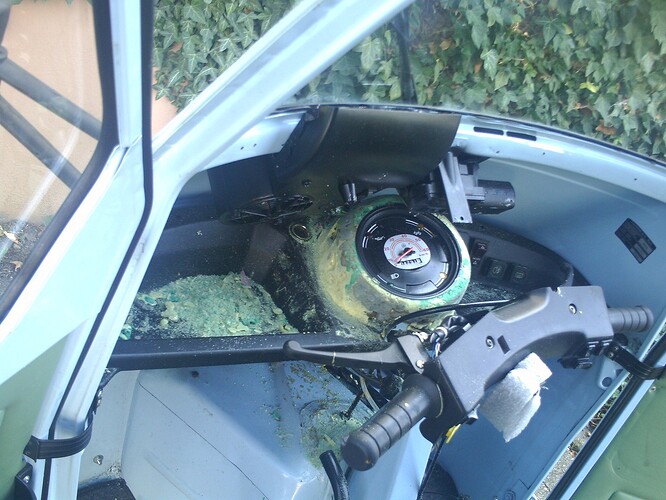
Oh, okay. I thought, it was some sort of powder you were about to catylize with some sort of resin. I’ve used foam scavenged from near empty cans of which were discarded at building sites for various purposes. Here’s a dash pod I cast with some for accomodating a bus speedometer to fit my Piaggio APE:
They used to make fun of me for doing this, at a German APE forum. I didn’t let that discourage me. So, I went ahead anyway:
I grafted the original speedometer into this pod and moved all warning lights into it:
Looks great, I’m definitely copping a lot of hate on some other forums from guys who clearly dont understand the process haha  Can’t wait to show them the finished fibreglass product.
1 Like
Let those armchair warriors hate. I feed off of hatred  If you’re not intending on painting it, you might want to cover it with carbon fiber foil. It looks somewhat tedious to do. But when it’s done, it should get your hater crowd to foam at their mouths. My plan was to cover my speedometer pod with some of that:
I was going to paint it but that stuff looks great, maybe something I should consider
Over the past couple of days I’ve made quite a bit of process on the wing. Here are some phots of the very rough shaping after taking the cardboard off. I did have quite a few big bubble cavities that had to be filled later. This was caused by not shaking the can enough before spraying the foam. I have also been told letting the foam out slowly helps. Someone also told me of another foam spray product that has a closed cell structure which I’ve been told eliminates the bubbling issue and makes a much more solid piece so if I am to make more pieces in the future I would try this.
2 Likes
Here is the wing really starting to take shape. This process was super satisfying. A saw, bread knife and small serrated knife are your best friend here.
1 Like
After I was happy with the shape of the foam I applied filler to fill the huge cavities. As this part will only be used to make a mould I used wood filler because its cheaper but if I was to do it again and had to fill big cavities I would use plaster as someone on another forum suggested. This would be cheaper again, lighter and easier to pour into the cavities. After this dry I started sanding back to shape just by eye to something that looks pretty decent.
After another layer of filler to fill some spots id missed I started to have a pretty solid looking wing. At this point I made templates to make sure I was shaping everything symmetrical as we are getting closer to the finished product. As we speak the wing is very close to shape but will just need a tiny bit more filling and shaping before we can prime and paint and have something that will look exactly like the finished product. I could possibly run this mock wing on my car until I get the chance to make the mould and real wing out of Carbon Fiber but I havent decided if I will do this yet. The smart thing would probably just to put it somewhere safe until I can make the mould but I also am an excited car boy that wants my car to have a wing this second haha
1 Like
Nice work. I’m also thinking of doing some parts like this for my G100. So i’m looking forward to see the end result!
Nice G100 btw
1 Like
Thanks! It’s a G102 will the 1.3L 
[quote=“soslocharade, post:9, topic:6997”]…I did have quite a few big bubble cavities that had to be filled later. This was caused by not shaking the can enough before spraying the foam. I have also been told letting the foam out slowly helps…[/quote]According to the experience I’ve had with foam-casting, those bubbles were caused by trapping foam under your cardboard mold. Where was the foam’s gas to escape to? If you had freely applied the foam without covering it with that mold first, it would have turned out externally bubbleless. You would then need to file it down to a desired shape, much as how car designers work with clay models
The foam was not covered on the top at all and this is actually where I had the most bubbling. The cardboard was only there to stop it from falling down. It would be impossible to do without this because the foam can’t support itself when it first comes out of the can. On the bottom and outsides where it was pressed up against the car and moulds I had almost no bubbling. As I said it was caused by me not shaking the cans enough and spraying it too quickly. To avoid bubbles all together you can spend a bit more money on expanding foam with a closed cell build up.
Maybe we were using different foams hence the different behaviours from the foam? Interesting
I’ve been using different brands found at random, in all different available colors, as visually
evident in my Ape’s cluster casting. I would also mix-in dried foam which was filed off my castings, in order to save foam. Each foam’s behavior was exactly the same as the other
