G200 Circuit build

When I started this project. I did say I’d do a write up on the L2Dai forum. Keeping my word no matter how long it takes.

Now to the build…

In the closing of the 2018 race season, I started to evaluate wether moving forward with my L500, installing a roll cage and stepping up from the street class. I opted not to as it has sentimental value and felt my progress as a developing racer would have been limited by the car with the rare spare parts and the high amount of technical development I might had needed to move forward.
A friend of mine had a 2 door G200 with a 4efte transplant. I liked the car and looked to purchase it to replace my daily ride; which was written off. He hurt that engine and decided to scrap the project. He called me giving me preference for the rolling shell.
I didn’t hesitate to go get it. My aim was to build a full race car within 5 months…was (sigh)
I’ll start off by sharing some photos of how it was before I bought it, then when I bought it


Then I got on to getting the interior put seeing that this is going to be a full race car. The only factory interior part required is the dashboard, as it’s a requirement to participate in the IMPROVED PRODUCTION class.

3 Likes

I’ve created a vlog of this build on my YouTube channel. I’d like to encourage everyone to subscribe and have a look.
https://www.youtube.com/user/FortisD

Next up was getting the car to my fabricator, whose shop was not far away (thankfully).
First order of business was to start seem welding and getting in the roll cage.
To treat the welded areas we used cold galvanized coating.

3 Likes

Next up was the roll cage. In episode 4 of my vlog you can get some of the technical details on how went about choosing pipes and cage design

Before any pipe was bent, copper tubing was used in the area to frame how the piping would need to be bent or cut.
For securing the cage piping to the floor of the car, we opted for the box design, we wouldn’t want the cage running through that floor.

3 Likes

I am susbscribed to your channel and been watching the charade build. I love how we get the extra pics here :smile:

1 Like

Fantastic. Gottbe one stiff sucker! Great work and great right up.

1 Like

Thanks much guys. Do remember I value all your input and feedback. I’m still learning and would love to learn more.

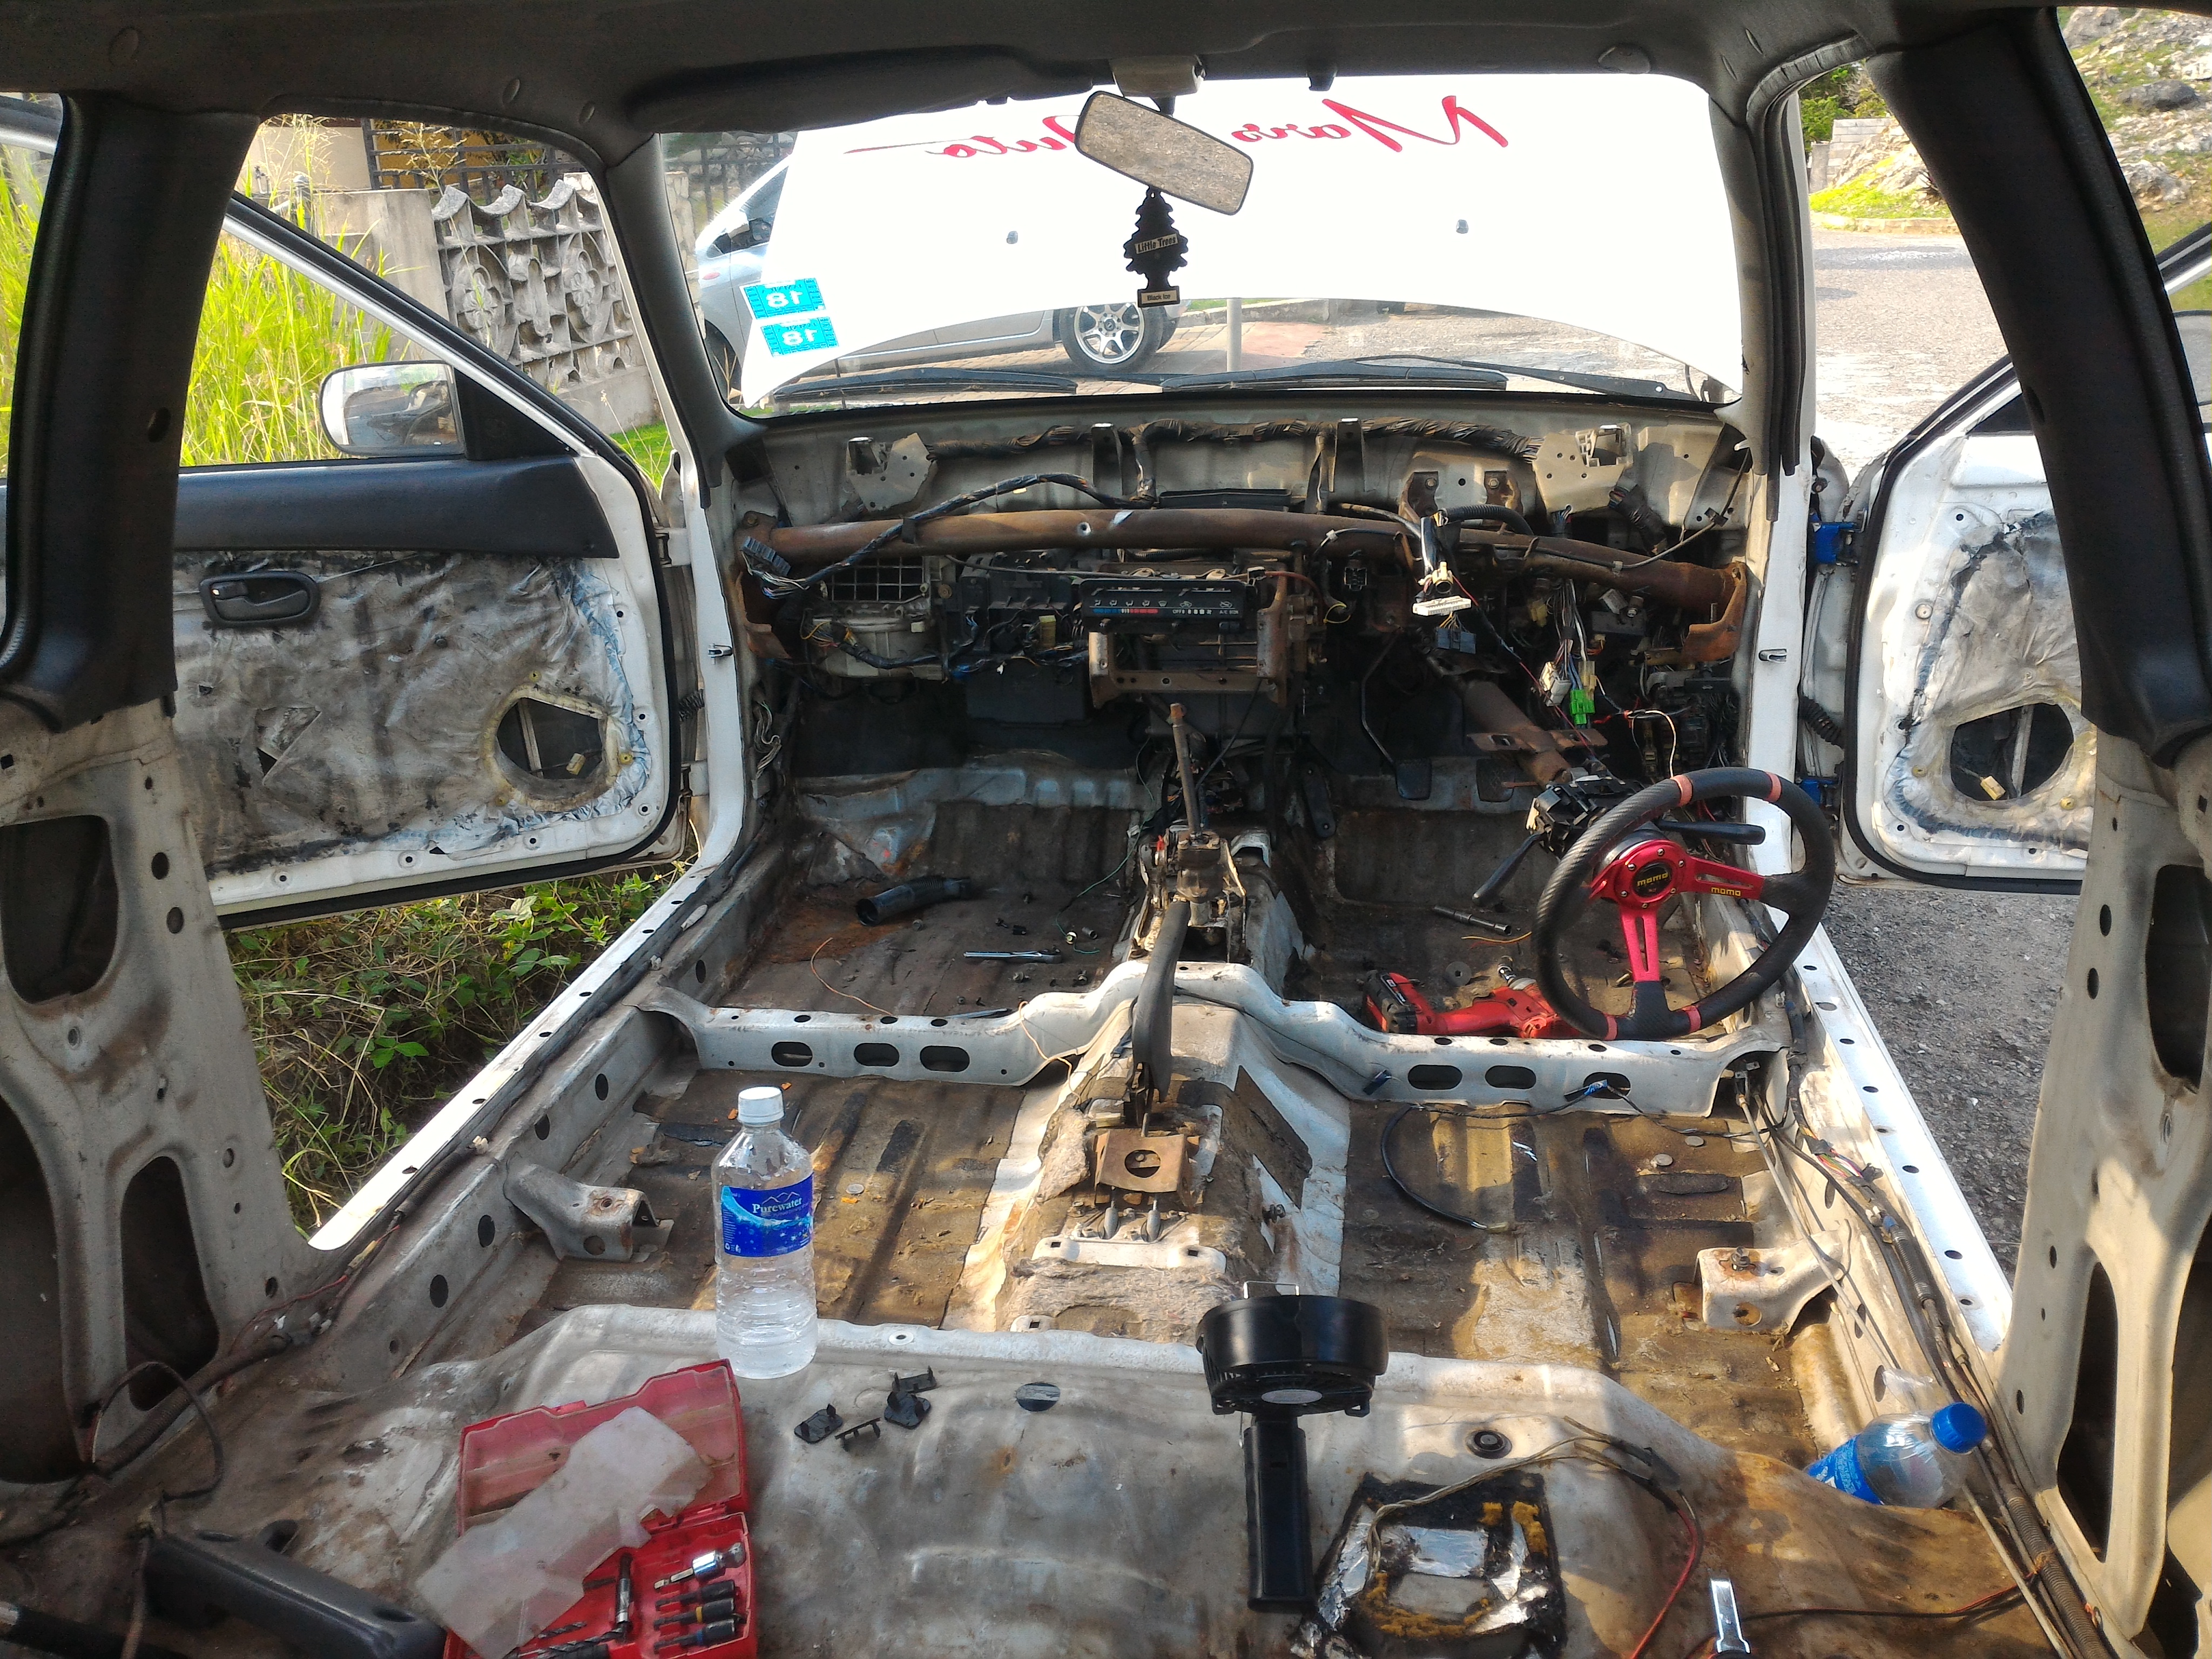
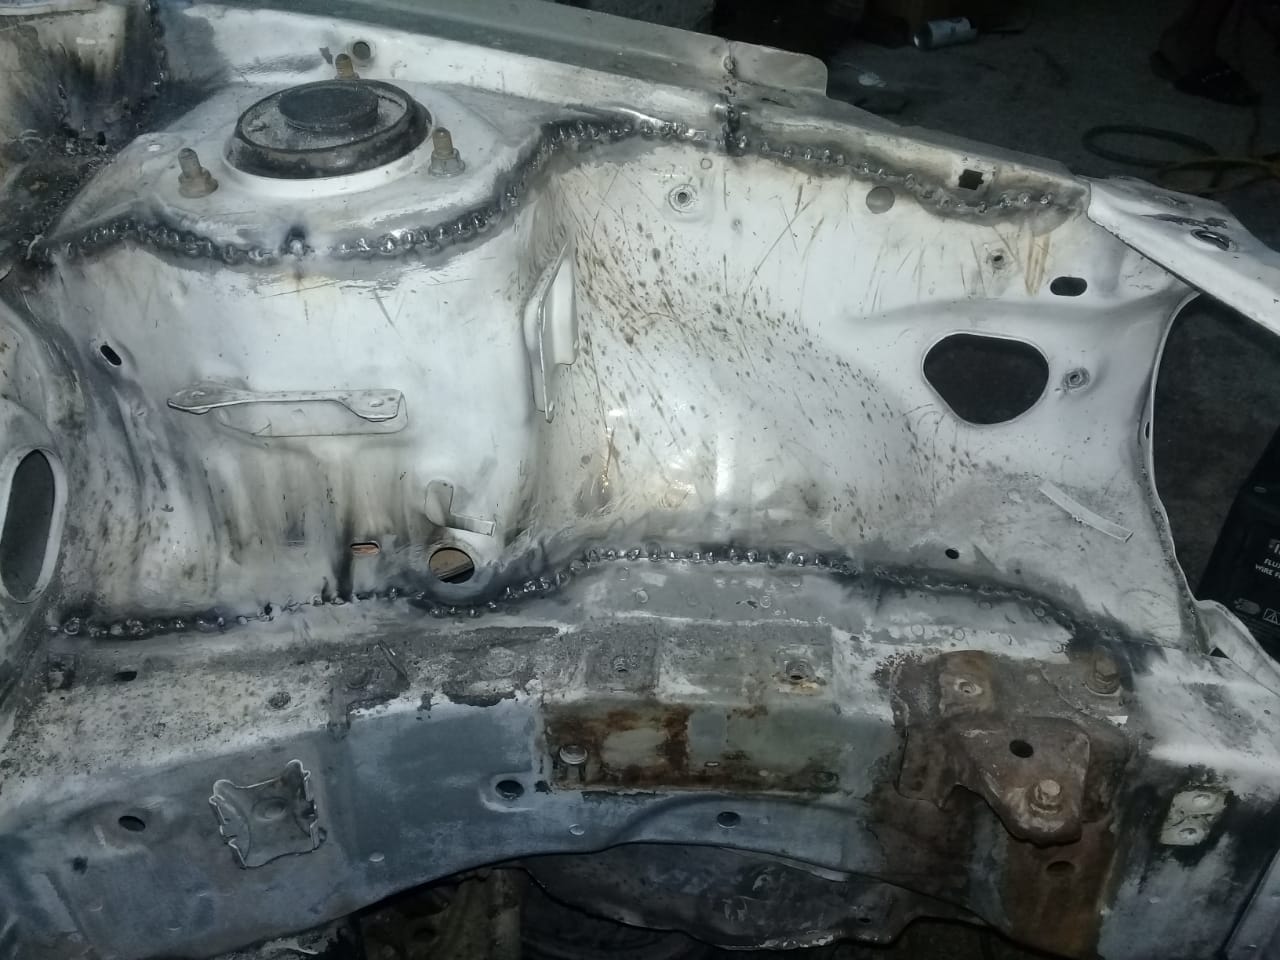
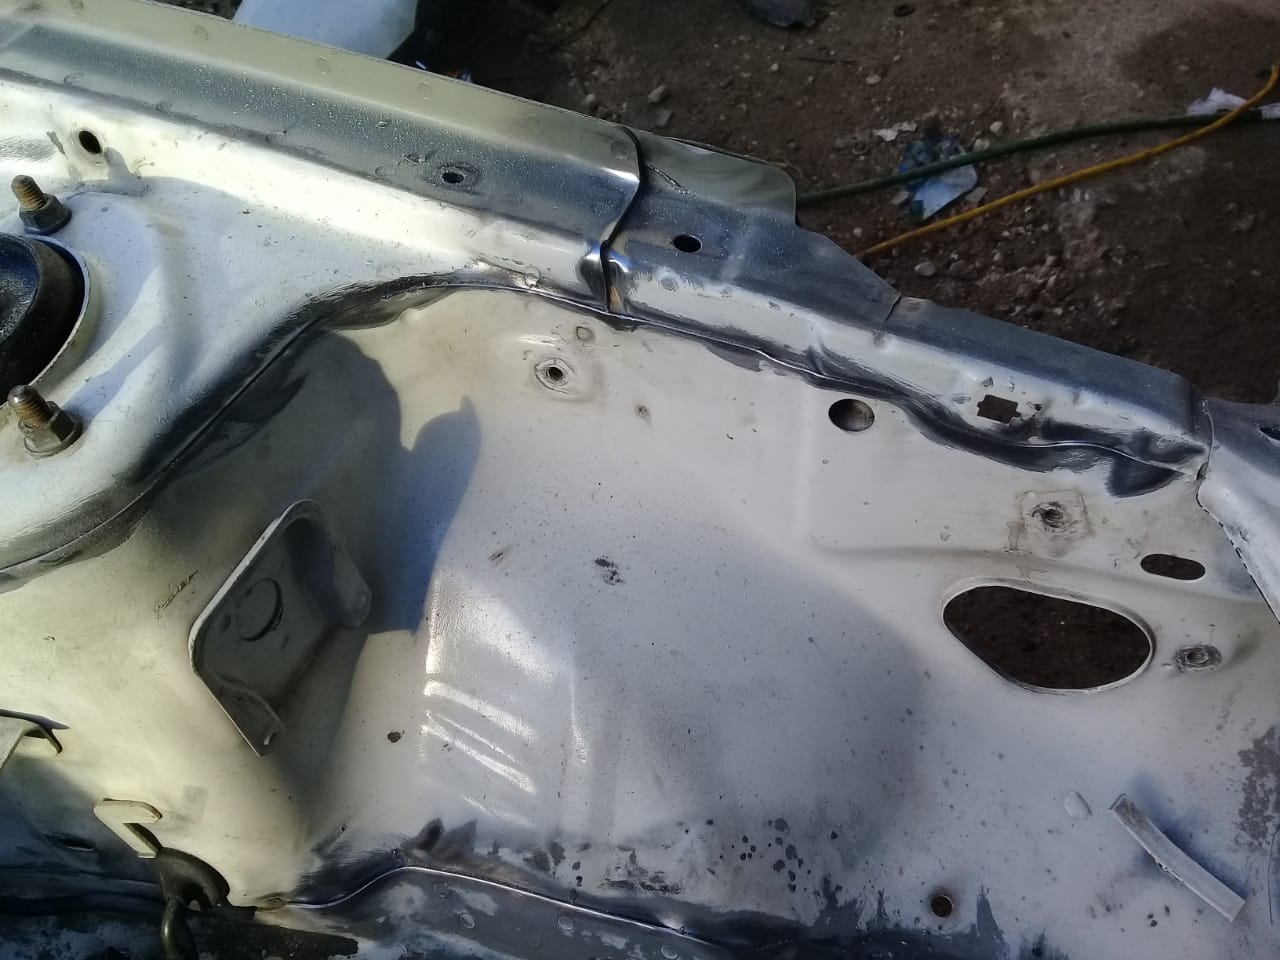
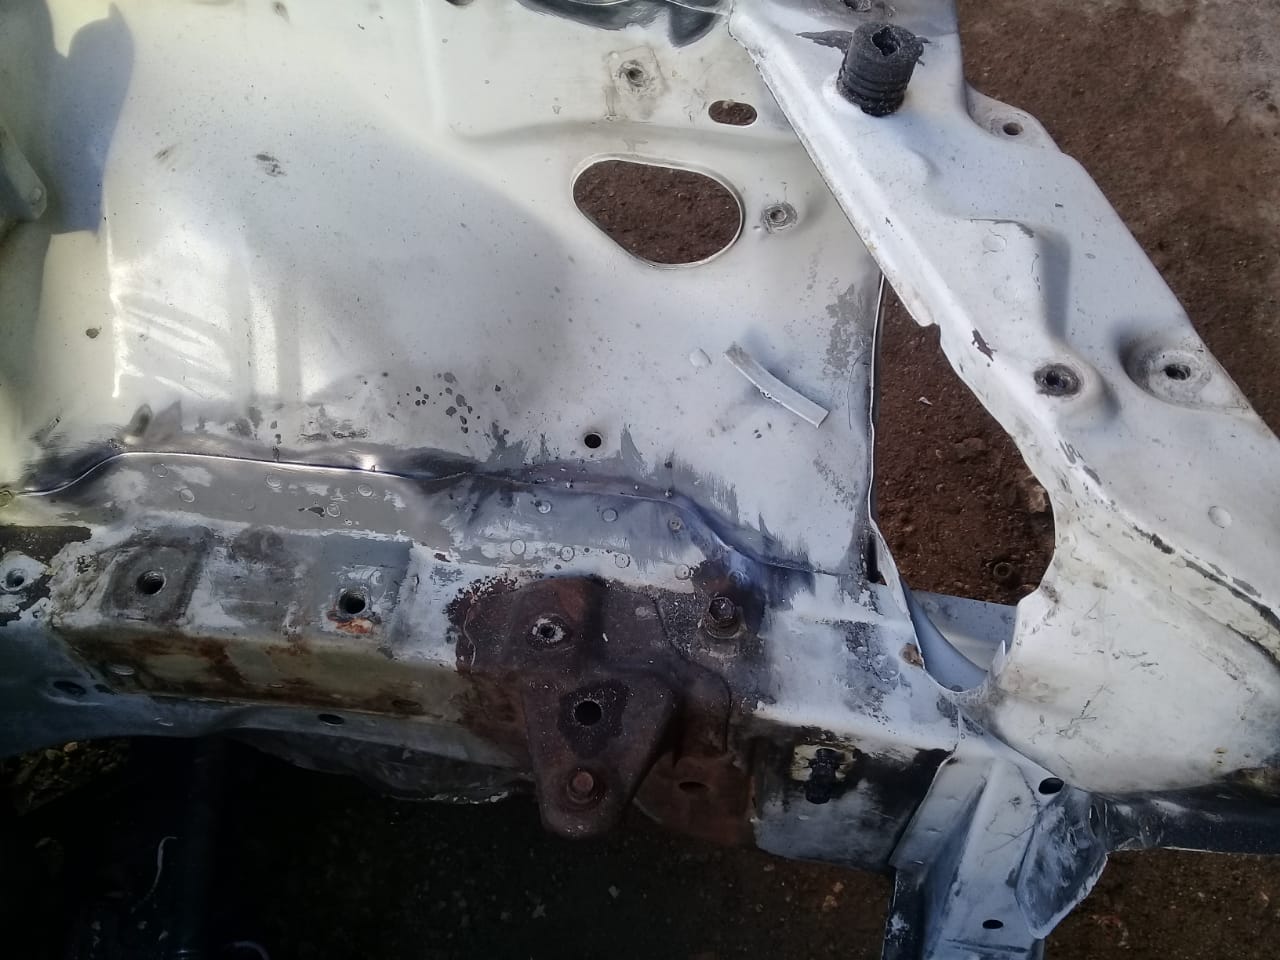
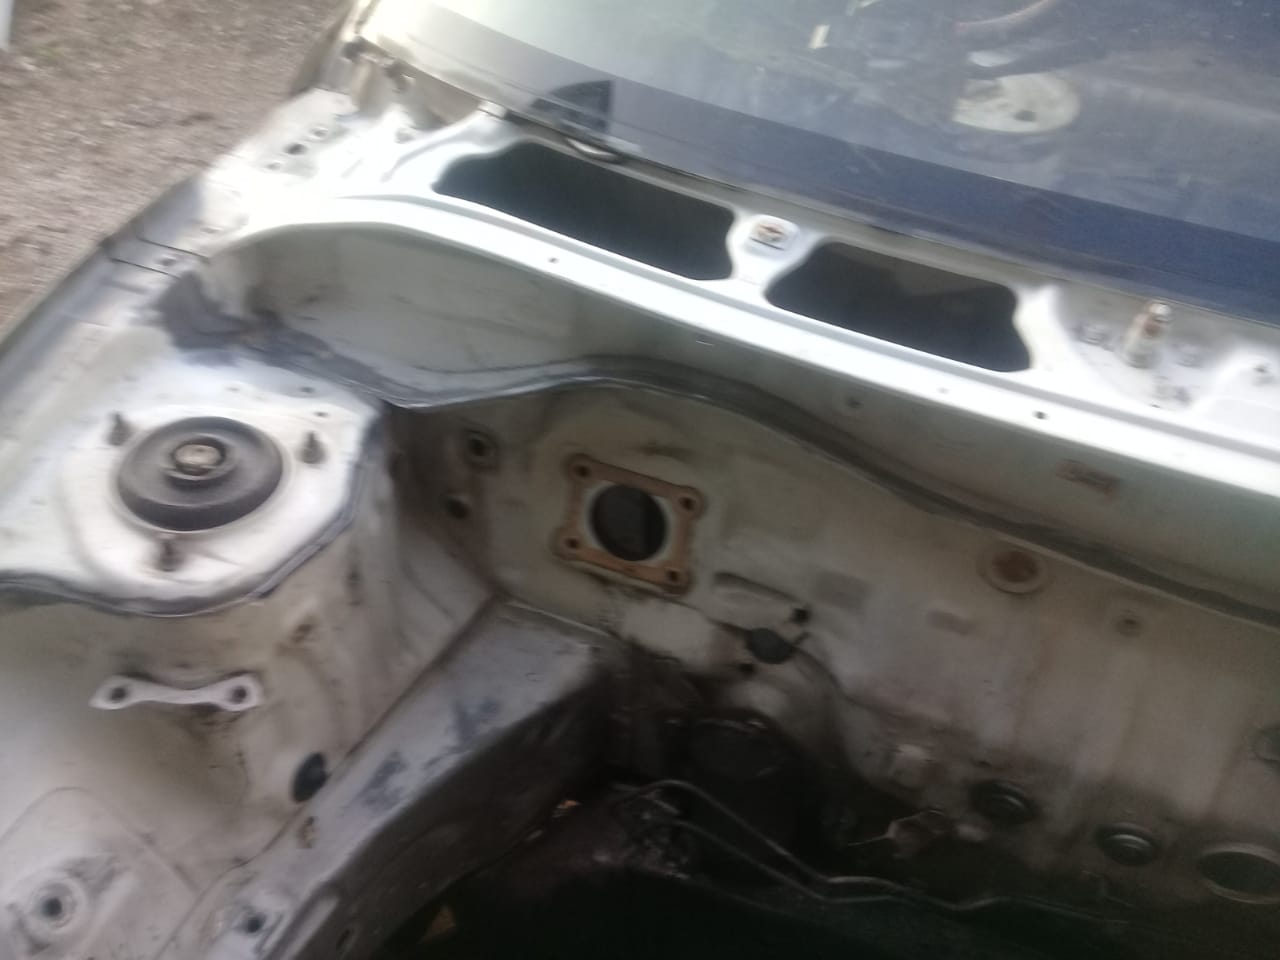
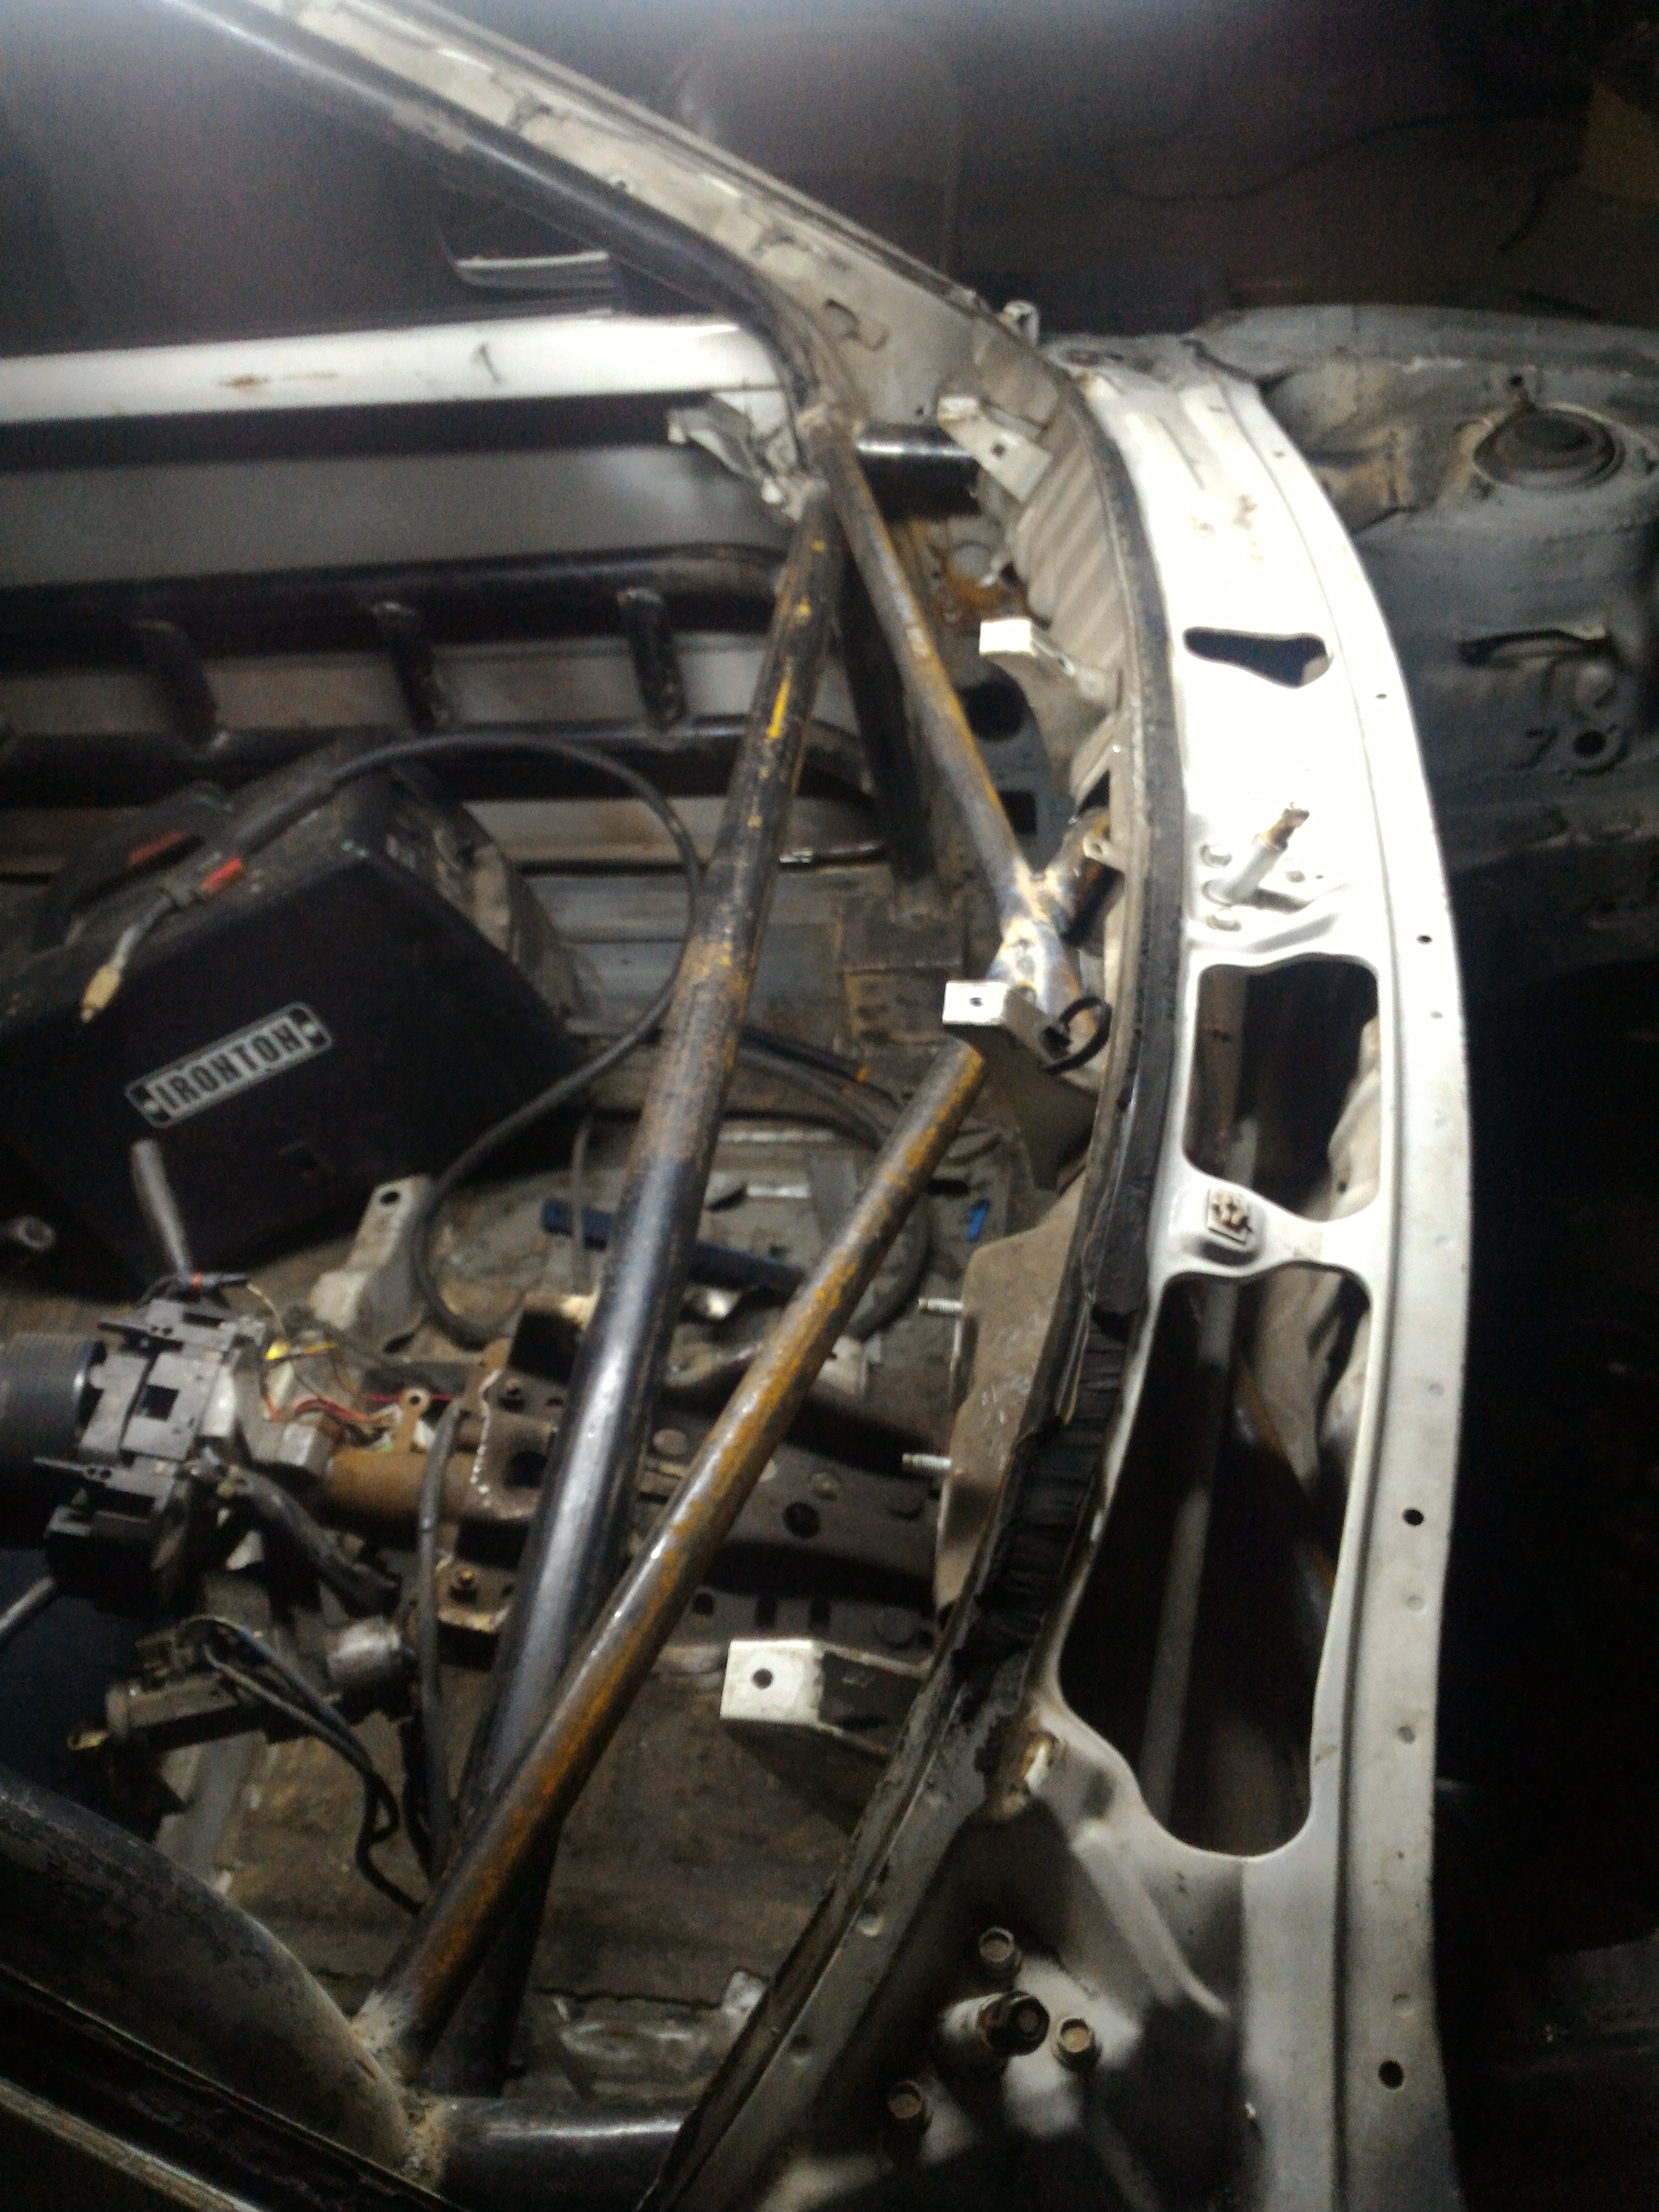
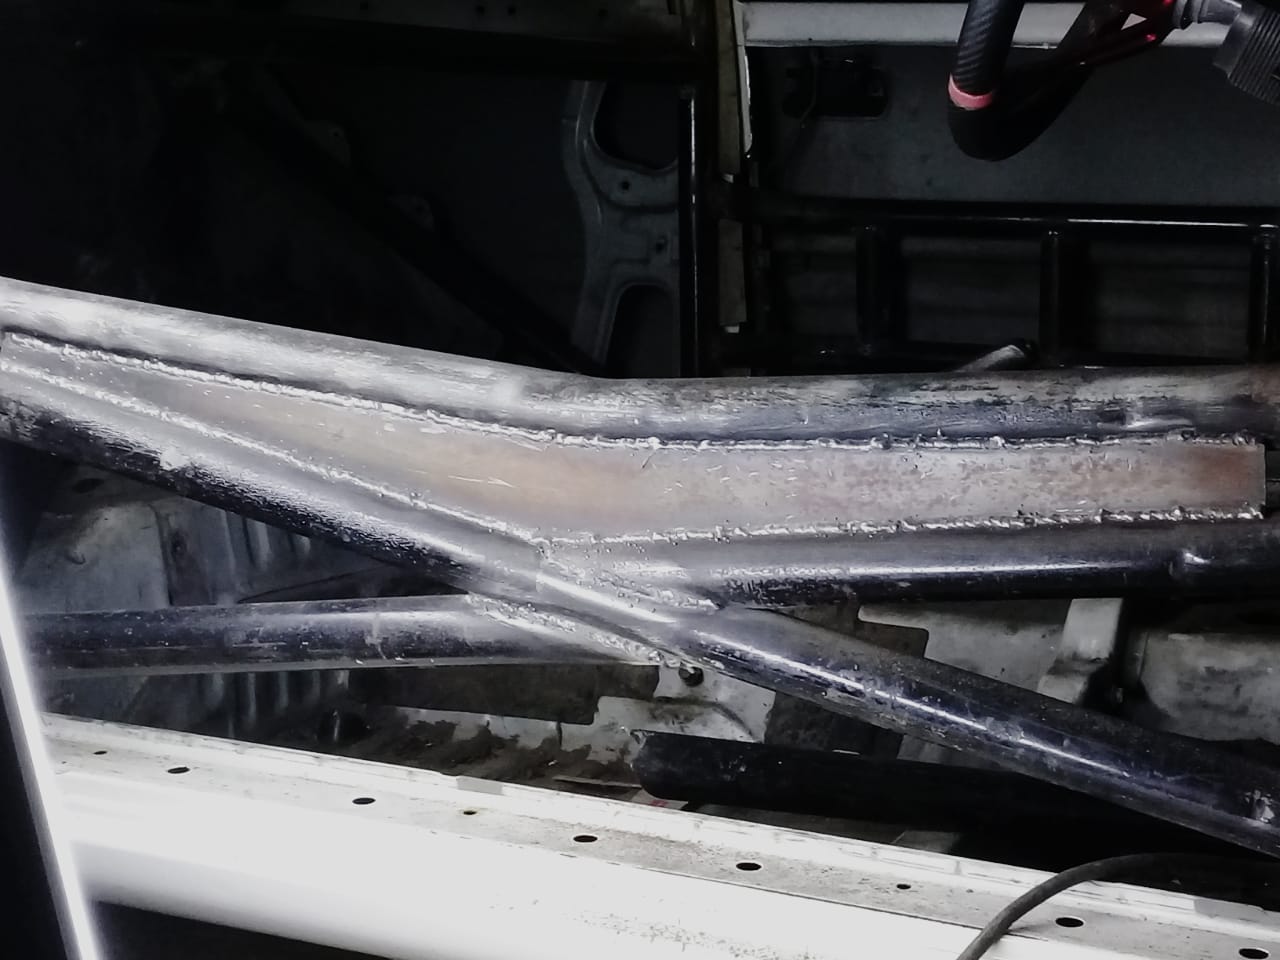
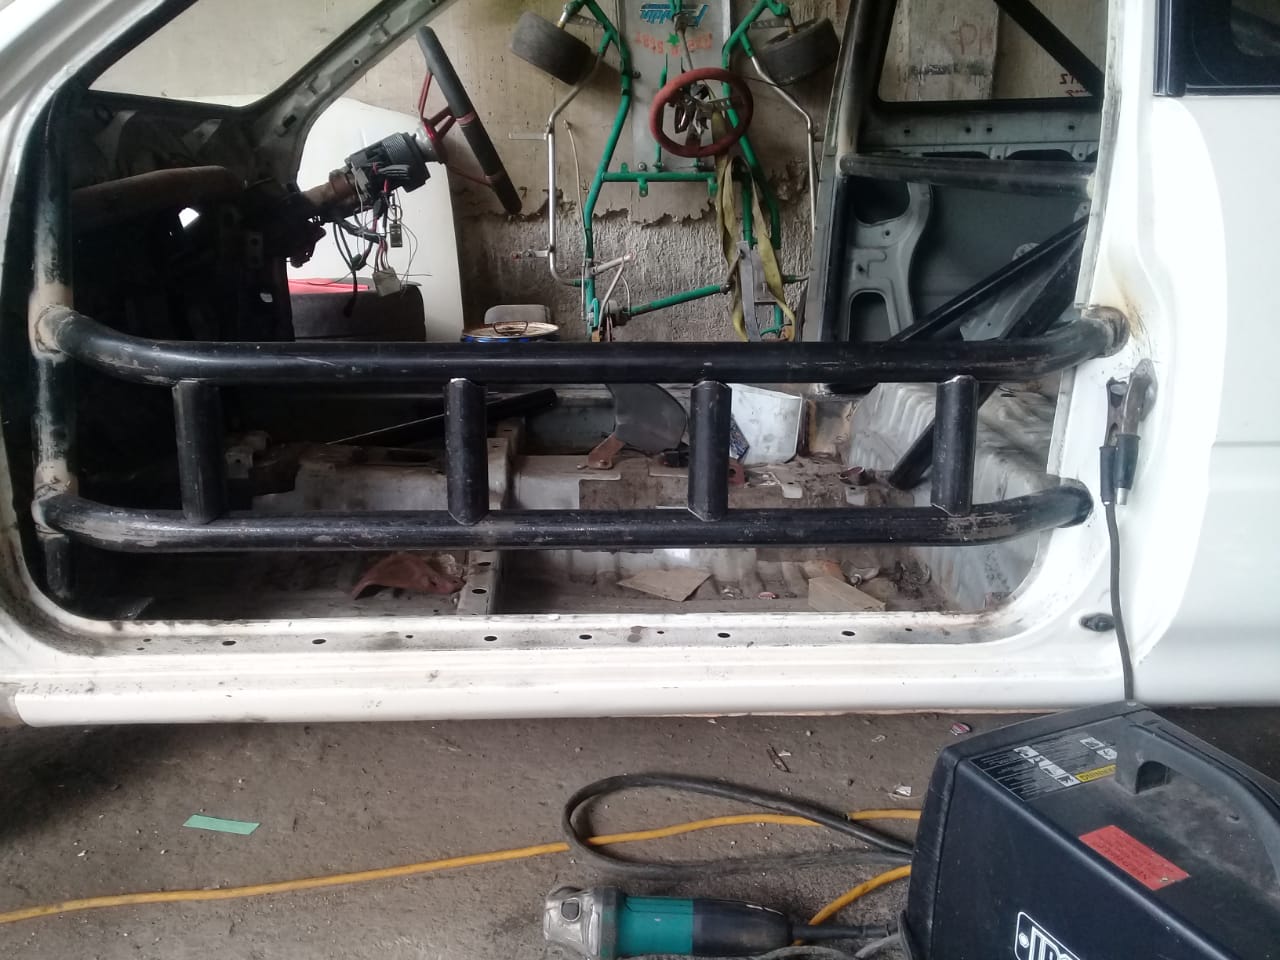
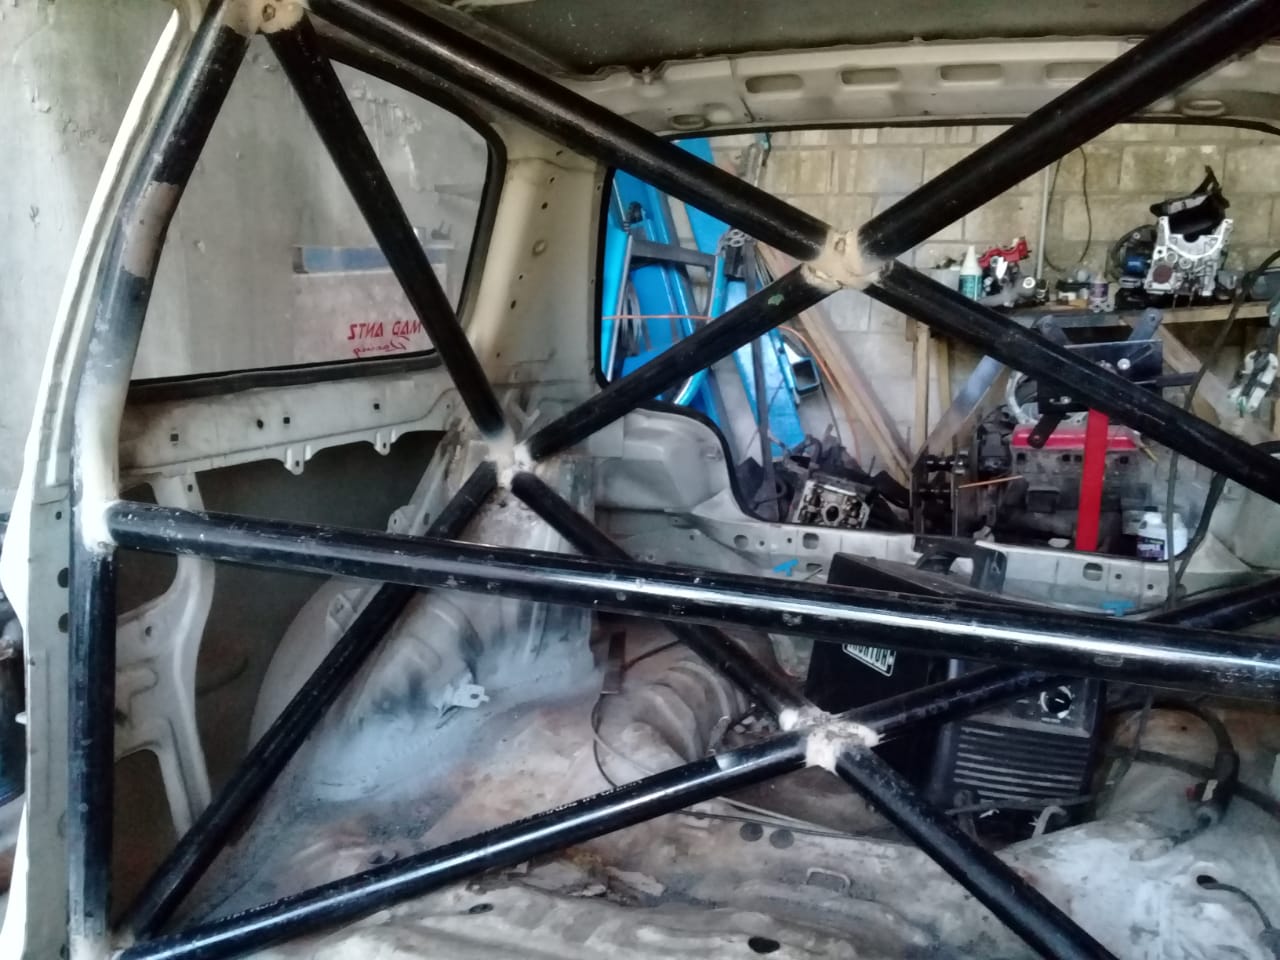
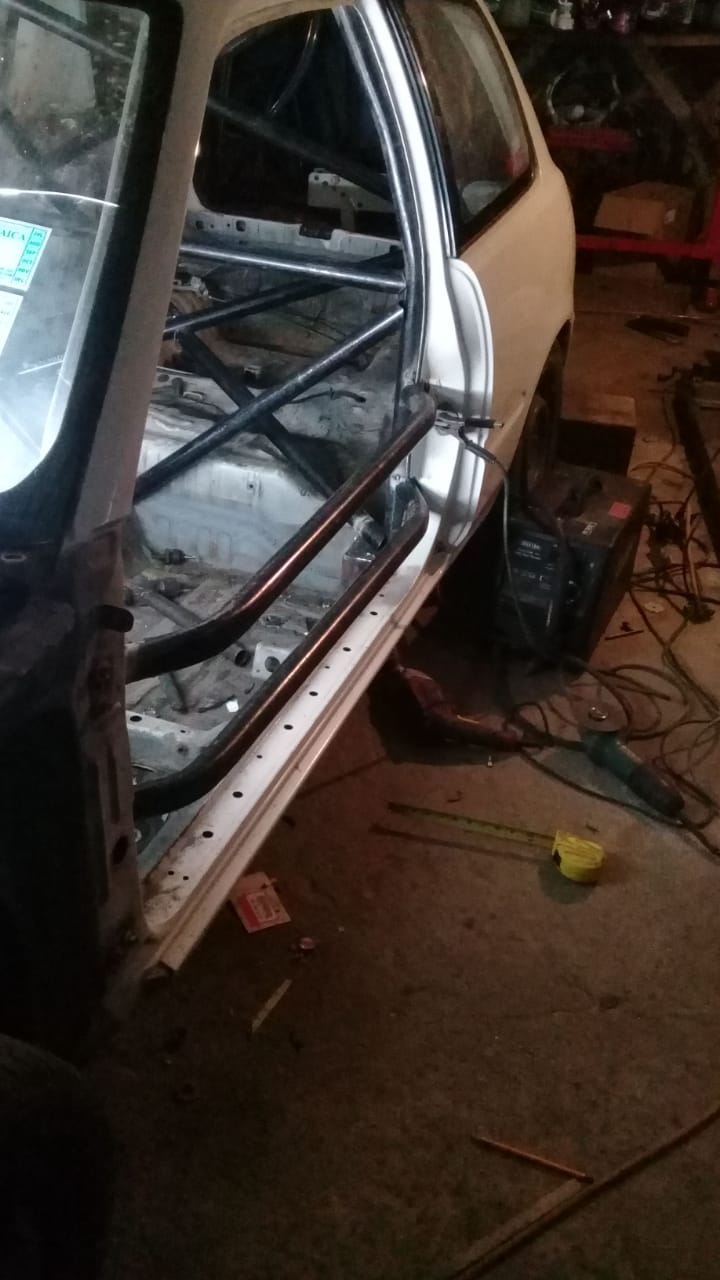
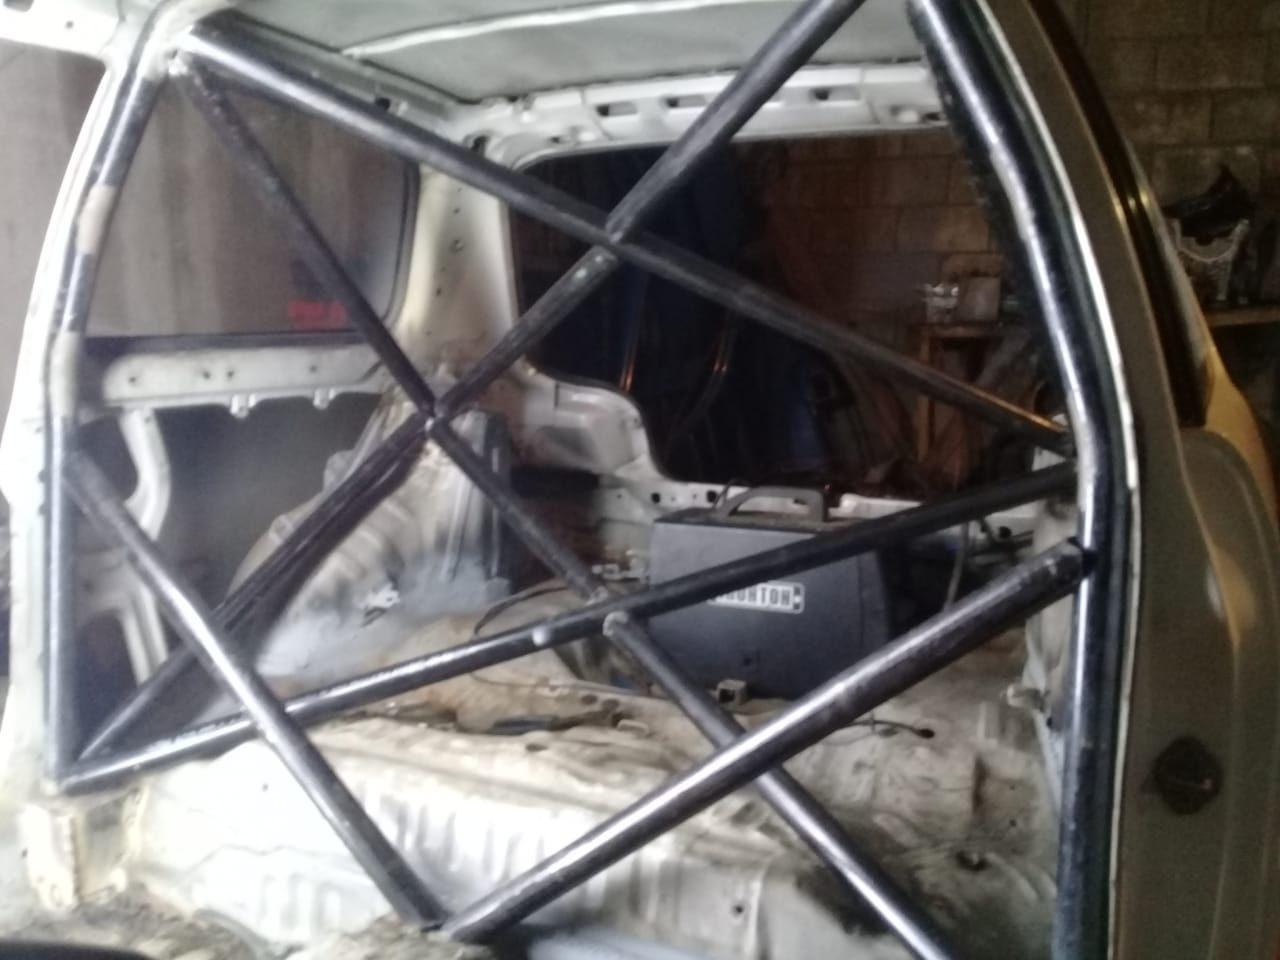
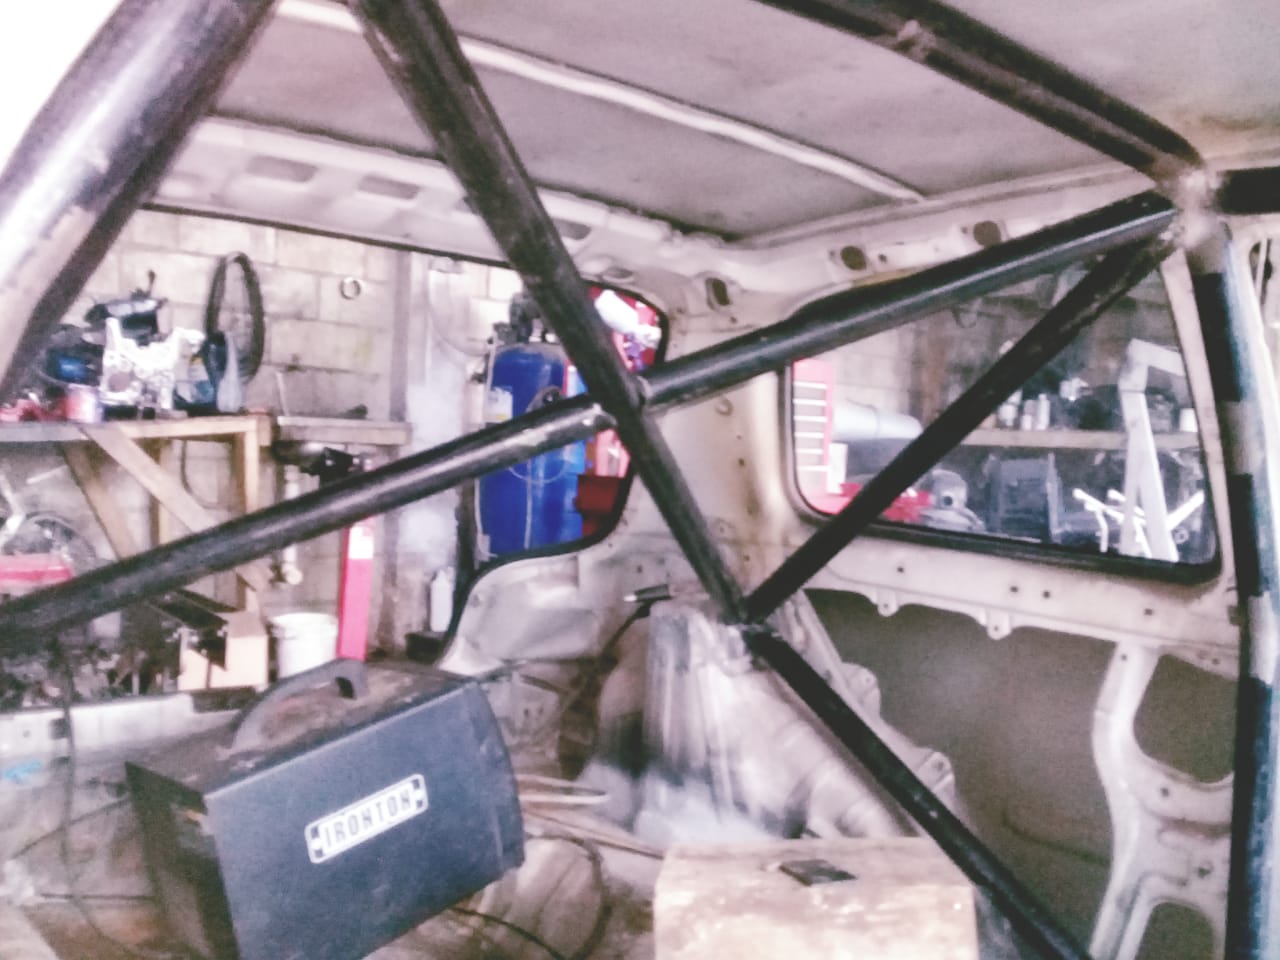
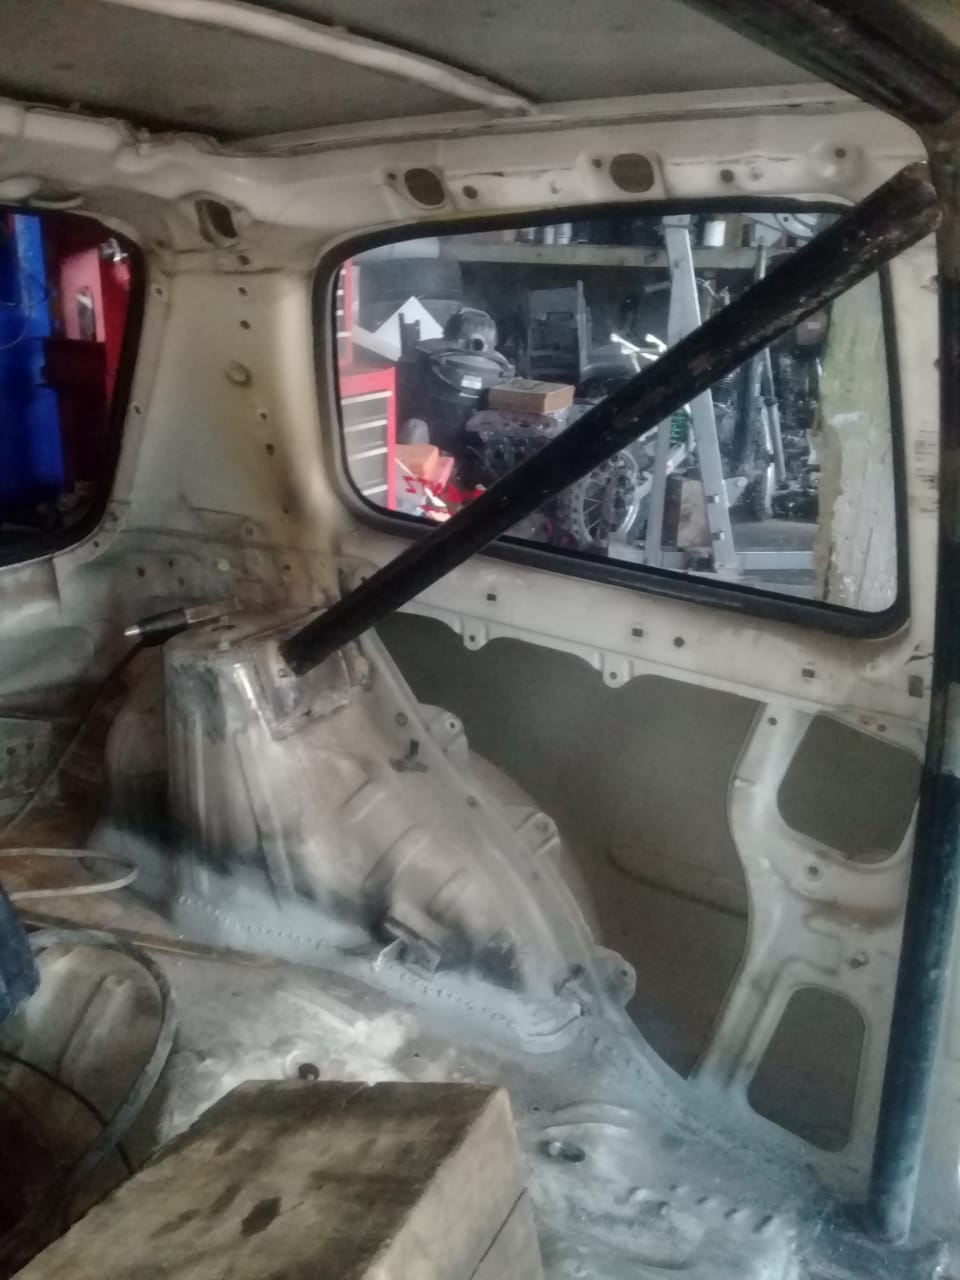
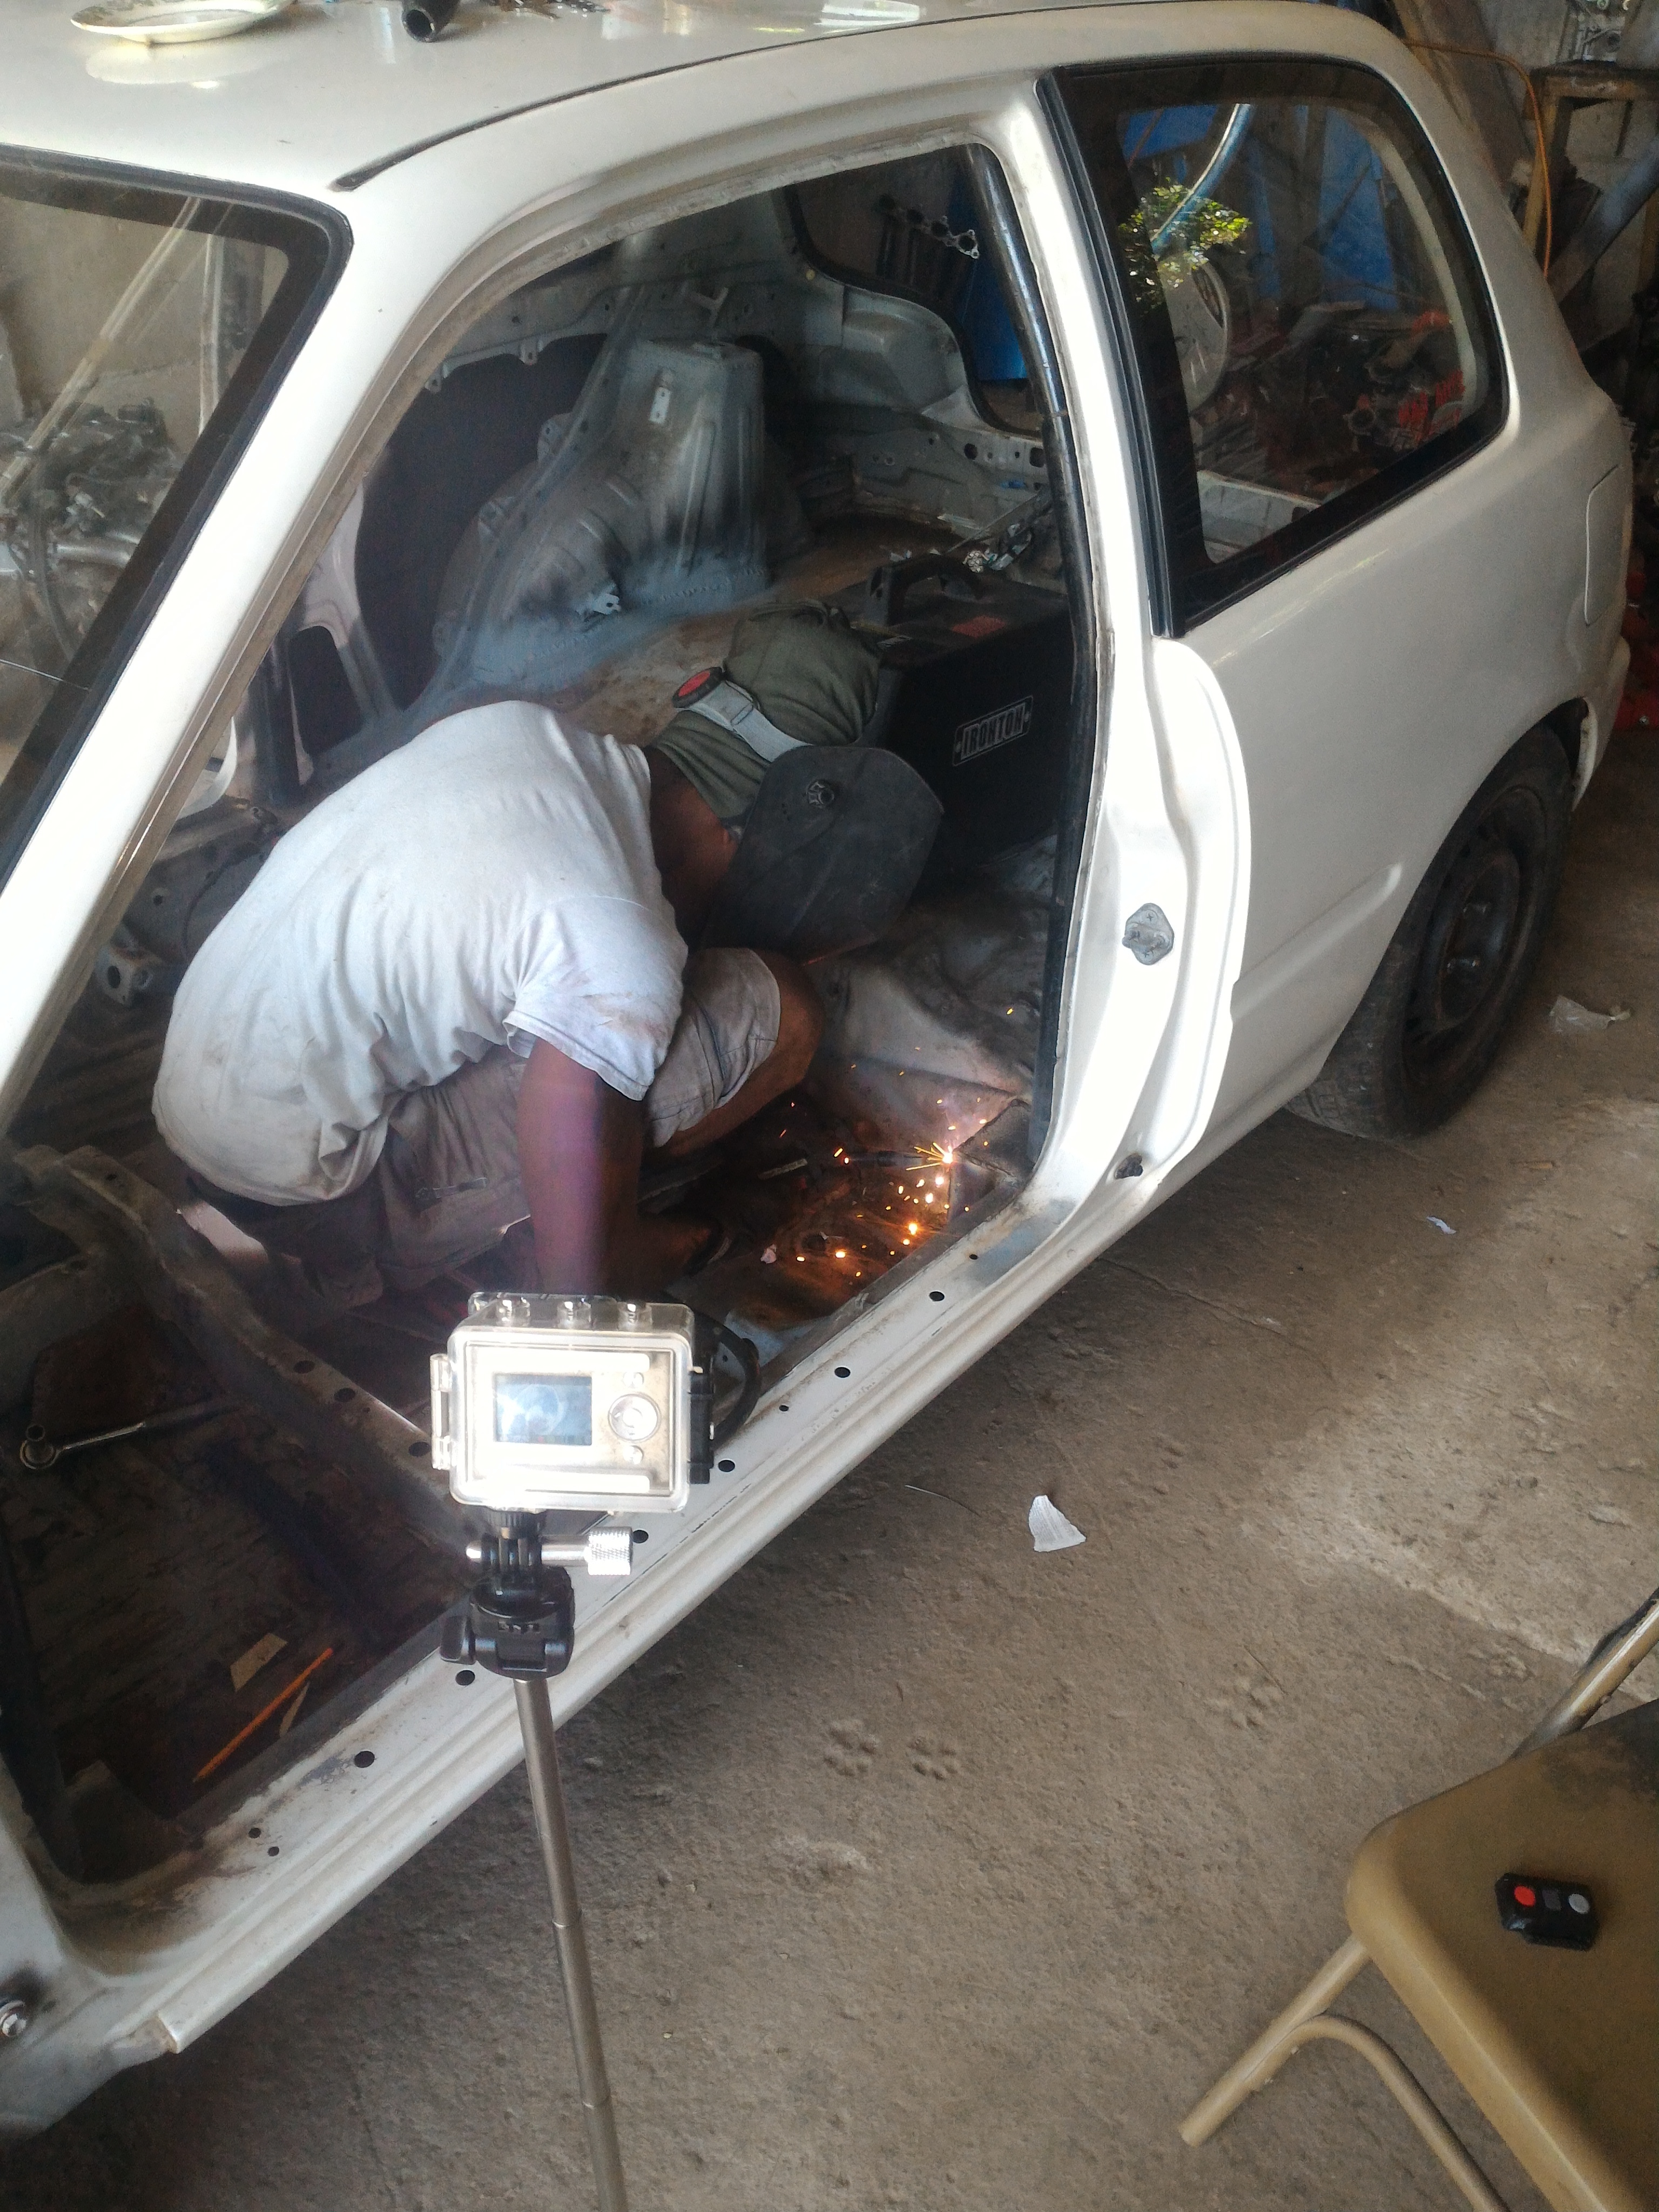
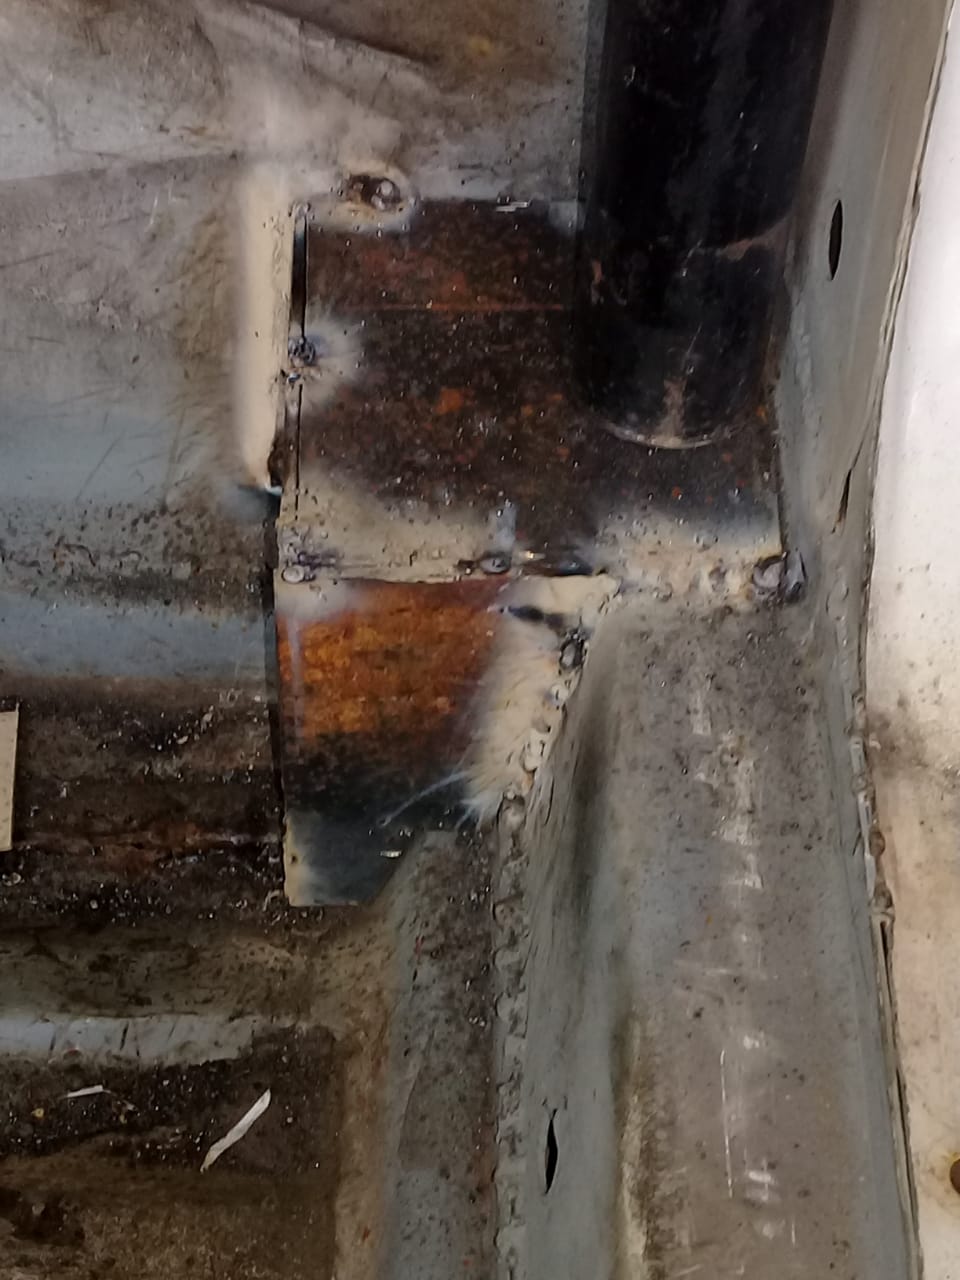
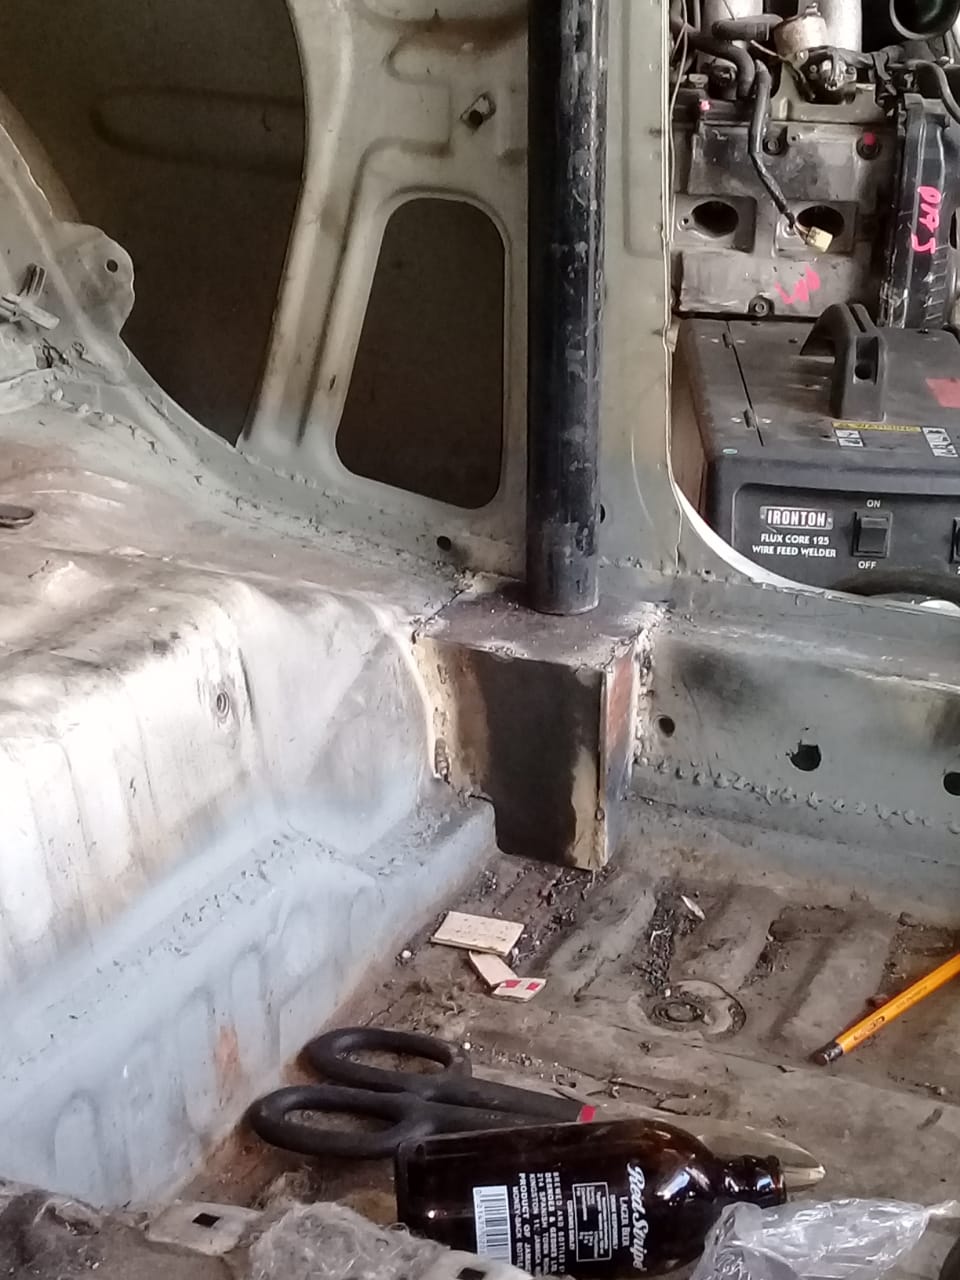
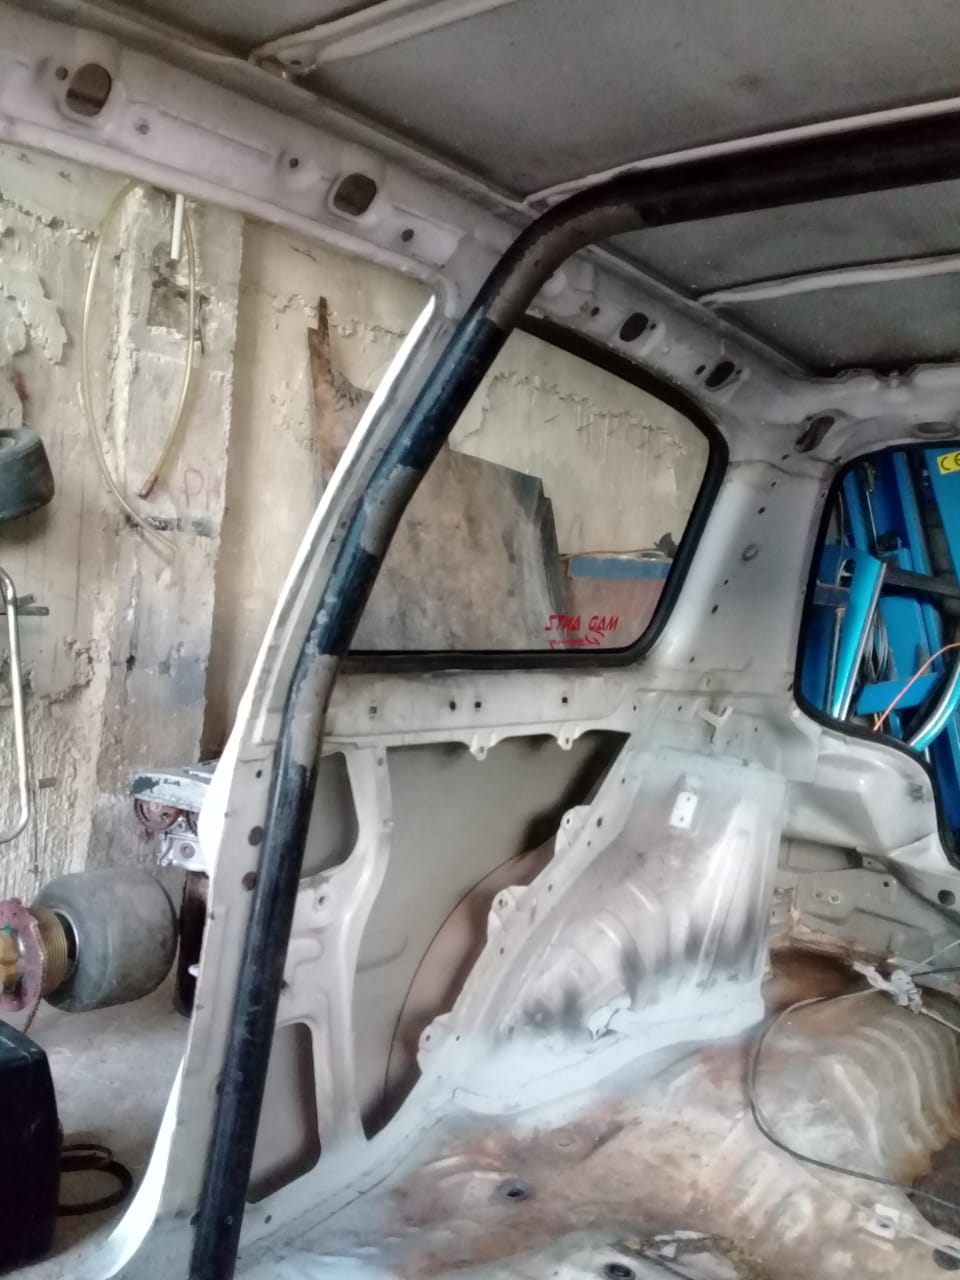
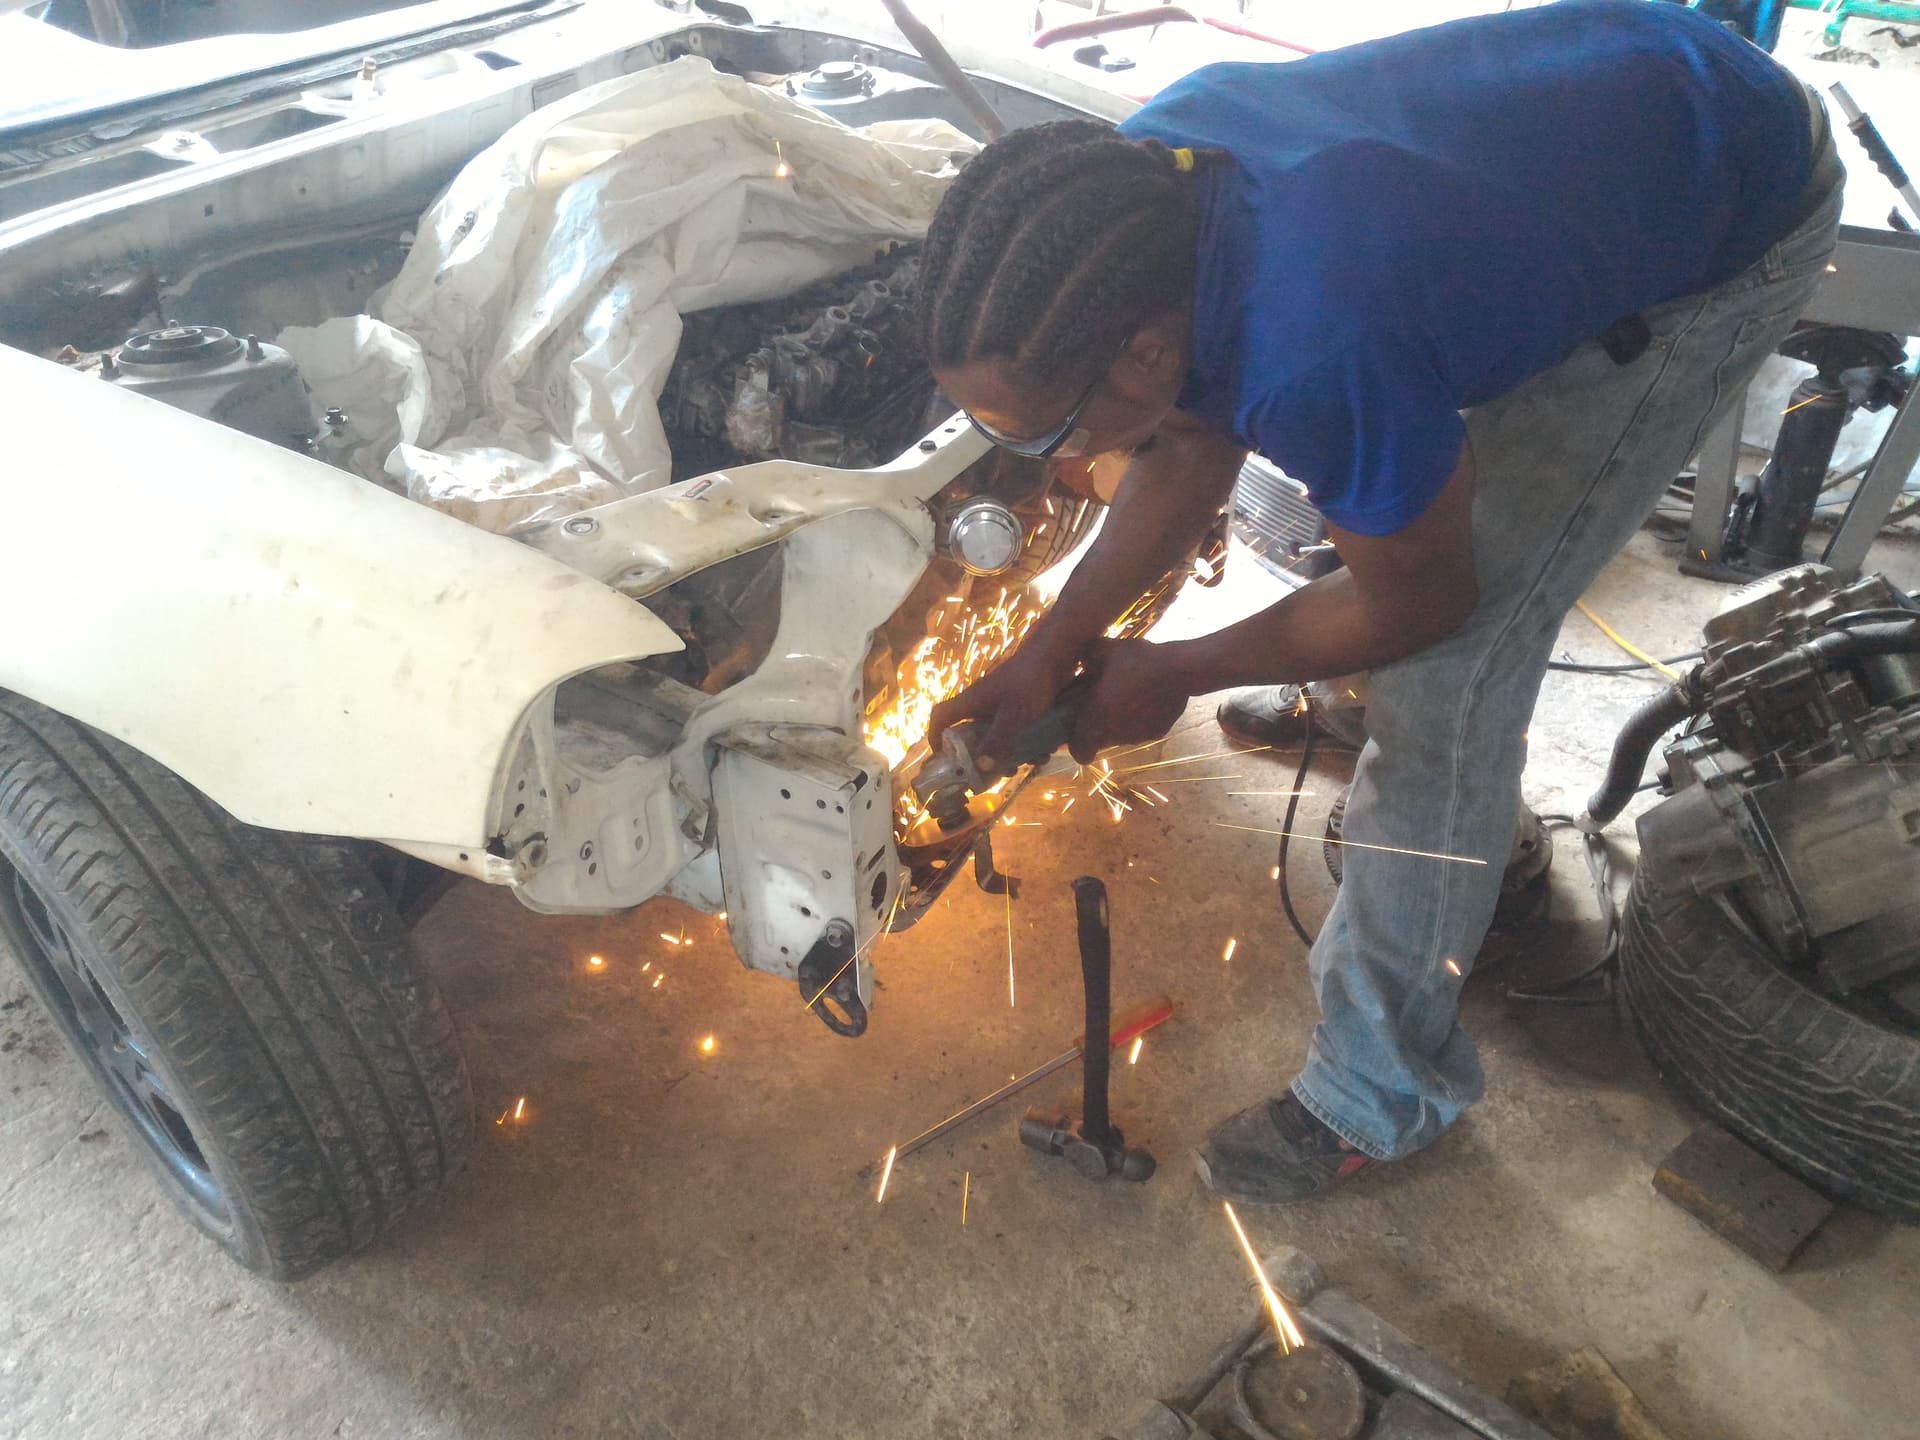
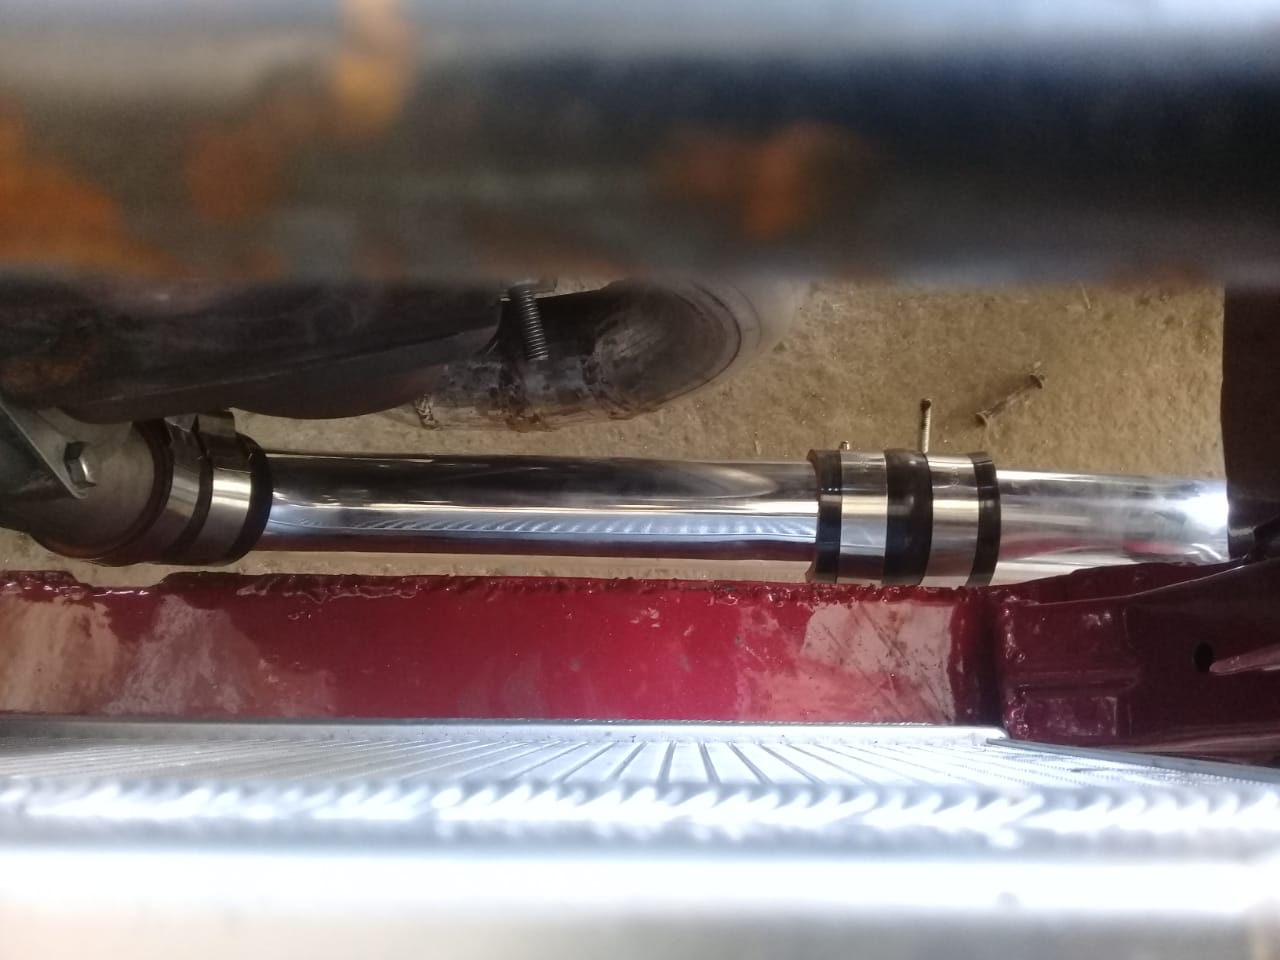
So Cory/Taz (my fabricator) went crazy with my roll cage. The minimum requirement at the door area is a “X” He opted for a ladder bar anti intrusion design. Notice the pipe bends out at an angle into the door. With this design the driver can be more comfortable getting in and out the car and less likely to be making contact with the roll cage by just being seated.

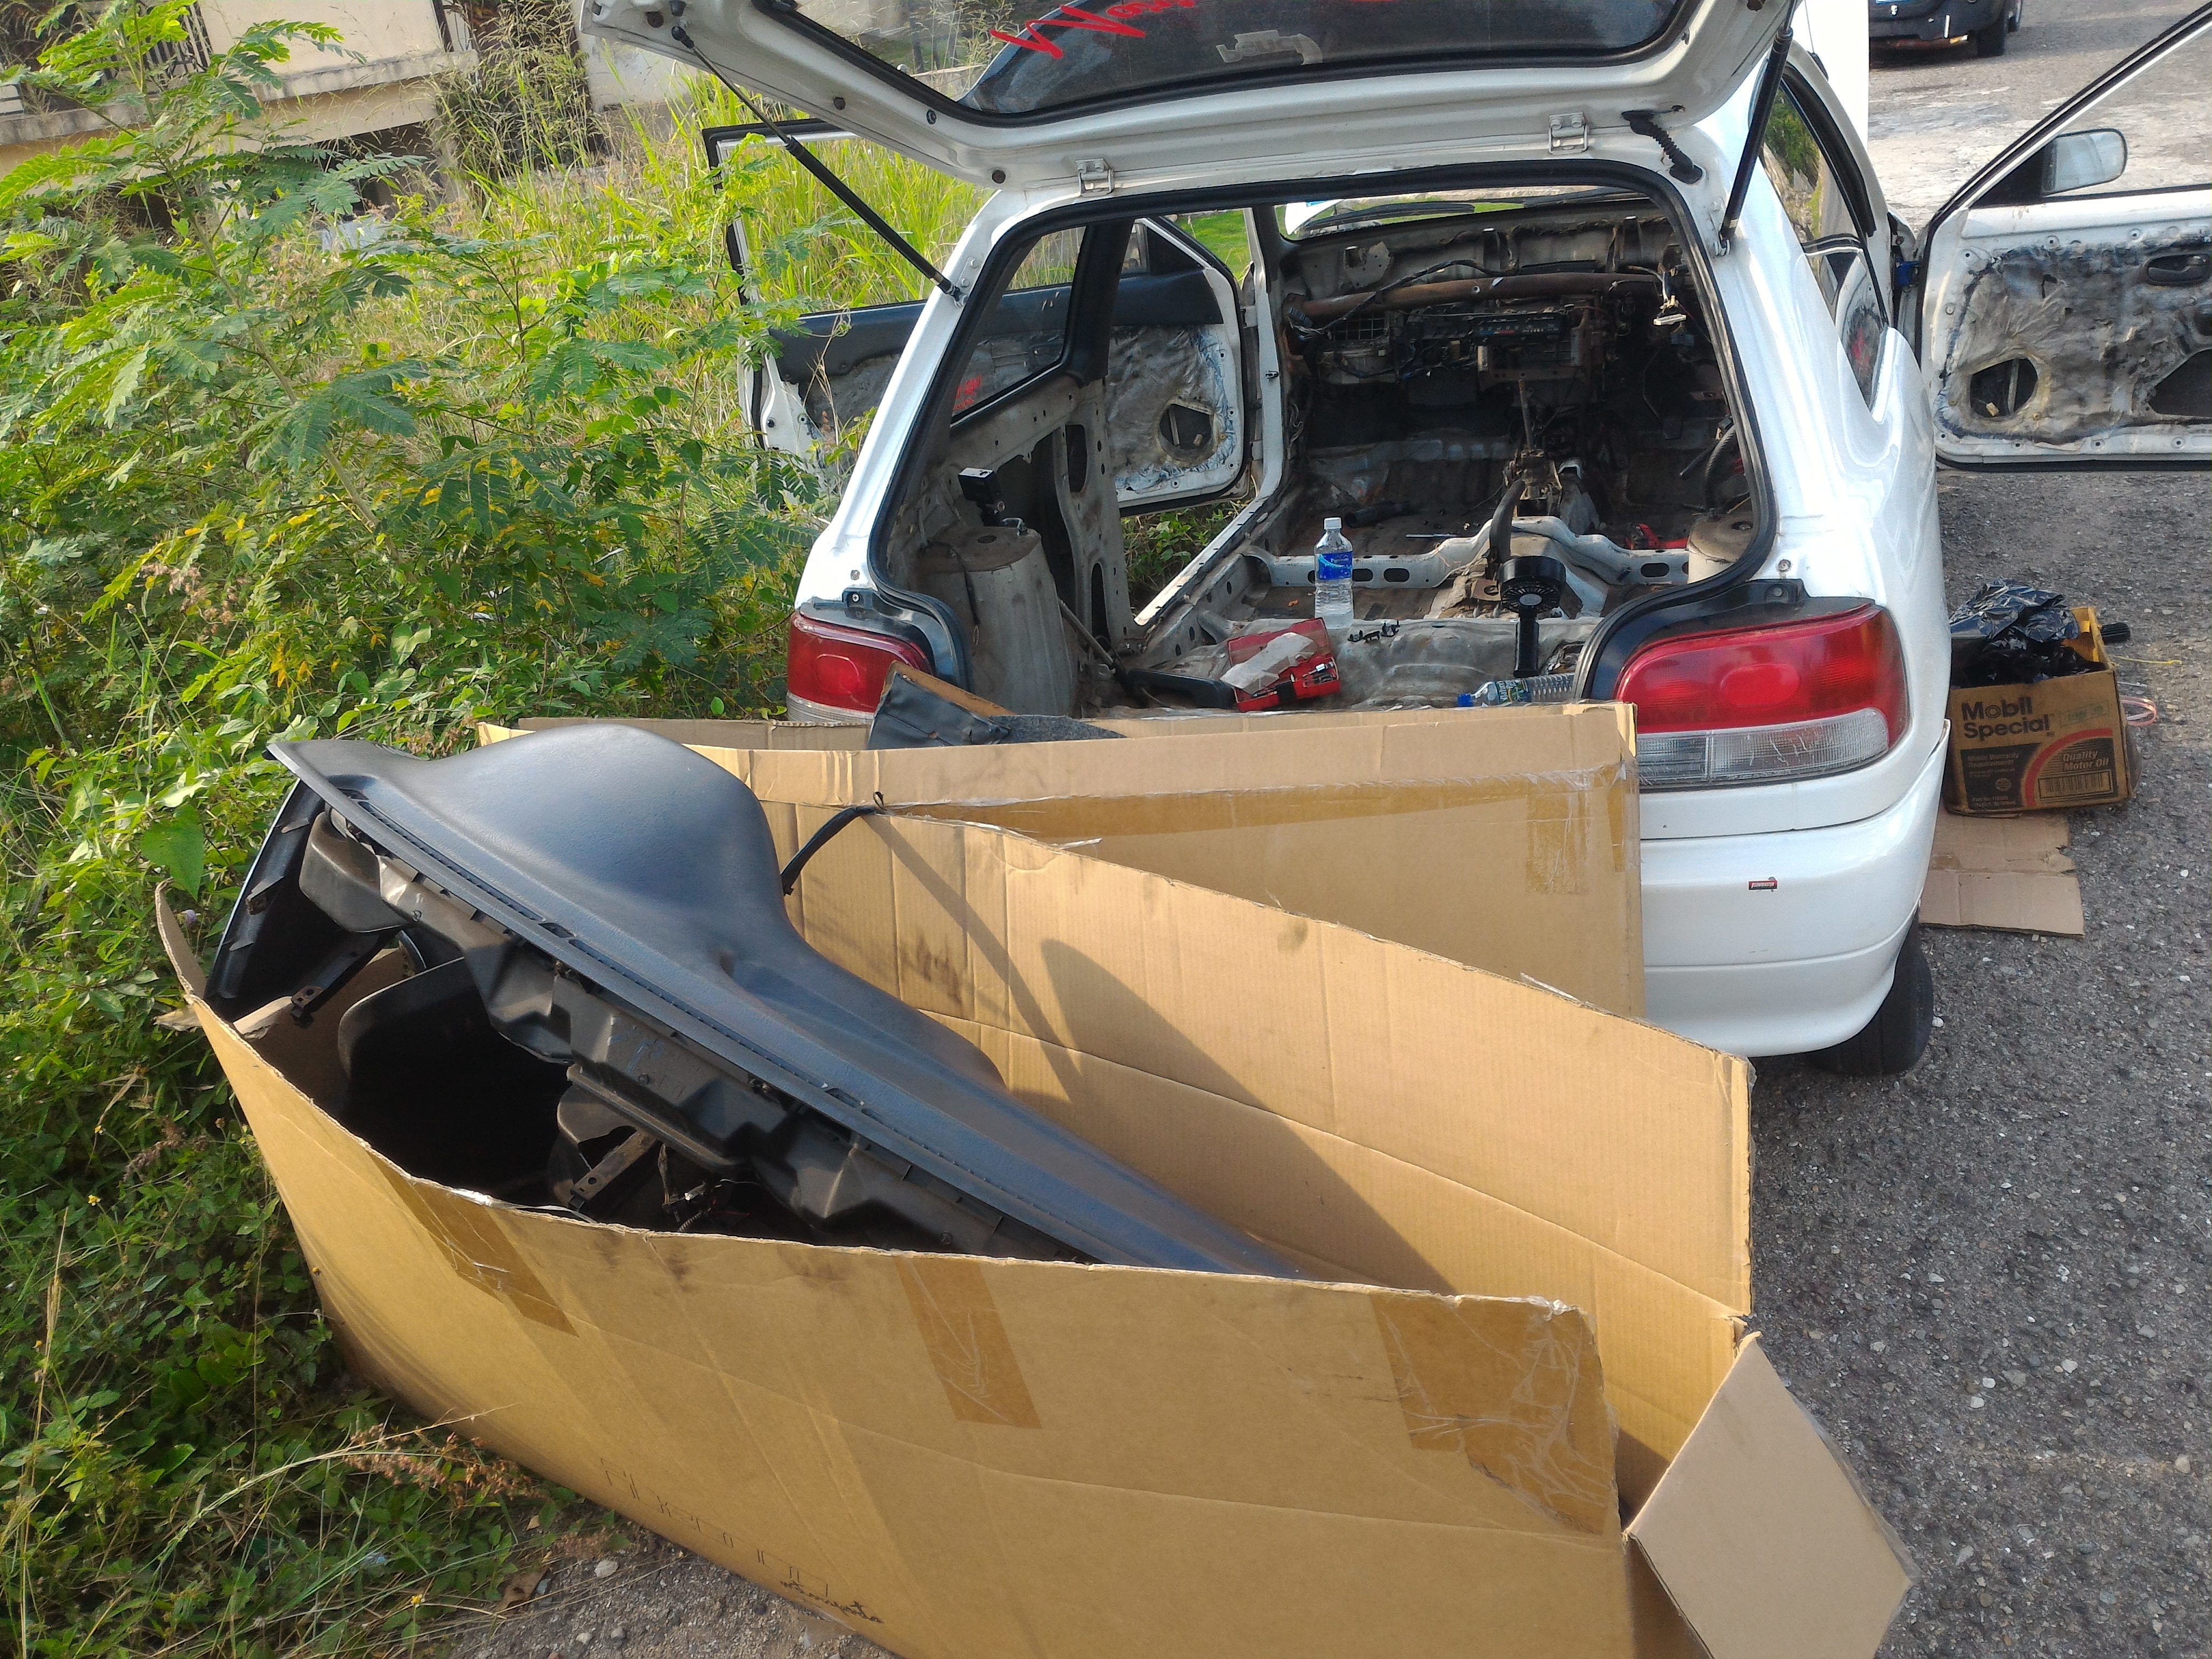
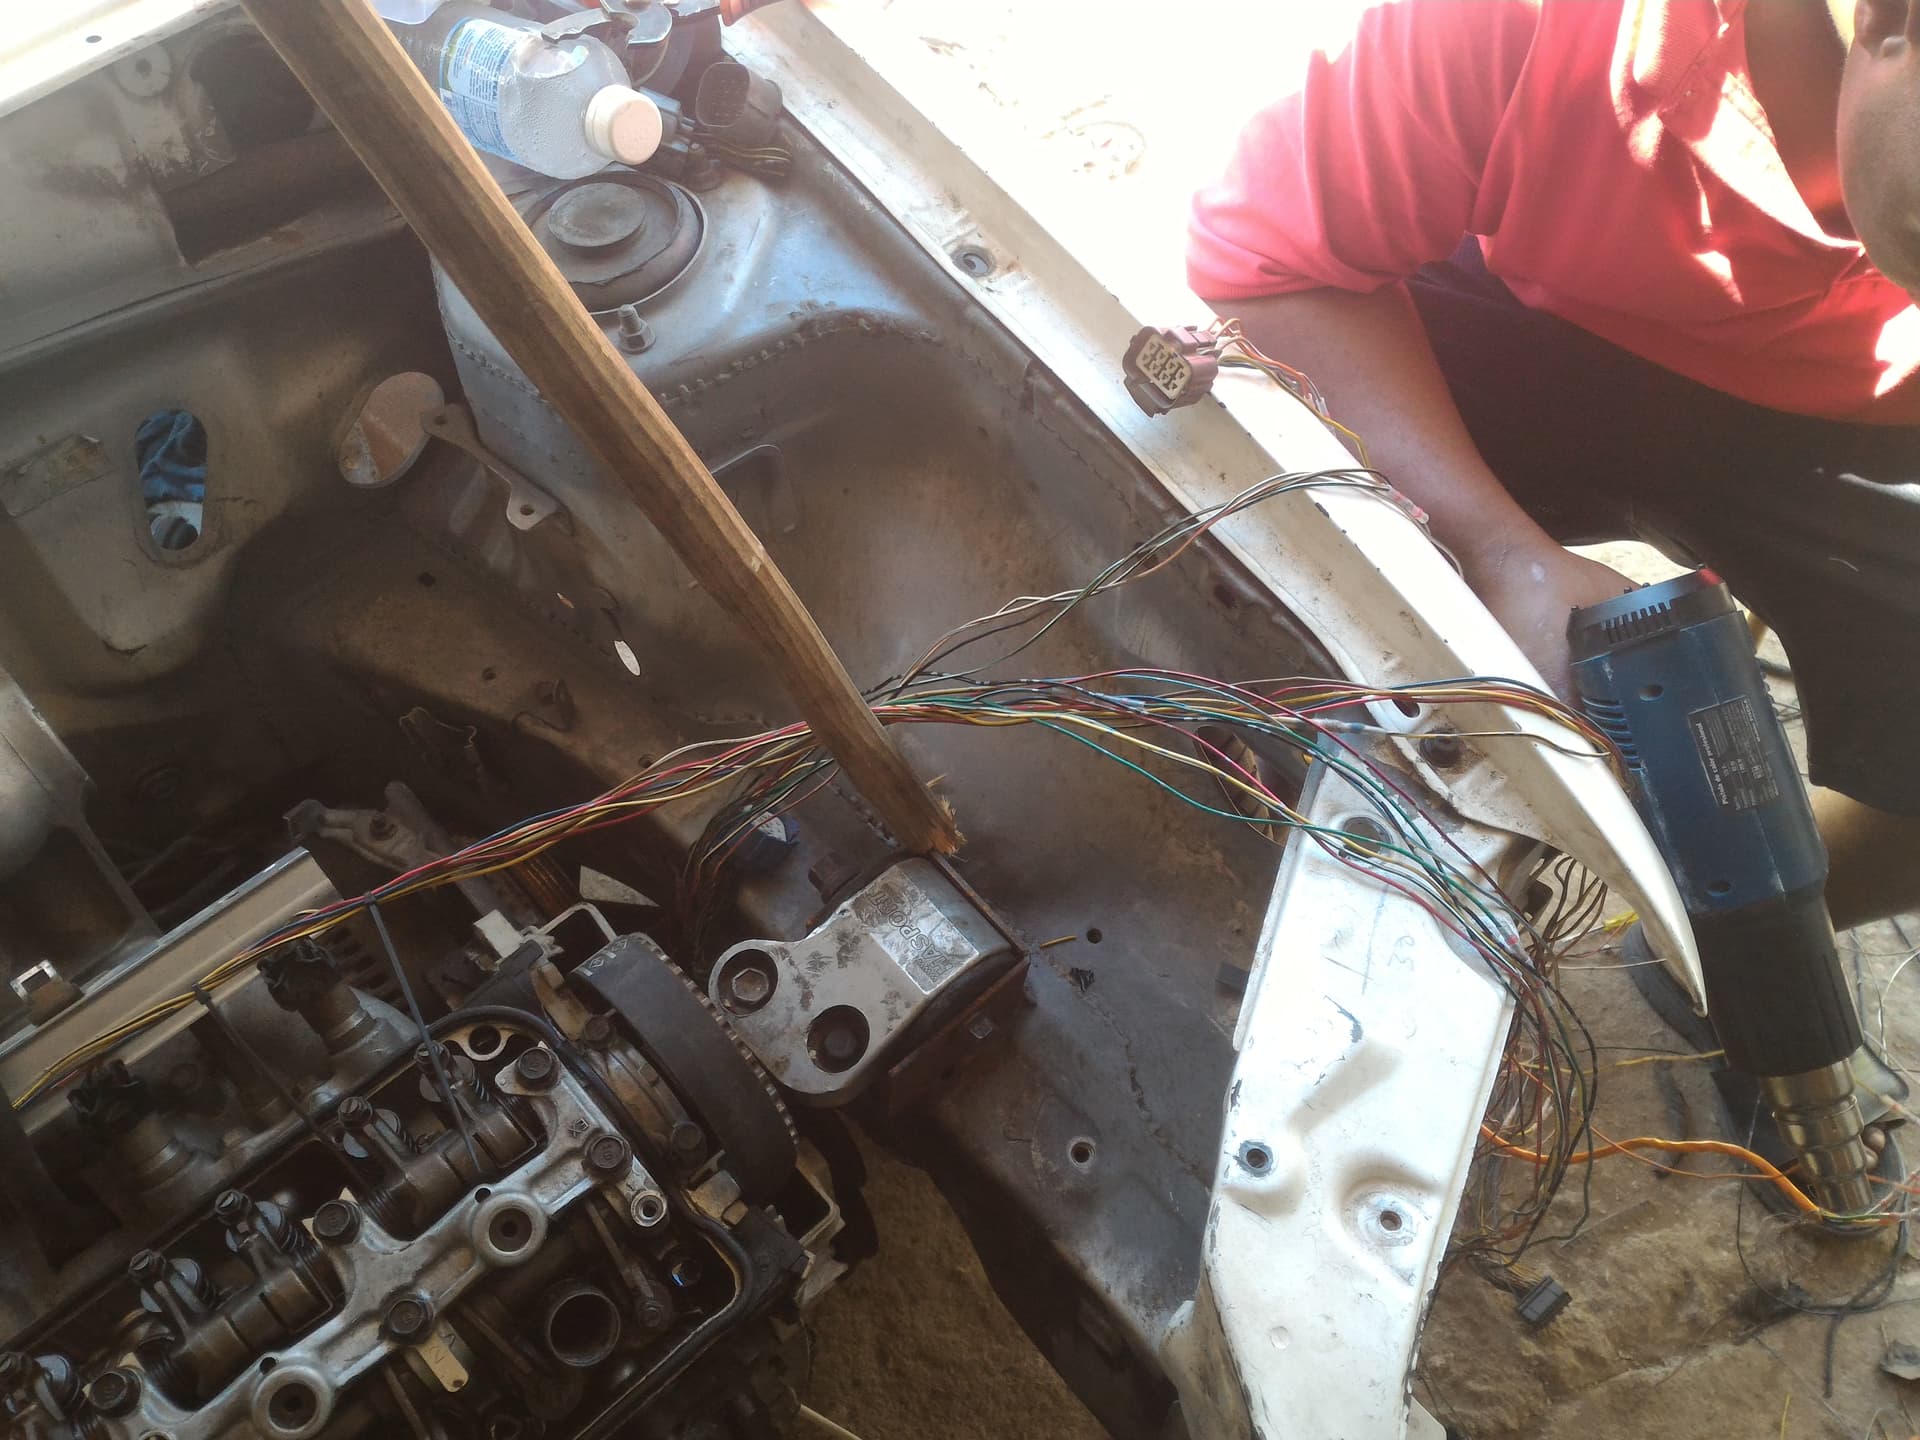
During the cage build I started thinking about engine choices. Let me share here my thought process on choosing an engine.

  1. Engine must be affordable and readily available.

  2. Good affordable aftermarket amd spare parts support for engine and gearbox.

  3. LSD must be easily attainable for gearbox

The options I had in mind were:
4age, 7age, B16, B18, K20/24, SR20vvl,4efte, D15/16.

First I was focusing on building a N.A. set up as the rules are more favourable for N.A where weight is concerned. Then I looked at what power each unit produced and how much I’d have to spend to get such power.
Now when I looked at what N.A people spent to get 20-30hp I was like…no no no, this is madness. I’m already used to a turbo charged set up and it can be reliable around track reliably

4age is my dream engine, I love the acoustics of it, however they are getting rare and are very expensive. Aftermarket support is limited and expensive.

B-series engines are available, but on the cost of the NA route I was not feeling it.

K20/24 is getting popular. Good aftermarket support. Goof power out from factory, but the cost price to locate the type R versions are high and the gearbox is not strong without going carbon internals. There is never a race meet in my region that a K-series box doesn’t get hurt at some time :anguished:. We were also concerned about how it would be mounted. Due to the design we might had end up with a really front heavy car just having to position that K to get clearances sorted.

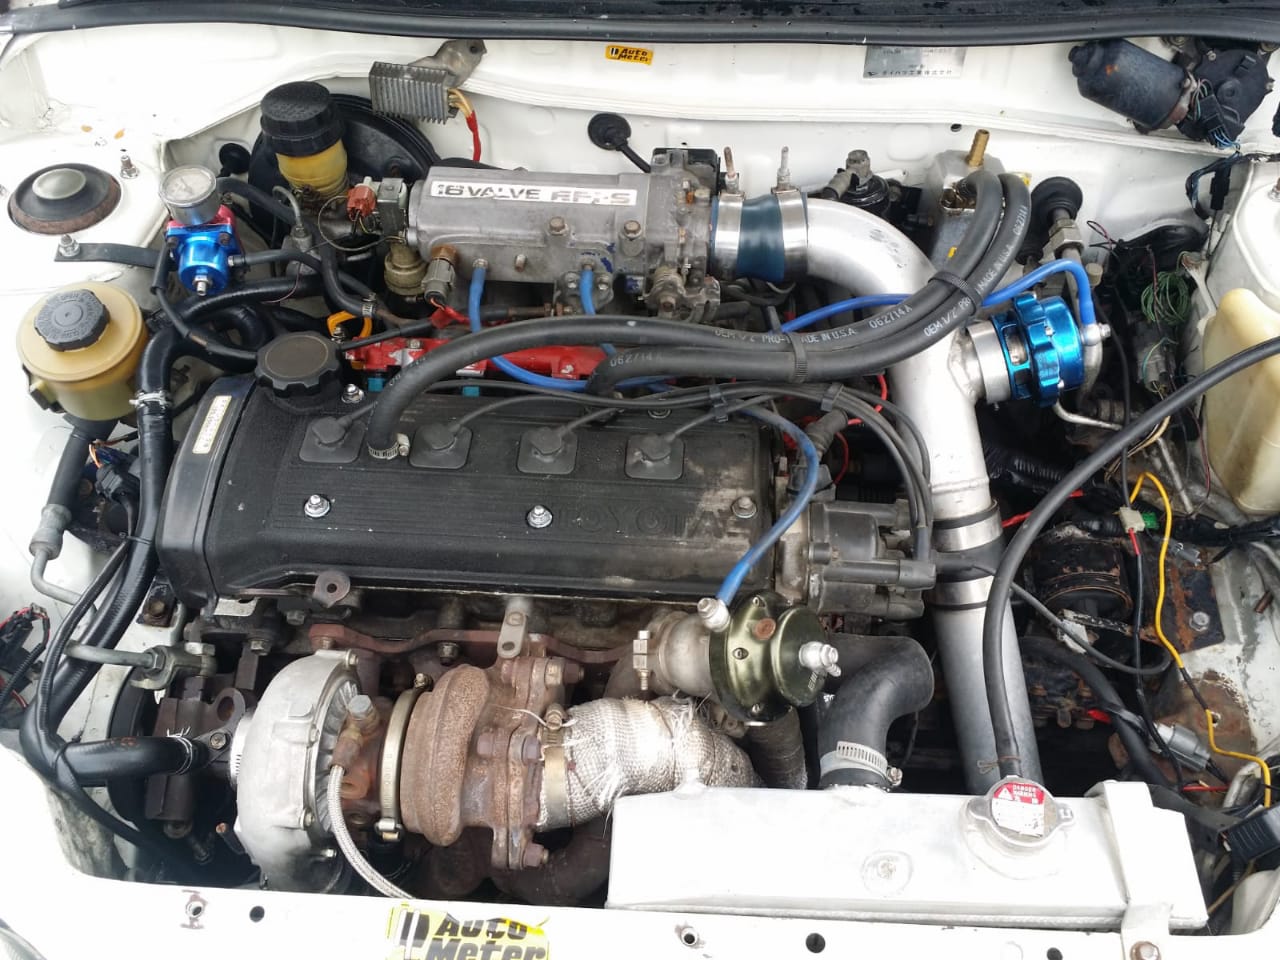
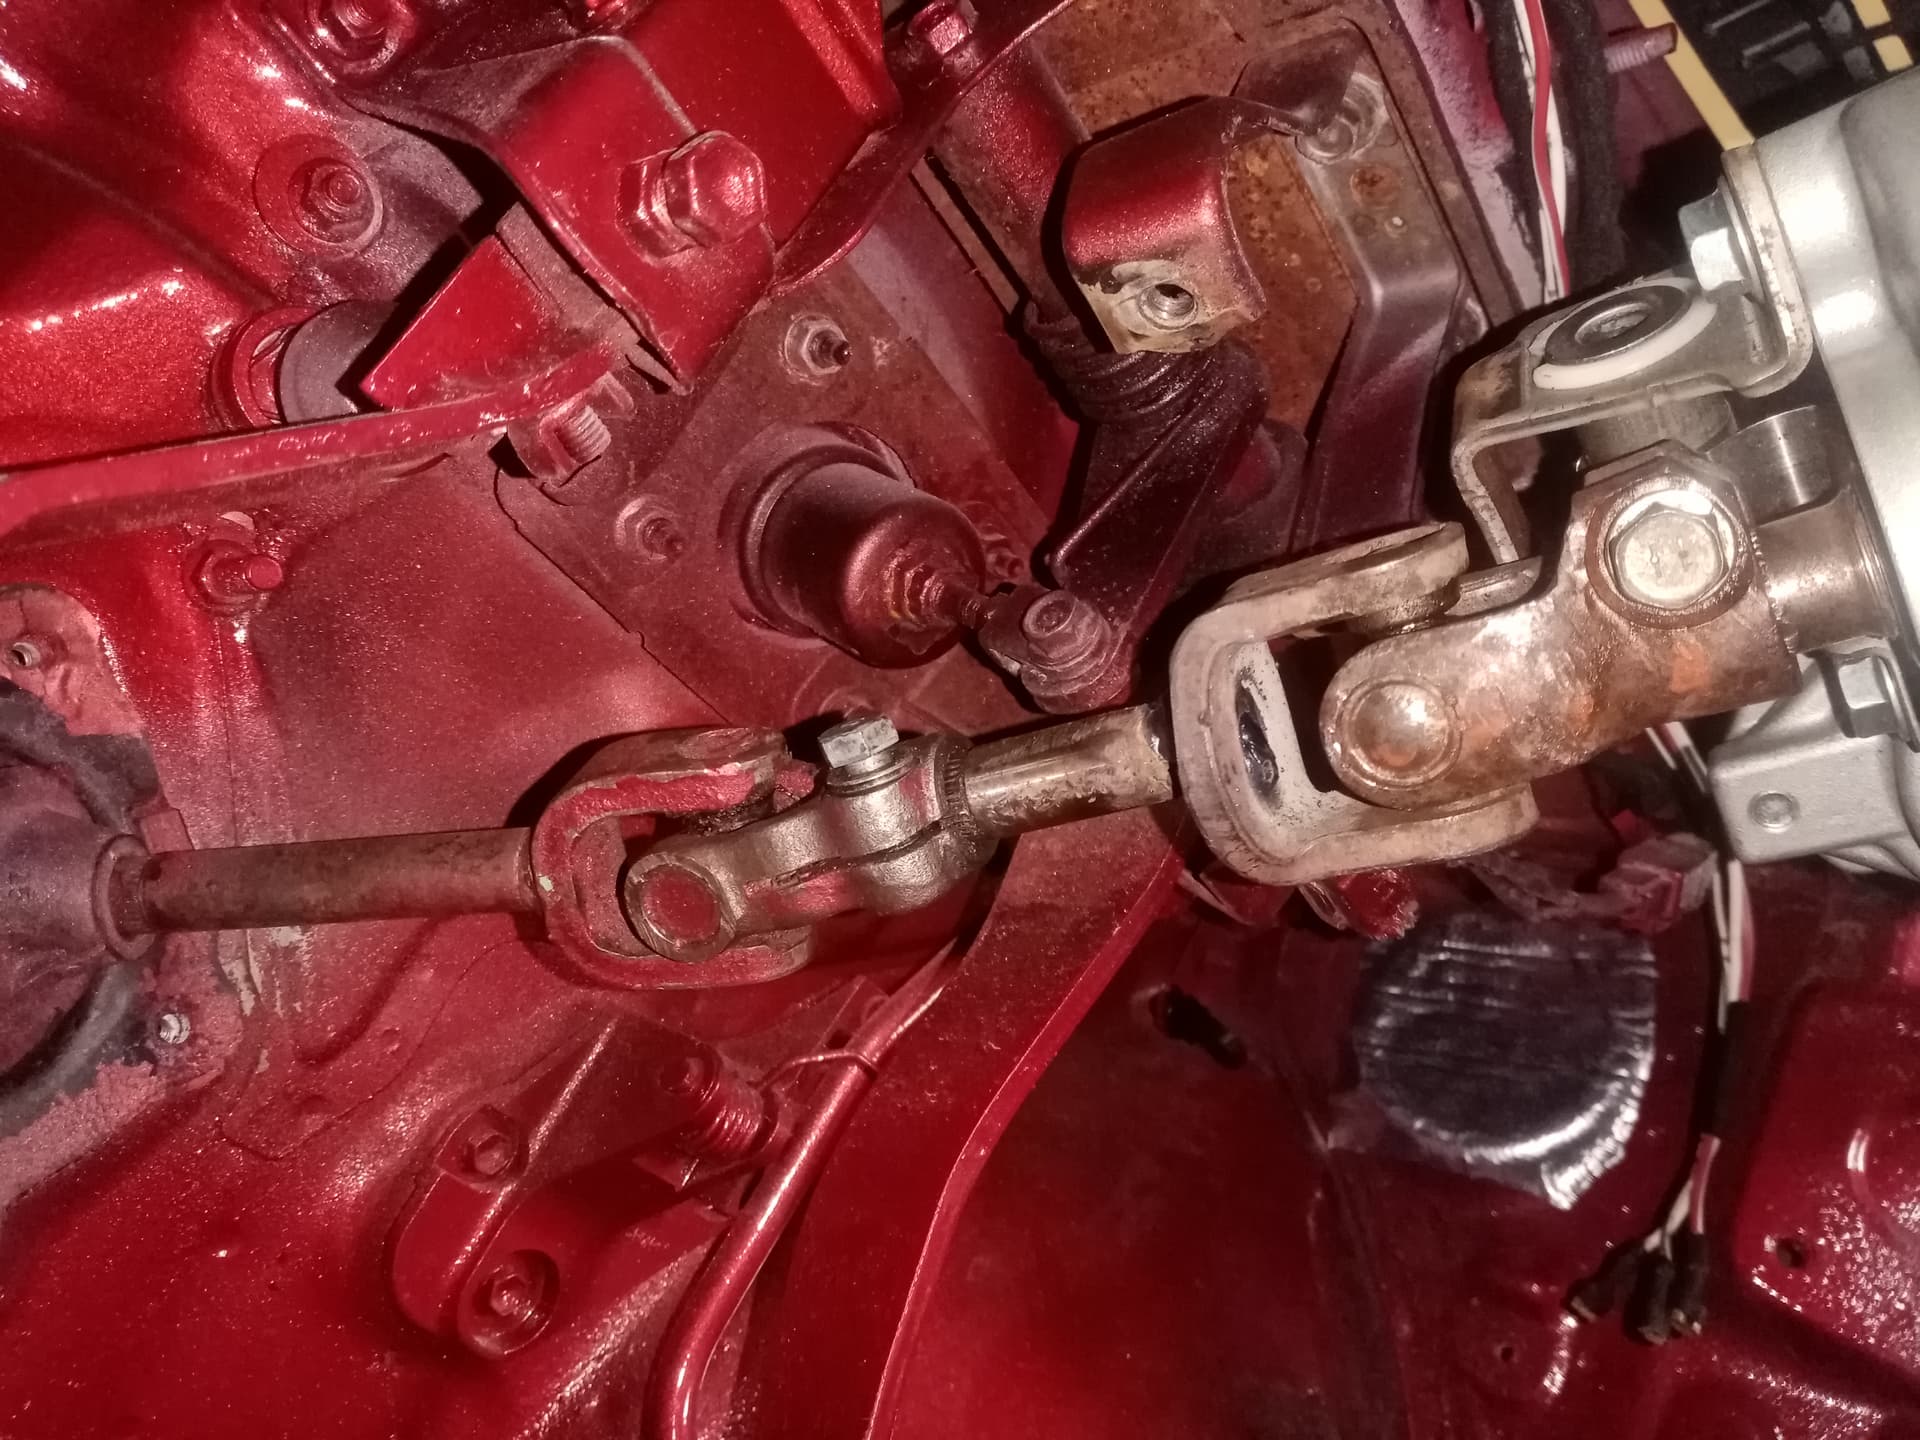
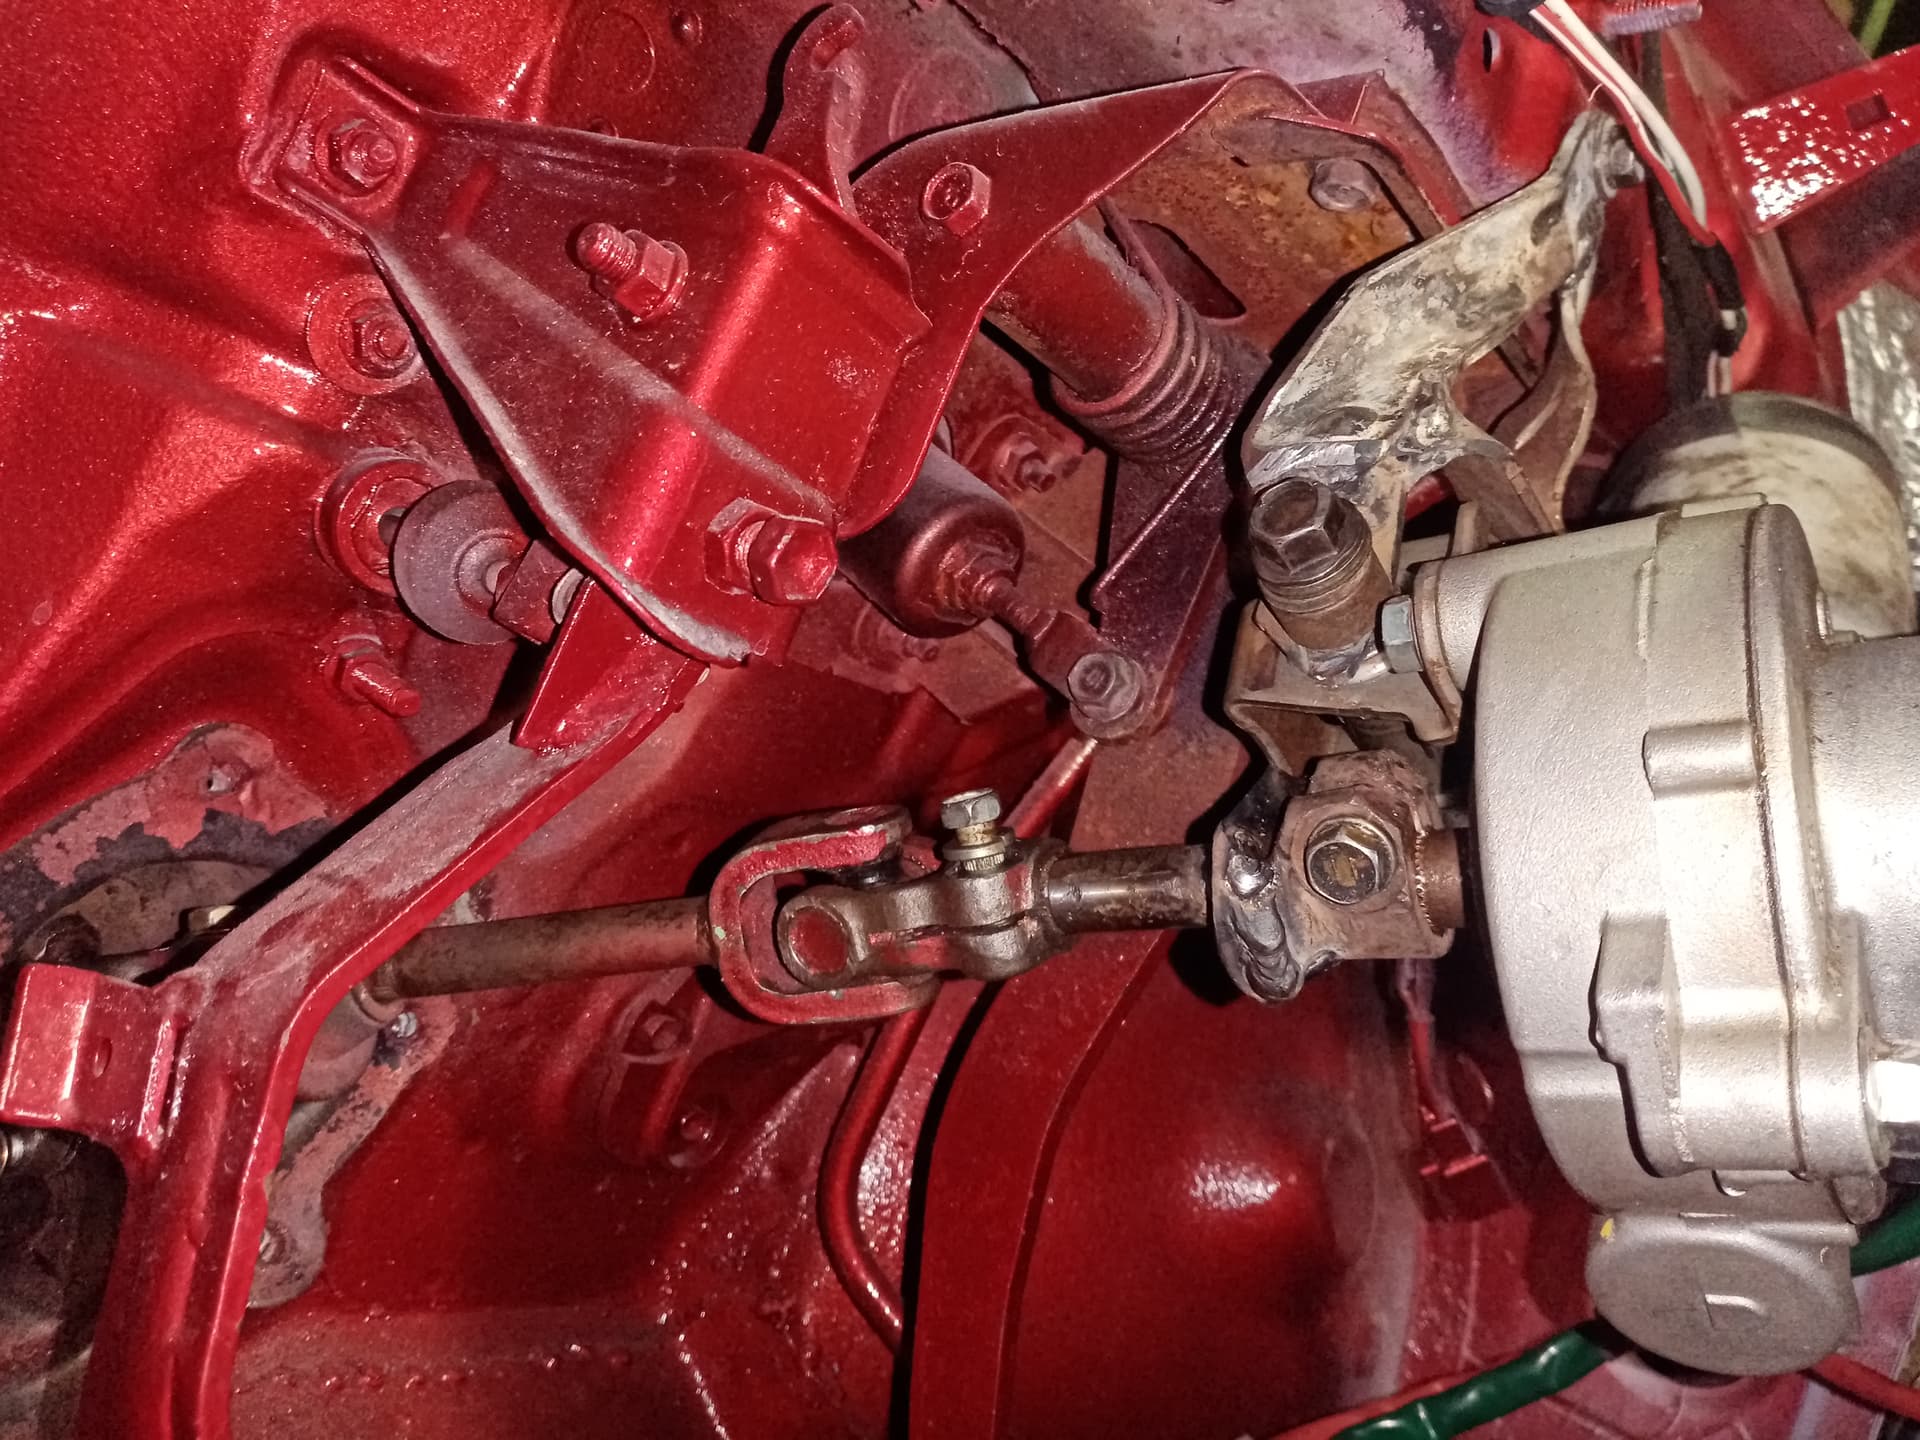
Having chosen boost it was left to the 4Efte and the D15/16.
Now the 4efe is available and would just require a piston change. The prices were still a bit up there and could work with. A reliable engine and gearbox. Got hunting for a LSD and just missed out on one. So I went looking online. Prices were dazzling for whatever you could find.

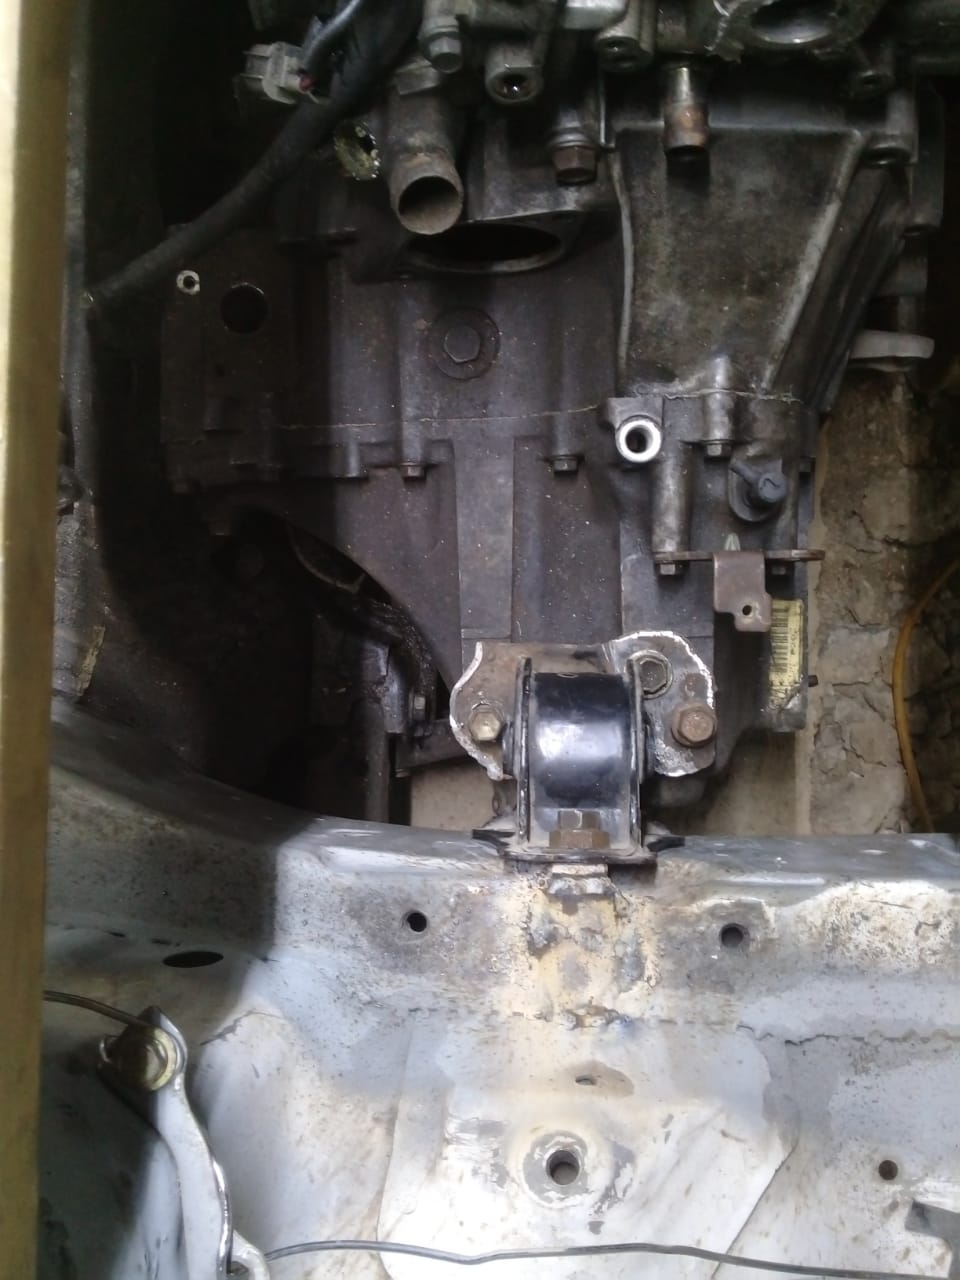
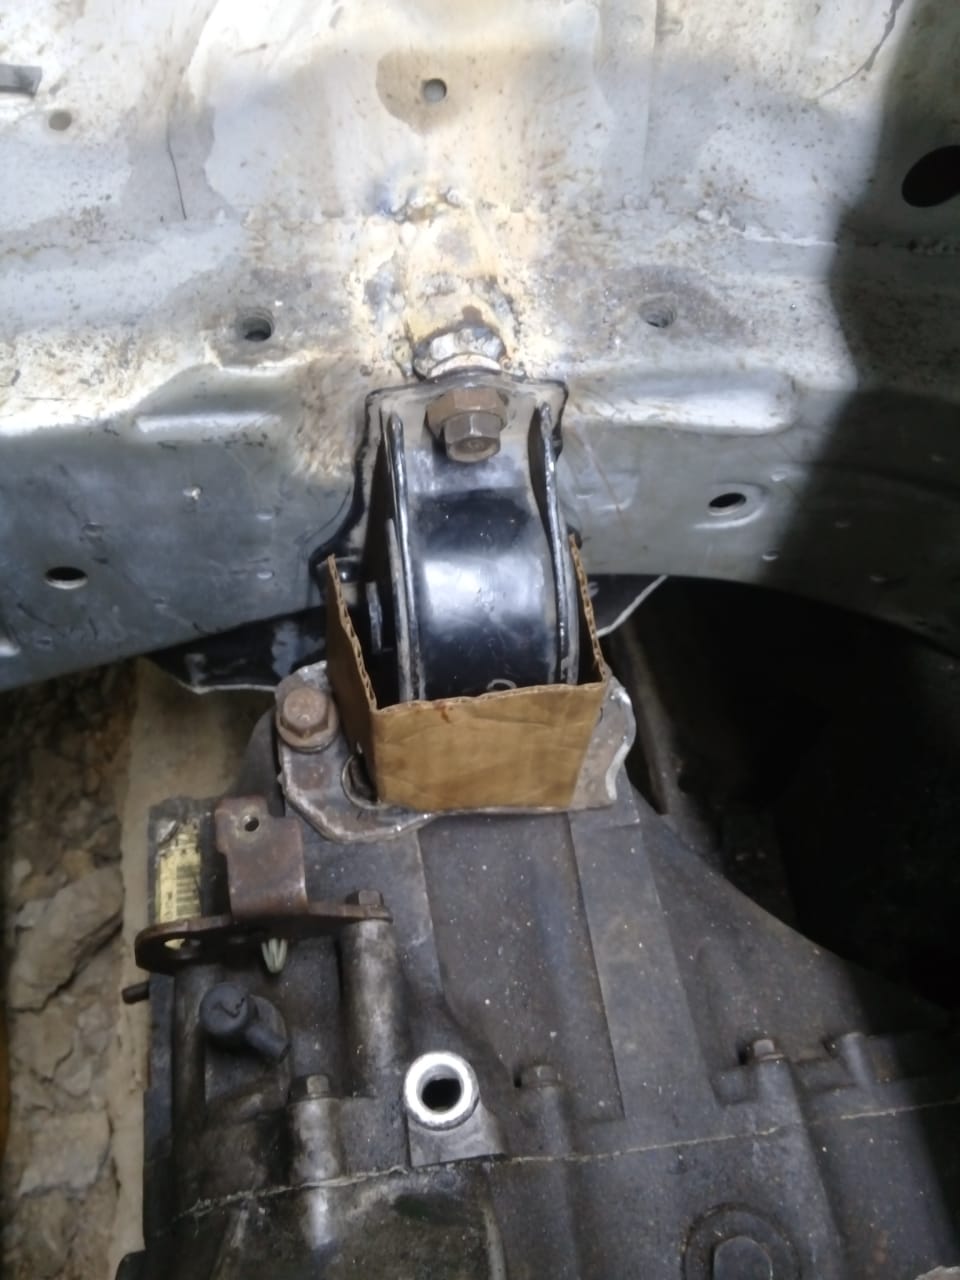
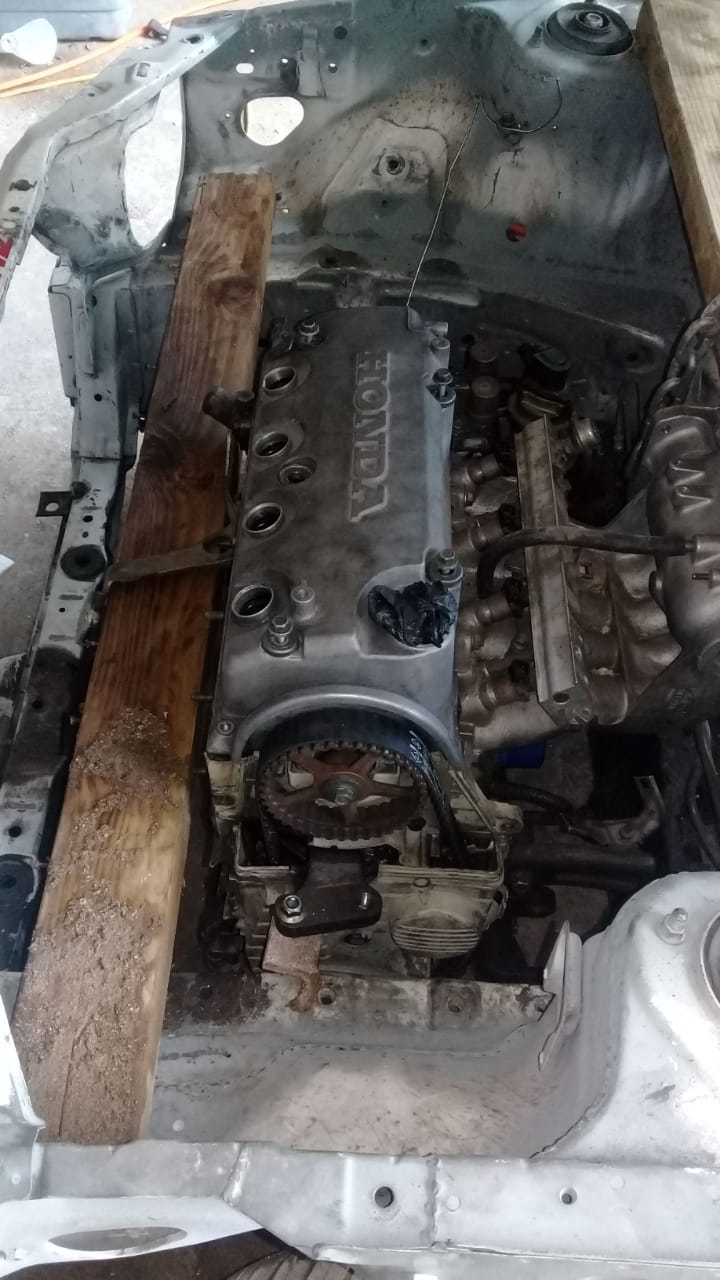
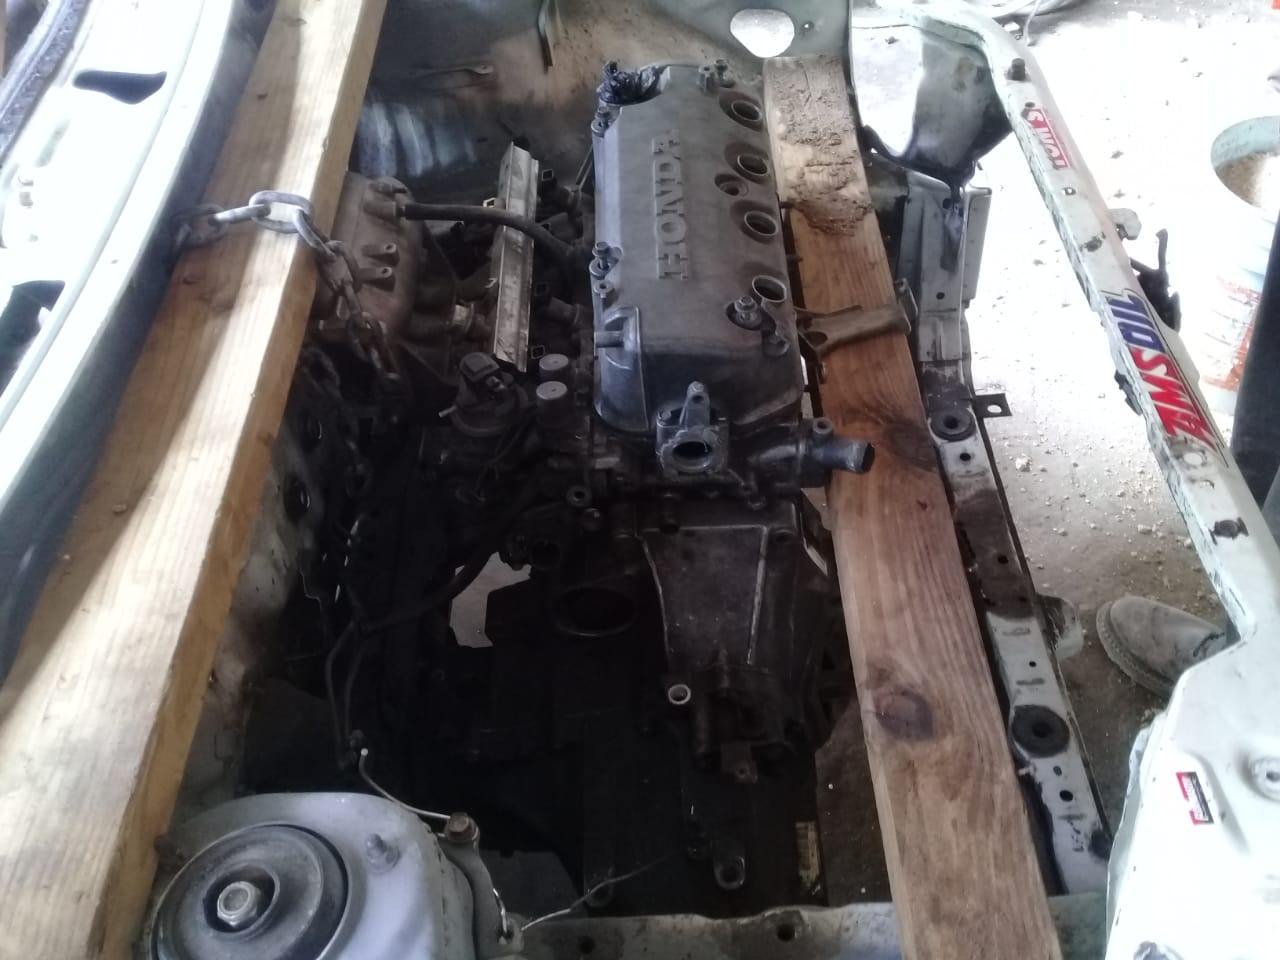
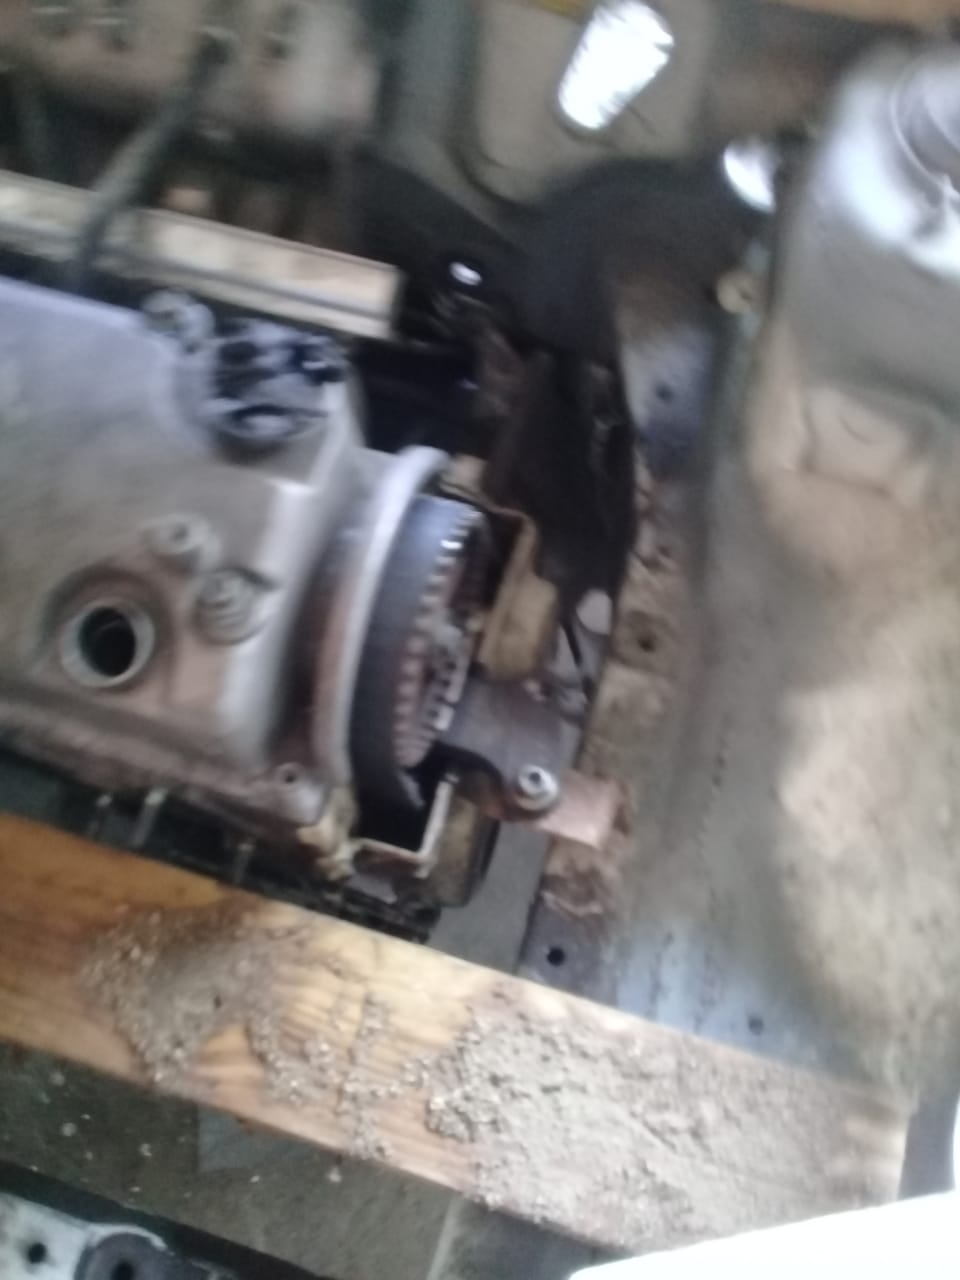
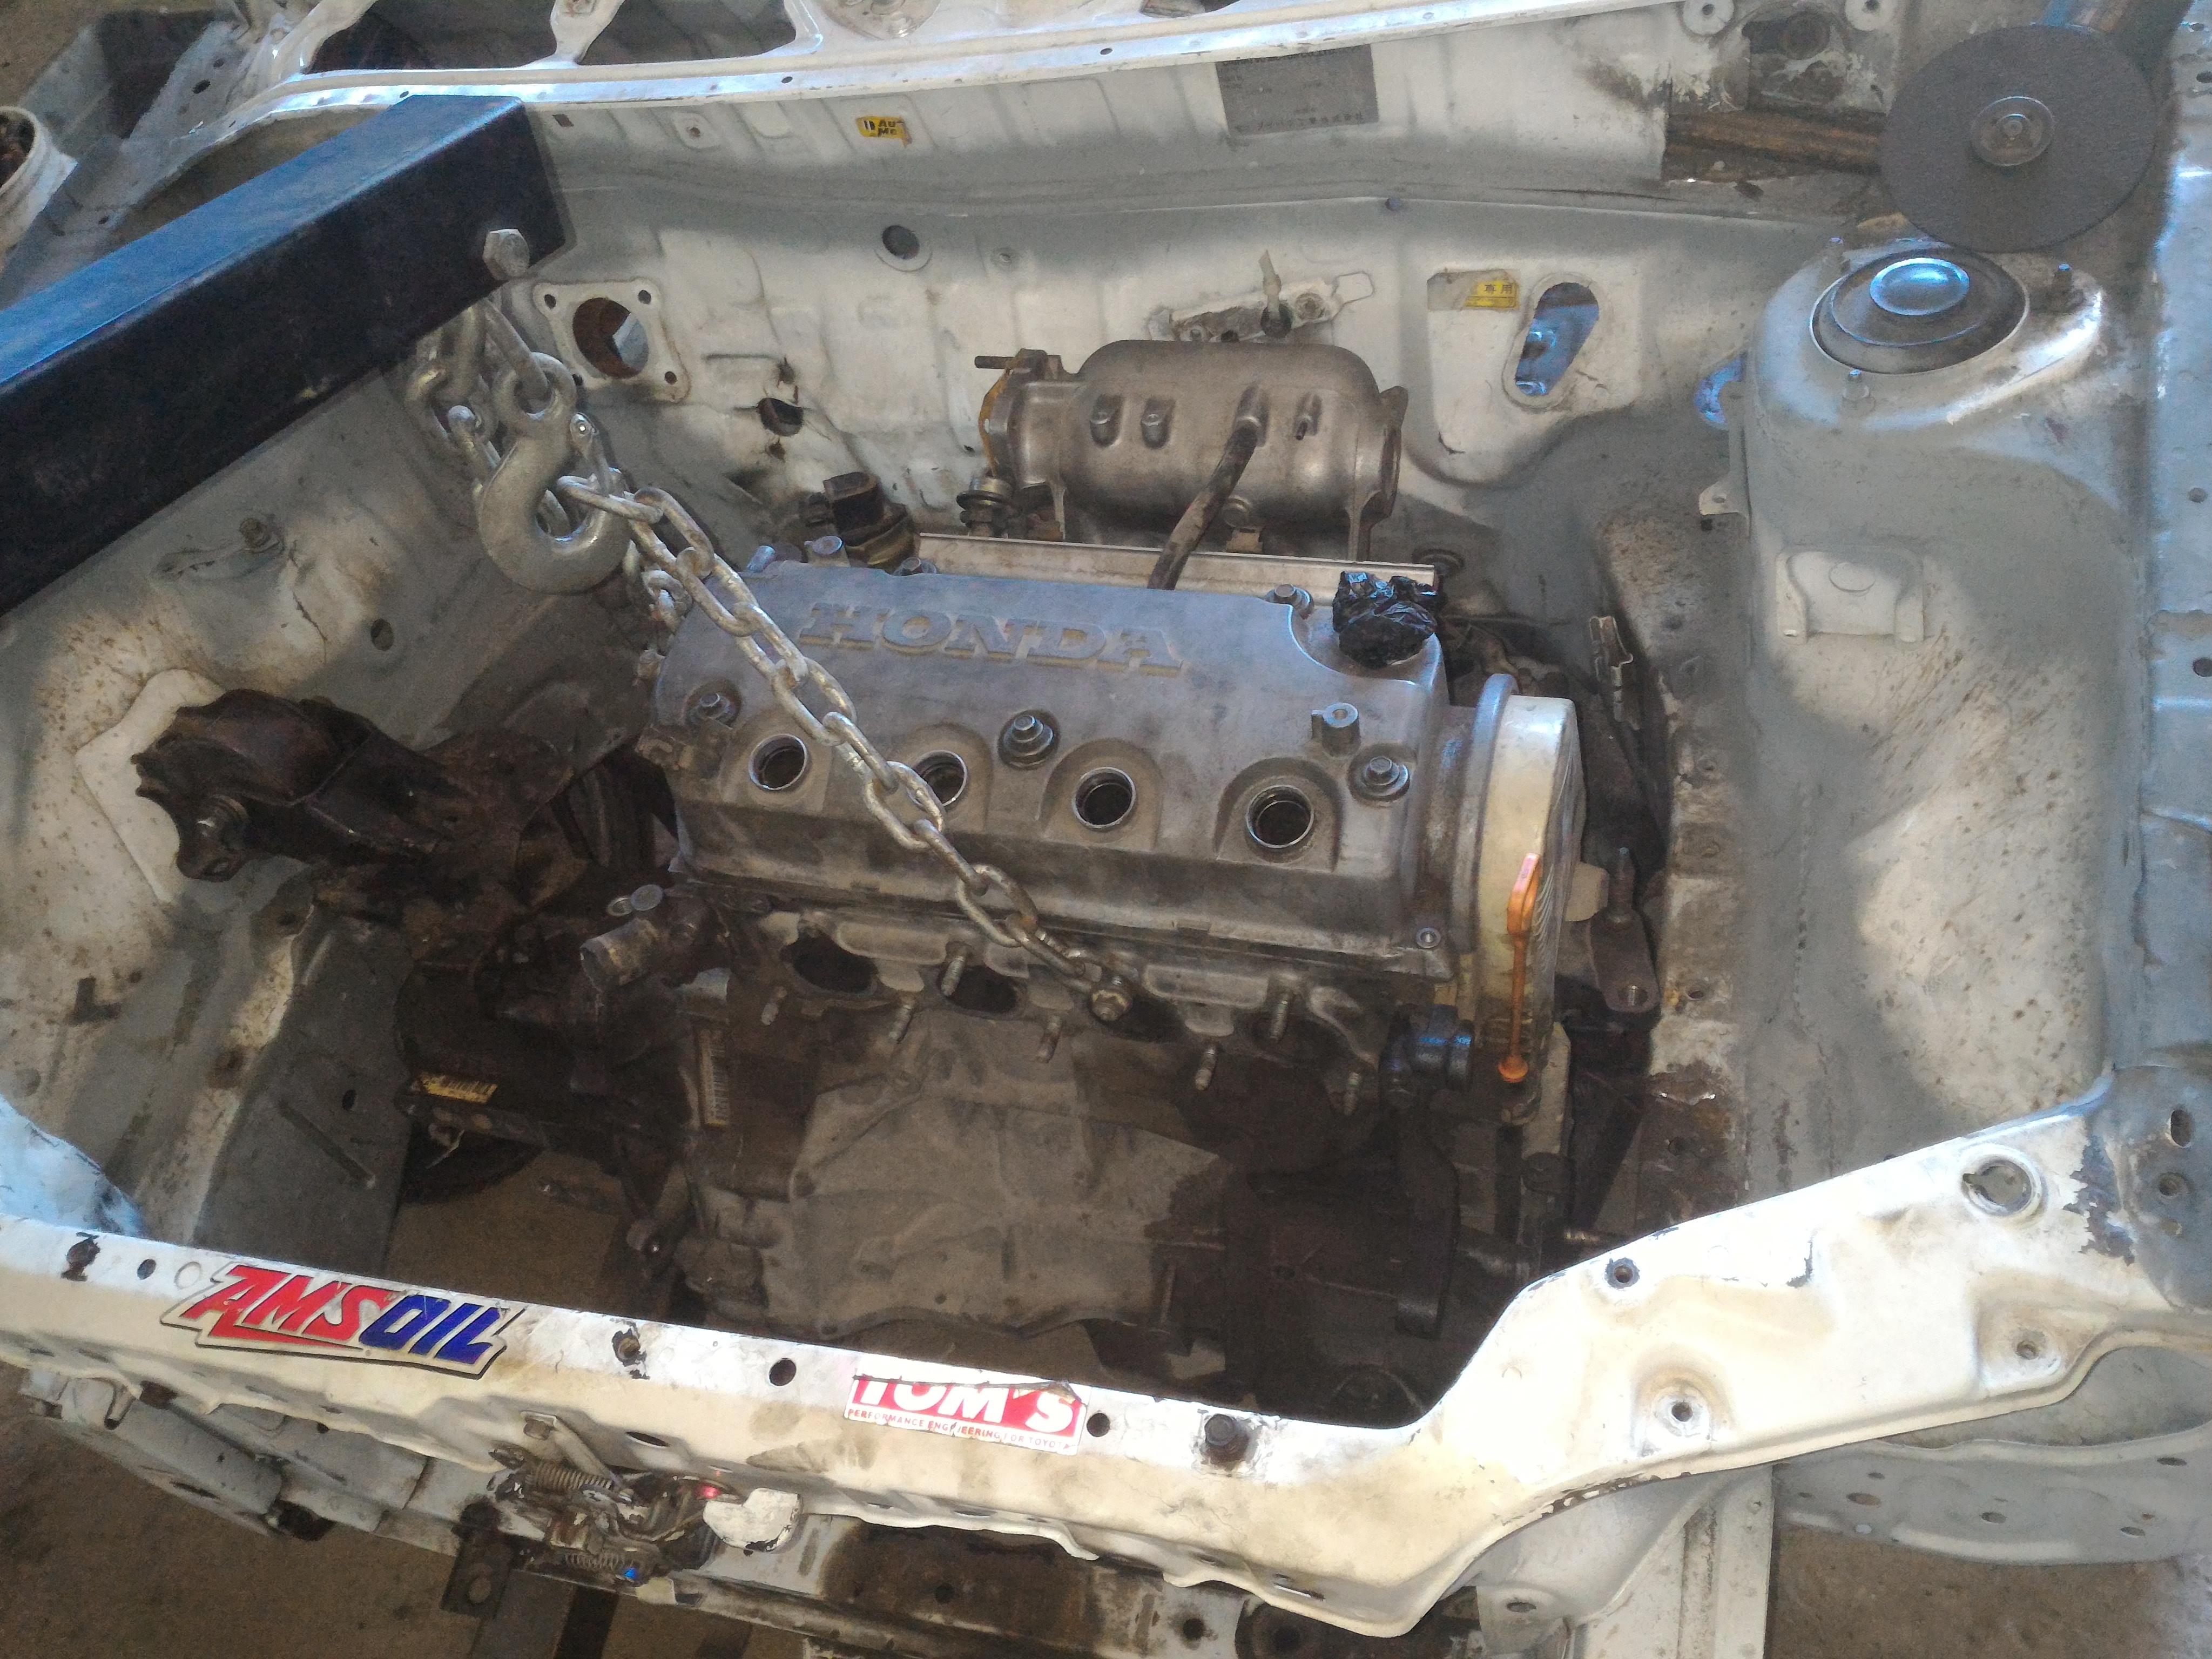
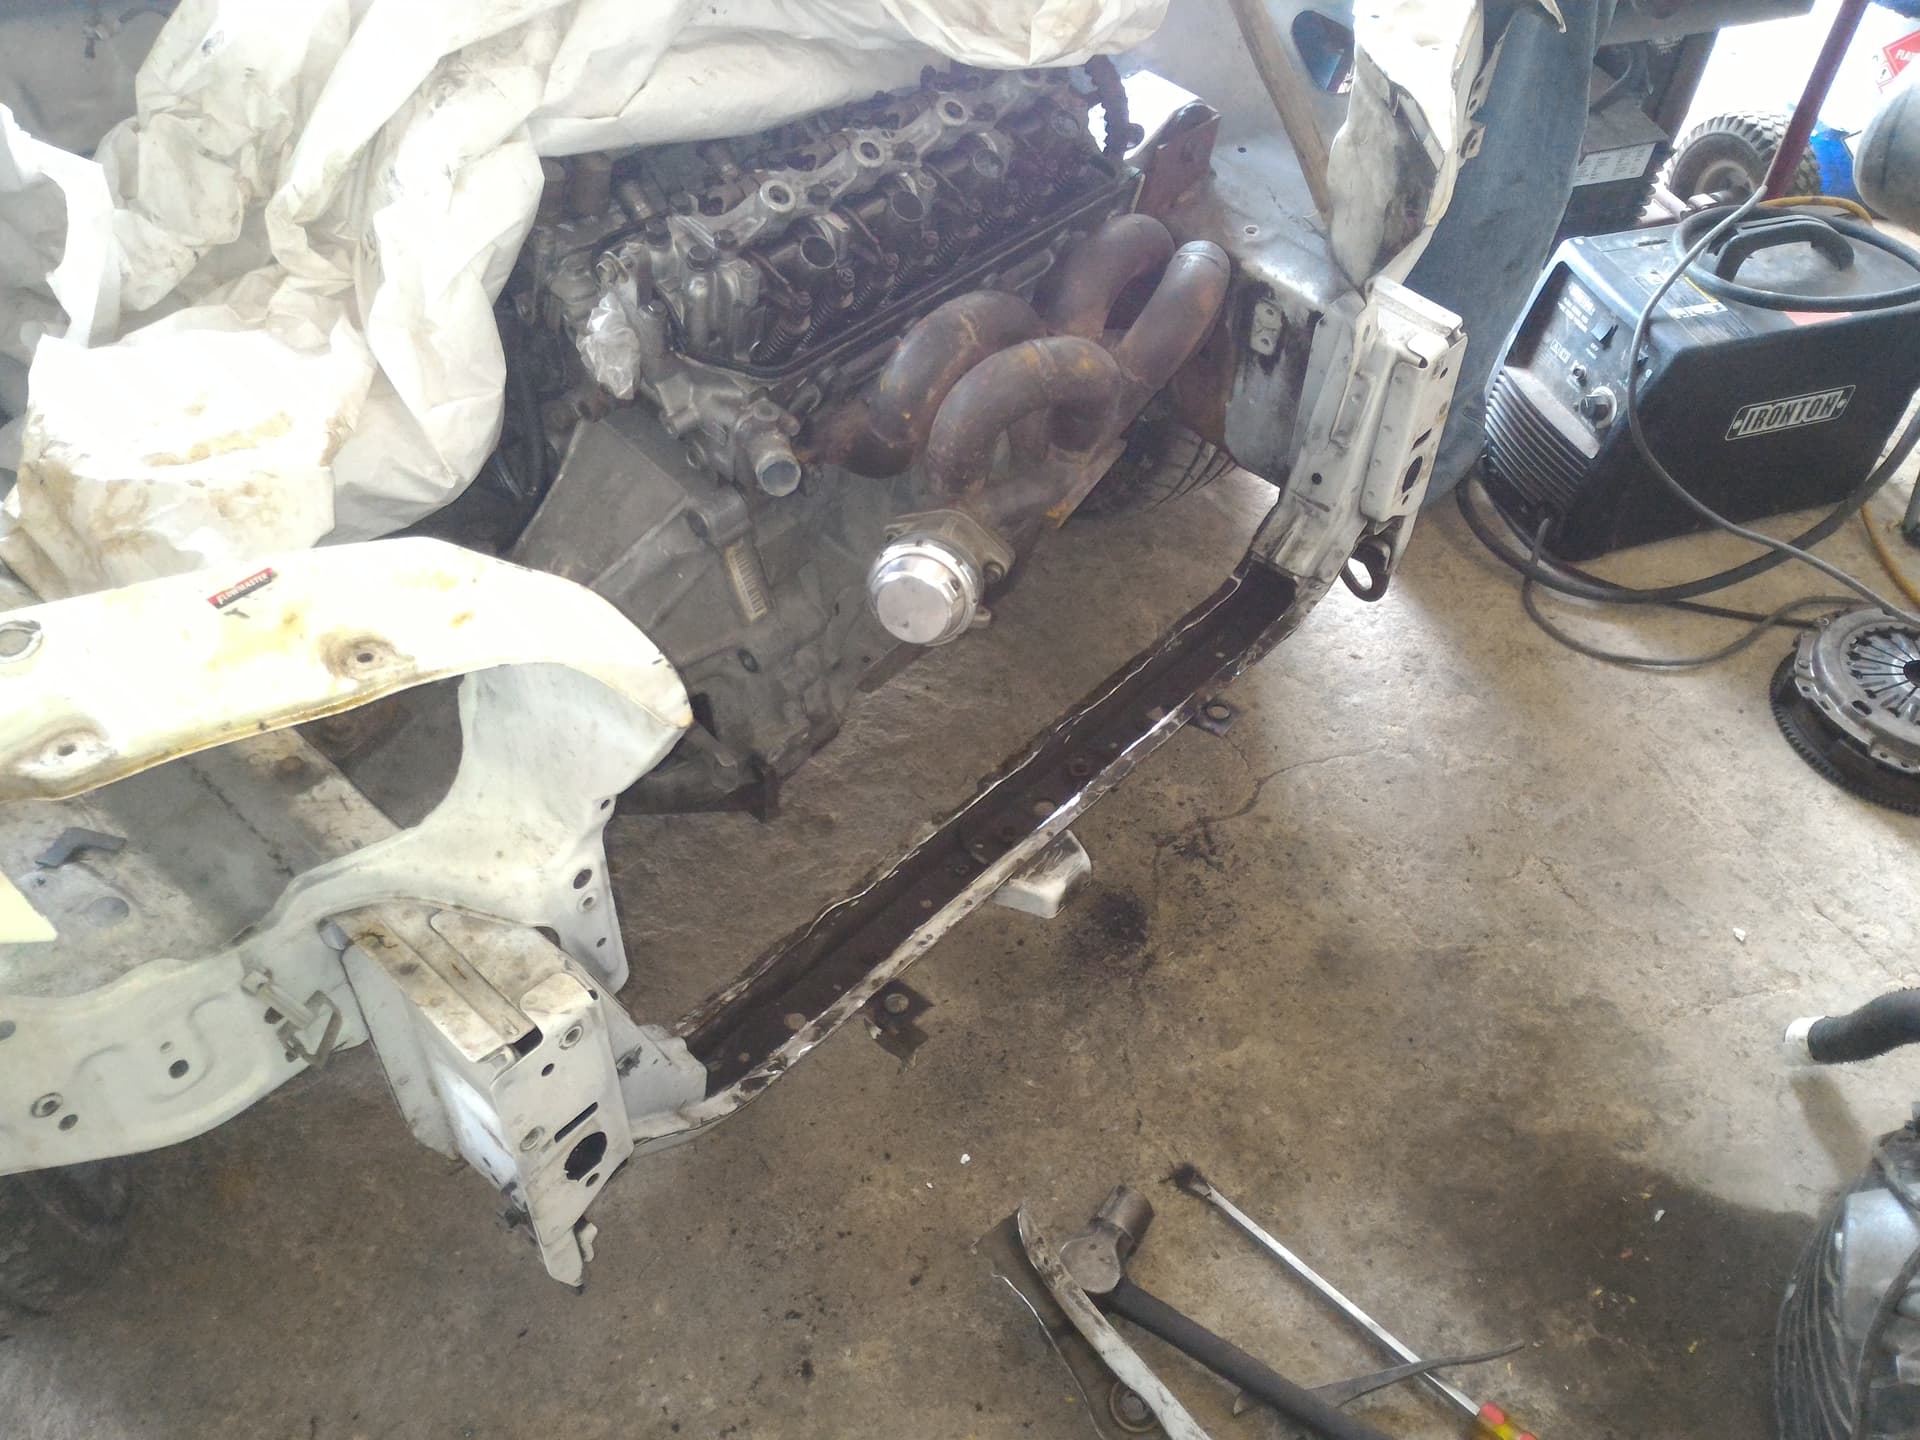
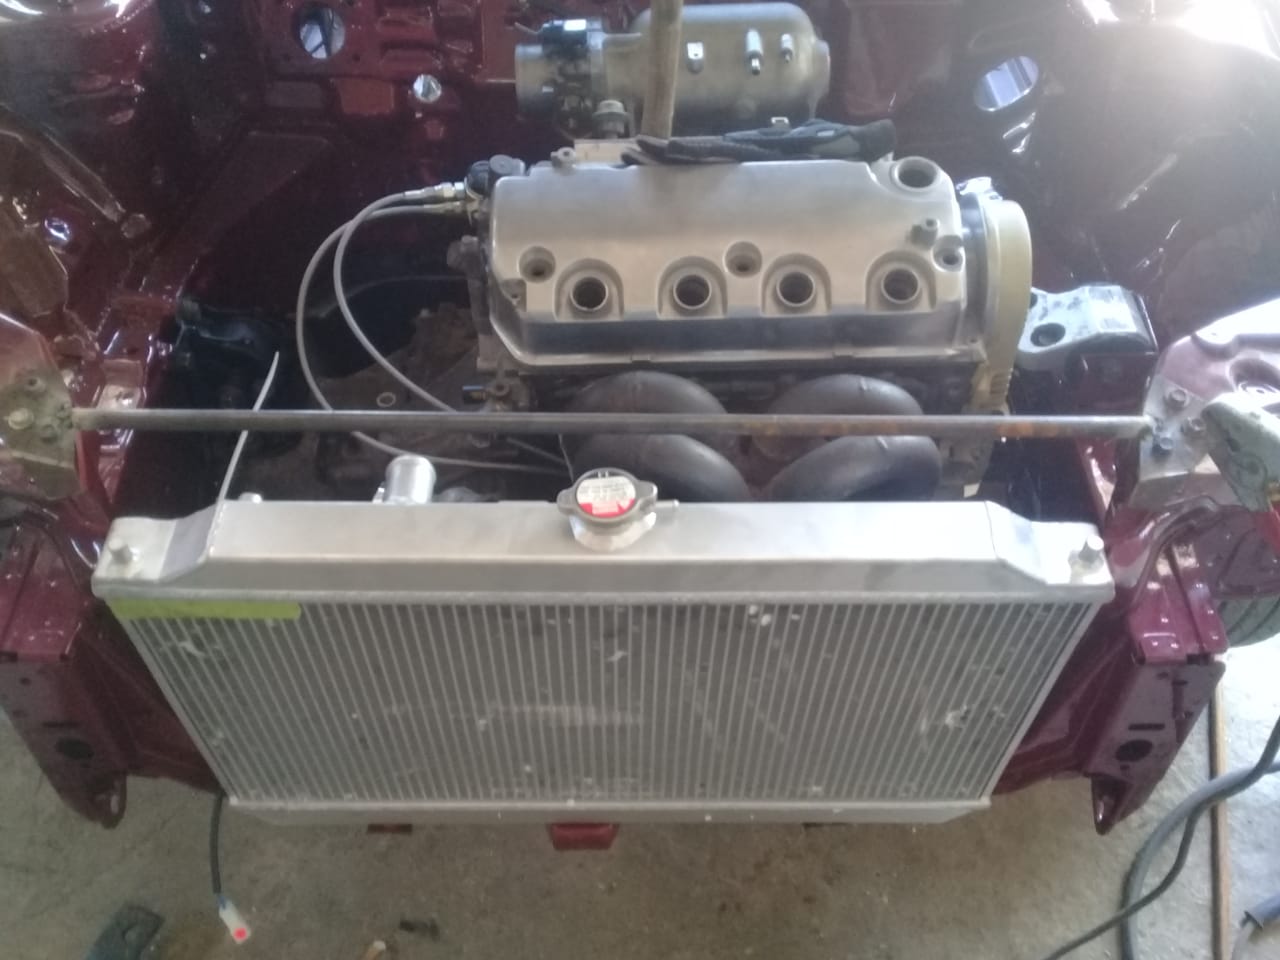
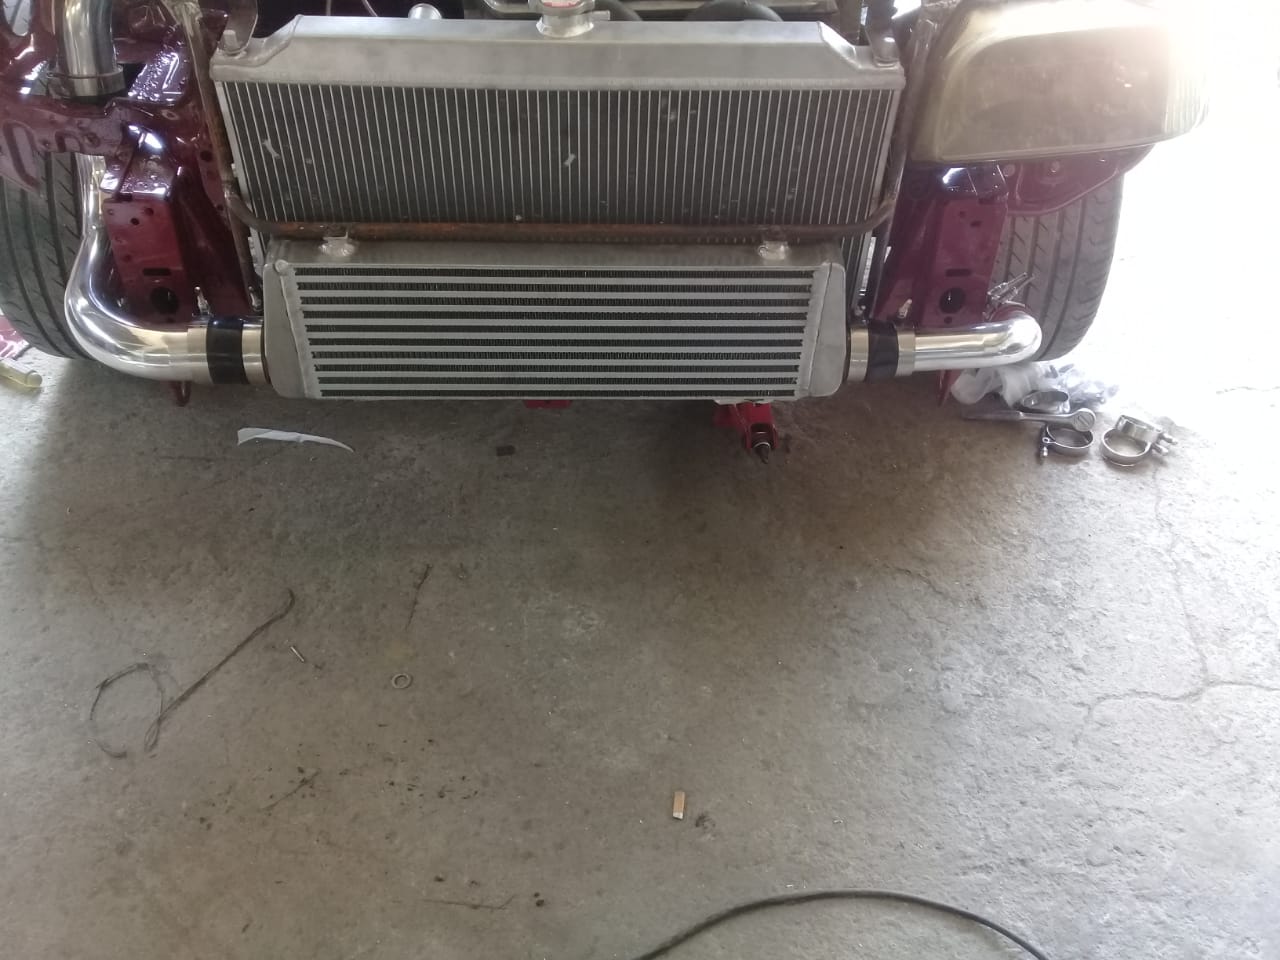
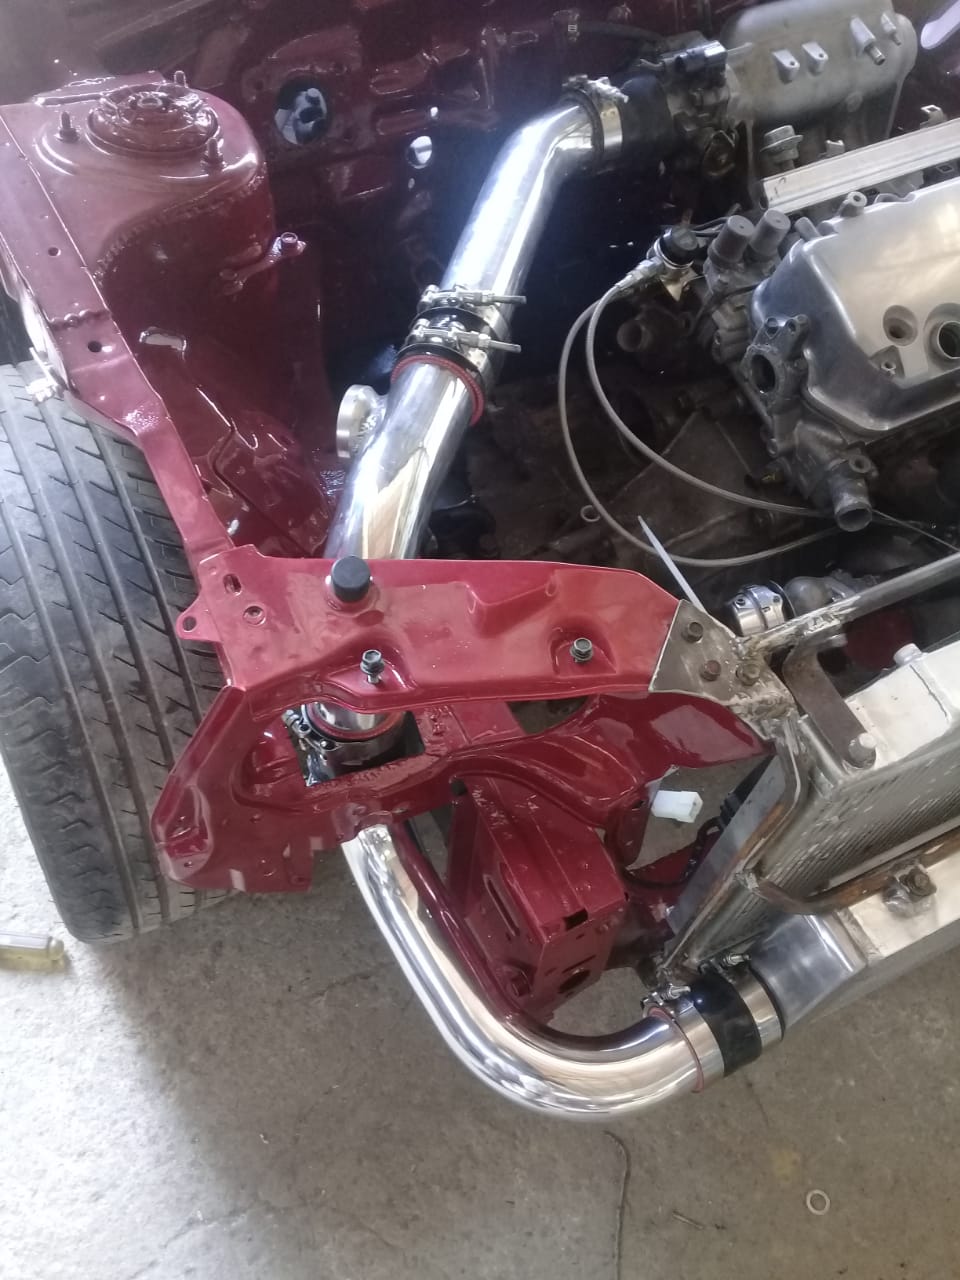
That left the D15/16, which had aftermarket parts around like snacks on supermarket shelves. Engine and gearbox readily available at good prices. From observation on reading they are also pretty reliable being turbo charged, just rods and vitara pistons and boost away. So I went for it.

BOOSTED SINGLE CAM TRACK CHARADE :raised_hands:

2 Likes

Not far away was an associate mechanic who had a customer that decided to go B-series. So we negotiated and I got a deal on a D15b, dual vtec with a S20 gearbox. So far I’ve come accross 3 versions of D series box, the S20, S40 and another which I’m yet to get a name for. The S20 being said to have the shortest ratio and S40 the longest. I’m yet to find final drive numbers.

Got Taz to work retrofitting the engine and gearbox. He got really creative with the mounts, especially the back mount.

2 Likes

With the engine and gearbox mounted, it was onto the first real hurdle of this build…the axles. The car has a honda gearbox with a Toyota hub set up and with this being a retrofit axle lengths would be affected. So onto custom axles. Thankfully I had some experience here from my L500.

Details of the axles can be seen in episode 7 of the build


We went about taking measurements. Starting with the inner CV installed we had the tape measure with 1/4" into the CV housing. This.copies the place the tripod is likely to be with the car jacked up. Now note that as the body of the car goes up d tripod draws outward the CV cup, as the car rides more to the ground it goes inward so u want to account for that travelling balance.
To get the complete length it’s easier to have the out CV installed and bolt it enough to ensure its all the way fitted in the hub, you don’t want to end up with an axle being too short.

After acquiring the lengths its was axle hunting. We were hoping to be able to respline the Honda/Toyota axles BUT the design as such was that the diameter of the axles is not consistent straight through. I’d really like to know why.
Searched through other piles of used axles and was unsuccessful. So that left to cut and weld axles, something I definitely didn’t want to do, but I want this car running. So we cut and welded toyota to honda axles.
AFTER having done that we found a donor axle and got those resplined for the build. So at least we have a spare which I hope we never use.

3 Likes

Cooling and traction were two things I had quite a journey with being able to enjoy my L500. So I ensured acquire a radiator that should have the capacity to help maintain the engine temps and a L.S.D for traction and control


To fit the intercooler and radiator was a bit interesting. Tazz wasted no time in getting the angle grinder and getting everything to fit. Below will be some pics and the video of it all.


2 Likes

With the main mechanical items out of the way; now came the electrical system. My choice of ECU is a chipped OBD1 ECU. To get as fresh a loom as possible, we got an OBD2 loom and spliced the ends to the OBD1 connectors for the ECU.
Circuit breakers were used for the main functioning parts, such as the Cooling fan and fuel pump. Doyen also built a relay and breaker panel to hold all the relays and breakers.


Athough this is a full circuit car; I have no plans of towing it to the track or limiting myself to not being able to drive it on the road ways legally, so lighting switches were installed after removing the steering combination switch.

Engine data will be read through a TUNERVIEW 2

Episode :

The last time I’d uploaded any update for the year of 2019, would’ve been the start up of the car. That’s what mentally carried me through, that there may be hope to get this project done

2 Likes

The build took quite a pause as funding was just not there to continue building while racing for the season at the same time. Also, it dawned on my that we were far from having the car ready for the season at all due to quite a lot of things that were overlooked.
I was in no mindset to build a car in a hurry, just to have failure which grew from large oversights. So I dialed it down and took my time.

3 Likes

Great write up. So glad to have some insight into what you have been doing. Looking forward to hearing more soon.

2 Likes

Thanks @Mr_Gormsby , the information and experience gained is not one I’d like to keep to myself. I wish for it to help others and avoid most if not all the pitfalls I encountered.

3 Likes

The year 2020 had come around; which was quite a year for many. For myself, quite a lot was happening personally, with the one highlight being the birth of my daughter. The pandemic peaks started, motor racing shut down, lock downs and finances slowing up even more.
During the down times, I’d strategically plan what save up funds towards parts I could get to have the car up and running. I made a list and put some cost to the things. Each time I checked the car I realise there were more and more things that were overlooked.
One of those things was the fuel surge tank. In a race car you try to carry only the amount of fuel needed for your run so as to reduce weight. The usually low fuel load in a stock fuel tank without adequate baffling could cause fuel surge ( which is where fuel leaves the suction of the pump, the pump sucks air, which in turn causes a surge to your motor and cause an engine failure due to leaning out).
I started to look about for surge tank designs and even ran some ideas with one of the great mind on this very forum .
My options were to build a surge tank set up in tank (I’ll mock up a drawing at a later date).
Get a surge tank with the pump mounted outside and there was one that had the pump submerged in it. I liked the idea of the submerged pump, as that’d keep the pump cool and it was a neater package.
Here’s the video that covered that installation:

2 Likes

Having already installed a chipped ECU, I wasn’t comfortable having an ECU which I couldn’t configure myself if needs be, at the same time I still had to pay attention to budget. So I did some research and realised there were options for me to use the same Honda OBD1 ECU and be able to make changes without calling a tuner. (also having spent over $200 on a tunerview, I wanted an ecu that’d work with that). The options were:

  1. Honda
  2. Demon 2 board (with or without neptune RTP)
  3. Get the ostrich kit to burn chips myself

I decided on getting the Demon 2 wth Neptune RTP, that way I’d have a firmware that’s got good support, and the reviews were good. Hondata just seems over priced to me.

Even though I had access to my good friend from SULLYMOTO to work on the ECU, I still decided to give it a try myself; it wasn’t rocket science but still quite a learning experience.
Also getting the tunerview screen was a learning experience on paying attention to detail. These two videos covered that journey of the installation:

2 Likes

Heading into the closing of 2020, yet another major hurdle was to address the power steering. I’ve had my share of driving a car without AND also a short sping in a rally car without power steering and dirt tires :disappointed_relieved:
I was adamant that I wouldn’t be stressing myself to drive the car without. The simplest option I could find at the time was to get an electric hydraulic power steering and it just so happens my dad came across a MR2 spyder (which are pretty rare on my island) which was scrapping. So I forked out the funds to acquire that. Did my research on getting it installed. Forked out some more cash to get the hoses sorted installed it and found out the rack and pinion was leaking (the fluid was not cheap). Repaired that rack and pinion, reinstalled it and…still didn’t have power steering…#heavysigh
I tried everything, I could, I thought the lines were set wrong, but the pump was just not working as it should.
The videos below give details on the installation, so anybody who might want to go that route can get some details from that.

So back to the drawing board for the power steering. Option 2 was to get electric power steering; option 3 would’ve been to find some way to bracket a power steering onto the engine, I really didn’t want to go down that rabbit hole.
So I dug into the Electric Power Assist Steering [EPAS]. I realized that most cars use it today, no lines or fluid to deal with, just a bit of fab work to get it installed.
Made a call to a good friend of mine in the states and he located a donor prius from which I got the EPAS system.
With the charade being cousins with toyota, the steering column wasn’t far off.

I linked up with a friend of mine that does fab work to rig up and adapter to connect the column to the steering rack.


The assembly is pretty heavy, I had a concern why it had some much movement. I looked back at some photos of how the assembly is bolted up to the original car and realised there’s a bracket I missed. So got my Paul to come on over to where the car is and we found some scrap pieces and made that bracket.
Without that bracket secured to the car, the assembly wouldn’tby held together properly.
Without the brackt

Bracket installed

Here’s the video with some more detail of the installation and recommended units to install an EPAS of your own.

3 Likes

Since I’d decided to do a circuit car, one vision I’ve always had for any such projectect, would be to flock the dash. Functionally it reduces glare that may occur on the stock dash; aesthetically it looks good, I love the suede finish. I also decided I was going into as a service offered to others. It probably attempted this 3 times to get an ok result. Since my race dash I’ve gone about doing it for my brother’s L500 as a gift, while gaining experience with colours.
The photos below are of the L500 dash


Here’s the video of how I went about doing the dash for the charade

I did two methods. The L500 dash was done with an electrostatic tool. My race car dash I used the both the electrostatic and the hand puff action.
Electrostatic gives the best finish.
There’s also a special pneumatic tool which I’ll be trying at once I get a compressor #thanksgoodfriend

2 Likes

Fantastic. That’s not something you see very often - flocking. Excellent work.

1 Like

Looks good, i love the look of a flocked dash.

1 Like