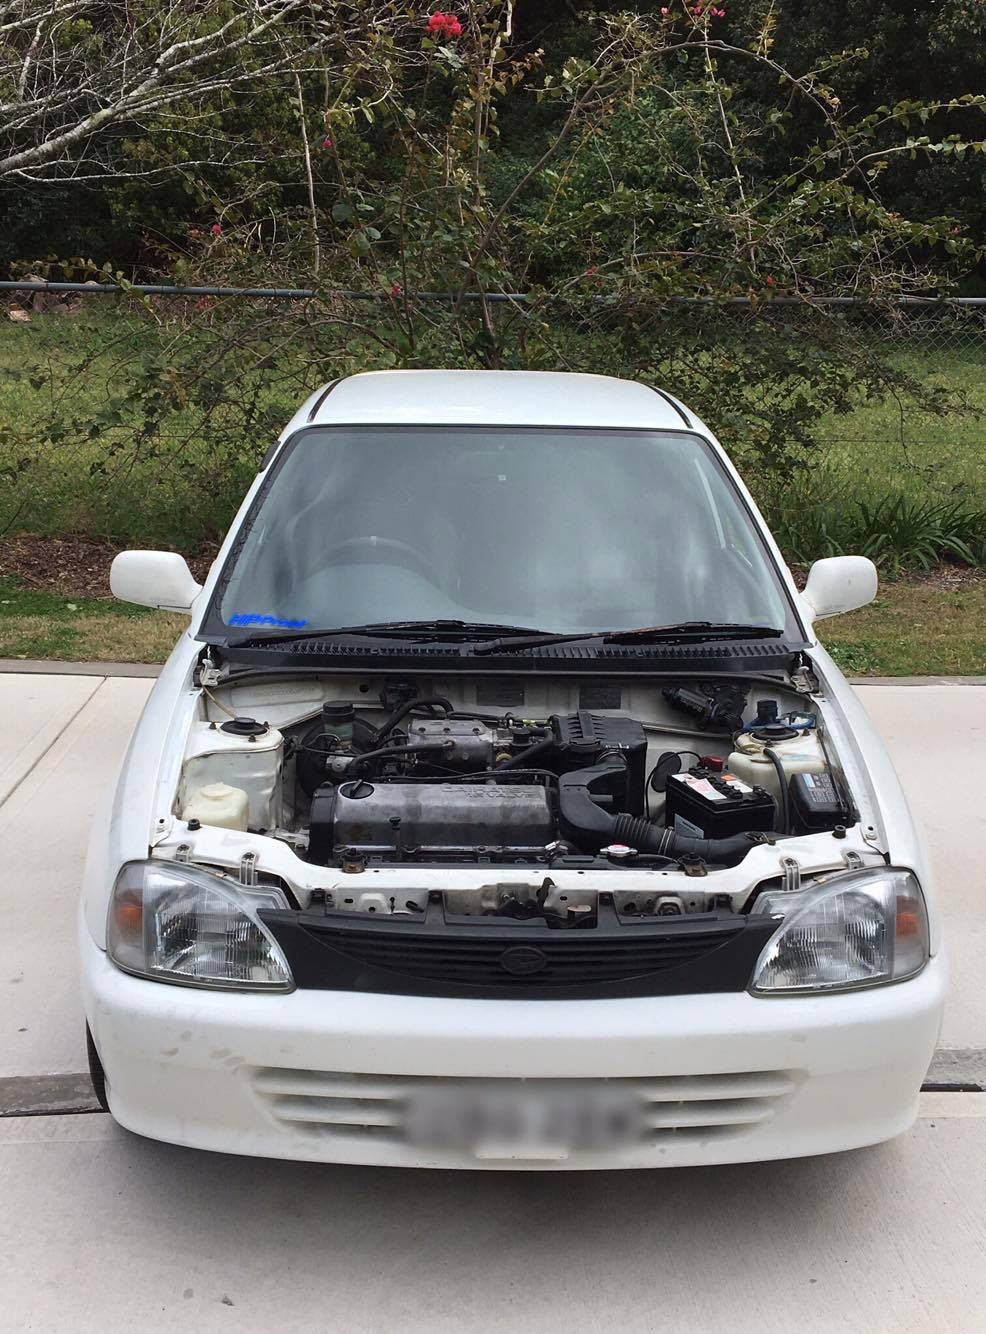
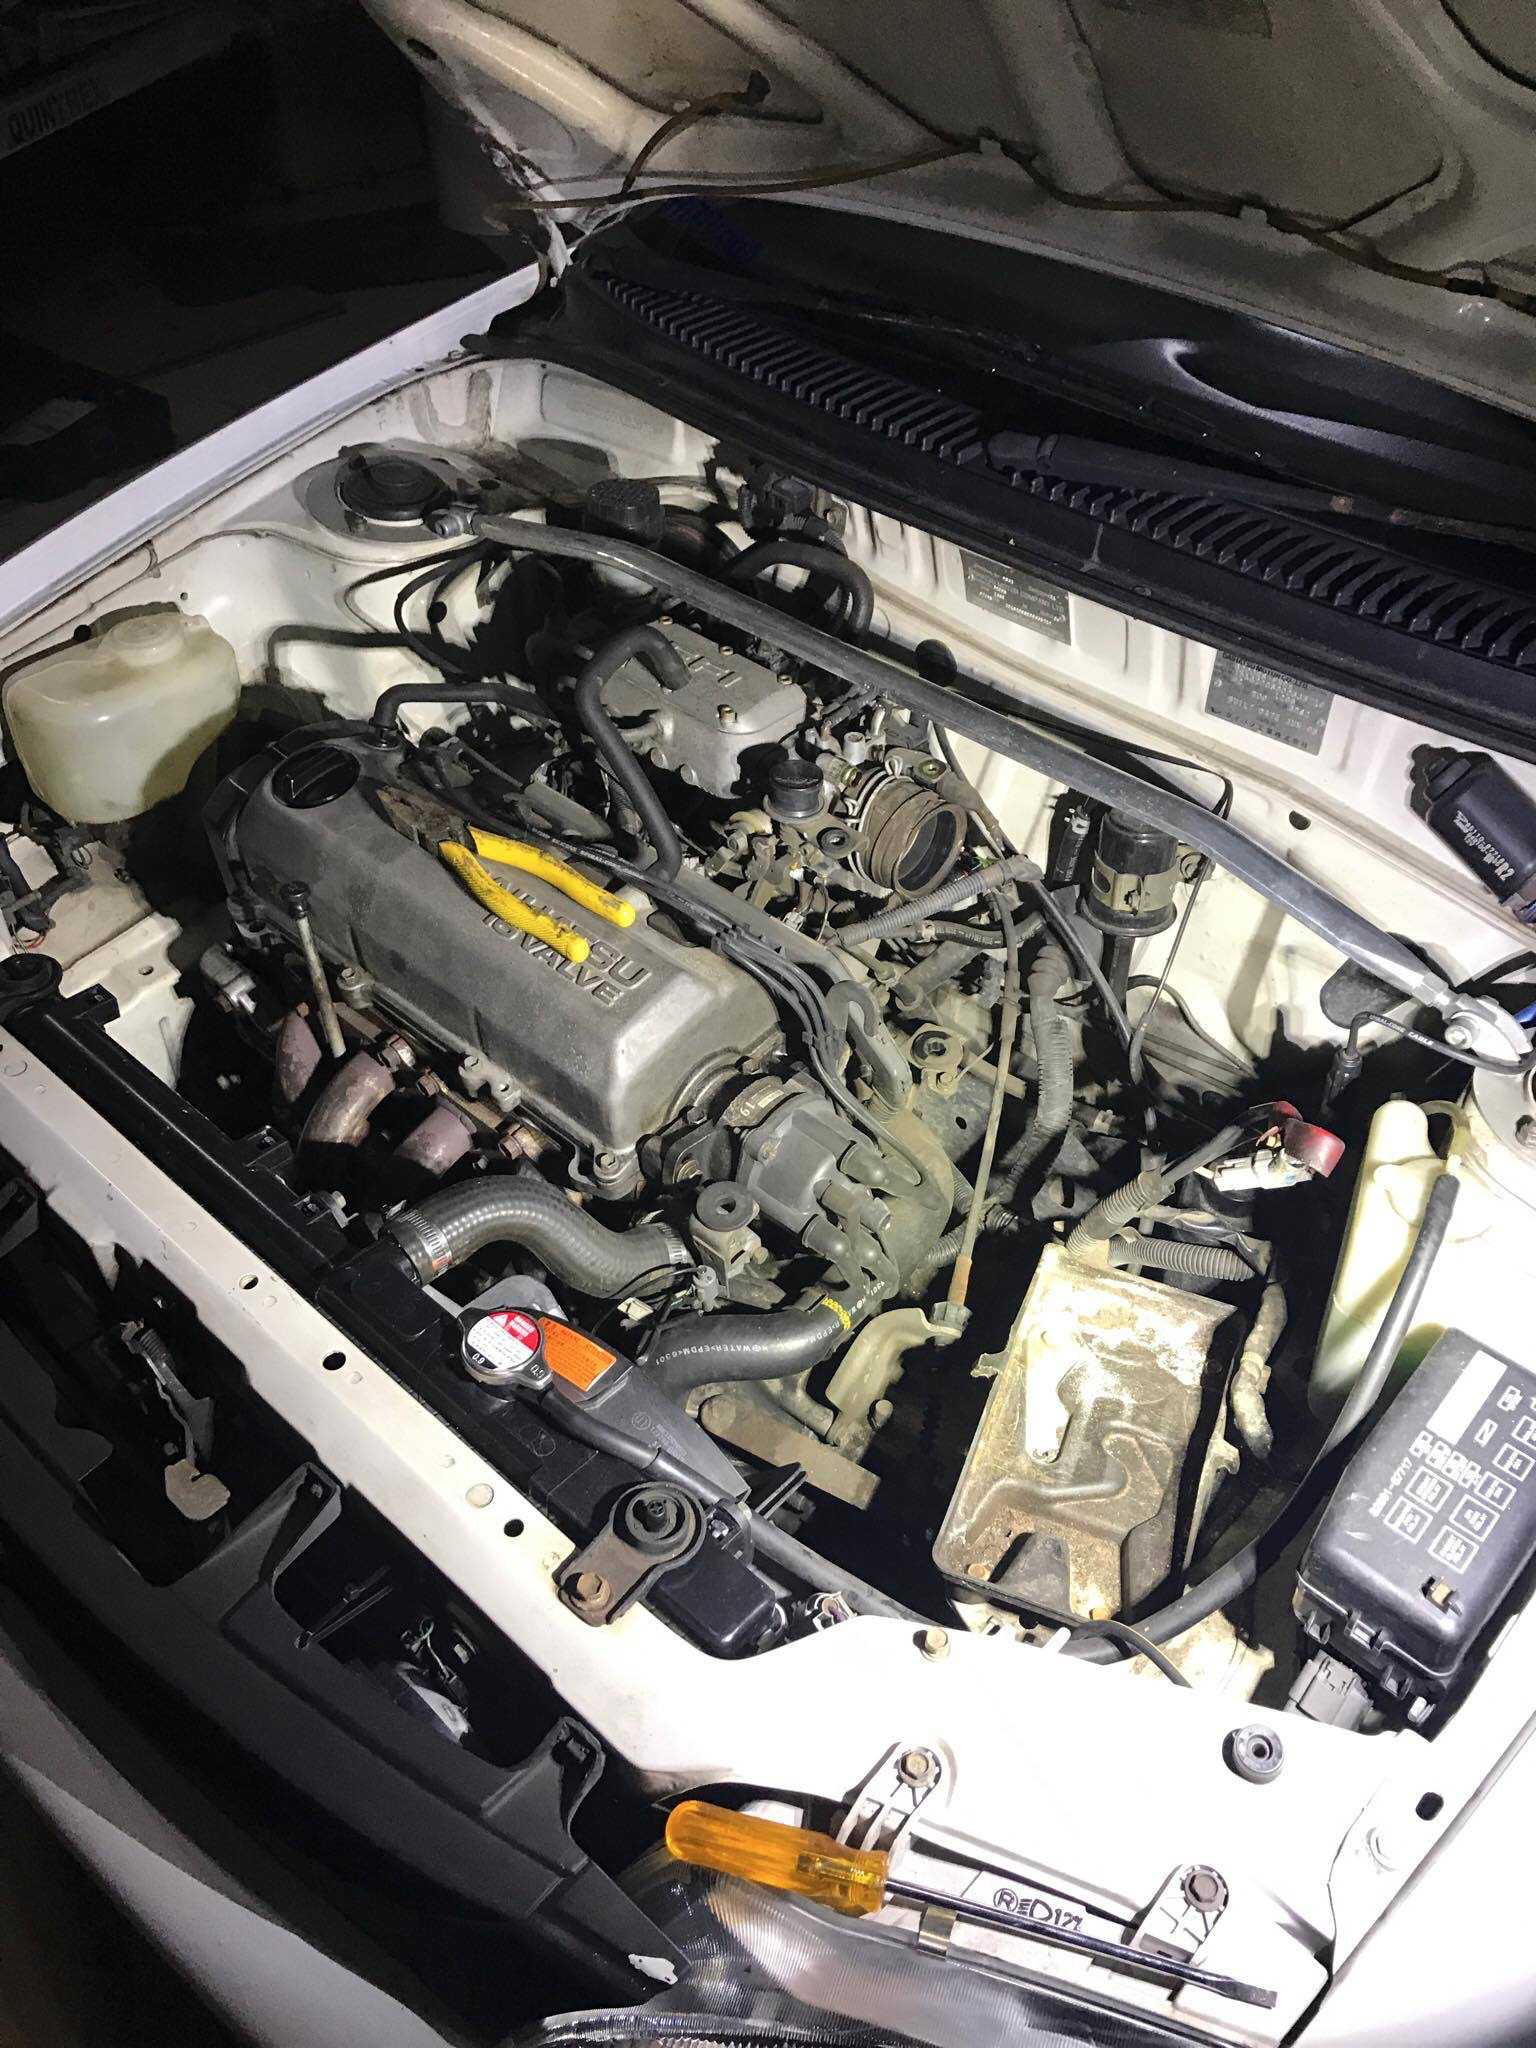
This will be a small build of my 1.3 charade getting a new heart a 1.6 HD form an applause.
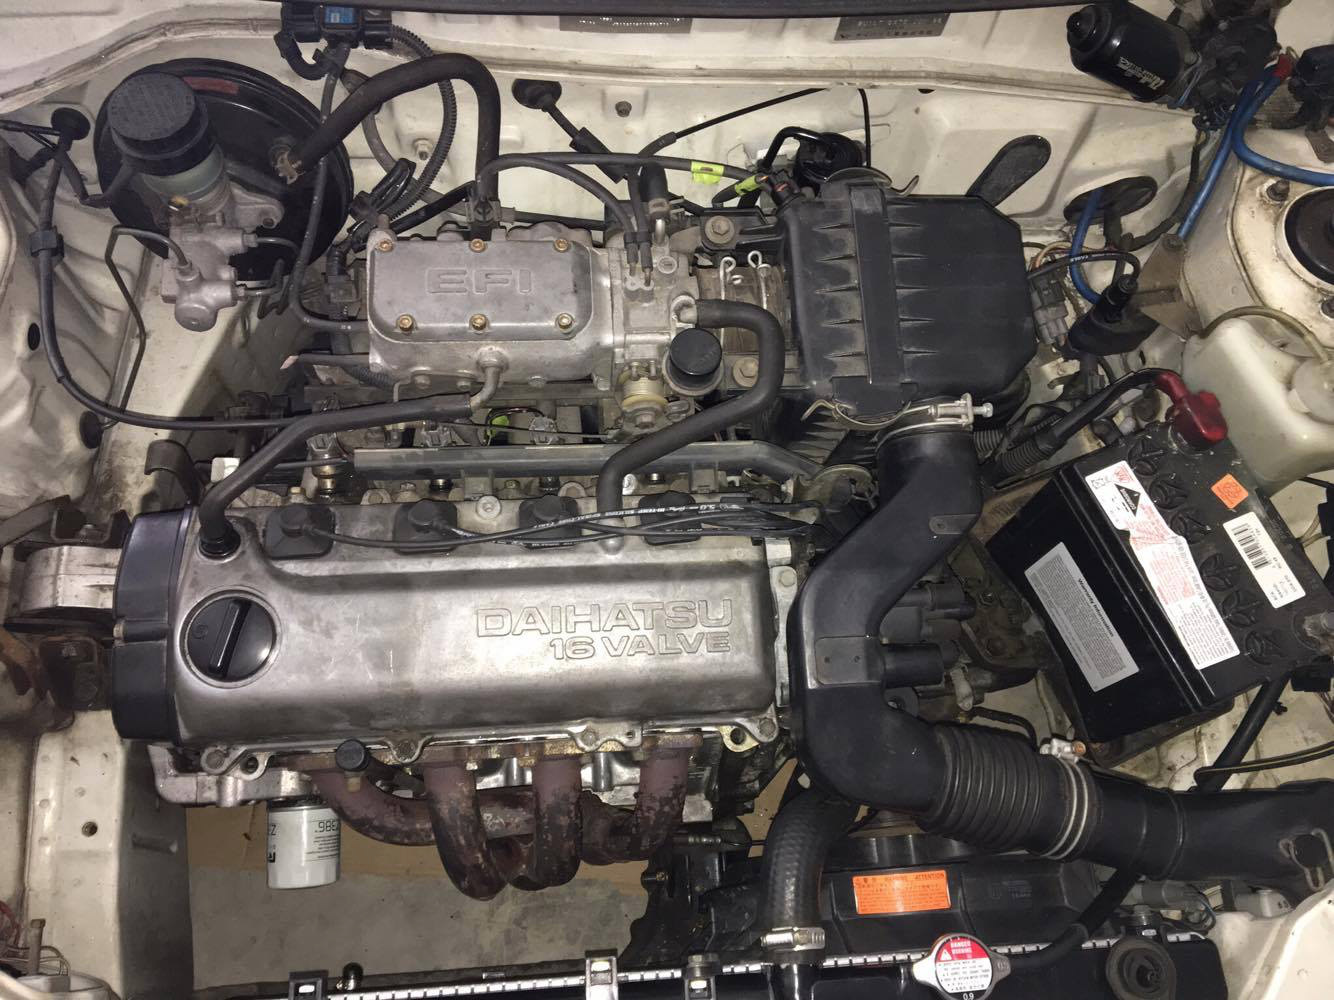
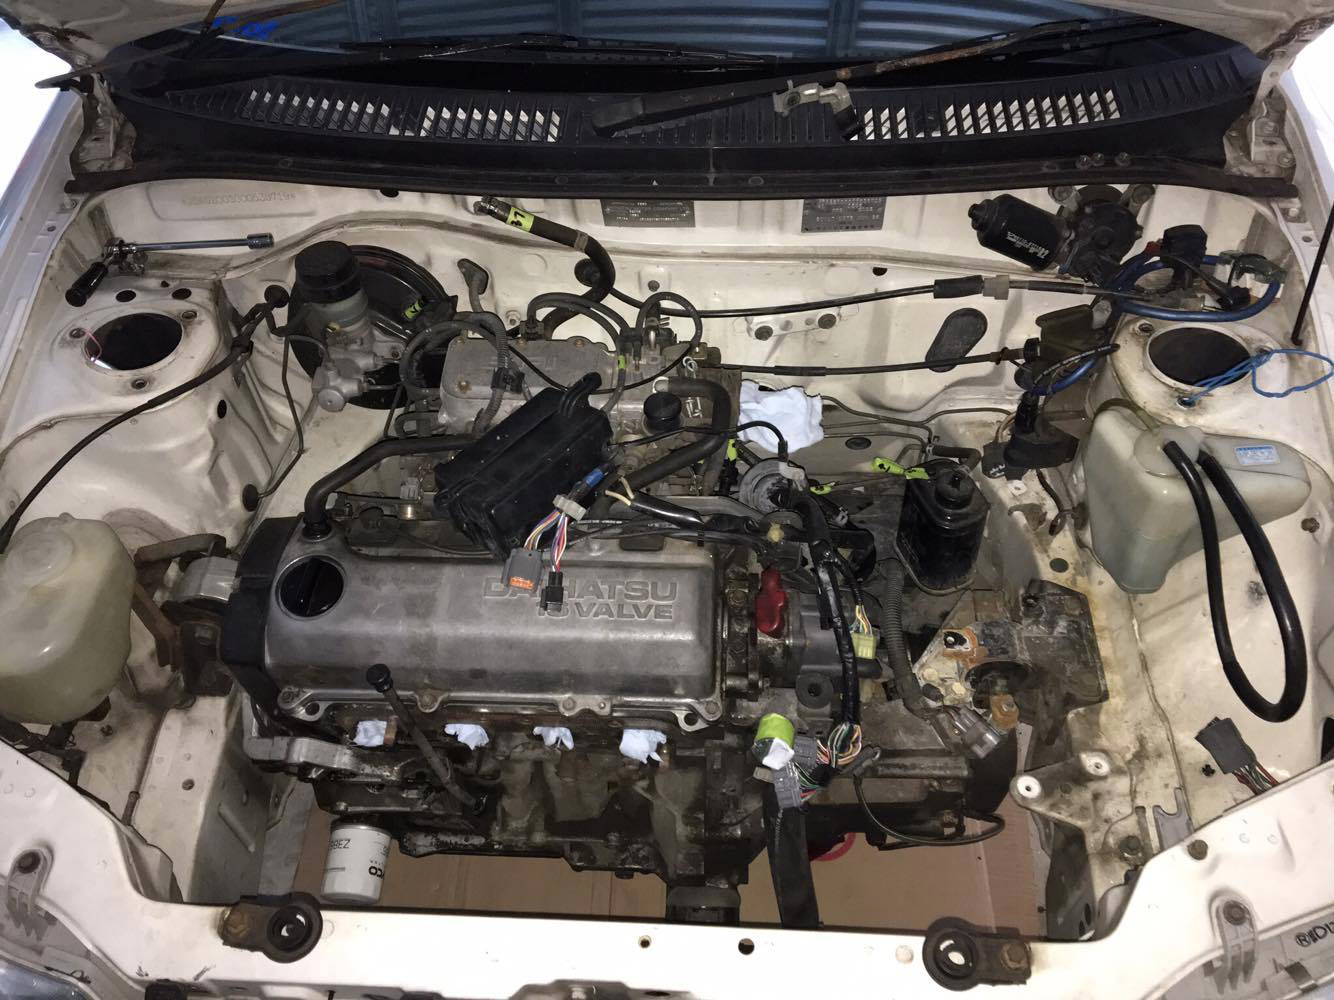
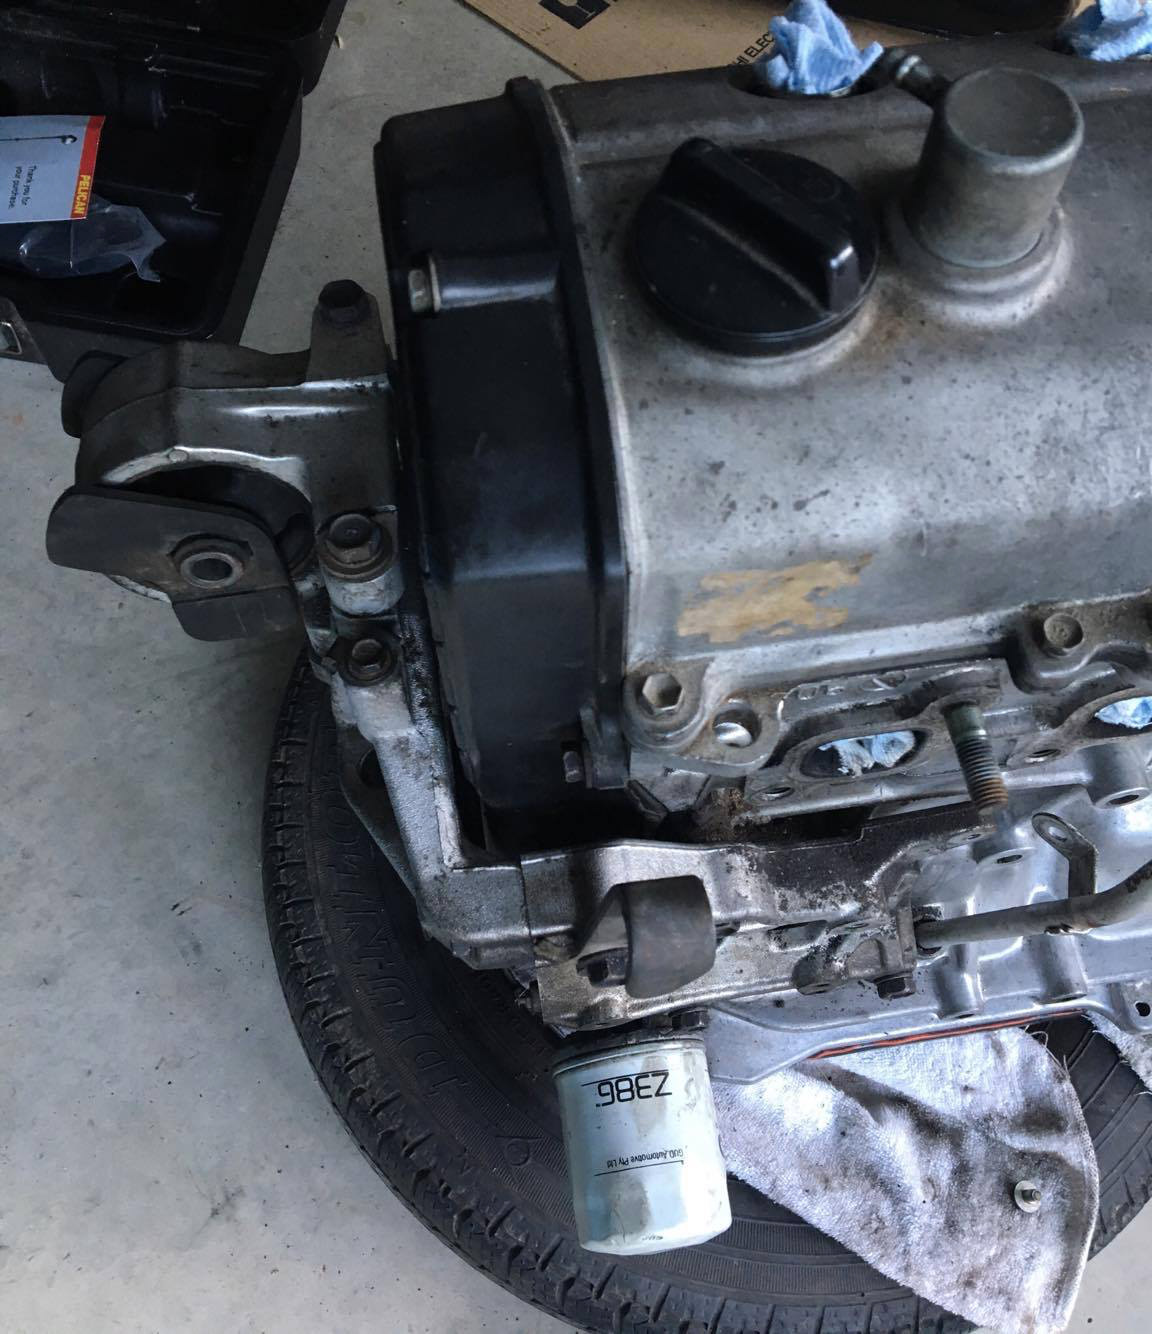
The charade was started early this morning with the first thing being taking the intake manifold off the 1.6 applause.
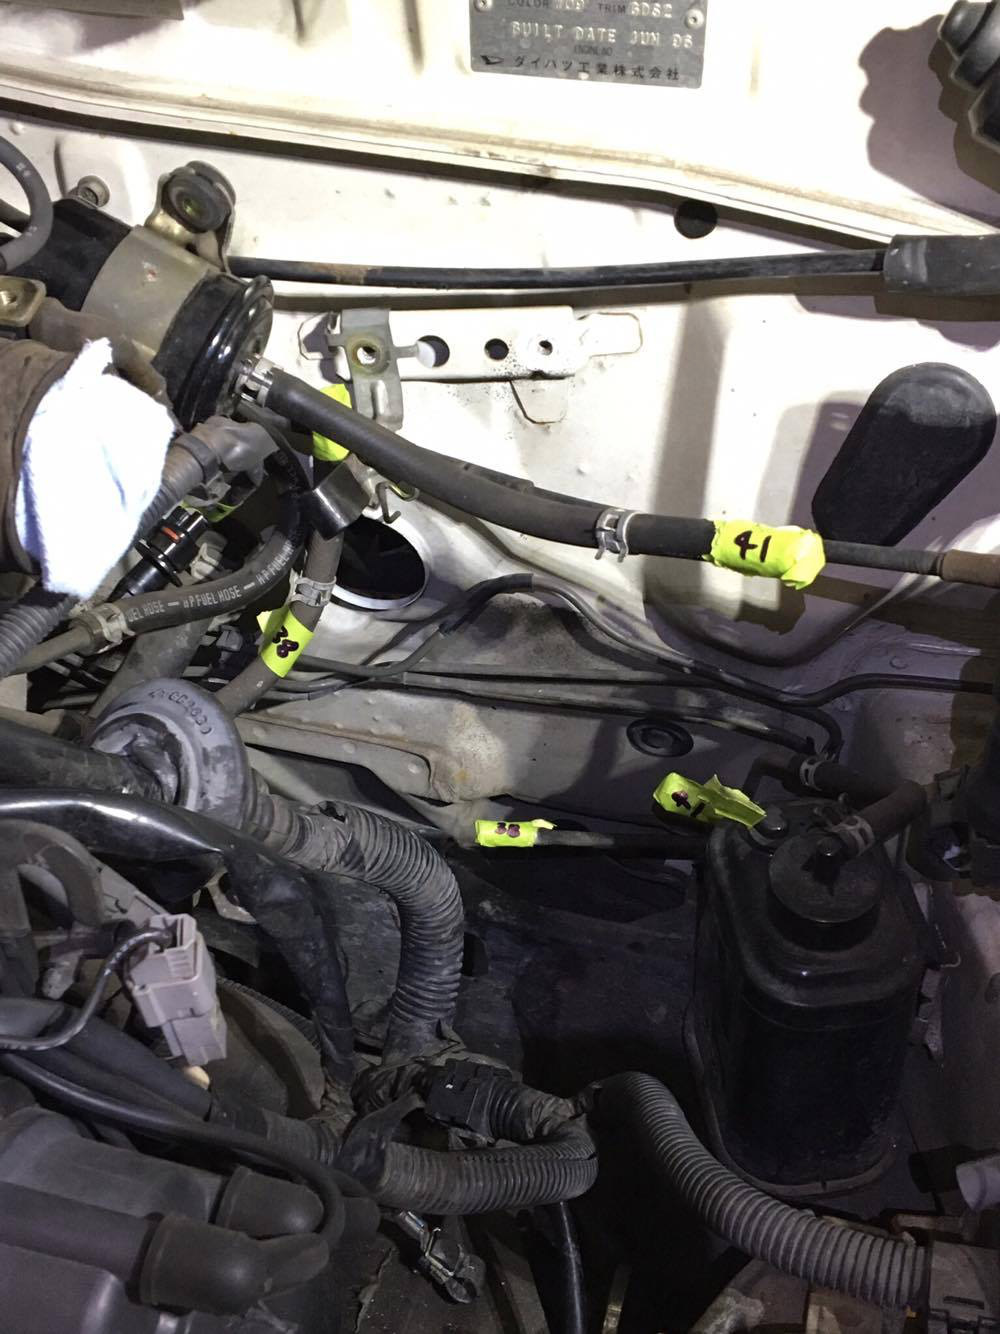
This was a simple task as it consisted of removing the manifold nuts and bolts and also removing a few hoses and clamps as they were interfering with the removal.
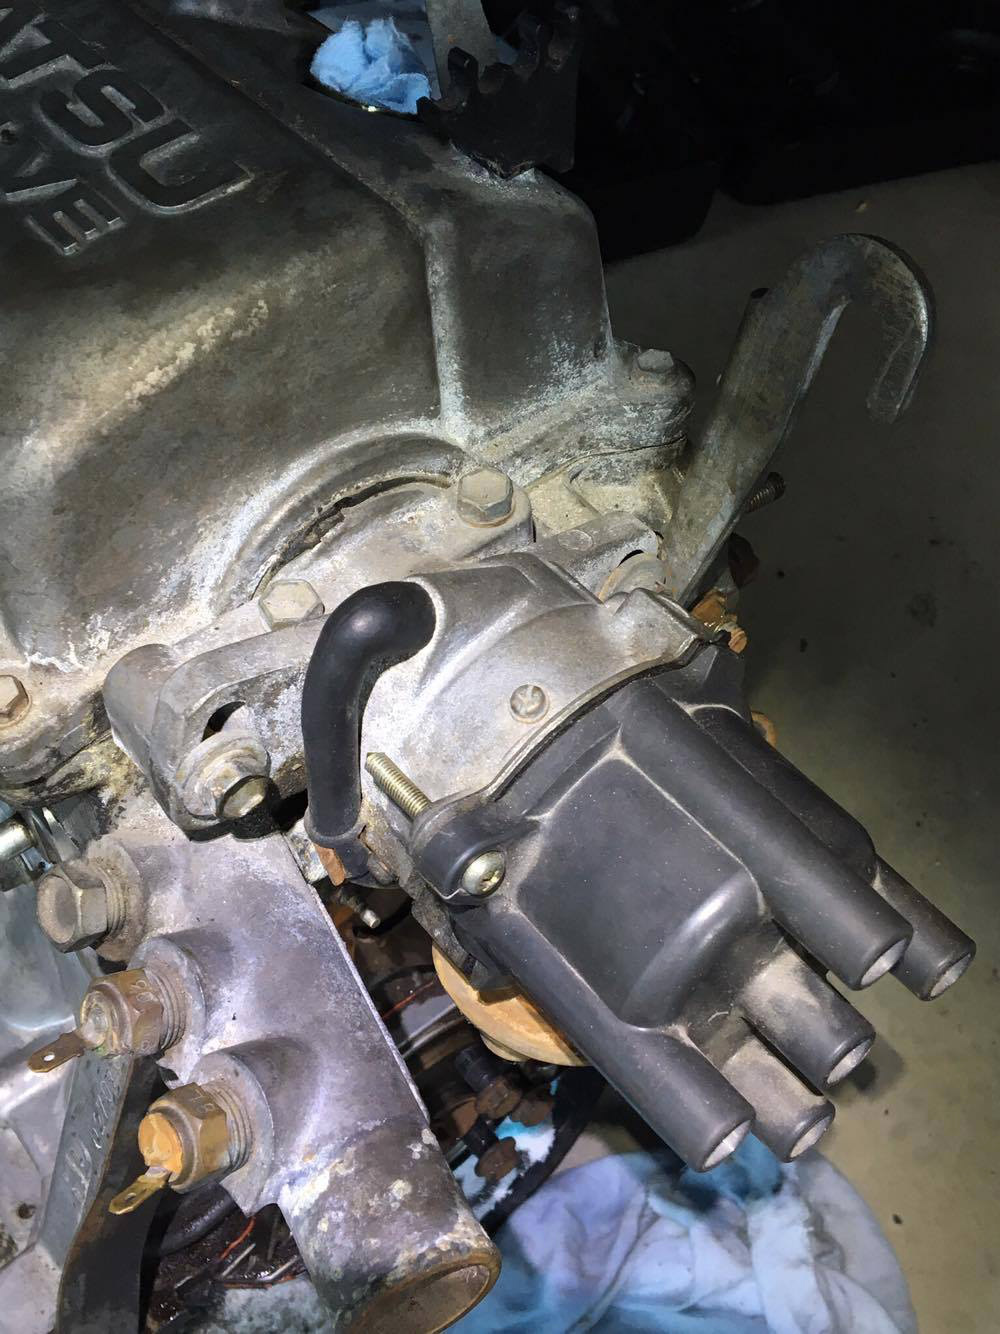
I then removed the few bits and pieces like hoses. Kind of clean.
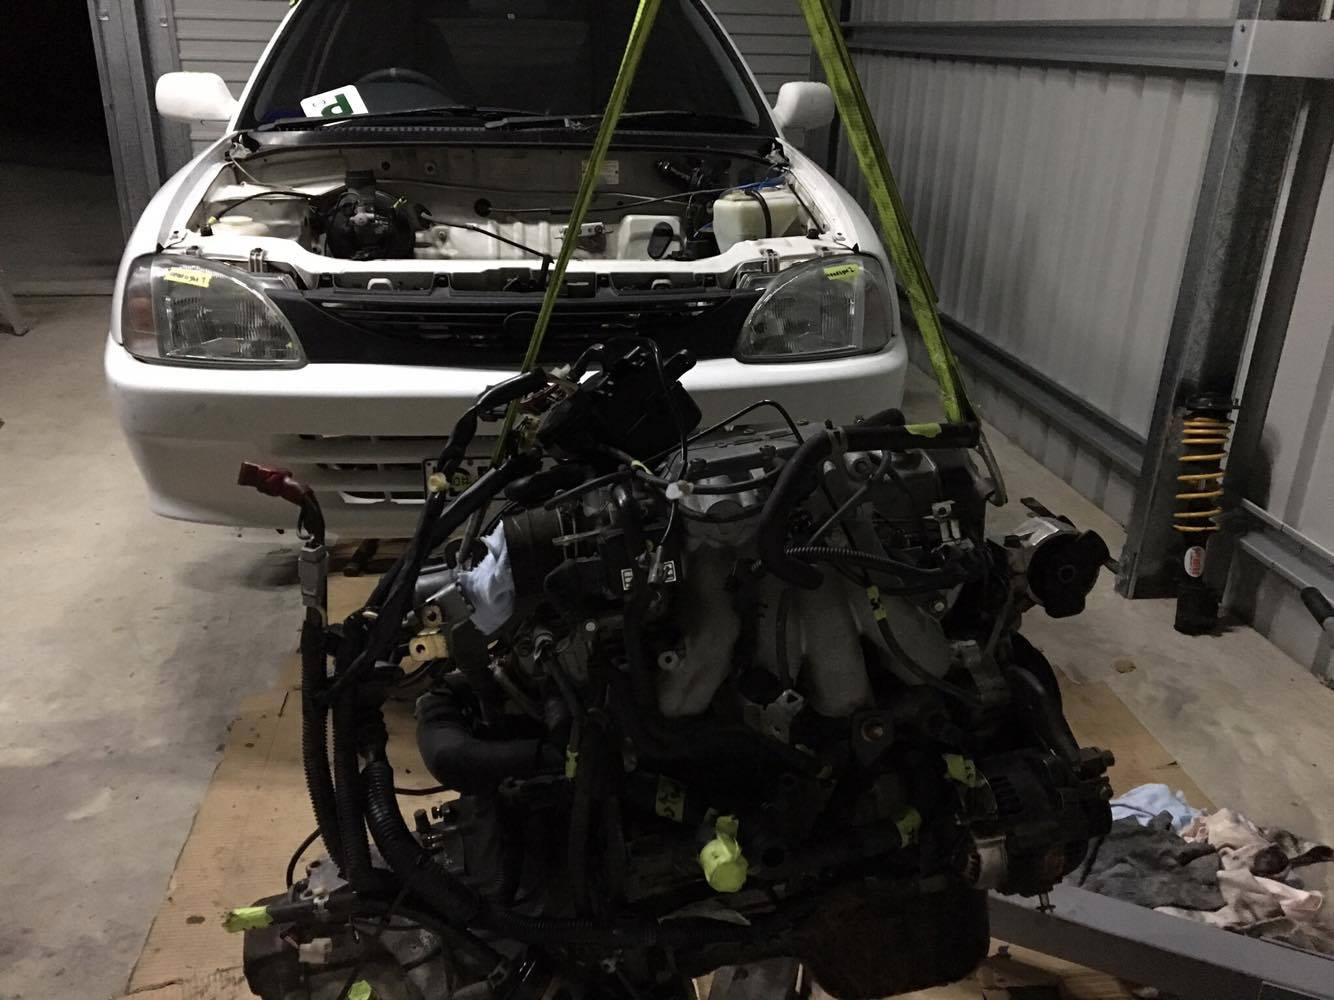
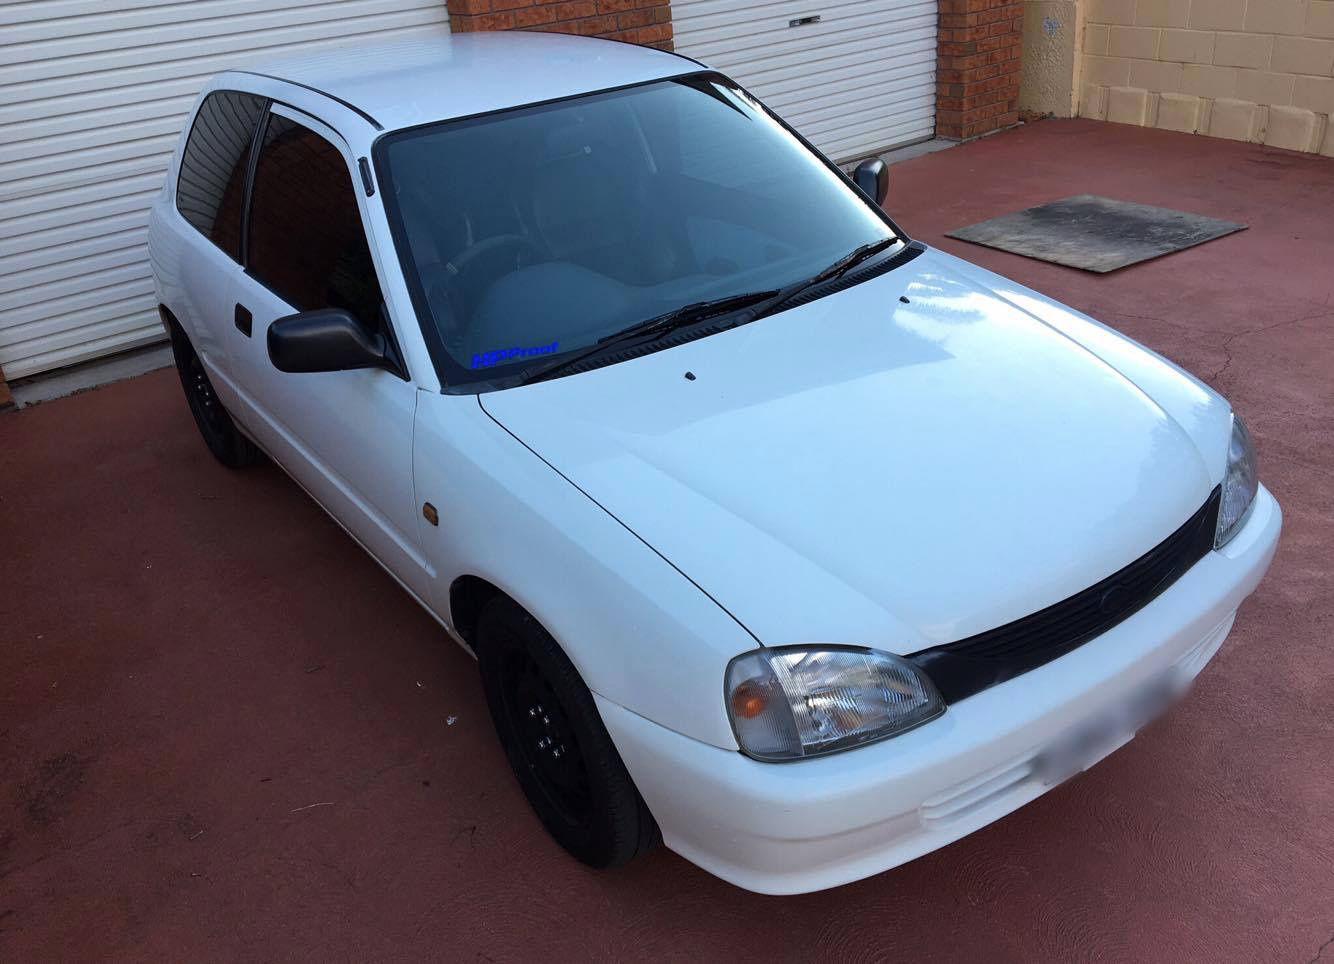
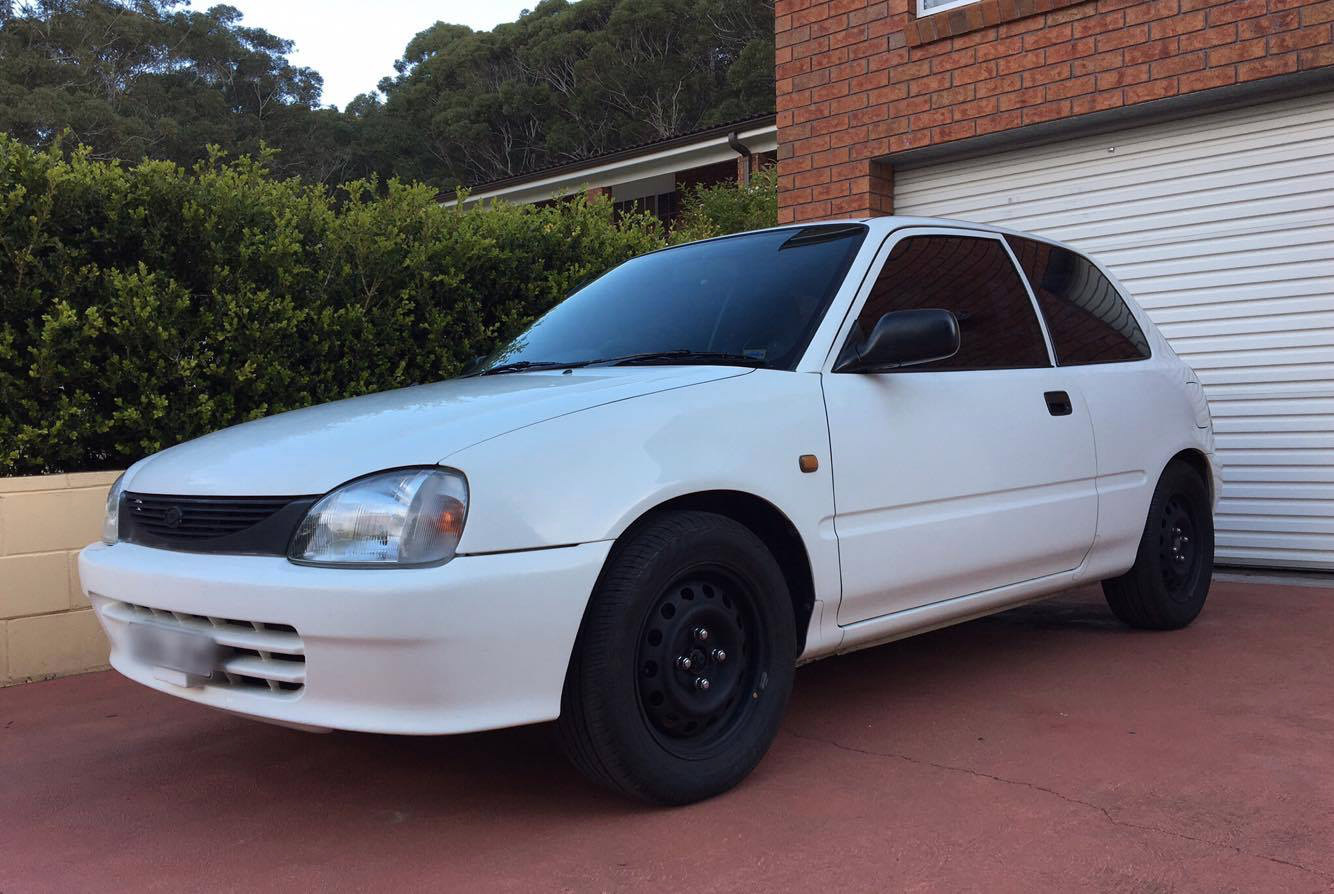
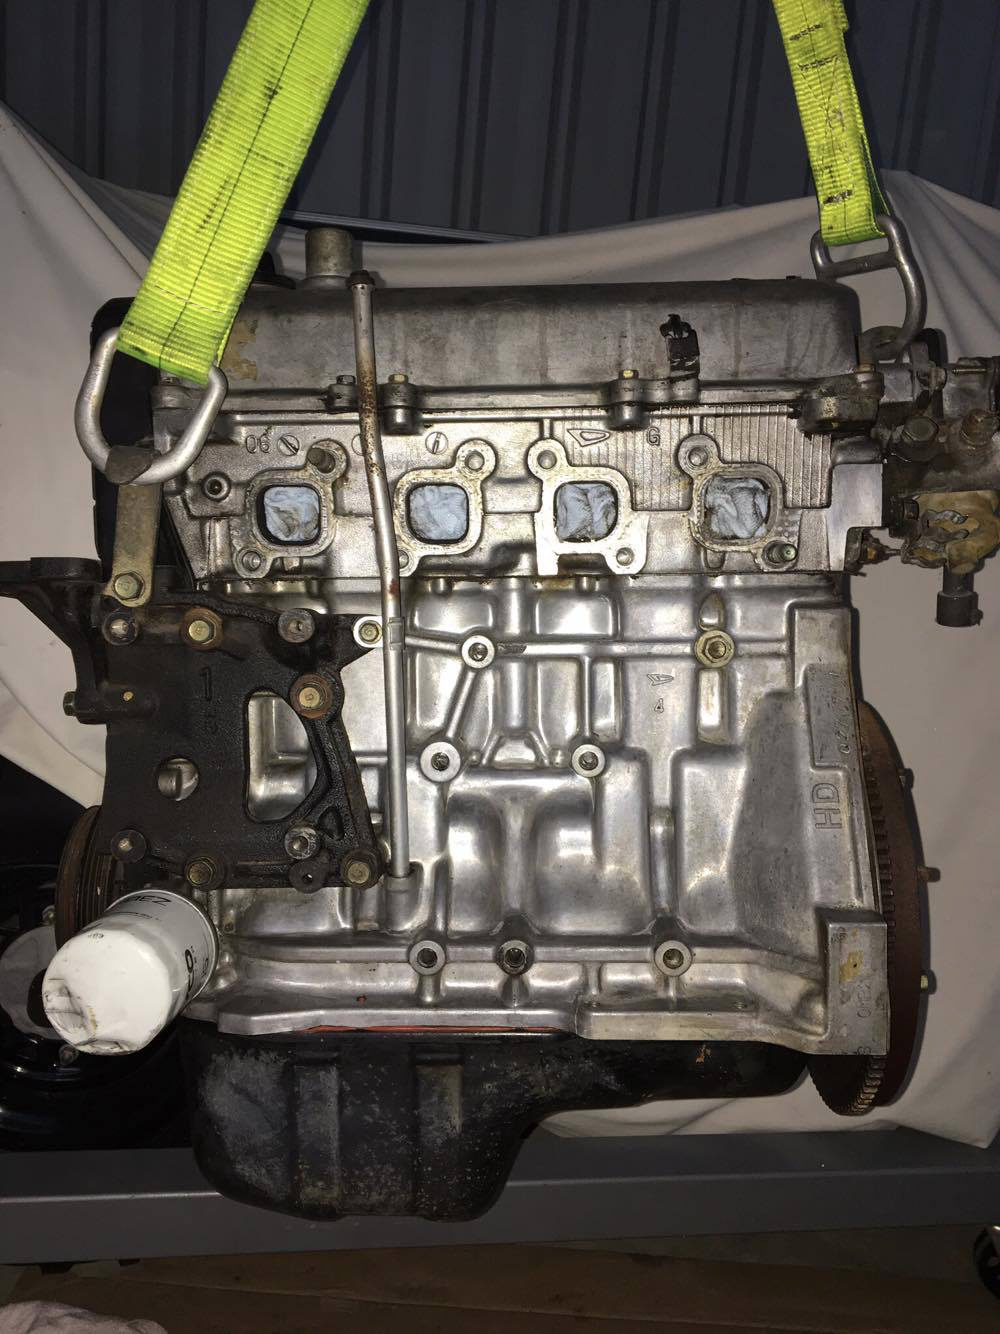
Photo of my charade and new 1.6 that will be planted in.
Until a gasket kit and other engine is removed i will be putting the 1.6 aside and have already started on the 1.3 and the removal from the car.
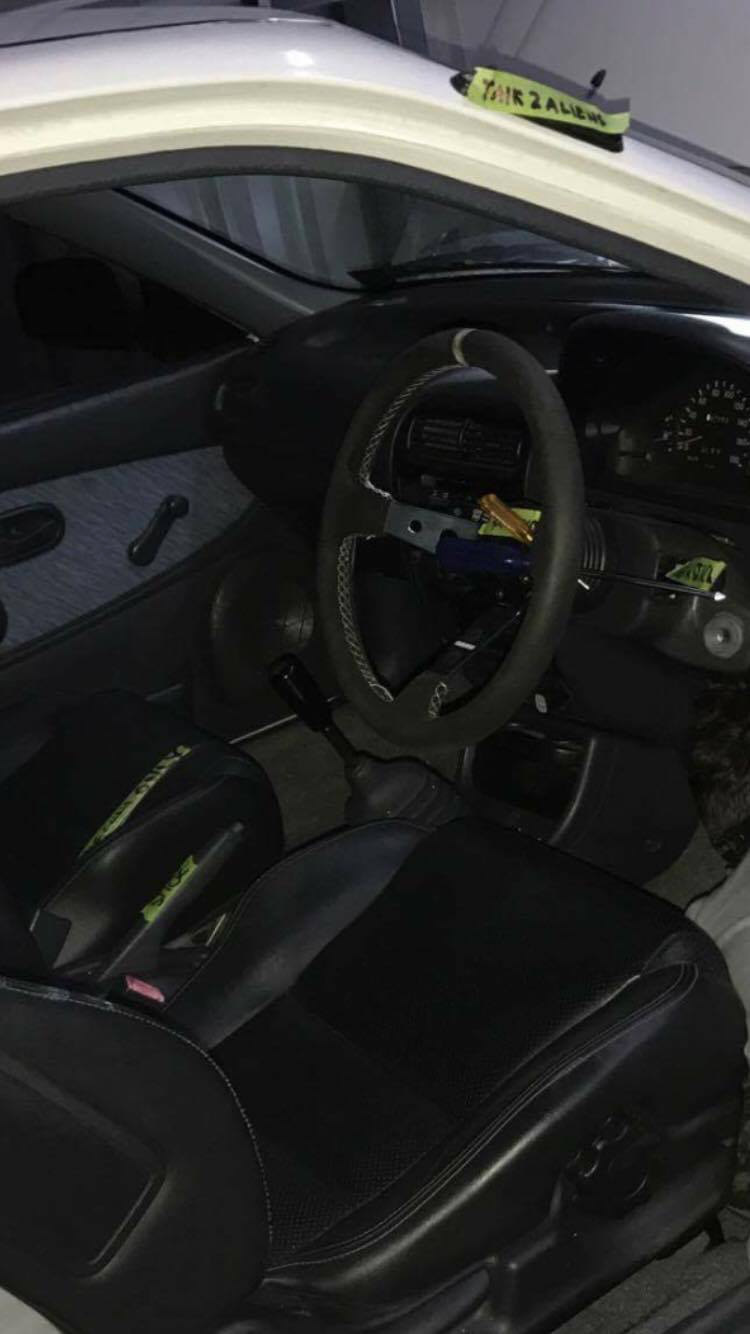
Meanwhile while pulling the plugs out of the ECU the girlfriend got carried away and has stuck stickers “that will help me identify items of the car” as she thinks the whole car is getting an upgrade.
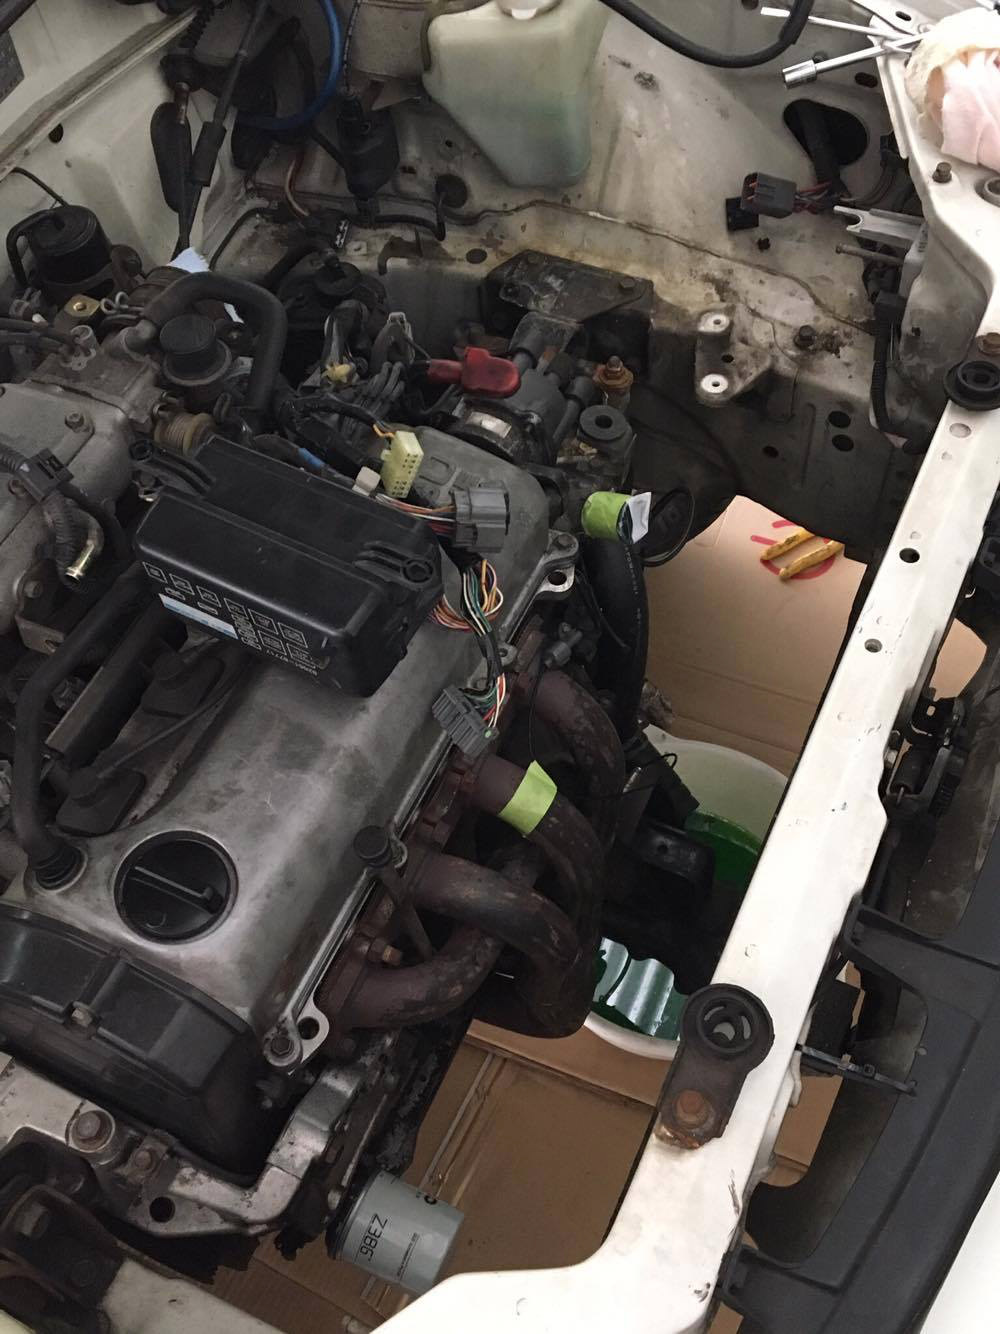
The hardest part so far was getting the ECU plugs through the firewall, the rubber grommet was so tight in their!
First thing tomorrow morning will be removing fuel hoses, draining coolant, removing radiator, removing oil from engine, and disconnecting clutch cable, speedo cable from gearbox, then may have time to remove cvs from gearbox. Until then!
I will hopefully be able to upload more photos next time around as the my limit is set to 5 photos. I took lots but have made this short as i was unable to upload
Day 2! The strip down resumed and i had a list of to do’s before i had to go to work. I was able to get straight into it in the morning and continue from where i left off the day before. First up was to disconnect the clutch cable and speedo cable from gearbox. Simples. These were a simple twist of the locking nuts and they were off!
Next was to remove the radiator. Removed the coolant by the drain plug, then removed hoses from radiator.
And its out.
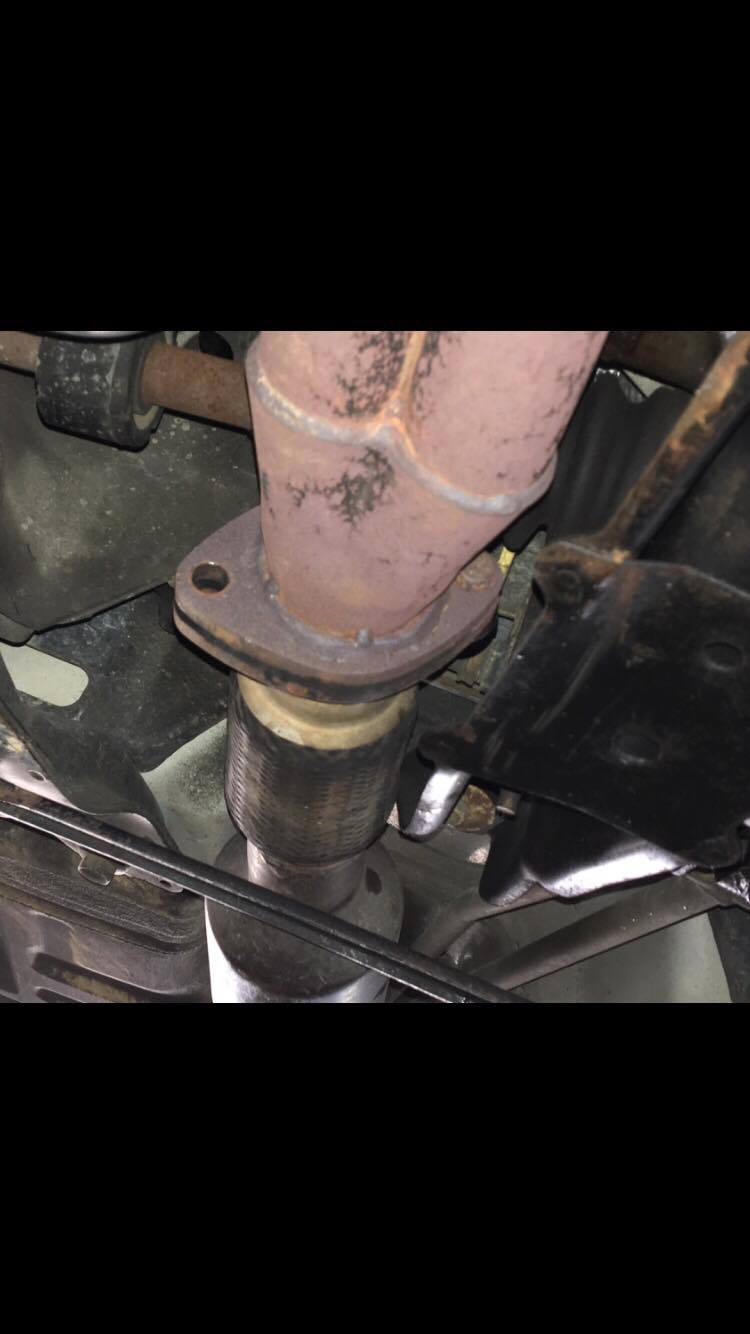
I then got under the car and disconnected the exhaust from the end of the extractors. One side was very tricky to get to. Abit of twister under the car and it was off.
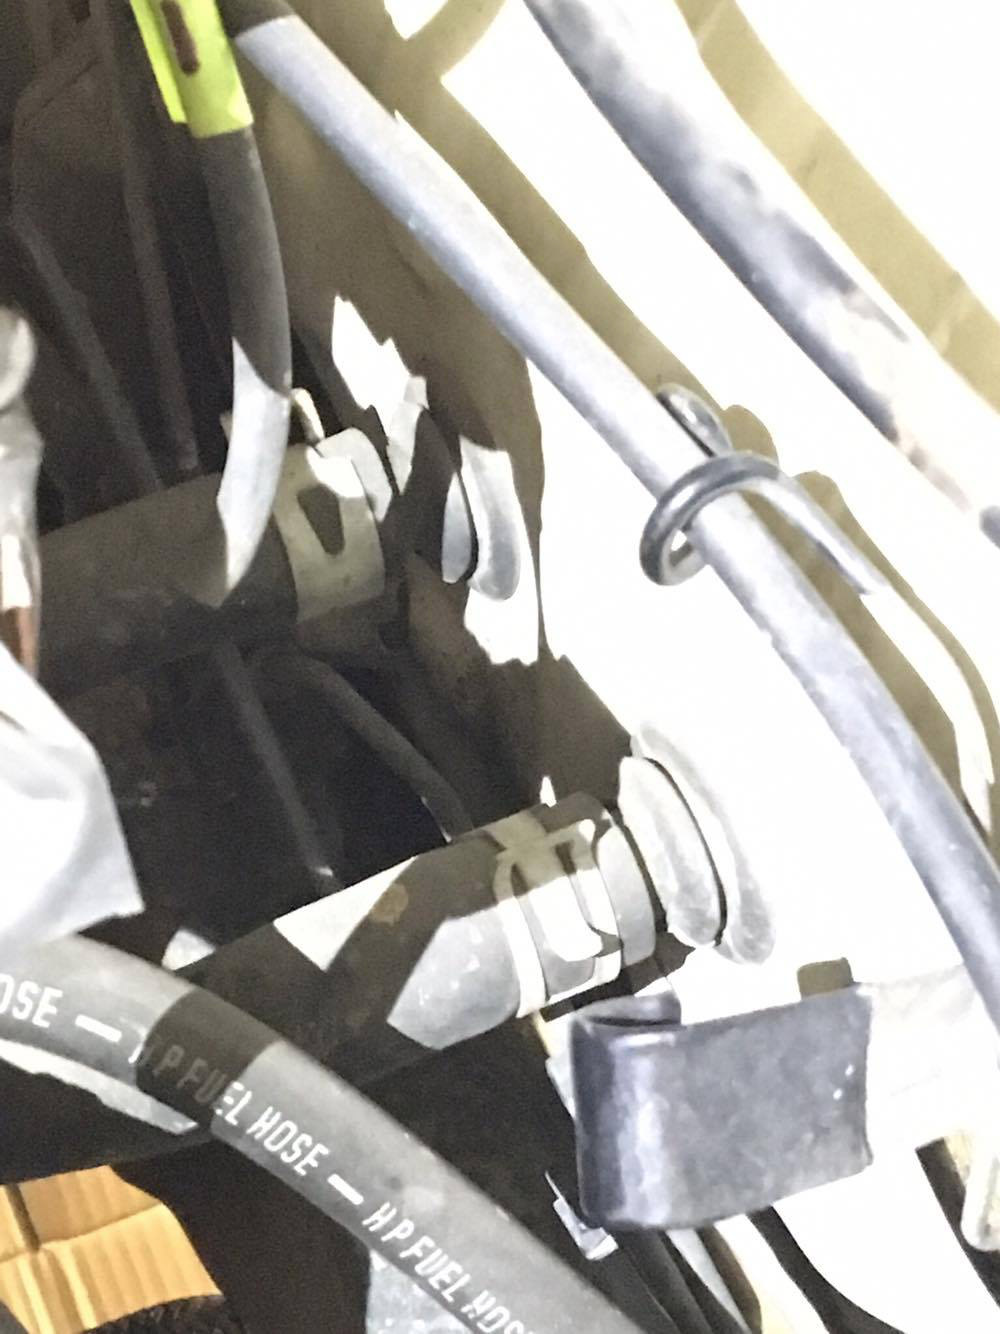
I then proceeded to undo the fuel lines at the end of the fuel filter. I labelled these so they go back into the right spot when new engine goes in (nothing wrong with labelling right?)
That was all for the day as i had to head off to work, but got stuck in the next day to finish the rest off.
A new day and im back at it again, this time only having to disconnect the heater hoses into the cabin, probably never been removed before these were stuck on like all buggery, due to them being copper pipes i did bend them a little bit, but will fix them when the engine is out. They did have coolant sleeping in them so make sure to have a bucket underneath ready.
Next was to undo the gear stick selector rod from underneath (that had been covered in coolant from the previous episode. But this came out easy.
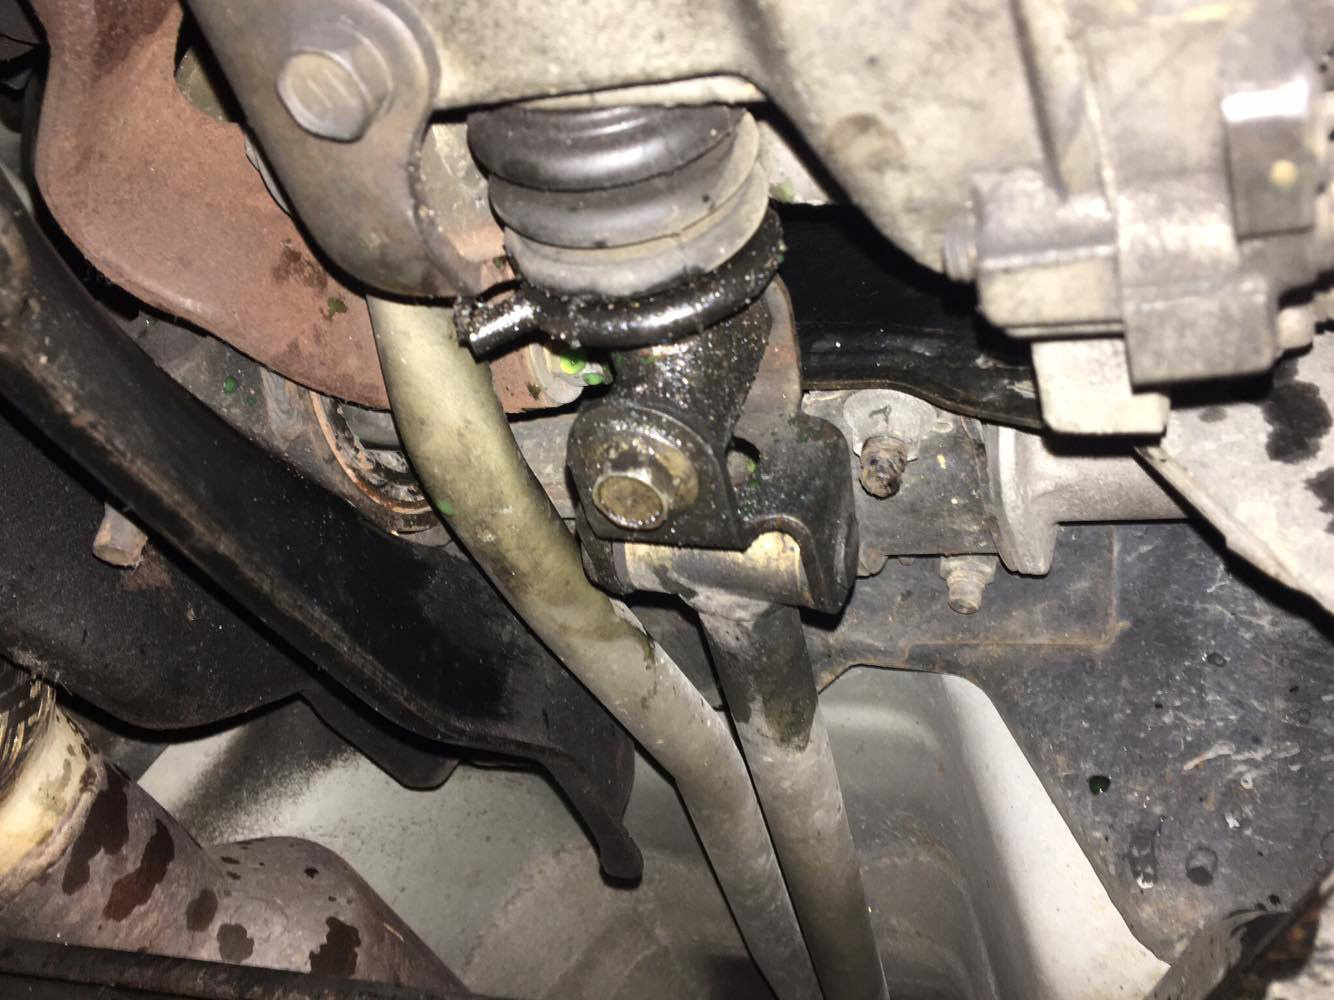
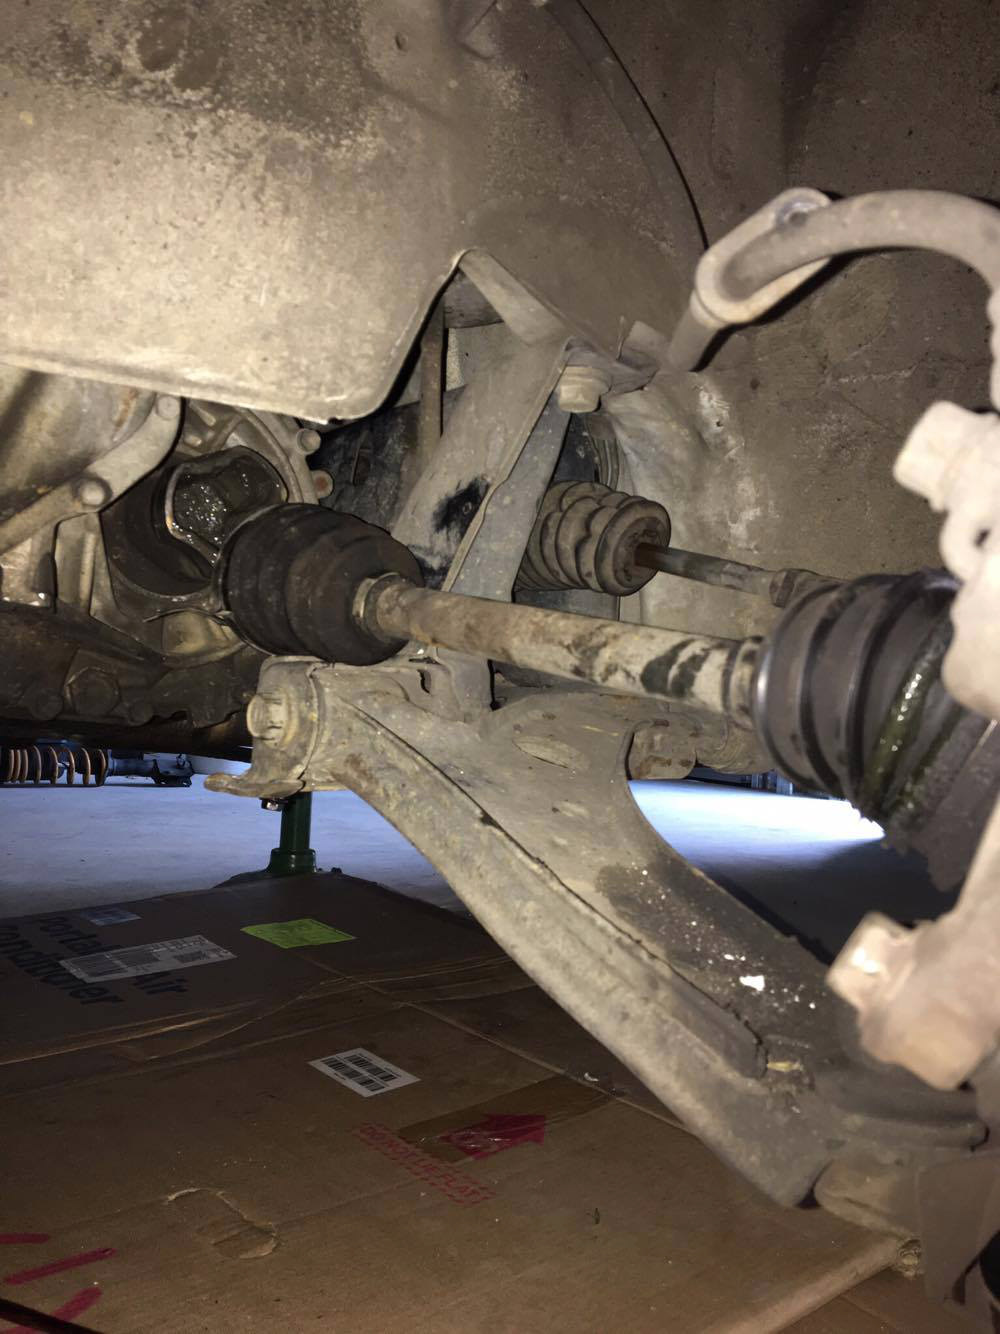
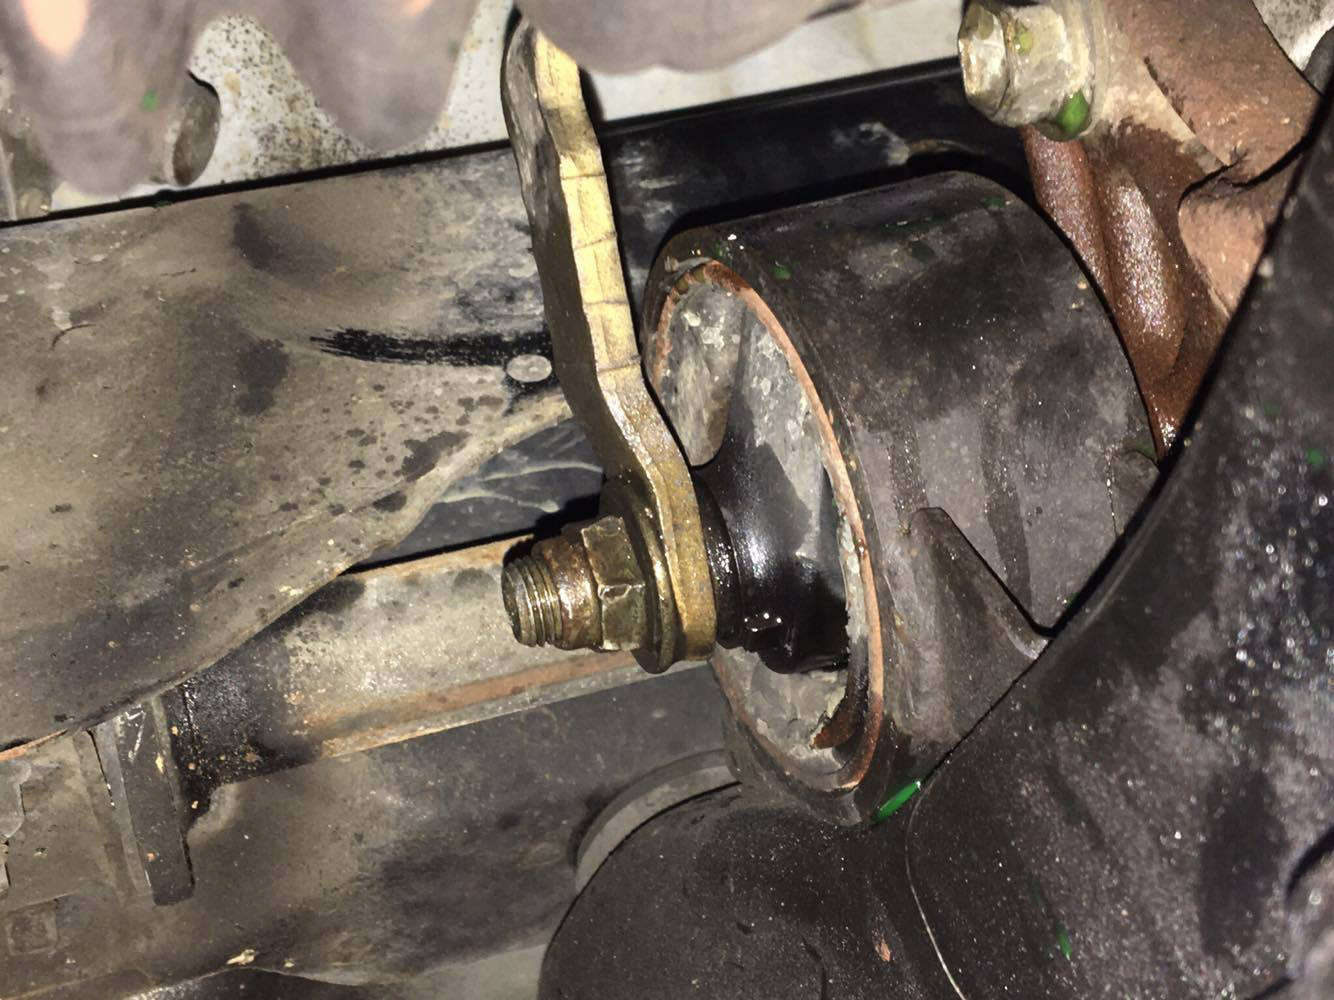
Next was the drive shafts. I didn’t have much knowledge on removing these but all i did was undo the round clip on the inside drive shaft closest to gearbox, remove shock absorber once that was taken out there was enough play in it to pull the drive shaft right out. I may be replacing the drive shafts while the motor is out but if not i will be filling them with new grease and new clip when put back together.
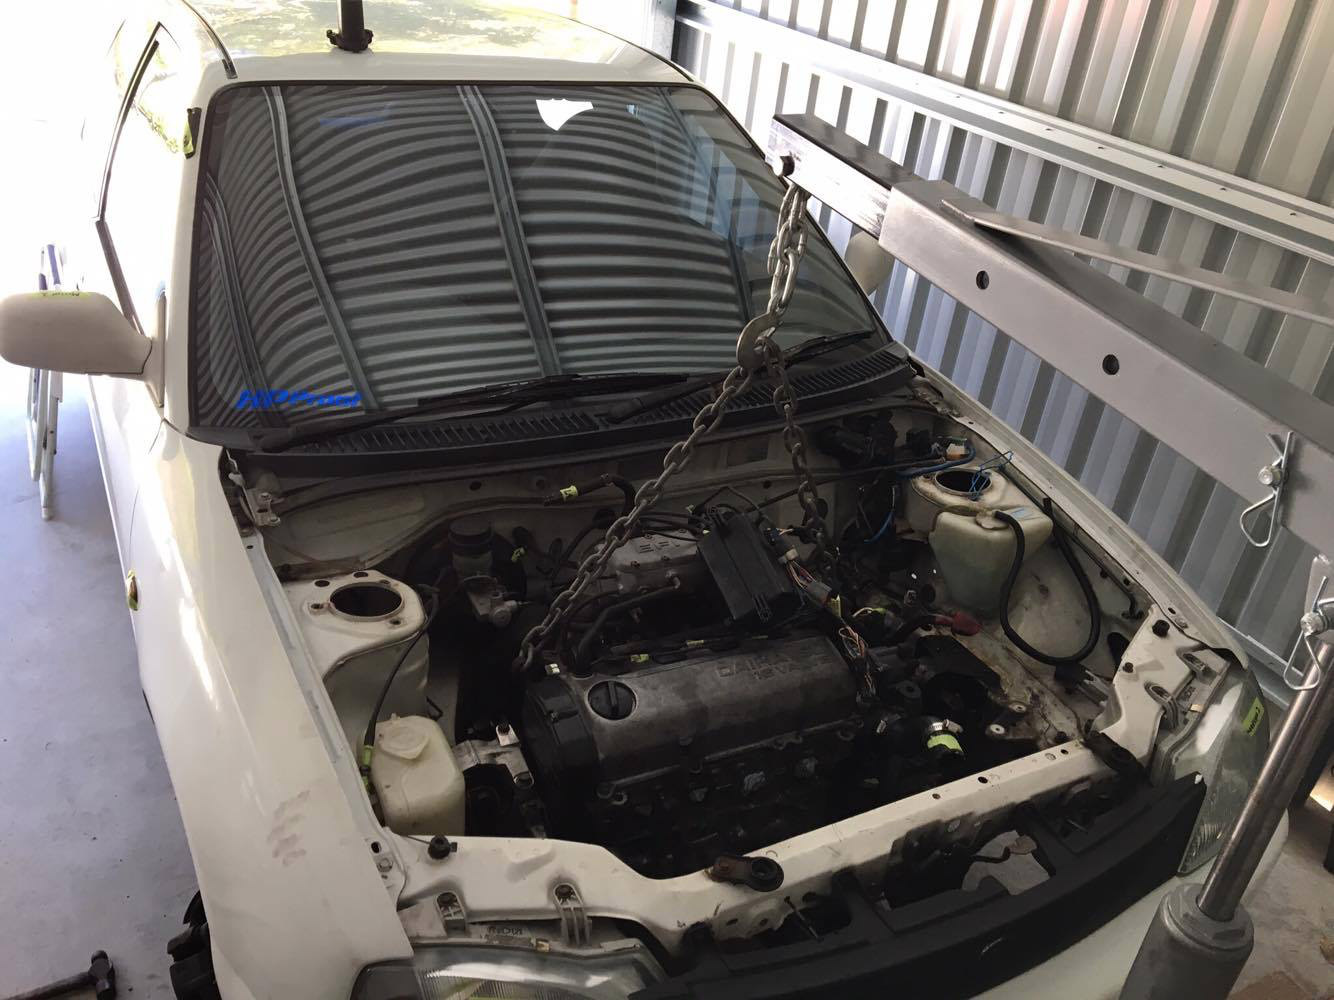
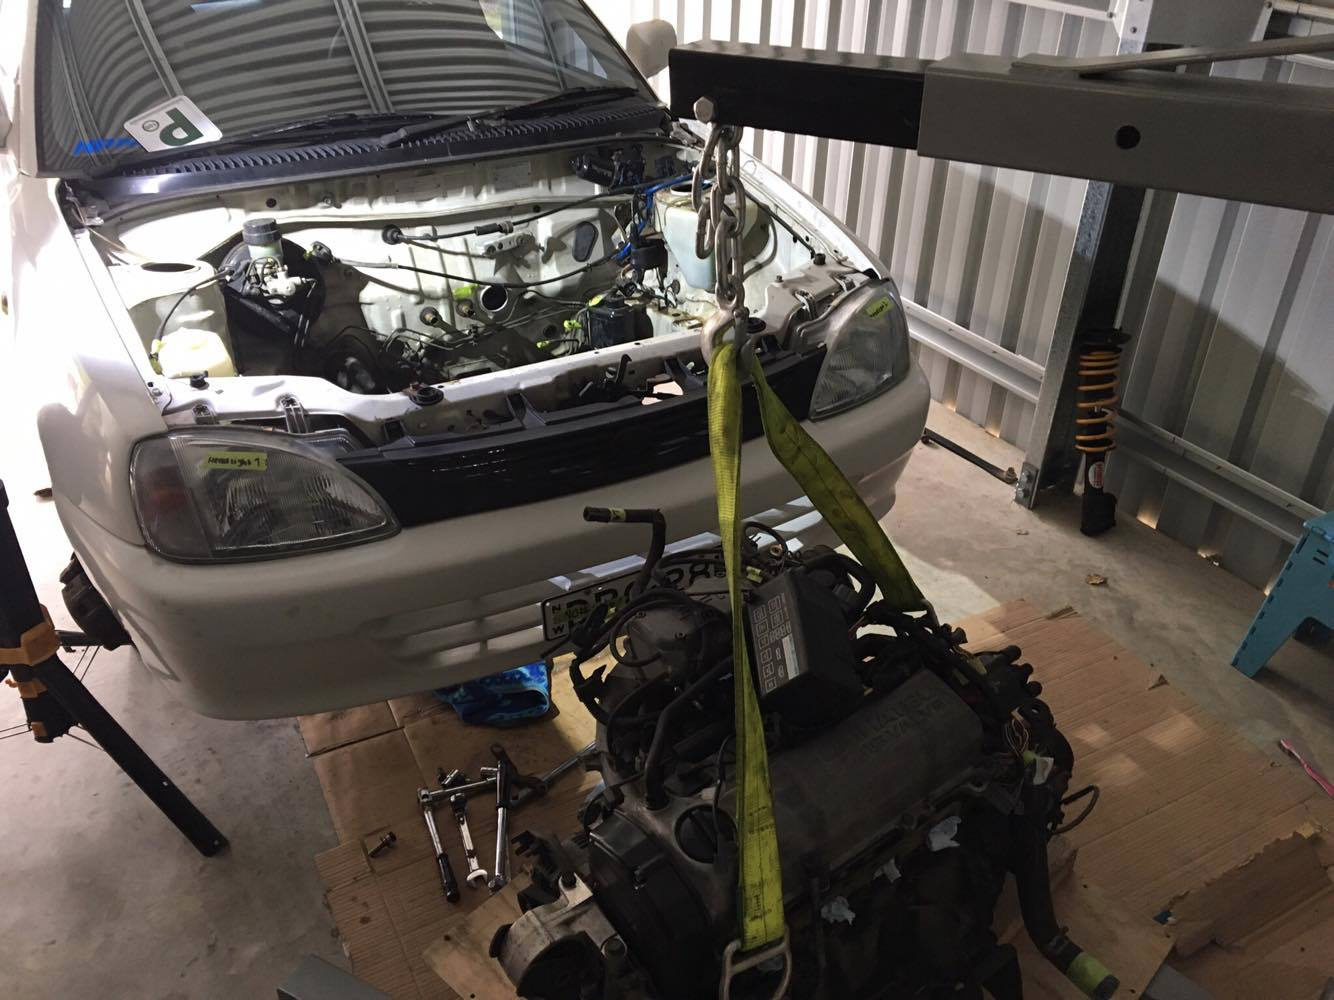
Once both shafts were out the last thing to do was to get the hoist ready and remove the engine mounts.
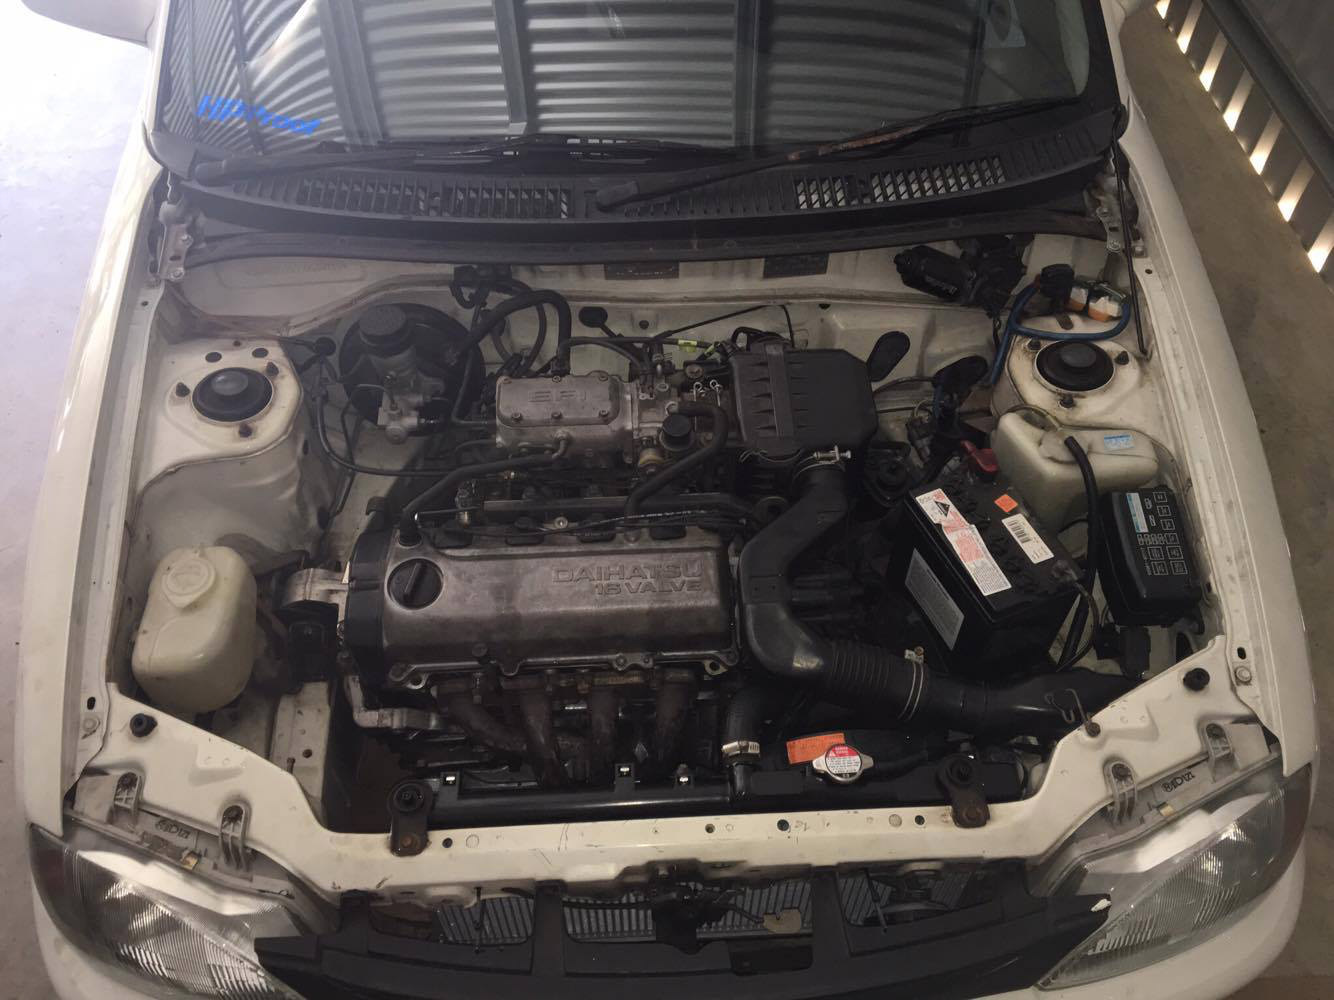
Meanwhile i got stuck into the new engine with the toothbrush and wax and grease remover and it came up better than i thought!
A full gasket set arrived also so will be getting stuck into replacing most easy gaskets while i can and will add some paint to the rocker cover before it goes back on.
Next time im back in the shed it will be removal of engine and the change over of 1.3 parts into the 1.6. This will include flywheel, pressure plate, clutch, inlet manifold, injectors.
Does anyone know which distributor to use? the 1.6 or 1.3? I was thinking of using 1.3 due to electrical being easier and would plug straight into existing wiring loom.
Run your original distributor it will be fine without the vac advance. Also don’t run the 1.3 injectors it will run lean and like a pig, you need to run the 1.6 ones. Flywheels are the same so you won’t need to swap those and run the 1.6 clutch as they are slightly bigger.
And its finally out! After a few days of procrastination the old 1.3 has been pulled.
Having almost all engine mounts out the last one i attacked was the rear engine mount, and wasn’t that a pain! It had been flooded with never-seize and still wouldn’t budge.
After a helping hand and a big set of muscles it was undone and we were able to pull the engine!
Once the engine was out i was able to start swapping the accessories, first was the alternator and left hand engine mount bracket. Due to the bracket being a little different i had to use a file to remove a ridge which was interfering with one of the bolts being flush up against the engine. Simple fix and she was on!
I then removed the distributor from the 1.6 and swapped over from the 1.3.
Have a full day planned tomorrow for more and will update more then! Adios
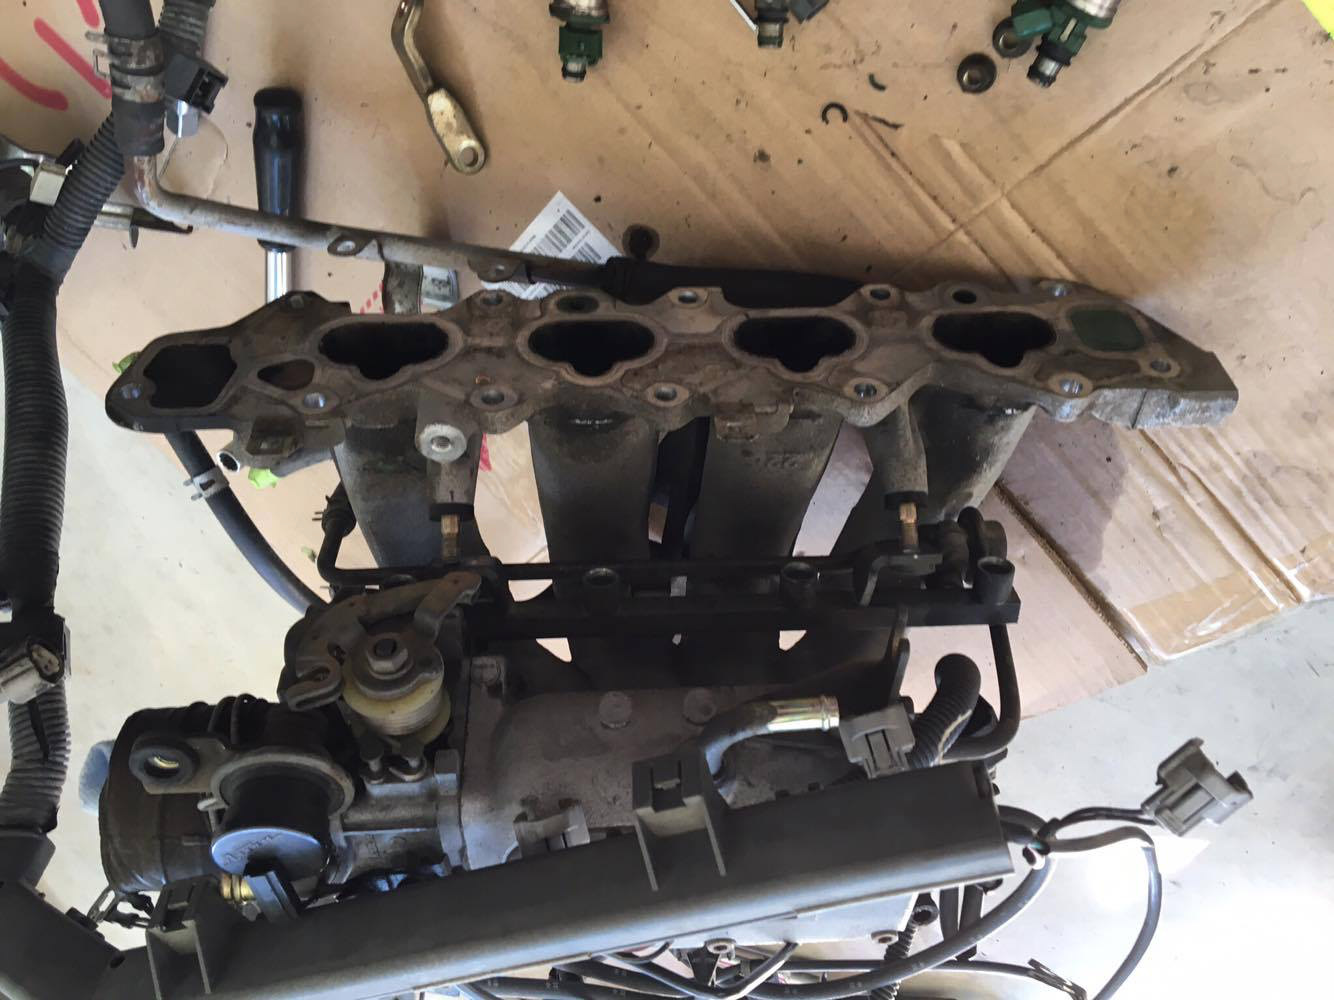
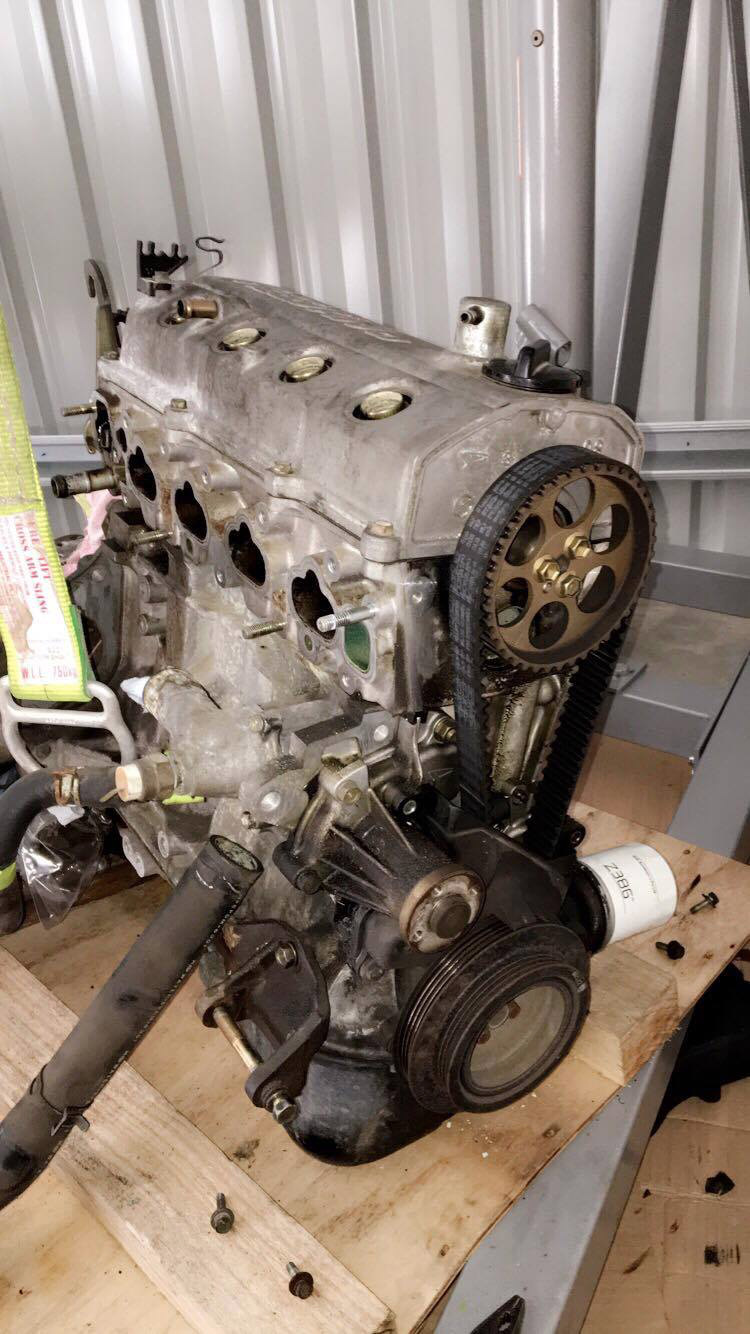
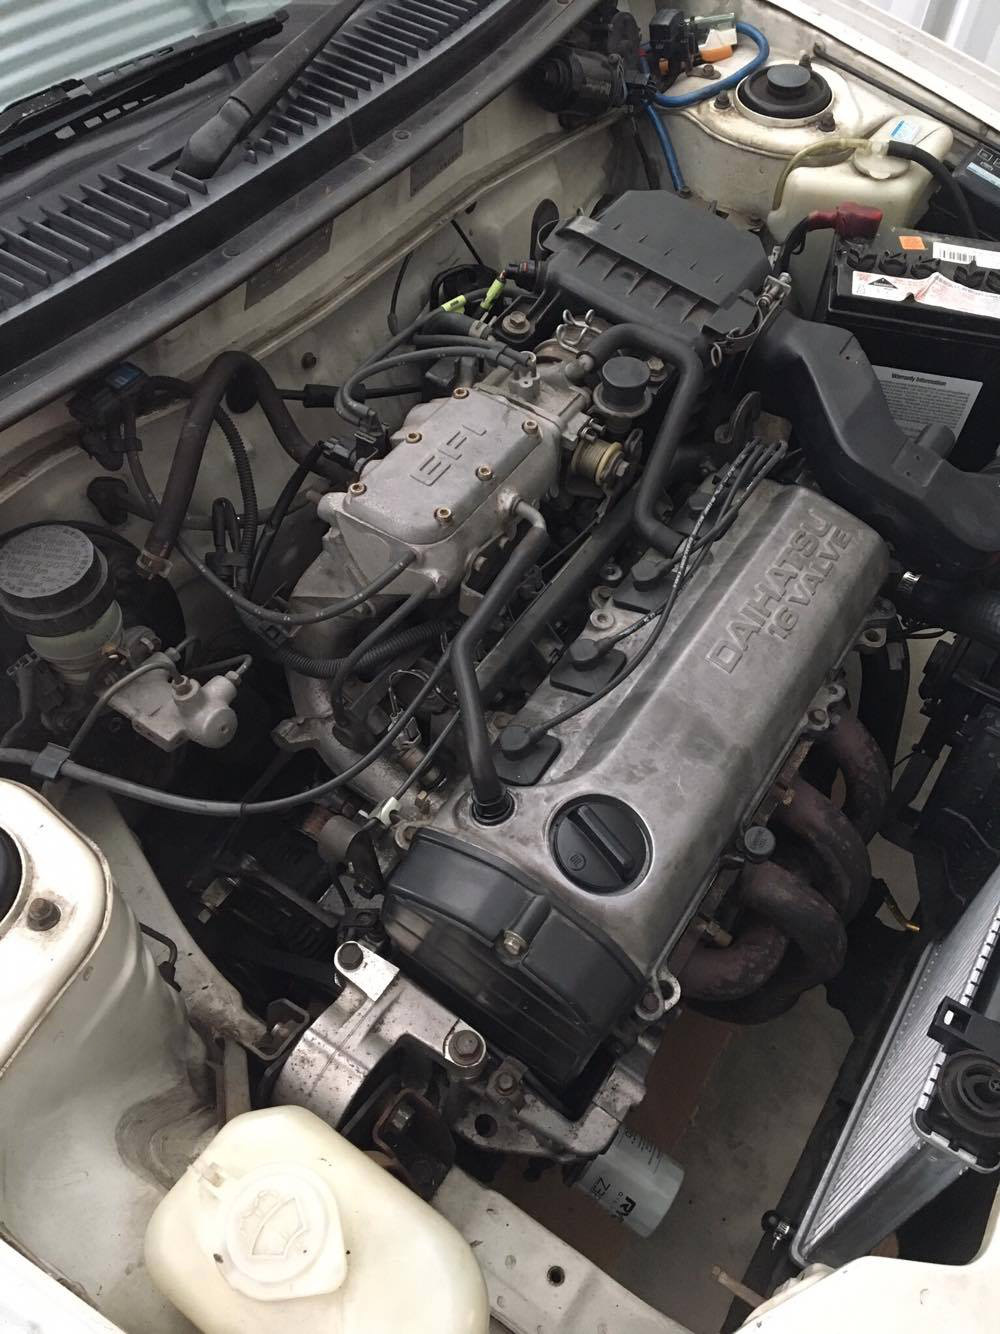
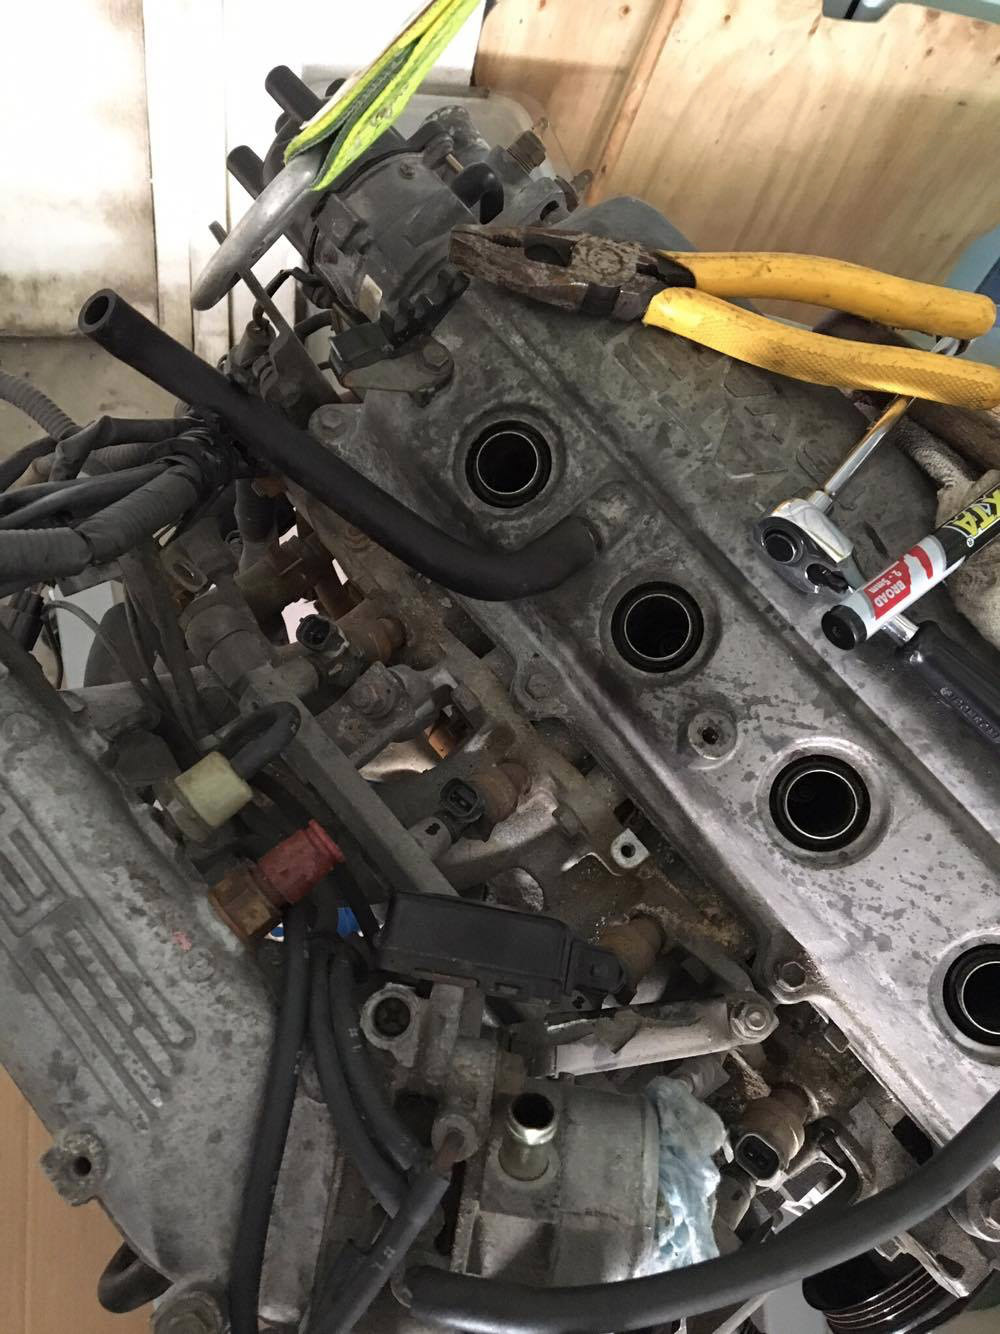
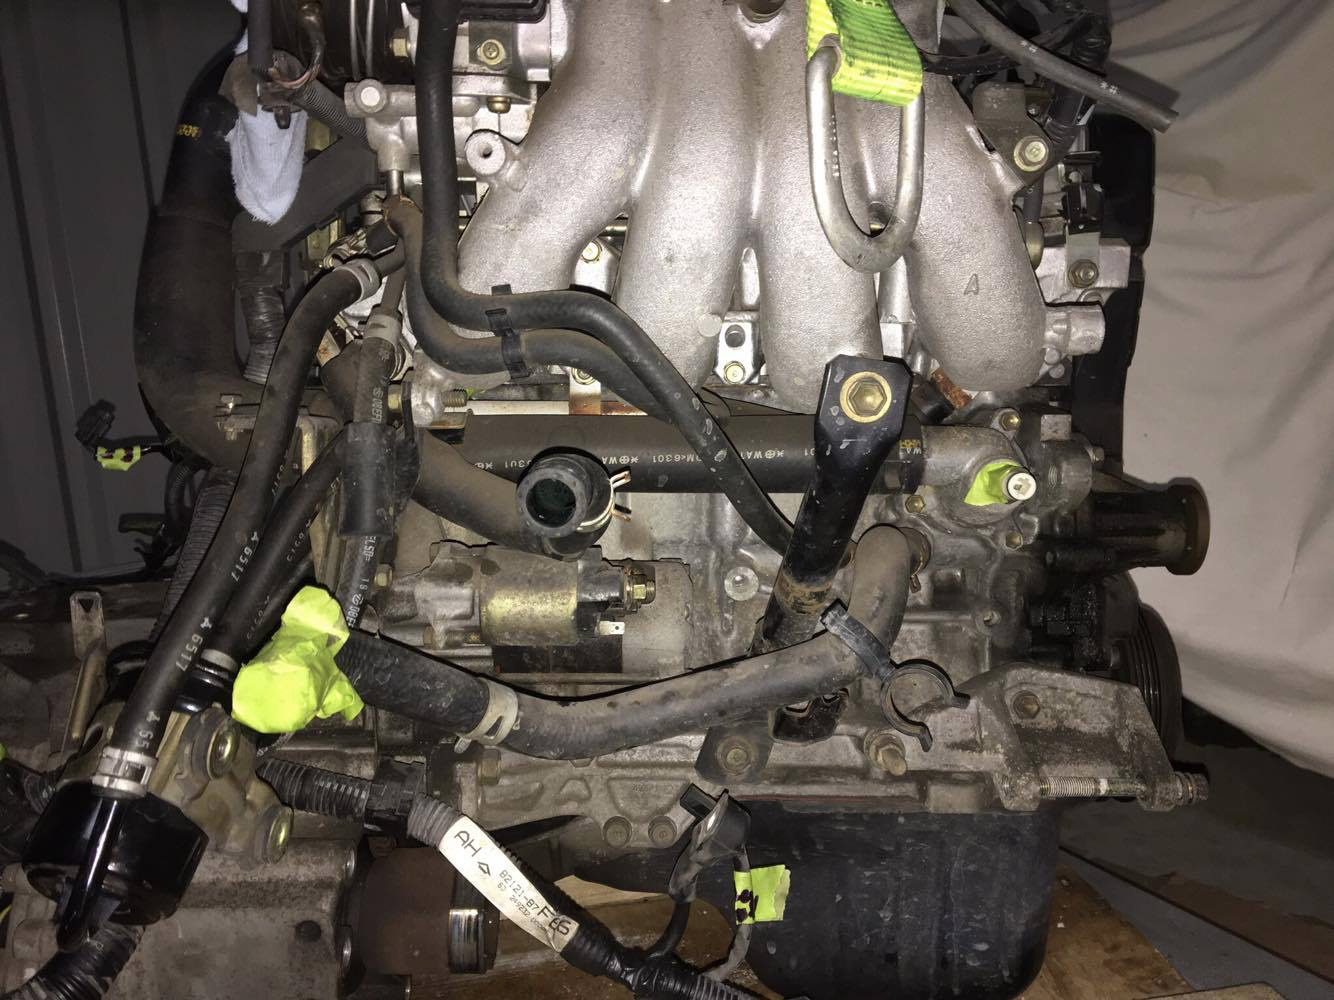
The next day after the last post, i went to work at taking all the accessories off and swapping them to the bare 1.6 engine. 21198242_1495258820556373_1132892105_o.jpg
I removed the inlet manifold, hoses and plugs. 21198250_1495258827223039_905939490_o.jpg
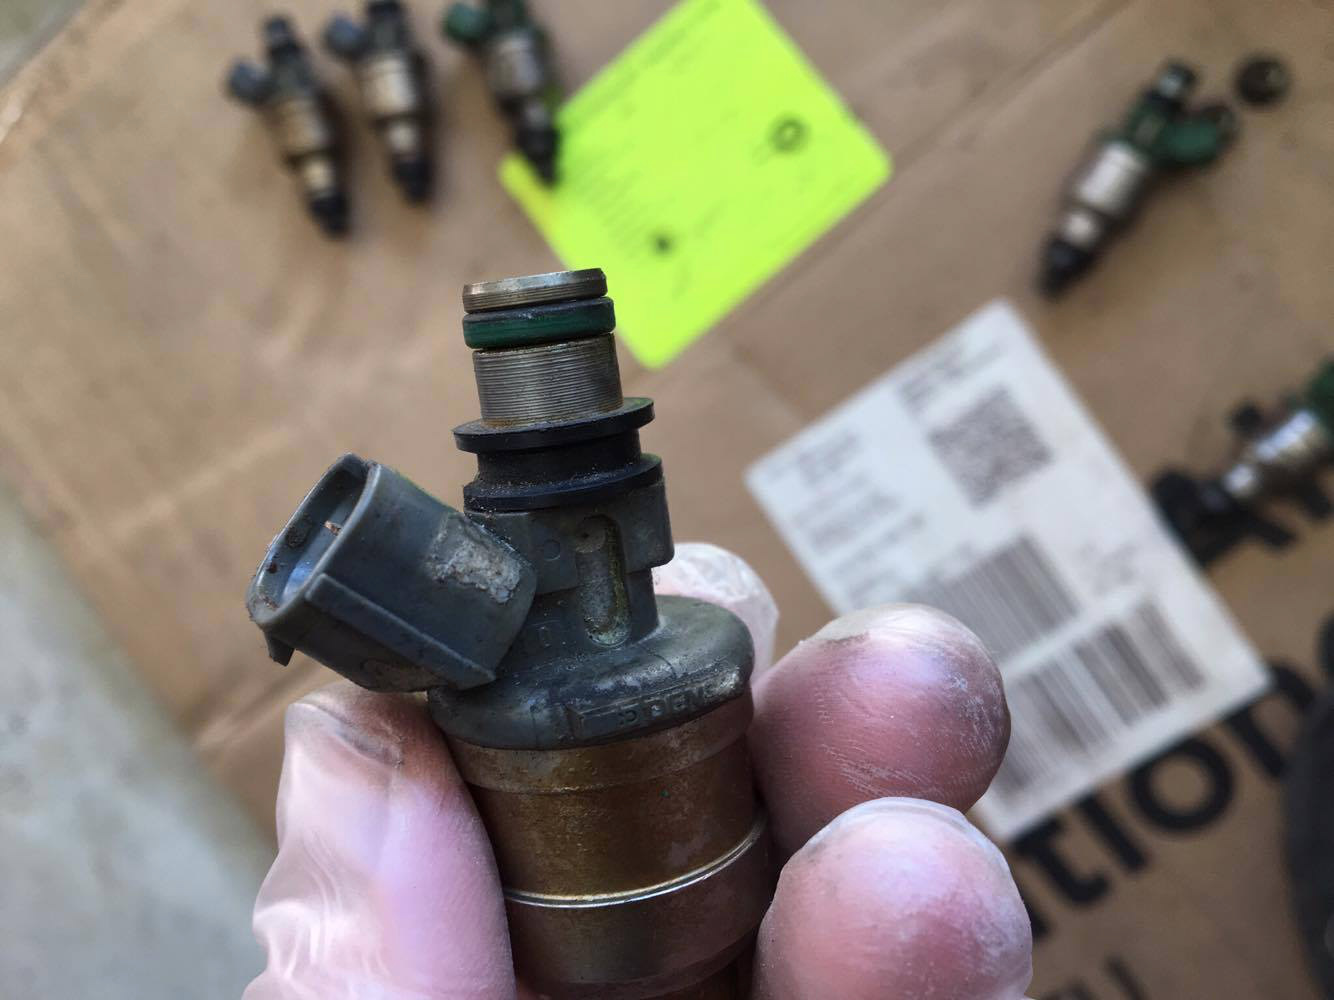
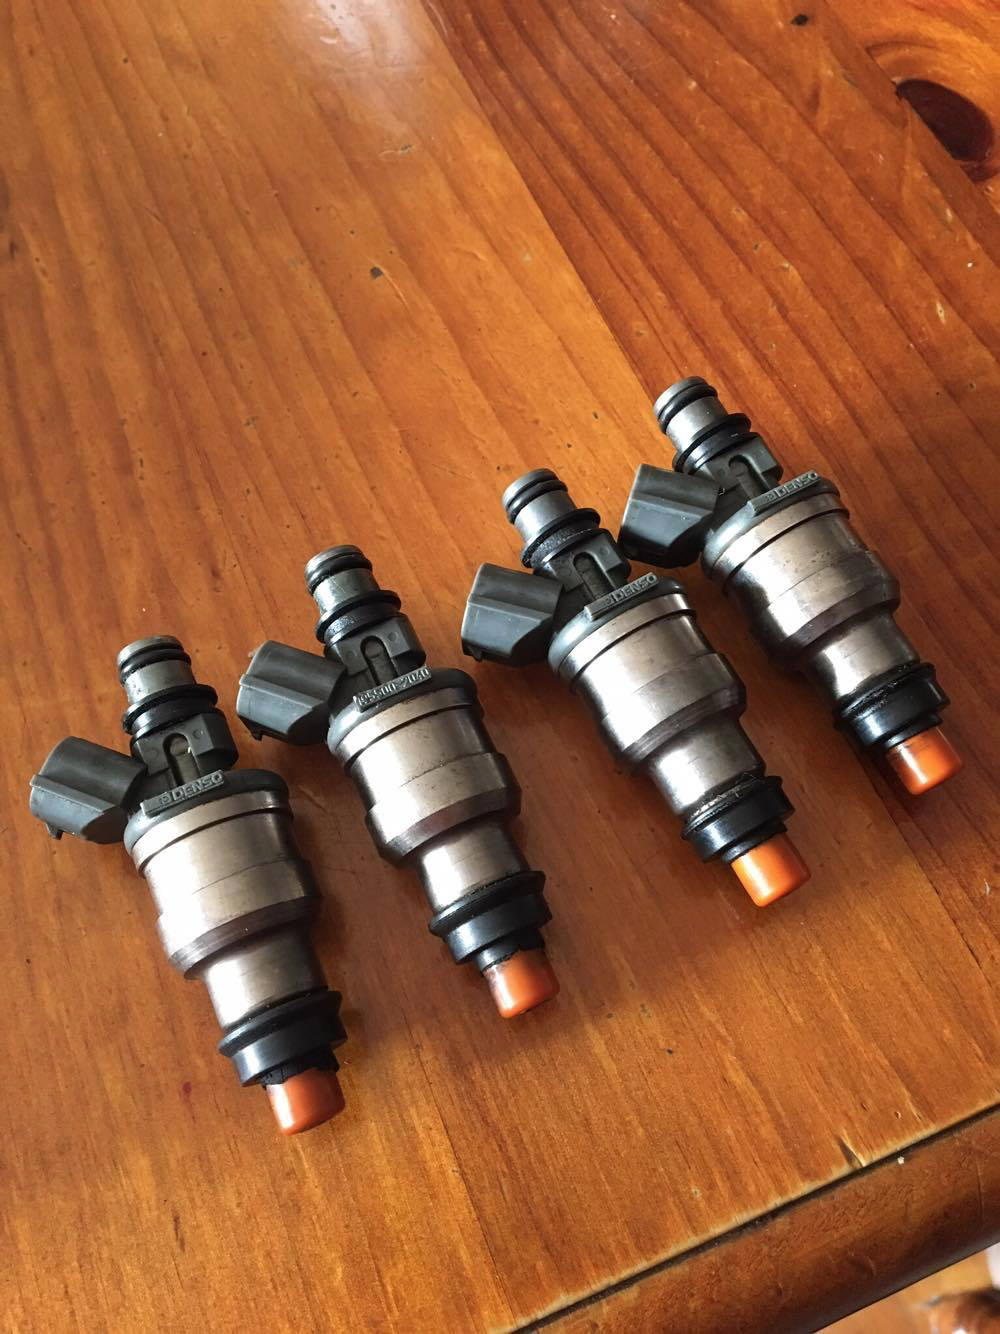
I then swapped over the injectors and found that the injector o rings were very hard and flat, so i swapped the 1.6 rubbers and o rings over as they were very fresh.
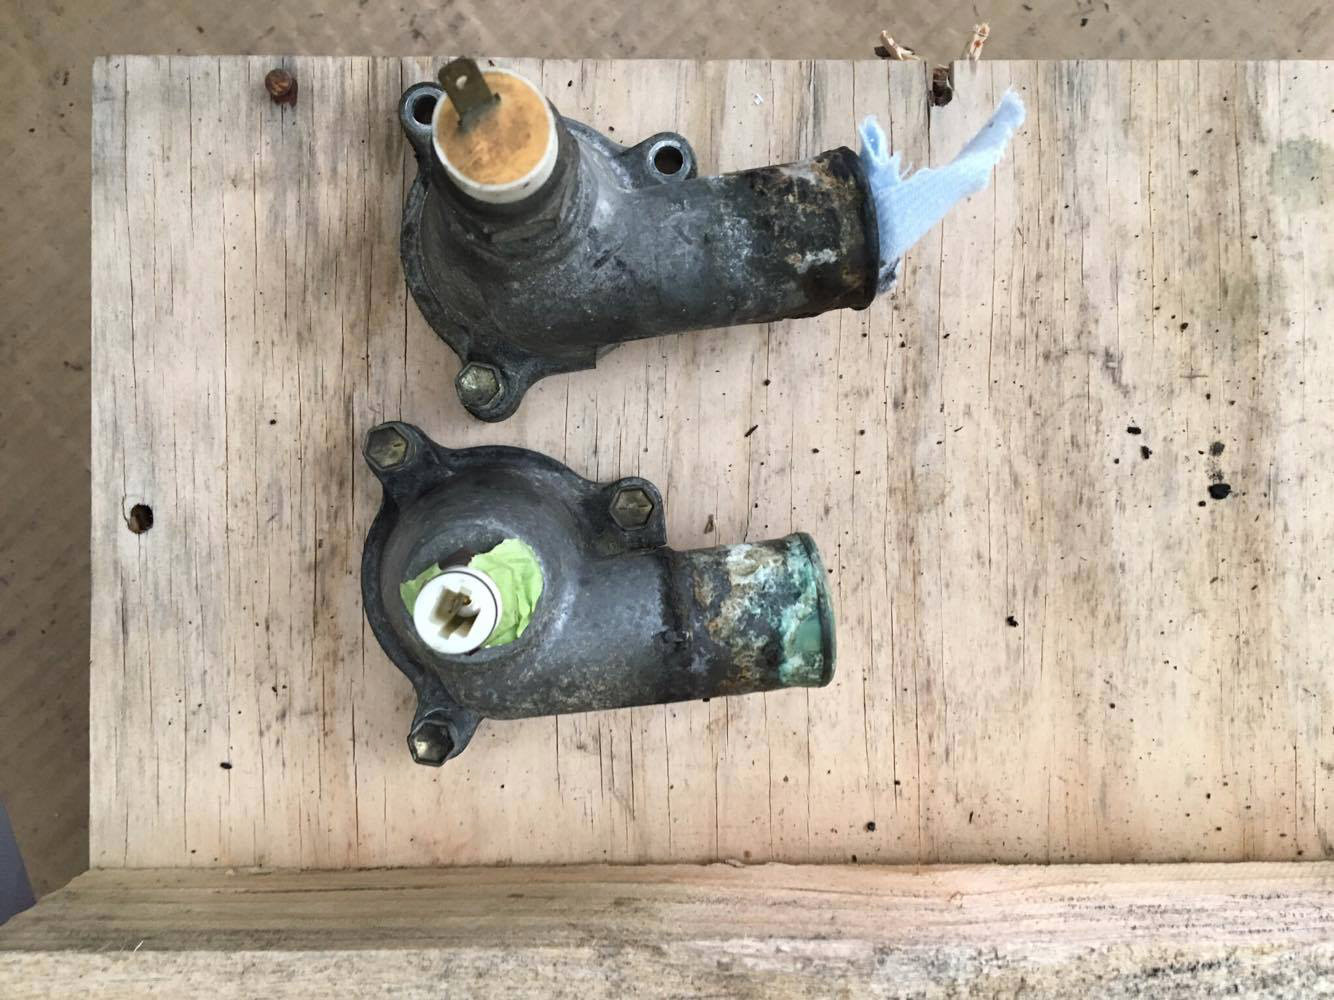
I then swapped the water pumps as a connection from the loom didn’t match the connection on the 1.6. Same housings by the looks of it so i swapped.
The bare 1.3.
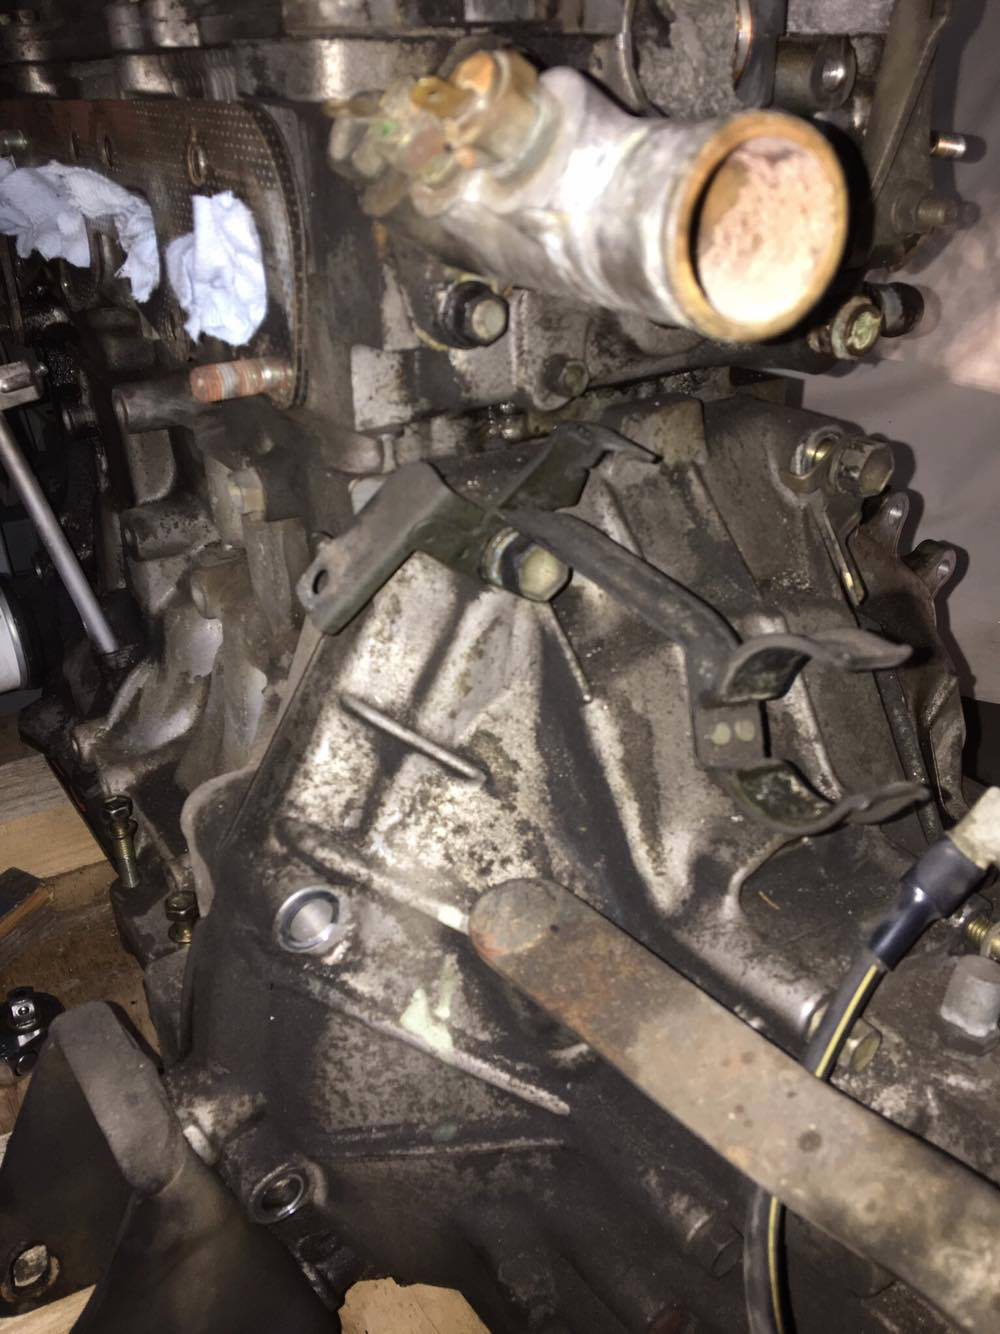
Gearbox was next.
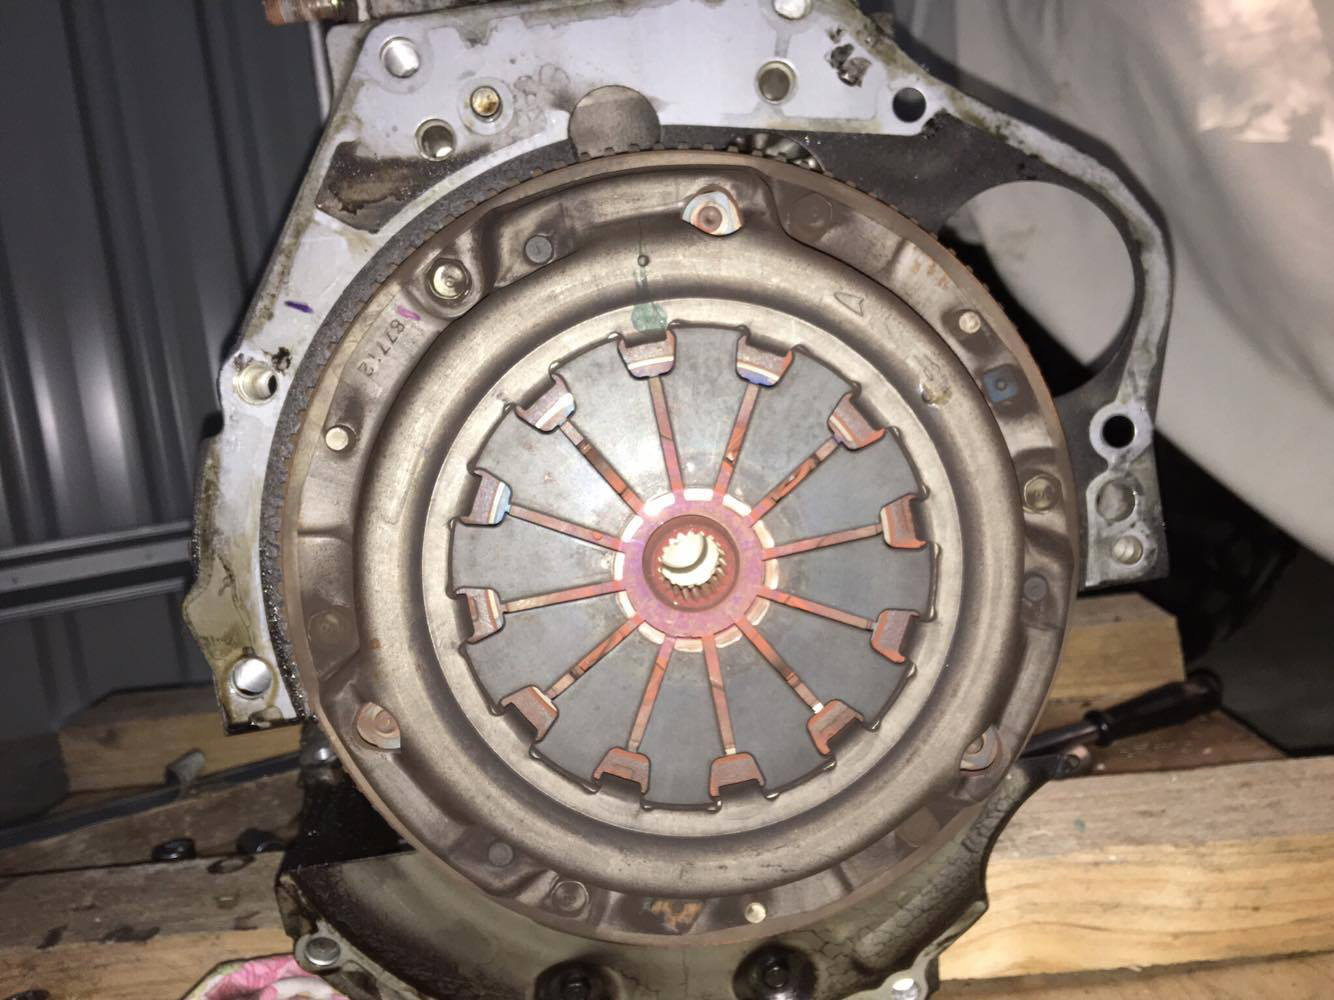
Removed the gearbox, clutch housing, clutch and flywheel and then put the 1.3 clutch, flywheel and housing onto the 1.6 engine. Put it all back together.
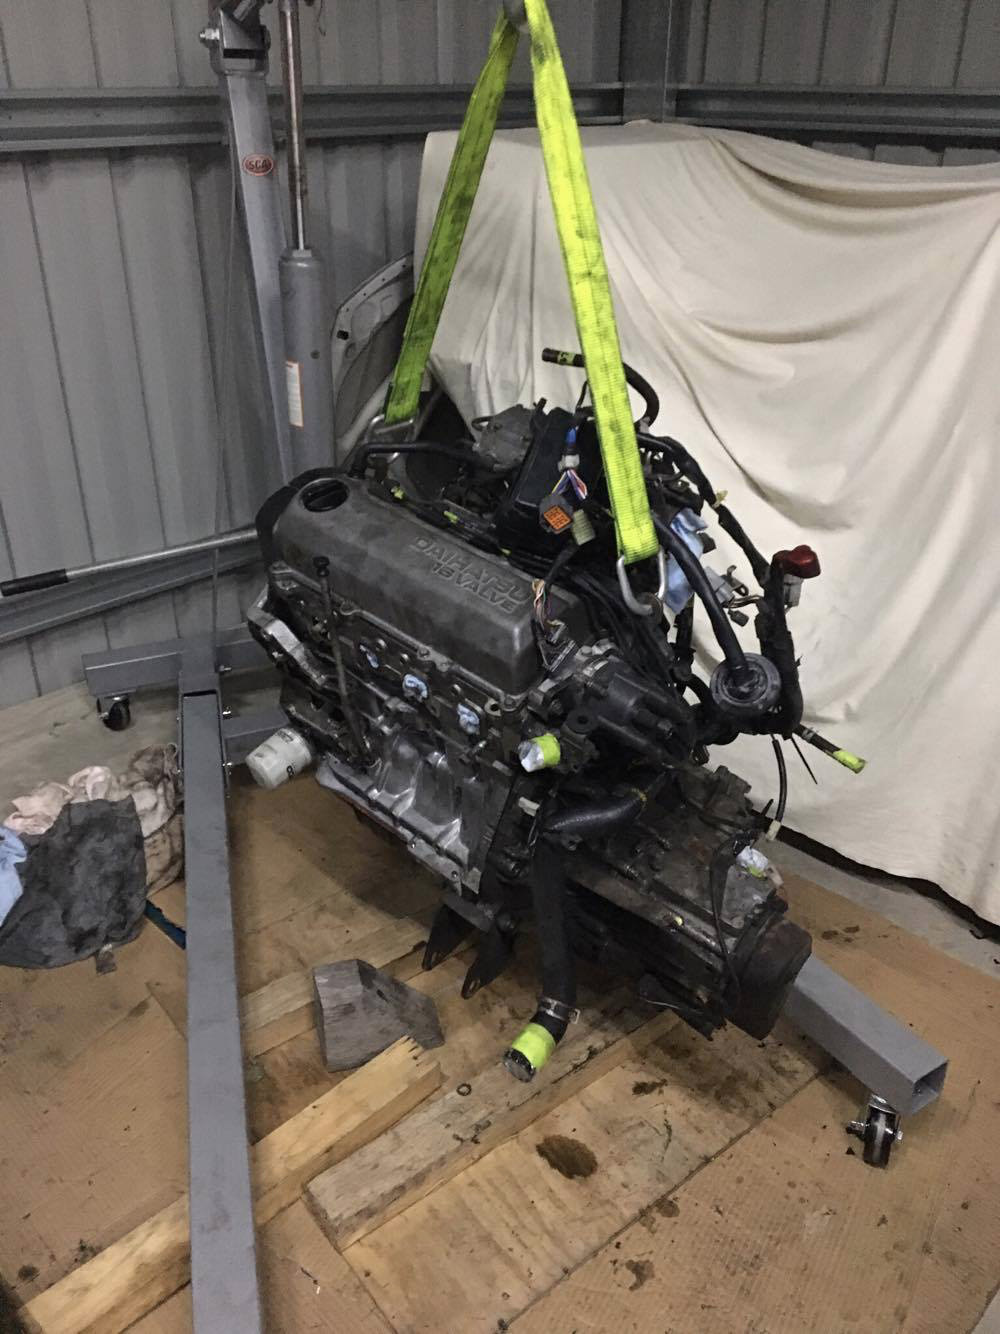
All ready to go back in!
All connected, exhaust, radiator, driveshafts, oil, coolant, shocks, wheels, battery and all the other goodies, dropped it off the stands and was ready to turn the key!
Turned the key and it wanted to turn over but unfortunately did not.
Their was fuel coming from the fuel rail and injectors (gushing out). Found it to be a bad seal and ended up putting the 1.3 injectors back in with different seals and it banged over. Ran but may be out of timing, and due to not having proper 1.6 injectors i only wanted to see if it ran (which it did) as i didn’t want to lean the engine out. I have bought some new injectors and hopefully can get a timing light to correct the timing as i think that may be a part in why it wasn’t running smoothly. I will keep you all updated.
What a week it has been. Received a few goodies in the mail.
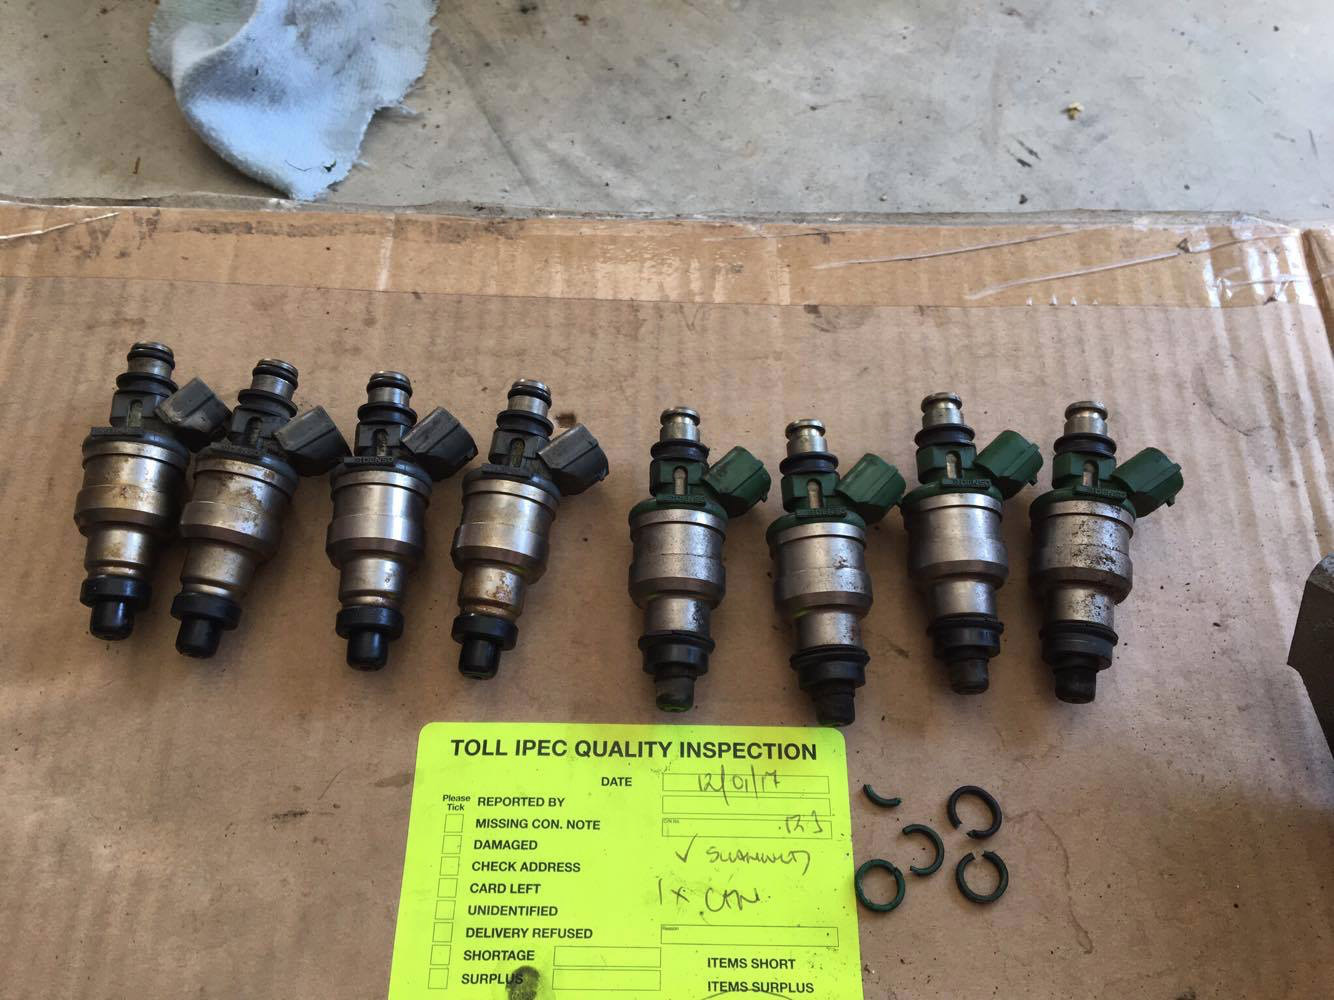
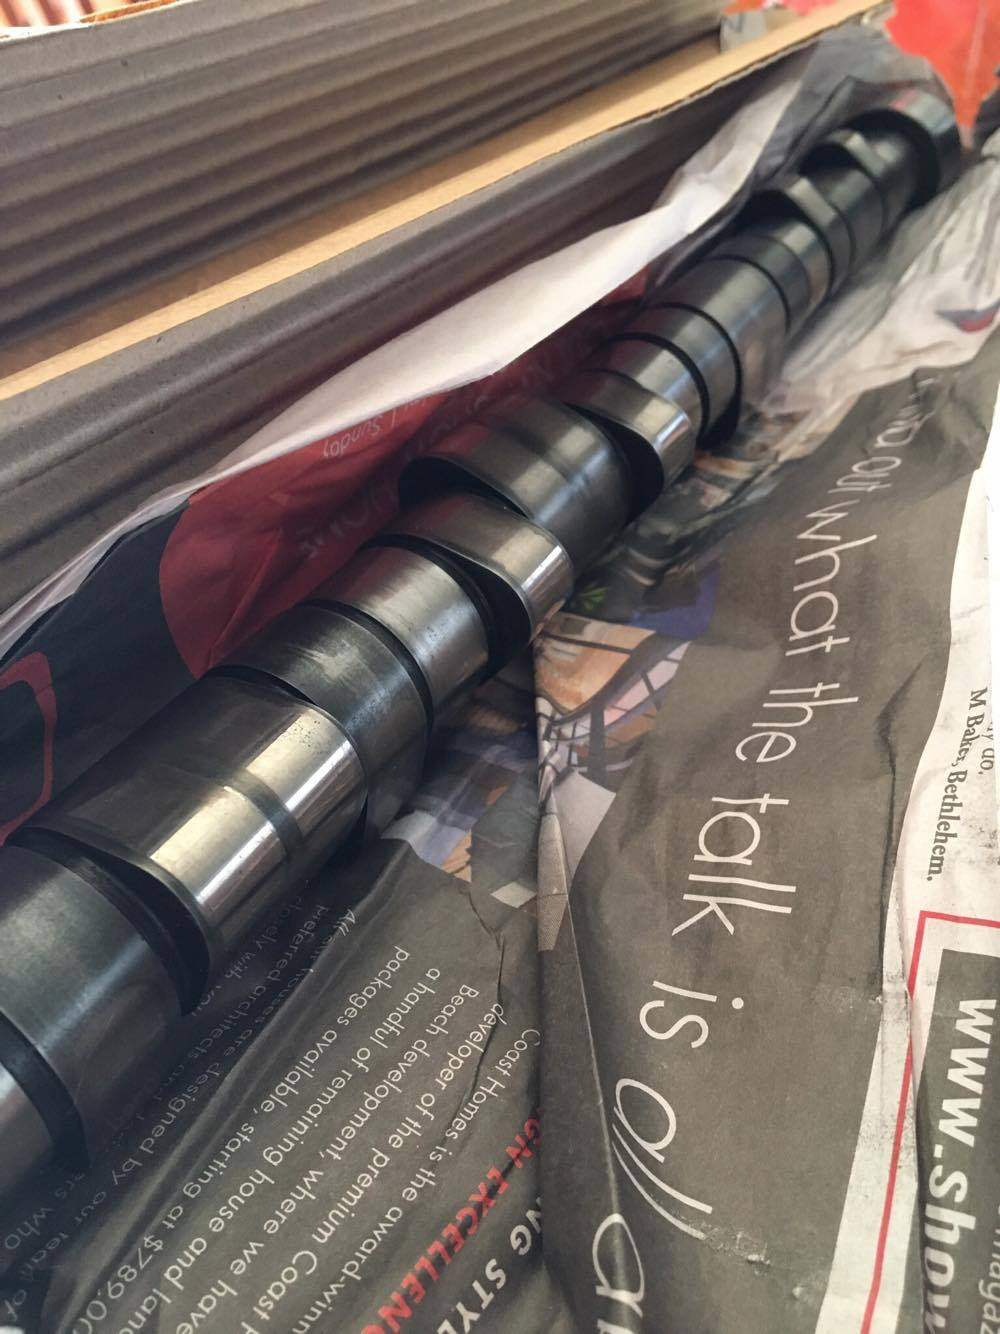
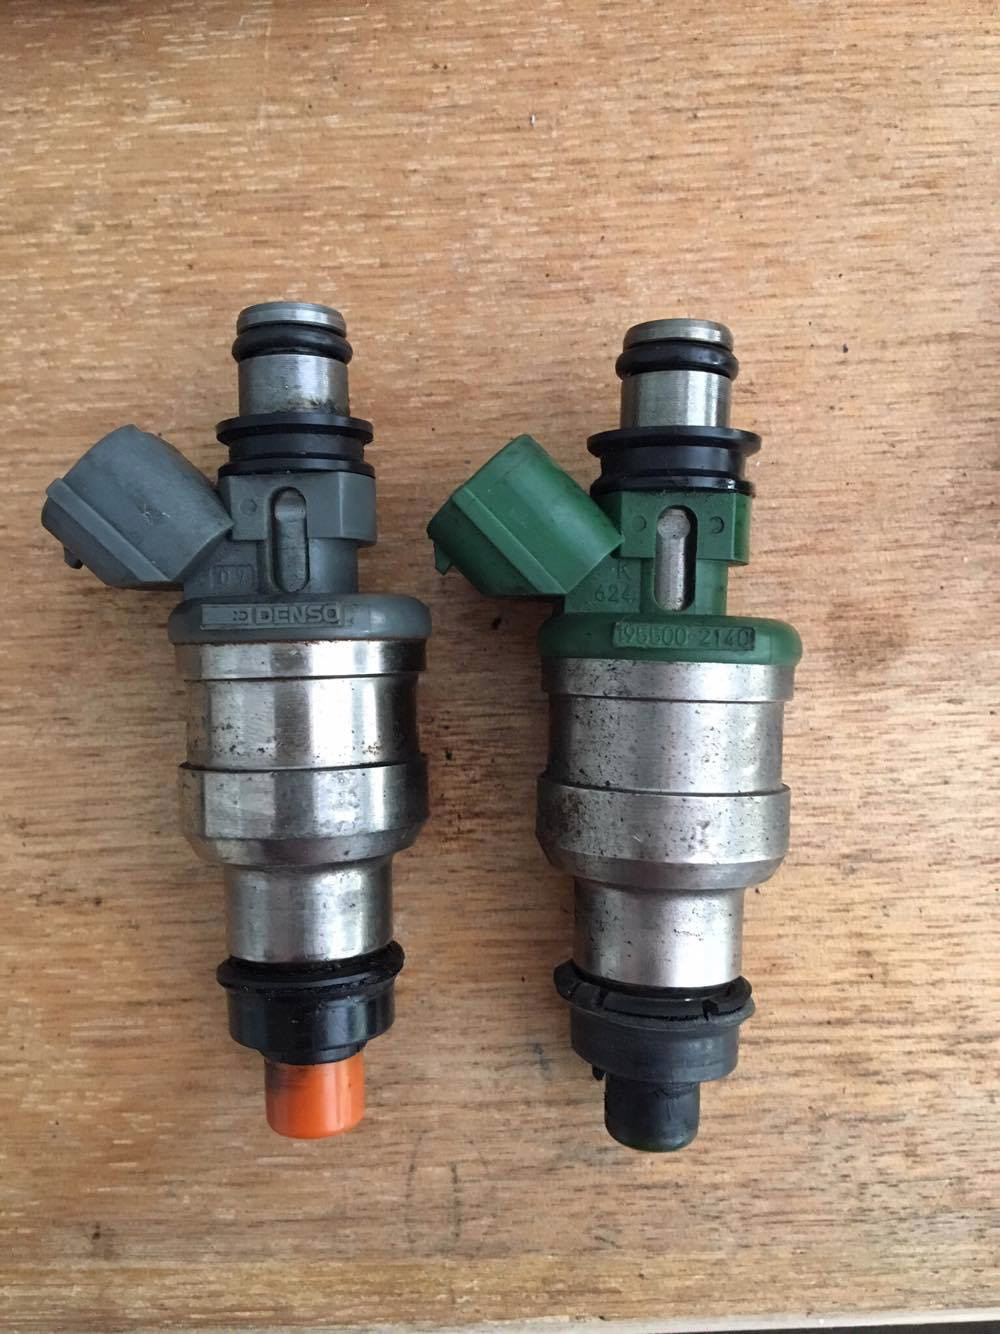
The 1.6 injectors and chucked them straight in, a genuine Detomaso camshaft, and some new dash lights.
The injectors were removed from the rail (1.3 green) and the new 1.6 injectors (grey and orange) were exchanged.
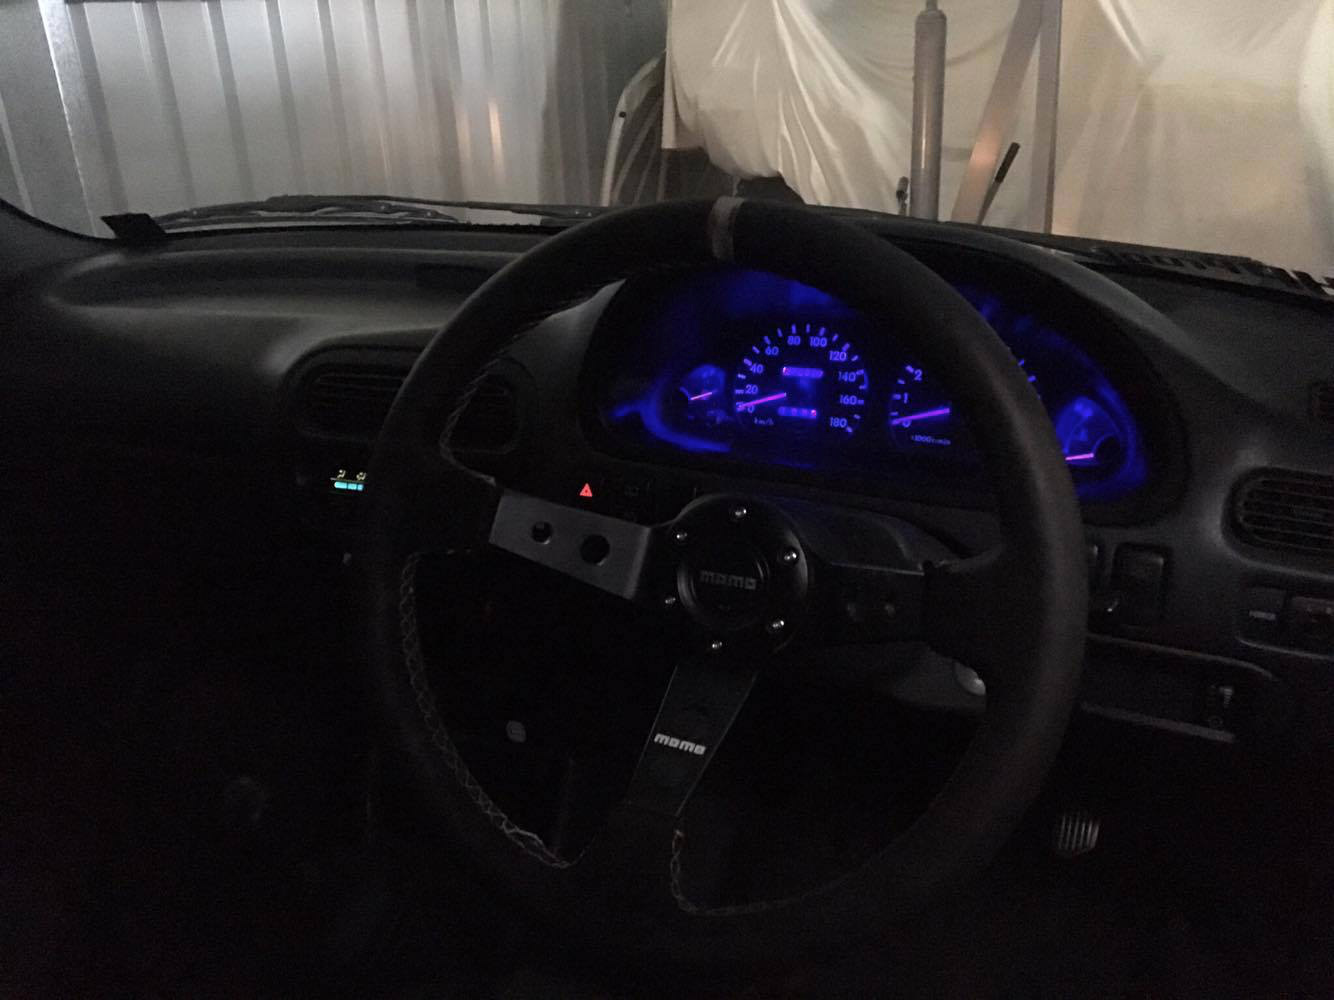
I put in the new dash lights, ordered blue but unsure if they are purple or not. Still better than the dull green ones that were previously in their.
Finally turned the car over and hooray, the car ran very well ! Reversed it out of the garage to be exposed in sunlight for the first time.
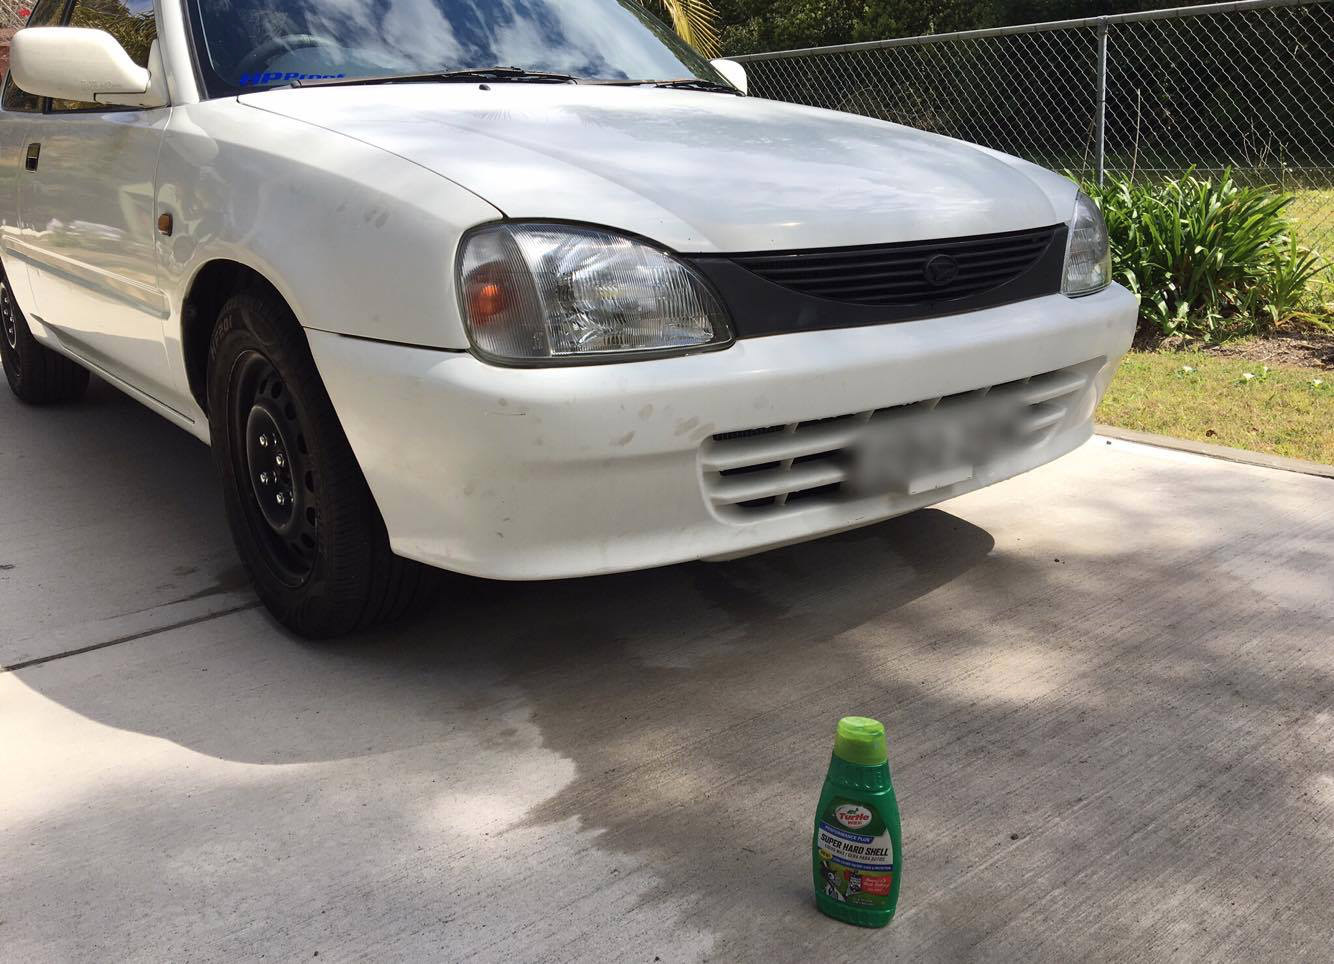
First things first was to give it a much needed wash and wax, had a lot of dirty marks and grease on the car.
Went for a quick little drive and a few things needed tinkering, alternator adjustment bracketed needed tightening, exhaust wasn’t on tight enough but that was a quick fix. All i can say is wow, the car goes awesome, can finally roar up the hill near my house in 4th gear no worries, which i usually struggled in 3rd gear with the 1.3. There is noticeable power difference and it sounds awesome. Car pulls so much better. Now all it needs is the camshaft i have purchased
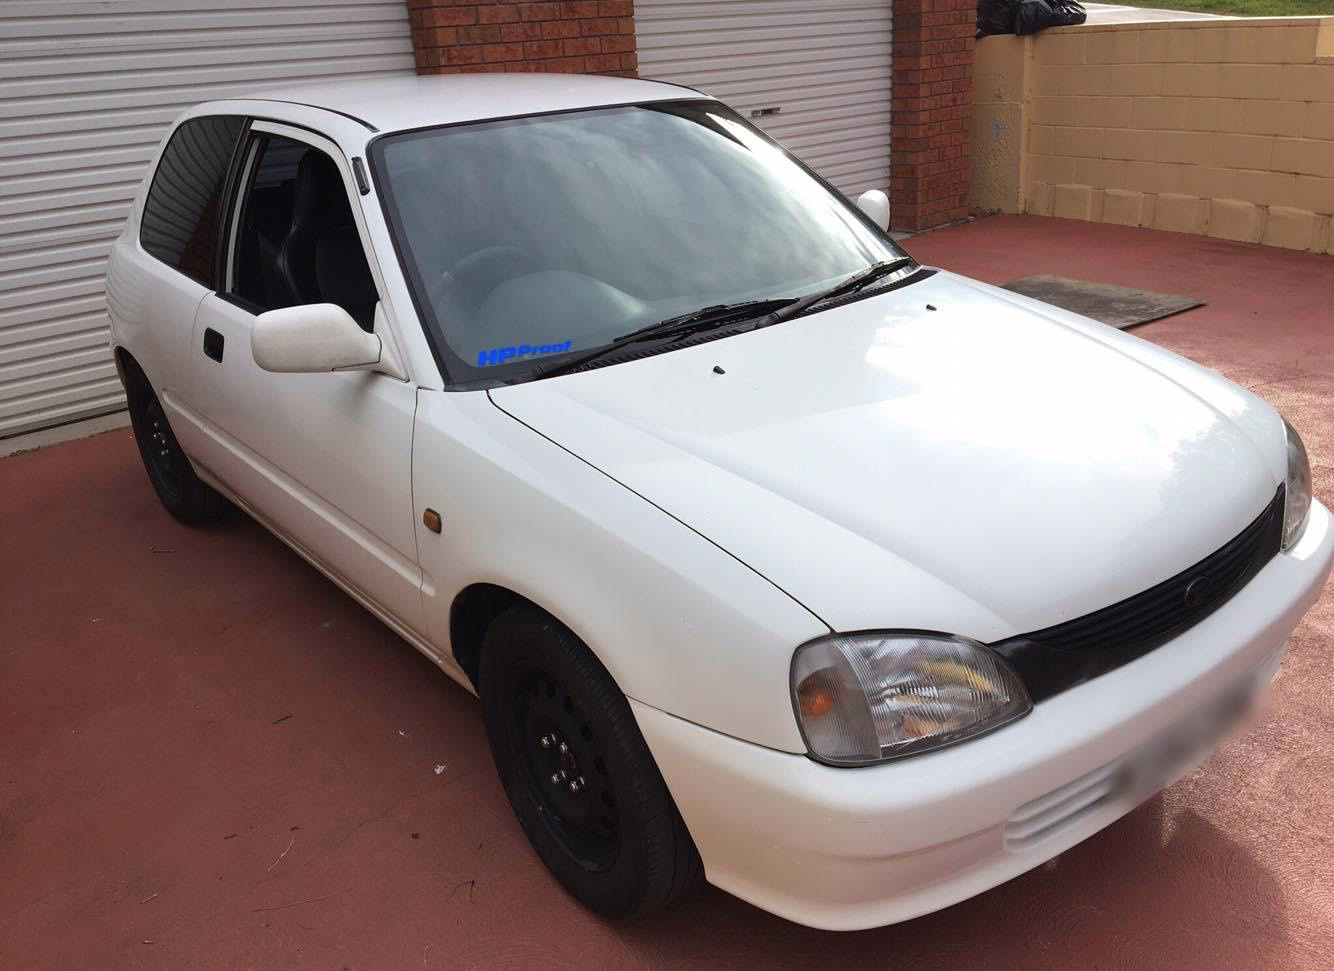
I decided to change the mirrors back to spares so i can repaint the white mirrors as they are weathered now.
If anyone is considering the swap i would highly recommend it! I luckily enough found a engine that had been pulled from a 80,000km applause, with 3 boxes of spares and complete gearbox and loom, and this was very helpful in the swap. If anyone has the spare time and tools i would definitely do it, you wont be disappointed.
Will be updating along the way with other mods (cam install) and any other tips and tricks.
Thread revival!
Nice! I’m kicking myself that I didn’t do this before rebuilding. I take it you’ve put the HC rocker cover on the HD head?
How’s the car running now?
How is it going with your car now?
Very interesting read for me, because i recently bought an 99 applause and now i am gathering as much info about the swap as i can., to make it go as smooth as possible.
It is unclear to me, if you kept the 1.3 charade gearbox or used the applause gearbox?
if you used he applause box, did the charade driveshafts fit?
And i was told the 1.3head was a better on than the 1.6 one, do you know anything about that?


 21198242_1495258820556373_1132892105_o.jpg
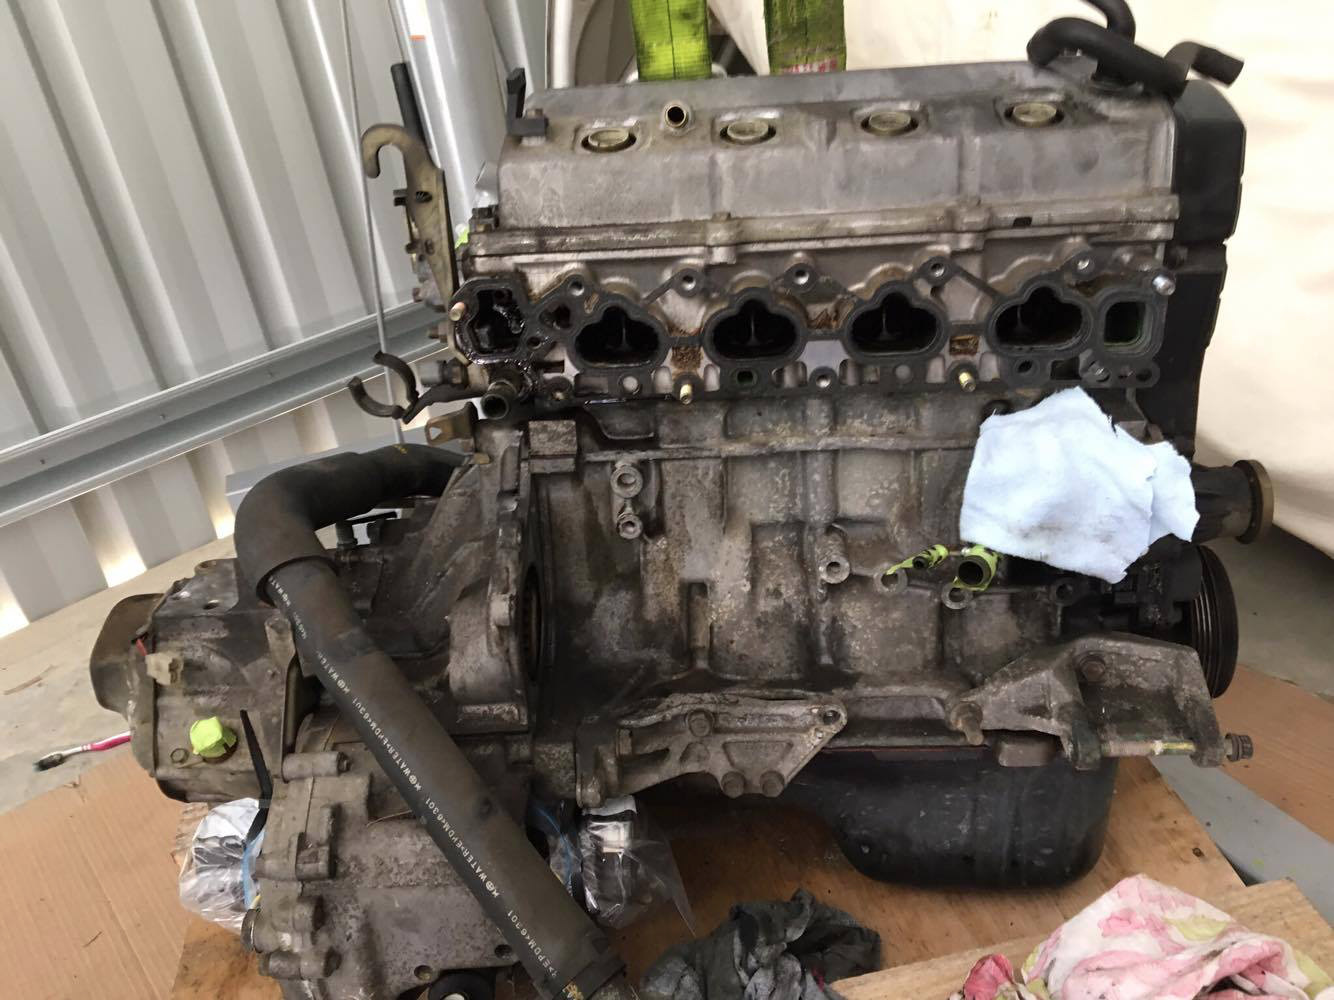 21198250_1495258827223039_905939490_o.jpg