Hi all, just thought I’d start a thread on my build (outside of my introductory thread).
I’ve currently got a 99 G203 with the usual symptoms. HE-E is leaking from almost every gasket possible, blowing smoke everywhere. Currently starts, runs and drives fine, but will settle on a 200RPM idle.
I was gearing up to pull the HE-E and have it rebuilt, but then I came across a HD-E from an Applause with 116,000km. Upon first inspection, everything looked fine except for a small hairline crack around one of the transmission dow pins. I was also told that the valve seals might be on their way out, as there was a small amount of smoke at all revs. I pulled the pin and decided to run with it. It was certainly healthier and more youthful than my current option.
Whilst leaving the HE-E in the G203 for now, I’ve begun pulling the HD-E apart for inspection… Oh boy…
Things that need addressing:
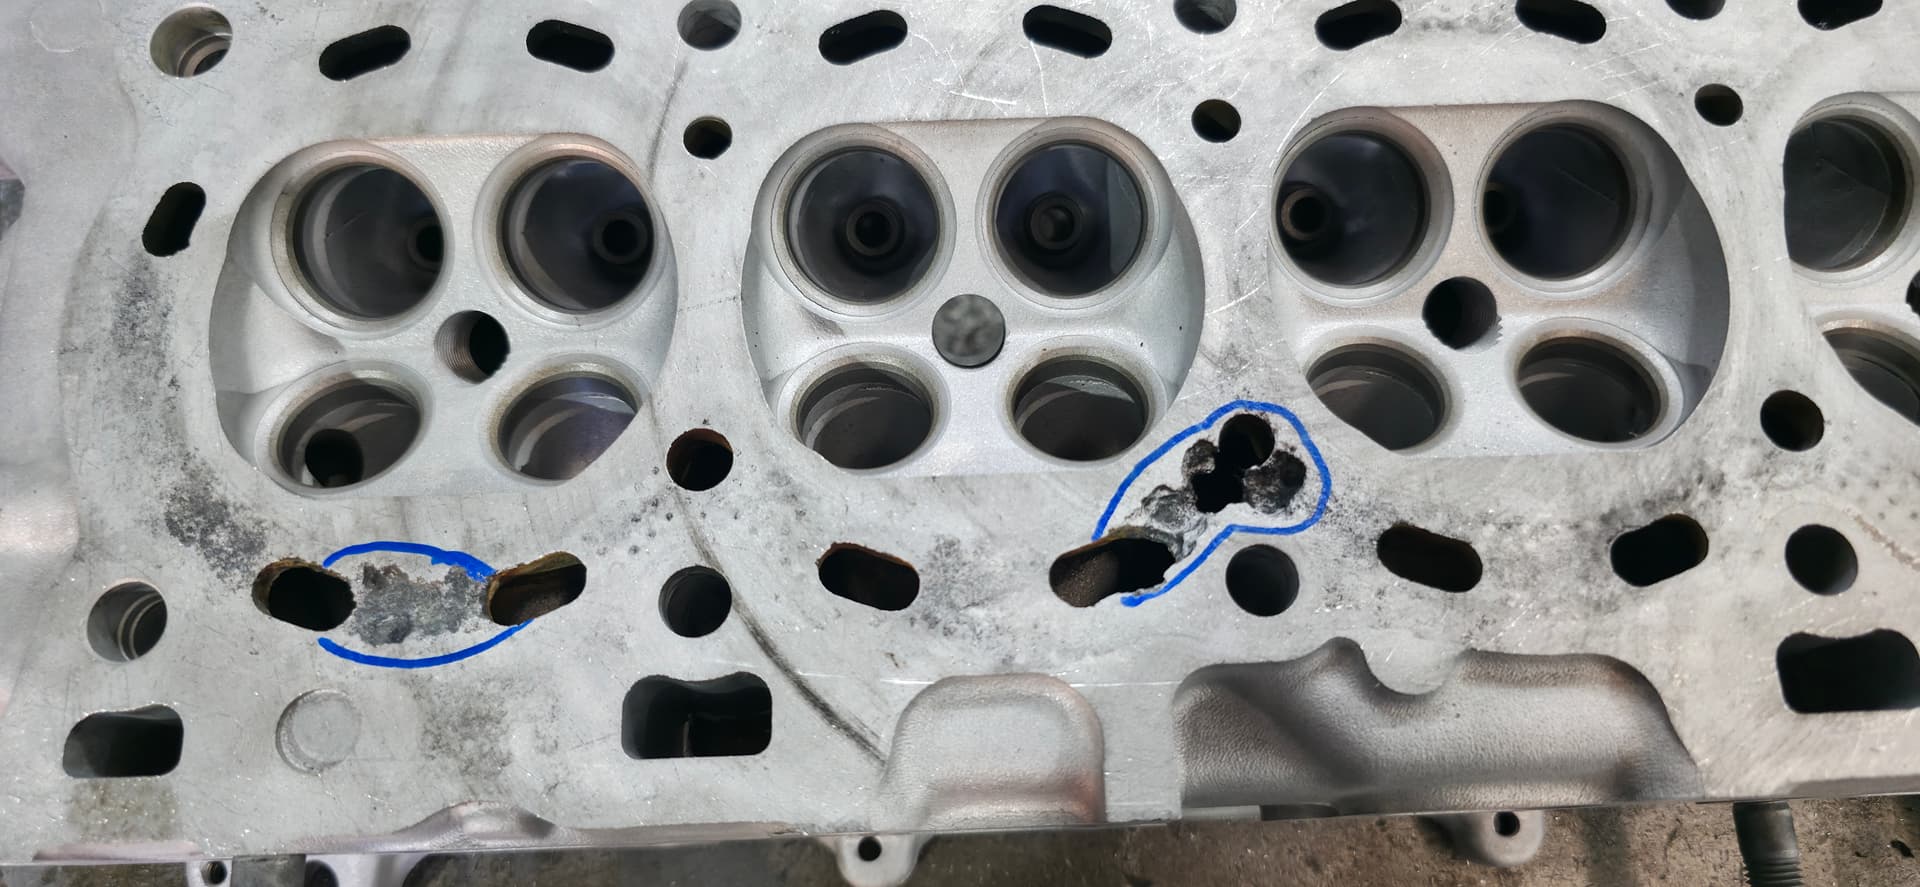
corrosion in the coolant passages has eaten away at the head and will require welding and grinding to fix.
4 of the 16 valves need replacement
valve cover is cracked - Was going to swap the HE-E on anyway
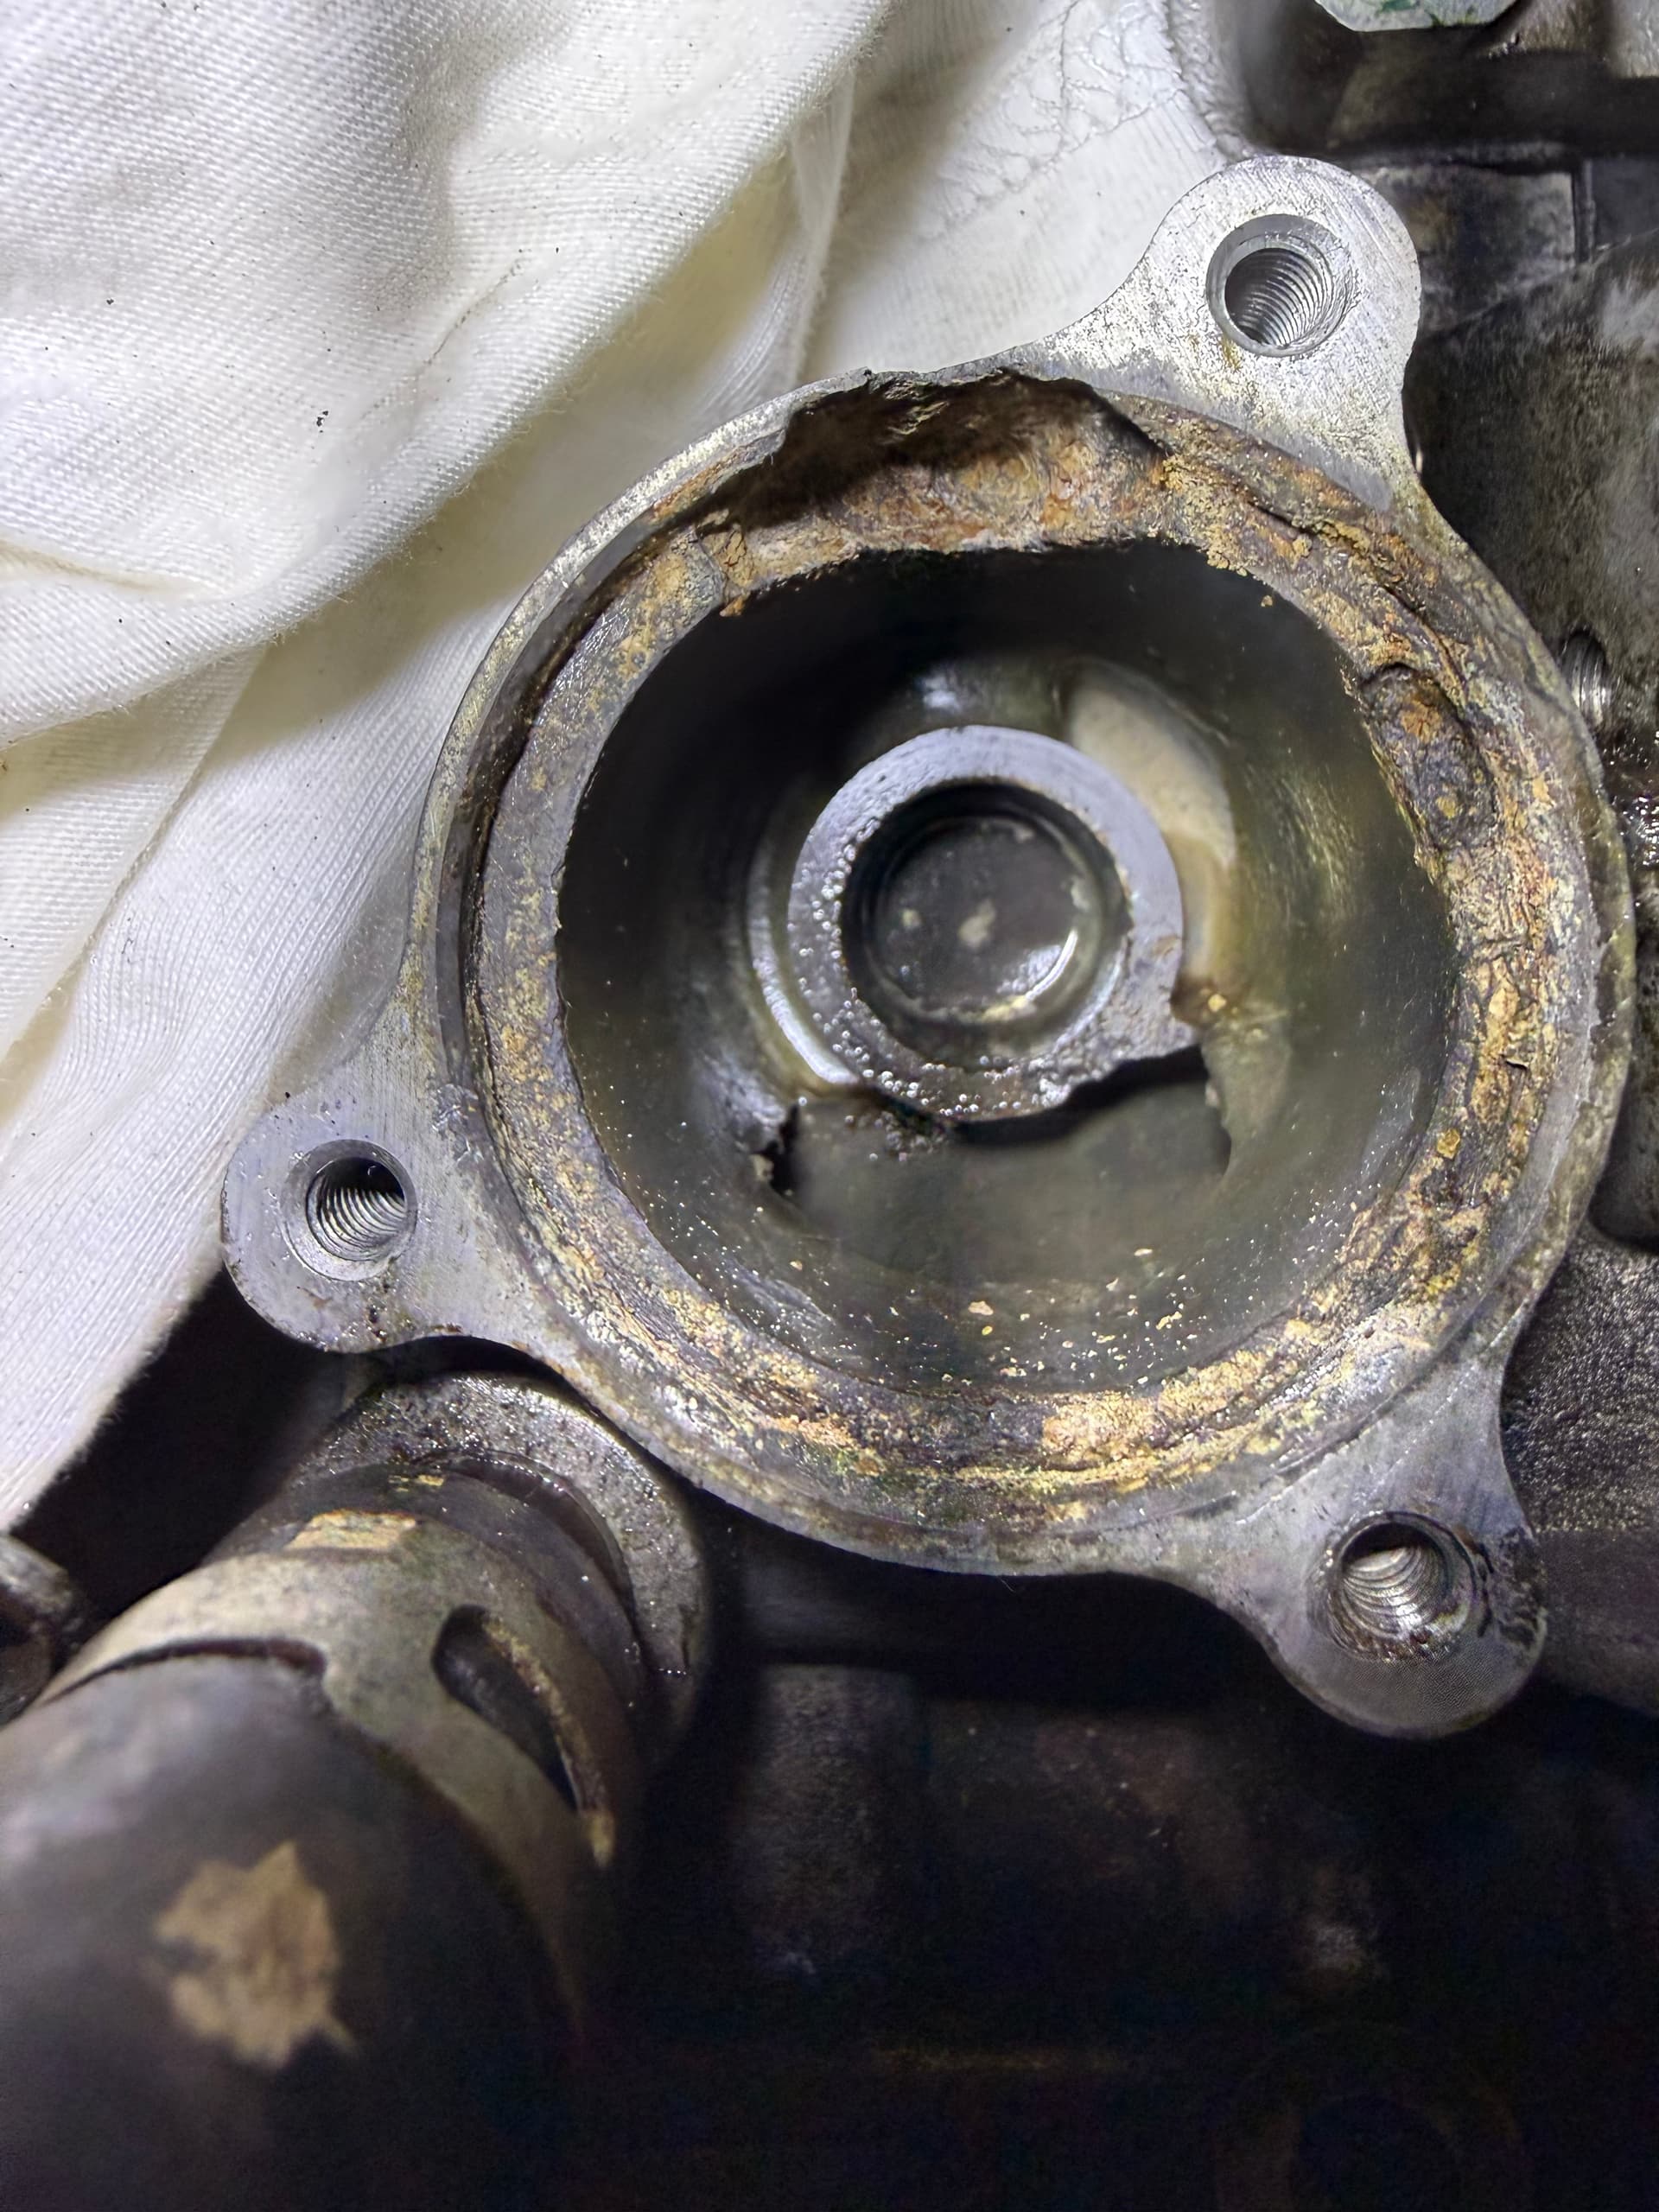
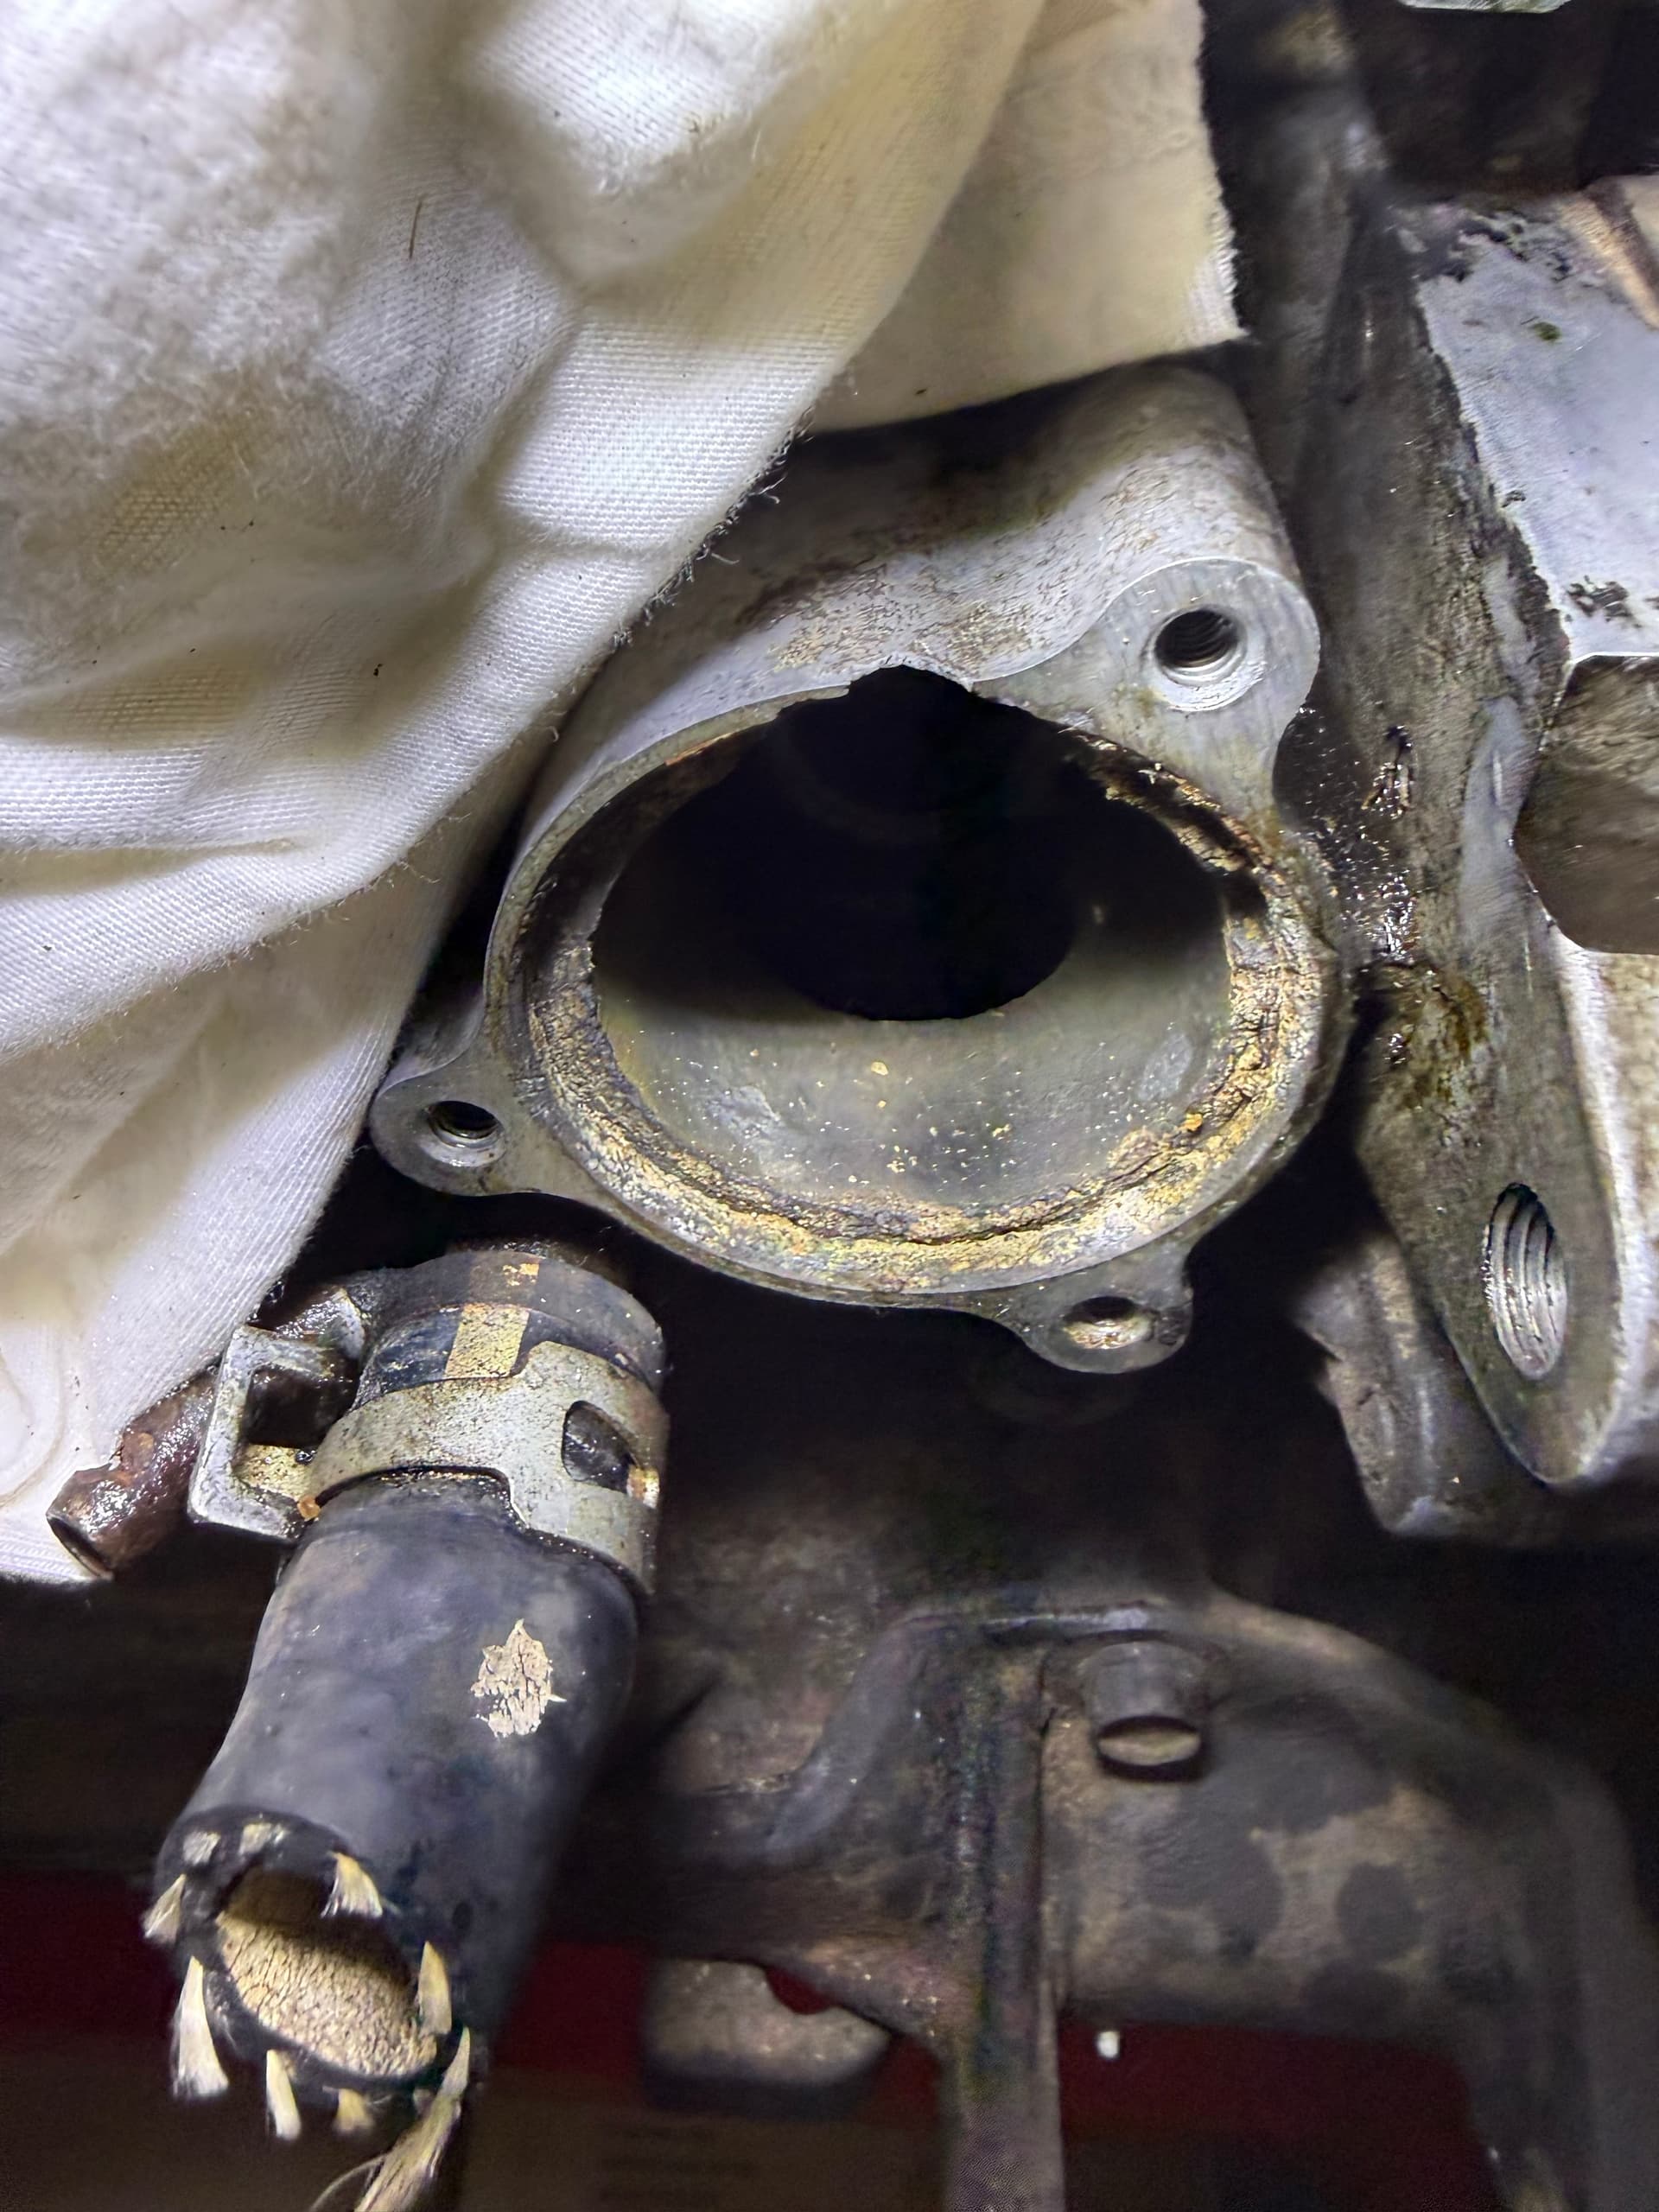
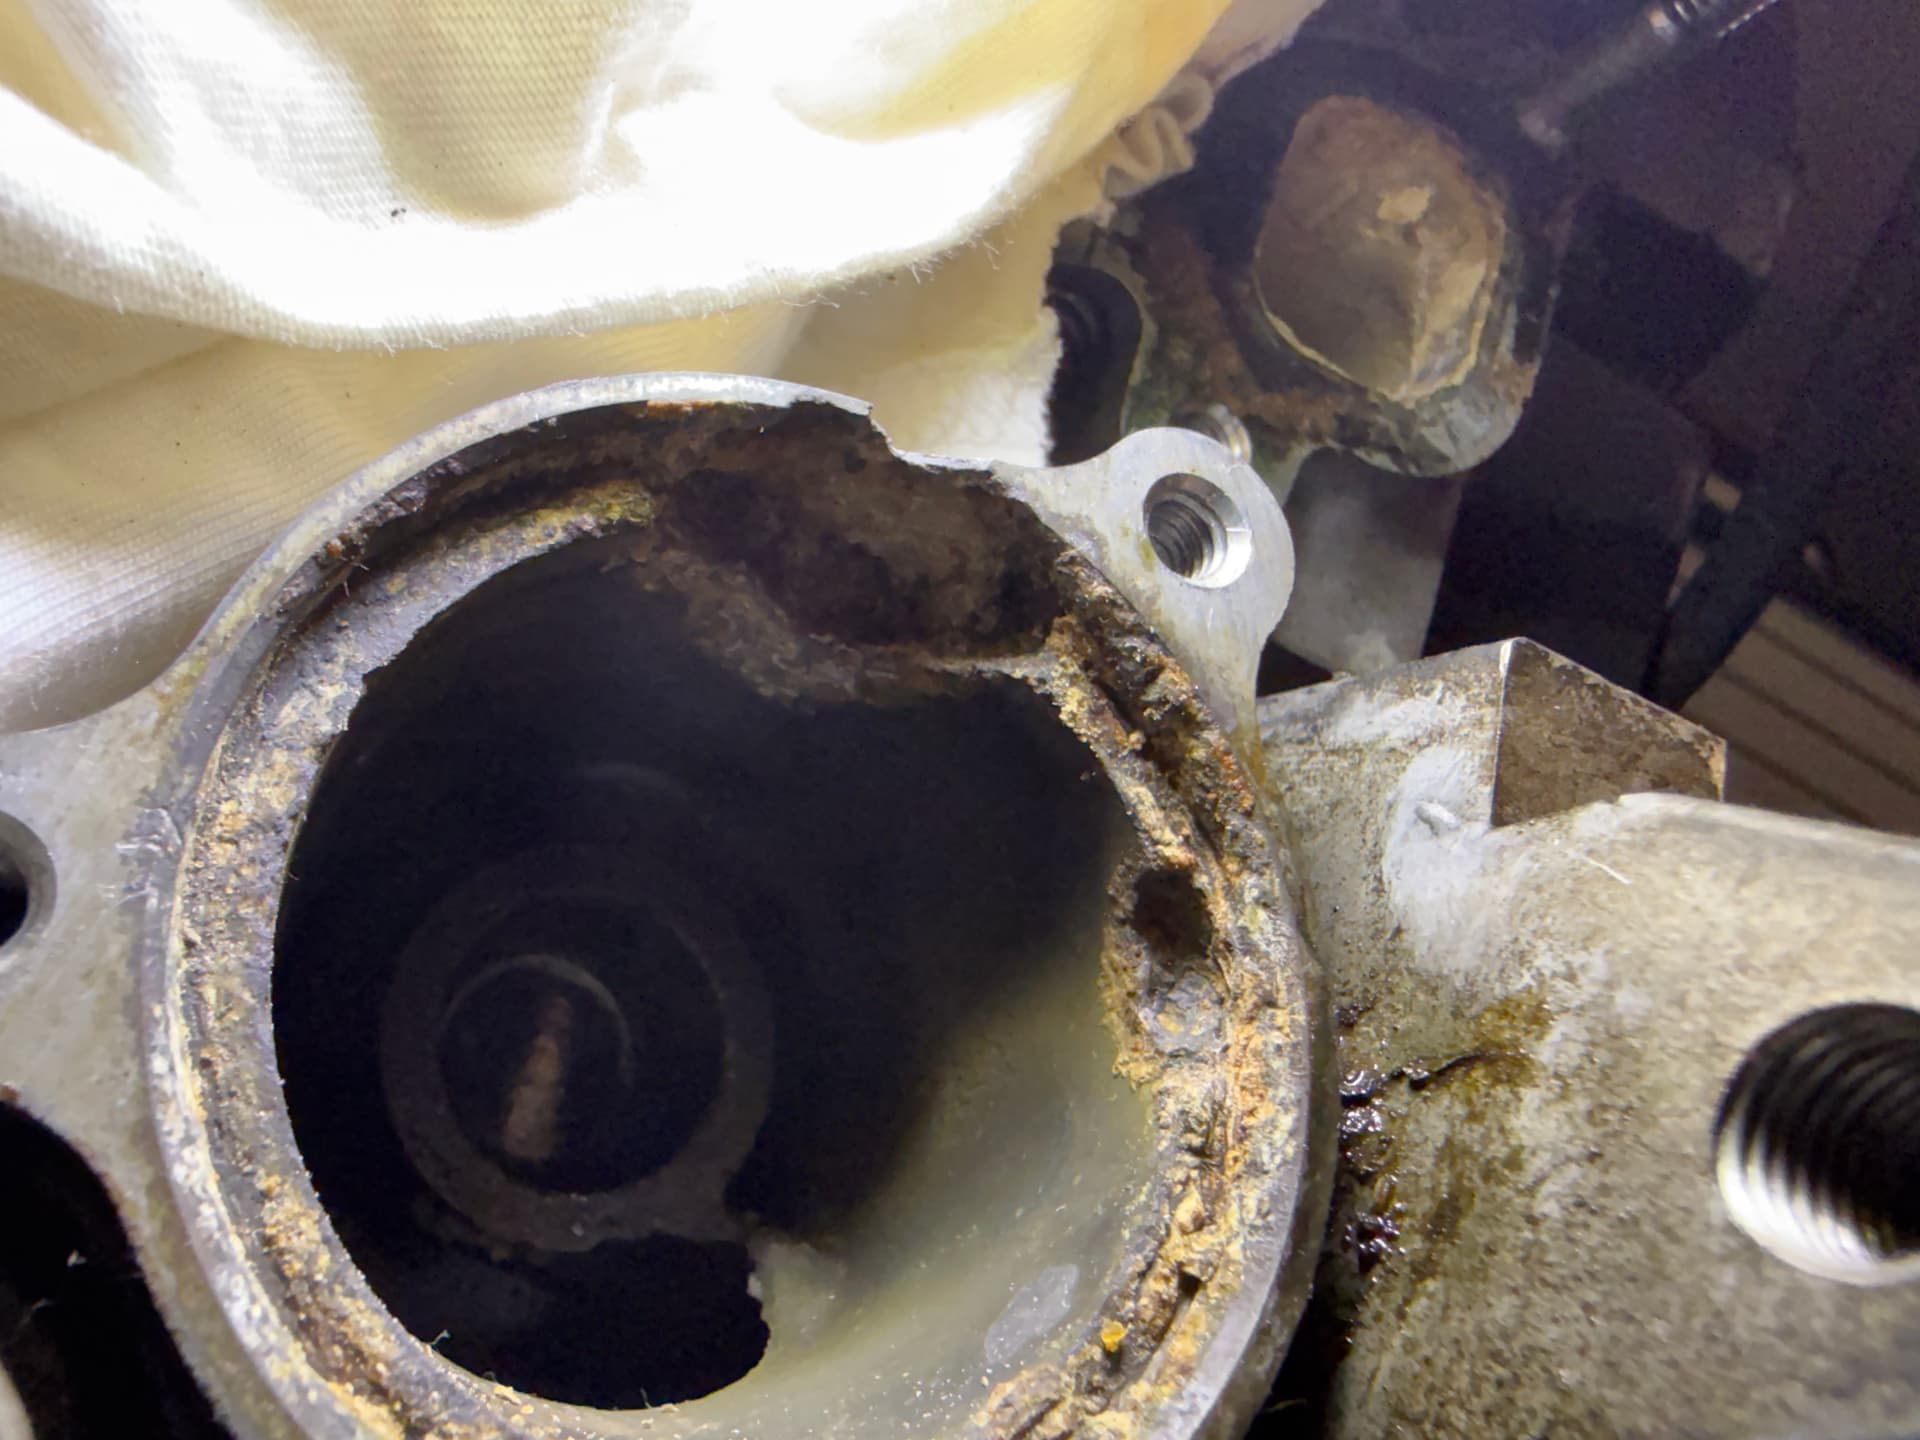
thermostat housing needs welding to fill the cavernous hole caused by erosion
I’ve not spent too much time on the bottom end, but the top end has since been sent for welding, pressure testing, grinding etc etc.
Though I initially just wanted to be able to swap a healthier power plant into the G203 and go, I’m excited to spend a bit more time (and much more $$) to make this HD-E the best it can be.
I’ll post a few more photos once I receive the head back from the shop, but for now, enjoy a couple shots of the “before” (head corrosion + thermostat corrosion)
OK, so its been a minute, and to be completely honest, I’ve not made a heck of a lot of progress…
My main cause for concern is the structural health of the block. Whilst the head is minty fresh, I’m hesitant to home remedy the block and whack the top end on without having it properly cleaned and inspected. Cylinder walls look good though, and there is still faint cross hatching visible.
The big question is still the thermostat housing - which I’m sure a good weld and gasket set-up could handle… Maybe.
Anyway, I’m dropping the bottom end off tomorrow to have a professional go over it. replace what needs replacing and add piece of mind. I’ll pop some more photos up once its back, looking fresh.
Ok, so I’m progressing along now out of fear this thing will never leave the garage..
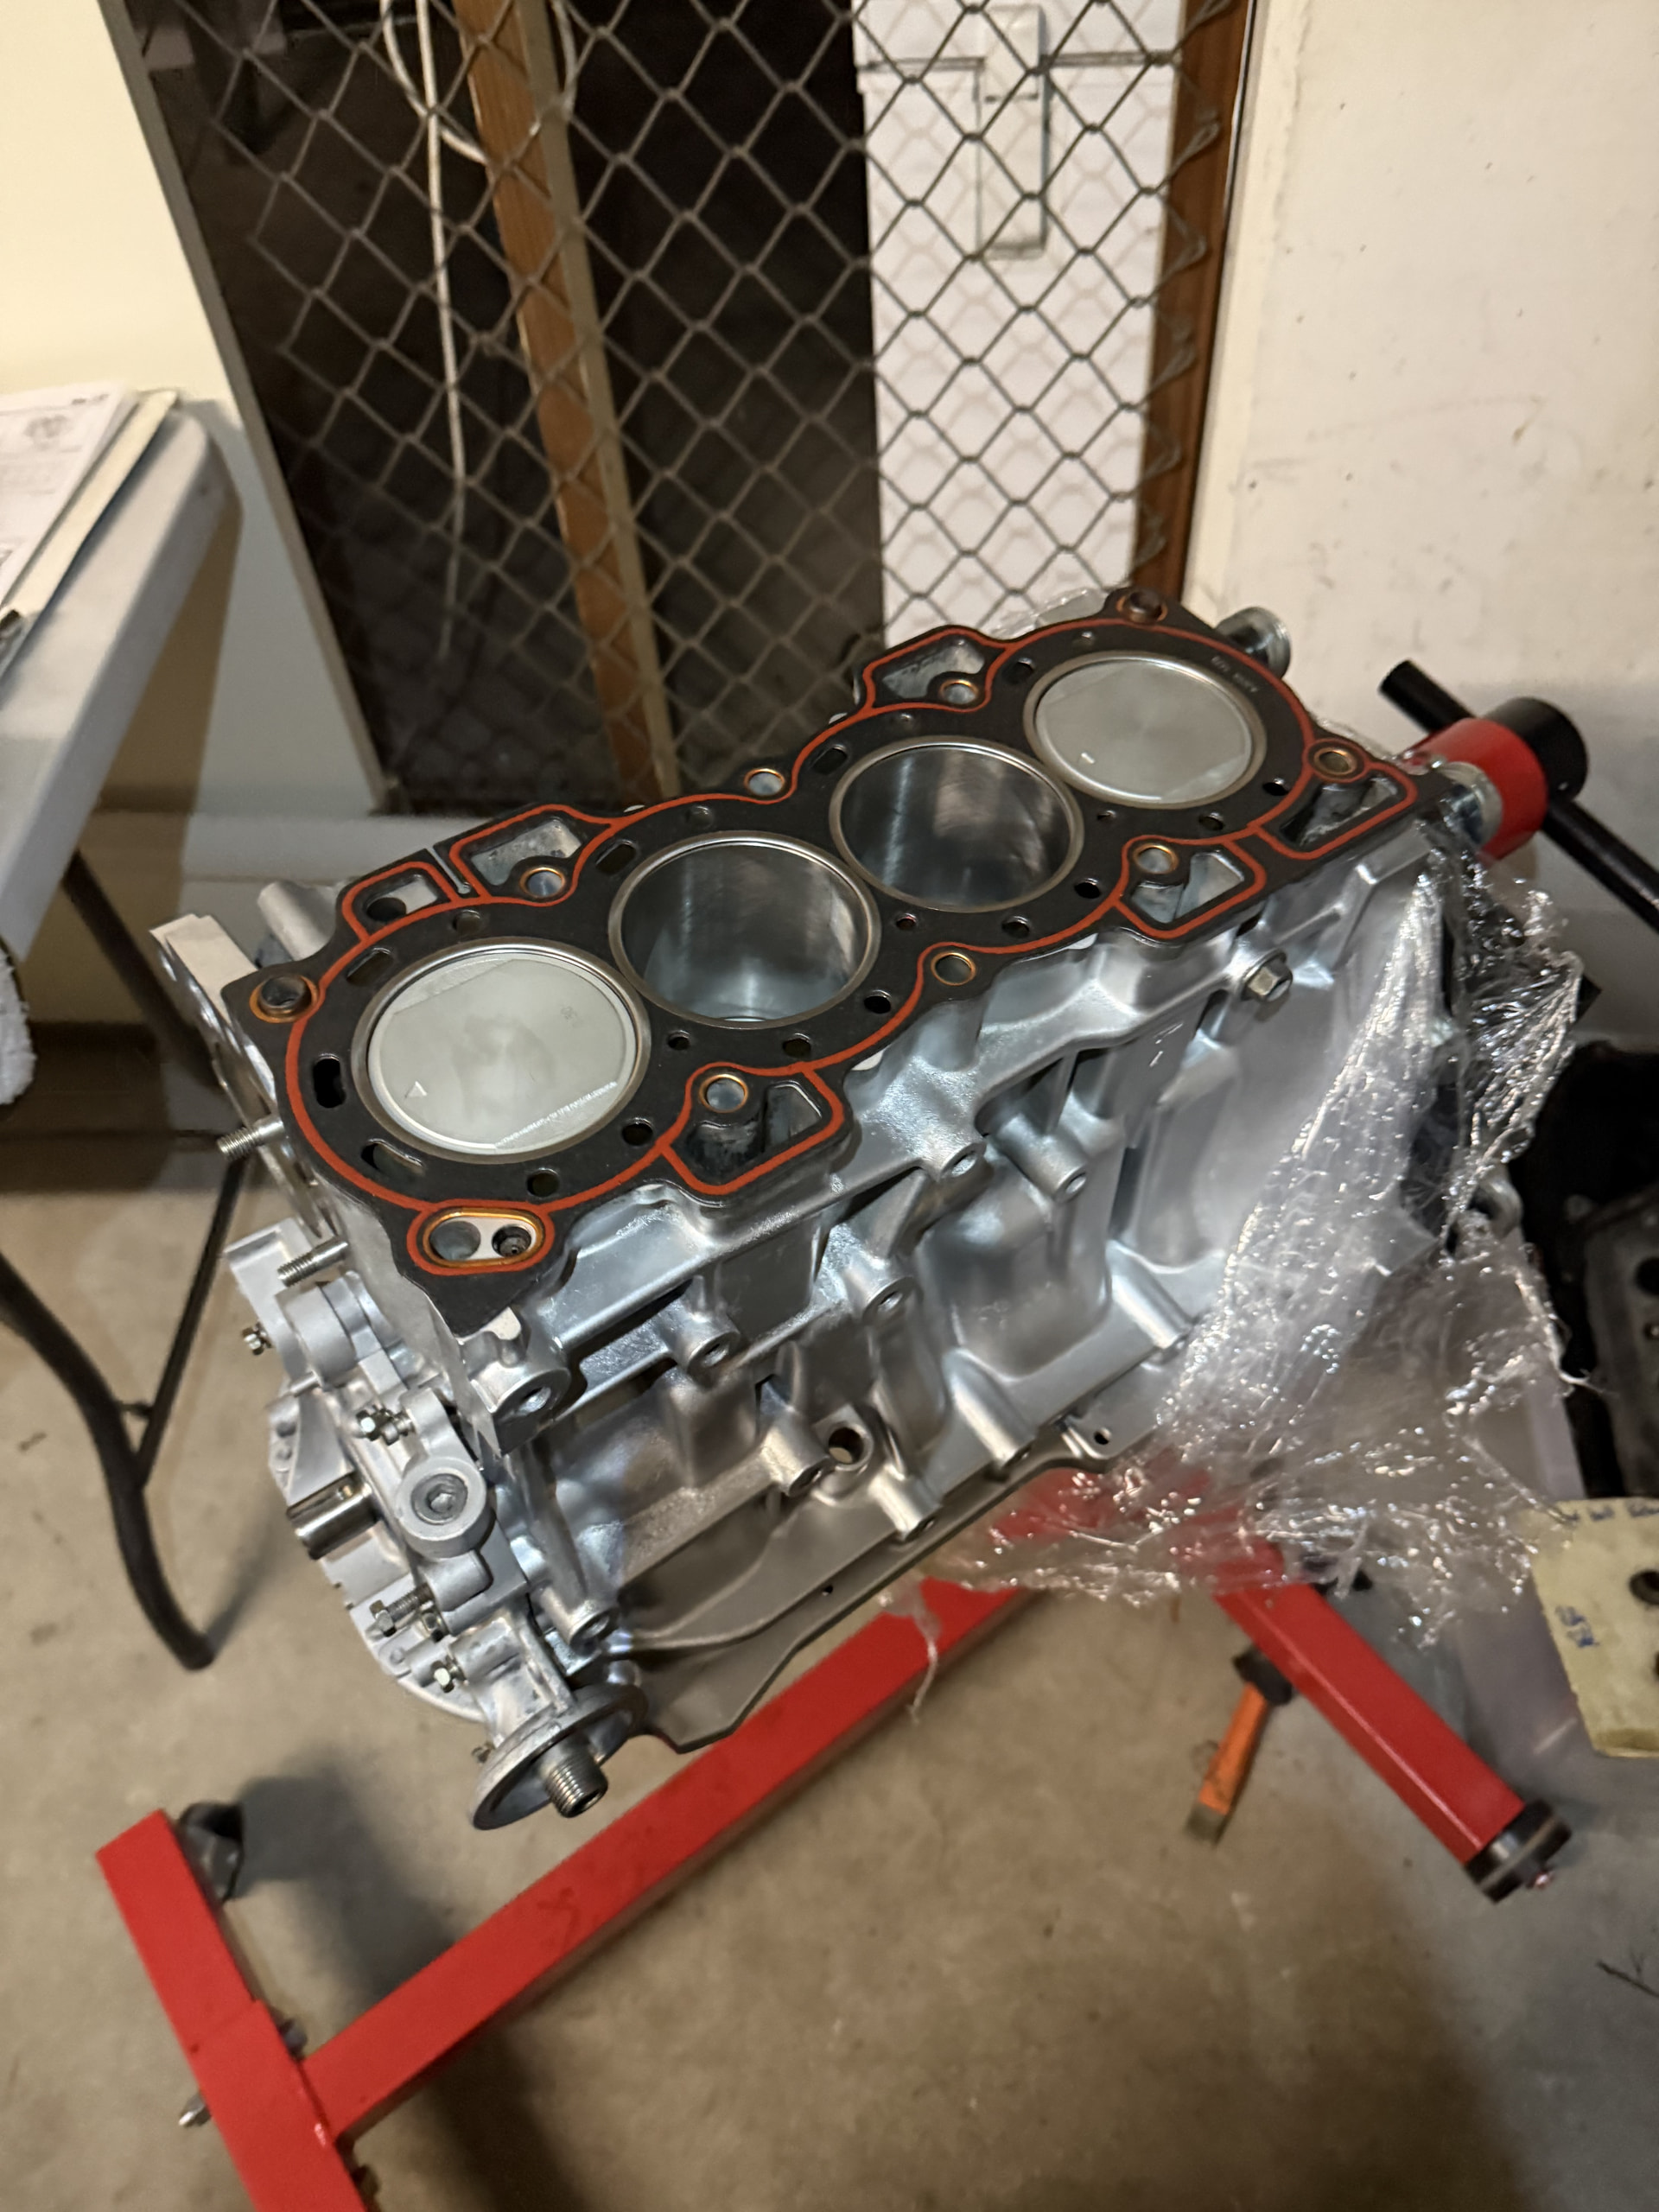
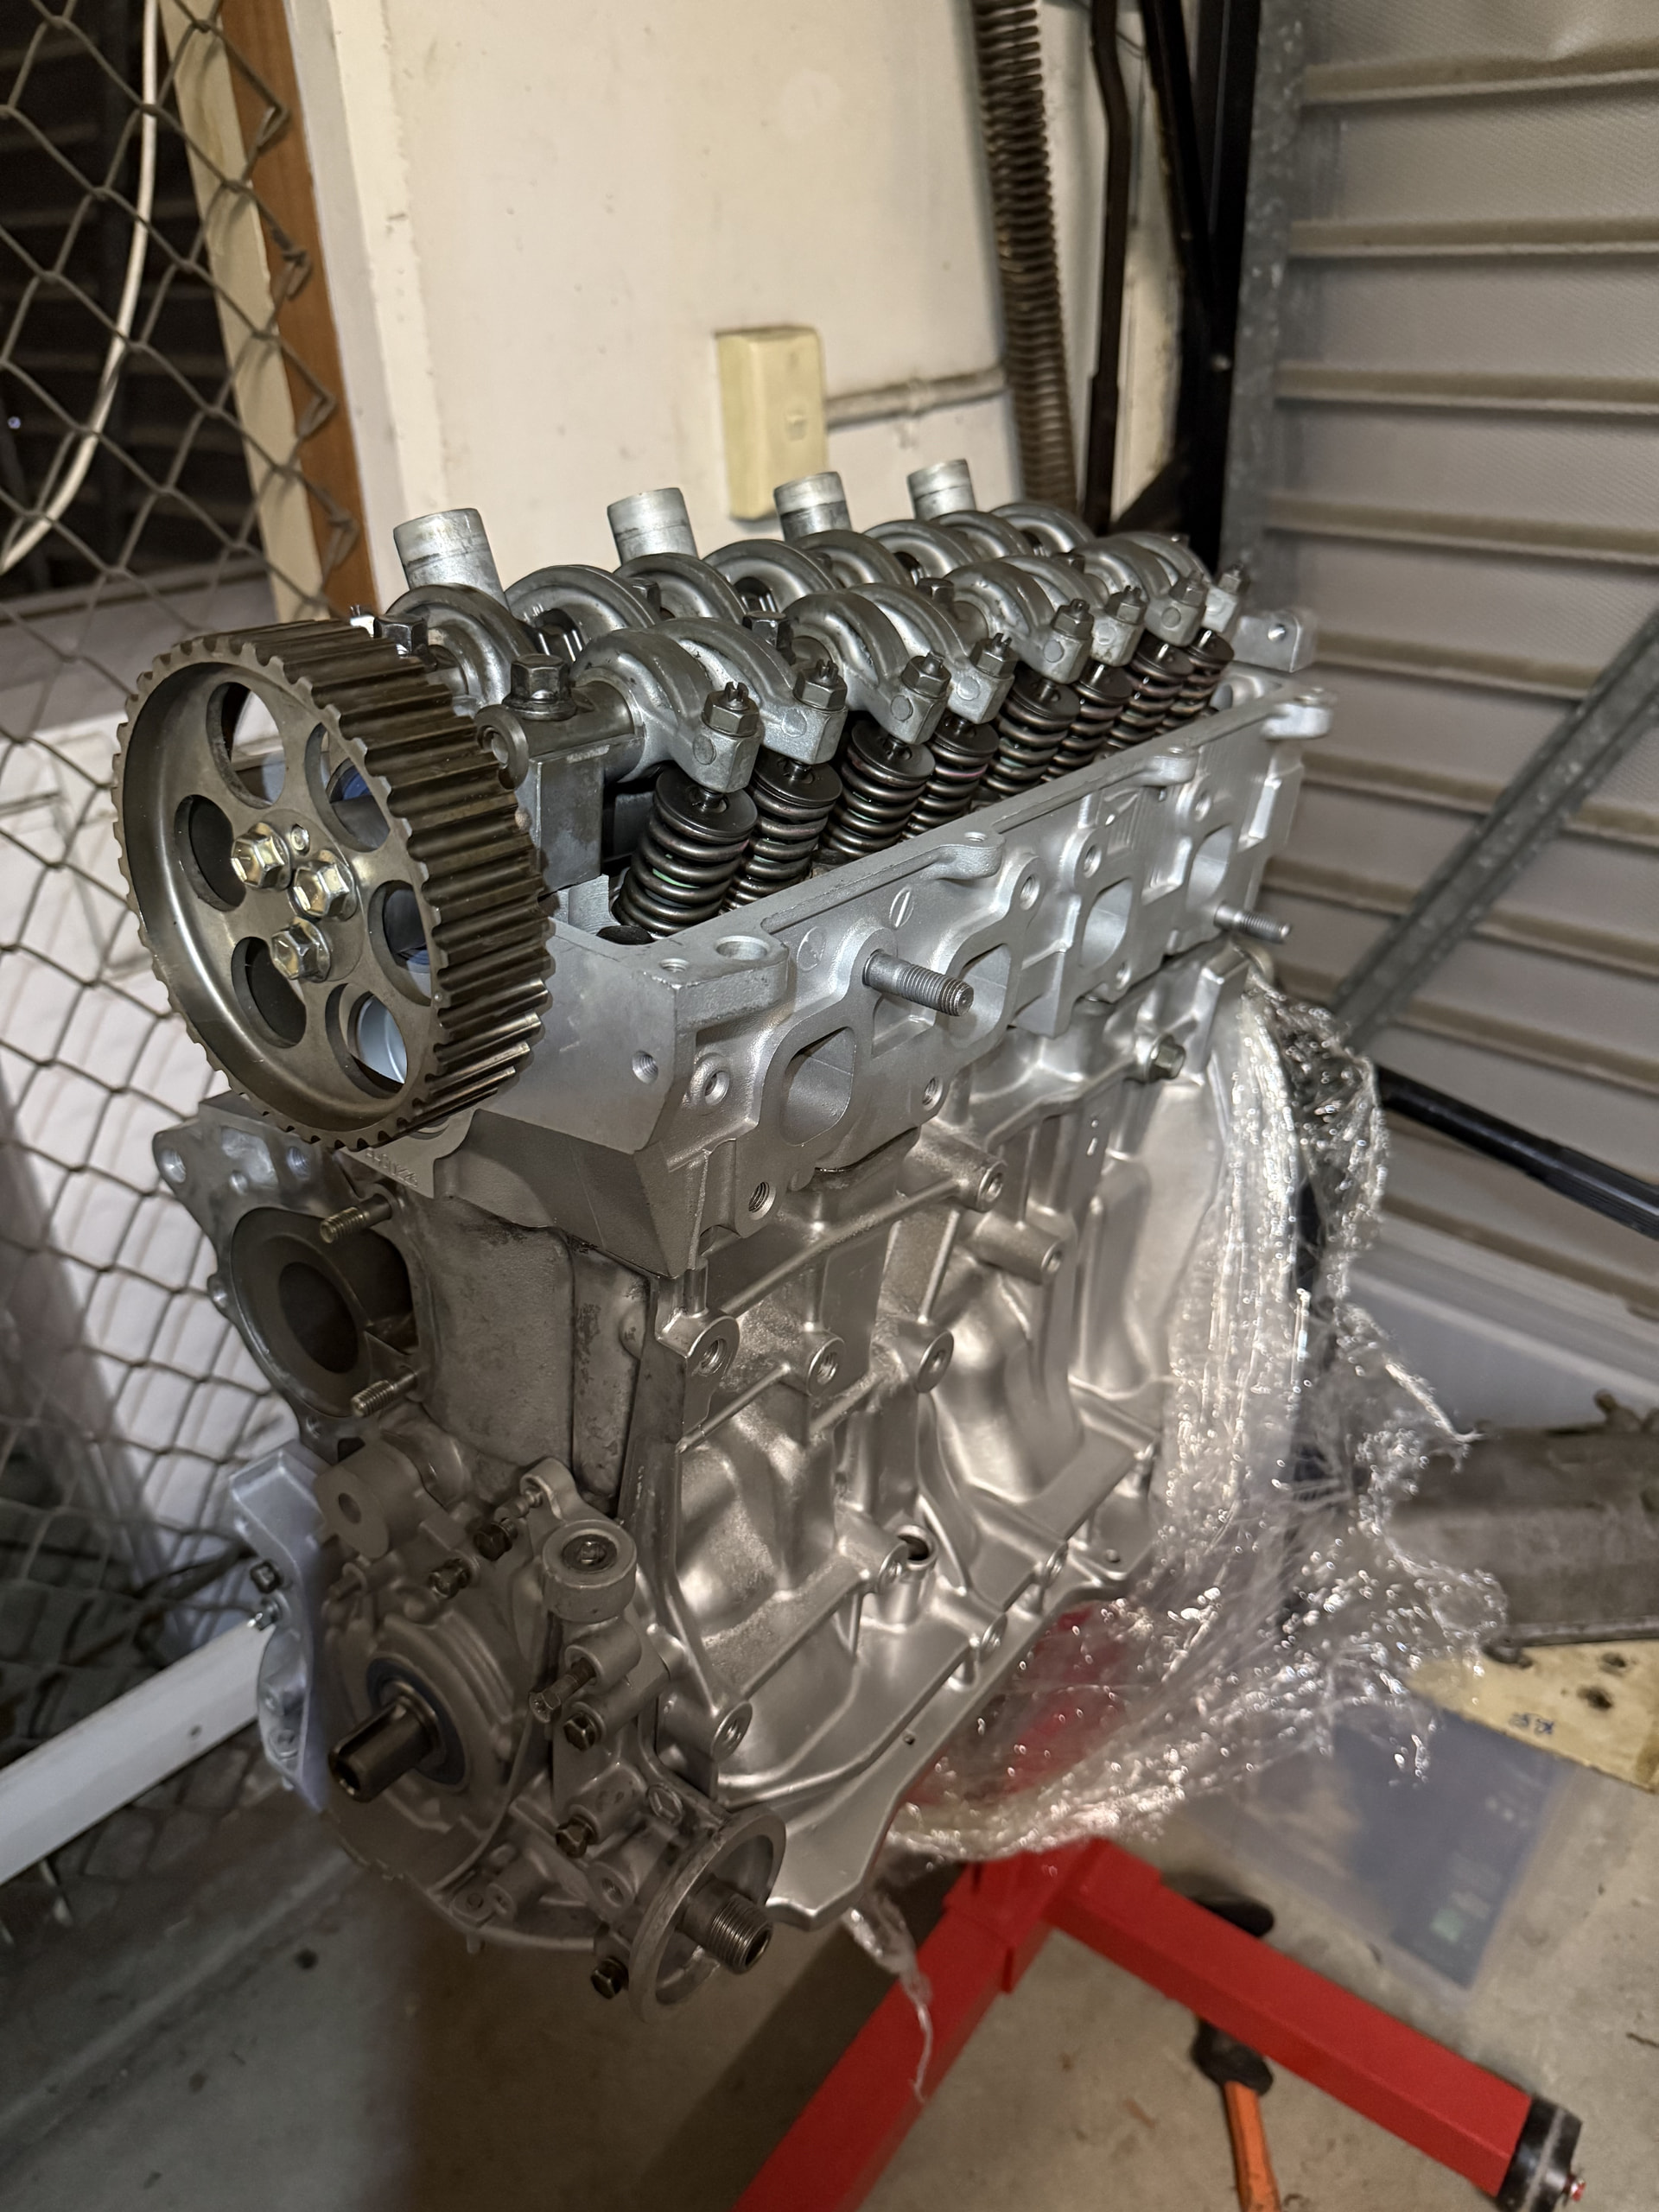
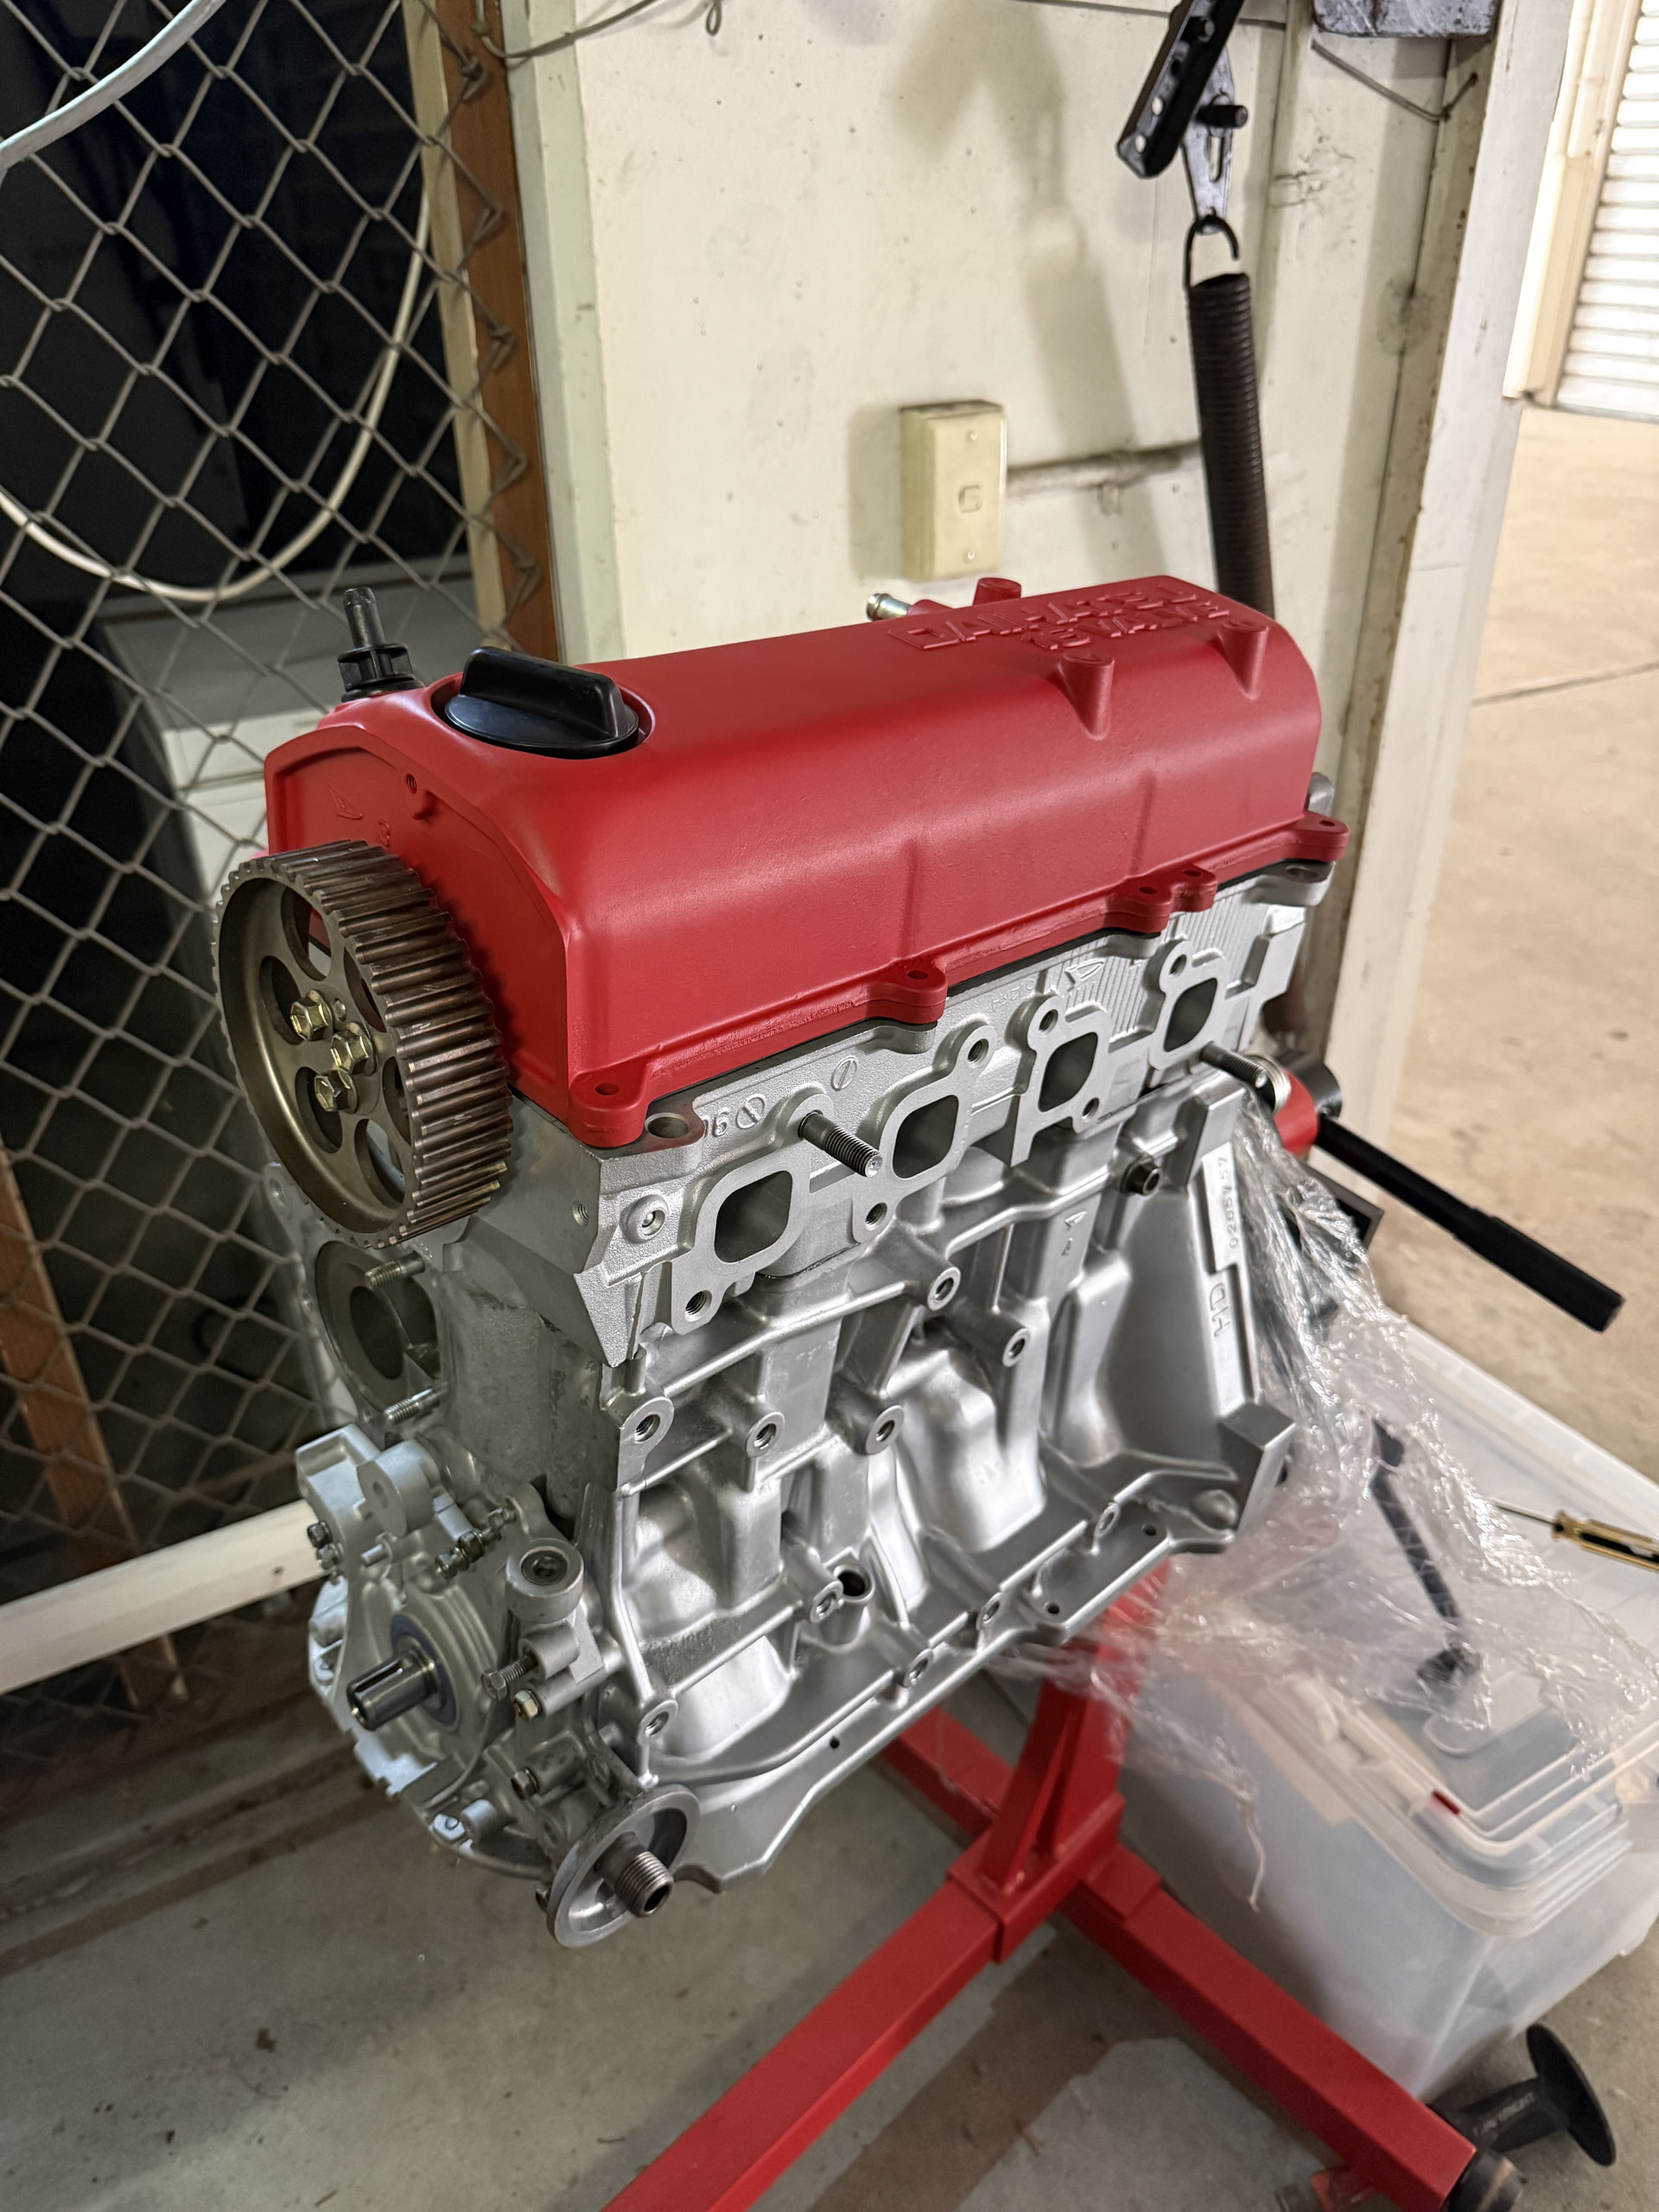
I’ve had both the block and the head sitting in the boot for some time now and just got around to assembling them together.
Knowing my limits, I let the shop do all of the internal assembly. I would have loved to give this a crack, but I don’t possess the time or the tools to get this deep. Maybe one day… Machine work included: Chem clean, rebore, hone & deck block. Replace welch plugs. Linish crankshaft. Press pistons (0.5mm oversize)
My main concern at the minute is making sure I bolt everything up correctly, use the appropriate gasket, and try to avoid snapping any bolts in the process.
I know the manual stipulates I put the crank pulley on first, locate TDC, before attaching the head + cam pulley, but I unfortunately snapped a bolt attaching the pulley wheel to the gear. I did however dry fit the crank gear to ensure TDC was set before popping the head and cam pulley on. I just need to figure out a way to attach the crank pulley at a later date without rotating the crank when tightening… I’m hoping I can leave this close to last and tighten it once the transmission is attached. The manual does provide instruction to slip a bar in the flywheel to jam rotation so that a the pulley can be removed whilst sitting in the bay. Fingers crossed.
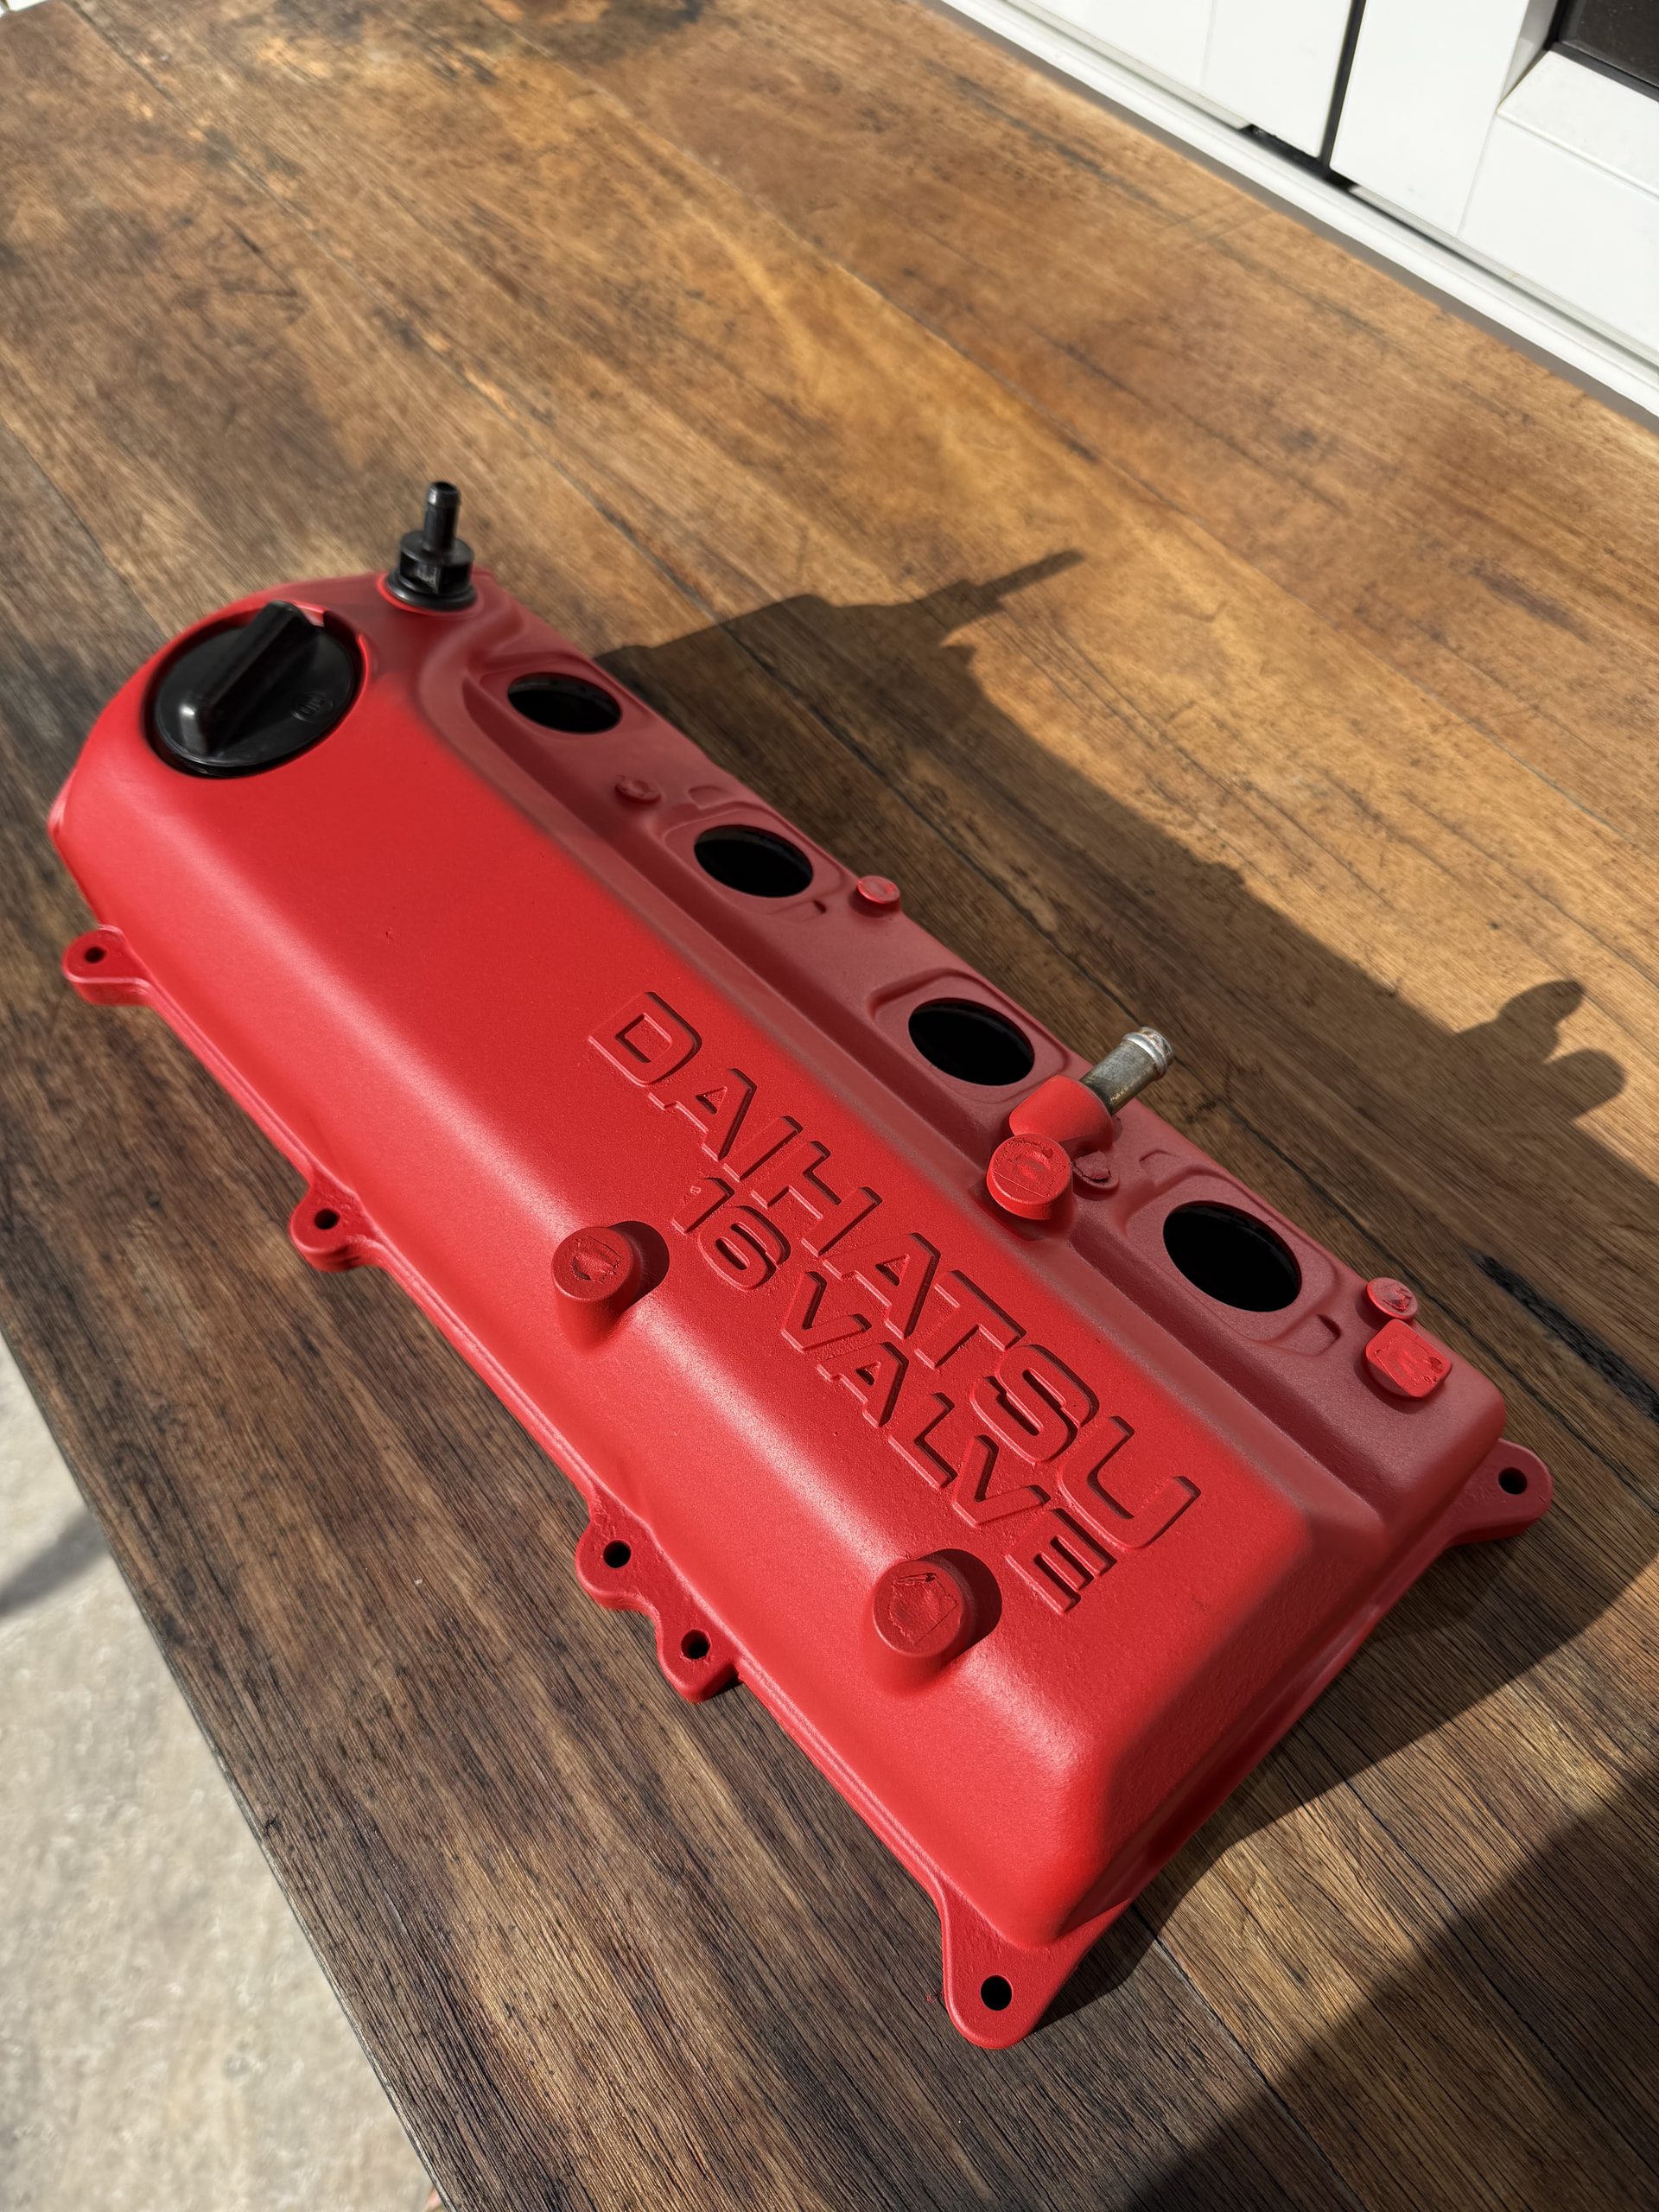
Additionally, I have raptor coated the valve cover to make things look all pretty.
The old HE-E engine is still sitting the the bay. I’ve been having a tough time removing the drive shafts. I was under the impression these would pull out of the transmission (albeit with some effort), but I recently read somewhere that there way be snap rings holding these in place. I think I’m just going to try lift the car a little further so I can get in there and have a good look before I start yanking at things again. Any suggestions would be welcome!
Still on my list to do is get all my block auxiliaries in place… Yay more money!
I should have also mentioned that I have decided to save some money and fix that water pump housing corrosion with some JB weld instead of having the shop weld it. I’ll tackle this when I’m ready to pop the new water pump on