Just sharing some photos for reference about installing Gino parts onto an Australian L700 Daihatsu Cuore. The rest of the Gino kit is straight forward, so this just focuses on the head lights. It took me a full solid 3 days getting it right because I more or less had to pioneer through it. There was help, tips and a few pics but hopefully I can highlight the major things here to save someone time in future.
A summary and lead up to the head light, you need to:
- set aside the head lights all-together, do this after the panels are mocked up first… trust me.
- trial fit front fenders and bonnet first, followed by the front bar,
- position components so it all looks neat, straight and that seam gaps are even… zip ties and tape is your friend.
- undo front bar again and
- bolt down fenders and drill extra holes to secure fenders; I used nutserts/rivnuts.
The focus is then on the next steps:
- slot part of the top support bar to clear the Gino head lights
- make bracket to support Gino head light lower lug
The above two steps are the trickiest and poorly documented prior. Here comes the photos now to aid.
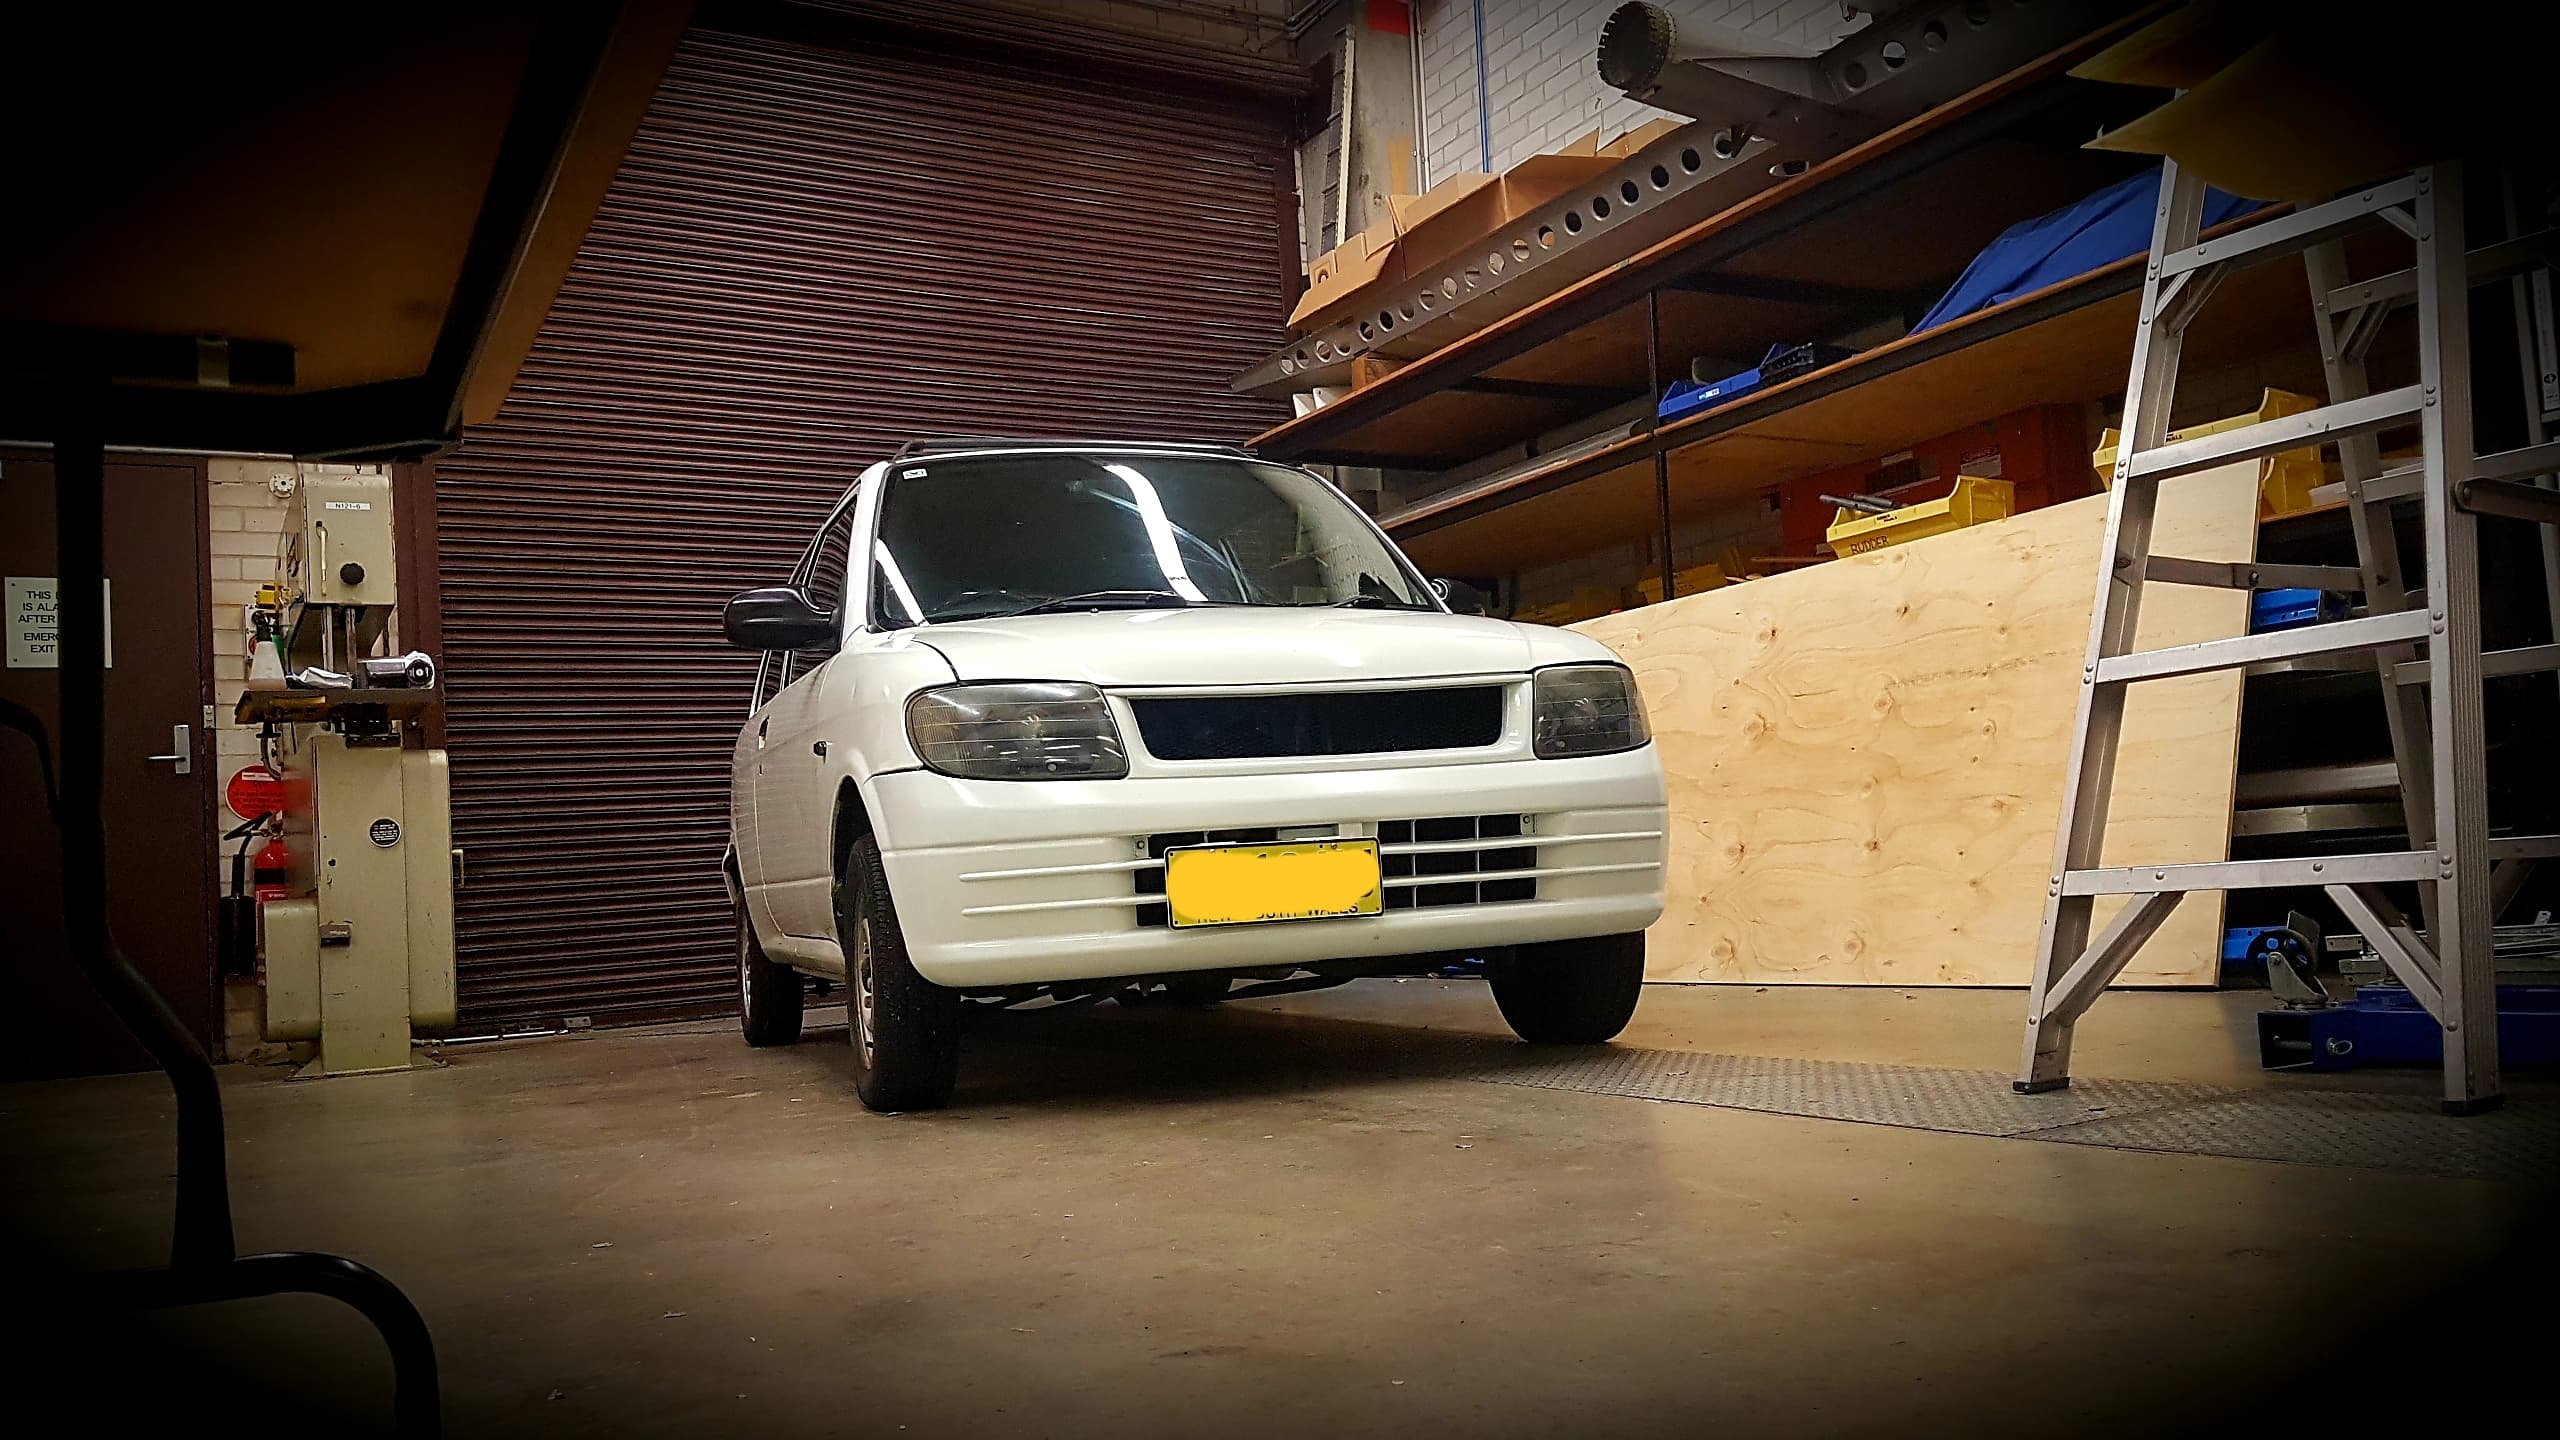
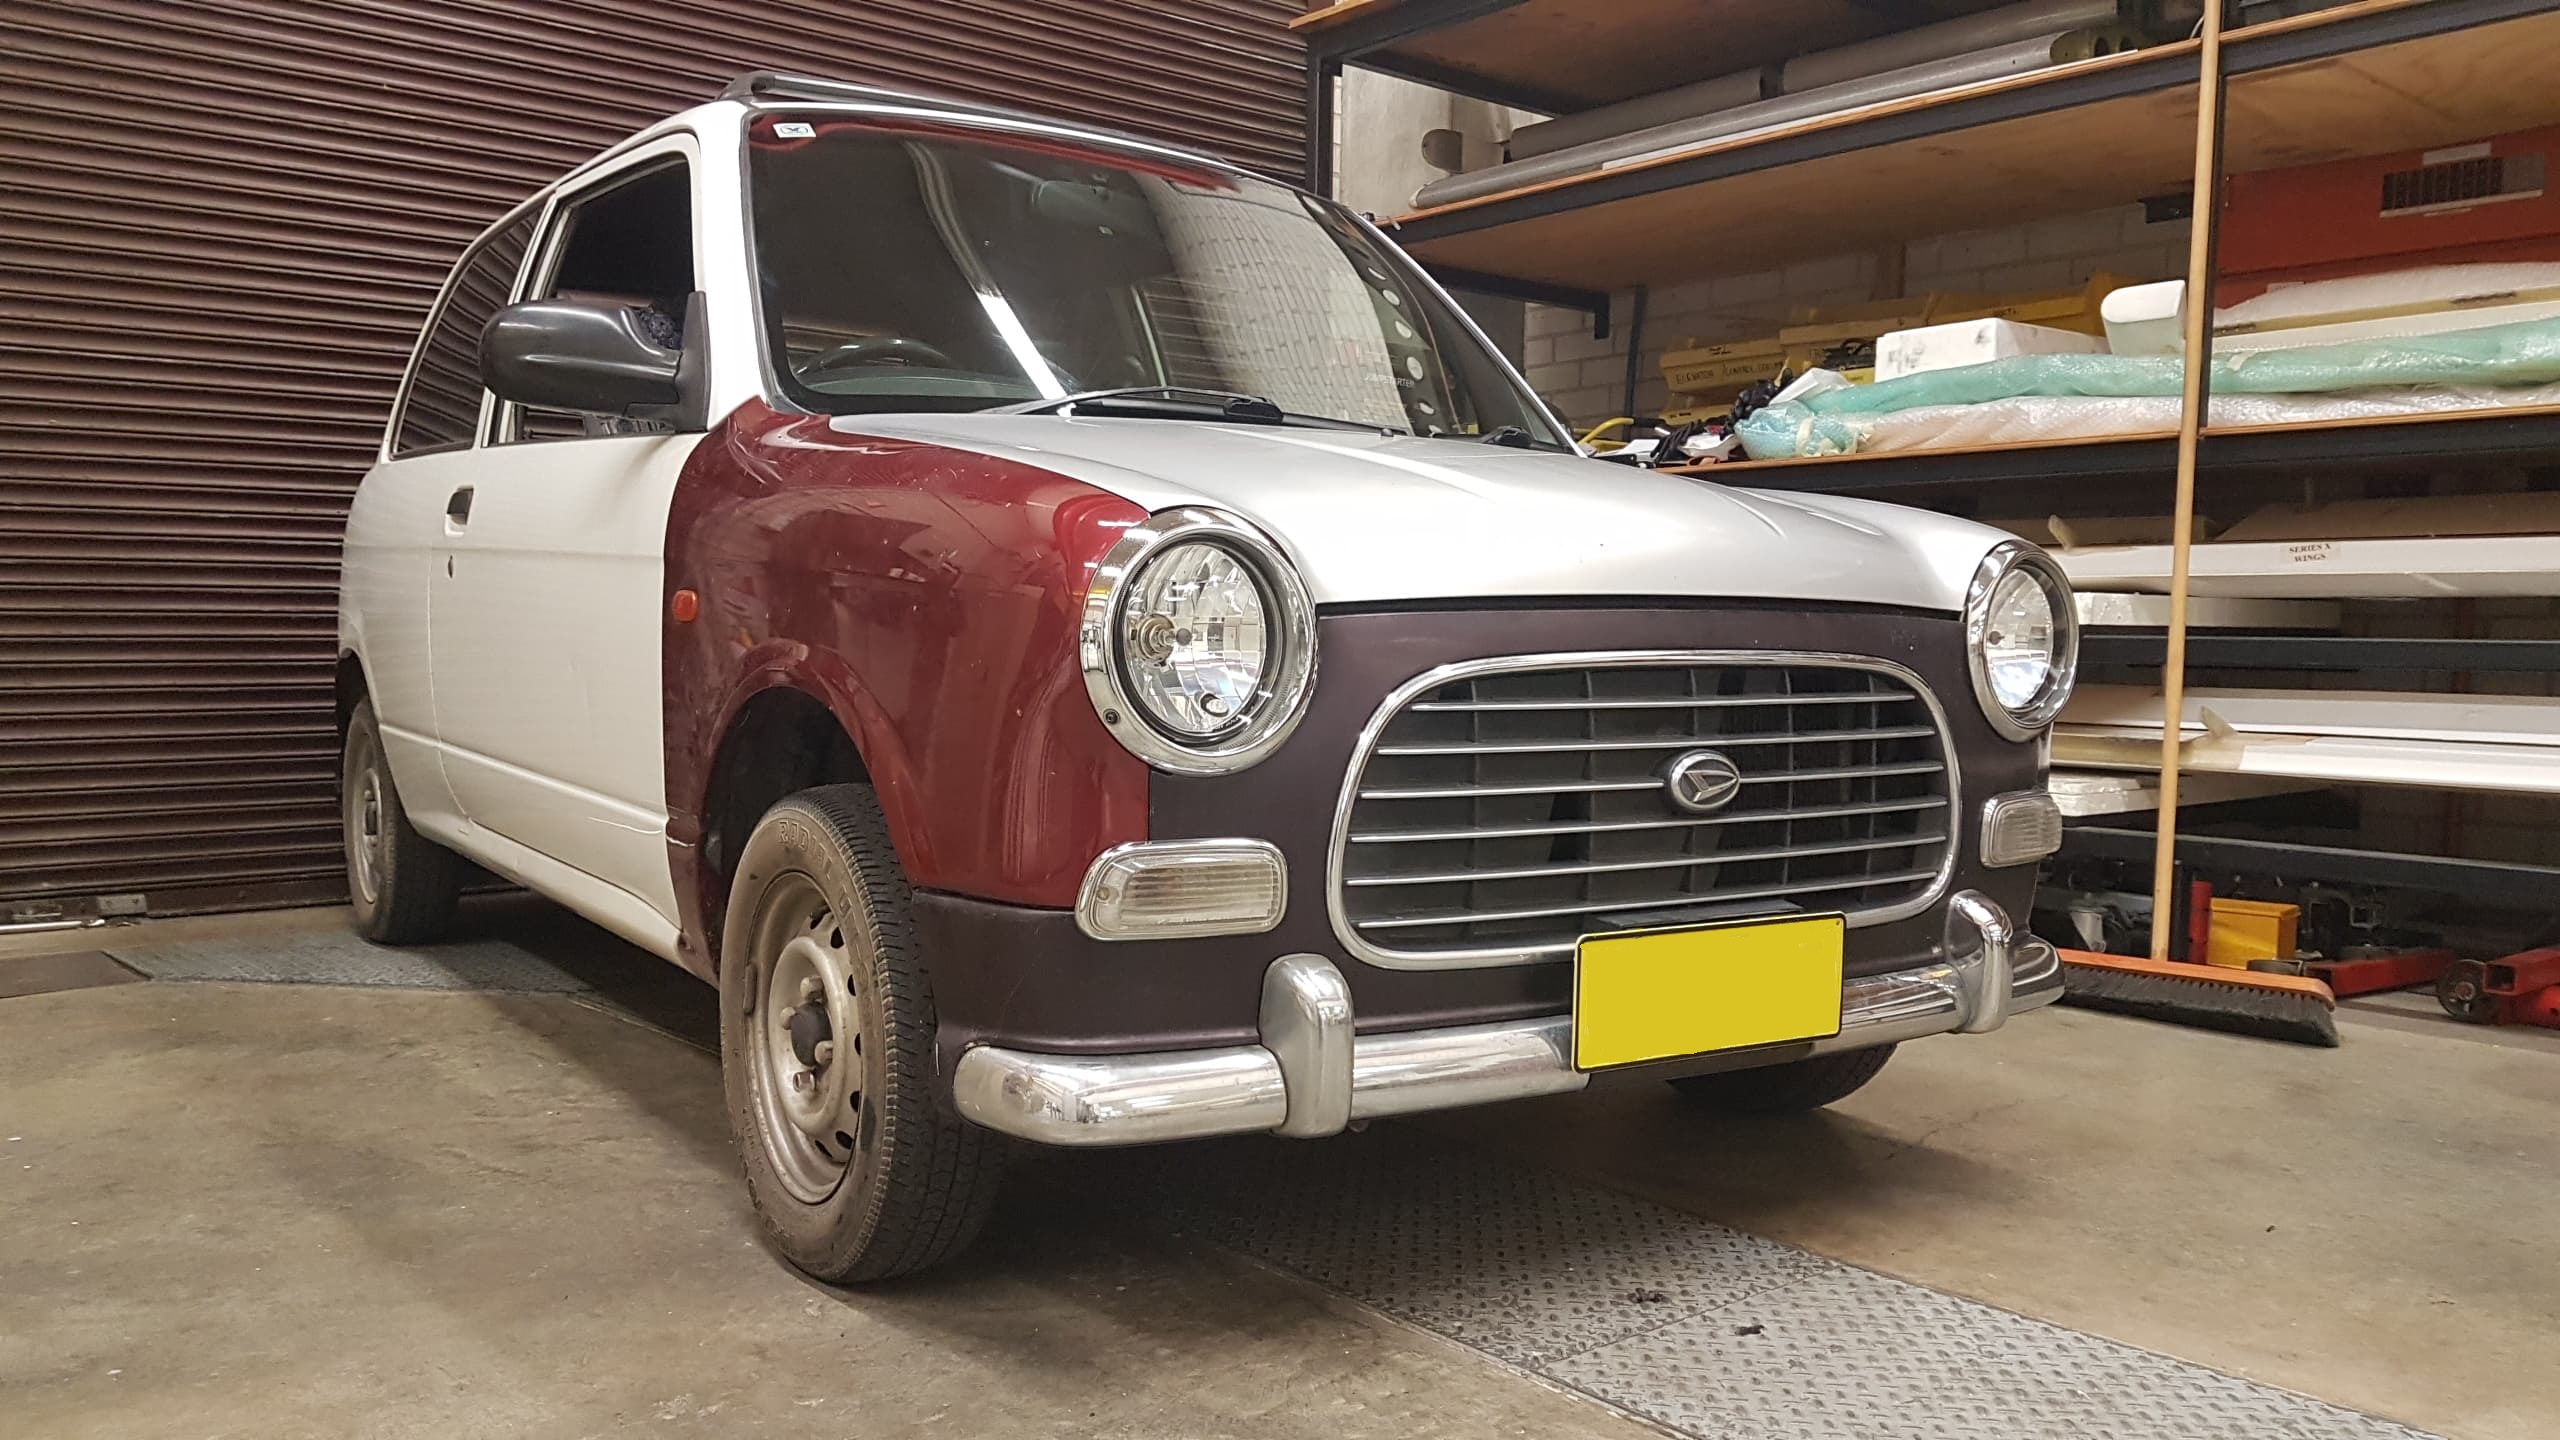
This is the original car:
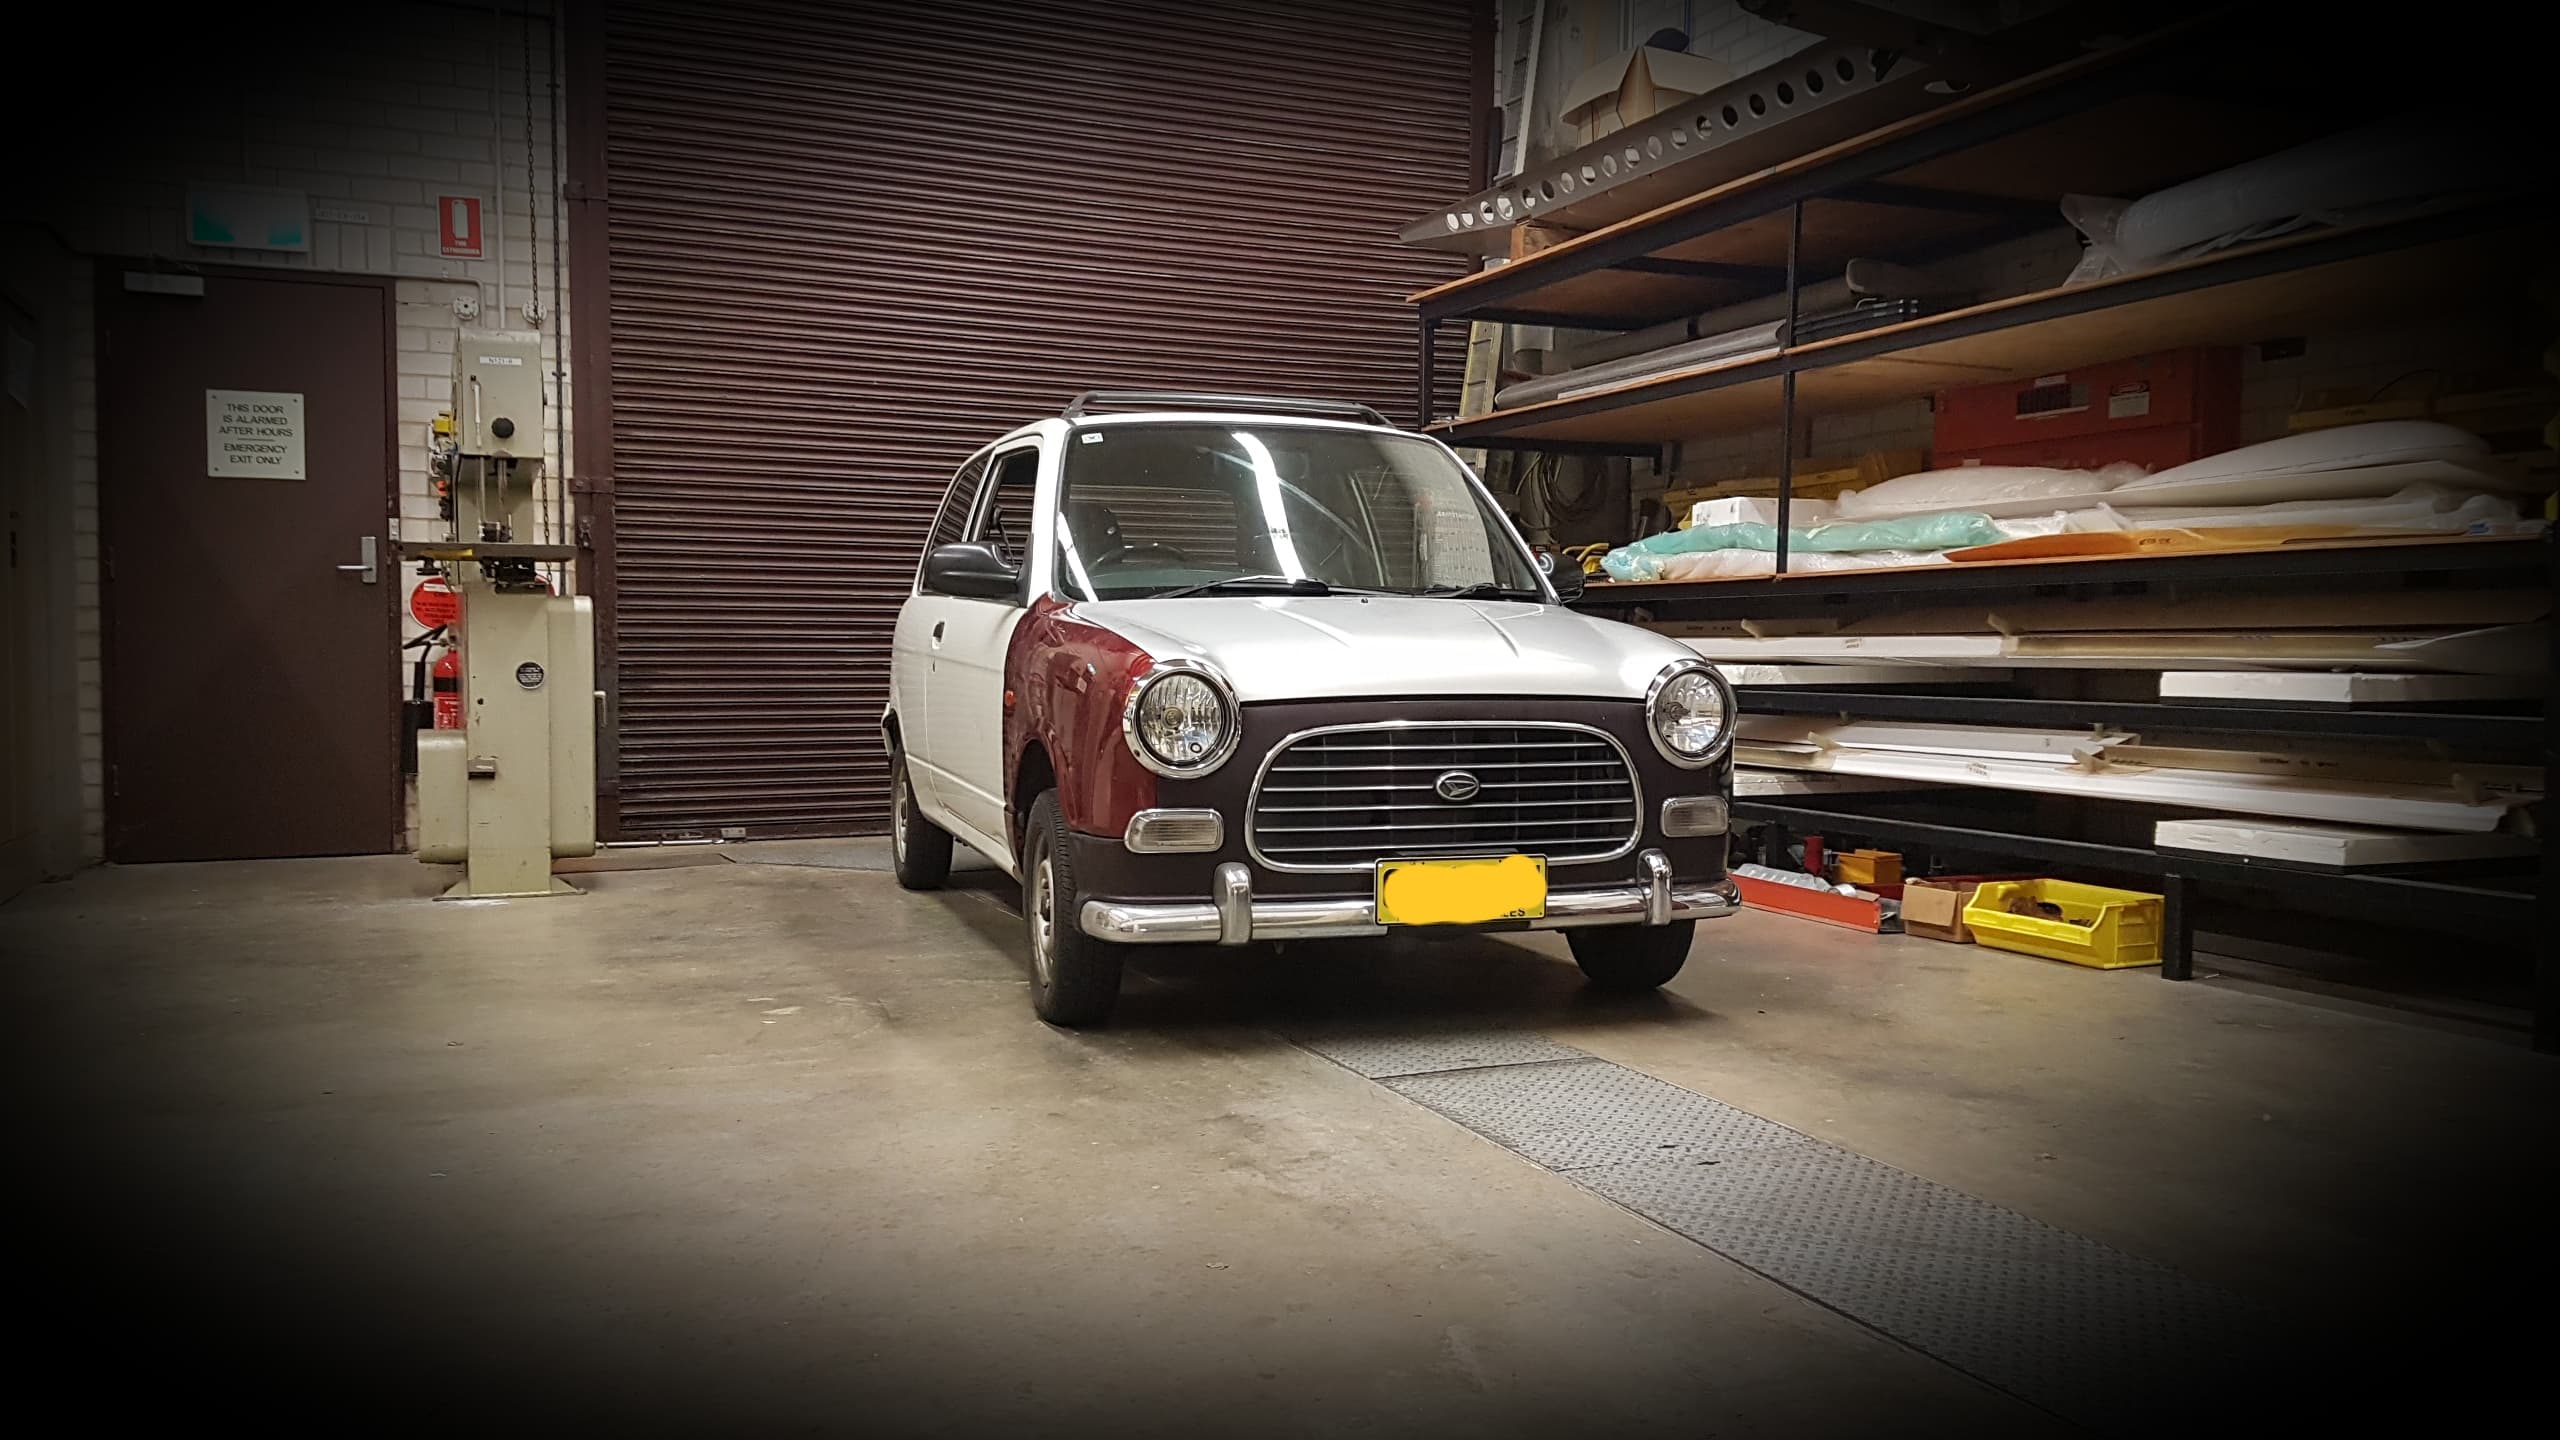
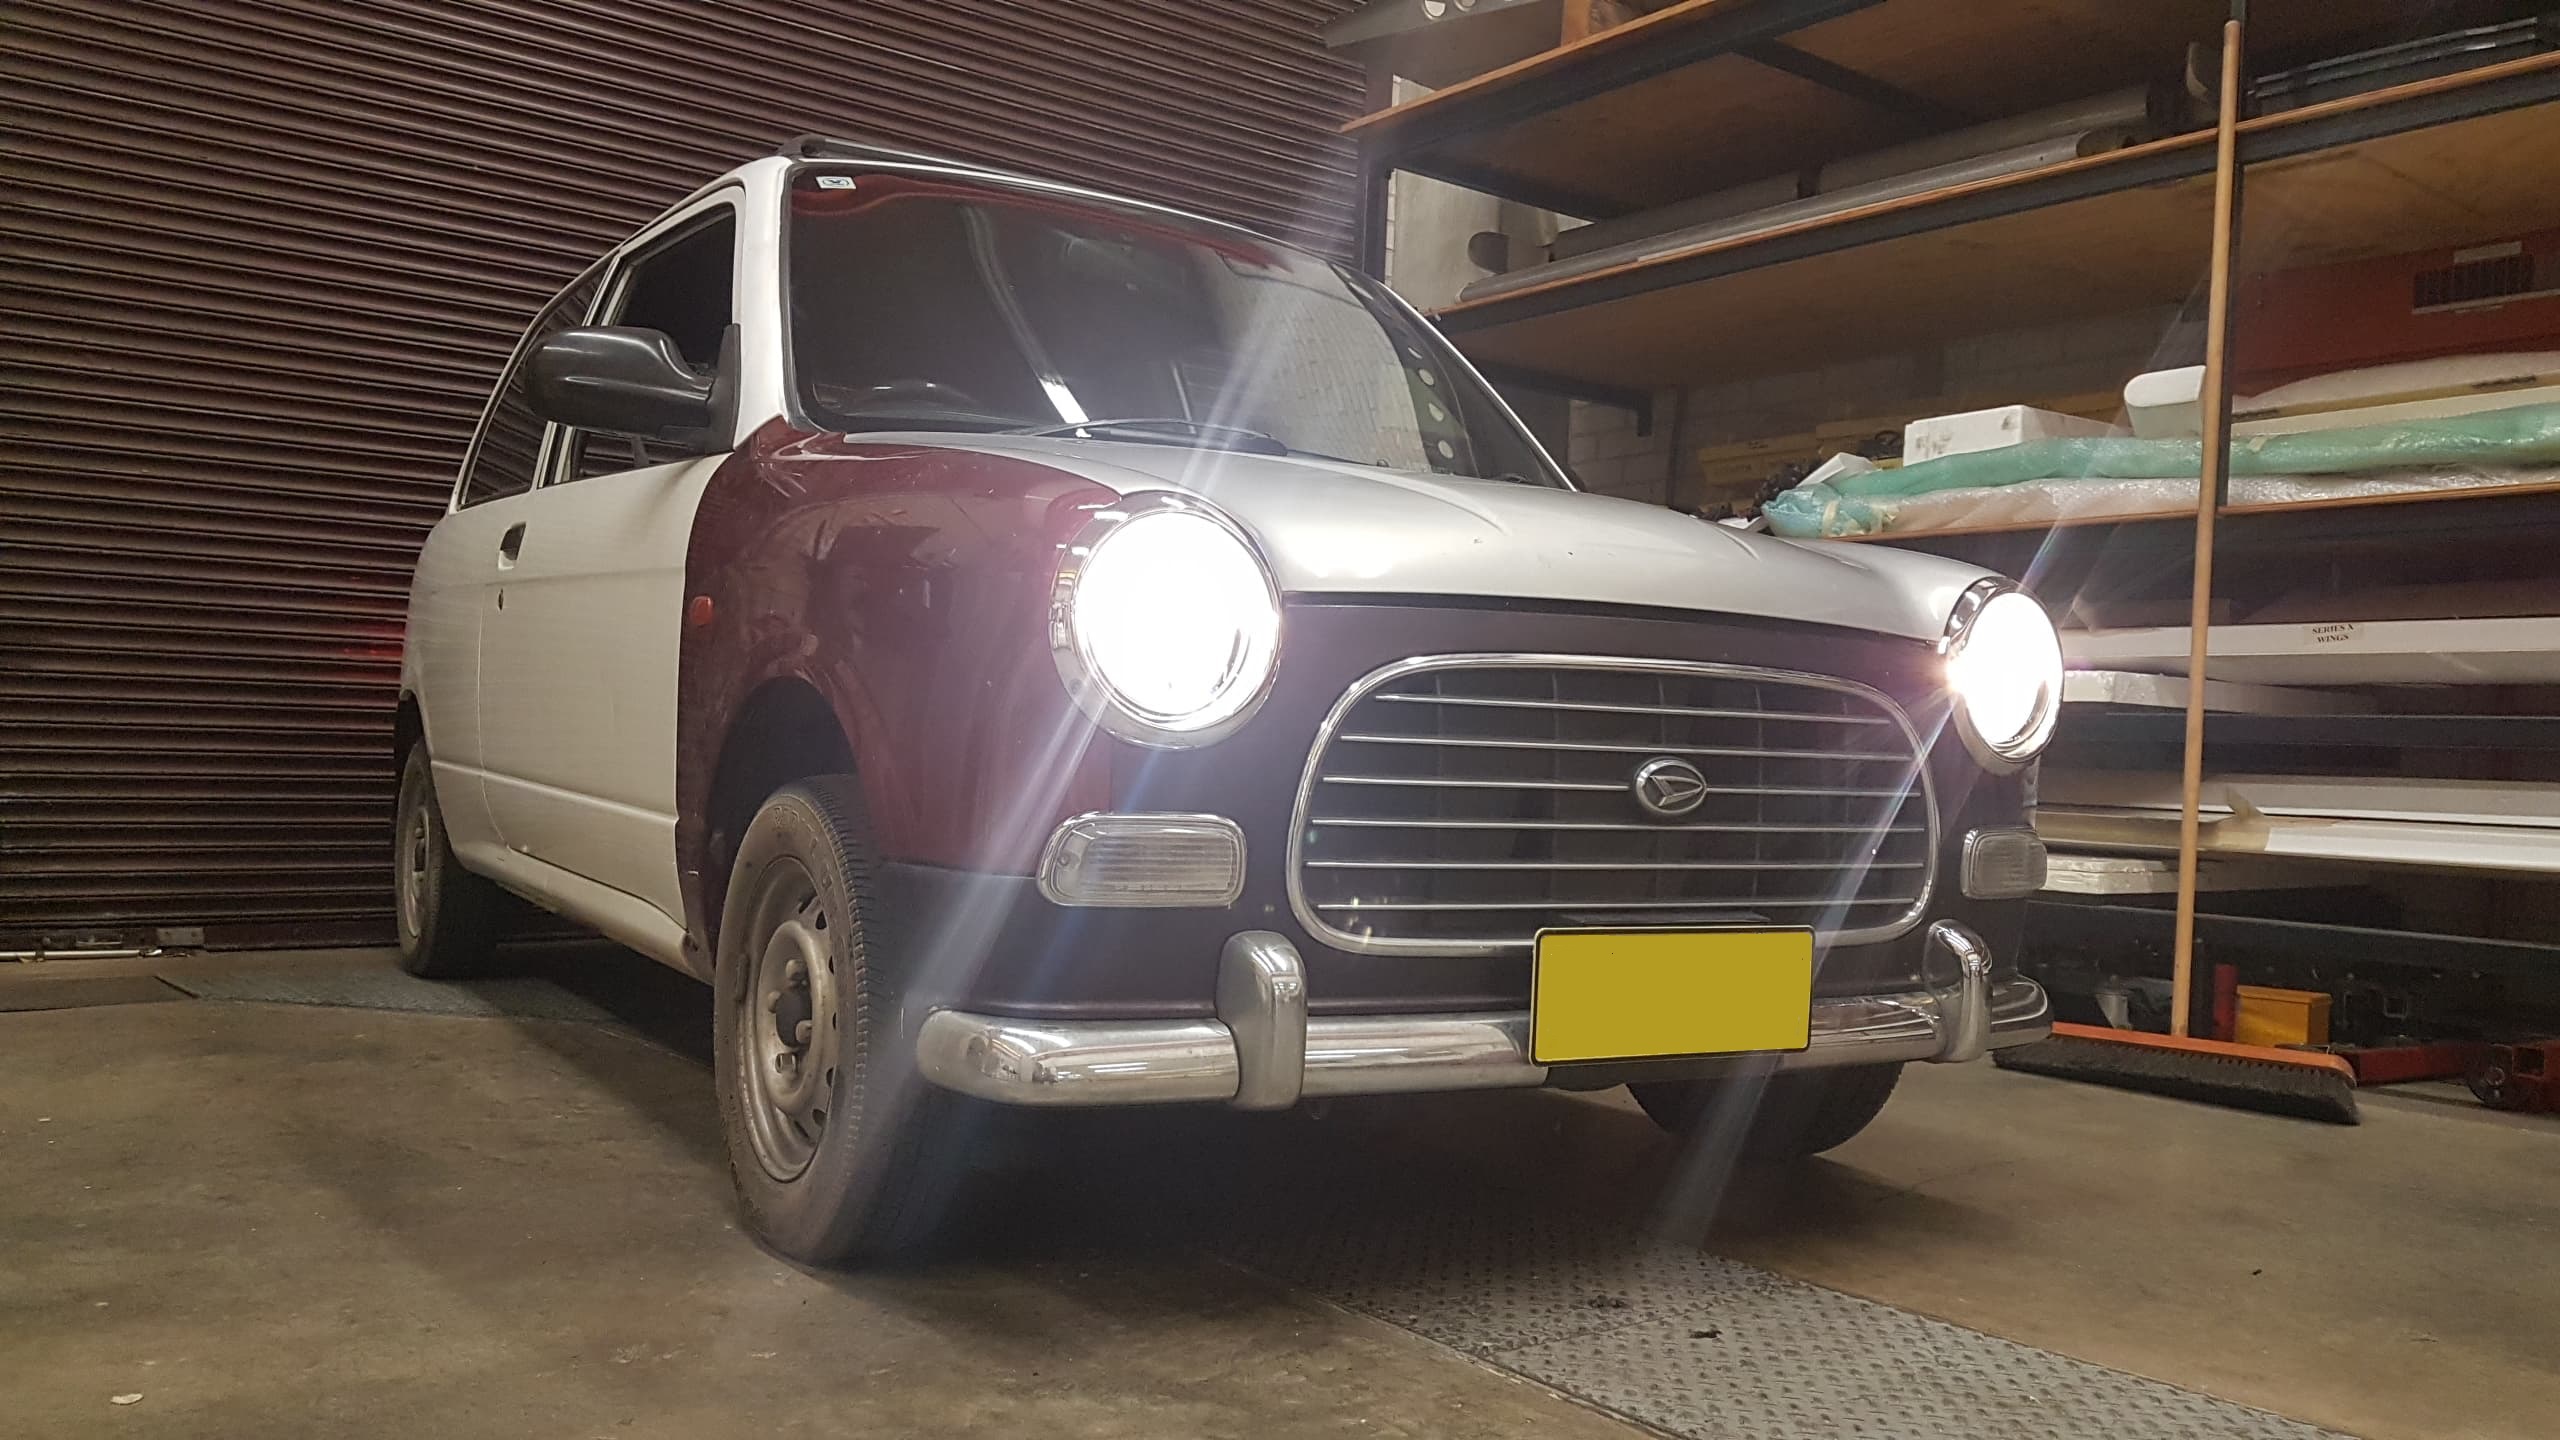
This is it finished with the front Gino body kit installed:
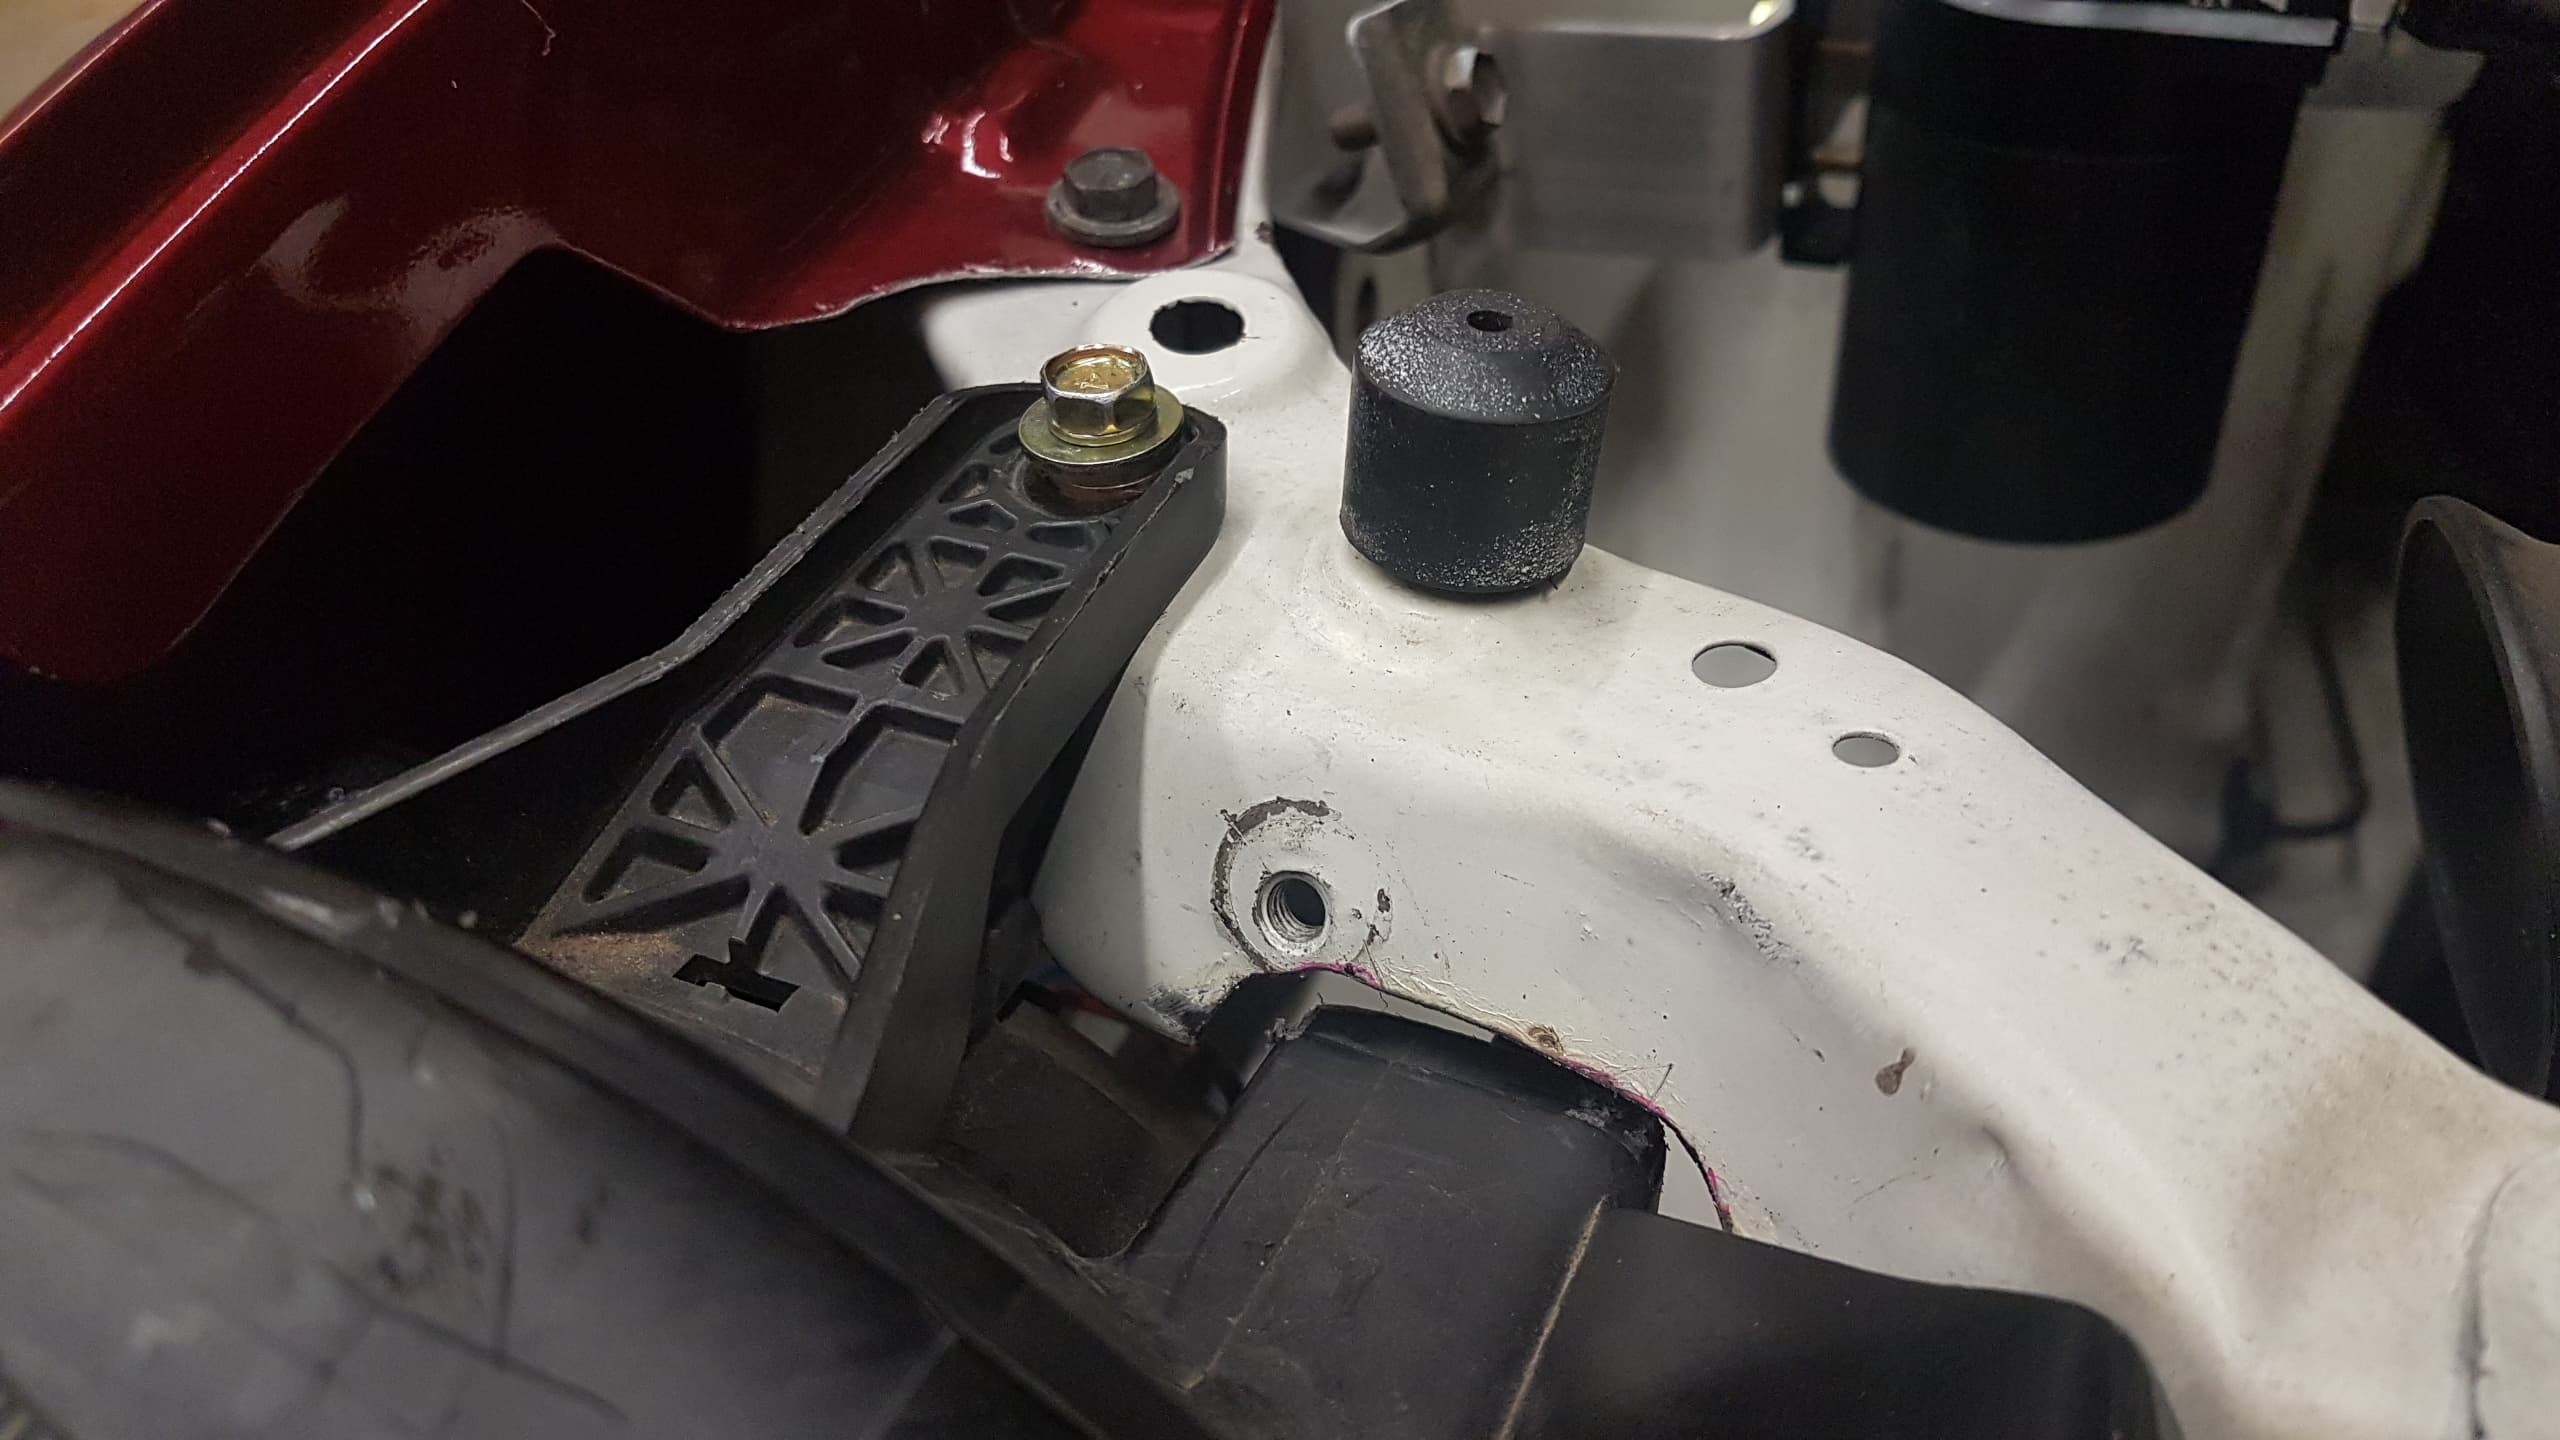
This photo shows that I trimmed the fender and where I put the bolt. Its a rivnut underneath. Similarly, its a rivnut installed under the headlights top lug to make it more convenient - although you could use nut and bolt here.
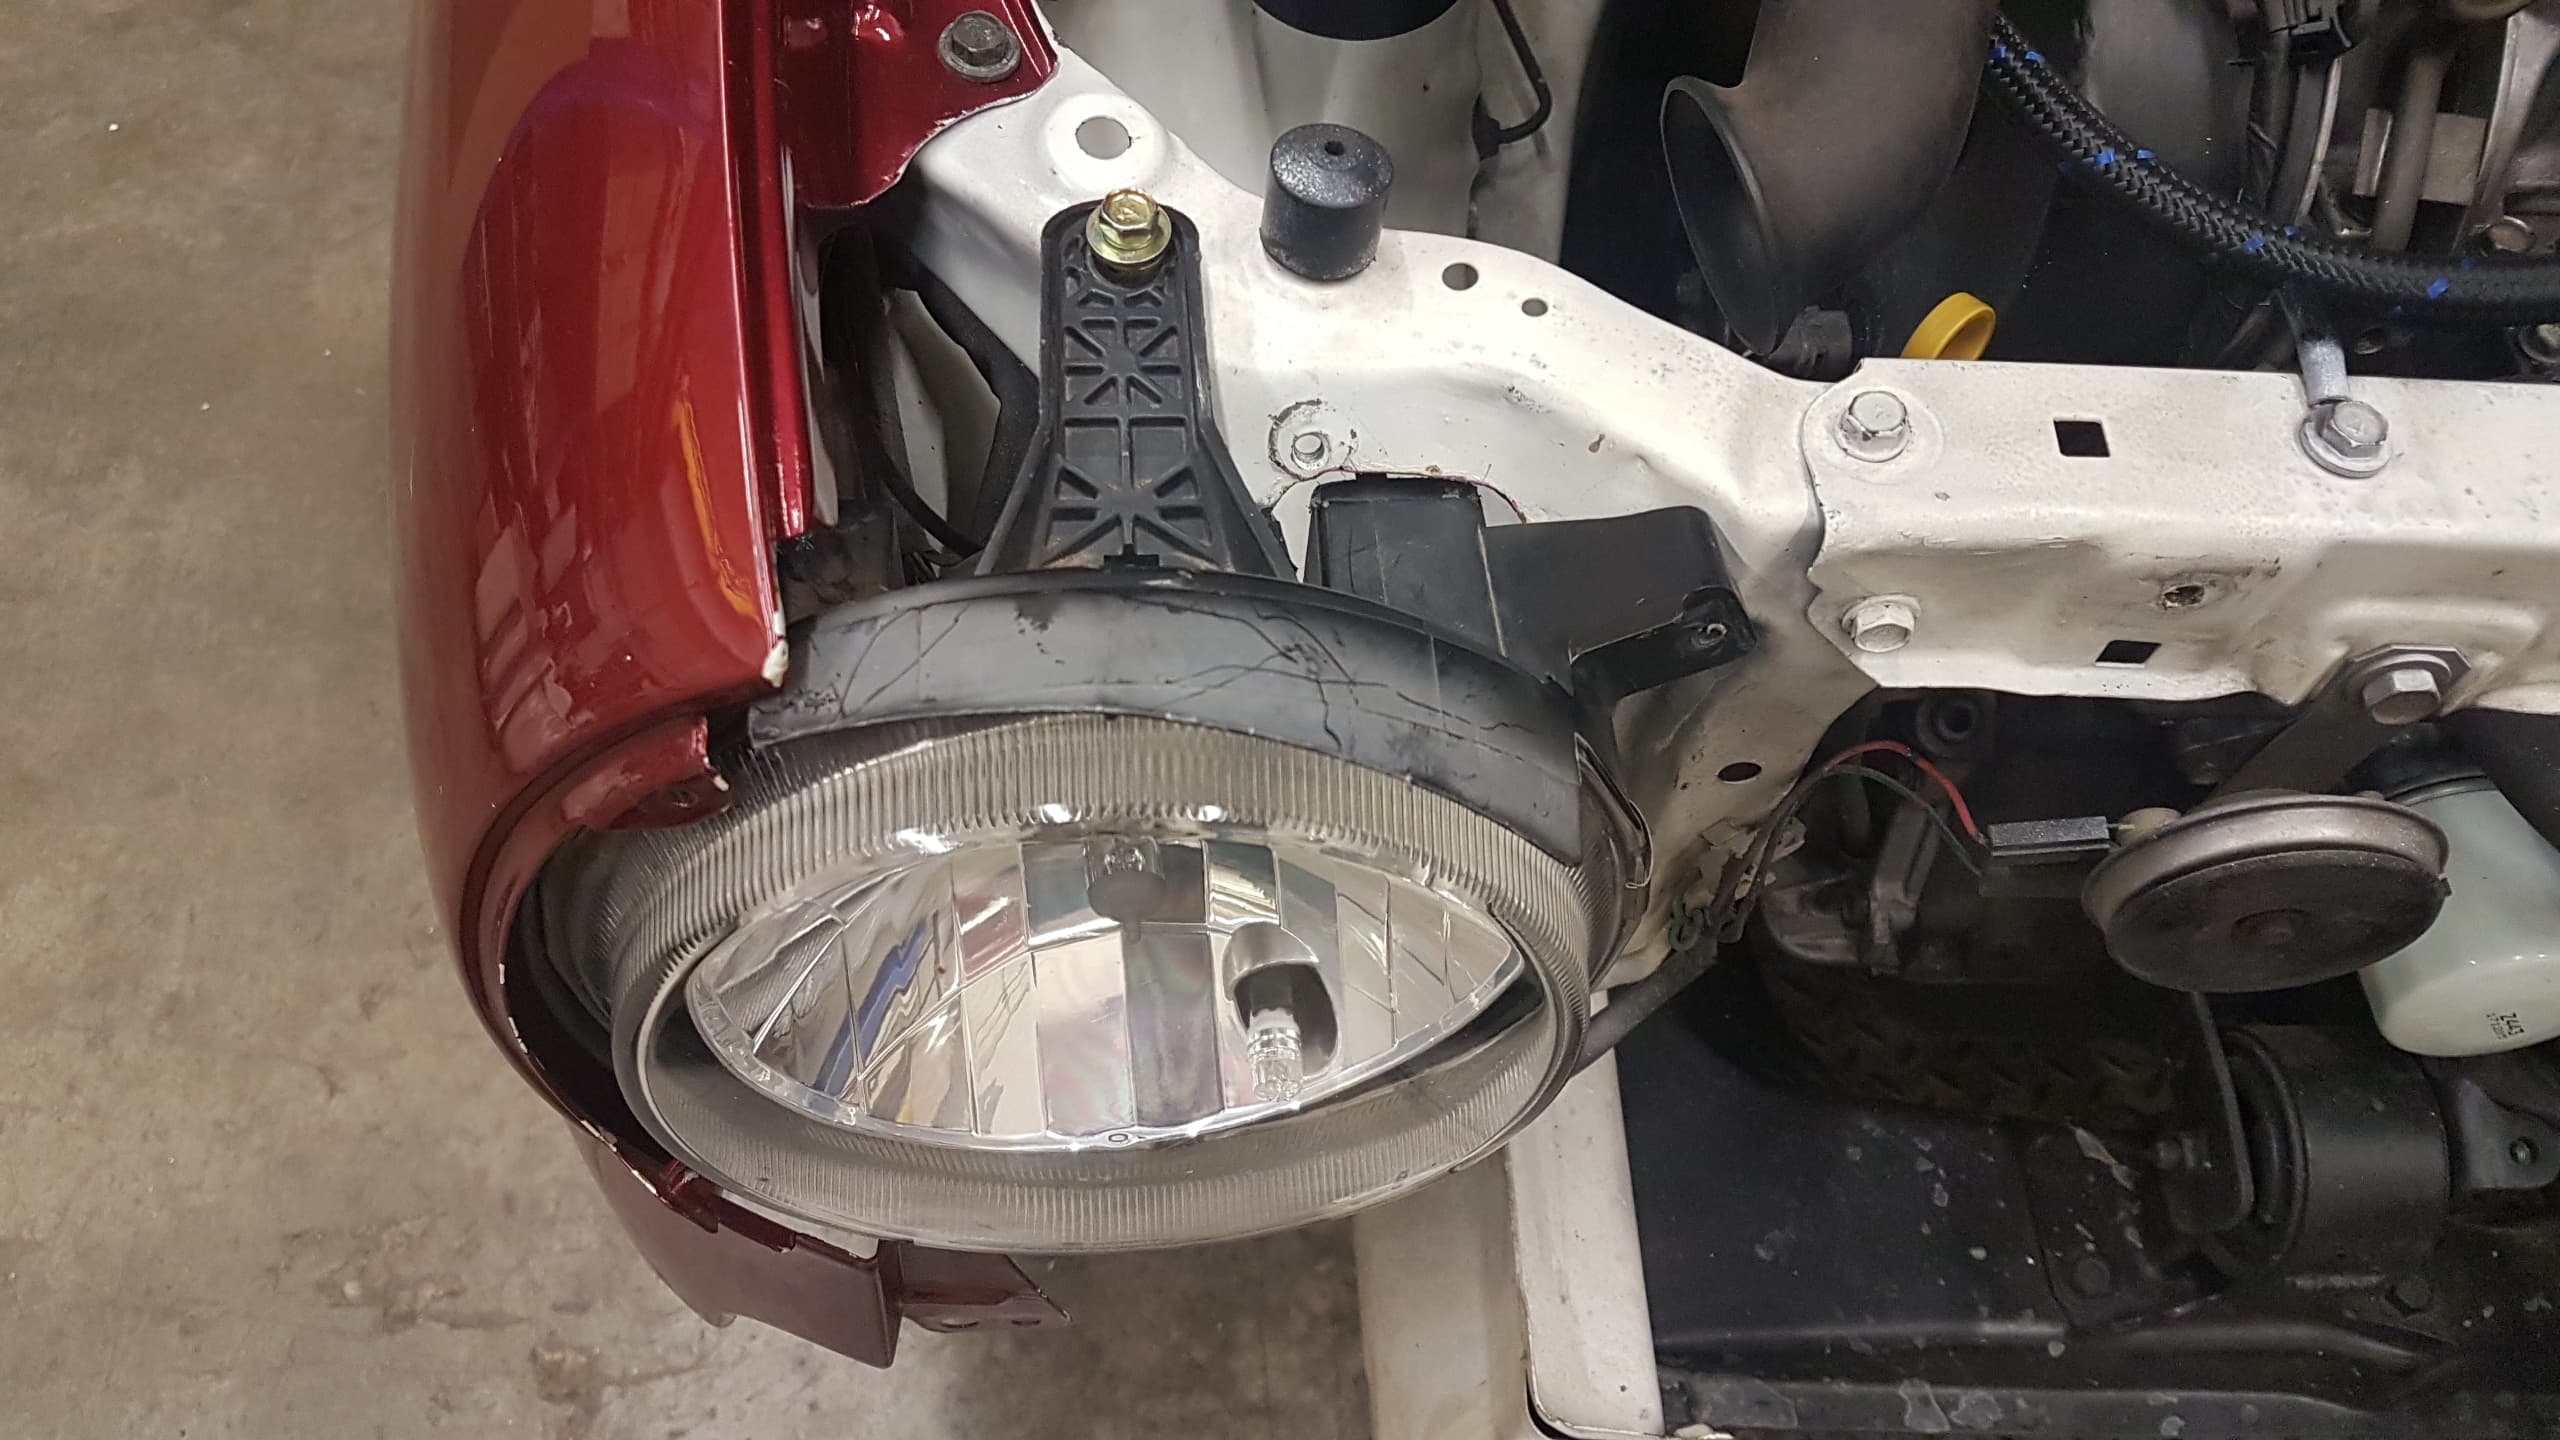
A closer view shows the slot cut out from the top support bar to clear the Gino’s head light structure. Some have said to bend it but I preferred grinding it away. It still leaves the original ‘nut’ should you need to revert back to OEM head lights.
This angle portrays the lower lug and the bracket which you must fabricate. This is the trickiest part. The reason is that slight movements as to where this lug is mounted, greatly affects the alignment of the entire head light. I traced it out of card board and made it out of aluminium. You’ll find that you’ll be installing the chrome garnish on and off along with front bar to get this bracket right. I had to make 3 before getting it perfect…
Closer up shot of the bracket. which is out of 5mm aluminium. Some people used flexible galvanised steel construction strips for ease but I wanted my bracket to be more solid and aluminium was more robust to work with.
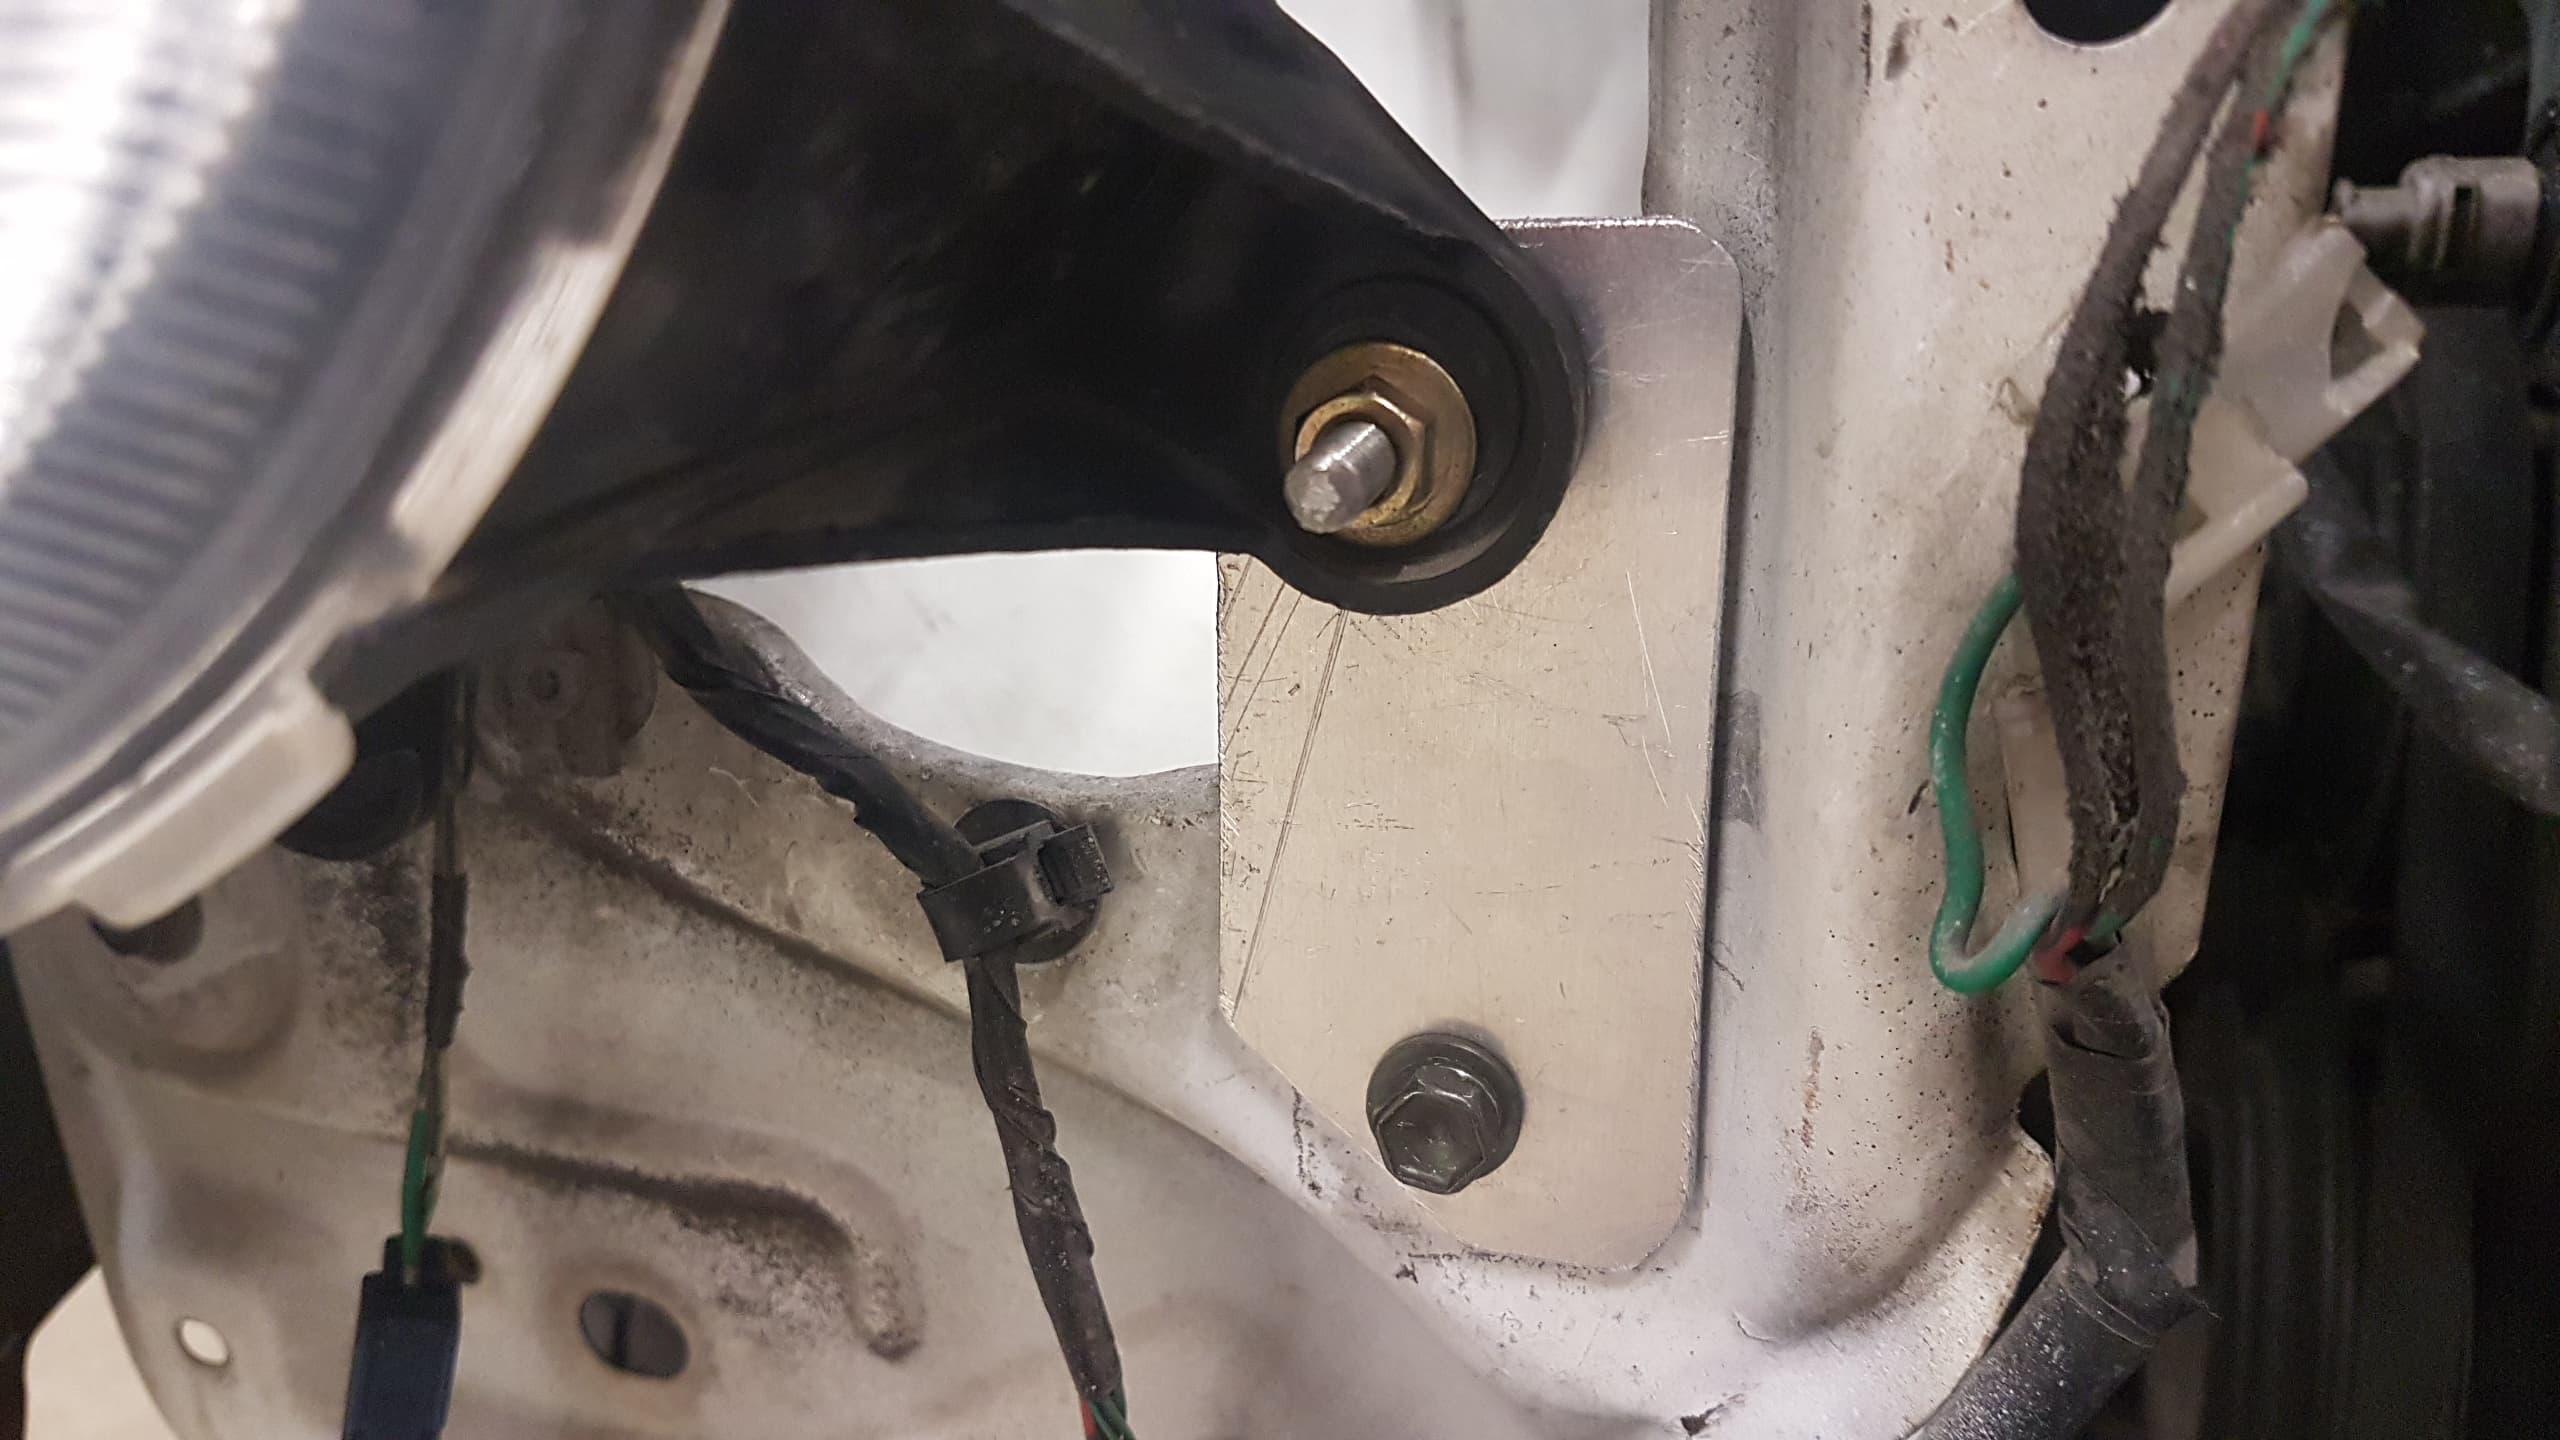
This is the back view of the bracket. Notice Ive added an oval slot in there. This allows for adjustment of where the headlight points to assist in alignment ; both aesthetics and light direction.
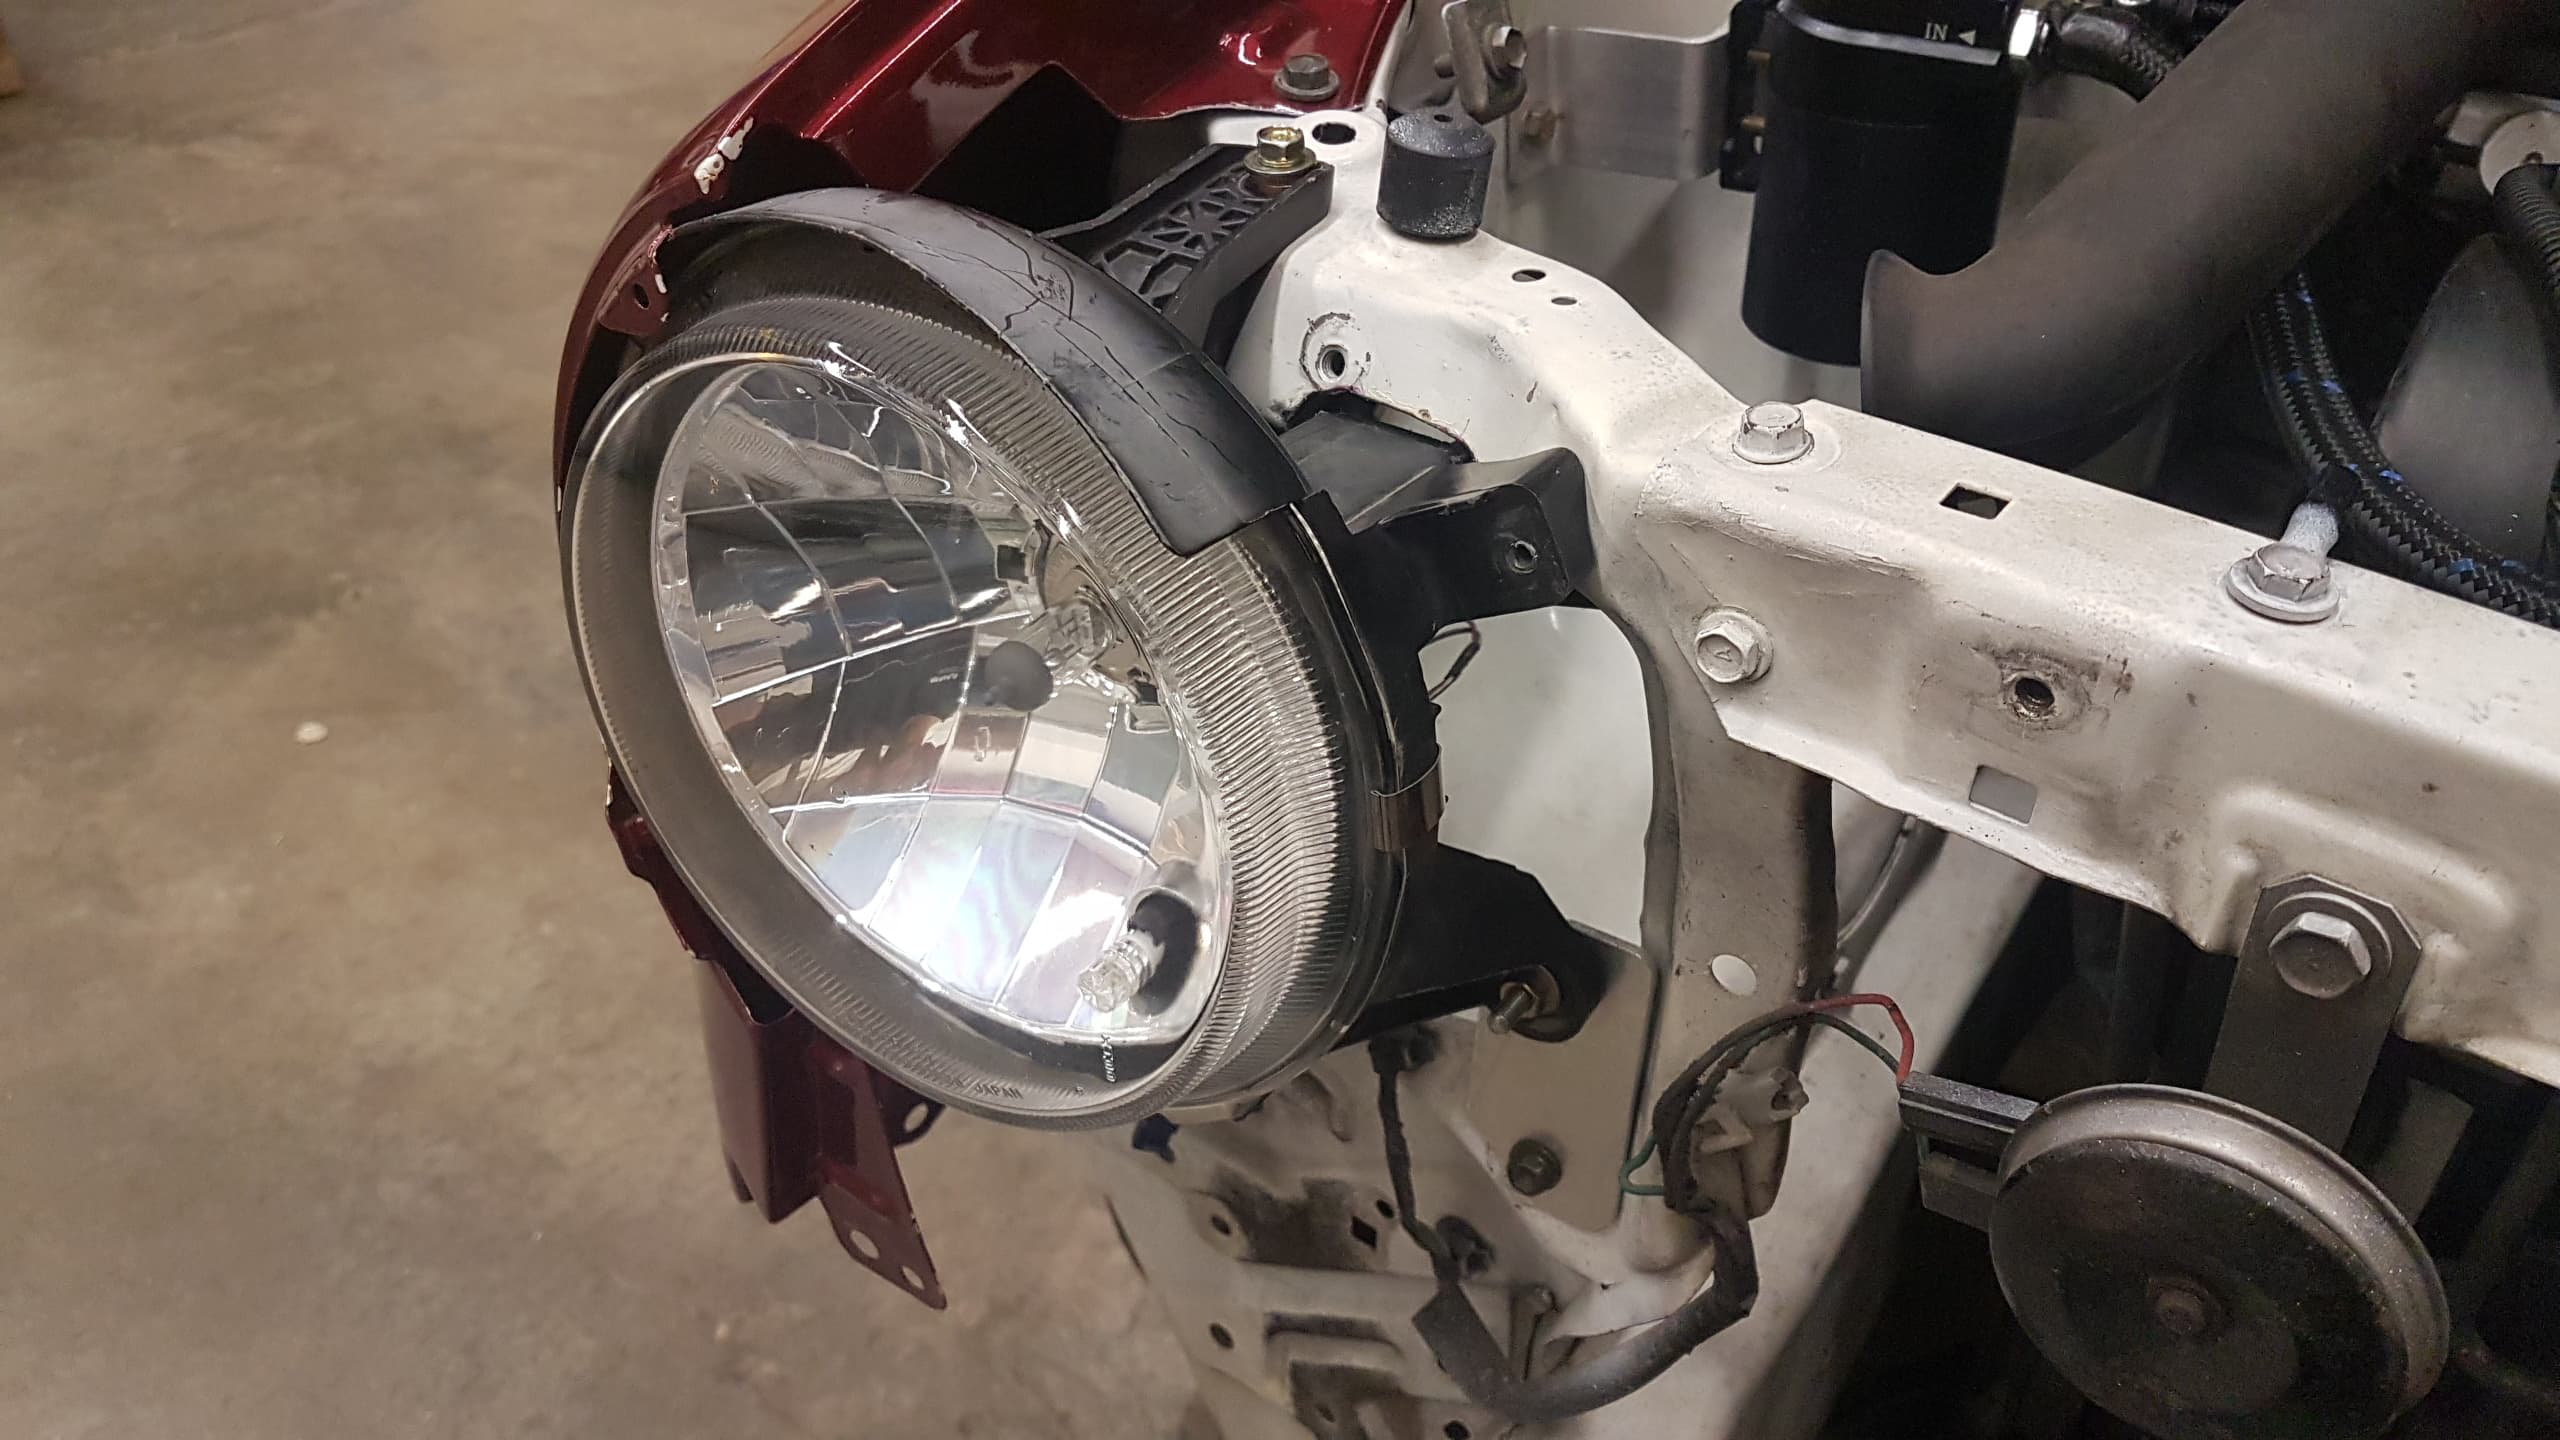
This is a picture of the parts installed naked without the front bar on for reference. Both sides are the same process. I had to do up and undo the front bar, chrome garnishes and adjust the brackets several times before getting it right.

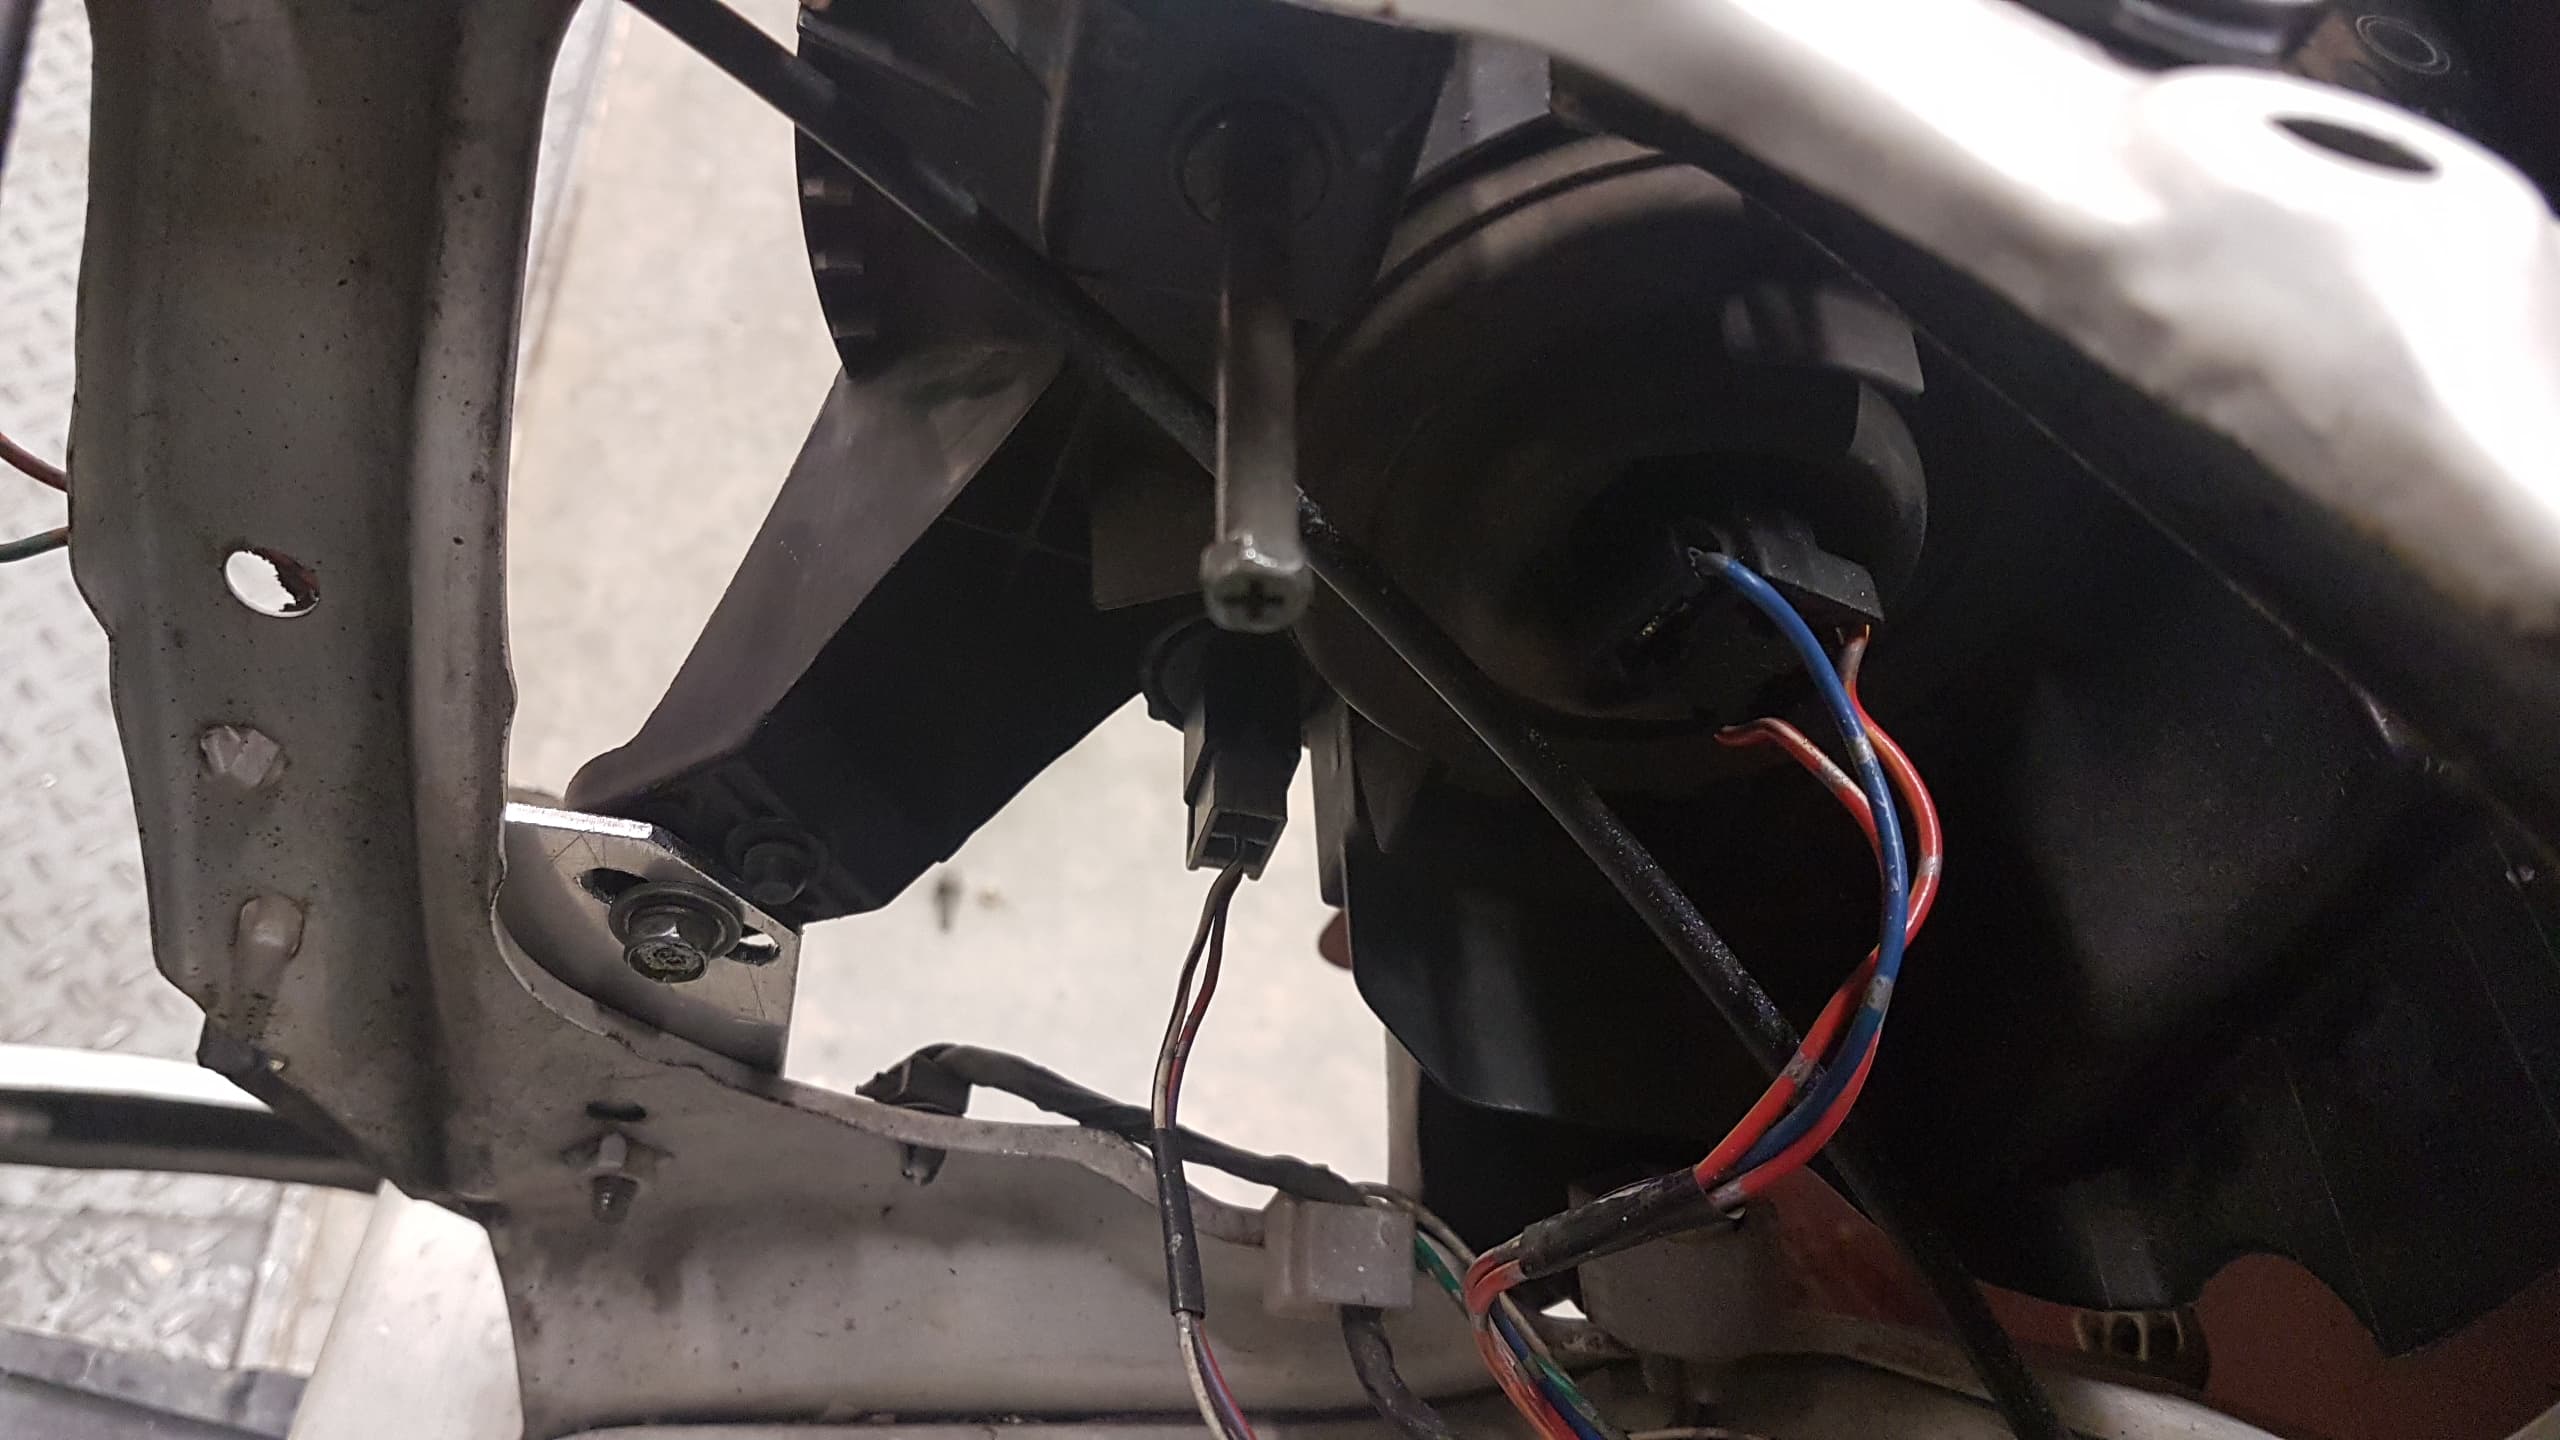
Lights install
With parkers on (LEDS)

With dipped beam on (regular incandescent bulb)
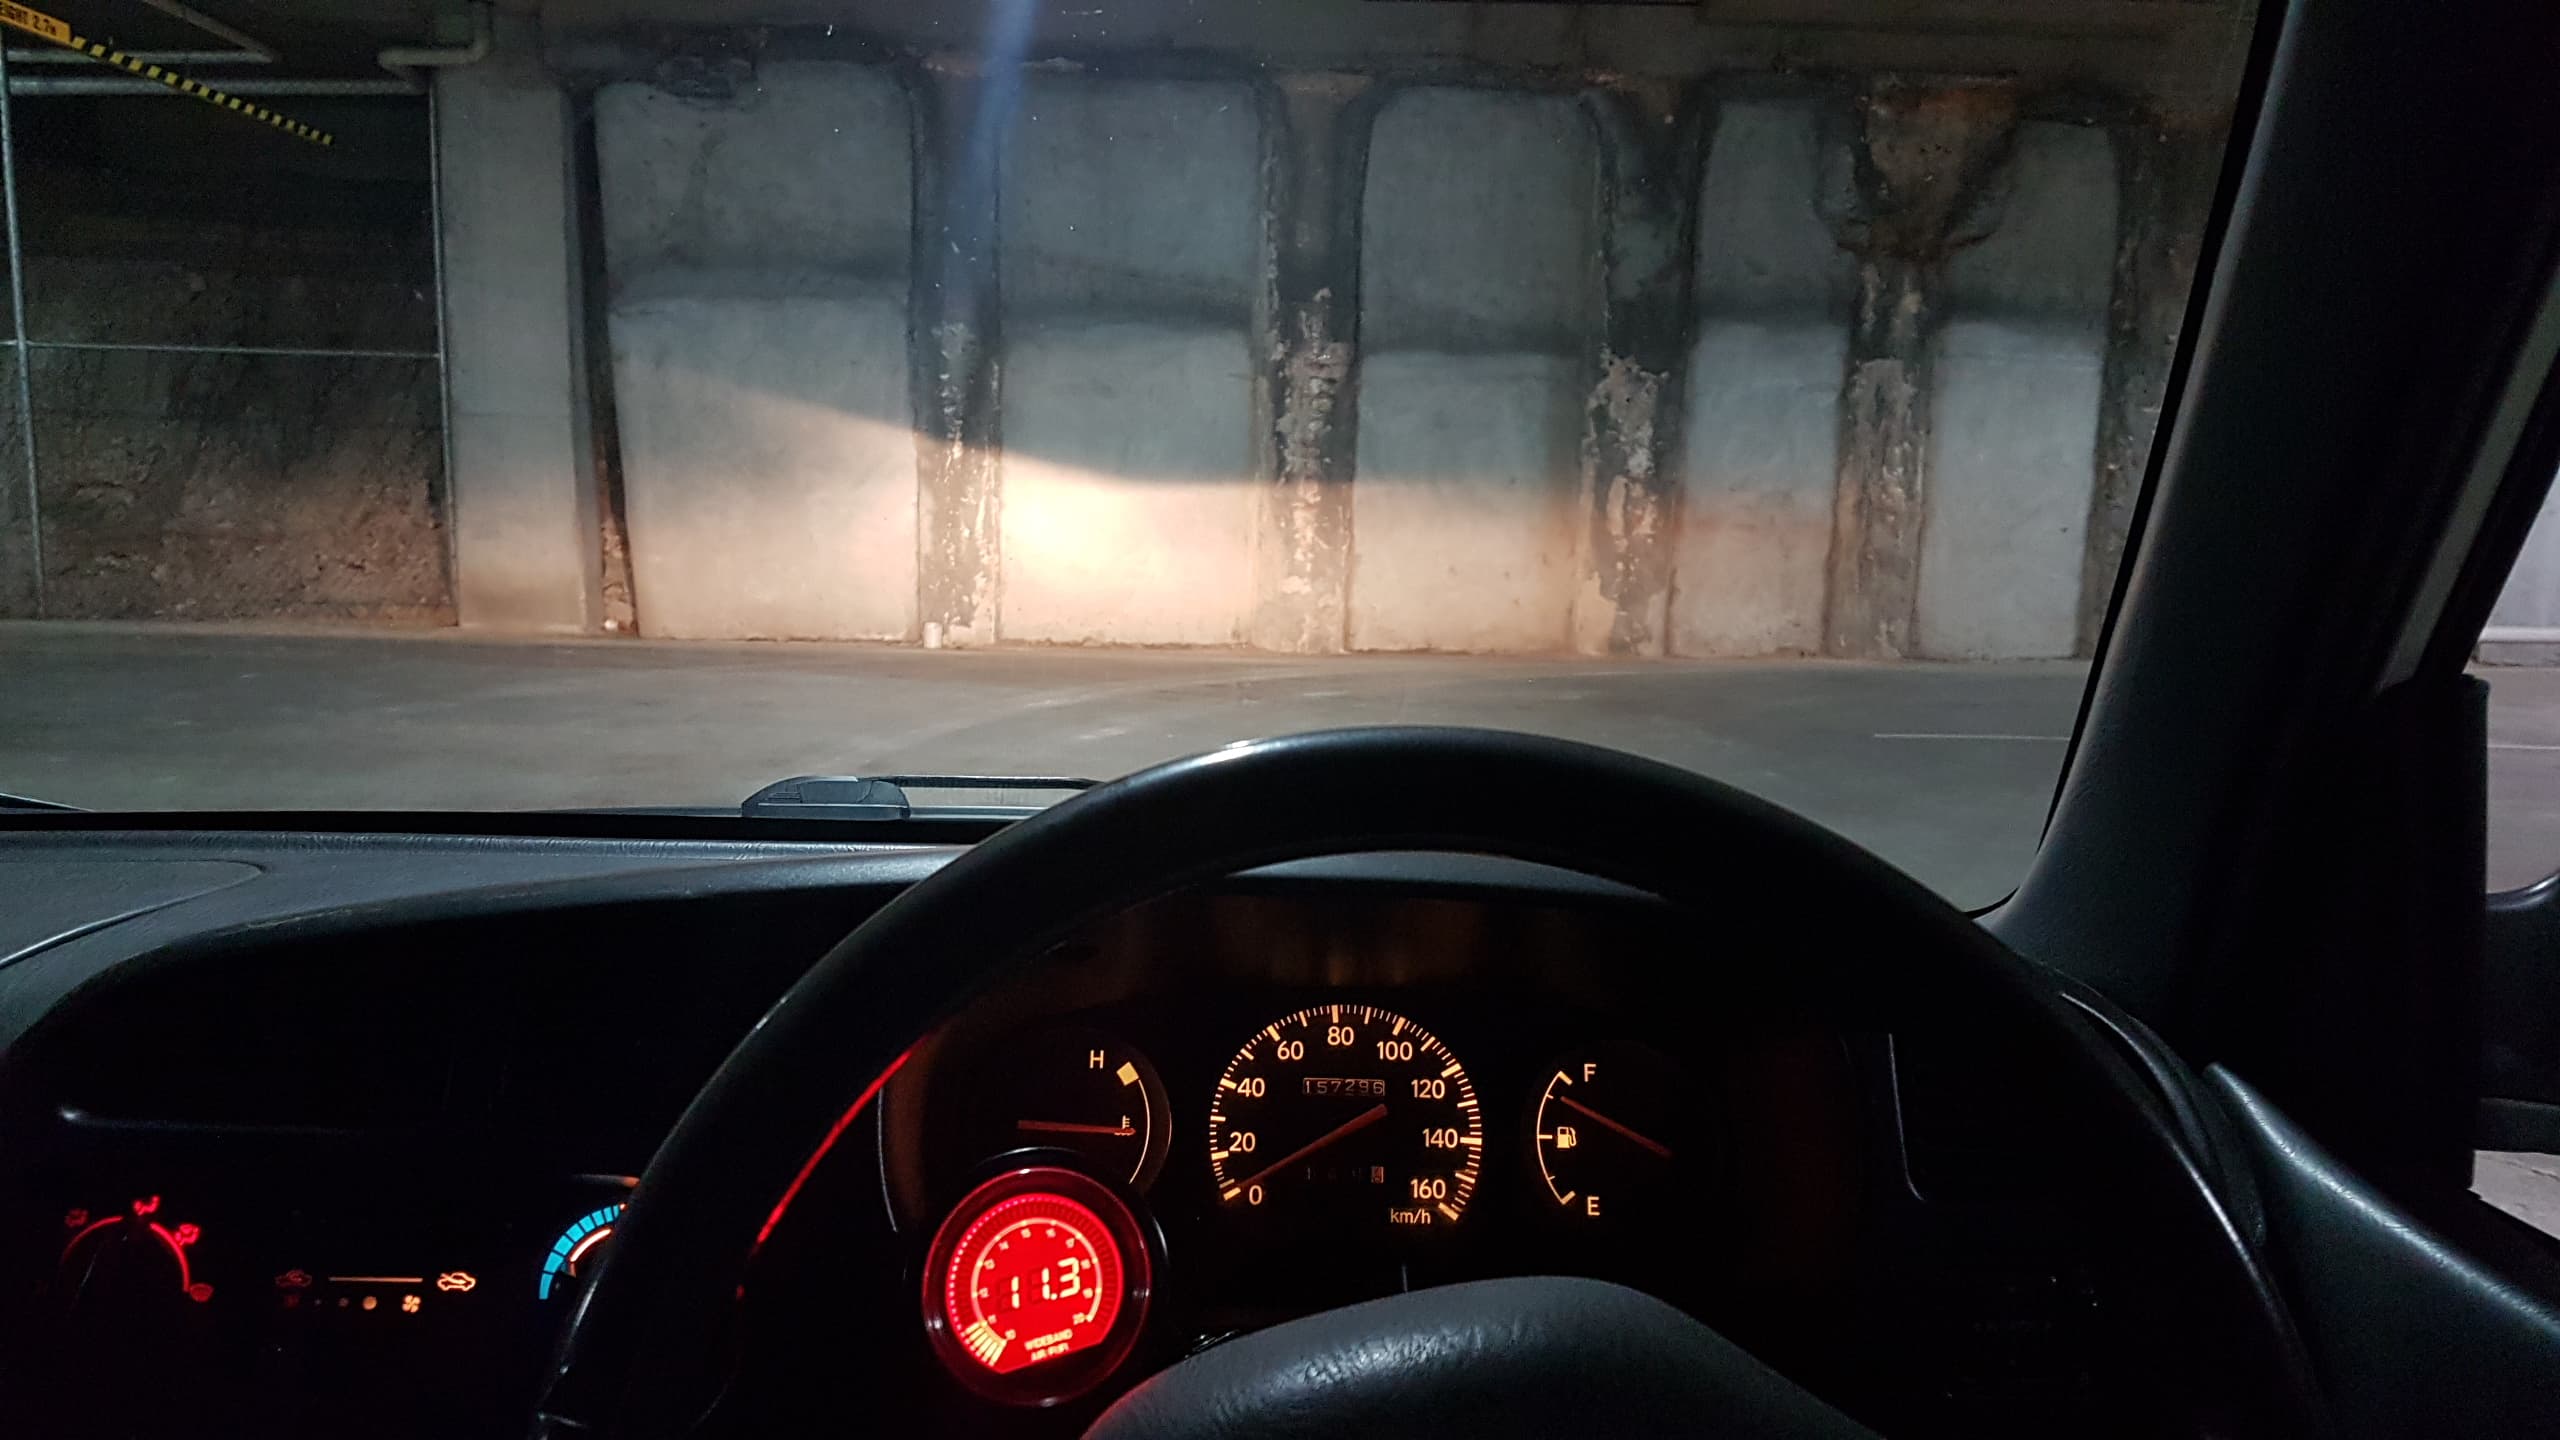
Dont forget to align the lights after too. Note how the RHD slant is perfectly aligned, you can achieve this too if you spend the time in getting the brackets right so that the lights wont rattle and your alignment will be perfect.
Thanks to those who helped me with info and encouragement.
There could be other ways and this was just my approach.
Cheers,
derku