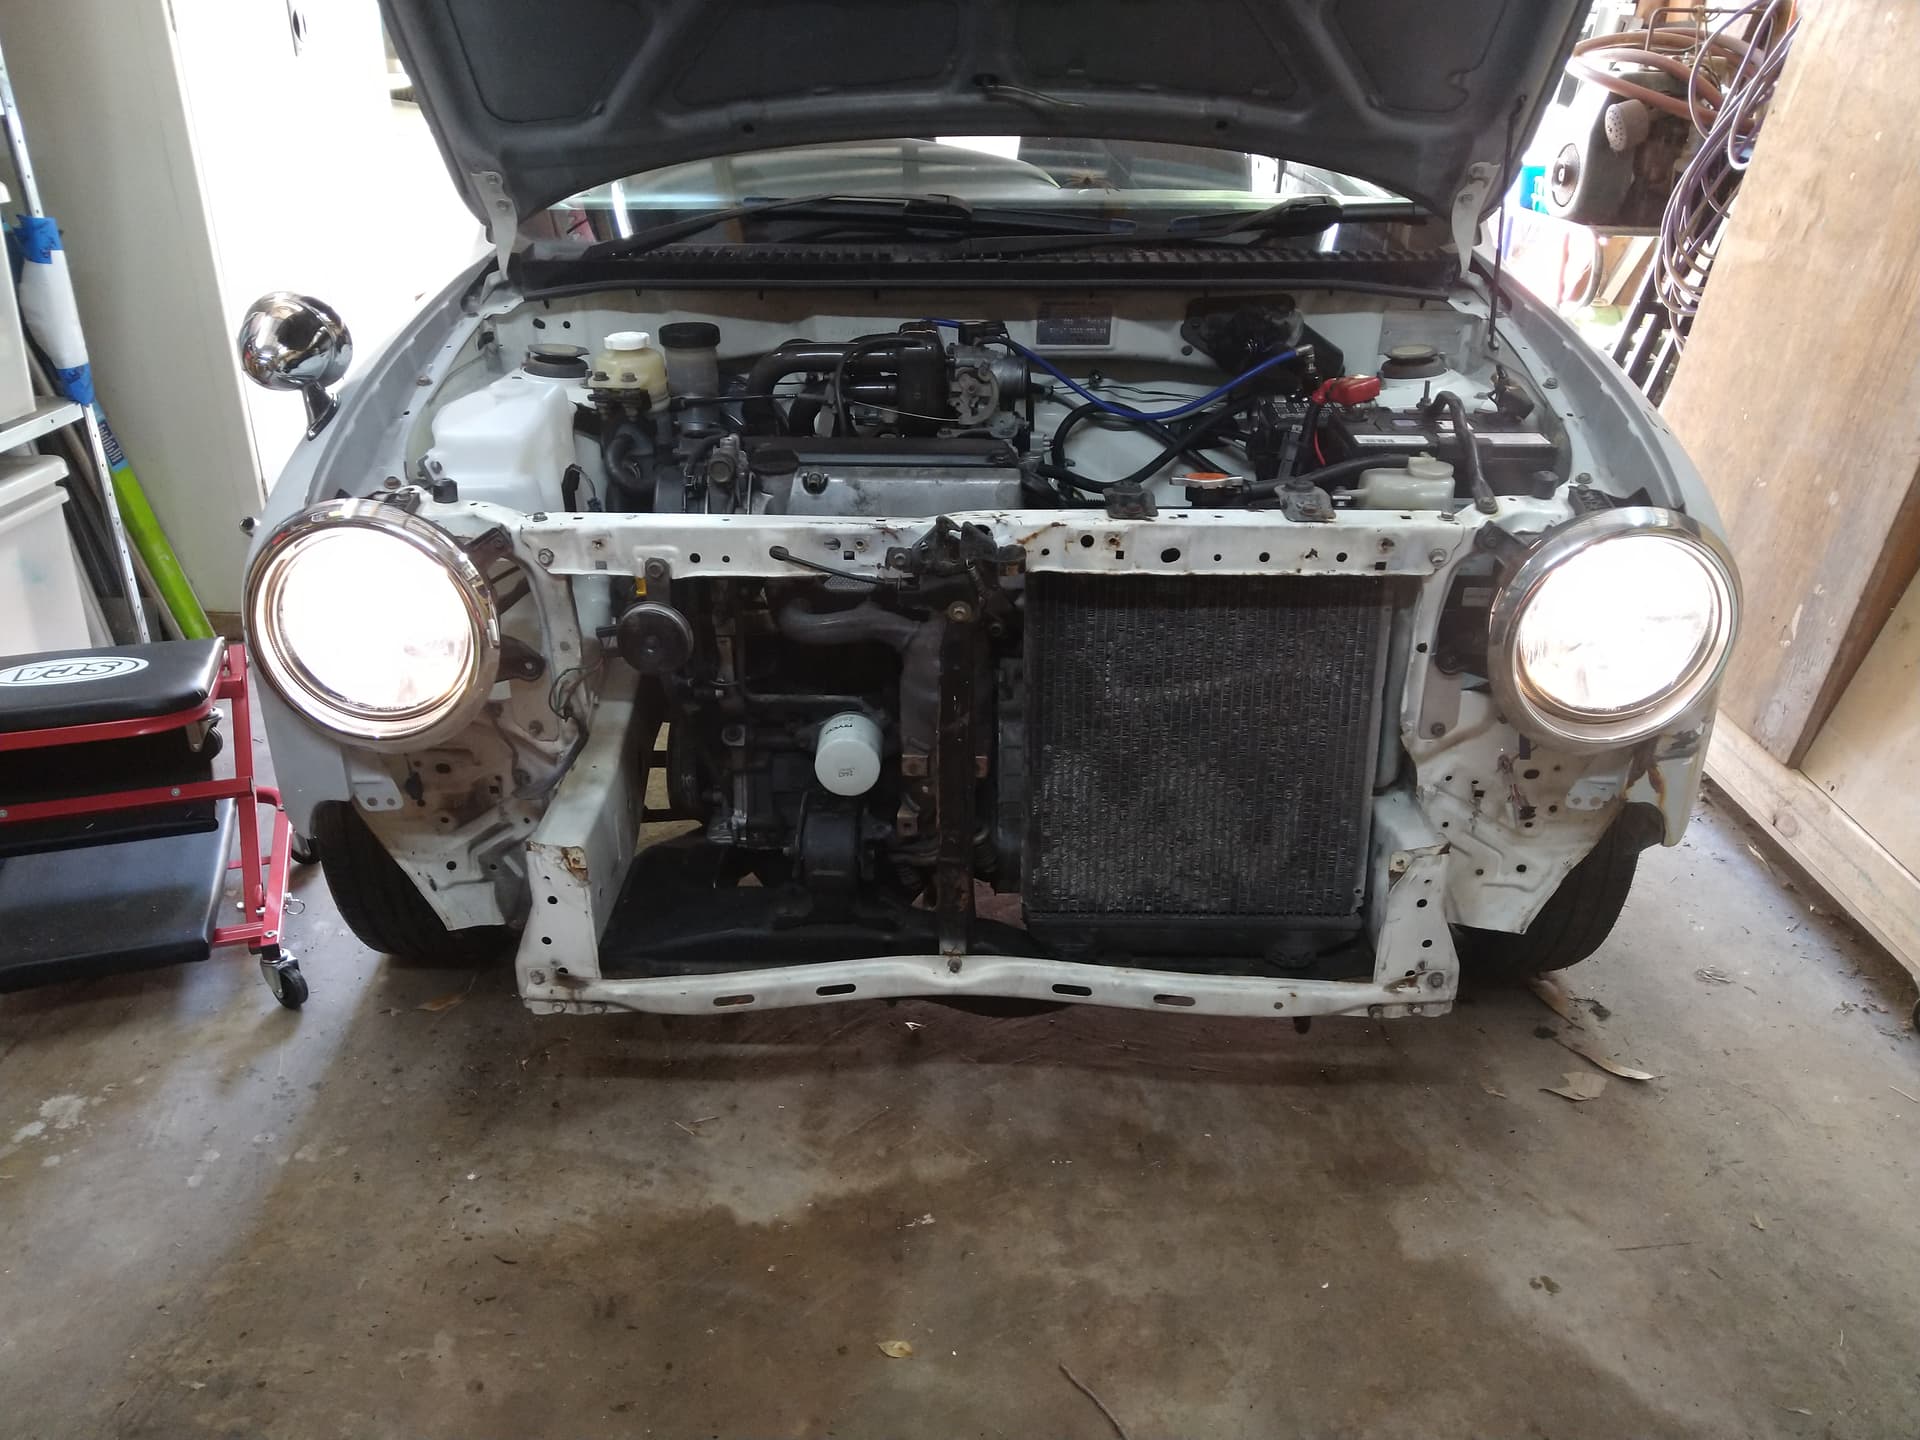
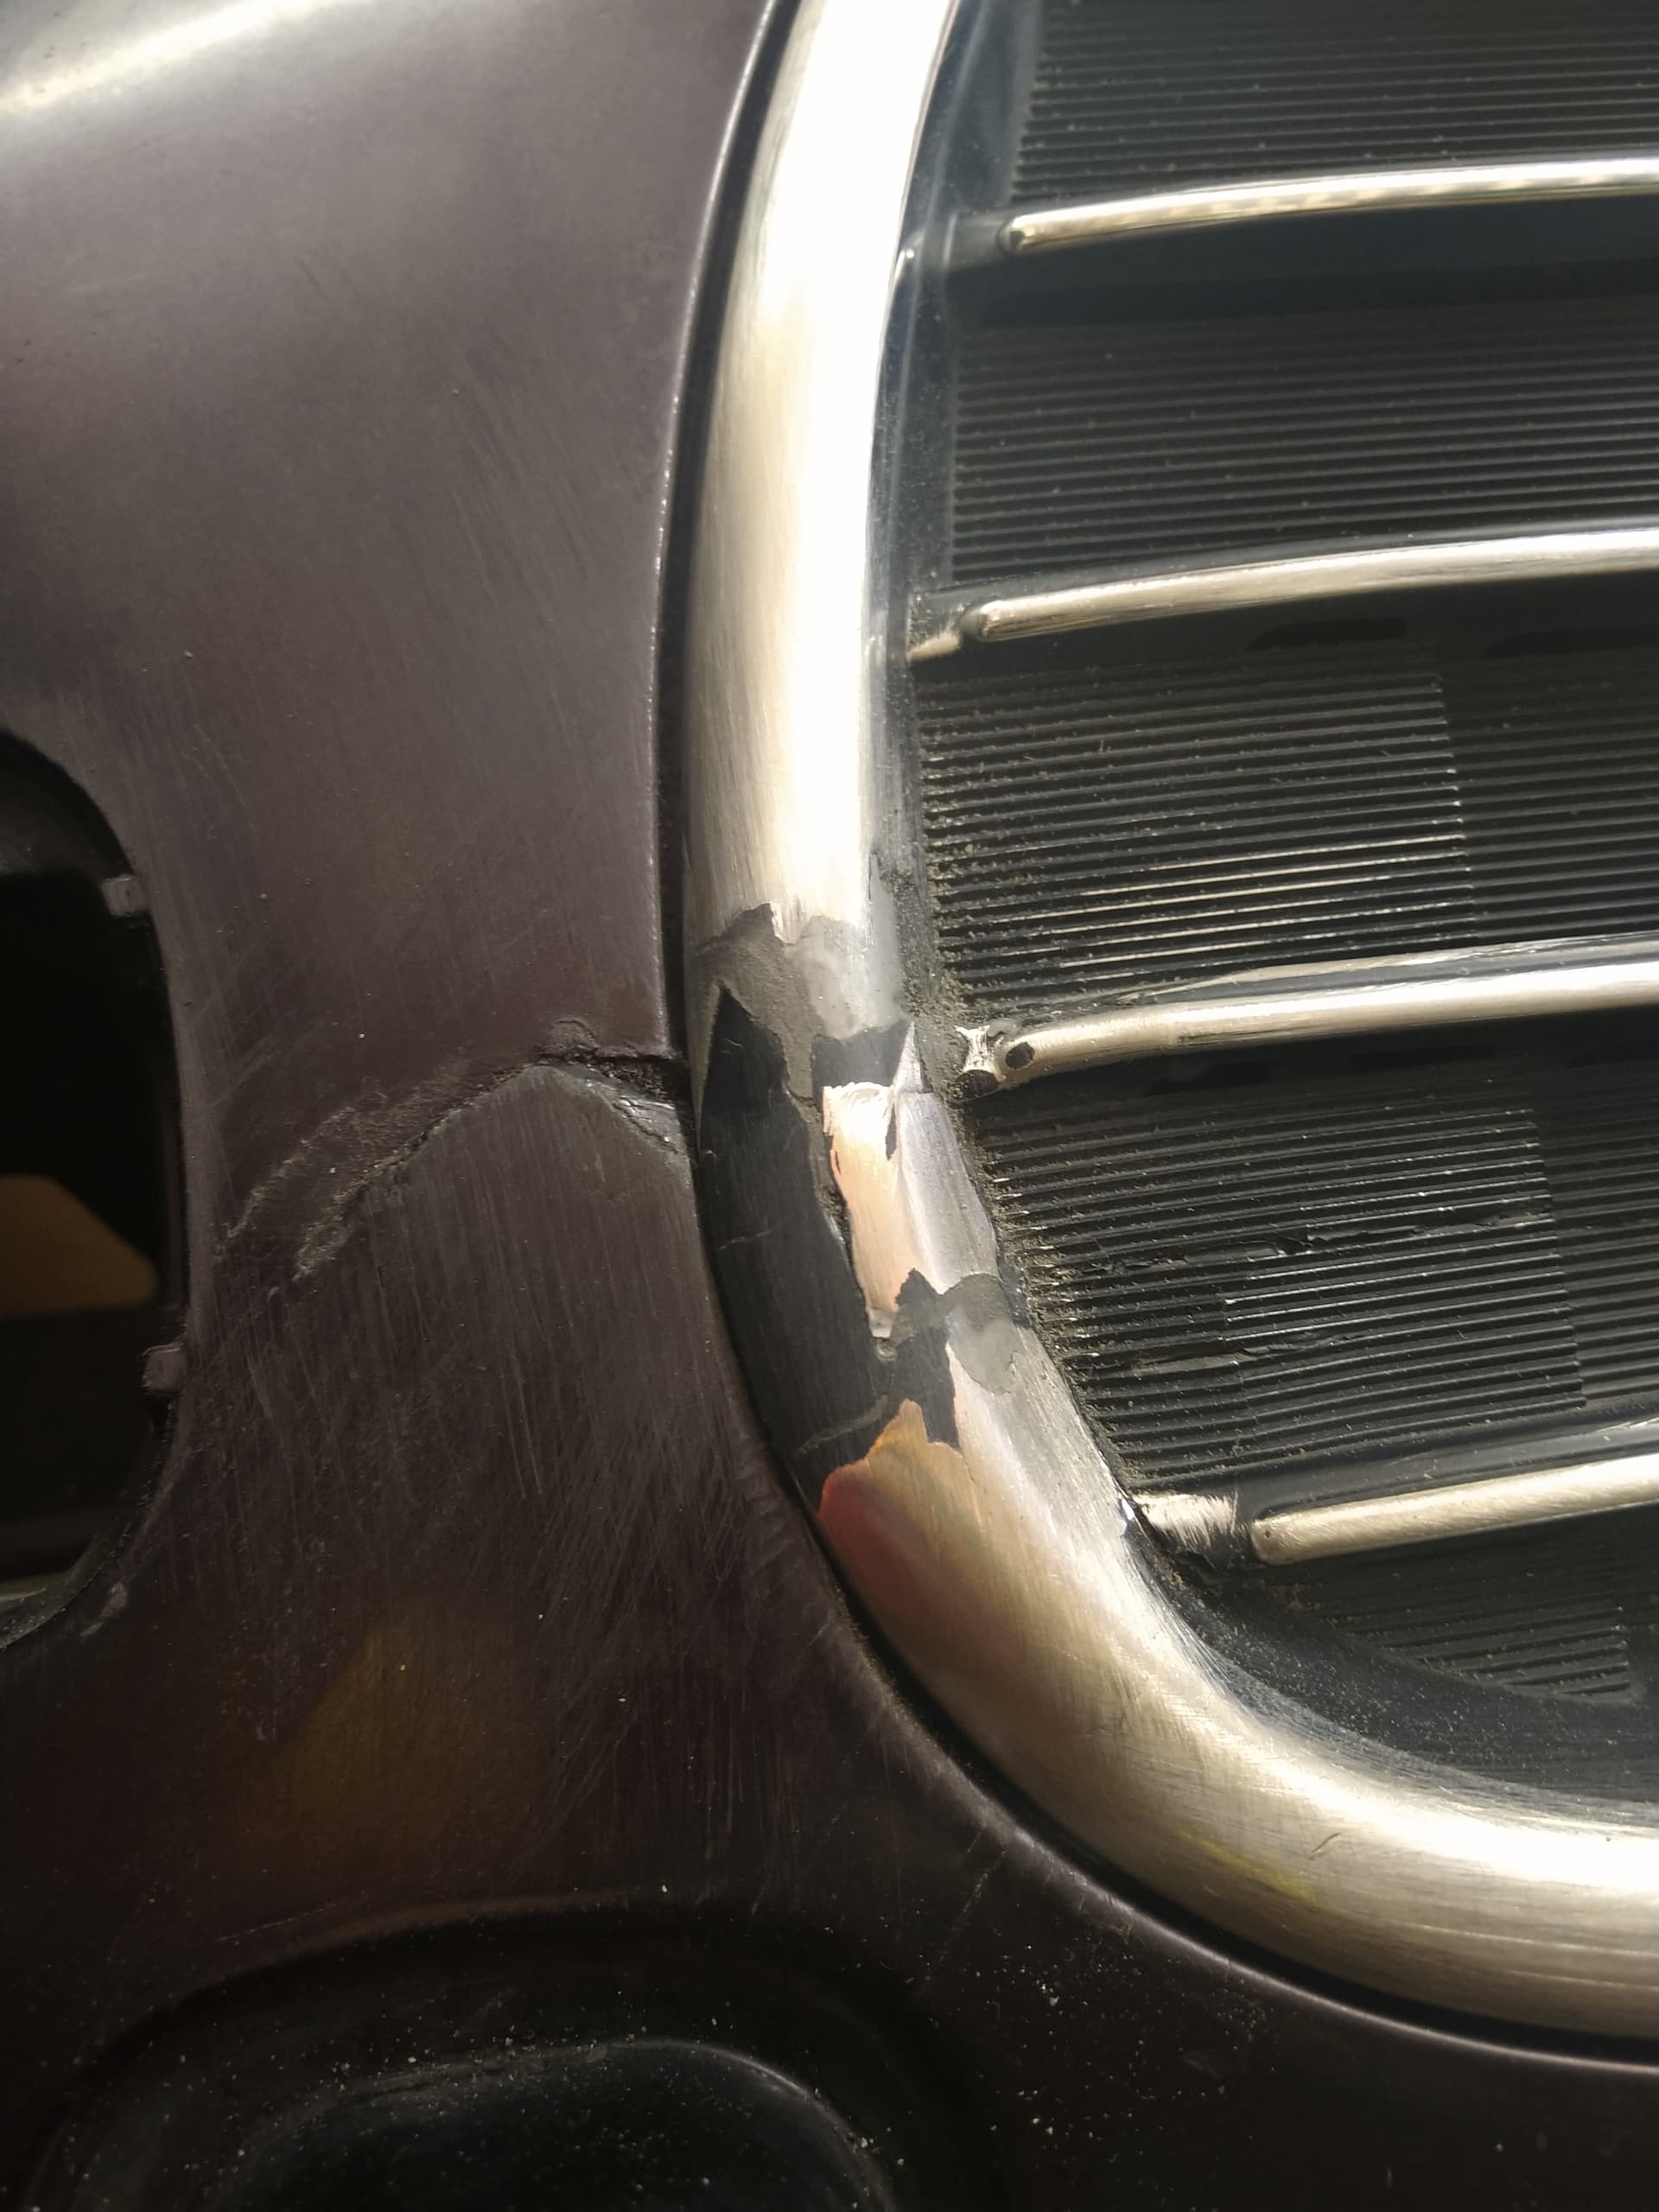
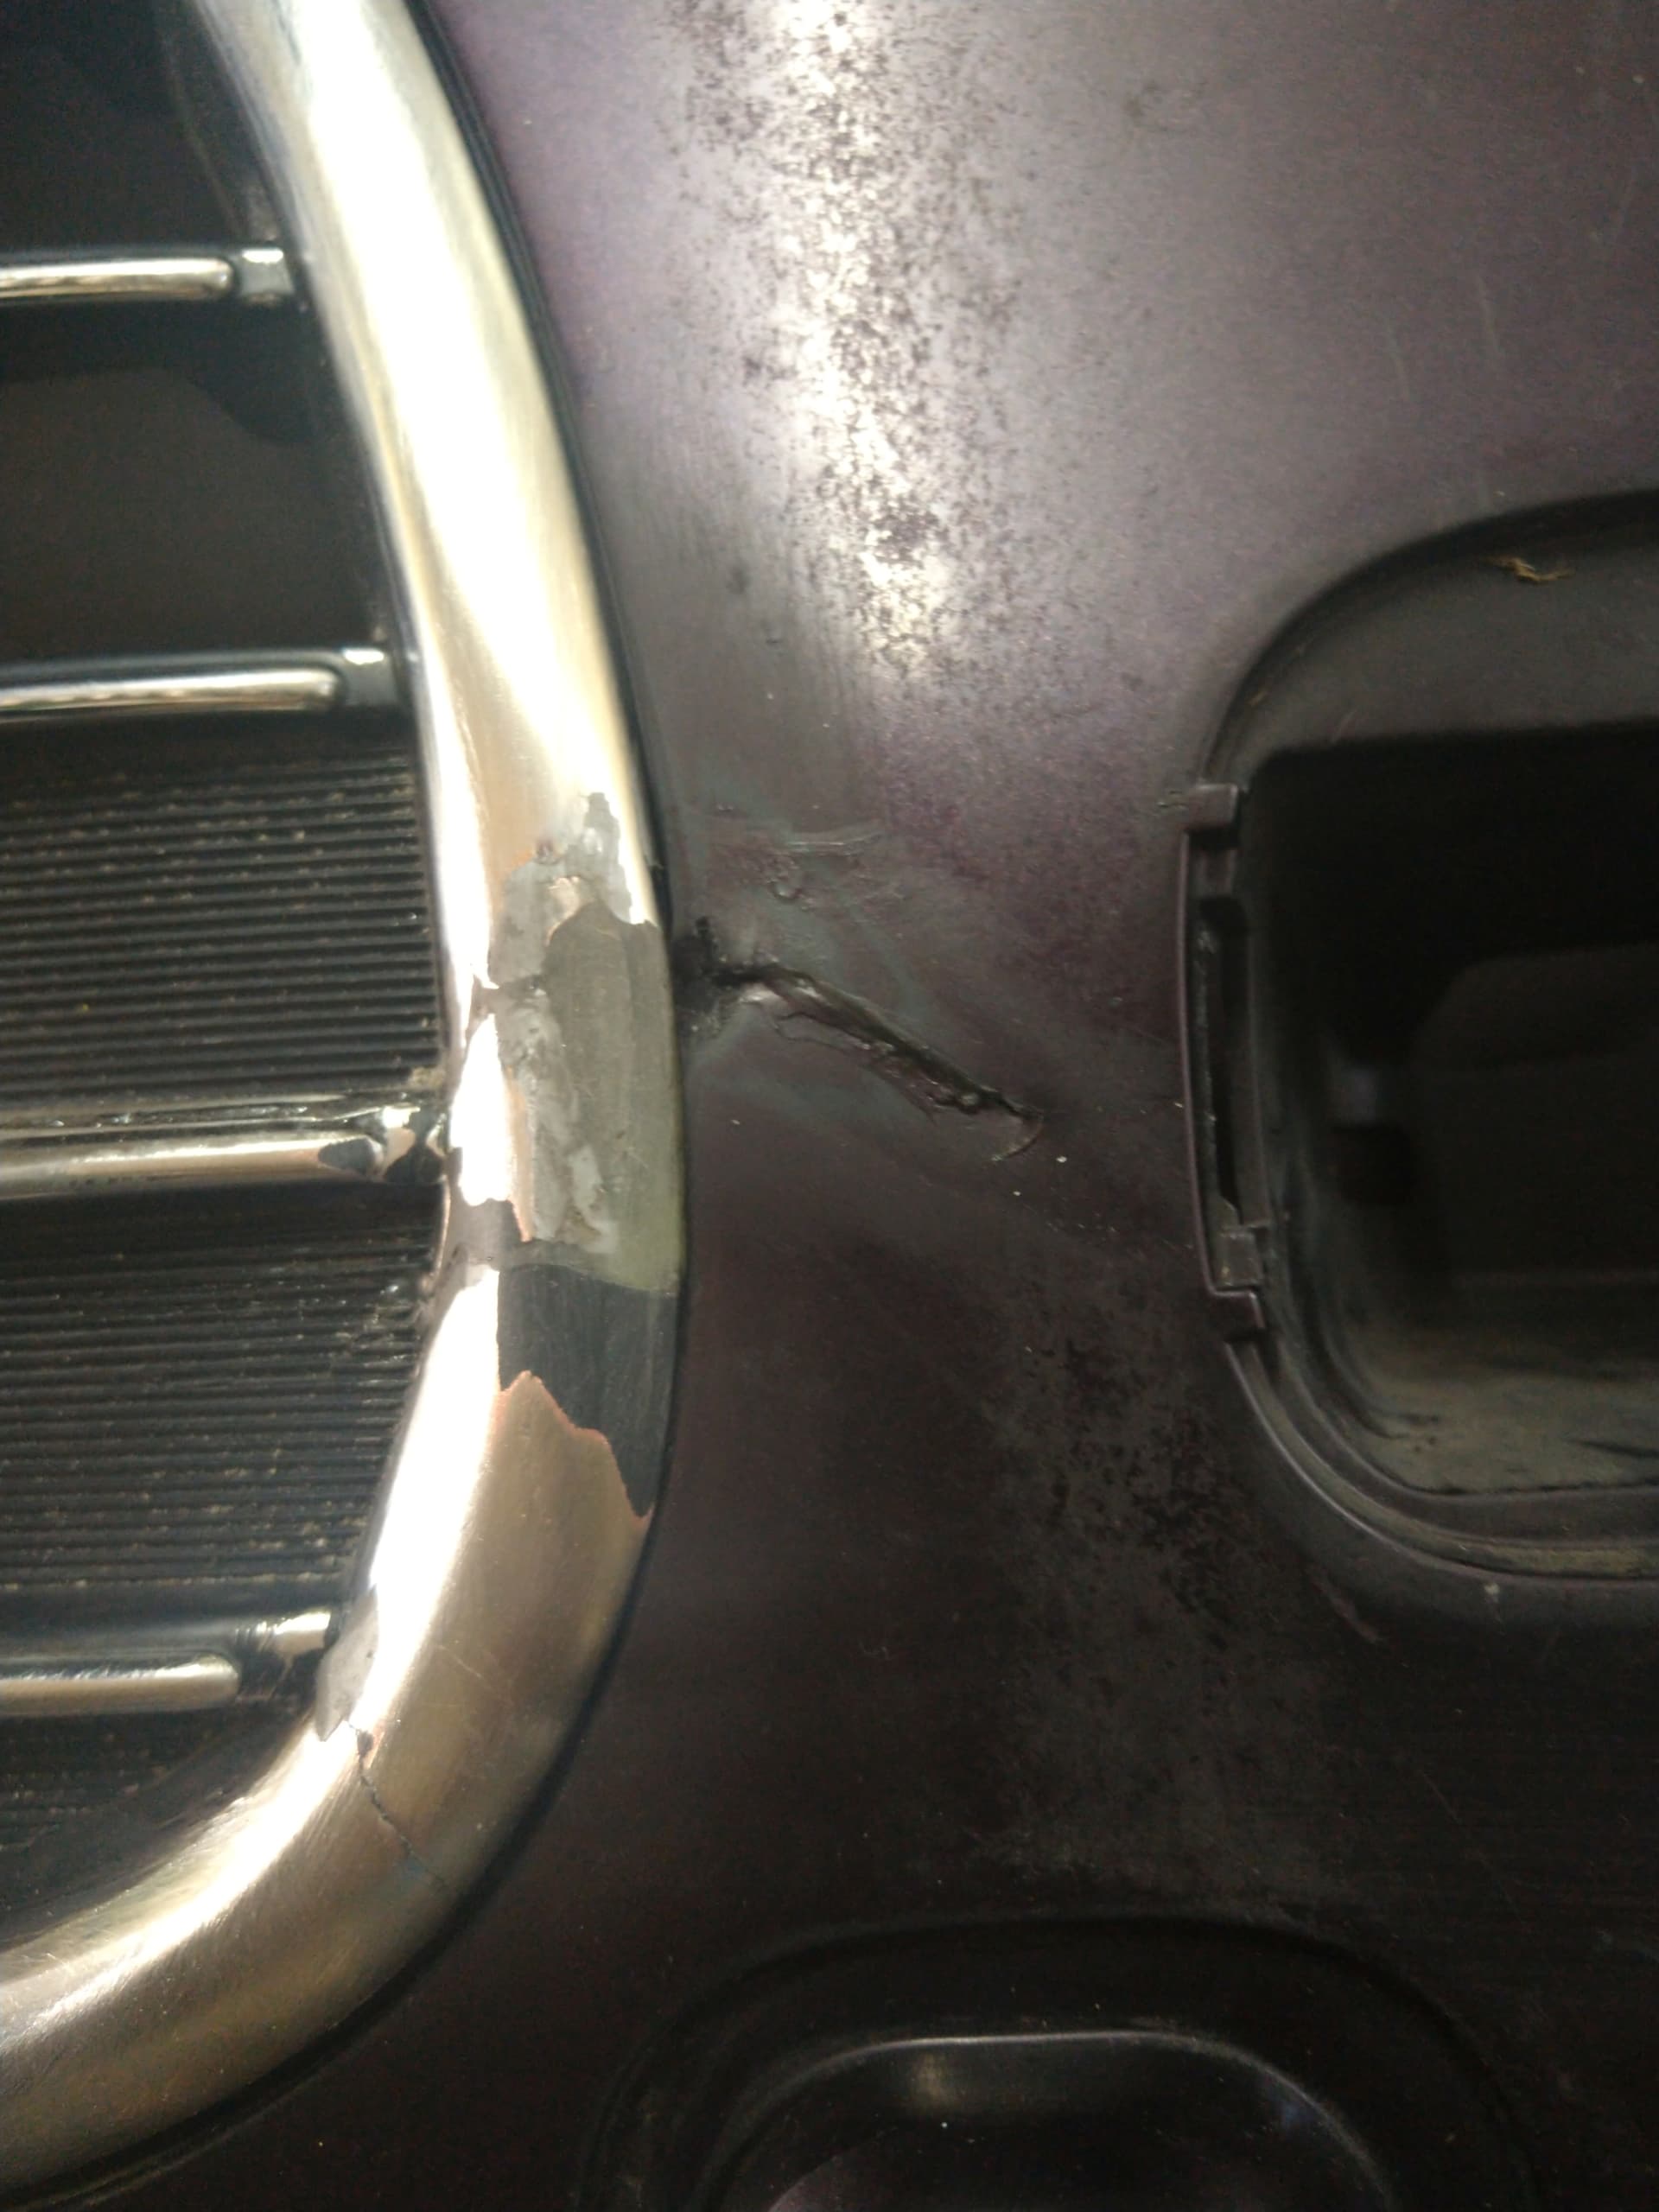
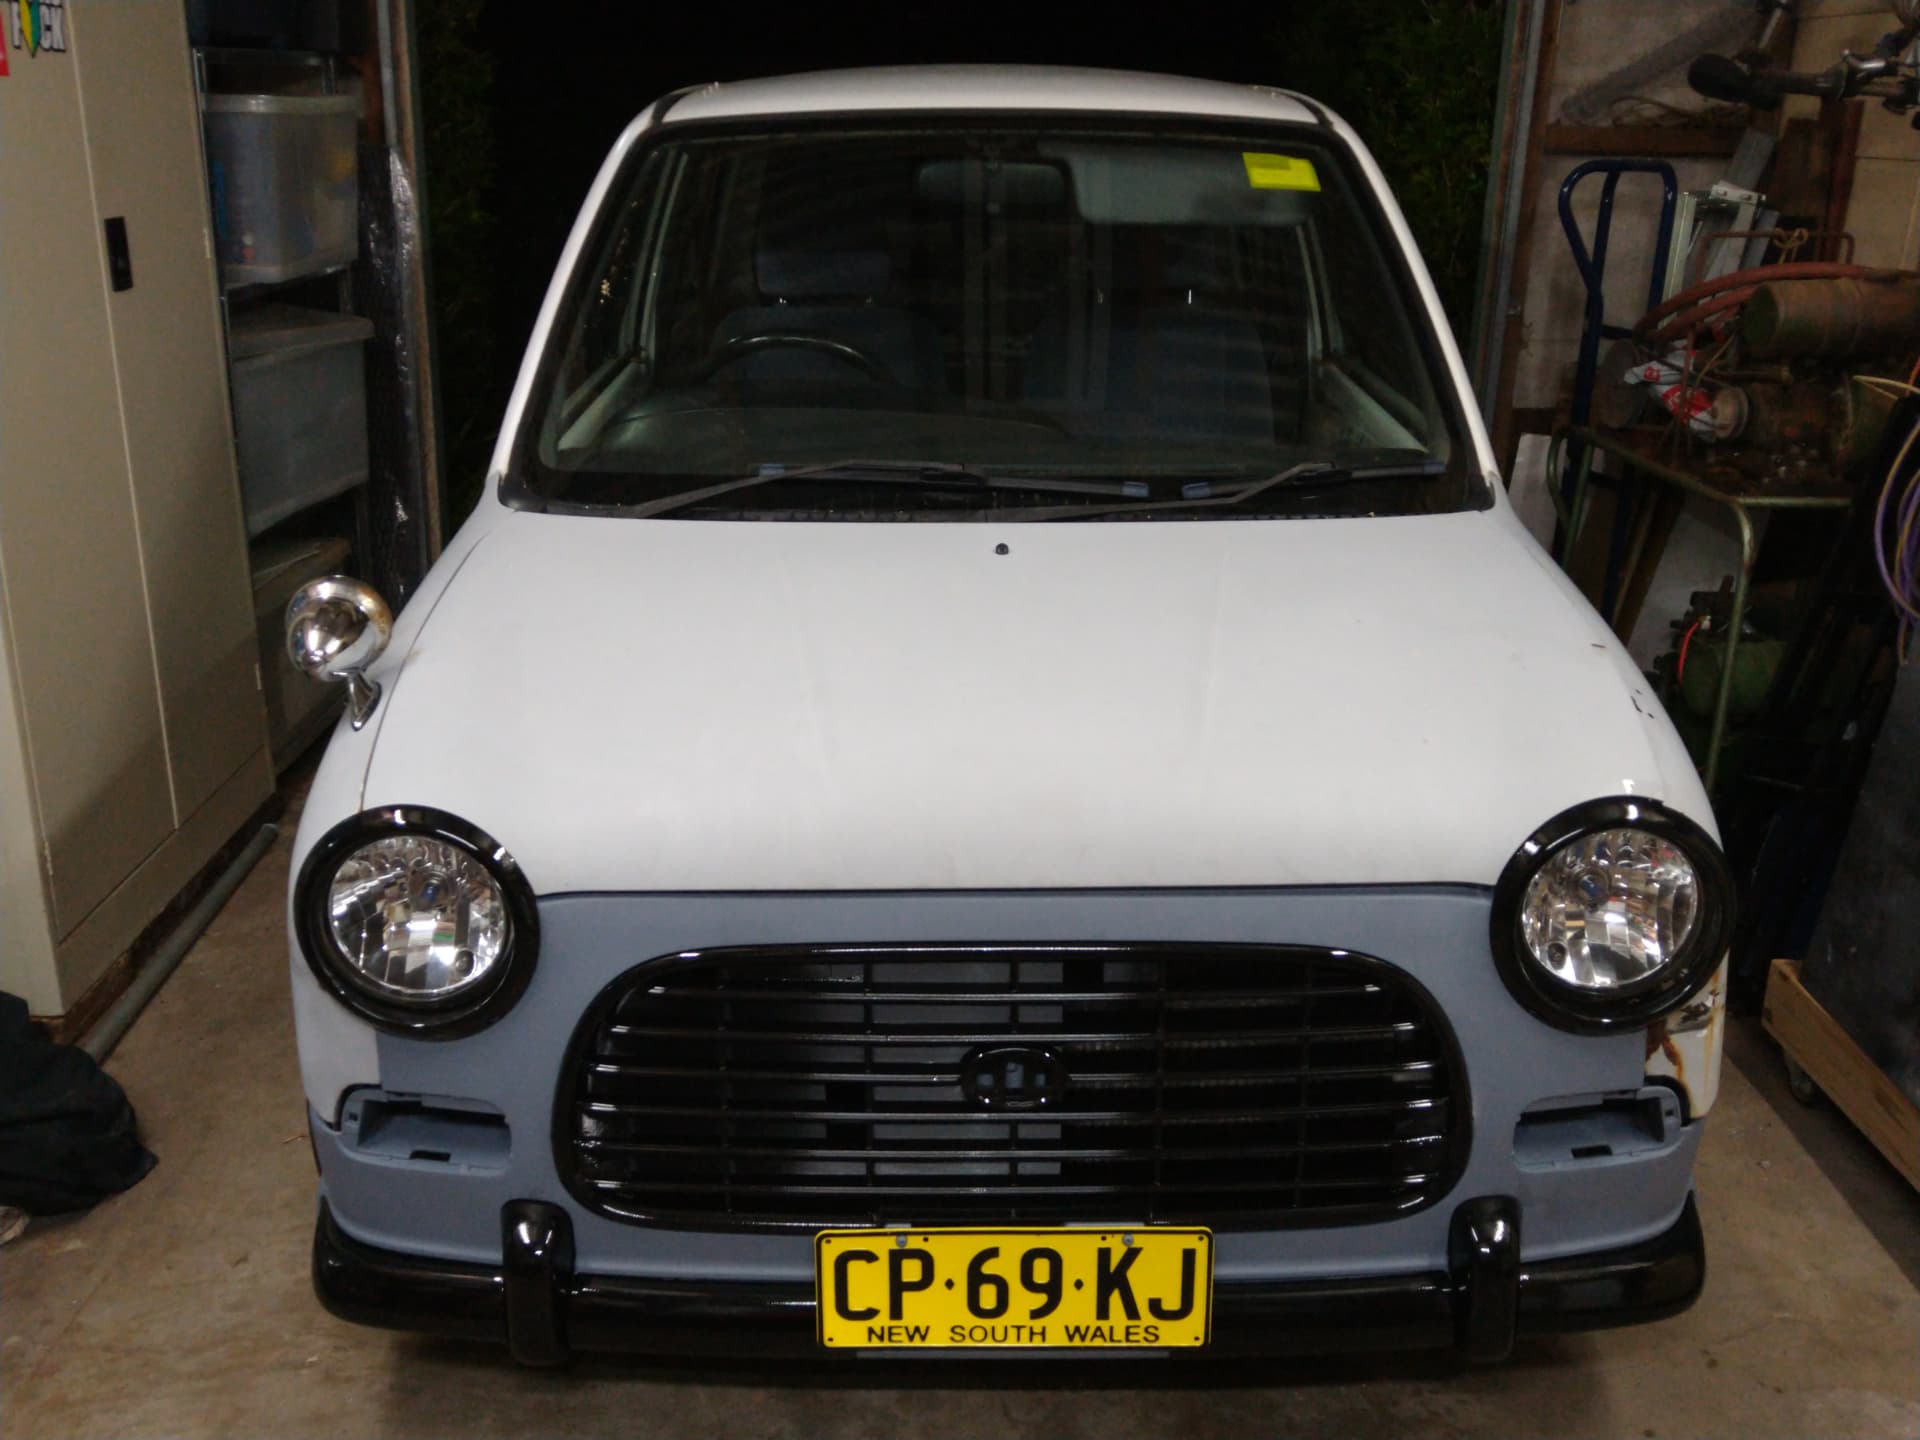
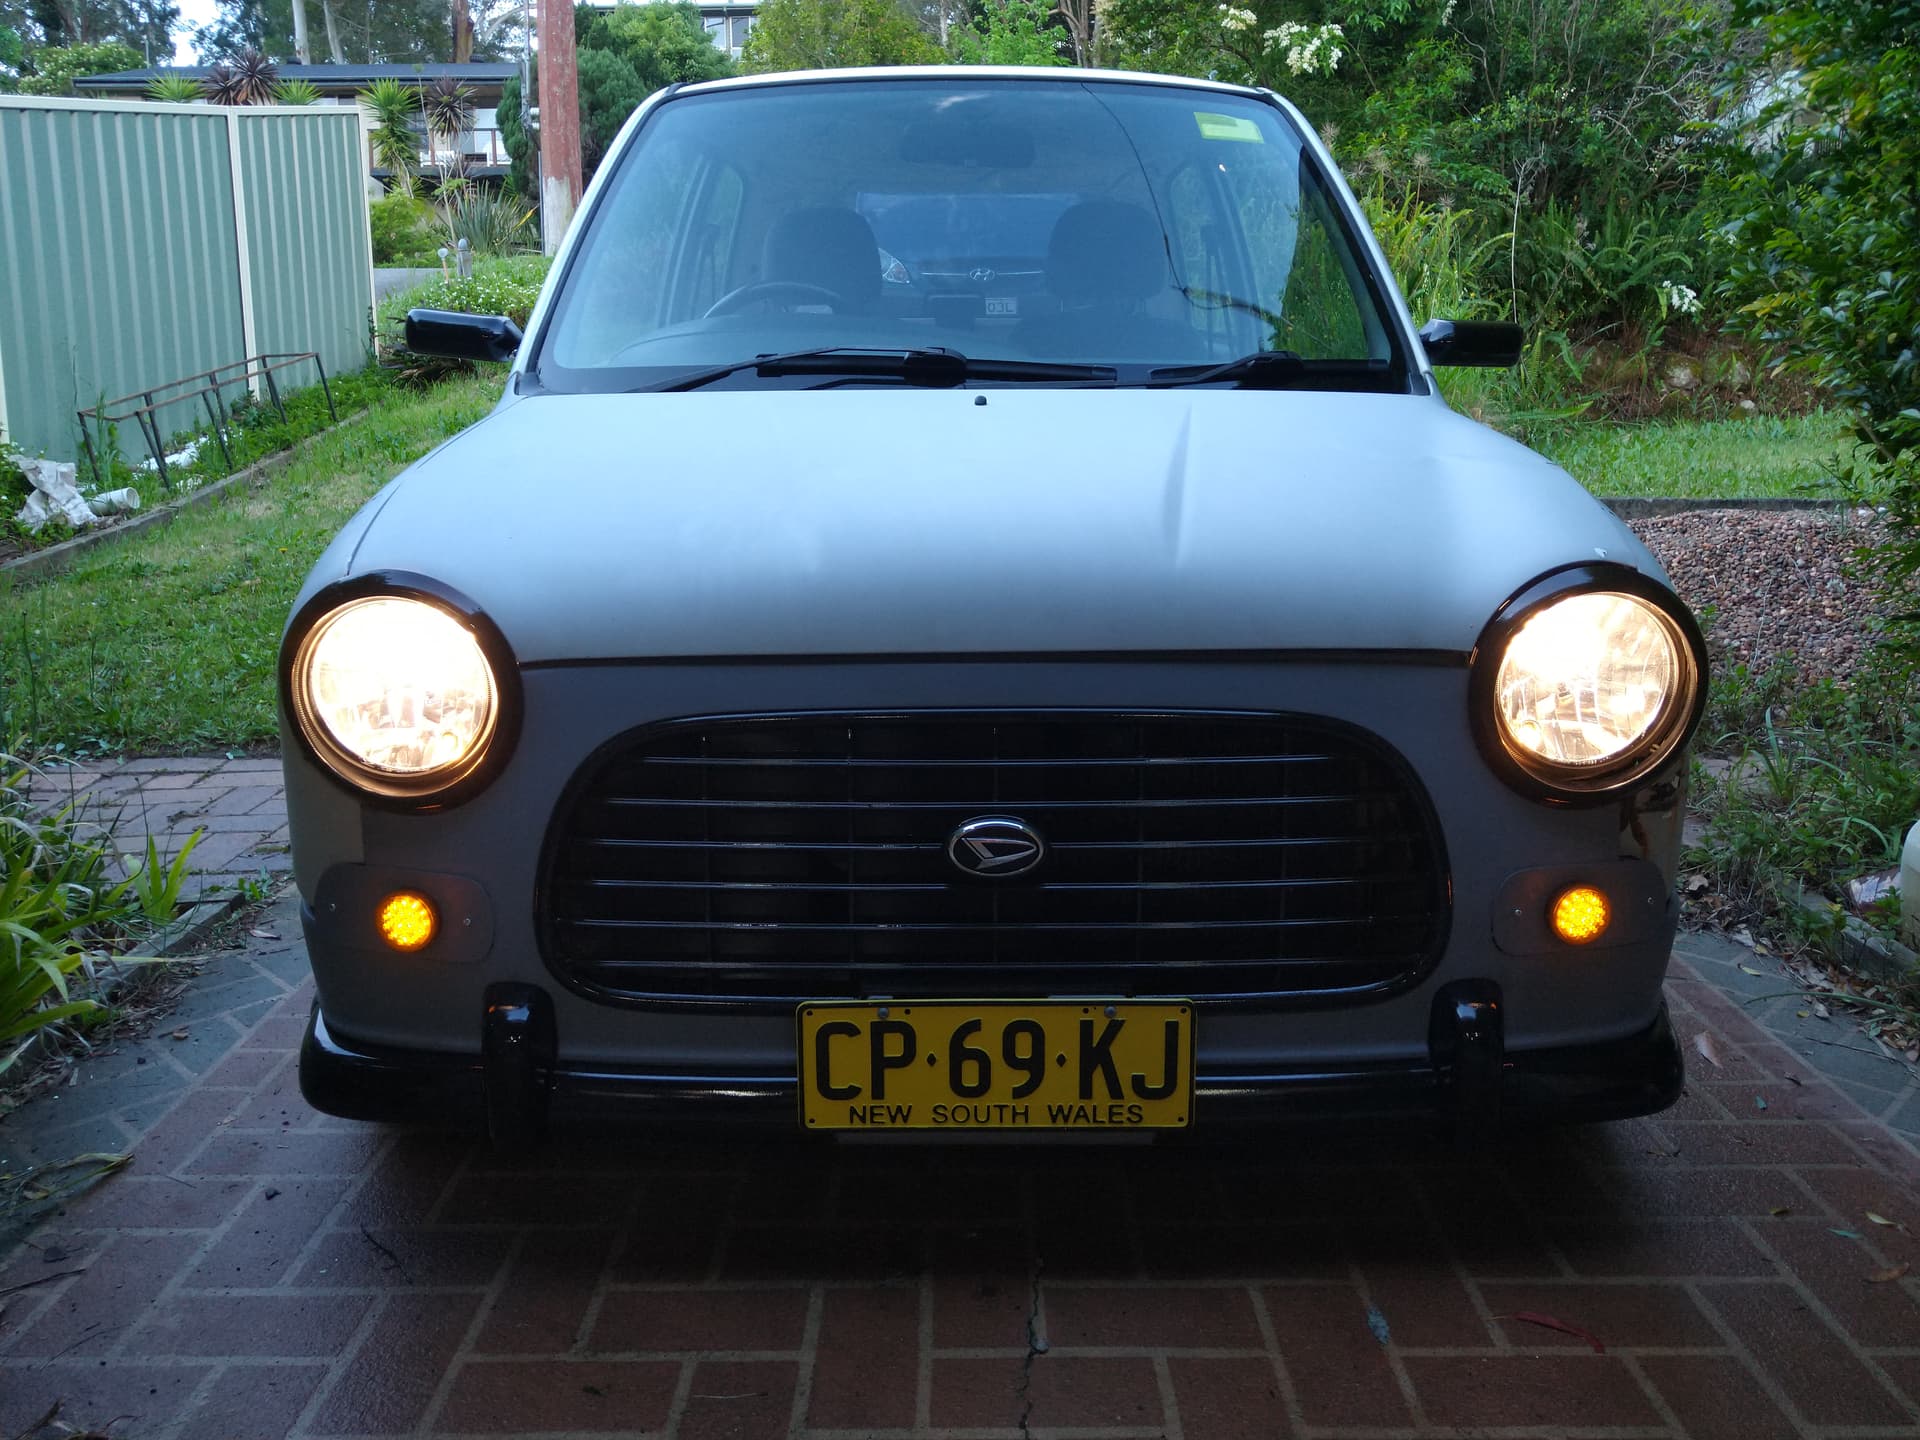
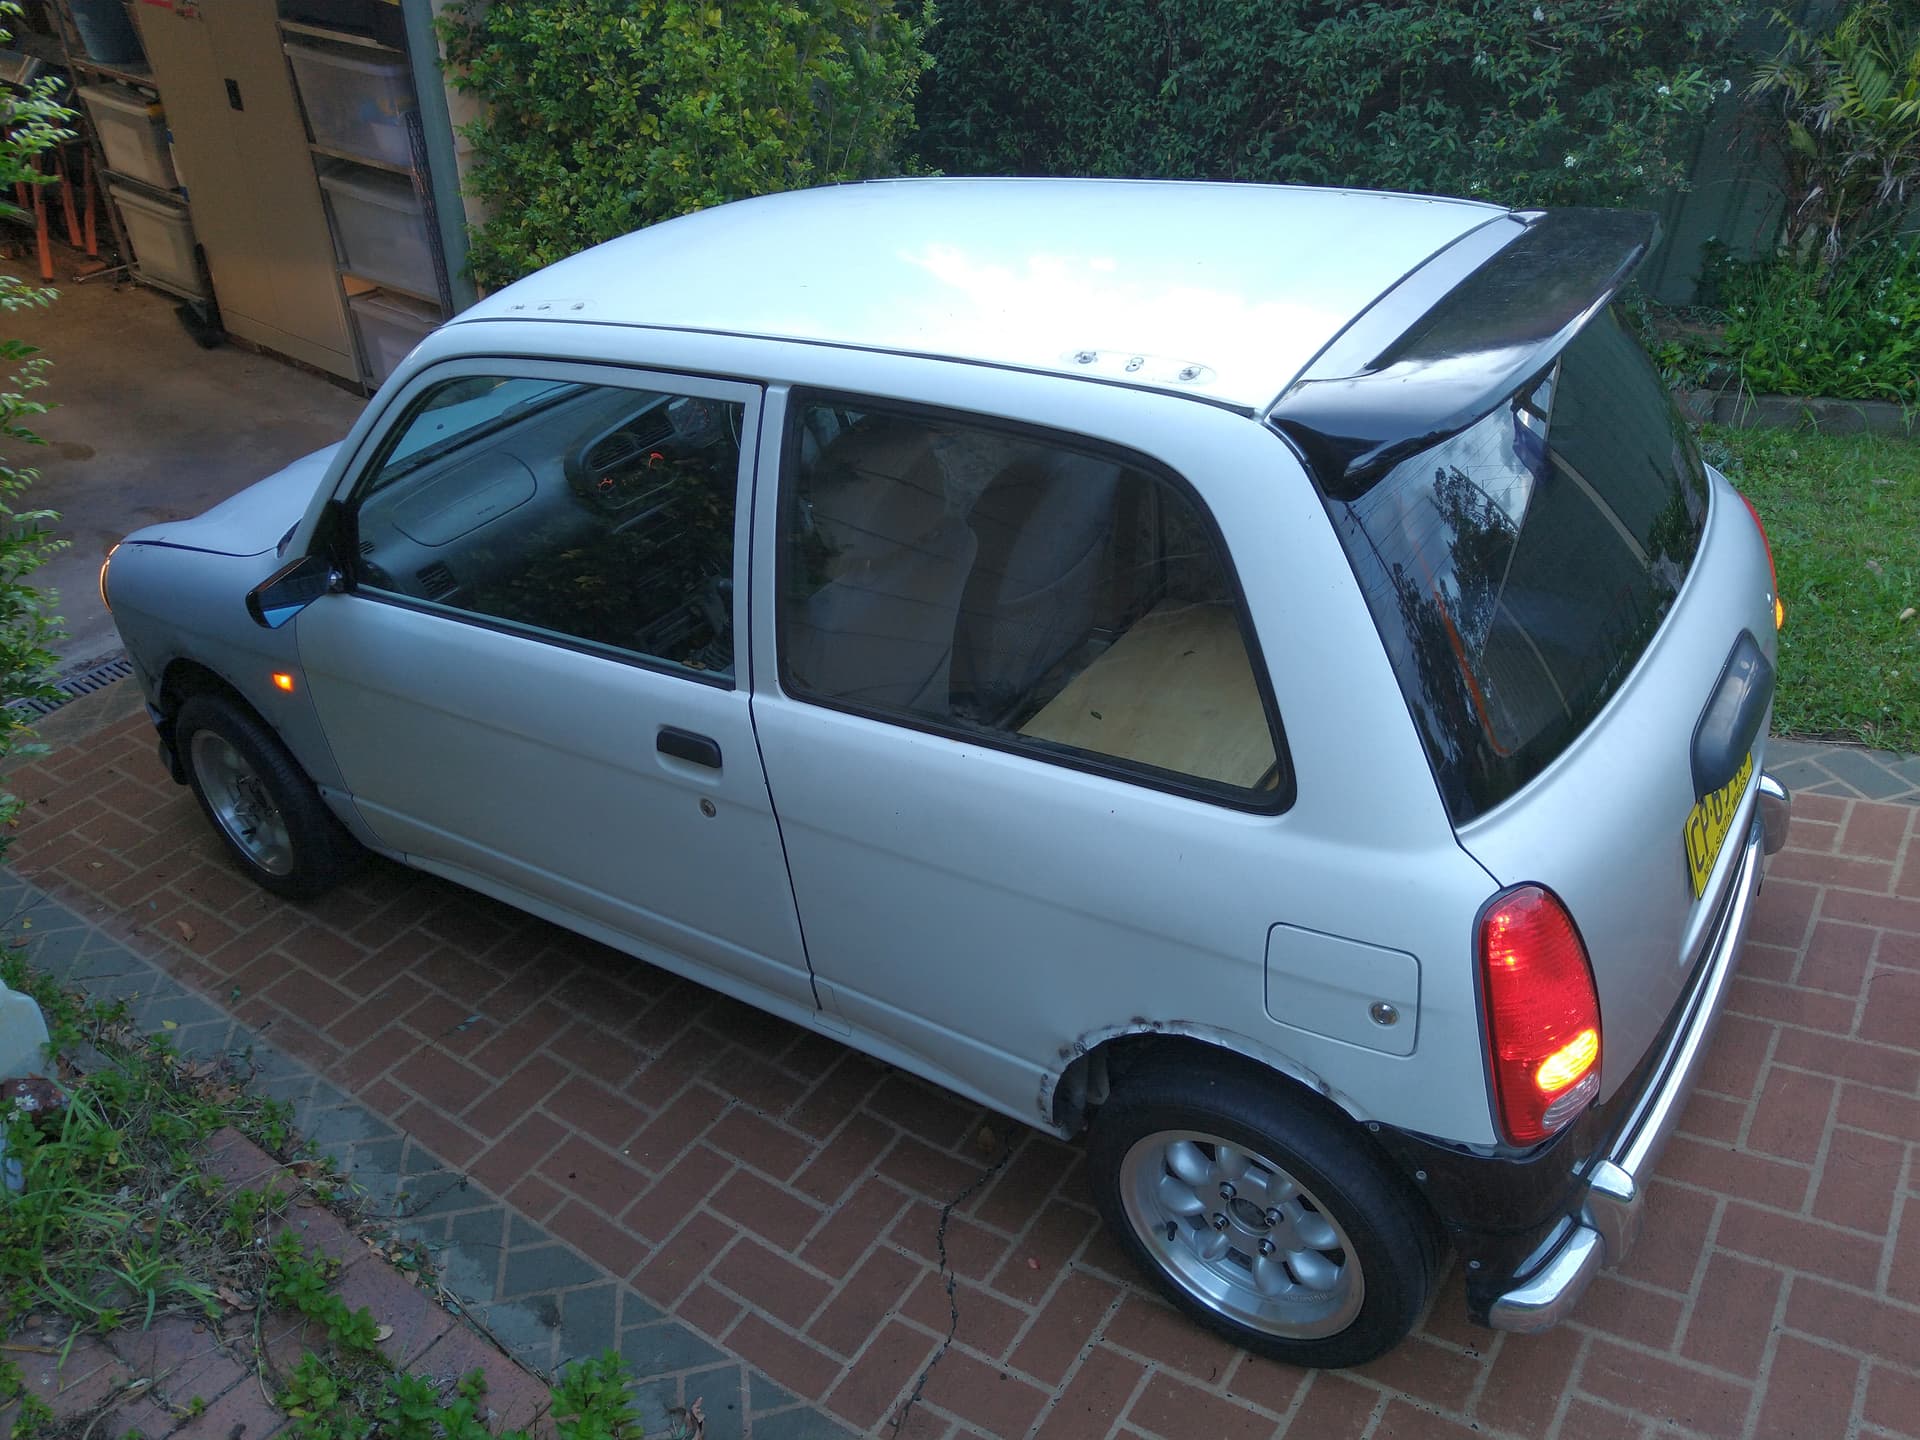
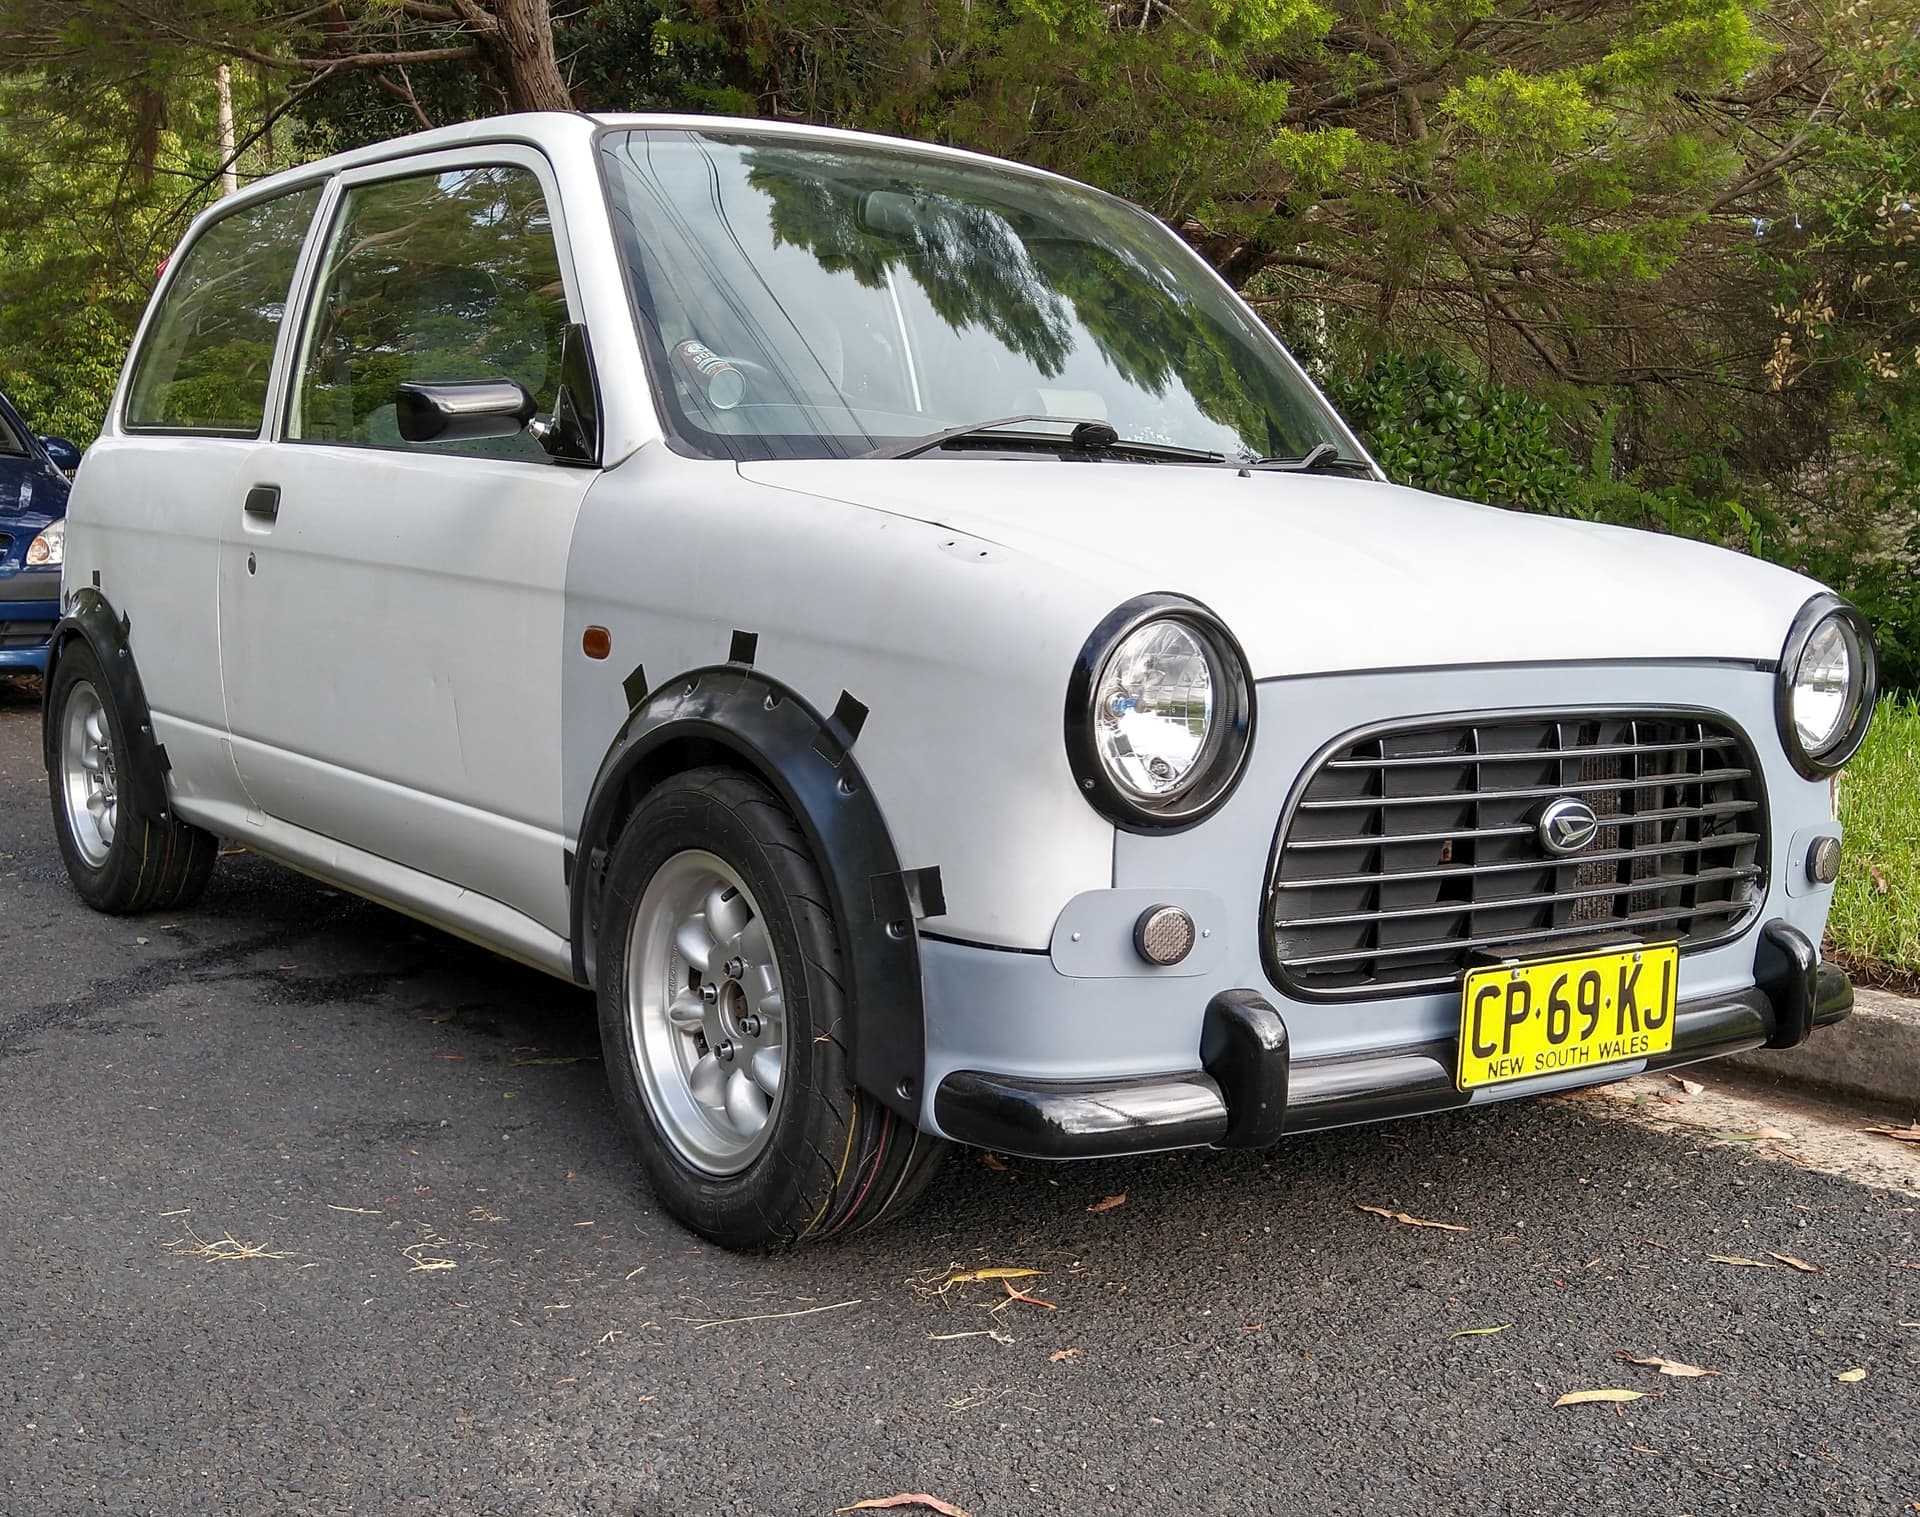
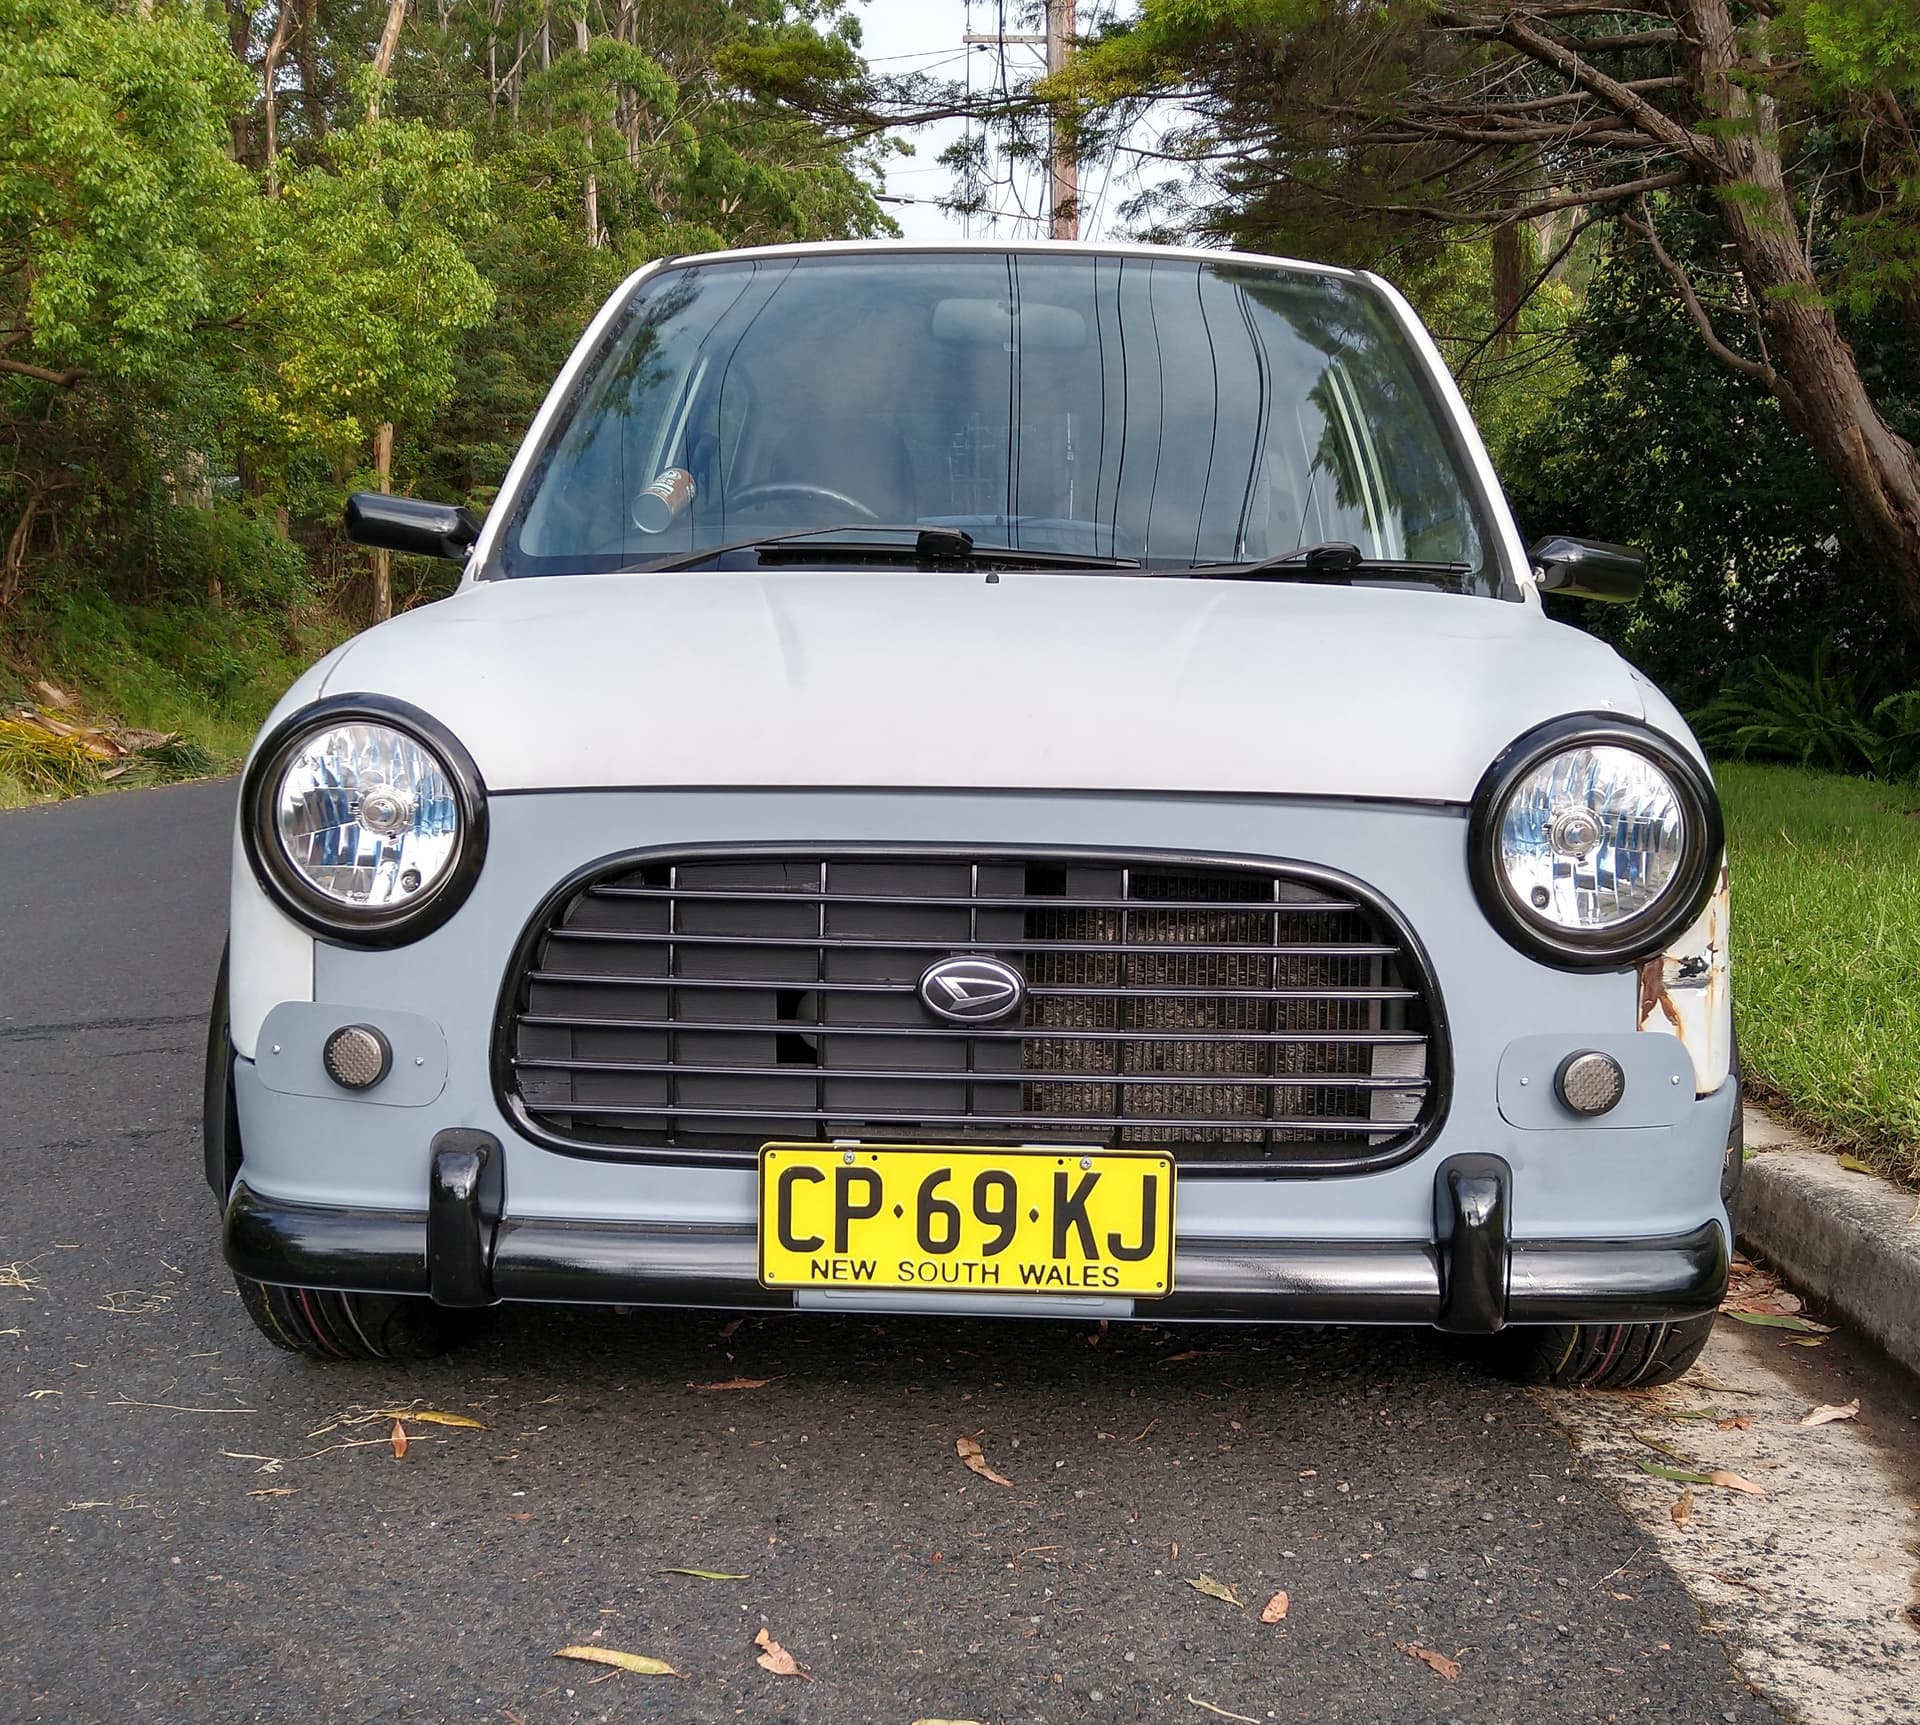
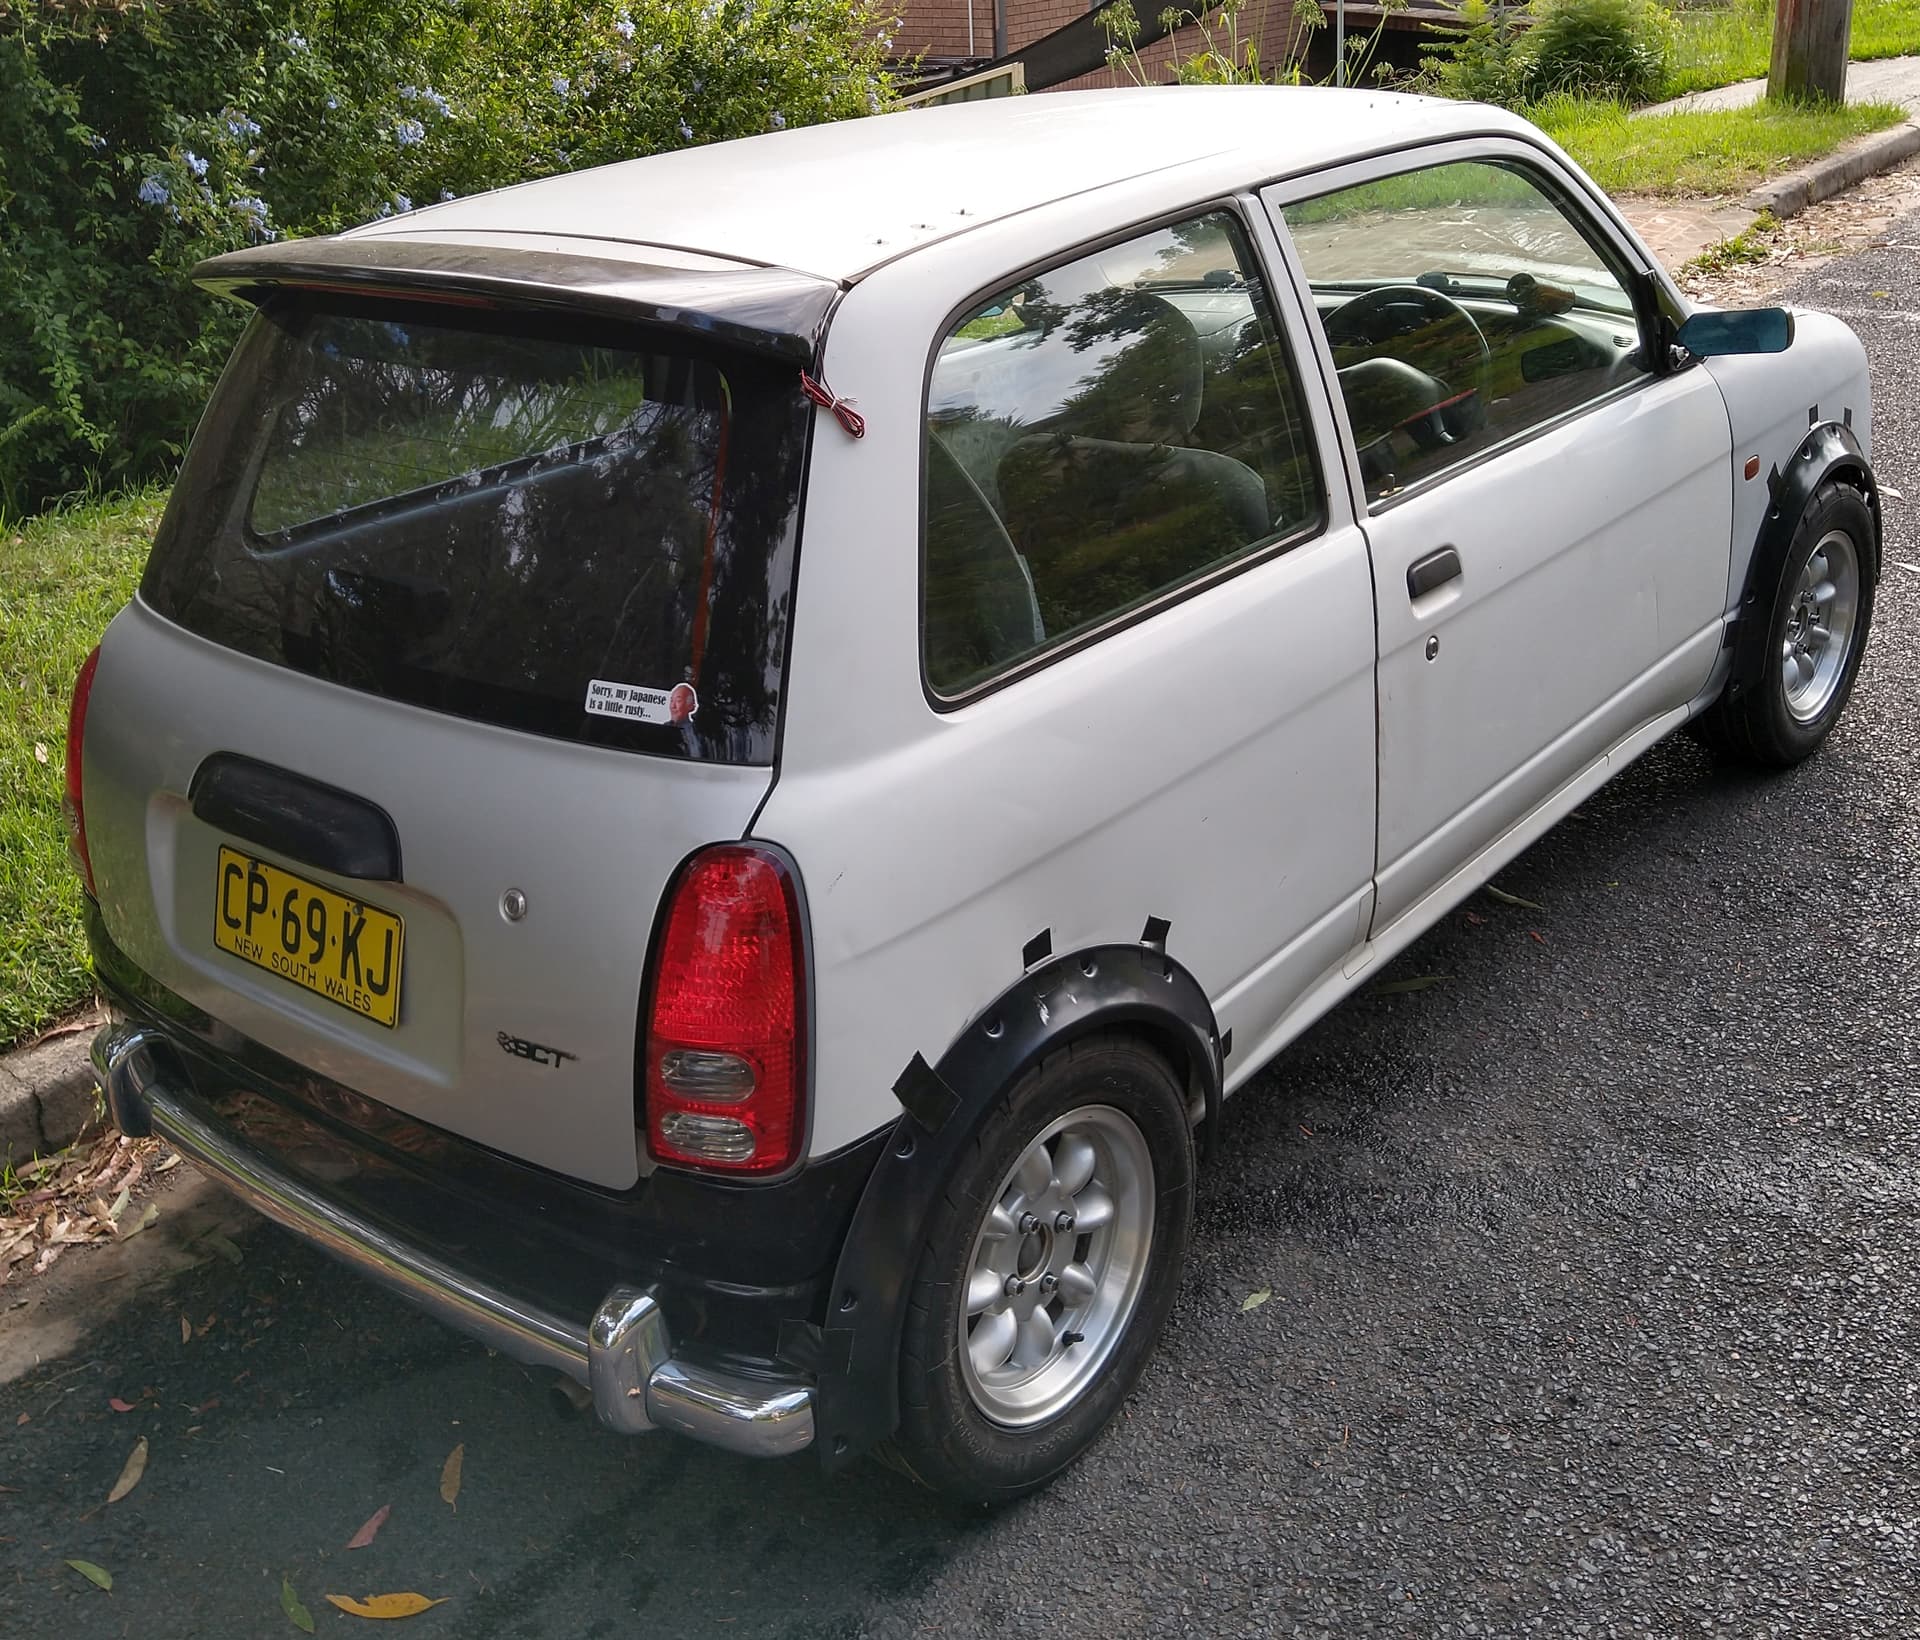
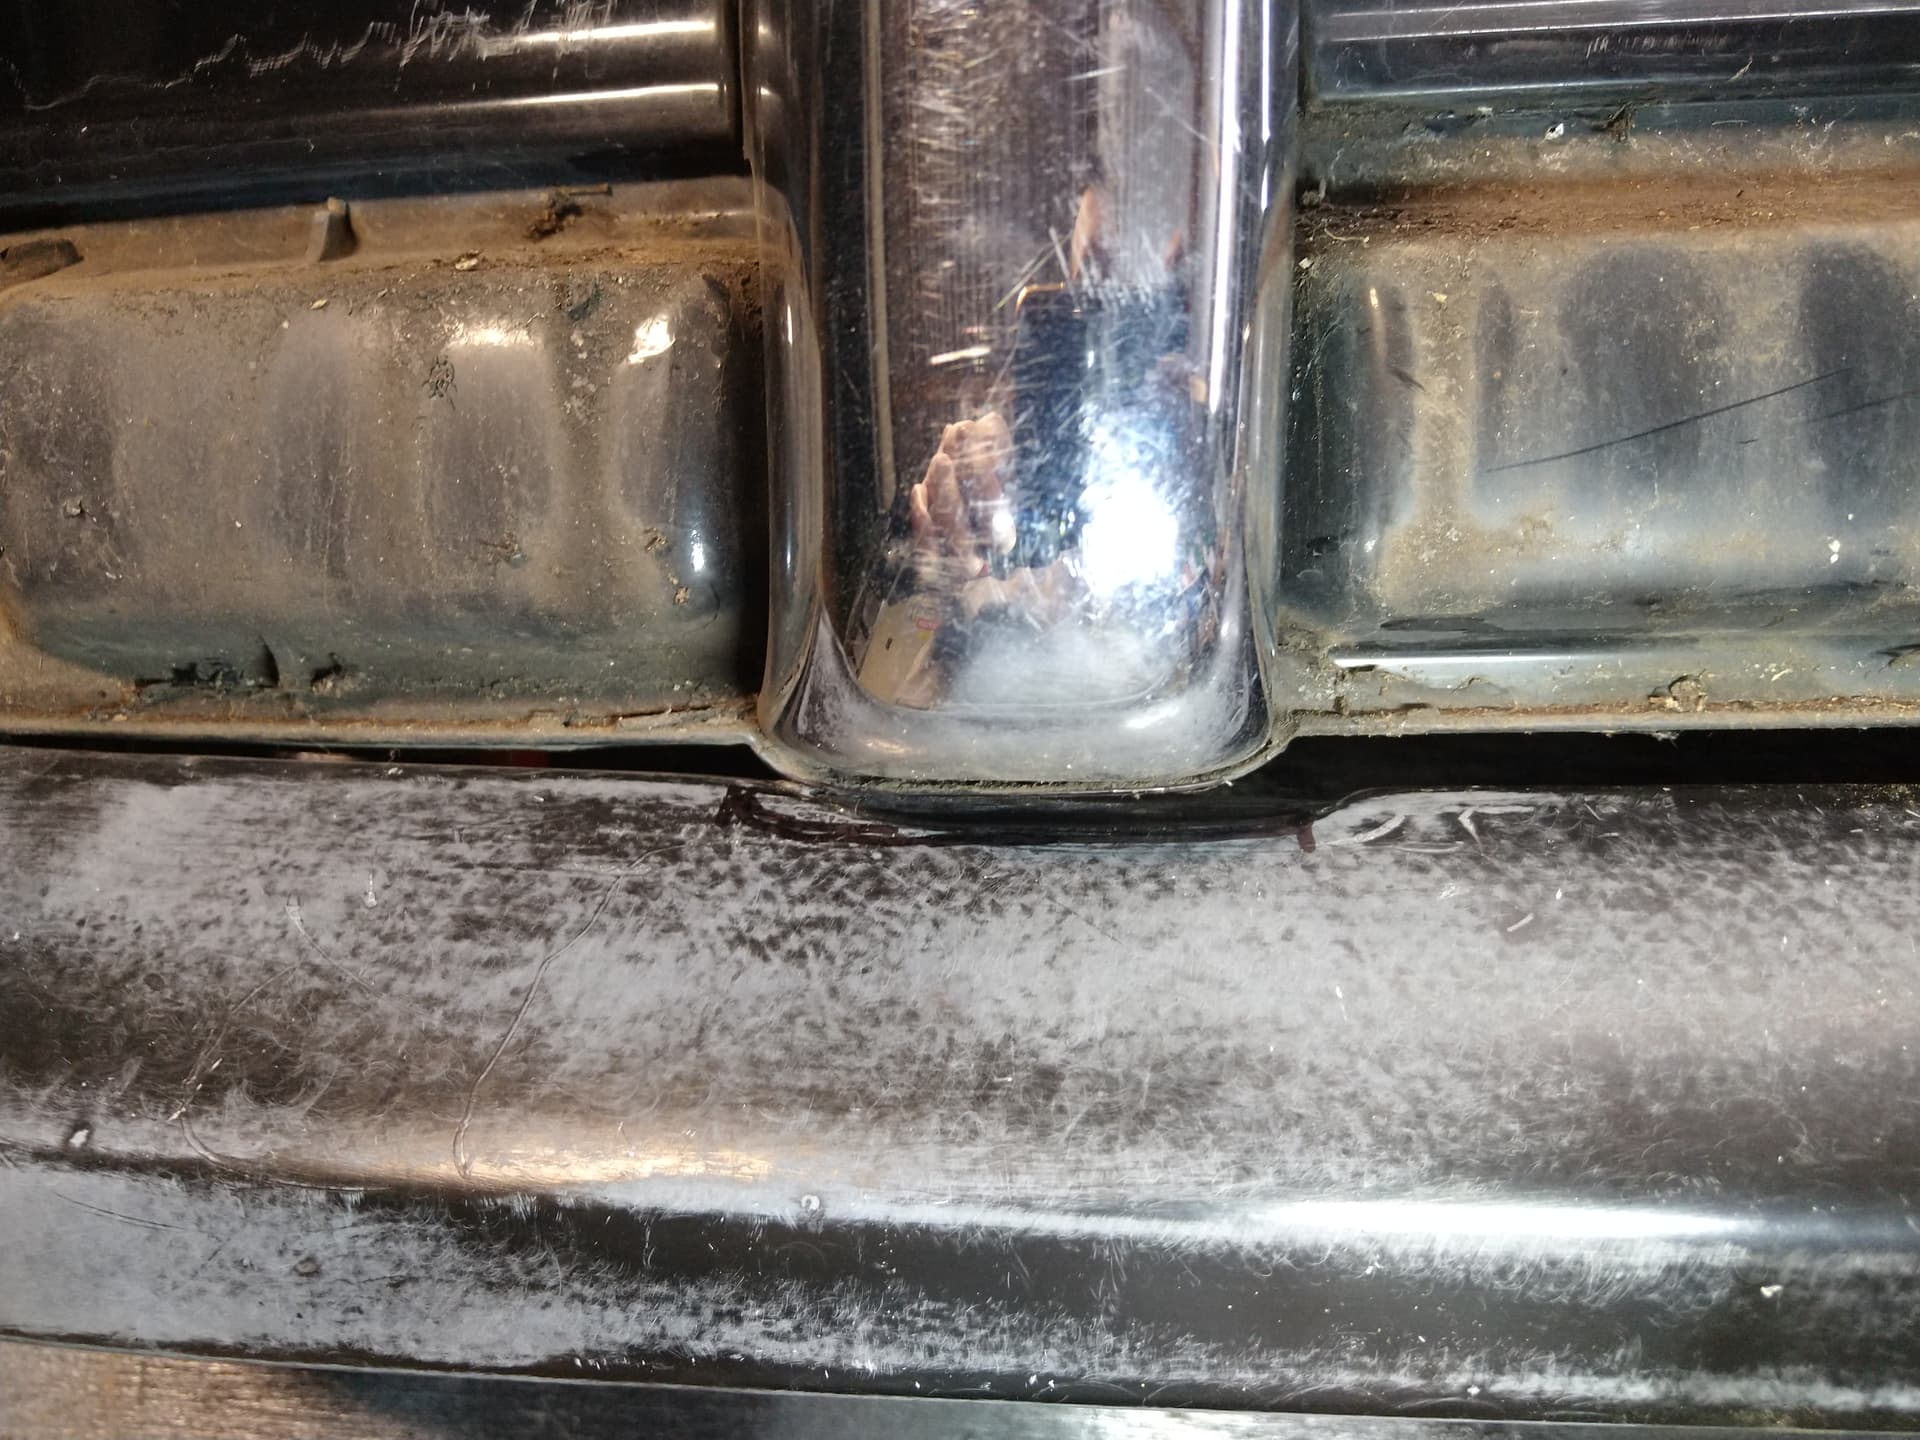
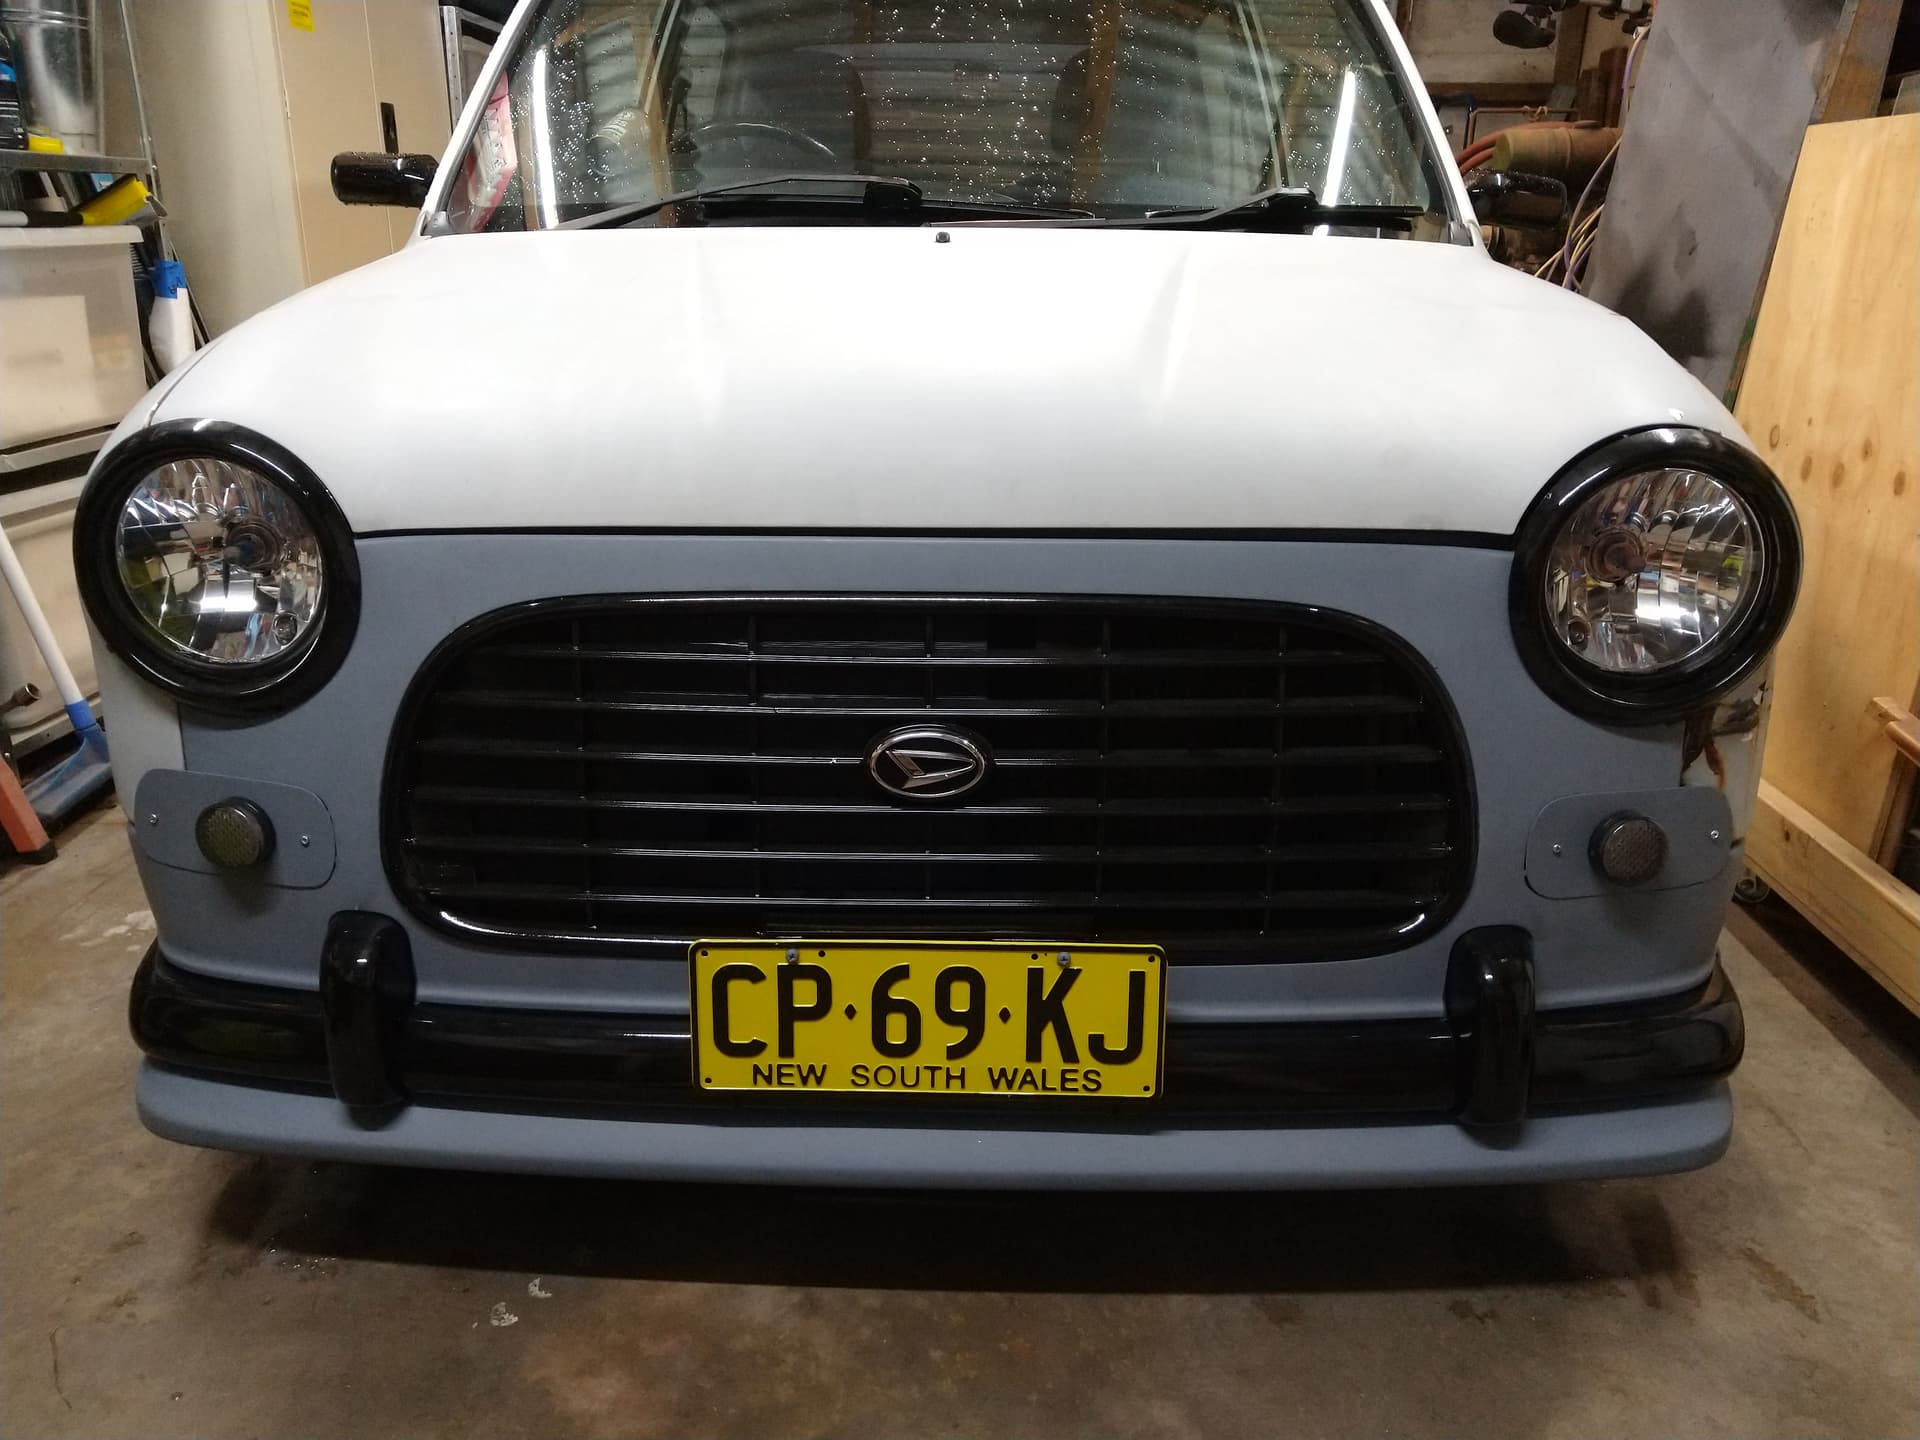
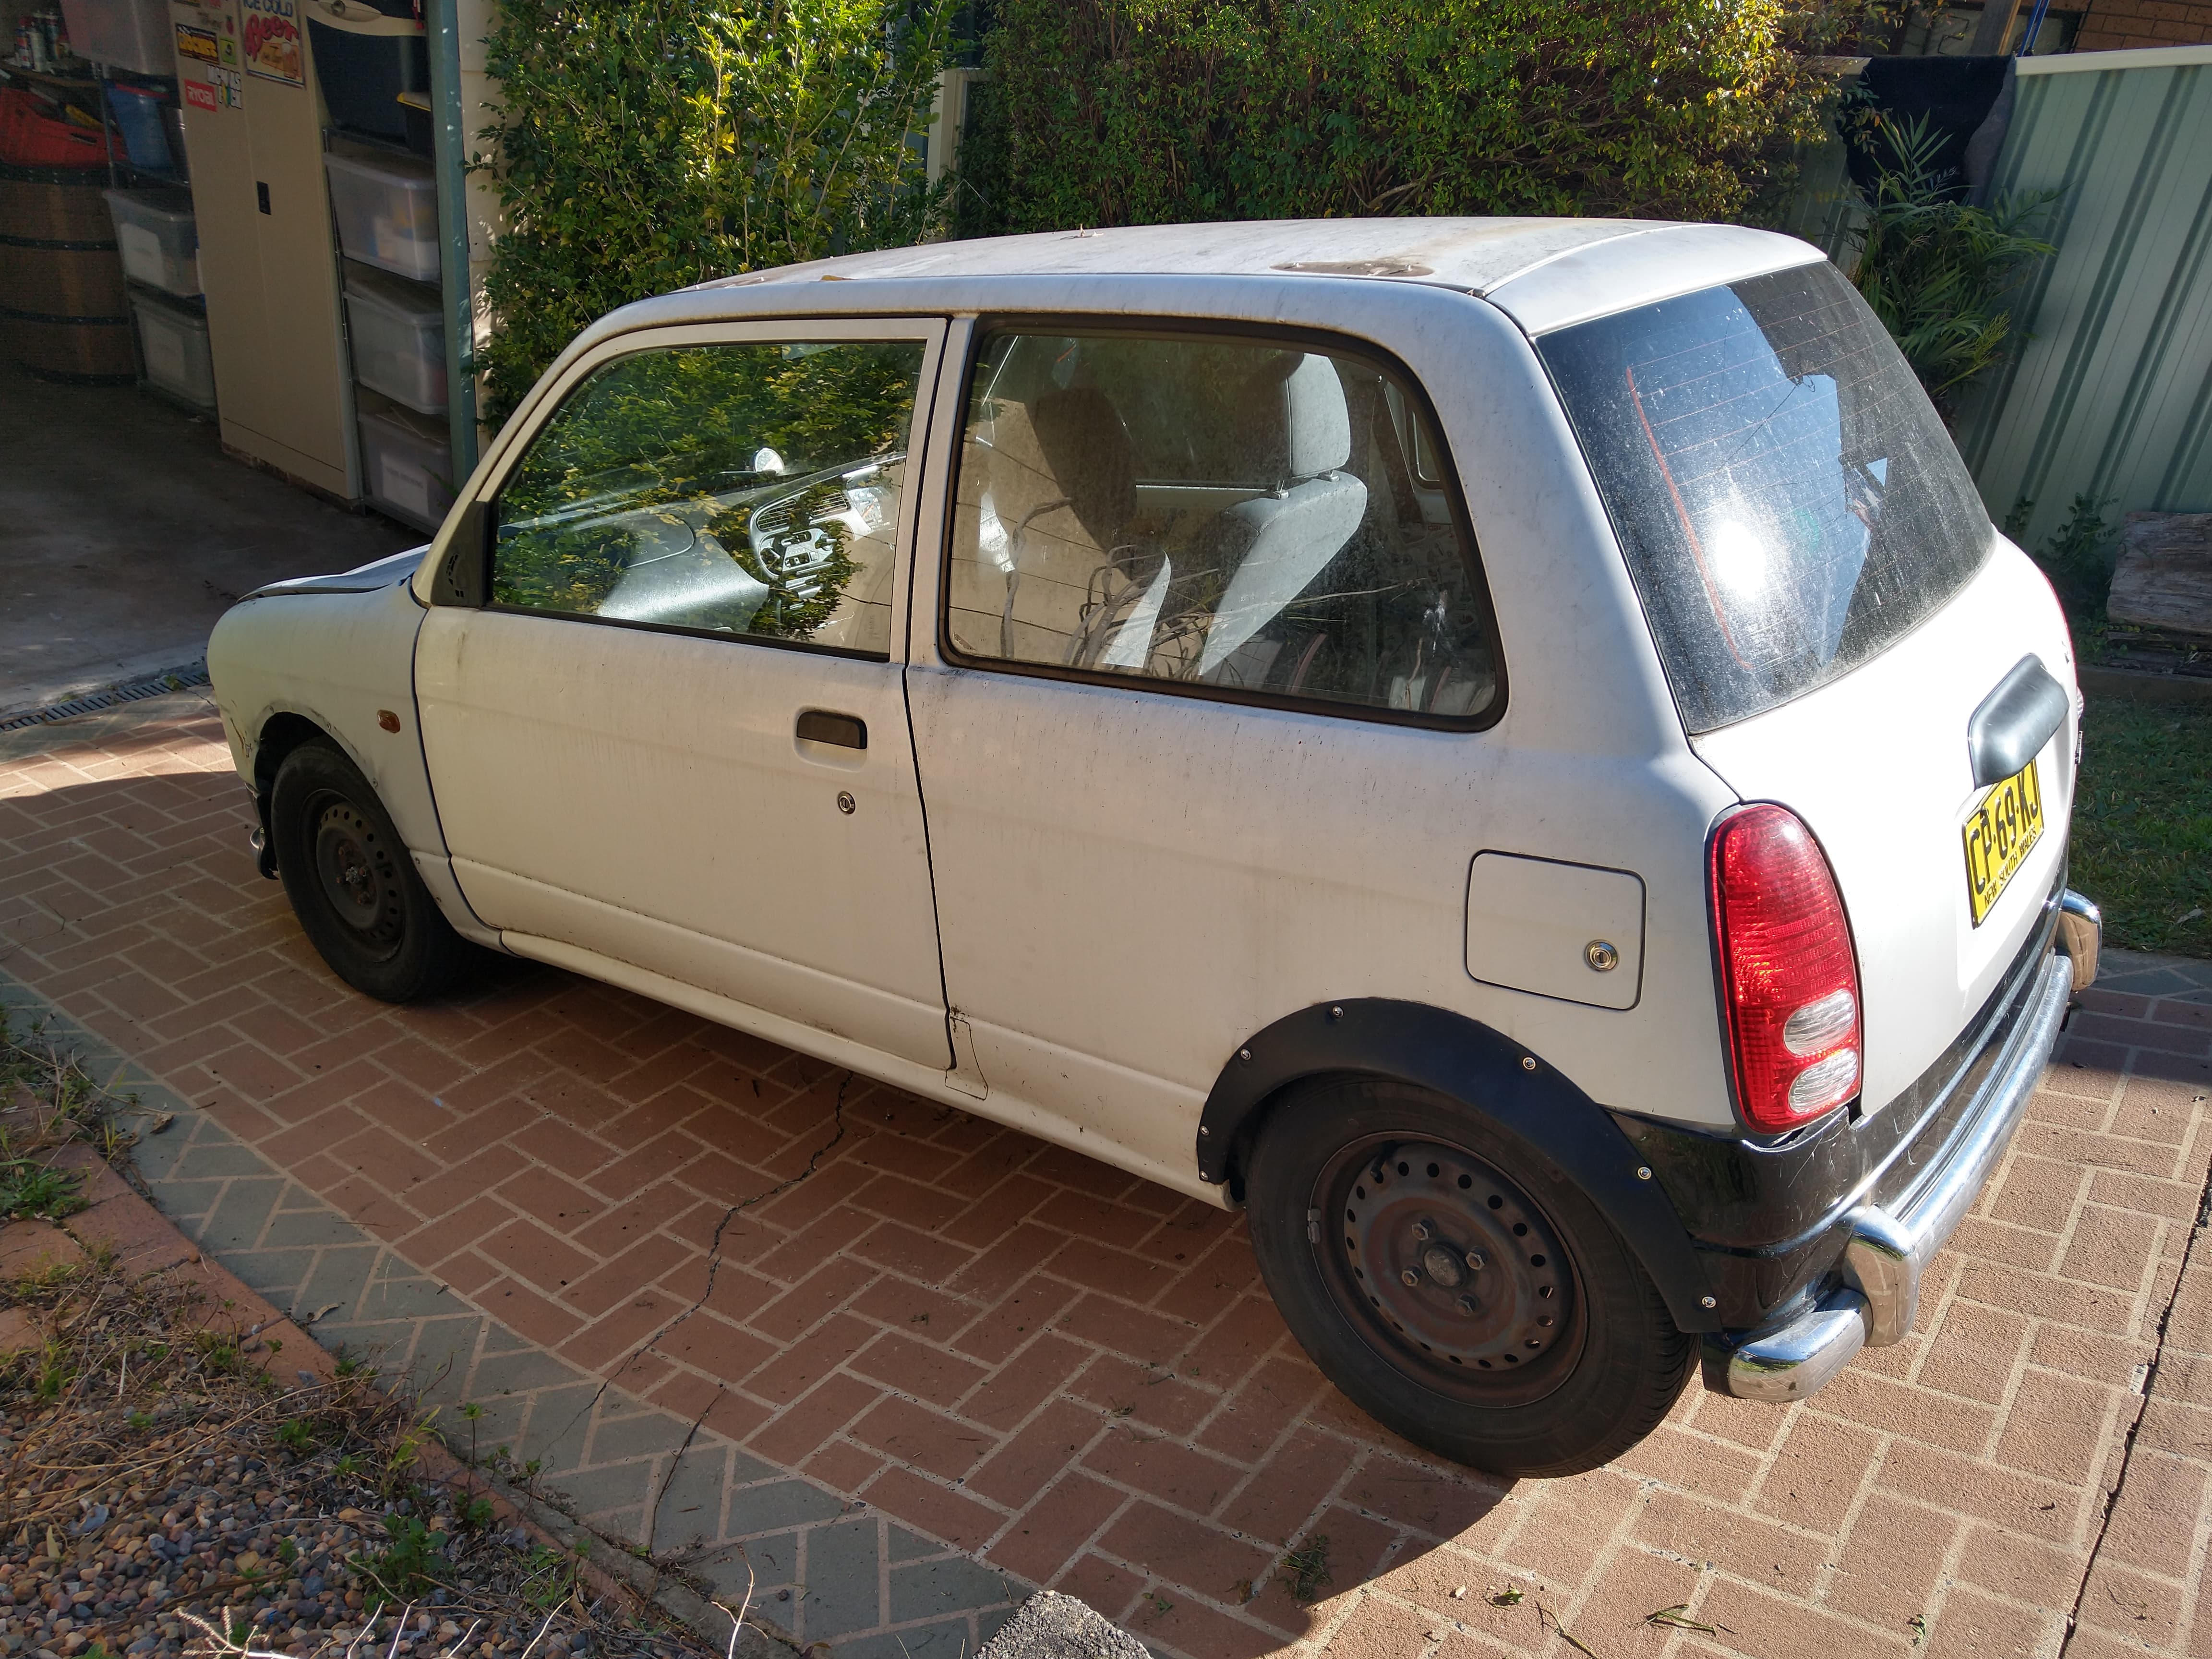
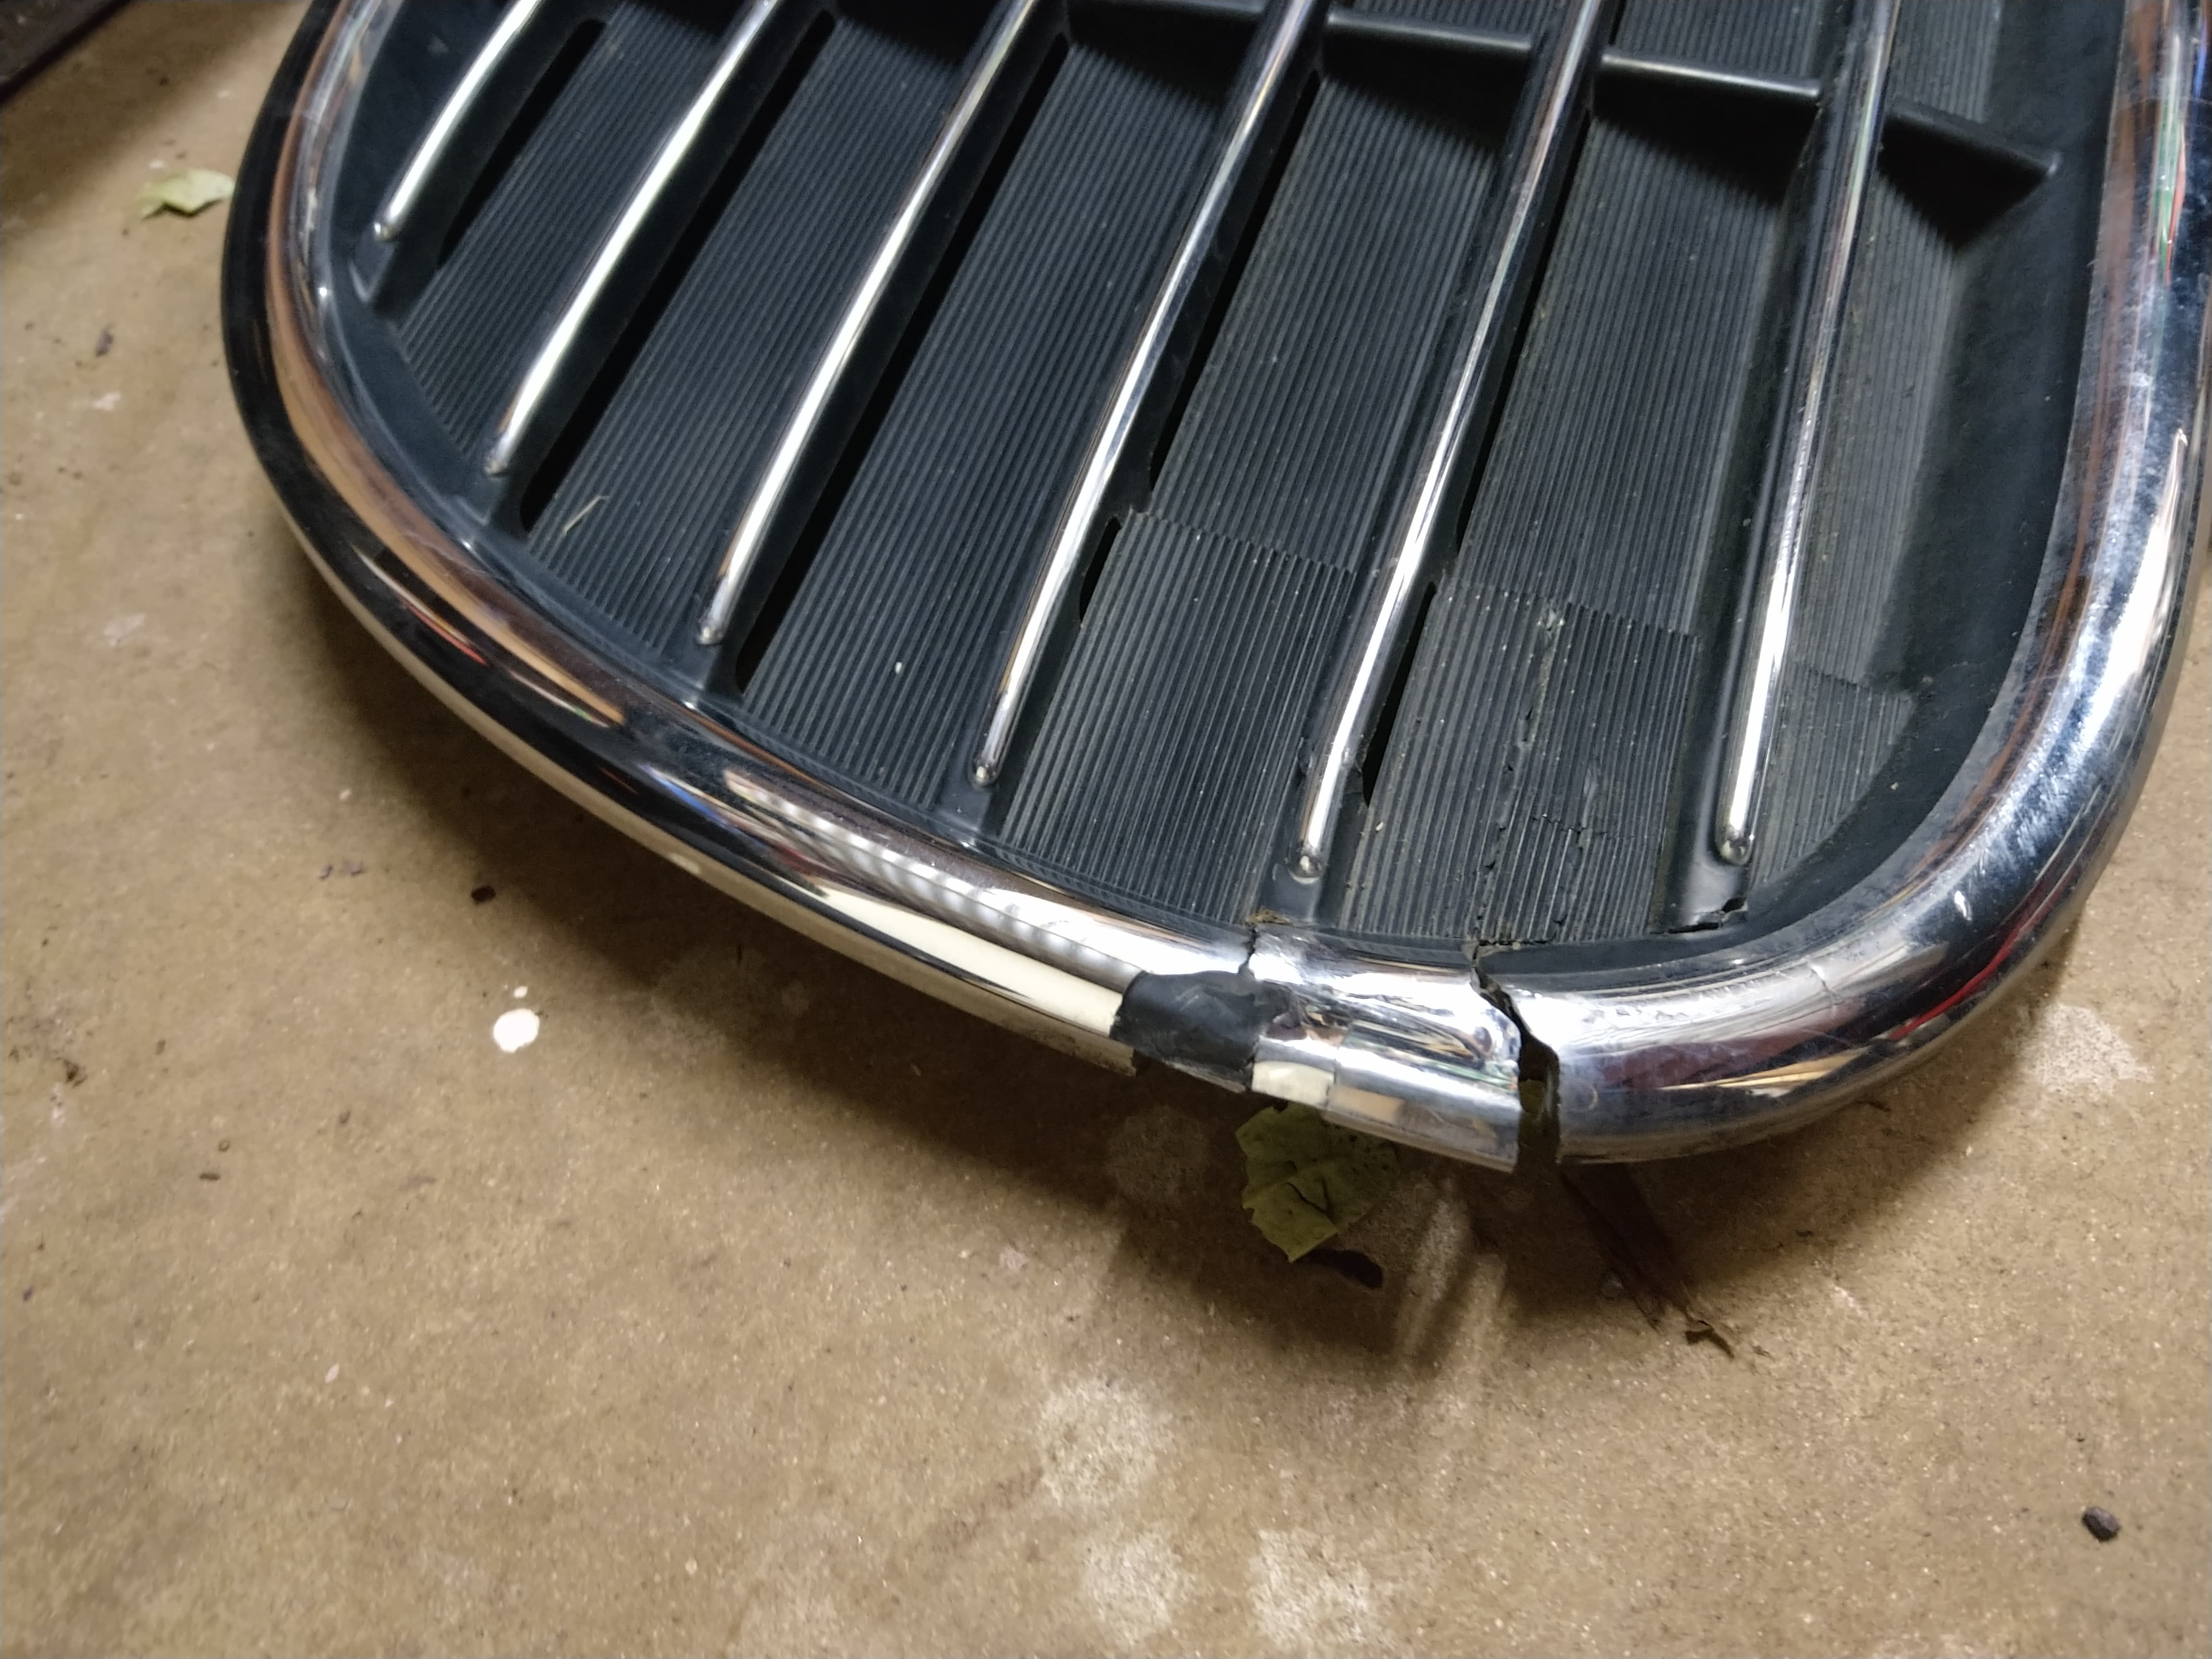
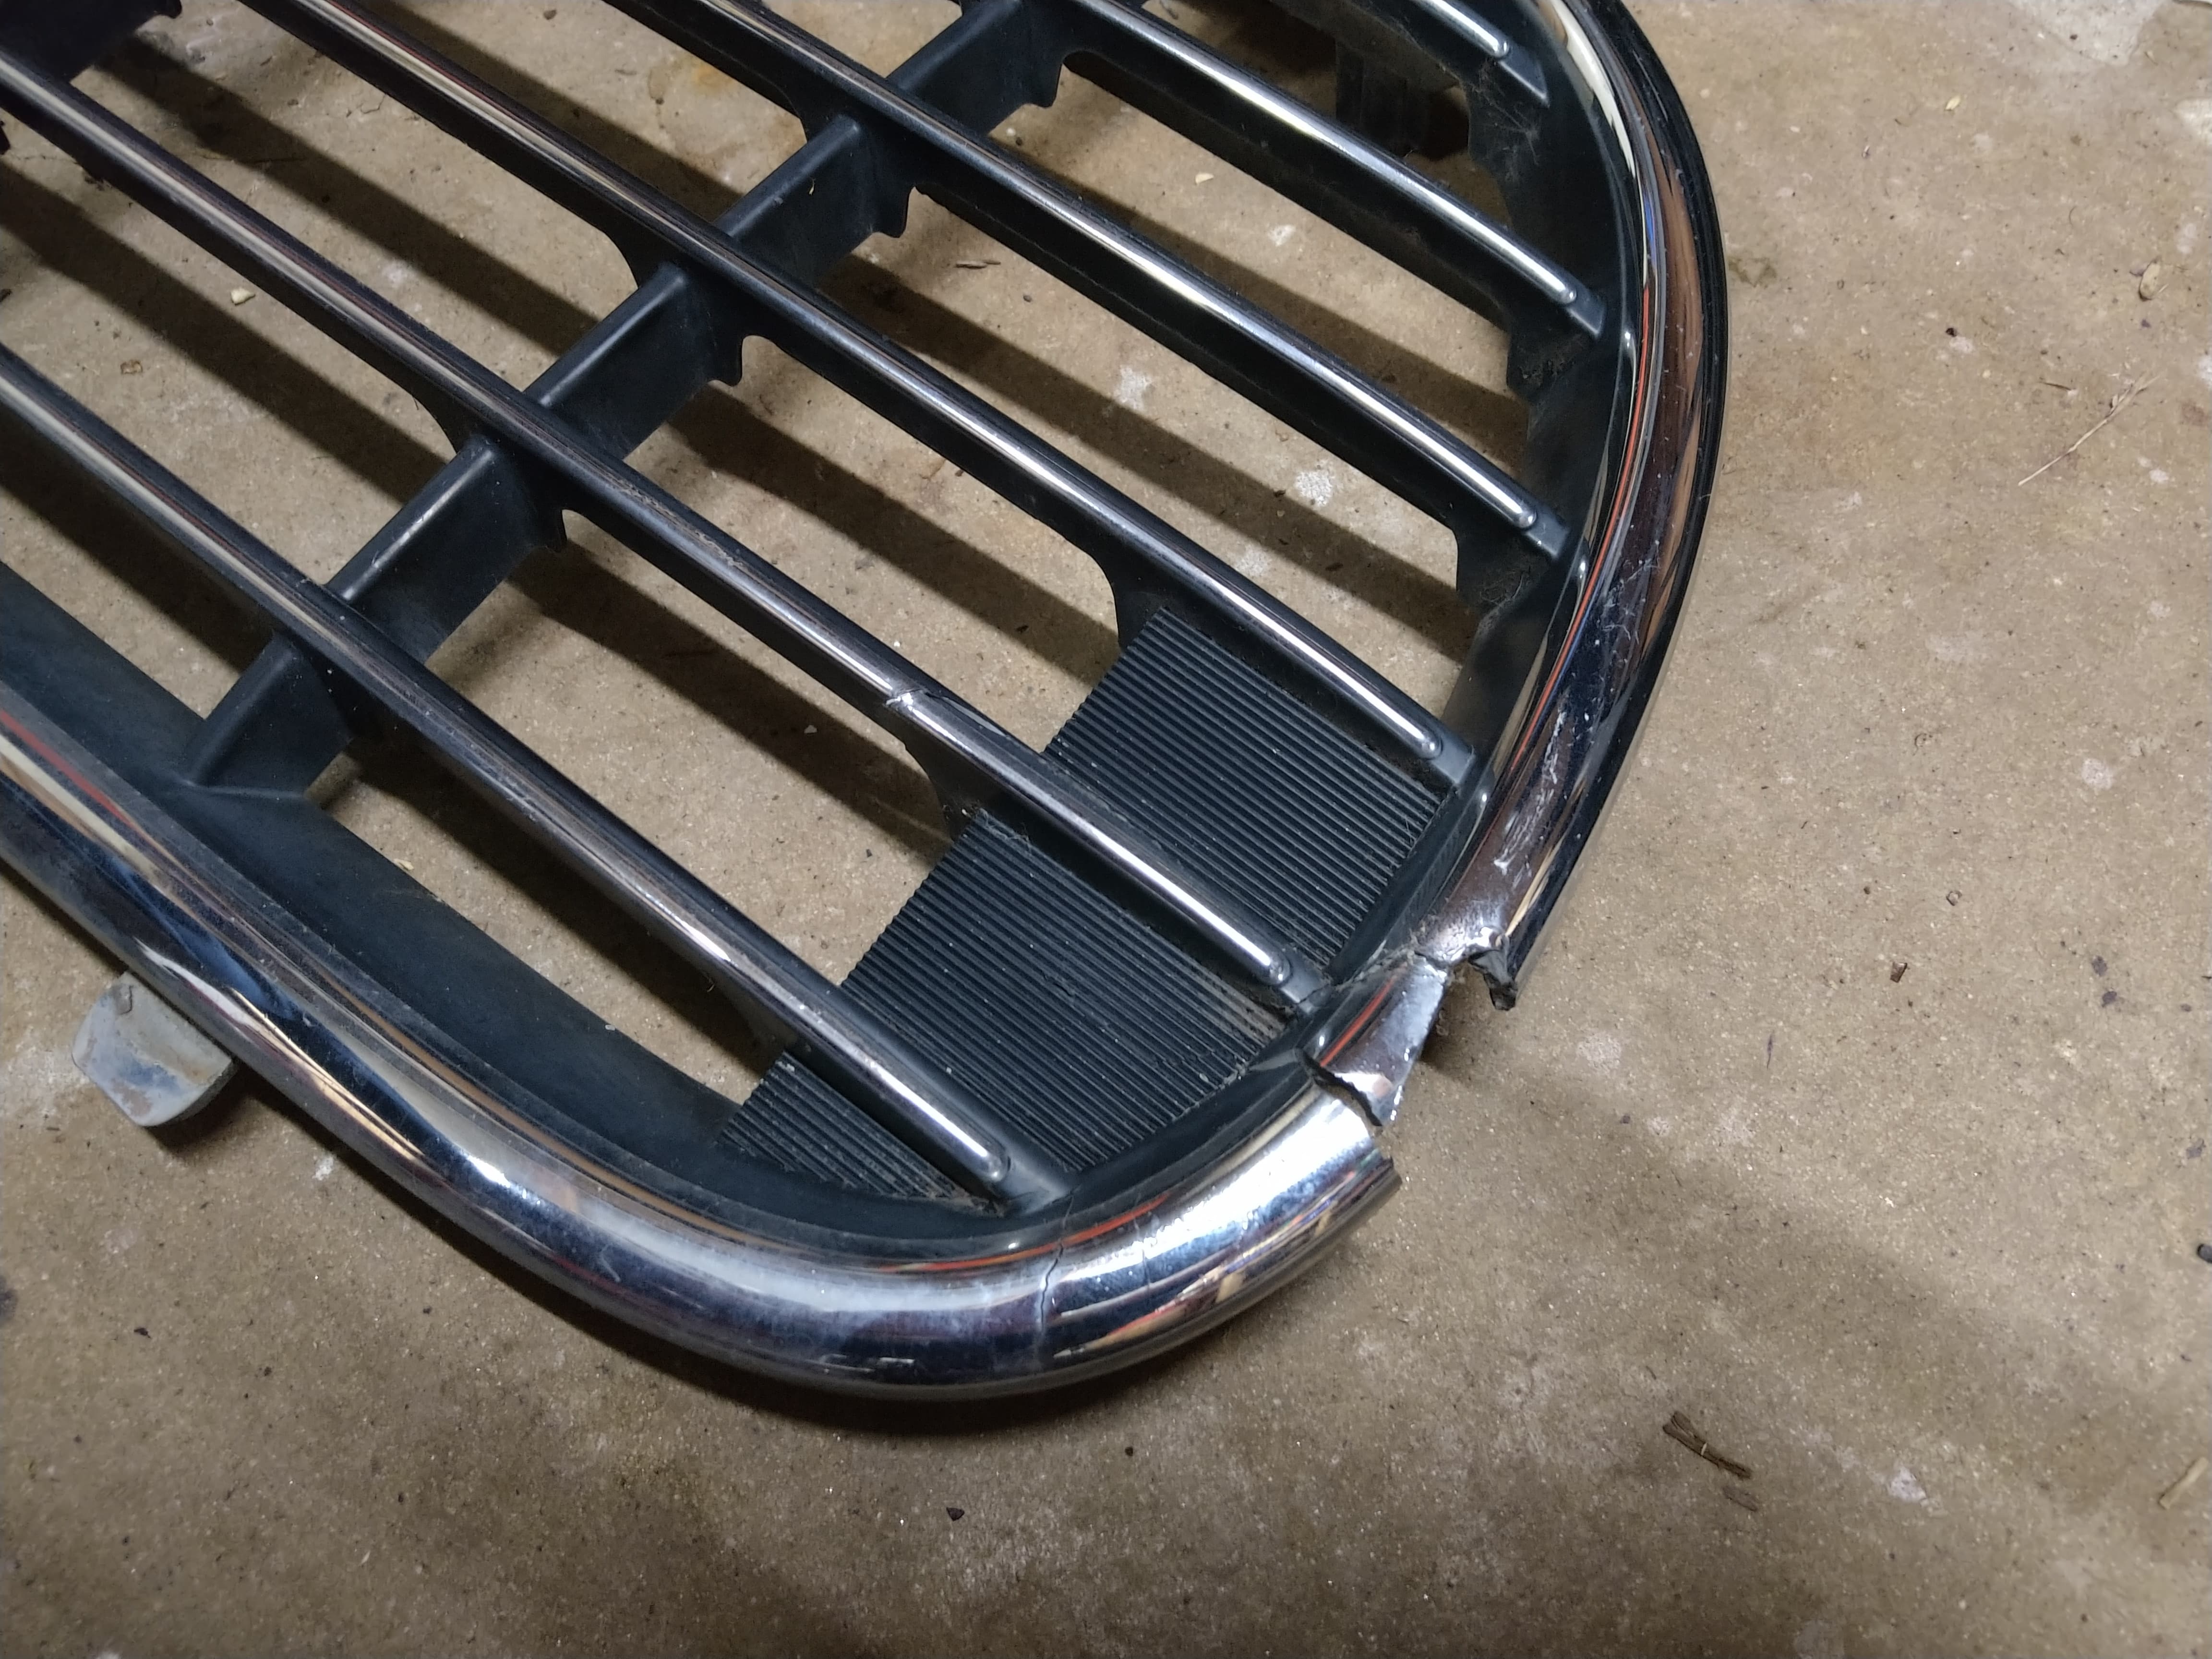
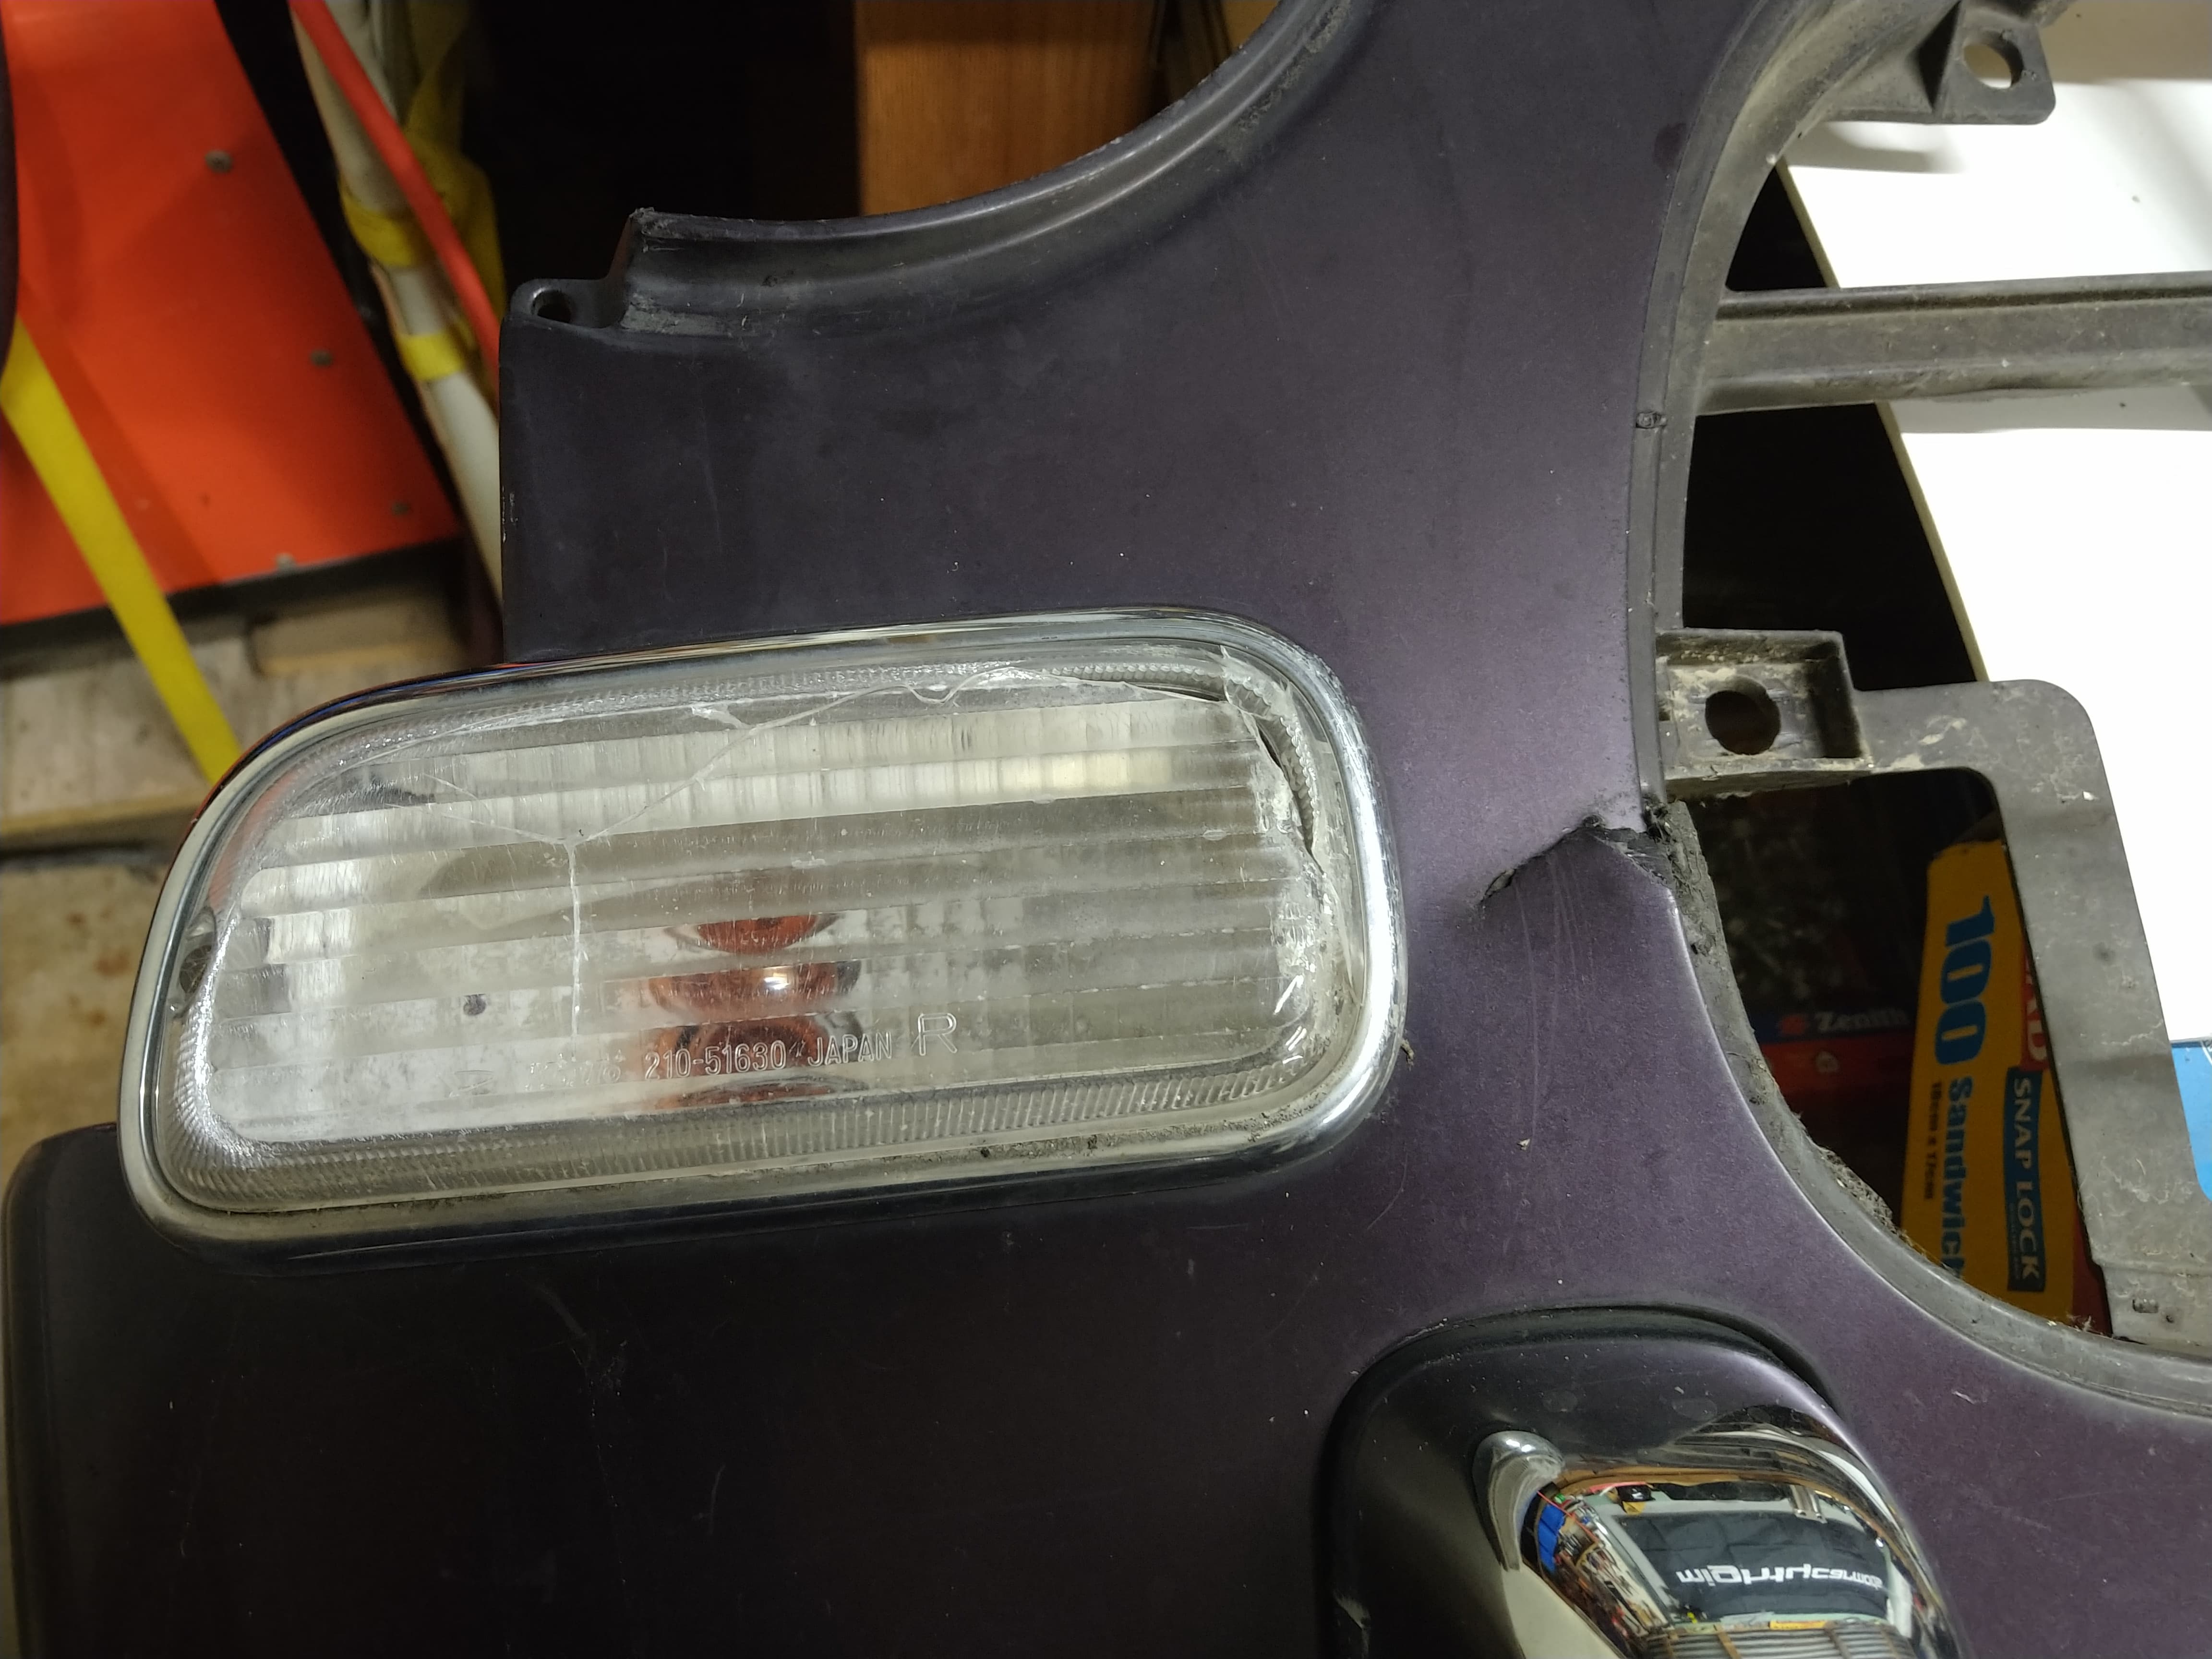
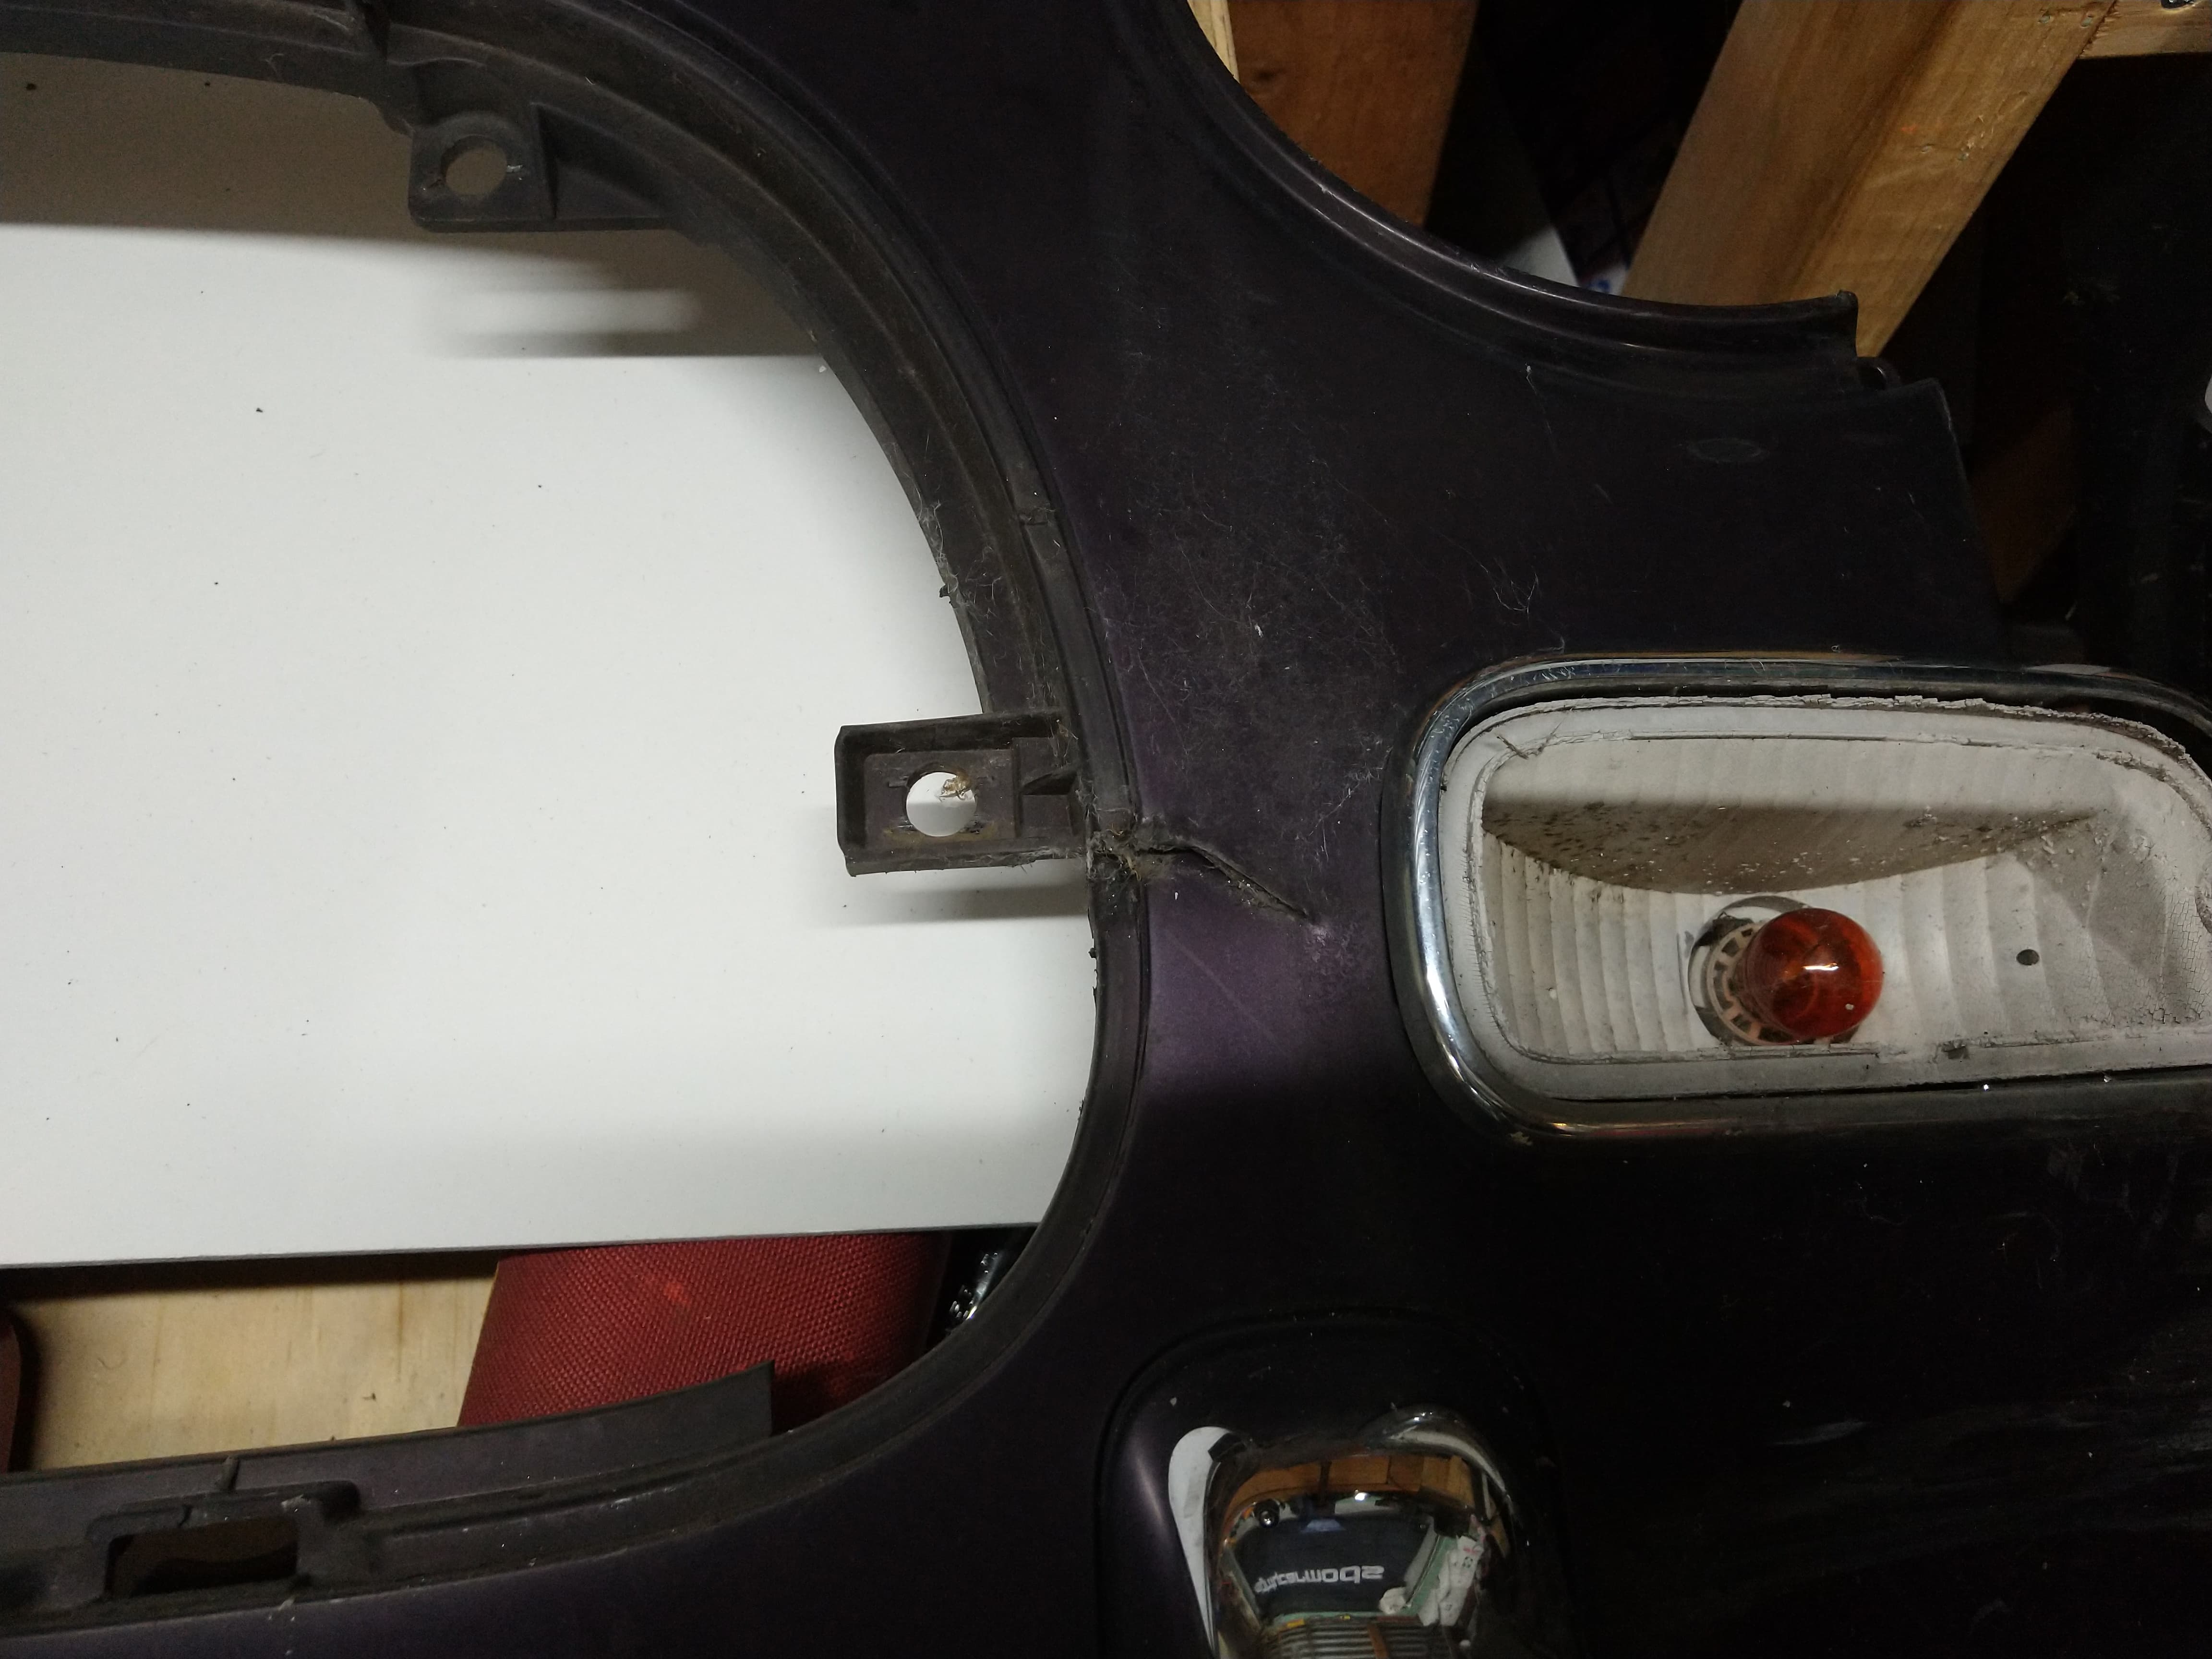
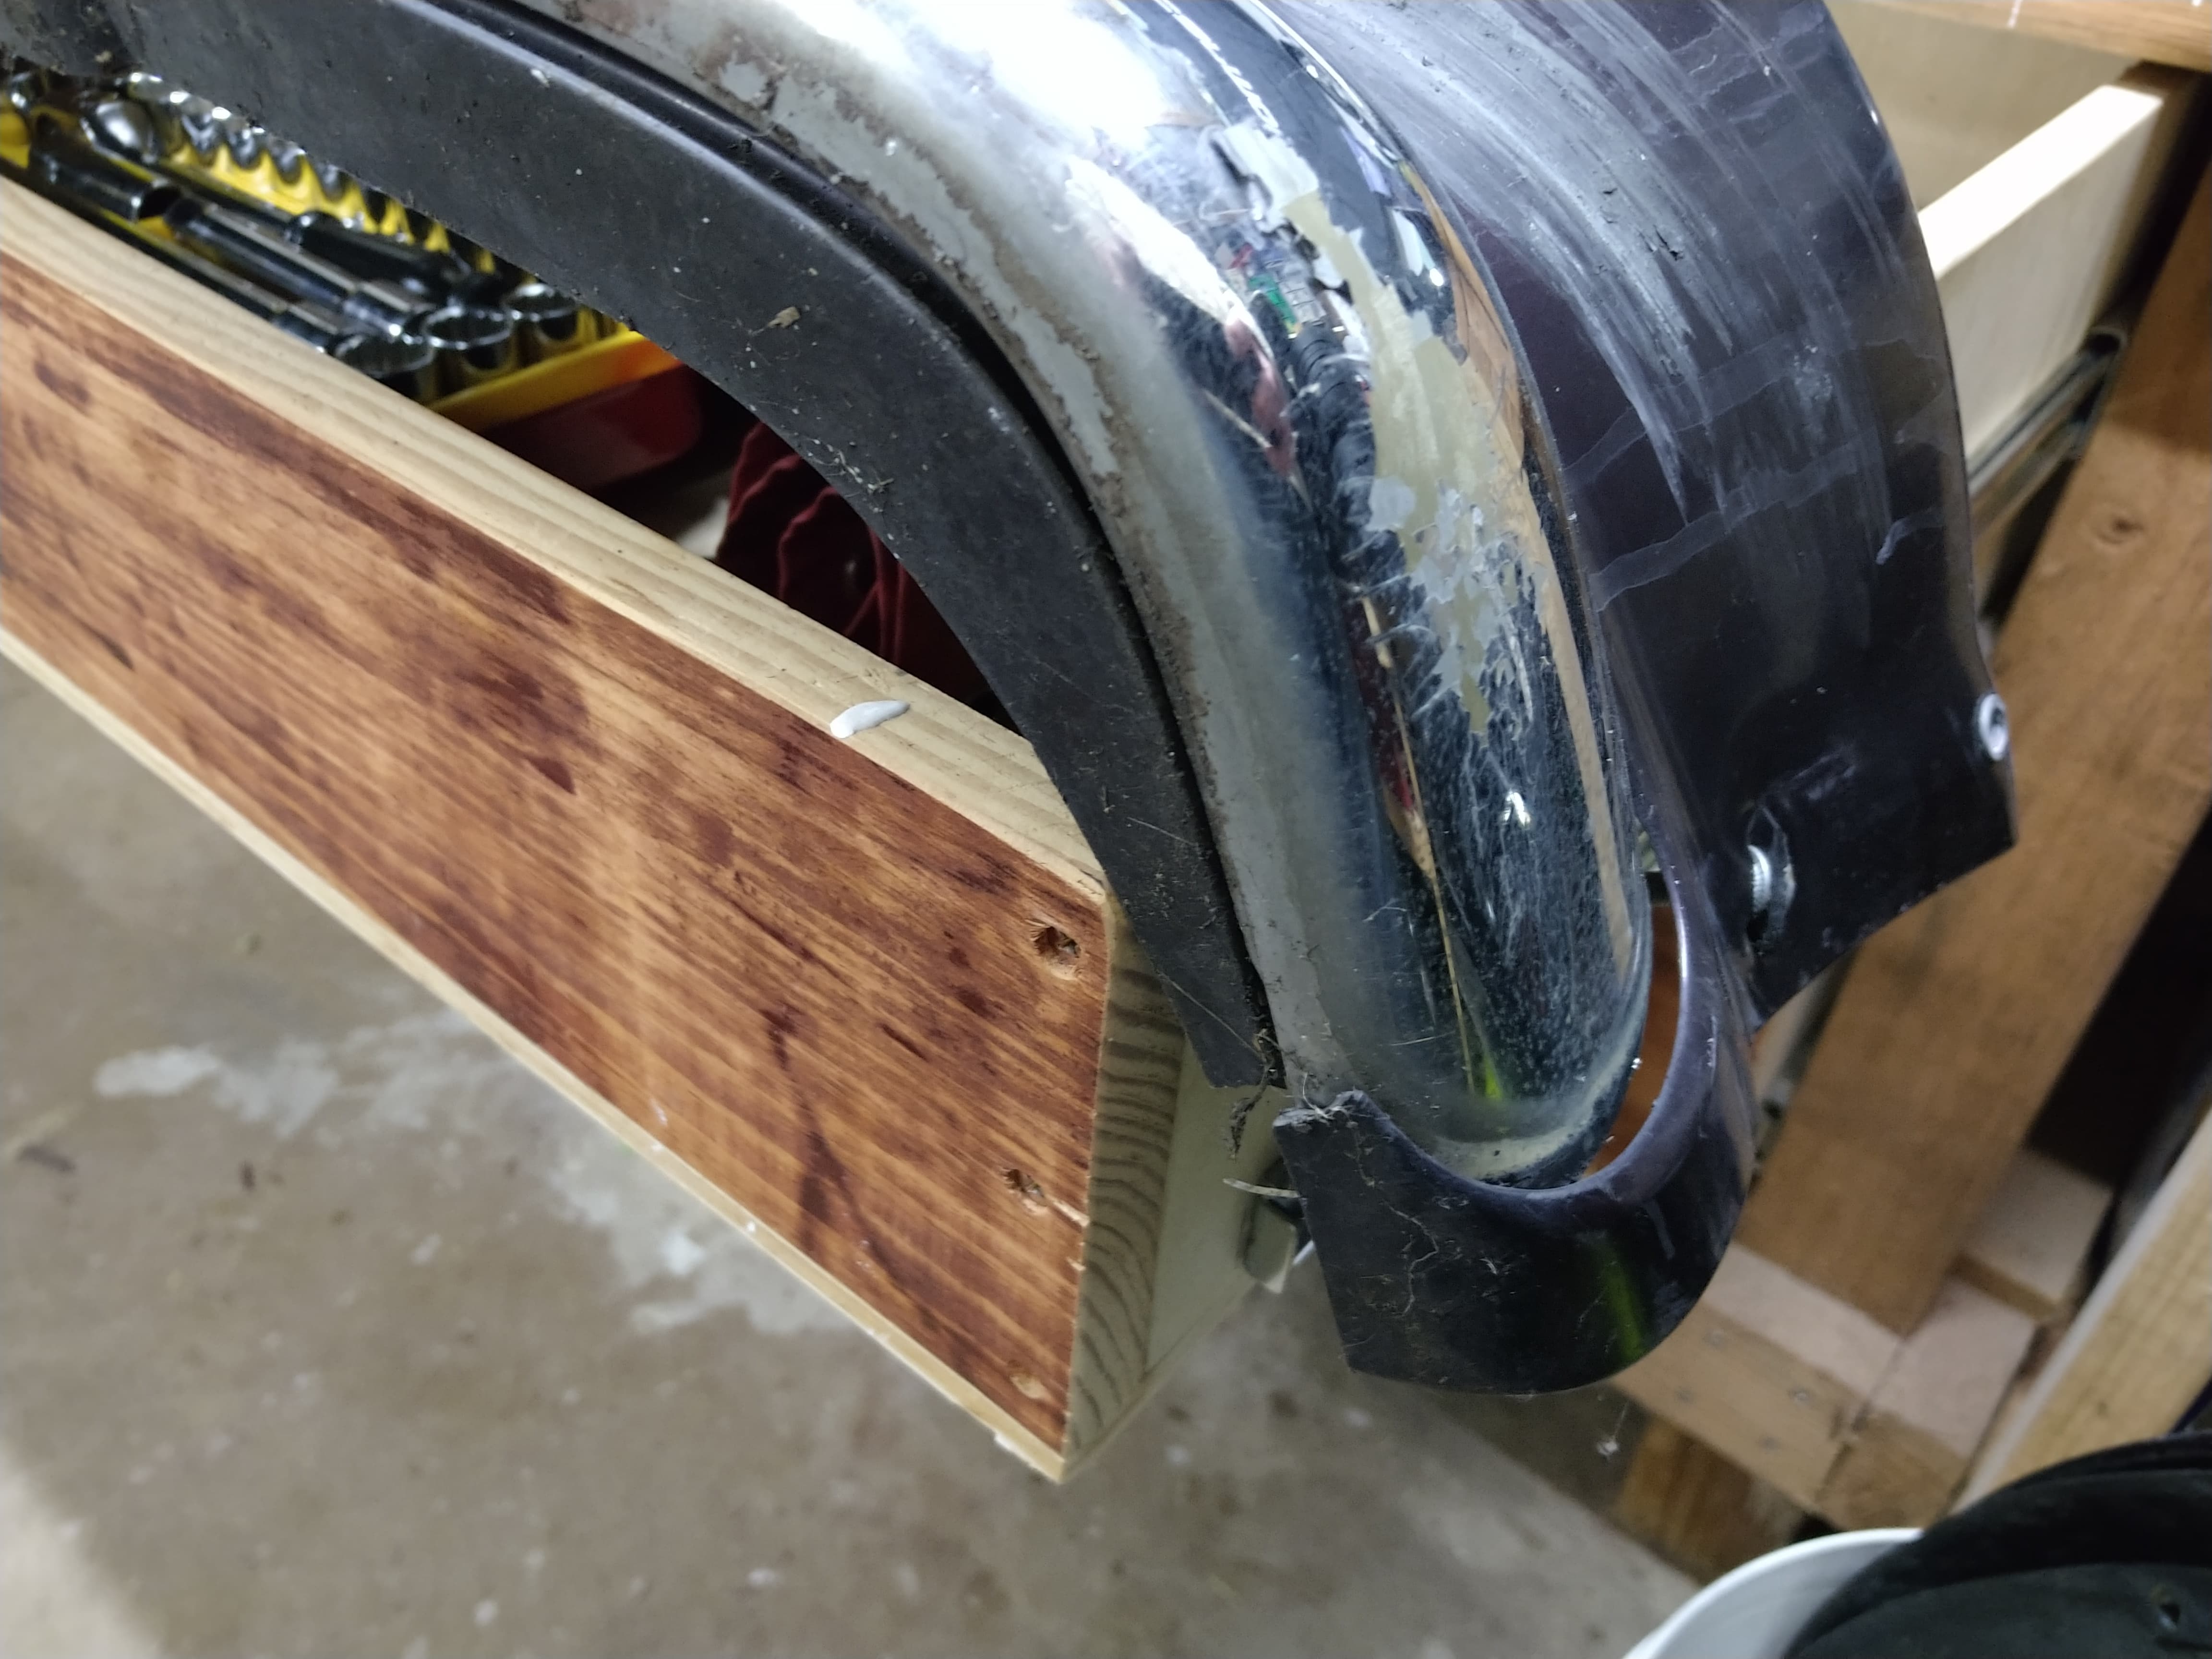
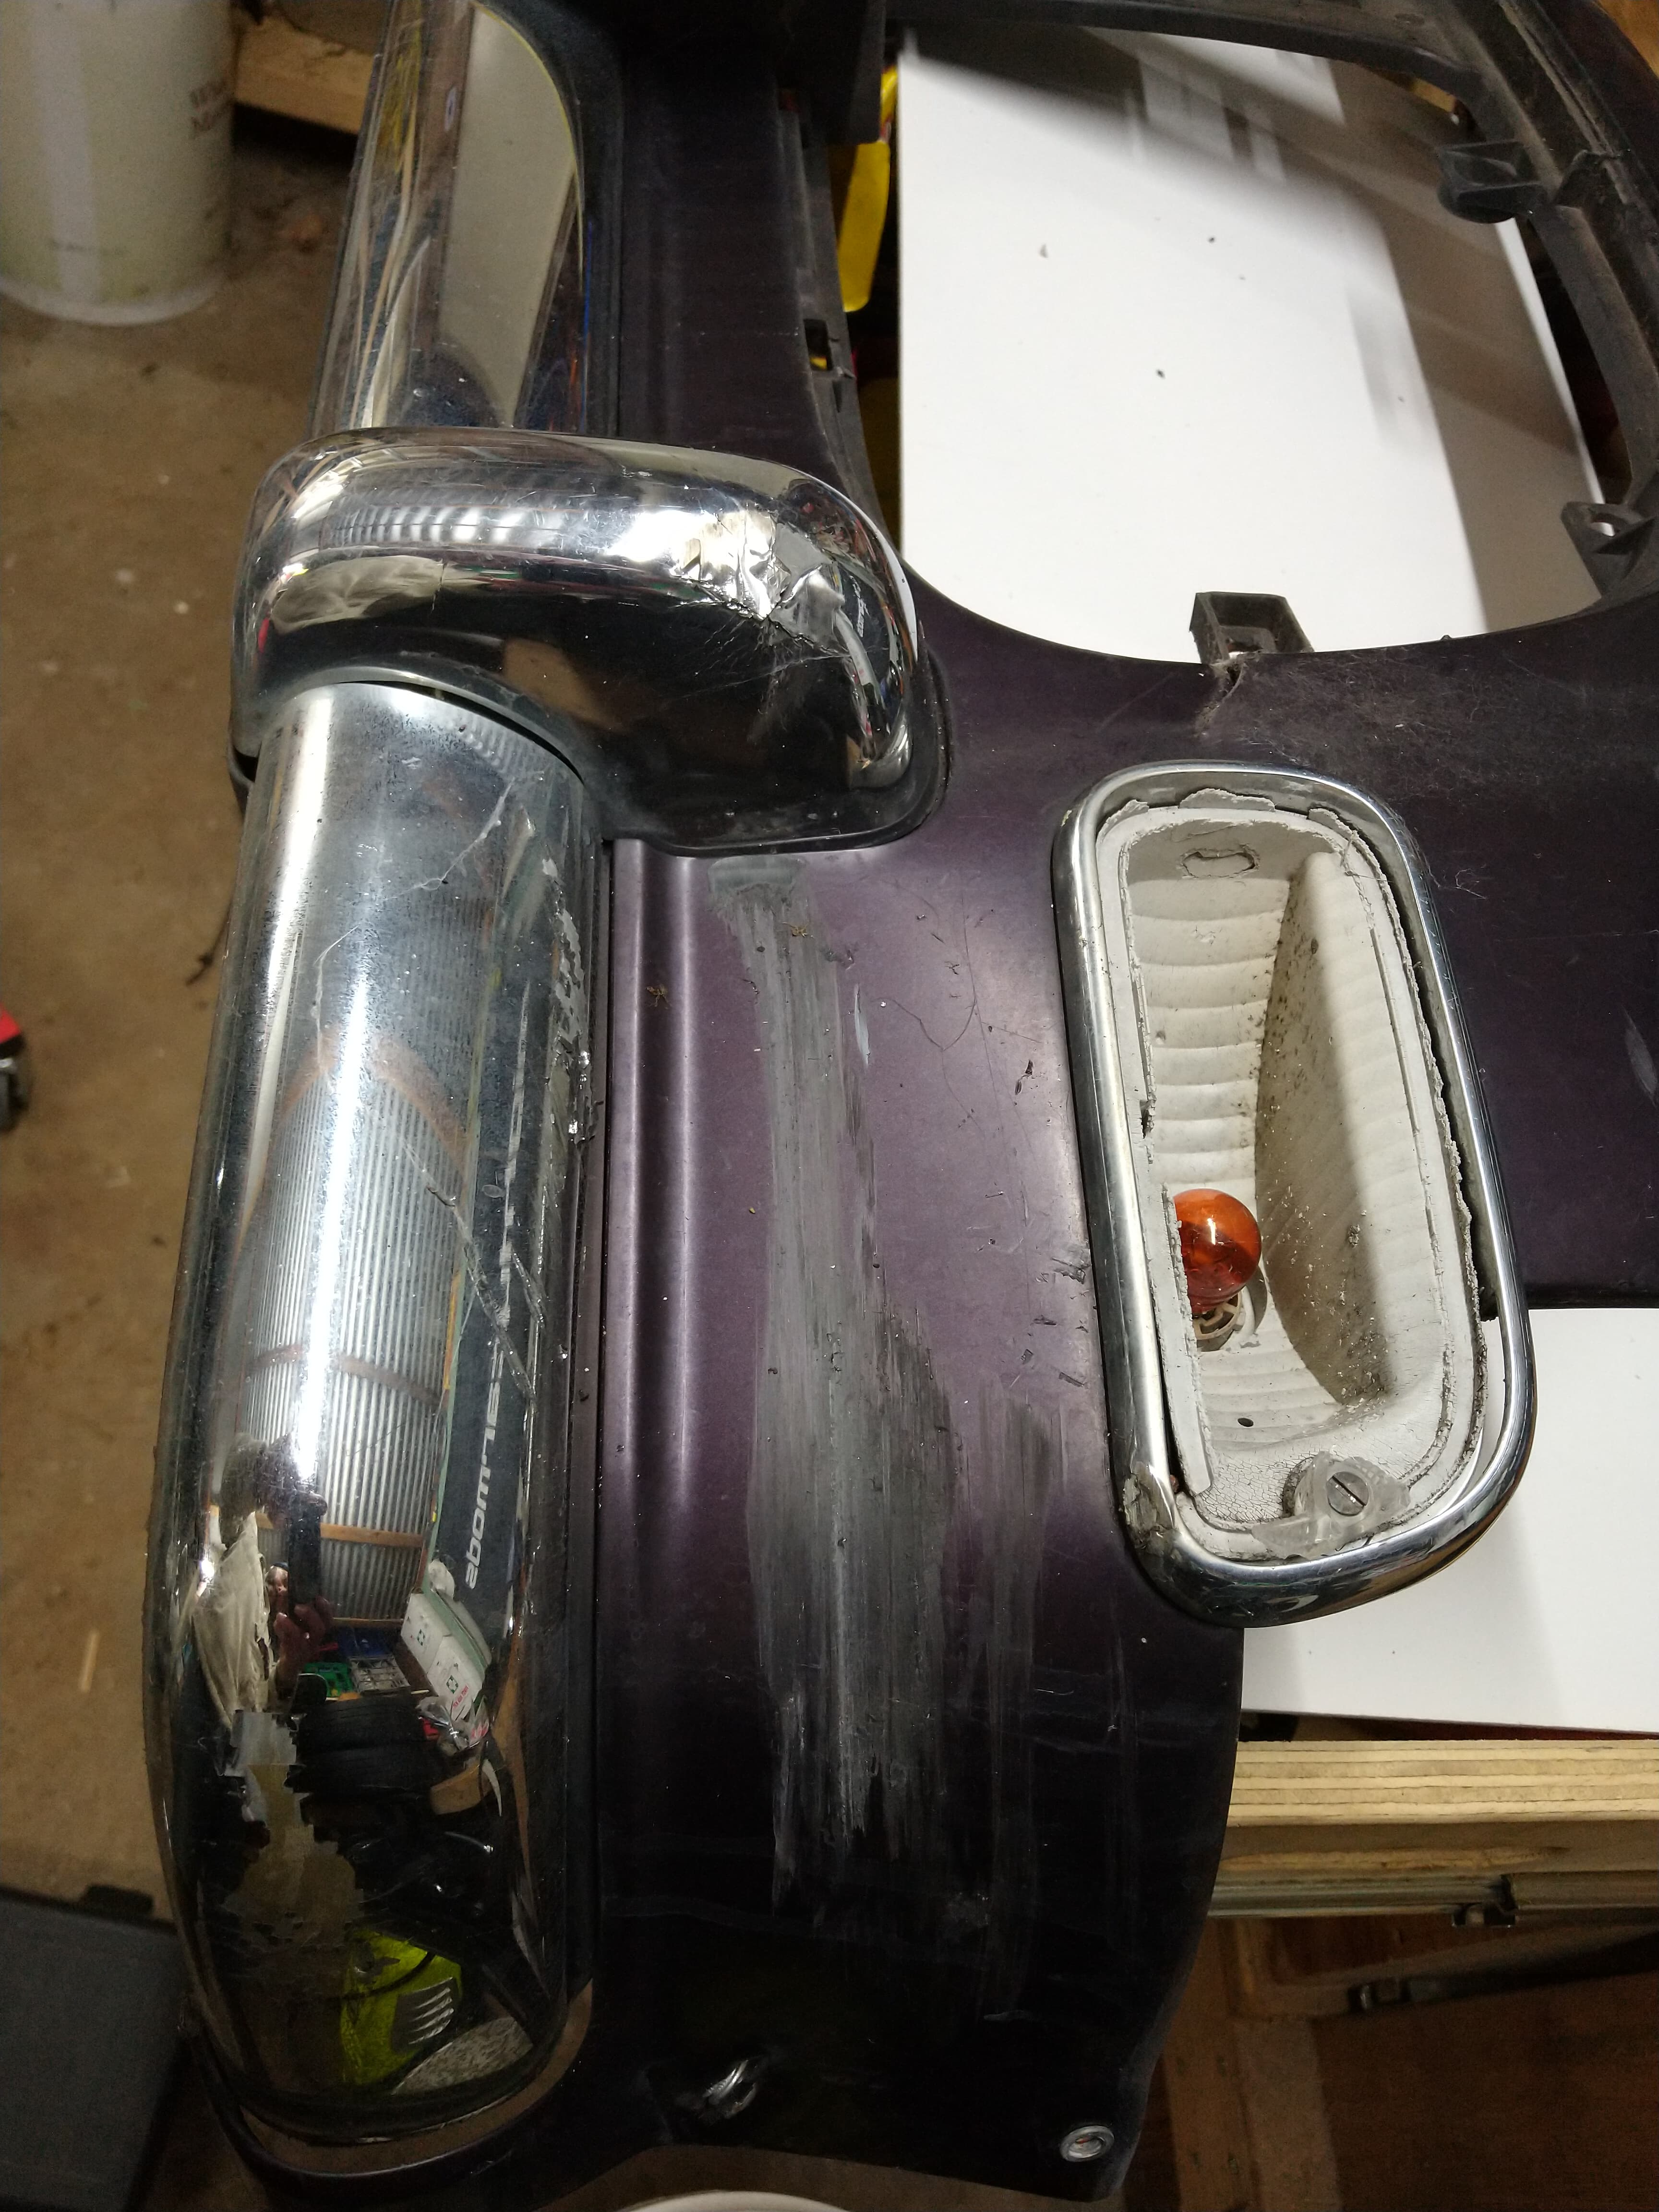
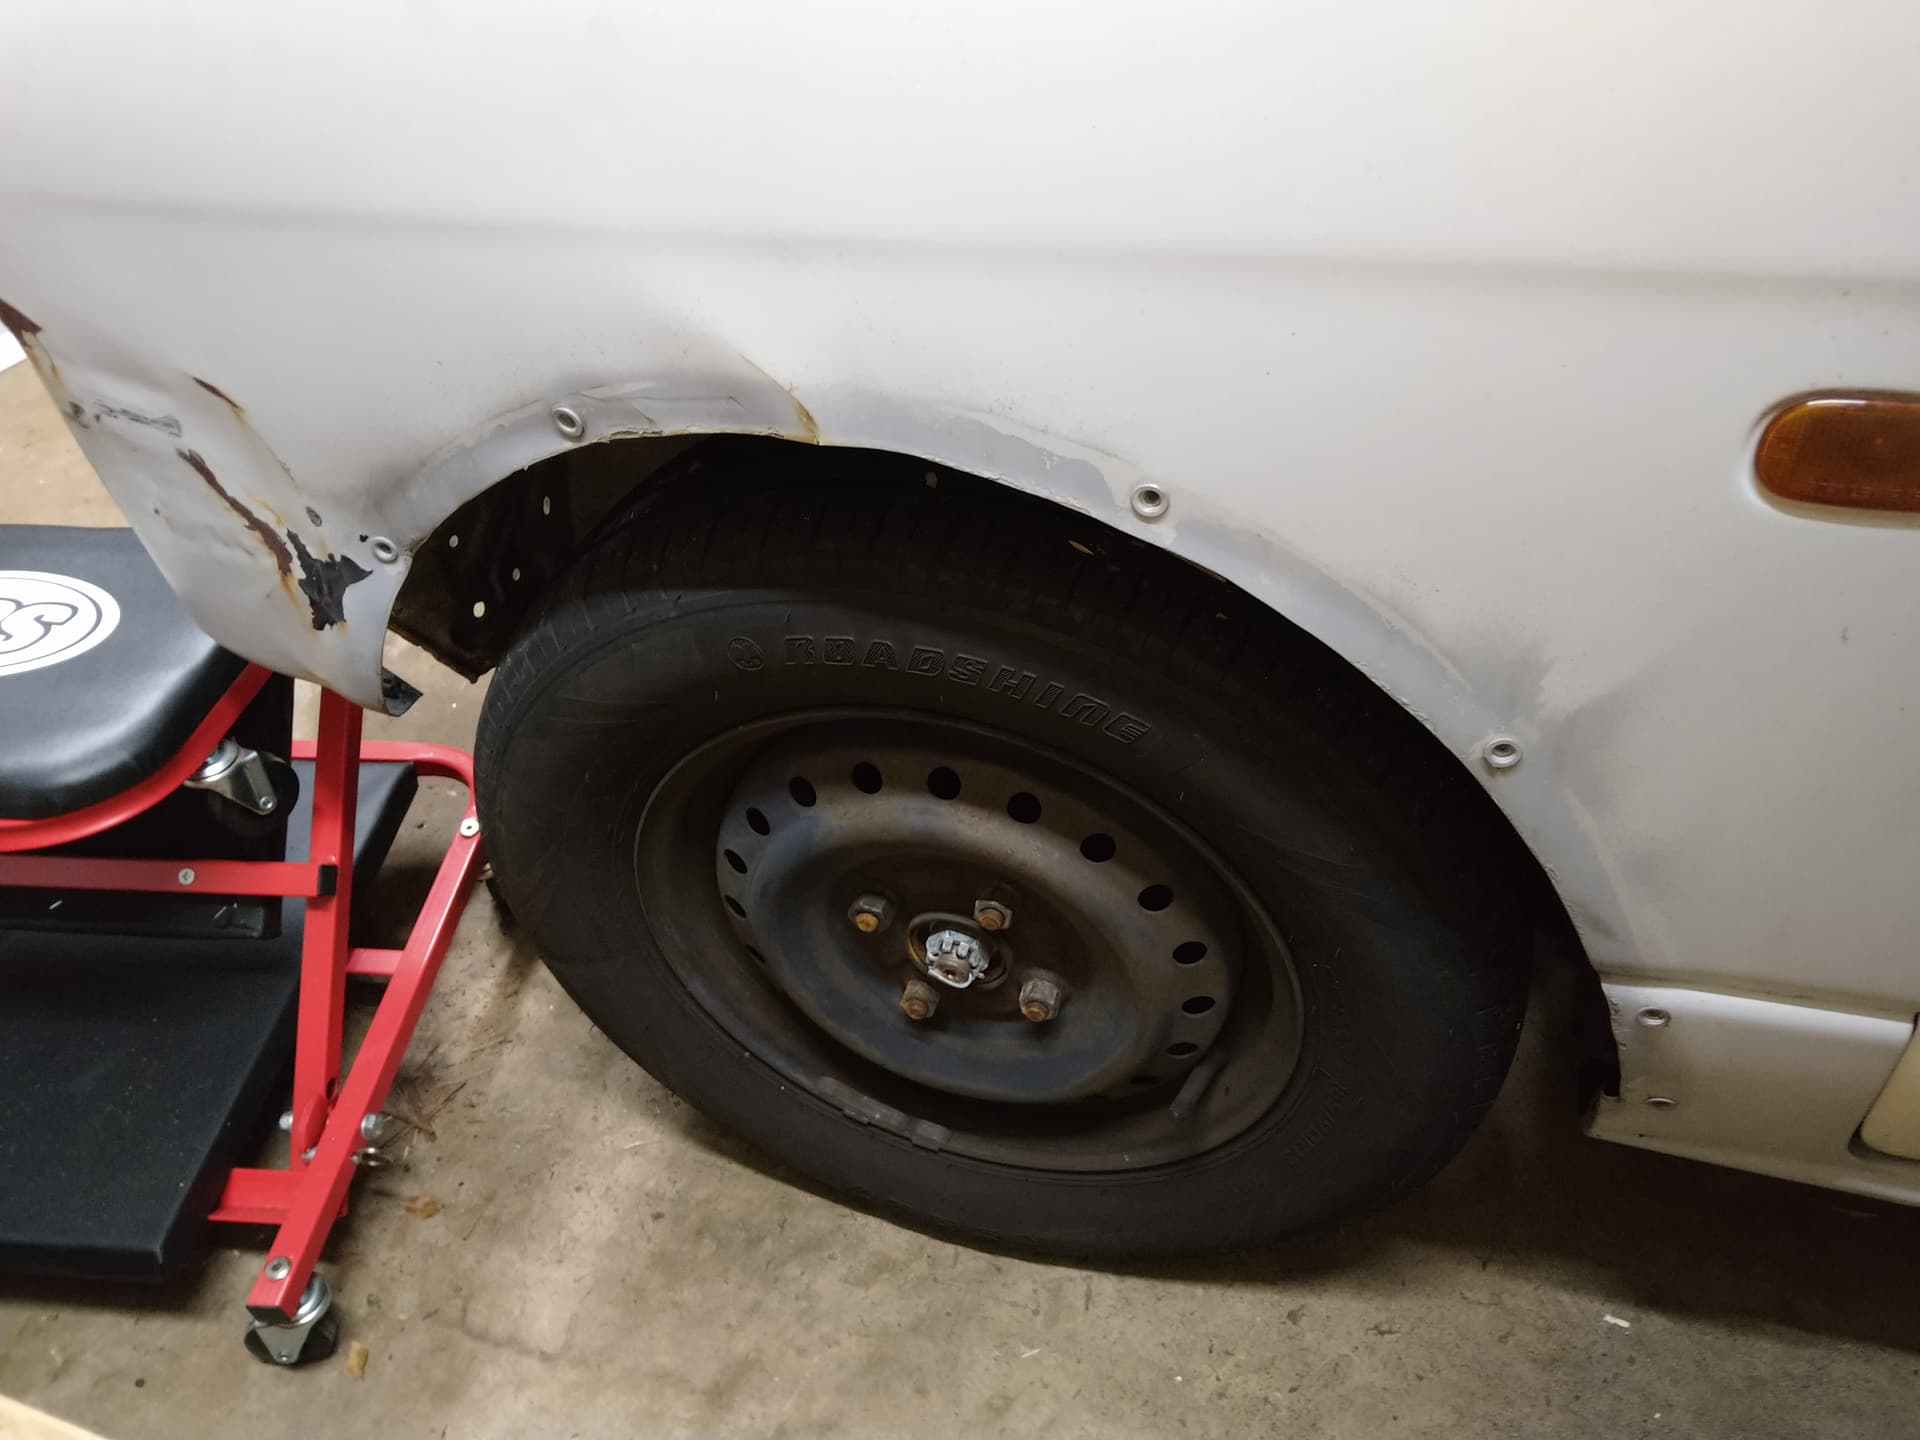
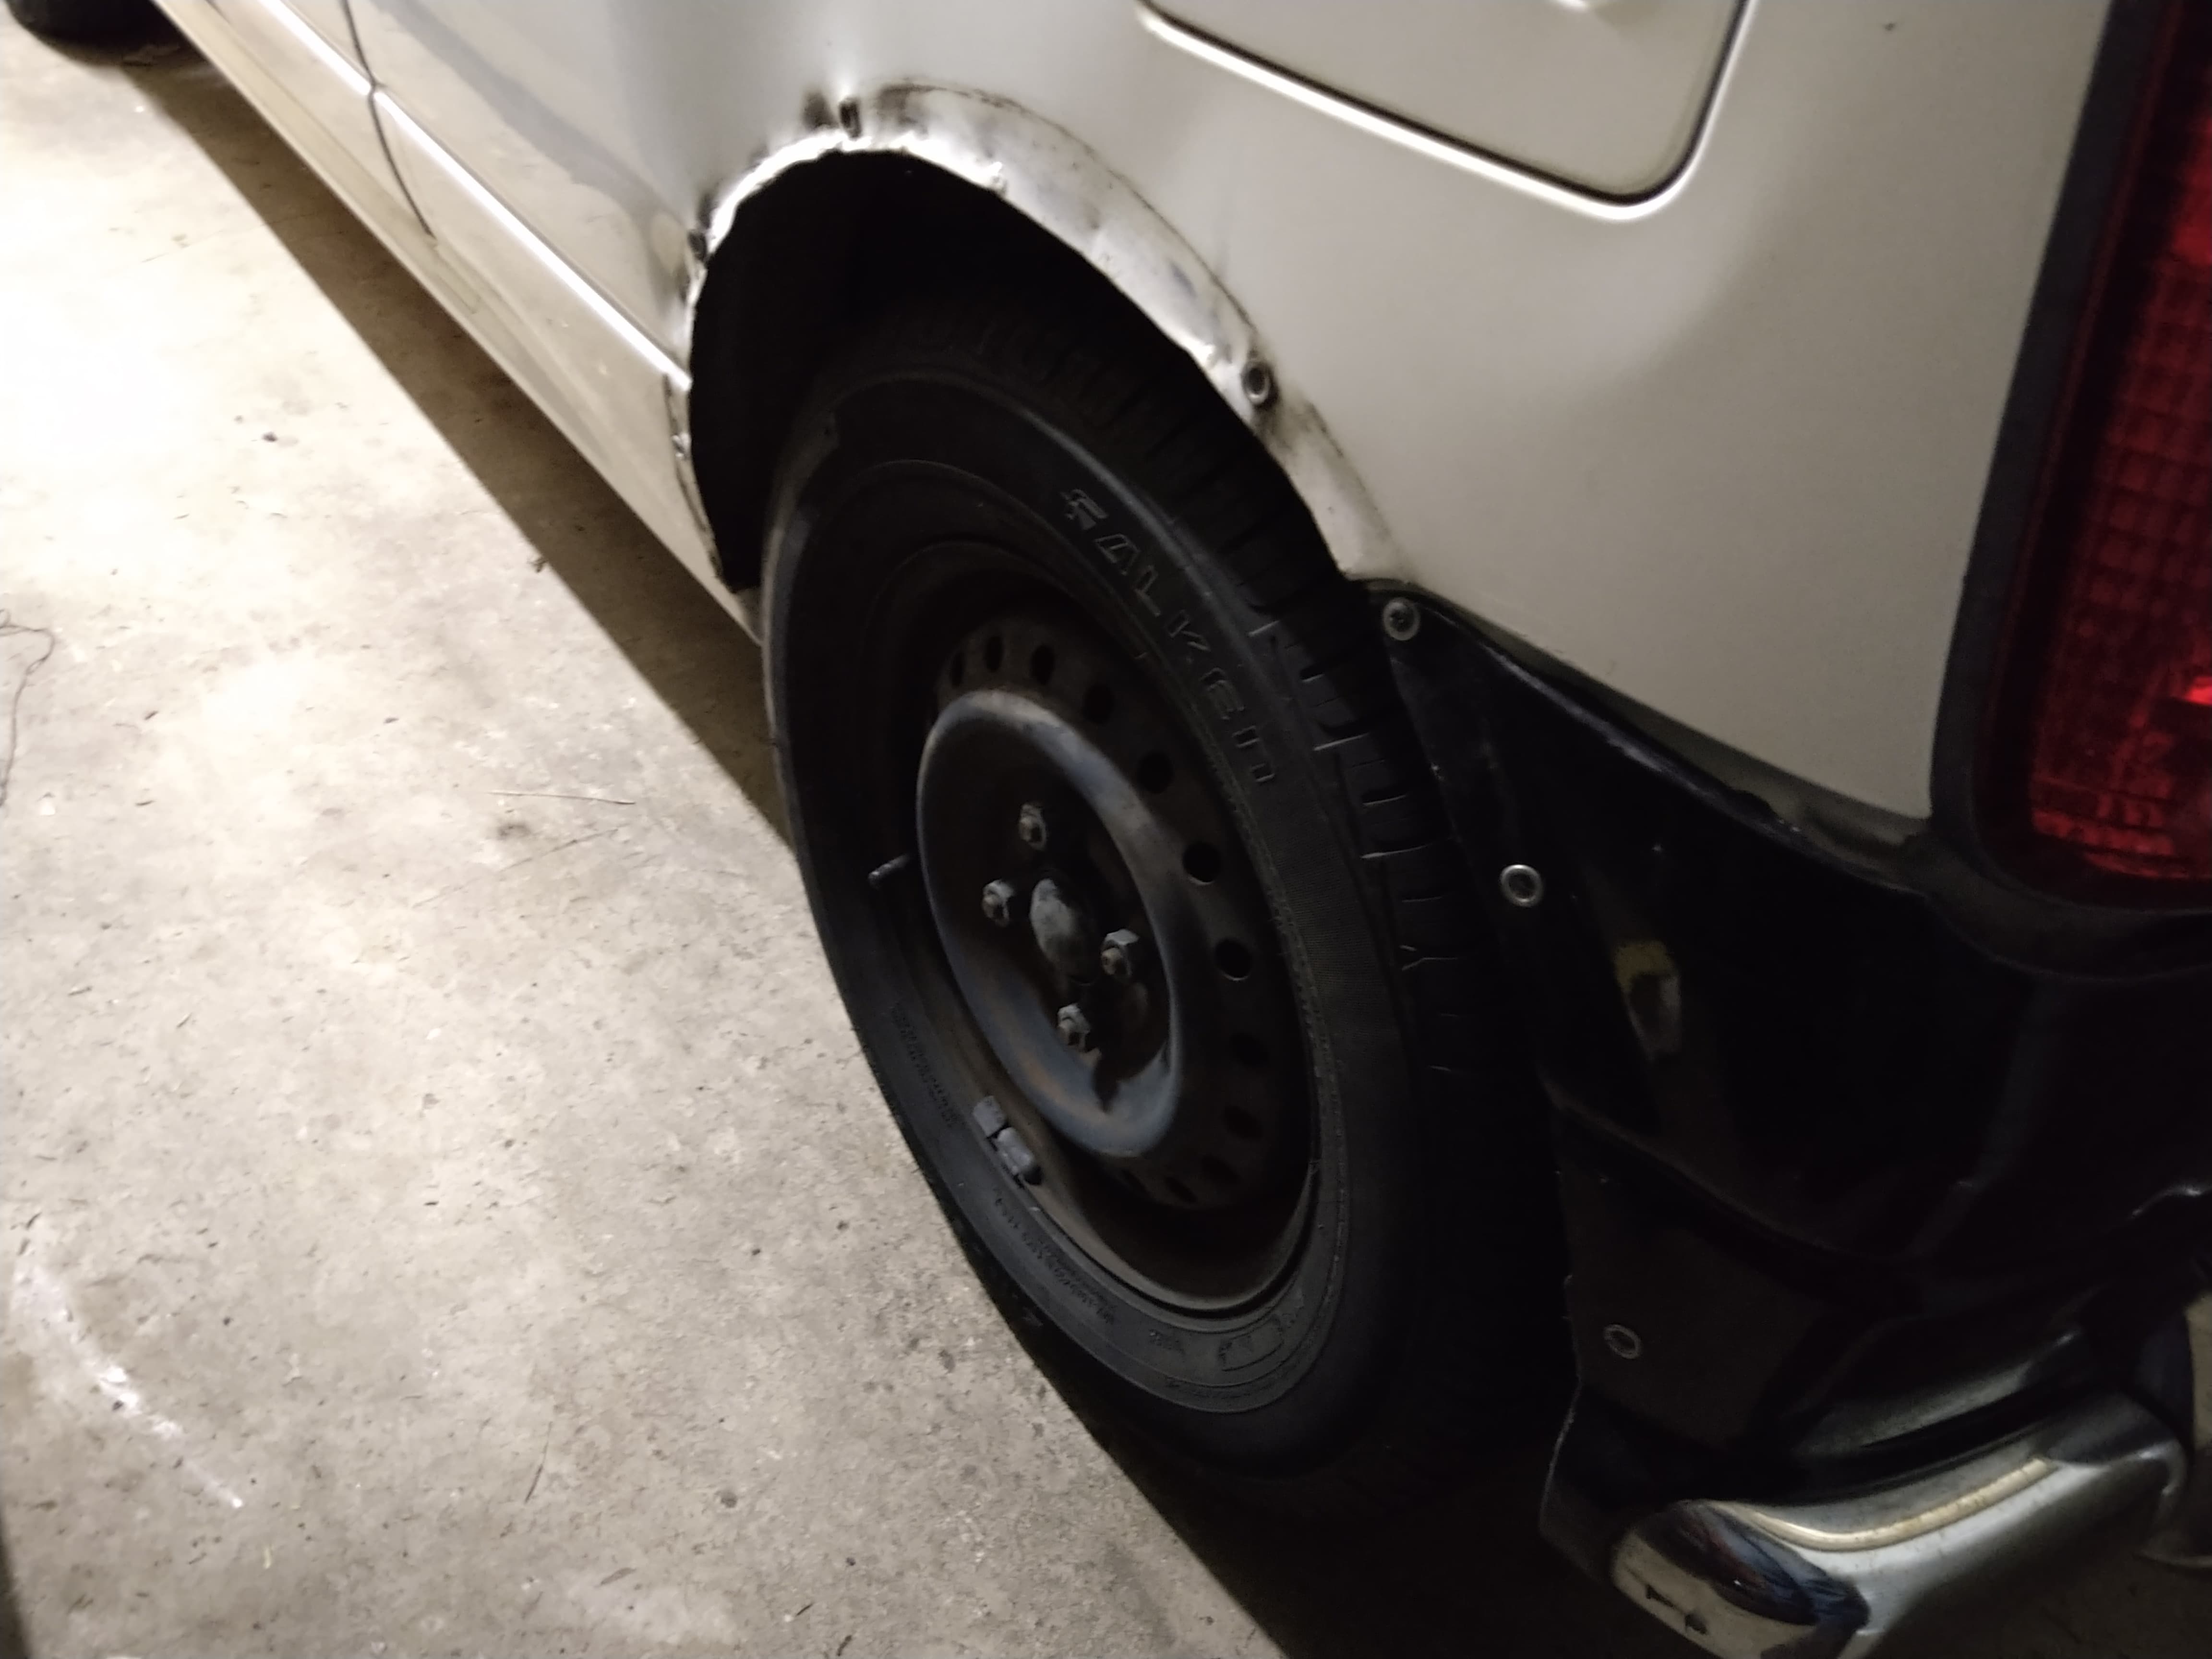
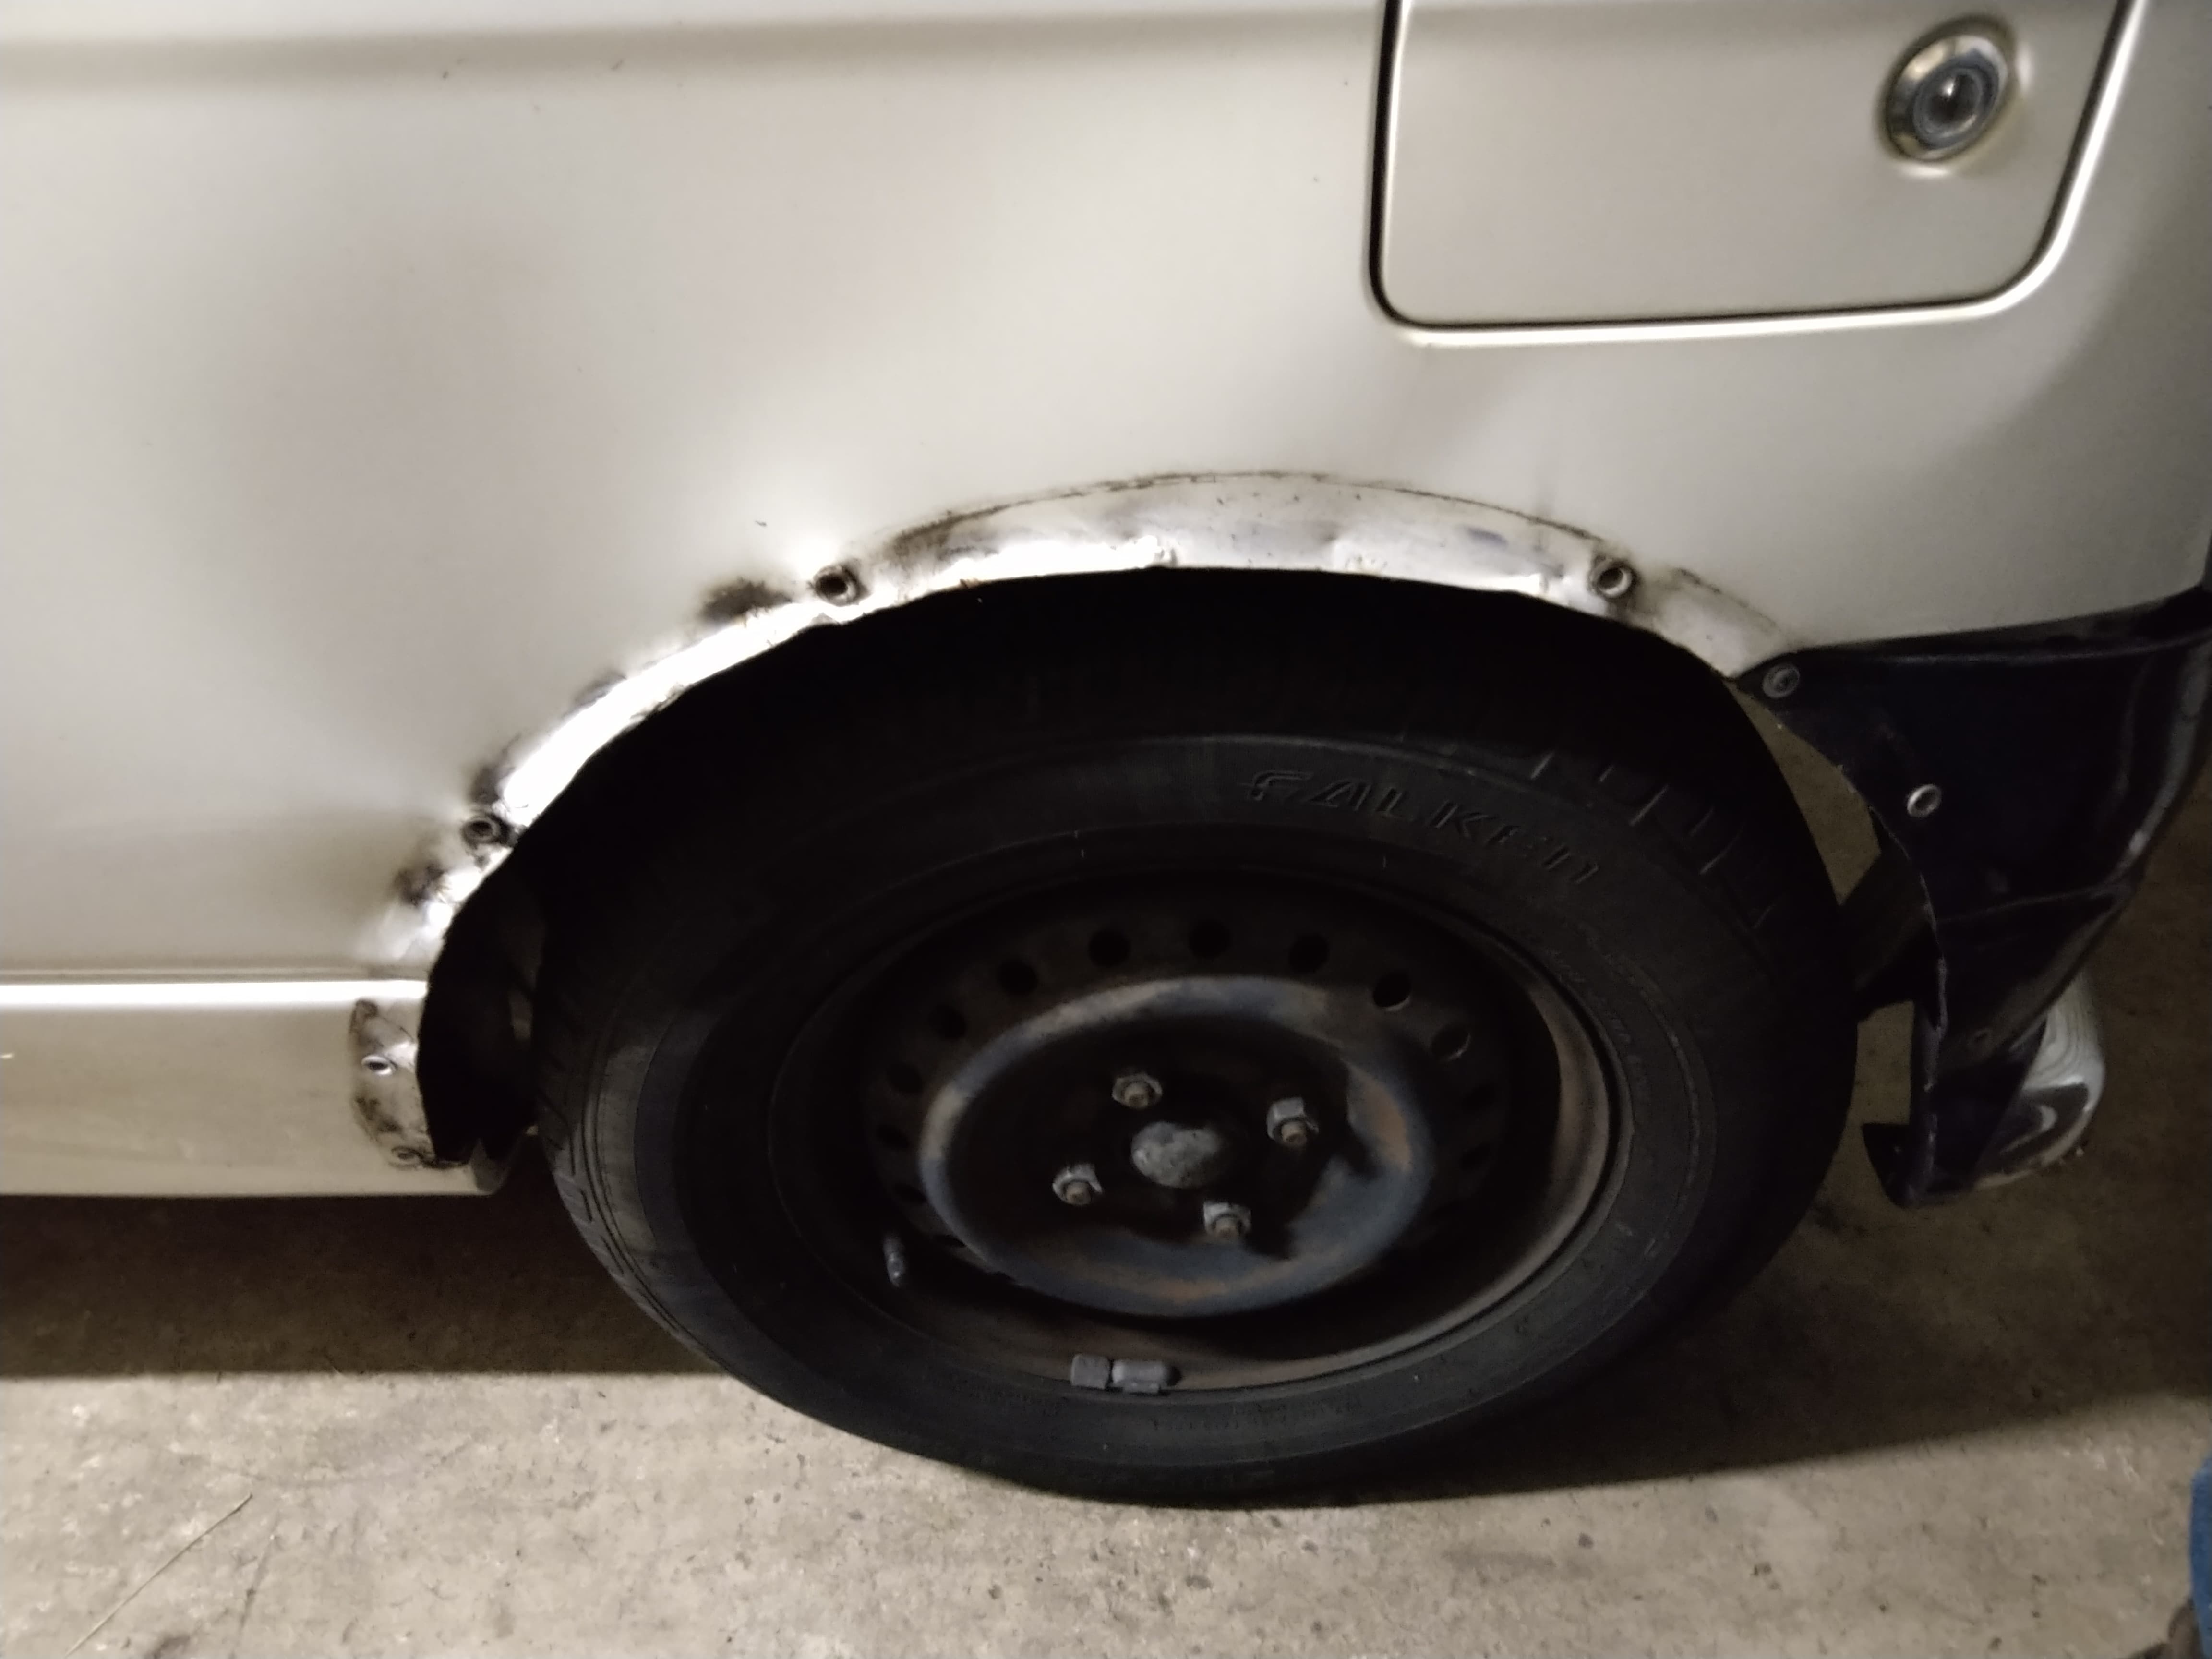
After multiple Covid lockdowns and unsuccessful deals I finally got my first Dai - a '99 Handi. It’s an utter nugget but actually better than some I’d seen on offer. The wheel arches have had the inner edges trimmed and eBay flares added with rivnuts, resulting in wobbly warped fenders. The front left took a low speed hit and the bumper and grille is cracked, both indicators are cactus. The chrome bumper finish is damaged. Probably too much work to salvage the front. A couple of roof rack holes to get rid of, but at least someone has done an aerial delete so that’s one less thing to worry about.
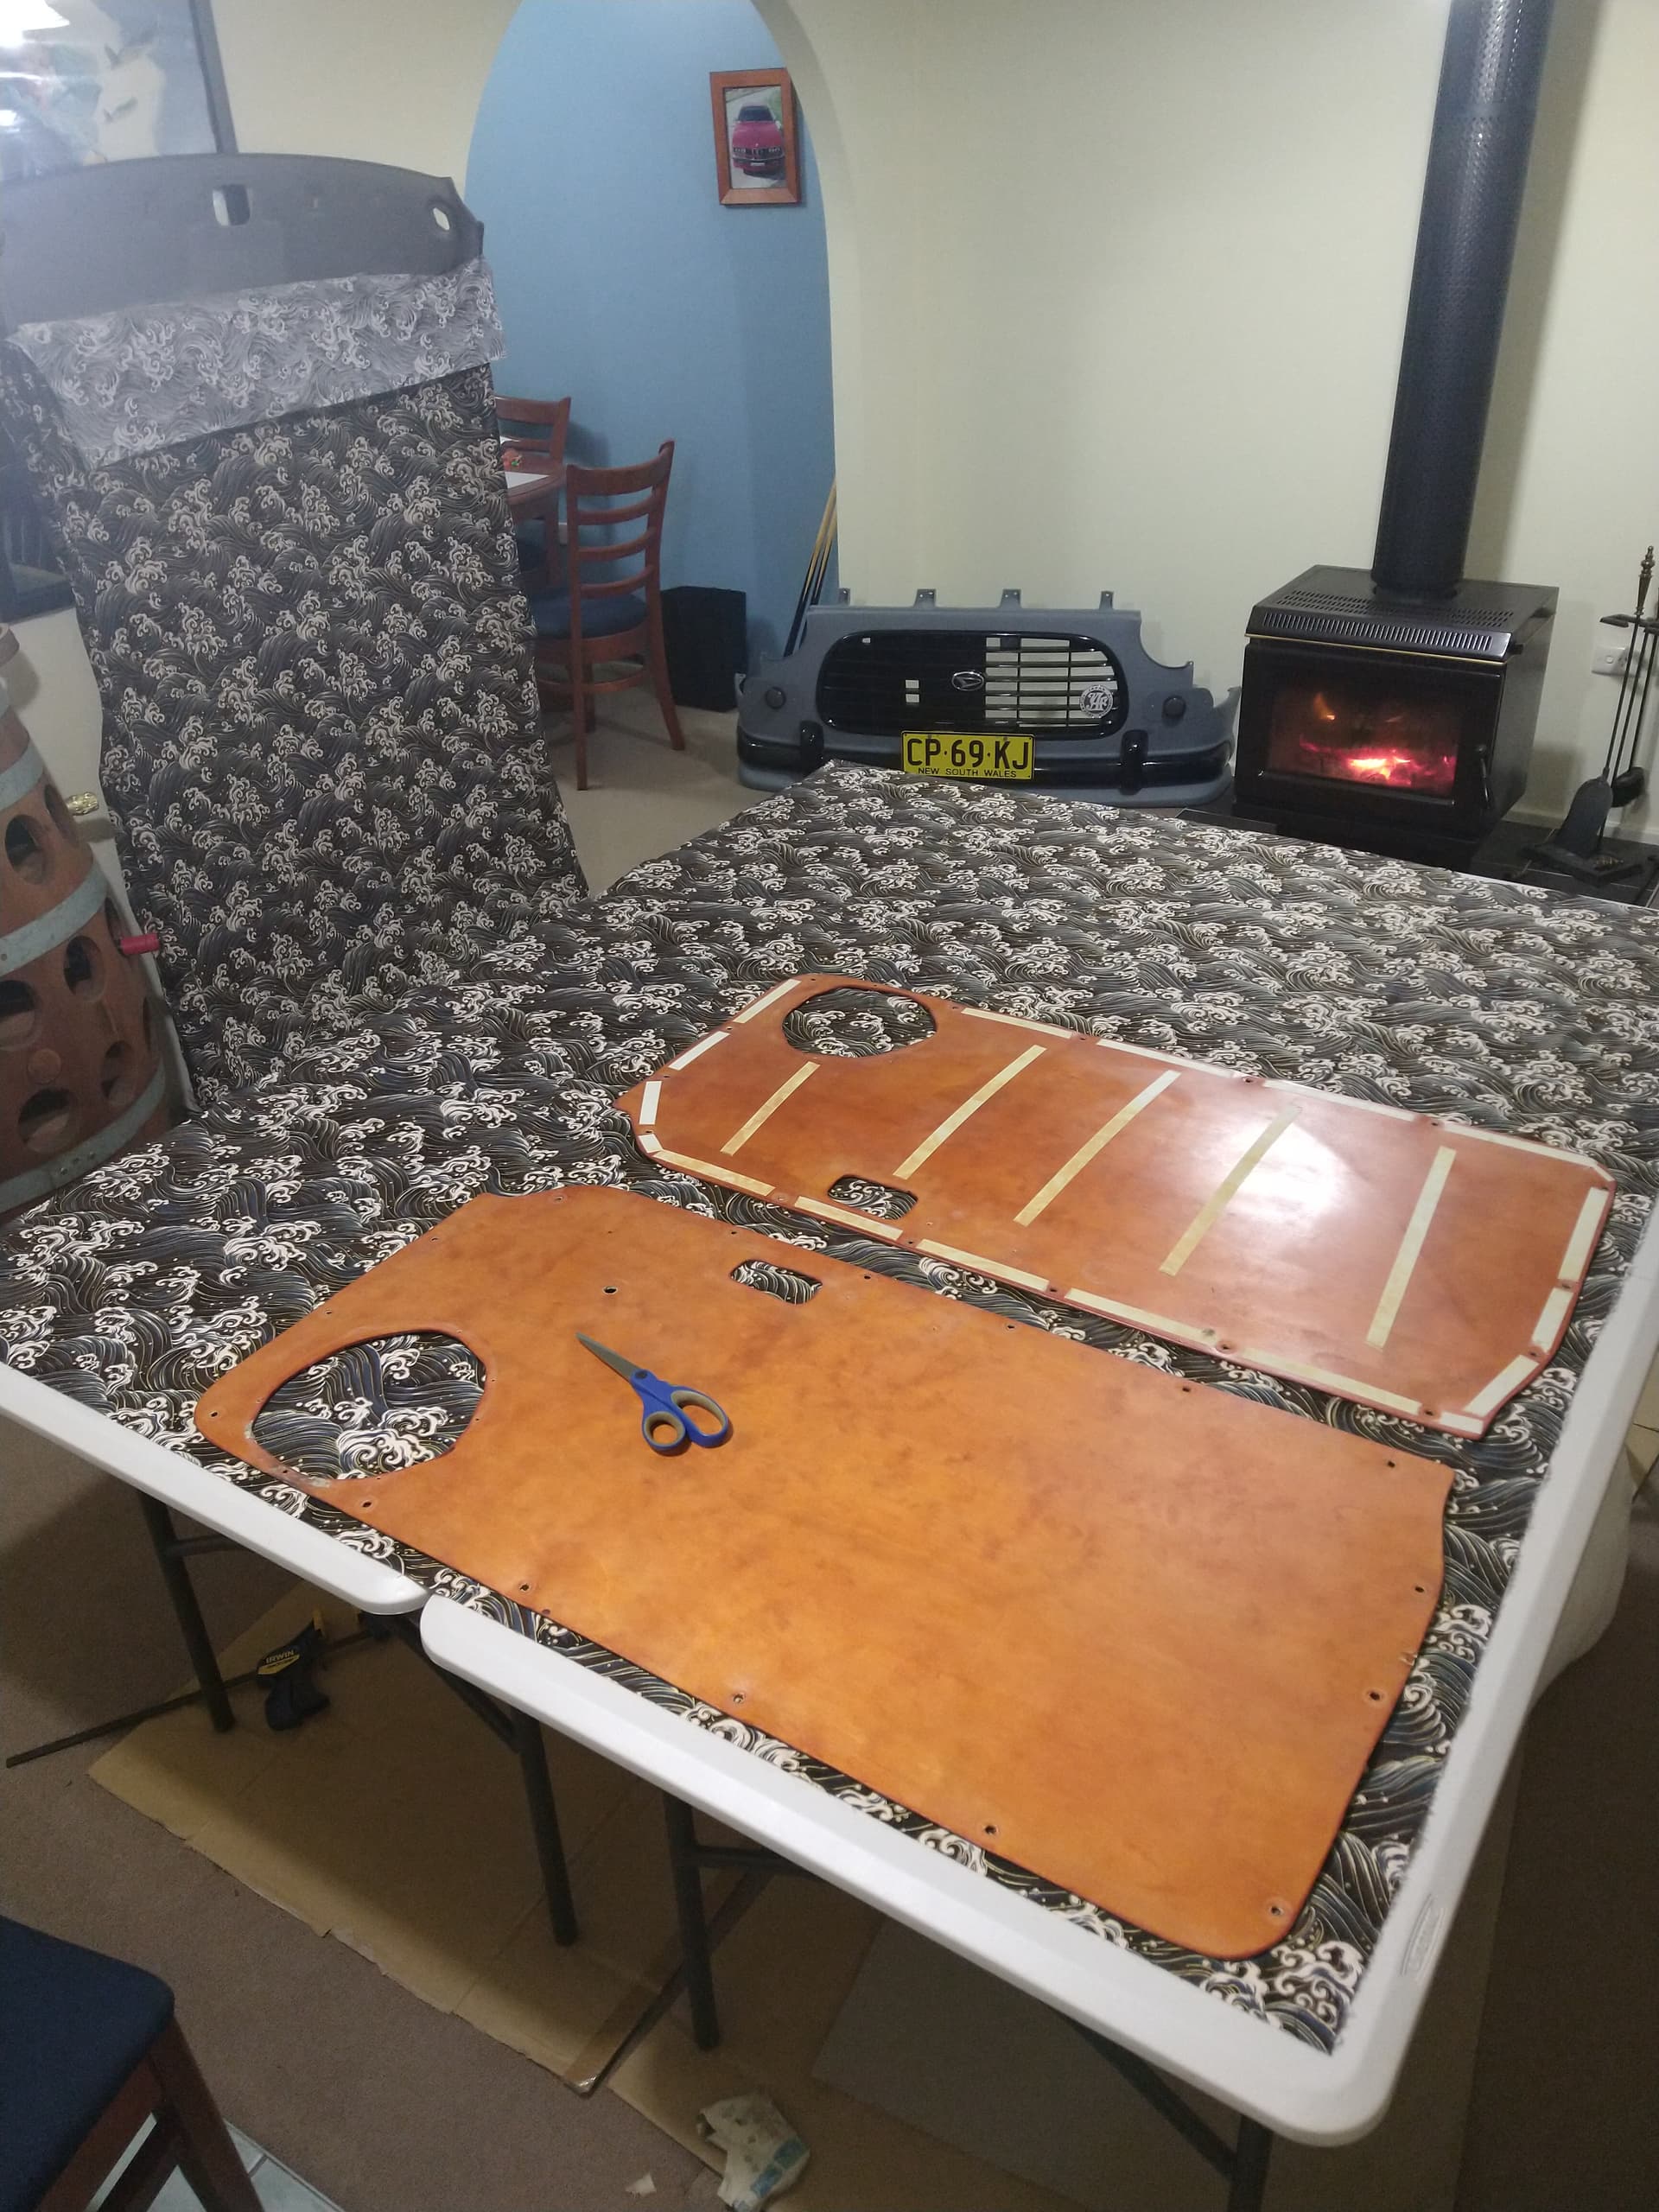
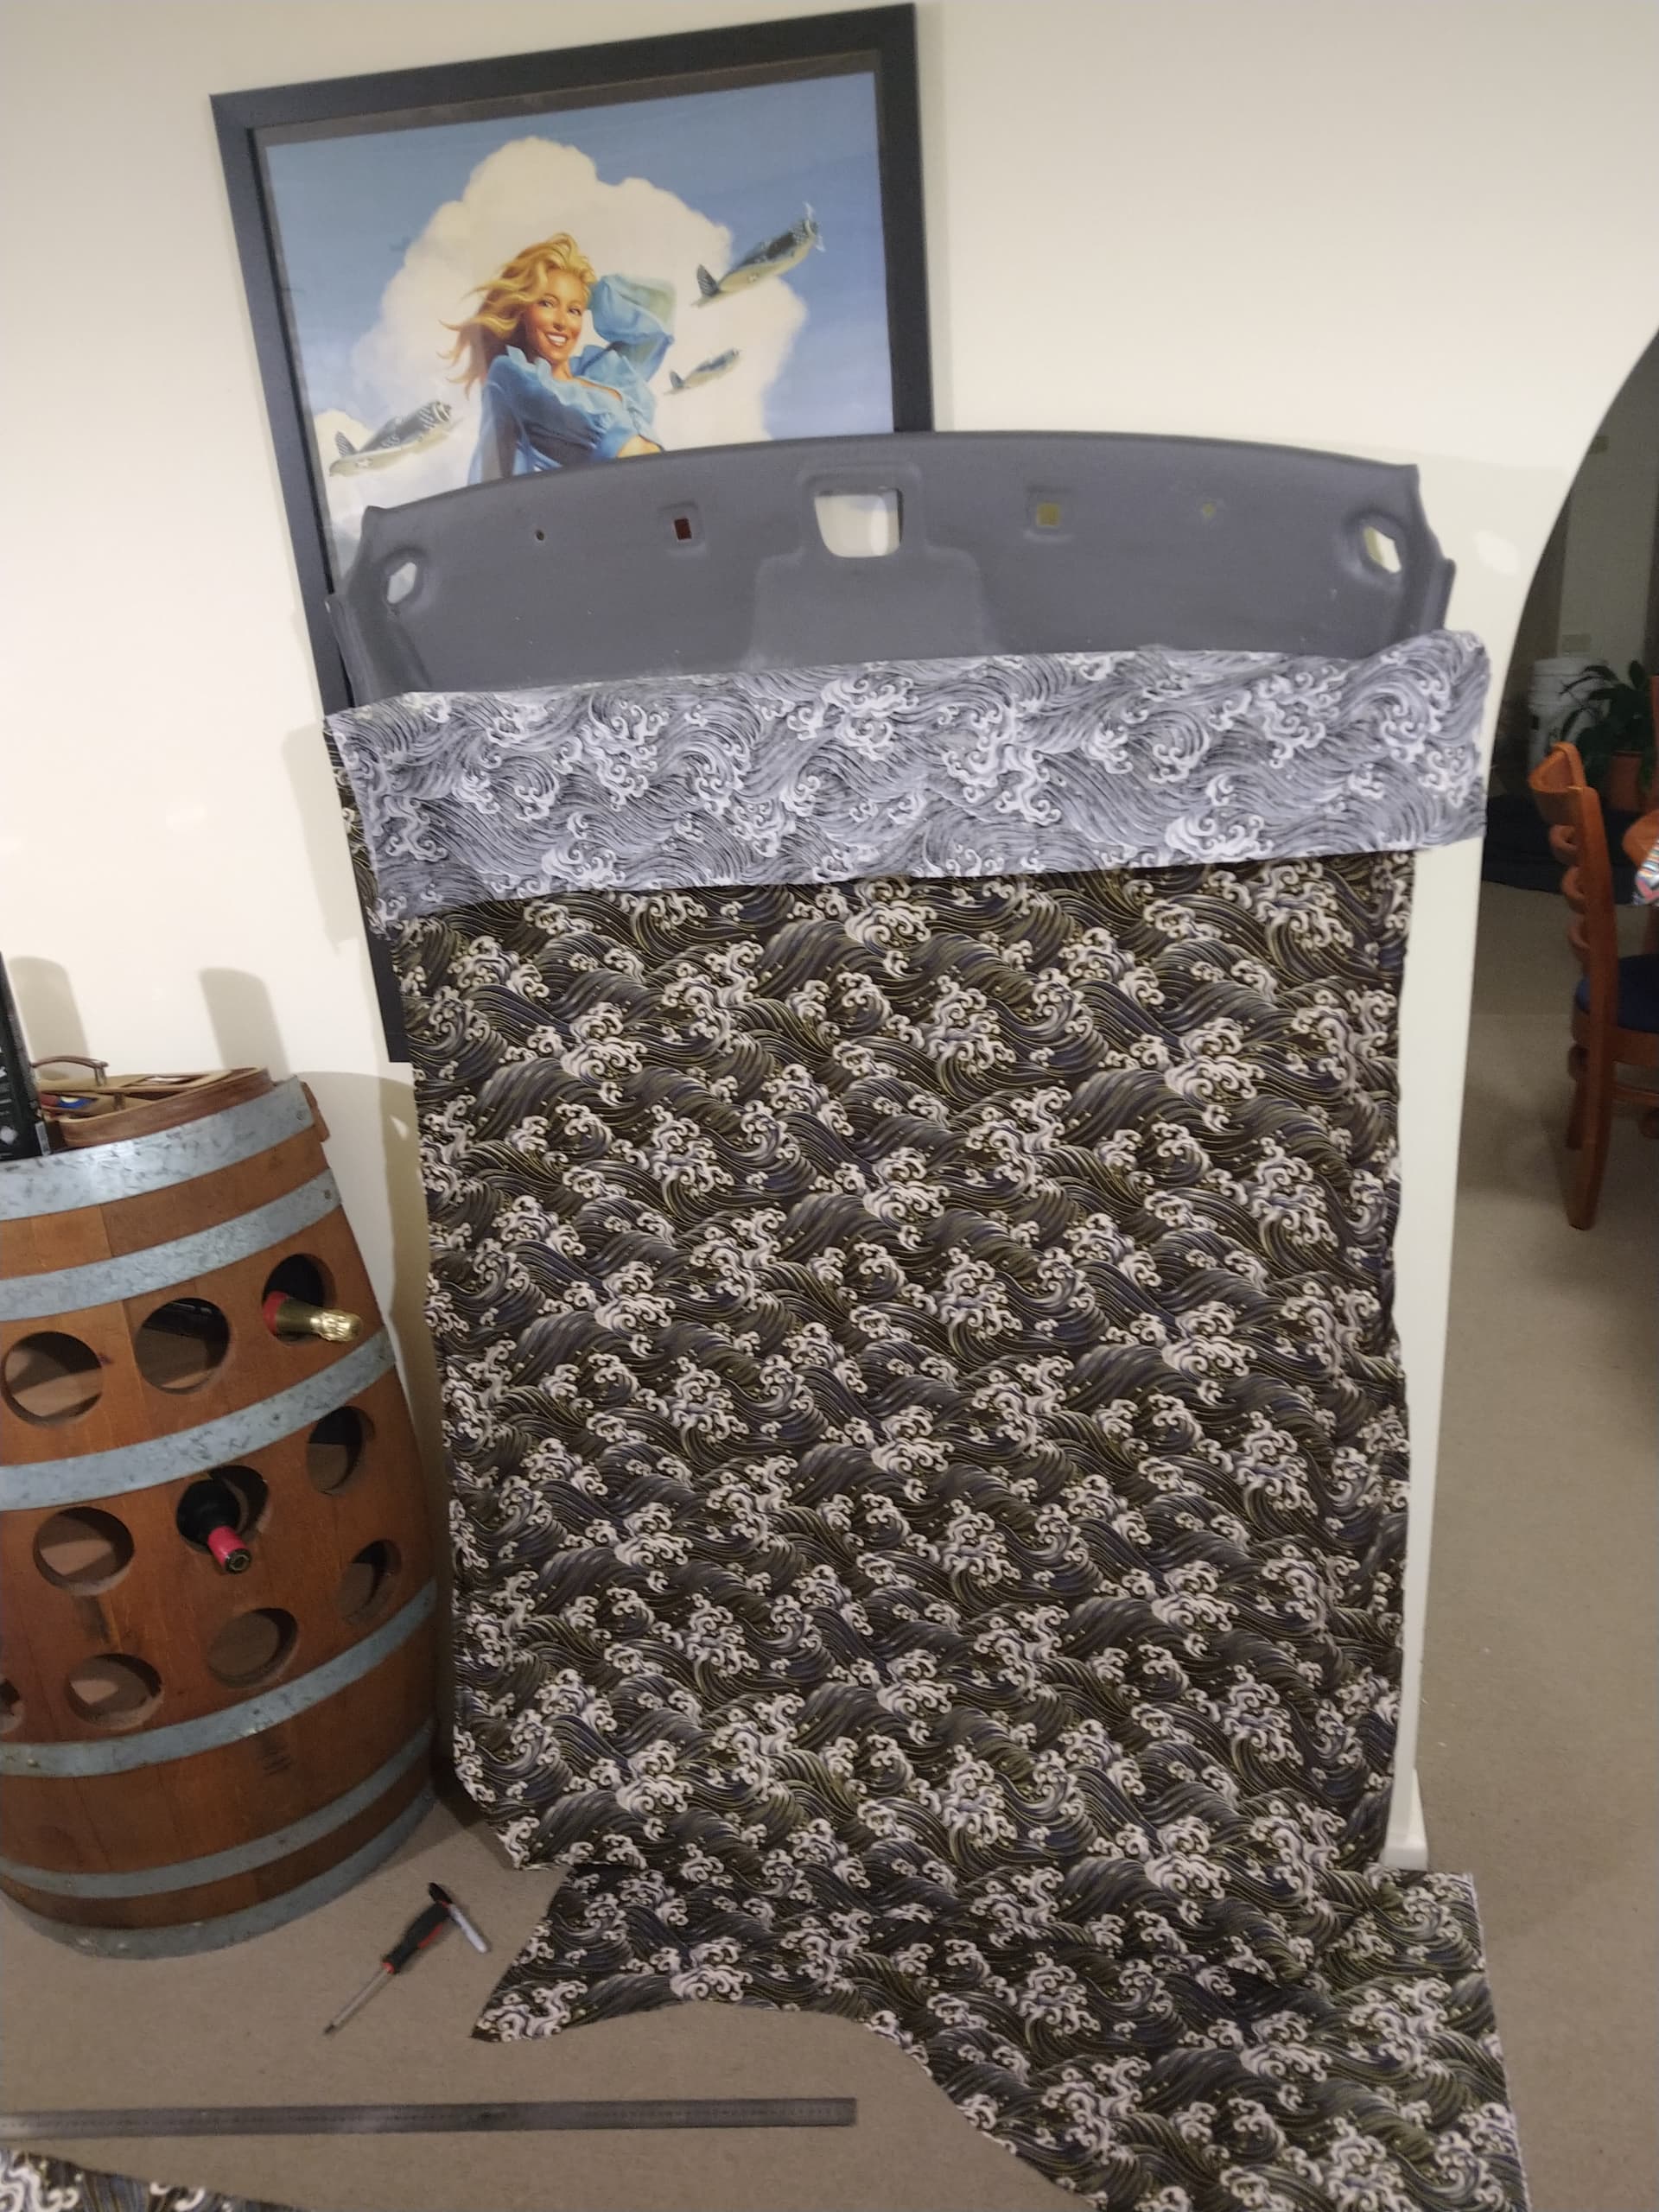
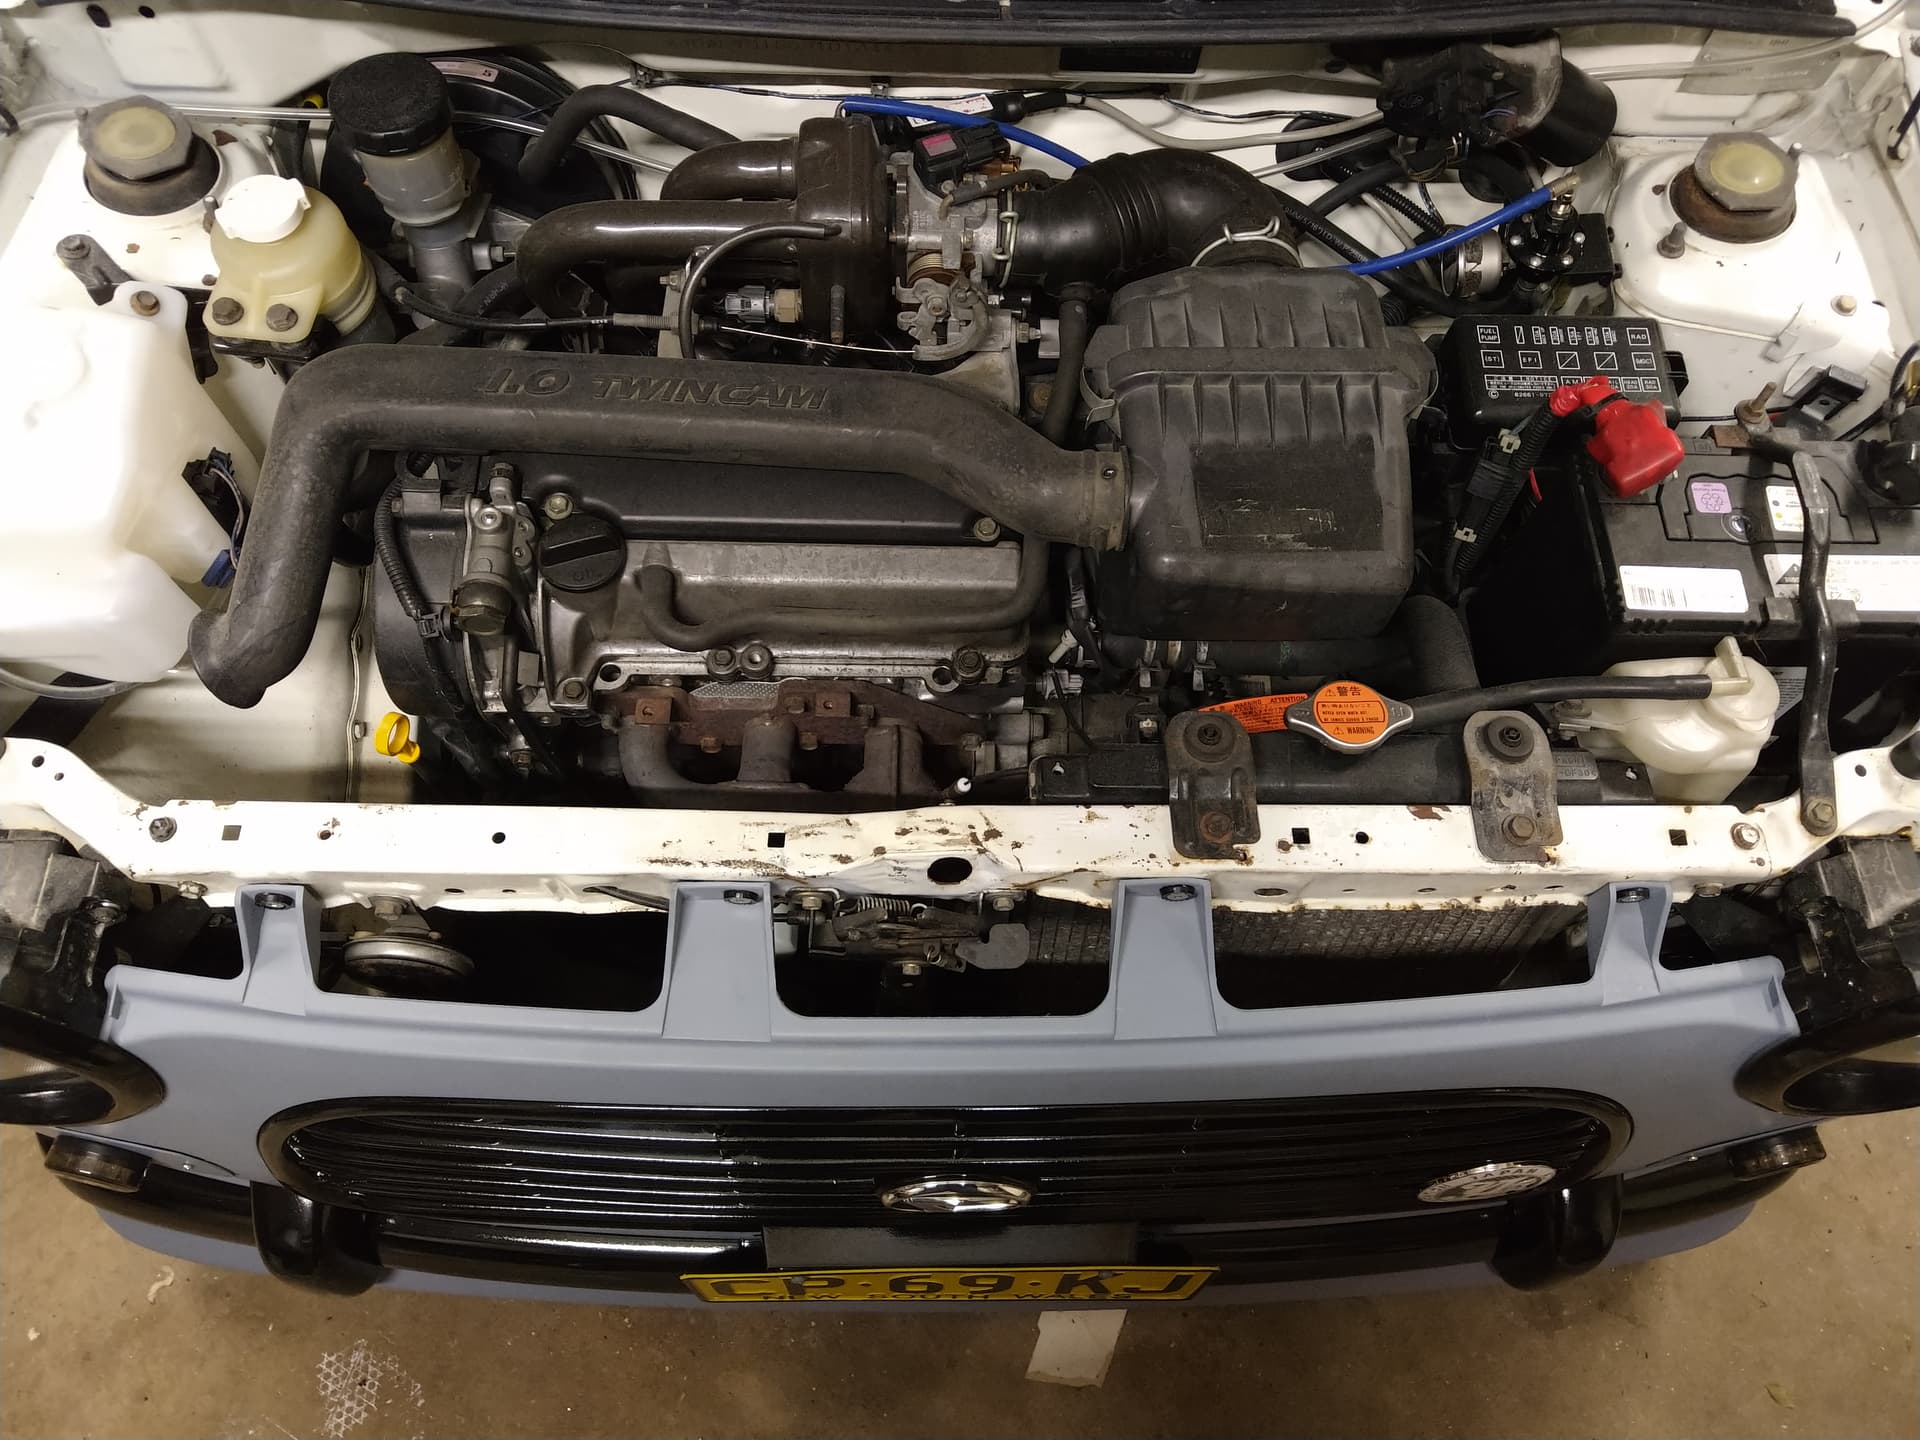
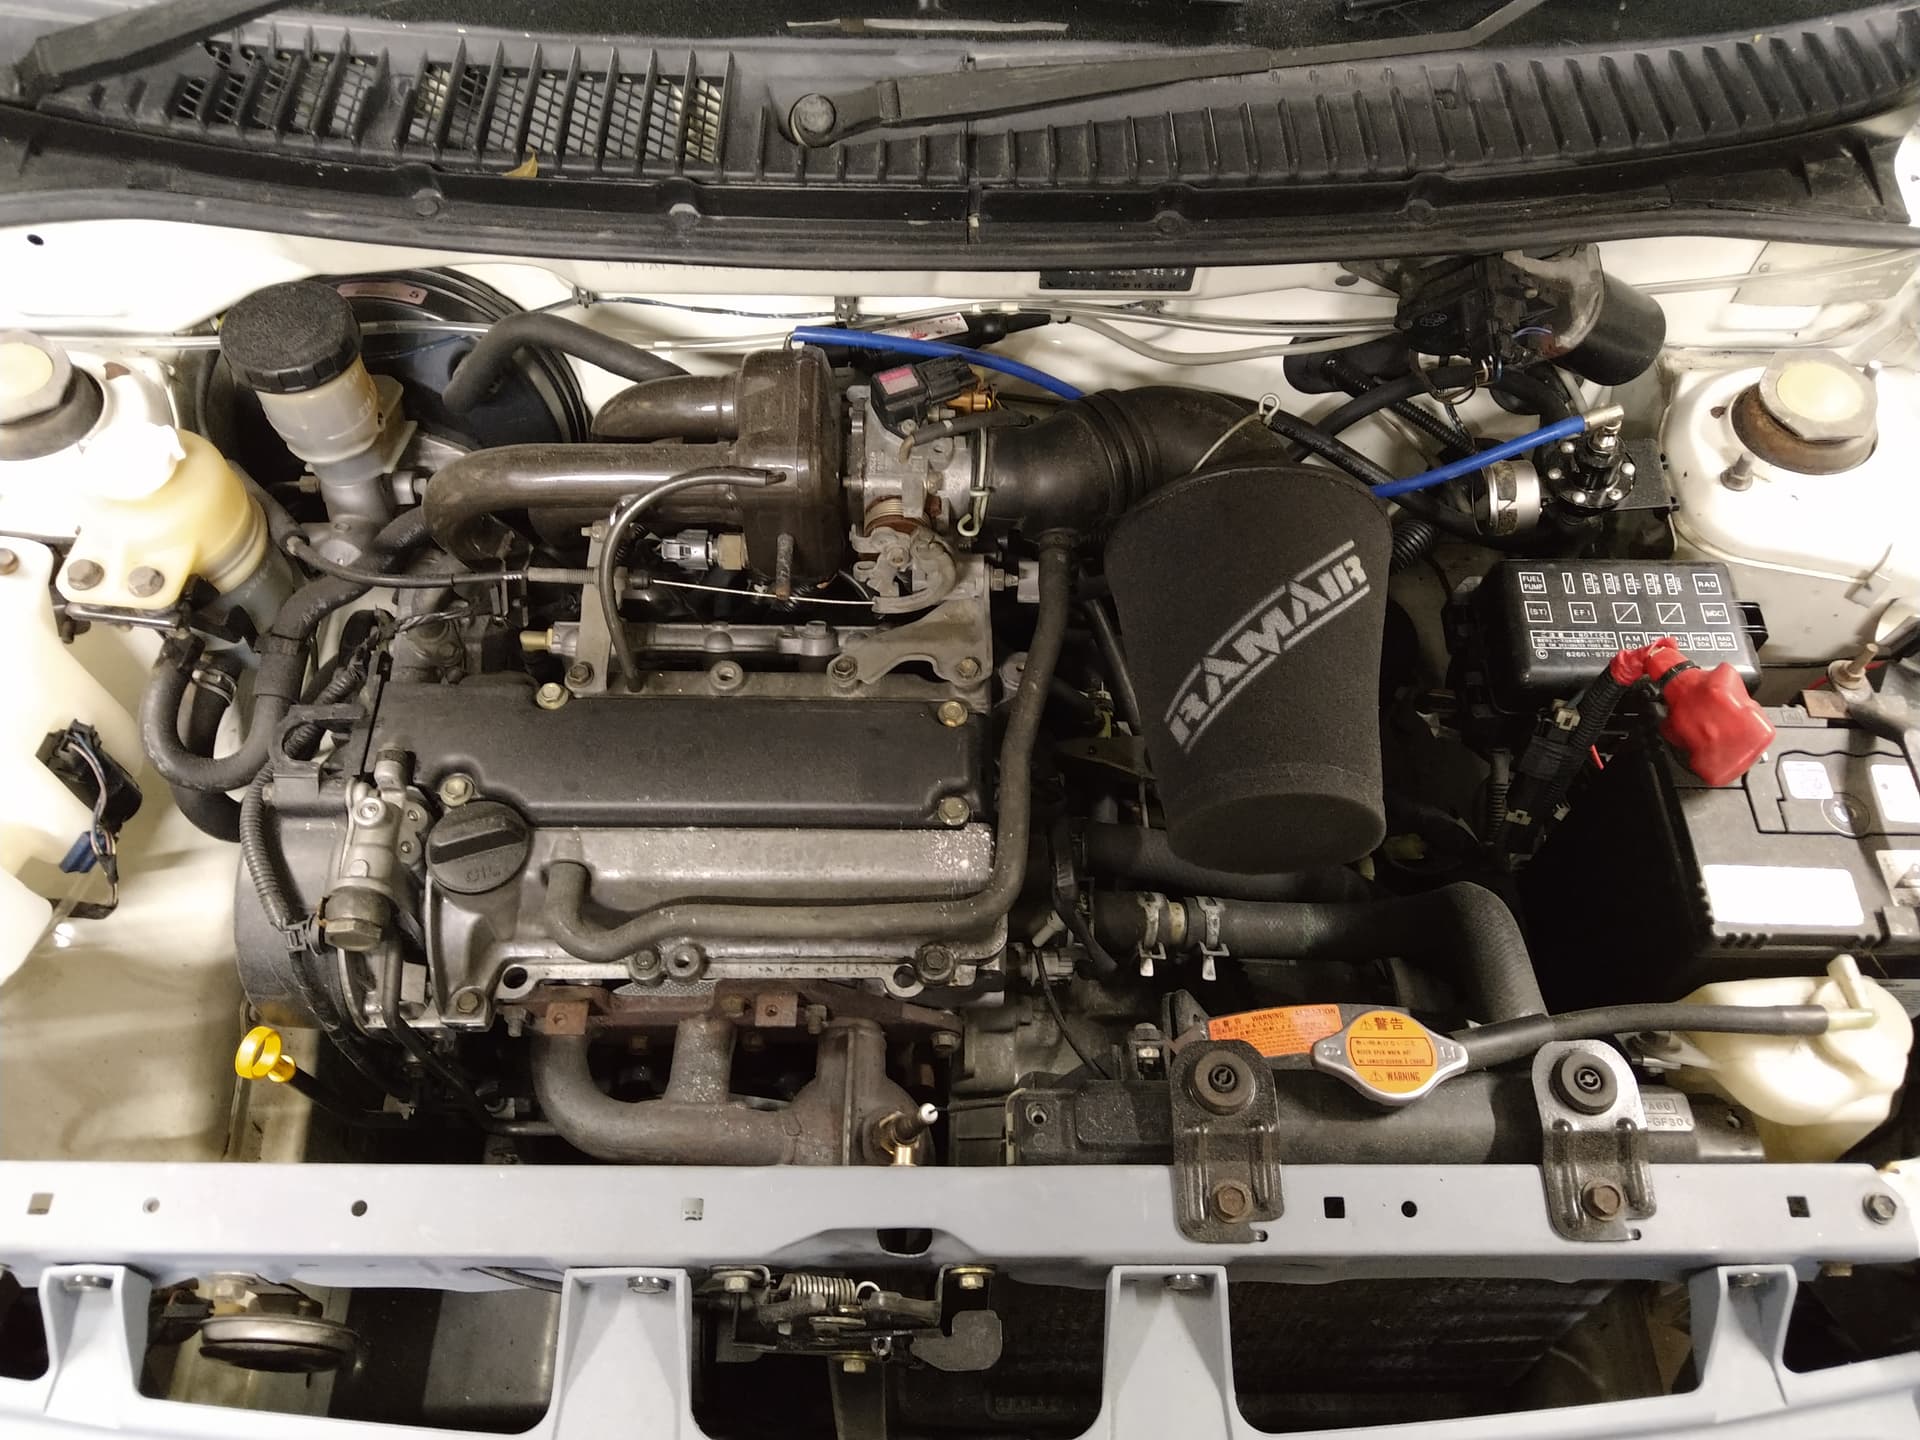
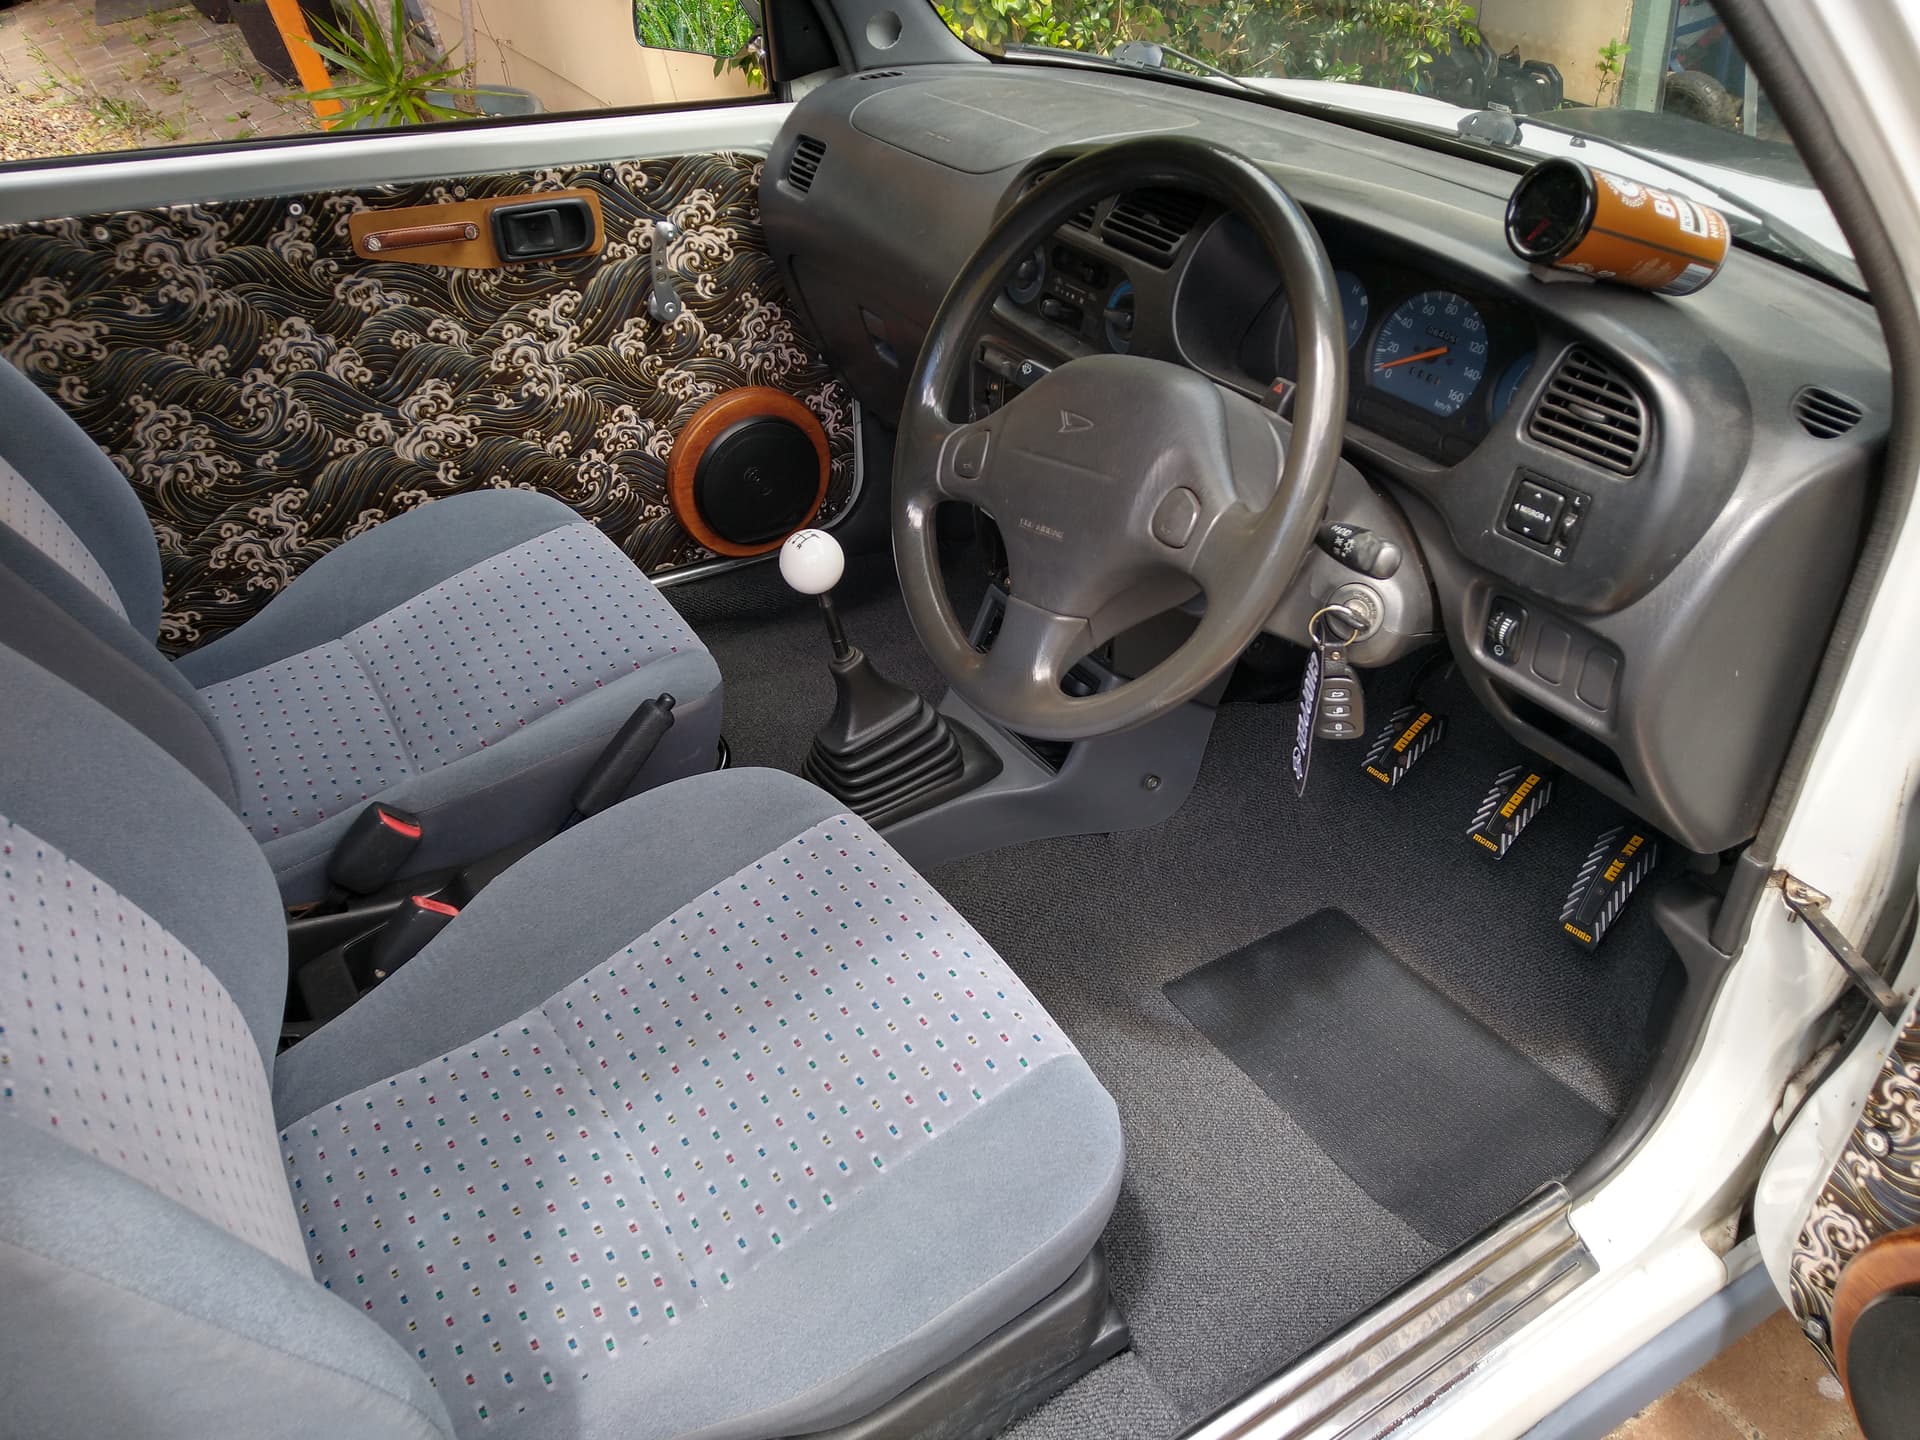
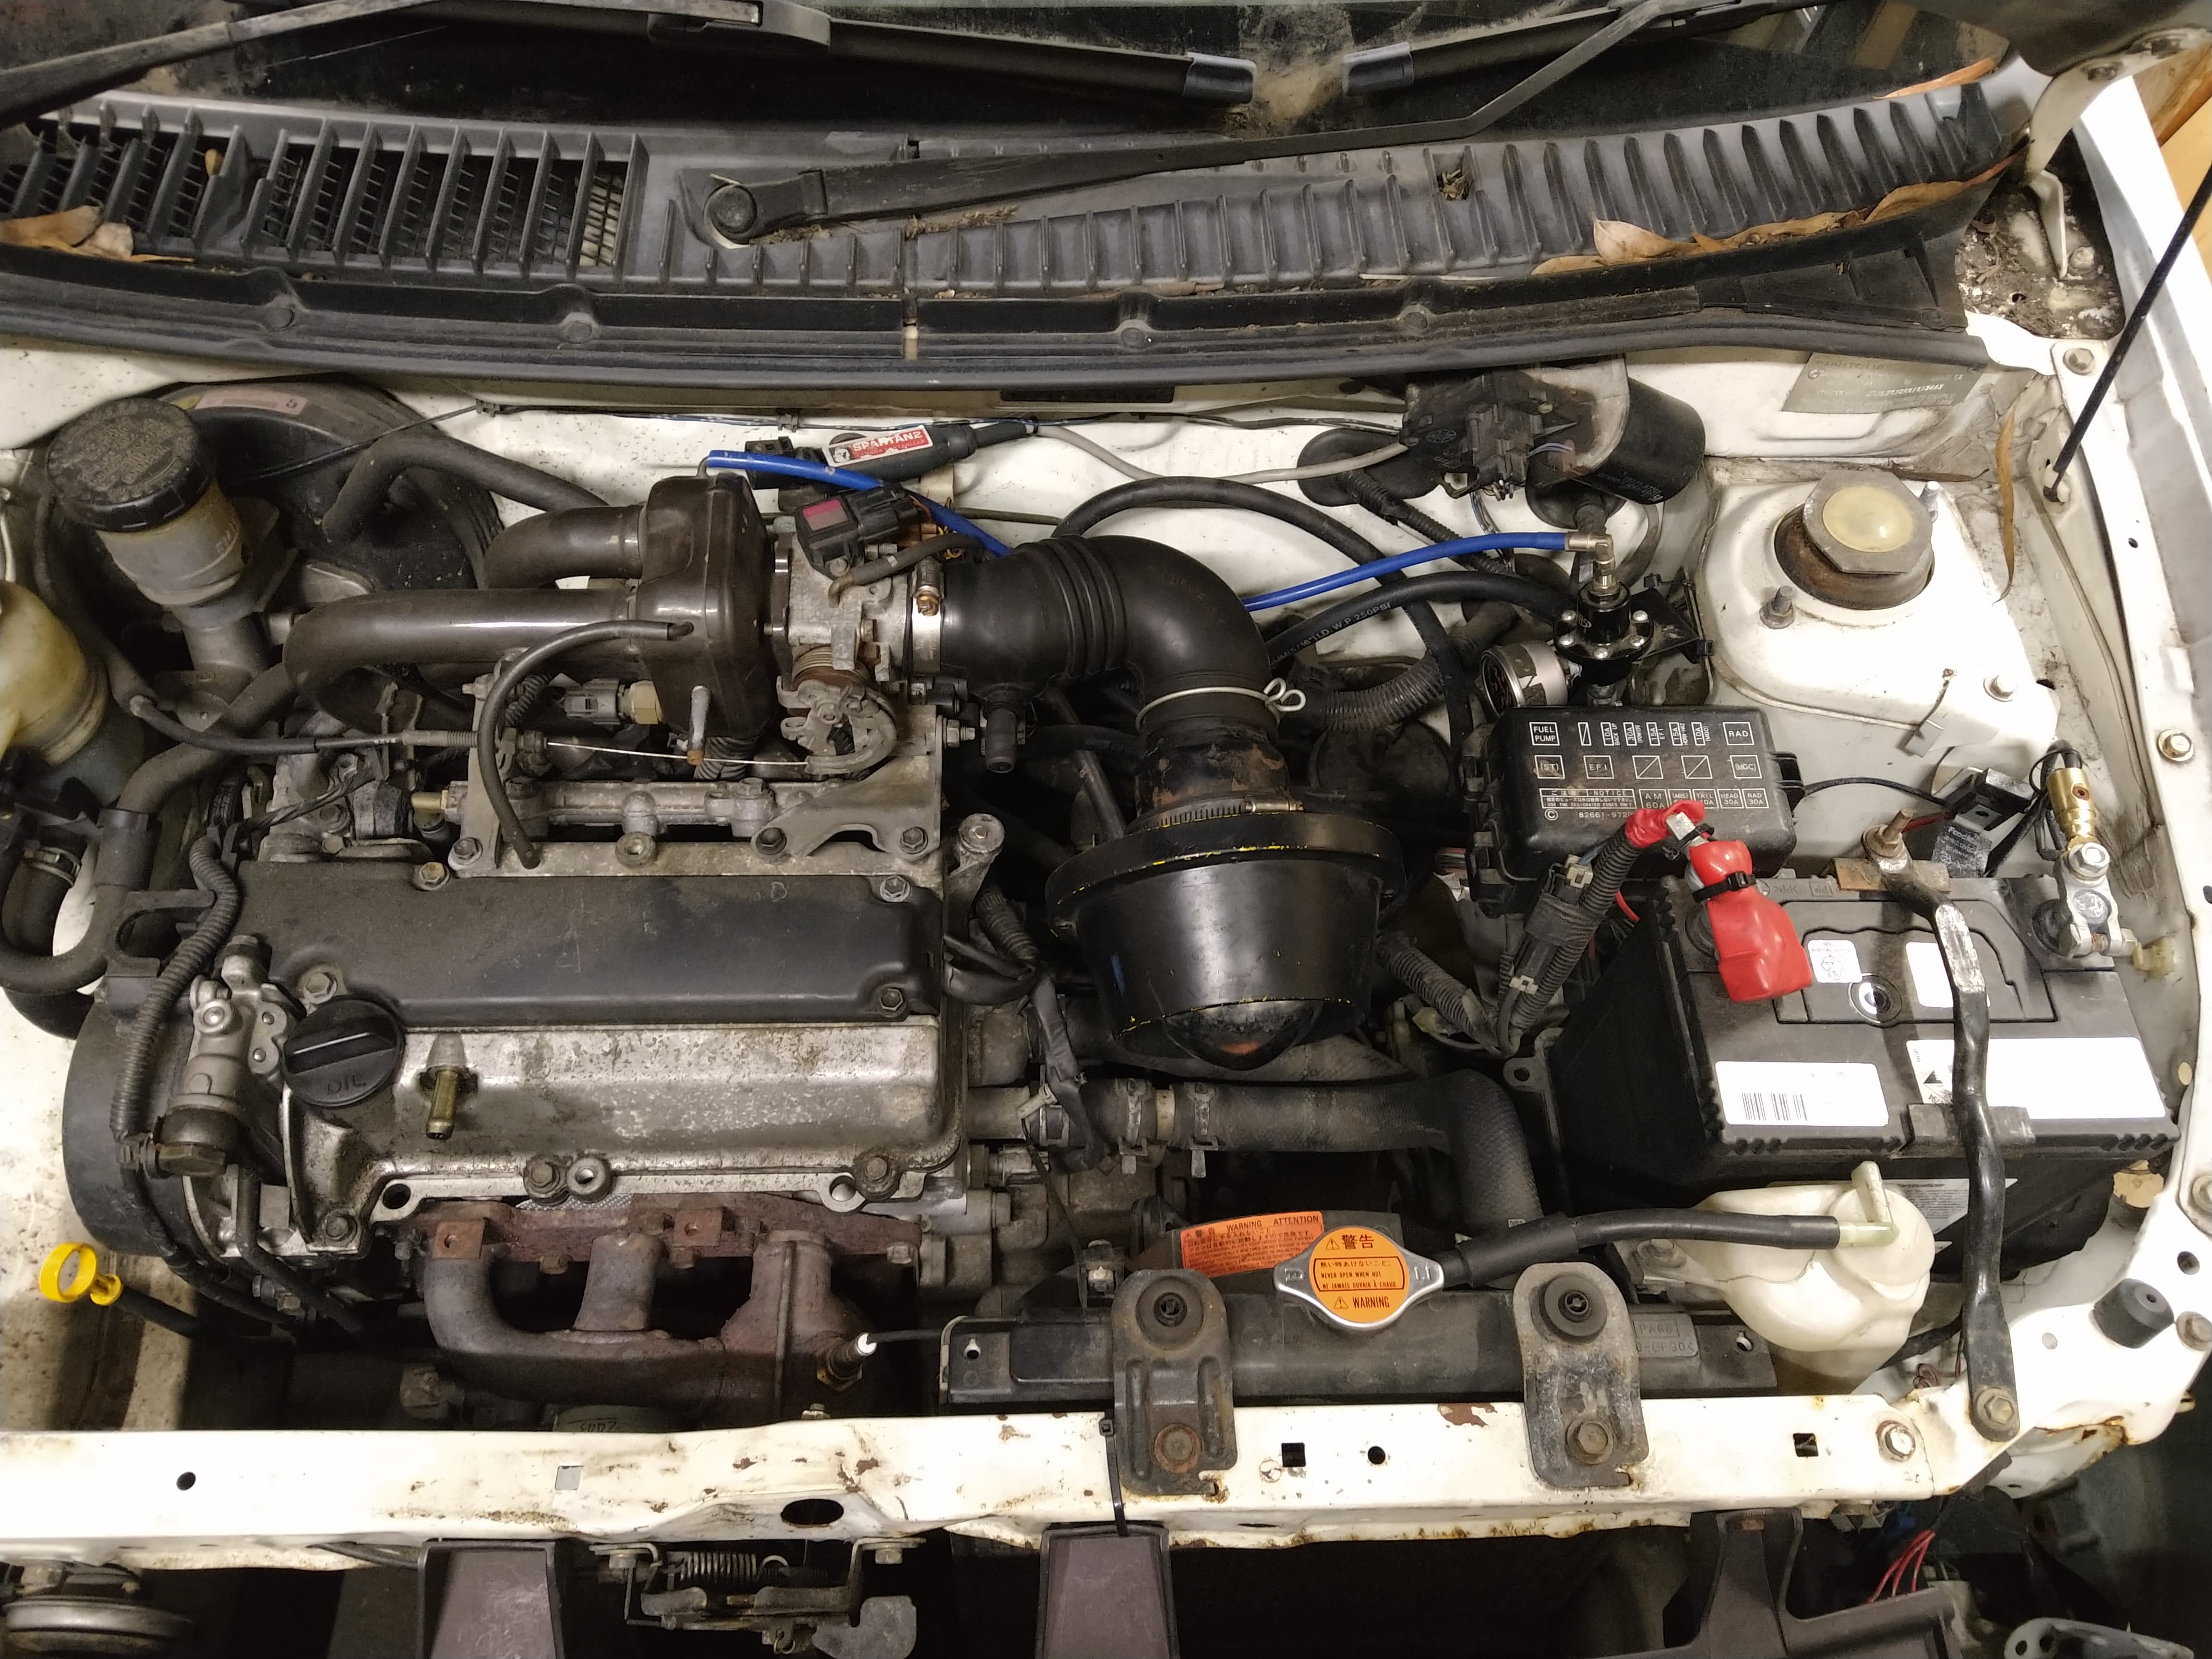
It’s got an interesting British themed fabric finish on the door panels and headliner, and some aftermarket power windows and central locking. Also a SAAS fpr and Spartan wideband hanging out in the engine bay which may help with a future turbo upgrade.
I’ll be after a few parts to get it roadworthy. So far I’m in need of:
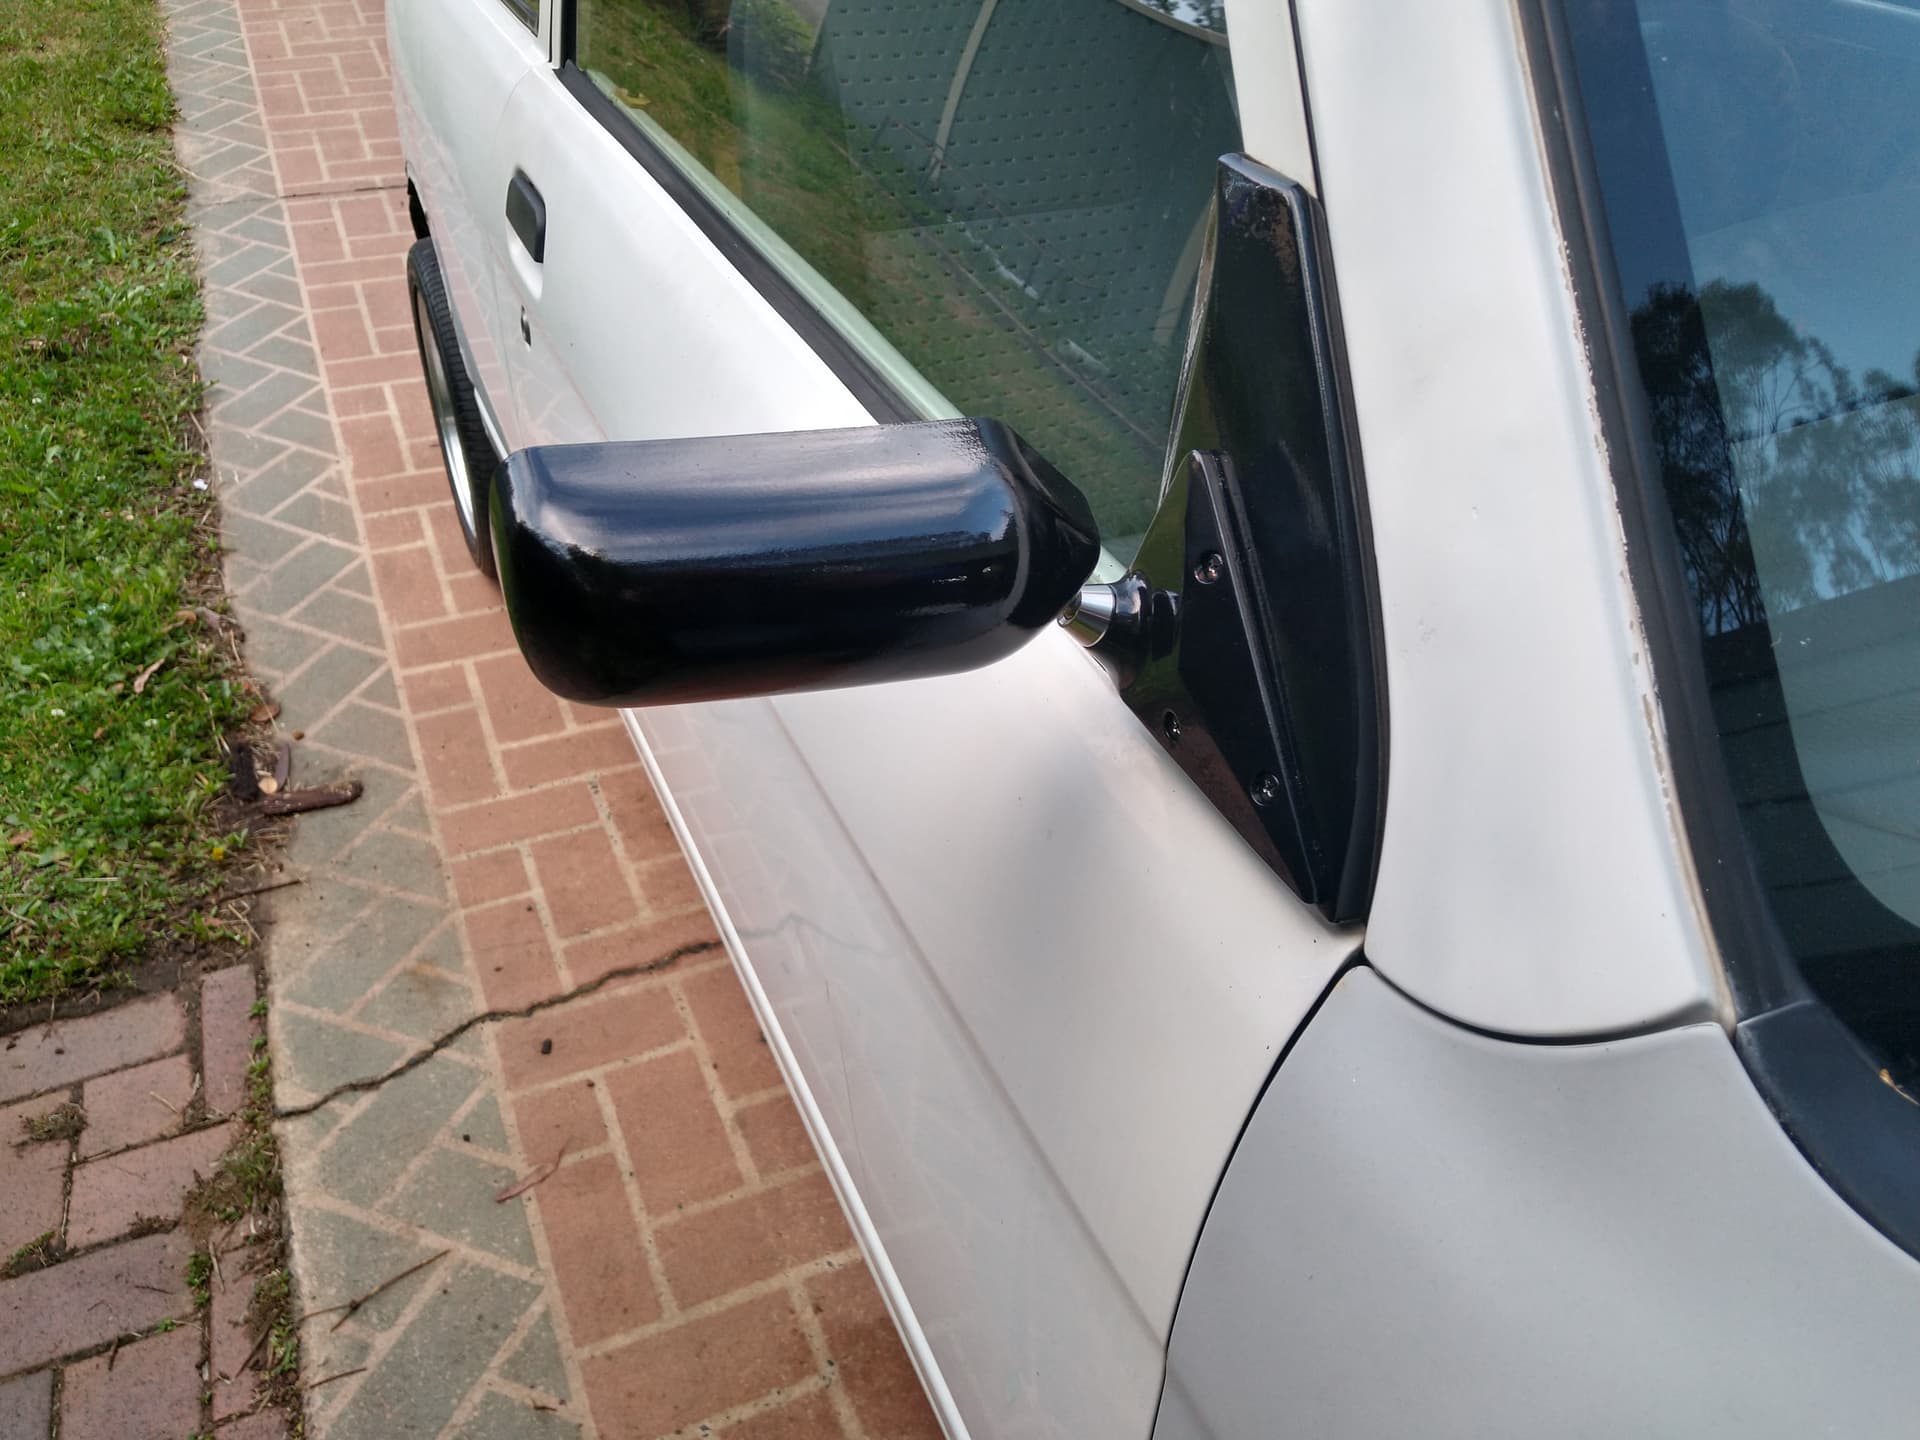
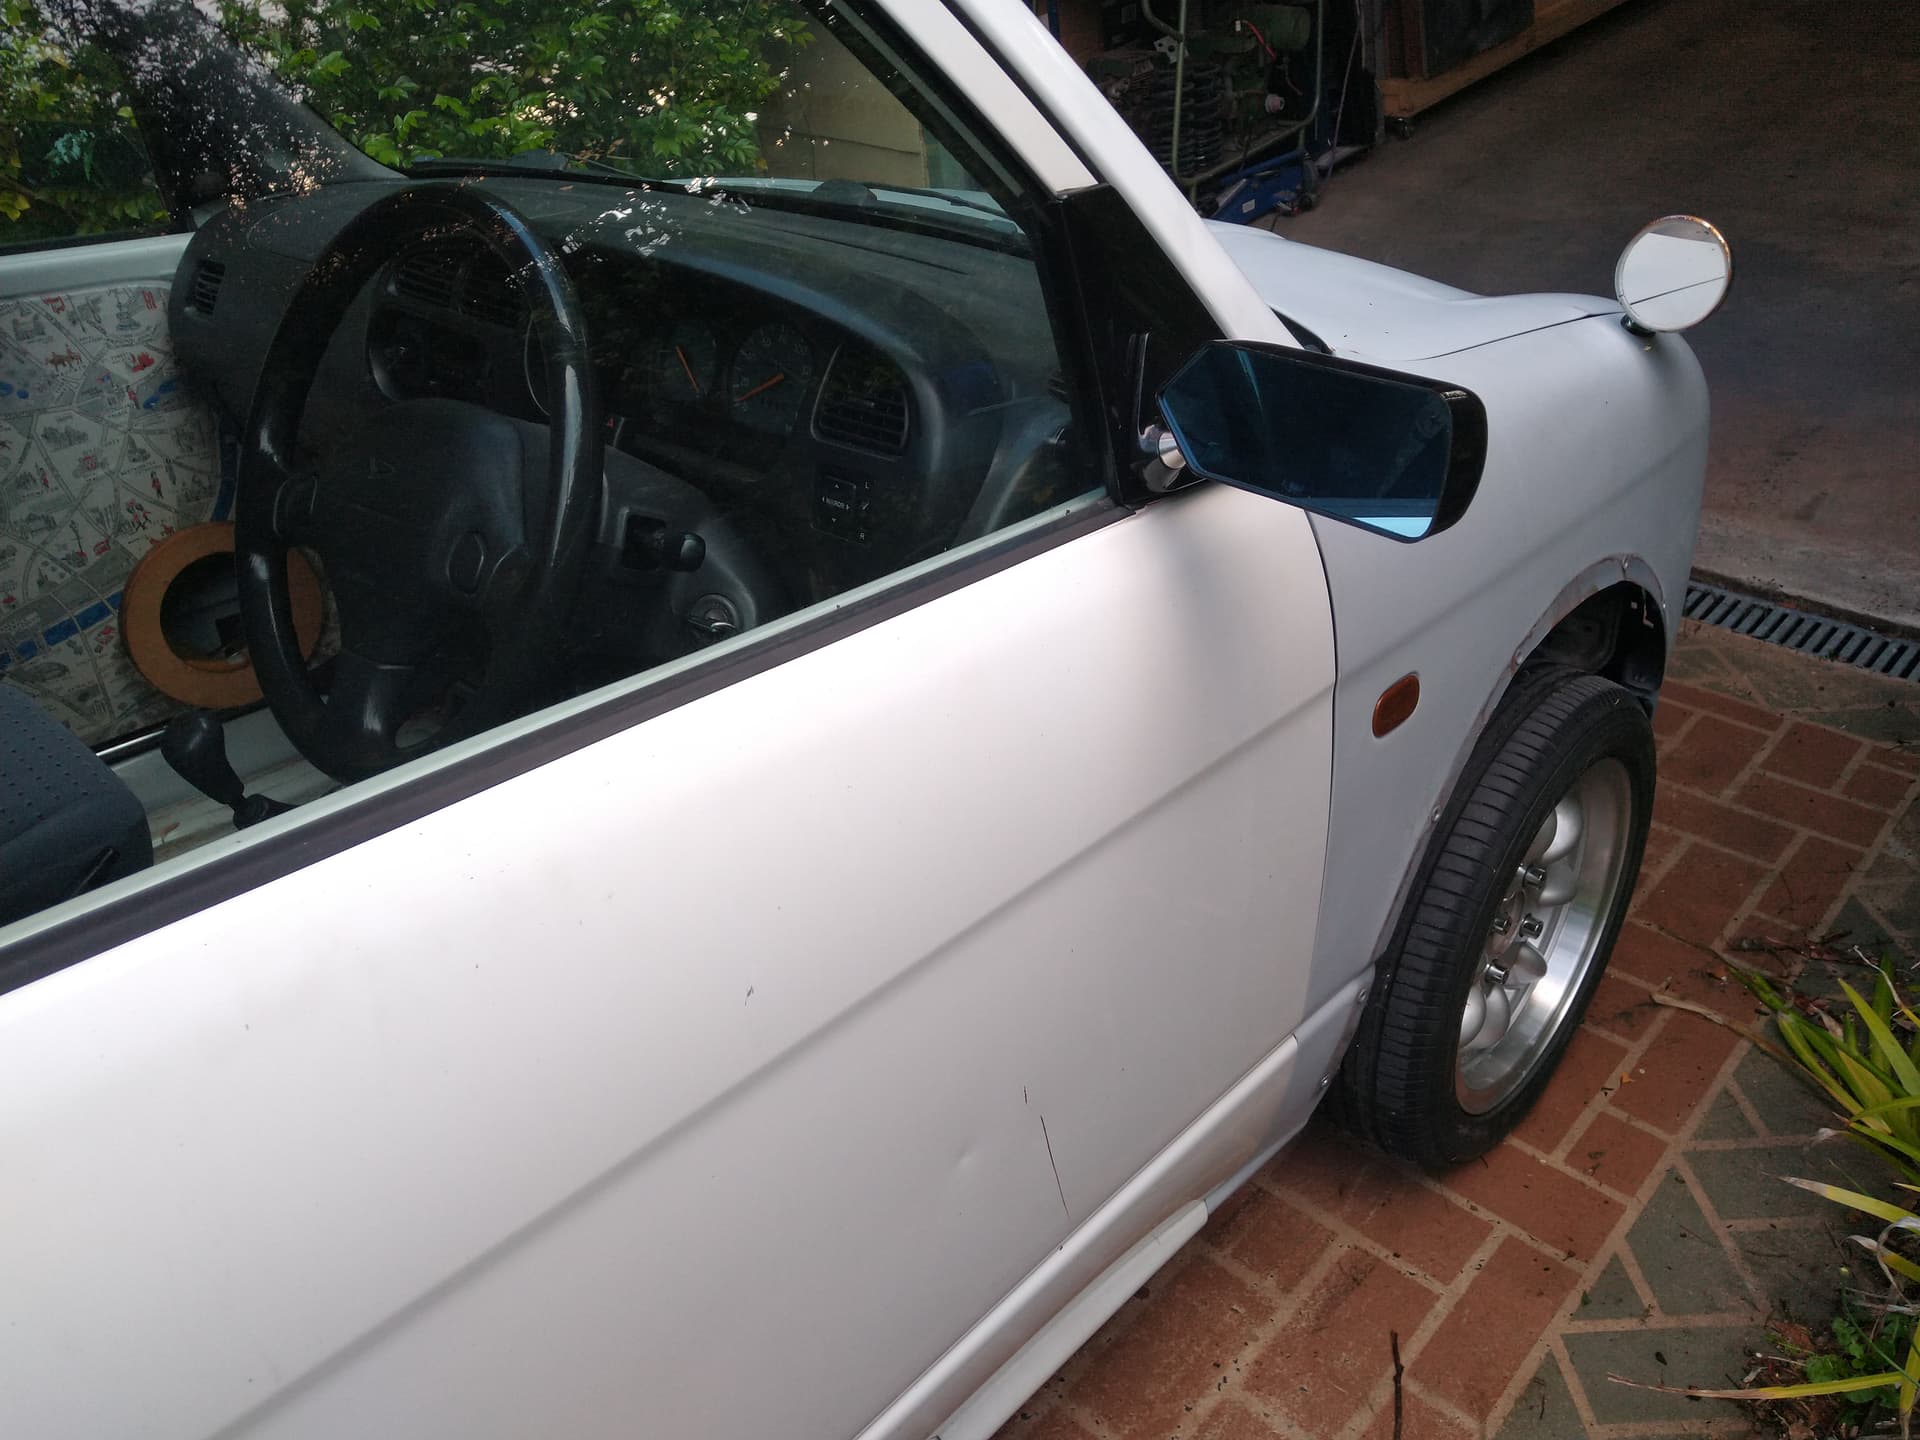
Mirrors.
Gino passenger headlight & chrome. Probably driver chrome ring too.
Gino front bumper/grille.
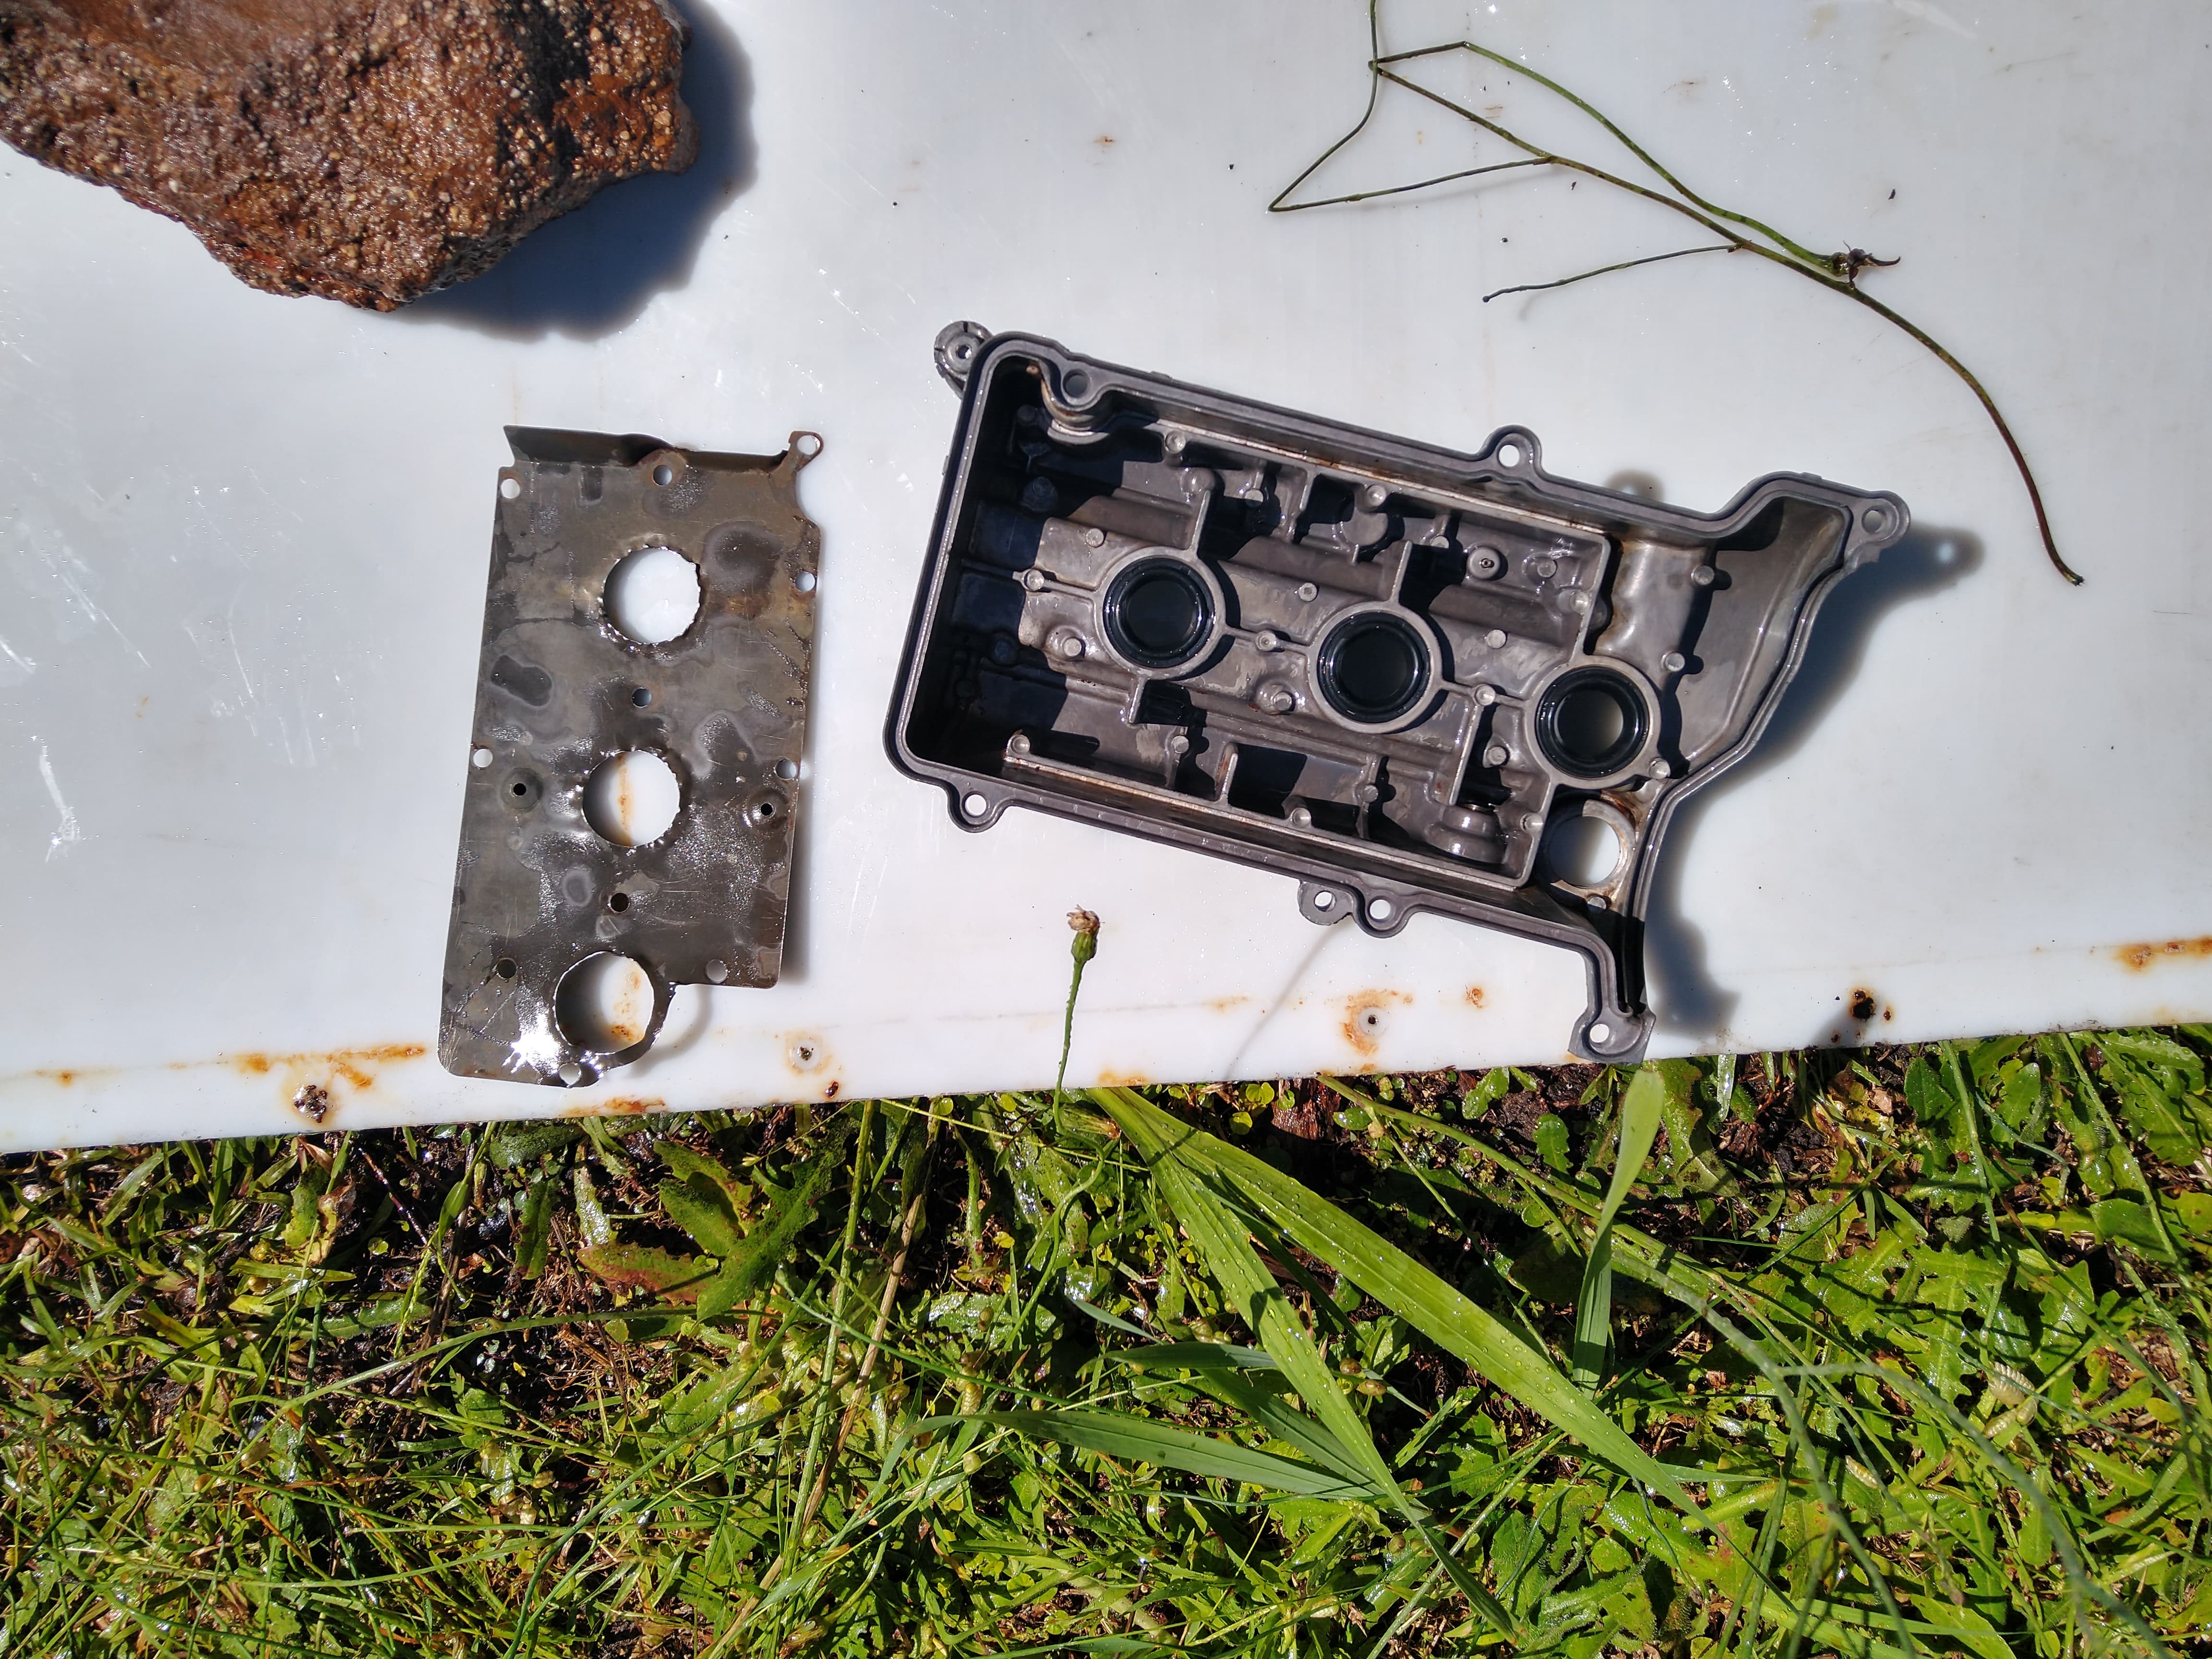
Intake.
Washer bottle & pump.
Carpet (Back to the passenger footwell is probably all I need)
Door sill plates.
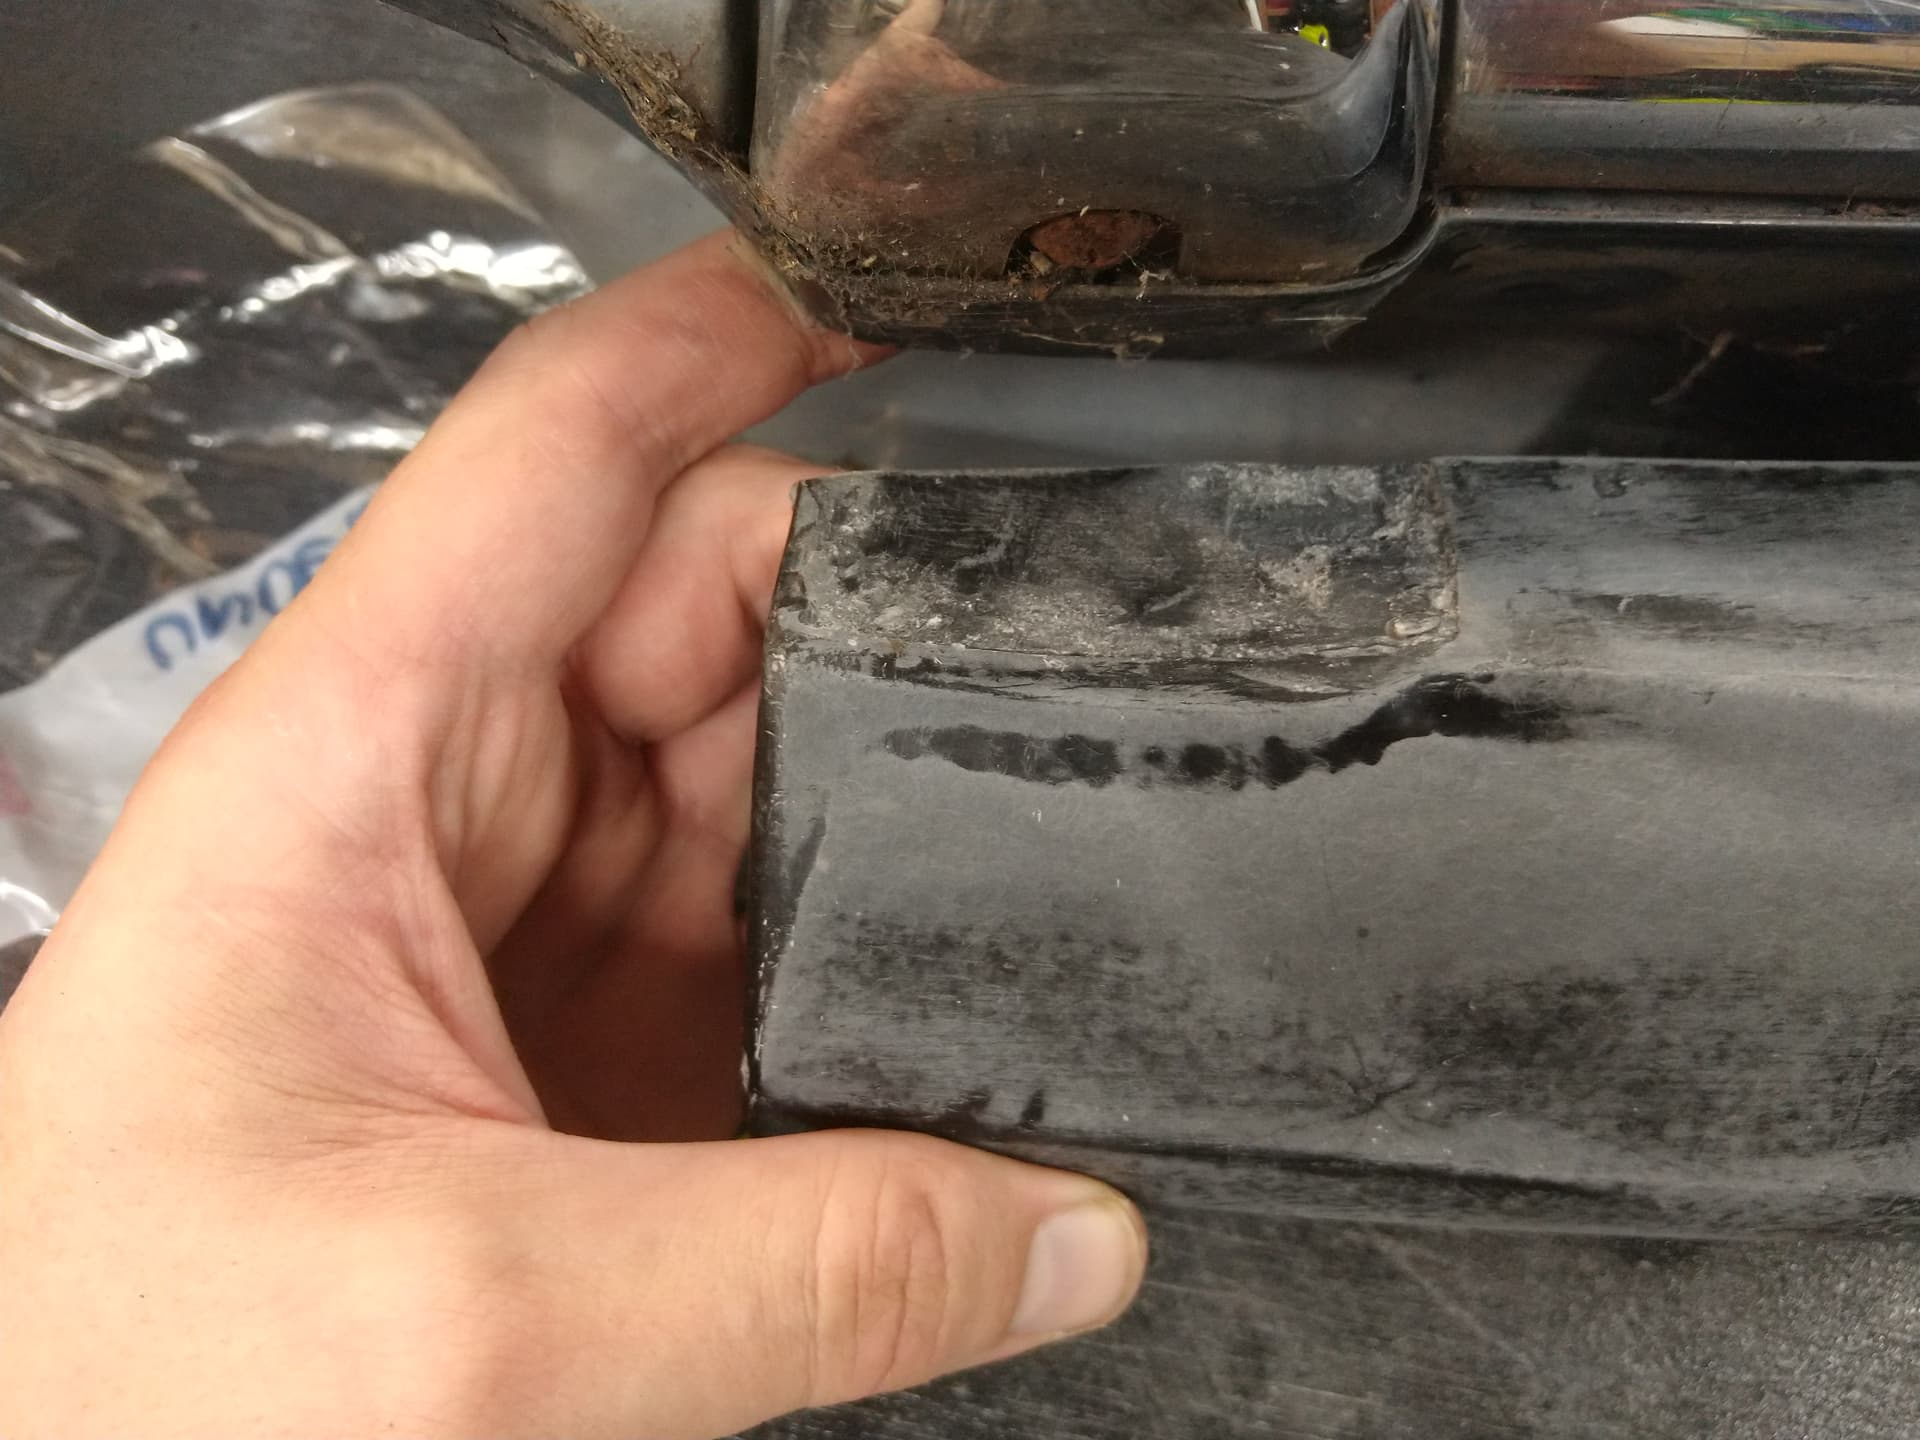
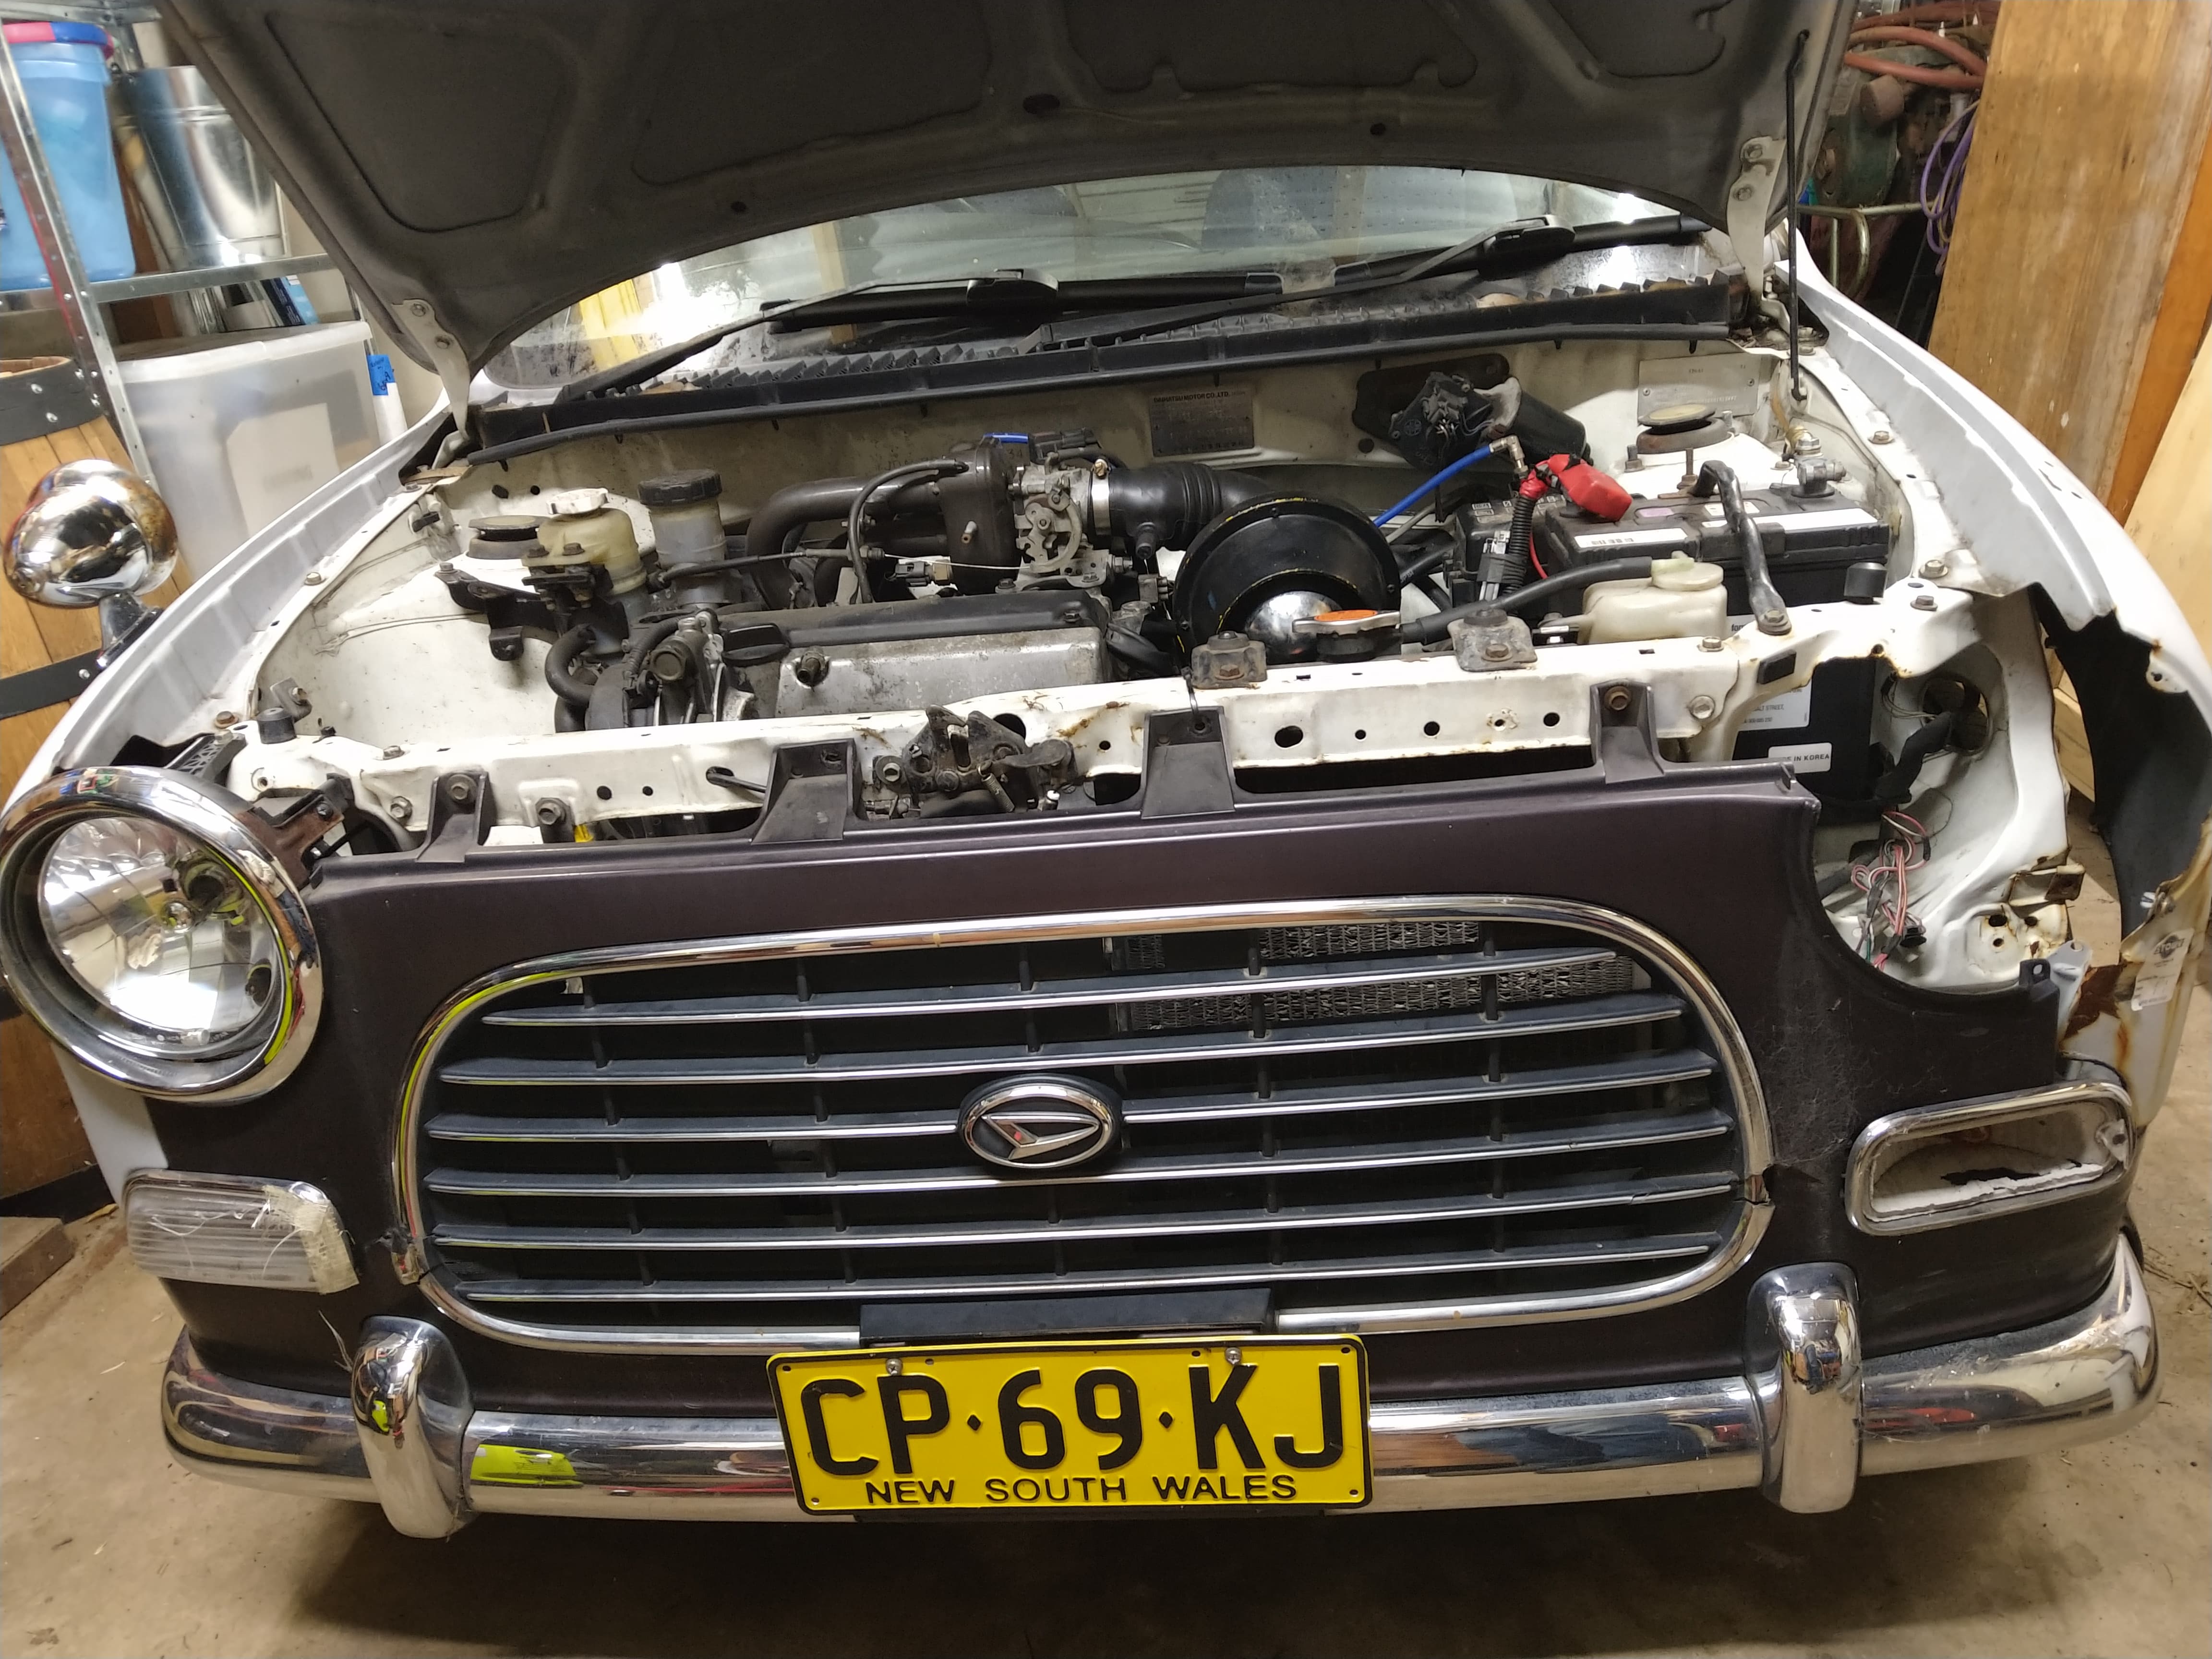
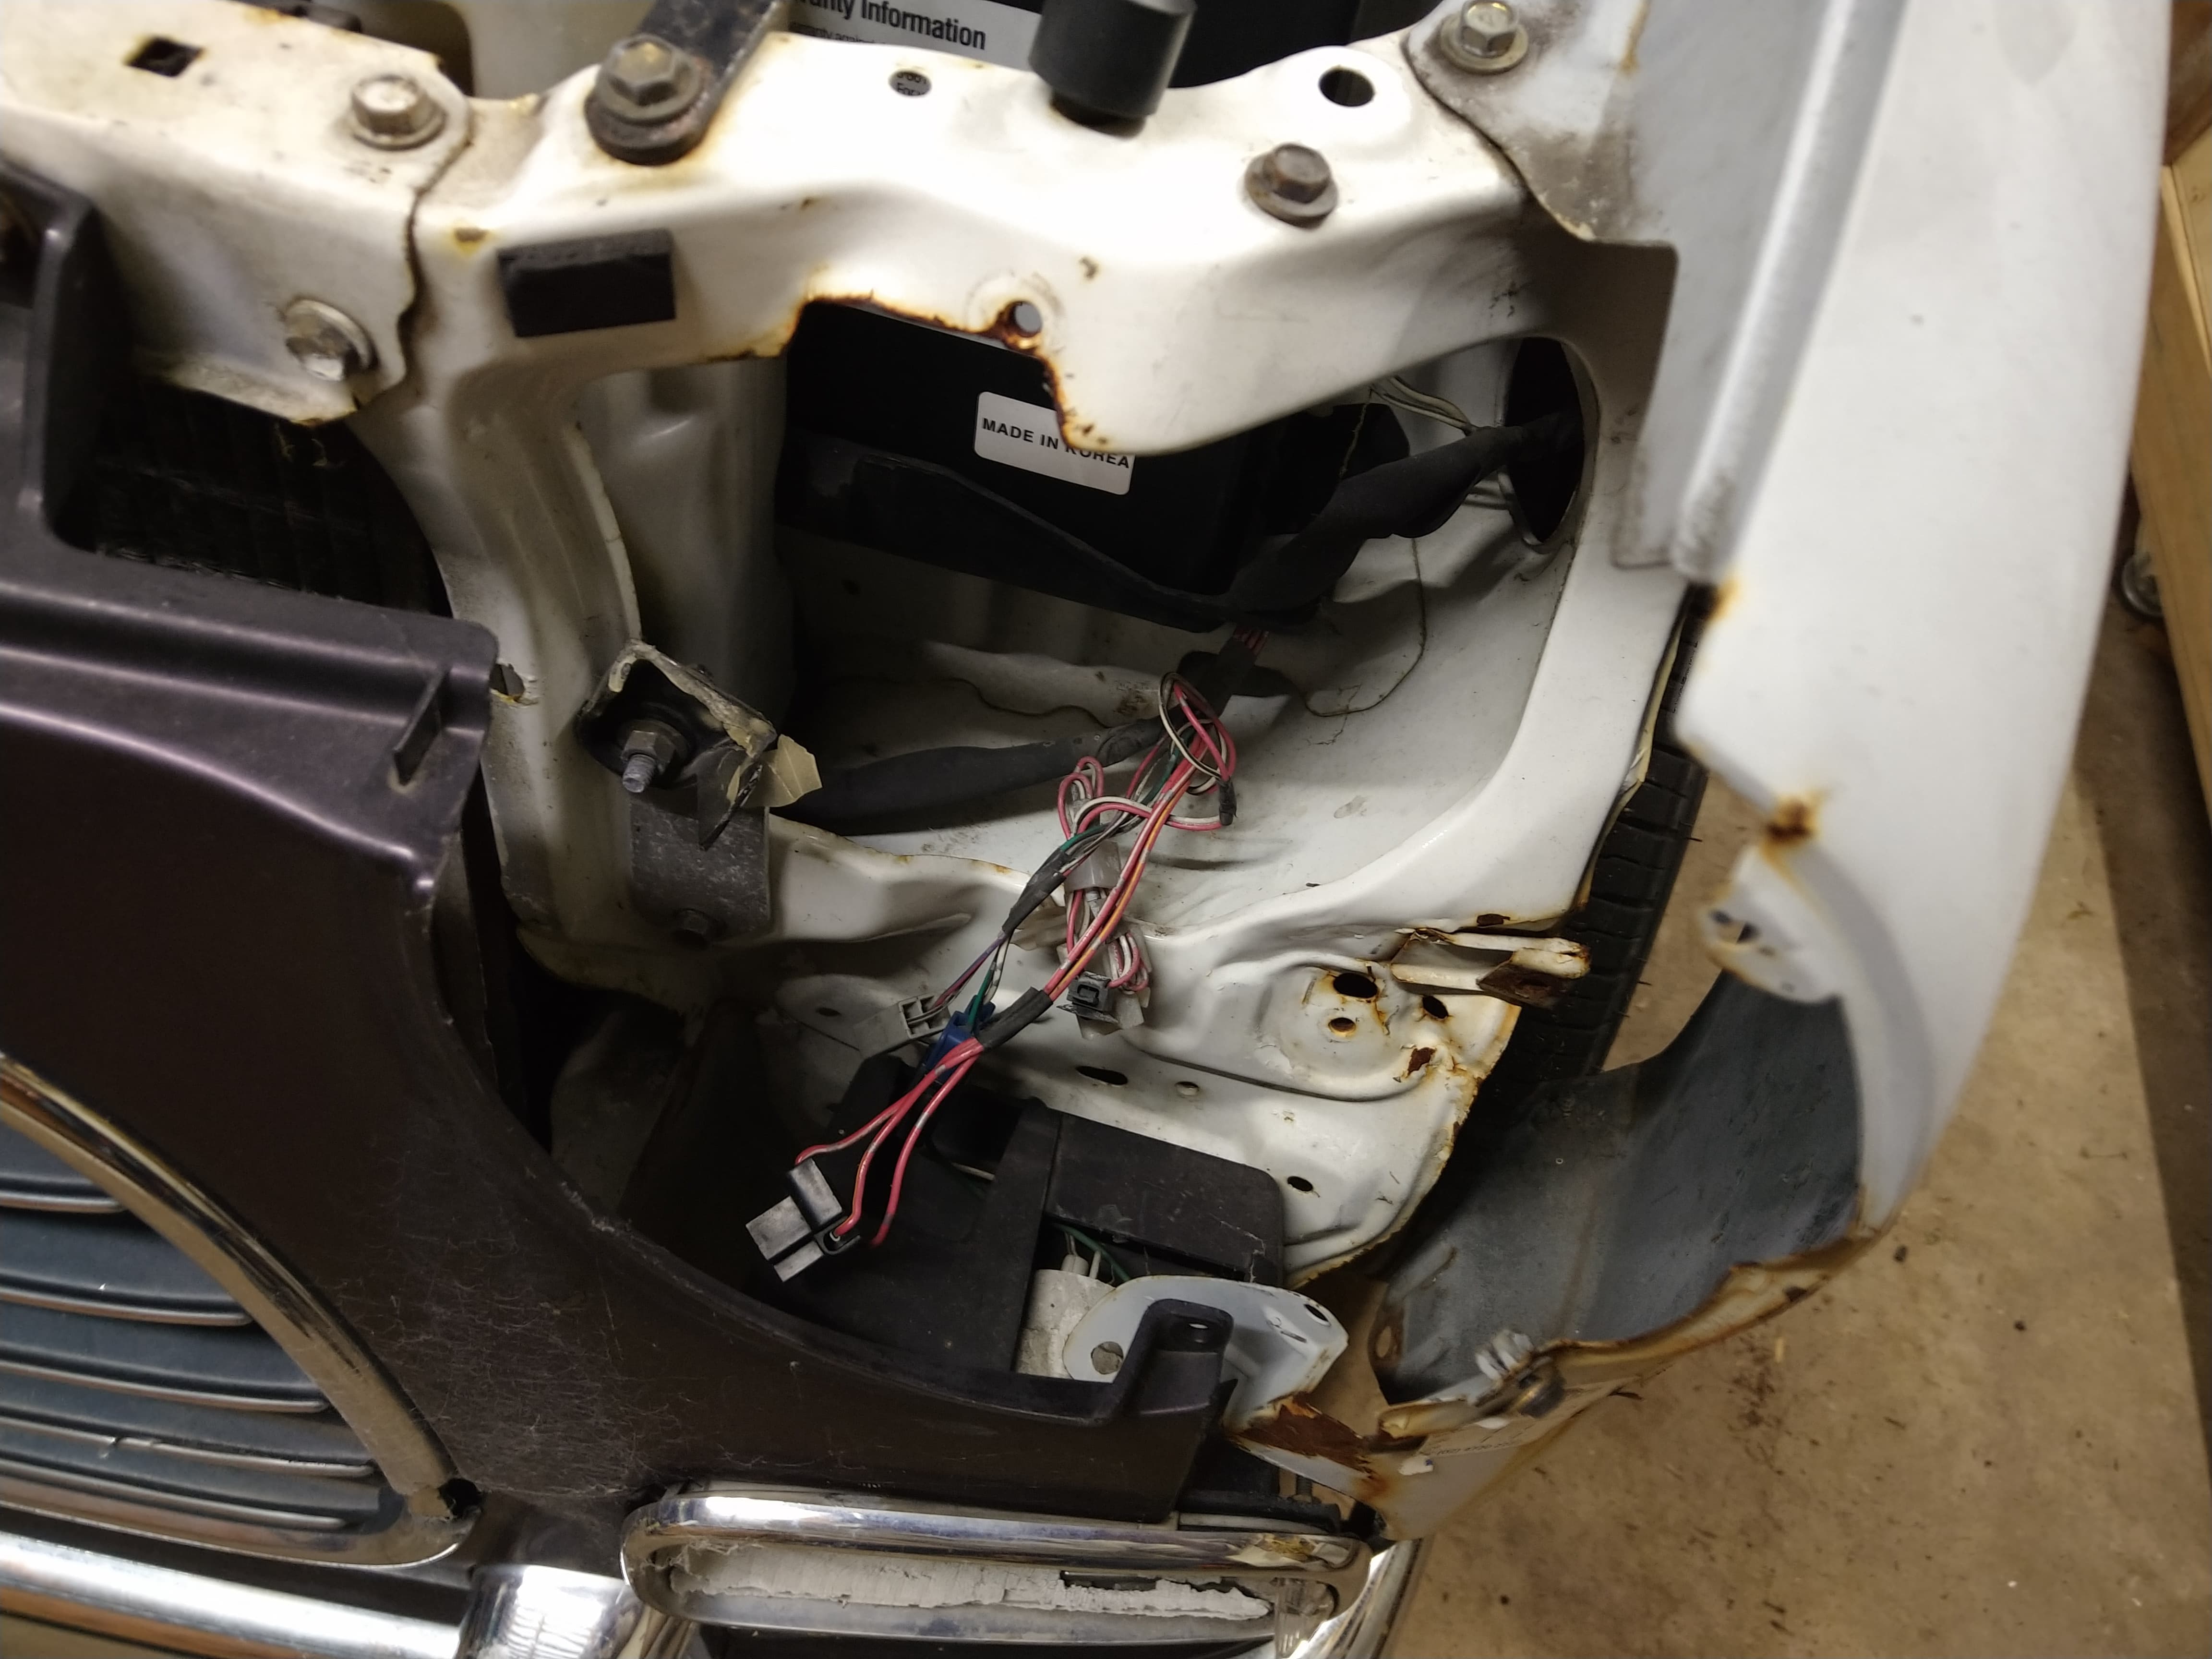
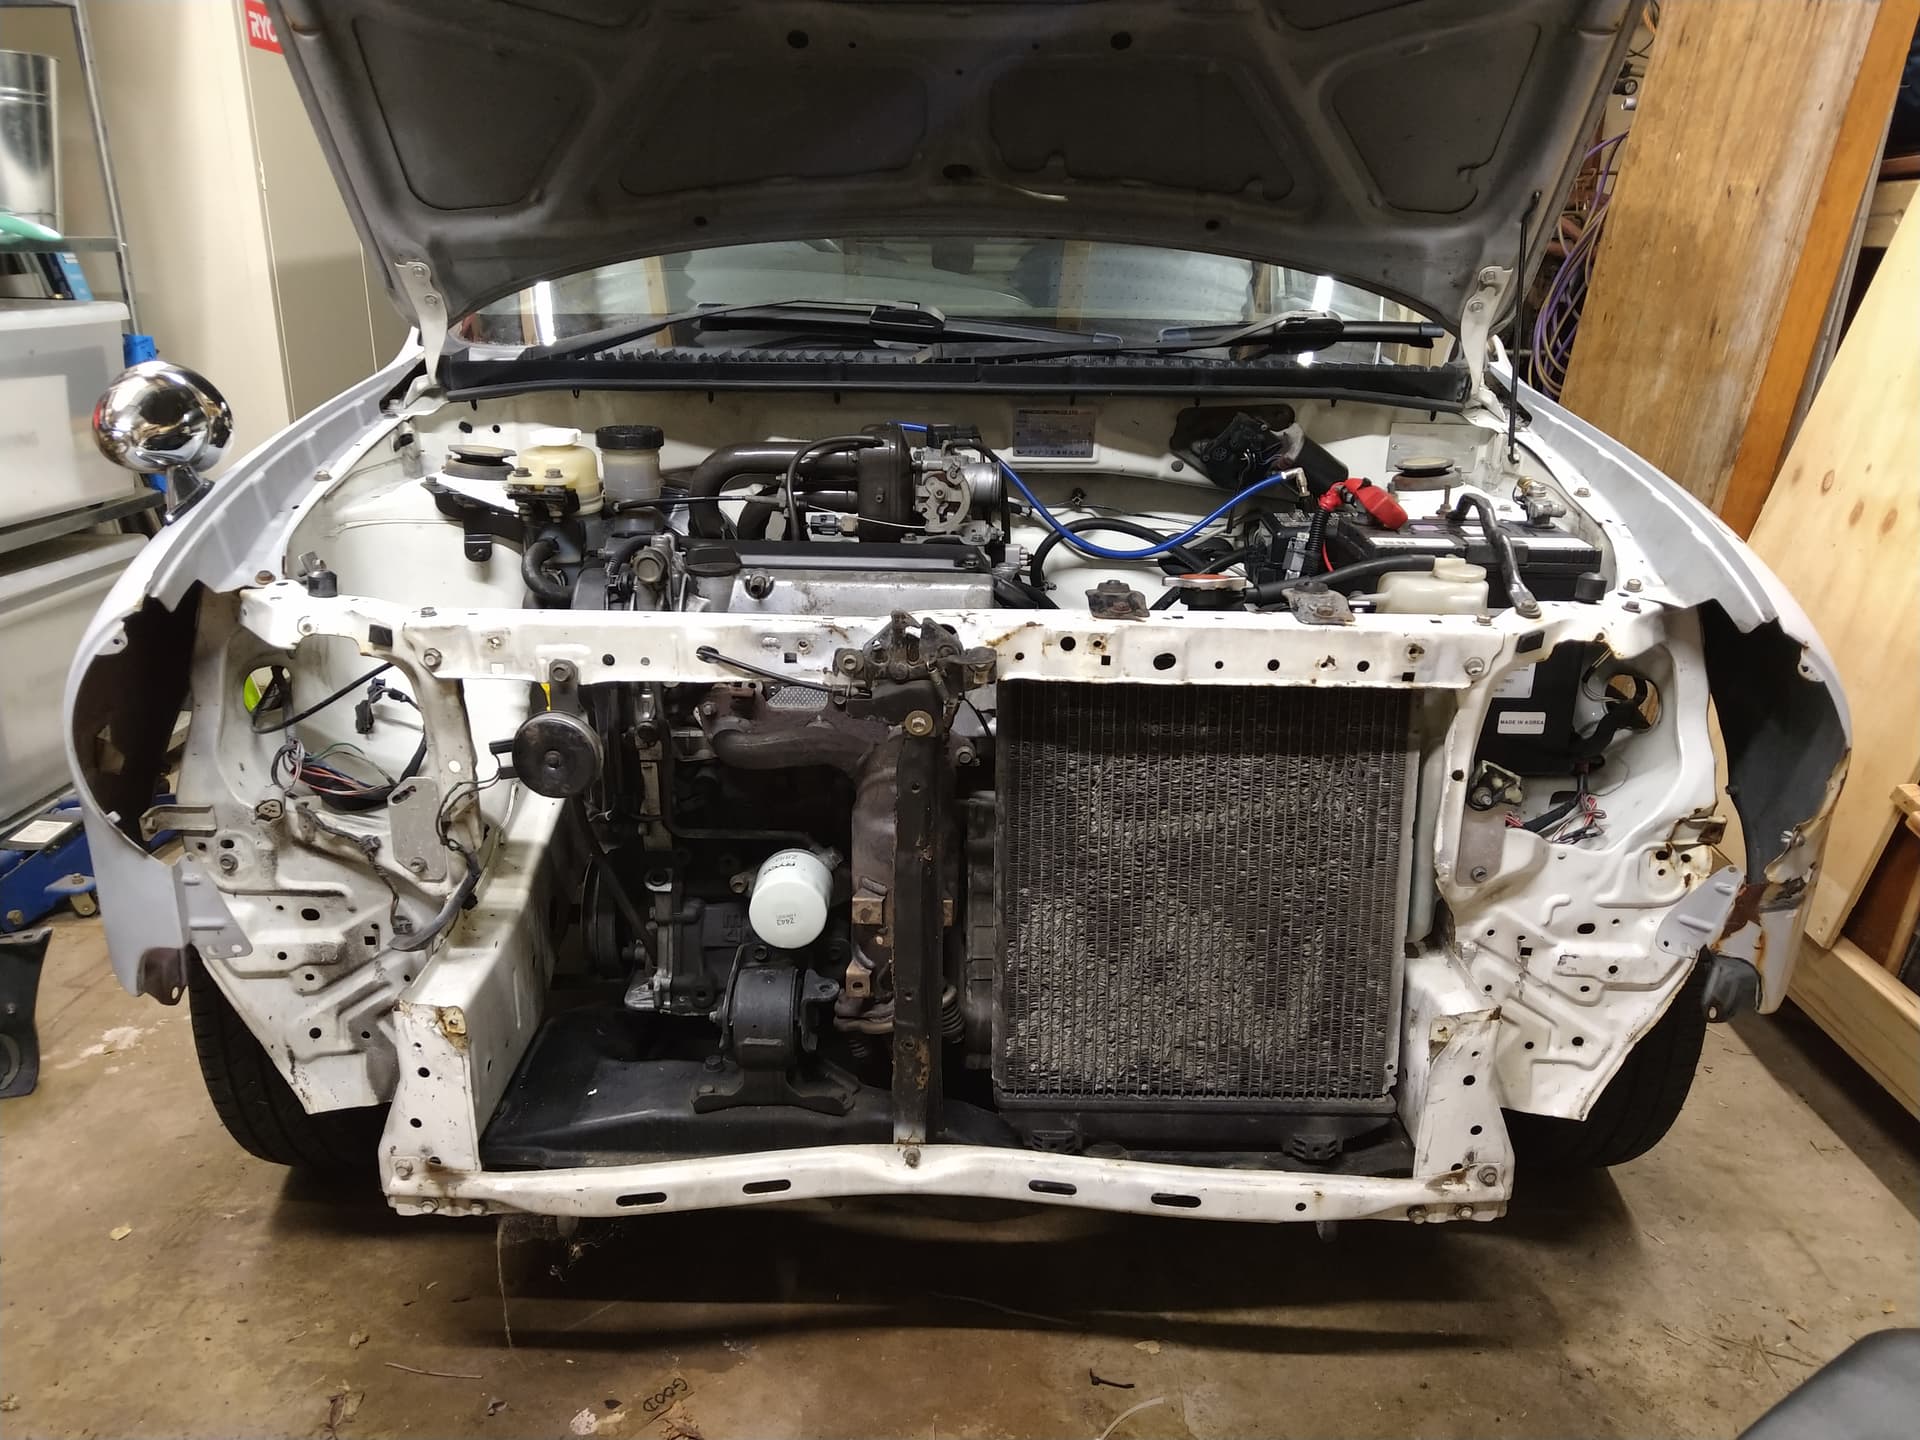
Bumper off, the damage is no worse than I thought. No major structural, just panel and plastics. The radiator has been hit a few times by a pressure washer.
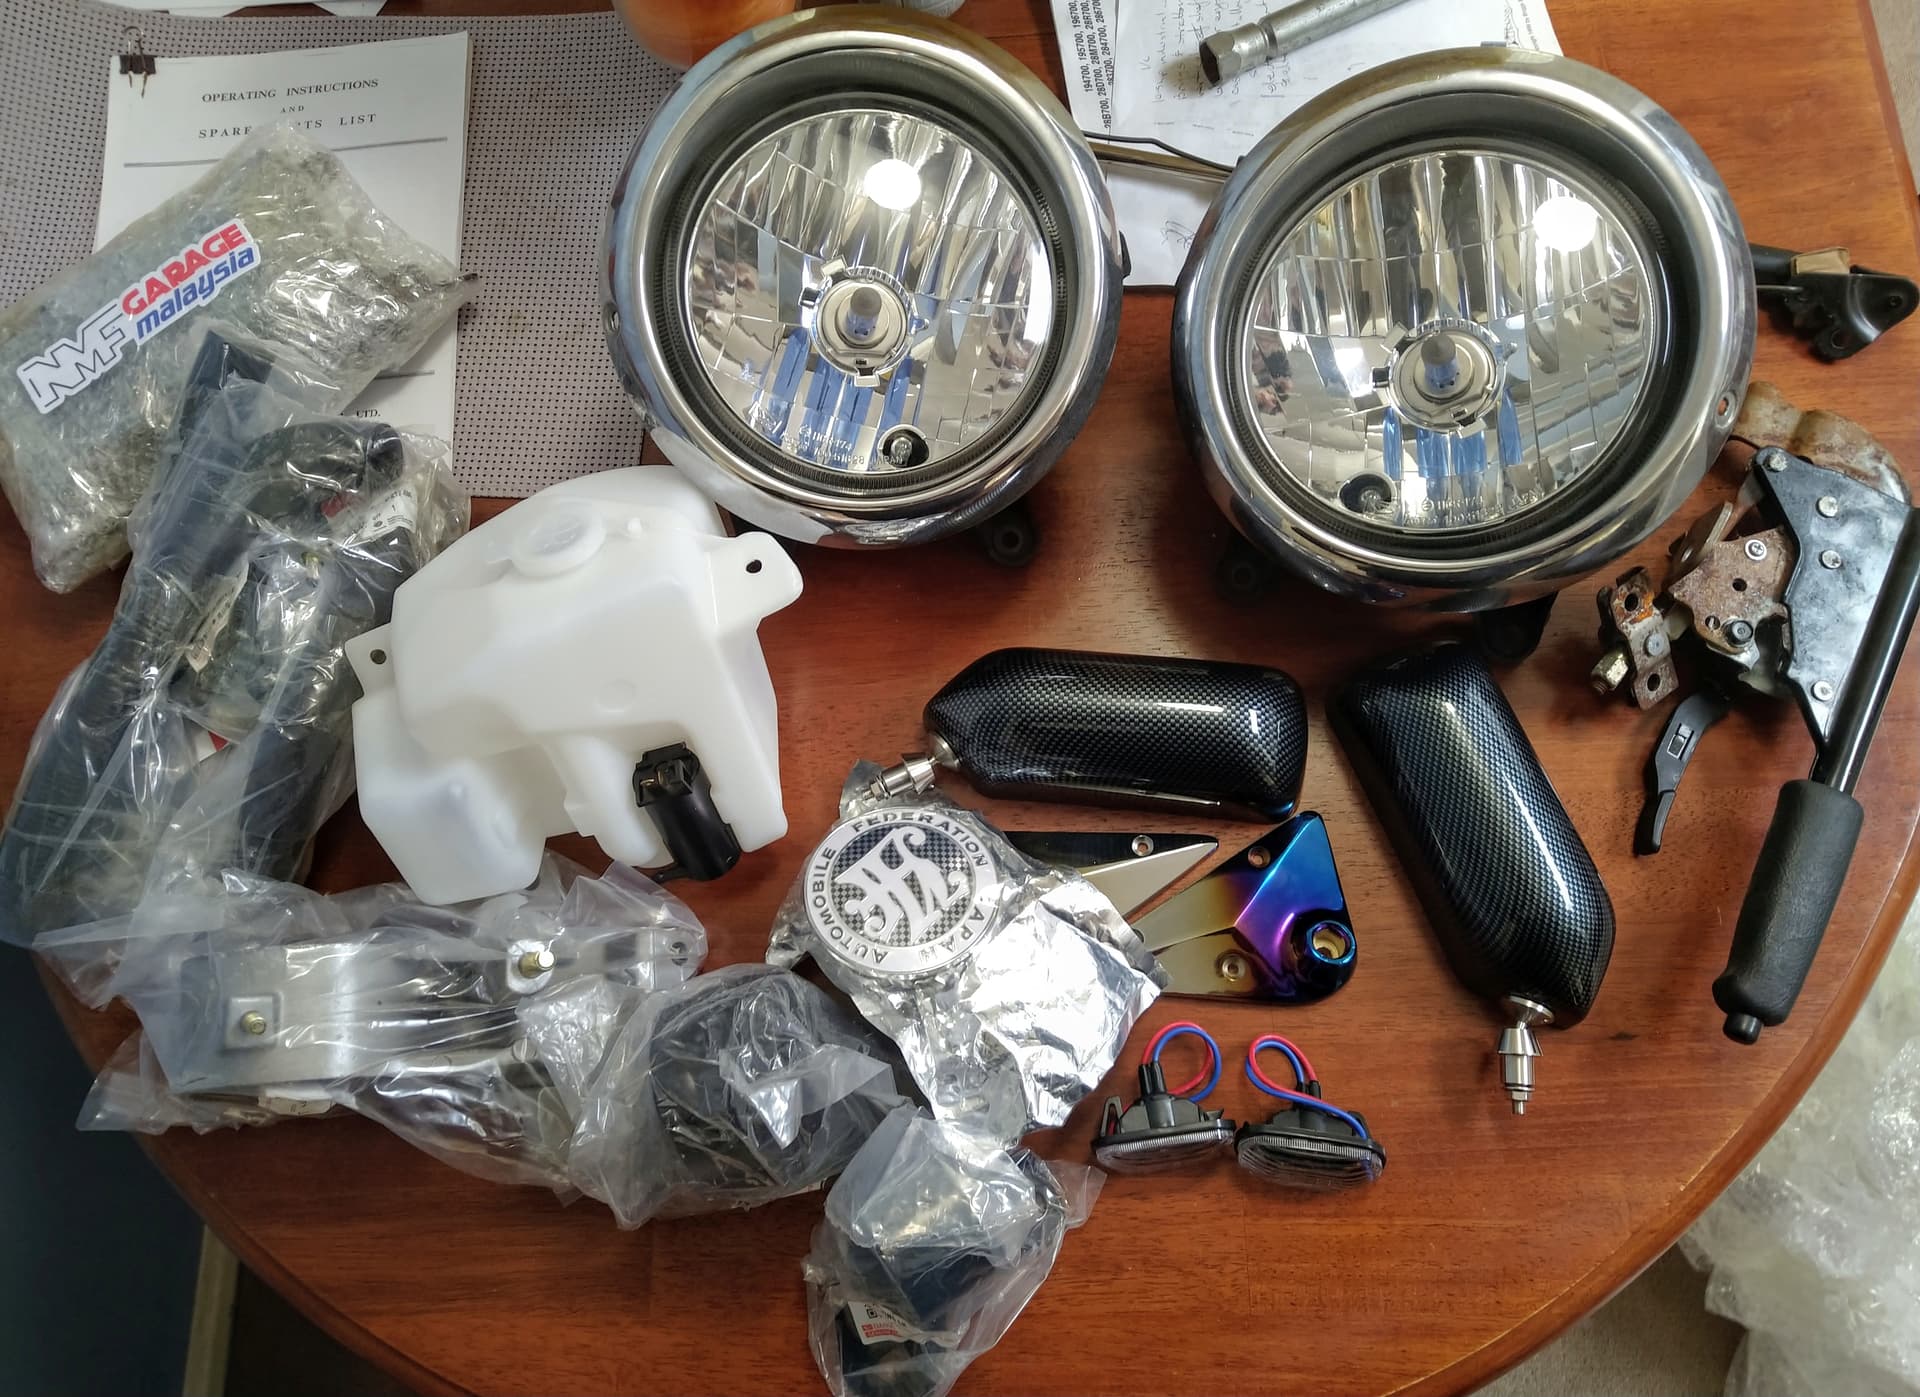
From NMF Garage. Also really well packaged. Genuine engine mounts & rad hose set, smoked side indicators, new water bottle/pump, good set of headlights with bulbs. Carbon look mirrors will be customised (and probably painted - the finish is unconvincing) to fit through my already “modified” mirror mount plates. Also a handbrake assembly and a hatch gas strut supposedly from an L7 that didn’t fit Oh and a spare battery tray/bar if anyone needs one.
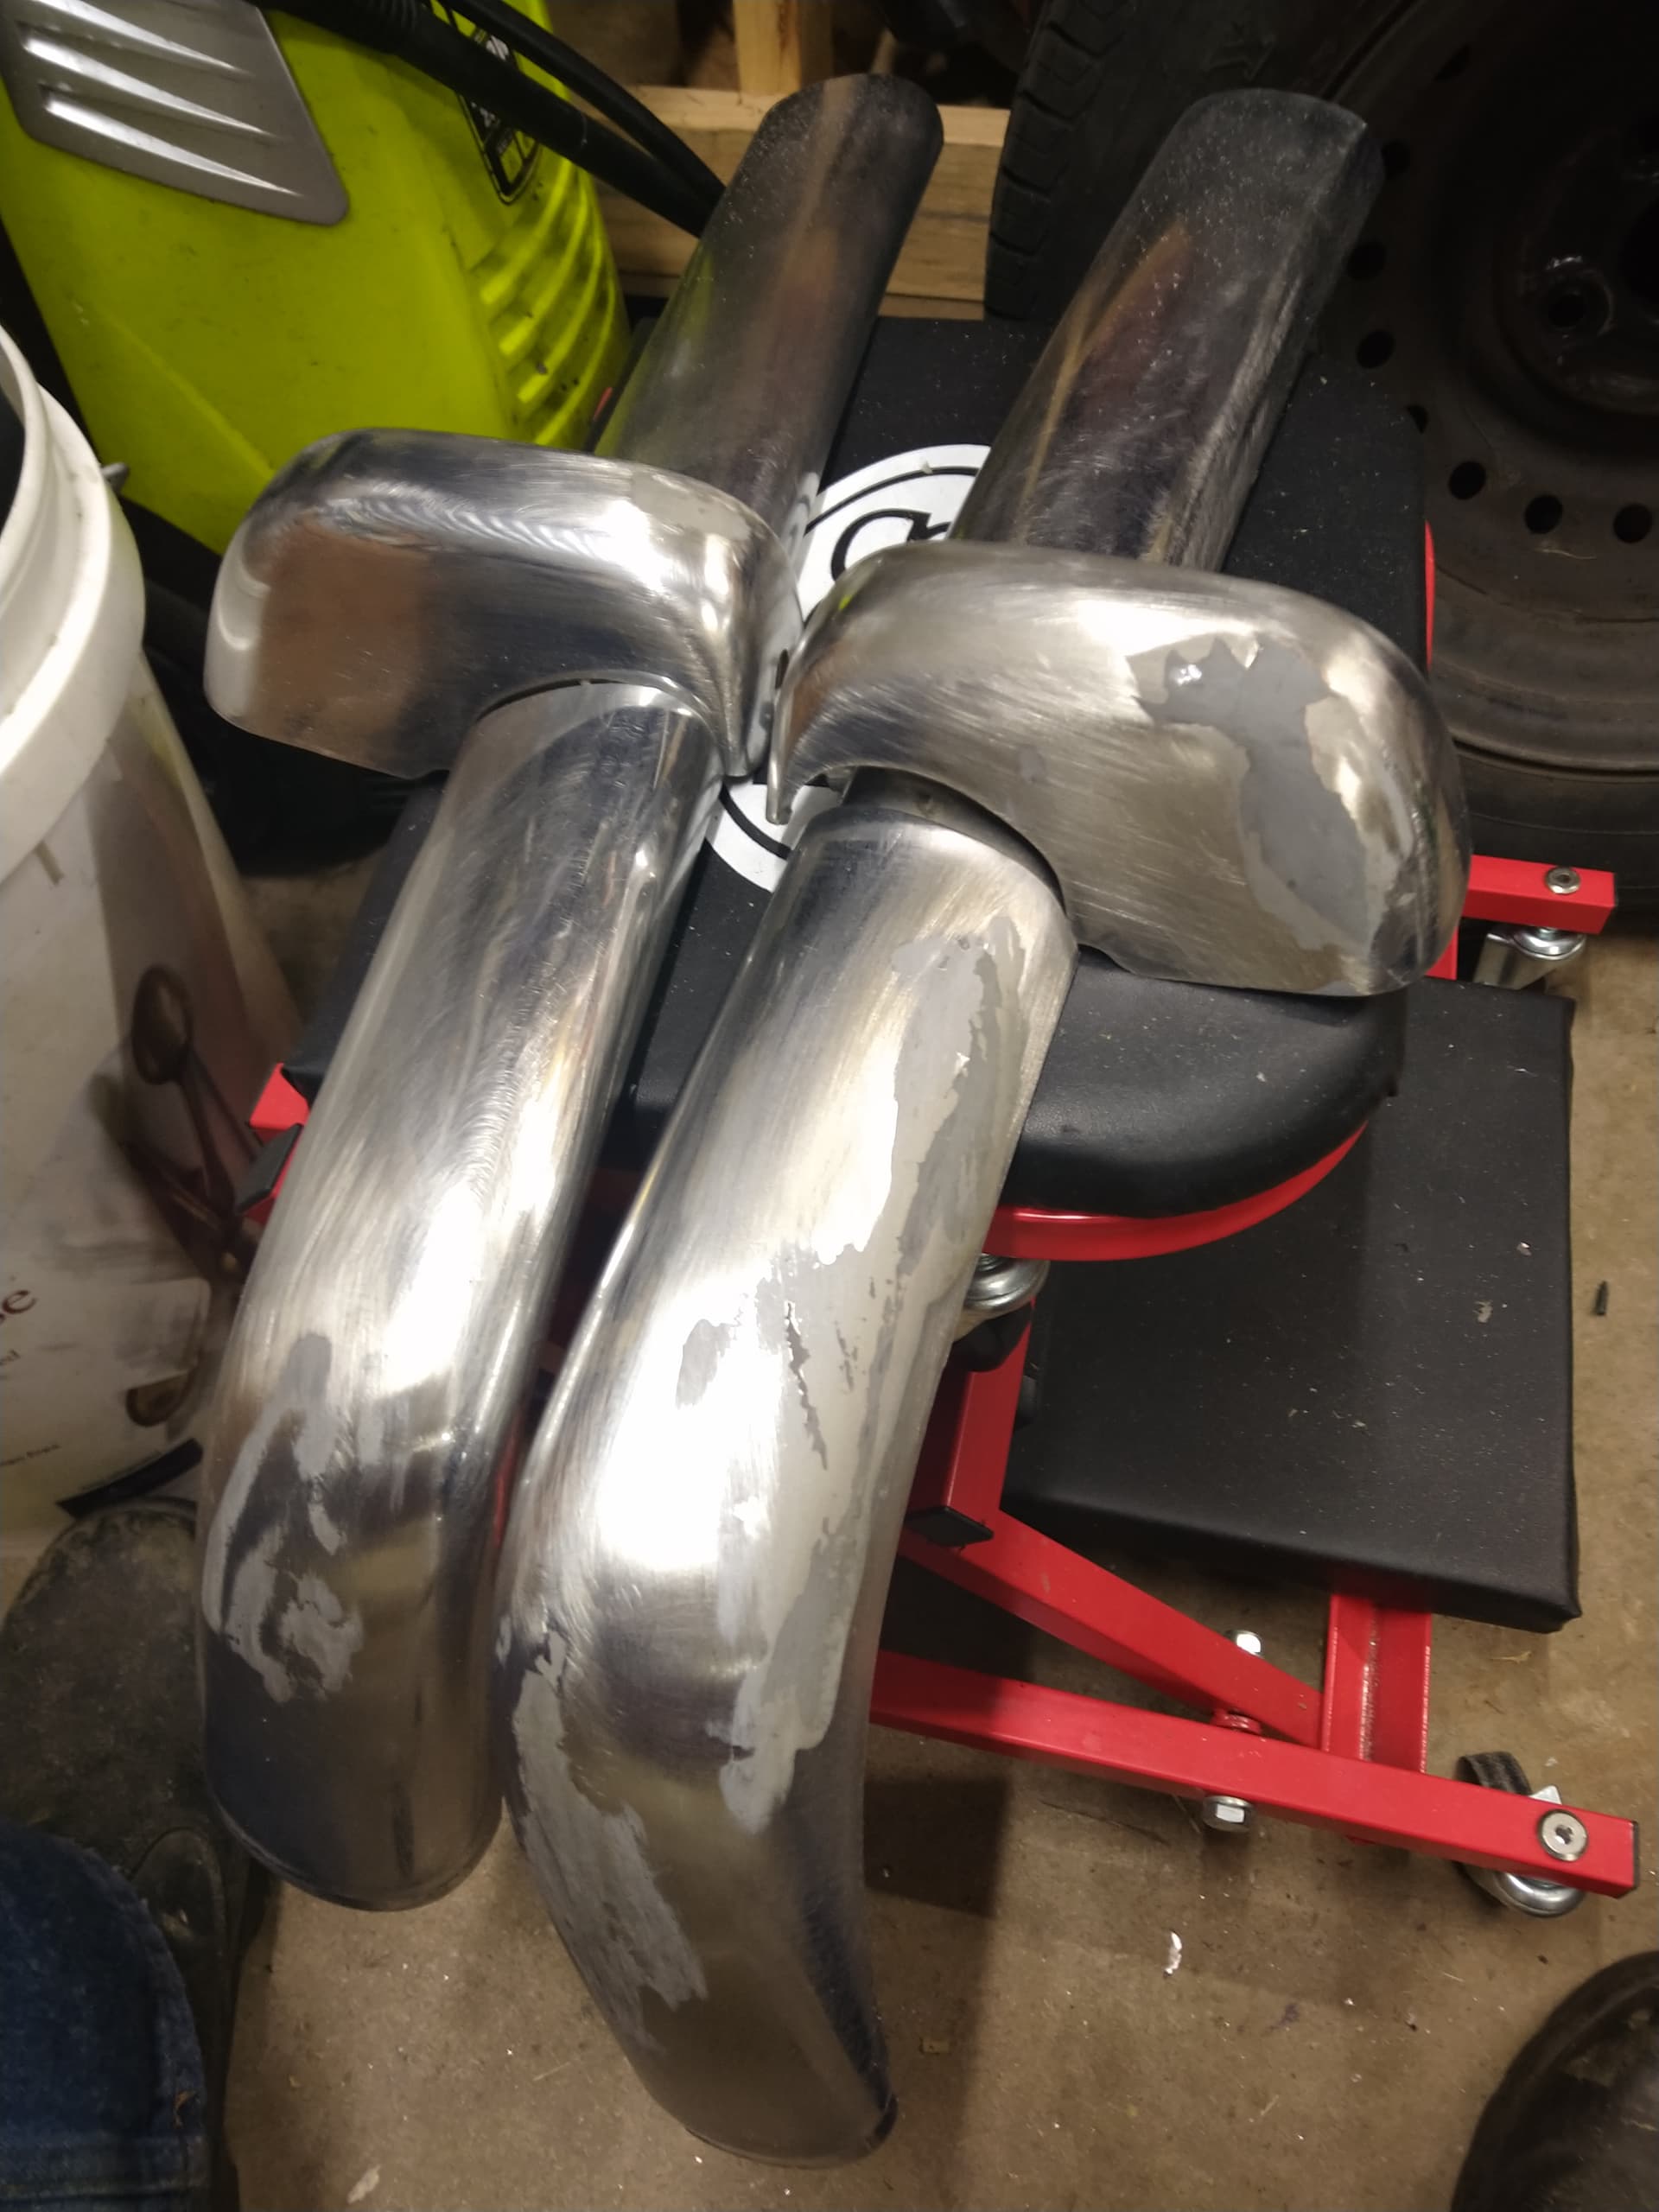
The epoxy also came in handy for filling in all the scuffs and scrapes on the bumpers. The epoxy is more durable and doesn’t dig out of holes when sanded compared to body fill.
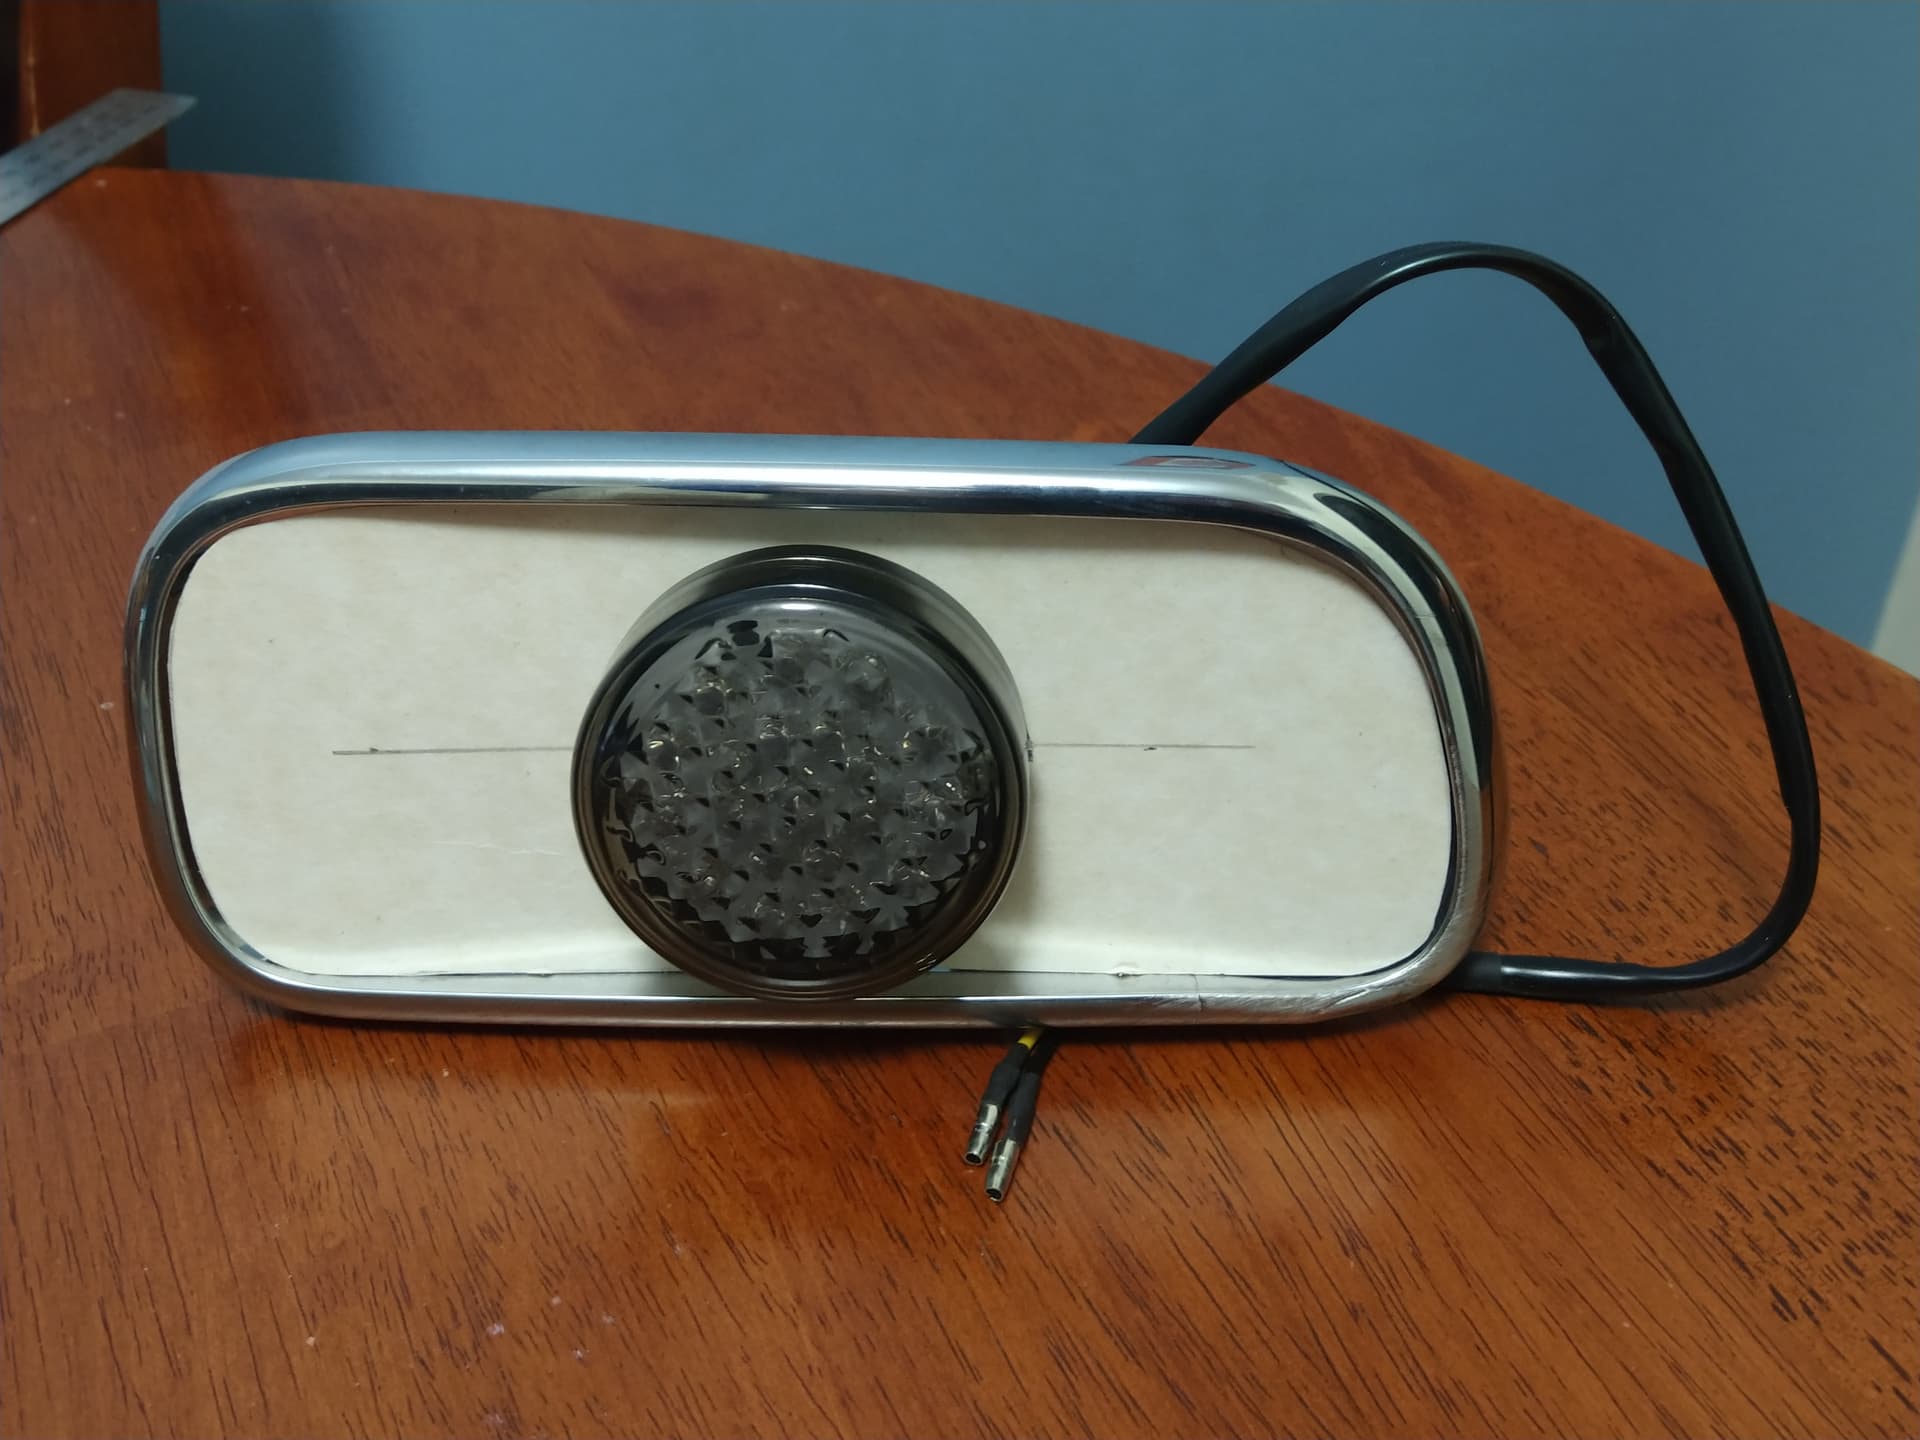
Prototype indicator using the original front indicator housing/frame. The rear housing plastics had crumbled and were unusable. It will probably be easier to do away with the frame, but I think it will give a tidier finish.
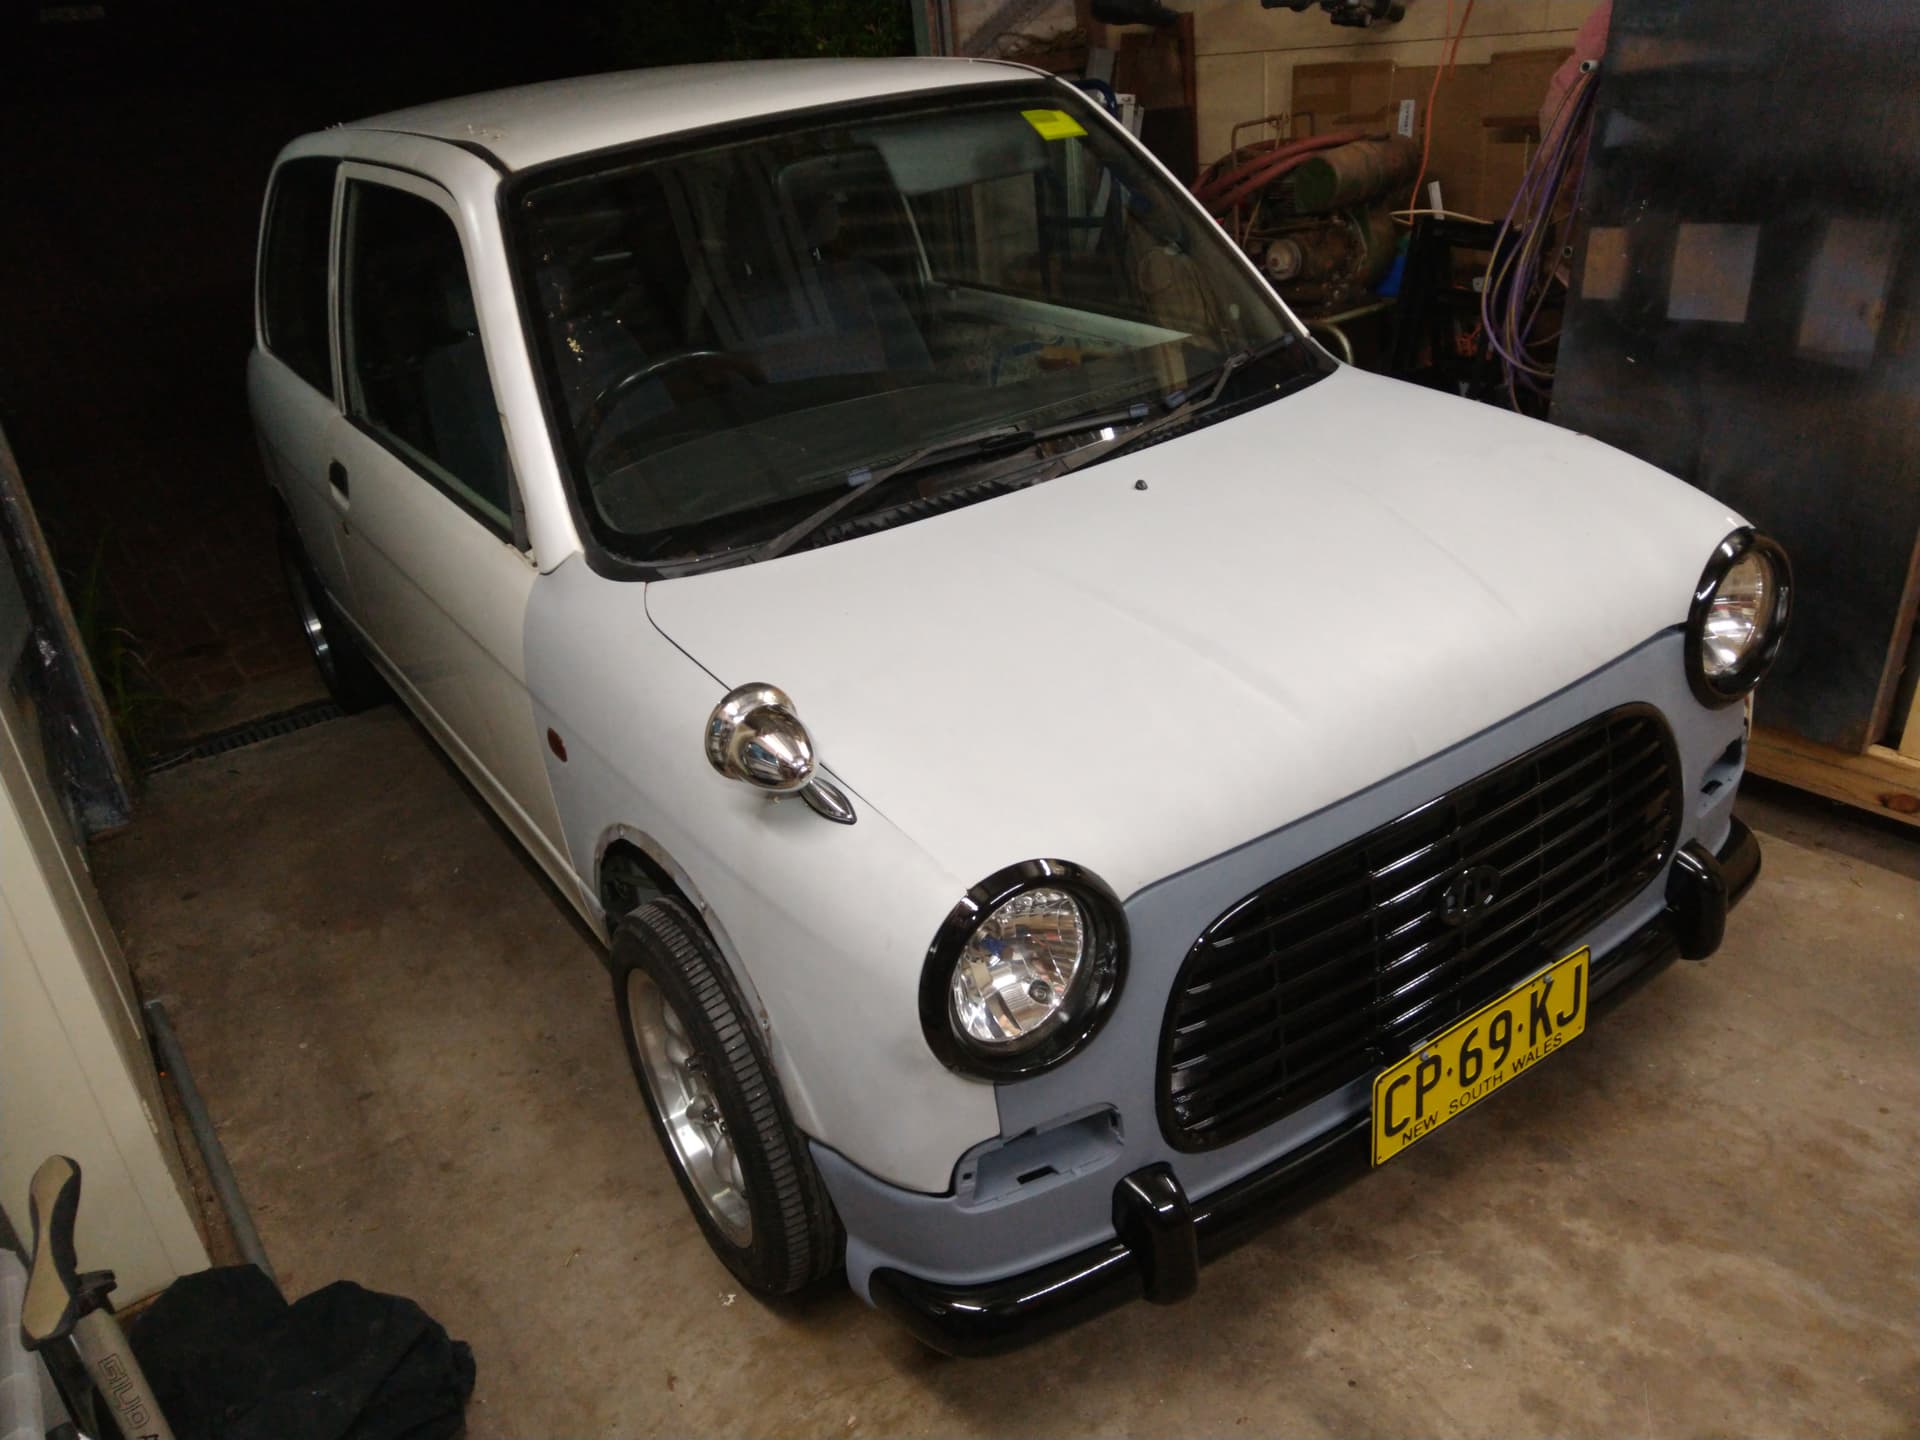
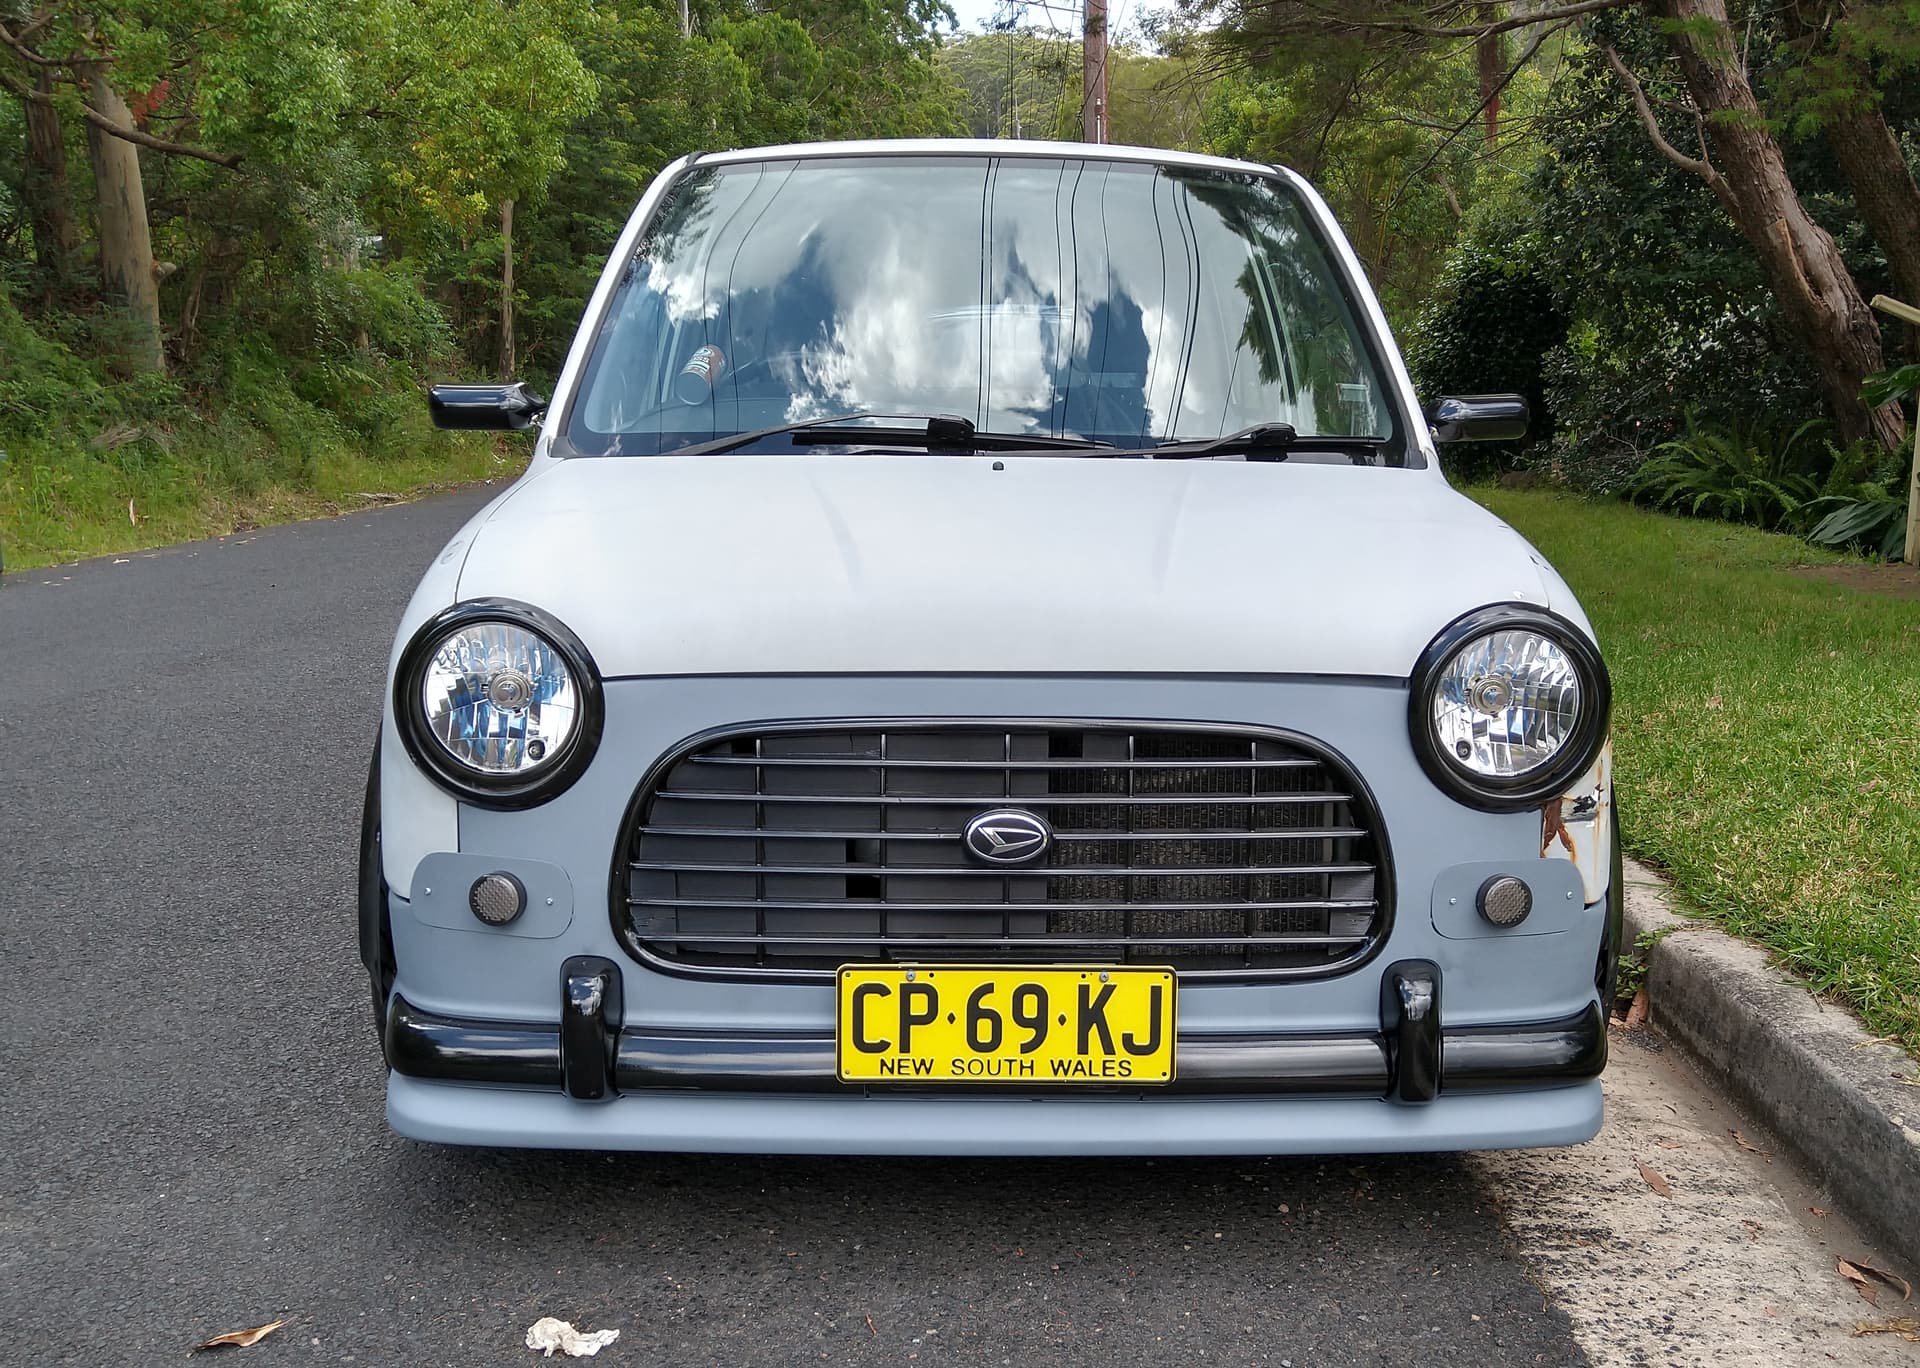
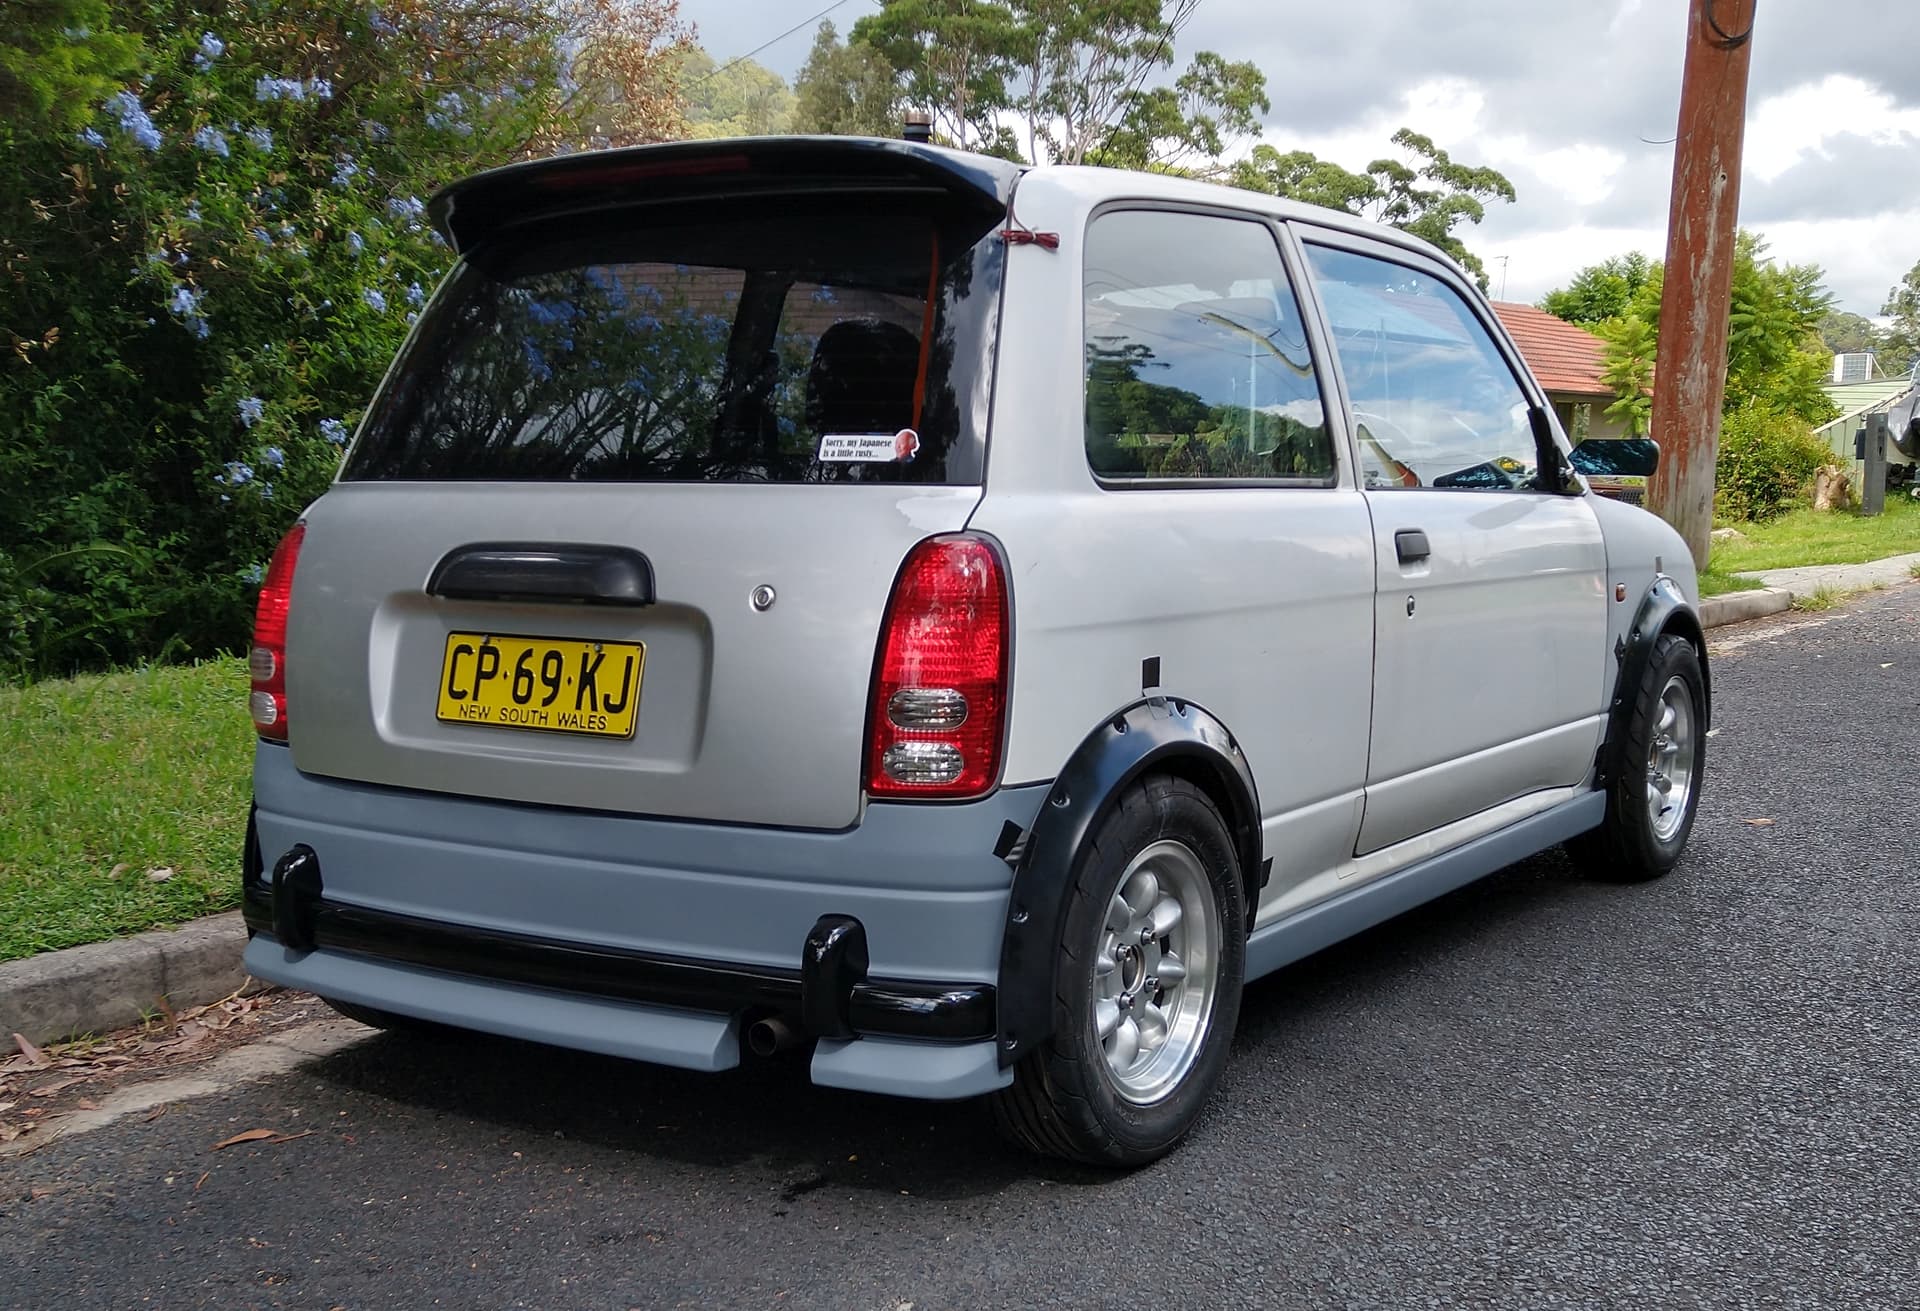
Fabricated some plates, brackets and mounted smoked led indicators. Smoothed sawn-off mirror mounts and painted and mounted “F1 style” mirrors. Installed rear wing.
So I’ve been a bit inactive on the Gino lately, partly because I’m waiting on more parts (wheel flares mainly) and partly because of chronic pain. I took a couple of weeks leave and did bugger all, and that helped in my recovery.
I’m also a procrastinator and serial project starter / non finisher. So all comments and encouragement are welcome.
I have a grand plan for the car in stages.
Roadworthy
Paint and exterior
Interior
Performance?
So progress made since last update:
The instrument cluster had no warning lights. Turns out a previous owner had pinched all the bulbs and most of the bulb holders. I purchased some led T5 bulbs, but they proved problematic. A lot just flat out would not work in the Dai cluster and the ones that were too intense/wrong colour. Also they have a polarity so I wasted time/money problem shooting this. Thanks to those that helped via L2B FB page. I purchased some proper Narva glass ones and they worked instantly.
I also finished my tacho gauge installation with custom holder.
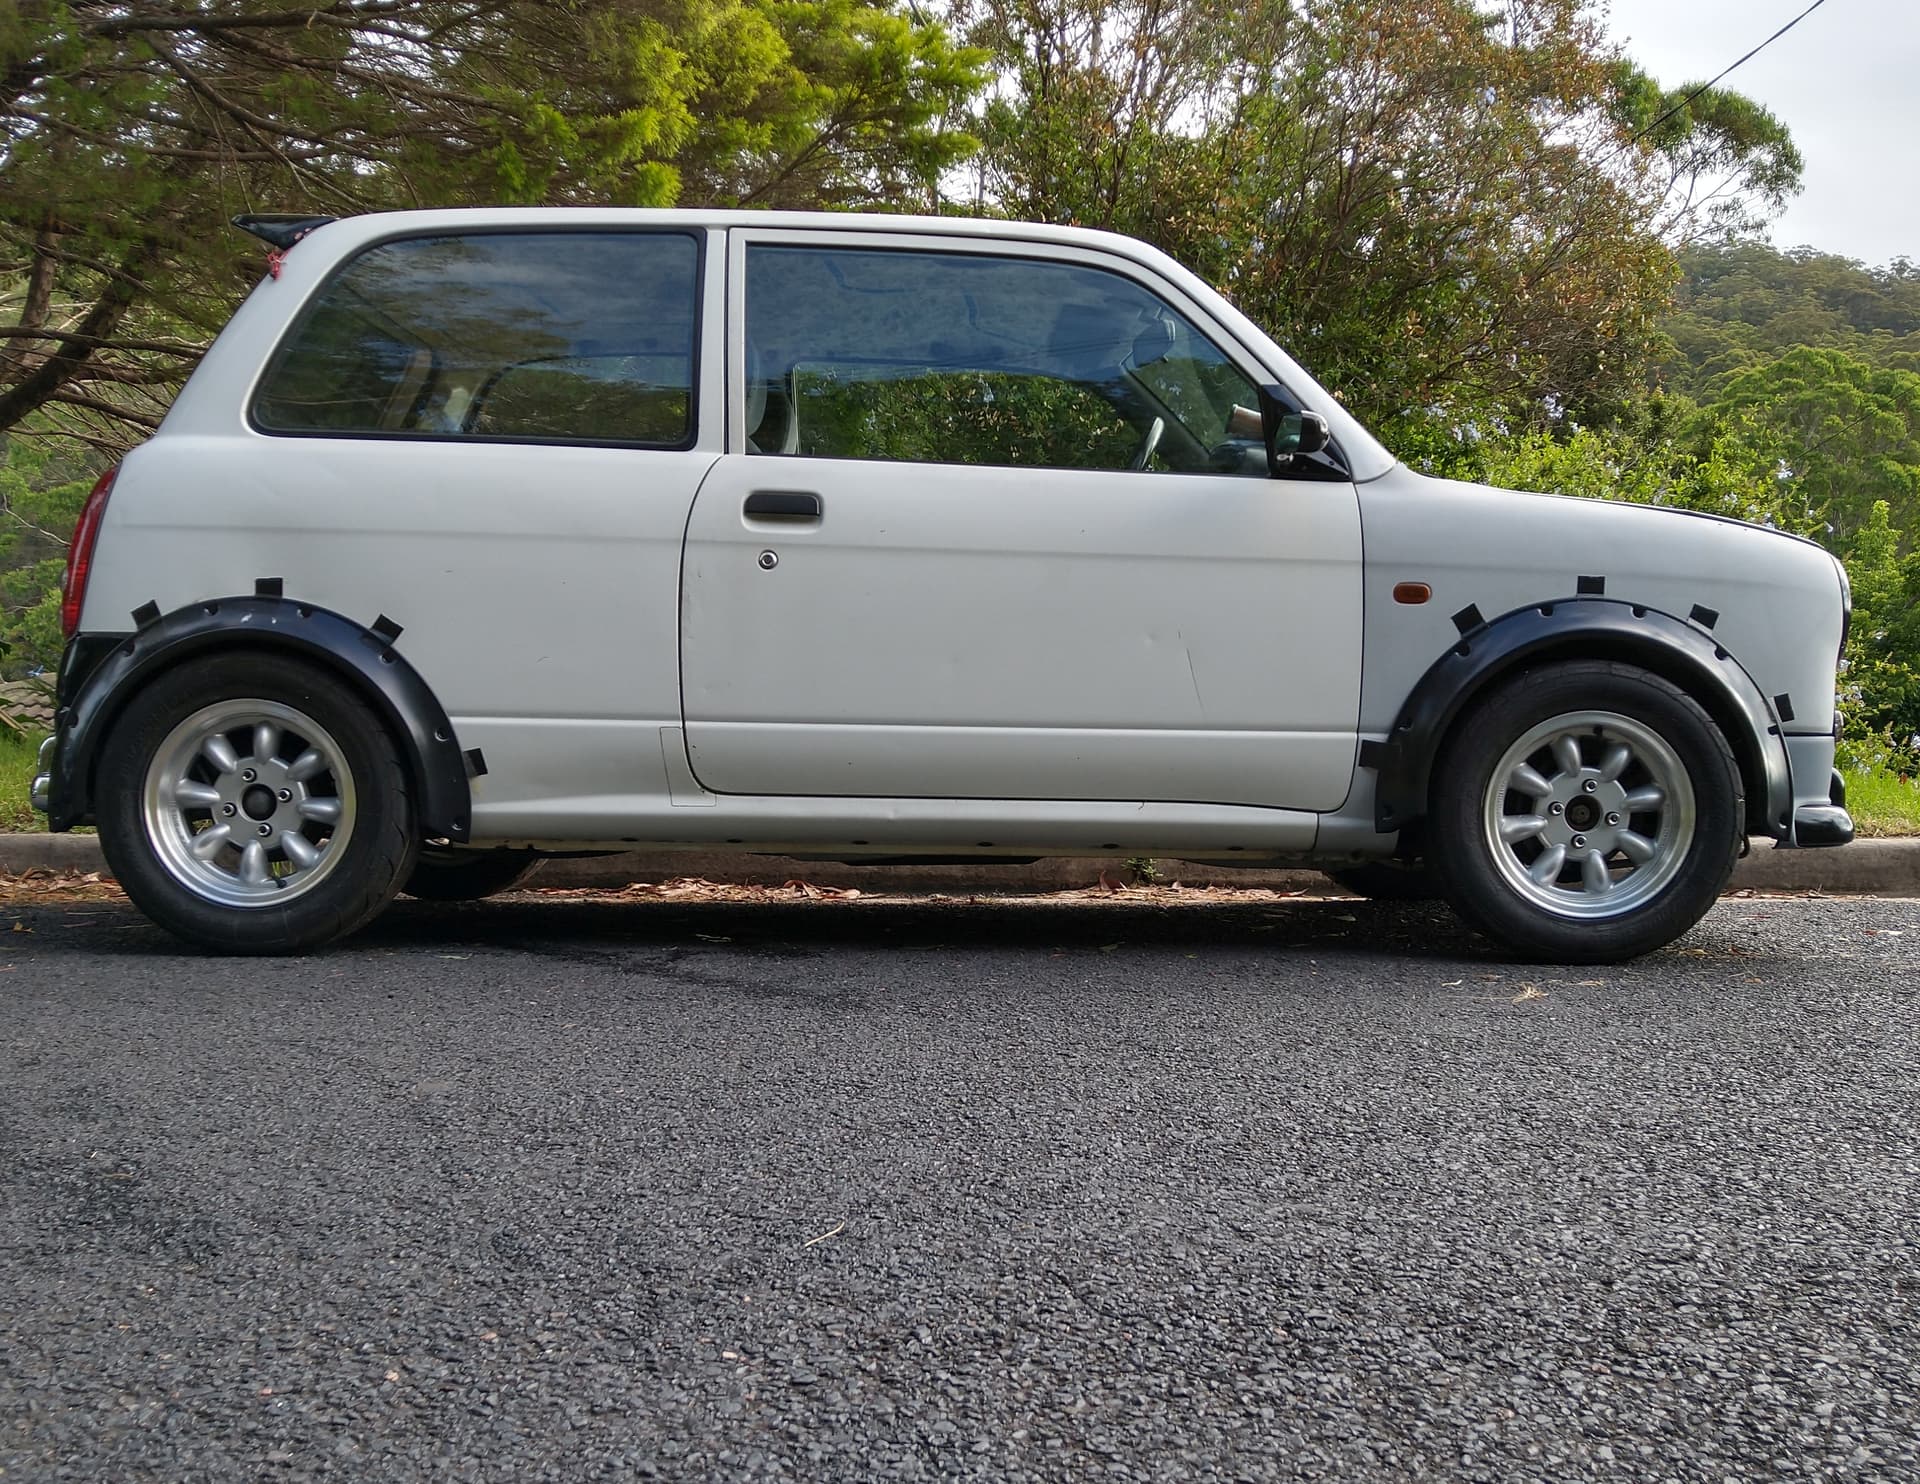
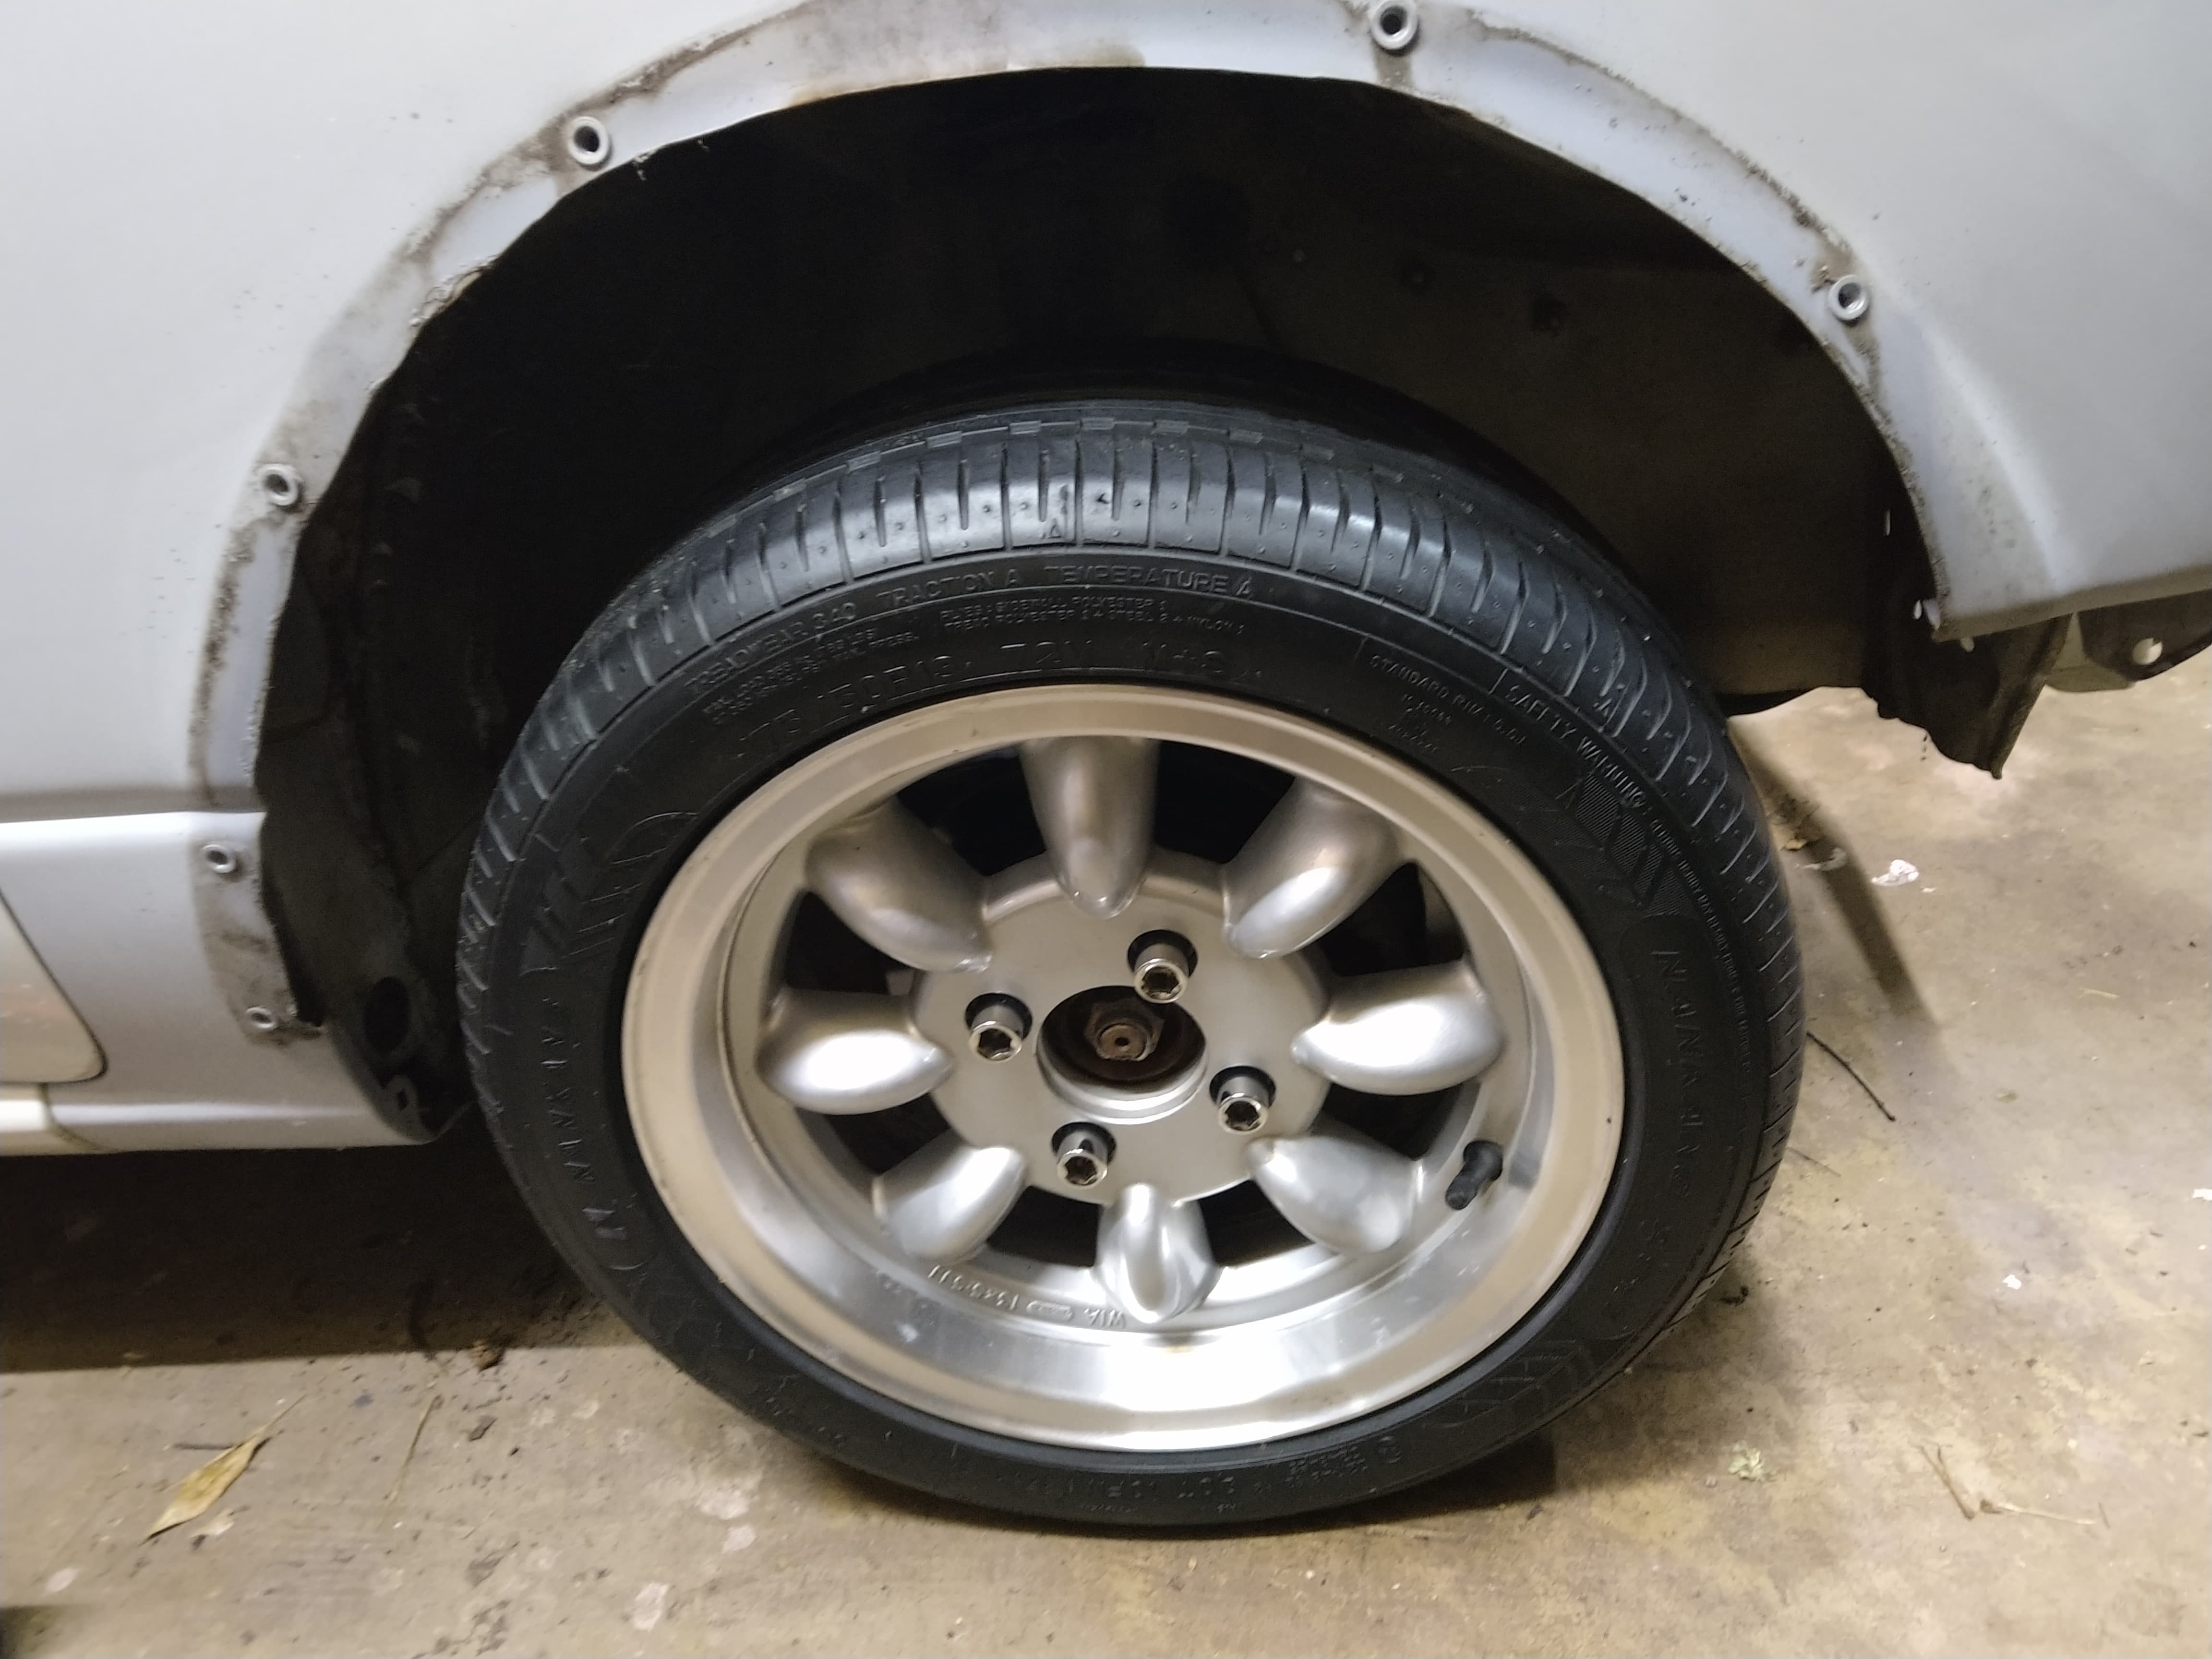
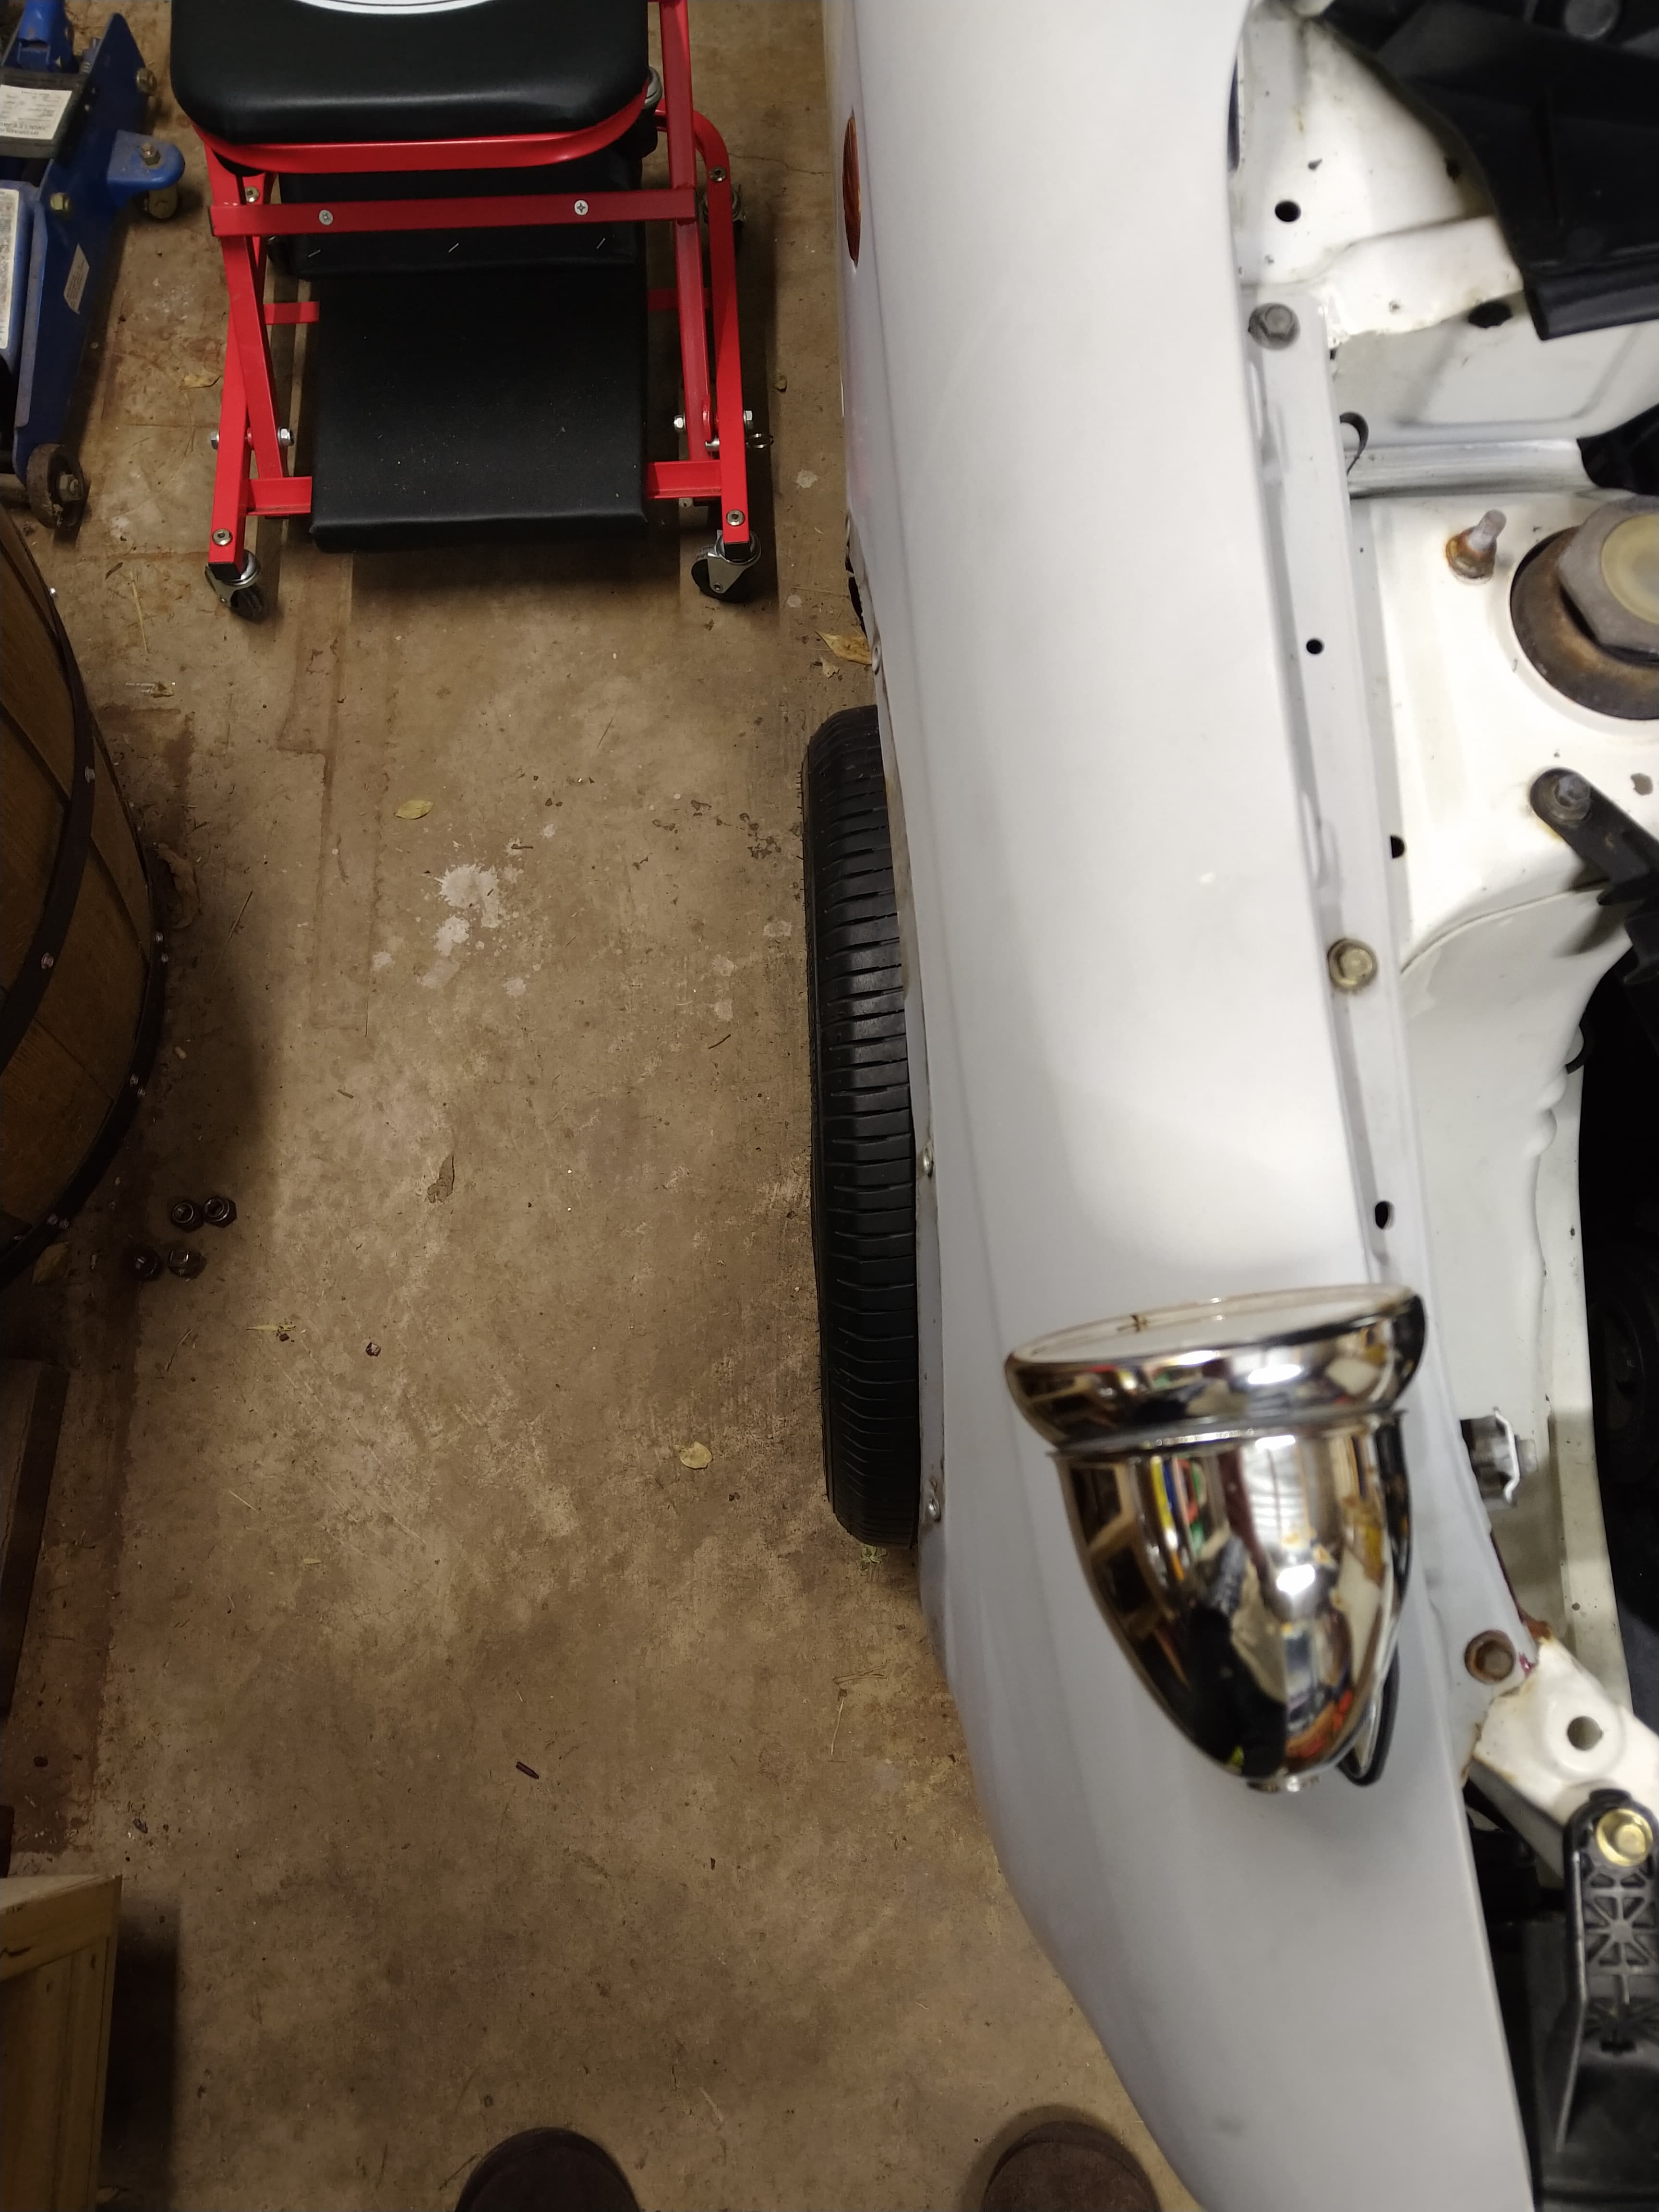
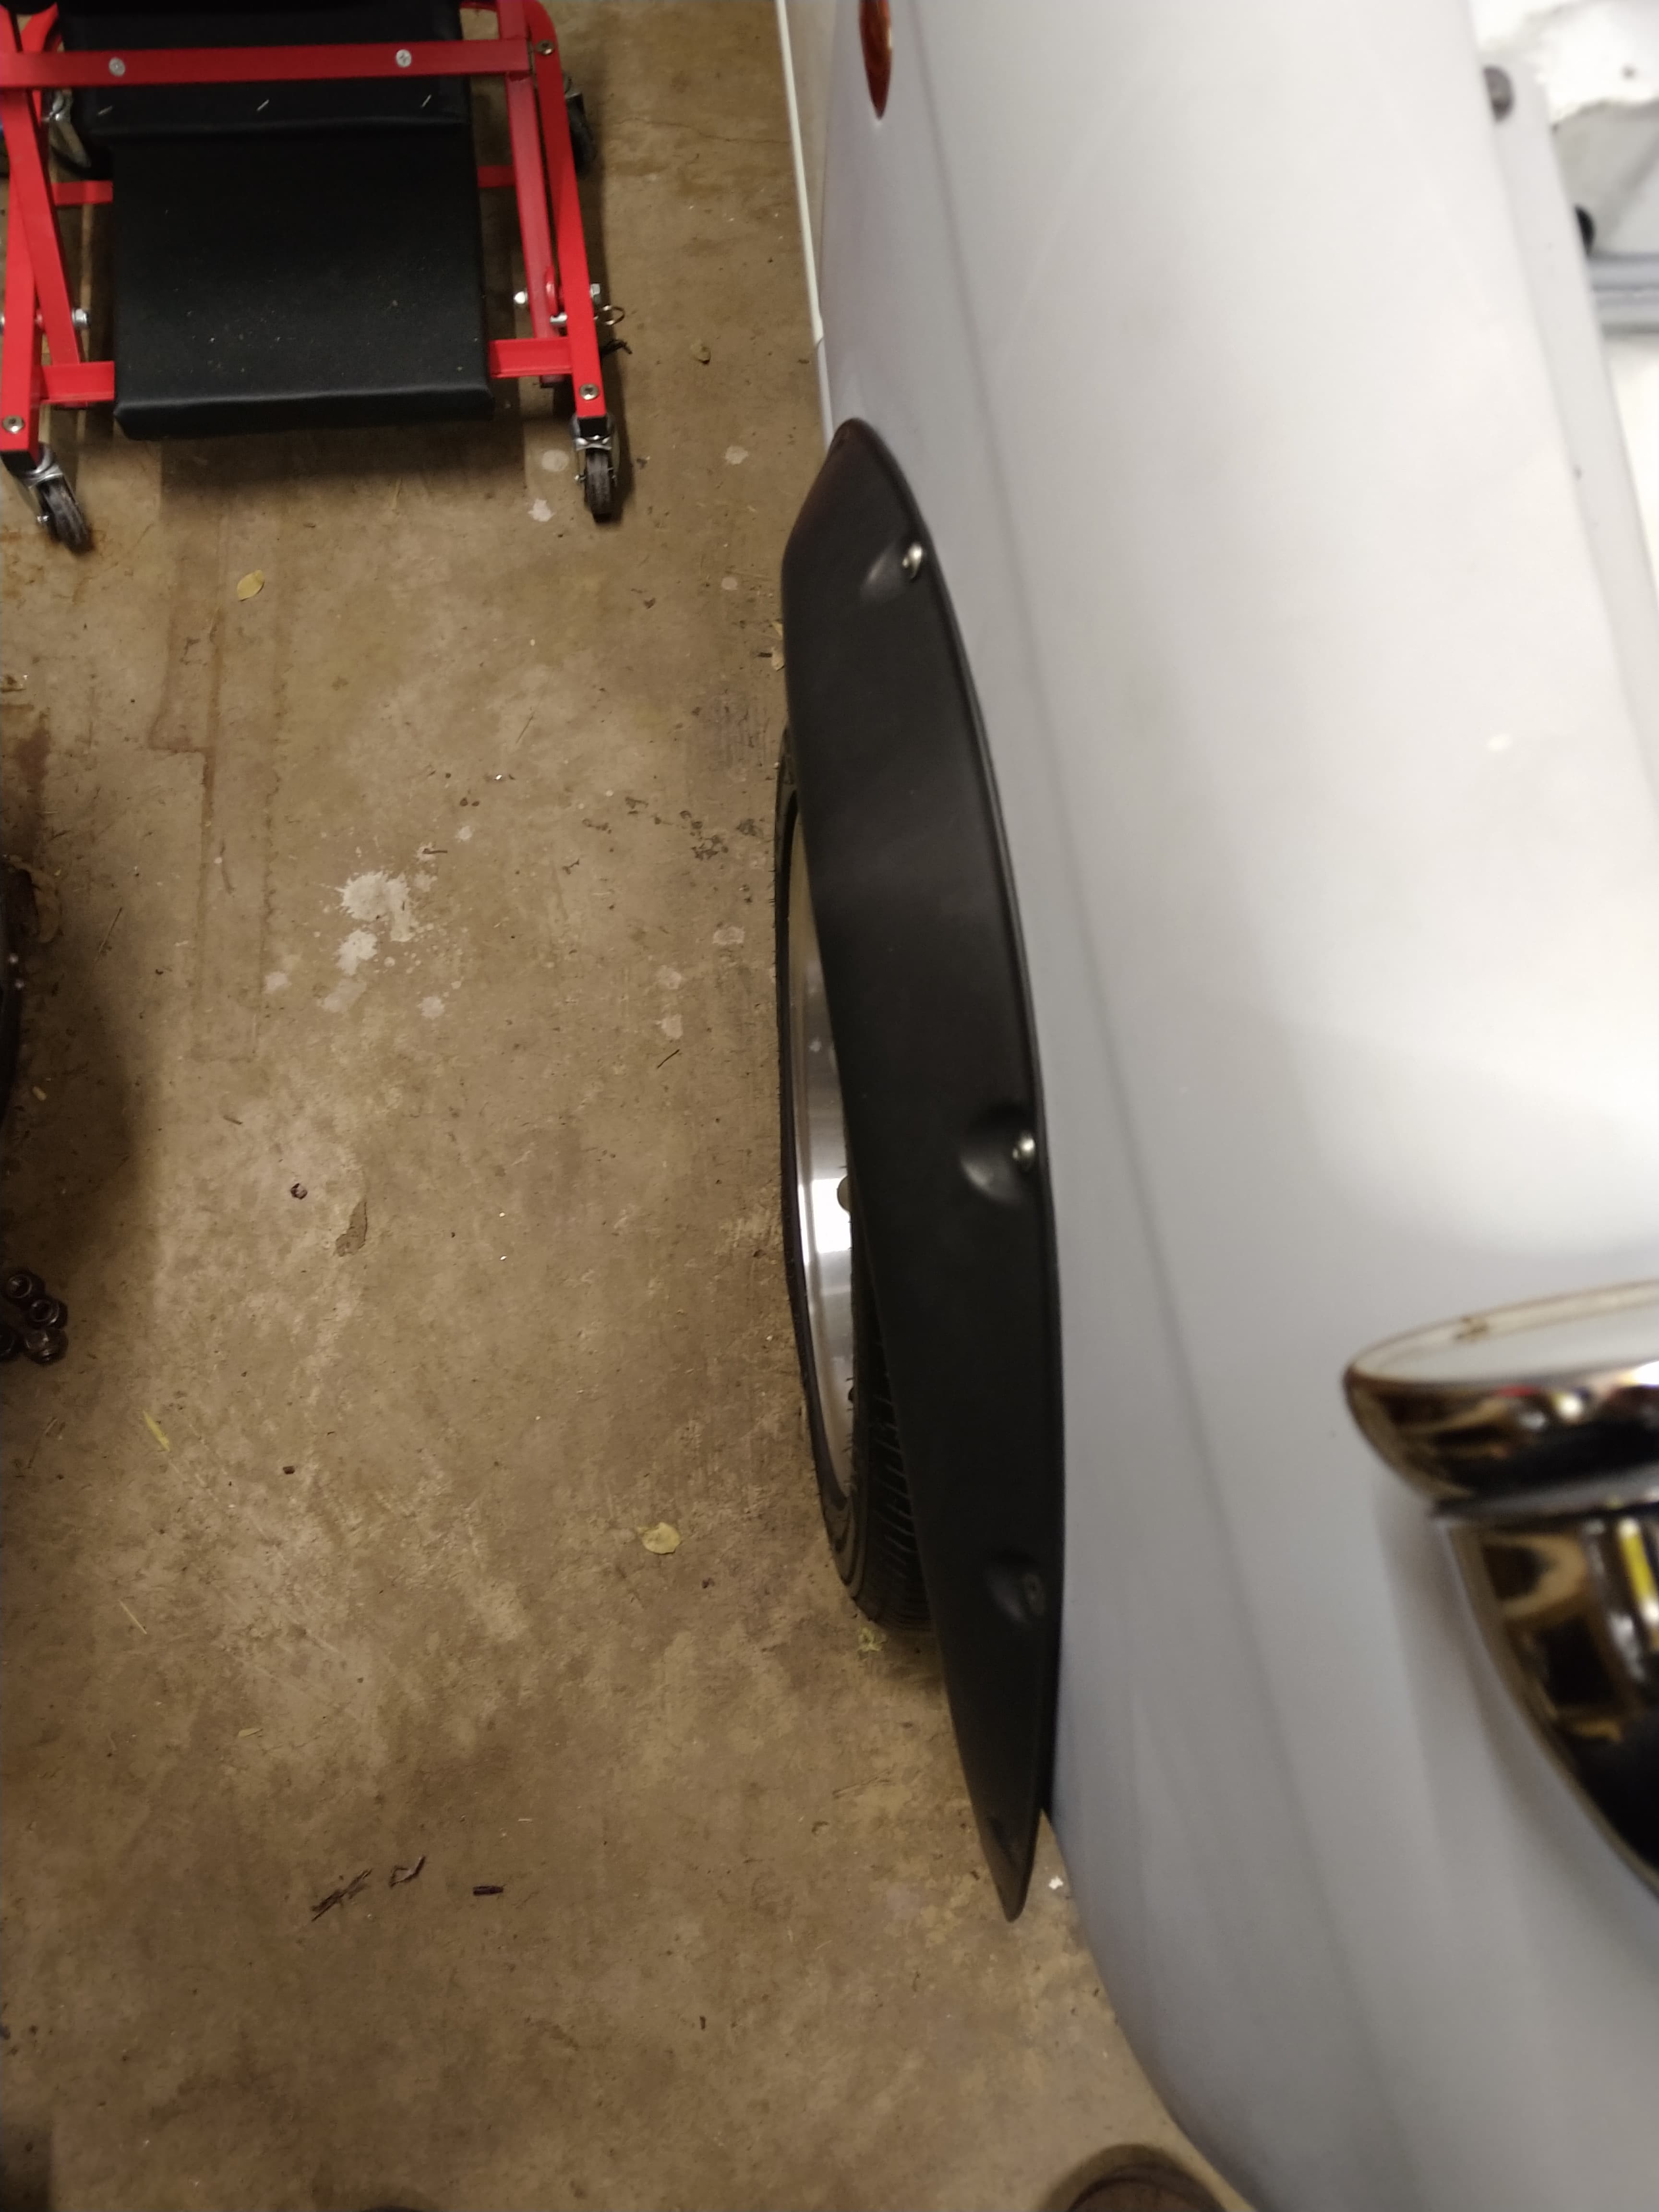
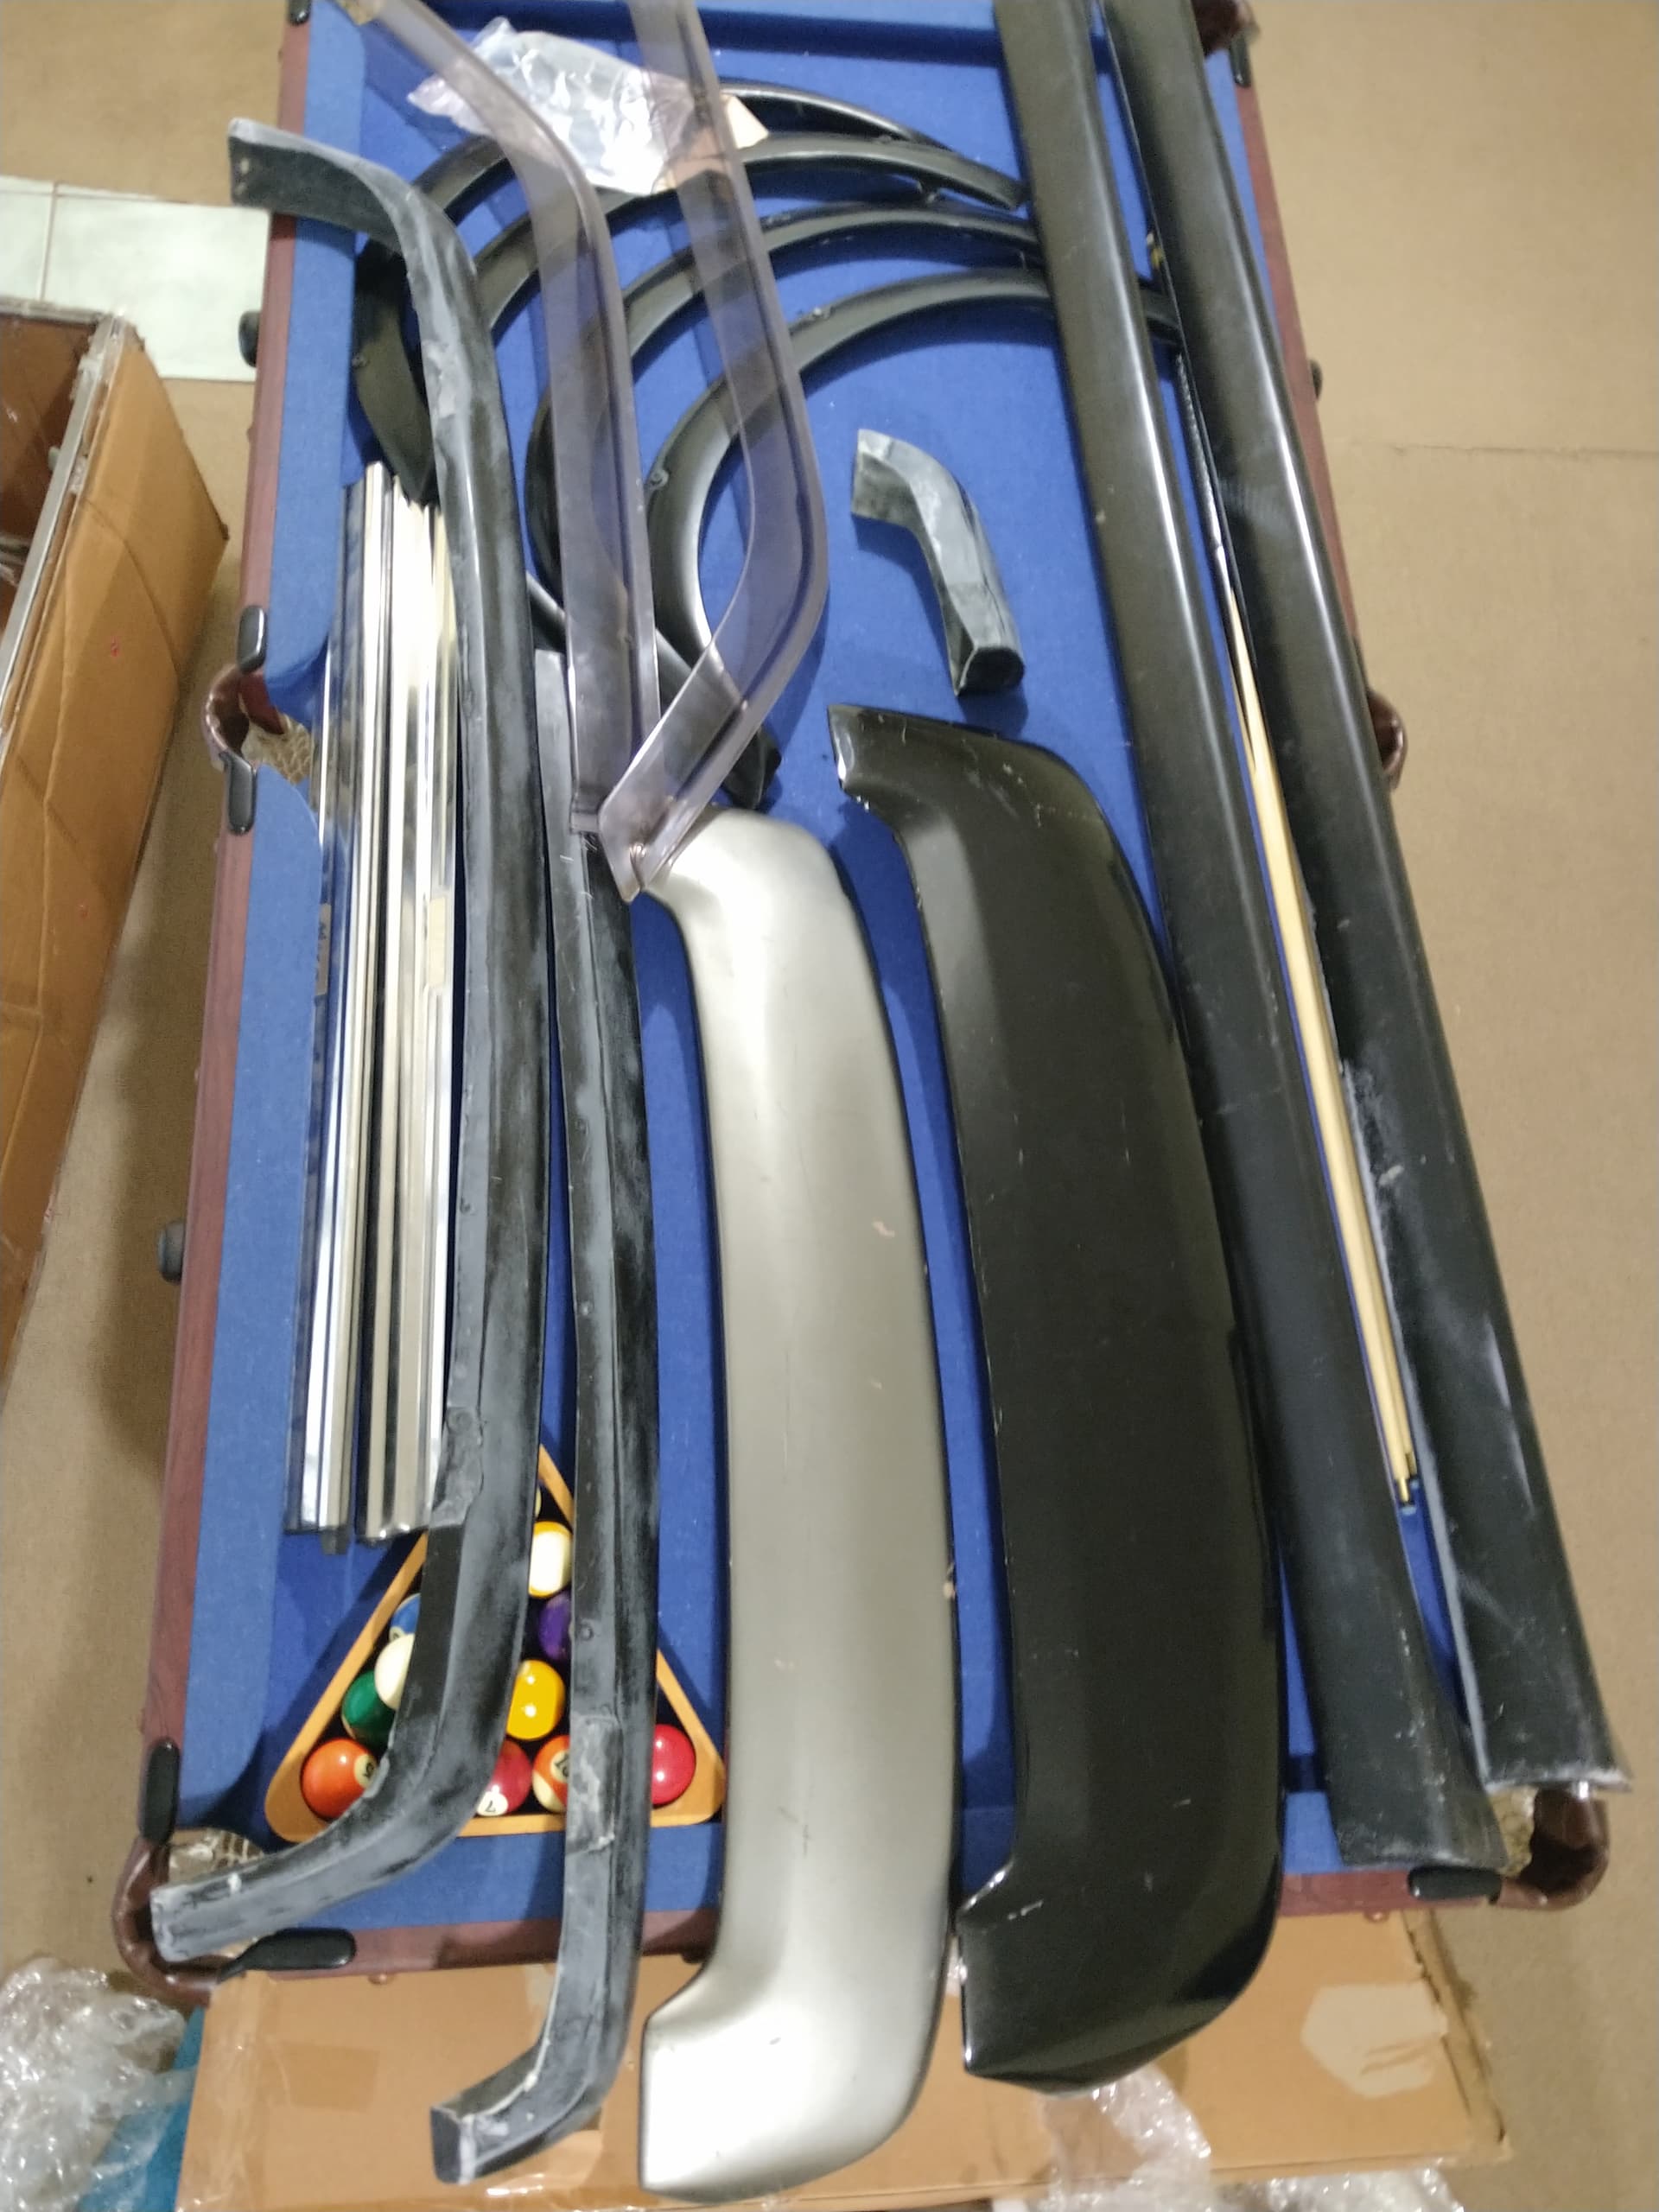
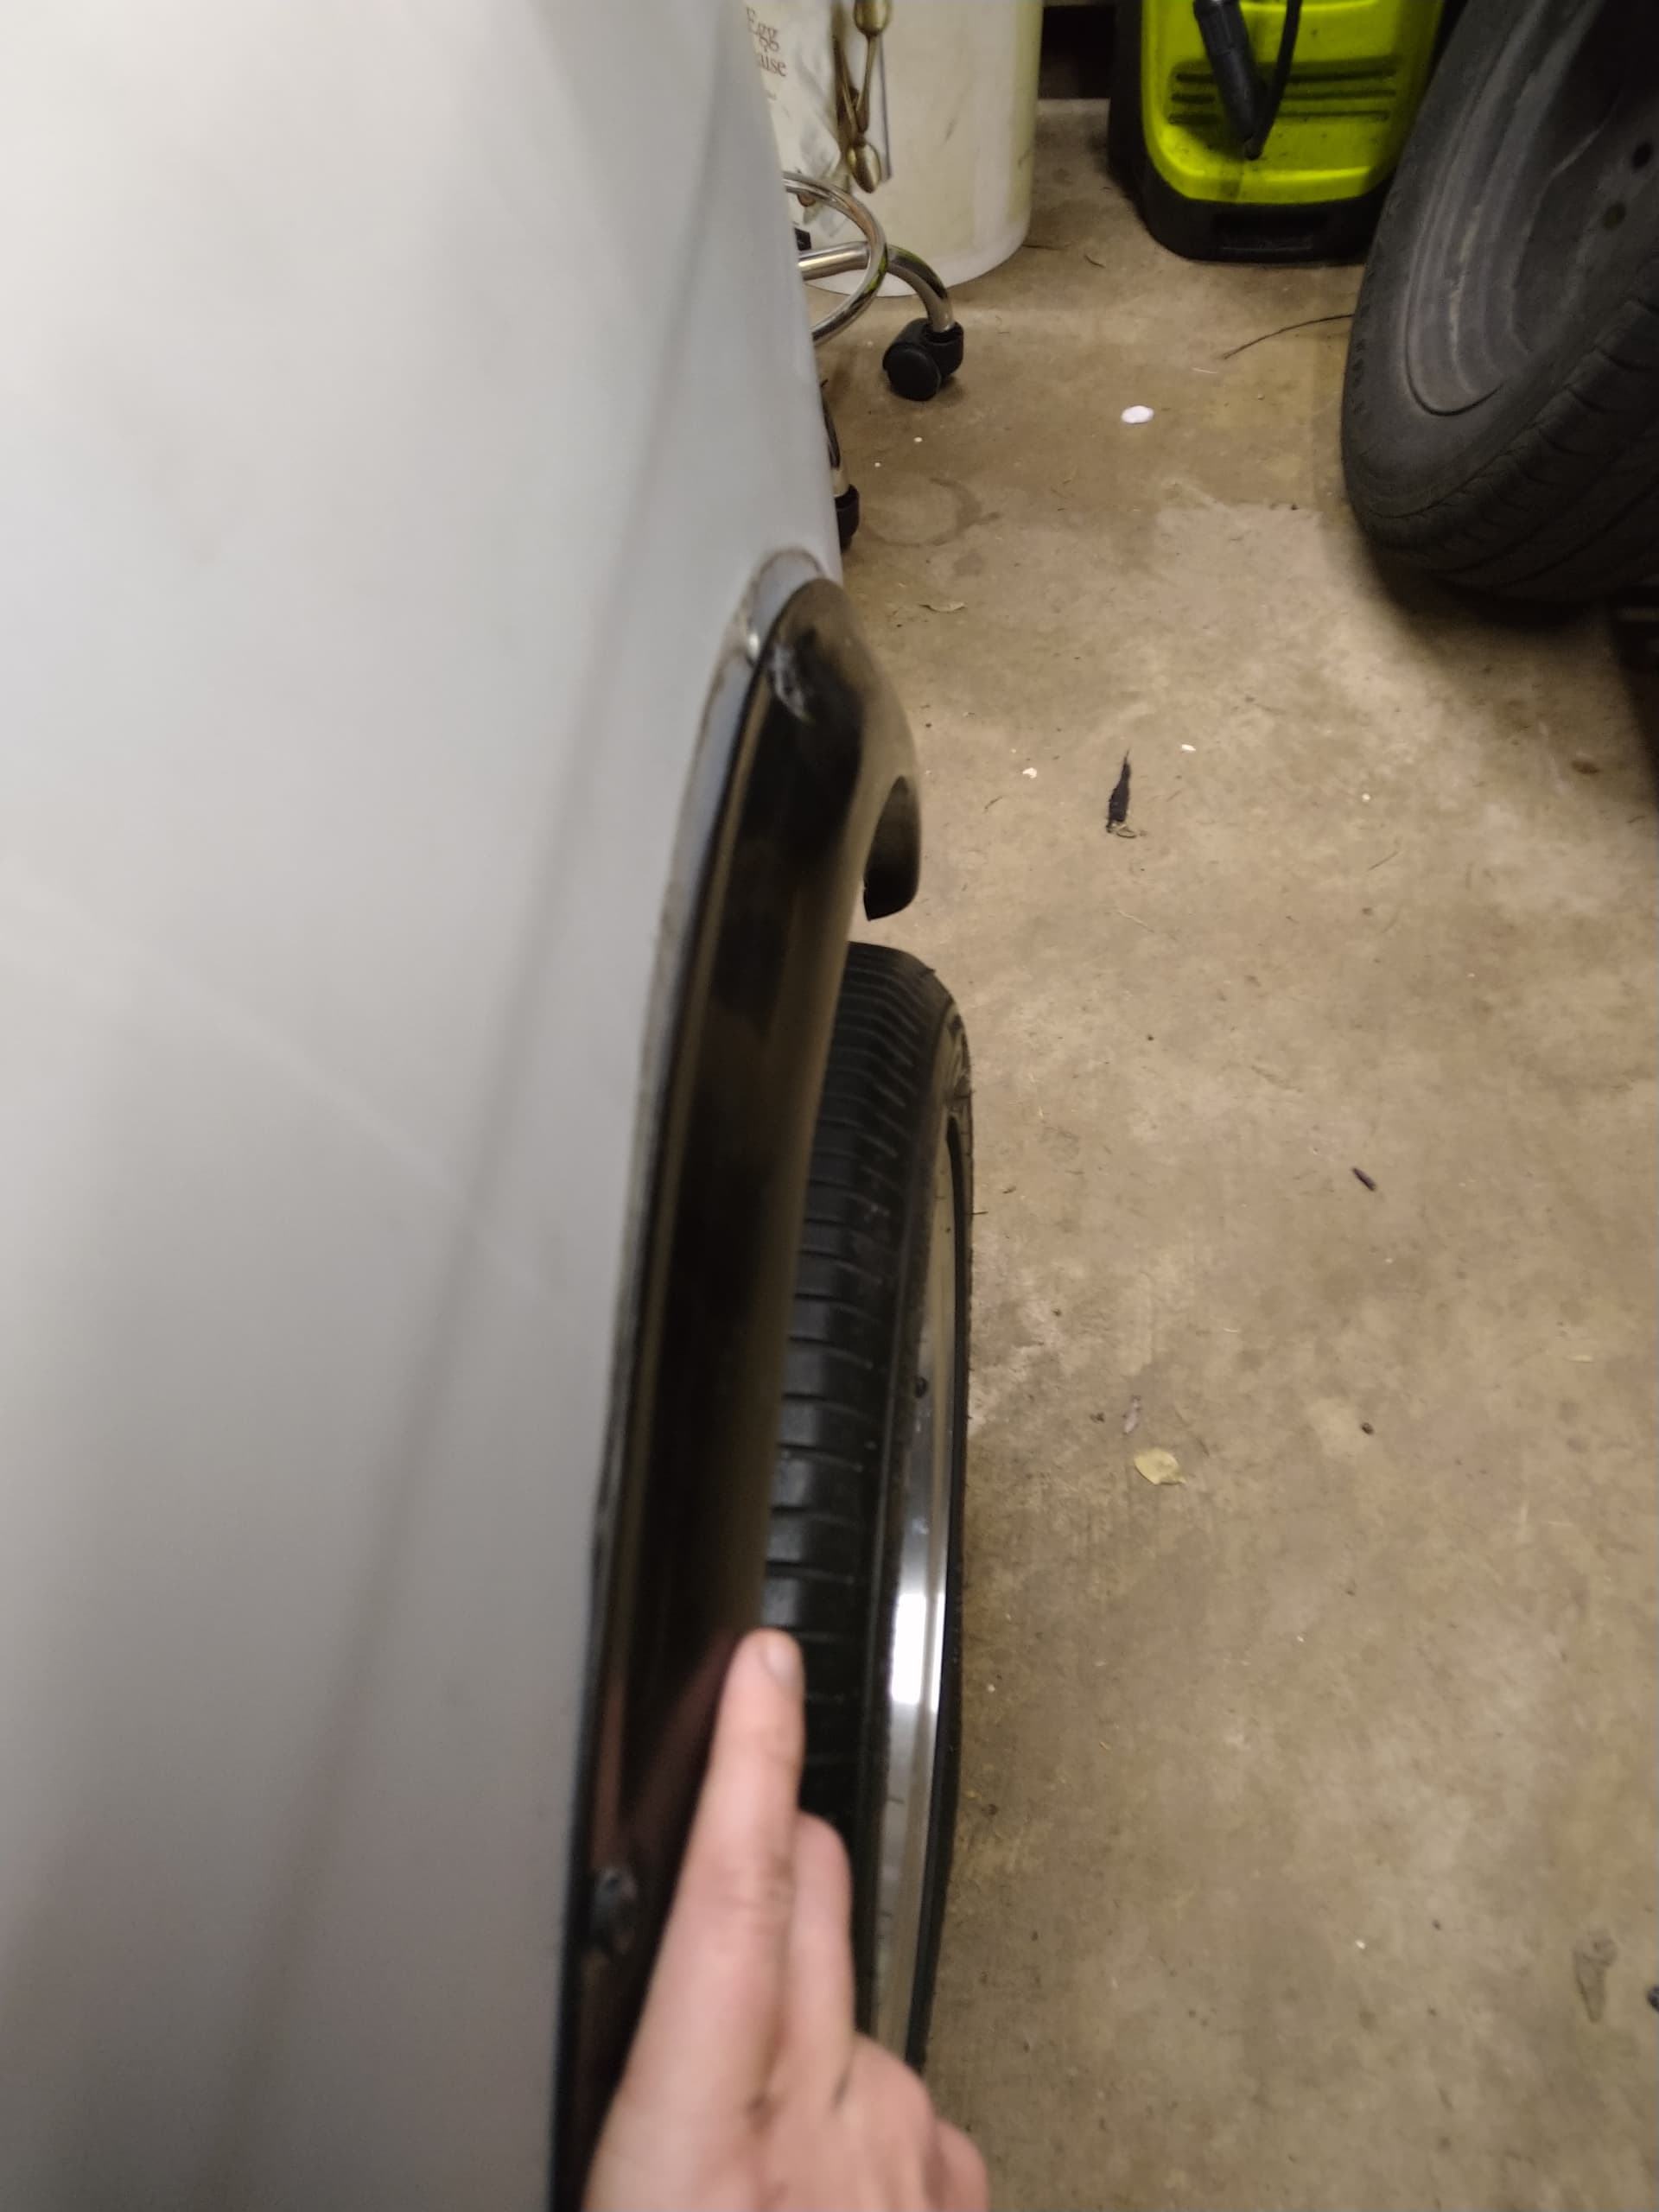
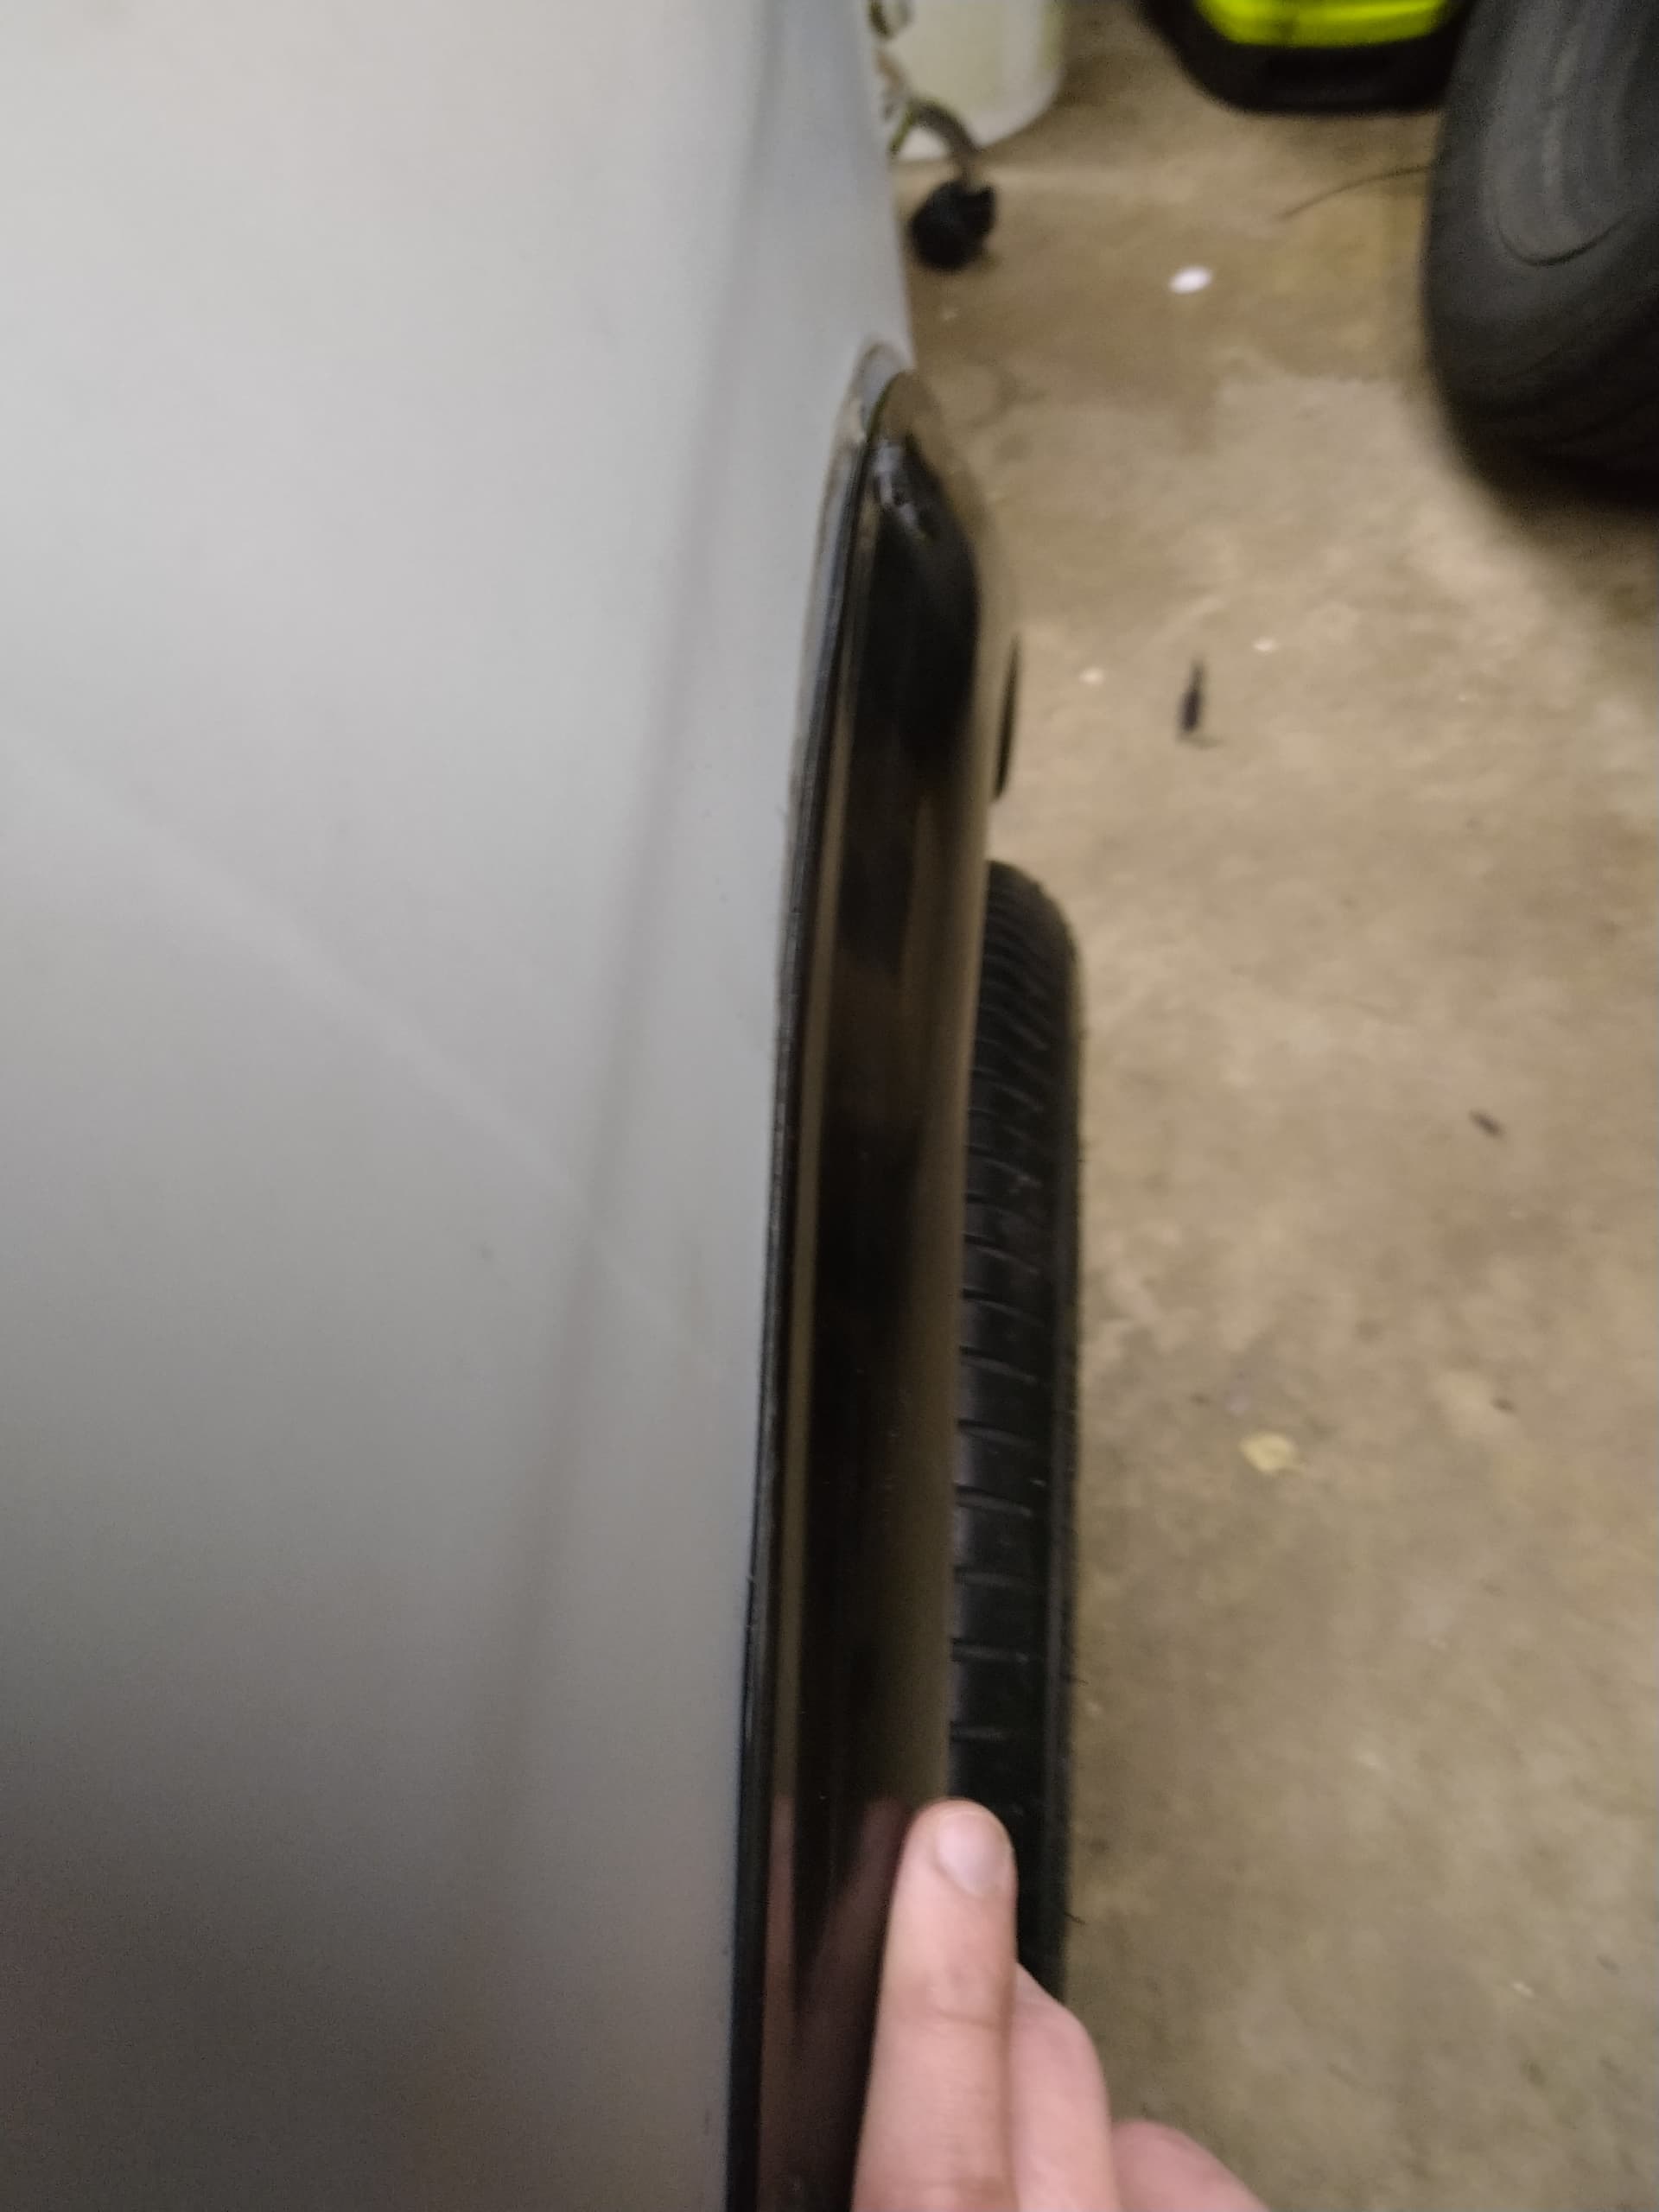
Progress! Coil-overs, flares and tyres. Flares finally landed from Russia and test fitted. New fatter tyres (185/60/R13 Nankang semi-slicks) to fill out the guards. They raised the car a little, but there’s still adjustment left in coil-overs and skirts will reduce clearance ~70mm.
The side skirts were also a major pain to locate, mount and bolt onto the car due to their profile. In hindsight I should’ve removed some material to give access to the mounting bolts instead of removing skin from my hands.
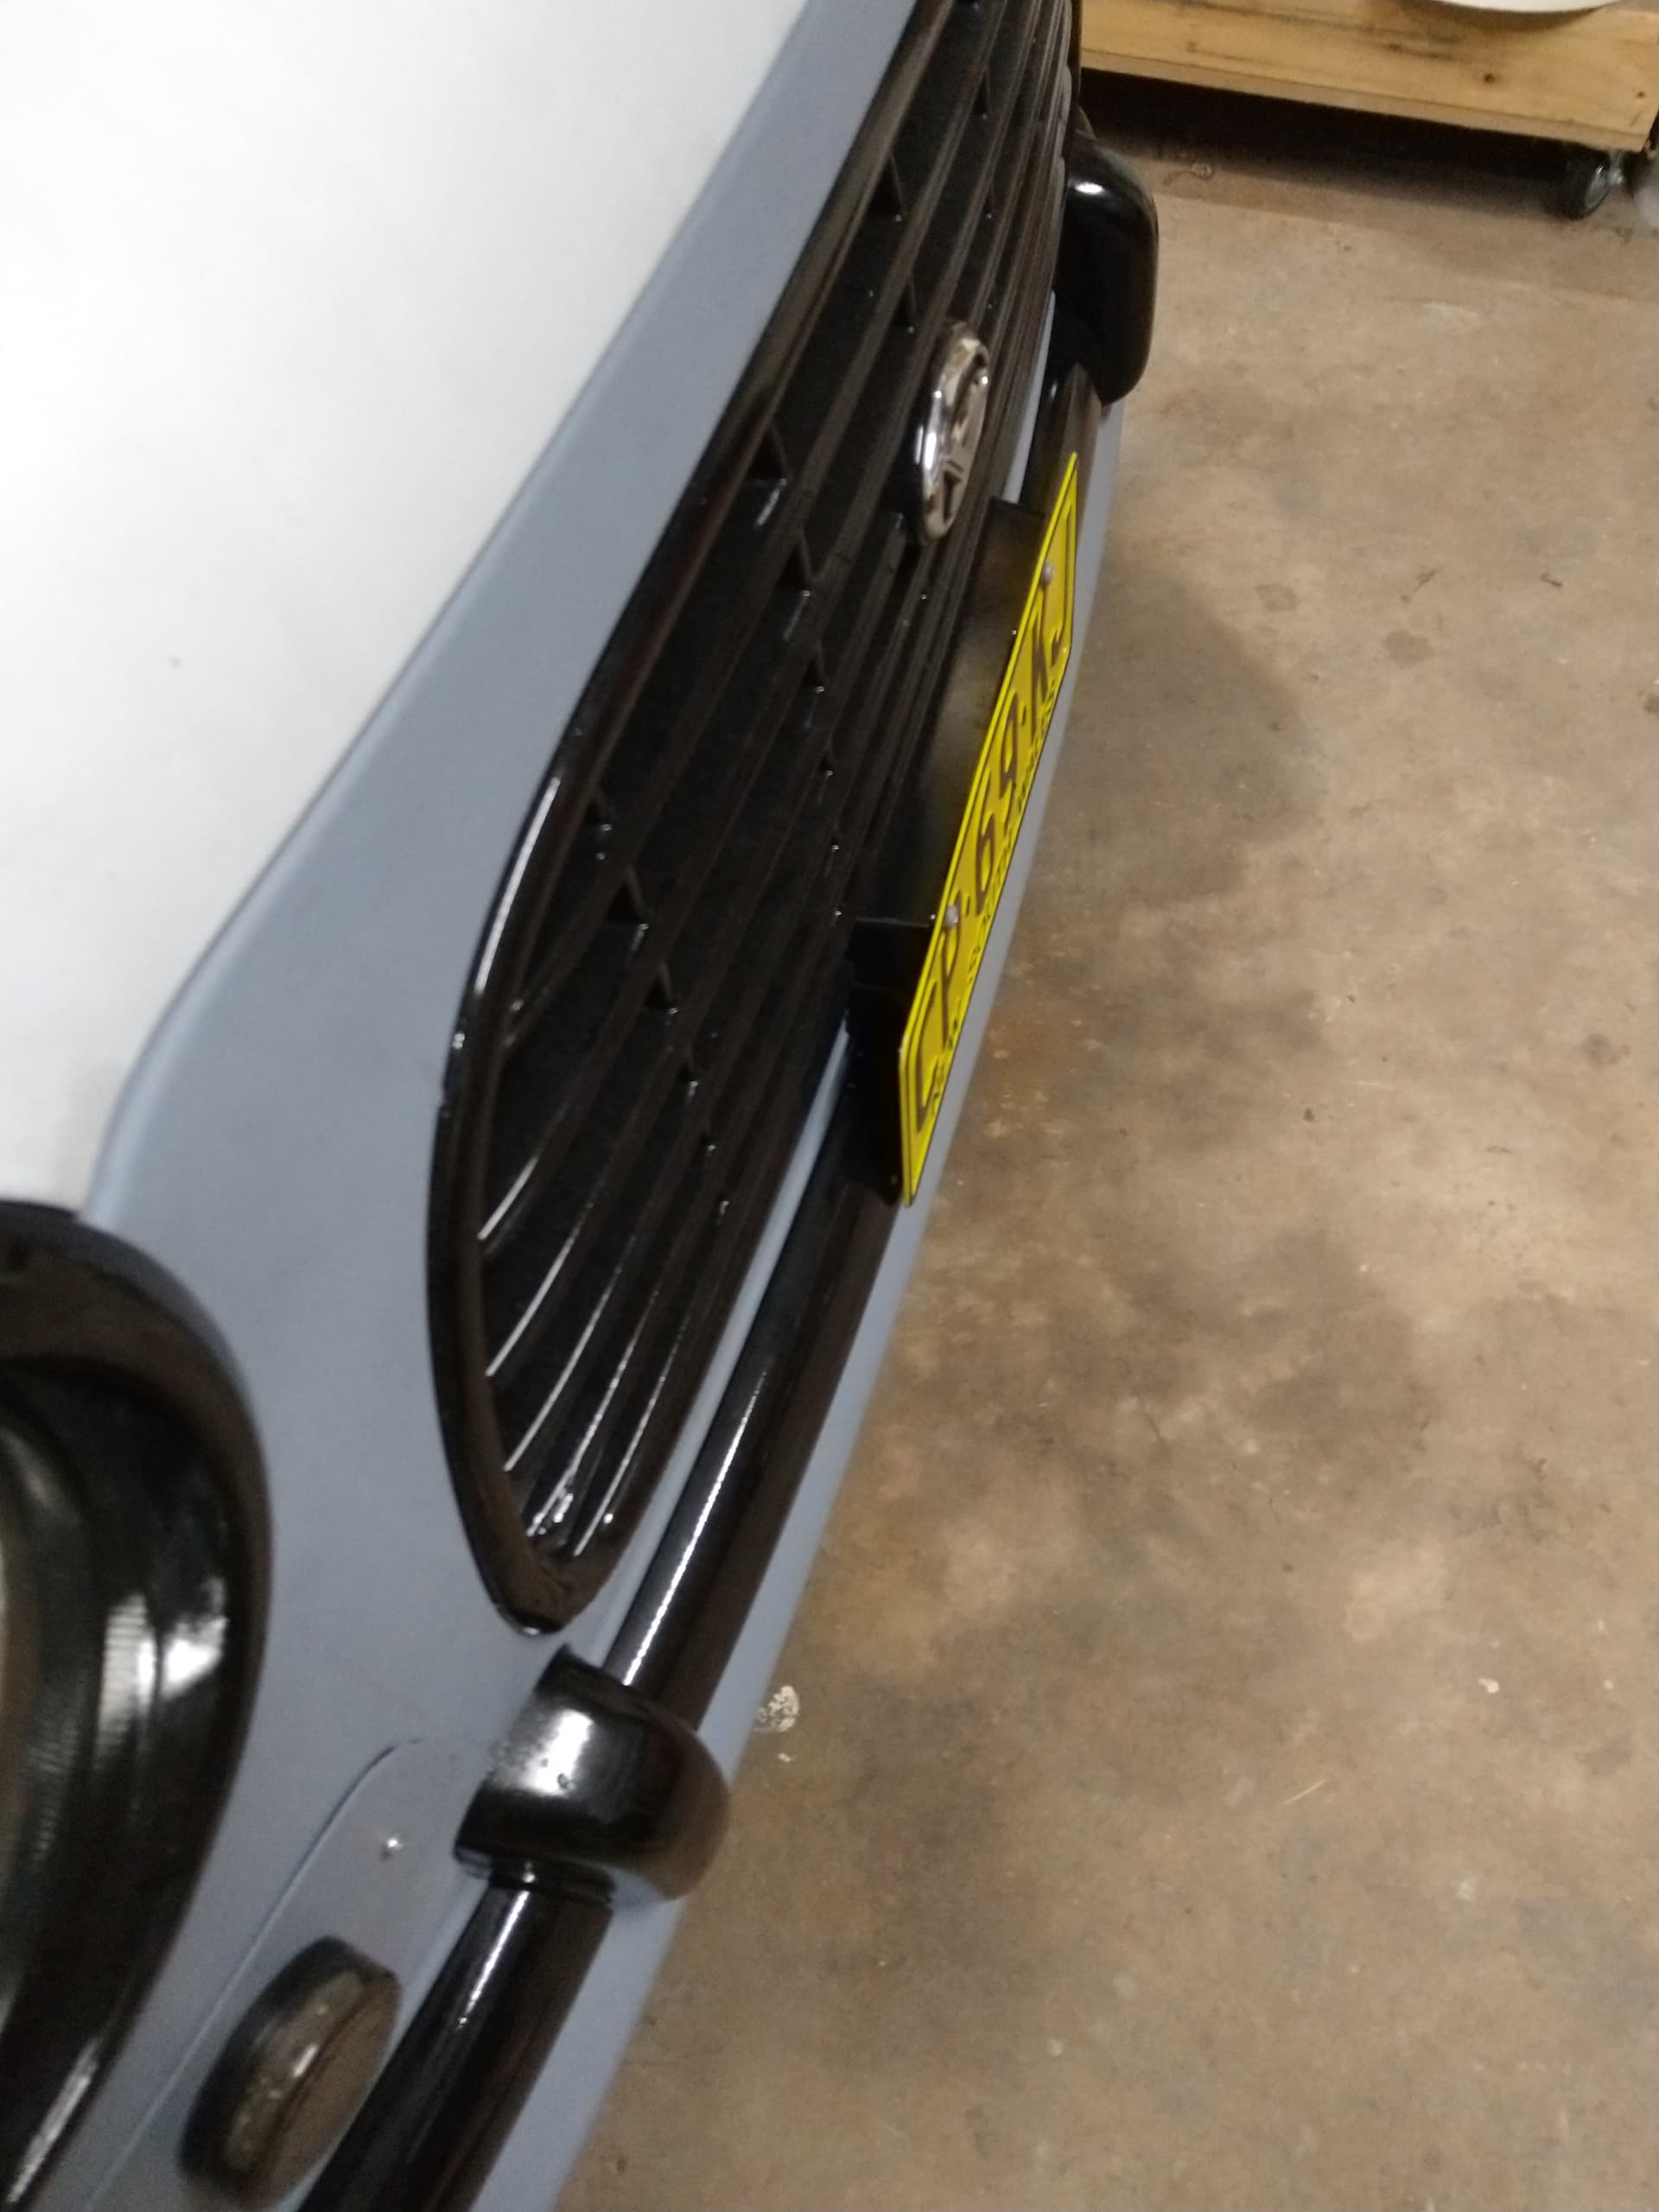
I also blacked out the section of front bumper between the bumperettes and behind the license plate. Yes that’s some paint bleed from lazy masking.
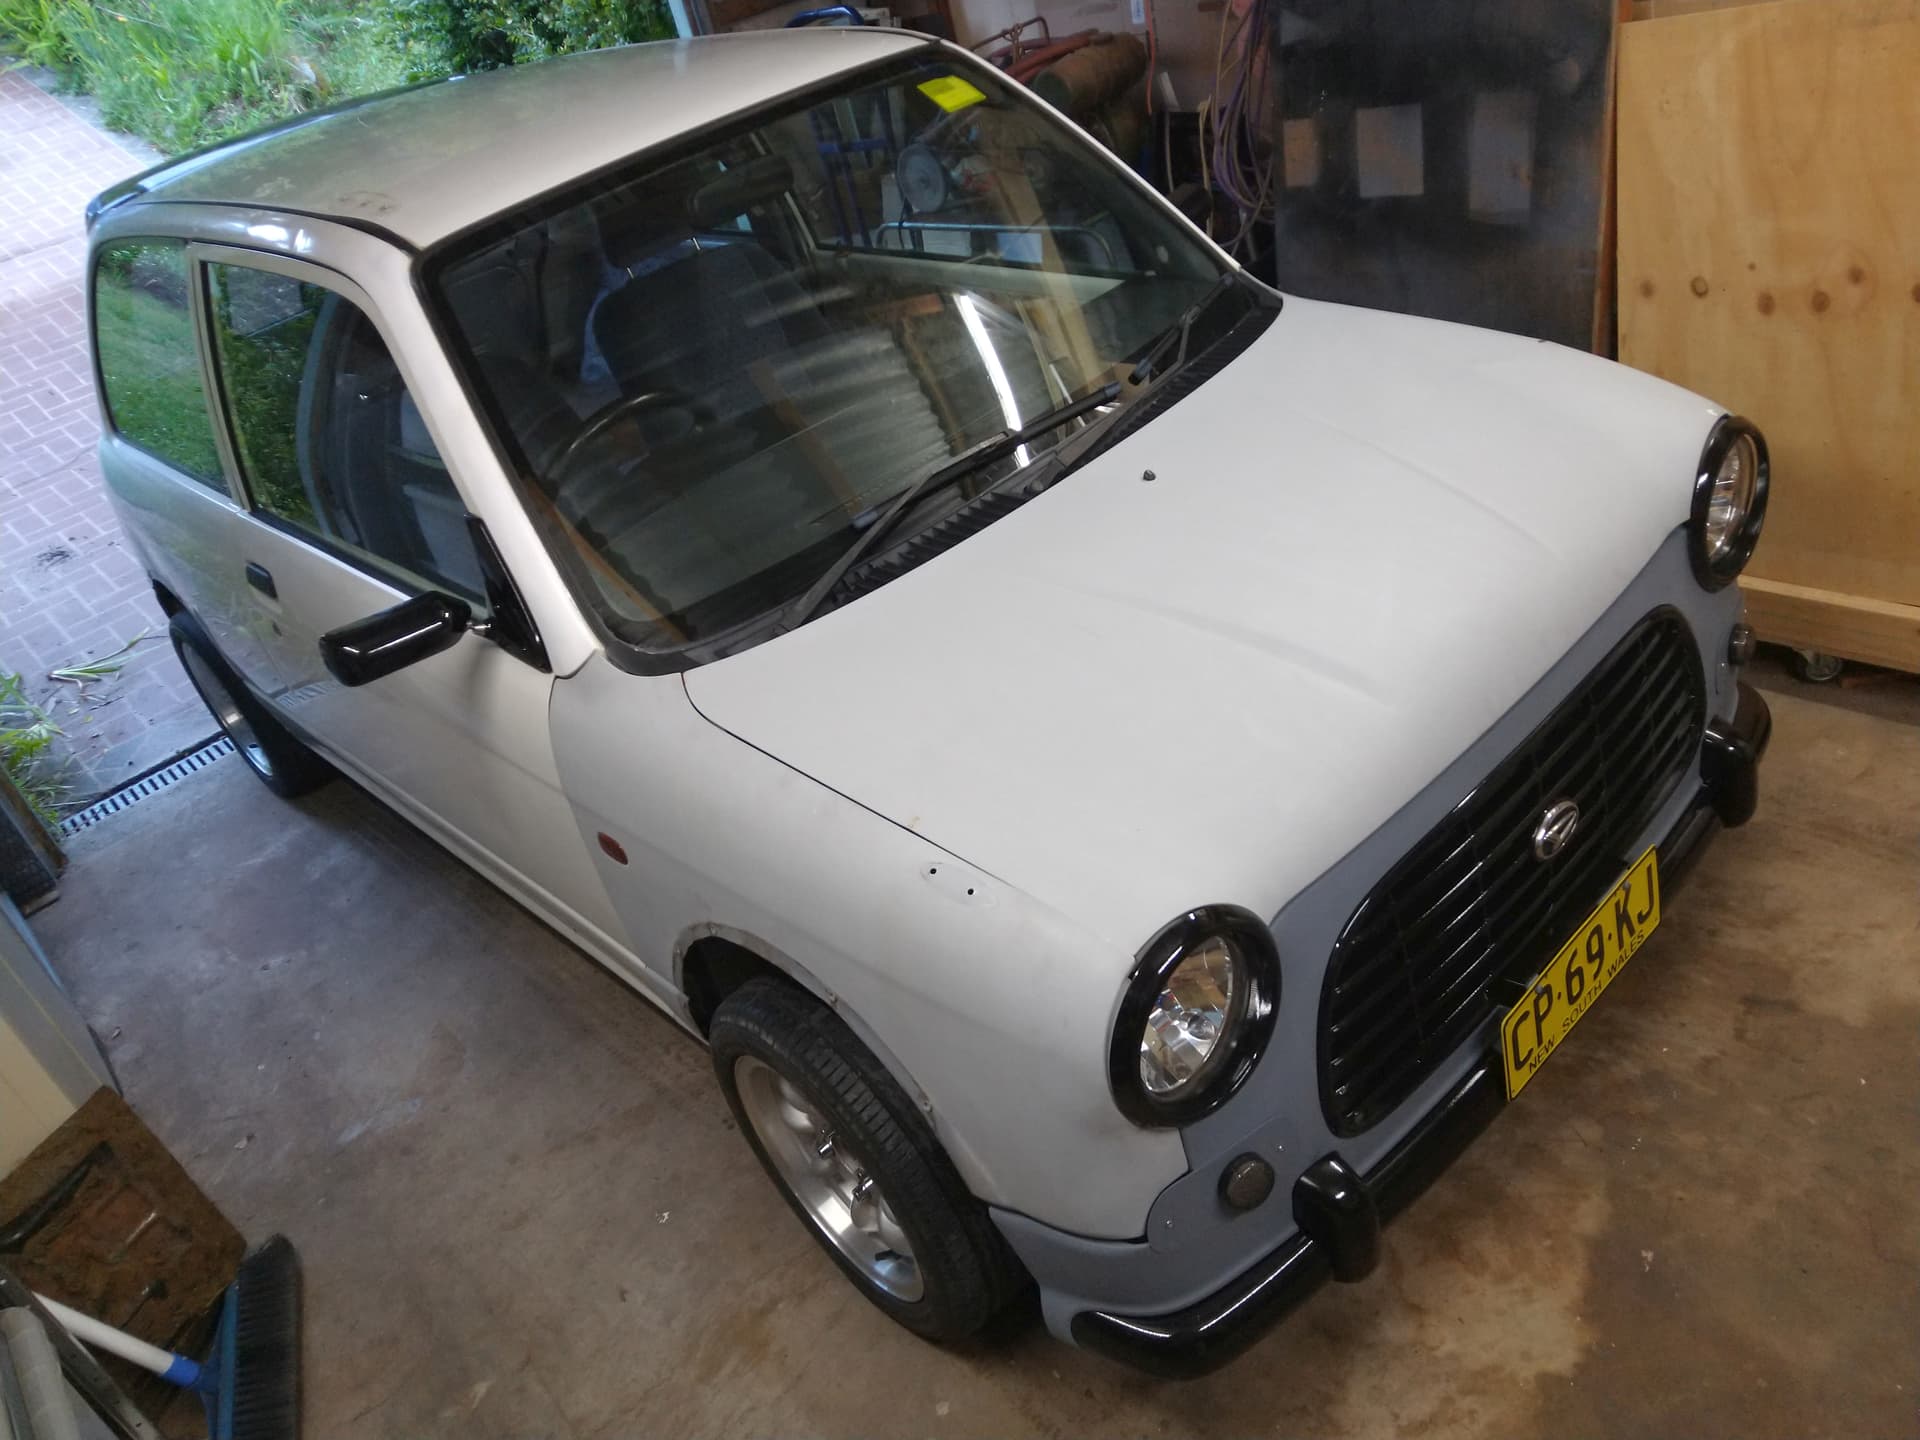
I test fitted the flares again but panel work required before final installation. The passenger side panels are messed up. weary:
But I managed to massage out most of the kinks in the bonnet (not pictured after) and got the panel gaps a bit better. There is a slight crease at the edge of the bonnet right at the crumple zones, and some slightly more inboard from that. I had a go at panel beating the front passenger fender while on the car and will attack it more when off. The major hurdle is the back passenger quarter has a massive concave dent in it adjacent to the fuel cap.
I’m leaning towards handing this project to professionals for the final panel/paint work. I’d like to DIY it to save money but I don’t have a suitable space to paint.
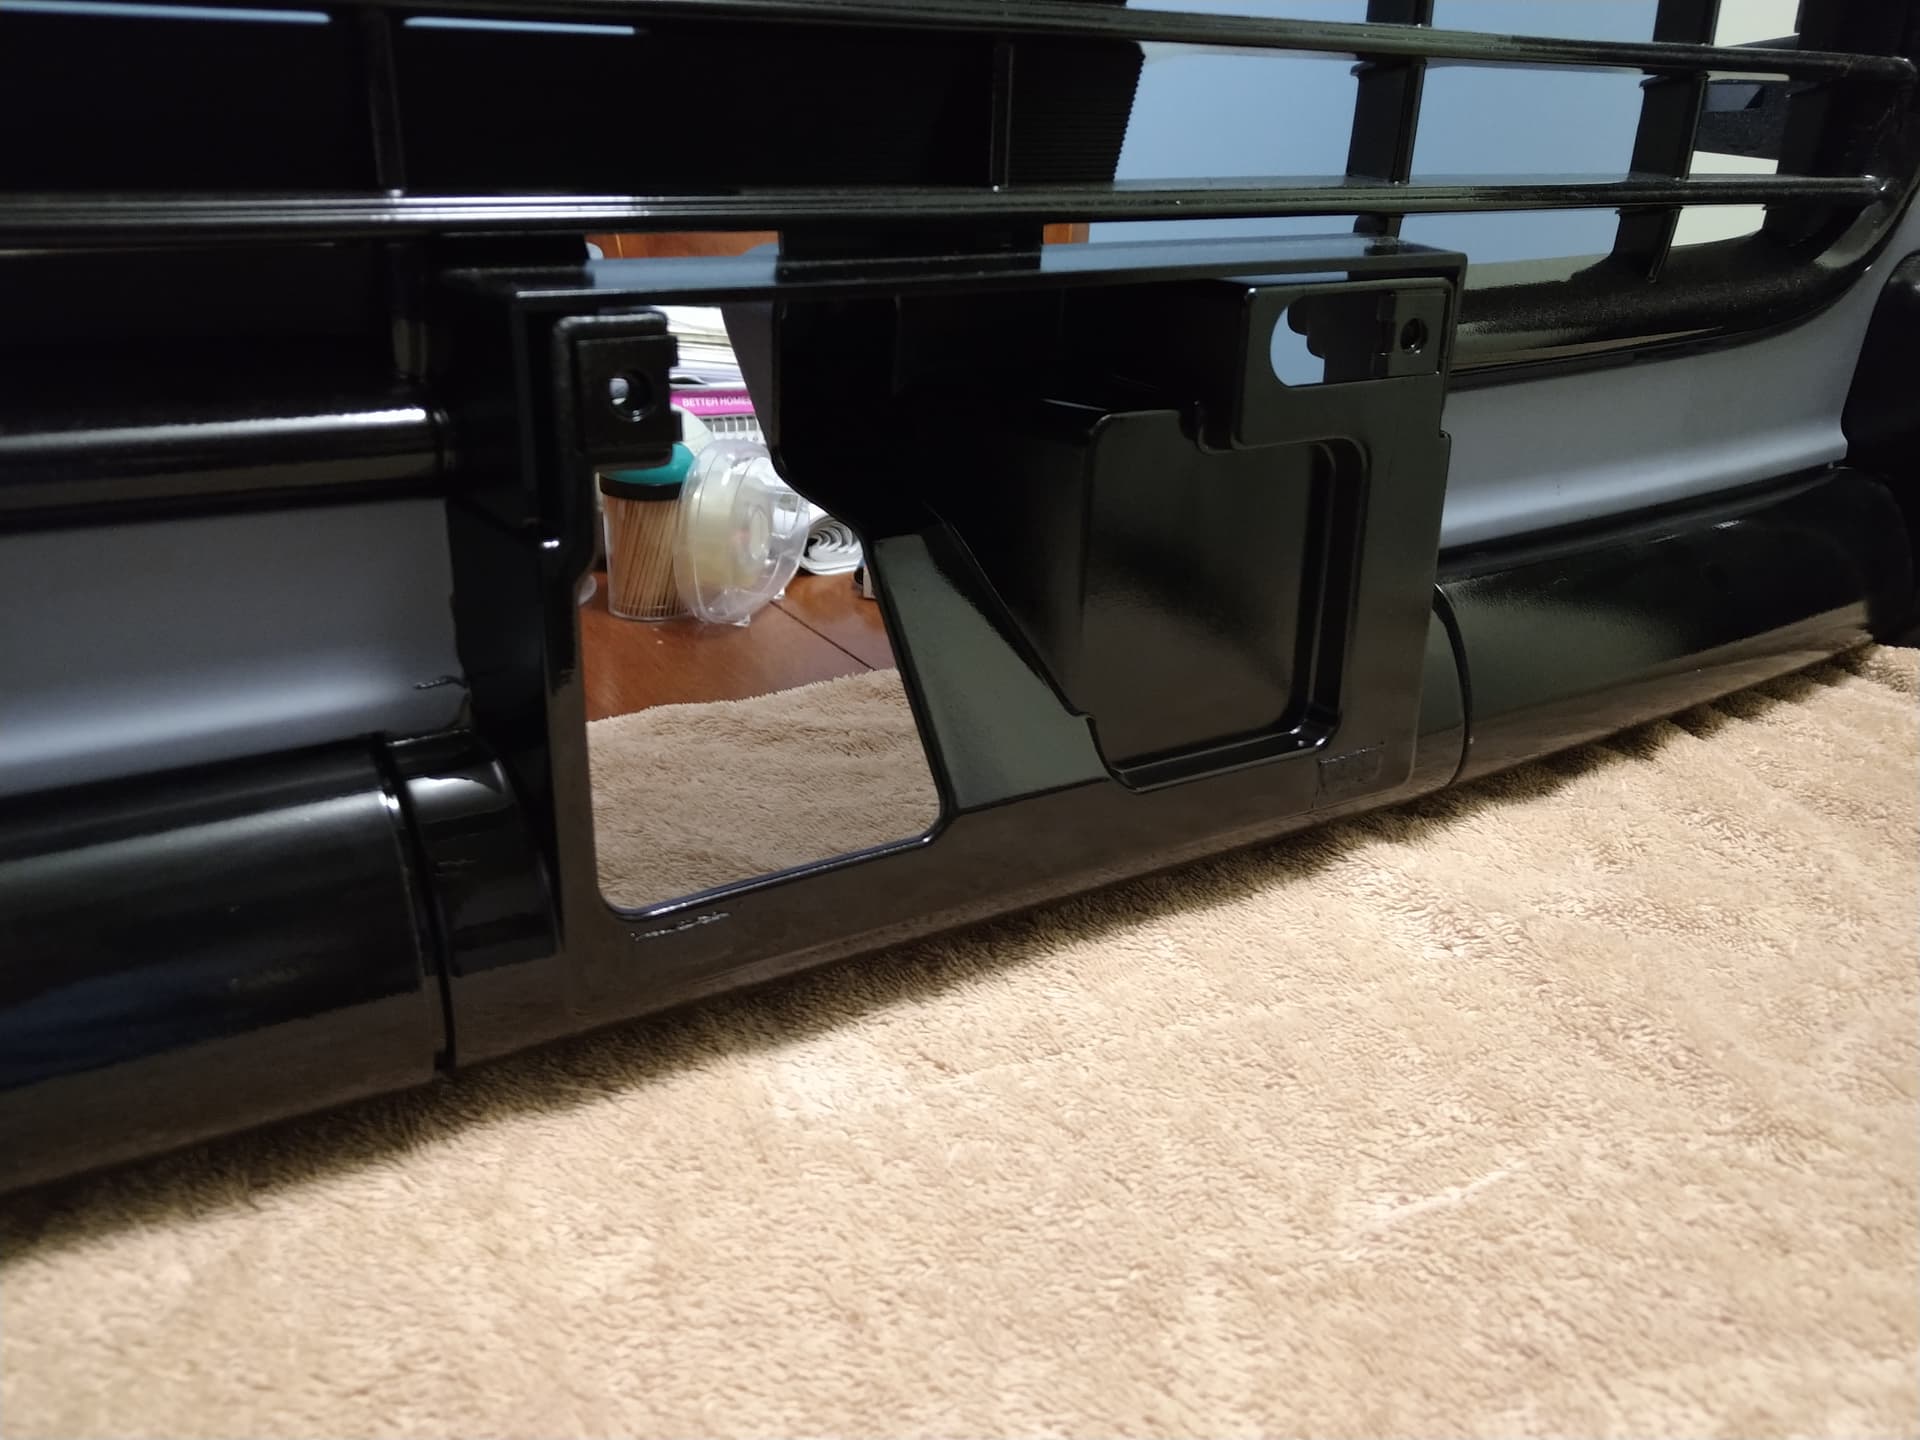
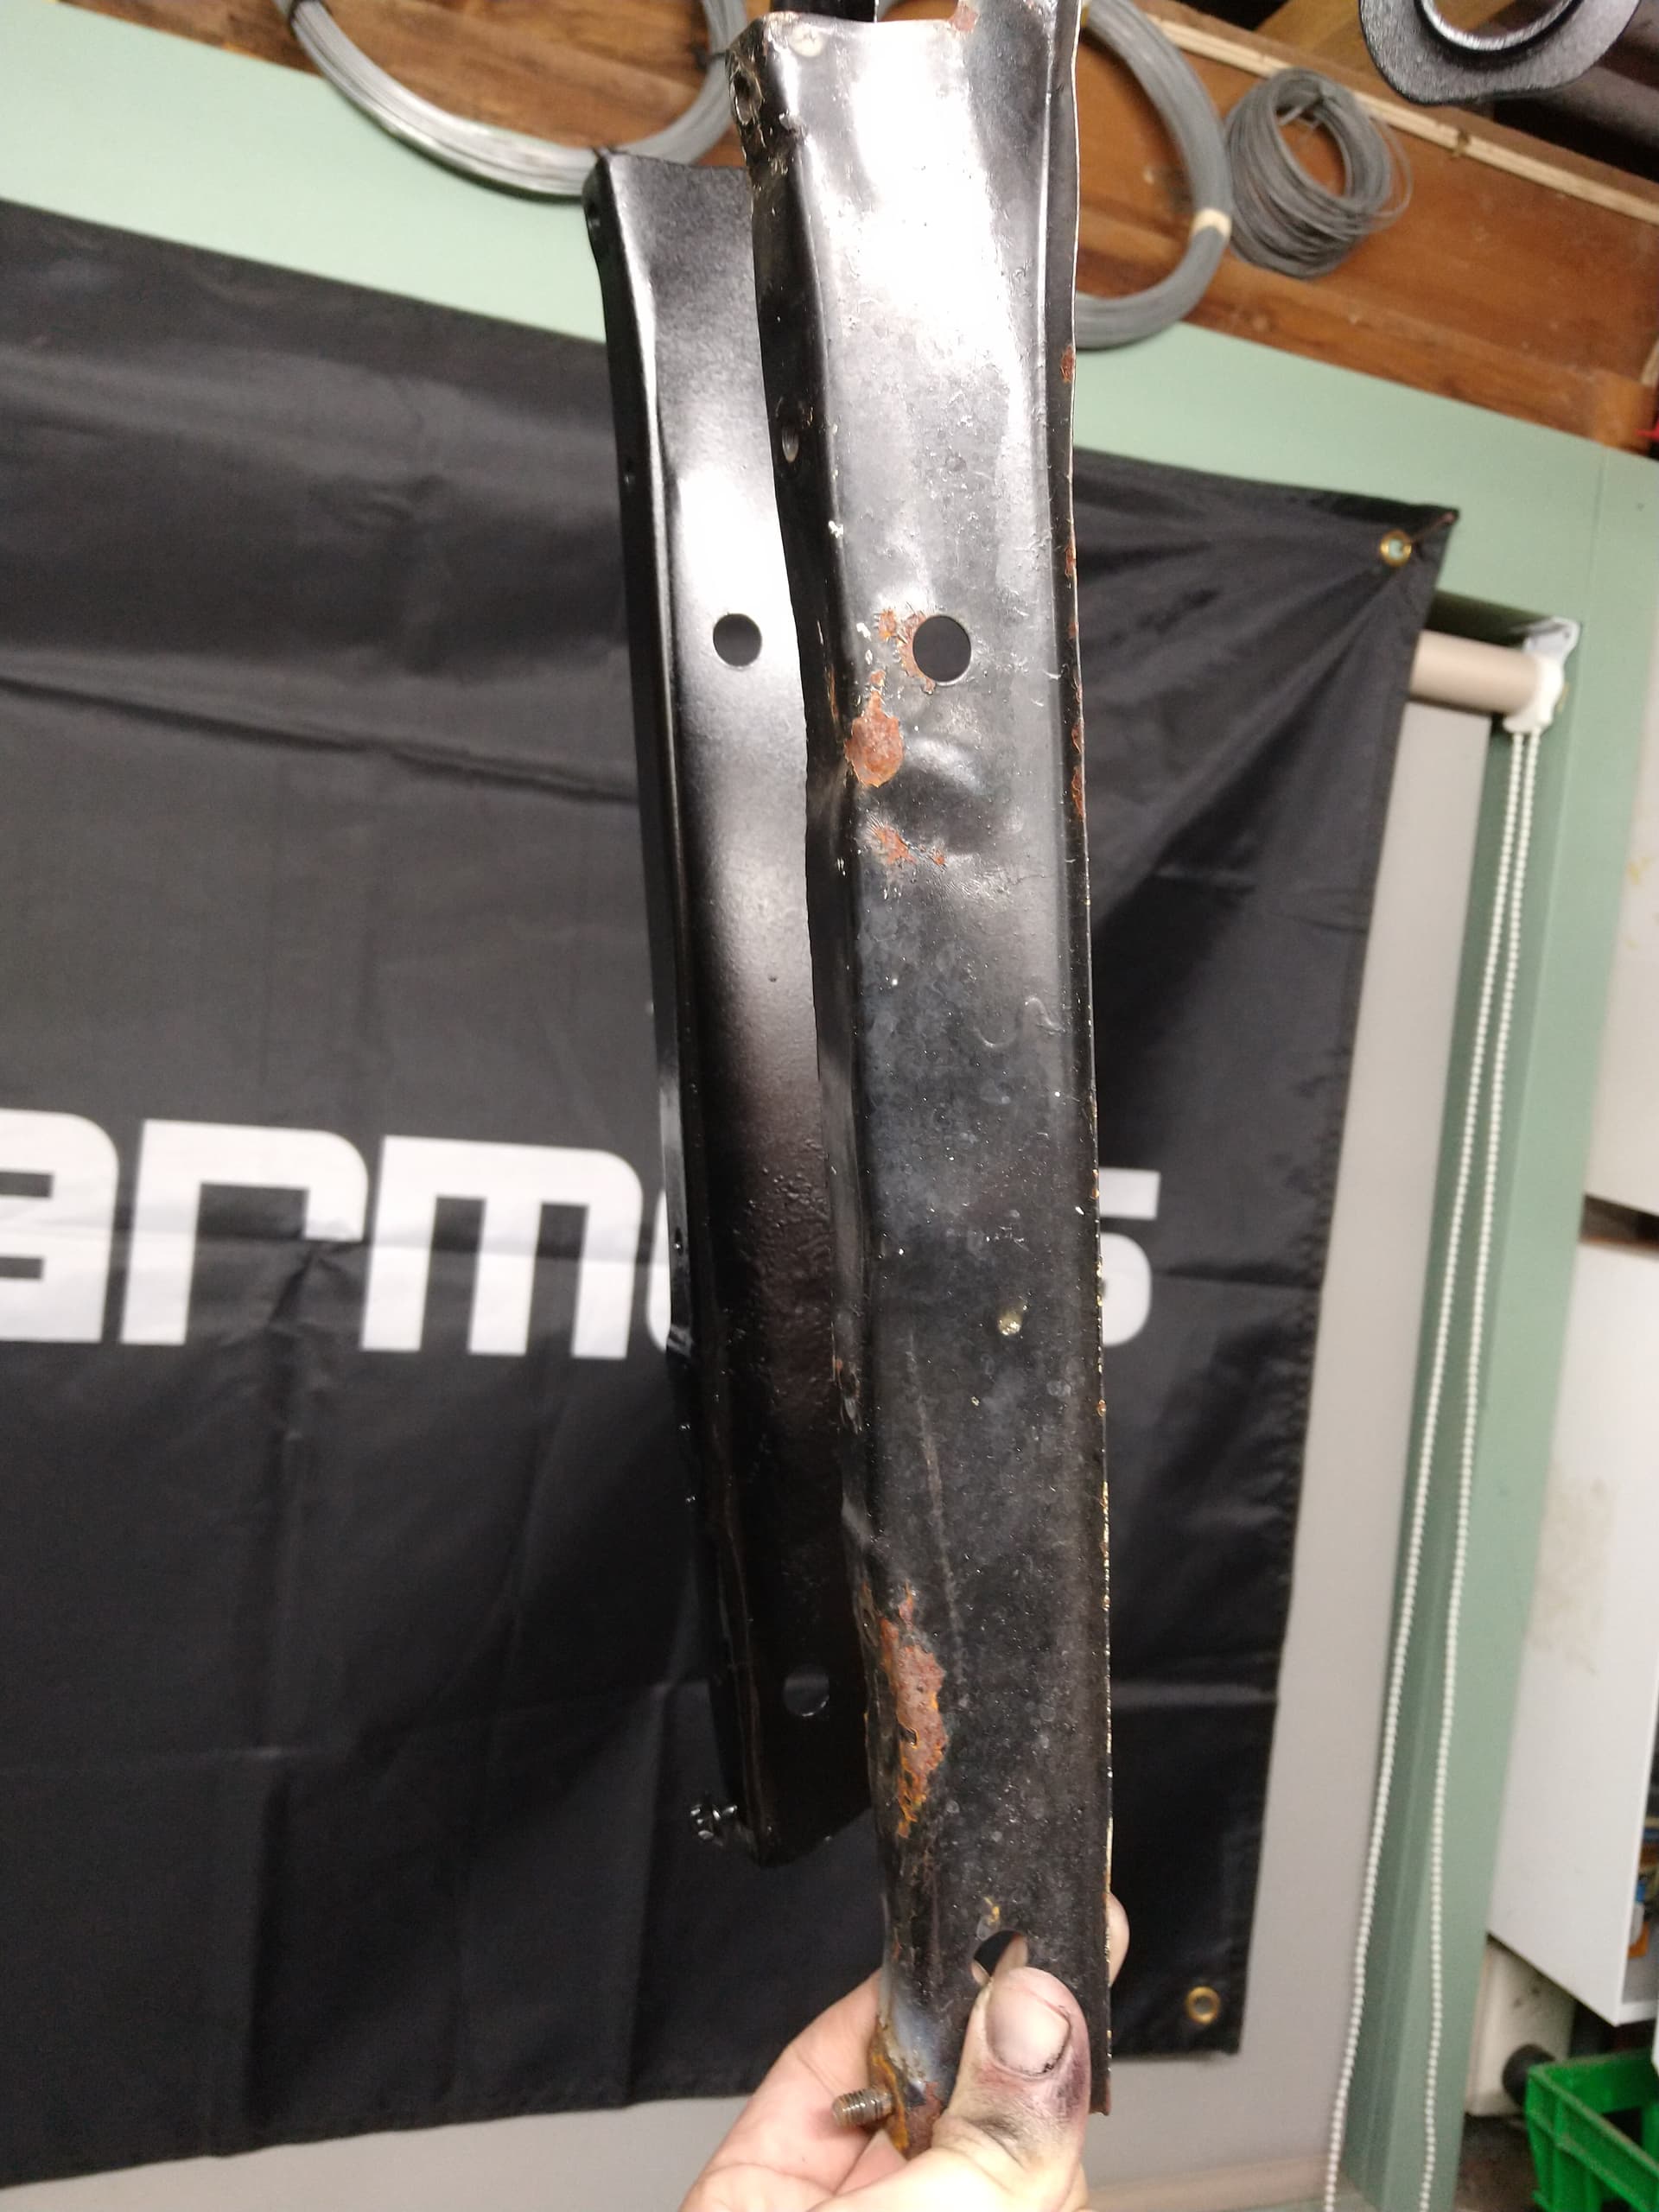
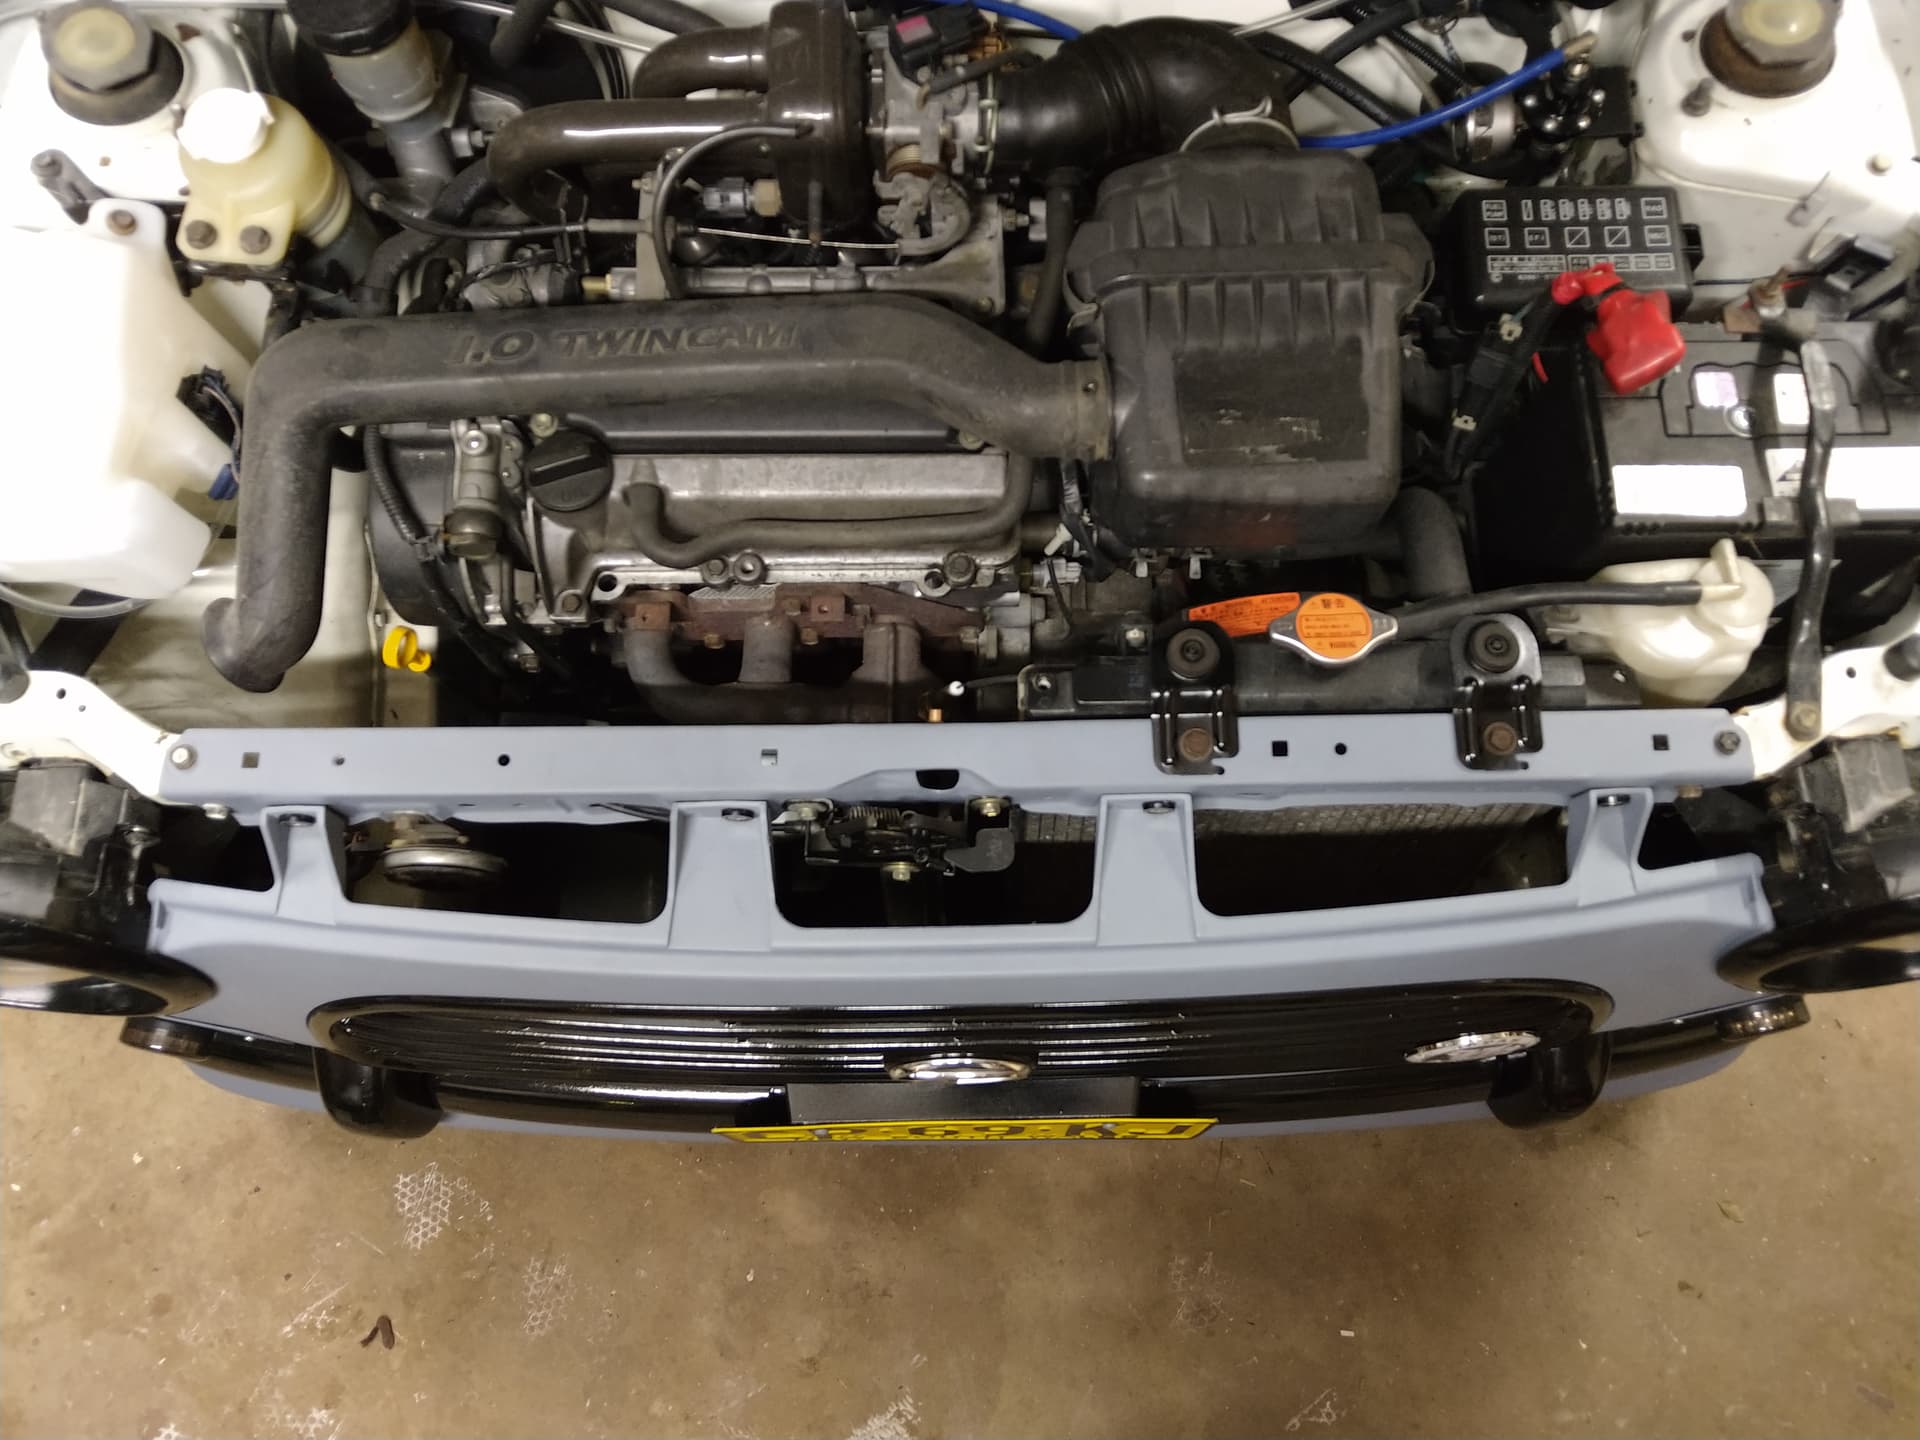
The center core support and cross bar were a bit to mangled for my liking, so I purchased some used ones and painted them up. The bonnet fits better now but still needs panel beating and tweaking.
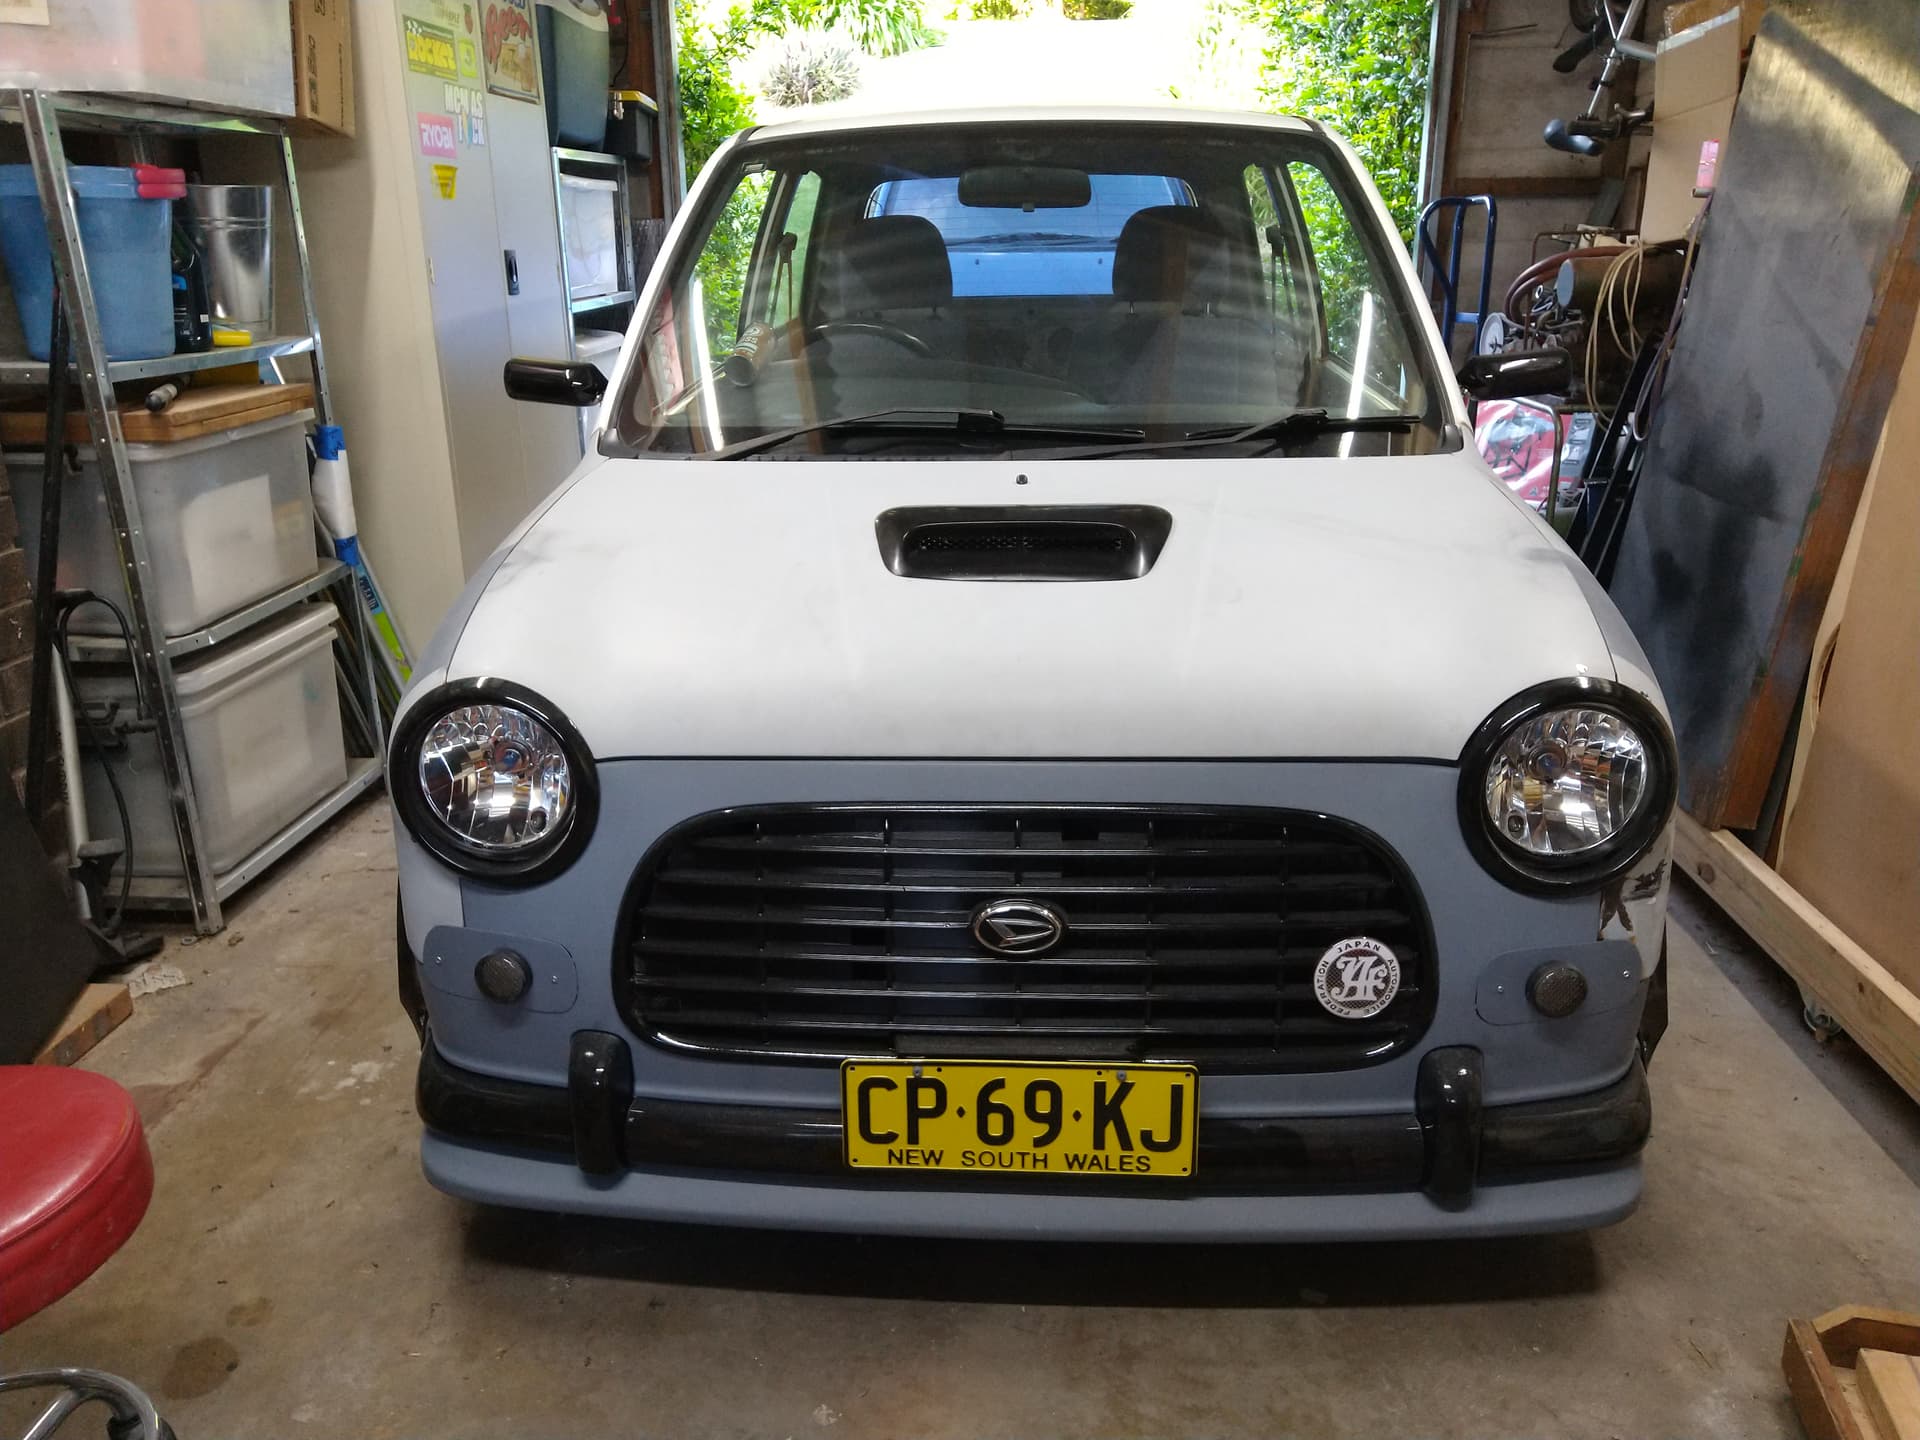
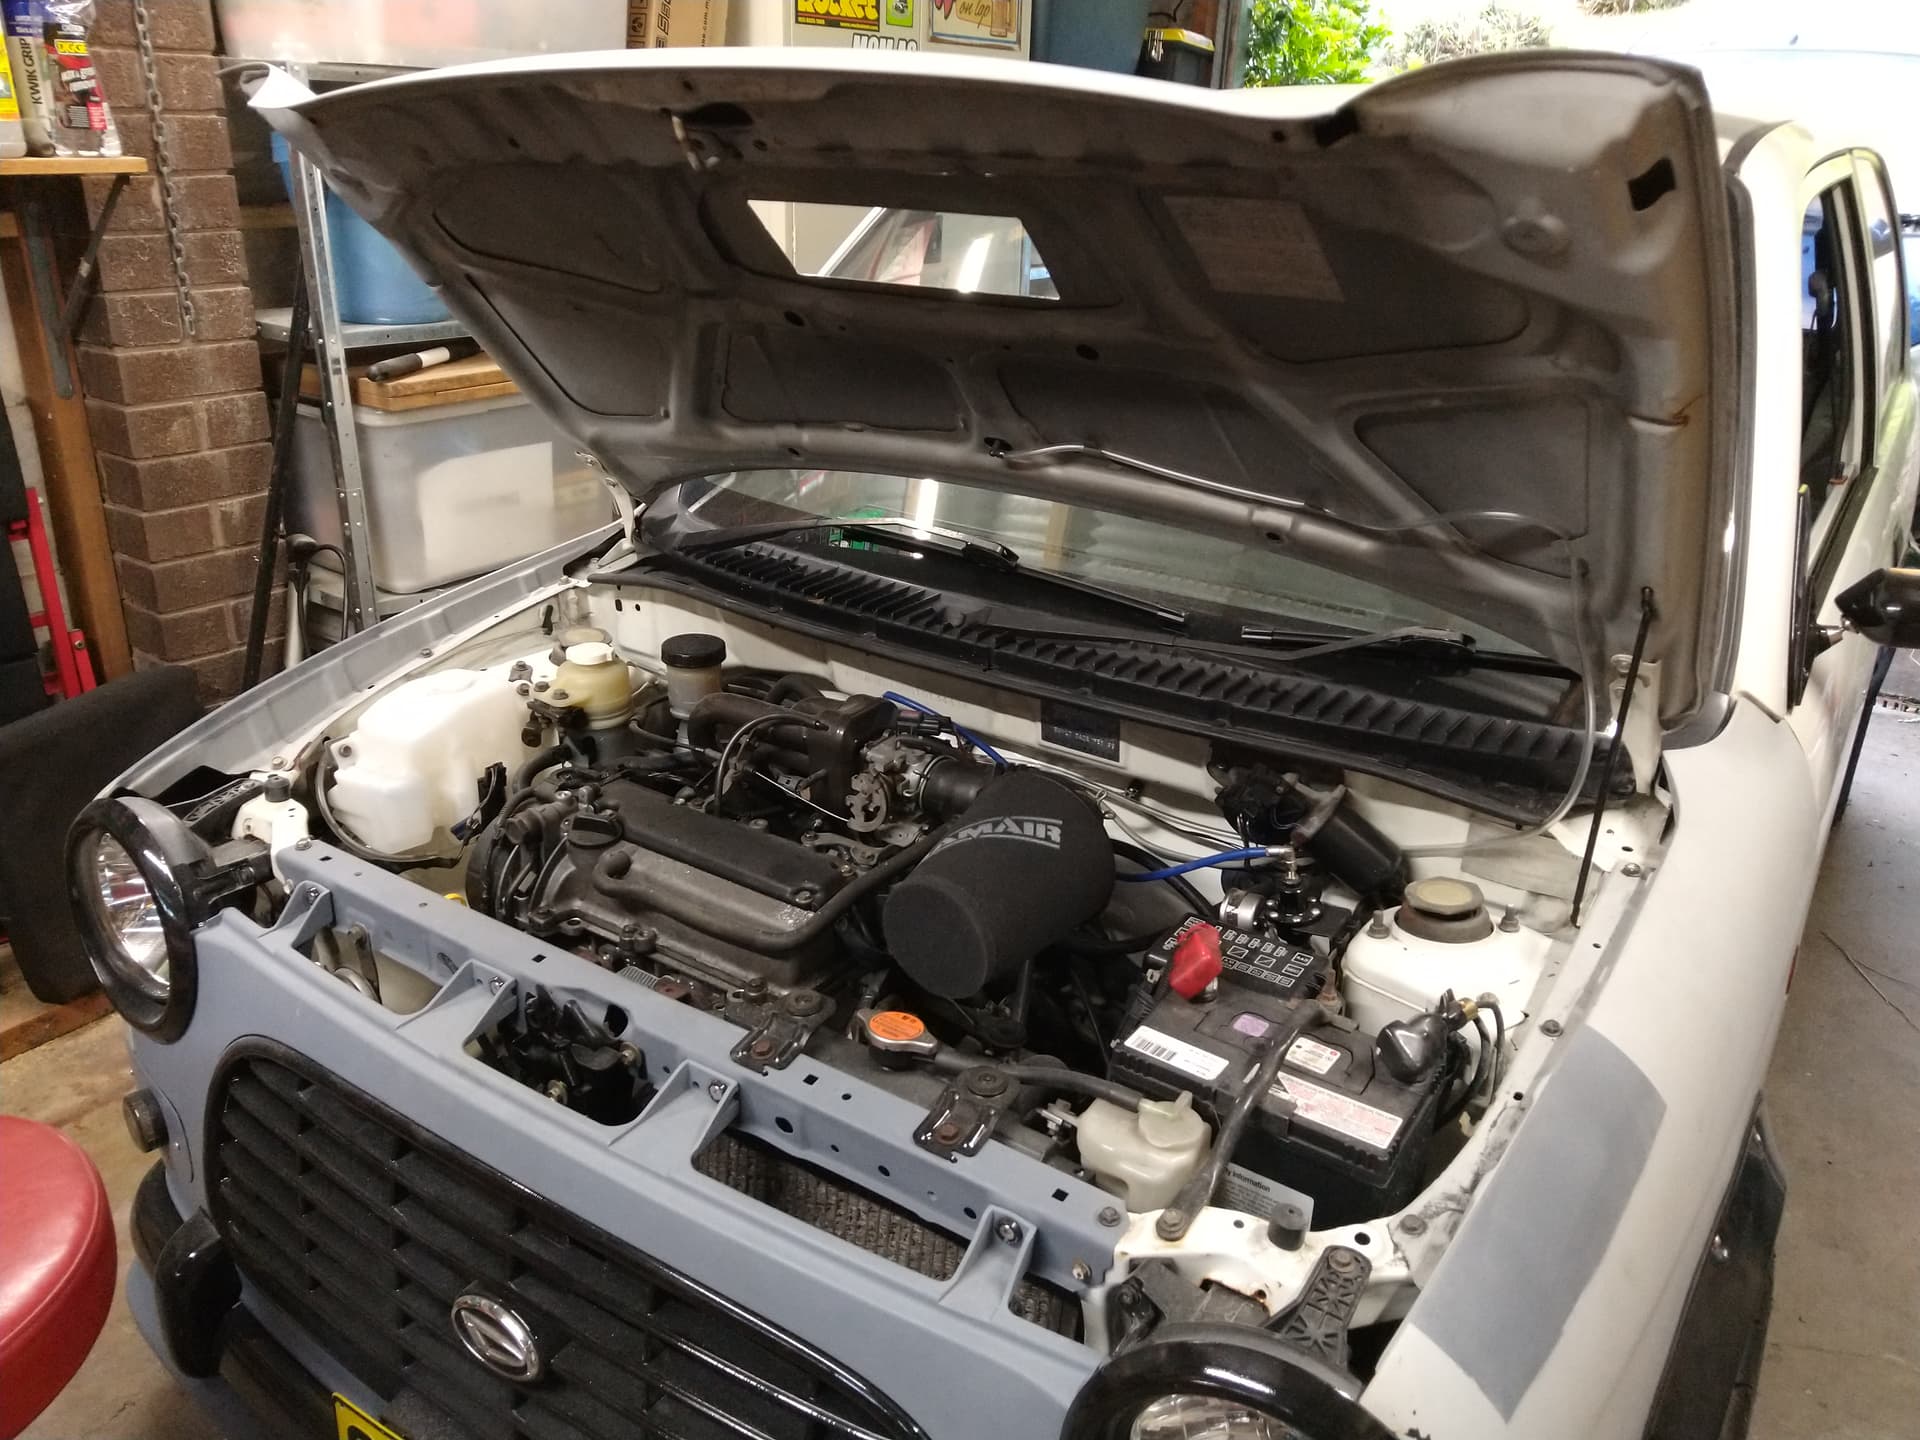
Yes it is a functional scoop. I will be fabricating an under bonnet duct and lower box to contain the pod filter to make it legal and not a “hot air intake” like the one previously on the car.
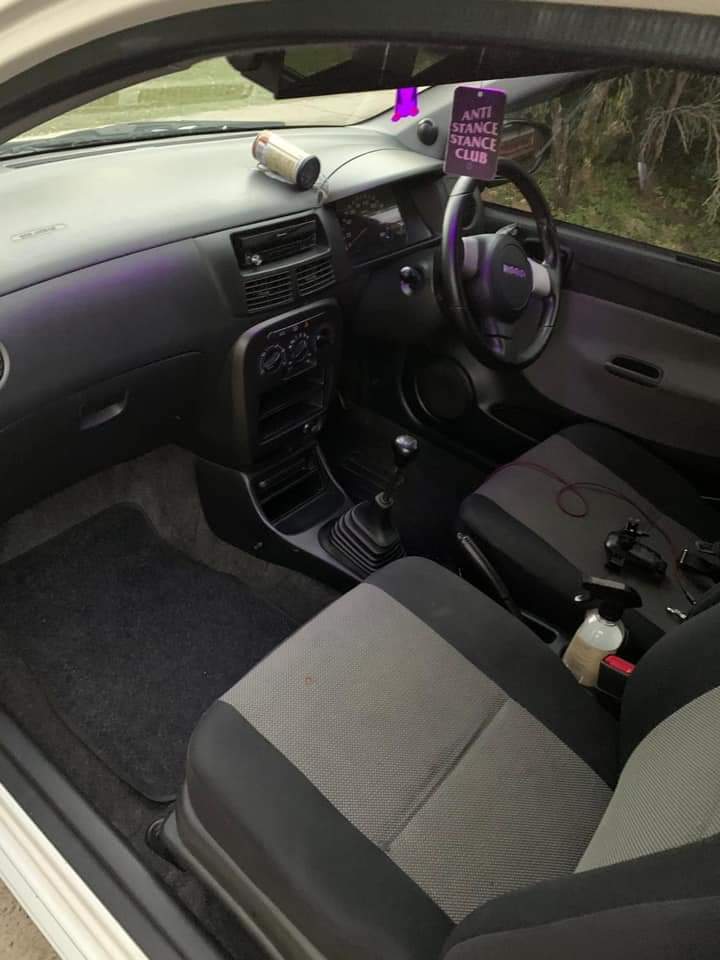
New carpet installed this weekend. While it was a pain to install, it’s great not having dirty old carpet with mystery spills all over. I also painted the seat rail feet because rust.
Looks so cool! Nice to see you back on the project
Quick question: are the doorpanels made of plywood as well? Since the speaker rings didn’t last because of the moist, I’m guessing the panels aren’t MDF as well
Yep they’re plywood, stained/laquered by the previous owner. The hatch floors are mdf covered in parts with thin plywood. The mdf grew some mold in the recent damp cold winter. I might change it to full plywood in the future.


 Oh and a spare battery tray/bar if anyone needs one.