Thanks, I will check the solenoid! I did not even consider that there could be an electrical problem causing this.
Regarding the fuel pump and filter, I tested fueling by undoing the fuel line to the carb and cranking, and it did pump fuel through. To me it appeared like there was decent flow, although I do not have a gauge to check the pressure. The filter is pretty new and there is fresh premium RON 102 fuel with a splash of carb cleaner in the tank, so I think there should not be any problems on that end.
After checking the solenoid look at the fuel bowl and its needle and seat for sticking or blockage. Based on age crud from corrosion of the aluminum or chemical build-up that evaporates out of the fuel might be evident. Then go on to check the jets for blockages.
Finally had time to work on the Cuore again today. Solenoid seems to be working, clicked on power with the connector connected and did not when disconnected.
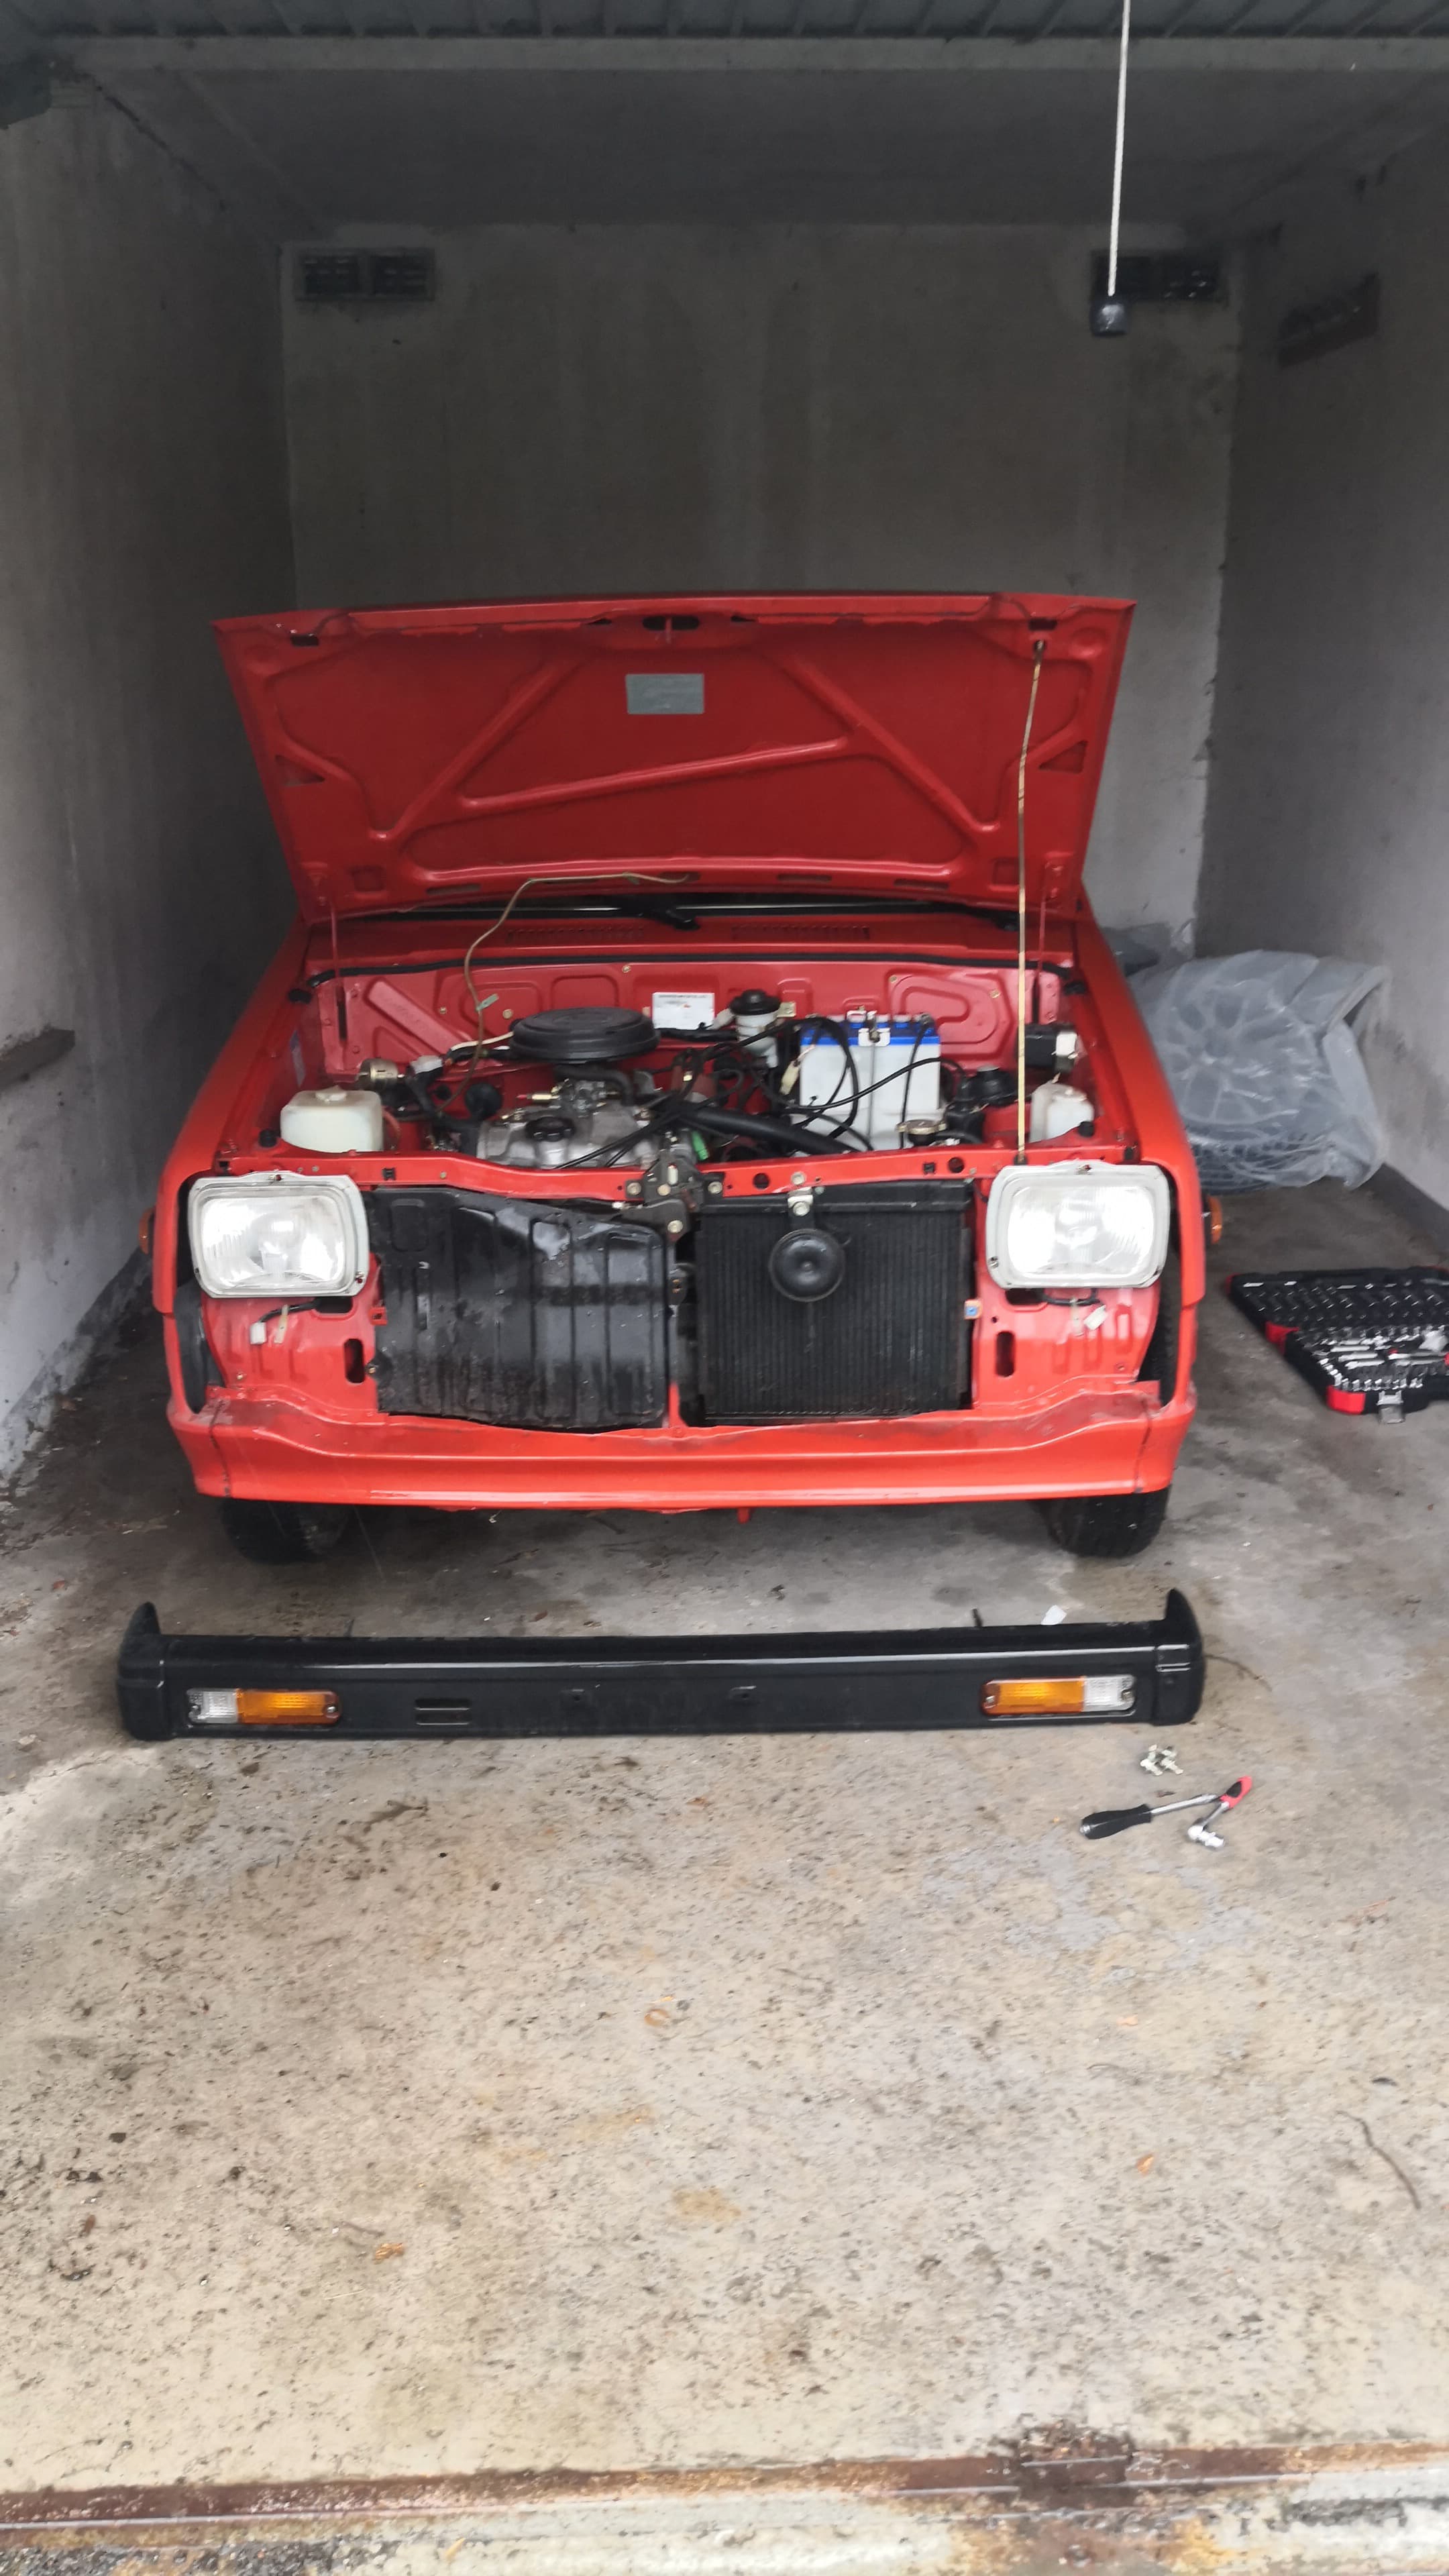
Decided to take the carb out for further investigation.
I ordered a carb overhaul/gasket set, but it will probably take several weeks to ship.
At this point I’m not sure if I should start disassembly, because I’ve never done it before and because I will have to give it to a repair shop for the ultrasonic clean anyway, so why not have them do it all
Please excuse the fact that I clearly have no idea what I’m doing, thanks for your help
A carburetor is really simple. And a ultrasoon cleaner is quite cheap (and you’ll need one for in the future if you are keeping the carb
I doubt the garage will be able to tune the screws on the carb the right way so you’ll have to do that yourself so why don’t you take it apart? Just take a picture of everything before you disassemble it so you know how to put it back together.
It’s a great way to learn some basic maintenance and in my experience you’ll be taking the carb of regularly to clean it. Carbs require allot more maintenance than injection.
You are probably right… And I guess that little carby isn’t the most complicated thing in the world… I’m just chickening out
What size of ultrasound cleaner do you think is needed? I’ve seen those for cleaning CDs and jewelry you can get for 20-30€, but I guess you will have to fit the housing into it, right?
That really depends on how big the carb is. Of course it would be ideal if you can place the entire carb under water but I’ve made due with a smaller one in which the carbs only are partly under water. But those are mere scooter and bike carbs.
If you plan on keeping this car and the carb it’s better to check some second hand sites and buy a bigger one.
Carb has been sent off to a motorcycle carb expert to clean and install the rebuild kit I sourced. Due to exams and an unexpected internship opportunity forcing me to move I don’t have the time to attempt it myself unfortunately.
I really hope I will get it road legal until September…
After the carby is refurbished the next thing on the list is fixing the driver seat belt and patching up the muffler. Thinking about temporarily swapping the strut tops with the ones from Barney, my second L60, just to get it through inspection. Still haven’t been able to find new replacements…
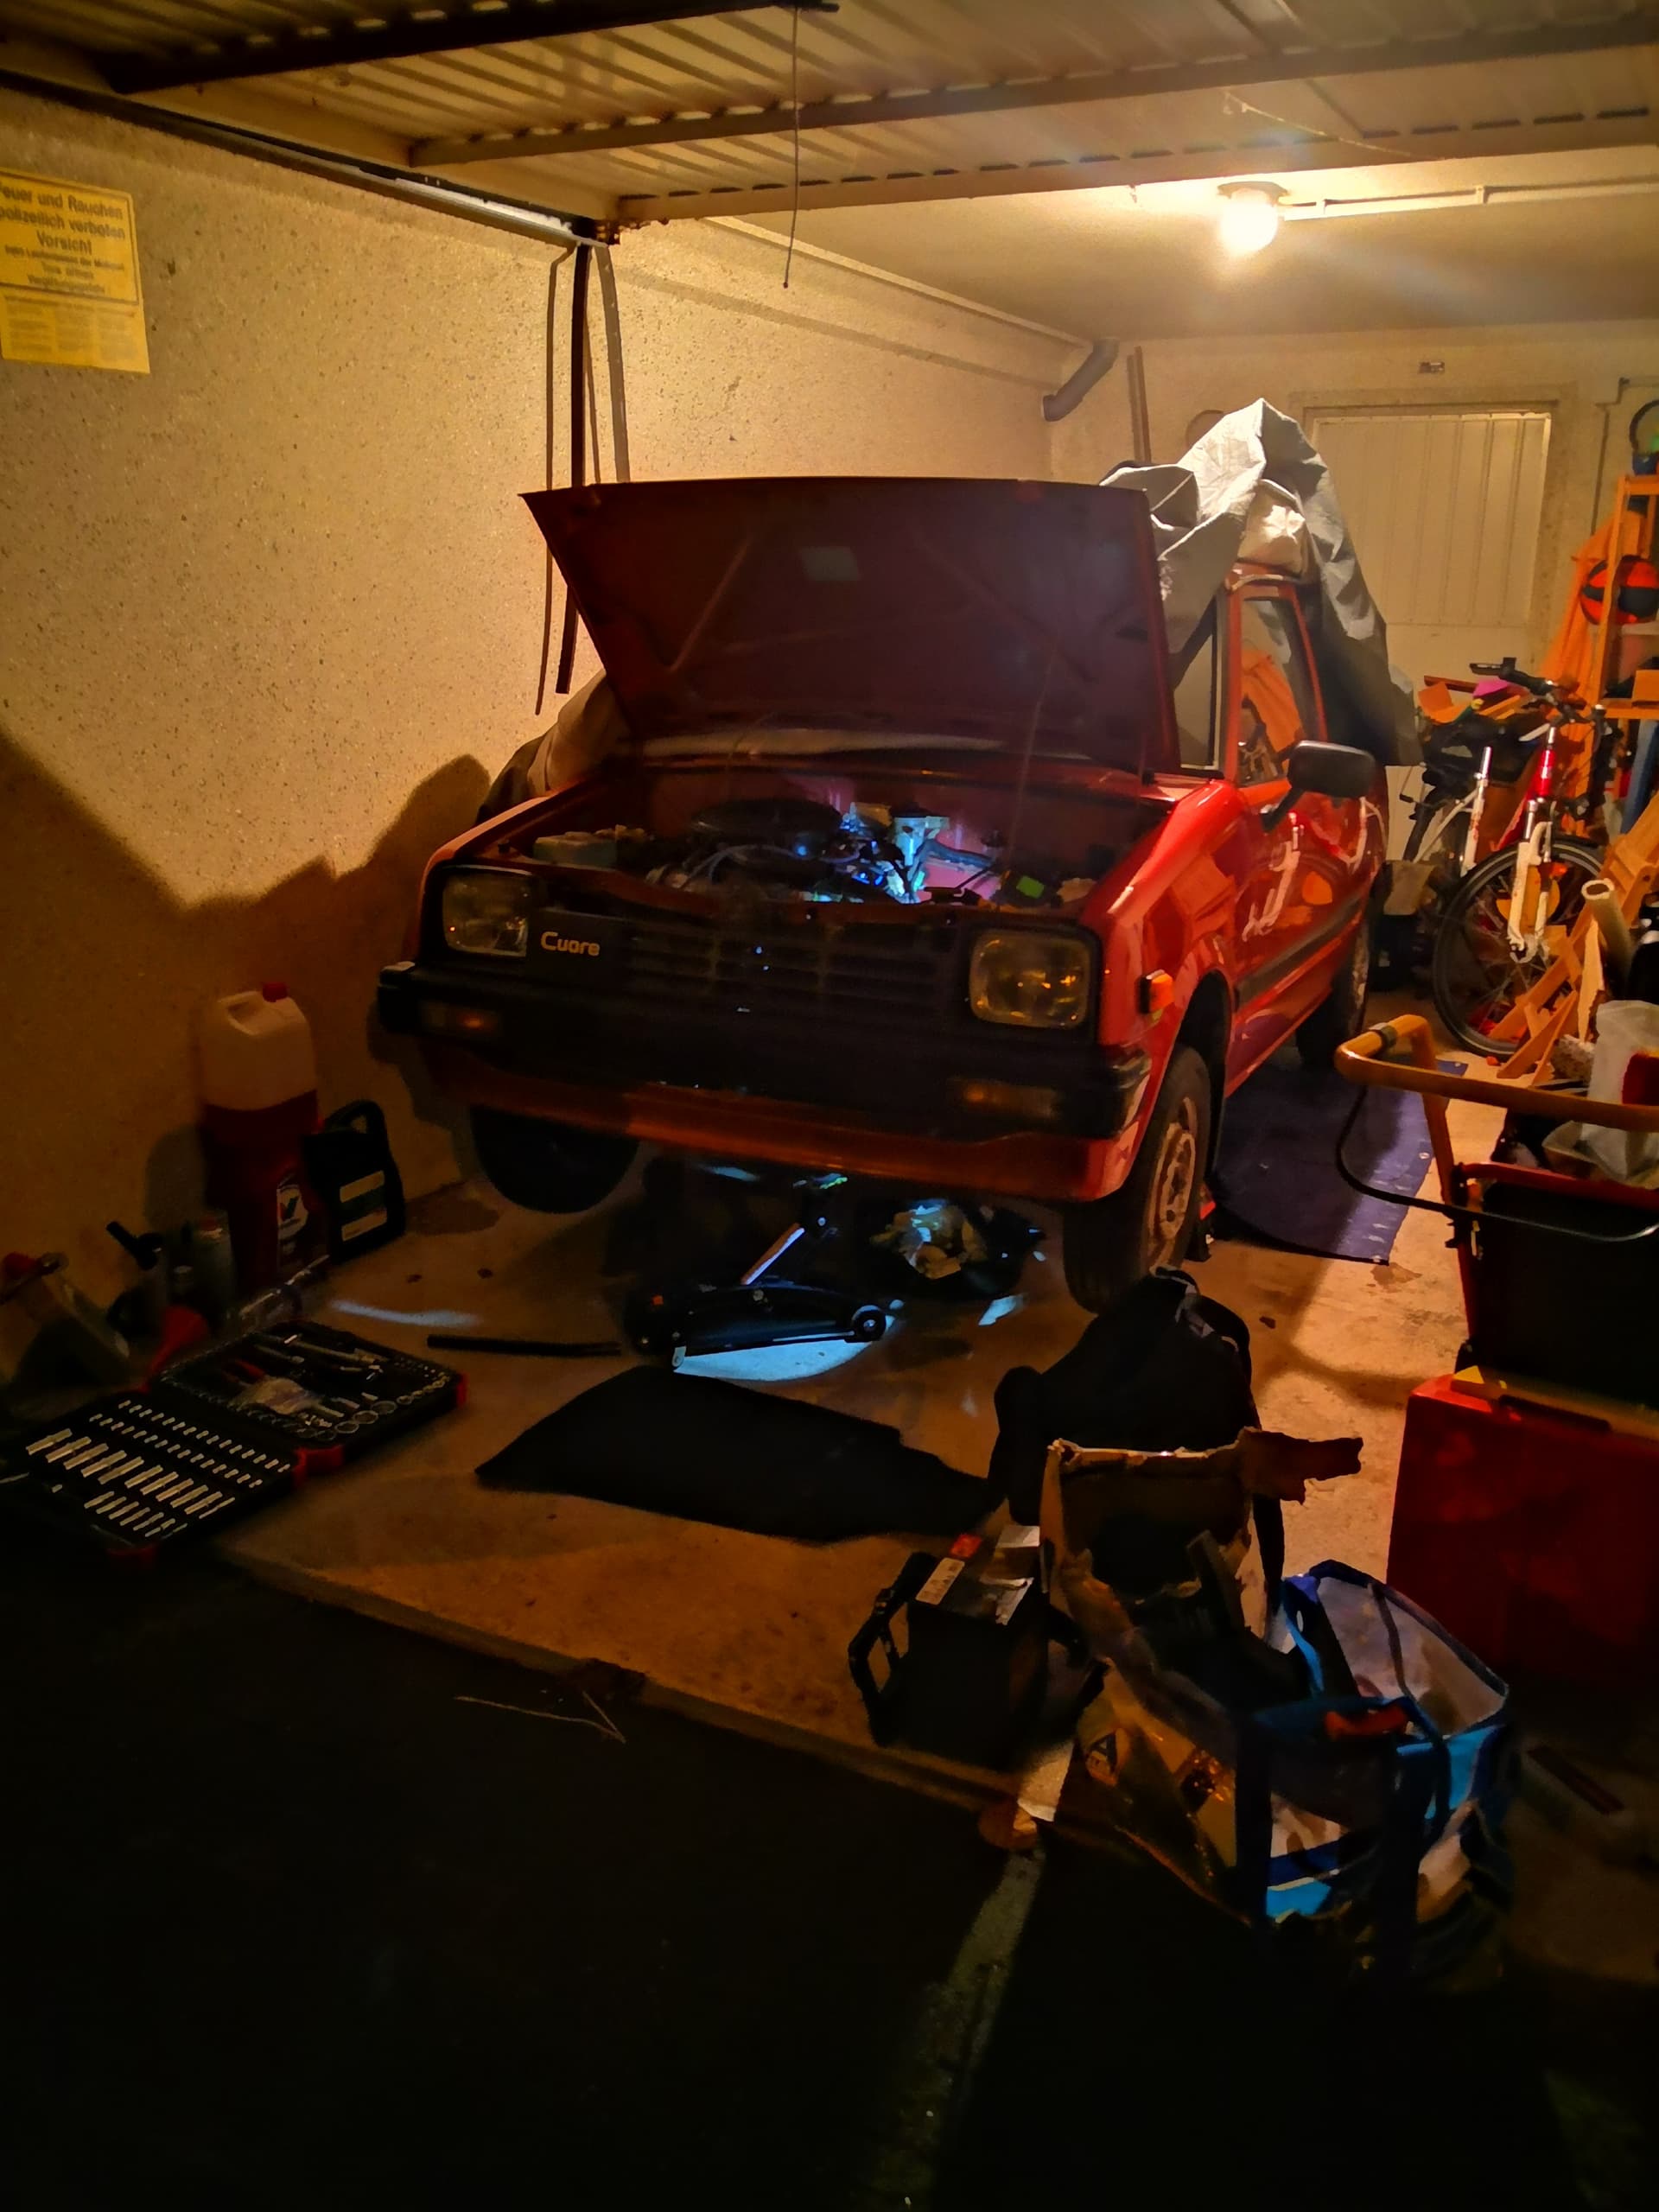
Good news, the L60 is running again
I installed the refreshed carb and replaced its vacuum lines. The old ones were so brittle that they had cracked during uninstall.
I still feel like it is running a little rough, got better when it heated up, but I was able to drive it around the yard, which is really exciting.
Baby steps, maybe even laughable when compared to what I see here around the forum, but I’m slowly making progress and learning more.
Small update: Not much progress, because I’m home only for a weekend once every two weeks. The Dais are not my top priority currently.
I uninstalled the seat belt that keeps locking up. After inspecting it it seems not to be defective, so I lubed it up with silicon oil and it seems to be working fine now. Yay!
I replaced a bulb on the license plate lights and now all the lighting is sorted out, so we’re coming closer to achieving road worthiness. What’s left to do is either finding a replacement muffler or patching the existing one up. And hoping the TÜV inspector will not find any terminal rust and ignore the cracked strut top bushes.
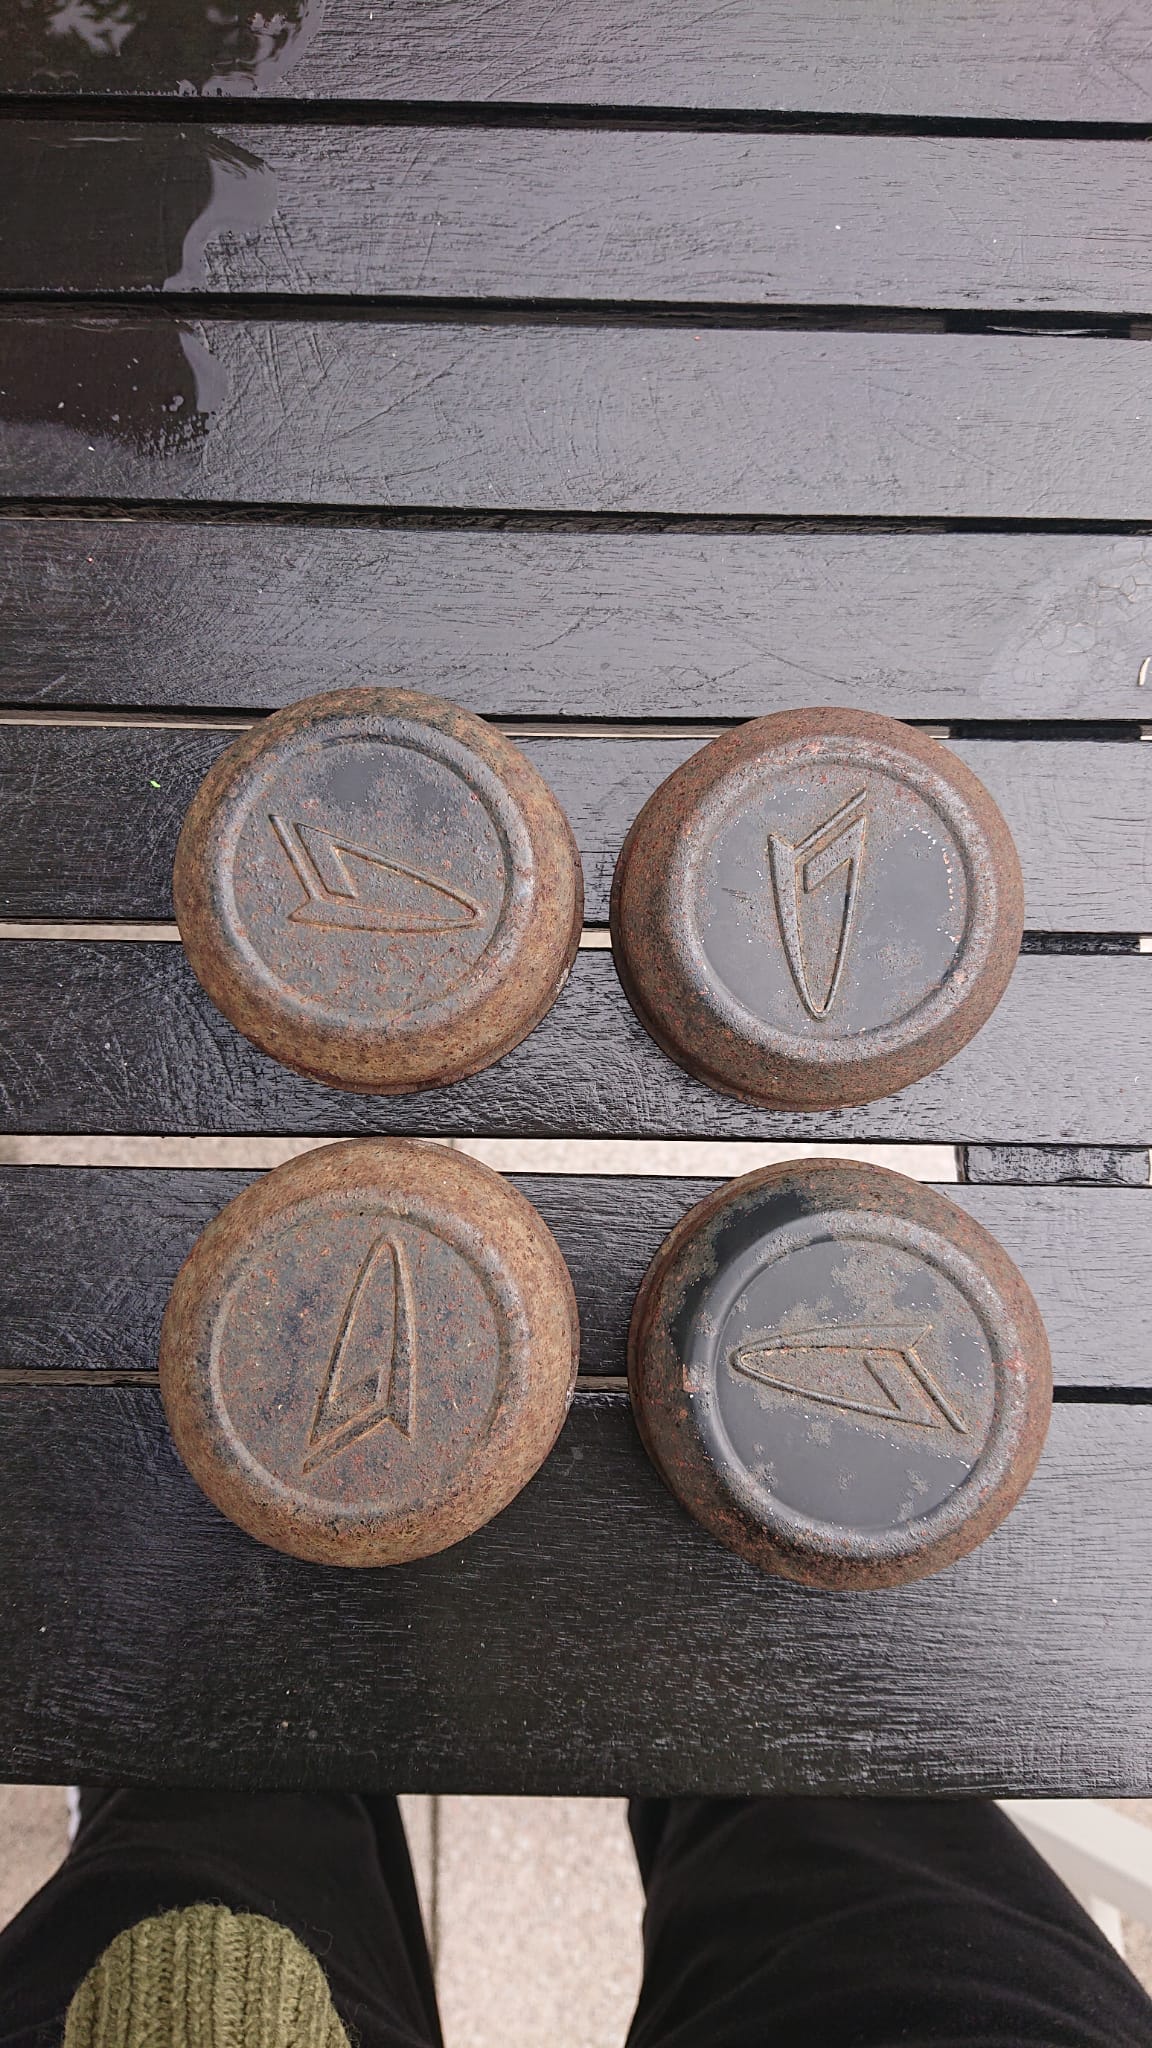
Looks wise my girlfriend took on the job of restoring the hubcaps while I’m away. They were terribly rusty and ugly, but she put in some great work into sanding them down and respraying them.
This is what they looked like before:
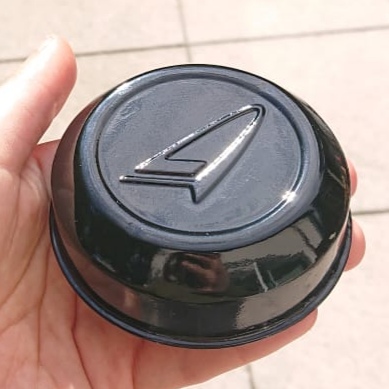
And this is after! Not a perfect photo but it is so much better!
Now with nice shiny hubcaps the steel wheels look shit with their surface rust, so they’ll need sanding and painting at some point too…
If you know a source for an L60 muffler in Germany/Netherlands/Belgium or there abouts, please let me know! I’ll need two, because the one on Barney, my second L60, has almost fully disintegrated too…
That is an option, however I expect it to exceed my budget currently unfortunately…
Also I’m not sure what the TÜV will say to that, as I want to register it as a classic car, so I’d have to do some research on that first.
But if everything else fails I’ll probably save up and try to go down that route.
Small new update:
I took out the old back section of the exhaust to fix it up enough to pass TÜV/MOT. Since the holes were tiny and I don’t have a welder I patched it with gun gum, let’s hope this will hold up until I find a replacement part. After closing the holes I wire wheeled off all the rust I could and spray painted it with some high temp exhaust paint, looks almost brand new now!
Of course I got so excited with actually getting something done that I forgot to take some nice pictures…
Another thing I did: Before selling my second L60 I swapped the front bumpers, so my L60 has a nice and shiny one and Barney had to make do with the slightly faded bumper from Cuore no. 1. A small detail, but it looks ever so slightly better now.
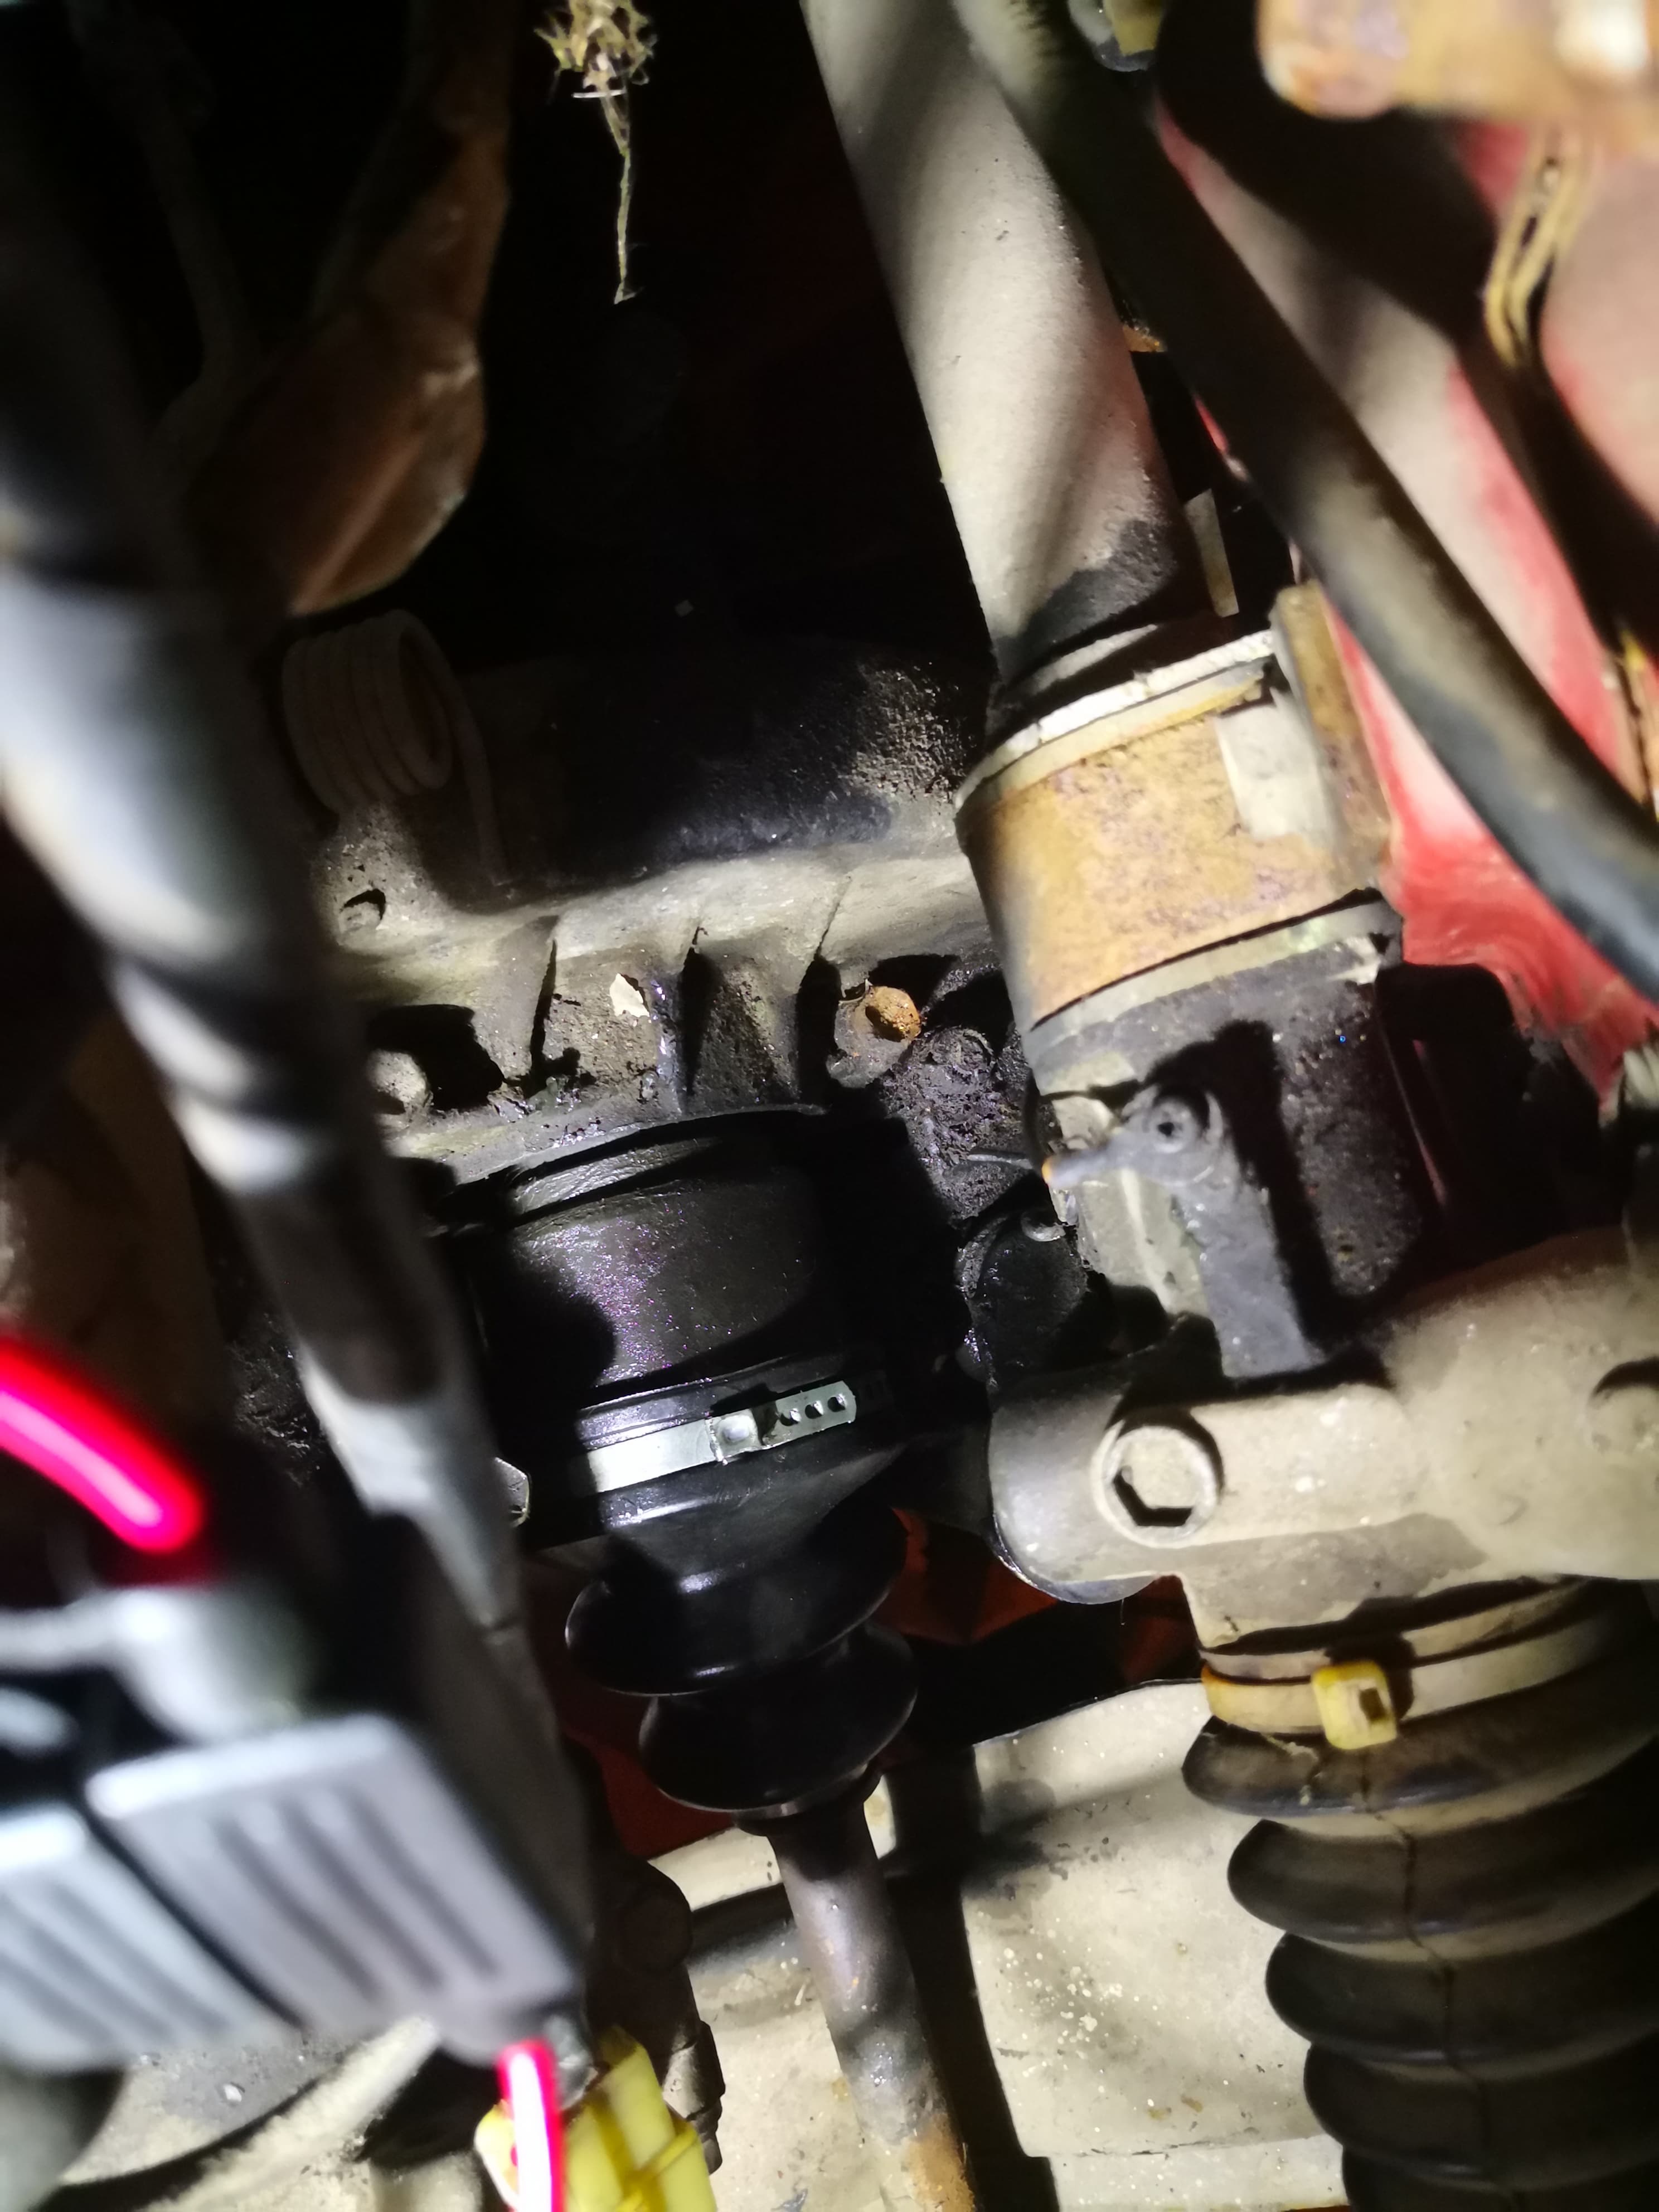
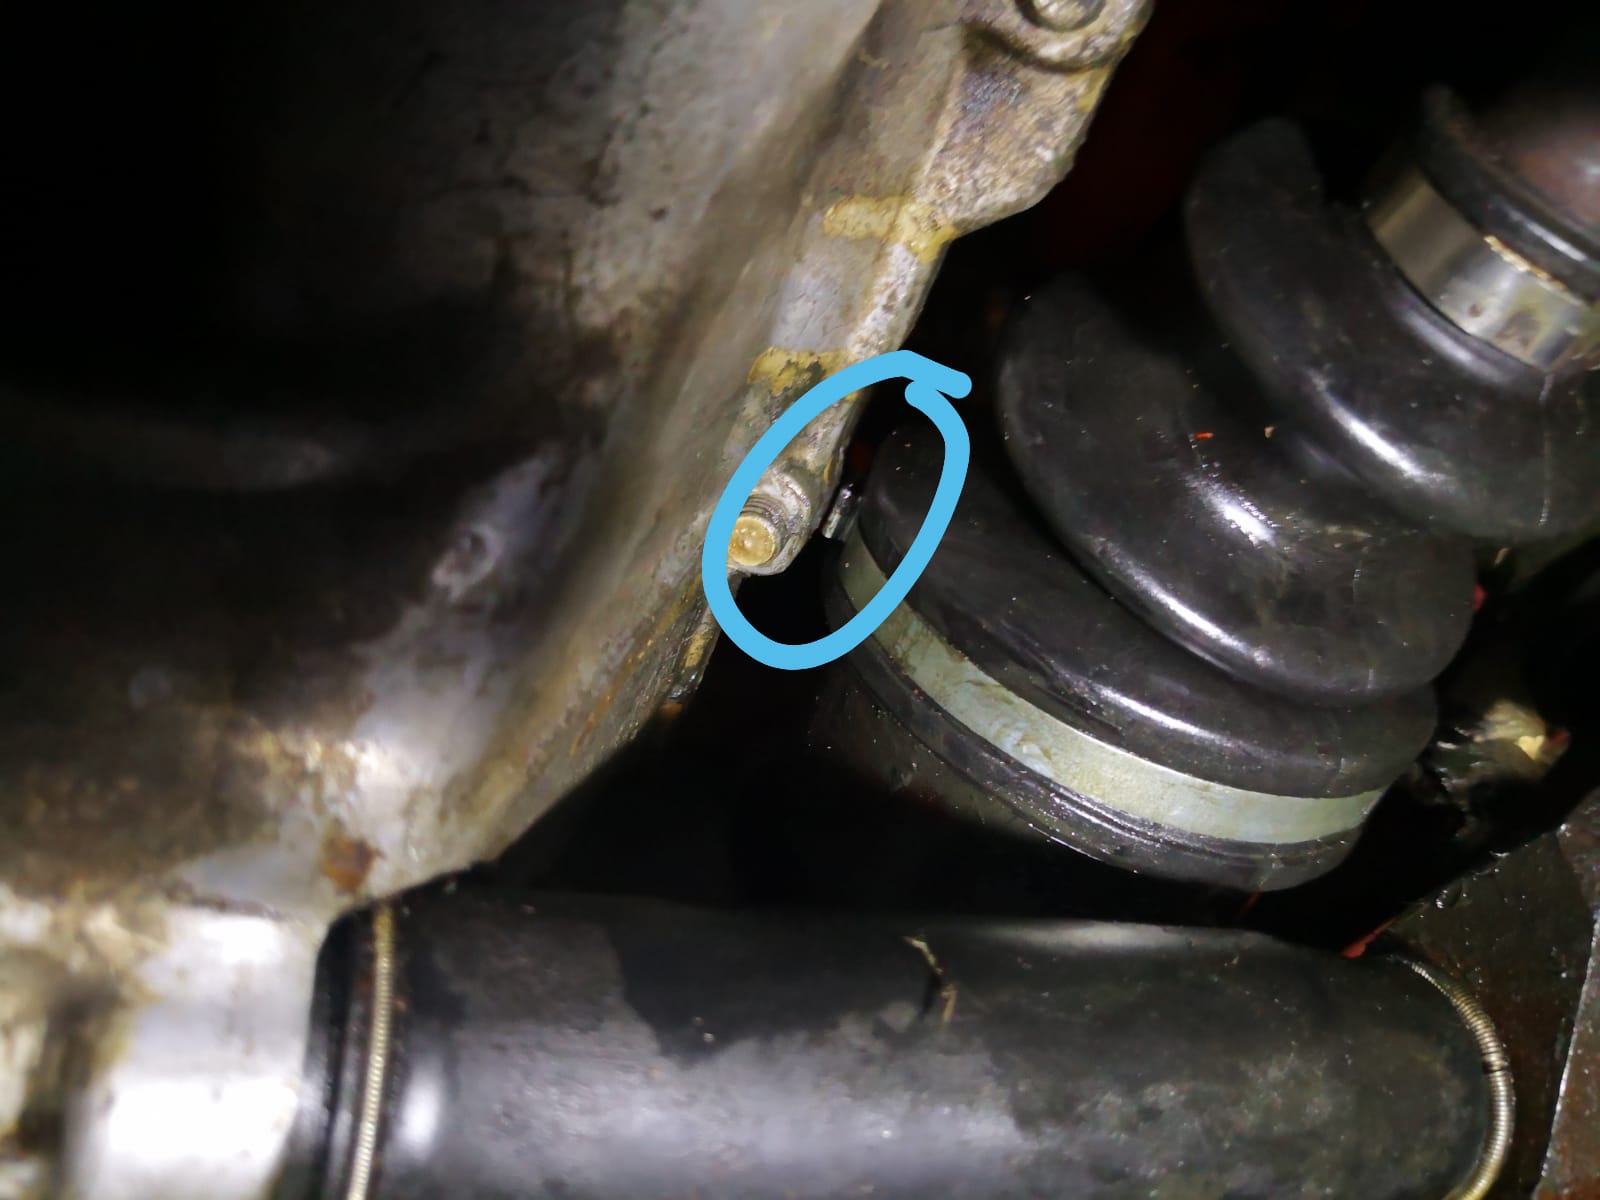
Next on the list is refitting a clamp to the drive shaft boot, since it must have fallen off at some point. My first attempt with cable ties failed, so now I’ll do it properly with a steel clamp.
Also, there is so damn little clearance between the boot and the transmission housing it’s not even funny. Had to hammer the section you squeeze to tighten the clamp down, let’s hope this will not cause problems, or I’ll have to get some super flat clamps. This is probably why my cable tie failed, it must have made contact.
Great news!
I was contacted by a person, who was clearing out their Daihatsu workshop and had some L60 stuff laying around.
By some stuff I mean an entire engine, a brand new exhaust, a dash, a steering column, some body parts, a big Daihatsu shop sign and various other bits and pieces, that I got for a mere 200€!
I could have scored even more if I had known about this earlier, but unfortunately some stuff like door cards and upholstery has been ruined from sitting outside and some stuff had already gone in the bin before…
However, I still got quite lucky!
Now I don’t have to worry about my exhaust patch holding up, since the brand new thing will be going on there.
Next I need to adress the rusty spots that might be frowned upon during inspection, sand down and repaint the steelies and hope for the best.
(Very) slowly getting there!