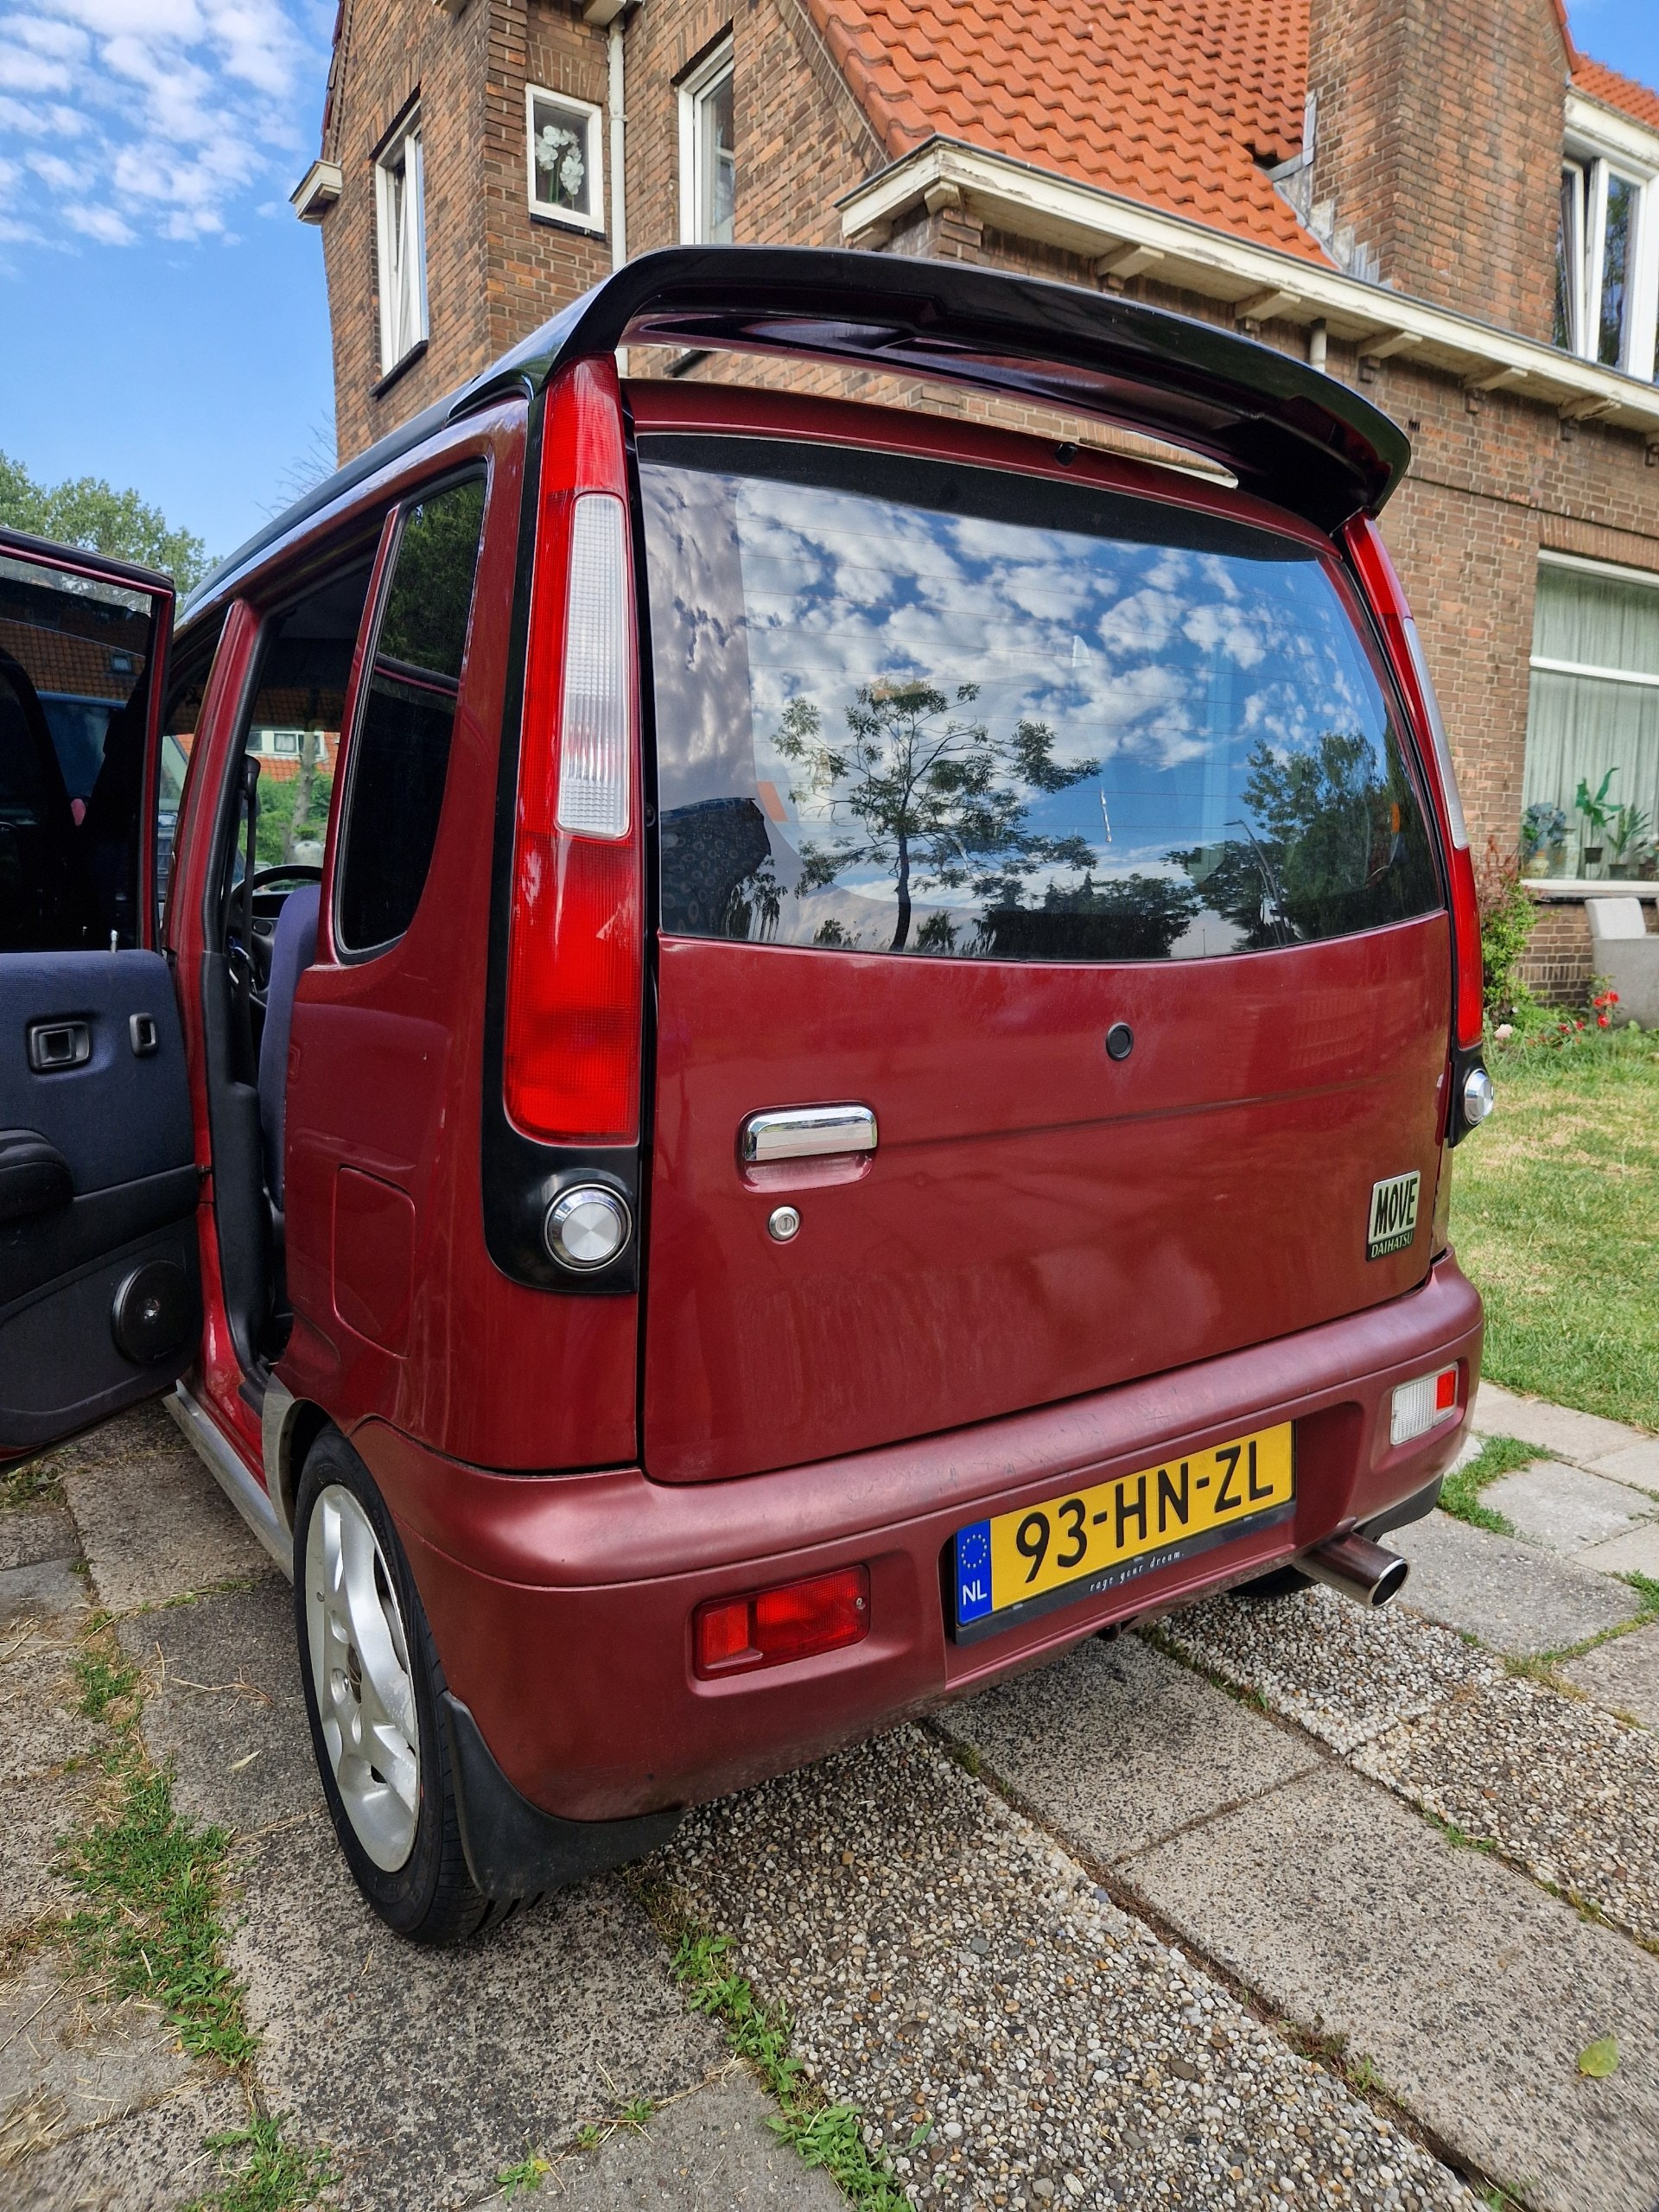
Hilson's Move L900 Showcar Project

Hi!

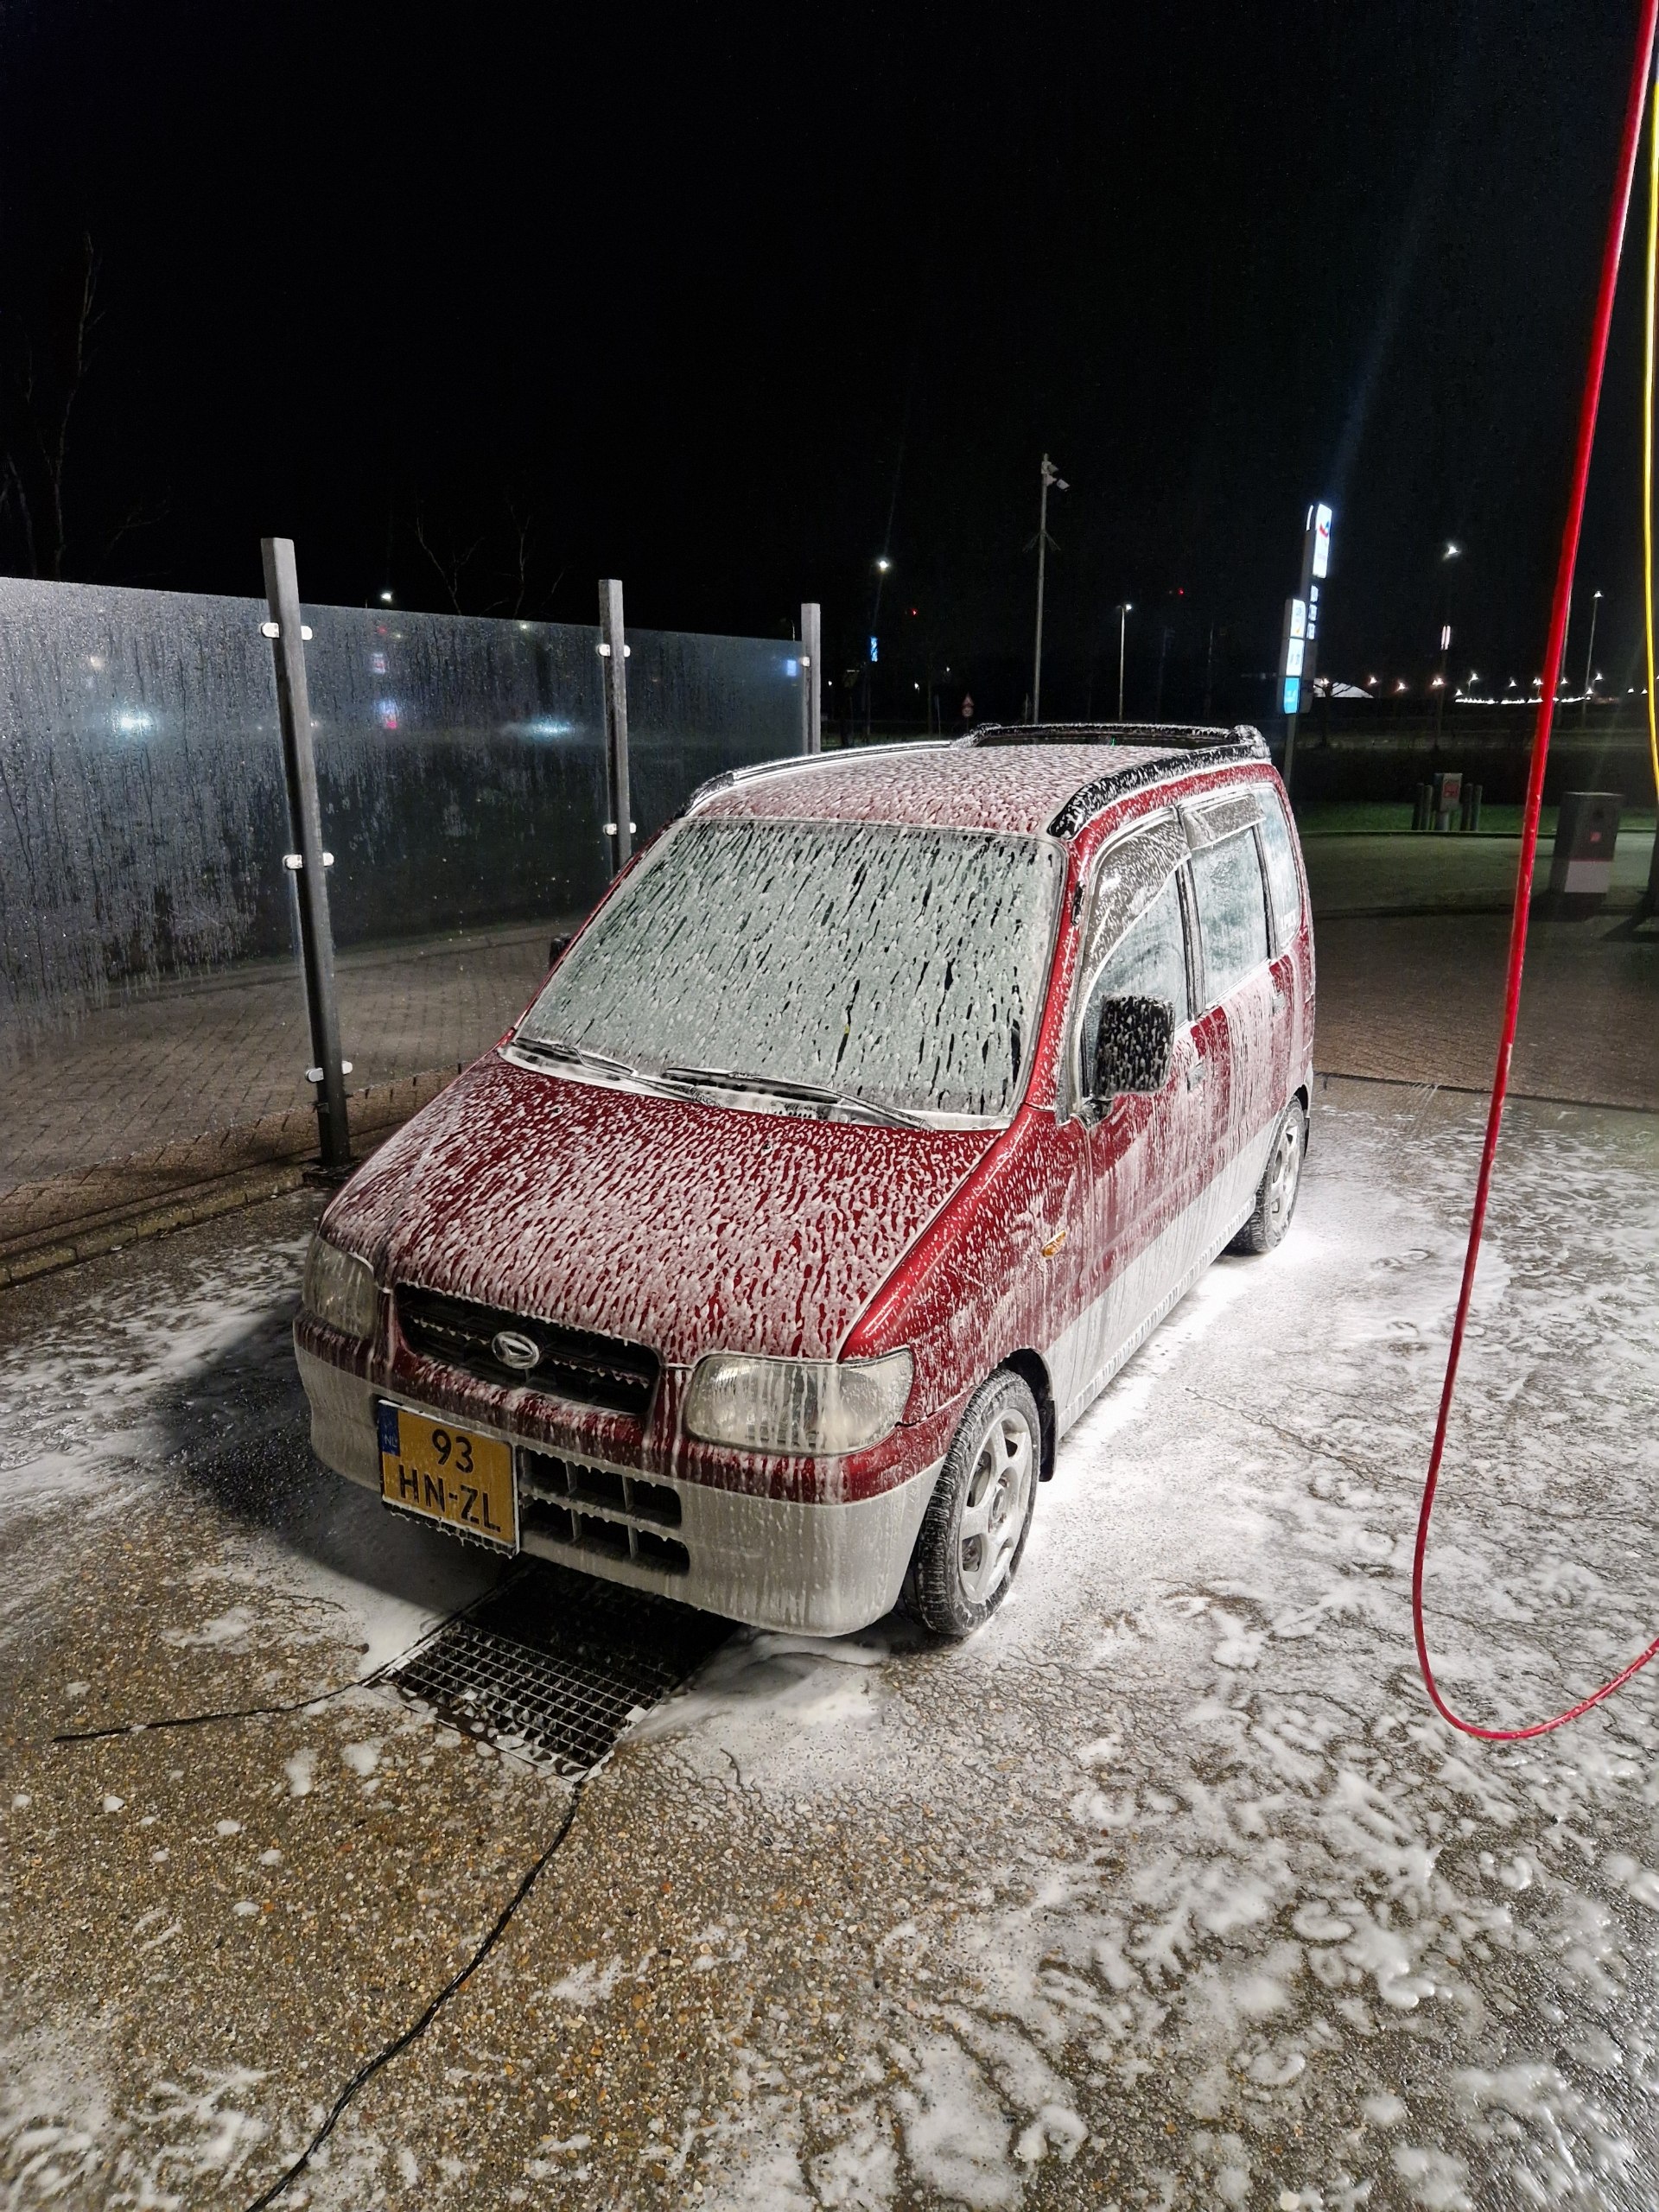
My journey started not long ago in march 2025, I was scrolling facebook for cheap Daihatsu’s as a daily for my civic. Saw a two-tone Move L900 that was just posted for 650euros with only 73.000km ! no rust, fresh oil changes, new clutch and timing belt.

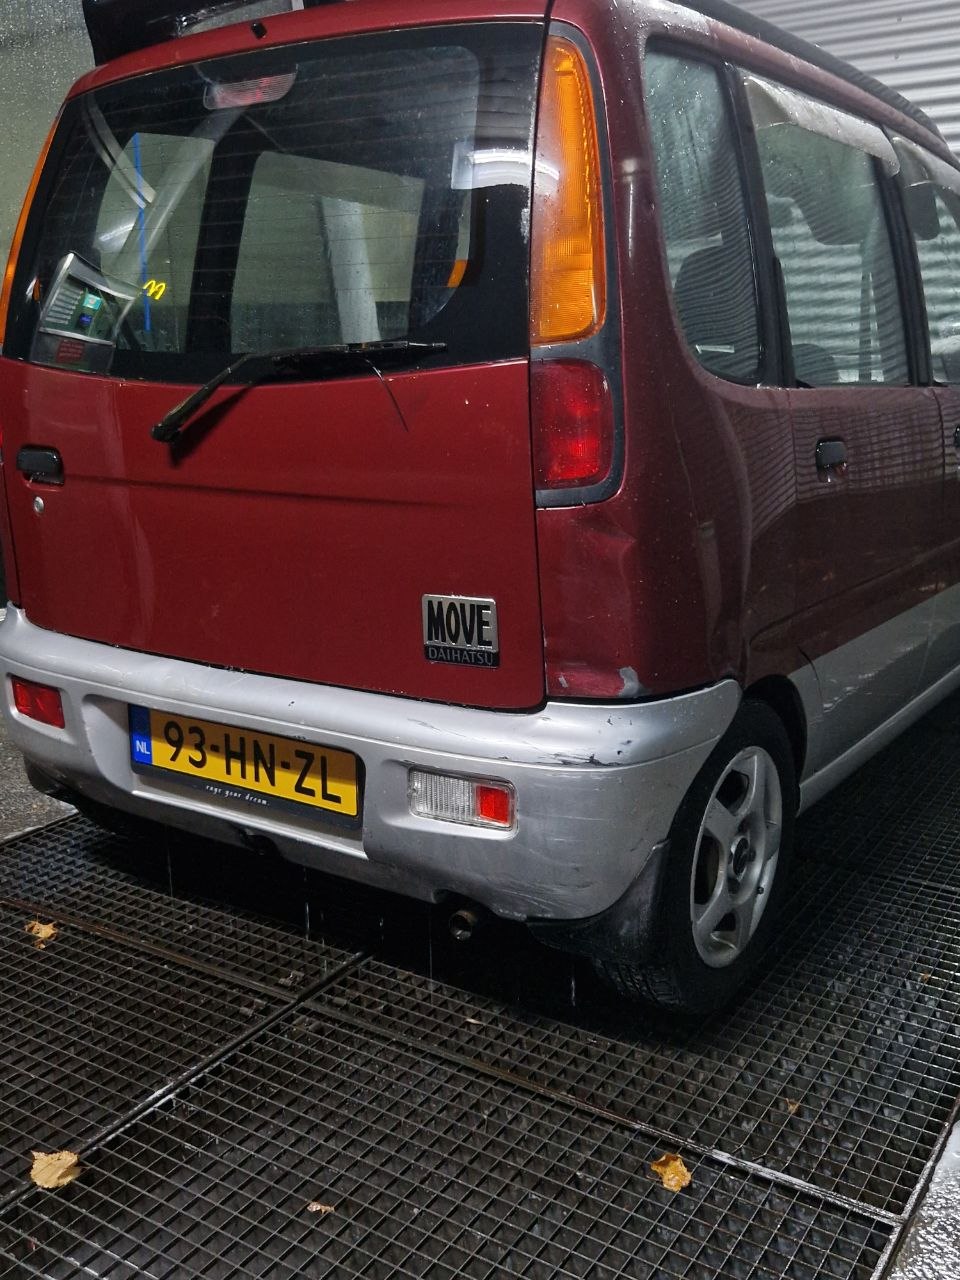
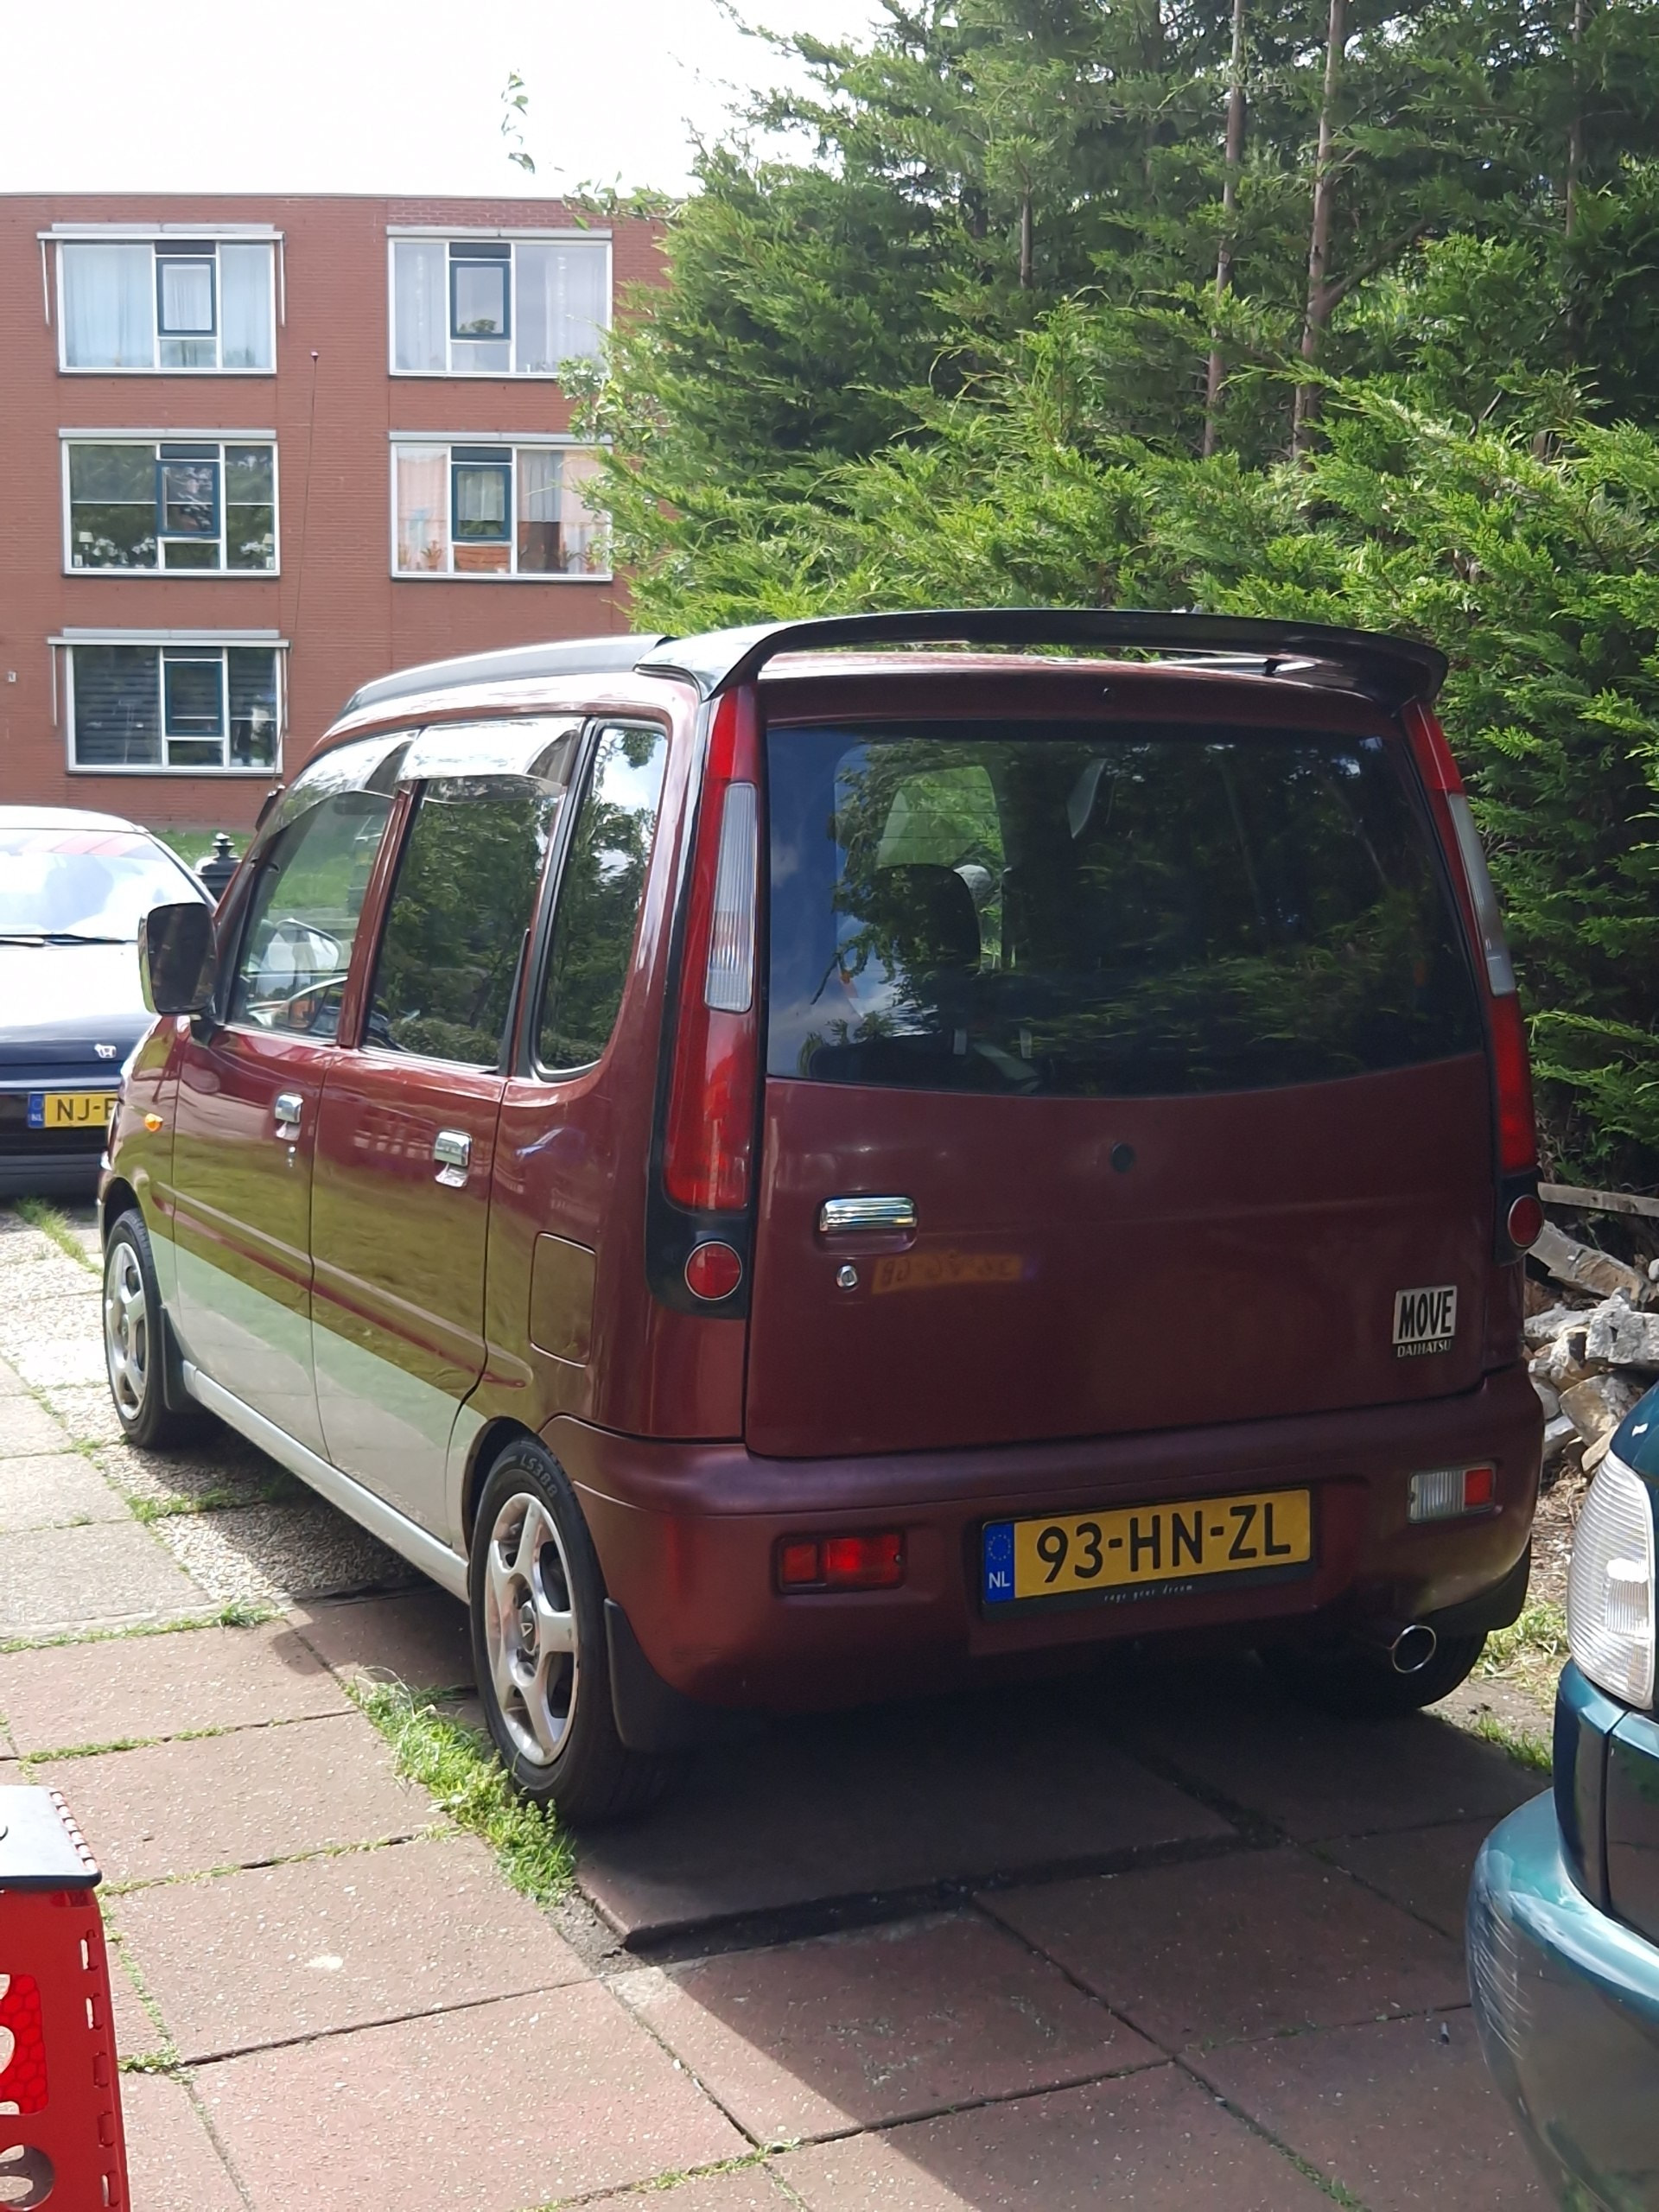
I had to take a look at it as it was only 20min away from me. Just the next day i drove there with a buddy of mine and i saw that it had been rear ended. The owner explained that he was braking for a pedestrian at night and a huge Ford SUV wasnt paying attention and rear ended it. The engine and suspension was in too good of a condition to skip so i took it off his hands and drove it home.

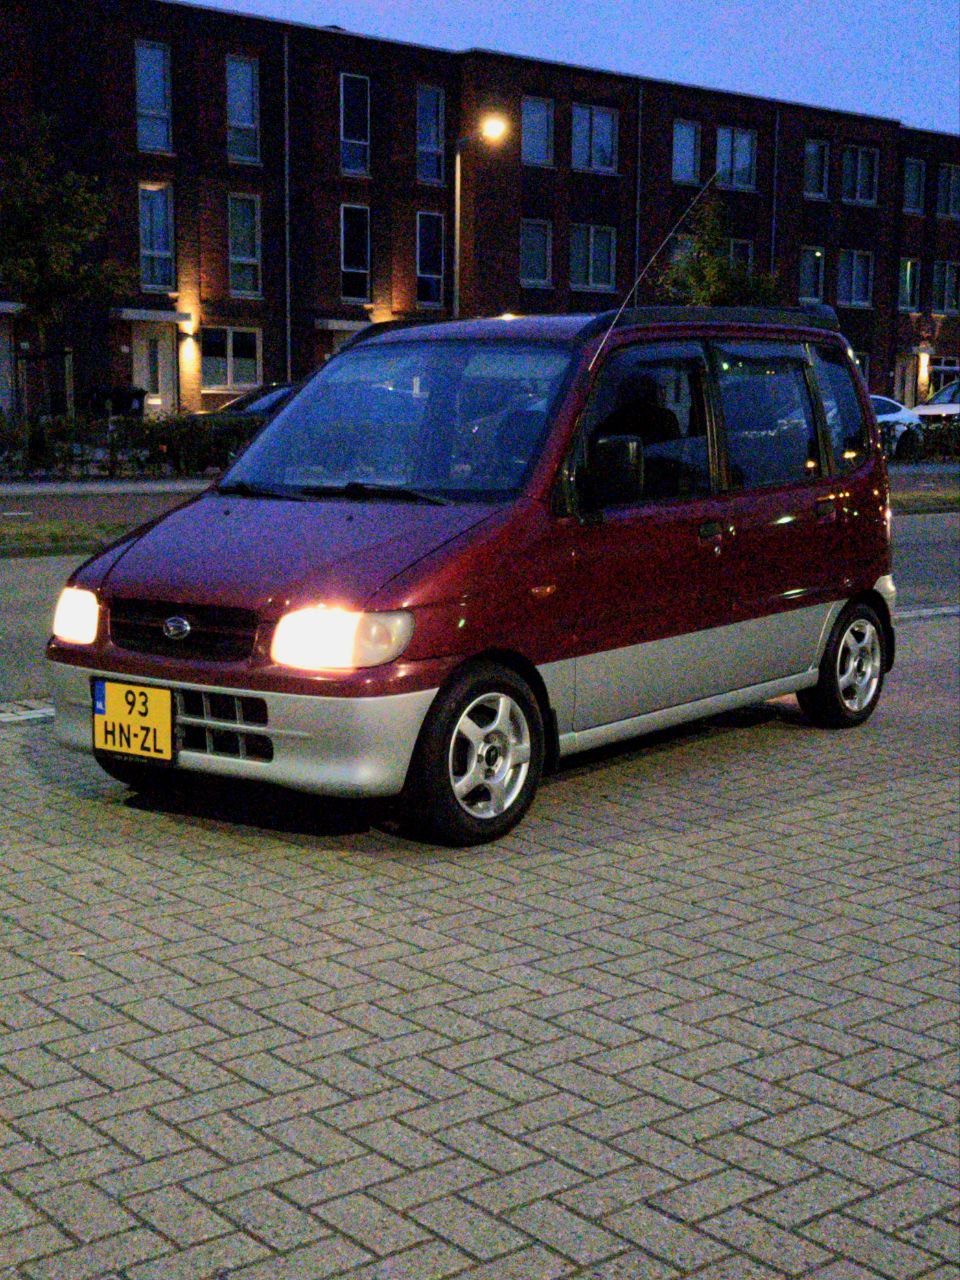
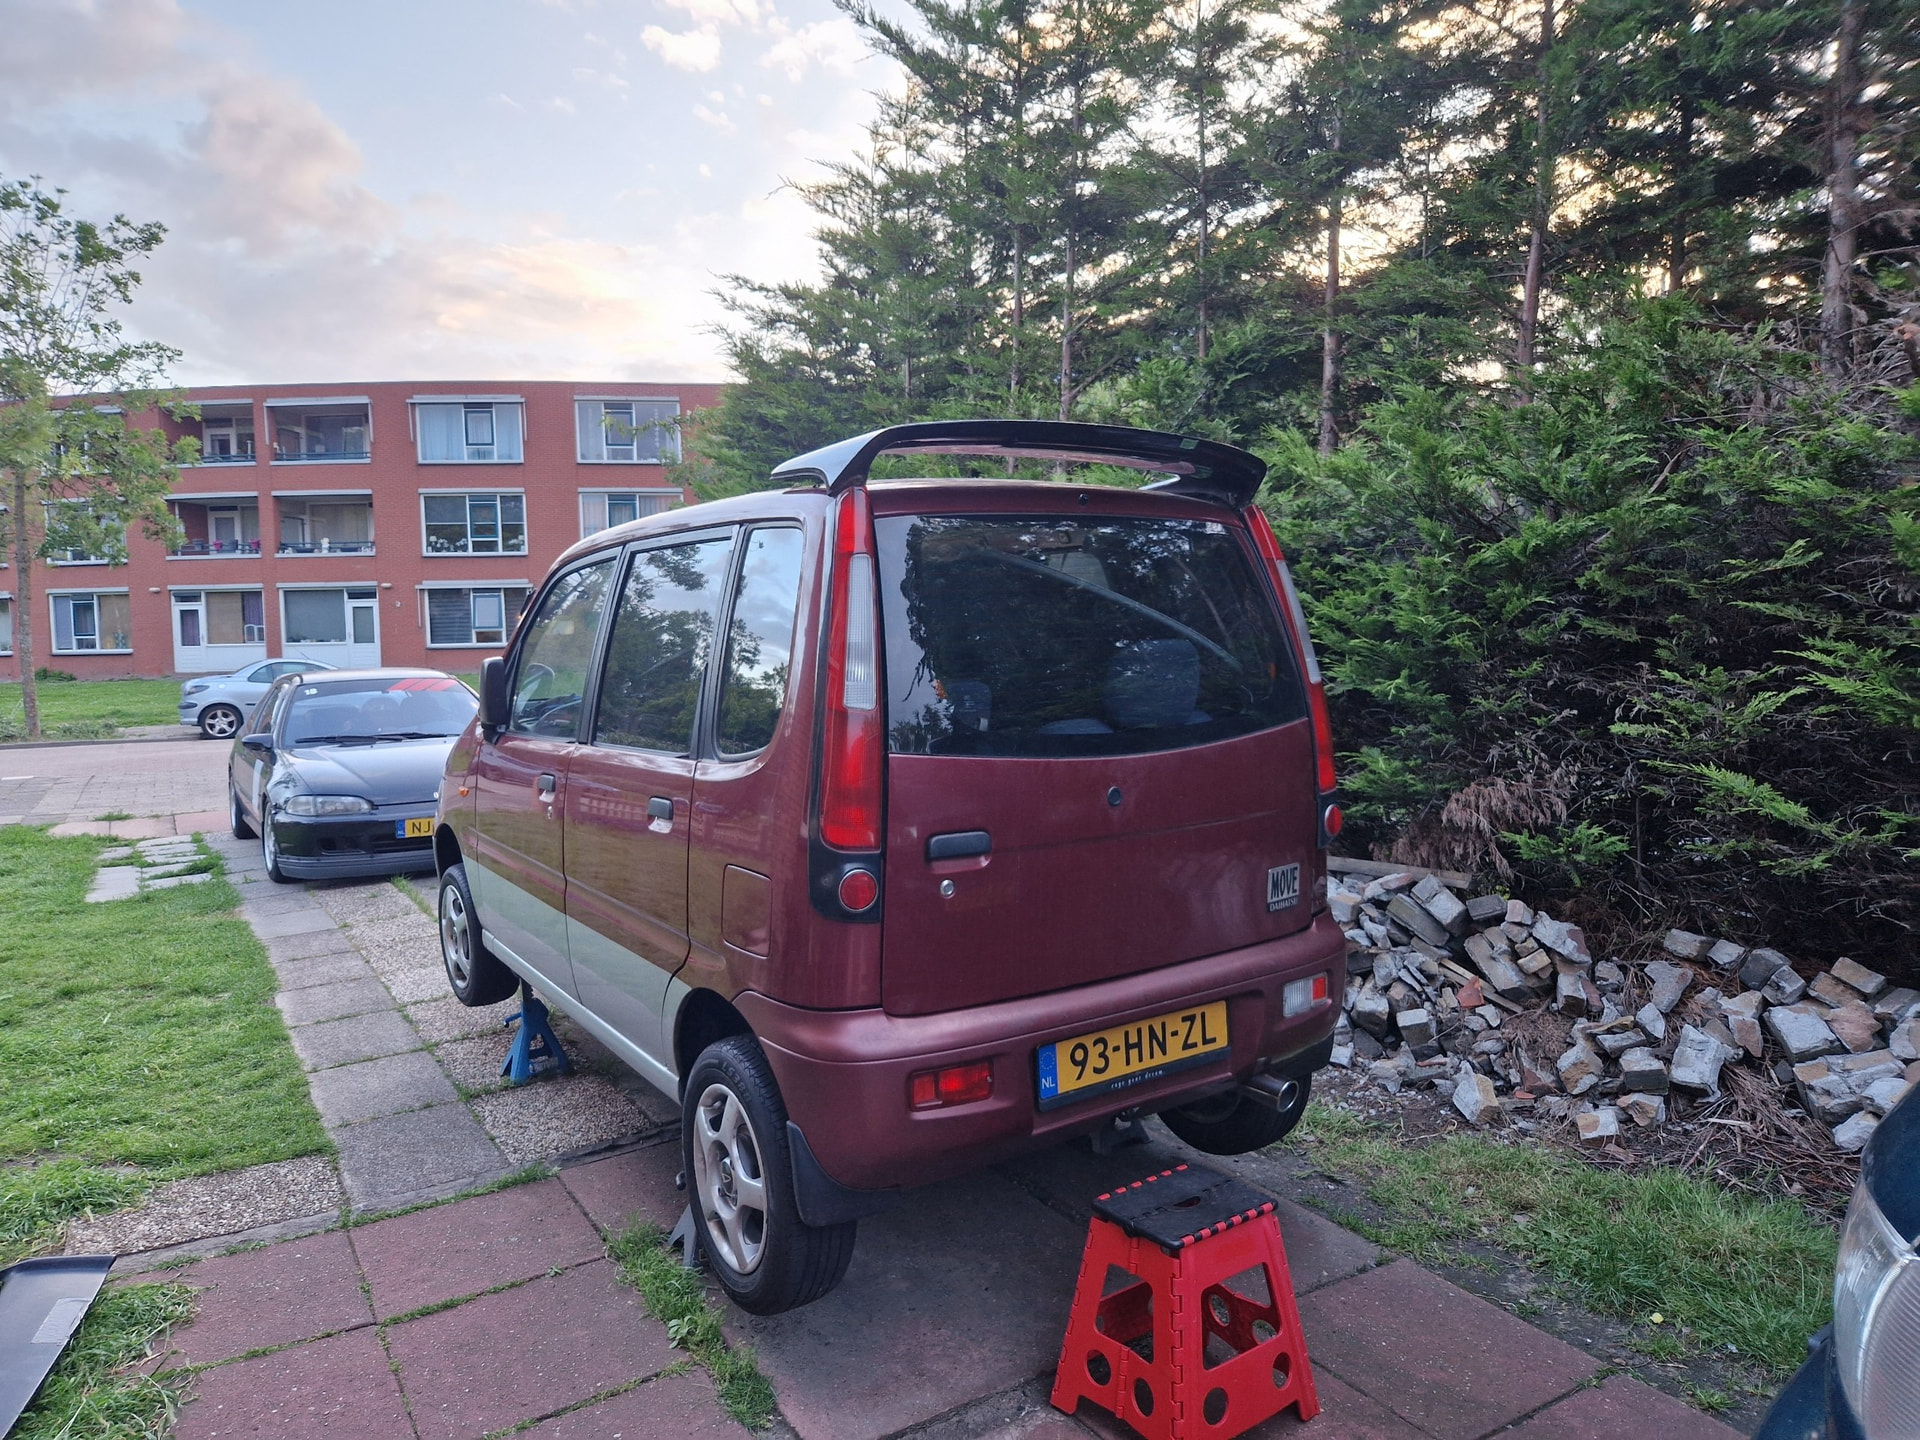
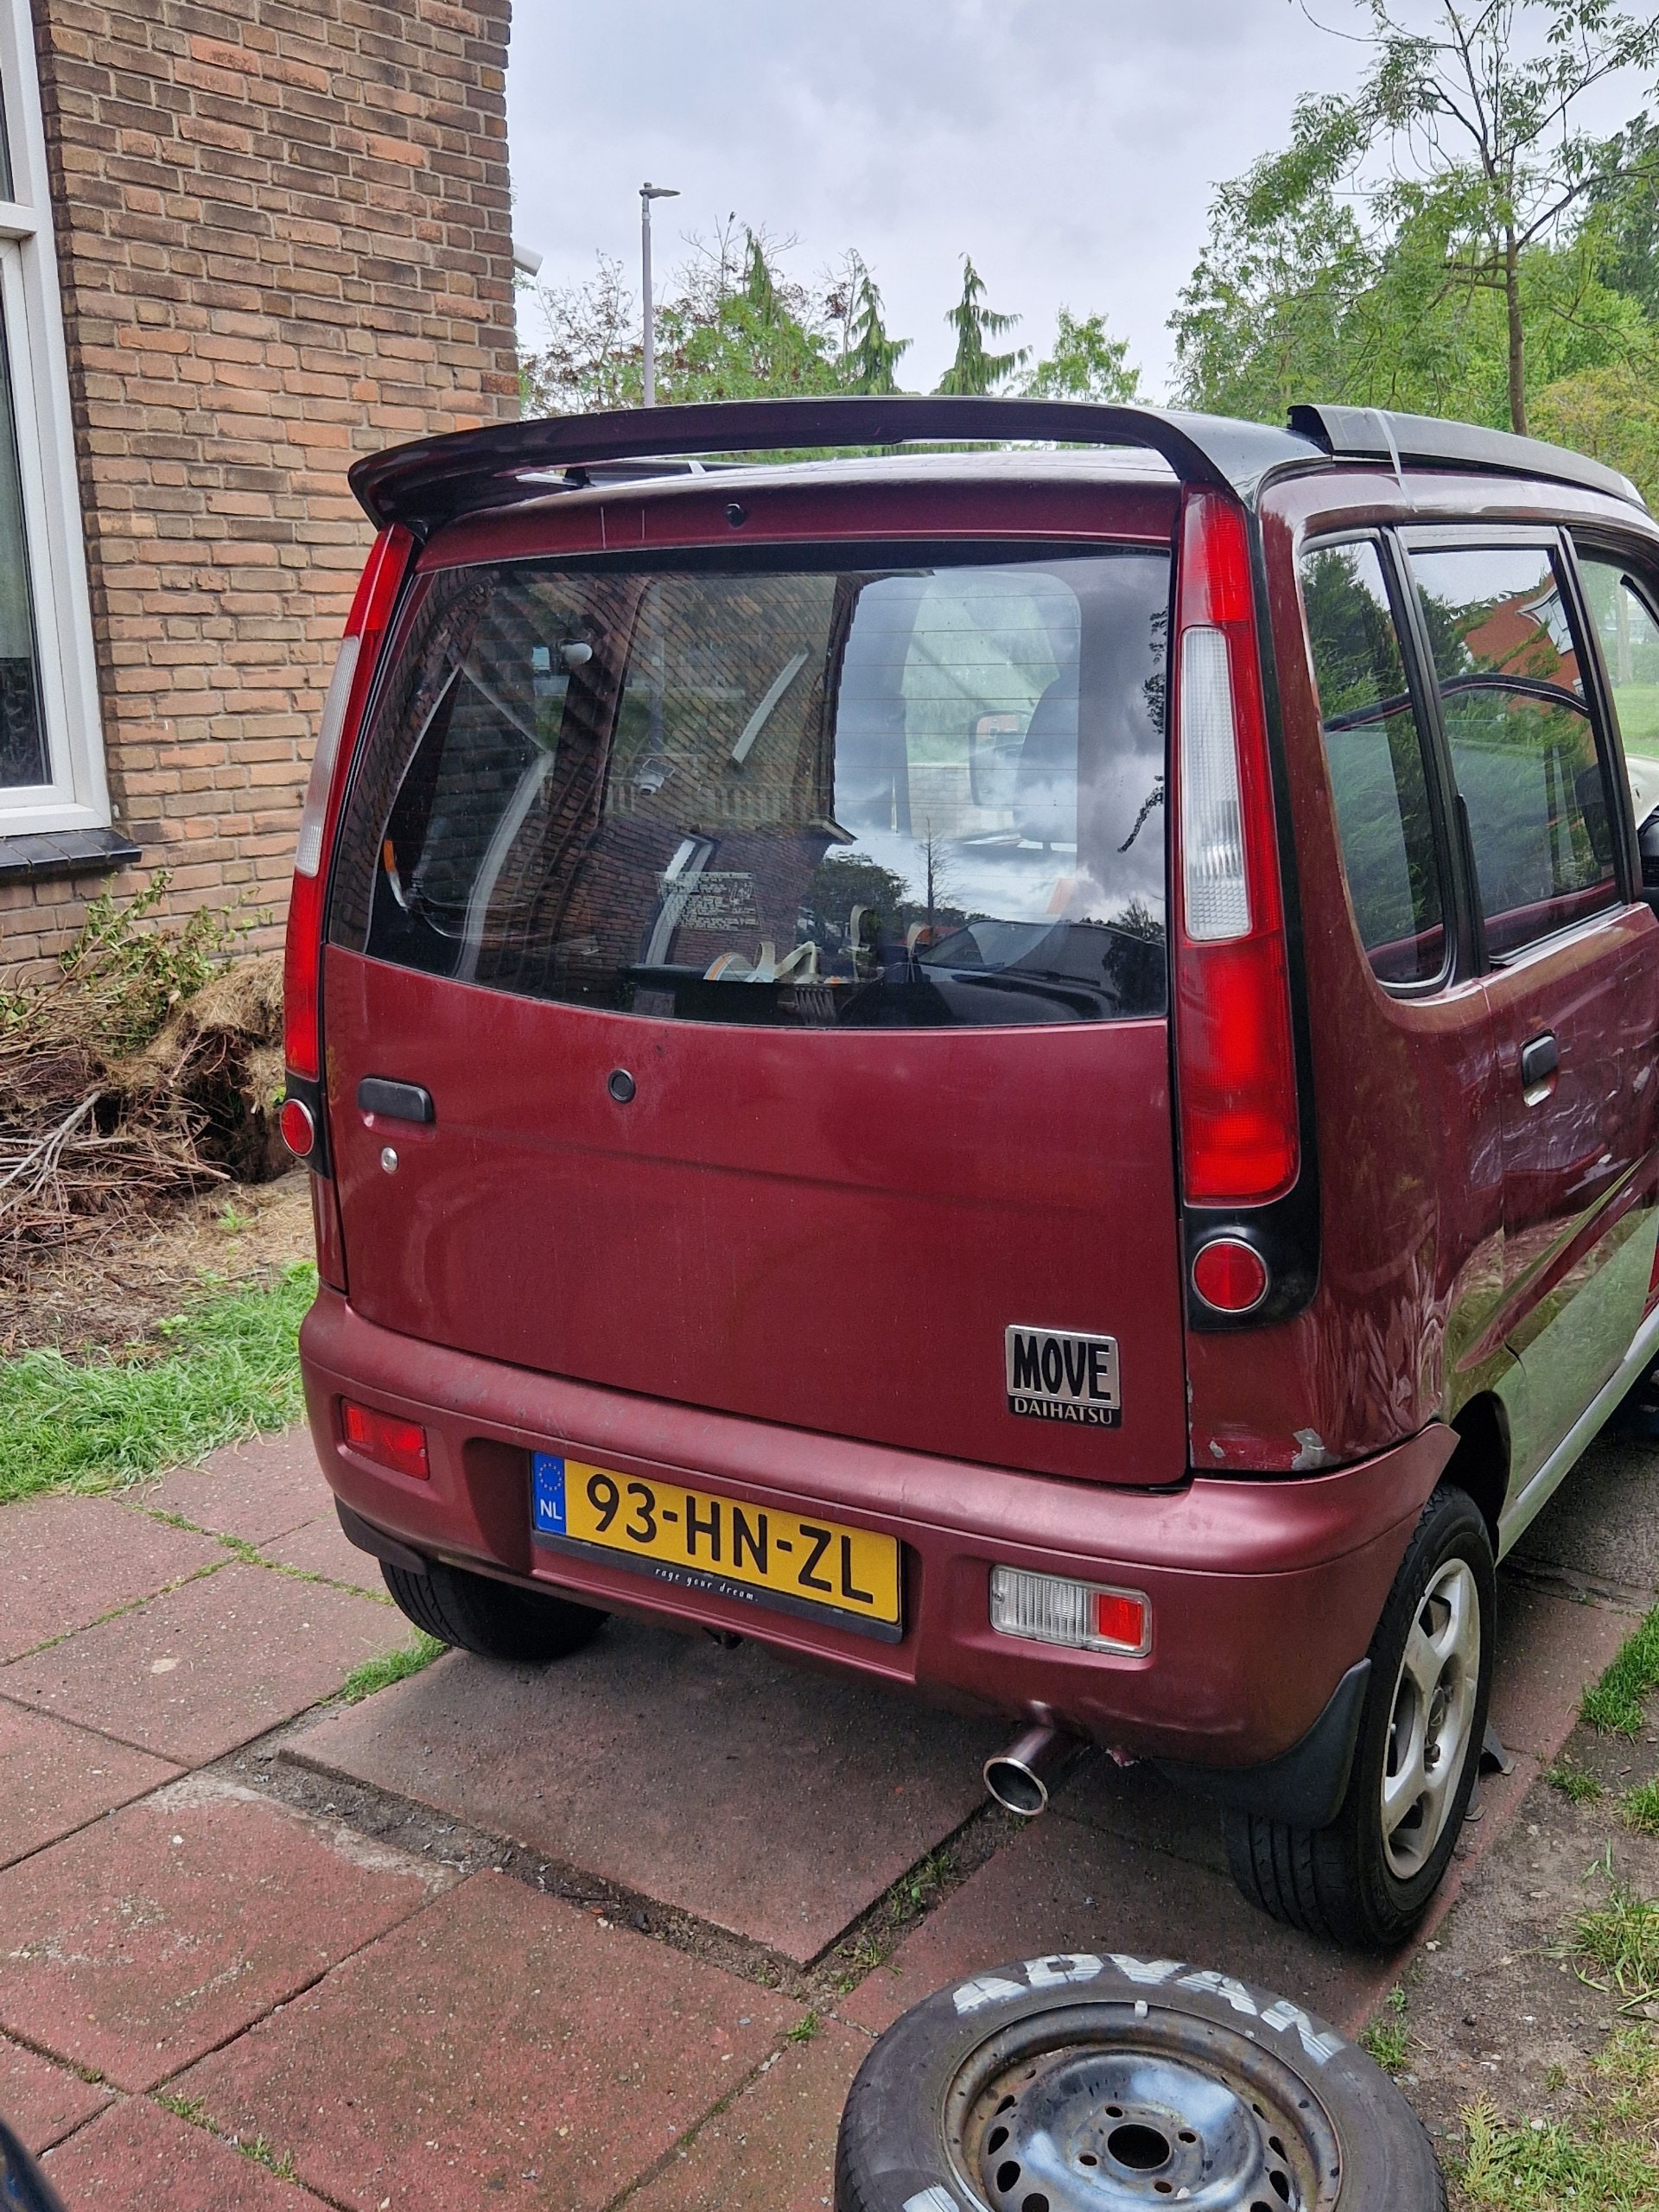
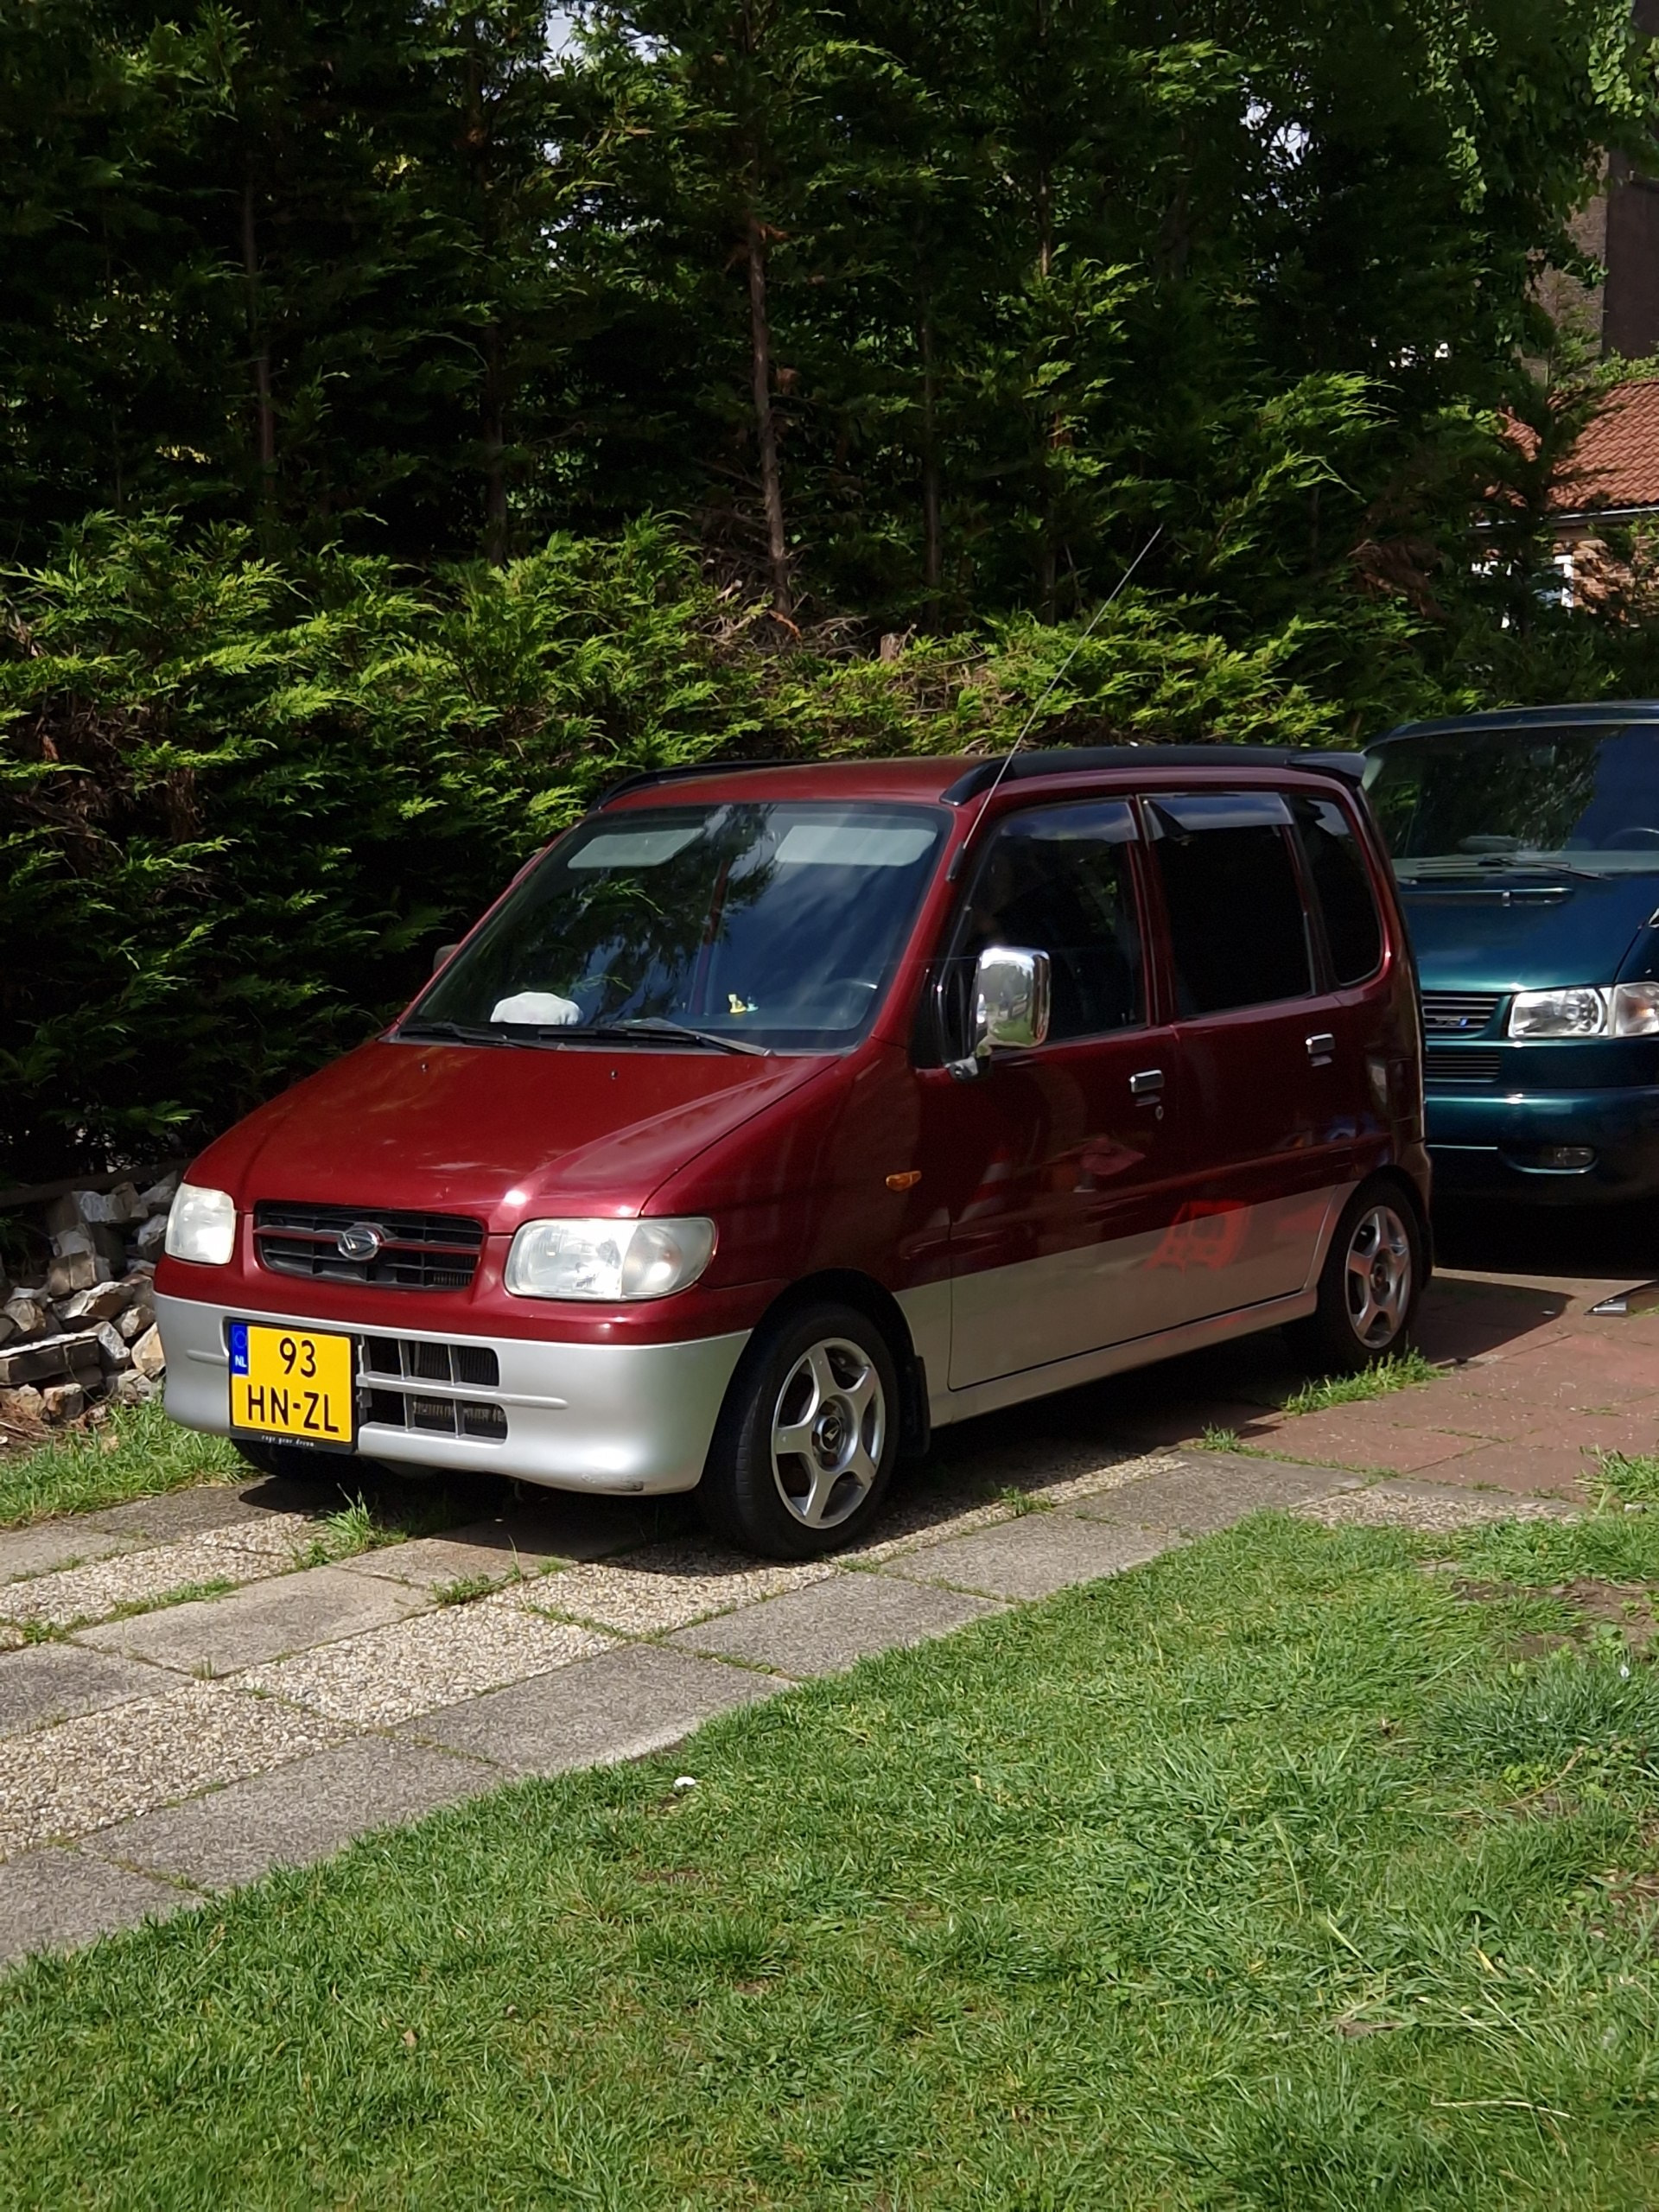
And here it was:

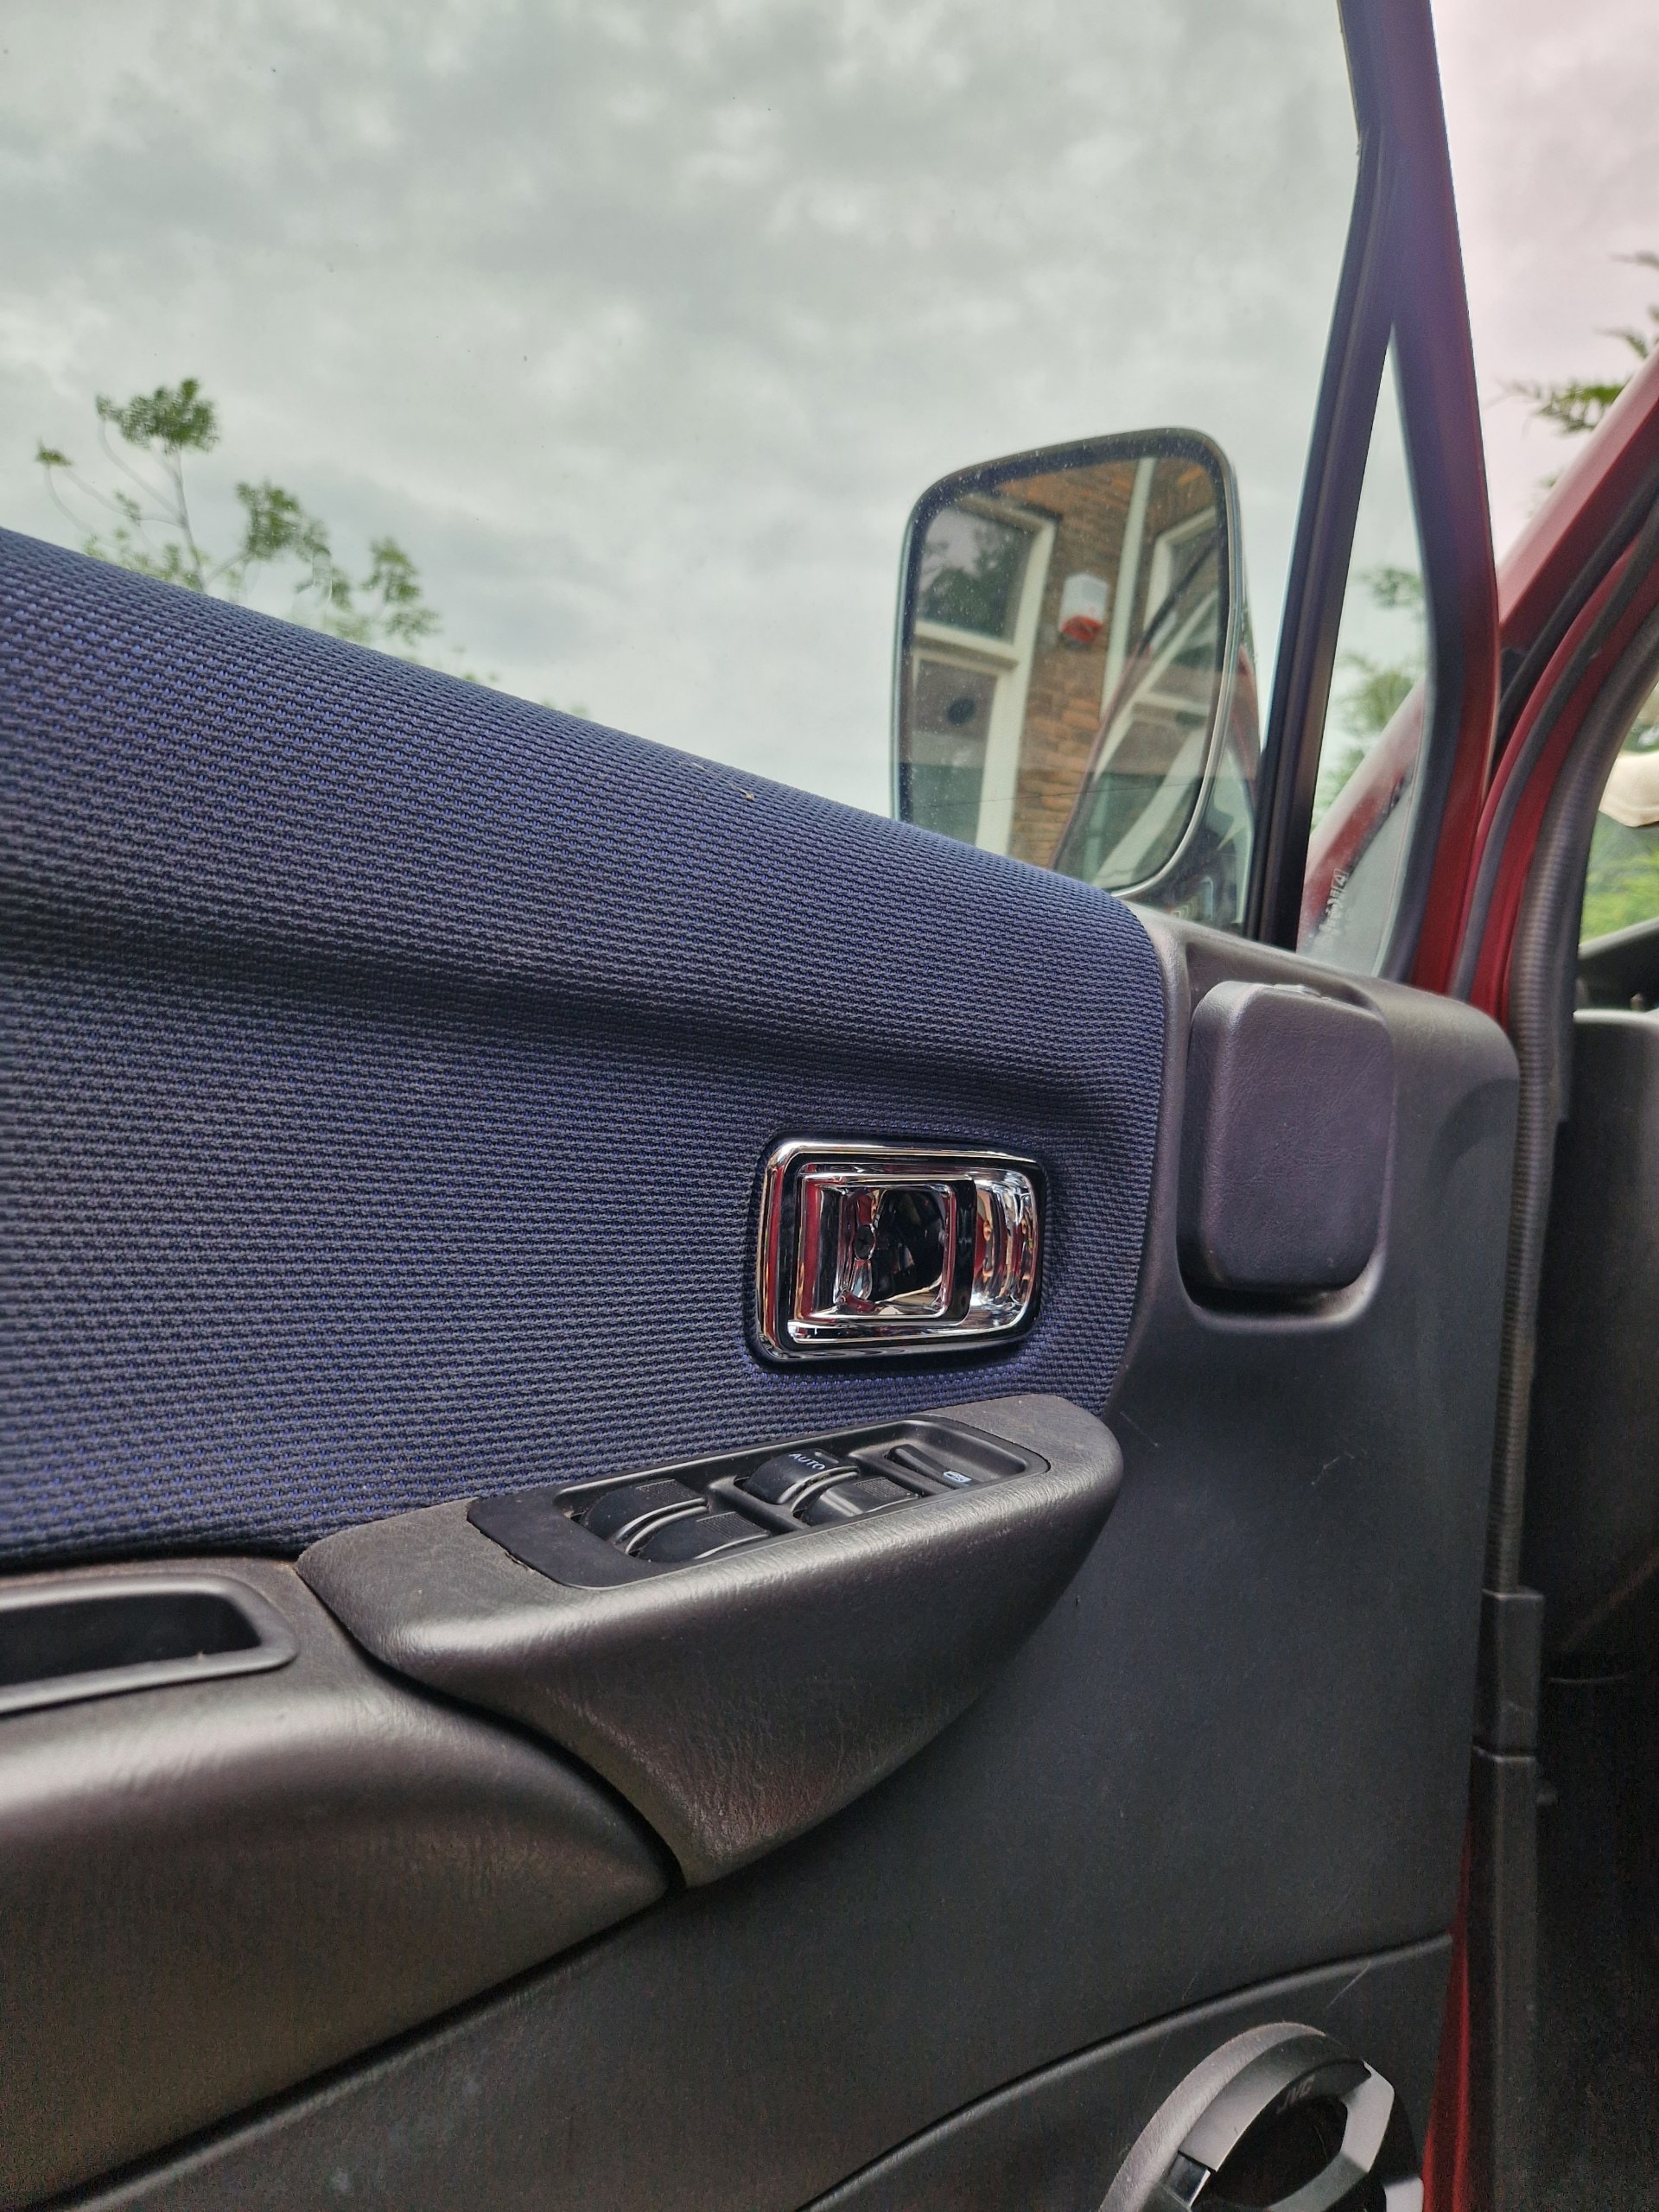
A slow monstertruck that felt like it was going to tip over at every corner but i loved it, and it needed some love too. The clearcoat was rough, didnt idle all too well, windows didnt go down and wasnt serviced a couple years except oil

I immediately changed all the fluids and filters that week, just to be sure all the maintenance was up to date.

Next up, the base upgrades to give it some shape !

2 Likes

The plates were almost falling off and it needed an upgrade as the plates itself were rough too.
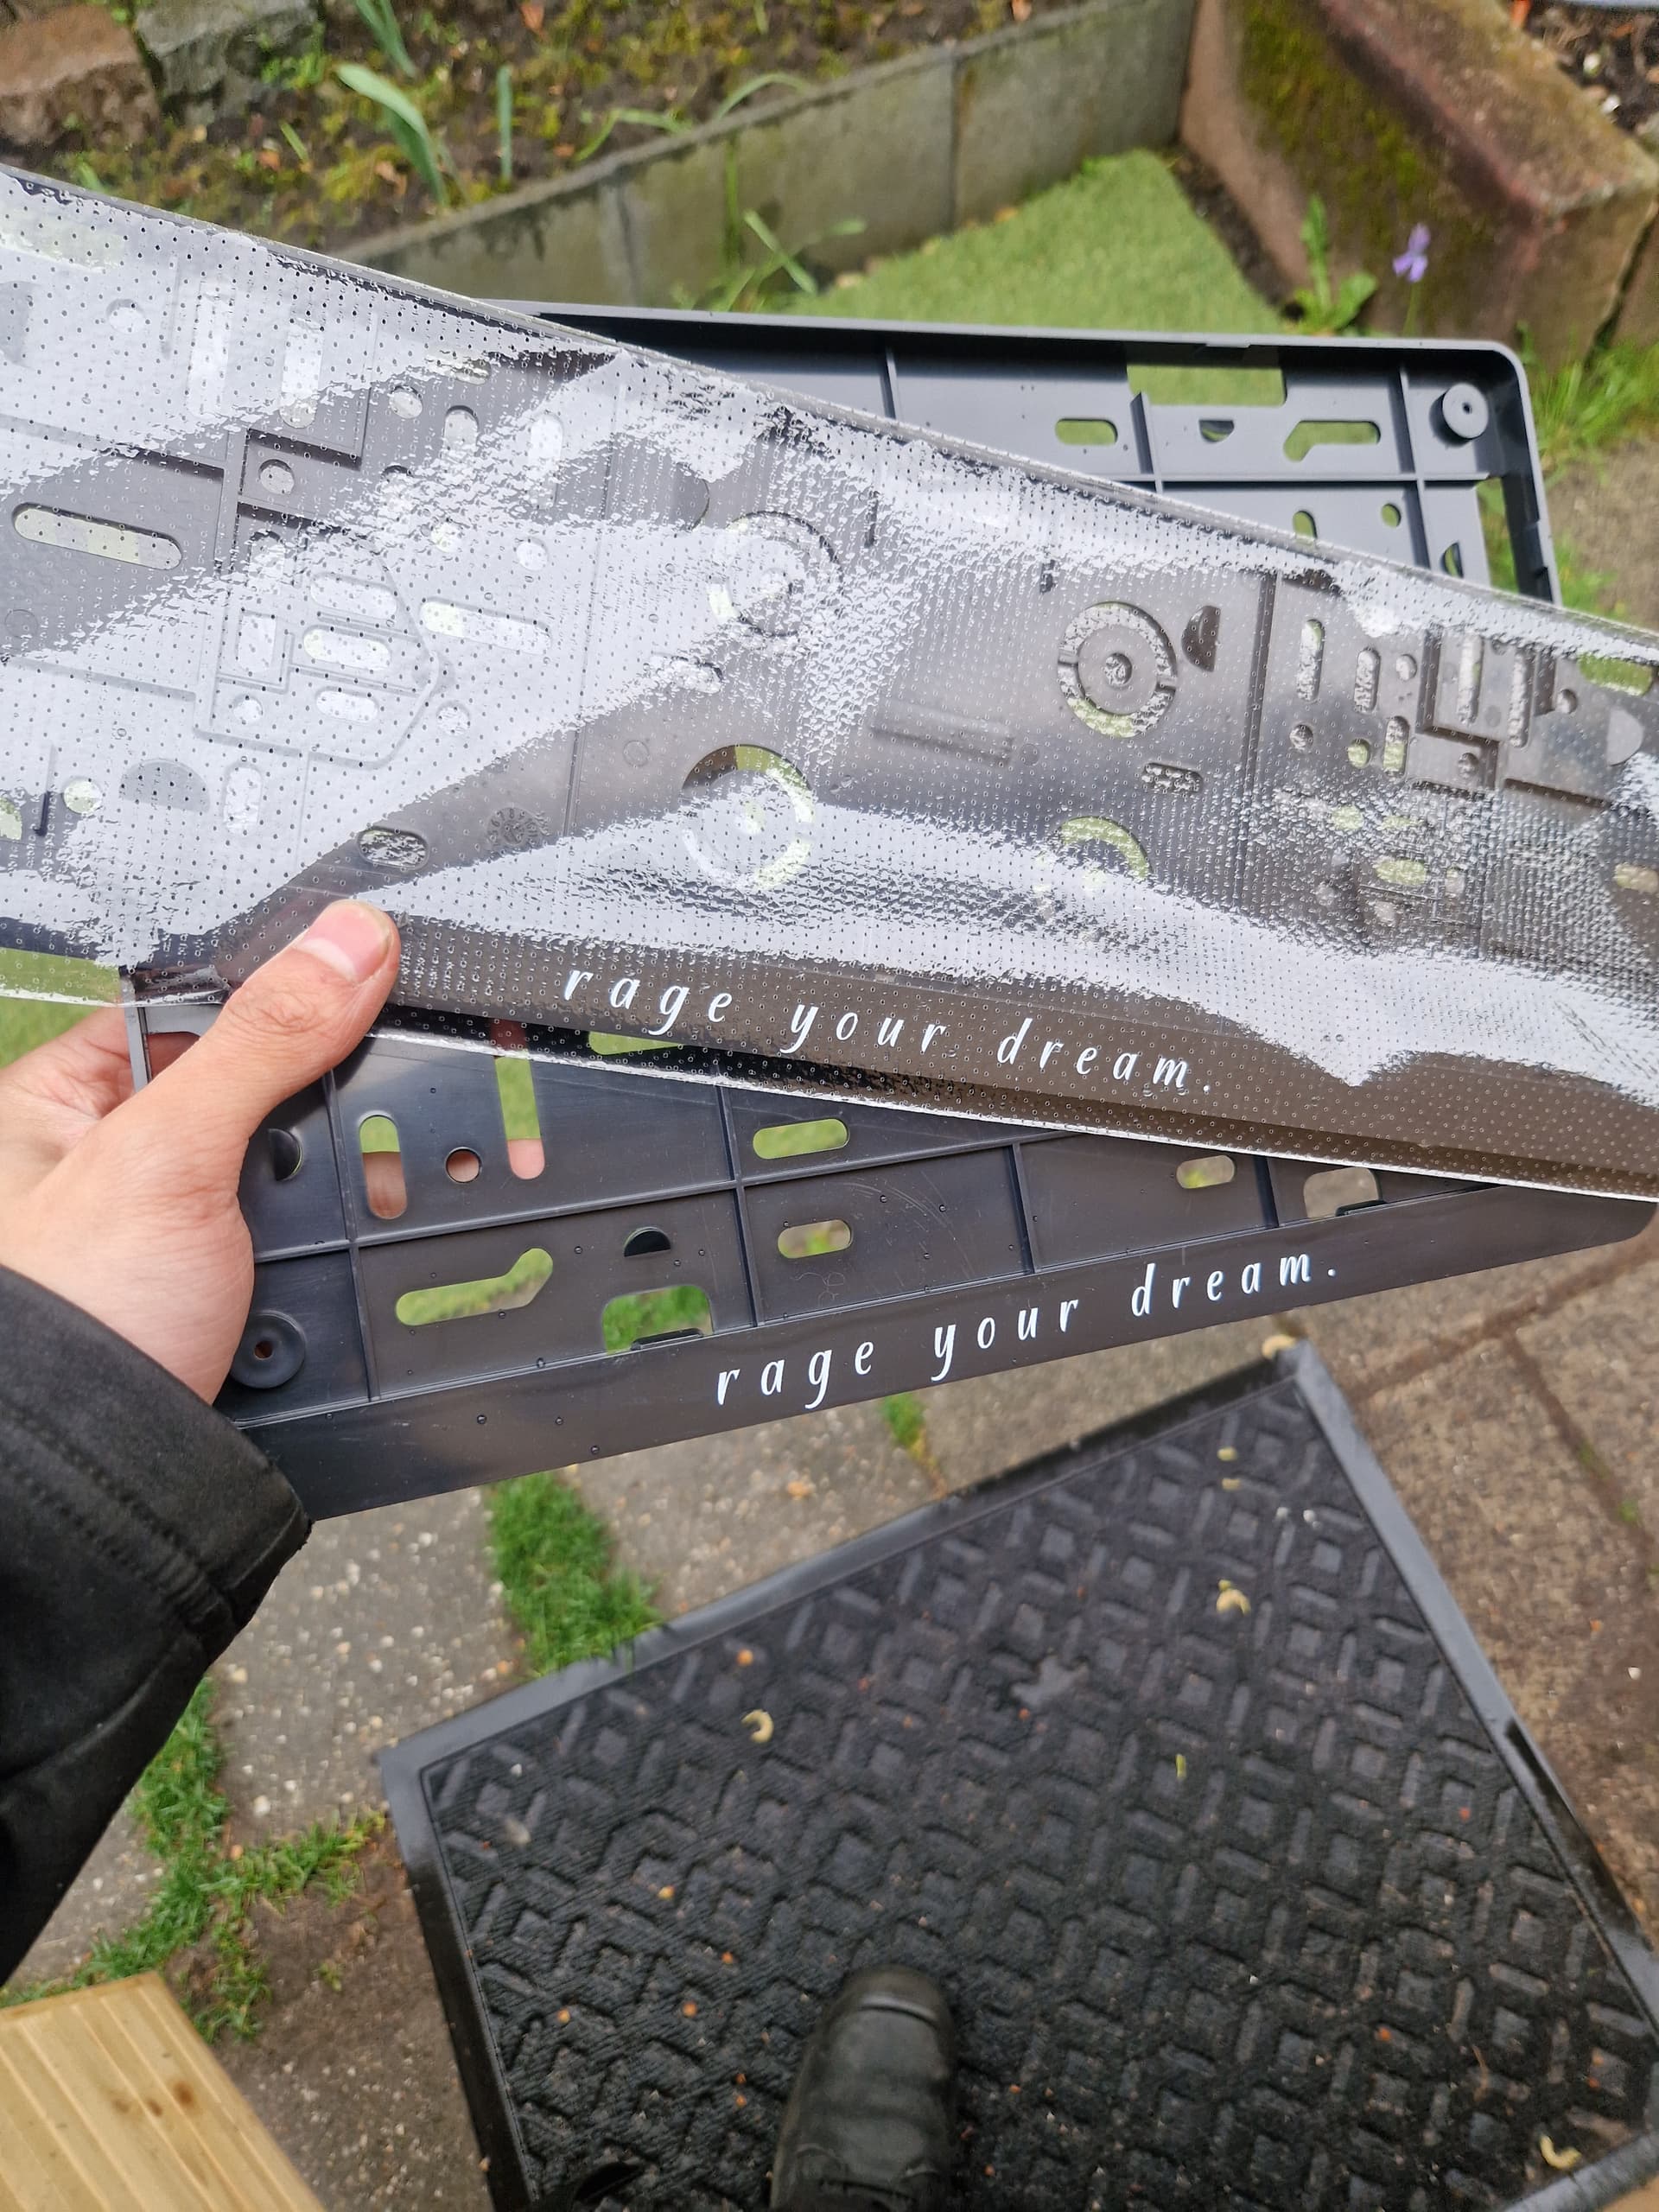
Got myself some custom plateholders, with the text “rage your dream.” IYKYK, including a square one.


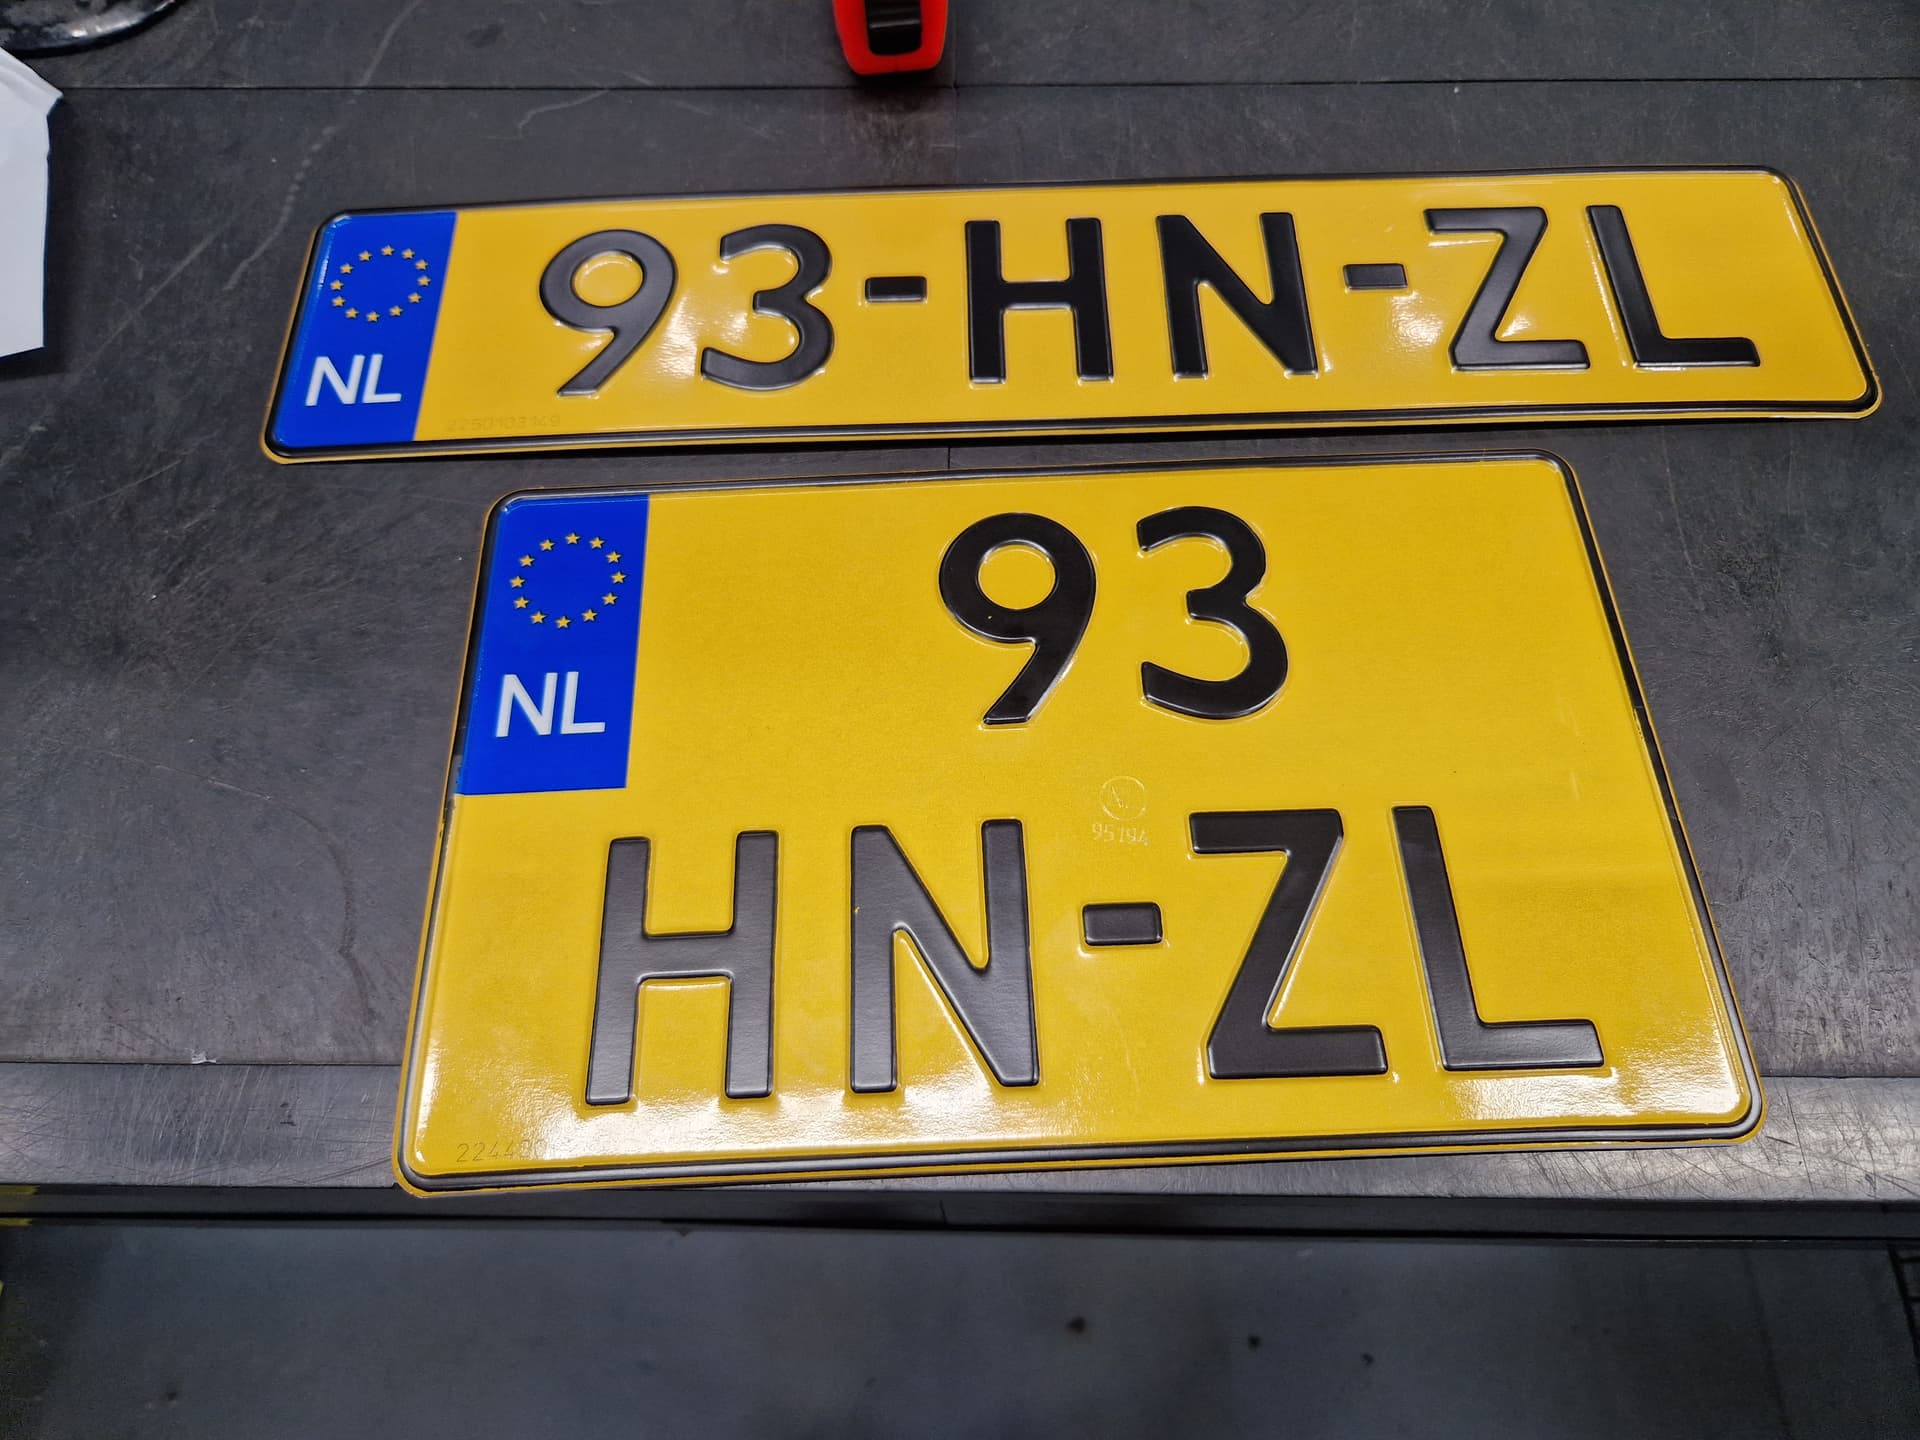
new fresh plates !

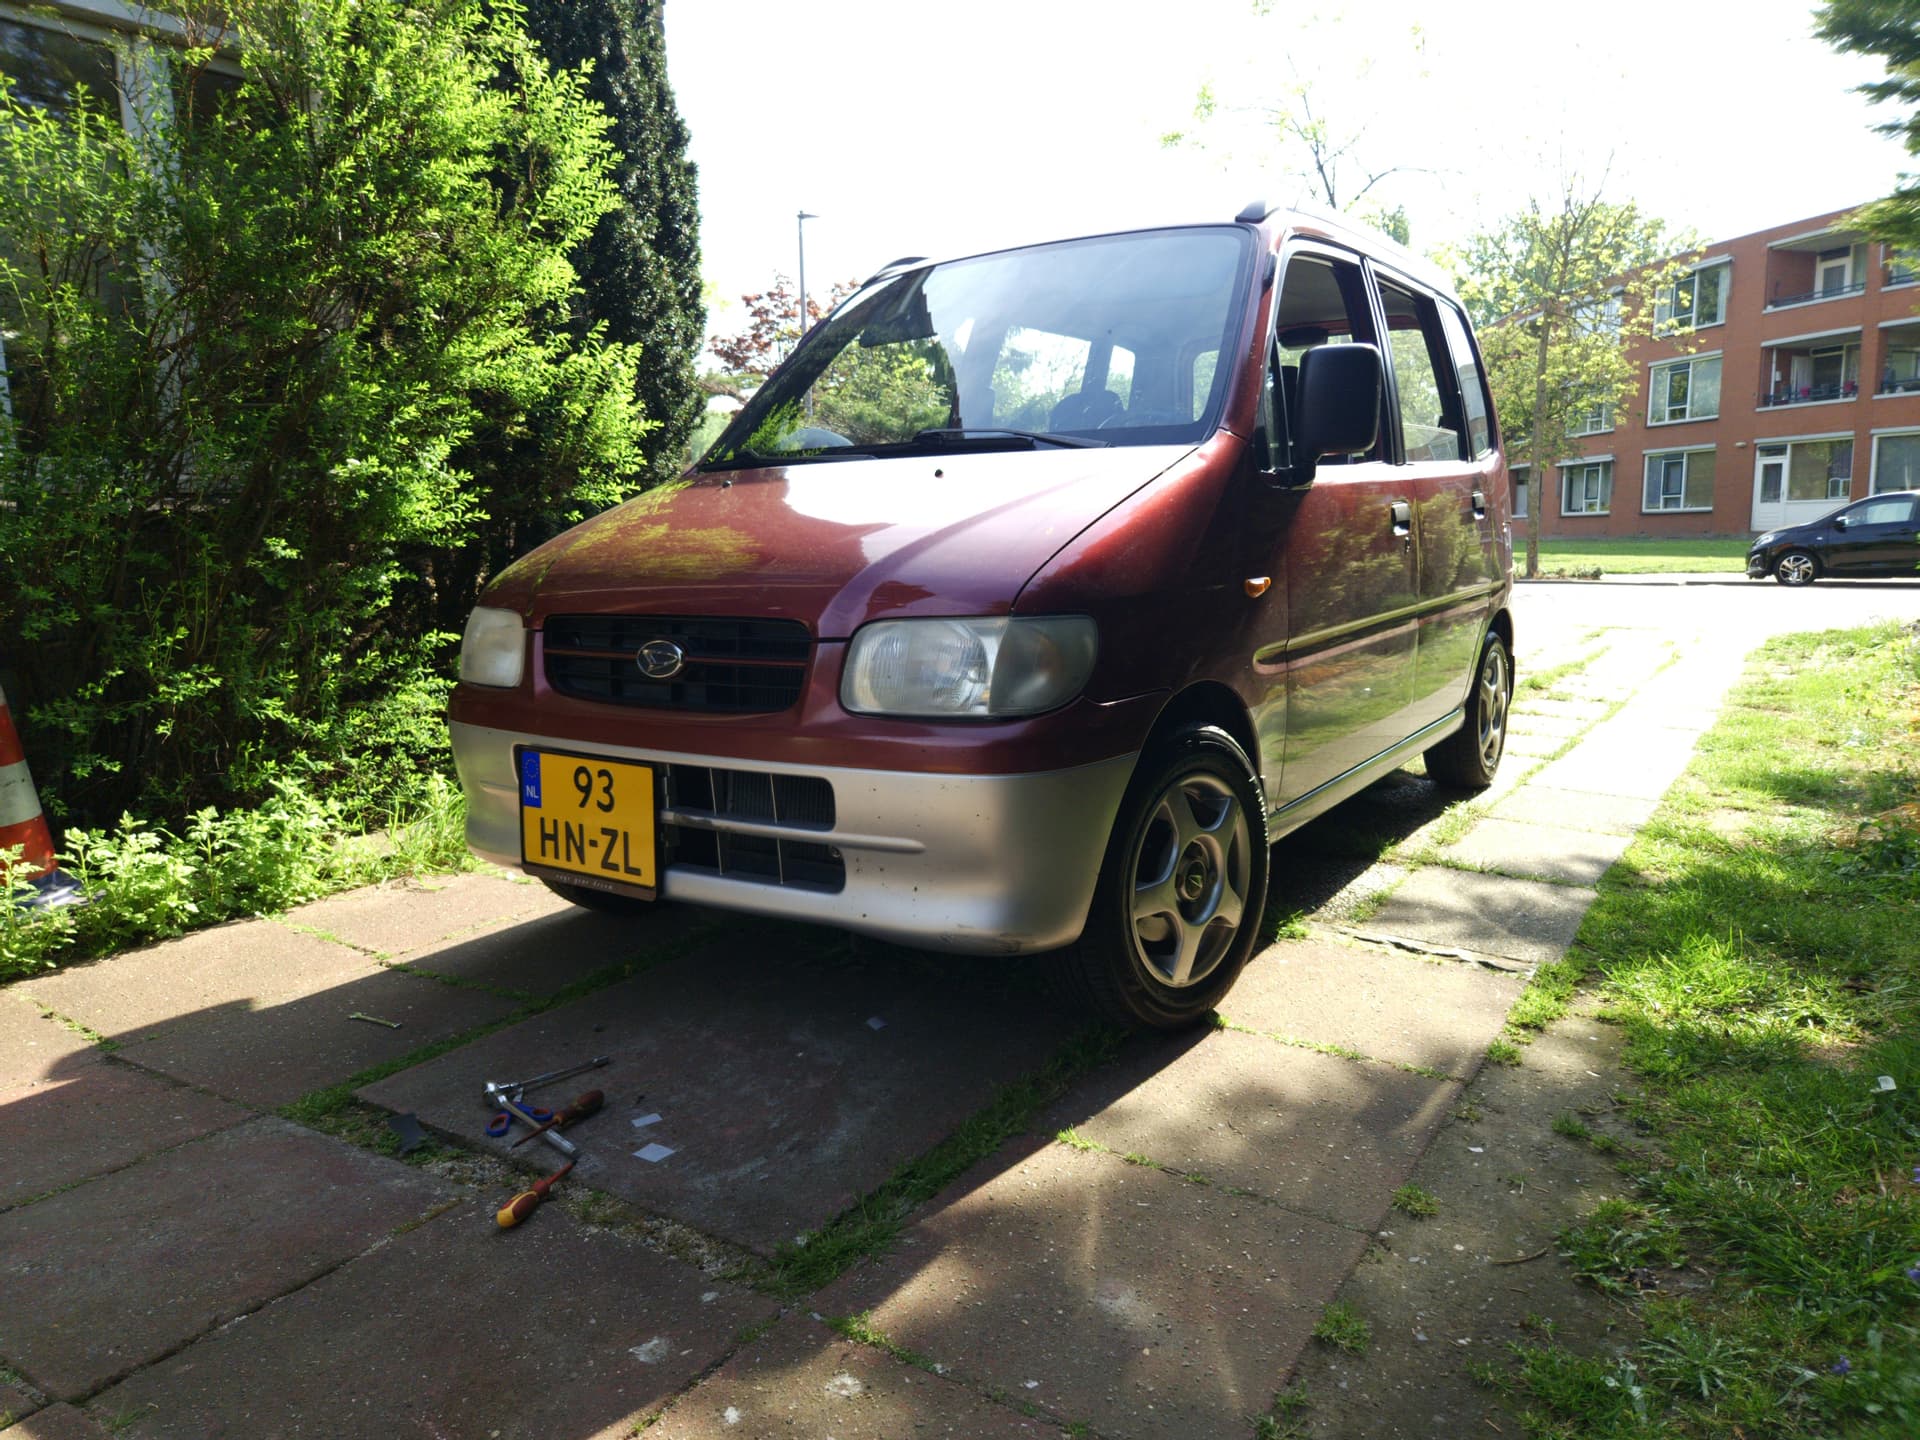
final result, the square fits nicely as the car is also boxy. And i have better cooling now so hehe tooning.

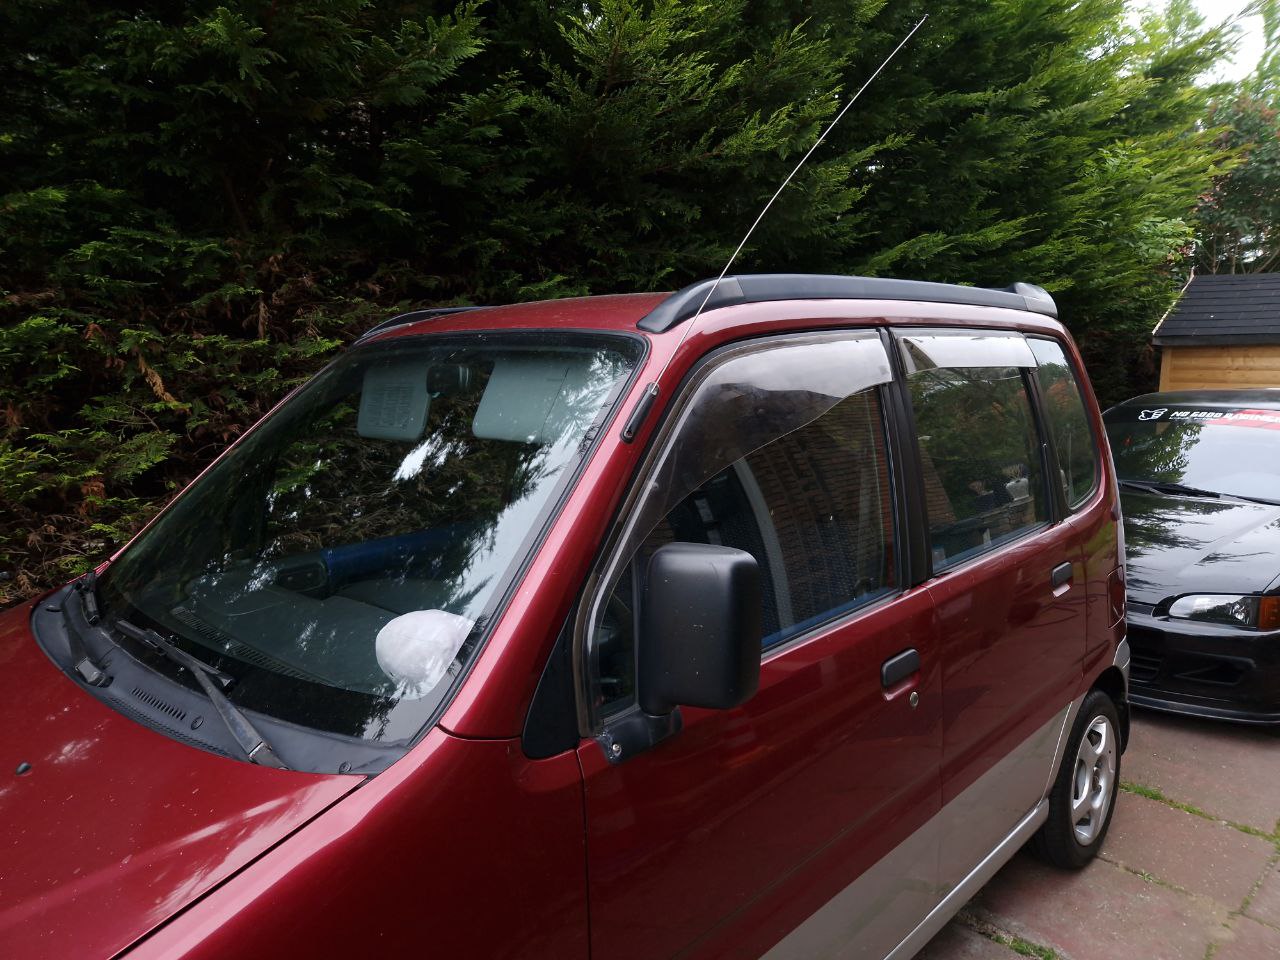
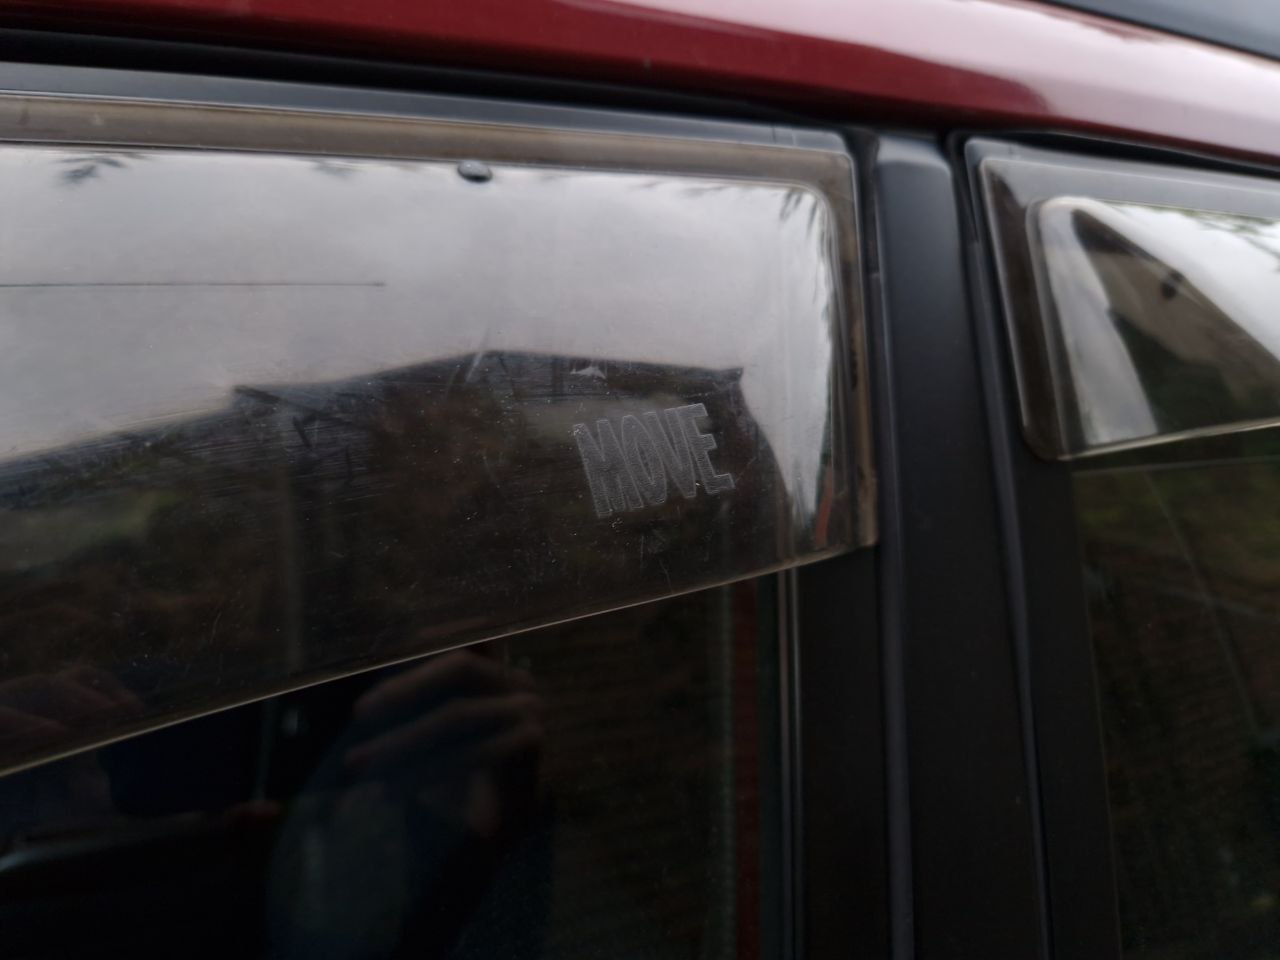
I was doing some research on the JDM L900 Moves and noticed they all have those huge wind deflectors on them and i thought “I NEED those”. I hopped on Buyee and found a nice smoked OEM full set for 20eu, with shipping total 70euros.. They came in after a few weeks and were packaged nicely.

Panicked a little as i thought they slide into the window gap at the top and didnt fit, but they fit directly on the frame on the door. The previous owner used some liquid adhesive to stick them on, that was a nightmare to scrape off. I just used some outdoor tape and its holding up well still.

They give some nice shape at the sides to not make the mirrors and windows look all to big. They also reduced wind noise significantly, and i also added some weather stripping around the doors and bonnet.
Civic cameo

Nice little Move branding.

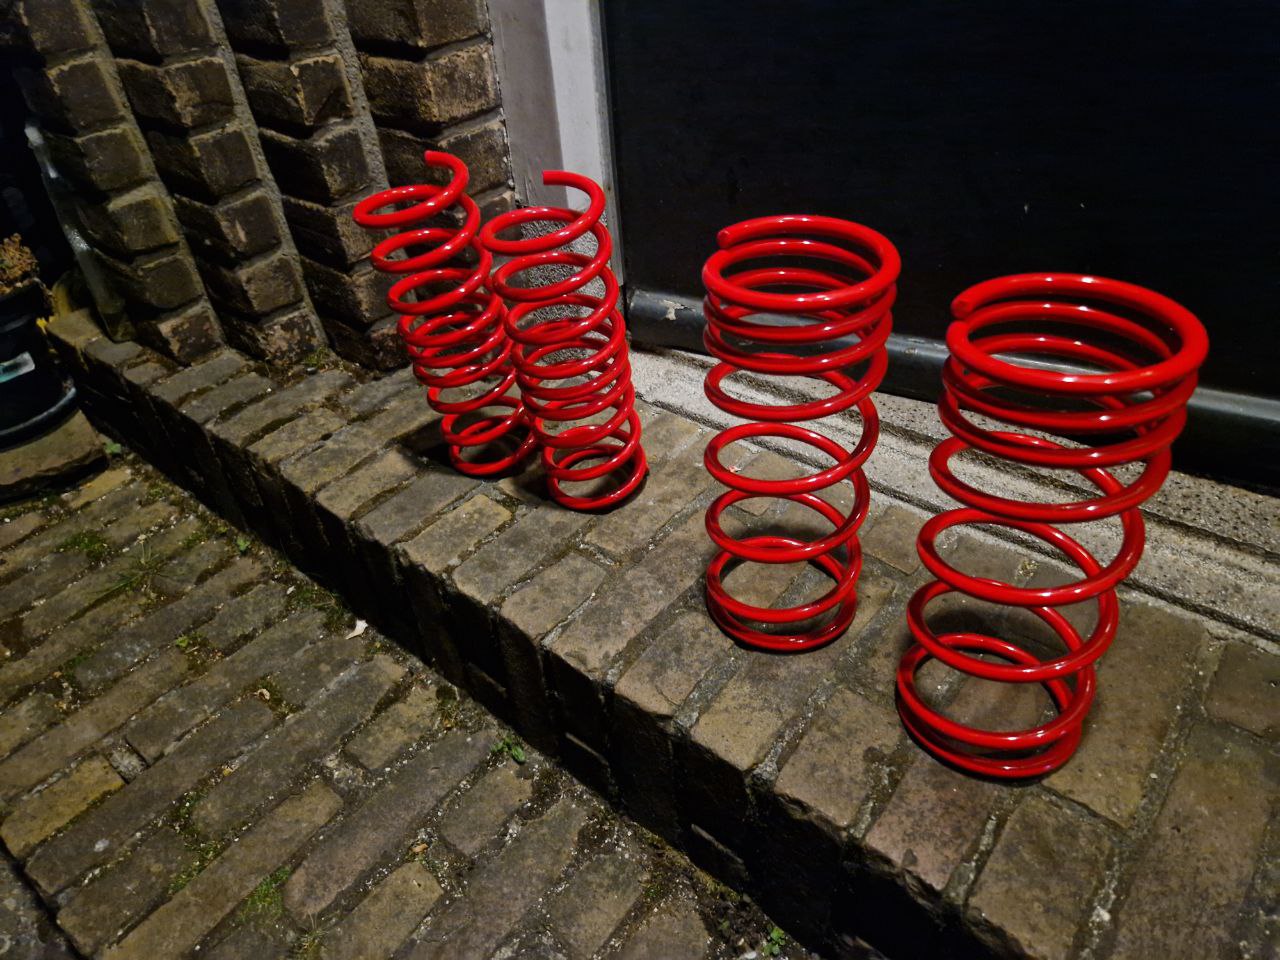
It was still a monstertruck and handled like a boat so i did some research on coilovers but i couldnt find any 2nd hand. I only saw new BC racing ones for 1000eu+ or for 500eu from japan without taxes and shipping. So i resorted to 120eu lowering springs


Even though the springs are shorter ofcourse and small, it was still a nightmare to replace them without spring compressors so be prepared.

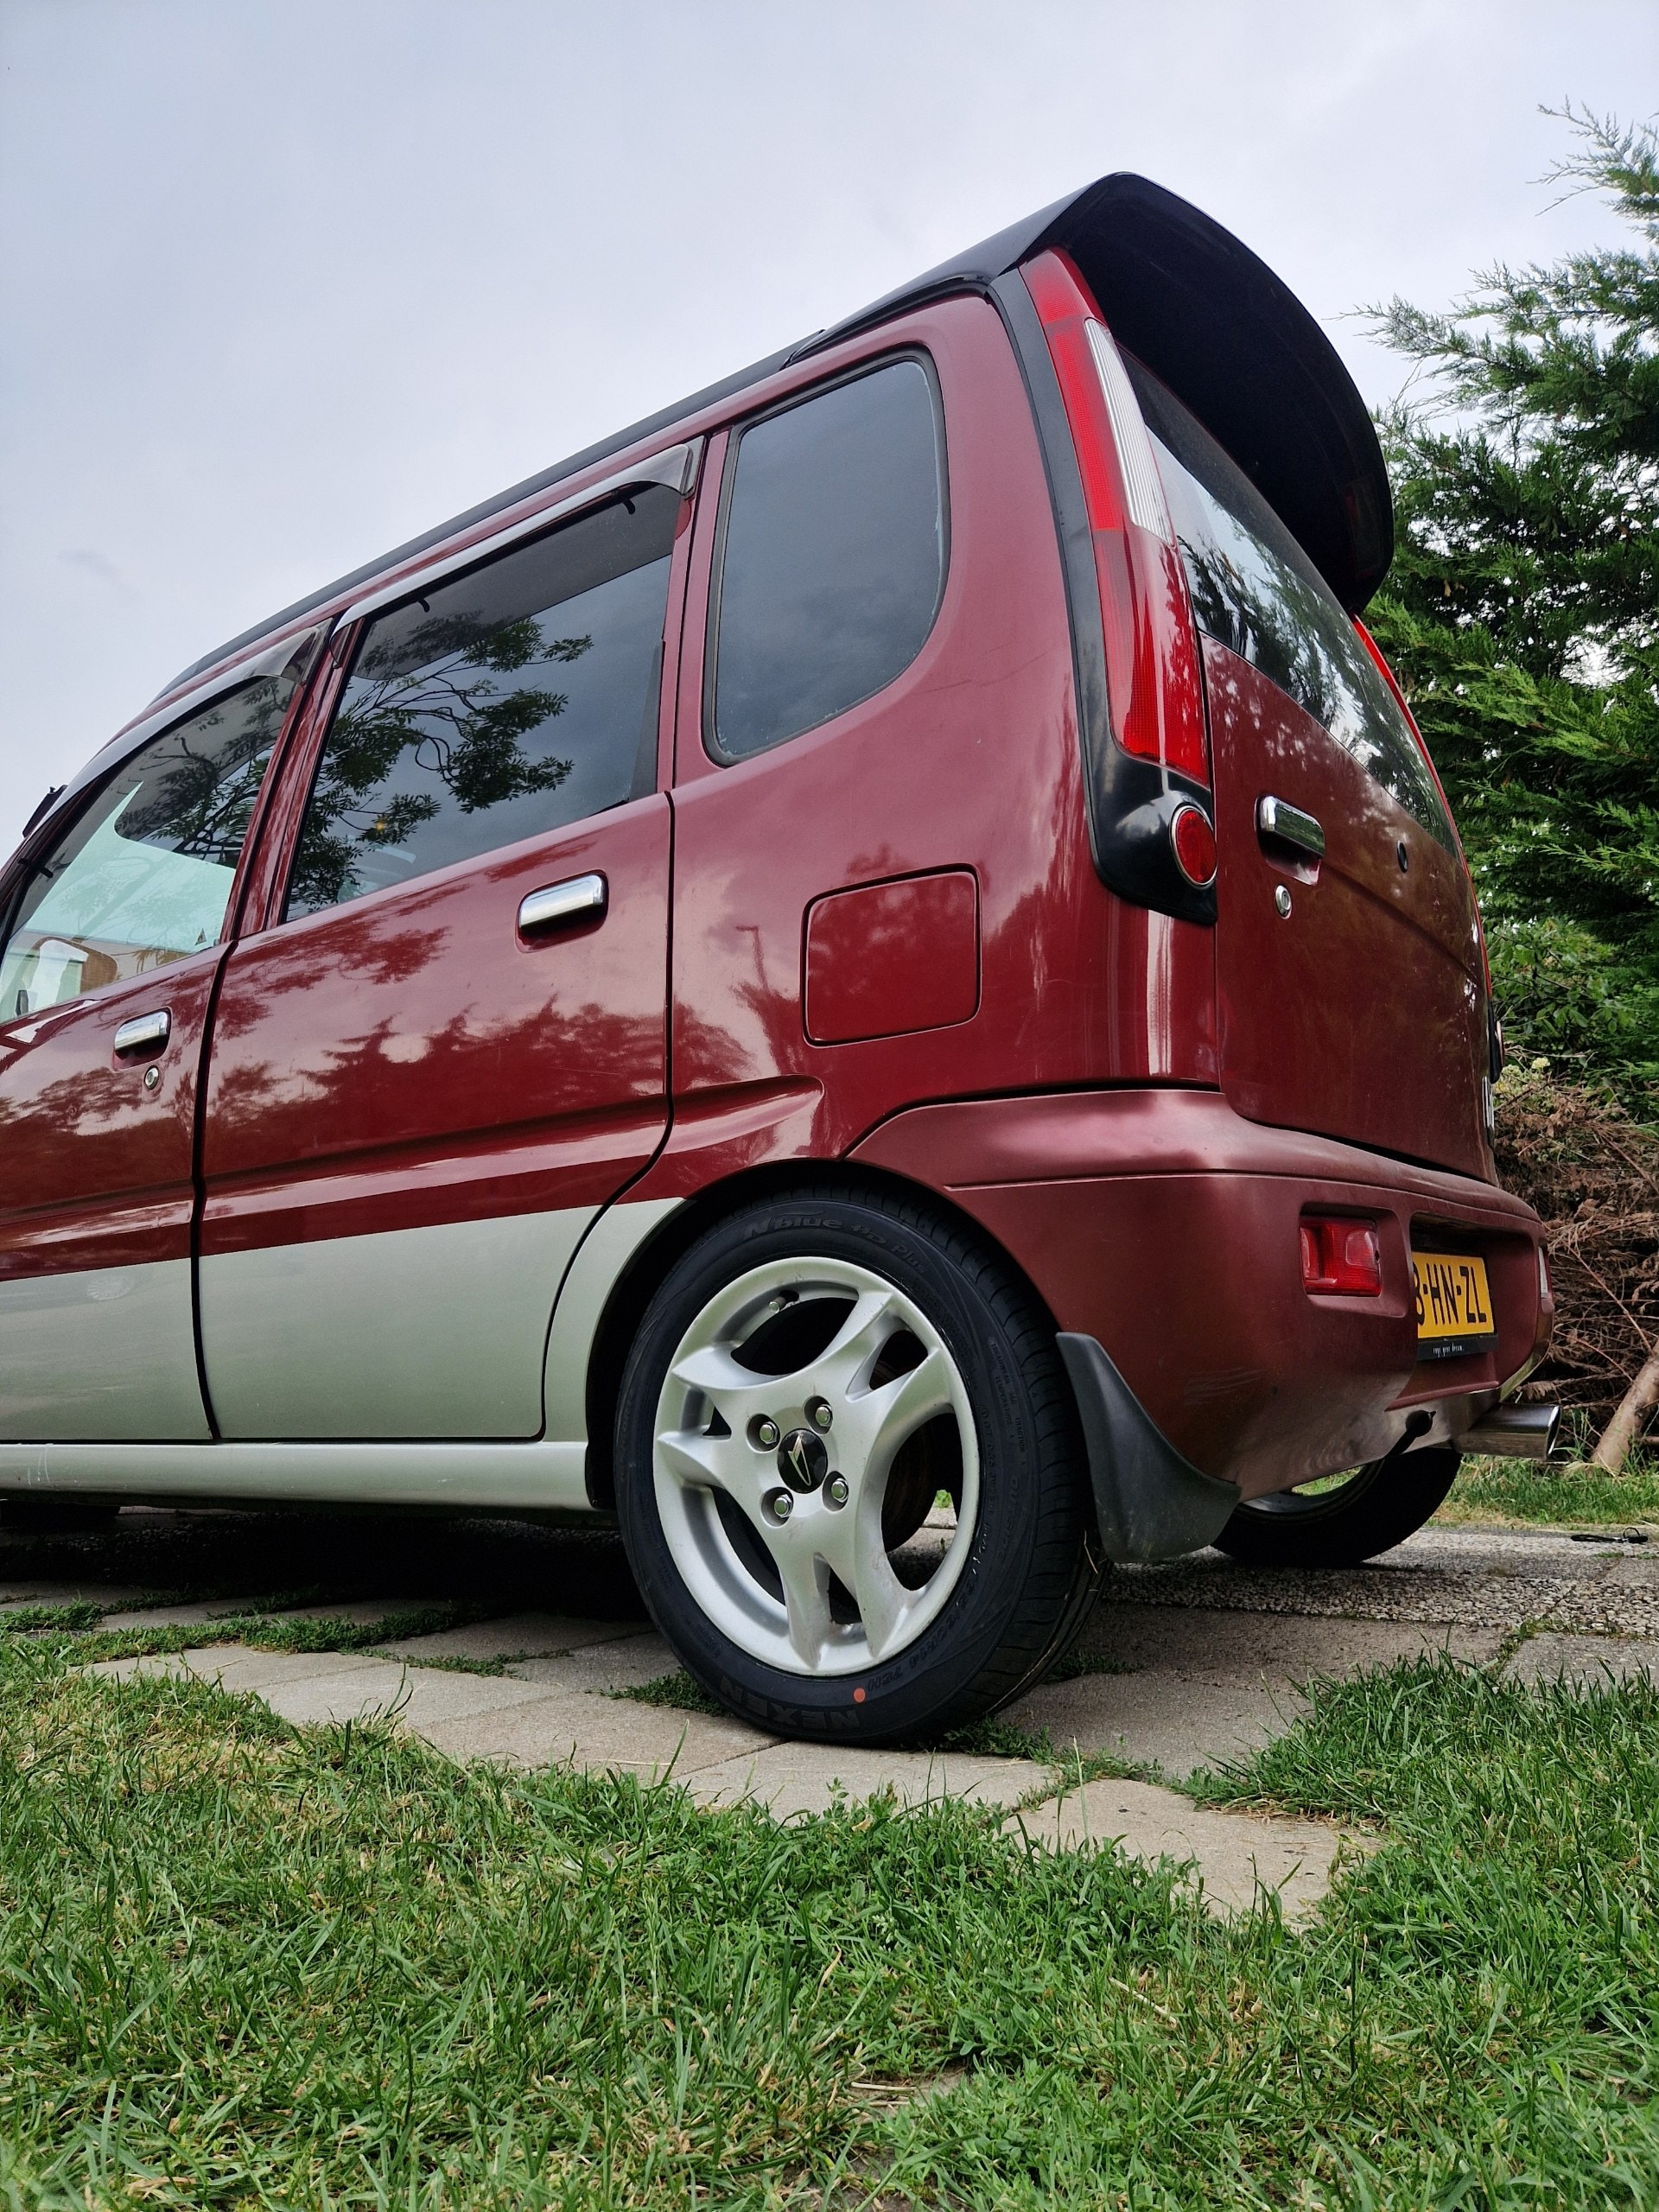
This is how she sits, the reduced bodyroll is lifechanging and not very low unfortunately but its a nice step to fill in that gap !

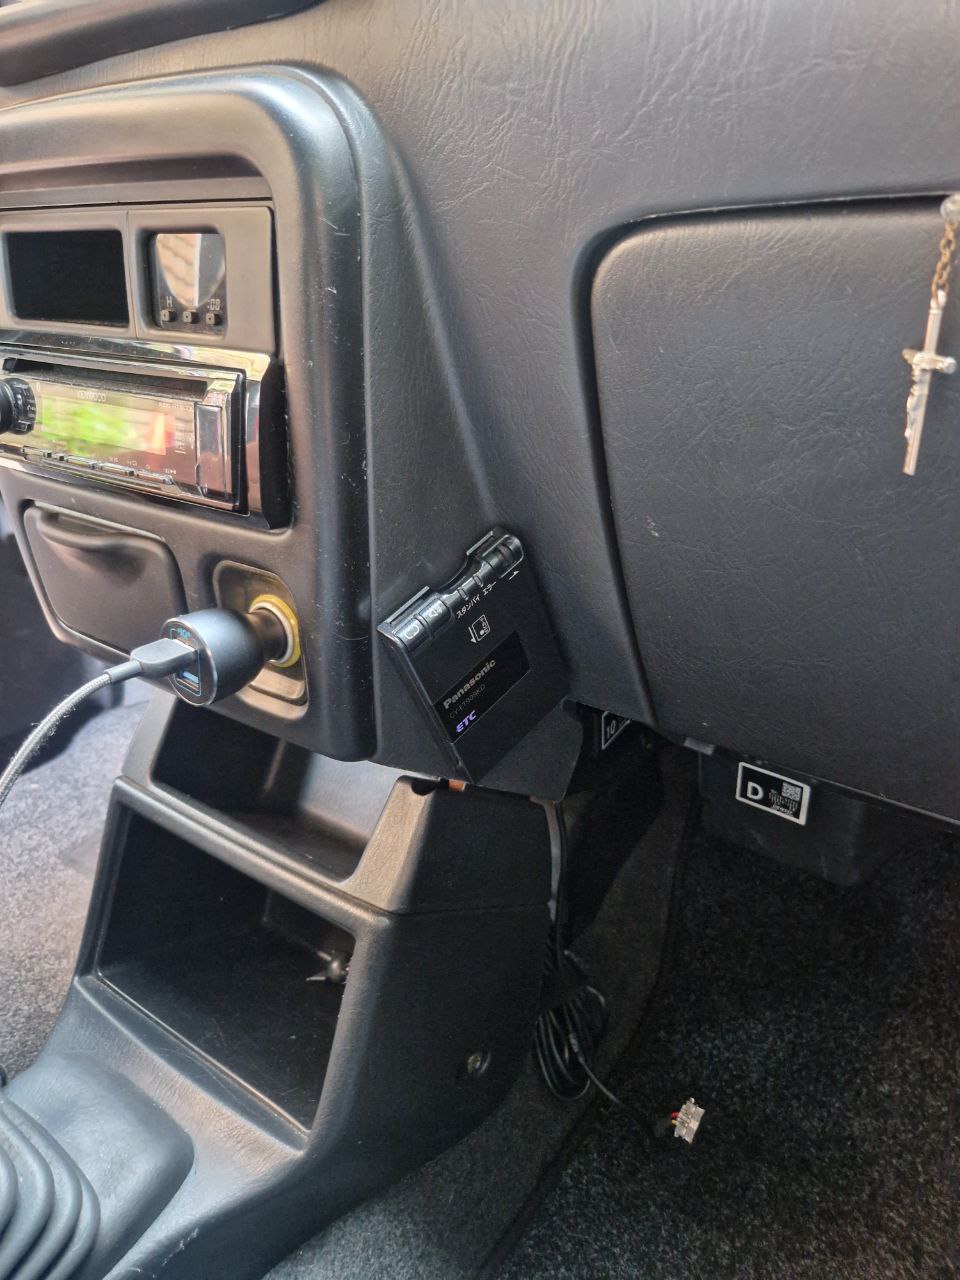
Installed an ETC card reader for fun so the car talks in japanese everytime i start it up. Got it from a friend that prepared japan imported cars for the road in NL but u can get them on Ebay.

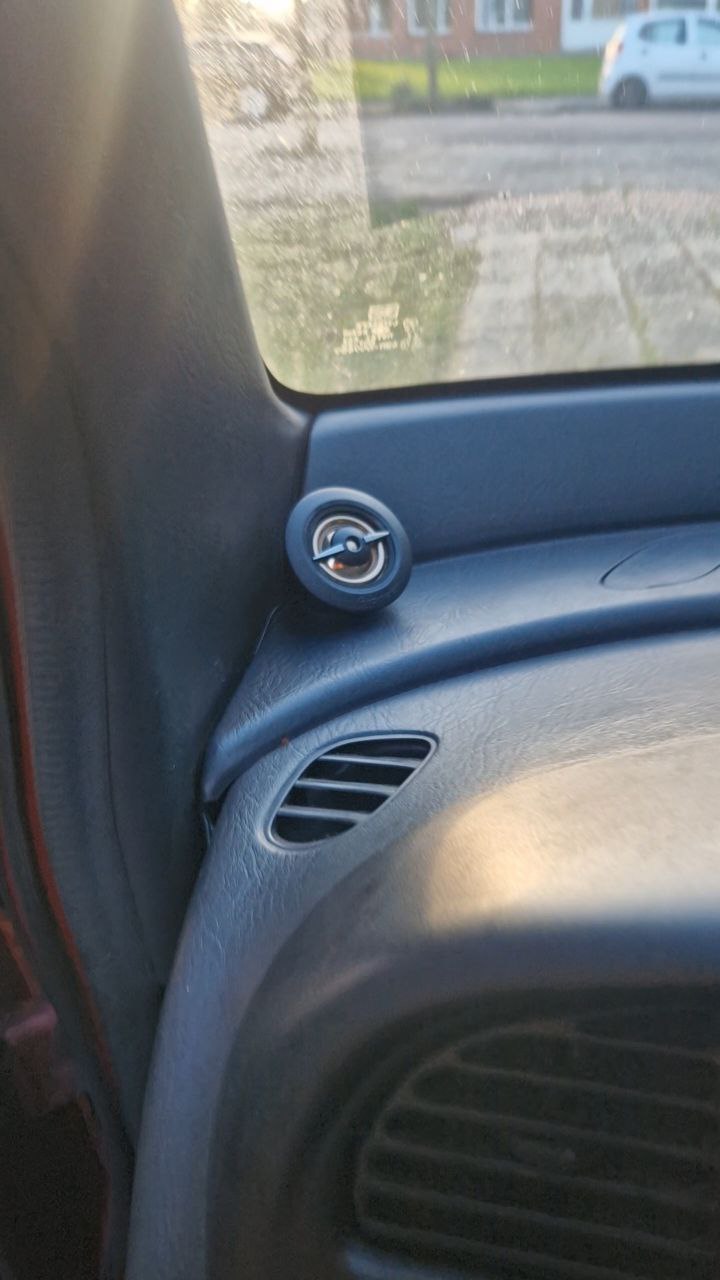
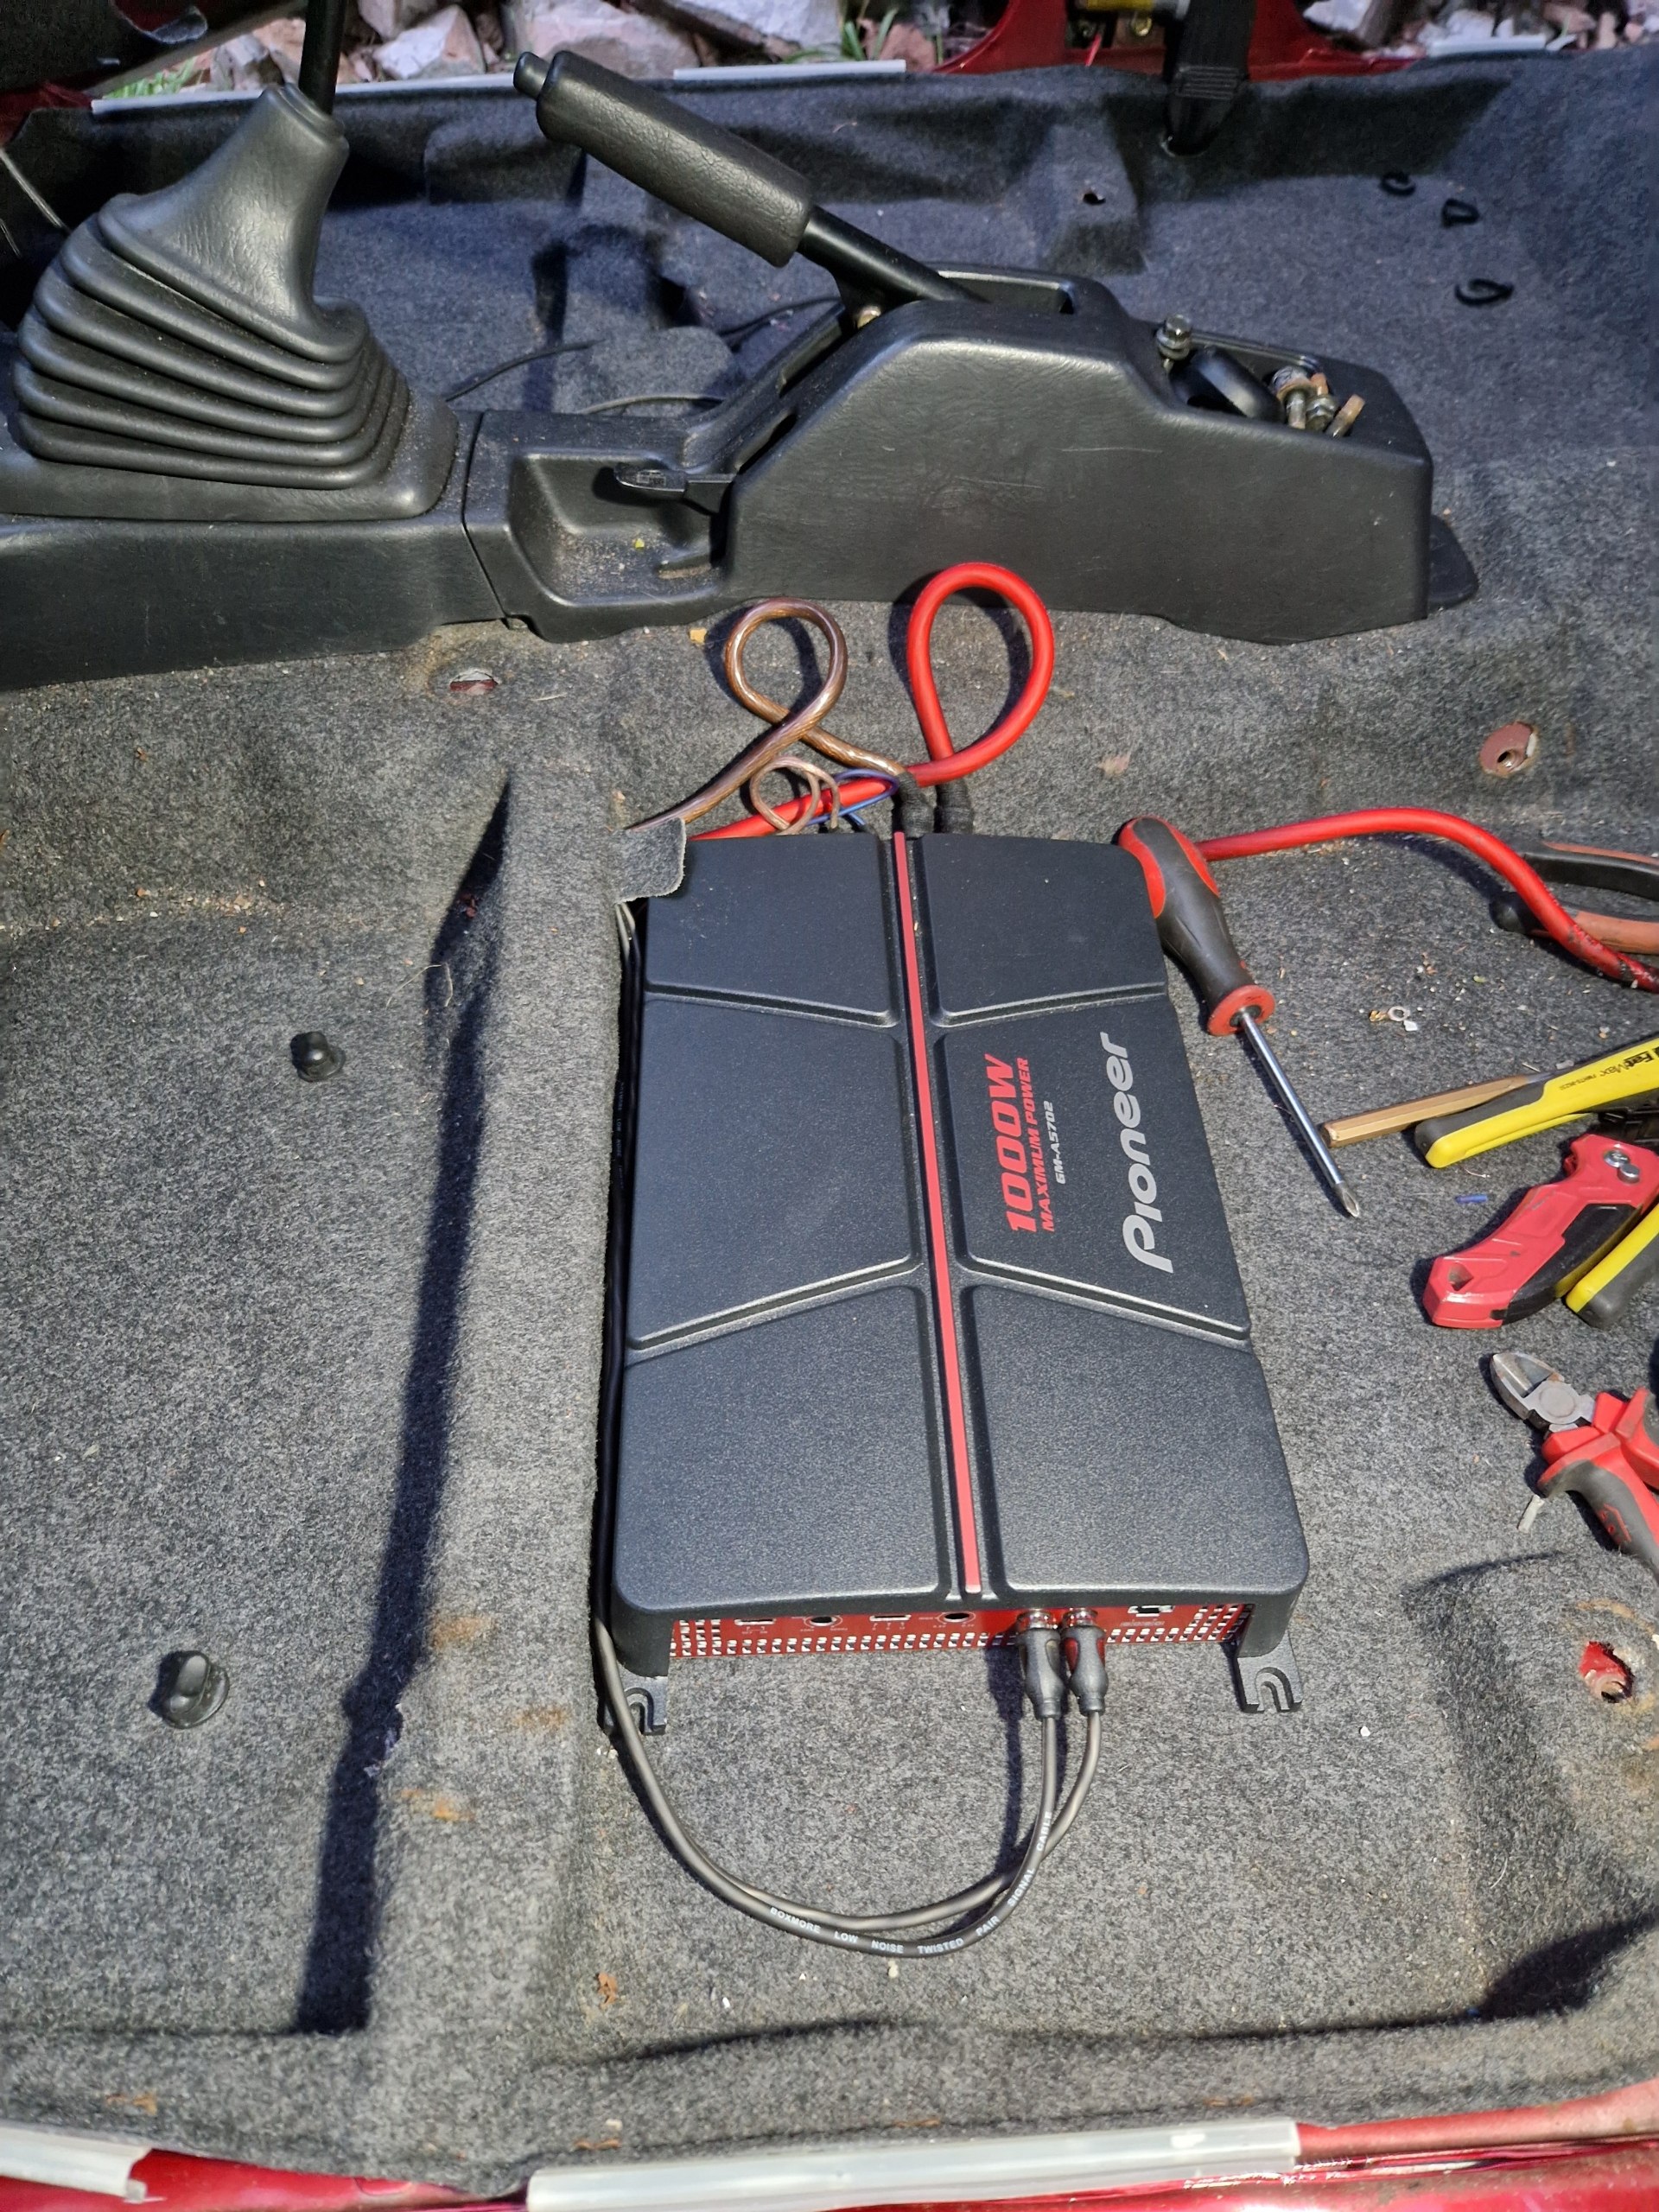
installed a little audio system too. but not going into alot of detail unless requested ofcourse.


The next step are probably some nice 14" 3 spoke rims, or anything that crosses my path..

I have to say its going to take some time as the Civic needs a suspension rebuild. But small steps are also steps.. stay tuned !

2 Likes

Hi yall,

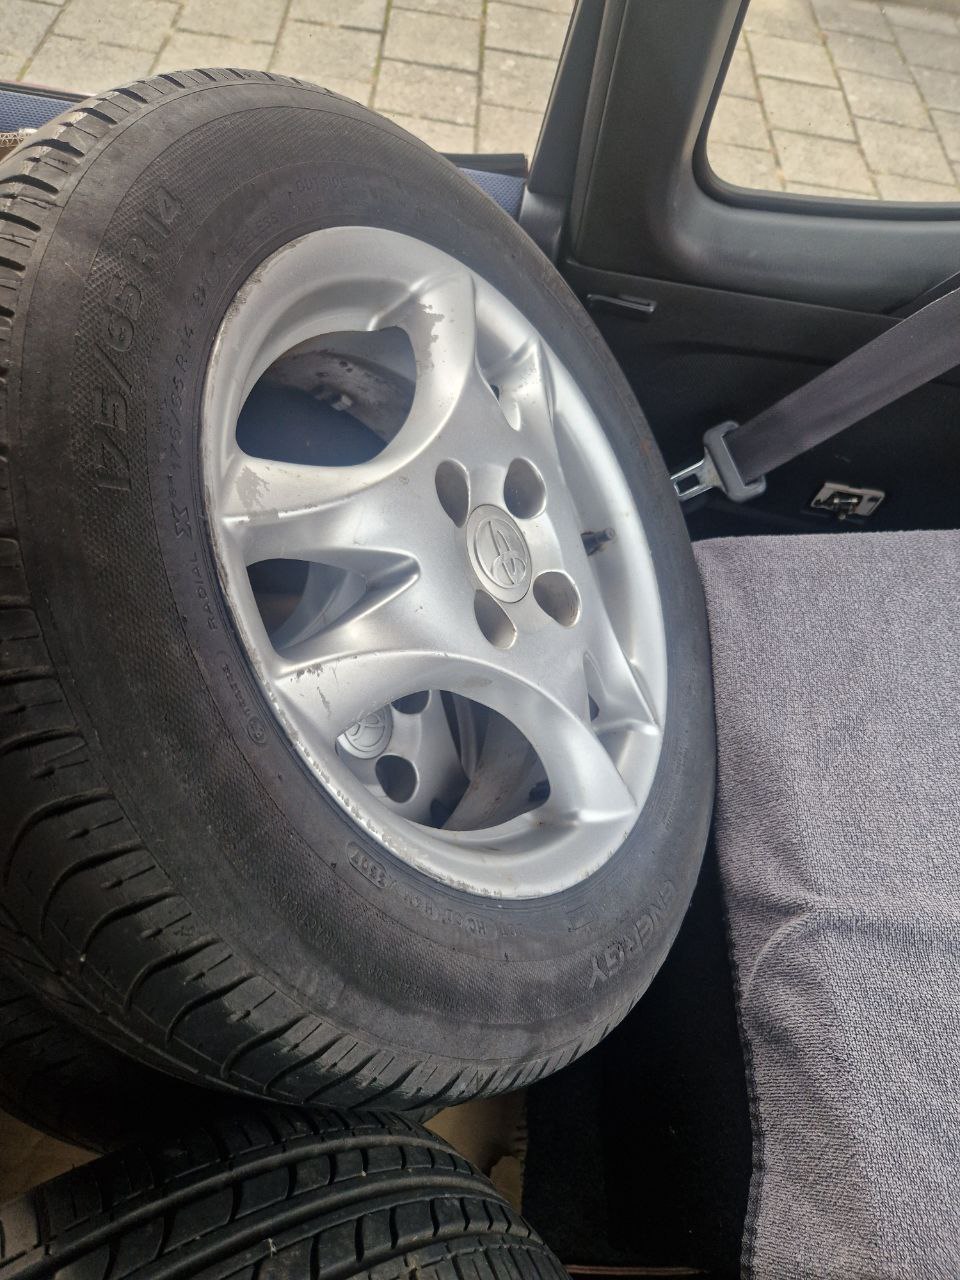
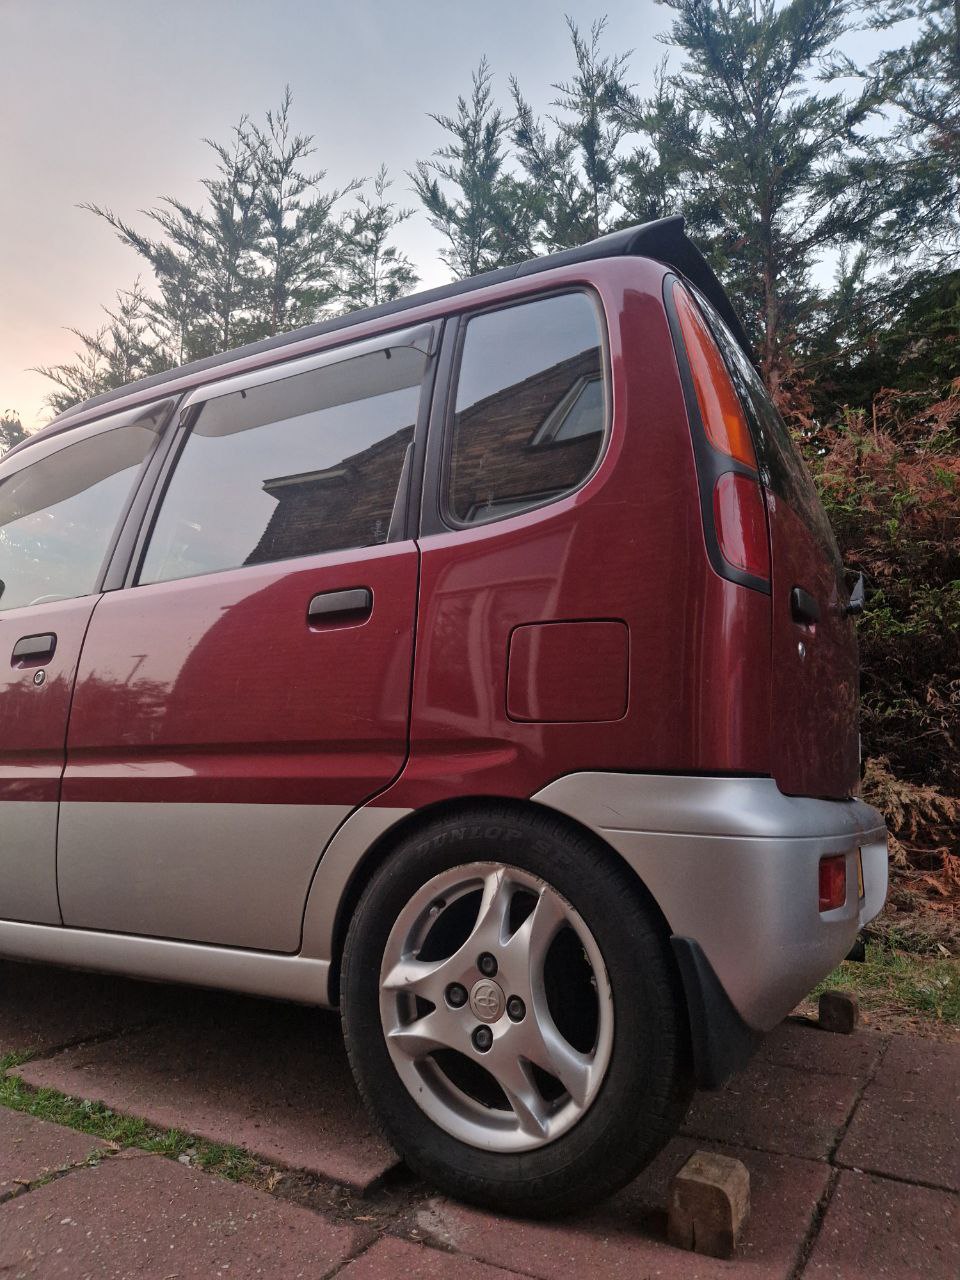
the Civic got its suspension rebuild so i managed to pick up some 14 inch 3 spokes that came across for a steal. (although they are a bit damaged and tires need to be replaced)

they appear to be a Toyota OEM rim as Toyota is stamped on the back. Specifically from a Yaris XP10, but i cant seem to find any yaris with these on online..

Wheel spec is a 4x100 5,5J x 14’“ ET:45

I testfitted them on the car and took it for a drive and the tires are way too big unfortunately. These are a 175/55/14, Yaris OEM size, but they were rubbing in the front and rubbing against the mudflaps in the back when going over bumps. The car was also a monster truck. So im gonna need some new tires. I was thinking about 165/55/14 as this is the Move Custom OEM size.

So now im just waiting for a deal on tires or till my old tires need a replacement.

very cool and yes I used to run 165/55/14’s or 155/5514’s. (we cant get 155/55 14’s in Australia anymore)

1 Like

A new clutch at only 73.000 kilometers points directly to an elderly previous owner.

Even though a timing belt replacement was unnecessary at that low milage, I would inspect its tensioner bearing, in order to see if it was replaced with it or not. Replacing only the belt isn’t unusual anymore.

Rear-ending has become an epedemic, here also, since cellphone use has become a trend. Aging persions with generous pensions have been buying S.U.V.s, supposedly because of ease of entry and exit. One of the hidden reasons is likely to be the sense of security provided by an unnecessarilly-large and heavy vehicle of which has no business being driven in populated areas where pedestrians are endangered by these monsters whose owners often can’t even keep them in their own lanes around curves. For the first time in history, I ended up paying more for insurance, despite having clocked one additional accident-free year. The usual policy was to reduce the yearly amount paid, because of not having had any accidents. I’m assuming that the true reason for why they’re “solidaritizing” costs is because the epedemic in recklessness’s costs superceed an affordability threshhold for average drivers.

If I were you, I would invest in a quality dashcam. If ever you yourself get rearended, you could then negotiate an immediate cash settlement with the rearender, especially if he’s caught texting on camera. Over here, insurance companies compensate according to a chart they all share (https://schwacke.de/) which dosen’t take into account a vehicle’s true value or even current used car price averages which have increased because of collusive hoarding agreed upon between used car lot proprietors

1 Like

Its been some months between my last post, i want to spread the messages because 1 whole post for a small upgrade seems unnecessary so here are the done upgrades till now!

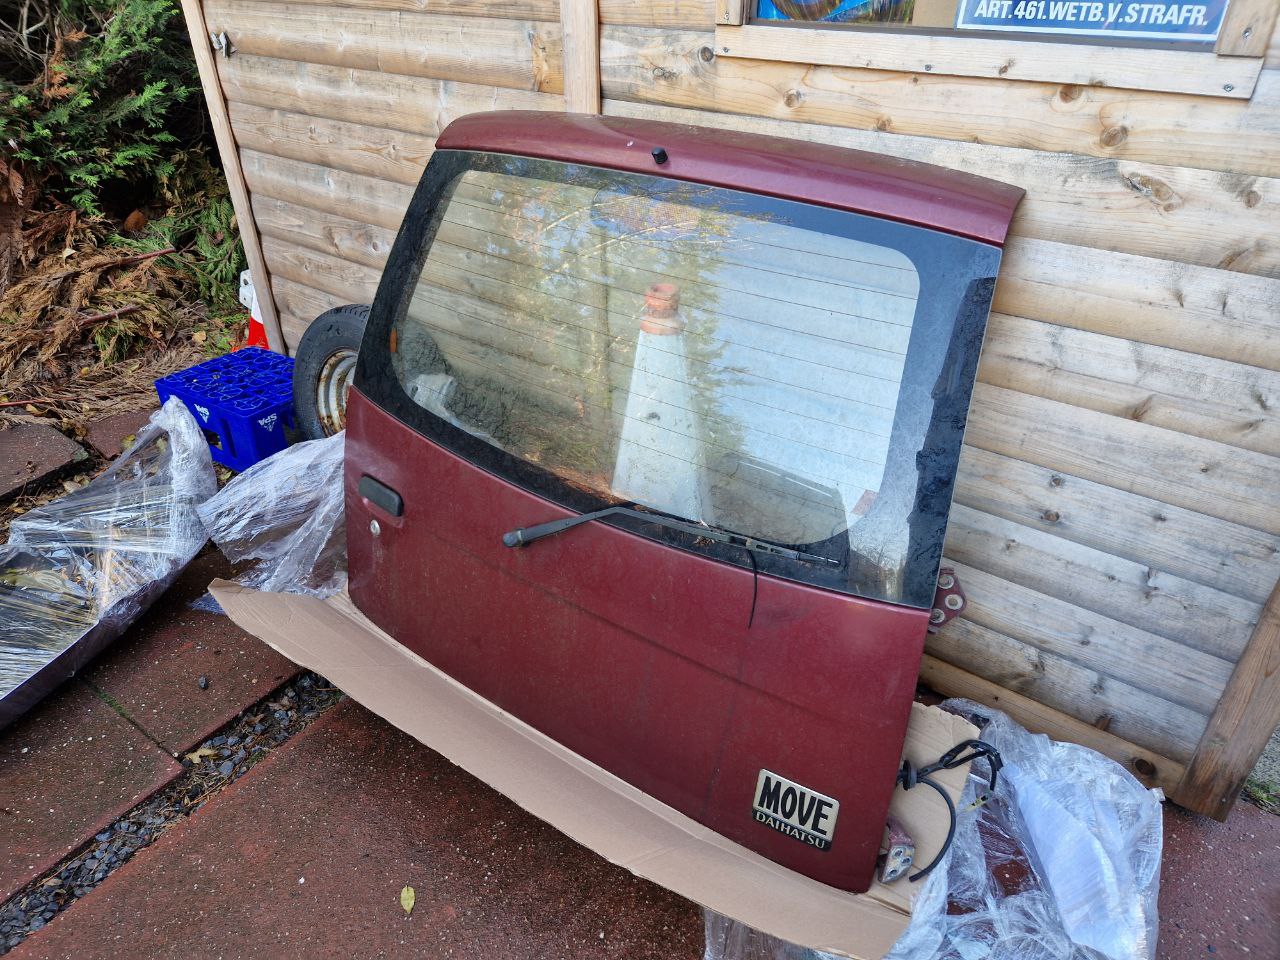
Found a junkyard Move in exactly the same red color as mine (R27) and immediately messaged to order the trunk door and they would ship it to me. It was cheaper than driving there so got a deal on that

Swapped some parts over and here it sits:

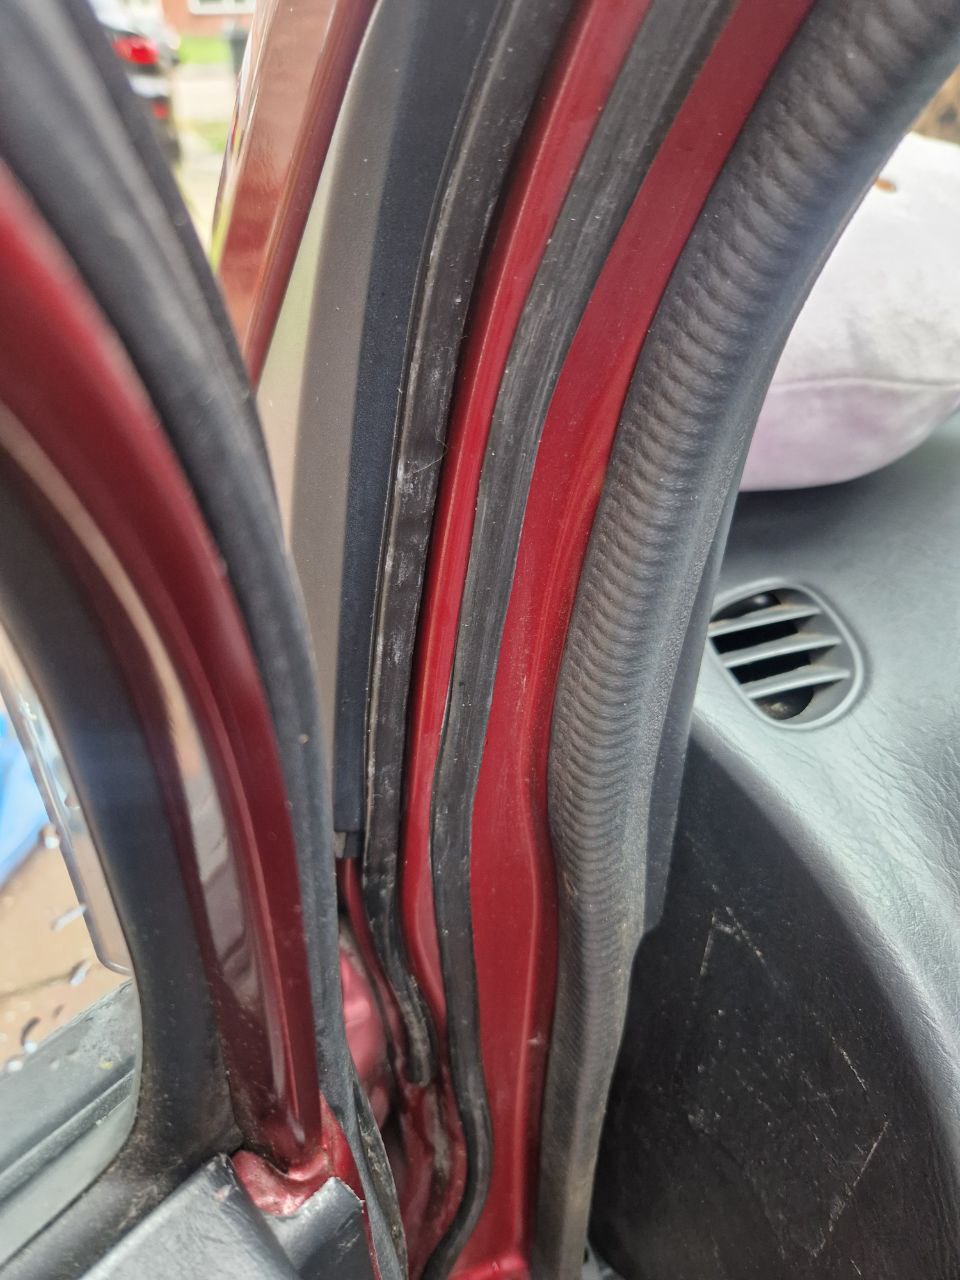
I wanted to get down the driving noise more so i got these draft strips i applied around all the doors. It was also necessary for the trunk door as the mounting points are not really straight because of the accident it had…

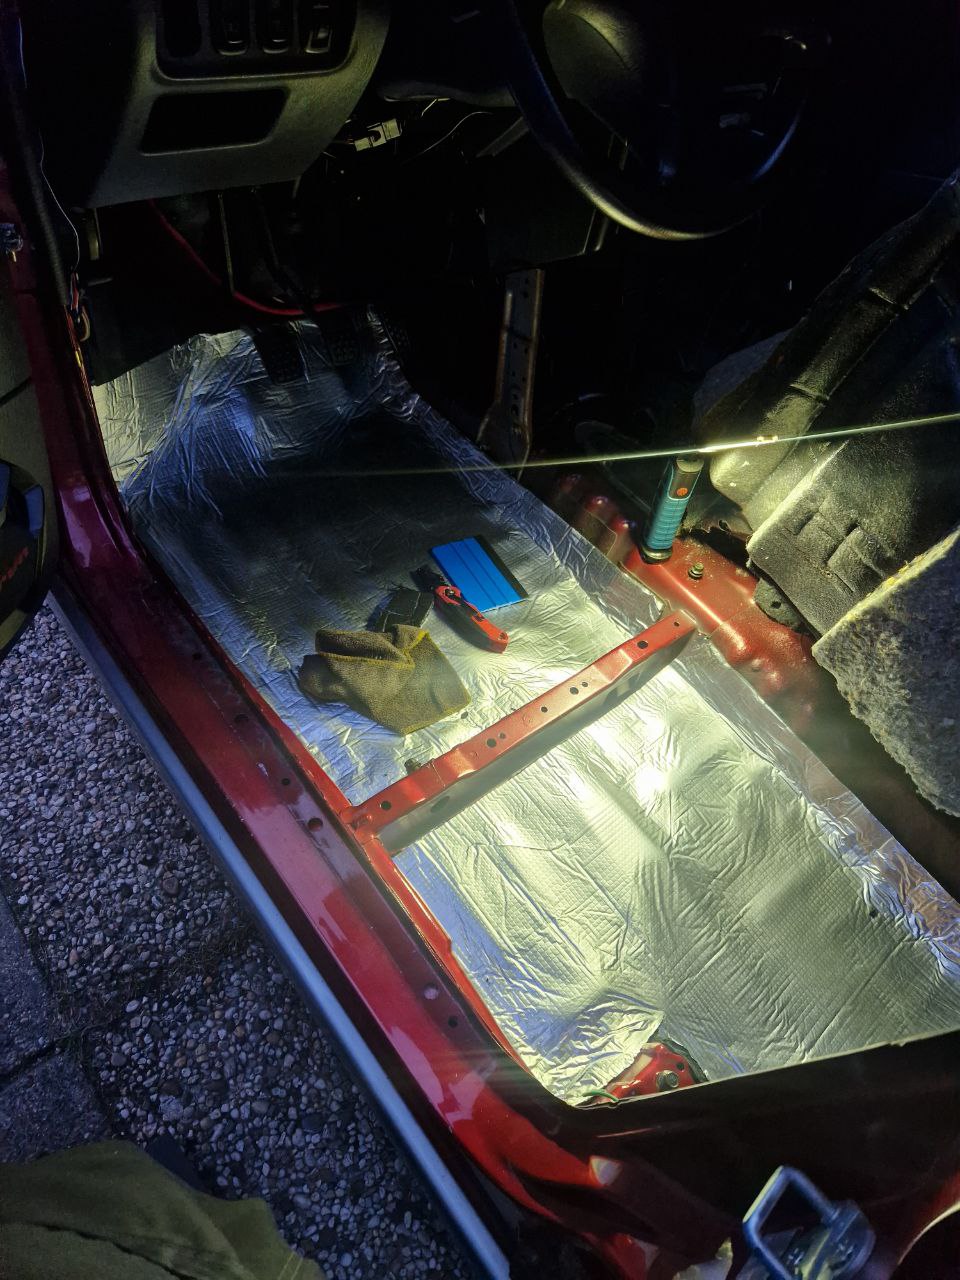
Stripped down the whole interior to add soundproofing literally everywhere. Floors, roof, pillars, trunk floor, firewall.

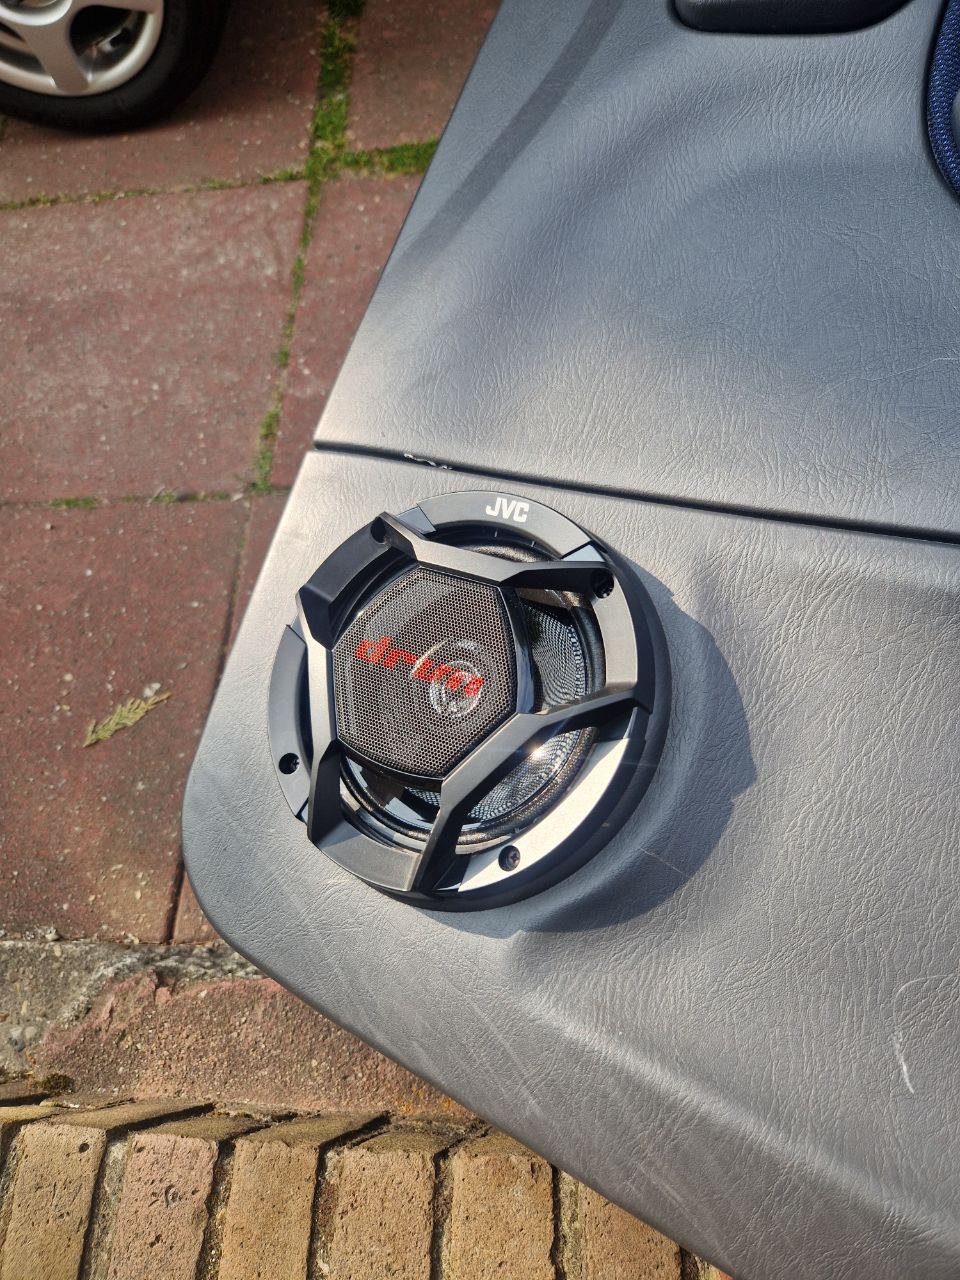
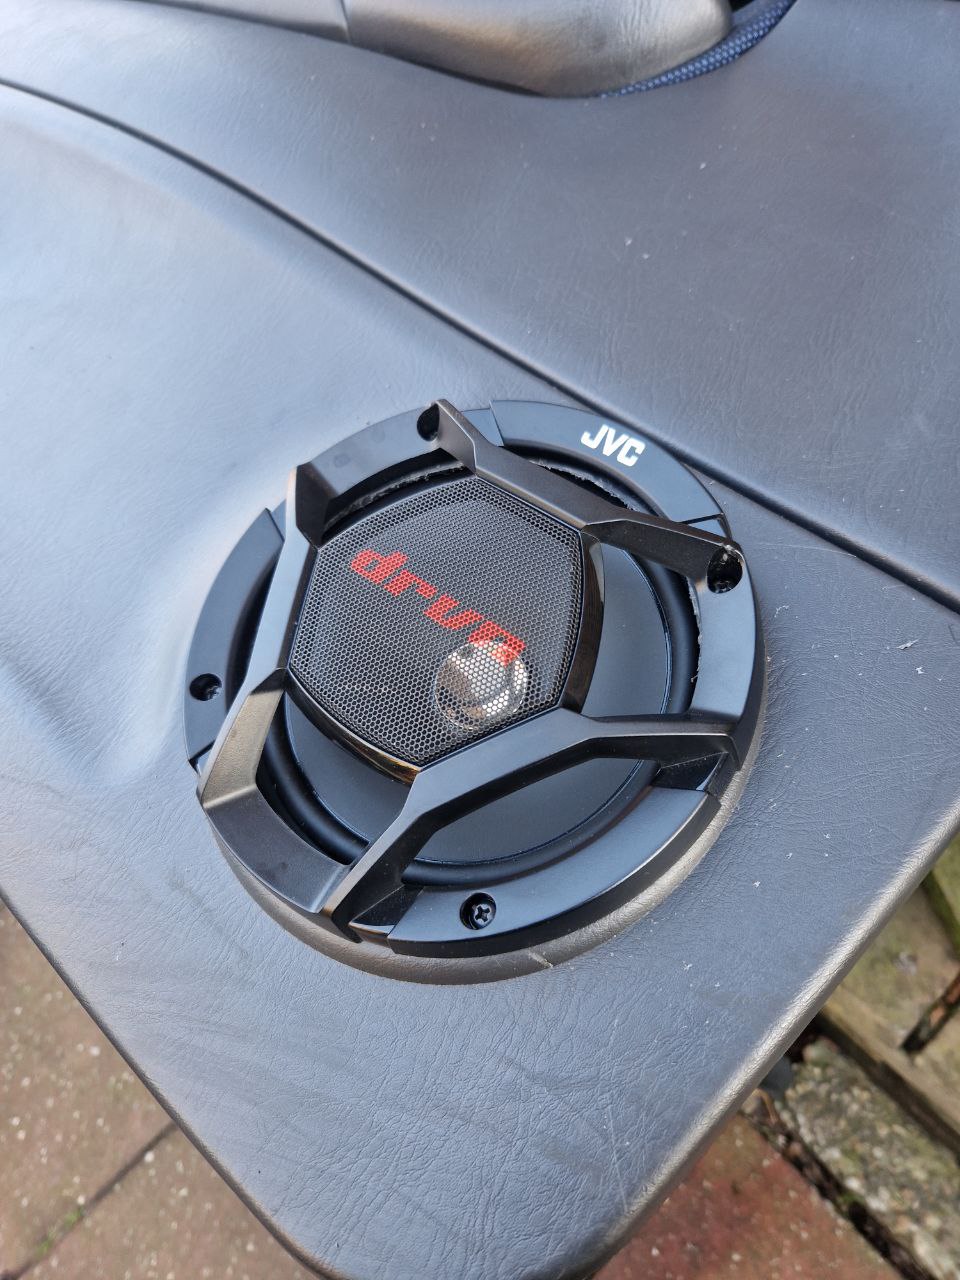
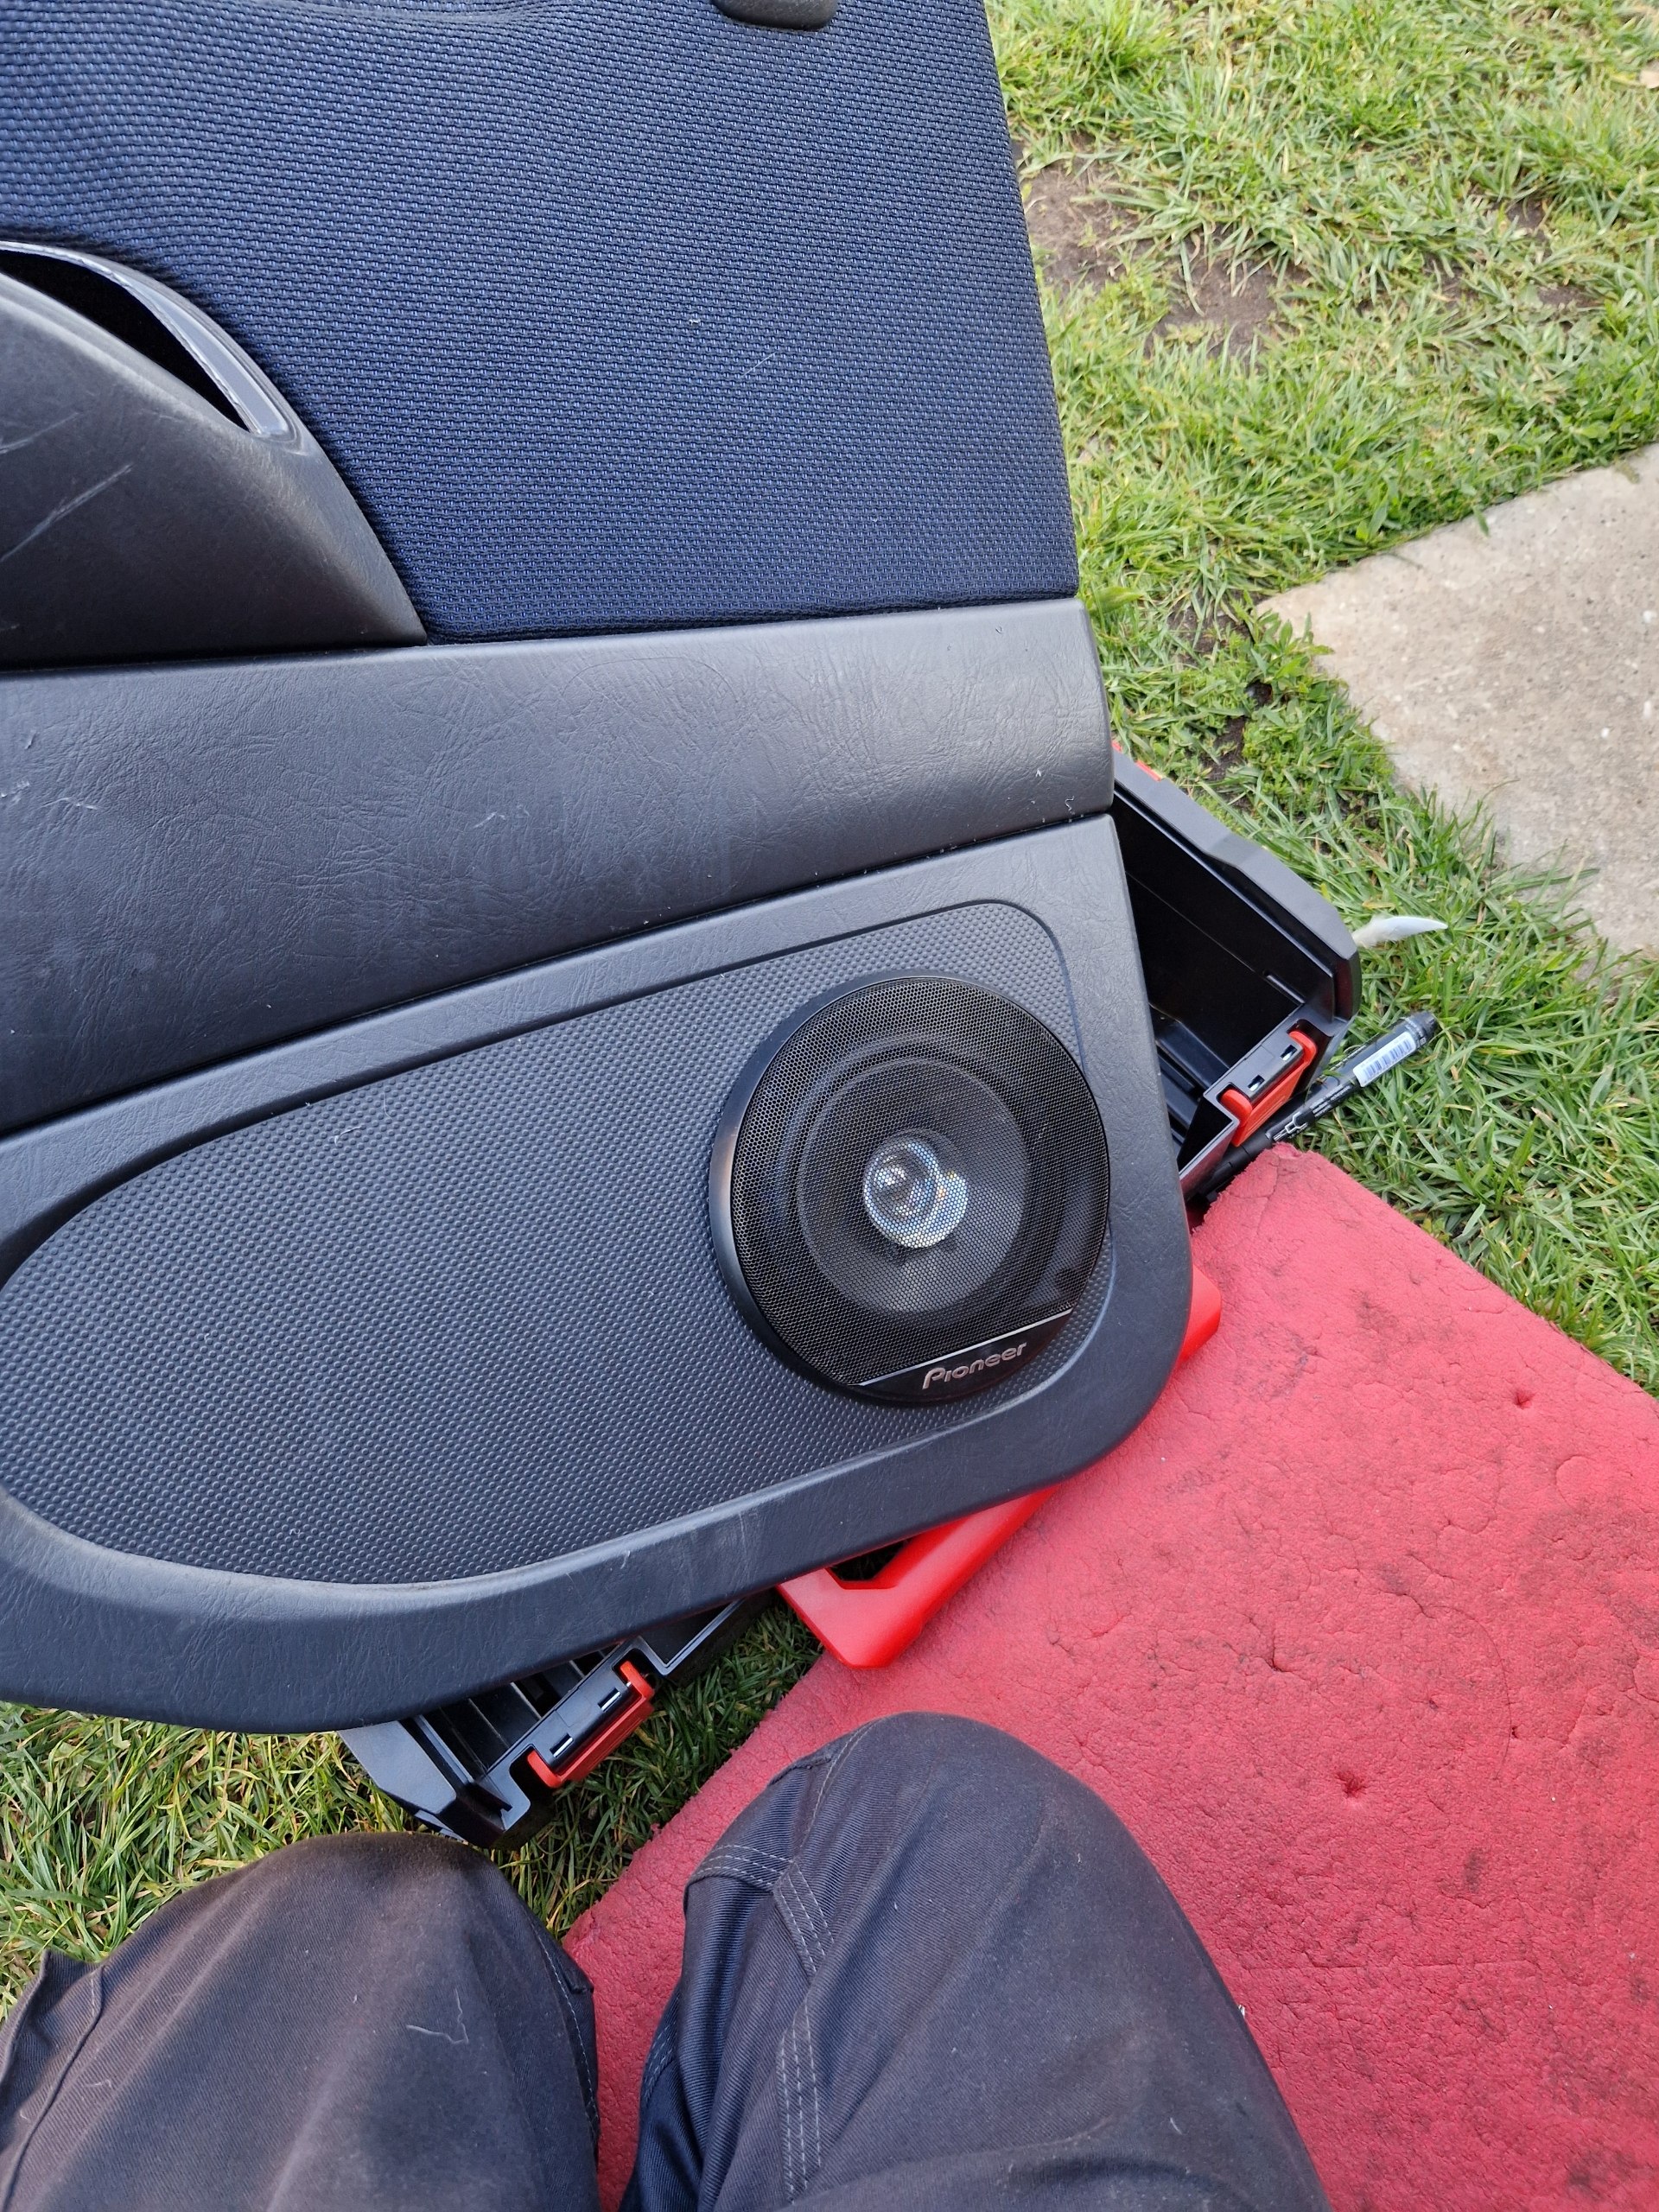
Upgraded the audio system with it too with 70w 6 3/4 inch pioneer component speakers because the JVC 50w, as we say Jammer Voor je Centen (too bad for your money), broke and was crackling like crazy. Used the same speaker covers because i didnt get pioneer ones lol.

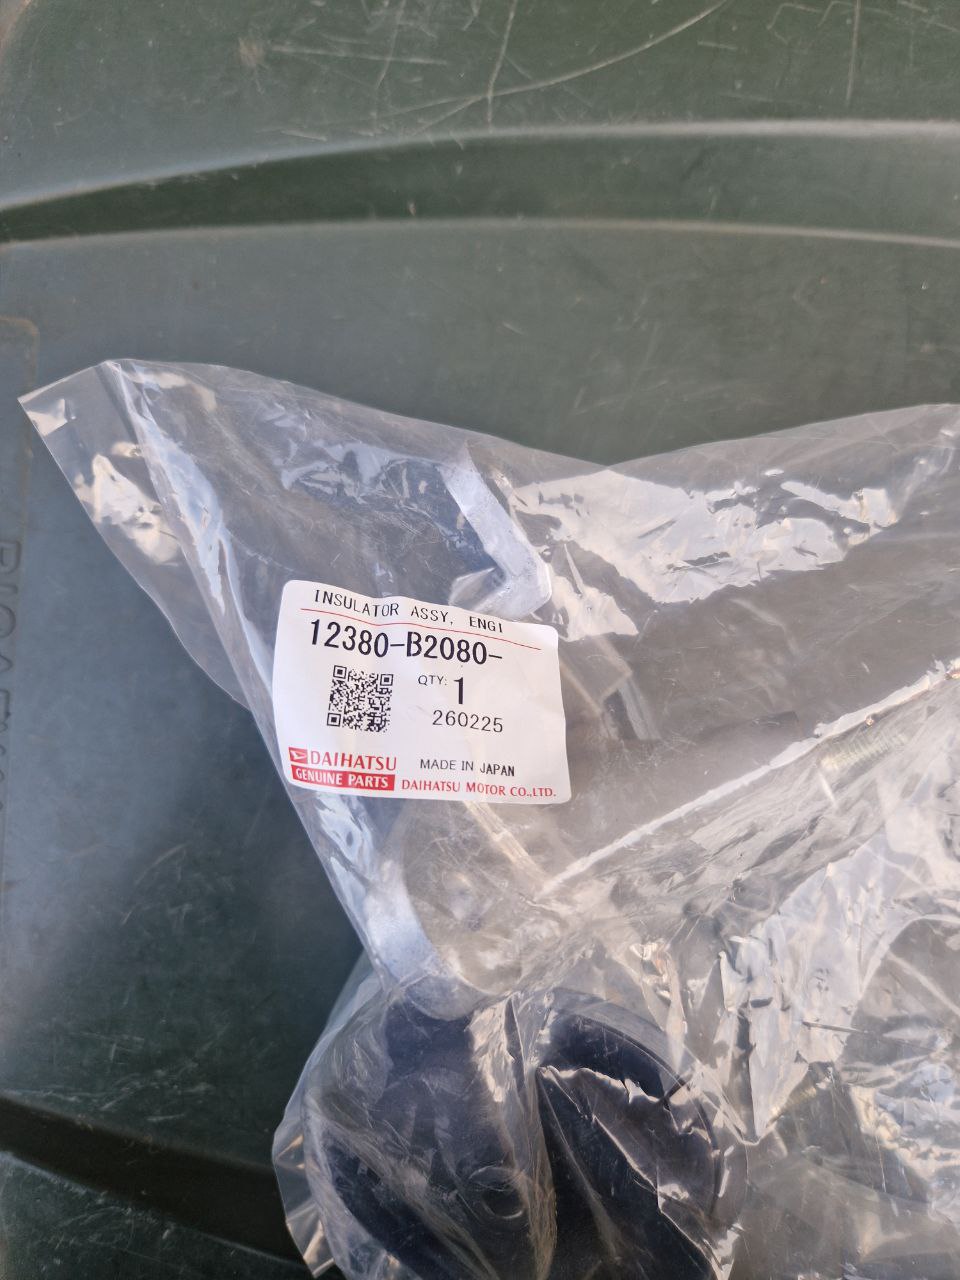
In the meantime the rear engine mount bolt vibrated loose and the whole engine dropped against the firewall, tearing up the engine mount rubber. Spent a whole afternoon trying to get the engine back on its spot and after i got it installed, the vibrations were still there. Thats when i knew the mount needed to be replaced. Called up the local dealer and they still had them in stock for 140eu.

Heres the part number, but after trying to install it, i noticed its not a small job like on hondas so i still have it in storage.

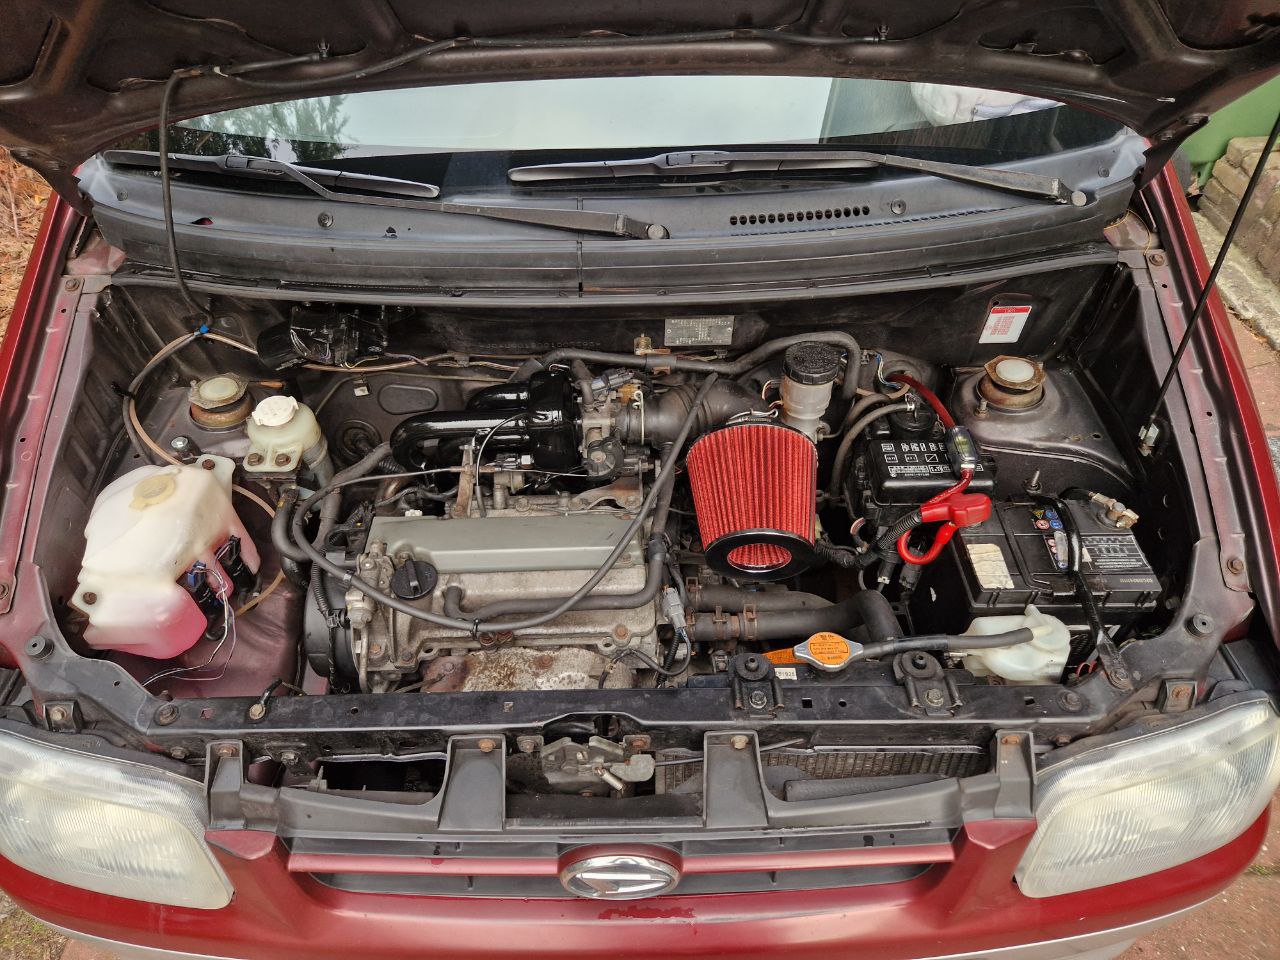
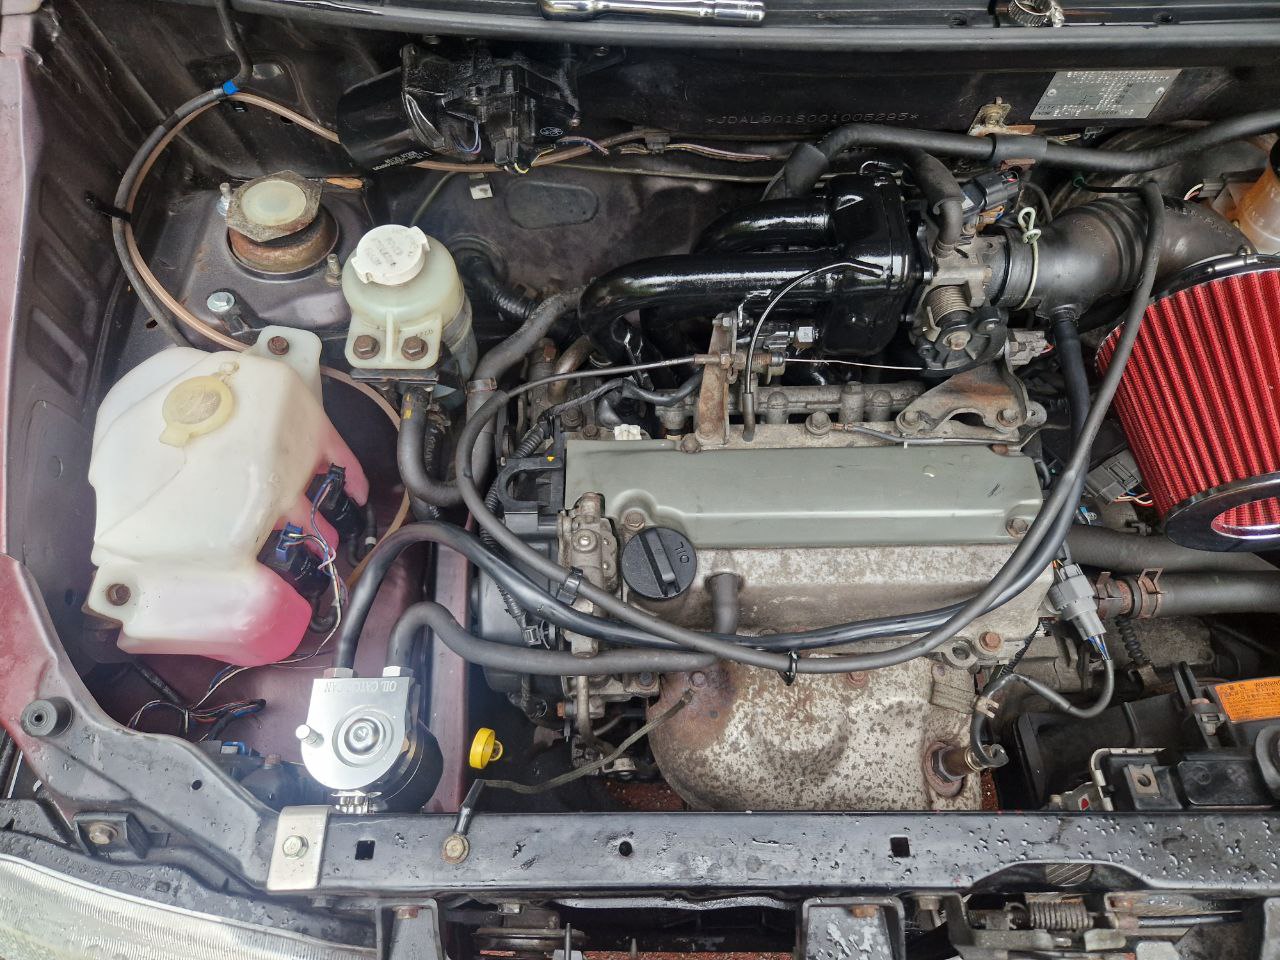
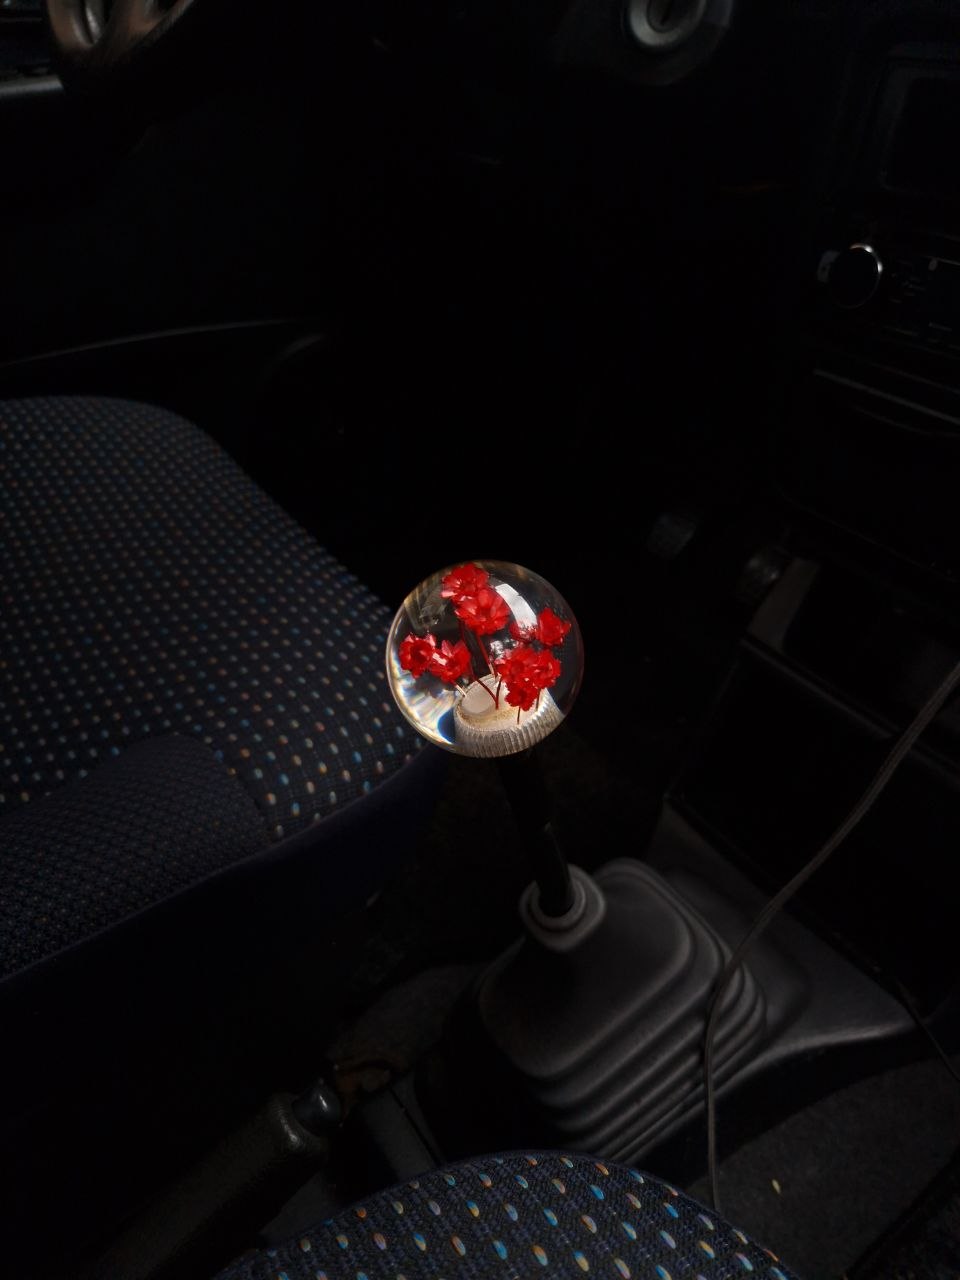
To cope i got some cheap things from aliexpress to spice the ride up xd. I think im going to install the stock intake again, as this one is really loud ofcourse and that was not my goal with all the soundproofing and all. But im still considering it
-shiftknob, oil catchcan

Next step is probably maybe some more lowering, fitting the tri spokes with new tires or window tint.

Sorry if my storytelling skills are limited, english is not my native language and this is my first forum im writing for haha

Stay tuned!

3 Likes

Hey yall !

It was a tough 3 months in my private and work life but i managed to get some audio work done on the Move !

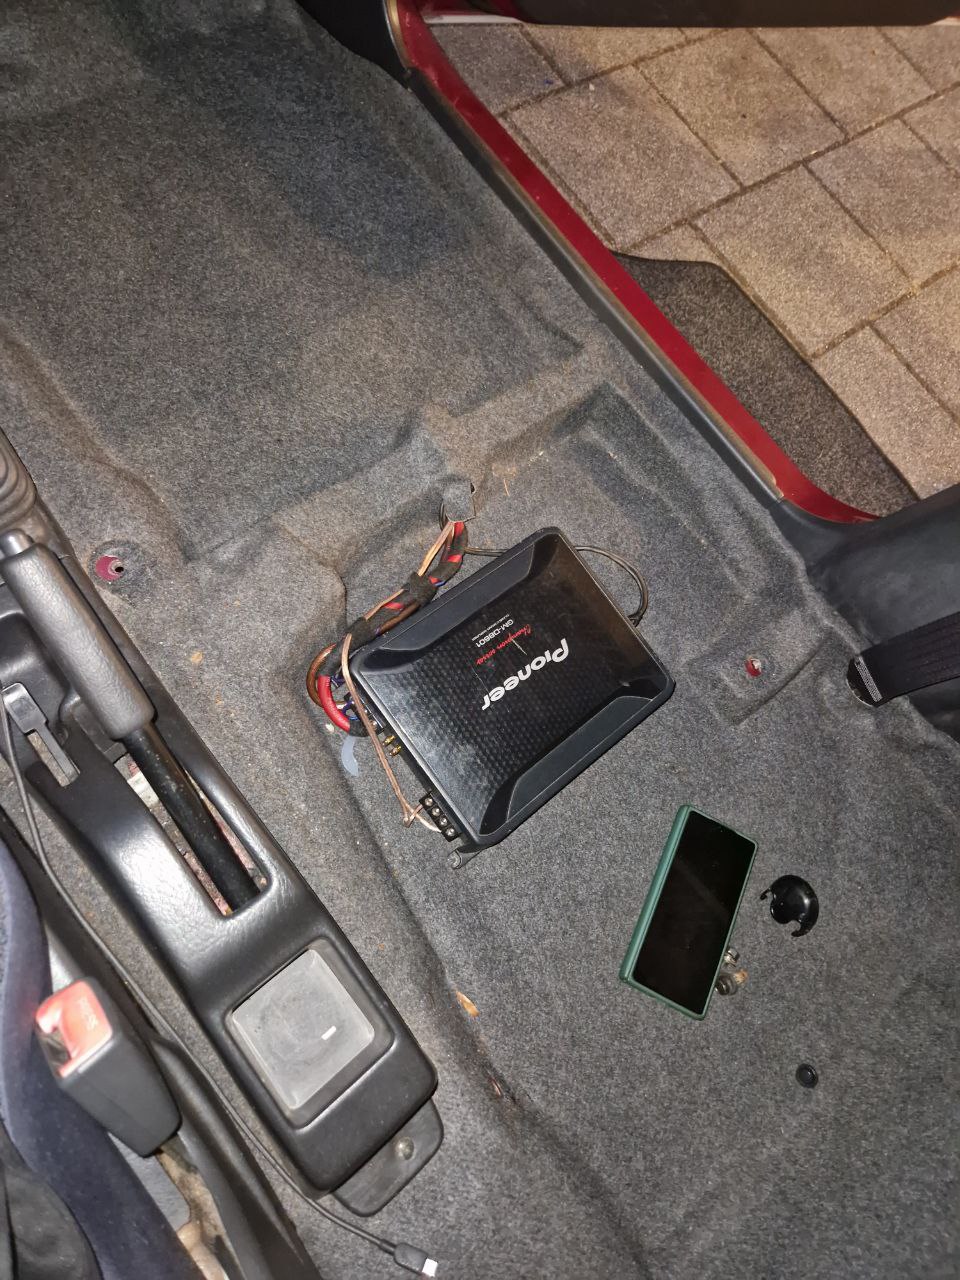
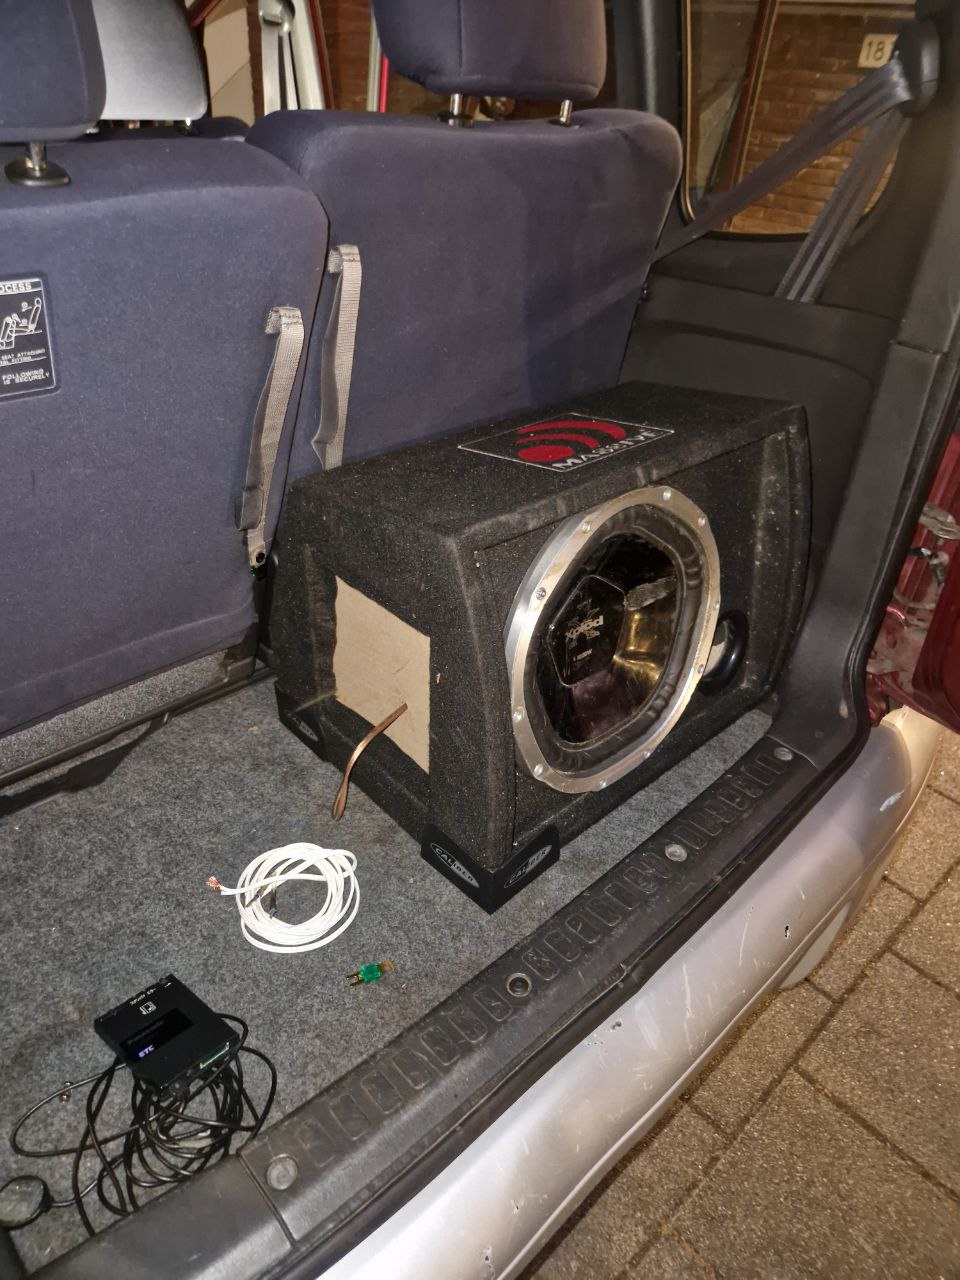
My amplifier broke and took my subwoofer with it, got a bigger 380w Sony Xplod sub in the trunk together with a 480w class AB amp.

Installed it under the driver side seat now (LHD) so the seat diagonal to me can be used as the “presidential seat” with the most legroom and the most reclining backrest room. Maybe for the future something custom can be made for a legit president seat :)) all just fantasy and ideas now but with money anytning is possible XD

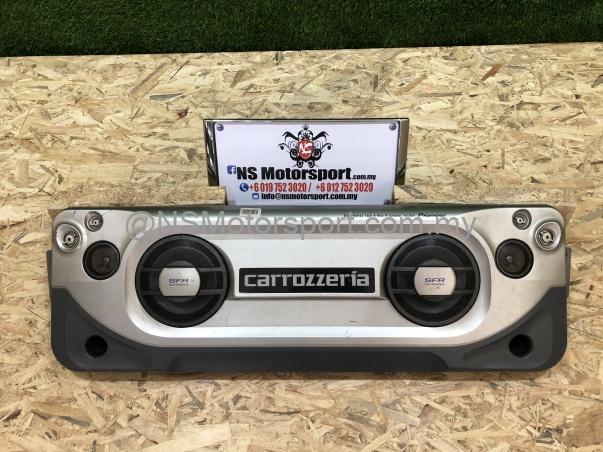
I noticed the audio was really directional from the front and needed something in the rear. There exists a JDM OEM Pioneer Carrozzeria option like this:

Mounts in the roof at the rear door

but i had the old speakers laying around and just used those (Pioneer 13cm 35w coax). Maybe in the future i will add this roof speaker together with a 6 channel amp :eyes: .

The ideas are crazy, and i fear too crazy for my alternator and battery. So far i couldnt find any high output alternators for the EJ-DE unfortunately but thats a problem for another time.

Rear speakers in the doors never came from the factory so i had to get creative.

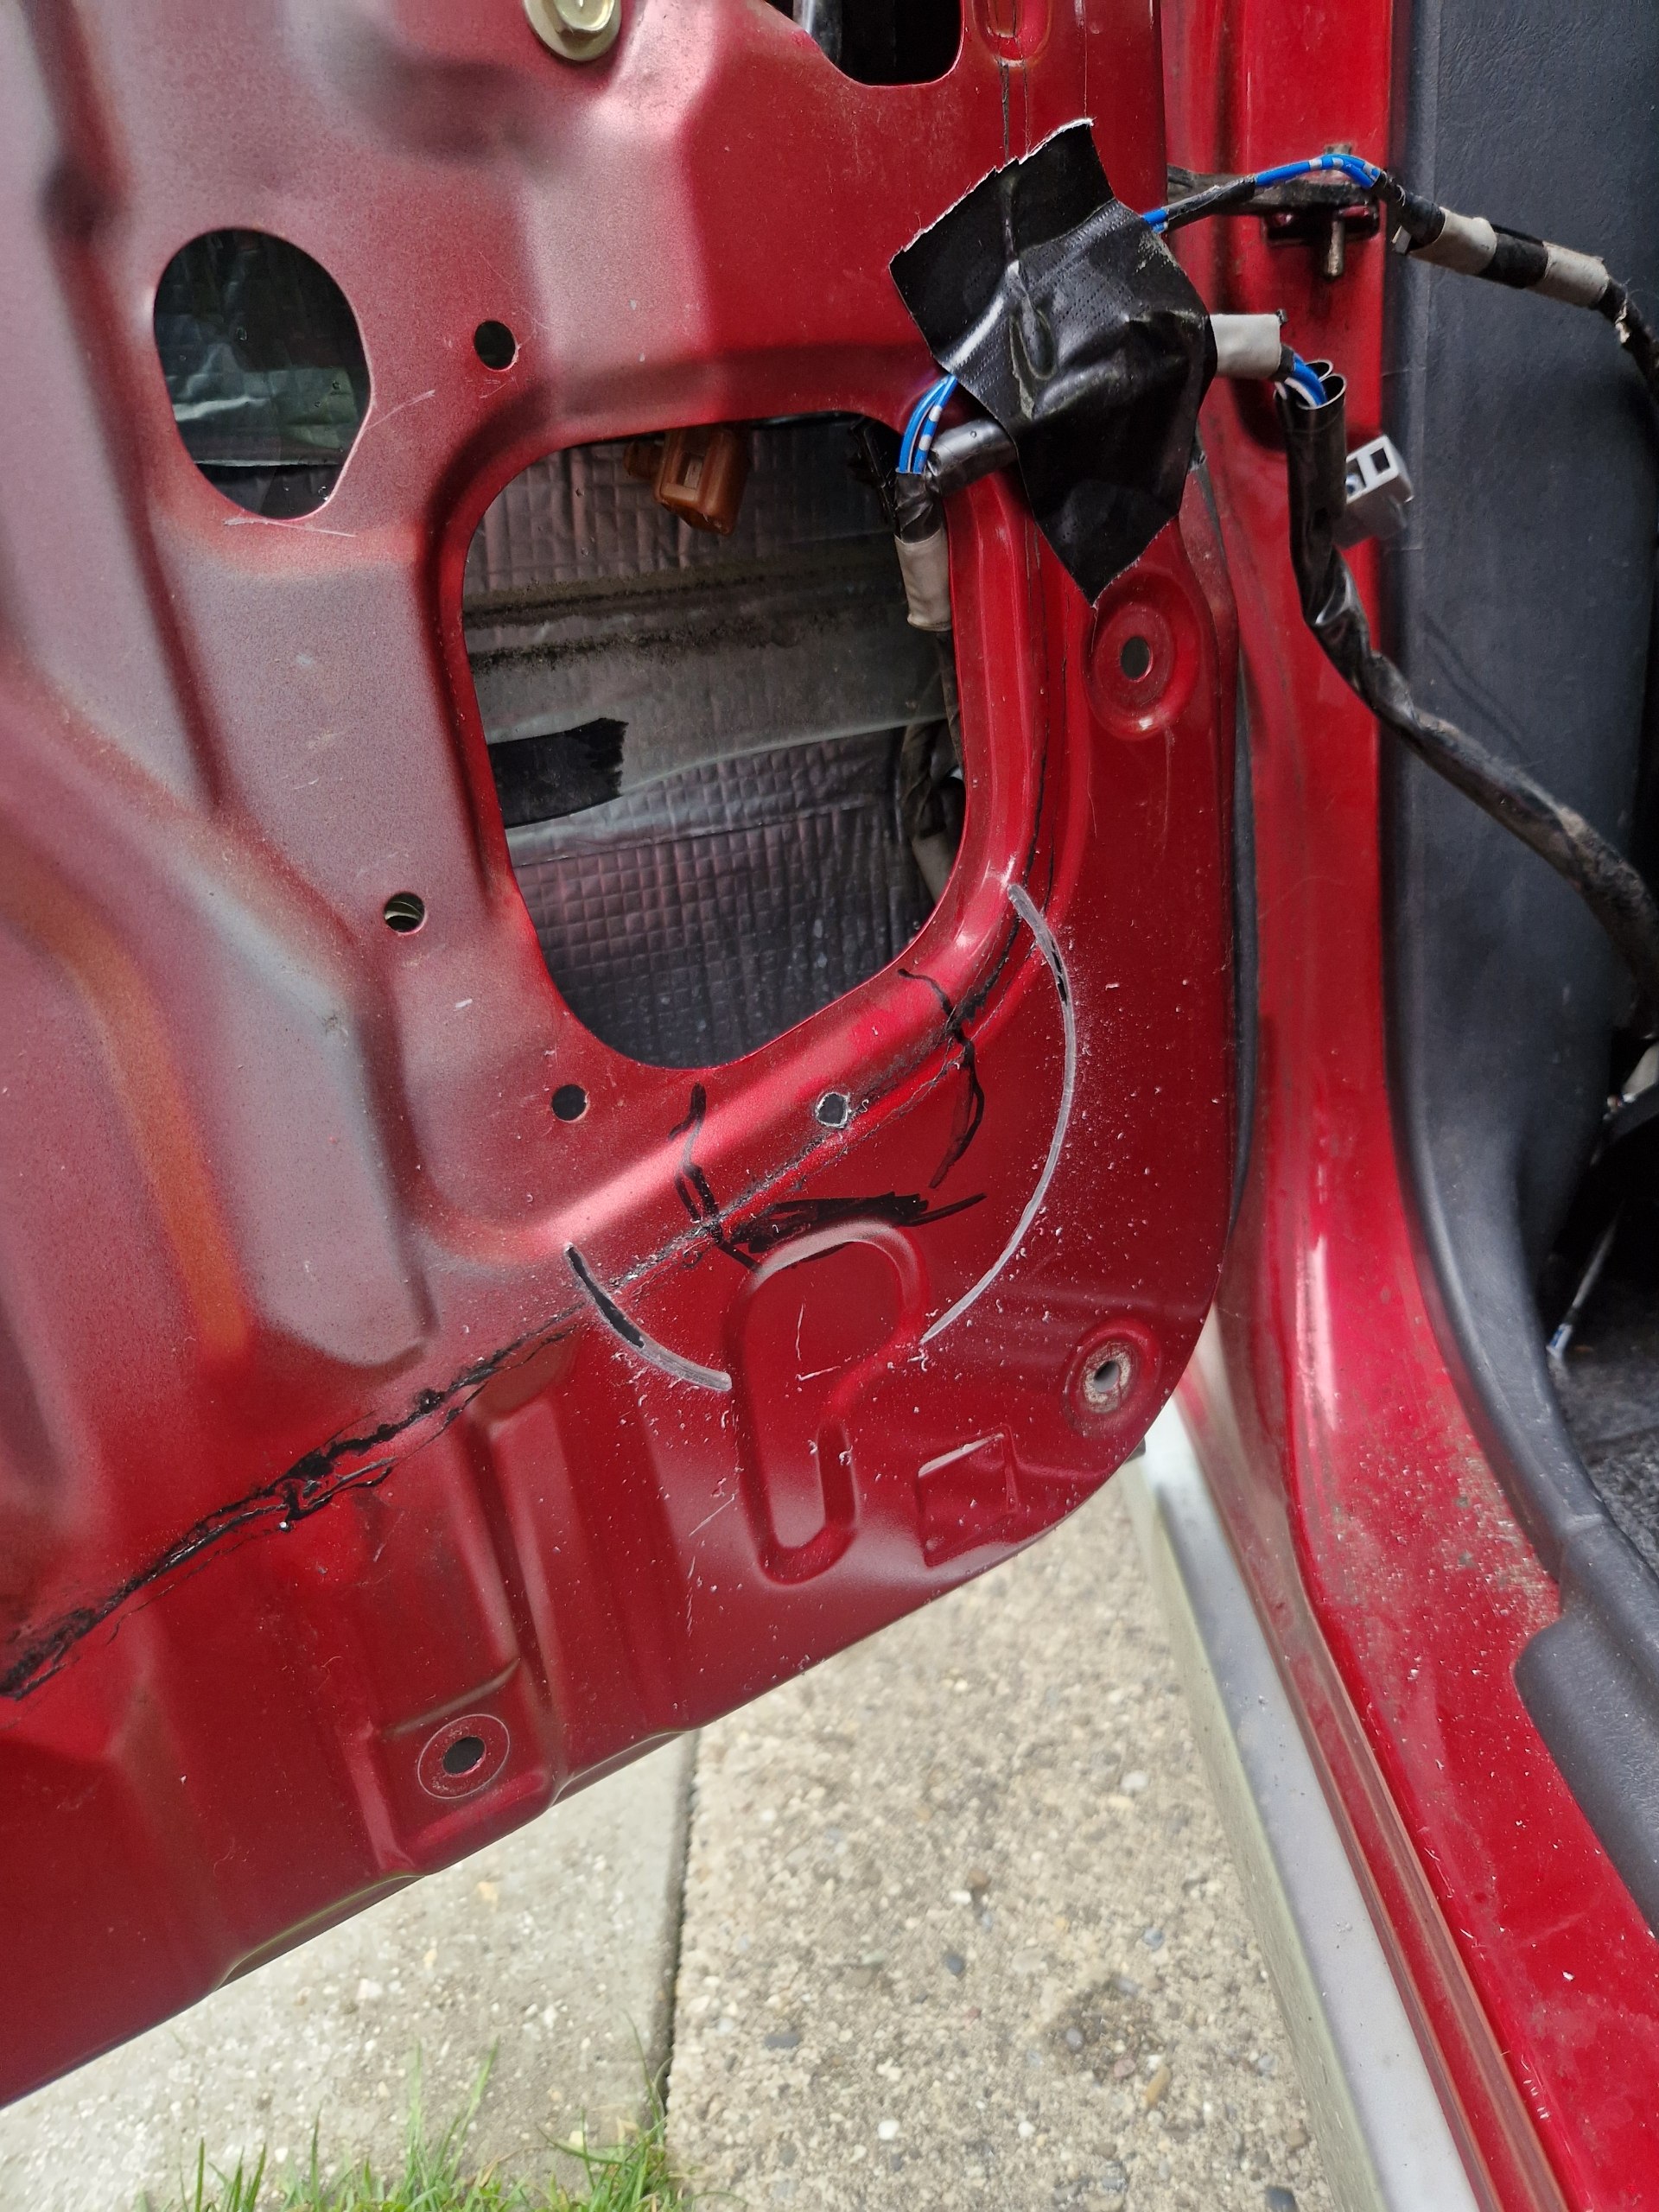
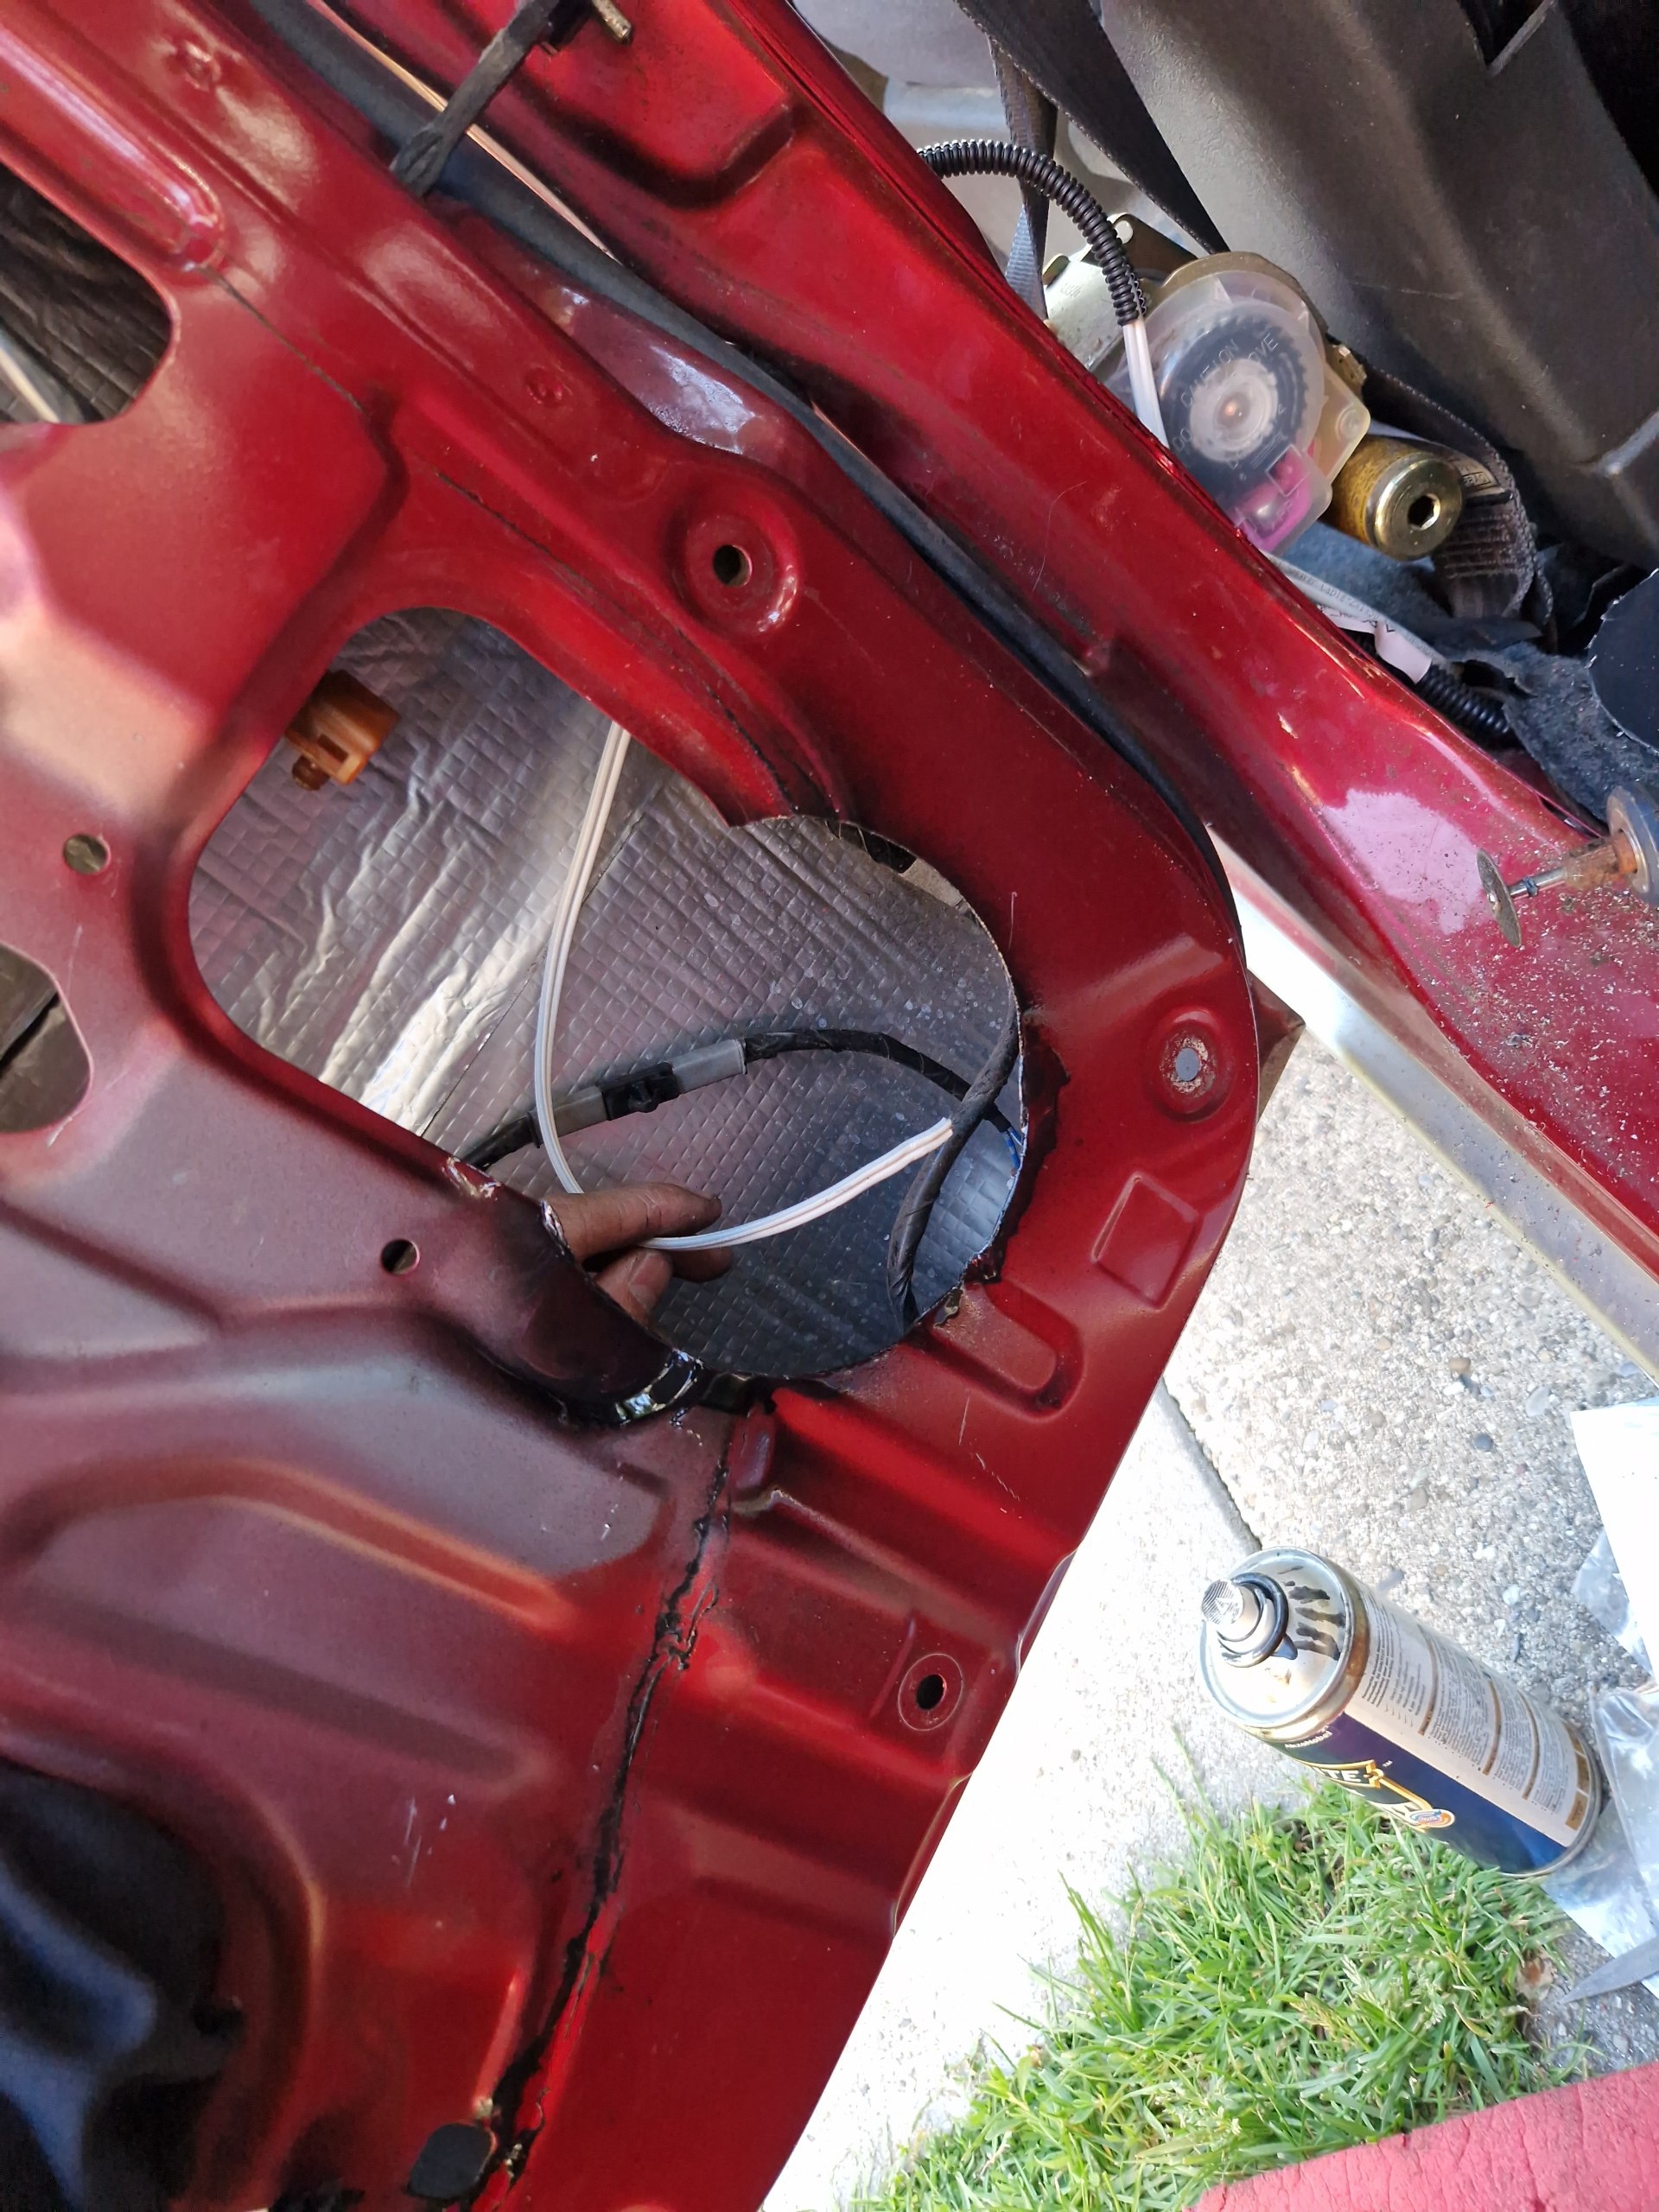
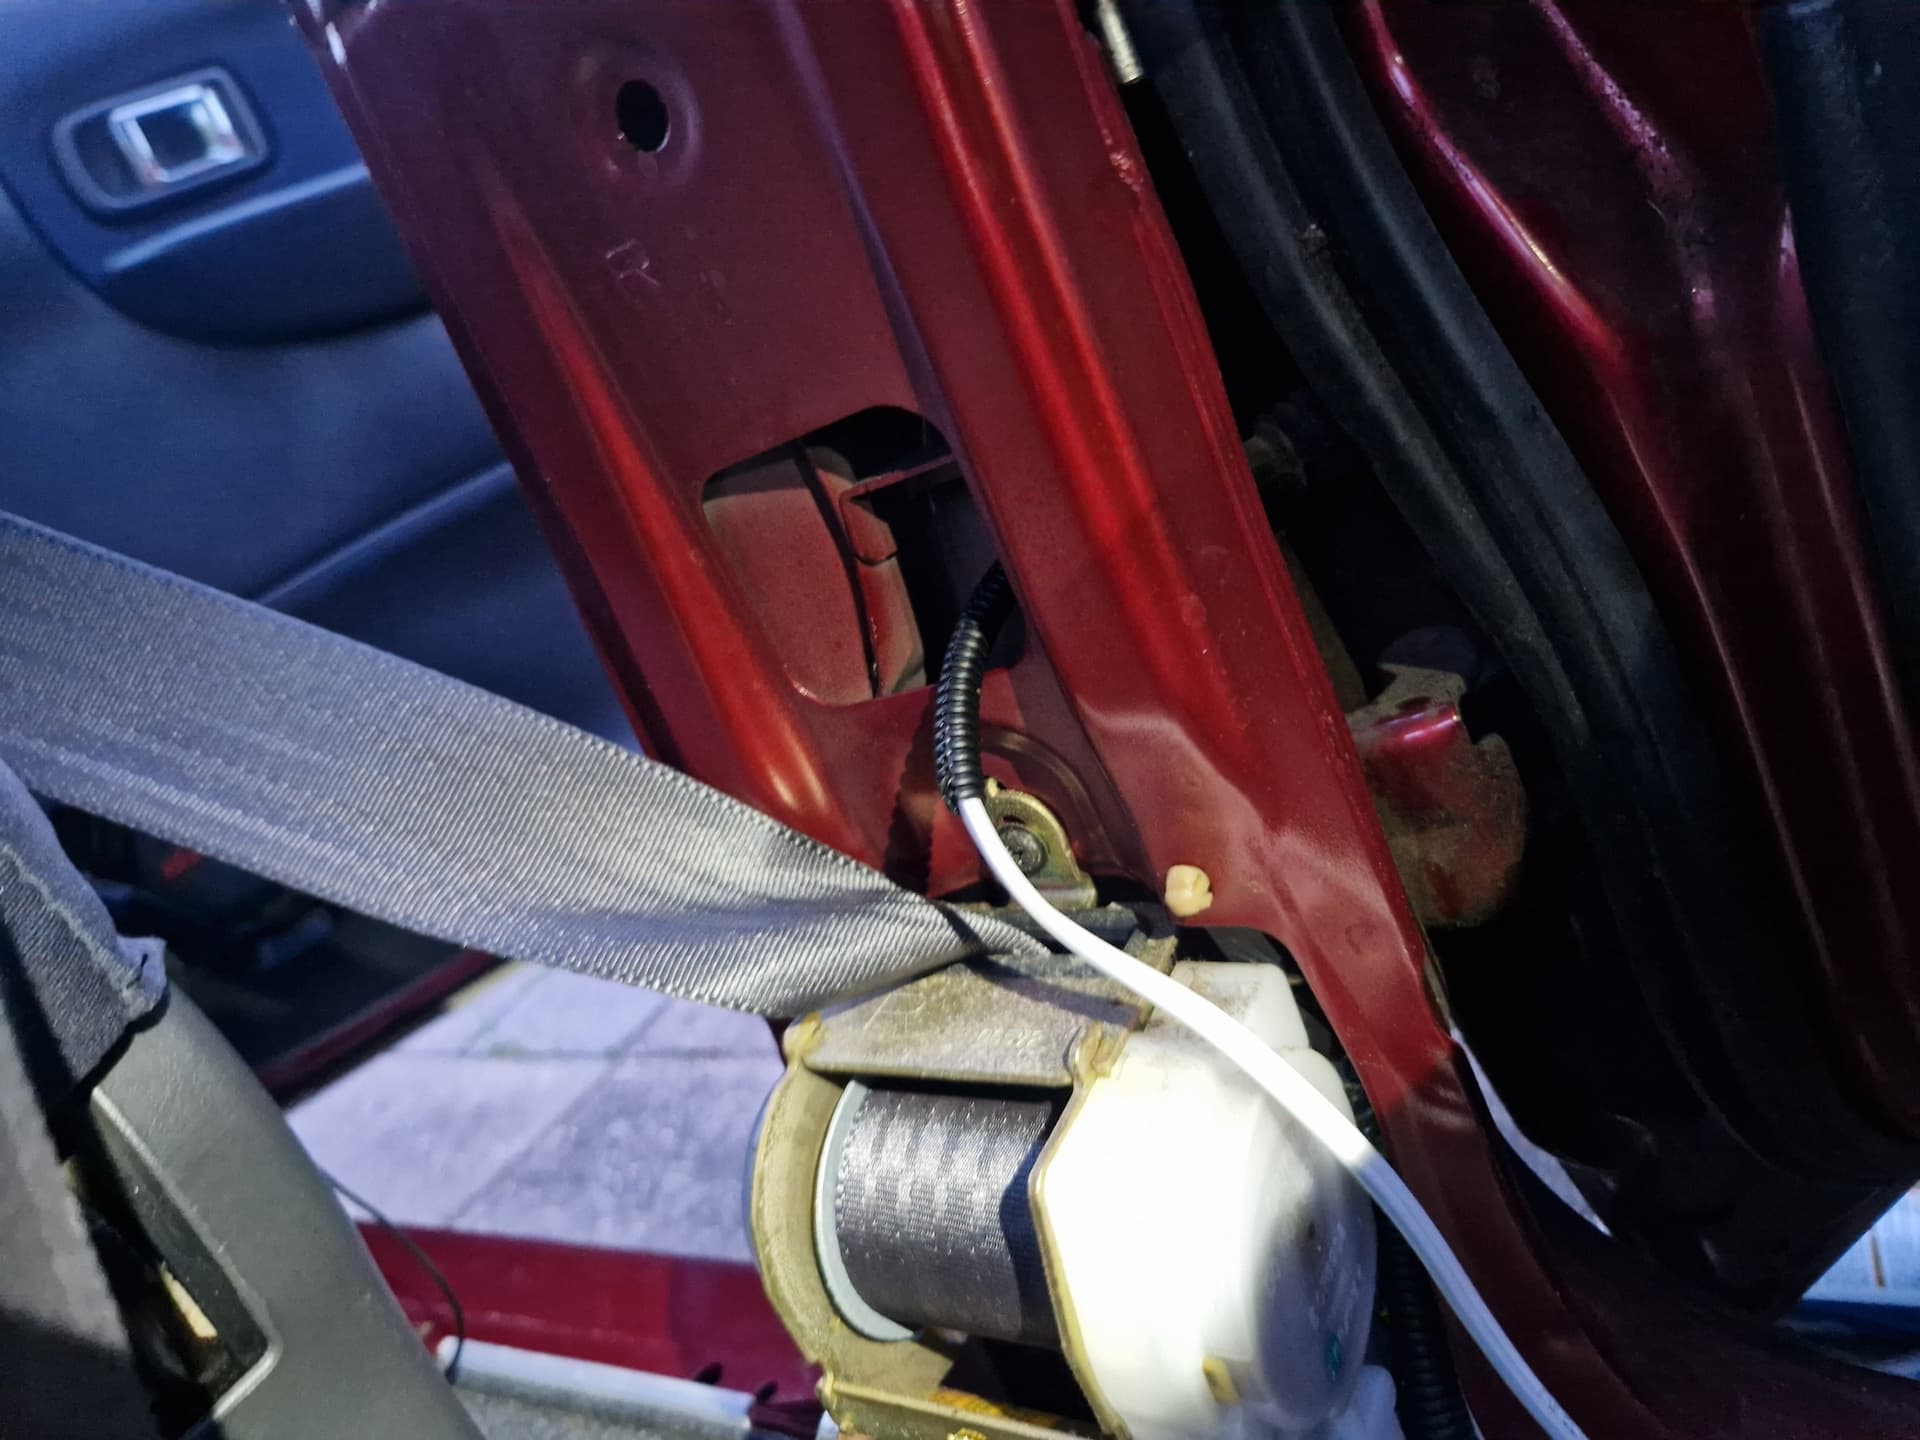
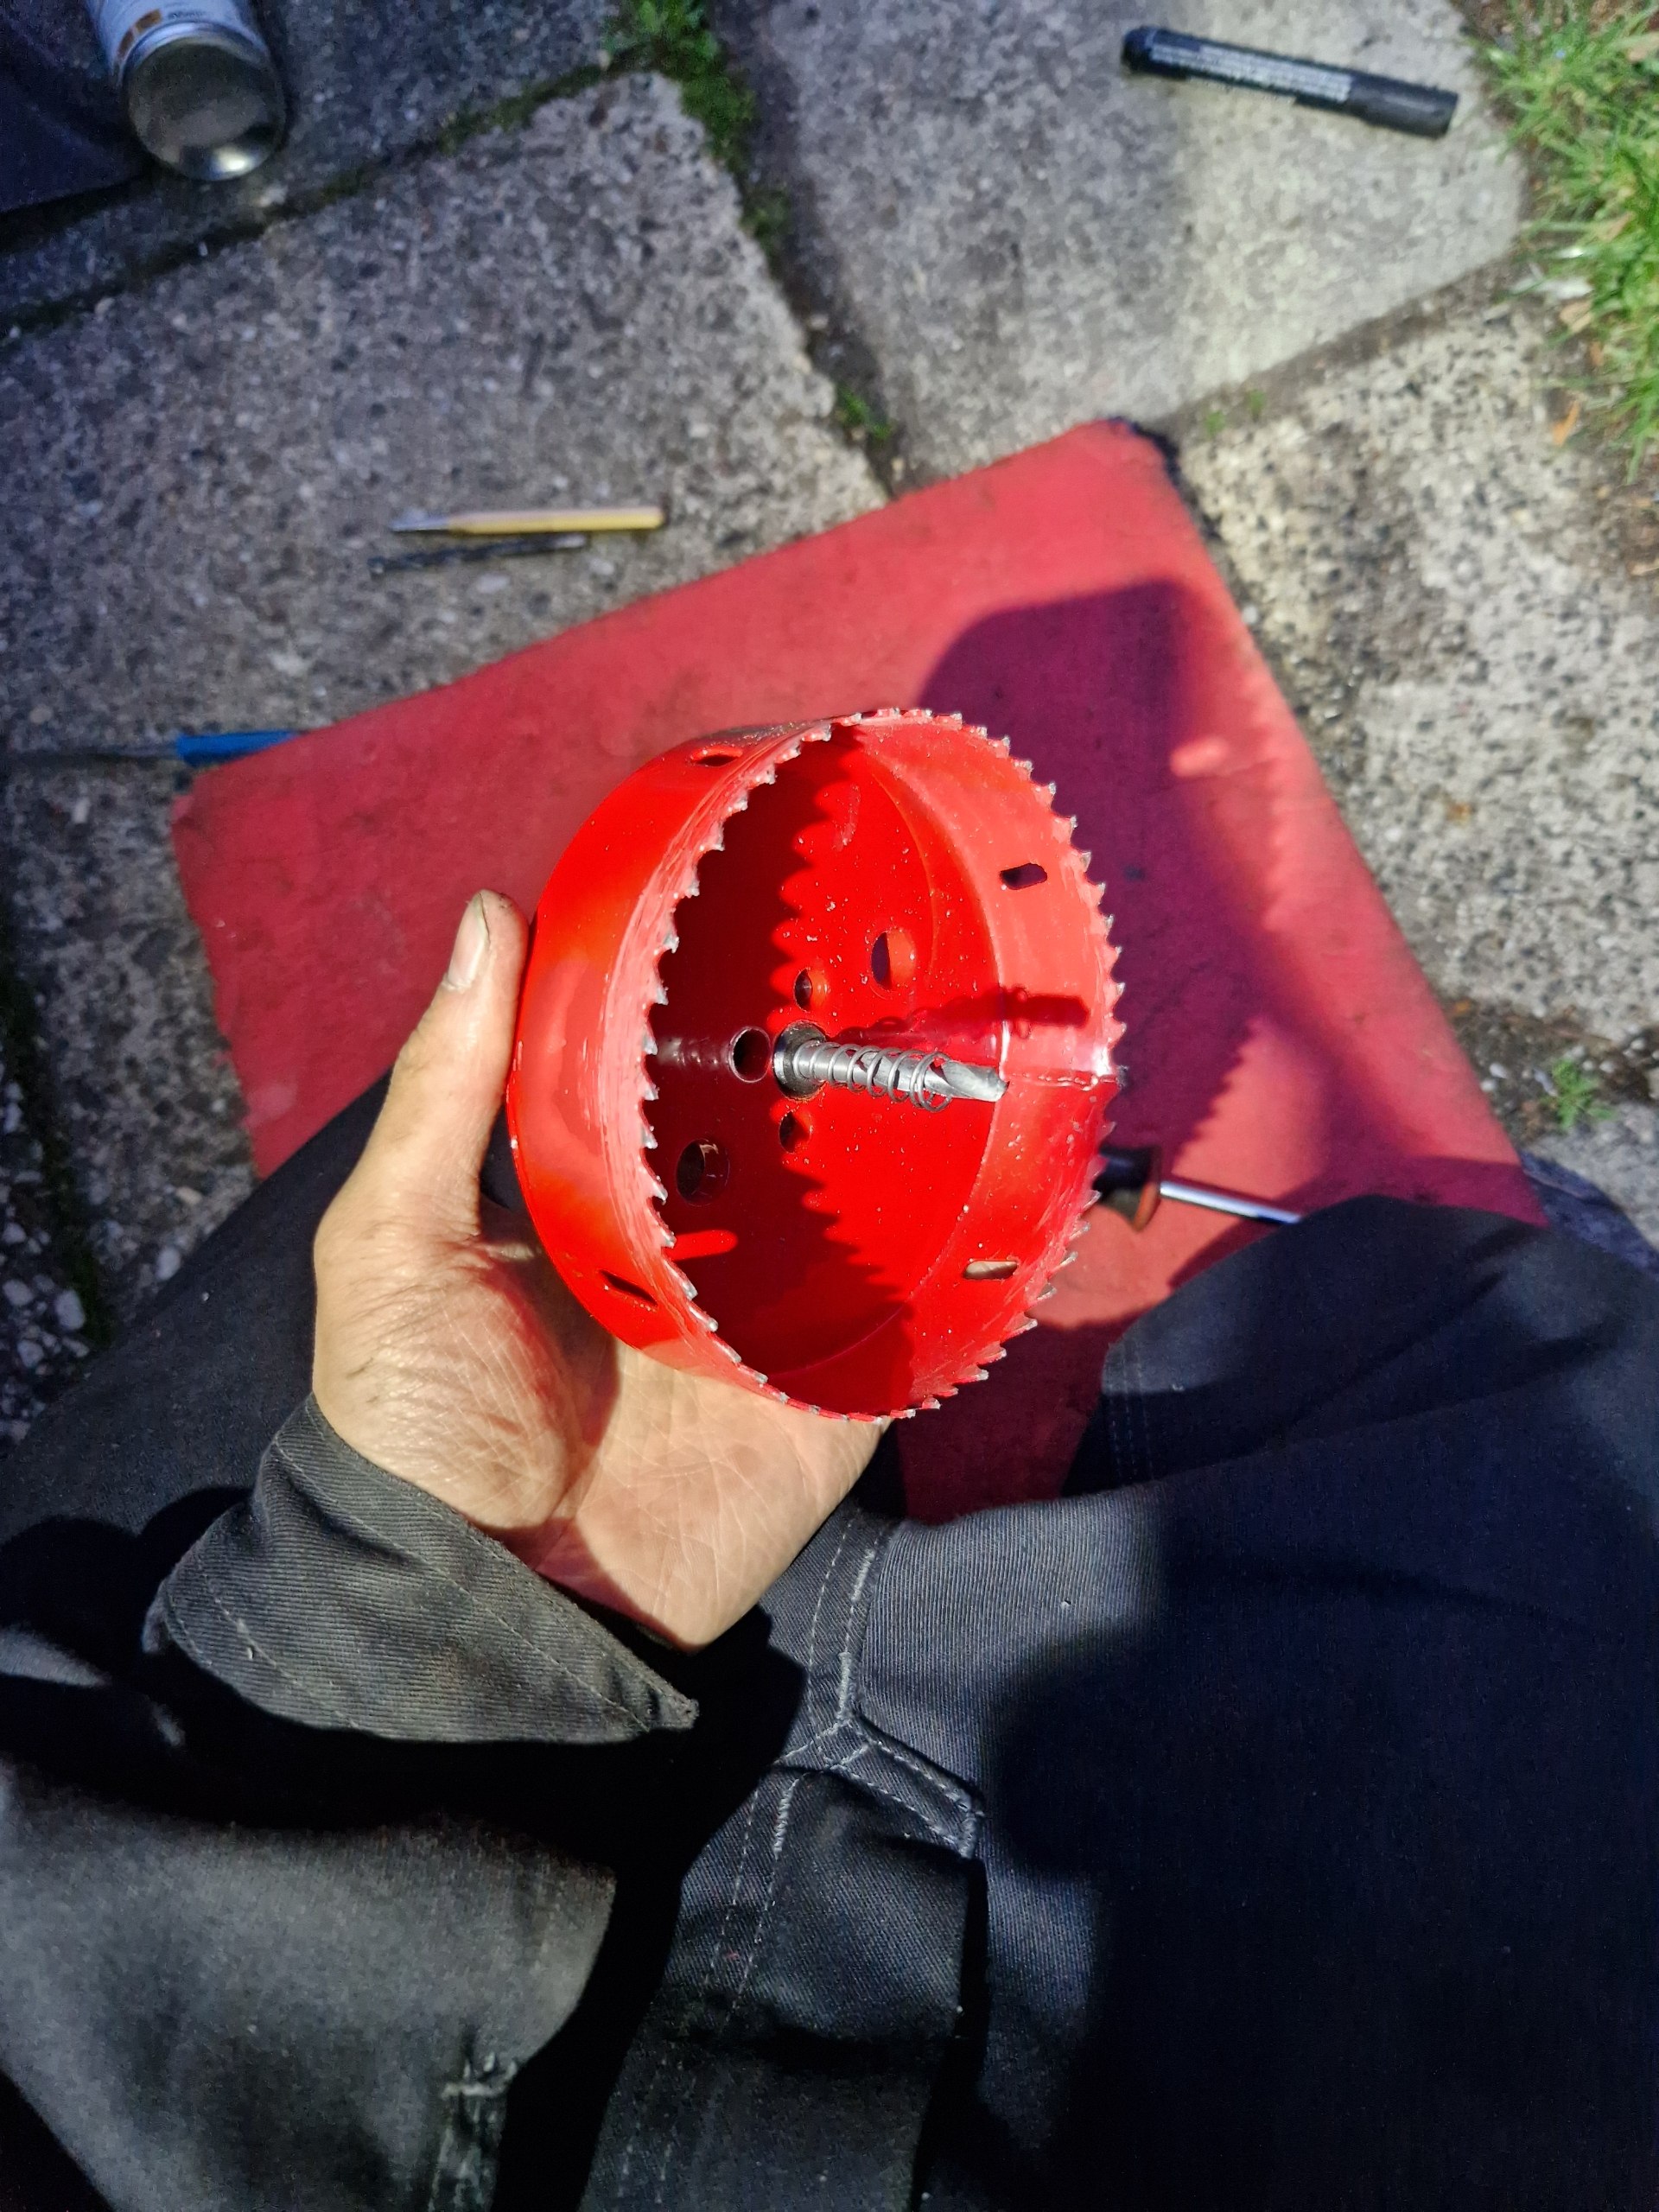
I began with marking the spots where i needed them with marker and started drilling. I used a 120mm hole saw and ran the cables through the factory rubber sleeve where the power window cables go through.

Used the same hole saw in the door panel and mounted the speaker with screws and speednuts straight into the doorcard. Just like how its done OEM with the front speakers, really unusual but surprisingly handy.

Still have some problems to fix with the Move like

  • minor coolant leak at waterpump housing (timing belt needs to come off)
  • rear engine mount teared up
  • sweaty oil pan gasket
  • minor cv boot wear
  • and i still got the crash damage in the rear unfortunately

Next upgrades (guideline, never goes as planned lol)

  • tires on the 3 spoke rims as mentioned before
  • more lowering, maybe BC coilovers maybe shorter springs from JP :japan:
  • window tint
  • more interior styling and comfort
  • JDM Move Custom taillights

Slowly but surely its coming together and im really excited how the Move is going to be like in a couple years. Really stoked to get JDM move parts later down the line and try to fit them on this euro model !

2 Likes

Wanted to tackle alot of things bothering me with the Move and as someone who doesnt want to let projects sit and wait, I immediately went online and ordered myself alot of stuff.

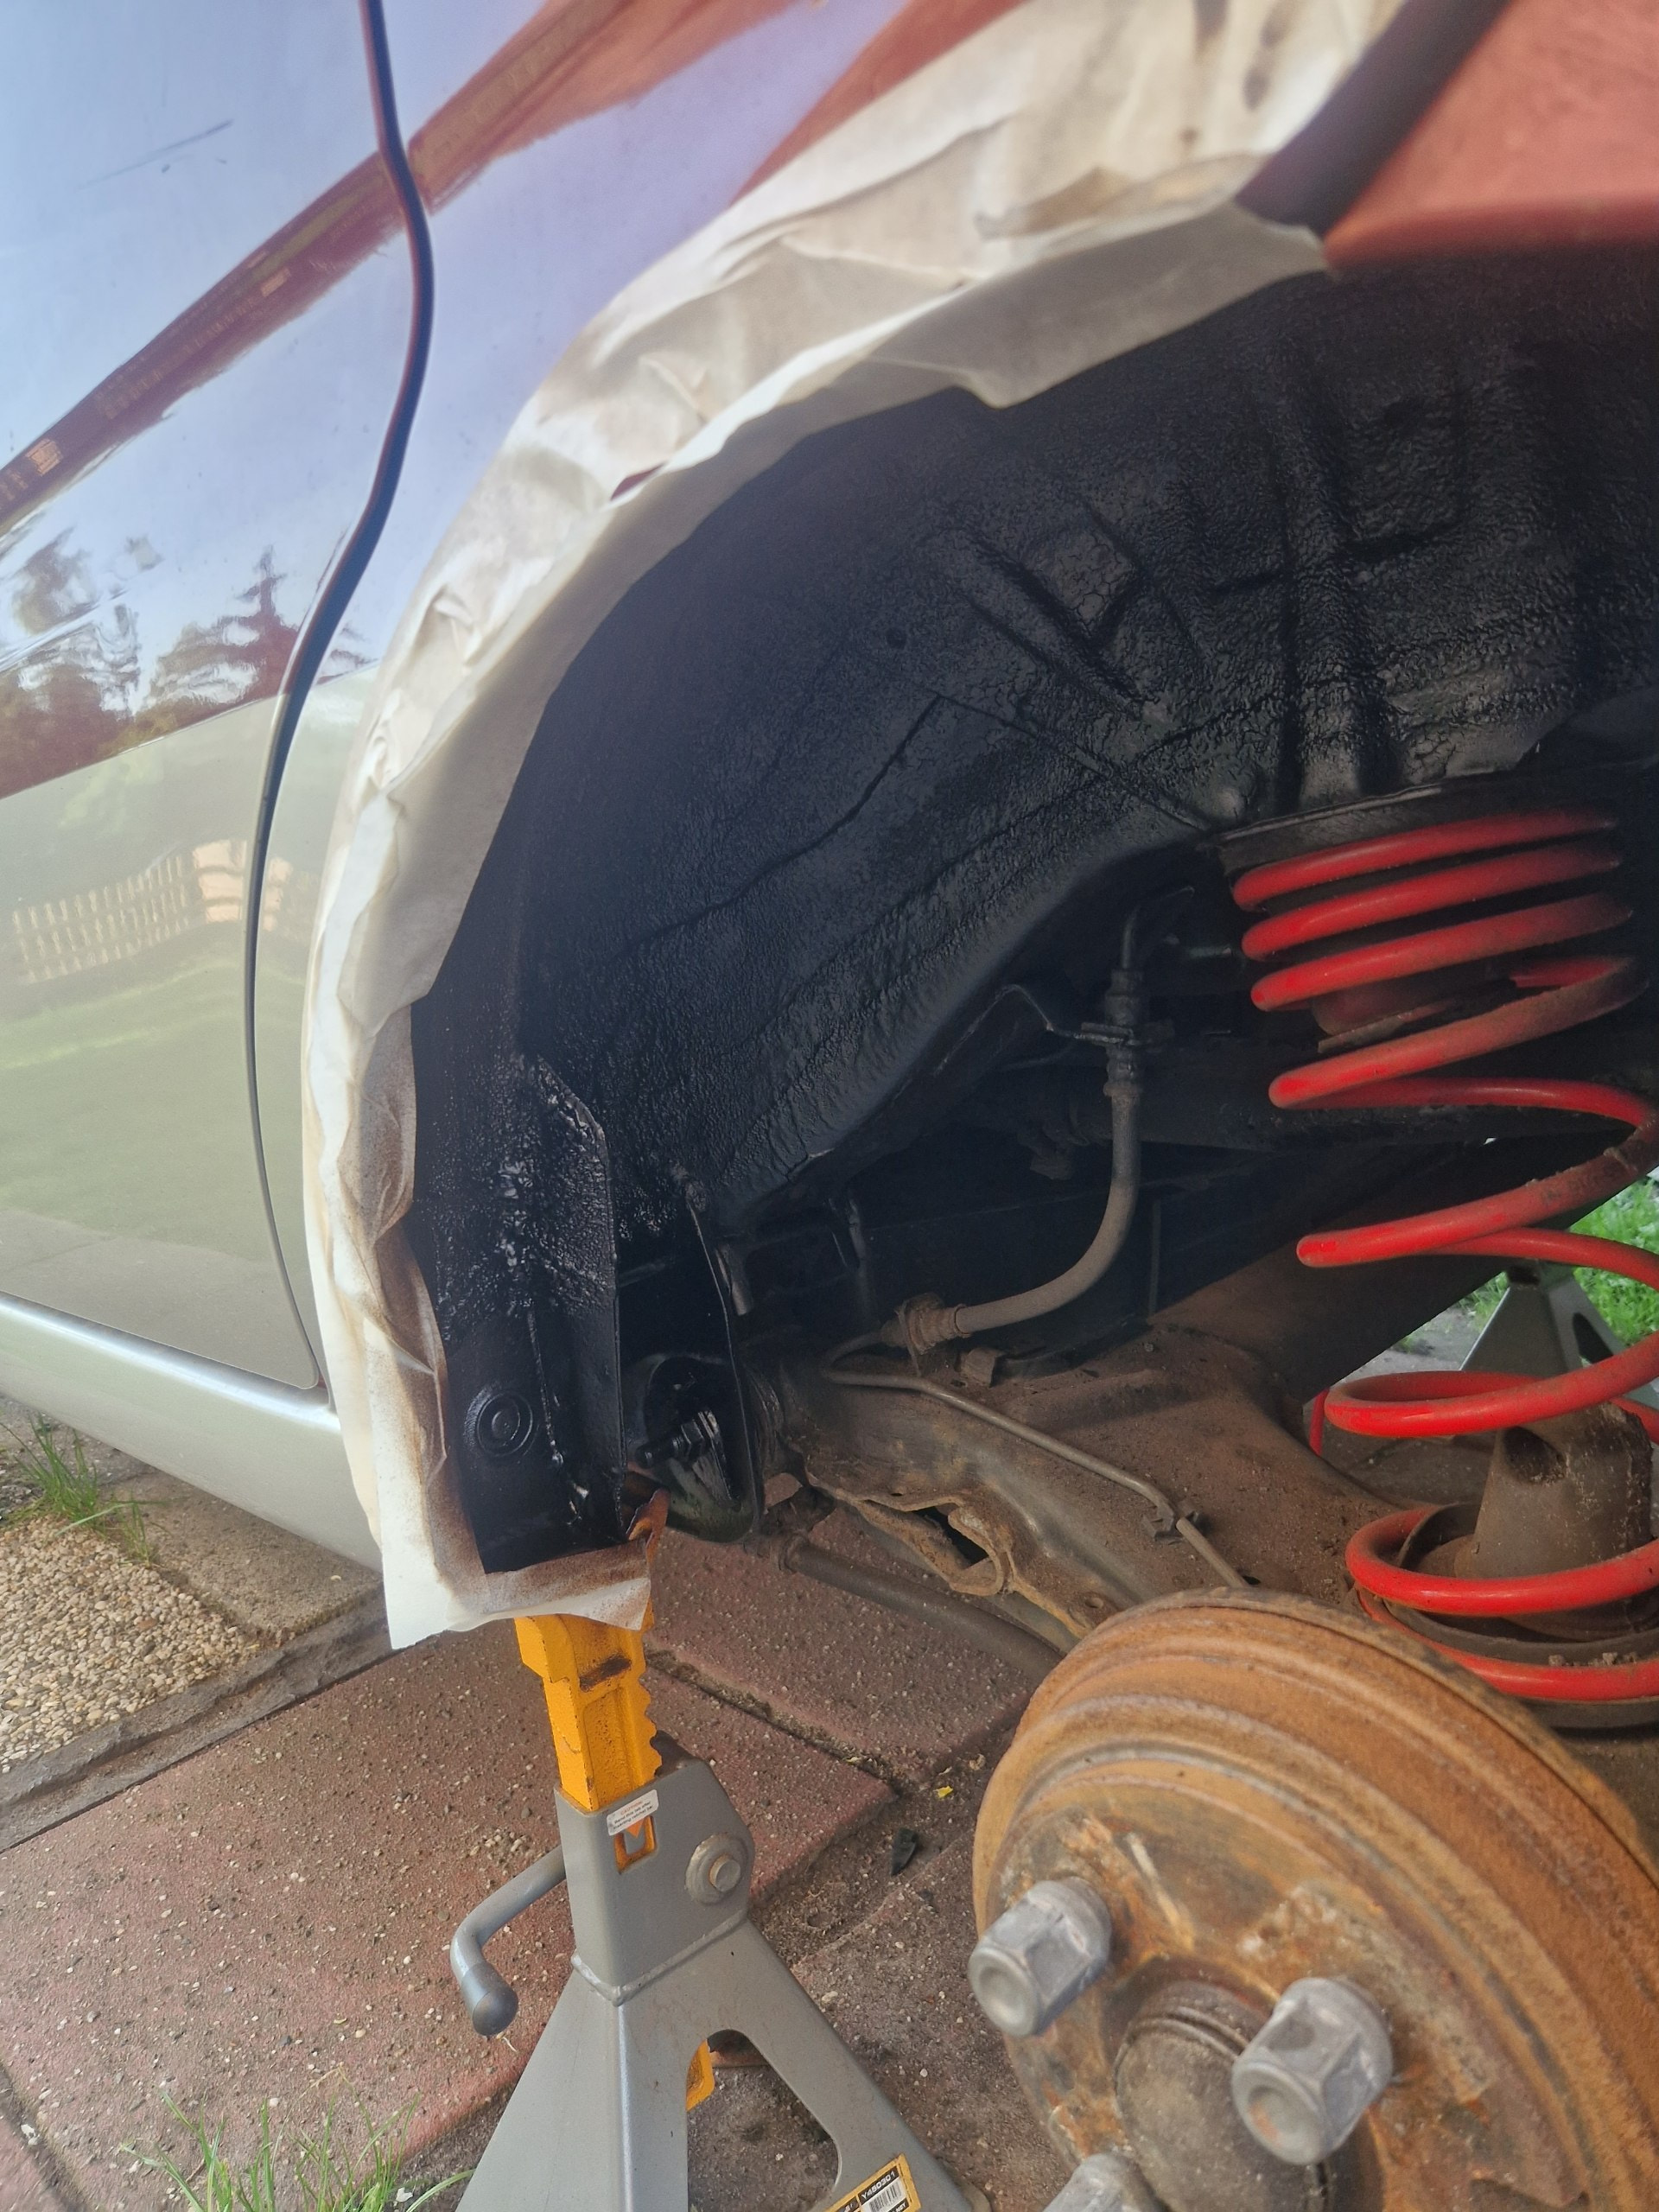
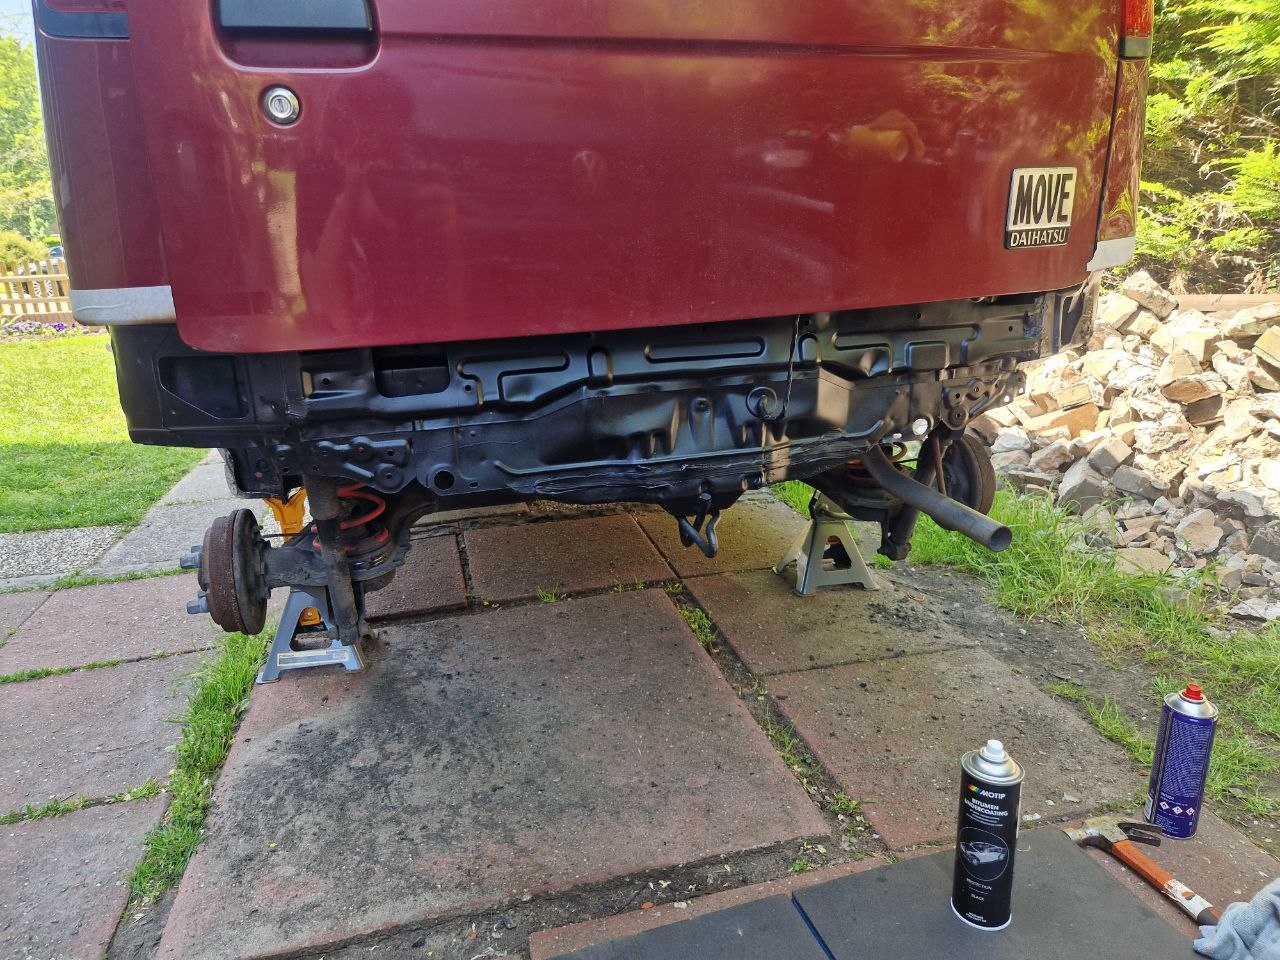
Beginning with bitumen paint with rust reformer and epoxy primer to coat the entire underbody as some rust spots were forming.

the rear that hugs the rear bumper had alot of rust spots too because of rocks kicking up probably and decided to sand everything down and treat it too.

after a couple days of work and paint in my eyes and hair, the entire underbody is coated with subframe and rear trailing arm included and hope that it will hold well for a little while.

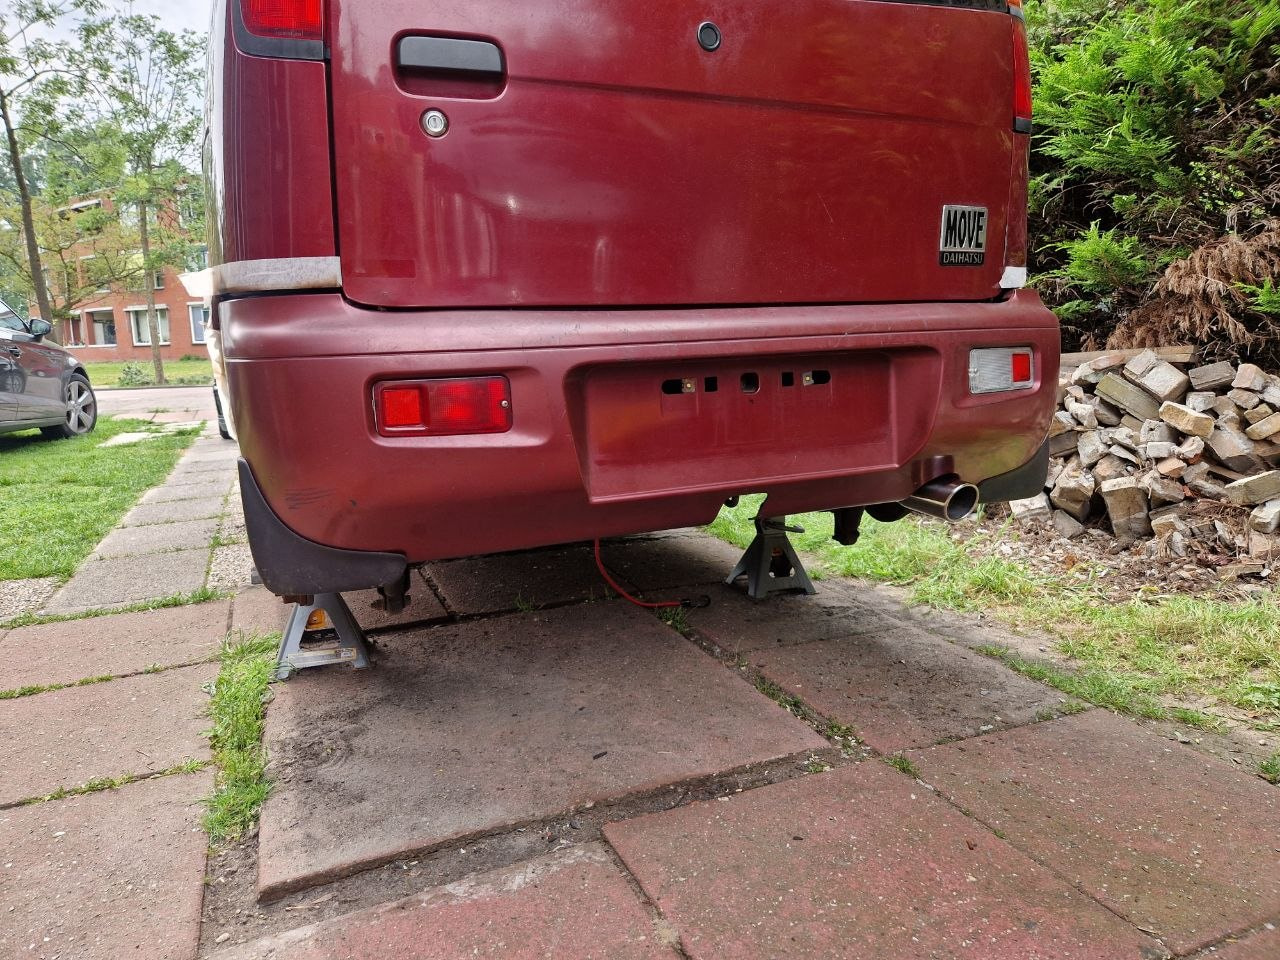
mounted a “new” rear bumper as the silver one was dented and damaged badly, this one just needs a good clean and a little polish. and i actually like the complete red rear…

Also added a little cosmetic exhaust tip, saw that this was actually an option from the factory. I took some measurements using scale from the internet that came out at around 70 to 80mm so i went for a 76mm tip.

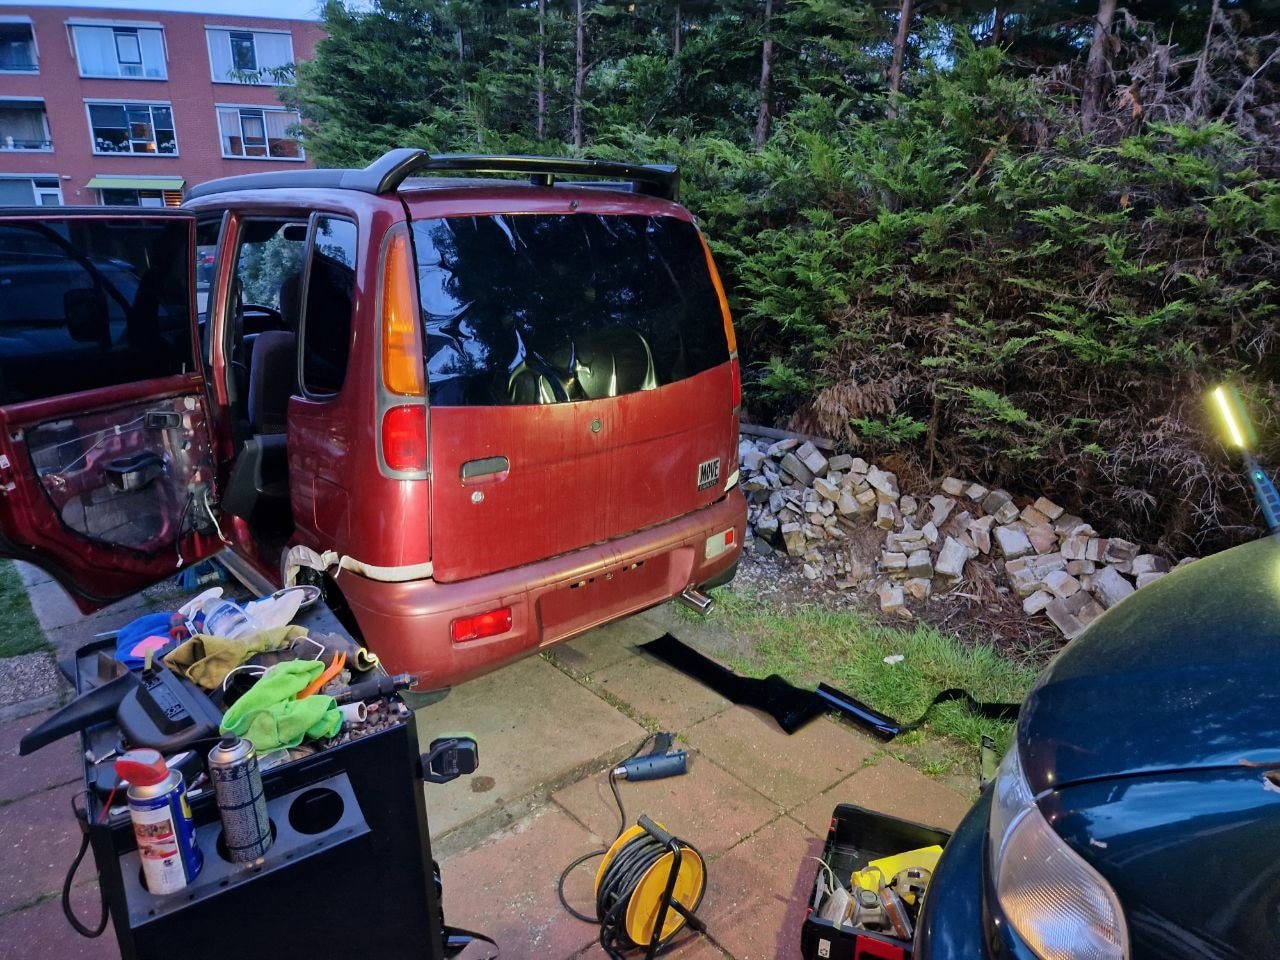
window tint all around, rear 5% and front 70% (regulations blahblah). I massively messed up shrinking the rear so that will need to be reordered.

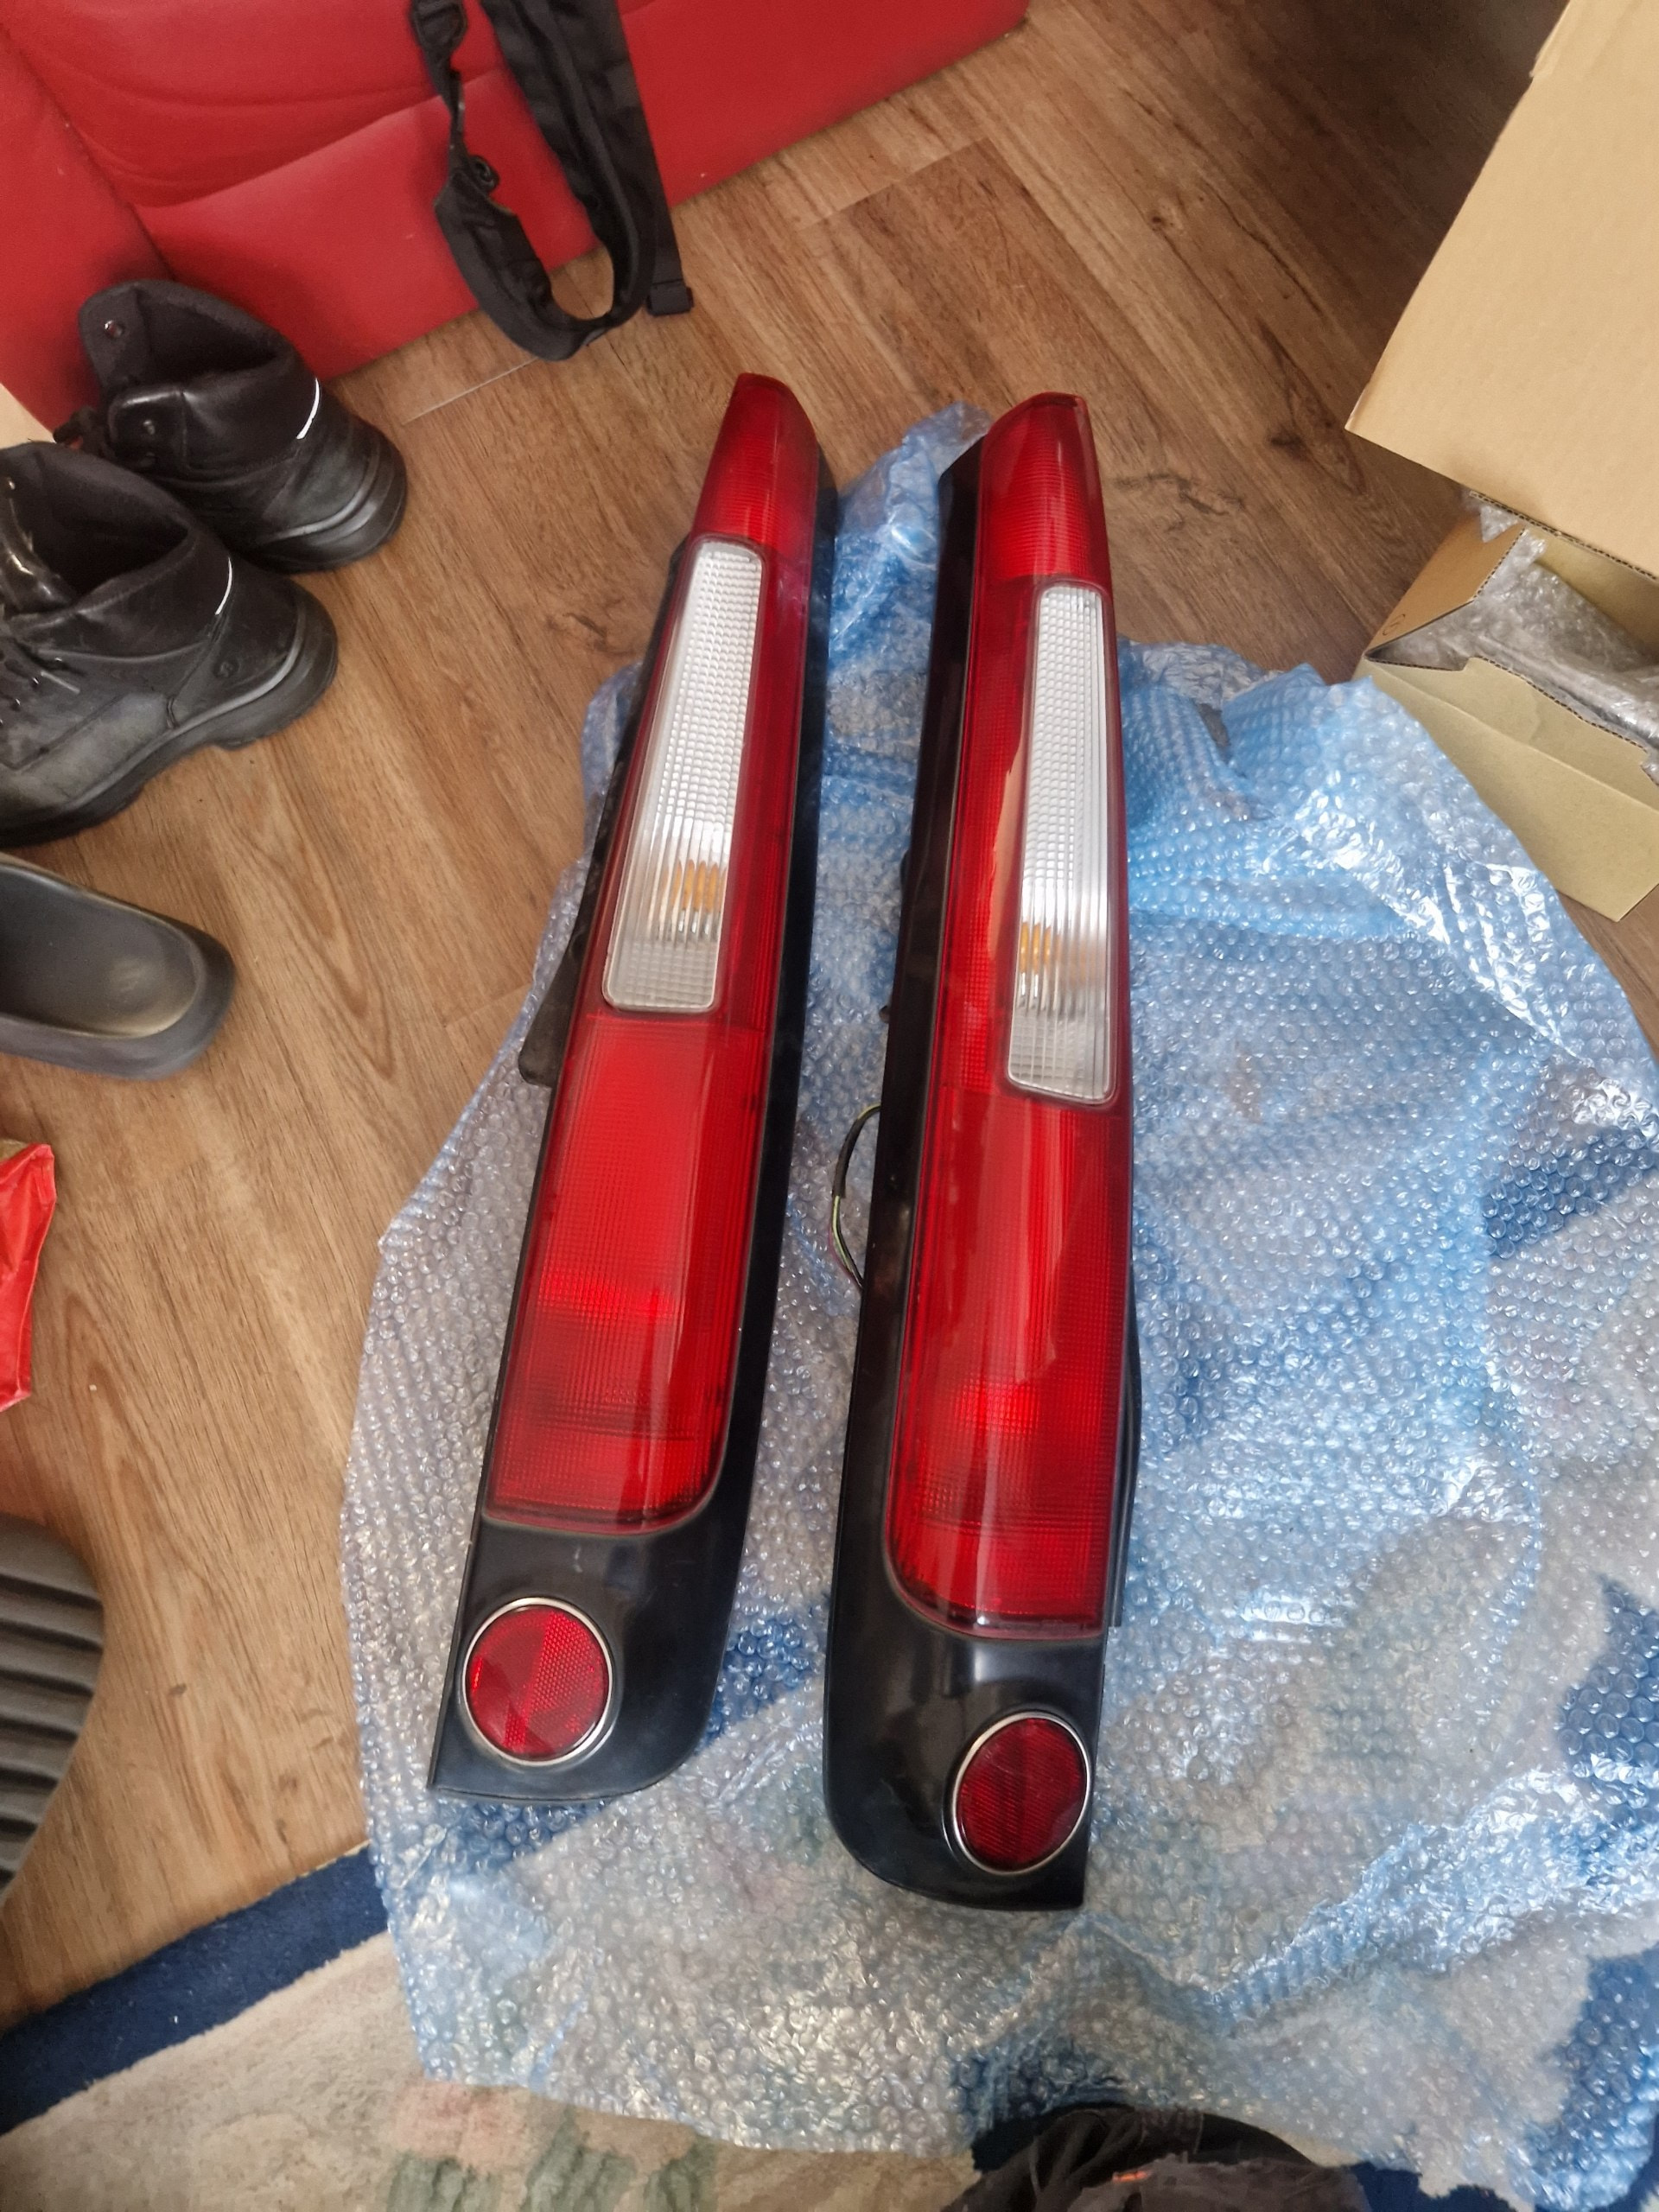
Got myself some headlights from Japan from the Move Custom ! (together with the connecting spoiler :p)

really liked how they looked but really felt like something was missing.. my roof rails but we had another problem first

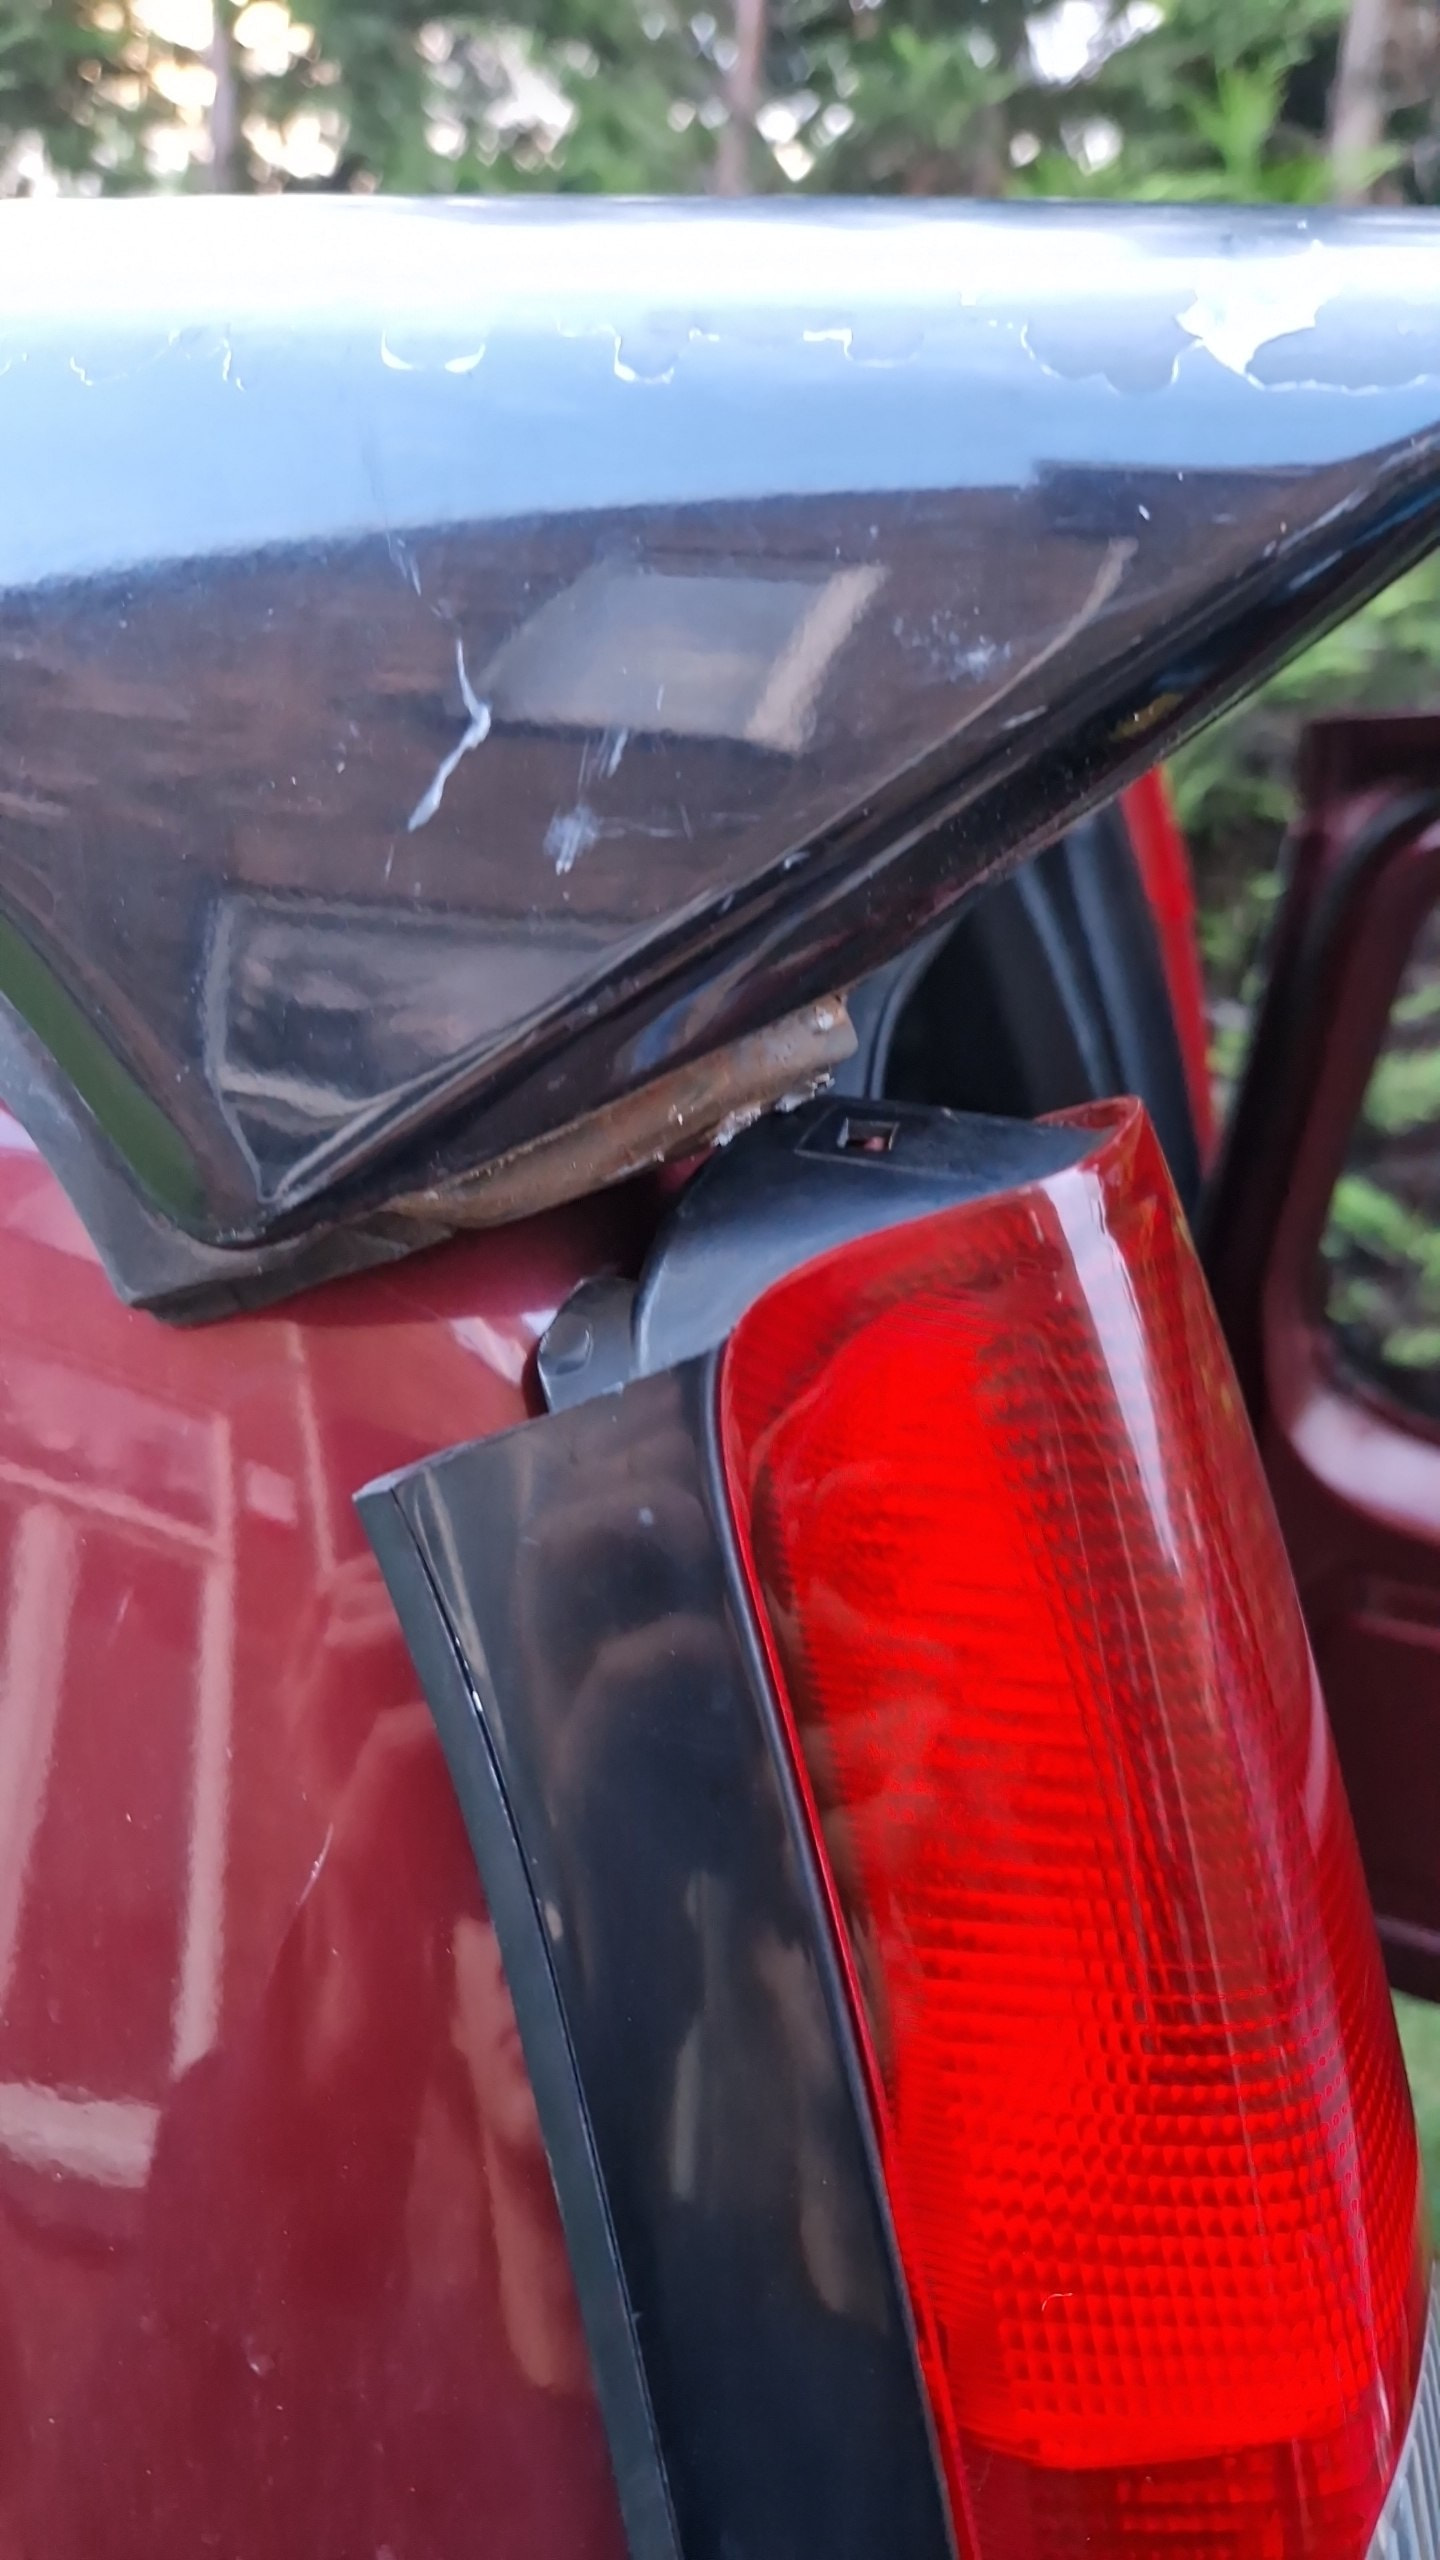
apparently different spoilers fit different taillights.

I think i needed the one that is completely red with the white blinker area instead of this one with the red reflector on the bottom.

a bit of Dremel work later hehe

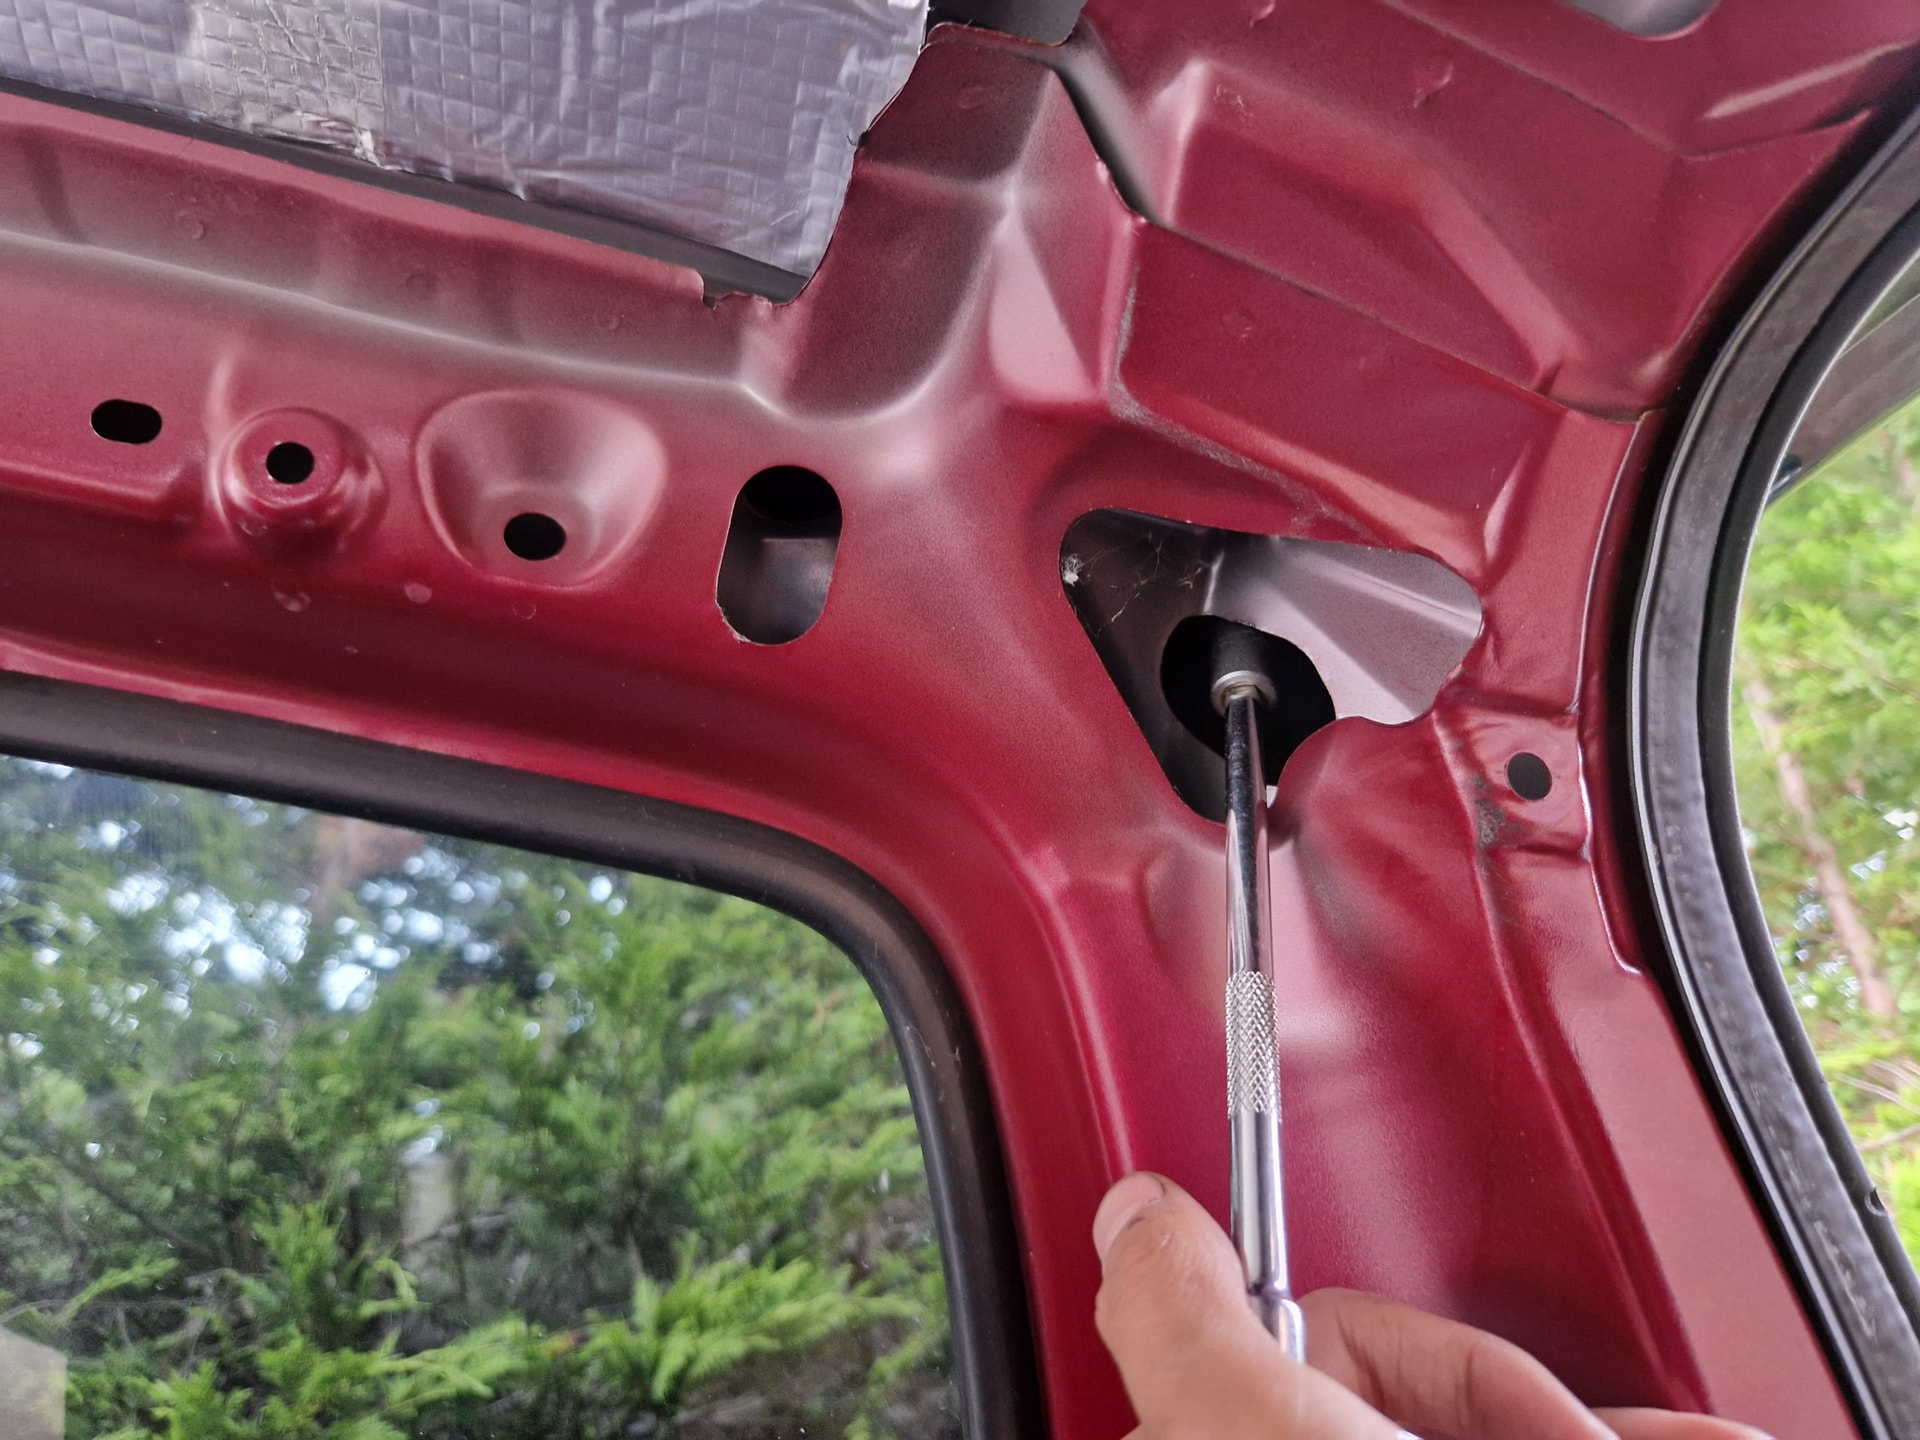
BTW the new spoiler also has an extra stud that my move doesnt have a hole for so i put the spoiler in the correct place and slammed on top of it with my hand to use the studs as a sort of punch for me to drill a hole in the chassis xd. surprisingly from the inside there is already a cut space for you to access that stud thru the newly drilled hole !

sitting nicely !

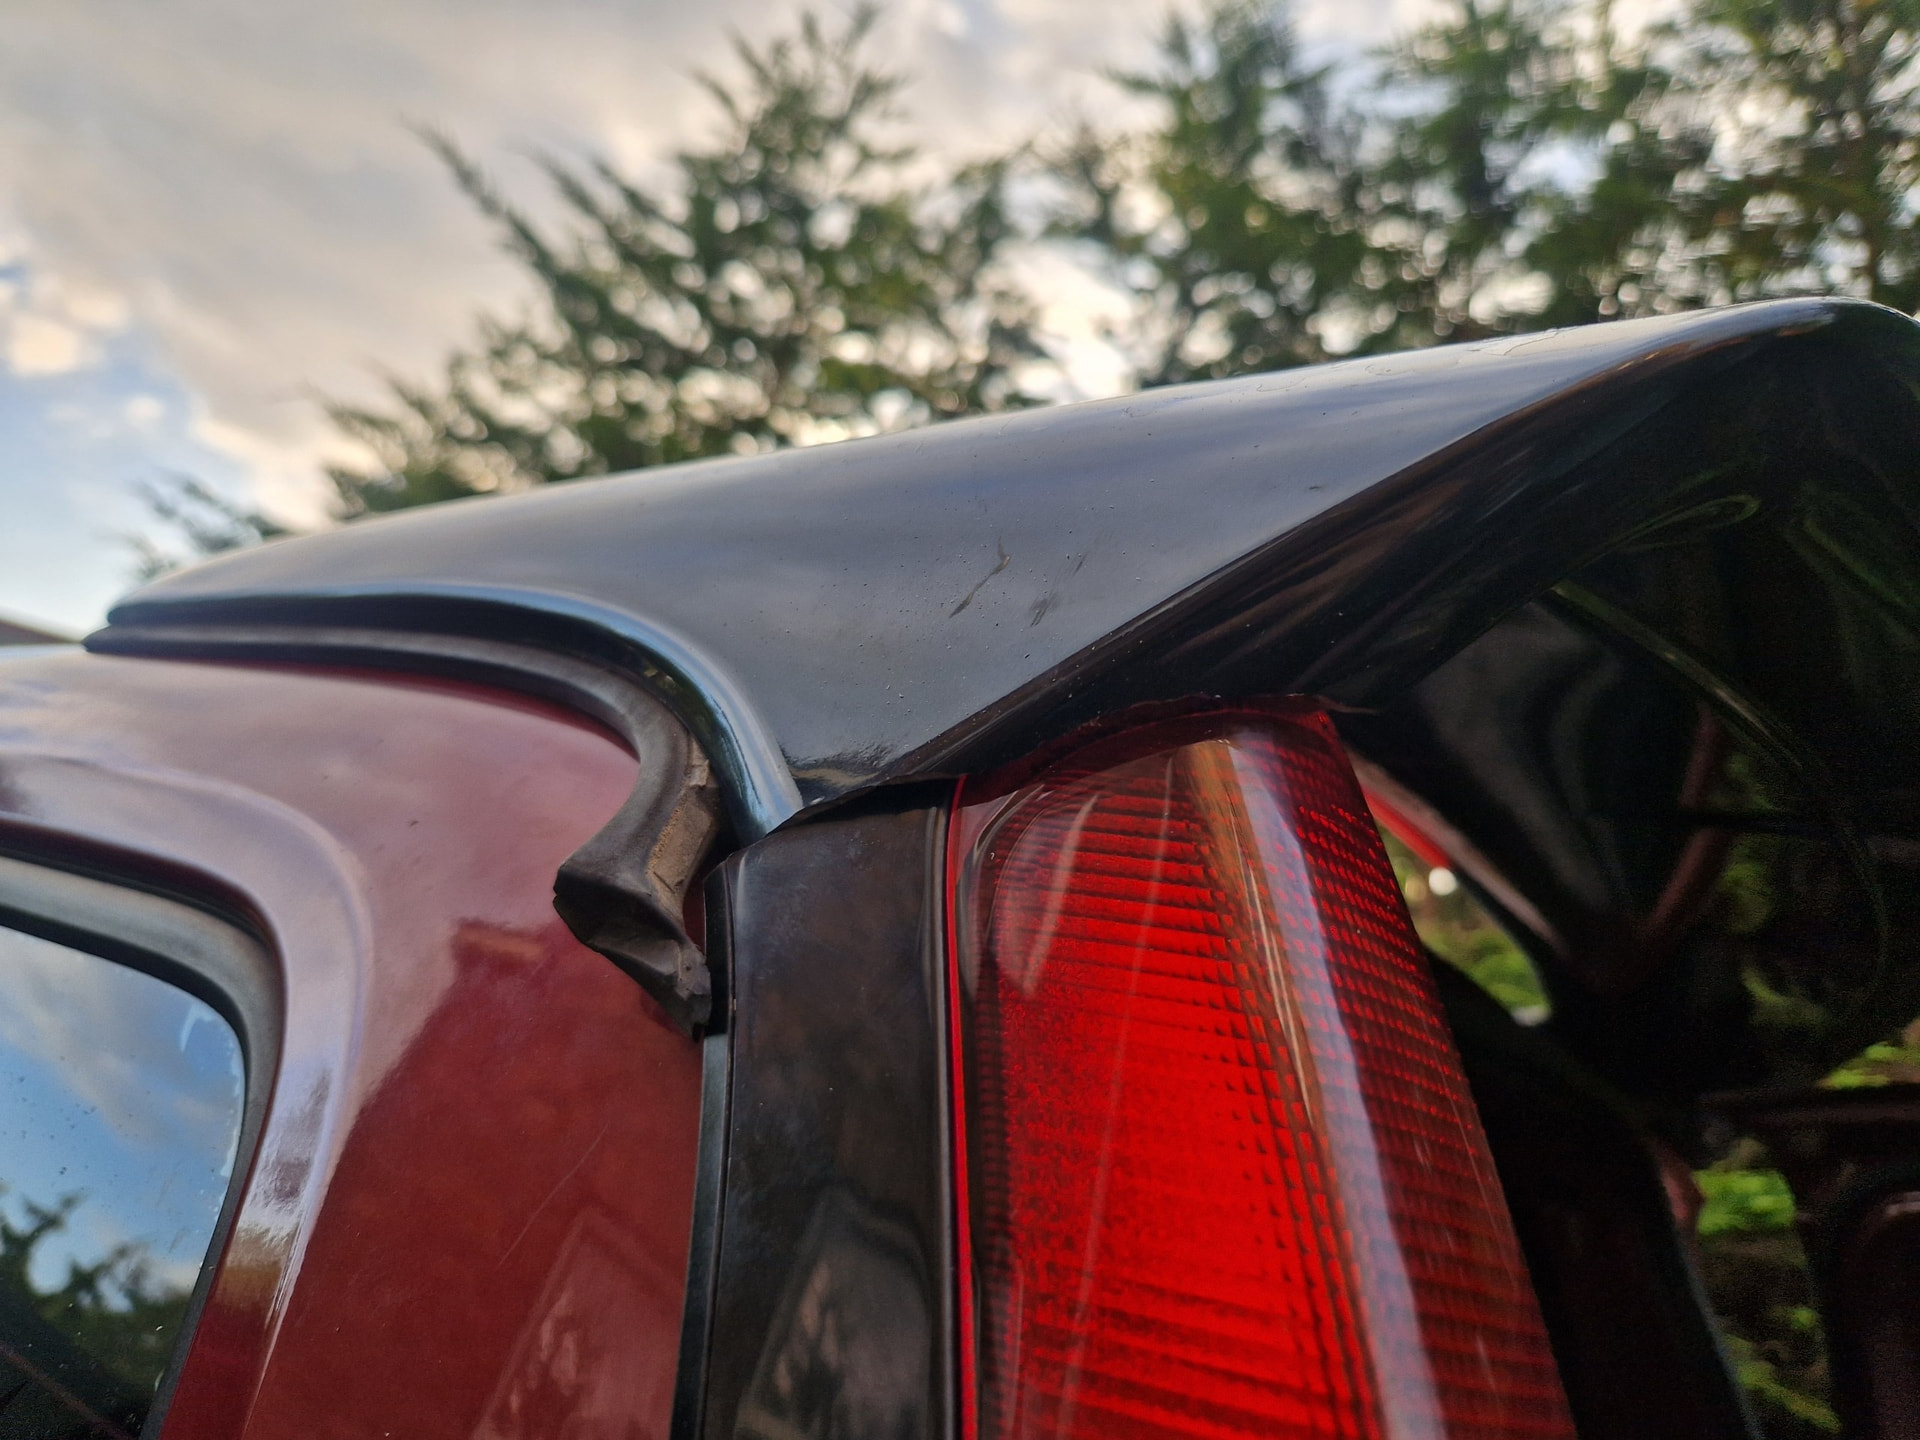
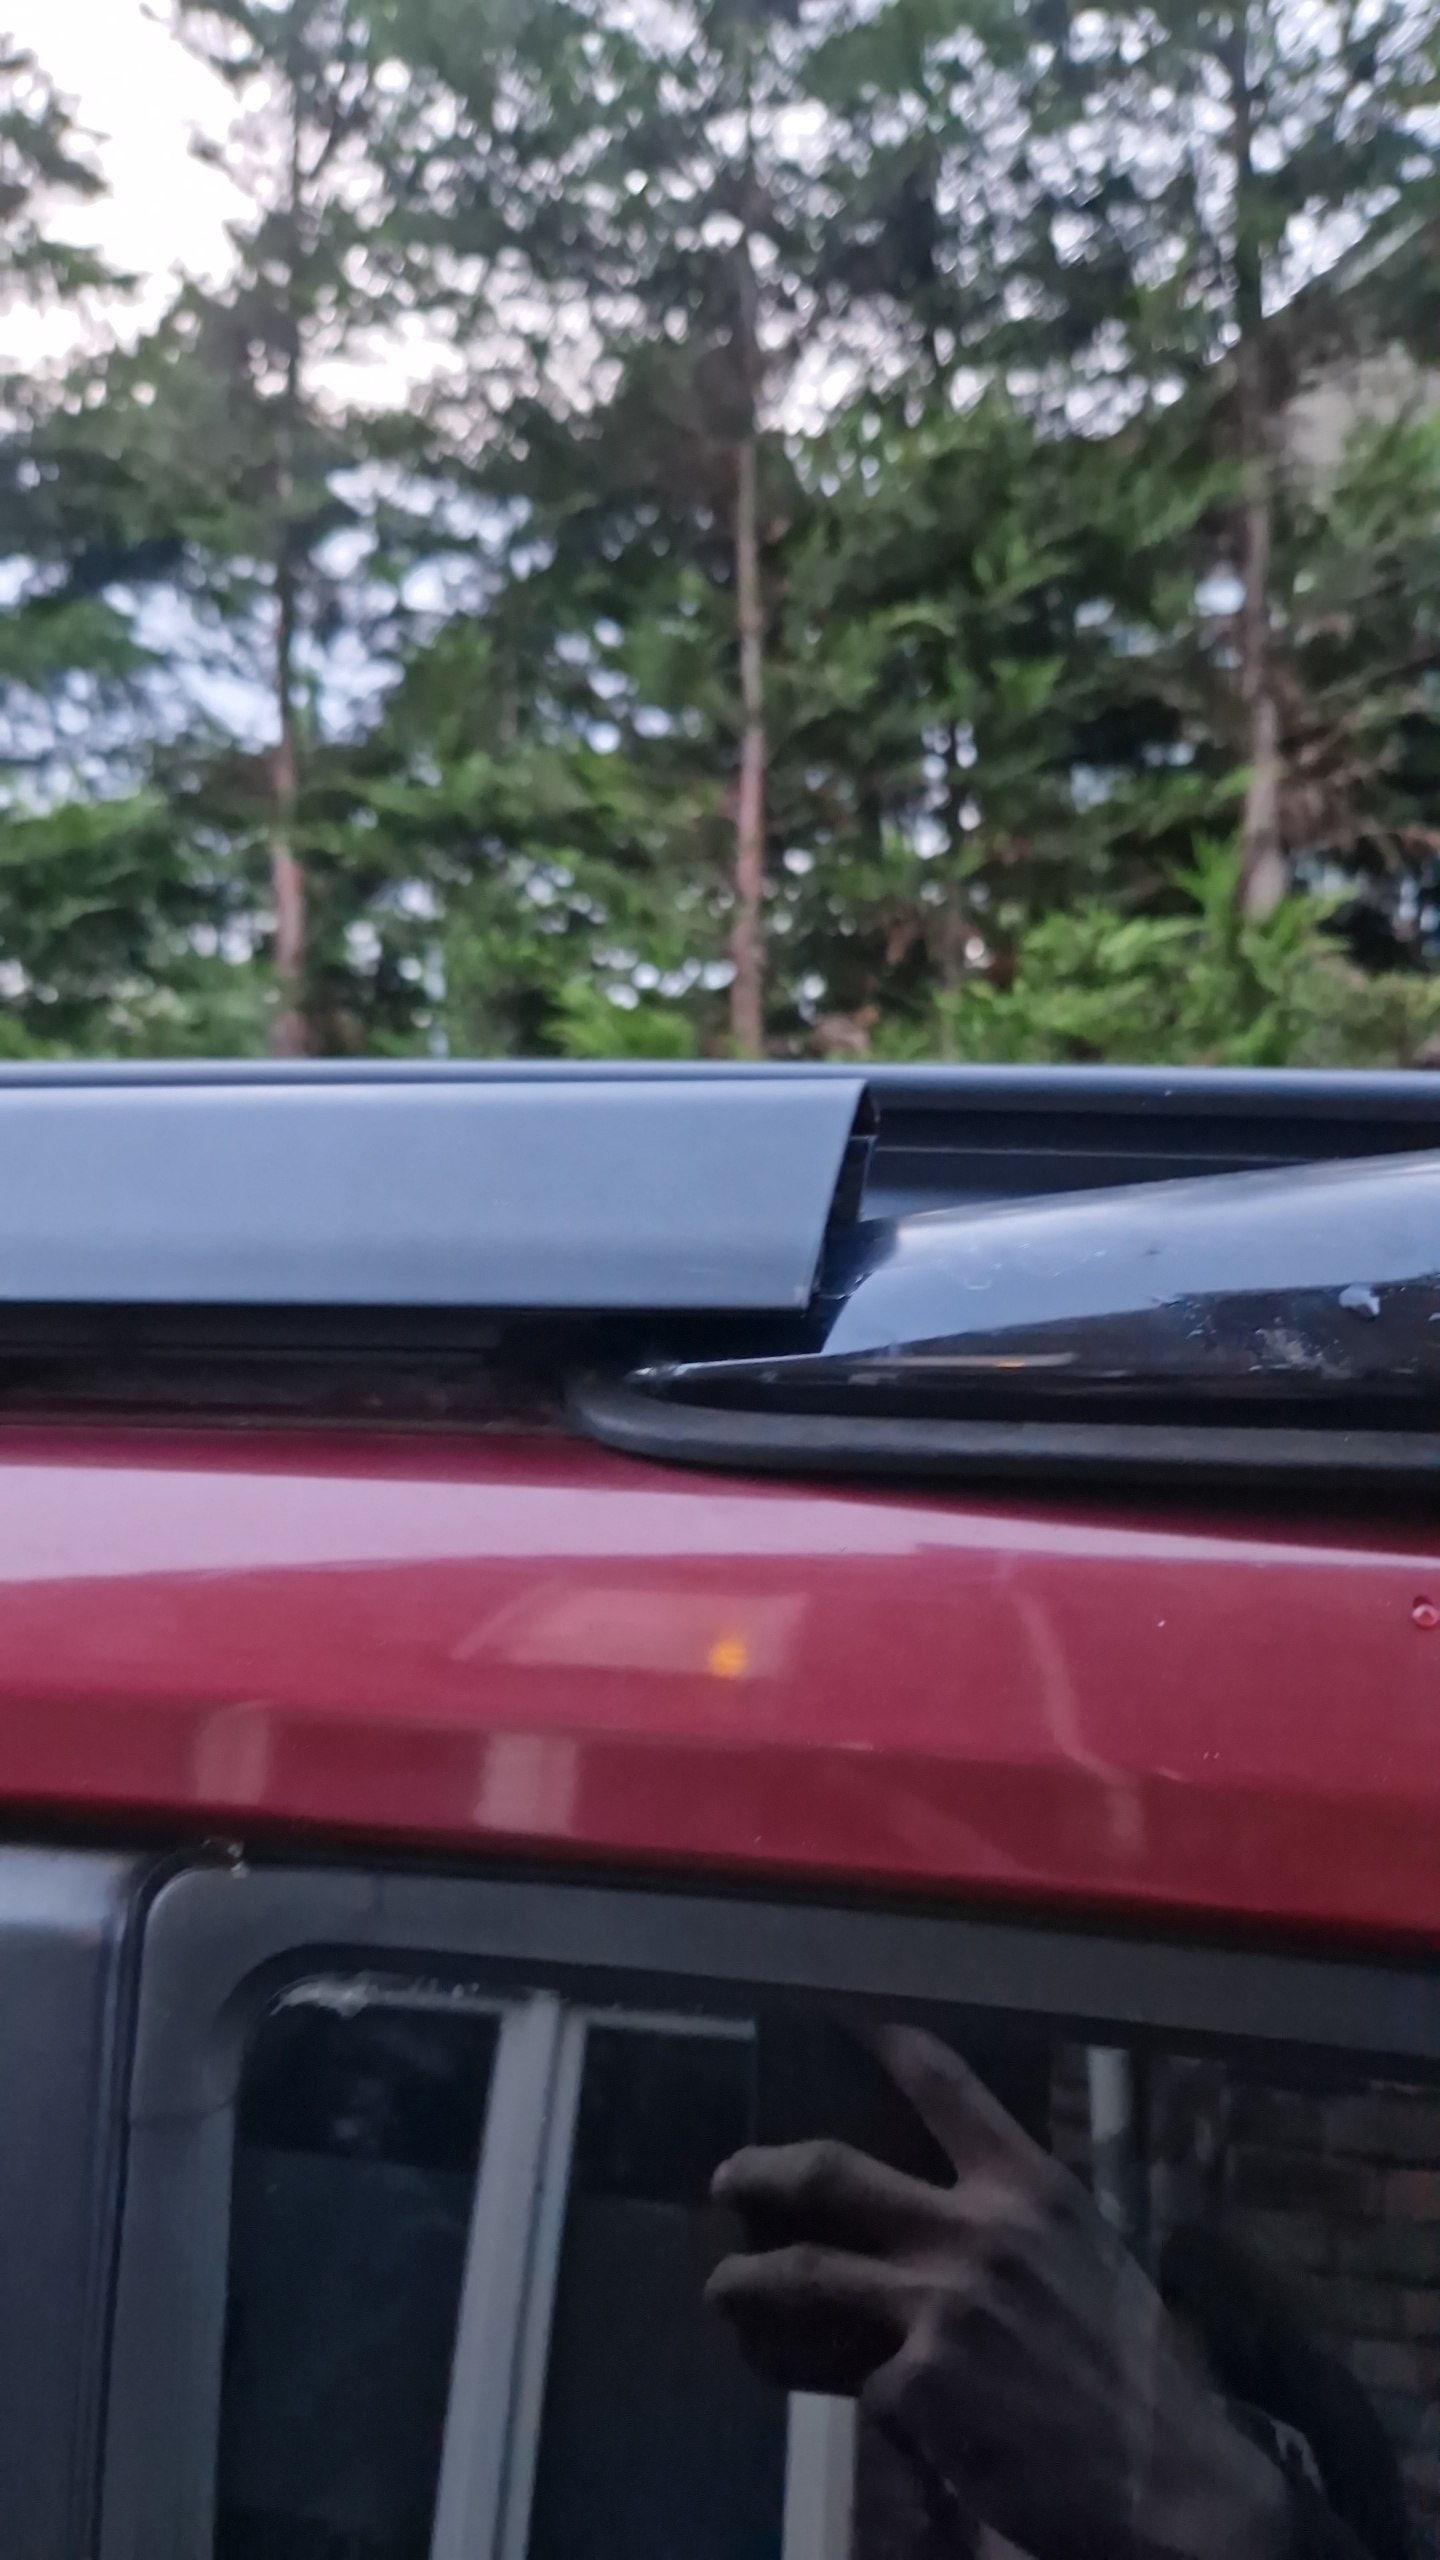
but then there was the roof rail problem

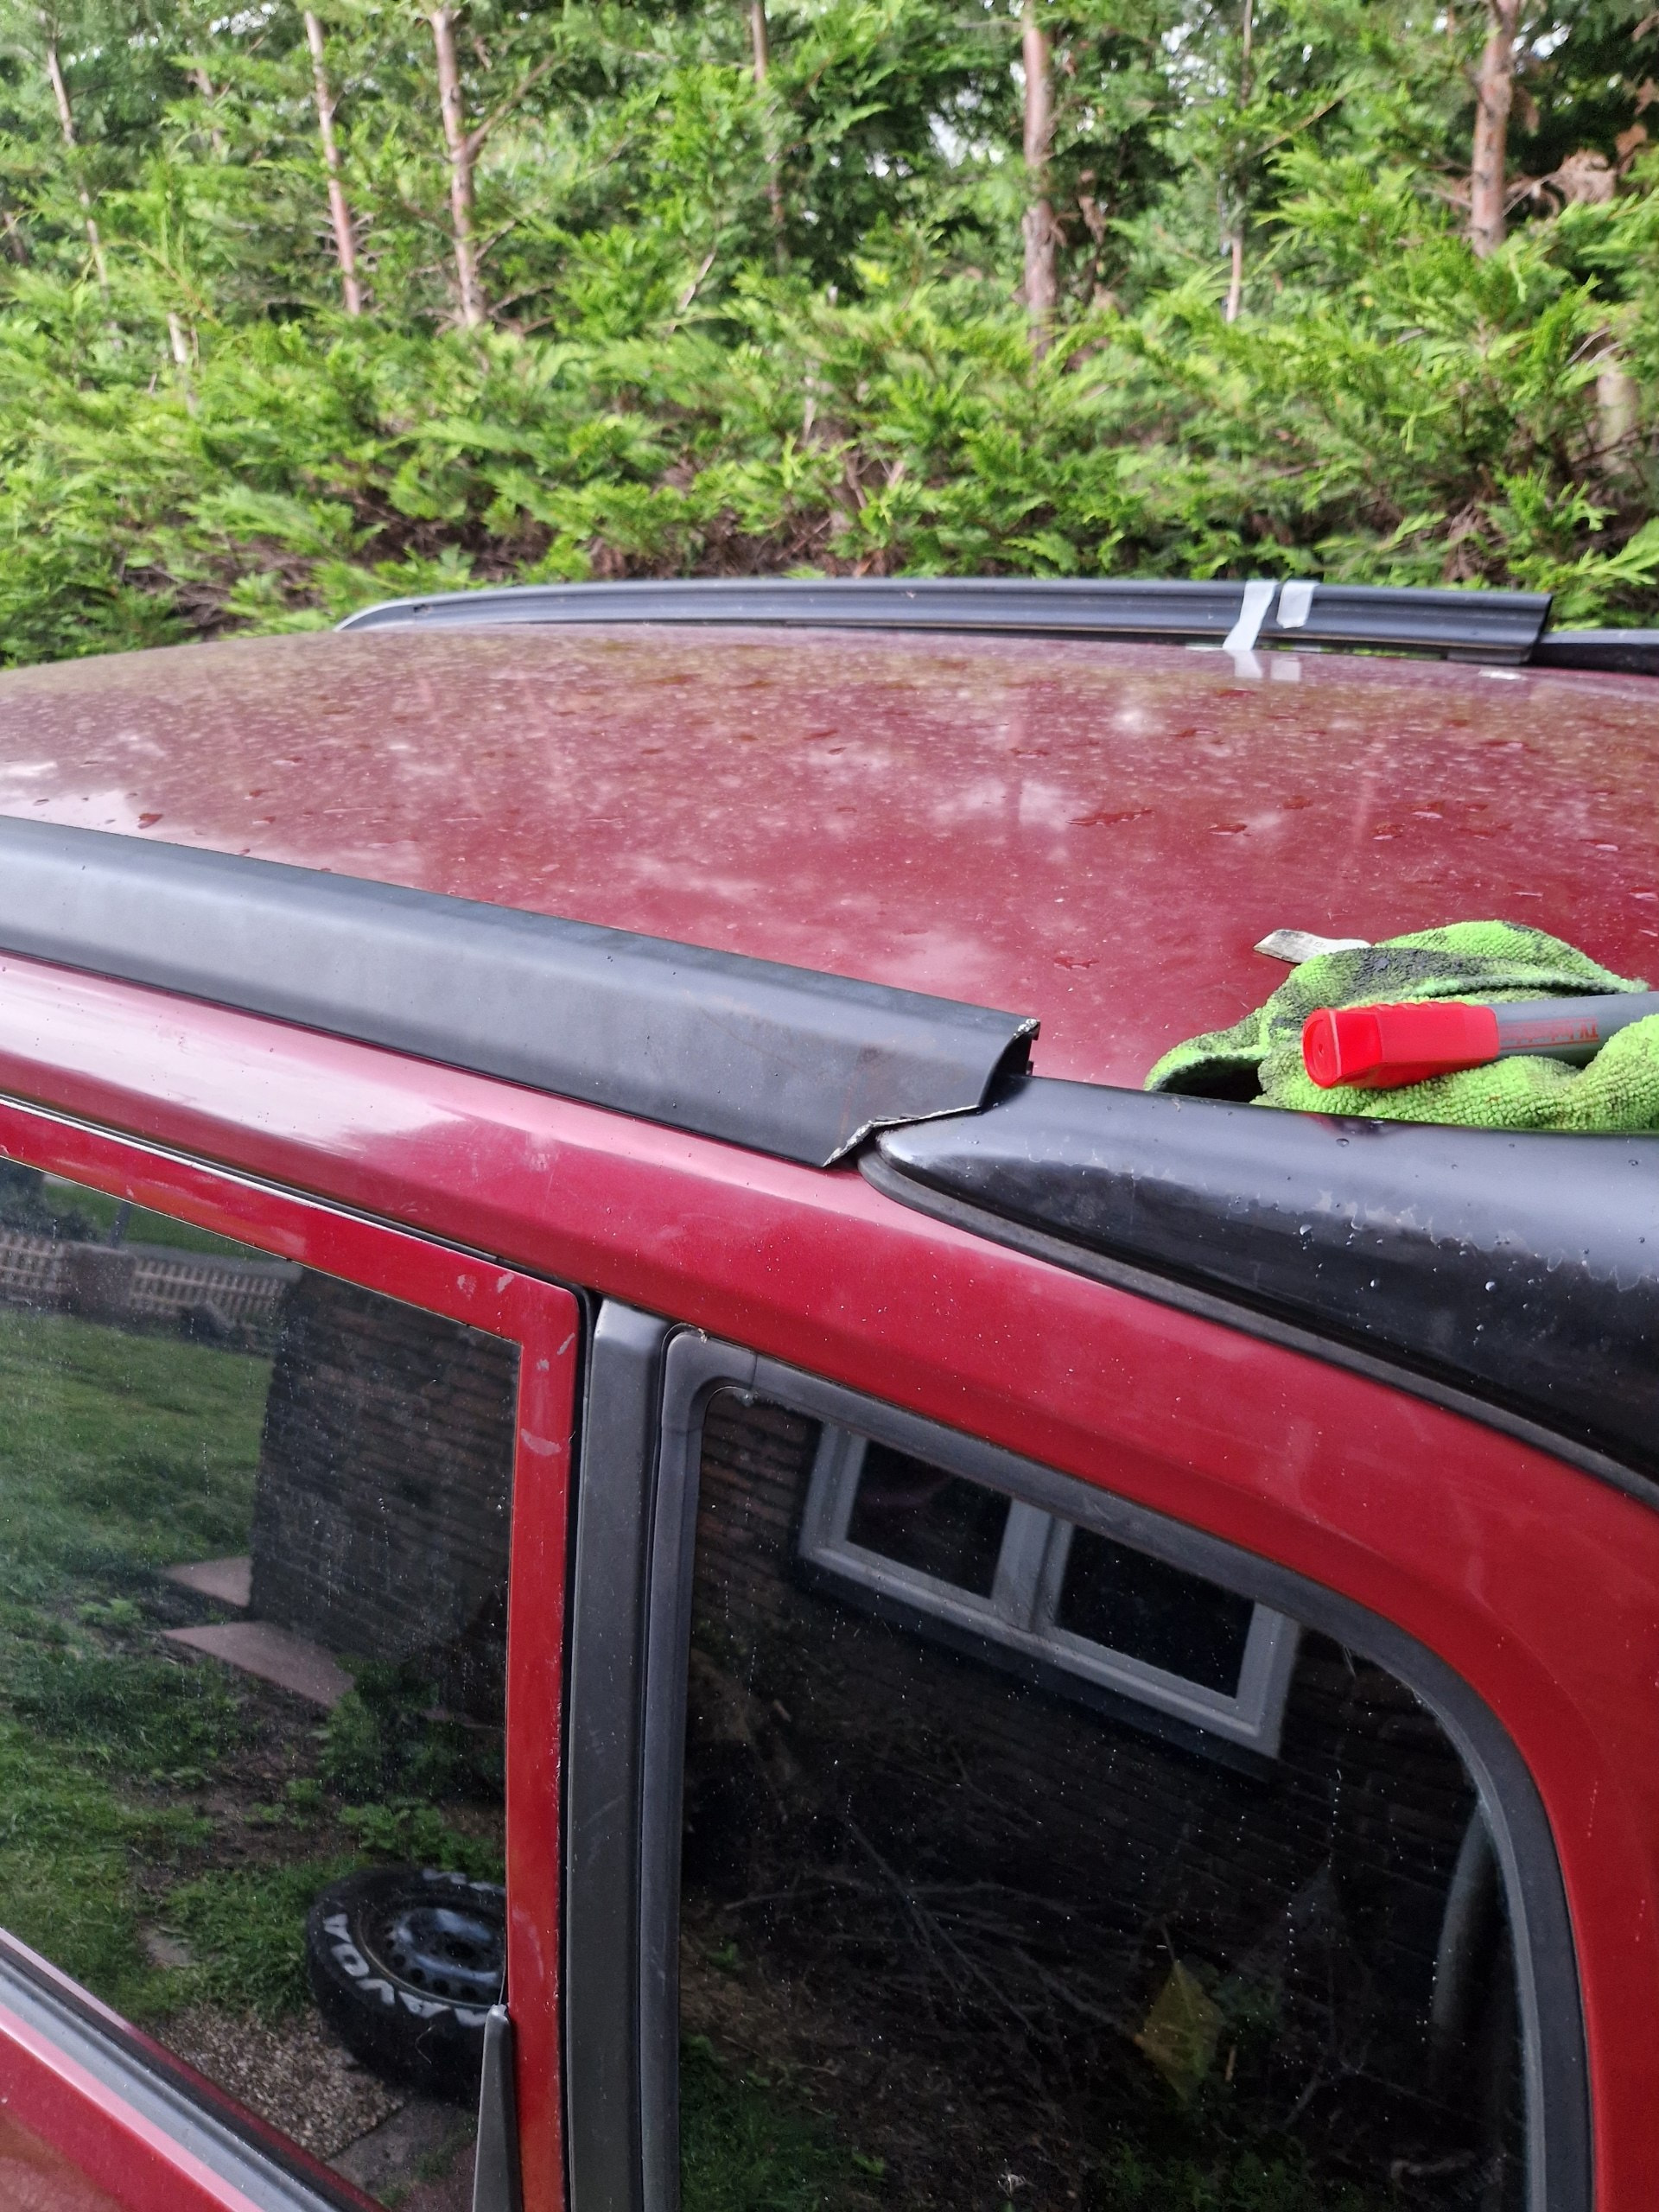
The spoiler is not made to work with these type of roofrails (obviously)

little angle grinder work

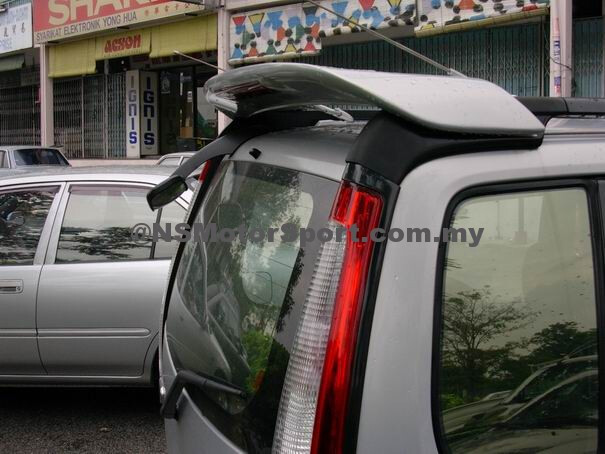
and yes i know its not perfect. Its “temporary” but now that i learned my lesson that there are different types of the long taillights. I will be ordering myself a correct set later down the line. I am interested in the roof rail integrated taillights with the spoiler on top of it.

like this one

(would also love the little backup mirror)

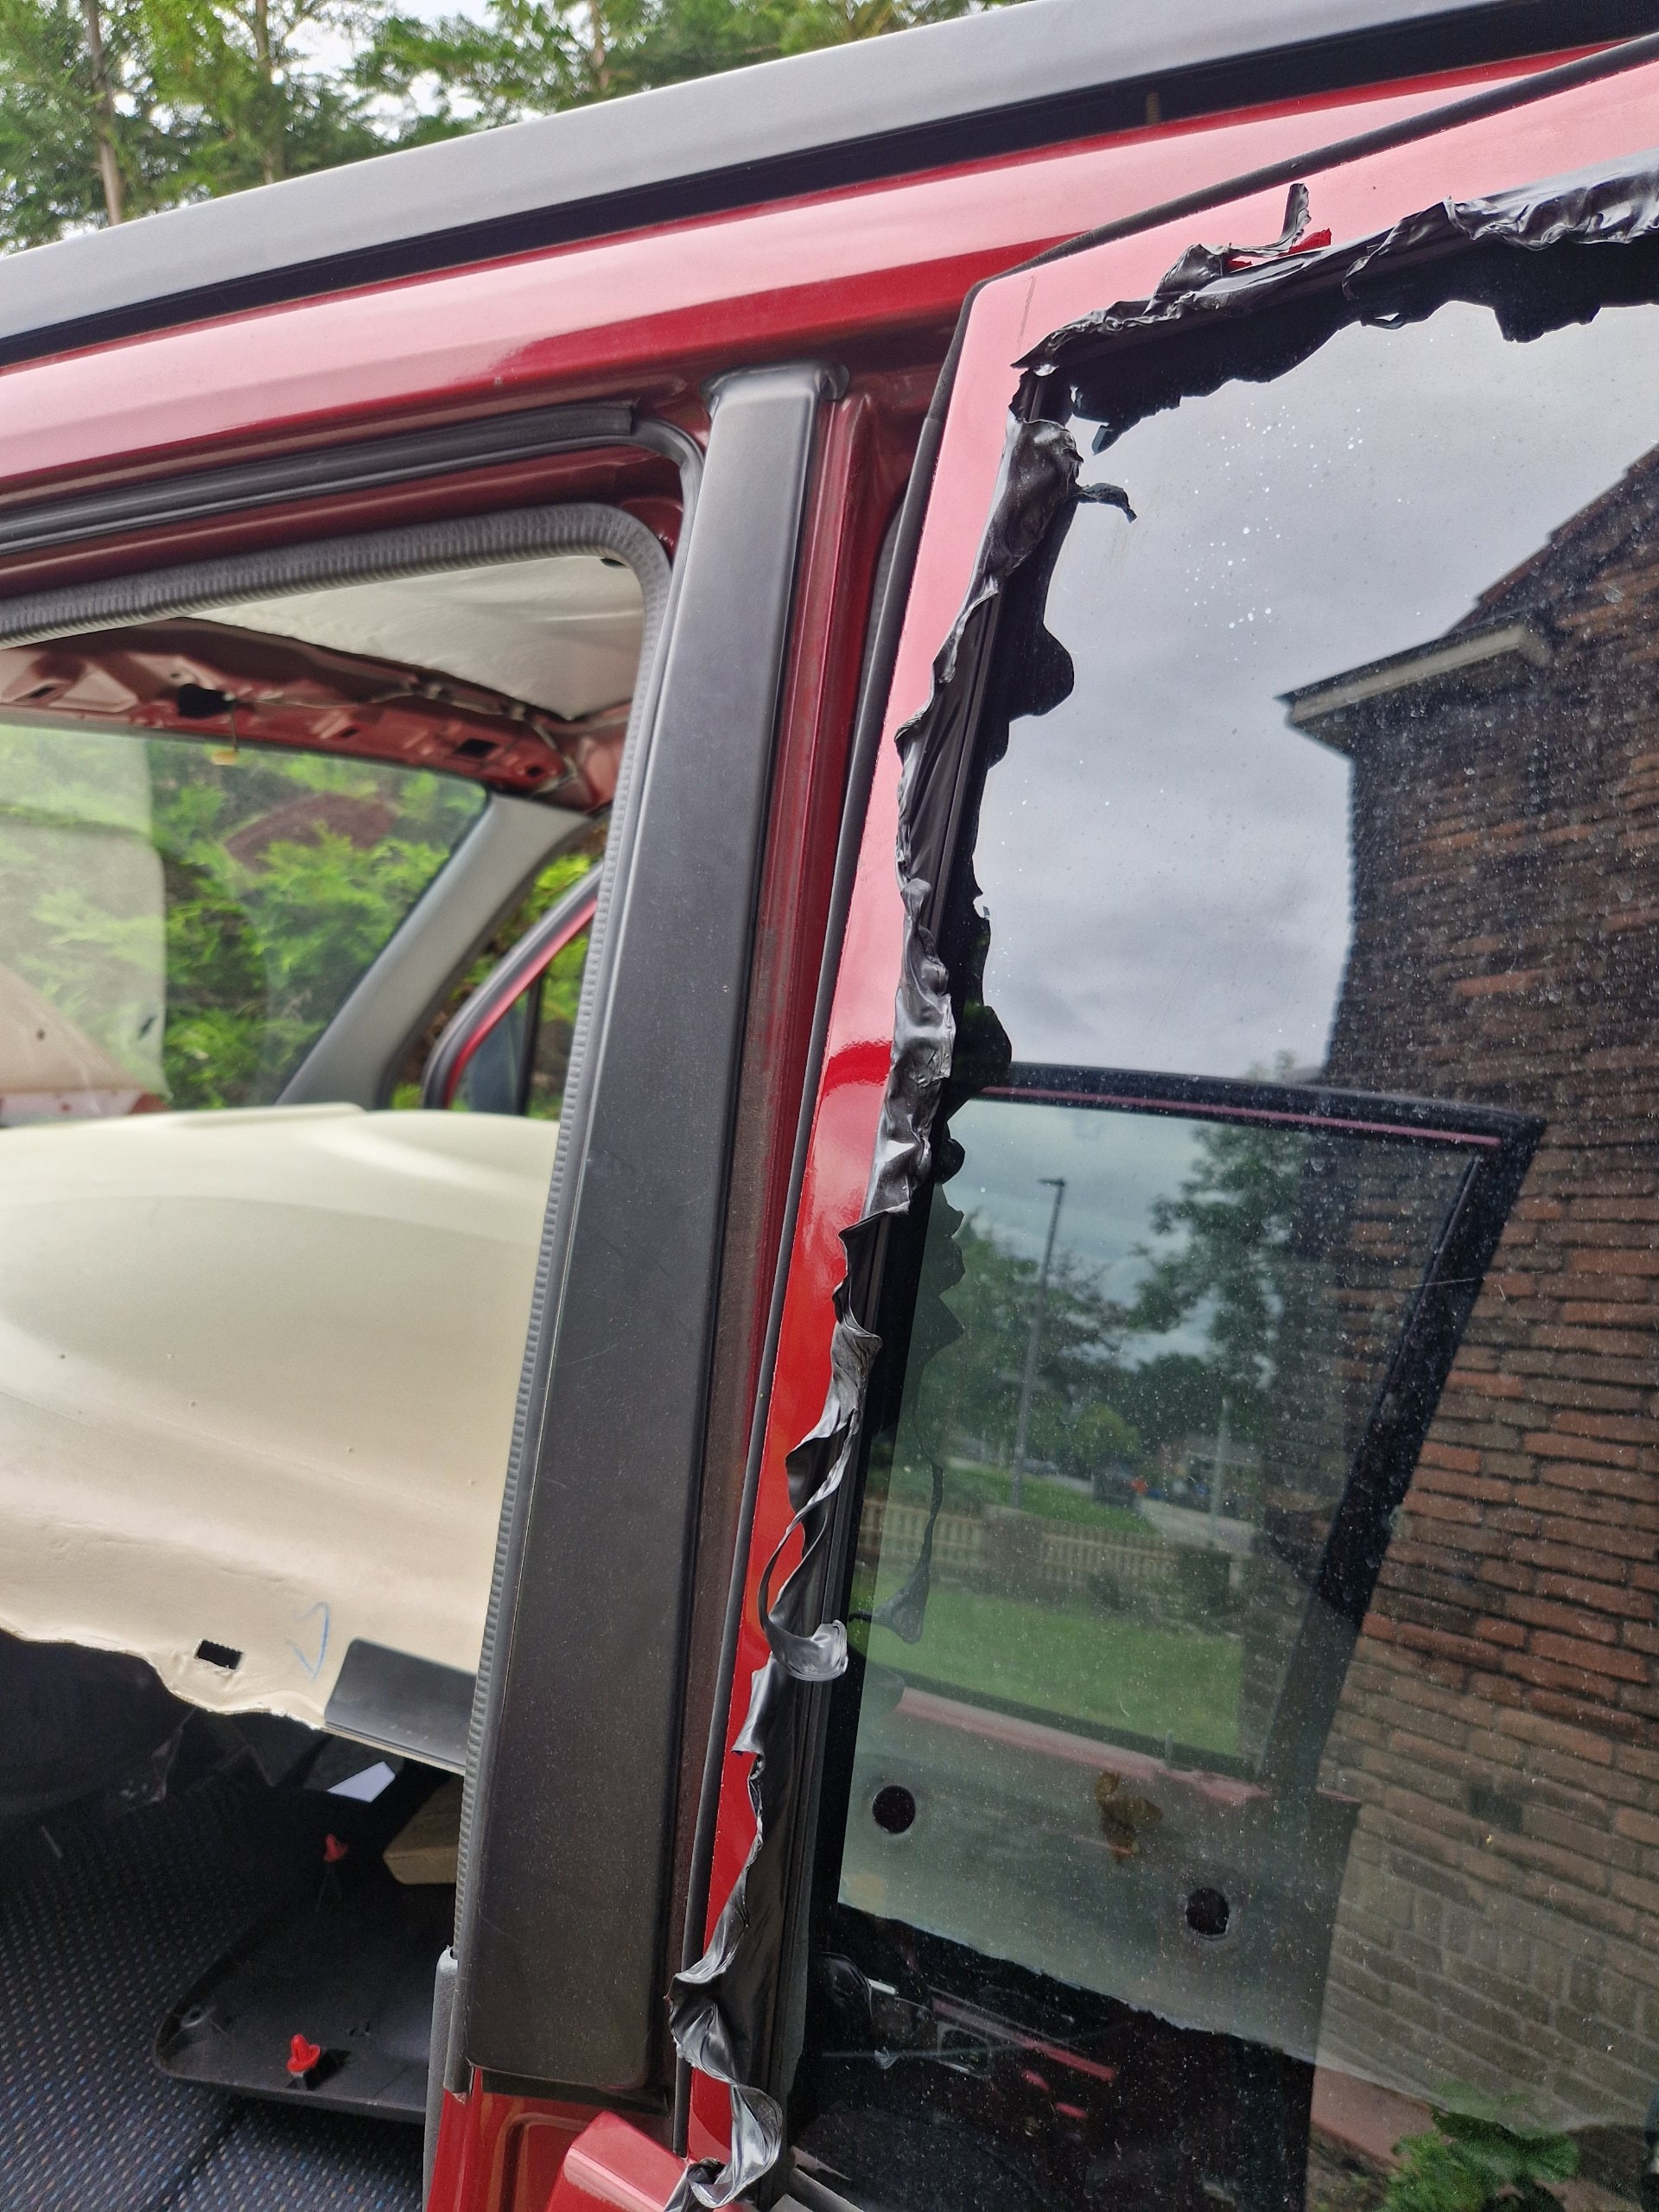
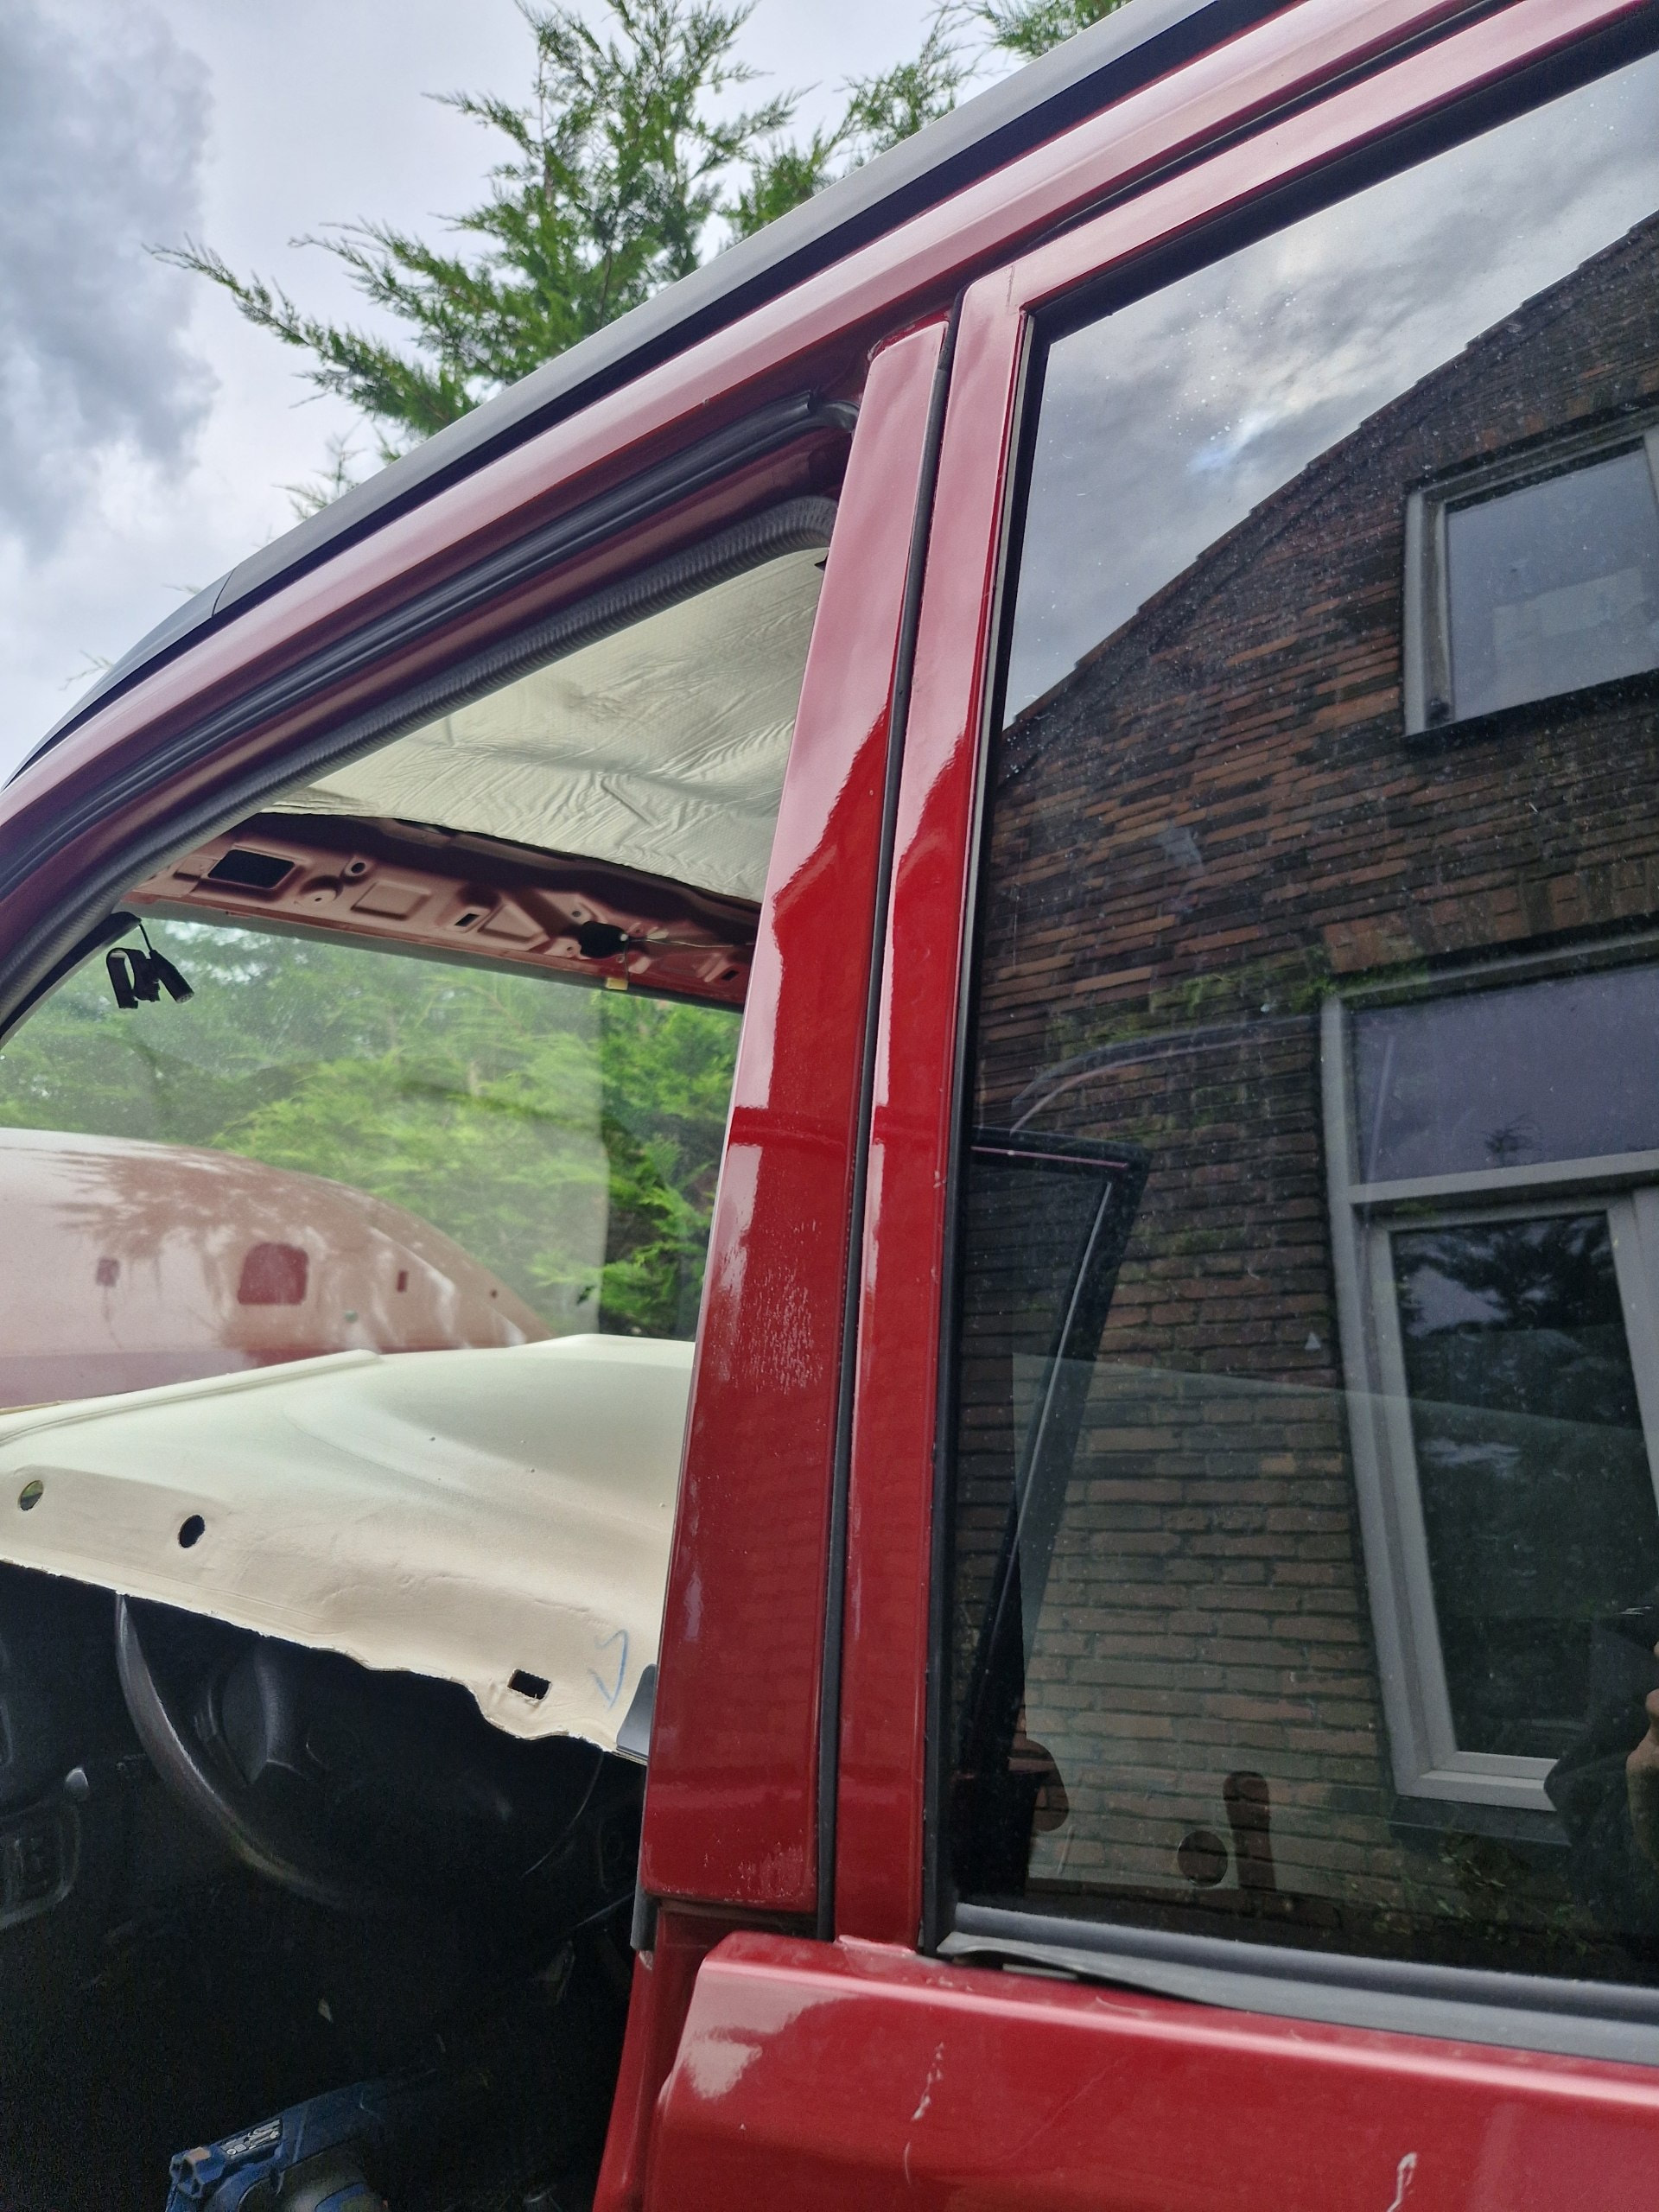
Next! when pulling off my wind deflectors some kind of tape came with it and apparently its just a type of dechroming vinyl tape that is stuck over all the window trims. So i decided to give it a try to see how it looks with the trims in a nice fresh “new” red that never seen sunlight before.

Tedious work by the way.. its tucked in there real good and the threshold of melting and too hard to peel is too small.

i really like it

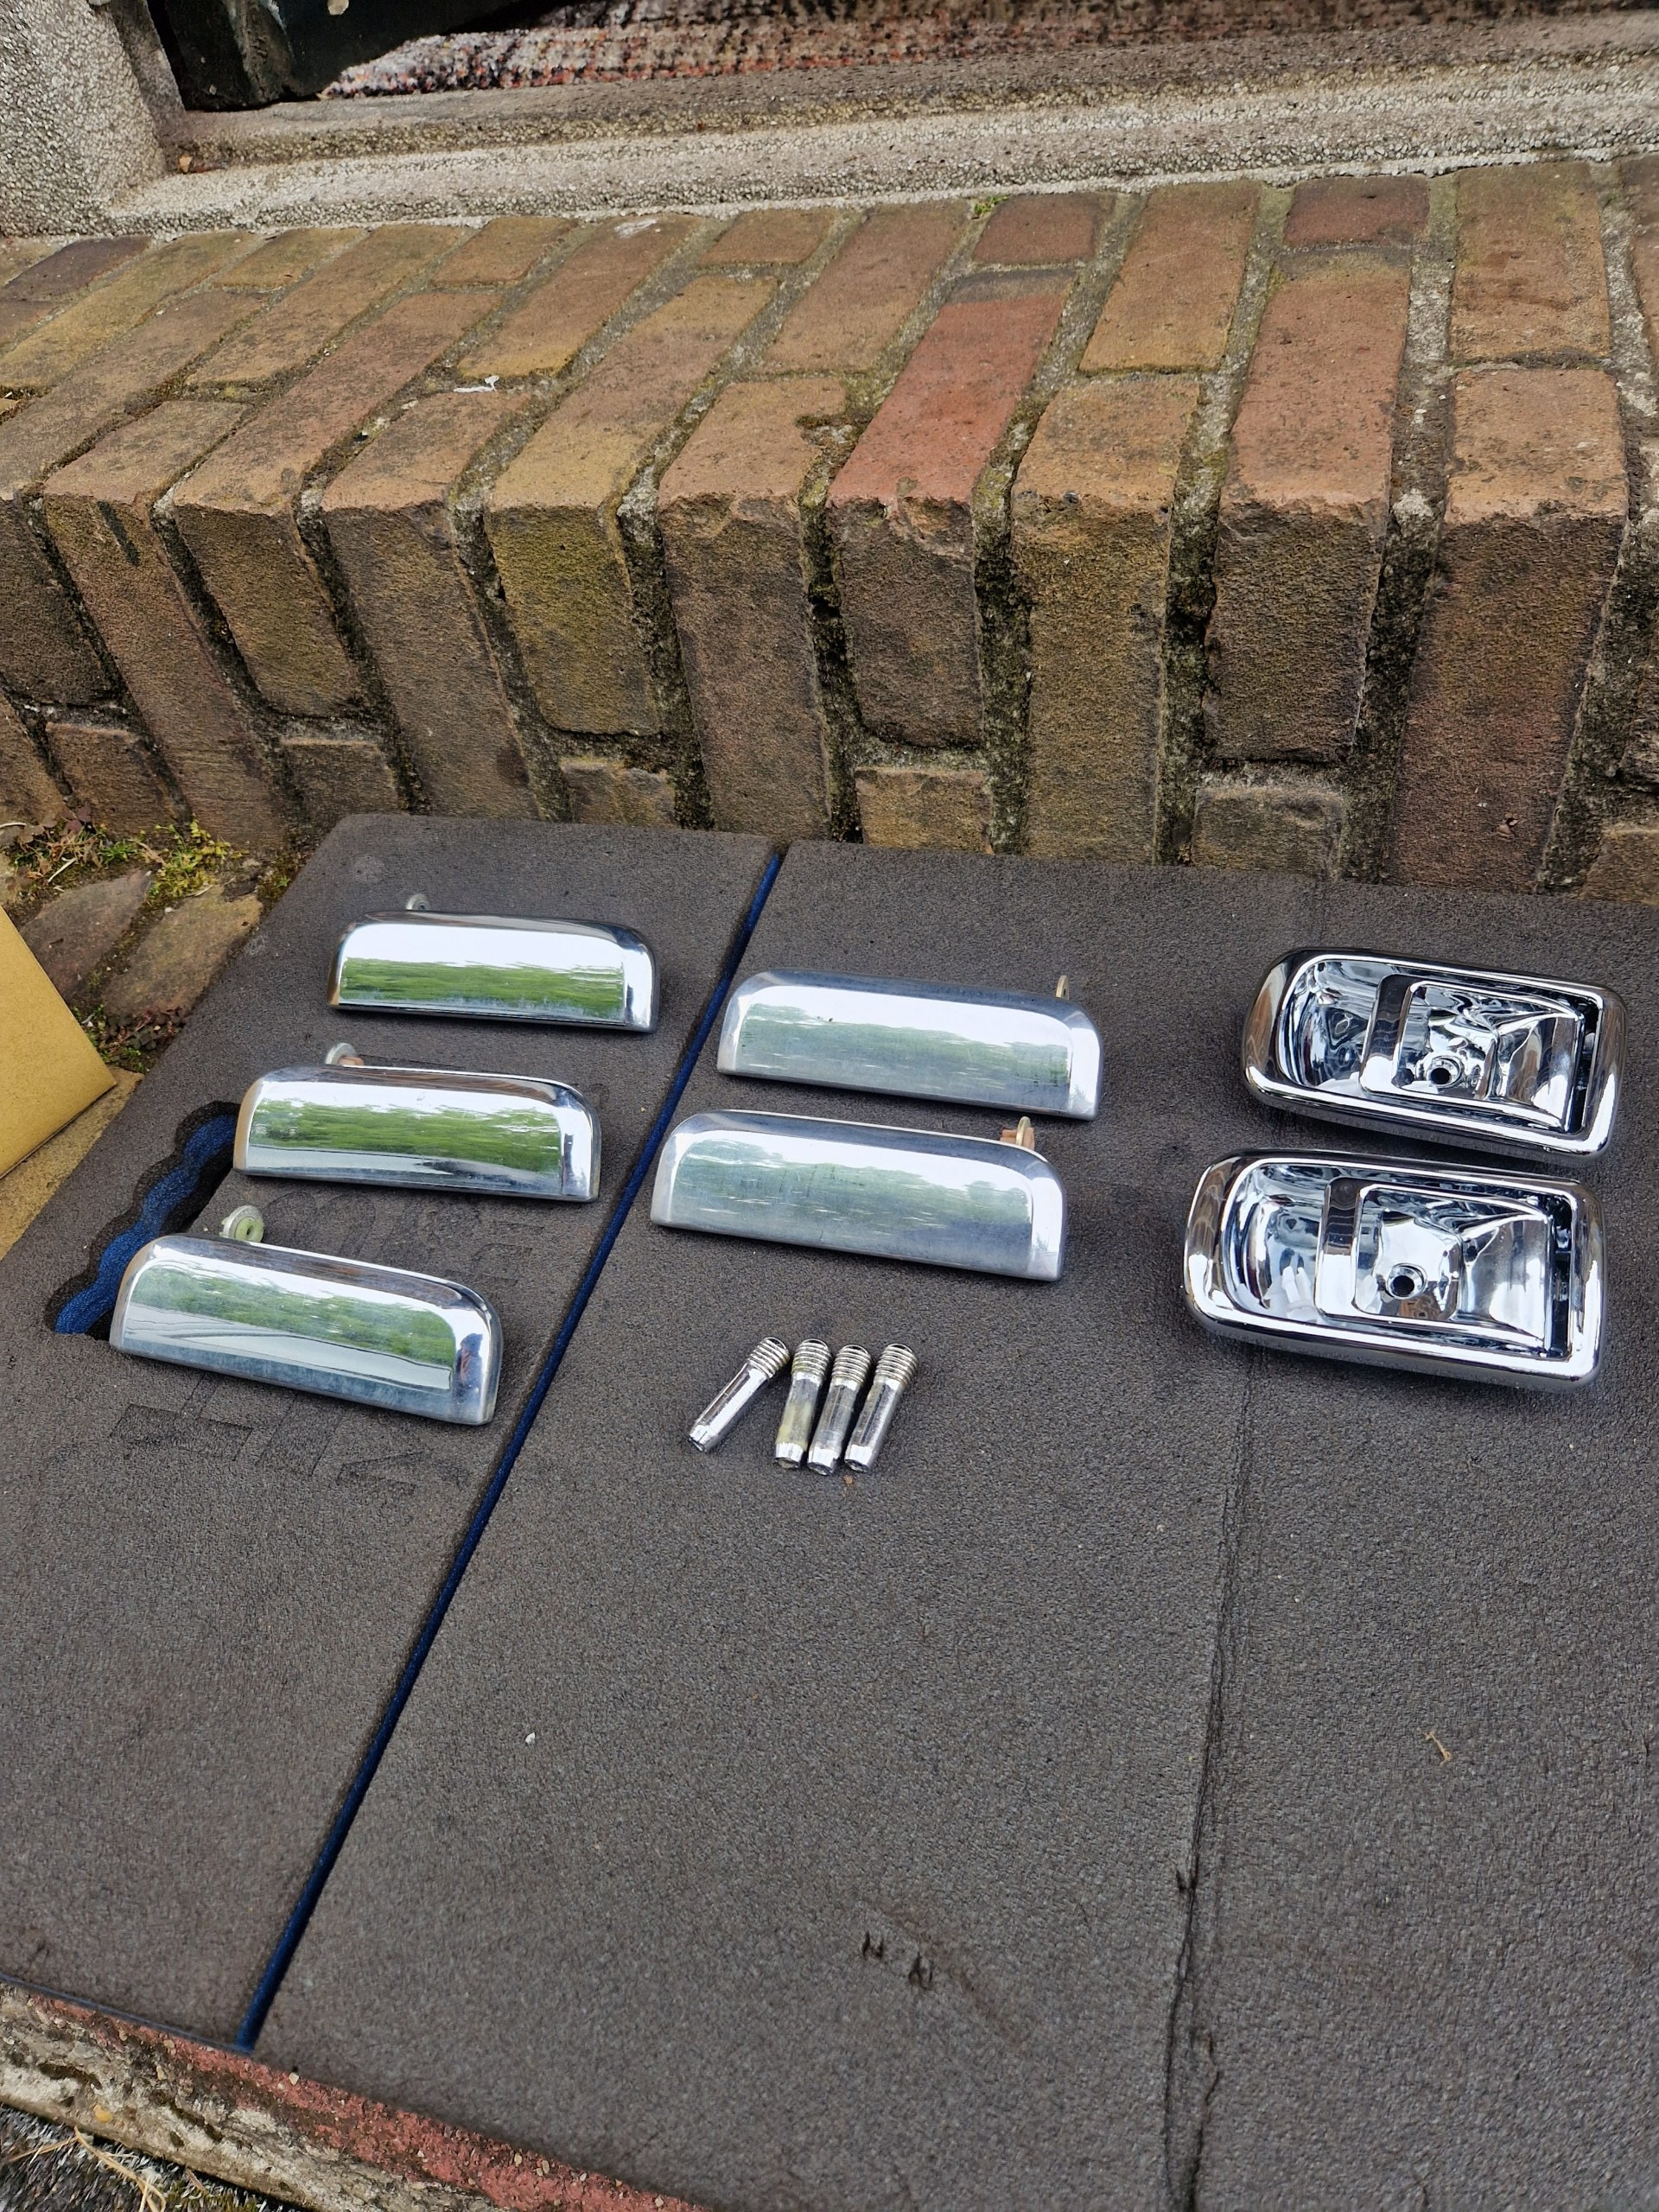
next up chrome chrome and more chrome! tried to get as many chrome parts as possible. Saw alot more on japanese auction but either not shippable to the EU or way too expensive rn

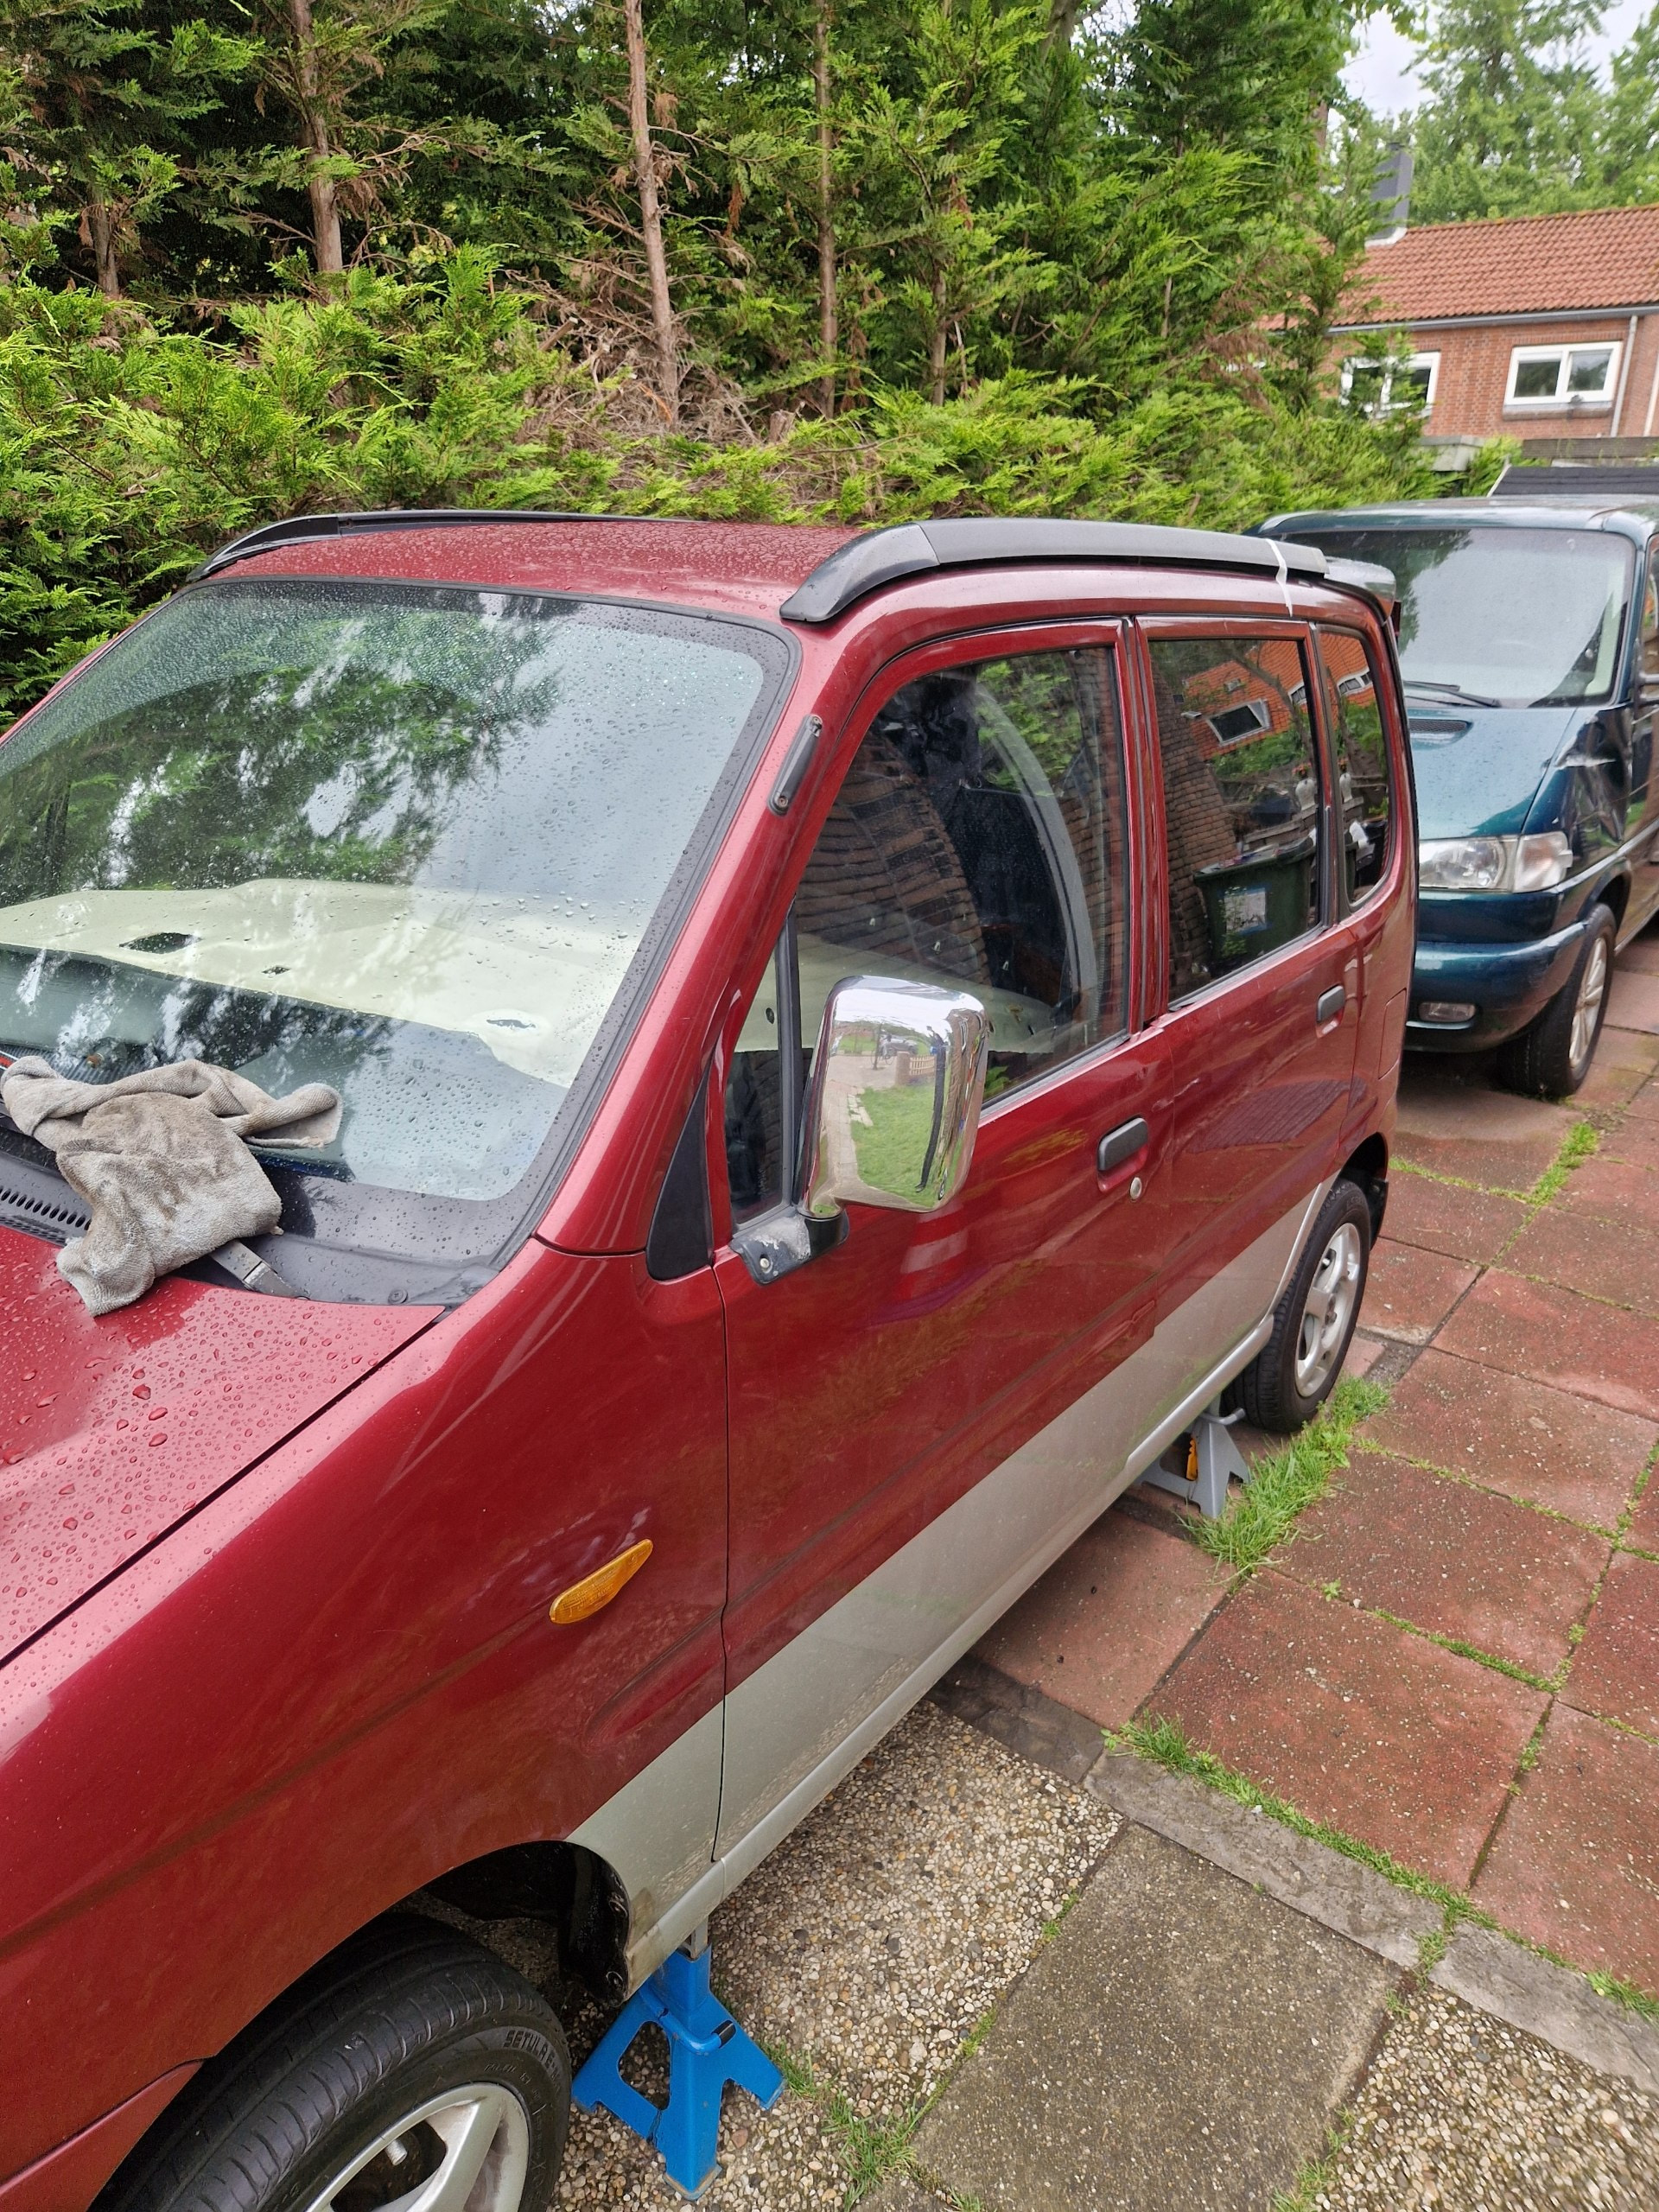
Never thought about the problem i would face when buying JDM mirrors.. The viewing angle is of course made for RHD cars. luckily i can see out of my left mirror properly but my right mirror is currently for my dead spot xd. They are electrically retractable too! they were stuck in the folded position but after taking it apart and identifying what pins operate the motor i attached a small 12v motorcycle battery to the pins and its just a dc motor that spins either way depending on the polarity. Doing a plug conversion to make everything work is surely on the planning. they are not connected right now. electric is 5 pin and non electric is 3 pin.

these are apparently not OEM but they shine like crazy

some cleaning up and assembly later…

The results! for now.. i have some more plans that are going to be done really soon !
2 Likes

looking good. great amount of work and effort. Well done :slight_smile:

2 Likes

That black tape was added exclusively for the European market, in an attempt to simulate a fake 4-door hardtop. From the images posted in this forum, they didn’t tape vehicles delivered to other world markets. That fake 4-door hardtop taping probably looks sporty, when the rest of the car’s painted in orange or bright green. But with colors like your red or dark blue, black taping looks awkward. I suppose, to prevent production line errors, especially when it involves low-profit vehicle model lines, they probably thought it better just to leave this taping be for all vehicles assembled on this particular line?

I guess, what you discovered could be called, “fortune through misfortune”. It looks much better now than when your black tape was intact.

Since my MOVE is silver, I’m going a different route, through experimenting with covering the black sticker with red

interesting, that never caught my eye that the tape is not the same for all markets.

Definitely fortune through misfortune xd it wasnt my intention at all. but it paid off haha

looking forward to see how your approach would look like

1 Like

Hello ! some things i did before i finally start working on the Civic and my other Hondas.

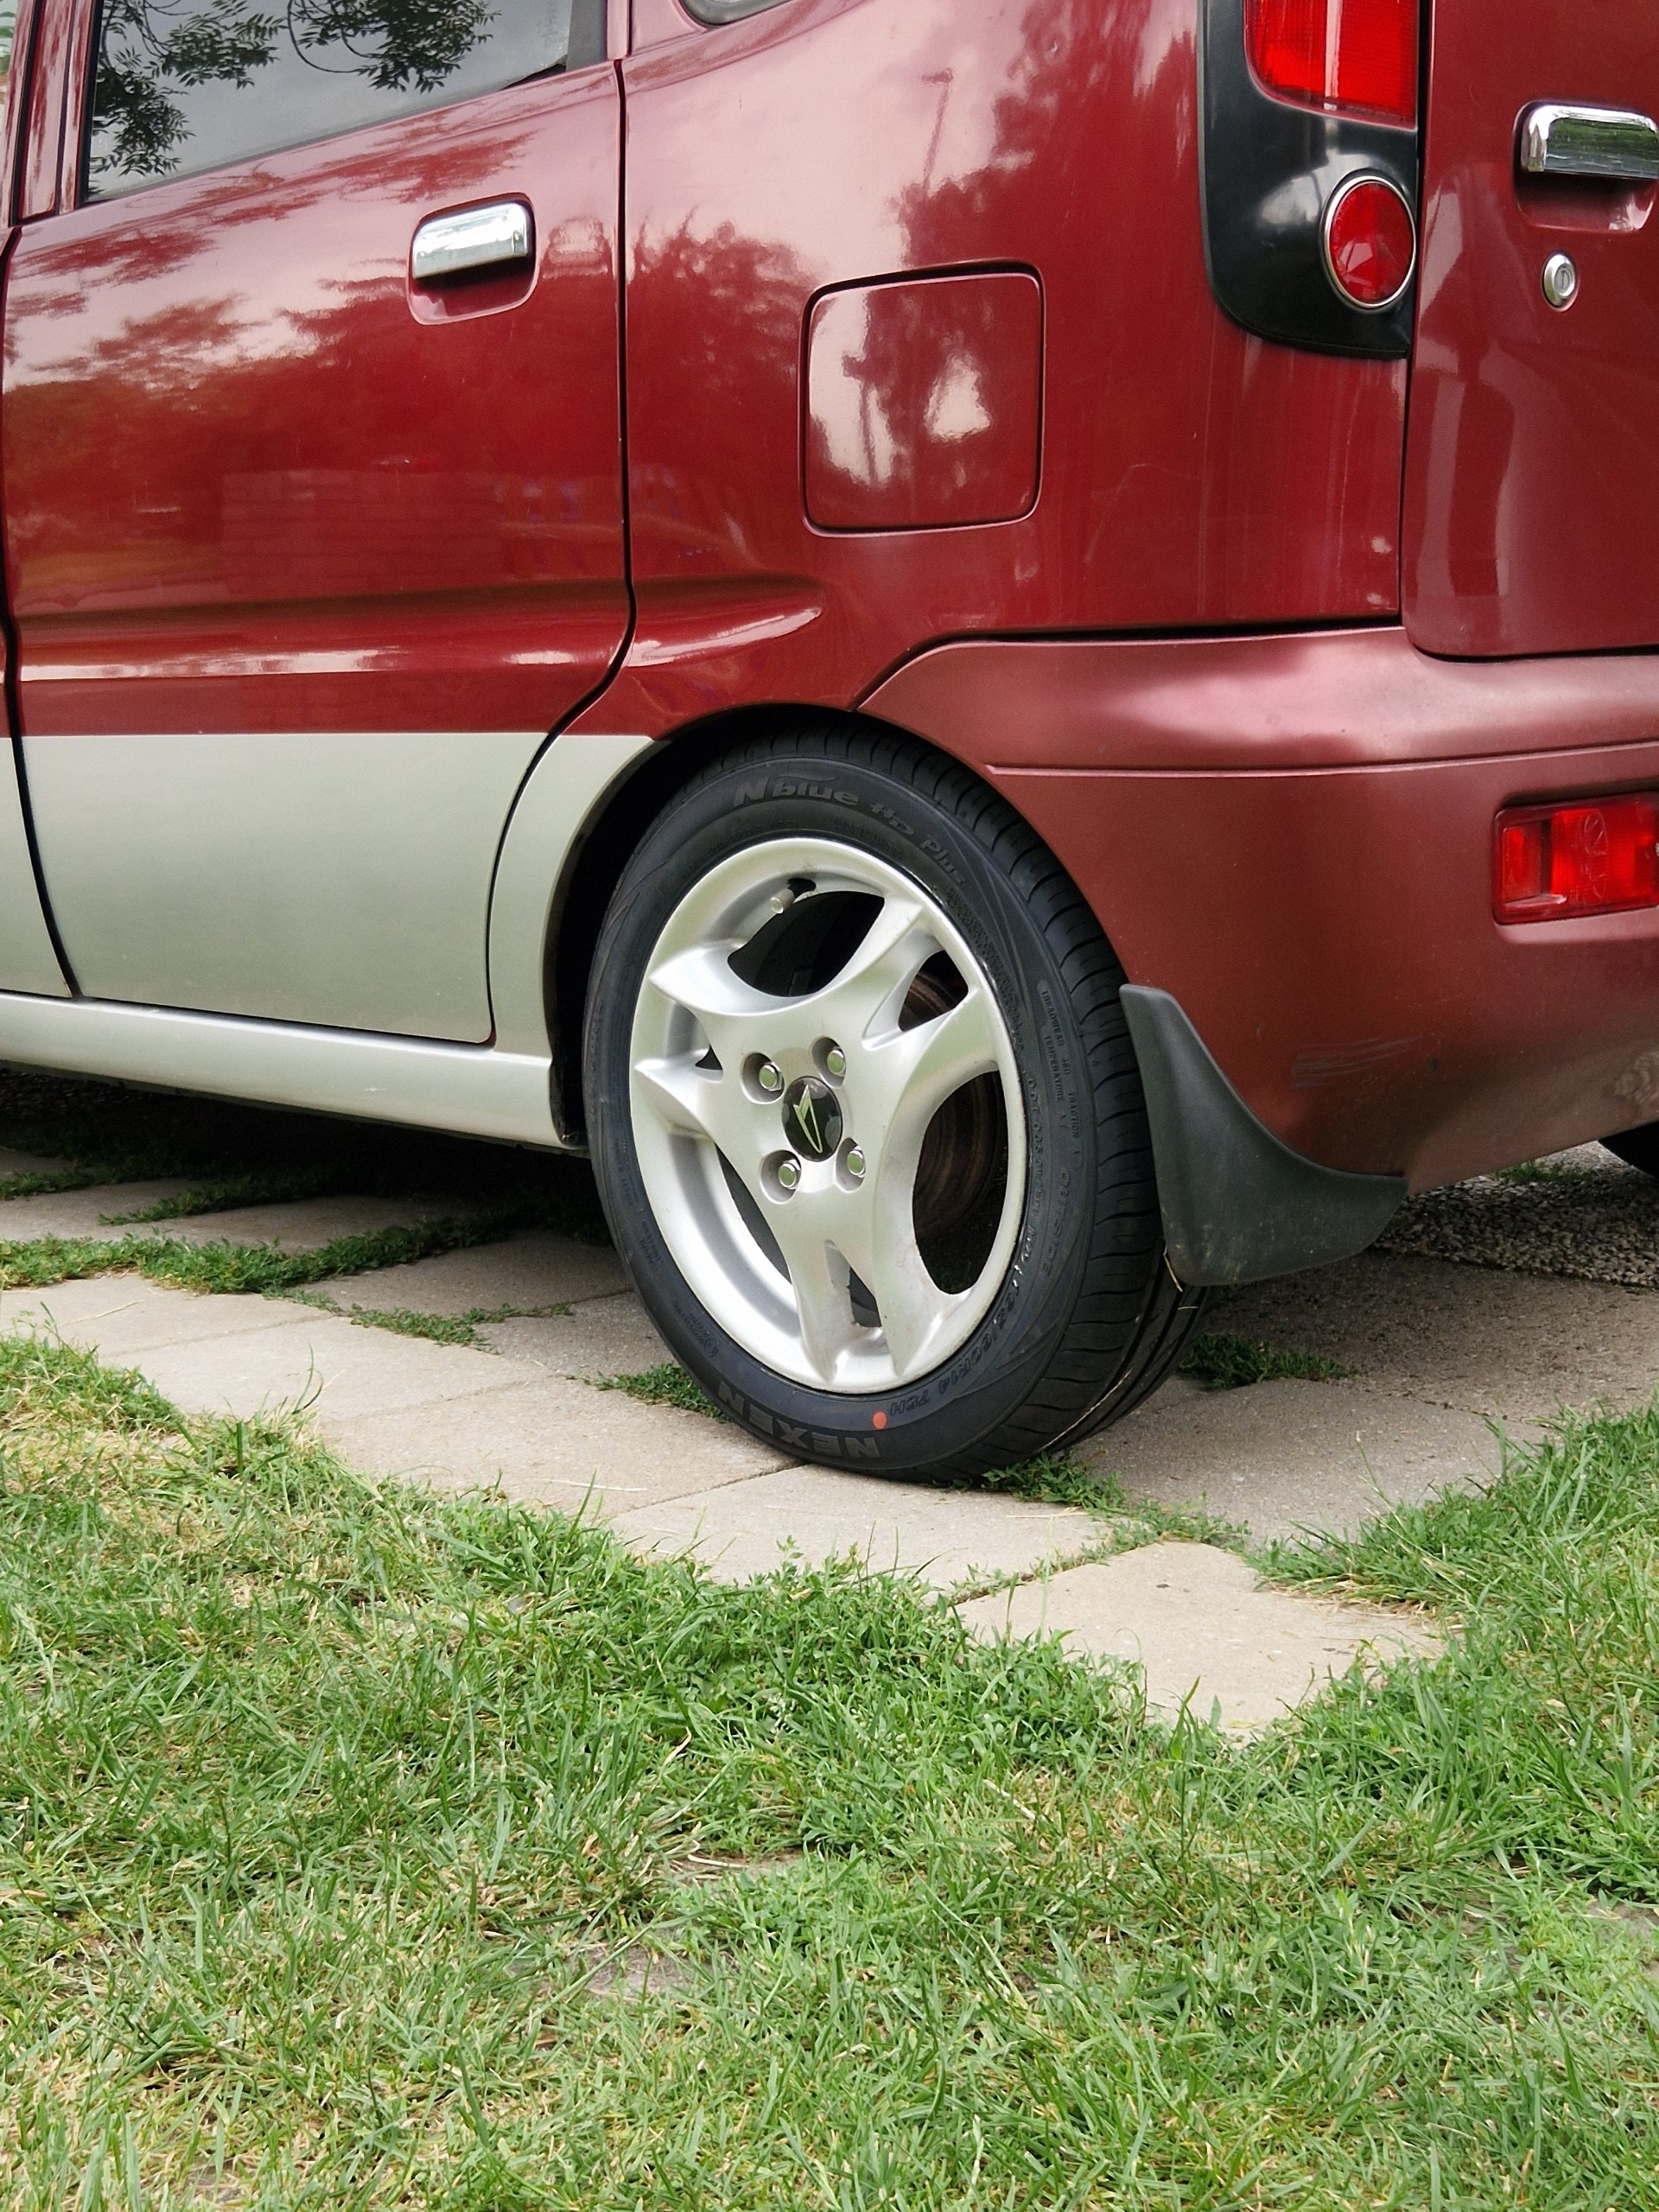
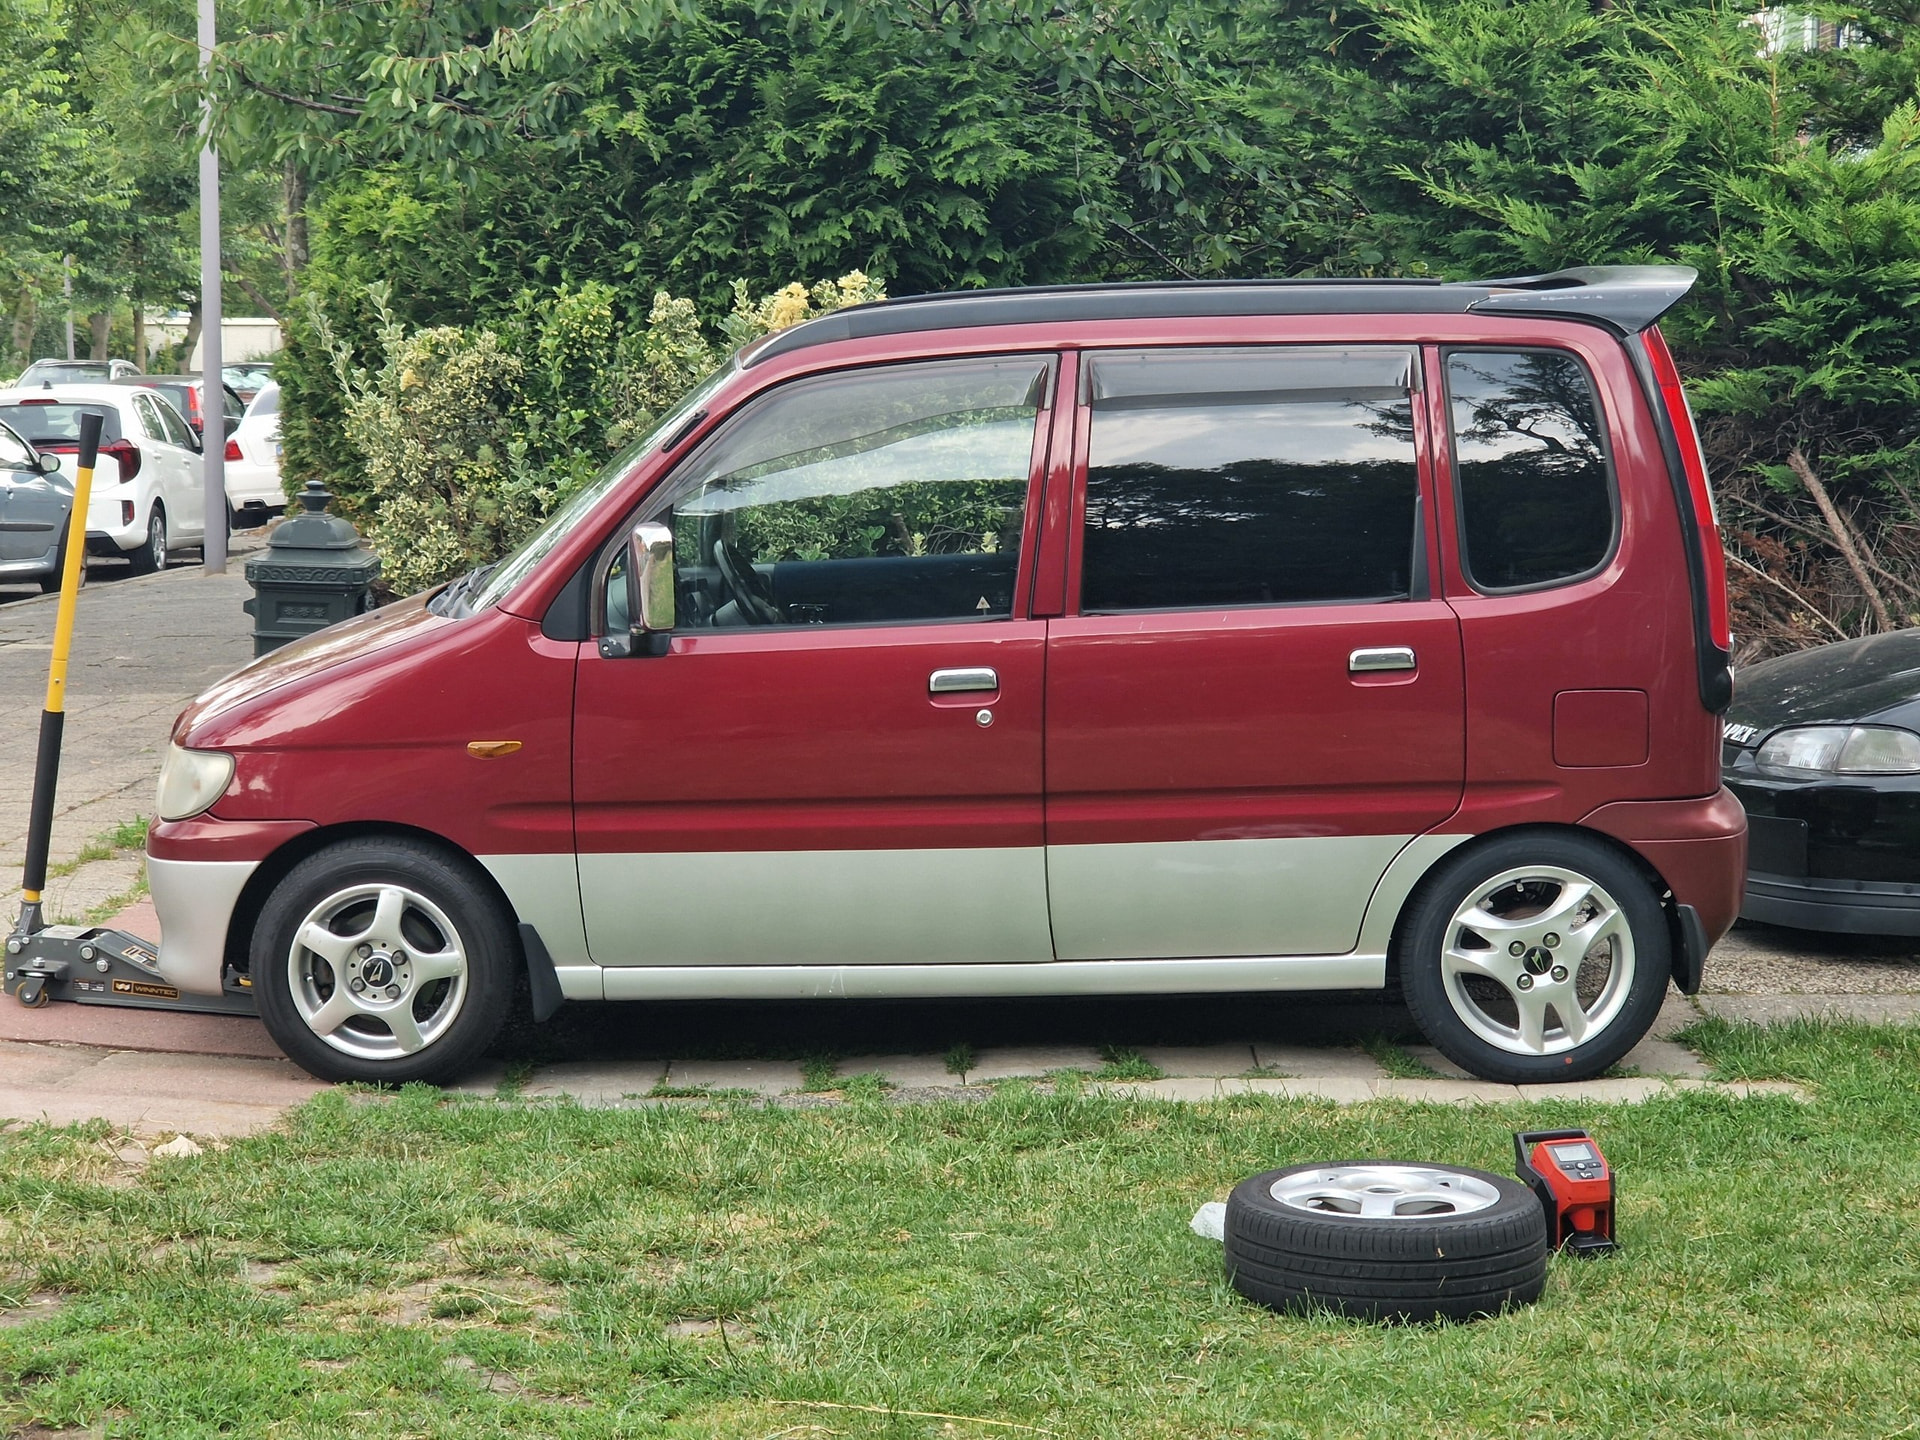
used some leftover “move upgrade money” for some tires for the tri spokes that have been collecting dust but was only able to afford 2 tires. I thought by myself, if the new BMW M5 can have an inch bigger at the rear then so can my little MOVE xd.

I fitted 165/60R14 tires on some OEM toyota tri spokes 5.5 x 14 et45. Wanted to get 165/55 originally since thats the Move Custom tire size but 165/60 had a wider selection of tires and has a bit more meat . (for ref: lowered by 30mm on springs and front is a 165/55R13)

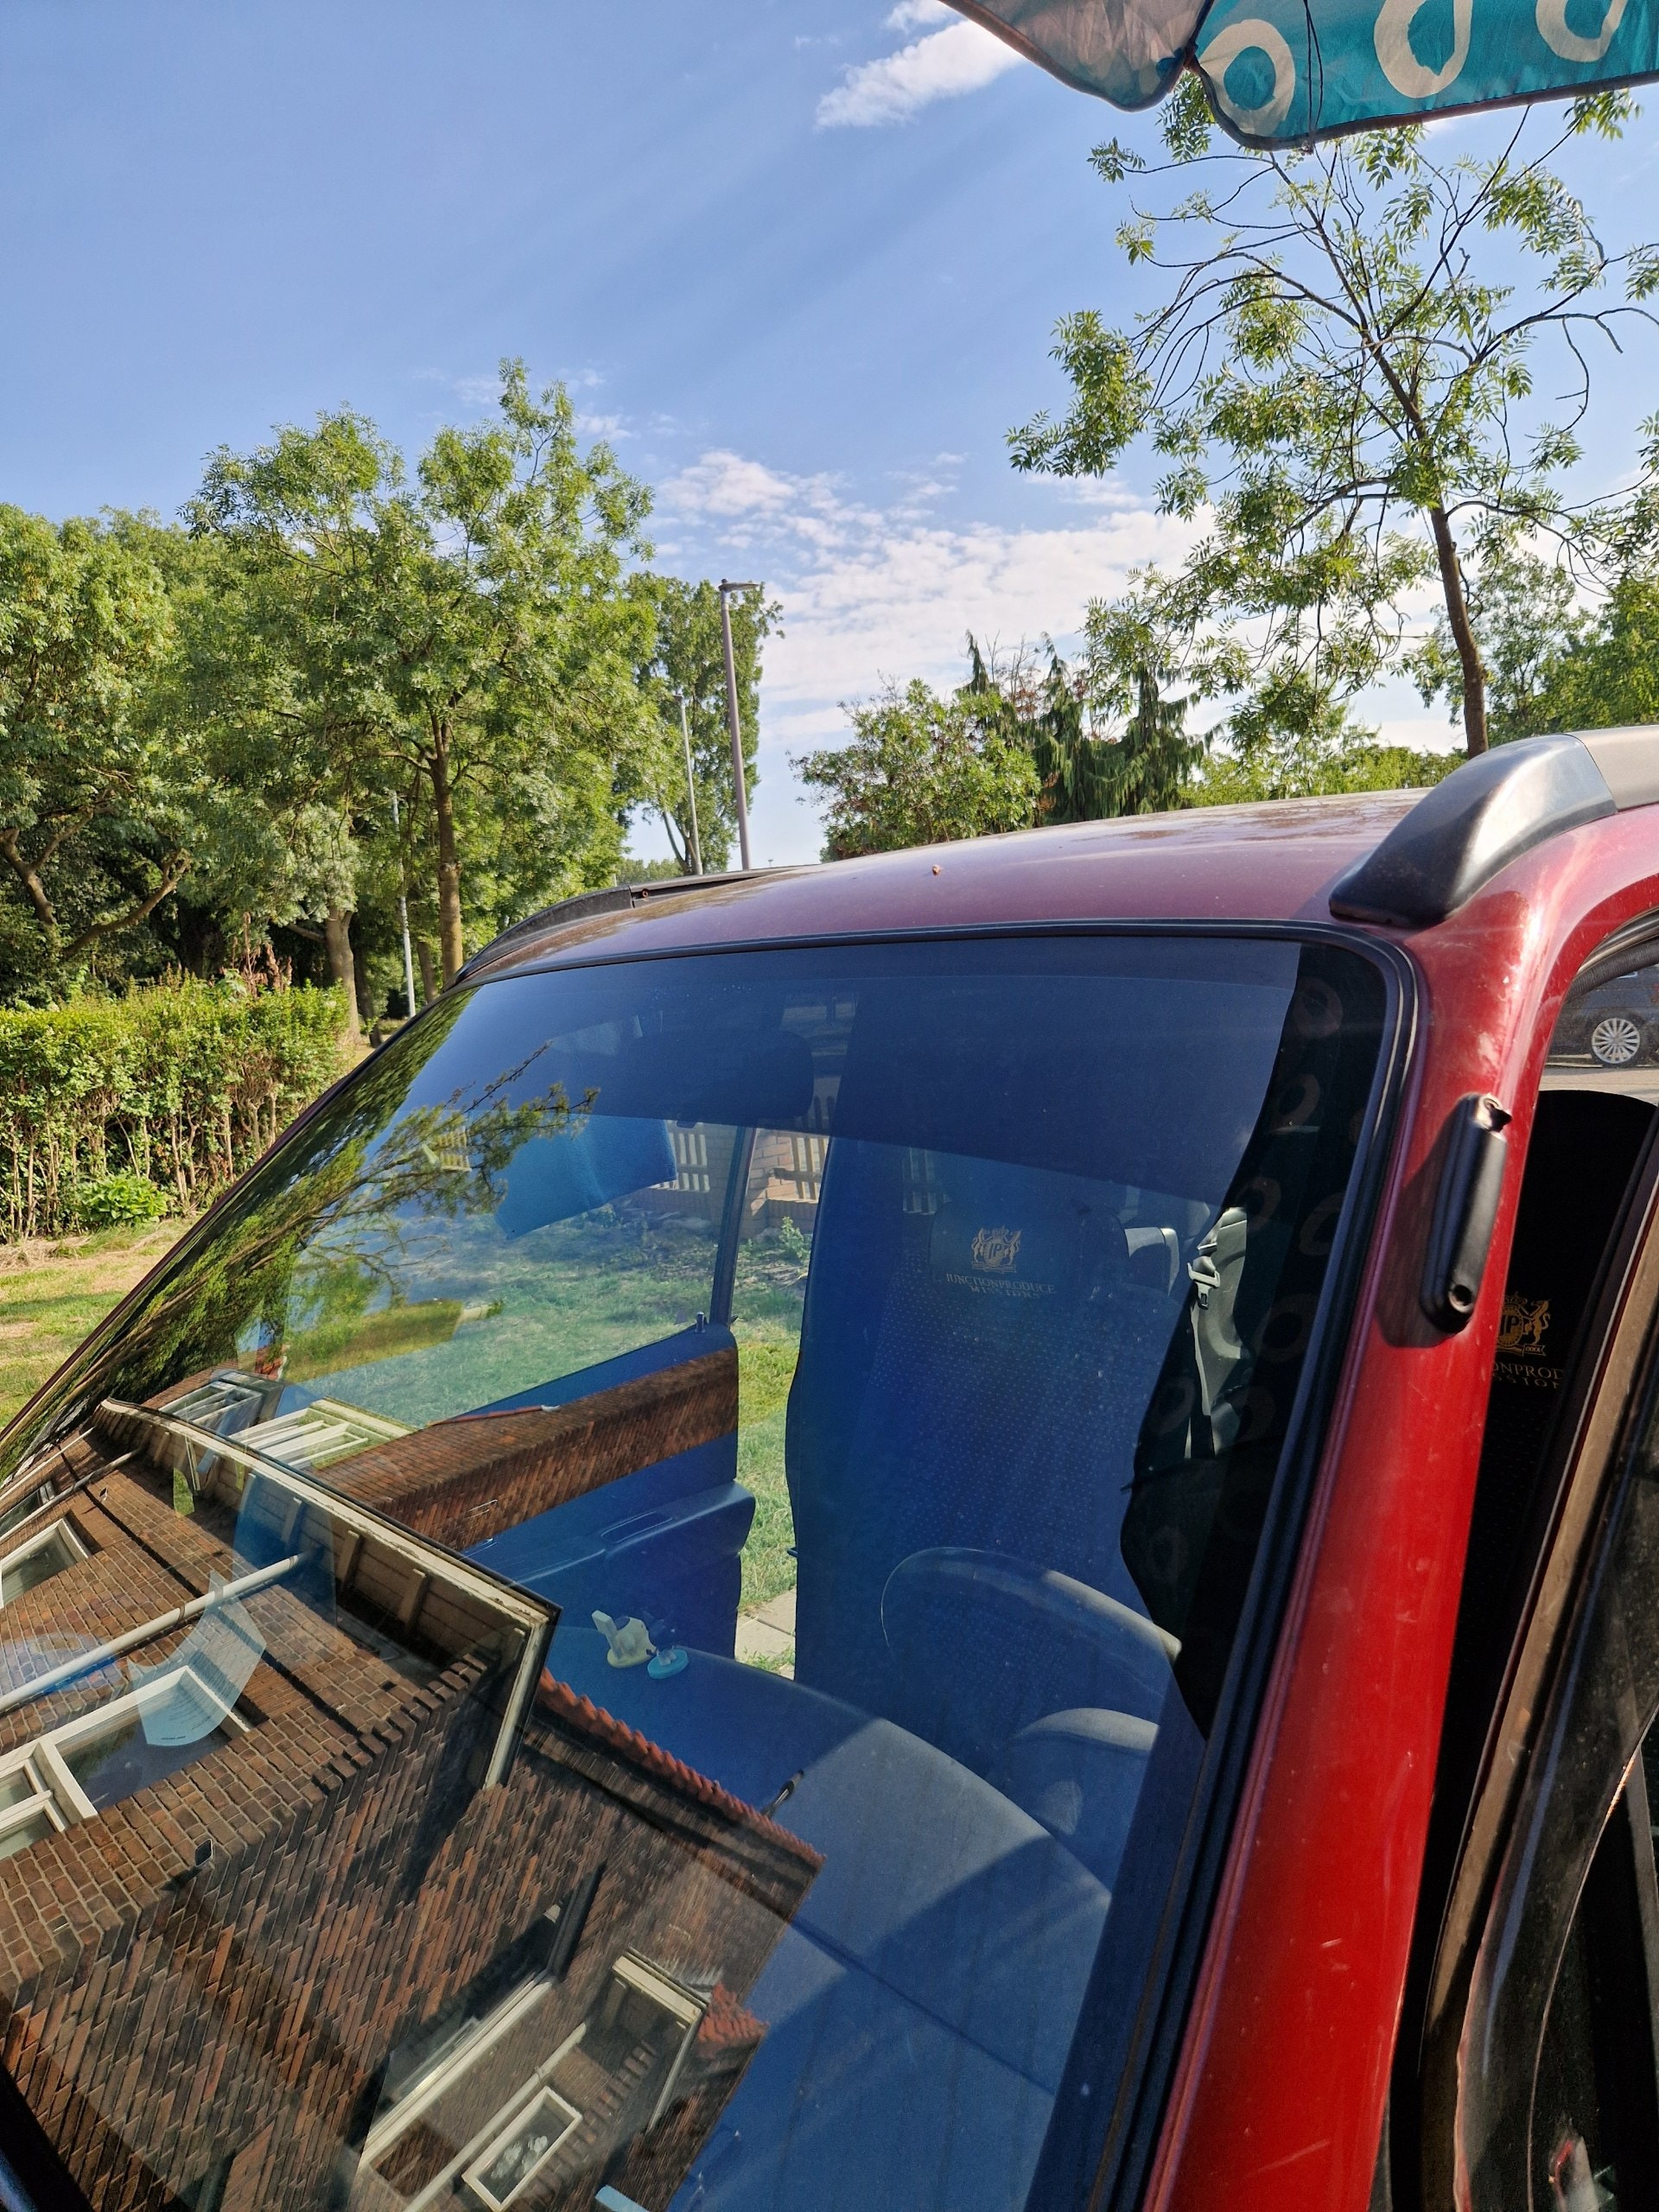
after rough, hot and windy weather it finally calmed down so i was able to apply the rest of my window tint at the front windows (70%) + a little sunstrip. Its not really functional as the sun still really stings through, i would prefer a fully opaque black sunstrip like on the civic

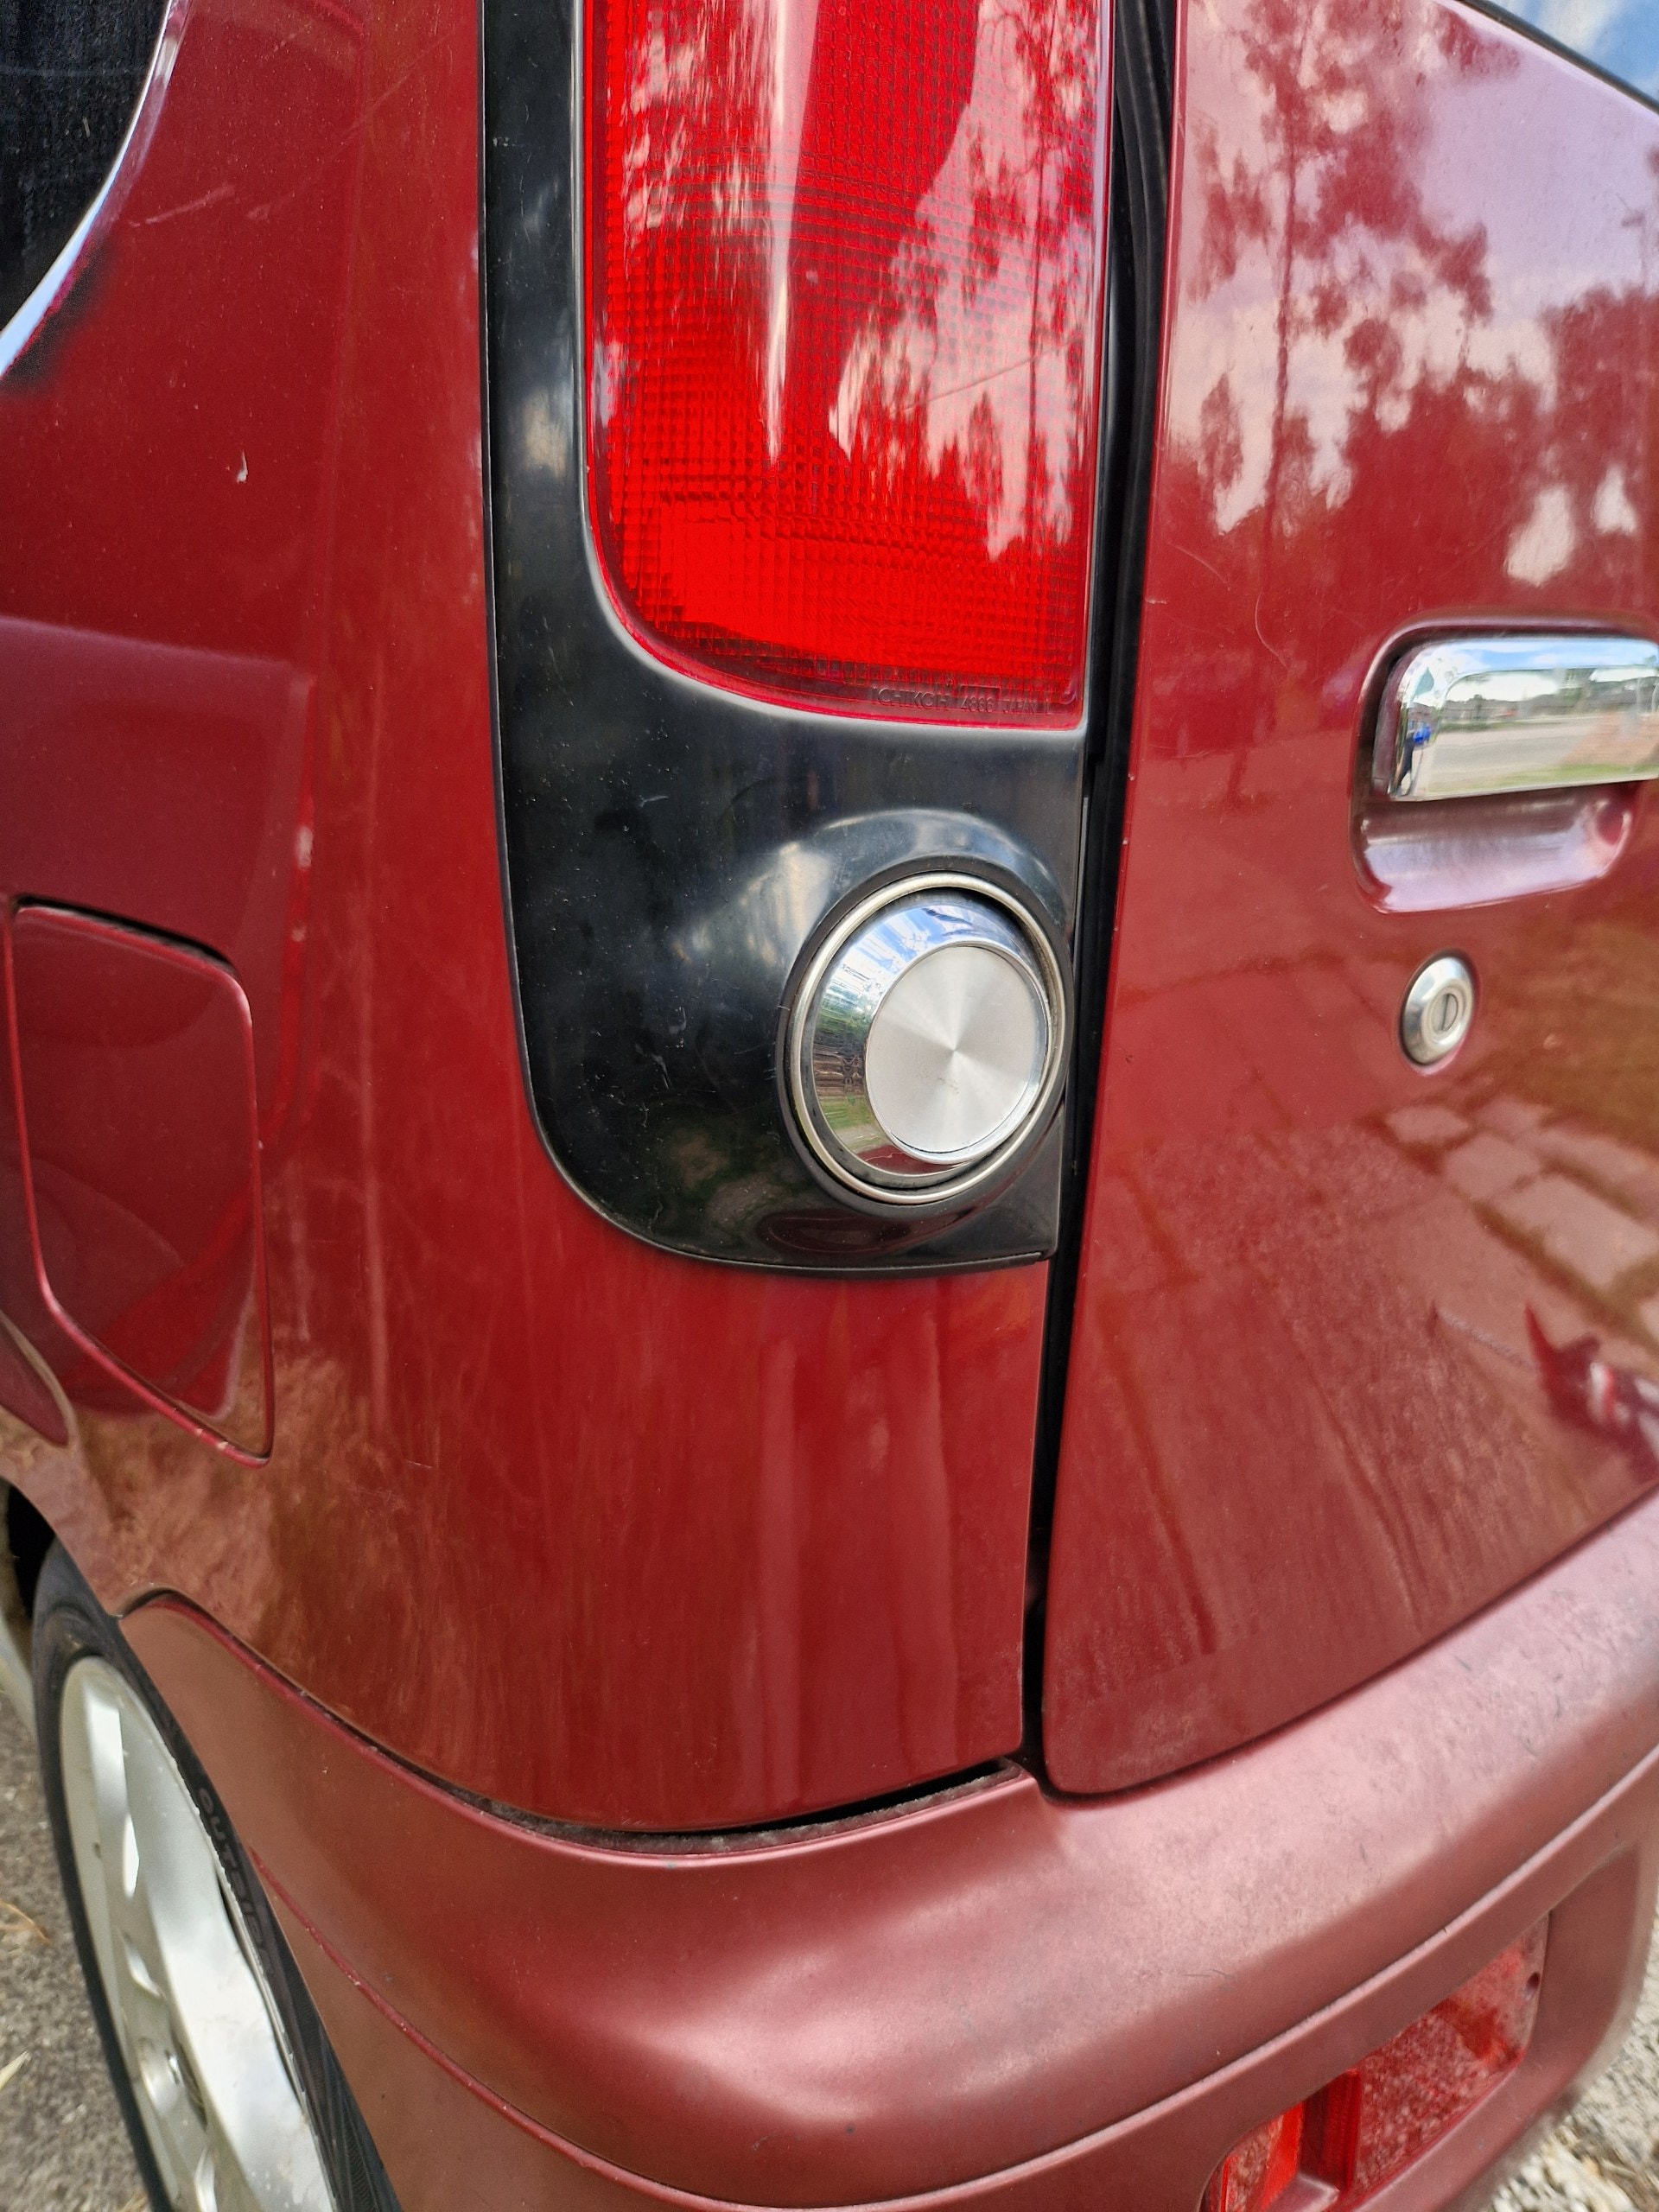
For the rear lights i came up with something as i was just admiring the new rear end of this car and i noticed the big red round reflectors on the tails really stand out but its not something i think looks reaally good. I measured up te reflectors and got some chrome ish hubcaps in the same diameter, chopped off the little legs. and stuck them in the factory holder. I quite like it !

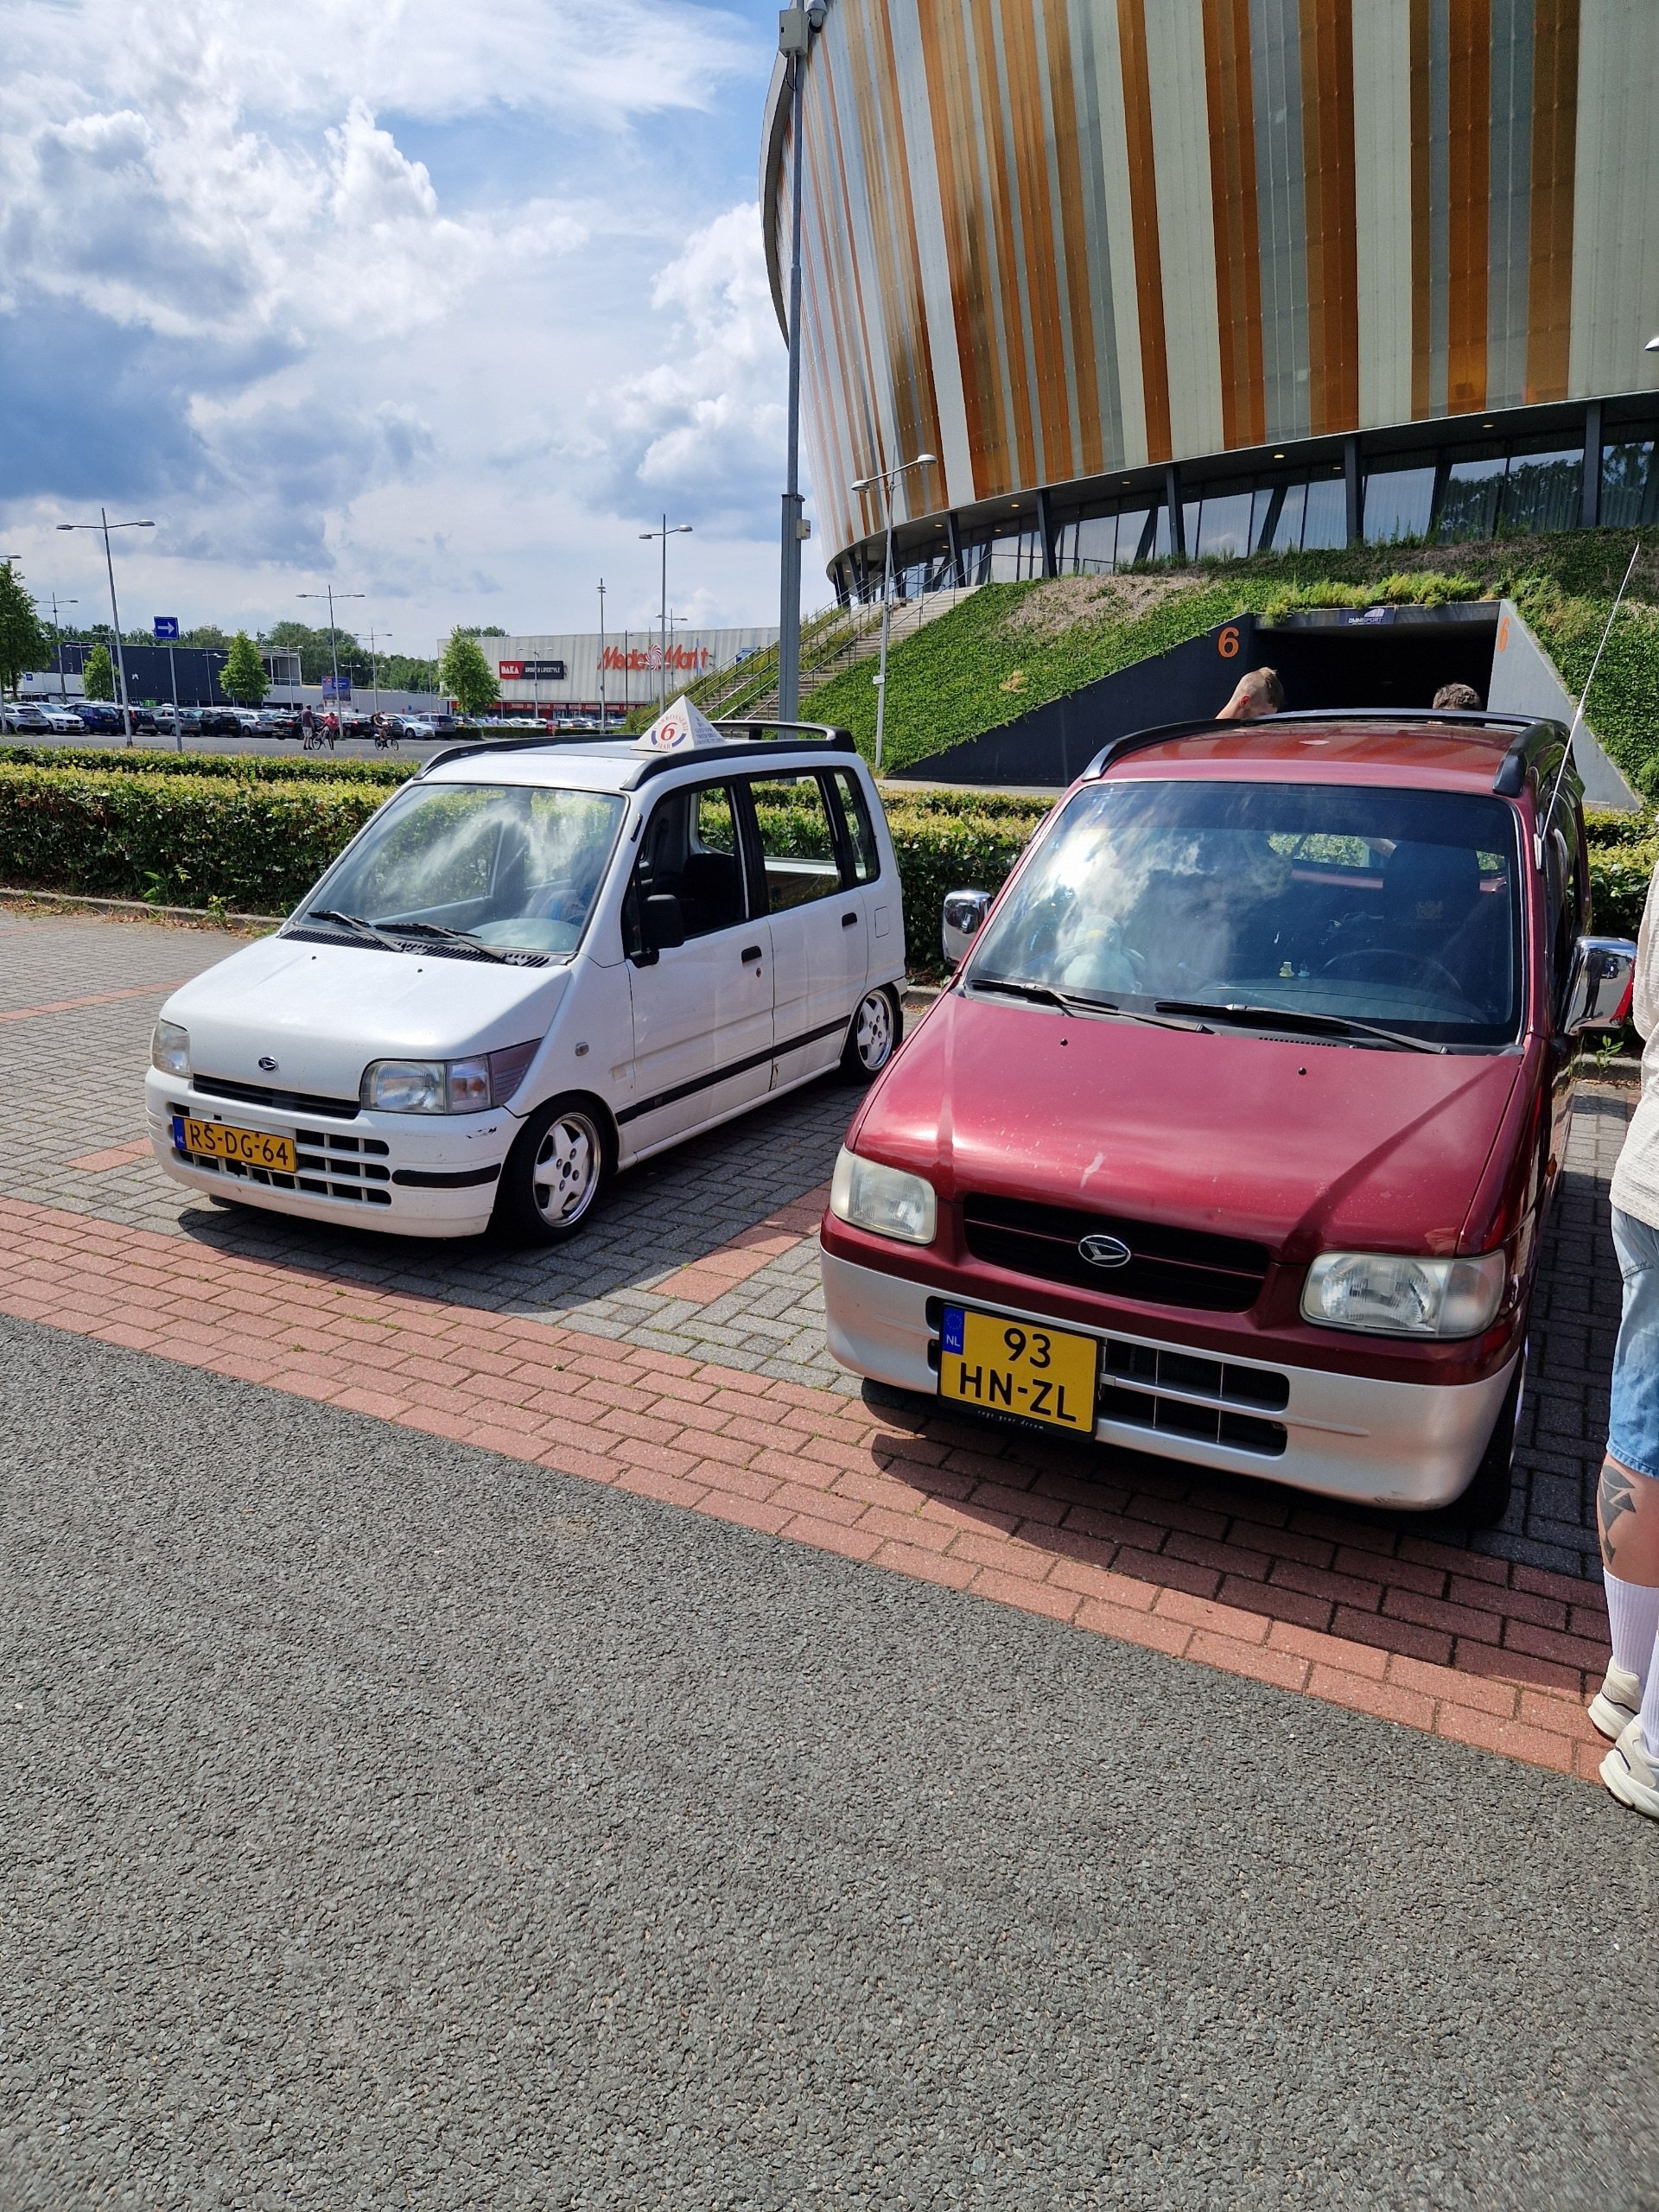
Went to the yearly Daihatsu meet in the Netherlands, met alot of new people and saw some cool builds including this beautiful L6.

Going to be my last post for quite some time as im going to be focussing on other projects and i feel for now its enough for the MOVE xd

3 Likes