JDM Toyota Duet / Sirion runabout in Surinam

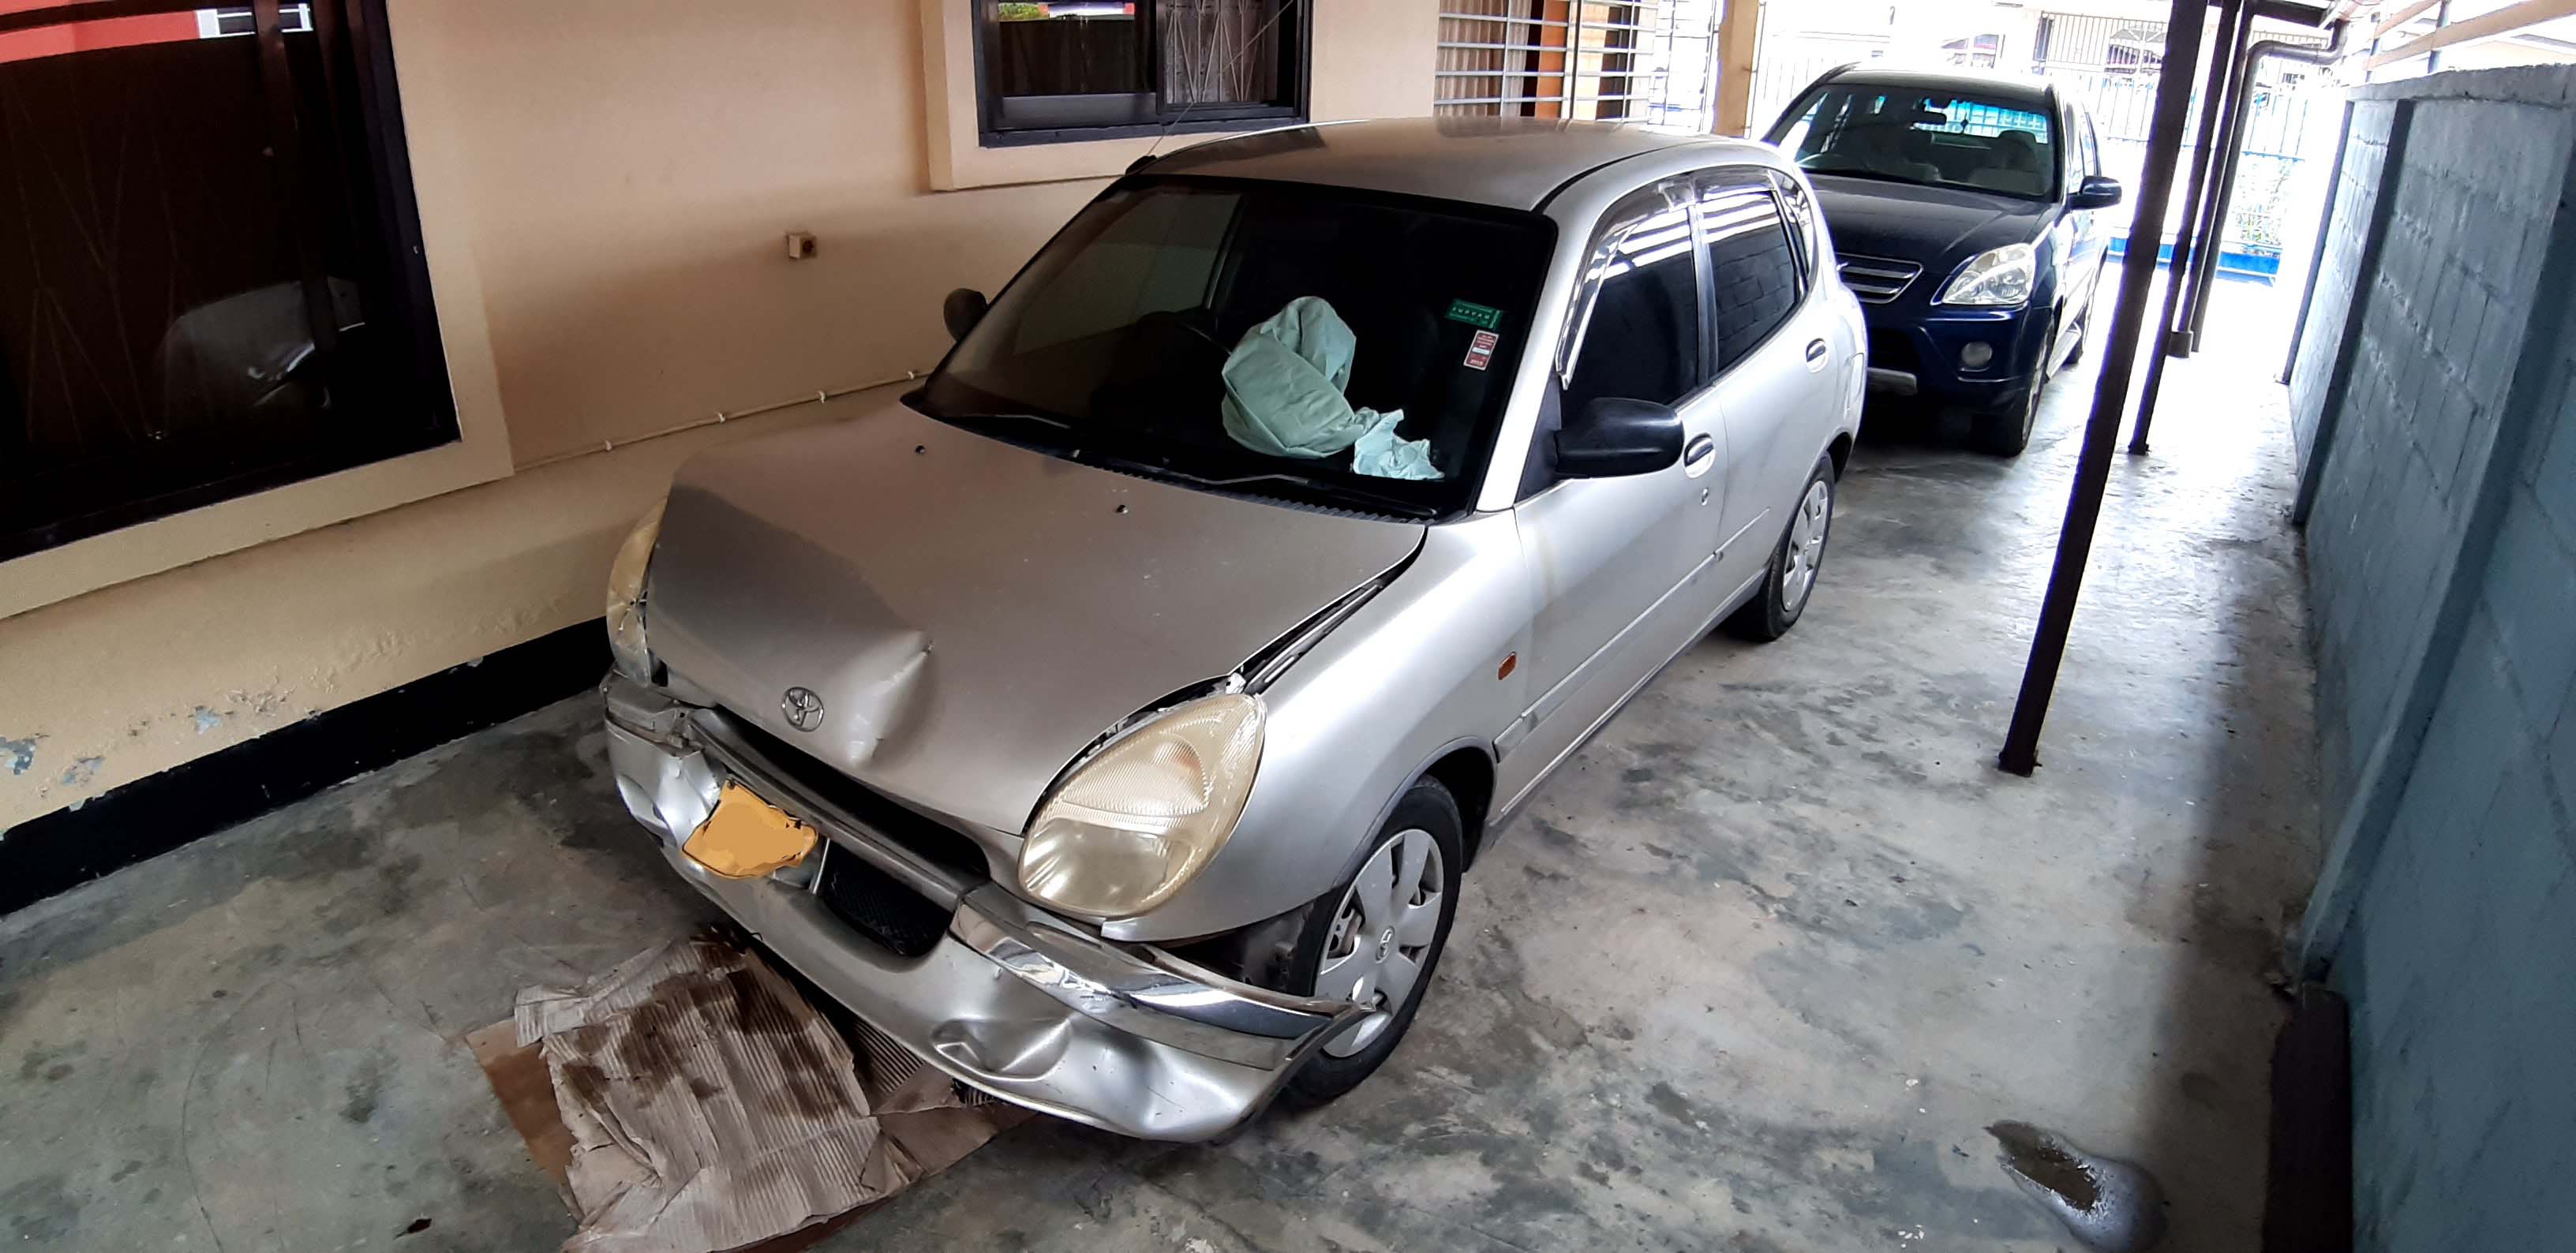
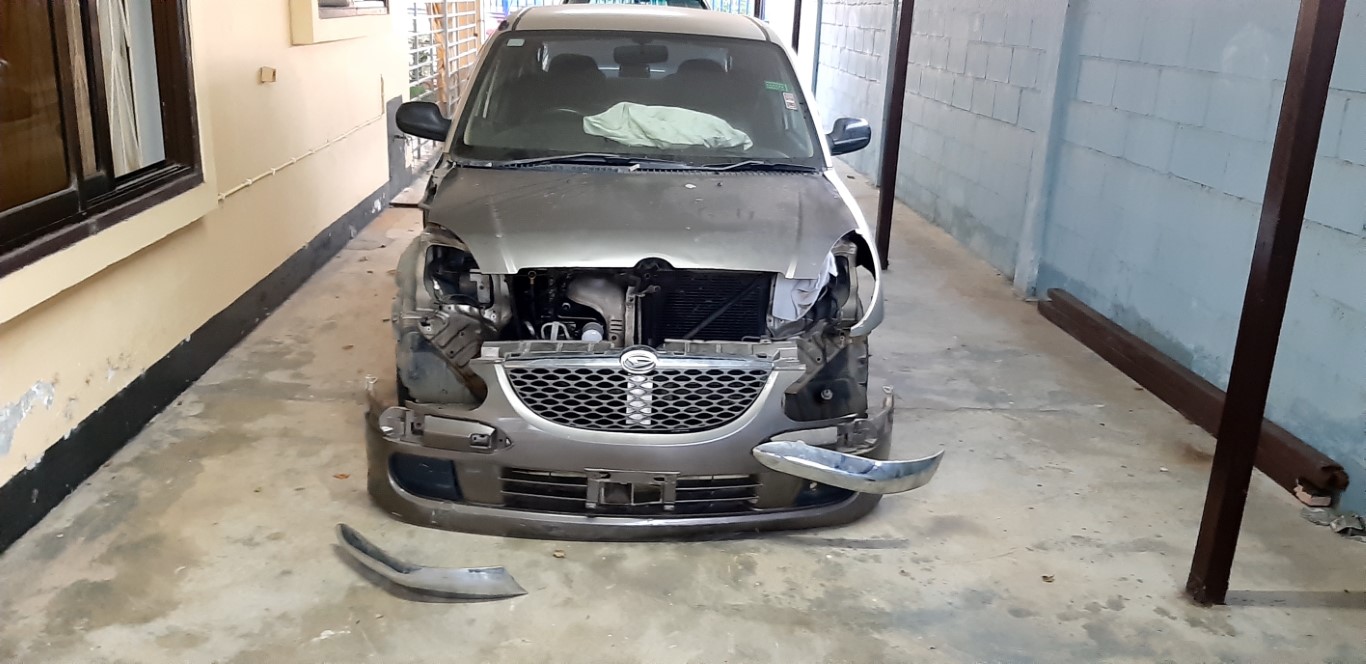
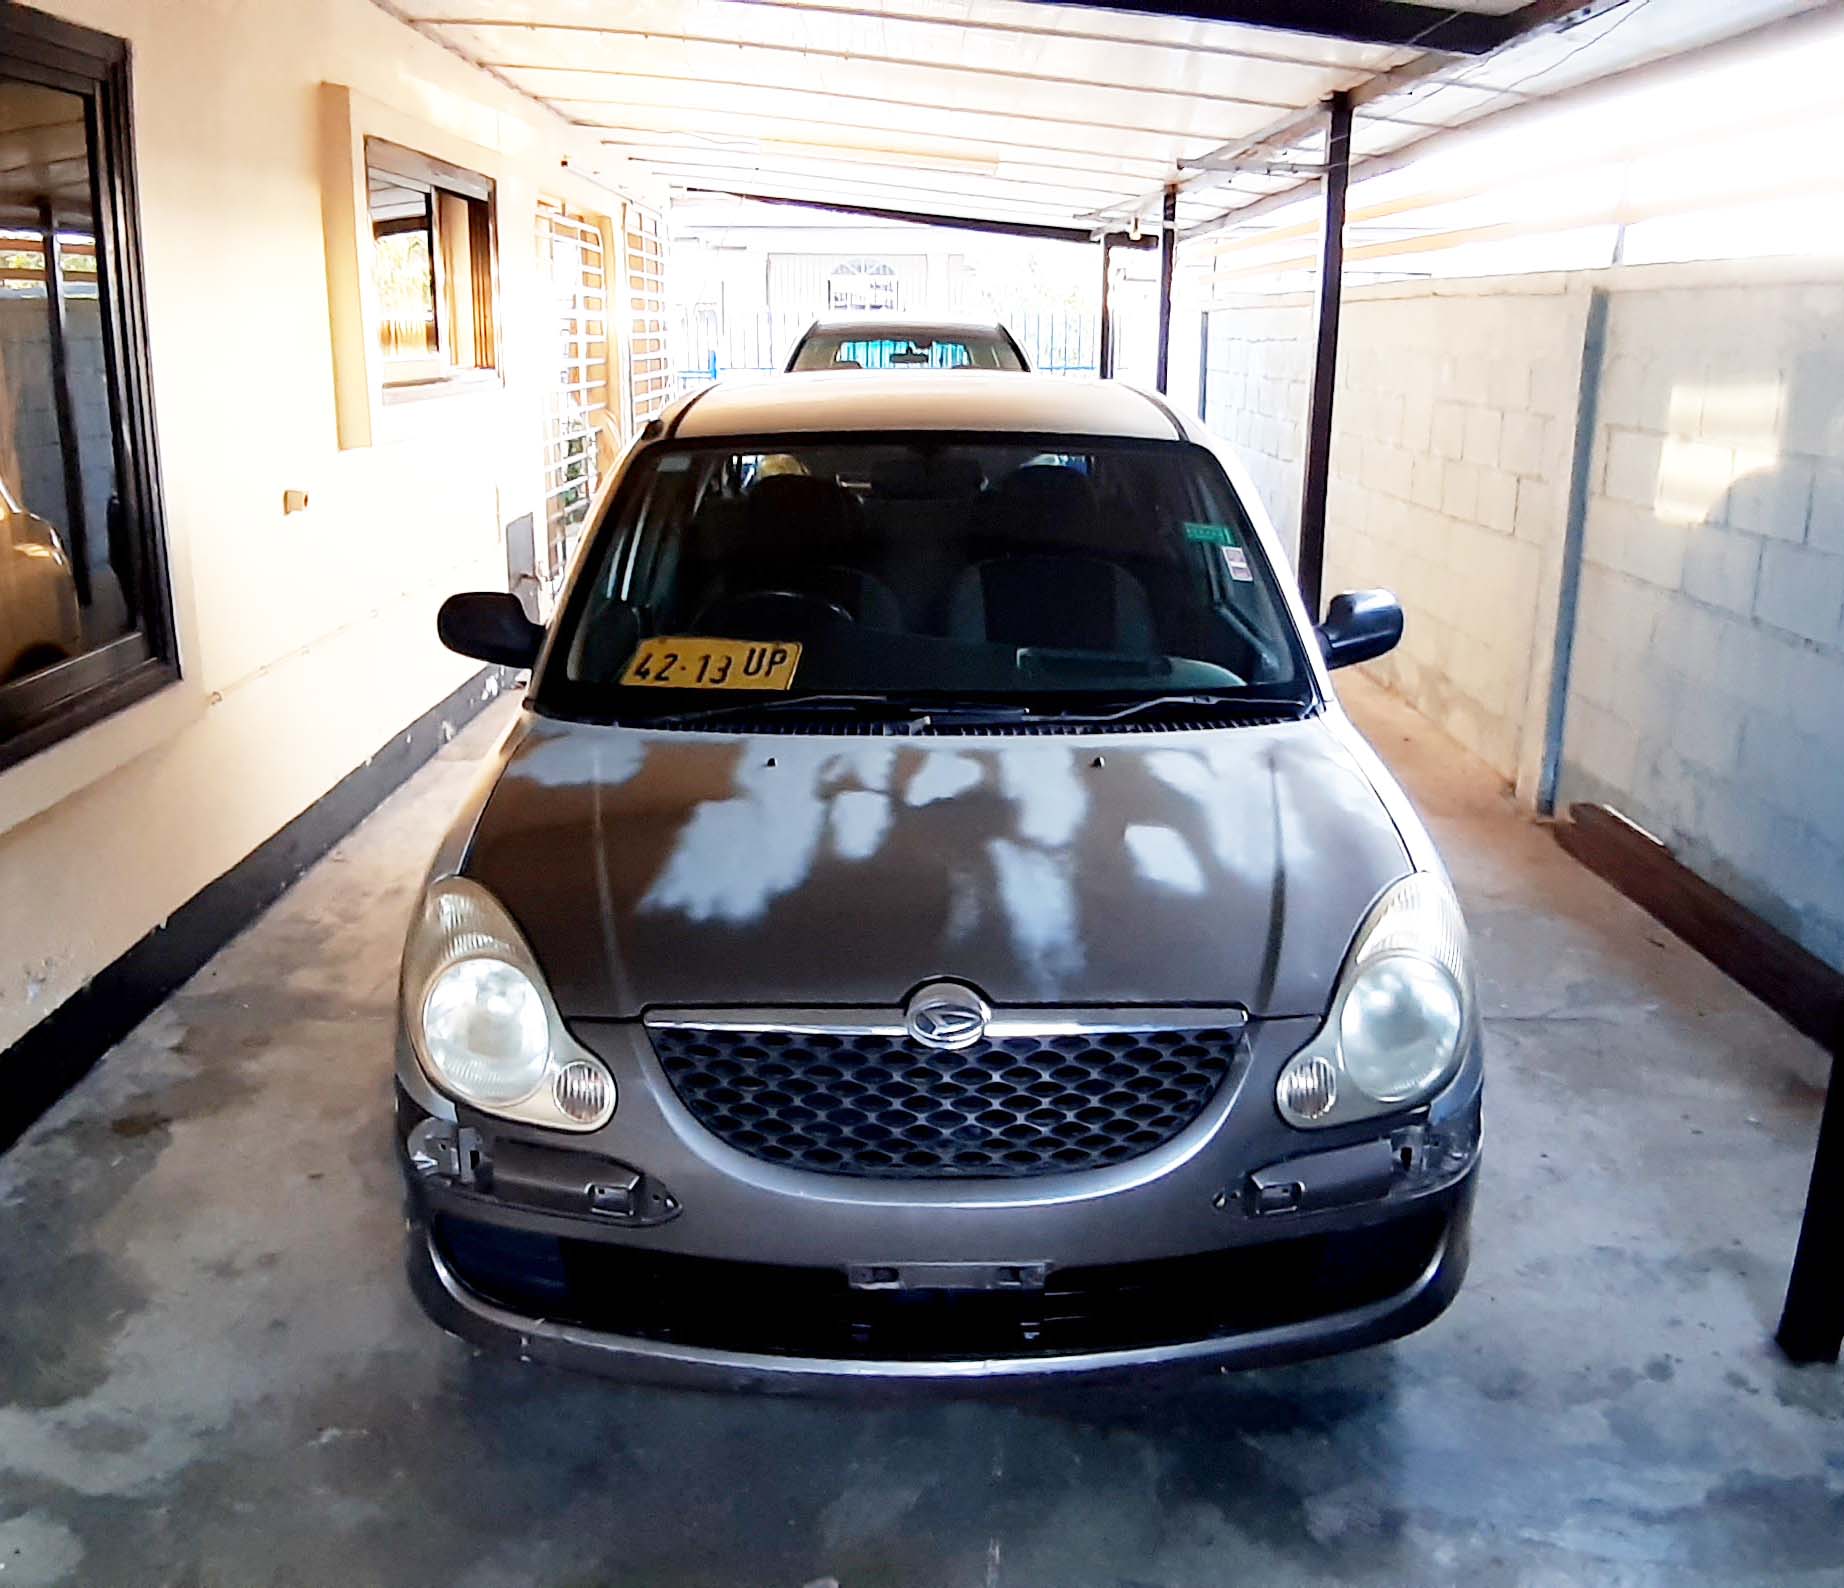
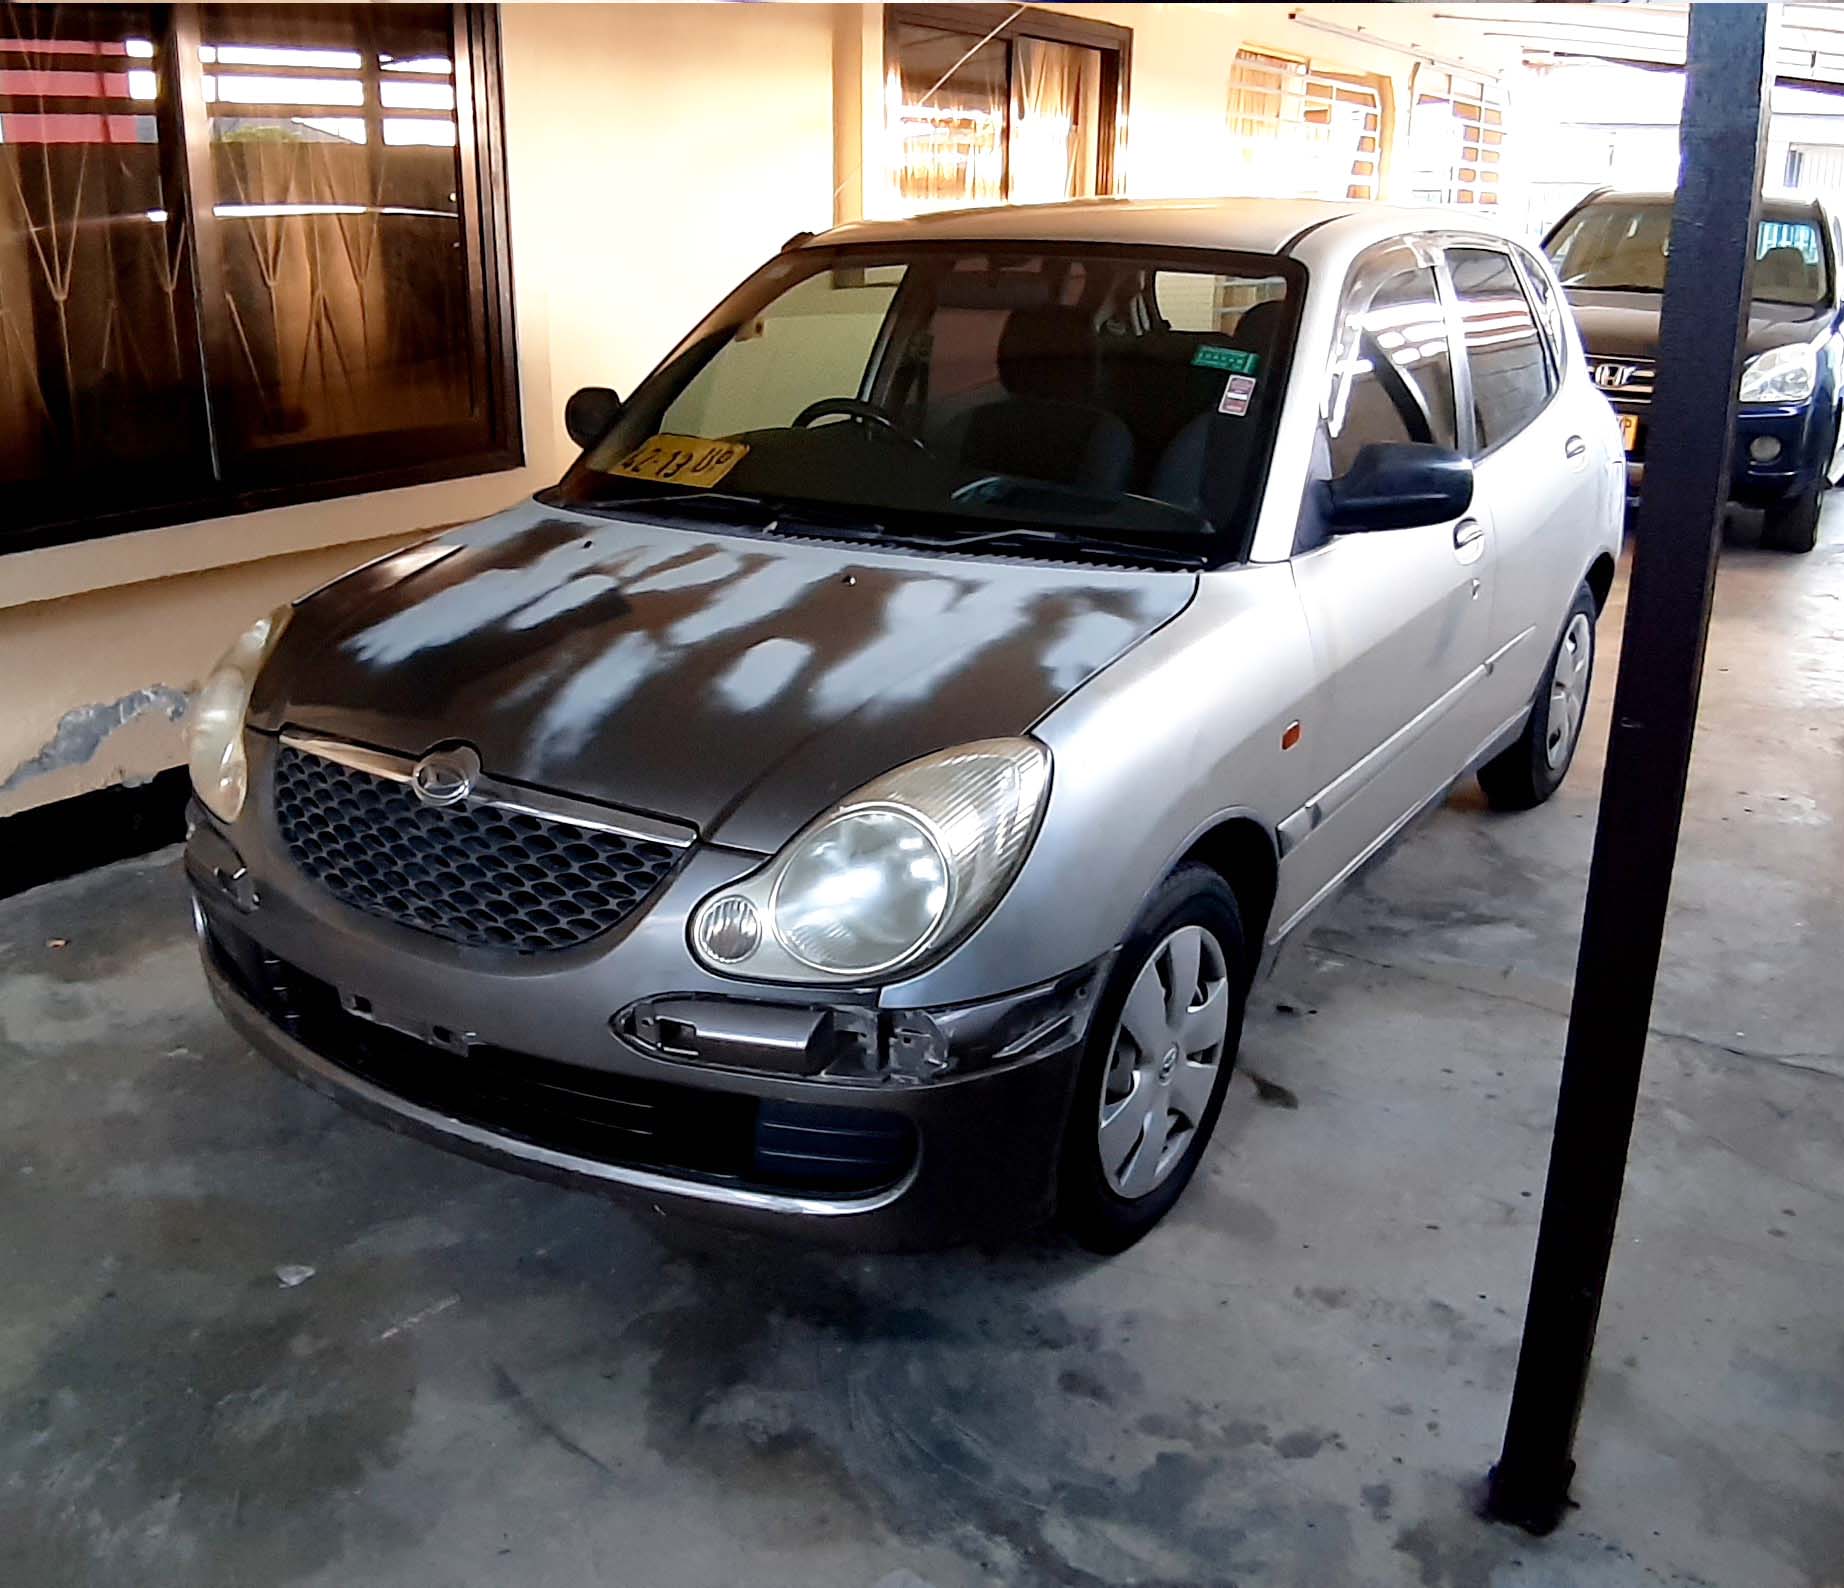
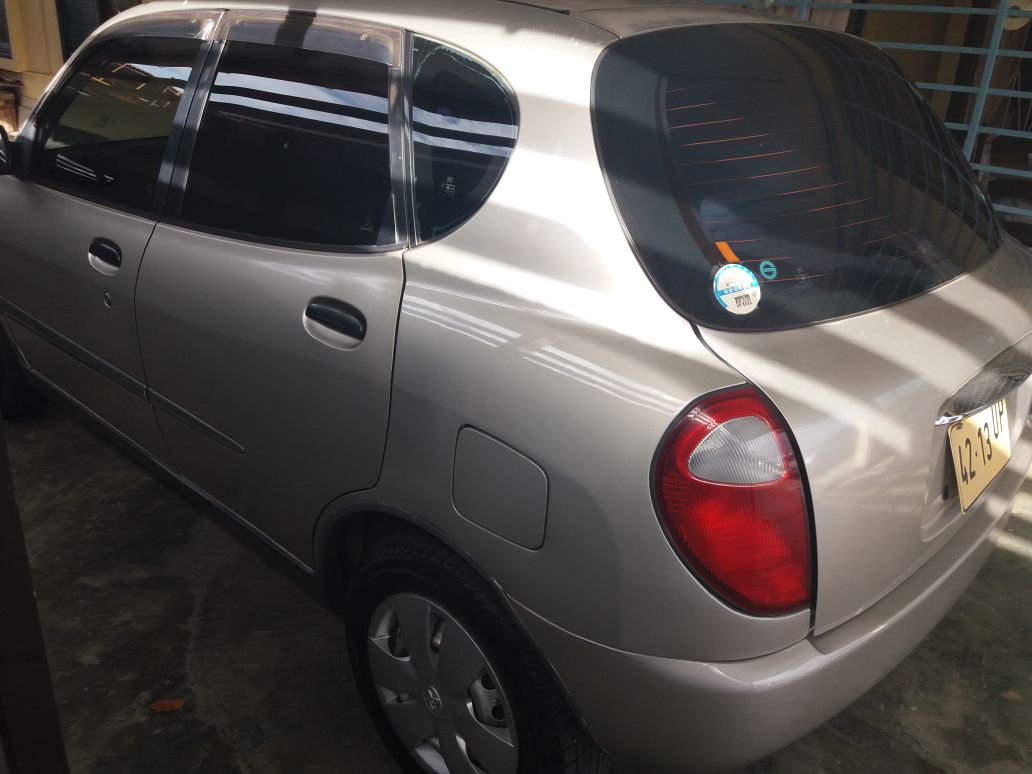
Here is my 1998 Toyota Duet / Daihatsu Sirion M100A living in Suriname with my parents.
She was bought in 2017 as my transportation for when I’m at my parents and serves as a runabout for my parents. For the more official and more inland trips they have their CRV with K24.

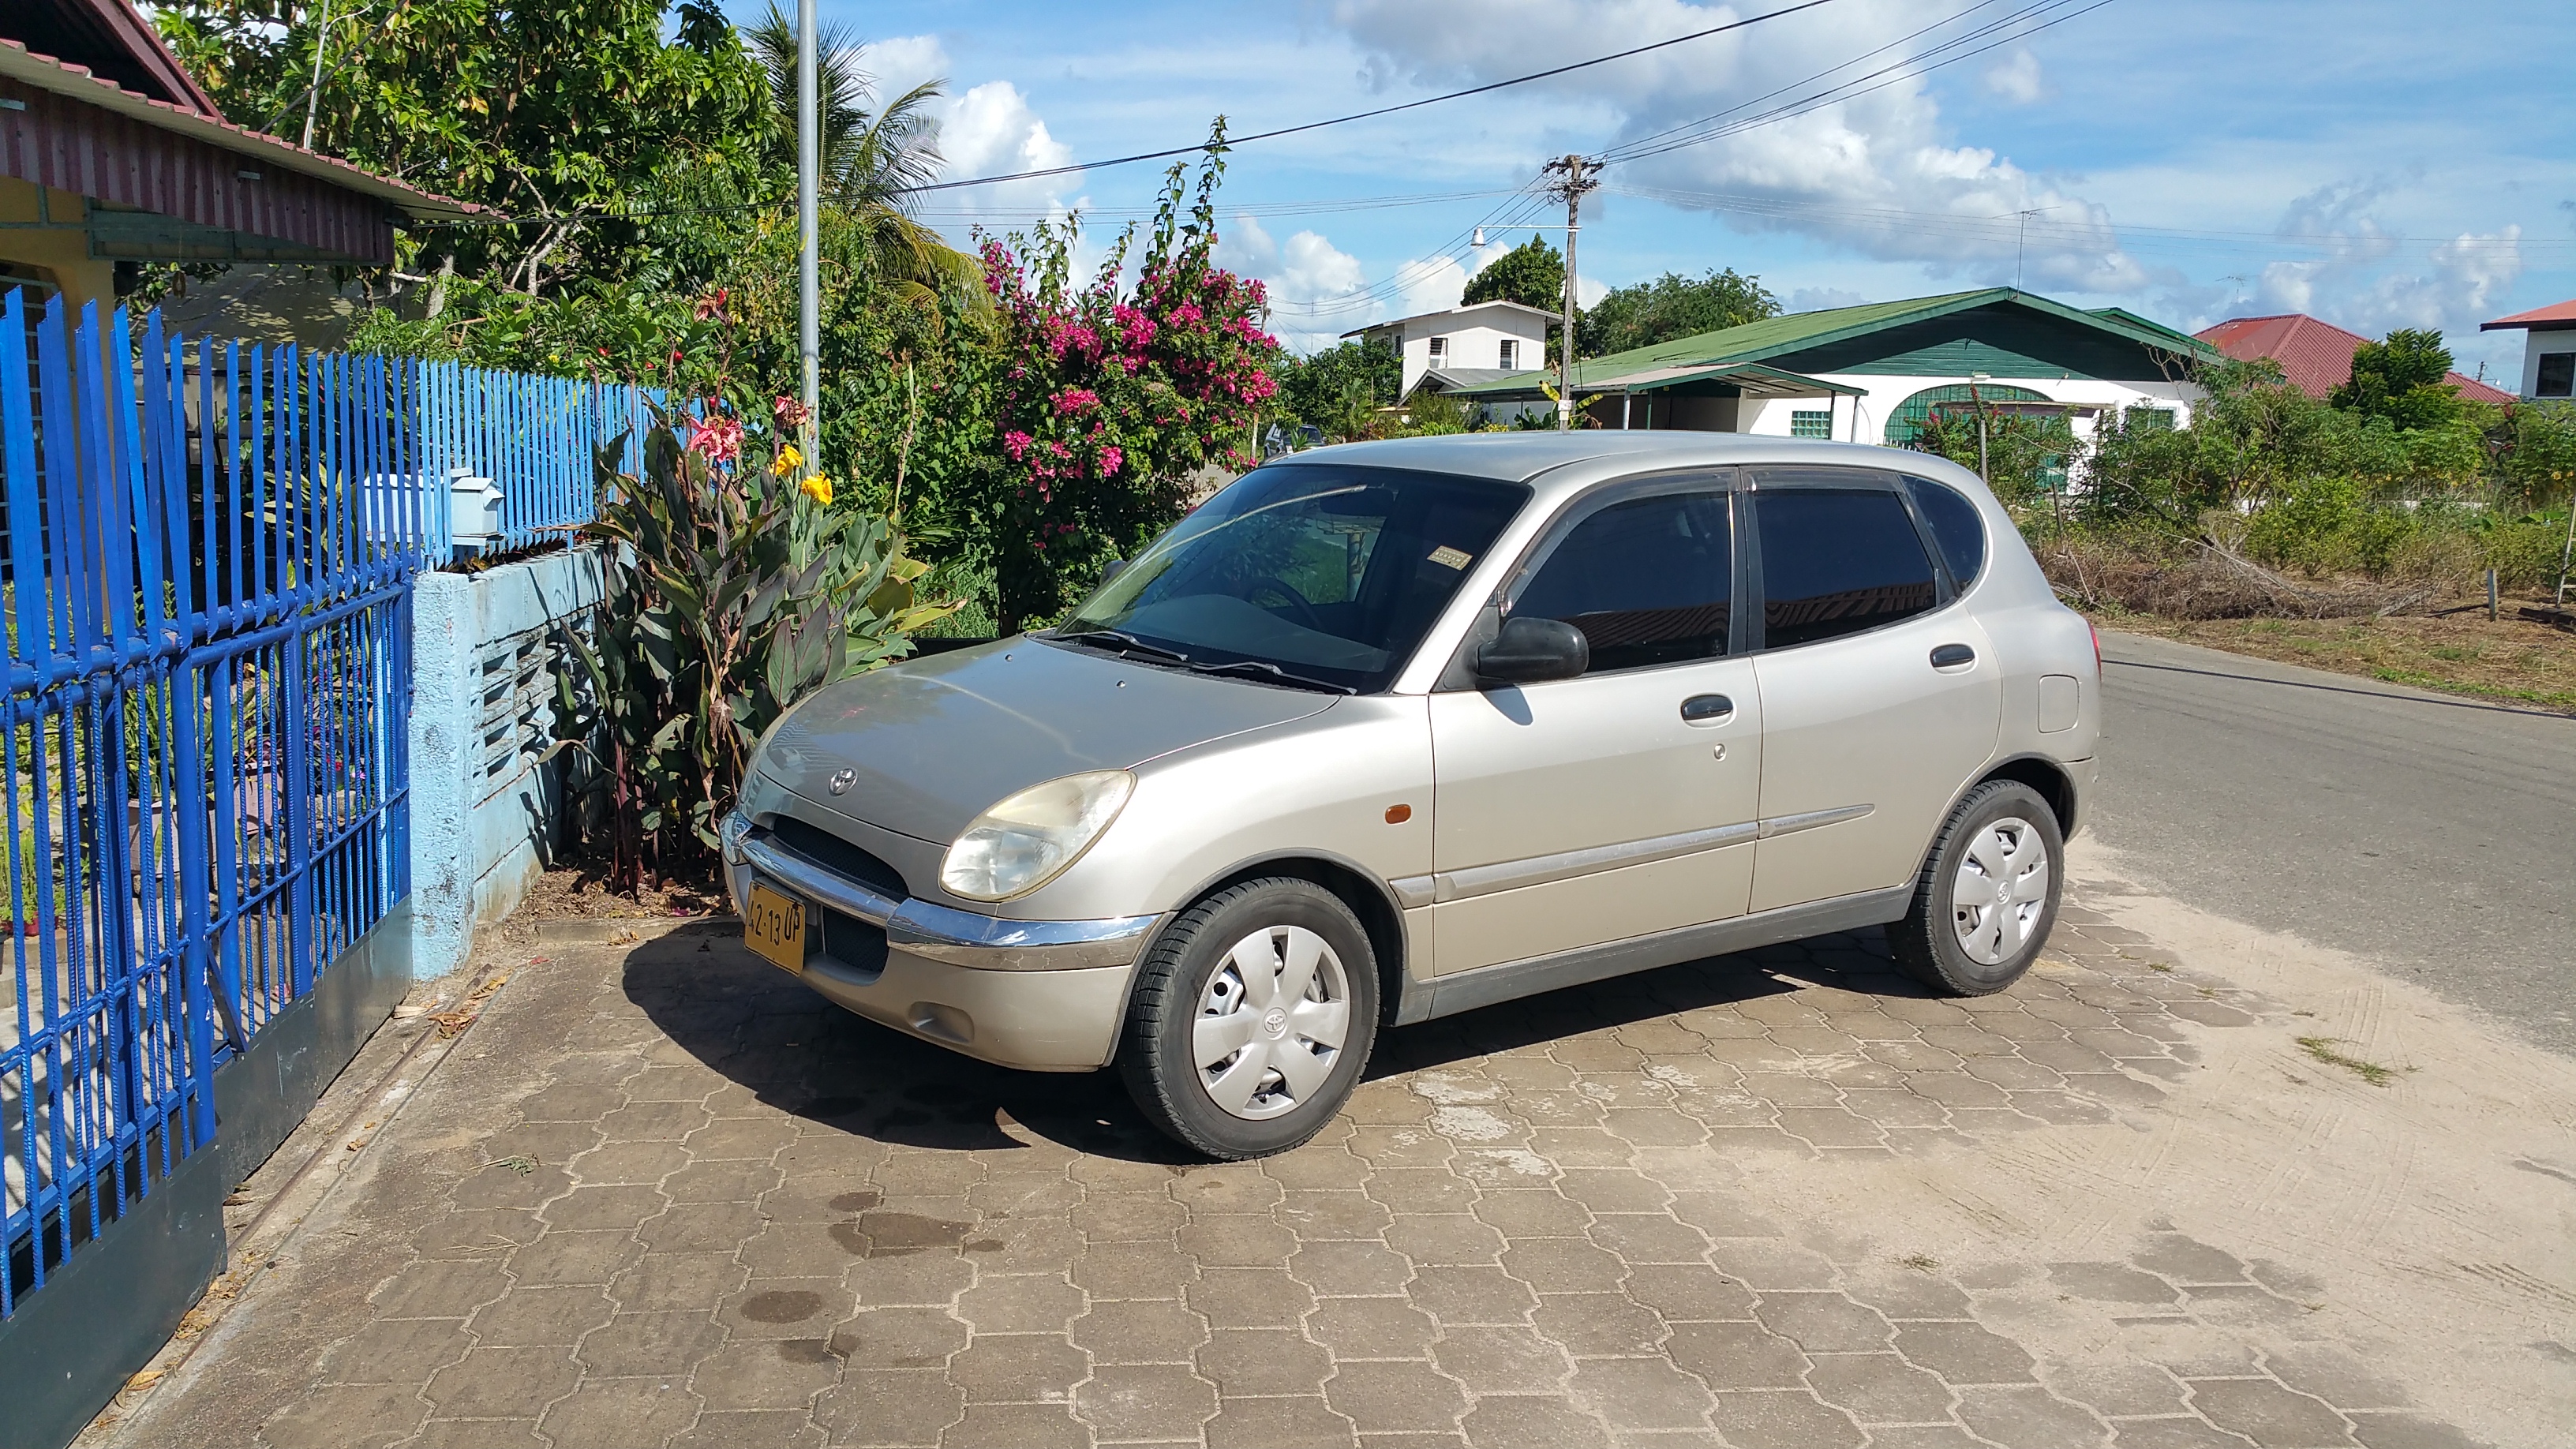
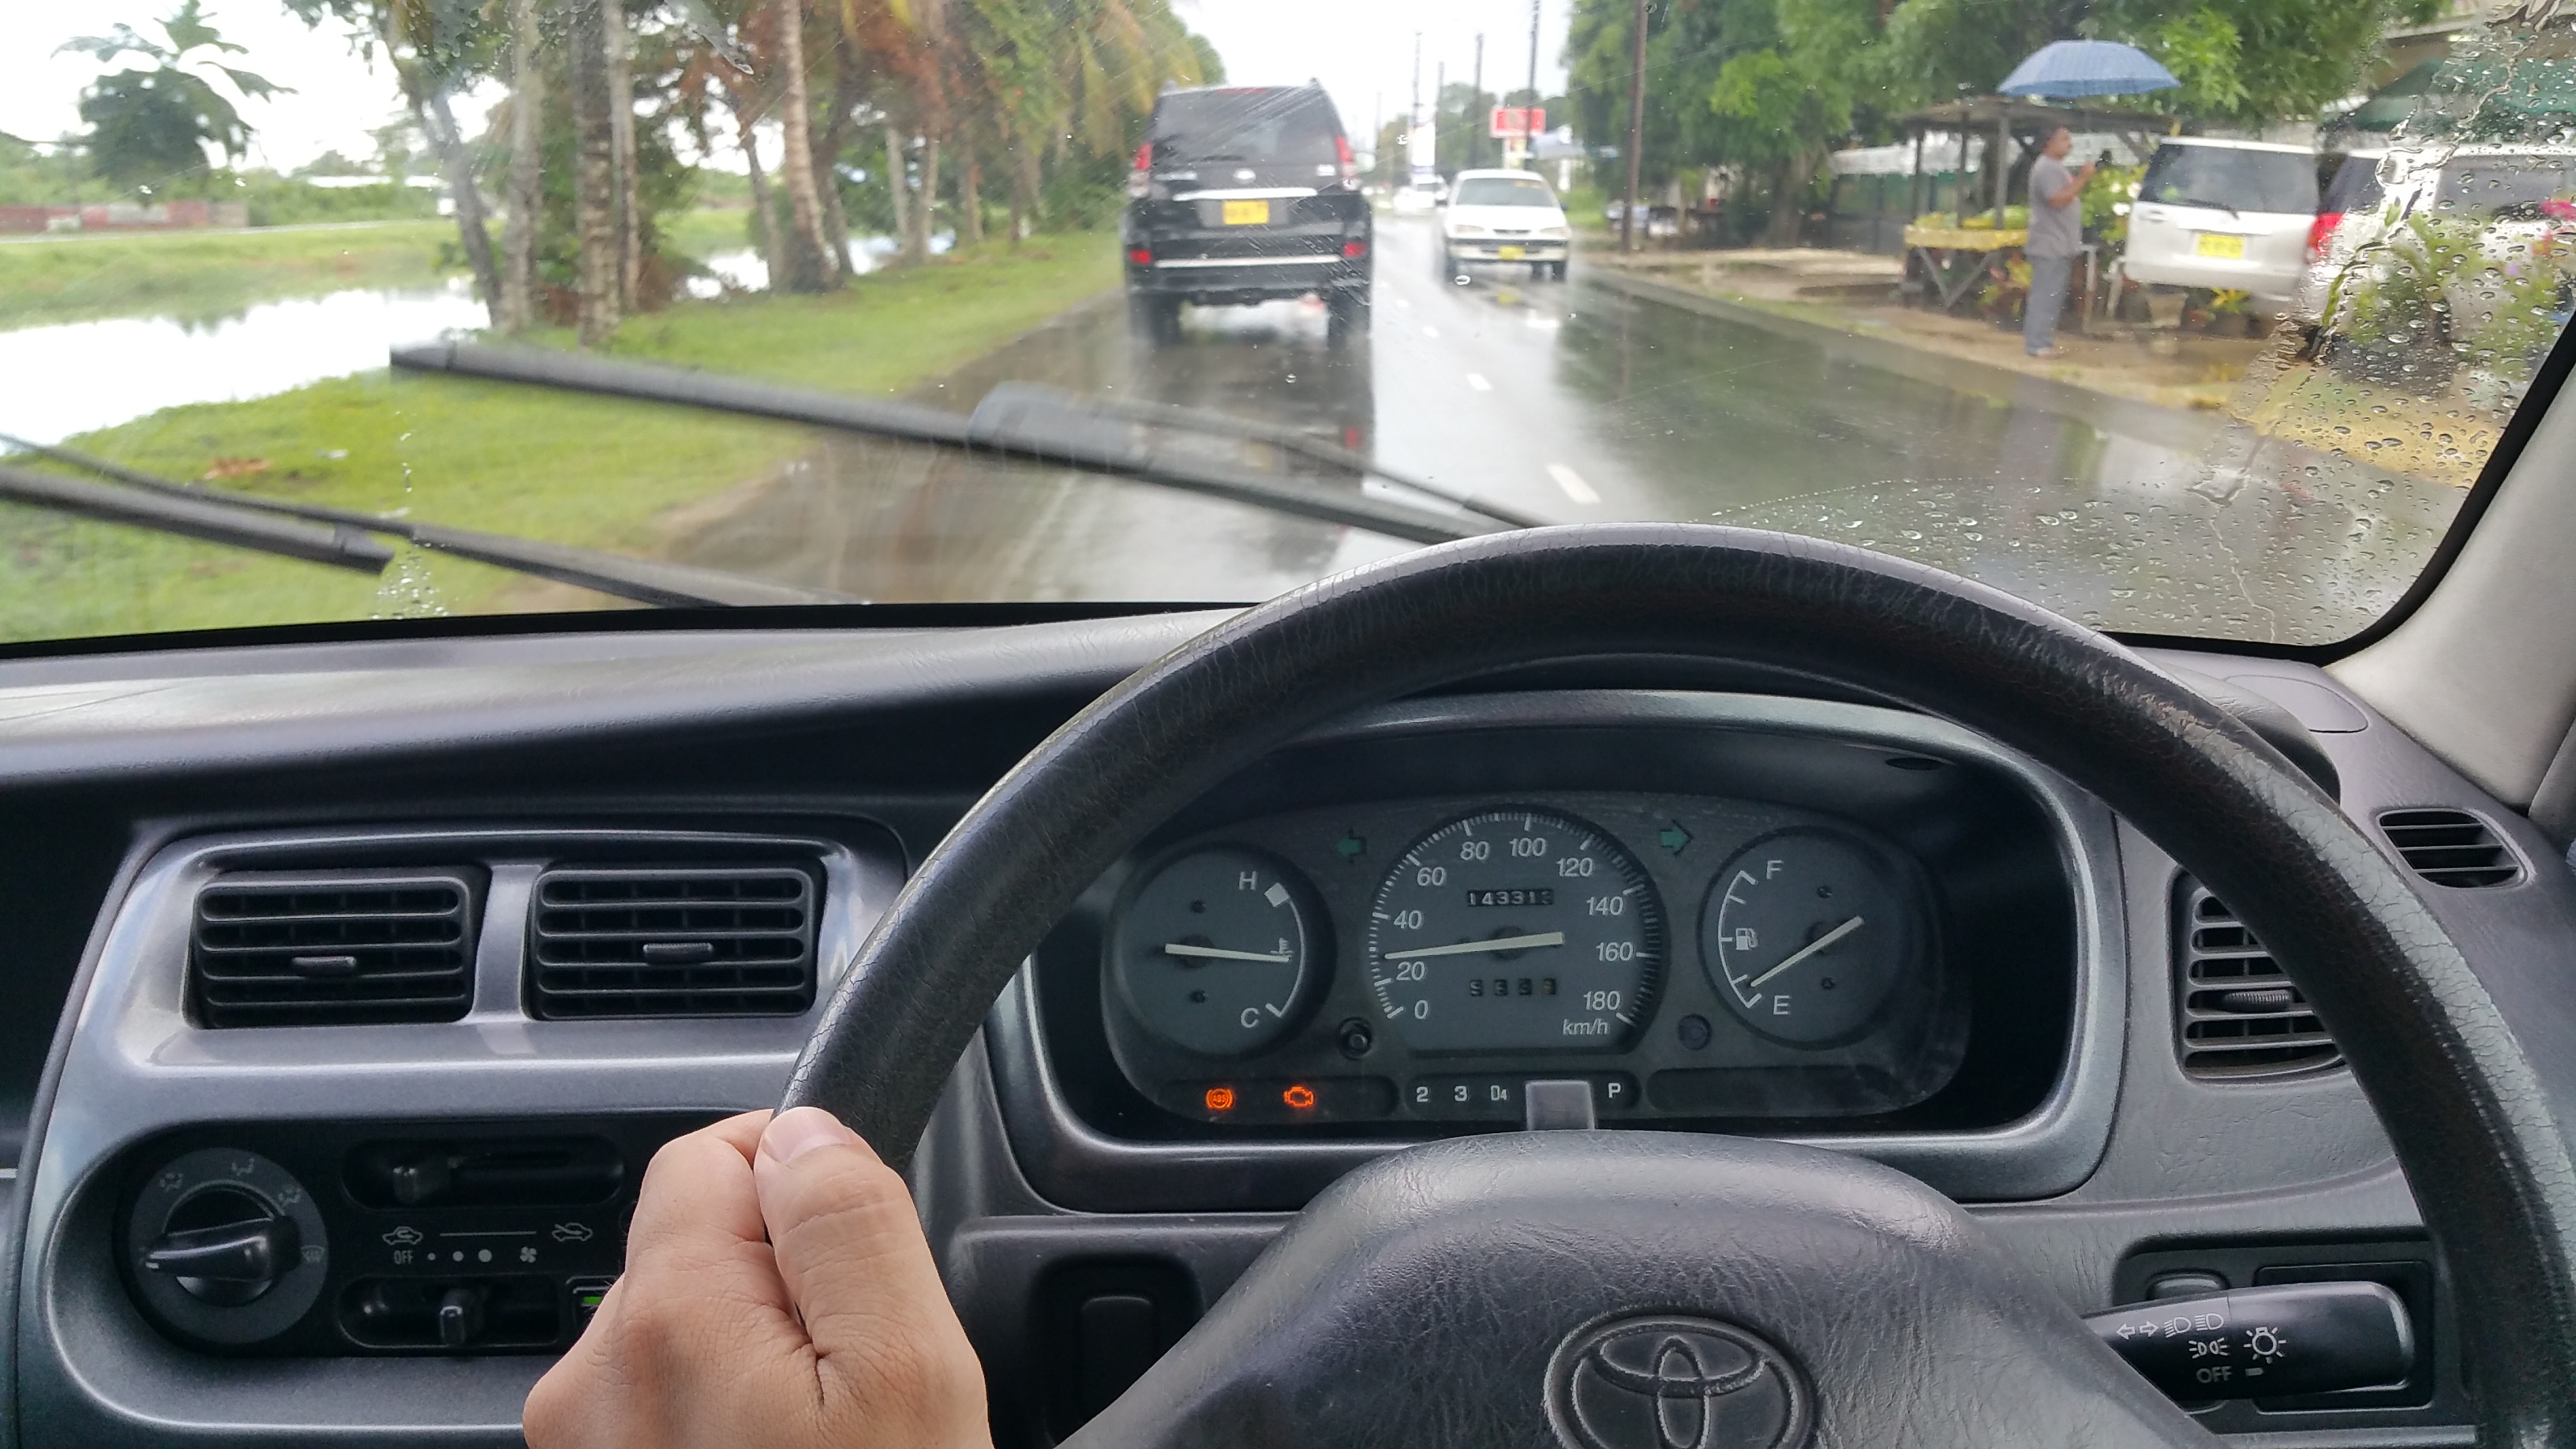
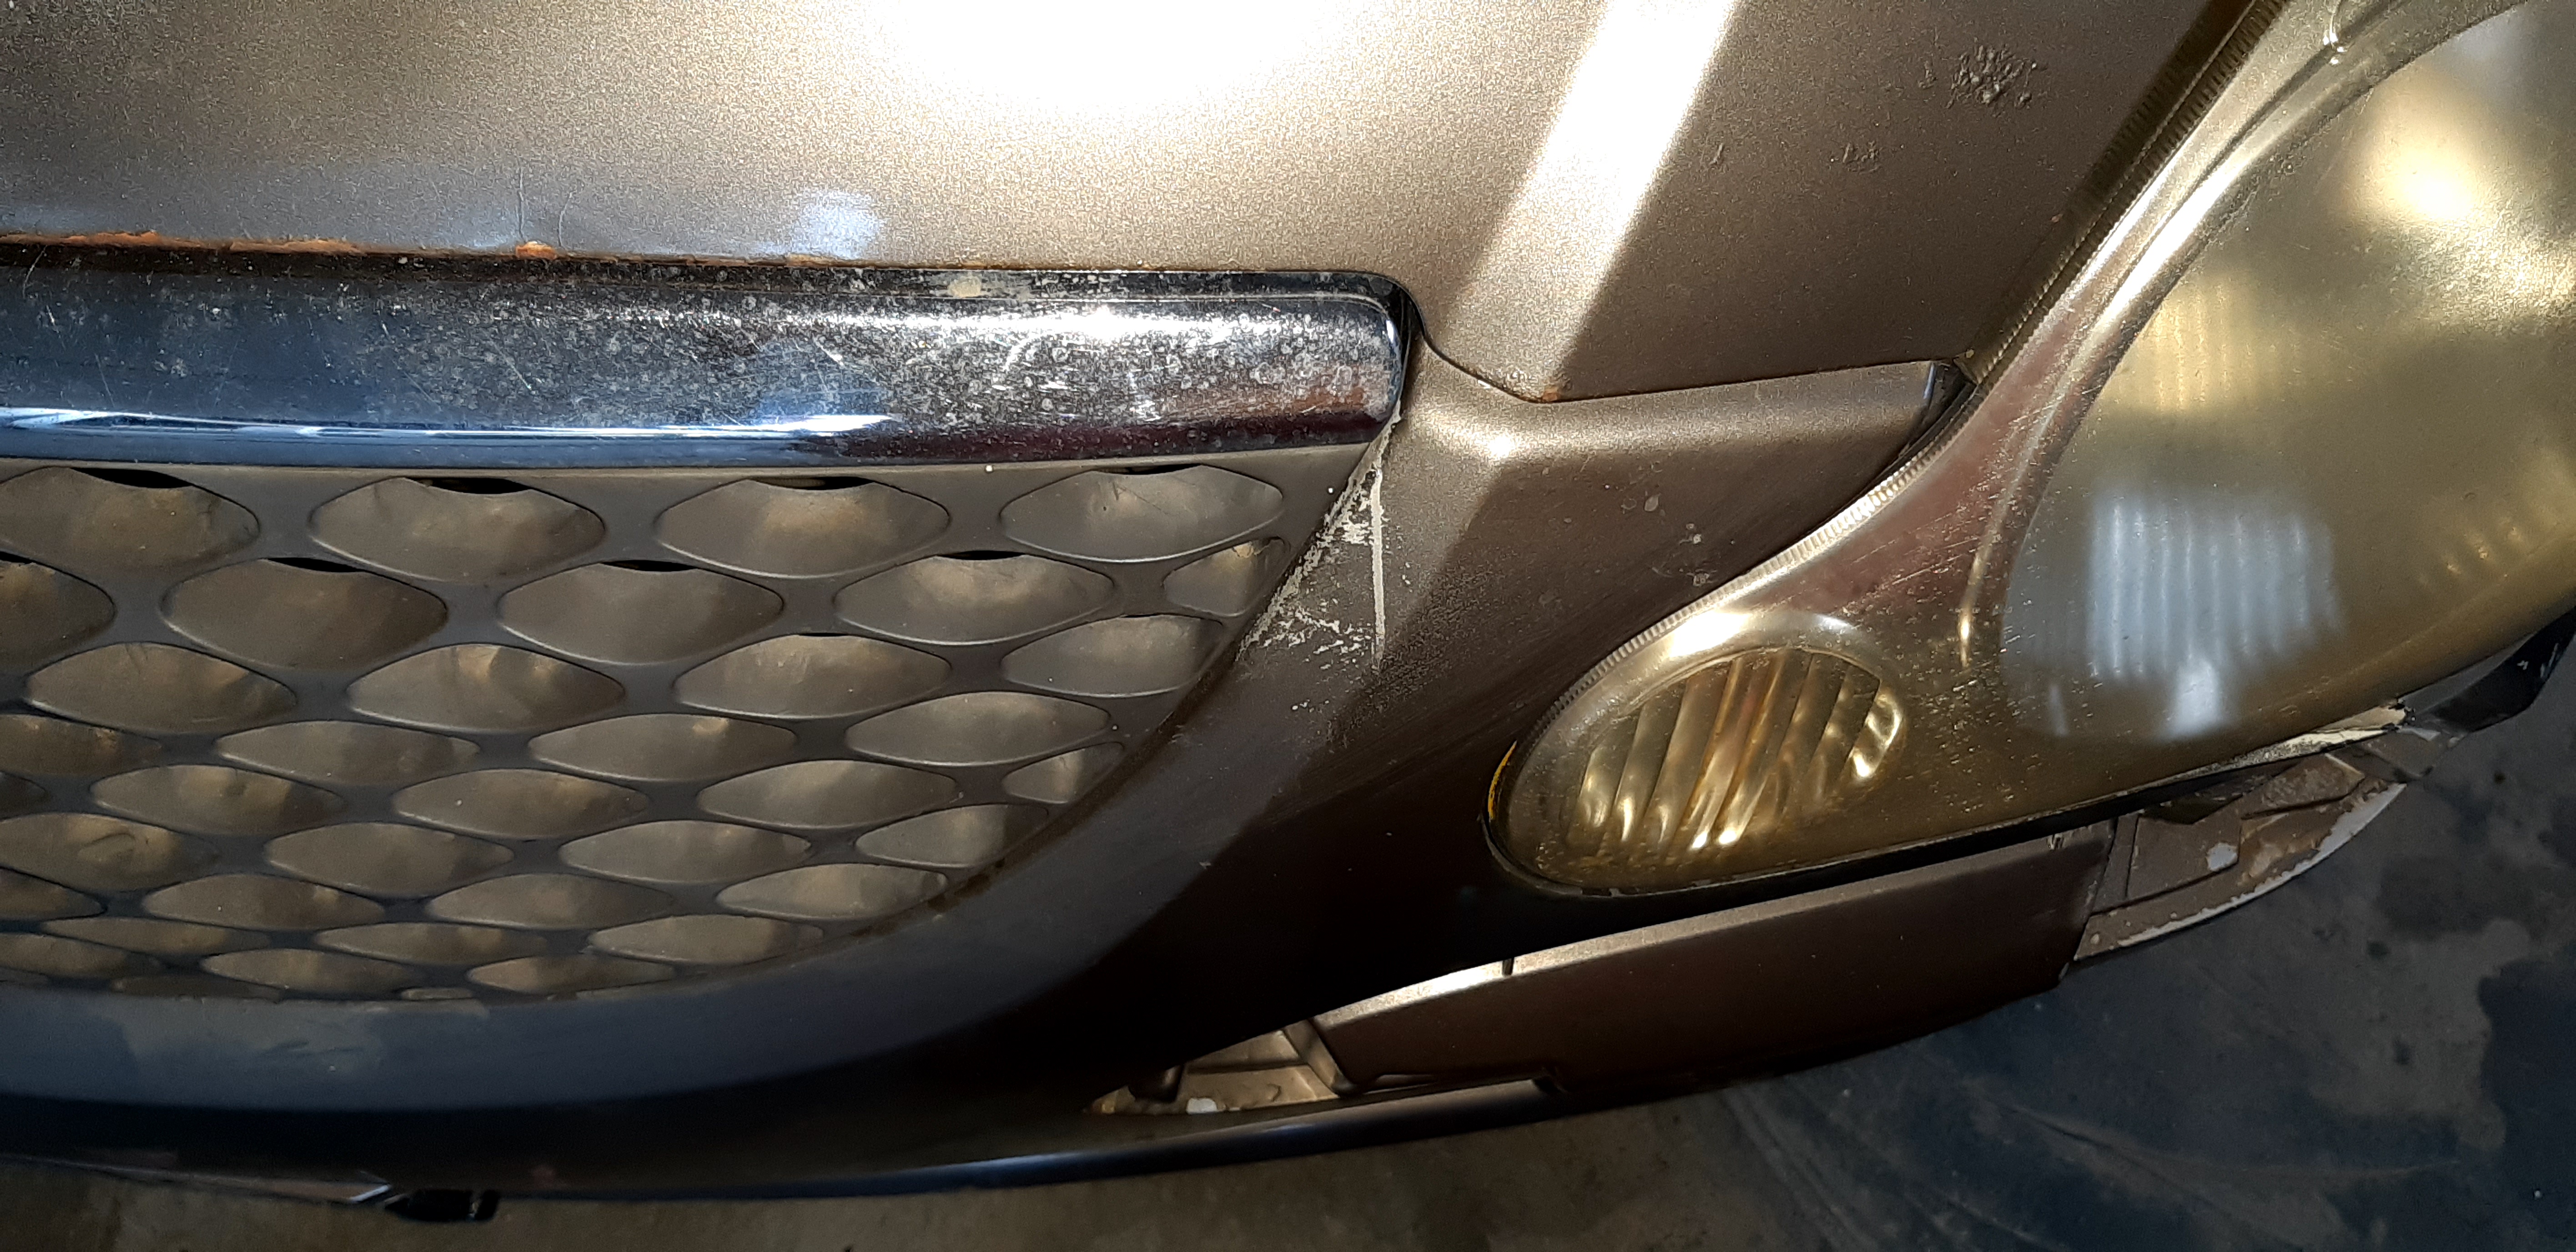
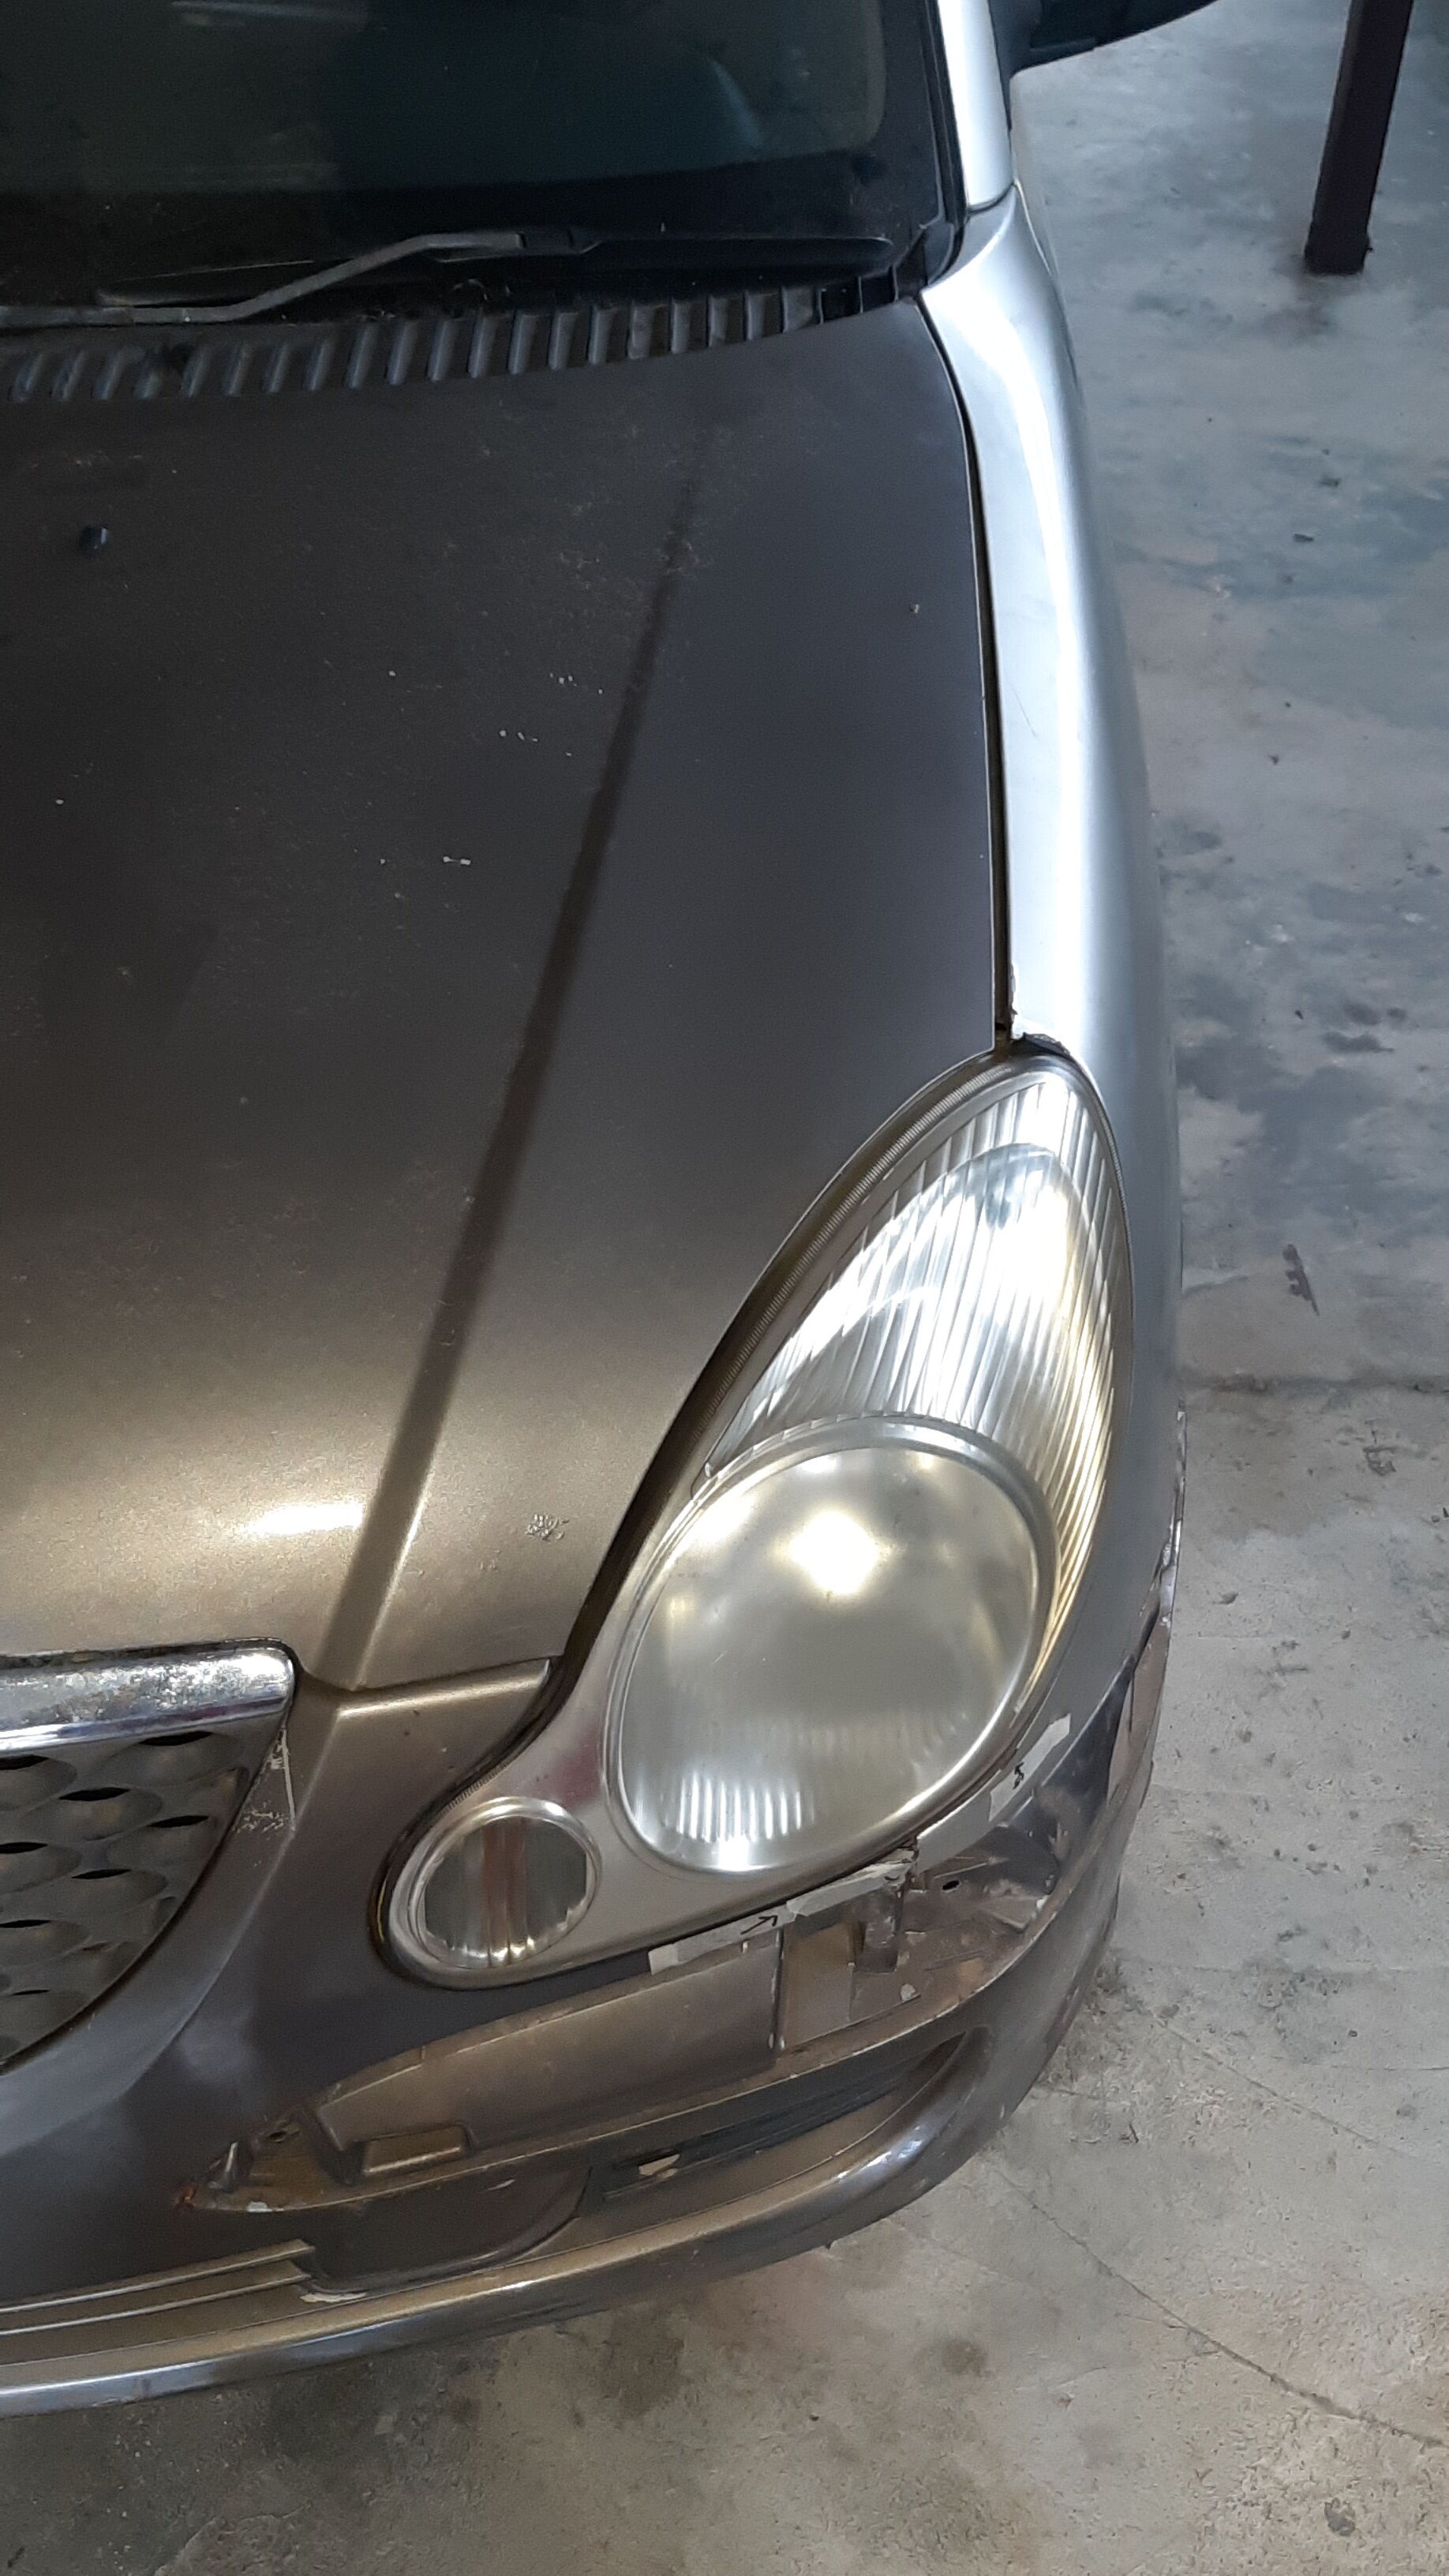
The Duet got the EJ-DE 1.0 3 cyl engine, with 4LS automatic transmission (pensionadas don’t do manual, they told me), airconditioning, and some decent enough head untit and upgraded speakers. After I bought her there were some issues like brake failure, heavy oil leakage, a bit of ripped seats in some places, etc. The mechanical parts were fixed by the seller, so that was good. Found the car a little too reactive on the steering (having had so many Charades before) and a little sluggish for the 1.0 liter. But hey, all was working and don’t mind the CEL and ABS, that got fixed.

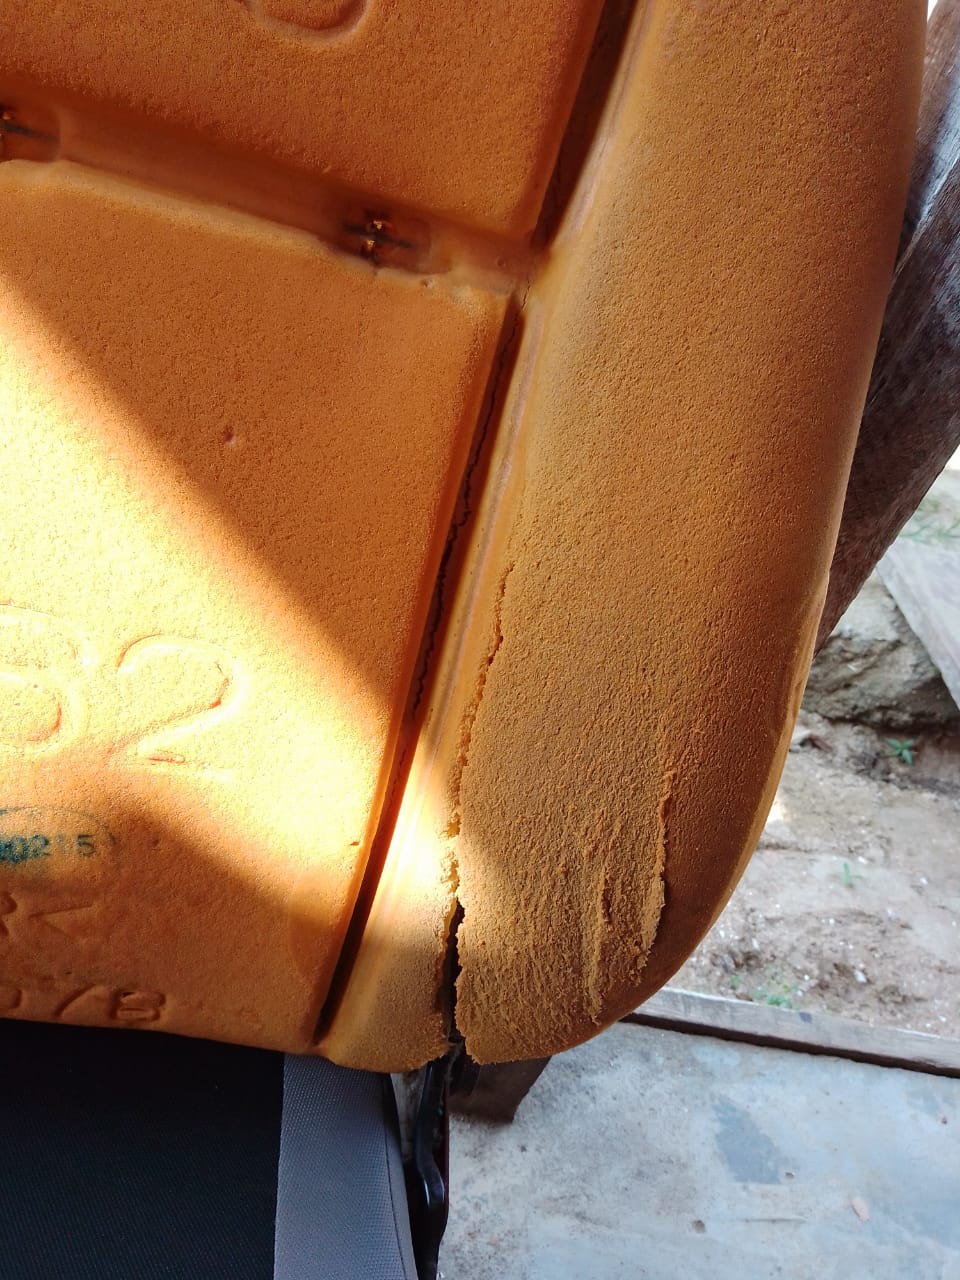
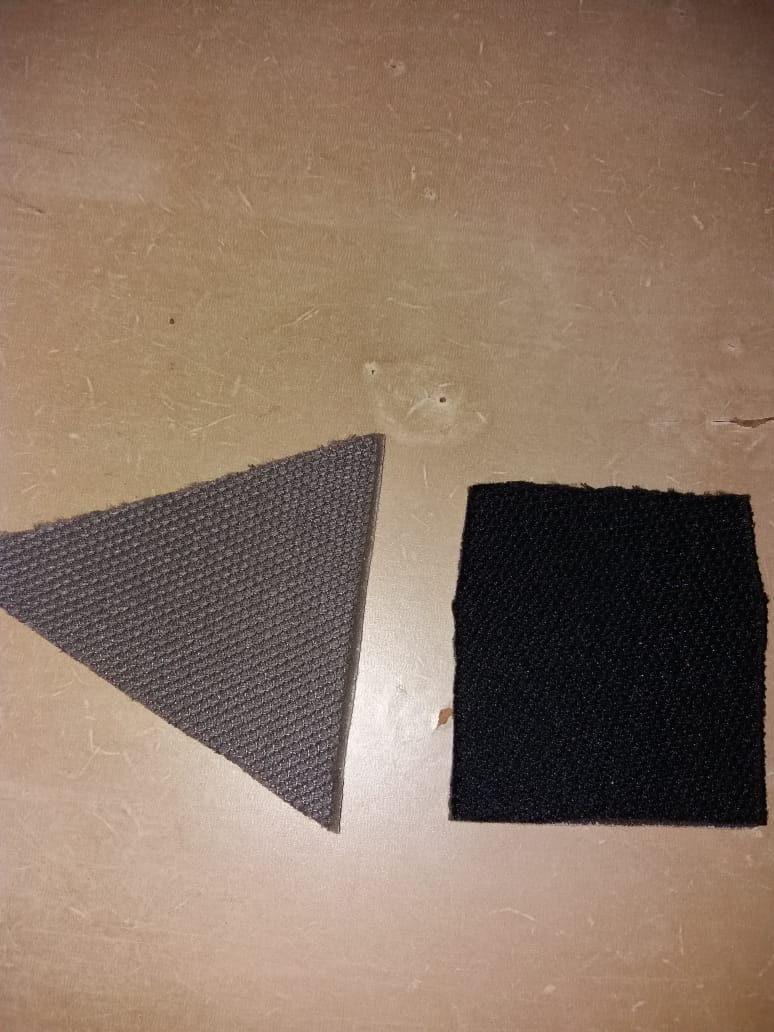
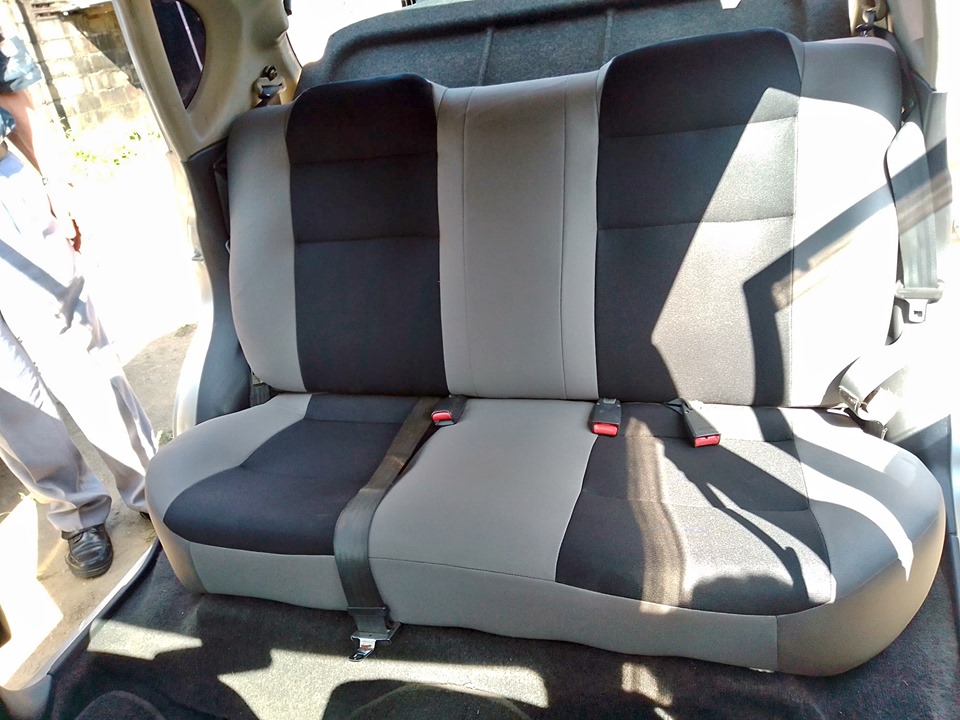
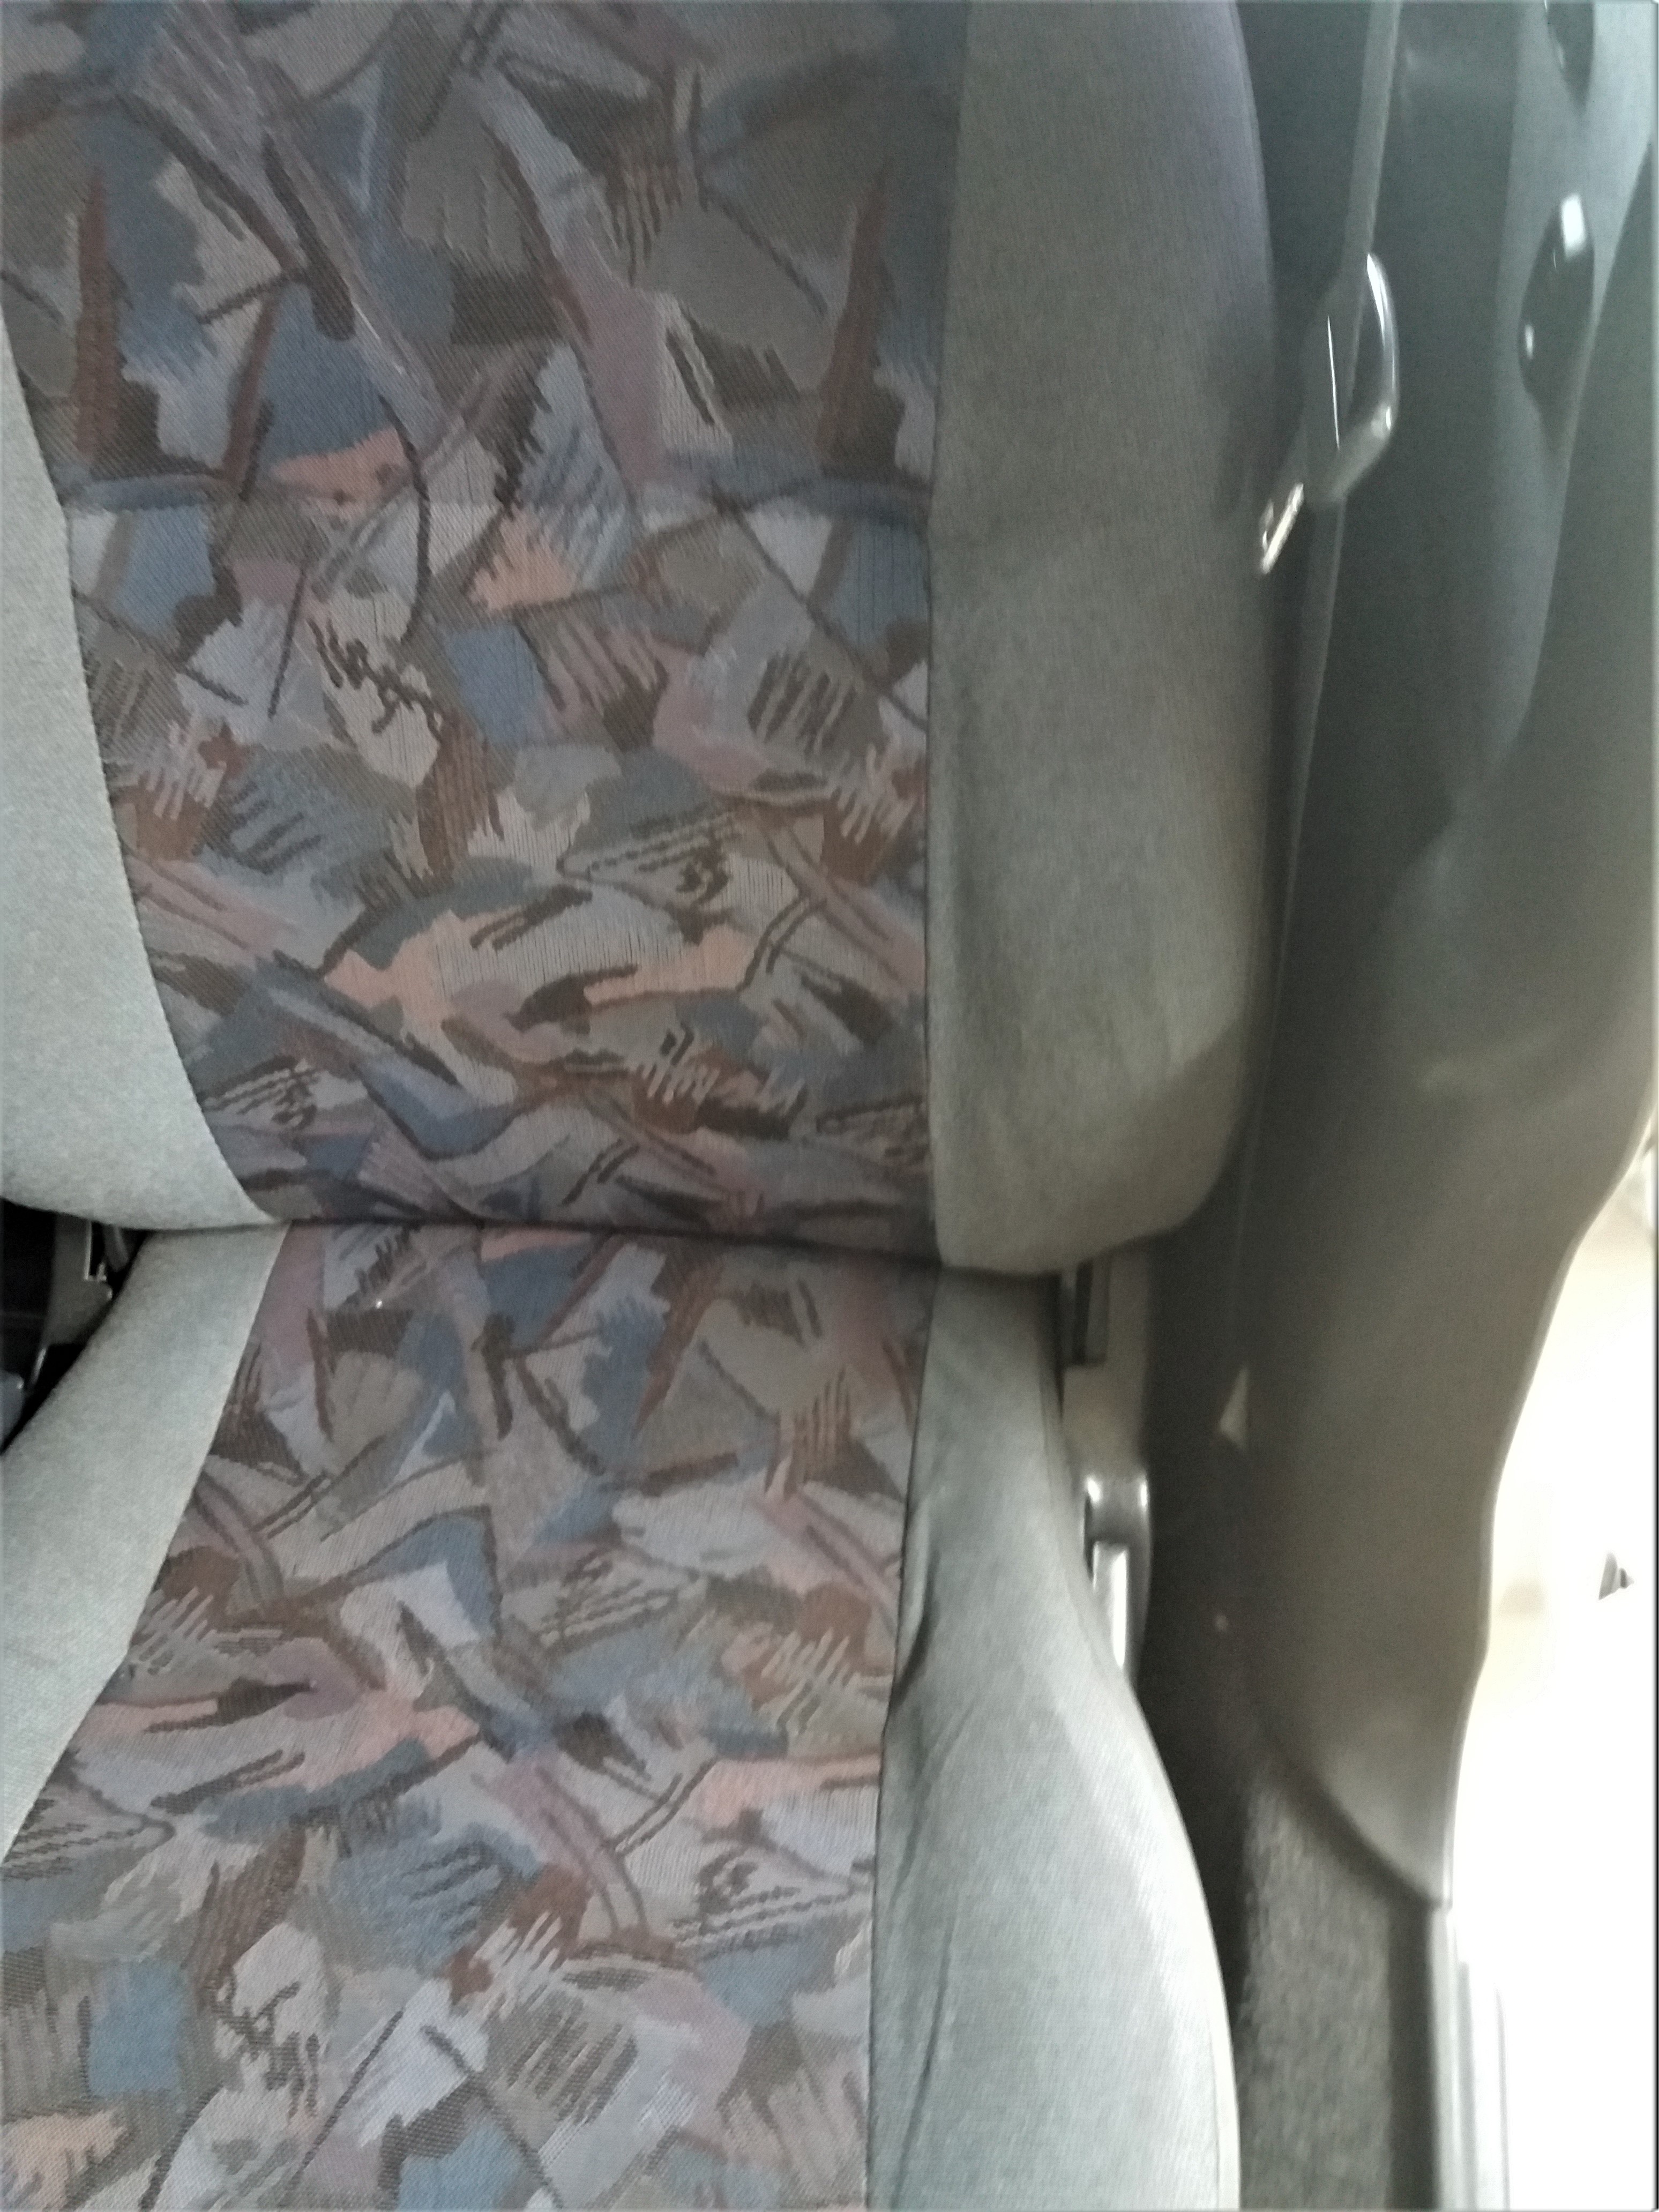
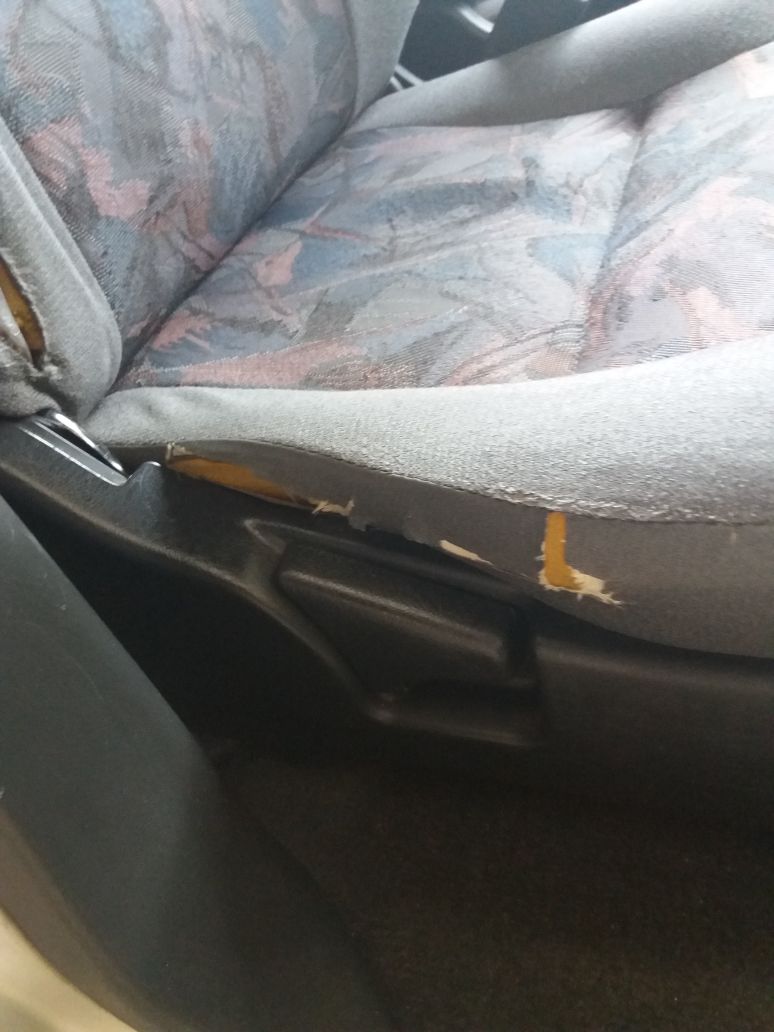
Through the years the tears in the seats became worse and the metal frame of the seat was poking through. Not good for pensionada back muscles, they told me. So after some thinking I had the the bolsters fixed and the seats reupholstered with some decent fabric and a little less flower power design :sweat_smile:

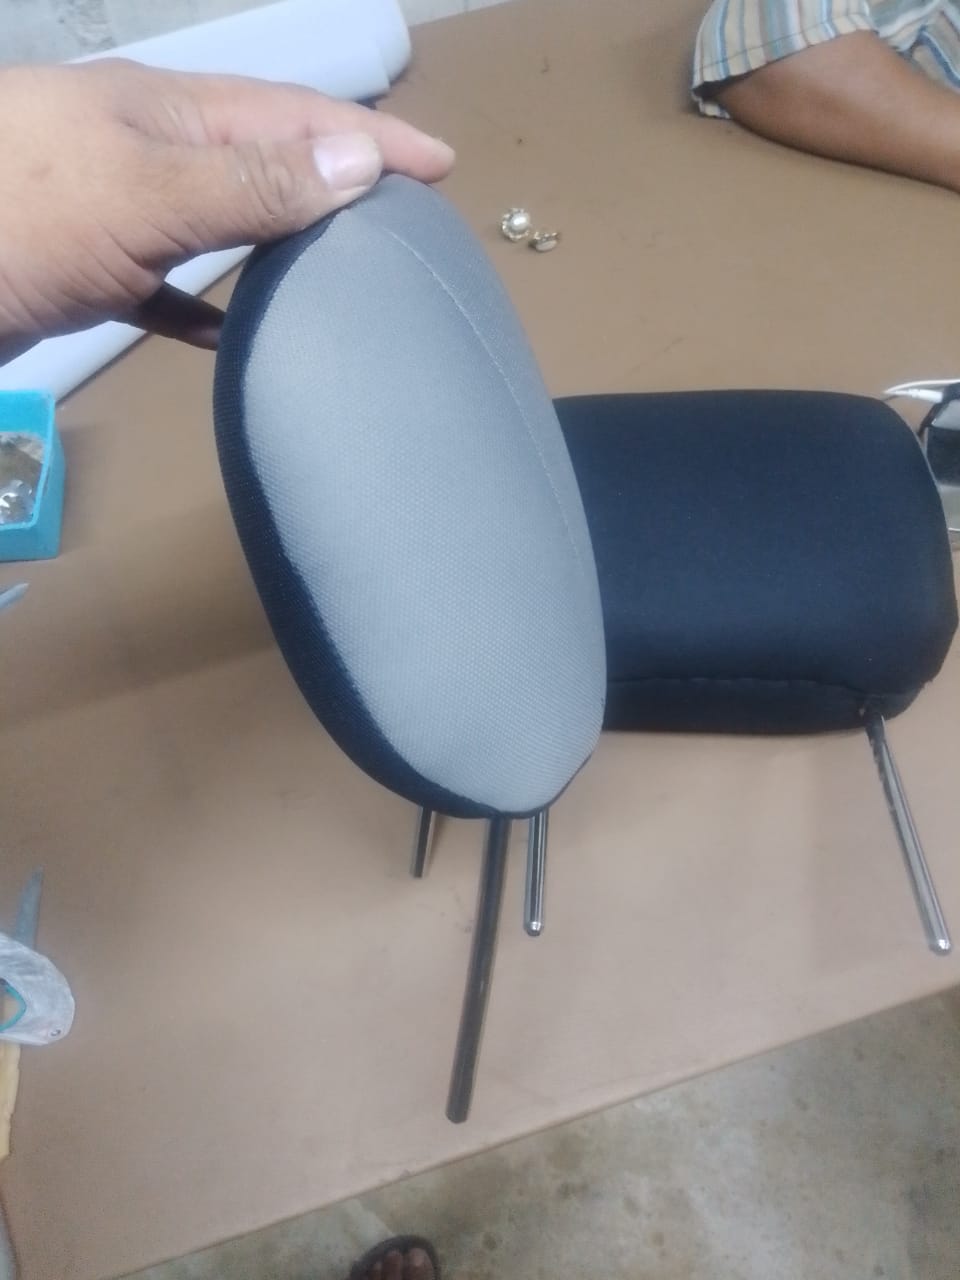
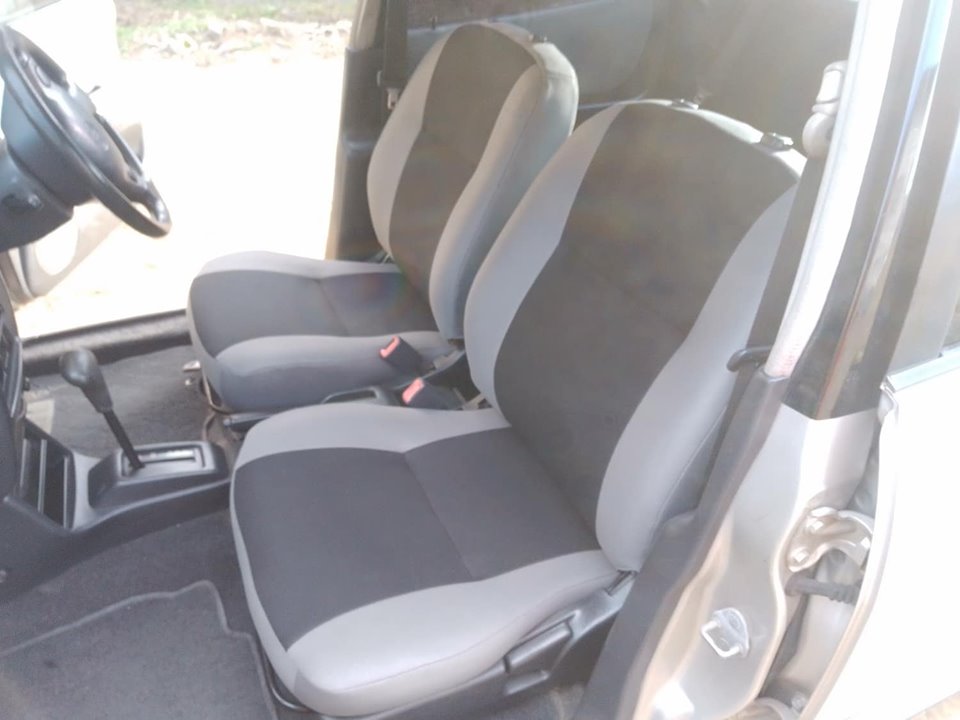
Smokey got some new clothes!
I think this might be satisfactory enough for the pensionada seat of the pants.
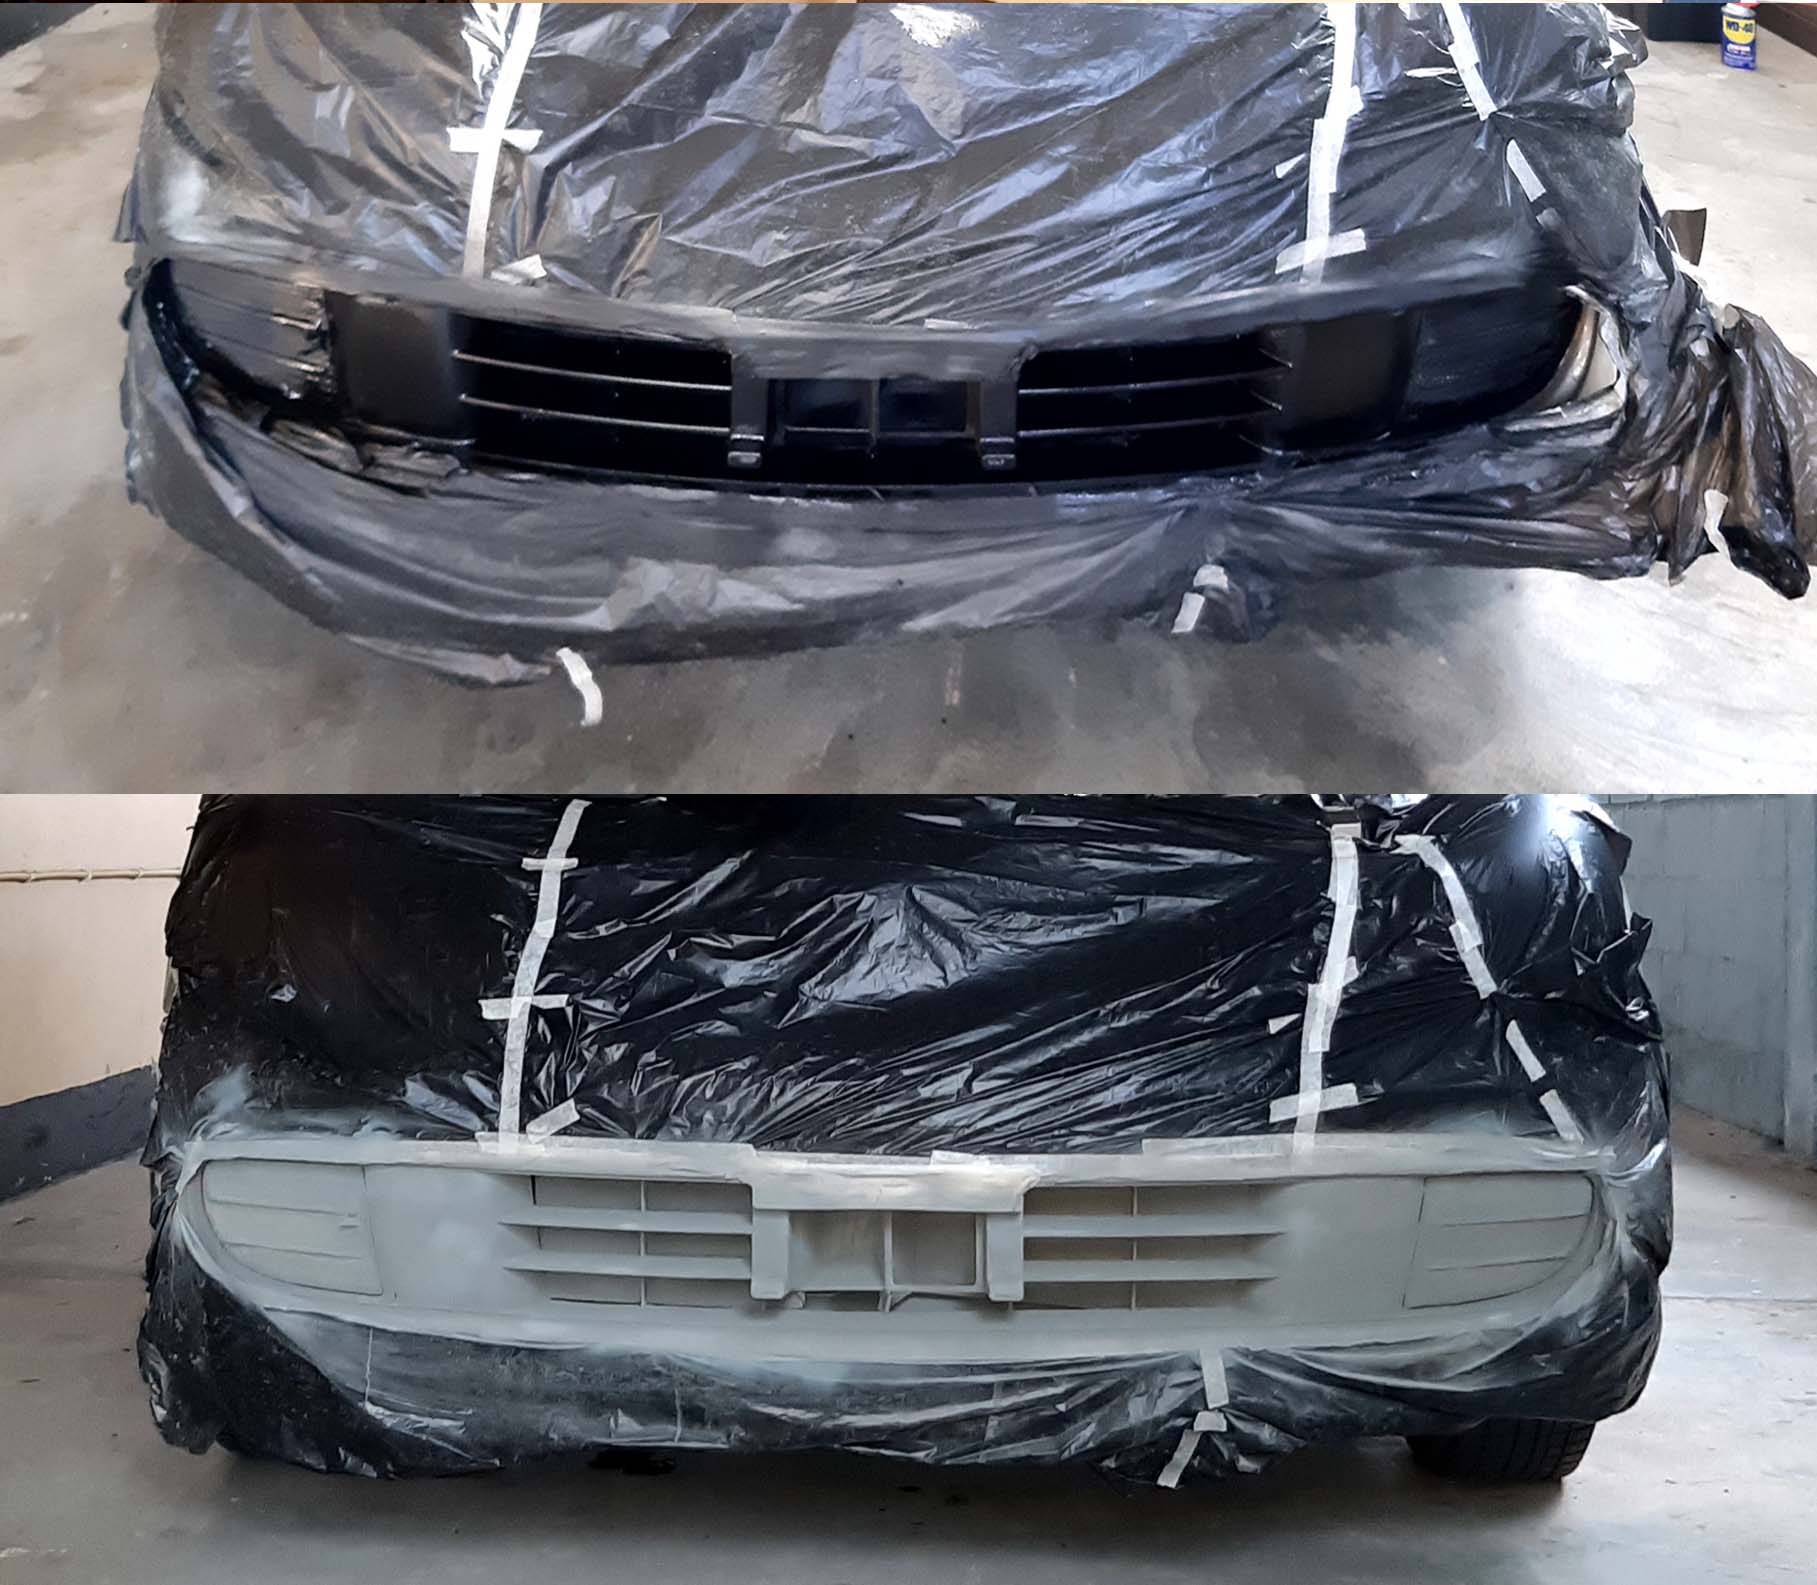
 :sunglasses:

Before

After


2 Likes

Sadly, Smokey got in a little brawl and got his teeth kicked in while. :smirk:
Luckily no one got hurt, only but a little shook up.

Having never done bodywork before, why not listen to the shoe brand slogan and at least get a look on how to go one. Take it like a learning experience - I could always bring in the bodyshop calvalry.
So I started pealing away to see what was underneath. Aside from the crashbar, the main structural elements were barely touched, the radiator and condensor and airco compressor weren’t hit and the car is still running straight. But almost every piece of panel was bent beyond kitchen repair.

The front bar in between the headlights got pushed in a little and the spotweld on the right front got shot.
Luckily my parents neighbour came over to help straighten that out as good as we could and he stick welded the thin corner plate back on. Not a professional weld, but it is bonded again. Put on another crashbar from the wreckers. Ready for some new 2nd hand panels, although the fenders are repairable.

2 Likes

Captains log, covid partial lockdown time, message to self: don’t put too much money in the project or find yourself another runabout, just make it look decent again and technically it must be in order.
So I got out to go where I boldy never went before and at a far away wrecker stumbled upon a kouki front … hmmm, but this is not a project car.

So for the kouki front conversion, it looked like all is plug and play, but it seems that some of the holes don’t line up. Like the lower alignment pins for the headlights and the hoof latch.
I cut off the lower pins of the headlights, as everything else lines and bolts up. Later on I will see if I need to make some new holes to secure the underside.
The hood latch of the kouki hood is different, as the grill and logo are much higher in the nose.

This is how far I’ve gotten up till now
I feel I got the kouki front to fit reasonably well for my skills, but not as cleanly as I want.
Tried to paint some larger panels, but with changing wind directions in the car port and the monsoon rains flooding in, I really need to take it to a paint shop. Got all the chrome bits and grey edge caps, so those will return as well.

As my stay here is nearing the end I really want the basics to be sorted, so my parents can use it again without thinking of project car thingies. Repaired the wireloom protection under the hood, new battery, would like to do all the seals and timingbelt, waterpump and that sort of big maintenance stuff, but I need to get the parts from abroad, so our regular mechanic will do that.

Next I want to get a new alignment done, because the old one always felt twitchy, like the front has got too much toe out. I changed out the tires on the steelies with clean thread & wear so the alignment can be done properly and provide more grip and better water dispersion.

Wish list for the future:

  • 15 inch wheels
  • rejuvenate the suspension (already did all the bushings up front)
  • try to restore a little more power out of the N/A EJ-DE

Not a project like all you guys are doing here, but a learning experience and tryout for myself with just basic tools. Make it ride like a Daihatsu again :sunglasses:

3 Likes

Doing well there, nothing like learning about your car while repairing it, gives a sense of satisfaction when things work rather than paying someone else to do it. as for more power you could eventually get a set of extractors and a bit bigger exhaust, about 1.75", and a cold air intake setup. keep us posted :smiley:

1 Like

Thanks, Mokeman. It sure does give satisfaction to be able to fix stuff yourself :sunglasses:

What kind of extractors can I use?
Thanks for the sizing of the exhaust.

Last updates
As for now I’m back in my home country and don’t know exactly when I’ll be back there again.

Front swaybar bushings
I got the suspension checked and the alignment. The bushings of the front swaybar were bad/gone oval due to wrong part (size 23 instaed of 17mm). This made the swaybar move back to front, changing the toe while driving and making the steering feel like the track ends were bad. As these cars are not so very common anymore, the parts stores don’t stack up on bushings etc, so nowhere to be found.
After doing some research I found that the swaybar bushings of a Hilux were nearly the same.
All I had to do is cut the tops to shape and fit them: alignment sorted and no more pulling in te steering wheel (good for parents haha).


2 Likes

Also had some cooling problems.
Turned out the previous owner hacked the cooling trajectory in a (seemingly) wrong way.

There is a metal t-piece in the coolant return that was missing. So I had no cooling in the cilinder head, as that was a dead end. No problem for my parents, but it was when I was pushing it a bit more. So got that sorted, ut now it seems that the temp selector switch in the interior is stuck in the hot position. So will let their mechanic do a bypass of the heater core by connecting the cilinder head output to the t-piece, also deleting the coolant to the intake. I think that’s for cold climates only.

So finally got around in this messed up cov19 schedule to have the Duet had her major maintenance.
Left instructions for my parents mechanic and he went with it:

  • Sorted the cooling
  • replaced timing belt, idlers, etc and waterpump
  • replaced the other engine mounts.

So now the car is doing great again and my parent can enjoy it in e normal, non-project car way.
We’ll test drive it for now and then sort out the rest, like a partial respray on the zenki conversion parts.

#happy

4 Likes