Recently I bought a set of electrical and foldable (!) mirrors from Japan. They are in the wrong colour for my car, so I have decided to paint them. To do a proper job I obviously have to take them apart. For some people it might be a simple process, but for me it was a little bit challenging. So why not document a how to while I’m at it!
Step 1: Have a mirror
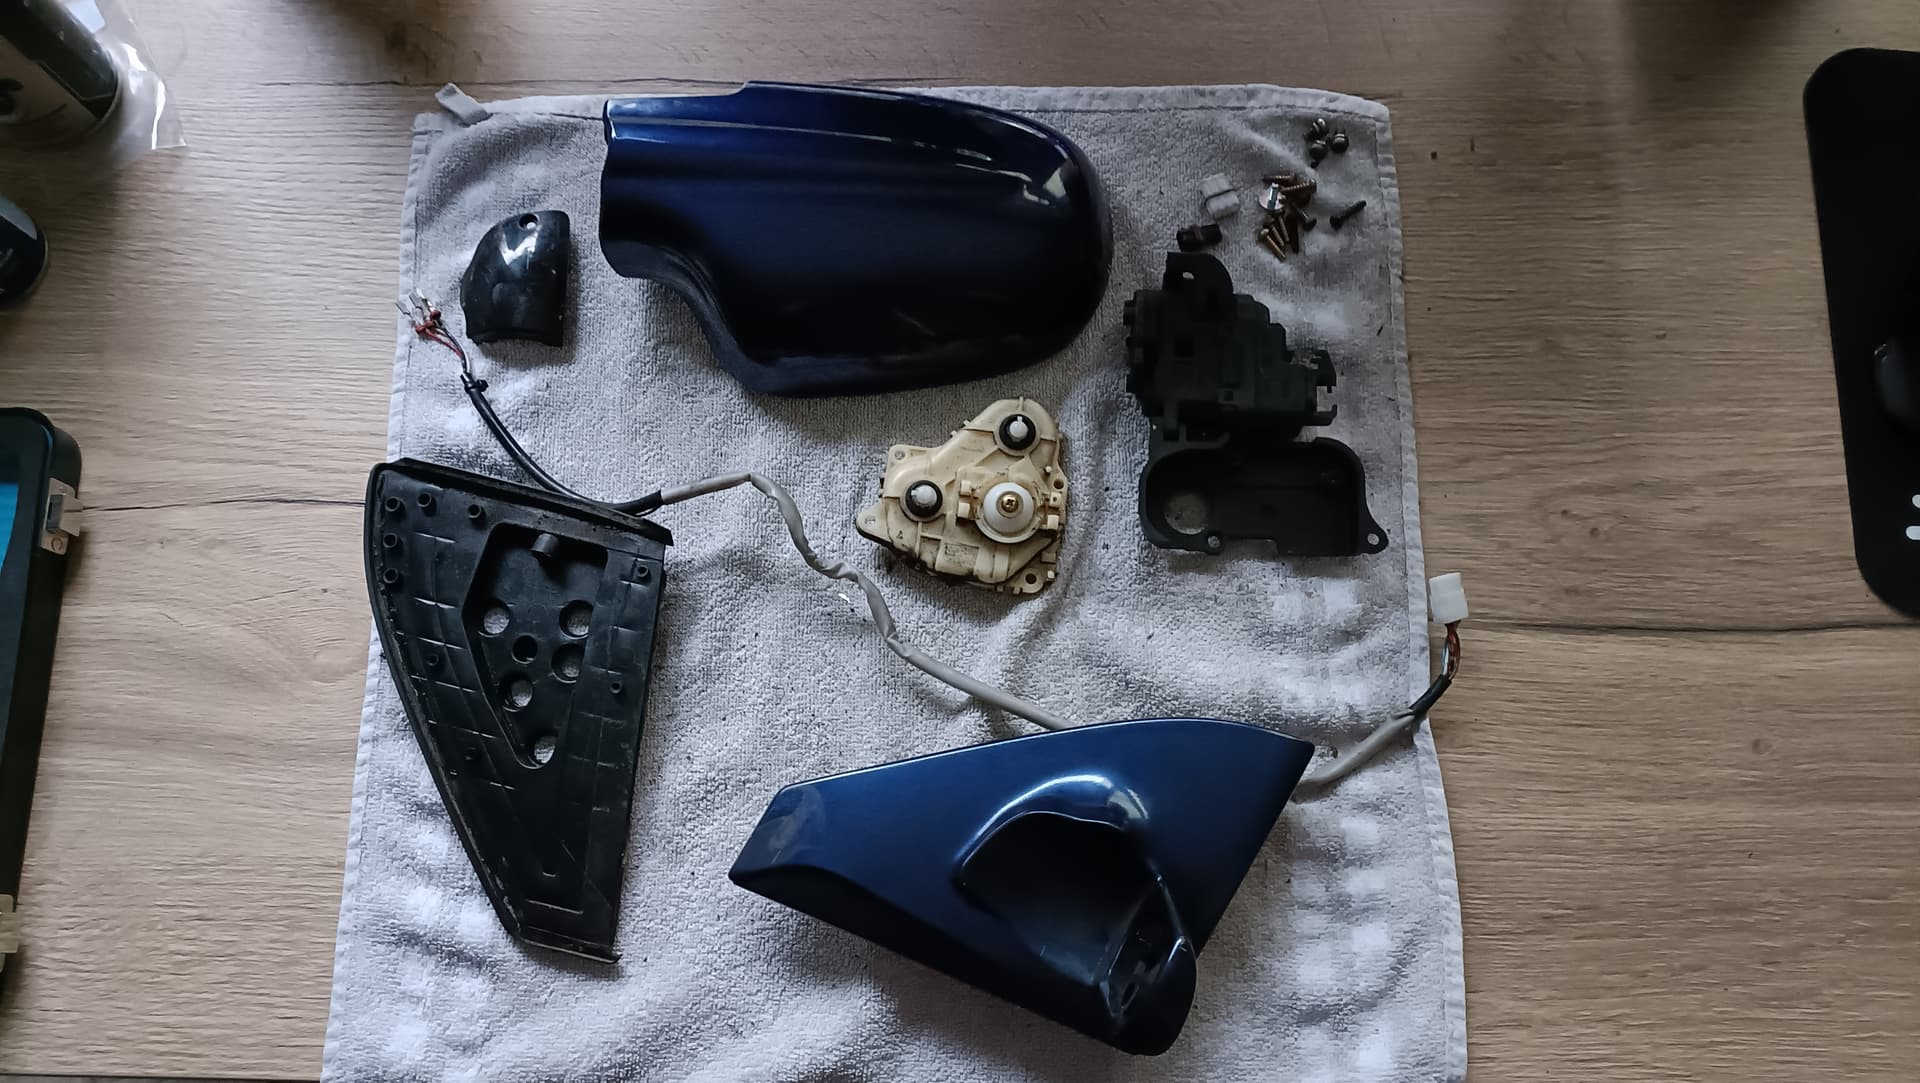
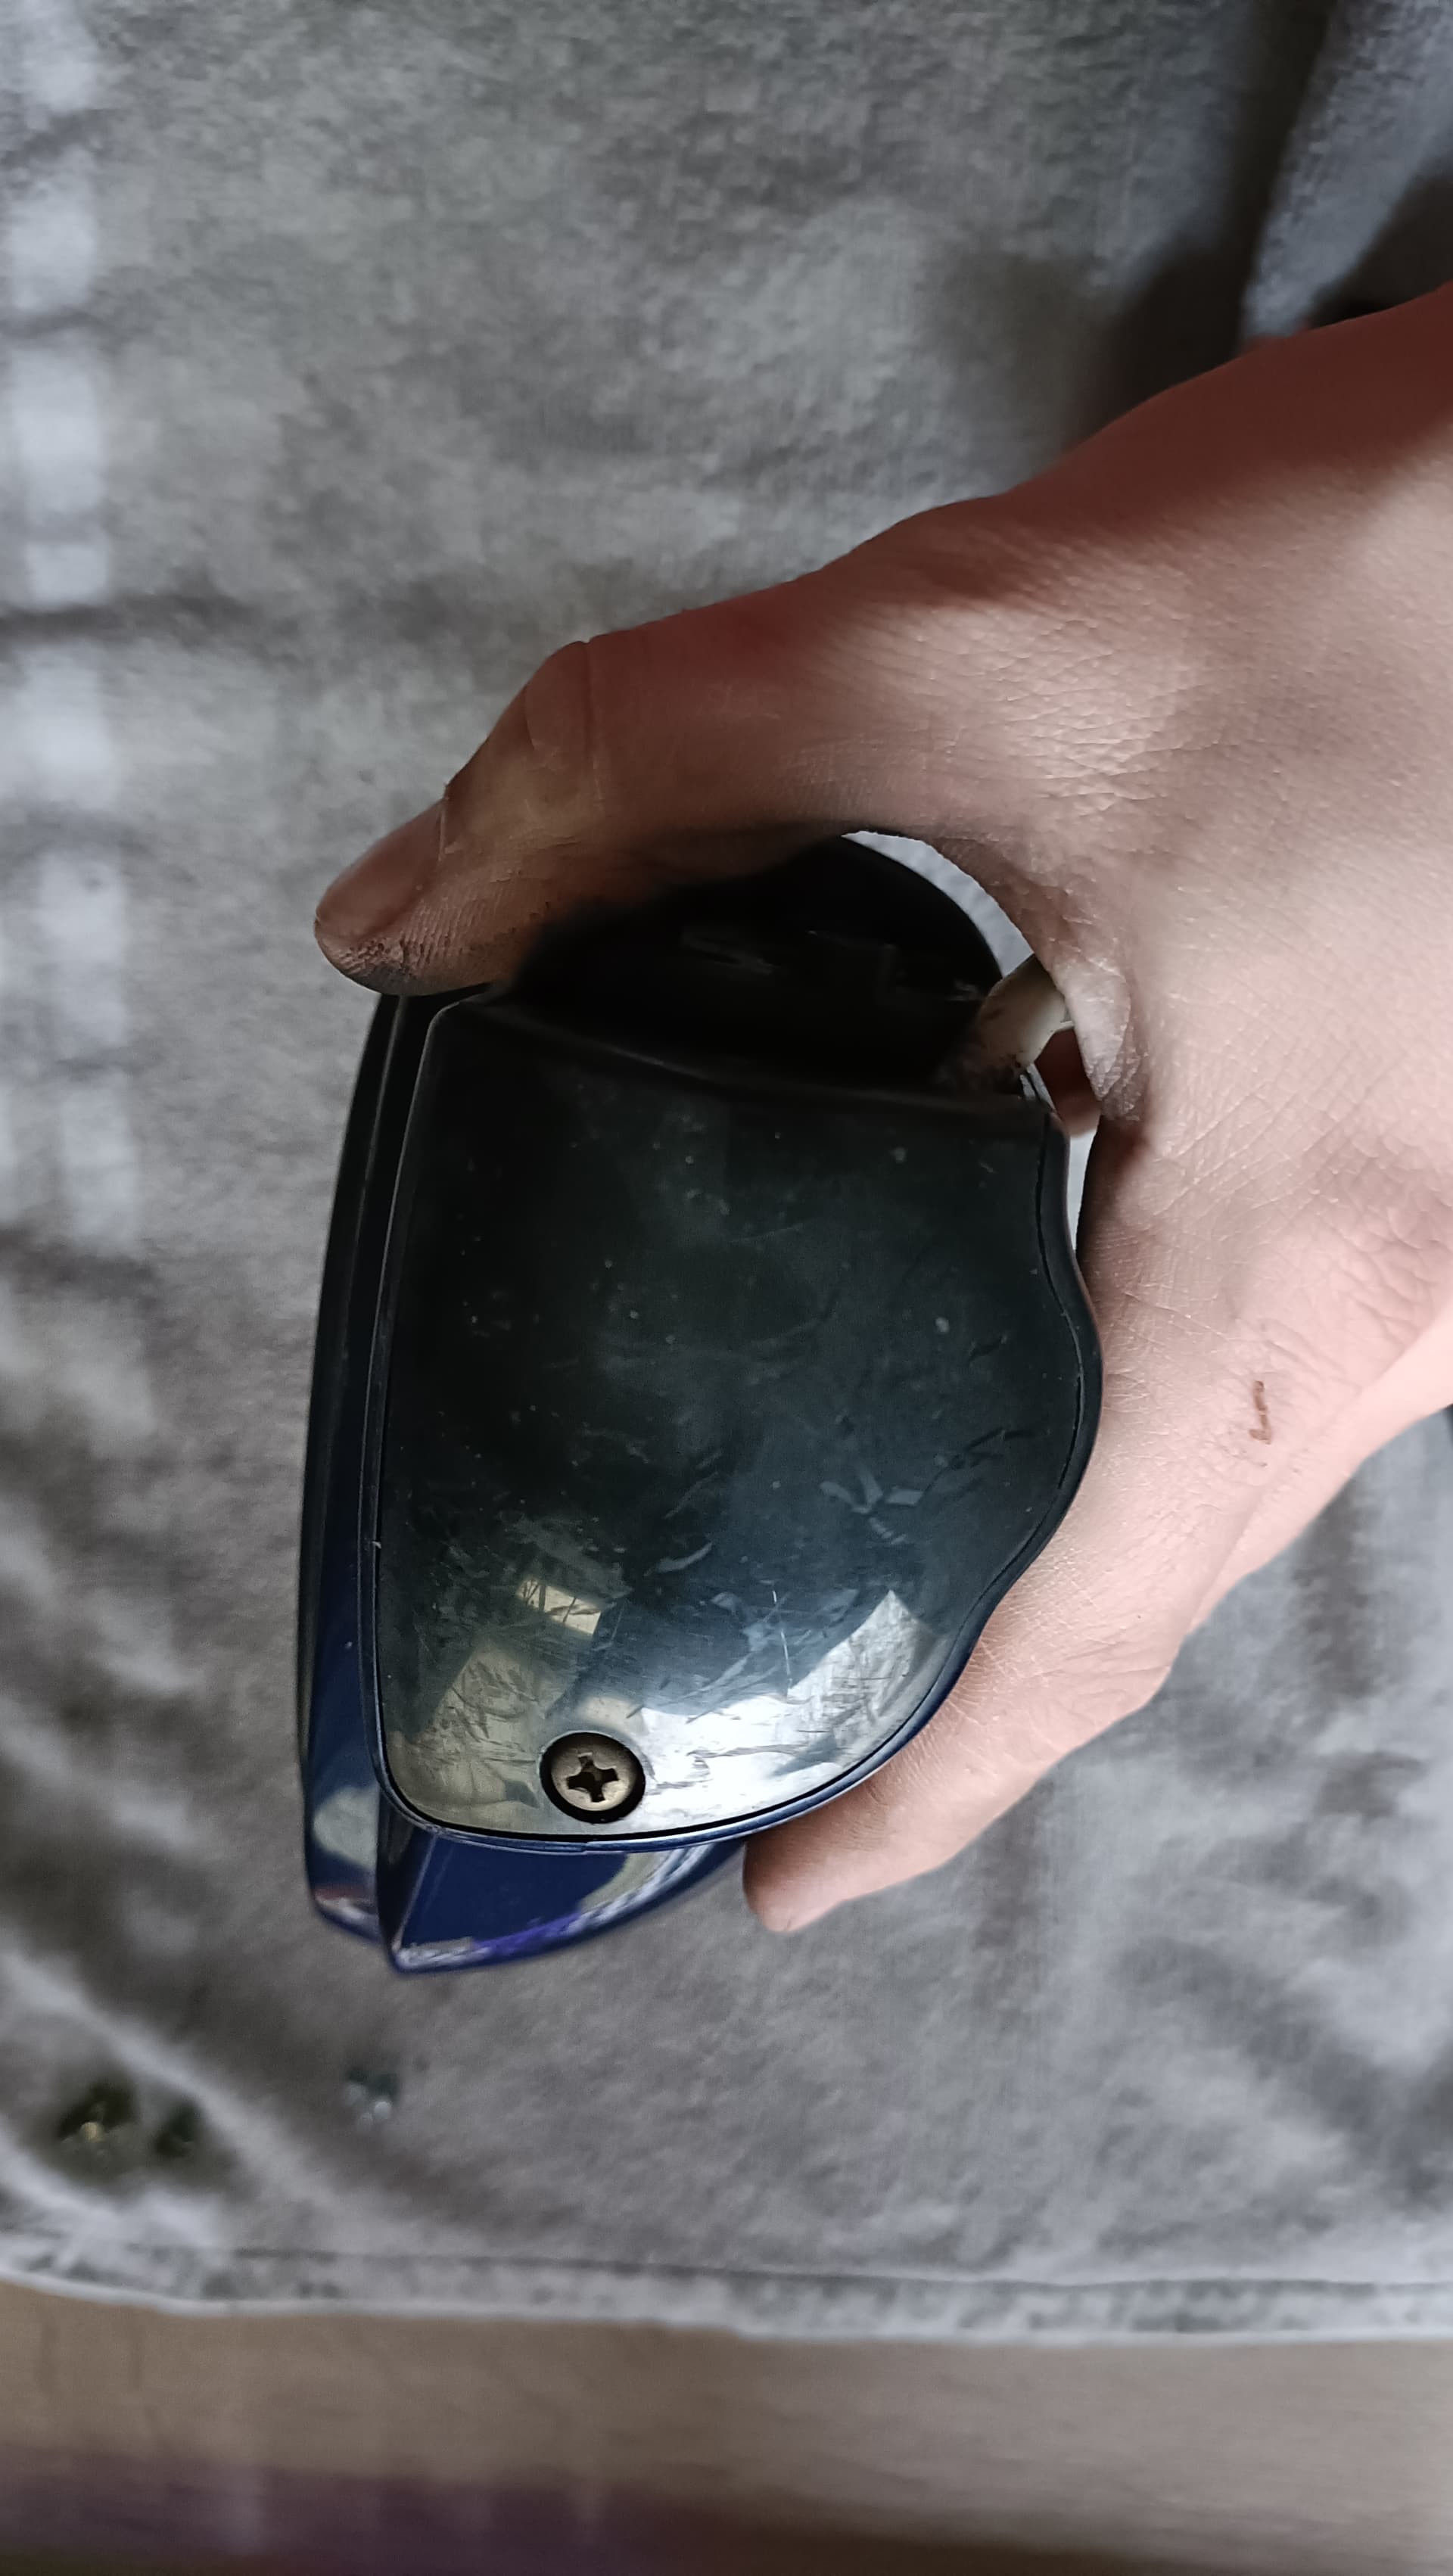
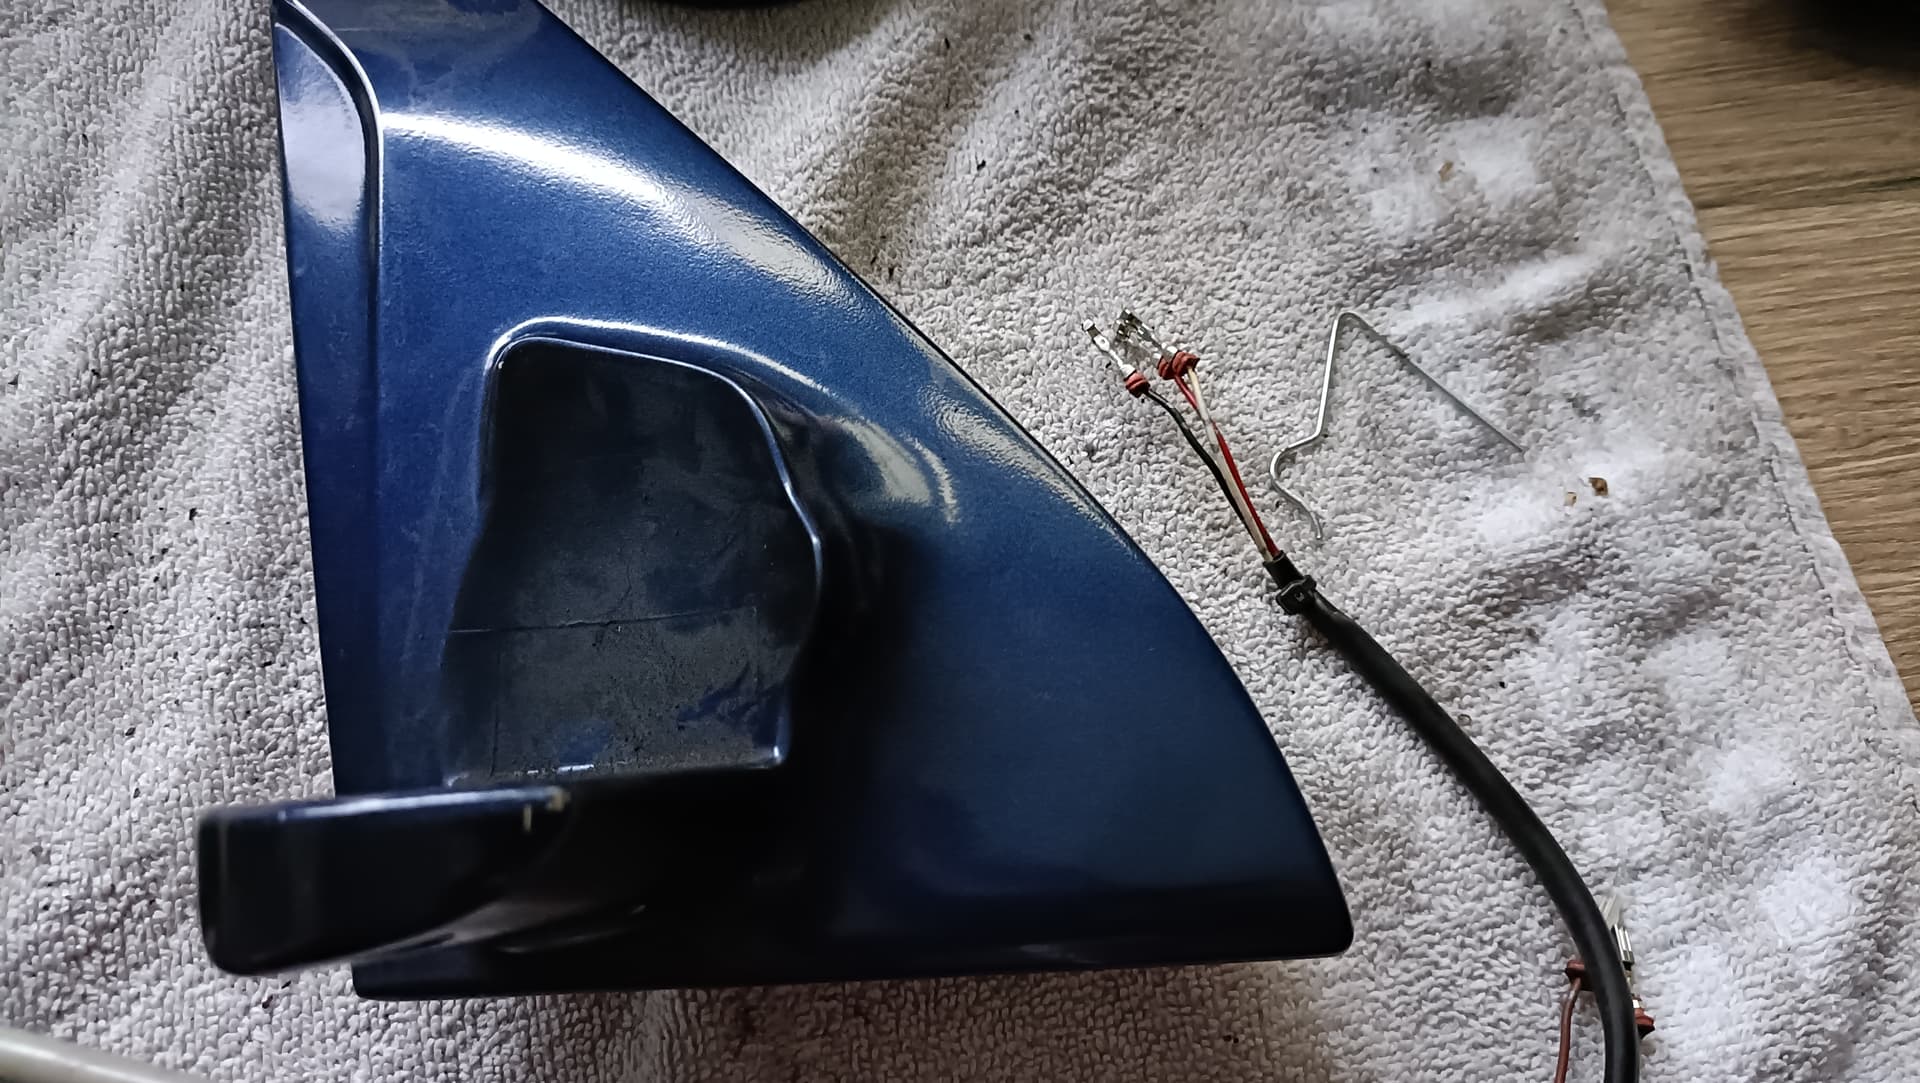
To take apart a mirror you need a mirror ![]() . The process should be somewhat similar for non-electrical and non-retractable mirrors. Just a bit easier without a wiring loom and/or motor!
. The process should be somewhat similar for non-electrical and non-retractable mirrors. Just a bit easier without a wiring loom and/or motor!

Step 2: Remove the base screws
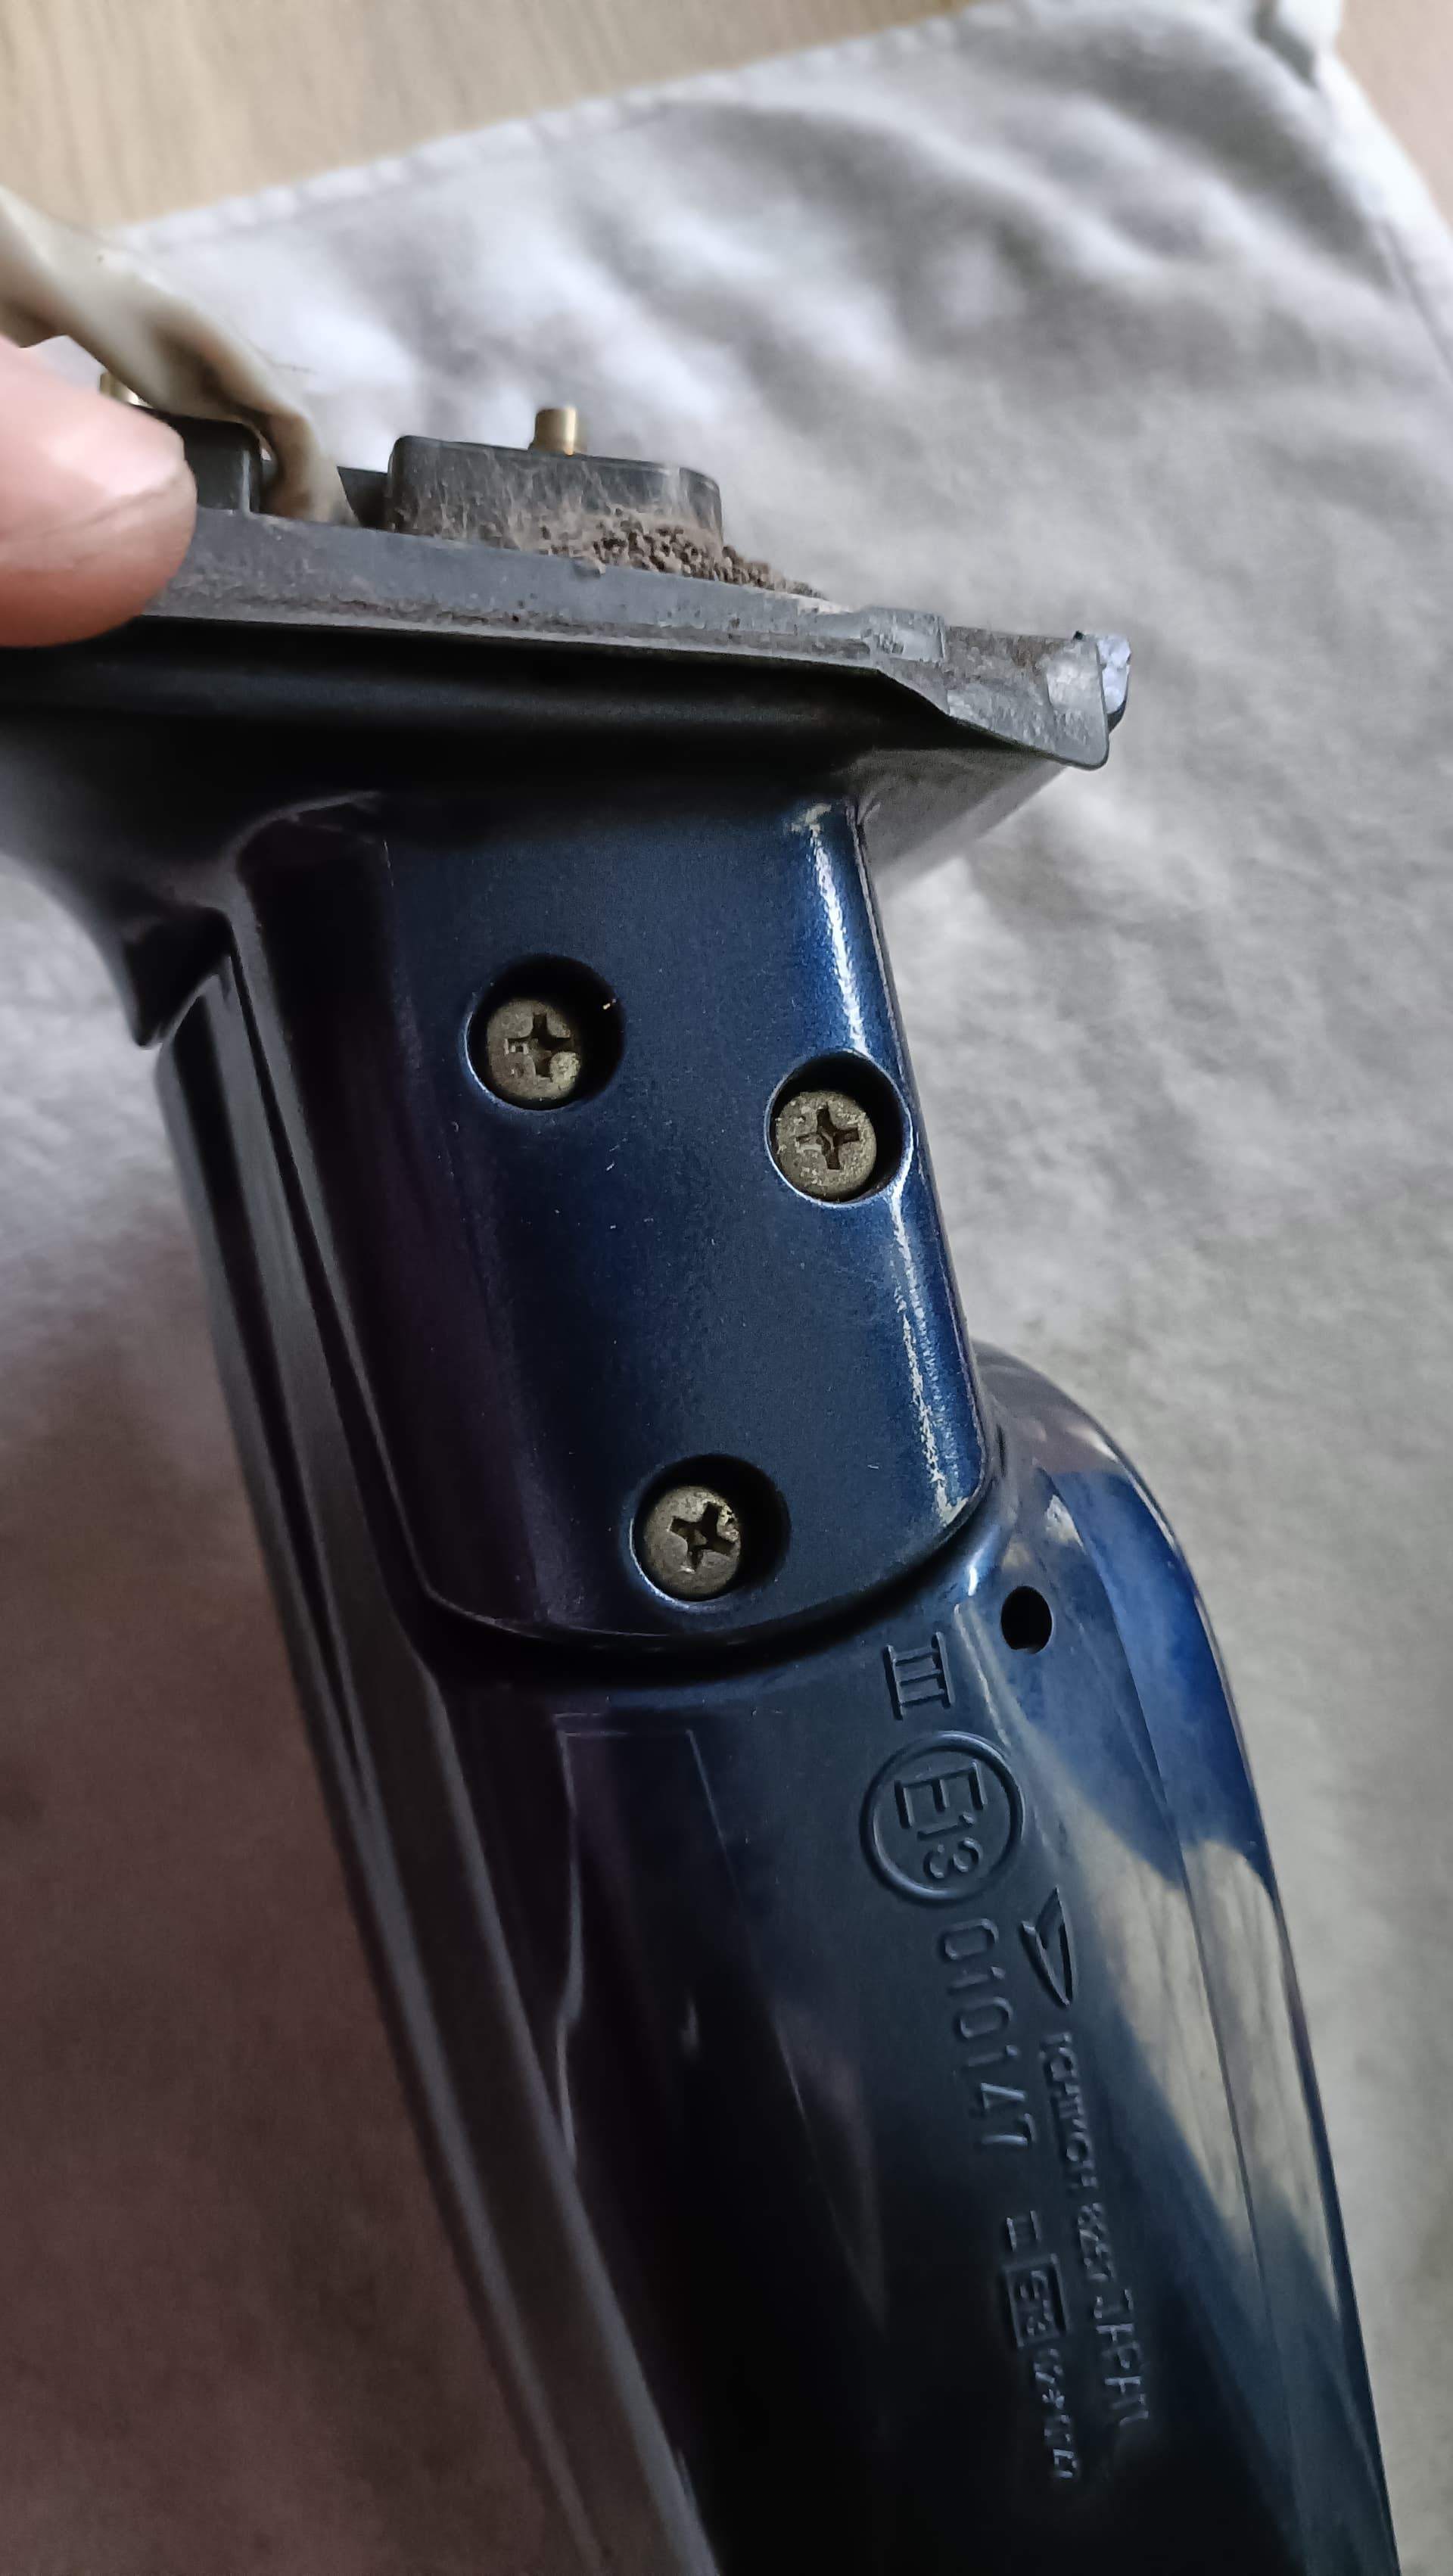
Remove the 3 screws that attach the base of the mirror to the actual mirror. On a retractable unit these are attached to the motor.
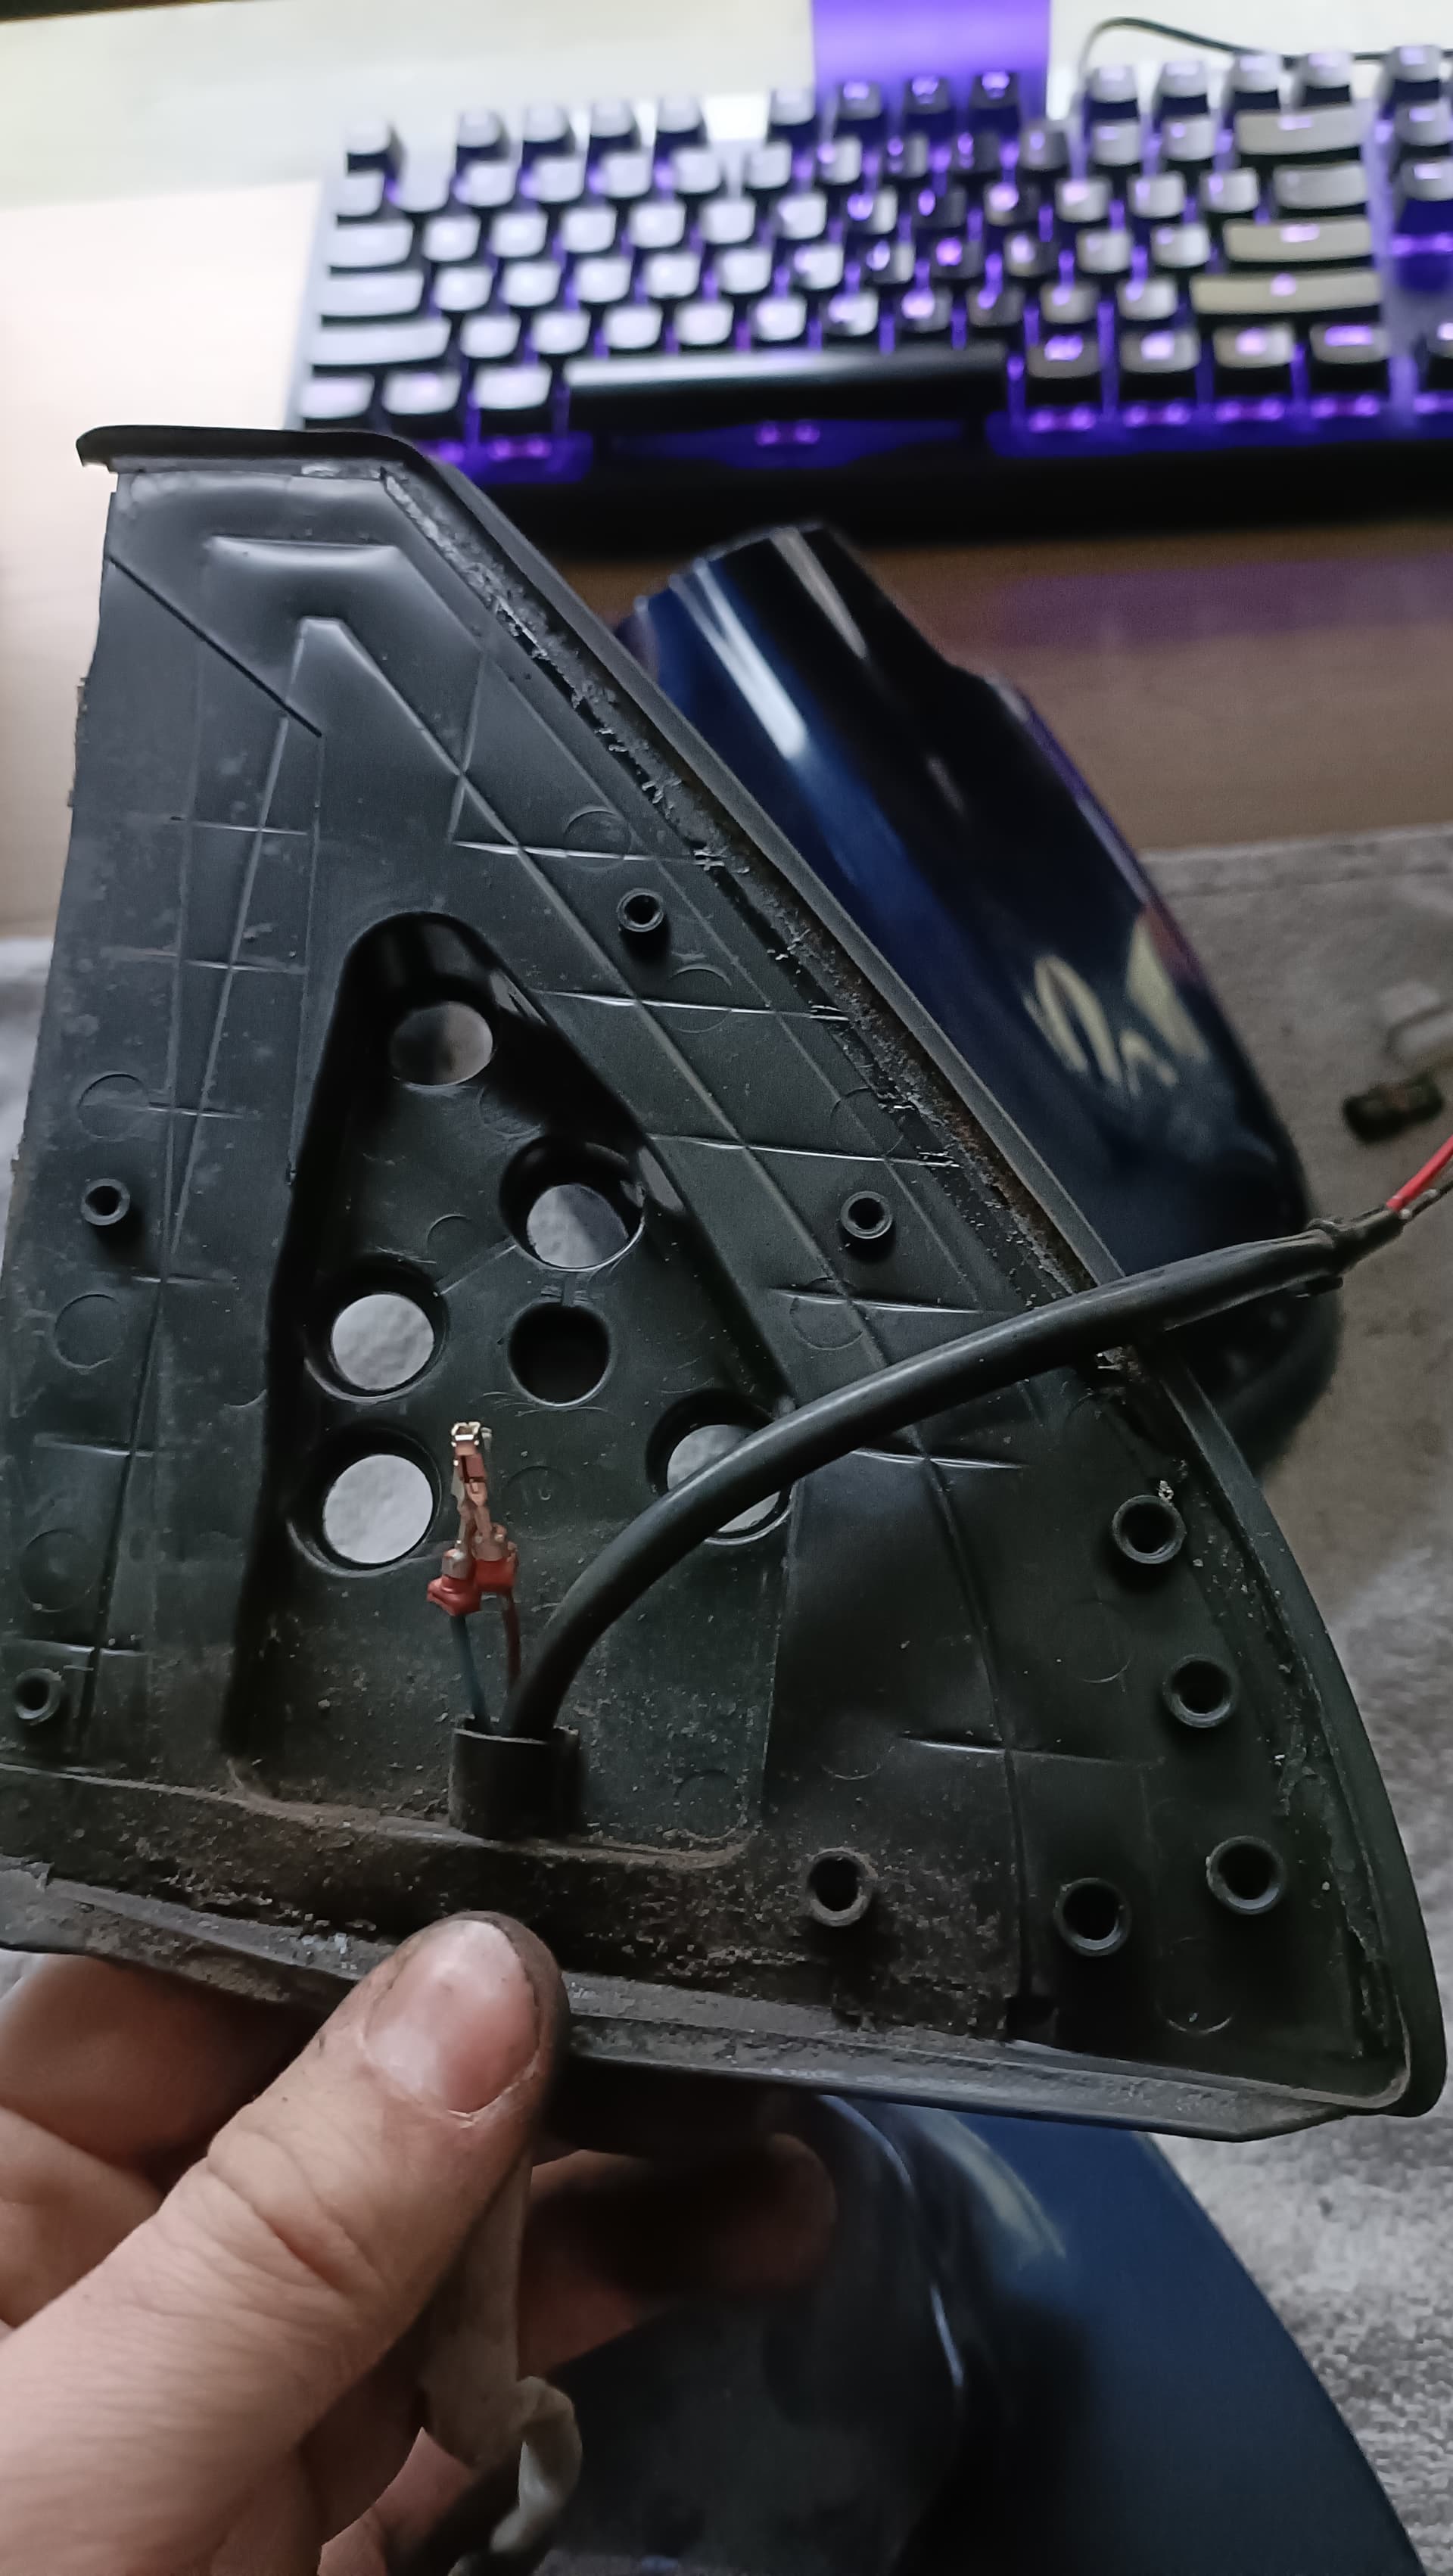
Step 3: Remove the rubber
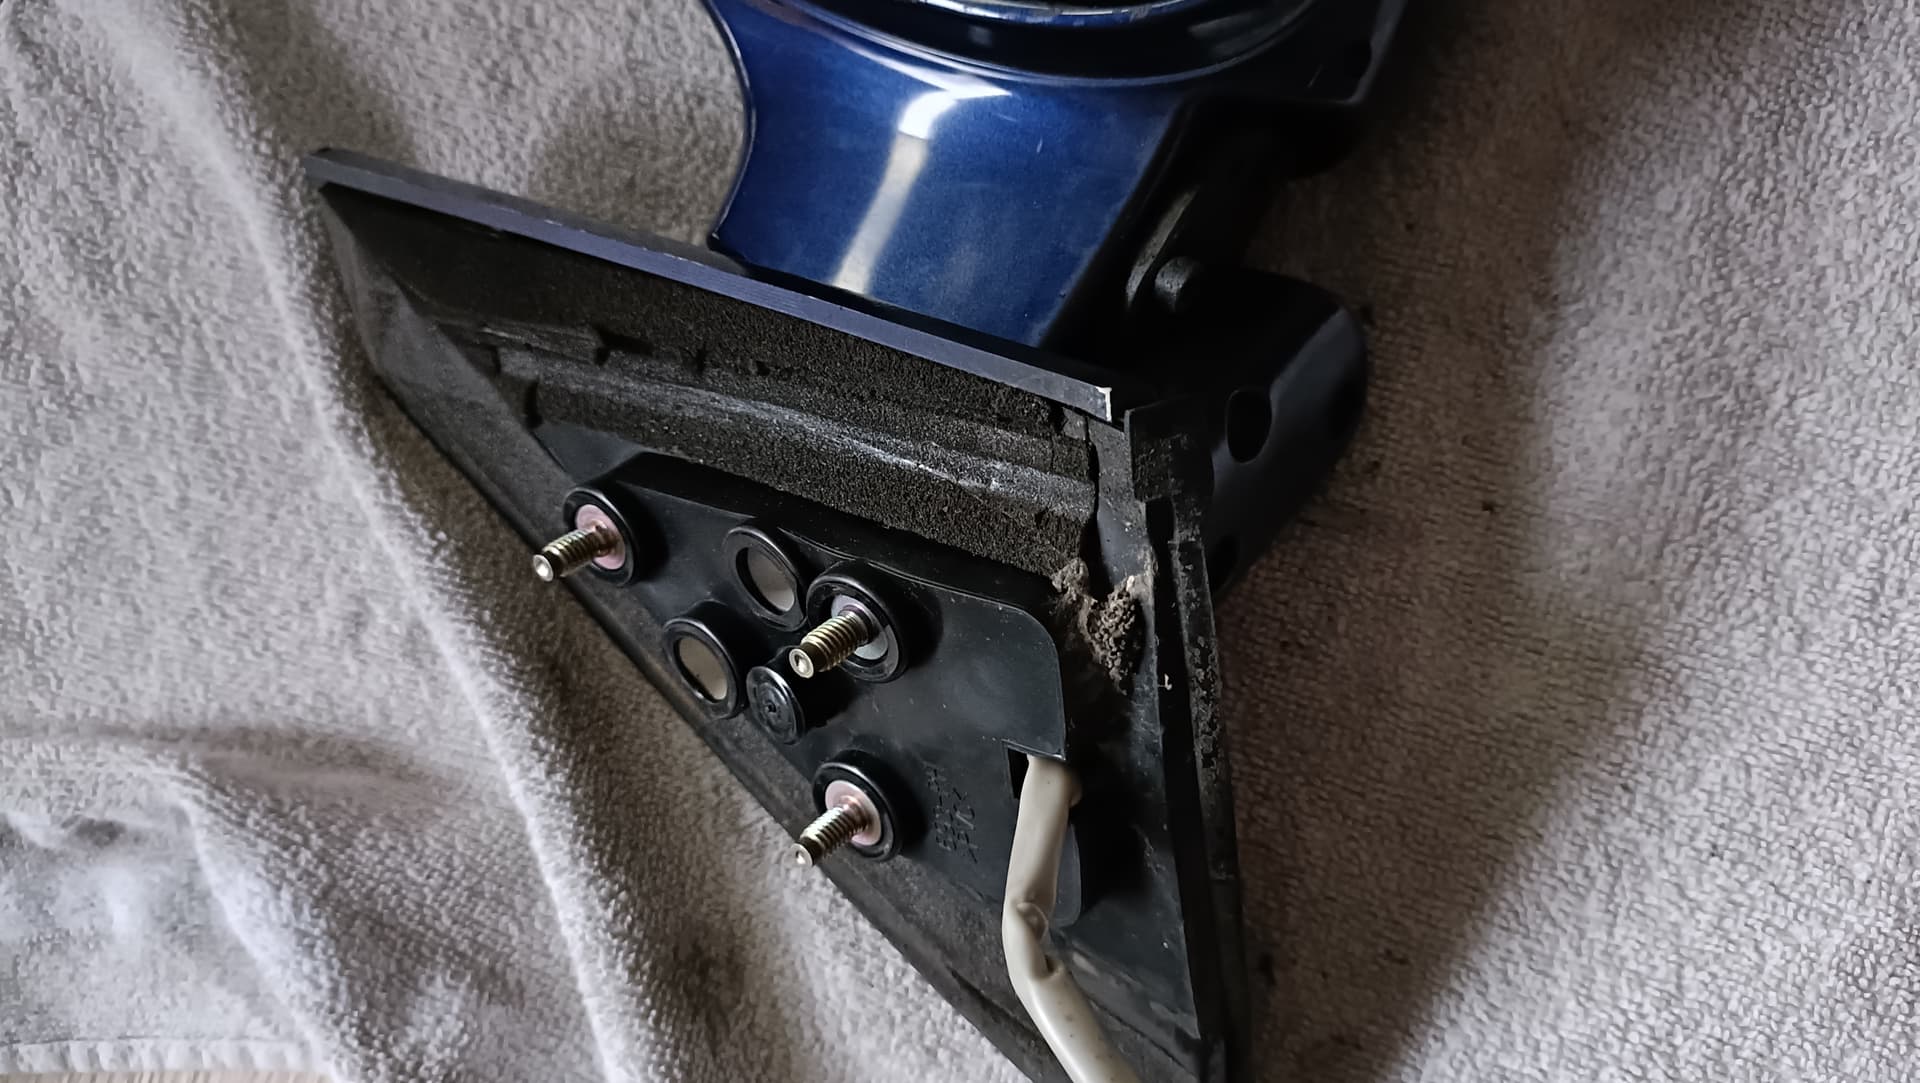
The wire is held in place with a screw, so don’t pull the mirror apart just yet! It’s hidden behind the rubber mat. Pull it from the mirror base very carefully, there might be some glue around the edges.
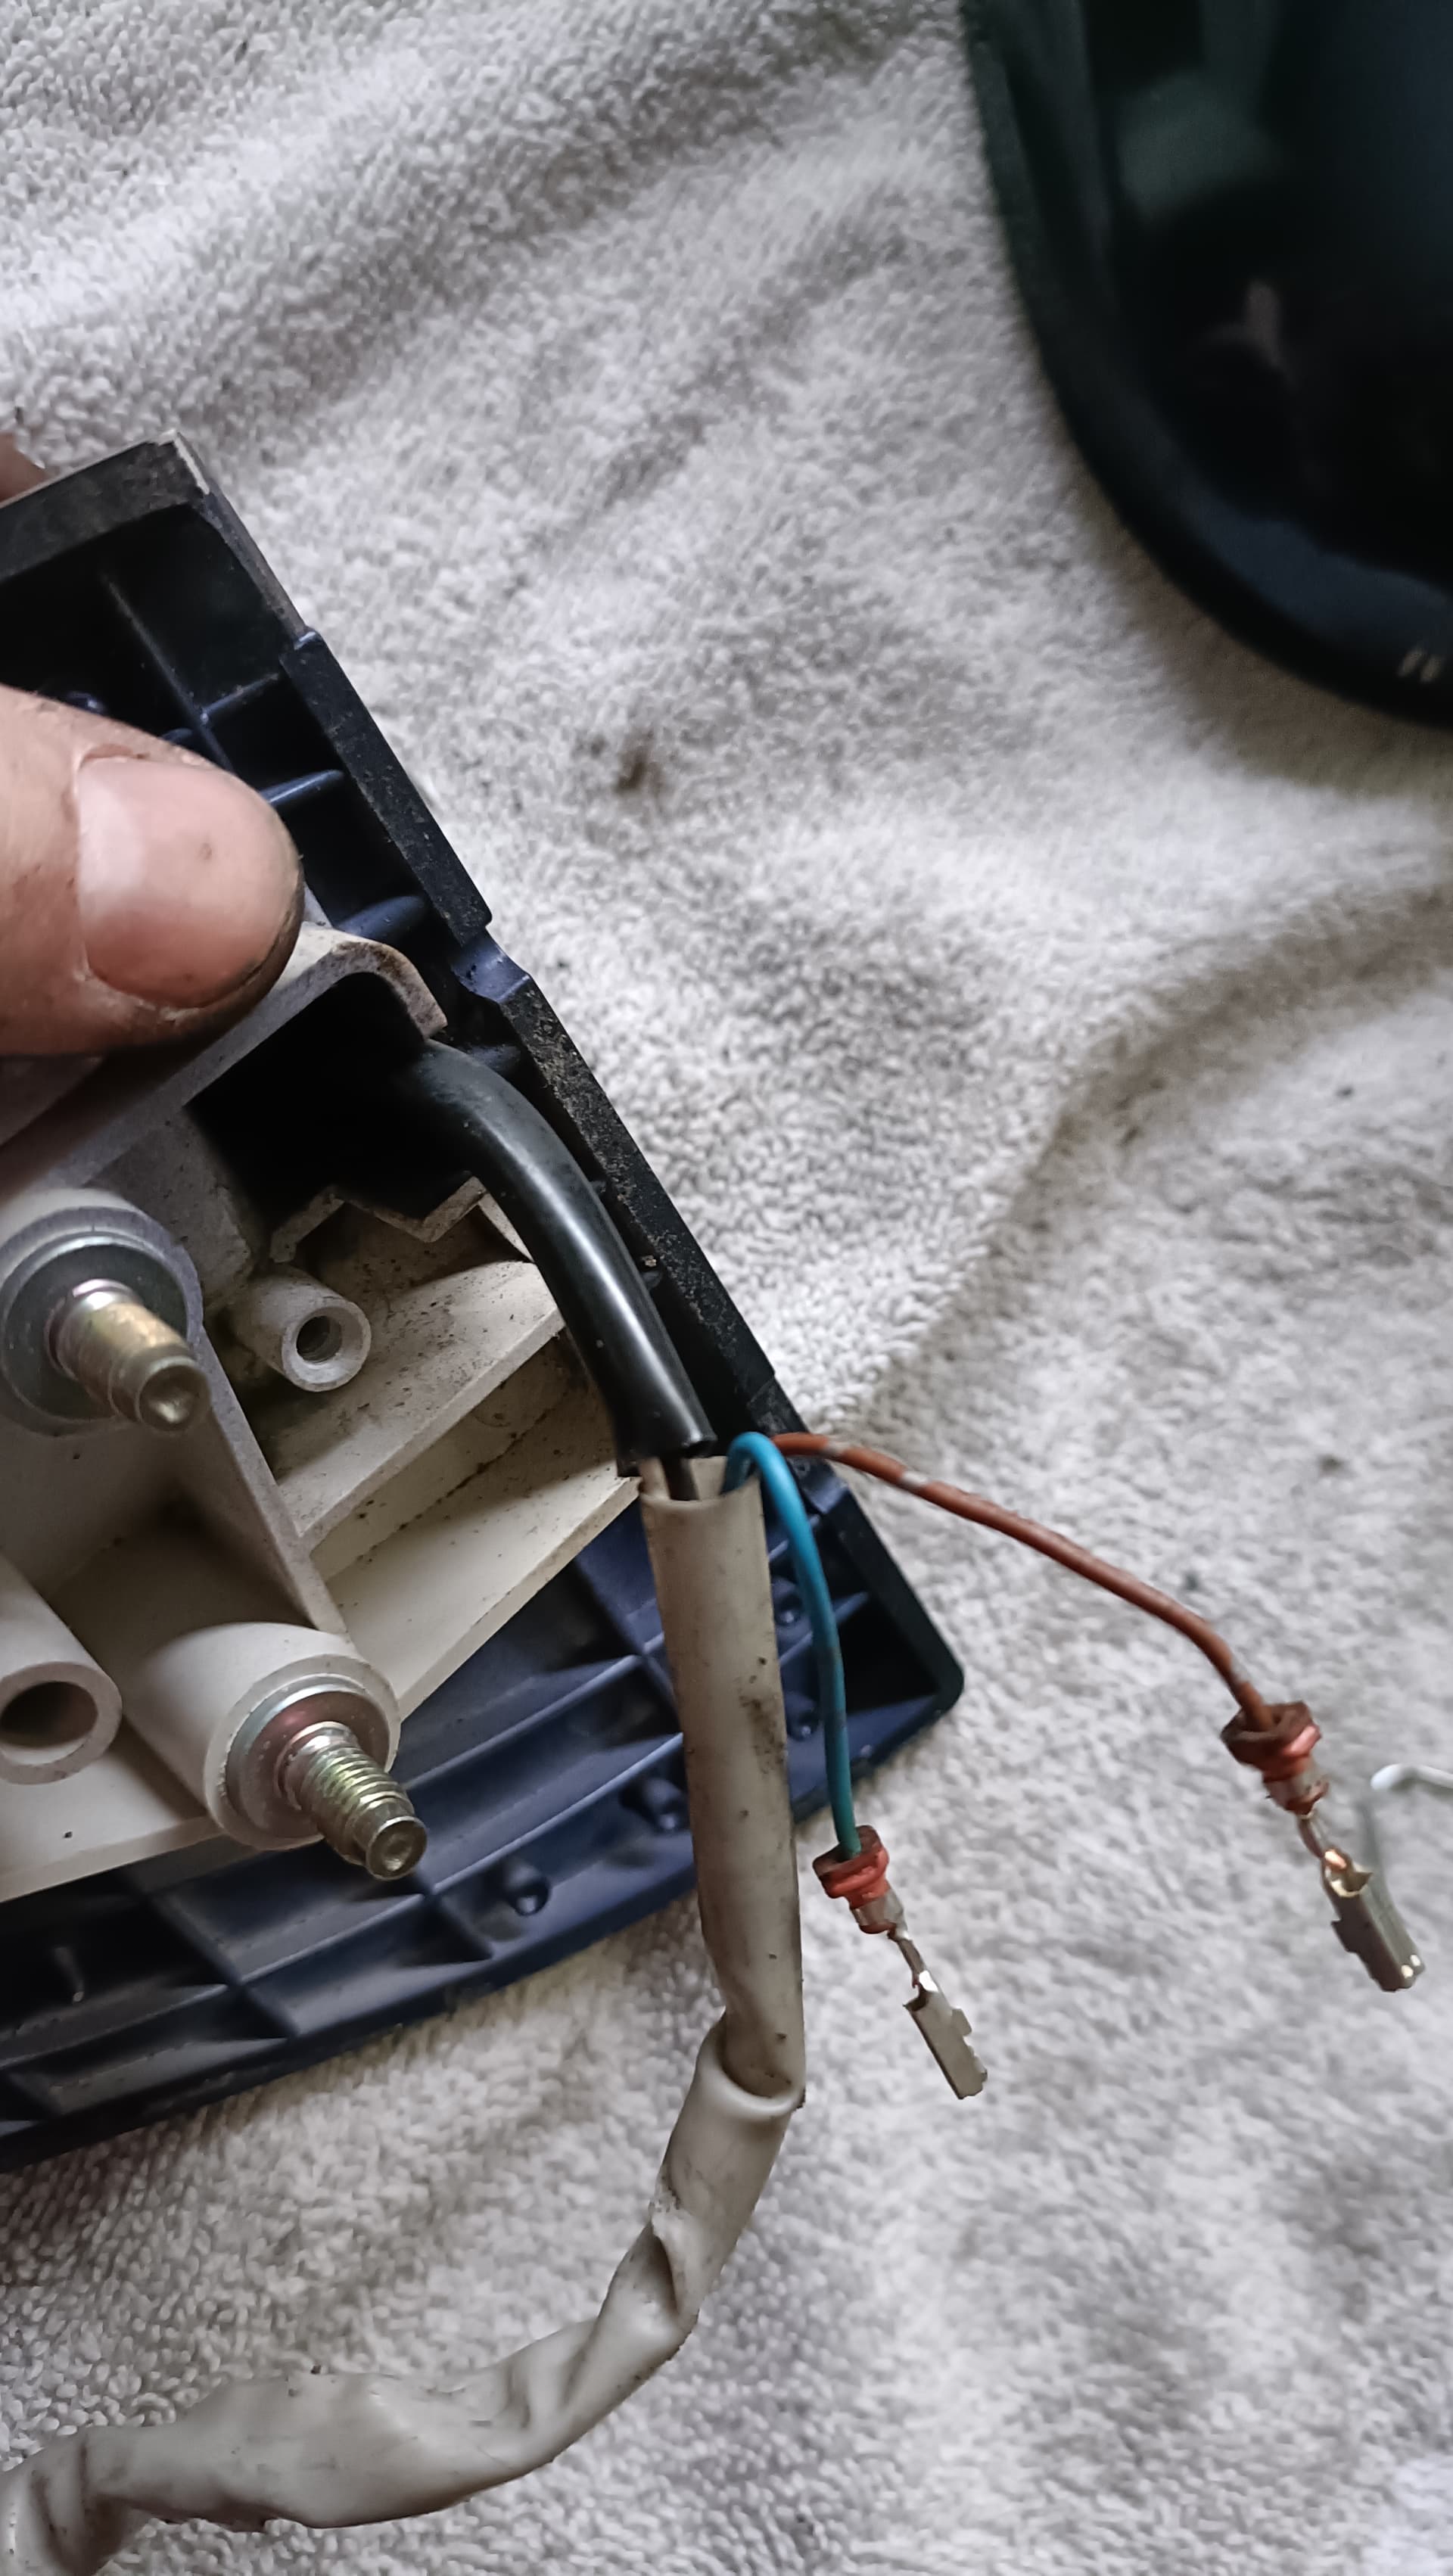
Step 4: Remove cable screw
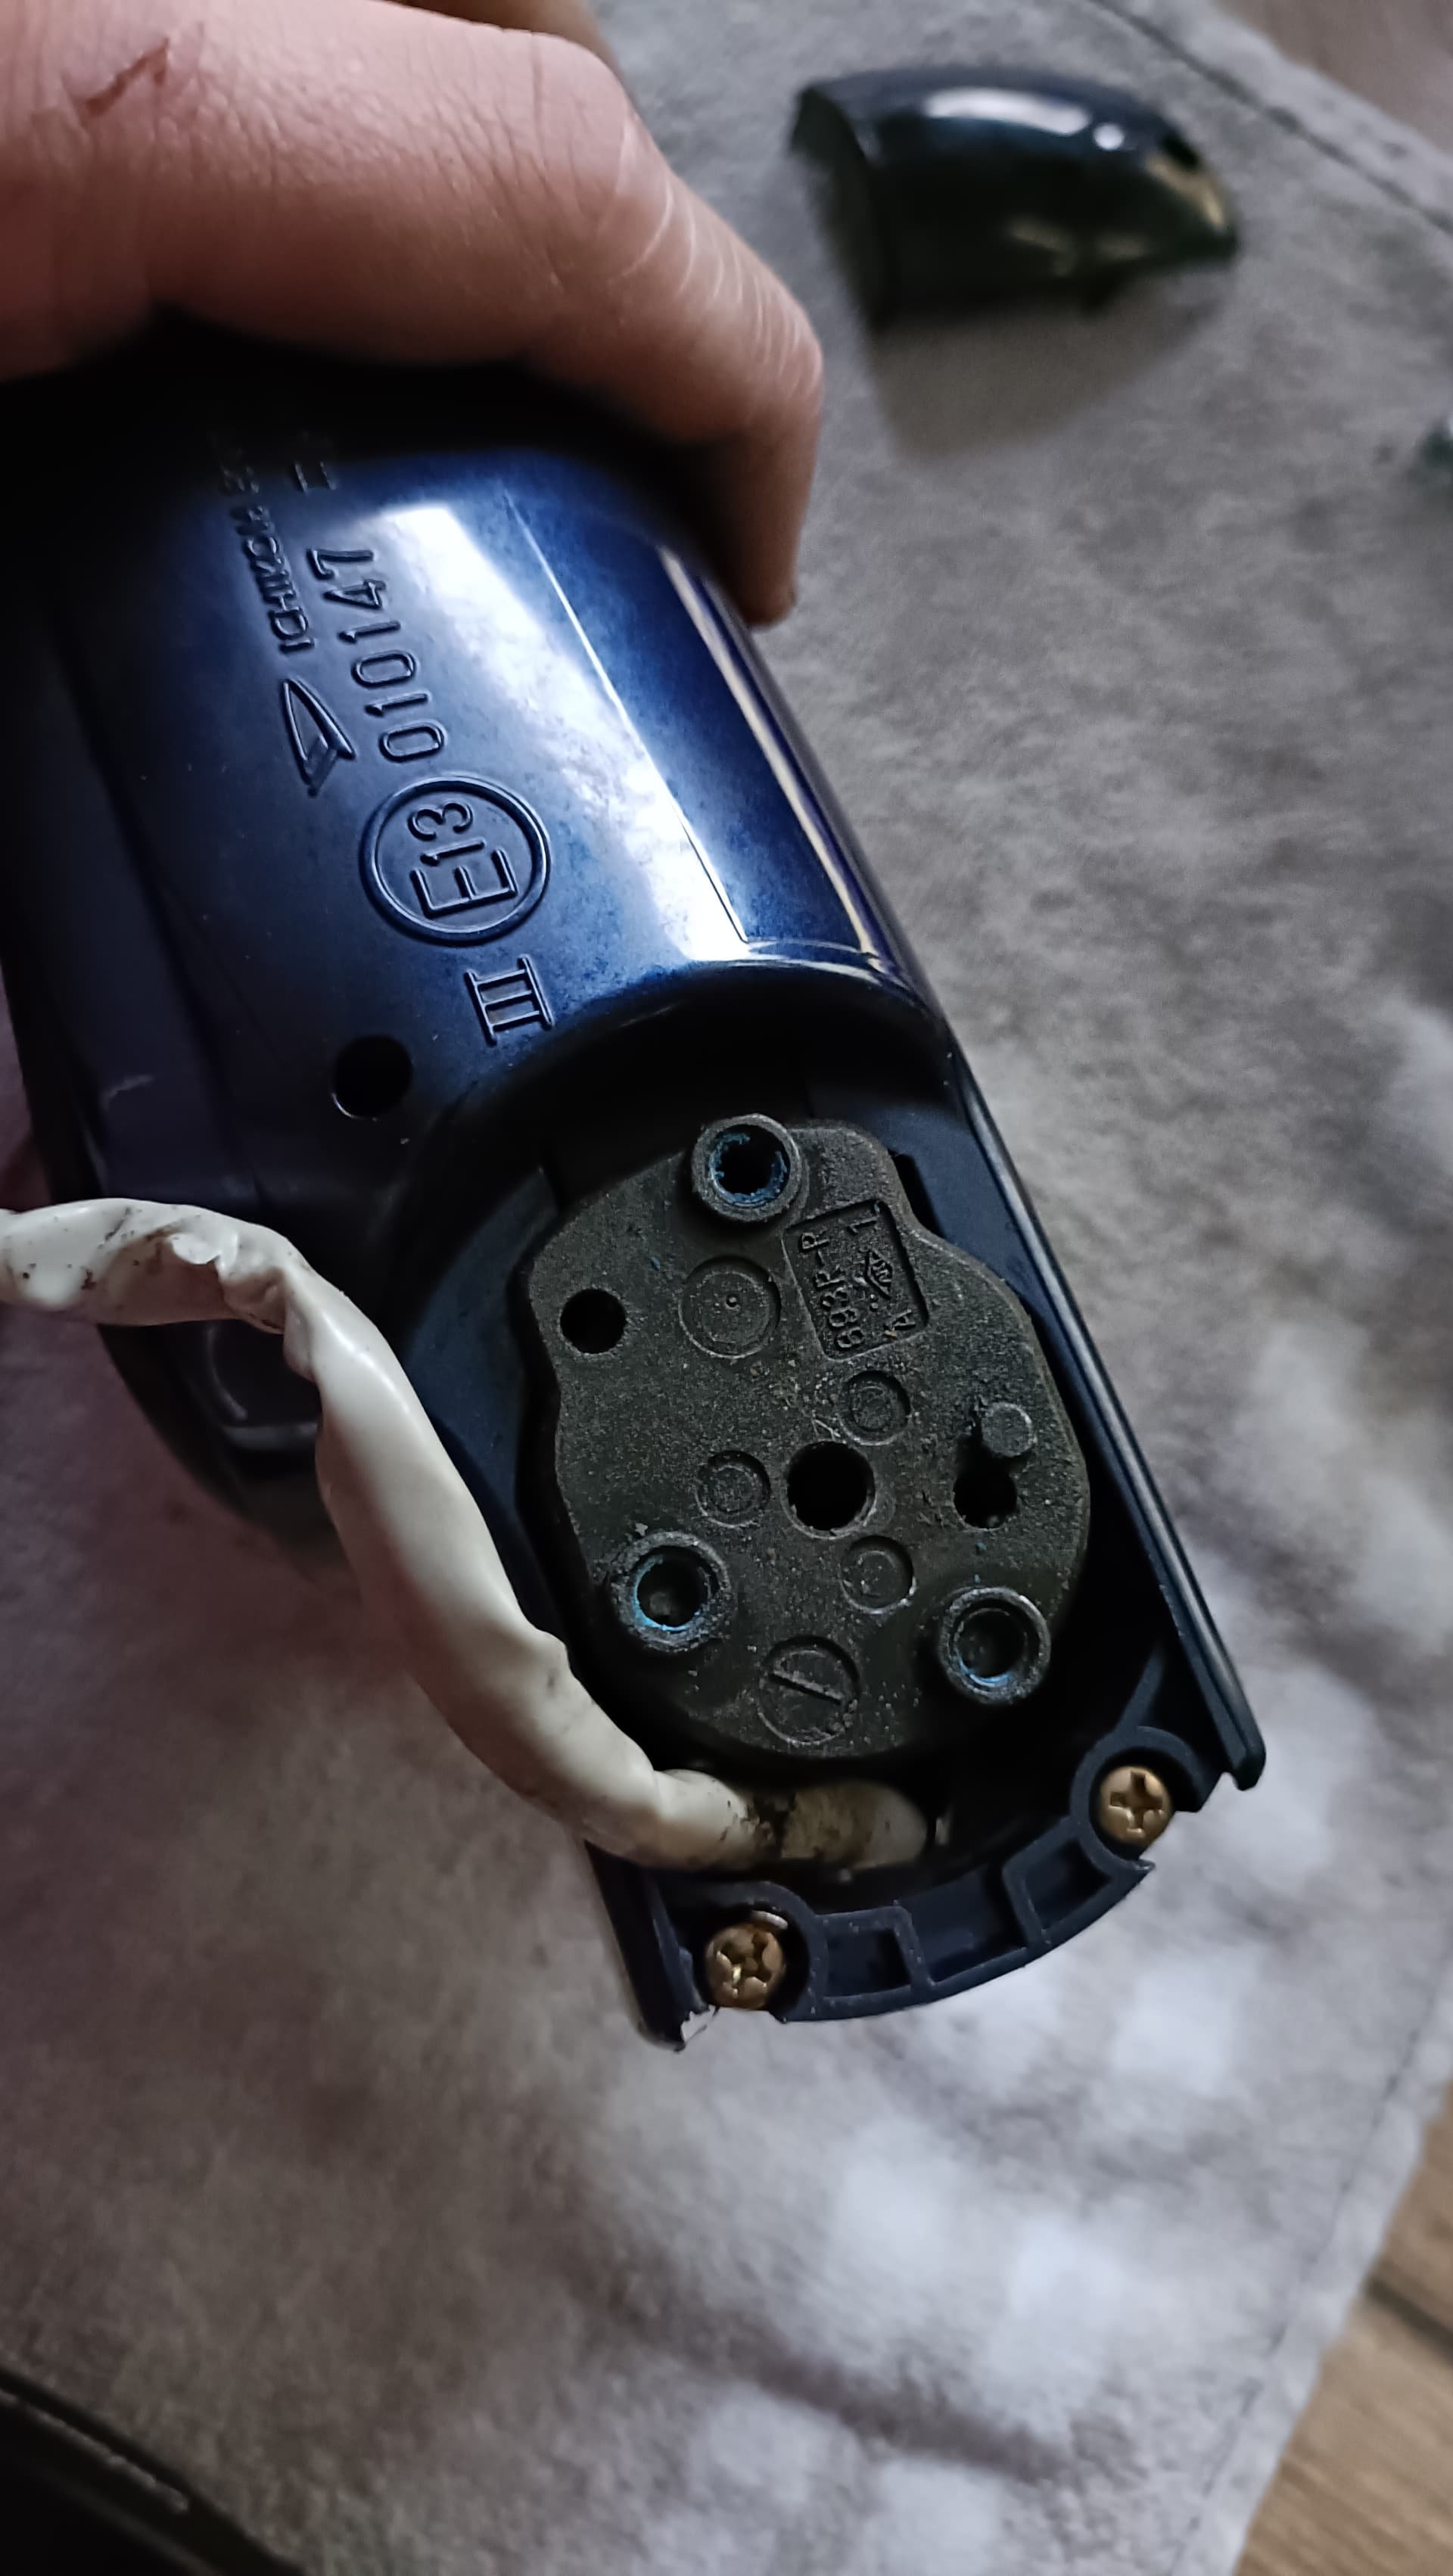
Found you! Remove the screw that holds the cable in place.
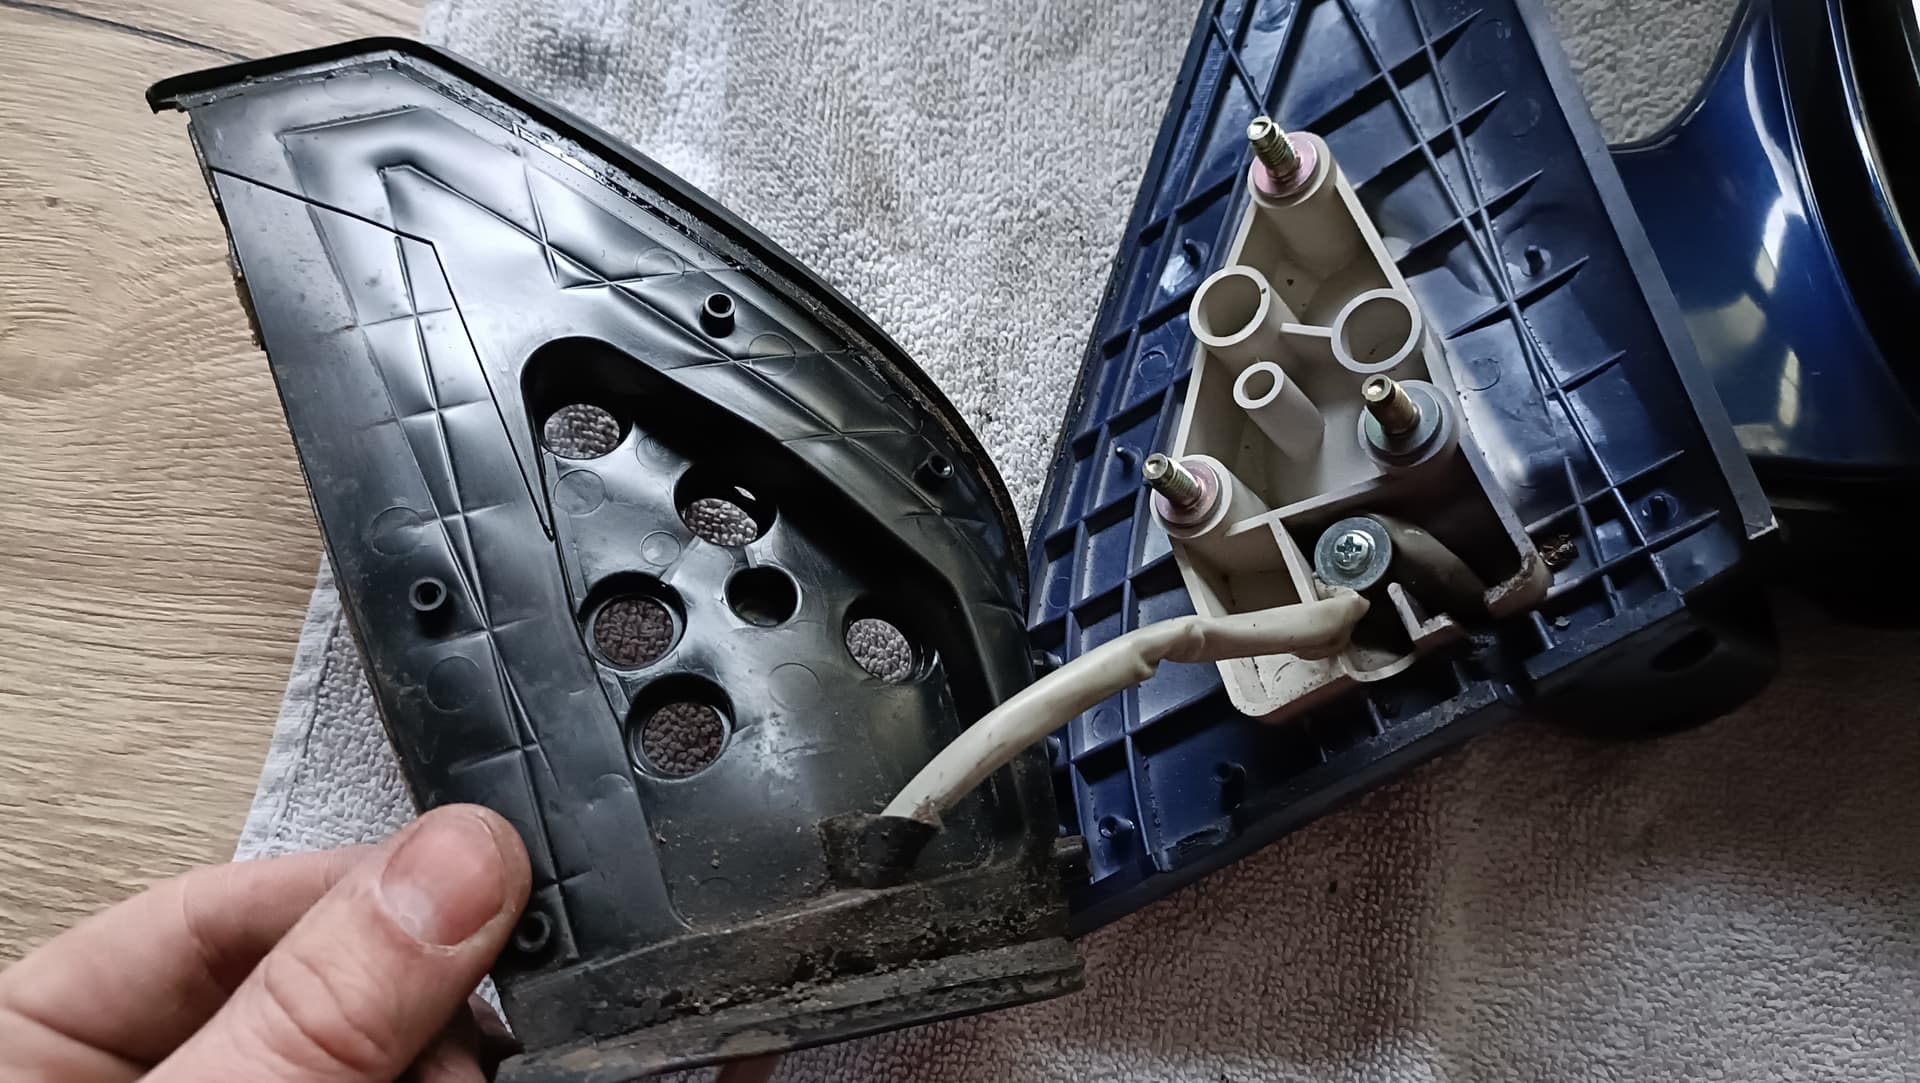
Now you can remove the base from the mirror unit by guiding the cable through. It might be a little stuck because it probably hasn’t moved in 20 years.

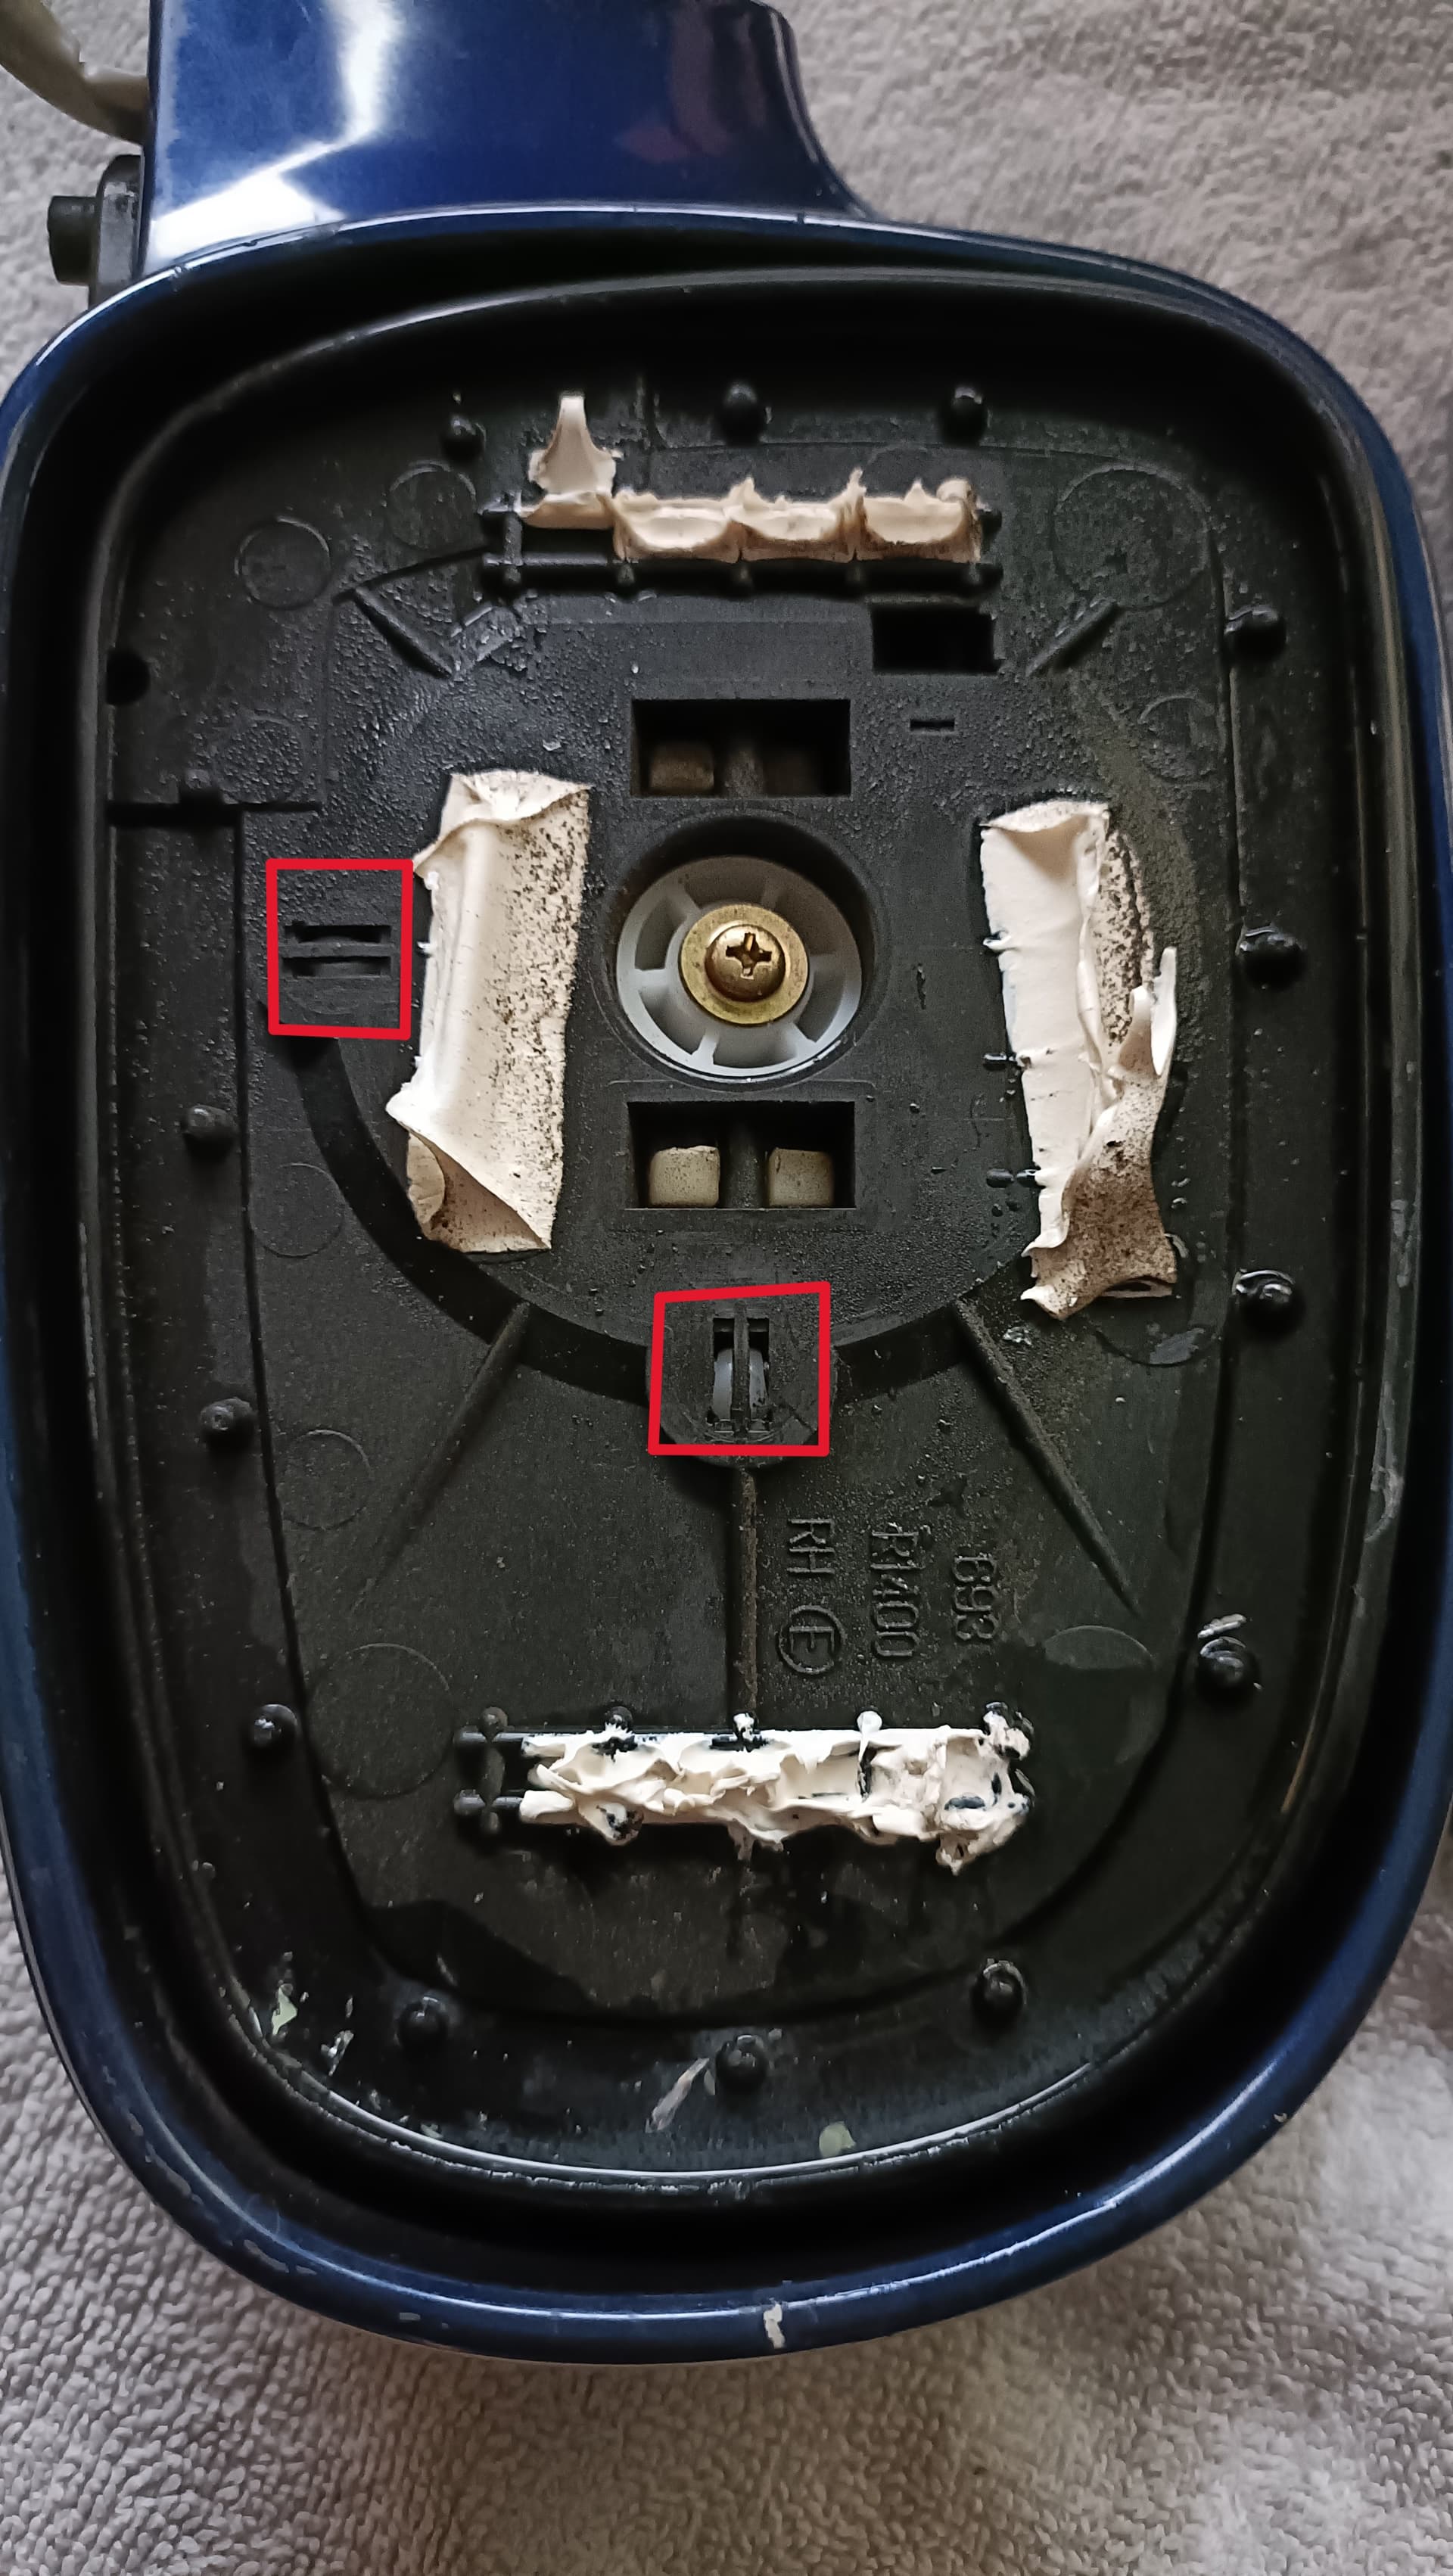
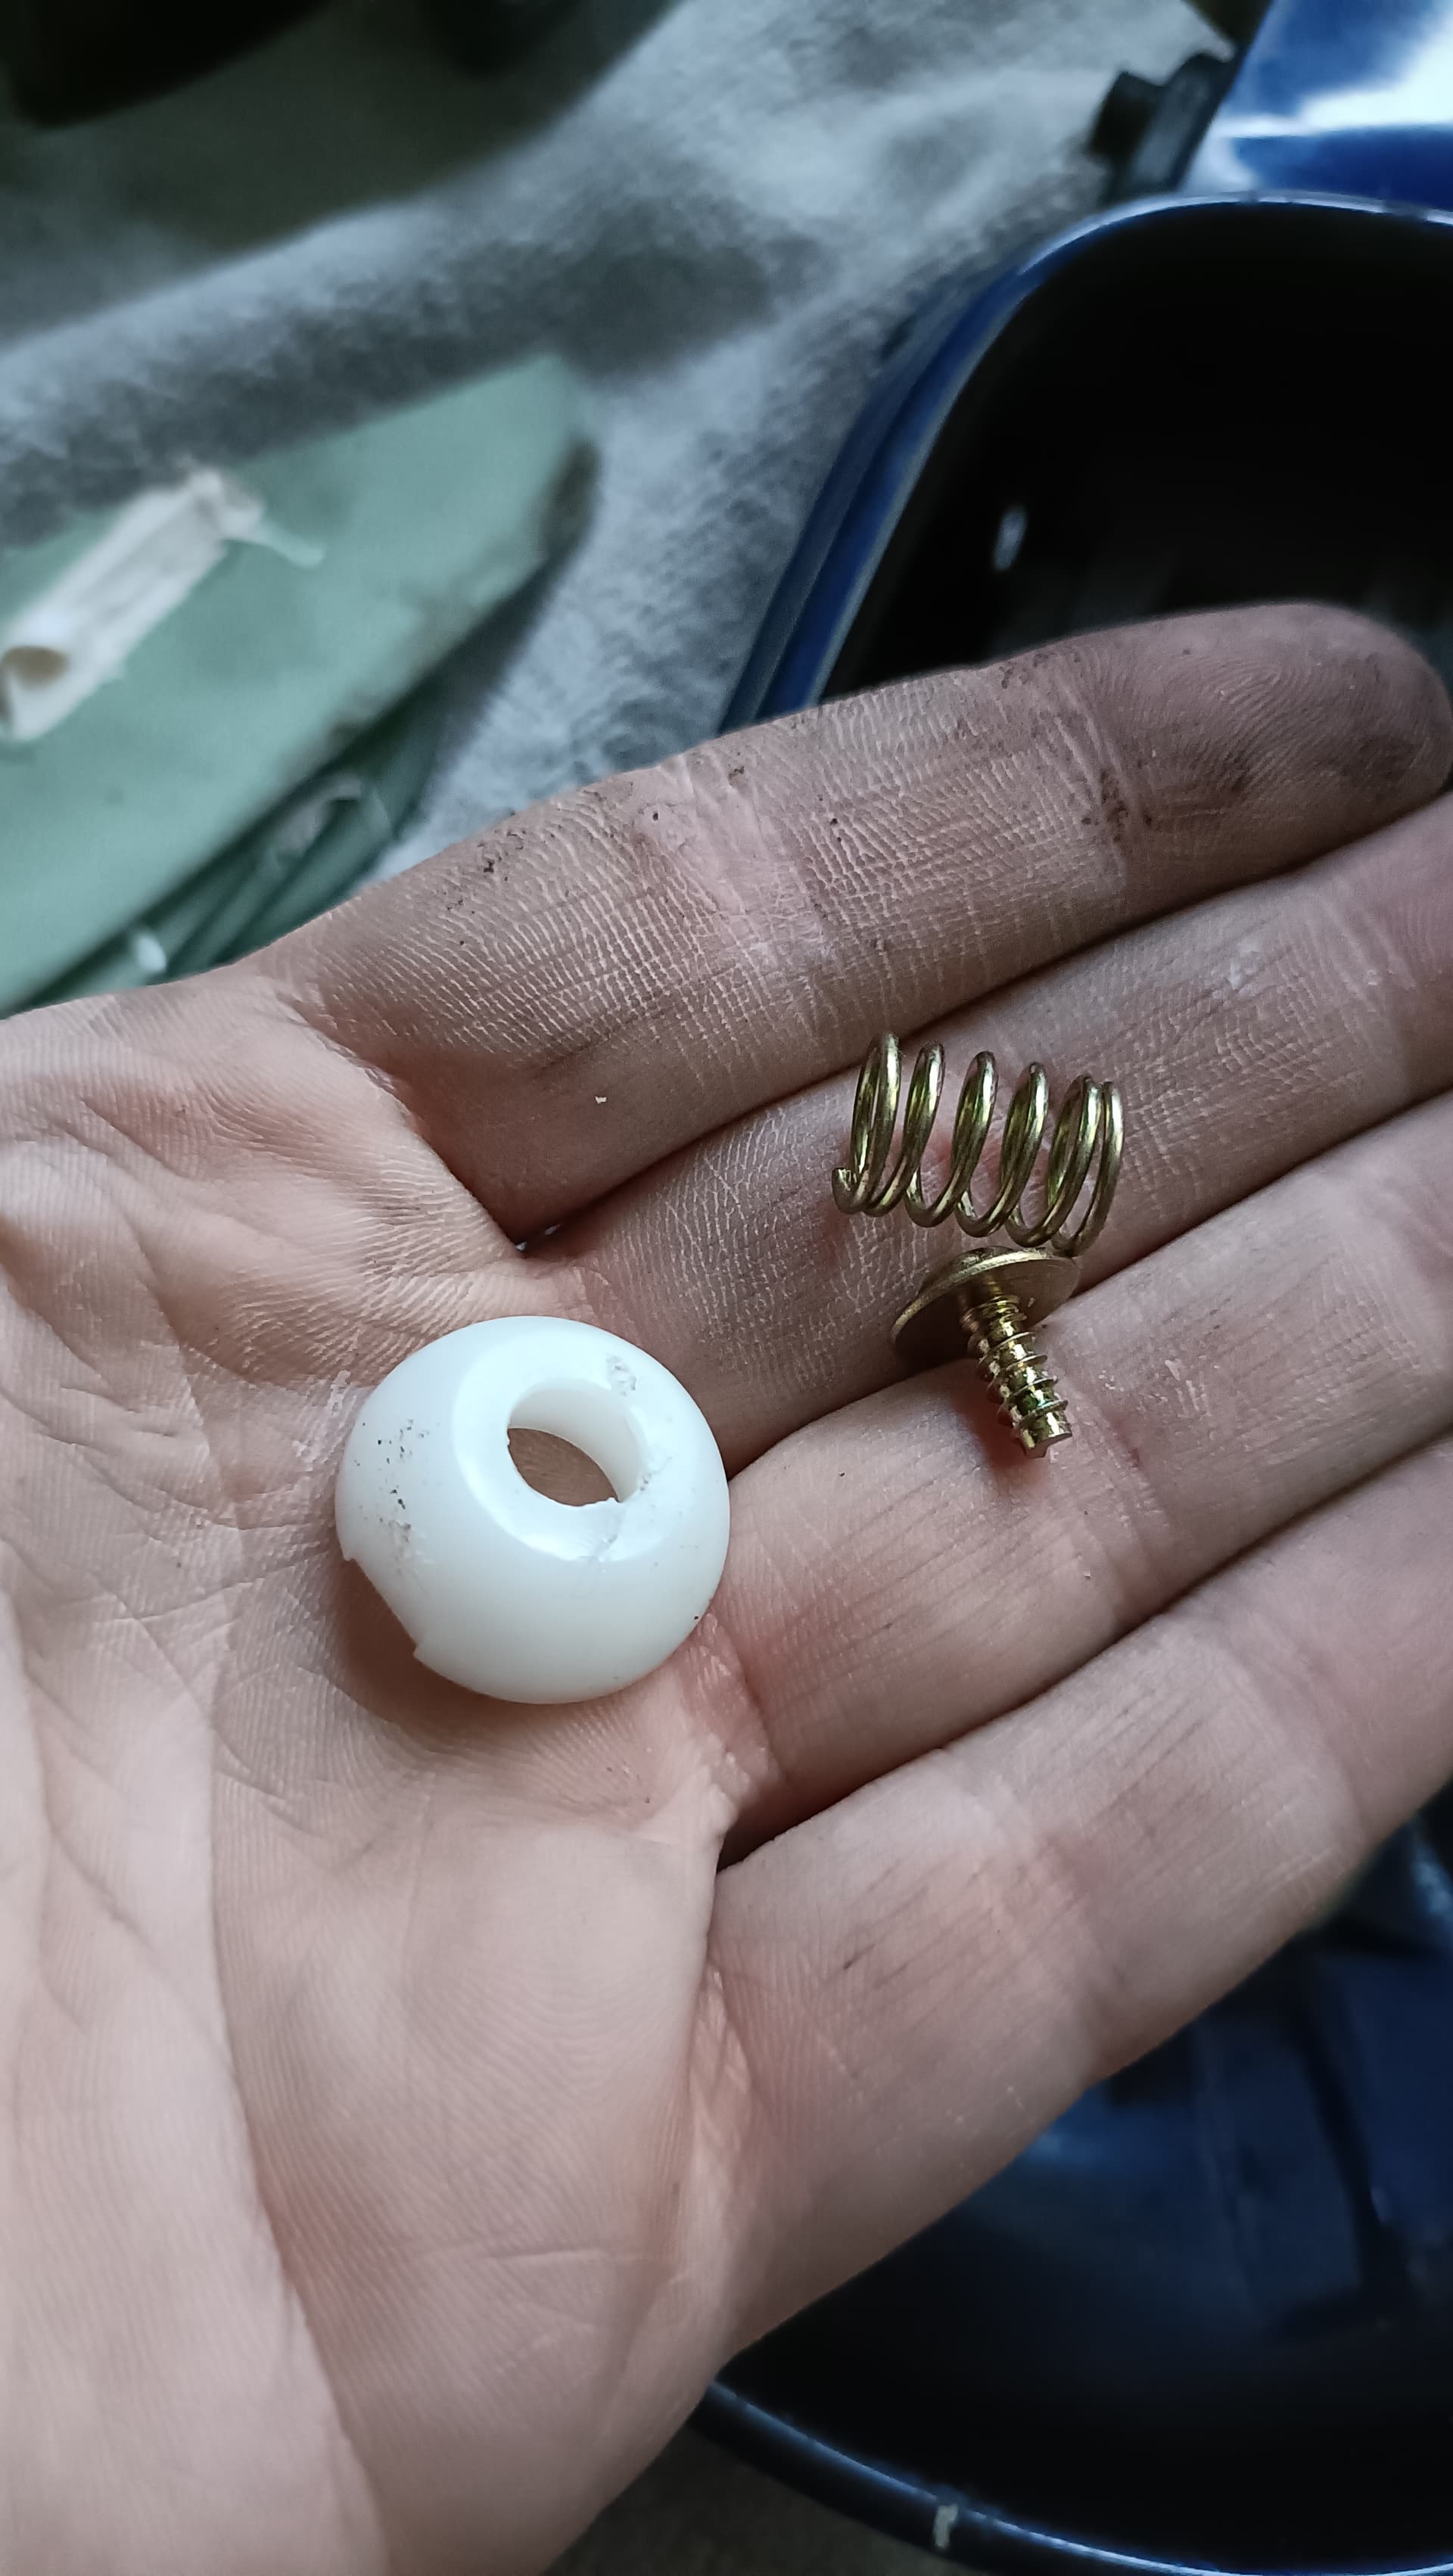
Step 5: Remove the plastic rotating piece
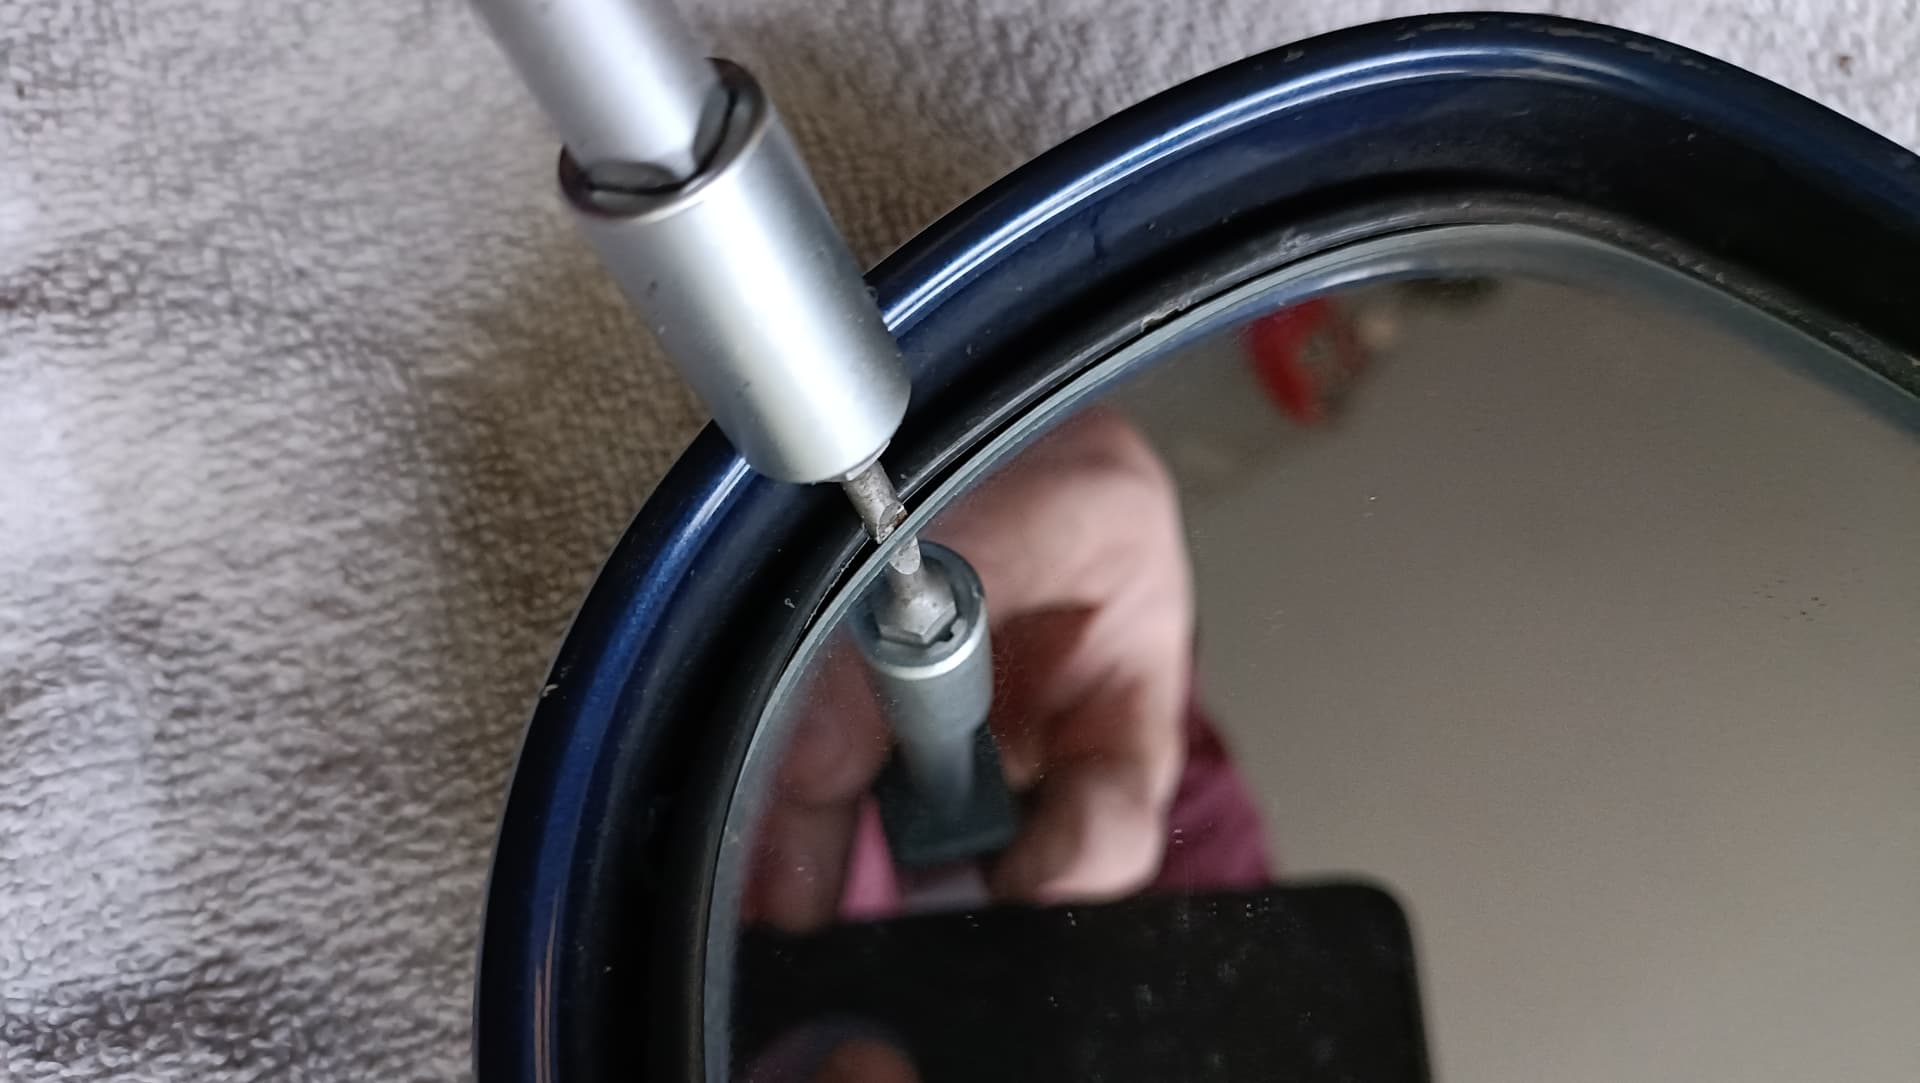
This part isn’t painted so there’s less resistance while rotating the mirror. The paint would just wear down quickly. Remove the upper screw. After that you can pry out the plastic piece.
Step 6: Remove motor screws
These two screws keep the folding motor in place. Don’t try to pull it just yet, we’ll get there.
Step 7: Remove the mirror glass
After so many years the plastic balls that keep the plastic backing plate for the mirror glass in place are very stuck. It’s easier to remove them with the mirror glass off. There’s some space around the edge where you can pry. But don’t try to whip it out, it’s glued in place. We have to heat it up.
Step 8: Heat up the mirror glass
I didn’t have a heat gun at home, so I used a steamer to heat it up. Not convenient at all.

Step 9: Fail Horribly
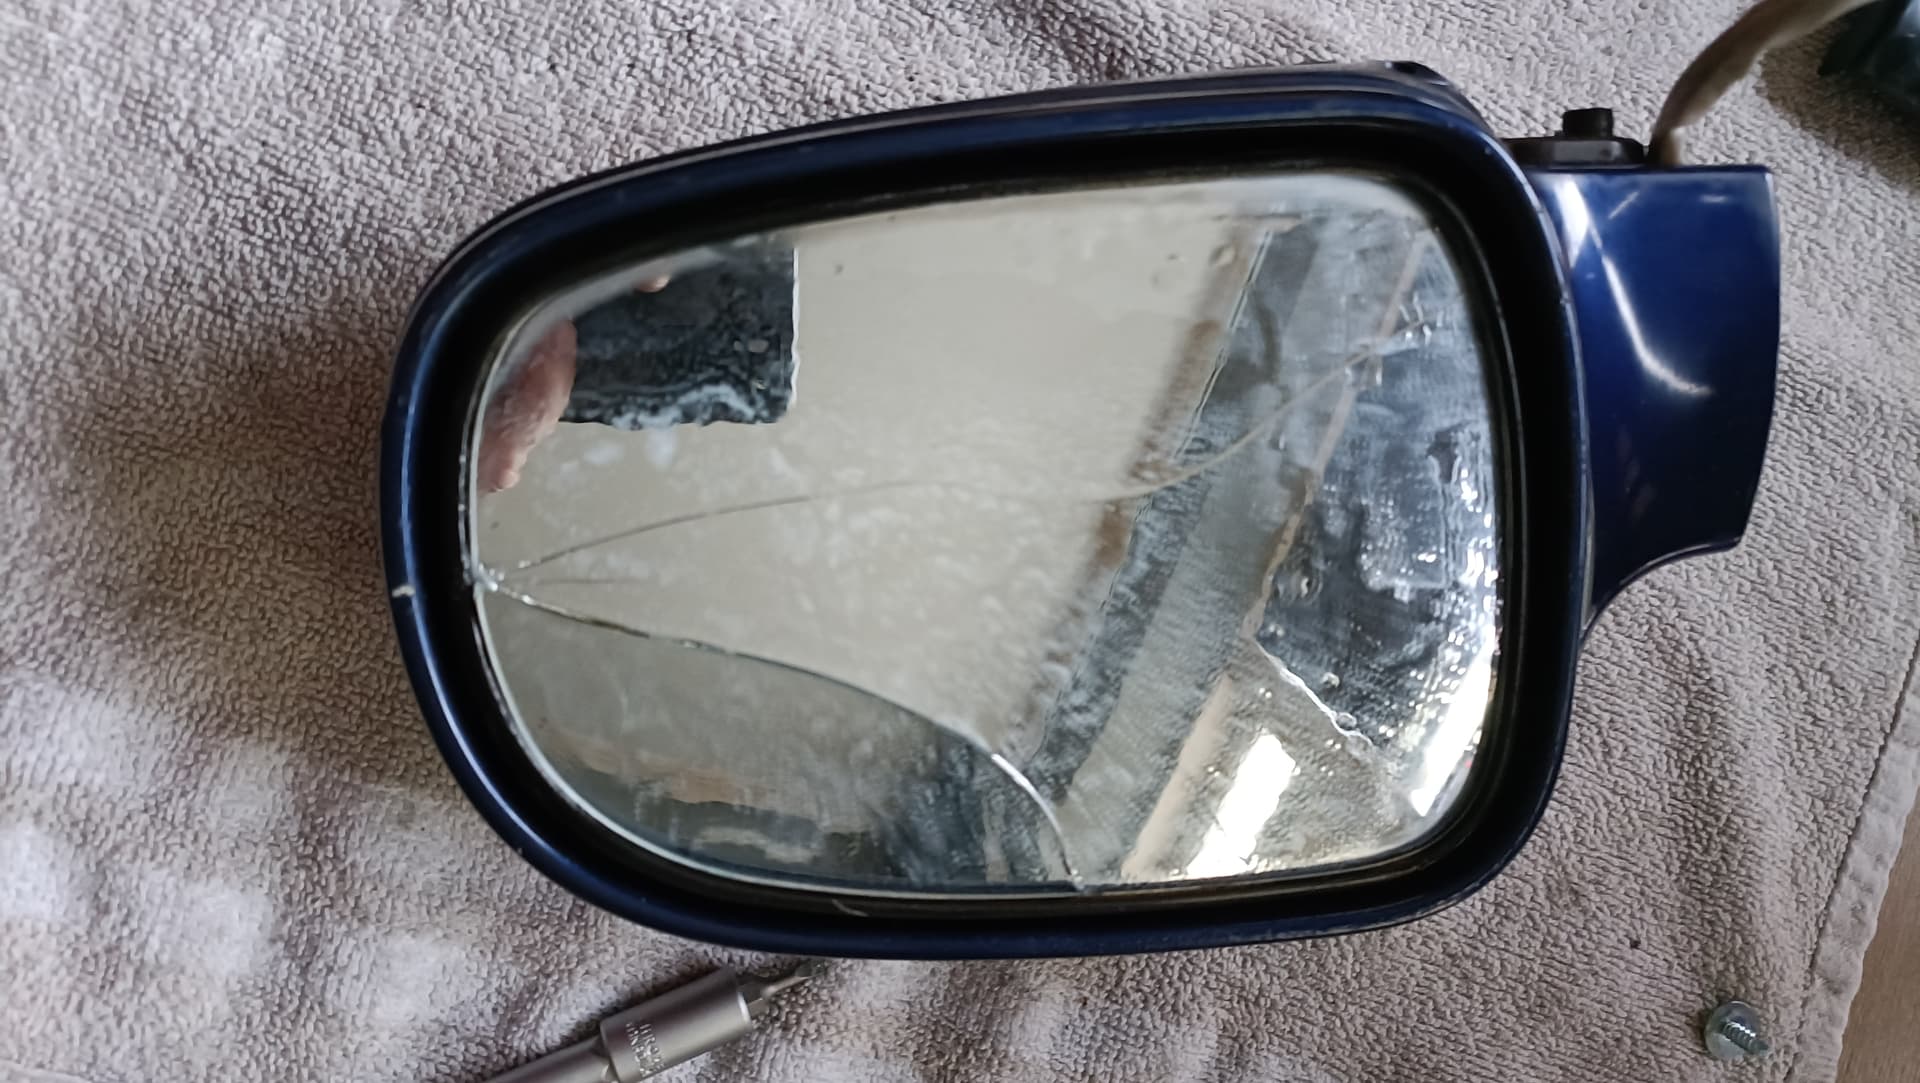
Try to pry the mirror glass off around the edge. Immediately break the mirror glass. Say “Oh well” and carefully remove the broken pieces. Please be careful; these piece obviously are very sharp and can shoot in the direction of your eyes if you pry to hard.
Use a heat gun for better luck, it’ll probably work TM.
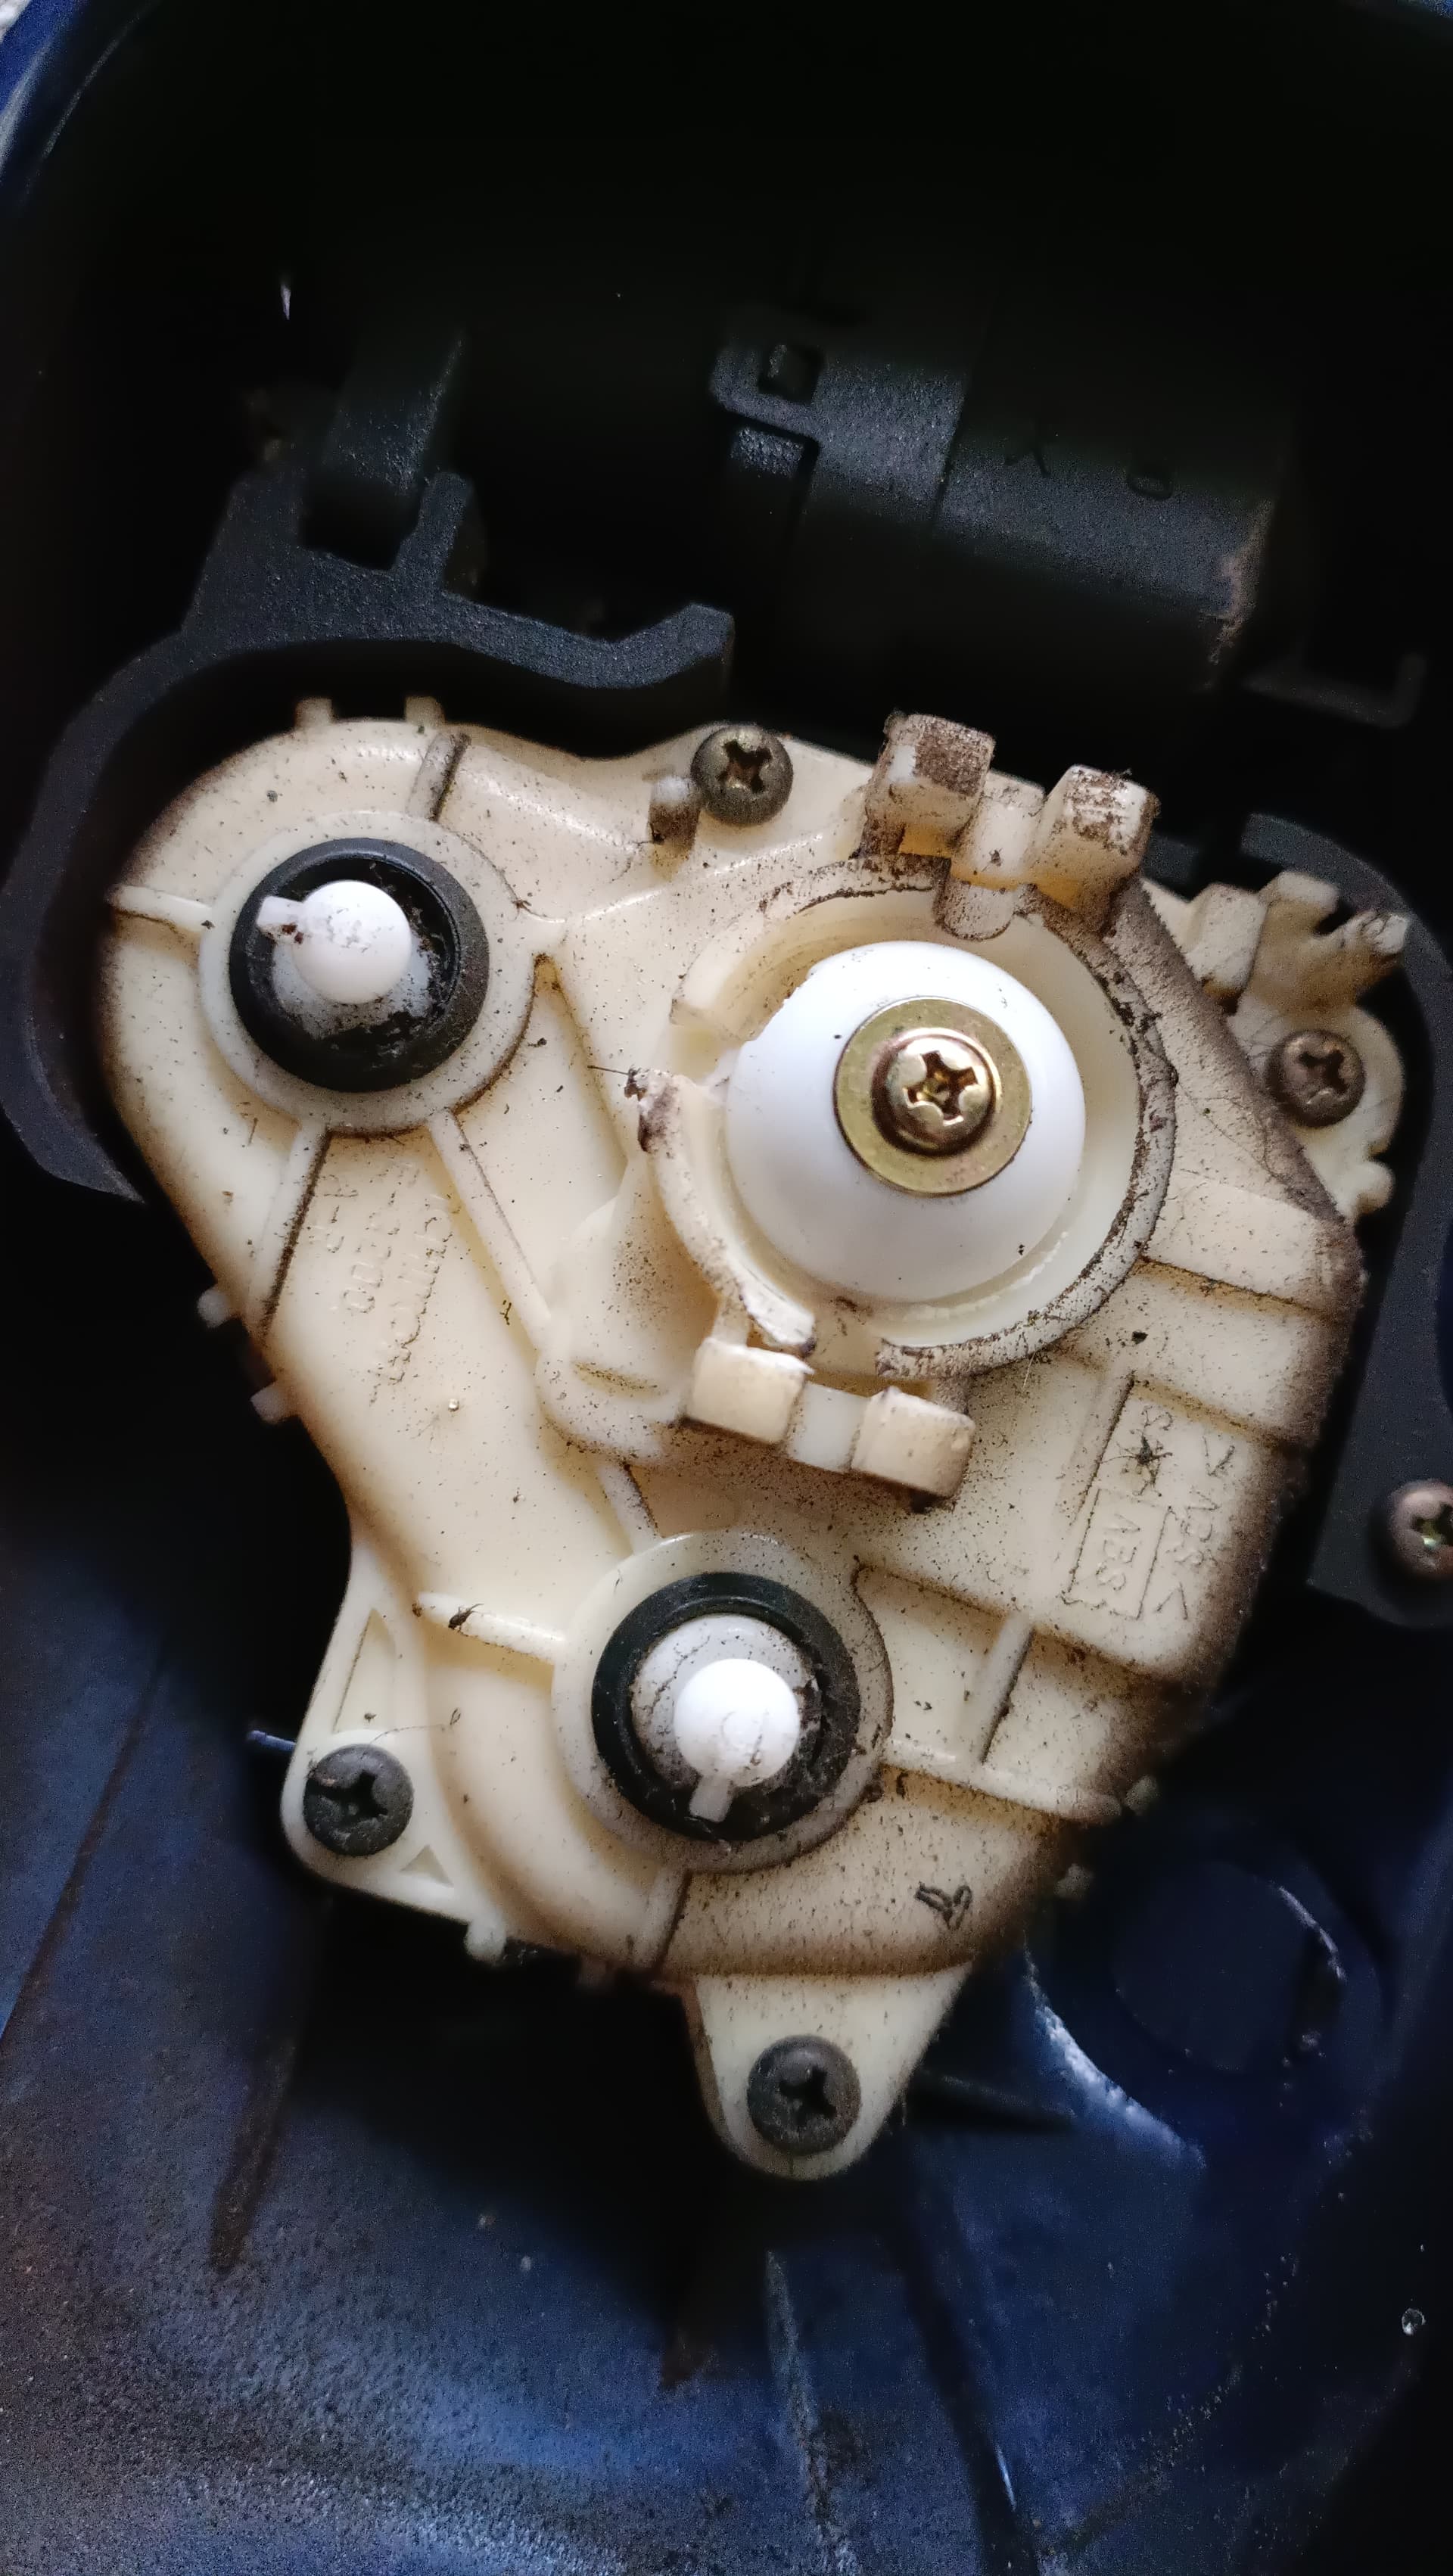
Step 10: Push down adjustment motors
Grab a flat screwdriver and push the plastic pieces from the adjustment motors down.
Step 11: Remove backing plate
Remove the screw from the big plastic piece that holds the backing plate in place.

Make sure you don’t lose these.
I just put it back in the adjustment unit.
Step 12: Remove adjustment unit
Remove the screws around the adjustment unit. Take note of the 2 black screws, they are a tiny bit shorter and will only fit back in the same spot.
Step 13: Remove hidden screw
Carefully pull the unit aside, there’s a little bit of slag on the cable loom. Remove the screw that’s hidden under there.

Step 14: Take it all apart
You can now remove both the adjustment unit and the folding motor by guiding the cable through the mirror unit.
Step 15: Remove connectors
Pry out the connector for the folding motor. There’s two plastic tabs on the sides you have to push in. Gently pull on the cables and take it out.

The connector for the adjustment motor comes out easily, just give it a gently wiggle.
Now you can remove both from the mirror unit.

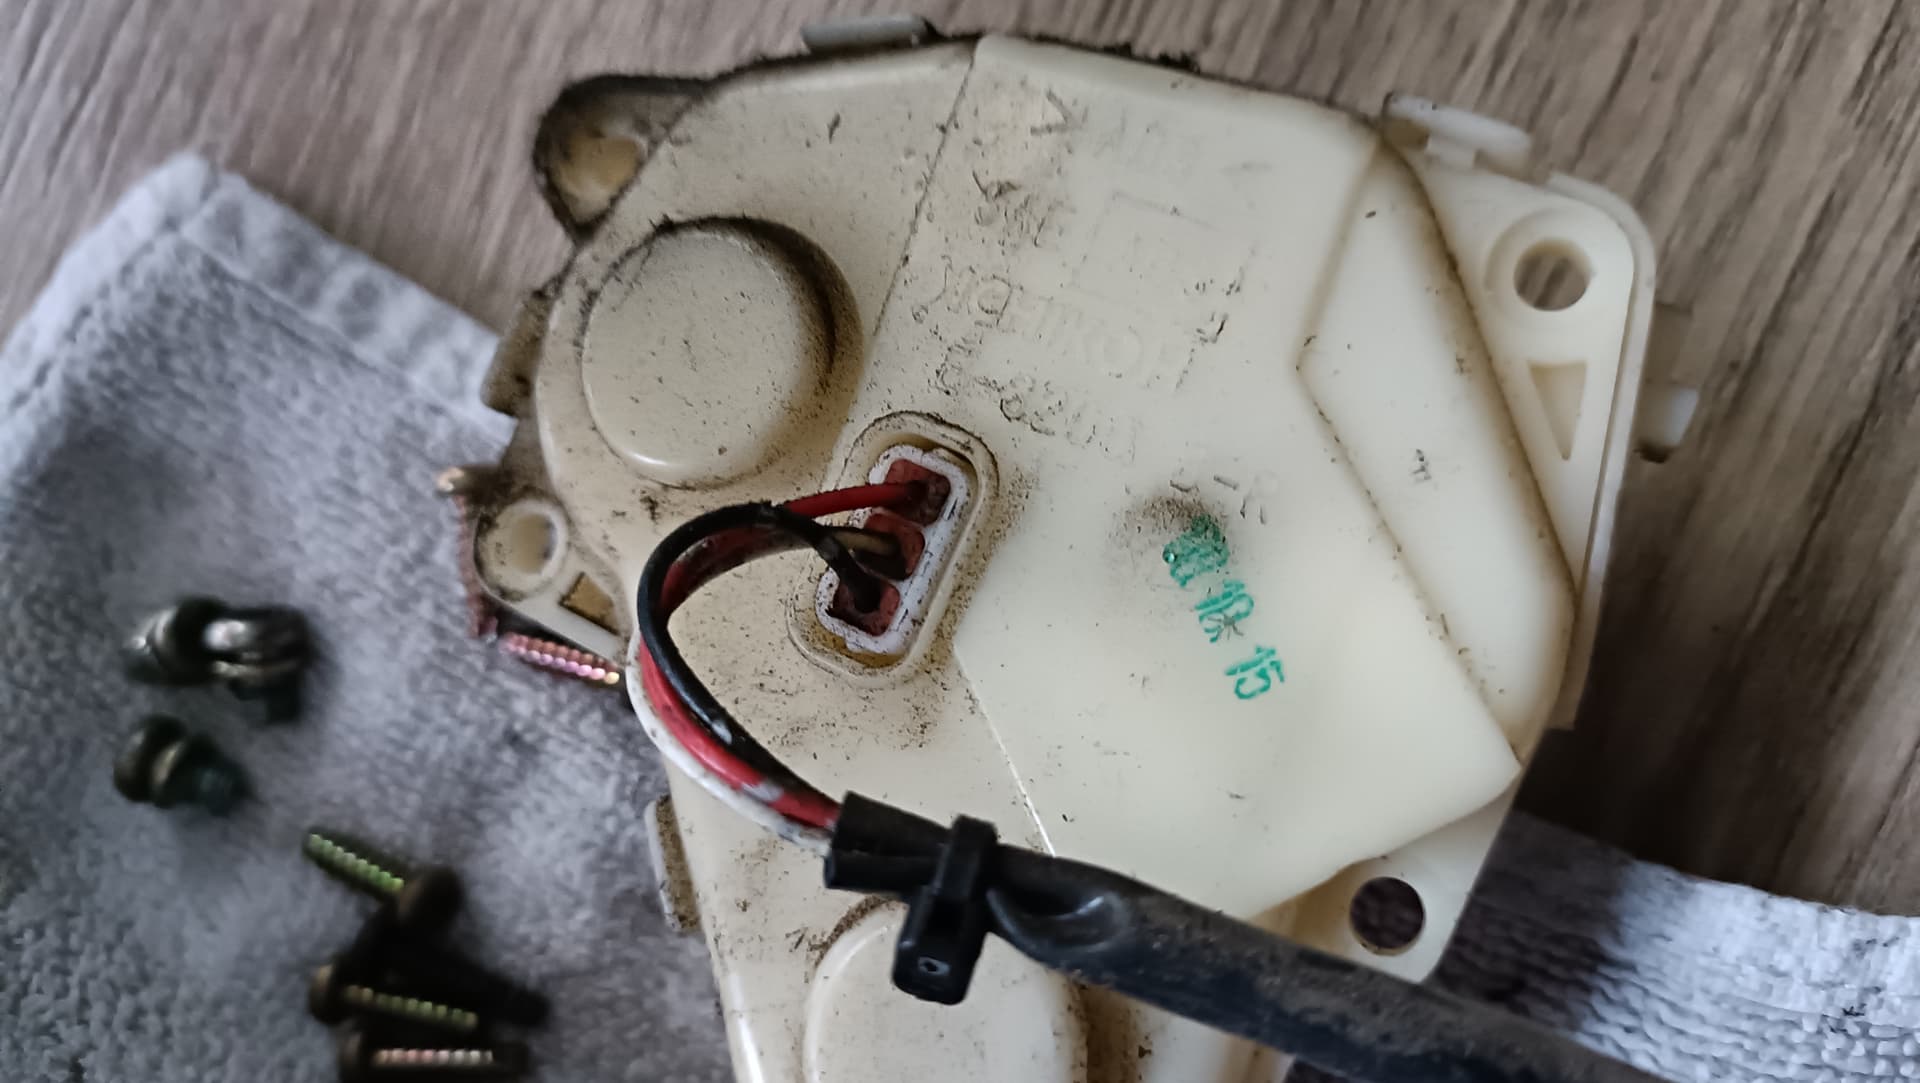
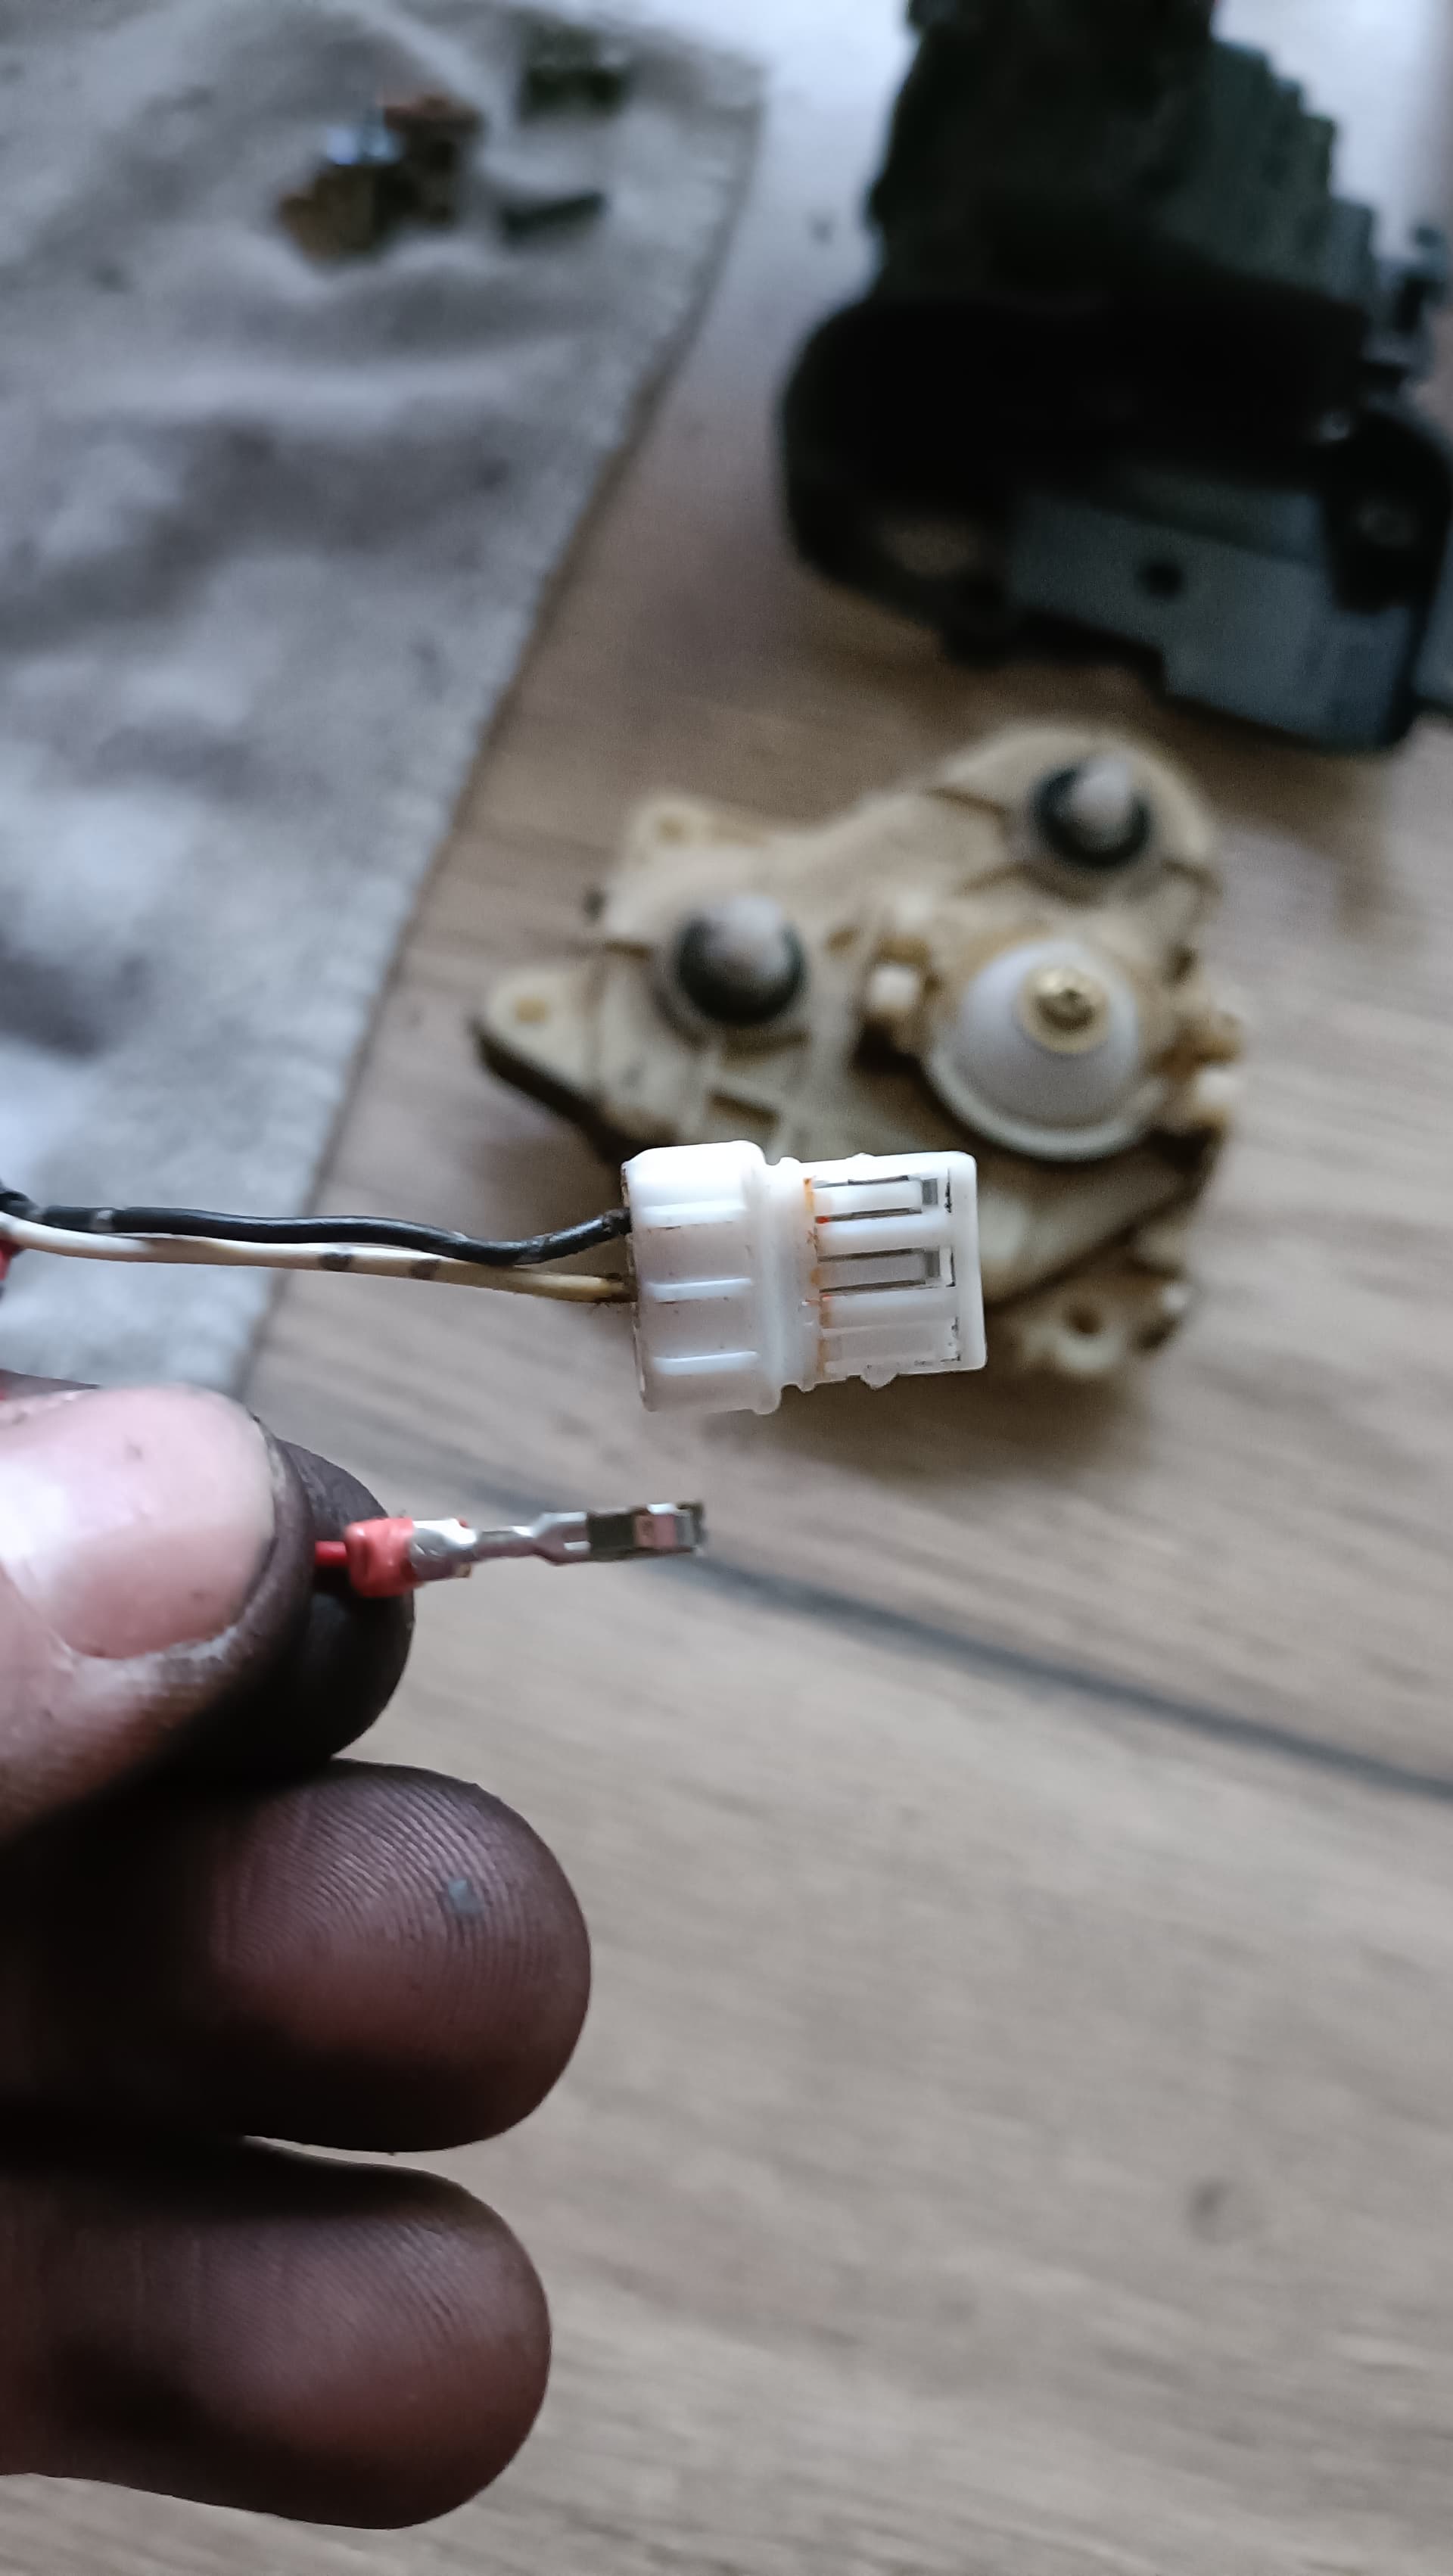
Step 16: De-pin connectors
The connectors don’t fit through the hole in the mirror unit so we’ll have to de-pin the connectors. Luckily it’s easy! Take pictures of the connectors so you remember how to install them properly once you assemble the mirror again!
Use a tiny screwdriver or pin and hold up the plastic tab on the pin.

Gently pull out the pin.
Do the same for all the pins.
Step 17: Remove the cable loom.
You don’t have much space to work with, but it fits.

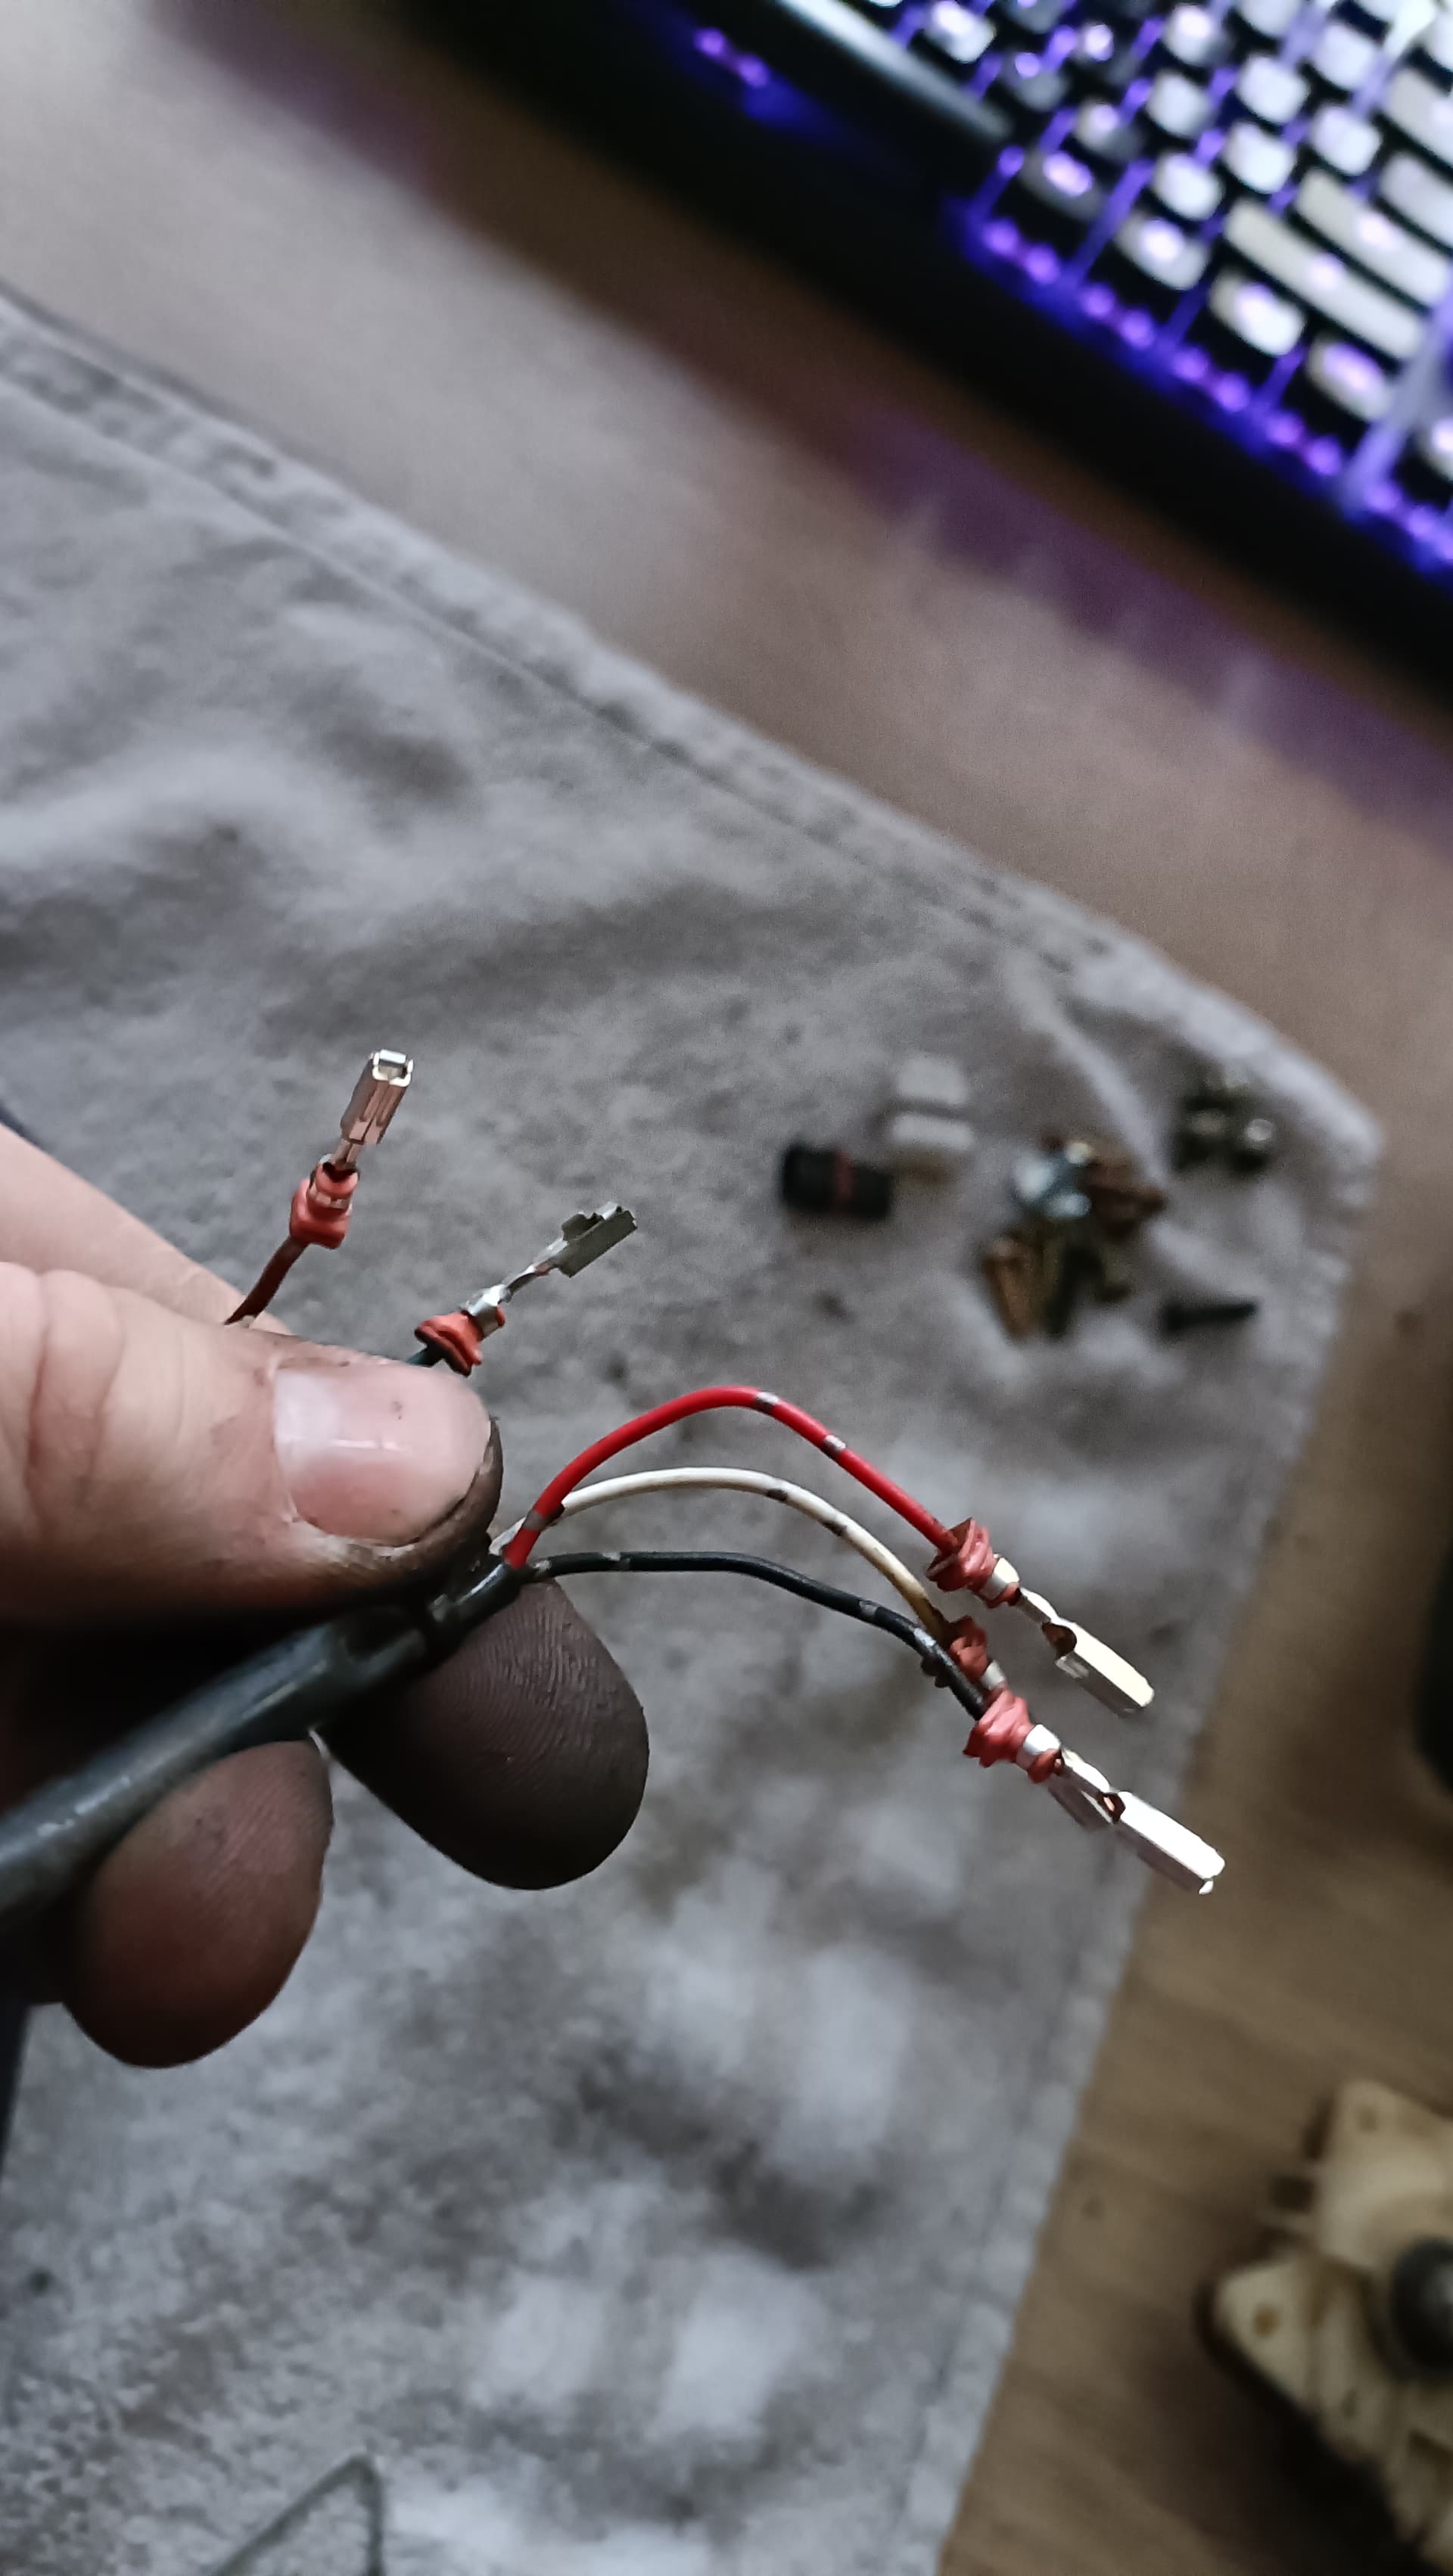
Fold the pins on the first connector down like this:
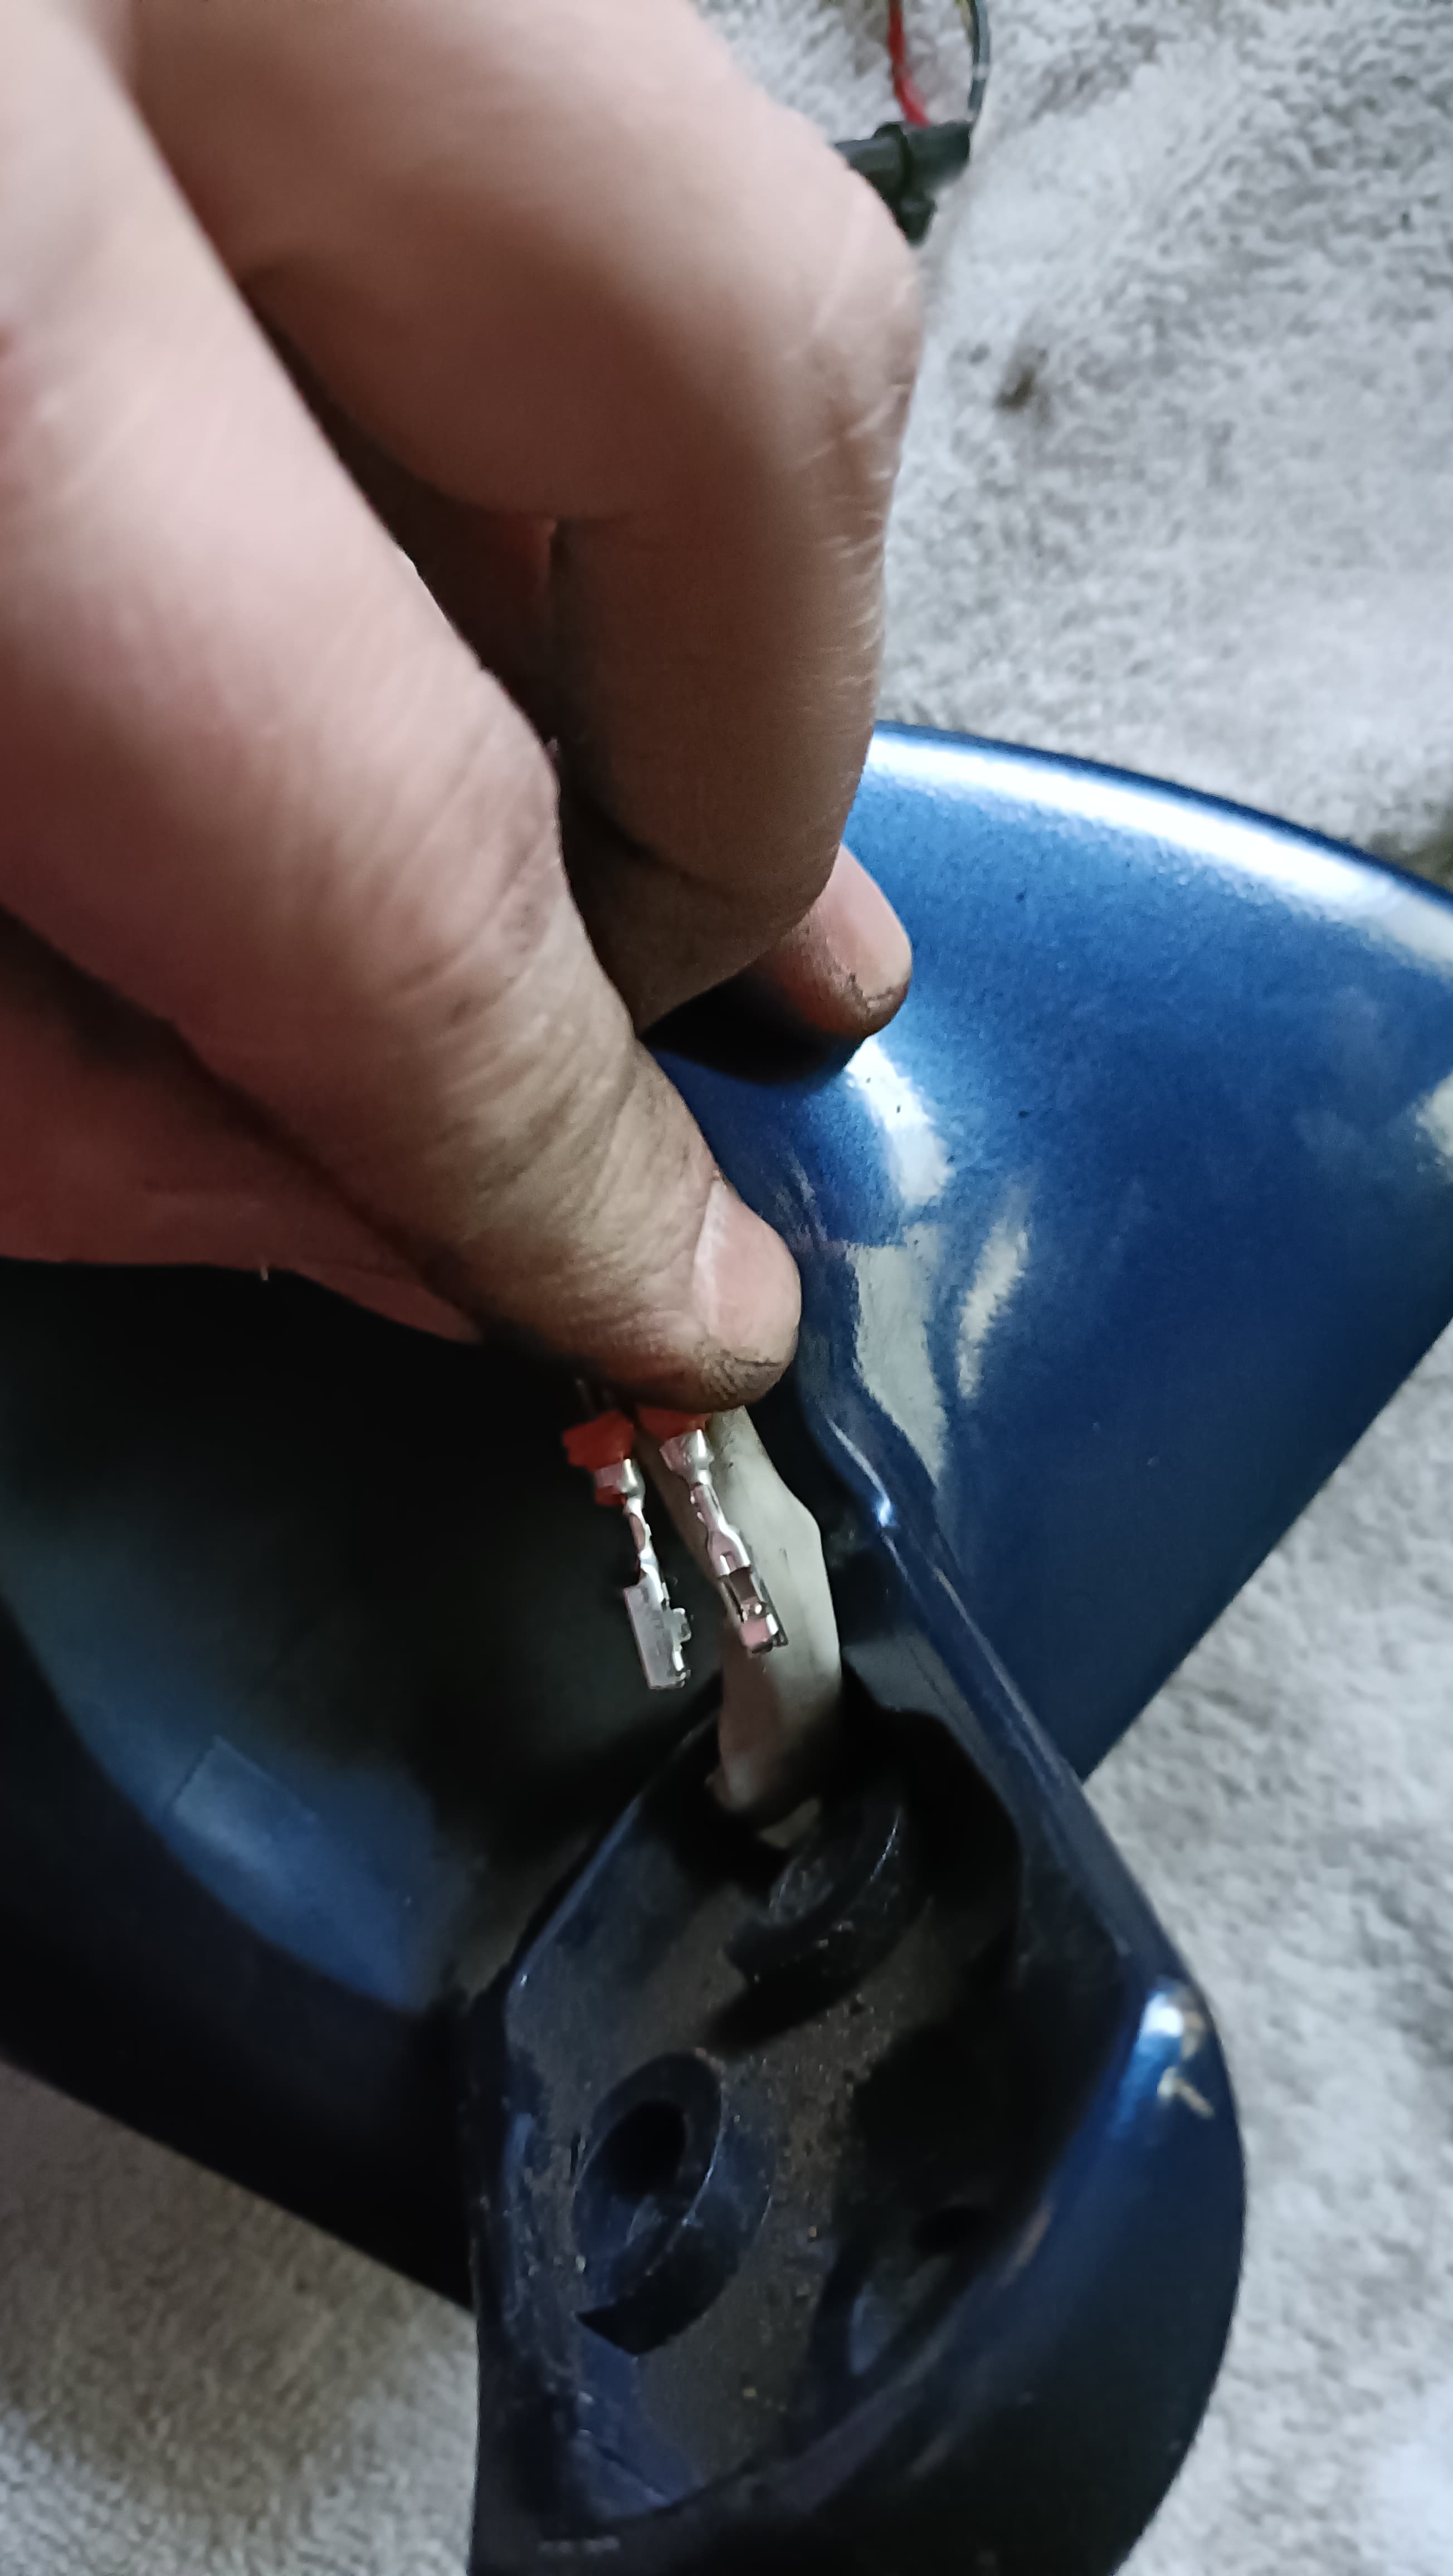
Pull the cable loom from the other side of the hole while holding the pins down. They’ll easily go through.
The last 3 pins will fit through as well, you can now remove the cable loom from the mirror base.
Lastly guide the pins through the rubber mat.
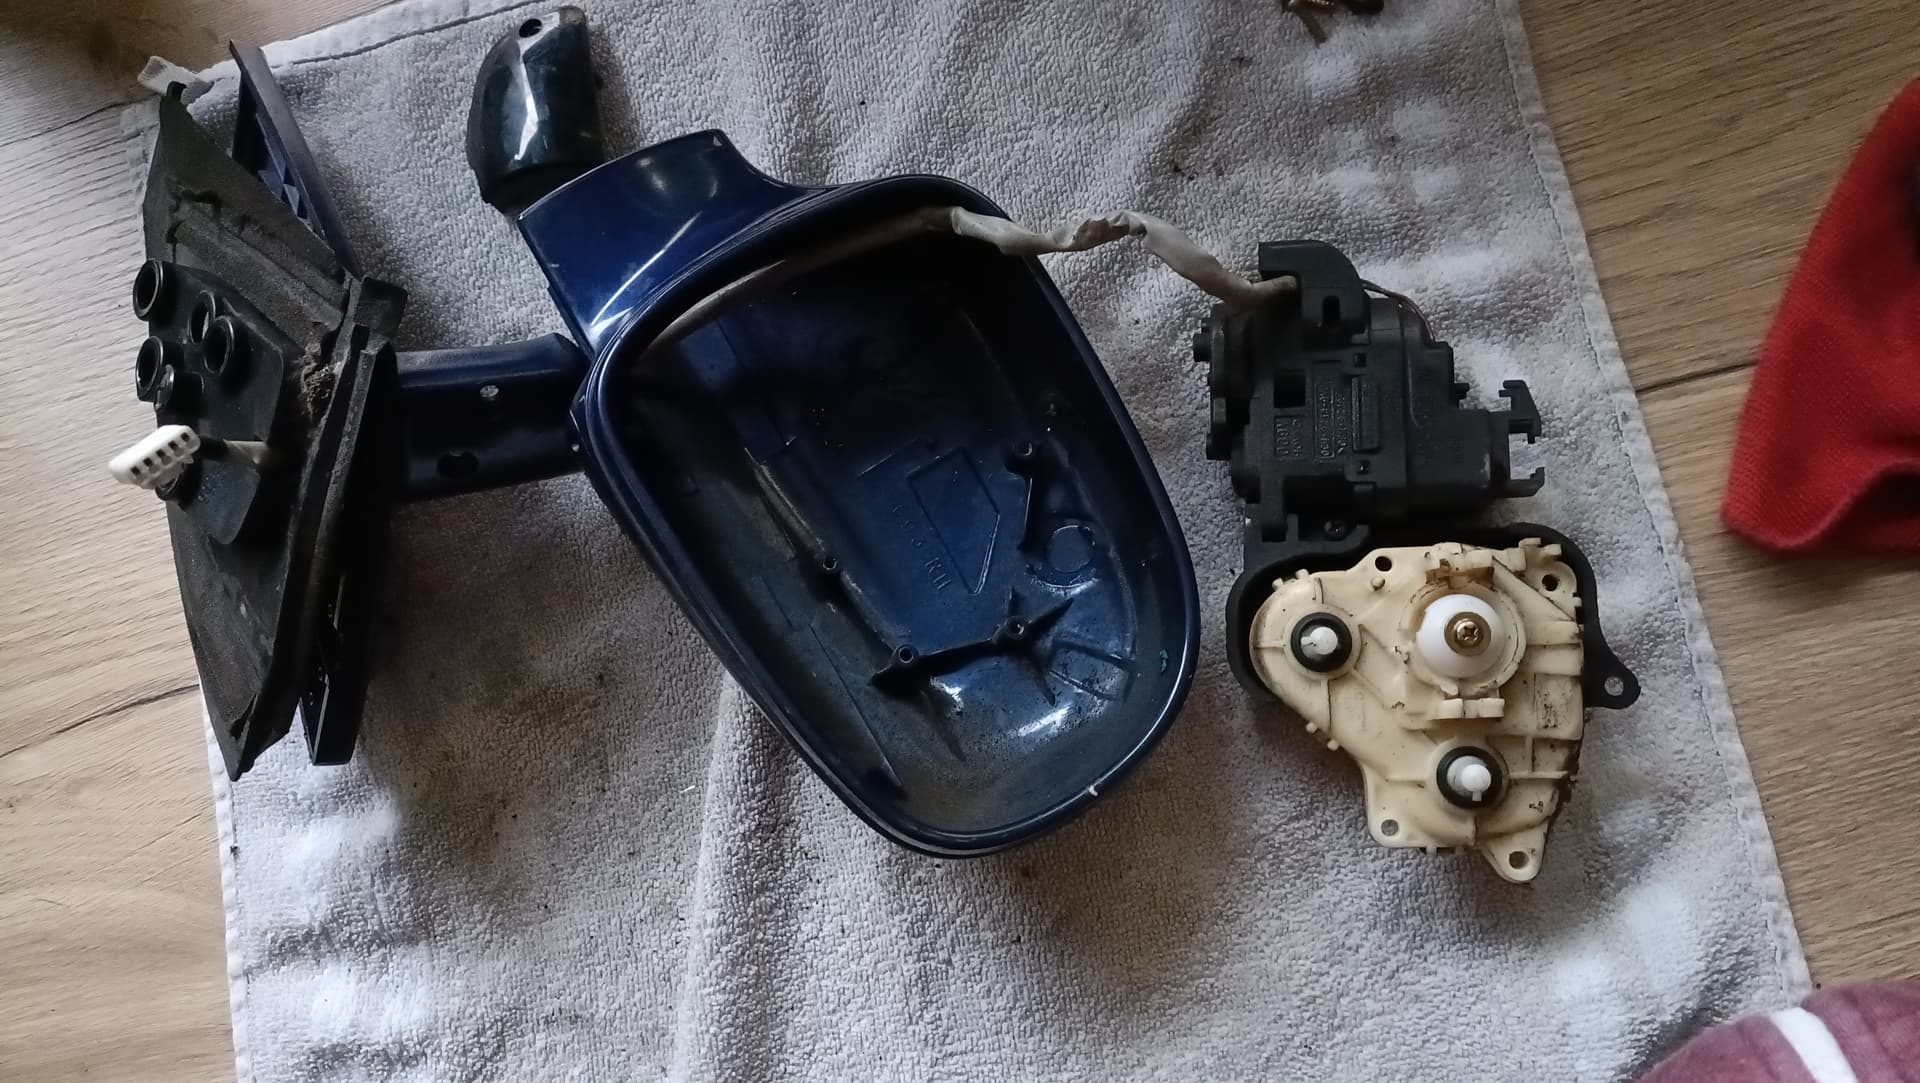
Step 18: All done!
That’s it. All the pieces separated. Ready for a good clean and paint, or possibly repair. Good luck!