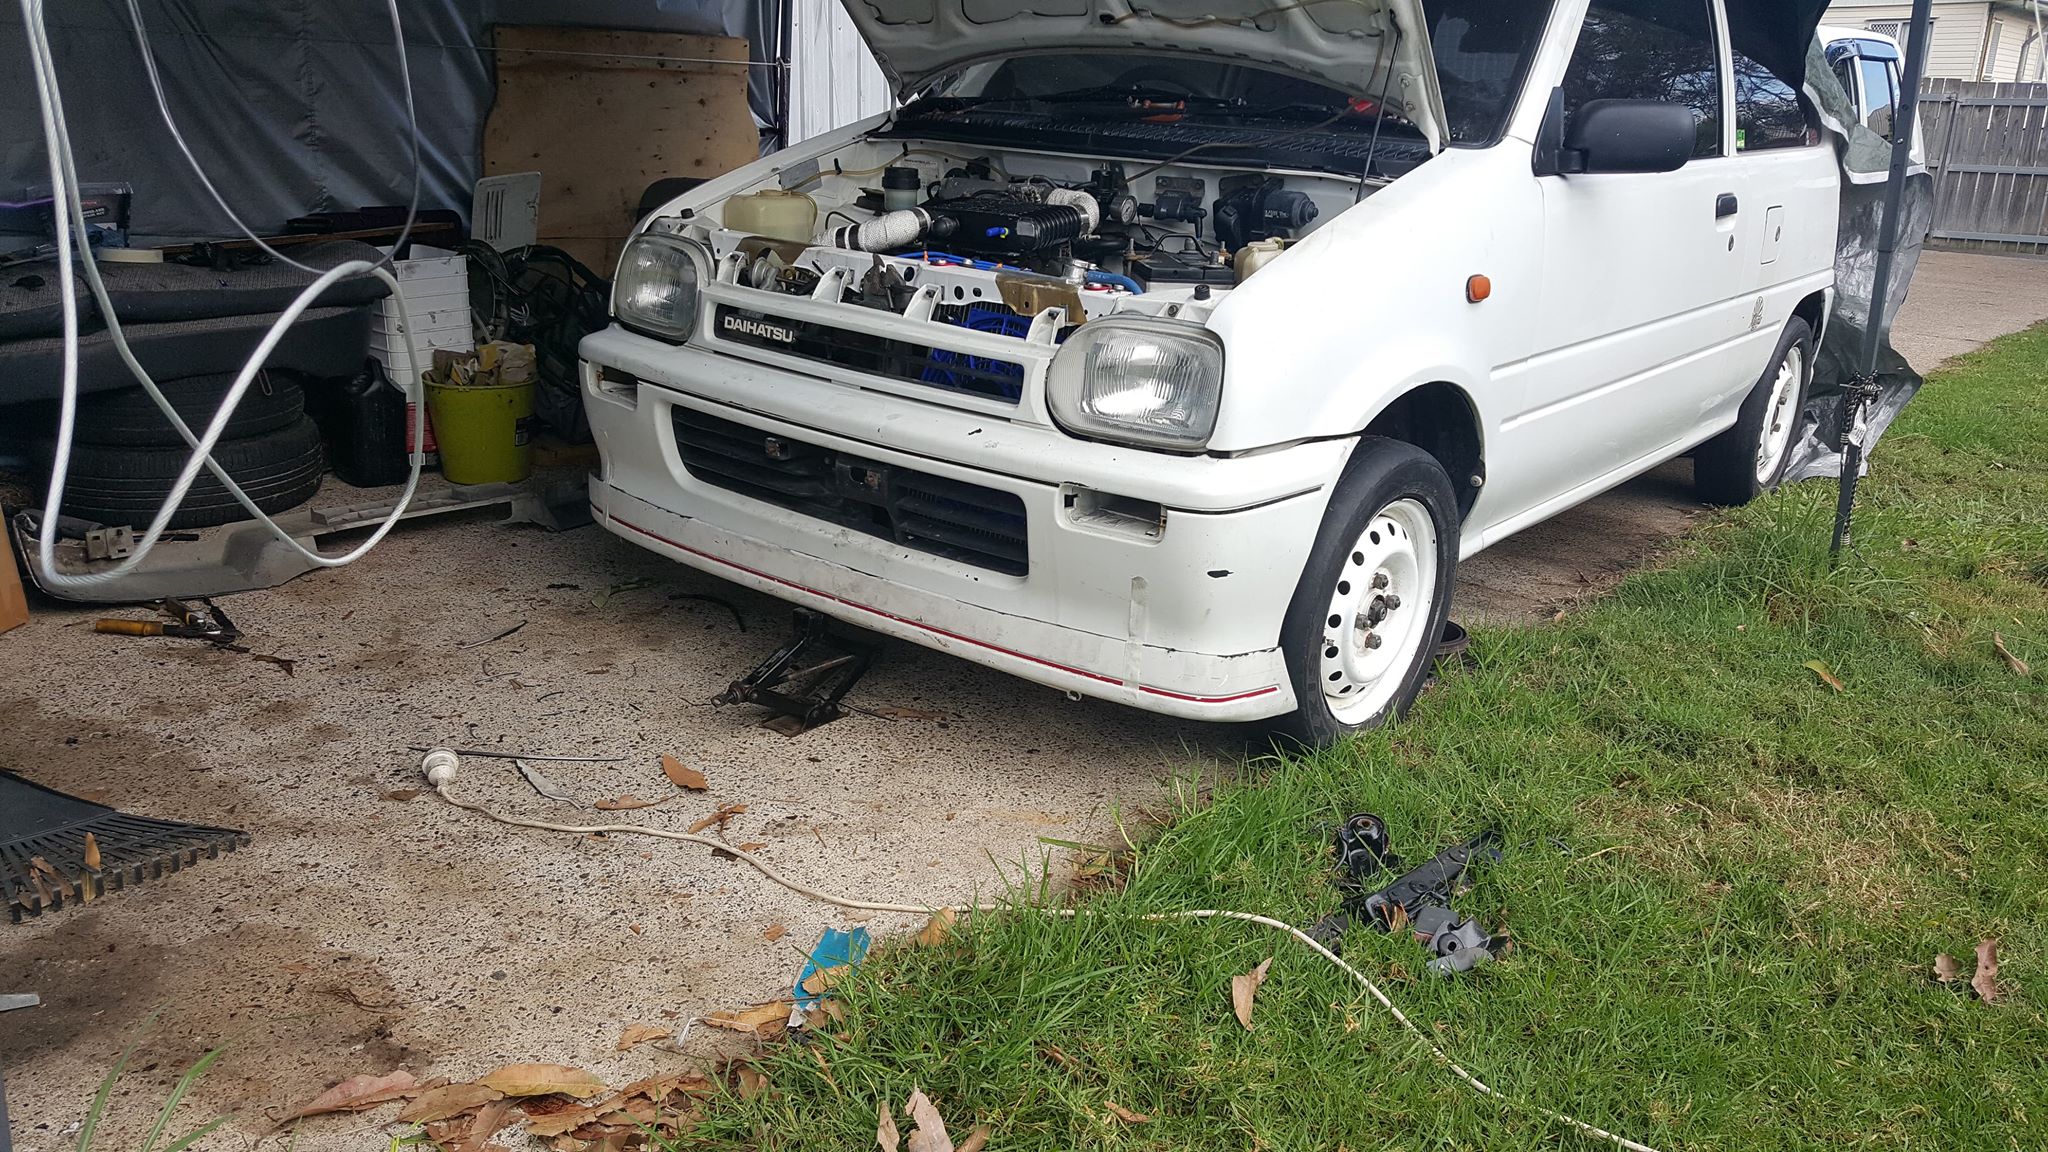
So its getting hardcore now! the bodywork is starting!!!
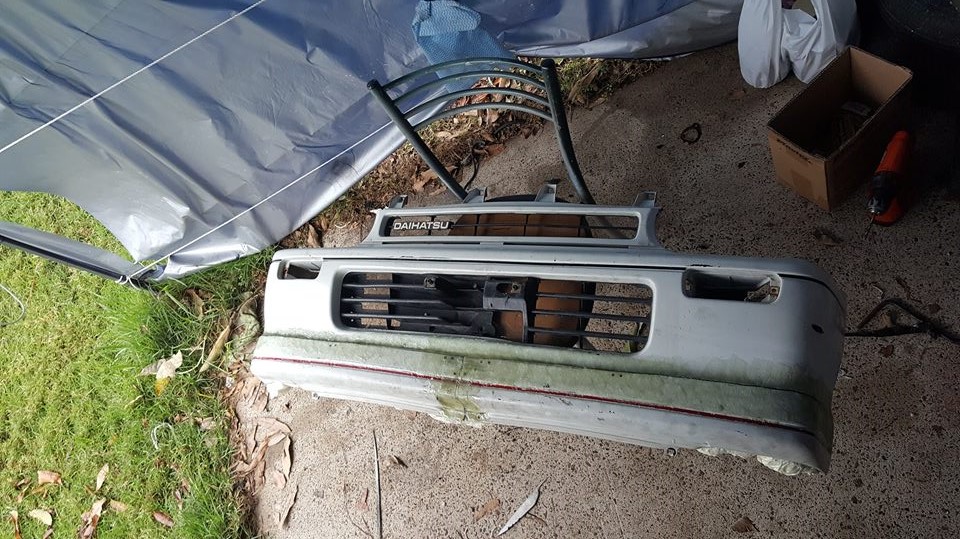
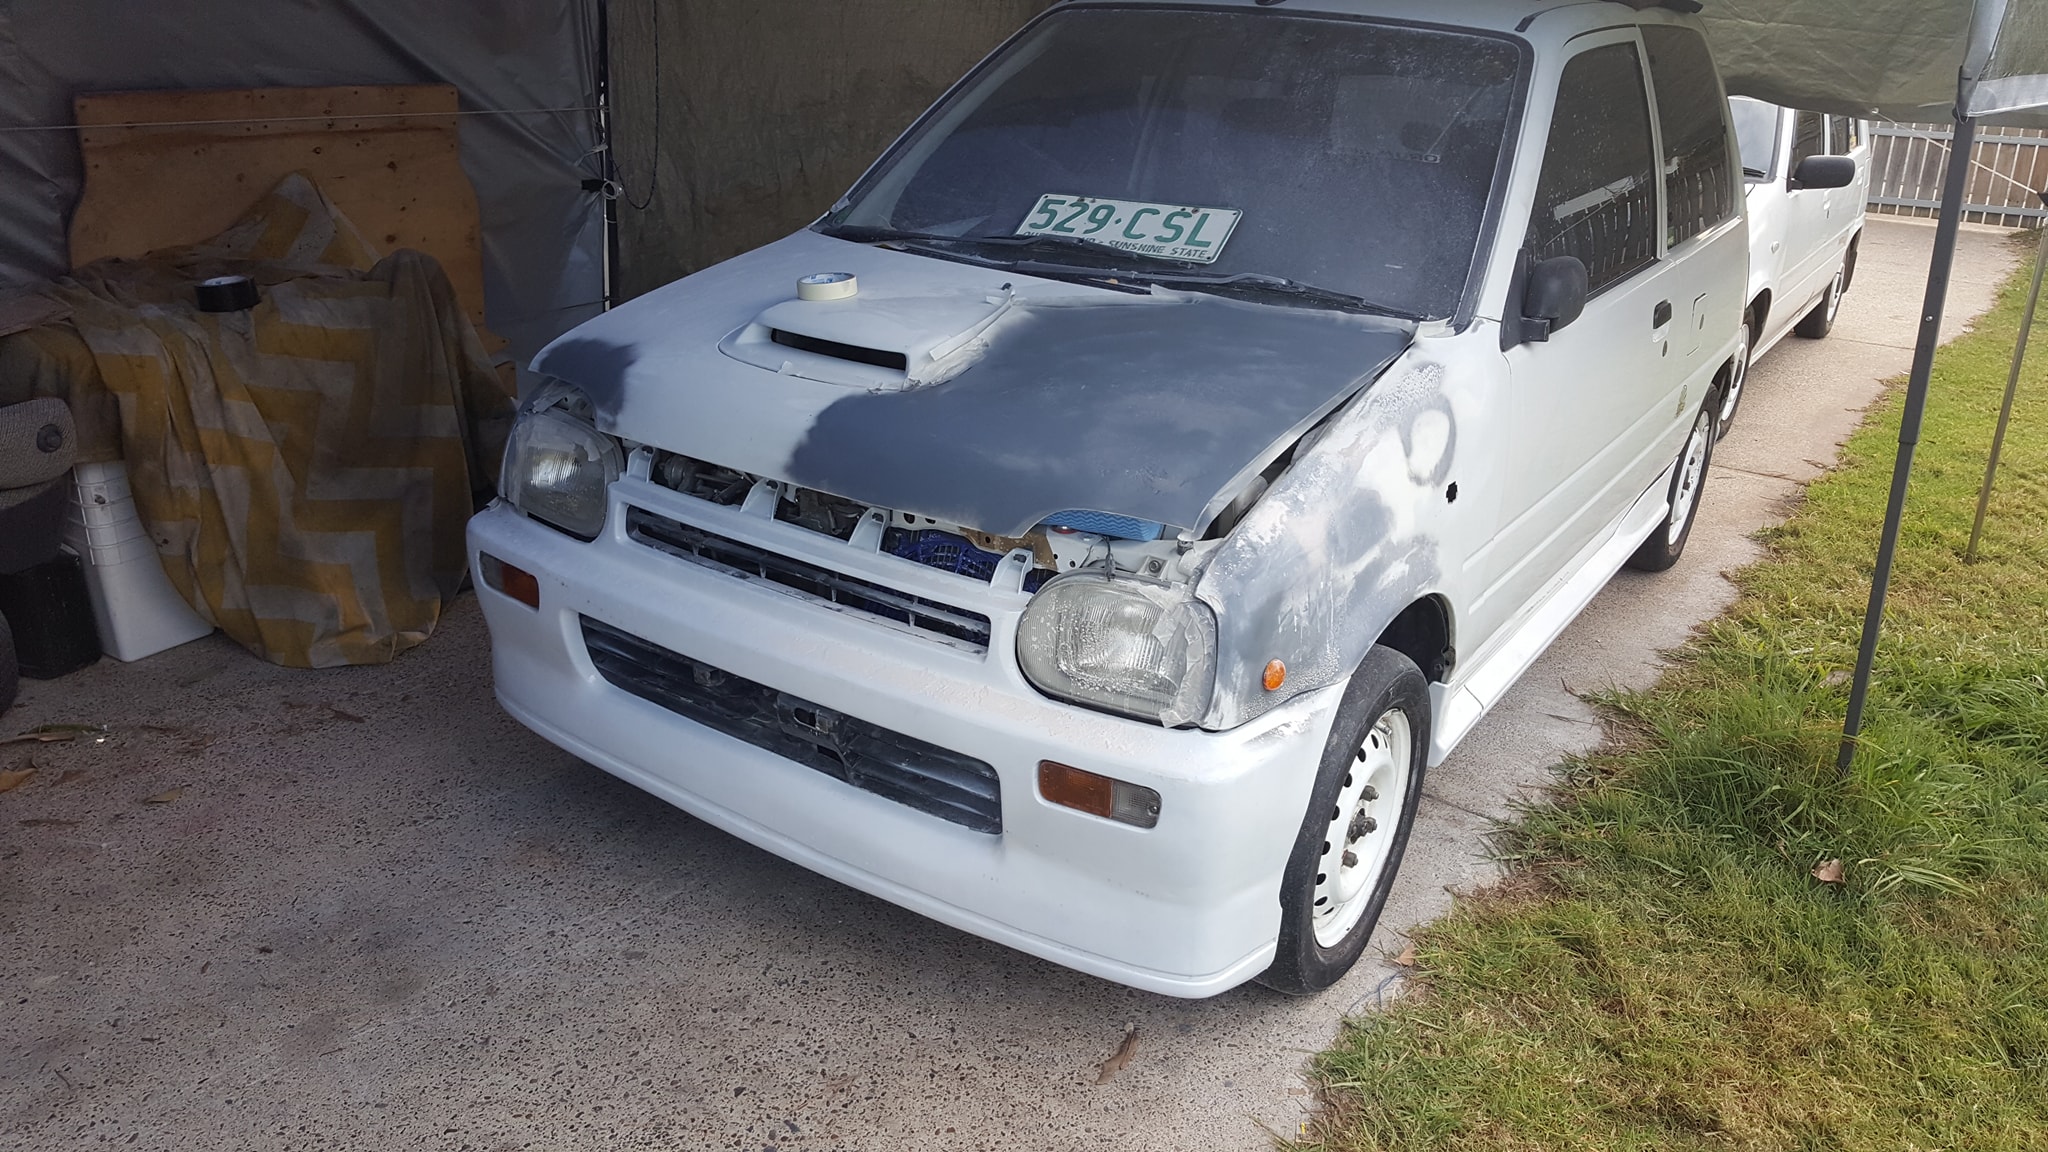
I couldnt find myself a s1 trxx front bumper local and was going to cost about $500 AUD to get one
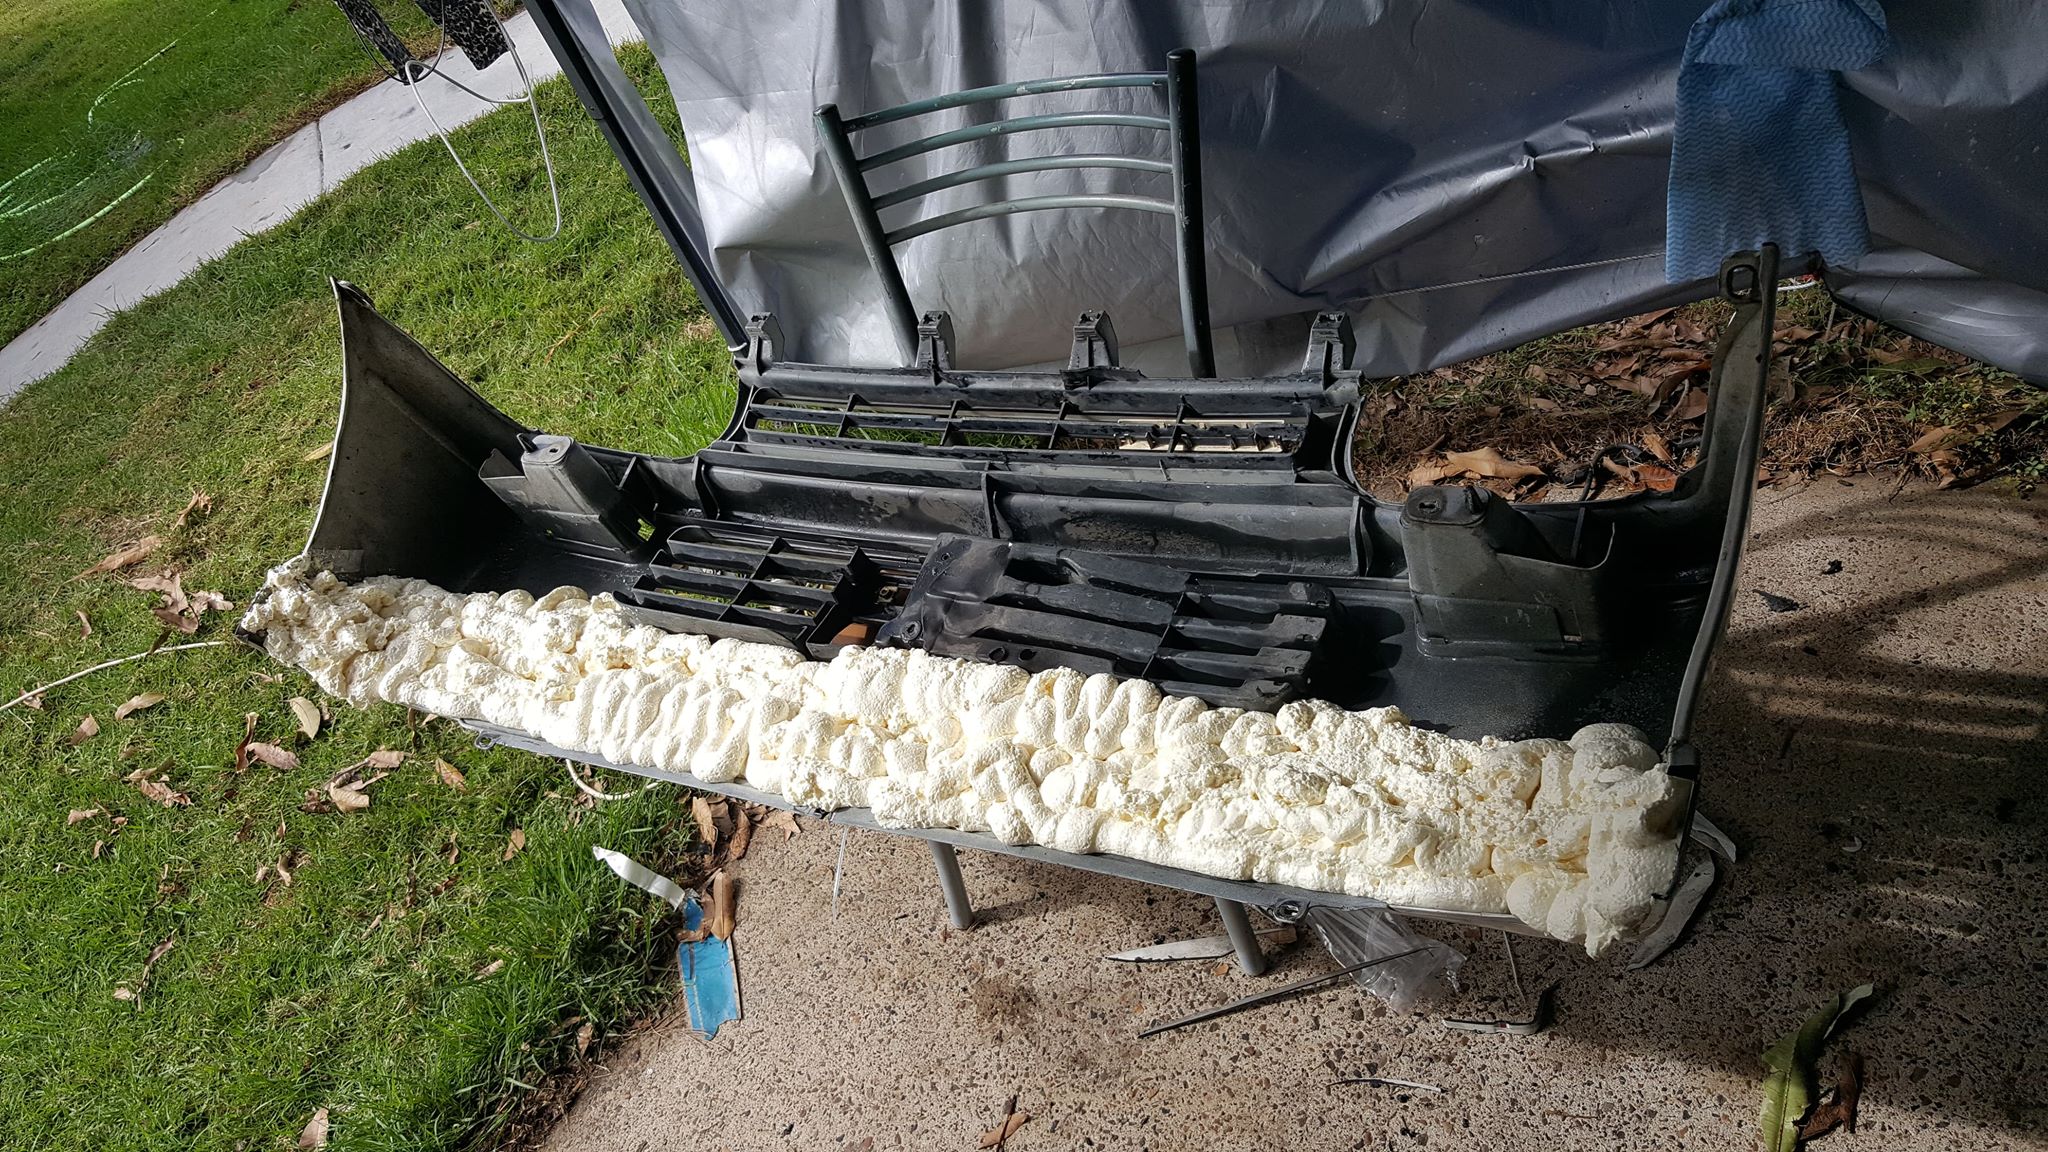
into australia so i decided to design my own, as you can see in the photo below that is what it looked like before i started everything. the bottom part is a l200 rear bumper flipped upside down and trimmed to rough size.
Now the foam is dry i went ahead and removed the zip ties holding the two parts together
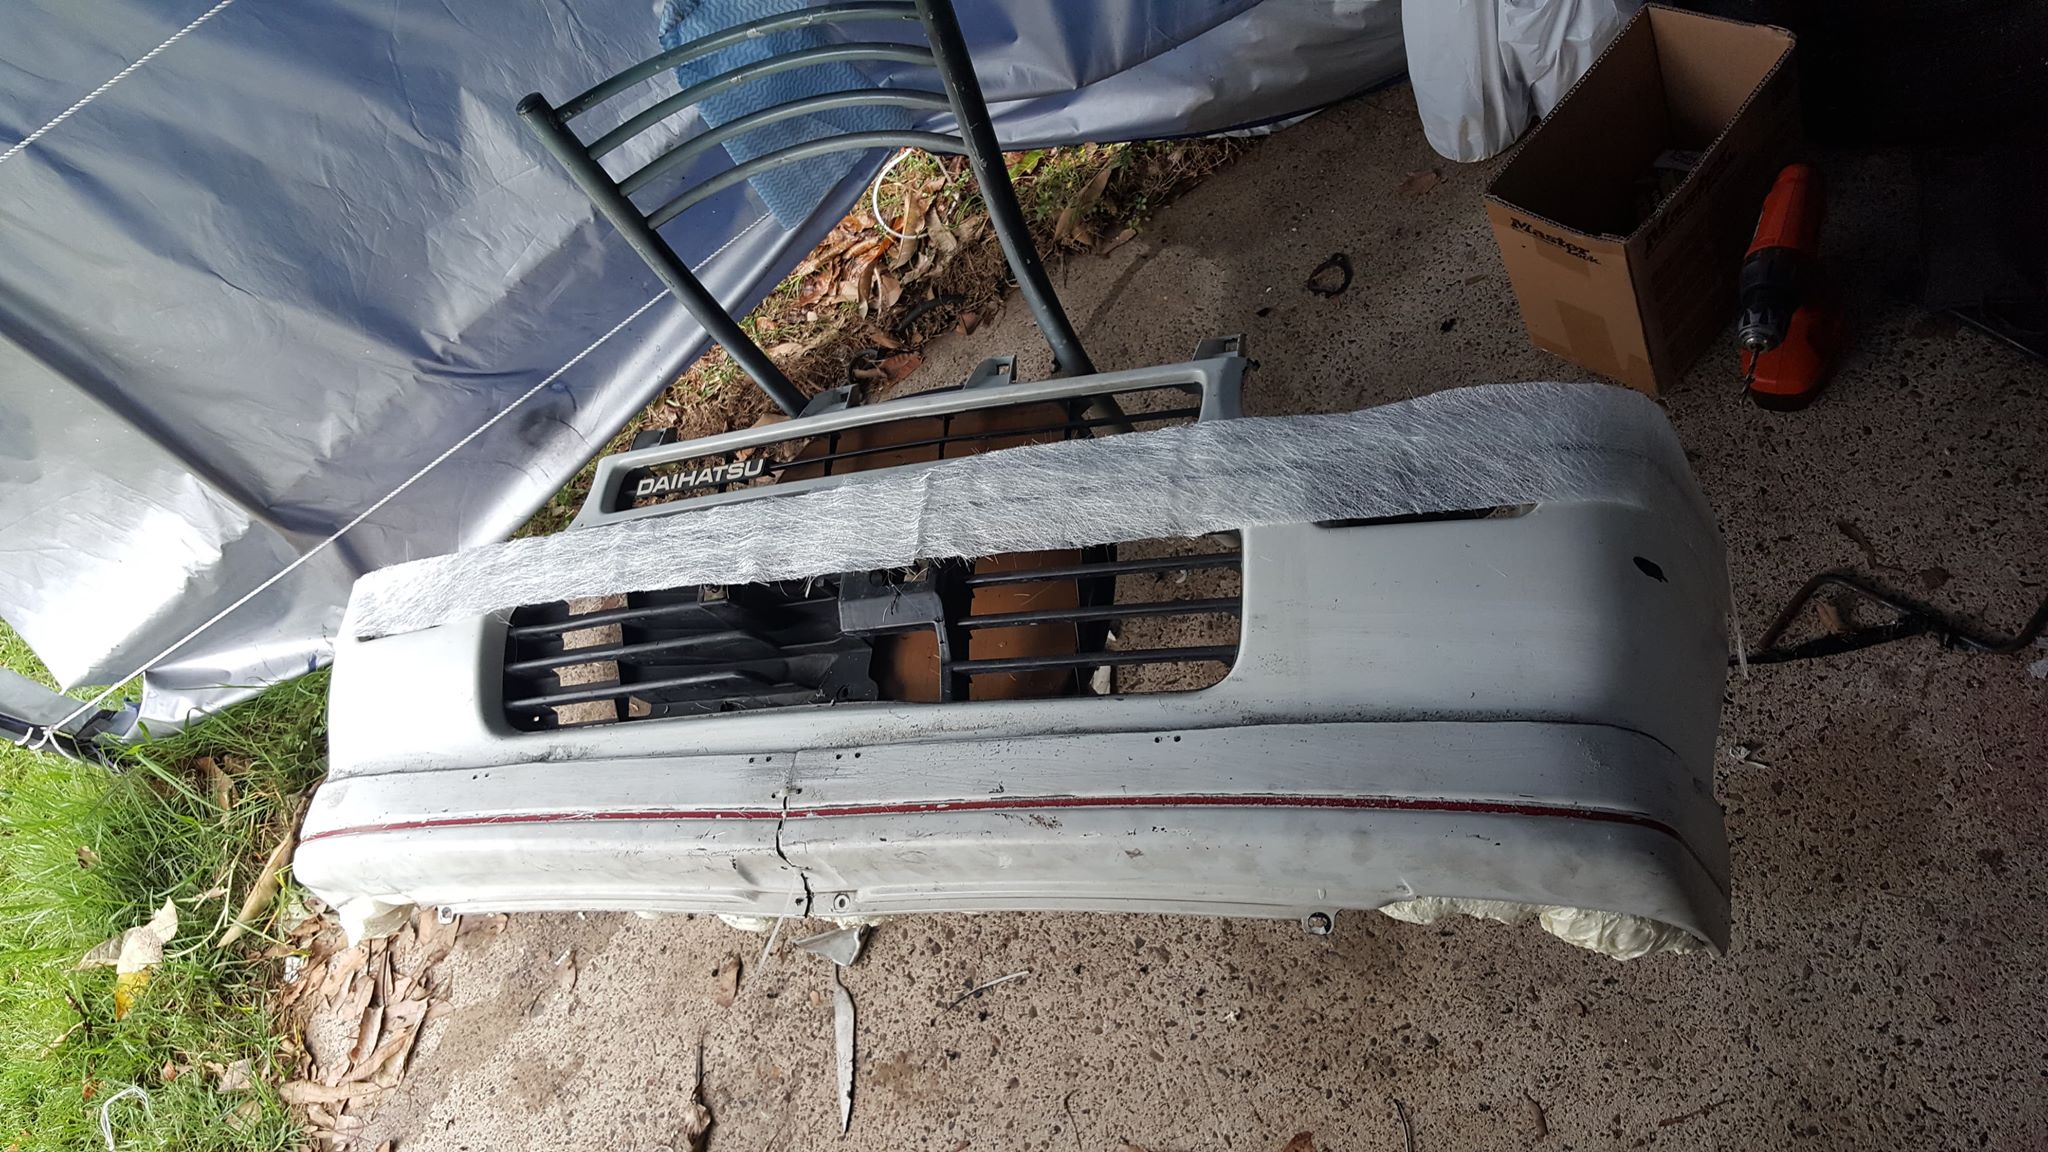
and got the 38grit sand paper and gave the edges a good sand and roughen up the surfaces for the fiber glass mat to have a better chance to bond to.
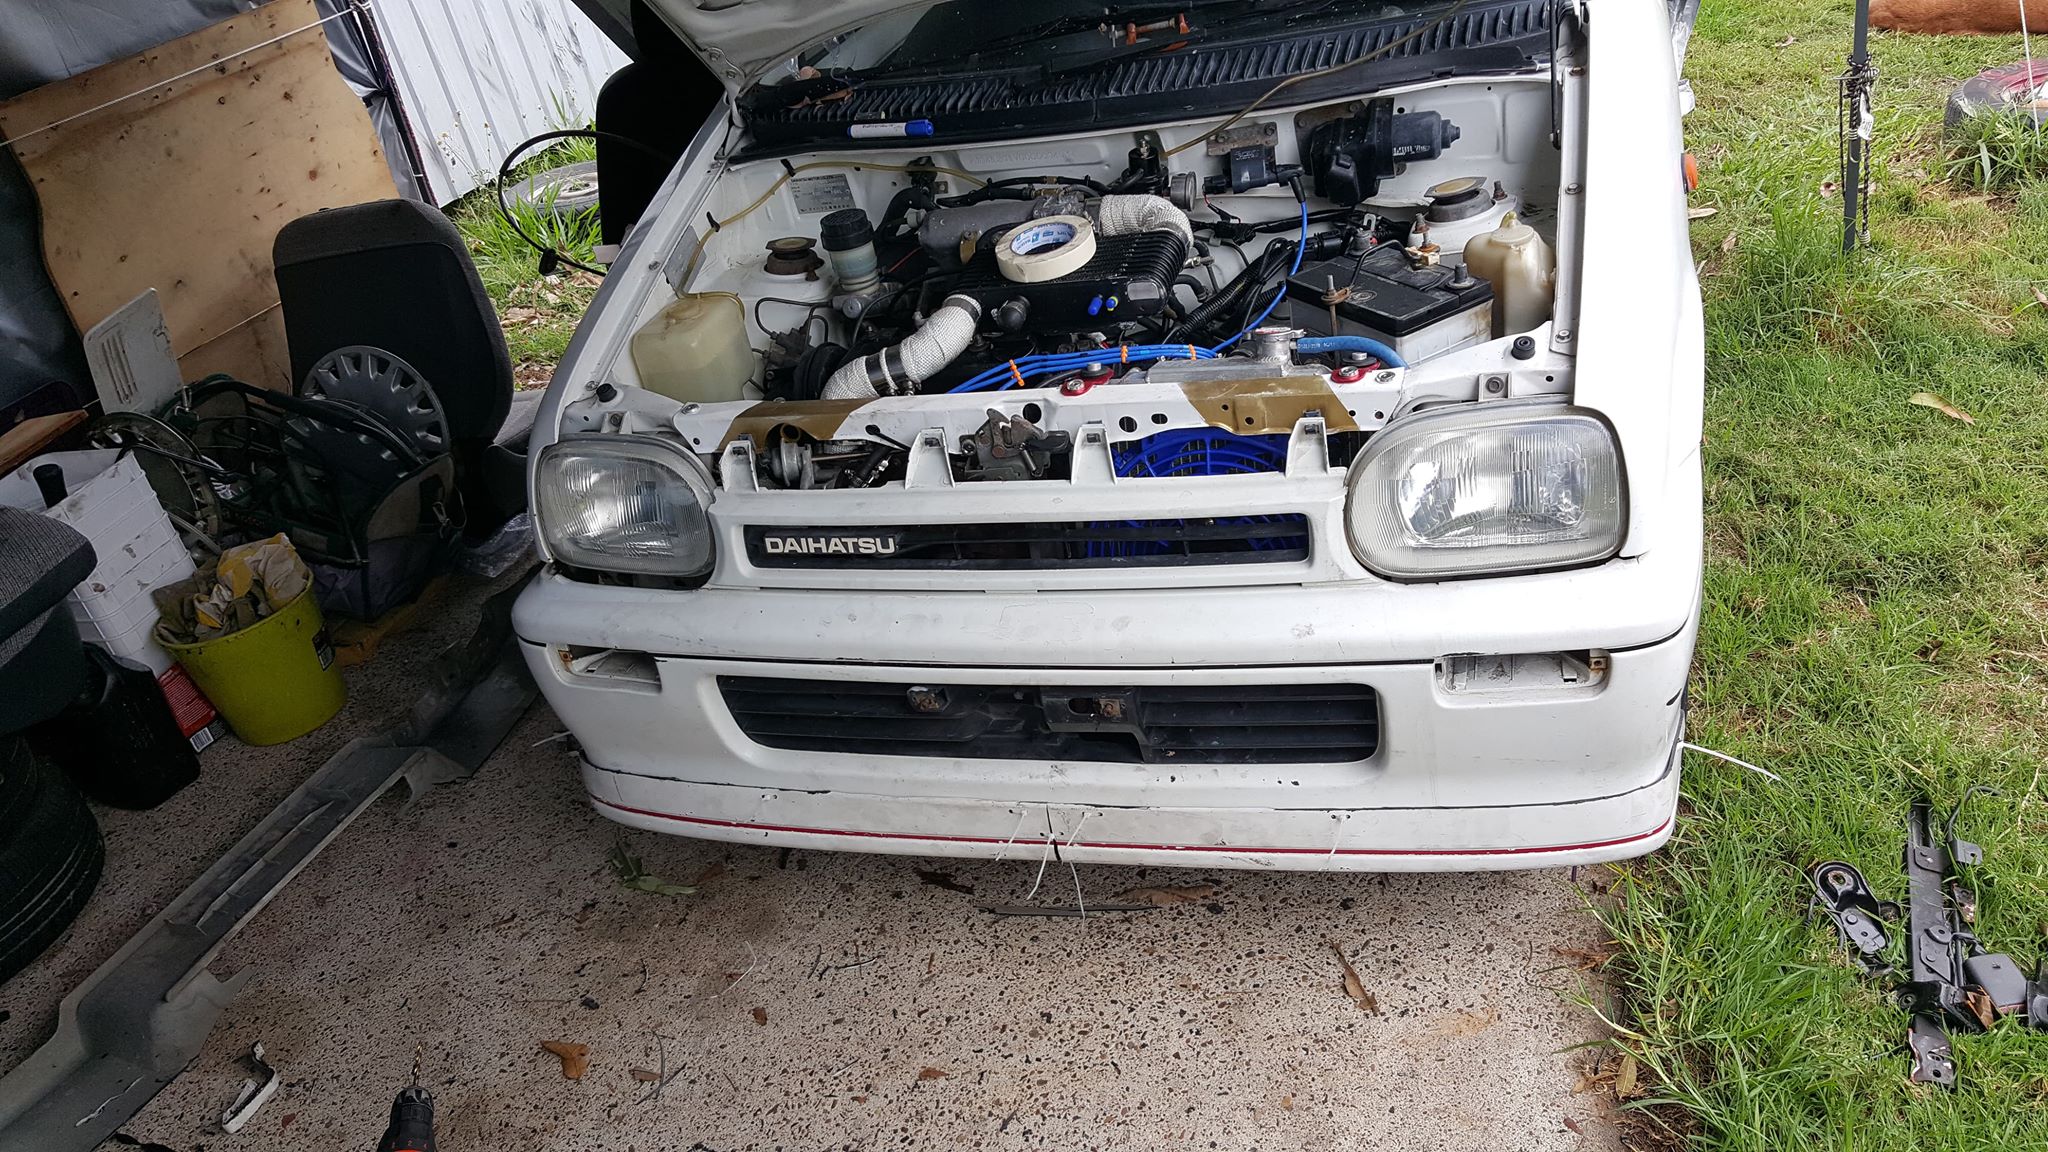
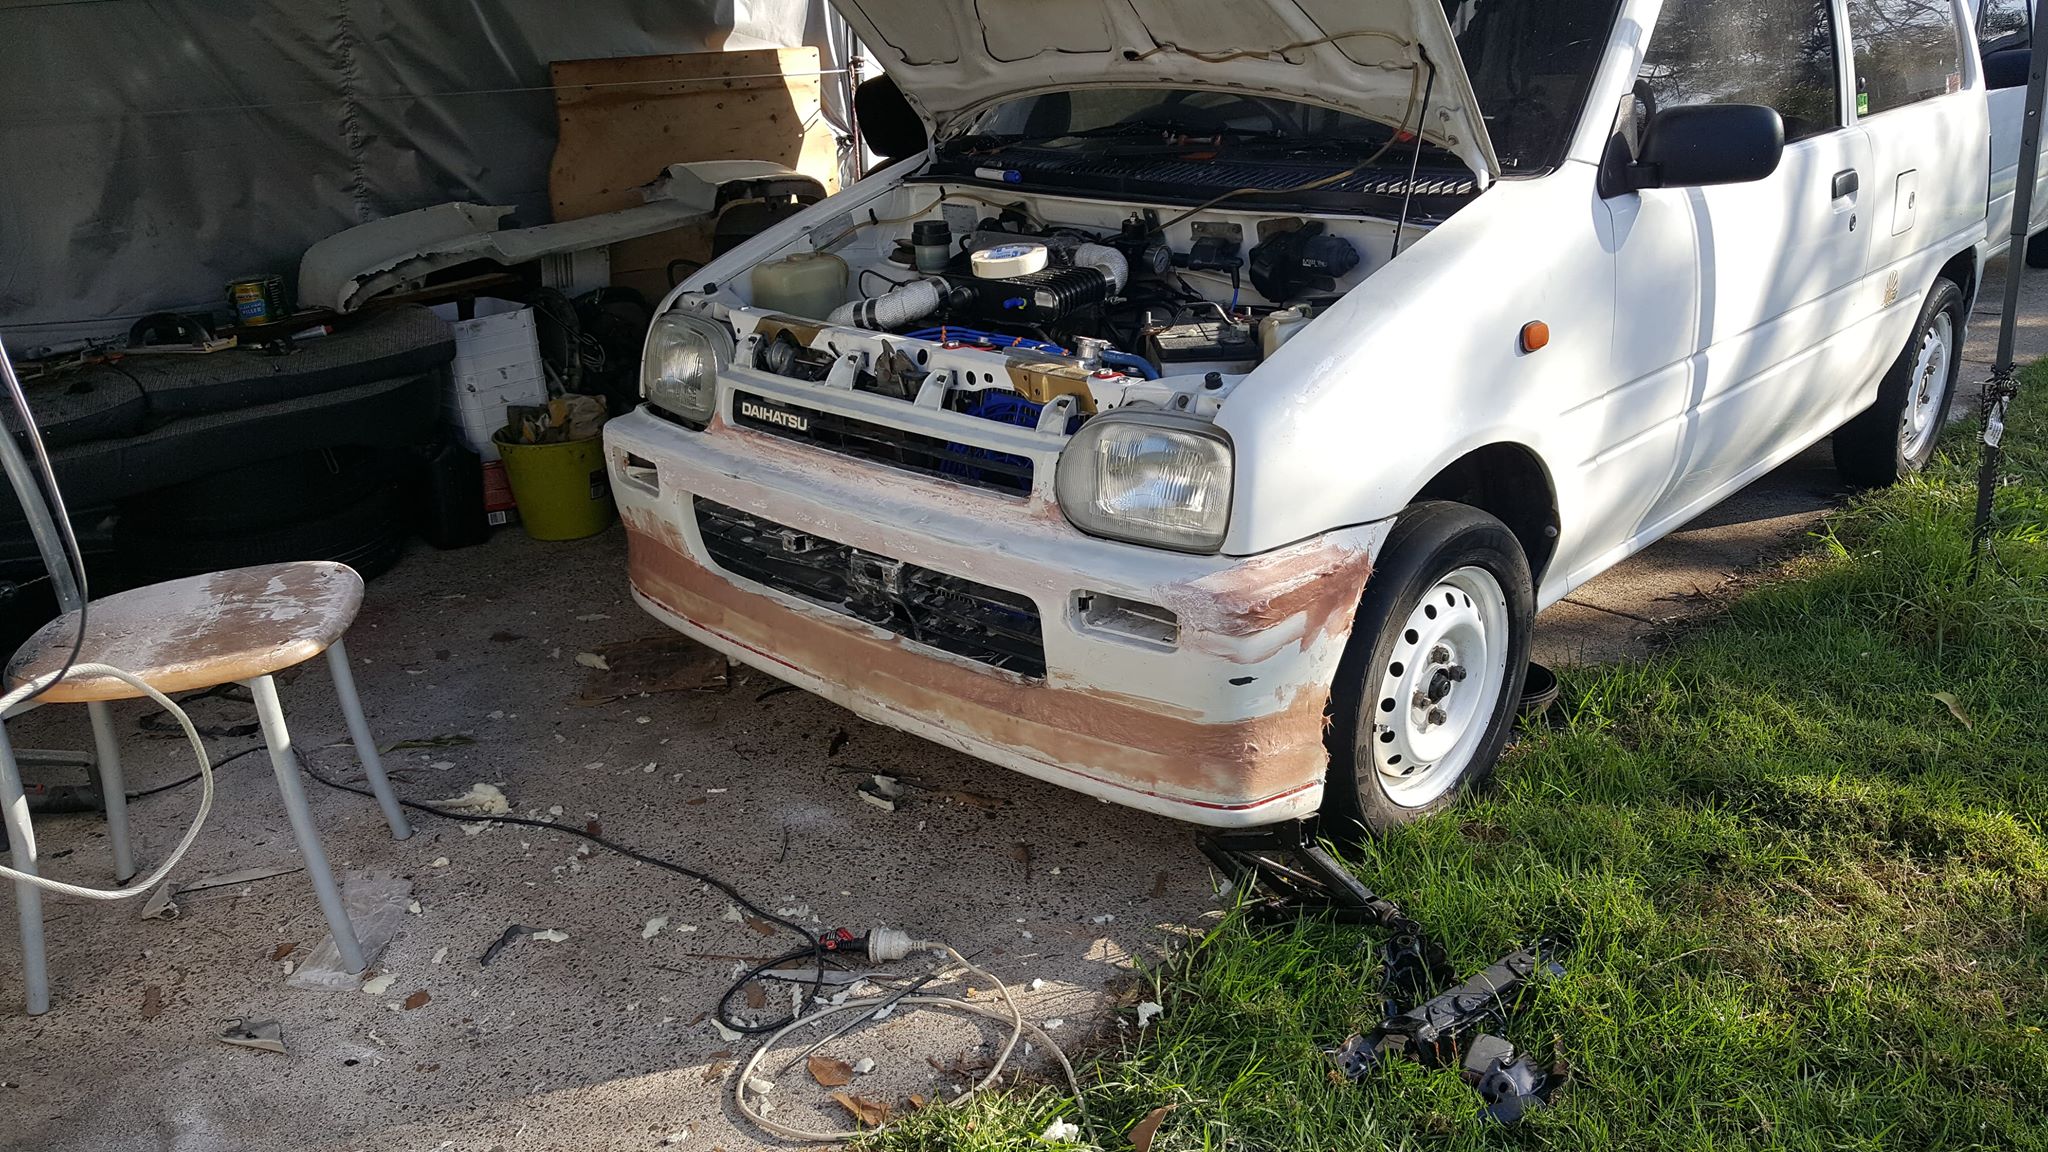
So after hours of sanding it’s somewhat finished. not 100% happy with it but i can always
go back and do the finer details.
Makes the front look angry.
I had 4x100 redrills on the rear of tidy but as we all know the 66.1mm center makes finding normal wheels a pain!
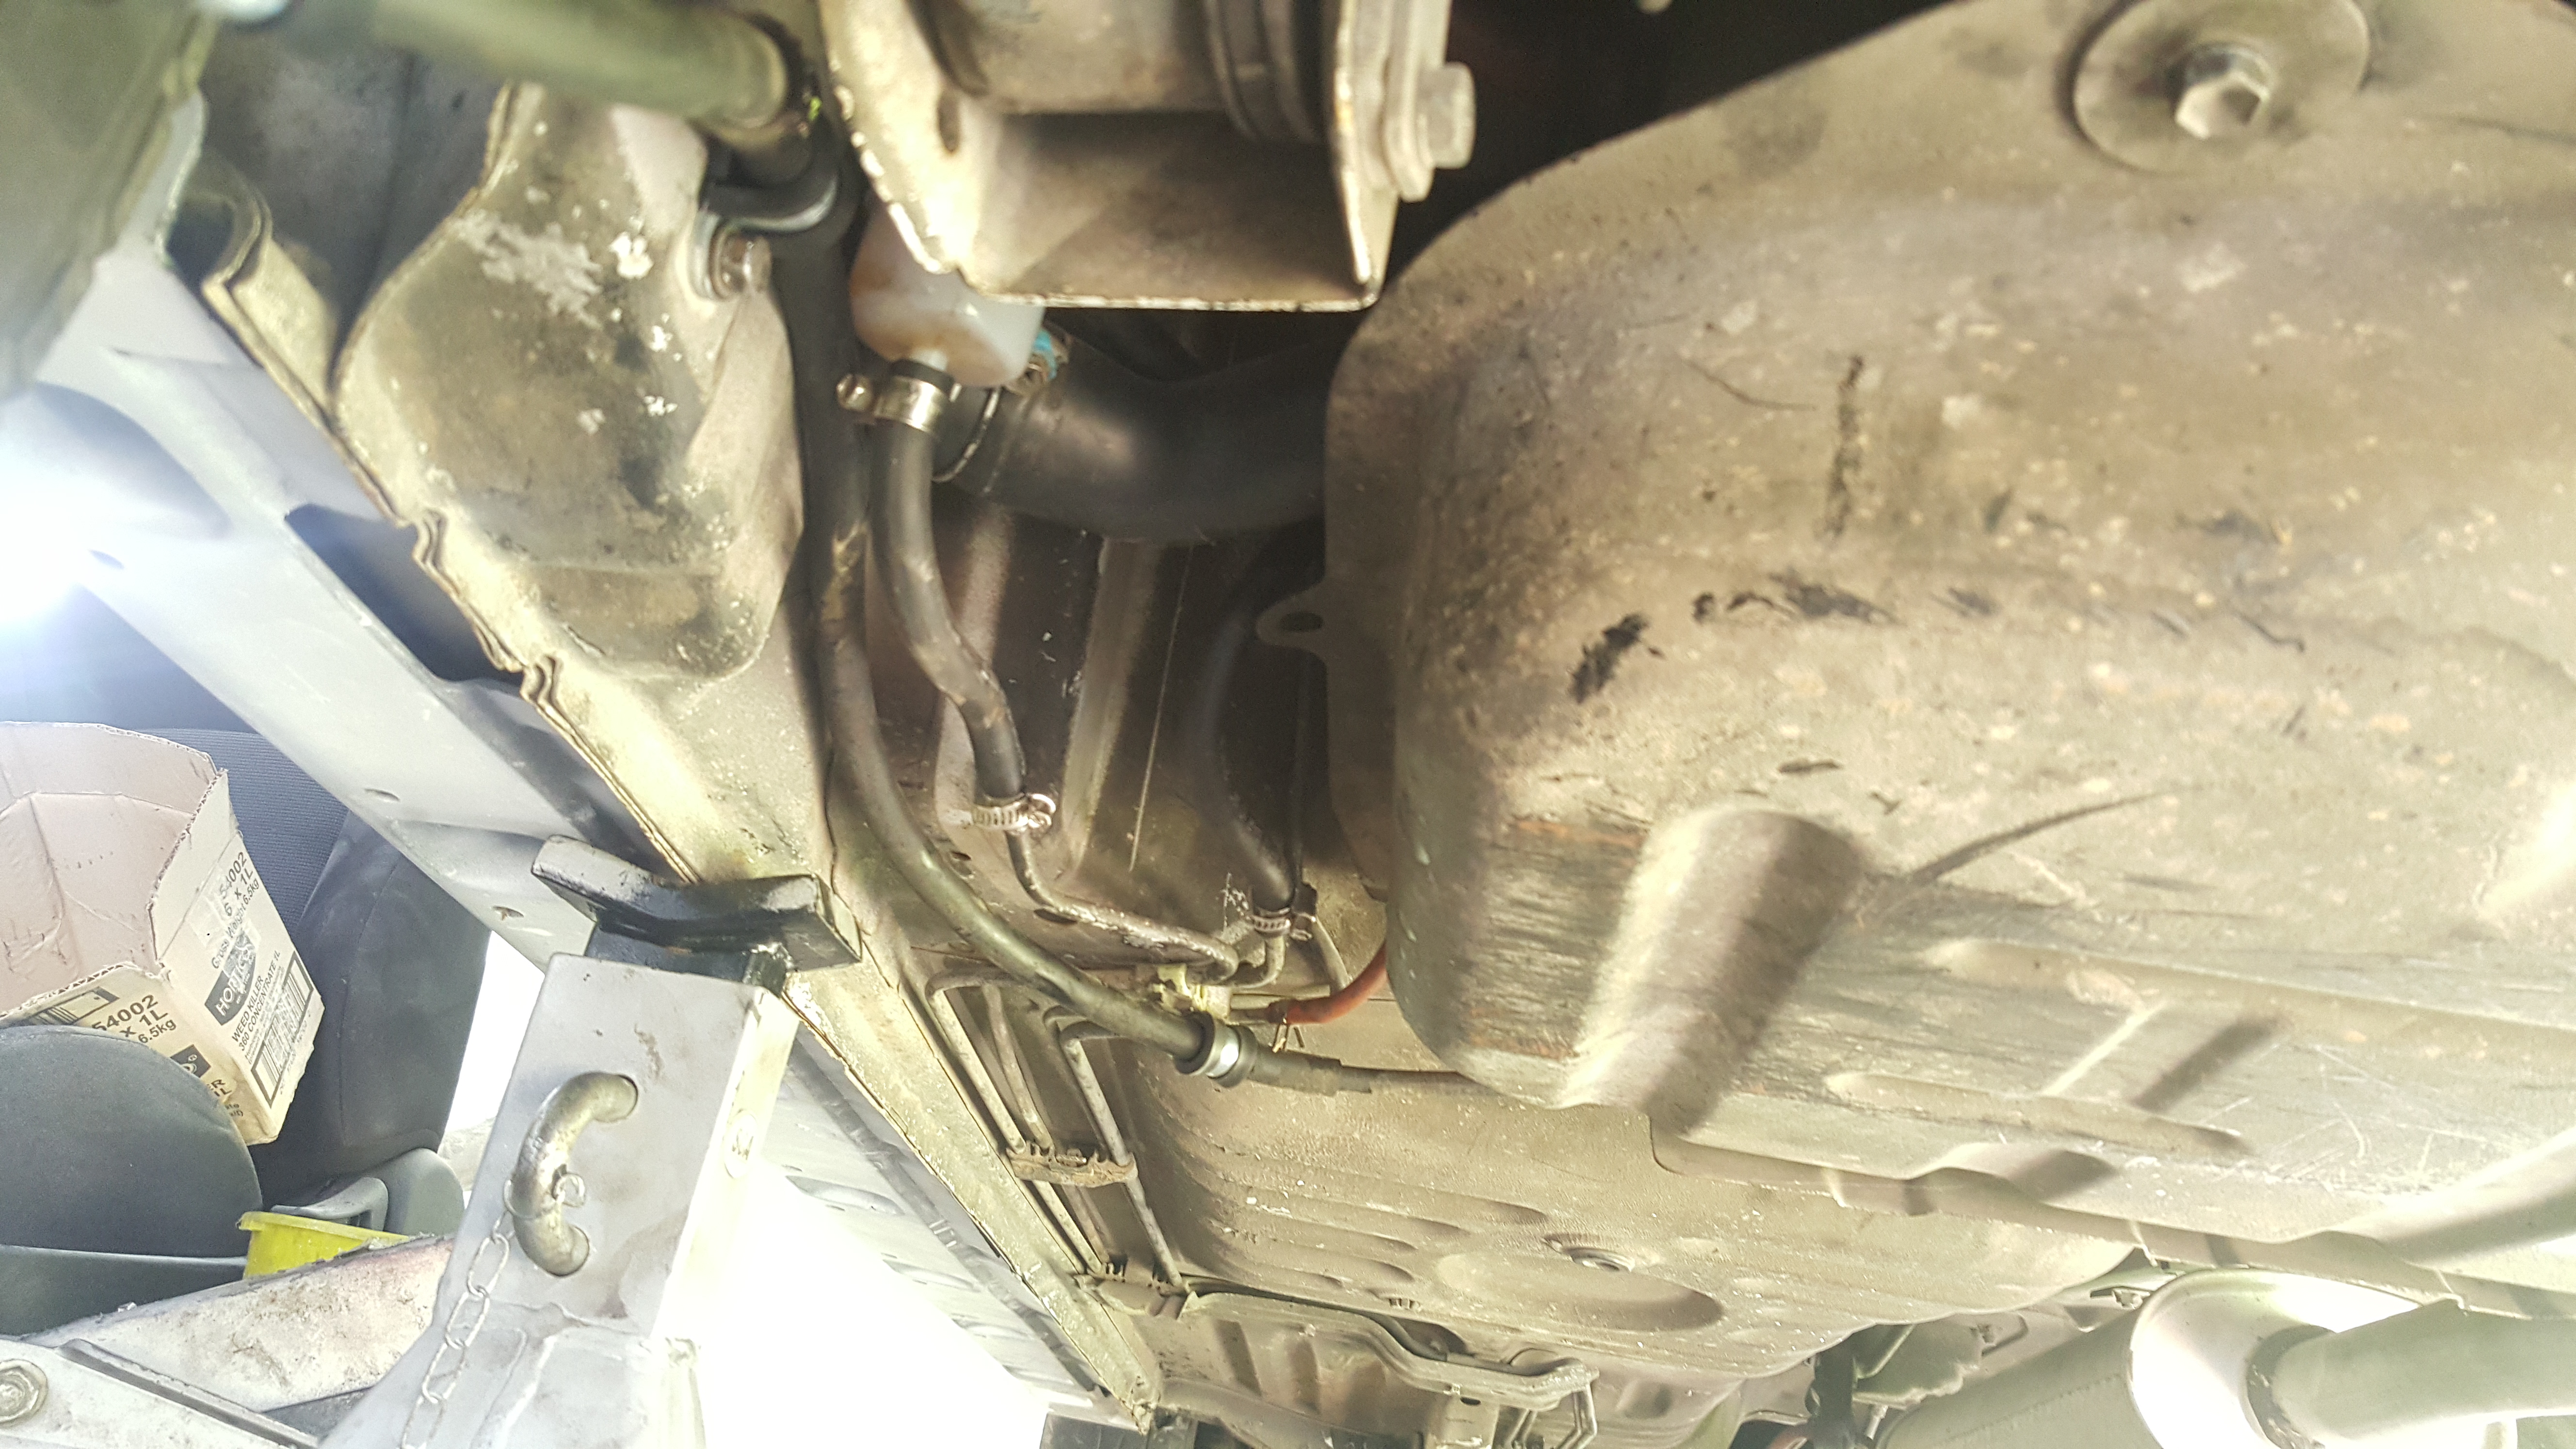
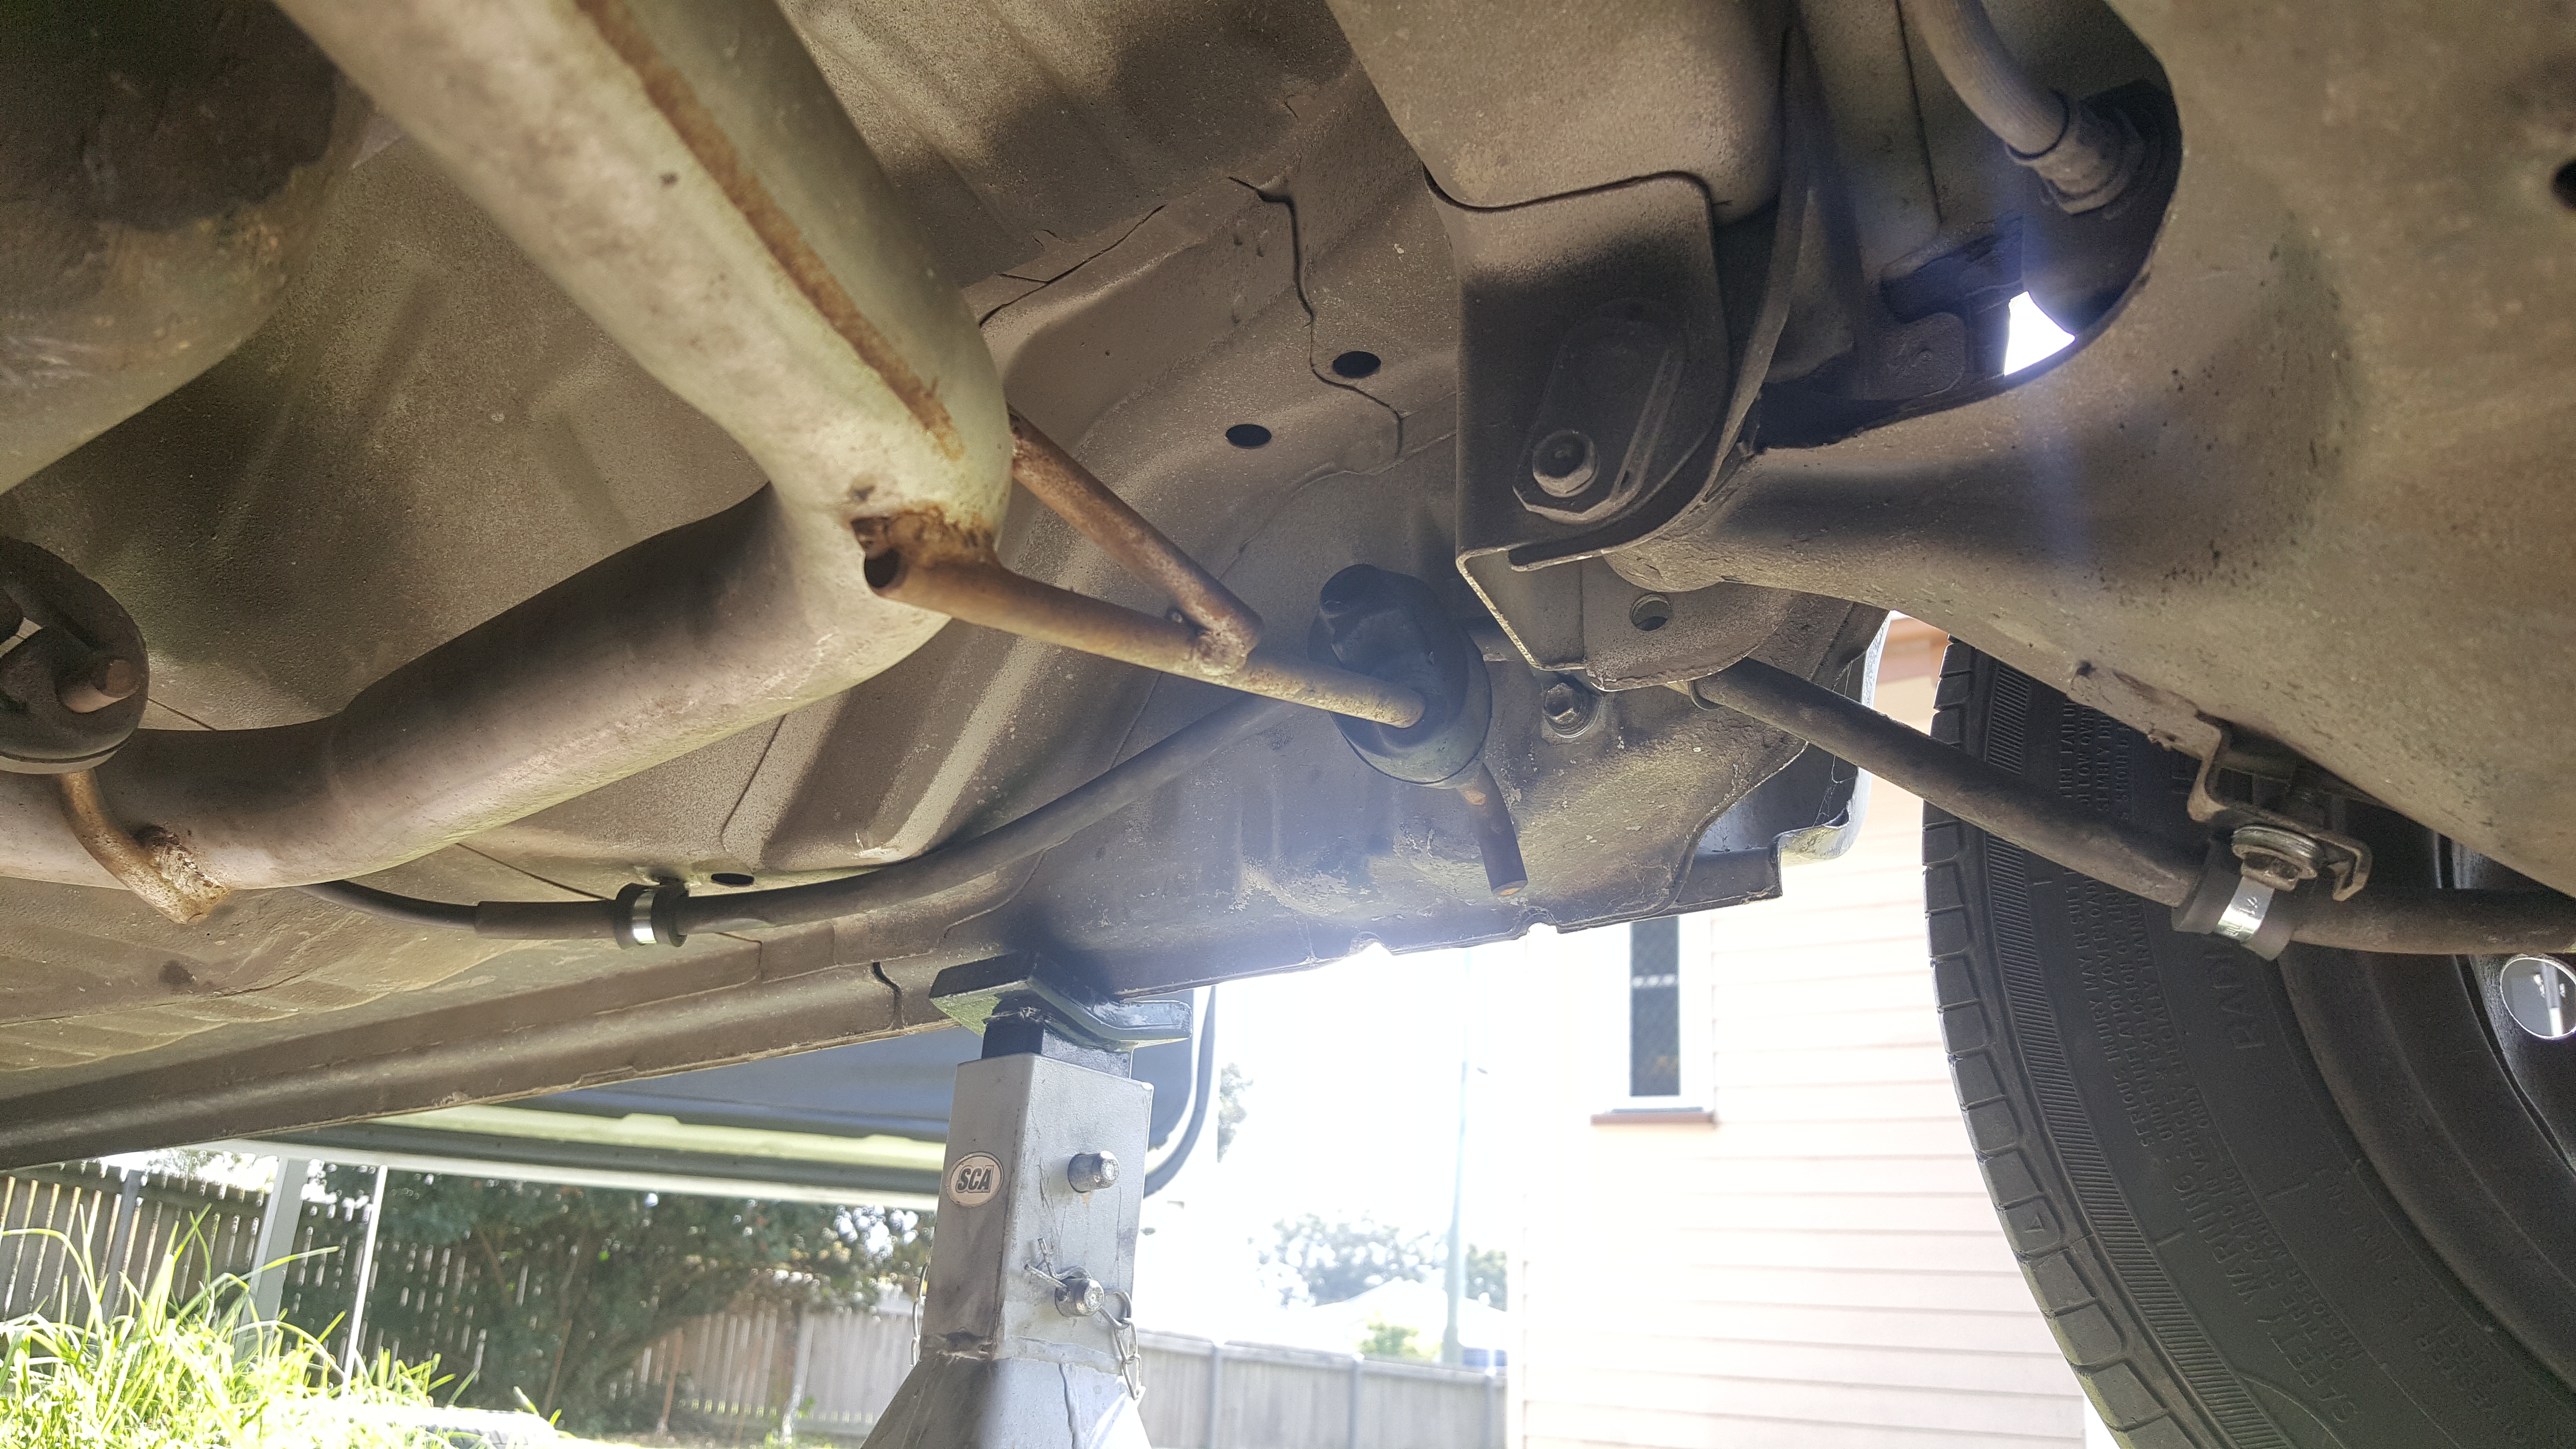
So I gathered some Sirion GTVI rear brake setup with handbrake cable from a friendly forum member and i was amazed at how easy everything is. For anyone who wishes to do this swap you will be happy to know it is a simple bolt on job.
Here are some photos of the handbrake cable all mounted up with new P clamps
Rear GTVI drums bolt right on so as not to have to redrill and give the correct centre diameter location for most 100pcd. Otherwise an easy fix if you have a lathe. Use the Sirion rear wheel cylinders too for more rear bias (no need to upgrade the master cylinder).
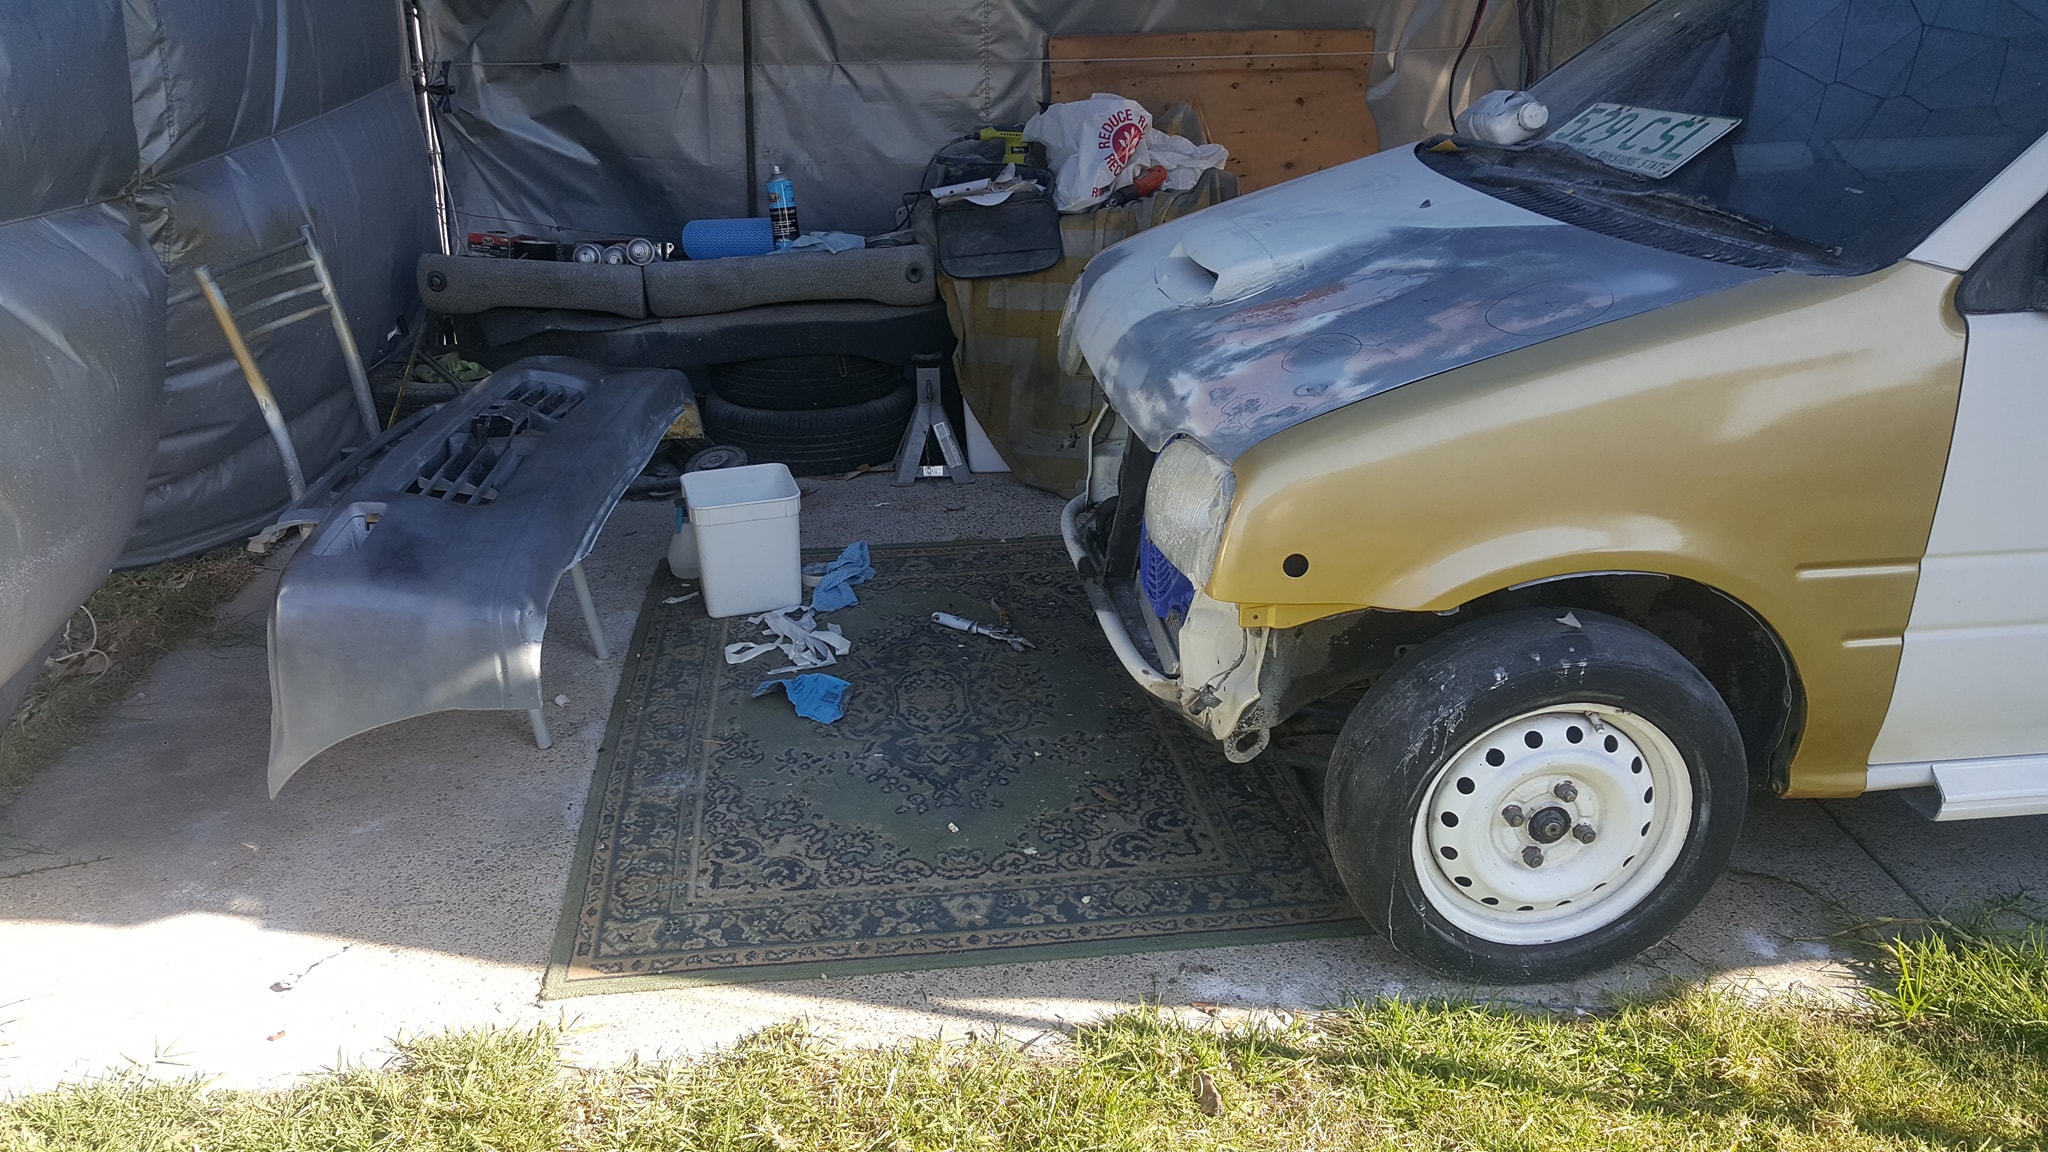
Body work is well and truly happening. Both front fenders had damage so i banged it out and skimmed them and smoothed out like new.
Relocated fender blinker location “i’m yet to fill old holes”
Bonnet was bent and dents on passenger side, in the photo is the 1st skim of fiberglass filler sanded down and covered in primer for overnight to keep the rust away.
Lots of work left.
after front end being finished i’ll move onto the roof that is very damaged and will take alot of work.


 car is sold.
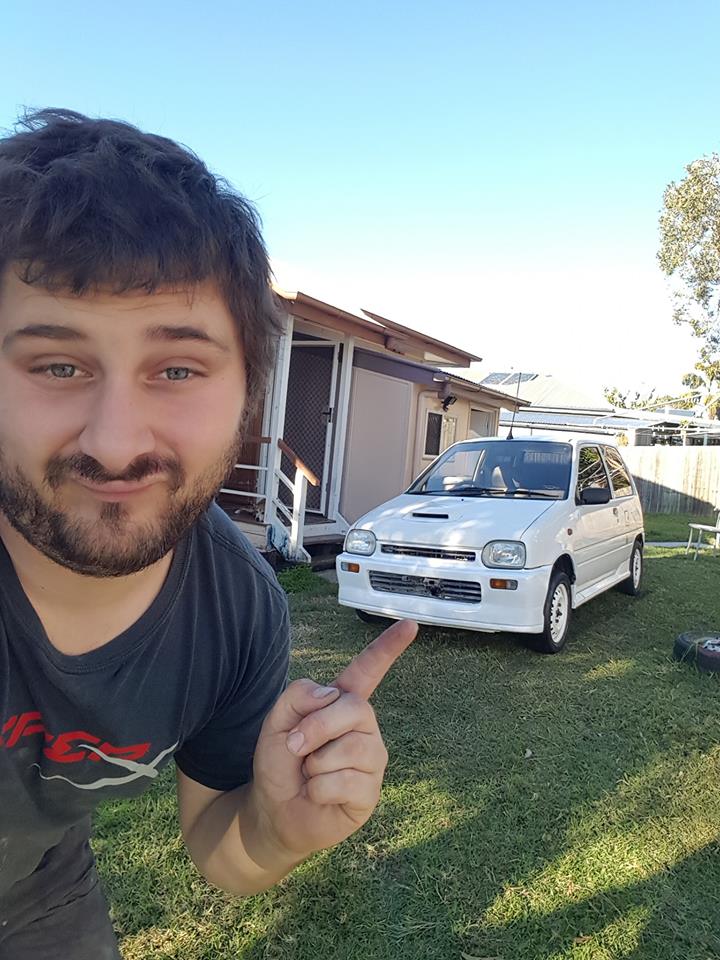
 rate it highly