How I came to this chassis:
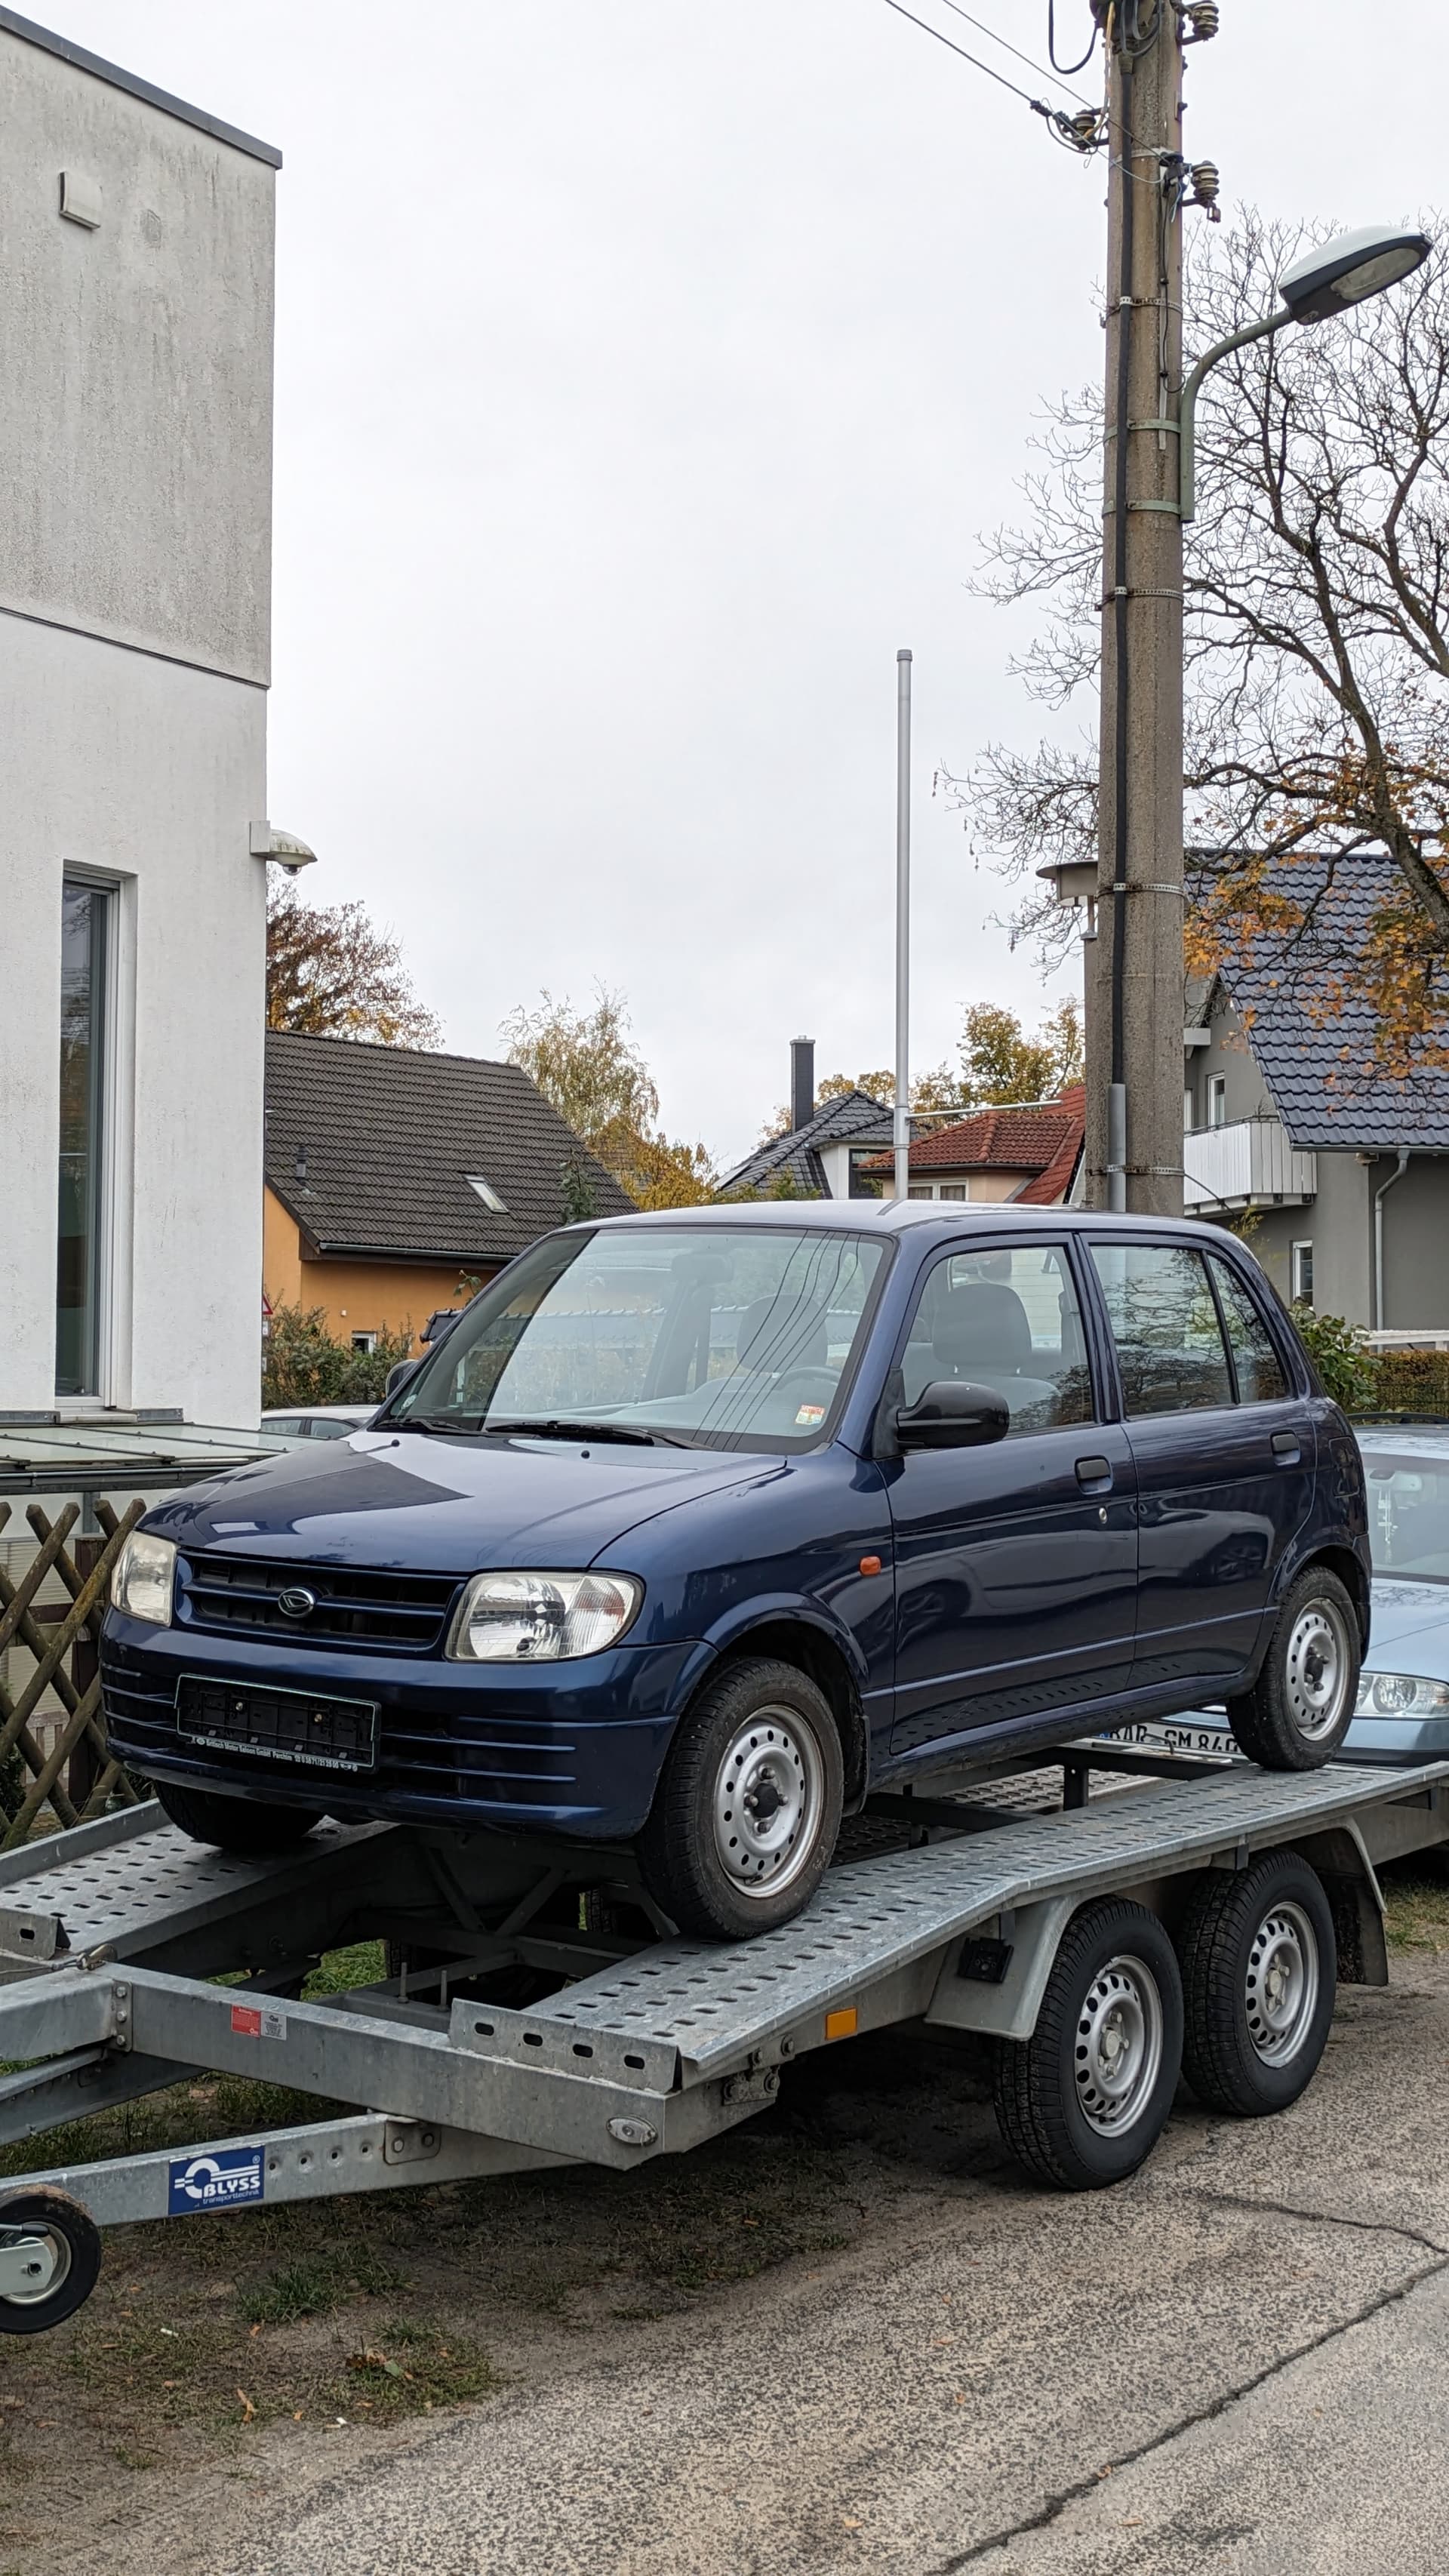
My first and till yet only car is a 2003 MX5 1.8. Of course, I love that car and I use it to its full extent. I poured countless hours and a lot of funds into that thing and very recently rebuilt the engine on it, but after hard abusing on track sideways, some things broke and I really felt tired of spending half my paycheck every month on it. So I decided to let the MX5 sit over the winter and get another car instead.
The Mira was always in the back of my head due to several coverages from Noyirao over the years. I then watched some further media about it and I was hooked. I also love how the car is treated just like any other ‘shitbox‘ on the second-hand marketplace and there is no Kei car tax on it at all.
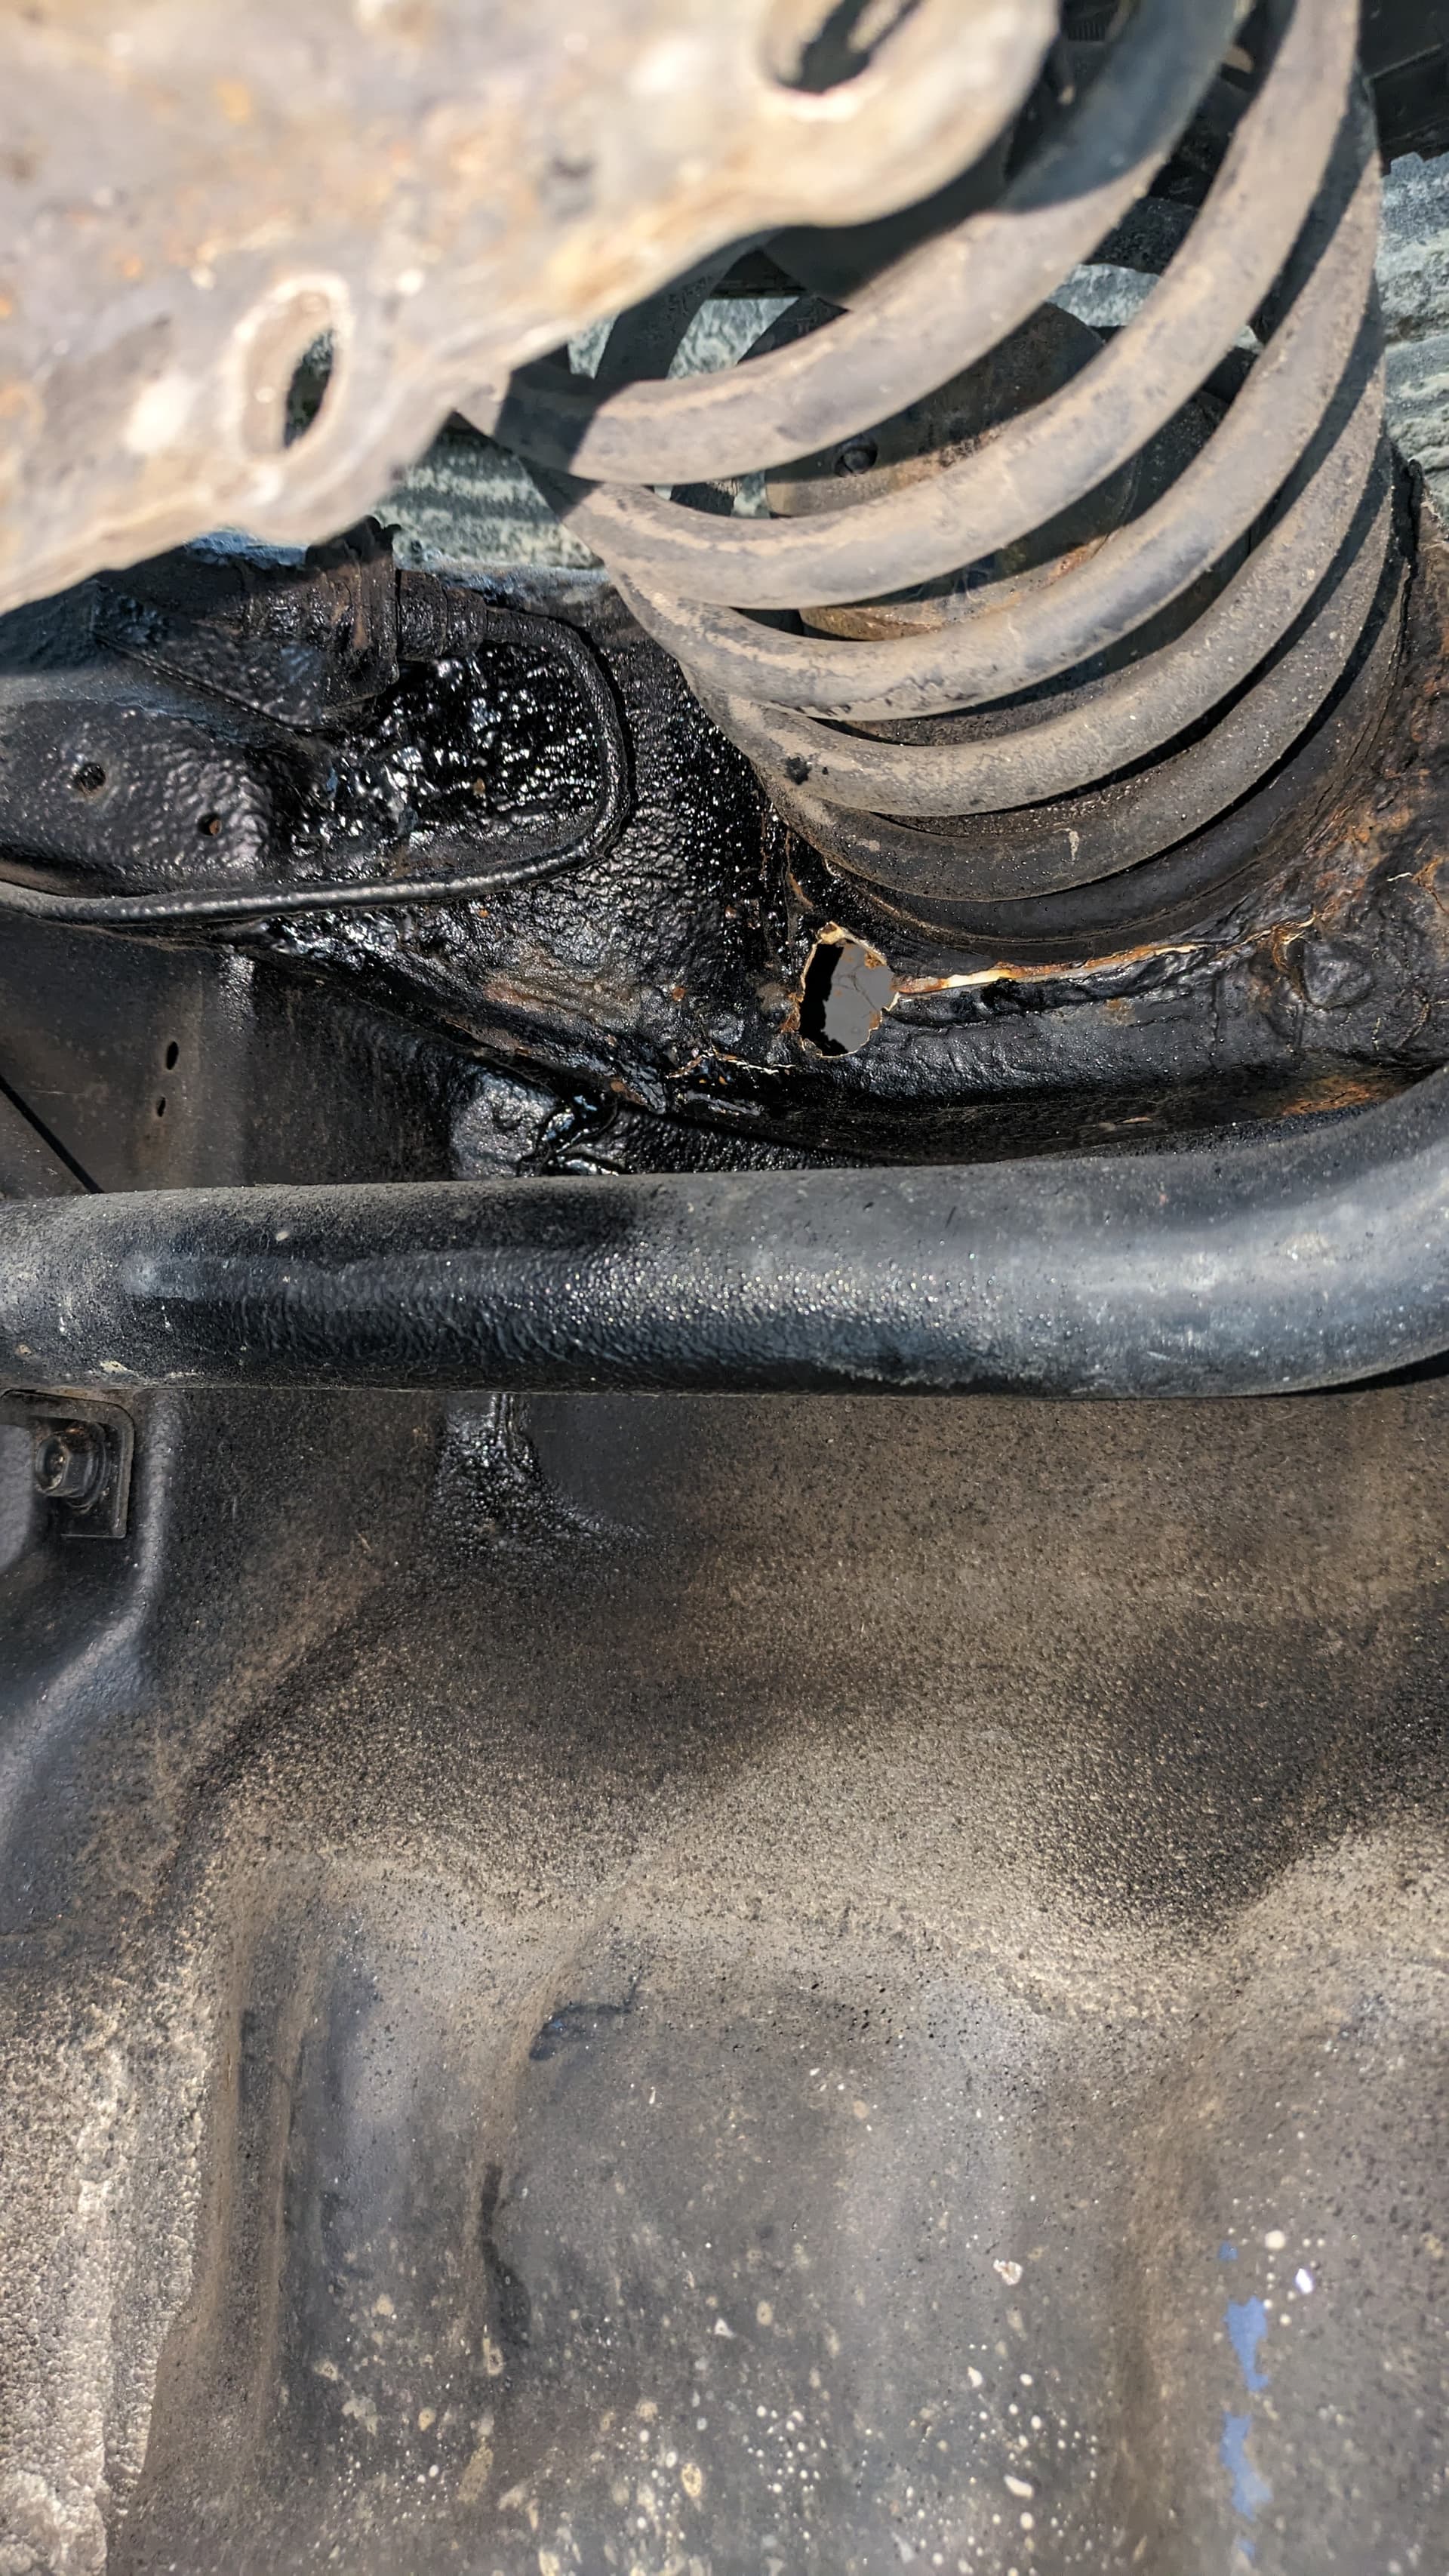
Being €300, it’s got its problems. I’m sure this isn’t the first time that has happened, and I’d gladly take any advice on how to fix this. I’m not an experienced welder, but I’m not afraid to learn. The cost to repair it should stay low if possible. This car had no life left anyway, and doing the repair just to keep it on the road for another winter won’t make me feel guilty. The rest of it is in pretty good shape, clean interior, low mileage, no major oil leaks, no sounds no clunks.
Judging from the image’s background you have posted, it looks like you’re from the Netherlands. I’ve bought my first Kei from there and have never heard of Kei taxes levied there.
You’d be surprised how well these L7s and 9s drive and handle. It would be worth fixing it up for a lifetime of driving and maybe find some throw-away winter car like an ugly old Renault Twingo or F.I.A.T..
Oxygen/acetylene welding and brazing is perhaps easiest. You only have to be carefull when cutting and welding galvanized sheetmetal or sheetmetal which has been primed with zinc-based spray. From the speed in which older Daihatsus (and maybe all of them, for that matter) tend to rust, it’s likely that you’ll not find even a drop of zinc on yours. Just to be sure, it would be best to do any flame cutting and welding in a well-ventilated area, given that fumes emitted by galvanized material is toxic
Thanks for the hint. I’m from Germany, and by tax I actually meant people that sell their cars for an unreasonable high price, like everything from Japan with rwd.
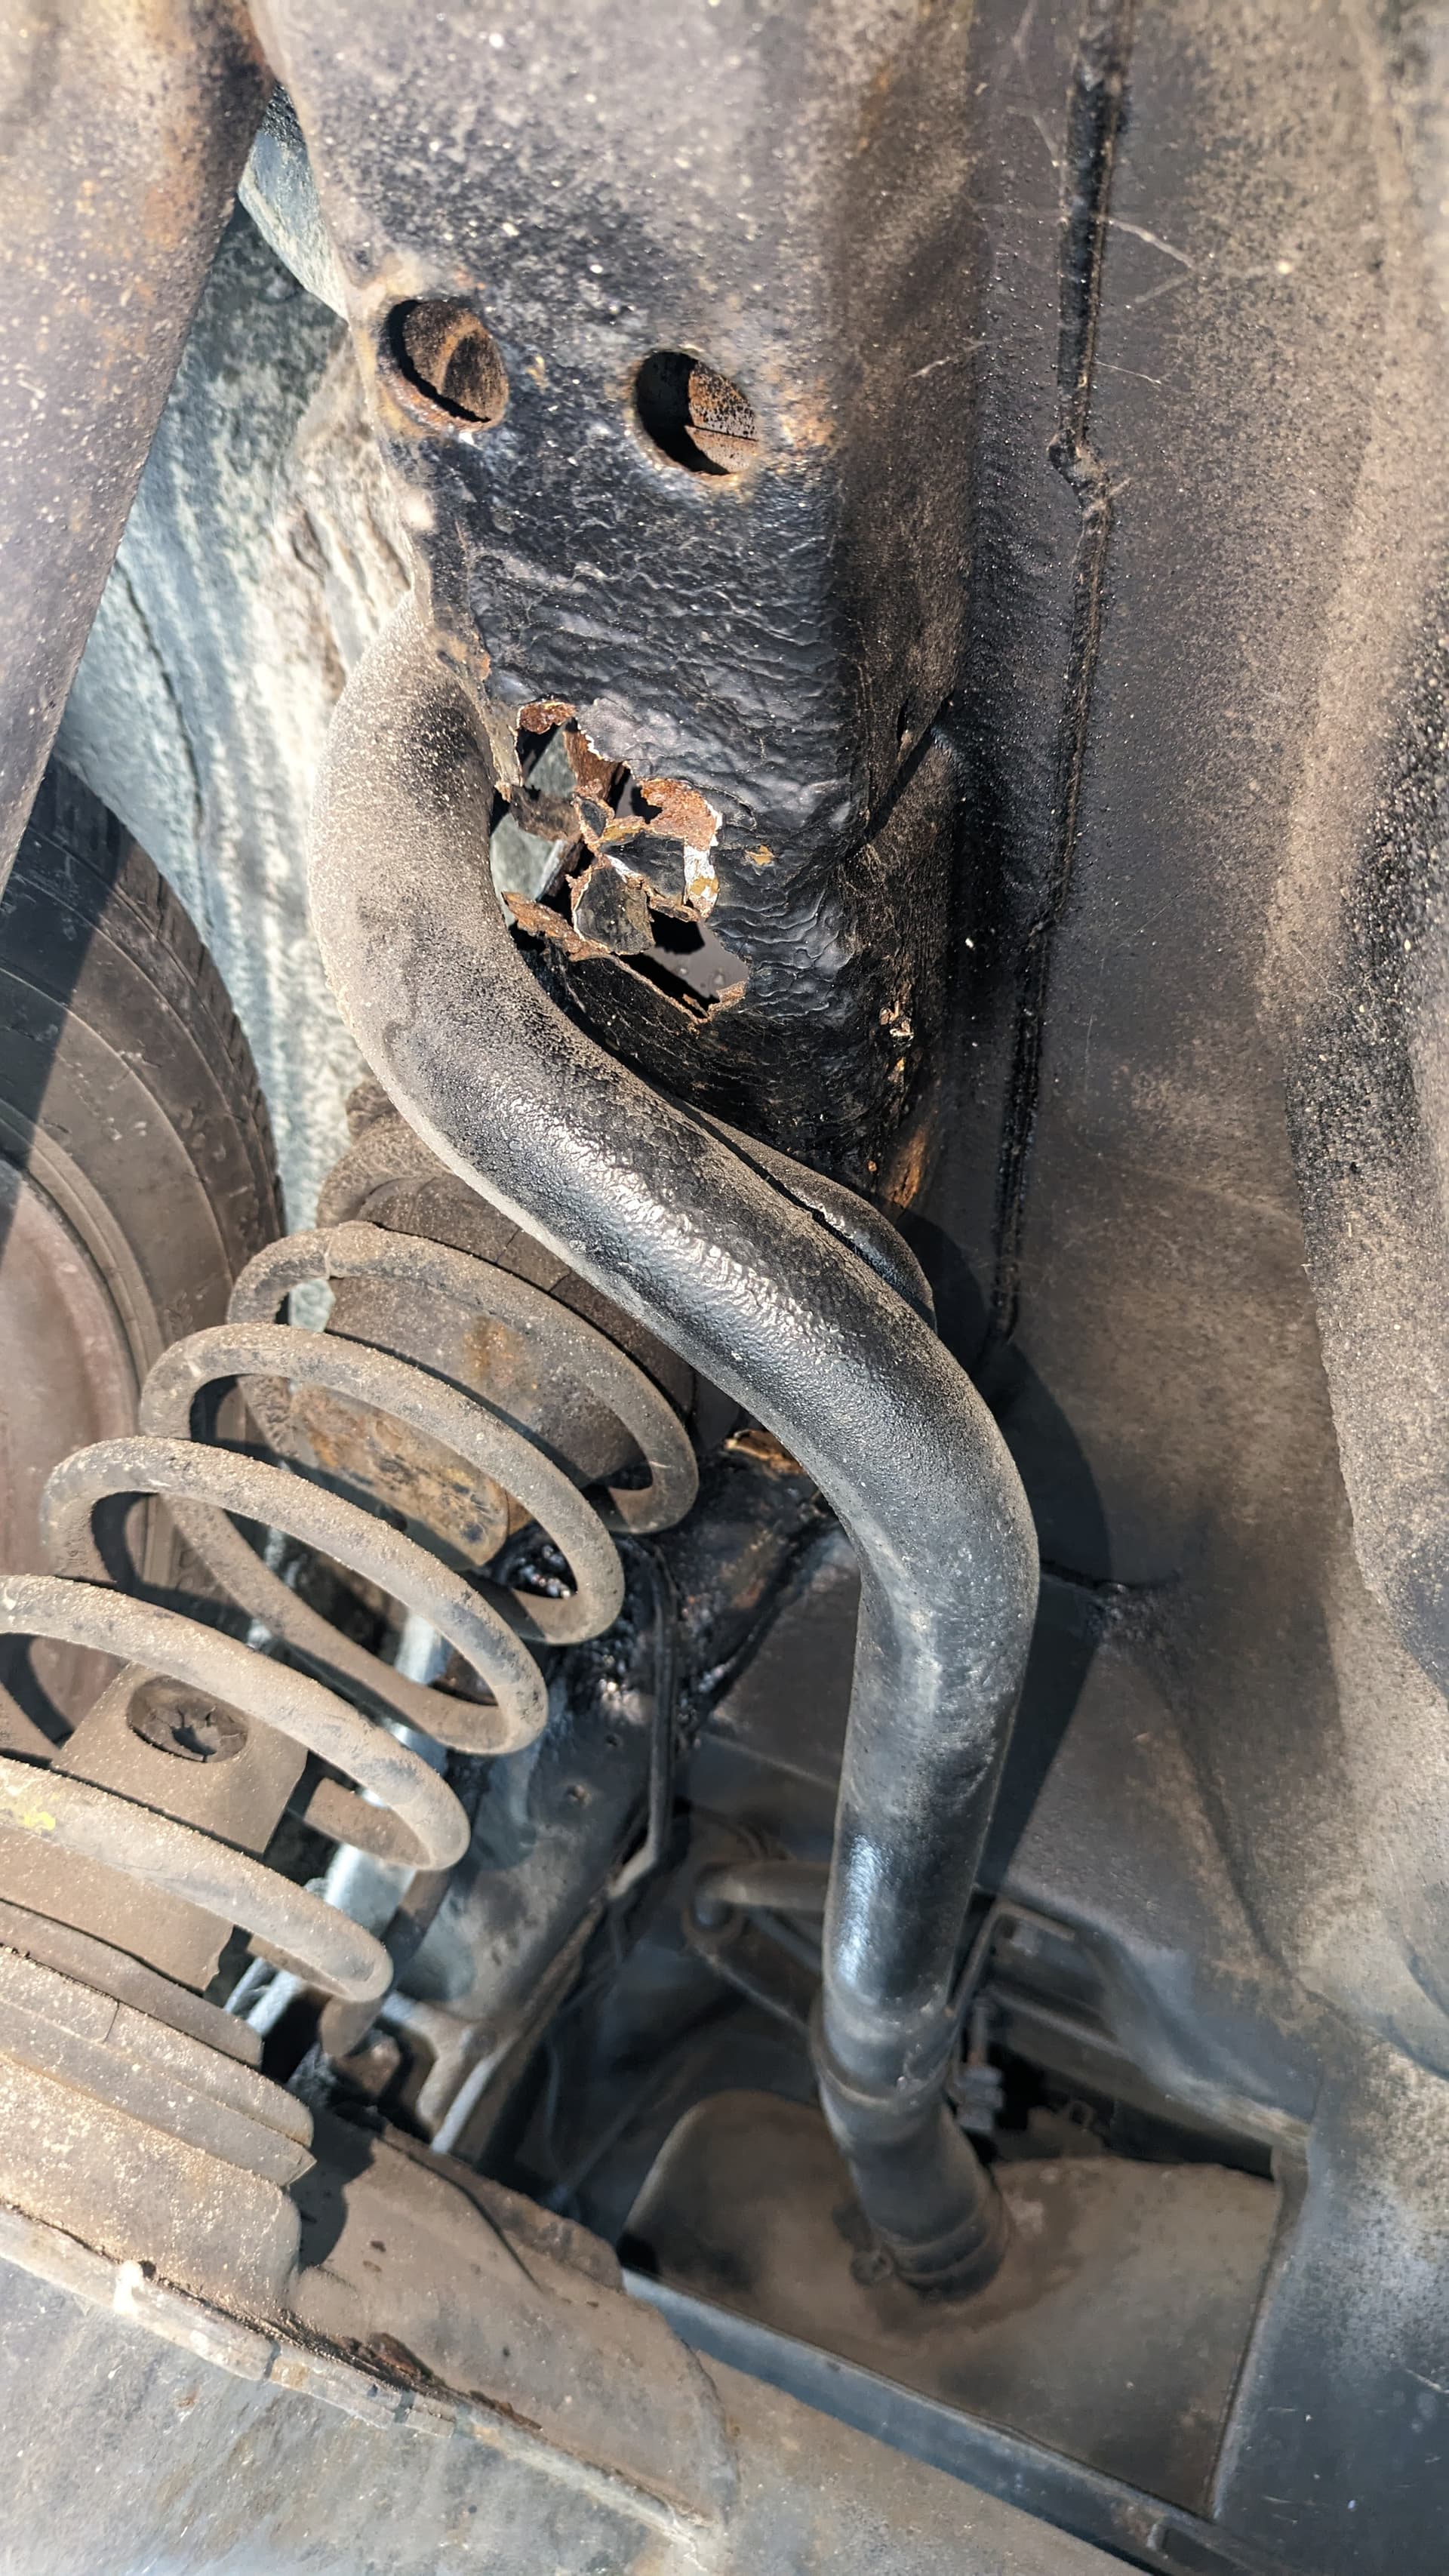
I’d really love to keep the car for longer, but I think by the 2027 TÜV the sills will be gone anyway. Of course, I’ll wire-brush everything and cover it thick with Brunox now, but I think that won’t help against all rust unfortunatley. I may even spray it with Mike Sanders.
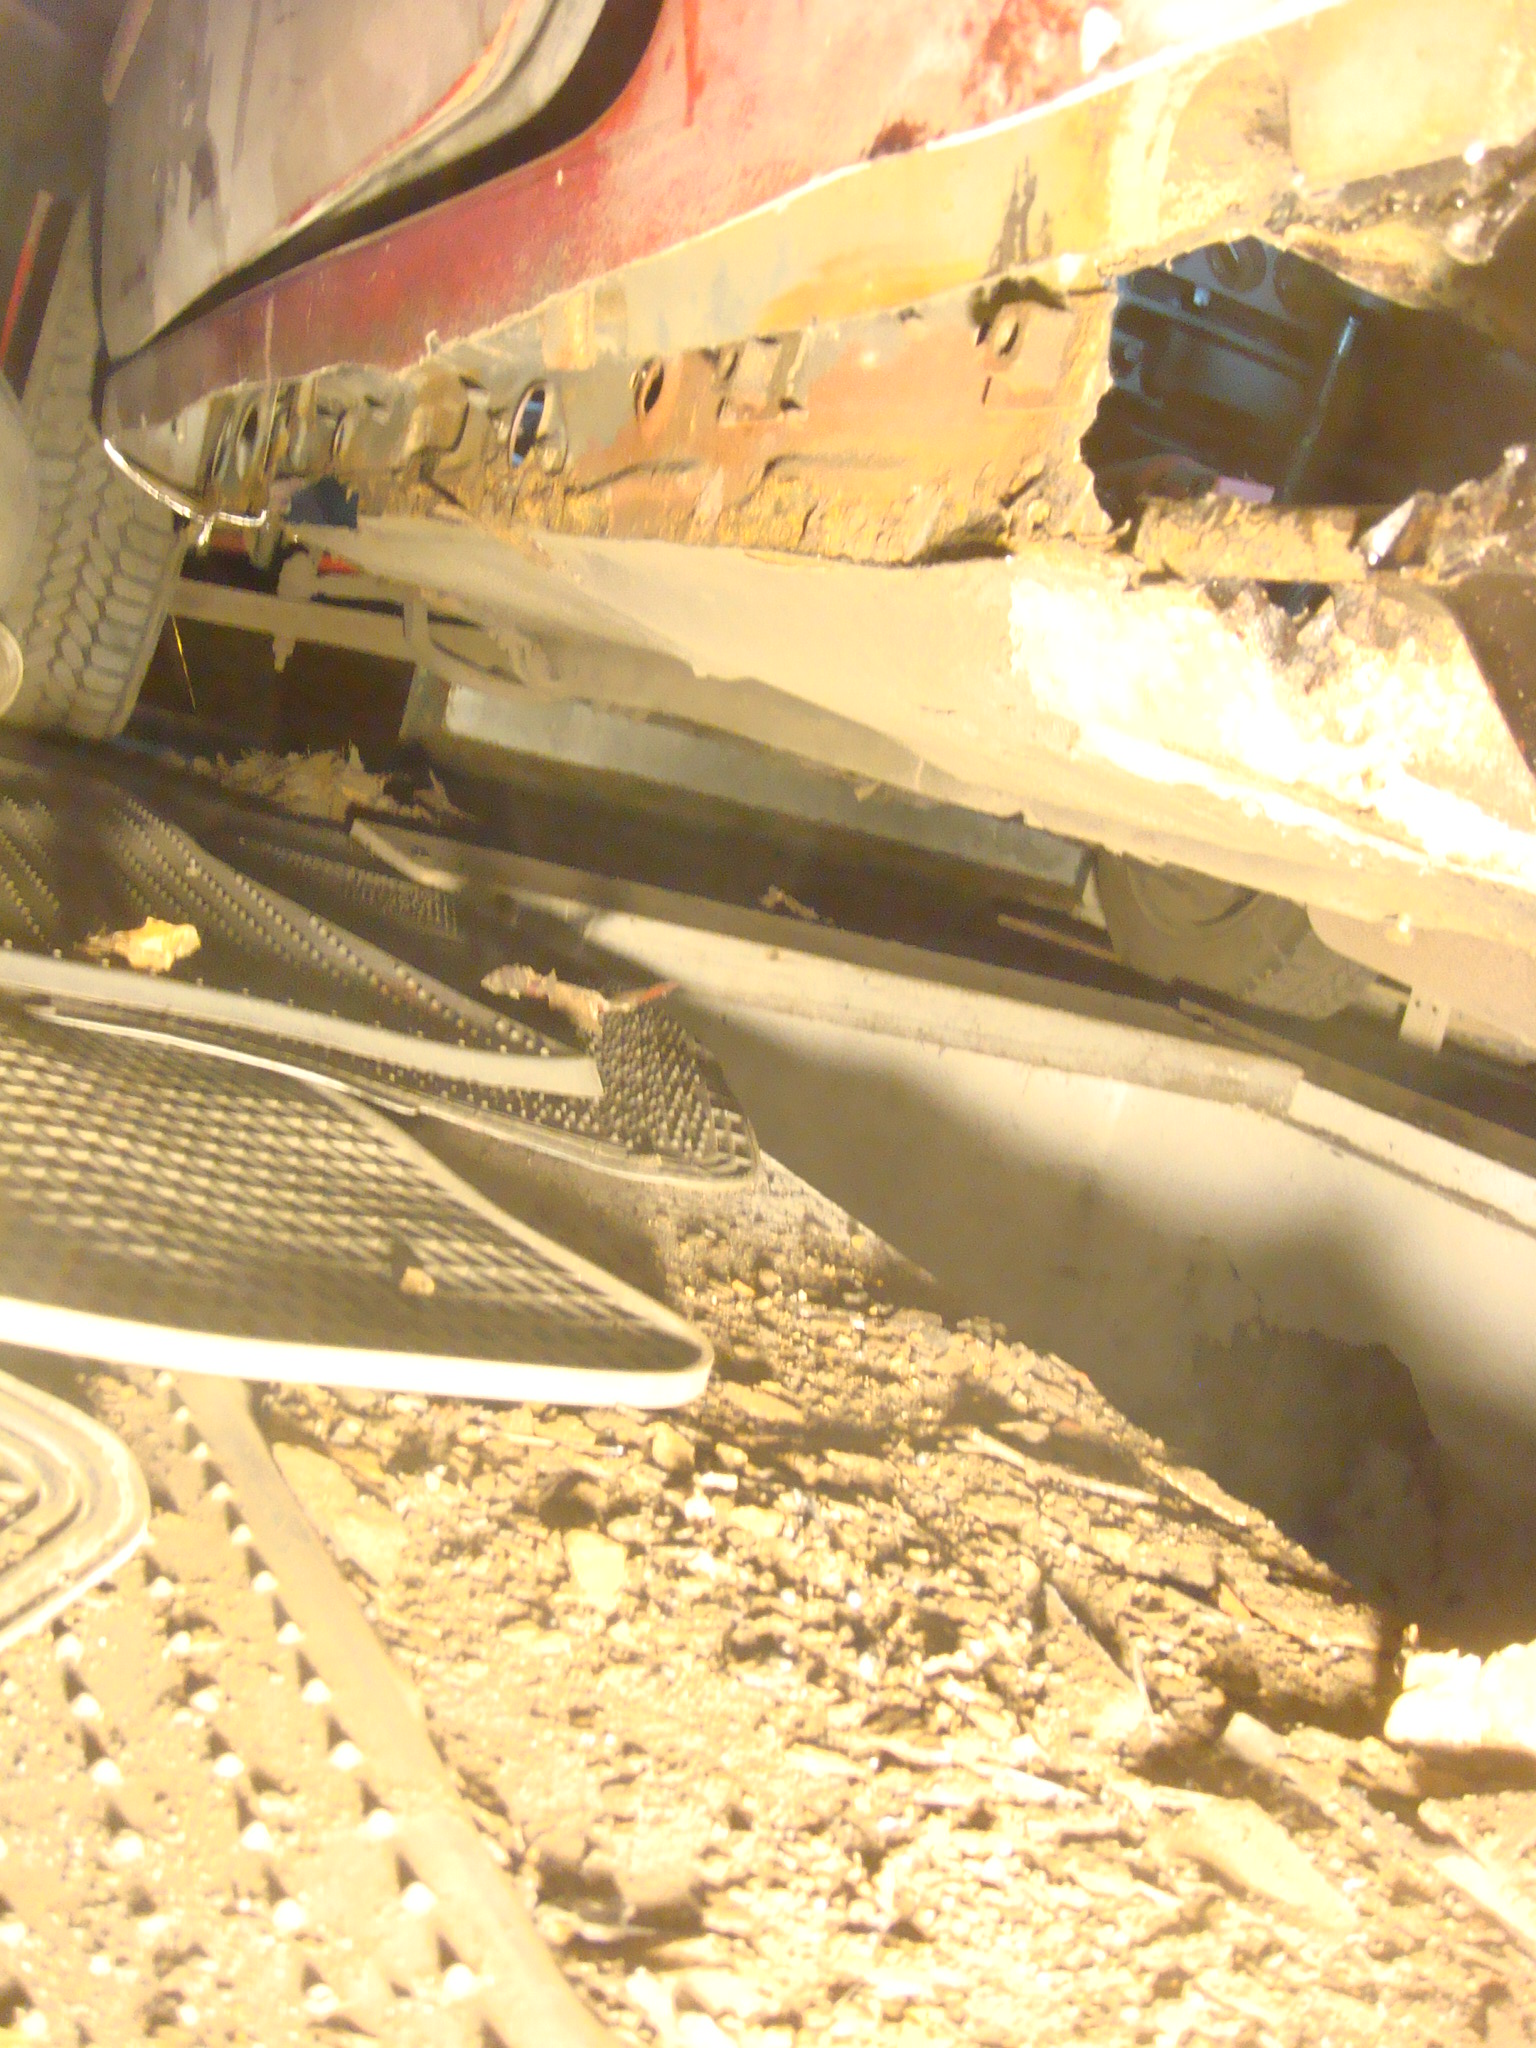
The repair on the rear left aera is turning out a bit more challenging than I thought, because it’s so rusted through that I was able to take the upper spring seat out by hand. With all of the frame rail attatched to it
In the German Daihatsu forum, spraying cavities using Fluid Film seems to be a popular method of rust-proofing.
The way you describe the rust damage on your L7 seems quite demoralizing at first. Once you start preparing repair, using a cutting torch, it won’t seem so dramatic, before brazing-in new sheetmetal.
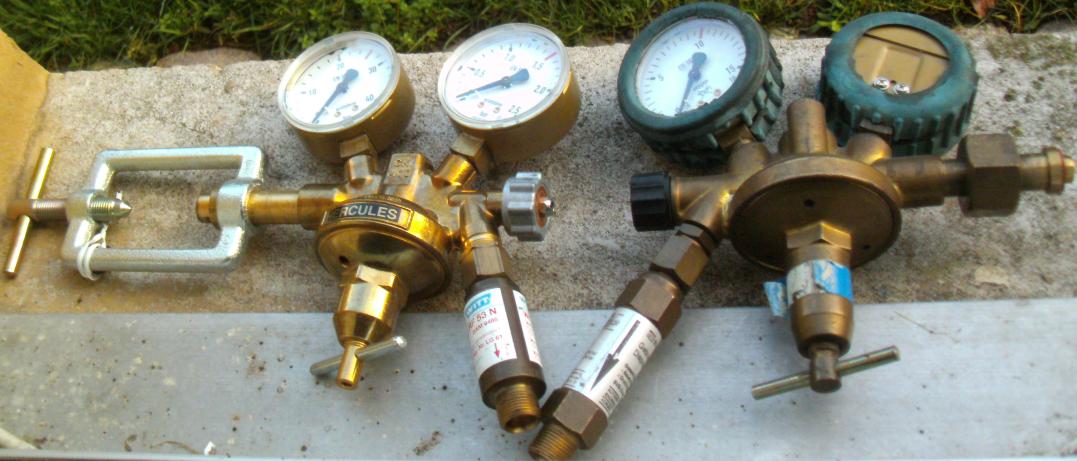
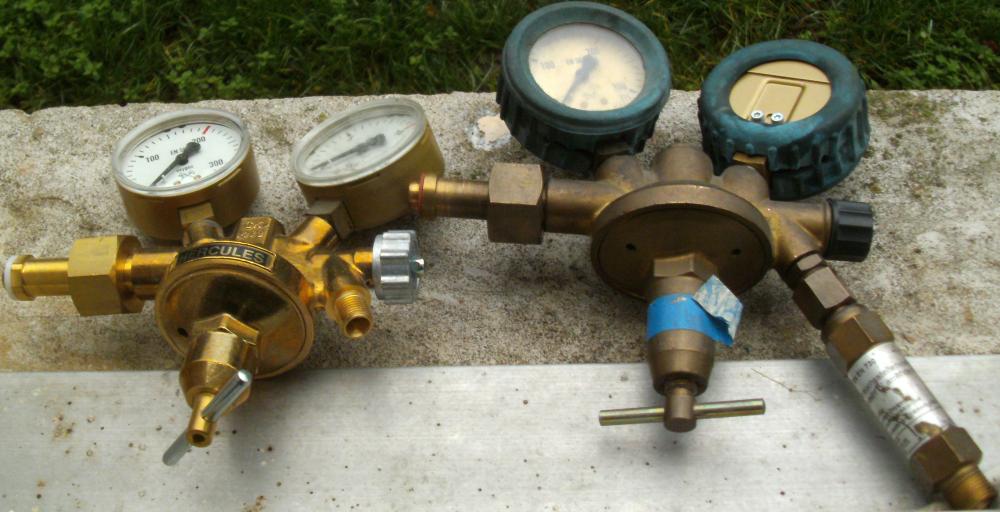
I have been putting together two sets of pressure regulators originating from two different systems (one central European and the other Swiss/Scandinavian) for starting rust repair on both my L6 and Suzuki Wagon R Wide. If there’s enough gas in my bottles, I plan on starting cutting, early this week and will document the procedure. I have done this sort of repair on a 1973 Honda Civic 1200 which was pretty badly rusted through, having spent its life in Michigan U.S.A..
My Windows 10 isn’t recognizing my flashcard from where I usually trim my images through Bitmap. So, I went and tried it with Linux. But since their way of doing things isn’t always Plug & Play, I had to trim these, through screenshooting them first. I couldn’t yet find a way to draw-im arrows for pointing to what I wish to explain.
In the top posted image, I was lucky that the newer acetylene pressure regulator could be fitted with the check valve that was first mounted onto the Swiss one. That wasn’t possible, without an adapter, on the newer oxygen regulator, because the outlet was smaller in diameter. So, the next best thing was to replace the older regulator’s guages with the newer ones and add the rubber protective bumpers from the older guages. I managed to remove only the newer oxygen regulator’s service pressure guage, because the content guage was too stubborn to free itself. I got the impressioj that it was going to break off, if I was really determined to remove it. But, that matters little, because service pressure accuracy is more important. The aluminium gasket ring sitting below the guage’s threads was compressed to the pointbwhere the guage wasn’t facing in the same direction as its neighboring one. I didn’t wish to force it, possible causing damage. I’ll simply mount it to its assigned-to bottle so that I will have its service pressure in view.
The plastic lens on the remaining older guage was pretty dirty and yellowed. I was able to tidy it up, through scraping the lens with the flat edge of a razor blade:
I dont reccomend brunox, theres couple better chemicals like APP-R stop, Troton (missing recently) and wurth “agressive rost neutralizer”? Theres also Fertan considered to be the best, but its pain to wash it after every aplication.
Also, wirebrush tends to polish the rust, i’m always using thin, cutting disc for angle grinder, sometimes “leaf” sandpaper disc, or paint remover disc (sometimes called “like black man hair”)
Best wishes, for these years im standing strong with statement- if car is not historic or worth money, its economically pointless to order outsourced sheetmetal work. Only by youself.