My newly-acquired Suzuki Wagon R+

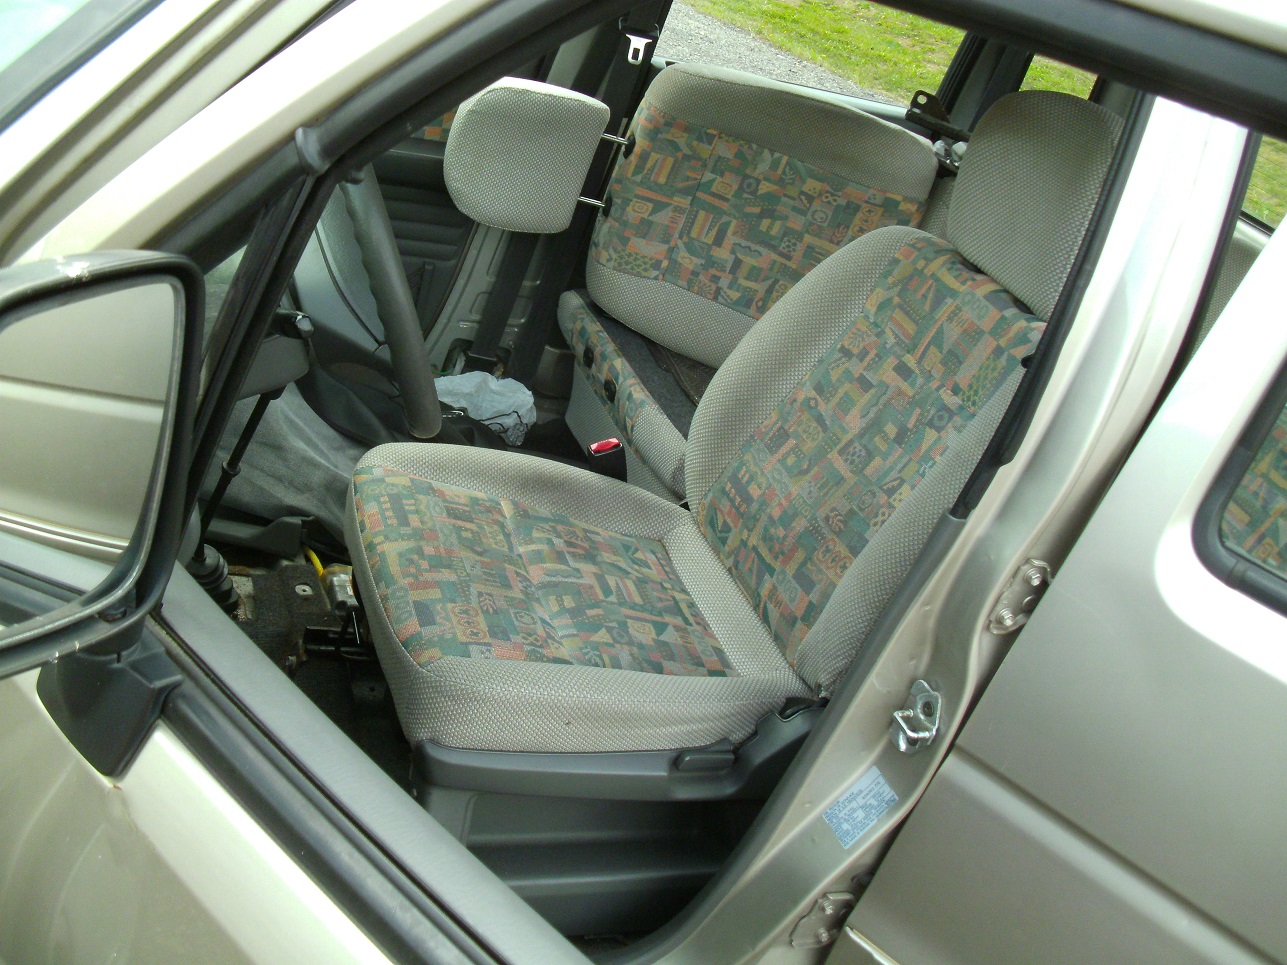
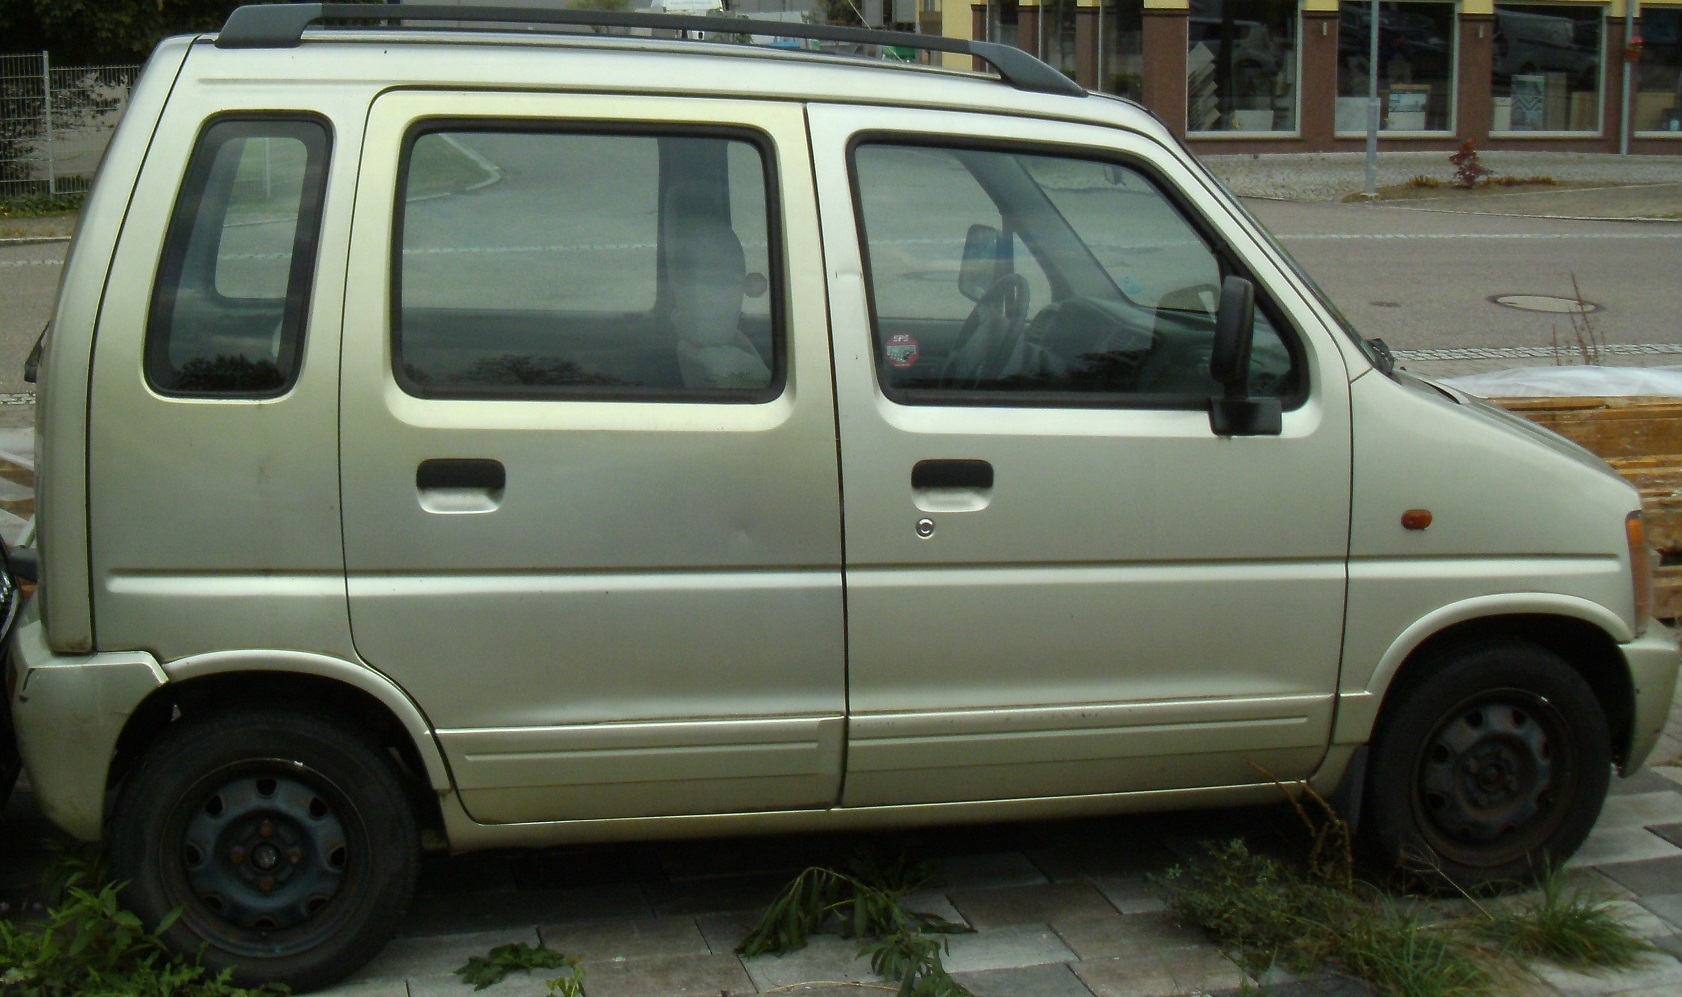
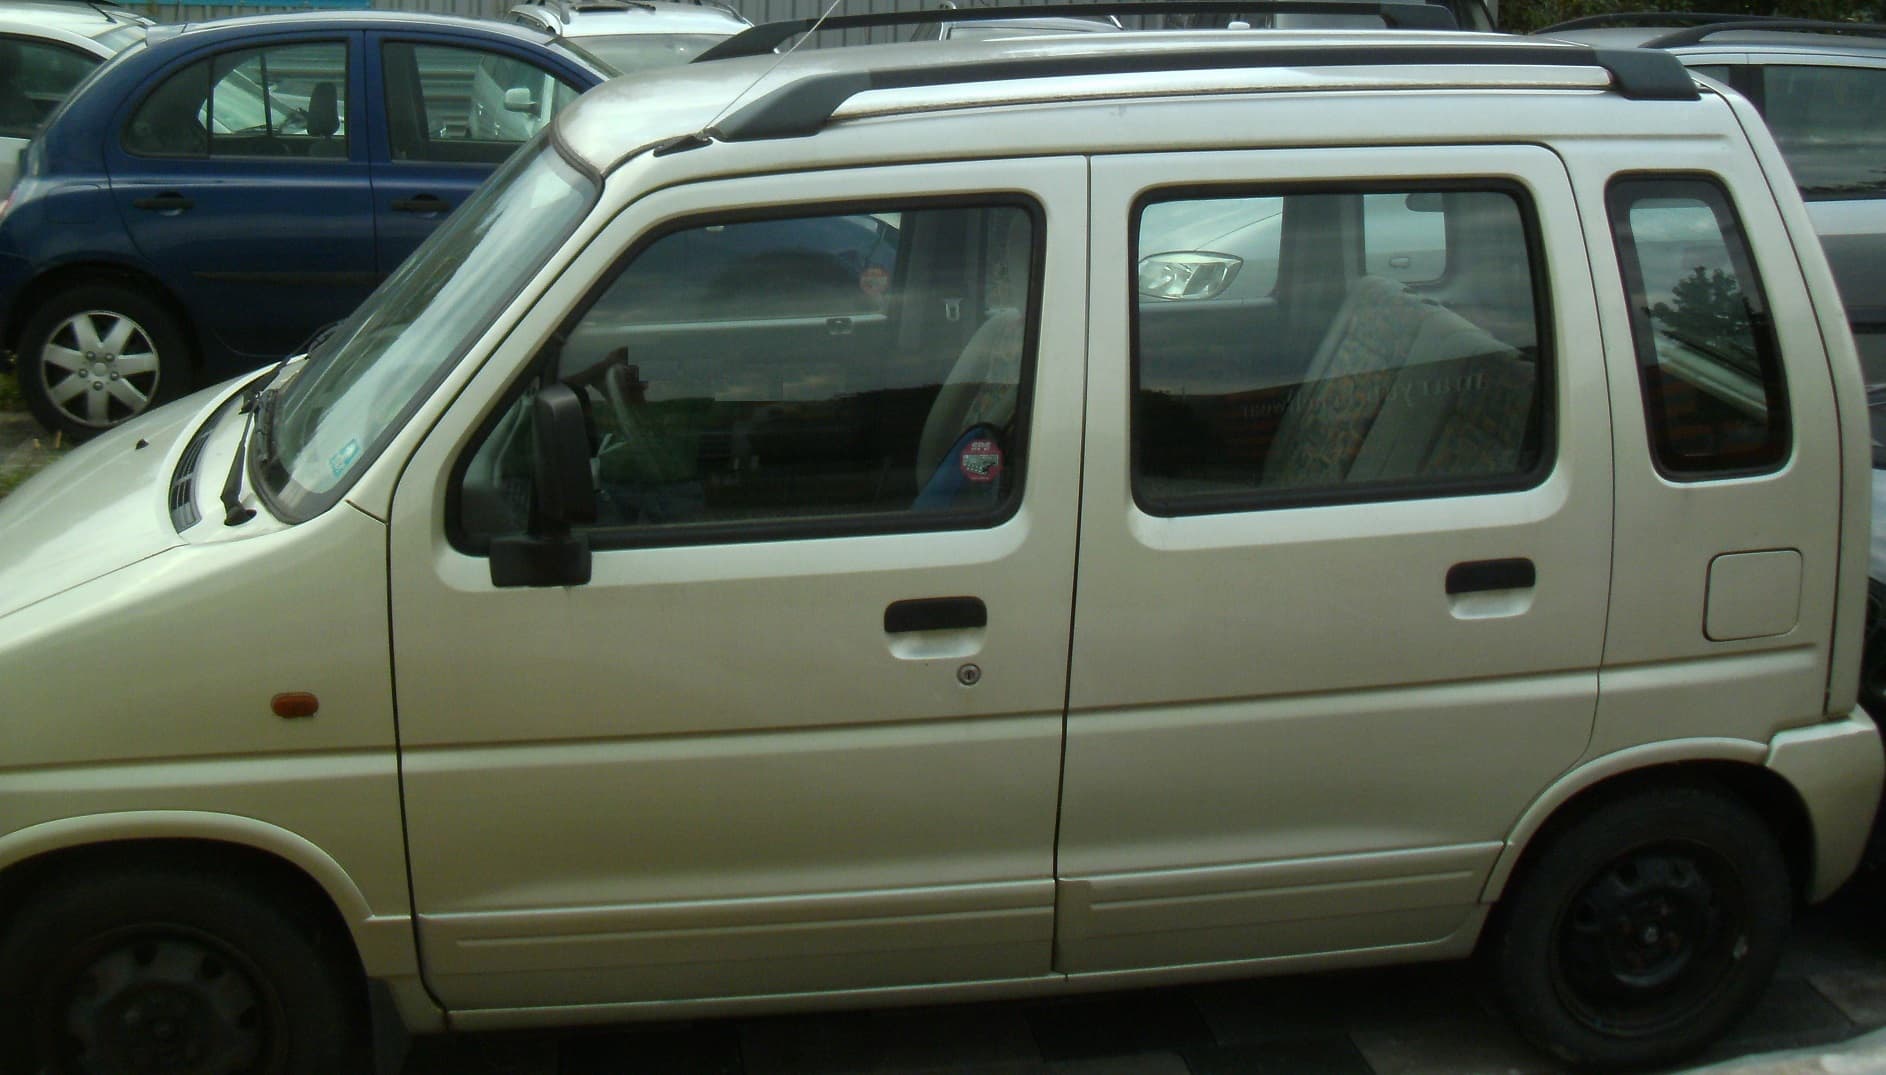
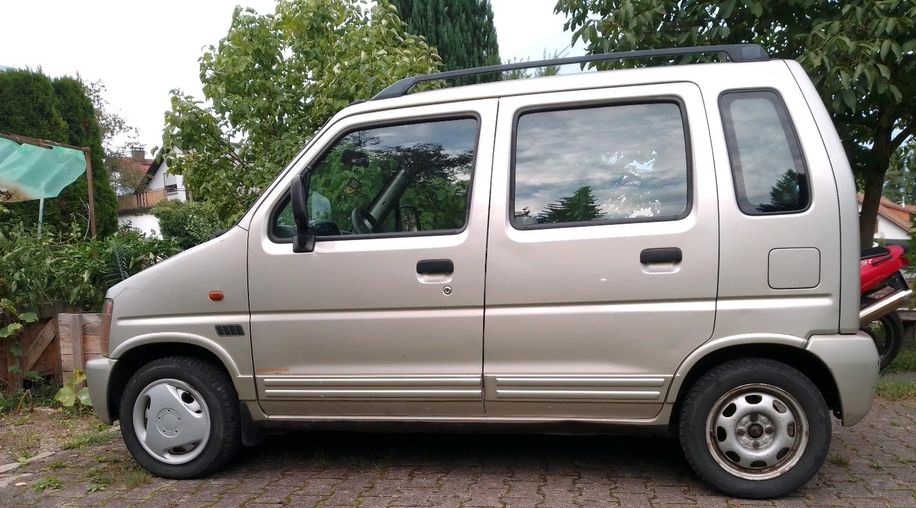
Attempting to keep mobile until the engine in my 601 is finished, I went out and bought the following, after seeing it on ebay. Initially, I spotted a gold-coloured one parked at a repair shop. It had an automatic gearbox of which I prefer for urban driving. But upon inquiring, the gearbox had problems. Therefore, I needed to wait until M.O.T. and gearbox were finished. In the mean time, I searched the usual online outlets, in order to determine an average price for these. After having found a bargain on an irresistable silver one, I simply went out and sealed the transaction

Vorne

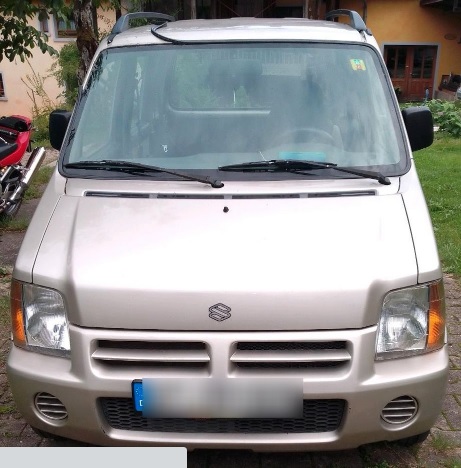
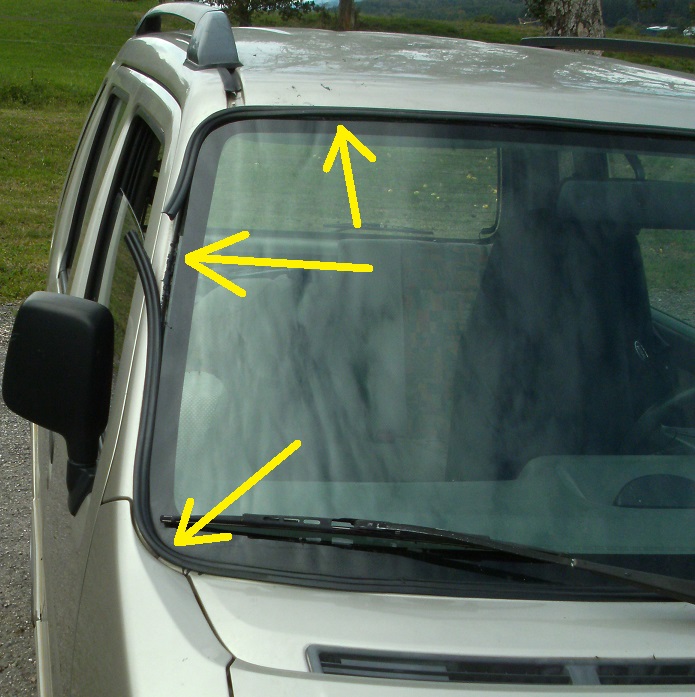
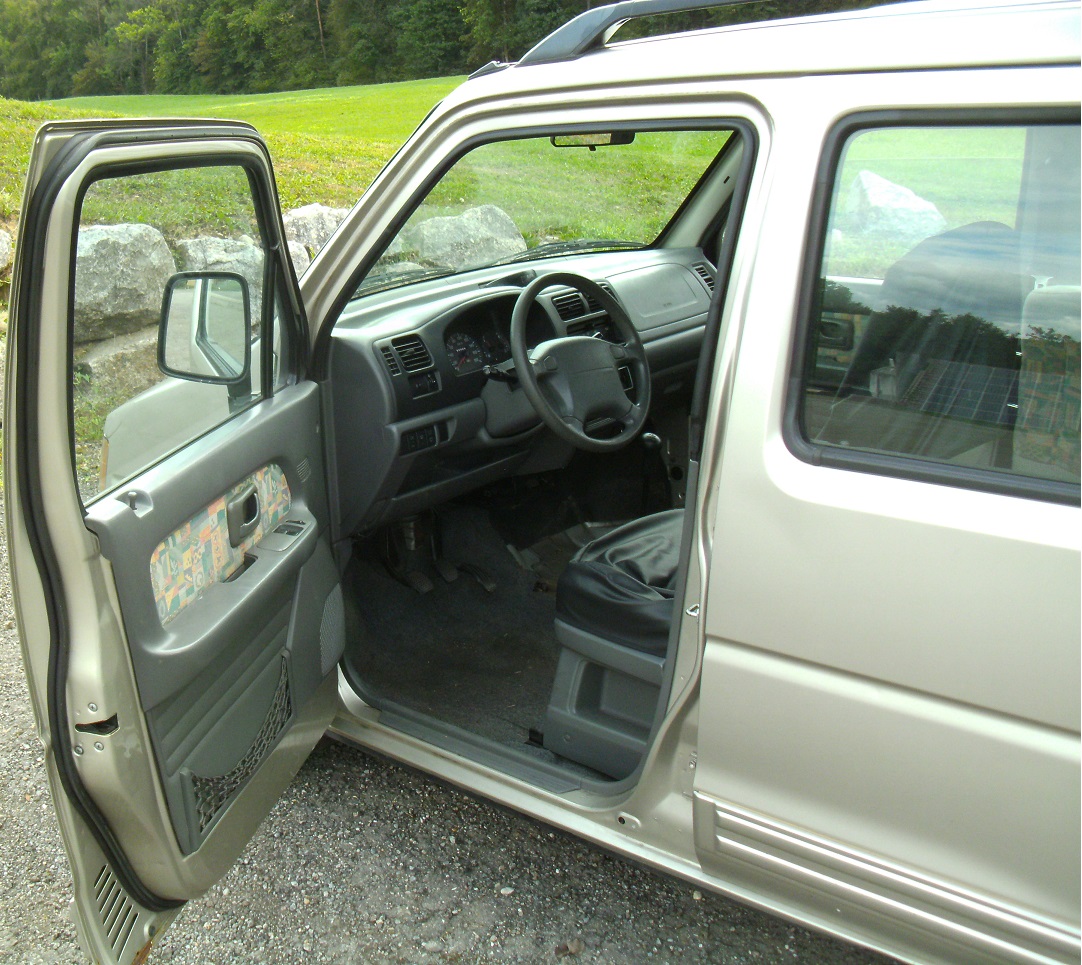
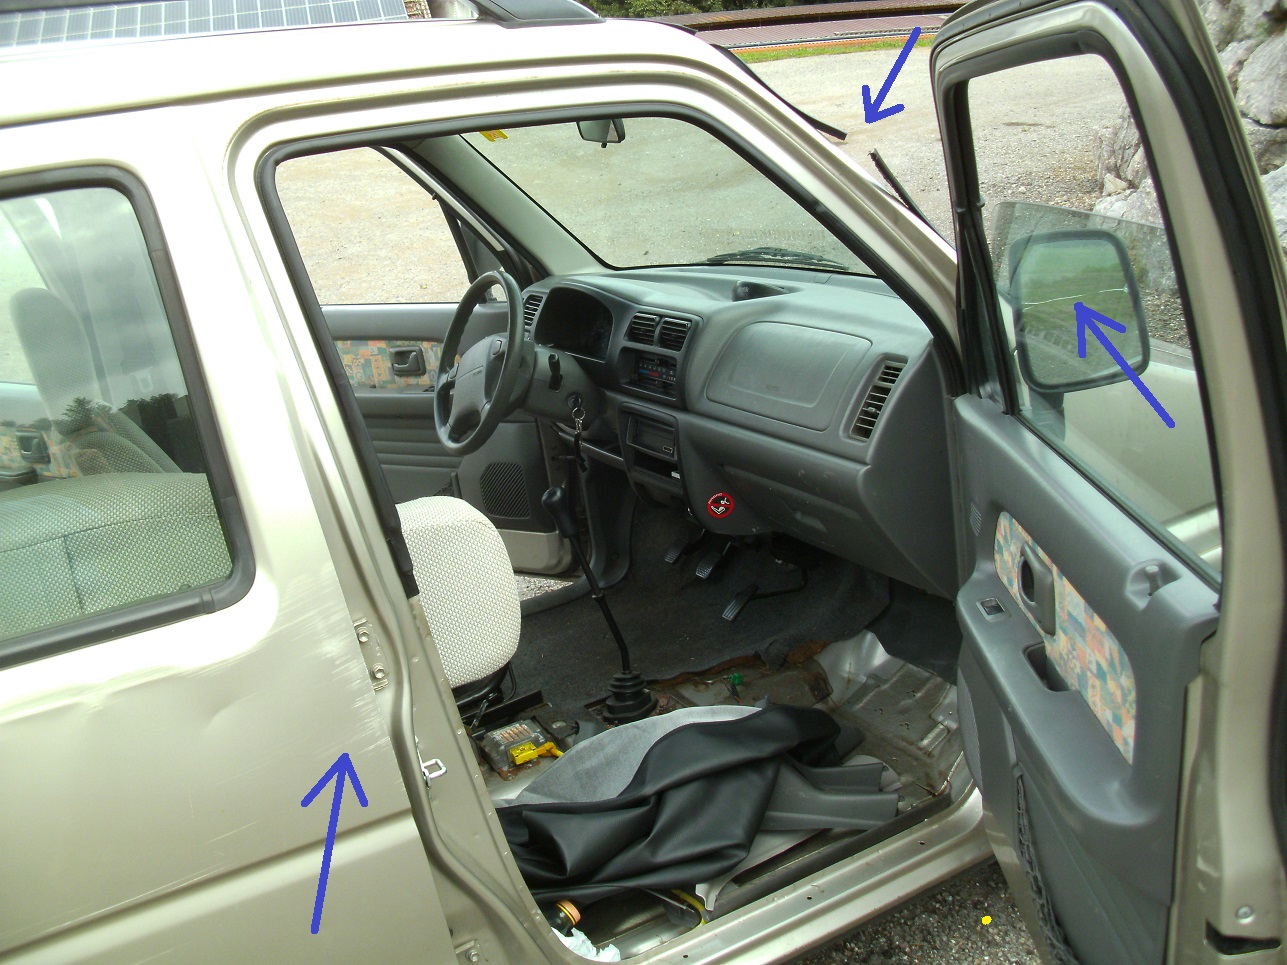
Here, a former owner stuck what looks to be FIAT Panda stickery. These will be the first embarassments to get removed:


For those who aren’t familiar with these, they dramatically differ from Daihatsu Keis, in terms of ride quality, handling and drivability.
The ride on these are comparably soft and the ground clearance comparably higher than that of especially the 601s. Both the 6 and 901s handle better and feel more precise on winding hilly roads. This is because of not only differing ground clearance and spring travel between both brands. The Daihatsu’s more expensive independent rear suspension set-up can only deliver better handling than that of the Suzuki’s solid axle. I would definitely, in this case, prefer the Daihatsus for longer distance driving, despite the more firm ride qualities of these.
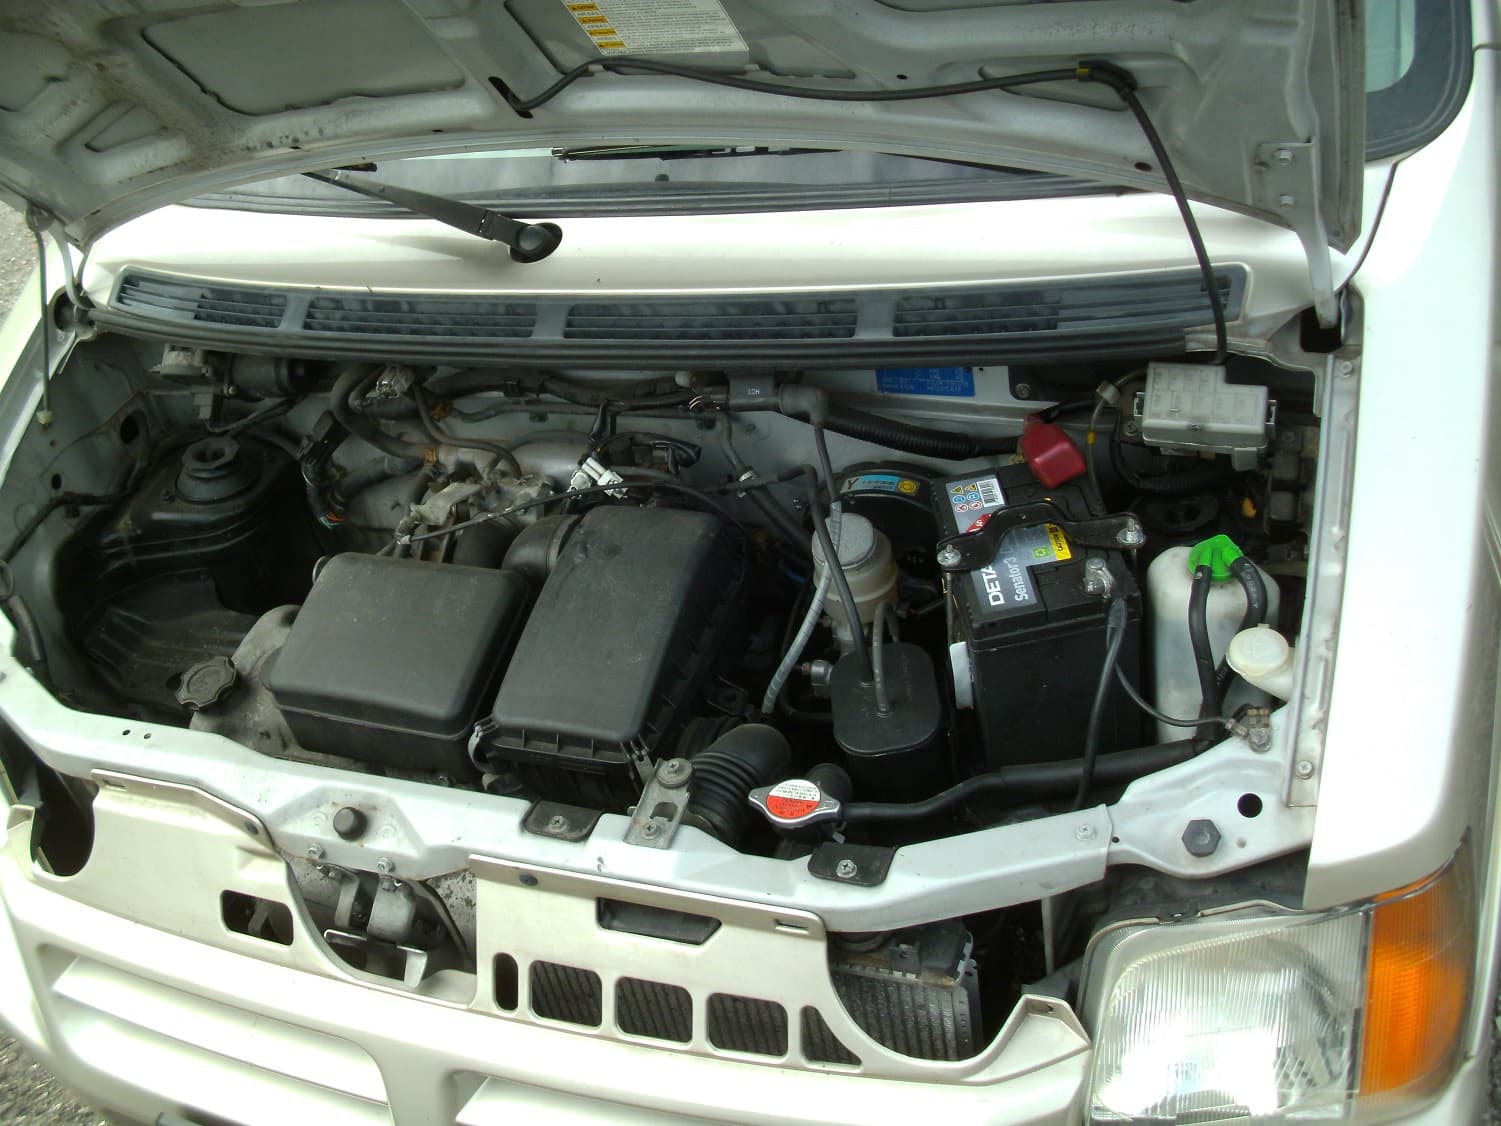
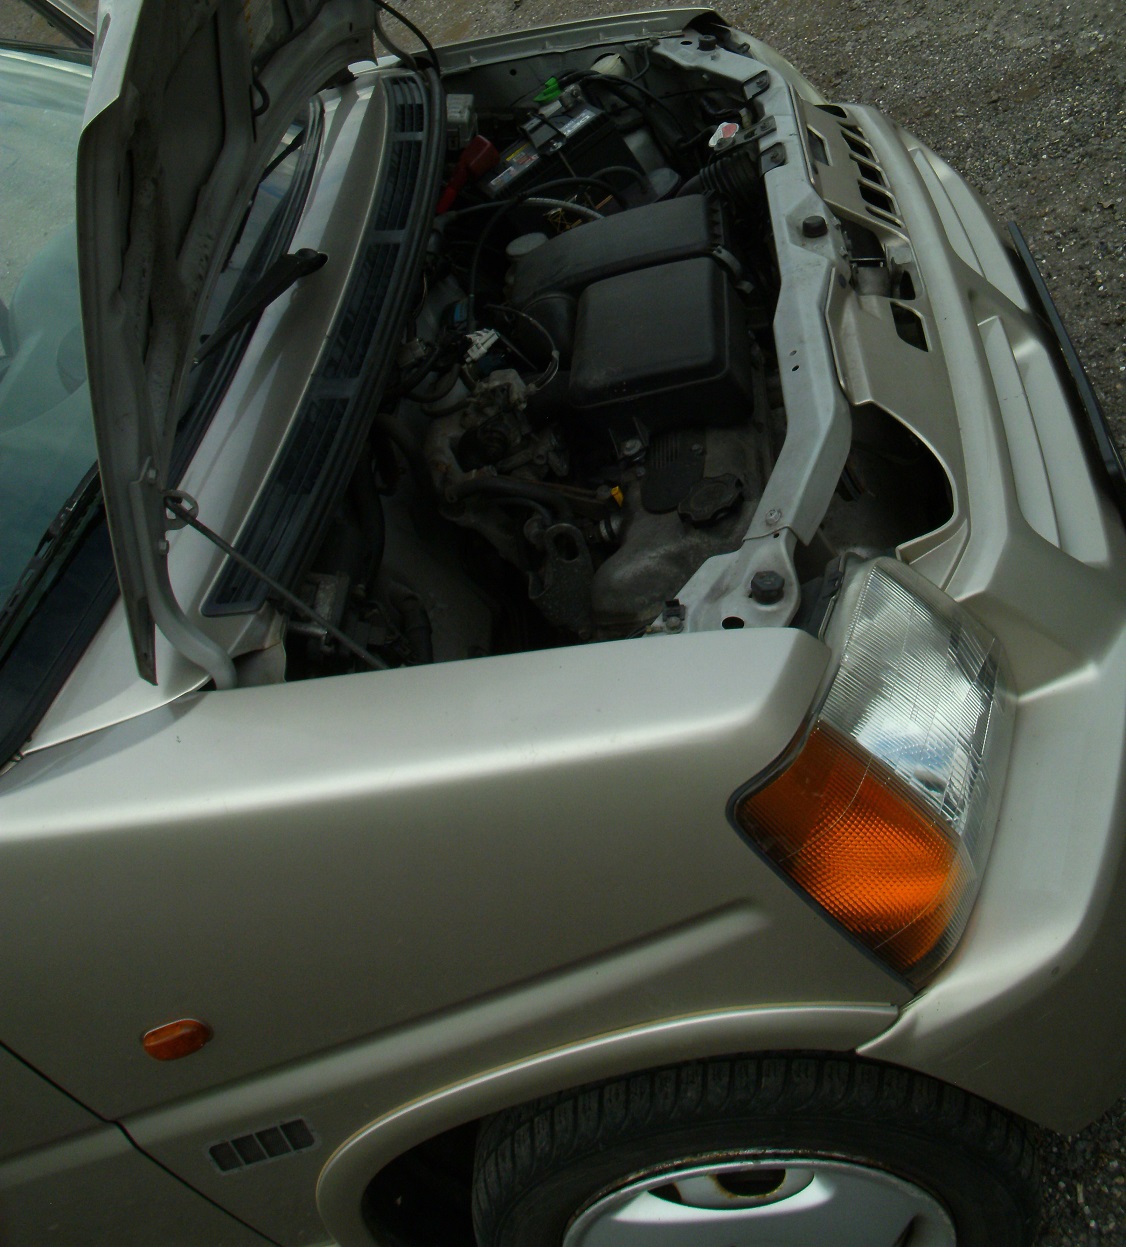
The engine in this one displaces equally with those of the 901s. The difference being the amount of cylinders, the Suzuki running smoother. But, demonstrating shortcomings, lacking the usable low-end torque of the ED-20s and overall horsepower band of the DOHC Daihatsu 3s.
The Suzuki 4 is equipped with a maintenance-free timing chain, eliminating the need to worry about failing belt tensioner bearings near the end of belt replacement intervals.
The gearbox is better suited for urban driving, given that the first 4 gears are more closely ratioed than those of the Daihatsu boxes. The fifth gear is wider spaced for exclusively freeway driving.
Aside from bumping out those dents, attention will be paid to the shifting mechanism of which feels dry while somewhat sloppy. It may just be a matter of replacing whatever rubber grommets and plastic bushings may be deteriorated.
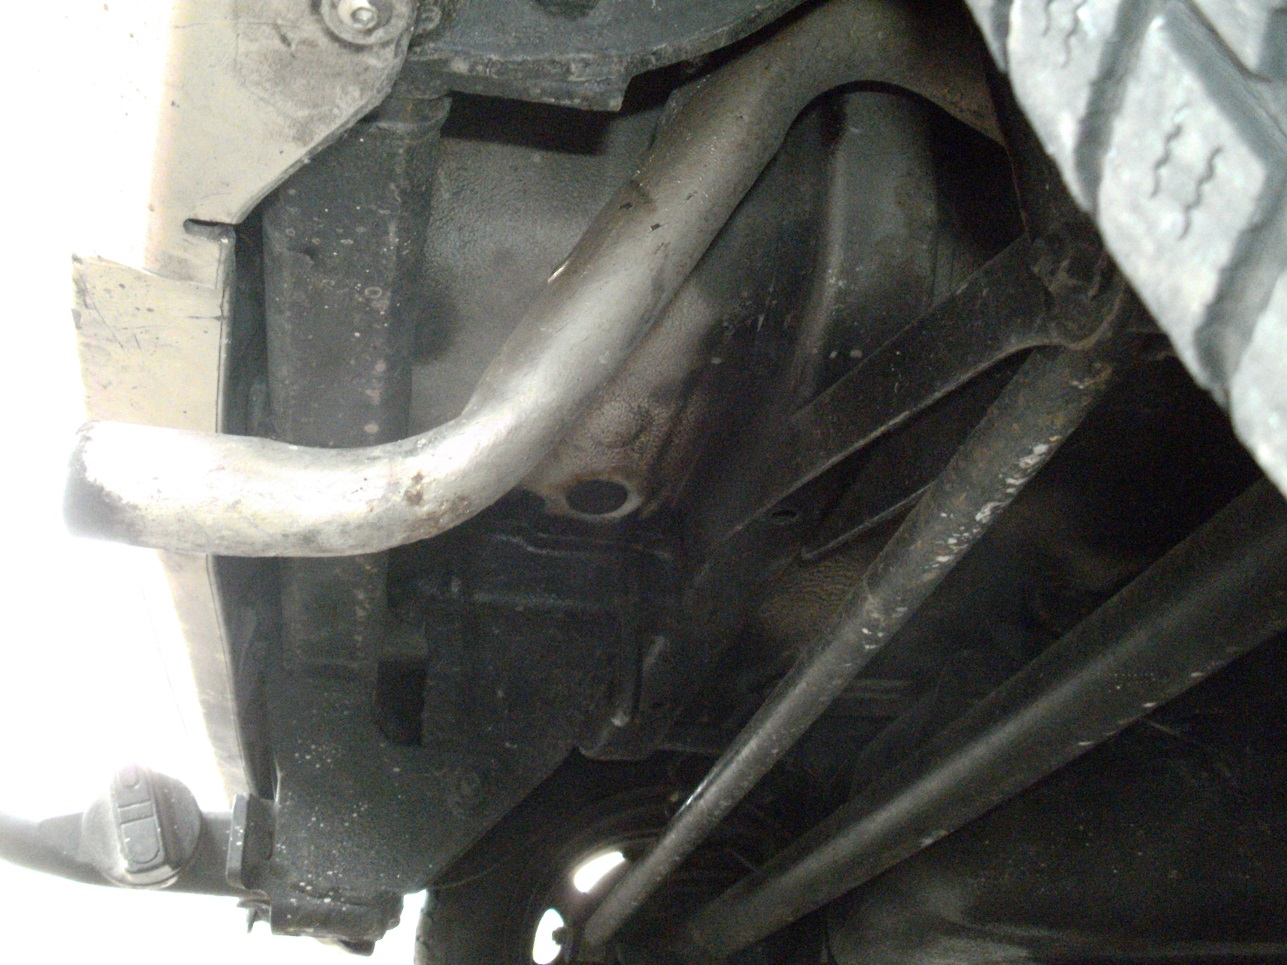
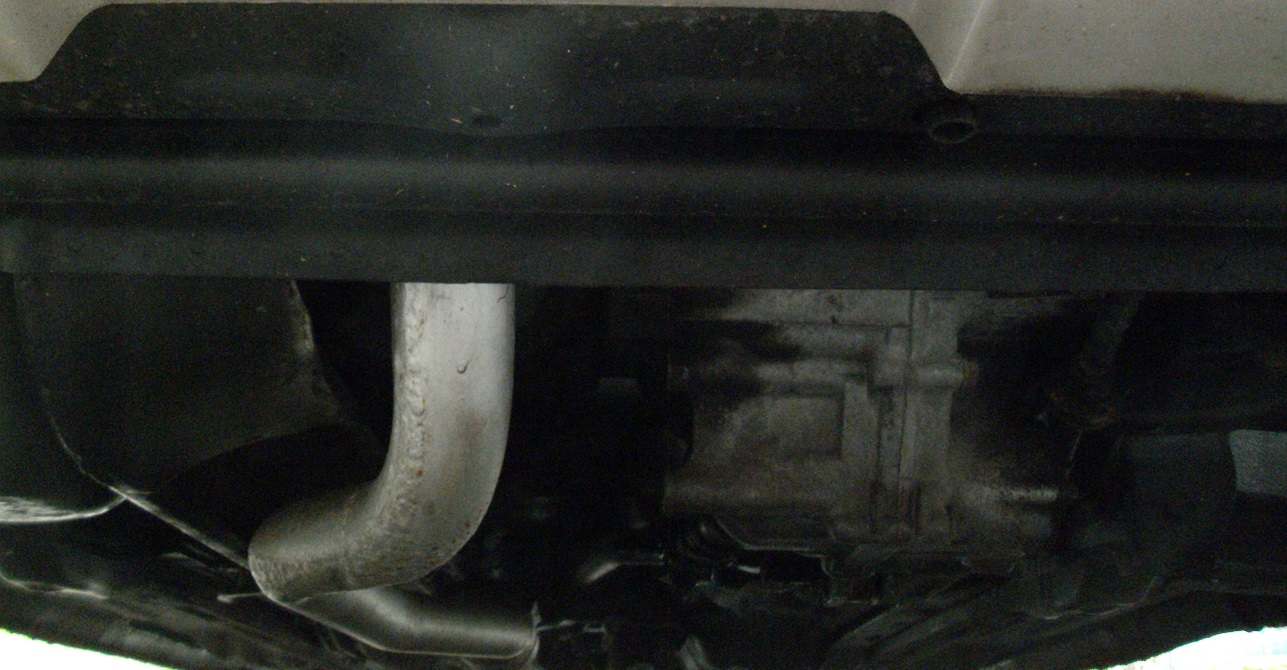
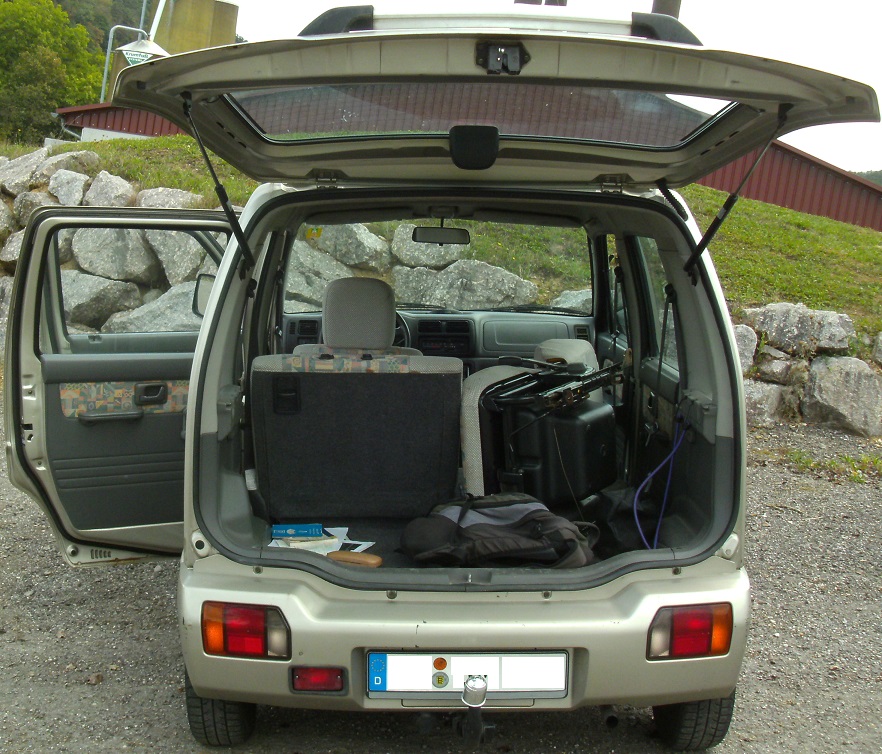
If not welded on, I will remove the heavy trailer hitch and put it aside for emergency use.
I will also experiment with disconnecting the power steering assist, to see if roadway feedback can be improved.
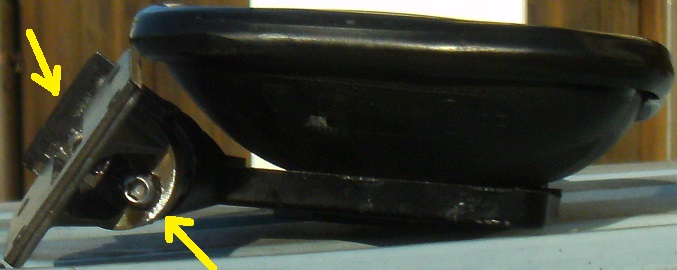
The signal horn will also be replaced with separate high and low-toned examples, identical to those in my 601.
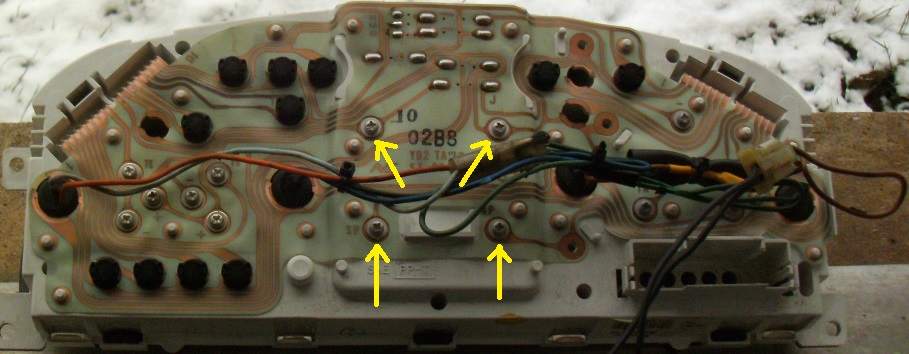
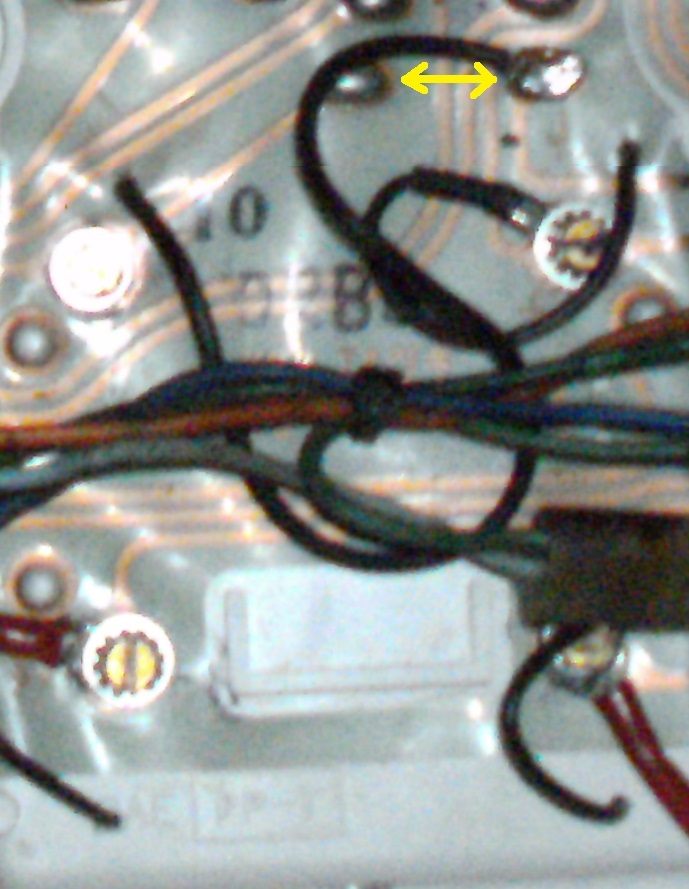
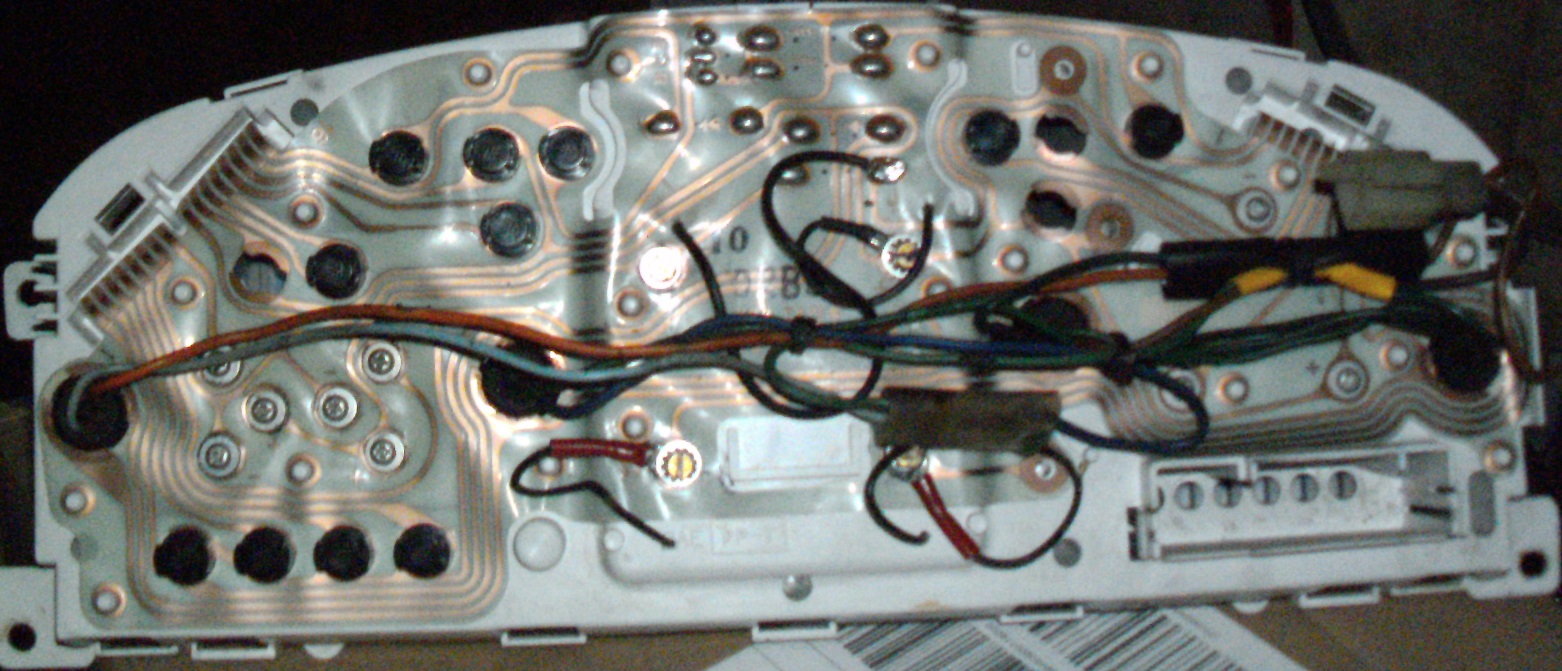
The difficult to see at night red tachometer and speedometer needles will be coloured yellow, in order to counter my red-green colour blindness. 30, 50 and 70 kmh markings will, as in my 601, be highlighted

6 Likes

Here are new images. If I may start with the accident of which the previous owner attempted tidying up, it appears that the windscreen has been replaced, using some sort of non-hardening putty, to secure it in place. Since taking these photographs, I’ve applied silicone, in order to prevent water entry. Later on, I may remove the windscreen, to remount it with more suitable glue

It appears that this otherwise obsolete trailer hitch is mounted on a frame. Since a key is no longer available, I have no other recourse, than to remove this entire frame. Since moving to this country, roadway discipline has progressively declined to the point where one gets the impression that the trend is to drive like children would. Therefore, I’m still debating removal of this hitch unit, solely because of the protection it would provide during an “accident”. Besides that, this hitch could pretaliate with causing reciprocal damage to any idiot following too close

But then again, the stupid laws in this failed state would make me partially liable for damages of which the “accident”'s initiator’s vehicle would incur, because of me failing to remove a locked hinge. Permanently-mounted hitches are exempt from this ruling

On these, the catylitic converter is mounted quite remotely from the exhaust extractor, causing me to wonder if gas temperatures remains high enough for proper catylization, once they reach this unit.
The gearbox has deserved a proper cleansing and an oil change to synthetic, so as to improve ease of shifting

The engine itself appears to have a comparatively smaller outter dimension than the equally-displaced Daihatsu EJ. Disappointing is the absence of a hydraulic clutch unit, rendering clutch-application quite tricky. A 4-speed automatic was an option of which falls under consideration. If I’m lucky, Suzuki and Daihatsu will share the same unit


I deliberately left the vehicle’s delivery condition intact for filming, until the driver’s seat cover was removed


The electrical connection interrupter for both warnibg buzzer and interior lamp has somehow gone missing

The instrument panel is quite handsome, in my opinion. It almost appears possible to replace the instrument panel with one of ours, until a close look unfortunately negates this wish.
The heater controls have remained identical to the decade older Swifts

After having removed the seat cover, it became appearant that the purpose of covering the seat was not to conceal damage

Further collision damages, except, of course, for the windscreen retaining strip pointed out

3 Likes

Aside from sealing the windscreen, removing the heavy trailer hitch, removal of rear seats and trim-installation, I took the opportunity to alter exterior cosmetics. The protruding flat black plastic has been closely matched with the paint I had available, hoping that it will ultimately fade to the point where it won’t be so obvious to see. I was in haste to seal rust pits located behing the hatch bar holding brackets, before this approaching winter.
The annoyingly-black foglamp frame is now silver, beter reflecting the lamp’s light.
Removing the plastic coating sealing the roof rack and painting remaining door handles is next on the agenda

An electronic bit has departed from my digital clock. I’m assuming that 510 is a resistor that can be replaced with one of a traditional sort?

Uhr_WS_510

2 Likes

I was almost sure of fotographing this clock from behind.
This is where this assumed chip broke off. To the right of the arrow is R510 printed onto the circuit board, identifying it as indeed a resistor. Of course, the chip sat where the arrows and encirclement point to severed solder terminals.
No attempt will be made in soldering it back on, because of risking its damage through overheating. Originally, these bits were bath-soldered by robots. Because this bit didn’t stand the test of time and road irregularity shock, the entire production of these clocks risk failure. In fact, failures of these often come up in Suzuki forums.
I’ll simply measure this resistor’s value, before soldering-in one of traditional manufacture

The following vehicle is what inspired me to buy my present one. It is still sitting on the lot and has 50.000 more kilometers than mine does. Before the month is out, if I don’t find anyone else prepared to swap gearboxes with me, I will visit the owner of this lot again and hear what he has to say about it. Vehicles with manual gearboxes sell better, here. I’ve ordered fully synthetic gearbox oil, because I suspect that it has never been changed. It shifts quite balky, especially when the outdoor temperature drops. If needs be, I might need to replace its synchronizer rings, before swapping, if the fresh oil doesen’t make enough of a difference

The possible donor is indeed rustier than mine. Besides whats visible at the bottom of the cargo door and right-rear passenger door, There is some rust-through, underneath. I’m suspecting that the owner is first awaiting replacement parts for the automatic gearbox, before patching the rust

It does have air conditioning, as its plus point

4 Likes

Having driven by, last Tuesday, I haven’t seen the above vehicle. At the end of this week, I’m driving by with mine, underway to visit a former Daihatsu dealership in neighboring Switzerland, travelling with my 601’s damaged cylinder head.
Either this Wagon R is in the garage getting ready for sale or is at another shop getting its automatic repaired or has been sold.
Unlike in my first 601, substituting this Wagon R’s gearbox oil with synthetic didn’t seem to make any noticable difference (it could be that synthetic oil was already in there, when I bought the vehicle?). The 4-banger that’s in there lacks the low-end torque needed for proper clutch dosage. In other words, higher revs are needed, in order to get this vehicle moving, compared to both ED and EJ Daihatsus. The EJ is of equal displacement as this Wagon R’s engine. But, aside from smooth idling, the EJ outperforms my Suzuki’s rather anemic "power"plant in all power bands. An automatic gearbox would make this vehicle better to live with. All I need is a swap donor.
I have been having problems with the speedometer of which has gradually worsened. It wouldn’t move, before reaching 20 kilometers per hour, at first. Thereafter, it wouldn’t move for awhile, before hitting 30. Lastly, it would take a few kilometers of travel, before it would move at all. Having wished for my 601’s mechanical revolving cable system, I went to take a look at what appeared to be the sending unit, as I made room to look, while replacing the thermostat. I then instinctively ruled out the problem at the gearbox’s end and then once again removed the instrument pod, suspecting an electrical connection there. Measuring the printed circuit’s connection to the harness connector, there was continuity at each of the four ends. So, I brought out my fiberglass brush pen and started cleaning off each connection point, before applying lithium grease. To my utter surprise, the speedometer began functioning like new.
If, perhaps, there are similar problems of this kind to be encountered with later Daihatsus, it might be worth confronting this problem likewise

Having forgotten to post my bulb update, the wiring harness added to this cluster was the result of an annoying intermittend bulb lighting problem, acting as a loose connection. Appearantly, the connections at the very guage needed for avoiding an urban speeding ticket was the one of which was disrupting. I didn’t, at the time, think up using my fiberglass brush pen for improving this connection. Instead, I condemned this as an inherent design problem and then proceeded to resurrect an instrument harness scavenged from an old Yamaha 500 of which I scrapped years ago. Problem solved

2 Likes

I began once again having problems with the speedometer functioning intermittendly. Convinced that there was an open connection somewhere within that pod, I decided to bridge the connections between the printed circuit and speedometer unit itself, through soldering wires connecting the printed board and terminals of which would get fastened to the mounting screws, after drilling holes through the pod’s plastic. The arrows point to a bridged connection where it didn’t matter if I soldered that wire to one terminal or the other

The final repair, in its entirety

Depending on outdoor temperature, I still get hesitation. Sometimes, it’ll take half a minute or so, before the speedometer will start operating. One would think that low temperature would allow less electrical resistance. Perhaps, drying lubricant could be the cause of this hesitation?
For extra measure, I ordered a GPS-oriented speedometer, in case the on-board one were to suddenly fail, when driving past fixed radar posts or through Switzerland where fines are much higher. When needed, all I have to do is to plug it into the cigarette lighter socket or to any other USB power source. It’ll take time to find an available satellite, though.
Surprisingly, my on-board speedometer seems to be pretty accurate. I’m wondering as to how much deviation would take place at motorway speeds