Hello! I am so glad to have stumbled across such a treasure trove of information and enthusiasm!
Back in March of 2017, I travelled to London and picked up this 2004 YRV 4Trak, and drove it home (via a stop over at my brother’s house in Surrey) to Aberdeen.
Initial issues identified in those two days:
- A horrific rattle when the clutch was out
- Broken CV joint boot (which we managed to replace - on a weekend no less!)
- It jumped out of 5th
- The speakers are absolutely dreadful
Sadly, it was slightly larger than my garage at the time could comfortably hold and be worked on, so work was exceedingly slow. Despite the slowness, I dropped the subframe so I could remove the gearbox and change the clutch. This was the state of the old one

And the flywheel looked the worse for wear
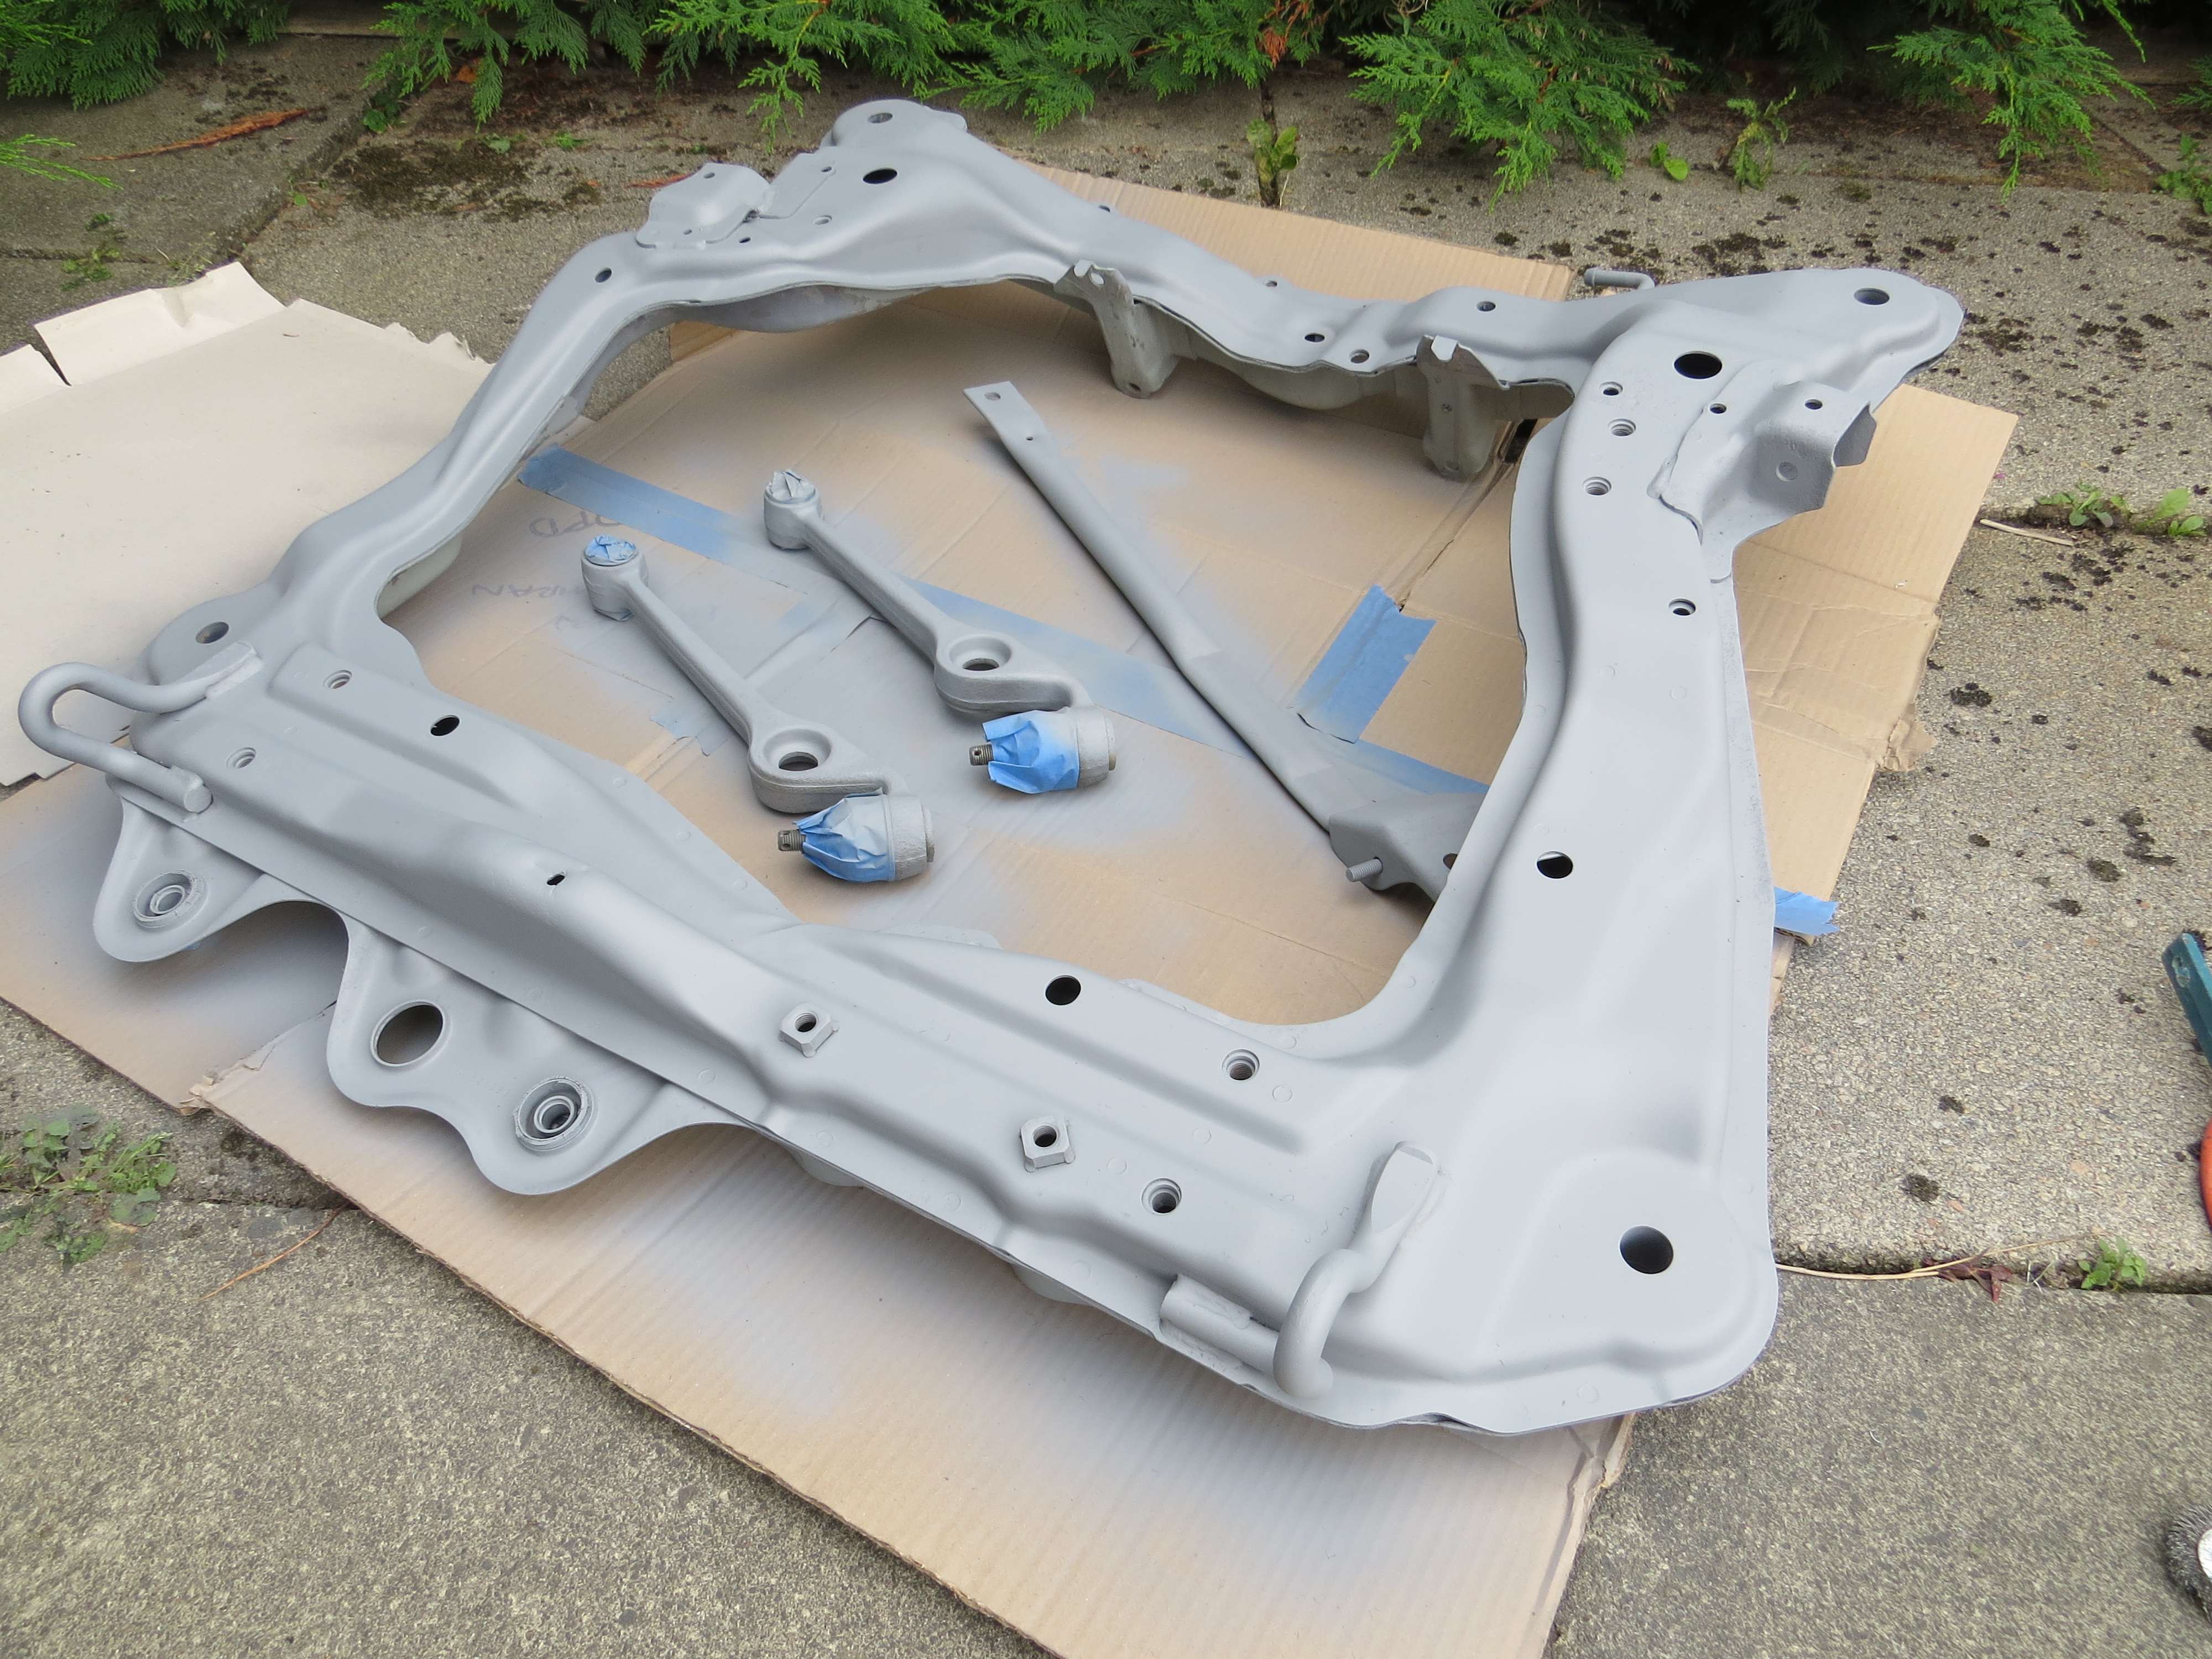
And while I had the subframe off, I might as well de-rust it:

It was about this time that I moved house into a place with a more comfortably-sized garage, where I could work with the garage door closed (and thus, not quite so damp/cold/windy). So I reassembled it, and took it to it’s new home (about September of 2018).

Now it could go up on axle stands, and I borrowed an engine crane to take the engine out. I also removed the front suspension completely, and have serviced the calipers. Here is a before picture:
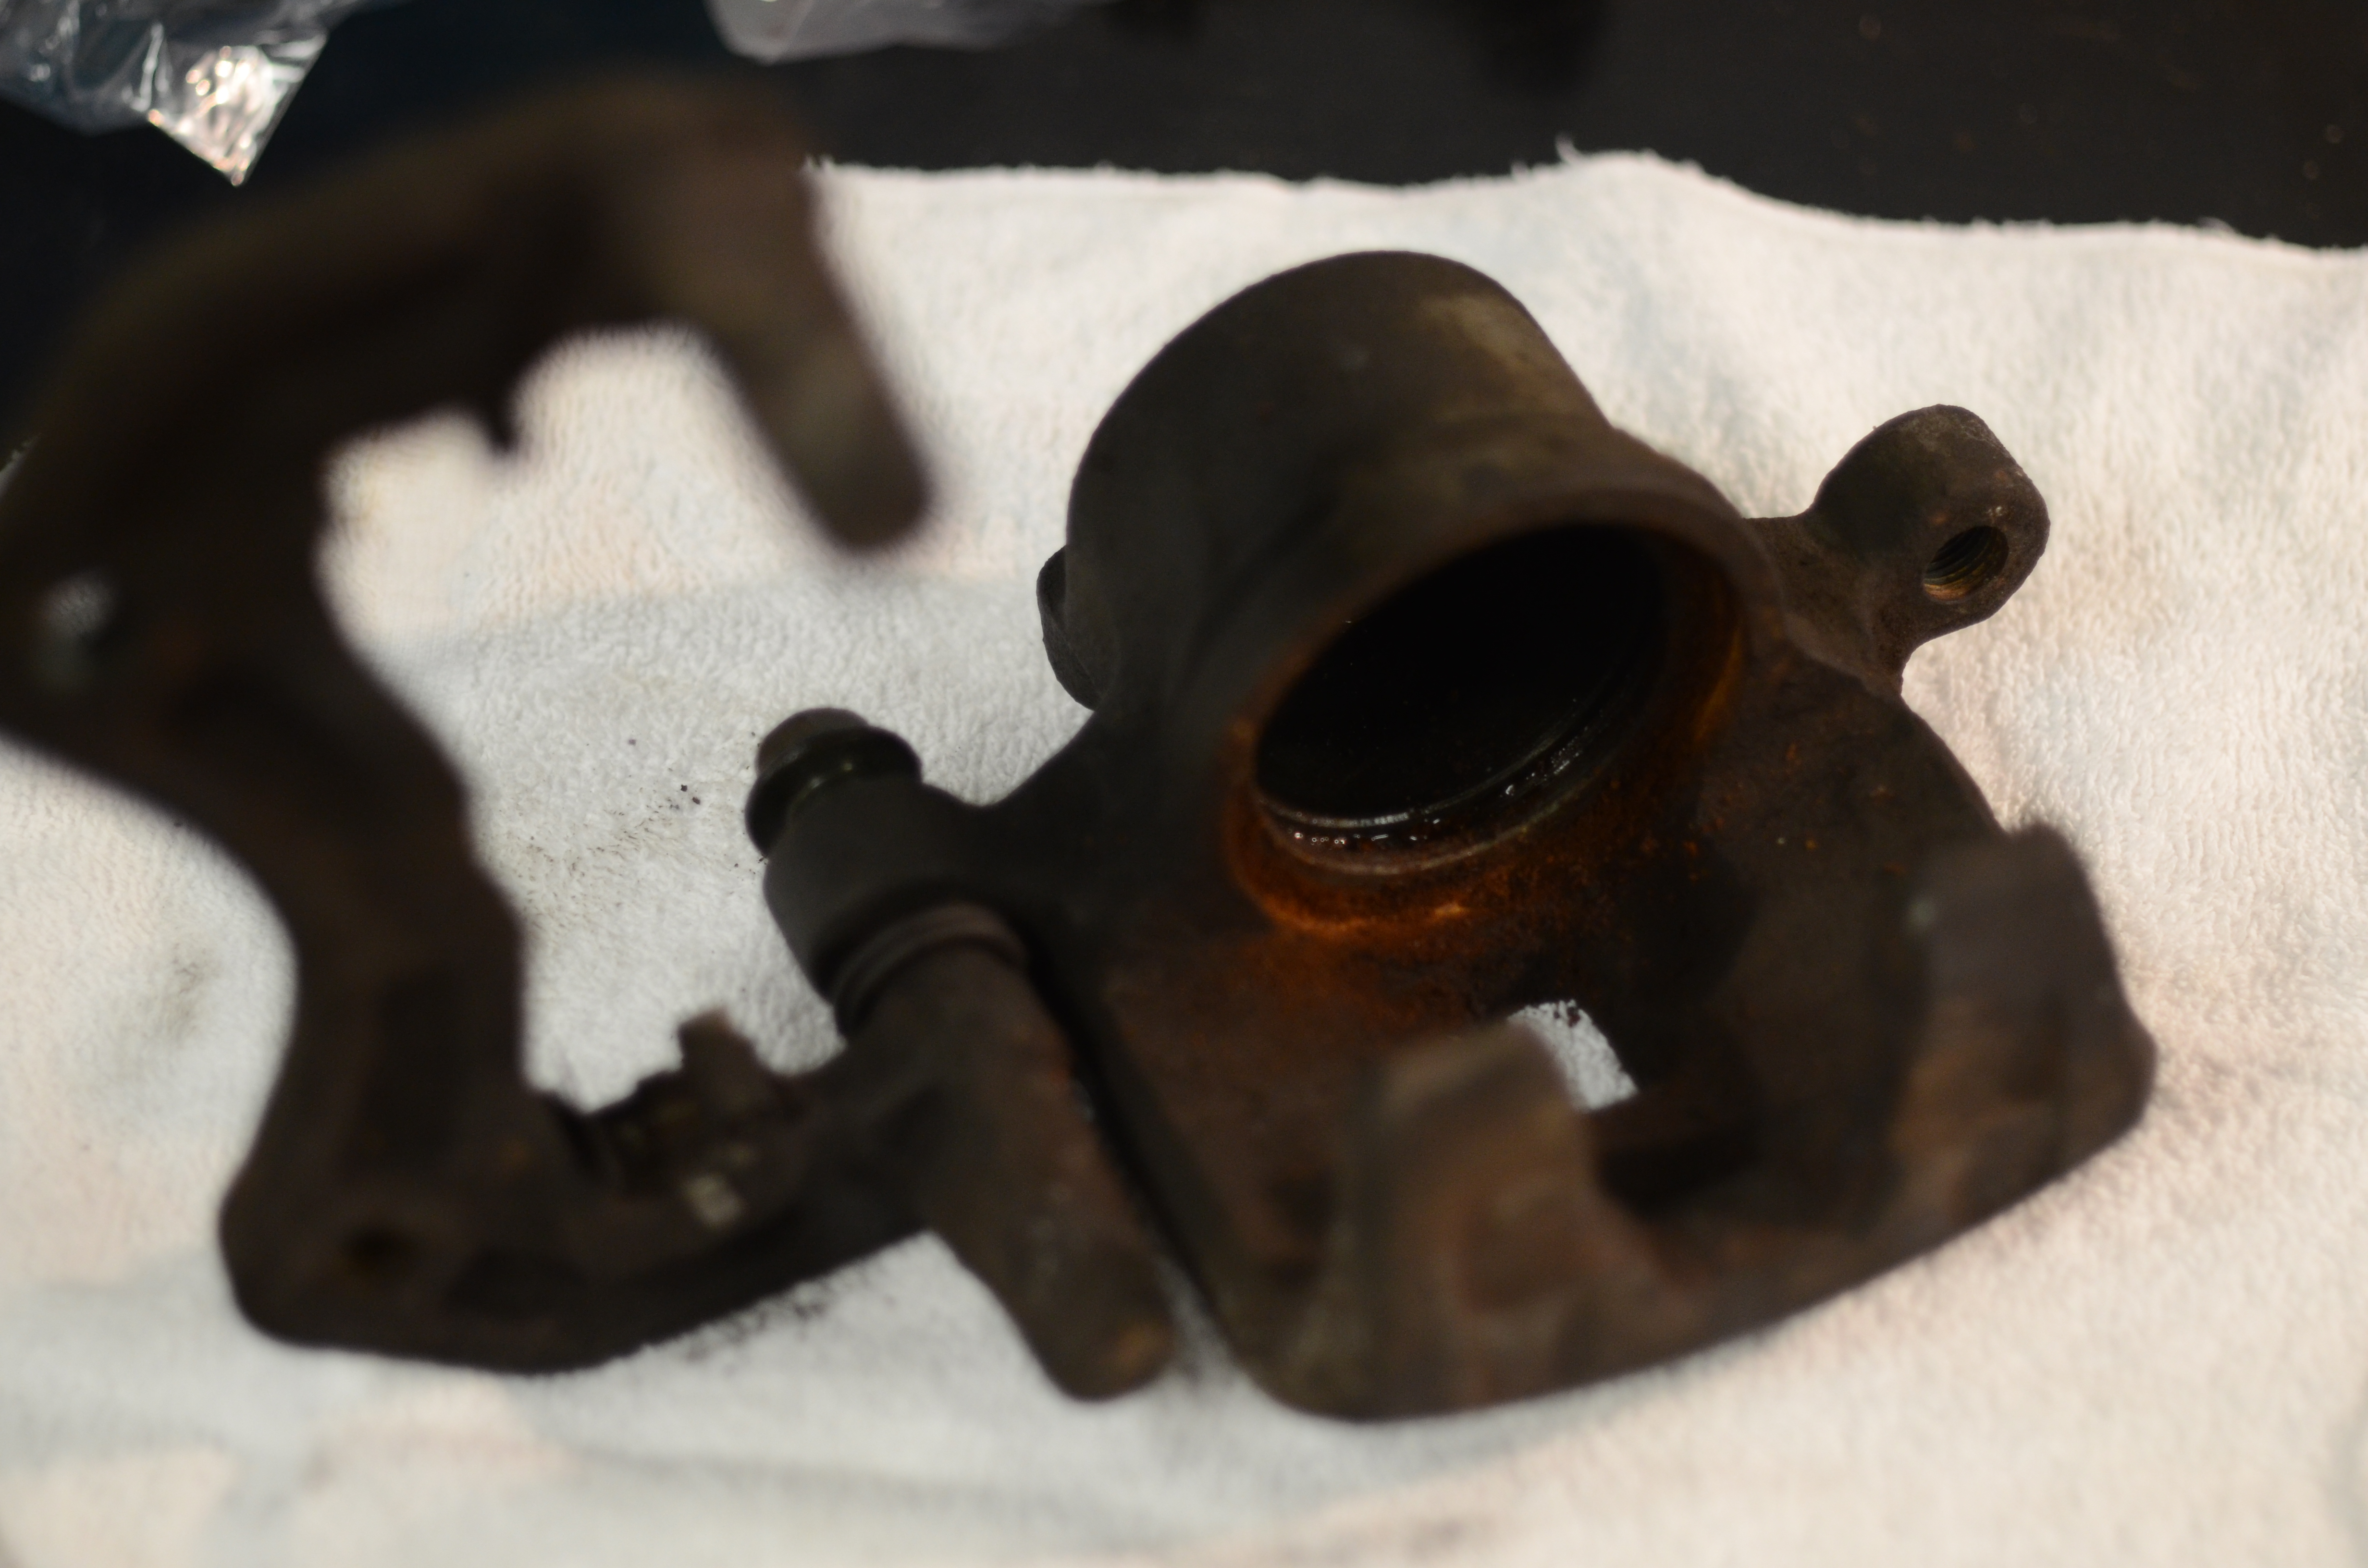
Annoyingly, my vehicle has “Akebono” brake calipers, and to service them, I had to buy three different servicing packs in order to get all the seals and rubber boots! They are all reassembled - if I remember I will post pictures.
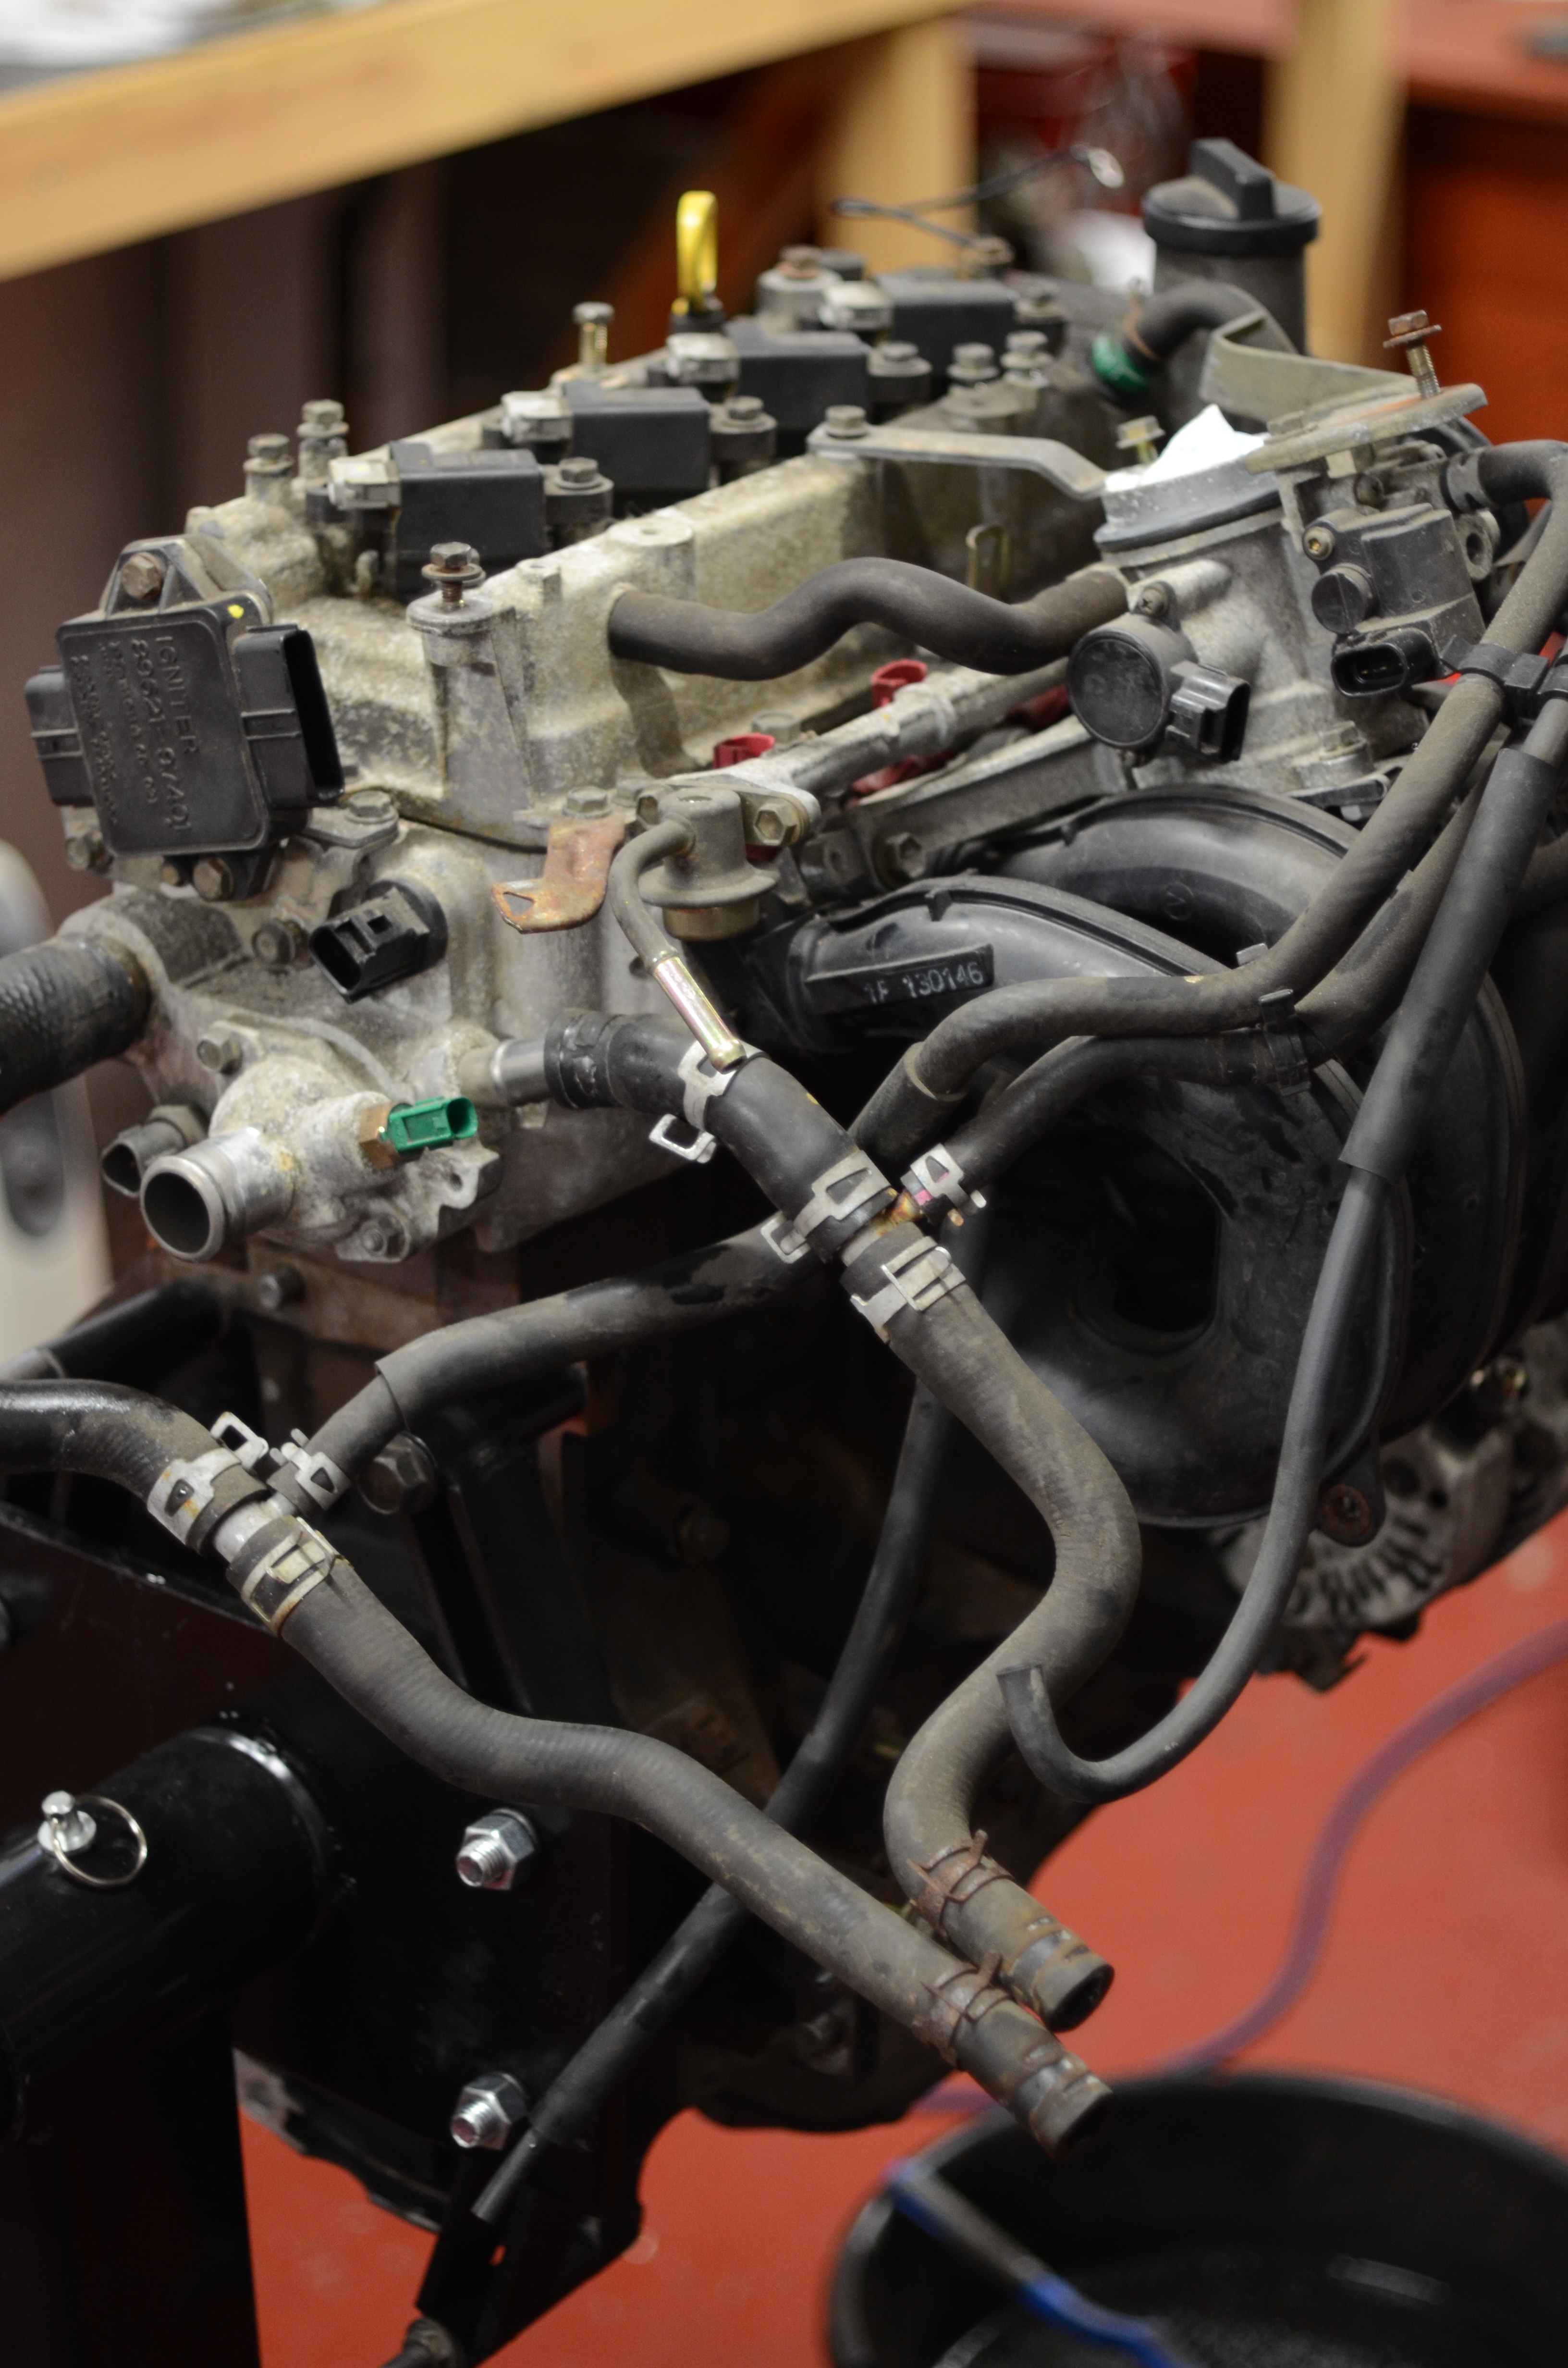
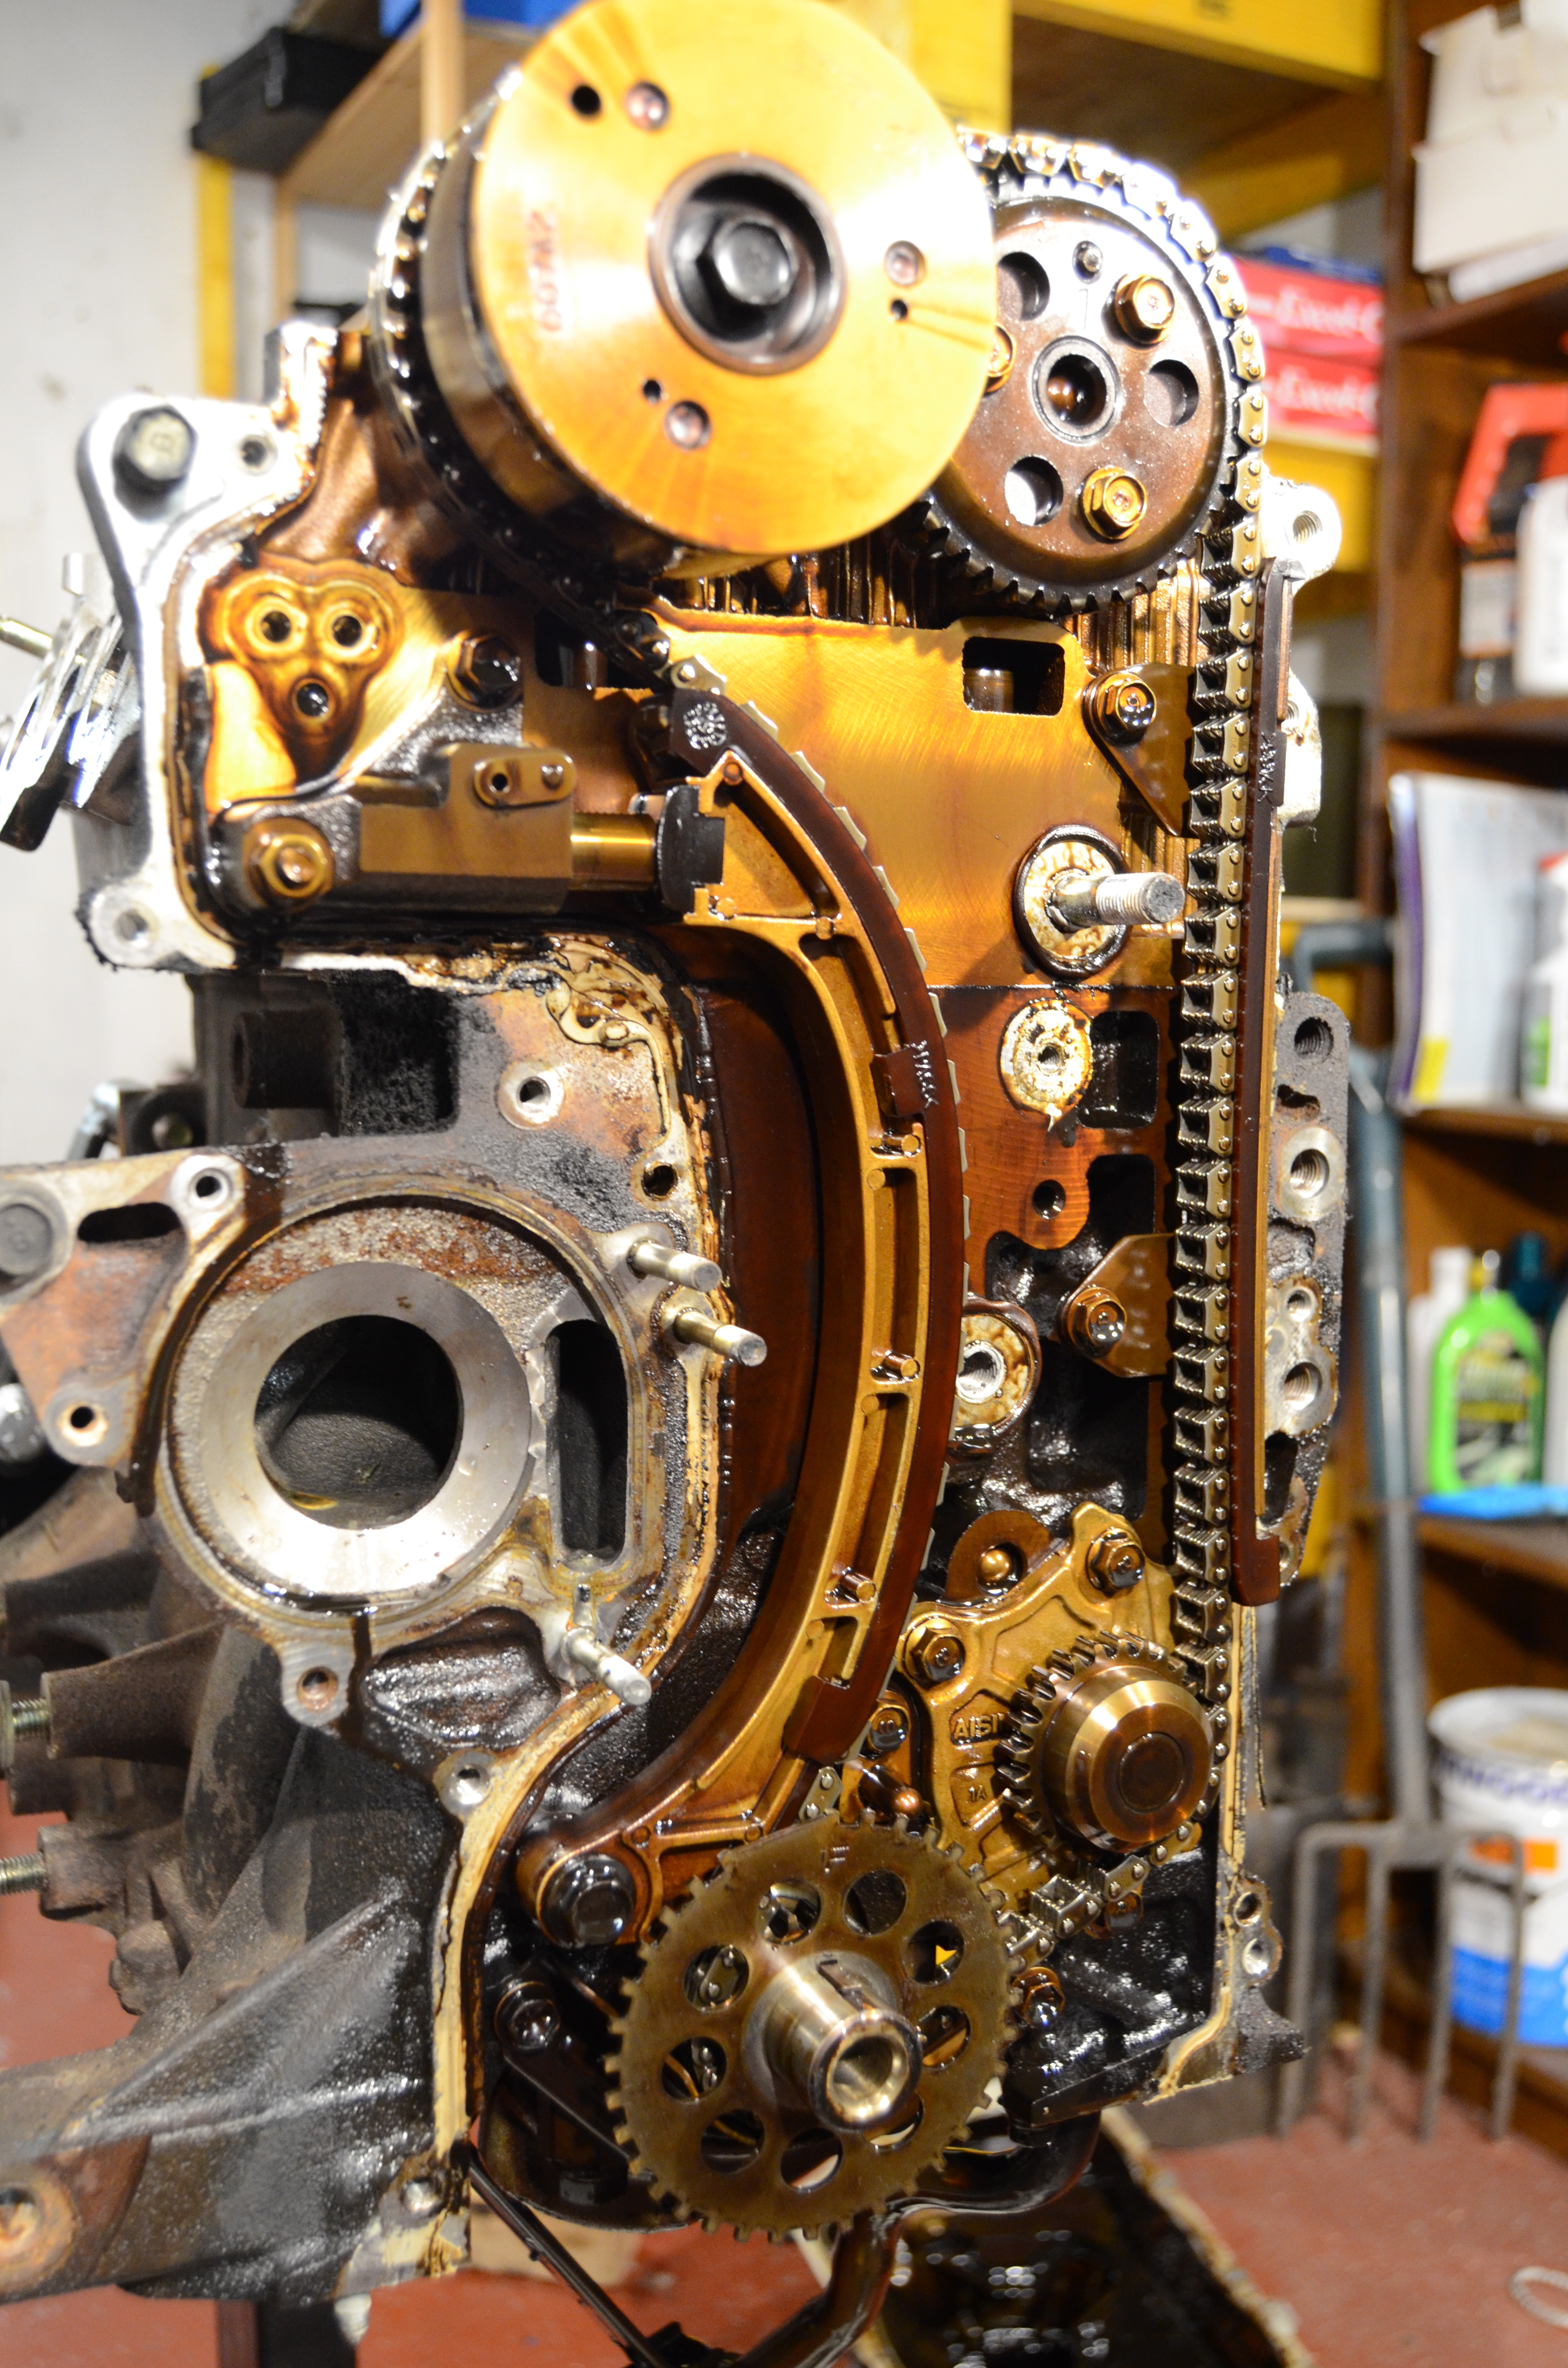
With the engine out, I stripped it down - mostly for my own education. It is a K3-VE engine, and what a marvel they are. So compact!
Here is an artistic photo of the Variable Valve timing actuator:
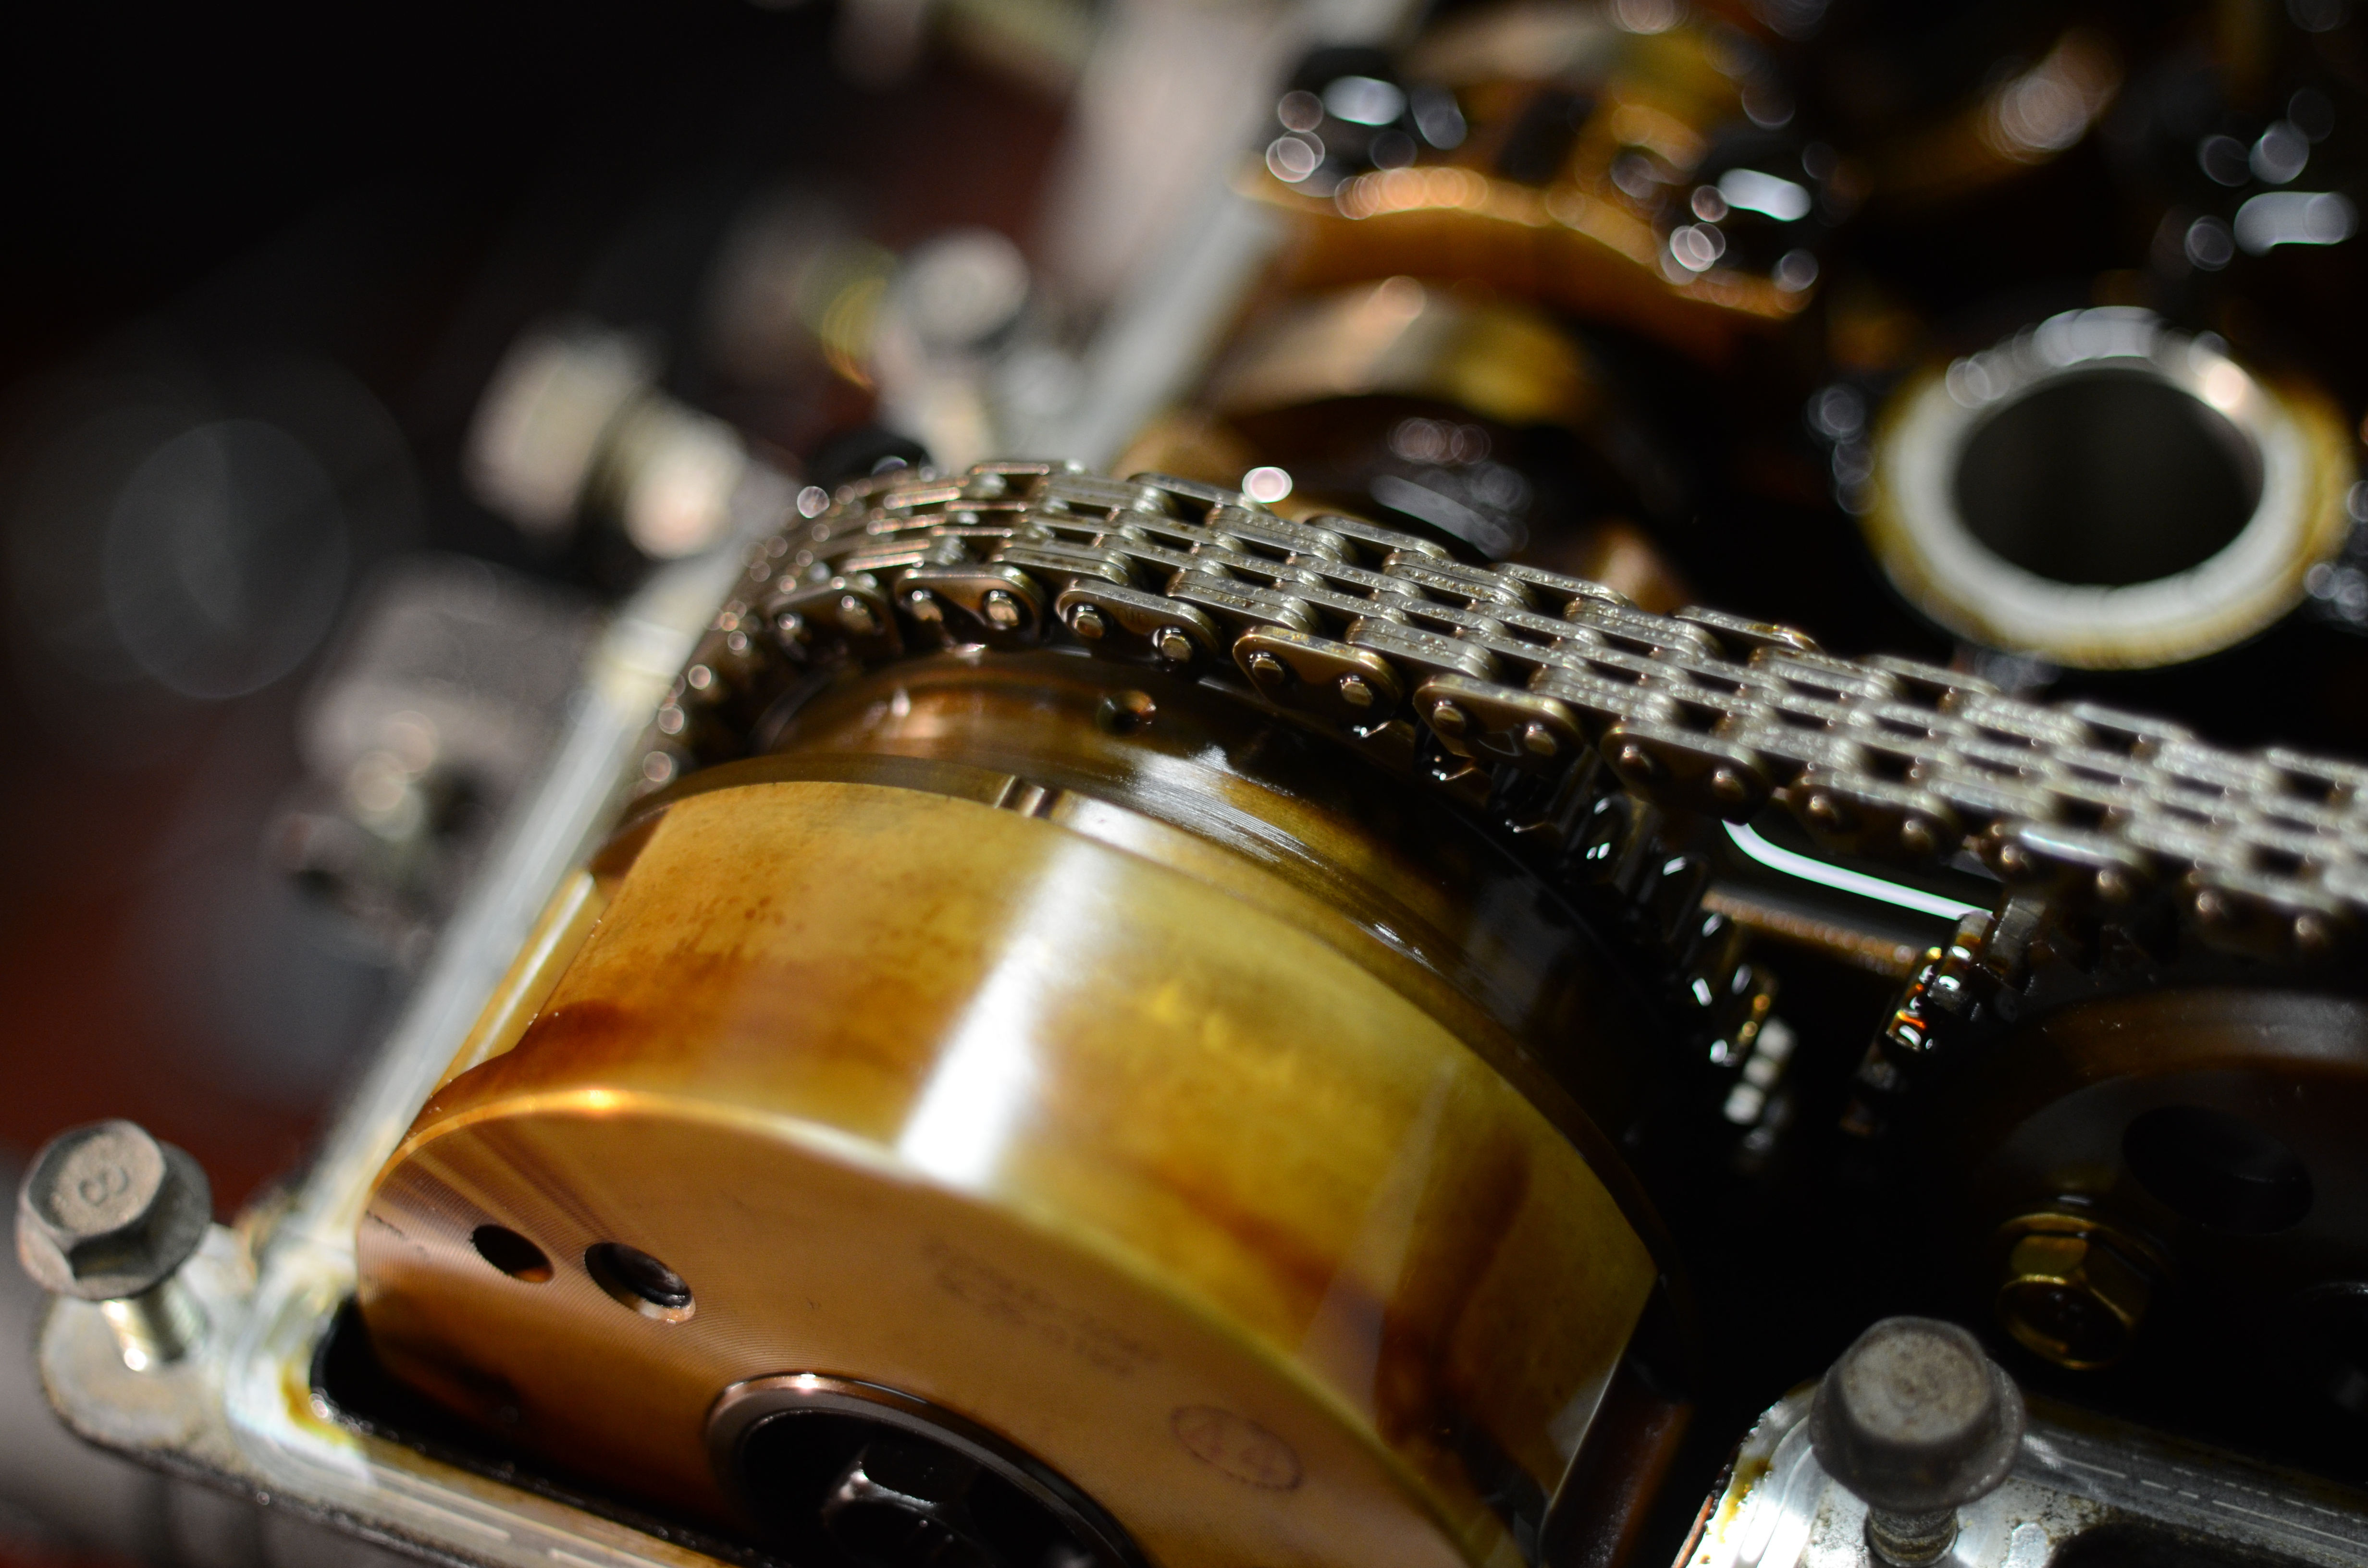
All the running surfaces on the cams were beautiful - practically no sign of wear on a no-service-history 80,000 mile engine.
Are people interested in seeing the awful dirty cruddy pictures? If so, let me know! I have cleaned and painted some of the exterior engine parts. I managed to find timing chain, gasket and bearing kits to refurbish the engine (more on this later).
This is still in the strip-down phase:
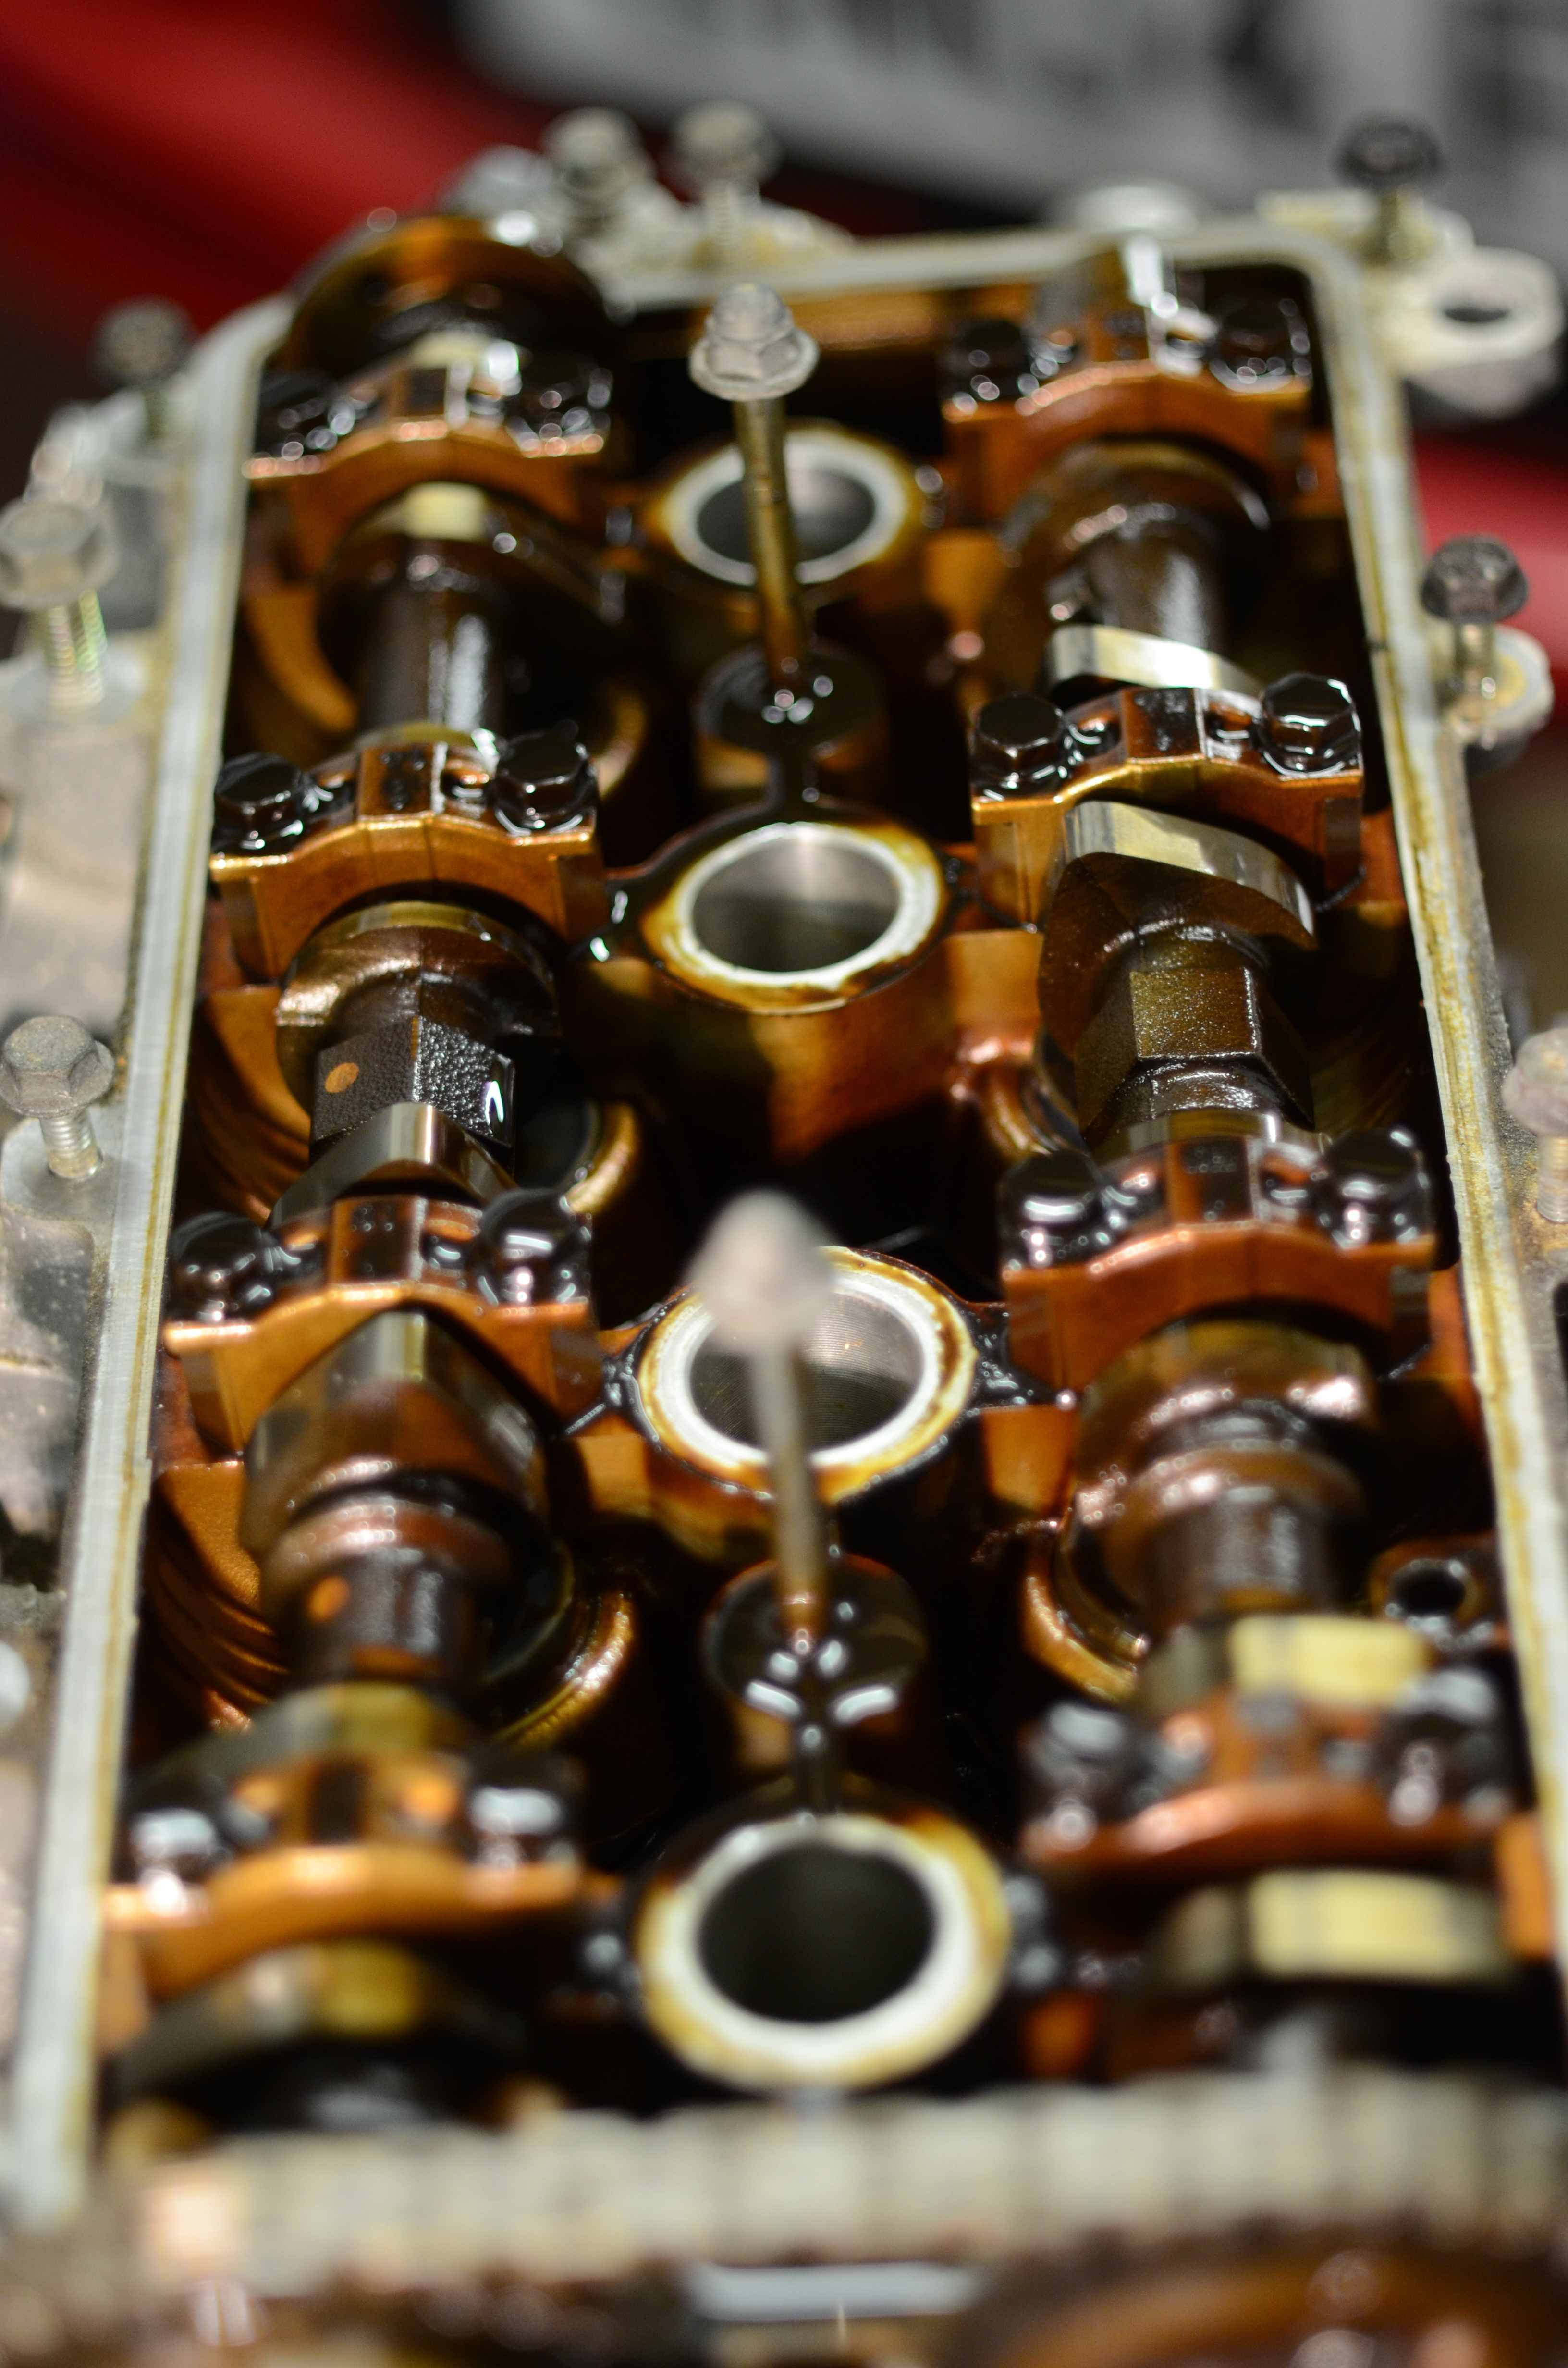
Underside of the head:
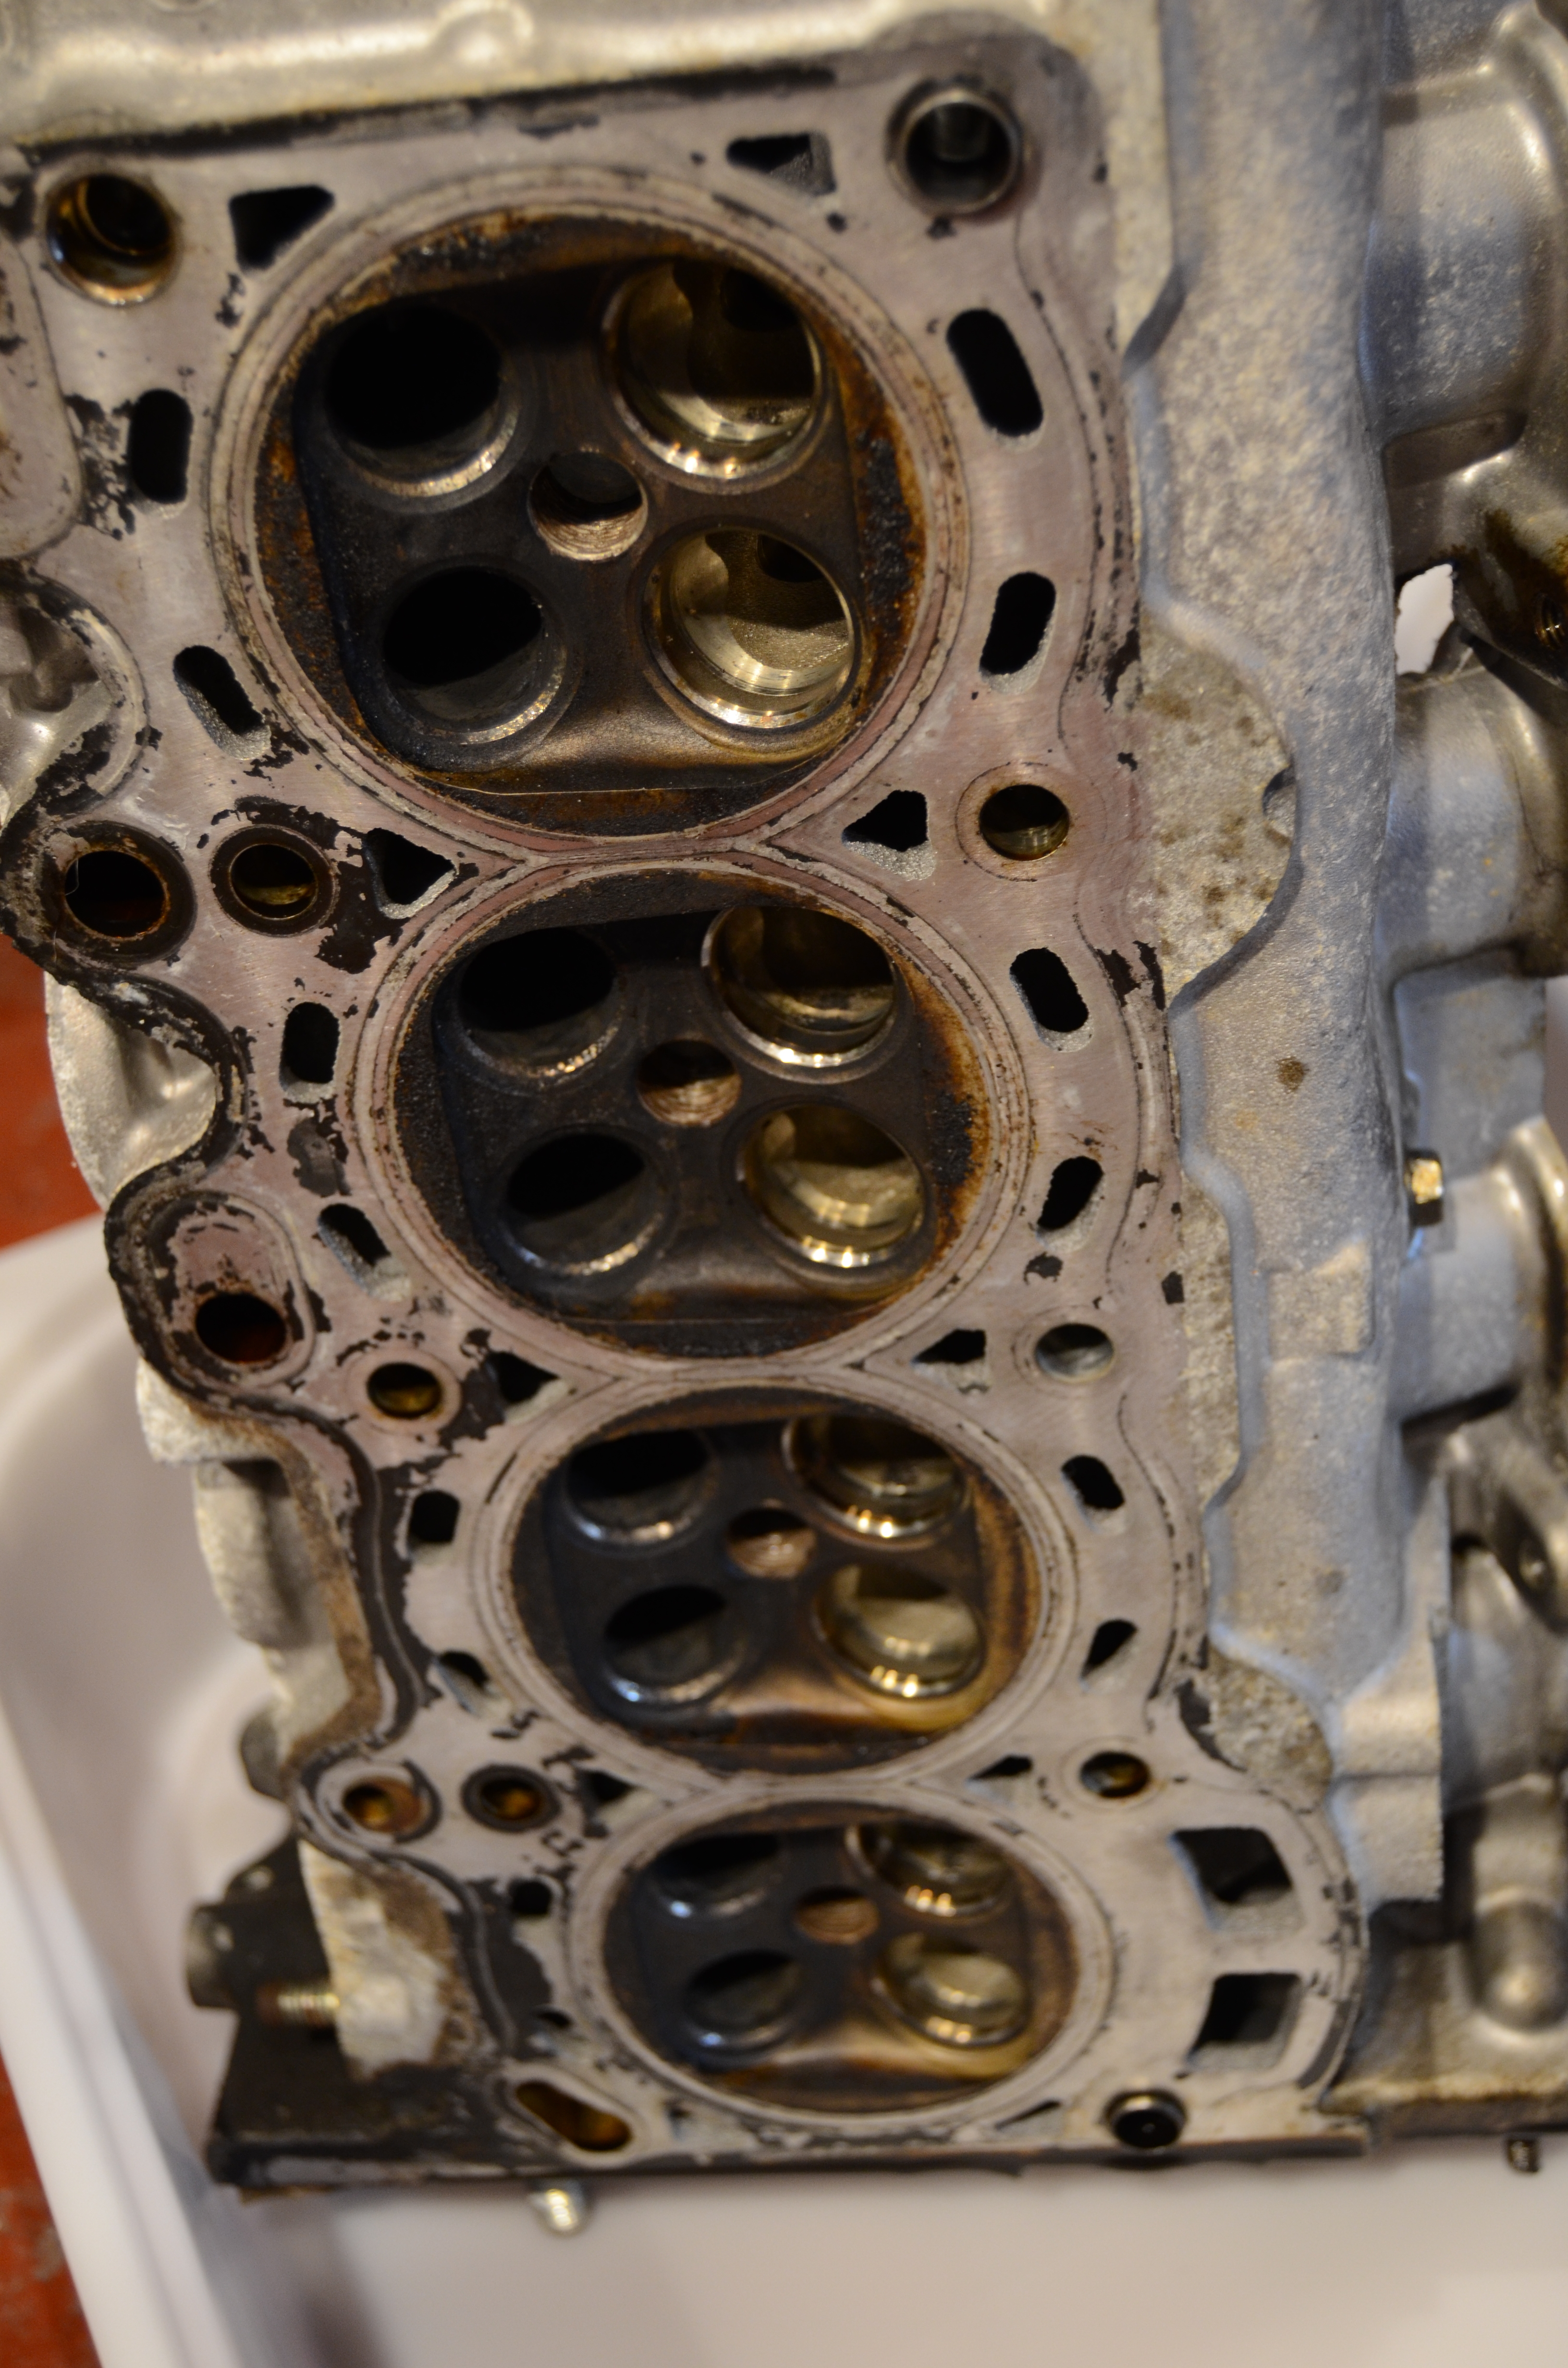
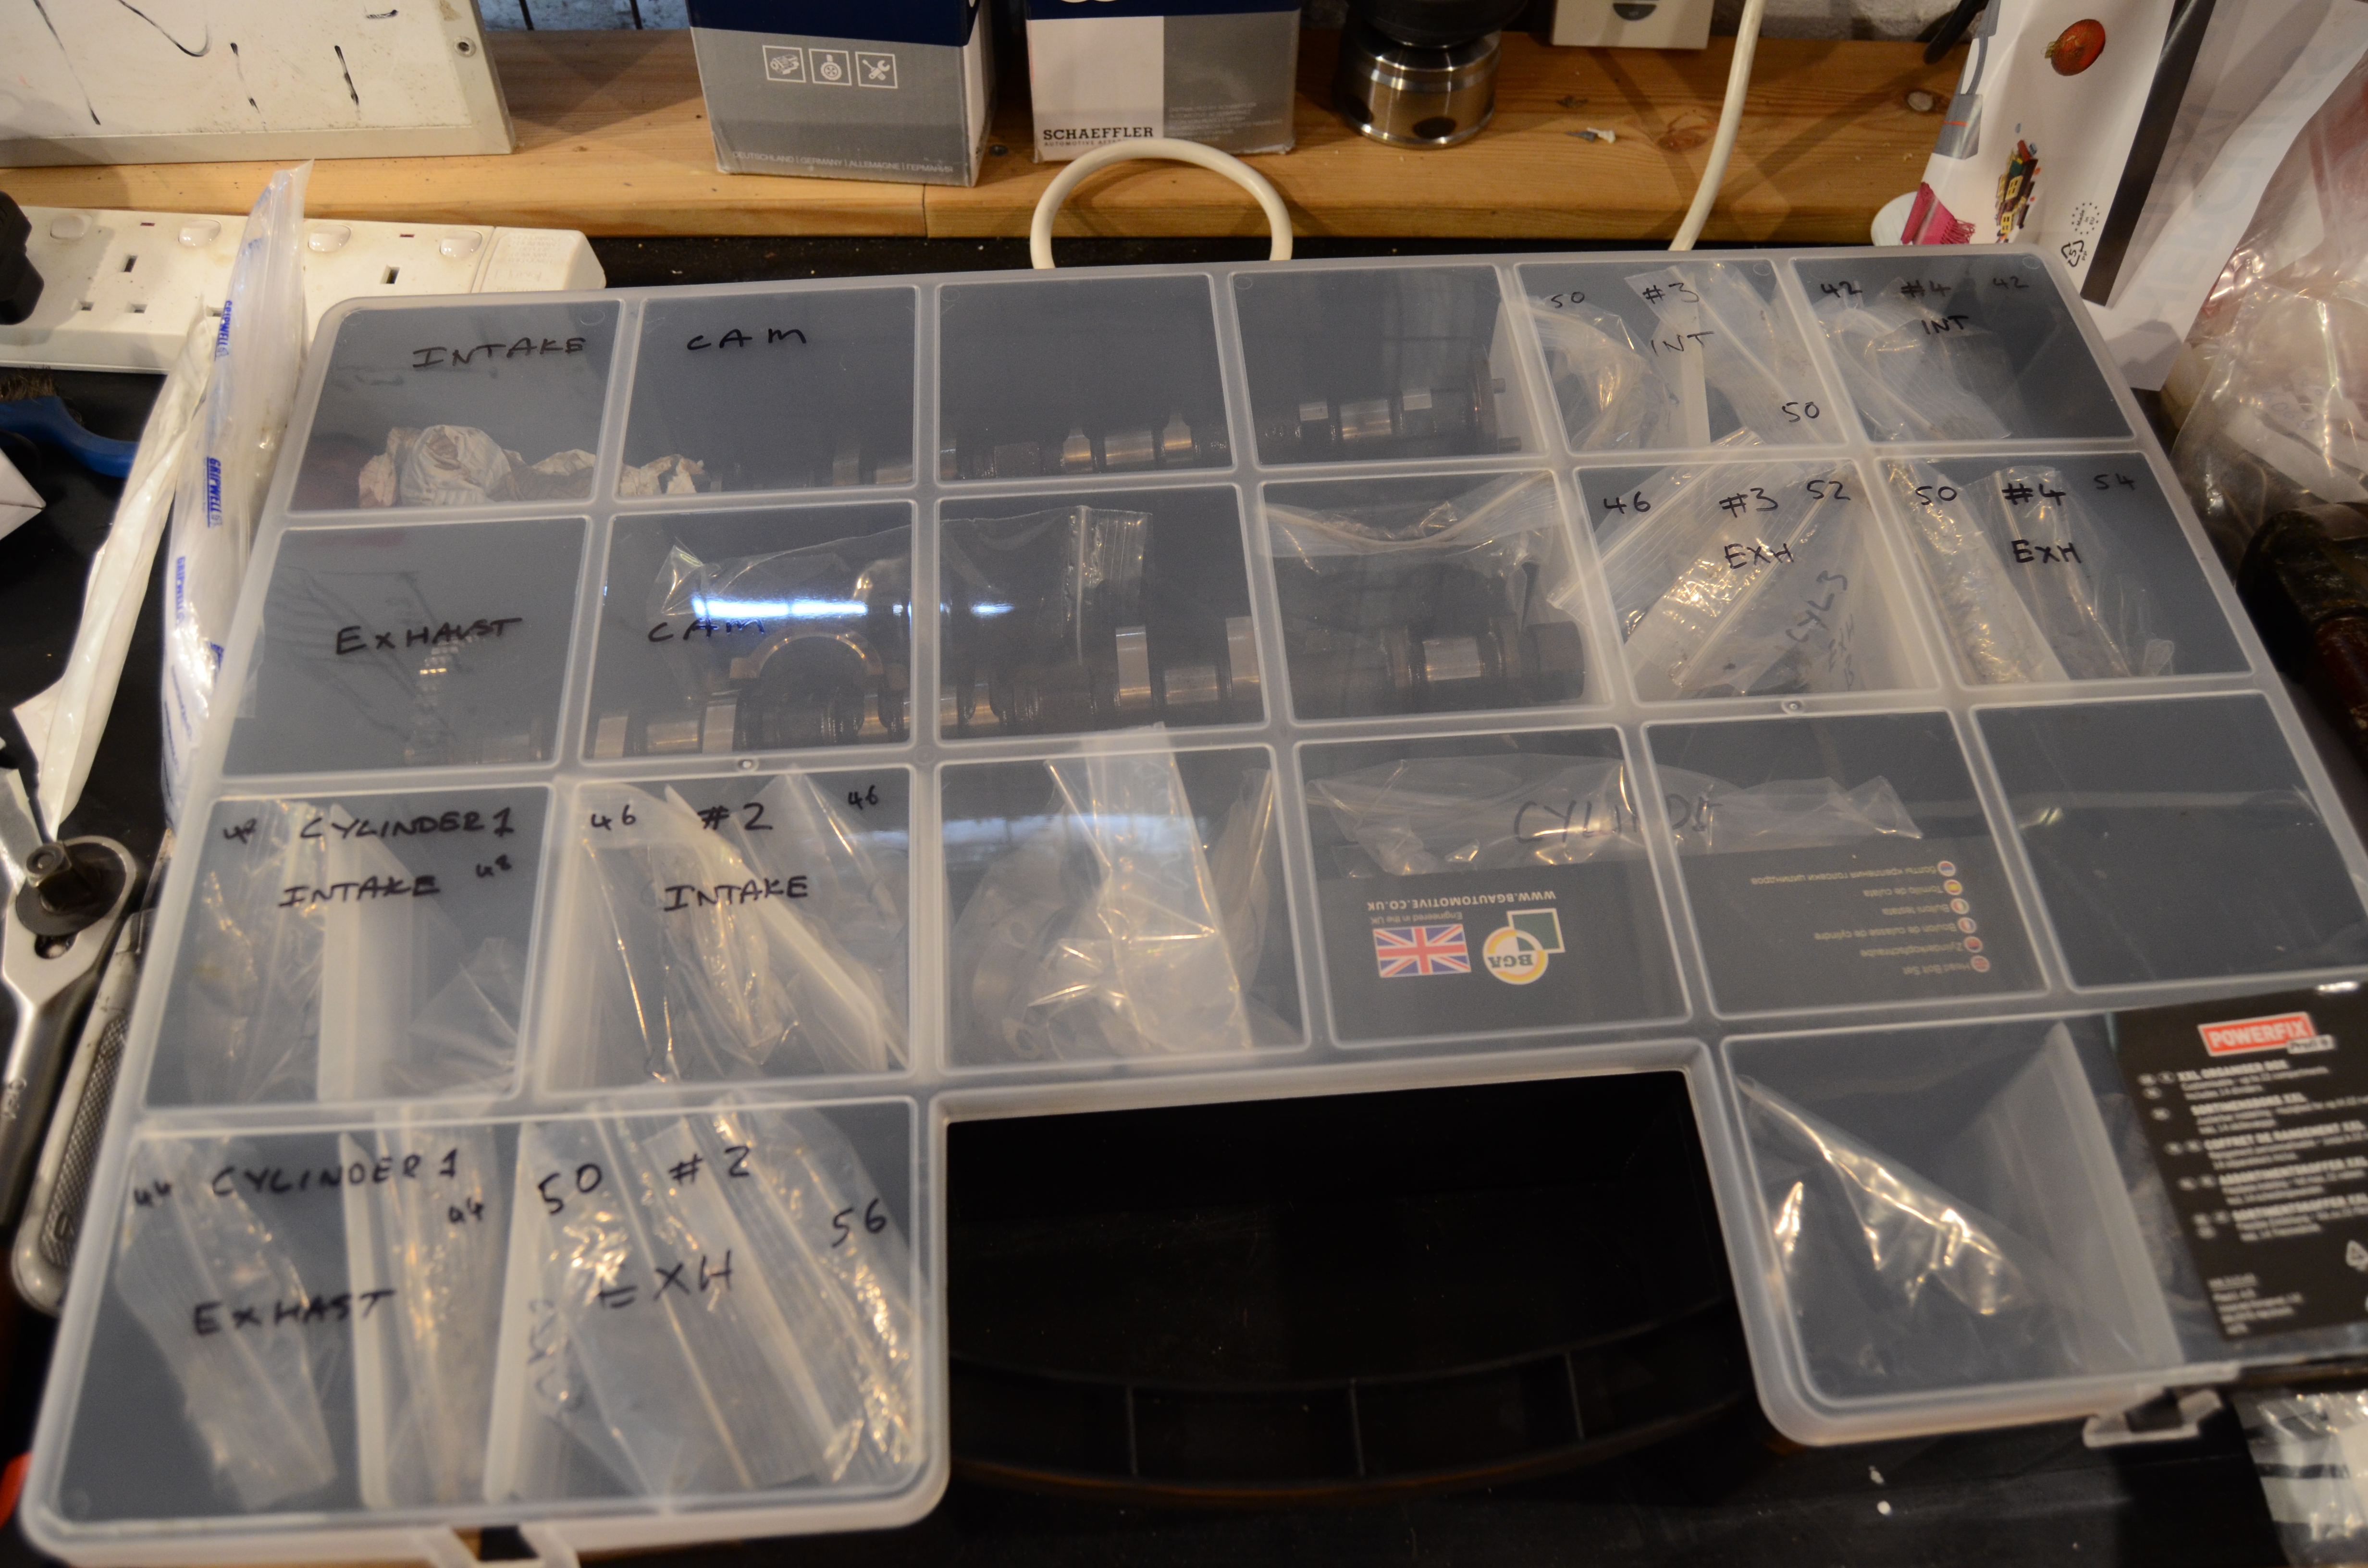
These are the parts from the stripped-down head.
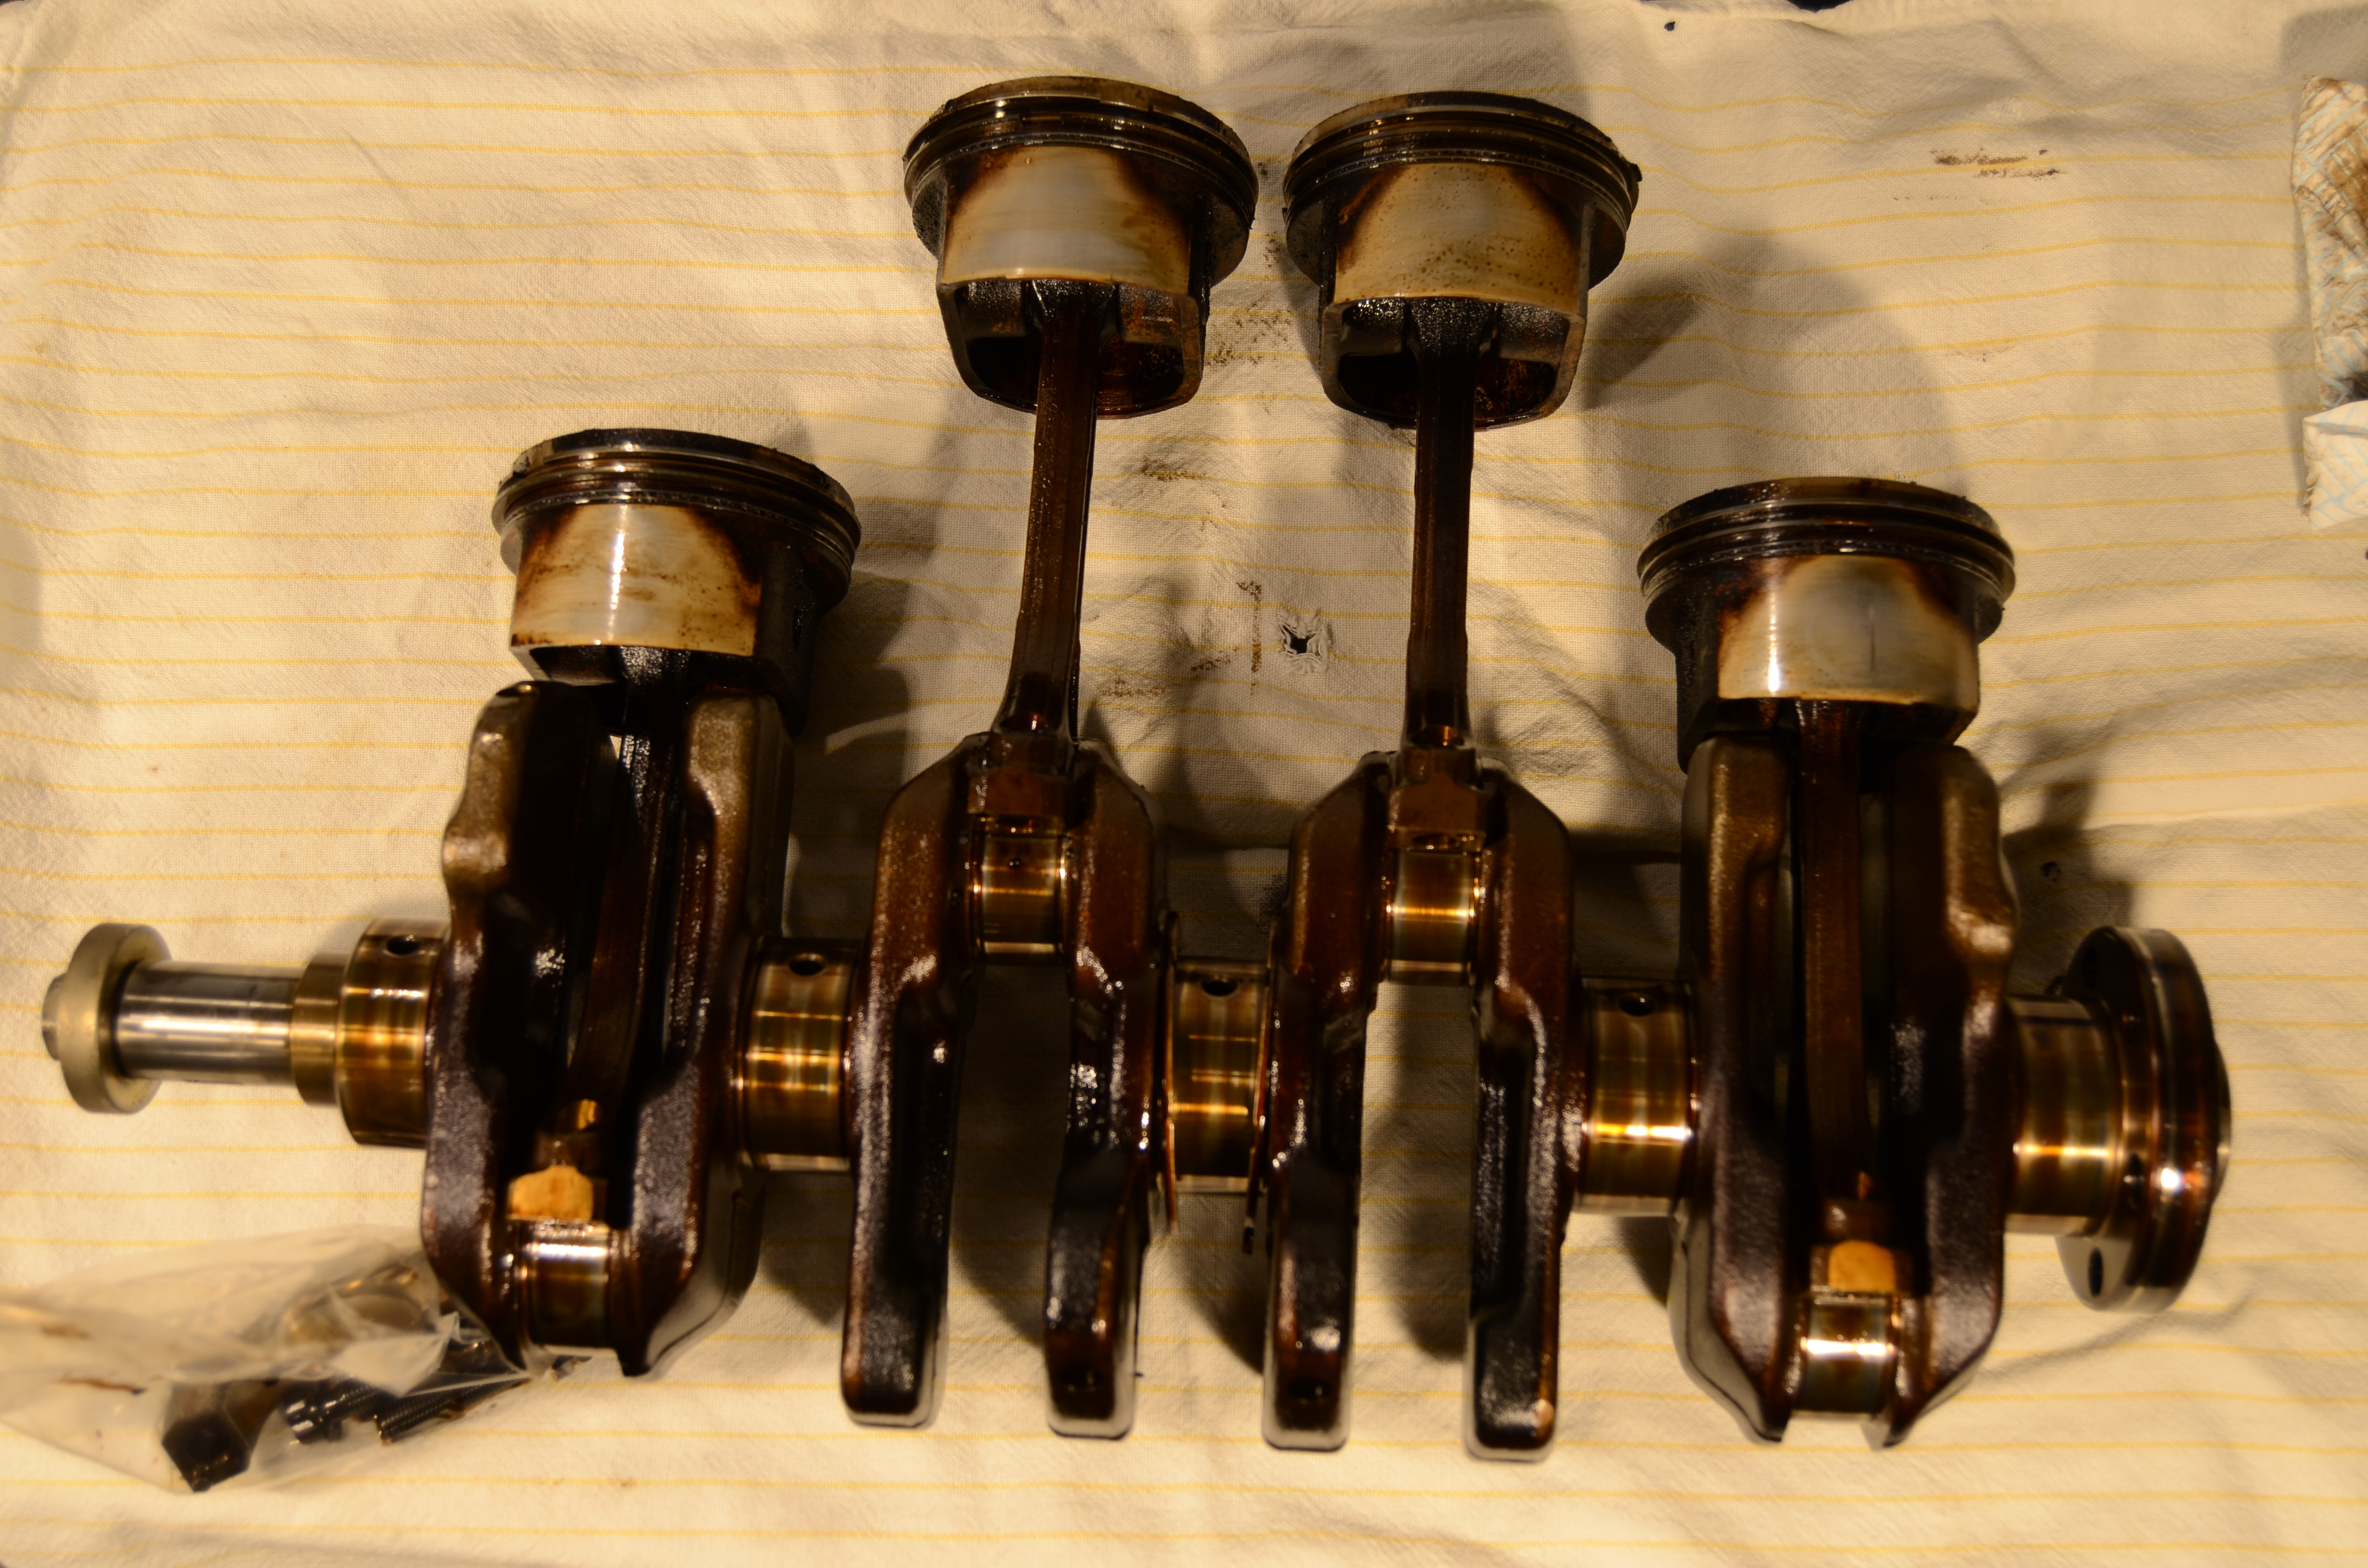
Rotating assembly removed from the block:
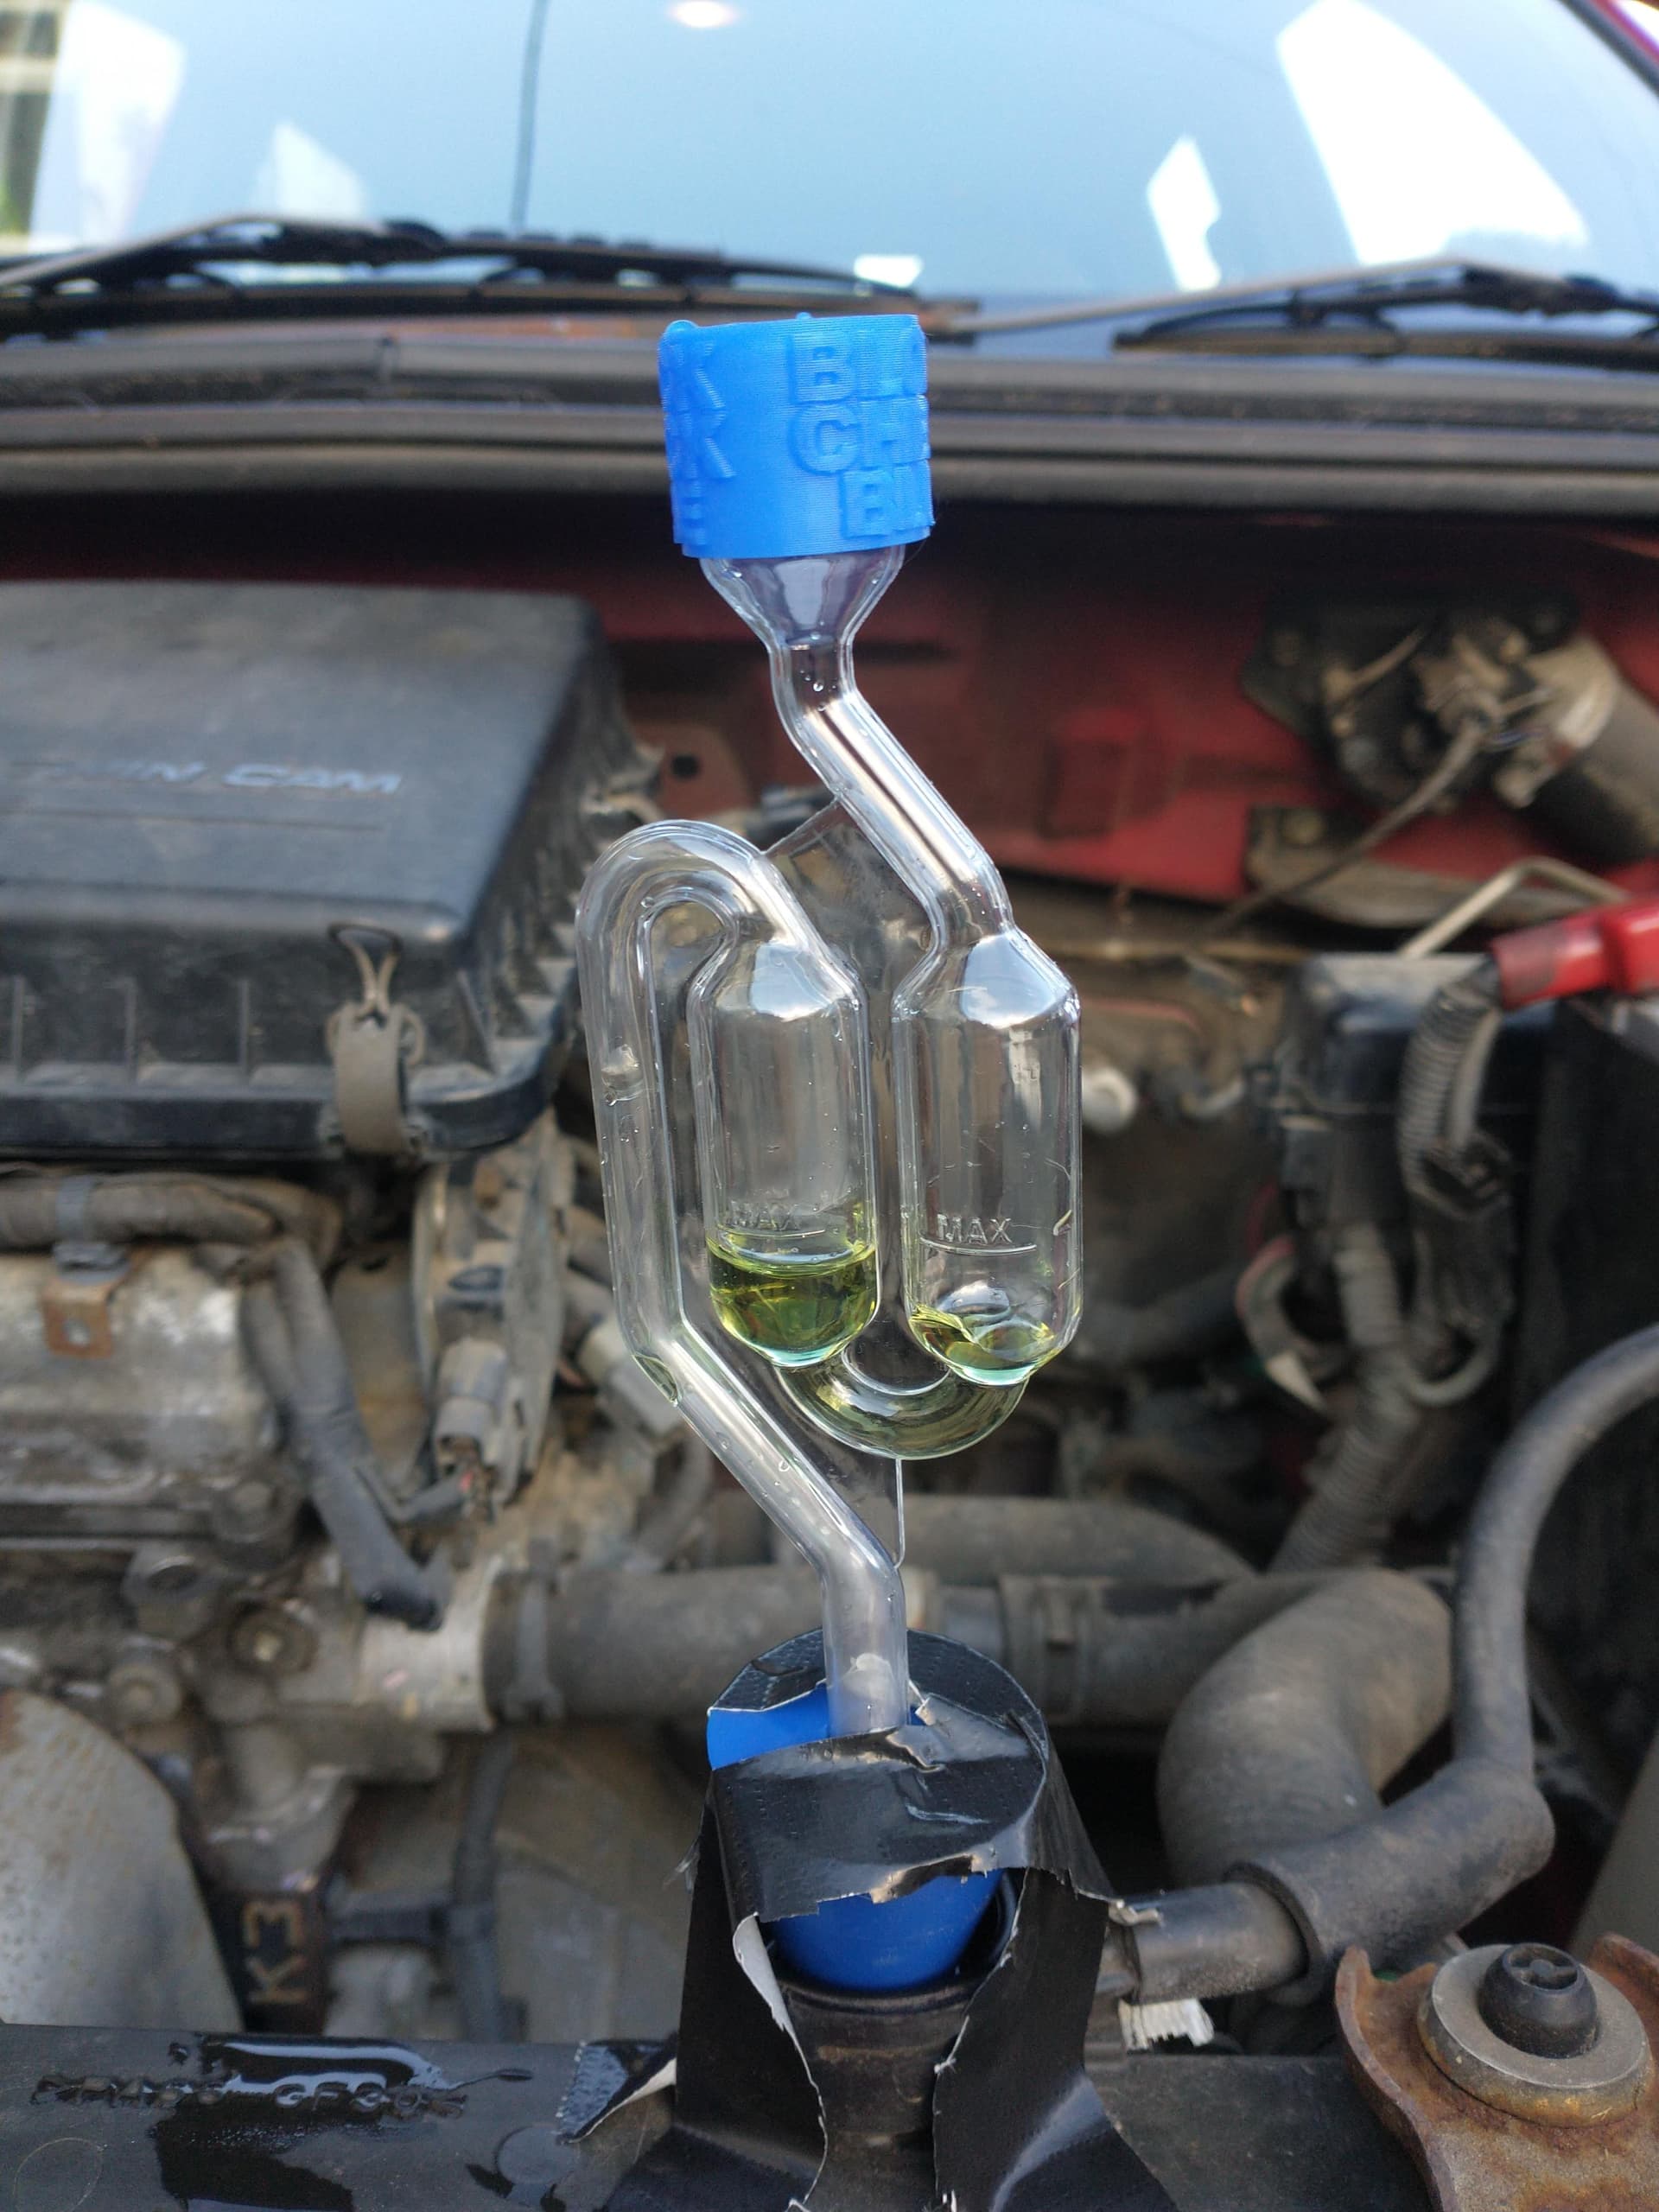
I have access to a fairly well stocked Quality Control department and all their measuring equipment. Everything is well within specification (I got hold of the Daihatsu Service manual - very comprehensive!).
With the help of a friend, I disassembled the pistons from the rods, then cleaned them up:
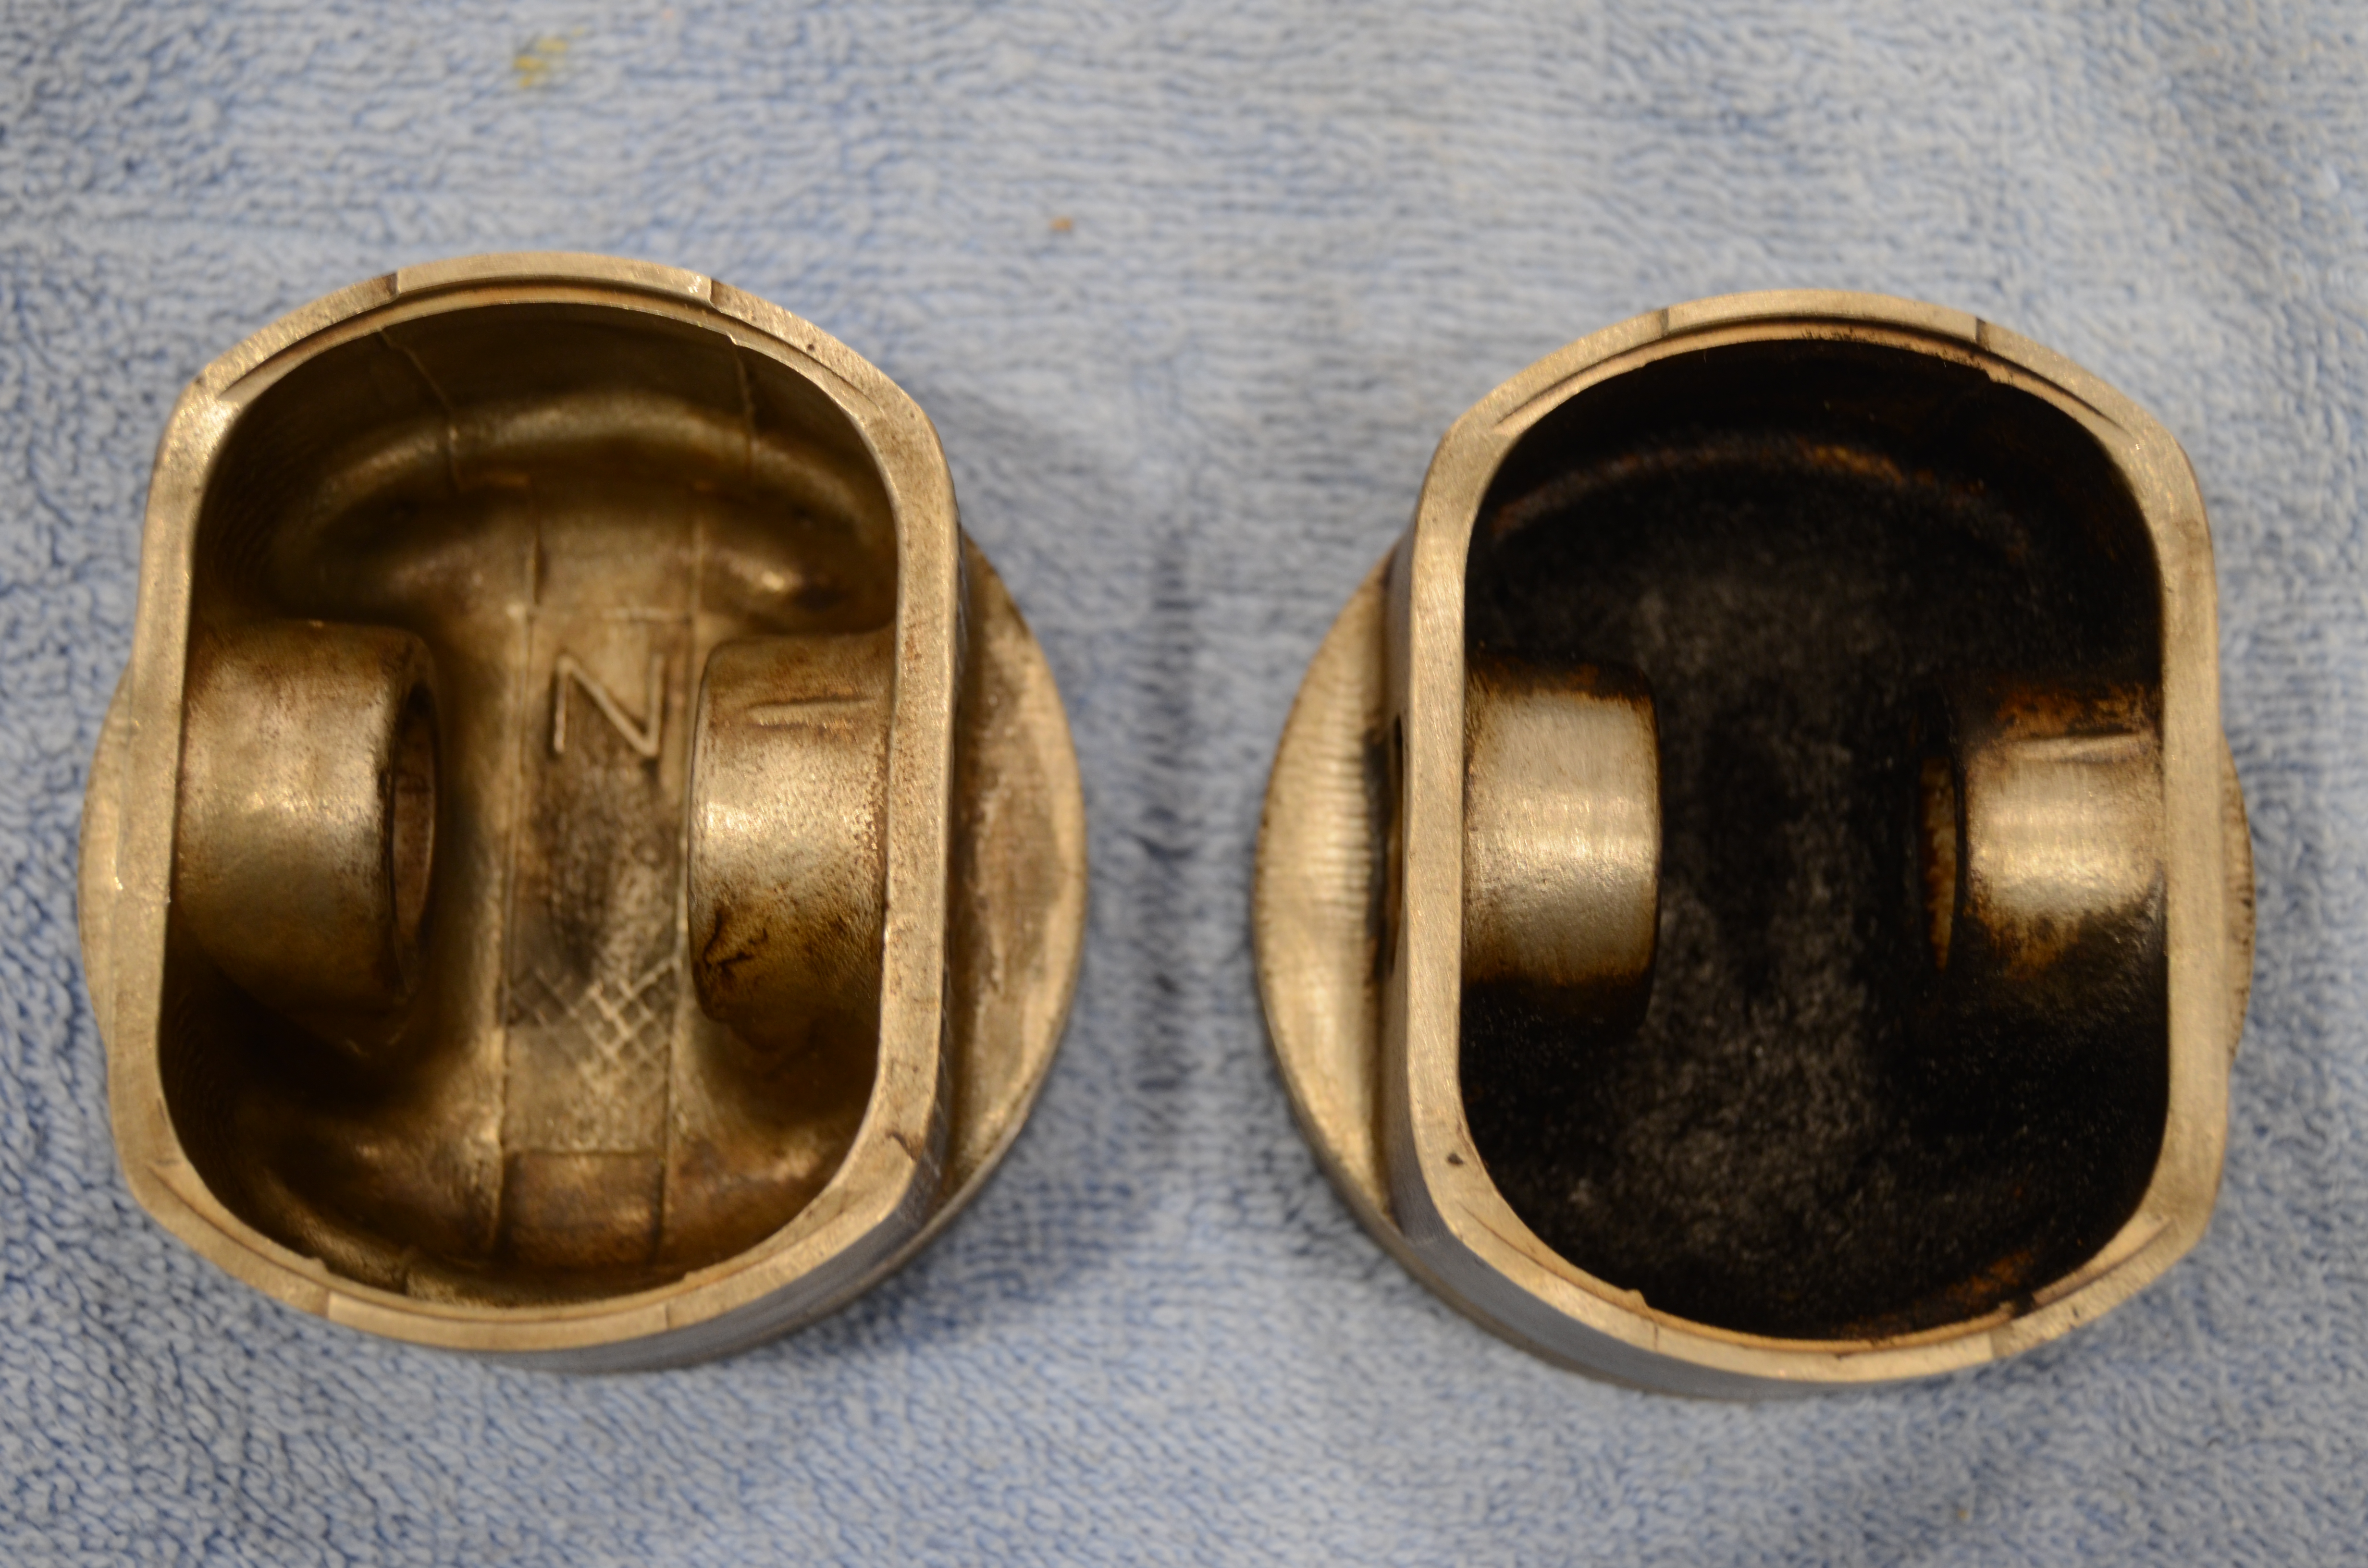
But it wasn’t long after this that my project grew yet another limb, and the decision to try and turbocharge the engine was made. So I bought some 3SZ Toyota pistons, which will lower the compression ratio a touch.
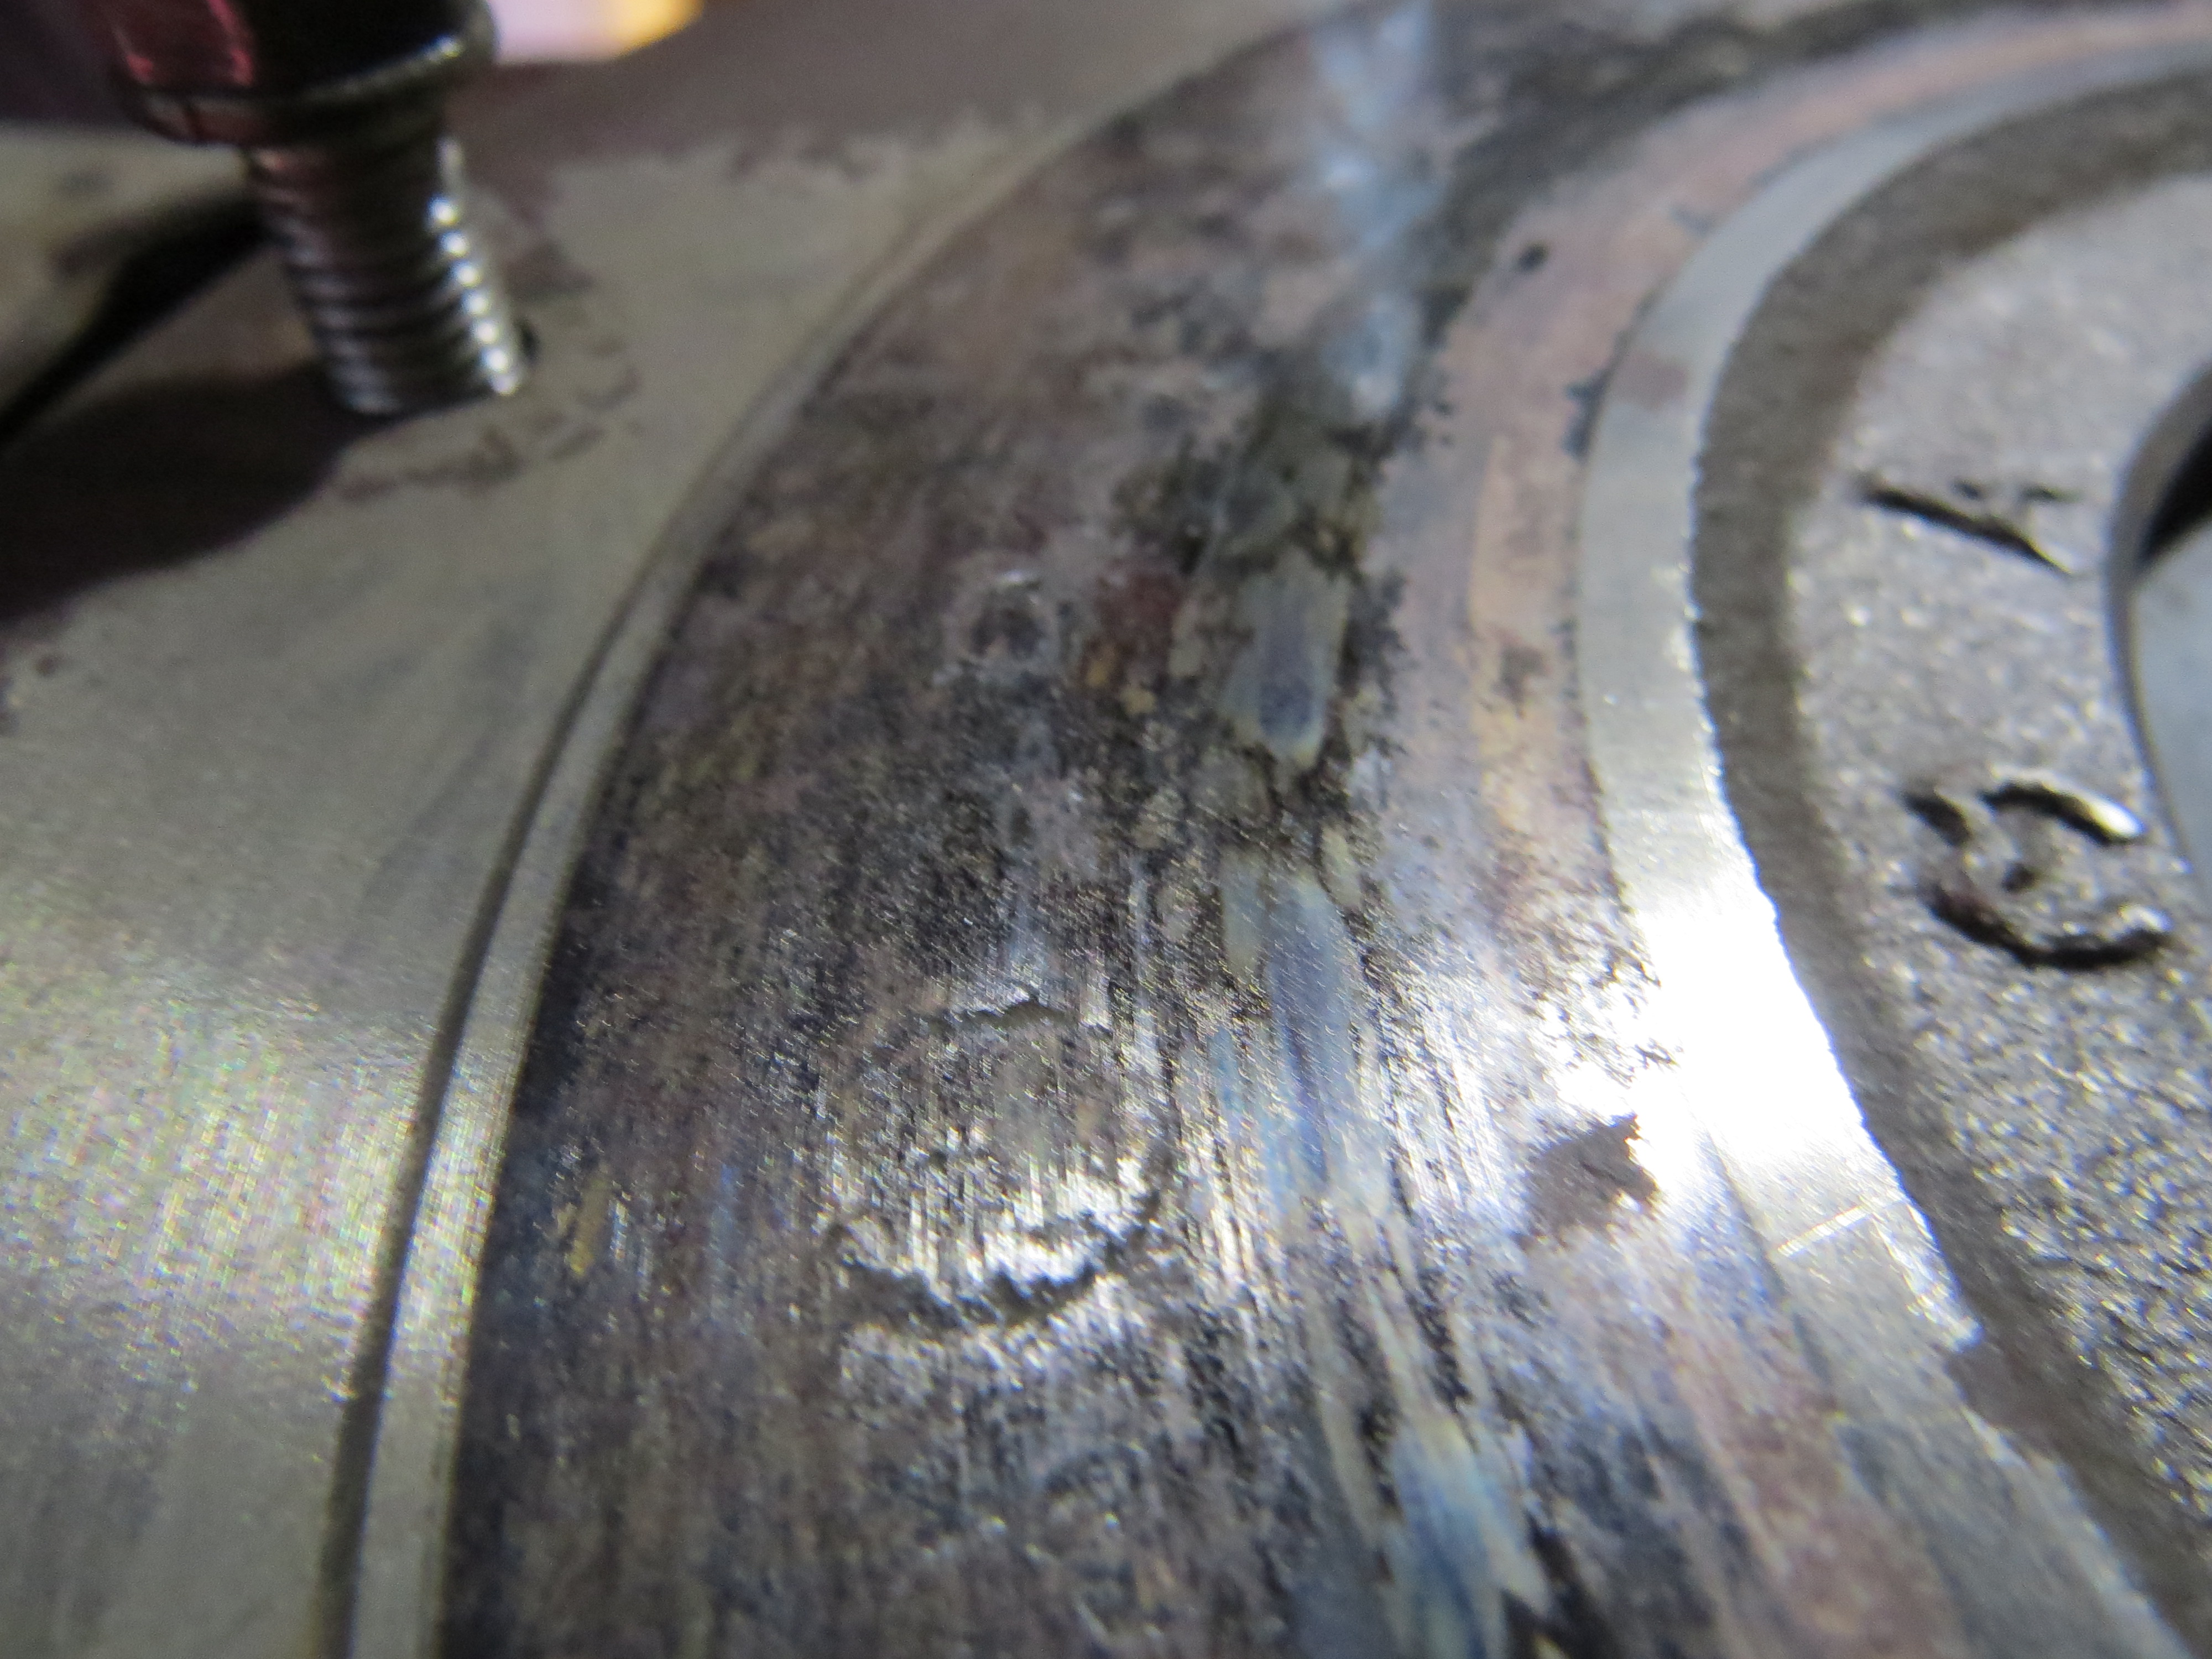
I also started removeing more of the front end to make access easier … and discovered some rusty spots, and broke a great many seized bolts, even breaking off some captive nuts.

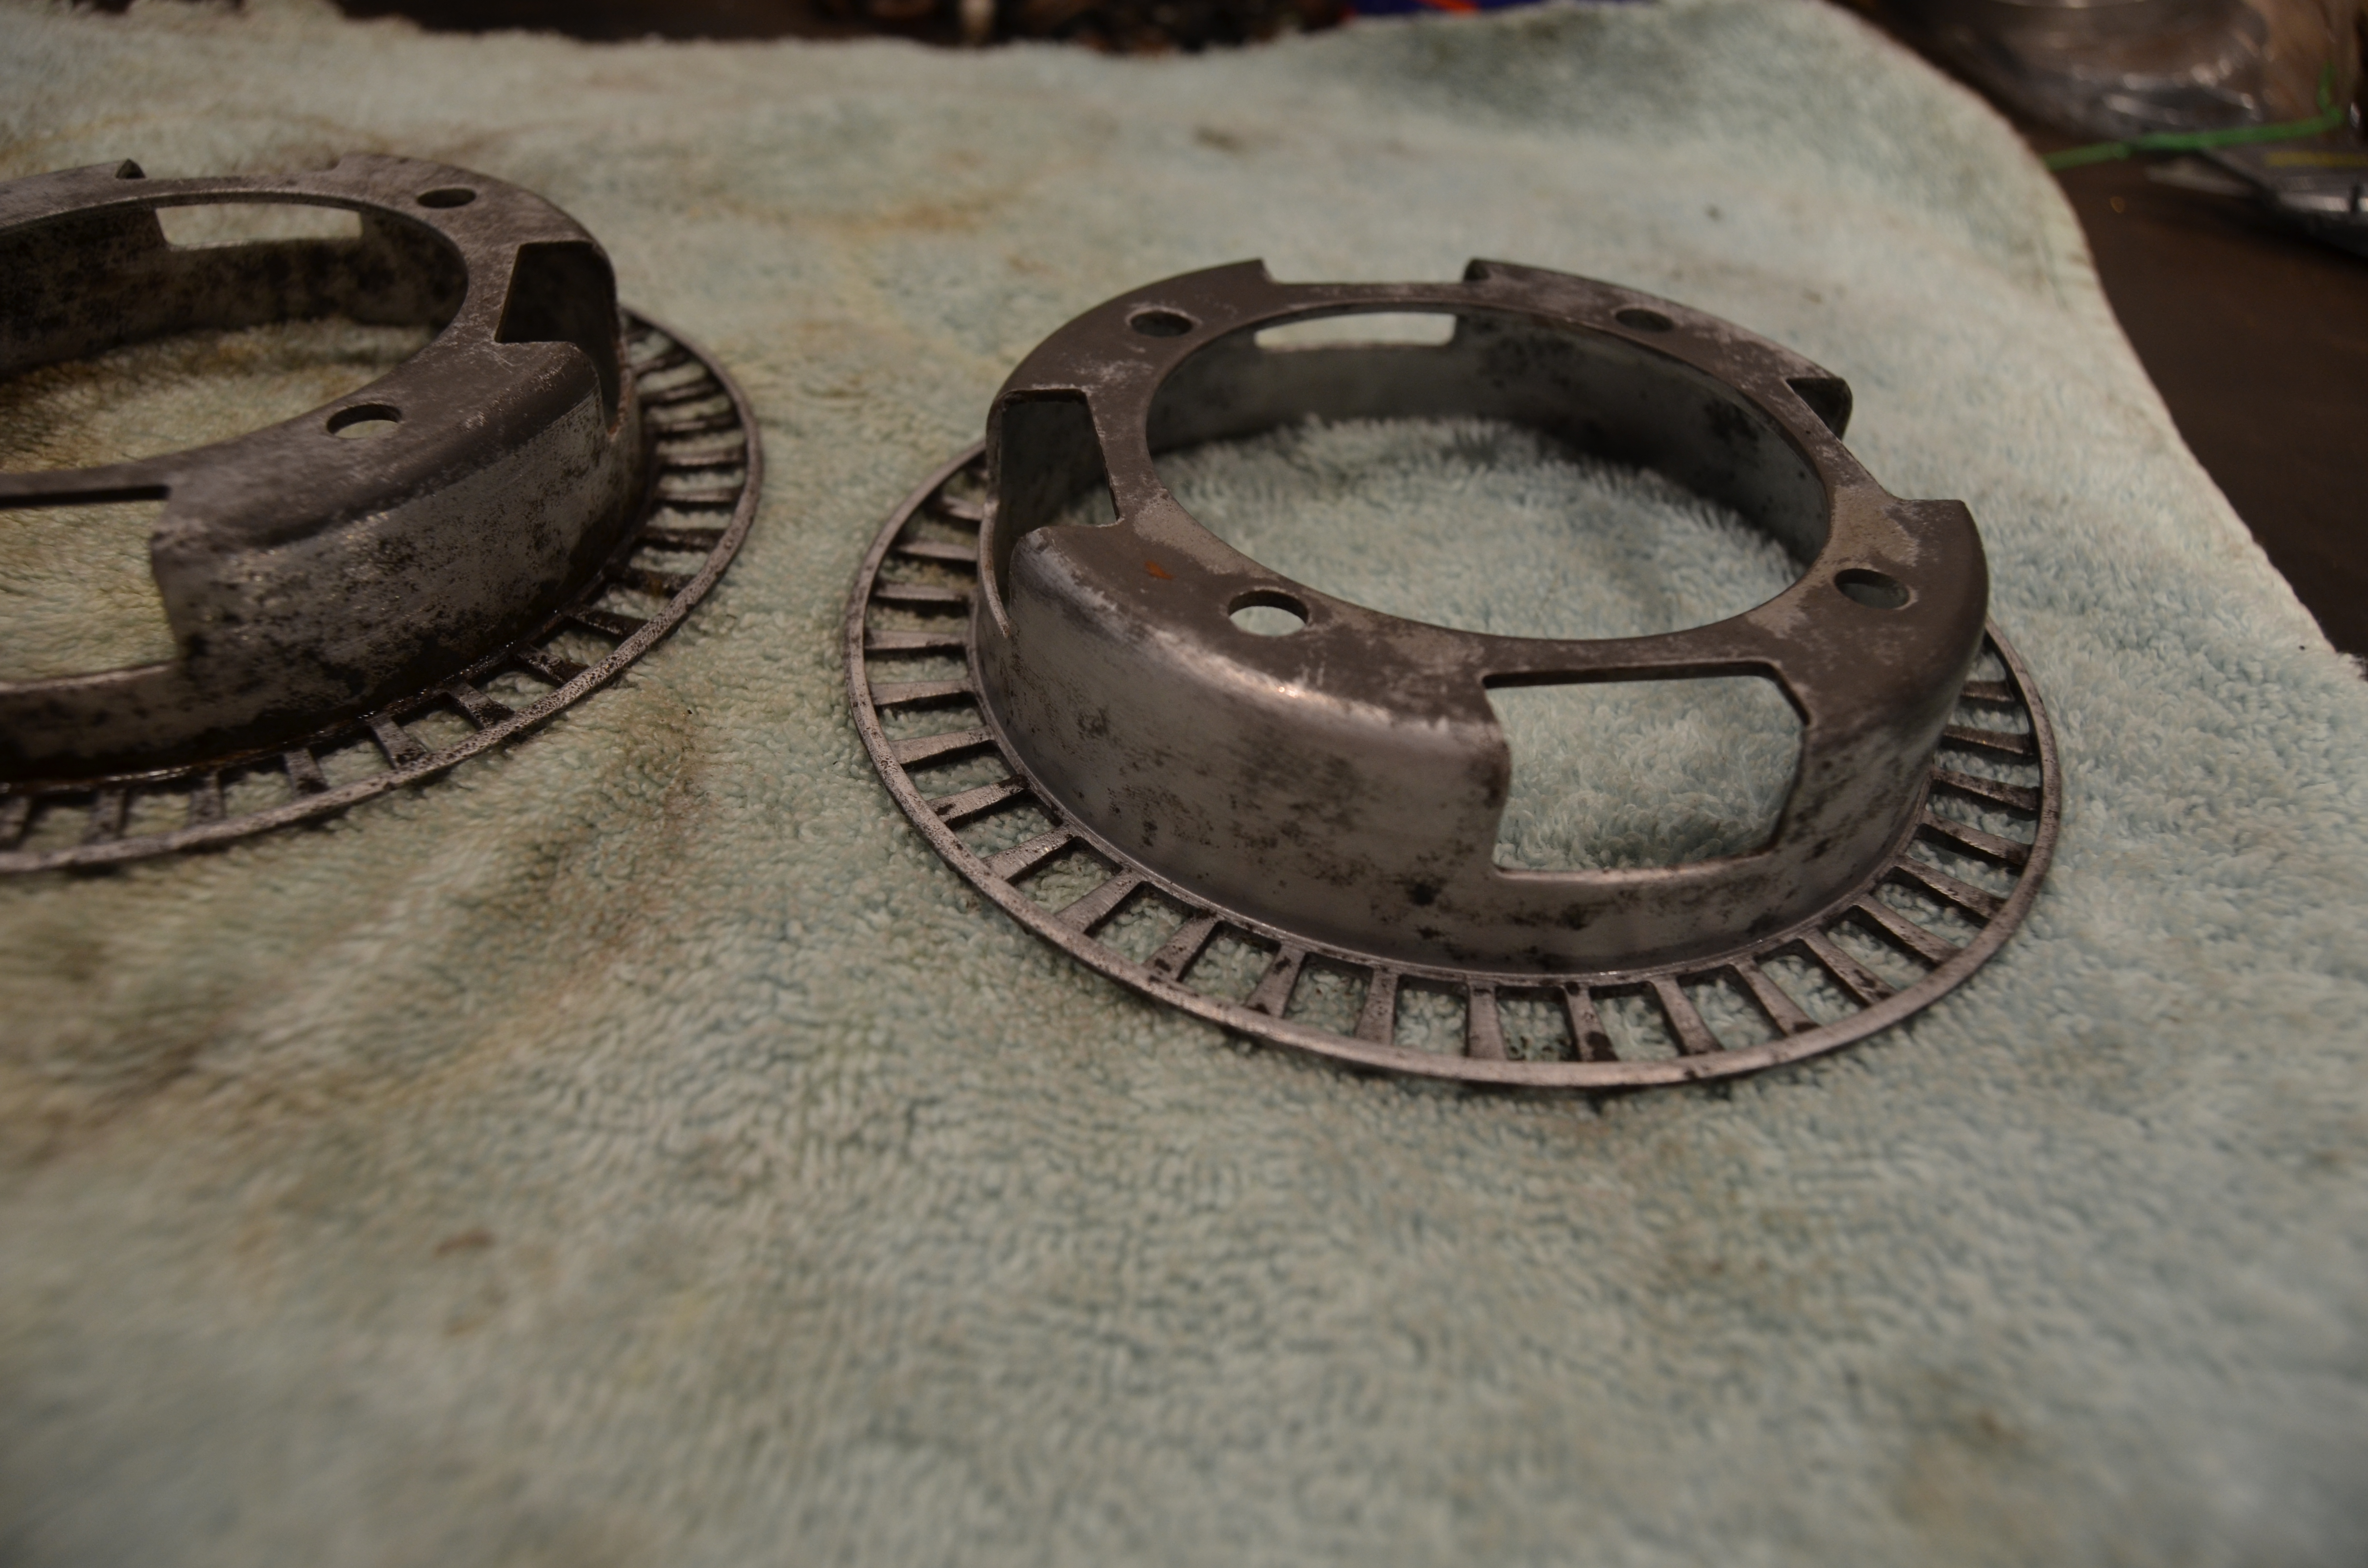
I turned my attention to the front hubs. Oh dear. The brake shields were more like lace shields!
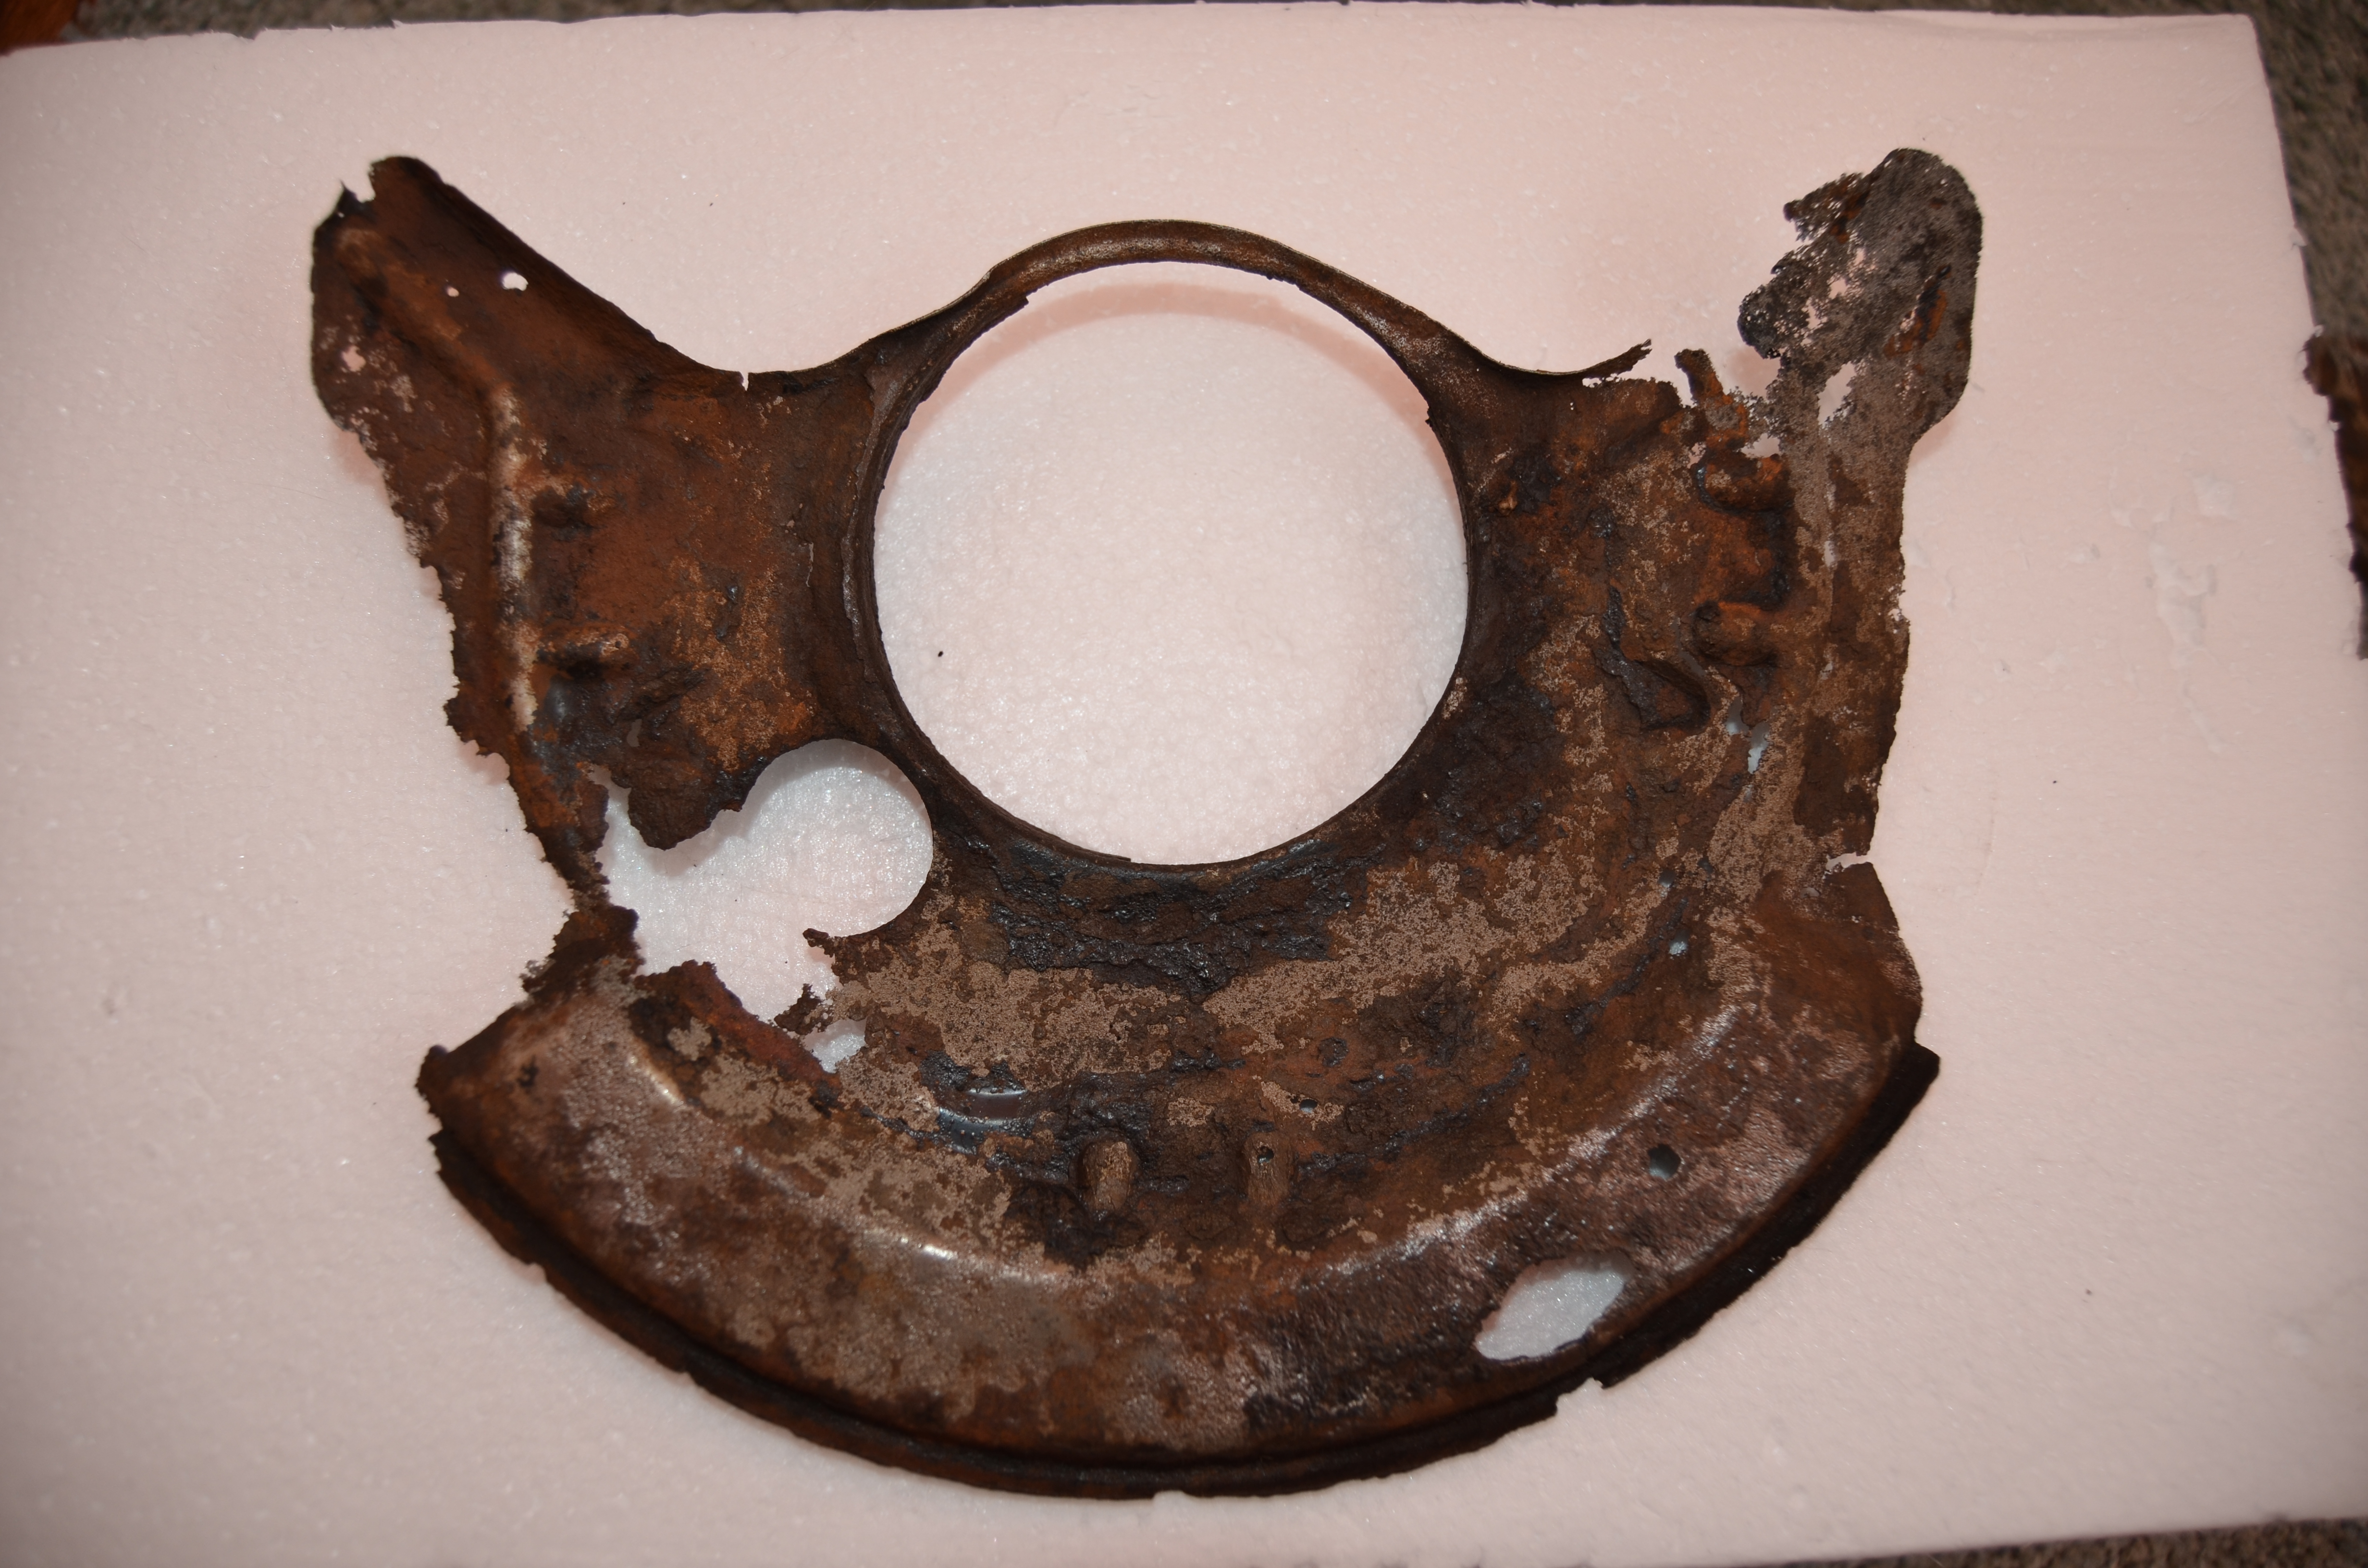
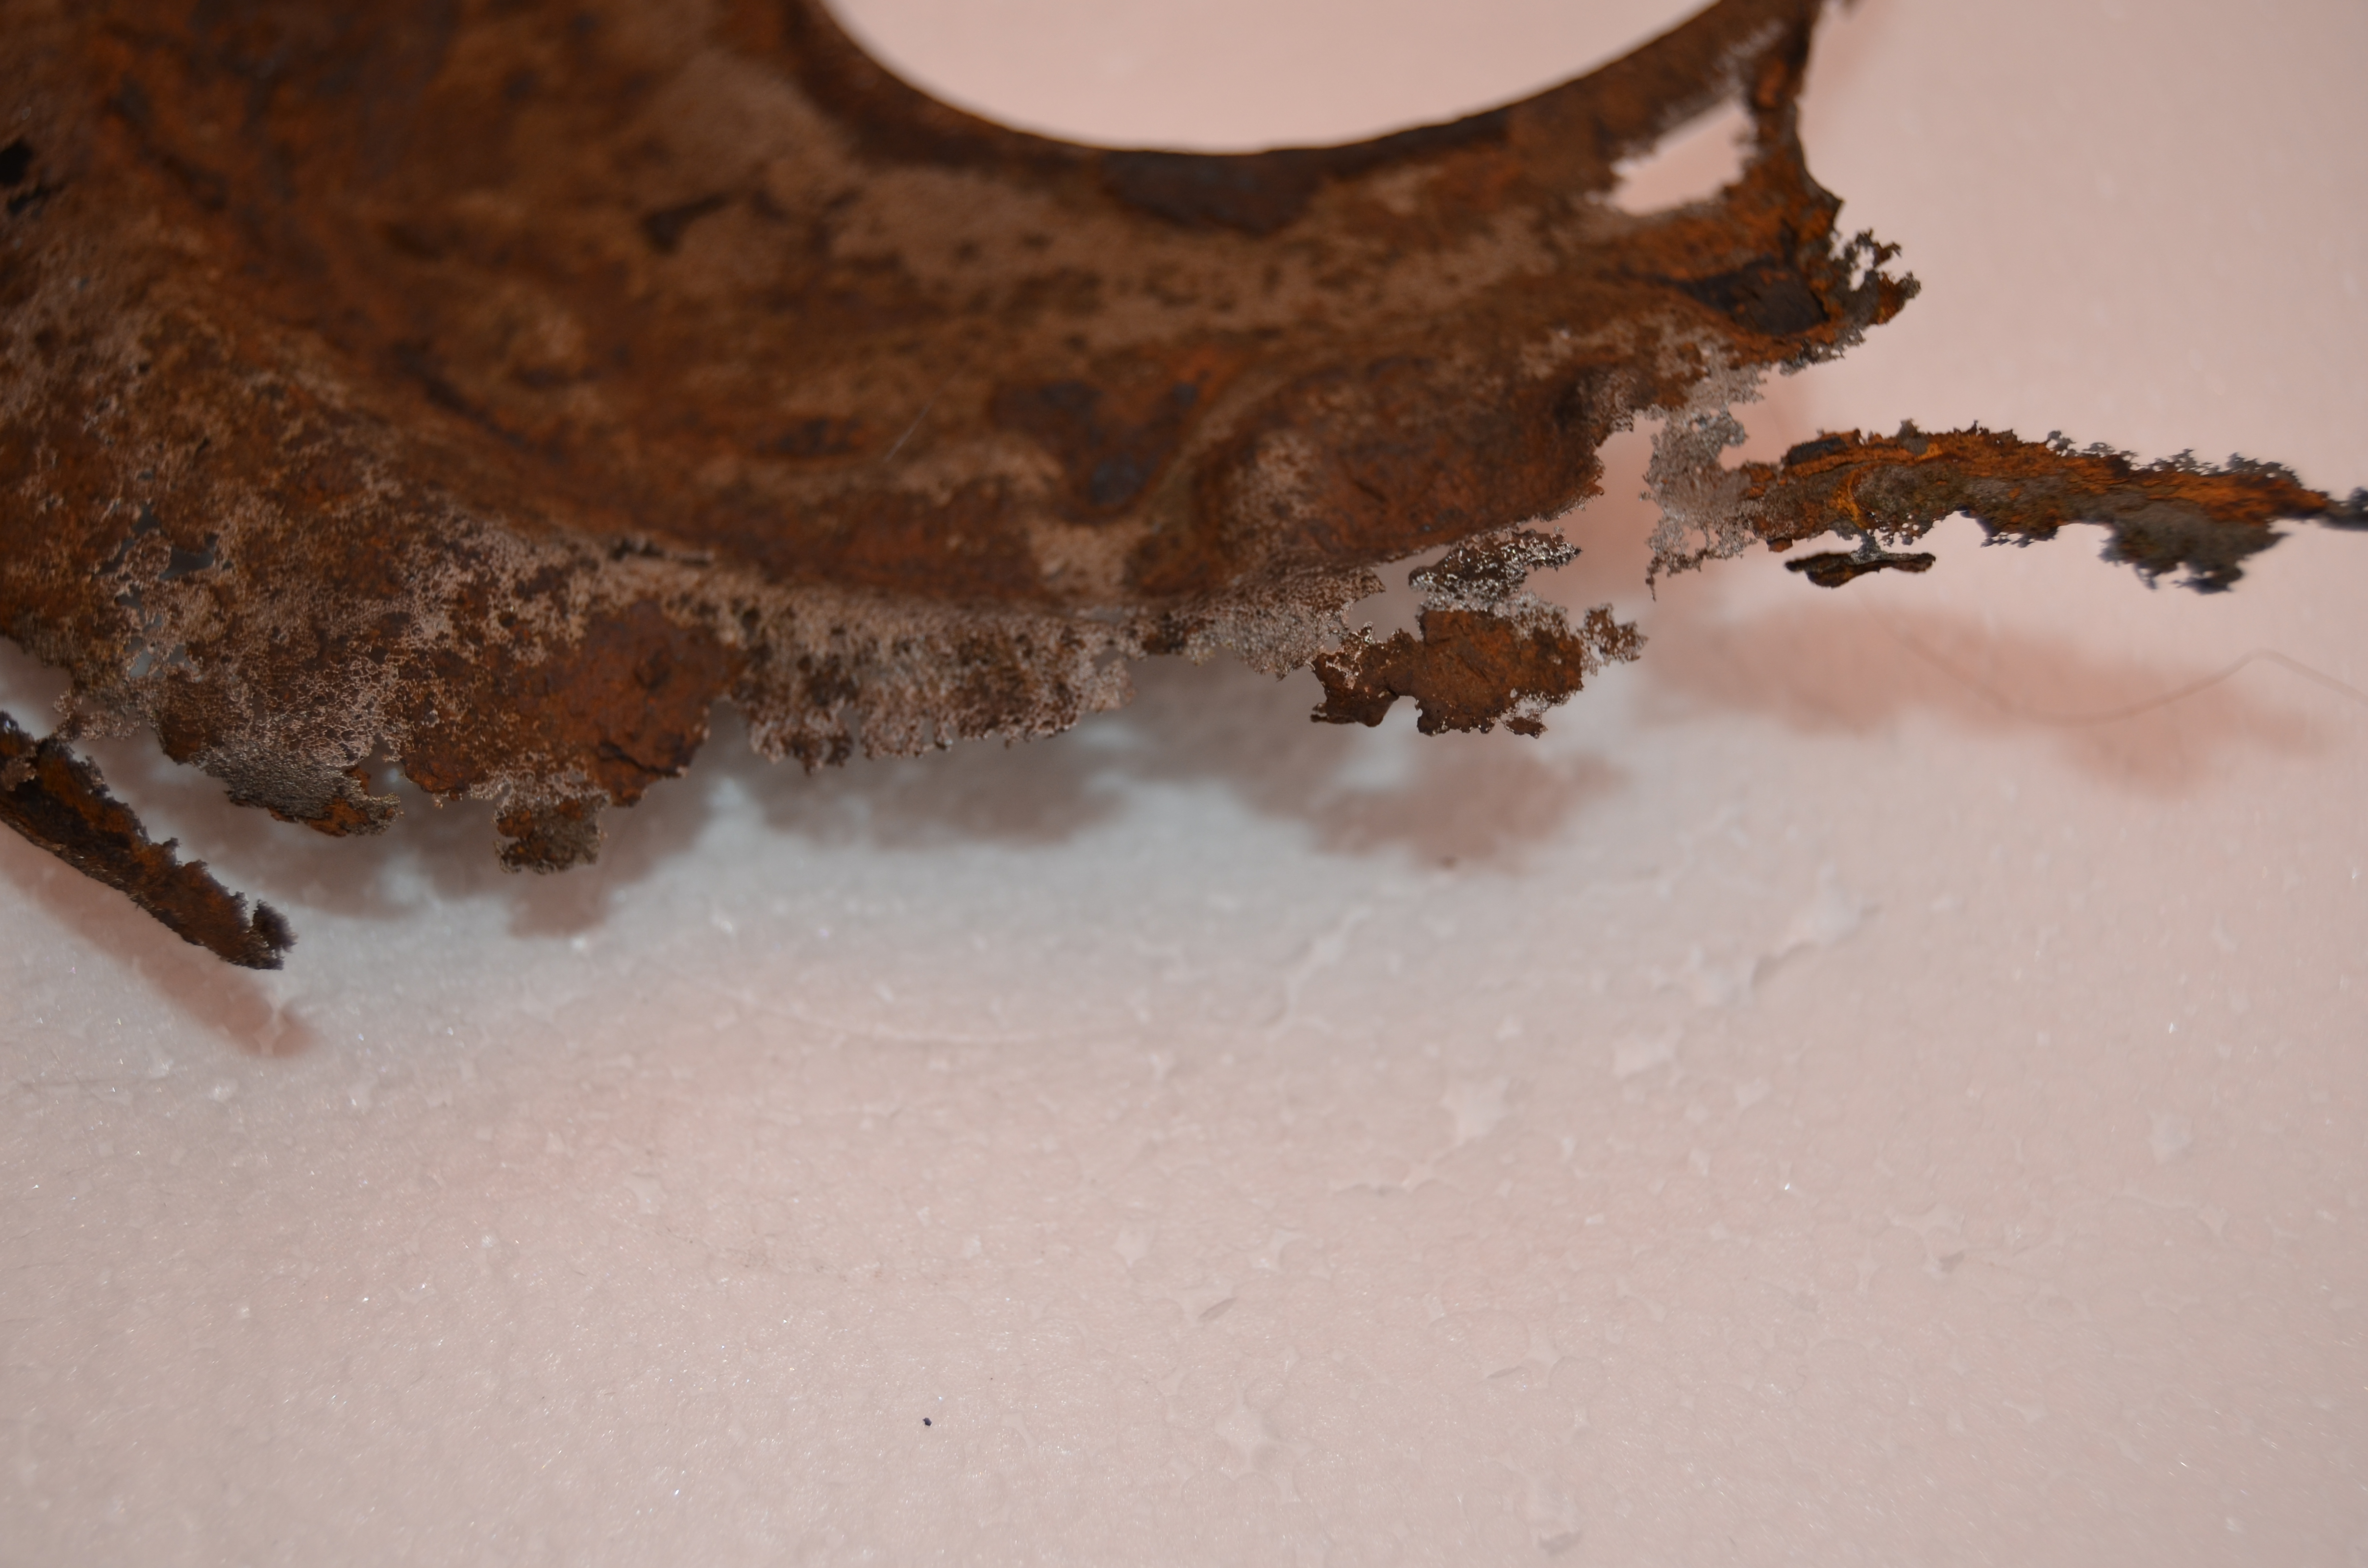
Not sure what to do about that - no sign of a way to find new replacement. Current thought is to try and fab something myself.
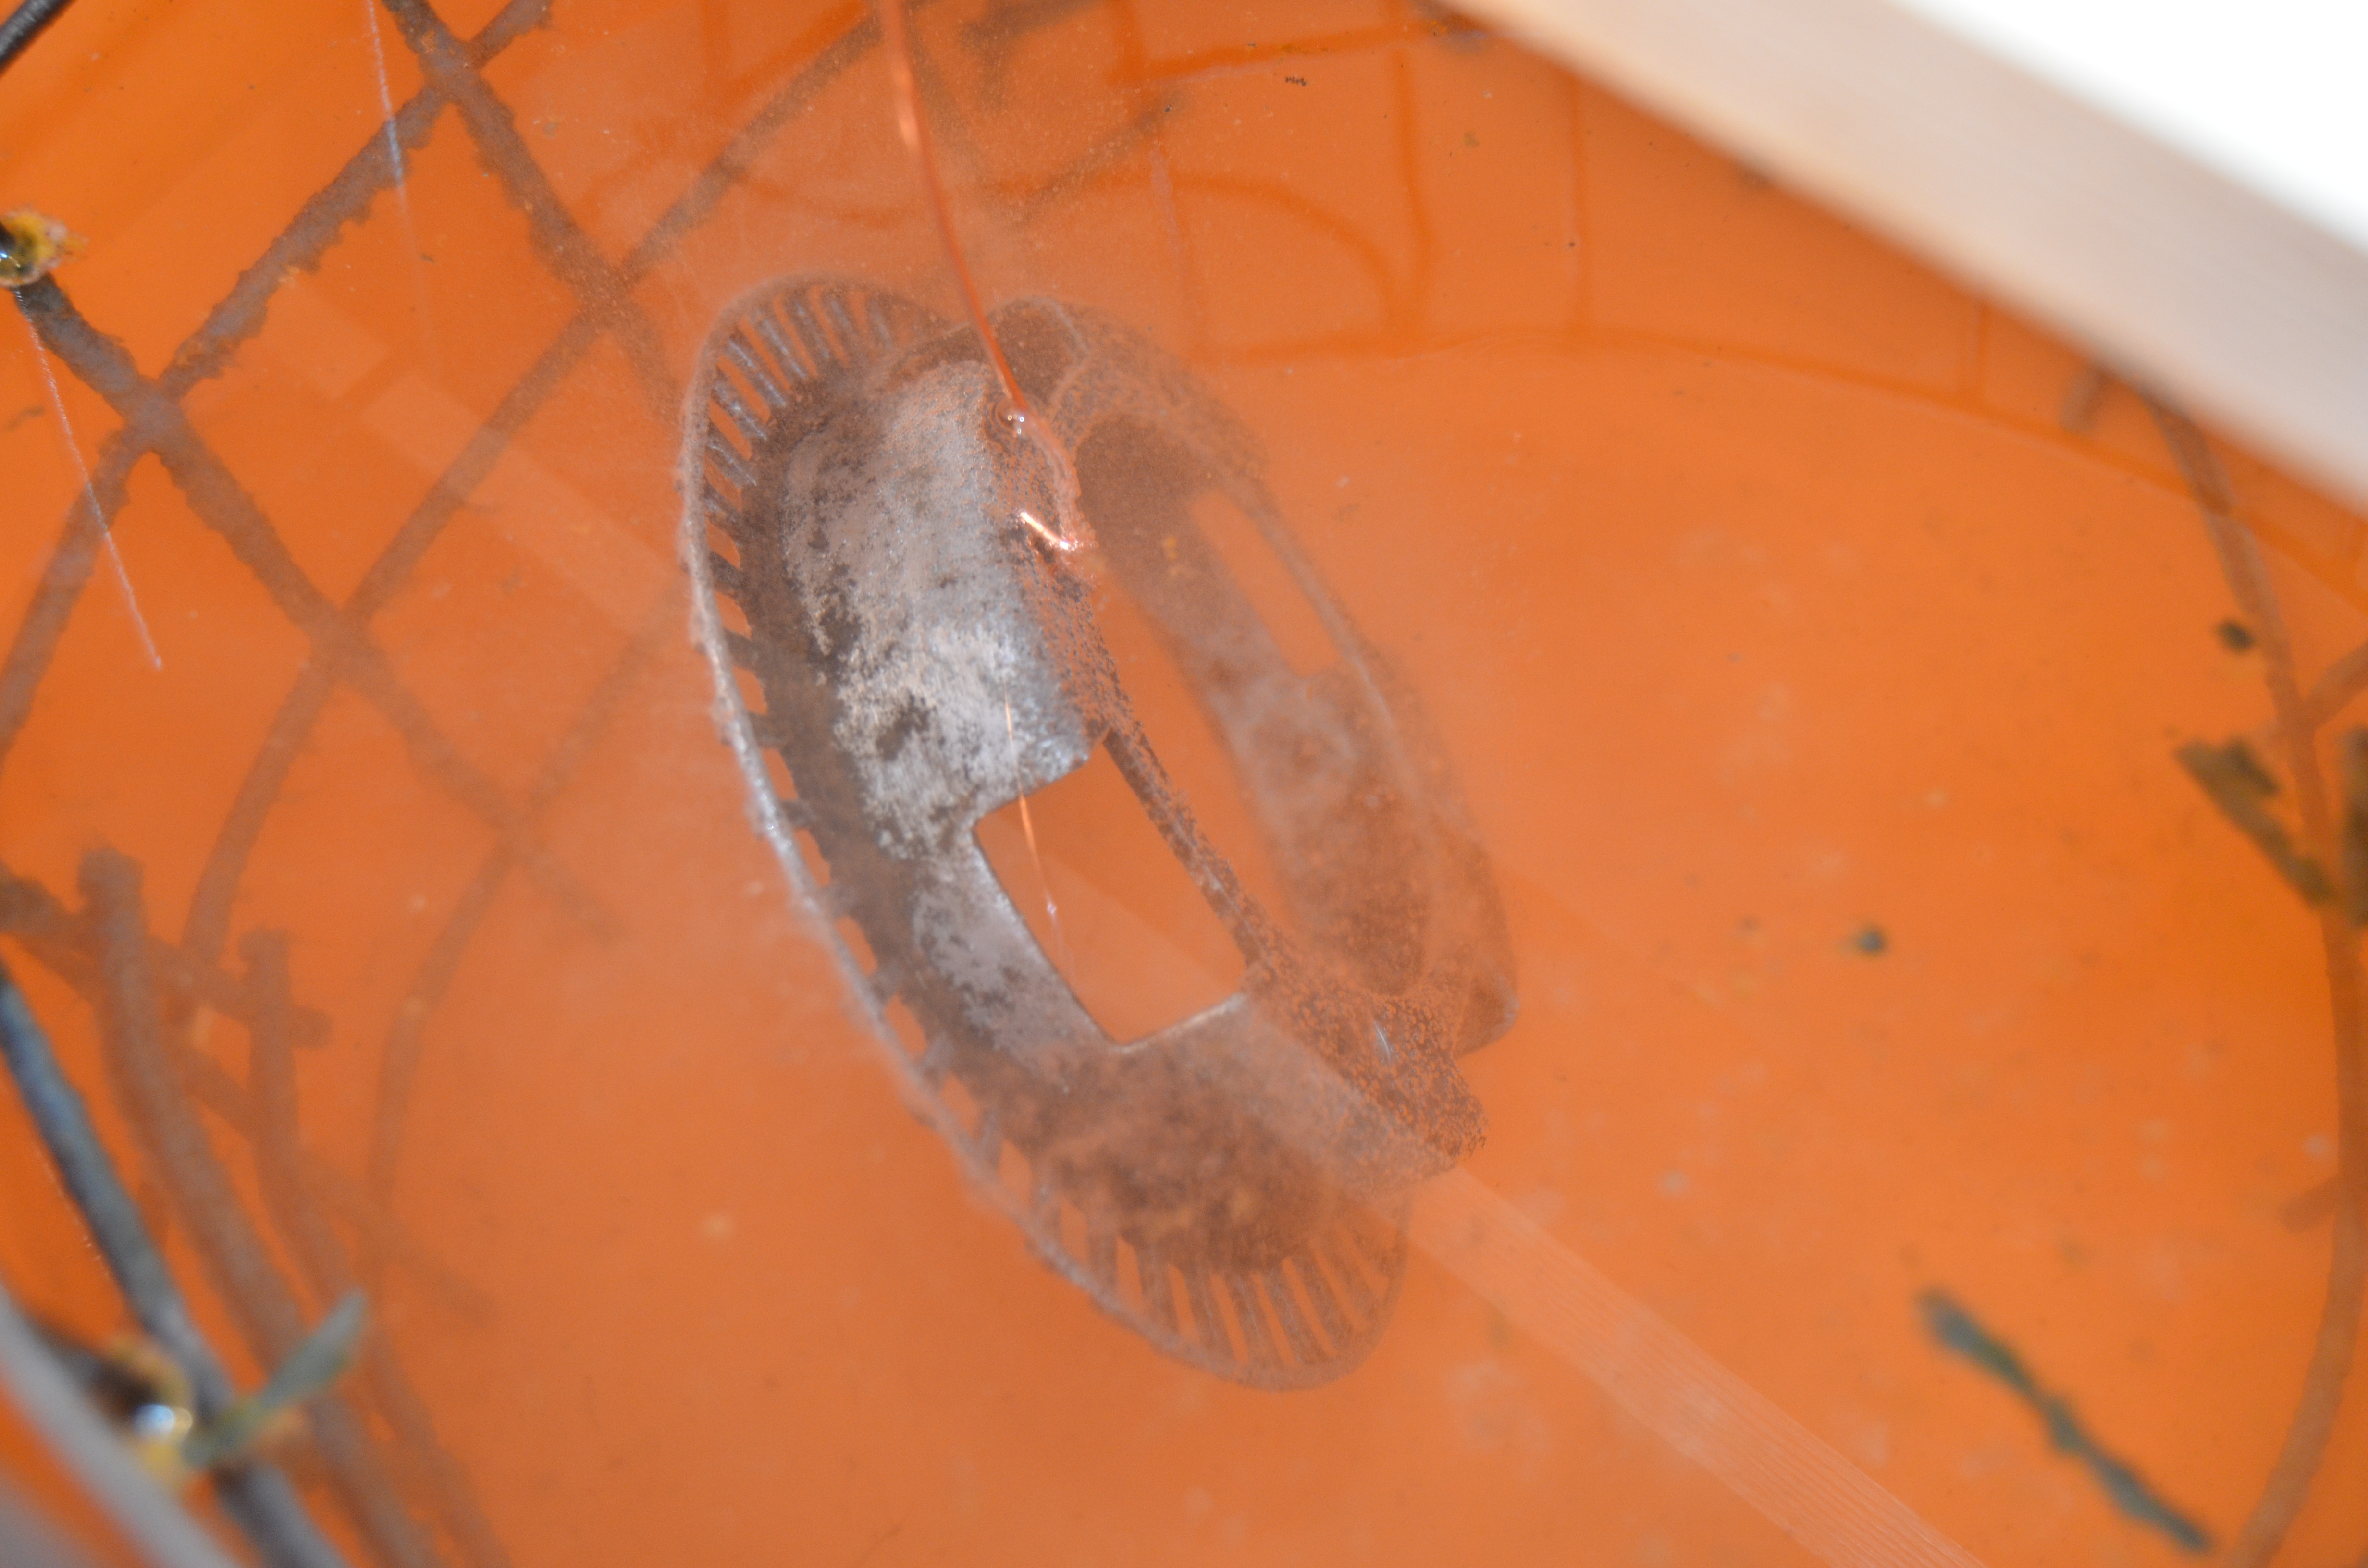
I made a foray into electrolysis as a method of removing rust from odd-shaped things:
I may have to try my hand at zinc plating. Does anyone know how critical it is to have removed all the rust before plating?!

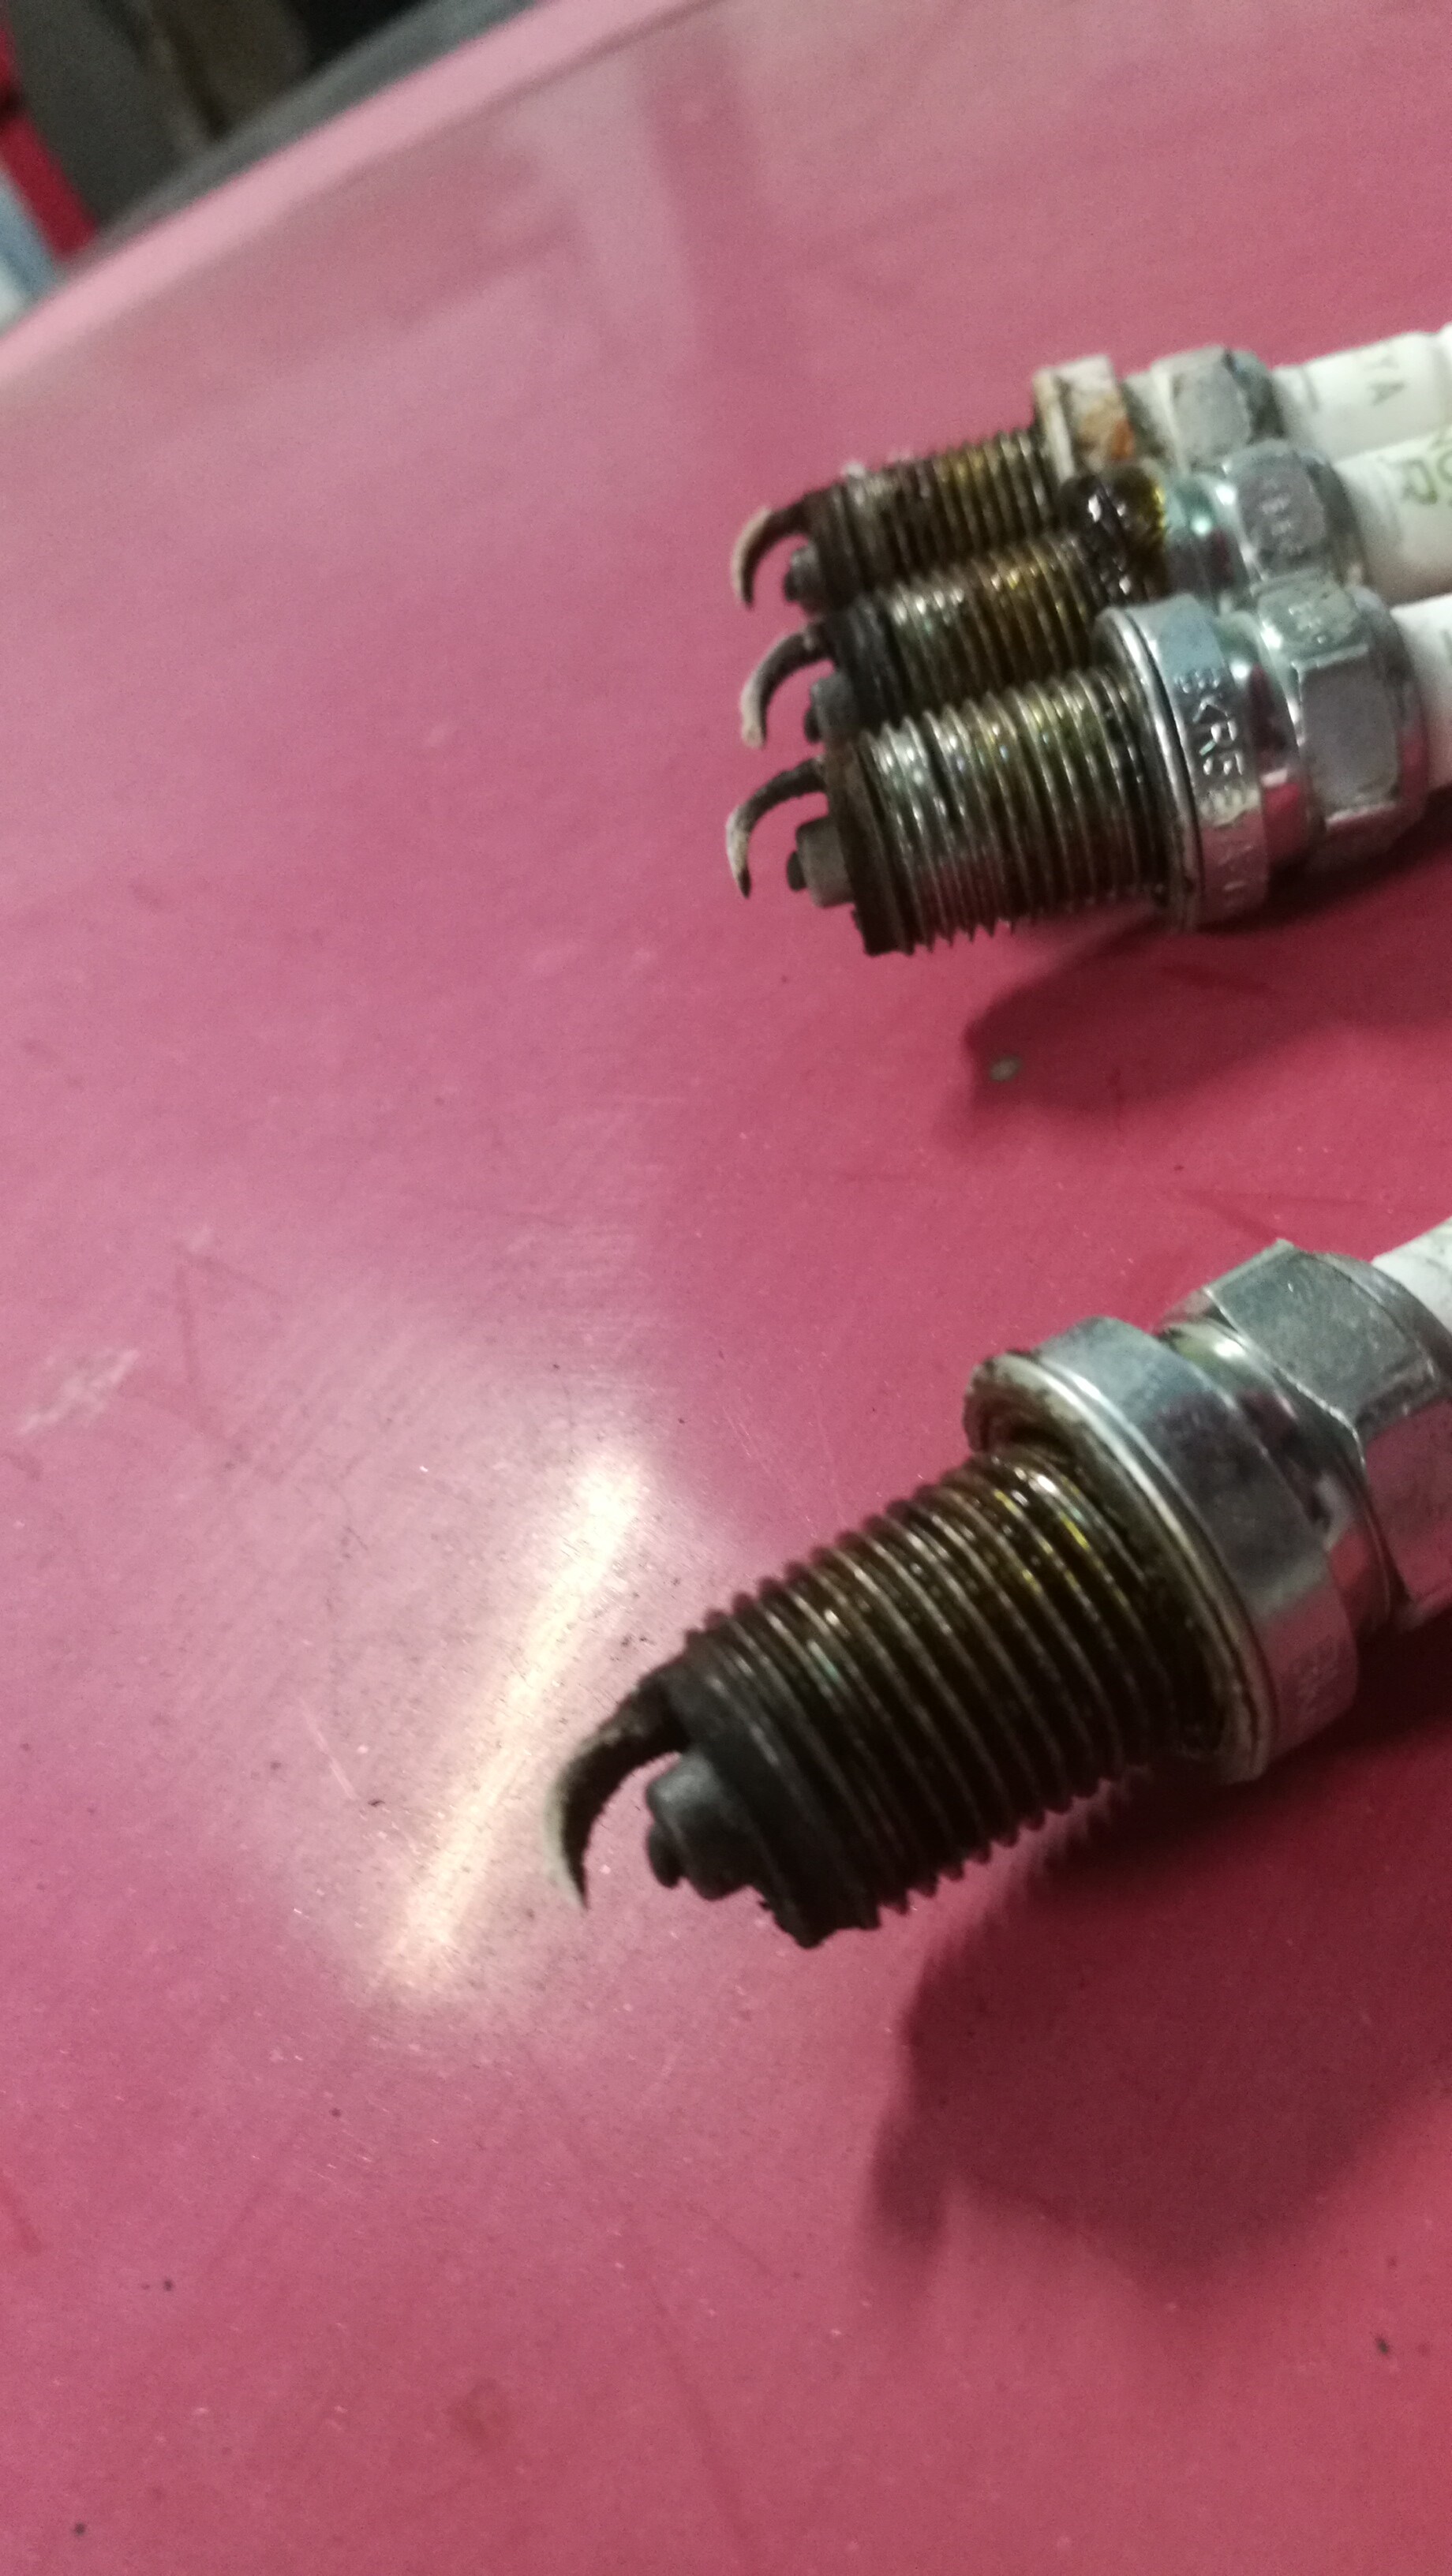
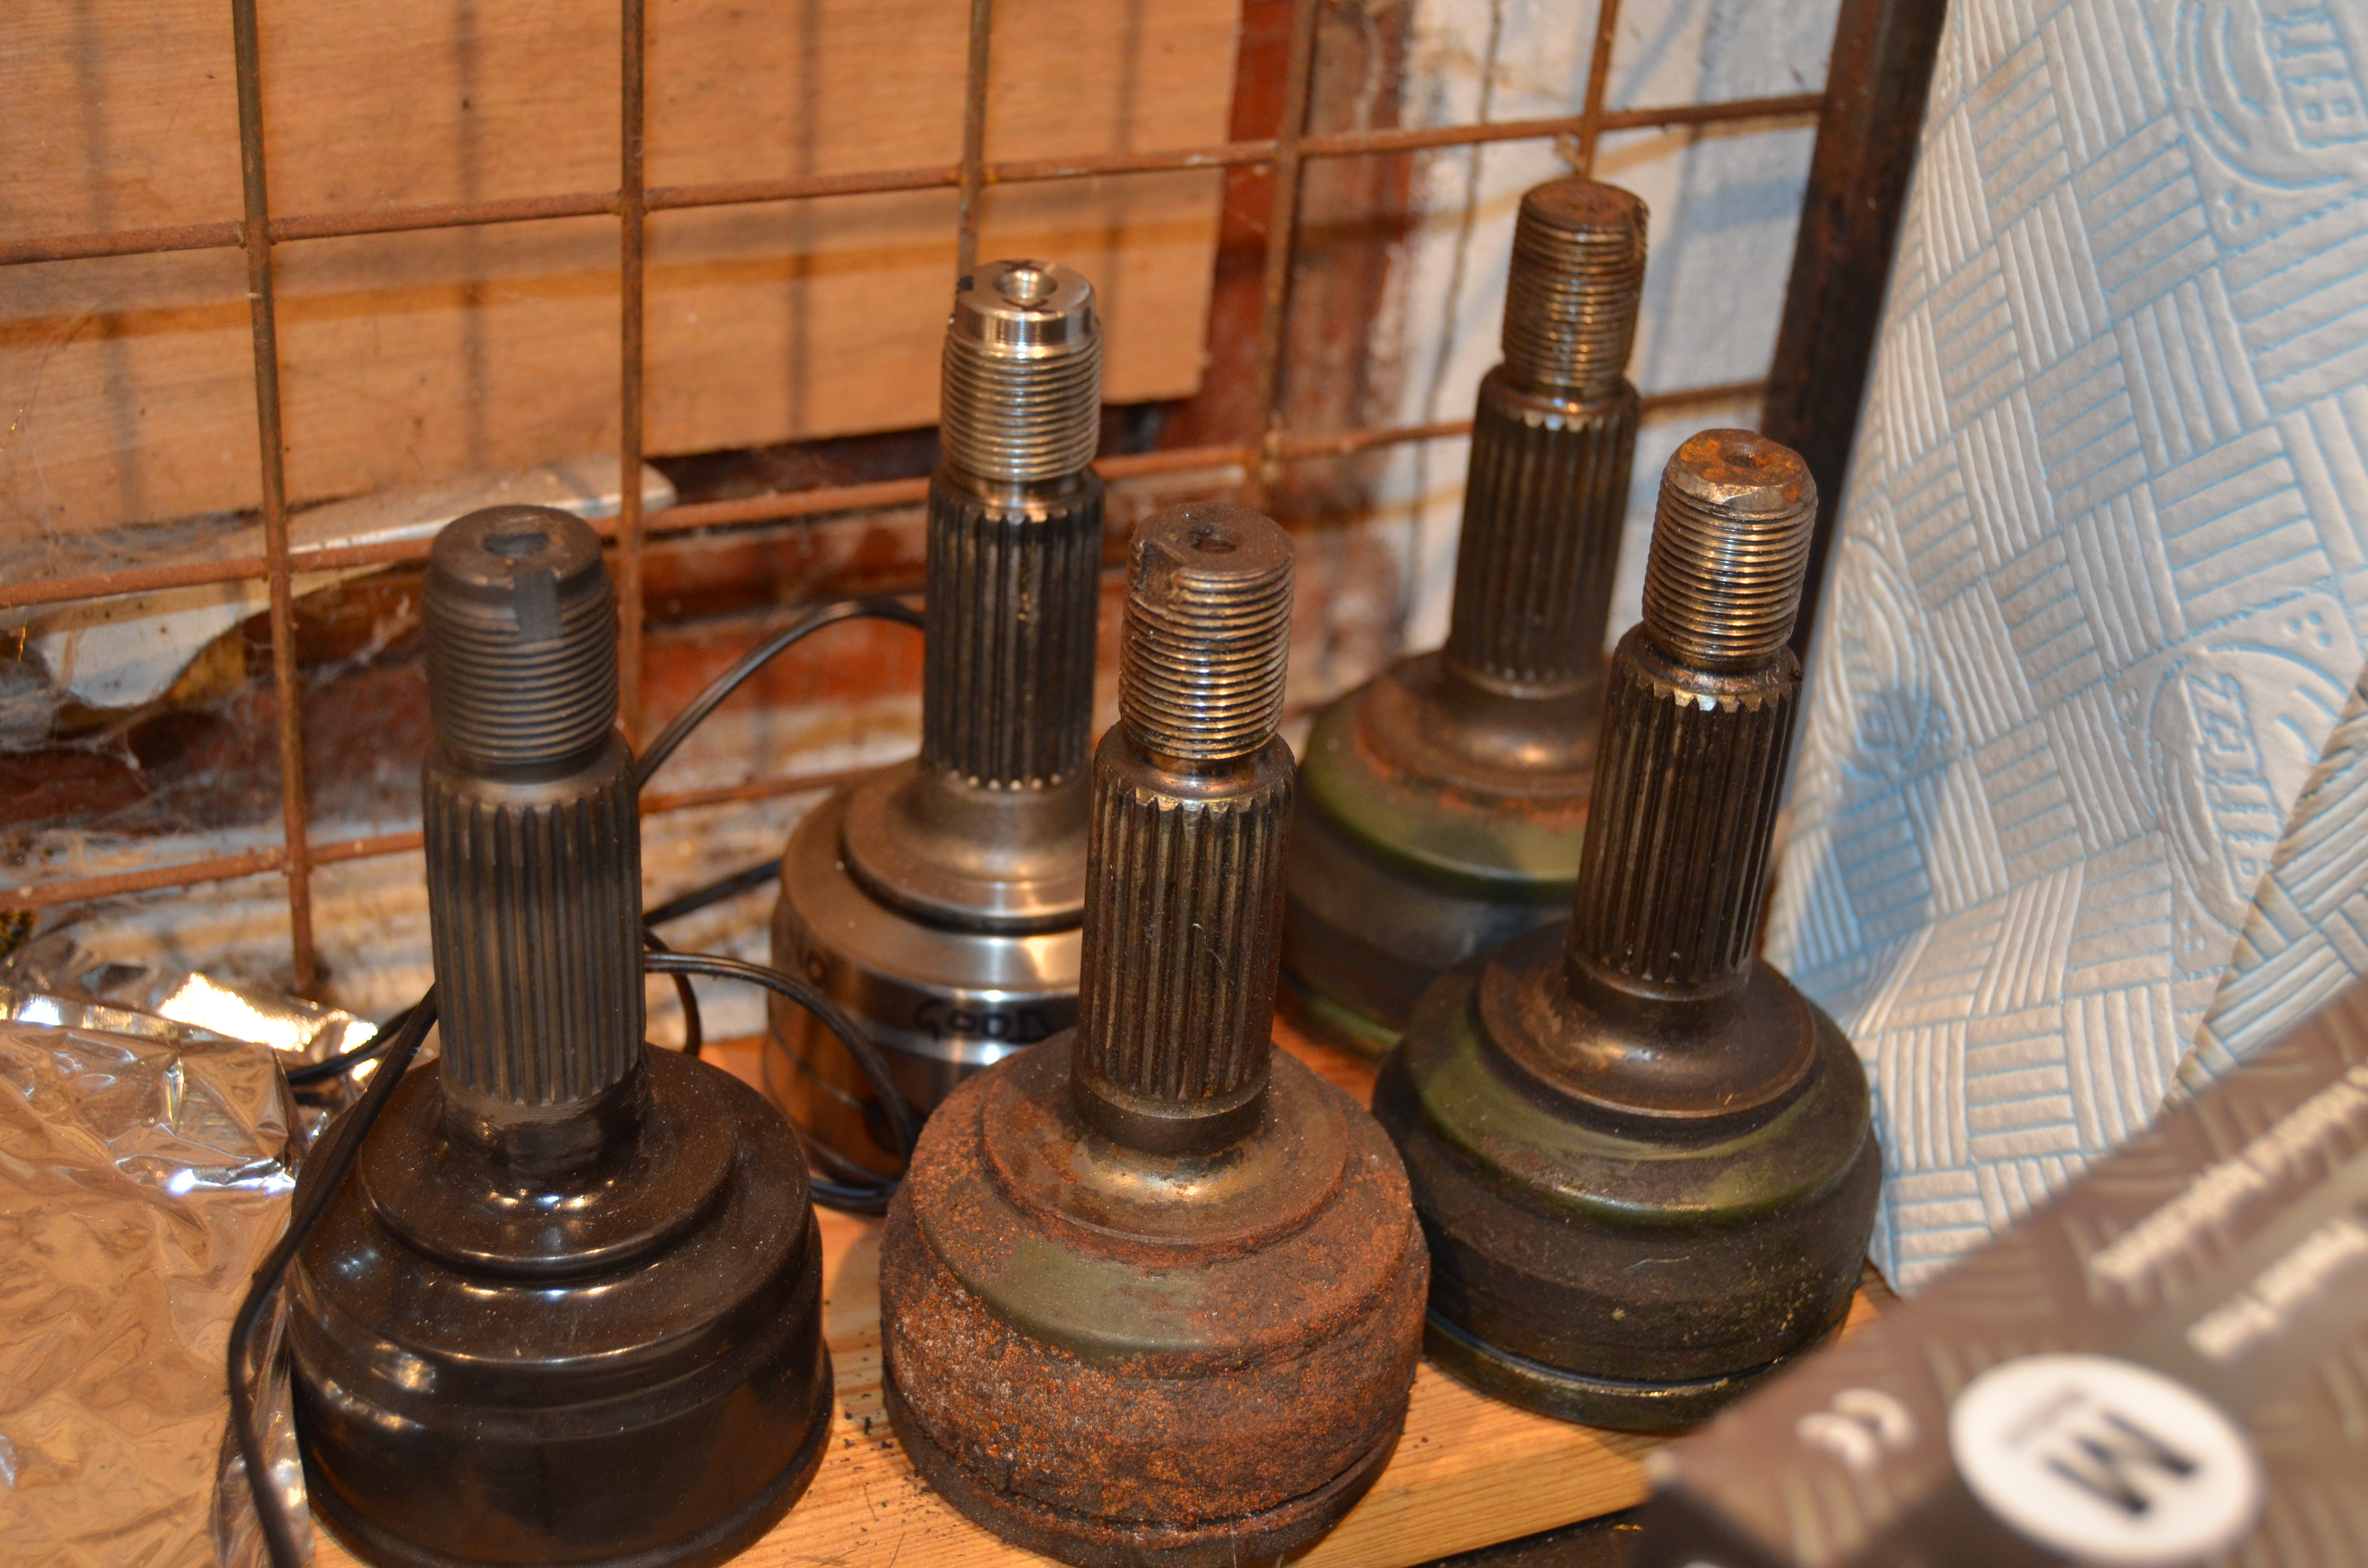
Oh, have I mentioned how many CV joints I have had to buy, then mix-and-match them in order to refurbish my front axles? Not shown in this picture: the ones actually fitted to the axles.
Here is the turbo I plan to fit, how cute is that! It’s adorably small. Also in shot, some of the repainted cross-members taken off the front.

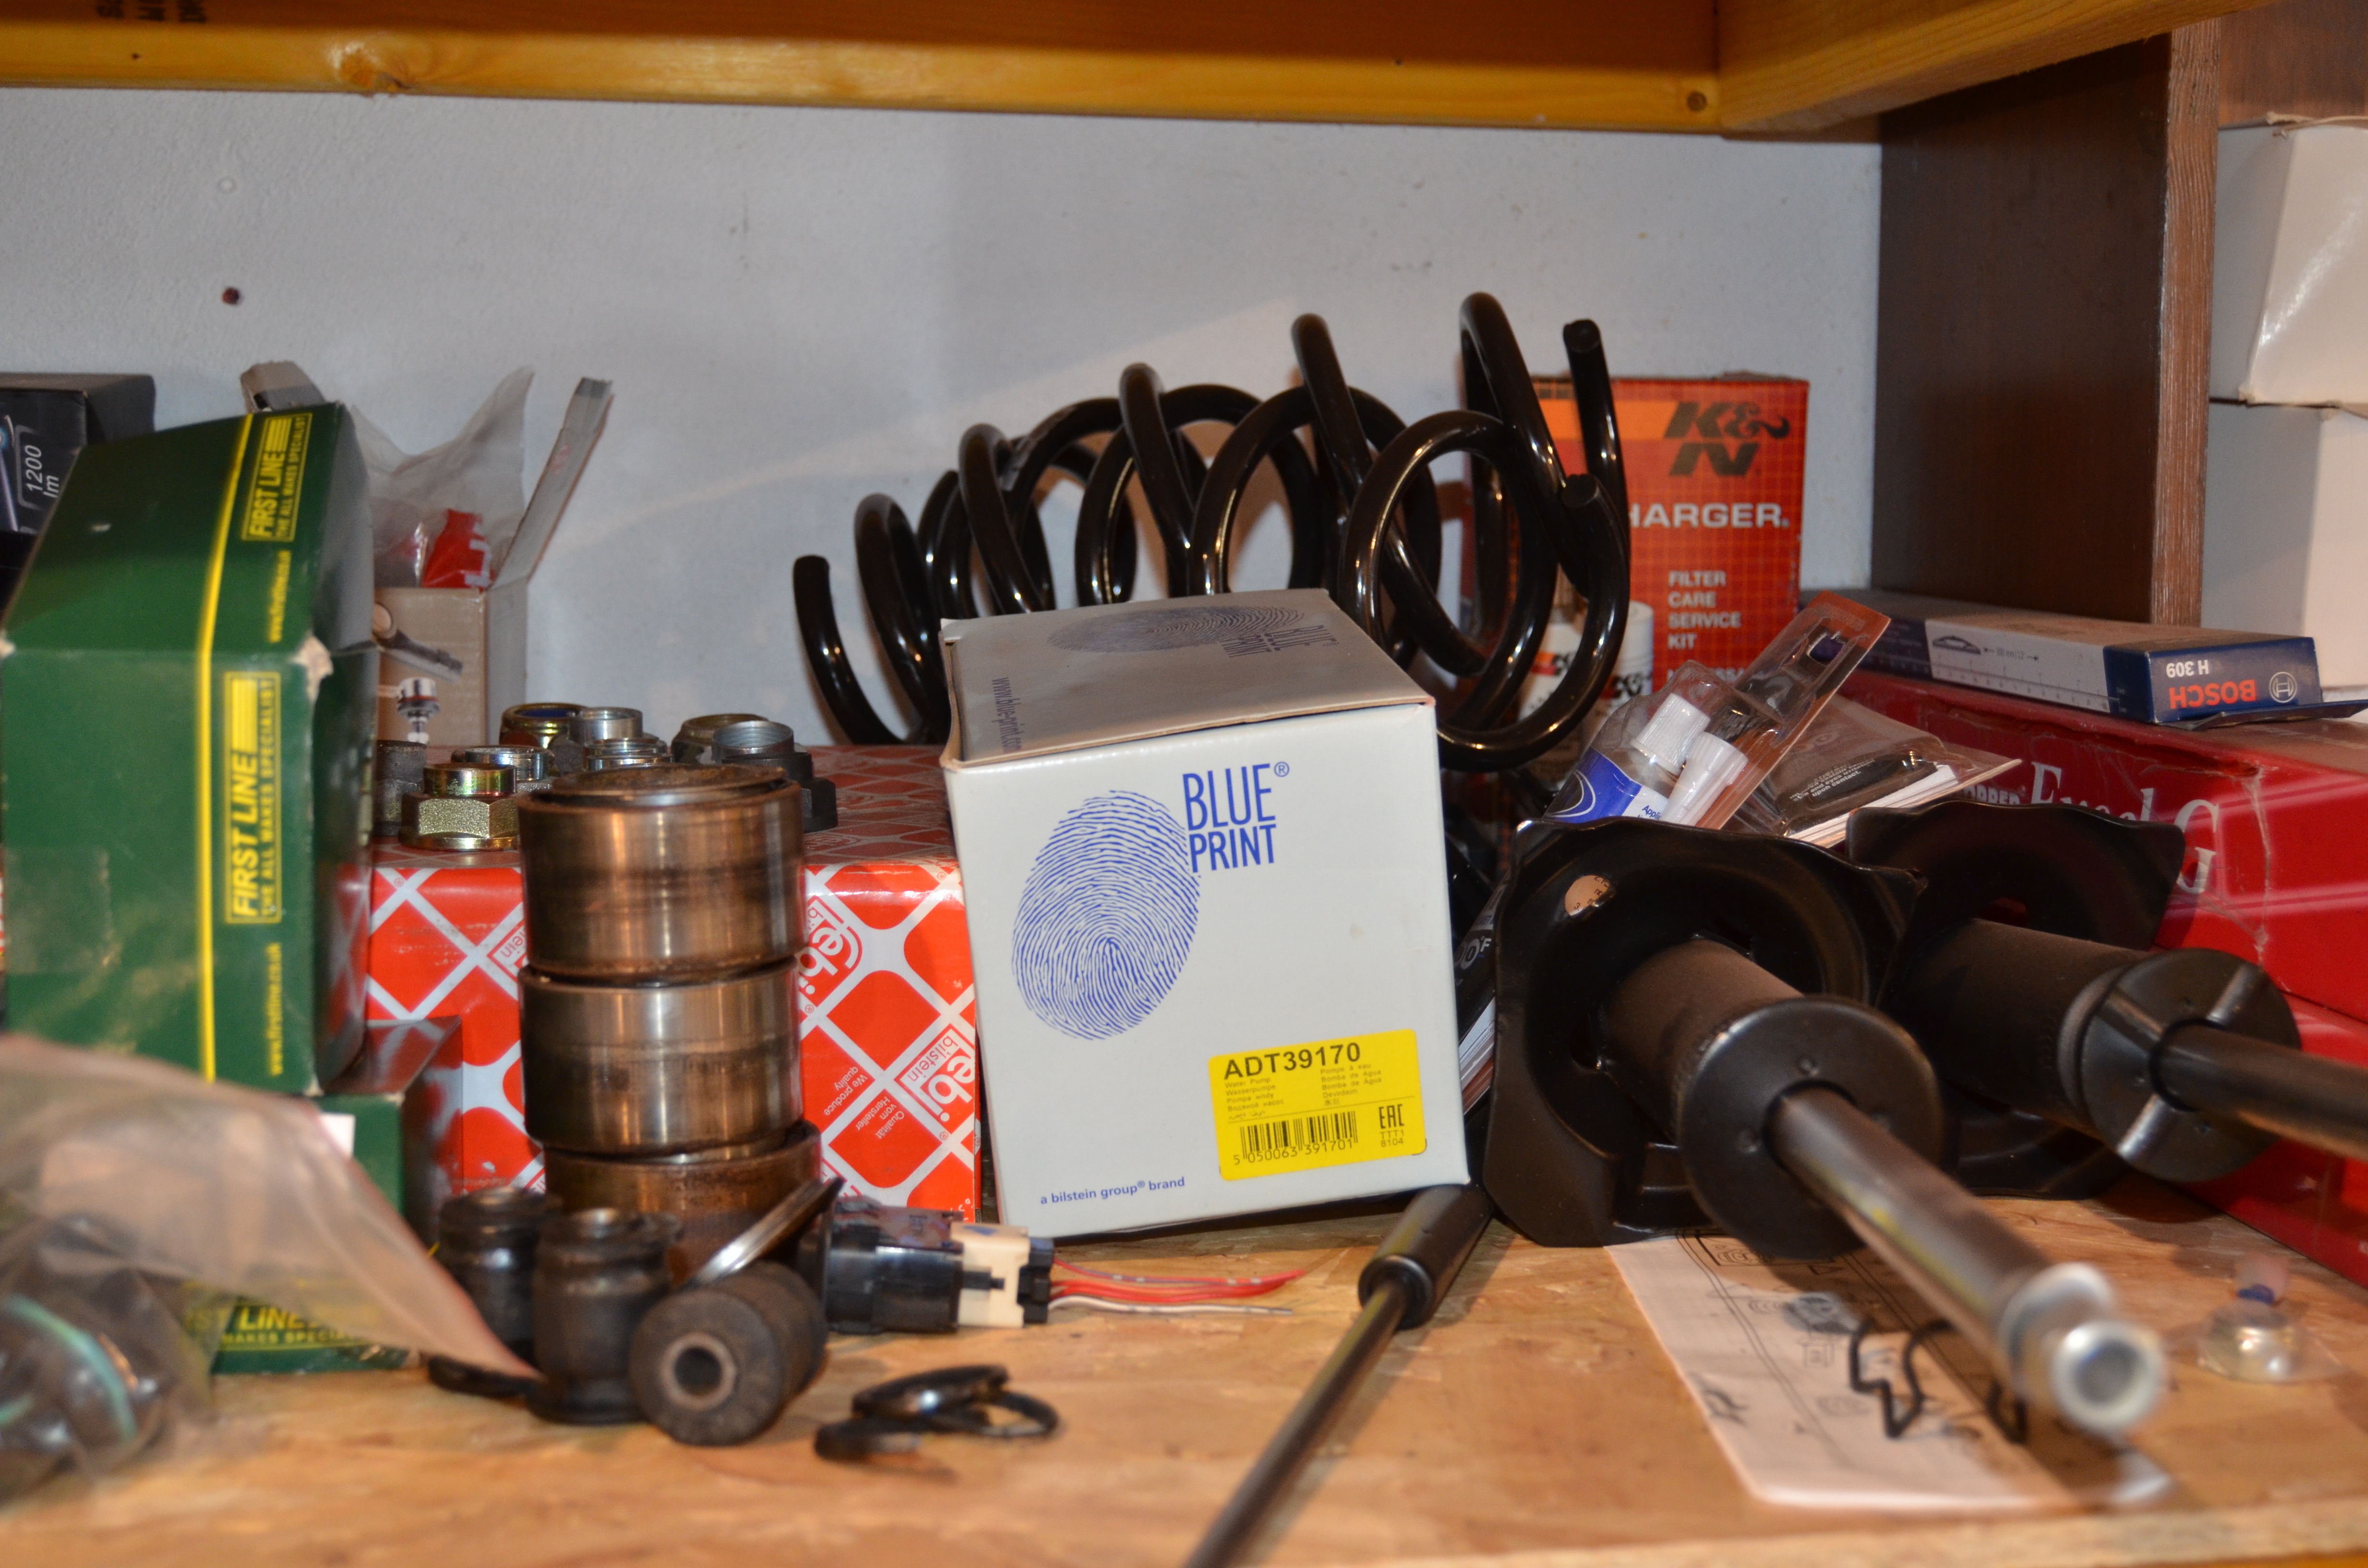
Here’s a picture of miscellaneous bits. Old wheel bearings, new springs and shocks, a fog light switch for my intended fitting of fog lights to the front, an assortment of hub nuts, brake pads, water pump…
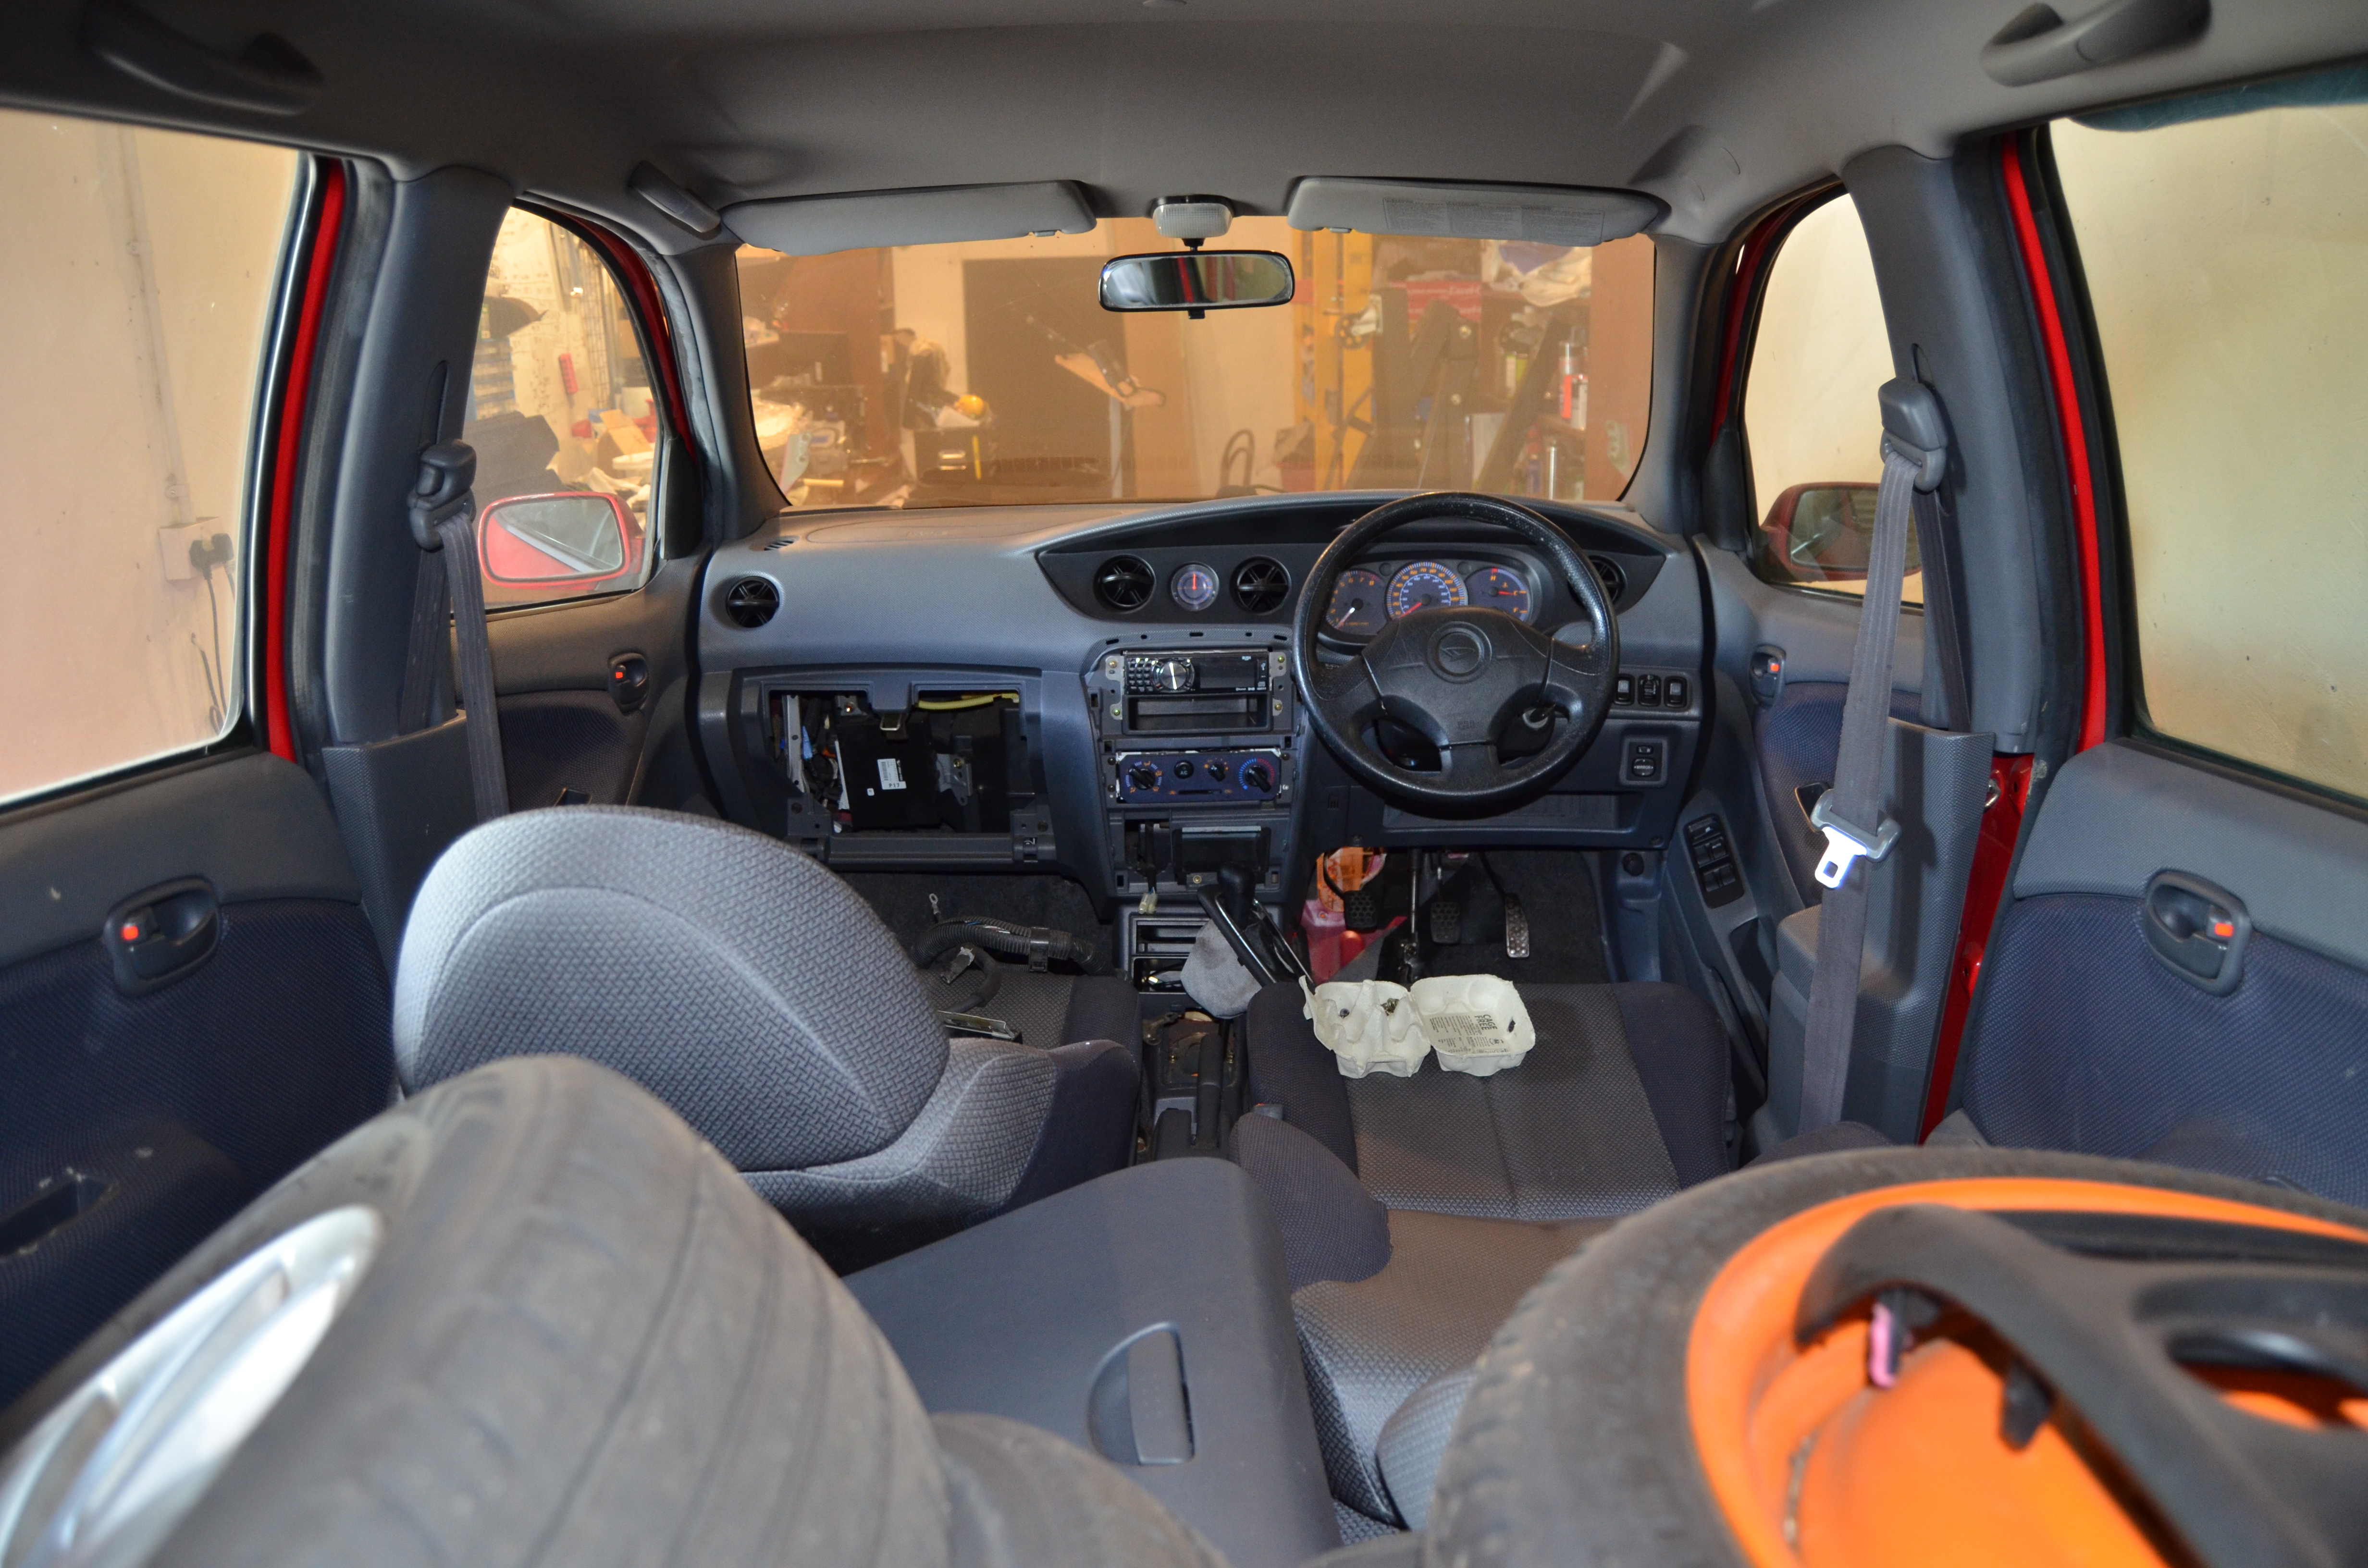
Here is the current state of the interior…
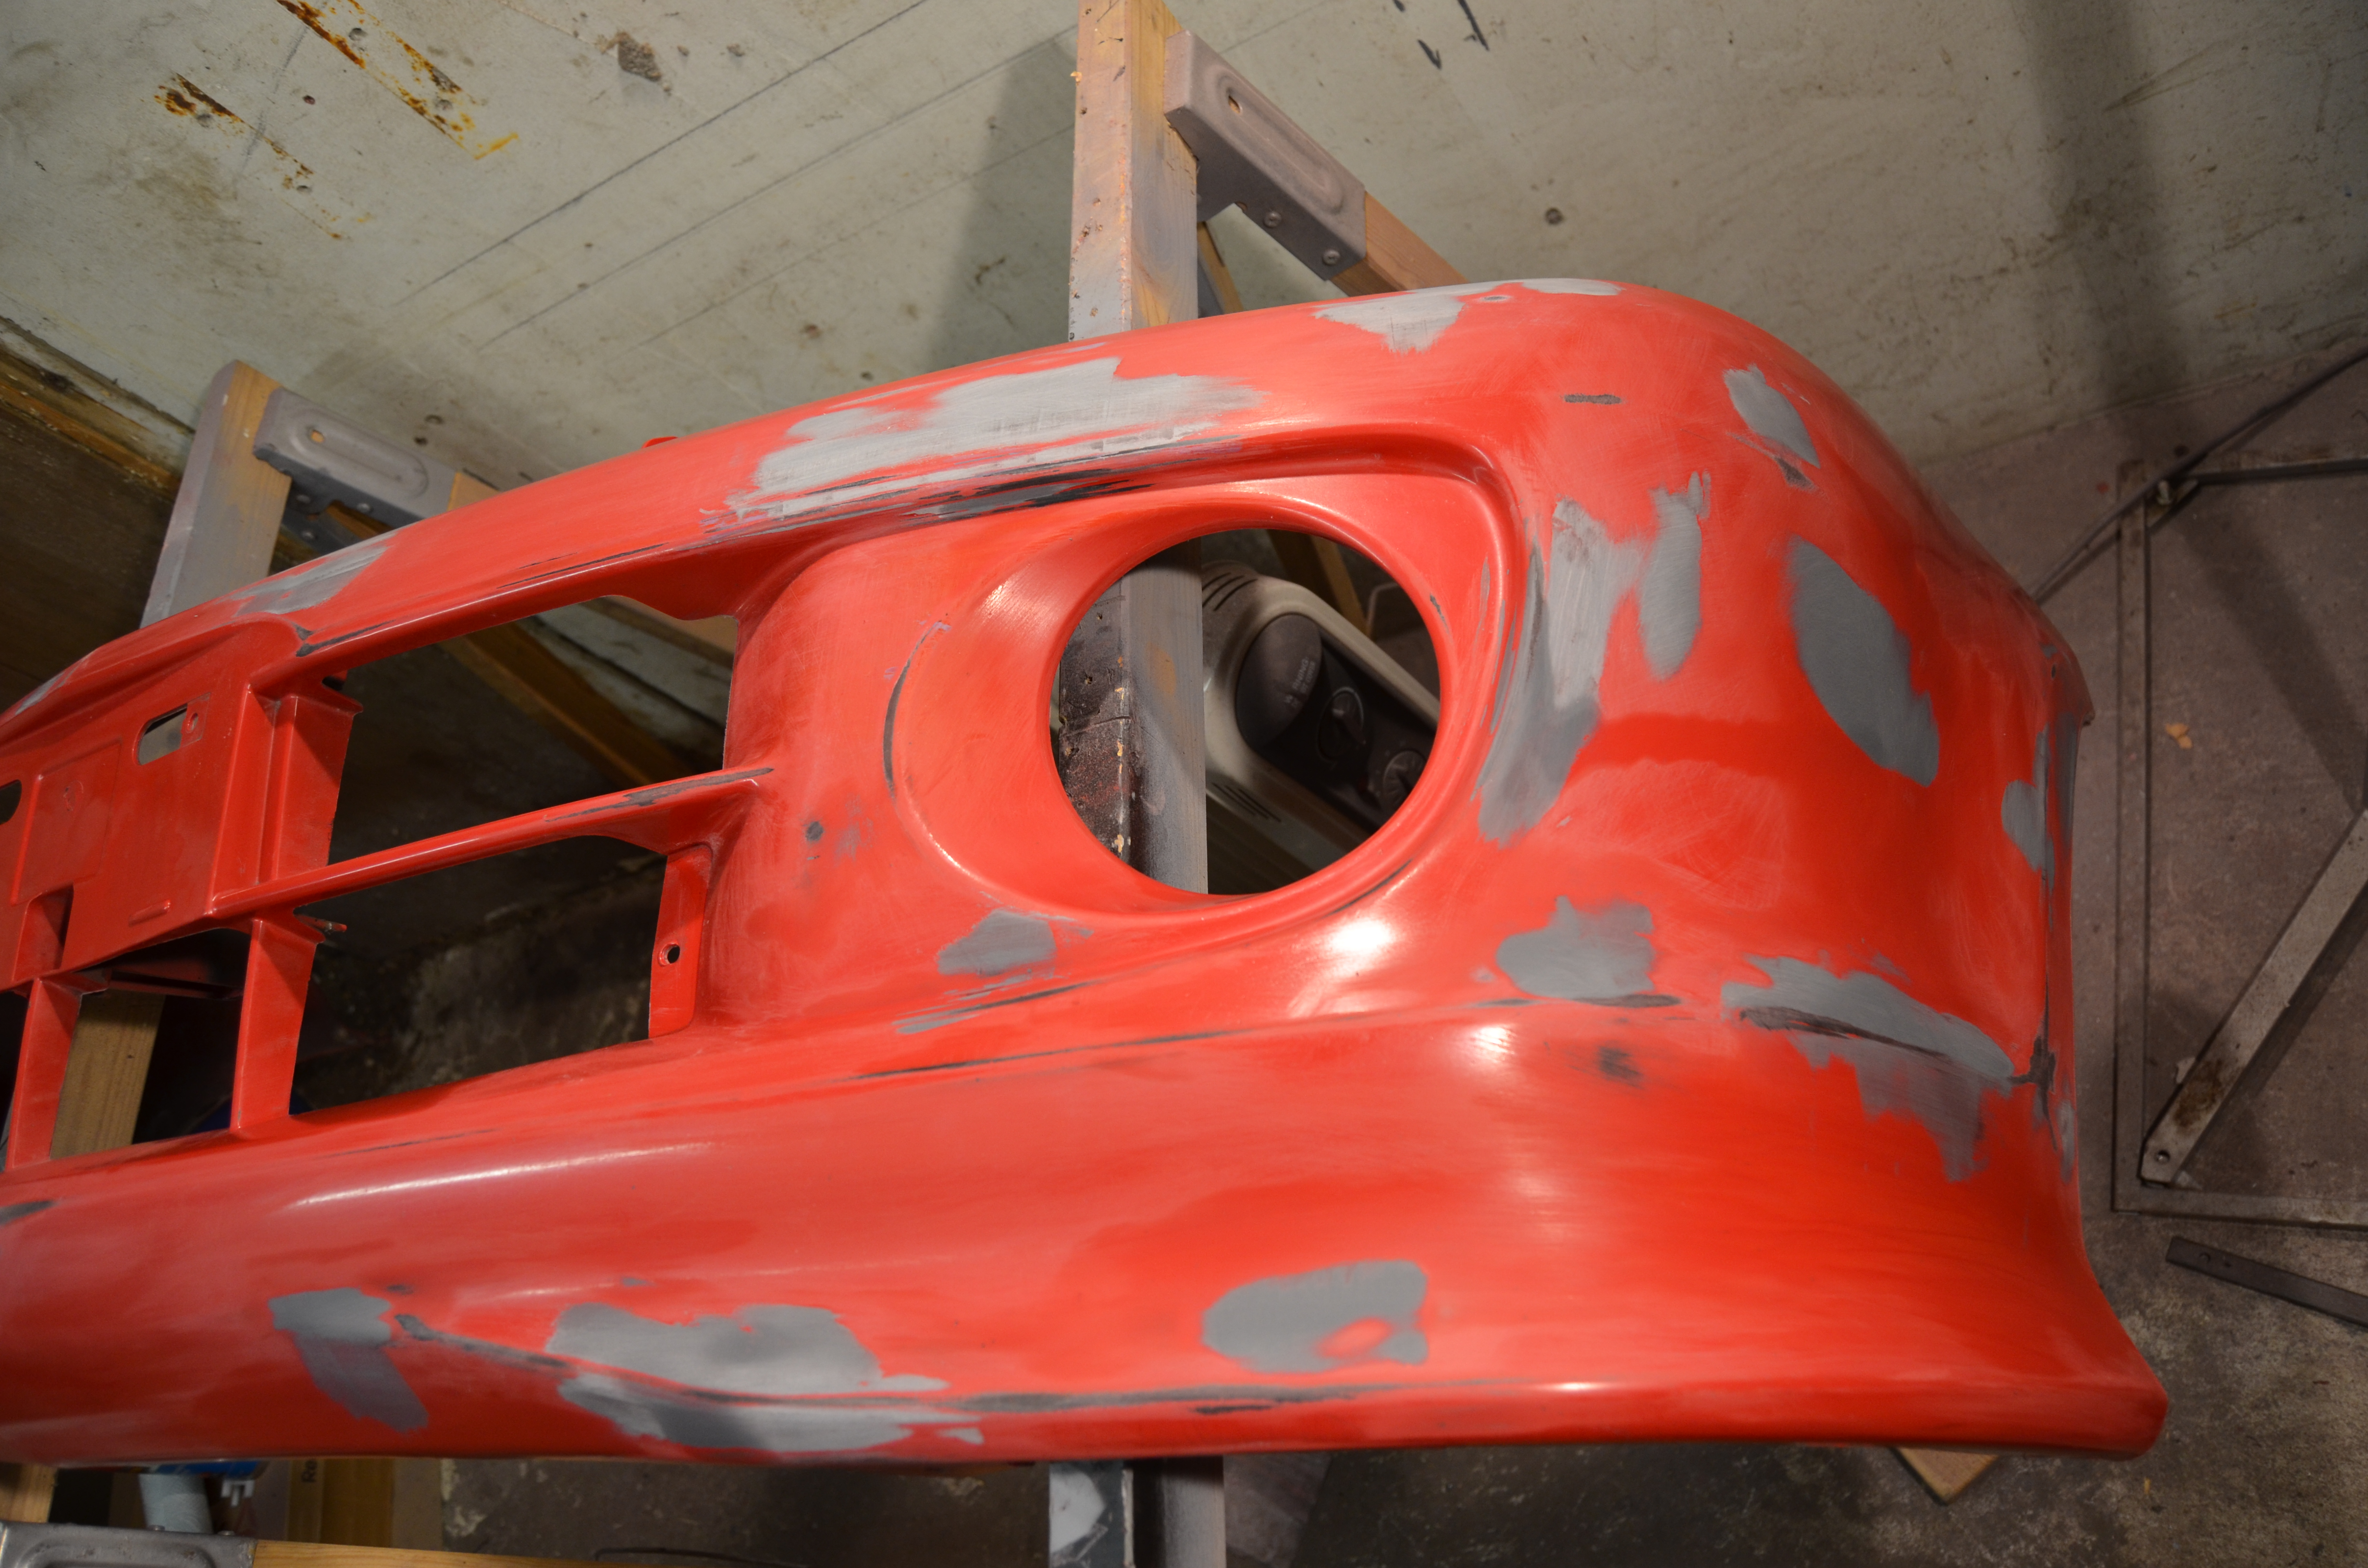
Stupidly, I also set about repairing and repainting the front bumper. I don’t know why I started this, since I do not have any colour-matched body paint, just generic “red” paint! Ah, well, who needs colour-matched panels?
While digging through my boxes of things, getting sort-of ready to start reassembling things, I came across the front engine mount. It has a ruddy great split in it:
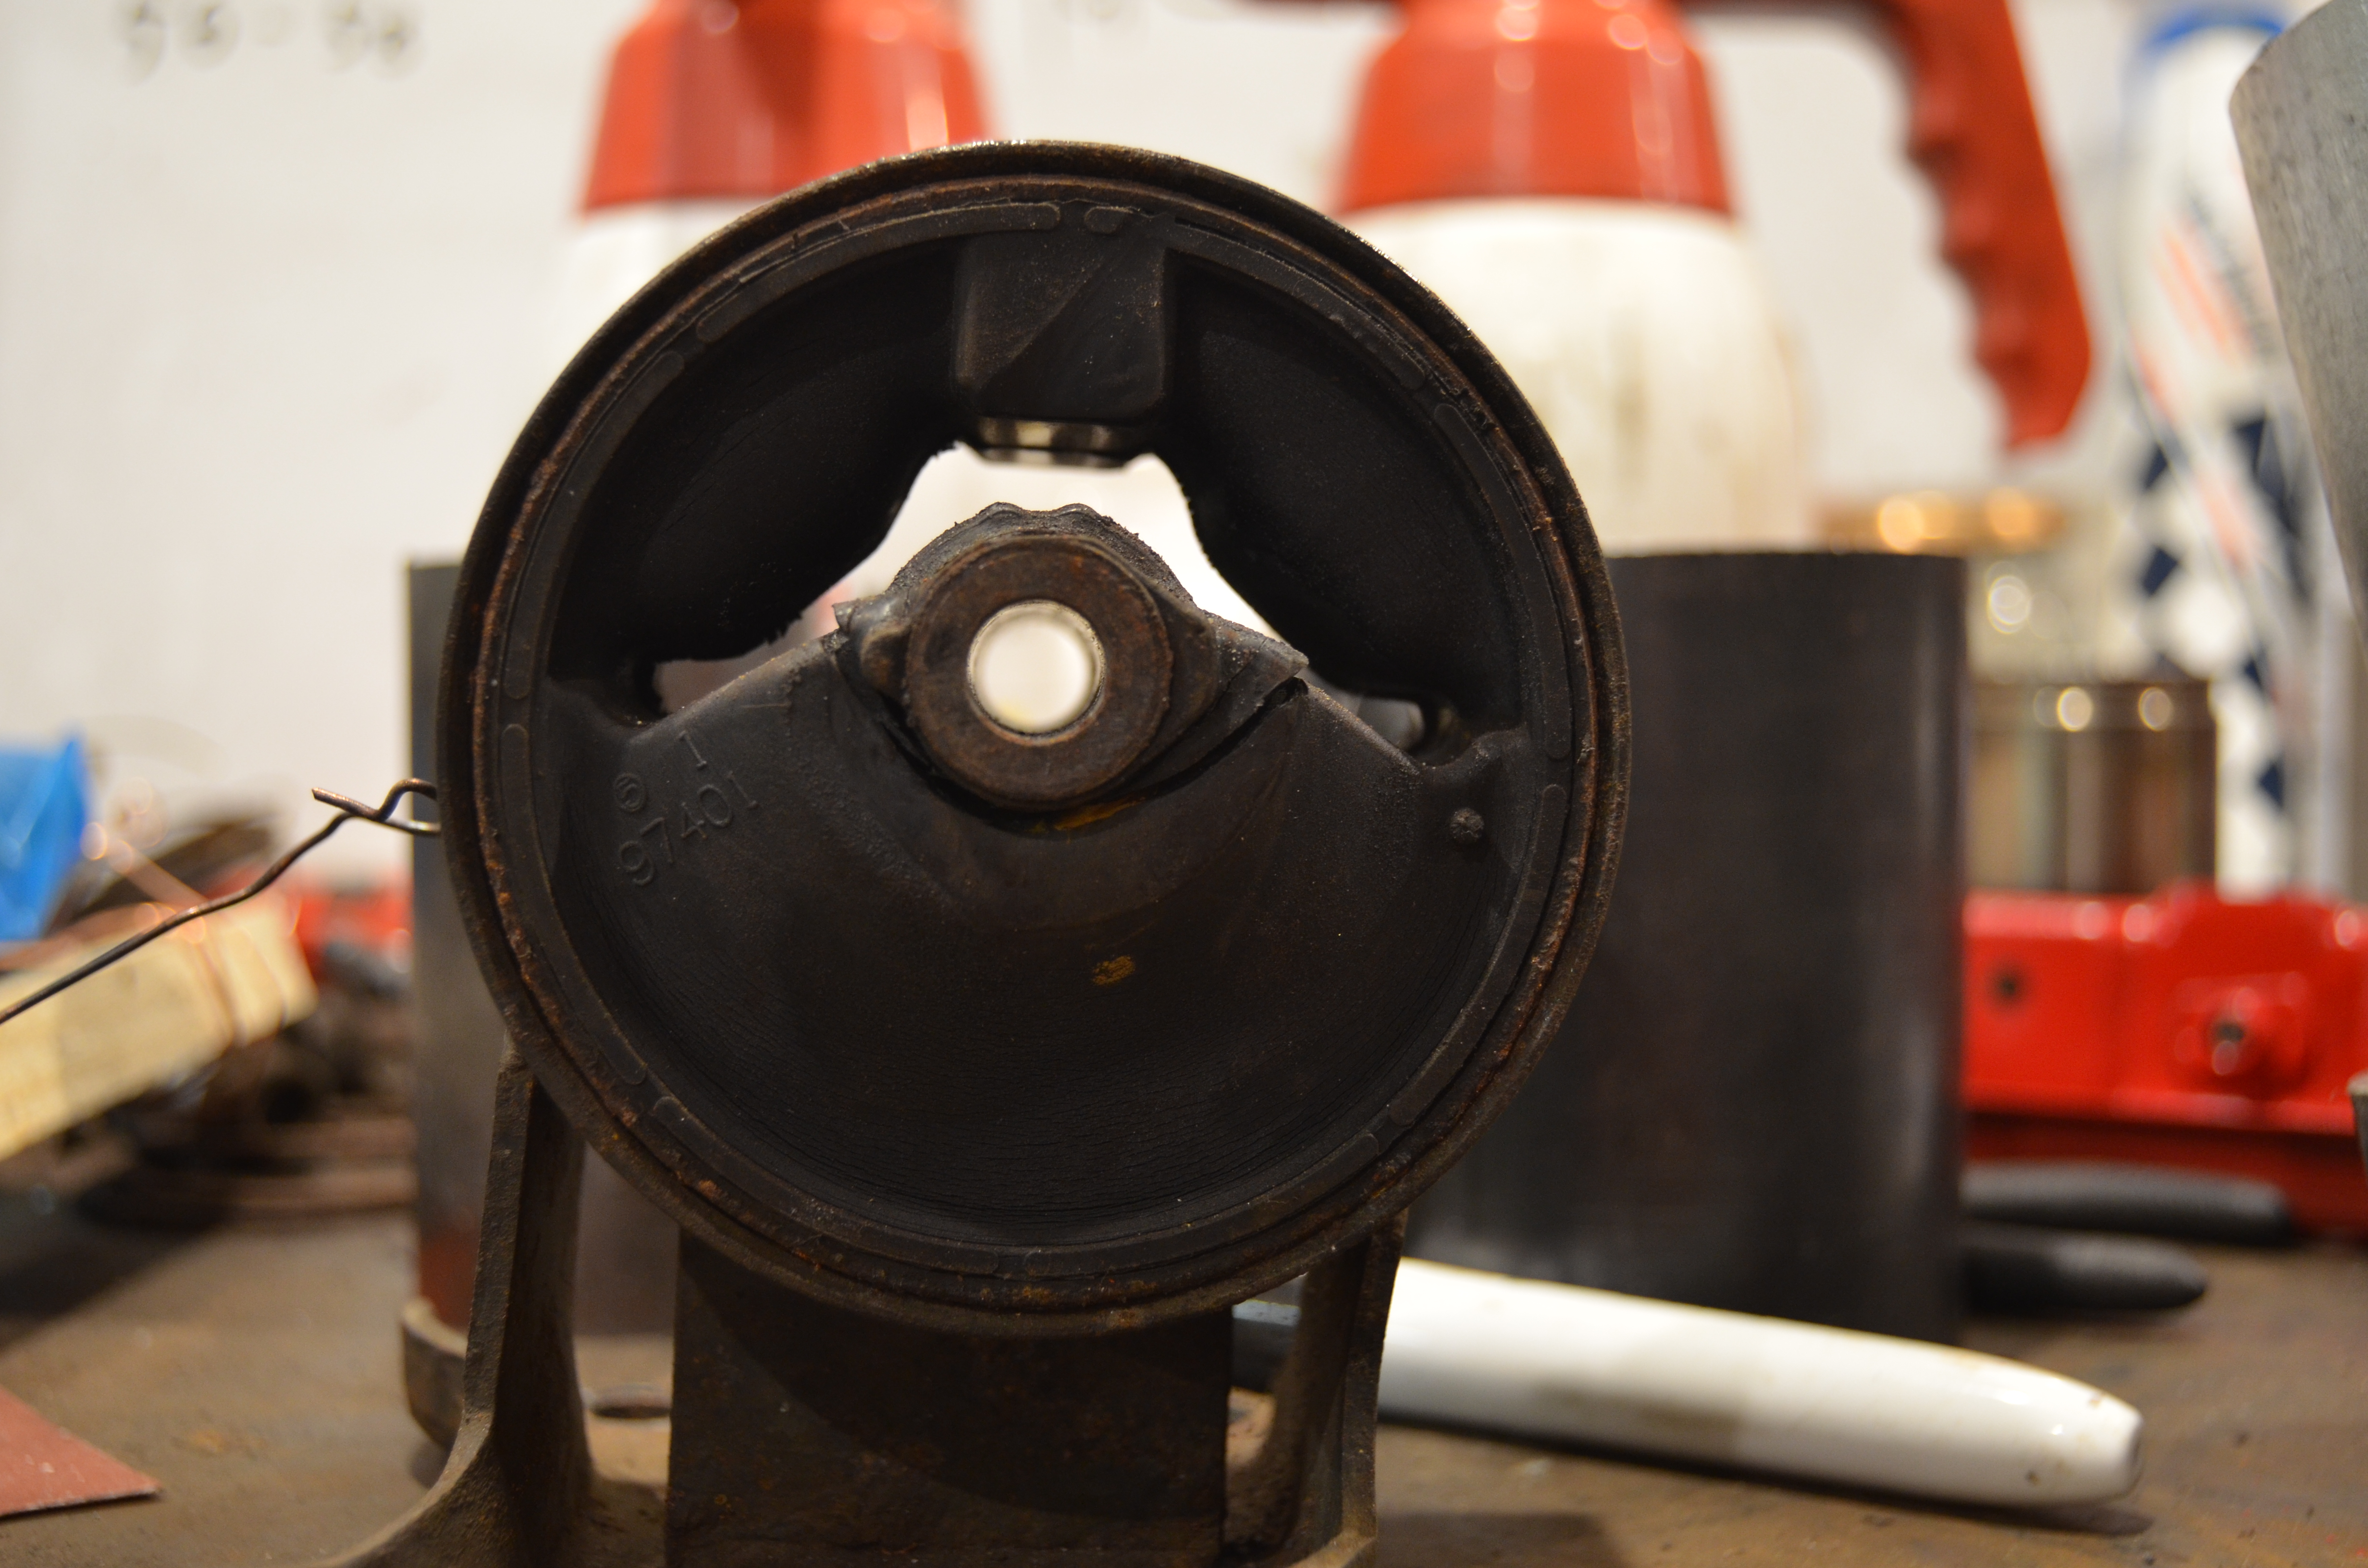
So I have pressed it out, and plan to mould a new one out of Polyurethane. Trying to find a new one was a complete non-starter. The other two mounts seem just fine - thank goodness!
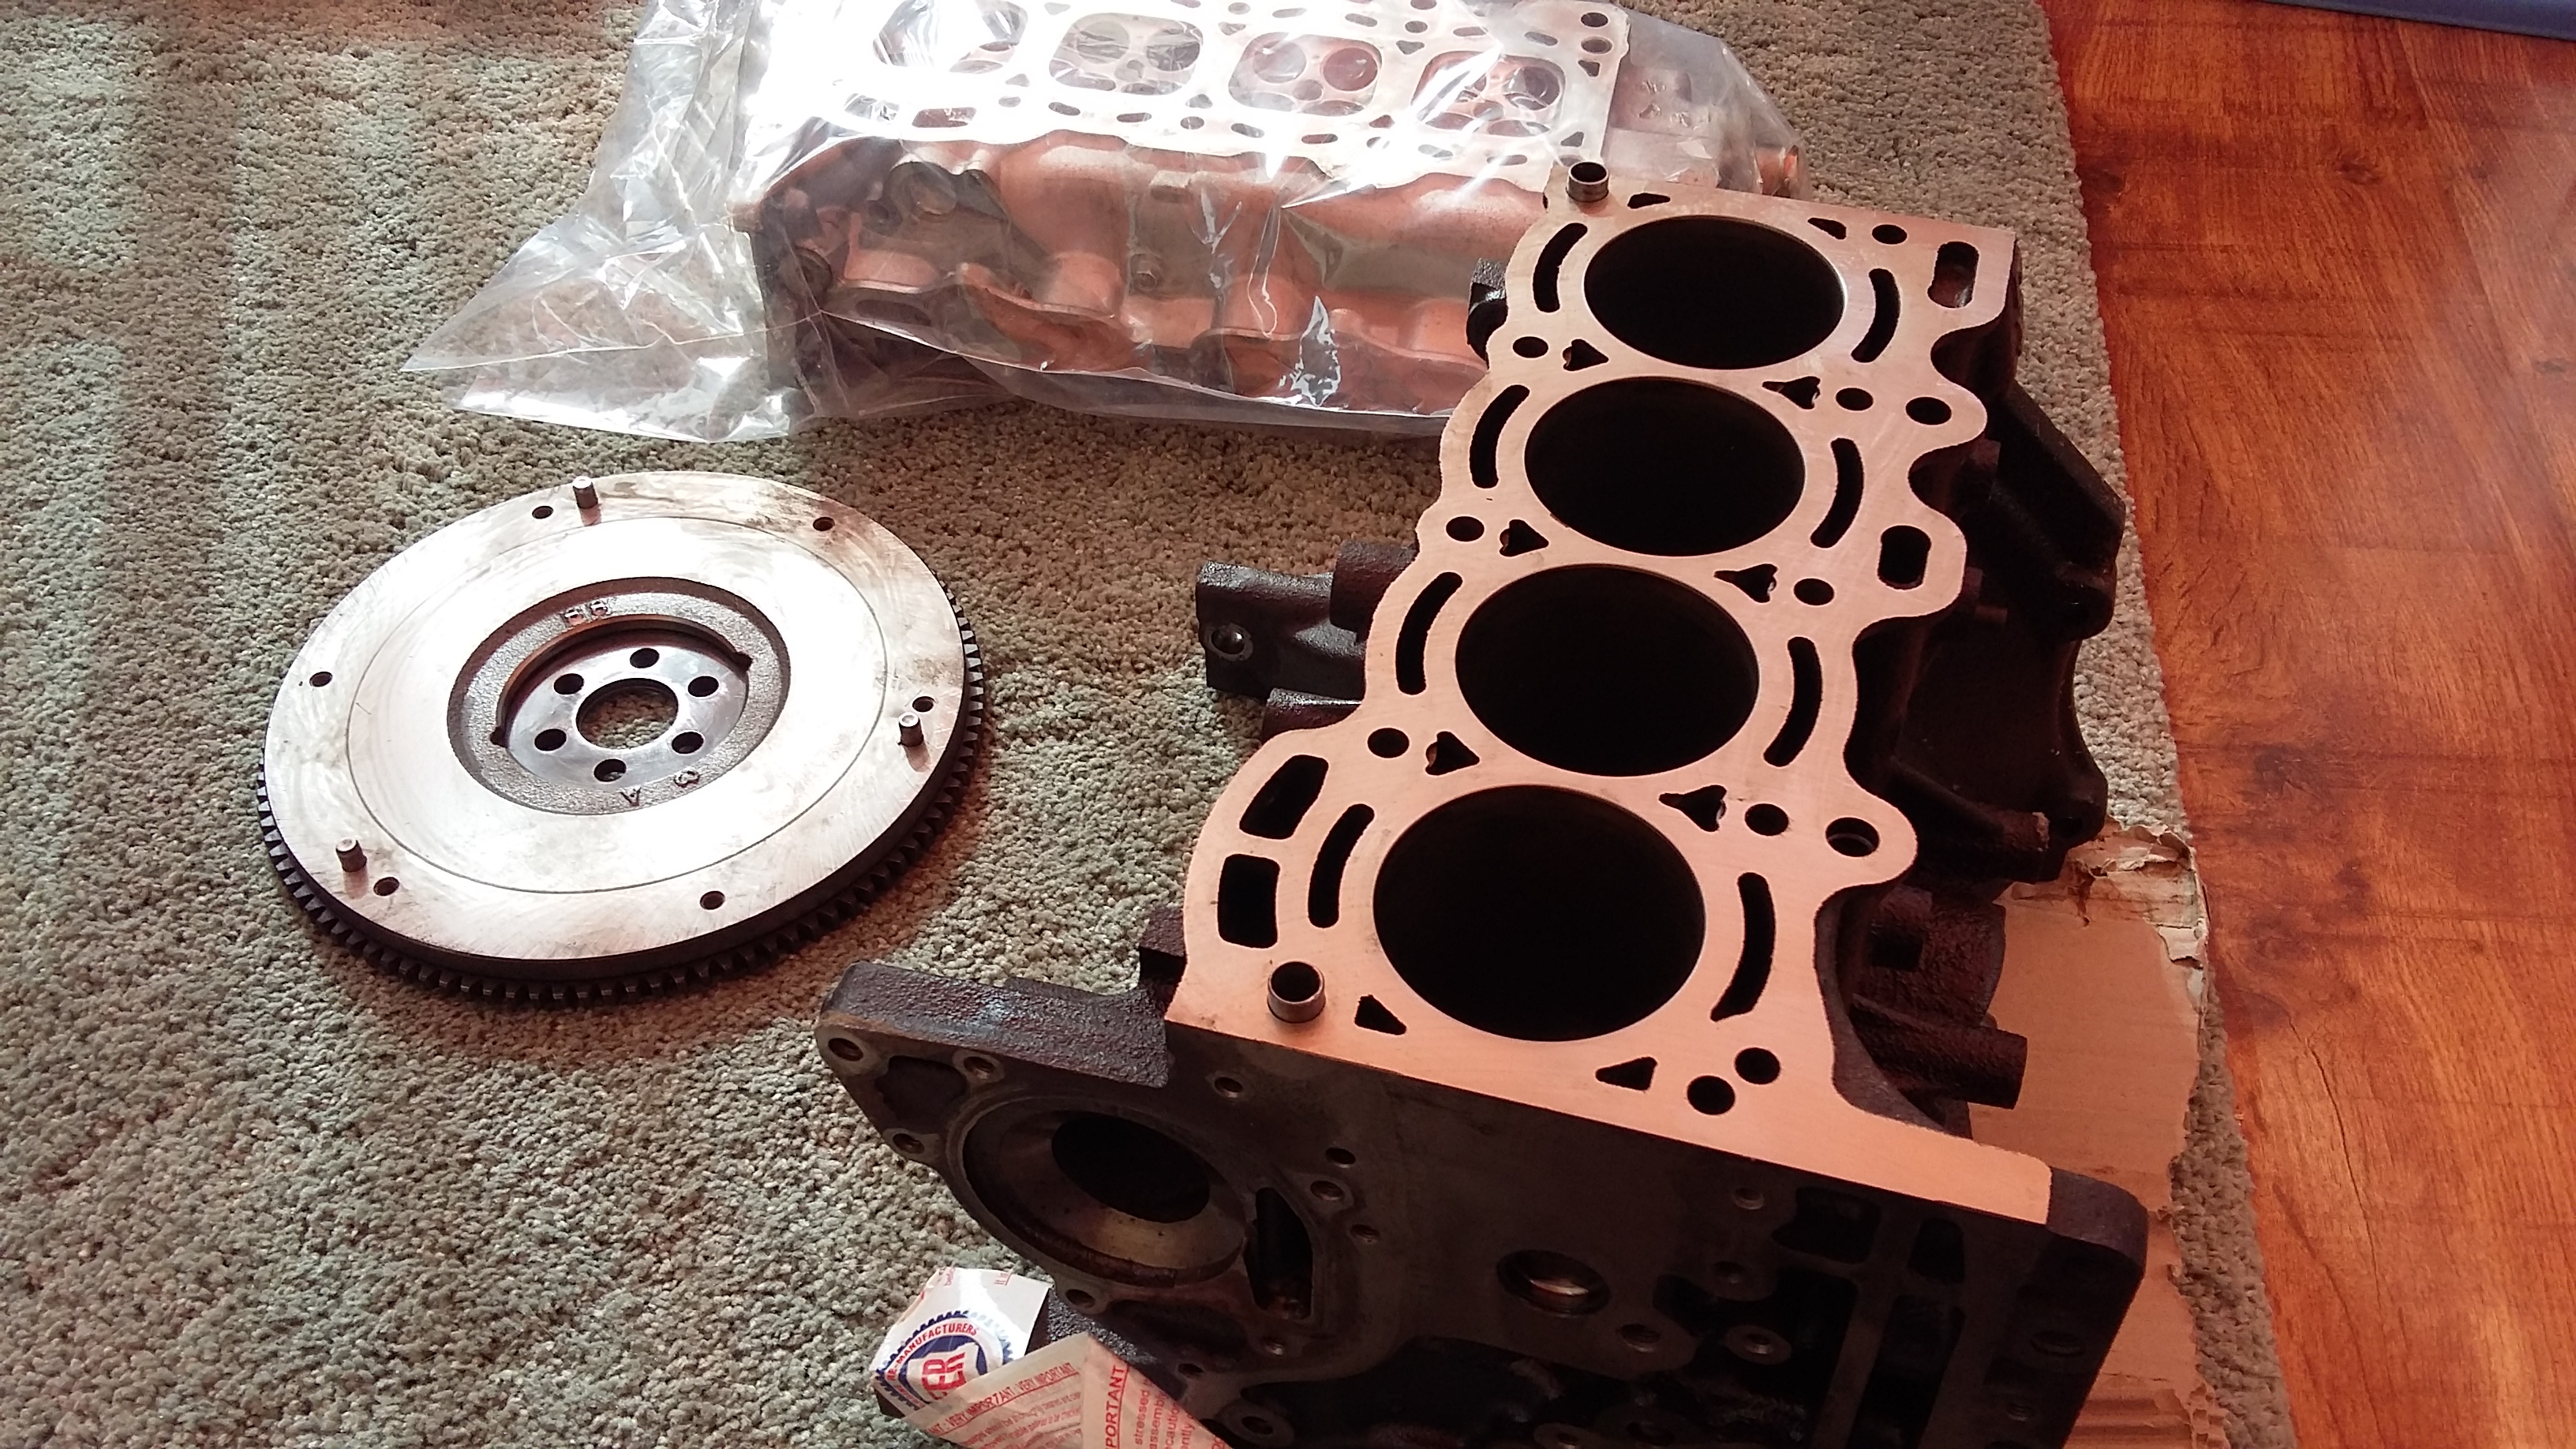
The reason I started putting this post together is because something of a turning point is being reached. I finally got around to sending things off to an engine machine shop to get the block decked, valve seats cut in the head and the flywheel skimmed.
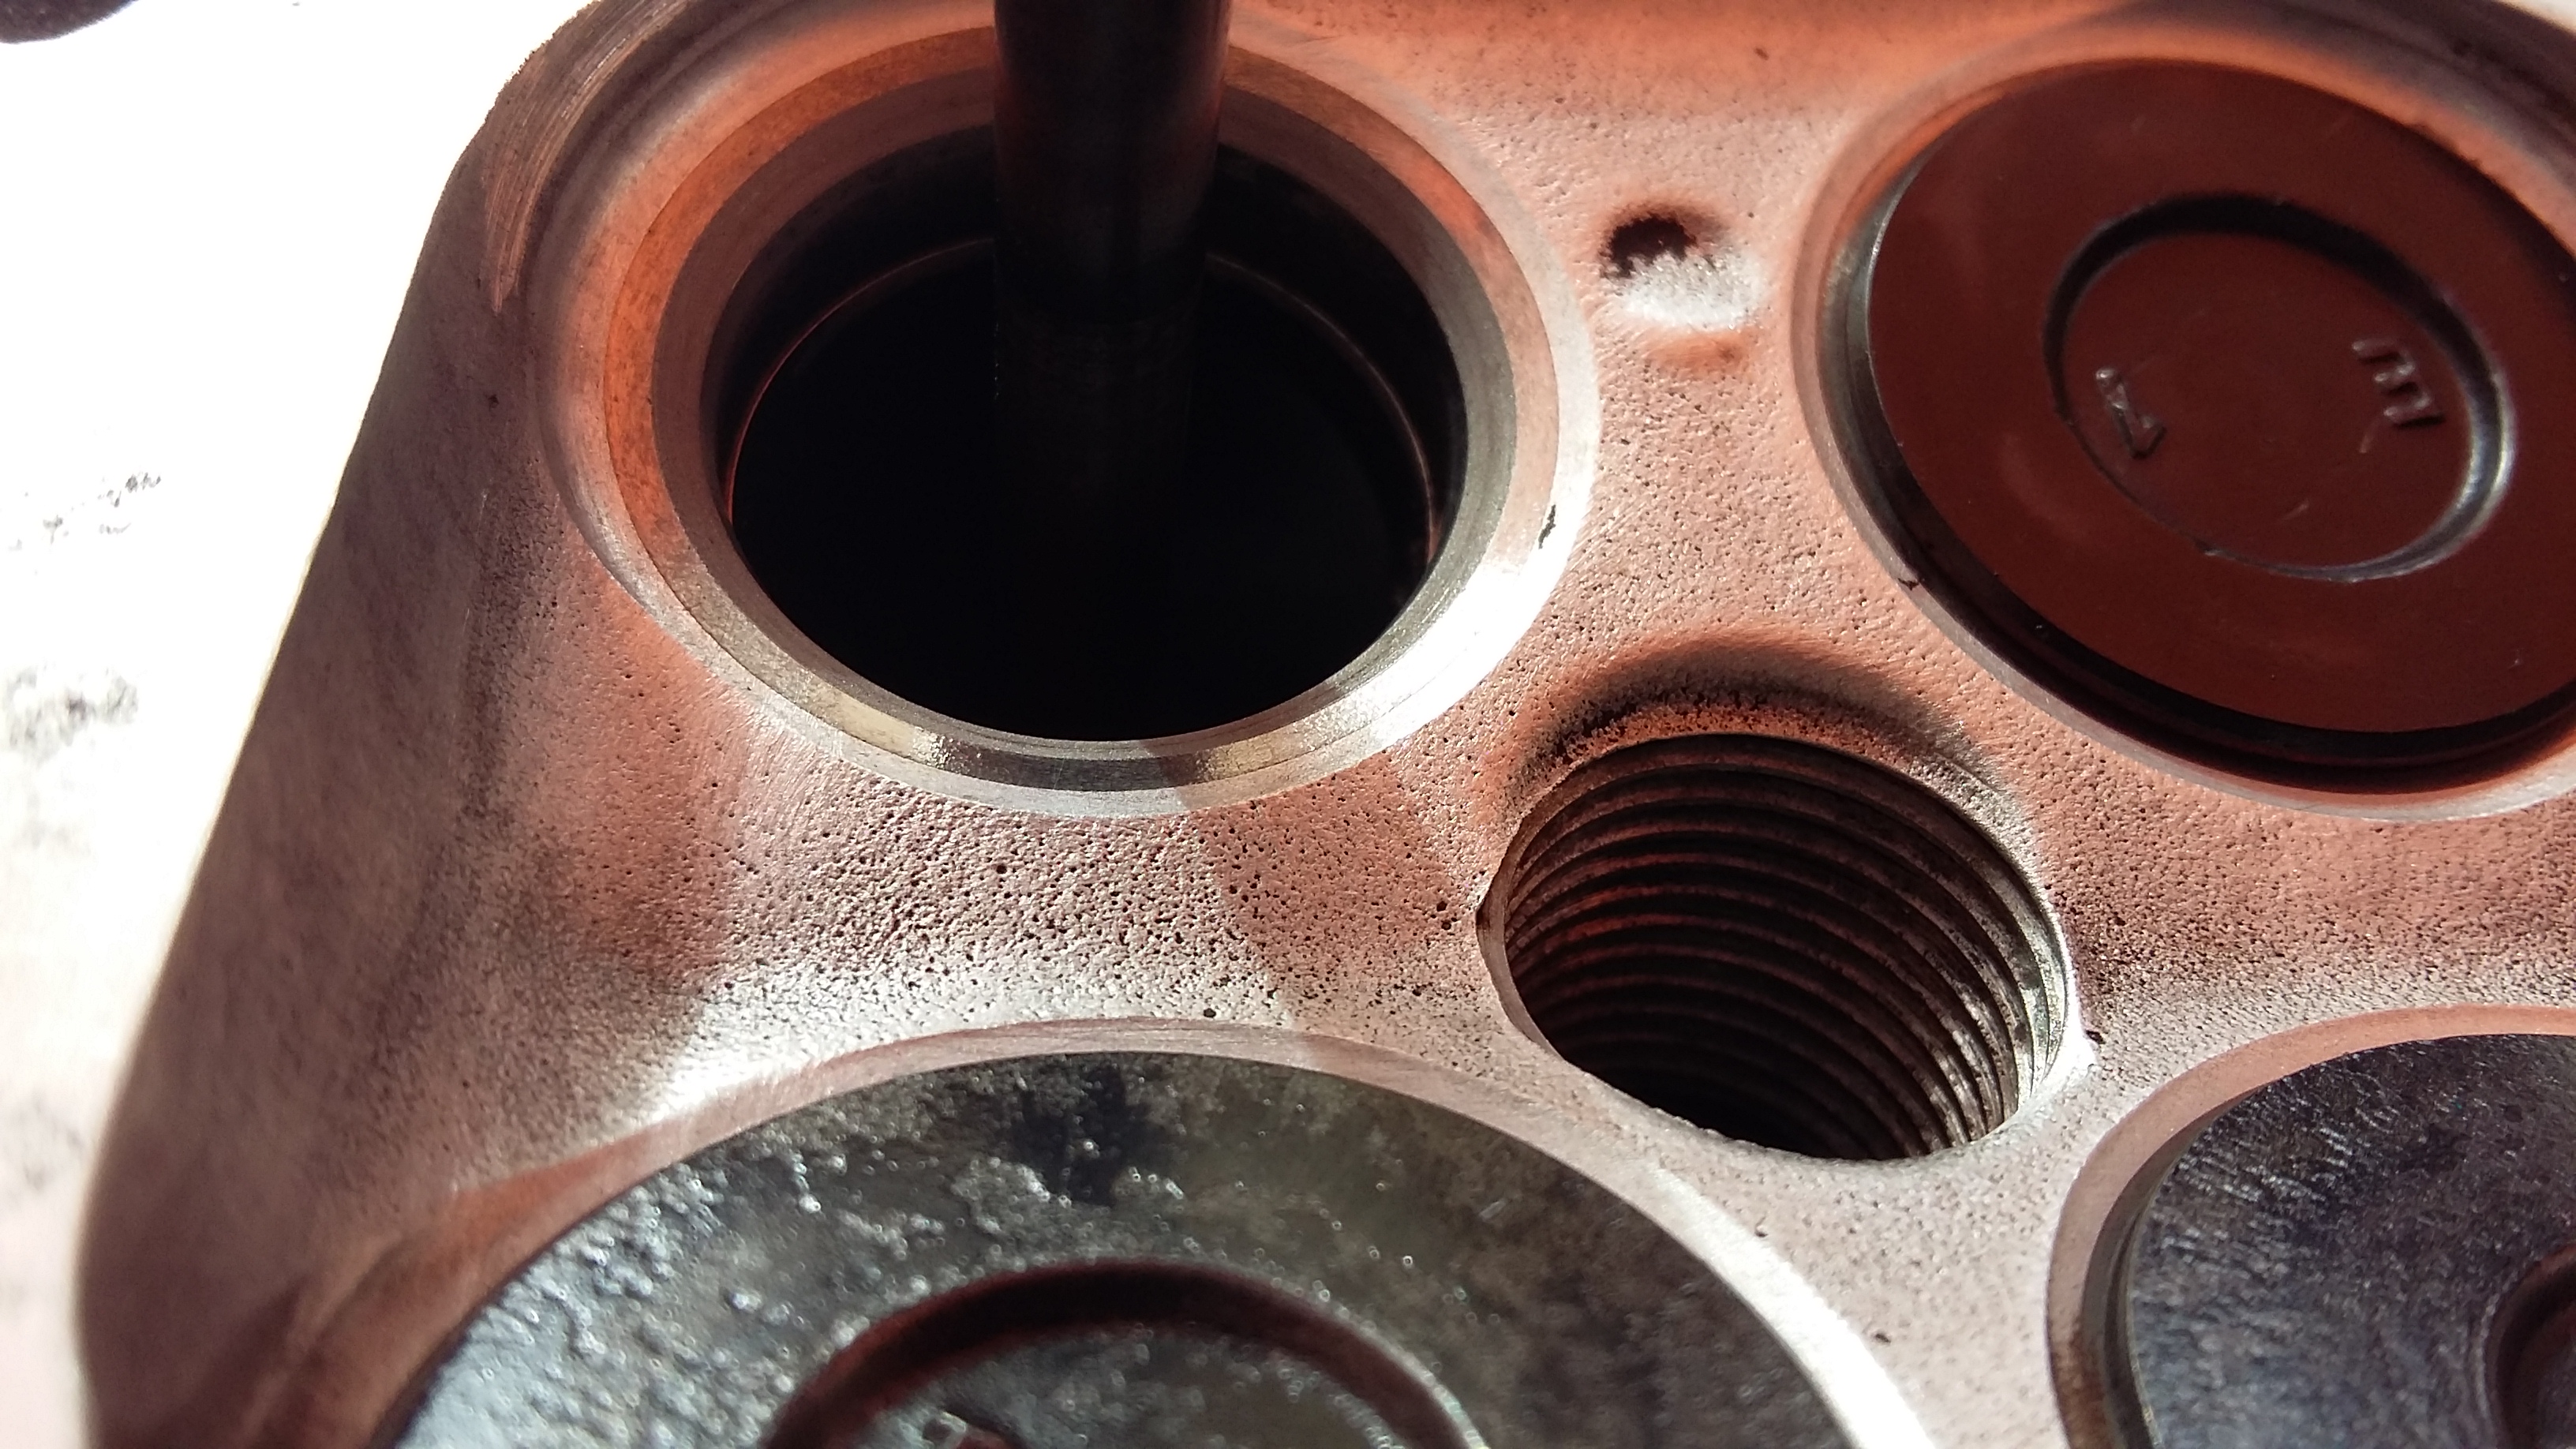
I have done test reassembles of the head, and placed the order via Amayama for the correctly sized cam buckets. The valve seat machining removed between 0.06 and 0.1 mm, so I needed much smaller cam bucket sizes. Plus the extra heat from potentially turbocharging the system, I am aiming for the larger end of the allowable valve clearance to the cams.
Things I have not mentioned: Buying a second gearbox via ebay. Fixing the rear wiper,sourcing missing interior trim pieces, fixing the back door catch and handle, and the fact I may have broken the number plate lights. Deciding to get an after-market ECU. Me procrastinating about getting decent speakers (my sister has given me a decent head unit). Me buying some cheap second-hand intercoolers from ebay to see where I can fit one without having a mess of pipes. Oh. One thing I shall mention: on removing the side skirts…
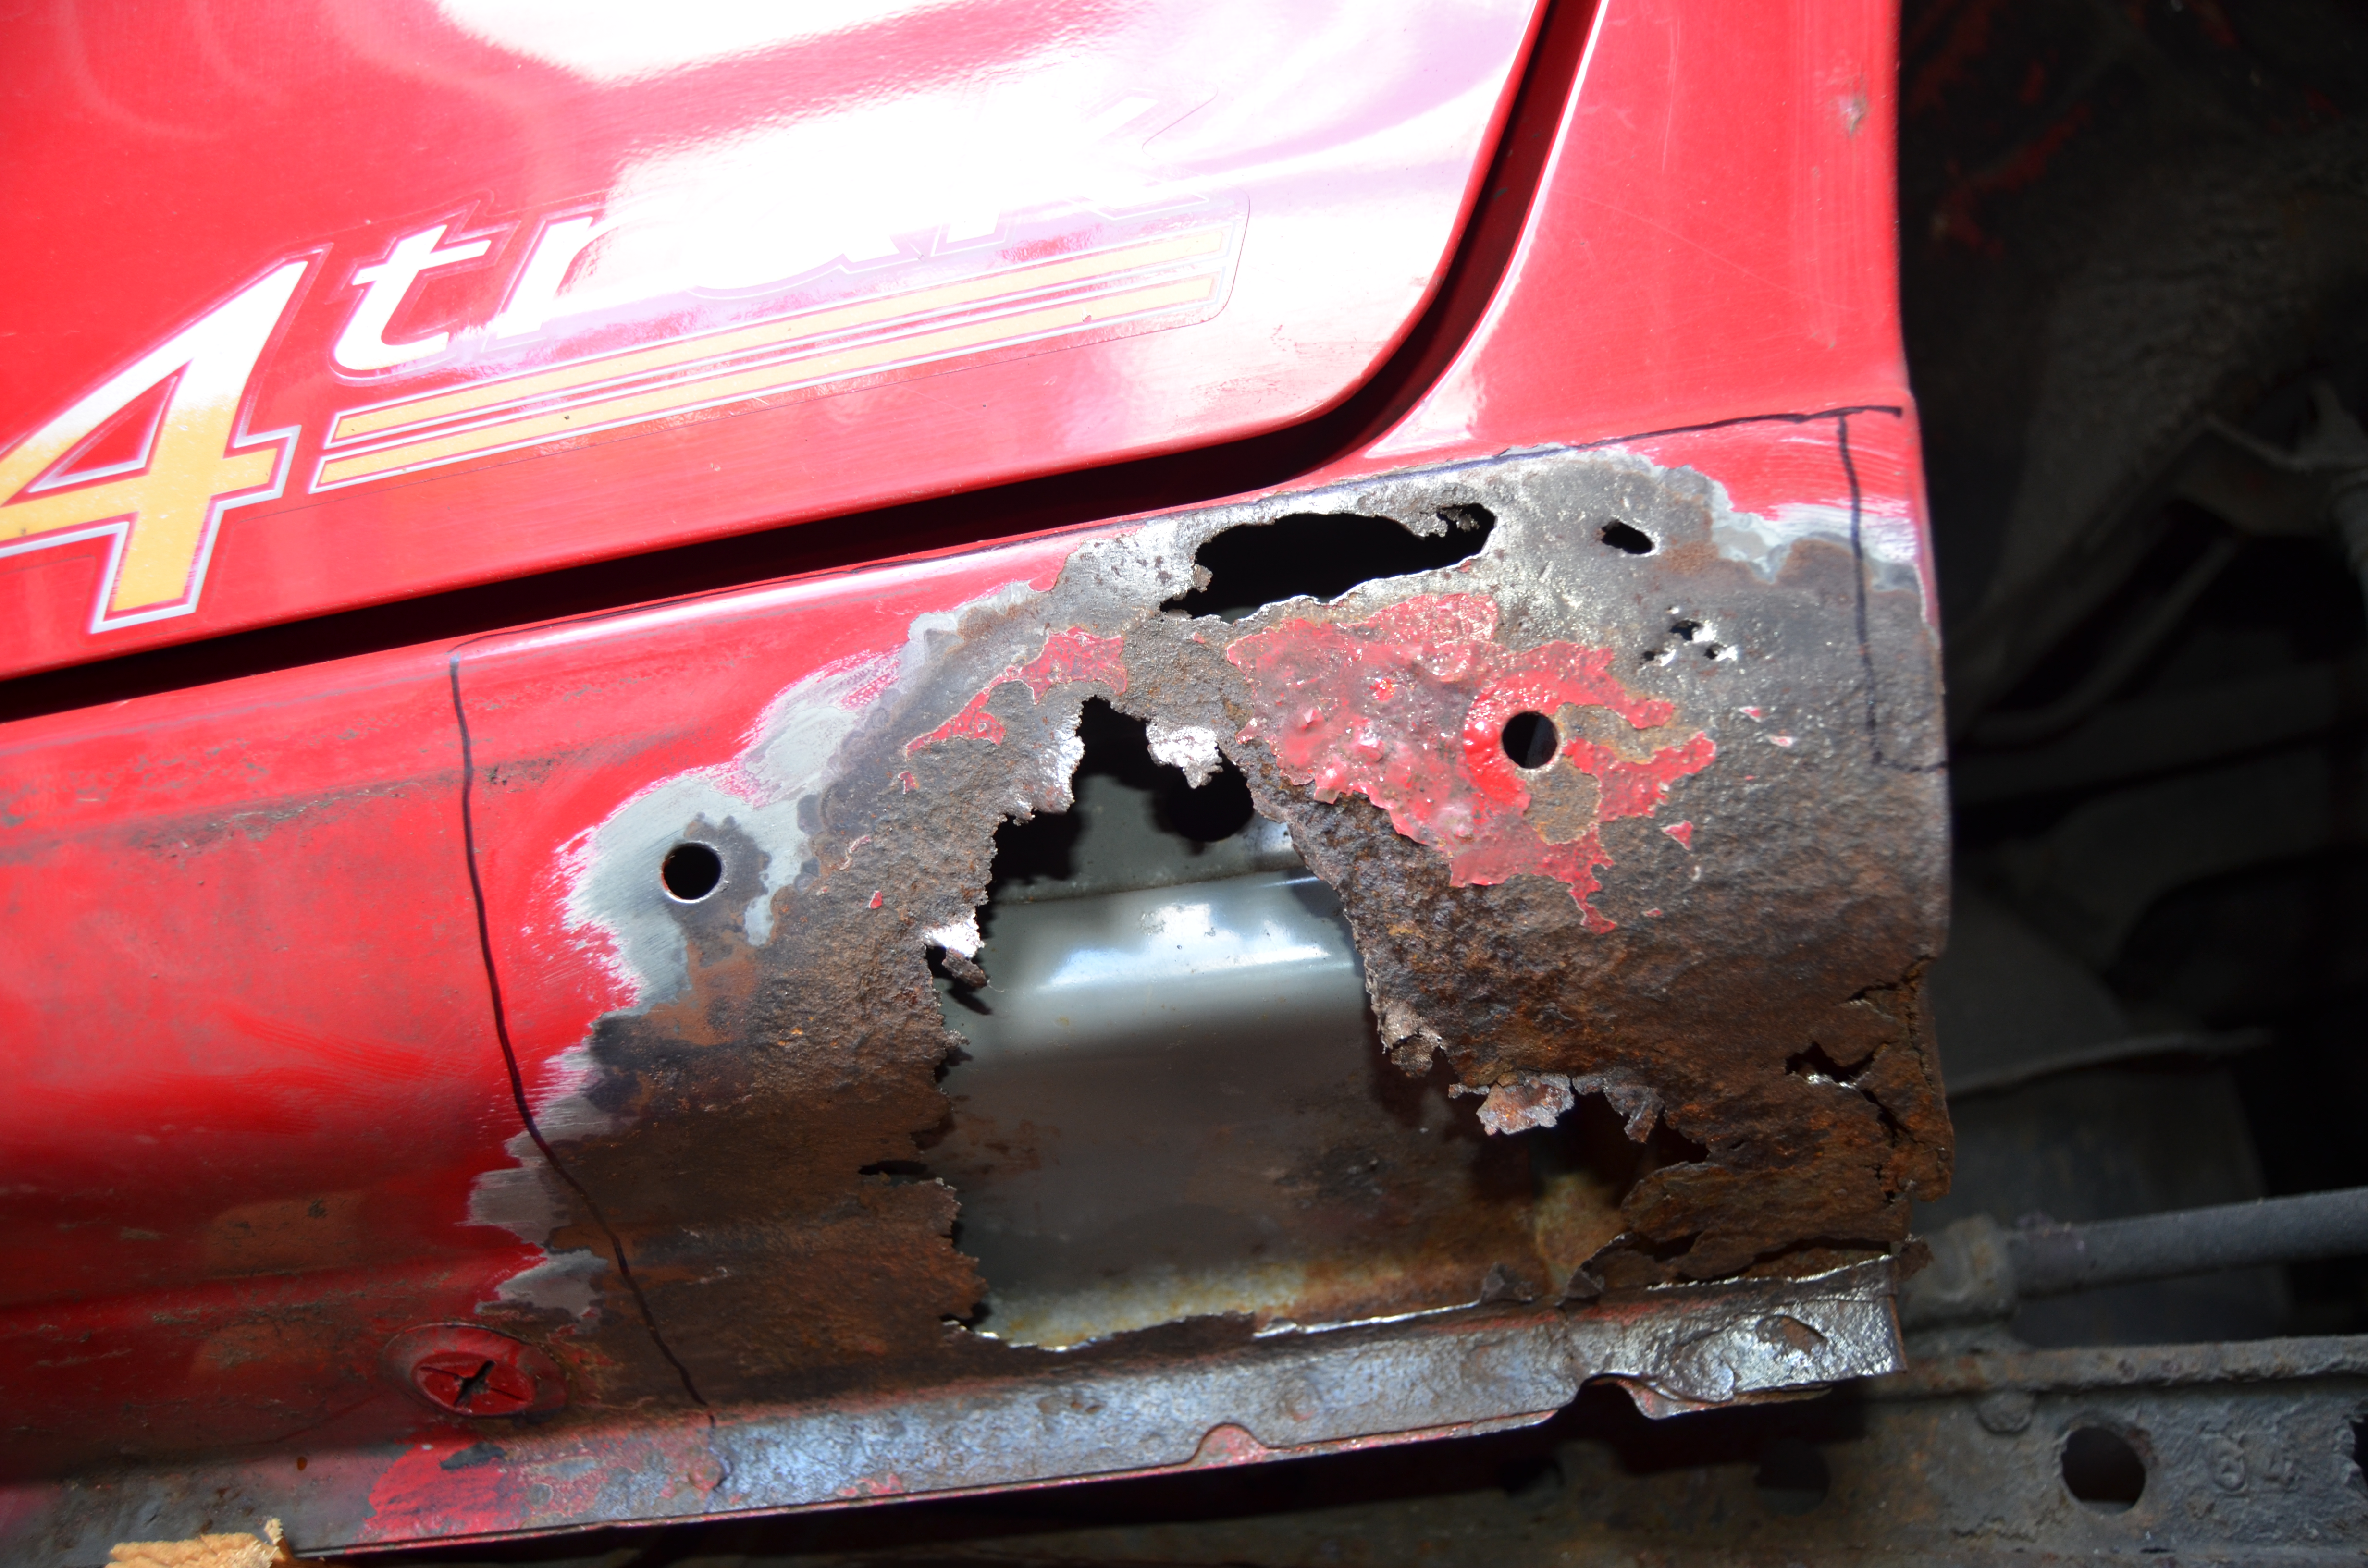
I’m going to have to learn how to weld.
That brings you up to date. I hope it has been an interesting read for you guys. Just remember that this one post condenses two and a half years of … procrastination. I’m hoping that having some interested people following along that I will be encouraged to keep the project moving forward. Thanks to all of you for the inspiration!