Ongoing Project - The Green Bean Saga

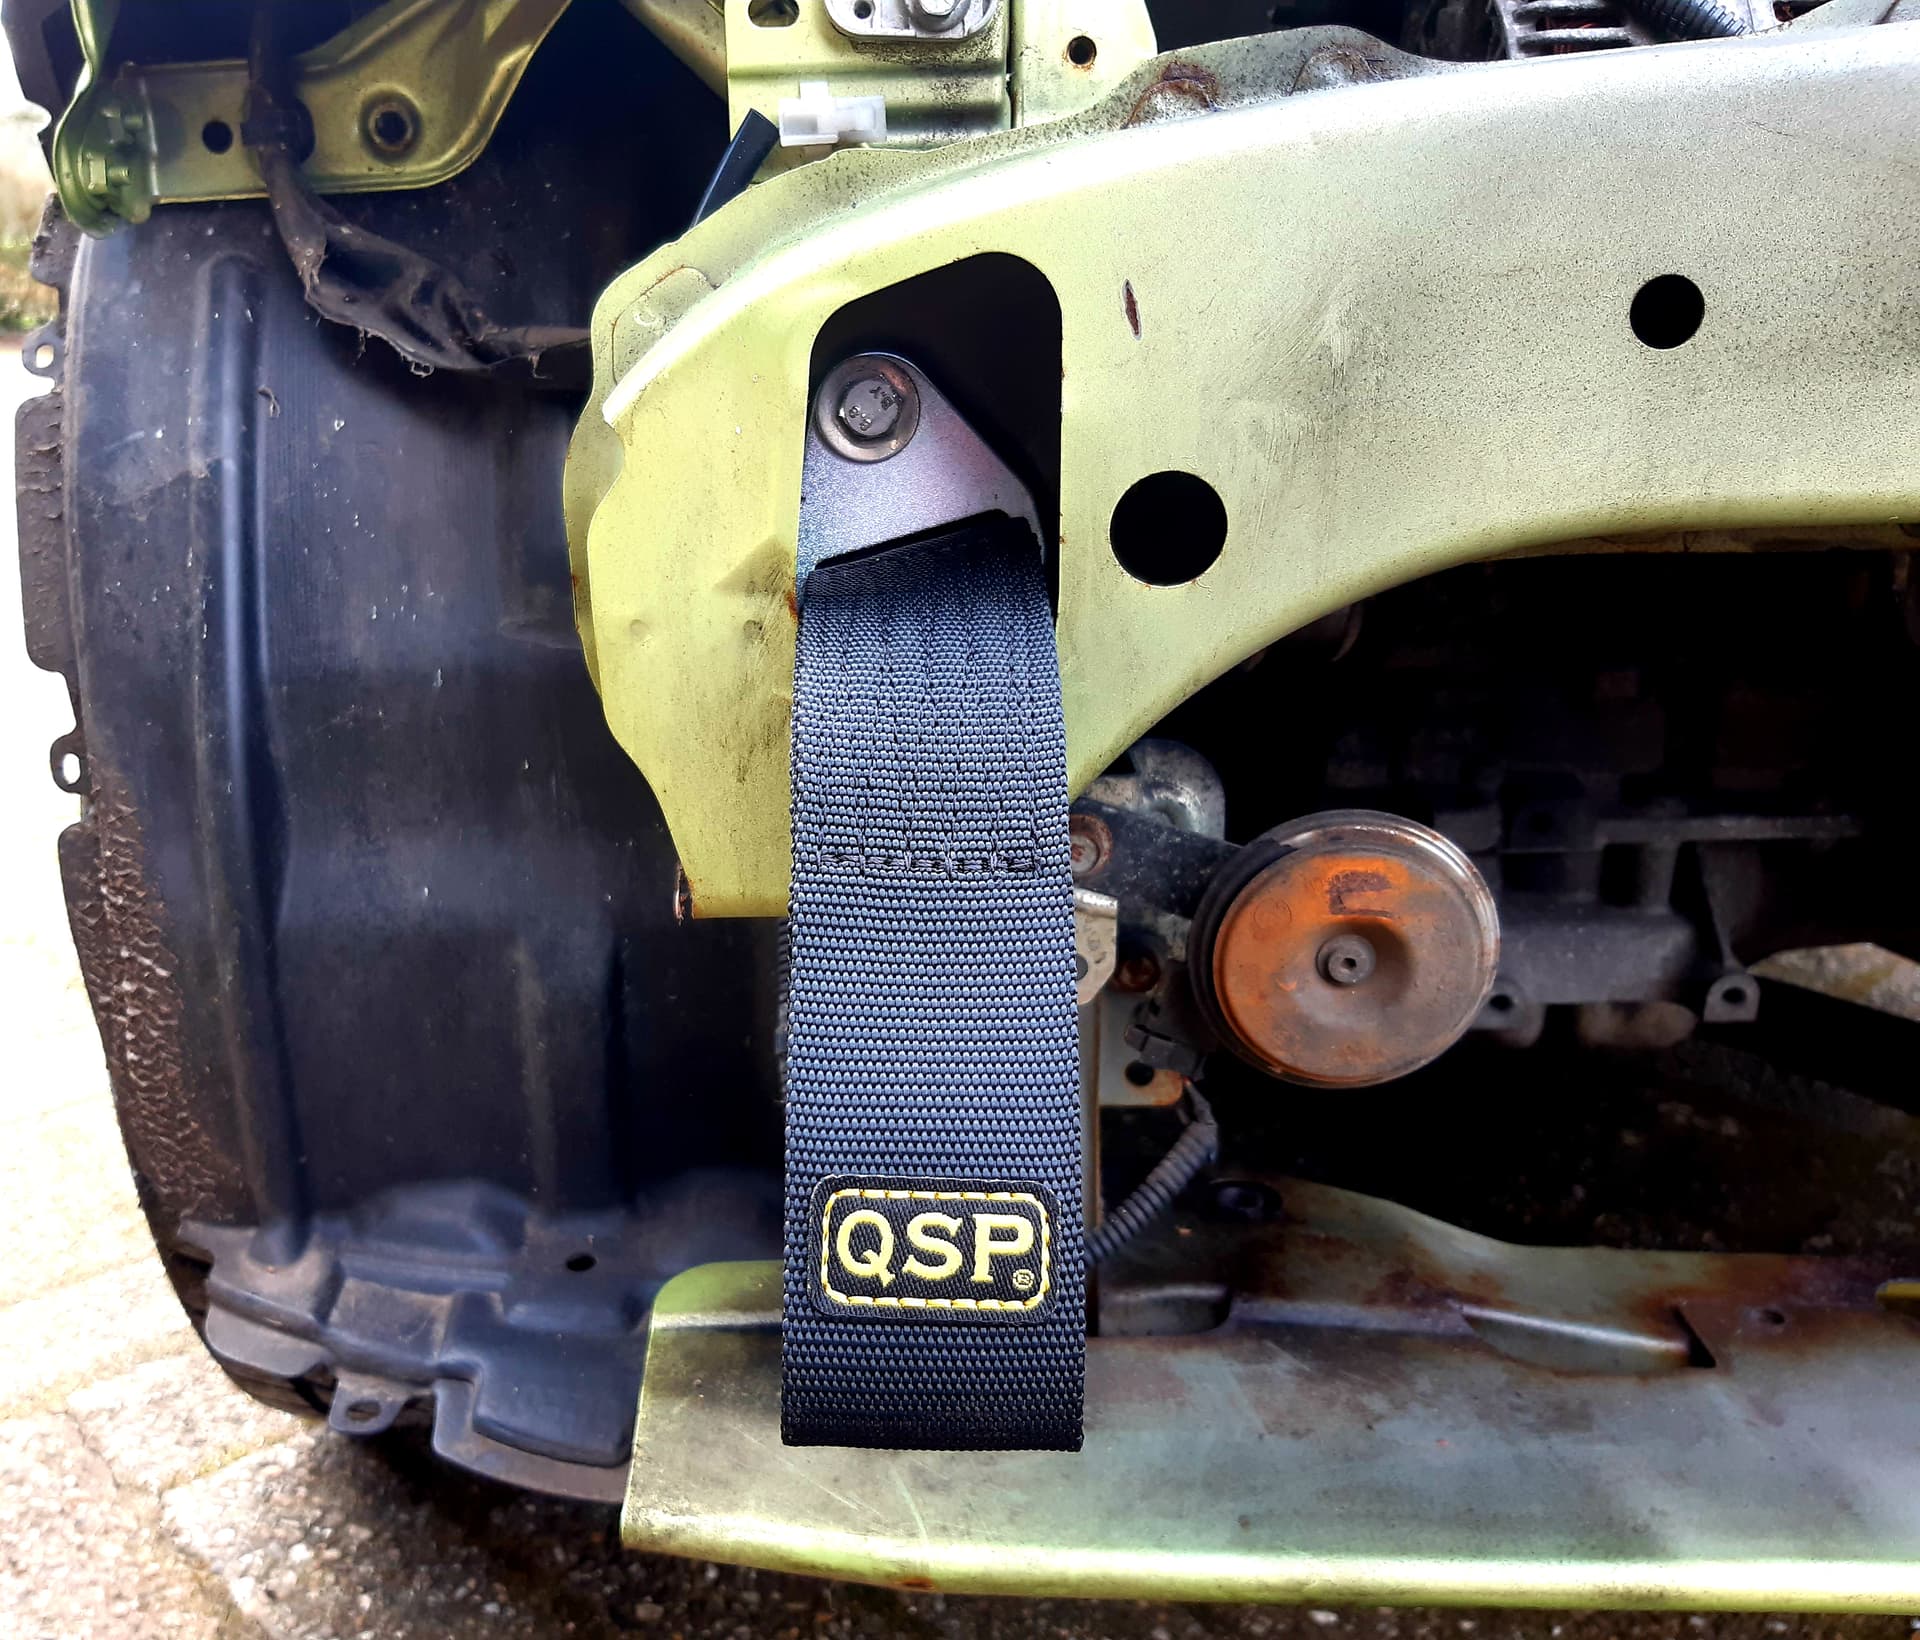
Time to document the journey of modifying my little Cuore…that sounded way too cinematic for what you’re about to read. If you want to read about high horse power figures, lap times, sweat and tears of rebuilding an engine, then I’m afraid I will have to dissapoint you. What you will read are the experiences of a 23 year old guy with zero technical knowledge or know-how that tries to improve his car. My goal? To show that even if you know nothing about cars, you can still make something cool, and I hope to inspire others to take on that “scary” project. Don’t get me wrong: I love cars. I love the idea of perfecting each and little part, to the point where others would say I suffer from OCD. I love redlining, testing limits, feeling improvements, and I love thinking about upgrades.

But that doesn’t make me a mechanic.

Far from it. I can do my basic maintenance, but if I’m honest, changing a starter motor has been the most technical thing I’ve done… groundbreaking, I know.
I’m your average office Joe, who is willing to take on stuff, only to try and fix it with a hammer 5 seconds later…something that stretches beyond the automotive world in my case.

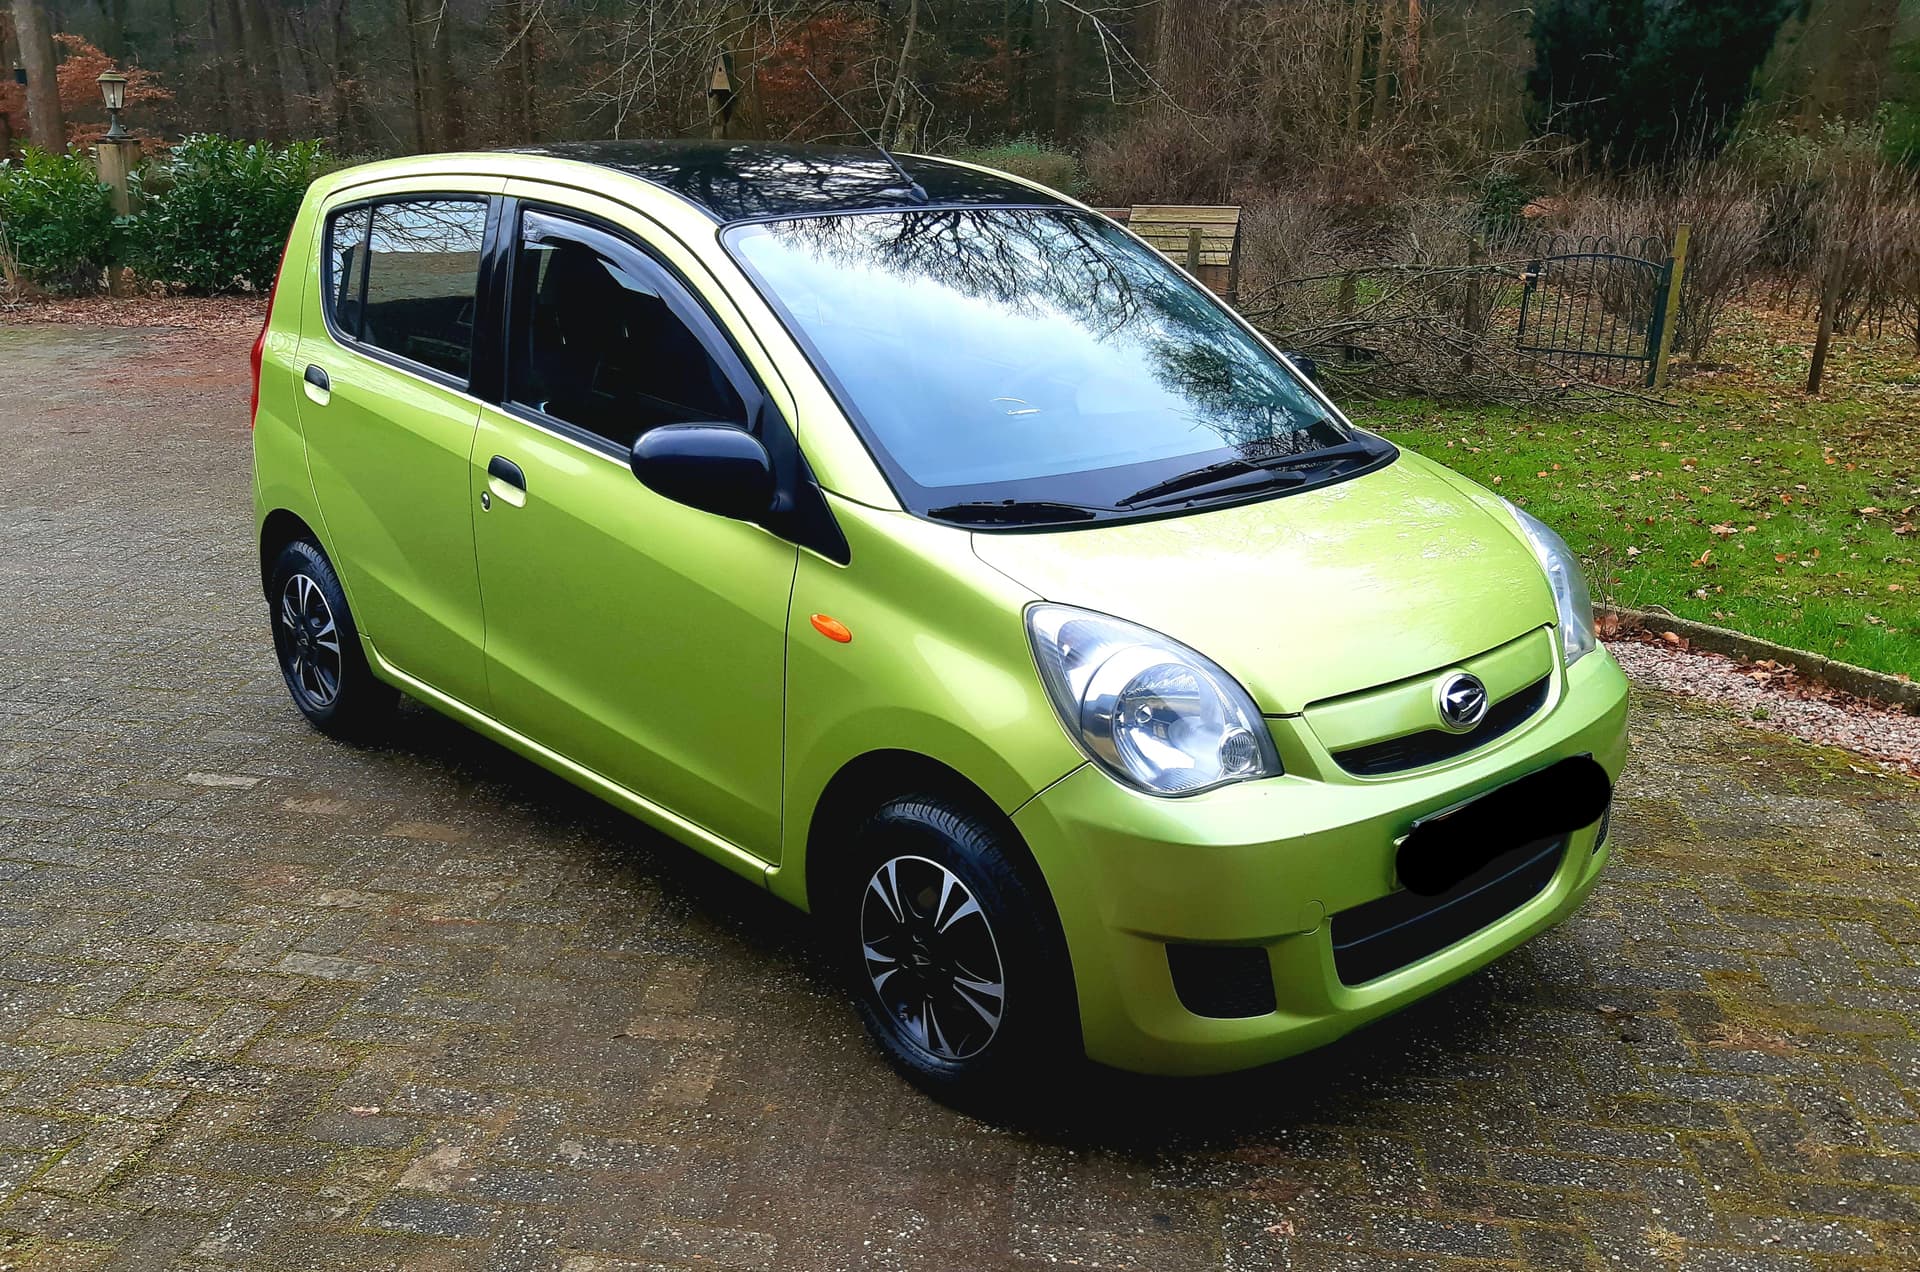
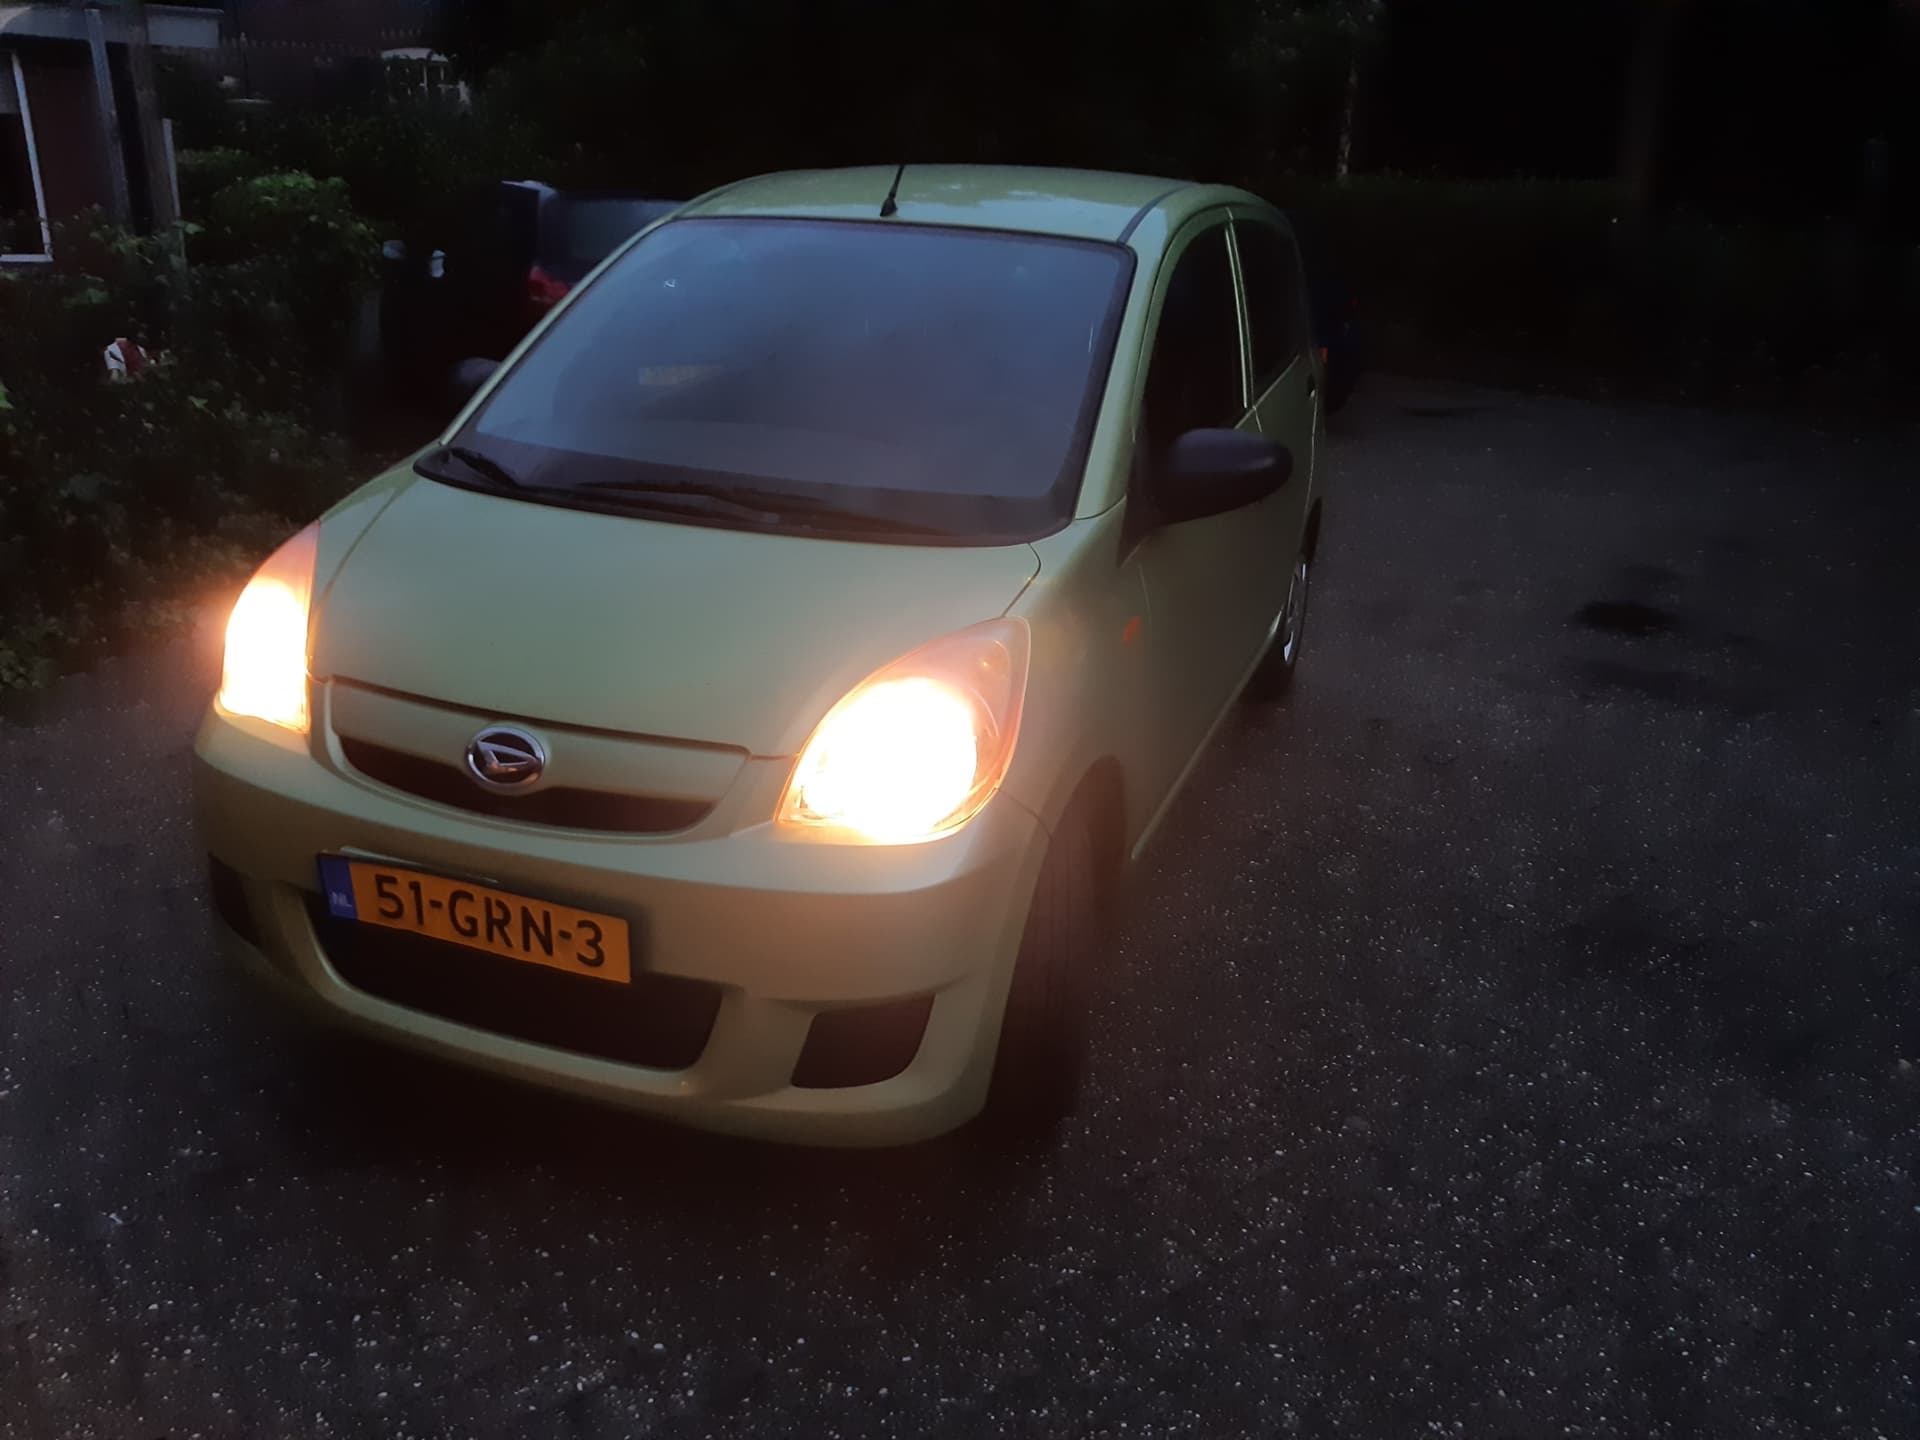
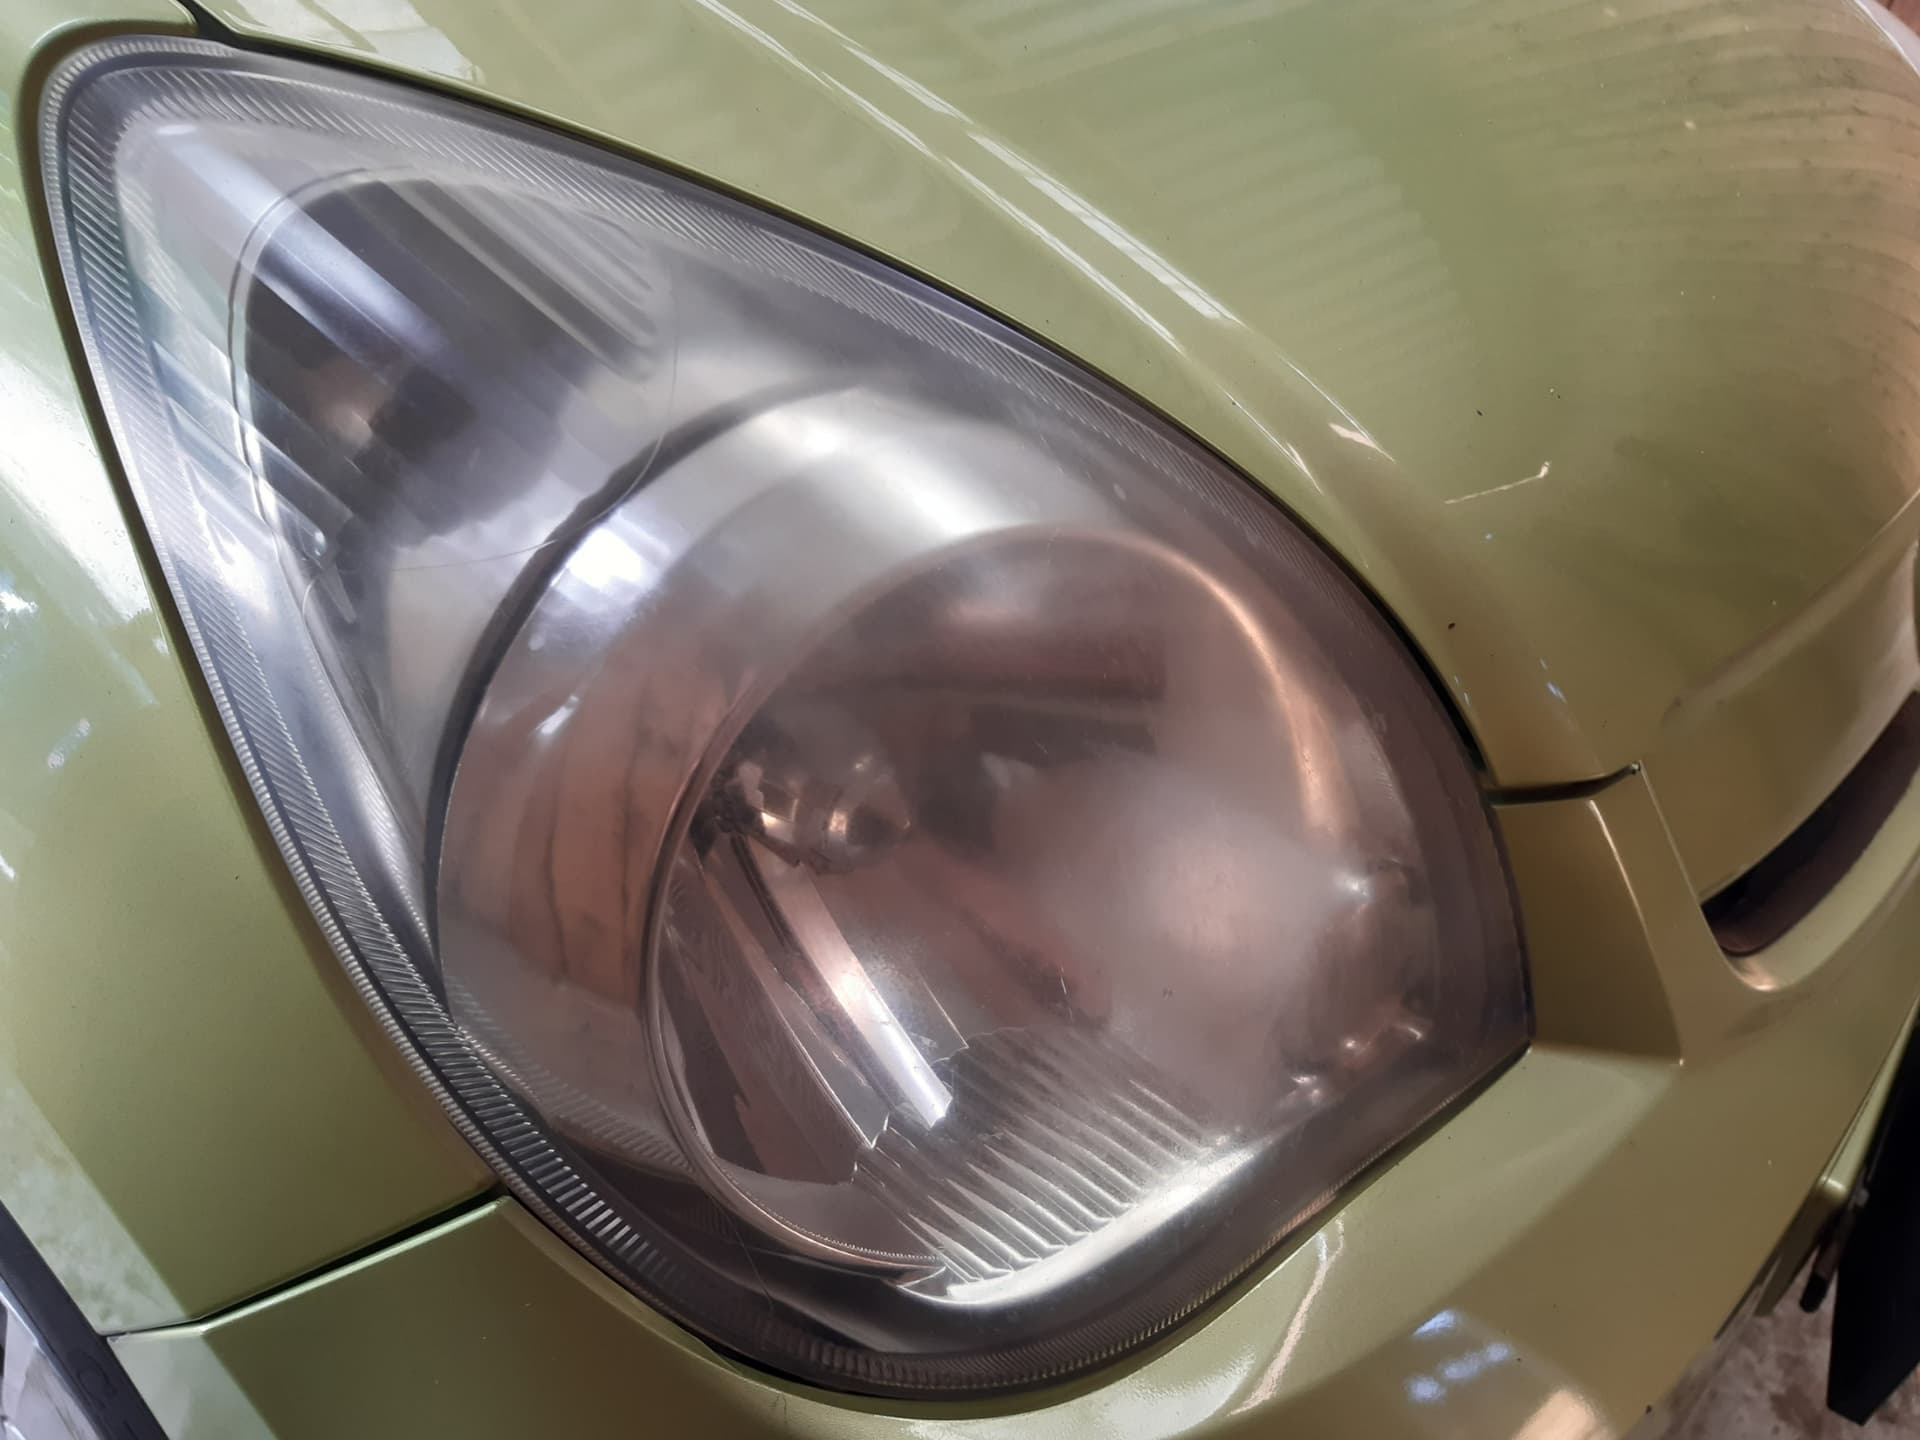
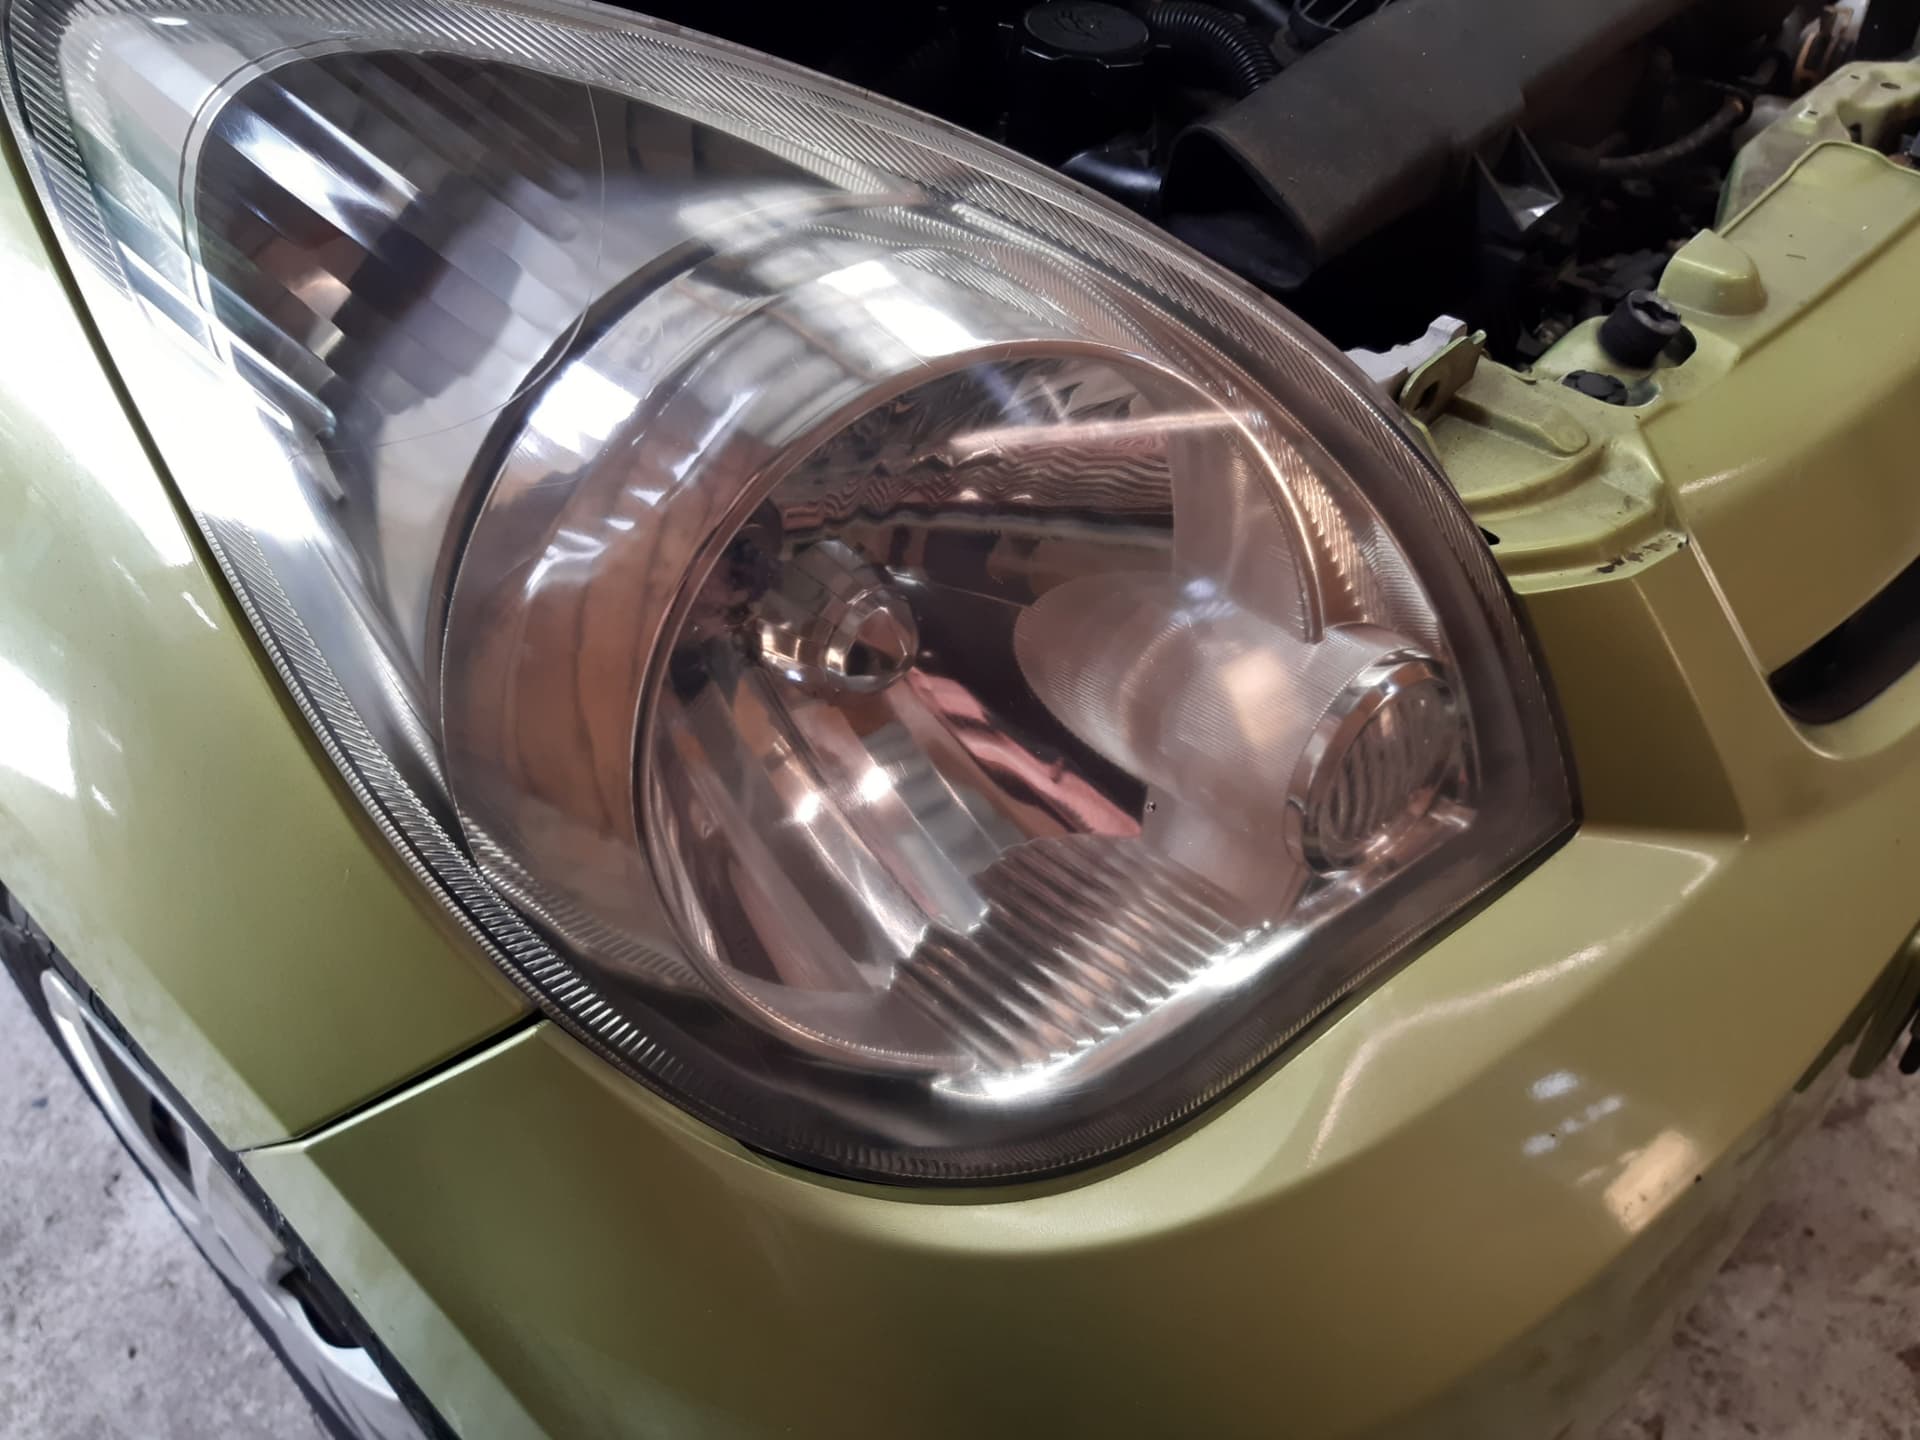
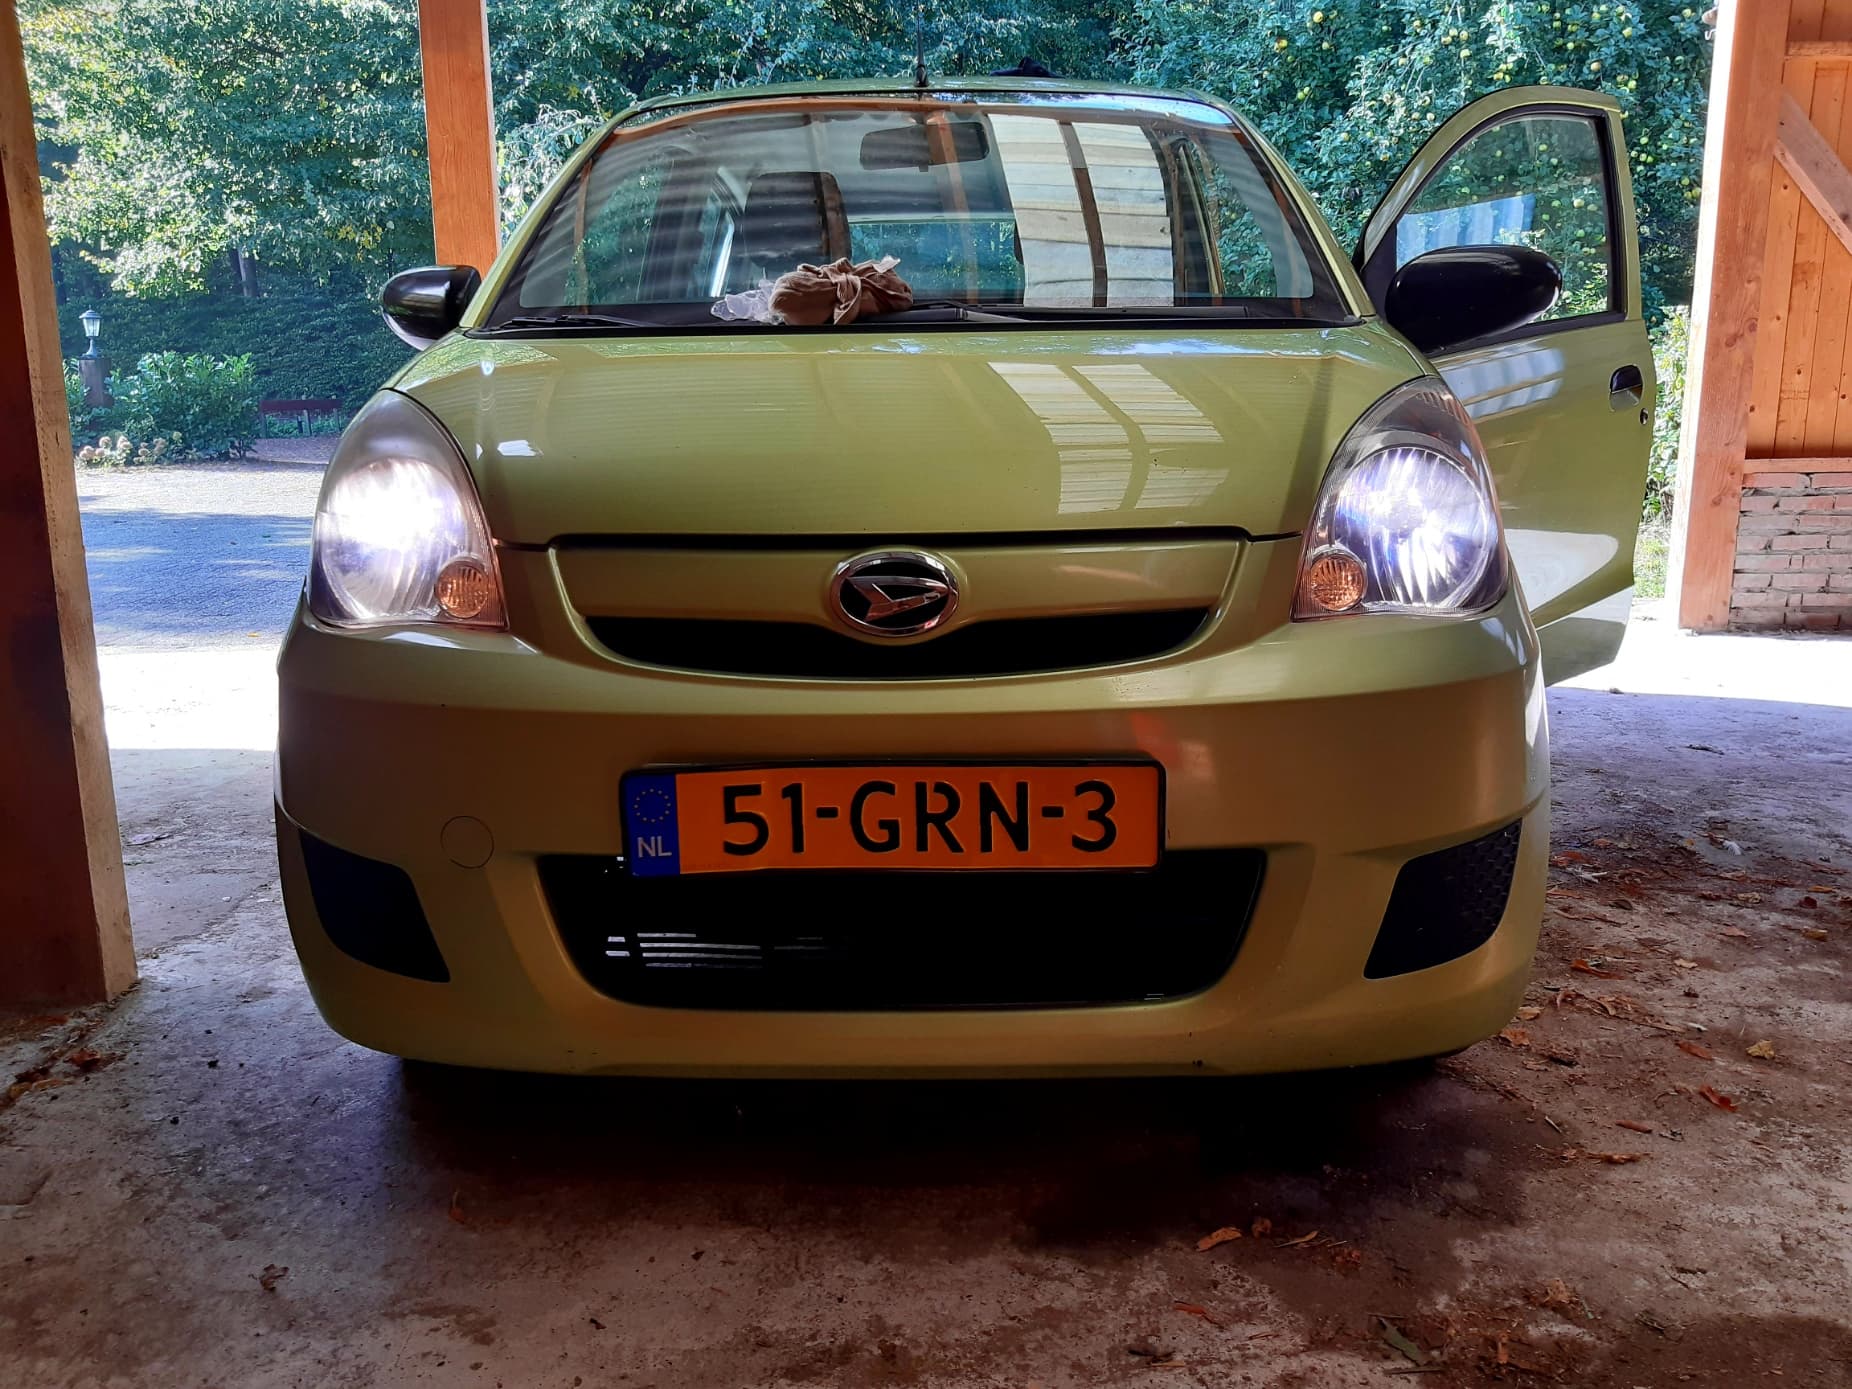
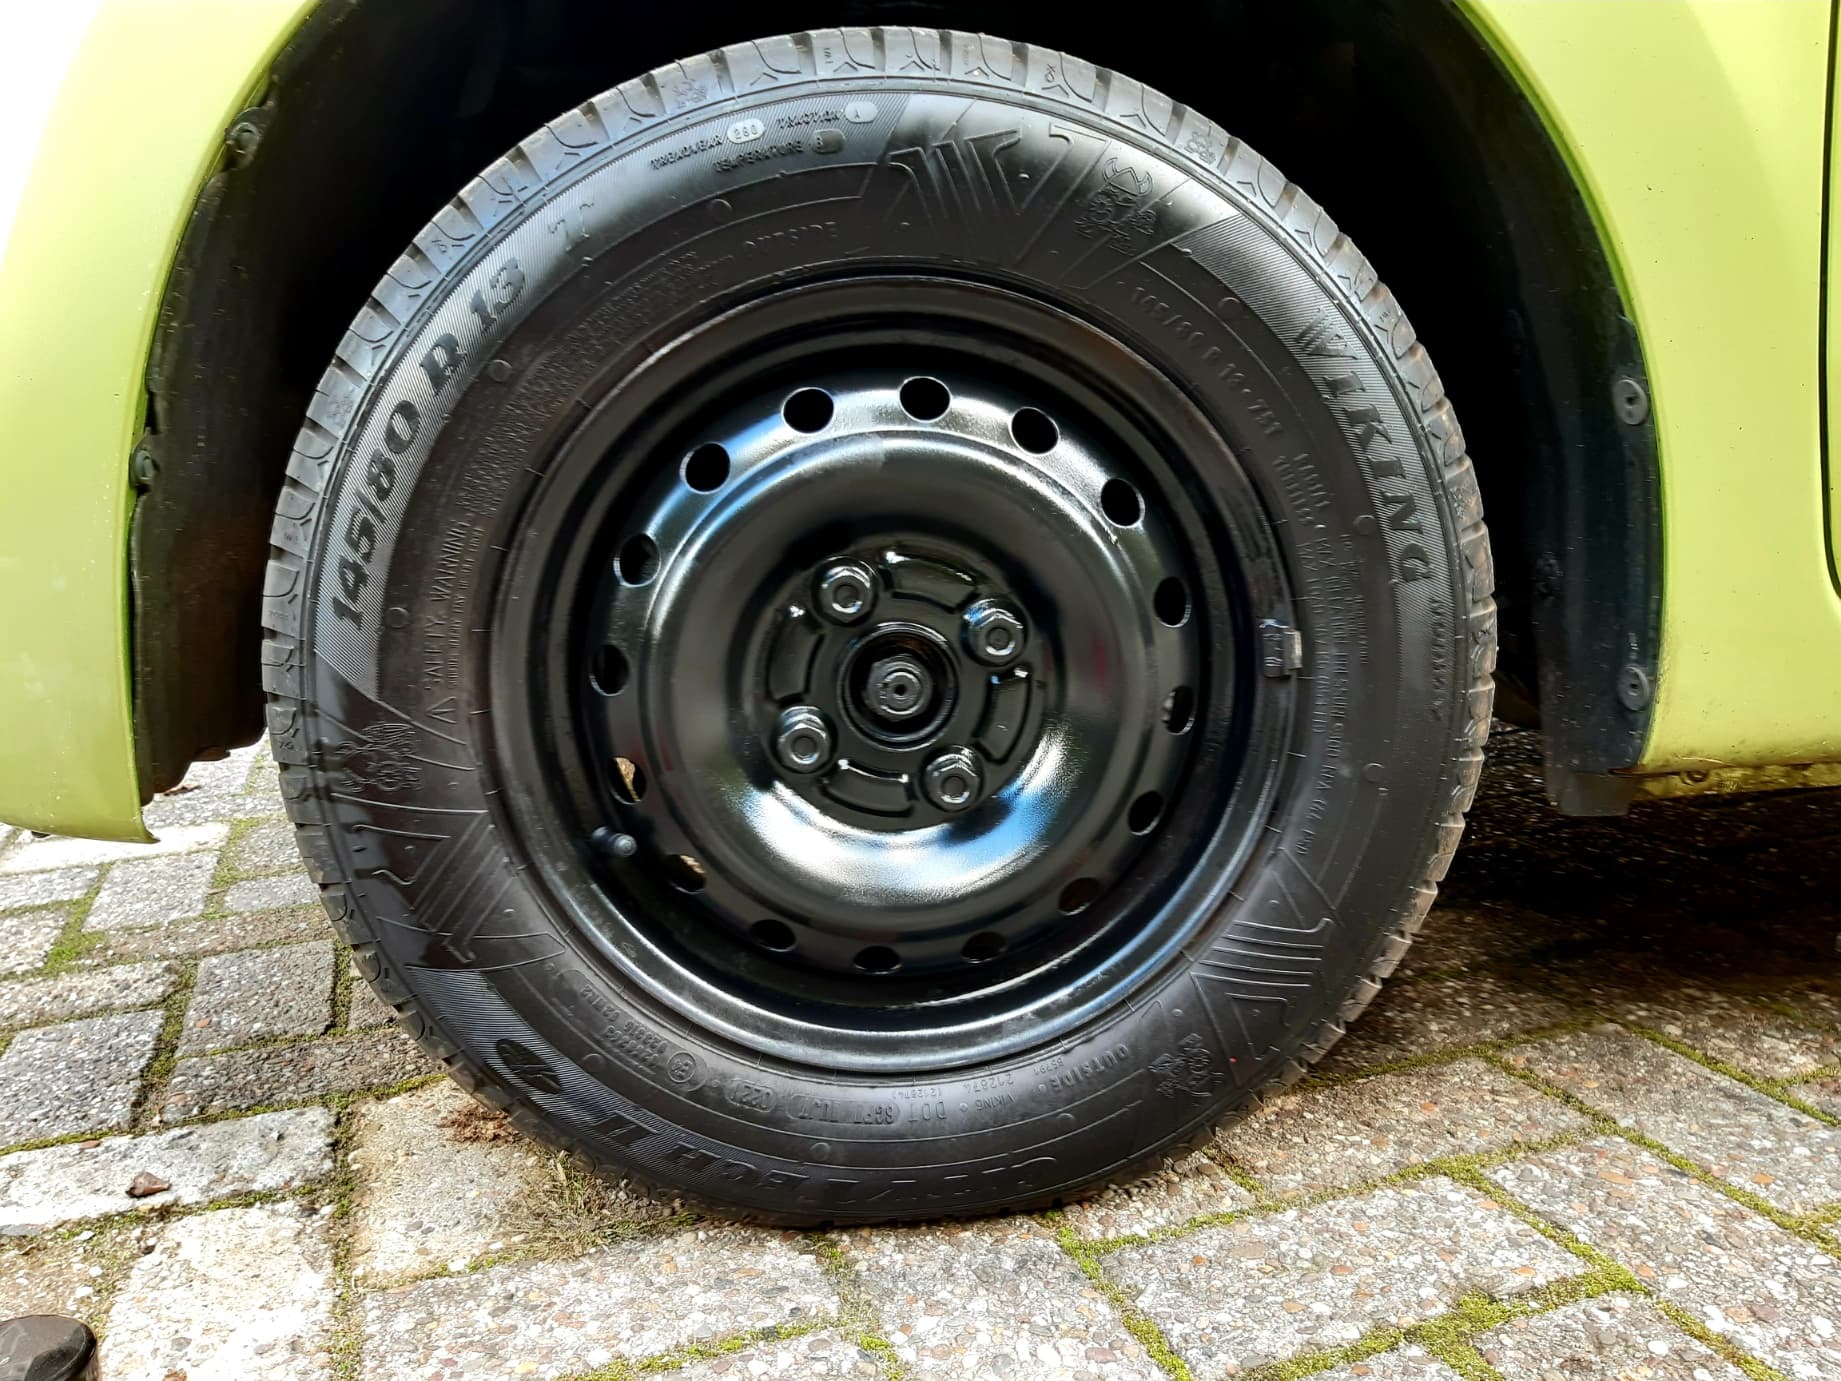
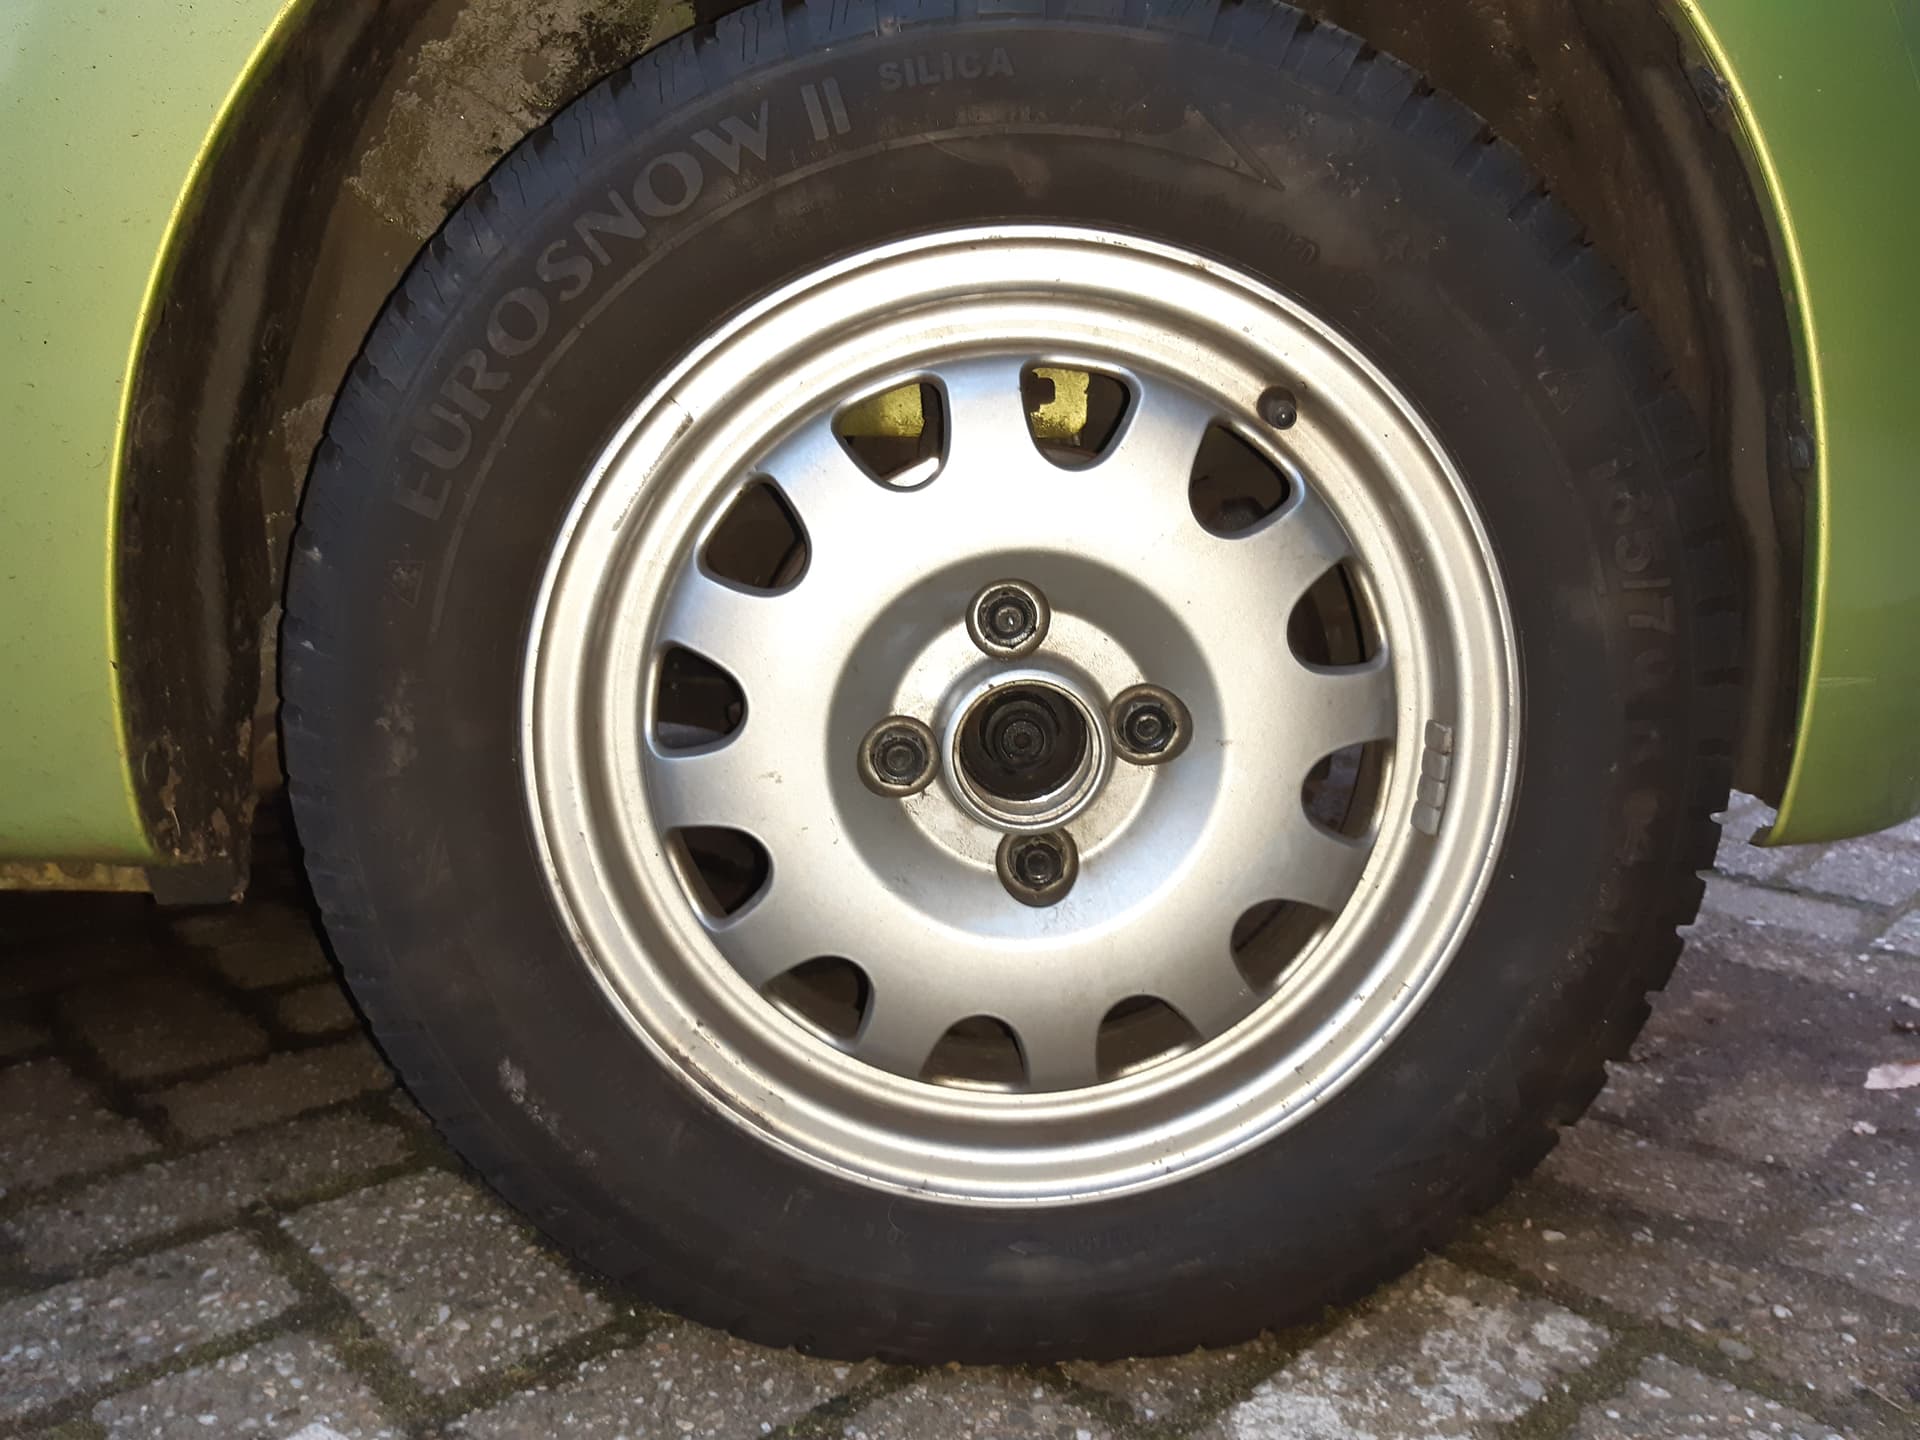
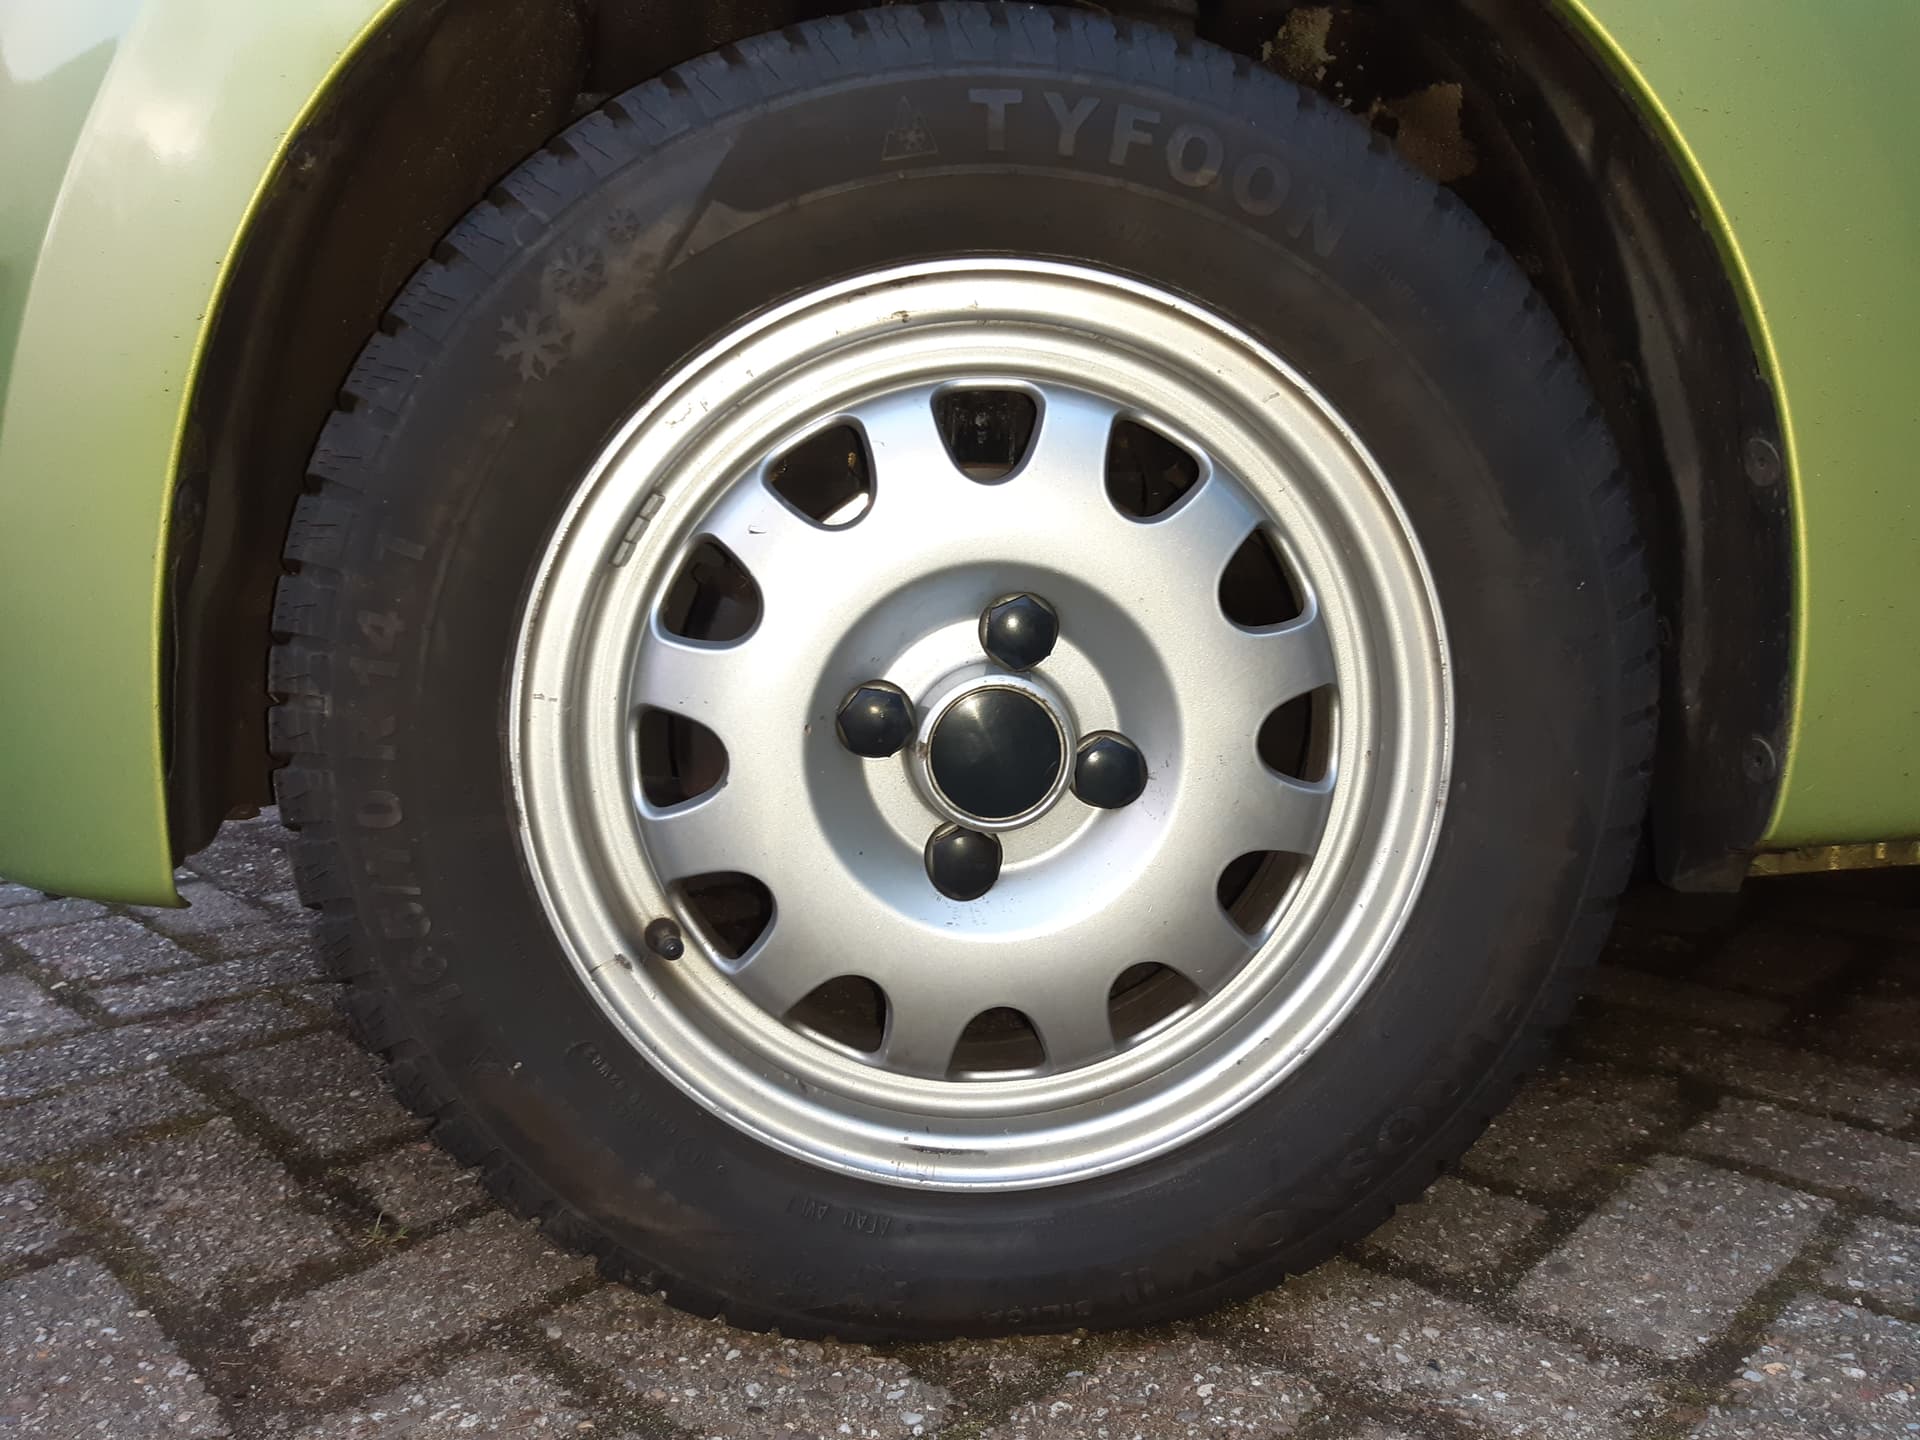
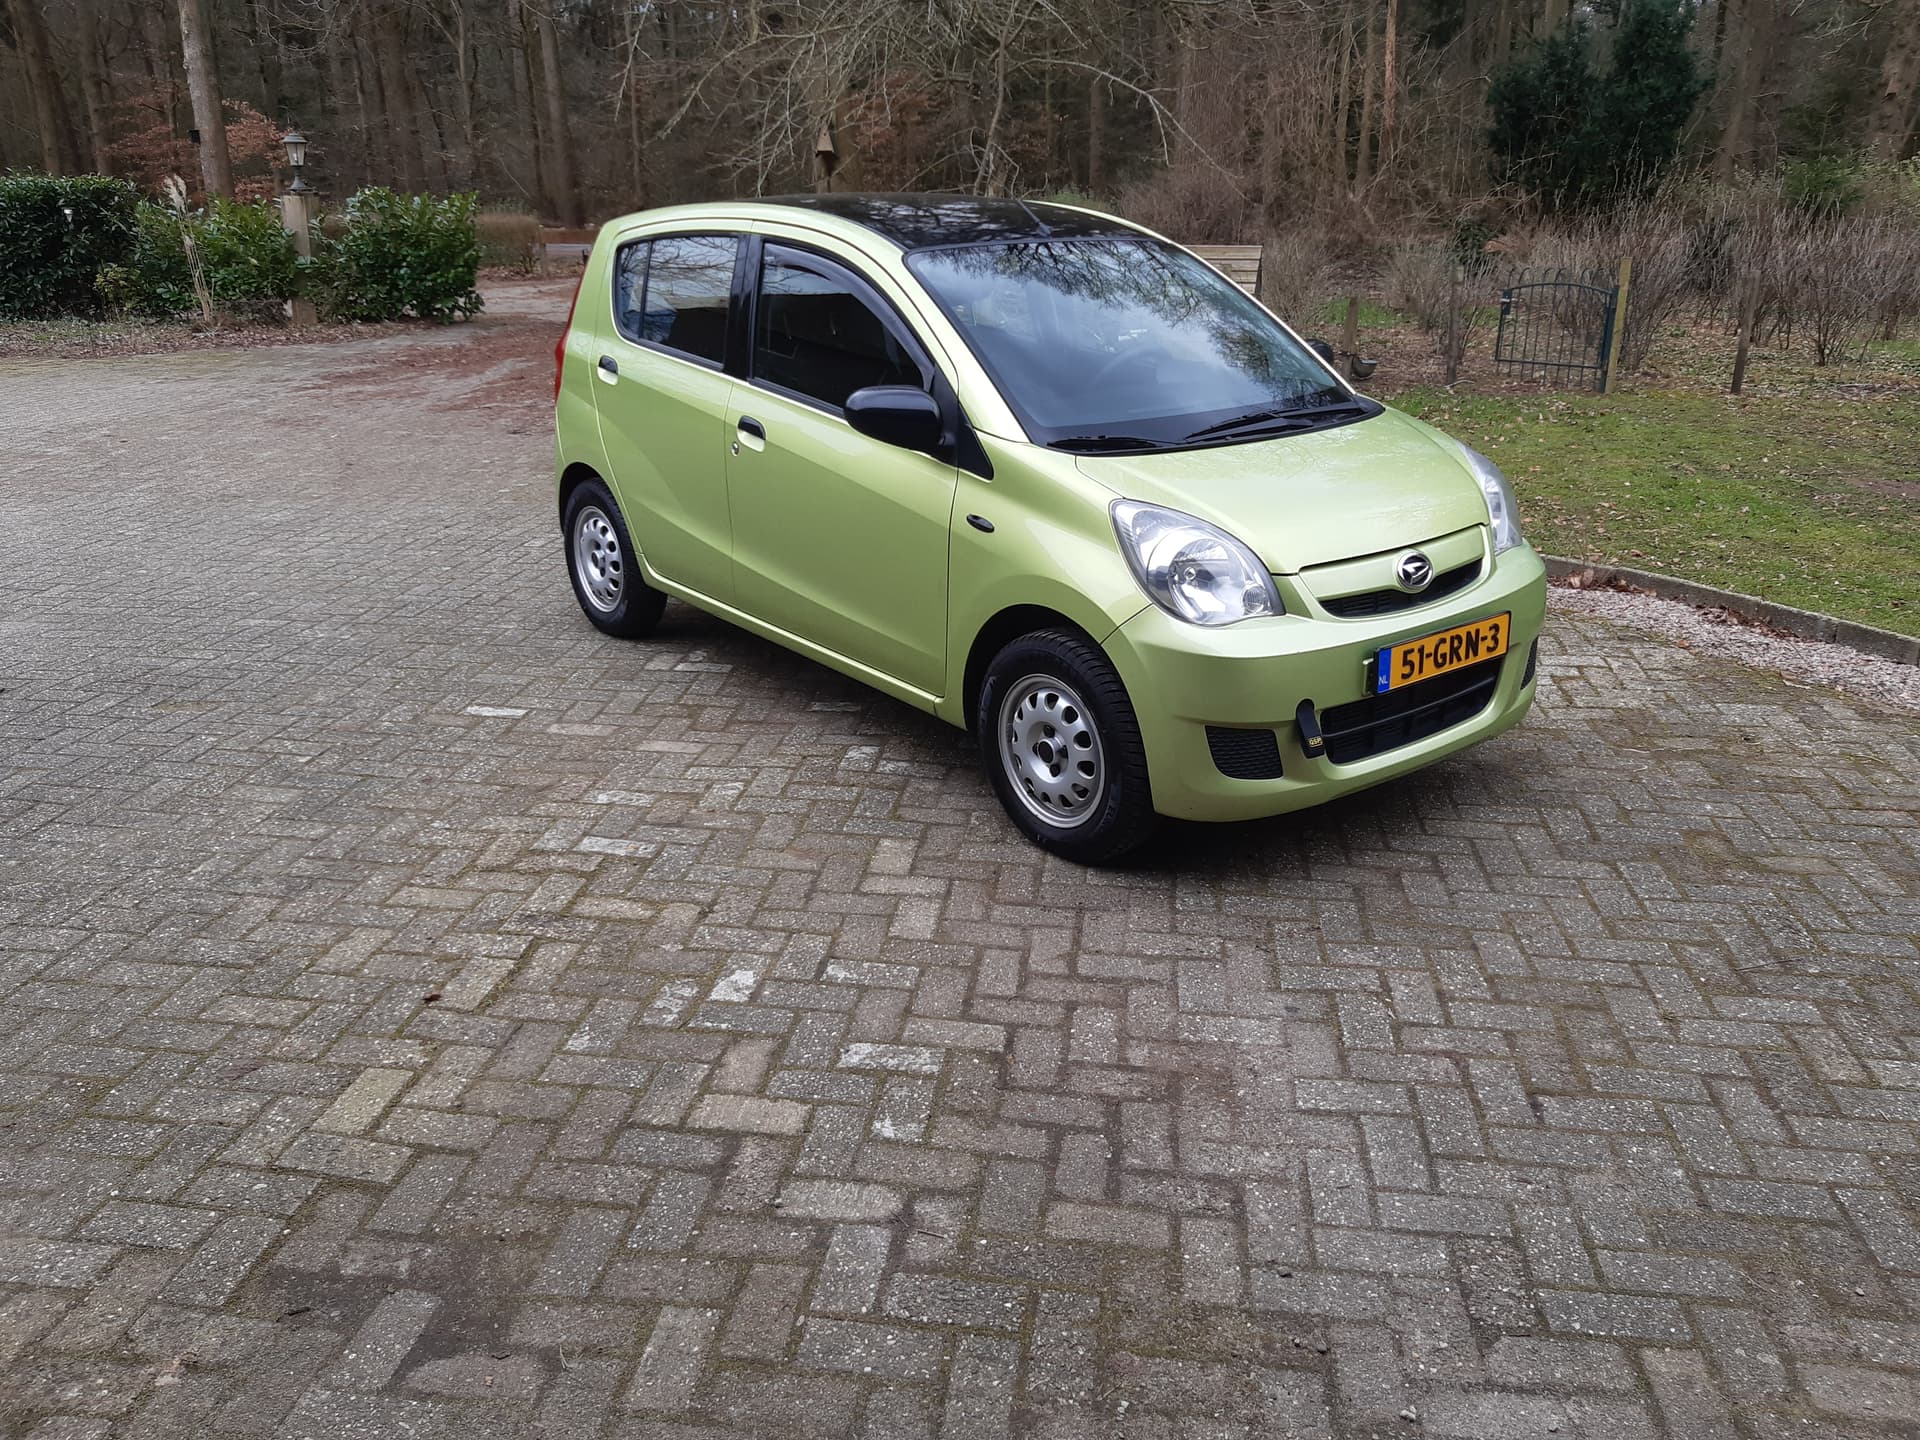
But I’m going off-topic. You’re here for the green machine! To get you up to speed (no pun intended), this 2008 Daihatsu has been my daily driver for around half a year now. It replaced my BC coiled yaris, which I miss. For me, Bean is like a family owned labradoodle. It’s not rare, it’s not outstanding in anything, and you probably won’t turn heads with it. But do I love it? Of course you do! Because it’s always there for you, and it never let’s you down. While I don’t have such an emotional bond with my car, it gives you a good idea of how I view my car: perfectly standard, but something to love.

So please join me as I will post my modifications, ideas, and experiences as time goes on, continuing tomorrow!

8 Likes

Hello yesterday, tomorrow is here!

I finally got around to gathering all my pictures in on my PC. I’m actually surprised by how far this car has come. For the average petrolhead these won’t be baffling, nor is it for me, but it’s fun to look back at all the things I changed or improved. Keep in mind that I started working on this car way before joining the forum, so things may seem a bit accelerated.

Allright, let’s begin, shall we?

When I bought the car, it looked like this:


Dirty, bone stock, unloved, bent license plate, and most importantly: criminally delayed on maintenance, it had been sitting at the seller for quite a while before I came along.

So what is a car guy to do? That’s right, maintenance!


The air filter wasn’t changed since factory it seems…Yuck


New quality sparkplugs were installed. Trust me, if I can do this, so can you!

I also did an oil change. I forgot to take pics of it, but you get the idea. Unscrew plug, make a huge mess, unscrew the oil filter, make a mess again, coat the new oil filter’s ring in oil and screw it on. Then fill the engine with some good quality oil. I used full synthetic oil for this change.

And what did these changes do? more than you think! The car was a lot more quiet and rev happy than it was before…god knows how long this oil was in this poor car. My fuel economy shot up as well, it’s like Bean is giving me a reward for taking care of him. Take care of your things and they will take care of you. Before getting too sentimental, let’s move on.

After a while I started looking at more improvements, starting with the headlights:


Did it hamper the headlights’ ability to work? No. Did it bother me? YES!

After attacking the headlight with a Turtle Wax headlight restore kit, it looked like this:


Oh look at that, there’s a bulb in there!

After this incredibly statisfying task I decided to swap out the stock yellow lights for some white ones, which worked out very well:


Can you spot which side had yet to be restored?

Air pressure in the tires is often overlooked, so I decided to get my aircompressor out and check on the tires.After taking off my hubcaps, I was greeted with this:


Did the previous owner go for a ratstyle look?

This looked awful. After some elbow grease, tire shine, and a hasty trip to the local car part store for more paint, I was looking at this:


An orange german car dared to invade my JDM church

Small changes like this can go a long way, the adventure will continue later this week!

5 Likes

Another day, another update.

So after my wheels were painted, I took a bit of a break from modifying my car. As time moved on, that automotive itch started acting up, so before I knew it my license plates were swapped out for some ‘‘3D plates’’ and window visors were added. Swapping the bent front plate and the faded one on the back for some new ones definitely improved the look of the car, subtle details!


My hubcaps were carefully watched by my assistant

The car served me well. Not once did a warning light pop up, and it always starts with a happy 3 cylinder buzz. After spending more time driving around, one starts to spot room for improvement, my new target being this gauge cluster:

It’s big and easy to read, sure. But it looks cheap and I’d like to have a rev counter for those moments I feel like spirited driving. So after browsing the internet for a bit, I ordered a cluster from a premium trim L275. It arrived rather fast, and on a rainy thursday evening, I was ready to install the new shiny device.
Quick and easy, get a screwdriver, locate the screws on the housings and…realise there are no screws, crap. YouTube didn’t help me much either. After a while I got a bit frustrated with the situation and decided to give it yank, just to see what would happen. To my amazement, the housing came right off! After unplugging just one cable and plugging in the new cluster, I was looking at this:


And after putting the housing back on:

Enzo Ferrari, eat your heart out.

This little modification really got me motivated, I was improving my car quite a bit! Payday came, and I had some money to blow. A short call and an hour of driving later:


Hyundai I10 alloys! They fit really well and drastically improved aesthetics. But despite the looks, something was missing…

There we go, they’re OEM now!

I had a few hours to spare, and out of curiousity I threw this together:


Talk about a tight fit!

I’m a huge sucker for ITBs and intake noise overall, so I just had to try this! It wasn’t something I would keep on forever, the tube was uncomfortably close to the throttle cable and my fabrication skills leave much to be desired.

But that noise! Roary, loud, and especially violent at 4k rpm. It was like a rally car going down a trail…at 70km/h. The noise put a huge smile on my face and like most backyard modders, part of me wants to believe mid range torque was slightly improved, but it’s probably placebo. The filter was later switched out for it’s stock configuration again. Maybe I will try to fit a proper intake kit like this someday:


Actually meant for an AYGO, but I’m 90% sure it will fit my Bean too!

That’s all for today, until next time!

7 Likes

A larger update will be posted soon, but for the meantime: How to install a tow strap! (I’m not certified in any way, so make sure to do some research first)


A little while ago, this tow strap was delivered to my front door. Don’t drink and go shopping online, folks.
However, this thing started to grow on me. Am I poser for installing it on a car that has never seen a track and barely (if ever) will? Maybe. Do I care? Not really.
Before going on a 5 page long rant about the awful gatekeeping that haunts the car community, let’s see how you install this thing!

First of all, remove your bumper:


This is also a good time to check on the condition of the subframe and other hard-to-check parts. I found out my front bumper was held on by cable ties and a few plastic clips! Some yobbo was feeling lazy… take your time and check on all the attachment points.

After you’ve done all that, locate the thread hole where you’d normally attach your factory supplied tow hook (I took the bumper off because the strap wouldn’t fit through the cutout in the bumper)


For My application, I took out the upper chassis bolt. I grabbed a slightly longer M10 bolt, added washers and made sure the left over thread was the exact same length. Keep in mind that the strap and washers take up some thread space.

yes, my hands look awful

Test fit the strap first. Once you’re statisfied, add some threadlocker and torque down that son of a gun as tight as you can.

Voila! Reattach the front bumper and you’re ready to hit the track! Sort of.

More updates soon! :slight_smile:

3 Likes

Looks sweet! I kinda want one too but I don’t have a hole to fit one throughin the bumper :roll_eyes: And no I don’t wanna cut one :joy:

1 Like

Thank you! And are you sure? It seems a required thing on most cars. I mean, how else are you gonna tow the thing? :face_with_hand_over_mouth:

1 Like

I know I should be posting longer updates, but here we are :slight_smile:

The eagle eyed readers might have seen that the wheels seen in the tow strap update are quite different to the previous alloys. I just so happened to come across a nice set of 14 inch magnesium wheels:

They look like steelies, but they weigh less than the 13 inch alloys! I was pleasantly surprised by just how little these things weigh. They were used on the 3L Lupo to make it more efficient. Thar alone is a nice bonus, but my goal is to cut down on unsprung weight.

I just couldn’t wait to put them on. But one issue had to be tackled first. My Daihatsu has a hub diameter of 54.1mm, our german friends decided 57.1mm was better. For the sake of my own and others’ safety, I ordered a set of hub adapters. They arrived late in the afternoon, but I couldn’t stop myself from putting then on. And so, as daylight slowly faded, I started my race against the clock:


Who packs rings like this?

I started by putting in the adapters, quite a snug fit!

I couldn’t push them in, so I Clarkson’ed them into place:


bonk

After that, I did something a certain YouTube channel would approve of: Jack up the cah!


these rusty sills will kill me one day

And man, what a difference! Especially after adding bolt and hub covers:


And after that, I sat back, and enjoyed my work:


The big (and rubbing) 165/70r14 winter tires will soon be swapped over for 175/50r14 NS-20 tires. But that’s for another update, see you next time!

4 Likes

Yep, quite sure. I only have transporting hooks under the car.

1 Like

Big update coming up, here’s a little teaser :slight_smile:

4 Likes

hahaha - that is awesome.
As short an intake tract as possible.!

Putting any ‘scoop’ type hood to funnel air into?

1 Like

Now that’s what I call a mushroom filter

1 Like

Invest in a cheap OBD2 scanner to measure the intake temp. You don’t want to suck in all the hot air that passed over the engine directly in front. Won’t make a huge difference but there is allot of space in that engine bay to get more cold air.

2 Likes

Ahh, it’s been a while already. I’m behind on updates!

Anyway, to adress the elephant in the room: Yes, that is a universal K&N filter bolted straight onto the throttle body.


Father and son

Ofcourse, a filter like this doesn’t go in by itself. Here’s what happened:

A while ago I was reading about ITBs (Individual Throttle Bodies), as I mentioned I’m a sucker for intake noise (pun intended). Someone on a forum asked for a way to filter the air coming into his freshly, ITB-equipped engine. While I was reading the comments, I had a brainwave: Why not put a filter on directly? The idea sounded quite silly since it meant the filter would suck in all the hot air from the engine, but I was determined to at least try it. A few measurements were taken, A few clicks were made, and a doorbell was rang. After checking the package, the K&N filters were ready to be installed. Yes, filters, plural.

The reason being that in order to install the K&N filter, the whole airbox had to come off. Not an issue, it’s a few clips that click open. BUT…The weird plastic contraption is also home to the crankcase ventilation tubing, which was now exposed. A small filter makes sure that no dirty bits get inside the head of the engine. I’m aware that it has lost the vacuum to suck out the excess oil, but it’s a risk I’m willing to take.

THE INSTALLATION

Easy, right? Take the top off, locate the throttle body, place the filter on and…thunk
Must’ve eyeballed it wrong. Second attempt, push it onto the TB and sq- thunk

Well sh*t…that was an issue. A black plastic plate just below the windscreen was blocking my way. After some thinking I decided to just take out the whole plate. Dammit, now the rear bonnet plastic has nothing to attach to…hmm…time to get out my trusty power tool:

I measured how much the filter would need and cut out a piece, making sure to leave the front rubber strip intact. Time to test fit my redneck engineering:


I love it when a plan works

Using the OEM rubber seal, I tightened the whole thing together. It has some play in it, but I’m dead sure it won’t come off. This is probably the worst case of backyard engineering I have done. To add insult to injury:

Some giant intake tube I had laying around (Don’t ask why) found it’s way in front of my grille, and to my brand new filter, gotta get some cold air in there! This is a place holder for now, if I like this setup enough I will add a proper heat-resistant intake.

CONCLUSION

The noise…god the noise! Even at low revs you can hear the filter working, letting out a loud hiss to protest against my increasingly heavier right foot. Down low I noticed slightly better gas response, which is nice to have. Higher in the revs it sings a beautiful song, even turning a few heads on the street! It’s definitely worth it if you enjoy intake and mechanical noises half as much as I do :slight_smile:

Until next time!

5 Likes

I love it, from the “beun” to the result :clap: :joy:

1 Like

That’s how I roll!:sunglasses:

1 Like


More stuff coming up…it’s bad, folks

4 Likes

If you’re at a junkyard, I highly recommend getting a spare L276 rear axle, if you can find one that is. Usually they’re all rotted through, or missing…

1 Like

Good tip! This one was replaced due to excessive rust just before I bought it, I was told they were nearly impossible to find, just like most l276 parts…

There are plenty L276’s at junkyards right now, but rear axles are scarce. Most parts are available from a Daihatsu licensed dealer though, there are still a few around that sell brand new parts.

laughs in L700

1 Like