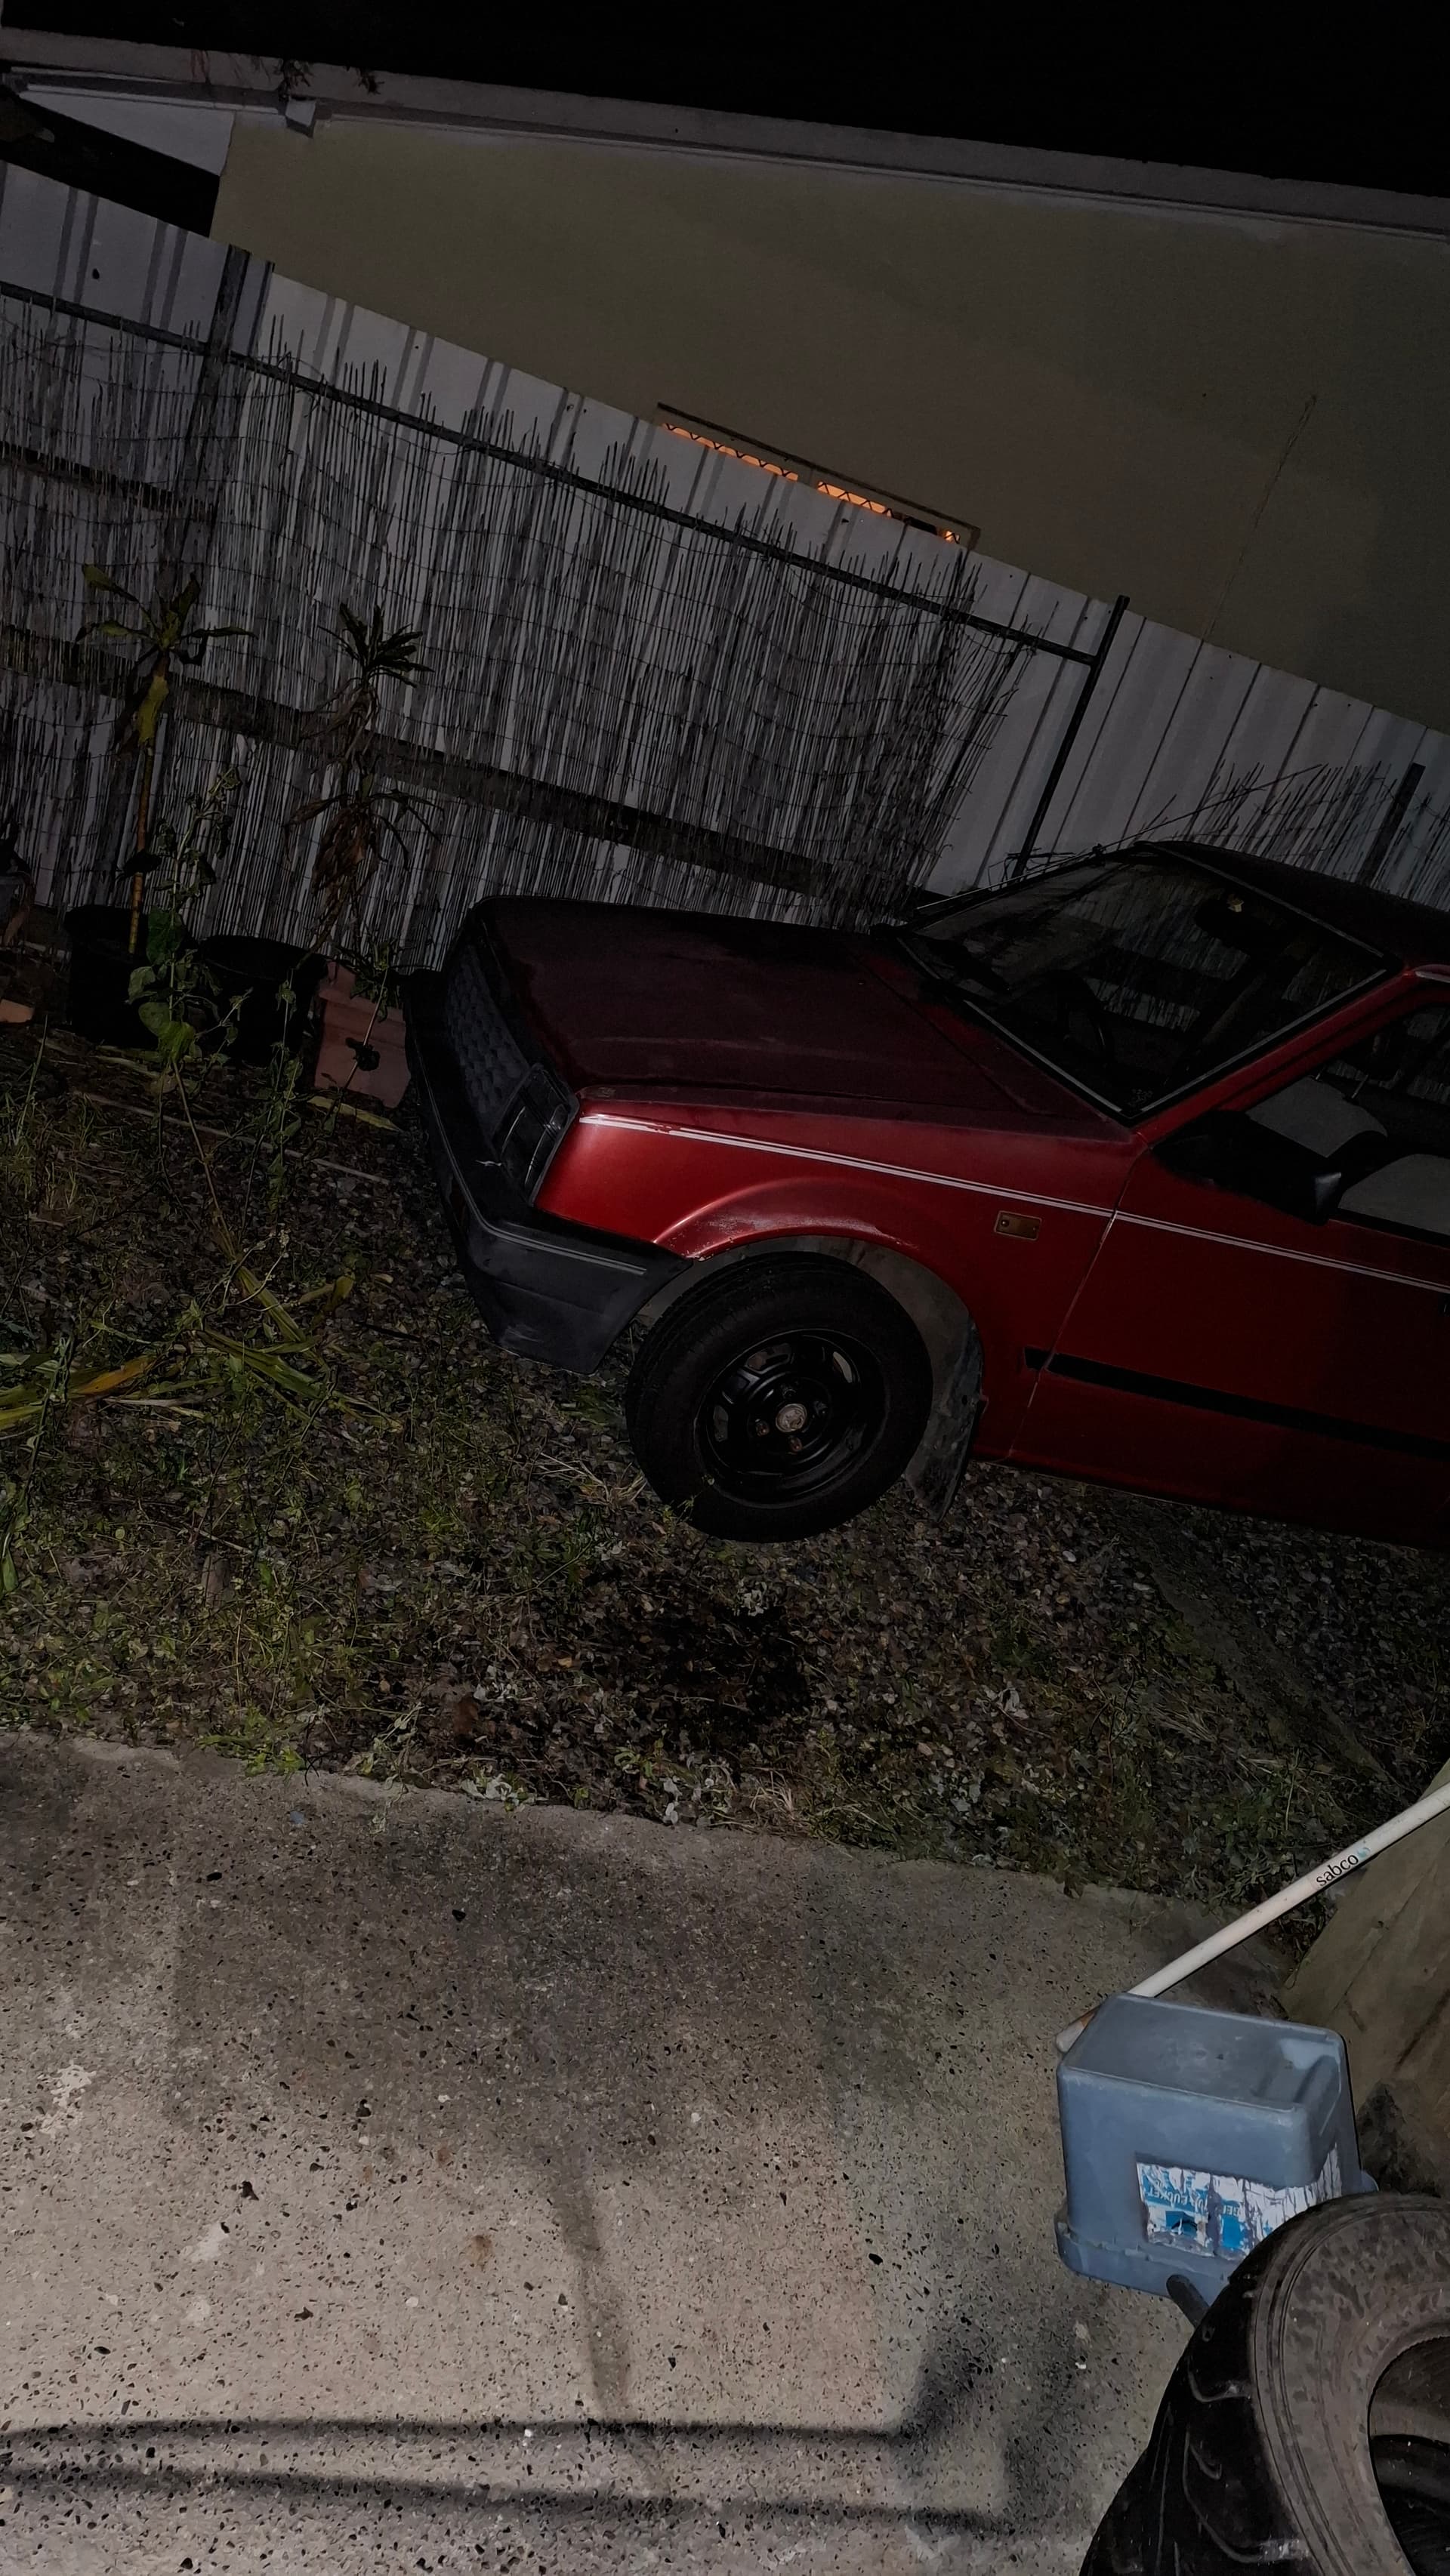
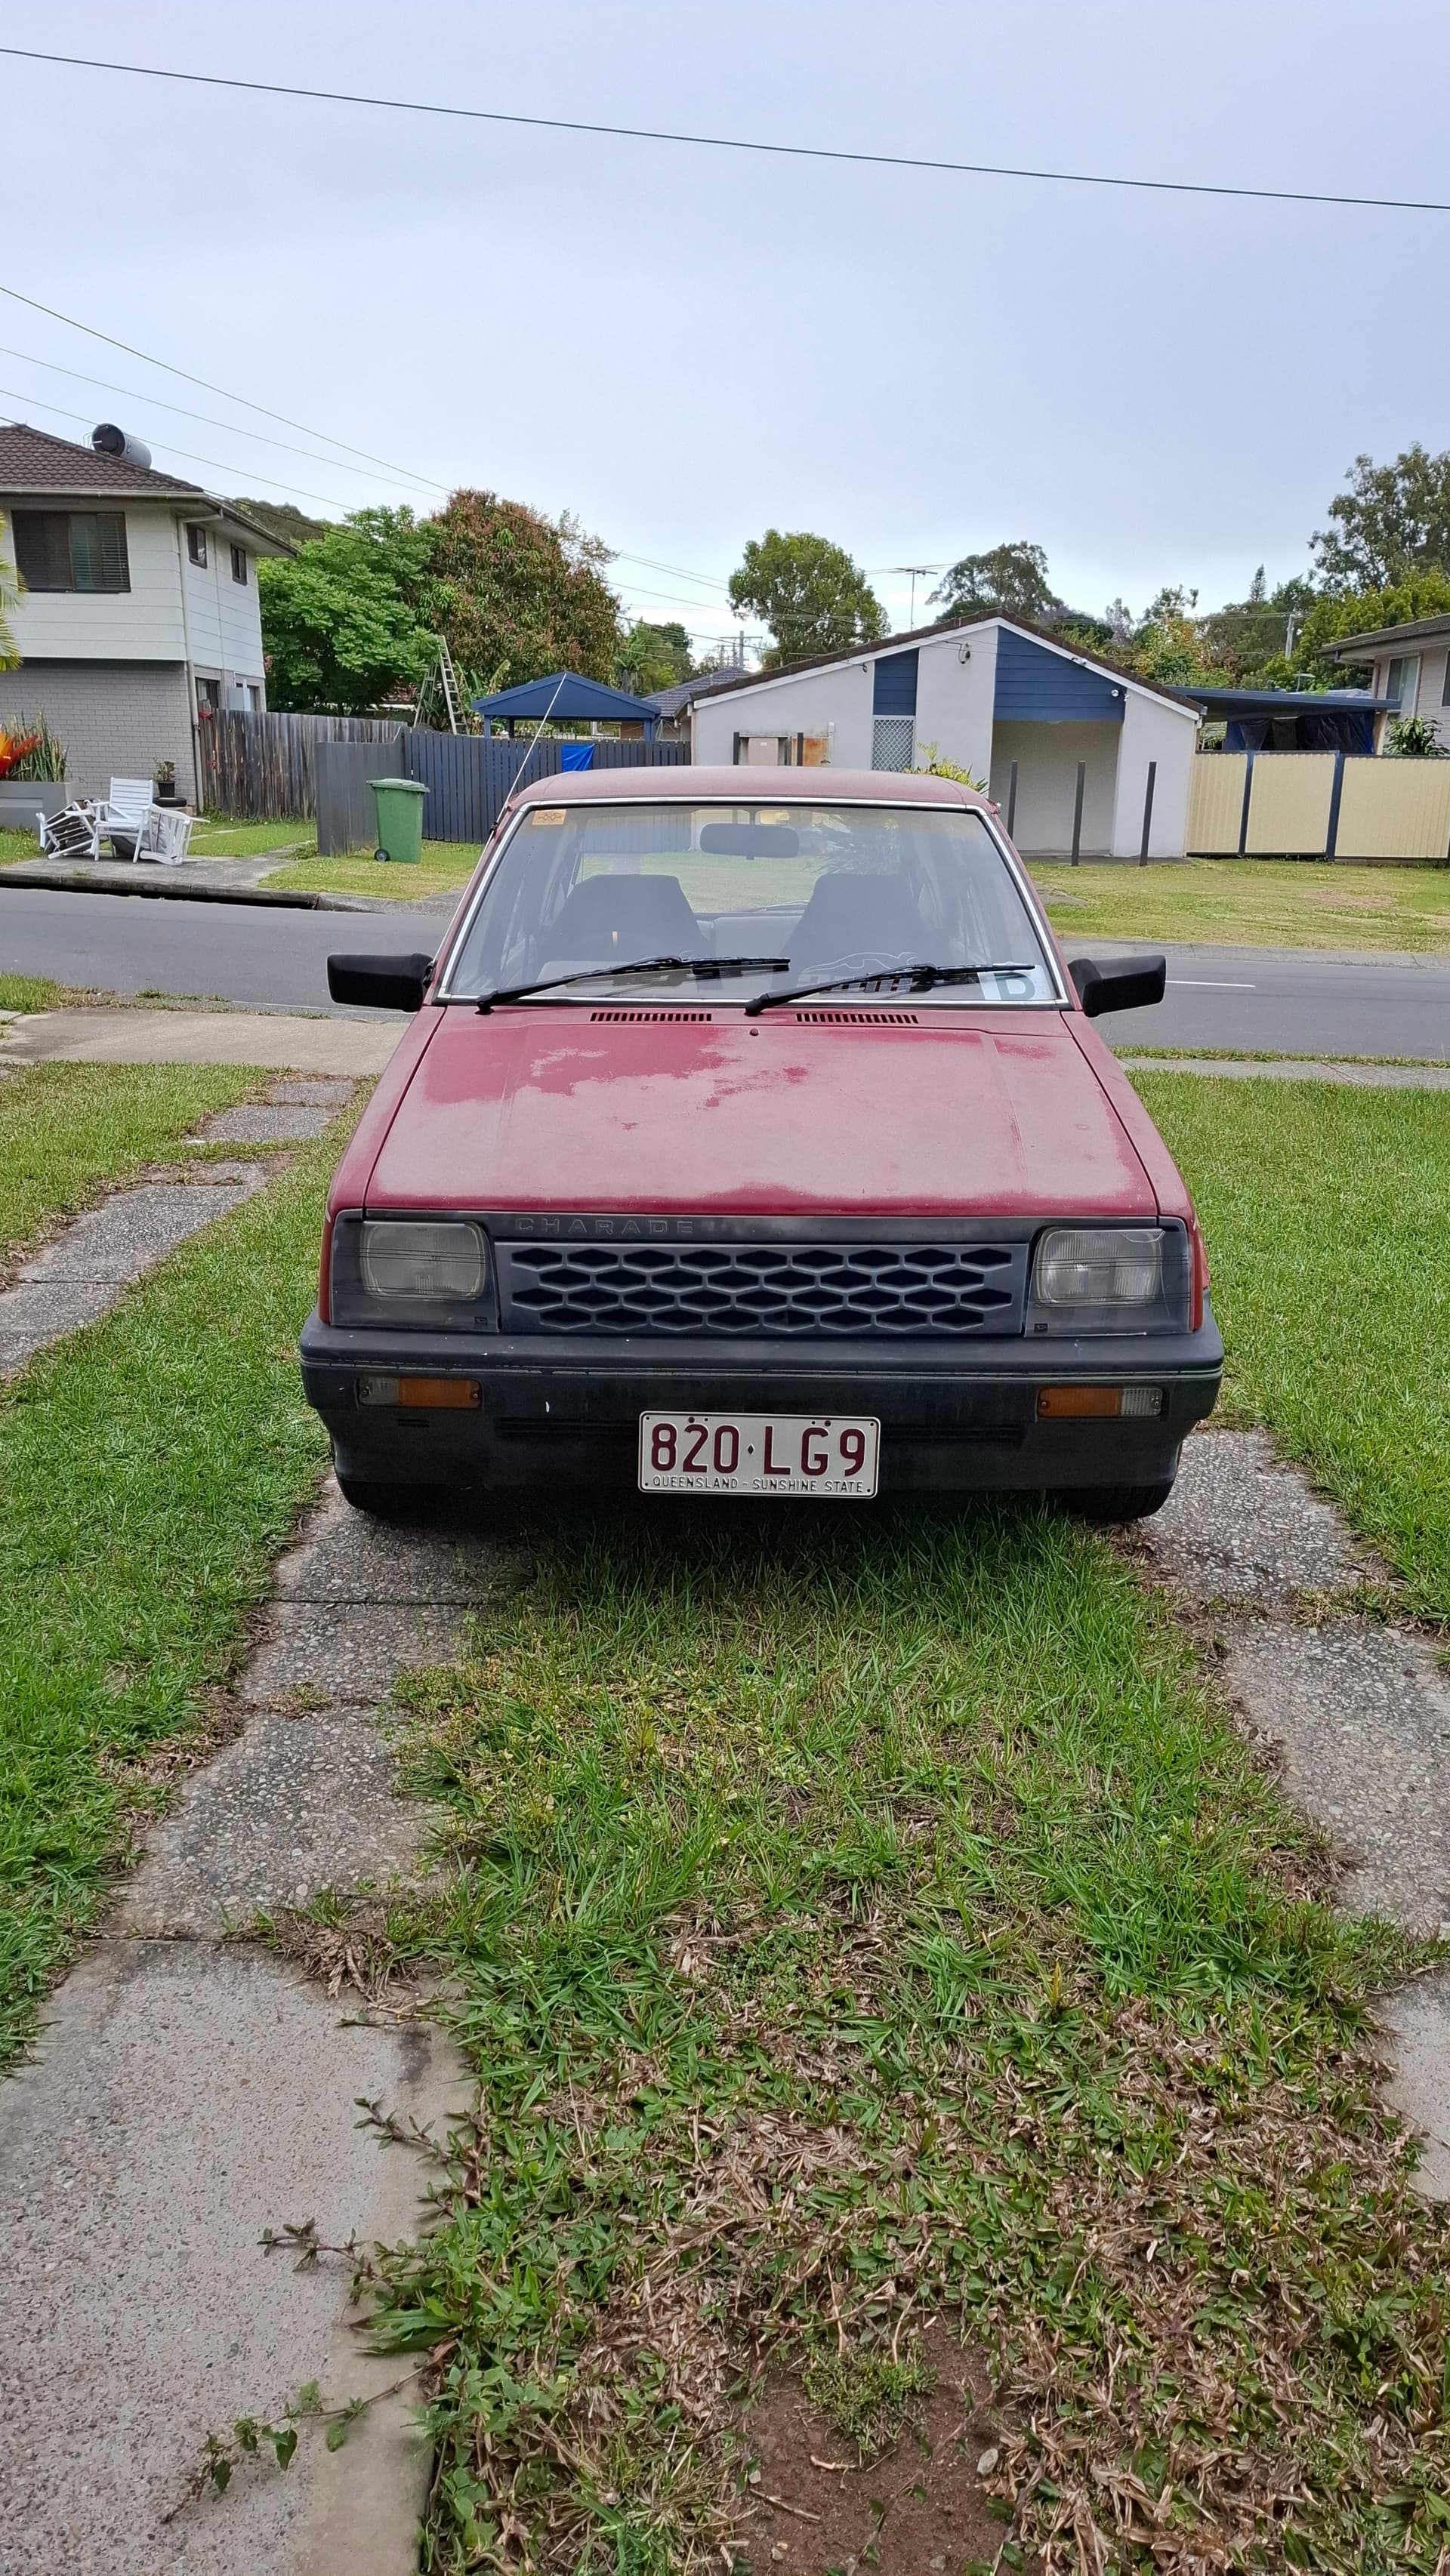
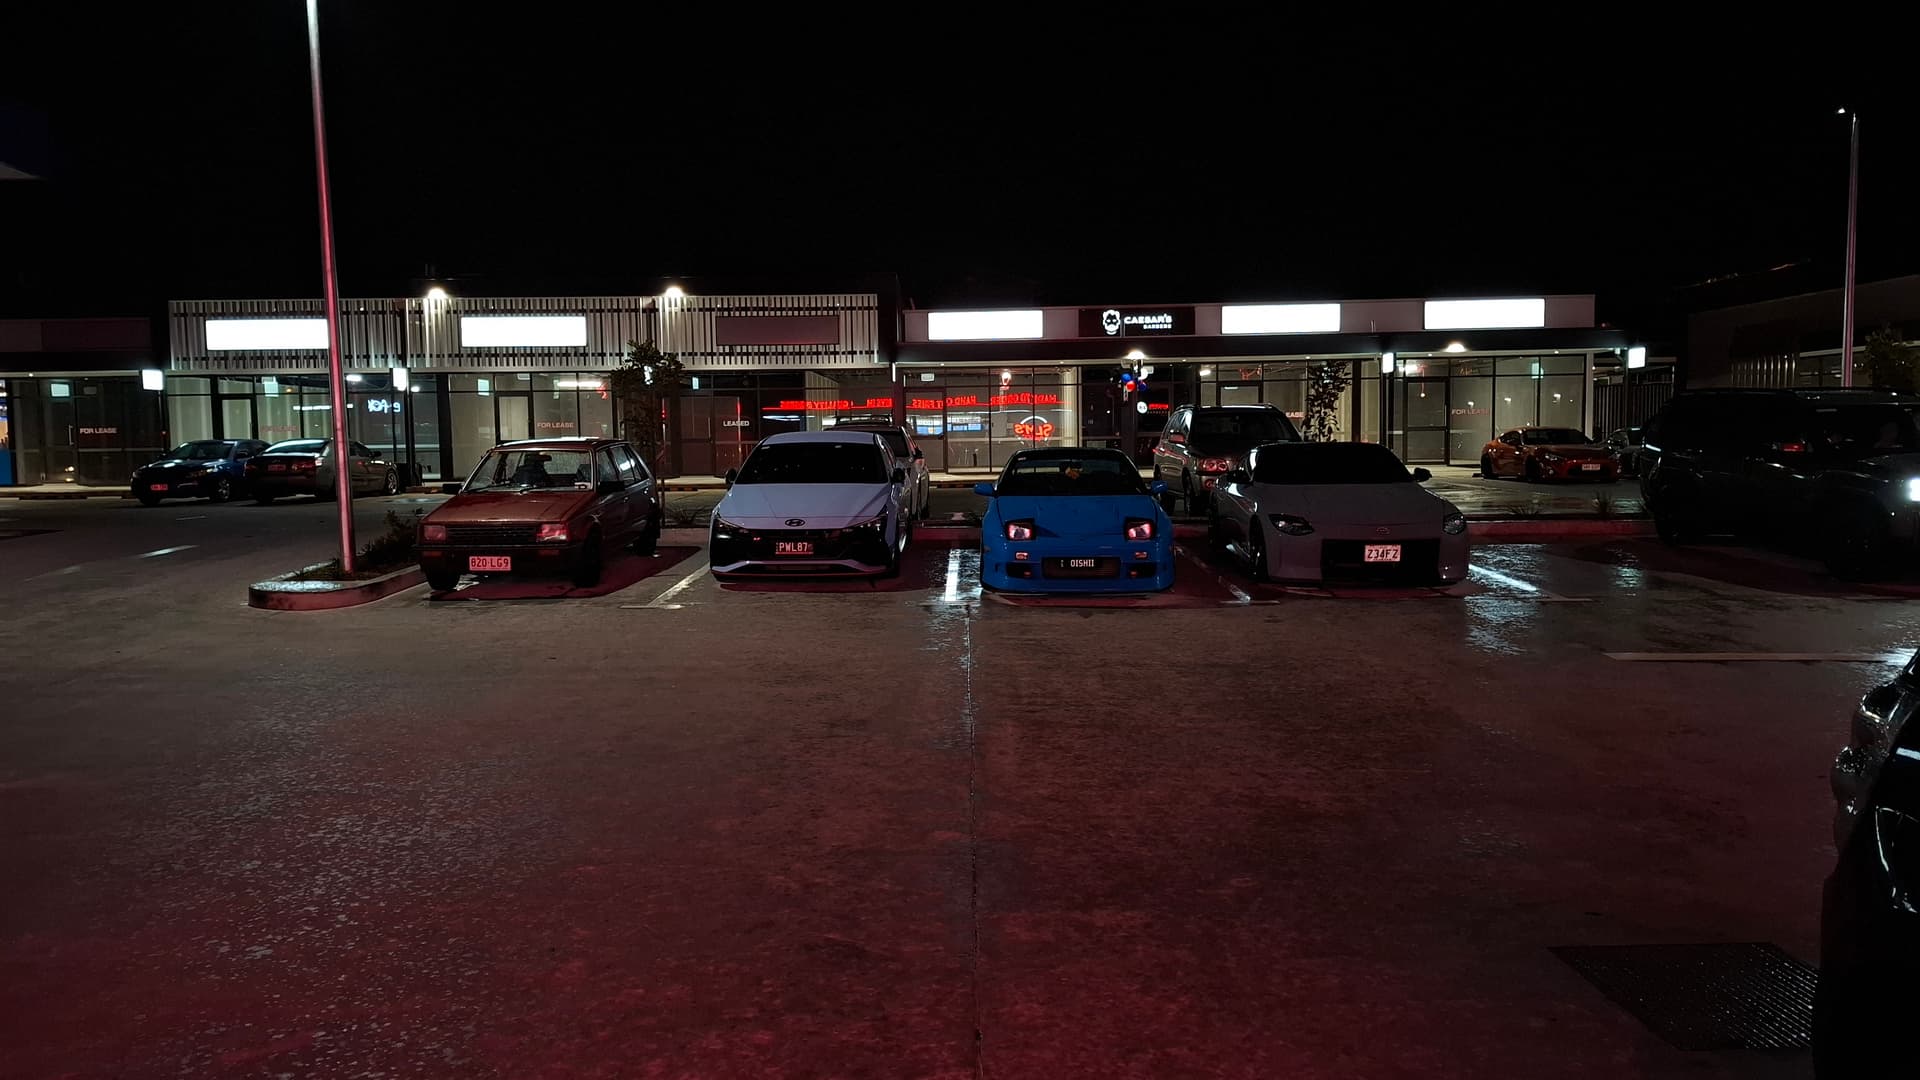
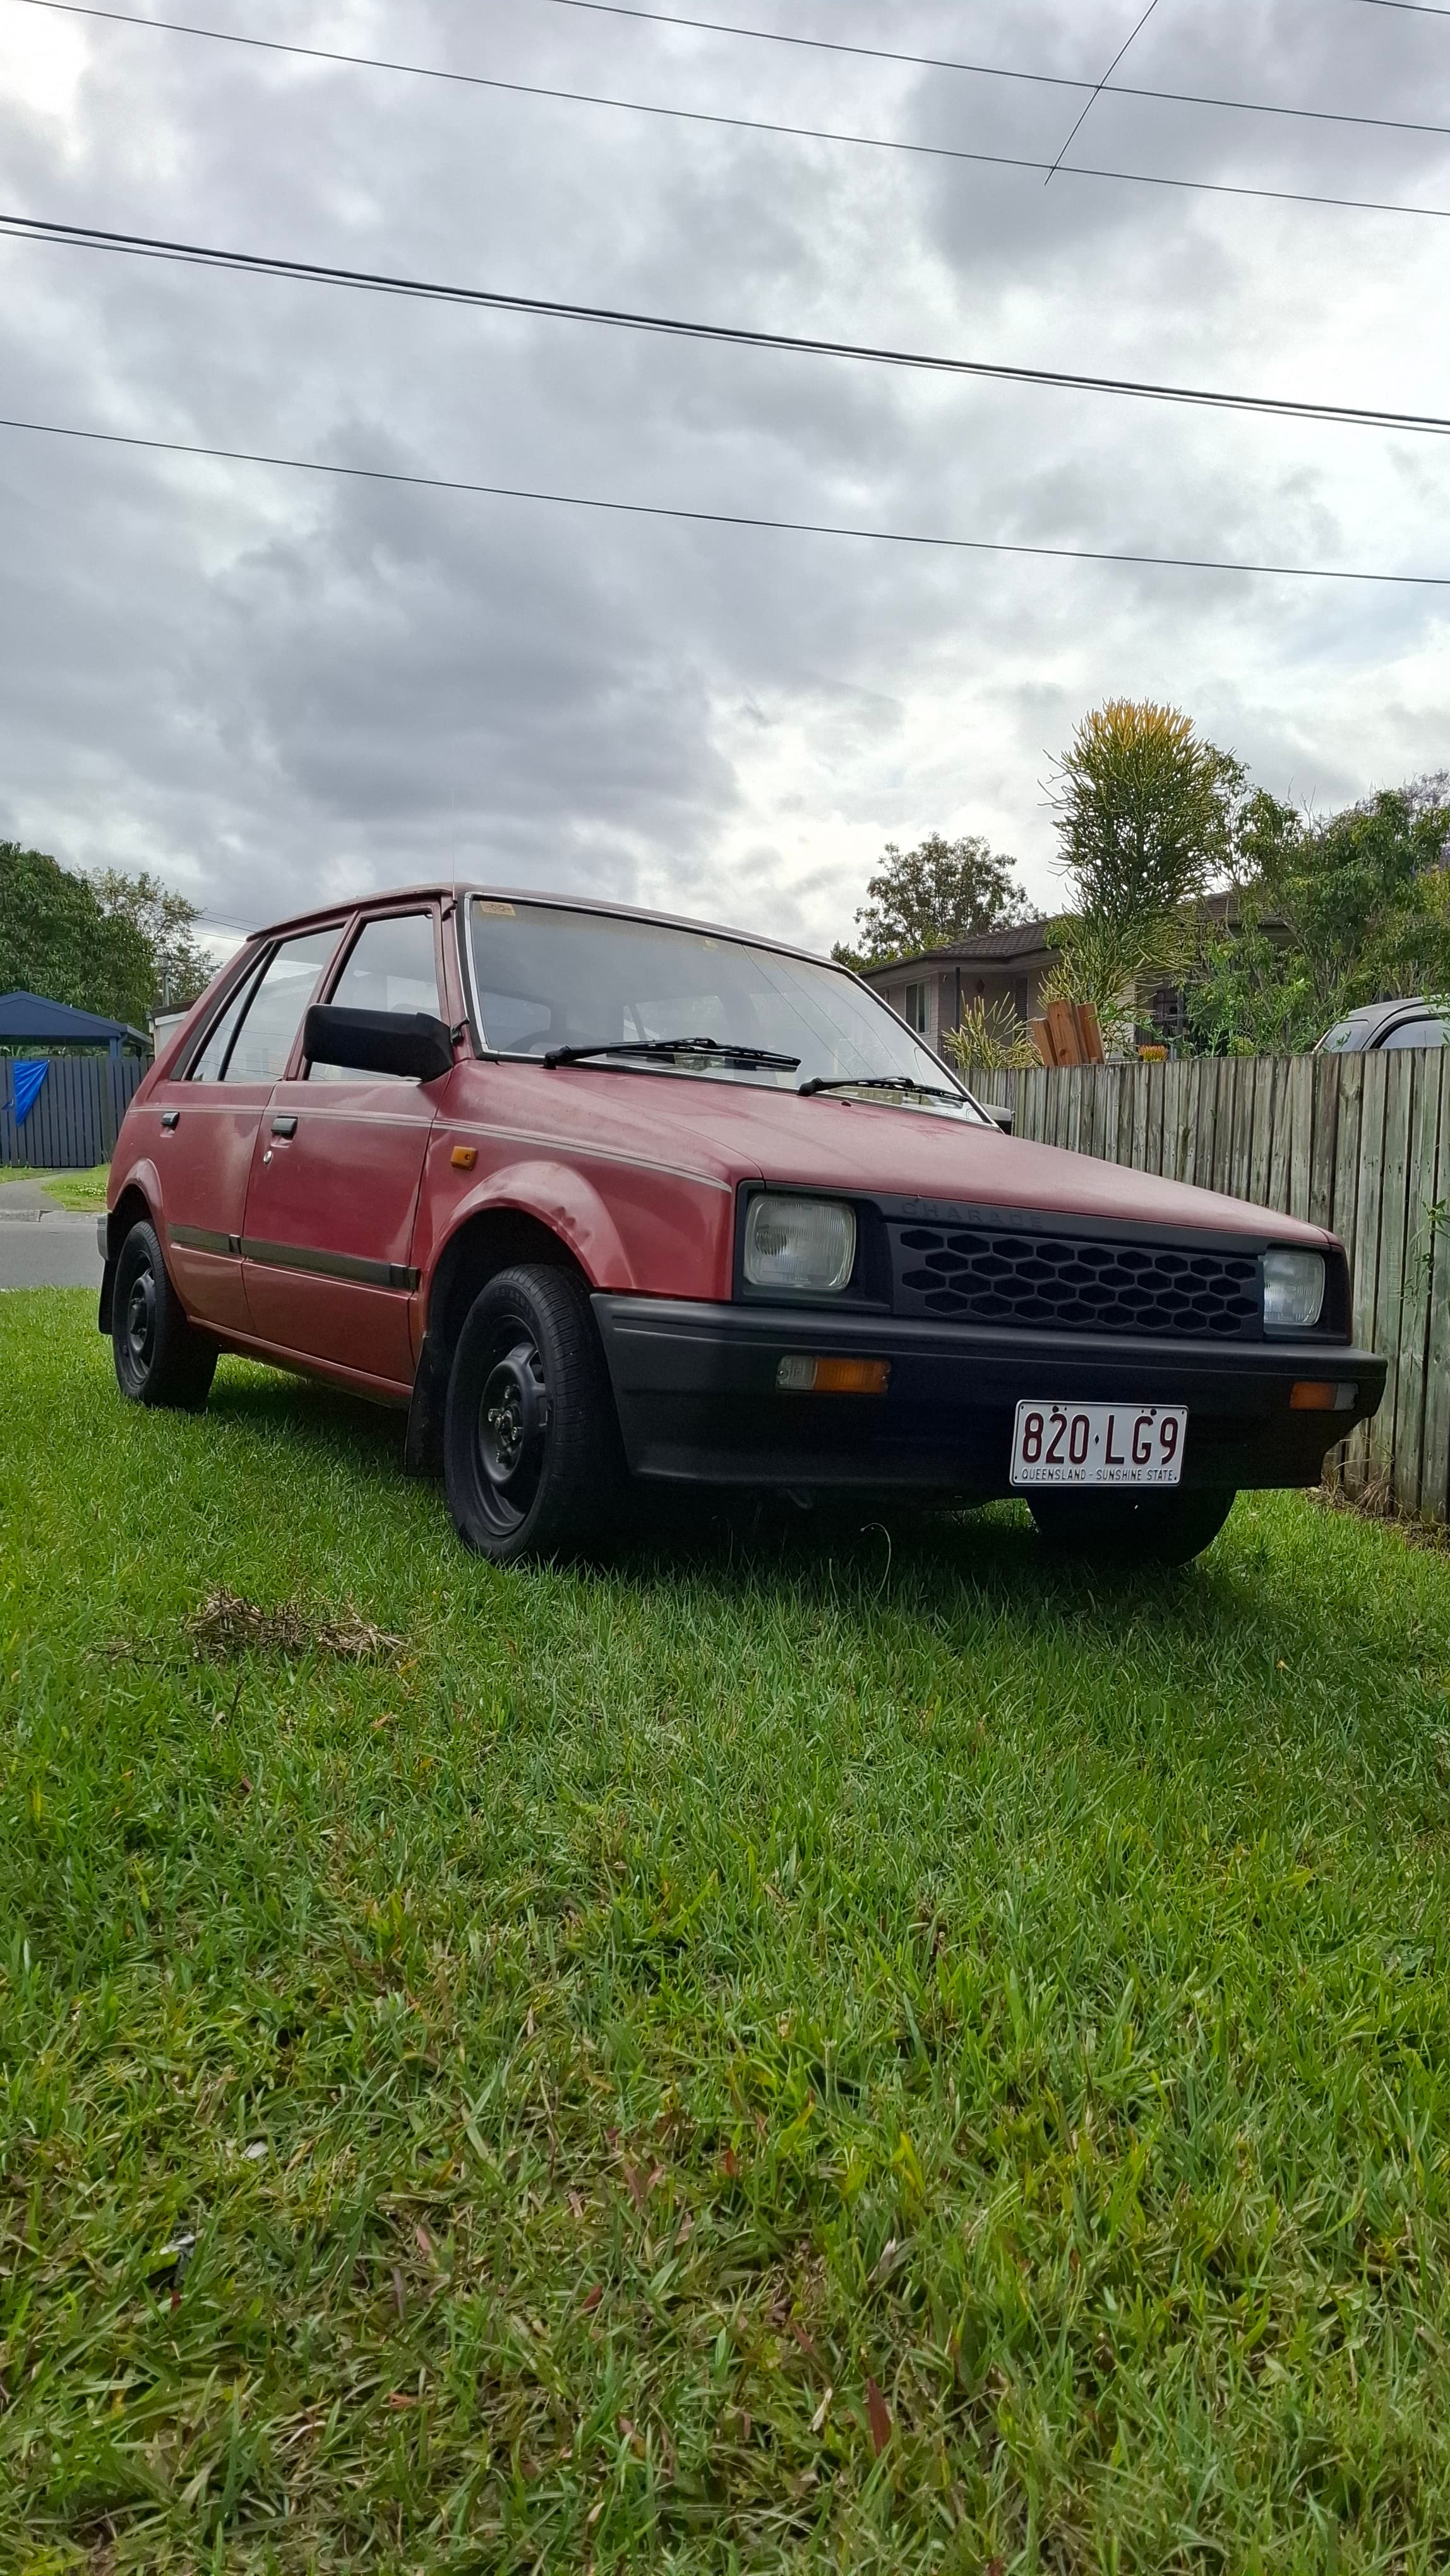
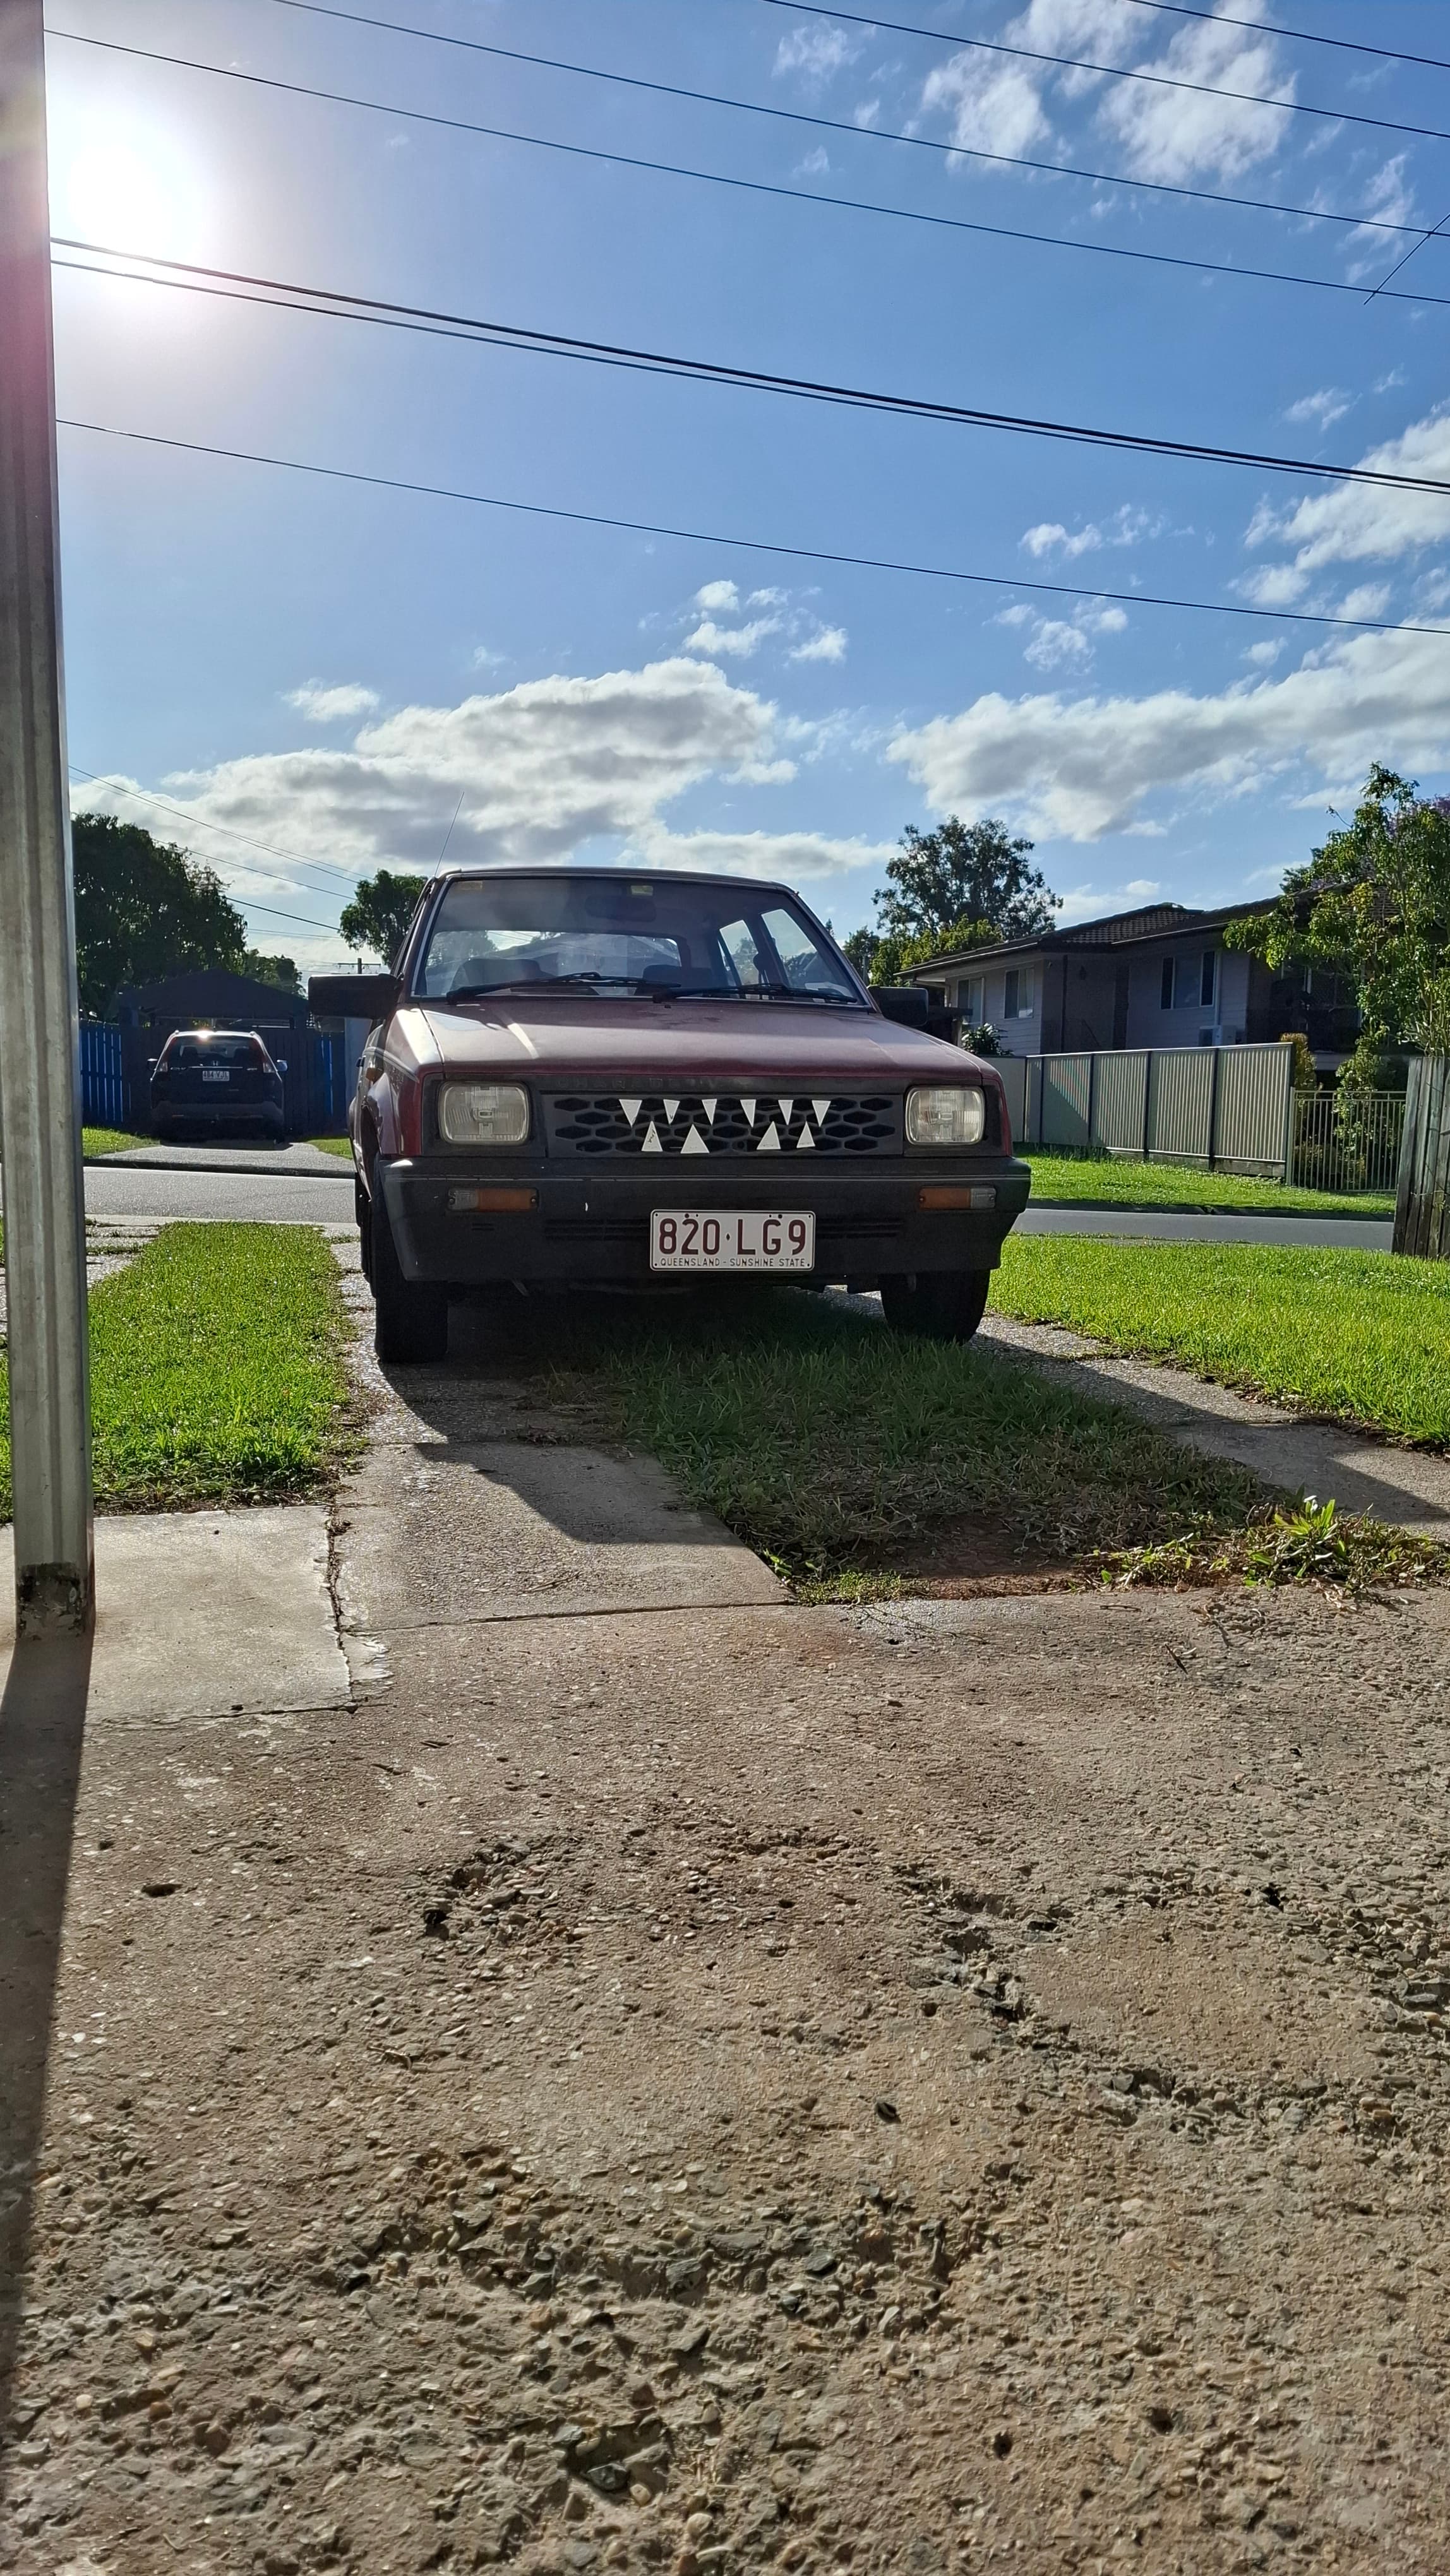
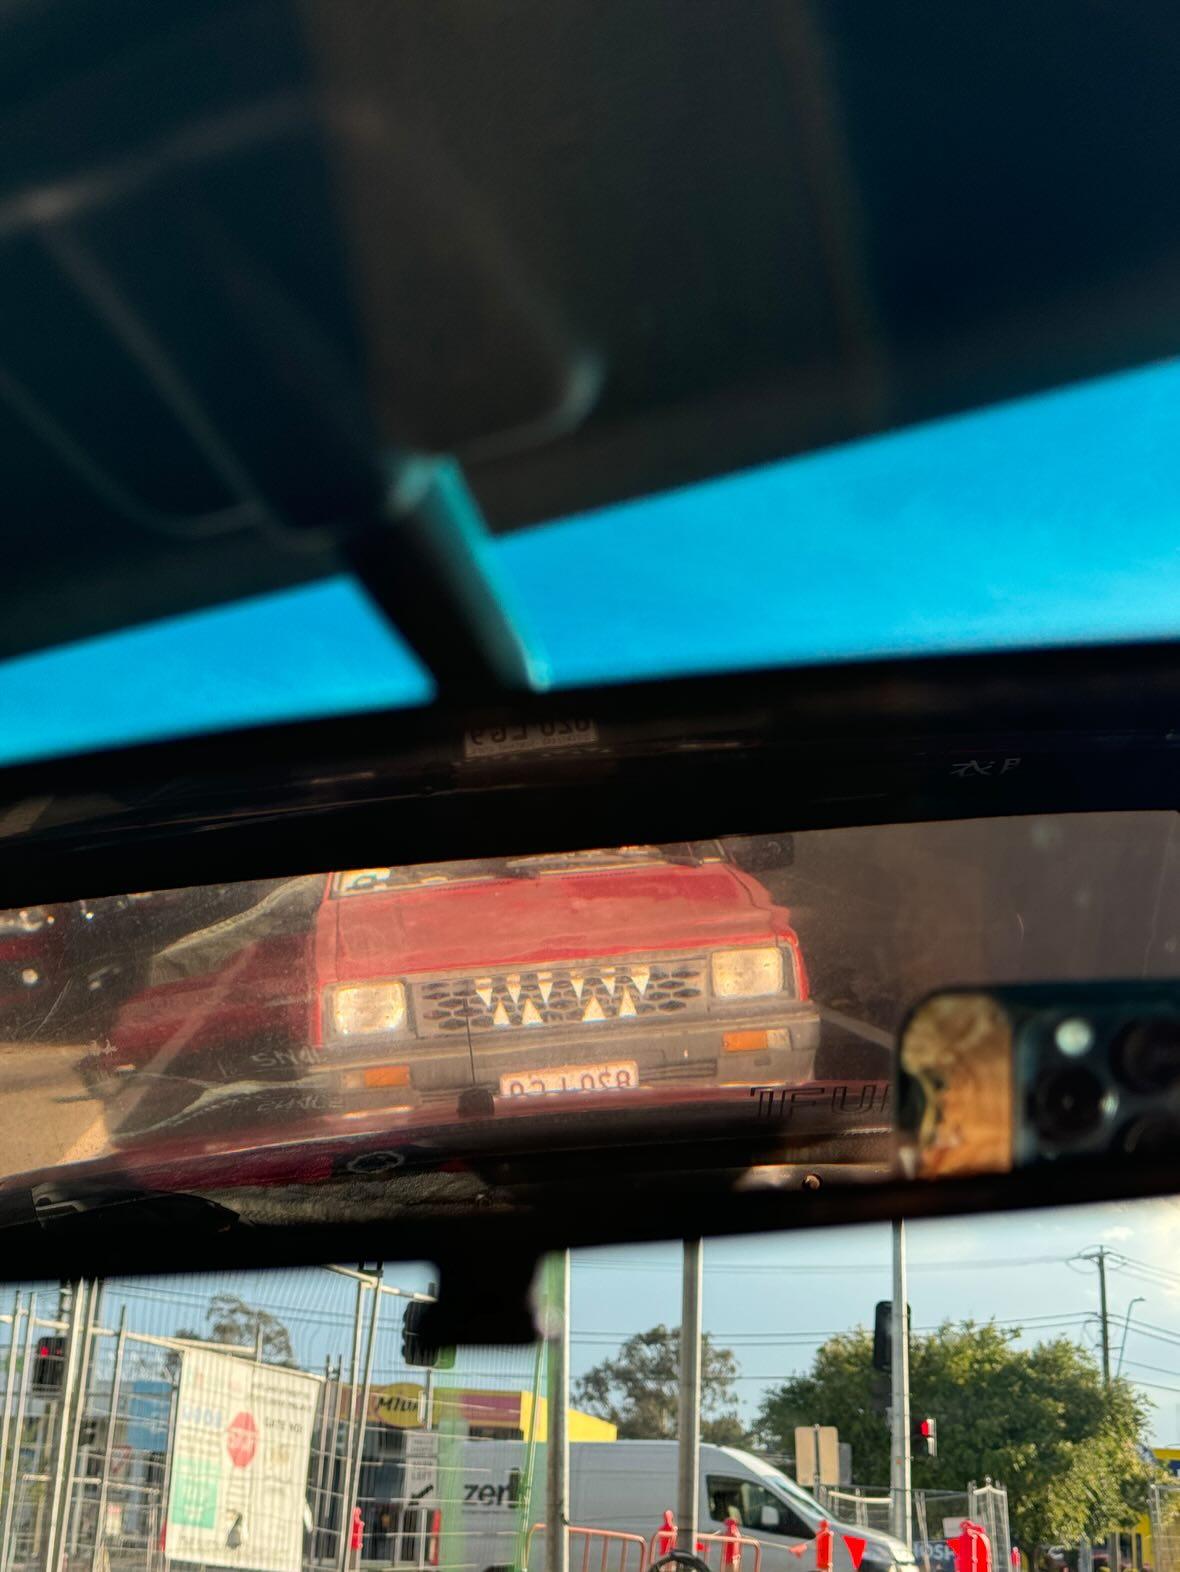
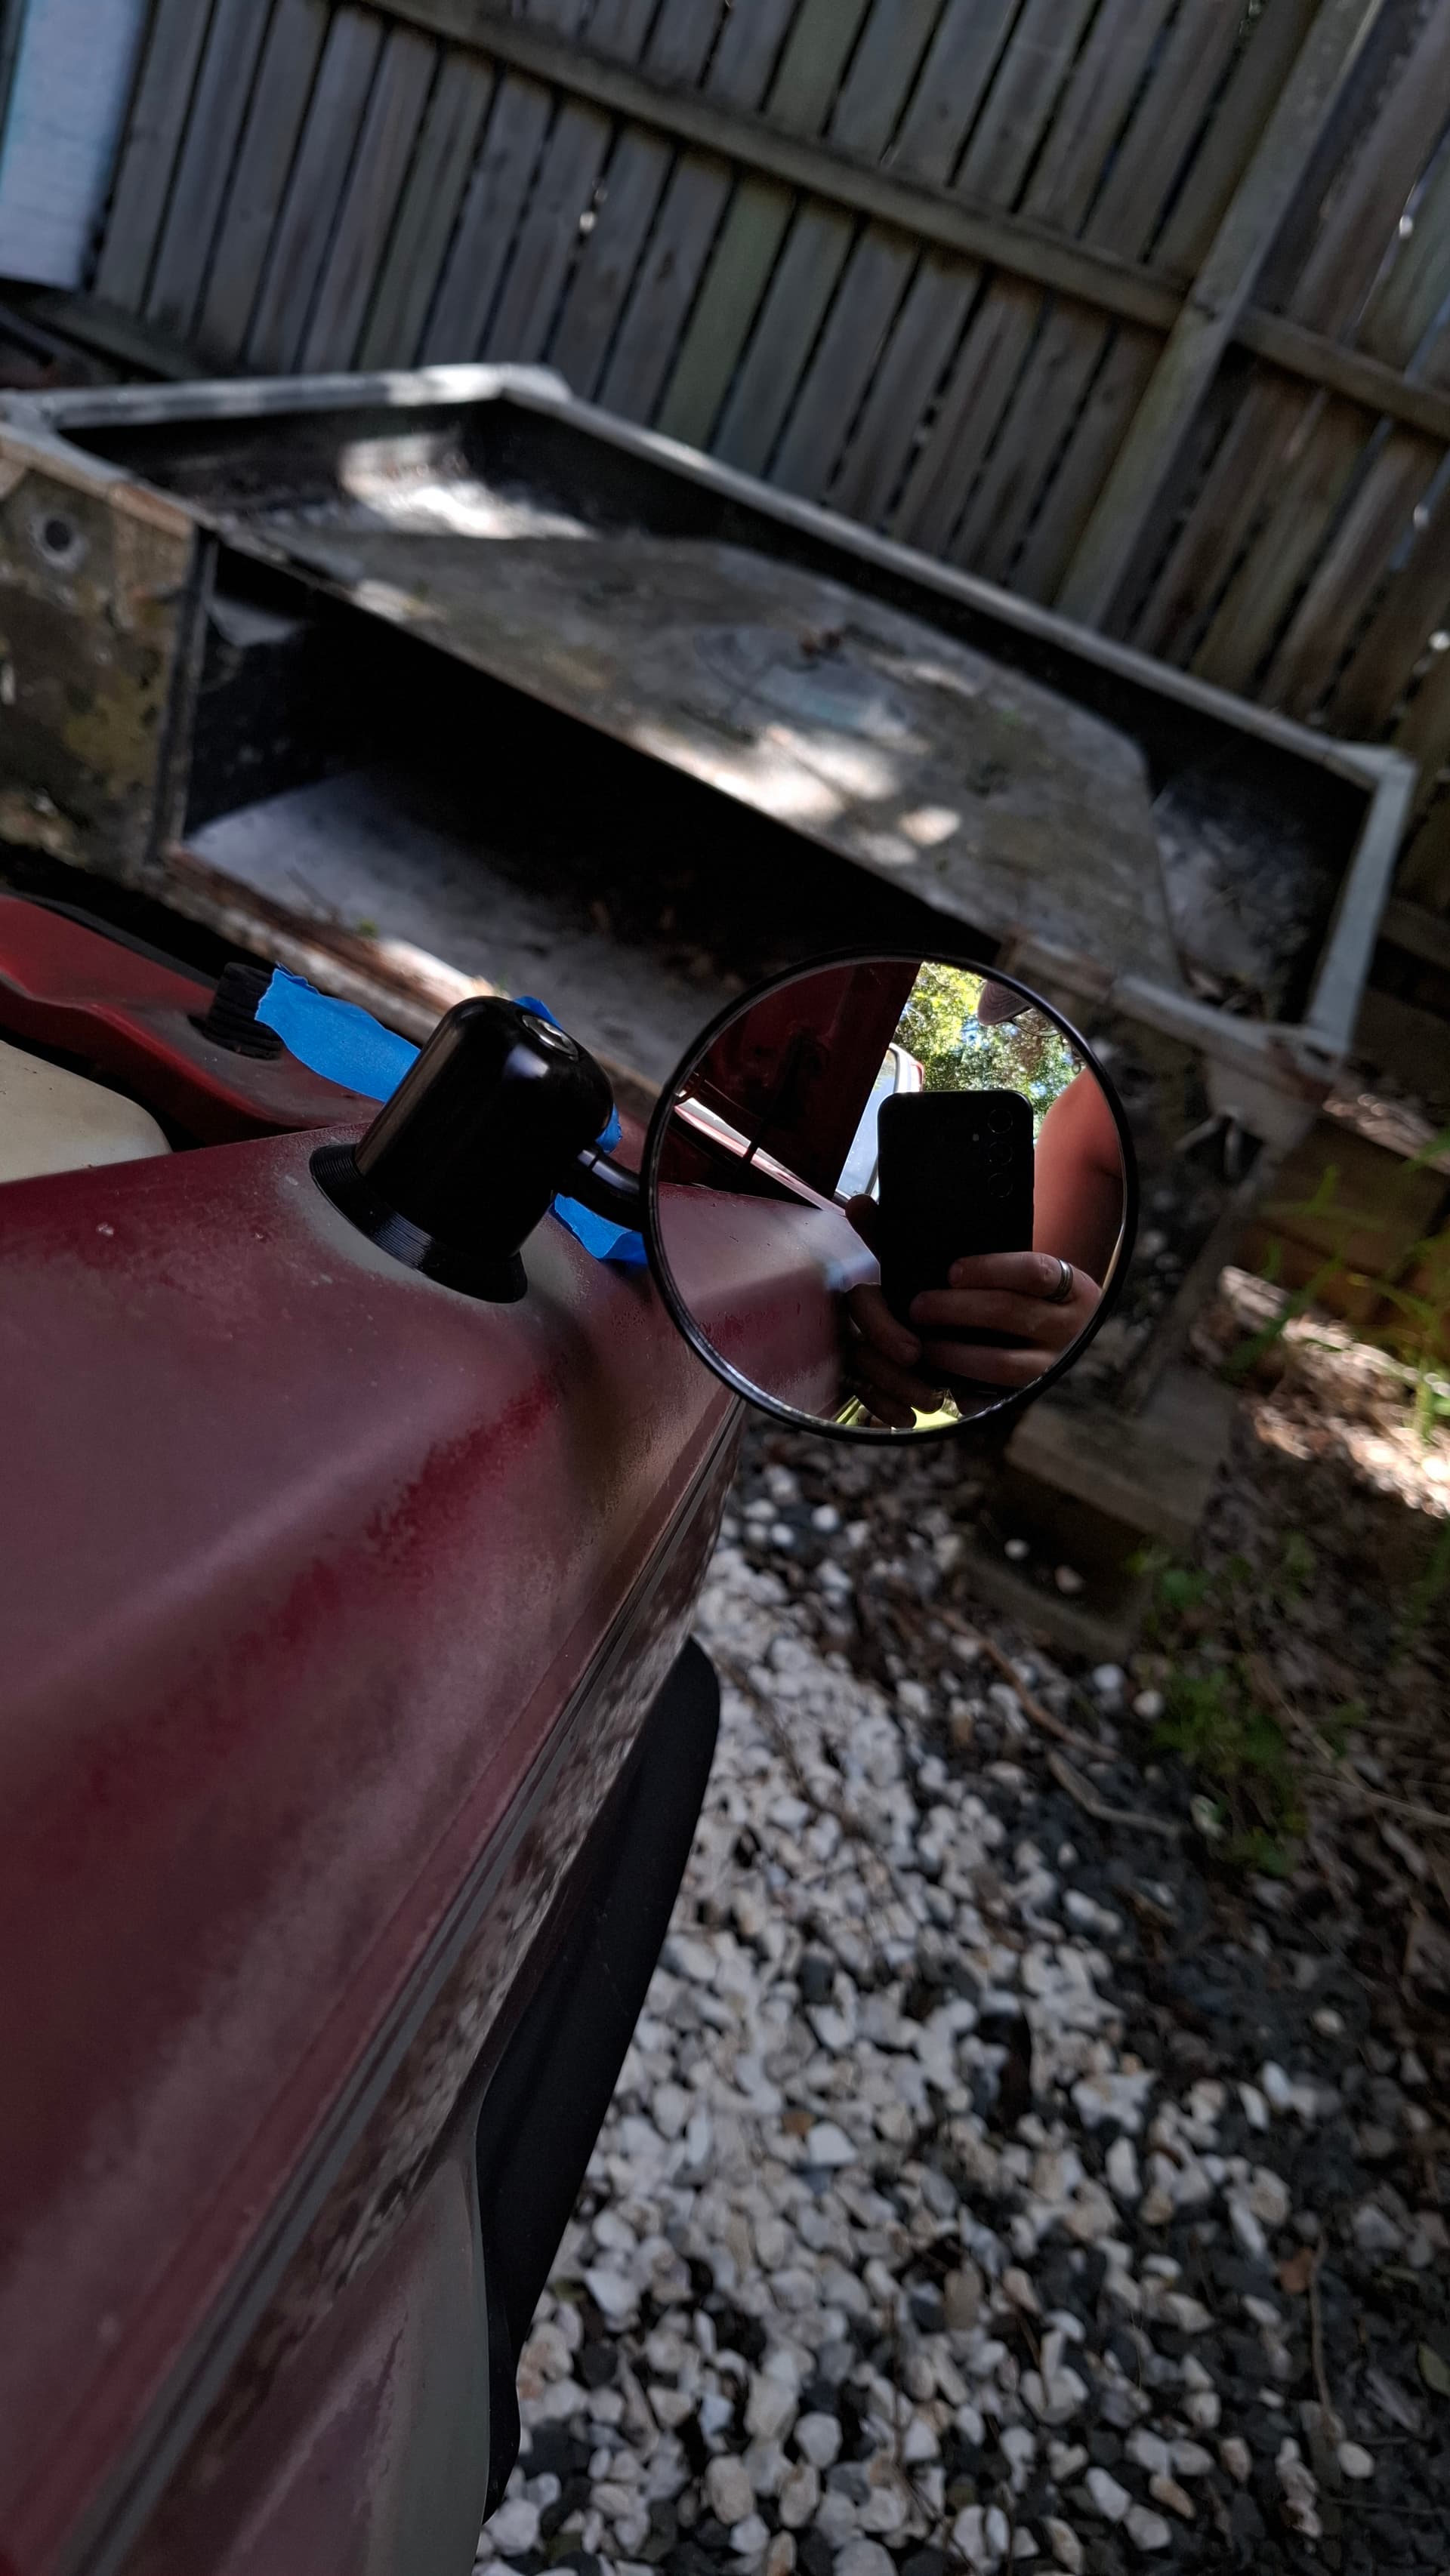
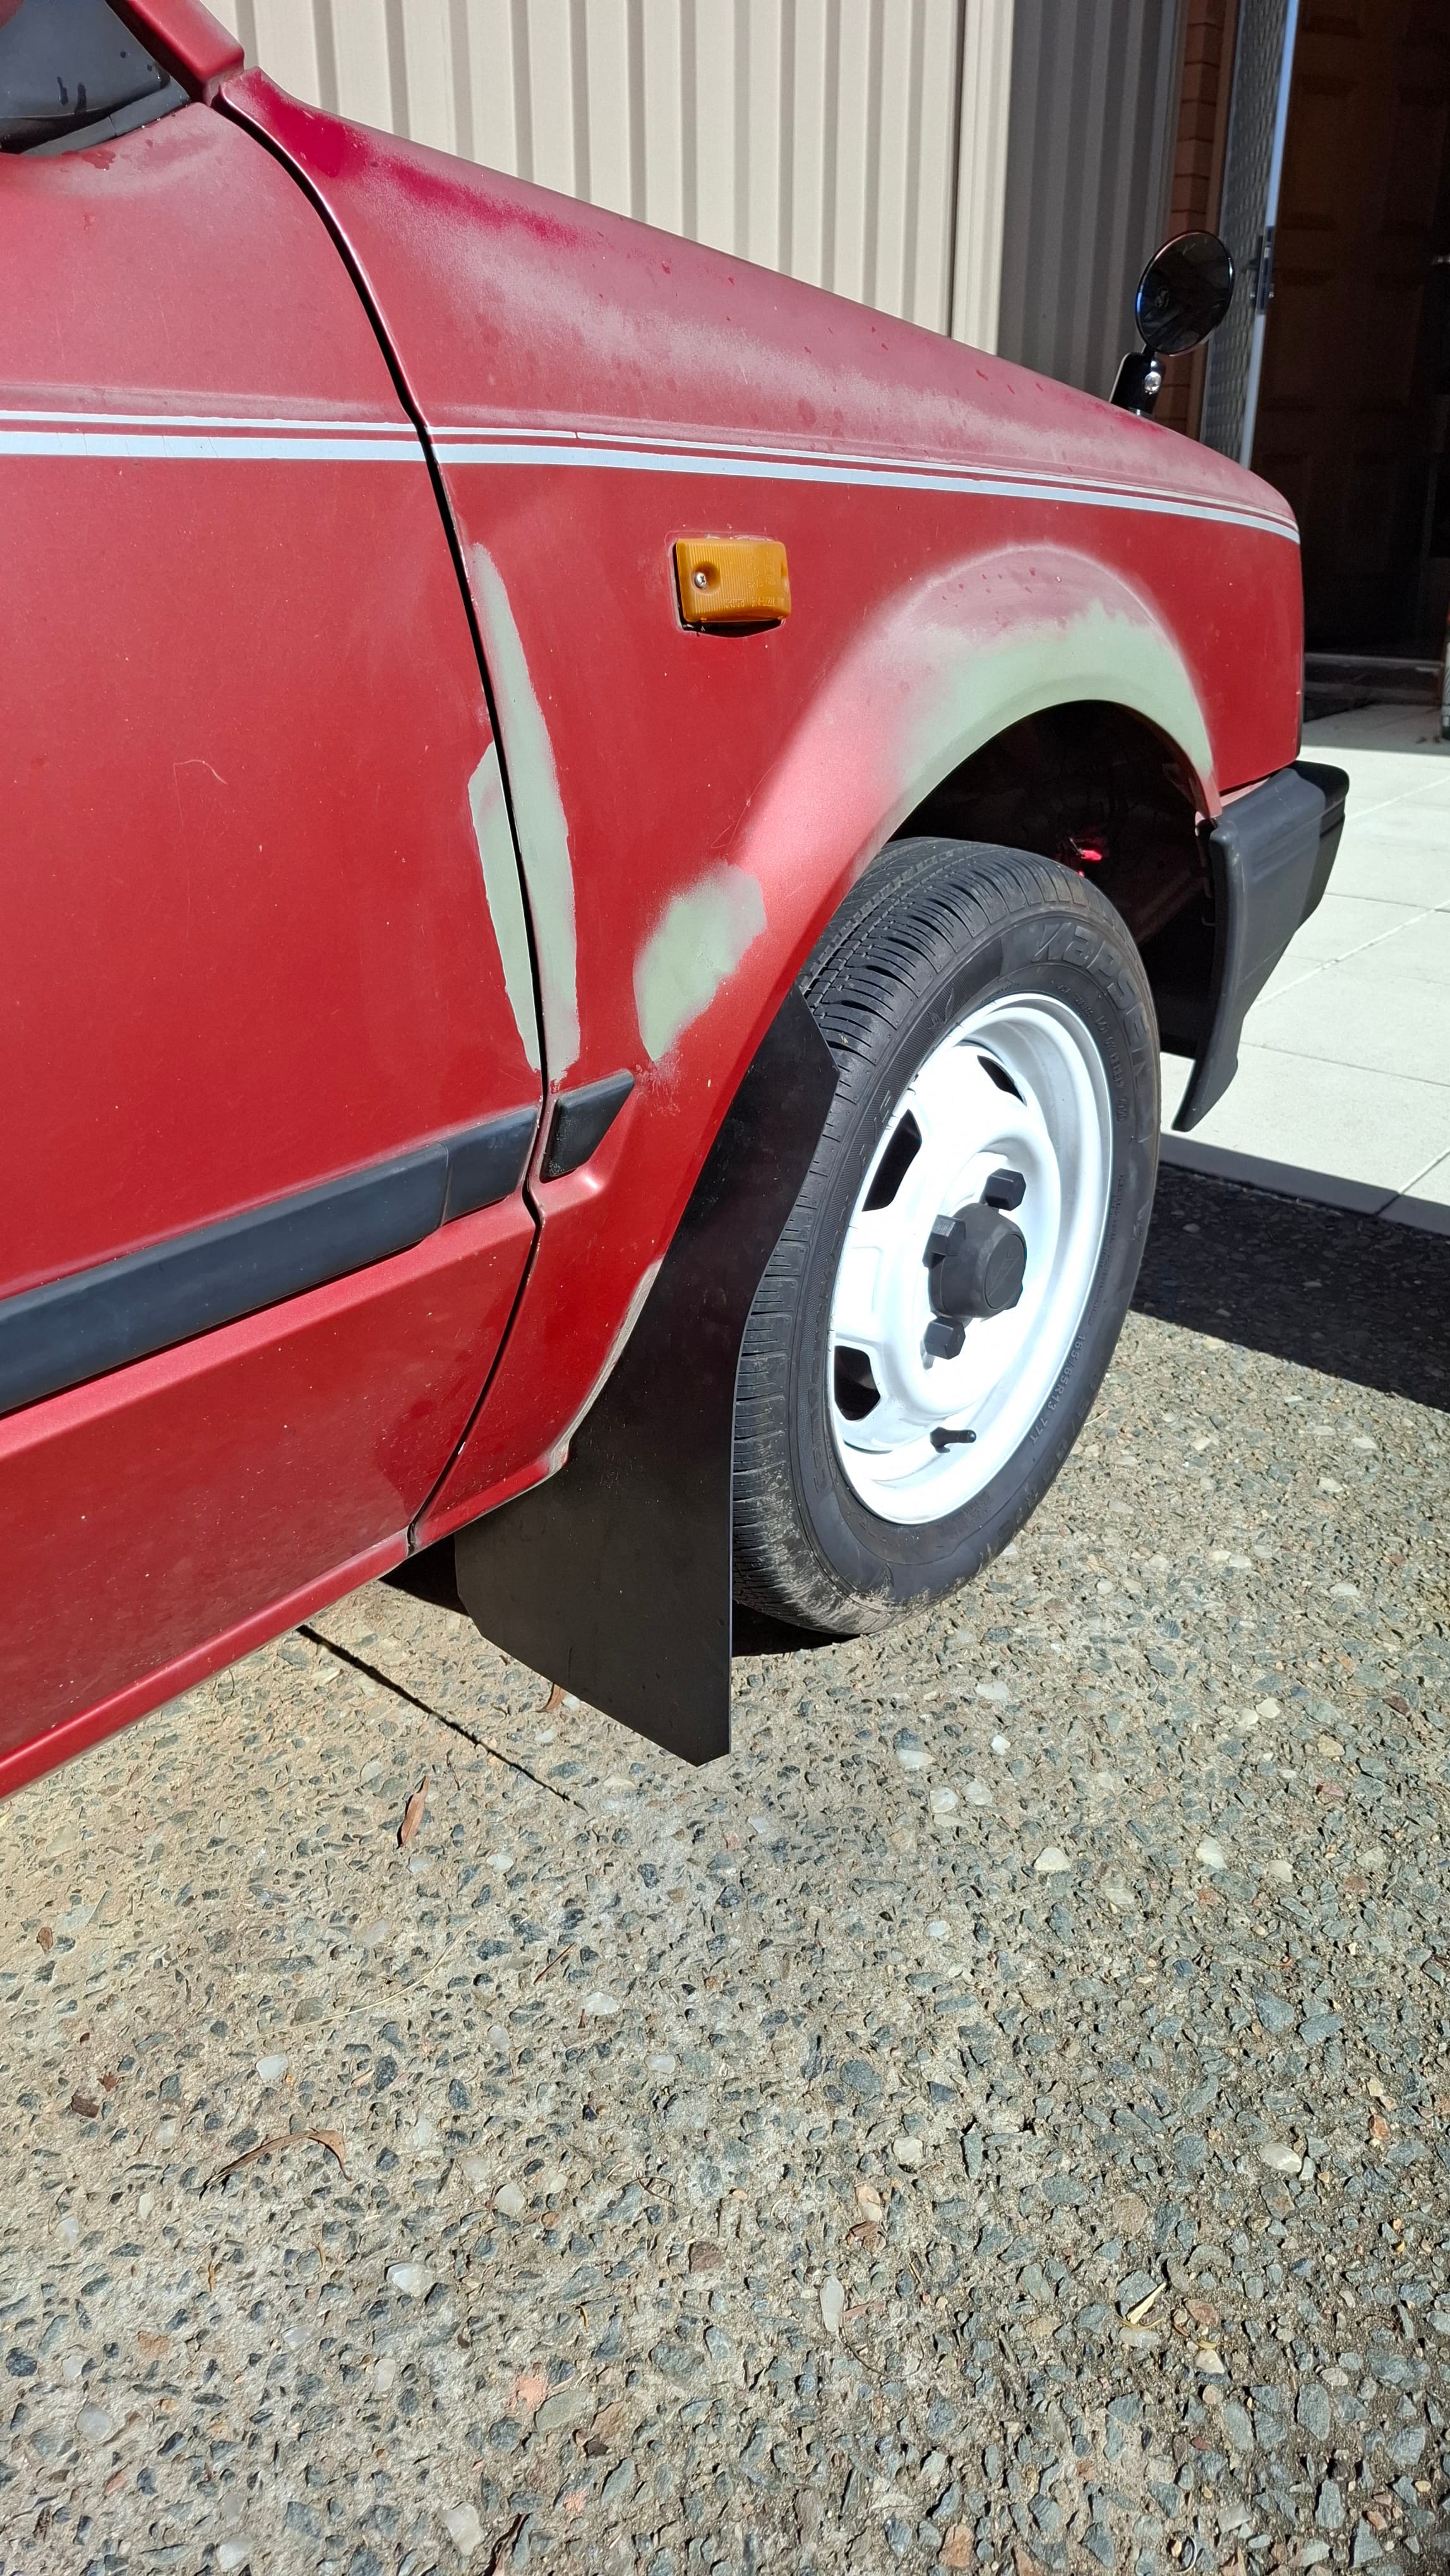
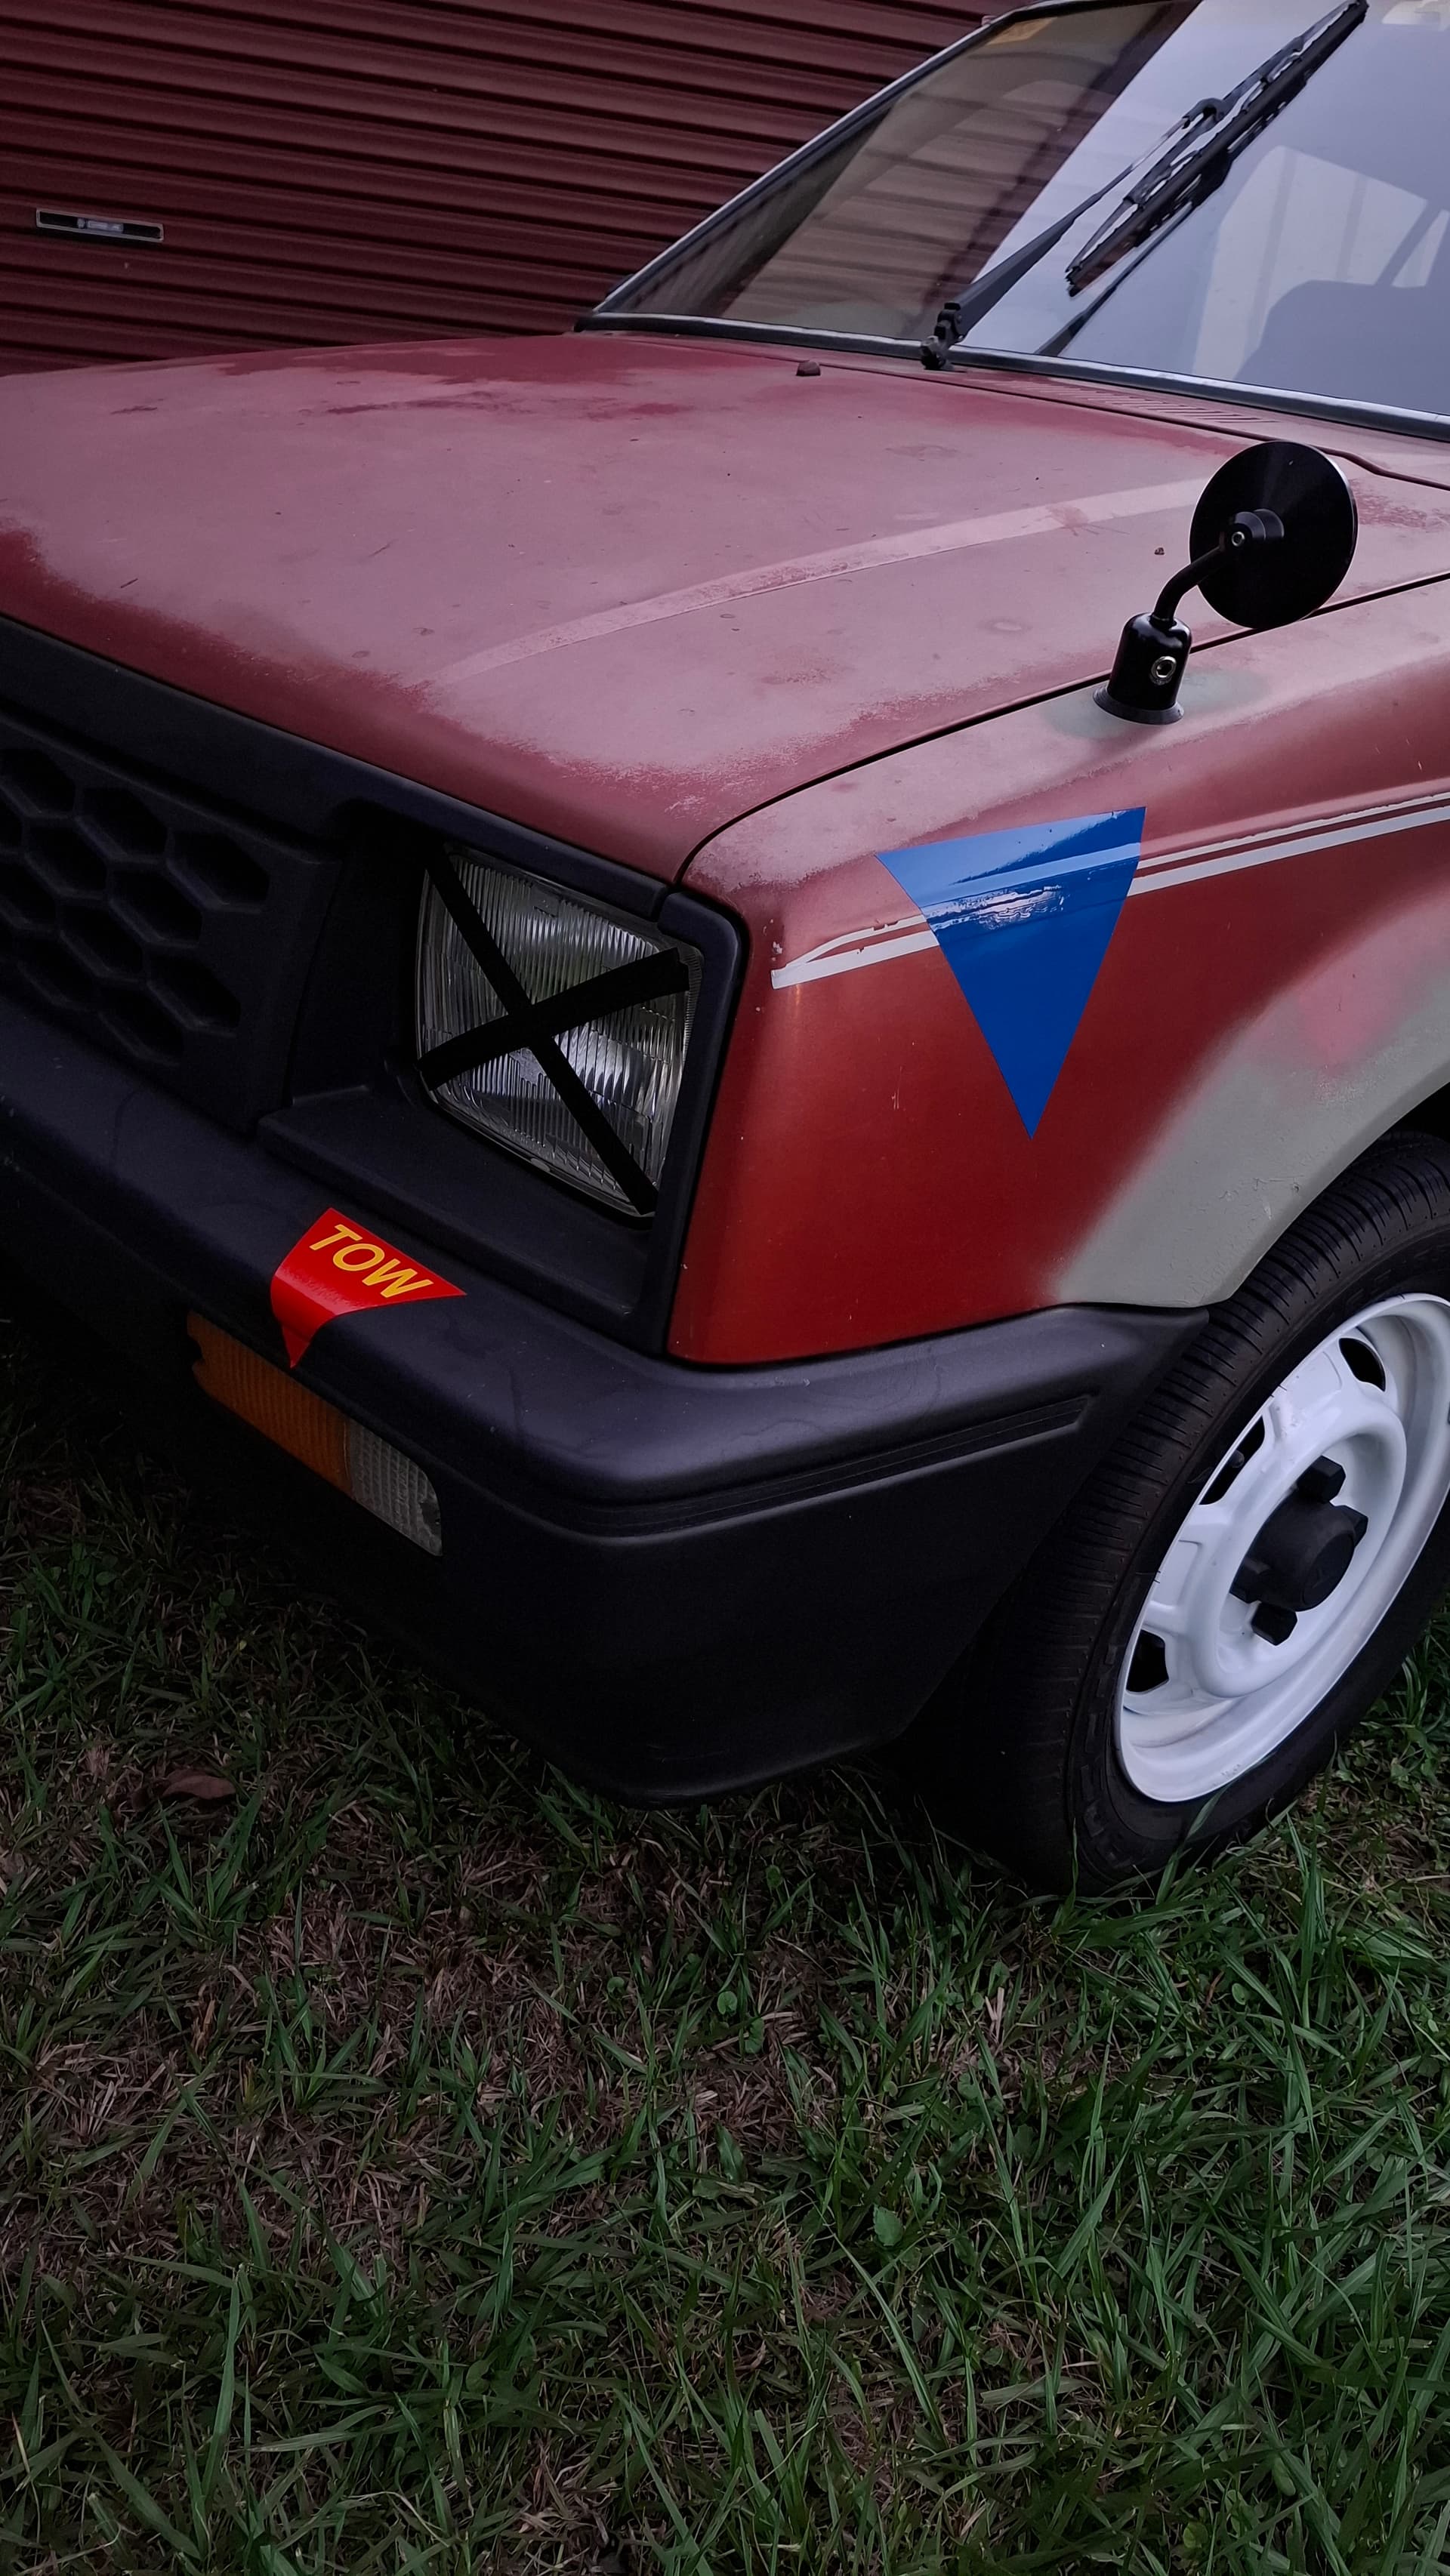
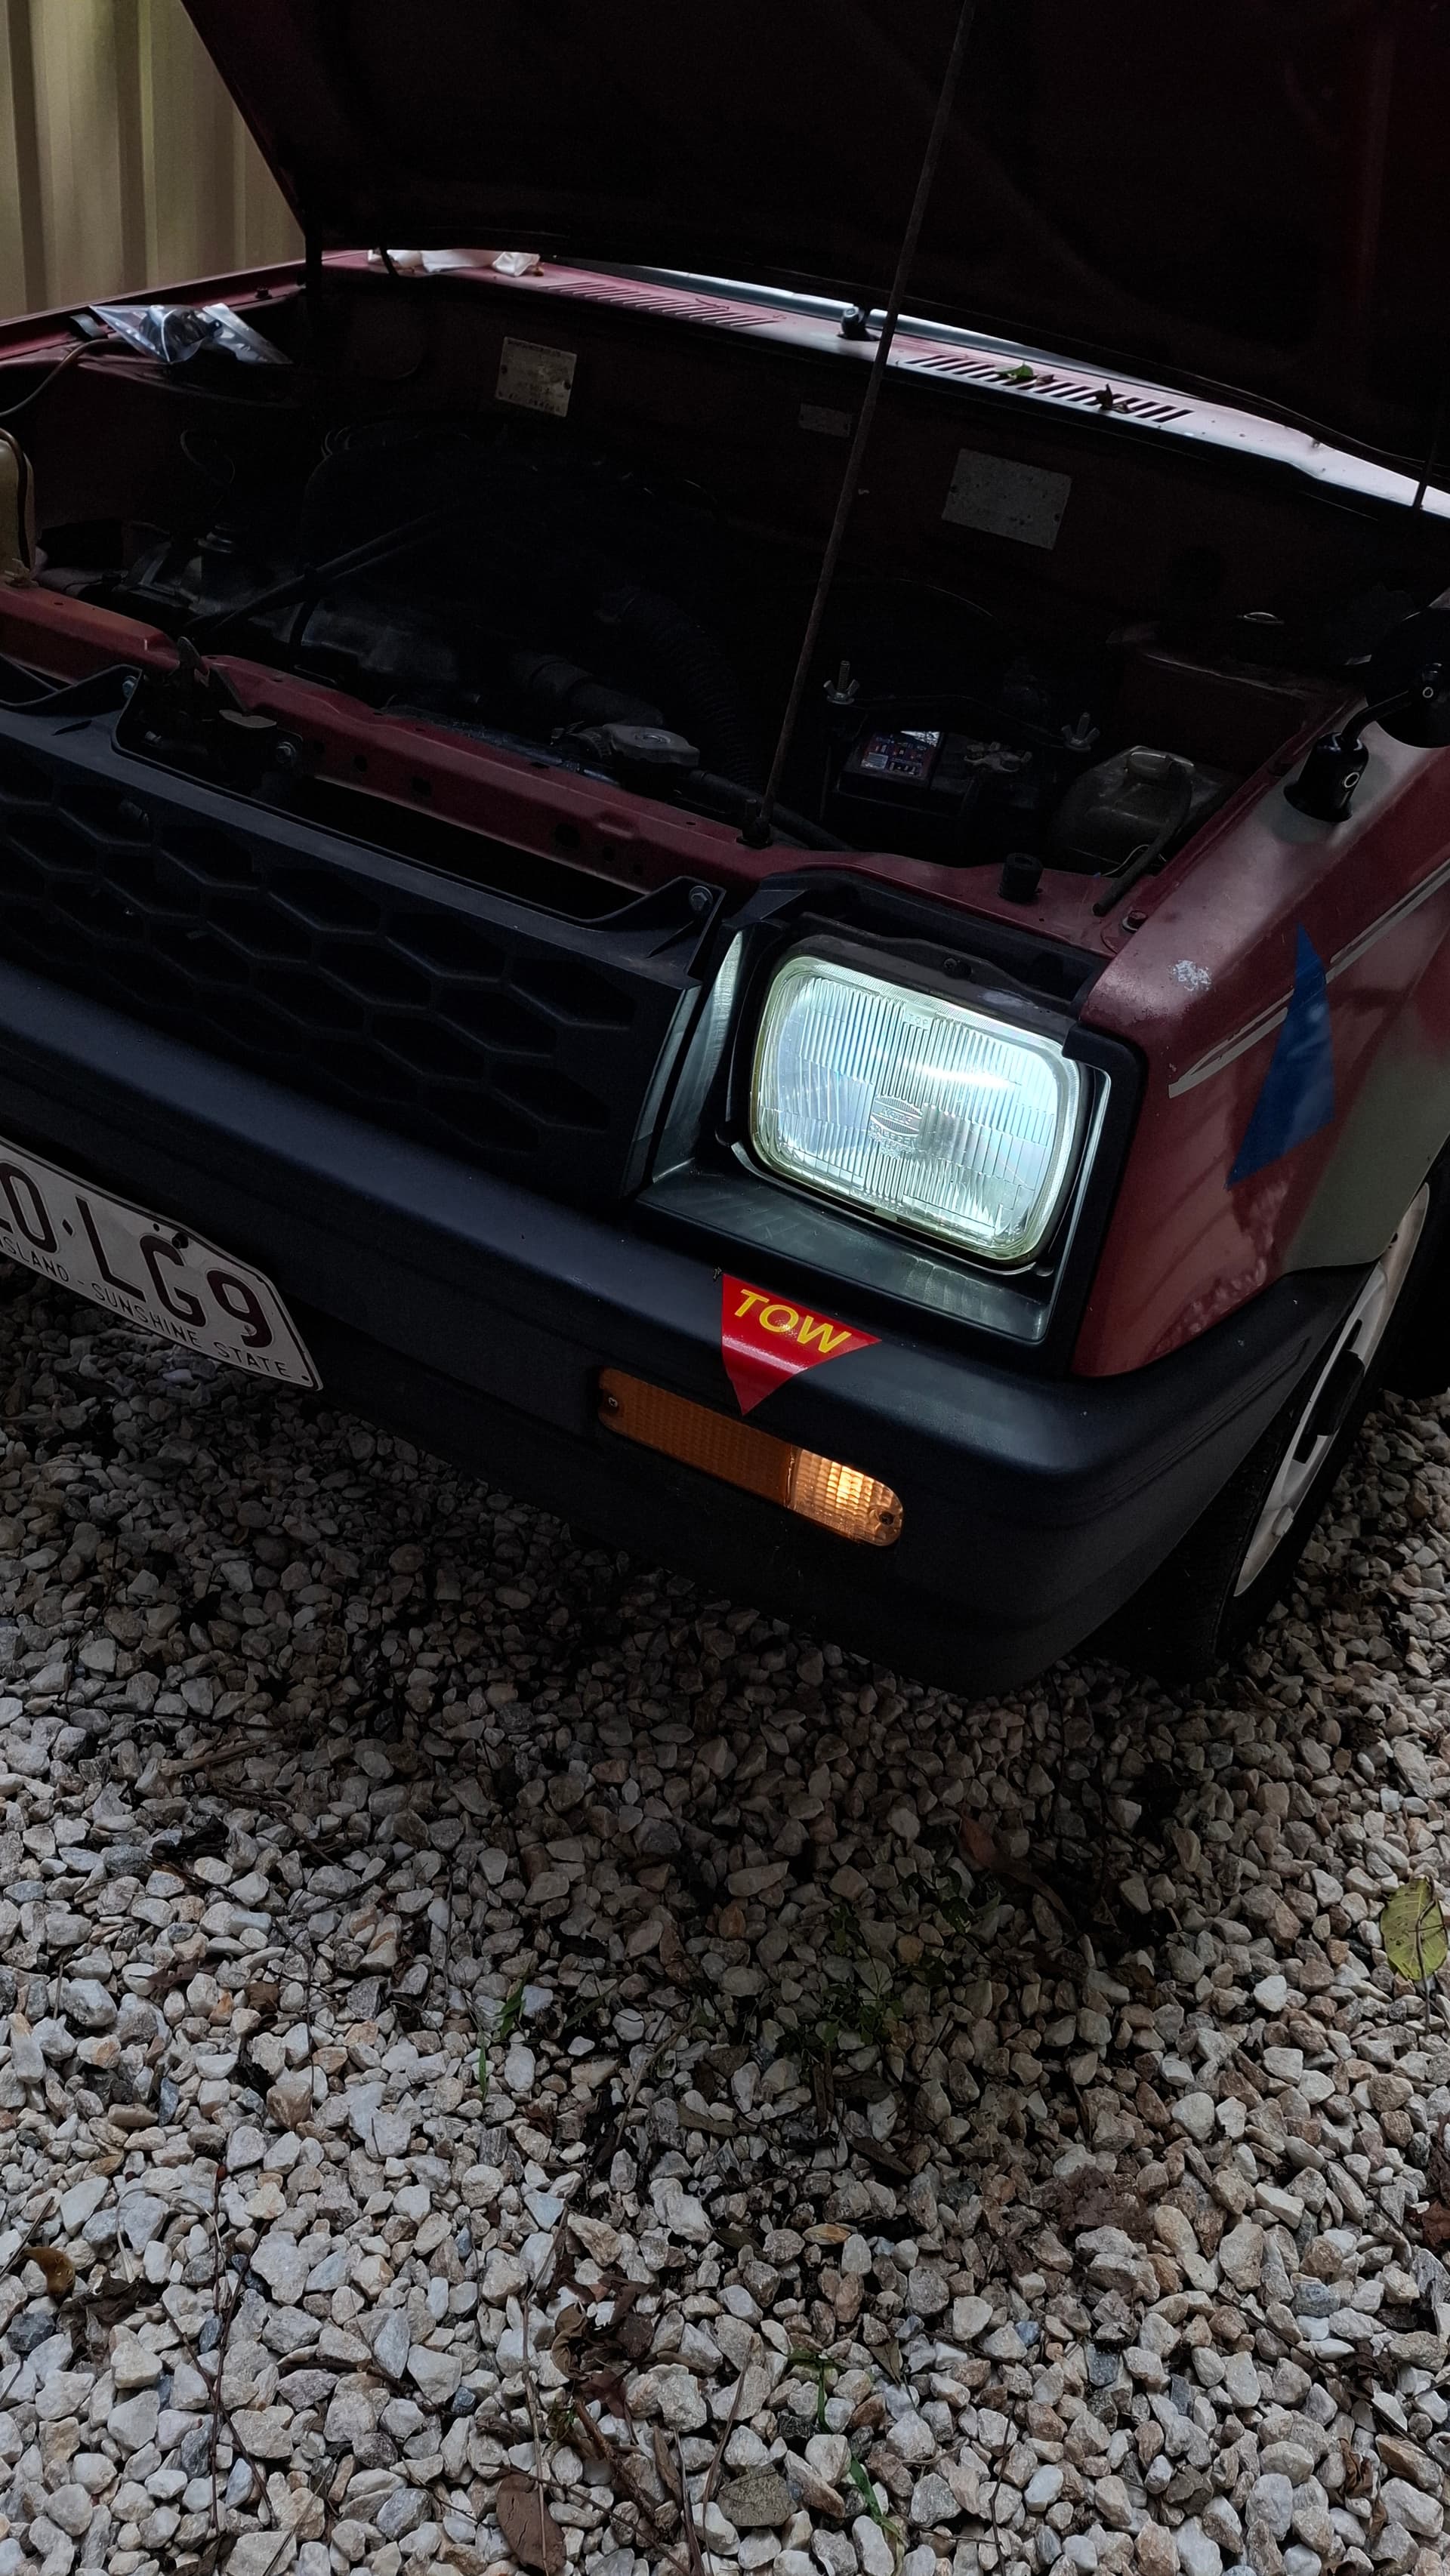
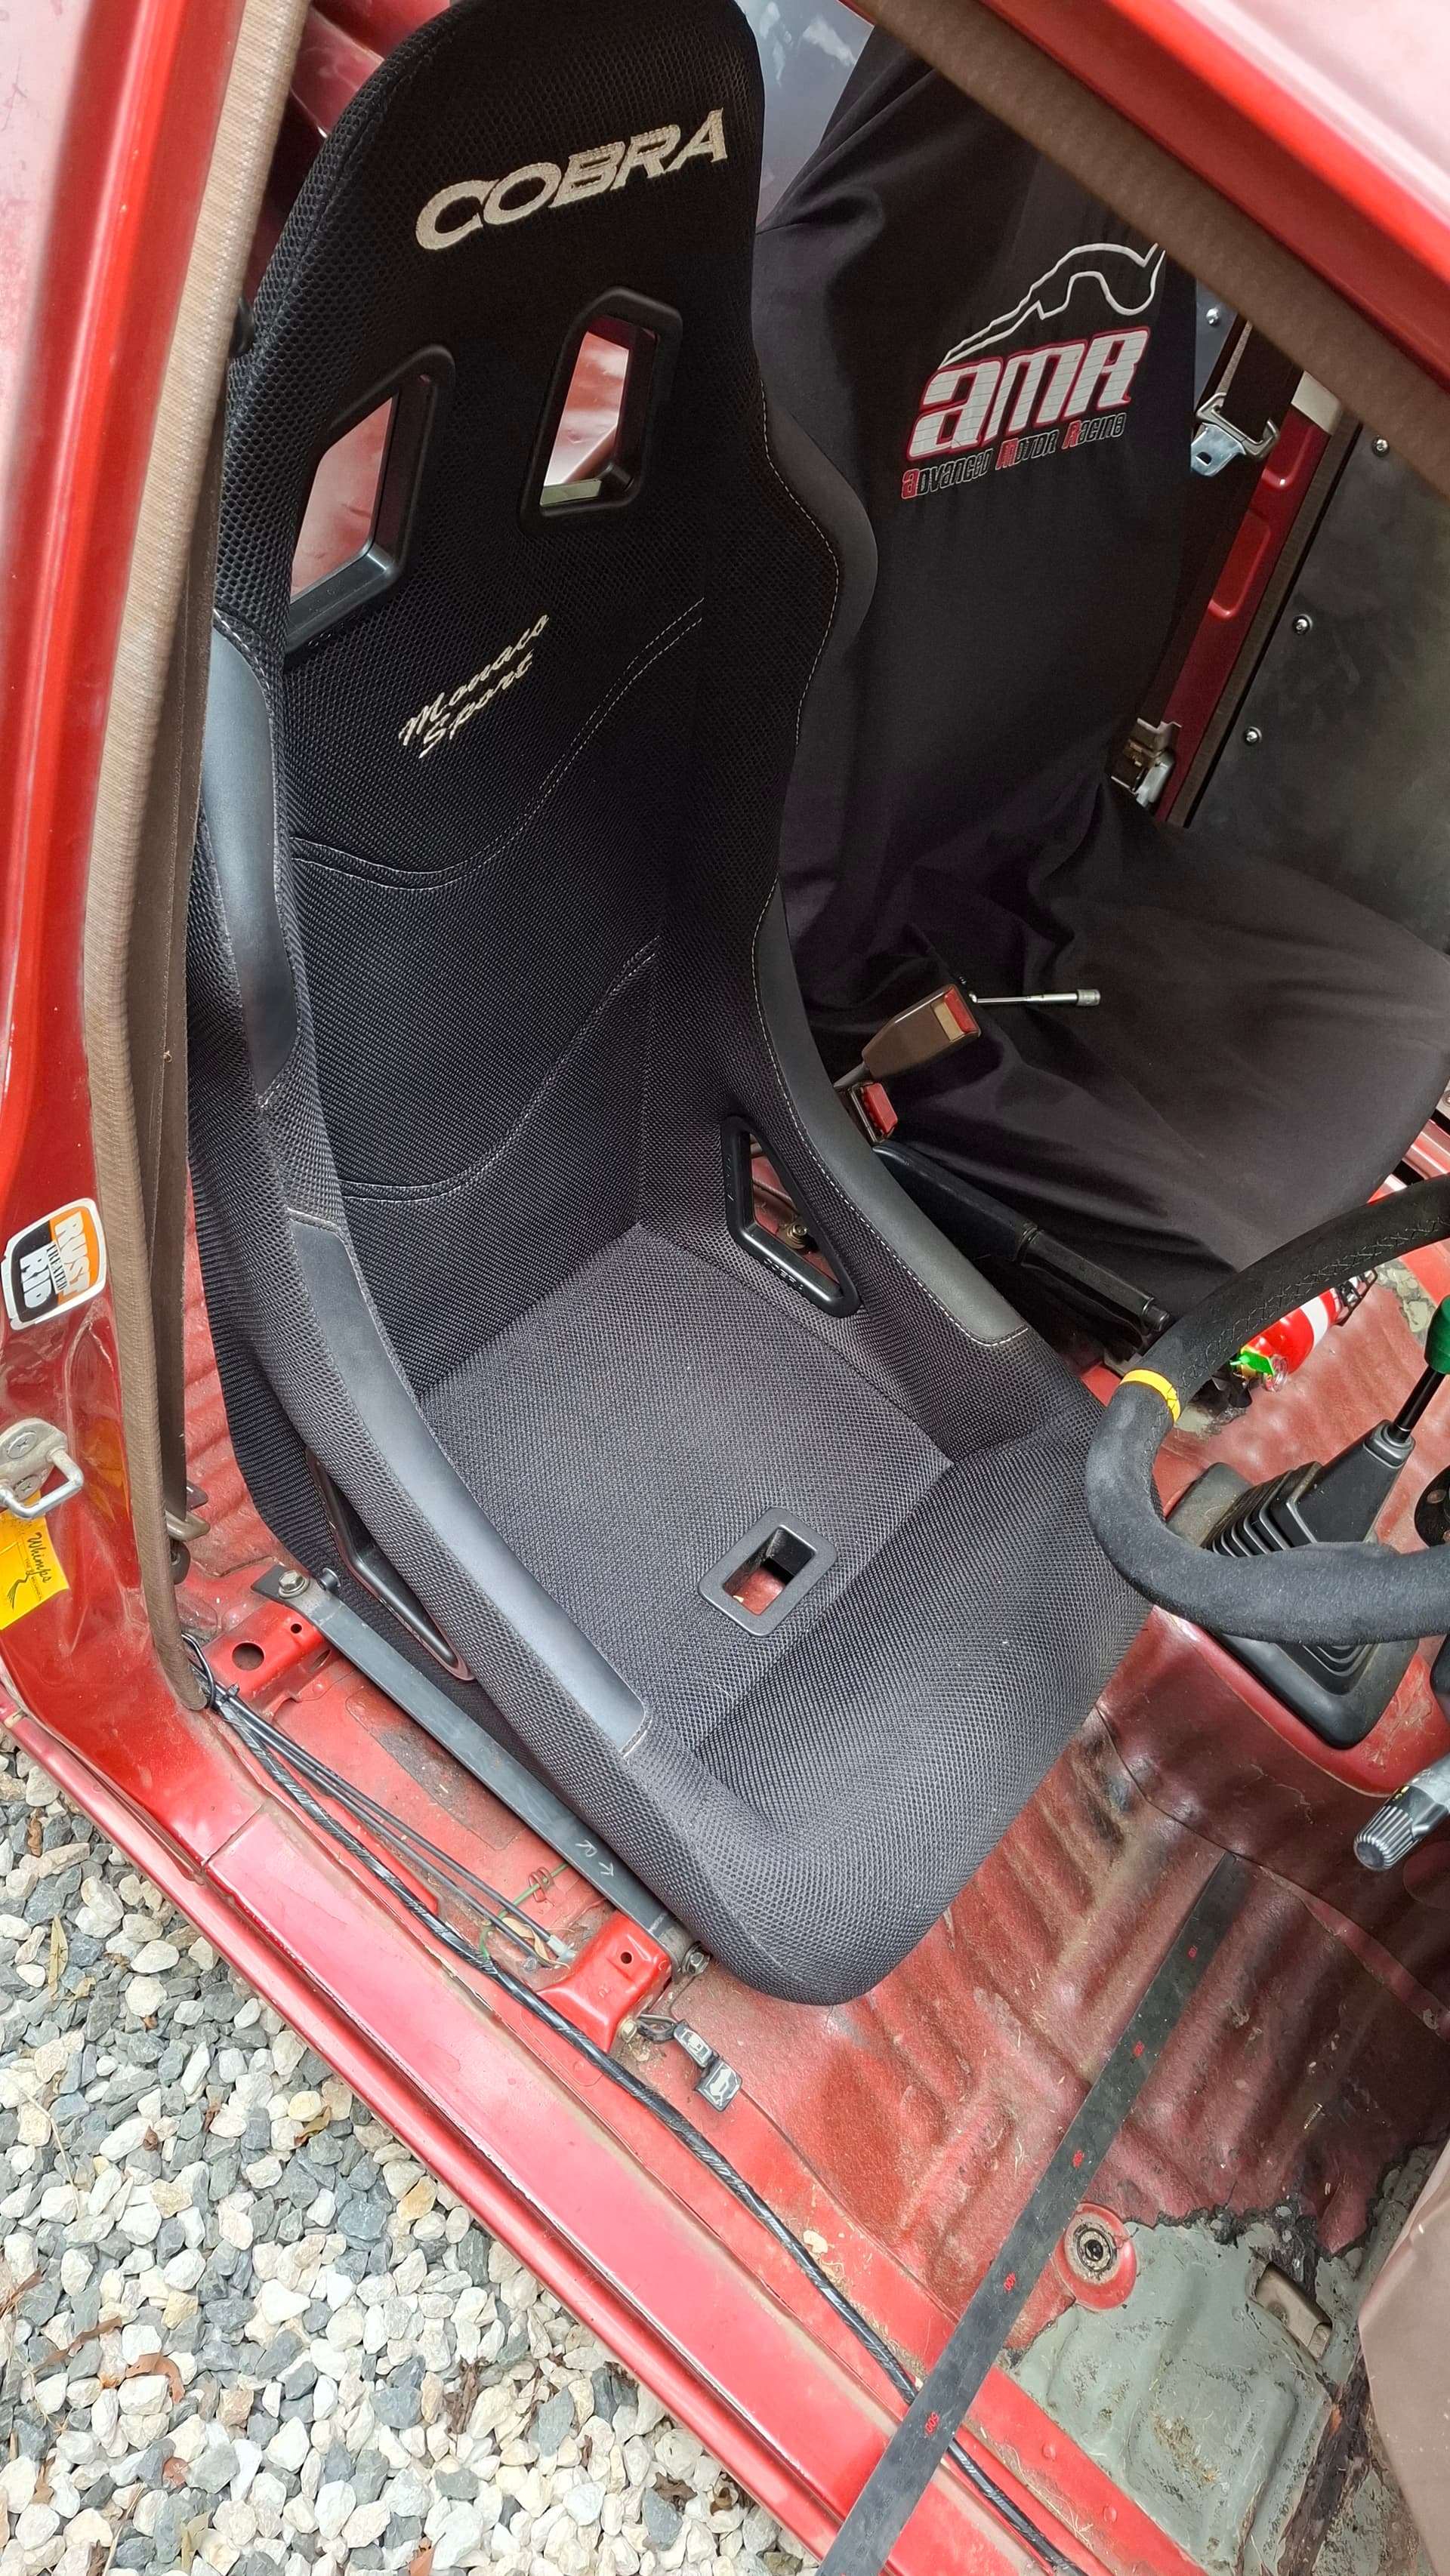
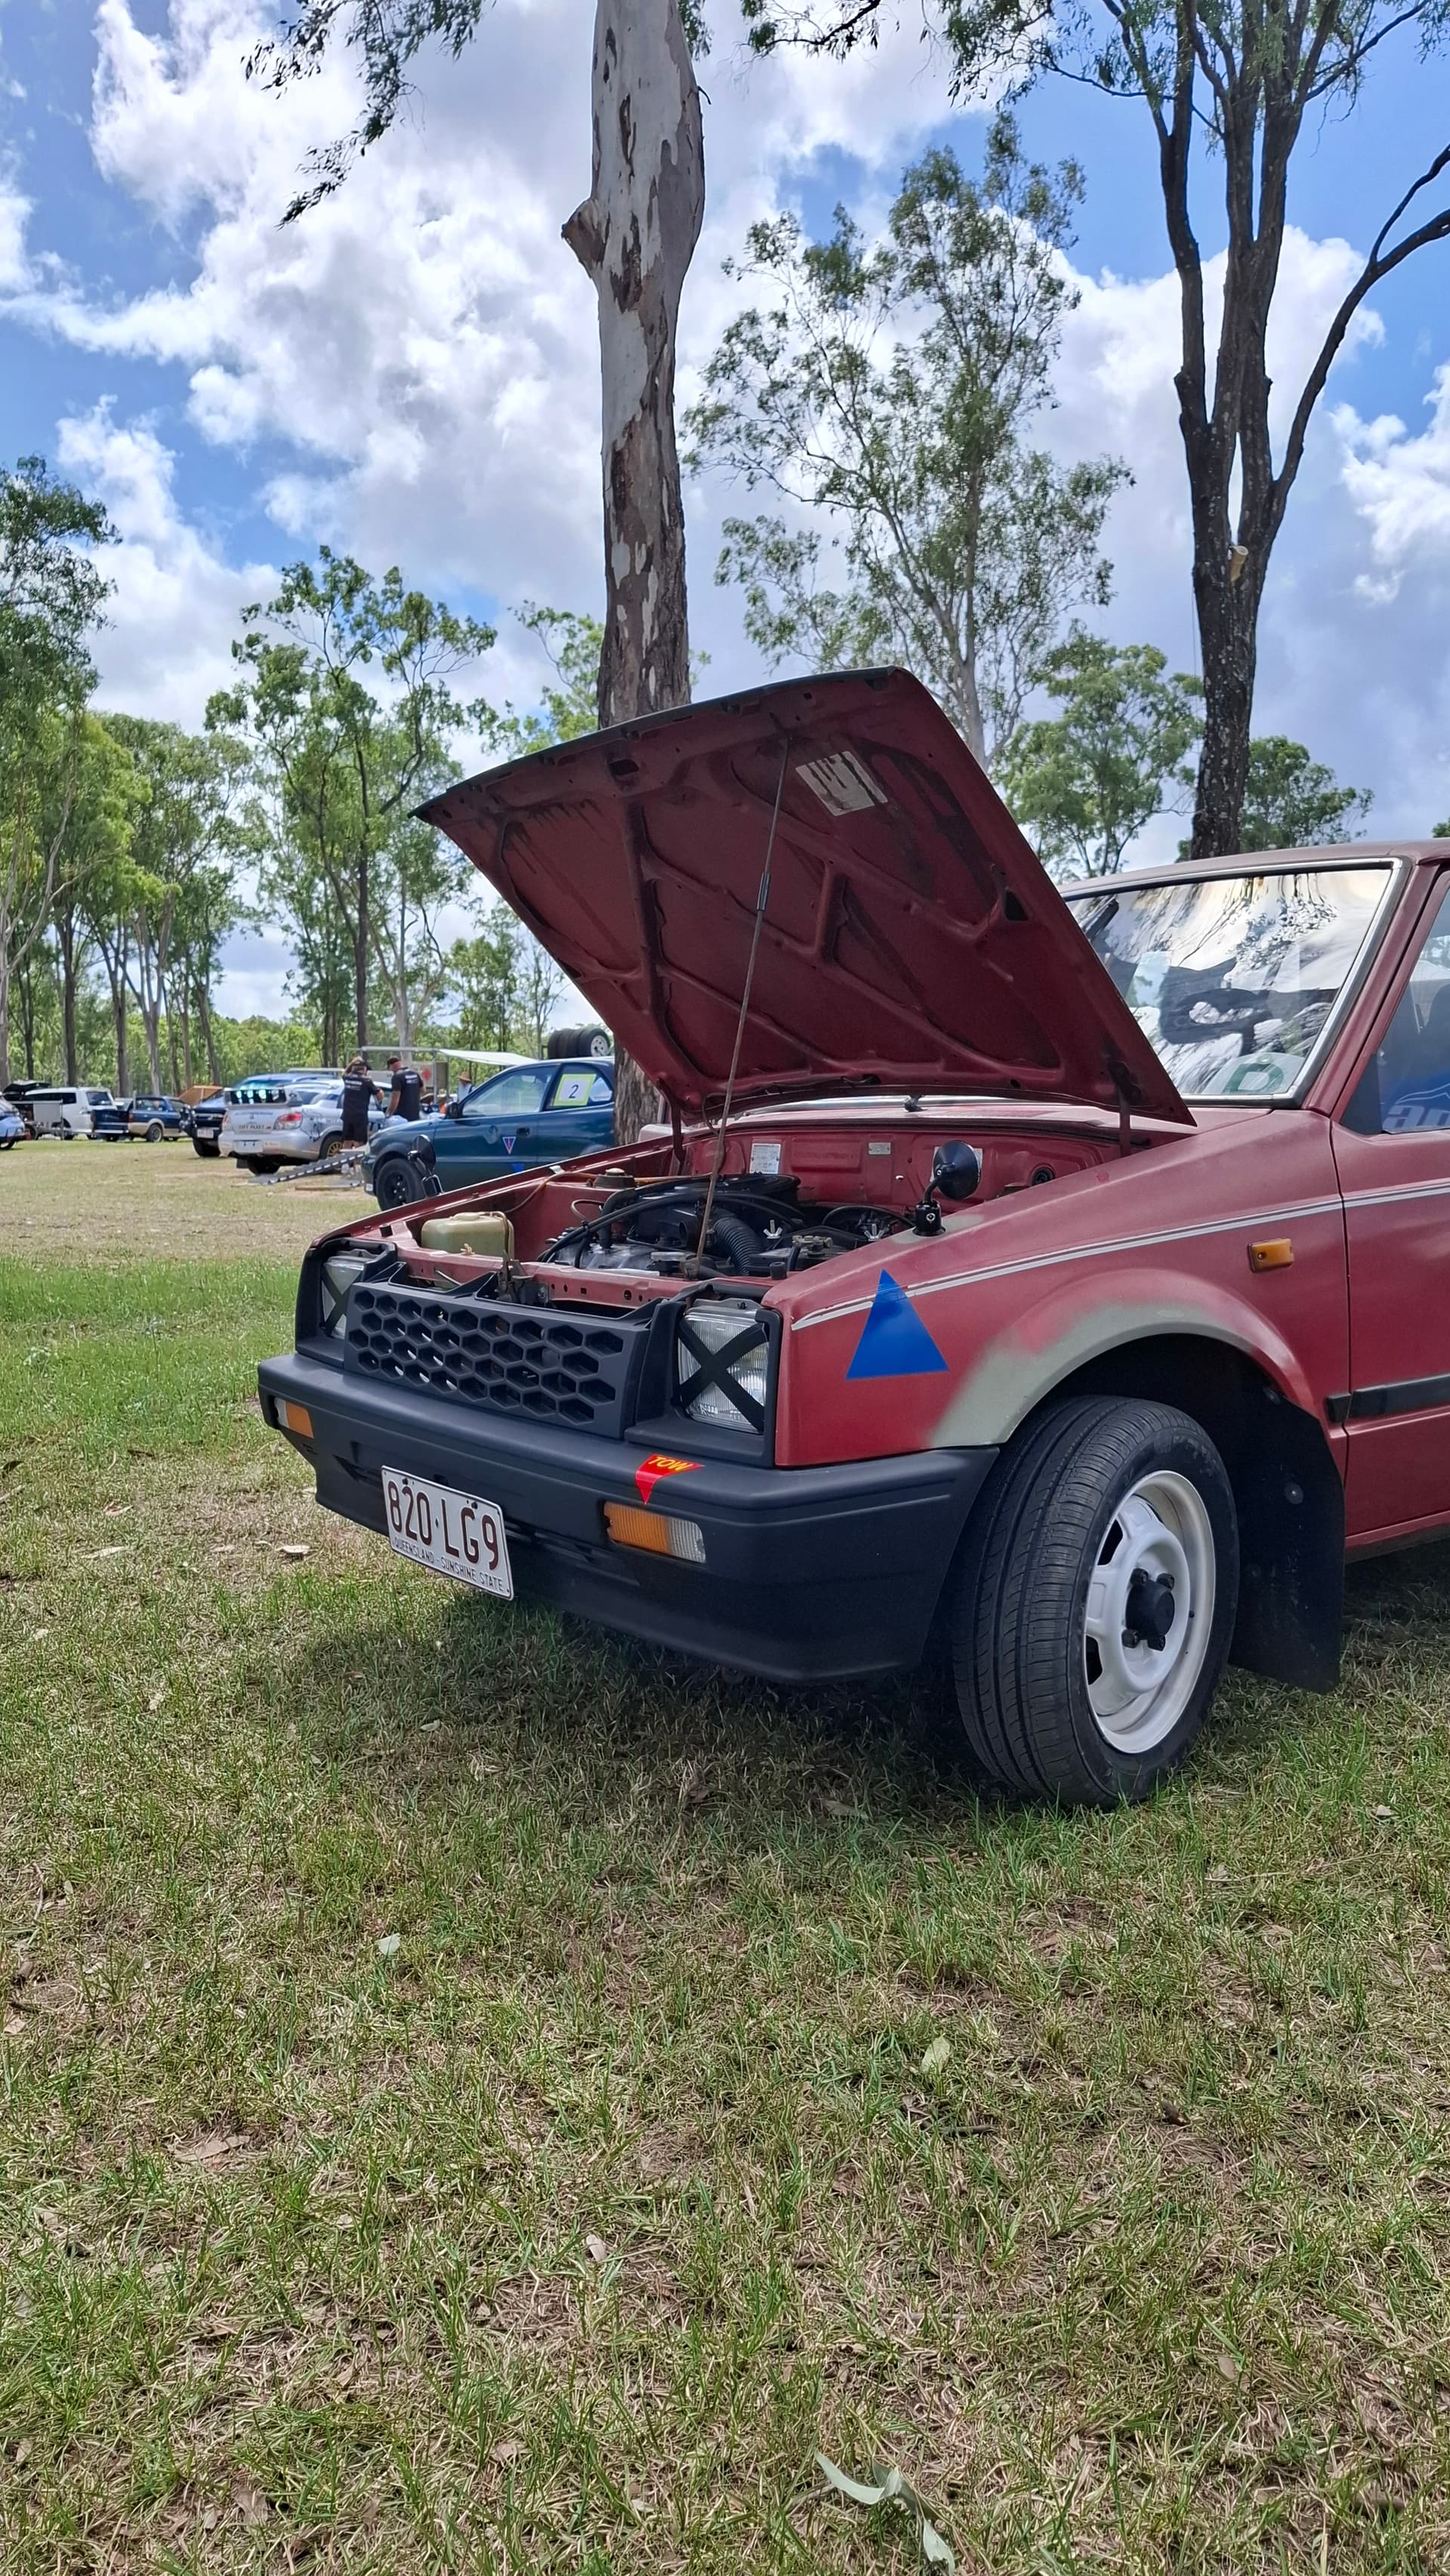
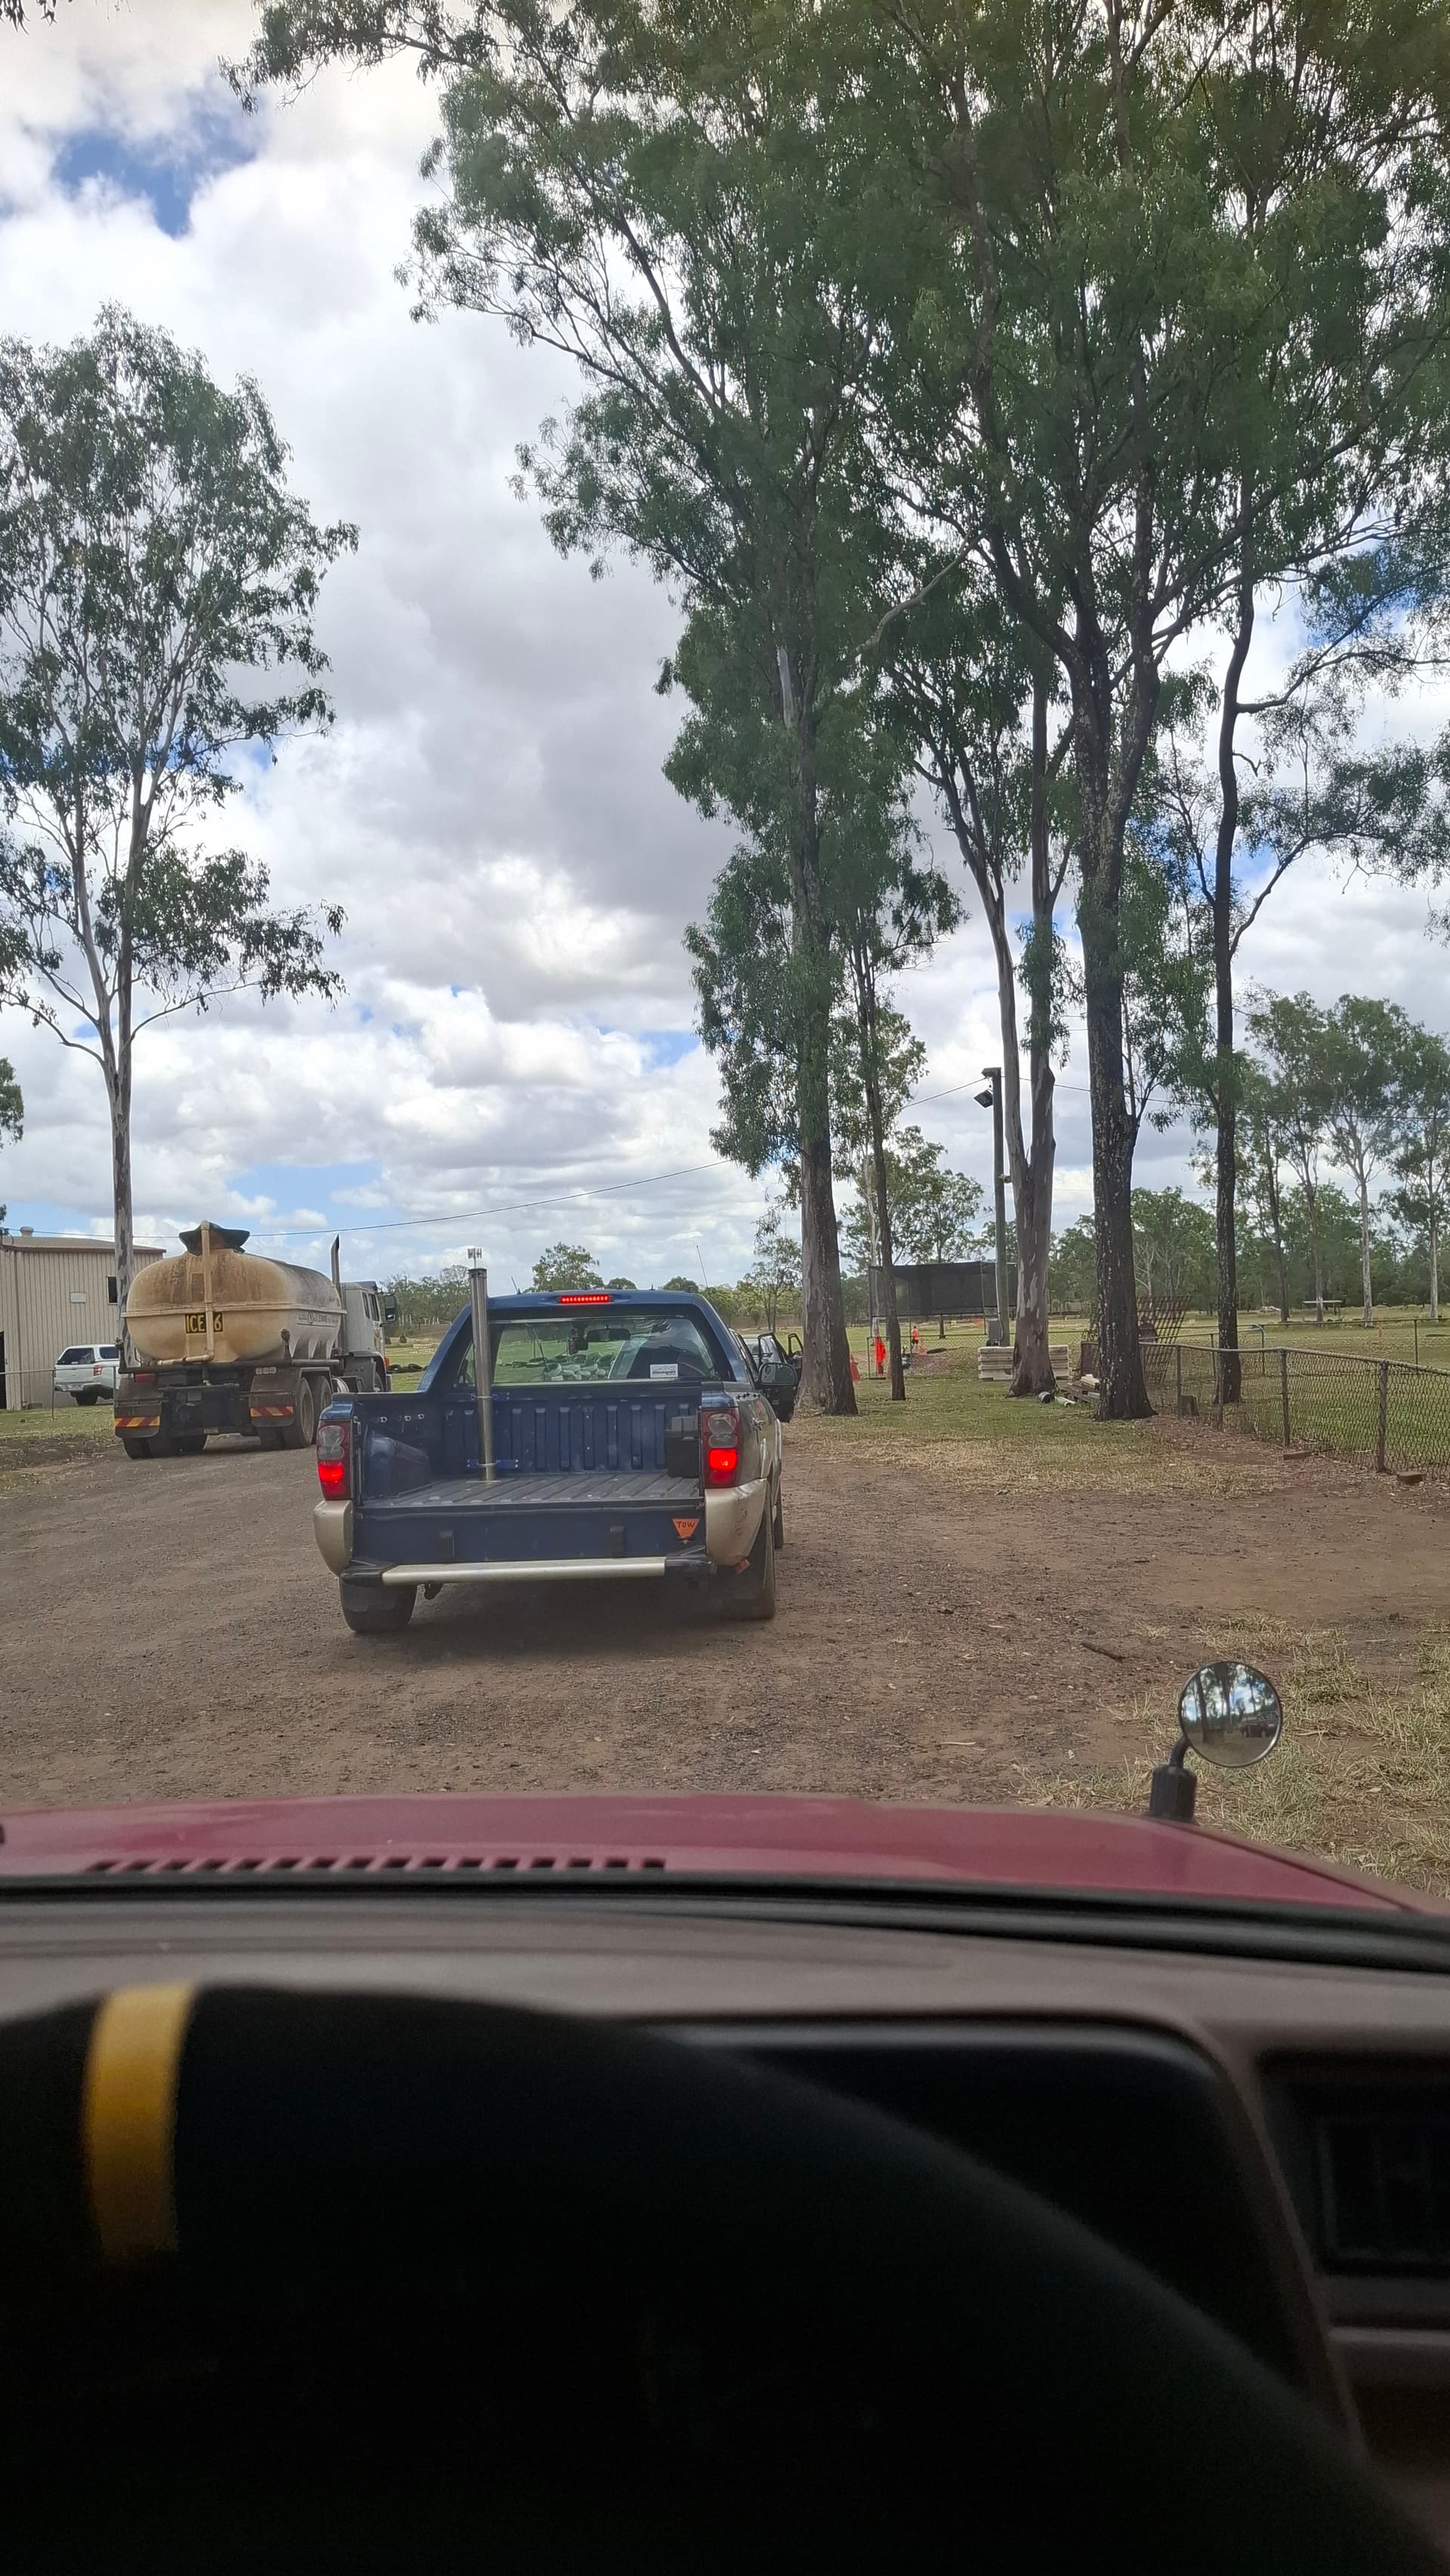
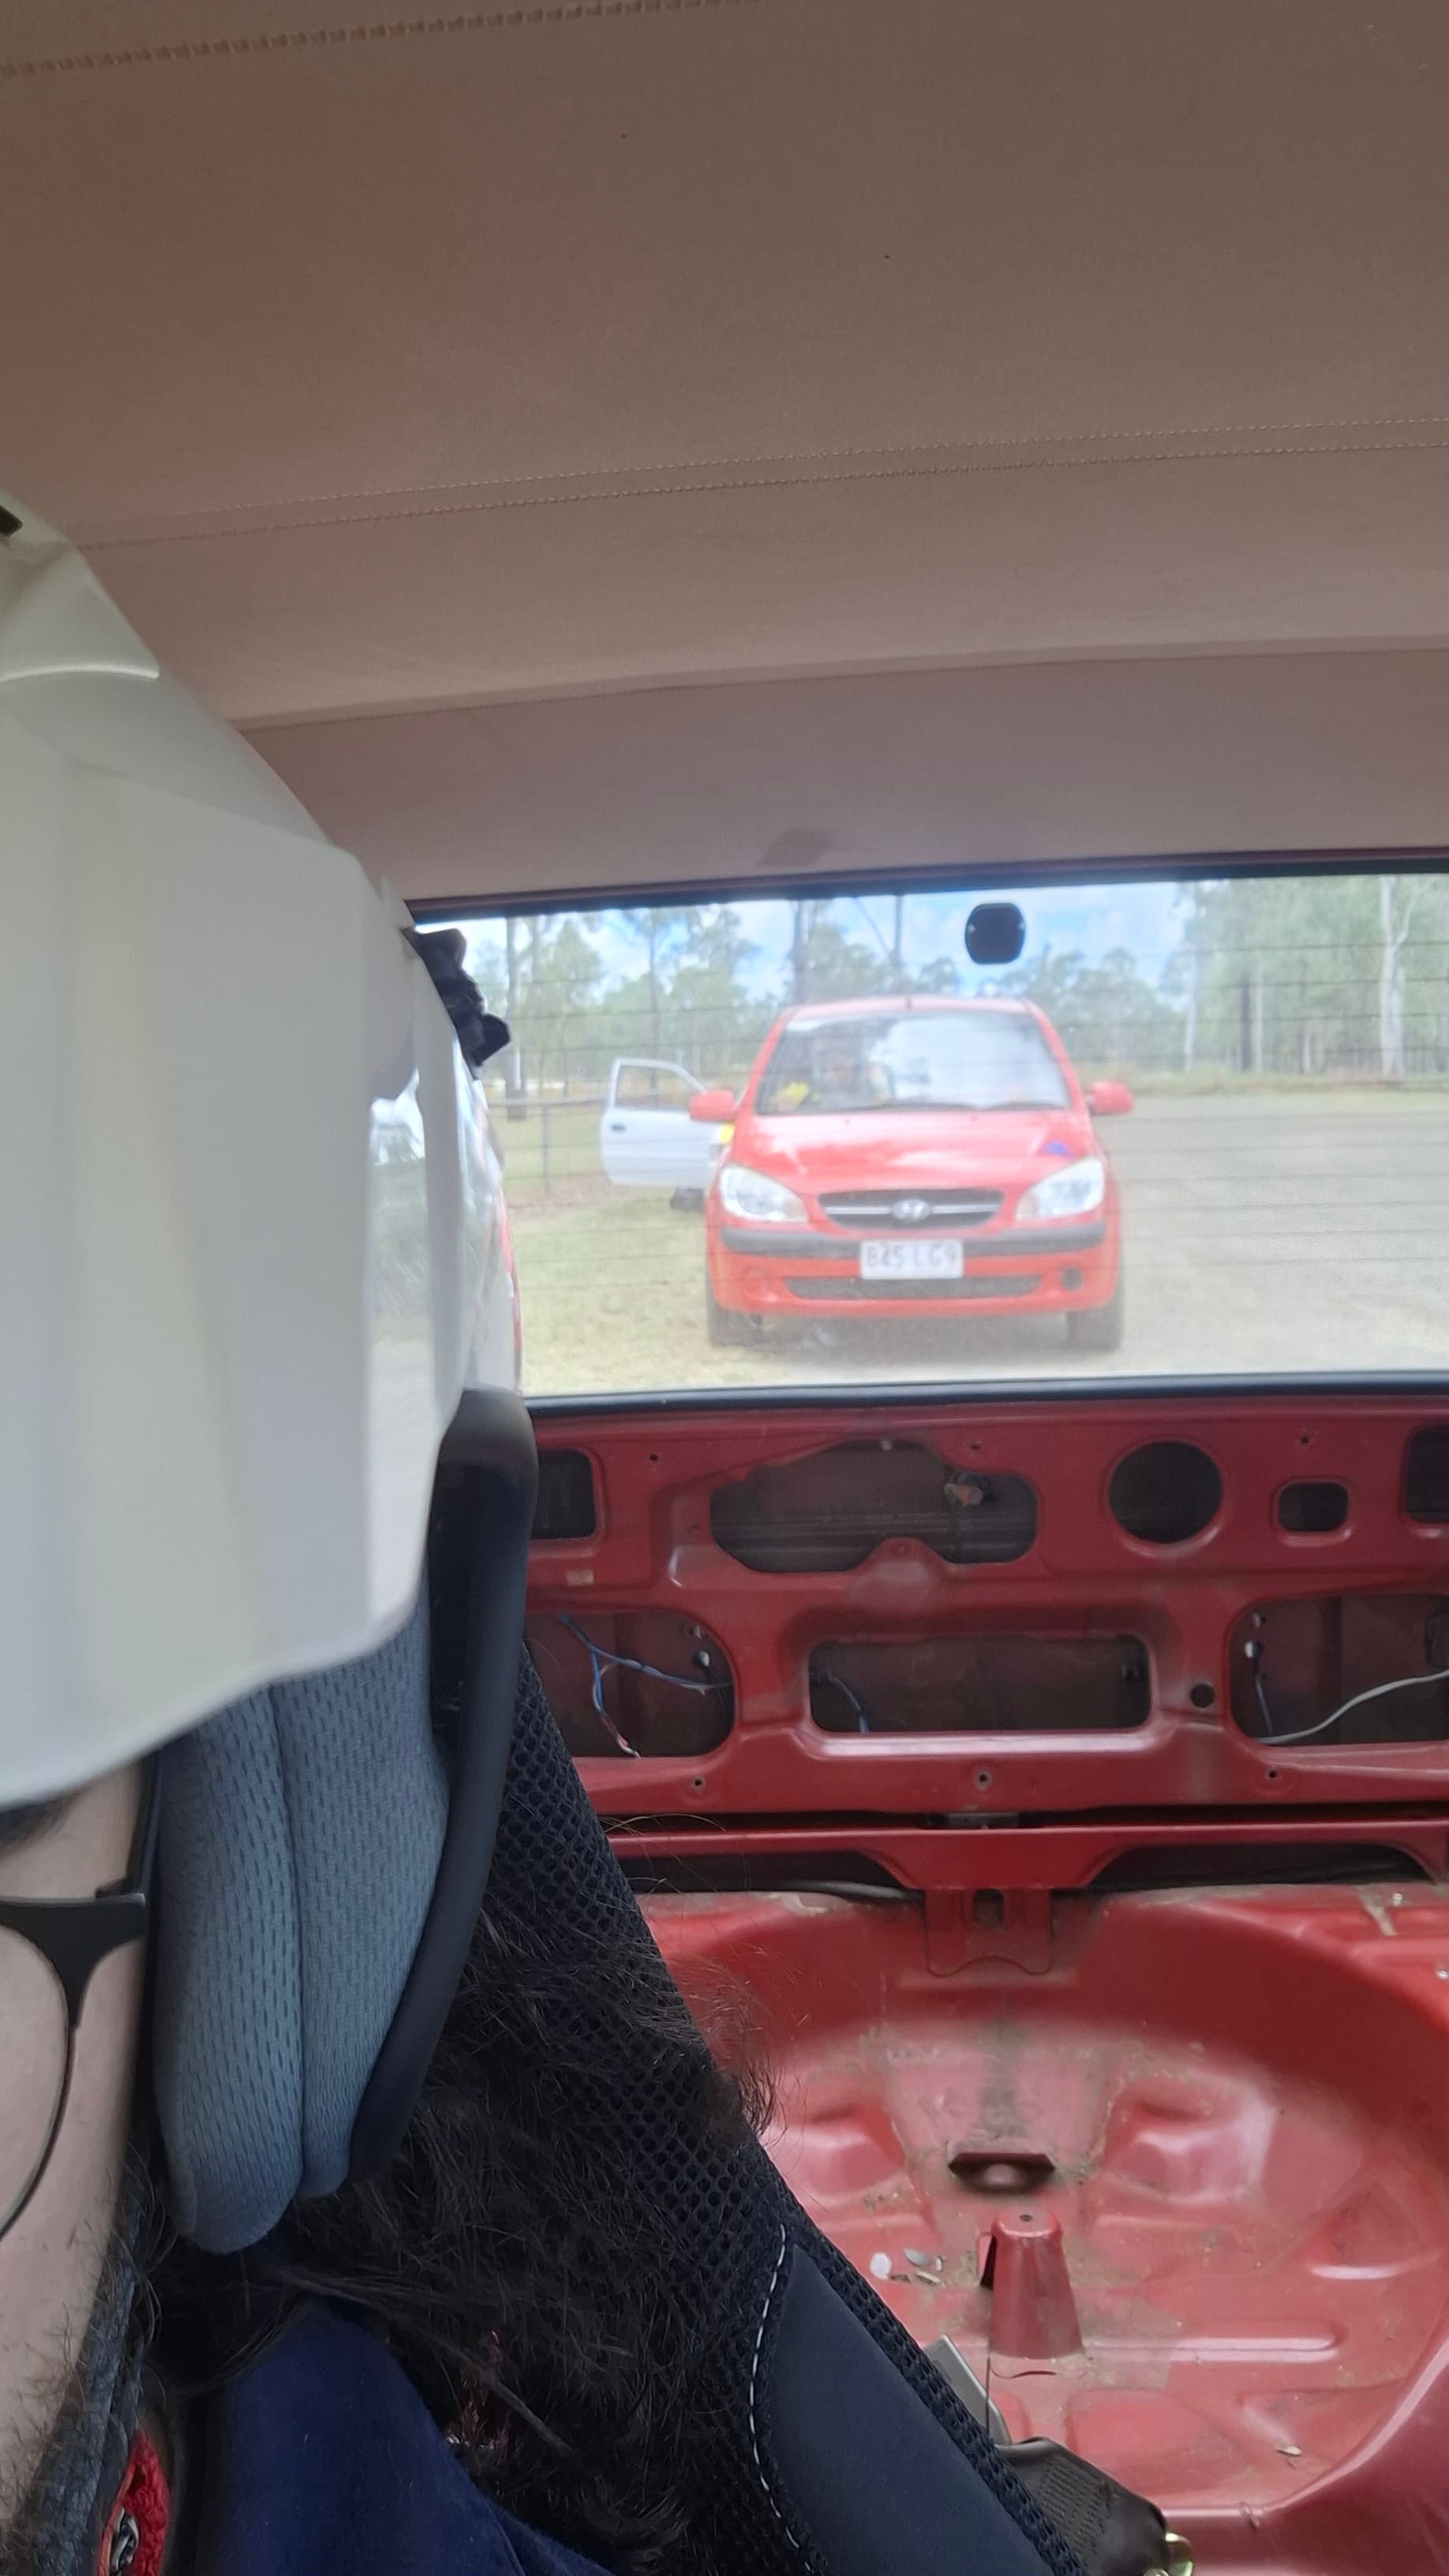
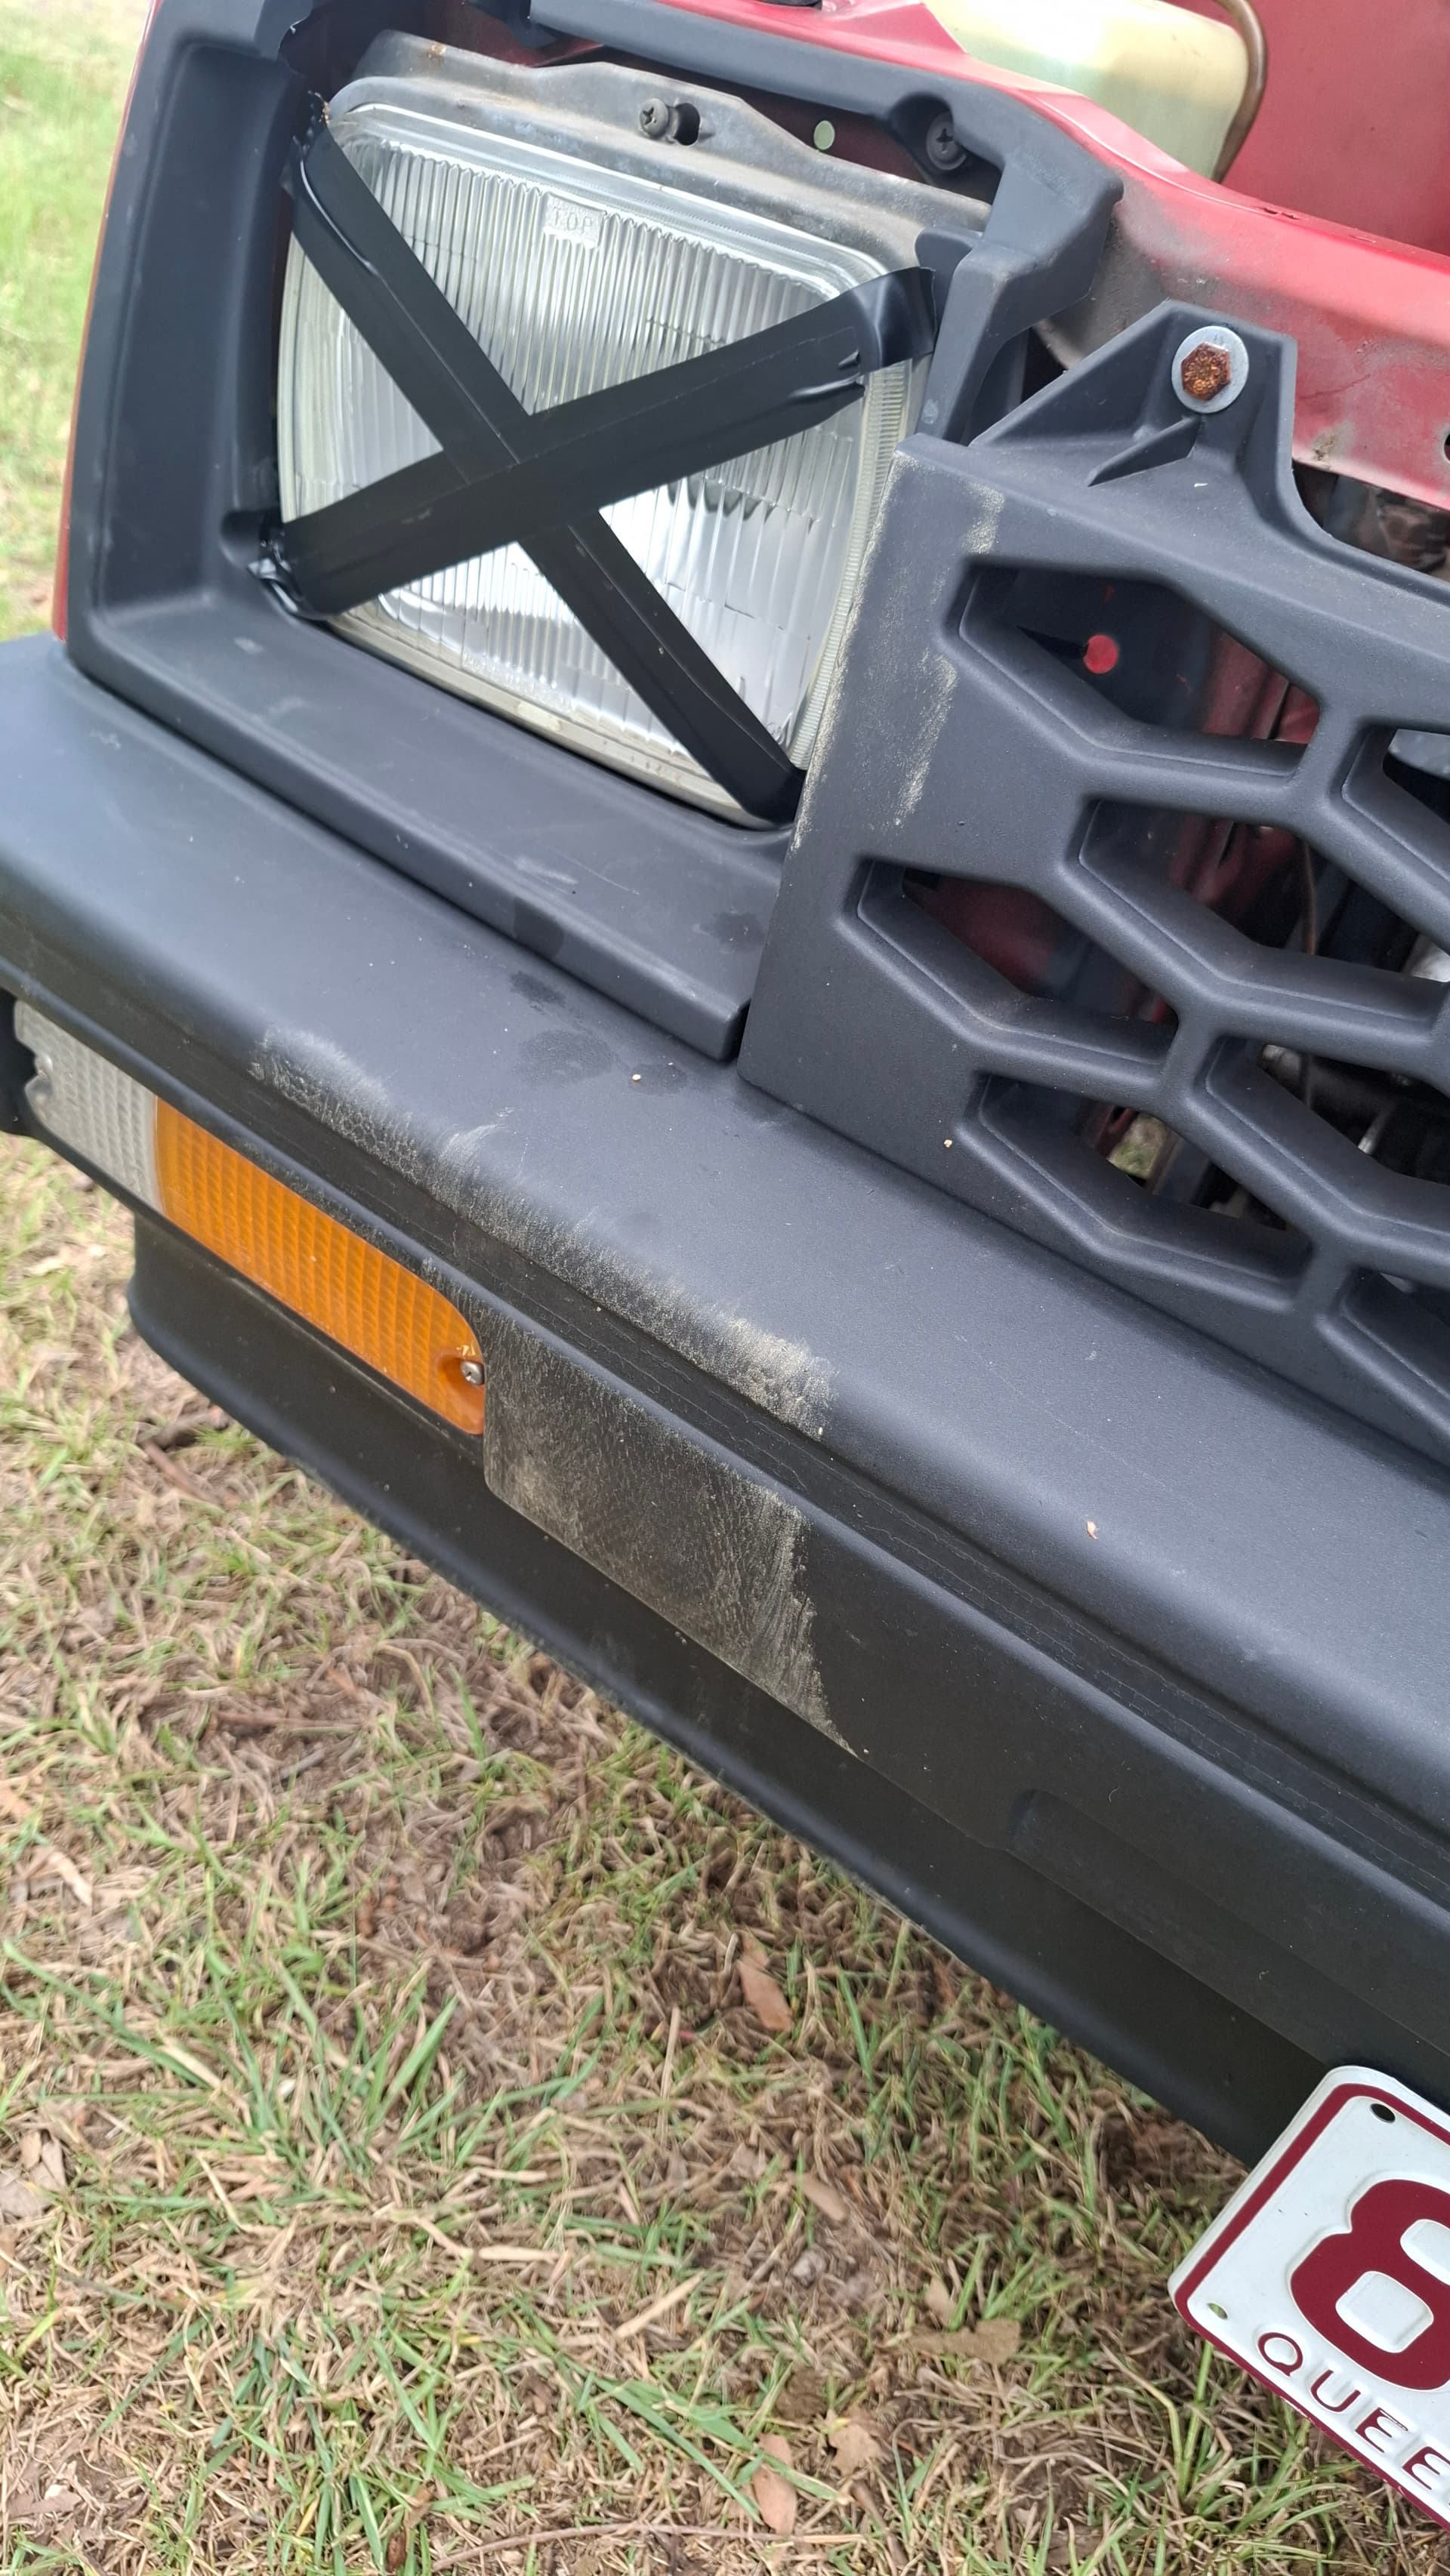
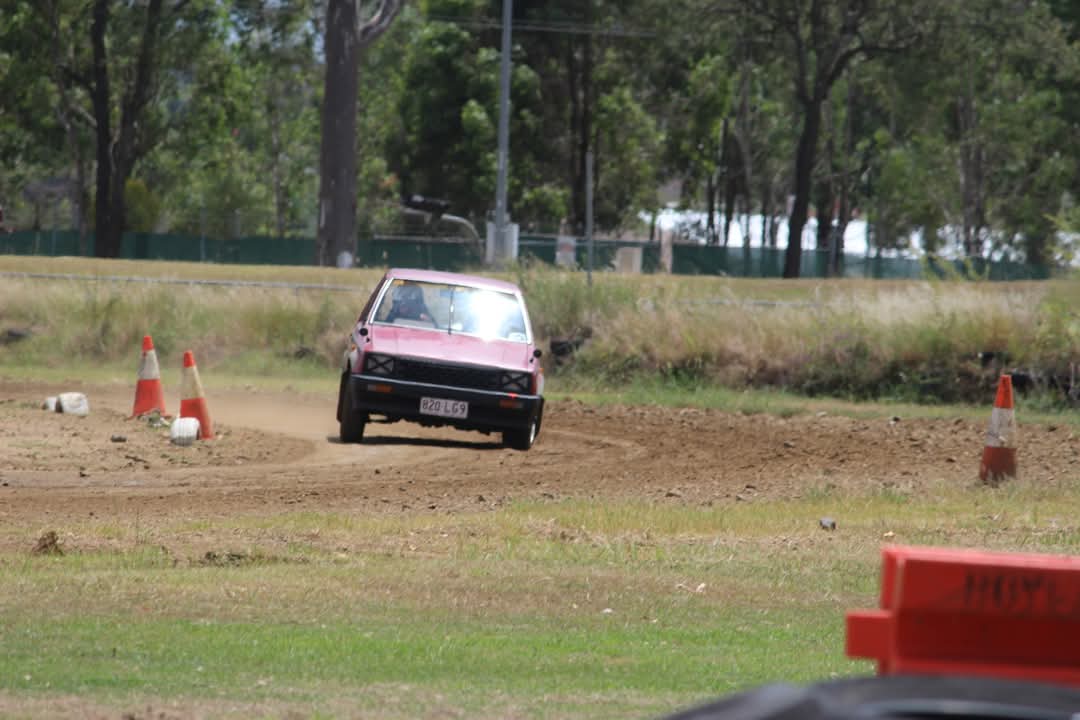
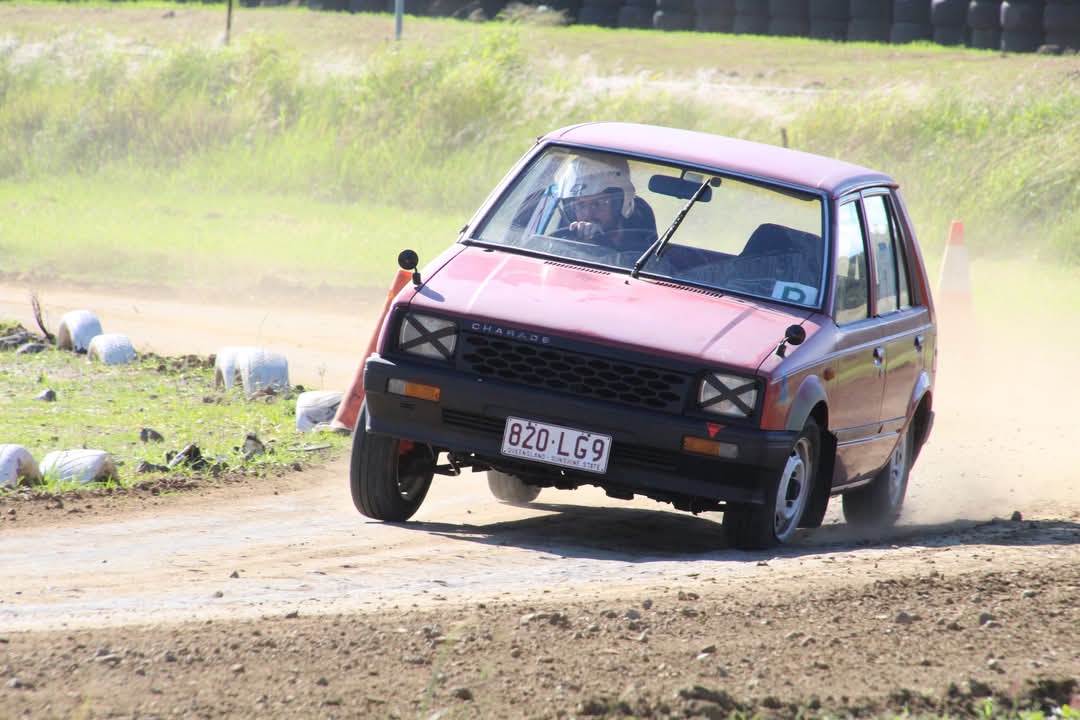
As promised… some action shots:
Under steer central! That’s with 26psi in the fronts and I dare say there will be dust in my rims lmao. The nankangs should fix that considerably and other racers say I’ll drop seconds from my laps, cant argue with that!
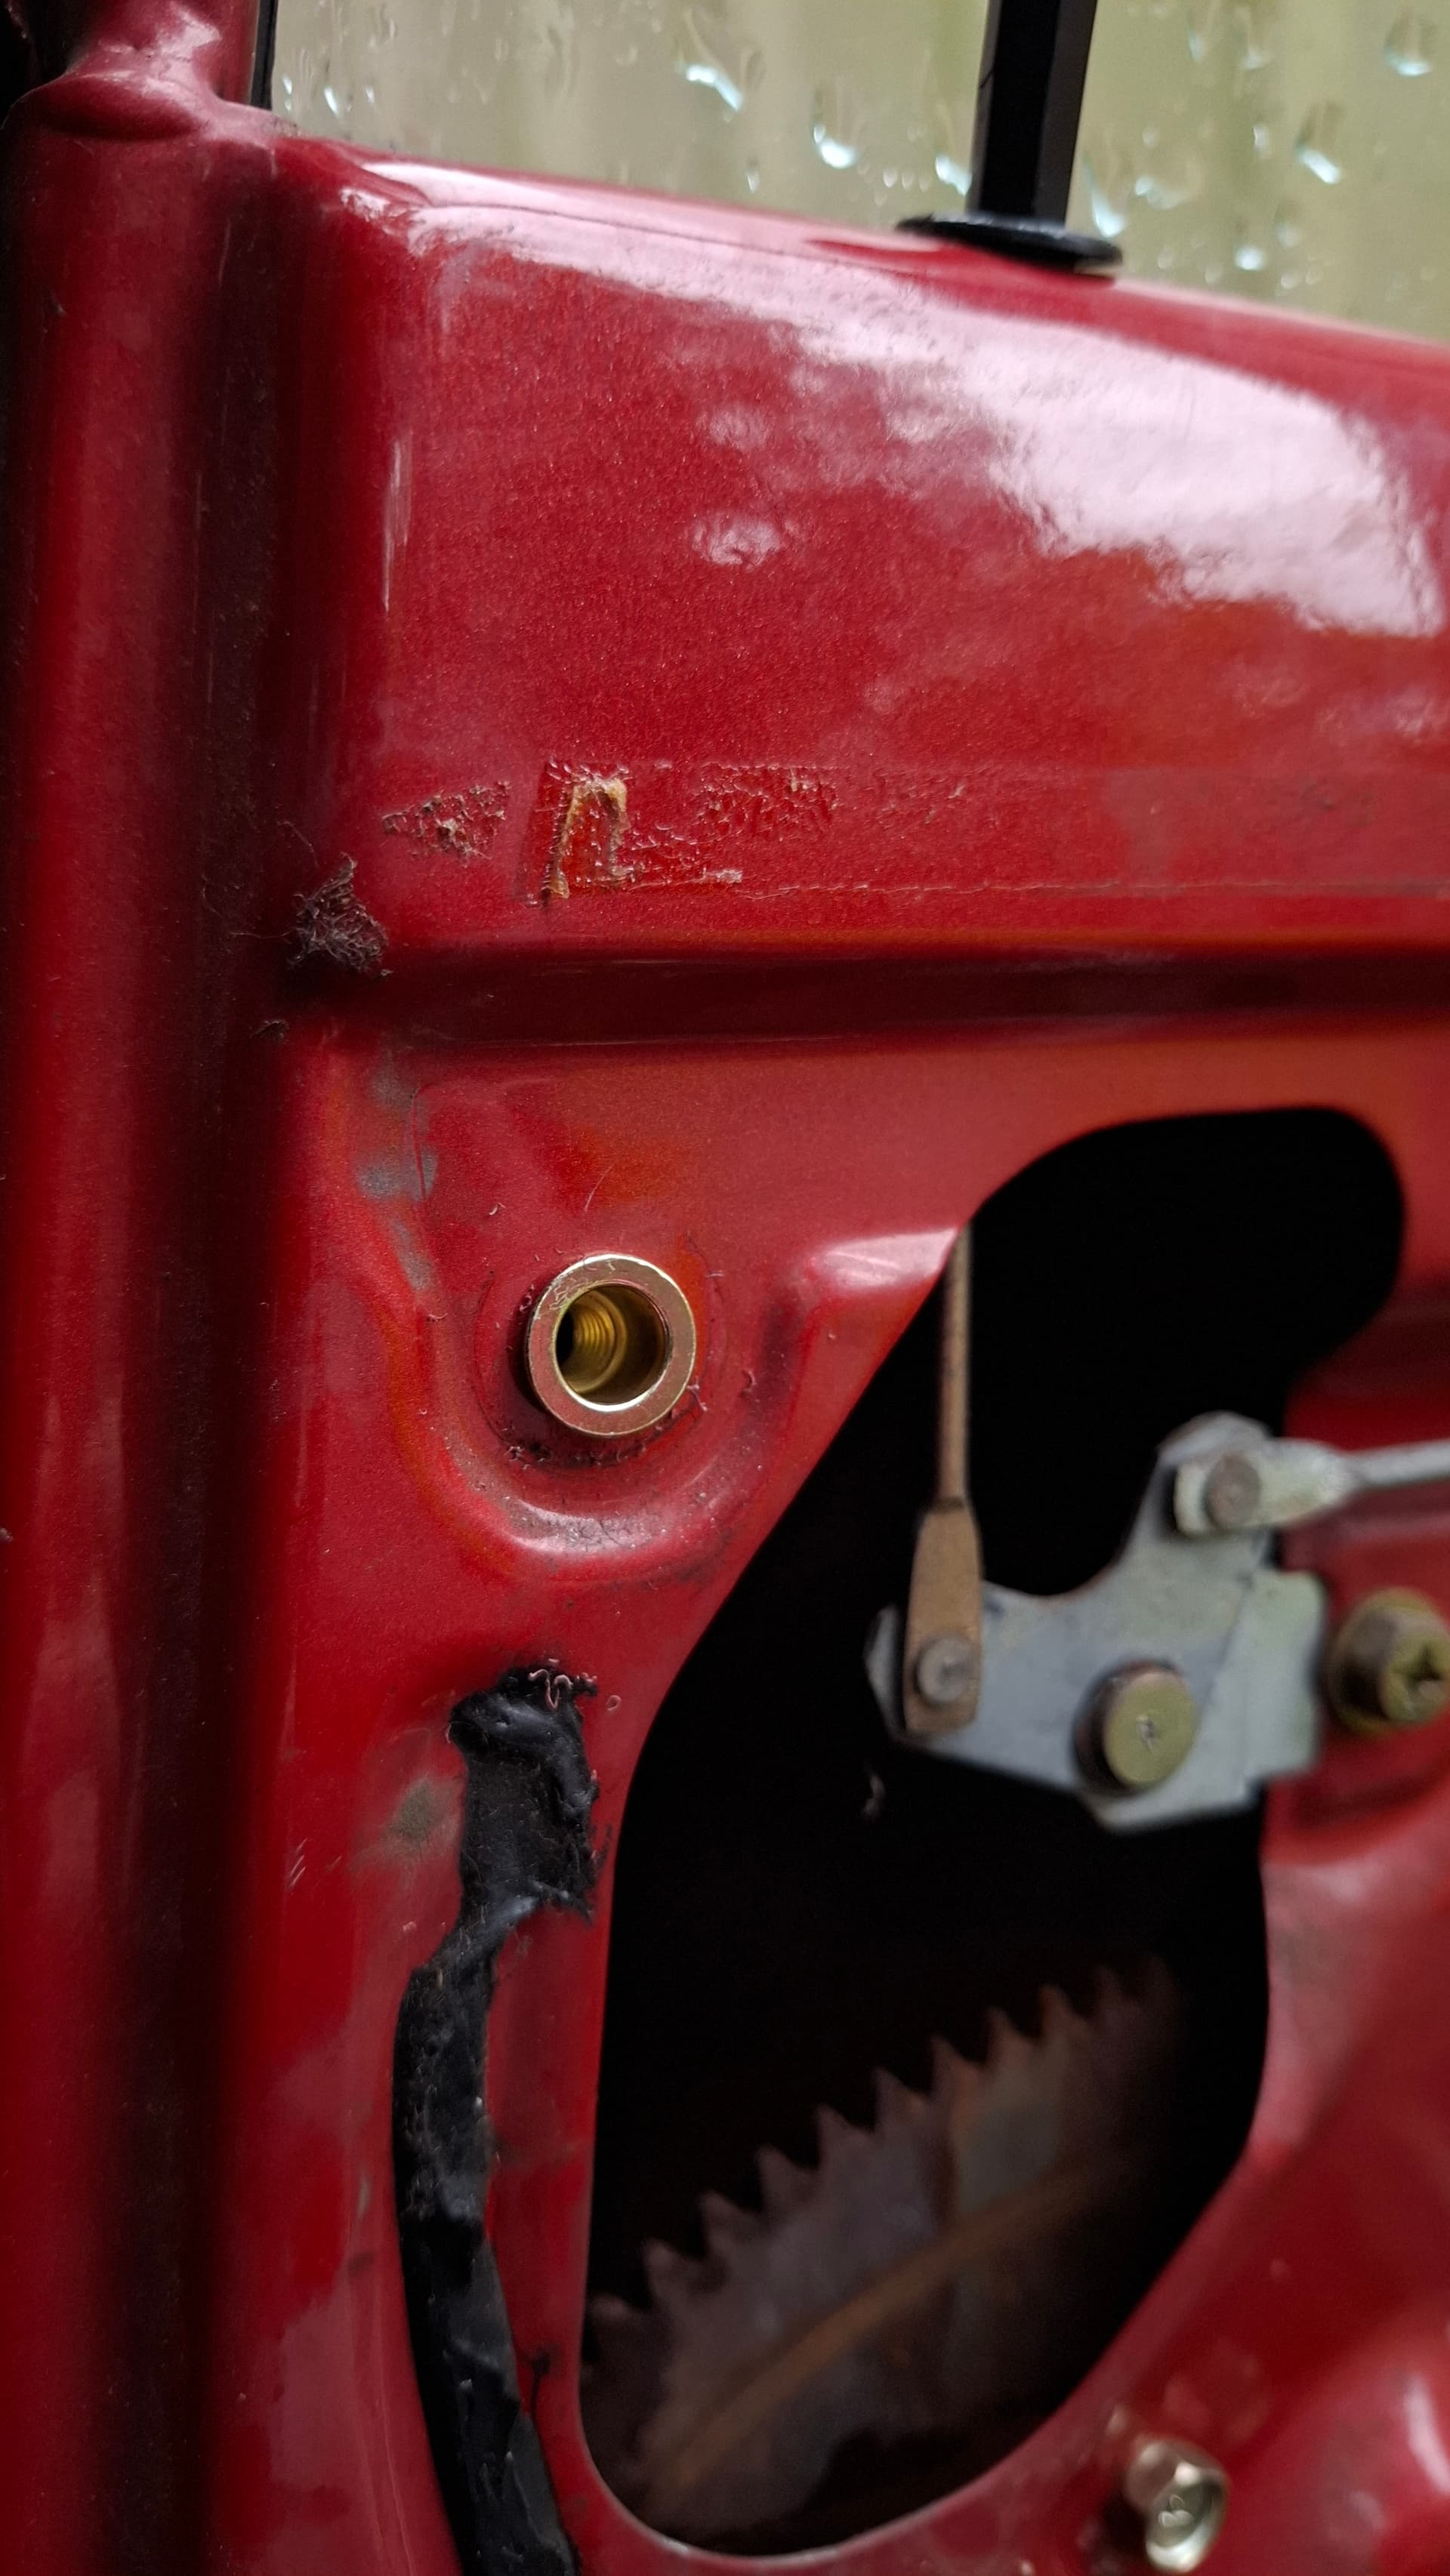
On another note, anyone in the cb world know about oil surging? My sump was over full, which while better then low (I’ve heard CBs should always be top of the dip stick), resulted in lots of blue and white smoke out the tailpipe! I suspect its oil going up into the cylinders during direction changes (chicanes) but also after chatting to Excel rally drivers, oil build up in the head is common on their cars (cup of oil in the catch can at lunch time after 3 runs deal), so i might be doing that?
I’ll make a catch can and baffle the sump but anyone experience that before?
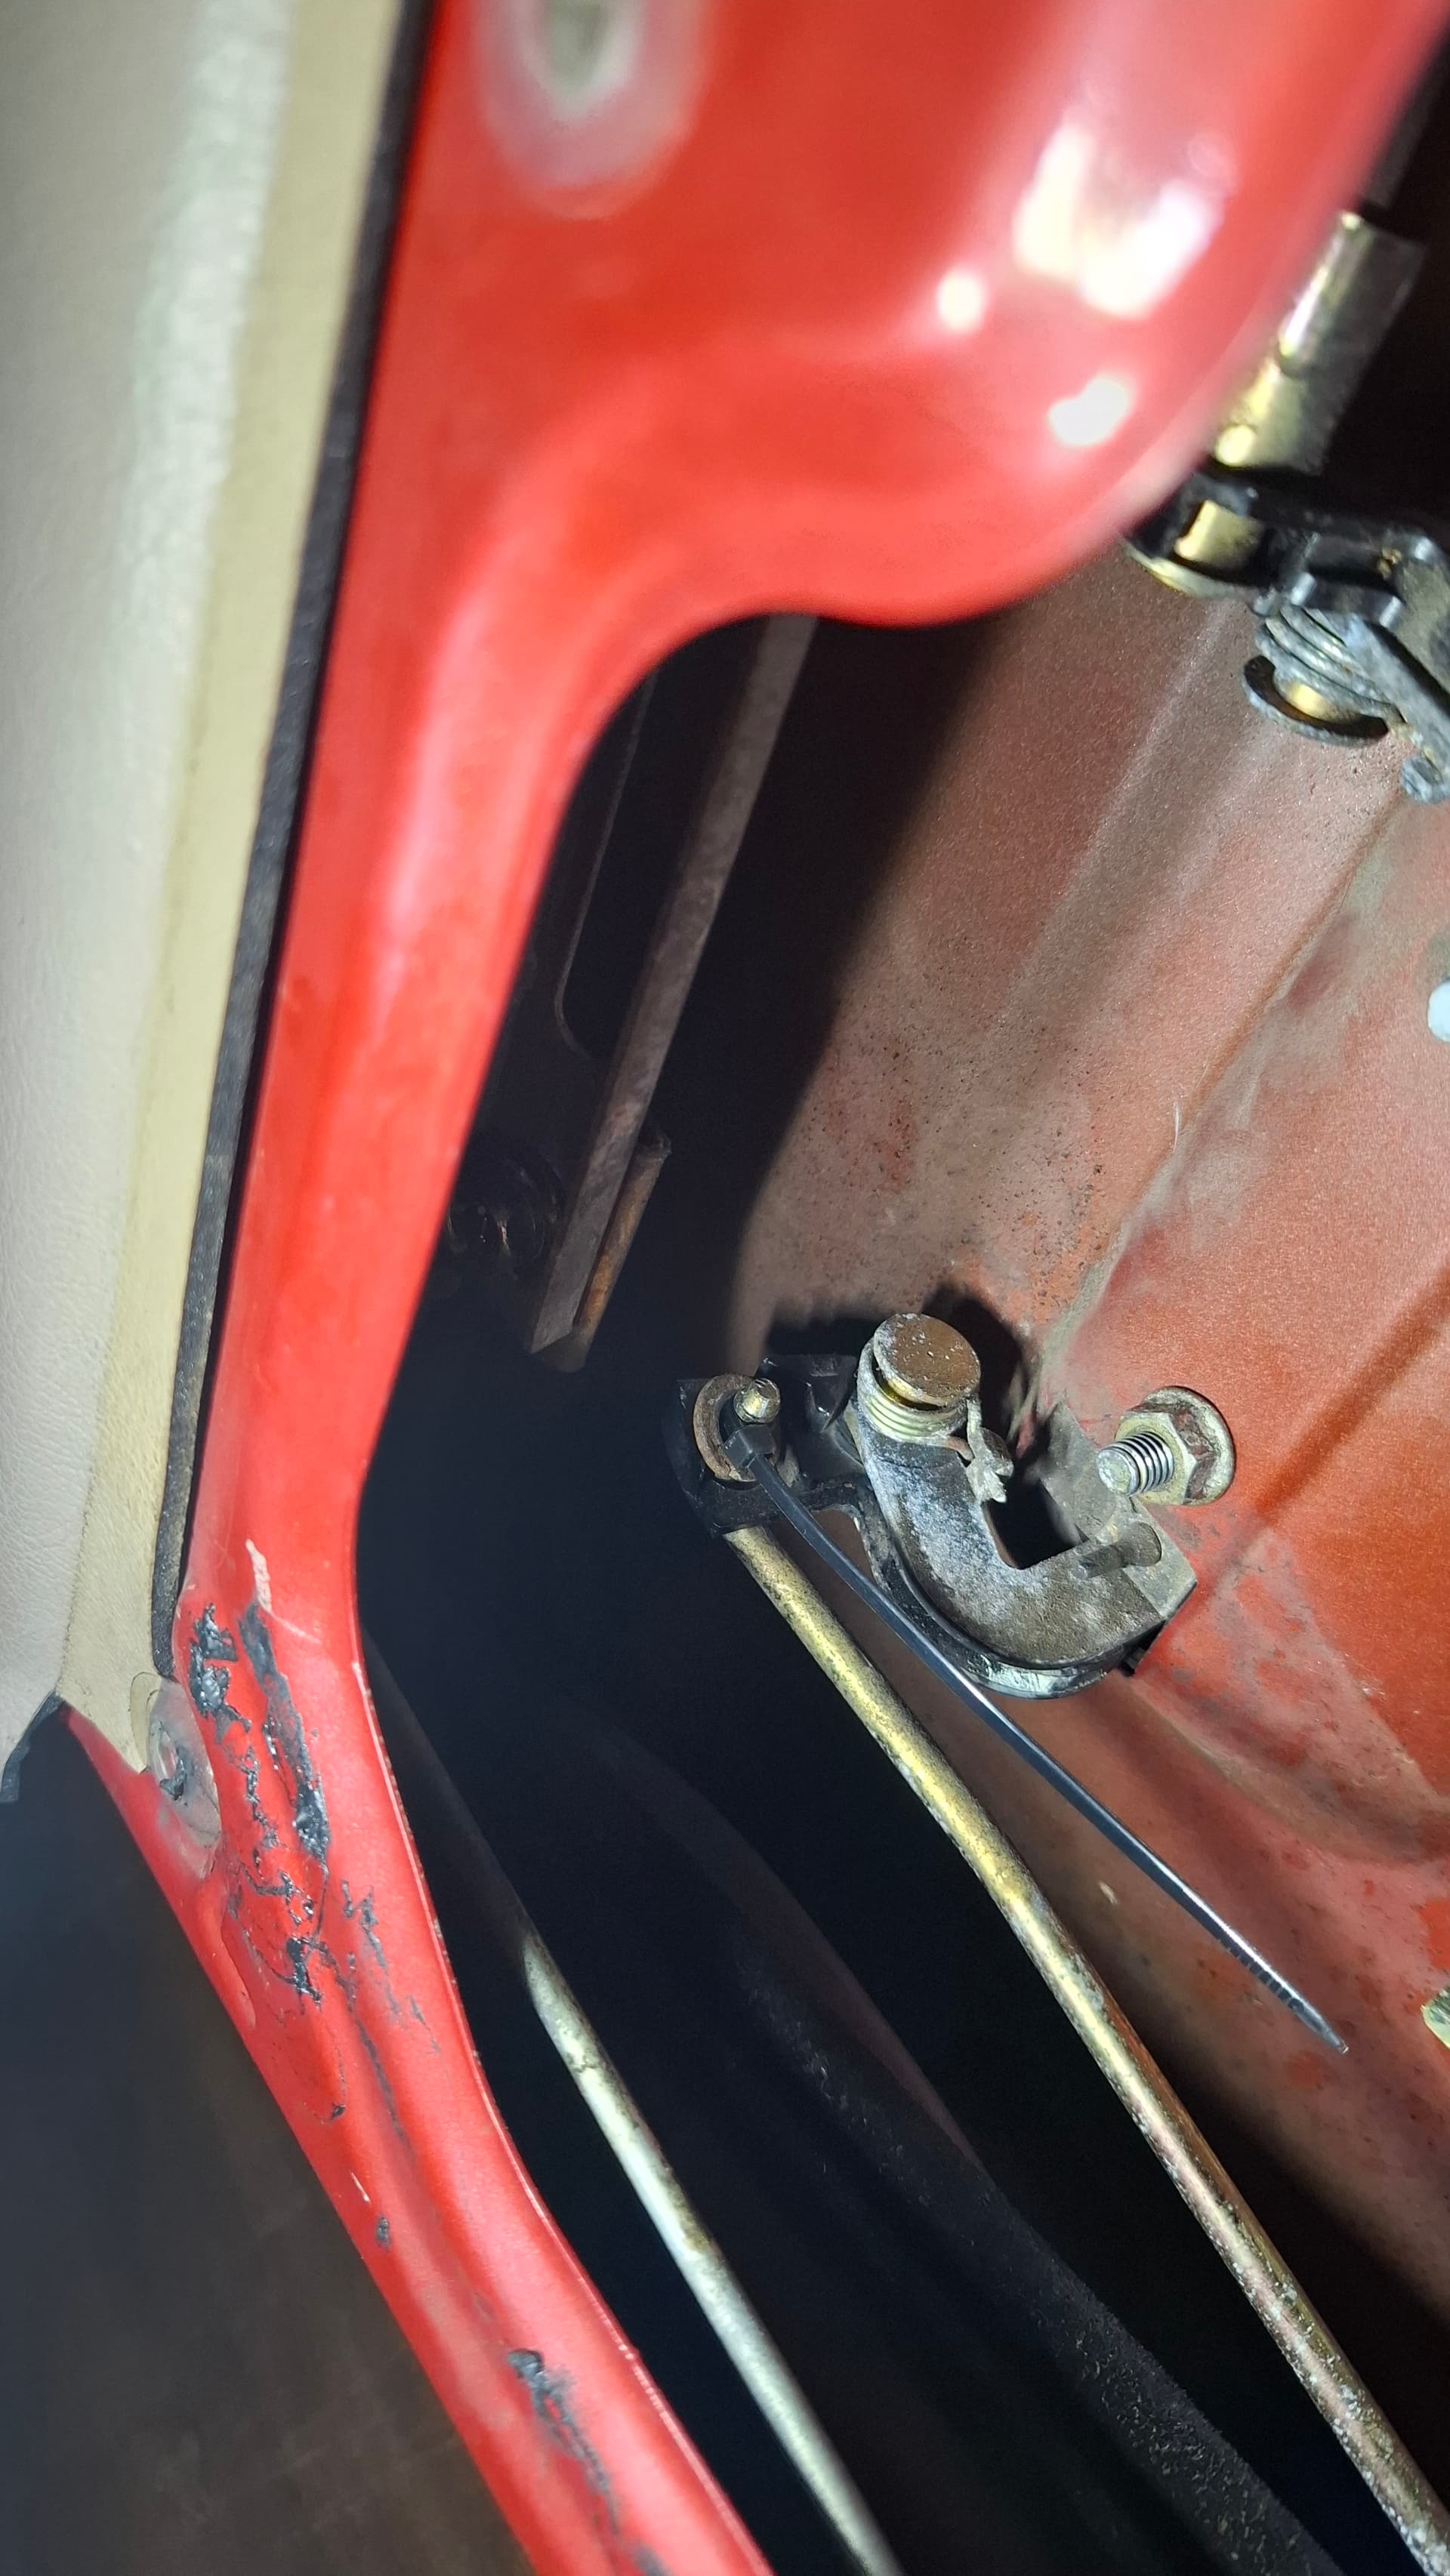
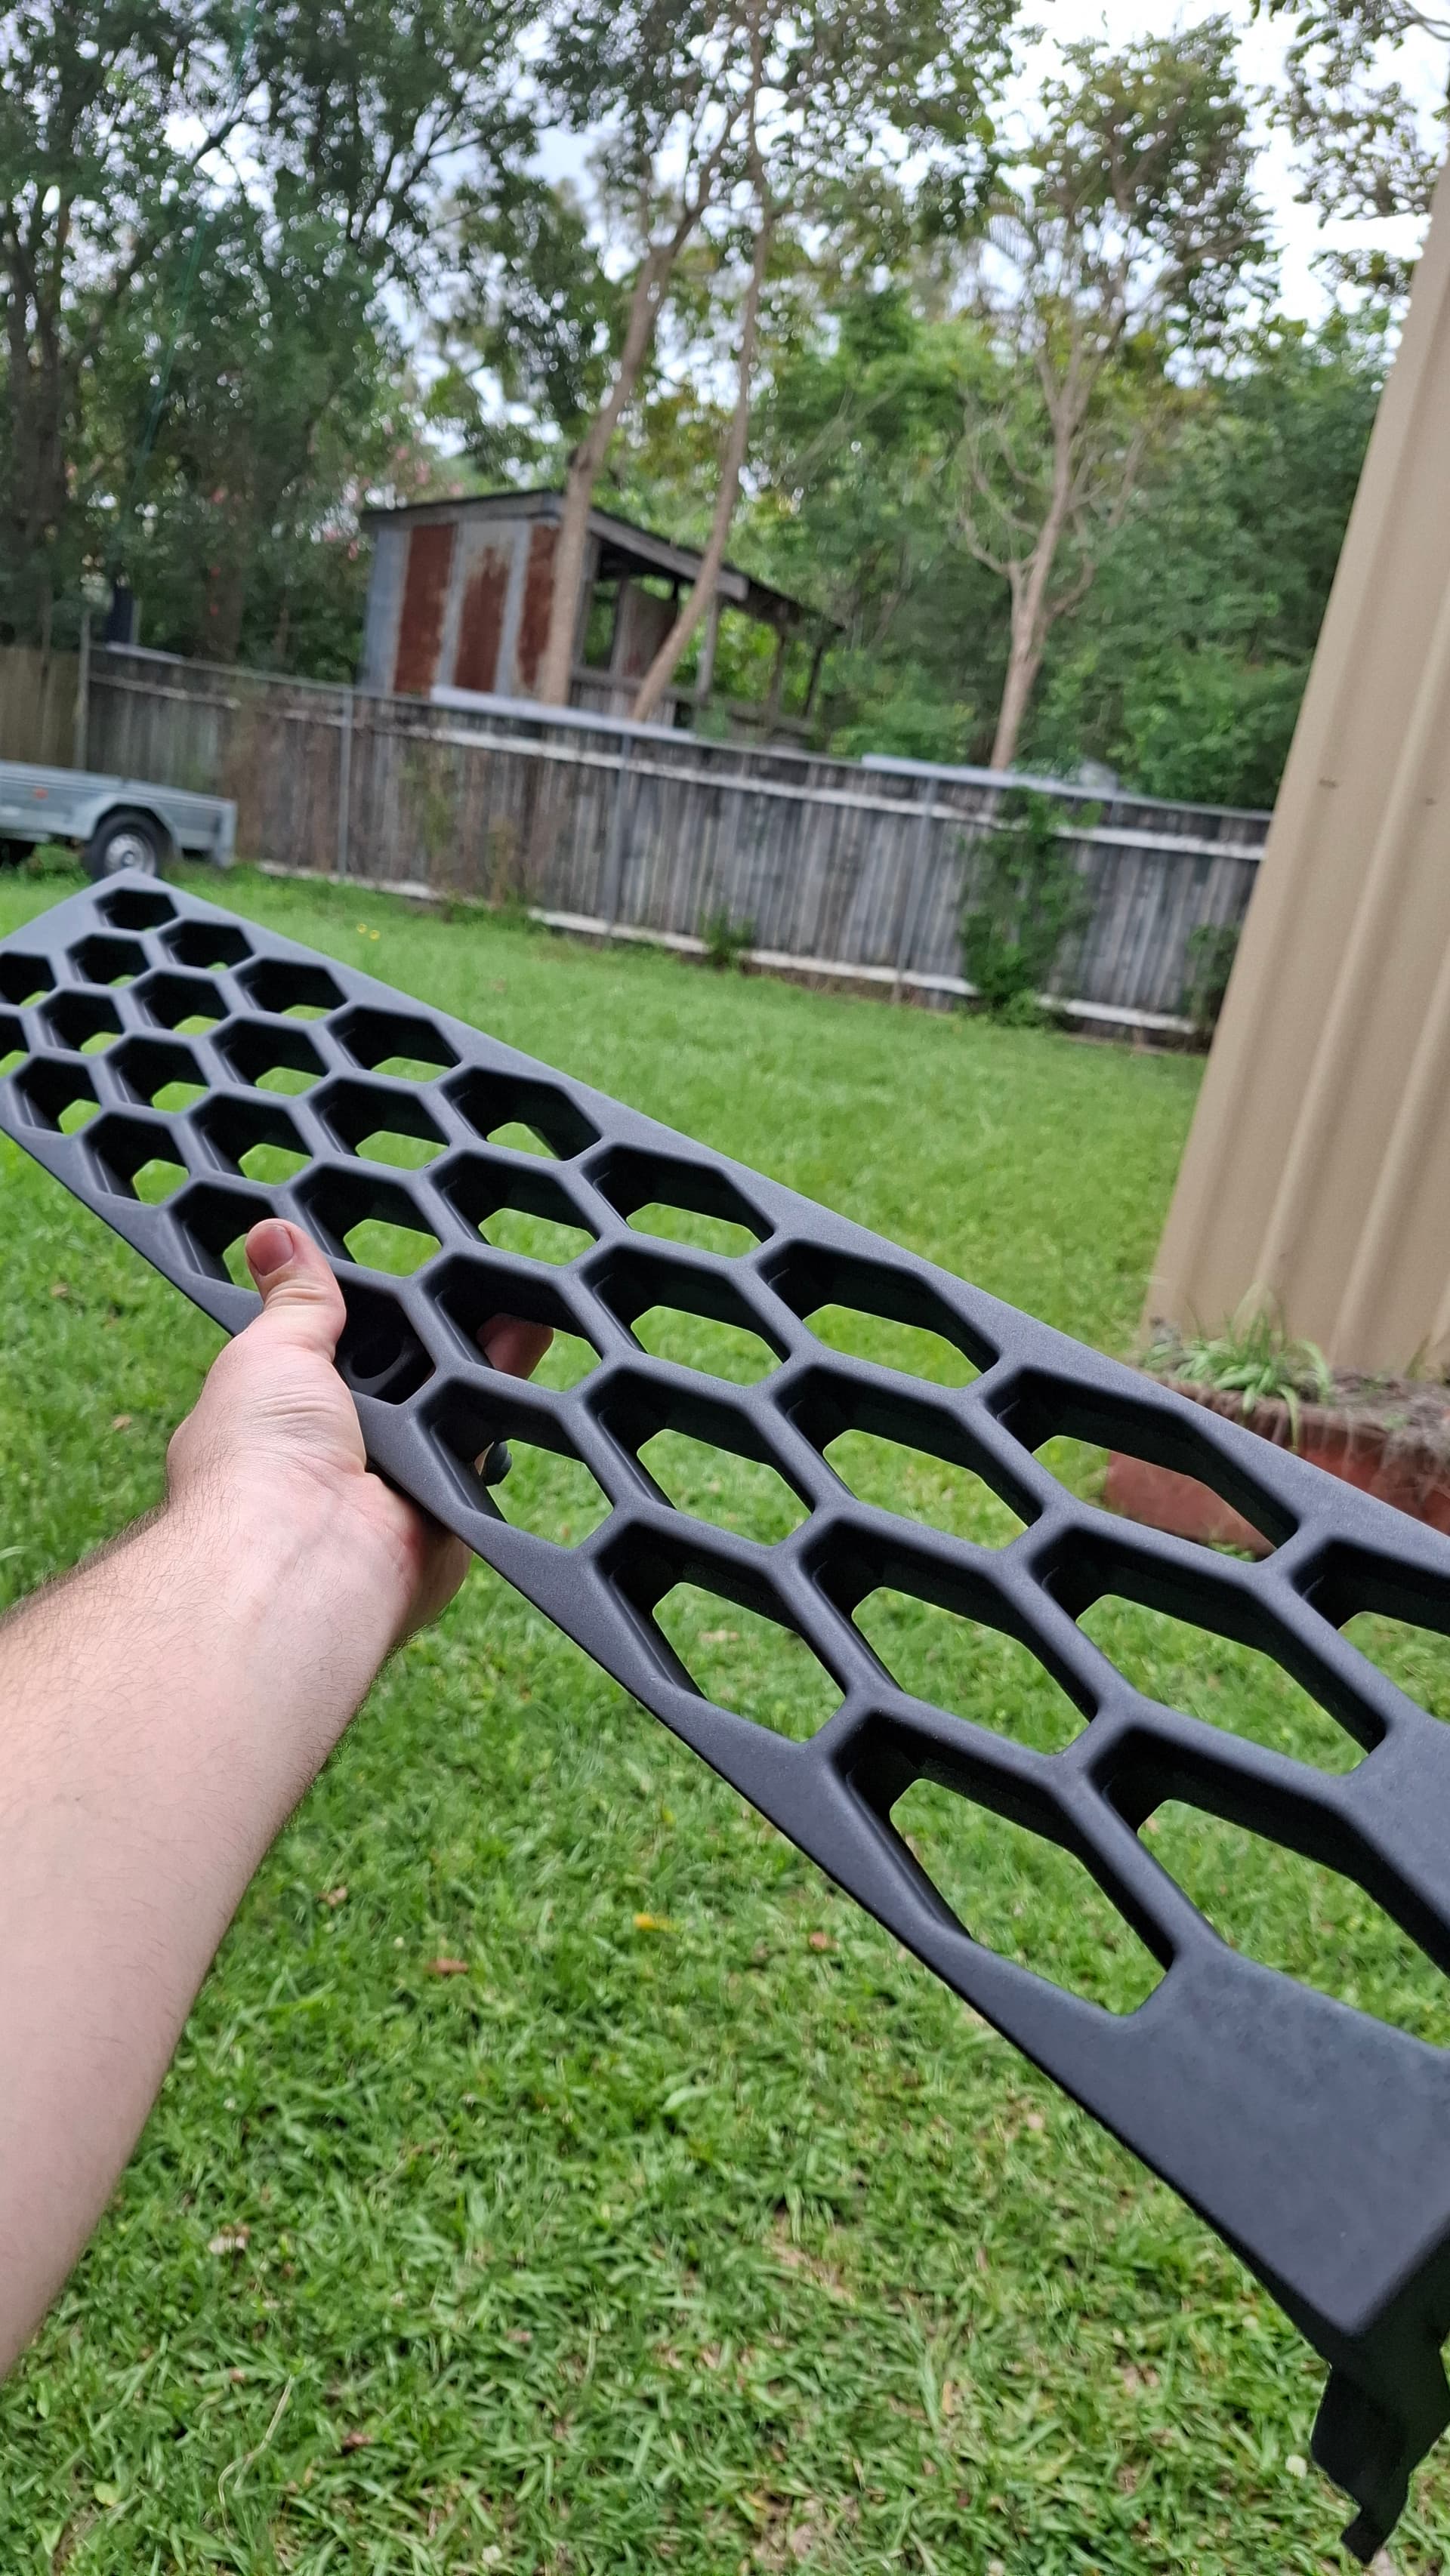
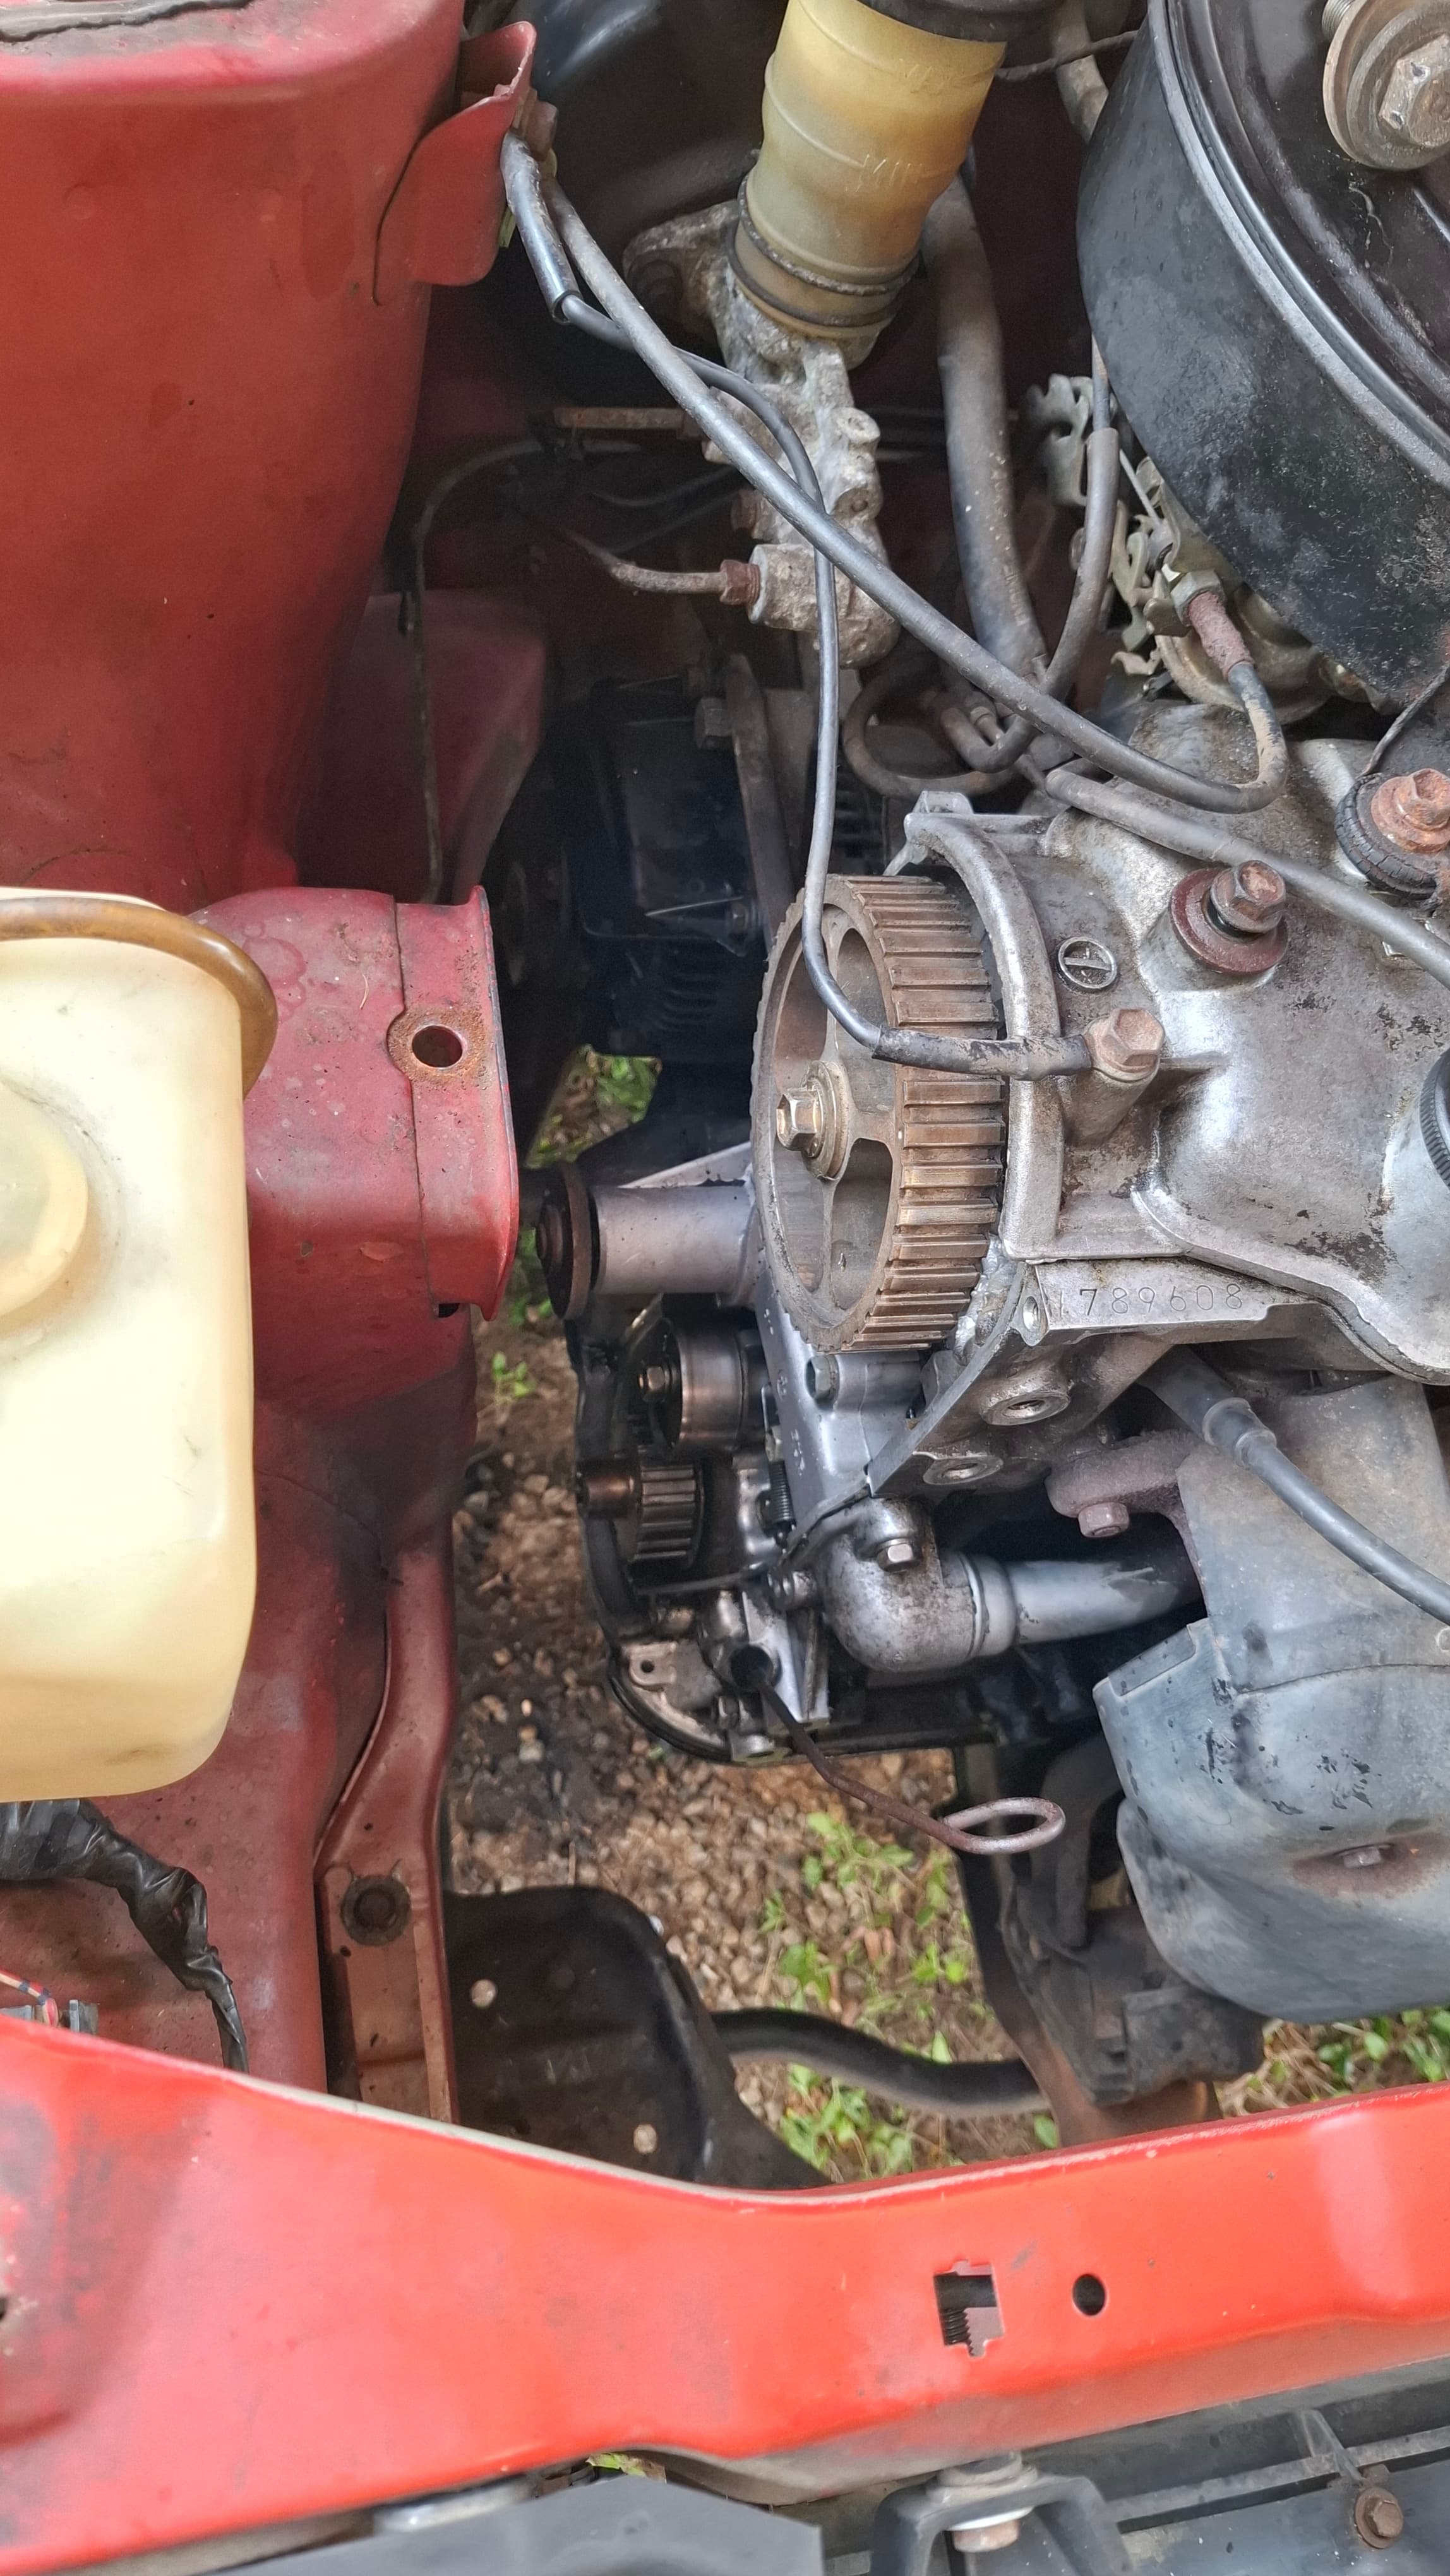
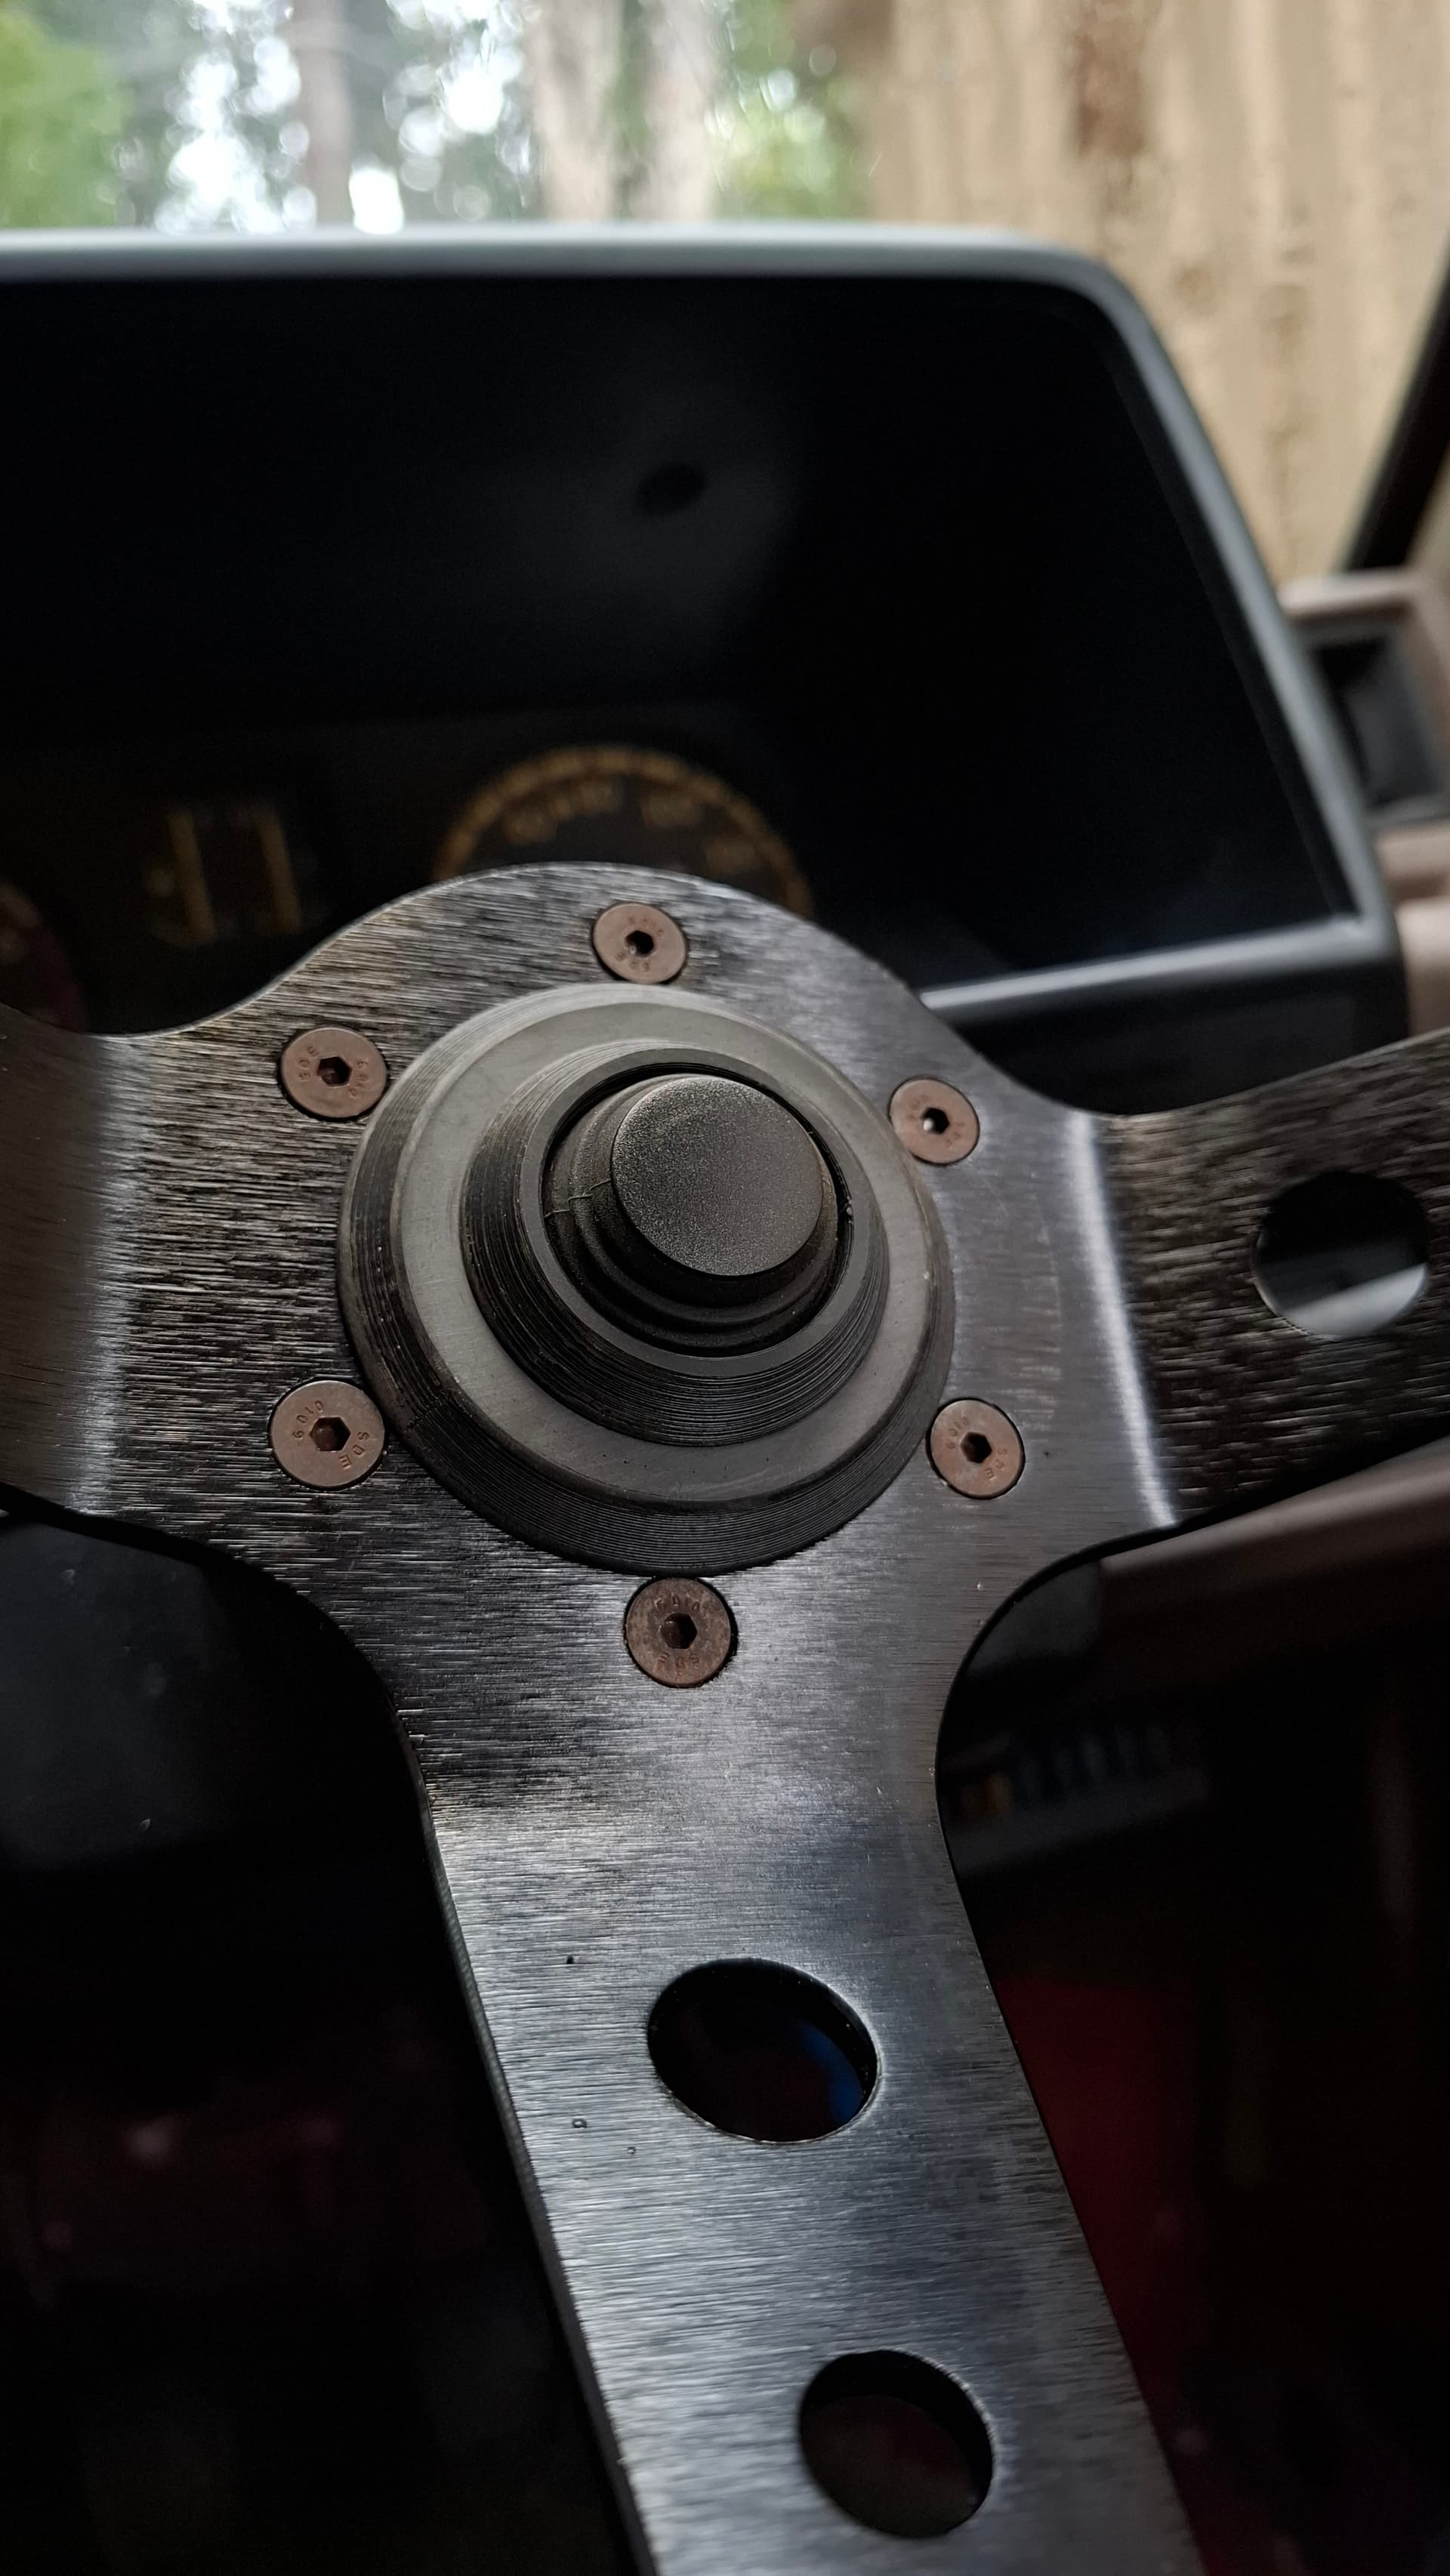
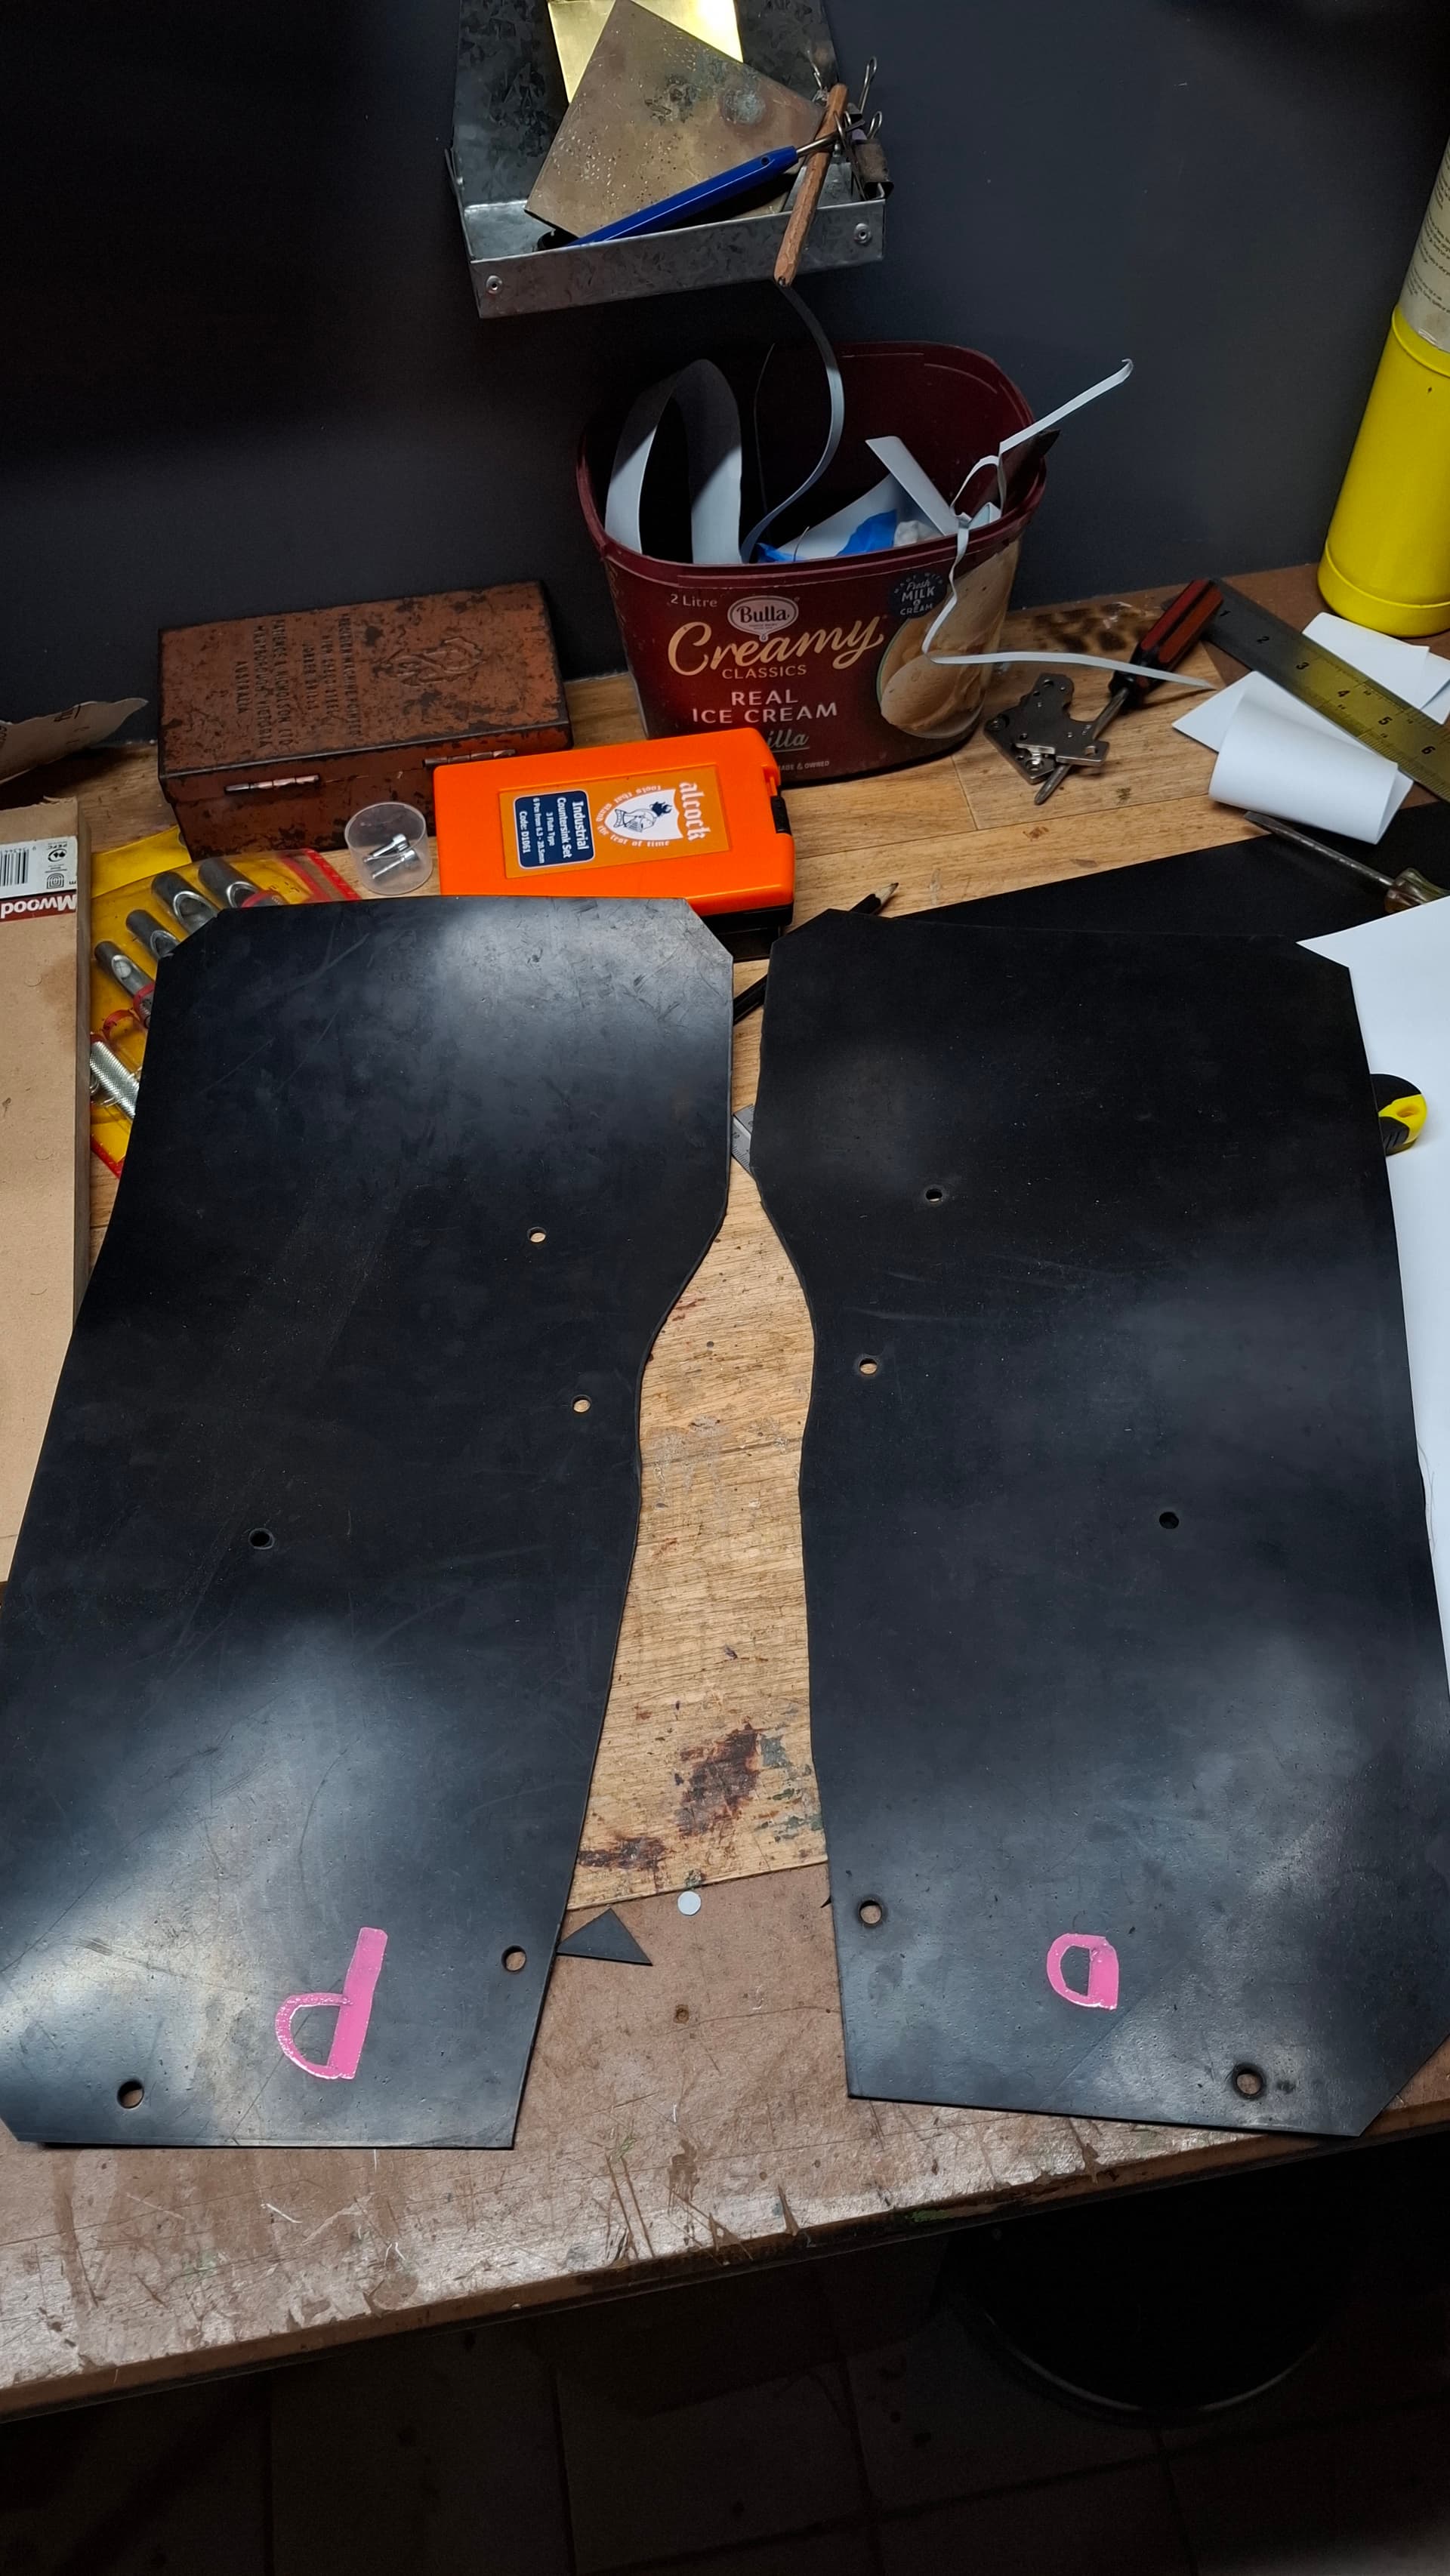
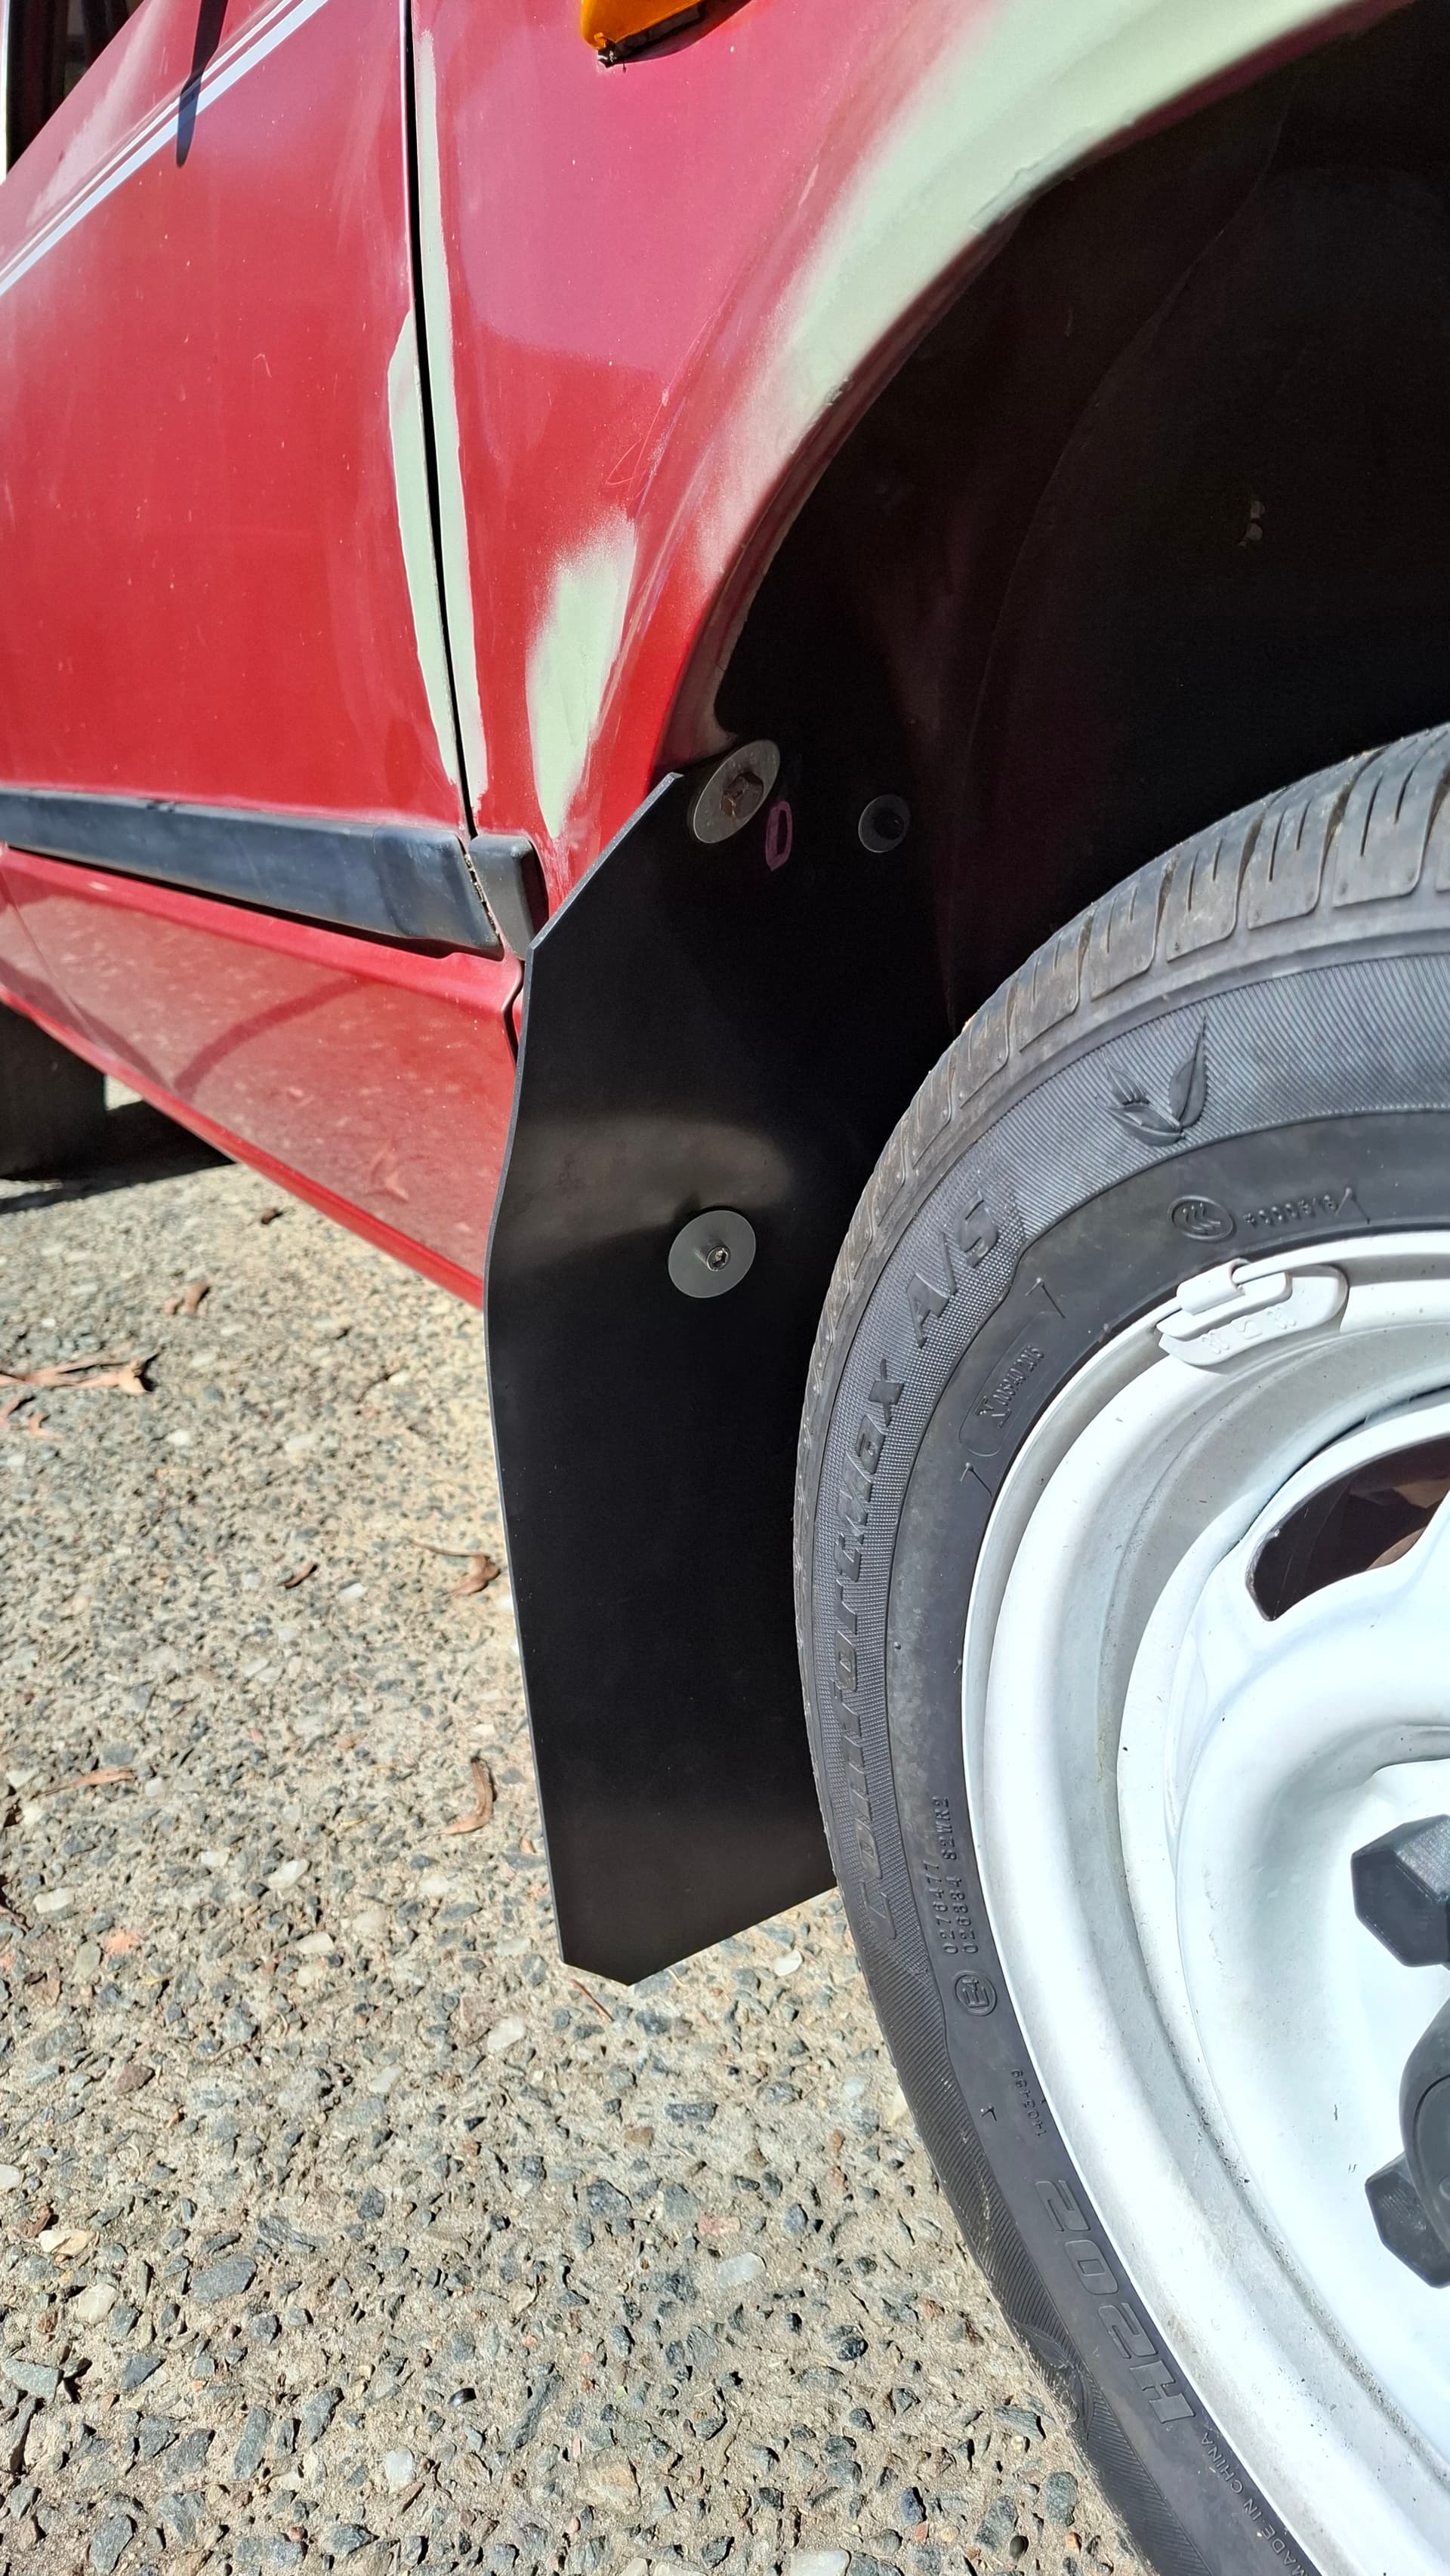
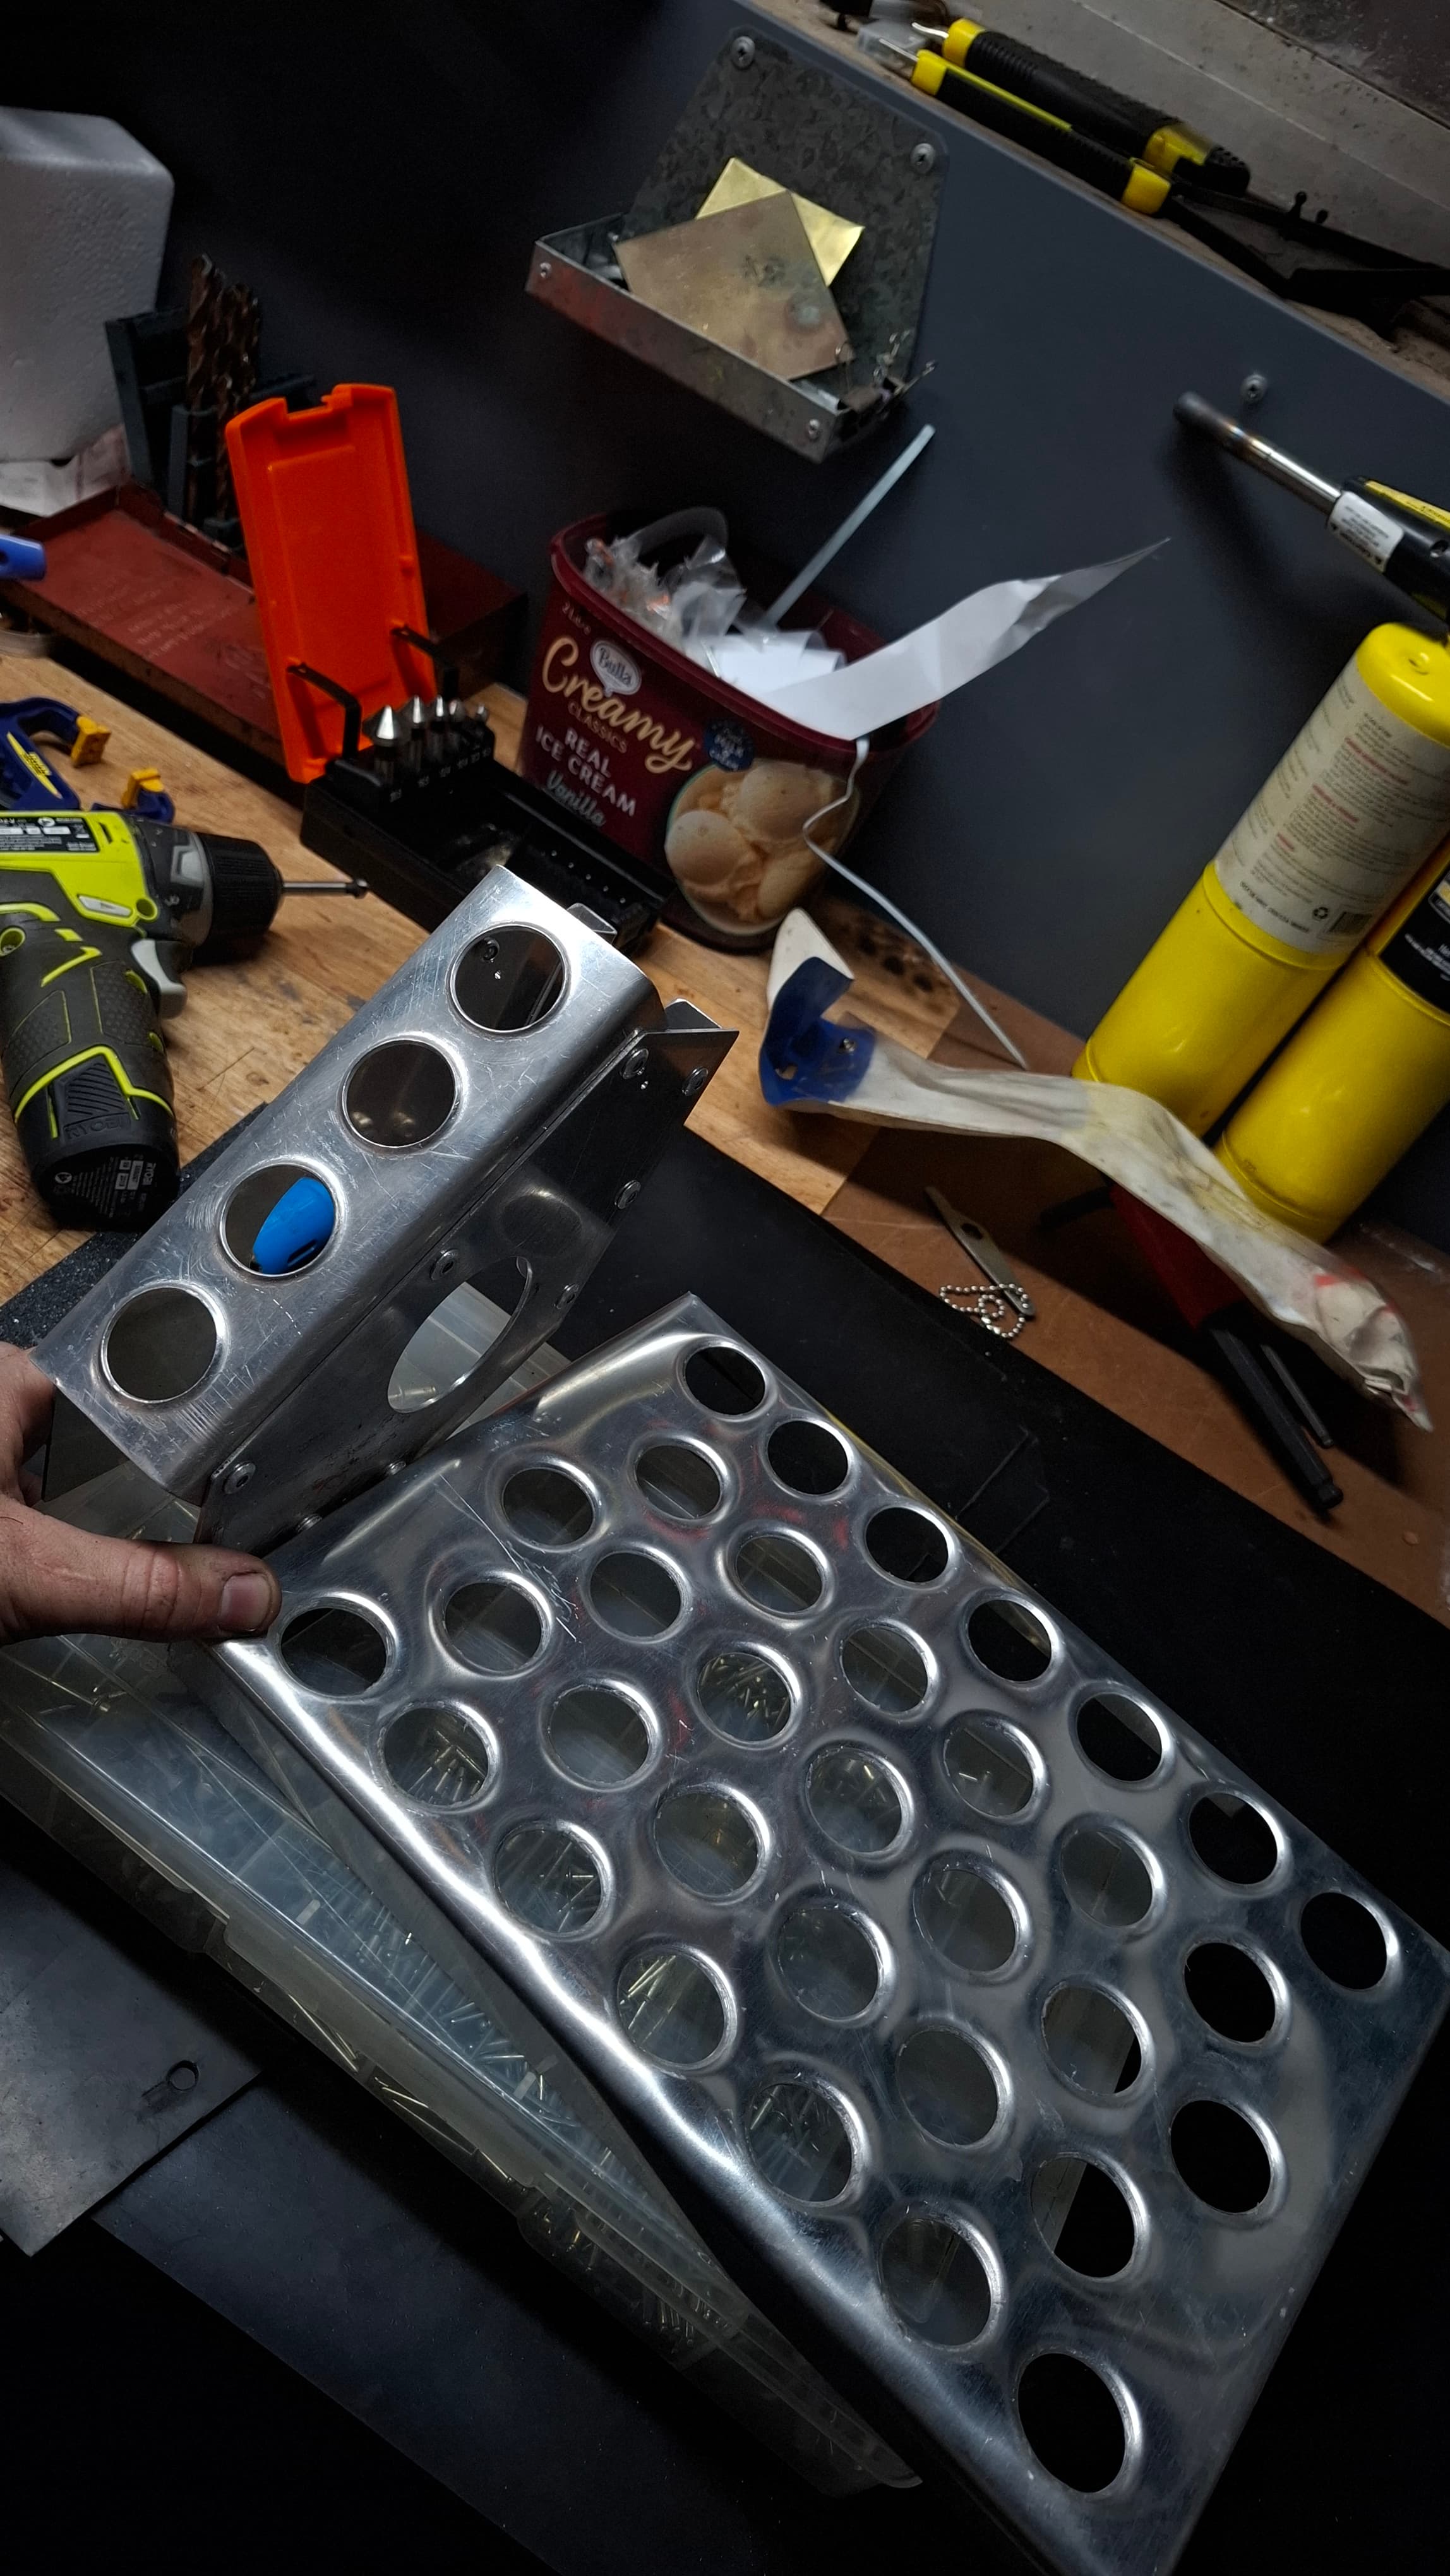
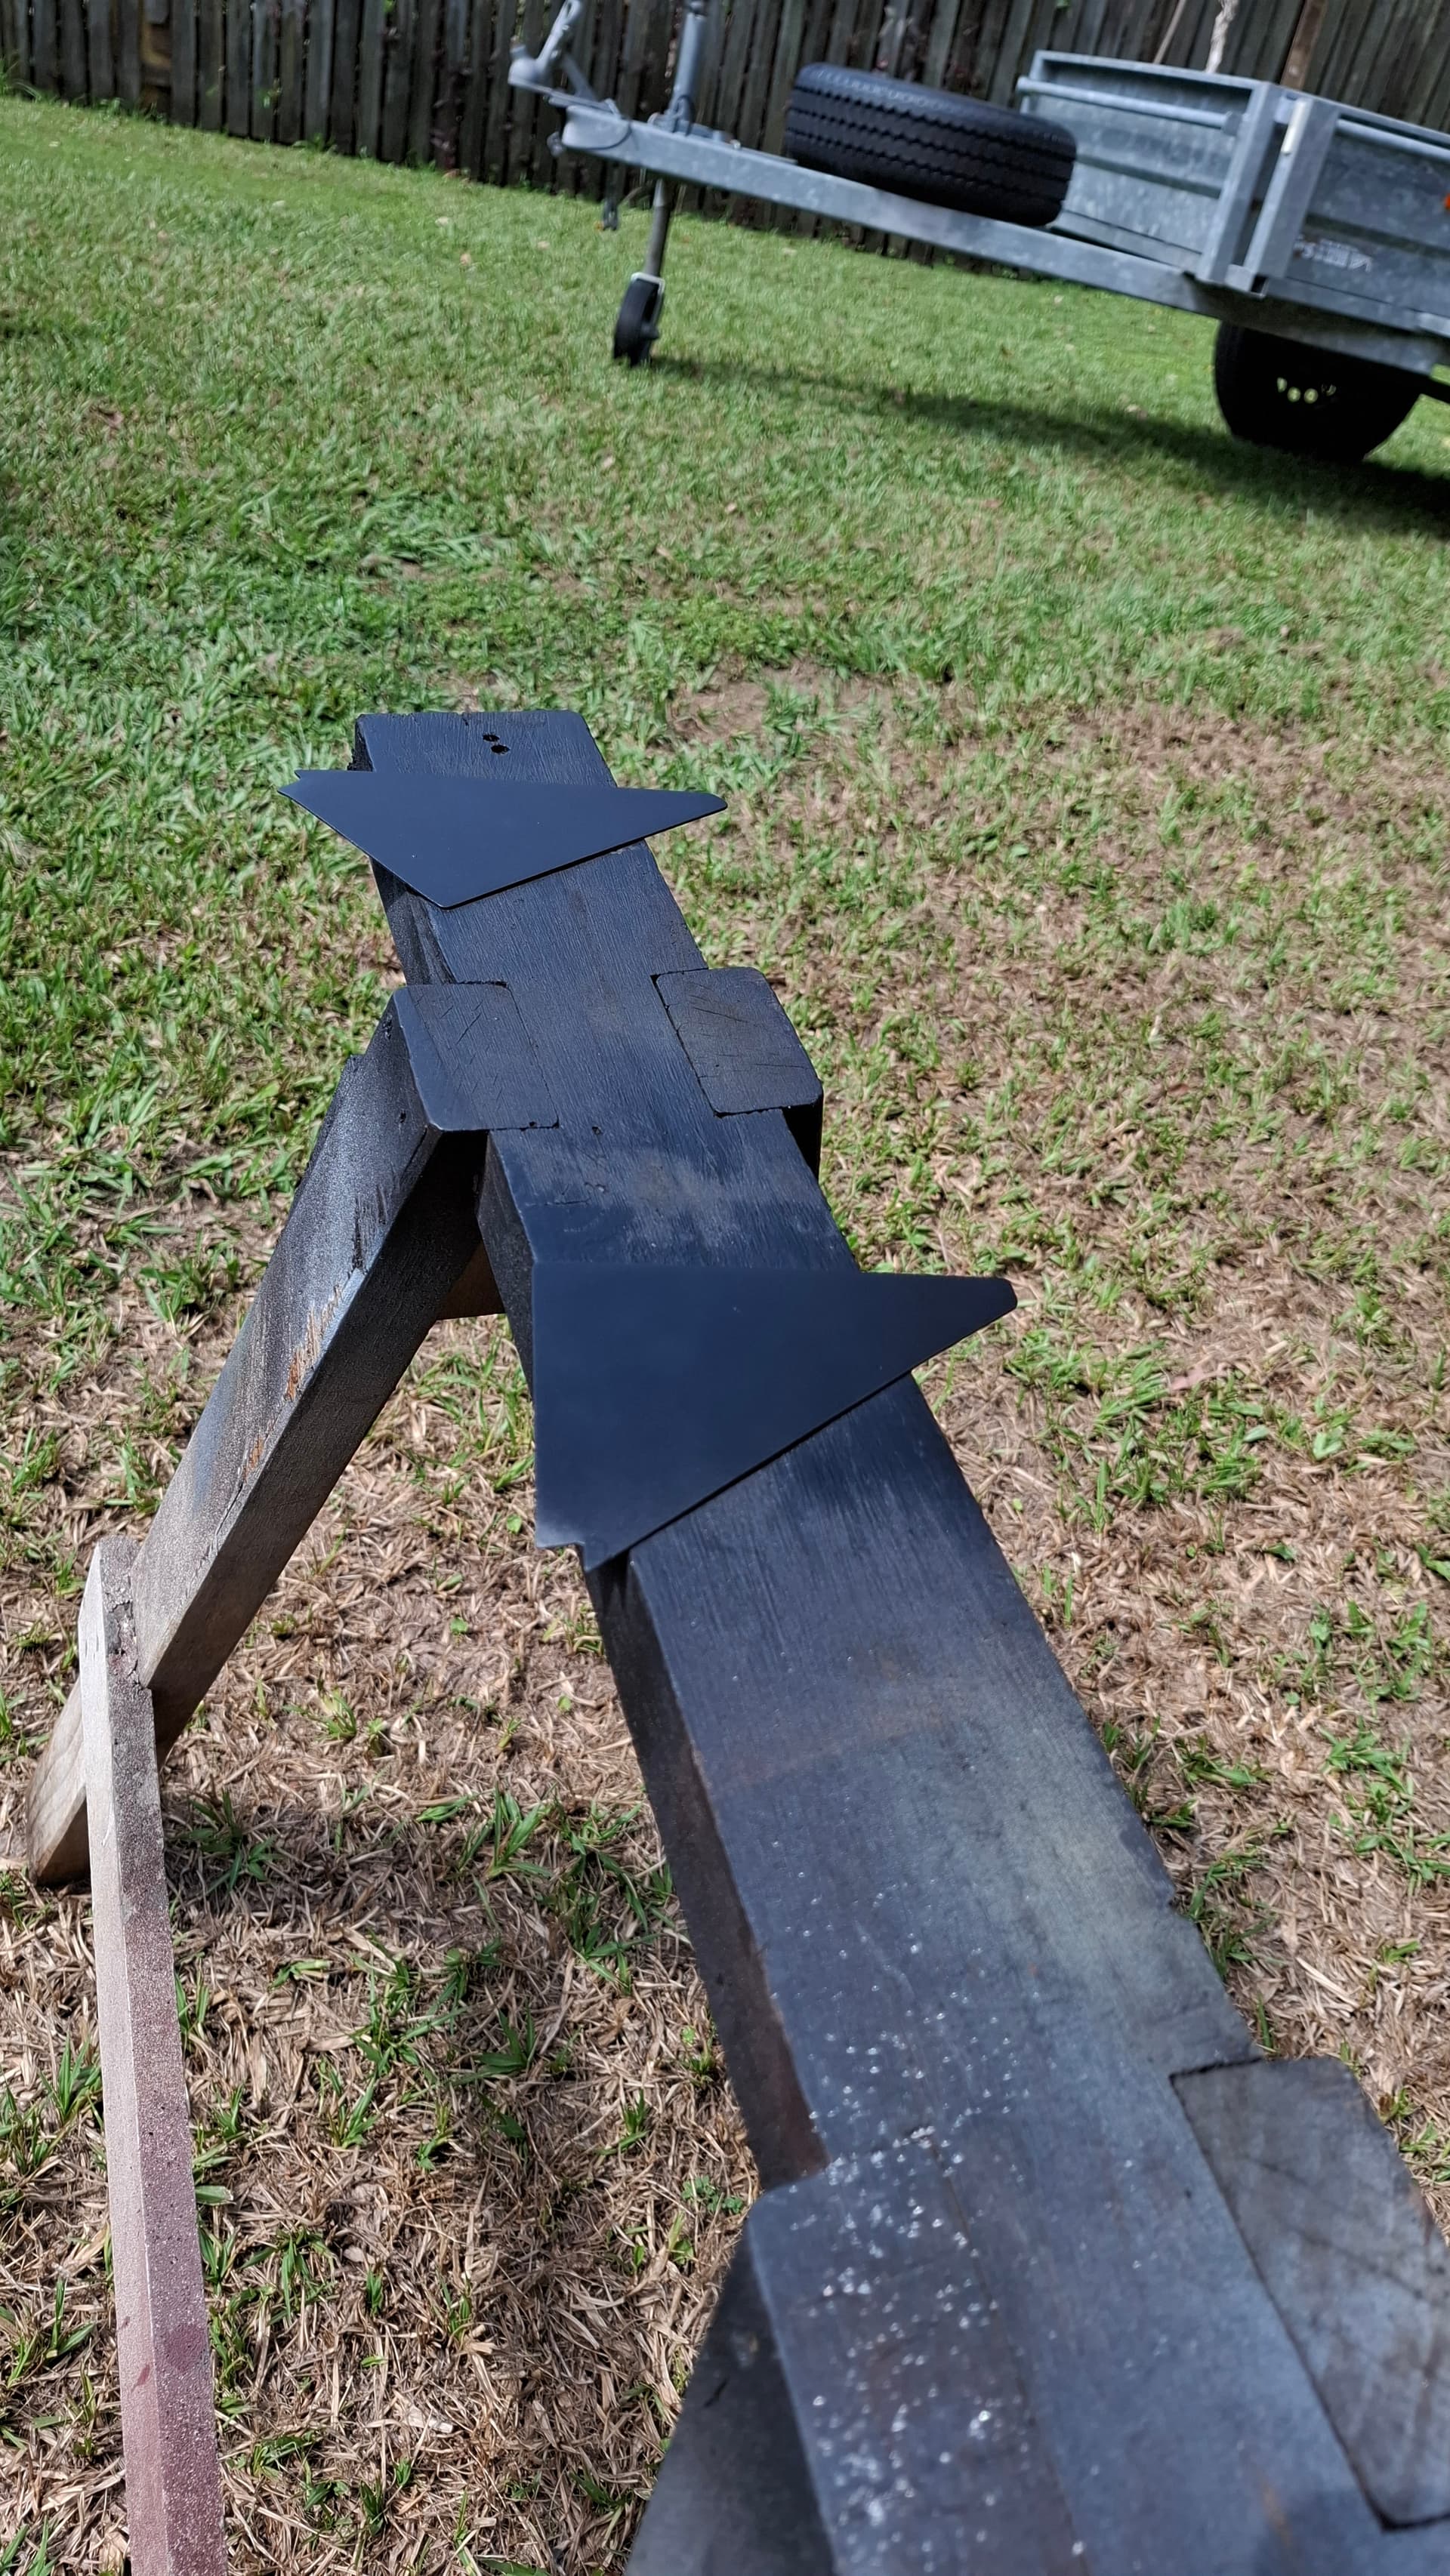
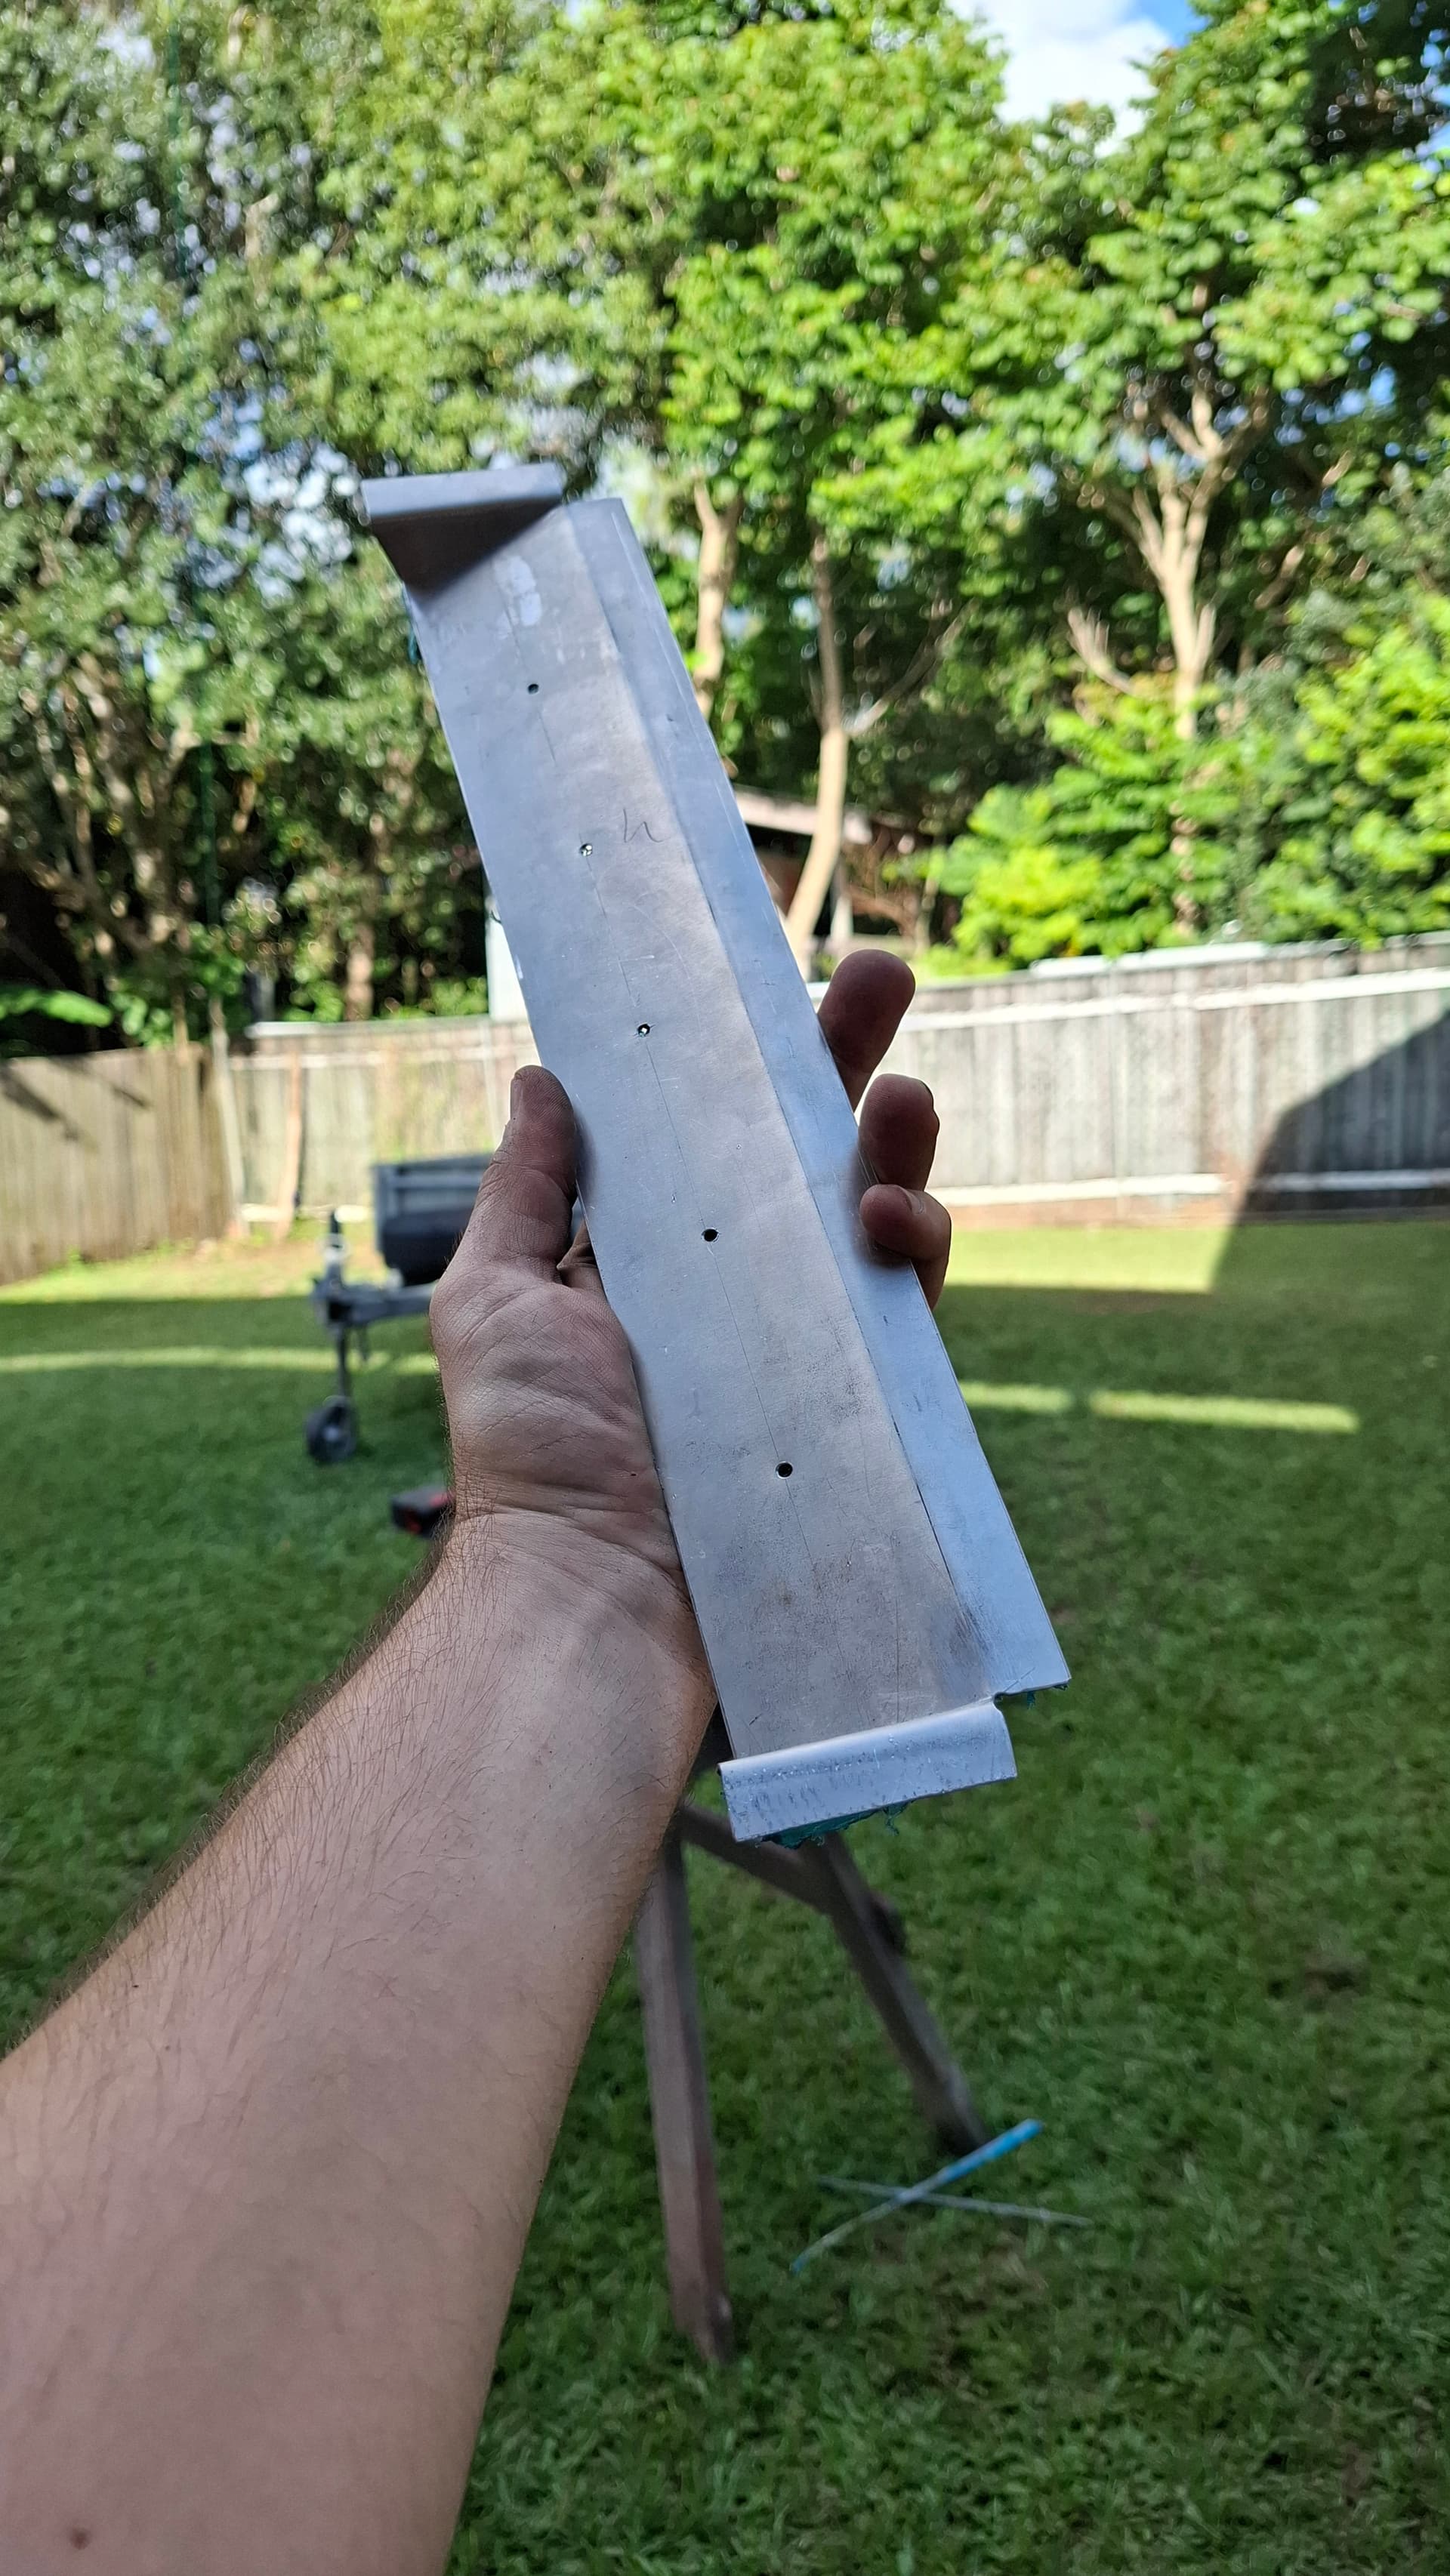
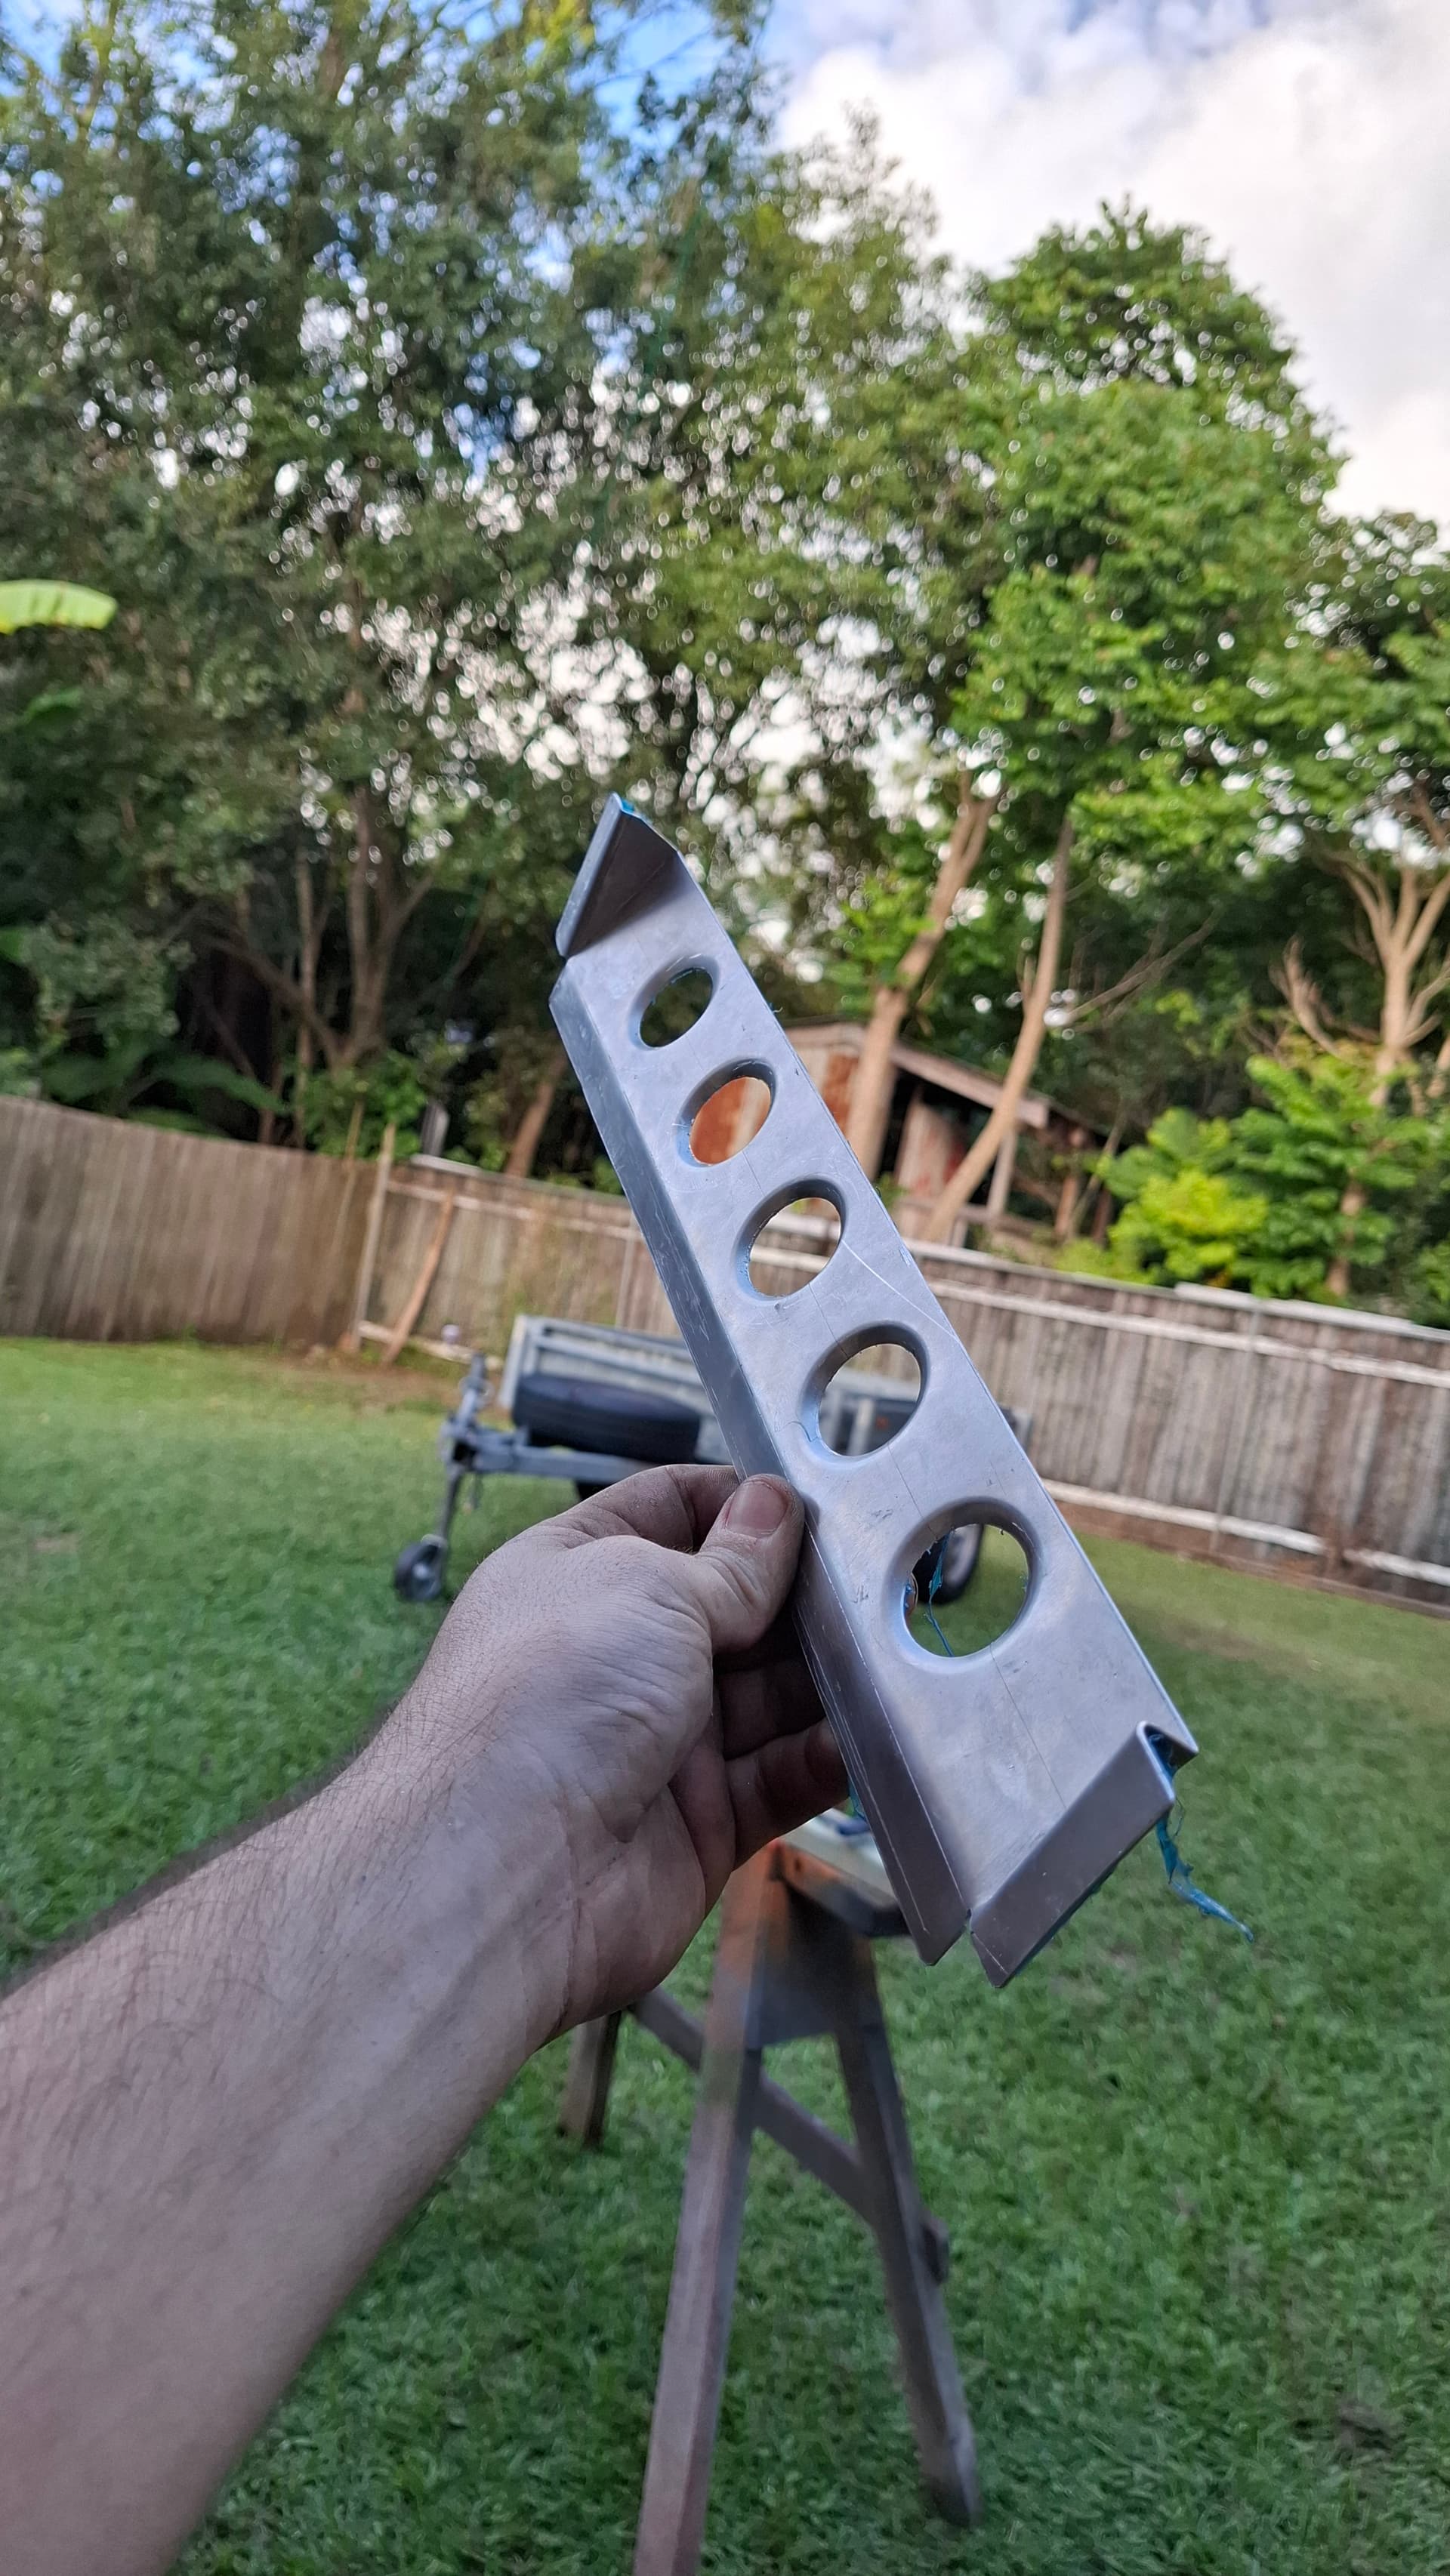
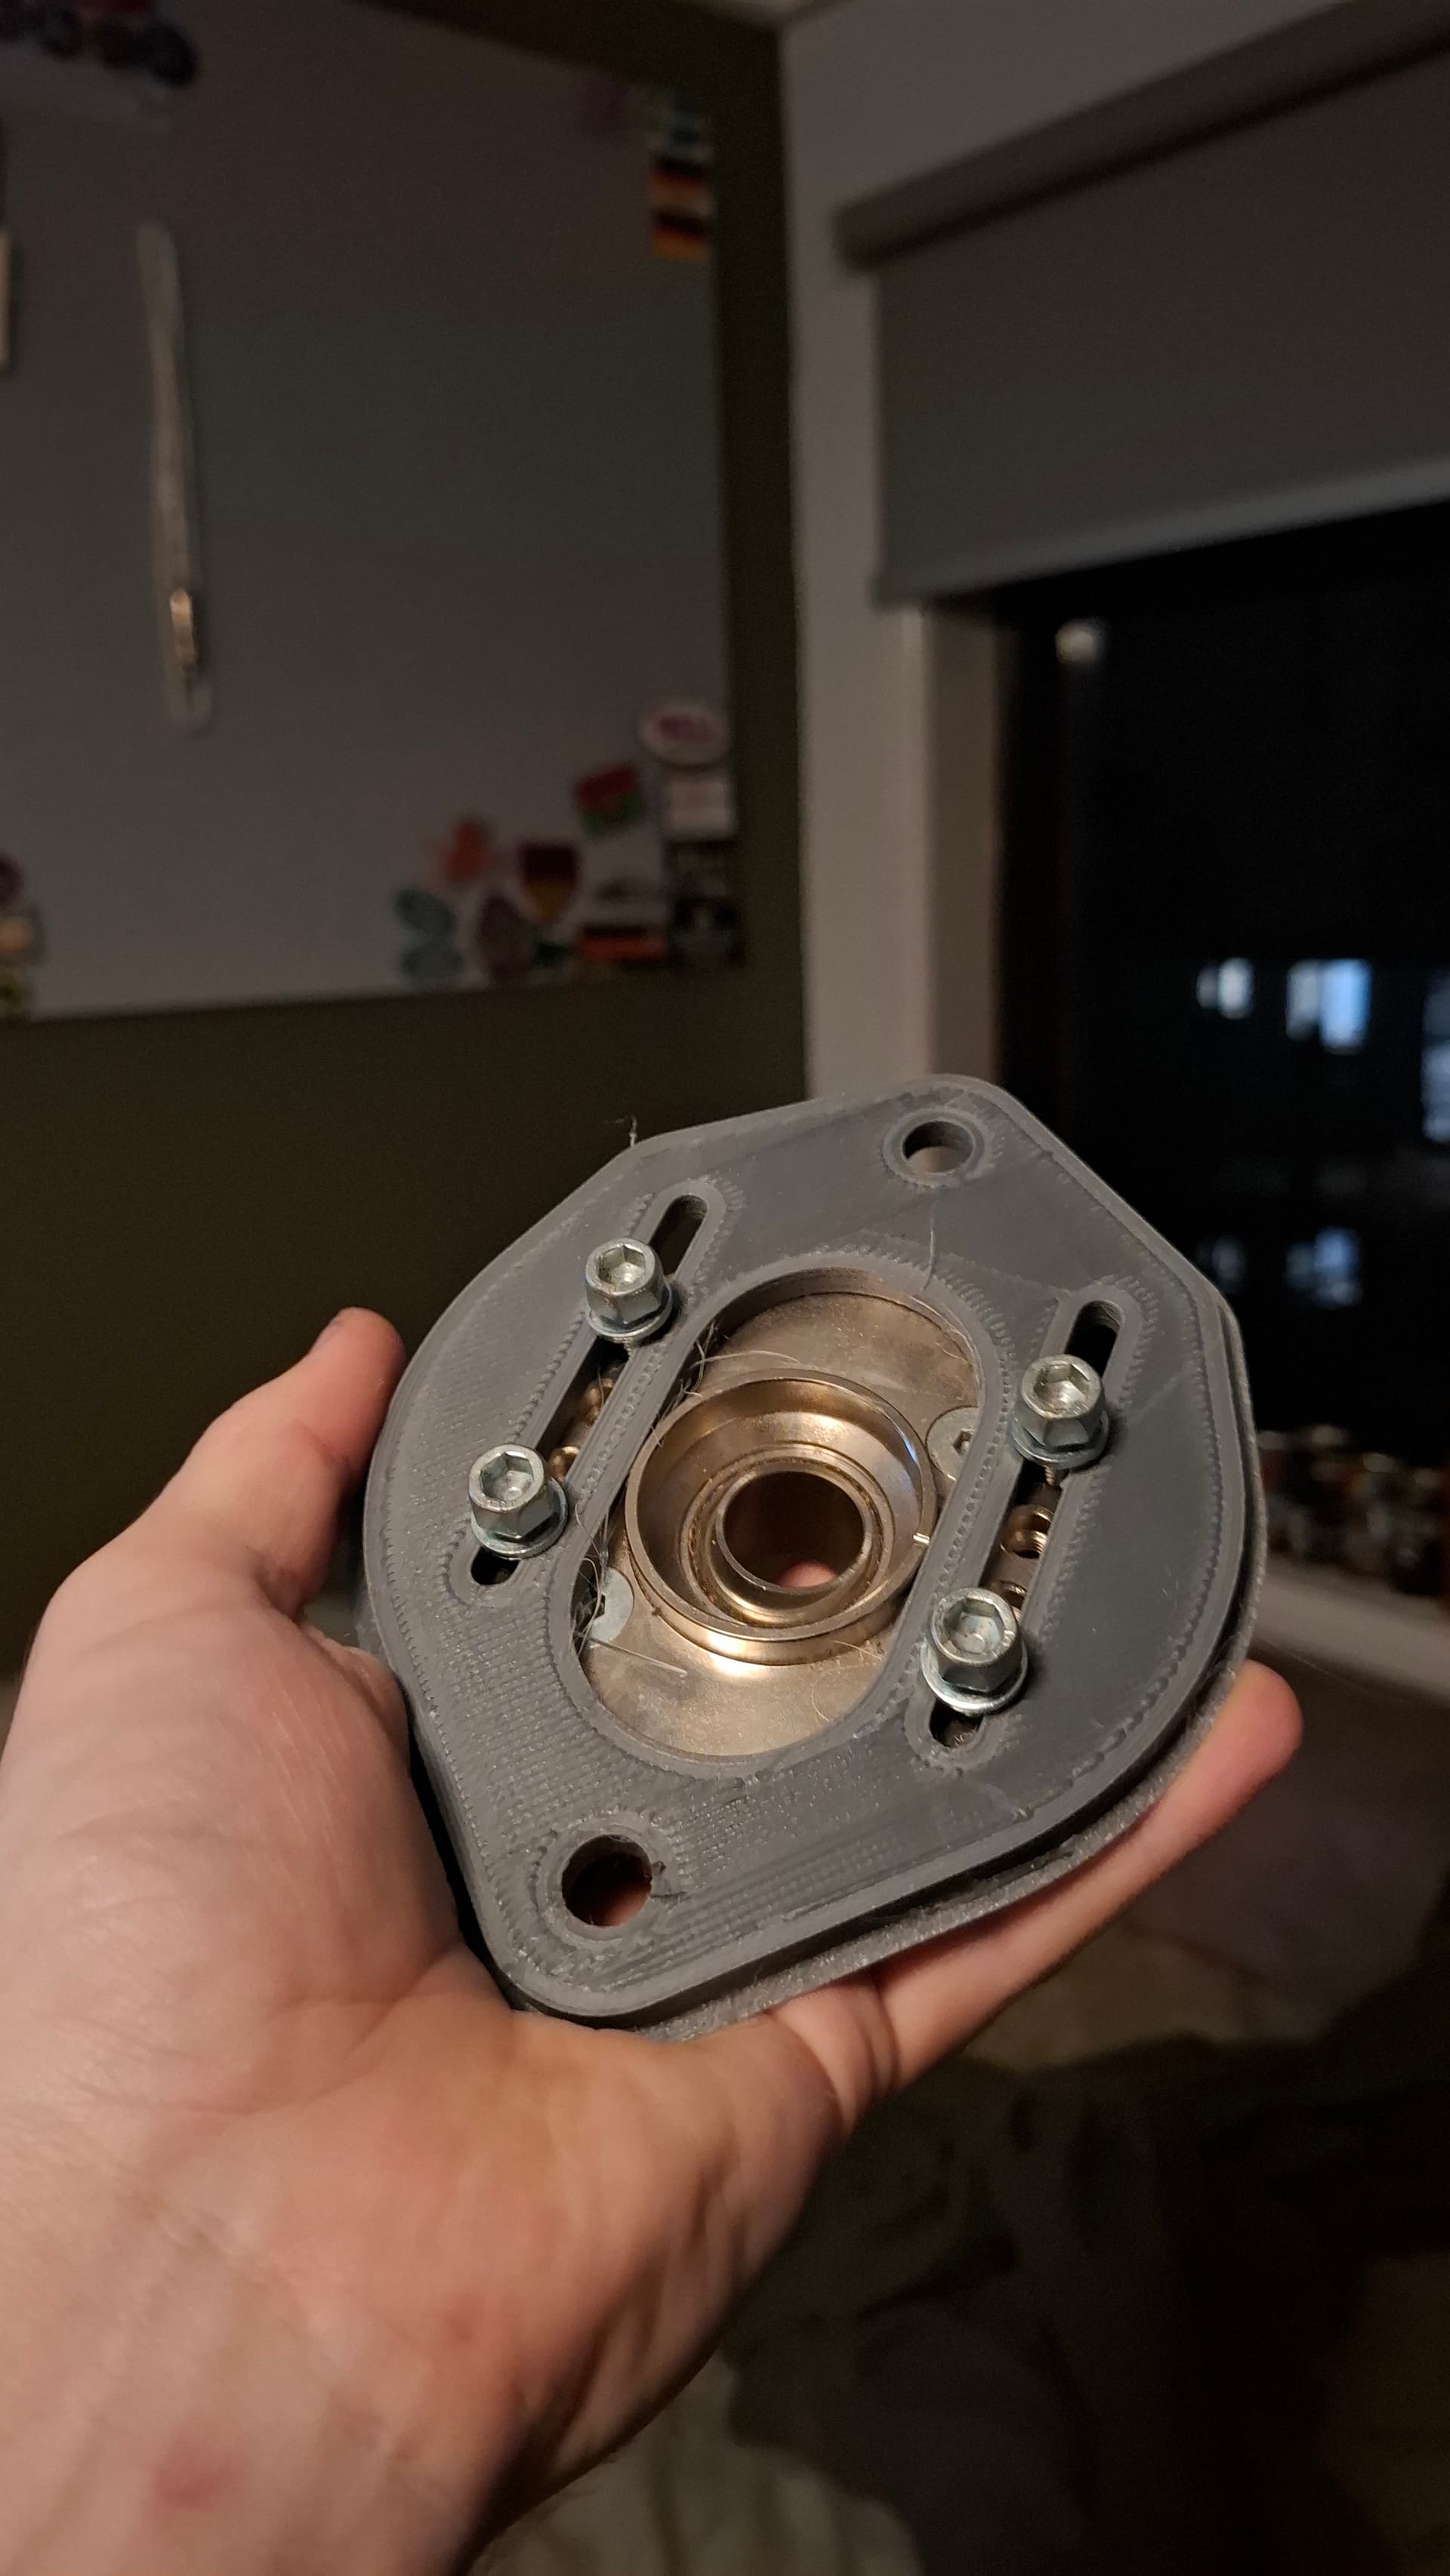
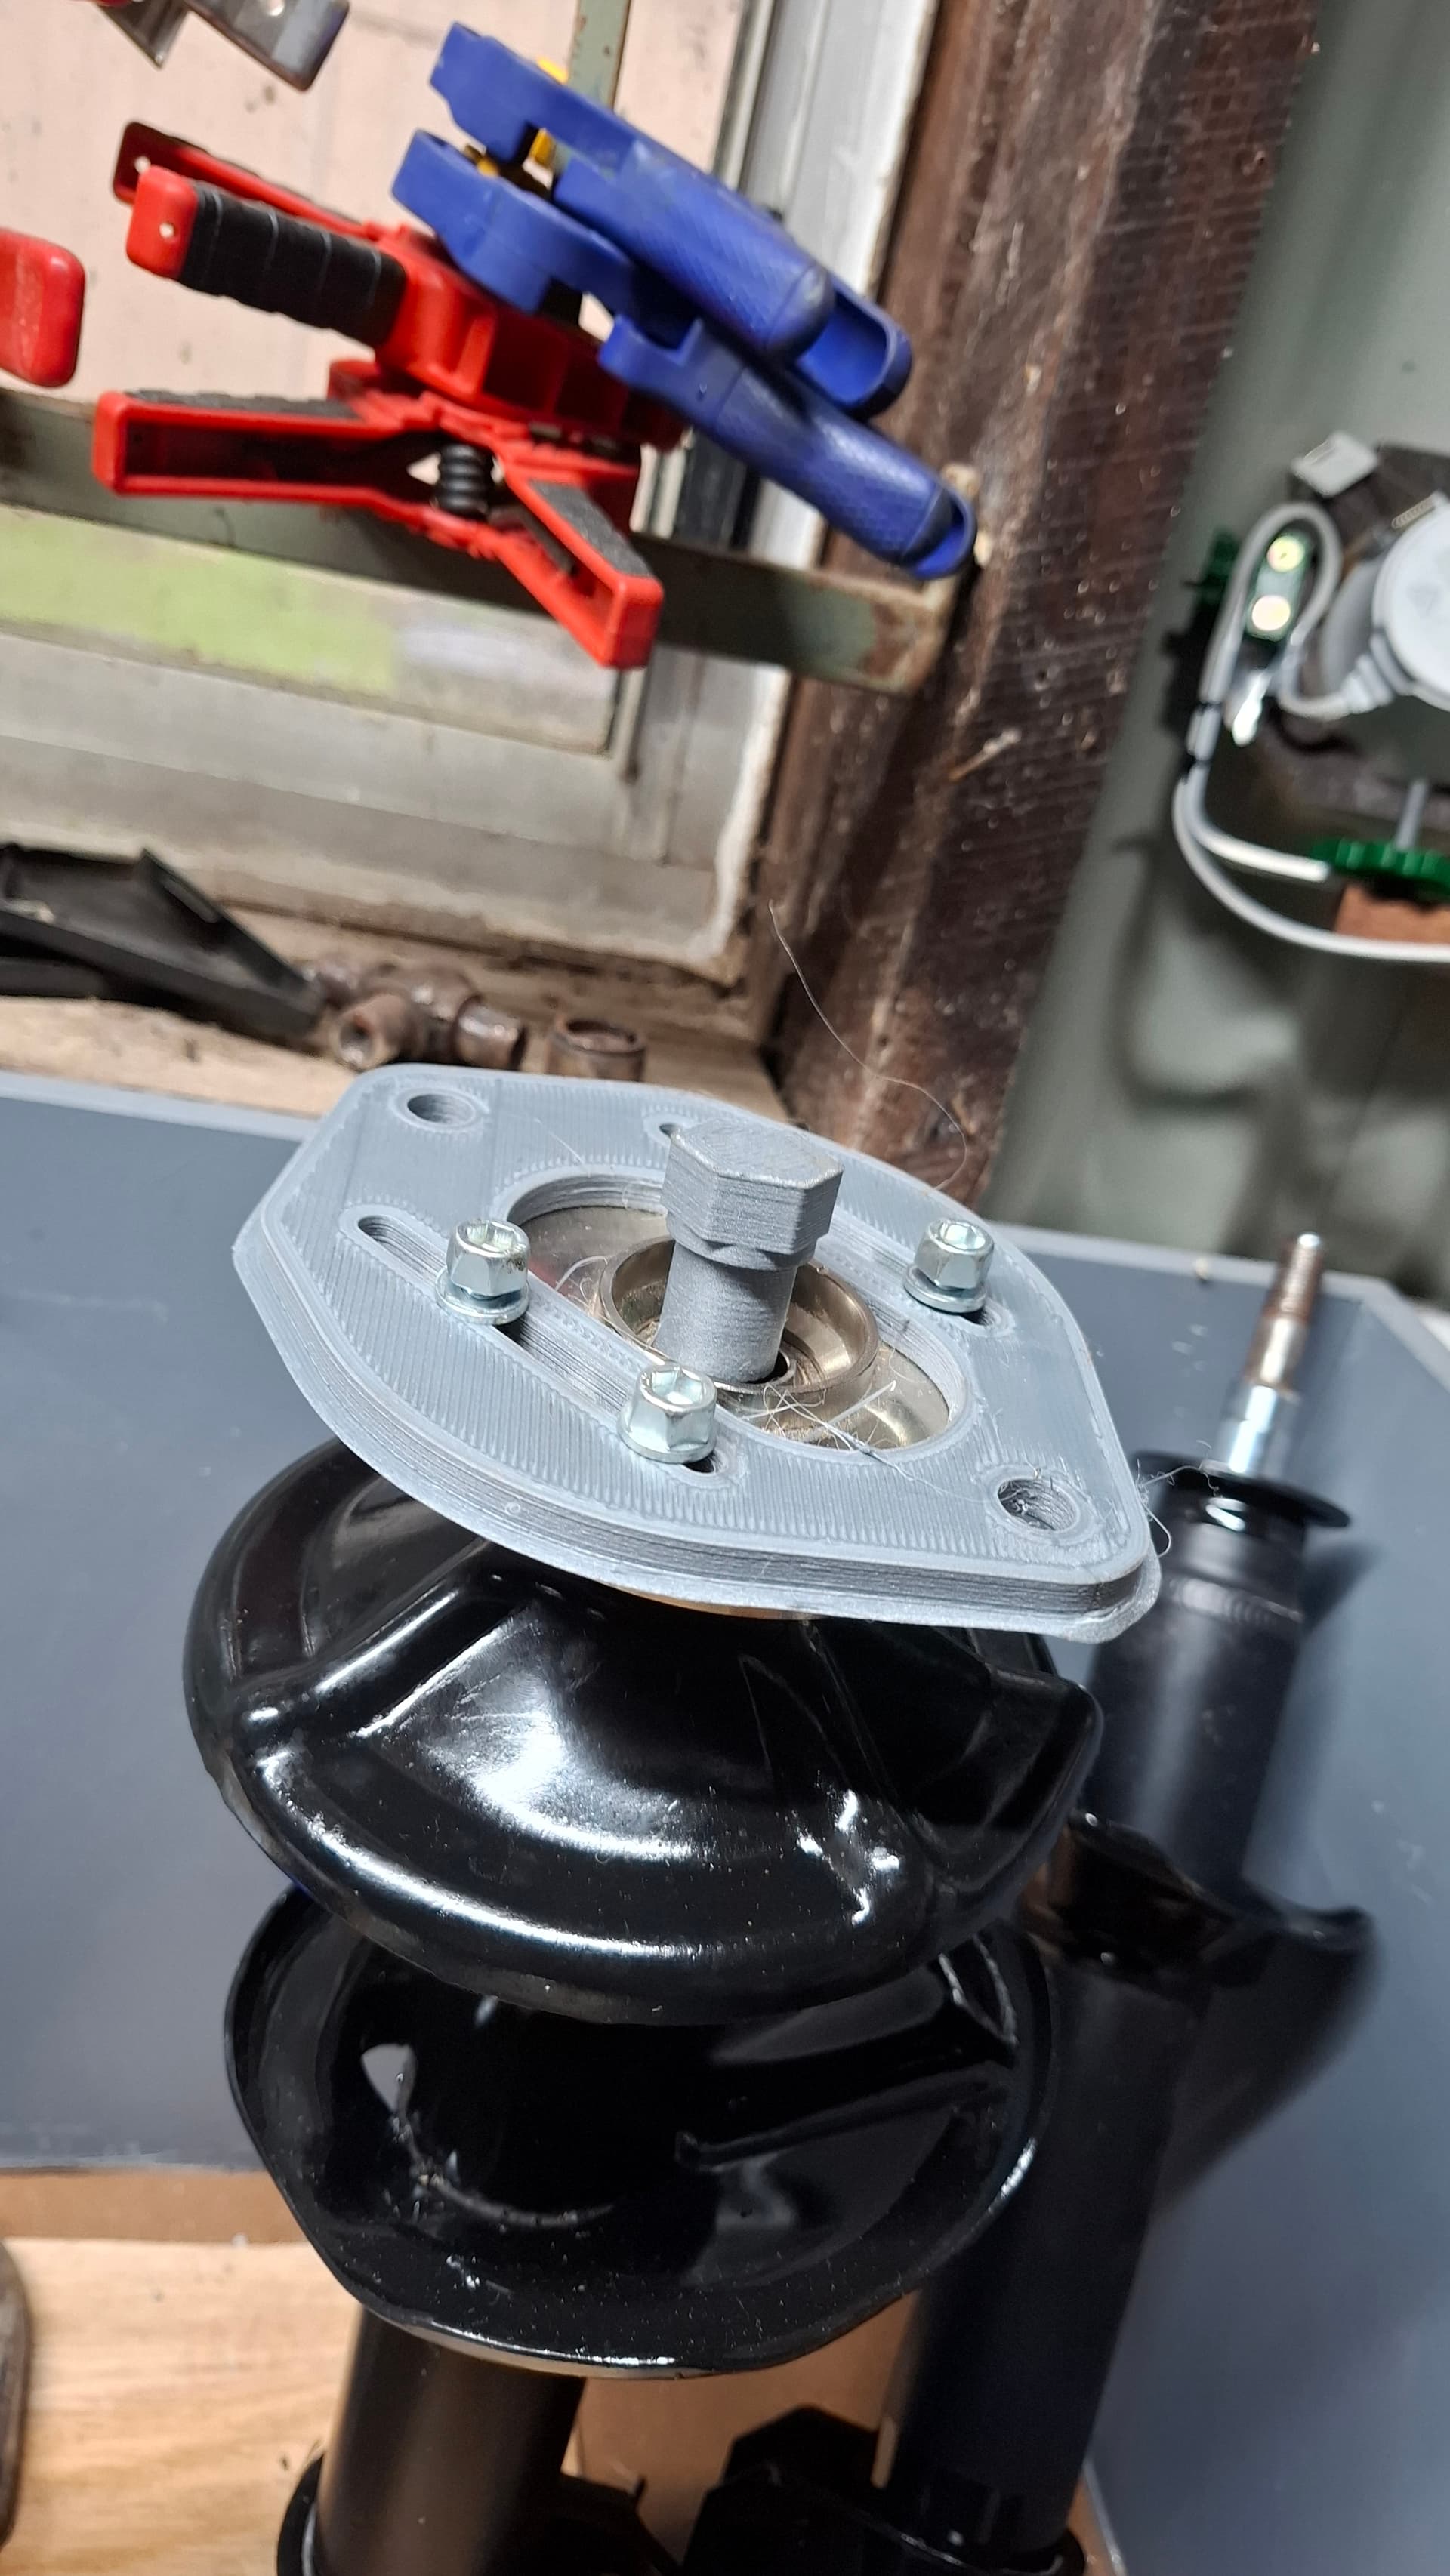
Onto some building… I made some “caster tops” the hard way.
The easiest way to solve my ancient cracked strut top problem would be to buy the OG mounts or test some g100/g200 tops which I think do fit. But where’s the fun in that? I’ll drop the parts etc if anyone cares, s13 coil overs may have been the smarter move but I’m broke and come from a motorsports family. This set up would let me put standard (or kyb adjust) l700 shocks etc or any coilover onto my car and have caster adjustment which is more important for the dirt!
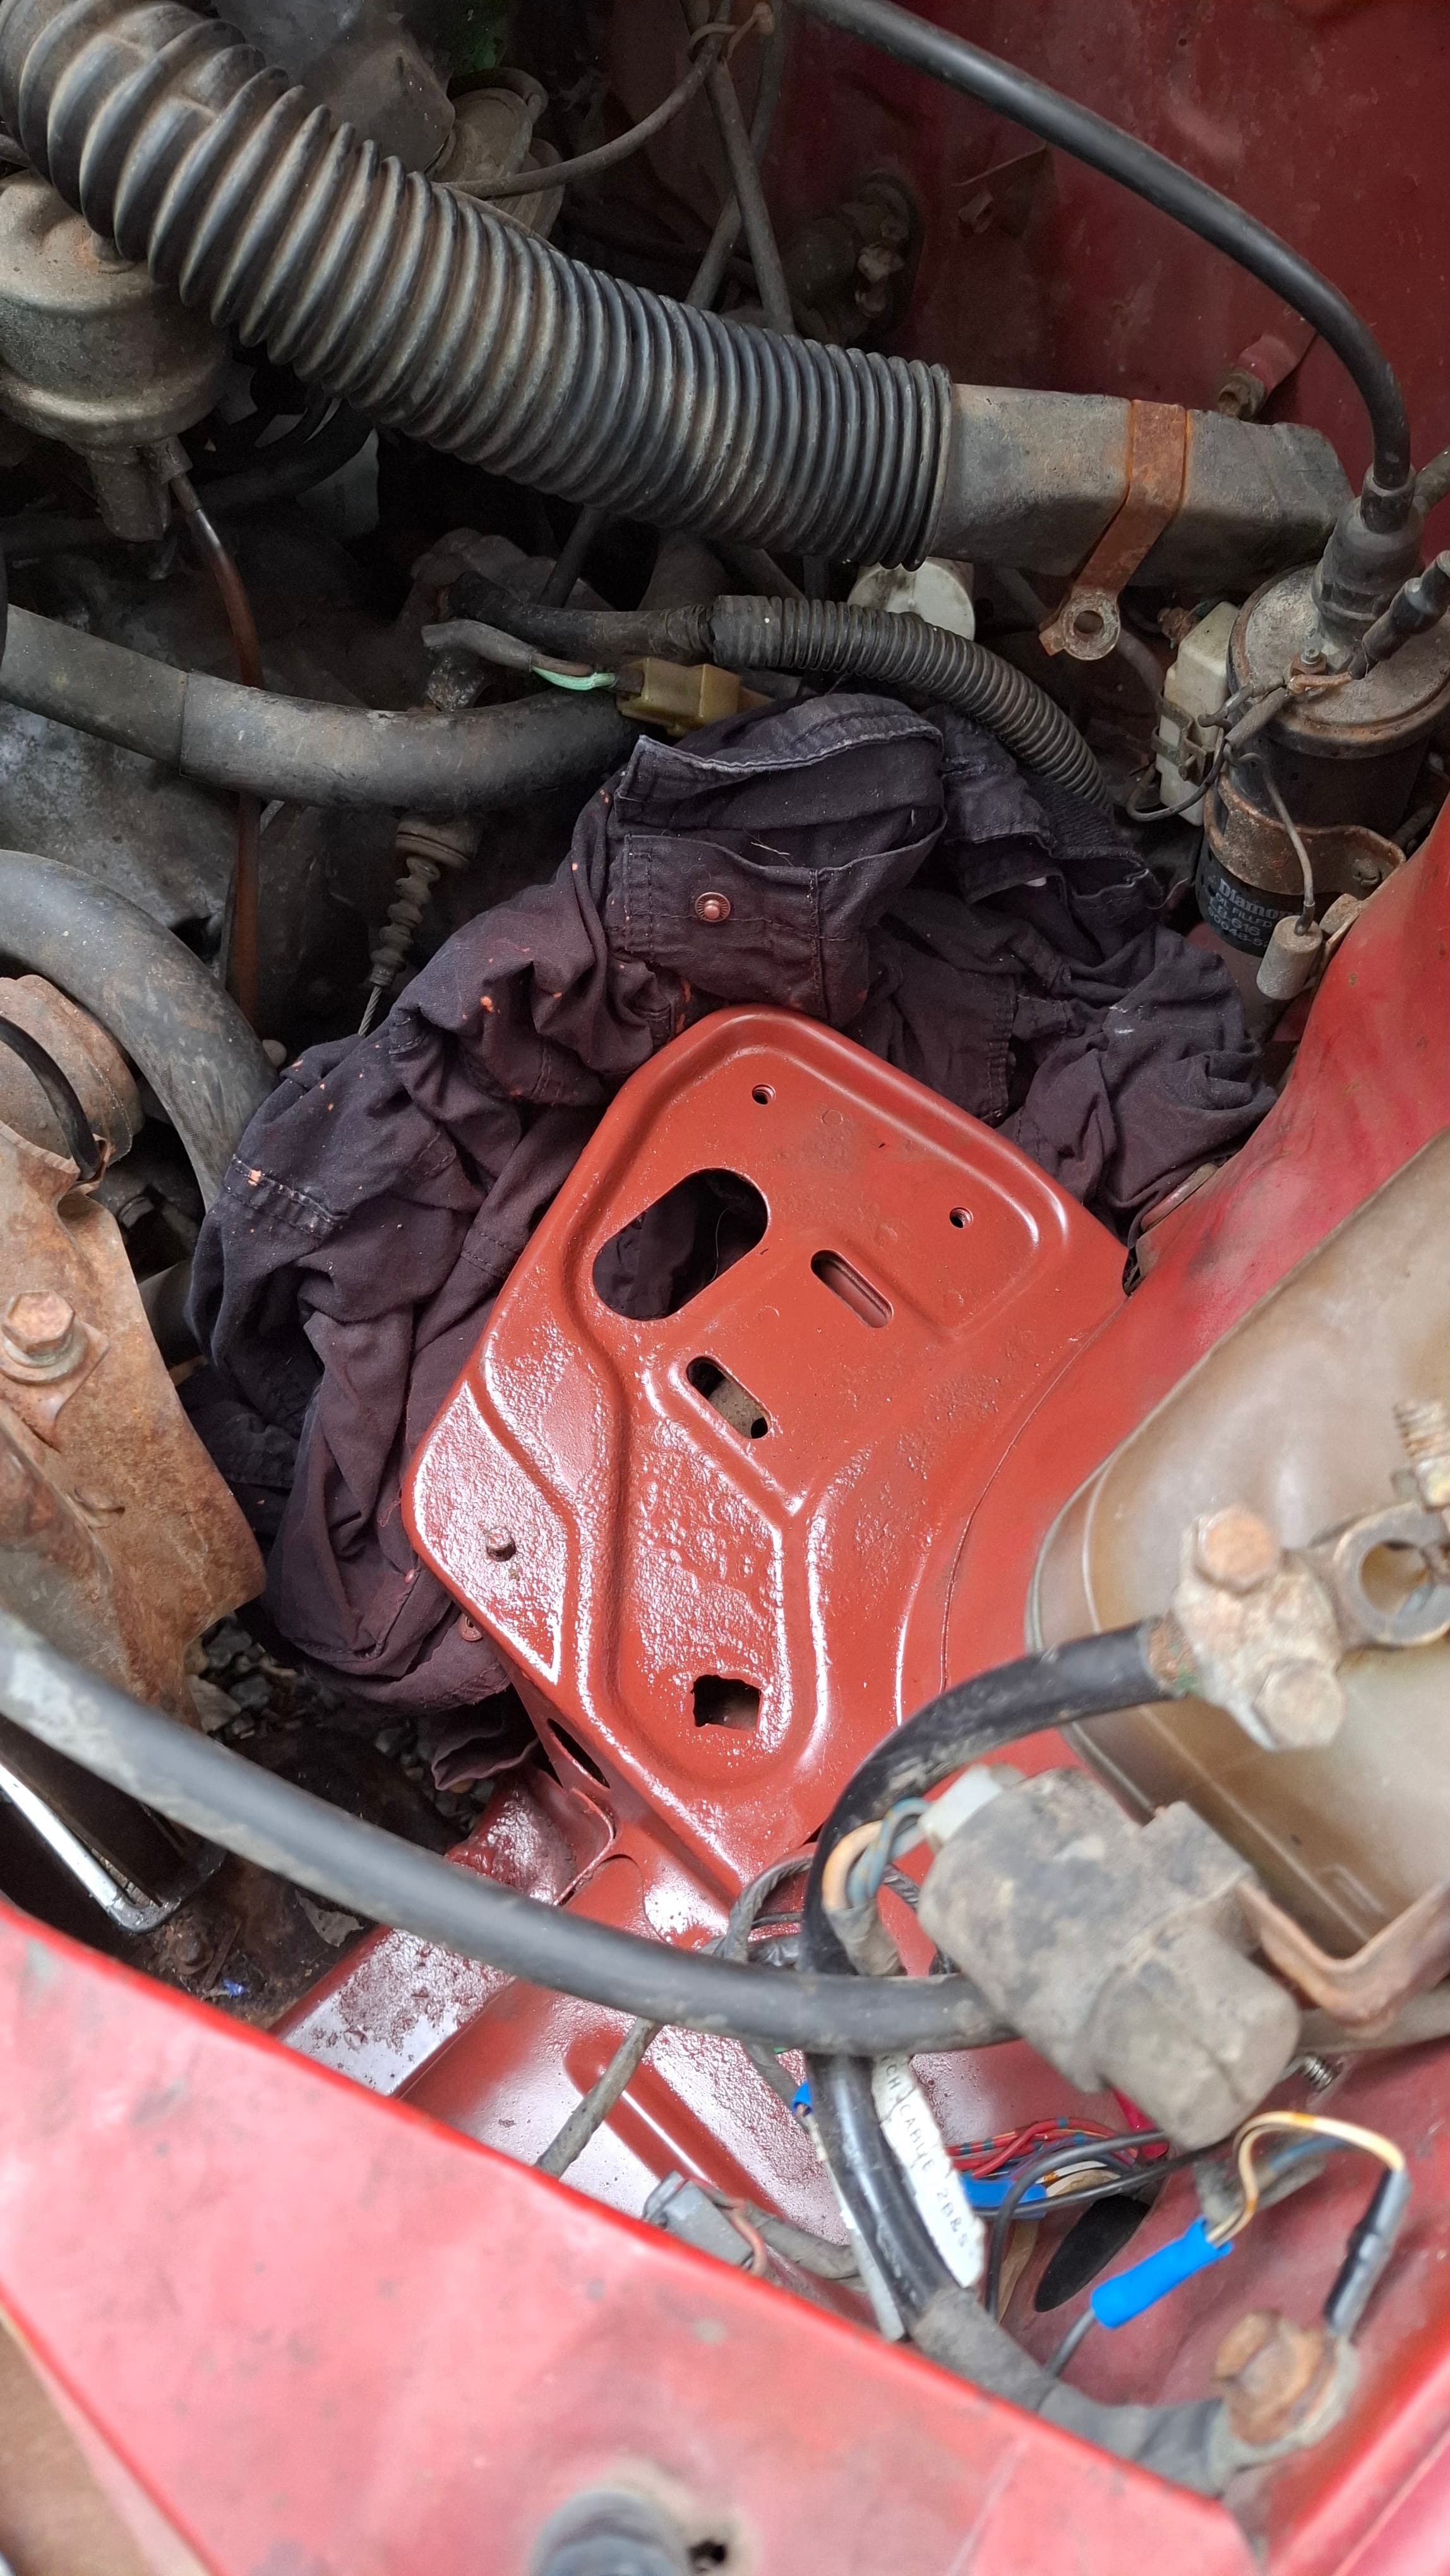
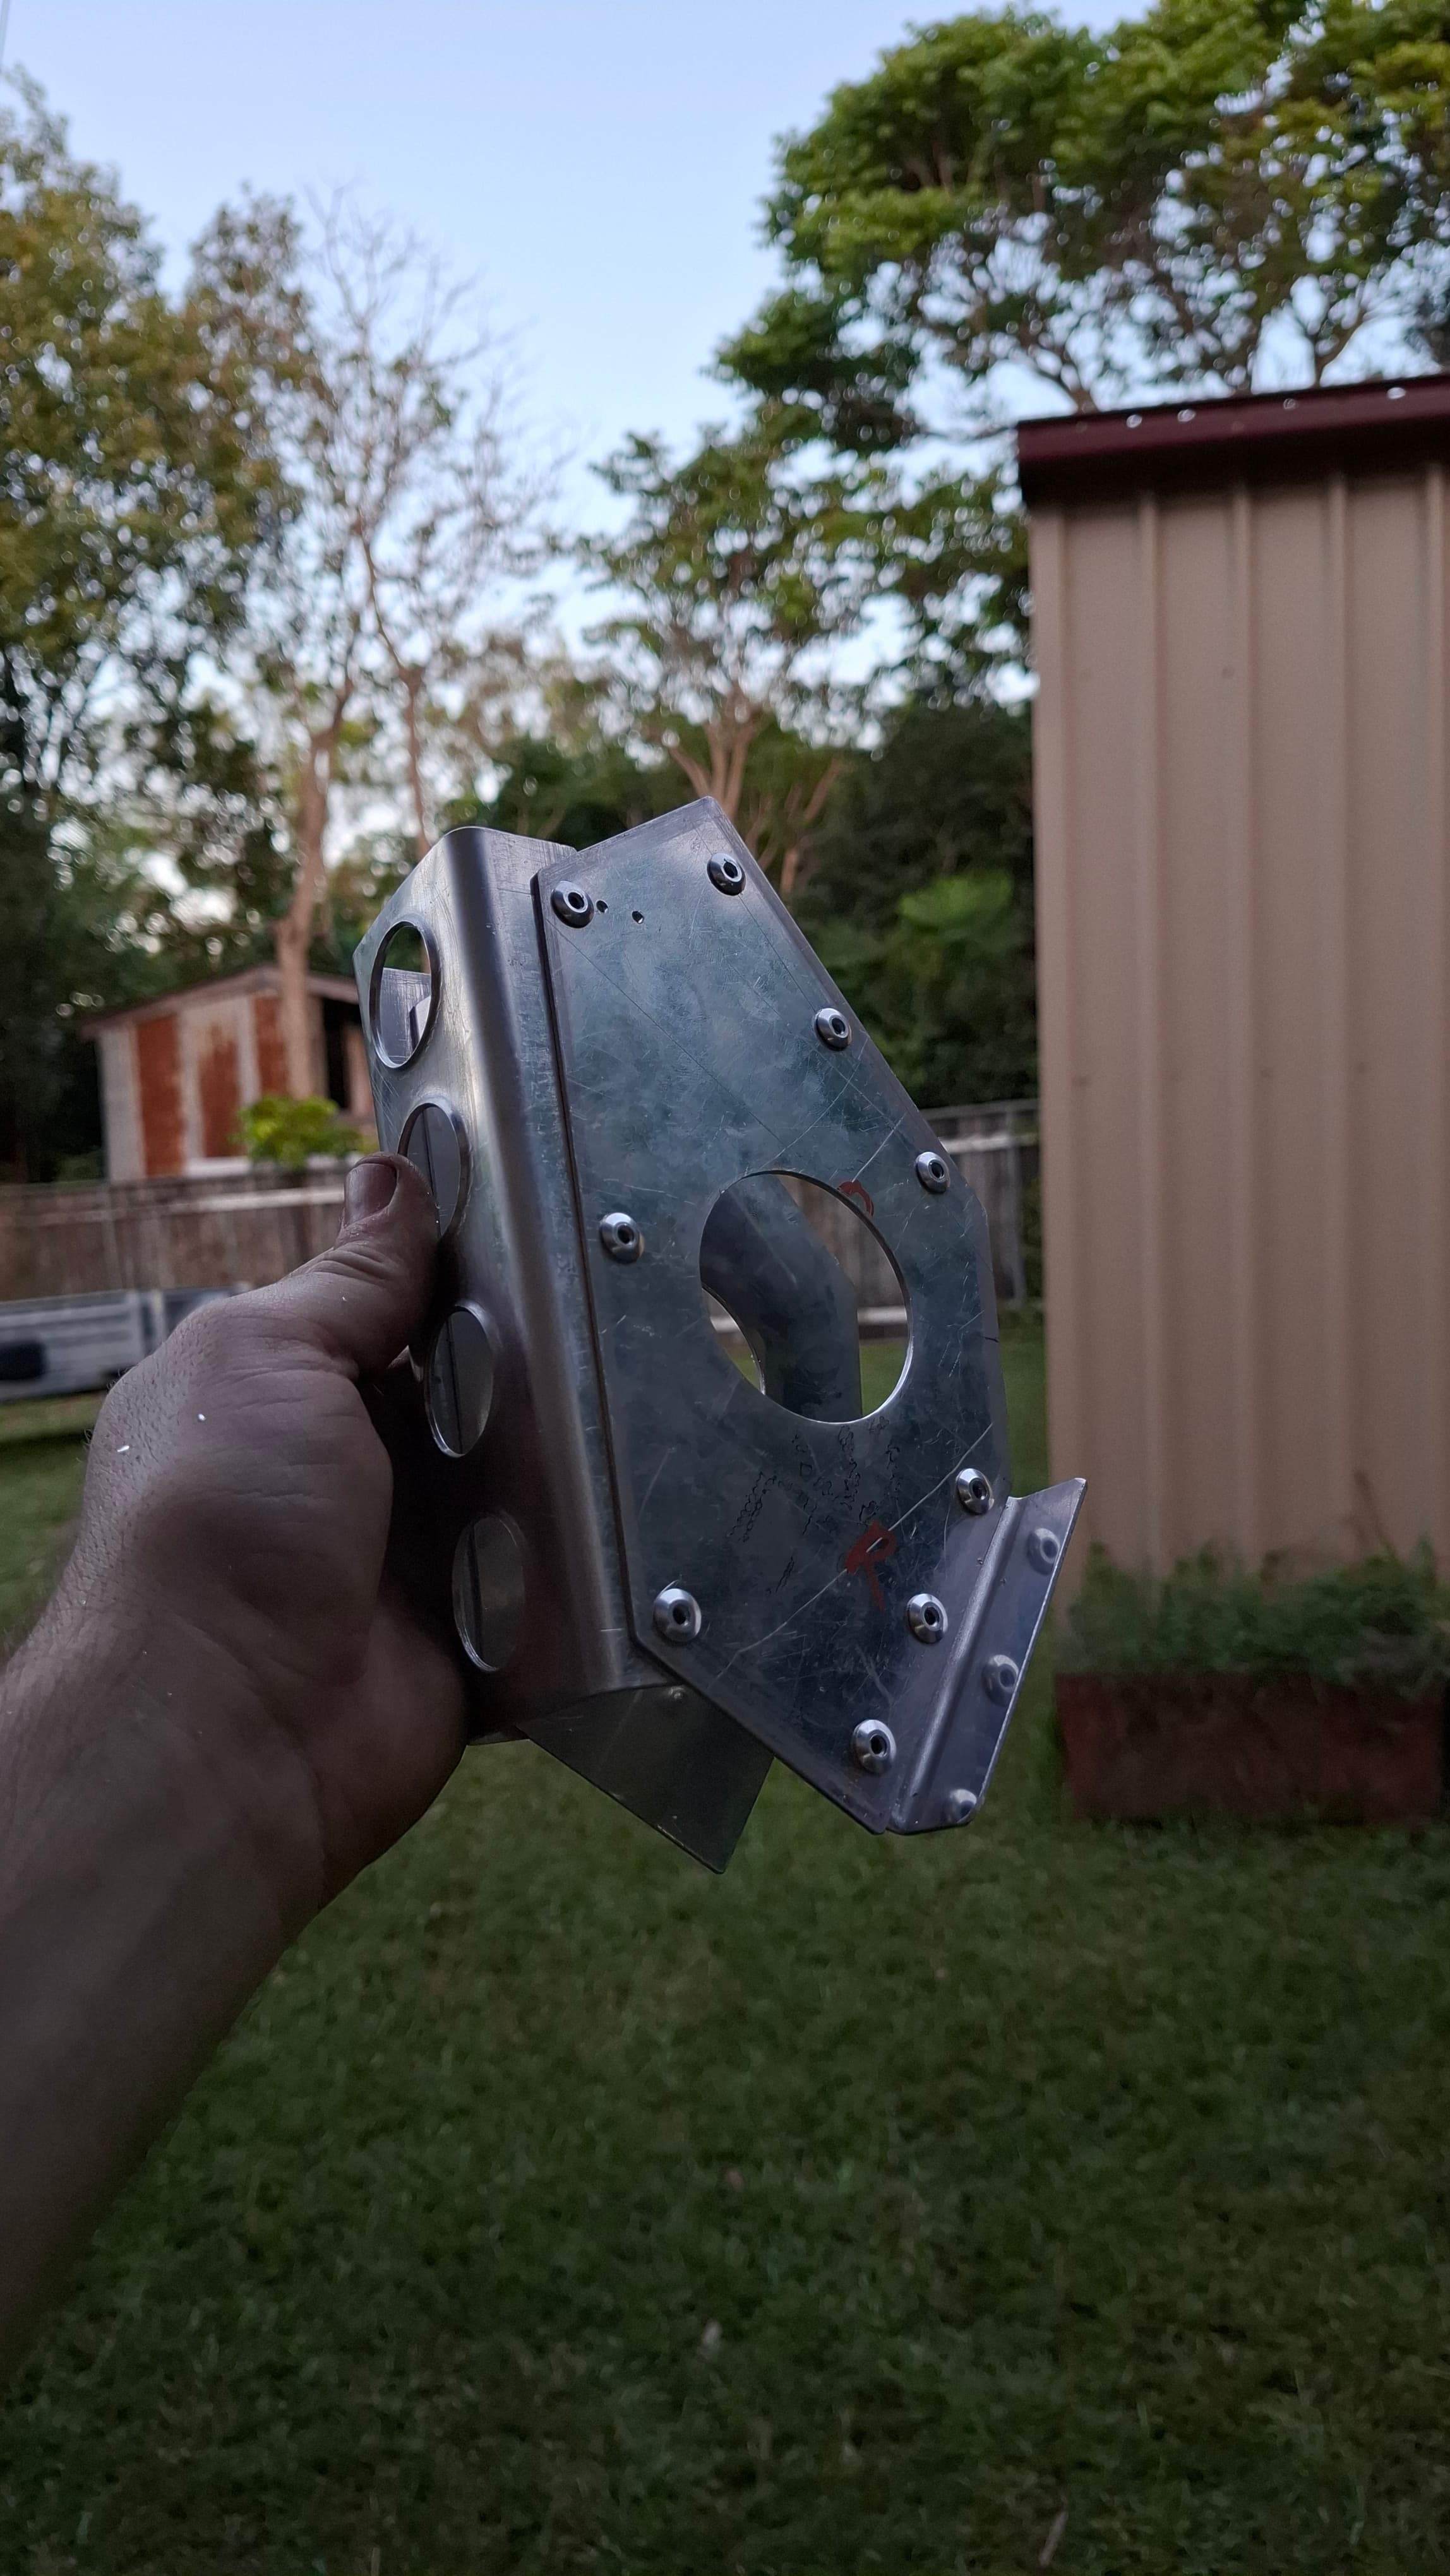
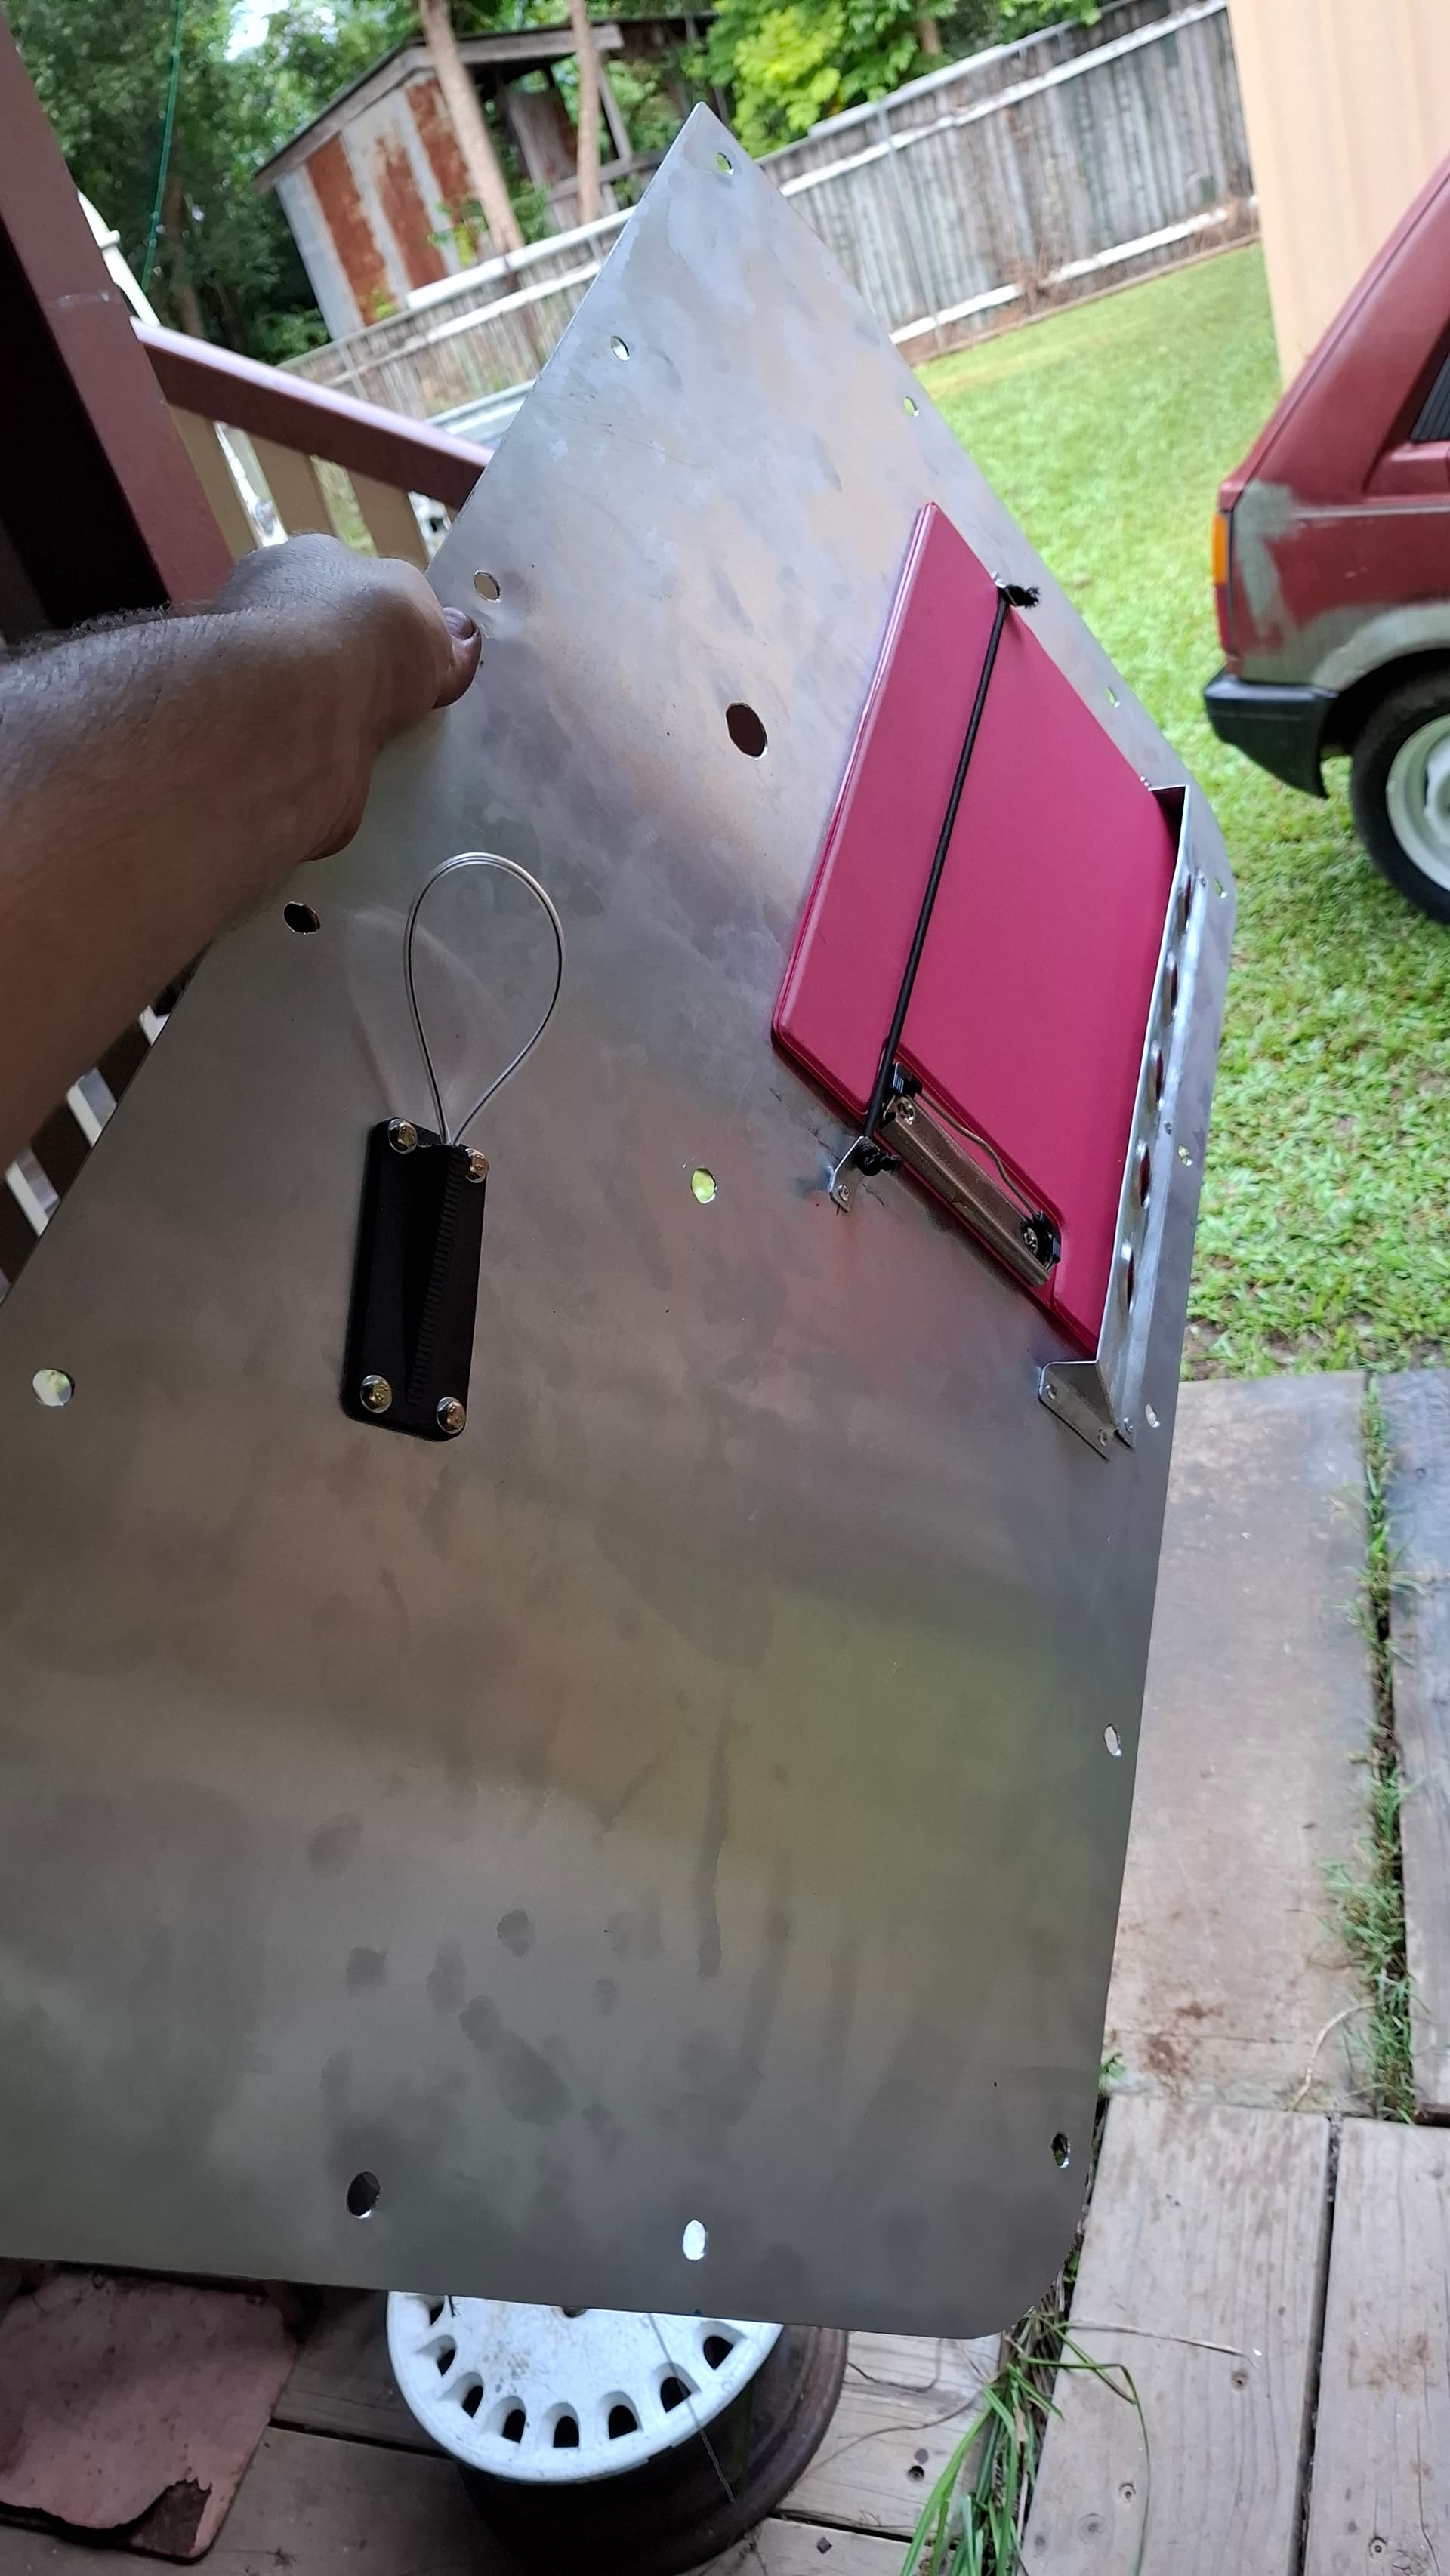
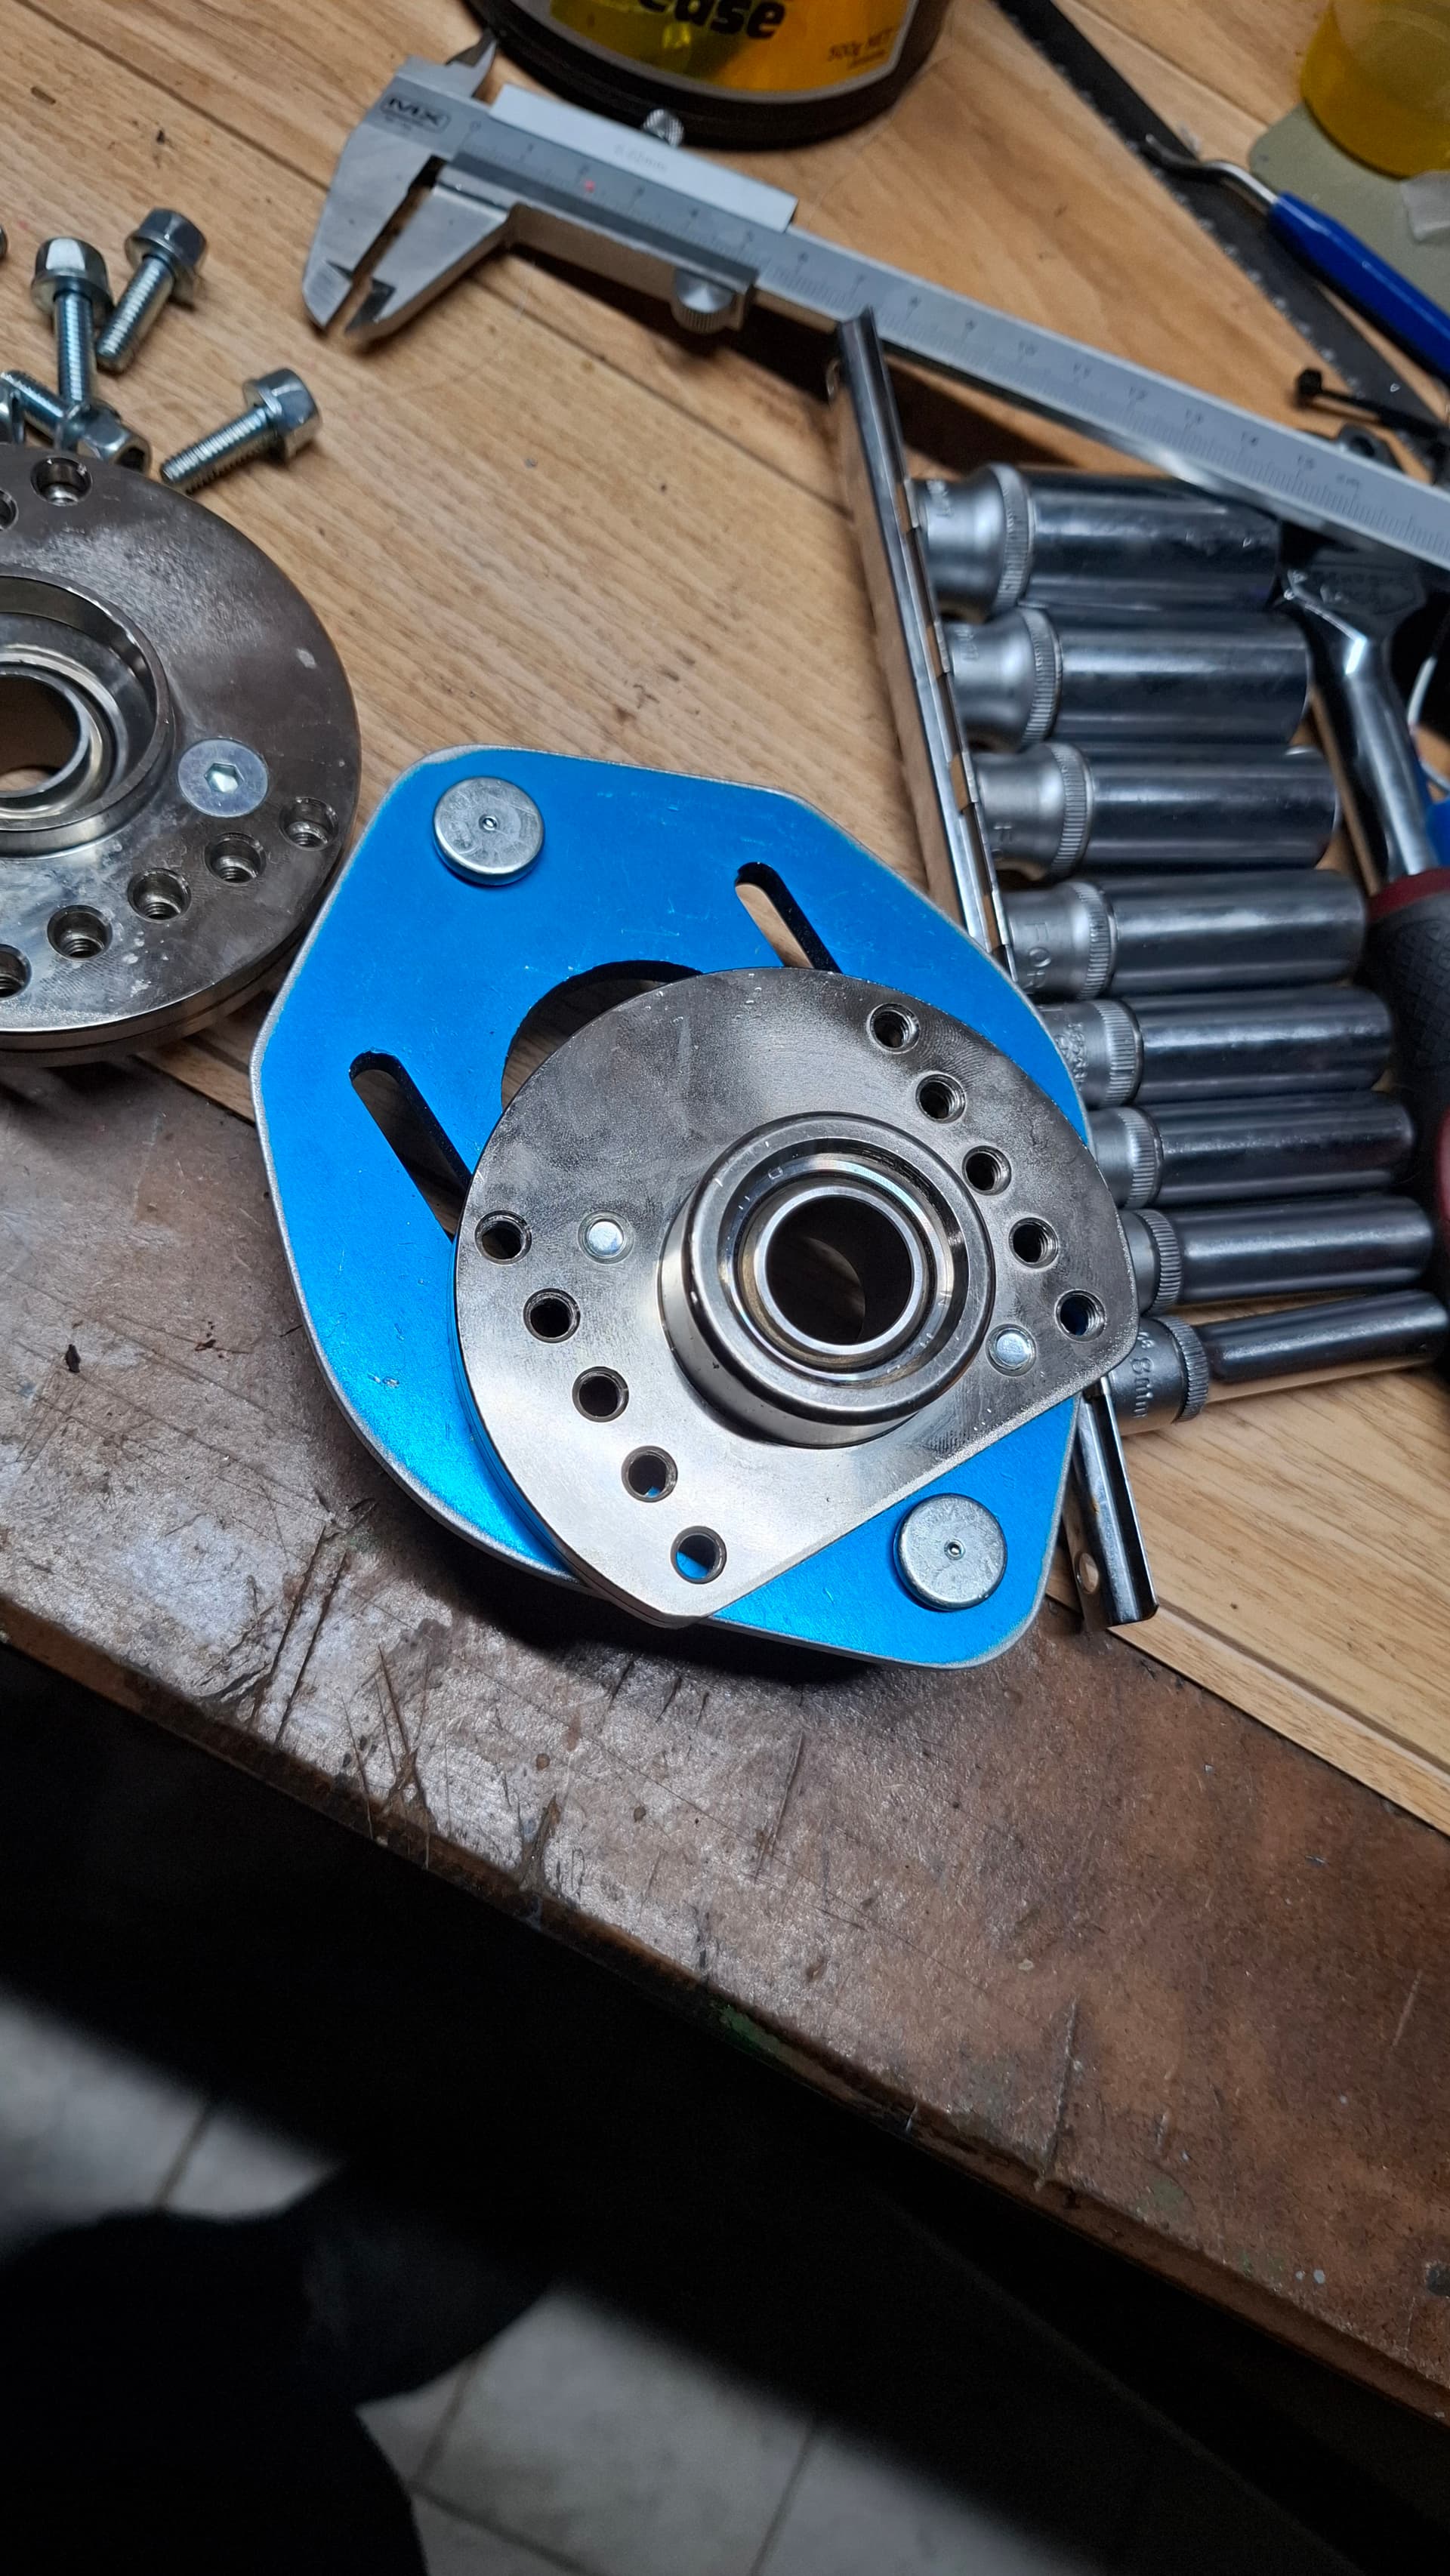
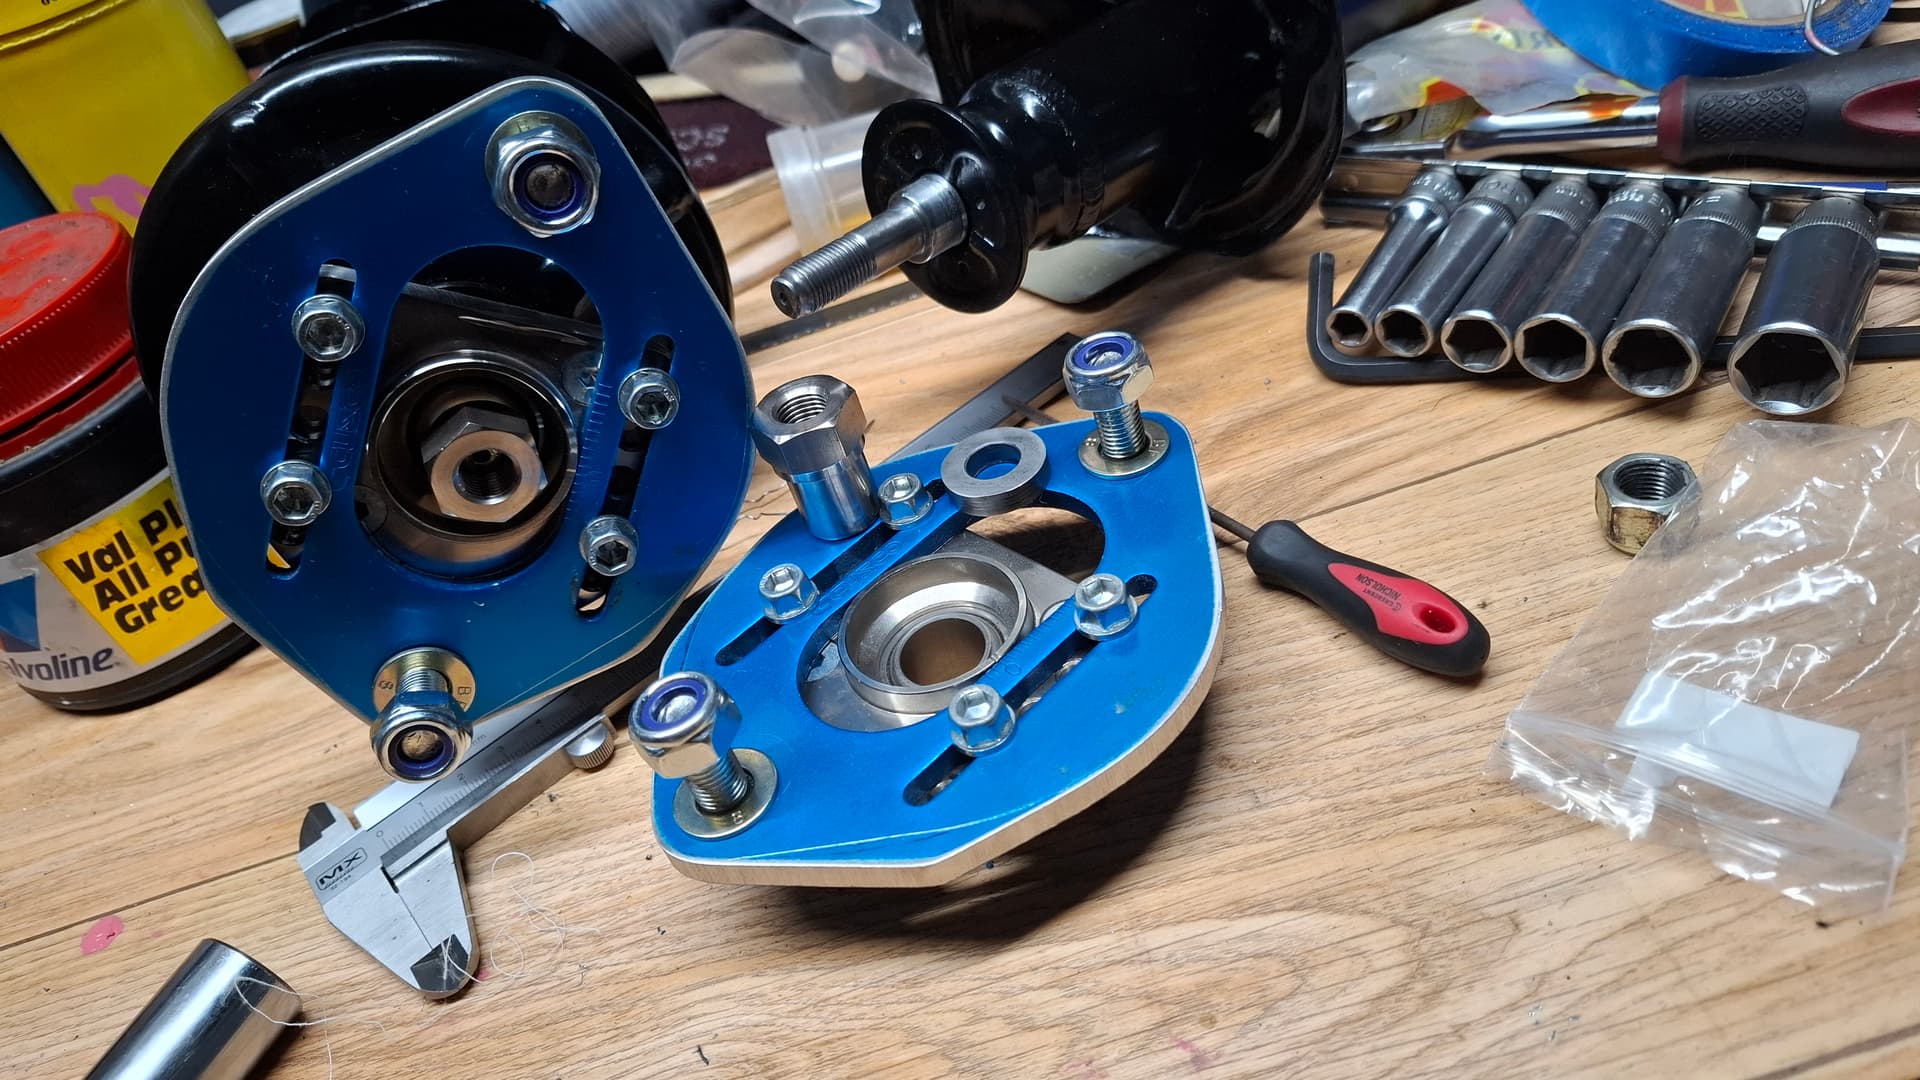
Cusco makes it super easy to fit any strut top to any car. The spherical bearing is identical for all strut tops (MAYBE other brands too if 18mm ID) and they just use a bunch of adapters to fit different shafts and spring perches. With dual camber bolts I can still get speedway mounts of camber.
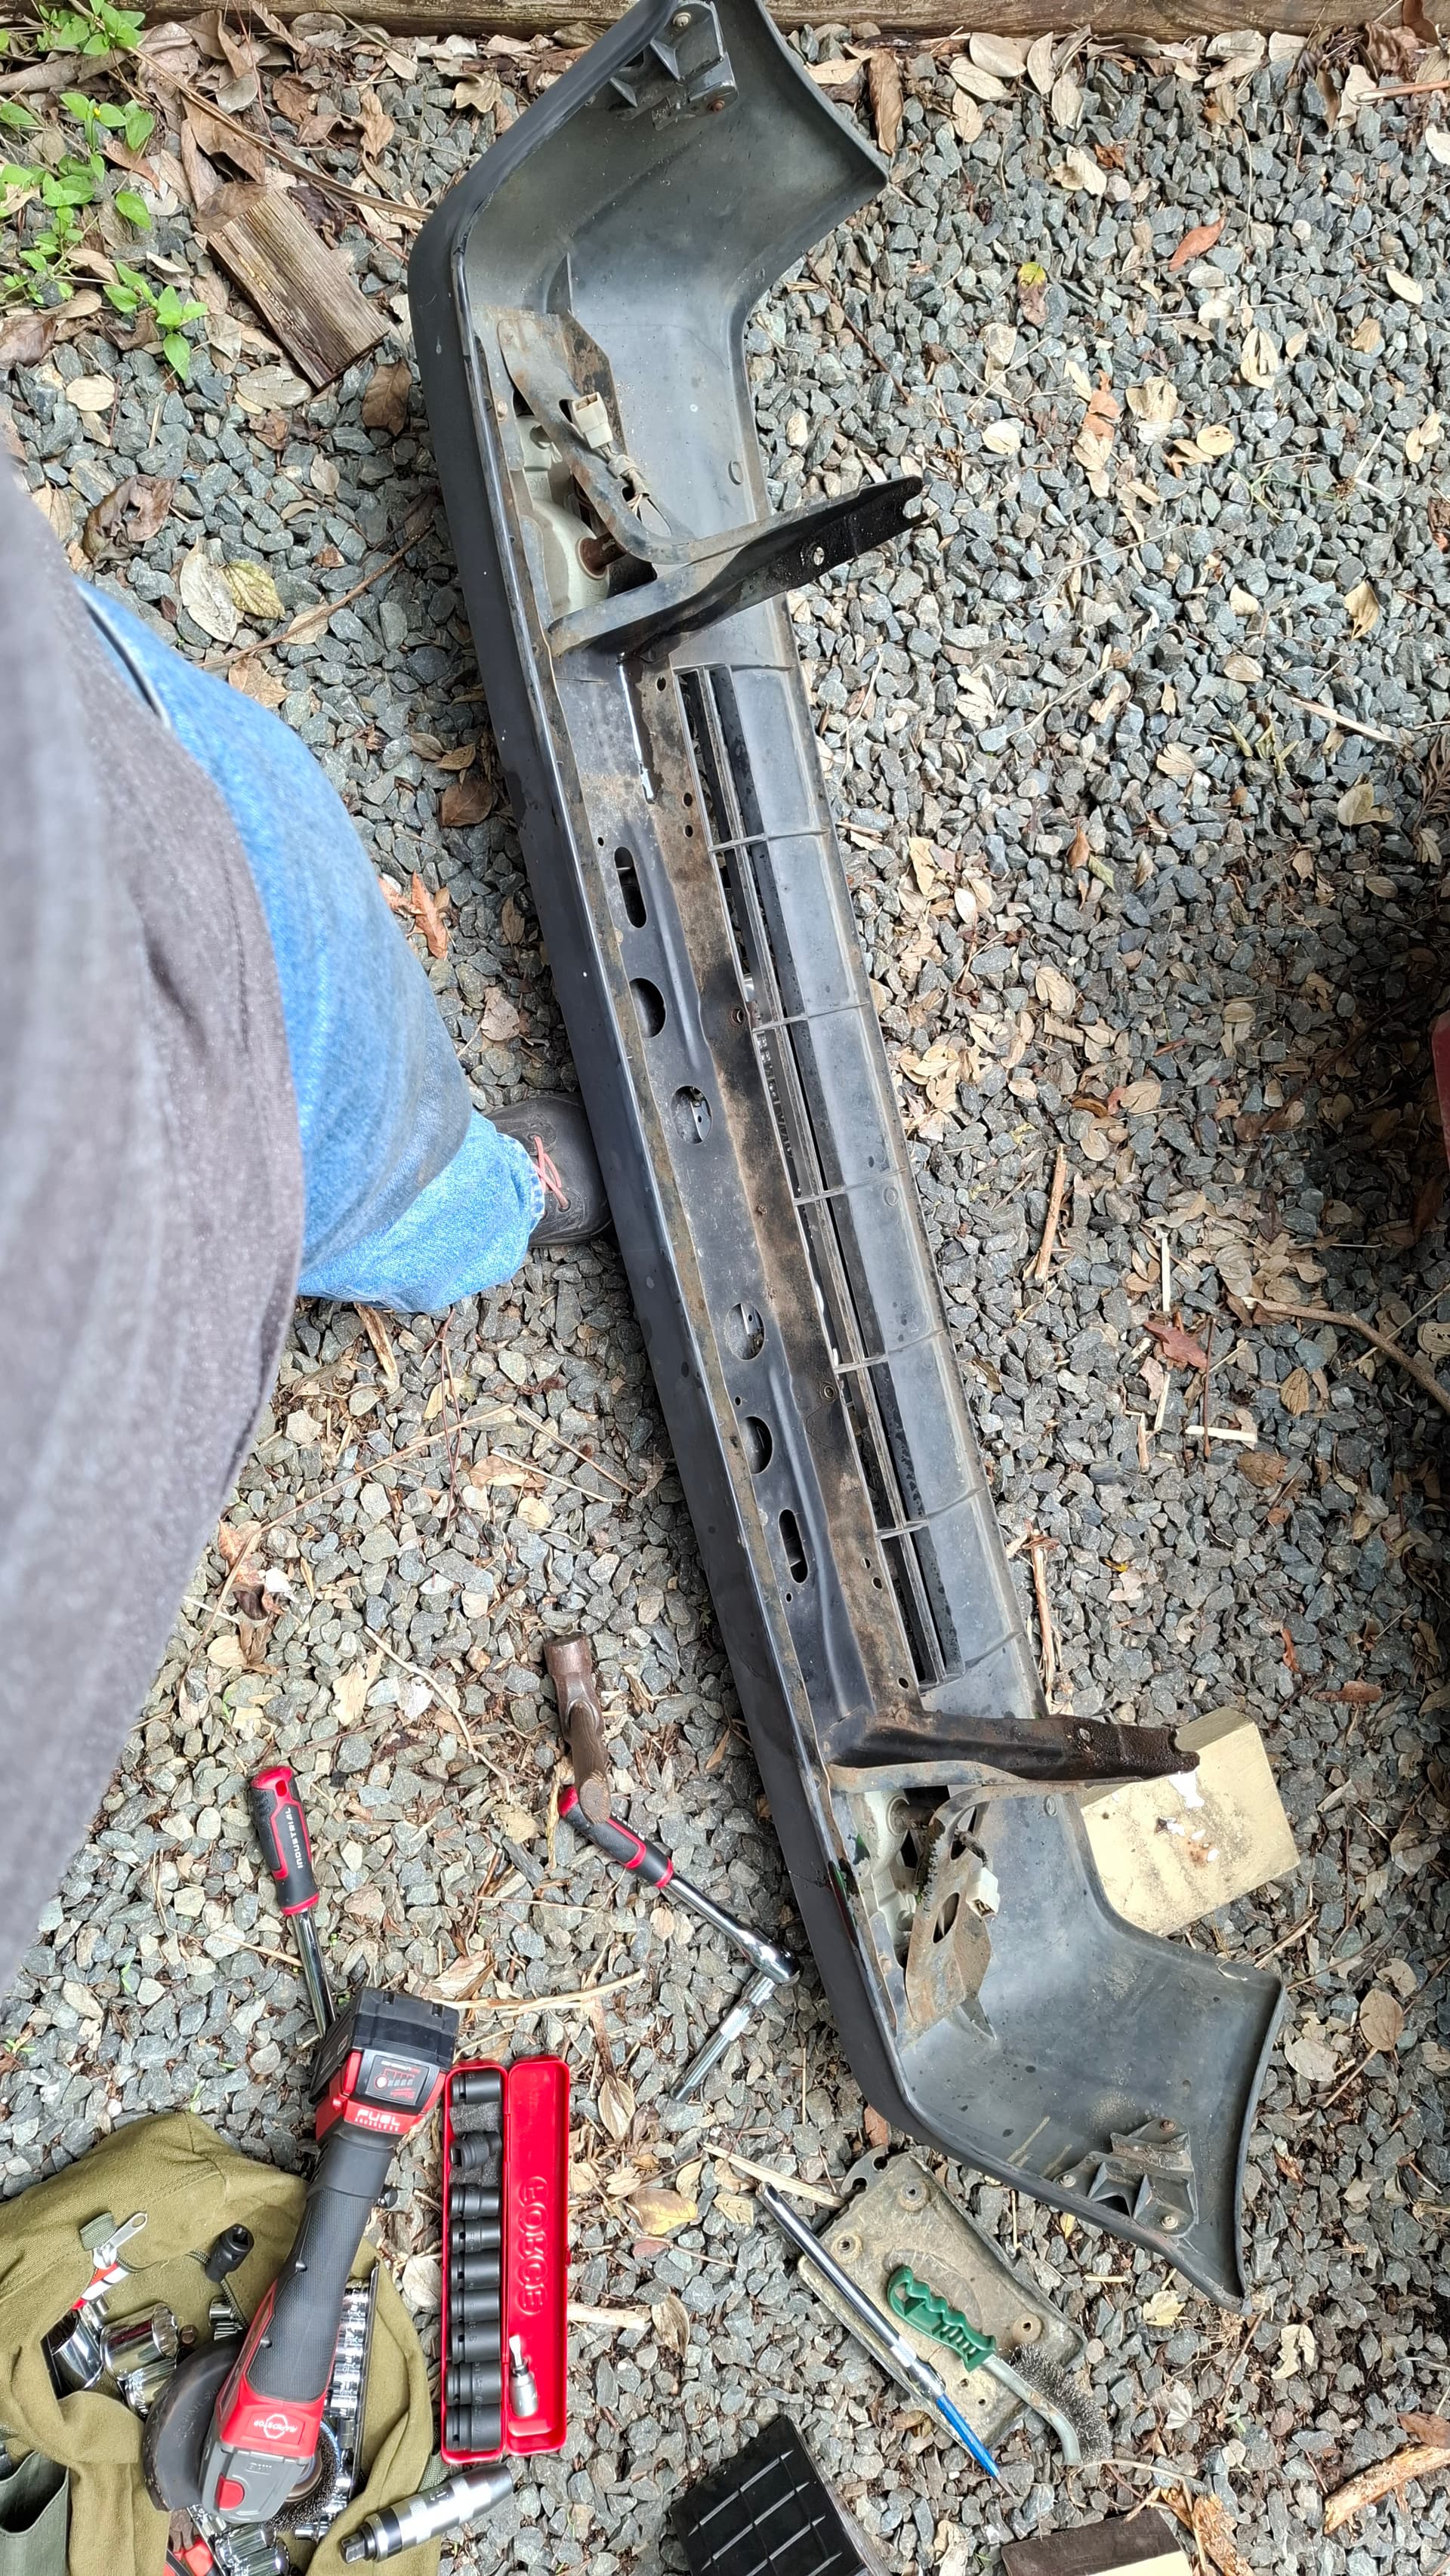
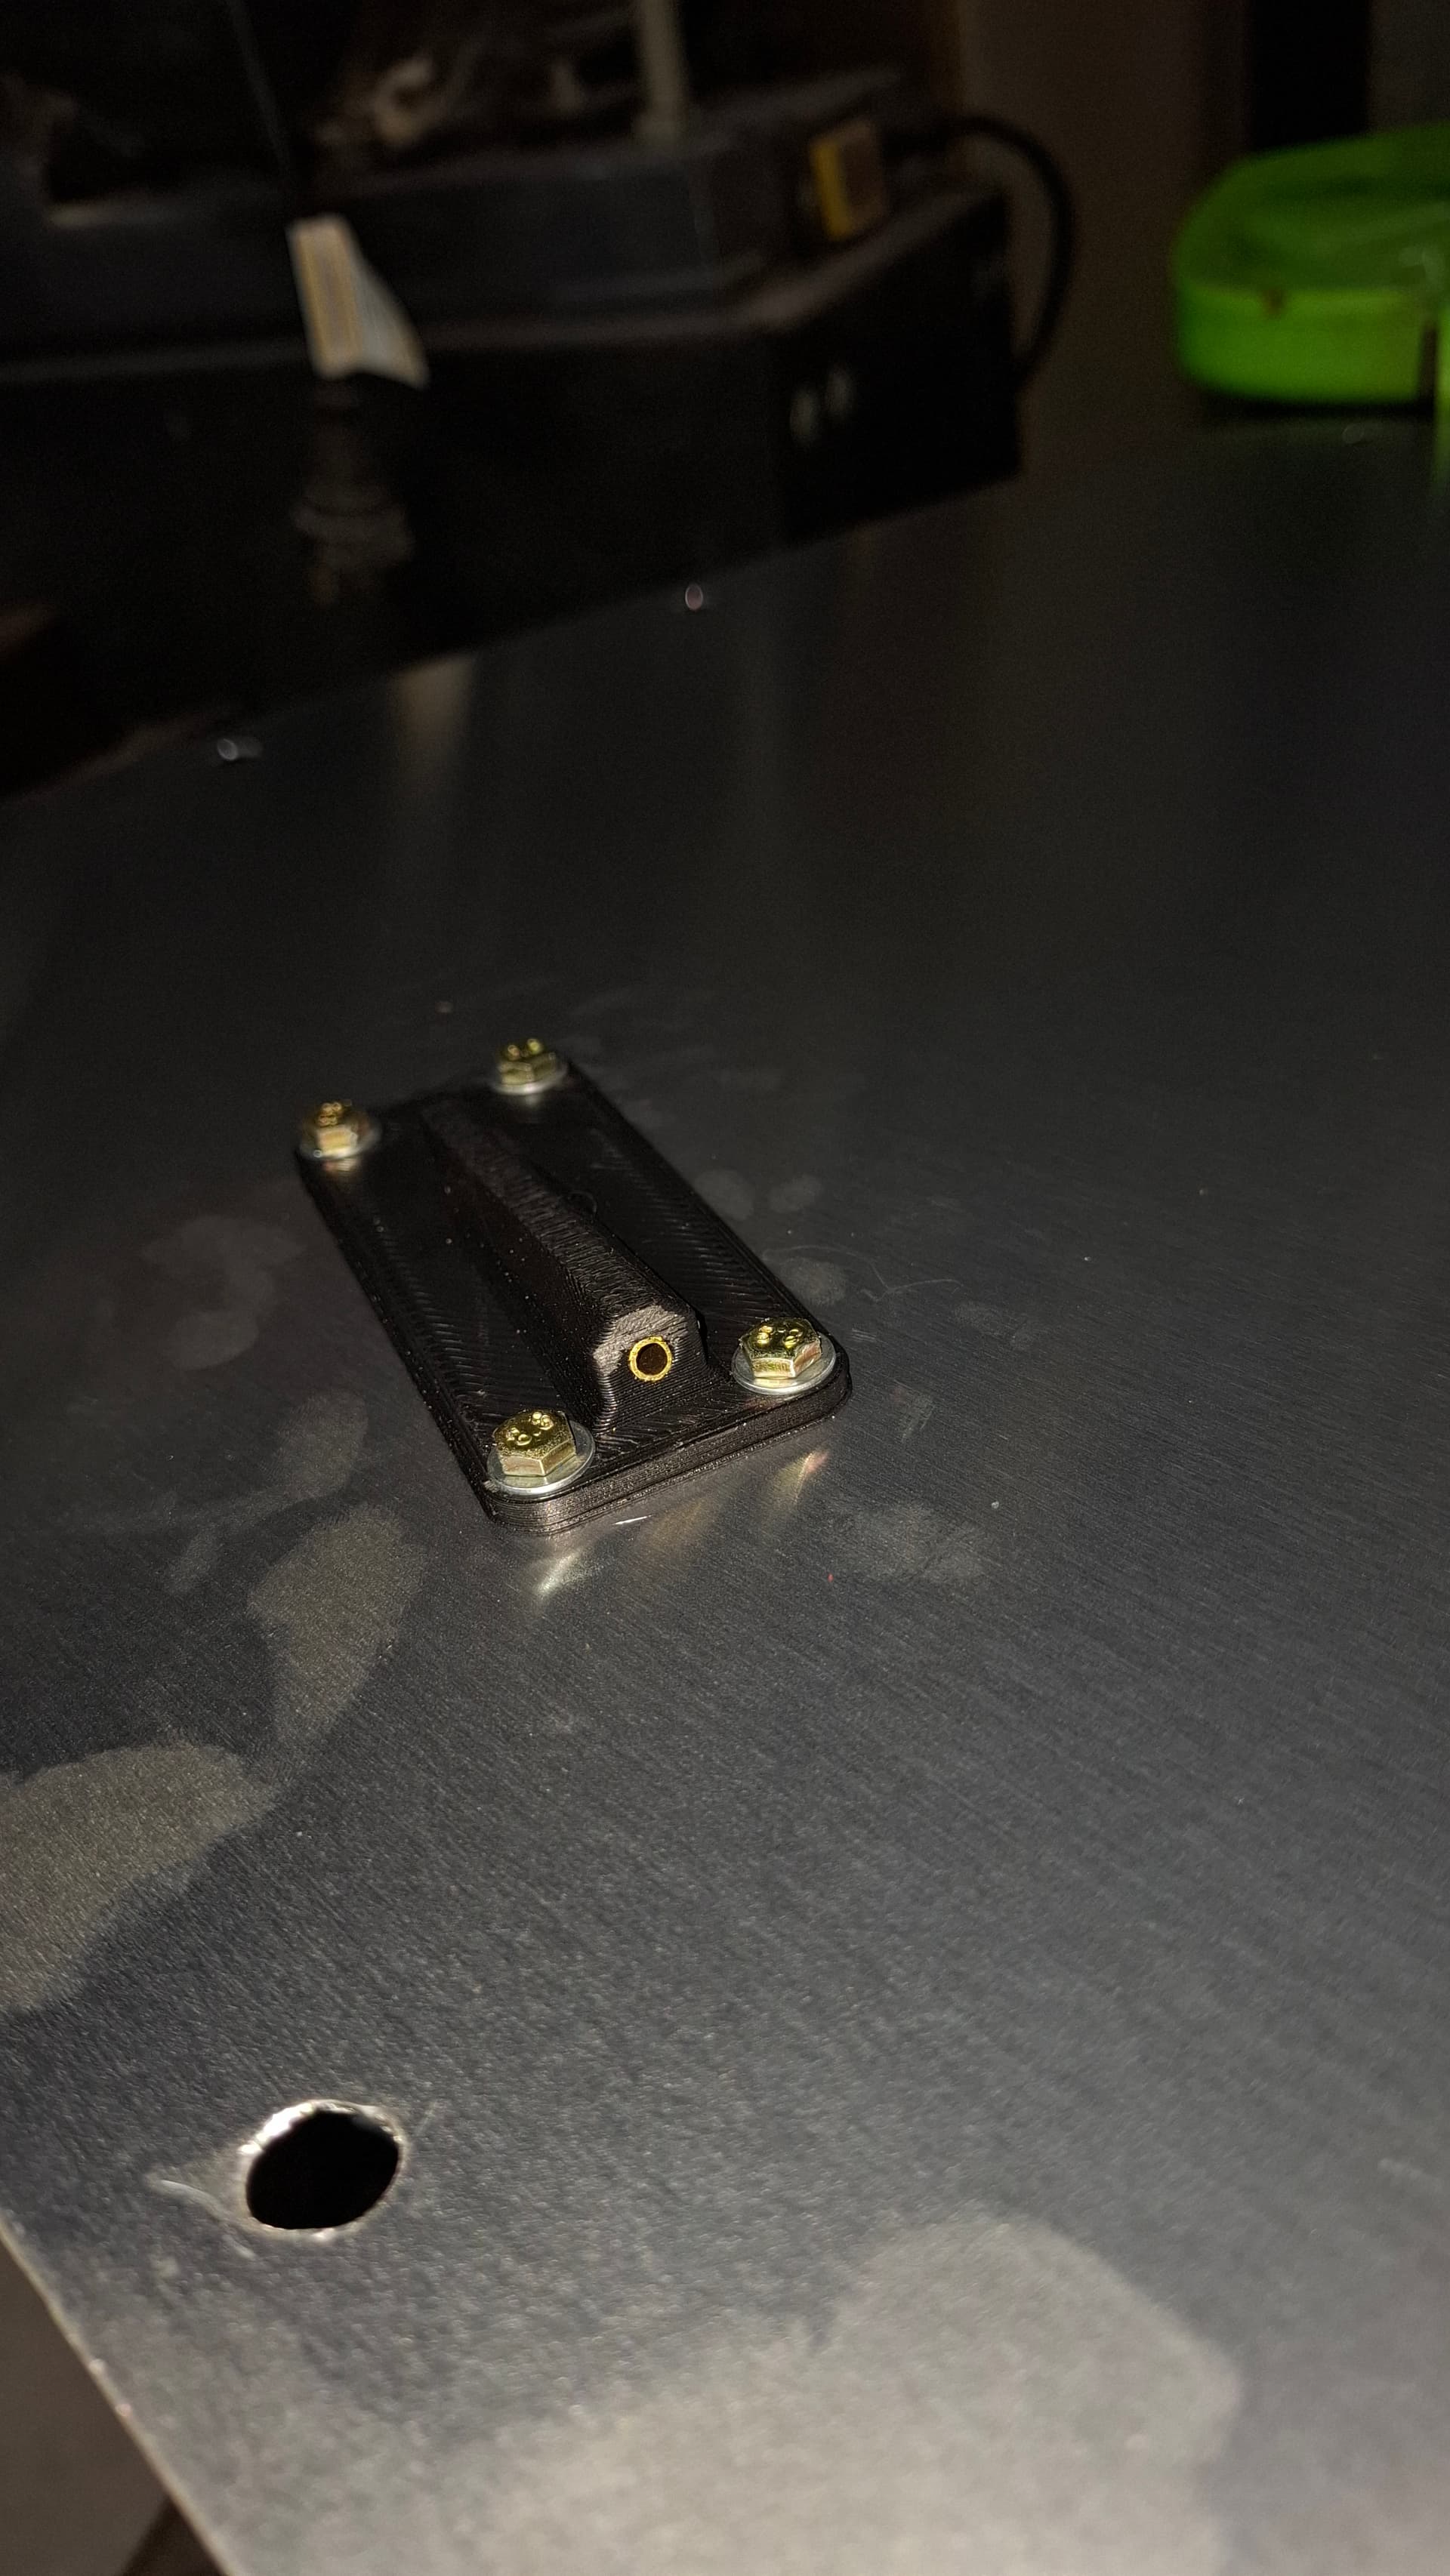
Fabrication just involved overlaying the dimensions in cad and 3d printing some templates but it could all be done with pen and paper or blank 6mm aluminium plate and a scriber. Reusing the studs required test drilling a hole in scrap, it’s around 11.6mm or 31/64ths, easy to find a good press fit size in imperial for metric hardware. If you damage the treads on the shock shaft for what ever reason… like I did, Sutton makes a 1" die in m12x1.25 and are available at trade tools.
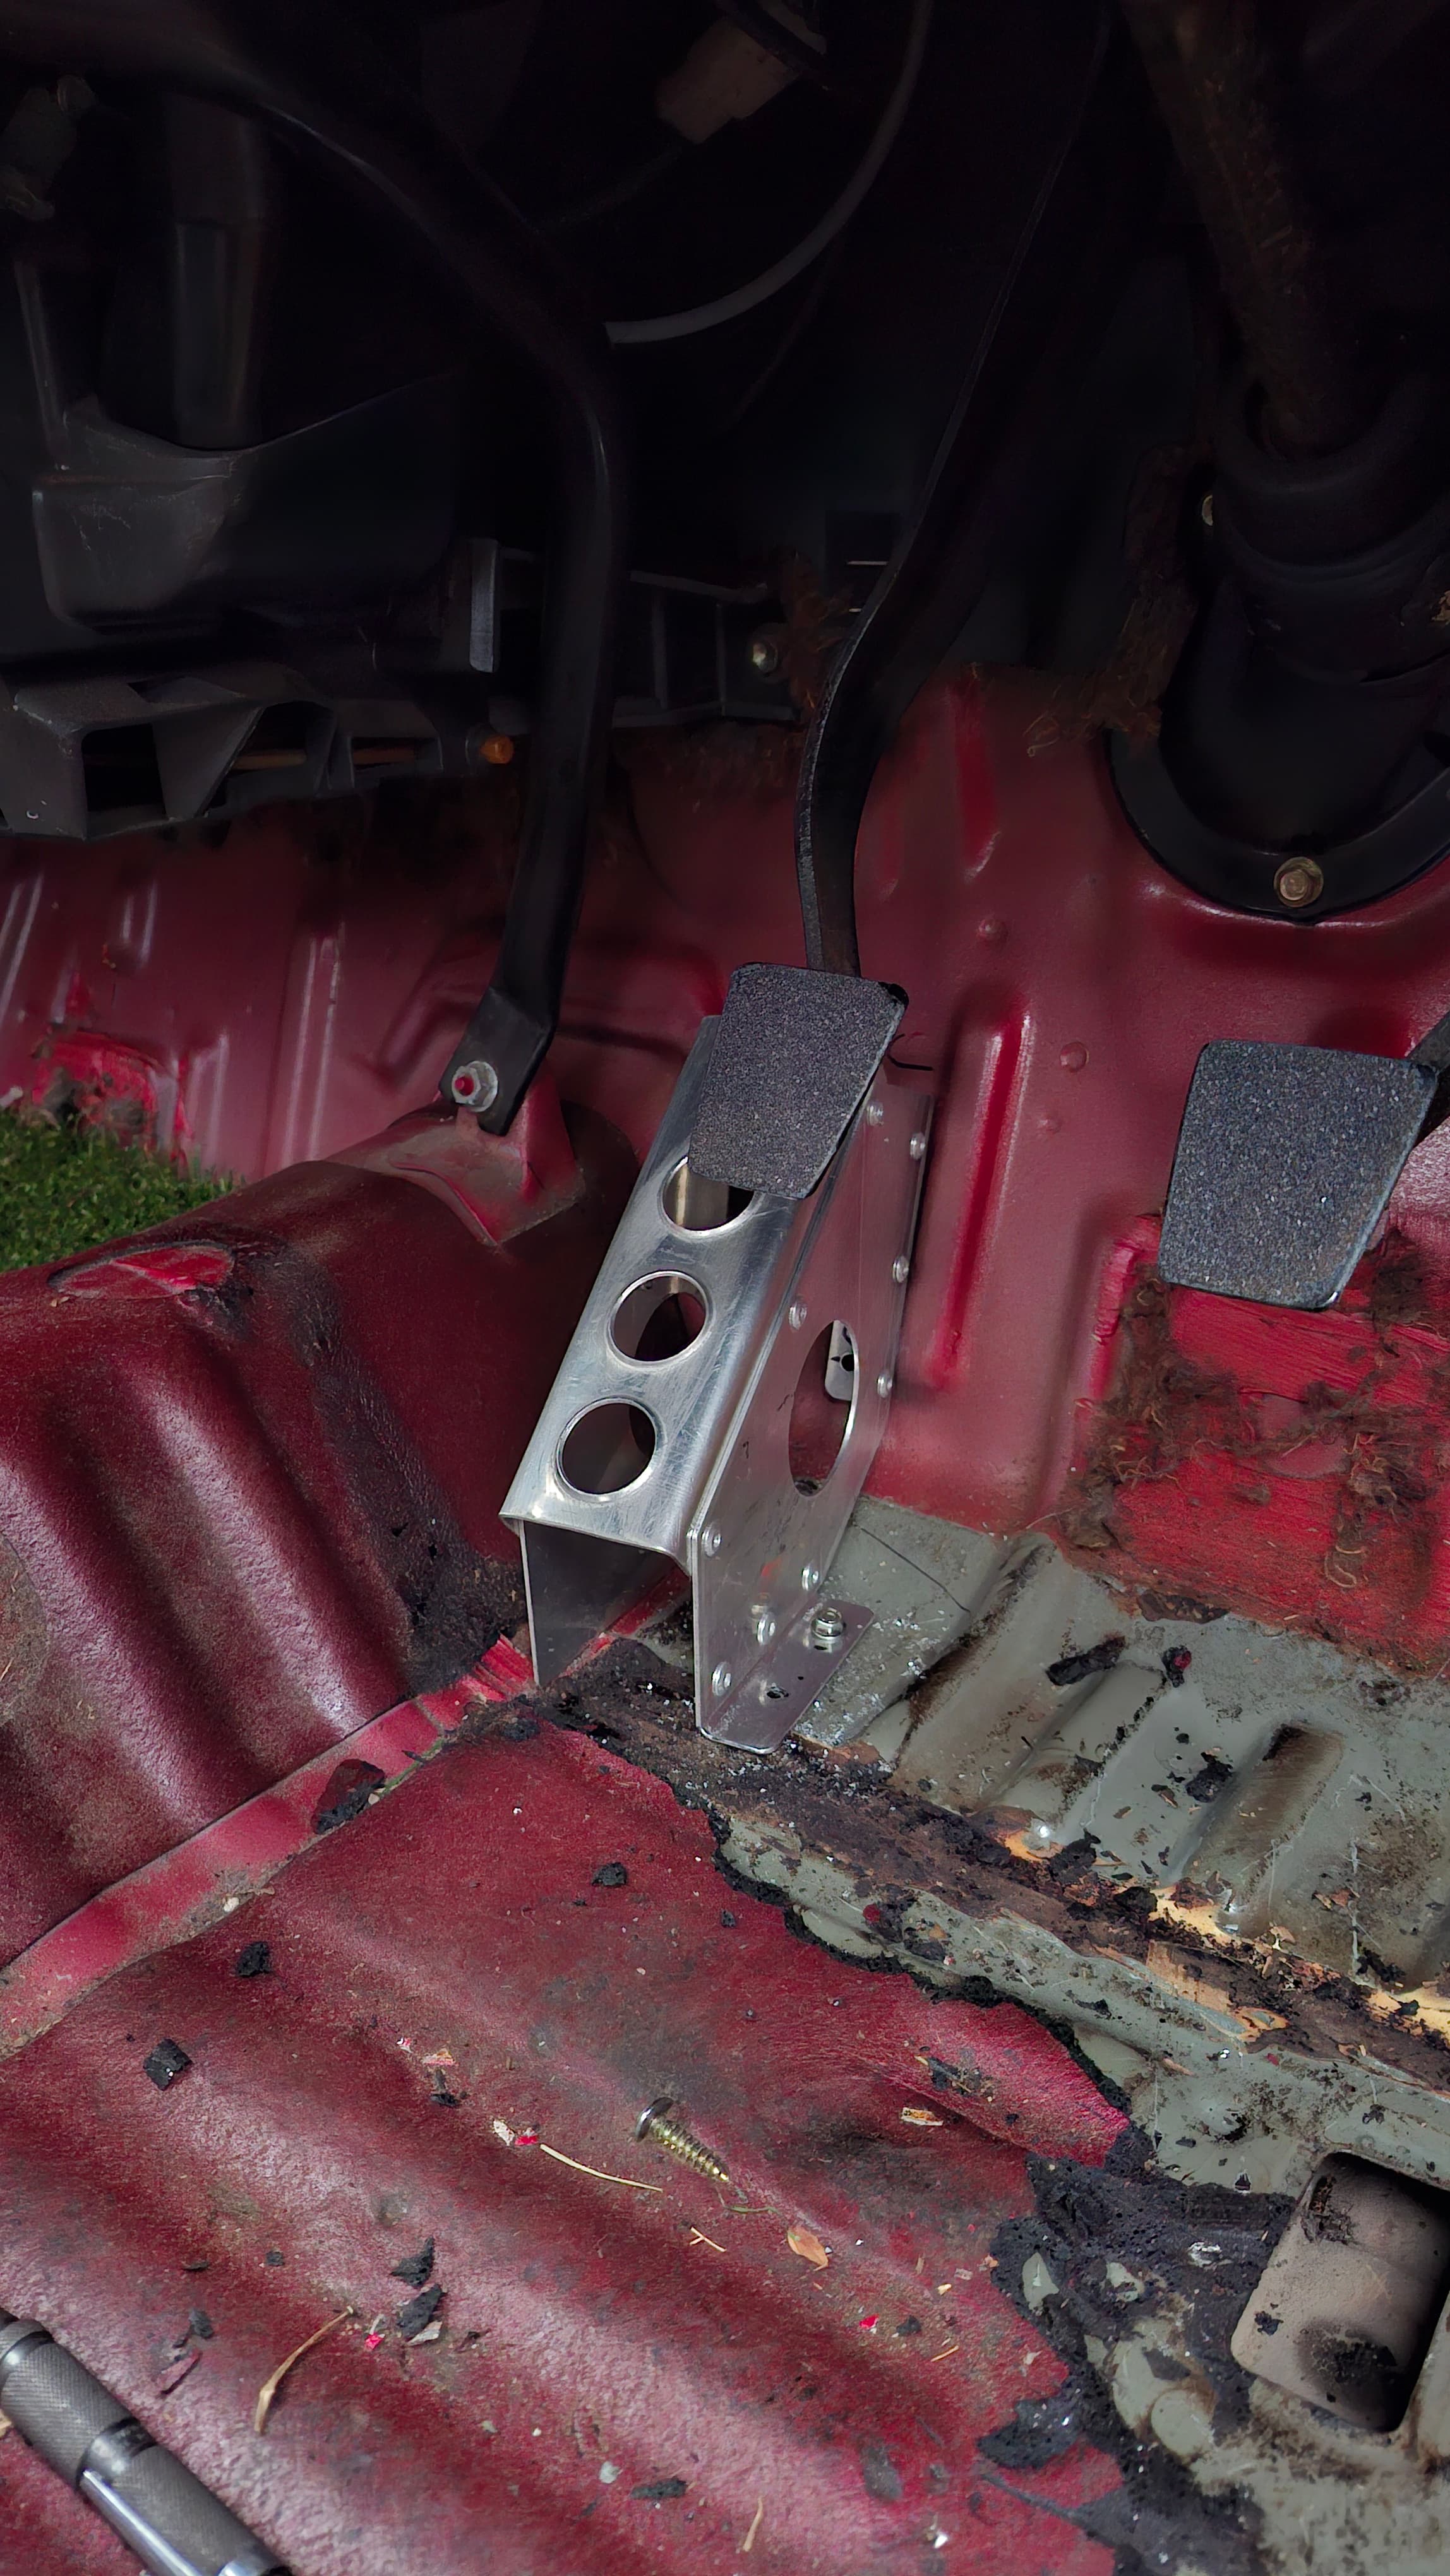
I had to cut the bearing plates to enable enough caster adjustment as the studs are now closer to the slider area.
My spacers were made from the plug a 28mm holesaw cuts out of 6mm mild steel bar, then drilled out to 12mm, the cusco part I believe is for a ra20 soara rear coilover.
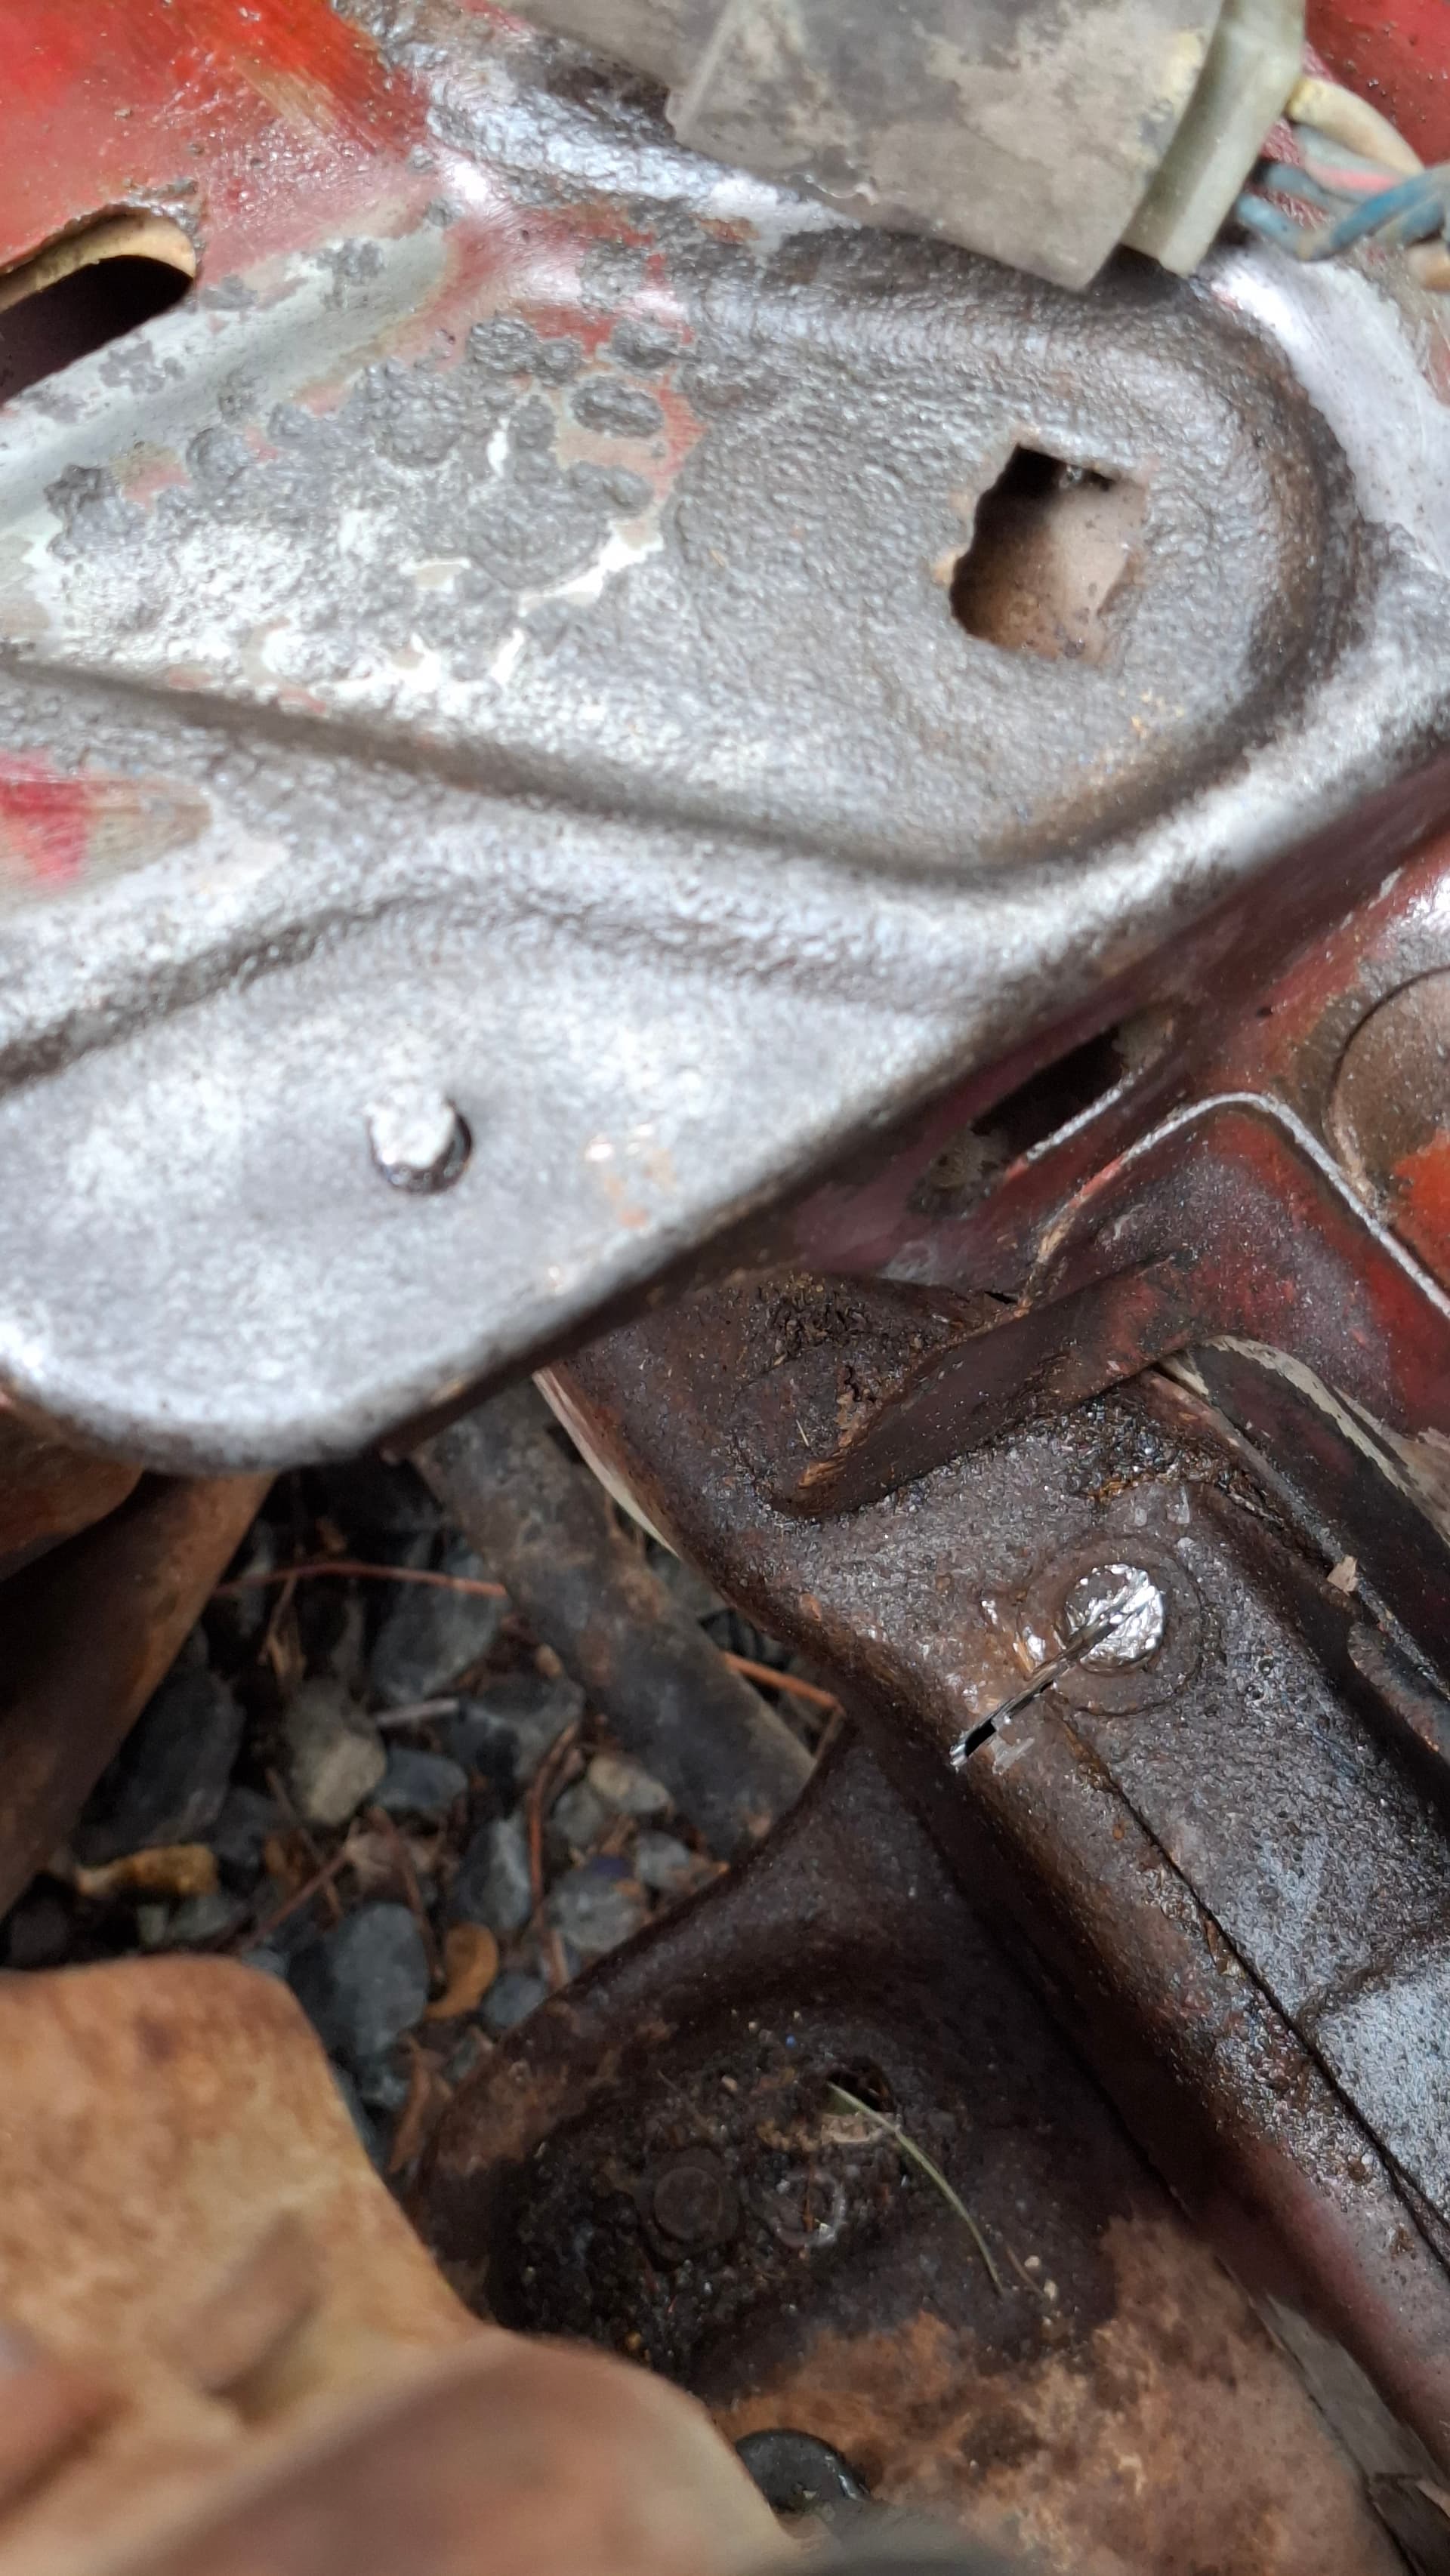
The shock tower holes had to be opened up a smidge, as even though I used a drill press, this isn’t a cnc level build. They’re already 10mm for stock M8 studs to allow for inaccuracy when the shell gets built.
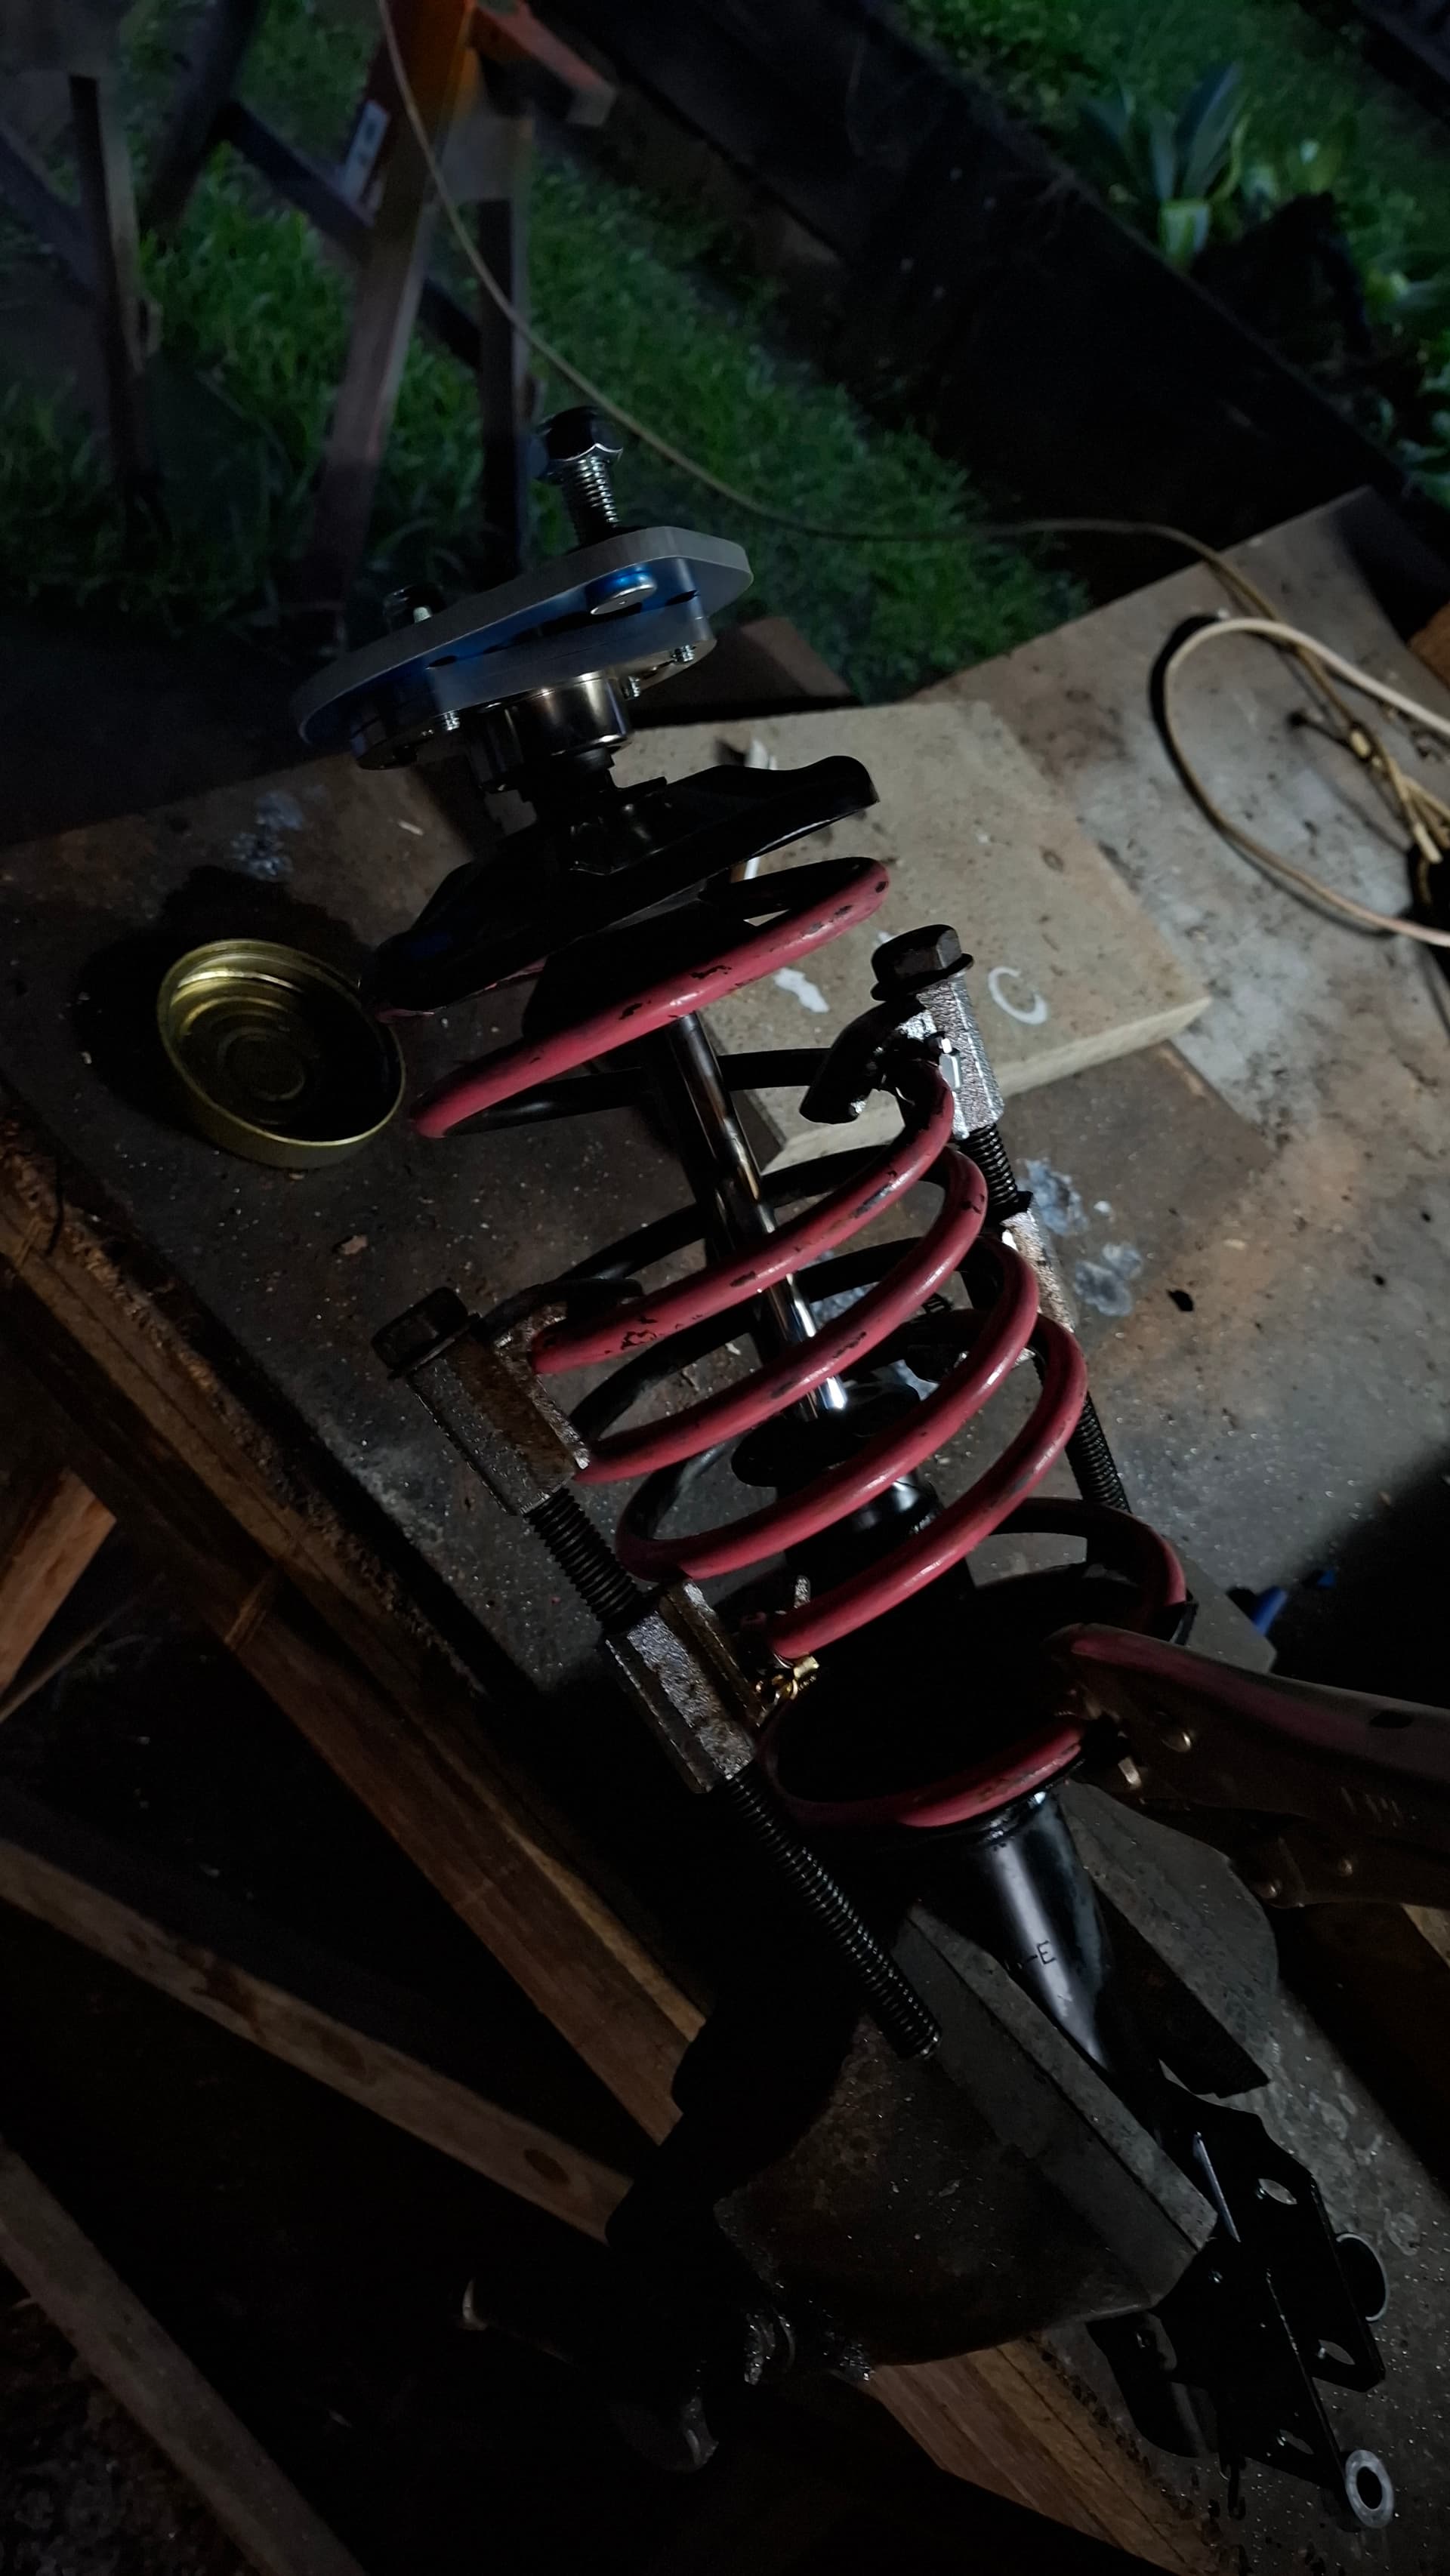
Quick tip with spring compressors, used 12mm hose clamps to stop them sliding down the coils… had one bite me back during install.
I bought the adapting nut from RHD japan 2x for 73 bucks including their cheapest dhl express shipping, came in 3 days, literal overnight parts from Japan.
All in all, car grips better on the dirt due to jacking forces in the steering and snaps to centre reliably, especially when you enter a chicane too hot and need to let go of the wheel with your foot planted… oops.
Parts list:
Cusco Evo 2-9 Camber plate P/N 564 60M 01S
Cusco pillow ball nut P/N 00B 450 HS or H
Cusco pillow collar P/N 00B 451 06
https://cuscousainc.com/pro…/pillow-ball-nut-pillow-collar
https://www.cusco.co.jp/…/pillow_ball_upper_mount…
https://www.rhdjapan.com/cusco-pillow-ball-upper-mount…
Random measurements:
-G11 strut top bolt spacing: 112mm
-G11 strut top studs: M8 Standard
-G11 shock shaft thread M12x1.25 (very fine)
-Cusco evo bolt patern: 125mm between studs or 3x144.33
-Cusco evo studs: M10 standard
-00B 450 HS: M12x1.25 with 5mm counter bore (H is 0 or 3mm counterbore)
-00B 451 06: 22x12.5x6mm spacer
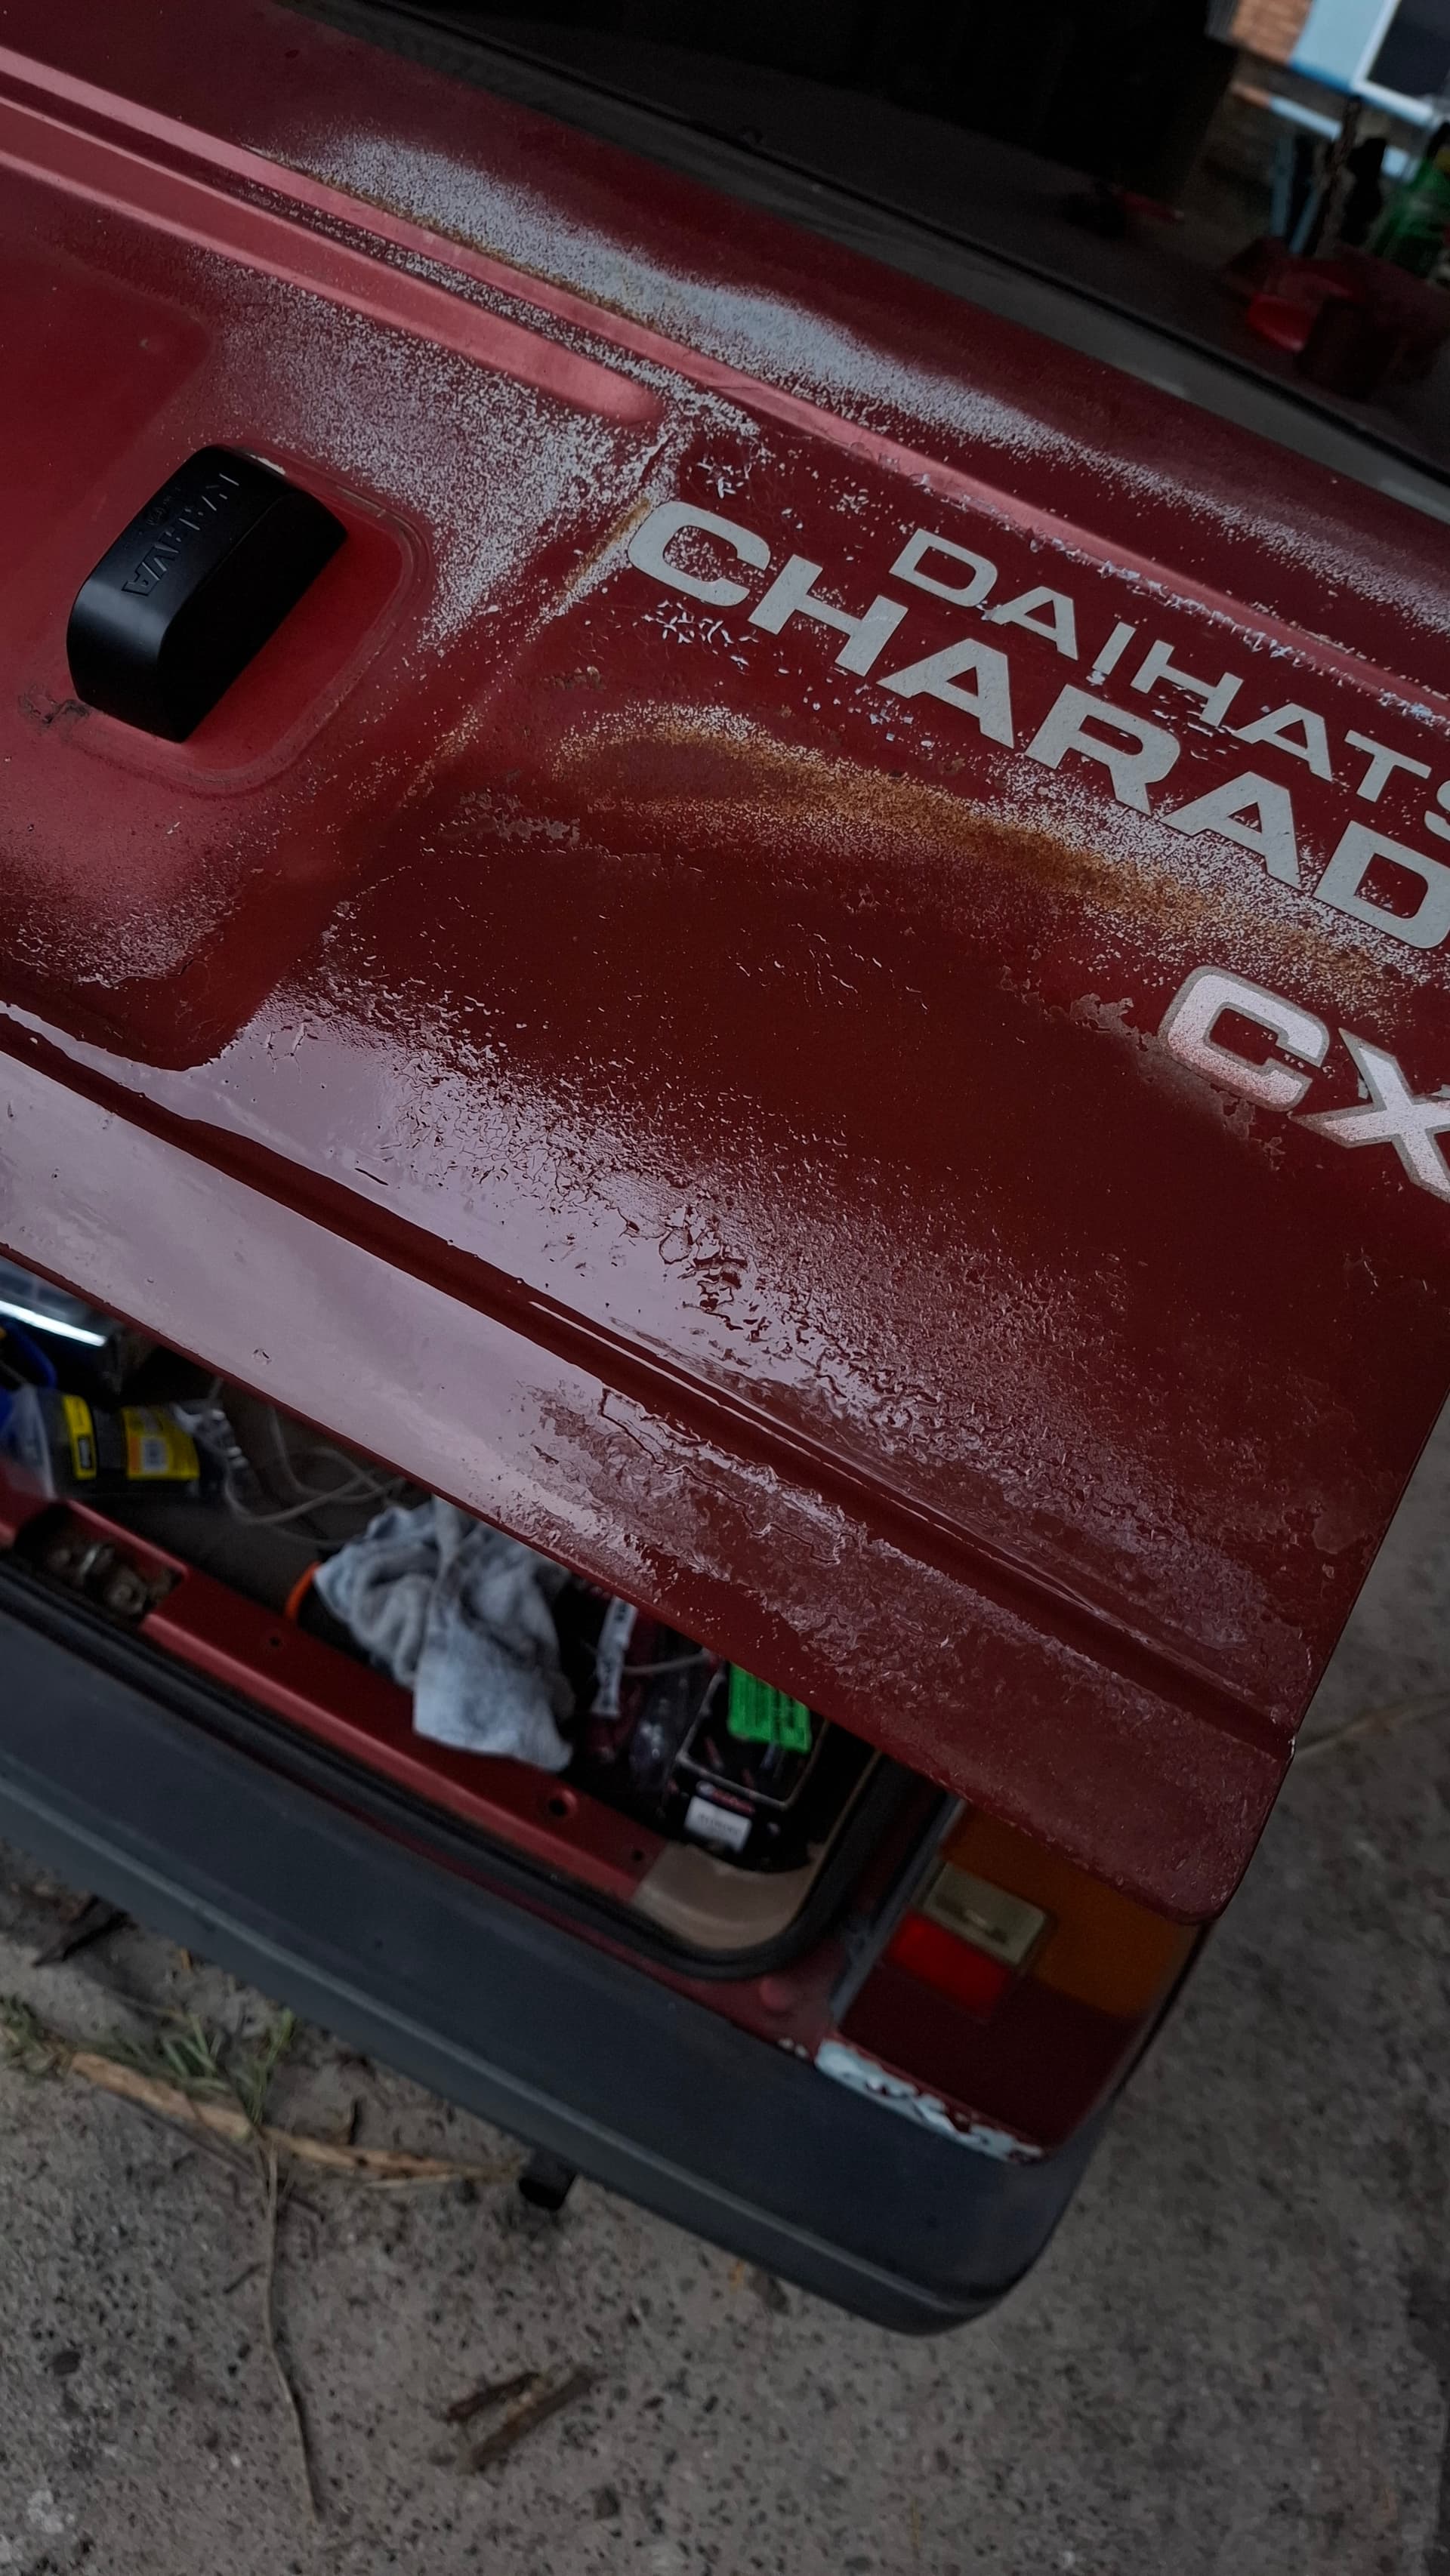
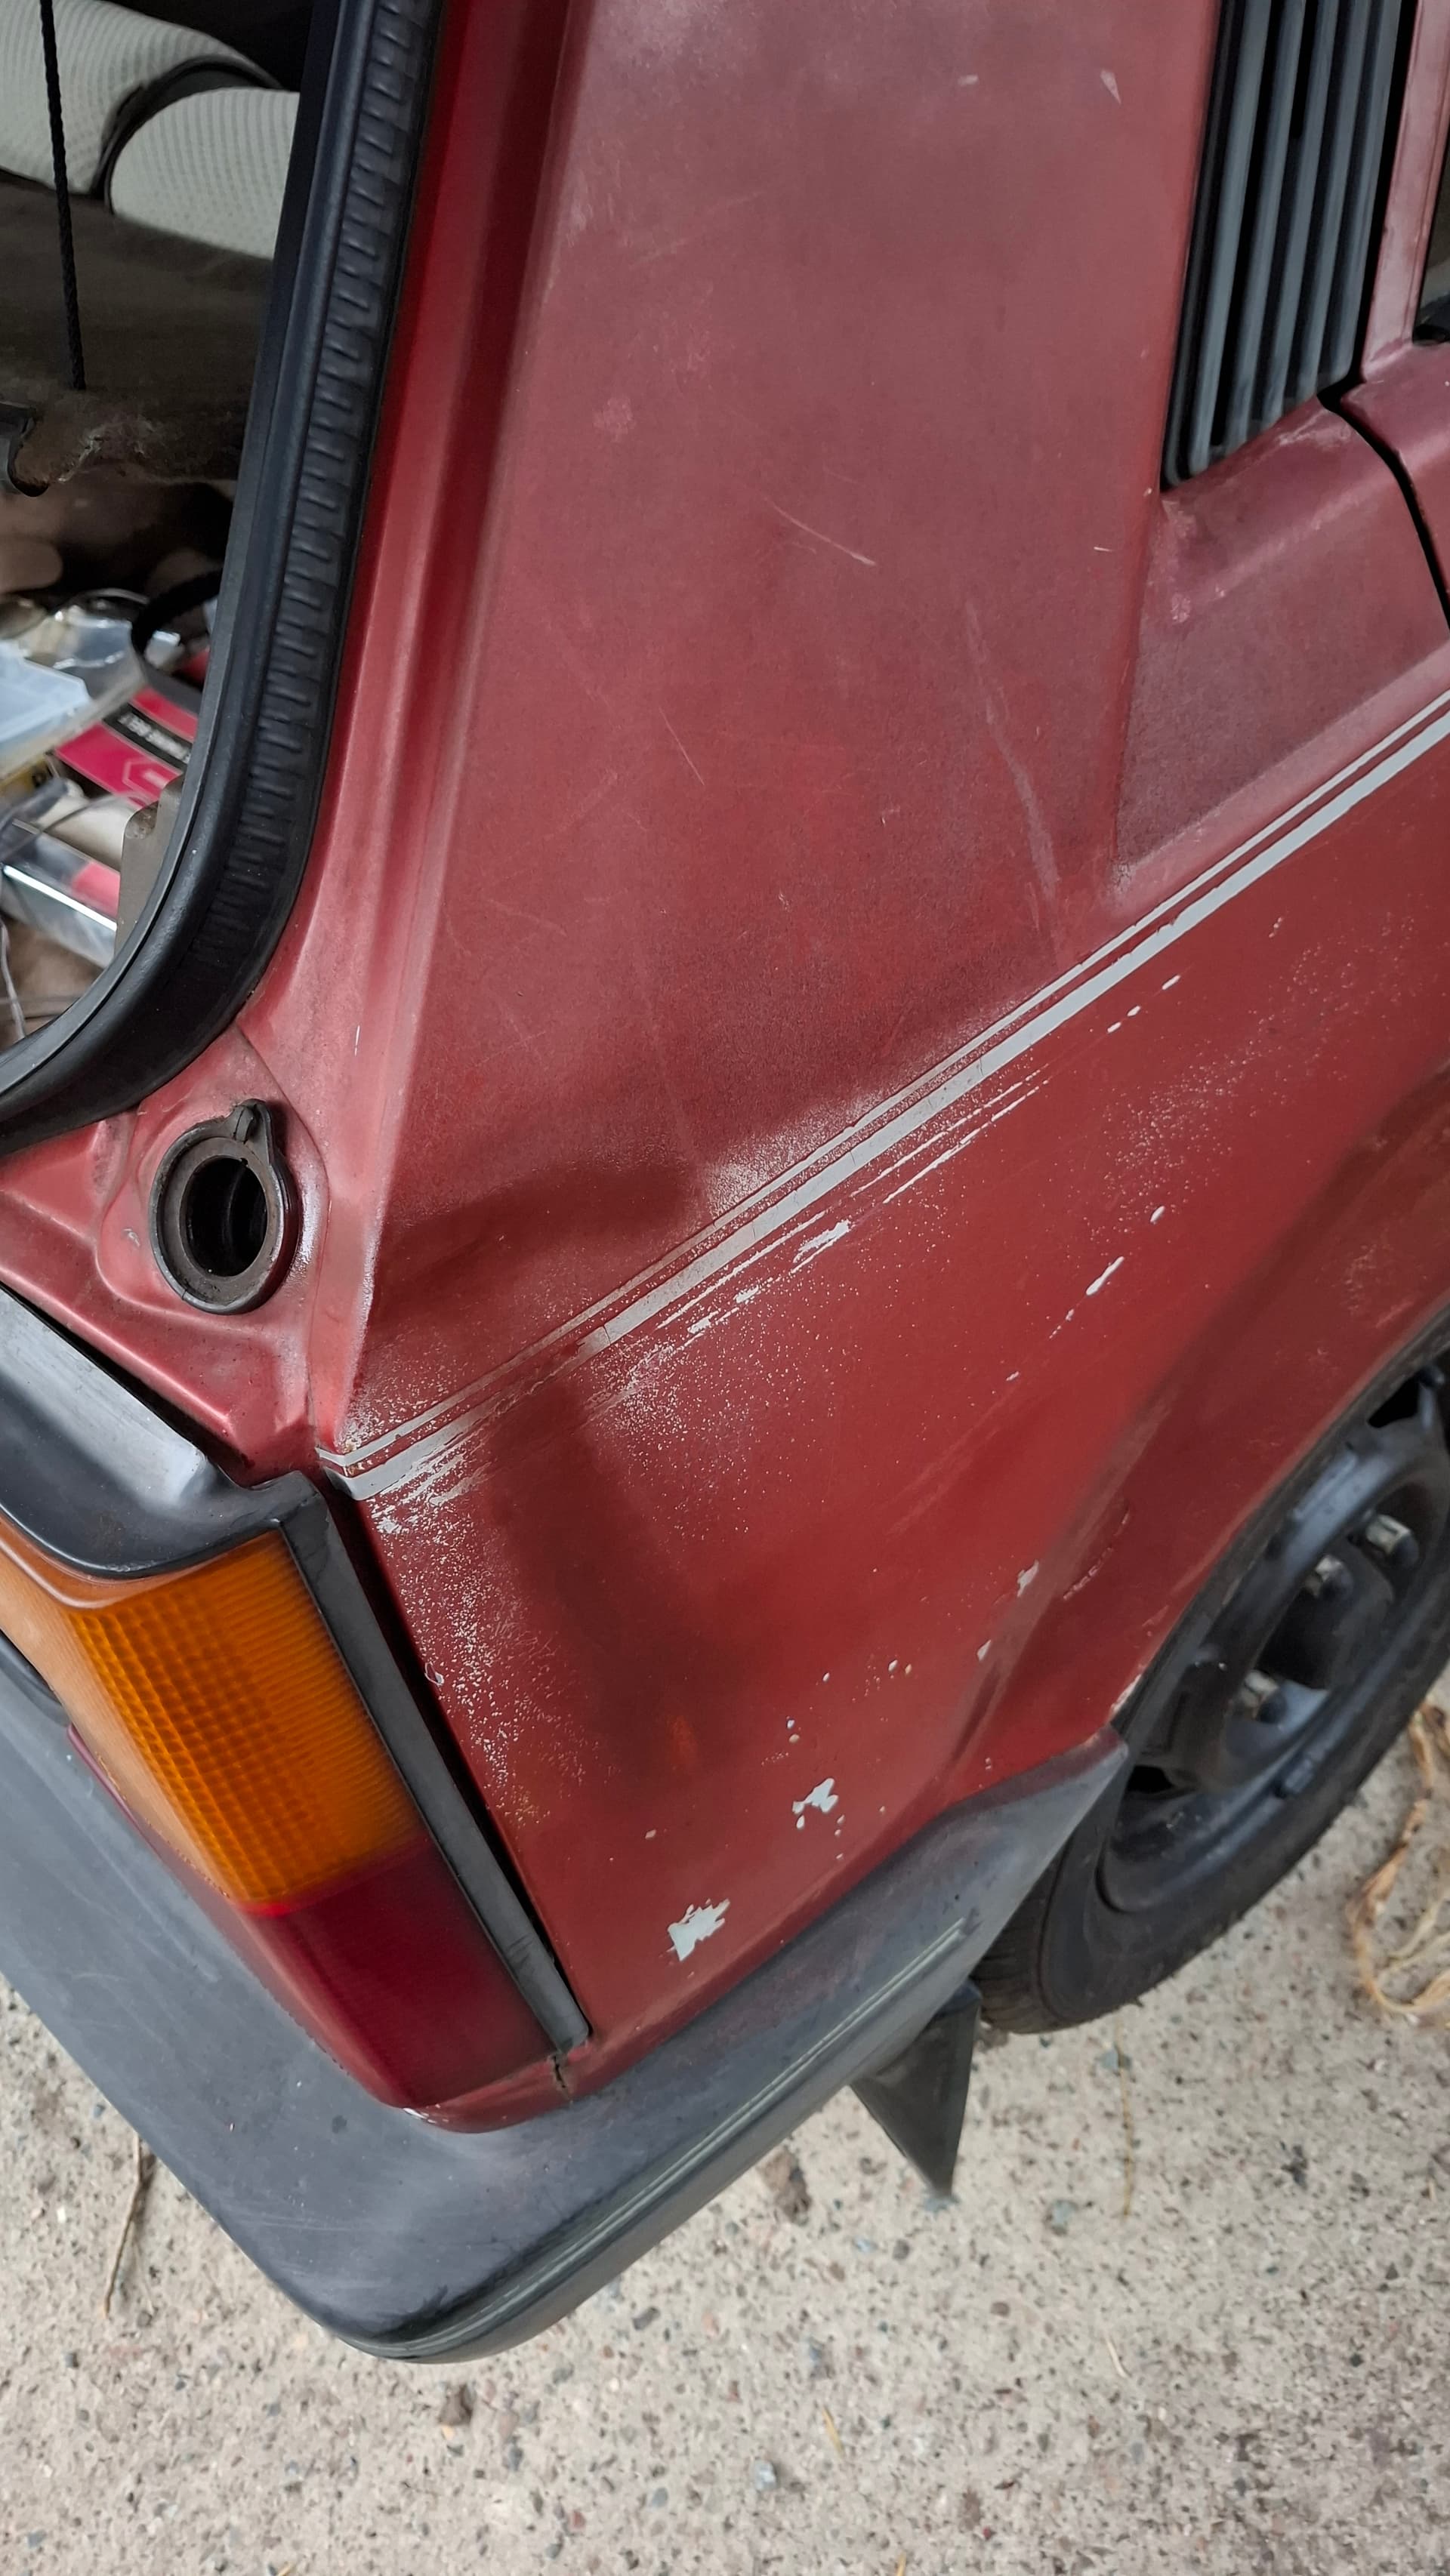
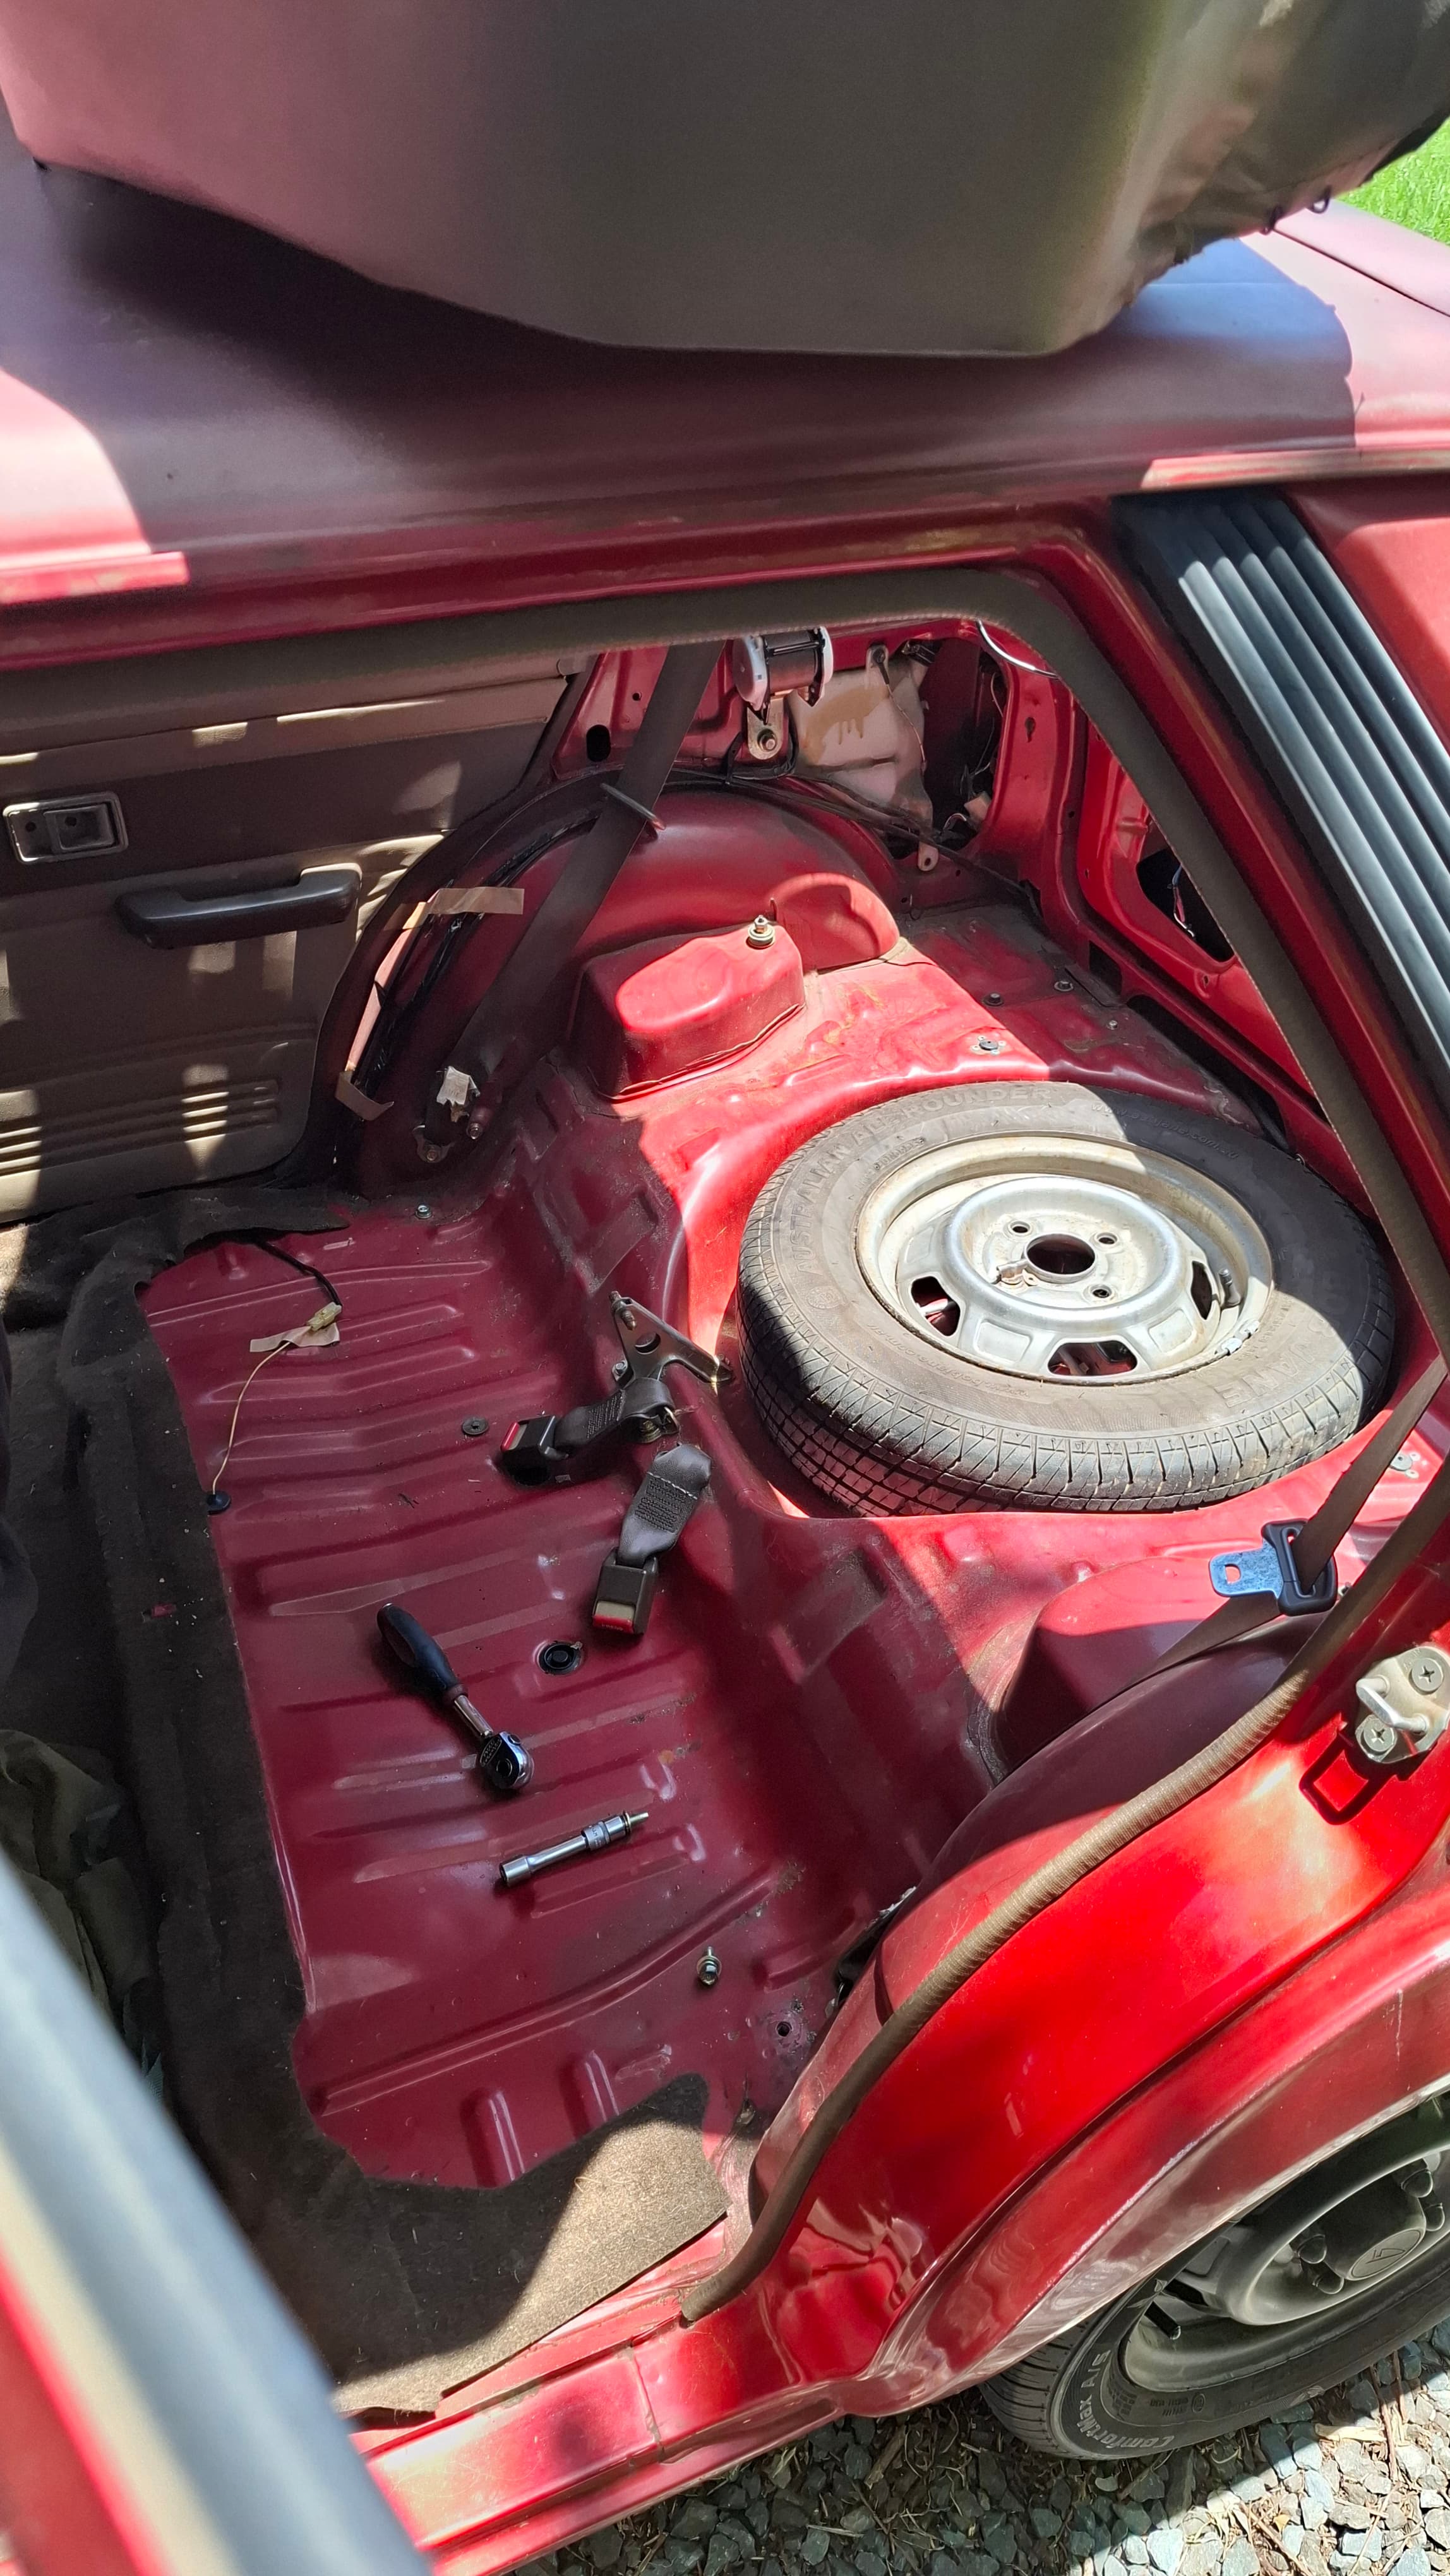
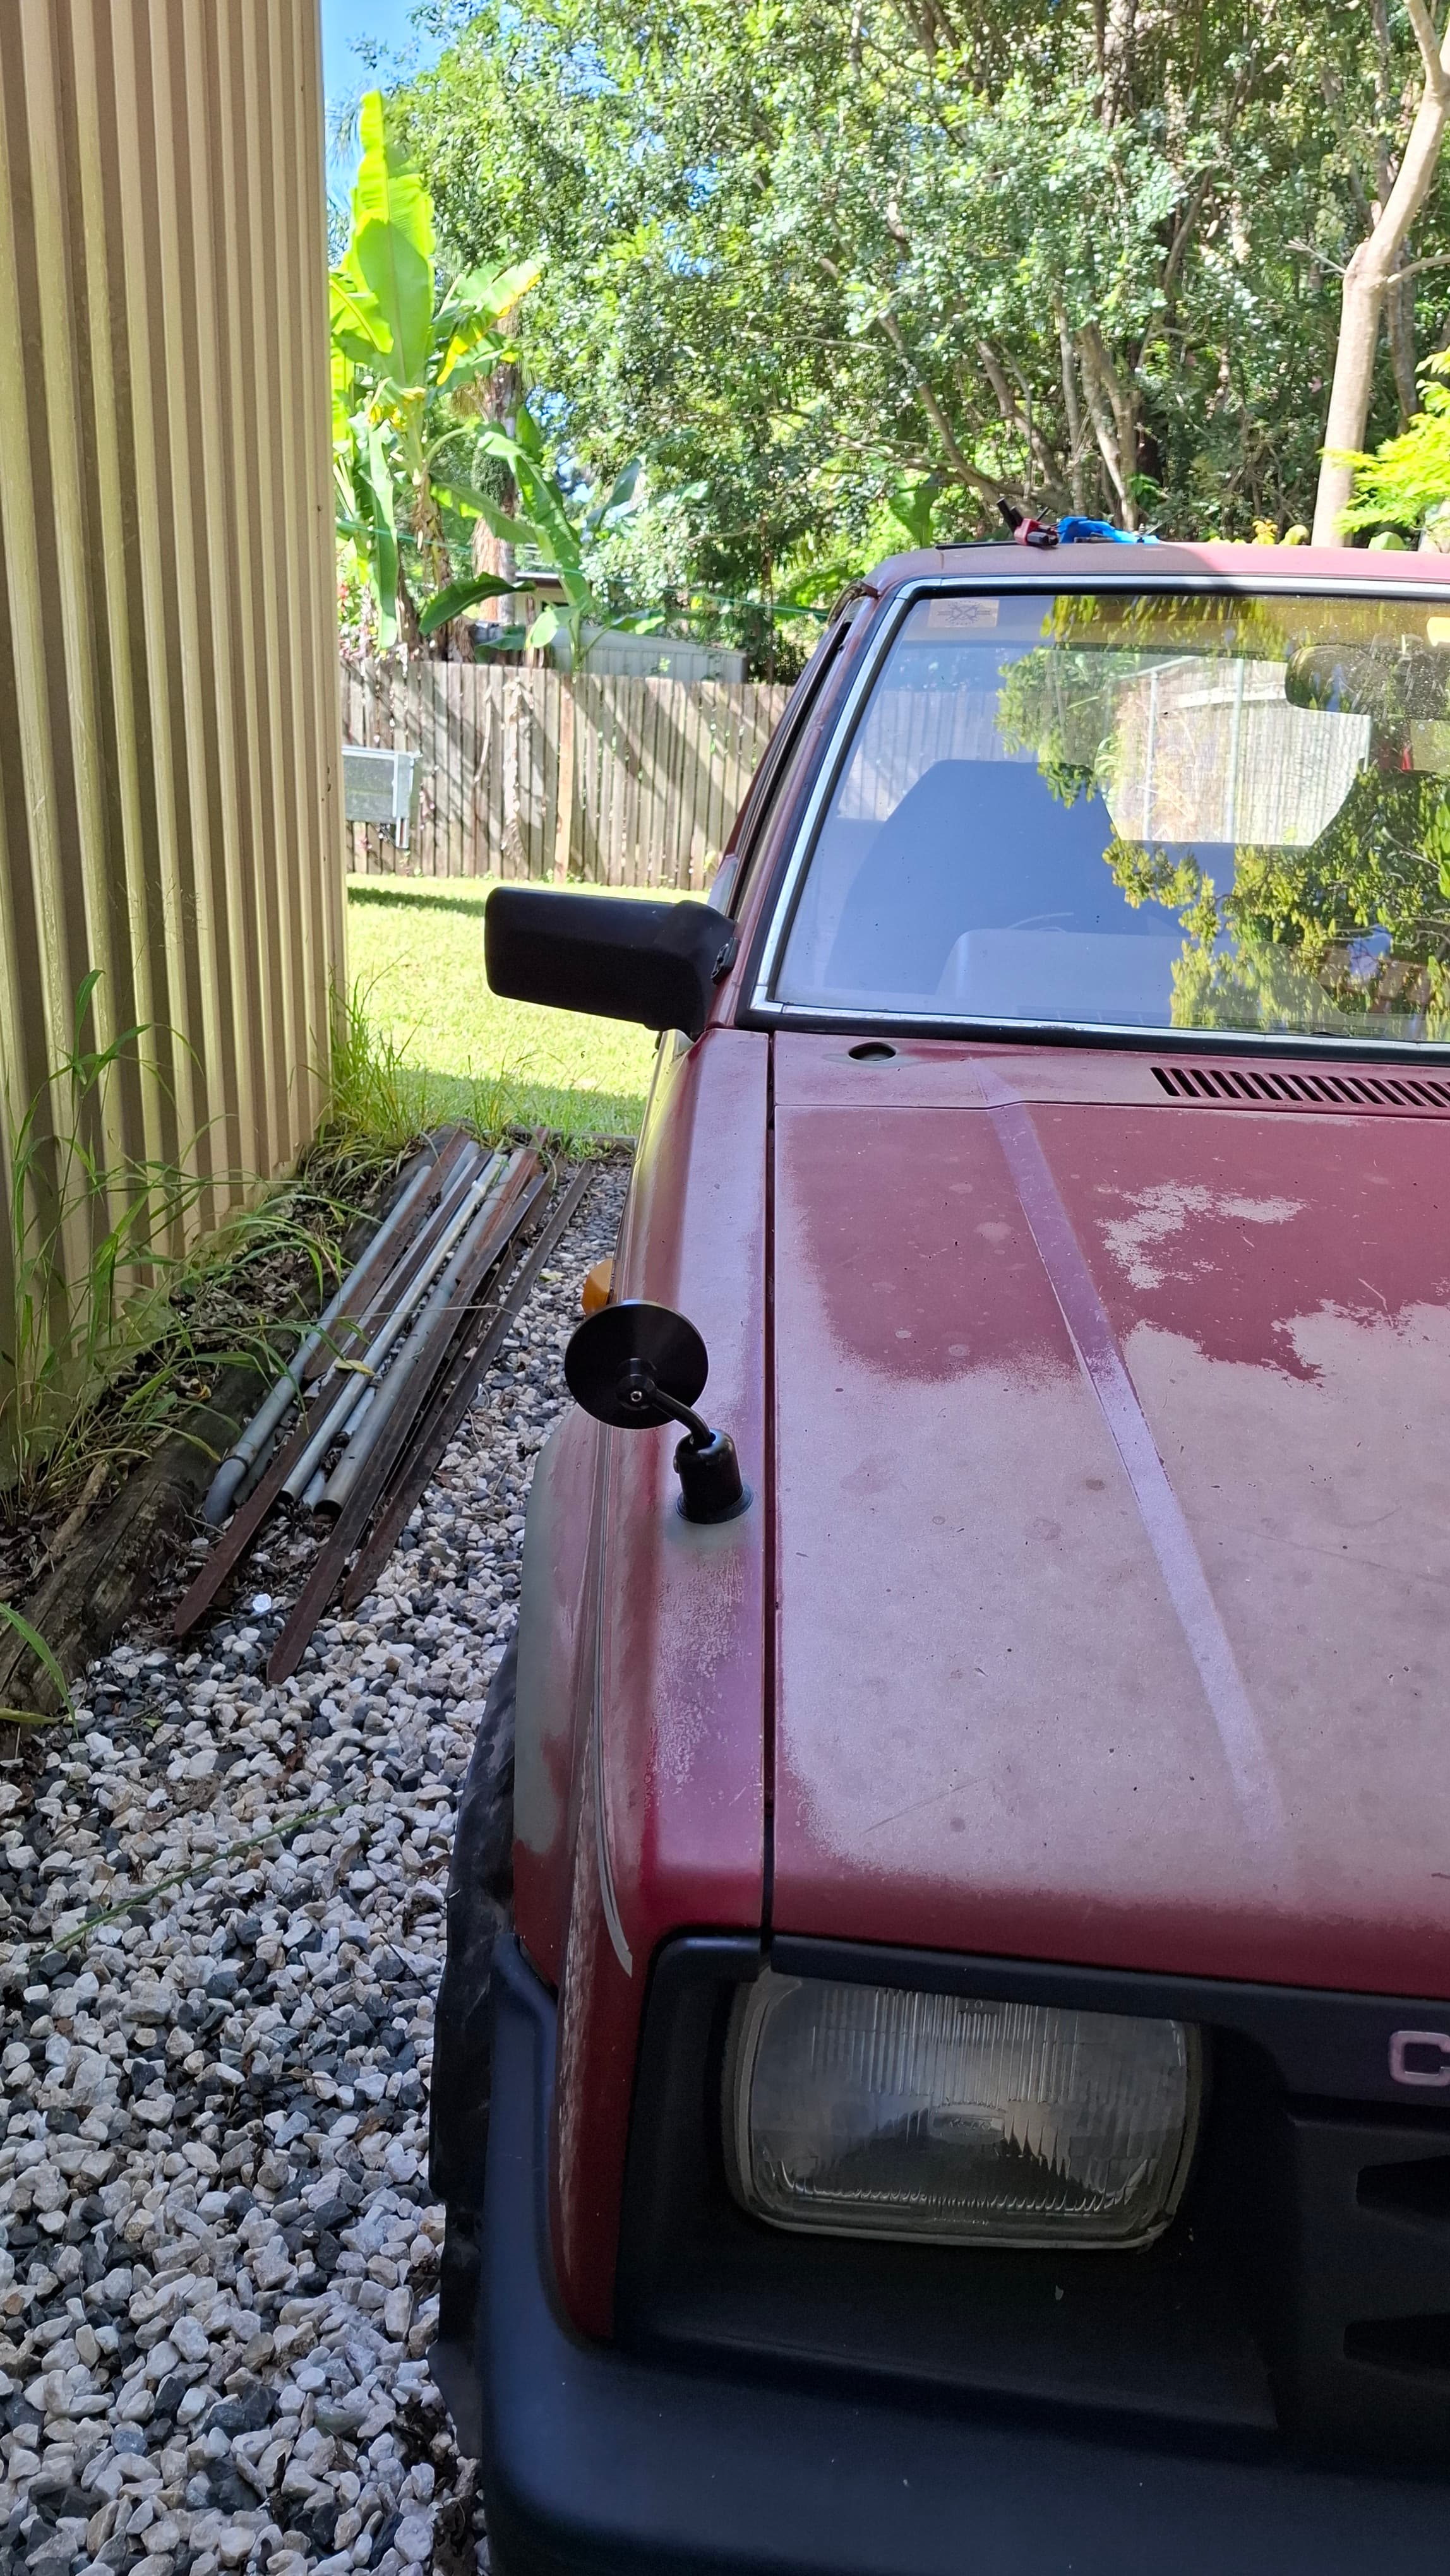
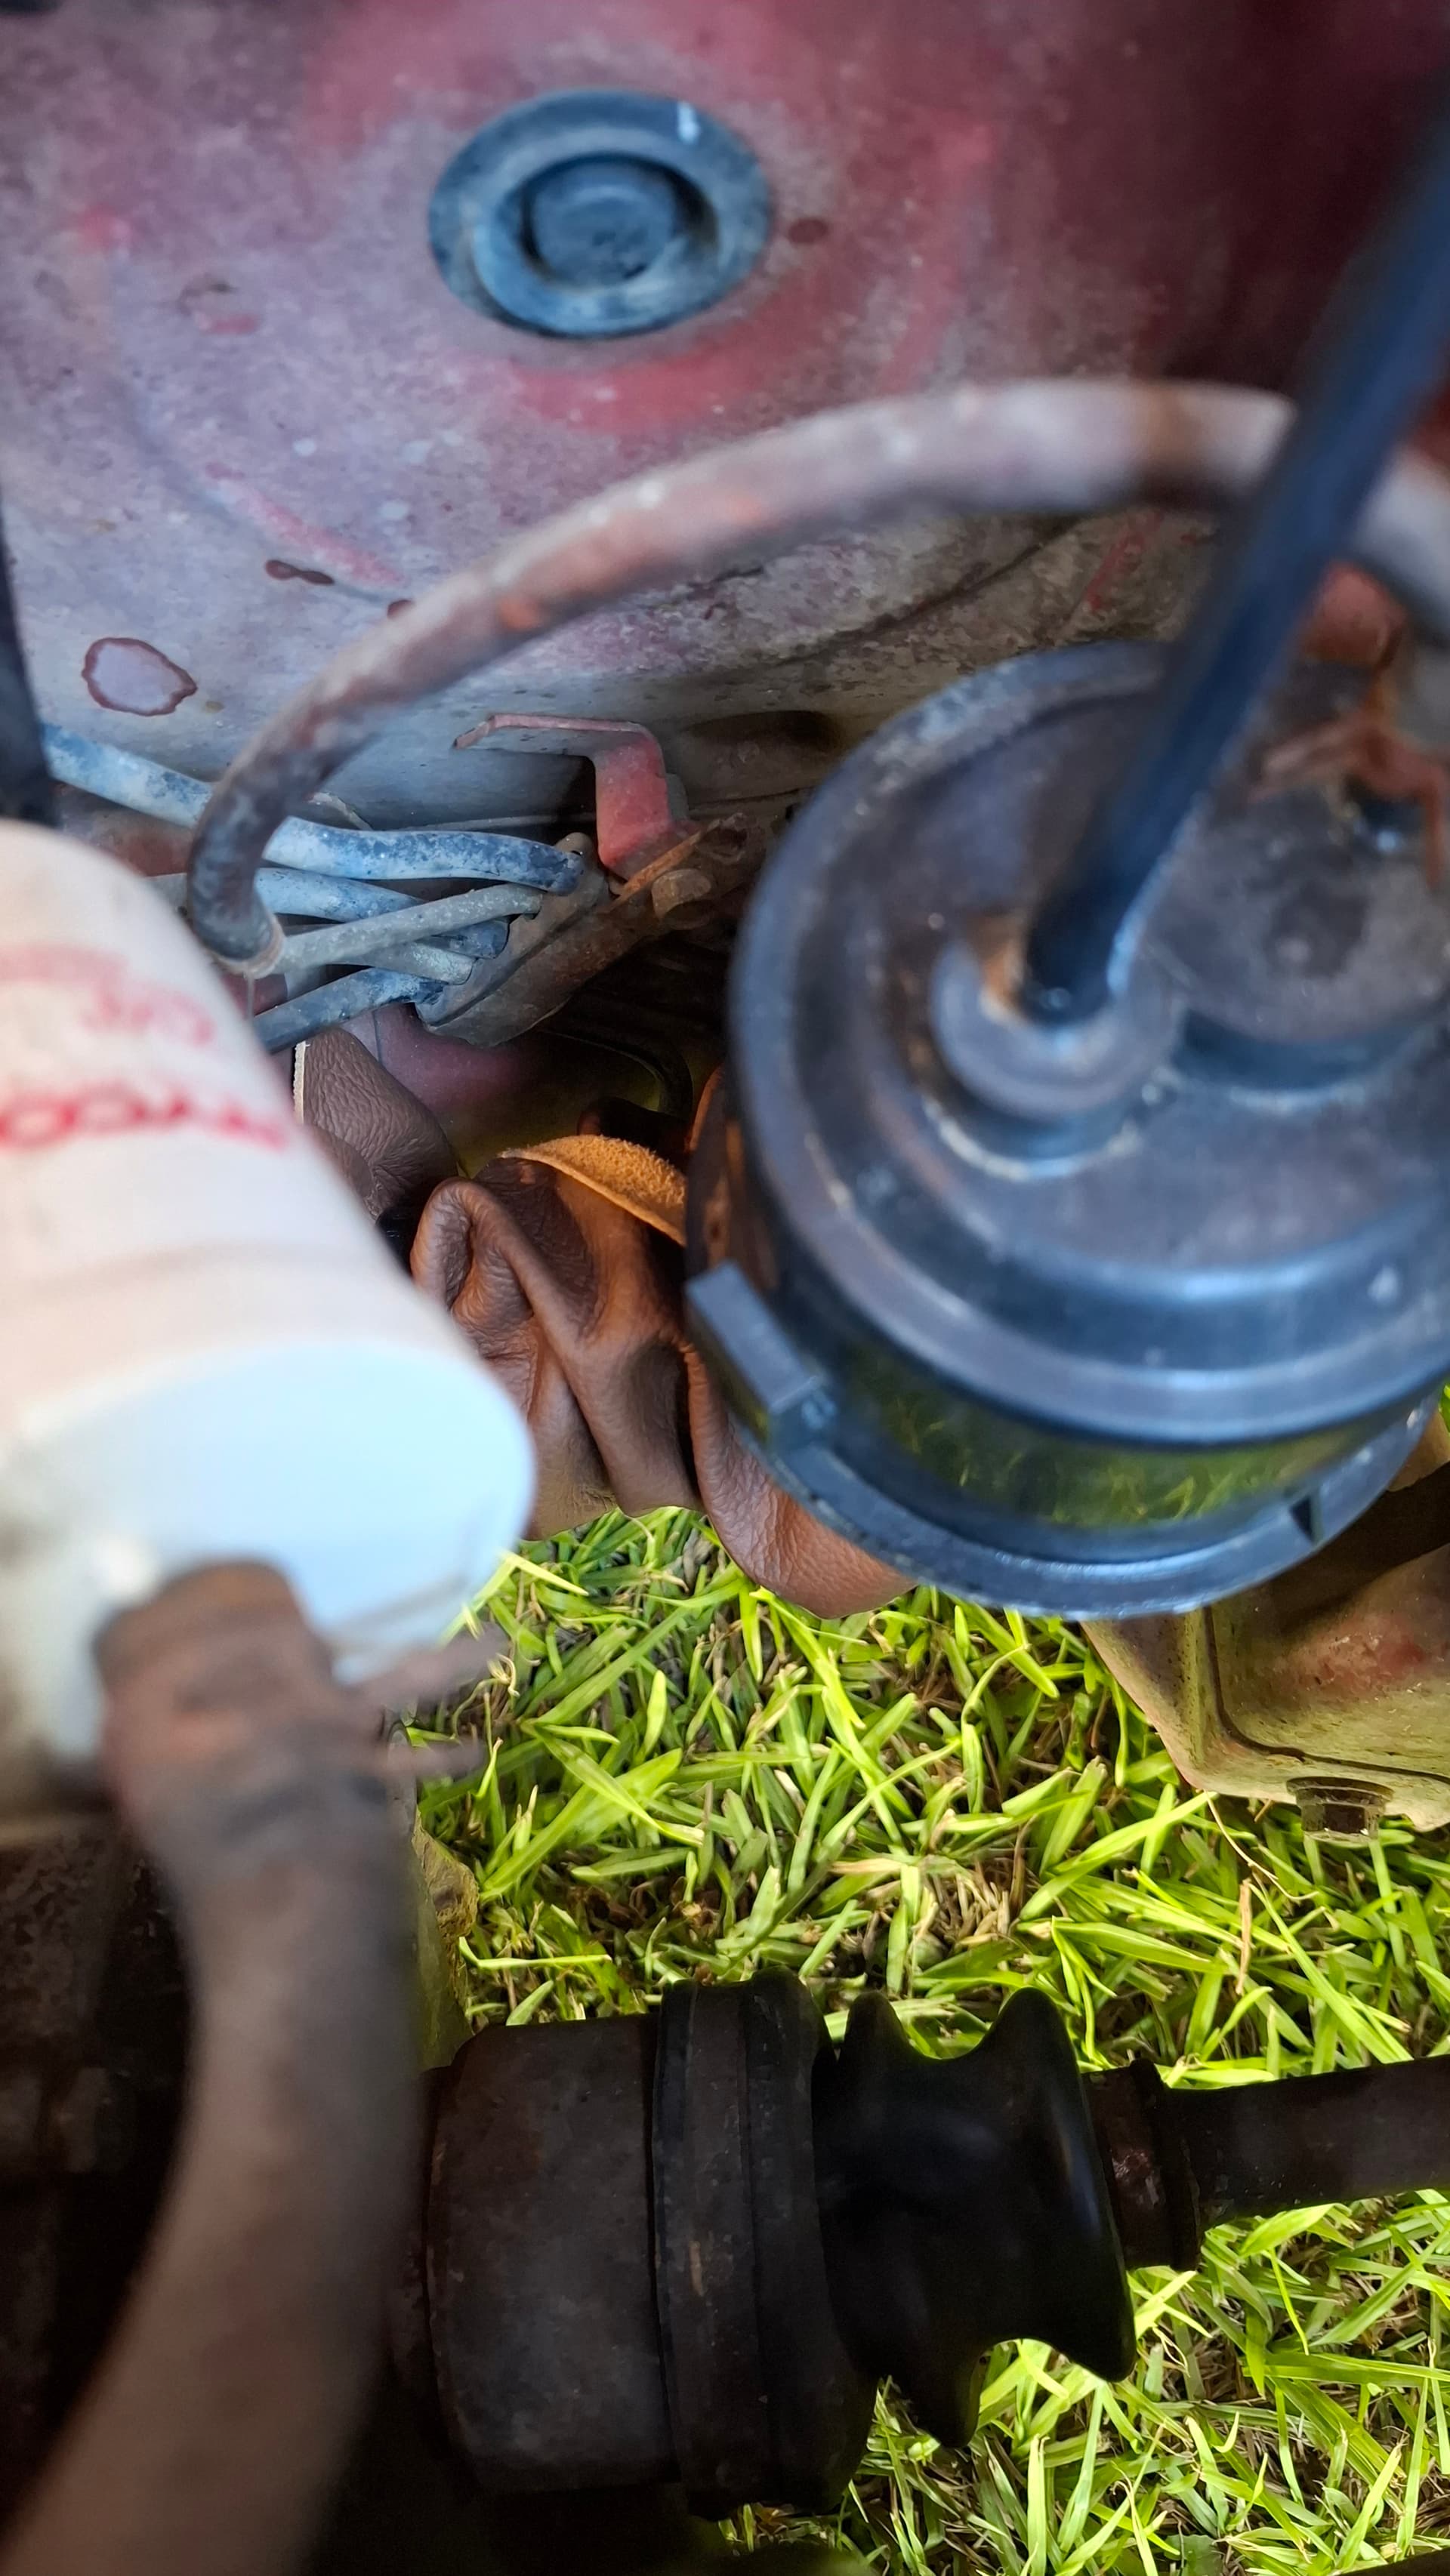
They survived the raceday in the second “action shot”. On that day I had 2 casualties, my right front shock has left the chat as I forgot to install a bumpstop… and I ended up in the in field trying too hard to not lift the throttle. I have gopro footage and you can hear the “bonk” of my floor pan being dented, and so it is. Its not noticeable but still, I should expect worse from rallying.
I was lucky enough to snag a cb61 and turbo gearbox in a deal plus pick some parts (door handles and dashes) from a dai owner local to me, made a friend I hope! I’ve now got a turbo dash and dizzy, electric dizzy, spare cams for regrinds and a bunch of lights!
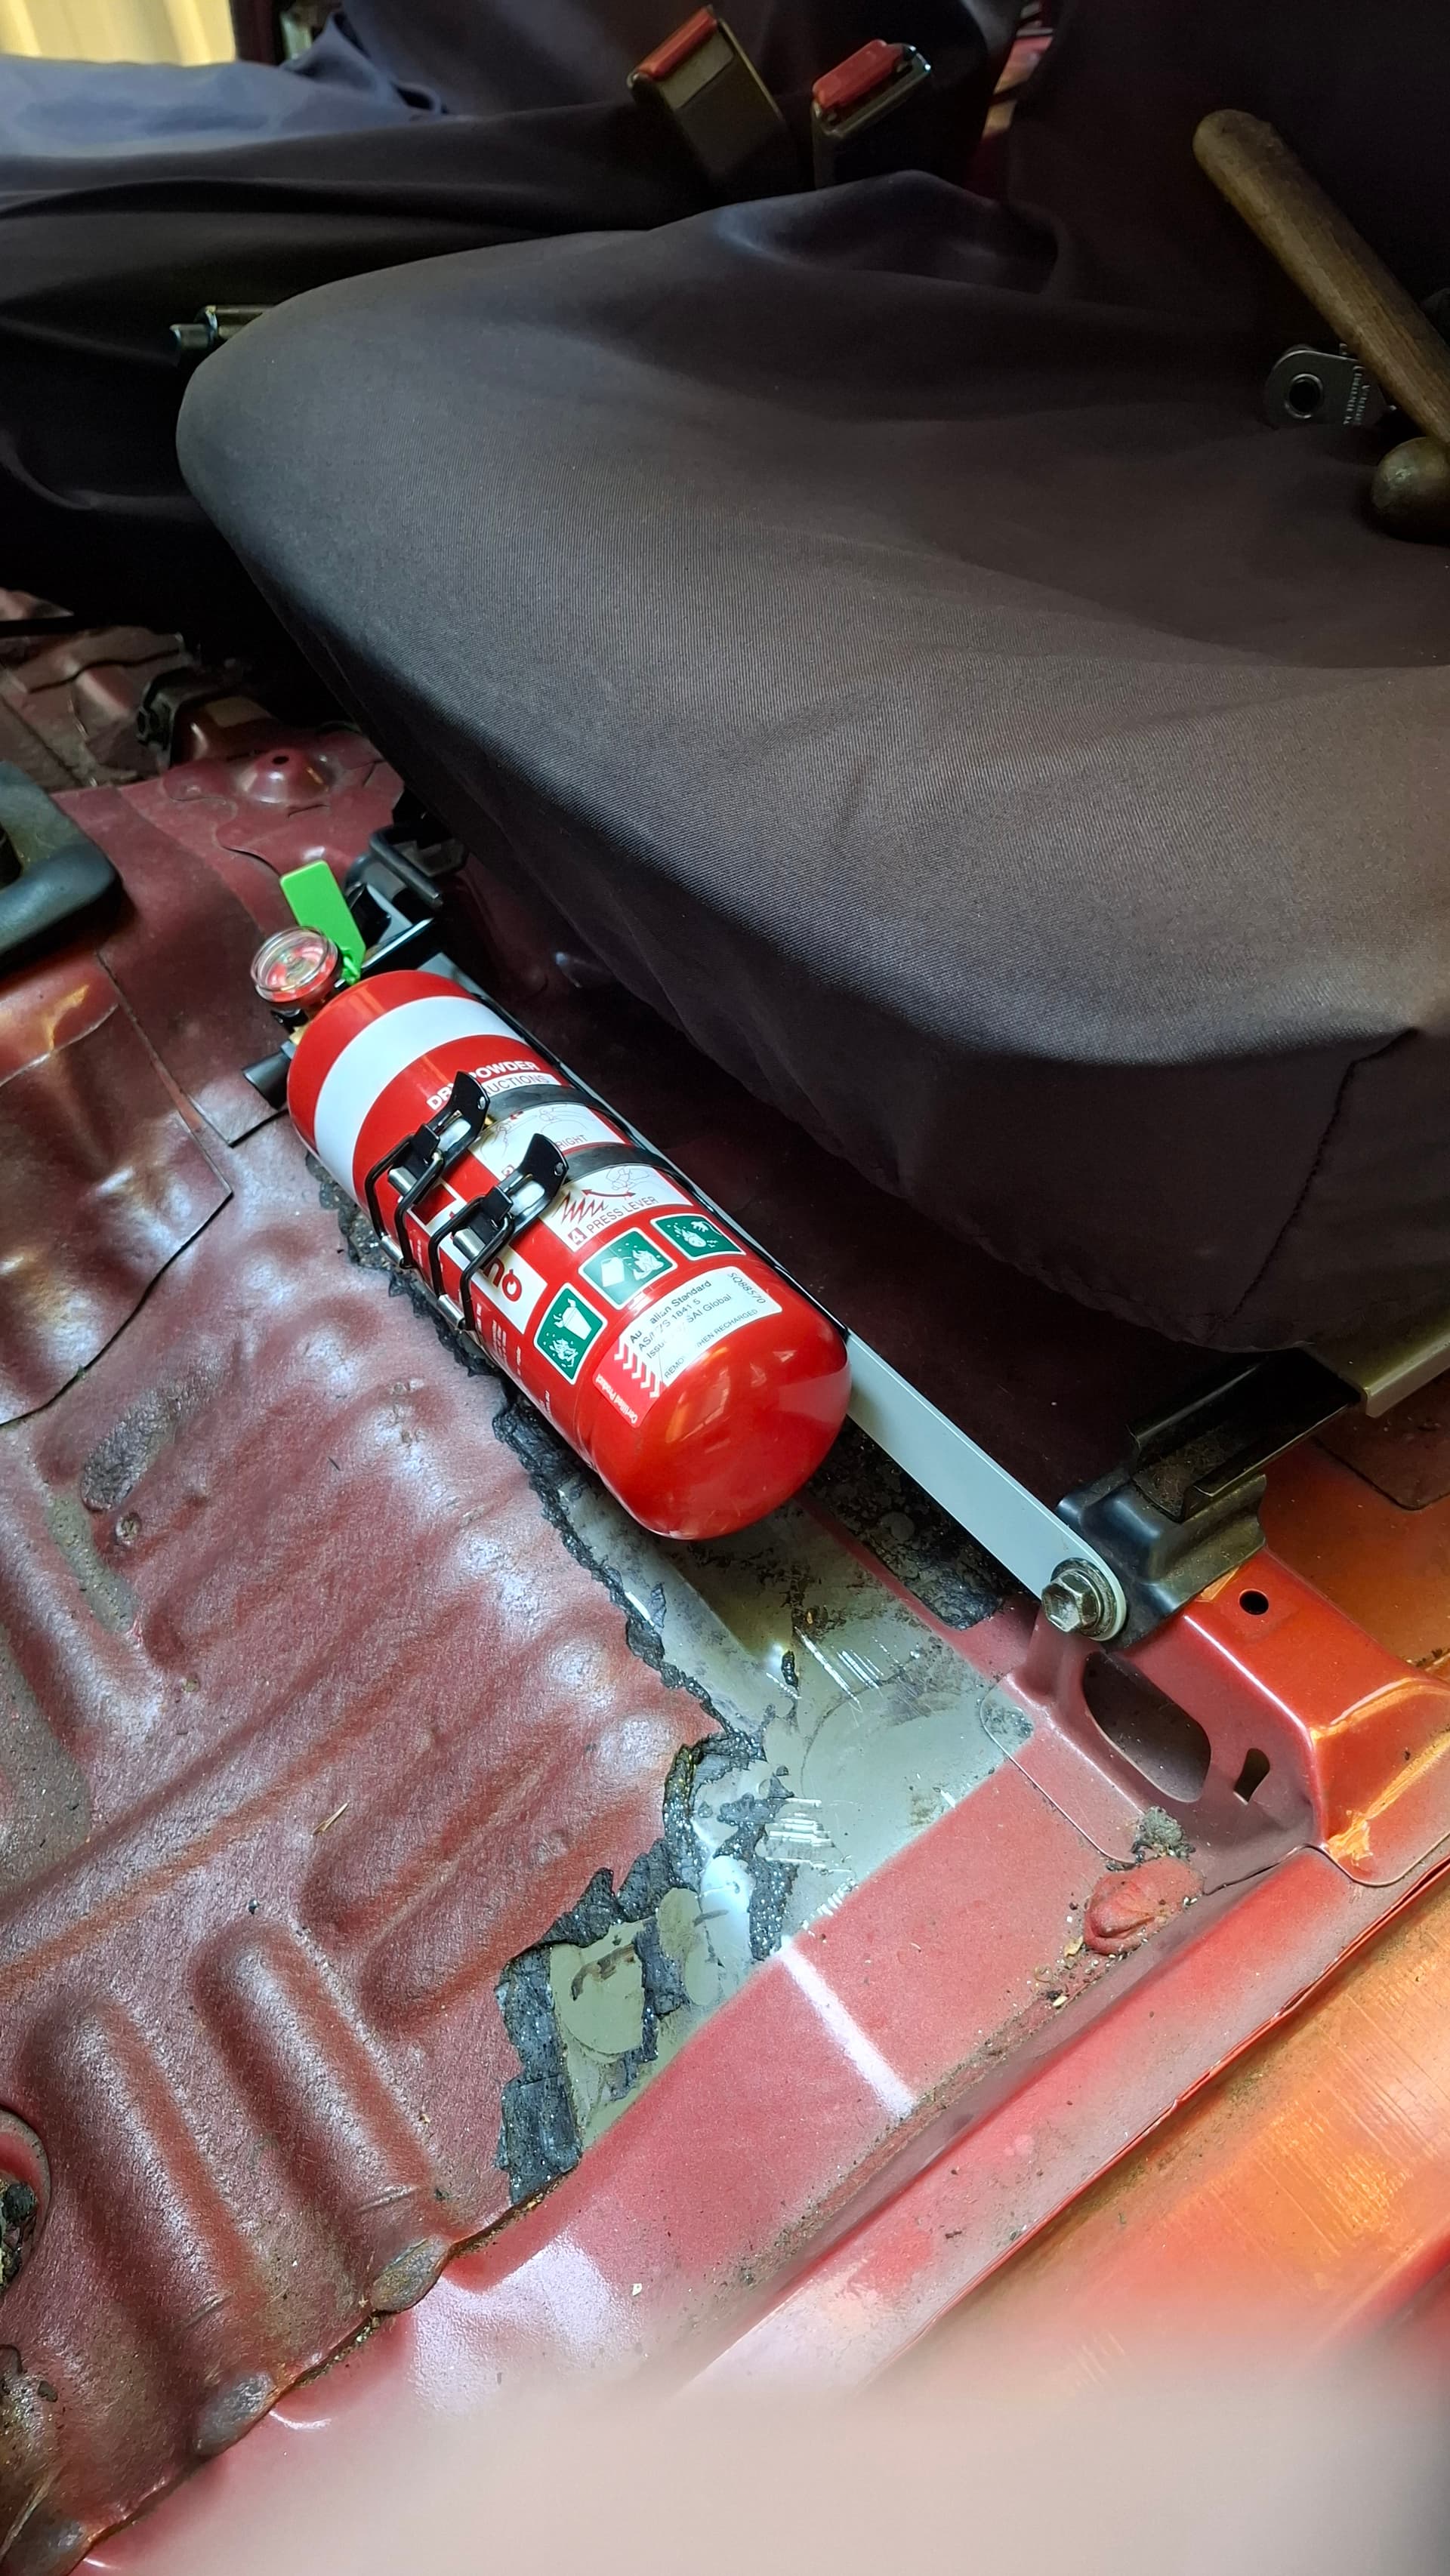
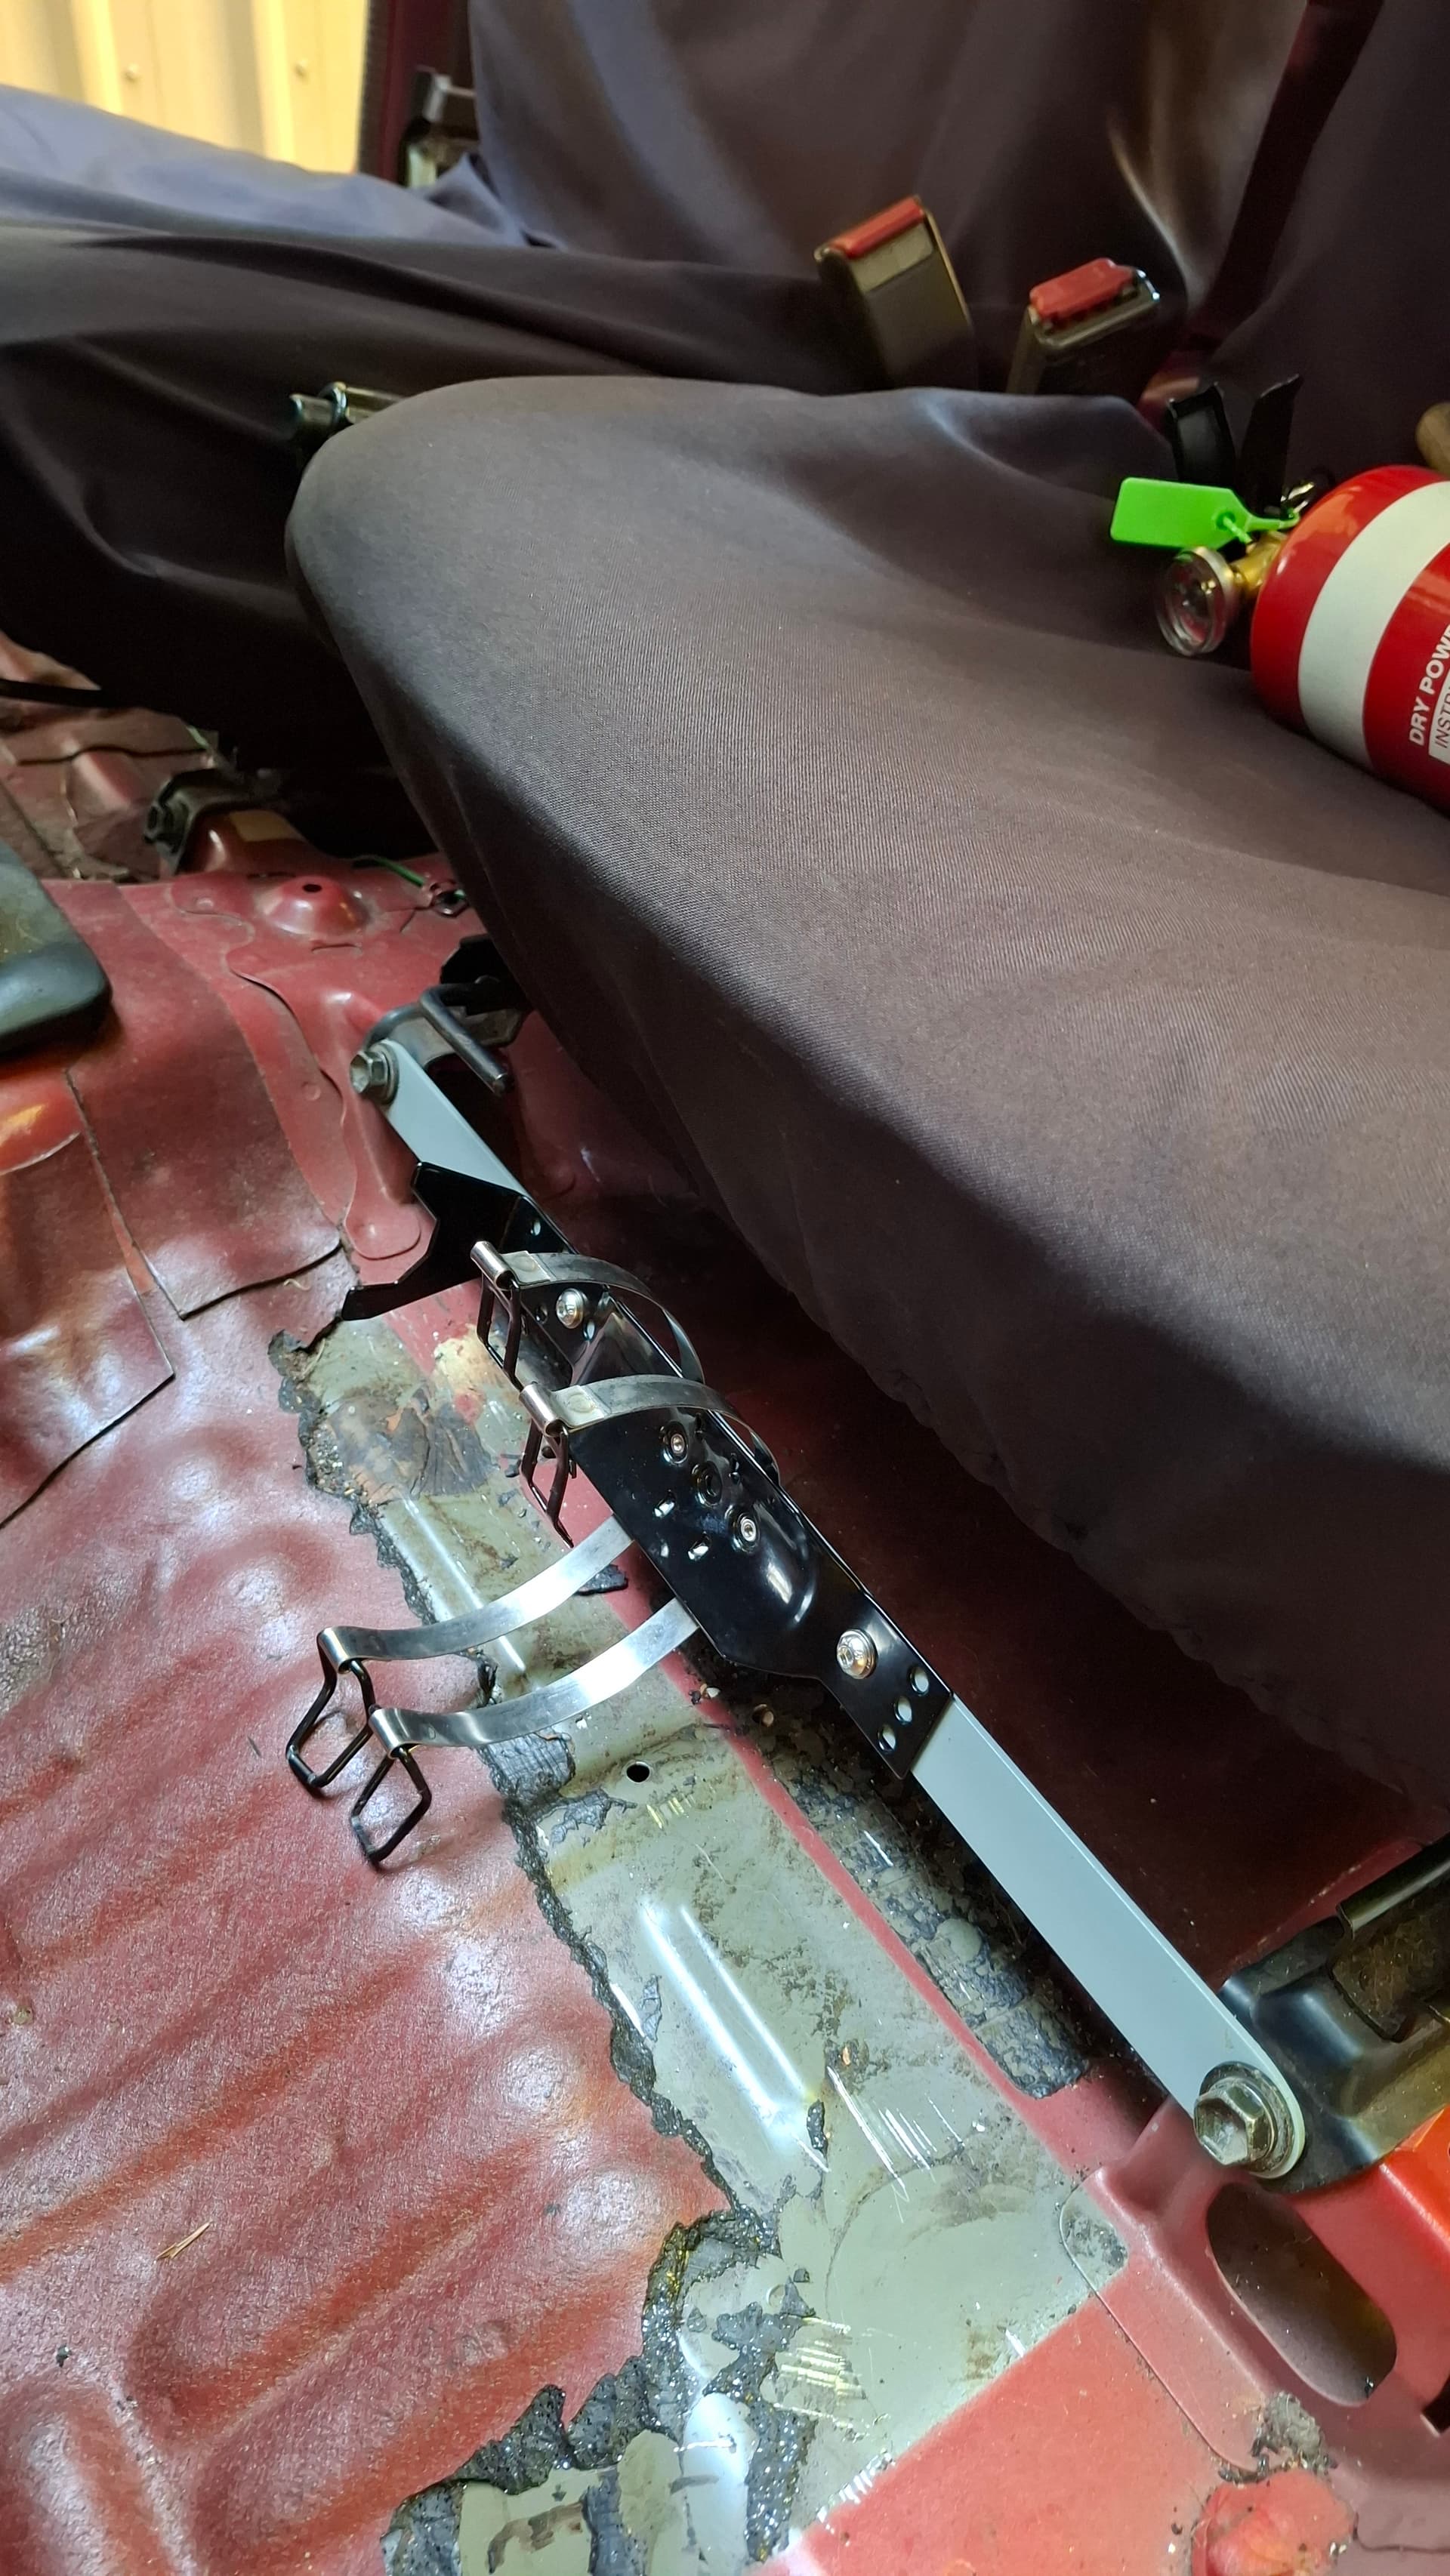
May and June are looking like great months, I’ve started a catch can project, designing a new airbox with a bigger filter, picking up some semi slicks, doing wheel bearings, welding and bracing seat mounts, before then co-driving in a rally at jimna state forrest and racing short course autocross the next day…
Biggest thank you to my speedway cousins in Bundy who have moved to a mirage in junior sedans from a g200 3cyl. For a carton of beer I’m getting a cammed built race engine, a spare engine plus any parts off a donner g200, If anyone needs anything… ahaha
Hope to have some more posts out soon!