Tools you will require - 10mm socket, Phillips/crosshead screwdriver
Time - approx 30 minutes per door
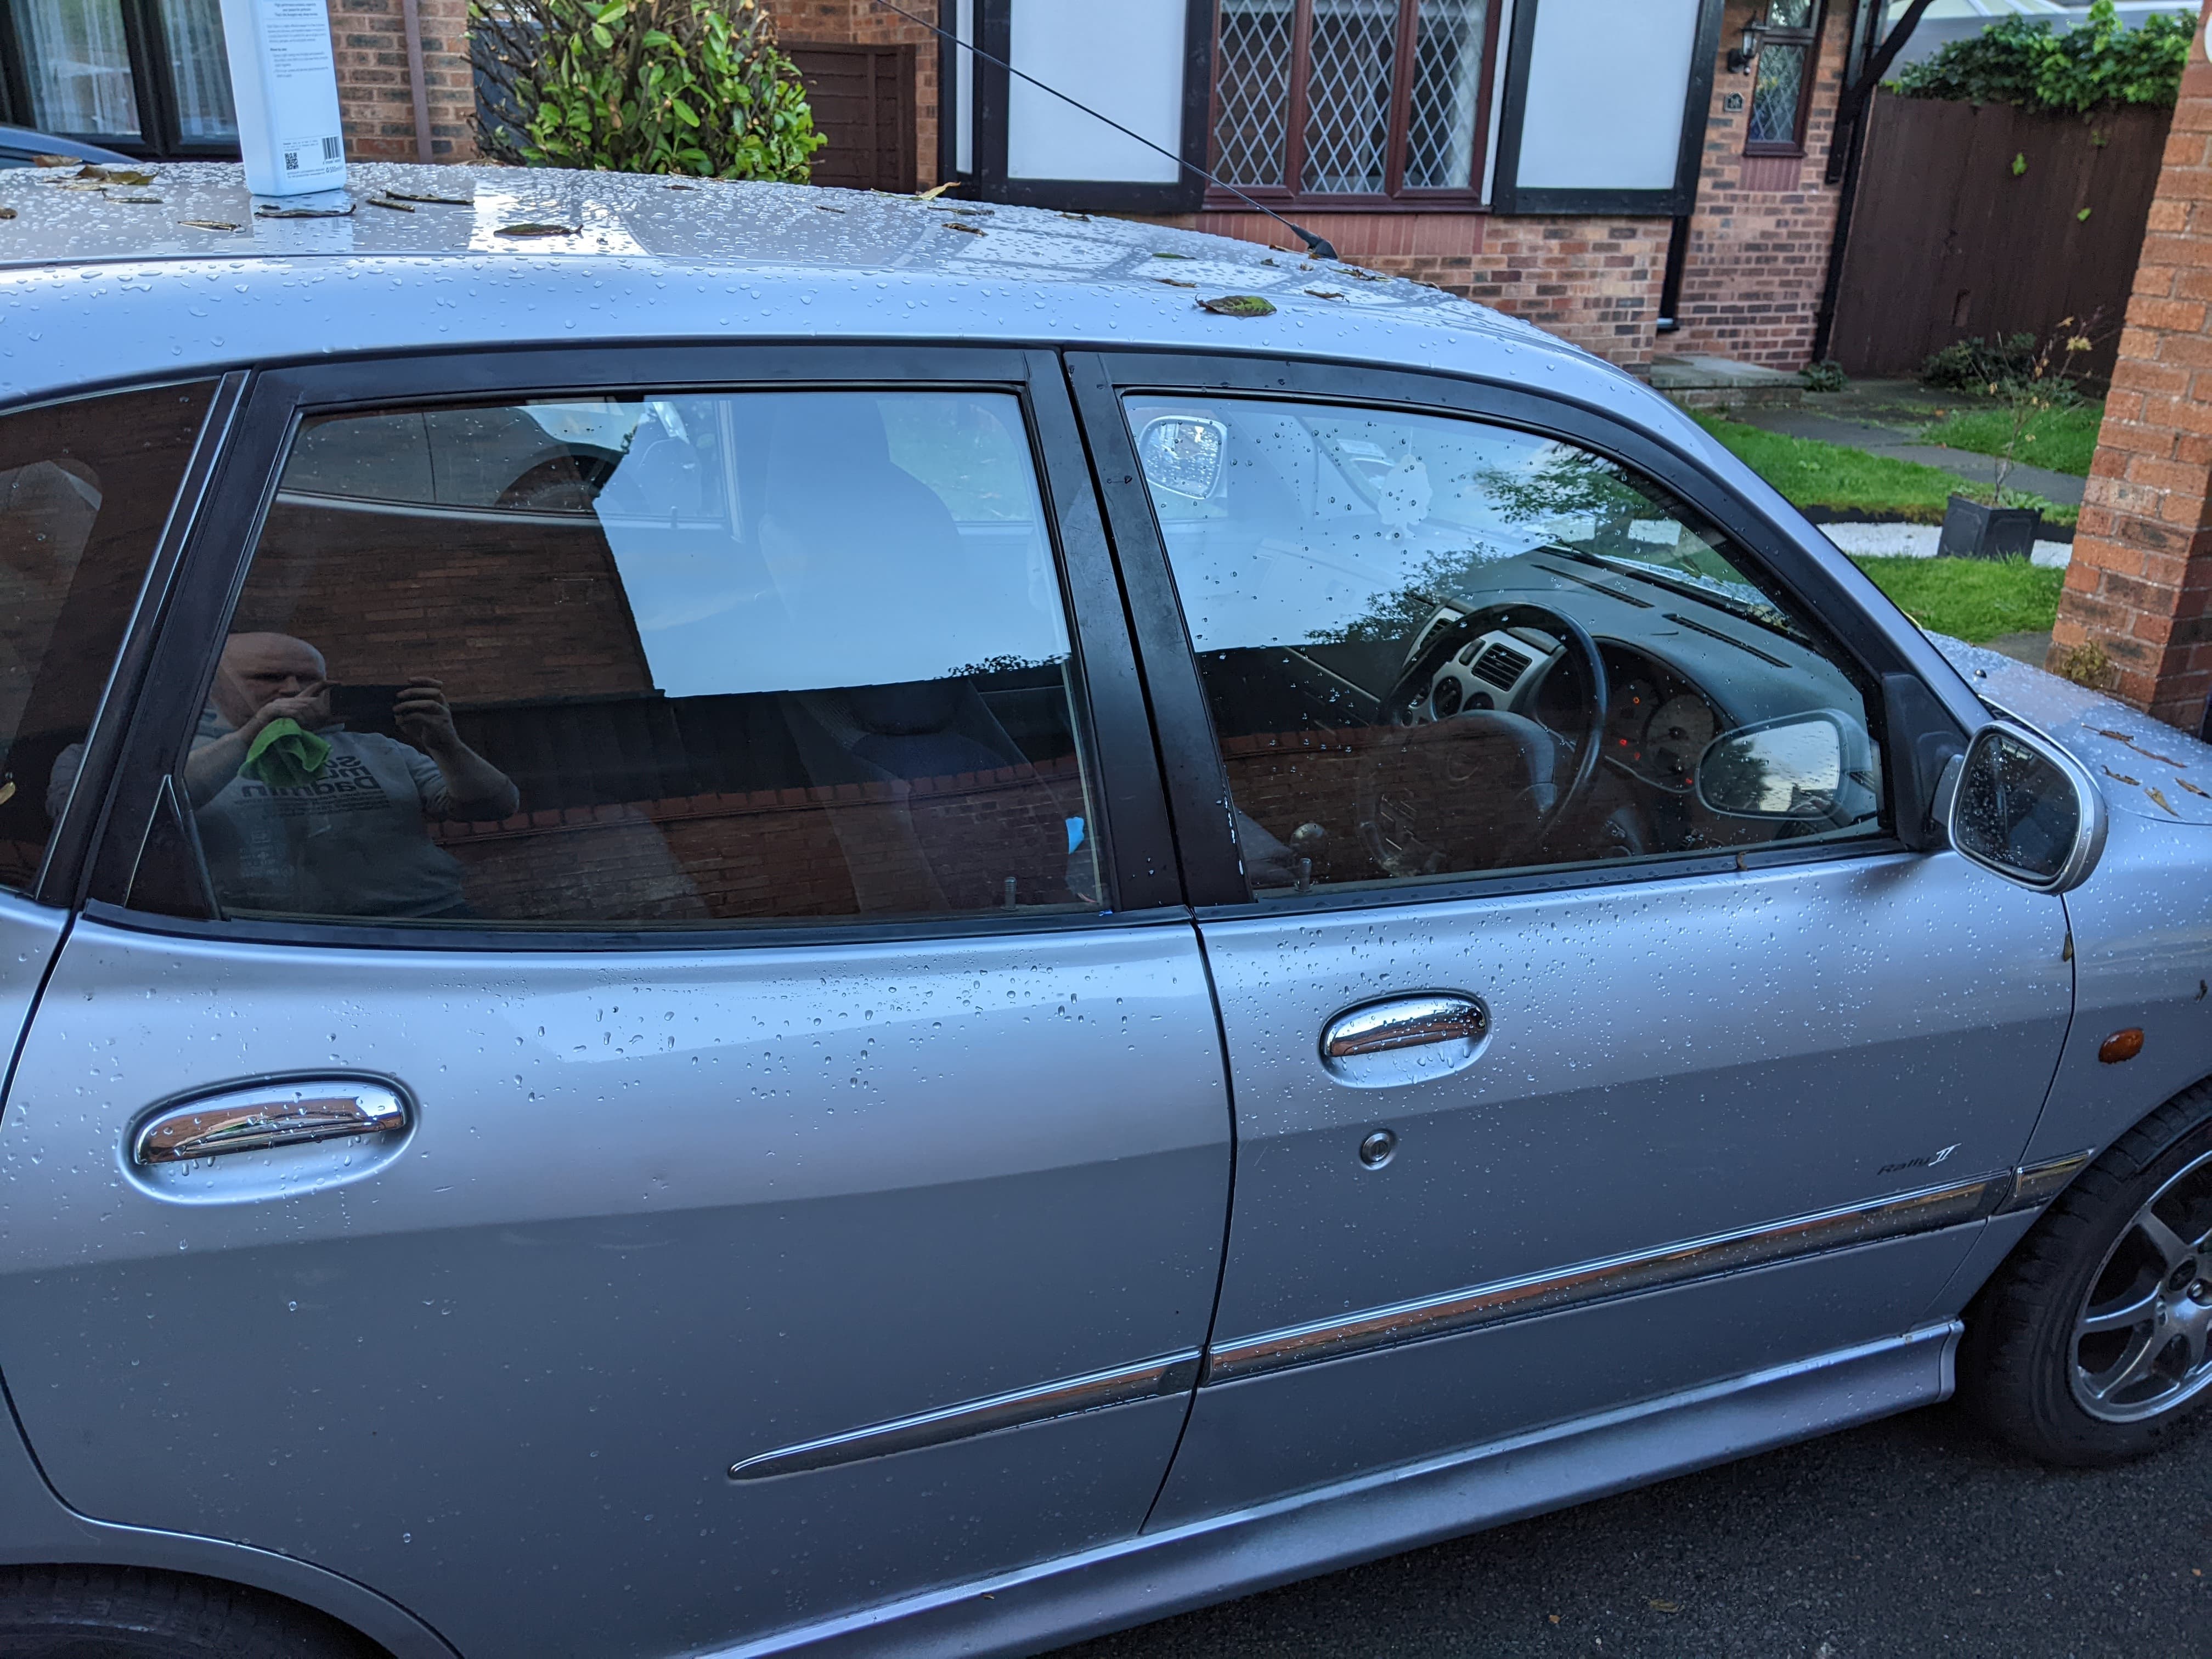
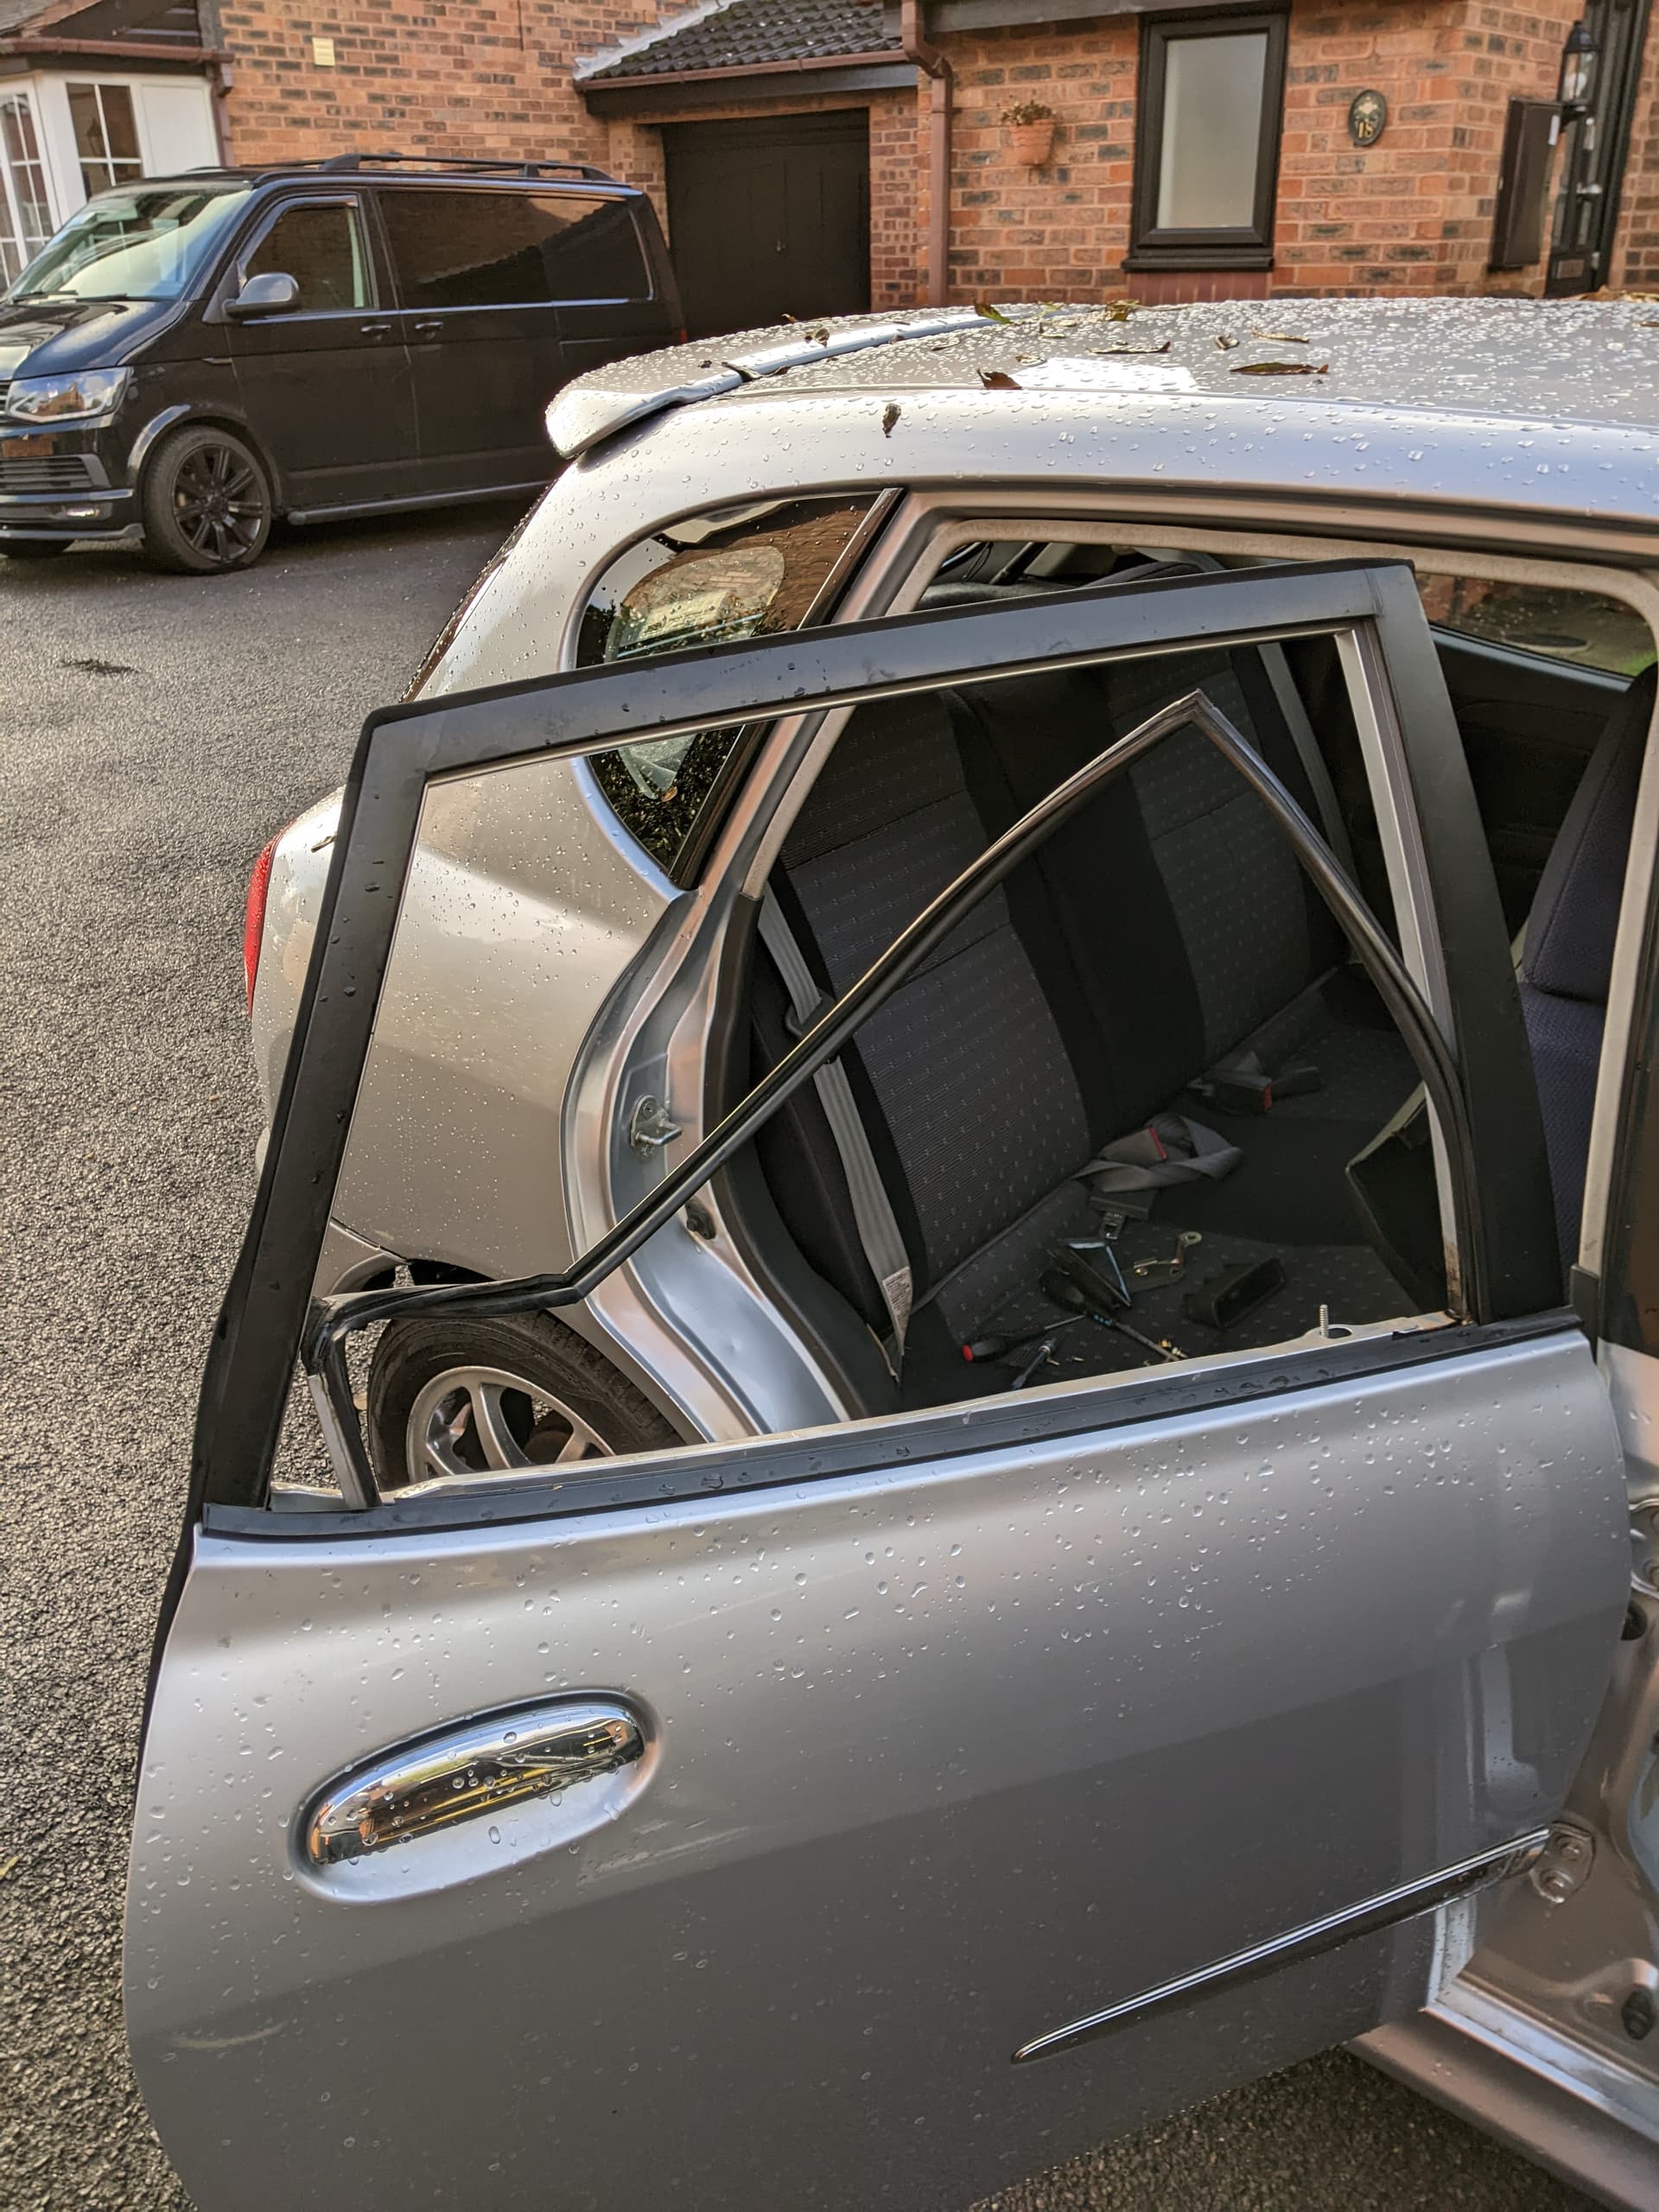
The below is a guide on how to replace the glass in the rear doors of a M100 or M101 Sirion, much of the info is the same for the front doors, thought the door cards are slightly different.
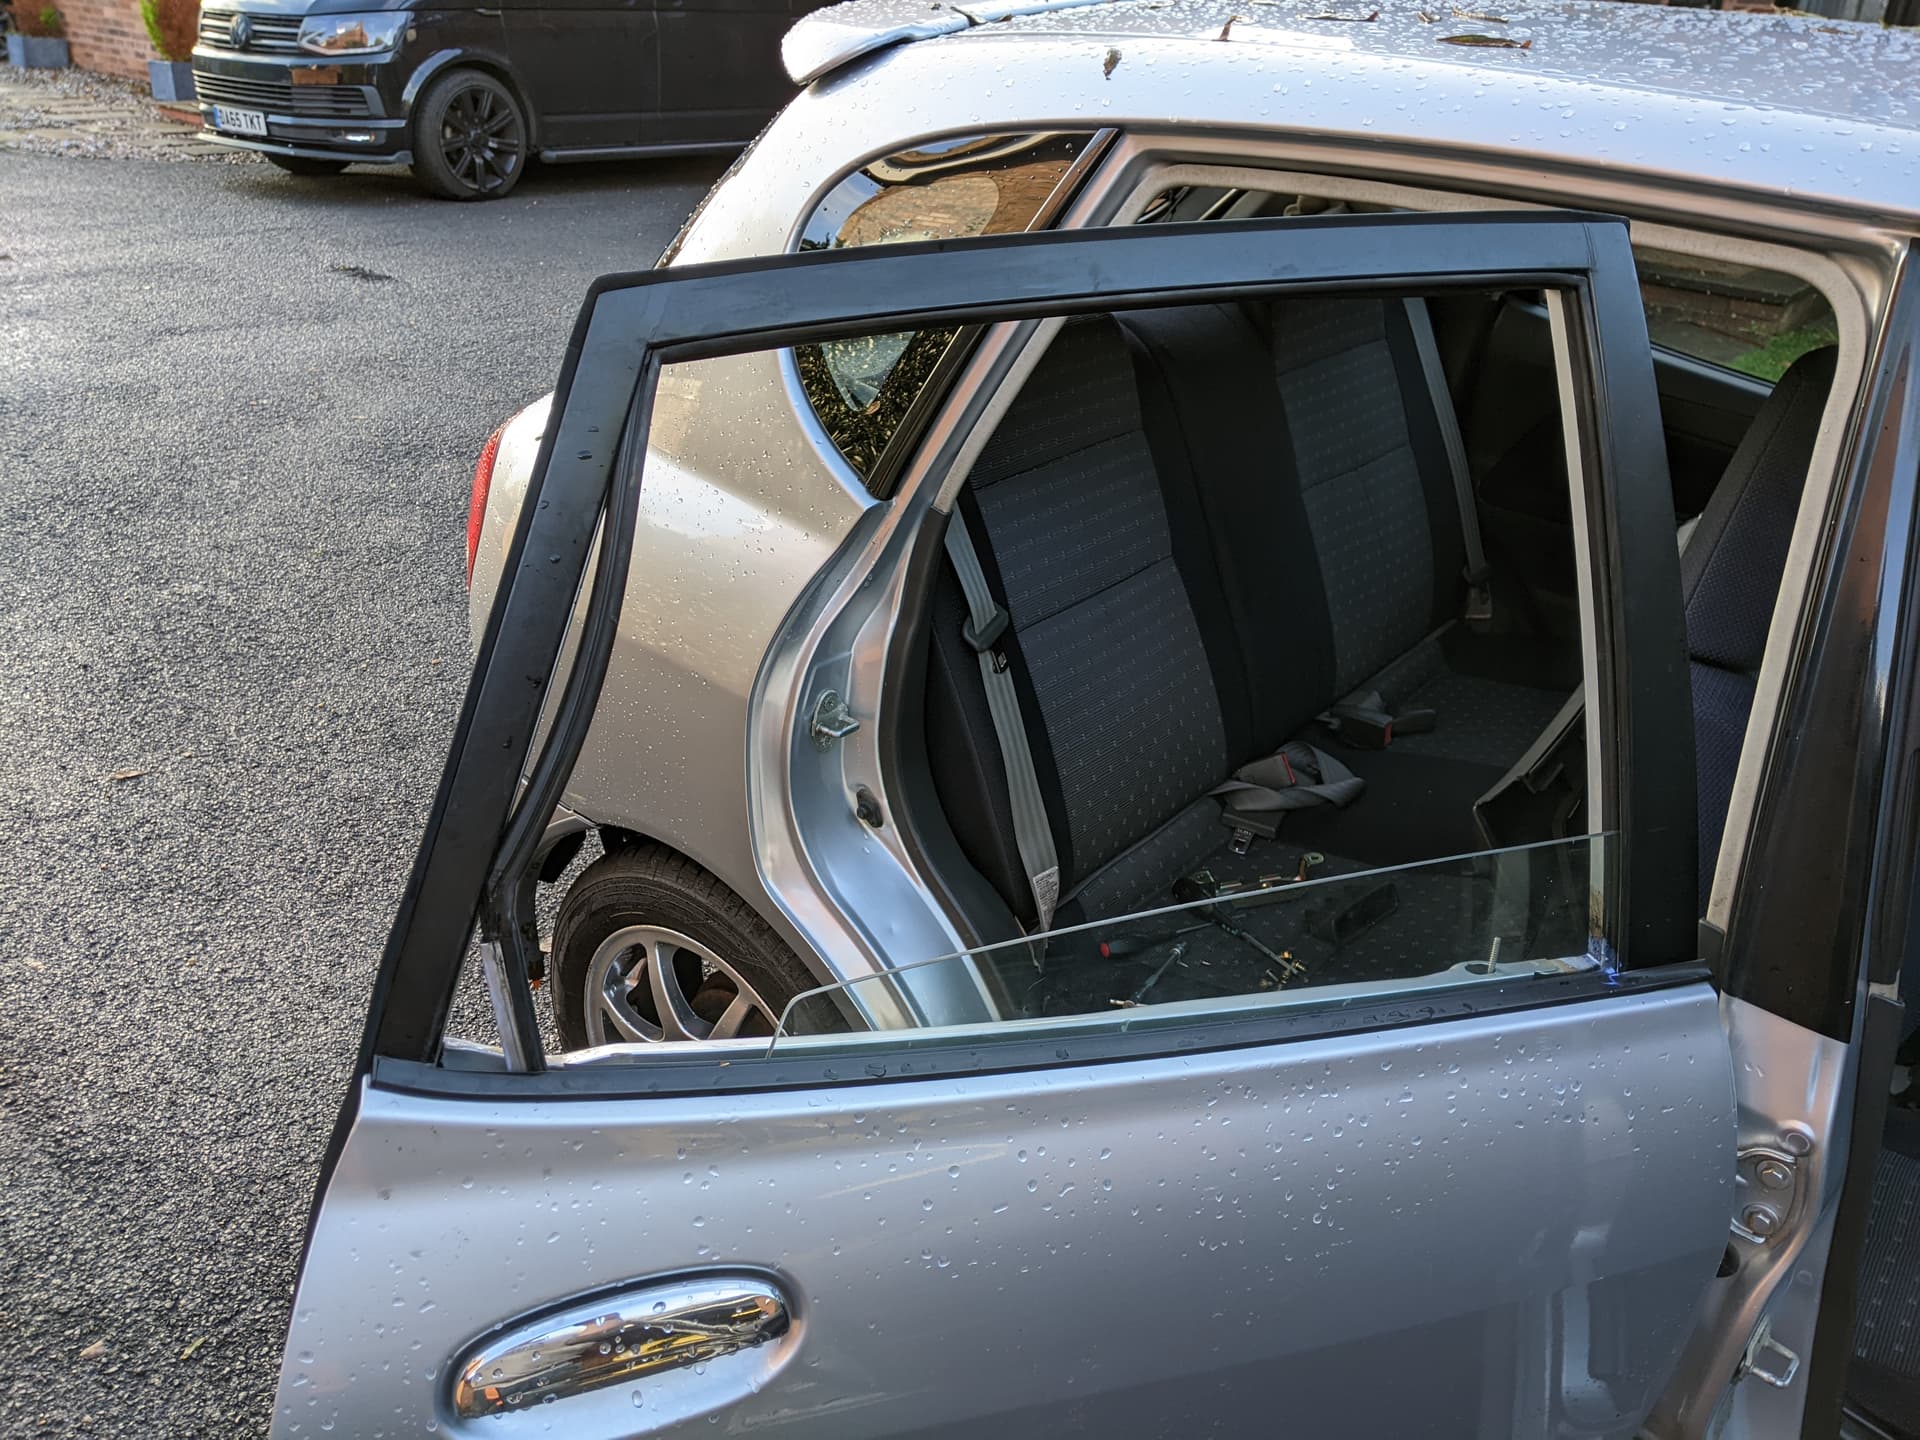
To begin with, make sure that you have lots of room to work, the door should be fully open and you will need to be able to walk around the car. First, undo the crosshead screws in the recess of the interior door release handle, and the bottom of the interior grab handle
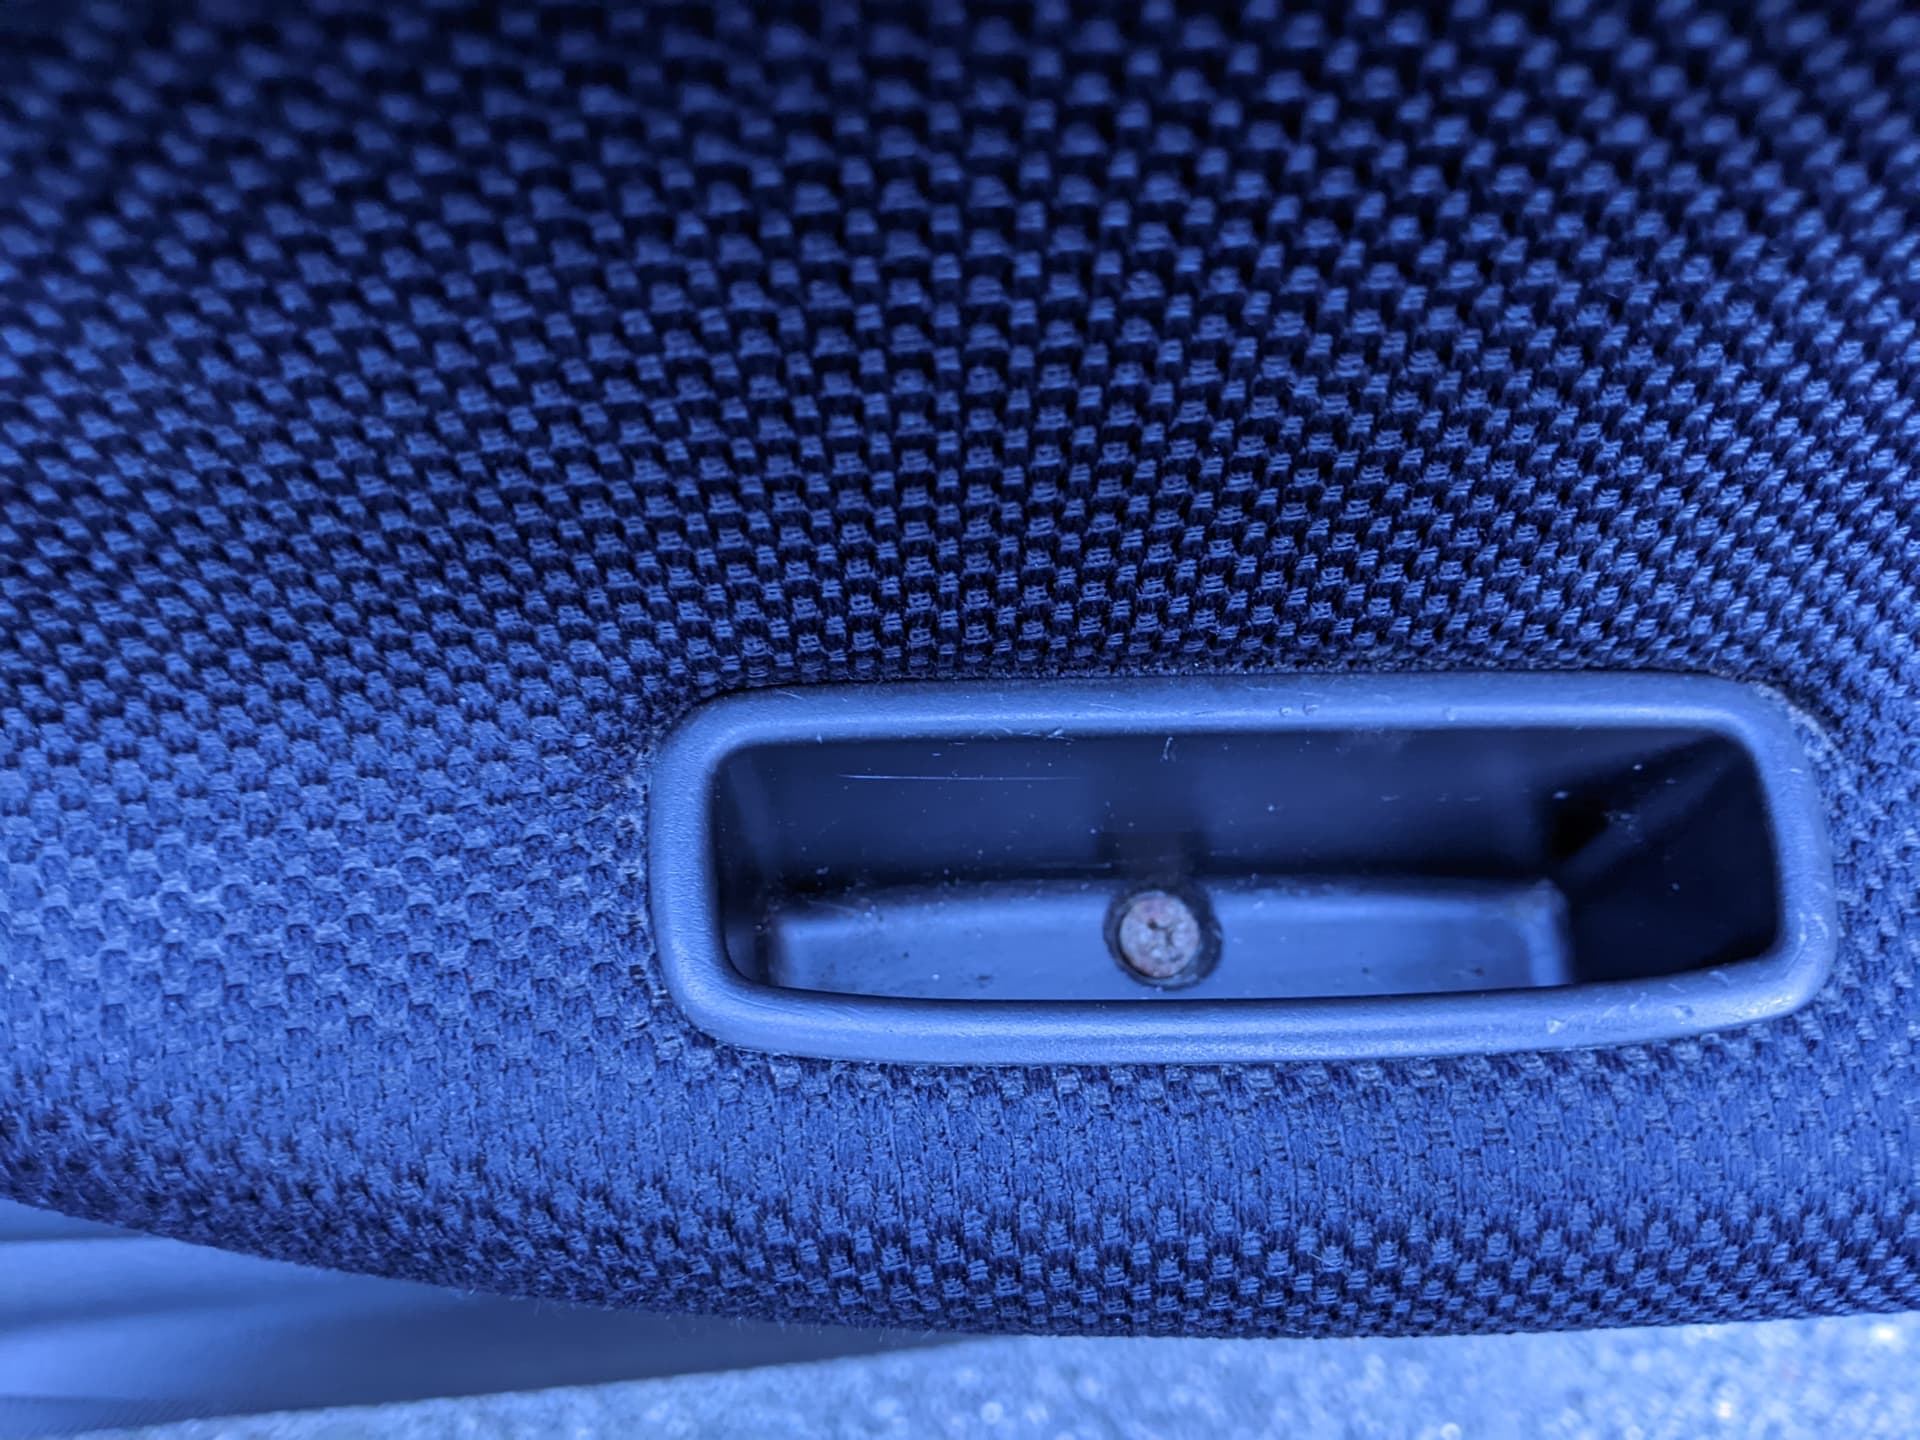
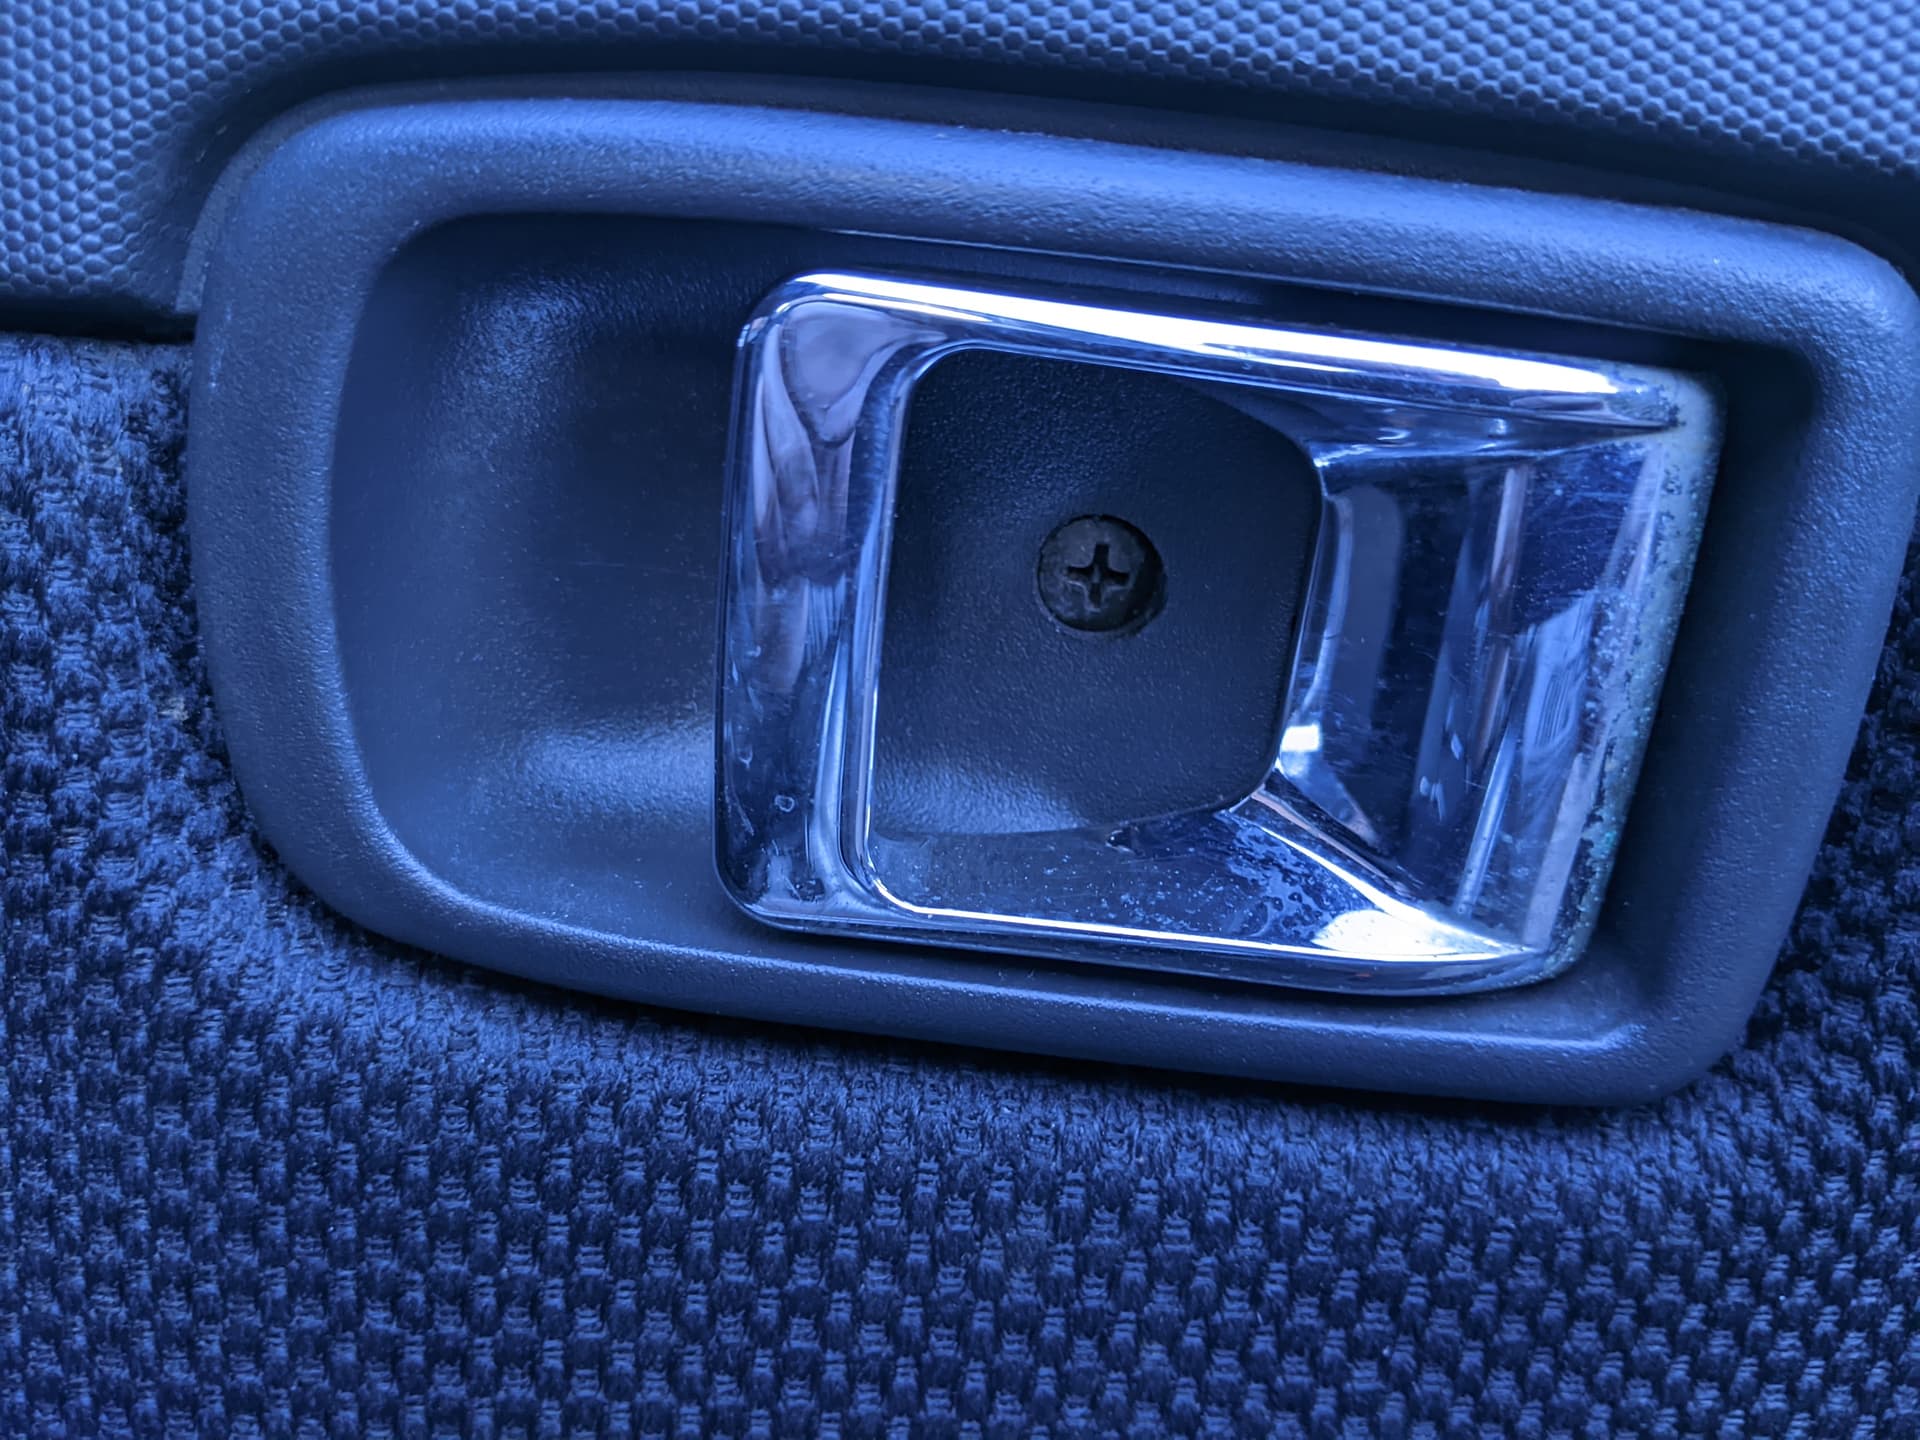
Set these aside and carefully lift the plastic insert of the interior grab handle out of the door card.
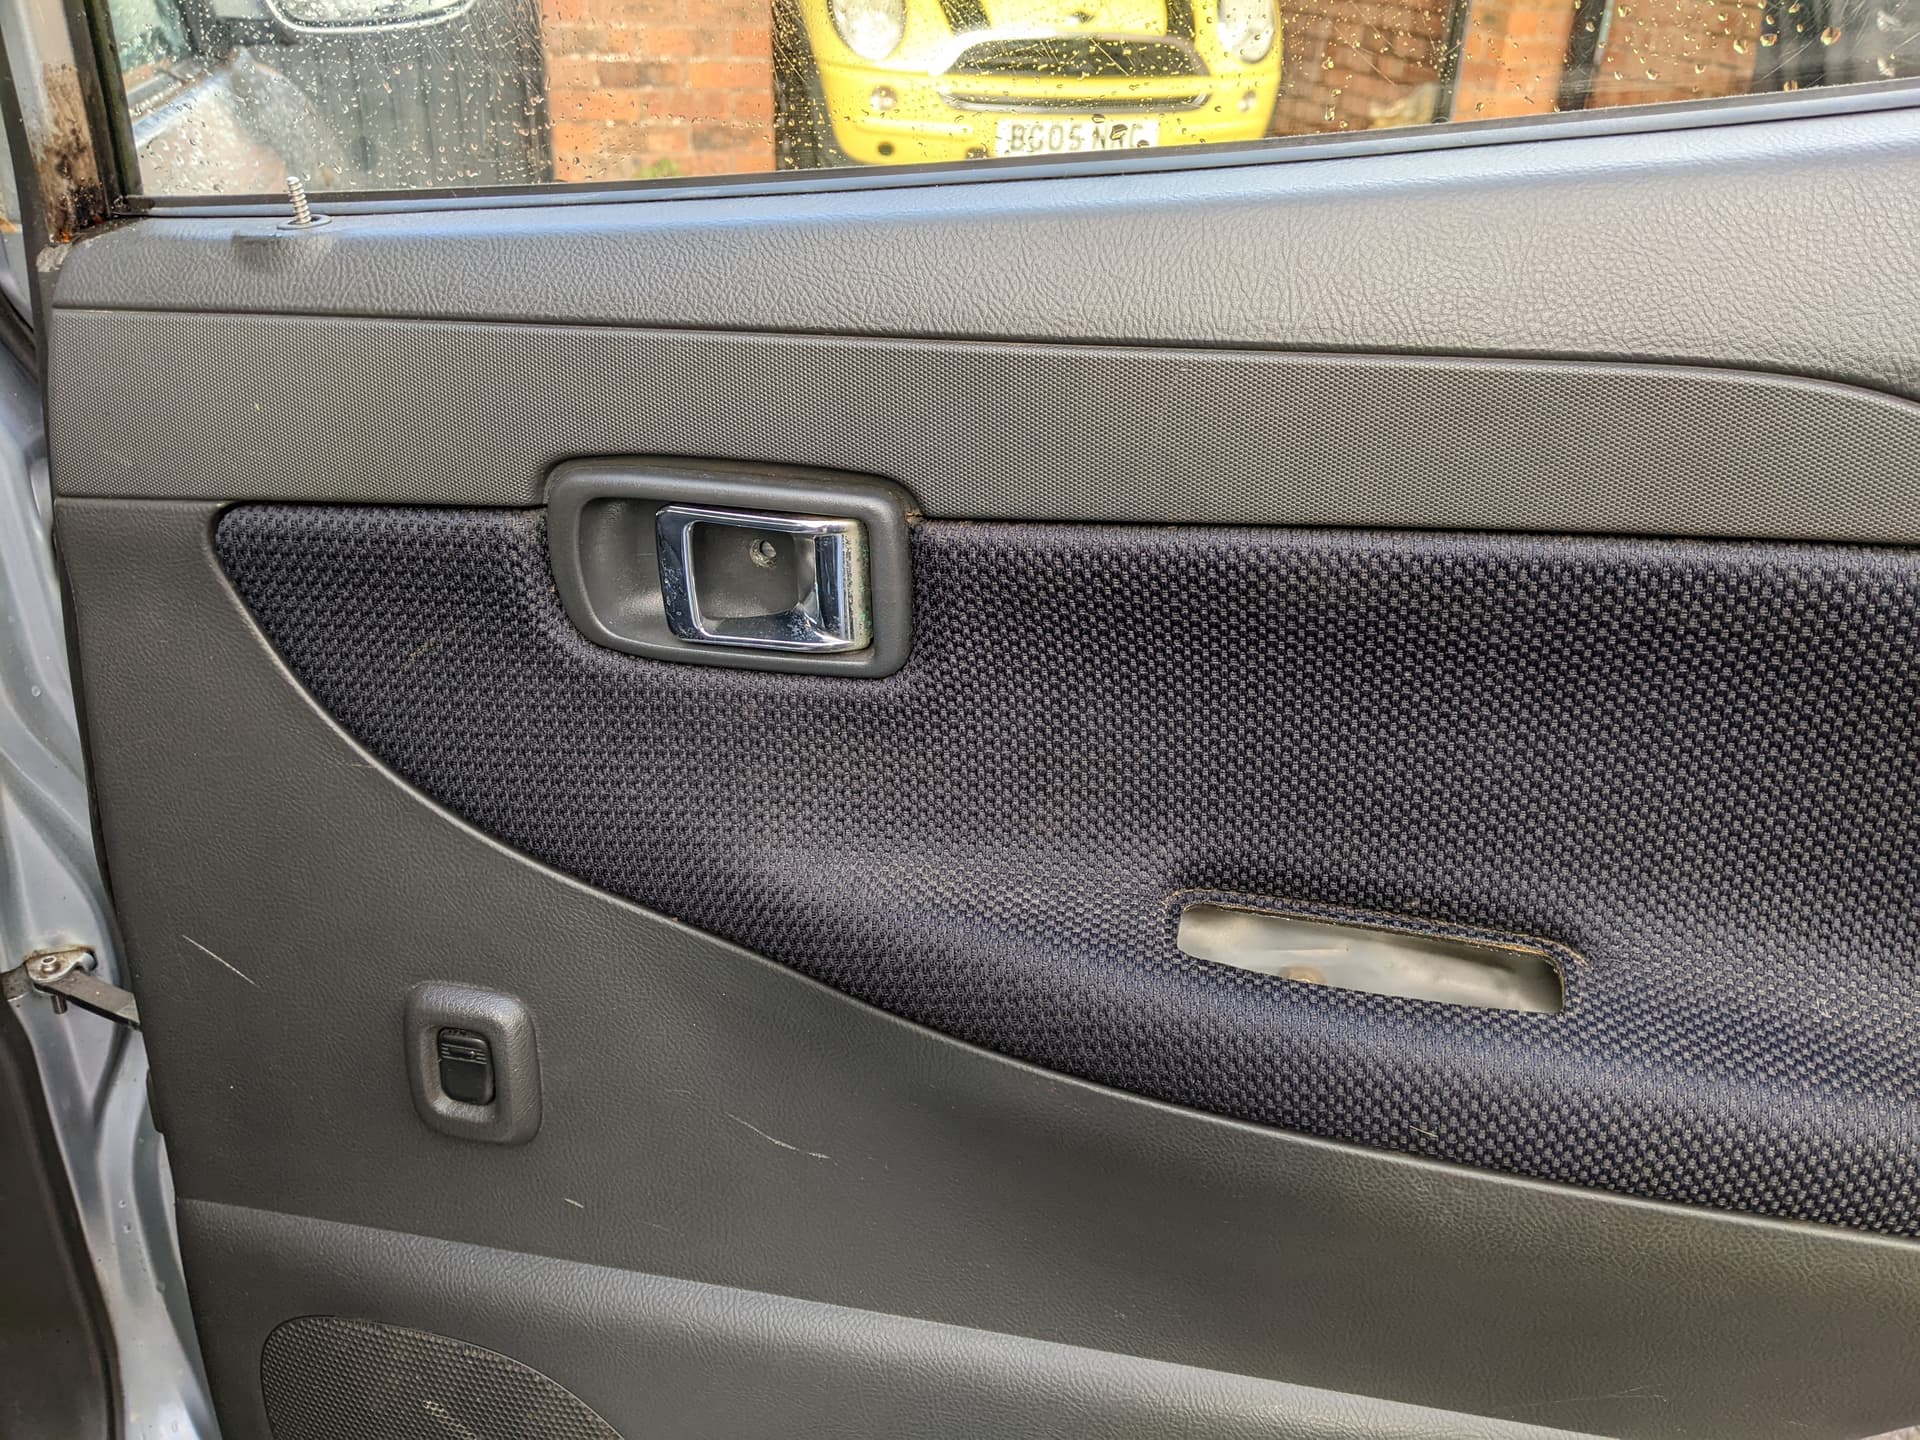
With this removed, you can remove the door card itself. To do so, starting from the bottom of the door card, gently pull the card away from the metal door frame. The door card is held to the frame with poppers which will pull out of holes in the inner door skin. Do not pull too hard, because the door card is held on in several other places! Once you have popped off all the clips along the bottom edge, leading edge and training edge - a U shape around the door card basically - you can gently lift the card away from the frame, it will hinge on the top edge - along the bottom of the window. You need to reach up and unplug the electric window switch from the wiring loom, and feed the interior door release handle through its hole in the door car by gently twisting it and feeding it through. You also need to unscrew the lock button from the threaded extrusion (visible top left).
Once done, gently lift the door card vertically to pop it out of the channel at the bottom of the window frame

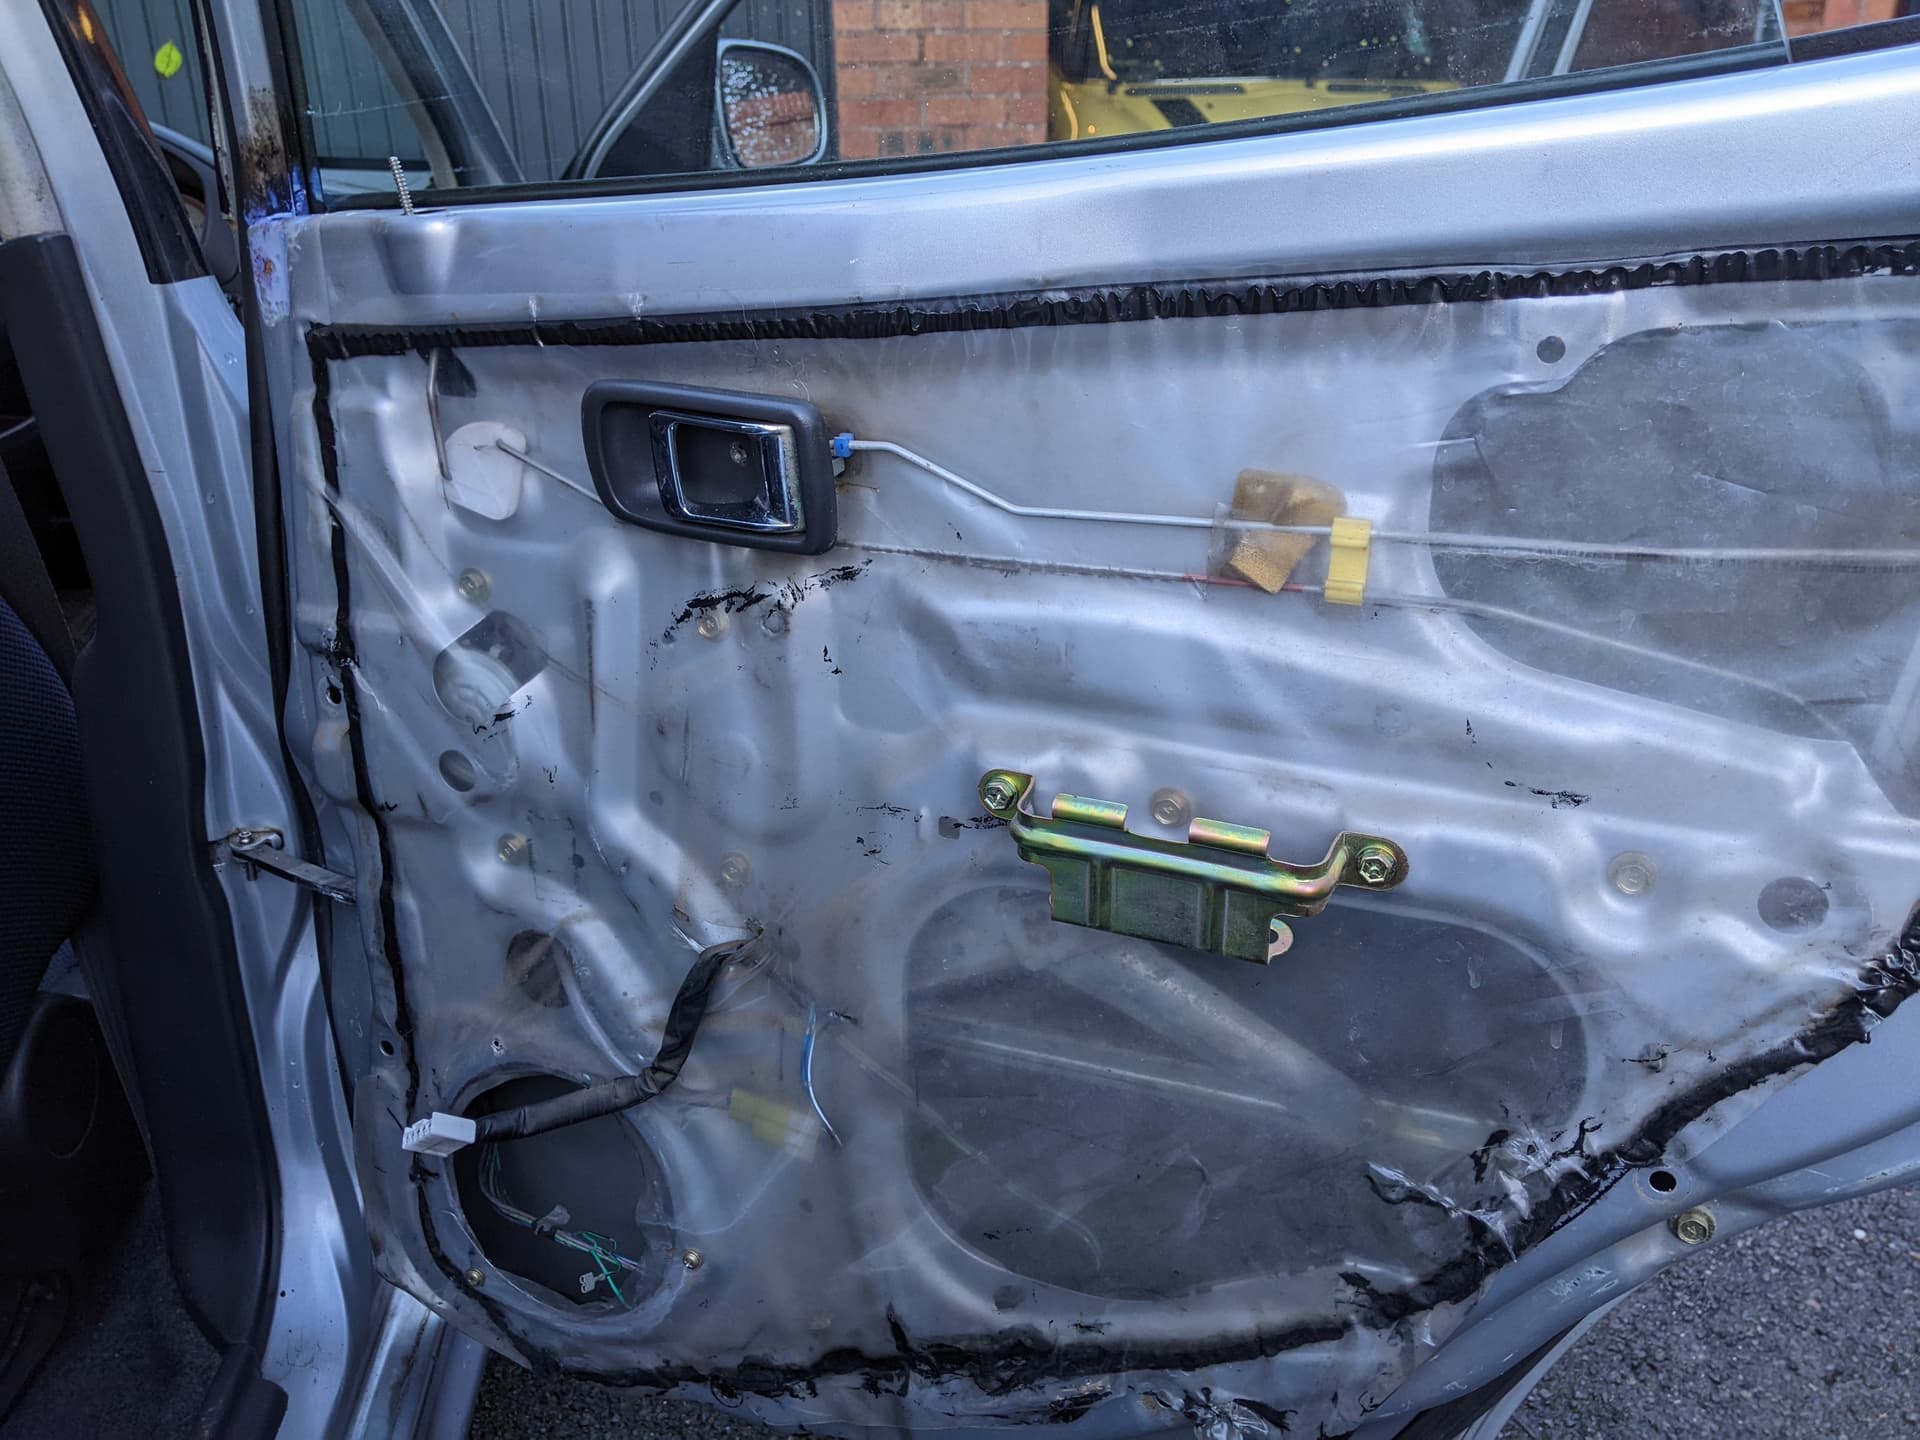
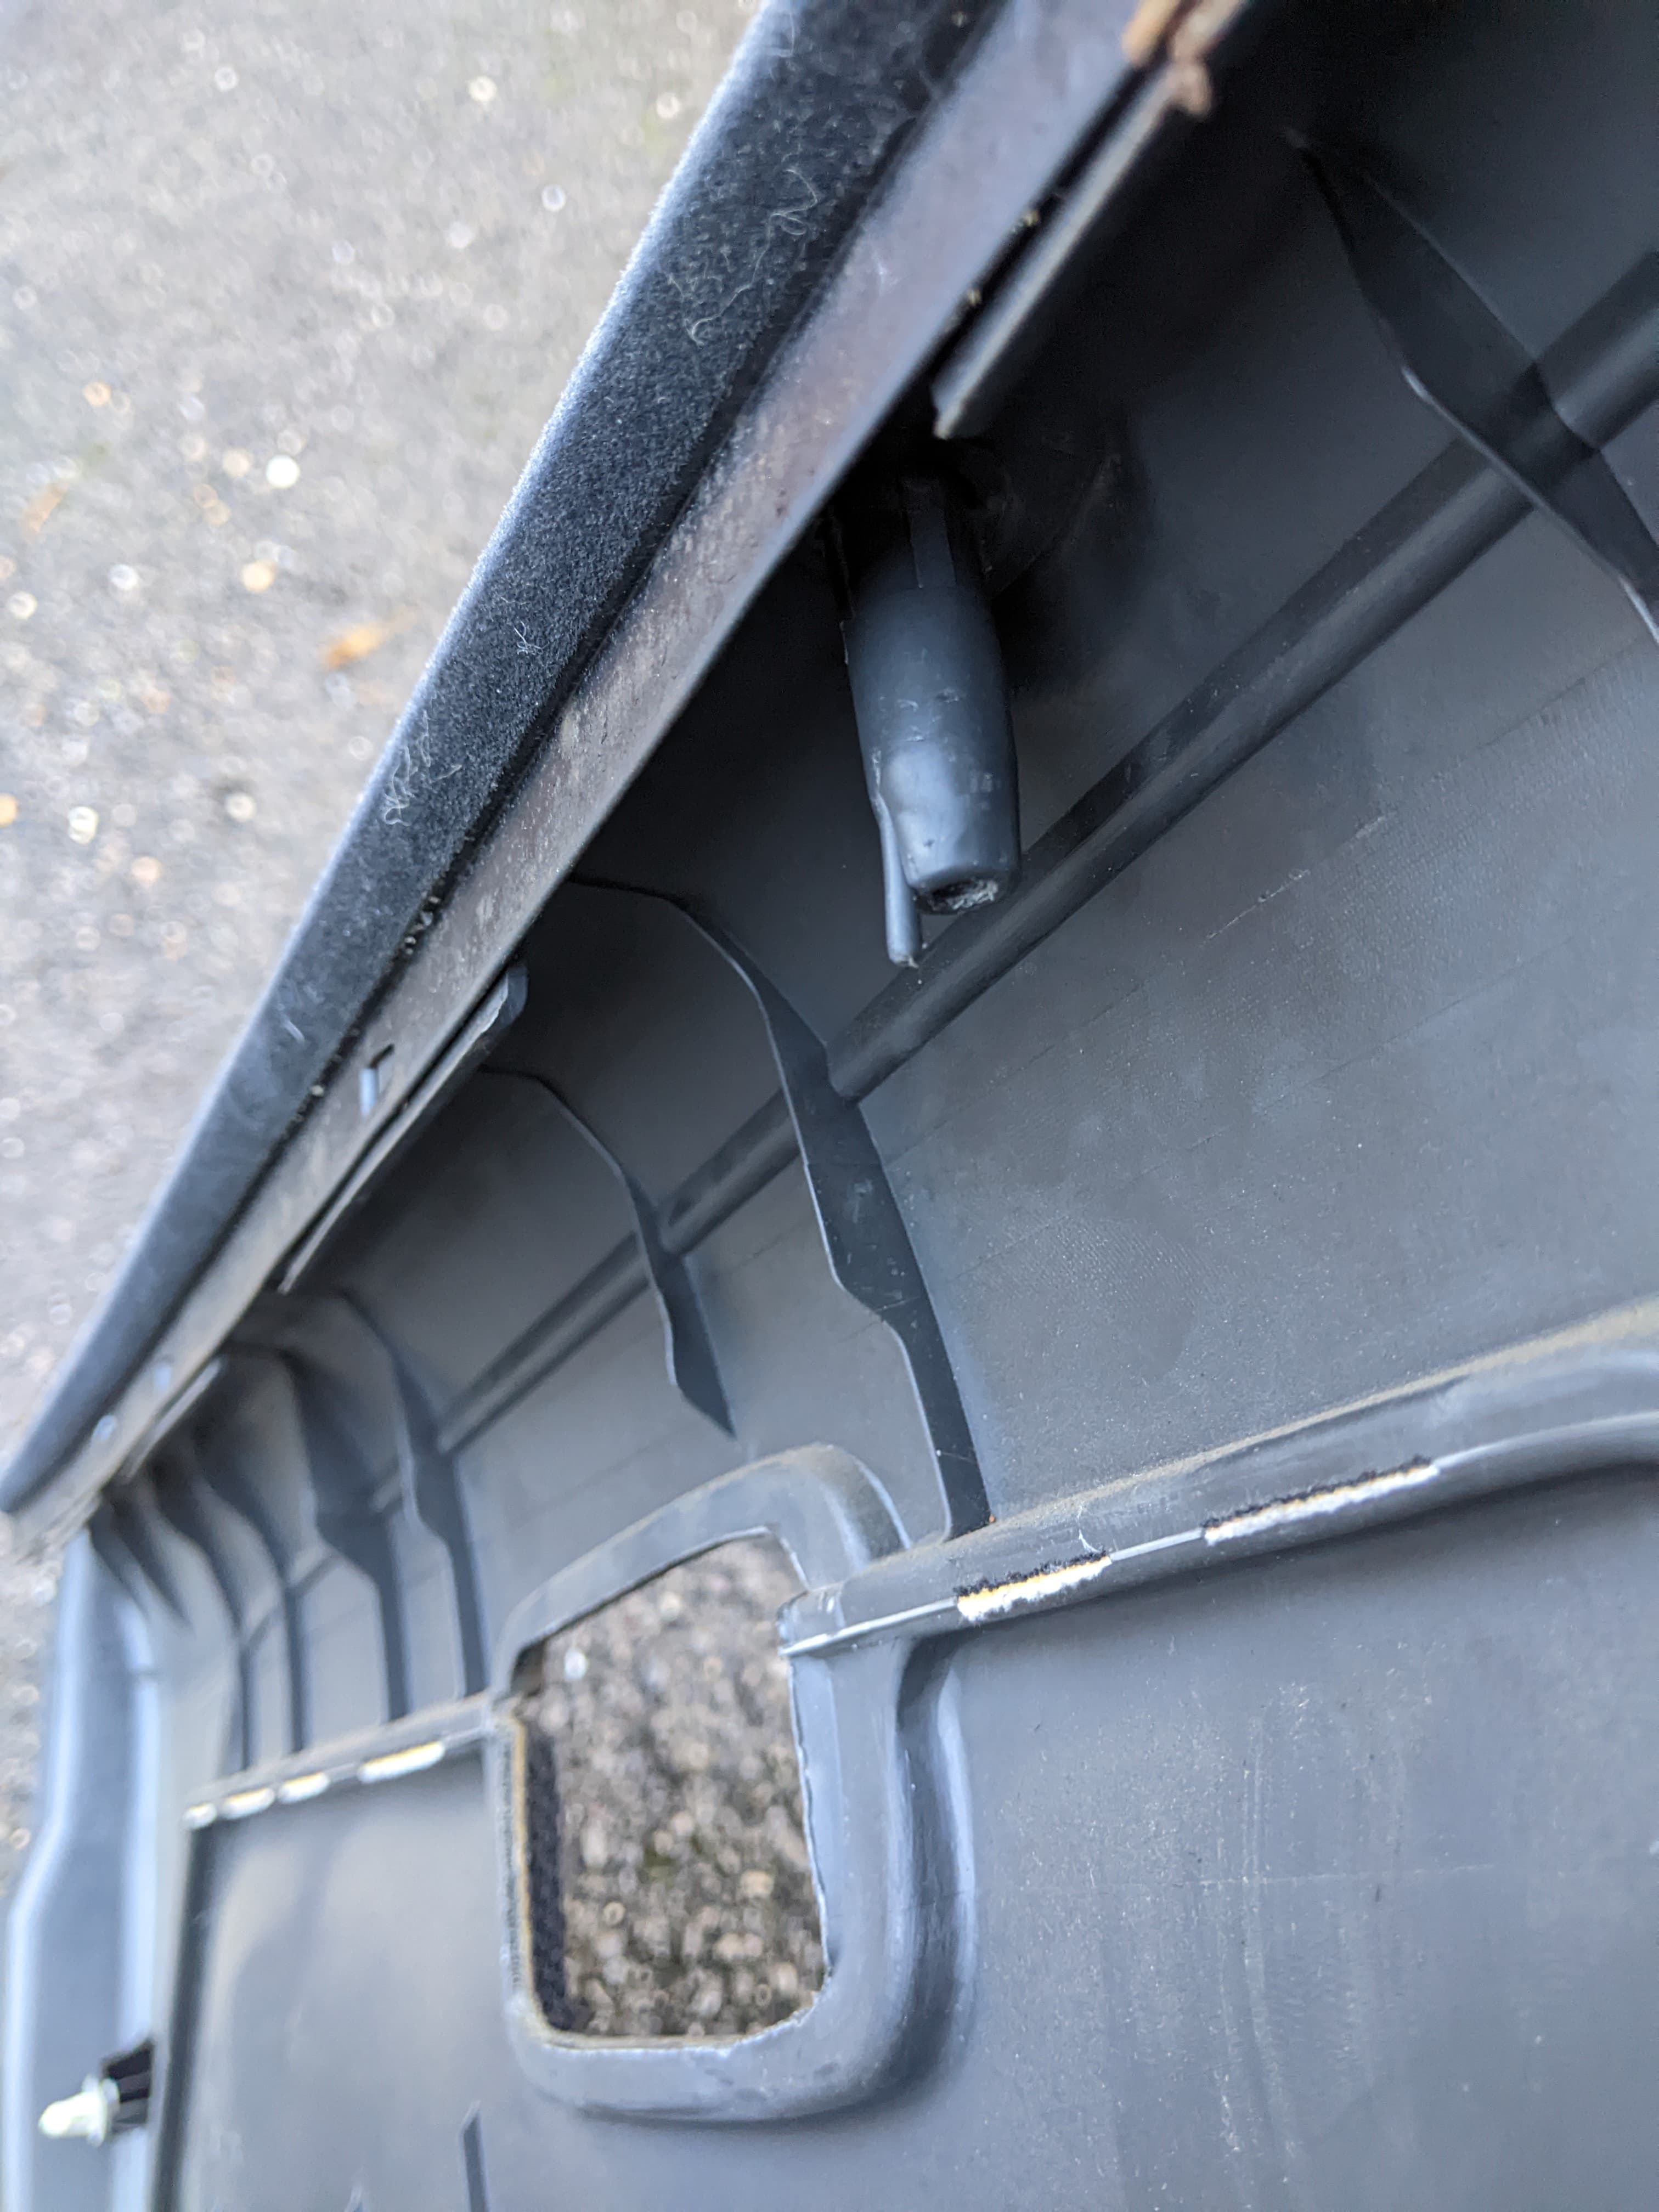
Next you need to unbolt the grab handle carrier, the brass-coloured thing in the centre of the pic above. Either use a cross-head screwdriver or a 10mm socket to undo 2x hex-head screws, carefully set them aside. Also, there will be 2 or 3 crosshead screws holding the speaker to the door inner skin, or if there is no speaker (like mine) then the screws just hold the membrane to the door card. remove these and set them aside.
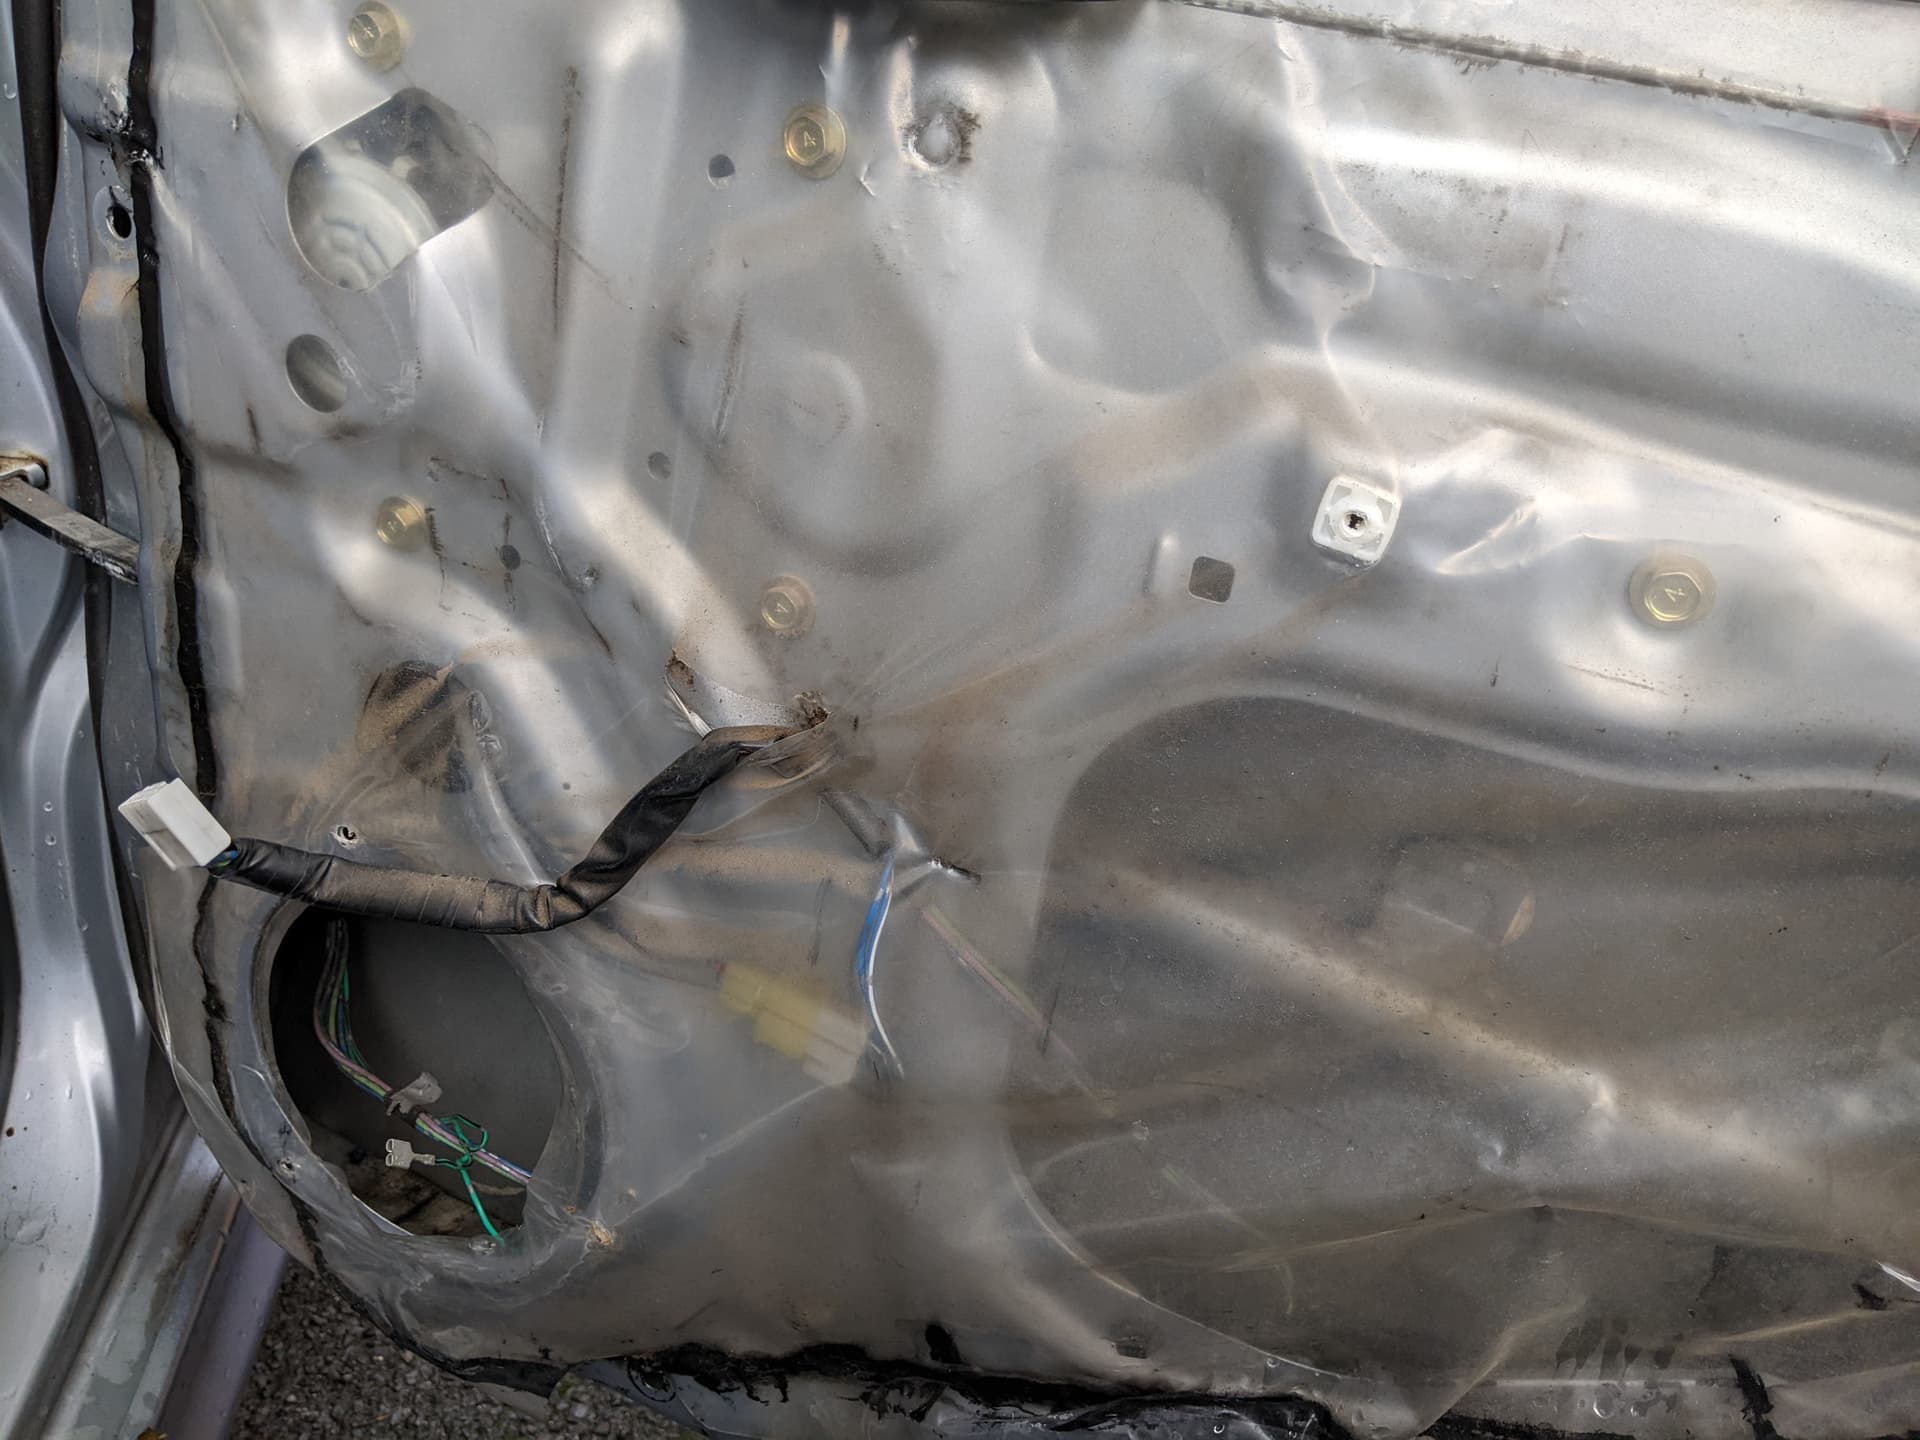
The next bit is quite mucky so ideally wear nitrile gloves. You need to carefully pull the door membrane plastic off the metal door skin. Its held on with non-setting sikaflex-type adhesive but rips easily. Ideally do this on a warm day, or heat the black adhesive gently before starting, but if you’re careful you can pull it away from the door frame. You only need to pull the bottom half away, about level with the door check strap. If you can, fold the bottom half over the top half and stick it to itself.
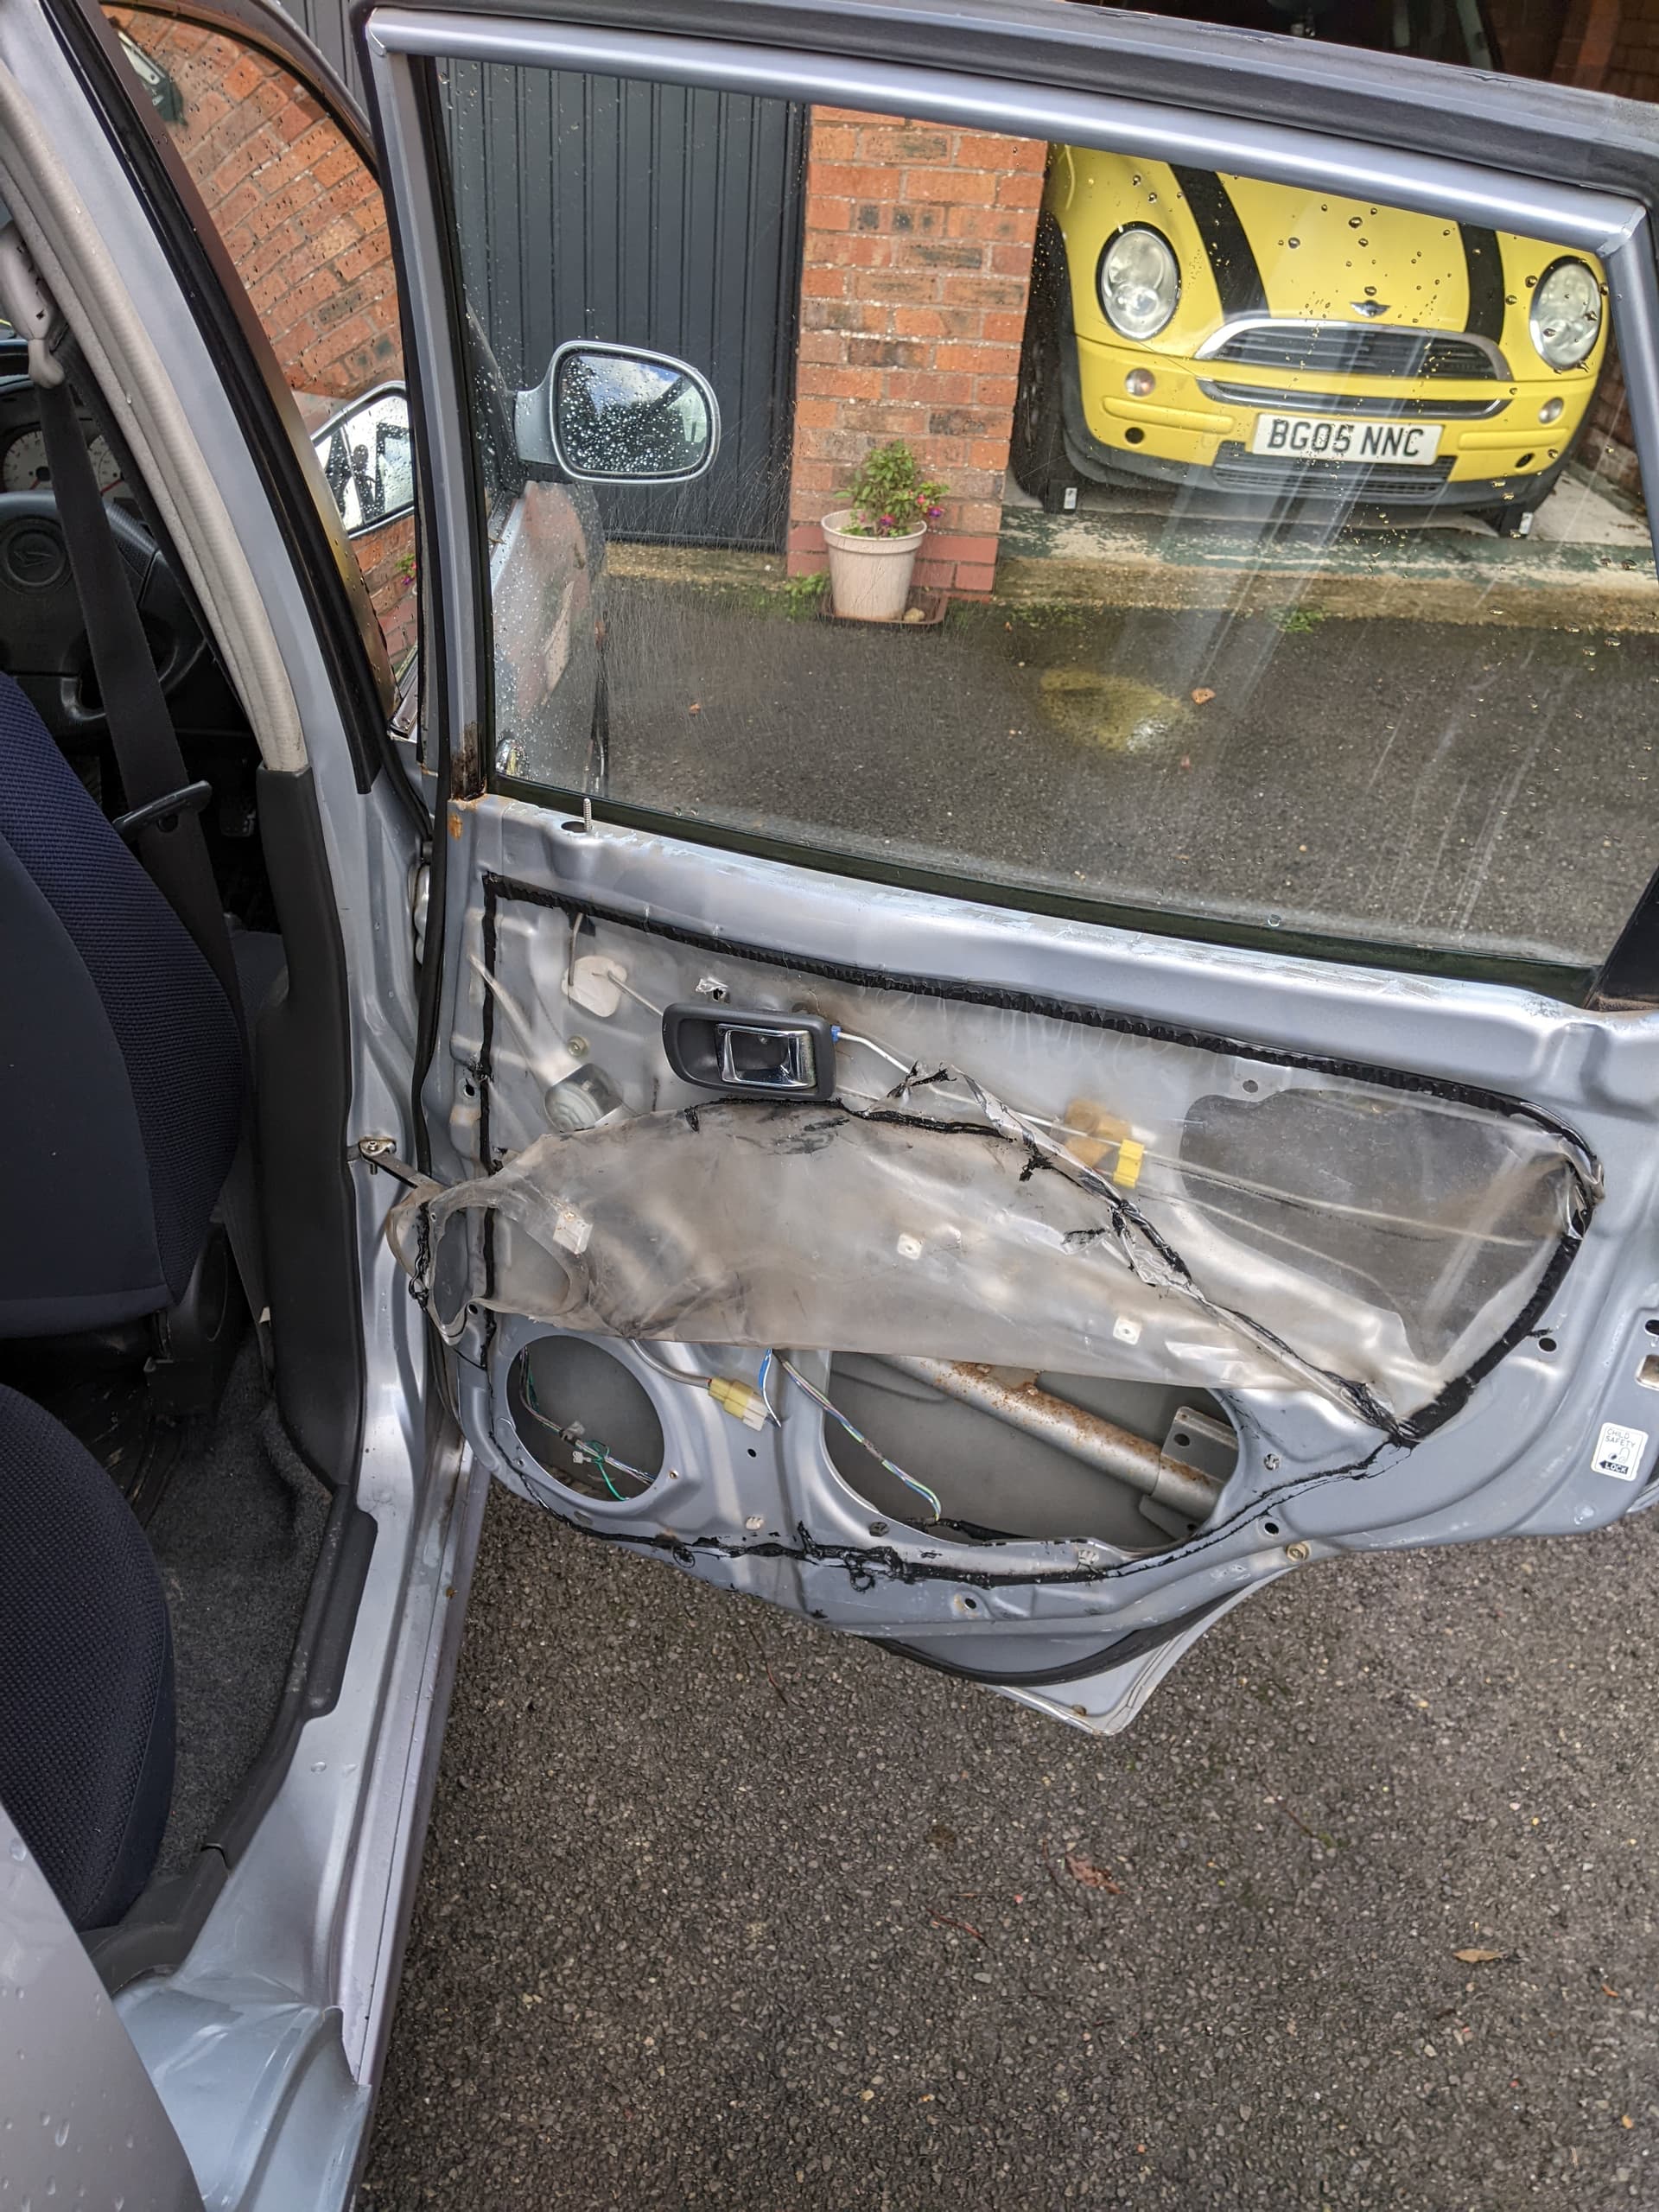
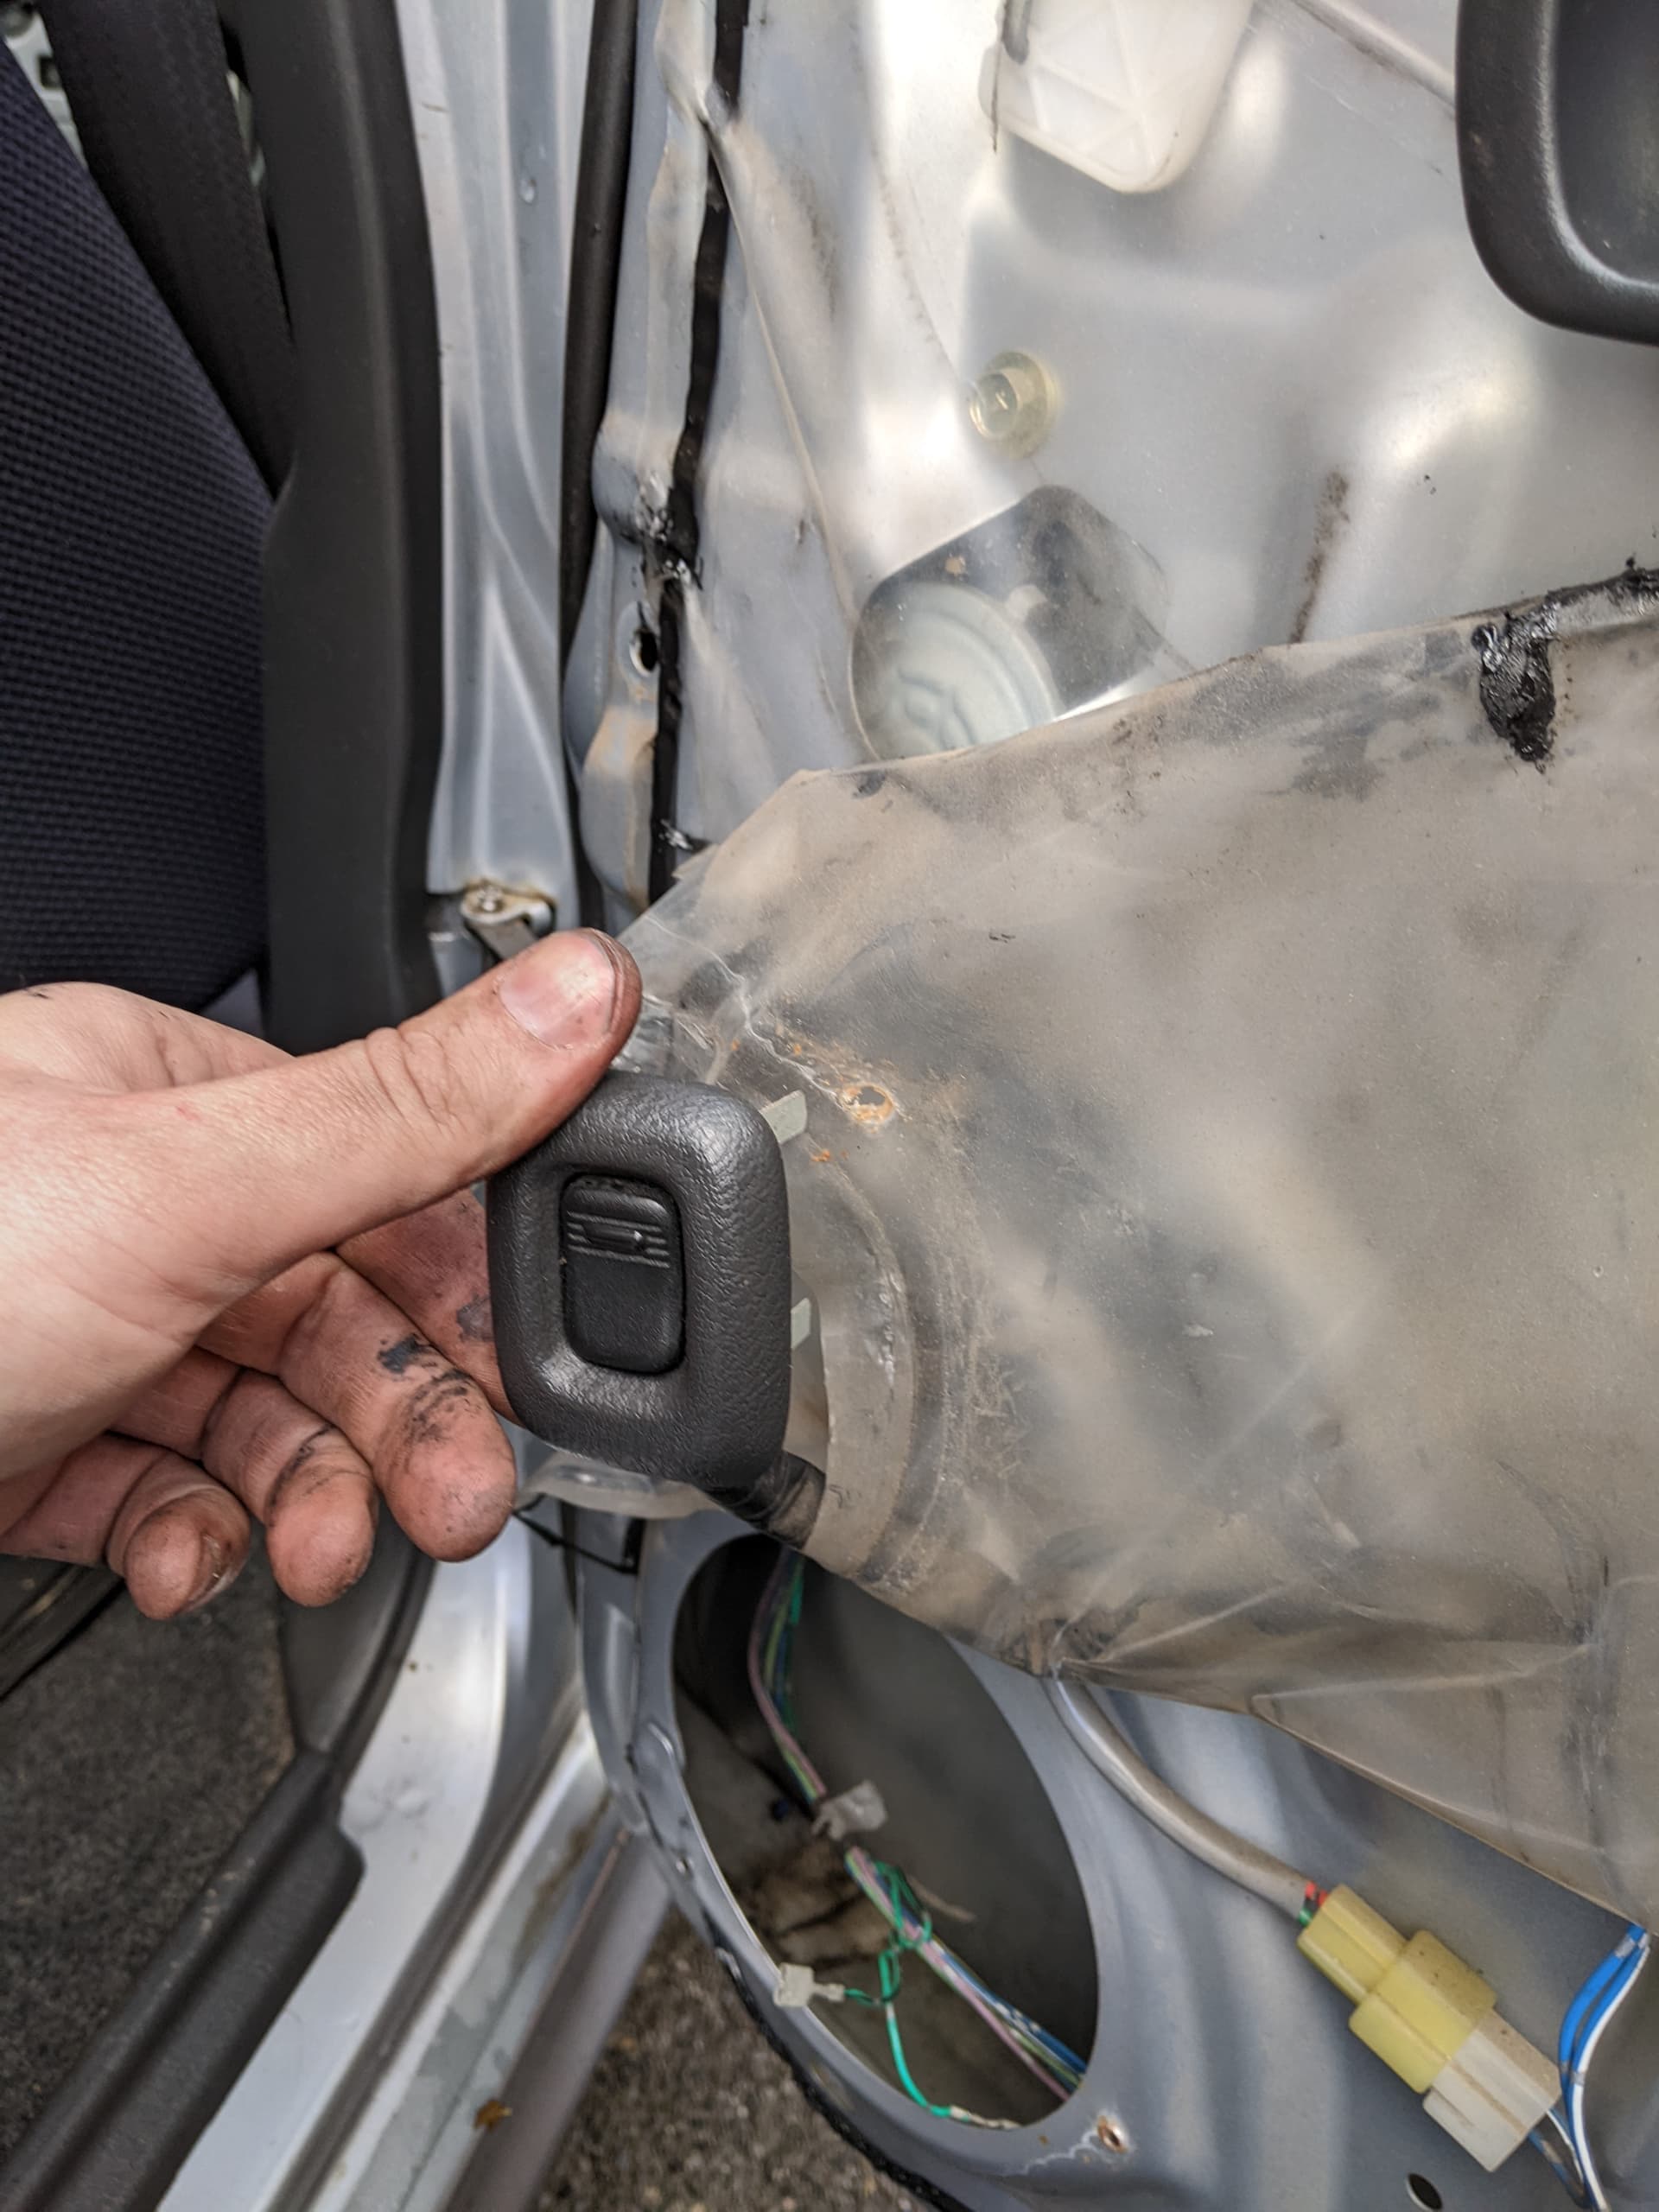
Next, you need the electric window switch reconnected, the easiest way is to just clip it to the door card, but this gets in the way so if you can, carefully bend back the 4x tabs that hold the electric window switch to the door card and pull it off of the door card. Once done, connect it to the multiplug of the wiring loom
Turn the ignition on, then lower the window until the bottom channel of the window raising mechanism is visible through the access holes in the innder door skin. I
It needs to be about 90% down
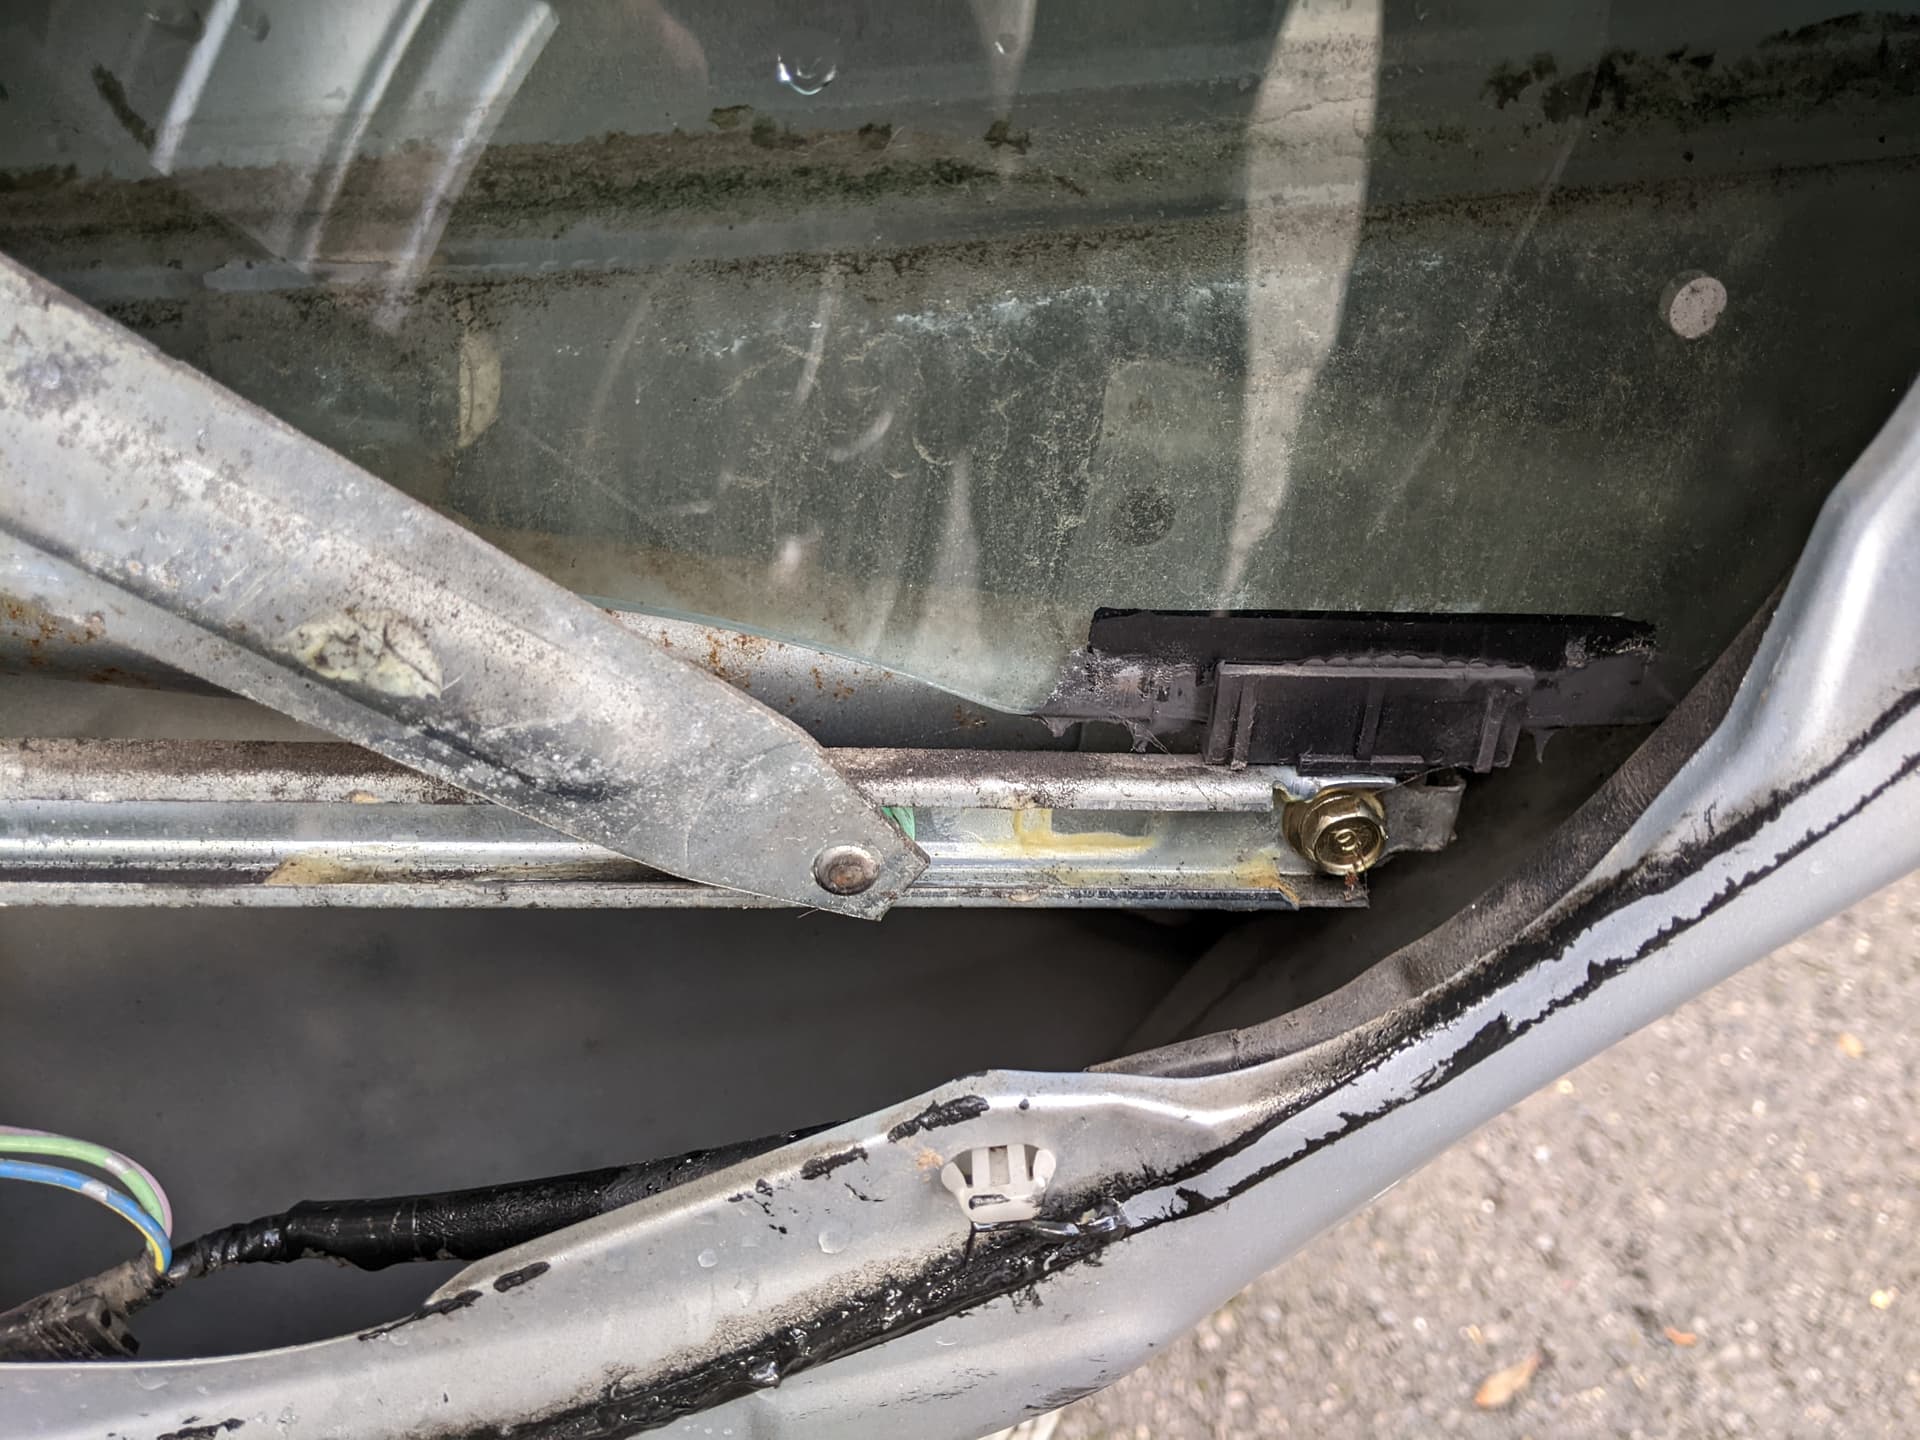
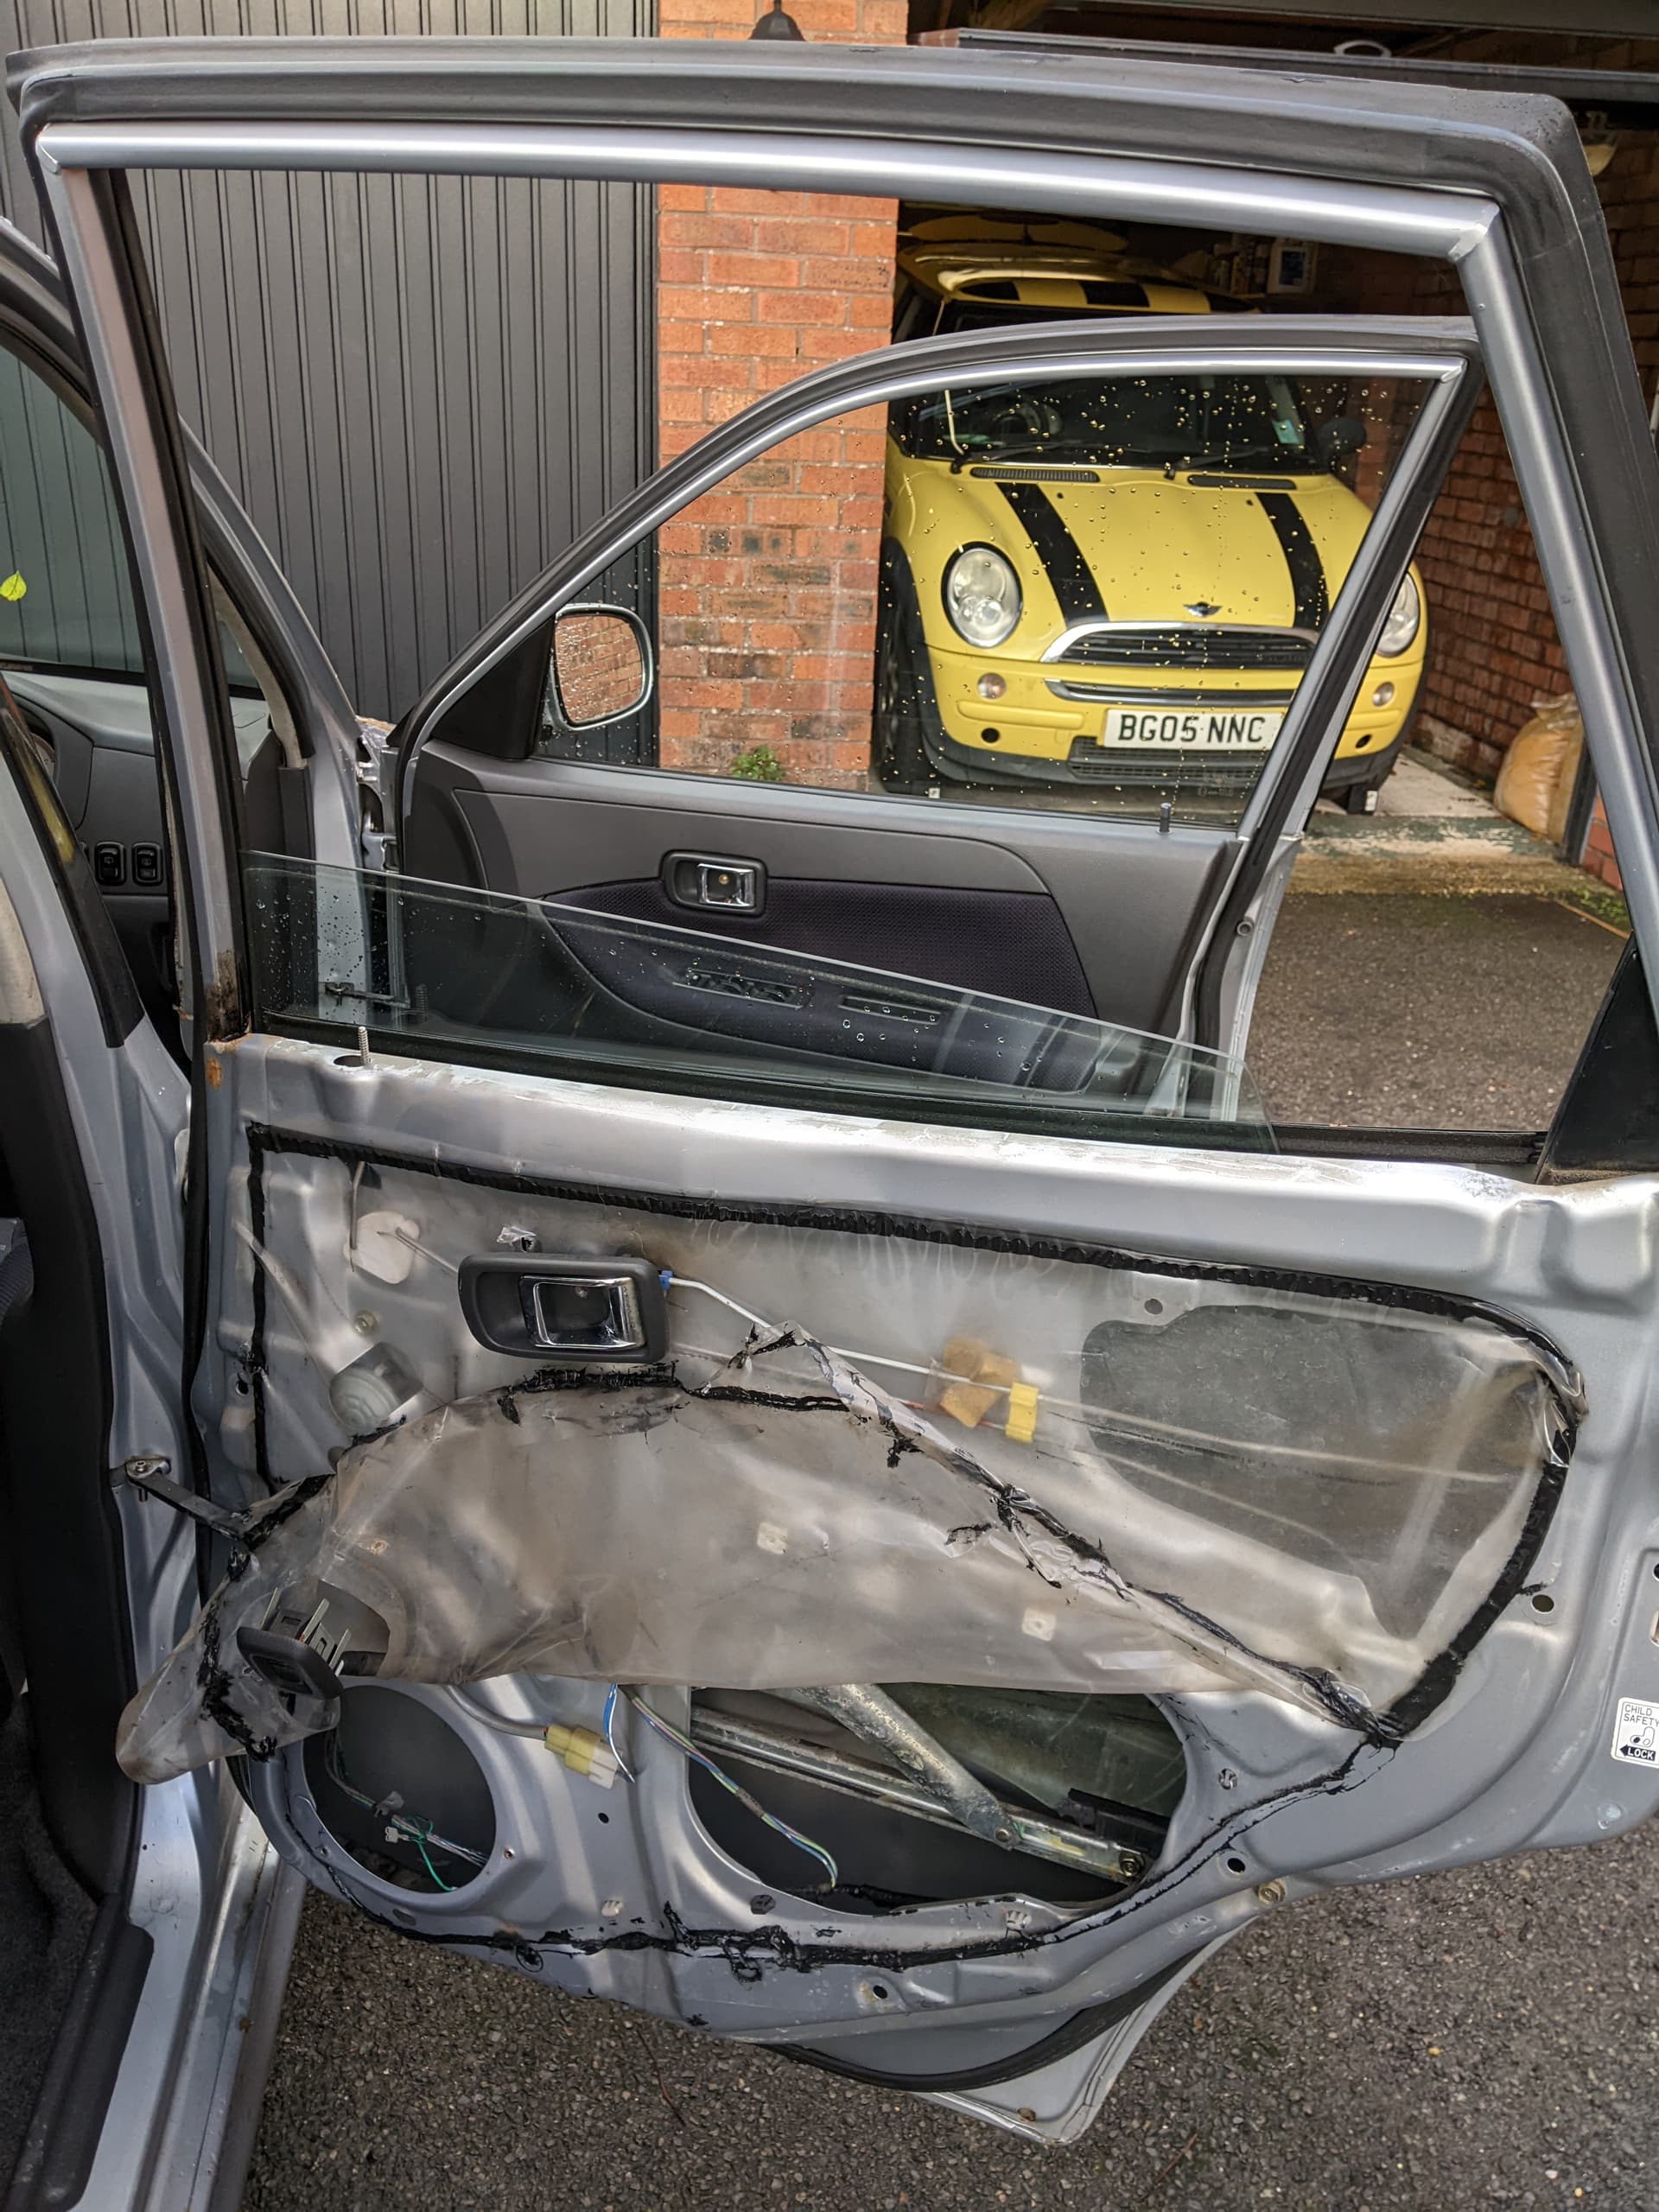
The window has 2x threaded ‘eyes’ that are held to the bottom frame with 10mm bolts. You need to loosen these and remove the 2x bolts completely
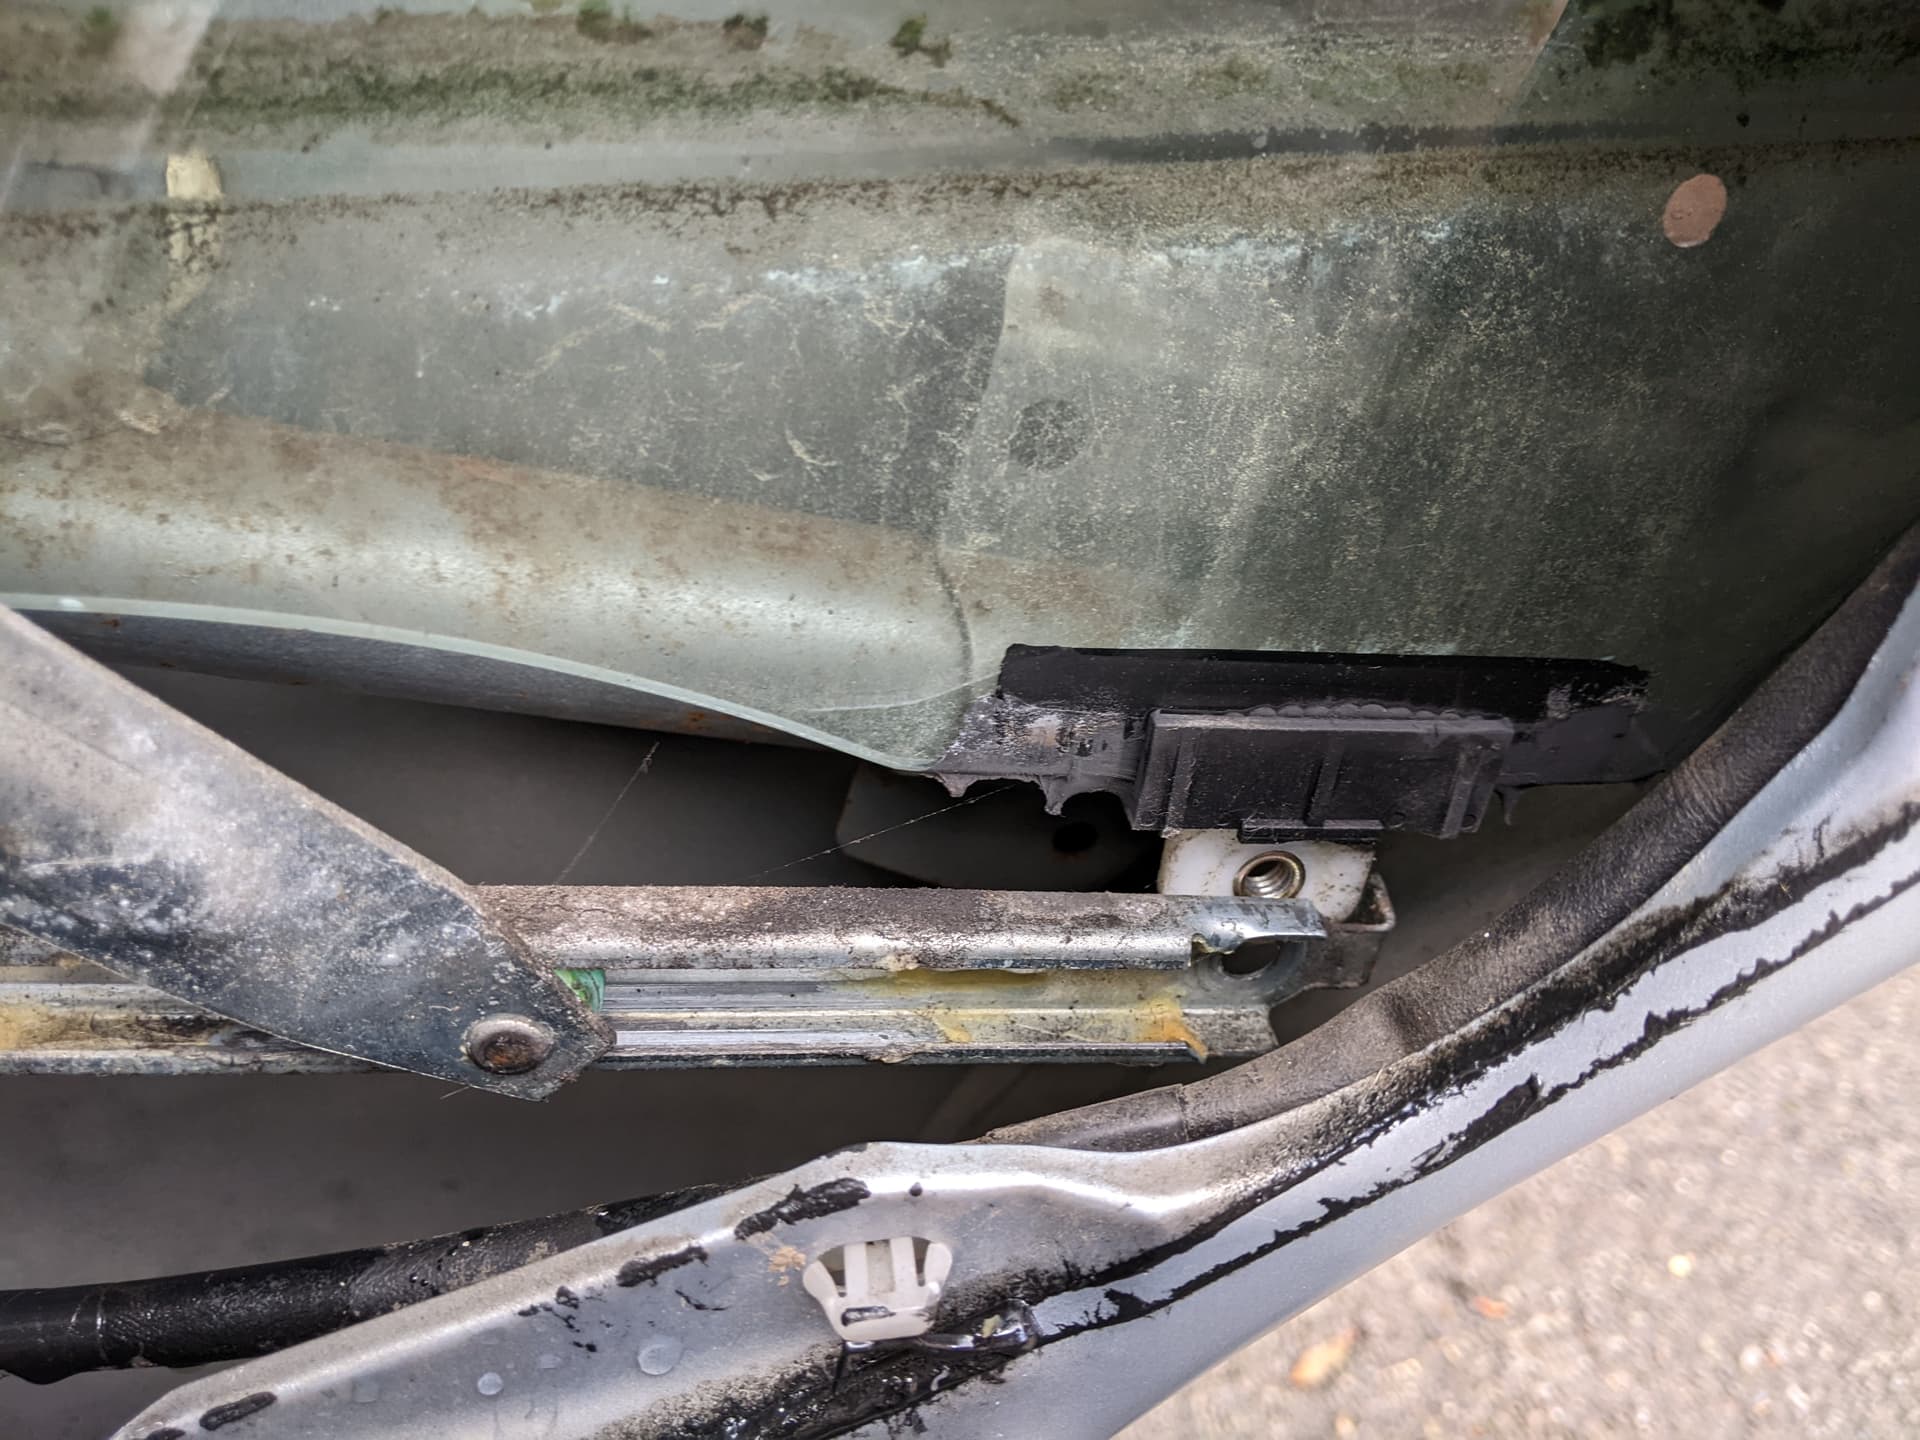
Set the bolts aside. The door glass is now free from the raising/lowering mechanism.
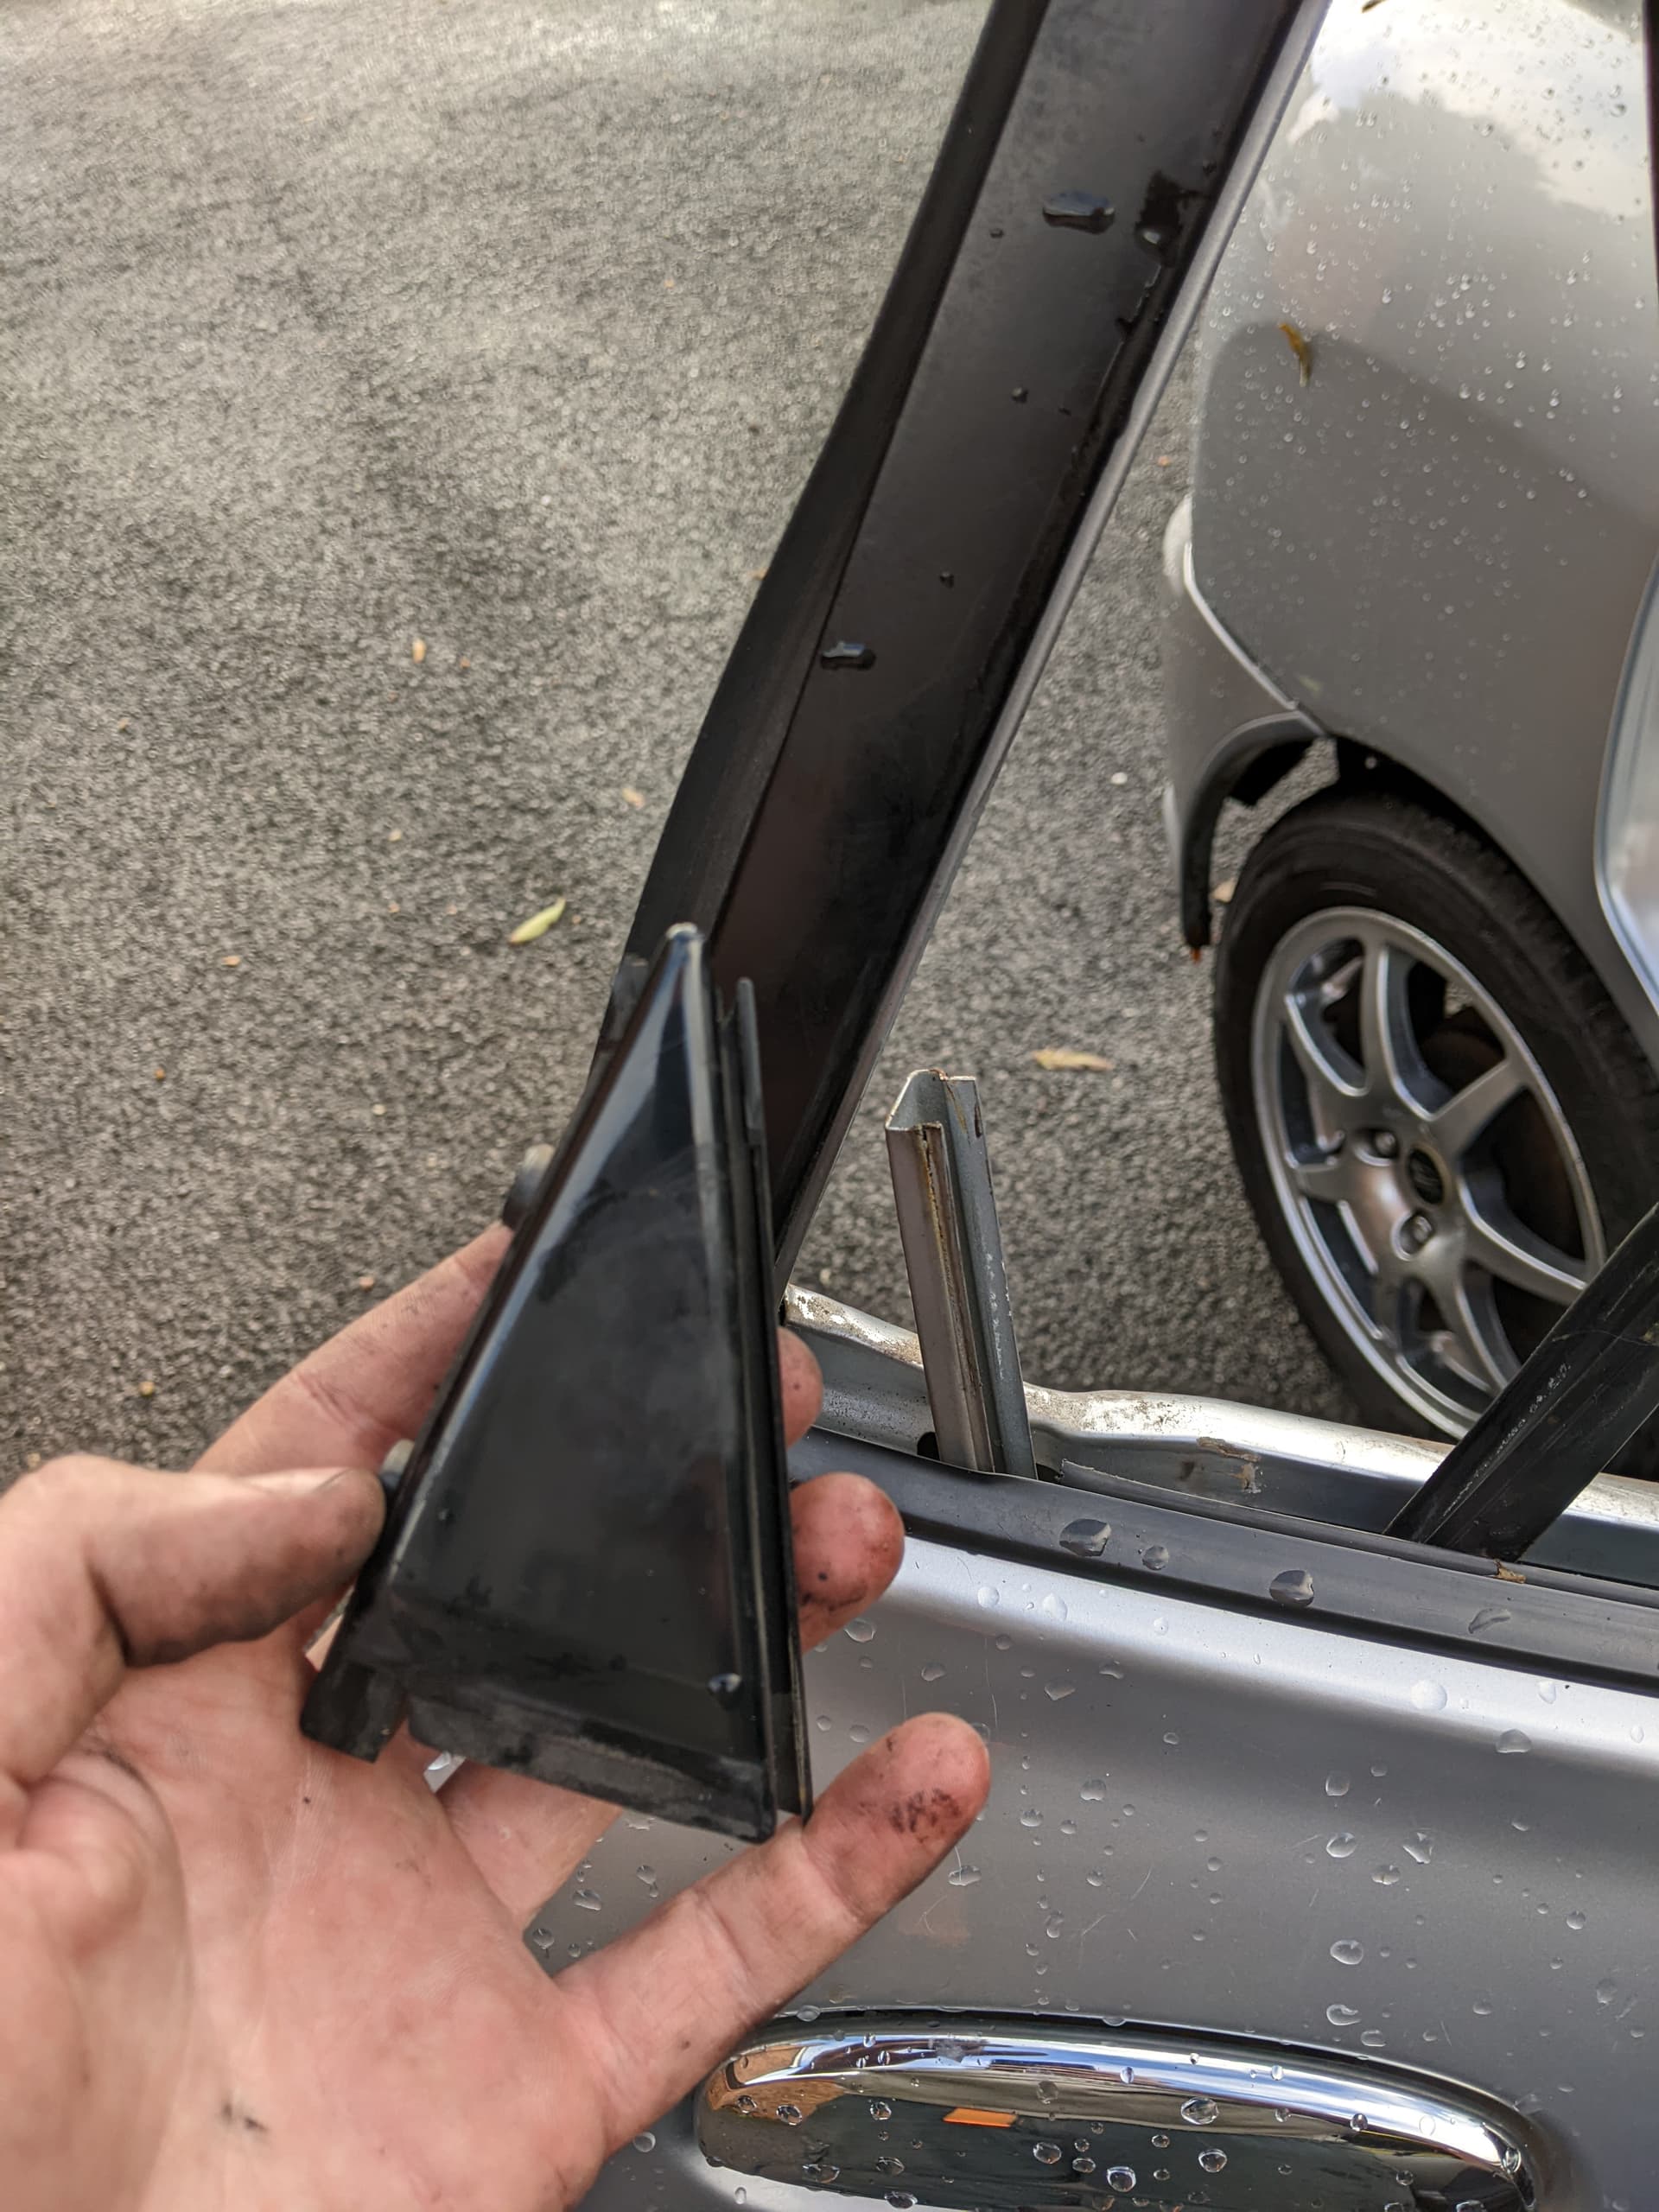
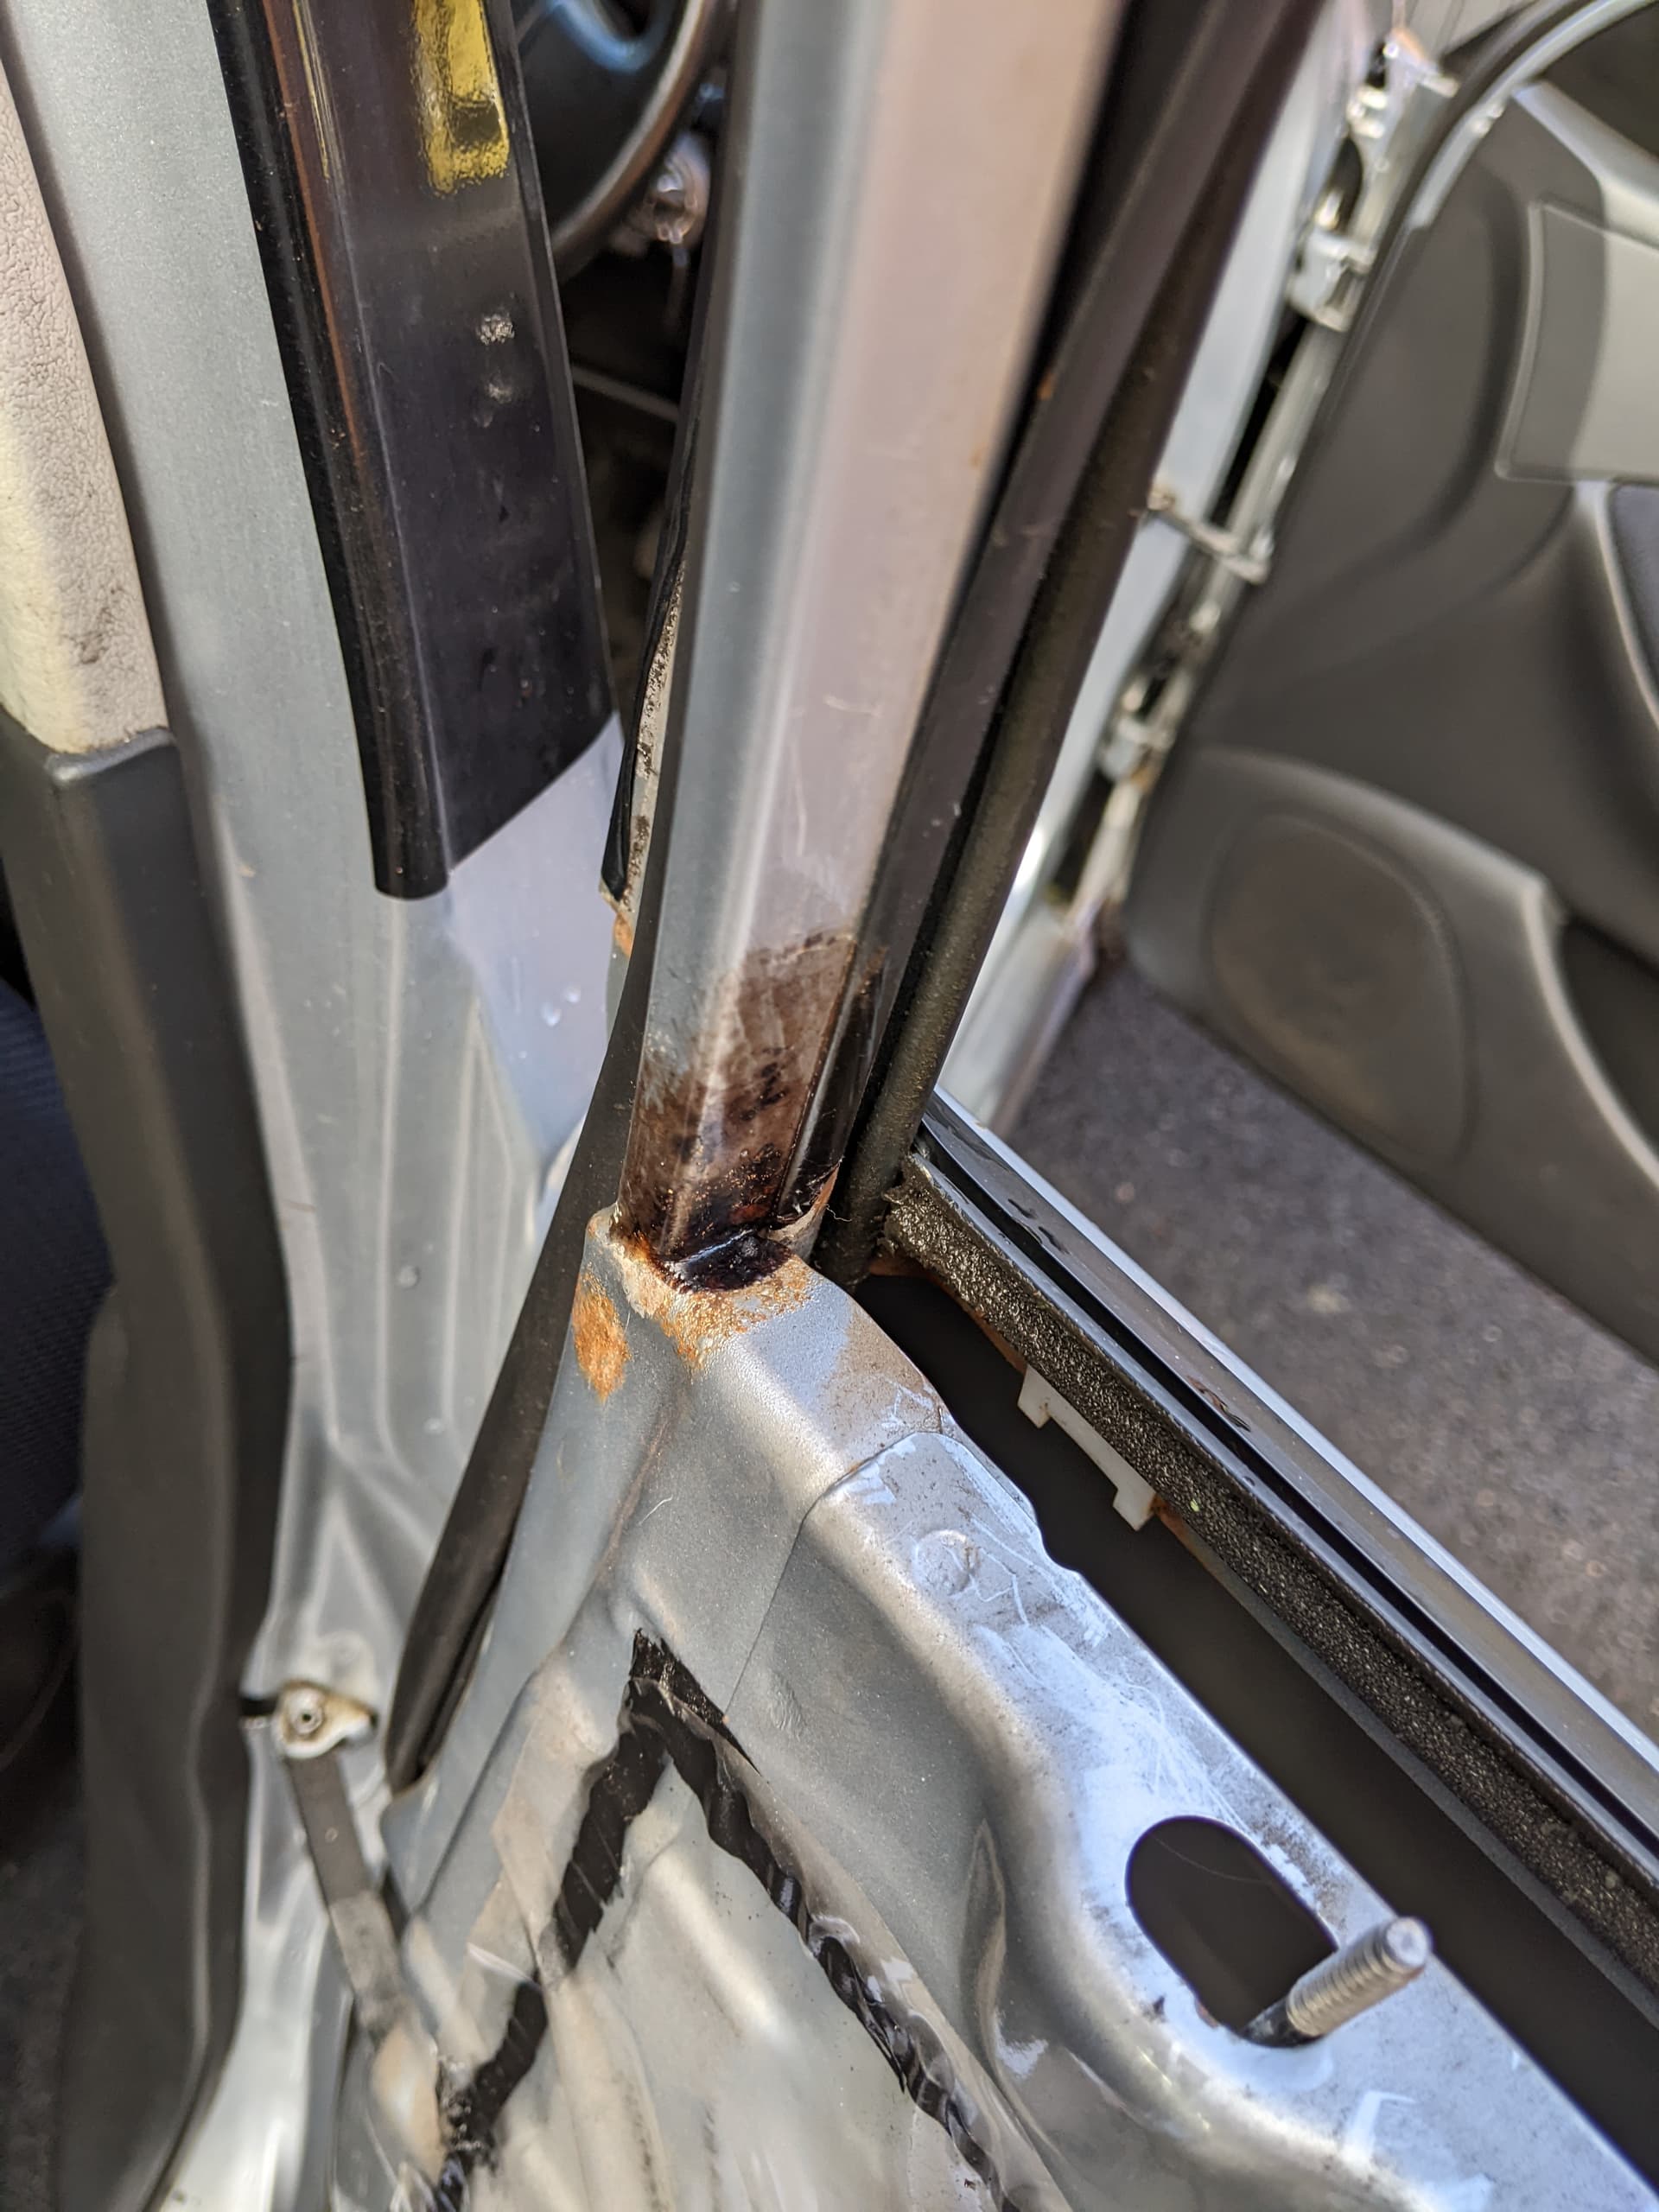
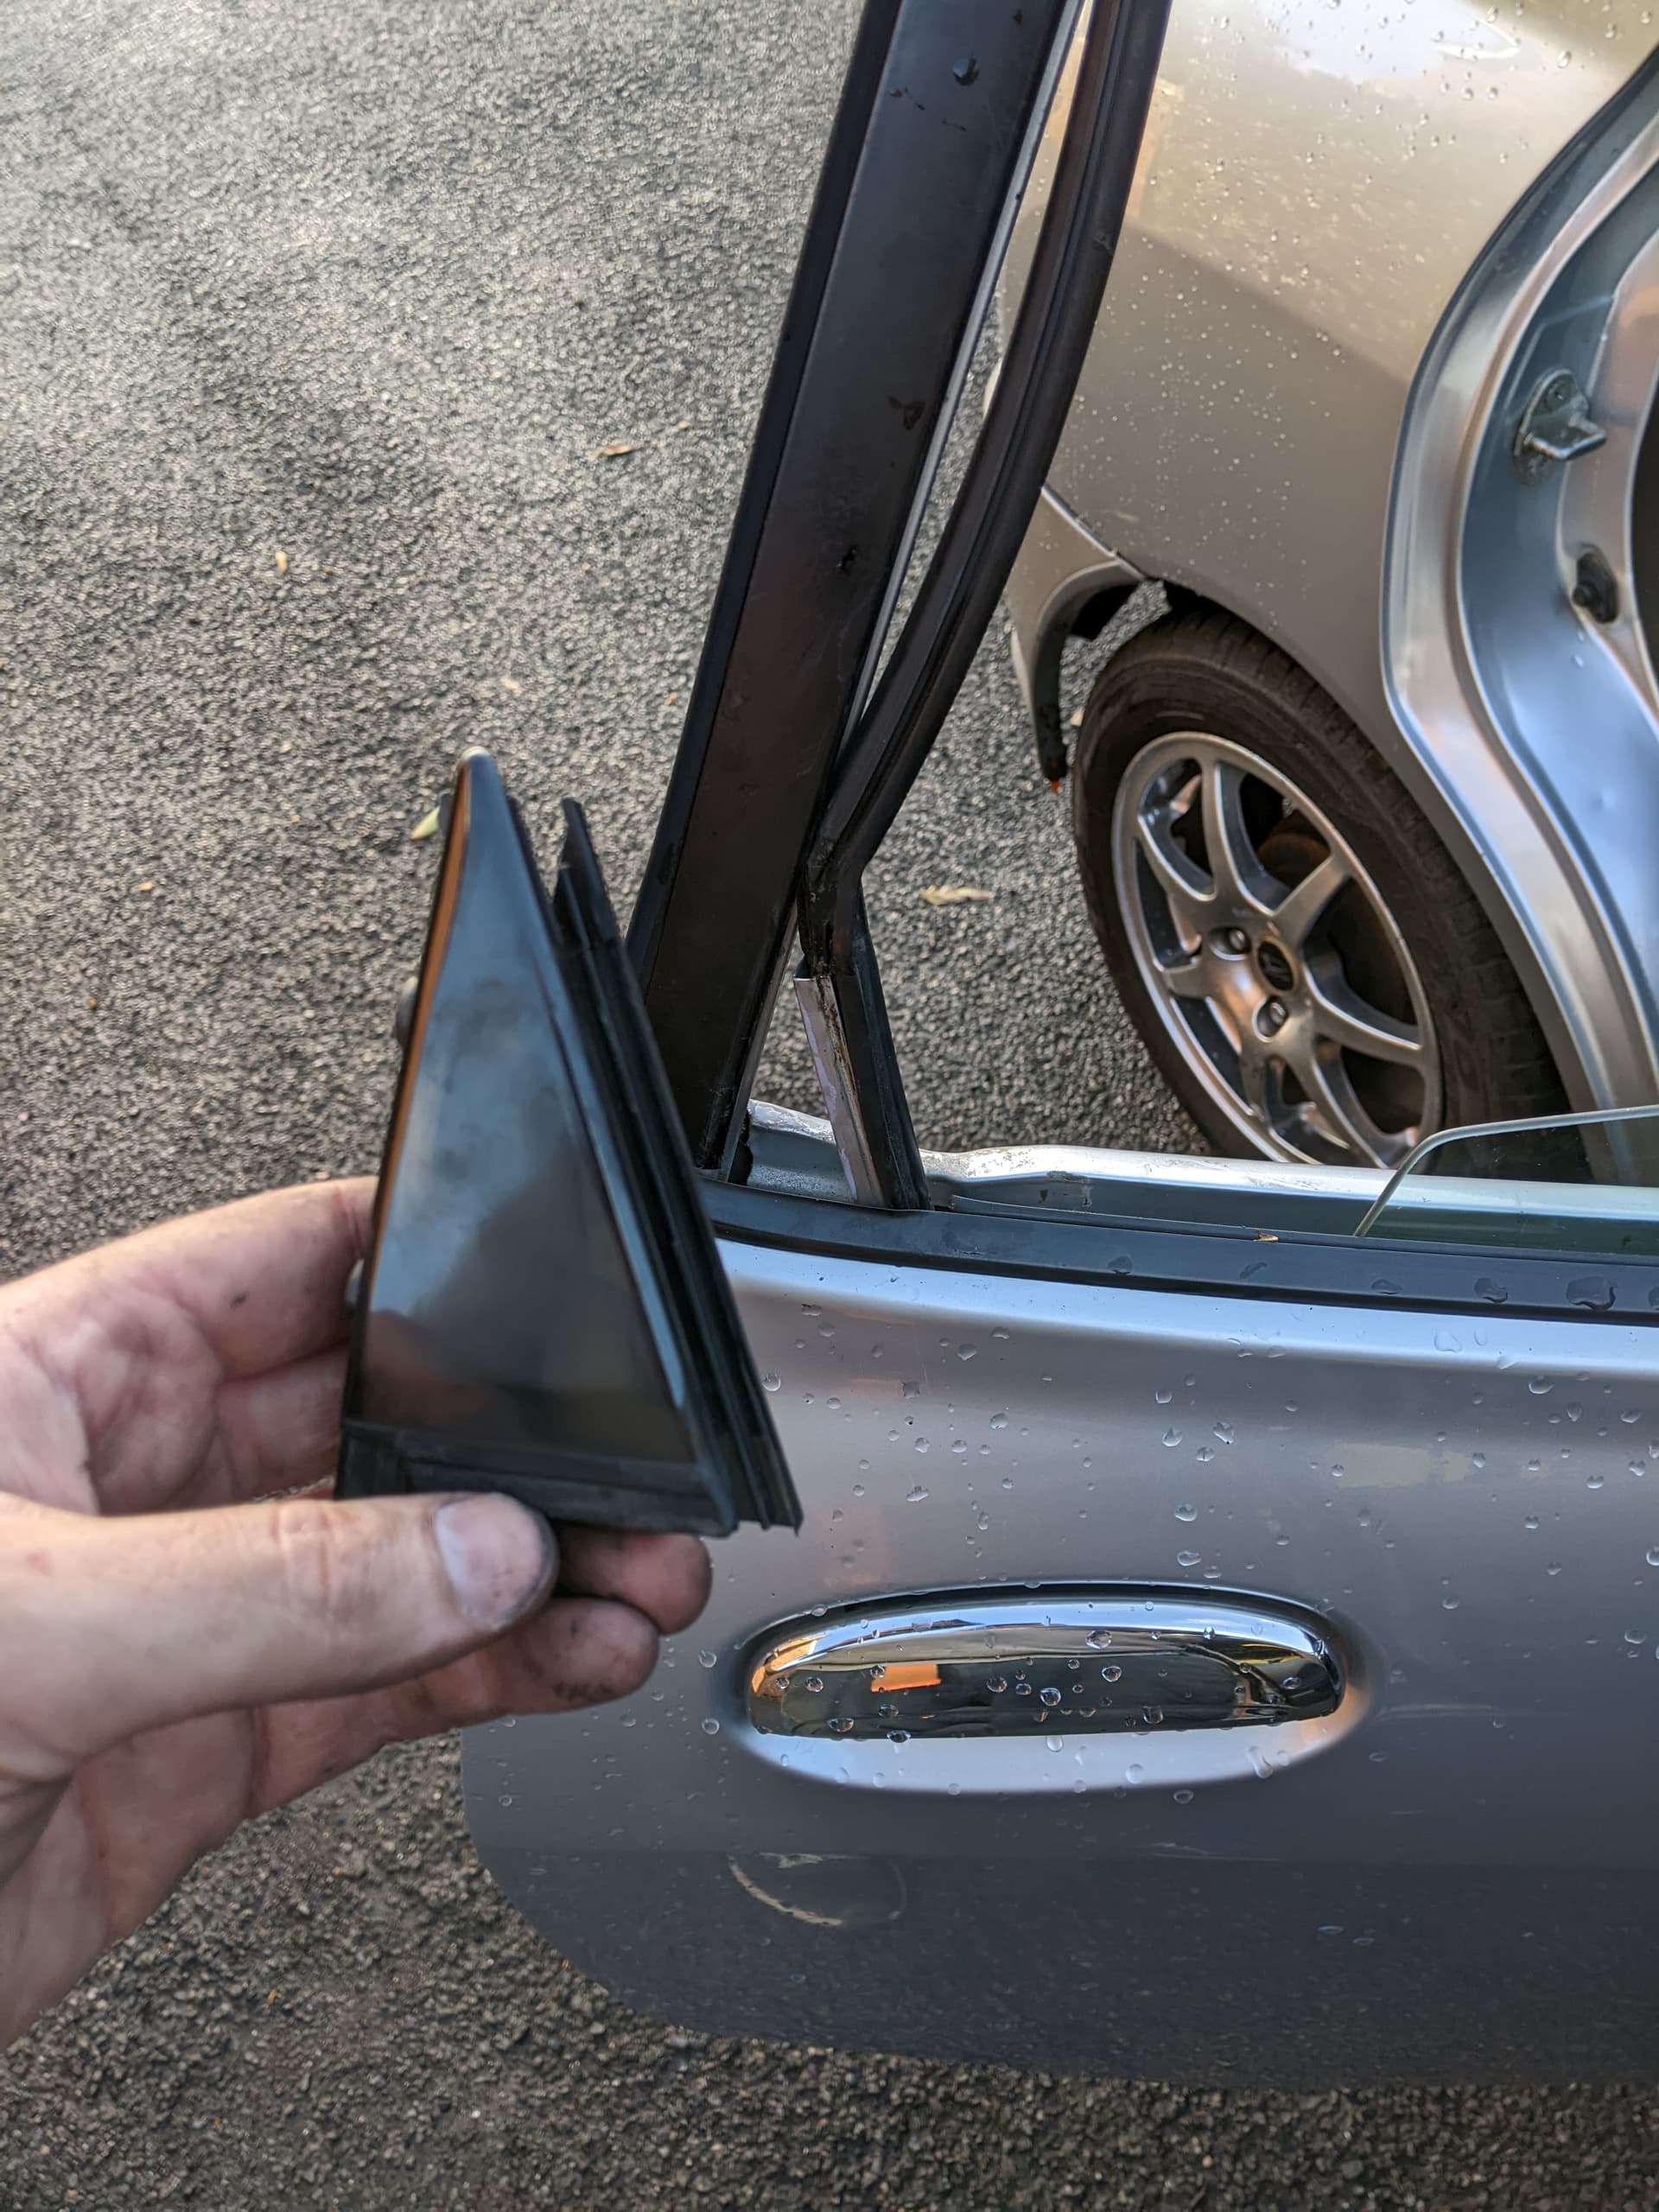
Now you need to free the glass from the frame. This is a bit fiddly and if you’re too rough you risk breaking the glass so go easy! To get the glass out, you need to remove the triangle of plastic that sits in the rear bottom corner of the window frame
To get this out, you need the window glass all the way down, the gently pull the outer door seal away from the frame to expose 2x crosshead screws
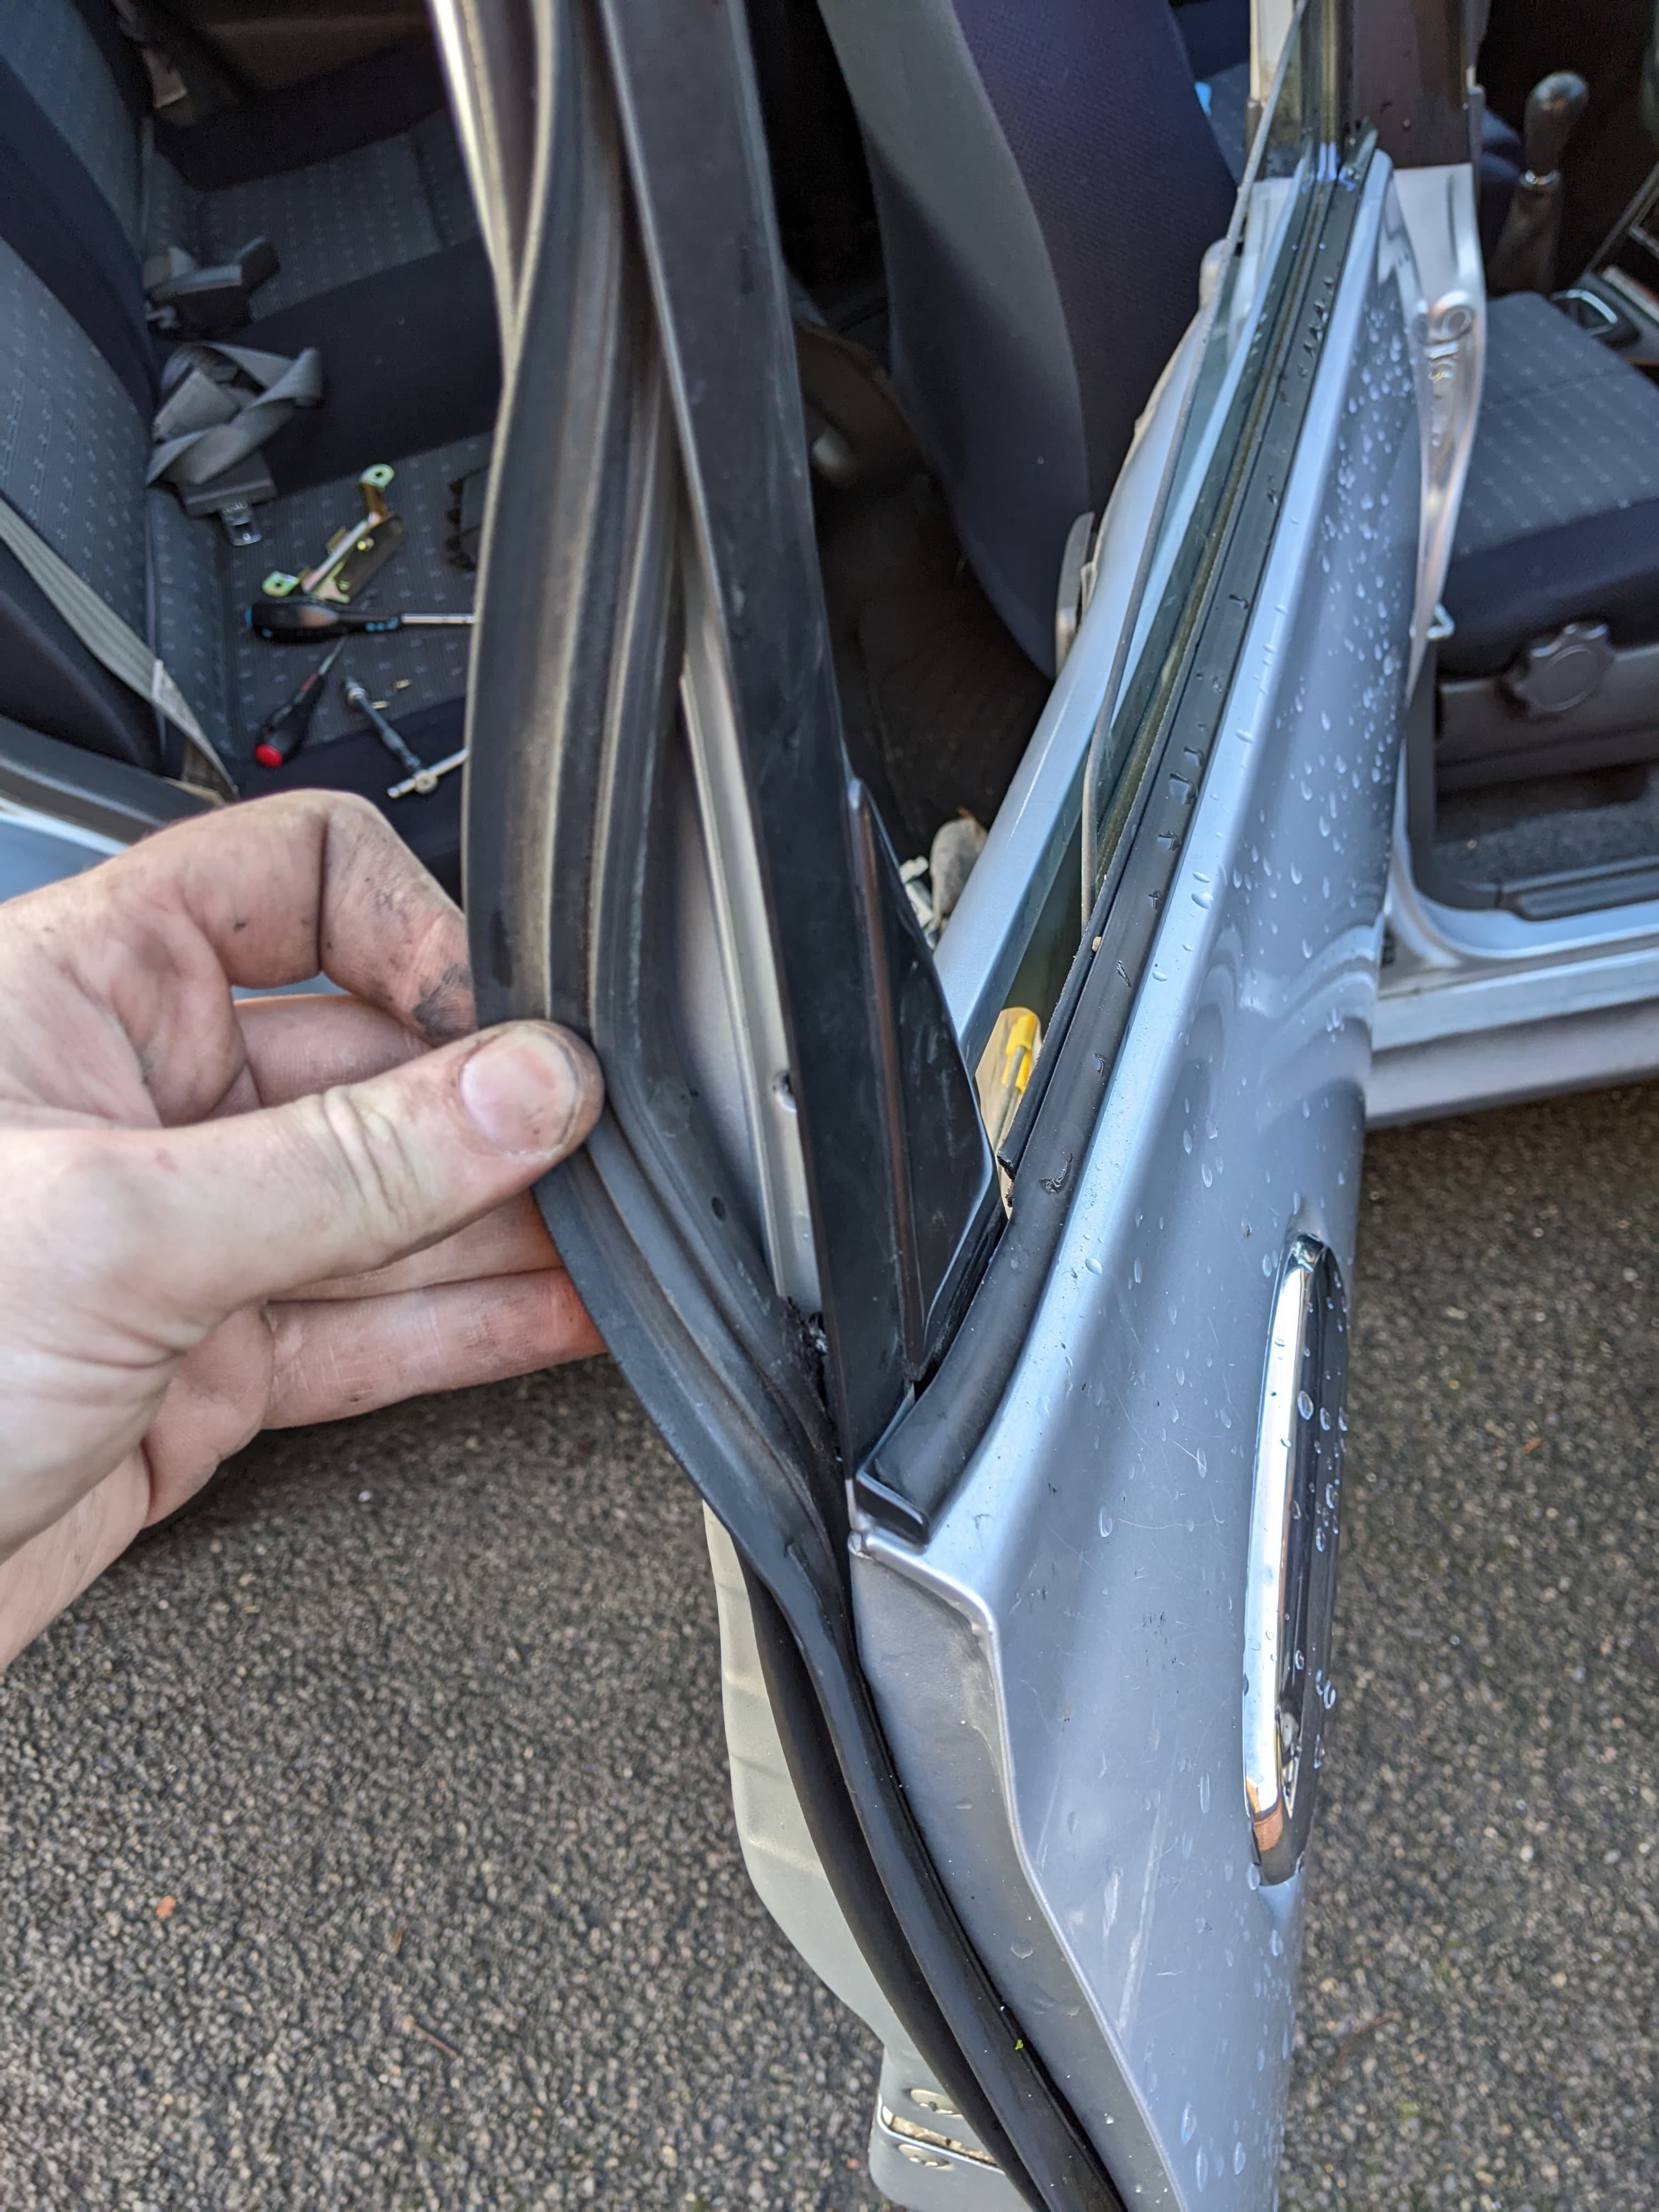
Gently undo these and set the 2x screws aside. Next you need to pull the inner window seal away from the frame. With the window down, you should be able to gently pull the rubber channel out of the metal frame
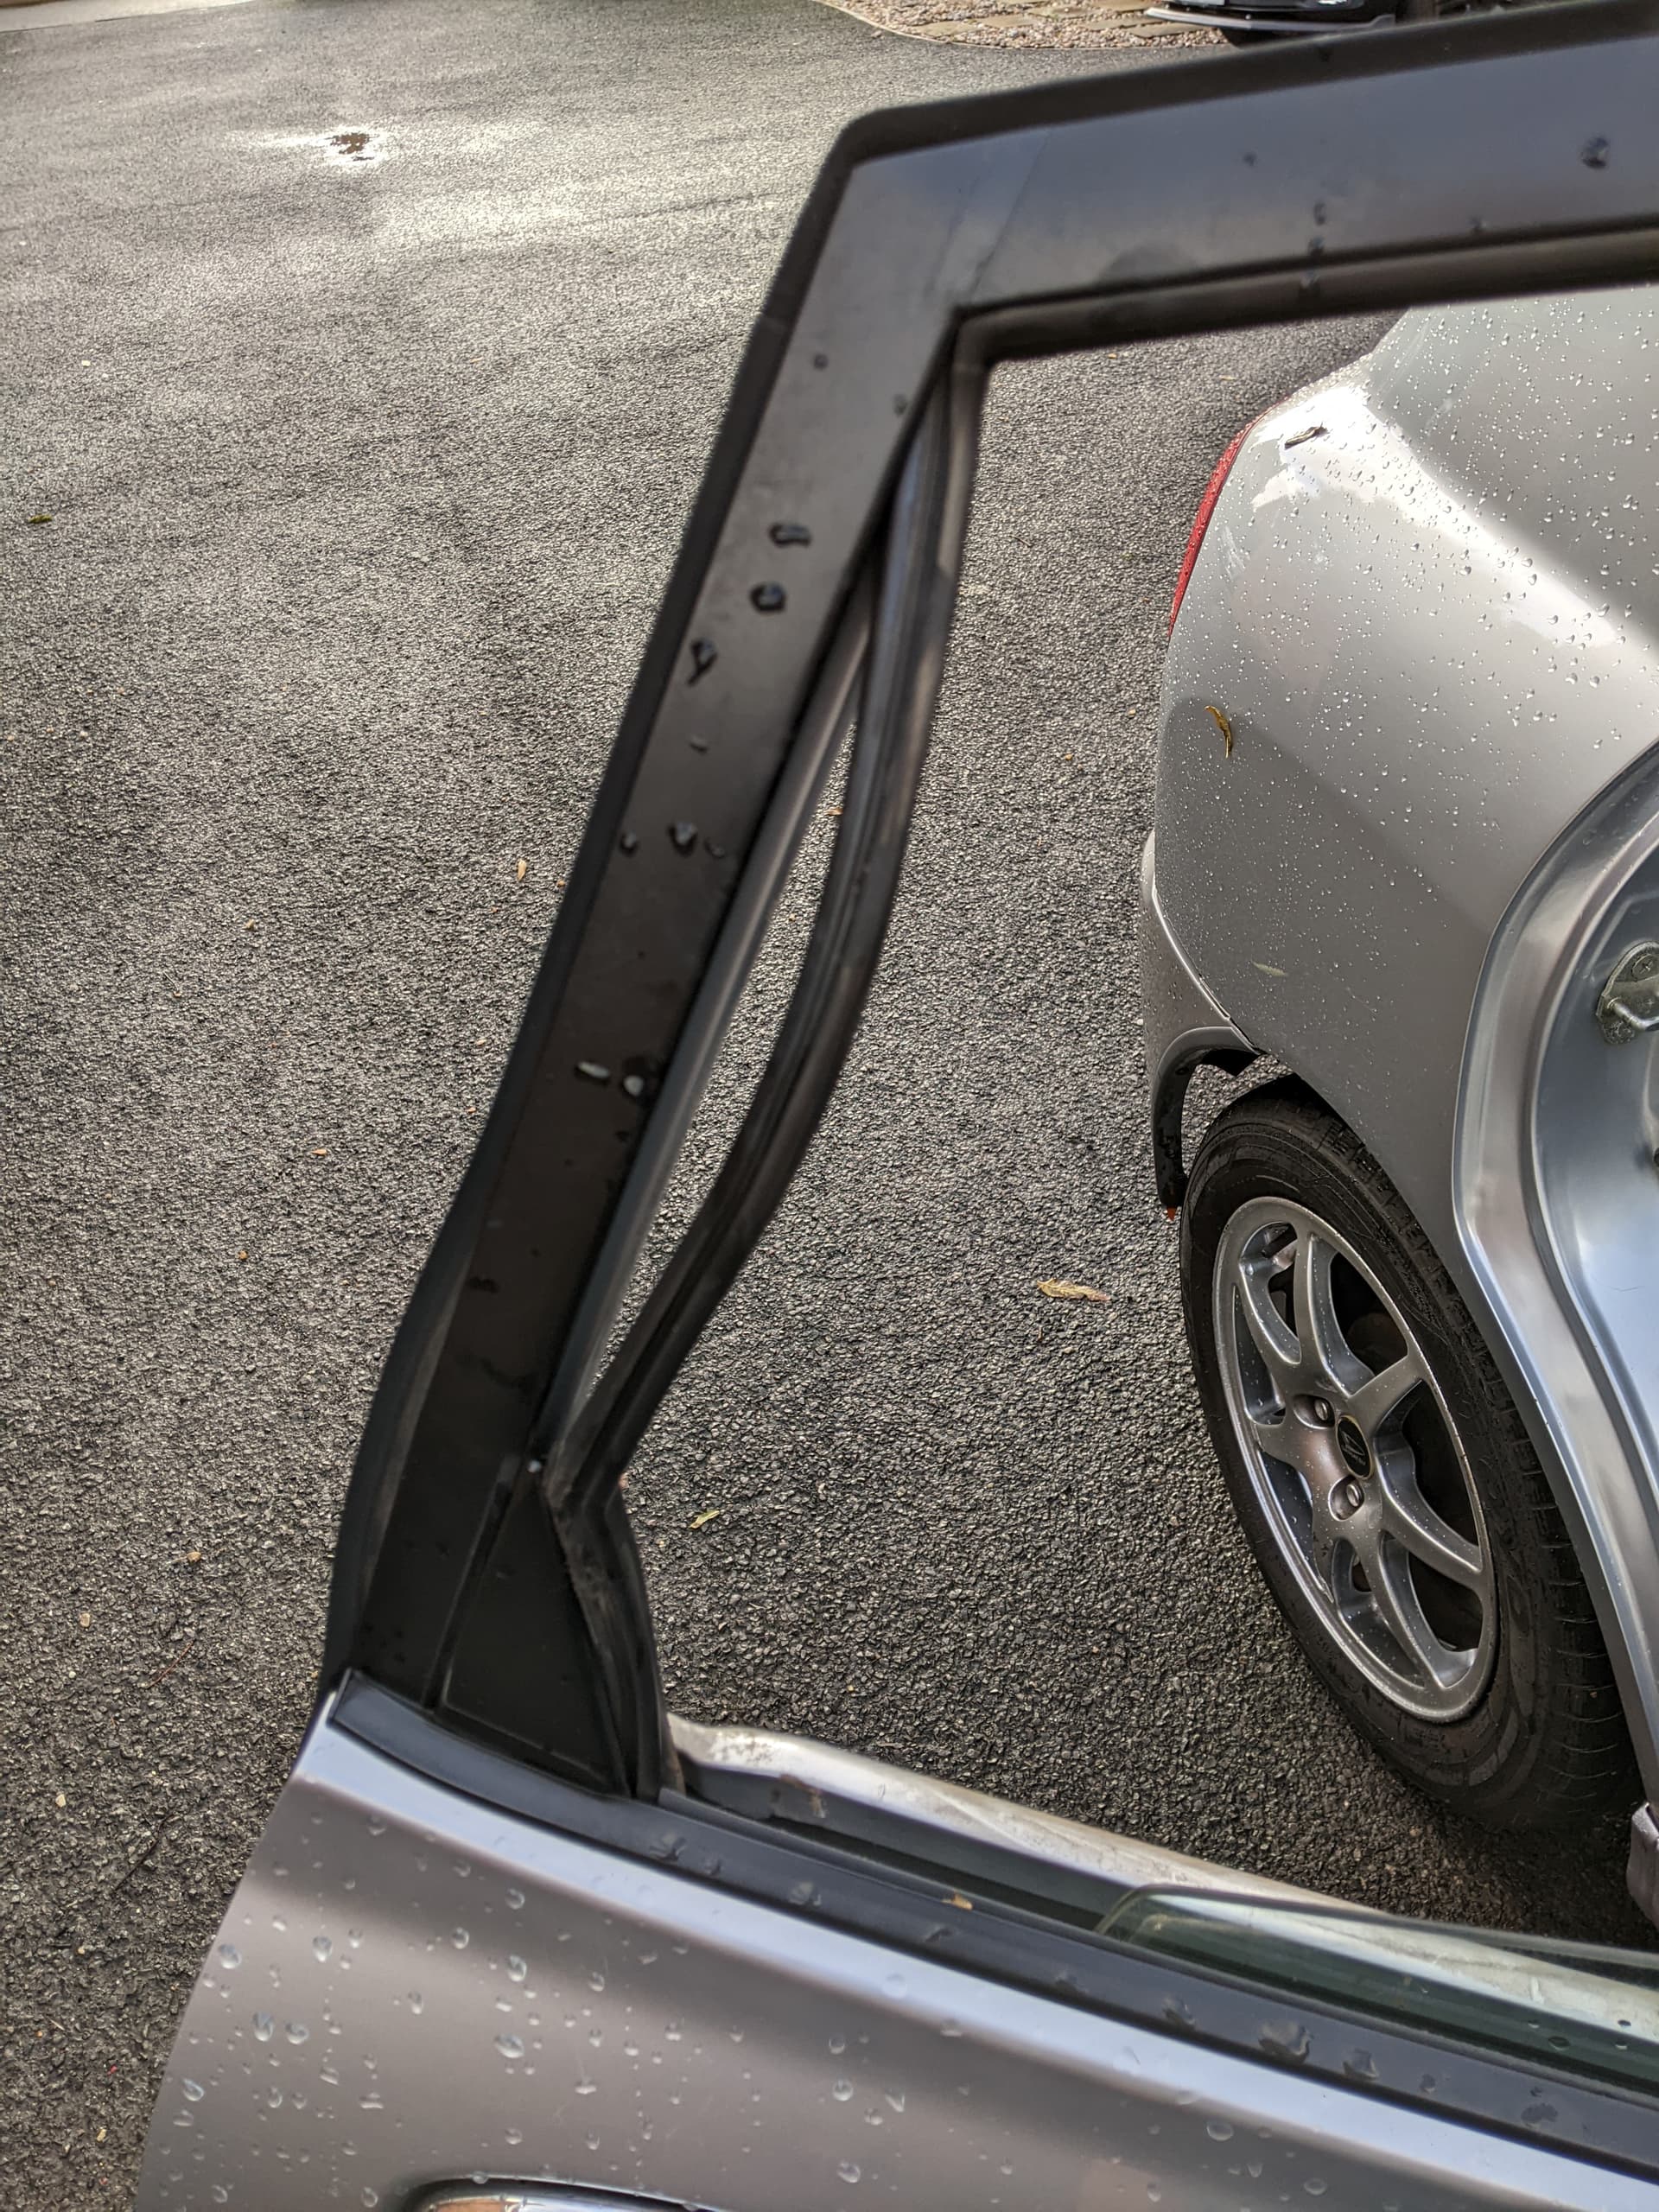
Start in the bottom rear corner by the triangle piece. You will expose the end of the metal runner that sits inside the door skins, pull enough of the rubber free to allow you to slide the triangle piece vertically off the metal runner. It is a slide-fit, DO NOT try and twist it off or you will break it.
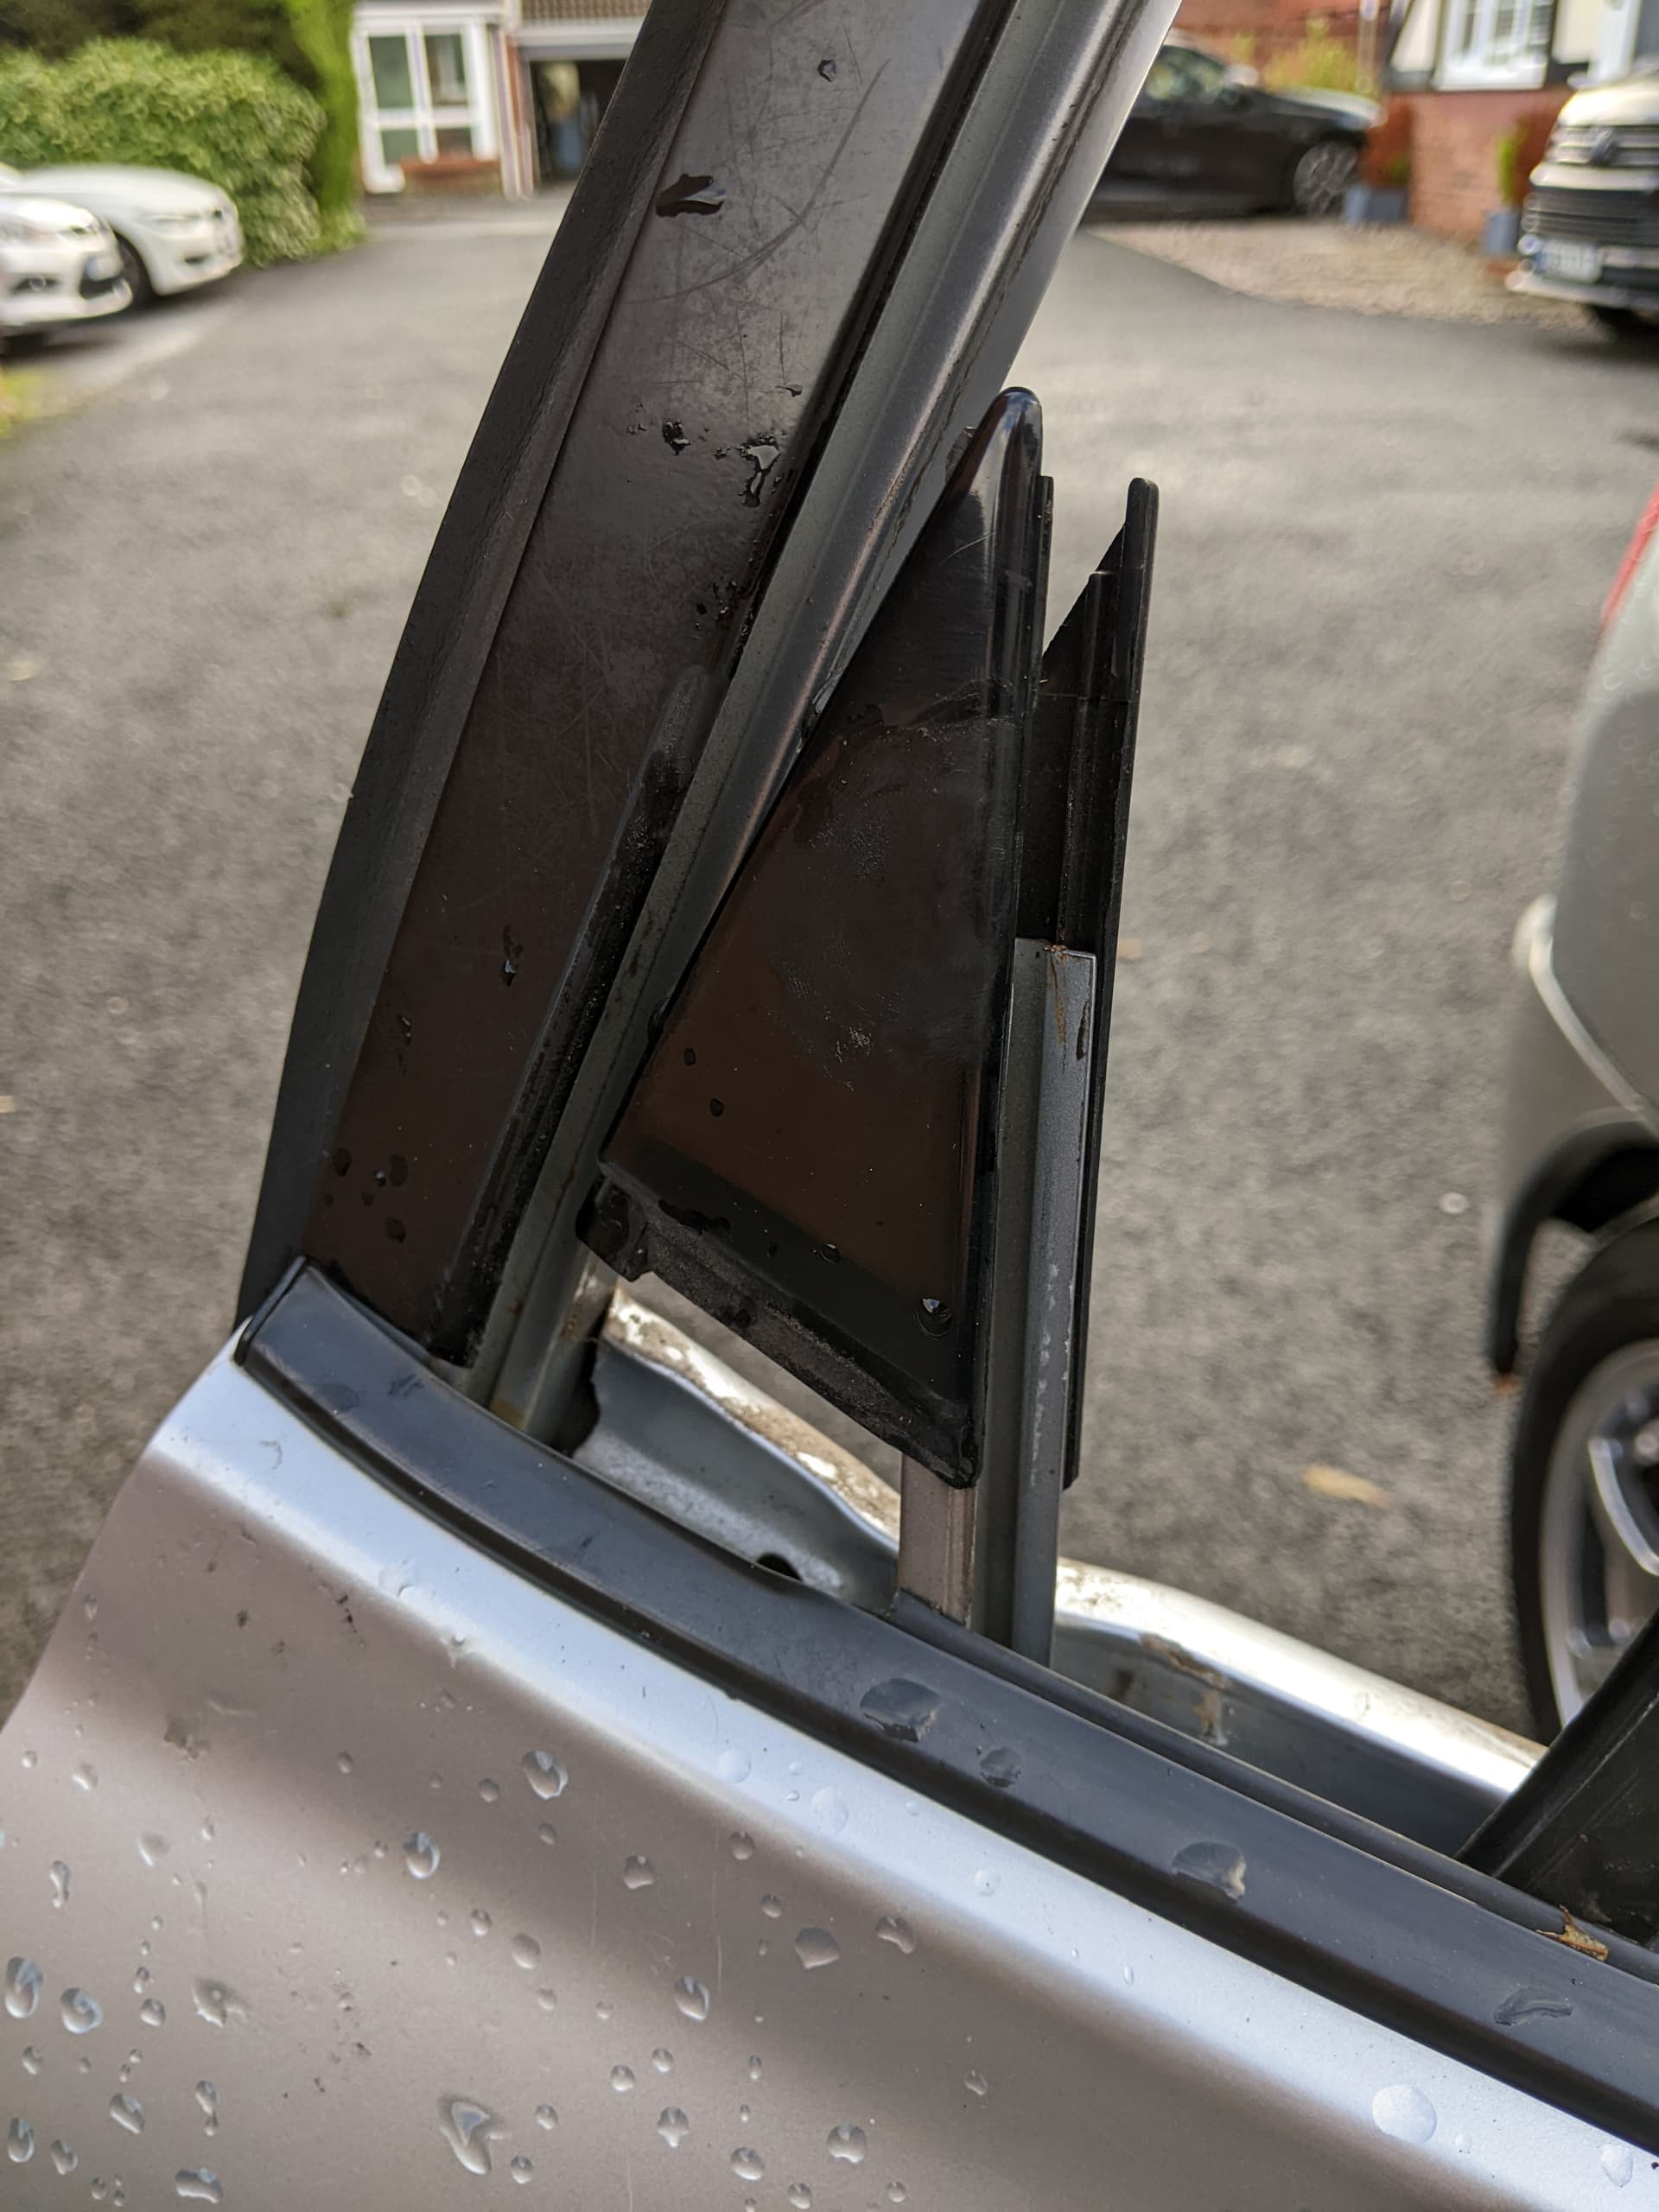
The metal runner will pop back into position once you have removed the triangle
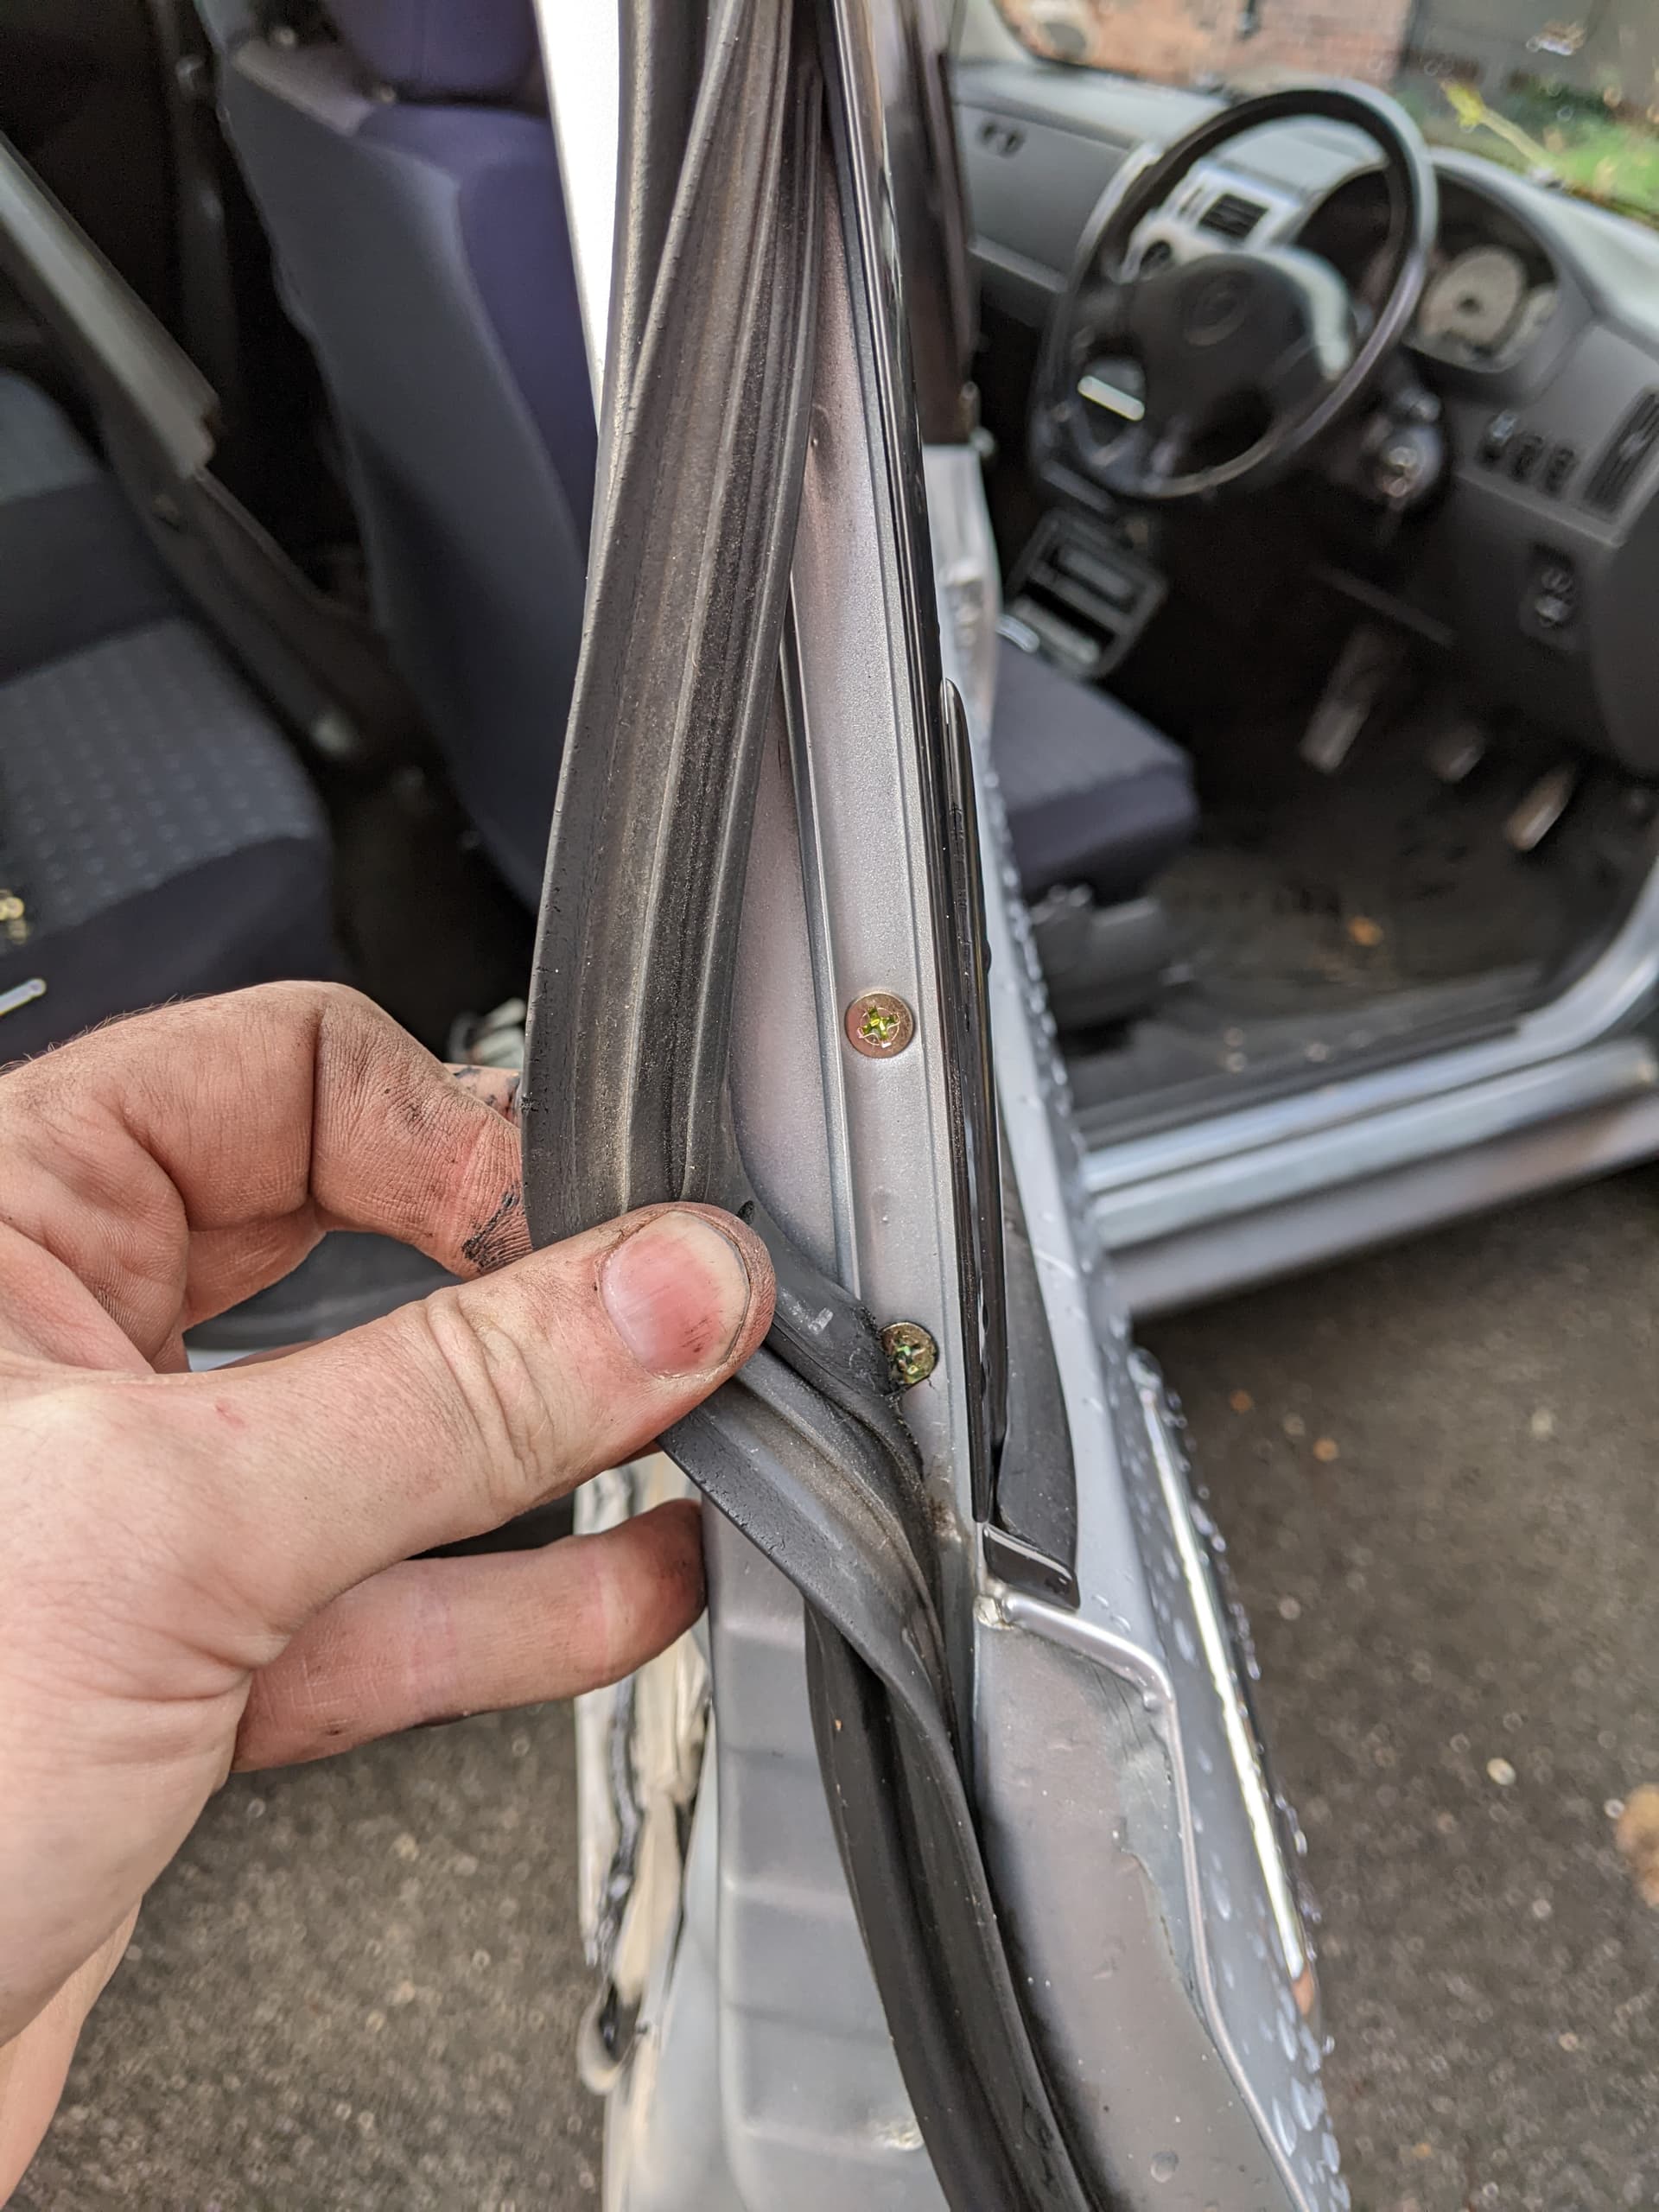
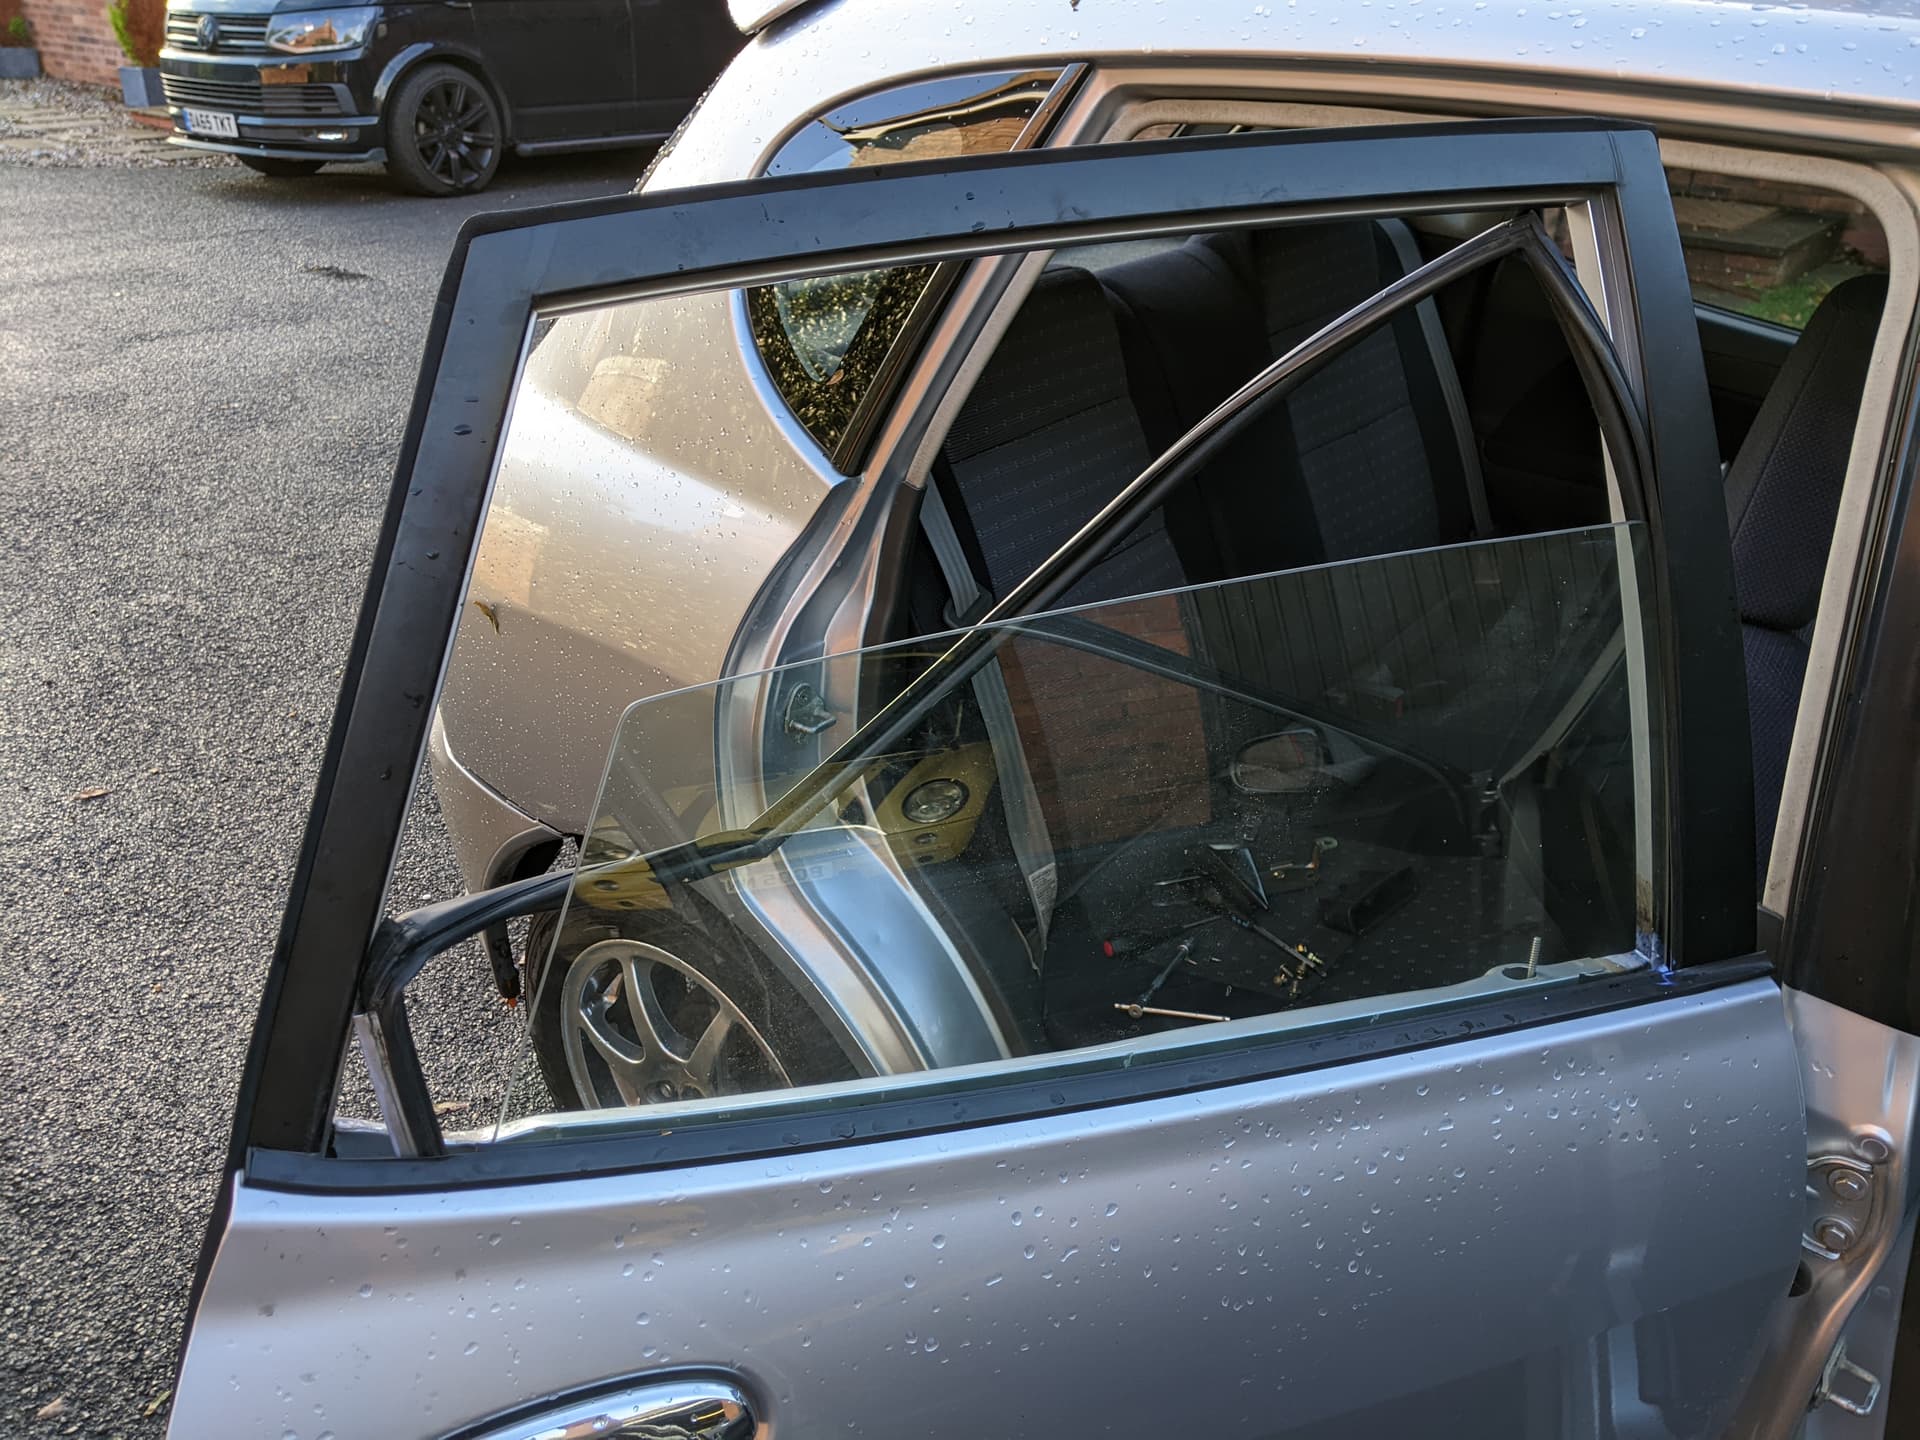
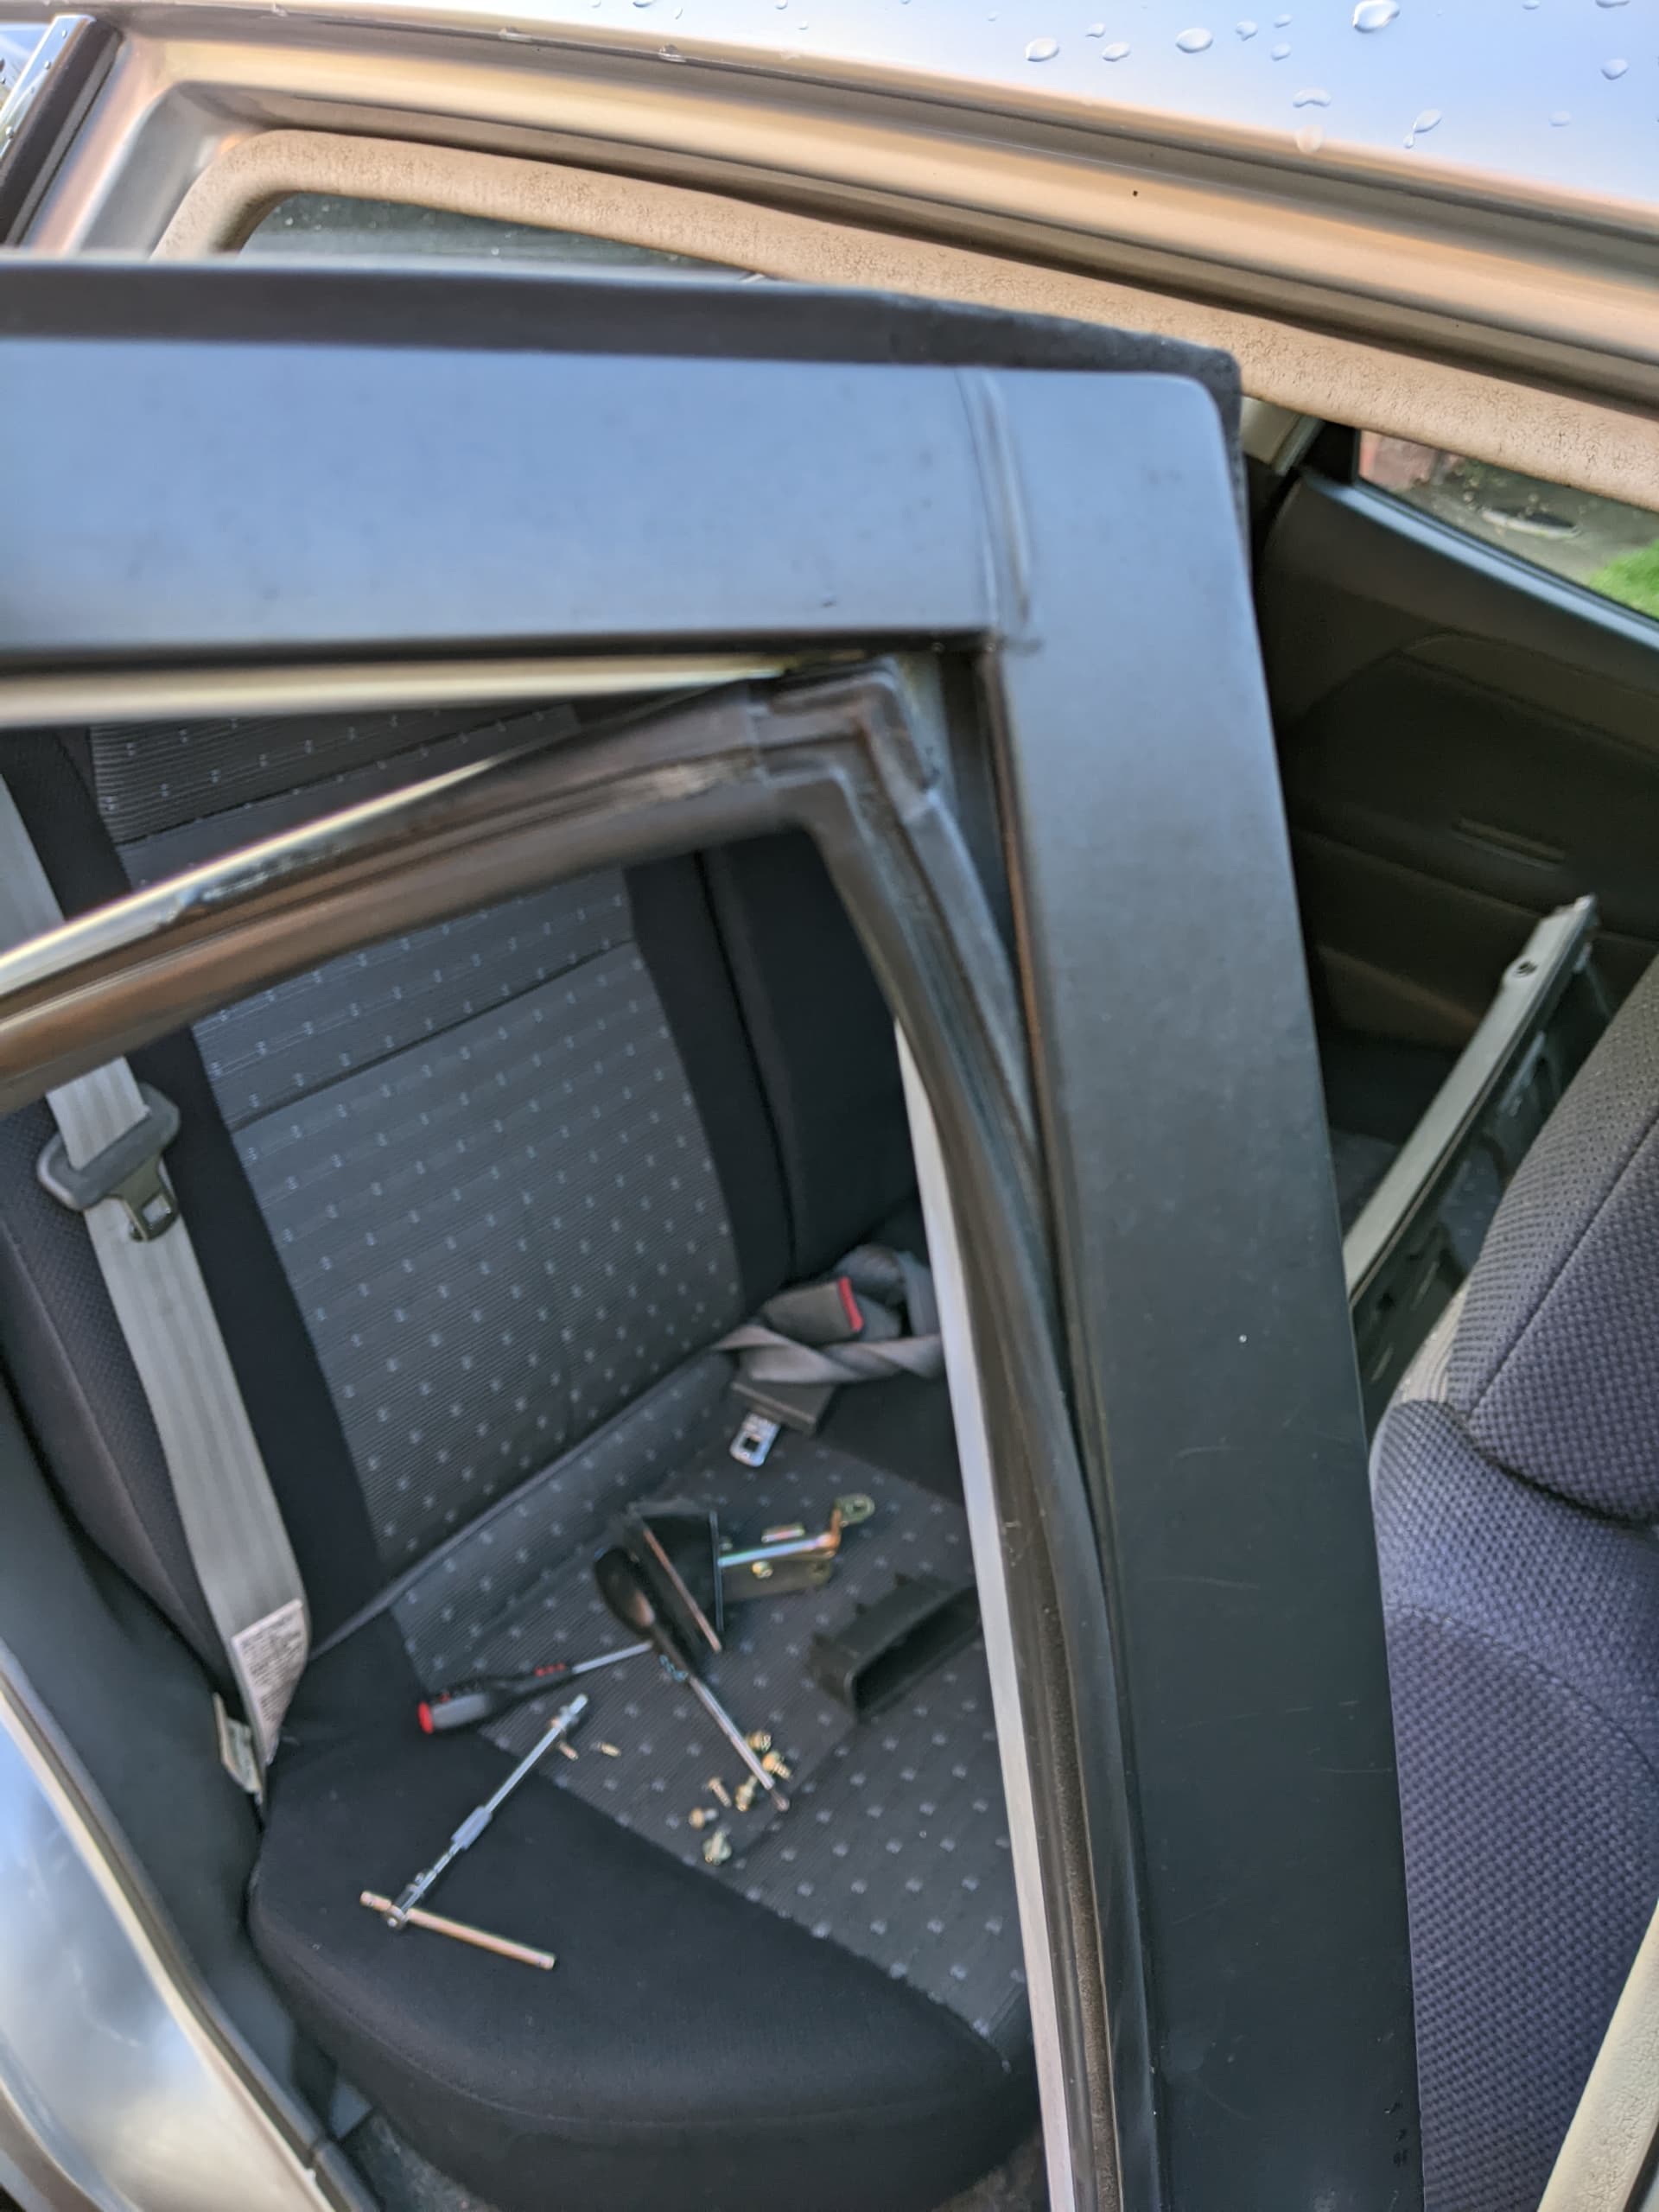
Gently pull the rubber seal out of the rest of the window frame as much as you are able
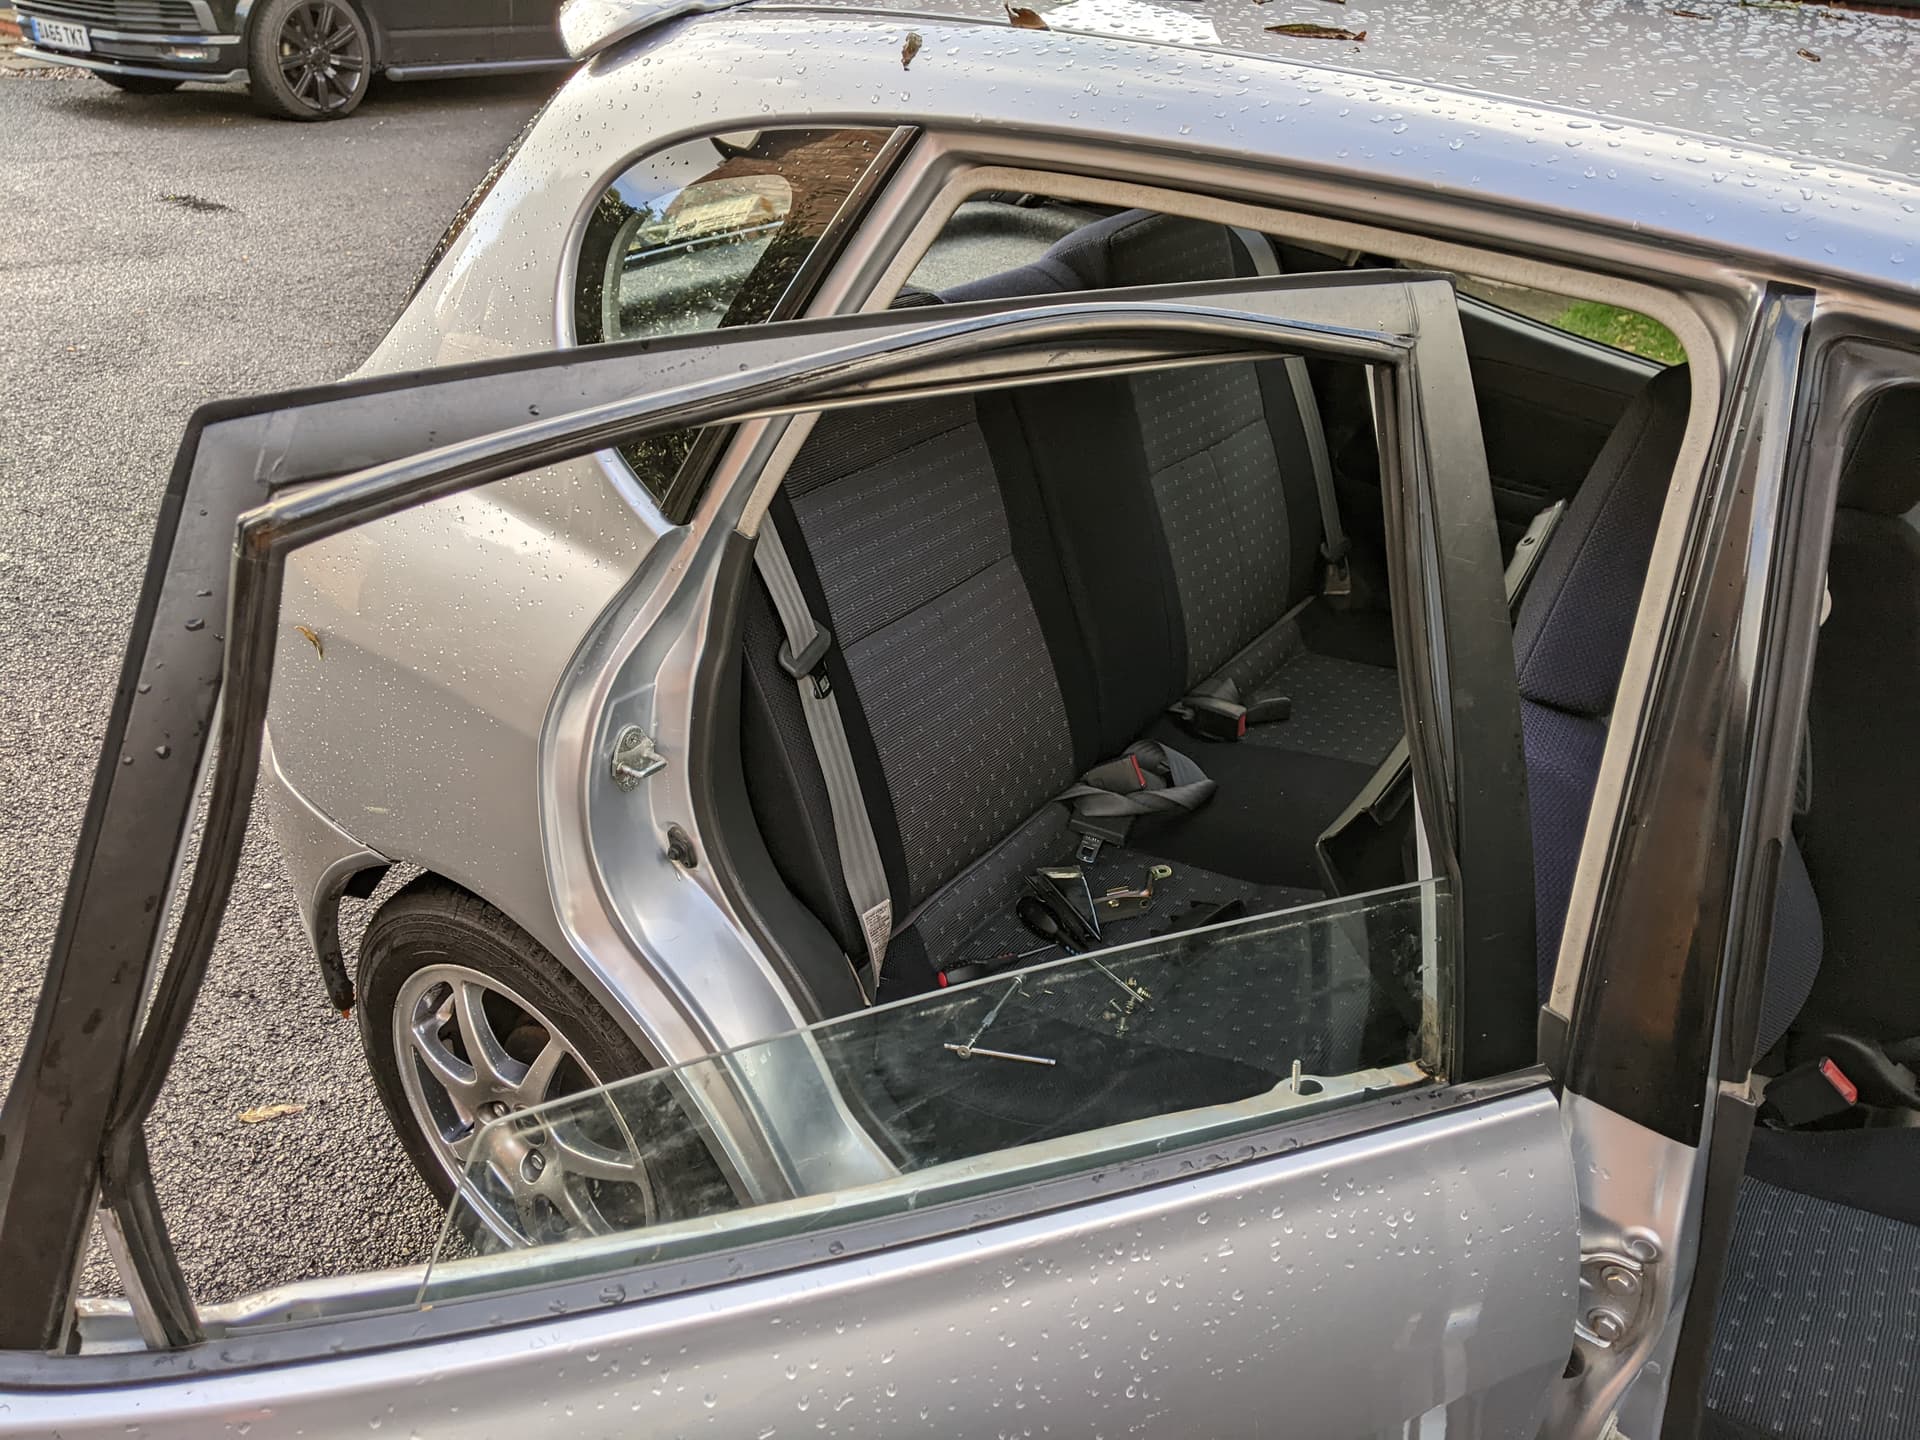
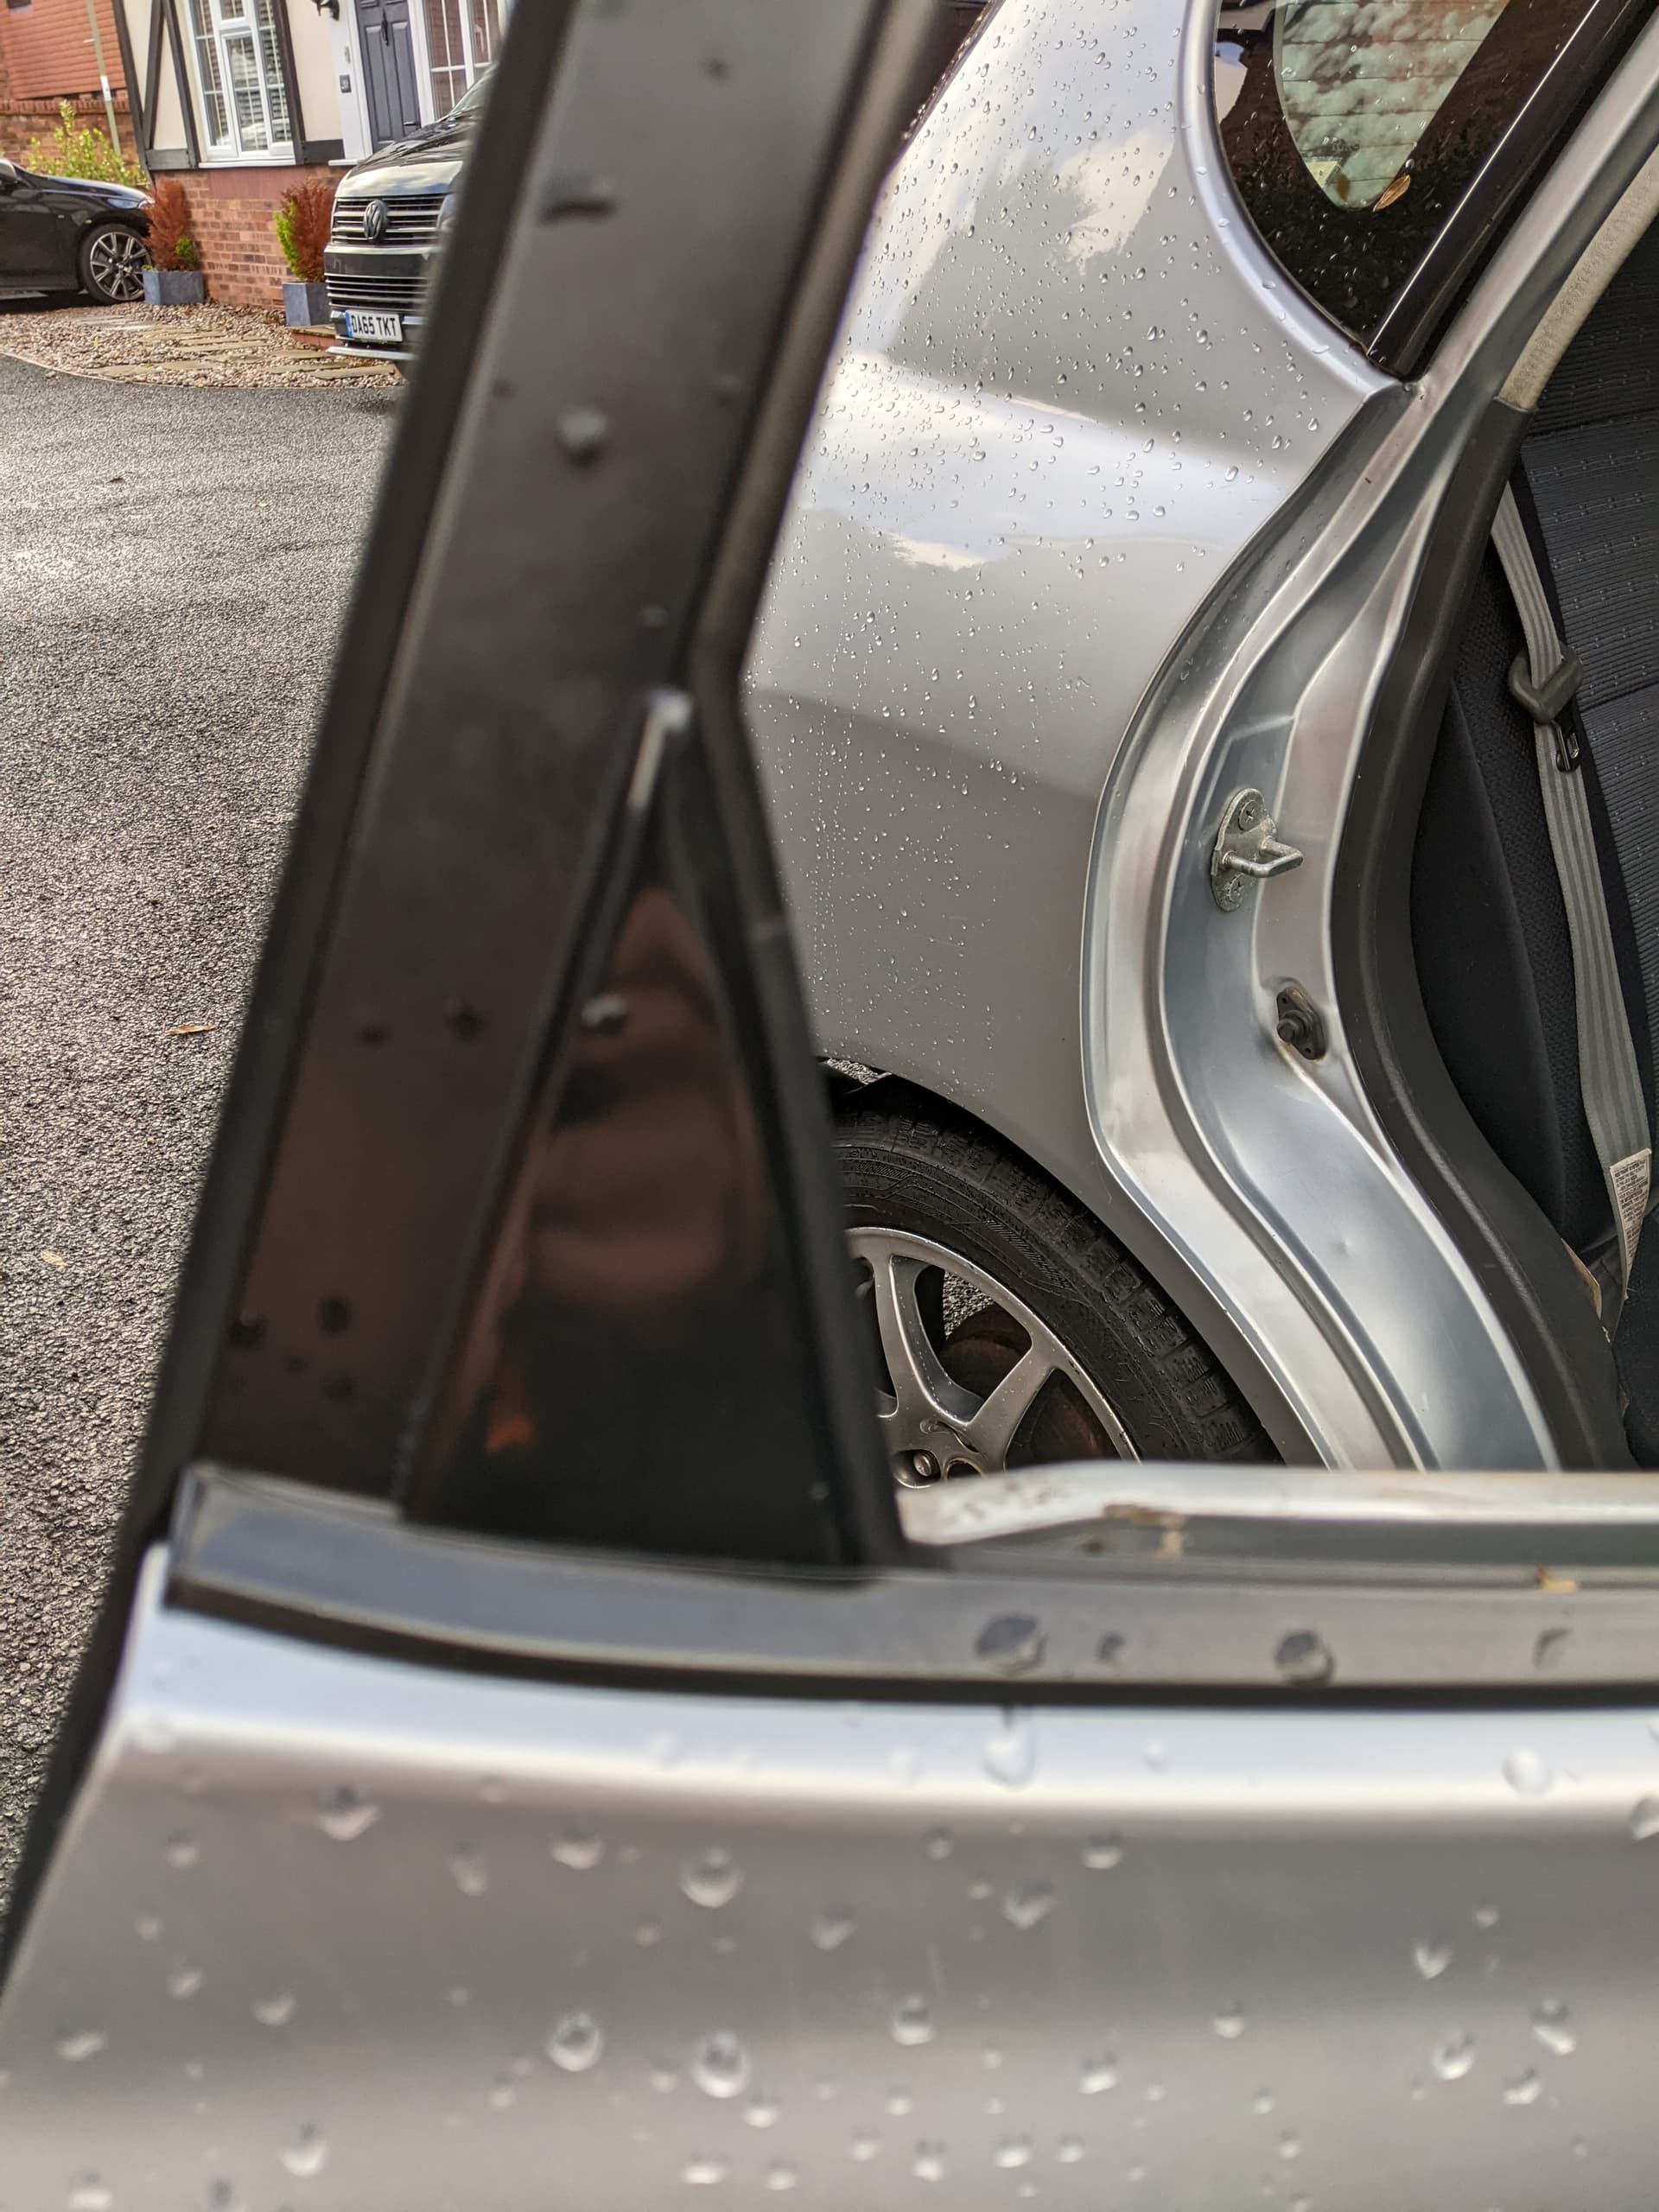
The next bit is fiddly and the most important part of the whole operation. You need to lift the window glass vertically out of the door, don’t drop it, or it can fall inside the door and shatter. You need to ease it out of the rubber channels, so it comes out vertically, but doesn’t just push the rubbers back into the door frame. this can take a few goes, but eventually it will slide out of the frame on the outside of the normal channels, gently lift it free from the door panel and put it down somewhere safe where it won’t get knocked off or trodden on.
If you live somewhere rainy like I do, now is a great time to apply rust treatment to the areas where the door card rubs the door frame
The process to refit the glass is the same, only in reverse. The most crucial bit is gently sliding the new glass into the rubber channels, this might take a few goes but it will eventually slide in vertically. Gently lower the glass until its sitting in the metal raise/lower channel at the bottom of the door.
You can then press the window seal back into the channels in the frame of the rear door, it only needs finger pressure to locate
Start from the leading edge of the door, and go along the top - but leave the training edge loose for now. You need to refit the triangle
With the seal detached from the trailing edge, slide the triangle onto the metal channel piece
Remember, it slides on the channel from the top downwards. Once its slid down, refit the 2x screws into the frame to keep it in place by peeling back the inner door seal. Detach the electric window switch from the wiring loom and put it to one side. Once its in place and screwed to the frame, push the remaining rubber window channel back into the door frame by hand.
Then you just need to refit the door furniture. Fit the reinforcer of the door handle with the 2x 10mm bolts
And refit the screws that either hold the speaker to the door, or just hold the membrane to the frame. Refitting the door card can be difficult as you need to orientate it correctly in a few dimensions. By far the hardest bit is pressing the top channel into place while making sure the lock button extrusion does through the hole. The easiest way to get this right is to carefully push the sleeve that the lock extrusion goes through out of the door card by pushing it upwards
Press the top channel in first, making sure the lock button extrusion pokes out the top

Gently feed the inner door release handle through the cutout in the door, and press the electric window switch through the hold in the door card and gently open the 4x metal tabs to hold it in place. Next, slide the sleeve for the lock button into the top of the door card, keeping the metal extrusion central

Then screw the lock button onto the extrusion firmly, but not forcefully.
Once done, refit the crosshead screws in the recess of the door release handle and reinsert the plastic grab handle and reattach it to the reinforcement plate with the cross head screw in the bottom of the grab handle.
You should now be able to raise the window again with it sliding smoothly in the rubber channels all the way to the top.