The Impostor - Val 160

Not a Dai, but…

G’day Folks, I got nowhere else to currently post this build thread for posterity, so, you are going to be subjected to seeing the painfully slow progress. Hope you guys don’t mind.

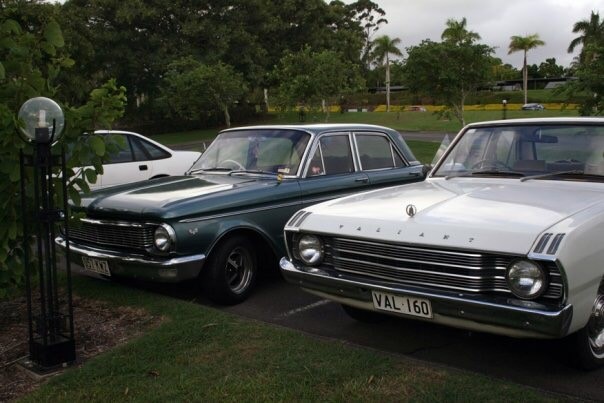
The idea of ‘dream cars’ is much romanticised in car culture and examples of peoples dream cars often are unattainable either through rareness or expense. However, I am lucky enough to own my dream car in one 1969 Chrysler VF Valiant Regal. It’s not that VF Valiants in general would be my dream car, it is this specific car is my dream car. I will own this car until I can no longer drive, then I will hopefully pass it on to one of my sons.

So, what is the history of the car and why is it so special to me?
The old girl came into my family in the early 80s when it was purchased second hand by my Nan & Pop. The story goes; the original owner could no longer drive it had traded it in for a car with power steering with the express instructions not to sell it to ‘Some hoon’. My Nan saw the ad in the local paper (I still have this newspaper clipping) for Val and as she had always been taken by the looks of the Valiants, persuaded my Pop to buy it for her to get to and from work. My Nan was the 2nd owner of Val and it was her pride and joy. She would drive it everywhere and as much as my Pop pretended that he disliked the car, would always choose to drive it when going on a road trip.

Now, I was born in North QLD, but grow up in Papua New Guinea. My first recollection of Australia was visiting the Gold Coast for Christmas when I was about 6 years old. This trip was the first time I remember meeting my Nan & Pop, and on the 2nd day after arriving in Australia I was placed in the middle of the front bench seat of the old Valiant and off we went on a road trip to the Sunny Coast to meet my Uncles and Aunties. This was one of many road trips in Val around South QLD and Northern NSW that happened over the next few years of Christmas visits to Australia. Sitting on the bench seat between my Pop with his right arm resting on the windowsill, whistling as he drove and my Nan with her unfaltering zest for life and love for the Val, these road trips would become some of my favourite memories of my childhood.
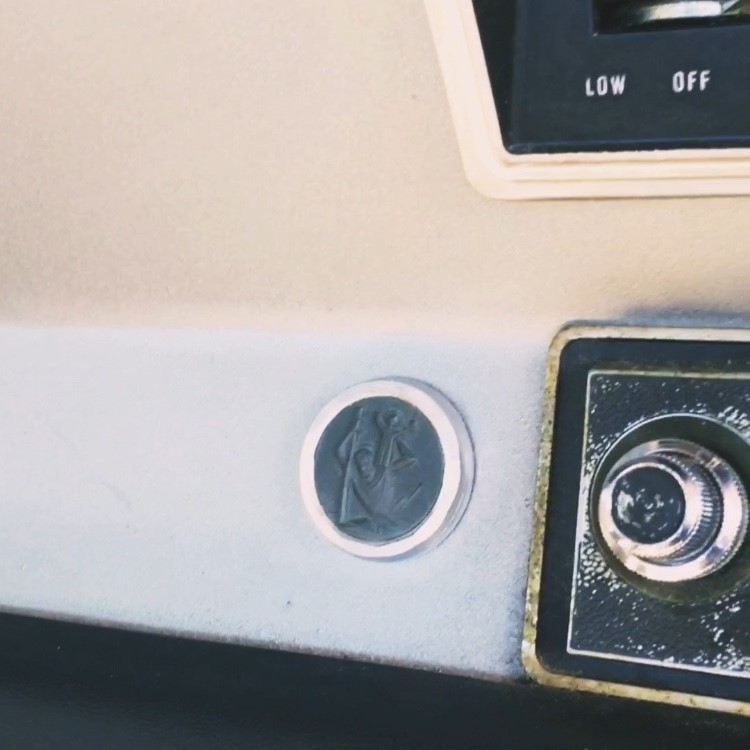
Medallion of St Christopher my Nan put on the dash:

Around 1995, my family decided to move back to Australia from PNG. The road trips in Val continued. But also, in winter of 1995 at age 11 I started to wash and polish the Val to earn pocket Money. $2.50 for a wash and polish once a fortnight. Looking back, I think I was under charging :stuck_out_tongue: .

In 1998 I started working my first real job and no longer needed the pocket money. I would still wash and polish Val every month or so, just because of my affection for the car.

In the early 2000s Val was getting driven less and less due to my Nan’s retirement. And one day in 2007 I received a call from my Mum & Dad saying that my Nan was selling Val. I quickly called my Nan and she sated that someone was coming to look at Val the next day. My response was “Like hell they are!” I caught a lift from Toowoomba where I was living and a few hours later was handing over a bank cheque to make Val mine.
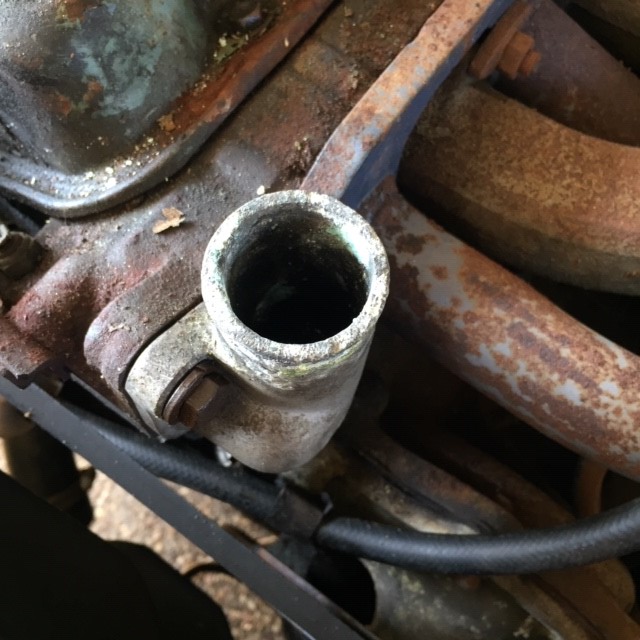
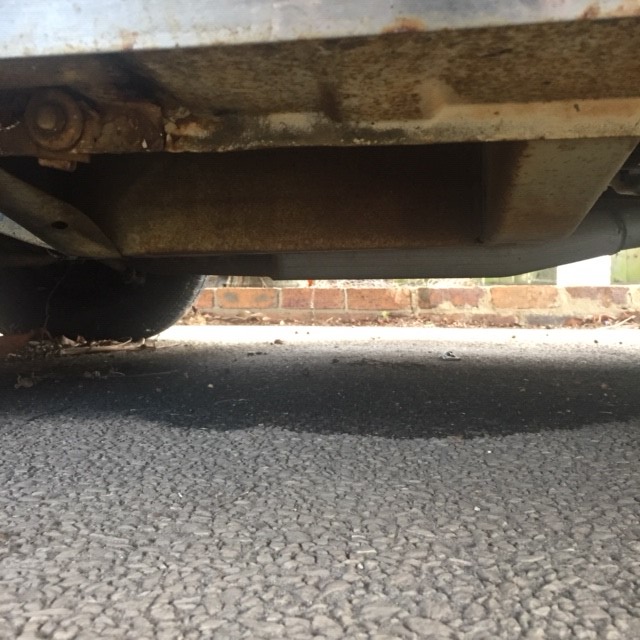
She had a few issue straight away: worn out steering box, rusted chassis rails at the front (very common in Vals), ‘reconditioned radiator’ was a POS, exhaust manifold was warped and cracked, driver’s seat belts worn and frame for drivers chair cracked. I got all this fixed over a few weeks and started driving her.
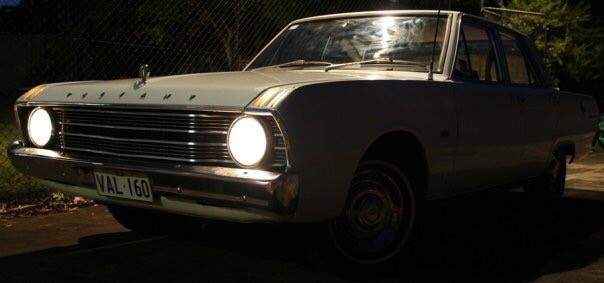
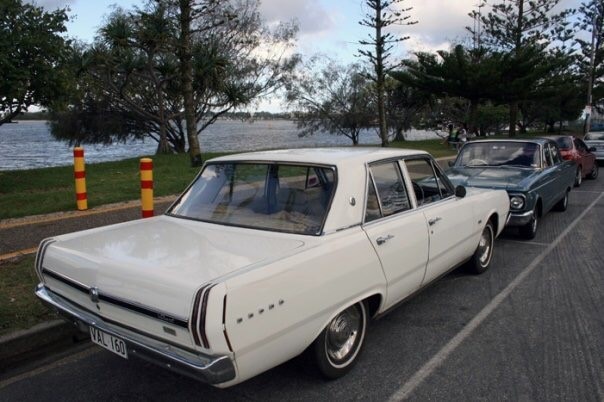
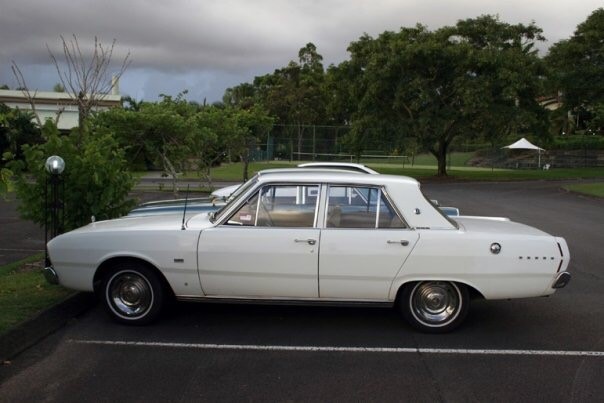
Here are some pics of her in 2007/2008:
front night rear side

Around this time, I was driving her as my daily and enjoyed the experience immensely. However, in early 2009 I got a job working near Robina Town Centre on the Gold Coast. The only place to park was in Robina Town Centre, which had a reputation for car thieves and windows getting smashed in. So, I bought a Magna for my daily and drove the Val on weekends. However, I started to have more and more trouble with the Borg Warner gearbox. Eventually, these issues would get too much, and I let the rego lapse in August 2010.
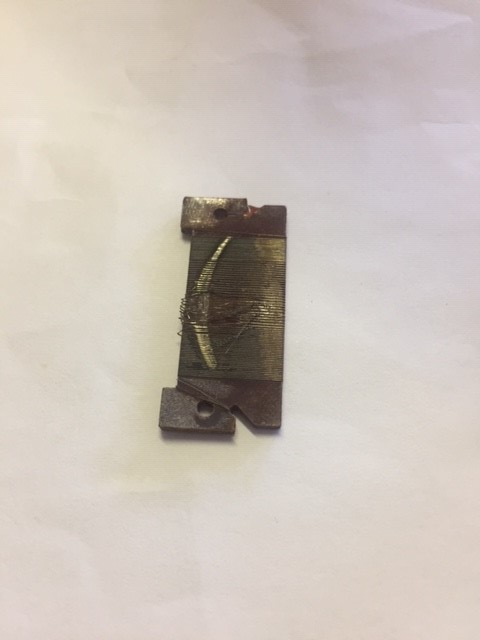
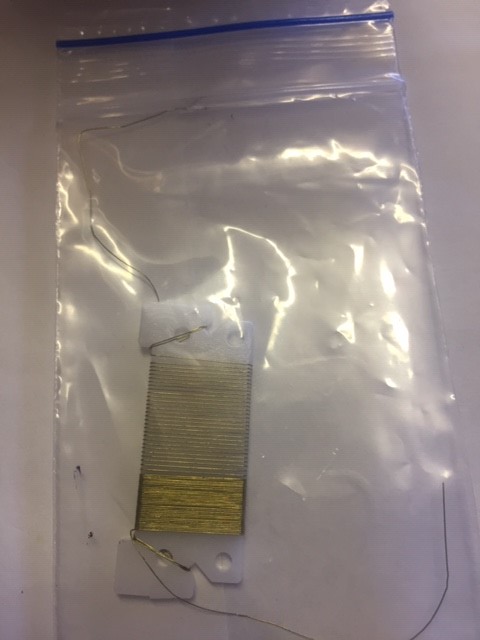
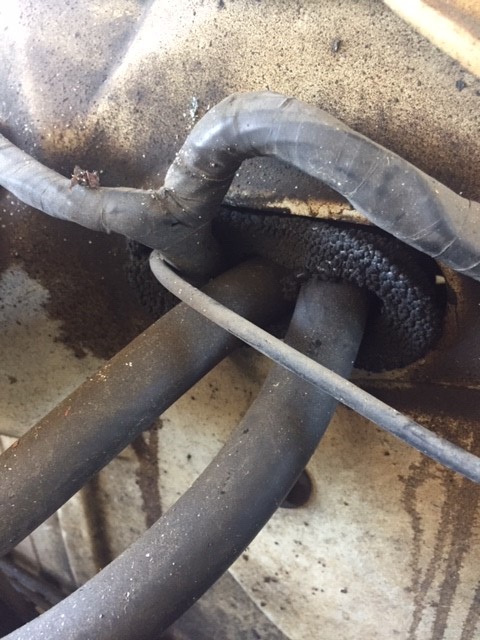
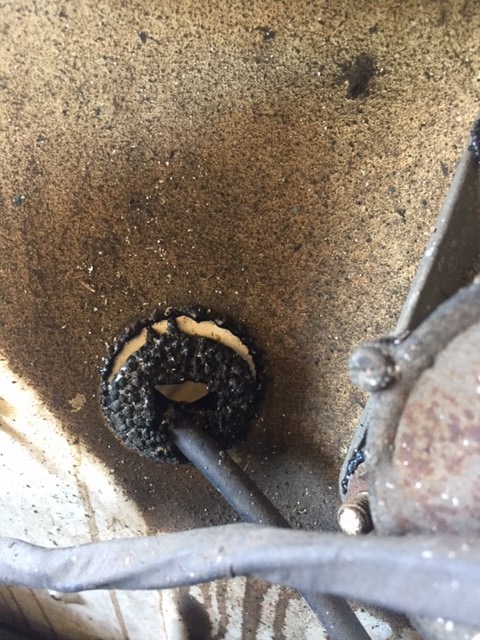
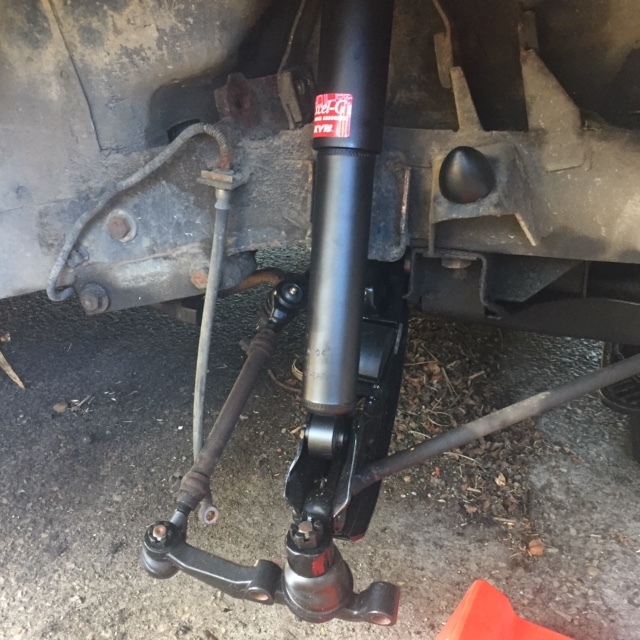
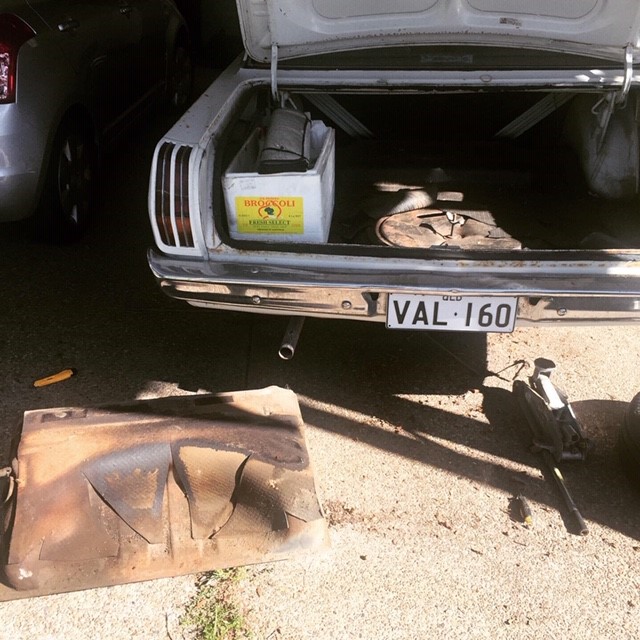
Trans fluid leak:


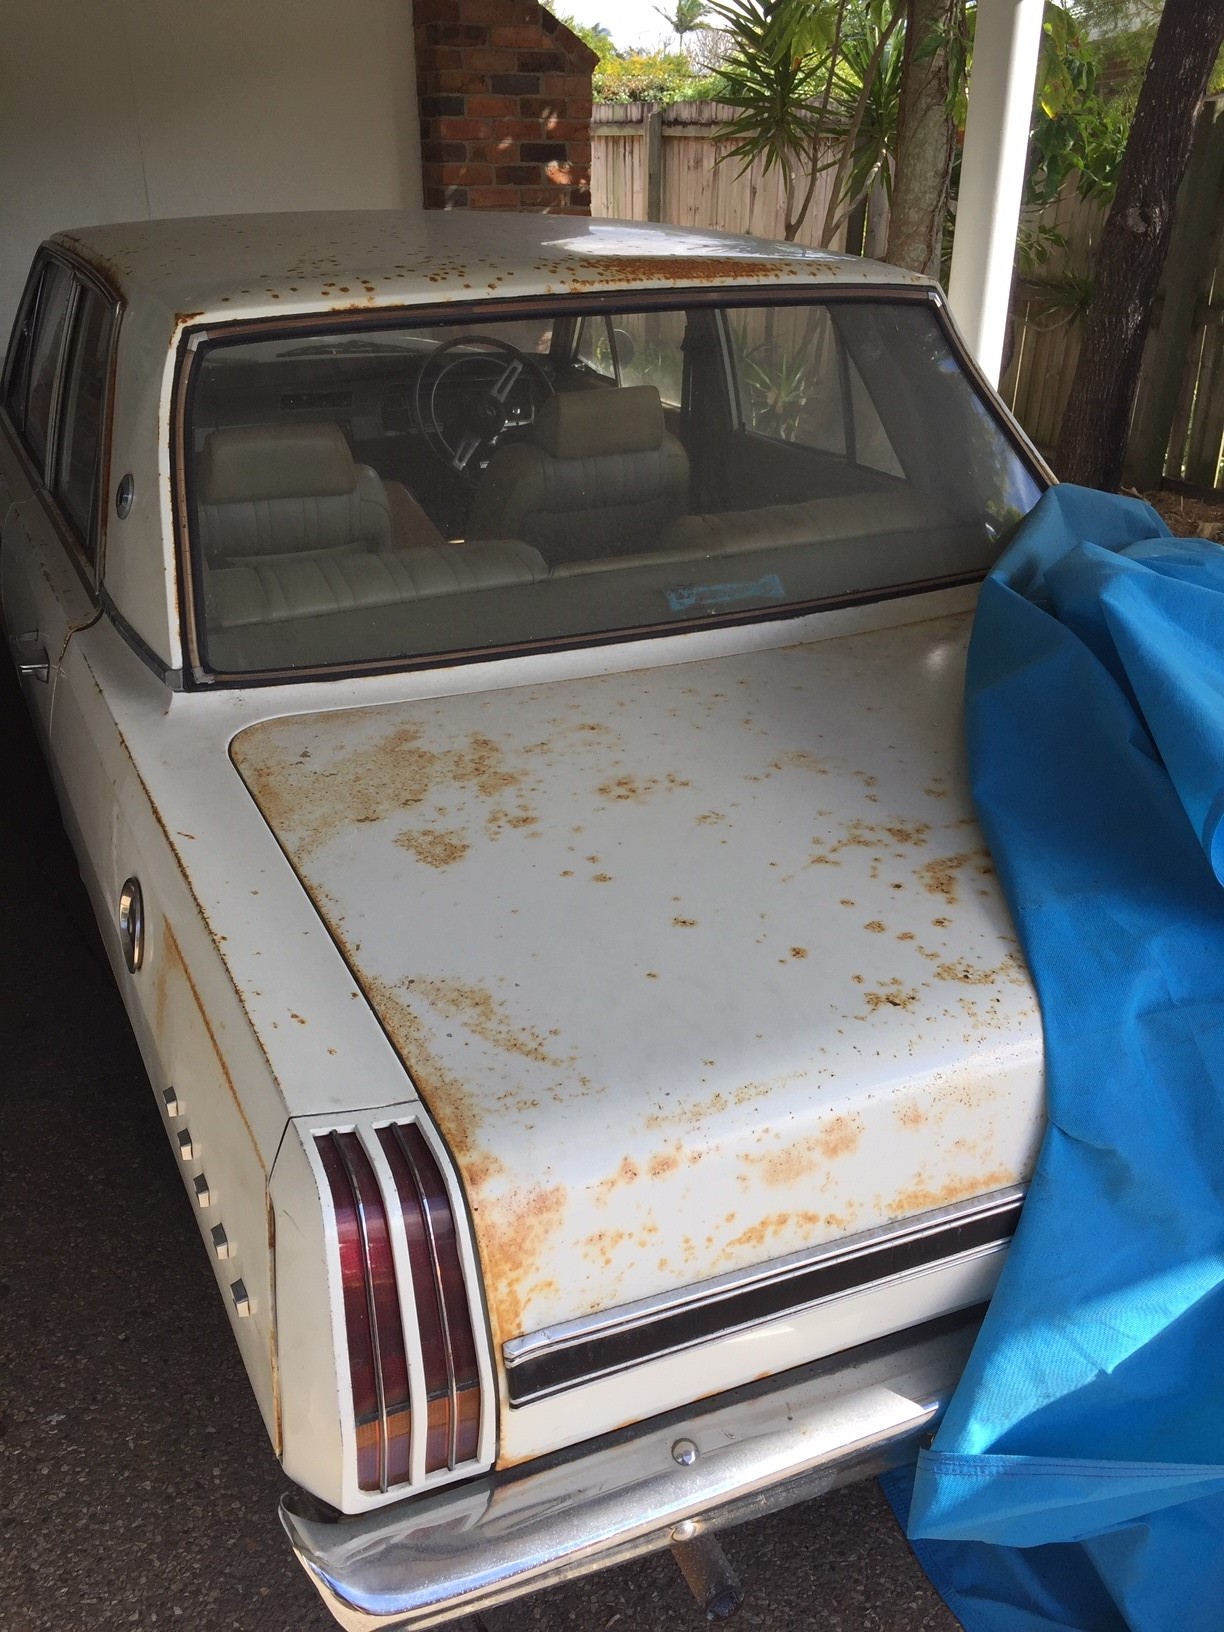
I moved about a few times between 2010 and 2015, but the Val would always stay with me and be either garaged or under covers in a car port. However, this didn’t turn out as well as I hoped. Some time in 2012 while Val was garaged at a set of units I was living in, some local teens decided to run along some rooftops. One of them bent the roof of the garage the Val was in enough to cause a leak every time it rained. I hadn’t expected to stay at this unit long, and so had flat packed moving boxes on and around the Val in this garage. Every time it rained, they would get soaked and sit wet on the Val. I don’t know how long the leak was happening for, but the wet boxes caused a lot of damage in a short amount of time. I have kept her under covers and garaged since then, but the damage had been done.

5 Likes

We finally arrive at present time and I realised recently that if I didn’t start restoring the old girl soon, I would probably never. So, about 6 months ago I got under the bonnet and made sure she could turn over. I actually got her to start!

After sitting for about 4 year I was surprised. However, she was not getting fuel to the carb. So, about a month ago I ordered and fitted a new fuel pump. I have also dropped the fuel tank to check the fuel pickup to ensure it’s not clogged up. While I’m at it I will be fixing the fuel sender as it was giving some funky signals to the dash. I will also be replacing all the hose from the fuel tank to the carb. Essentially, just to make sure it’s all new and won’t cause issues down the track.

So, what’s next?

The idea at the moment, is to get it back on the road as a cruiser. Here is everything I have planned before attempting rego:

  • Battery
  • Gearbox rebuild
  • Front windscreen - has a crack, may as well do windscreen rubber at the same time
  • Front suspension rebuild - all new rubbers for front and shocks all around
  • Brake master cylinder replacement/rebuild – pedal slowly goes to the floor when stationary.
  • Front Brake rotors (either new or resurfaced), callipers inspected (rebuilt if needed) and pads.
  • New rear drum shoes, wheel cylinders and drums (either new or resurfaced).
  • Small exhaust leak
  • Body repairs – not sure how big of a job this is yet
  • New carpet - not needed for rego, but wife won’t go in the car with current carpet.
  • Oil leaks – I have spark plug tube seals arriving today. Will look at valve cover seal when I adjust the valve gaps. Will also replace the PCV valve. Hopefully that should do it.
  • Tyres – the ones on it are from 2007 and a bit dry.

Most of it should be doable, and just take time. I am hoping by the end of next year to have it all done.

That should be all of it to get rego. After rego I’m also planning:

  • Engine rebuild – including decking block to increase CR, head work and hardened valve seals, back of valves ground flat, port matched and clean-up of combustion chamber. Slightly more aggressive cam. Dual 1bbl intake and Durta Duel exhaust. Looking to increase low down torque more than anything.
  • Full respray – local place has a ‘You sand, we spray’ program. He is also a Mopar guy, so hoping to pull on some heart string to get a good deal :stuck_out_tongue:
  • Interior redone
  • New rear leaf springs (if not already needed for rego)
  • Wheels widened and painted
4 Likes

Cool car. Cool story.

My ultimate all time car, is like you, one I own. It’s my 1989 Subaru Liberty GX wagon. A car with much history, significant memories and around half a million Ks.

What is the problem with the rear springs? If you need more rate, add a leaf. If they are sagging they are easily reset (I’ve done a few). Eye bushing not to bad to replace.

I did wheel alignments pretty much full time for a short period in the mid 90s. It was strange that you’d not see a Valiant for a while and then three would be booked in one day (awful thing to reach the front arm adjusters and there is no “fine” adjust.

2 Likes

As you guessed, they are sagging. I don’t mind the ride height they sit at with the sagging, but I don’t want it to be an safety issue.

4 Likes

A few years ago I was talking to a vintage engine restorer in the UK. He specialised in 20s to 80’s machines. I mentioned fitting hardened valve seats for unleaded fuel. His comment was that you should only fit them if the originals were damaged. He pointed out that the years of opening and closing will have hammer peened them and they would last fine on unleaded.

The engineering theory is good, but I’ve never been sure whether to trust a guy who made his living rebuilding rare engines.

1 Like

There has been a lot of back an forth in Hot Rodding circles about this subject. Most saying that if it’s a car that isn’t used much hardened seals wouldn’t be worth pulling the head to fit. However, I thought that since I would be getting other head work done anyway, I may as well have the piece of mind.

In that case go for it. Hi other comment was that there were probably more problems with ethanol in fuel. Even in Oz they don’t recommend using it on pre 2006 vehicles, just to be safe. Still miss my VH Valiant. Indestructible.

You’re not wrong about them being indestructible. I just tried the lights for the first time in 5 years. Every single one of them worked. :exploding_head: Blew my mind.

2 Likes

So some updates:
I’ve been working on the fuel system. About 2 weeks ago I got the tank out and flushed. Yesterday I checked the Fuel pickup/sender unit. It was CLOGGED! I used WD40 and a long zip tie to remove all the gunk and is now flowing freely. Now it’s all clean I put on a new pick-up filter:


Now I’m looking at the sender unit resistor. Here is the old one:

No wonder I’m getting weird signals on the gauge. and here is the the replacement:

I have a phobia of soldering irons, which comes from grabbing one that was still on by the iron part as a kid… twice, about 3 years apart.
I’m gonna give it a go though and hope i’m not quite as stupid this time around.

EDIT: Forgot to mention, regarding the Brake master cylinder; The one I have is an aftermarket unit and I haven’t been able to find a rebuild kit for it. But, I have found someone who wants the reservoirs from mine for his unit. He is willing to trade me a original master cylinder that needs a rebuild. So I get a master cylinder I can rebuild and he gets reservoirs that aren’t split. Win-Win

3 Likes

Master cylinder on it’s way, should be here early this week.
master

Rebuild kit soon to follow. The car is going to have a White, Maroon and Chrome/silver colour scheme. Once the master cylinder is rebuilt and wire wheeled, i’ll be painting the bottom maroon and top silver.

Regarding the fuel system, it is now all clear. I just have to solder the resistor into the sender and wait for a new tank to filler seal. Then from tank to fuel pump is all done.

3 Likes

Some more small updates. Working from home means I’m able to complete small projects at my desk.

First one was to solder the resistor wire in for the fuel sender

Then unit back together
sender

and finally back in the tank
tank

Next project at the desk was spark plug washers and spark plug tube o-rings. The slant 6 that comes in these car have a removable tube that goes into the head for the spark plug to go into. These are sealed against the head via an O-ring and the pressure of the spark plug. New O-ring on the right:

The tubes also act as the washer for the spark plug, which means the when plugs are replaced you are meant to remove the washer. A lot of mechanics these days don’t know this. Which causes the o-ring not to seal properly and spark plug to not sit far enough into the combustion chamber. This causes oil leaks from the head (the tubes are known as drool tubes) and the engine to not run as well as it could. I should done the last service myself, but, didn’t have time I guess. I’ve removed to old plugs and taken the washer off:

5 Likes

Been a while since I updated this thread. Things have been a bit slow due to distractions and lack of funds. Since last update I was able to get the fuel tank back into the car and tested the fuel sender, it all worked yay! I now know how much fuel I have!

In the last few weeks I have been able to order a few things.

I ordered some new brake rotors and pads for the front.

I’ve also ordered a front end rebuild to replace all the rubbers and bushes in the front suspension. Waiting on that to arrive.

The other day I got the old girl started


LINK TO VIDEO:


At the end of this video you can see fuel leaking from every orifice of the carb has, once fuel got pumped up into the float bowl. Yay the new fuel pump works I guess :rofl:

I questioned whether I should rebuild this carb, but, since I was planning to change it to a Holley 350 in the future anyway, I have bought one off ebay to replace the stock one. The 350 requires a adapter plate, but is pretty close to a bolt on upgrade to the carb.

5 Likes

Had some issues with the eBay seller of the 350 Holley. Got my money back from PayPal and found a valiant guy selling a 350 and the adapter plate I need for the same amount as I paid for the ebay carb. Saving me $50 as I now don’t need to buy an adapter plate. My brake master cylinder has been rebuilt by power brakes in SA and it is currently in the mail. Once all those parts arrive I will update some more.

6 Likes

Been a while since I updated this. Still waiting on the front end rebuild rubber/bushes. At this same time as ordering the rubbers, I also ordered some heavy duty lower control arms. The control arms seem to be what is slowing the order down.
In the meantime, I have been slowly (and painfully) been pulling apart the front suspension and brakes. Stupidly, I pulled the brake calipers off without cracking the bolts that hold it together. They are a bit stuck and I should’ve gone at them while the calipers were on the car.

In the ‘power make it happener’ department (if you get this reference you are already cool! If not, go check out “Vice Grip Garage” on YouTube. One of the best car channels for old cars!), the carb has been put on the old slant, but just have to wait till I can get to a parts stock to get some 3/8 hose for the PCV to carb vac line. I was able to give it a quick start with my finger over the vac leak, and she purred until I shut her off a few seconds later. Good signs. I should mention, the carb is not a Holley 350, it is in fact a Holley 320. I am happy with this, as the 350 is slightly too big for a mild slant, so, the 320 should be just about perfect.

Last time I drove the old girl I had no reading on water temp gauge. It wasn’t running long, so I thought it could be the thermostat being stuck open. Got the thermostat off last week and tested it out in some boiling water, it works perfectly. So hopefully from there it’s just the water temp sensor.

Anyway, here are some pics:

The rebuilt brake booster:

The 320 Holley:

Thermostat housing, needs a bit of a clean.

2 Likes

keep her pluggin away this is great to see progress. Remember It doesn’t matter how long it takes but it will be sweet at the end. :slight_smile:

1 Like

Thanks Jimmy. I wish I had more time to work on it, but I really only get a few hours a fortnight.

1 Like

Got her started and idling:
https://www.instagram.com/p/CHwgqW4Frpm/?utm_source=ig_web_copy_link

2 Likes

So after I got the old girls started 2 weeks ago things have been slowly progressing. I cleaned up the thermo housing and reinstalled the thermostat with a new gasket and filled the radiator back up. I ordered a new water temp sensor and it arrived last Wednesday. I have started a routine of starting the old girl up every Thursday either during my lunch break or when I knock off work. End of day came last week and I started her up. Lo and behold the old water temps sensor started working and was now getting a nice steady reading from her.


I ran her for 25-30 mins and she held steady right where the picture shows. Perfect!
I will probably still replace the water temp sensor, as I have a nice new shiny one now.

There are two really melted/perished grommets on the firewall that have been really bugging me:


Unsure if they just perished because of age or, maybe the extra heat for the extractors may have caused for them to melt? Anyway, they have been removed and replacements ordered.

Lastly, this morning I received an email to say that the heavy duty lower control arms and suspension rubbers/bushes kit I order in September are on their way. Woohoo!

2 Likes

Progress has been slow on the old Val, almost as slow as the Val itself.
Those that follow on Instagram would have seen some of the updates, but I will put them in one spot here.

Firstly, I bought a low riser air filter for the new carb

It looked really nice, but the rest of the engine looked a bit worse for wear, so I decided to repaint the tappet/valve cover. First step was to remove it and strip it of all the old paint.

Next I rust treated it with a rust killer/sealer

Then primered with a Engine Enamel Primer

Last coat with Super Gloss Brush on Engine Enamel in MG Maroon from KBS Coatings

All back together:

In regards to suspension I have replaced Inner and Outer Tie-Rod Ends, Low Ball-Joint, Heavy Duty Lower Control Arm, Bump Stops and Front Shock


Still to be replaced: Torsion Bar Dust Boot, Upper Control Arm Bushes, Upper Ball Joint, Brake Rod Reaction Bar Bush.
While we are talking suspension, the nut for the shock on this side was a real bitch to get off! It started to undo then got stuck. I couldn’t grip the old shock hard enough with my hands. So I used one of these:

Which was too big to grip on the the shock, so I used an old brake pad from my Sirion to take up the space. Then muscled the nut off.

I have also received a rear drum brake rebuild kit, but haven’t started on that yet.

3 Likes

nice work man!

1 Like