The red dot (Cuore L501)

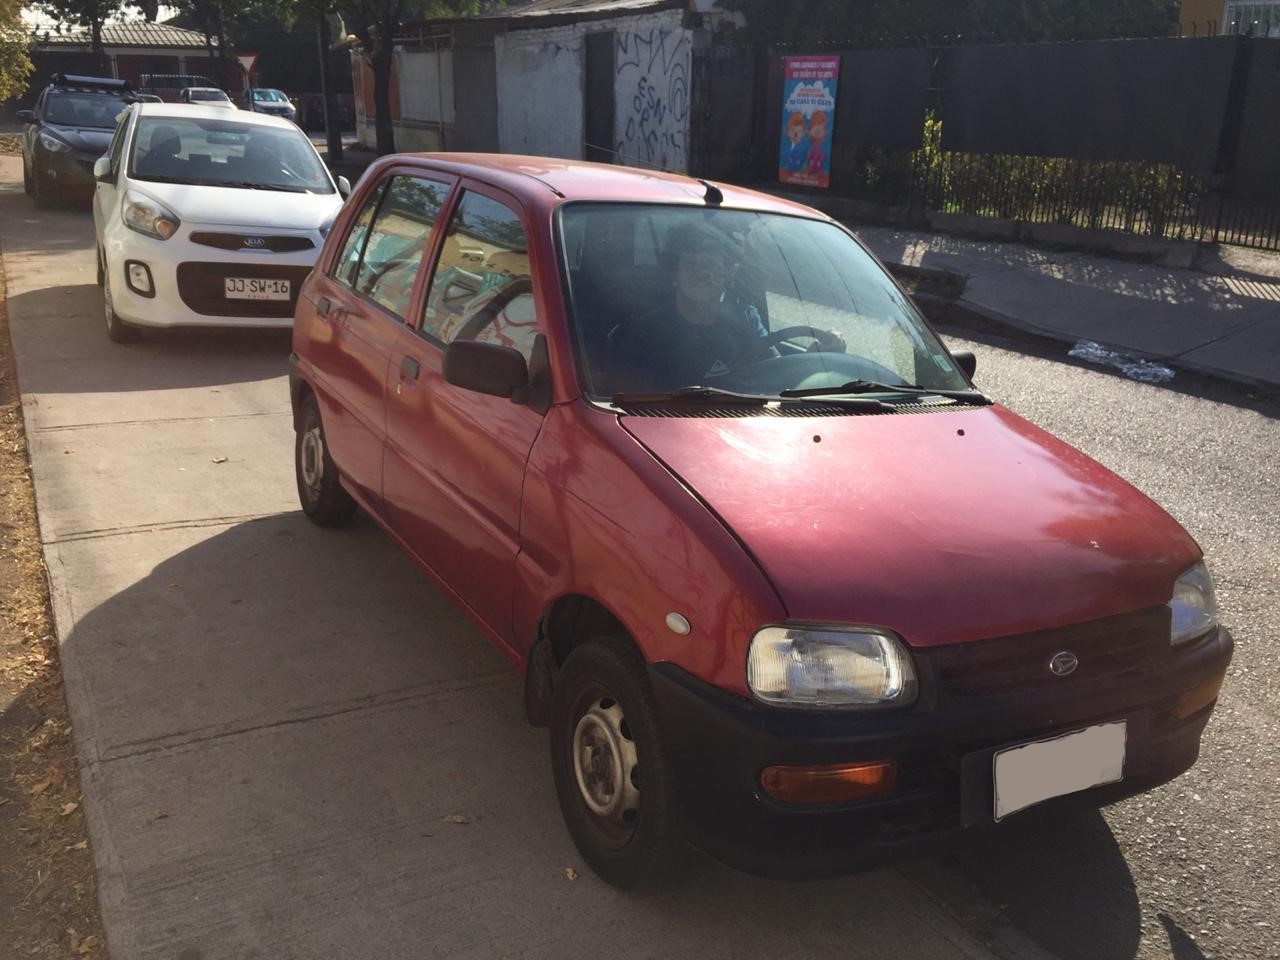
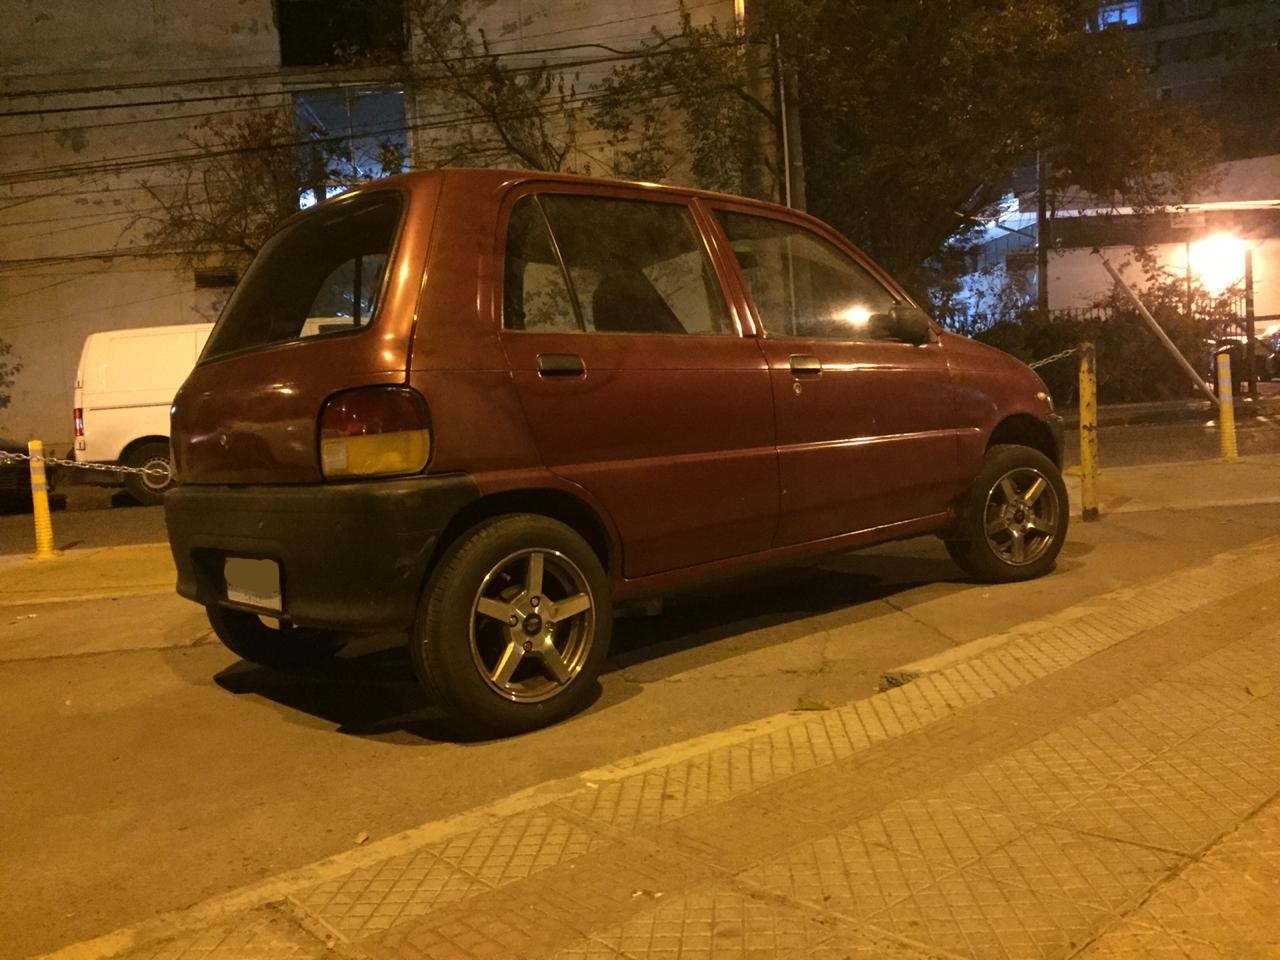
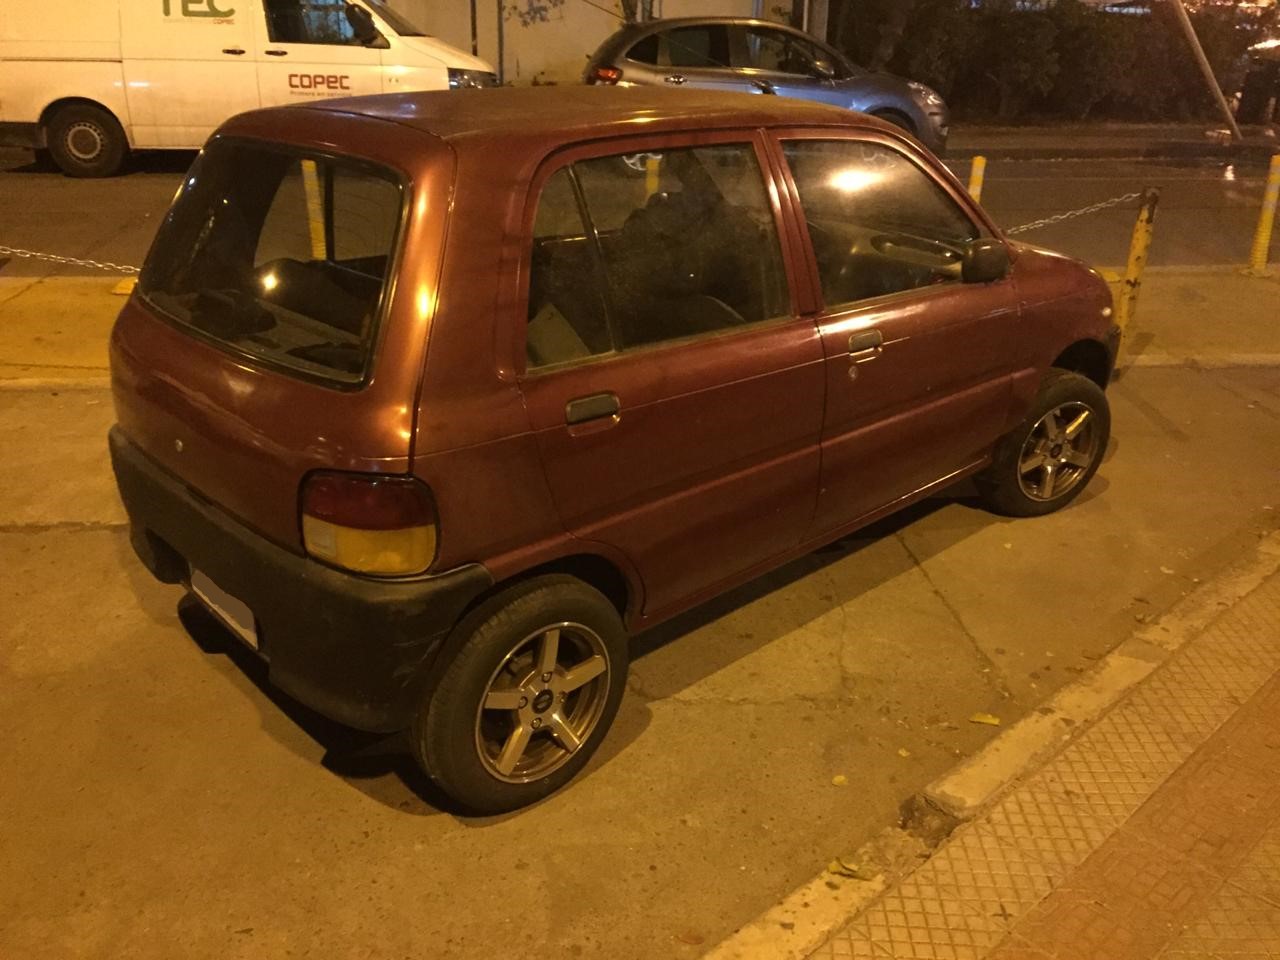
Greetings and welcome to my build, I recently bought and old and beaten up L500 the color is kinda red (two resprays I think). Small wrecks, one on the rear and one on the front, passenger side. I got it really cheap, but it was as basic as ever possible and a lot was really badly fixed!


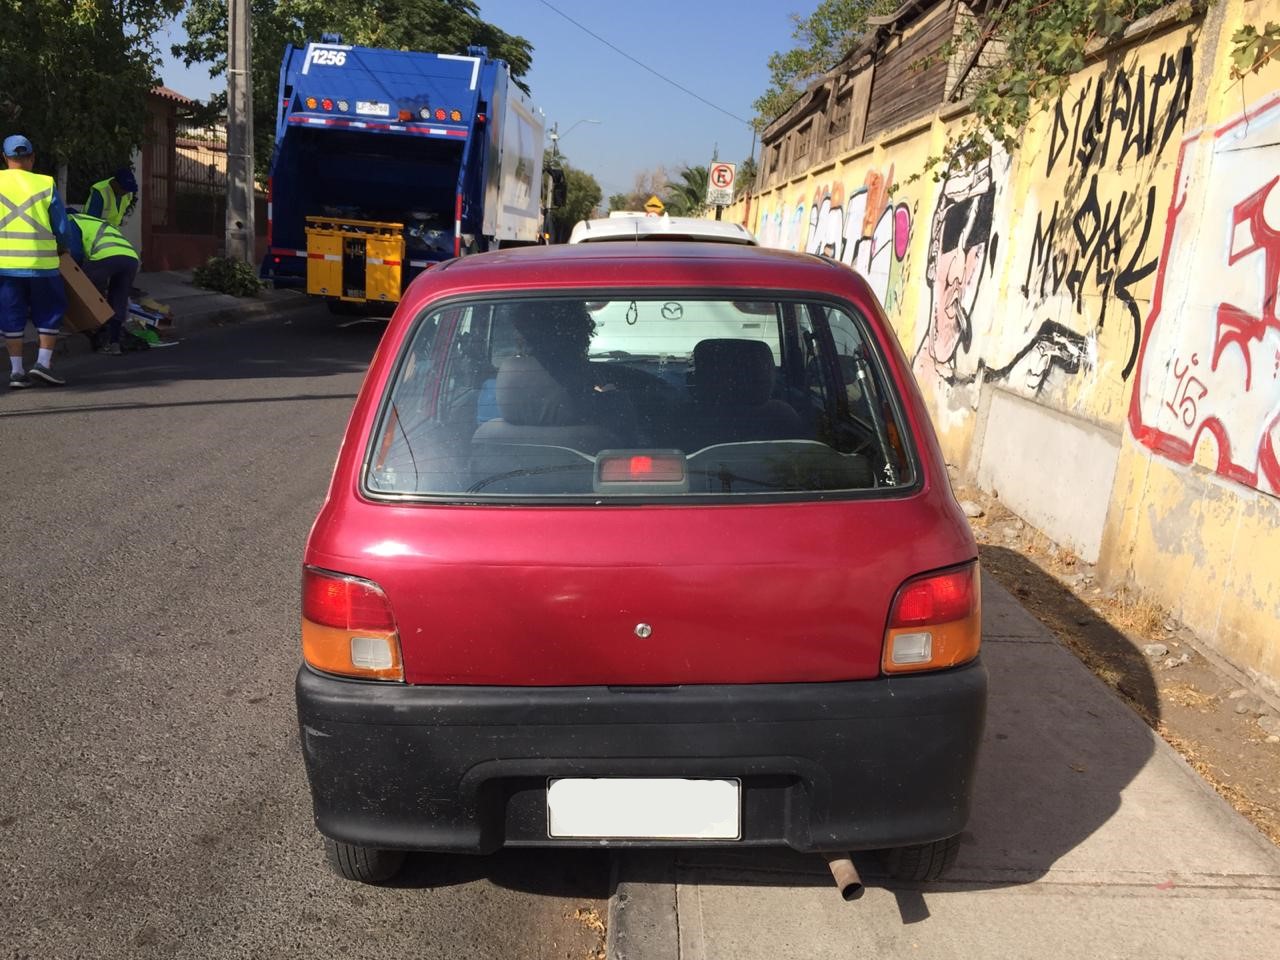
So as soon as we bought it we changed the entire back exhaust and tried to return it back to stock. (Original exhaust was leaky and fixed with rebar and wire). The CV joints were both busted, the wheel arch was found full of grease one night. At a local Daihatsu parts store bought most of the maintenance stuff (CV joints, gasket kit, filters, etc.) We also changed the wheels and fitted new tires, have a small rubbing problem though.


Later I changed the front and rear shocks, did it myself, was pretty scared about the spring coming loose or something similar but it turned out OK.

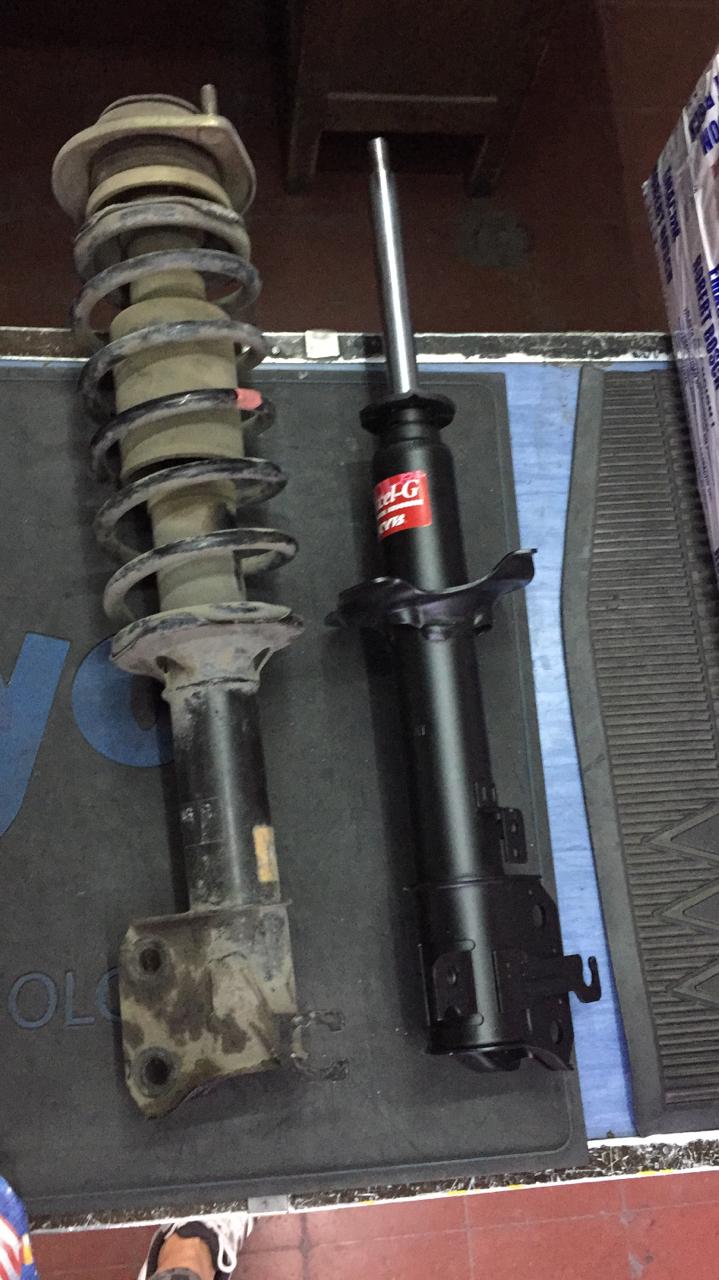
Finally the guy sold me anything to milk me for money, but we couldn’t find the originals, so we had to modify them, a quick trip to the milling machine and “problem solved” I still have to check if the camber changed when I do align the car.

The back shocks were pretty much bolt on.

After all this changes the interior was to be fixed, wanted to install central locking, power windows an alarm a new “Headunit” an amplifier, new speakers (the car came with an aftermarket HU fixed with some sheet metal hanging out and only one speaker was working) The car also had an alarm but it was almost completely disconnected.

The rear boot cover was also really bad so we decided to build a new one out of plywood, whipped out the CNC router and this came out:

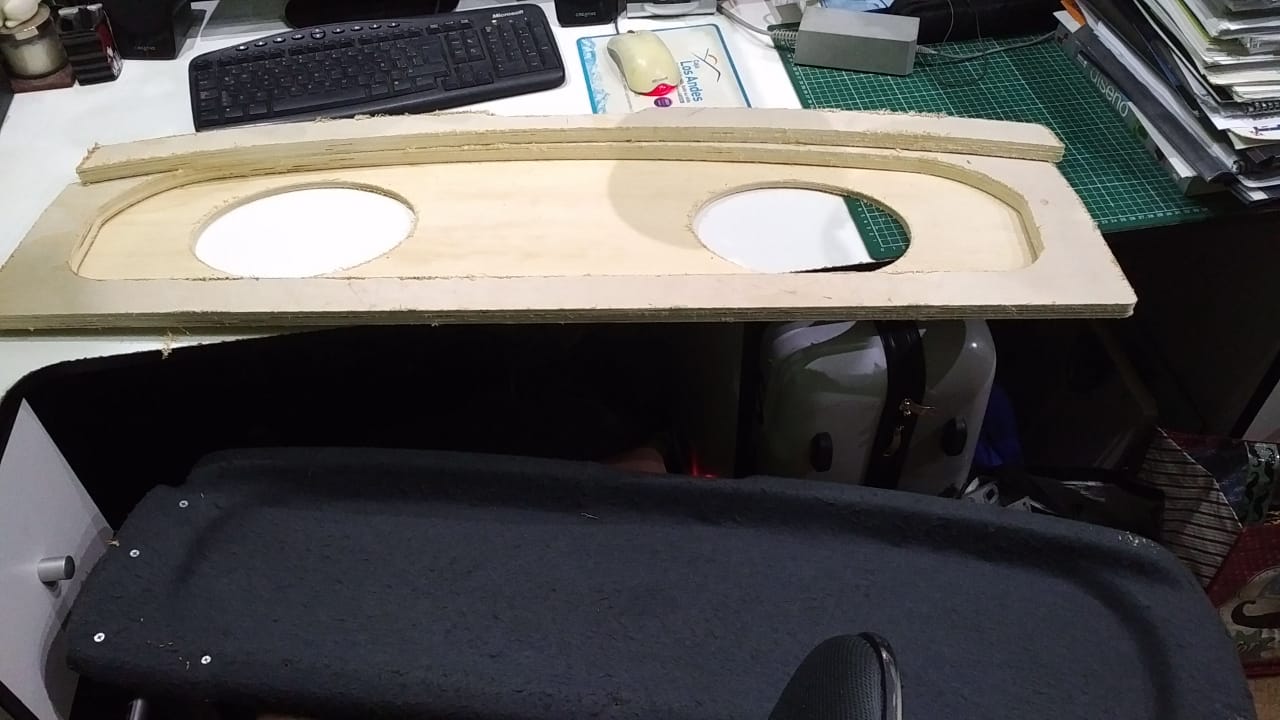
After some carpeting and a little bit of care the results (to my eyes) are quite pleasing.

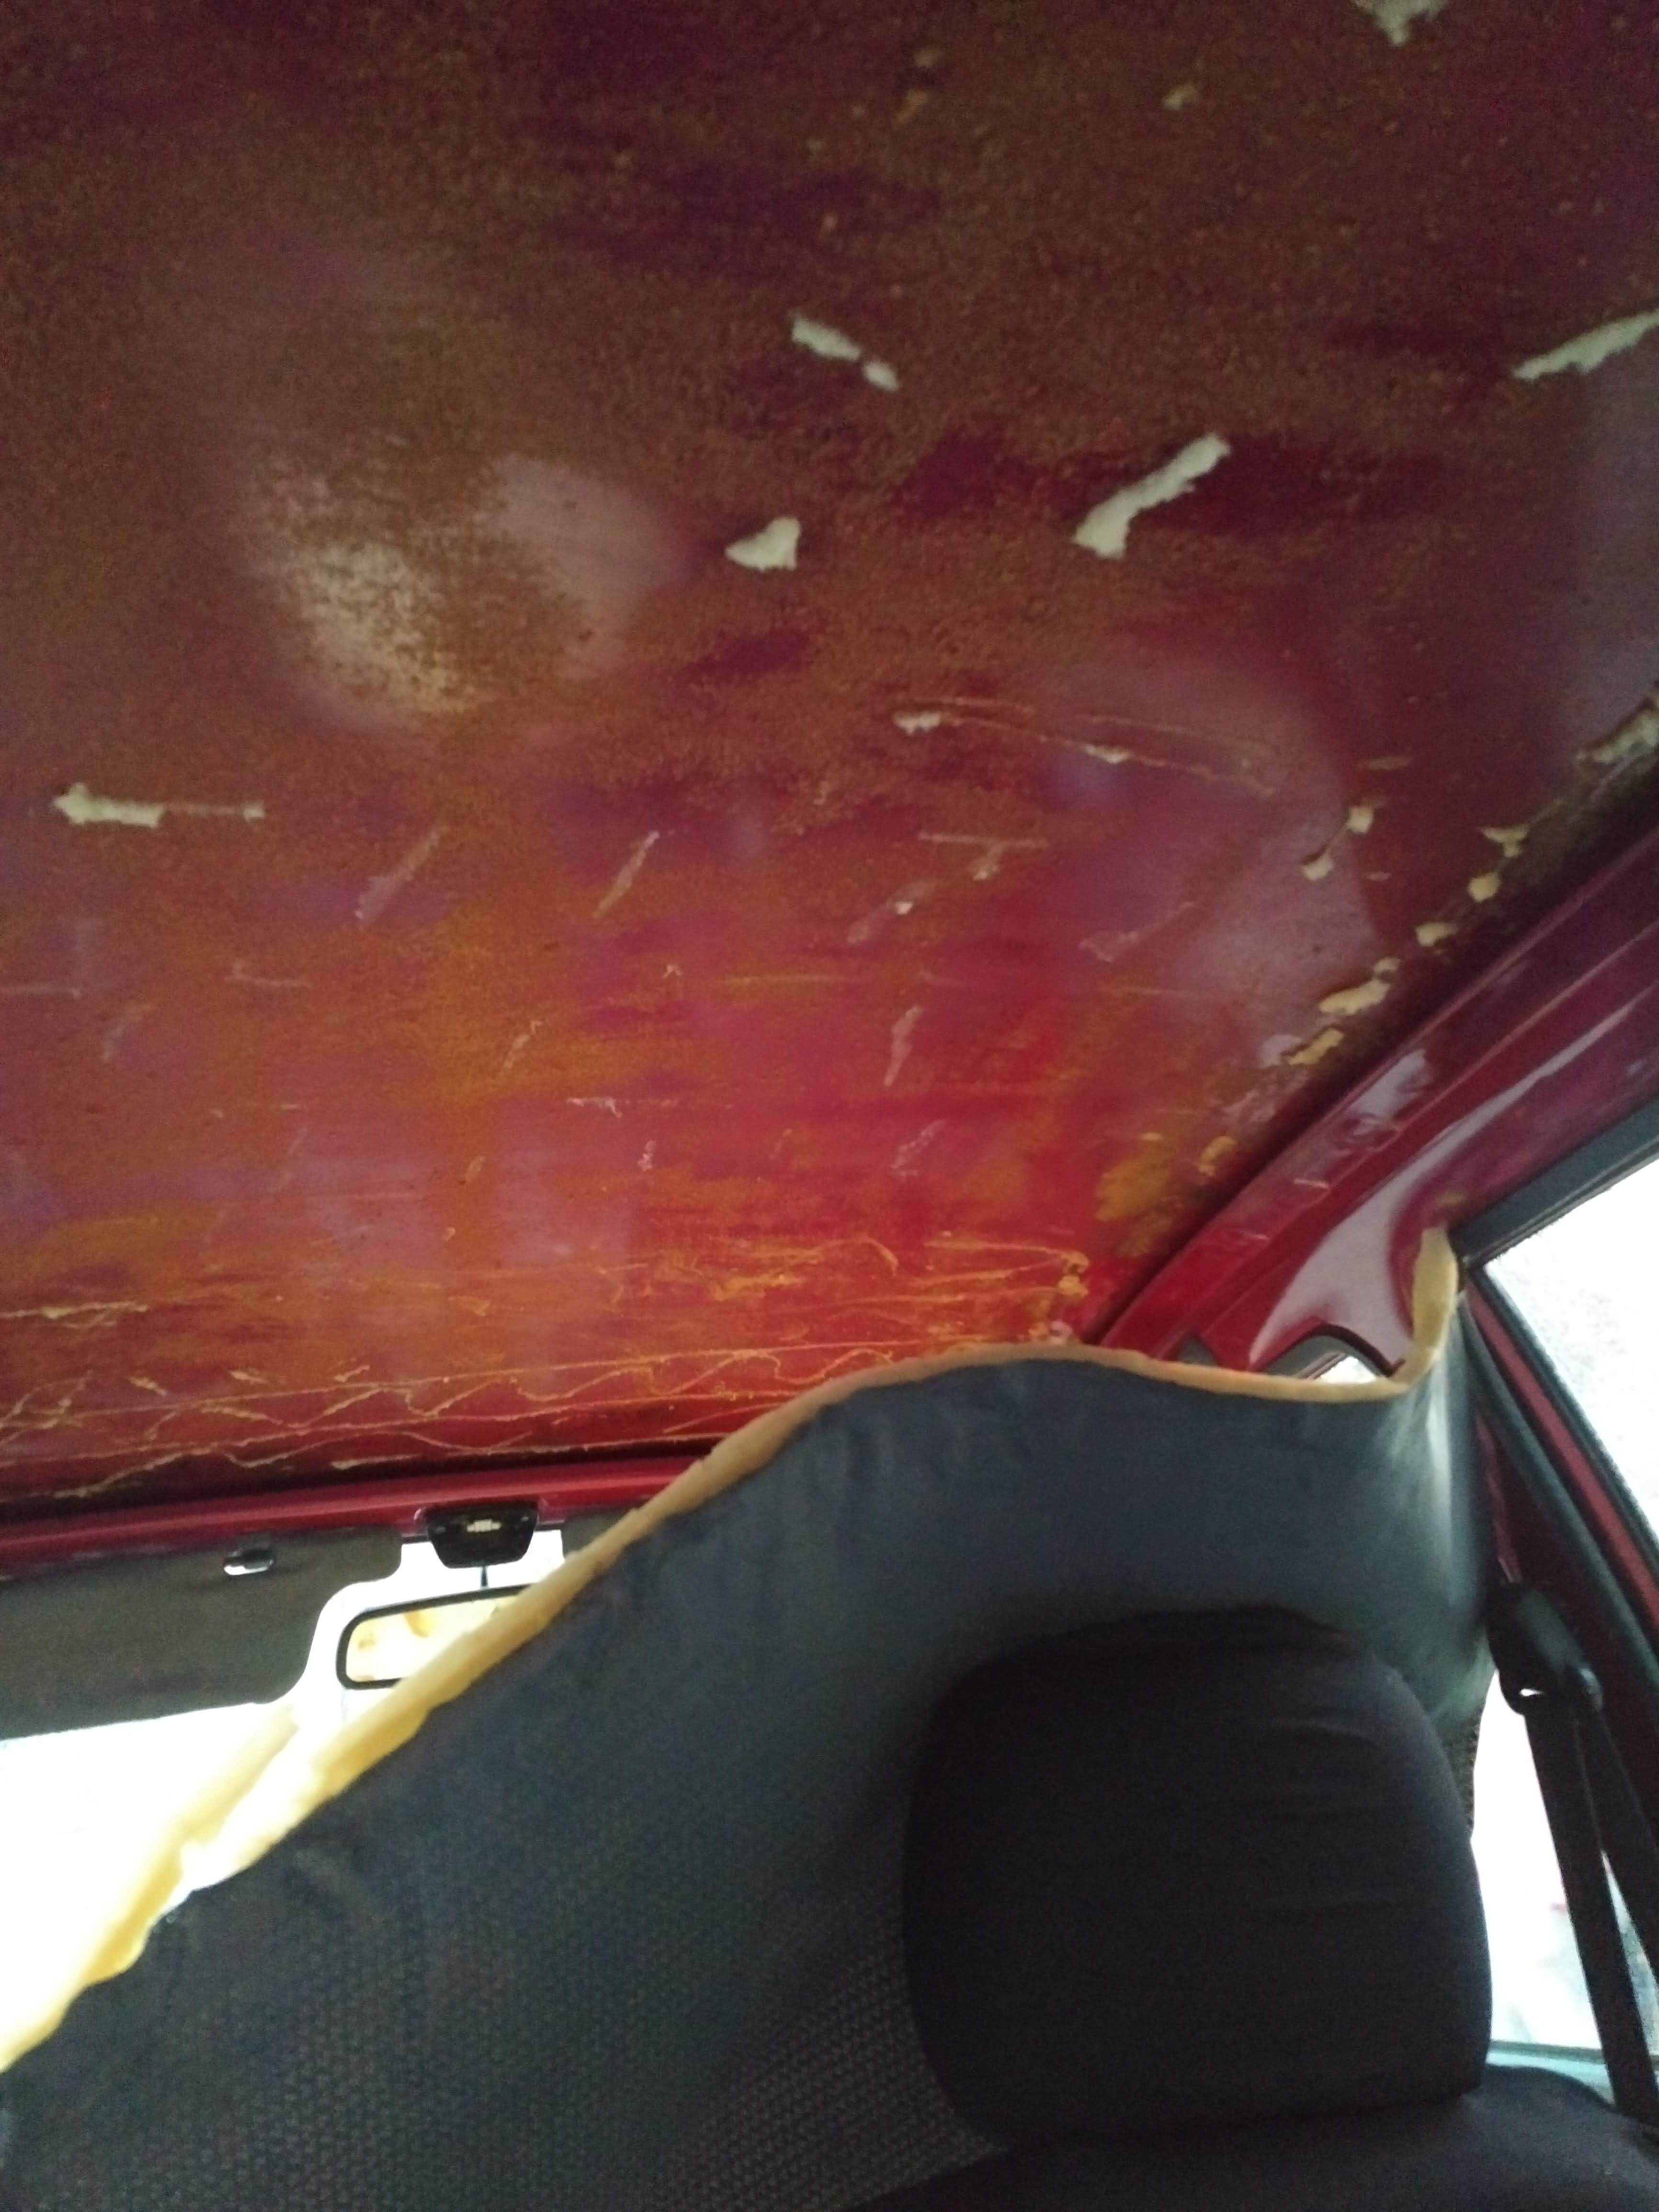
The roof lining also required some attention, the old one was ripped off and we glued a new one

The turn signal switch was also a big problem, the original one was really worn and broken so I bought what was available, a Charade G102 multi switch thinking I could easily rewire it and things would be all good and merry, after some fiddling around it turns out it’s really as different as it gets, so I had to delete the hazard switch and remove quite a bit of plastic, at least electrically it works as intended, so I just need to make it fit, will post the results as I haven’t tried it yet.

I will keep posting soon I hope posts can be edited to add more information and improve formatting.

Best regards!

5 Likes

A mill, perfect. Do you have a lathe at your disposal? Great Dai!

I’m actually a machine shop teacher so yes I have access to CNC and manual lathes, milling machines, grinders and welding equipment. I hope to put up more pictures today, because I clearly am no photographer :crying_cat_face:

3 Likes

Excellent. My own job title is Industrial Technology and Design teacher. Probably a bit more general then you as I teacher yr8 through yr12 and have a few wood work classes as well as my engineering classes which are basic machining and welding fabrication. Here is a link to the senior program we have signed up for (first car to be finished latter this year). Check my build thread for what I’ve learned about the L200 which is applicable to the L500. Keep the pics coming, they are great.

Really late to answer but what you are doing is incredible, have been looking around your post too, have a lot to learn.

Took the complete engine apart this week, it needs new bearings and some grinding but I’m coming closer to the end, tomorrow I plan on taking the whole cylinder head and the crankshaft to a engine shop. Afterwards it’s coming together again and hopefully on the street again!

1 Like

With your machining background I am sure you’ve be doing your own incredible stuff soon and probably more impressive than the hobby stuff I am doing. I’ve taken a big break from working in mine. Next step is putting in some longer ARP studs in 12 x 1.25 (I’d already gone that pitch but shorter - this is so all my cars are the same) and chuck the 19mm head nuts in exchange for 17mm heads. Going to a 205/50/15 in the front instead of the 195 and have the front rims and tires here at work so I can do that at lunch. You may have seen that the local guys here are all heading to one of the local tracks for a Sprint day this Sunday coming. There is no way mine will be ready. But it will be ready for some club events in the second half of the year.

Hi everyone I have a problem, after rebuilding the entire engine I have an OIL LEAK!! :scream: 
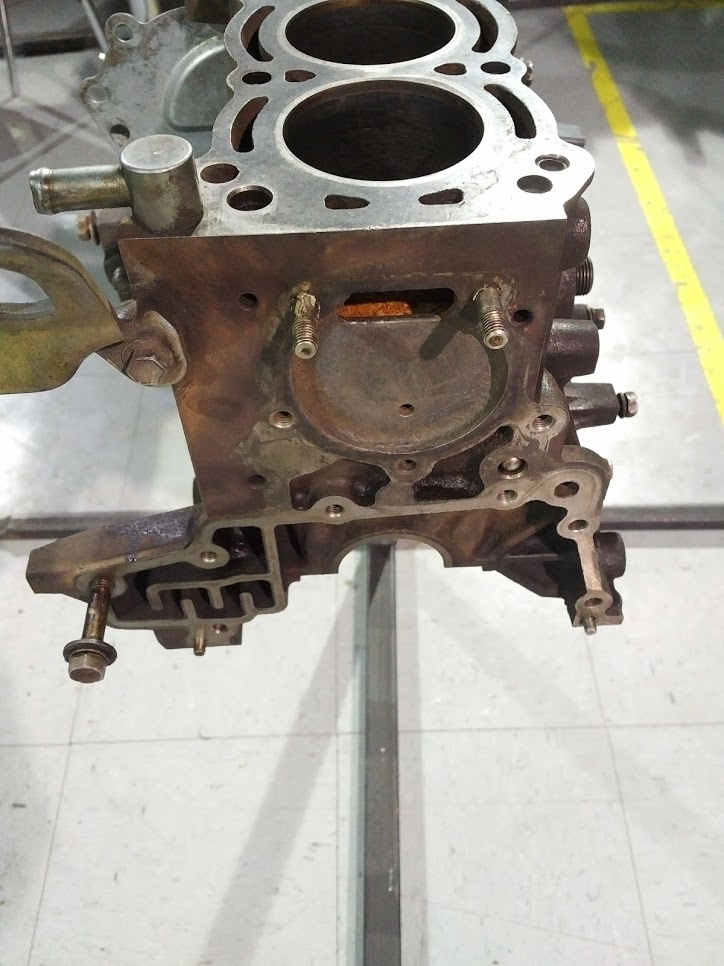
It’s comming from the crankcase ventilation coupling and I don’t understand why there is oil pressure there, we disconnected the tube going to the air box and blocked it with a finger, still oil comes out the base of this elbow.

the one you see on the left near the bracket that holds the alternator. I need some help because this is the only thing keeping me from actually using the car. When the engine block was apart I cleaned the maze that forms below with thinner and a lot of stuff came out, but today we tried to run a wire trough and it came out looking quite dirty, we tried to clean it thinking it was clogged but after throwing in some compressed air we determined it’s not clogged. I’m out of ideas and don’t know where to start. Should I disassemble the oil pump again, is it normal for oil to travel up this hole?

Thank you so much for all your support! Please lend me some advice.

Best regards.

There is too much pressure in the crankcase. Check the tappet cover ventilation to ensure that is not blocked. Having only one vent working could be the problem. With that labyrinth at the bottom and the vertical distance to the top of the block only oil mist should come out. Where are you venting this elbow to? I run this and the tappet cover vent to a catch can and then to before the throttle butterfly. If you have indeed to much crank pressure then it is probably a ring sealing issue.

Thank you very much for your help! The problem was solved, but we were following a red herring, the real problem was that the cylinder head had an oil port just above said elbow, and the gasket I bought did not reach that part! I should have paid more attention when assembling the intake manifold but it was really late and did not notice about the problem, went to all the shops looking for the correct gasket but I could not find it, the only solution I found was to make one myself, I bought some TEADIT NA1002 and cut the gasket by hand, the car is working now, seemingly without leaks!

This is the one they sold me and the only one available here:

This is the actual one I needed:

Thanks everyone for your help, now I will update the post with new photos because a whole step is now complete!

Best regards
Ricardo

2 Likes