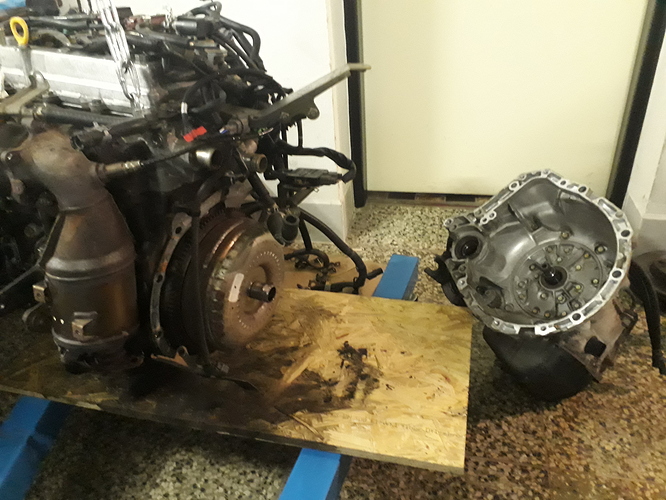
After the engine was out the auto trans was removed. You have to remove all the bolts that hold the converter to the torque plate first (there is a small access hole) and then all the bolts holding the transmission to the engine. After that it just slides off.
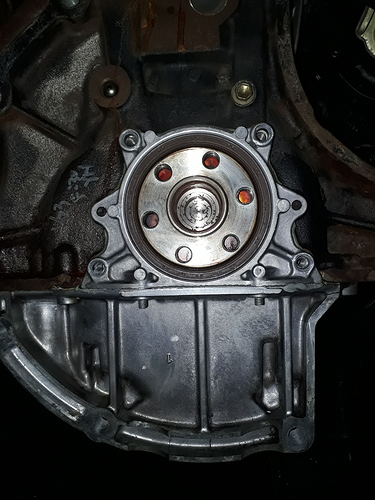
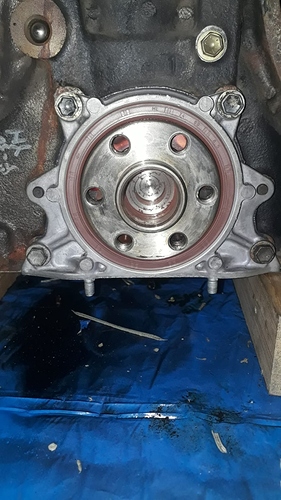
The rear main seal wasn’t leaking but i wanted to replace it anyway while i was in there. I also wanted to have a look at the inside of the engine so i decided to remove the oilpan and the seal housing.
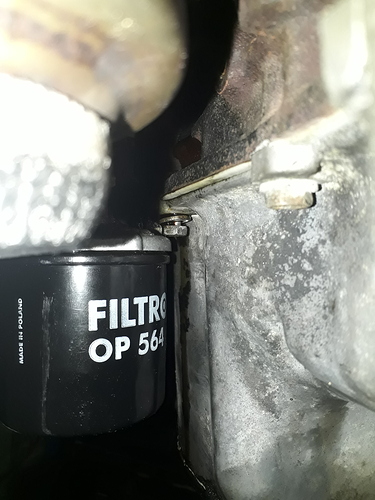
Eeeexcept this one little oilpan bolt that was stuck on the oil filter housing. Alright then, i’ll remove the filter housing too.
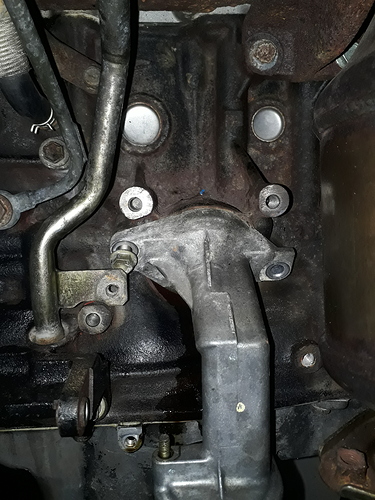
Eeeexcept one of the bolts that holds it will get stuck on the turbo oil return bracket!!! So i chopped the corner of the bracket off. Now in retrospect i could just loosen the housing and the oilpan bolt would be free, but by removing it i found out that the o-ring sealing it to the block was pretty tired so i replaced it with a new Viton o-ring.
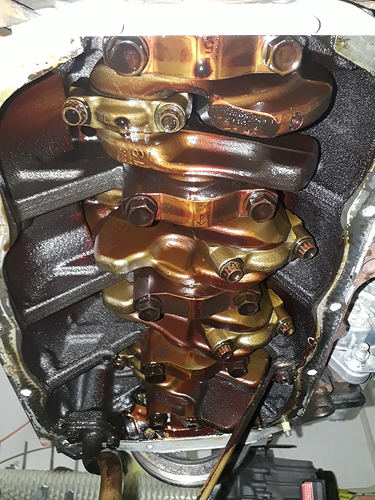
Anyway with the oilpan gone it was time for the big money shot! Yeah, not what i hoped to see. Seems to me that someone was skimping on oil changes, but i’m no expert, you tell me what an engine that’s done 180 000 k’s is supposed to look like.
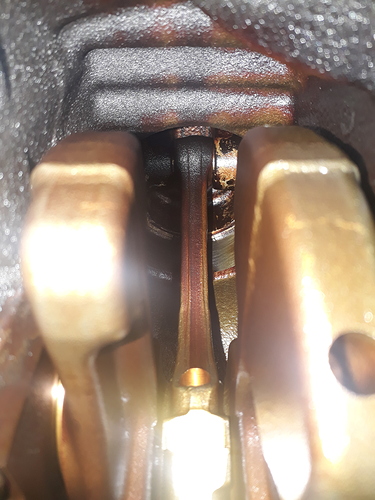
A quick peek at the rods and pistons.
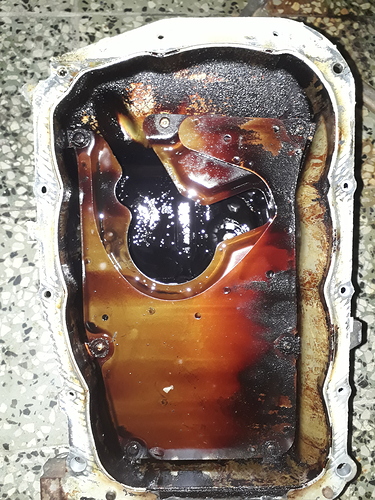
The oilpan sadly didn’t look any better. That black baked on stuff was really stuck on there good!
Nothing a bit more of the ol’ degreaser n’ elbow grease wouldn’t be able to deal with though.
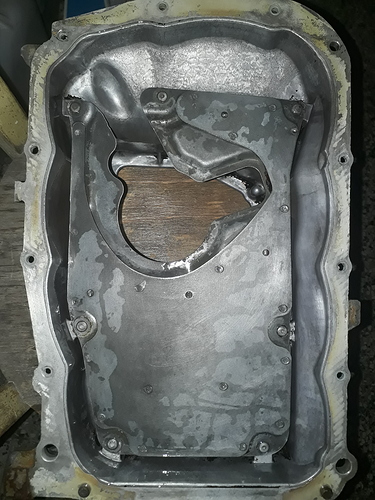
After what seemed like an eternity of scrubbing and soaking and scrubbing again the oilpan was clean and dry so it could be put back on along with the new rear main seal.
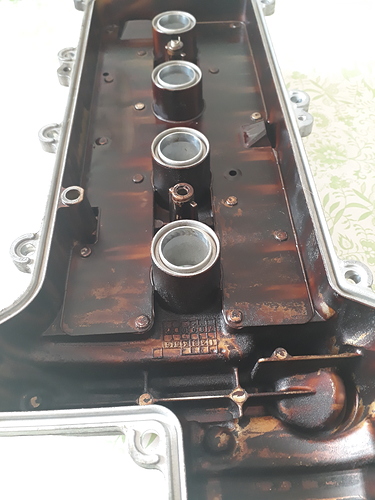
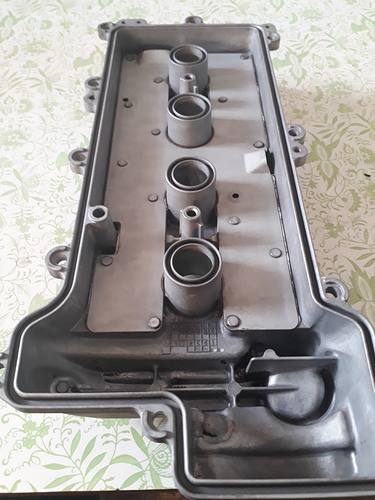
The valve cover wasn’t in much better shape so it received the same treatment.
Seeing those before/after pics makes it all worth the effort though. Valve cover got all new seals and back on it went.
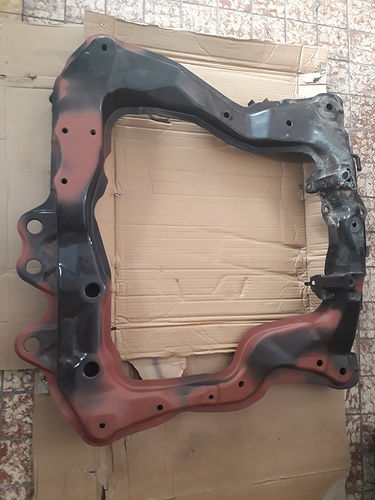
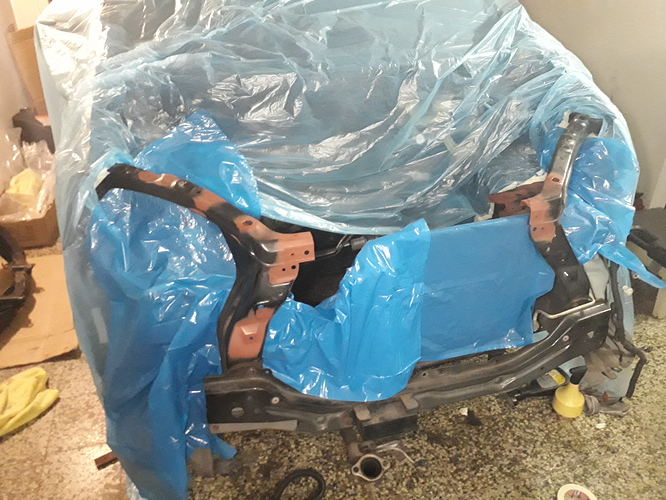
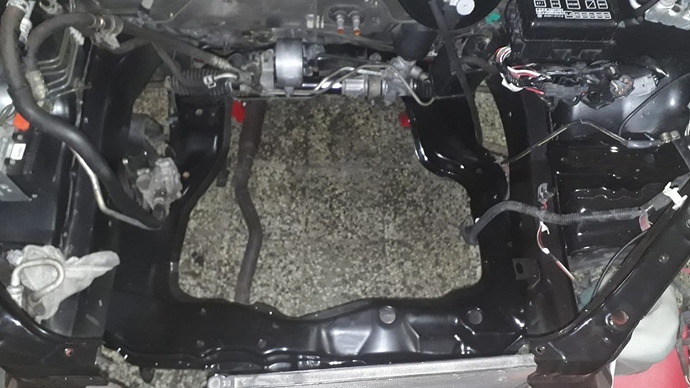
With the engine cleanup done and while waiting for my new uprated clutch to arrive all the way from Aus, it was time to shift my attention to the rust issues i had in the engine bay. First the subframe was sanded and painted, then the rest of the engine bay. I was lucky this general purpose black spray paint i found in Lidl was a very similar shade of black, so the blending is hardly noticeable. It left behind a nice glossy finish, but i’m not sure about the durability, so we’ll see in the future.
Subframe back in the freshly cleaned and painted engine bay.
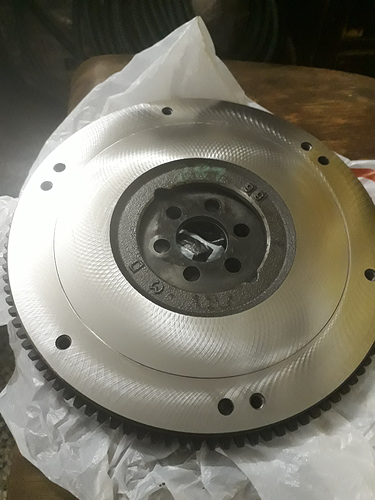
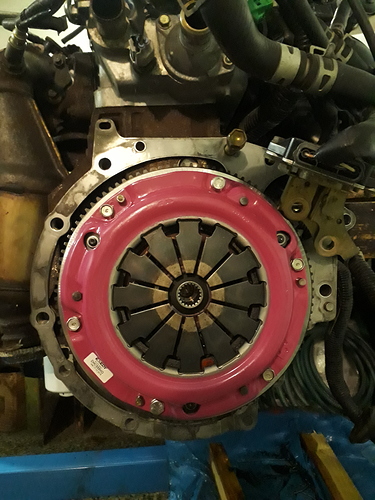
Also while waiting for the clutch the flywheel was sent away for resurfacing and balancing. And boy does that make it look pretty!
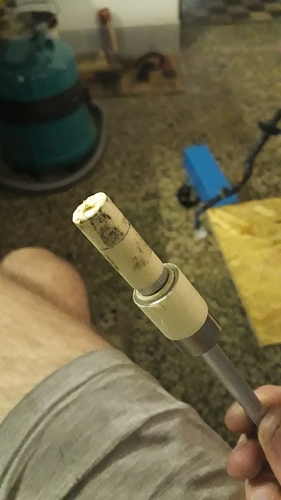
No clutch alignment tool, no problem! This is a 1/4 inch socket extension with a deep socket at the end and a random piece of tube slid over the extension, all taped up with masking tape to fit snugly. As you can see above it worked like a treat!
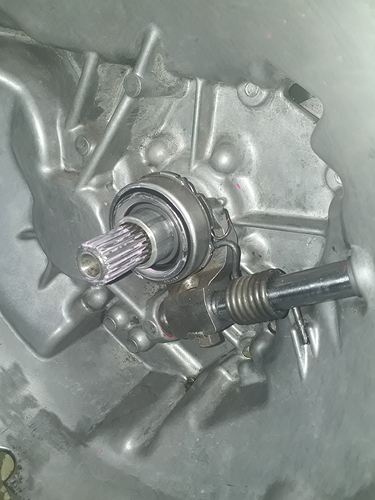
The lever that actuates the throwout bearing was disassembled and removed because after sitting in the parts car for god knows how long it was almost impossible to move the lever at all and the return spring had no effect on it whatsoever. After a bit of shaft polishing (wink wink) and relubing the holes (even more wink), it worked just like new.
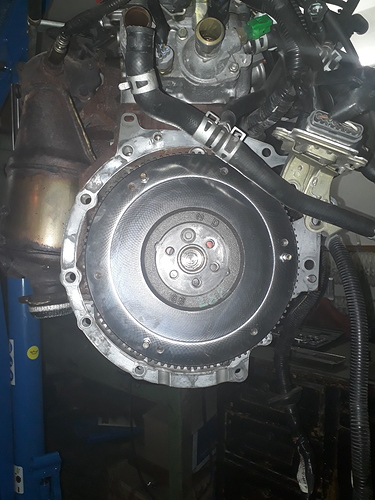
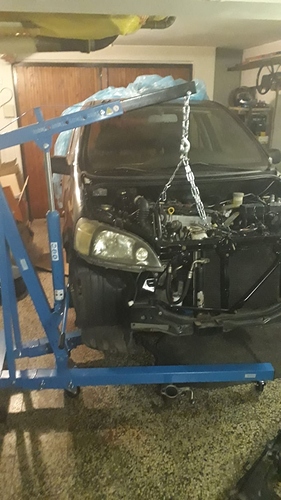
Then it was just a case of putting it all back together. The auto driveshafts could stay along with the side engine mount, everything else trans related had to be sourced from a manual car. Note the different strategy using the engine hoist from the side this time, made it much easier to climb under the car when mounting the engine.
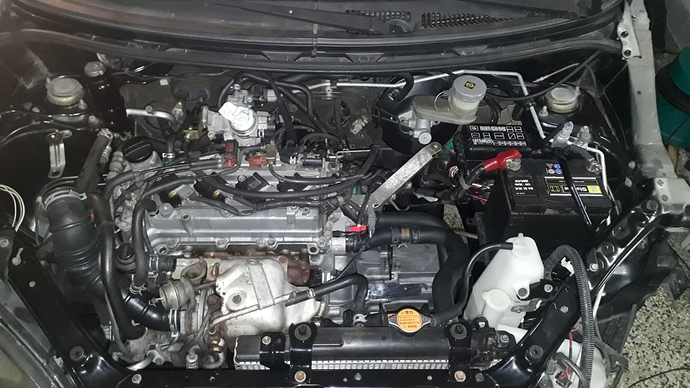
Almost ready to fire up, what a huge difference a properly clean engine bay makes.
End of part 2.
