YRV 130 Turbo manual swap

Hi folks,
so after a year of owning a L700 Mira, an opportunity has arisen to get him a bigger brother. Does that make me an enthusiast now or what :smile:

Anyway, it’s a Daihatsu YRV turbo, with 180k km’s on the clock, imported from Switzerland and registered in CZ by the previous (2nd) owner, has a full service history, and is in a really good shape overall.

Naturally it comes with all the bells and whistles (power mirrors and windows F+R, AC, F+R fog lights, panoramic sunroof, remote central locking, 15in alloys + a set of winter steelies, and of course that mighty K3-VET :blush: )

I bought the car for what would be approx. 1000 AUD

Sorry for the picture quality, i will take better ones later on.


The car has a fresh MOT and had a recent service done that included all new filters and fluids, new brake pads, new cv joint boots etc.

And now for the not so good things:

  • The auto trans is fubar
  • driver window switch will need replacing
  • rear bumper has some scratches from parking
  • will need a thorough cleanup inside & out

My main mission right away will be to do a auto/manual swap, but I’m unsure about some things:

What parts will i need to perform the swap (or don’t) apart from these?

  • Flywheel / Clutch / release and spigot bearing from a manual car
  • Transmission / pedal box / clutch cable
  • All the tranny sensors ( reverse, neutral, speedo?)
  • Shifter + shifter linkage
  • Any wiring?

I guess the OEM clutch for the NA 1.3’s will not handle the torque of the turbo one? So will need an upgraded one?

I should be getting all the parts off of a regular 1.3 YRV so should fit right away, or is some chopping required?

I’m looking forward to sharing this build here as well as all the comments from you lot :blush:

2 Likes

Very nice mate, i know a couple of guys on the daihatsu performance facebook page have completed that swap, they should be able to help you out. Unfortunately we never got that model down here.

1 Like

Unfortunately Eddie it’s going to be hard to avoid this with all that torque of the vet, it’s the reason Daihatsu didn’t offer the manual option for the yrv turbo, 3rd gear will fail eventually.

ouch, that looks painful, will keep in mind to be nice to 3rd gear :mask:

Oh and thanks for the link, will deffo check that out.

i’ve done it too. msg me if you get stuck and ill try explain :stuck_out_tongue:

i think the hardest part is probably making the hole in firewall to feed the clutch through
or otherwise put the engine into the L7 :wink:

have fun!

Thanks man, will hit you up if I get stuck. I plan to take all the parts off the spares car myself so I can take pictures and measure everything. Let’s hope everything goes smooth and I don’t break anything :smiley:

Hello guys, i’m planning on doing an engine swap for my Terios, from k3-ve to k3-vet from an Yrv, is that any problems mounting my manual transmision to that engine ?

My car is an Rally Raid build, you can check the thread i made. There is any manufacturer that made gears for the transmission stronger ?

Oh I think I got confused
Your shape in my country has a different engine
But if you have k3 already that’s different from anything I’ve seen before
But if so they’re a swap yes
And you can update the interns for more strength
I can help you with that if you need but they’re expensive to do so there are a few steps you go down before wanting to do this unless you want awesome strength straight away

Thanks for reply and for the informations, i just want to be reliable, i read about blowing 3rd gear, i can manage to keep the gearbox safe i think :)).

I am happy to recieve your help, tell me the tricks for it, i want to keep the build at some budget ( limited kinda ).

@Carstear I’ve replied to your post
@Eddie how are you getting on with your swap?

Hey guys sorry been too busy and forgot to post on the forum! Swap is almost done just missing a correct clutch cable and the shifter cover plate and then It’s test drive time!

One thing i’ve been wondering though is do i need to keep the ECU for the auto trans? Looks like the easiest thing would be to just leave it and rewire the neutral switch loom so i can start and have reverse lights but might have a look into the wiring schematics if the same can be done directly without the trans ECU.

Once all is done and working as it should i’m gonna do a full writeup with some pictures for anybody looking for some info.

Yes you can rewire selector so it thinks it’s in drive then you leave the computer connected
Or you can just disconnect it but then it will show engine check light

not sure if this will work in theis case but I went manual from auto in a move and all I did was find the wire that was neutral in the engine bay and earthed it so it is always selected as neutral. Not sure if this would play up with the k3 ecu though.

Yep that’s what you’re doing but I did it at the box end cause the wiring is basic

1 Like

yeh thats where I did that also.

So i connected the pins in the plug that goes to the selector switch to get neutral, car starts and drives just fine, but on the cluster the N is lit up and at the same time the light for D4 is slowly flashing- is that some kinda error code?

Btw i get CEL even though i left the computer connected. Is it because the plugs that should go to the auto trans are not connected?

Also my speedo doesn’t work+ ABS light is on, any guesses what that may be? When looking at the auto trans ECU pinout i noticed a pin that says speedometer, but on the k3 the speedo signal is from the ABS unit, no?

1 Like

First stop after sitting in my dirty garage for 2 months :smile:

2 Likes

Well the Speedo works off the ABS sensor so those are connected issues
Sure you haven’t changed something there thinking it was the selector?
Depending on which signal you ground it will display a different lamp.

Wow has it been more than a year since i bought this car already? Since most of my little issues with the swap are now resolved, i think it’s time to bring this thread back from the dead and give you guys the writeup you deserve.

Let’s start from the beginning with some photos:

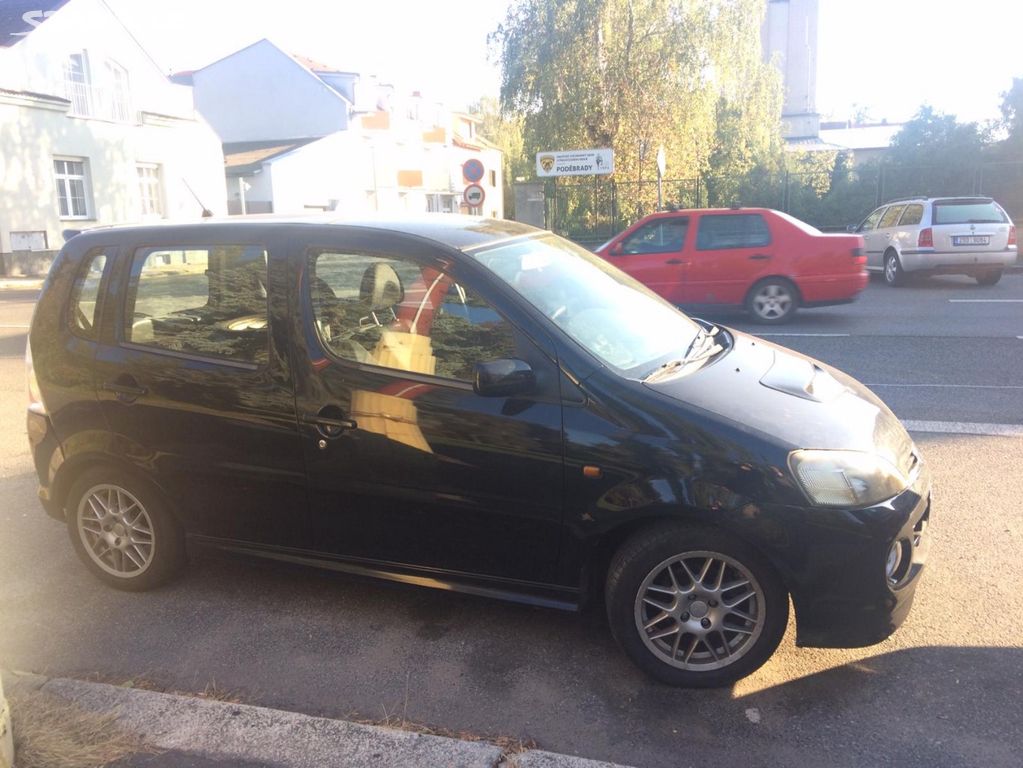
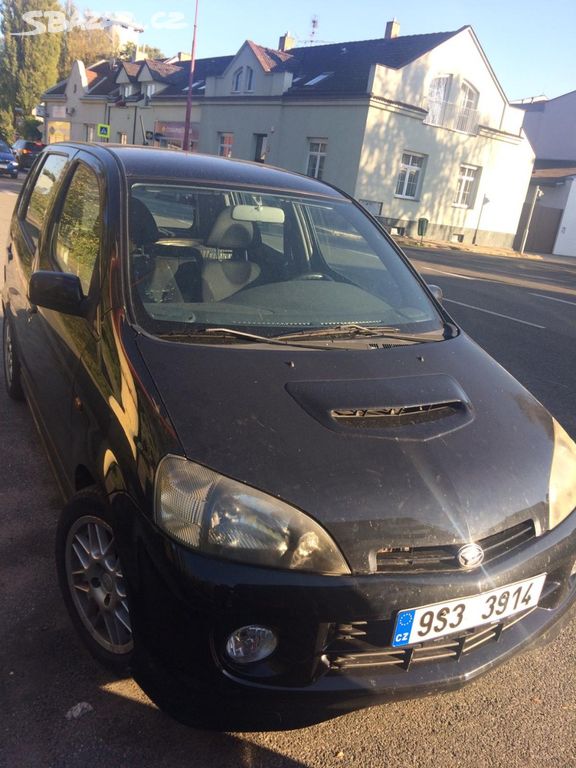
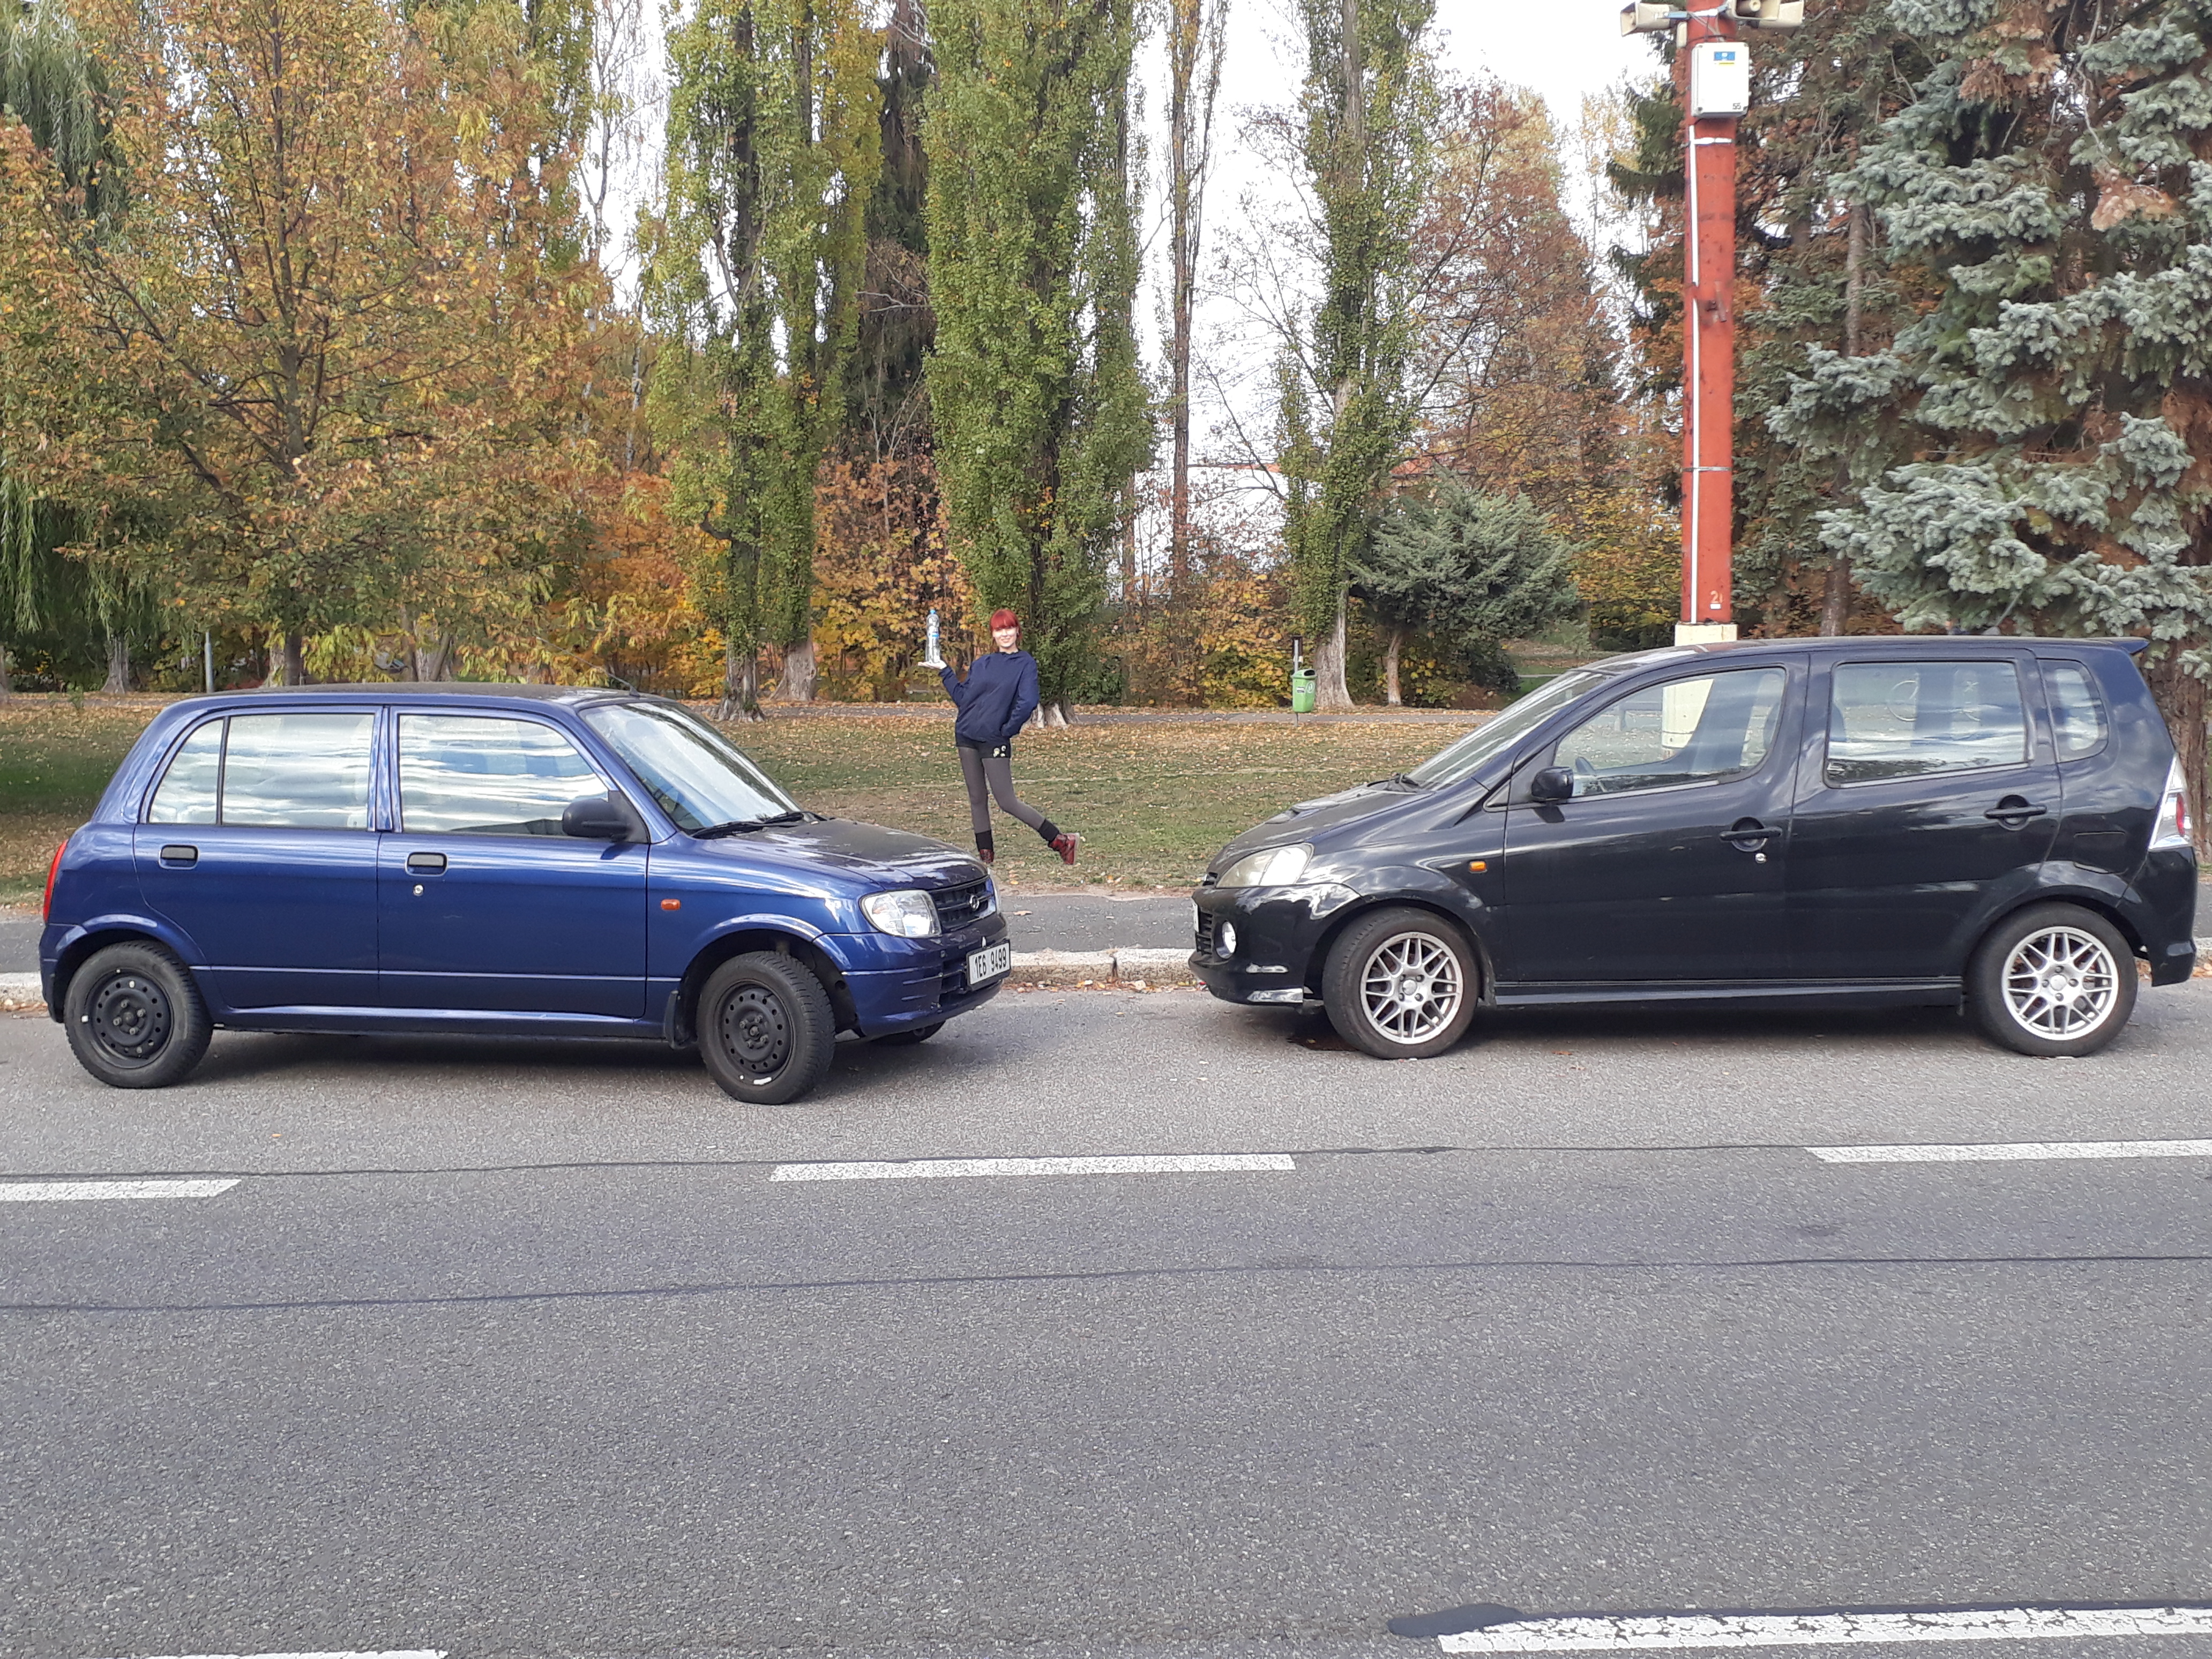
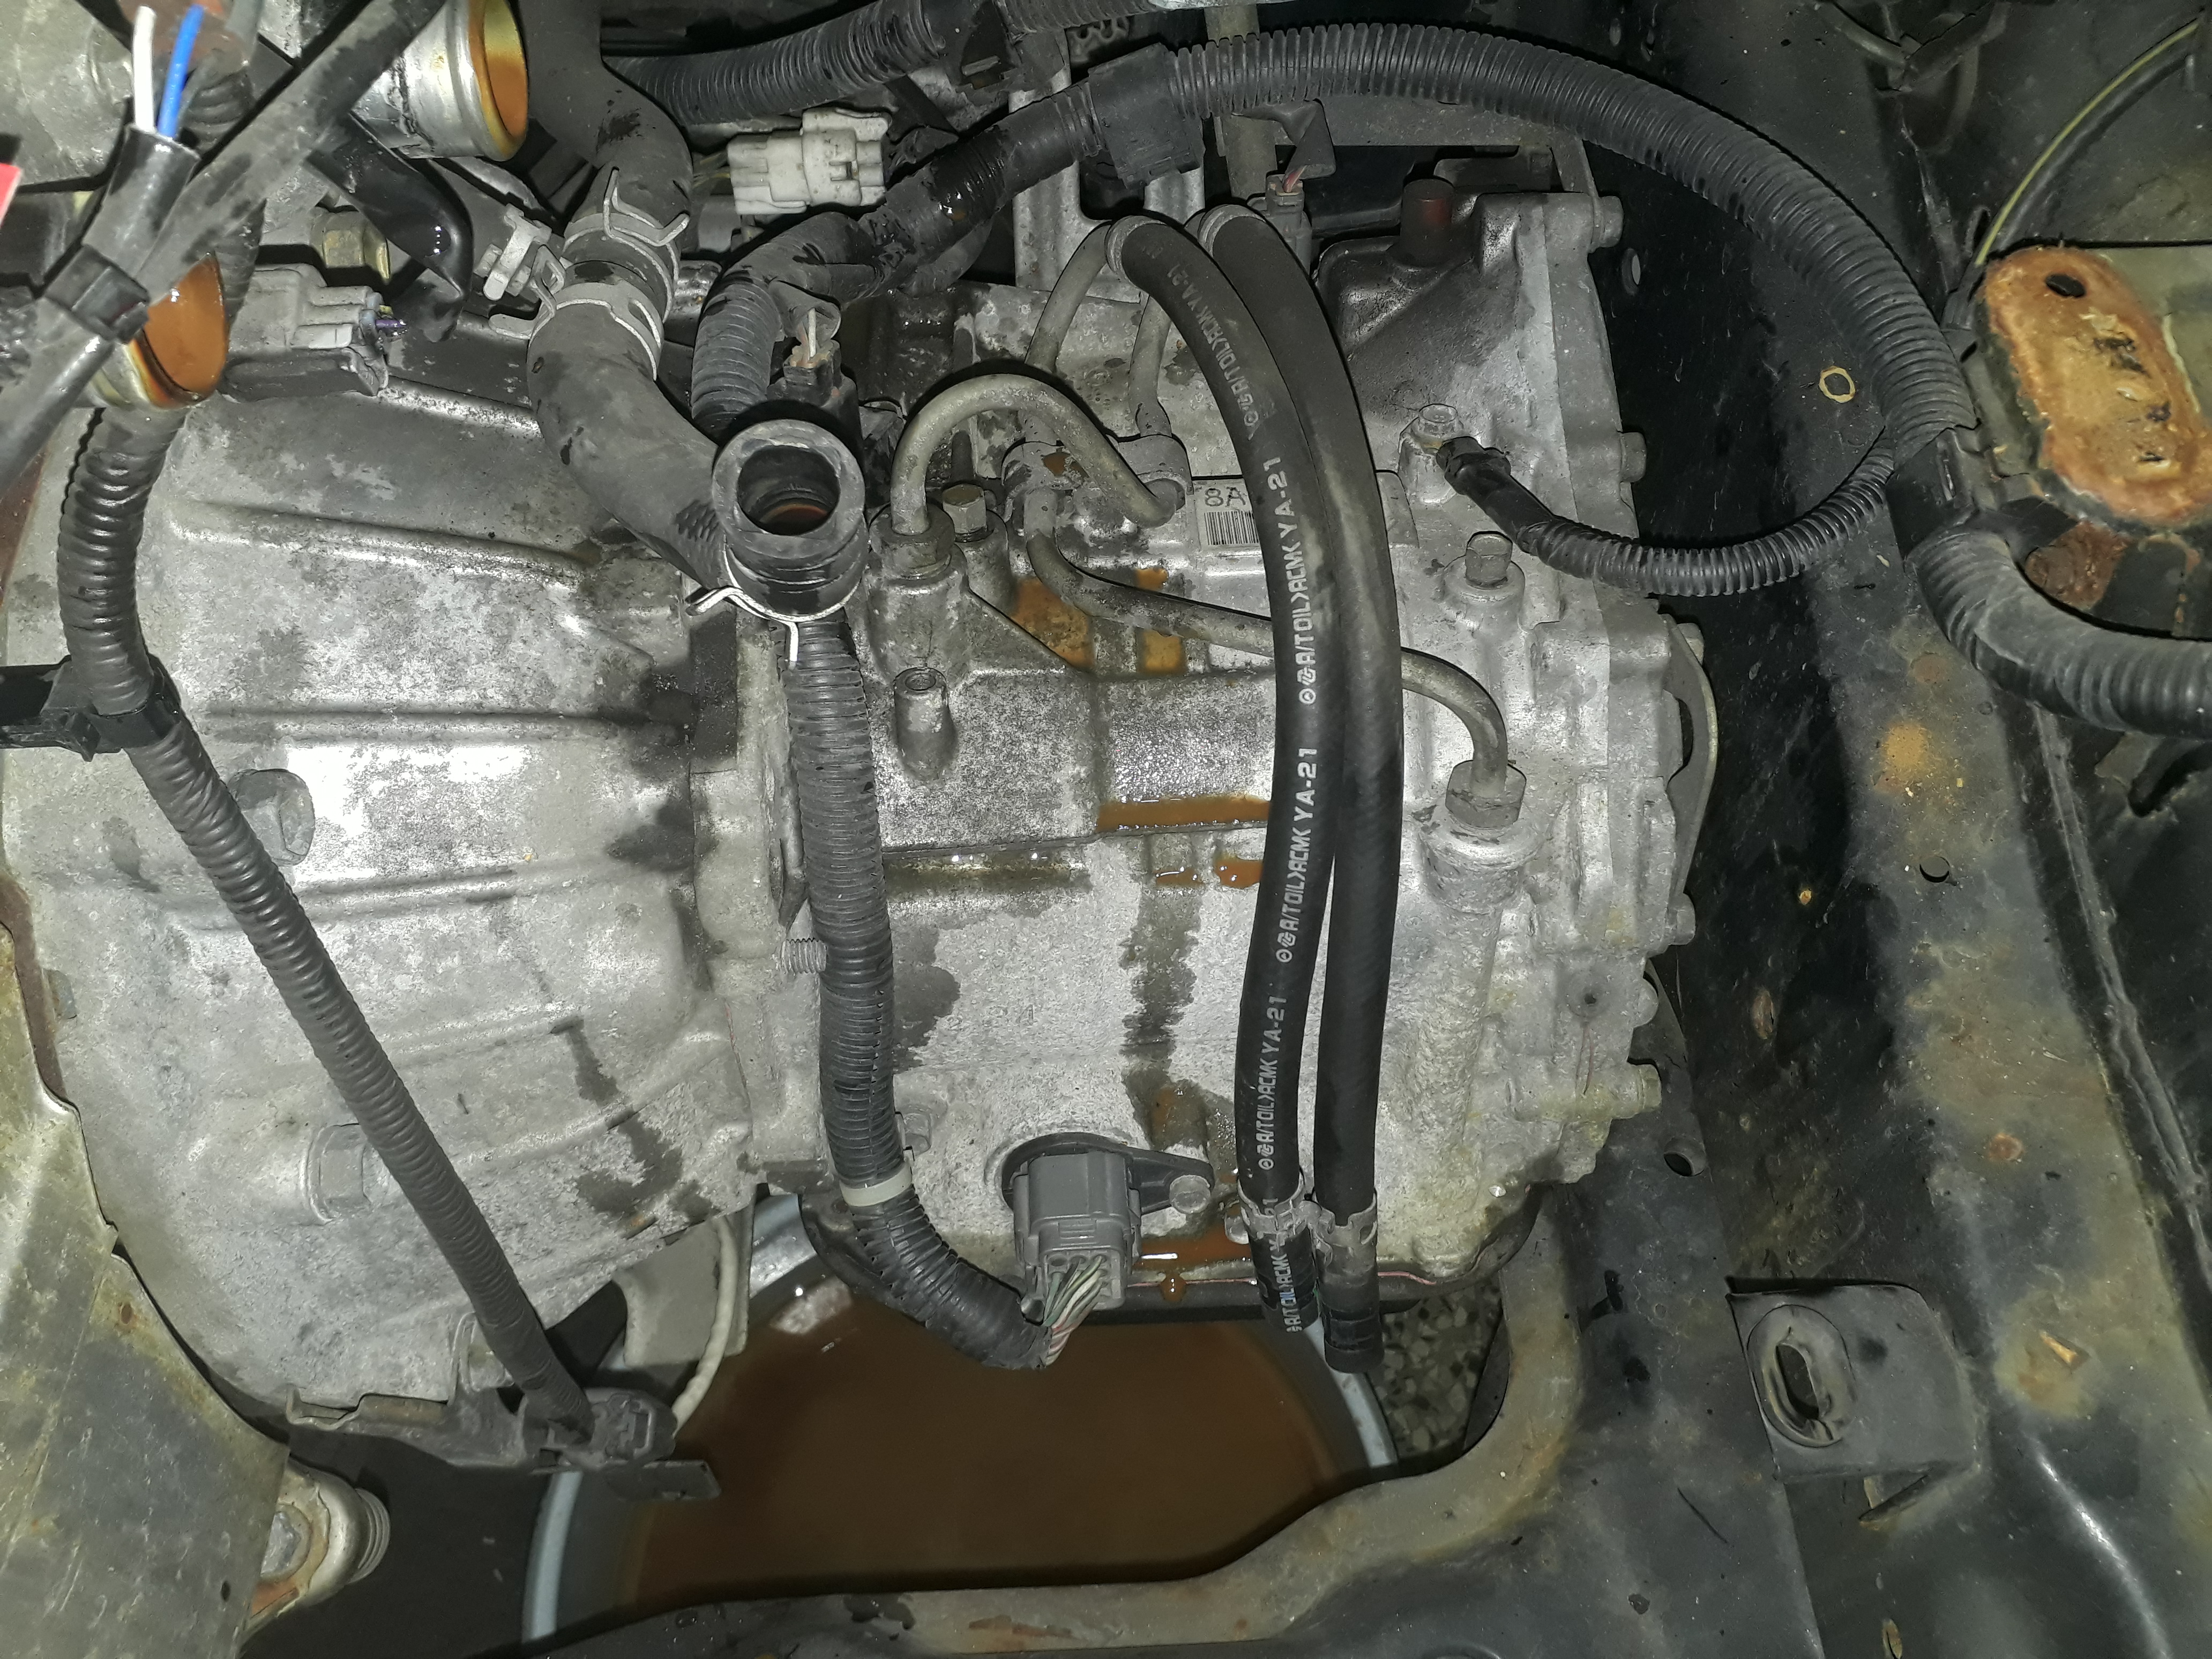
First time checking the car out with my missus, i thought the YRV would be considerably bigger compared to the Cuore. Also note all the leaked out ATF fluid under the car. The repair shop that was supposed to fix the trans but failed at it didn’t bother to put half of the oilpan bolts back in or fully tighten the other half. I could move the oilpan by hand up and down about 5mm!


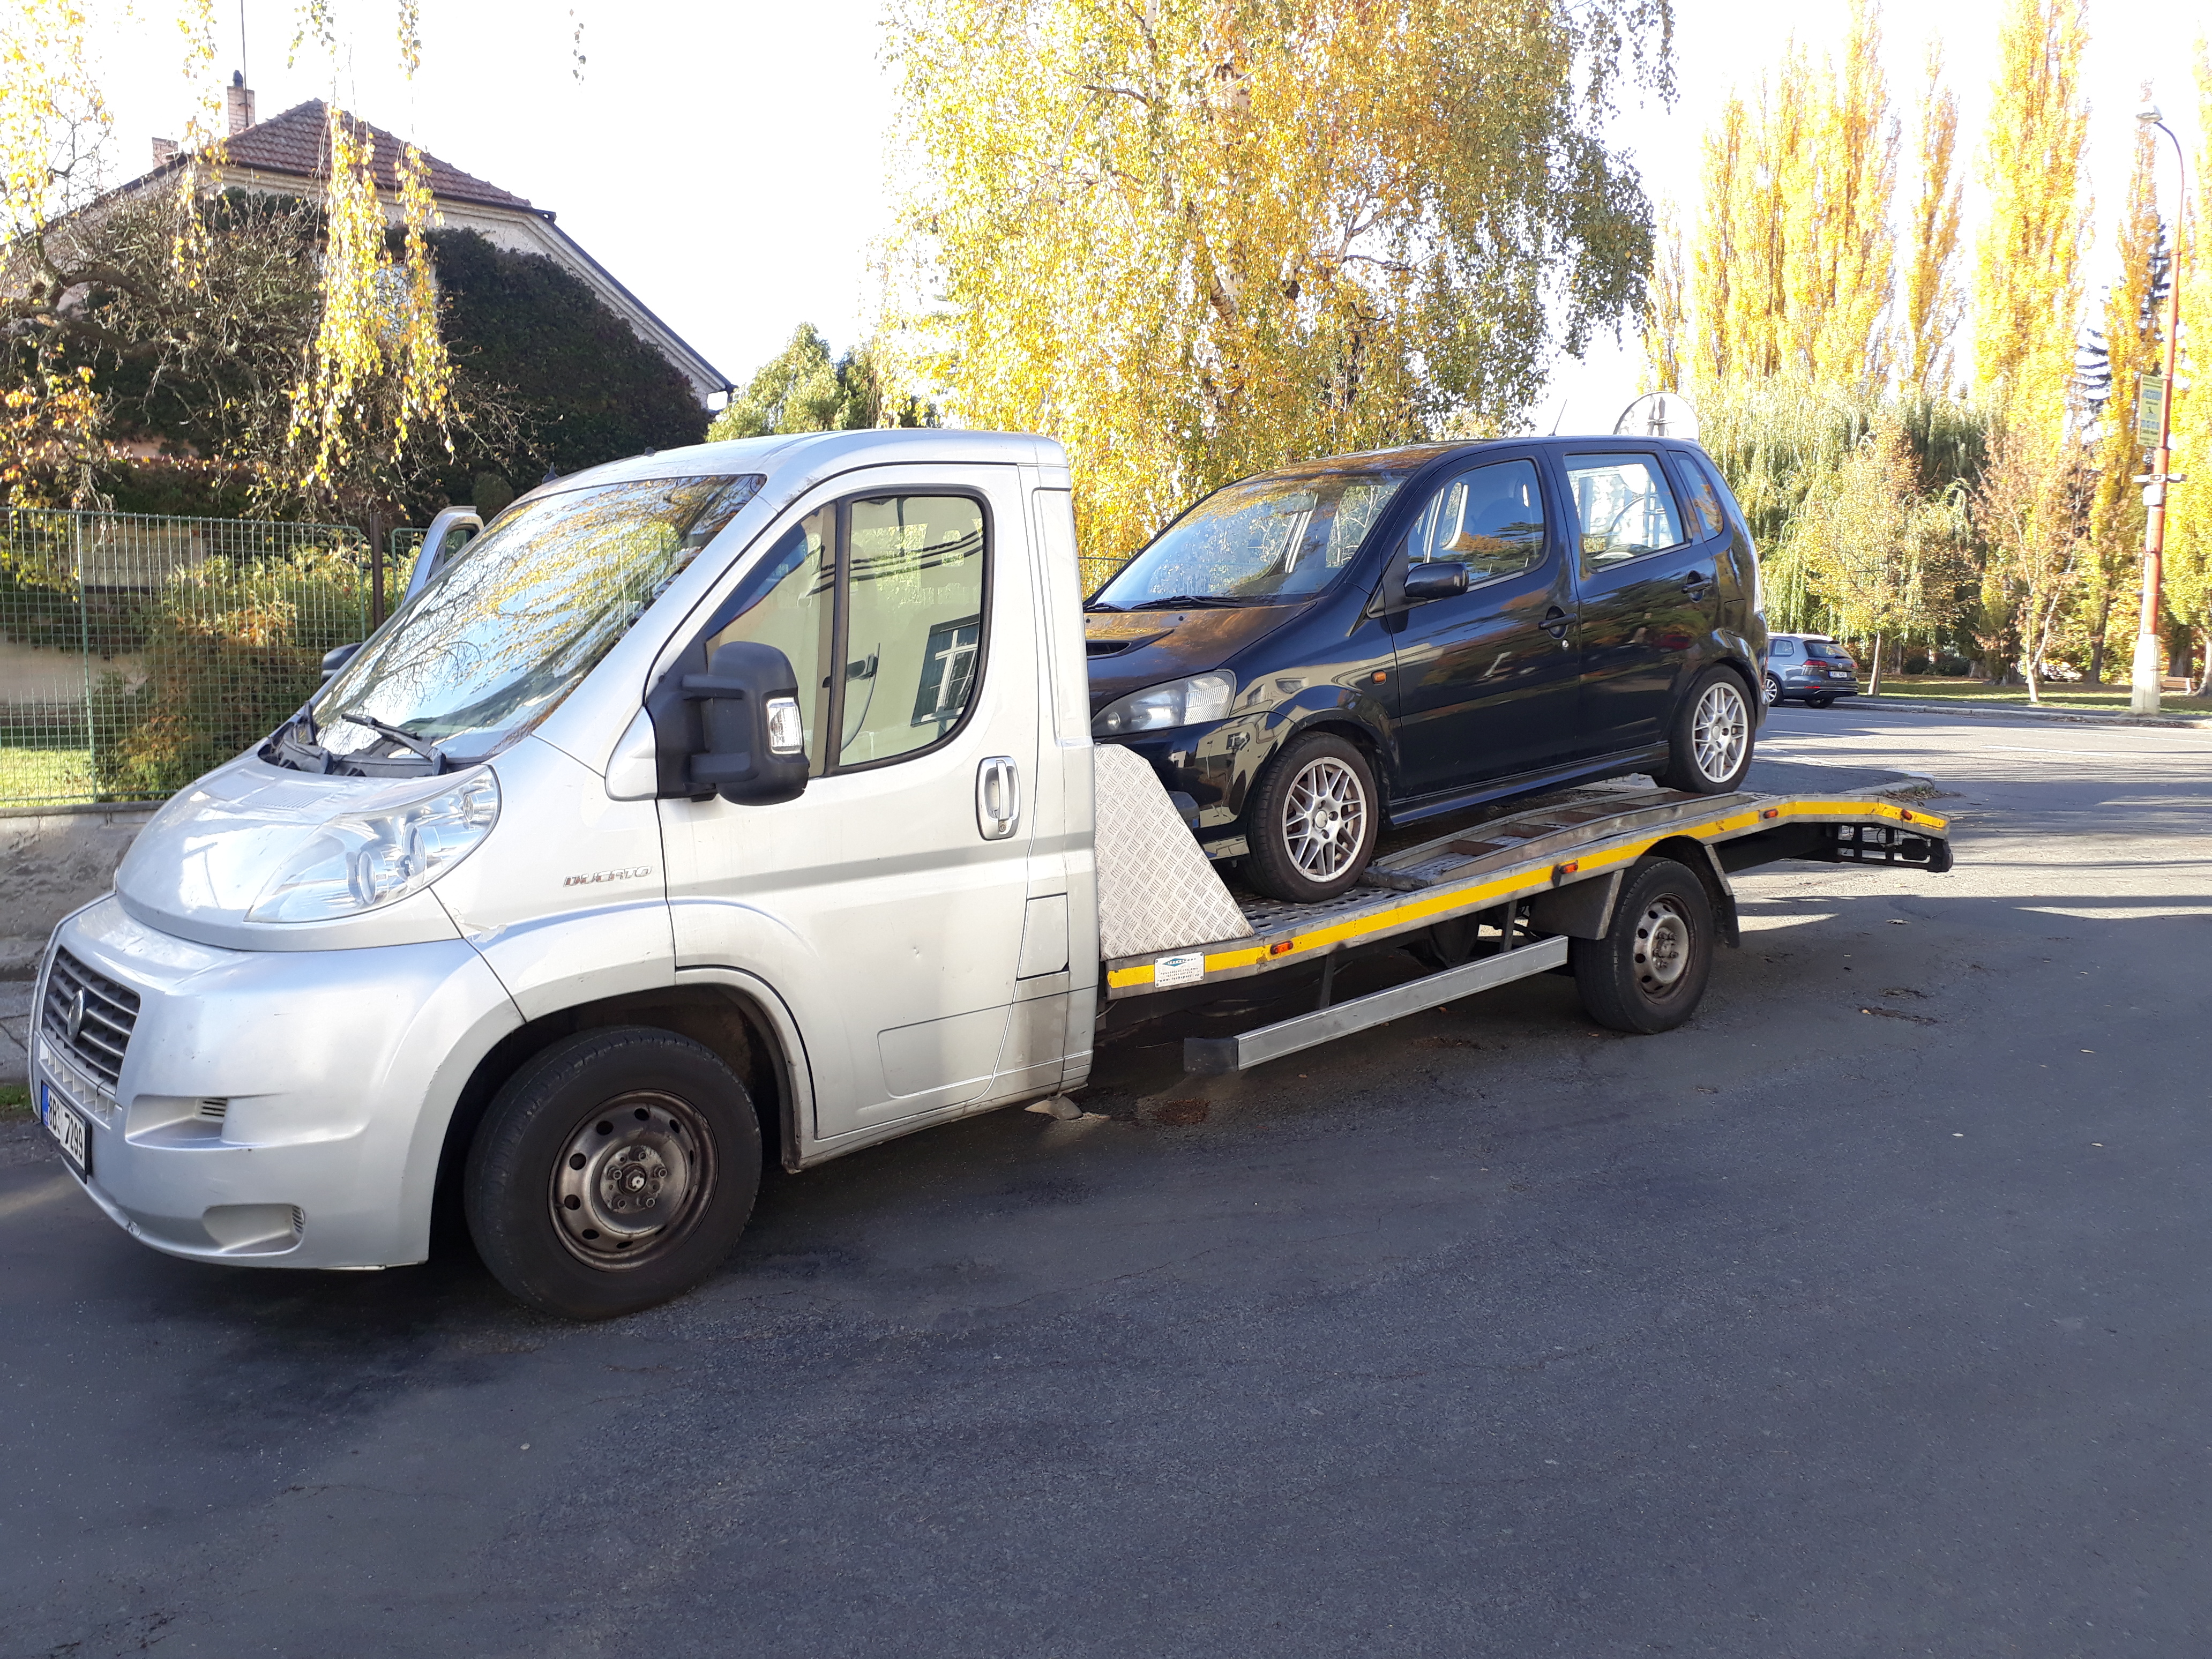
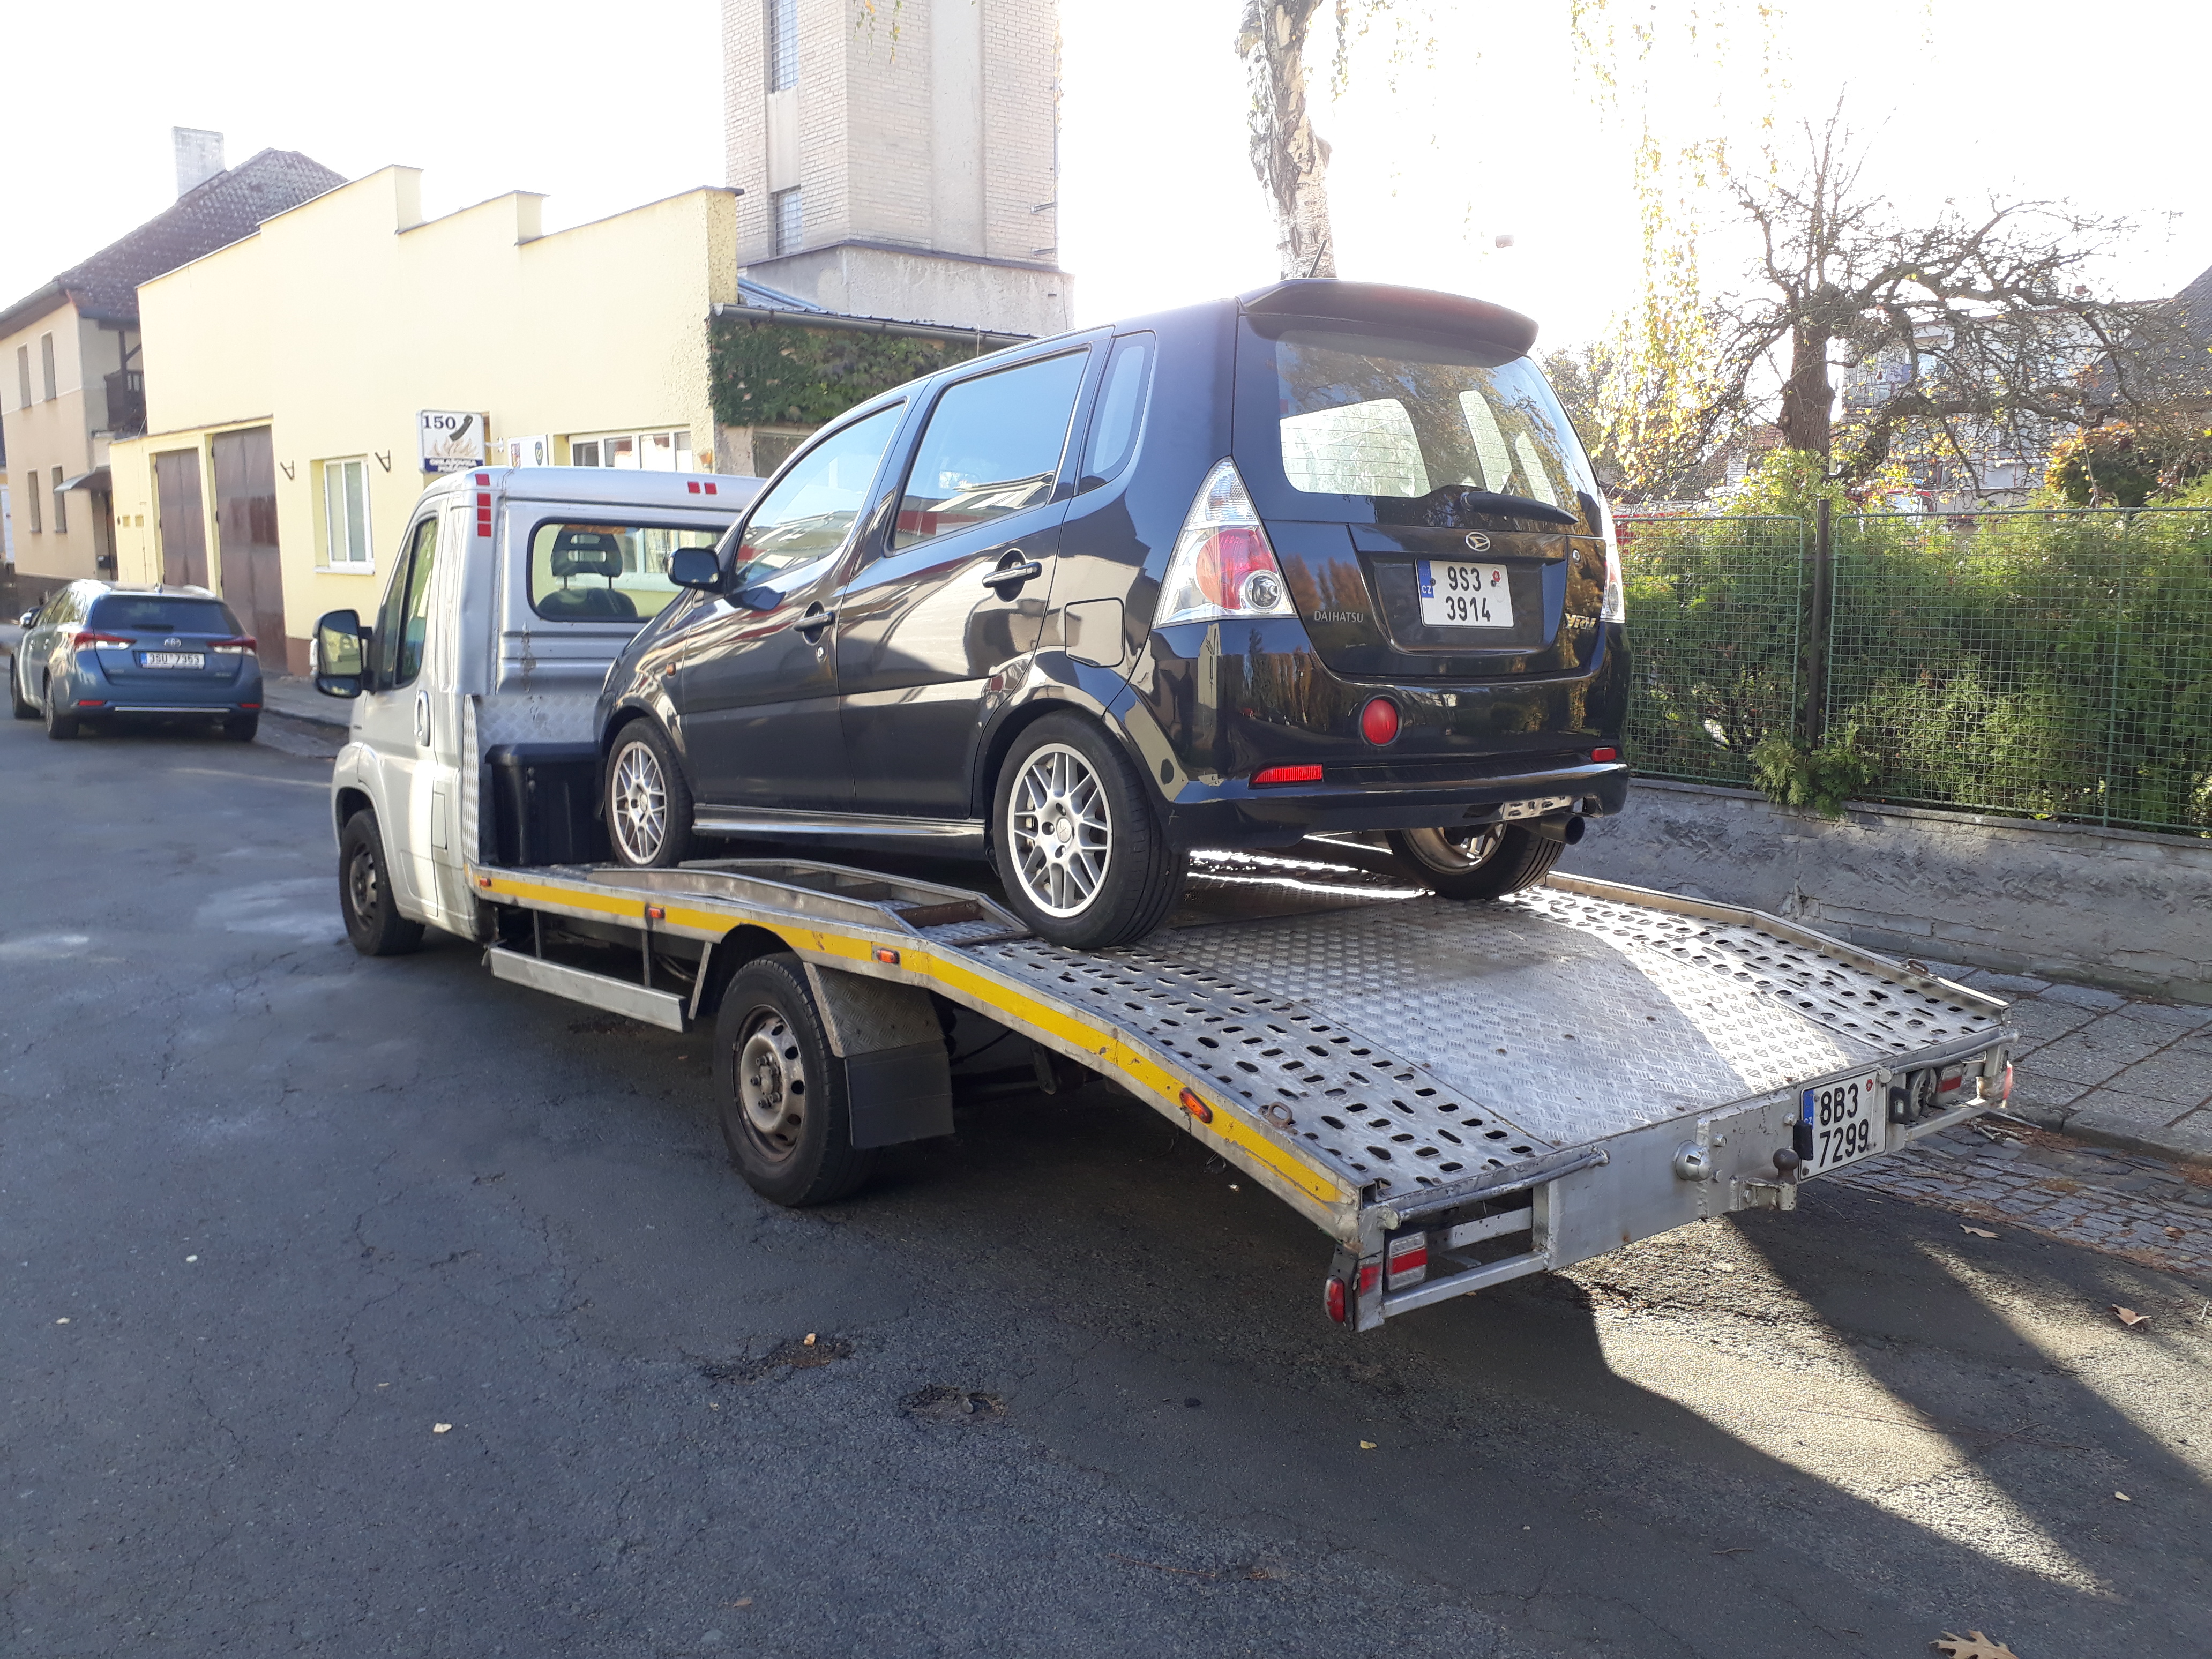
After the purchase it was time to get the car to it’s new home. The rented towtruck was an unbelievable bag of bolts, the journey was an experience like no other to say the least.


We dumped it on a parking lot of a local supermarket where it sat for a couple weeks then towed it with my friend’s car near my house where it sat some more. Finally after gathering all the parts it was time to rob my poor mx-5 off of her home and put the car in my garage to start the work.
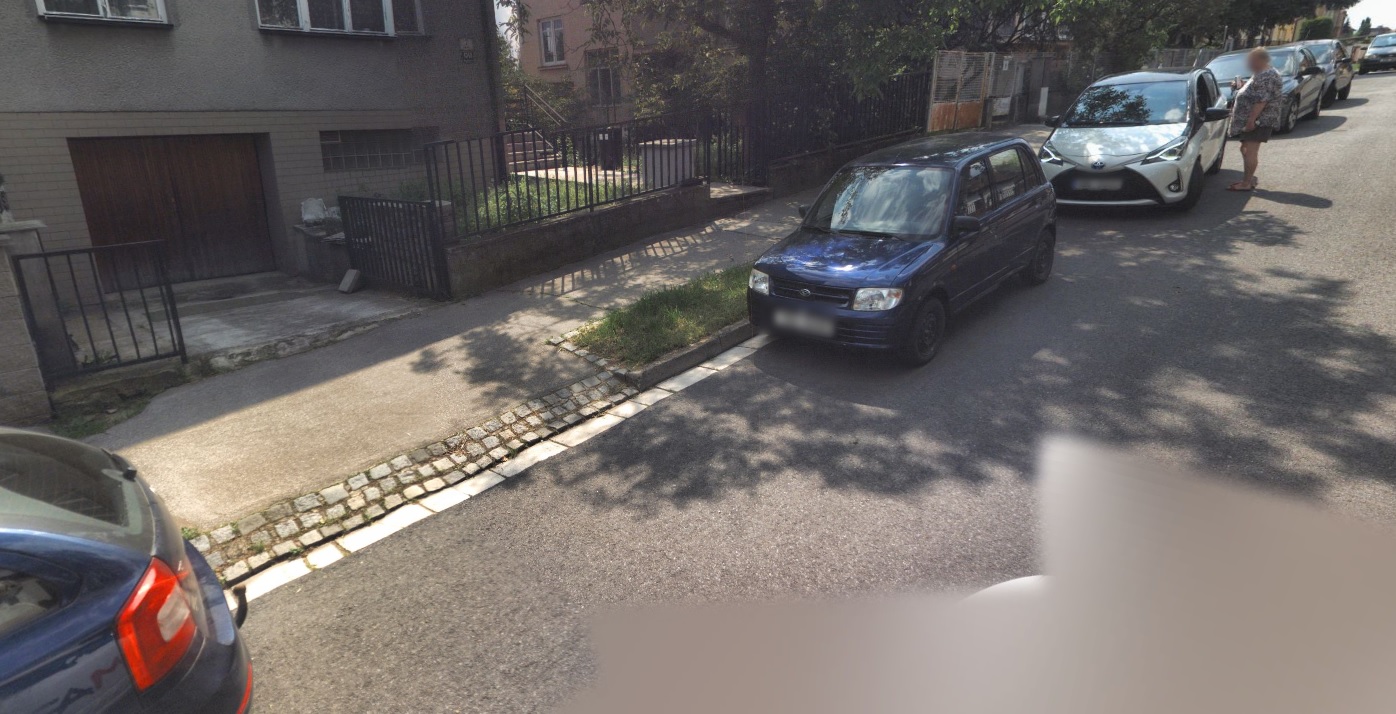
For perspective, here’s a picture of my driveway- downhill, then sharp right turn, over one high curb, over a second curb and finally more downhill to the garage. You can imagine i was quite worried doing this with a car stuck in neutral. You get one shot at it and there’s a looot of things that could go wrong with potential mangled bodyparts. In the end though everything went smoothly so i got to work immediately.

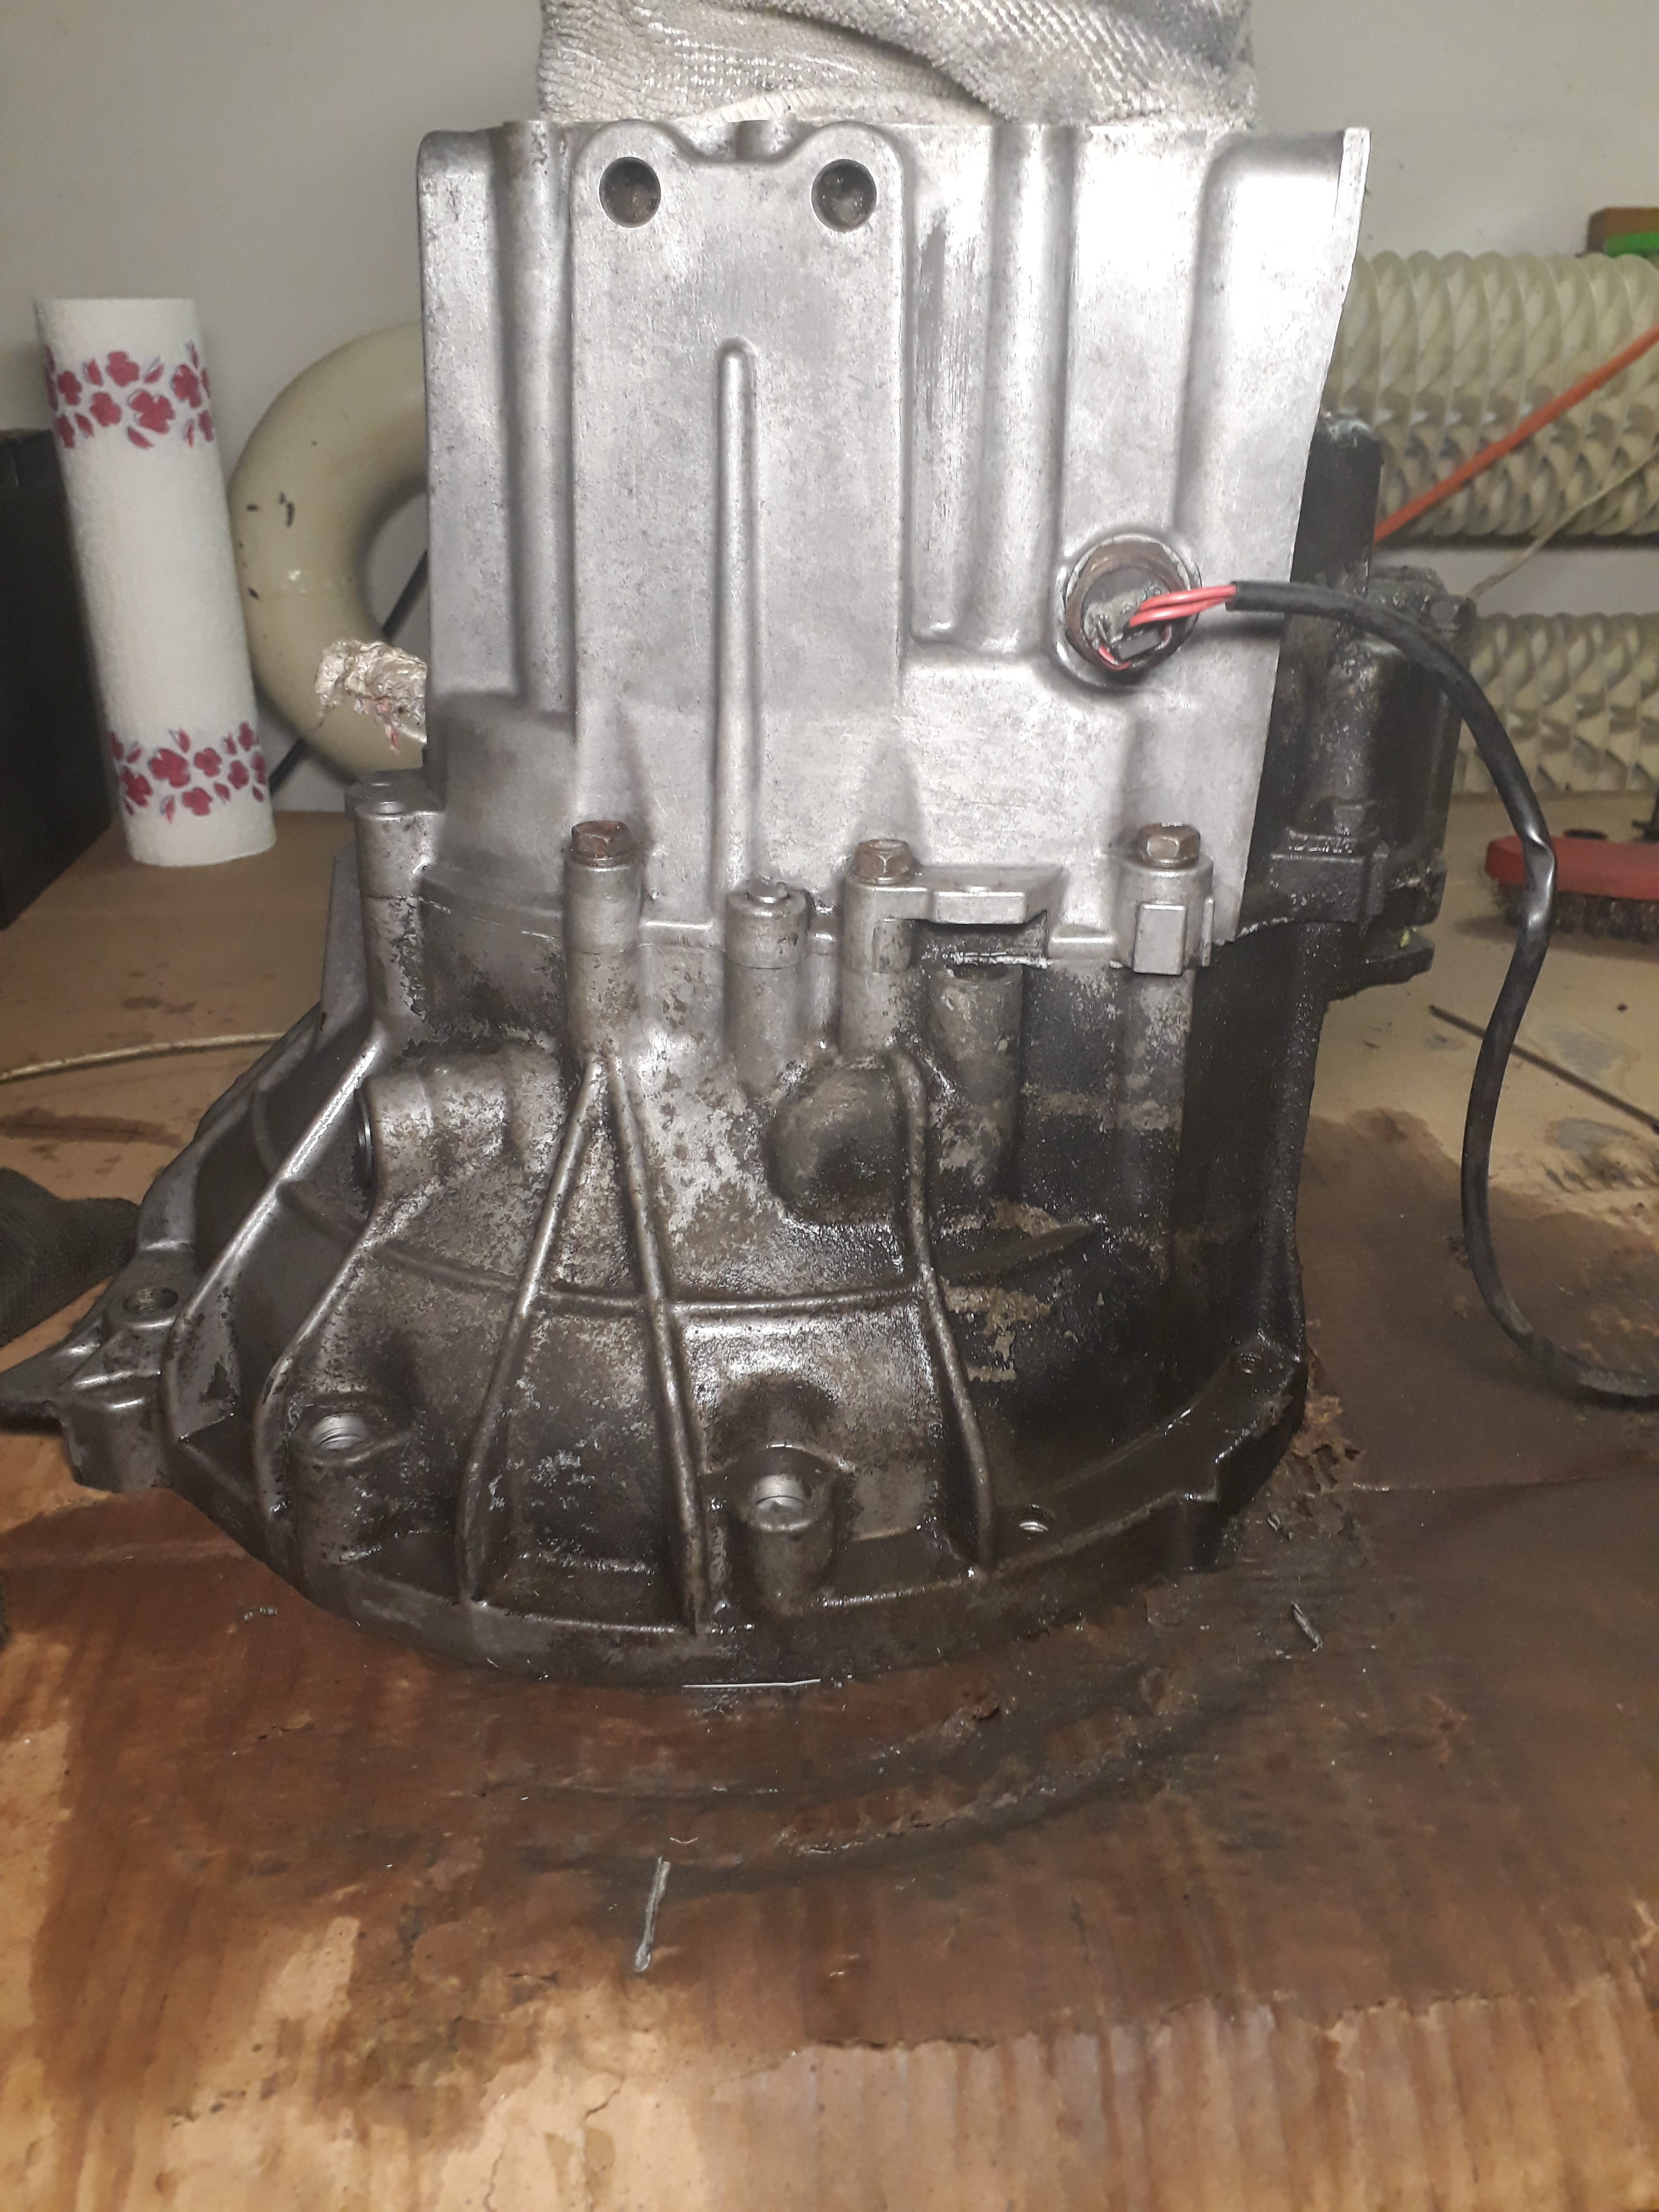
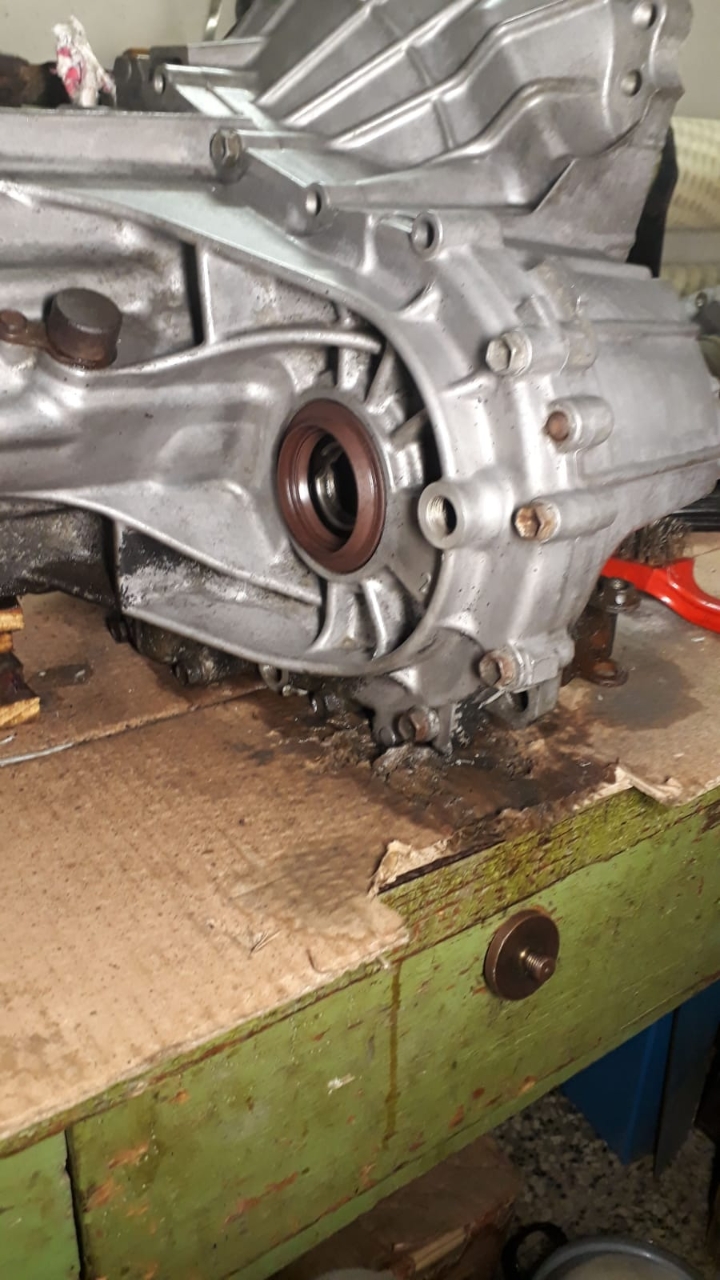
First off it was time to clean all the bits needed for the swap. A notable amount of degreaser, a wire brush and some elbow grease cleaned the manual transmission nicely. The shaft seals looked ok so i didn’t replace them.

If you’ve never tried Evaporust, i highly suggest you give it a try. The results speak for themselves.

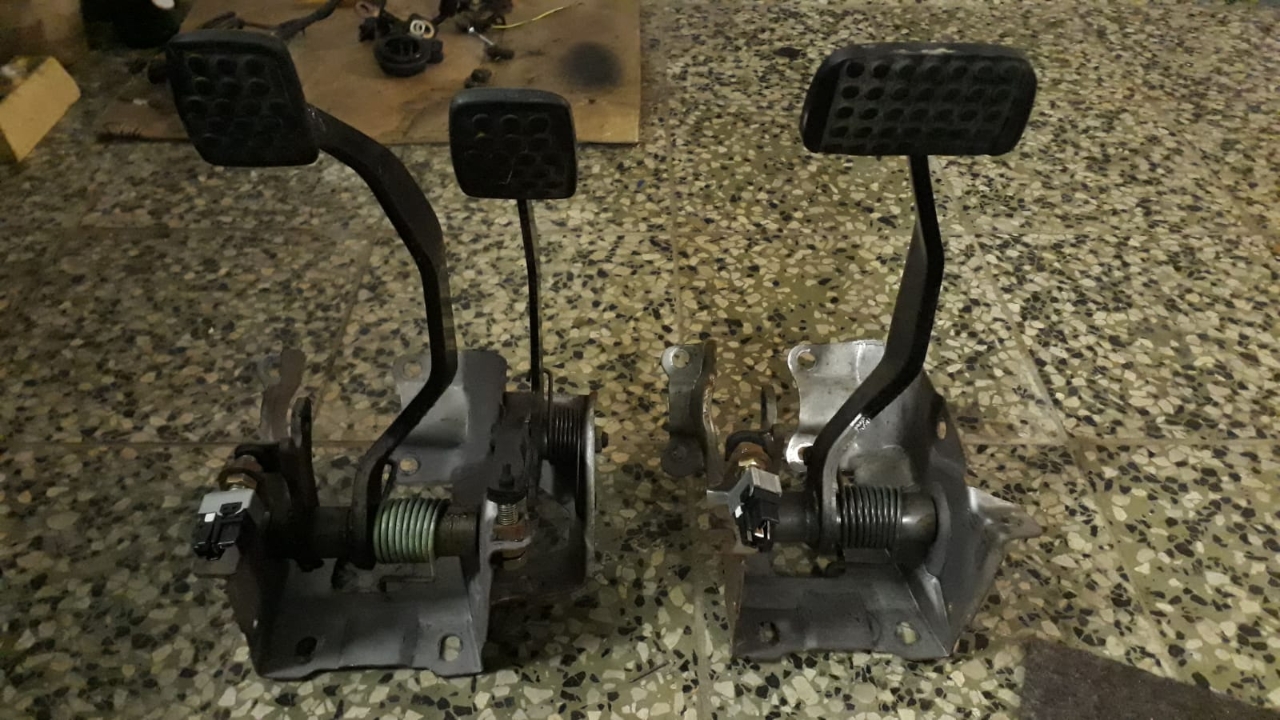
A little comparison of the auto vs manual brake pedal assembly. The manual unit bolted right up.

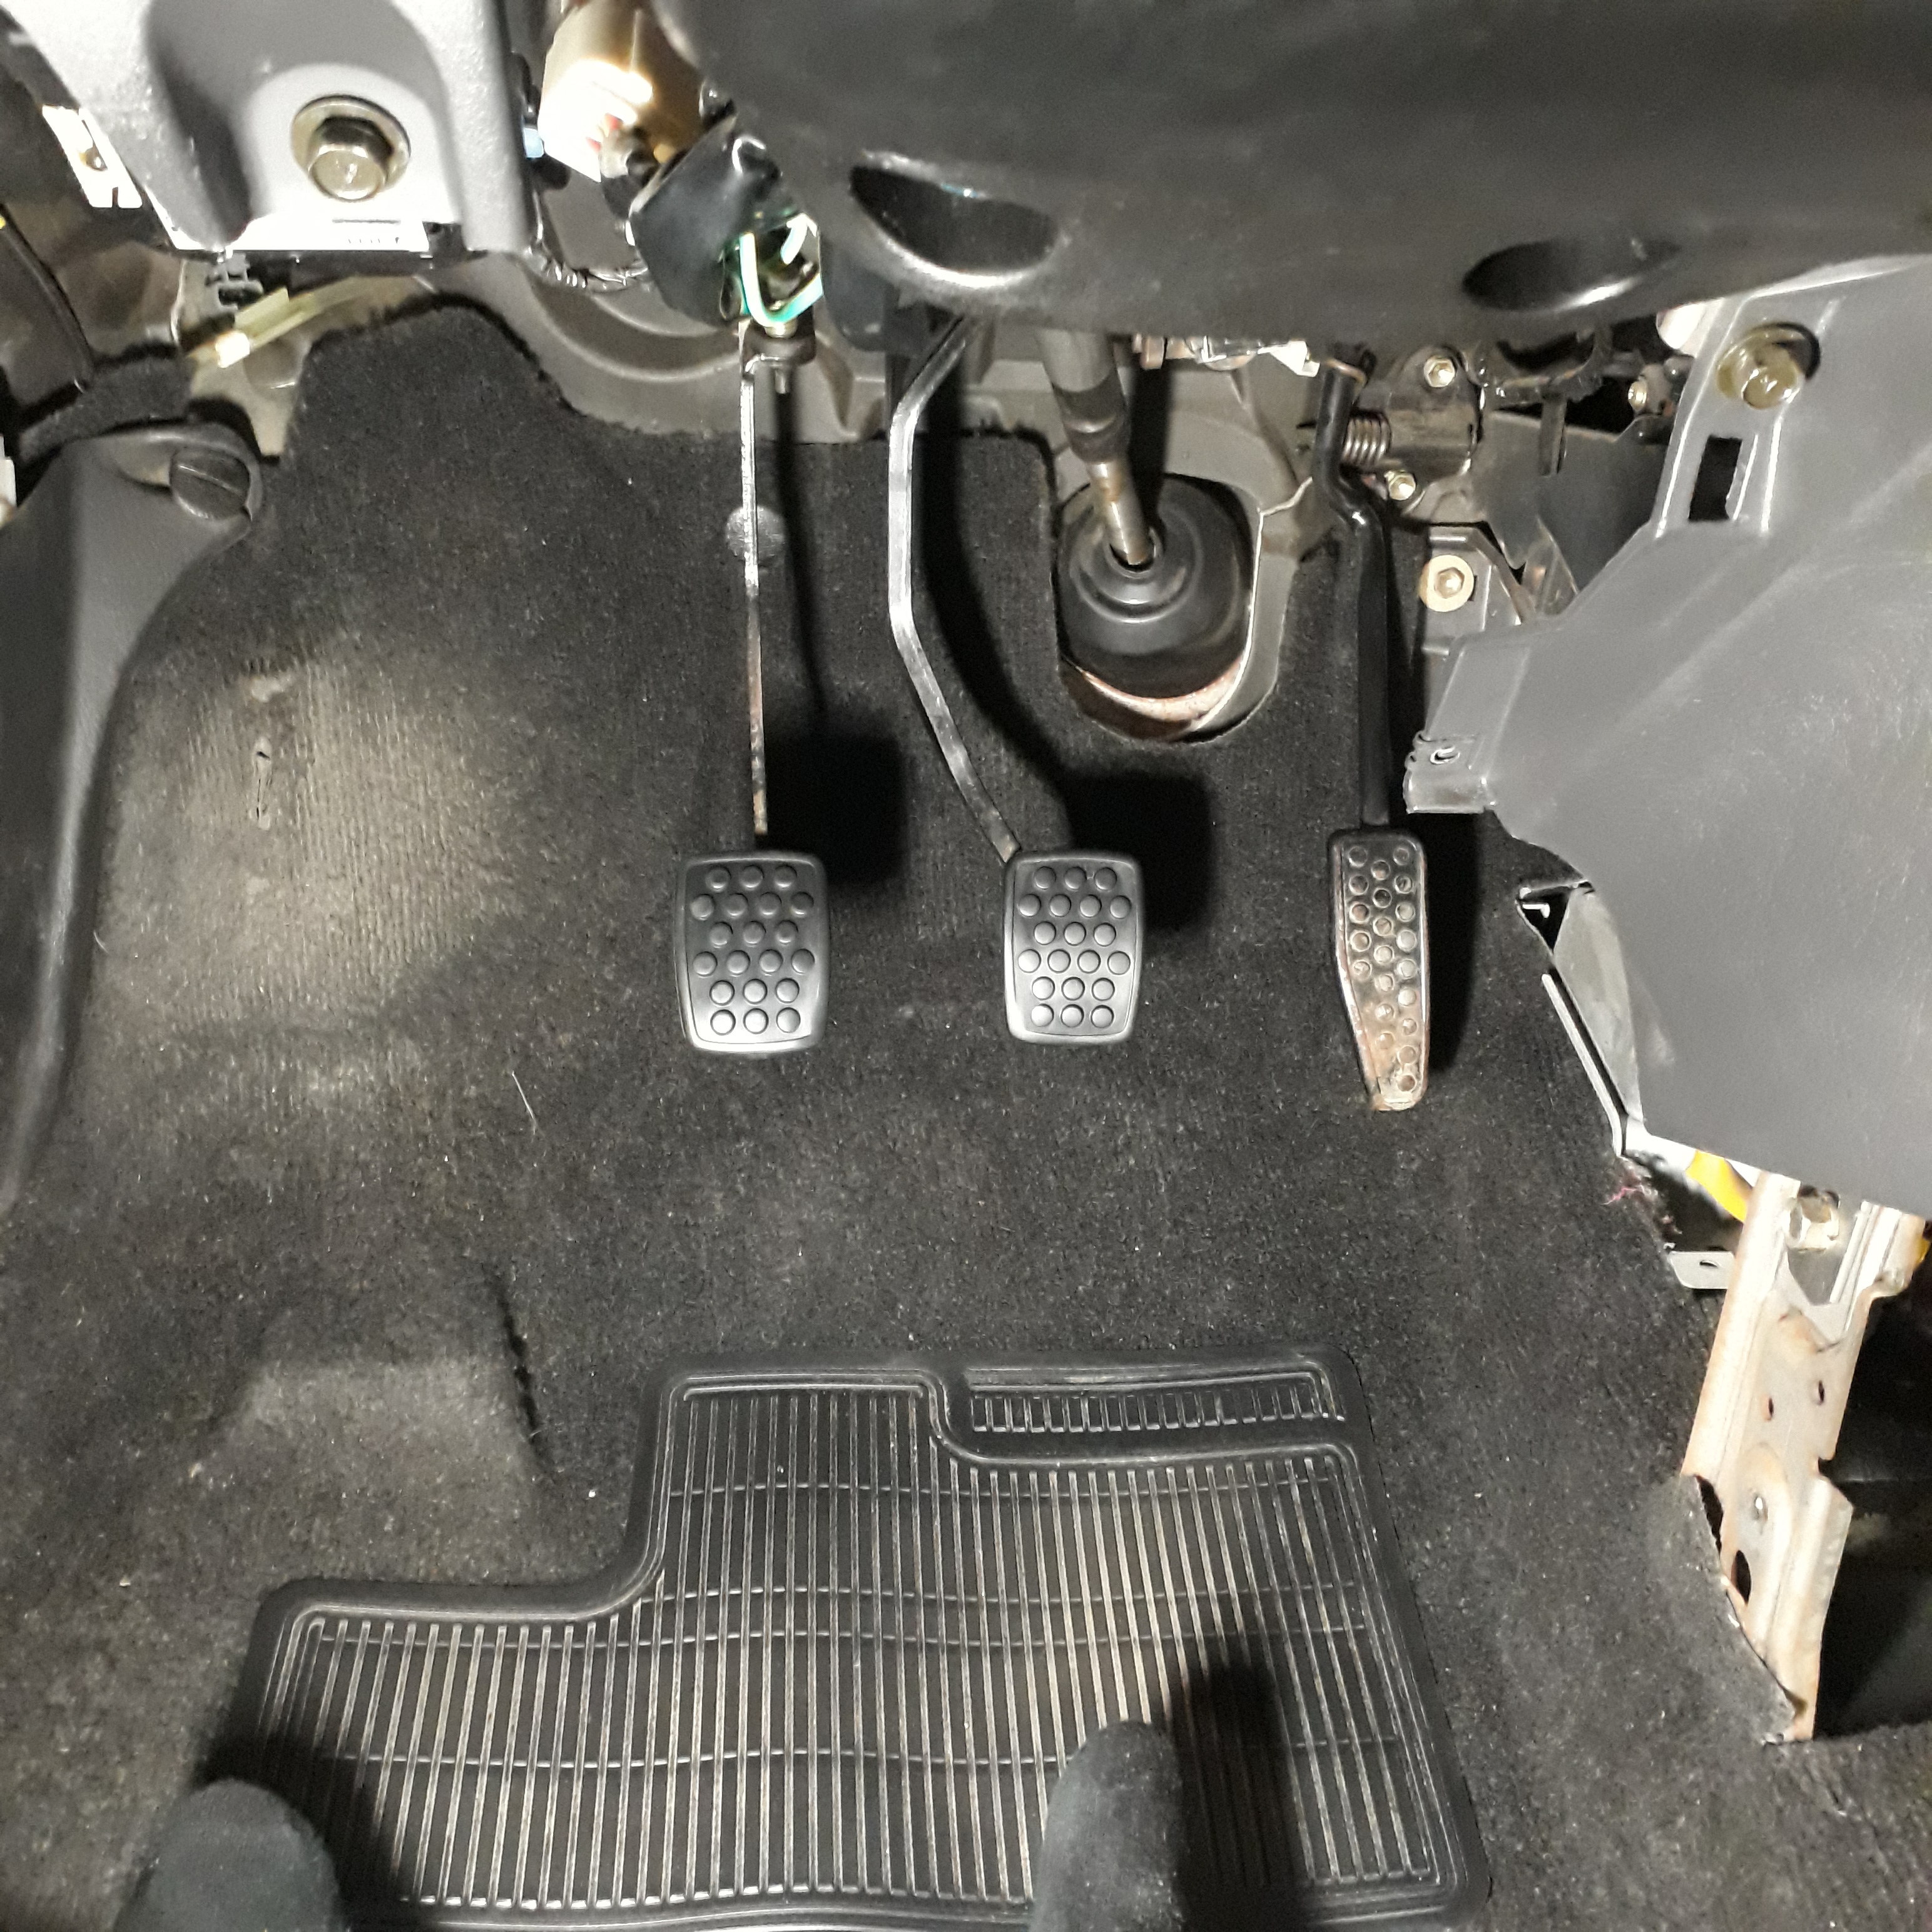
To my convenience the hole for the clutch cable in the firewall is present even on the auto chassis so it was just a question of routing the brand new cable through.

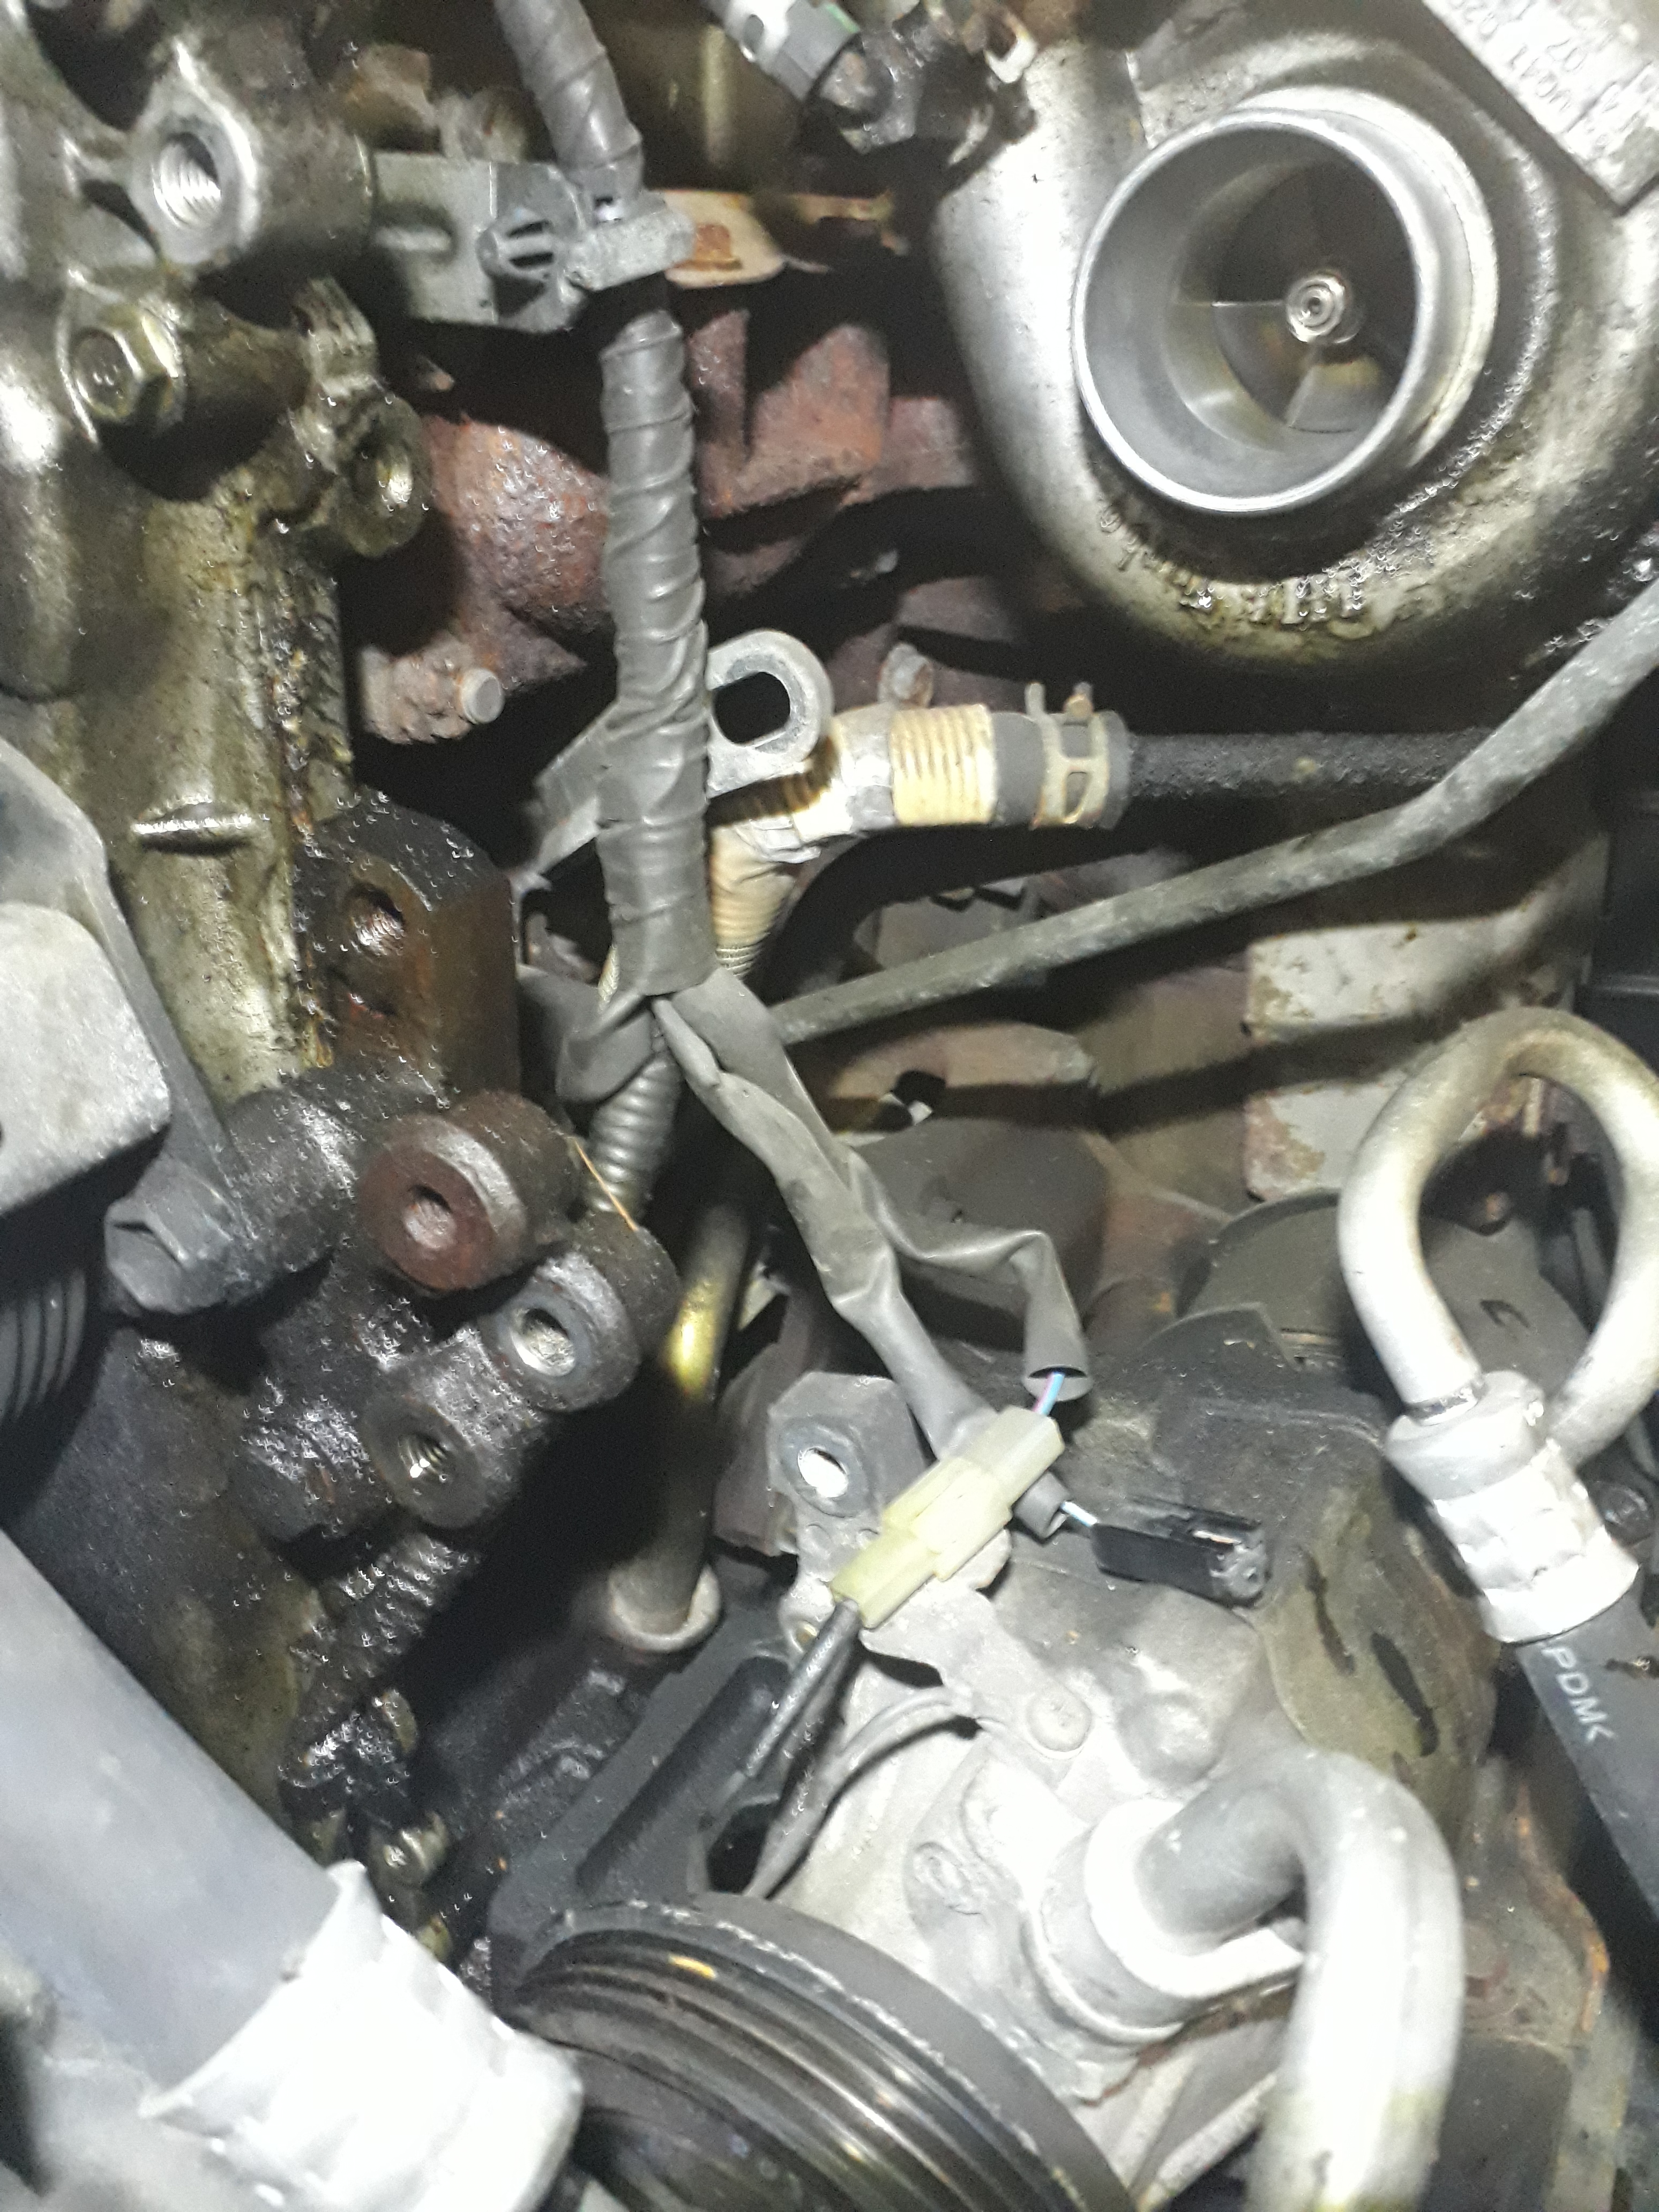
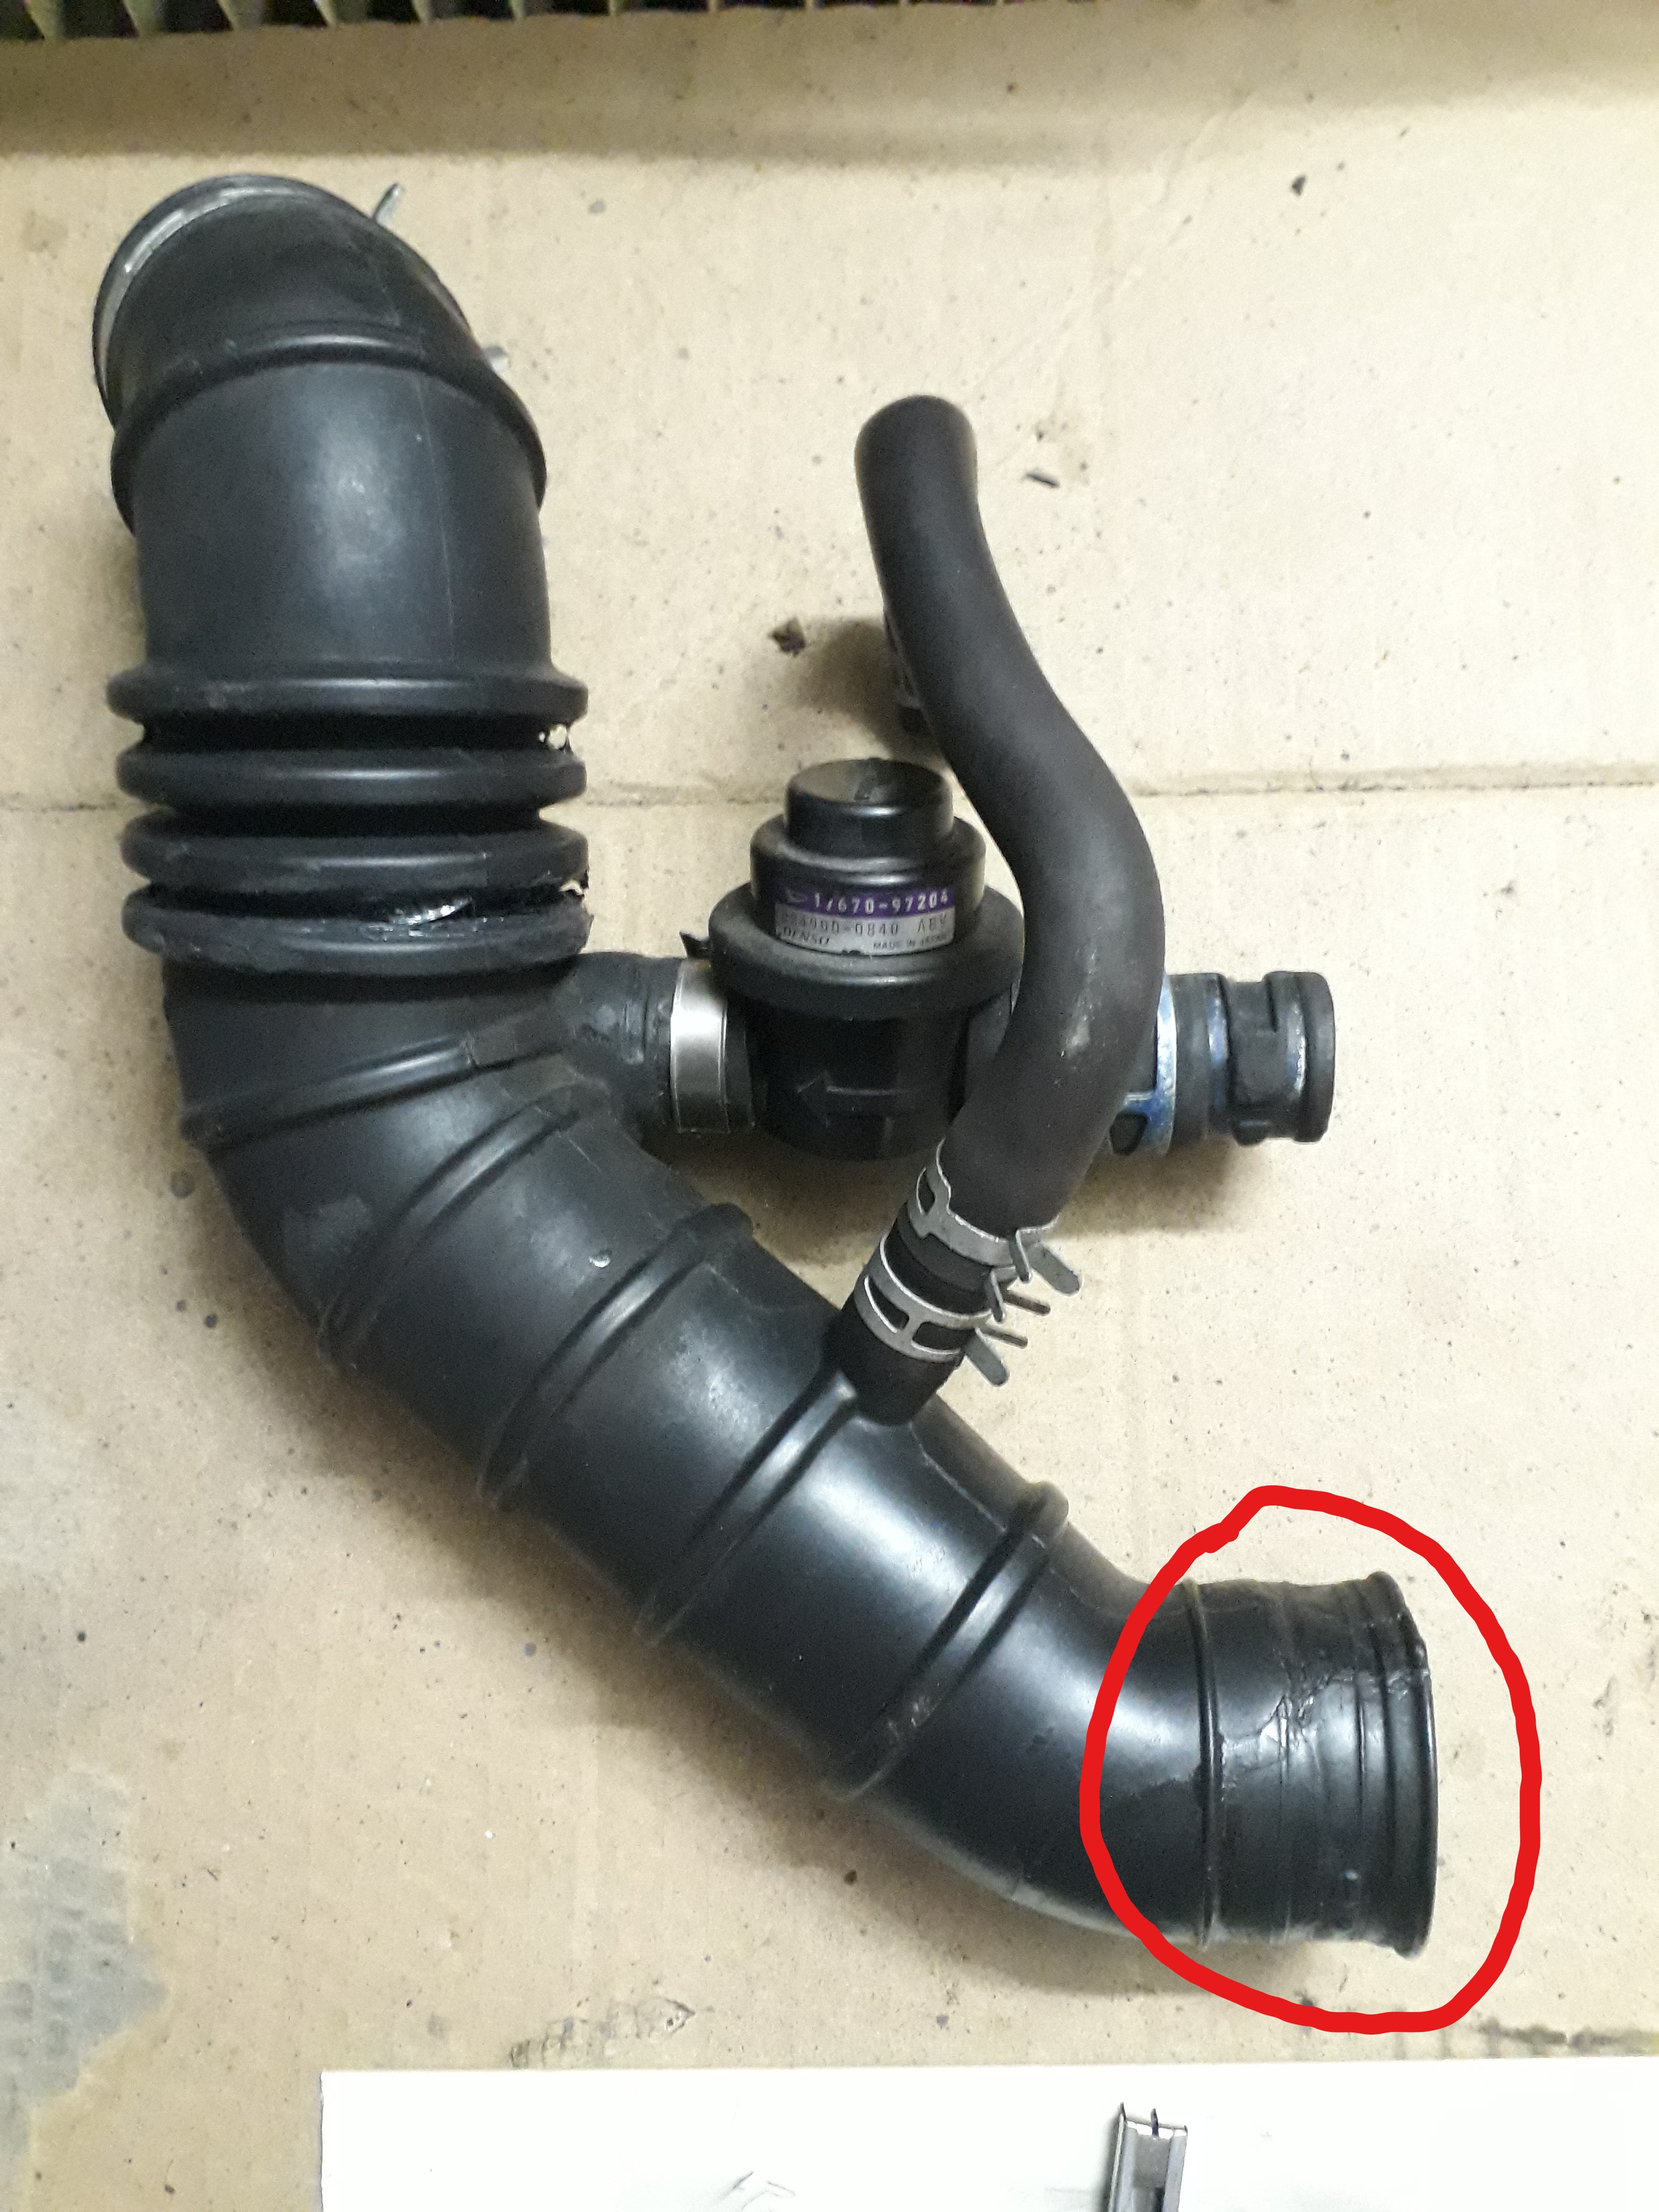
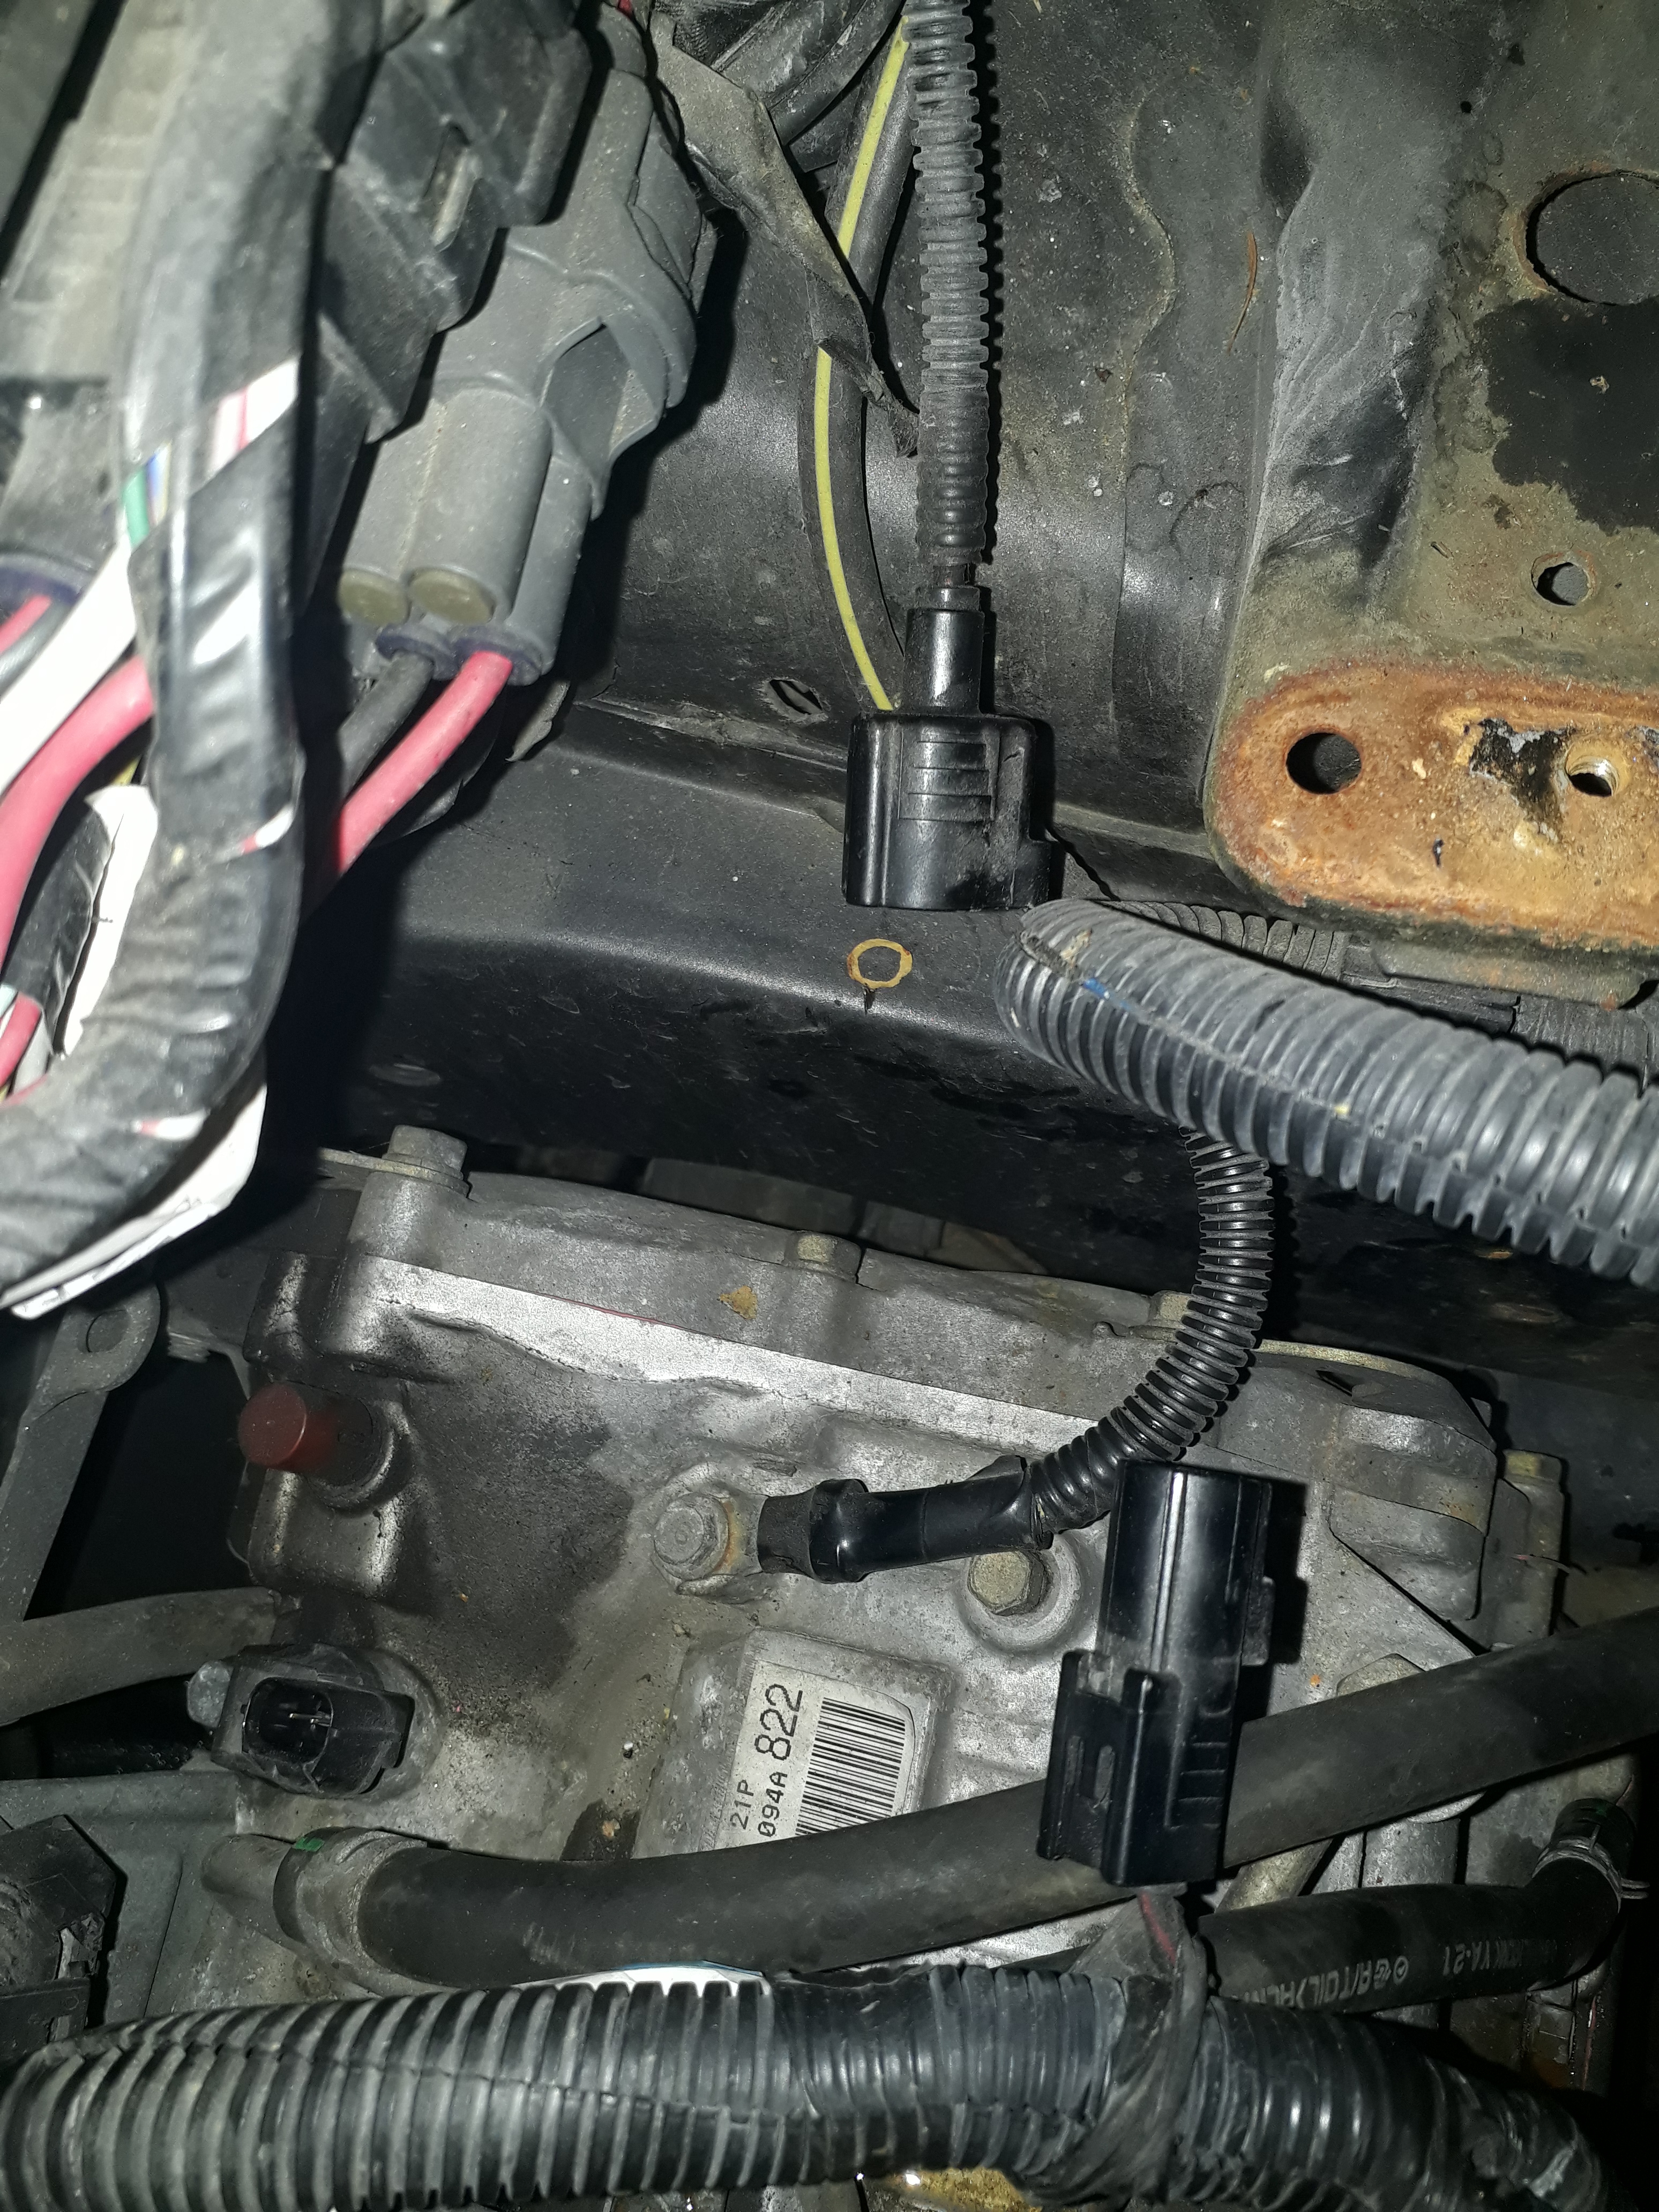
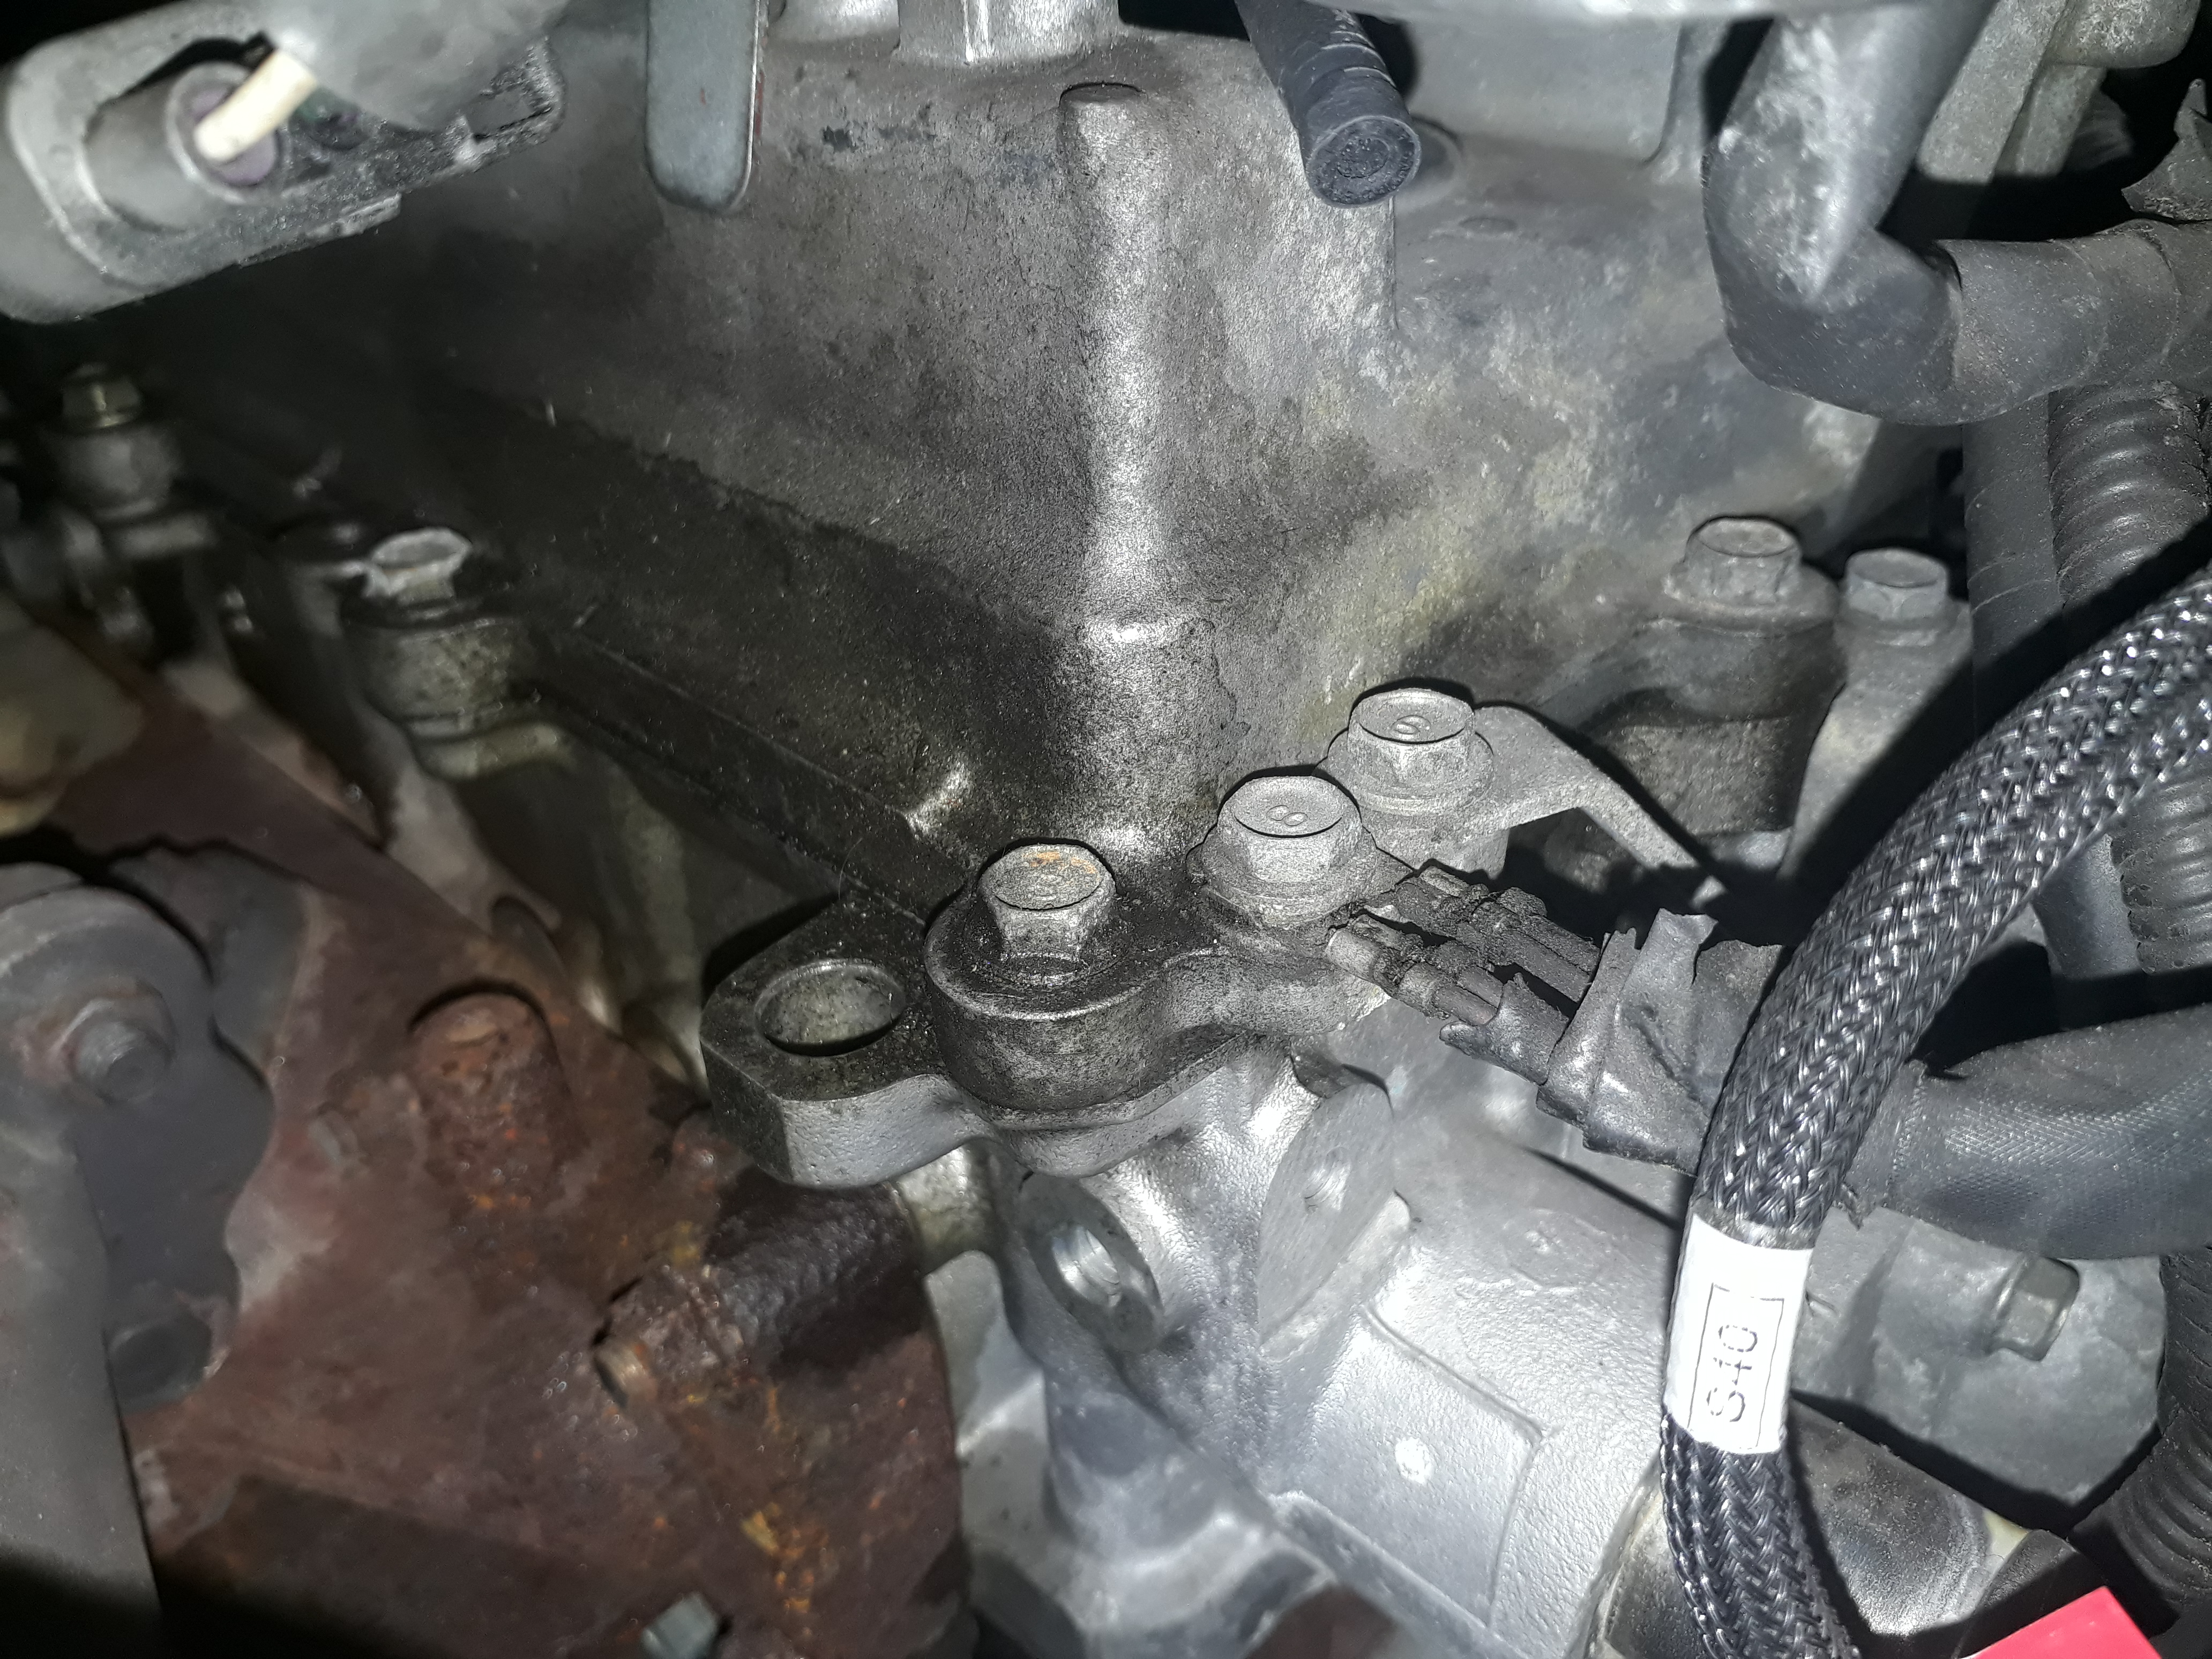
When disassembling i found the left side of the engine under the turbo covered heavily in oil. The reason for that turned out to be a cracked end of the inlet tube that was taped up with electrical tape. This fix obviously had no chance of working and the oil coming from the breather tube happily seeped through.

You can kinda see the damage on the end here, it was cracked in multiple places, so a replacement was necessary.

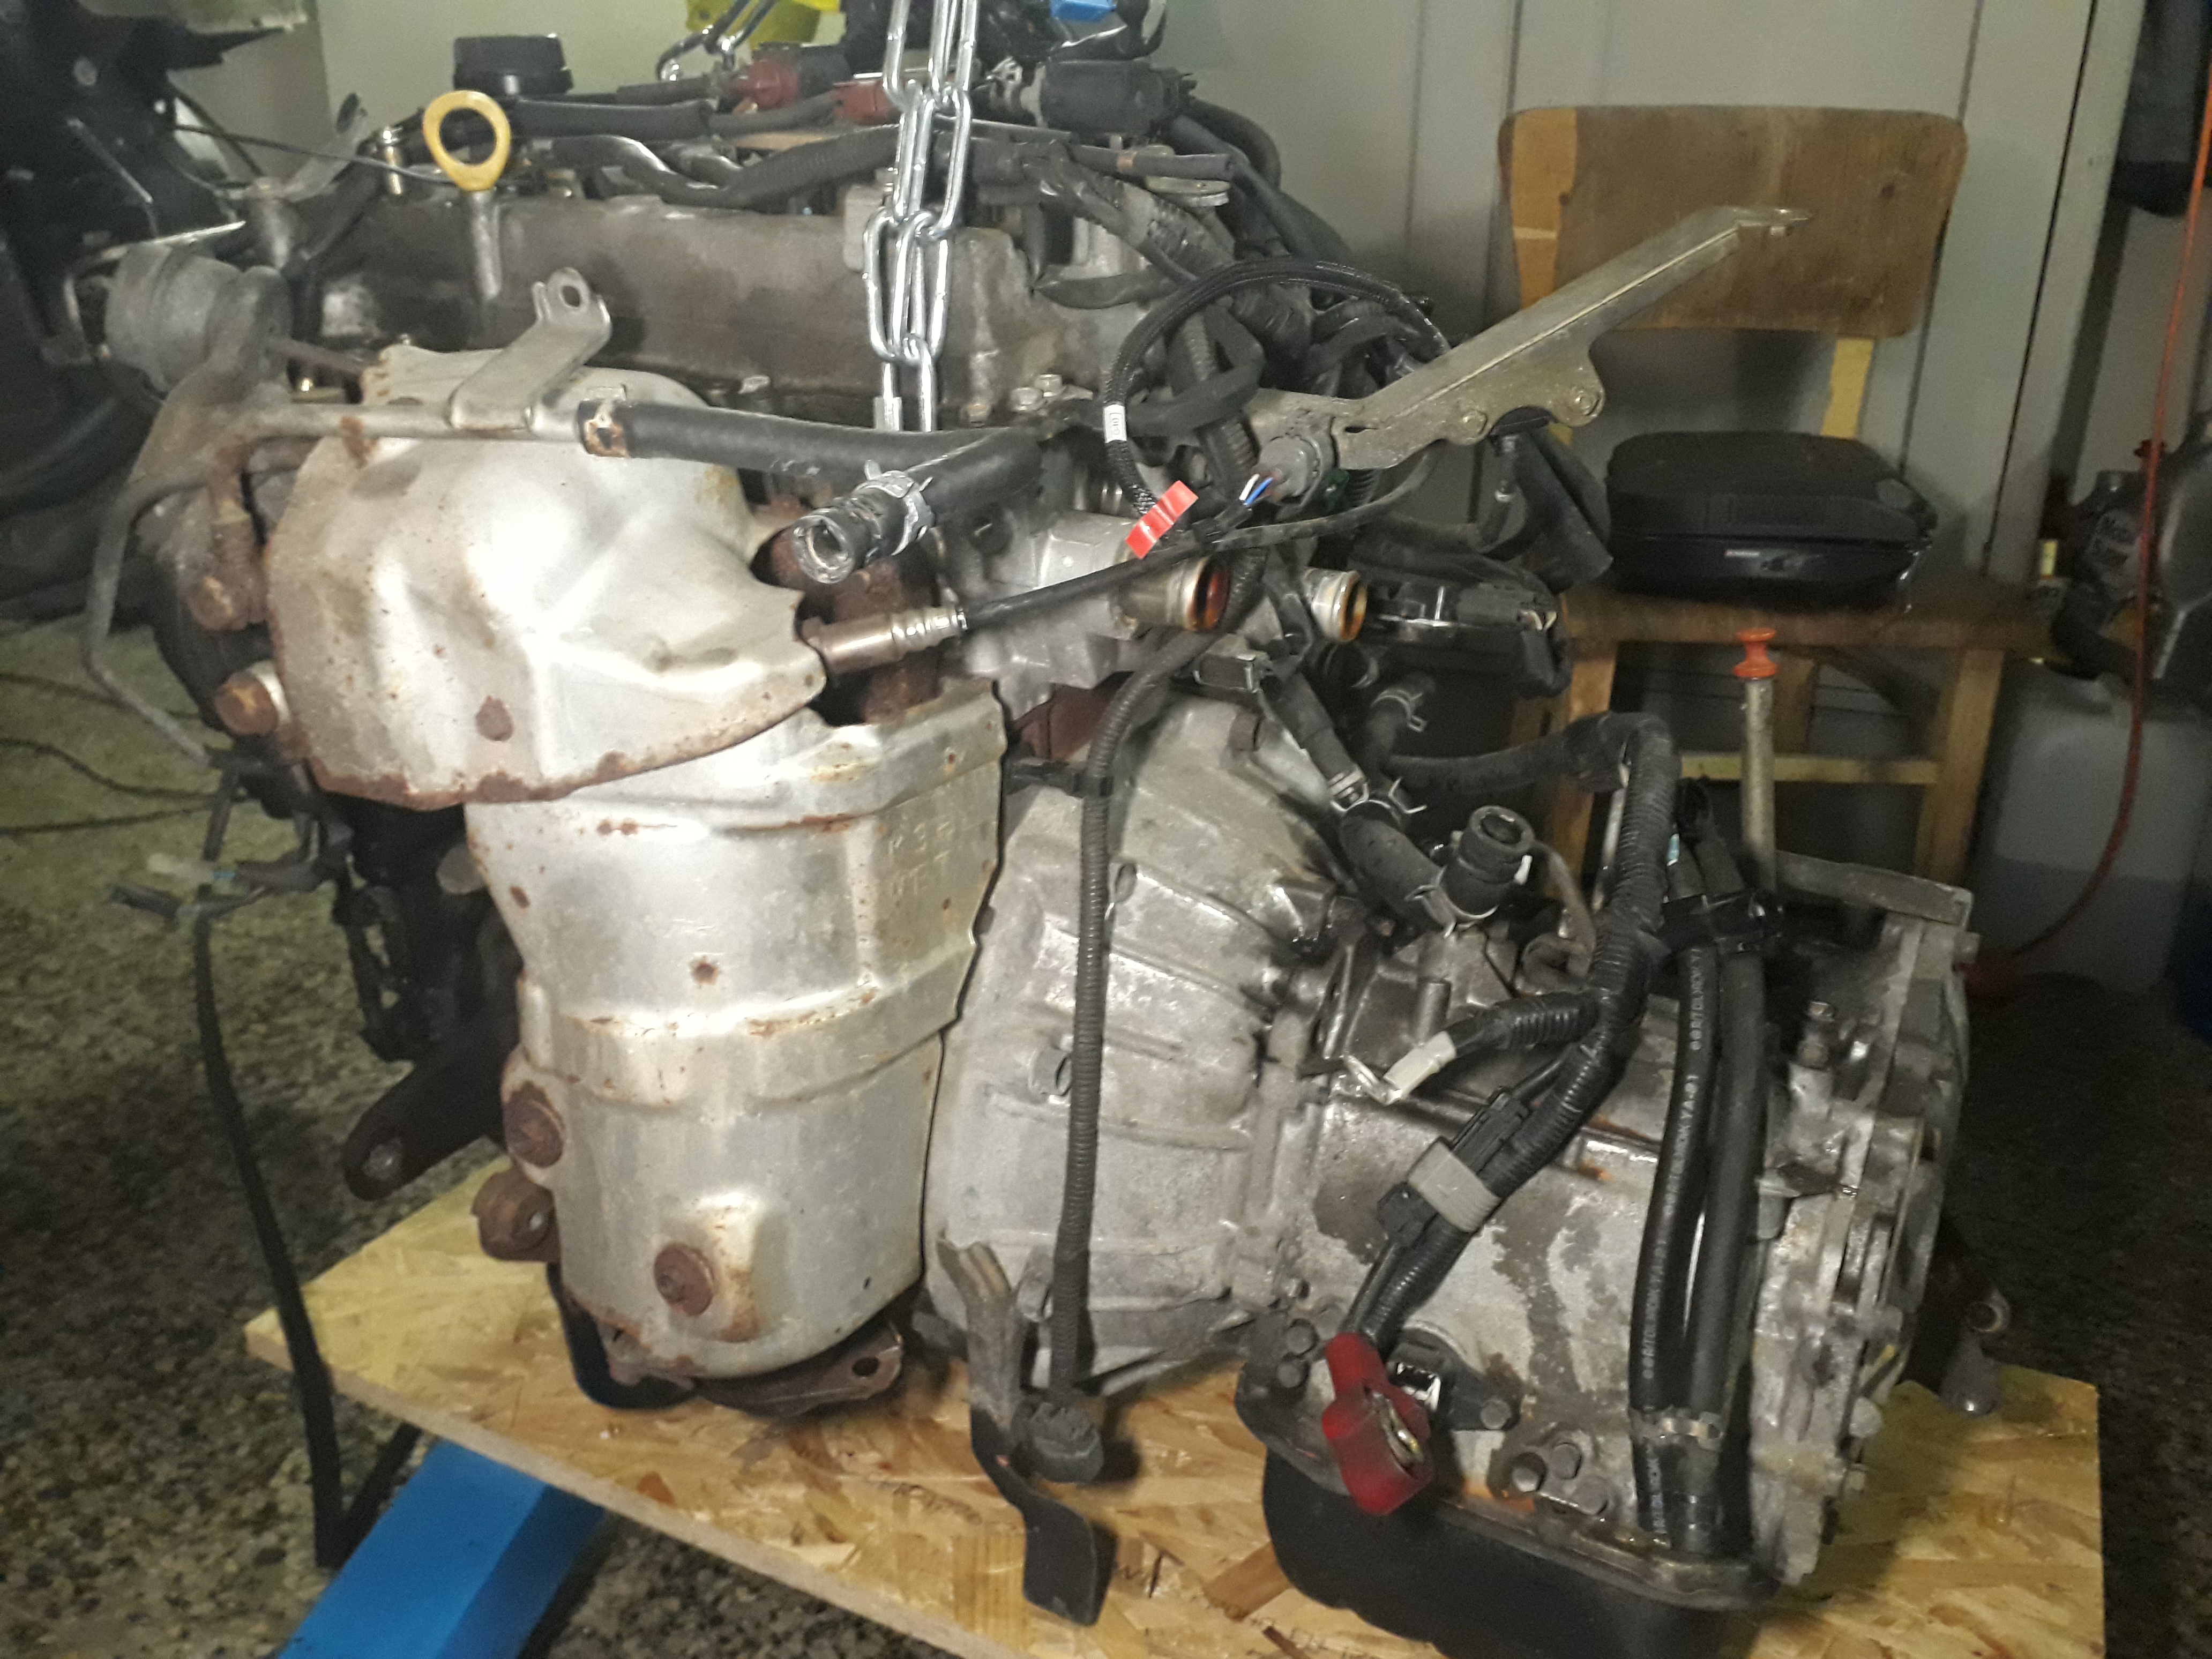
Here you can see the bulkiness of the automatic transmission and also how little space is there between the end and the frame rail, making removal without removing the engine impossible. All of the rust under the battery area would be fixed later.

I actually weighed both transmissions and by switching to a manual i saved around 15 kg (1/3 of the weight of the auto trans). Other stuff like torque converter and clutch etc. was also taken into consideration.

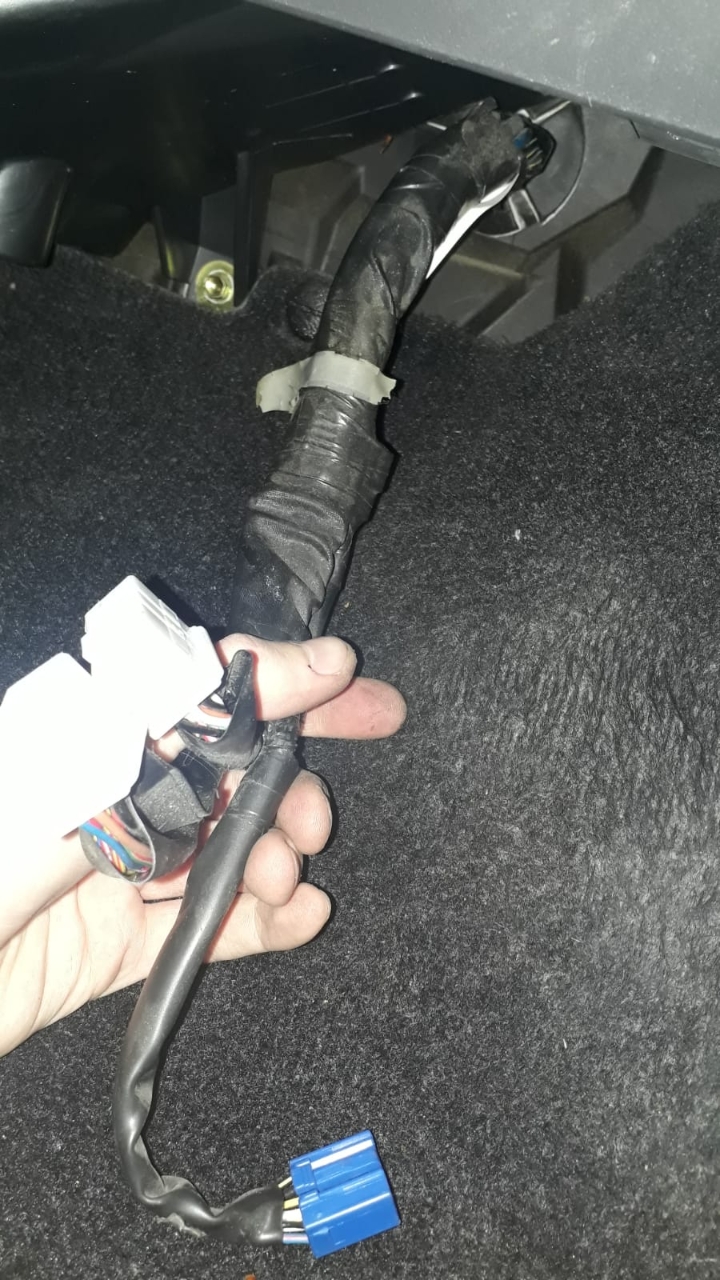
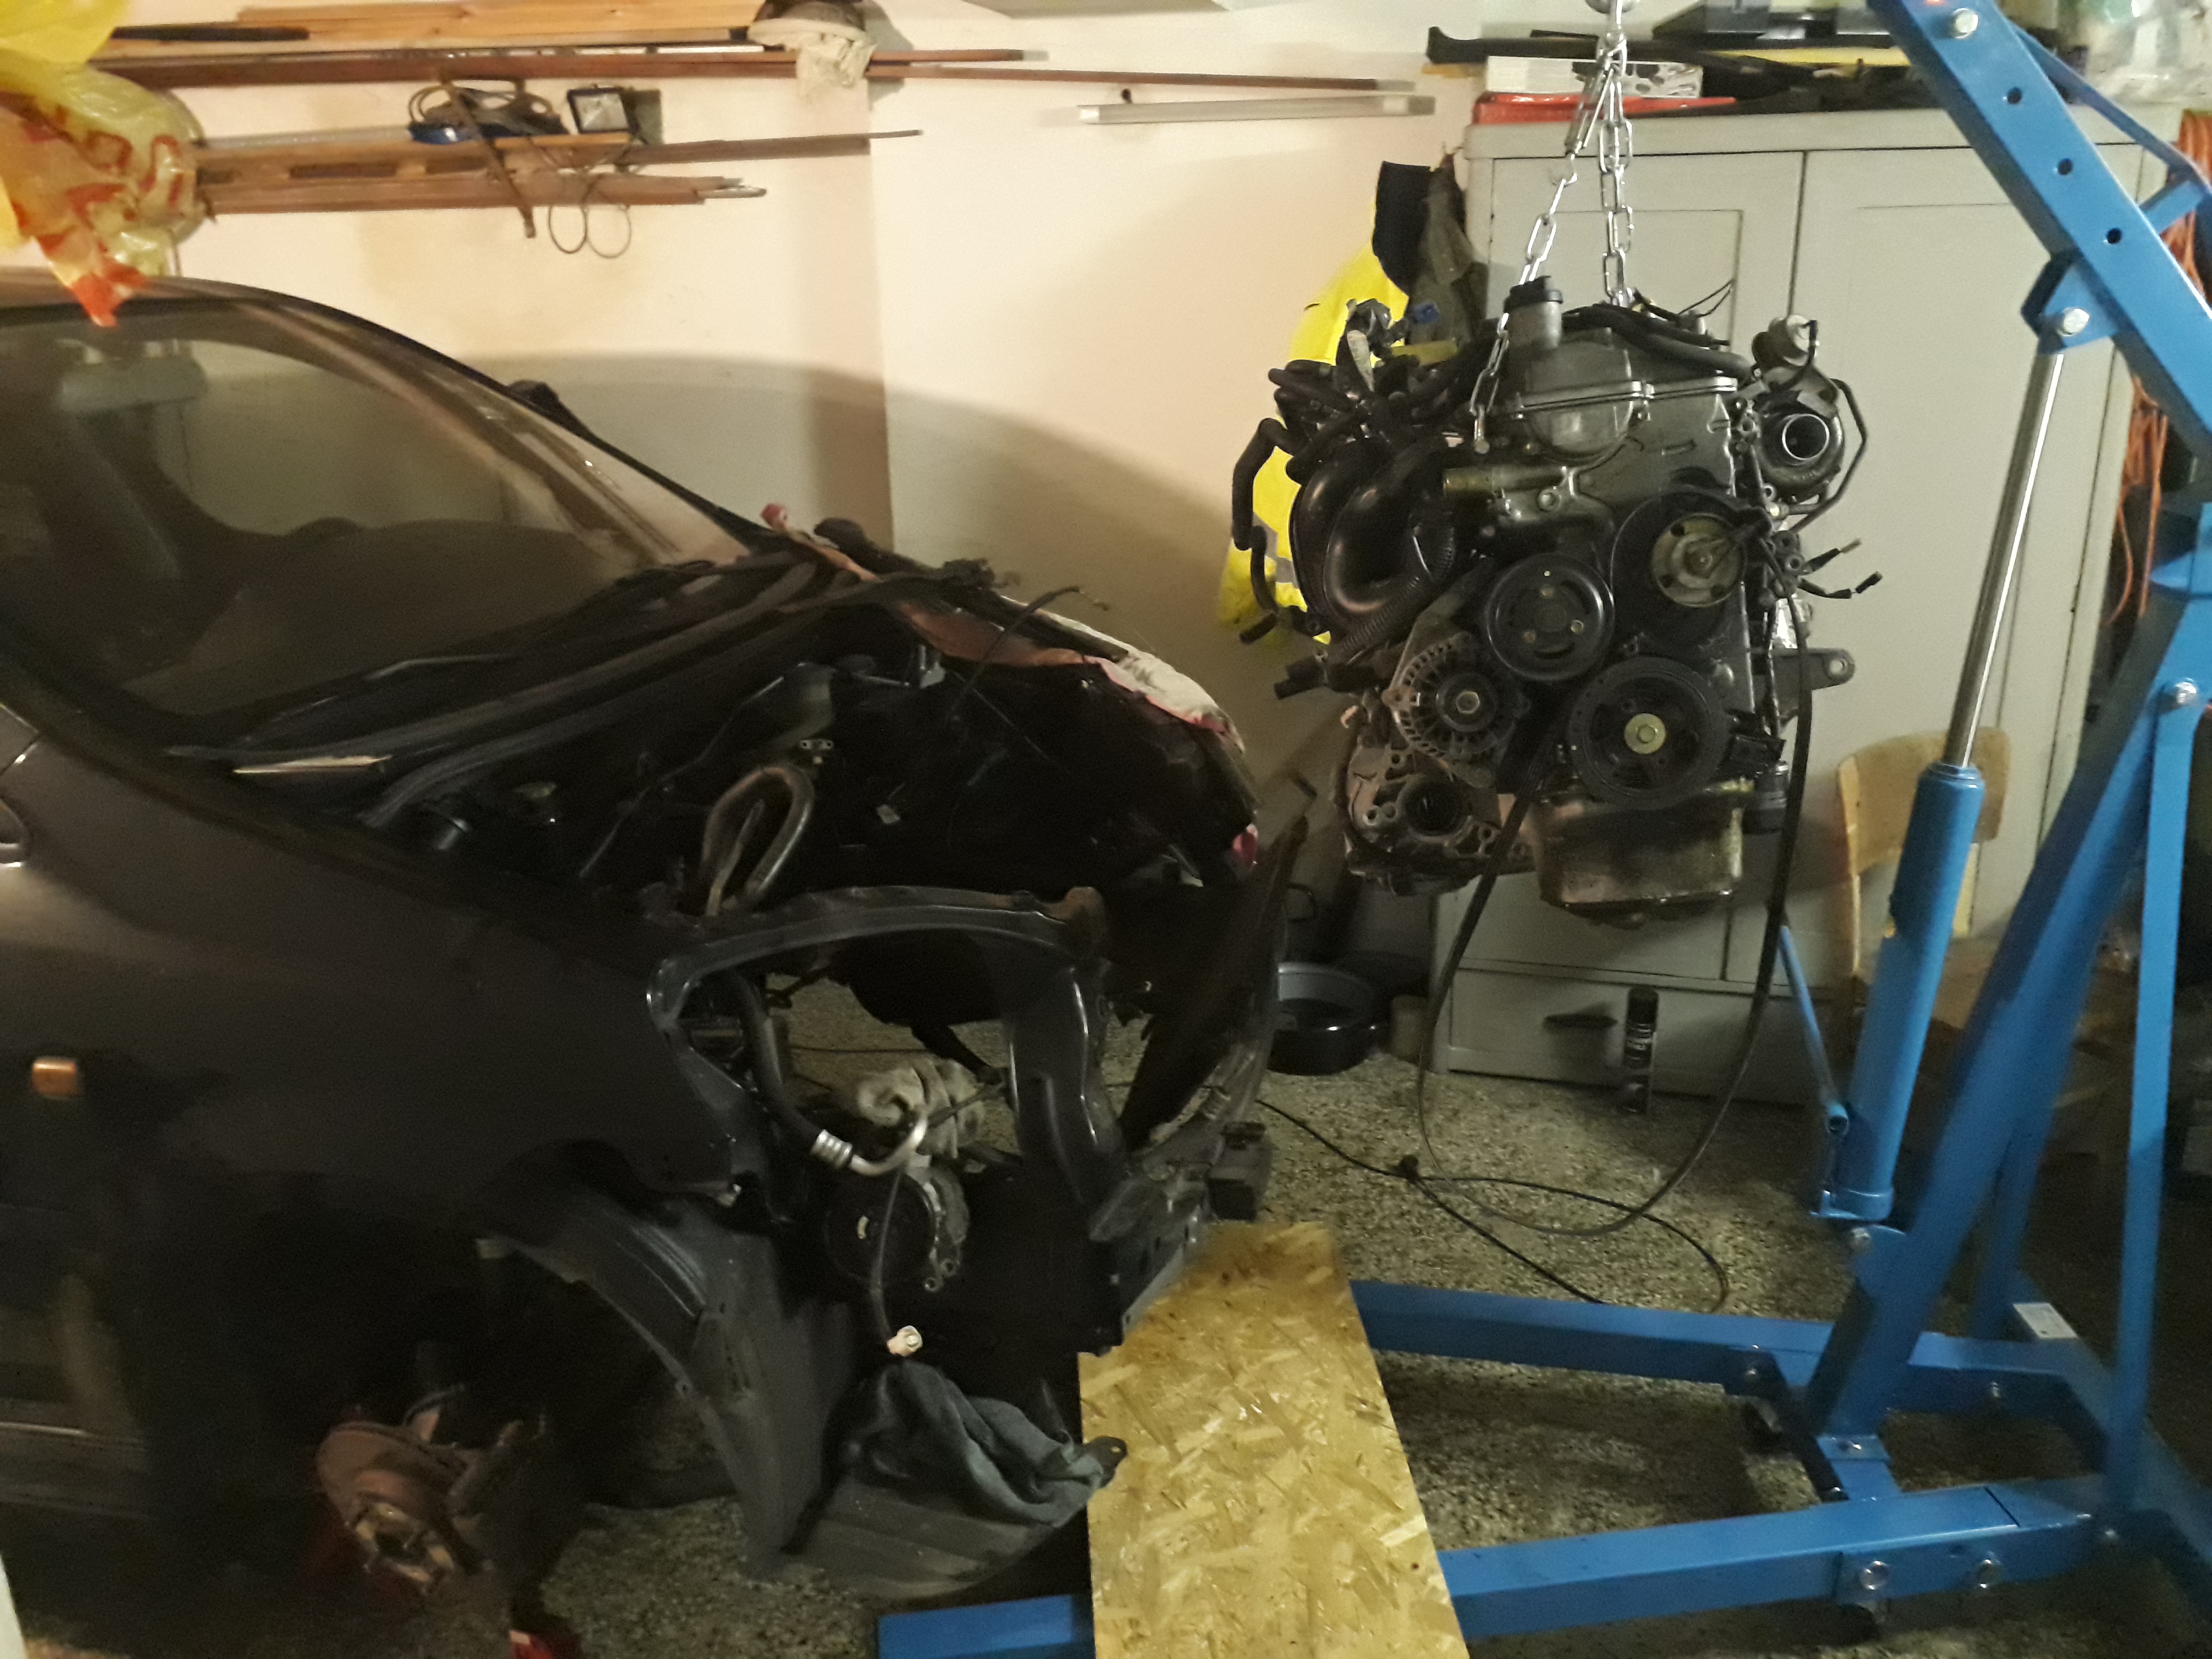
I disconnected the engine loom on the ECU side, pulling it then through the firewall and removing it with the engine. Makes your life so much easier by having only 3 plugs to reconnect later.

Also i didn’t disconnect either the PS or AC pump but rather left them in the car to the side, not having to reconnect and fill them again later. After a lot of wiggling about and lifting slow to not damage anything, the engine was out of the car!


Together with all of its dirt and grime collected over the years.

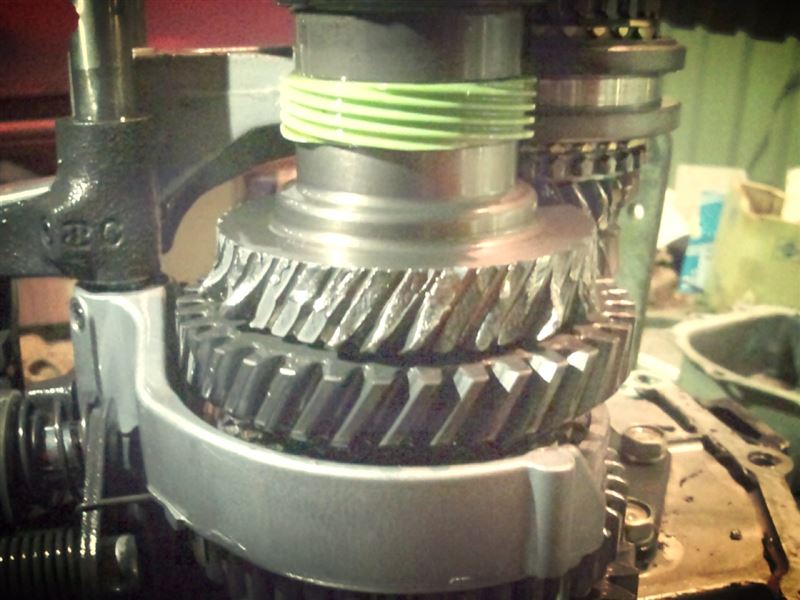
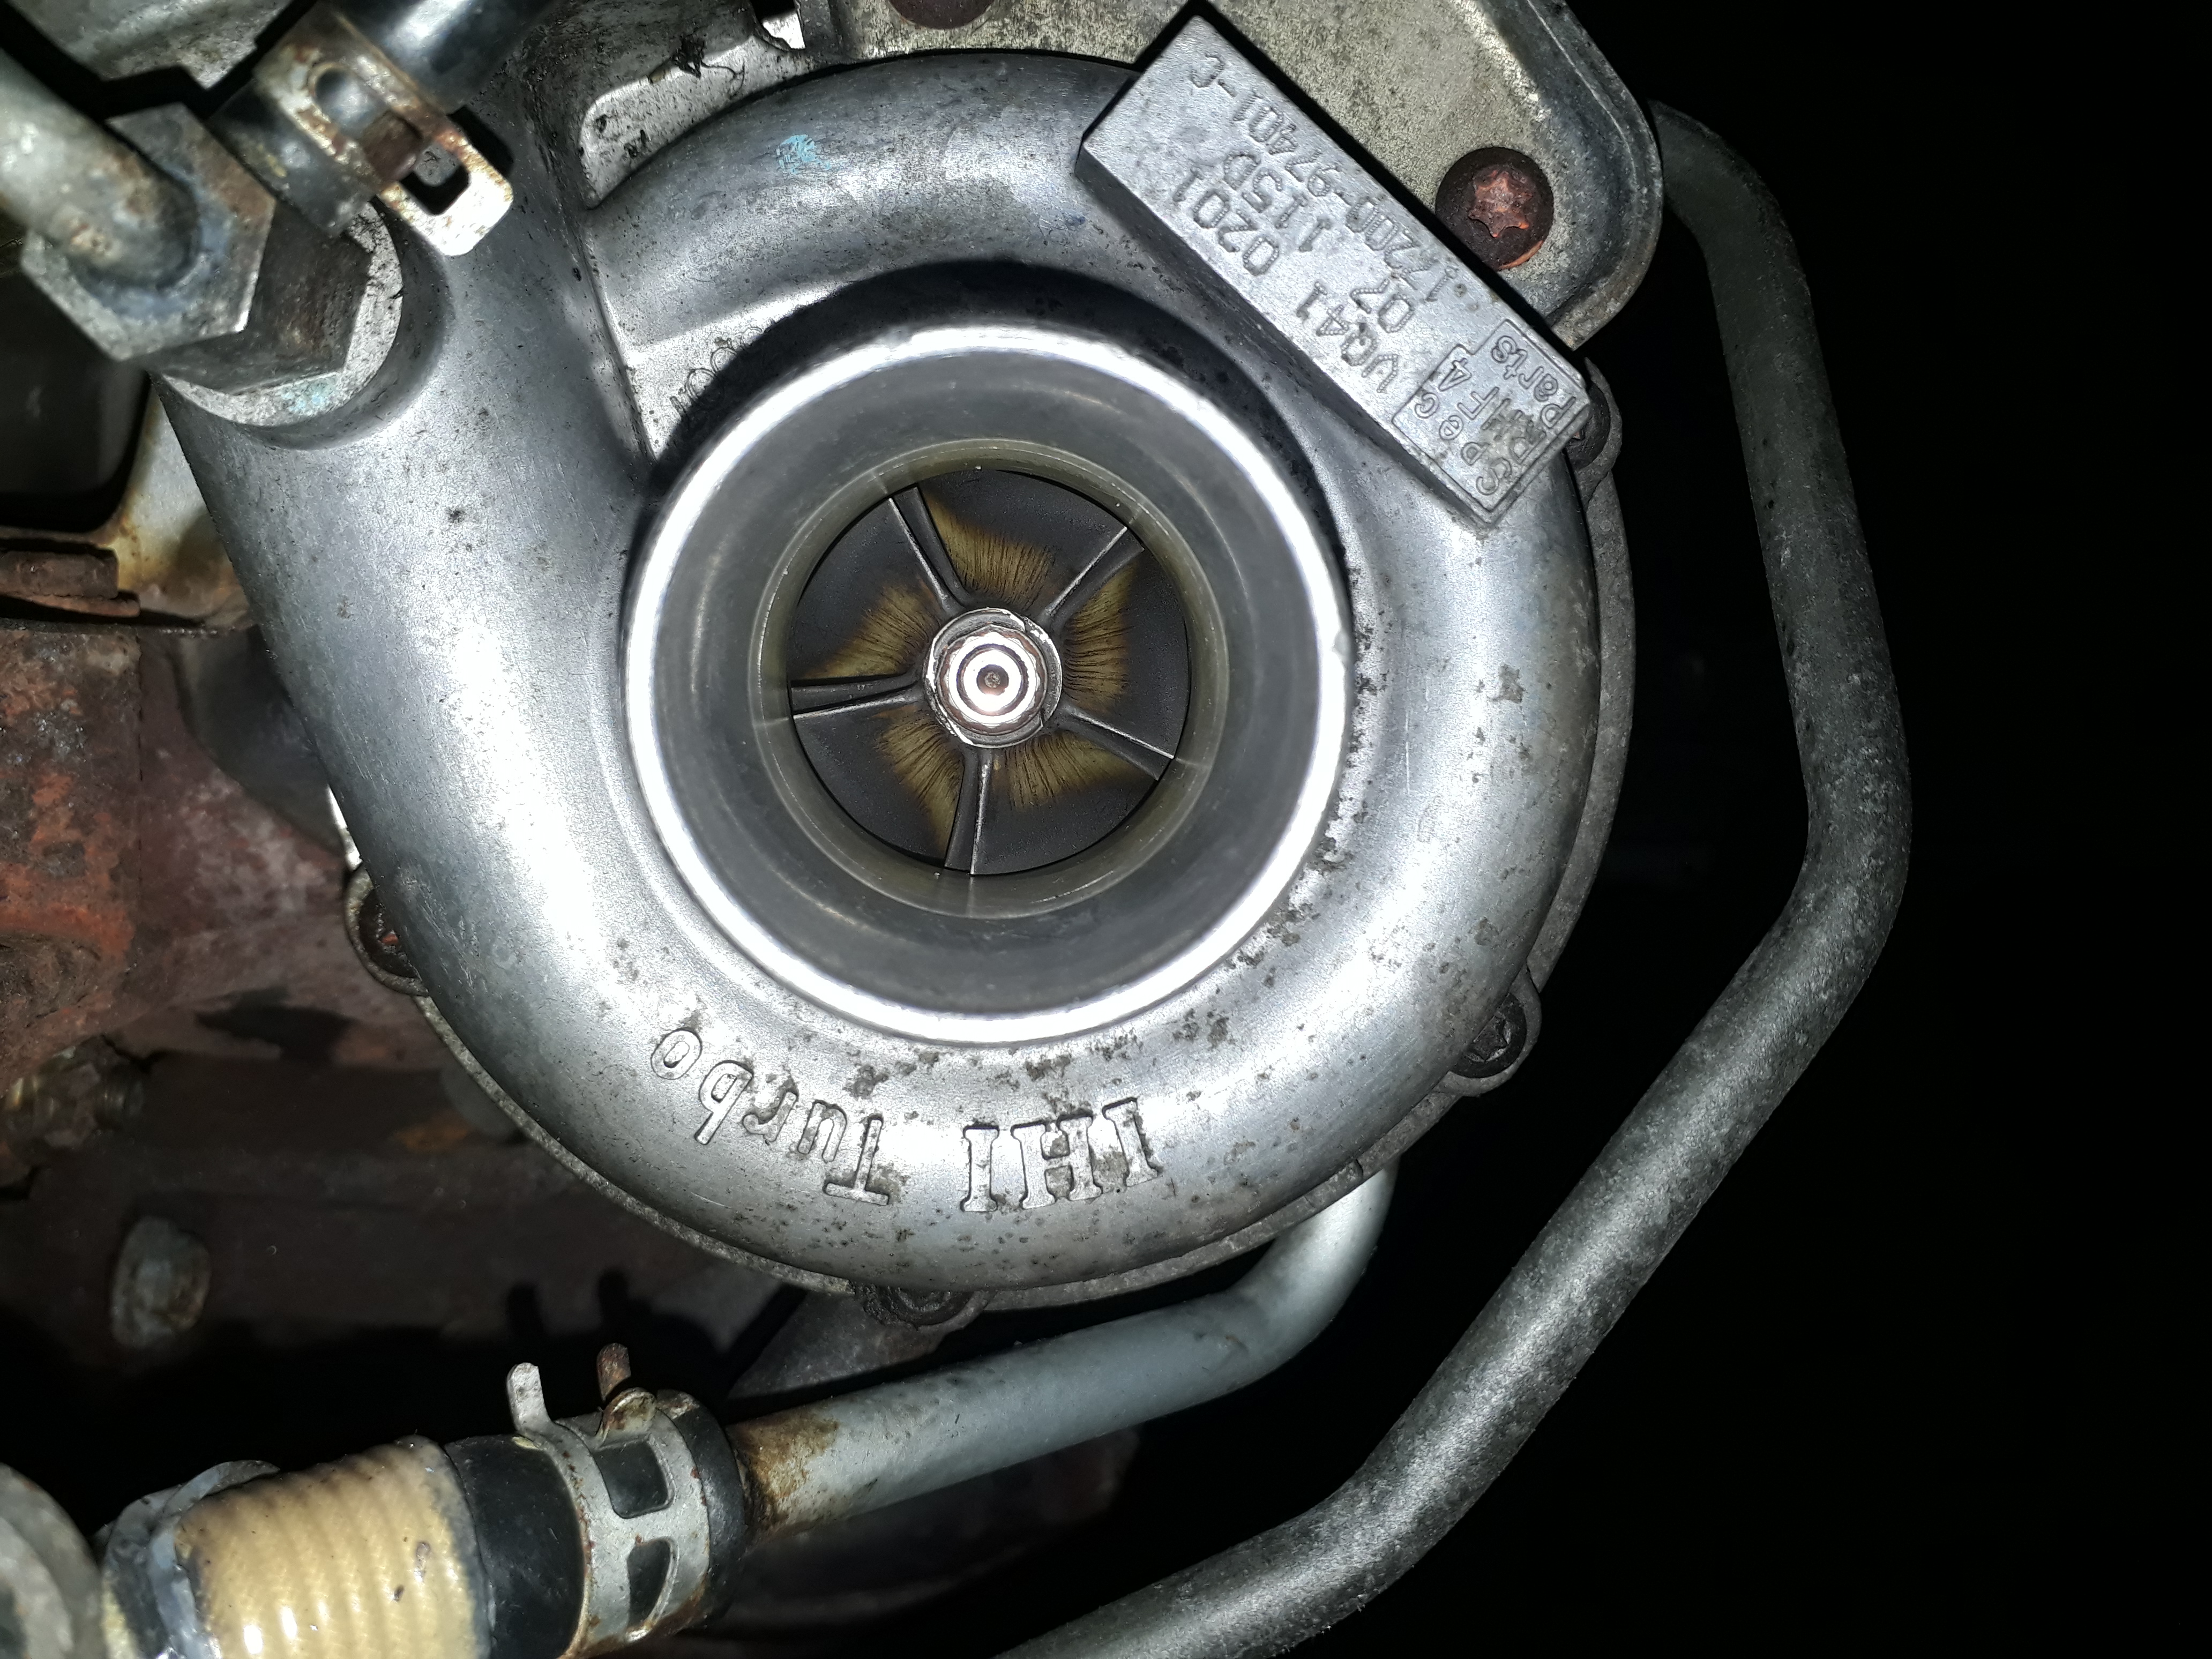
A closeup of the little spooly boi. Luckily no shaft play whatsoever.

End of part one.

4 Likes