After having owned an Audi A6 of which was given to me , in exchange for paying its way out of the repair shop, I decided that I needed something practical and simple. So, I went out looking for 3 types of vehicles. The first was a small bus-type Ford based on what looks to be an Escort. I liked the styling and practicalability. Unfortunately, these are mainly used by tradesmen and have high milage. Despite this, I couldn’t find any at reasonable prices.
I then looked into Suzuki R+s and Daihatsu MOVEs. The first inquirement involved a Wagon R+ of which supposedly only had just over 100,000 kilometers. After having seen a photograph of its engine compartment, I started to doubt the authenticity of this milage claim. After having requested proof, the potential seller never answered.
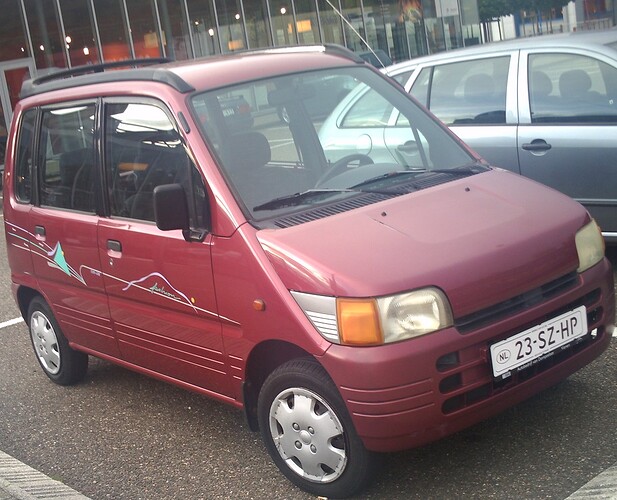
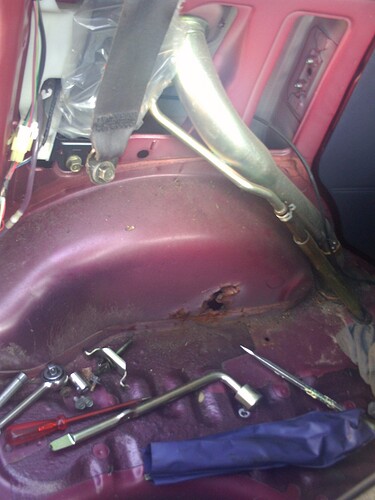
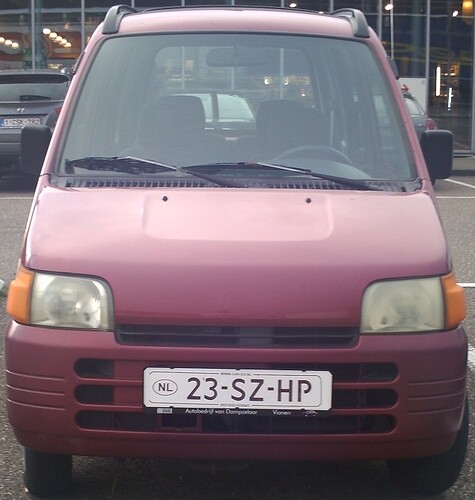
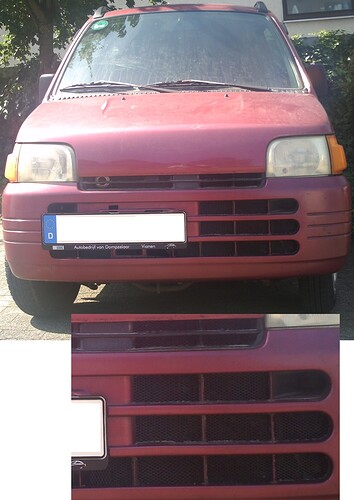
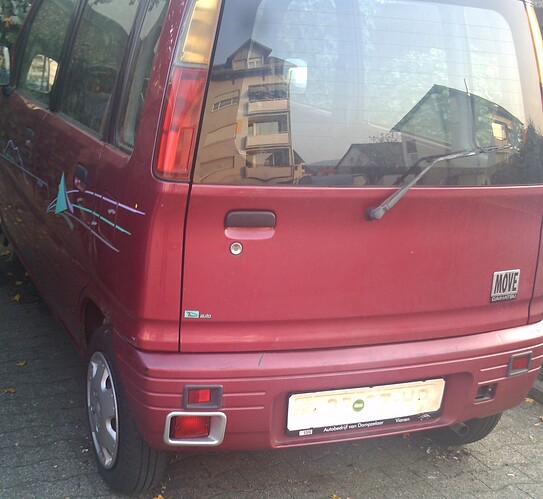
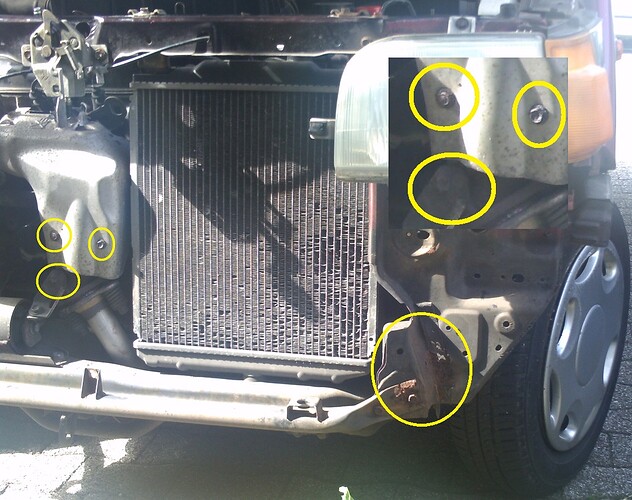
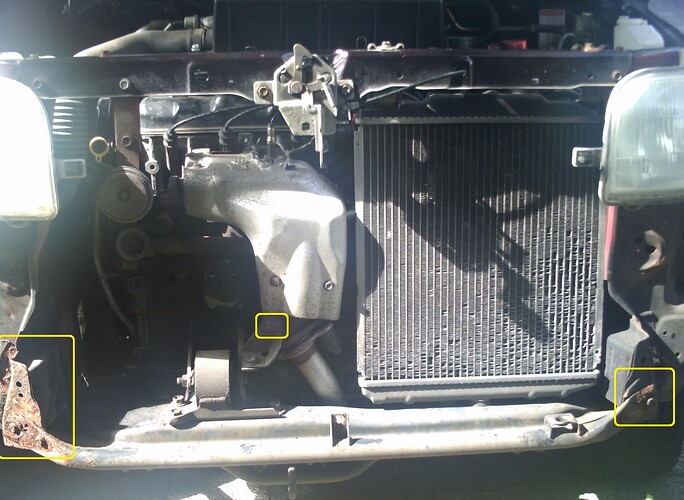
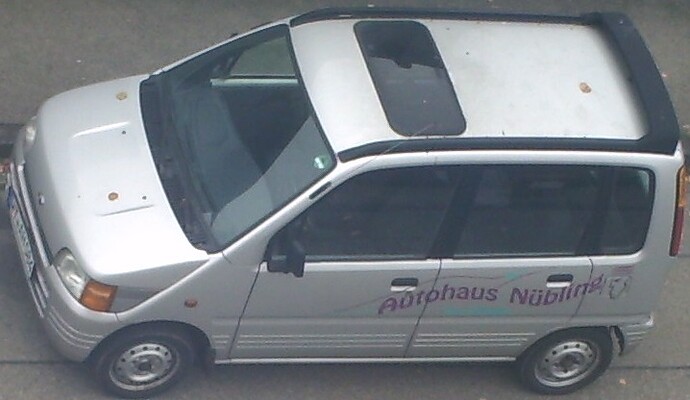
Since the government in Germany has been paying persons to buy new vehicles, through a sort of cash for discard program, the Daihatsu of which I was looking for became very scarce. I ended up finding very good examples in neighboring Netherlands. But because it wasn’t practical to drive there in order to drive a different car back, I only answered an advertisement of which could be reached overnight by bus. The vehicle looked good and seemed reasonably priced. But because MOVEs sit so low, I couldn’t see the undercarriage. The surprise package began, as soon as it went to get inspected:
The following is the reason as to why individual European Union countries don not recognize each other’s M.O.T. certifications:
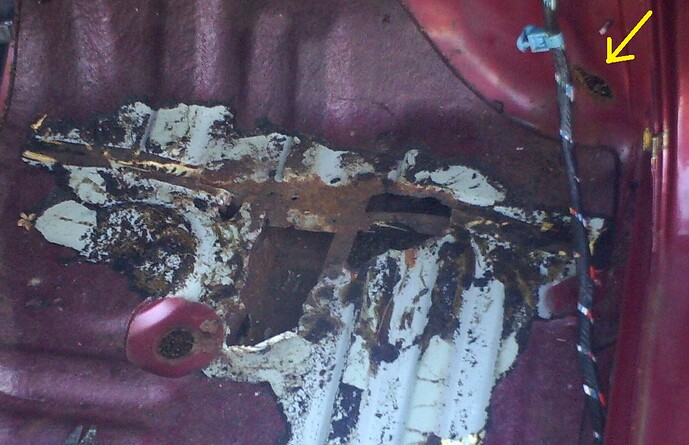
ouch, you all get so much rust.
It seems, most owners don’t follow the maintenance instructions, concerning wheelwell cleanliness. They also drive in salty conditions. At the German Daihatsu forum of which I’m also a member, other members continue driving in such conditions, despite knowing better. Thereafter, they rid of their cars and then surrender membership.
I don’t own this particular vehicle anymore. I ended up trading it for a silver one with an engine knock of which I’ll get to later. It’s as good as rust-free, aside from some surface rust on the undercarriage.
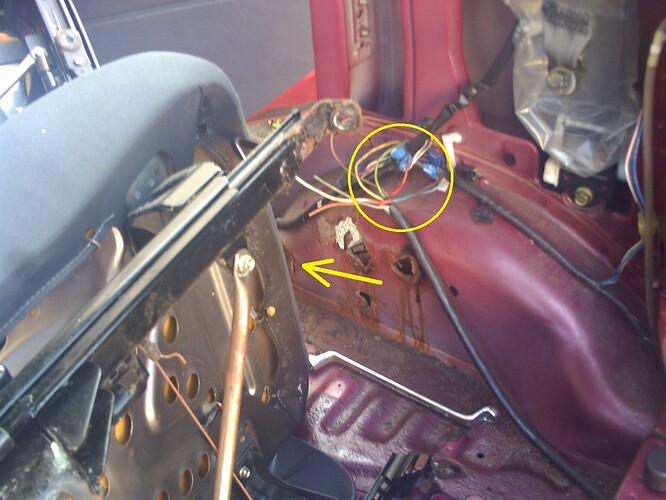
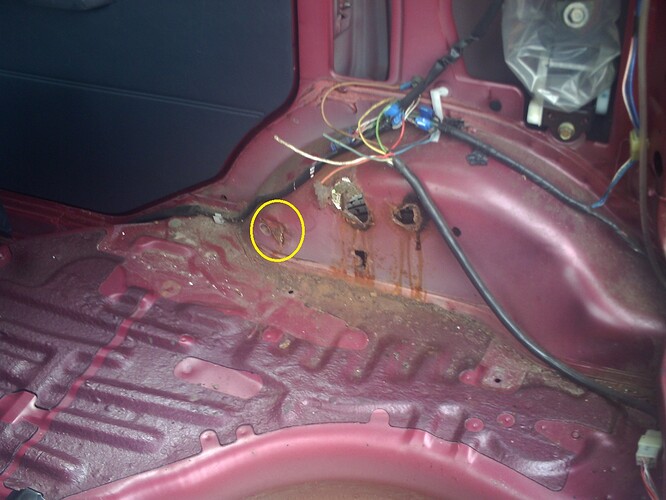
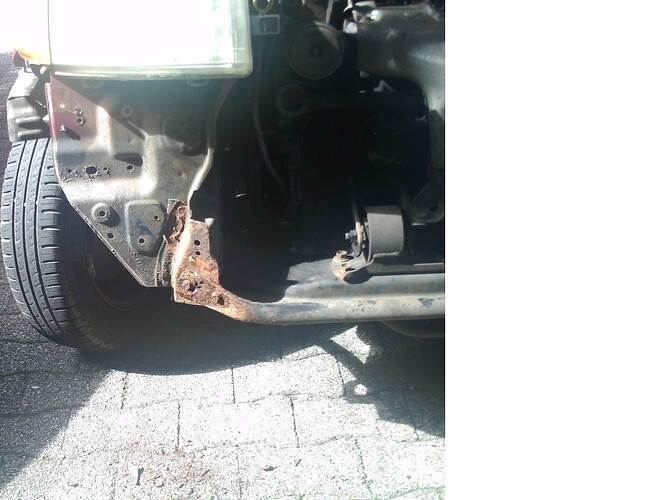
Getting back to this rusty one, the M.O.T. inspector asked me if I really wanted to have this repaired, since there were also suspension issues to deal with. I told him that I already spent money buying it and am at the point of no return. Because I didn’t bring my torch to Germany, I ended up preparing the carriage for repair, through removing all carpetting and trim, before heating up the tarry coating for scraping off. This is a 1998 model. My replacement is one year older and doesen’t have the tar of which only served to accelerate the corrosive processes, by not releasing moisture and salt, once the coating became perforated. The welding cost me nearly double of what I paid to buy the car. The suspension bits set me back even further.
What I suppose happened was that the previous owner paid the garage to have the inspection falsified. Critical areas around the rear wheelwells were cosmetically repaired with filler and the body was waxed.
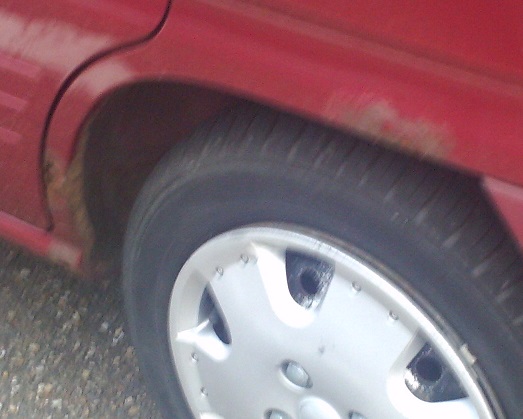
Theoretically, the vehicle should have been sold for a salvage price. Supposedely, the garage who did this could get penalized. Since both the garage and inspector weren’t Dutch, I did not even bother reporting it, because I’m not responsible for Dutch immigration policies.
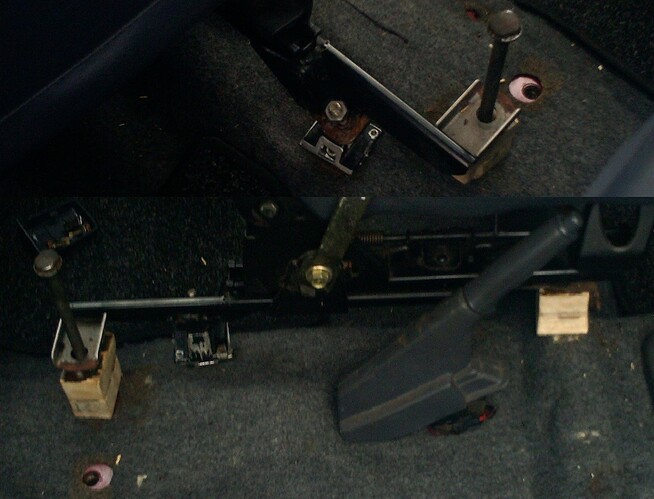
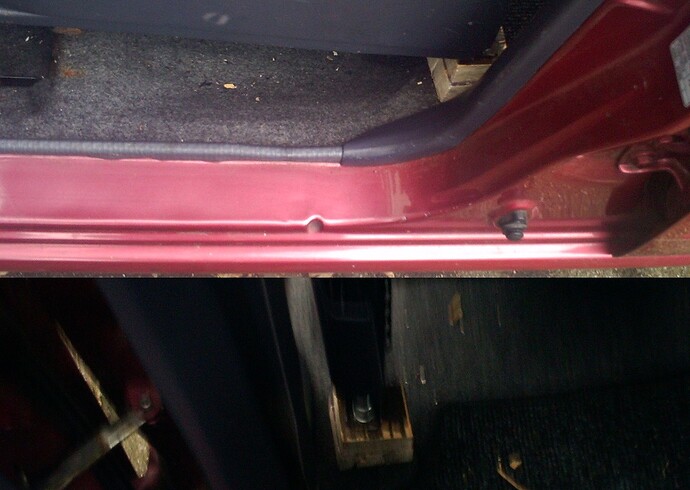
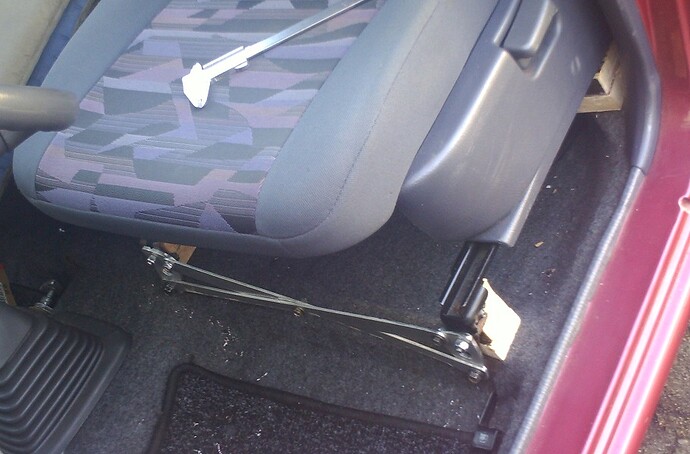
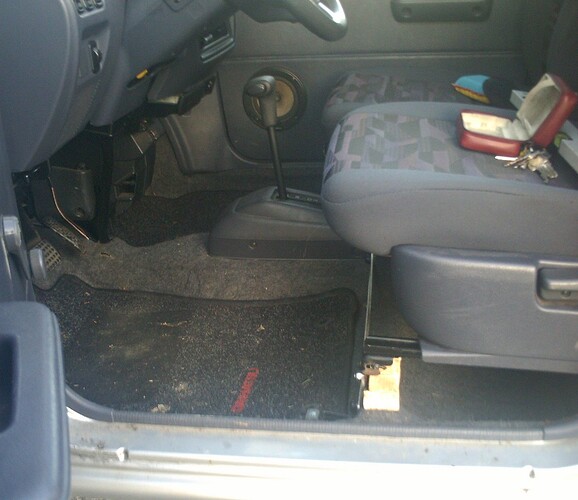
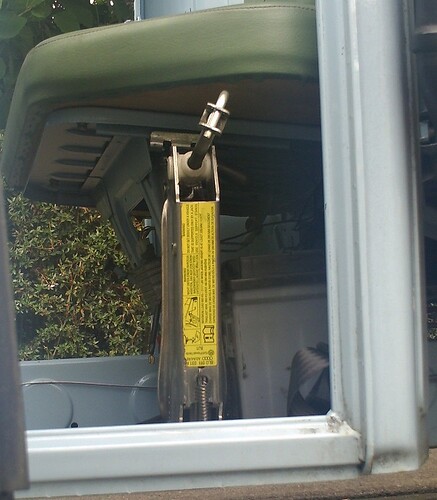
Here are some of the modifications done. I found the seating to be too low. So, I built a form of elevation, using wooden blocks, skateboard bits and aluminum plates. I’m of average height. But my torso is unusually short and legs are unusually long. There is more than plenty of space between seat and roof, so I raised the seat as much as the steering wheel would allow:

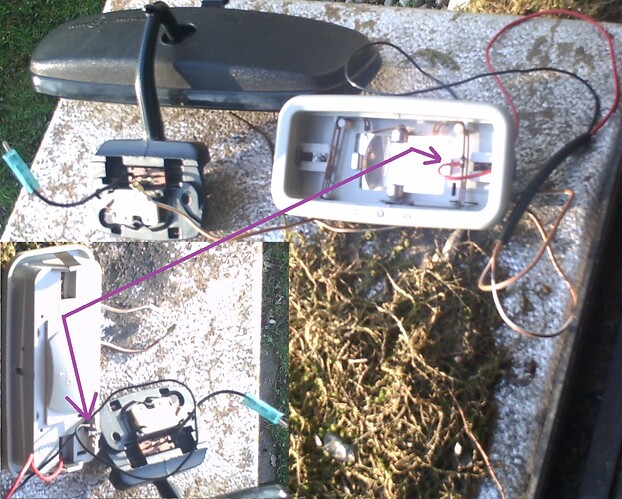
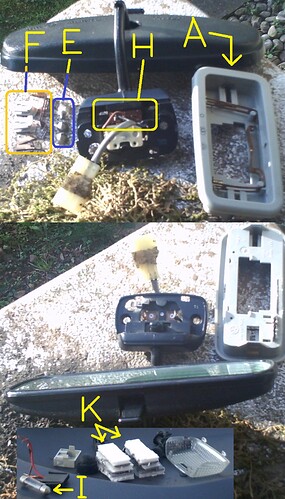
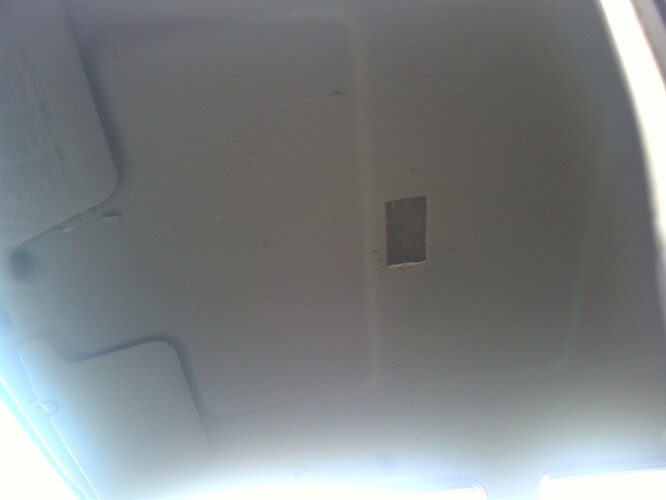
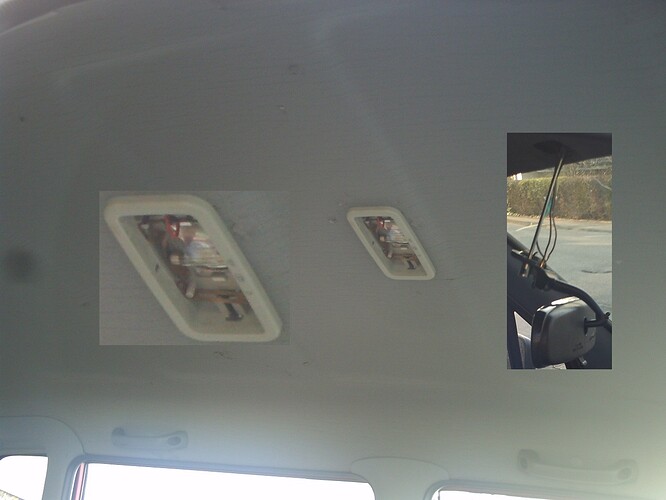
The maplight located at the end of the rear-view mirror was a little too out of place, for my liking. What I did was to extend wiring towards the center of the roof, before cutting a section out for the replacement maplight:
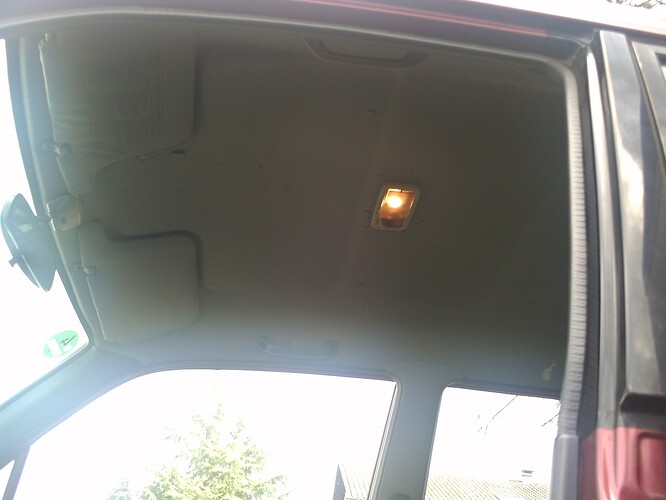
As it now looks:
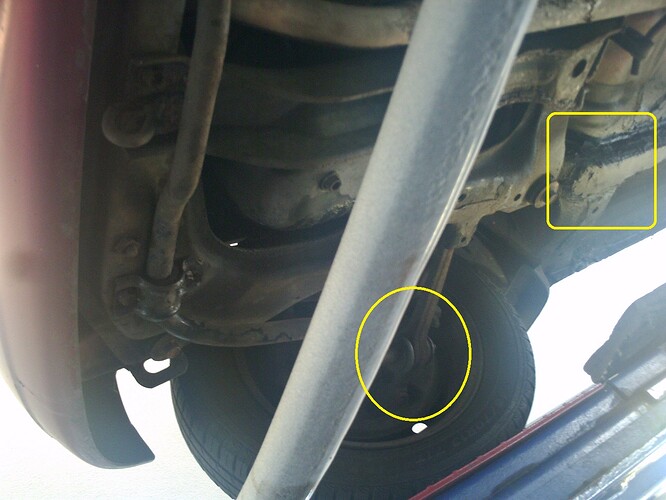
Getting back to the falsified inspection, there were 3 brittle grommets attaching the stabilizer bar to the control arms. One usable grommet was even foreign to this vehicle. The rattle caused would have alerted an honest inspector.
When accidents caused by this menace get reported in the news, they simply get described as “Technical Defects”, as not to offend the Untouchables:
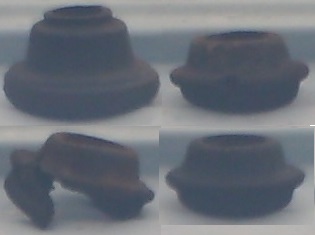
Here we have the false grommet facing forward:
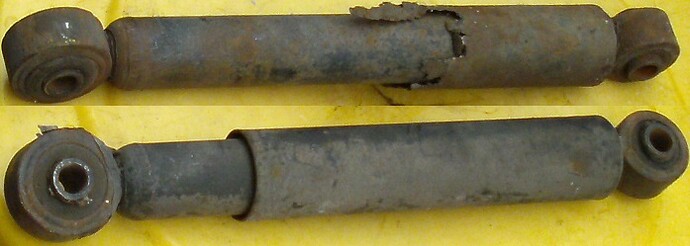
Both struts and shock absorbers were condemned. However, the shock pair may have been condemned only due to cosmetic reasons, since both didn’t leak and upon later testing by hand, no interruption in friction action was detected.
One strut did indeed leak. But, probably not enough to cause any reduced function. Preventative condemnation was likely the reason for rejecting their further service life.
Both strut upper bushing were also condemned, because the malfunction of at least one of them was definitely noticable:
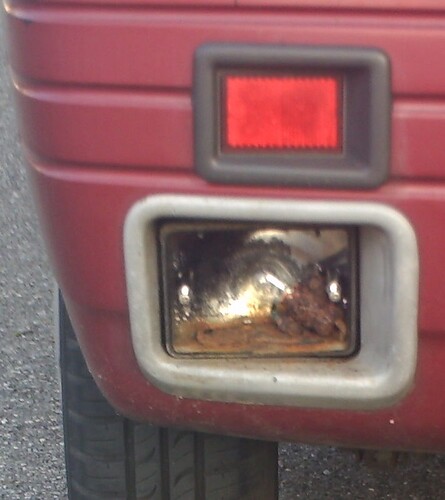
Then there was the cataract-afflicted headlamp:
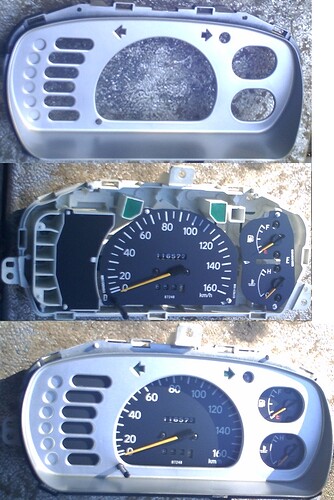
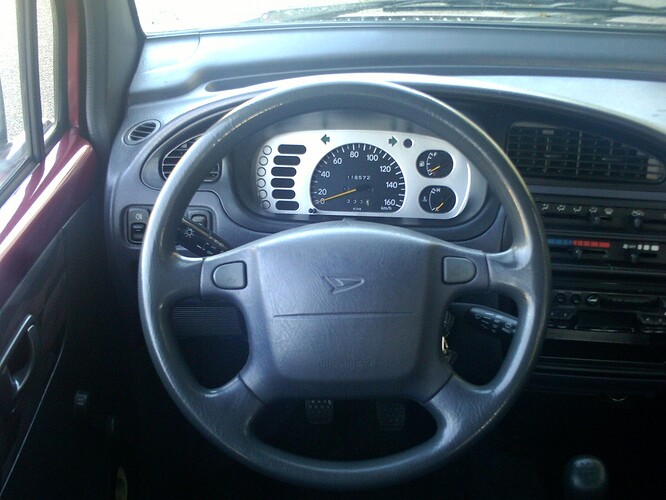
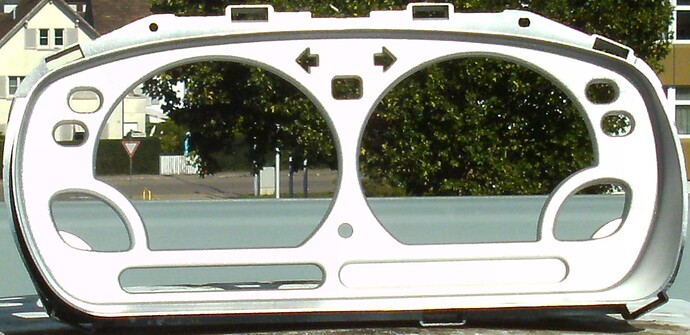
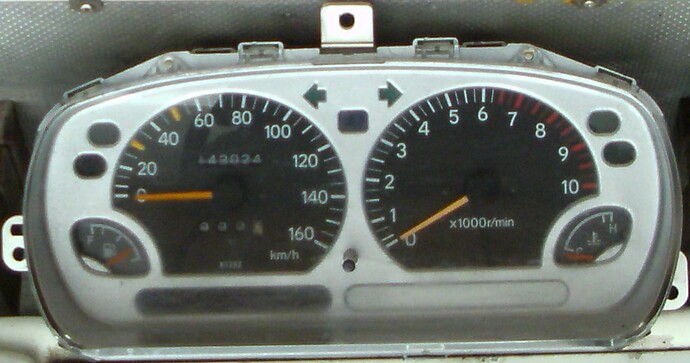
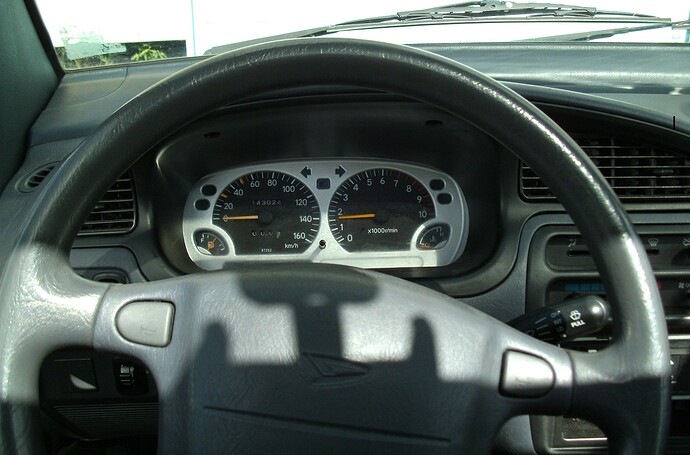
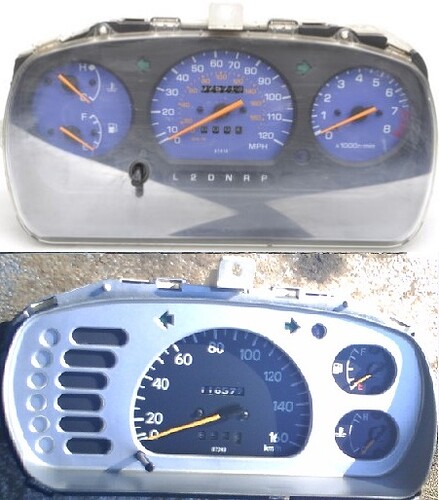
Enough horror. Let’s get to the fun part. I found the instrument panel to be both boring and uninformative, given that the numbers didn’t coincide with the speed limits used here in Europe. What I did was to color the pod silver and paint the guage needles, using gold-yellow nail polish, after having blacked-out the area surrounding the needles:
I also used that paint for highlighting the scale’s 30, 50 and 70 of which are common speeds driven here:
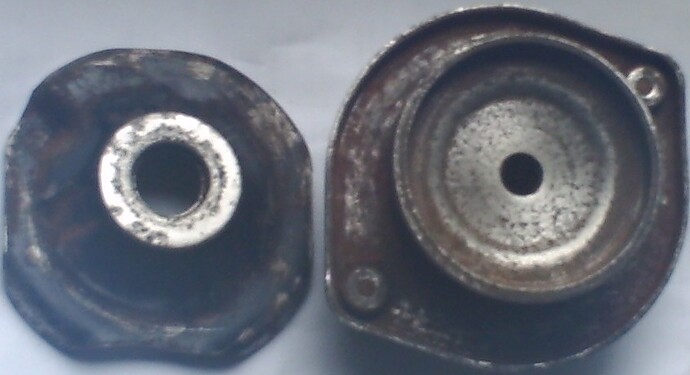
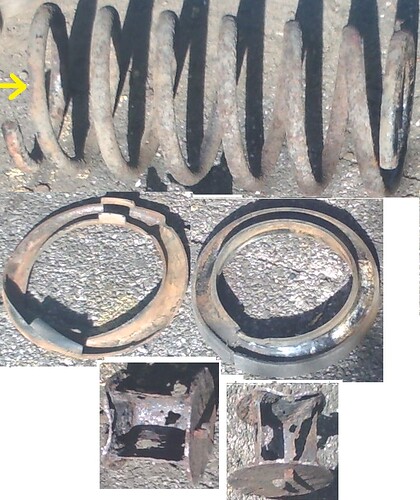
This is how the strut" bearings" looked. I’ve never before seen these constructed with only two pieces of plastic. Other manufacturers use ball bearings sandwiched between a set of bearing races. The bottom row shows what was left of the originals:
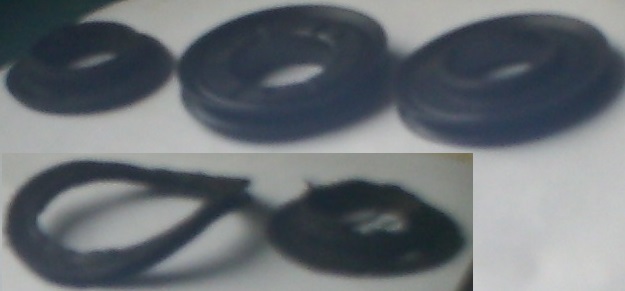
I cleaned up the caps as best as I could and then applied silicone paste as a lubricant:
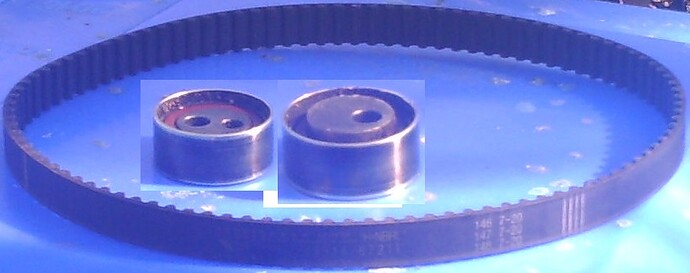
The original timing belt and bearing were still mounted, past 115,000 kilometers. The bearing’s function was evidently impaired. The resulting friction left heat scoring on its surface. The belt, however, valiantly held out and has even shown an absence of the usual cracking of which is typical for aged rubber. I still have the belt put aside:
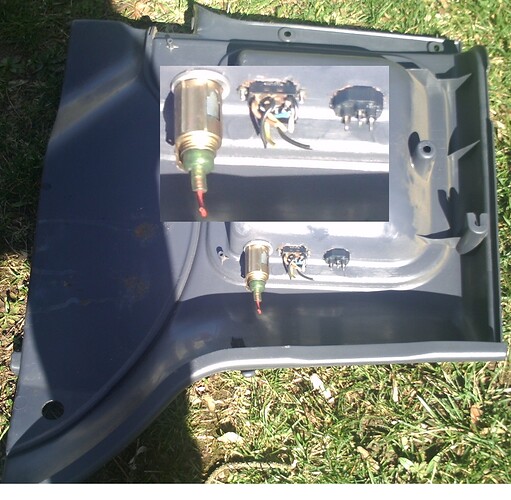
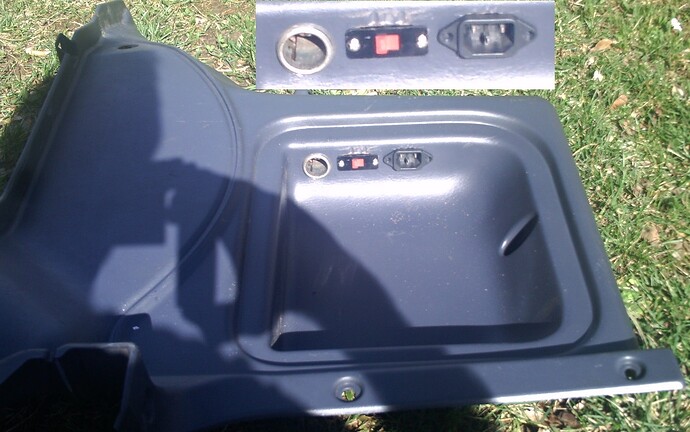
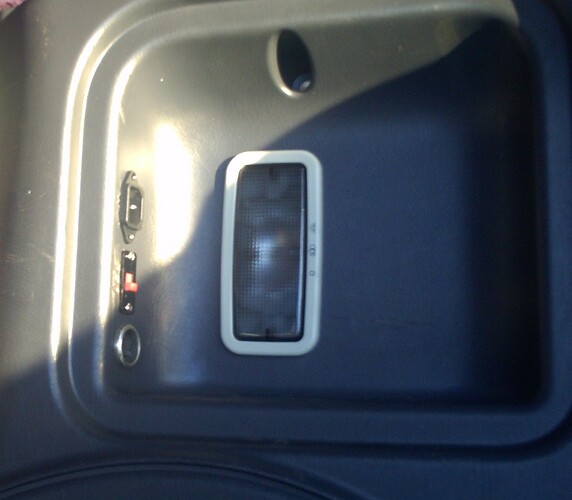
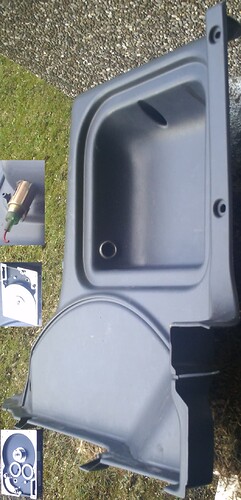
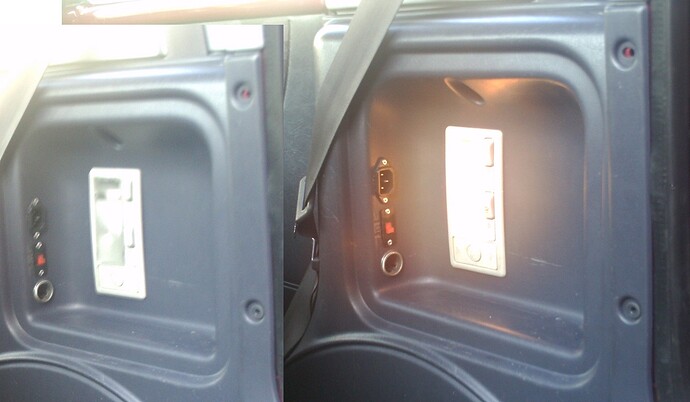
Despite a rear interior lamp being illustrated in the accompaning owner’s manual, I haven’t yet seen any of these mounted in European-destined models. To solve this, I mounted not only a lamp. But also an external electrical source, including a switch for selecting either an on-board source or an external one supplied by a second battery:
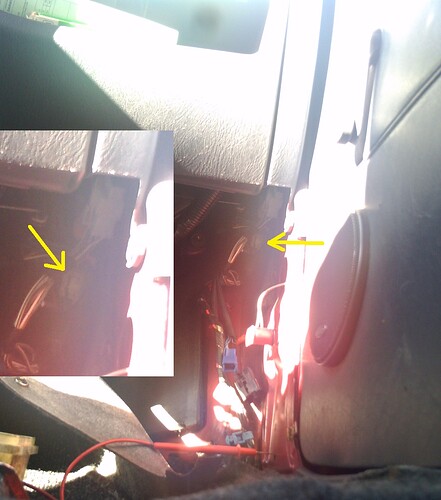
The only continuant power connection I could find was at the front of the vehicle. On left-hand drive models, this is located beneath the A-pillar, in the form of a 4-pin female connector:
I believ it may be copen strut tops that will fit and have the ballbearing design. Most other L2,5,6 models all have the same crappy setup that you see in your pics. I thinks sirion is the same setup also along with the L251.
Thanks, I’ll have to go find a set.
One hidden Achilles Heel by these is when saltwater gets trapped between the stabilizer bar ends and the grommets:
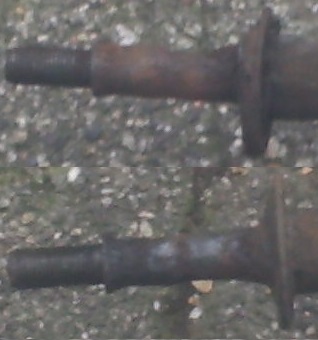
I just found a missing image from the seat modification of which was previously posted:
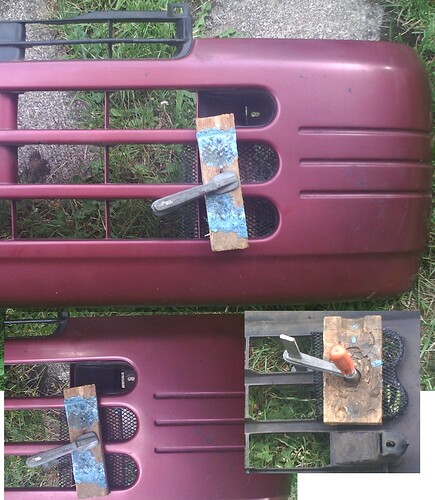
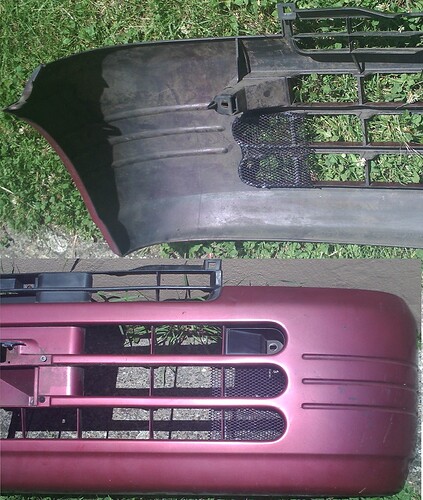
To keep pebbles and insects from damaging the fins on my radiator, I cut pieces from a bicycle basket, in order to glue them on to the bumper using silicone:
My reverse lamp was rusted through. To replace it, I adapted the rear lamp from my Honda 125 TS and painted the trim ring silver:
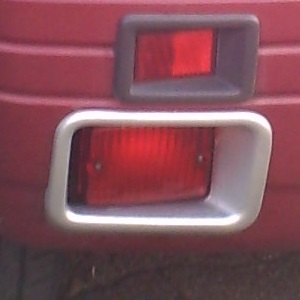
More rust damage, common to the northern part of this continent:
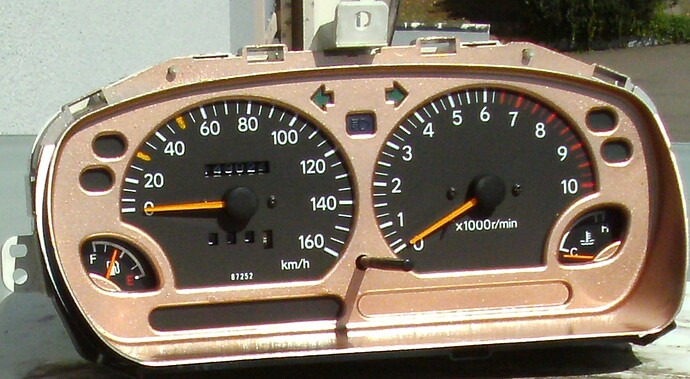
A friend of mine has an imported from Switzerland 601 of which has every option except air conditioning (if it was even available in 1997). She liked my instrument panel and then let me experiment with the one she has. I first tried it with silver.:
Here’s what it looked like, when mounted into my own vehicle:
Thereafter, I settled for Champagne Copper, instead:
Another inherent problem with this series is the bracket of which holds the air filter’s snorkel. By both of my MOVEs, these were broken off.:
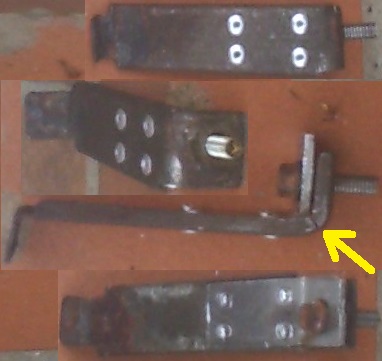
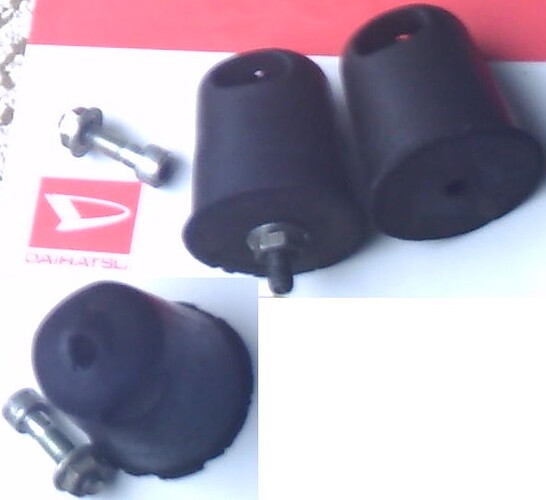
Debris collects withing the rear suspension’s A-arms. If not cleansed, moisture will corrode the towers holding the rubber travel limitters. The corrosion of the following was accelerated by winter road salt:
I was preparing the manufacture of new towers using birch tree wood, before I traded this MOVE for the next one. There was enough left of one of the old towers of which enabled taking measurements with.
To mount the limitters, I needed to drill an 8 mm hole through each one:
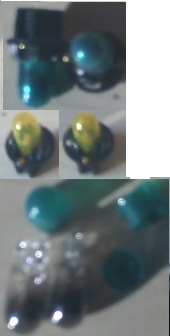
Incidently, on the first instrument pod, I removed the grey rubbers from the bulbs and then painted them yellow, so as to give the white print a yellowish hue. All it did was to make the lighting even dimmer than it already was. On the second pod, I simply removed the rubbers and left the bulbs alone otherwise. Of course, I replaced all greyed bulbs with clearer ones:
The following Terios pod almost looks identical to that of the second generation MOVE/Cuore series. Will both of these pictured pods physically interchange with one another?:
Wow, you’re certainly thorough and brave. Many would have given up. Well done. I’d argue this is far more “sustainable” than tossing and buying a NIssan Leaf.
they will both probably physically fit and doesn’t take much to give it a try, the compatibility of getting them working ( the instrument clusters) is a different story.
Both have mechanical speedometers. In this respect, Daihatsu didn’t make unnecessary changes to connecting these or rather Nippondenso(?) who was the sub-manufacturer.
Electrically, this wouldn’t be a problem, whatsoever.
Because of a lenthy-grown scrolldown, I’ll finish this vehicle’s thread and continue with a new thread on the MOVE of which I traded for this one:
Getting back to the first 601, not long after performing an oil change, the engine started burning oil, to the point to where the spaqrk plugs would foul up:
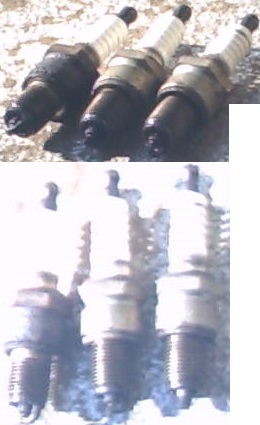
It was obvious that maintenance intervals were not kept properly. it seems, the Japanese engineers designing these engines don’t account for improper ownership (something of which is unknown to them?). If they had done so, larger holes behind the piston’s oil ring would have been drilled. Instead of cleansing each piston, the garage decided to use an additive formulated especially for careless owners of this type
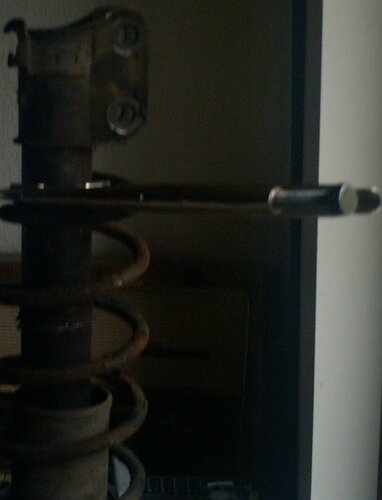
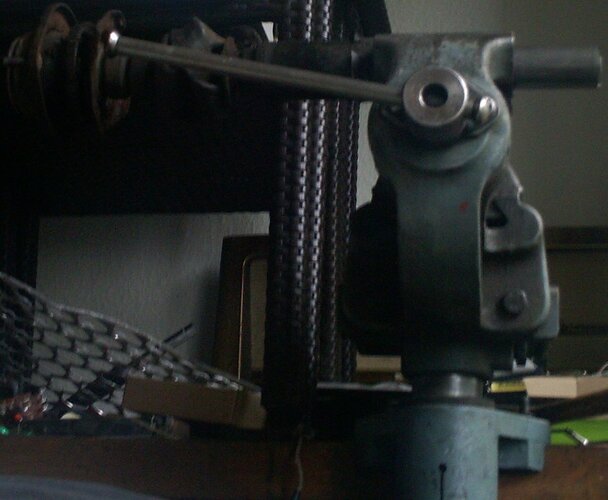
Removal of the cap and spring from one strut ended up being quite a procedure. Here’s where I made the cuts happen:
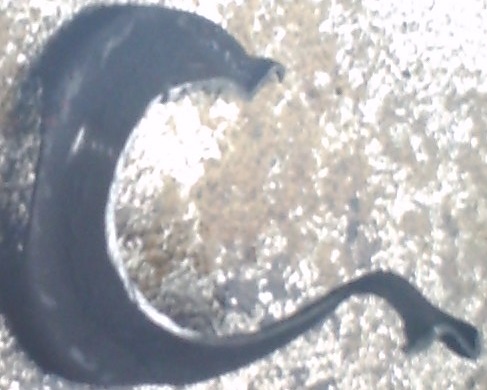
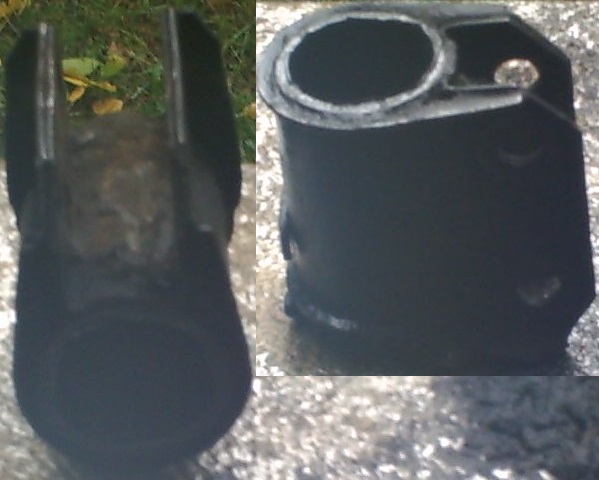
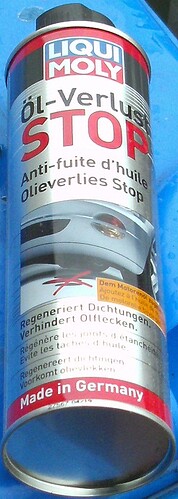
This is similar to what the used for preventing the engine from burning excessive oil. Contrary to my advice, she went ahead and had this can emptied into her engine. It did indeed stop most of the oil-burning. I offered to repair the engine properly:
I didn’t like looking at a black foglight rim. So, I sprayed it silver:

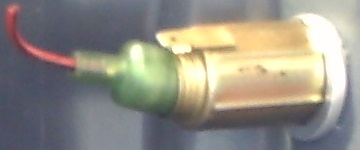
For mounting the cigarette lighter into one of the vehicle’s rear panels, I used a spacer obtained from a computer’s hard drive. The spacer’s inner diameter was too large. But, that’s all i have, at the moment:
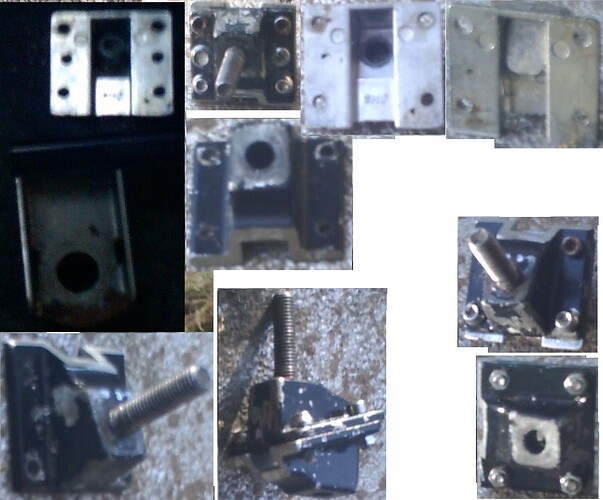
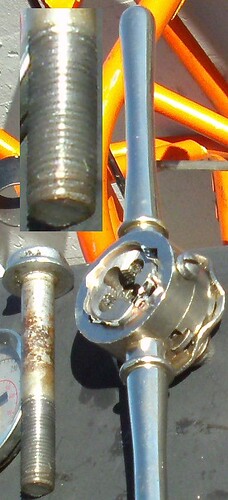
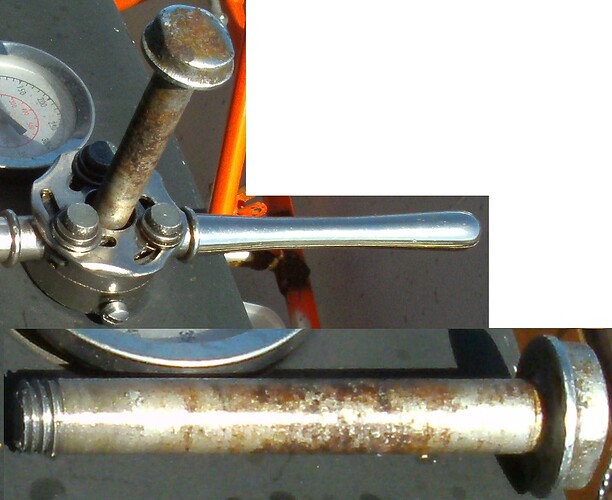
Getting back to the seat-raising modification, 11 X 1.25 mm threads aren’t used by European manufacturers. I wasn’t about to go look for one of these type fasteners and then have it shipped for more than the item itself costed. Therefore, I went and dug out a wheel-holding bolt of which was derived from an old East German moped of whose shank measured 11 mm. I had no choice but to order a thread cutter. The good German ones cost manifold more than this crappy one from You-Know-Where (It just goes to reveal the true rate of inflation, compounded over the time frame beginning with the start of Globalism). Going against my own policy, I went and ordered it. It isn’t as precise as a respectable one made by respectables and often disrespectables. But I only intended to use this “tool” only once anyway. Being round, I had to somehow adapt it into my holding tool and then space it out with some aluminium plate:
In order to start the thread whatsoever, I began the original cut, using the 11 X 1.5 mm cutter of which was already included in my set, before finishing the rest with the substandard “tool”:
