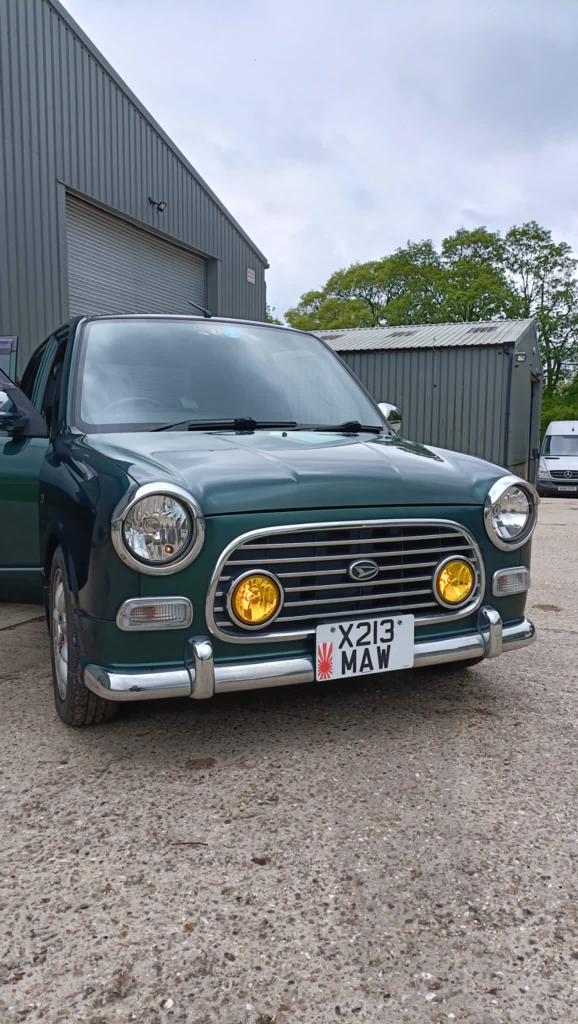
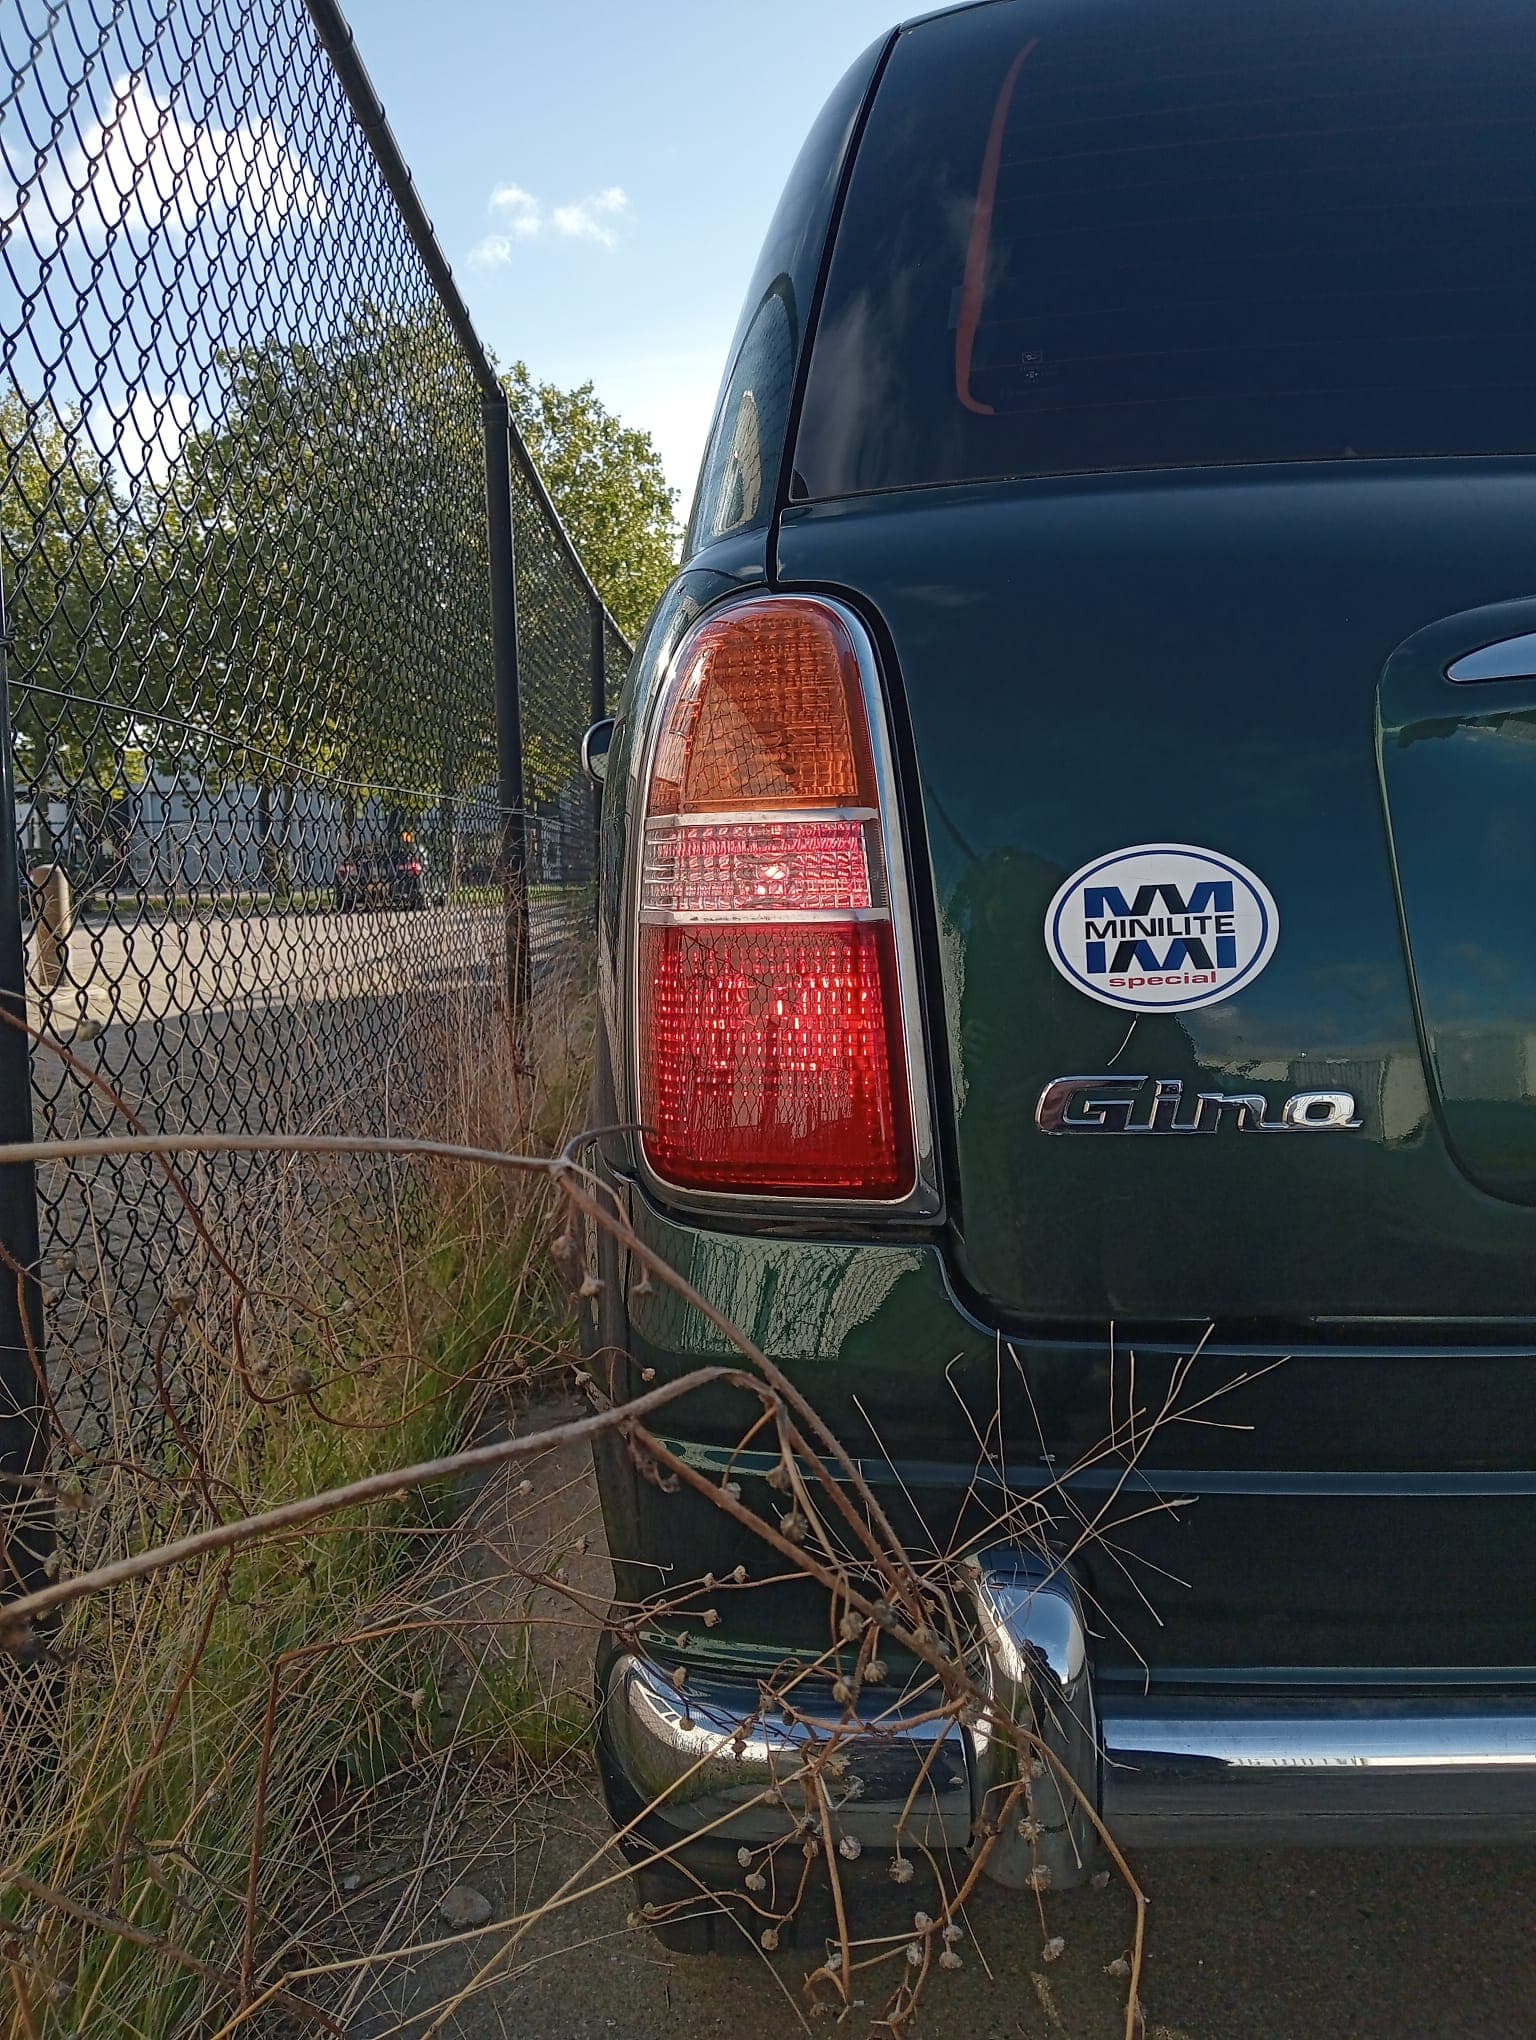
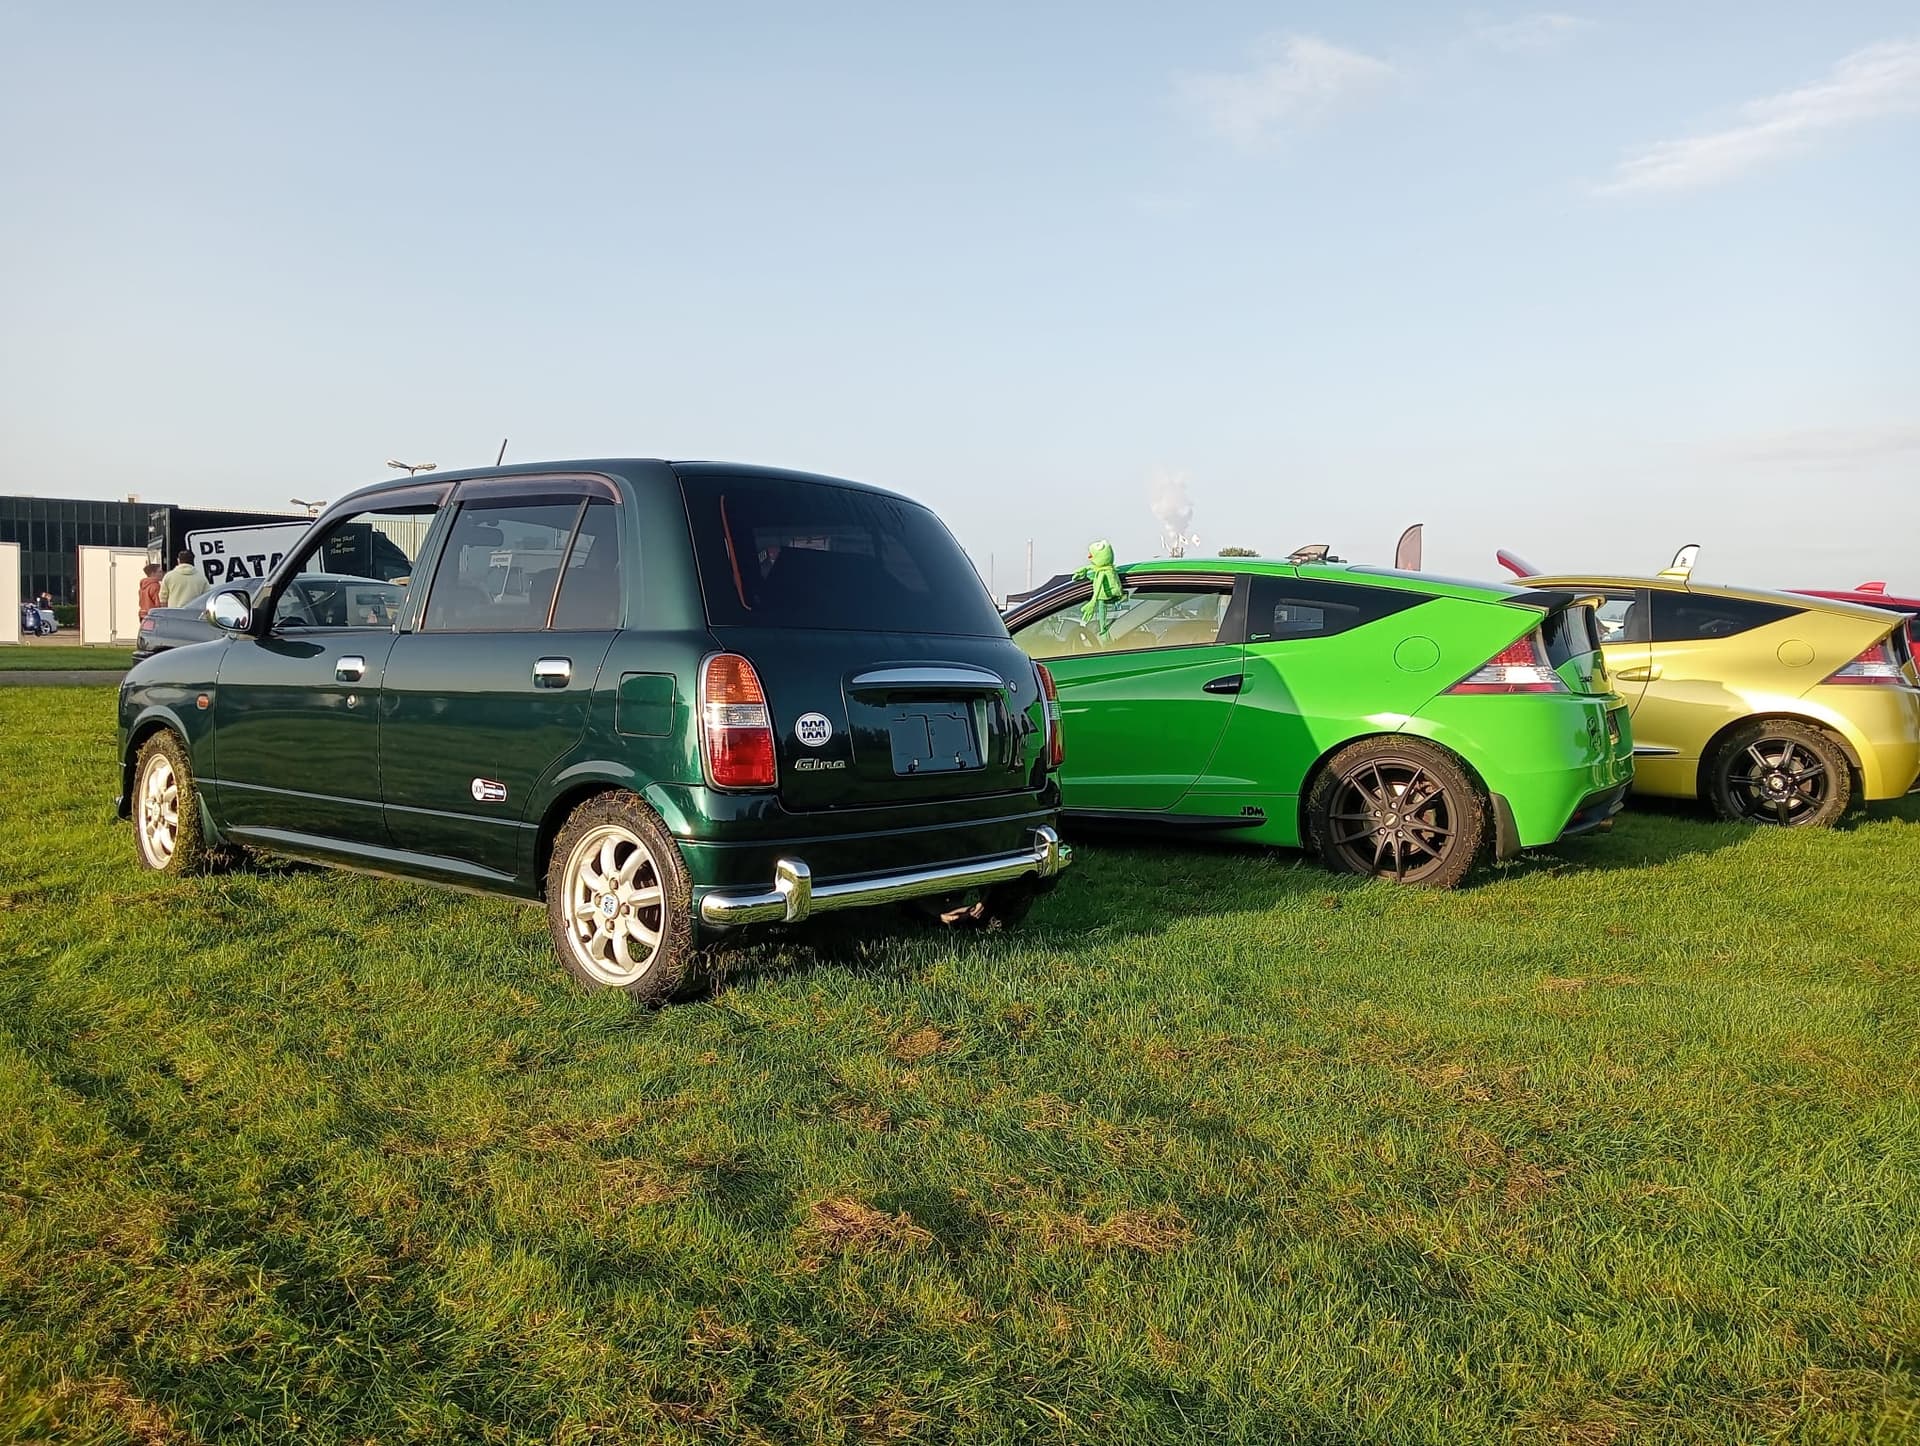
As promised here’s the thread for my most prized possession the Gino.
This is the first real Gino here in the Netherlands.
After seeing it for sale in the UK for 2000 British Pounds, i just had to jump on it.
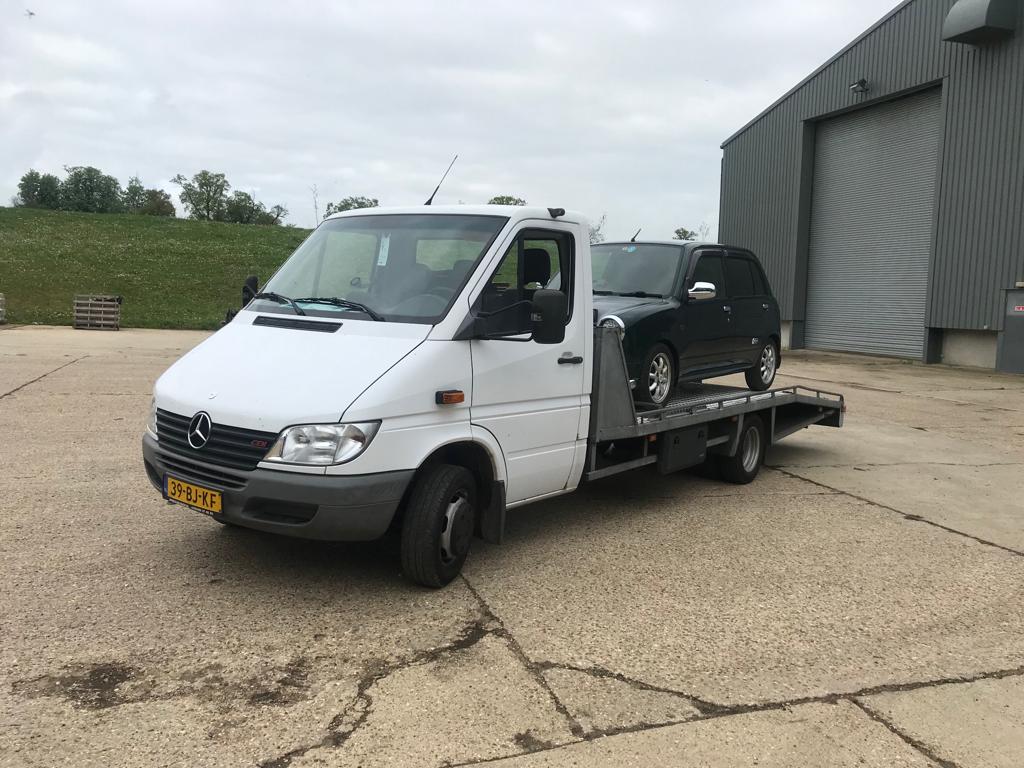
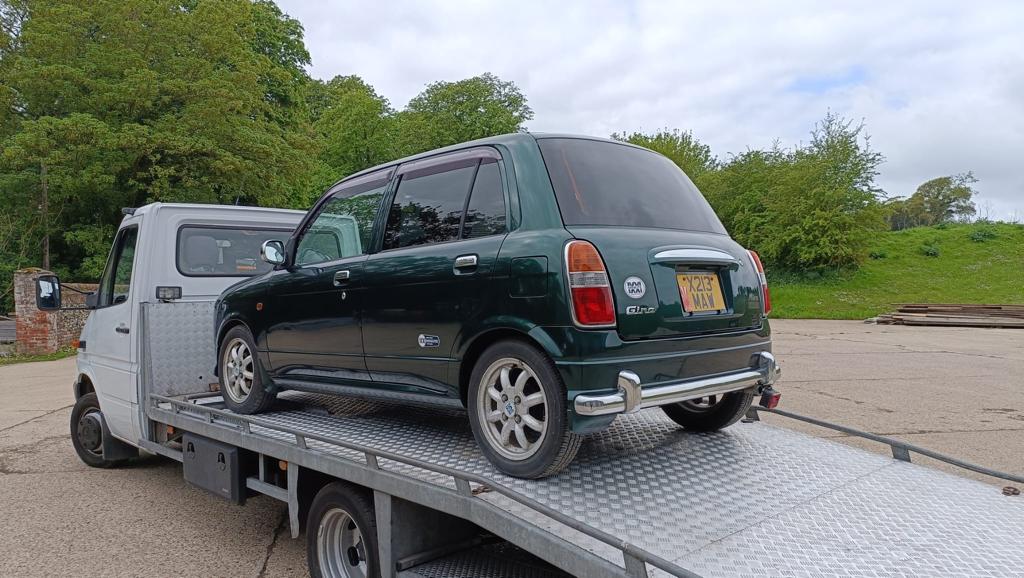
So I did. A couple of weeks ago i borrowed a car transporter and went to pick it uo with @marc0tjevp .
It was a nice trip through the British countryside.
There are a few things i need to do to get it road legal here. Like of course the headlights and the rear fog.
I’m going to relocate the rear fog light to the left reverse light. That way i won’t have some ugly box hanging below my bumper.
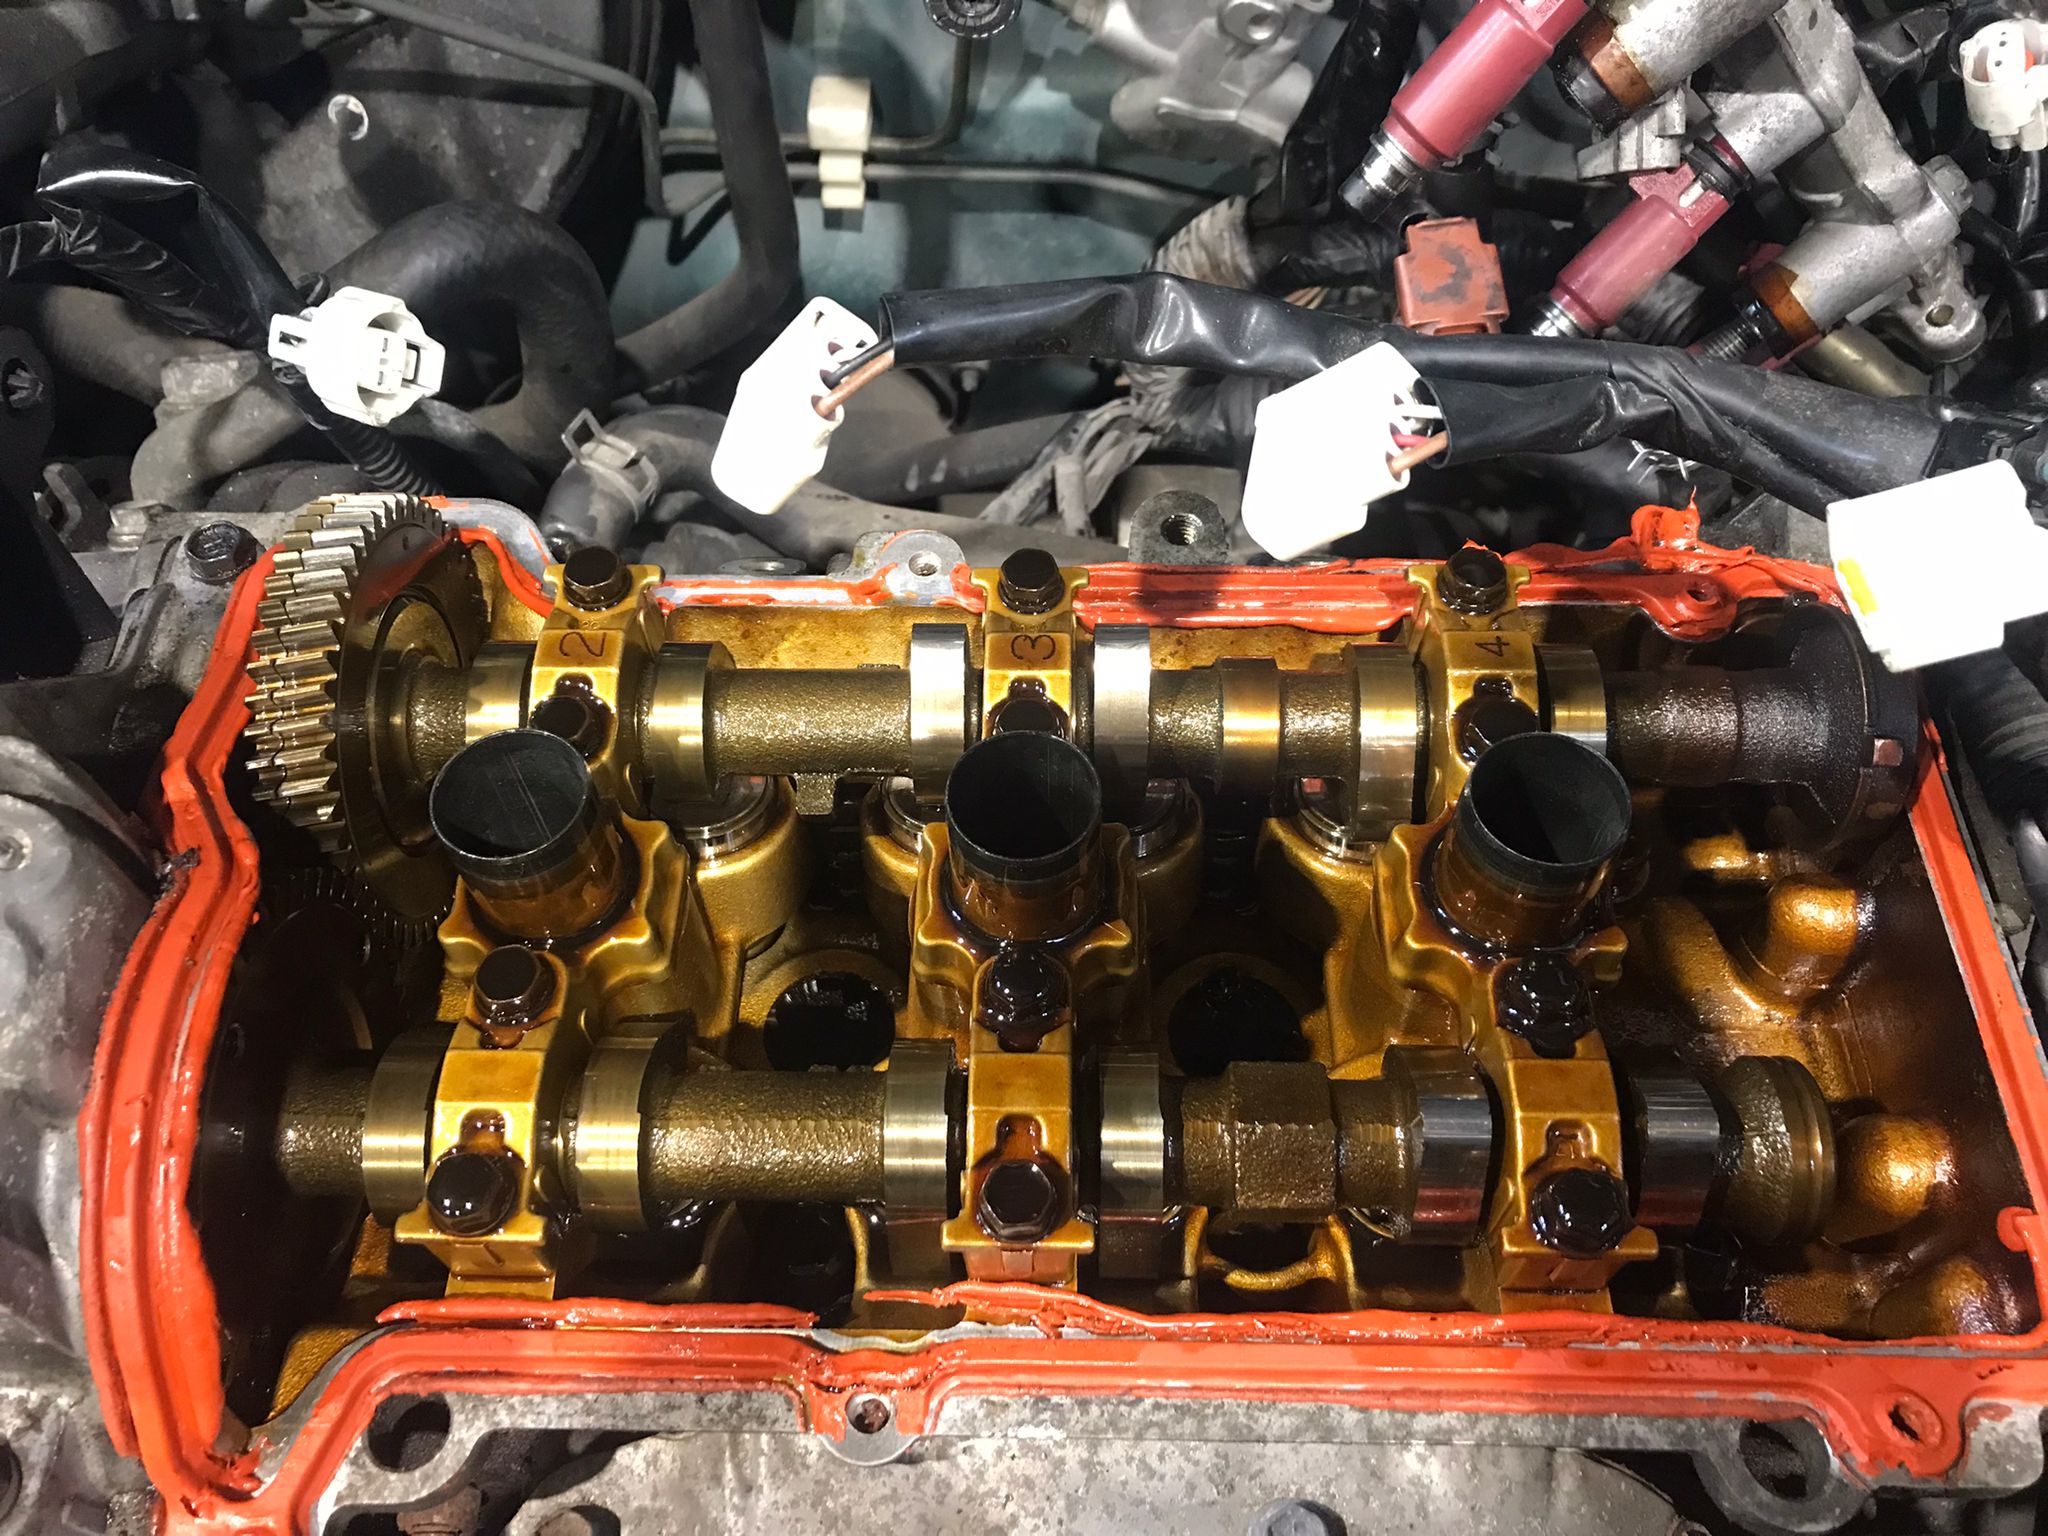
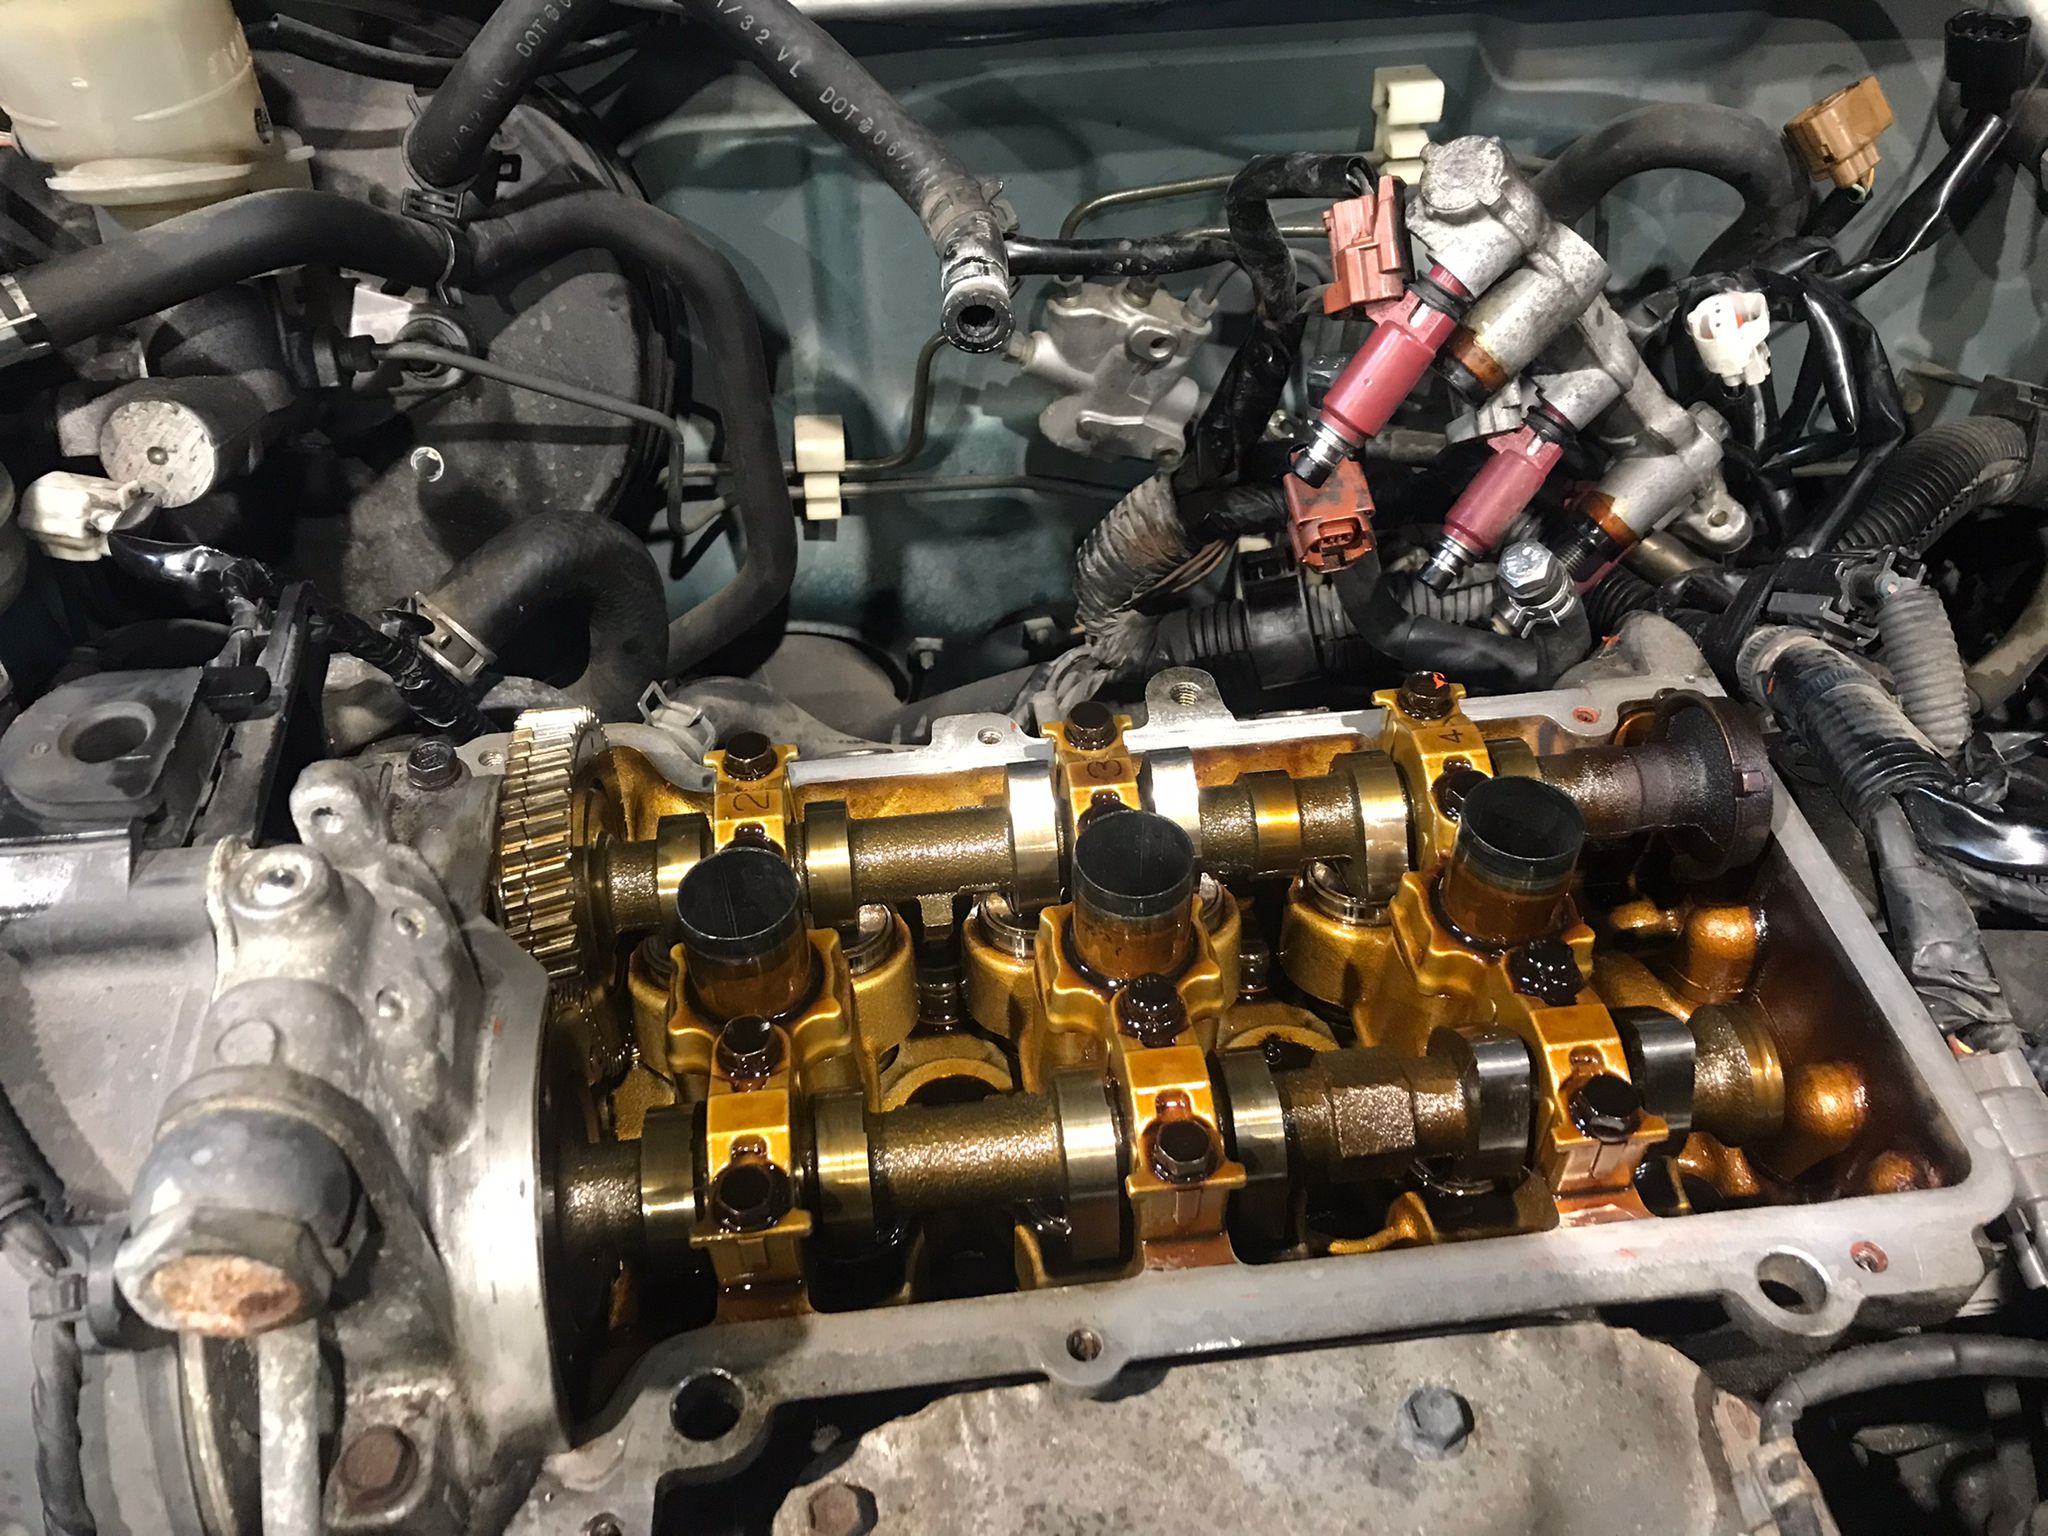
But i also need to fix a idle issue before i bring it to be inspected (because i want to and because they want to).
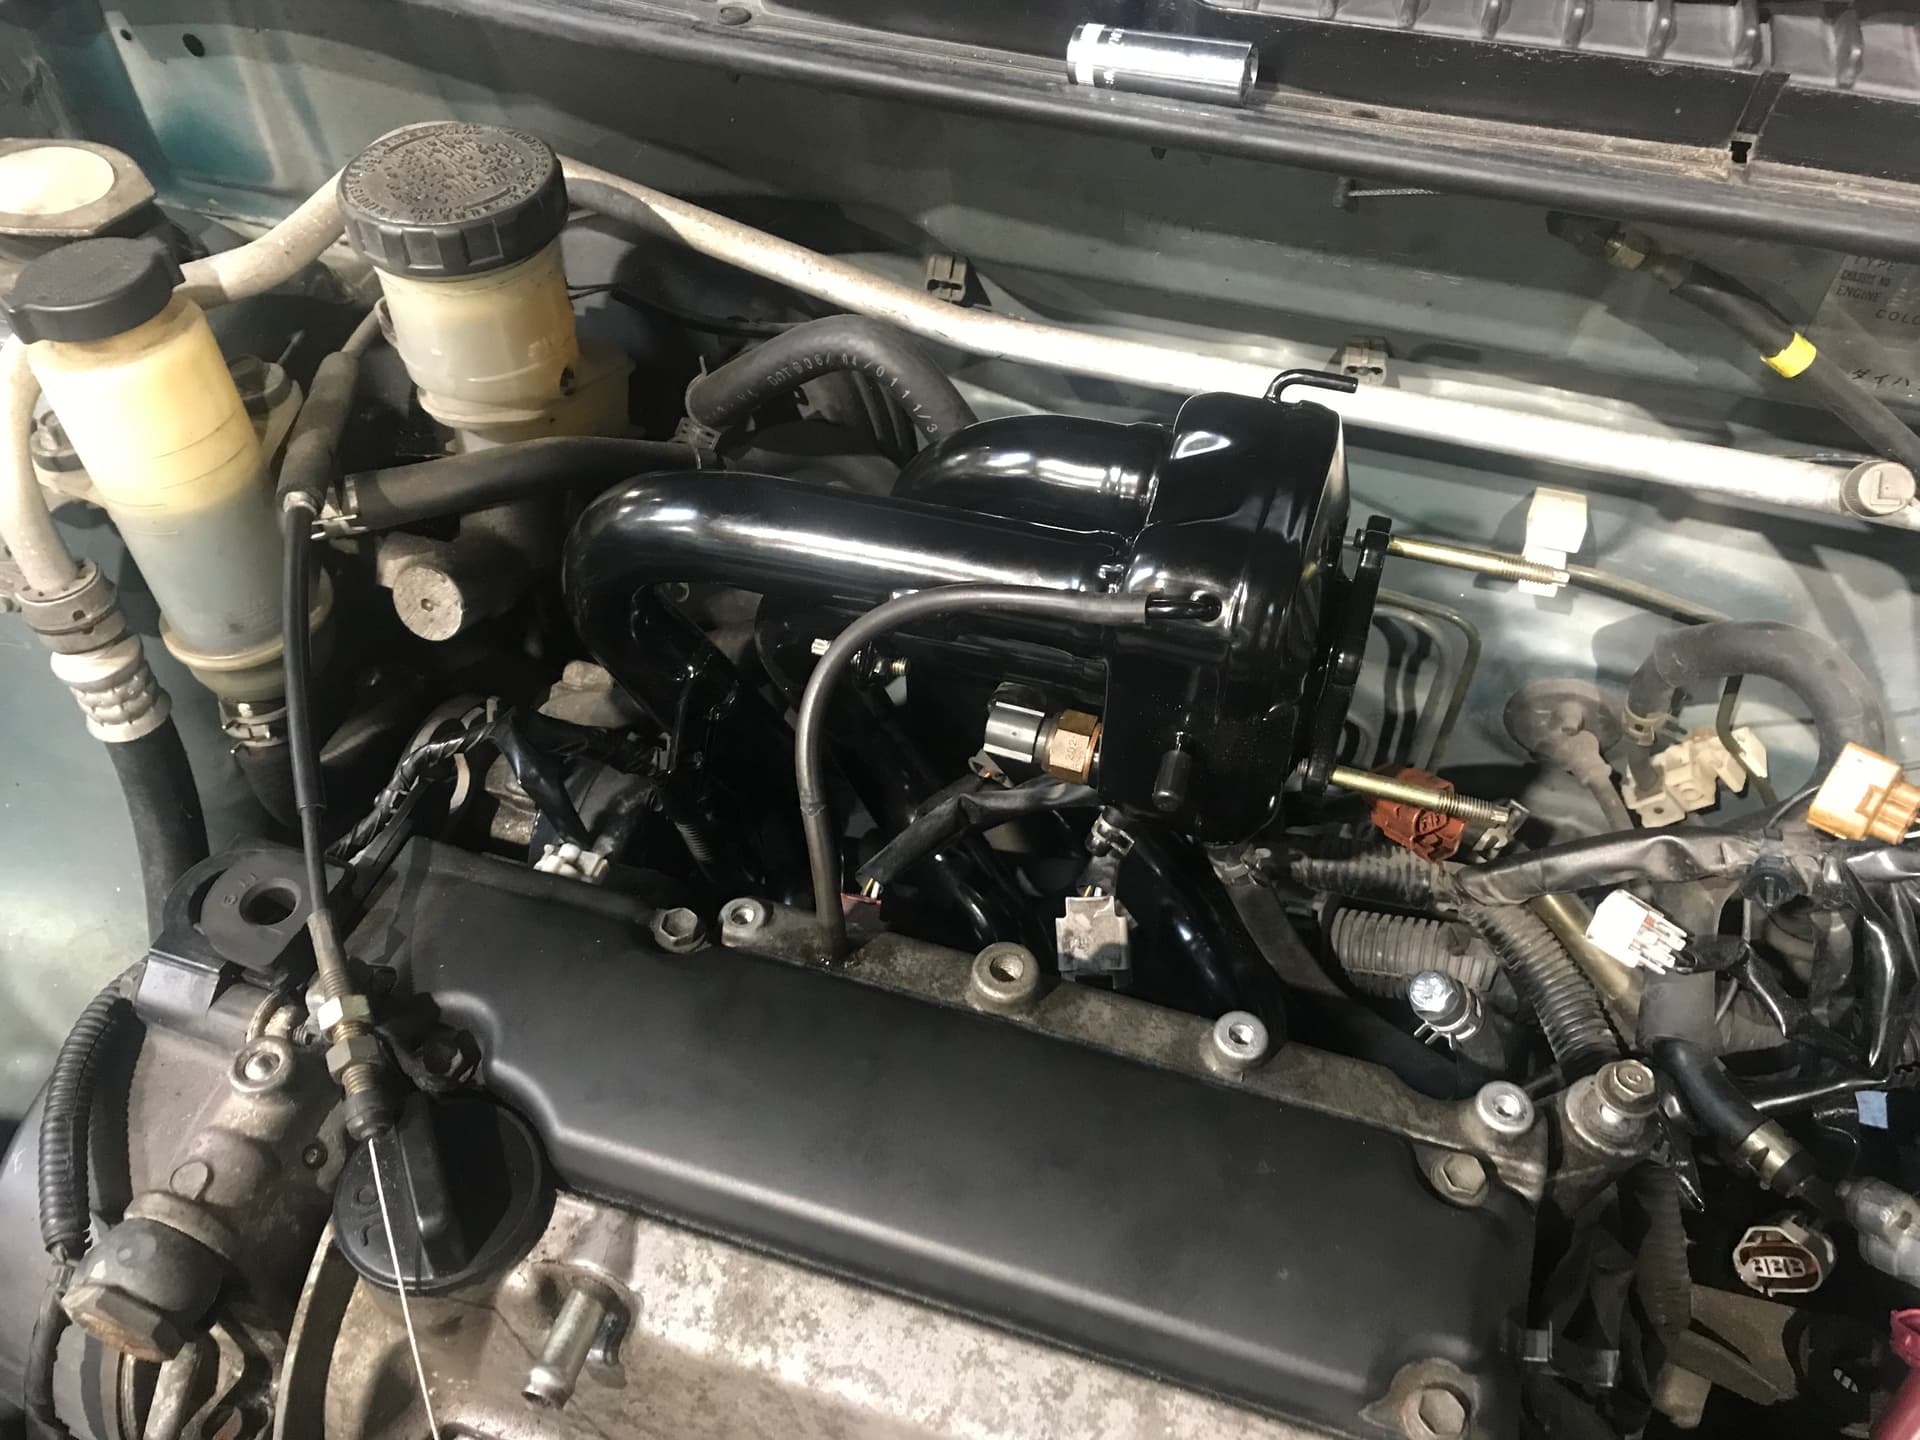
So today i started on taking the intake apart. The intake manifold is pretty rusty so i took that of as well.
Tomorrow i’ll bring it and a couple of brackets to the powdercoater.
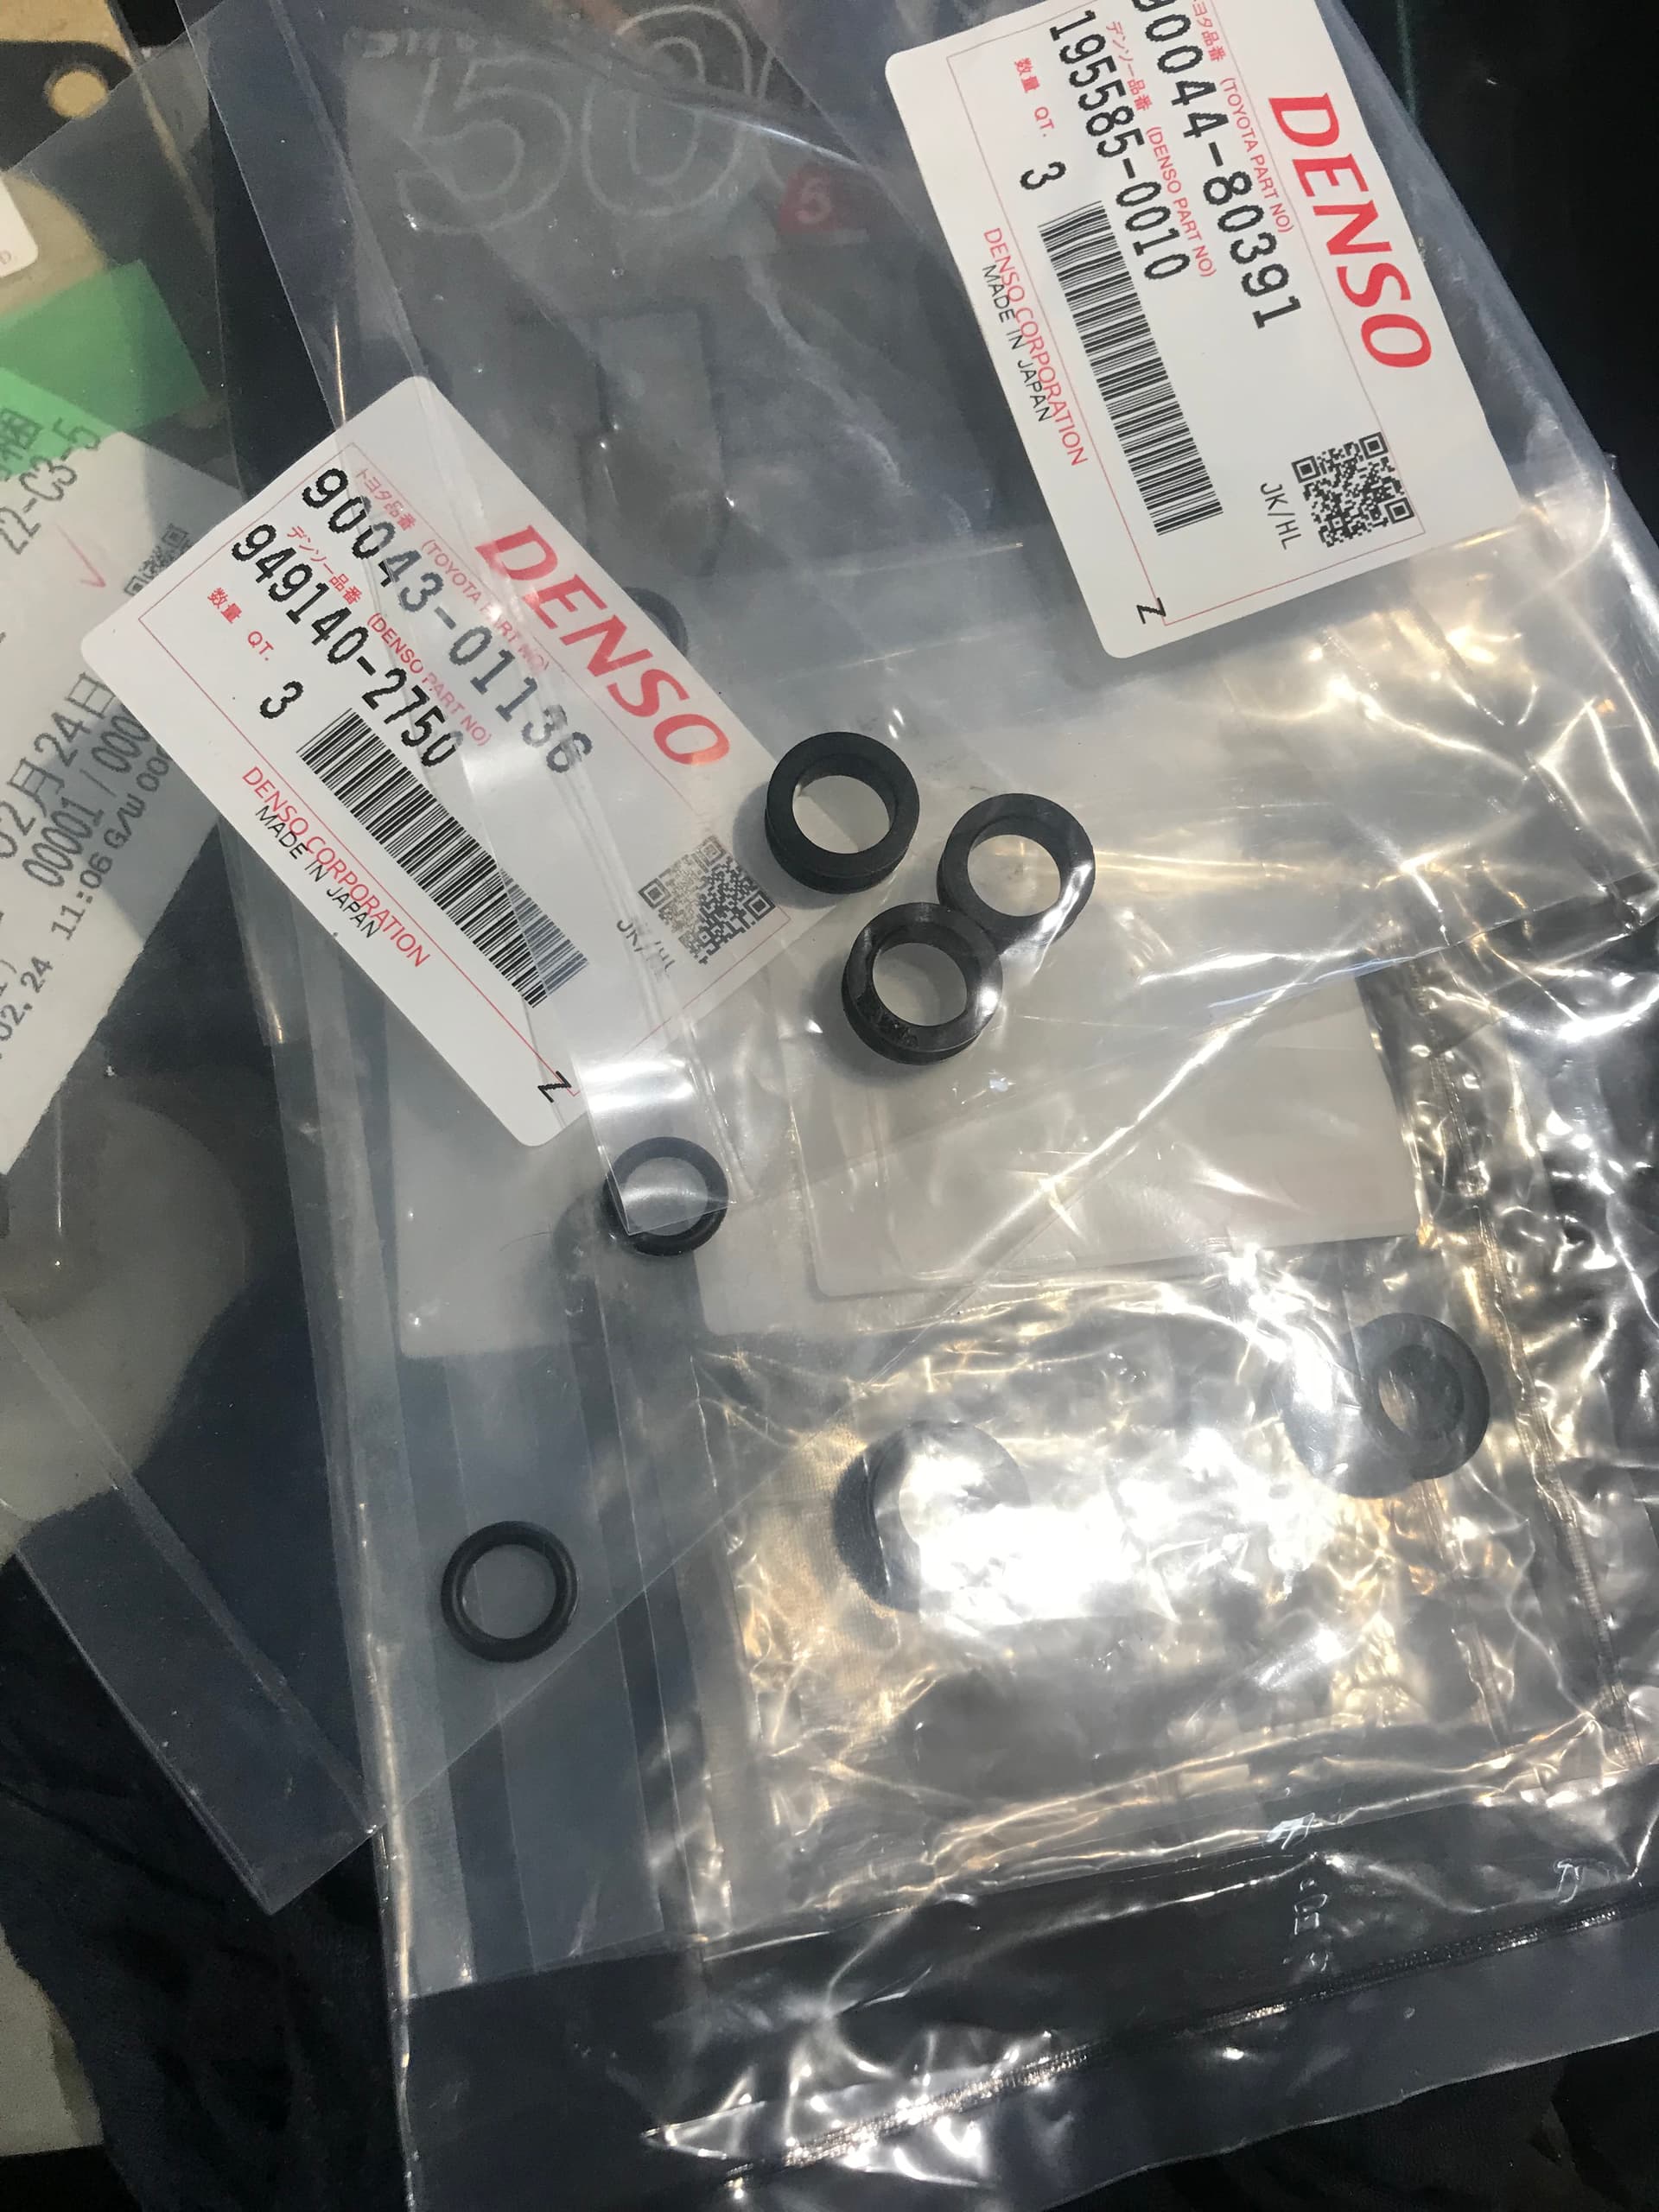
I also sent a email to the best Dai ‘‘dealer’’ here for the gaskets and other parts i’ll need.
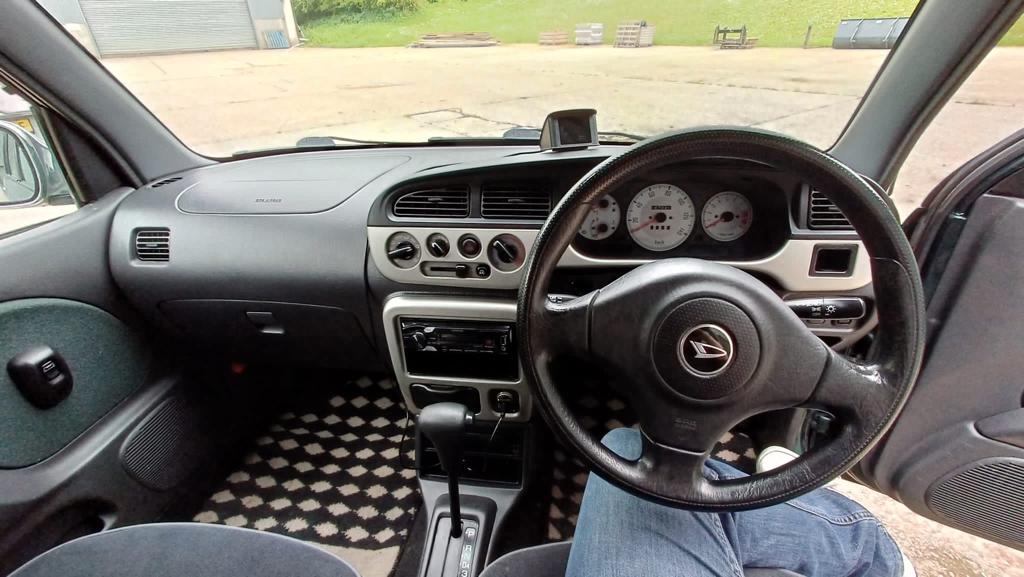
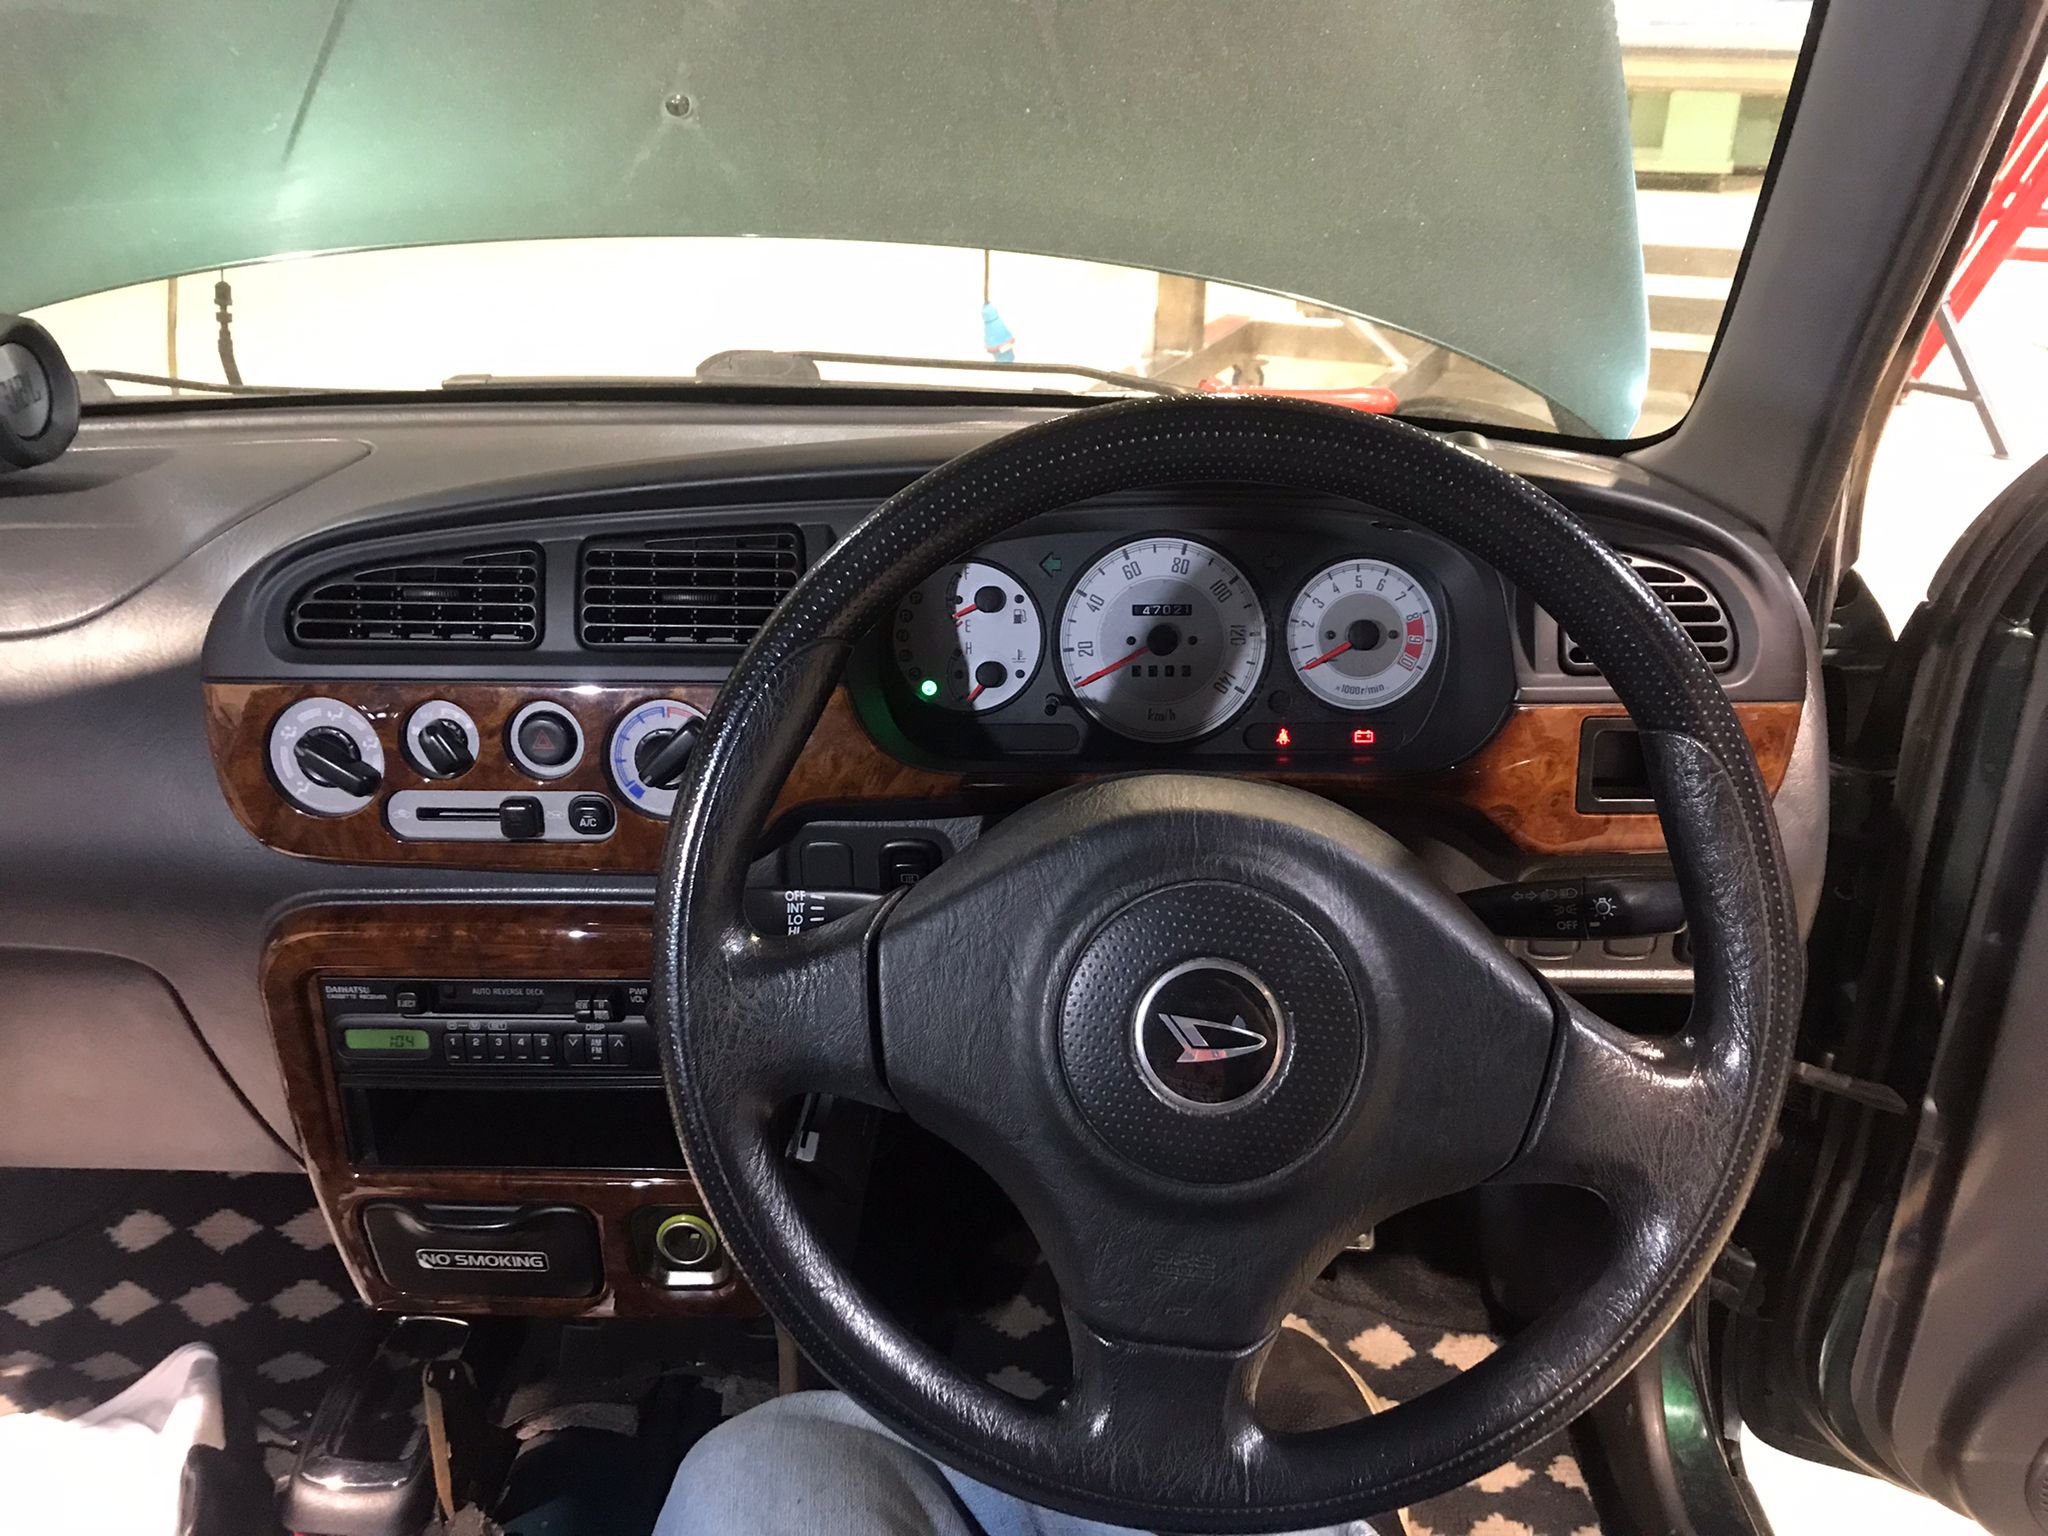
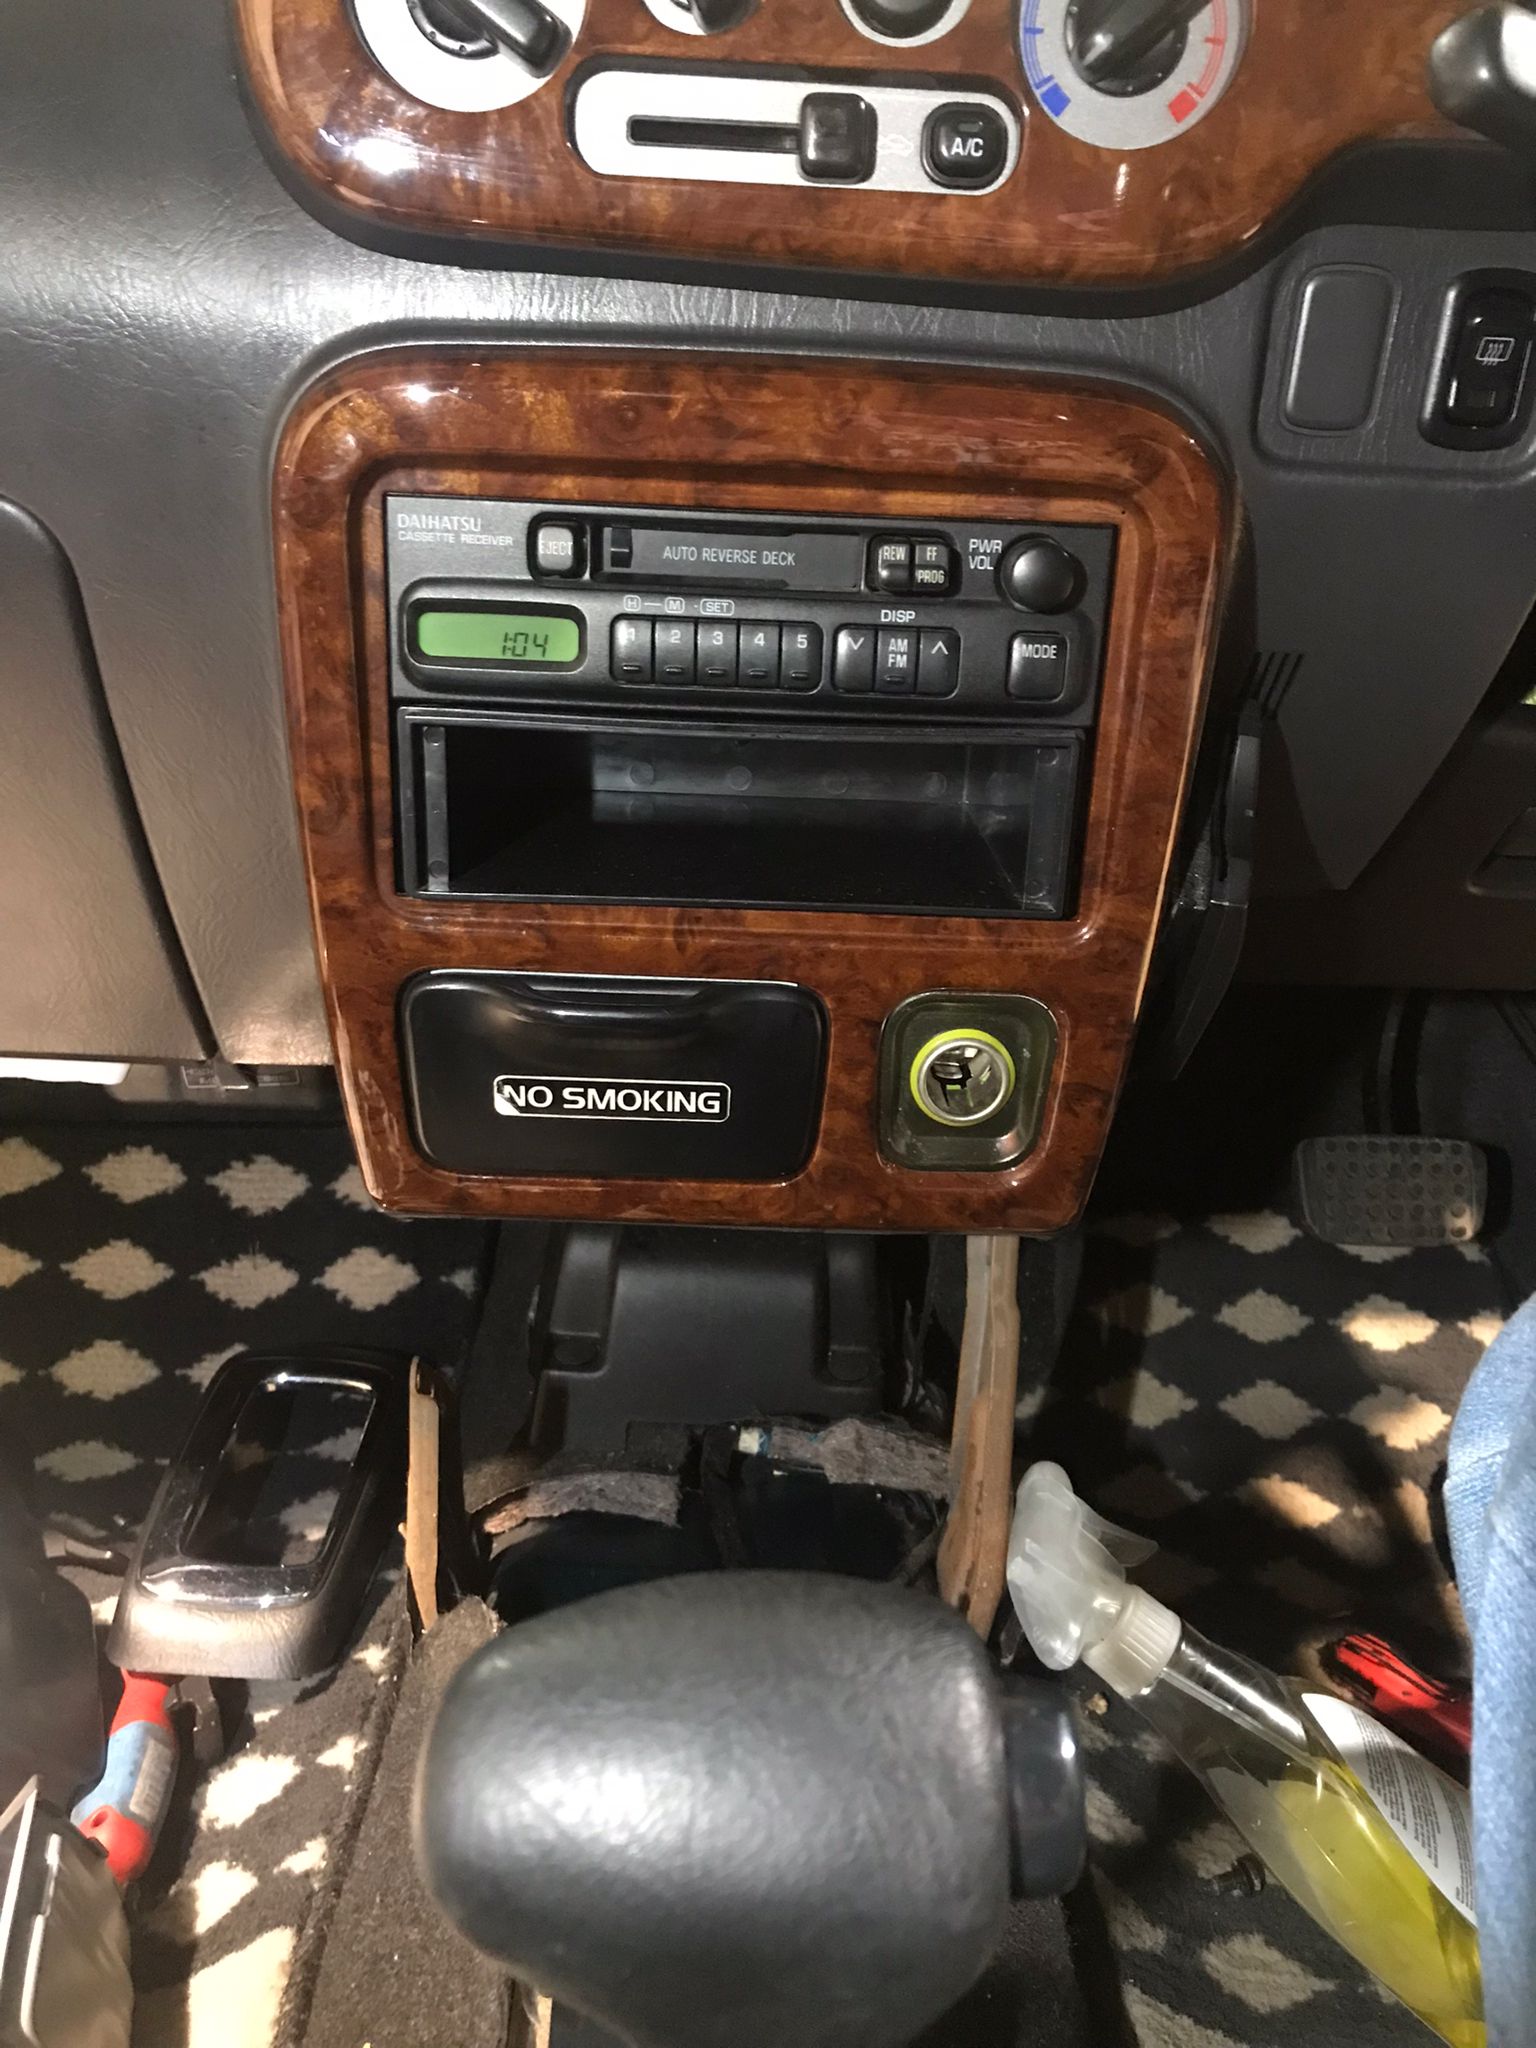
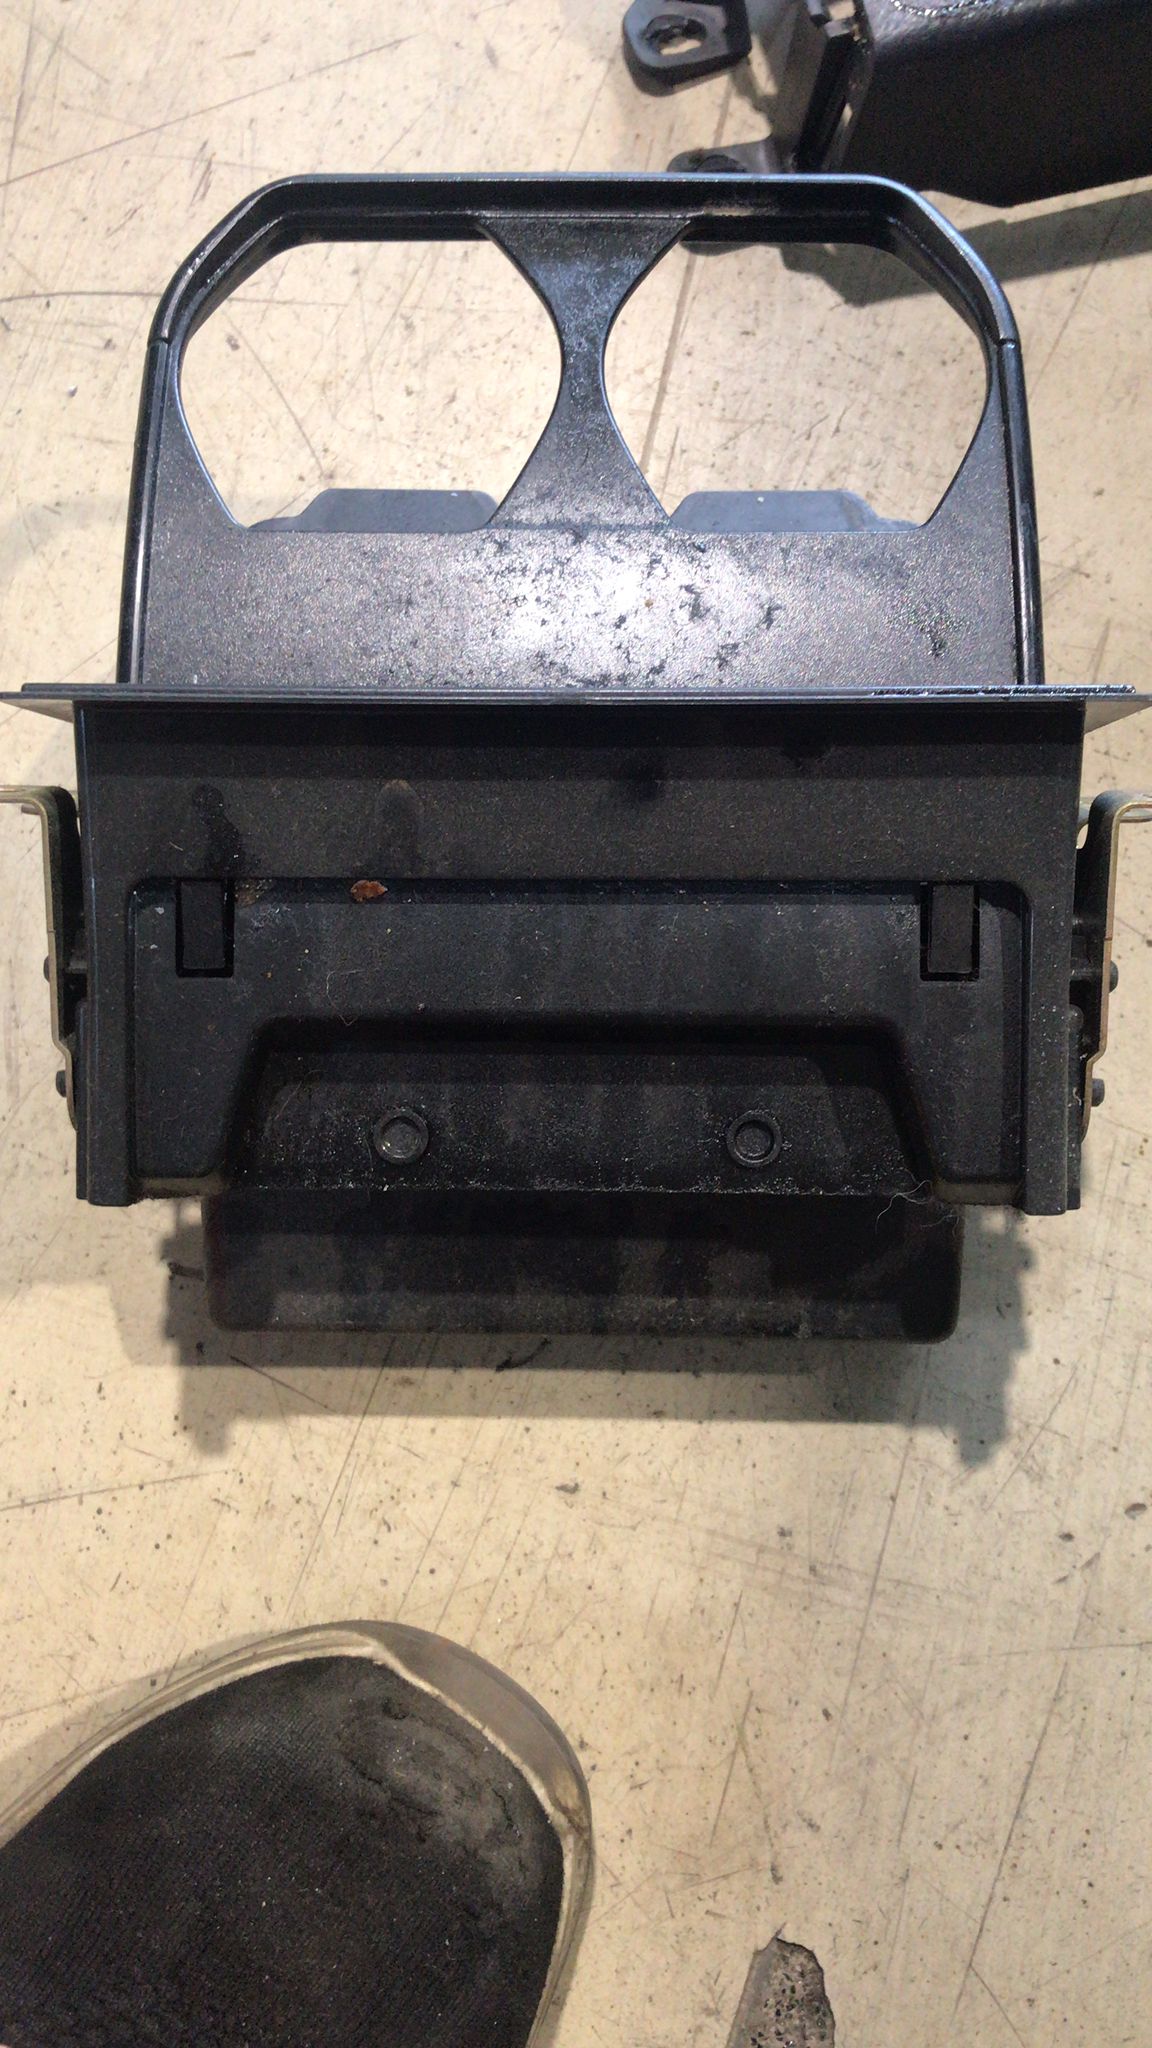
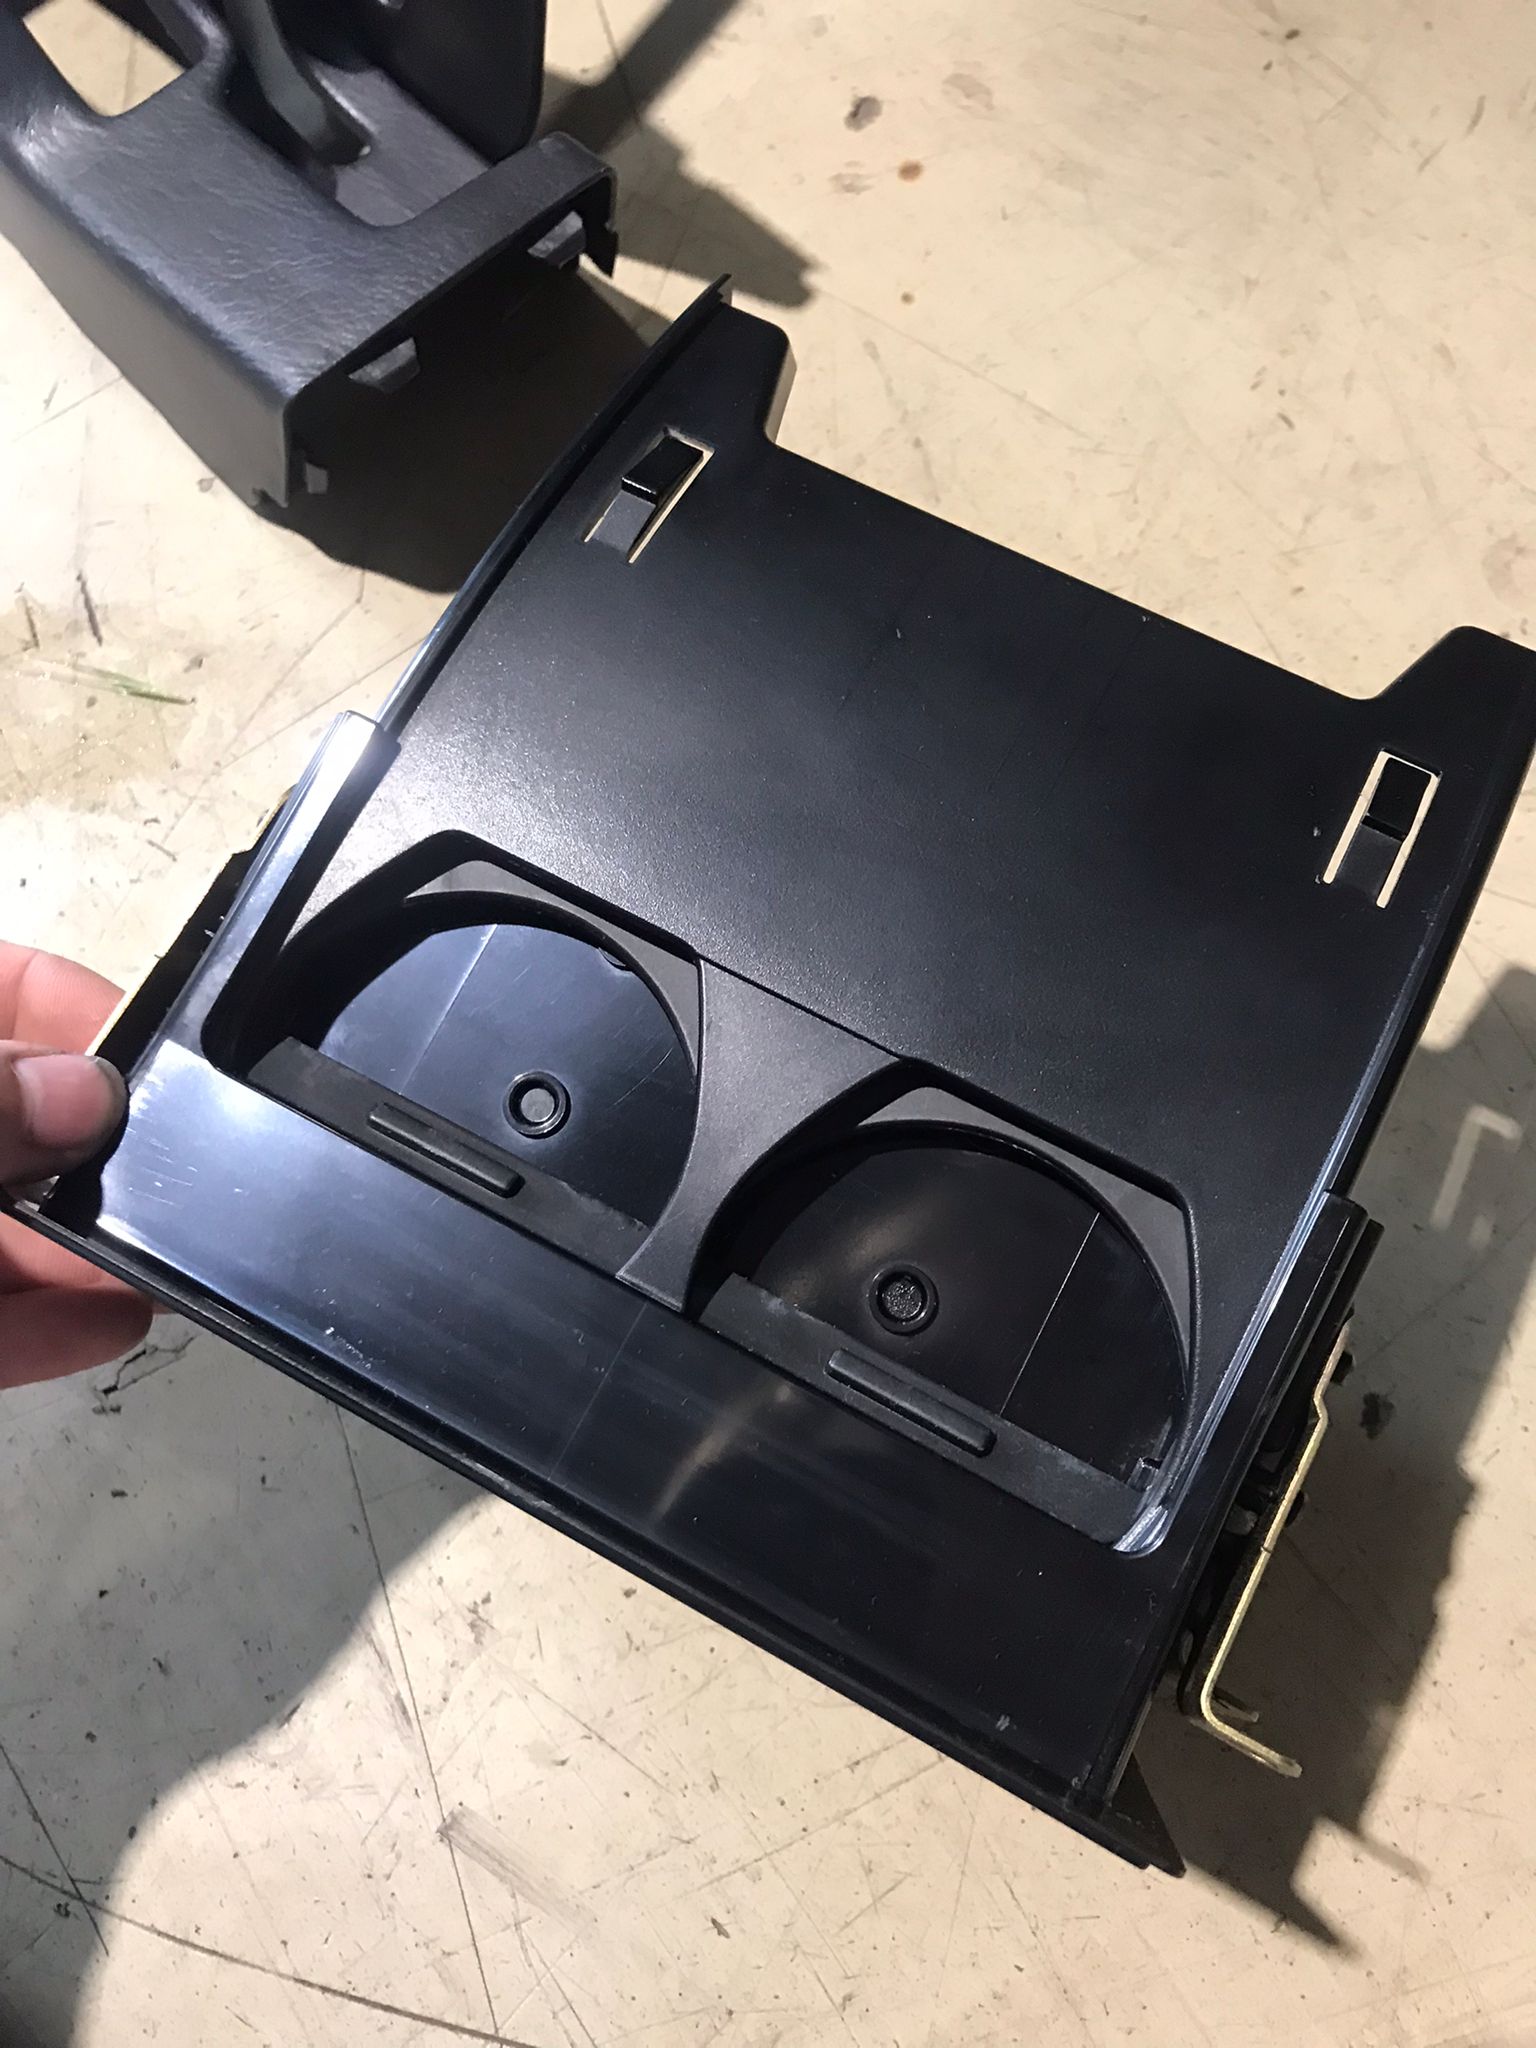
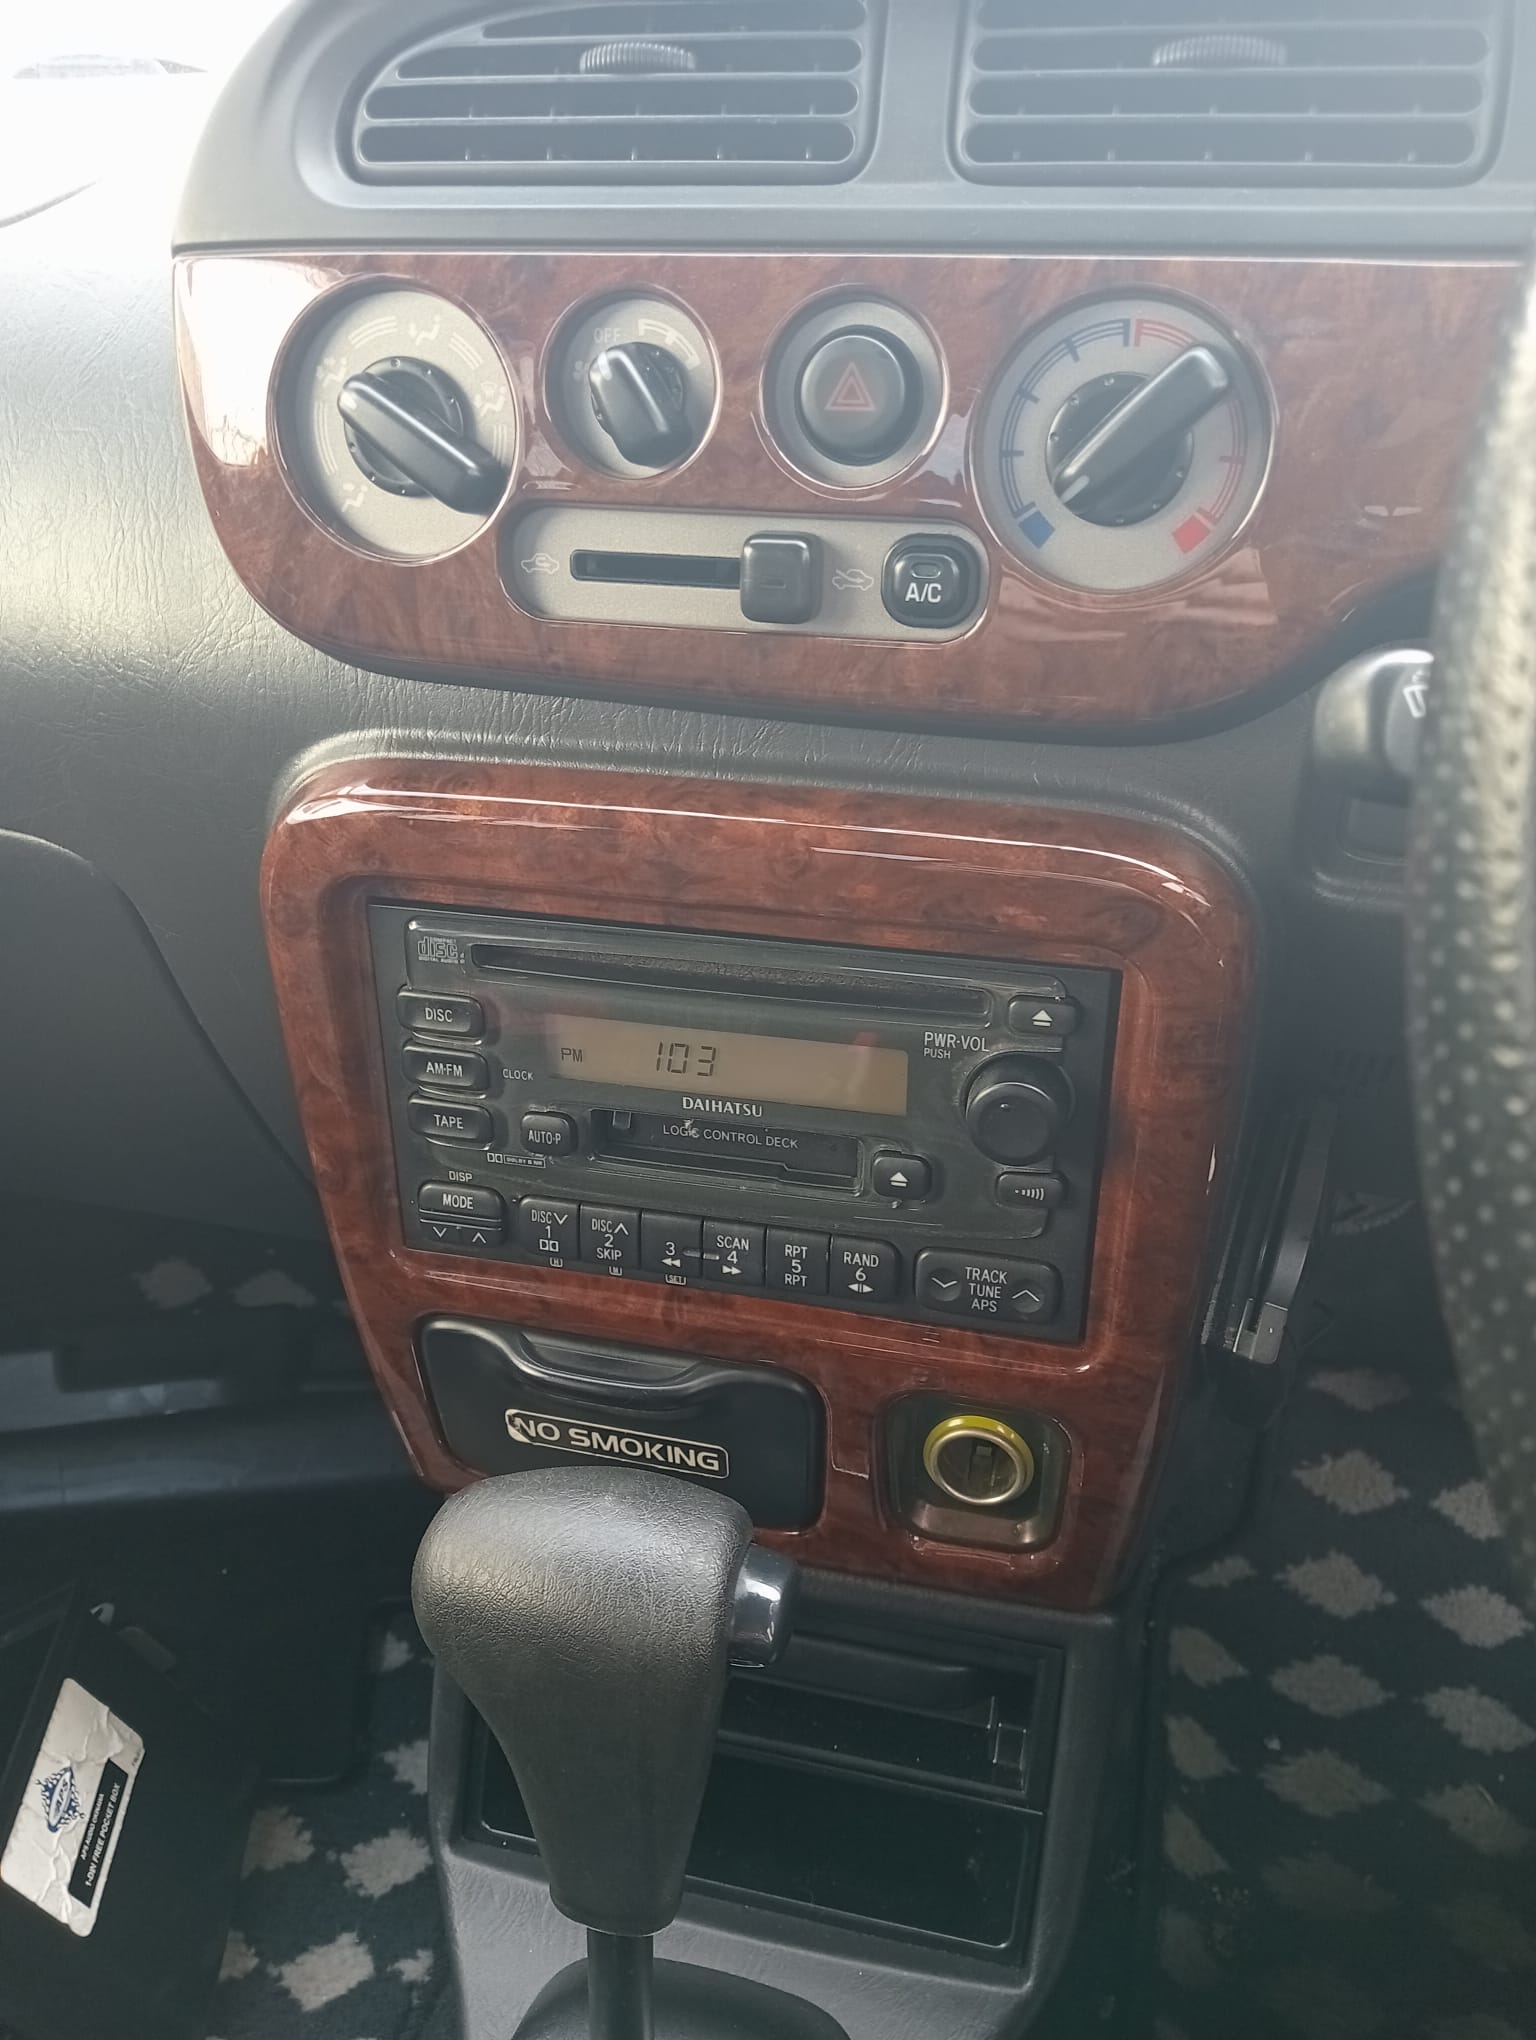
I didn’t really like the silver/gray panels. So they were the first to come out. I replaced it with the wood version which i like so much more. I also replaced the radio for a genuine one just because.
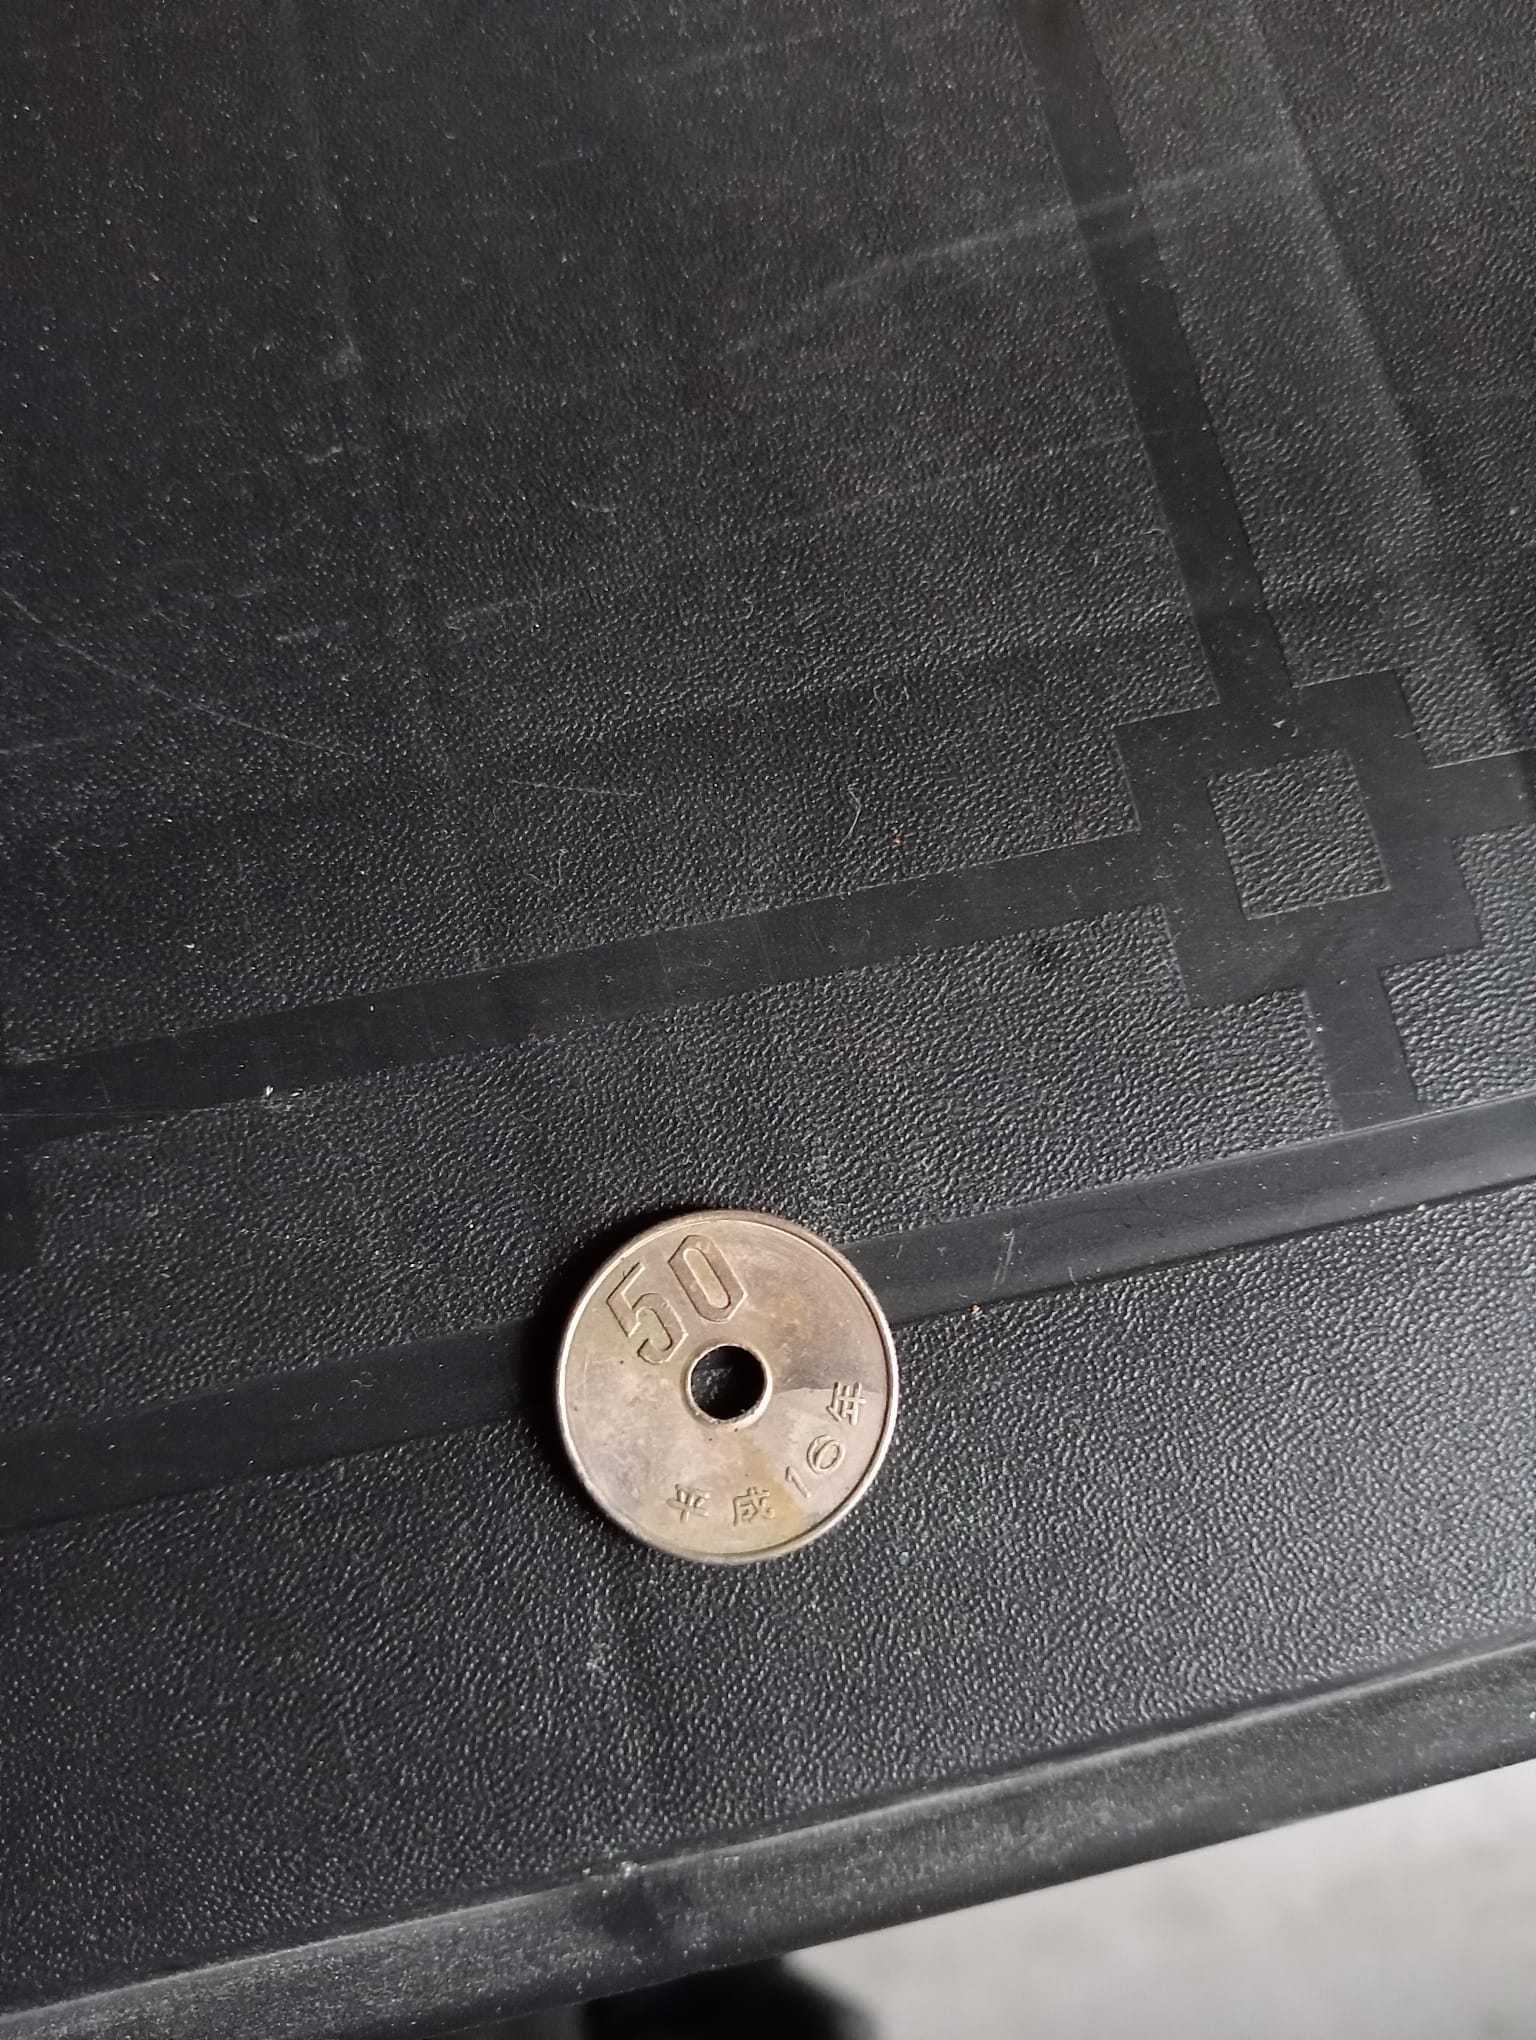
Also added a coin ‘‘ashtray’’ i got for a steal.
When taking everything out i noticed everything was gross and sticky. Like someone poured a whole cup of Coke all over it. So some cleaning was in order.
Well… I’ve made some progress. Just keep forgetting to post here.
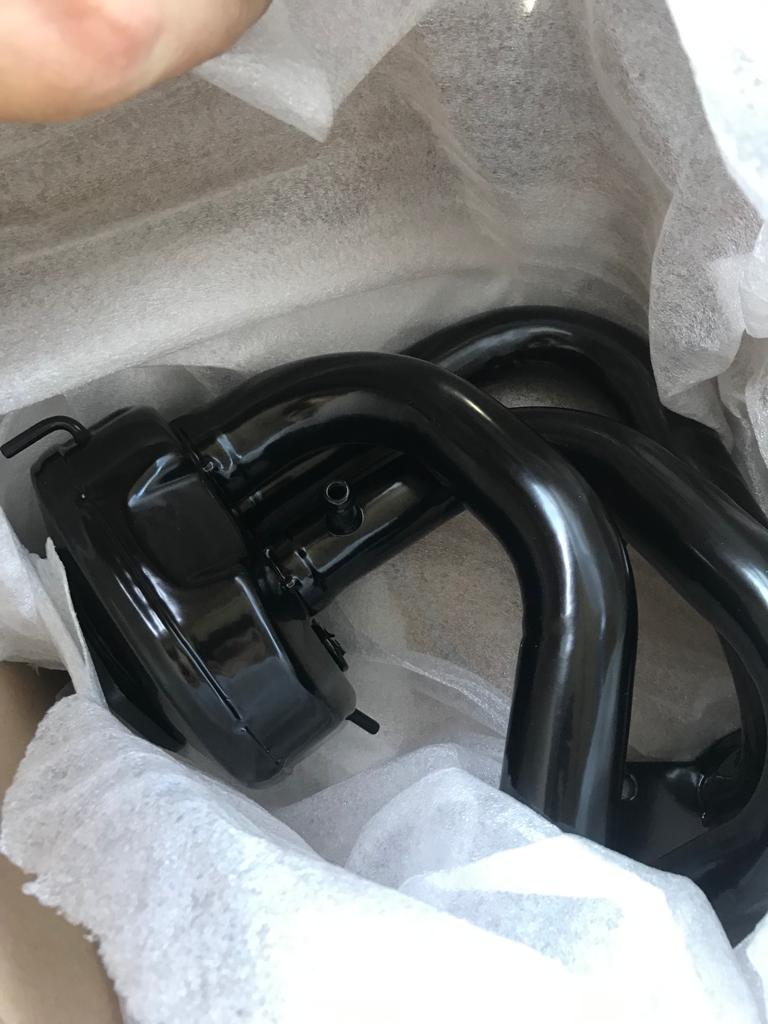
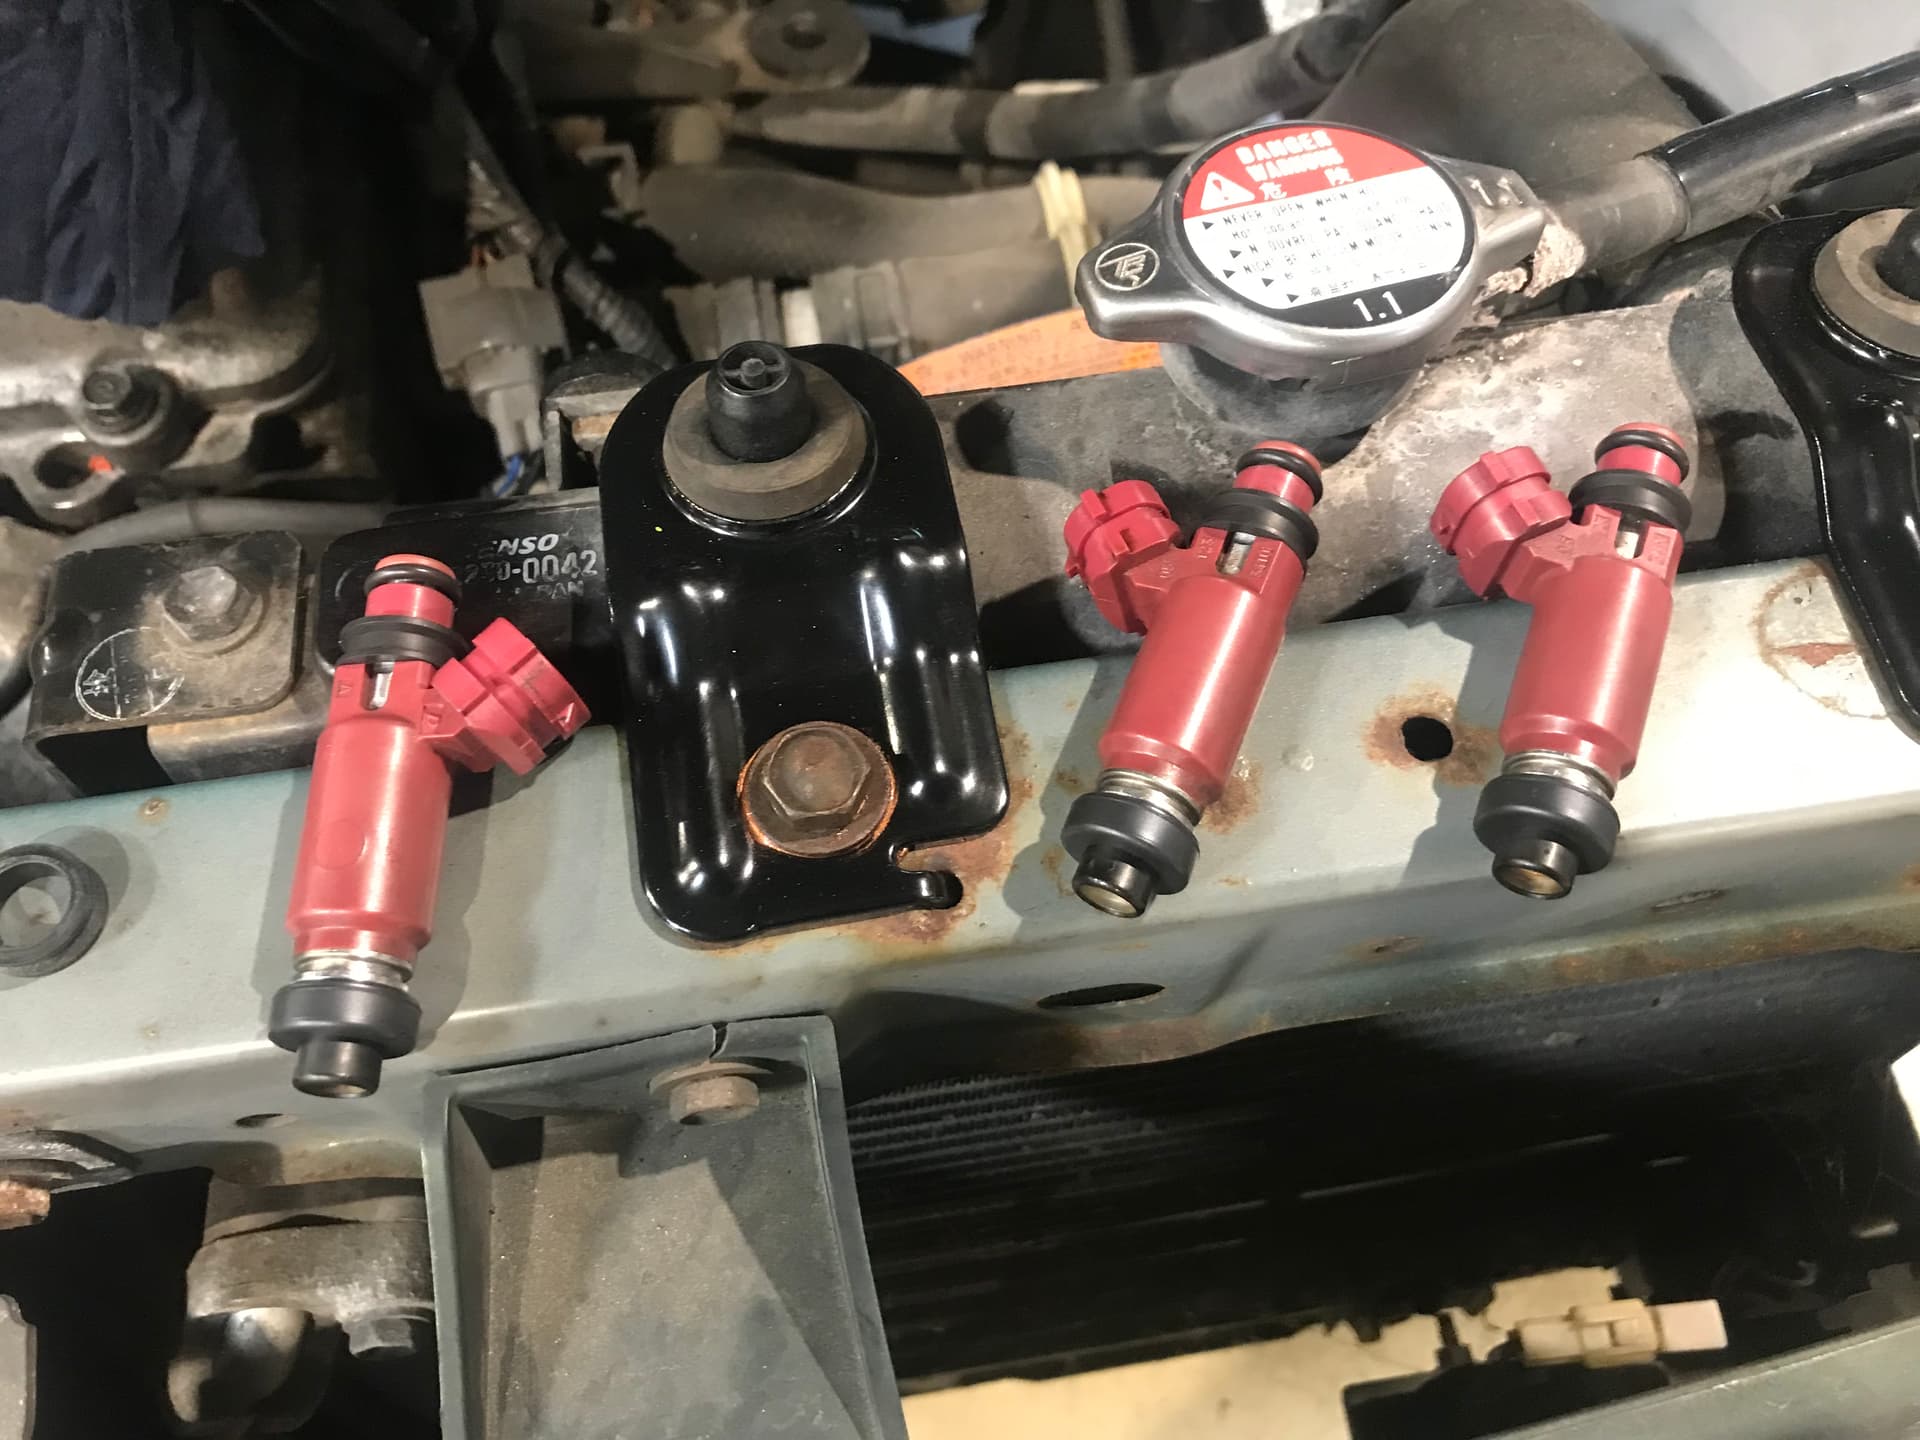
When i bought the Gino it had a idle issue. So instead trying to pinpoint the exact problem i decided to tackle all known possible issues. One of them is the intake gasket, and while the intake manifold was off i brought it to the powdercoater cause it was a bit rusty. I also got some other bits coated.
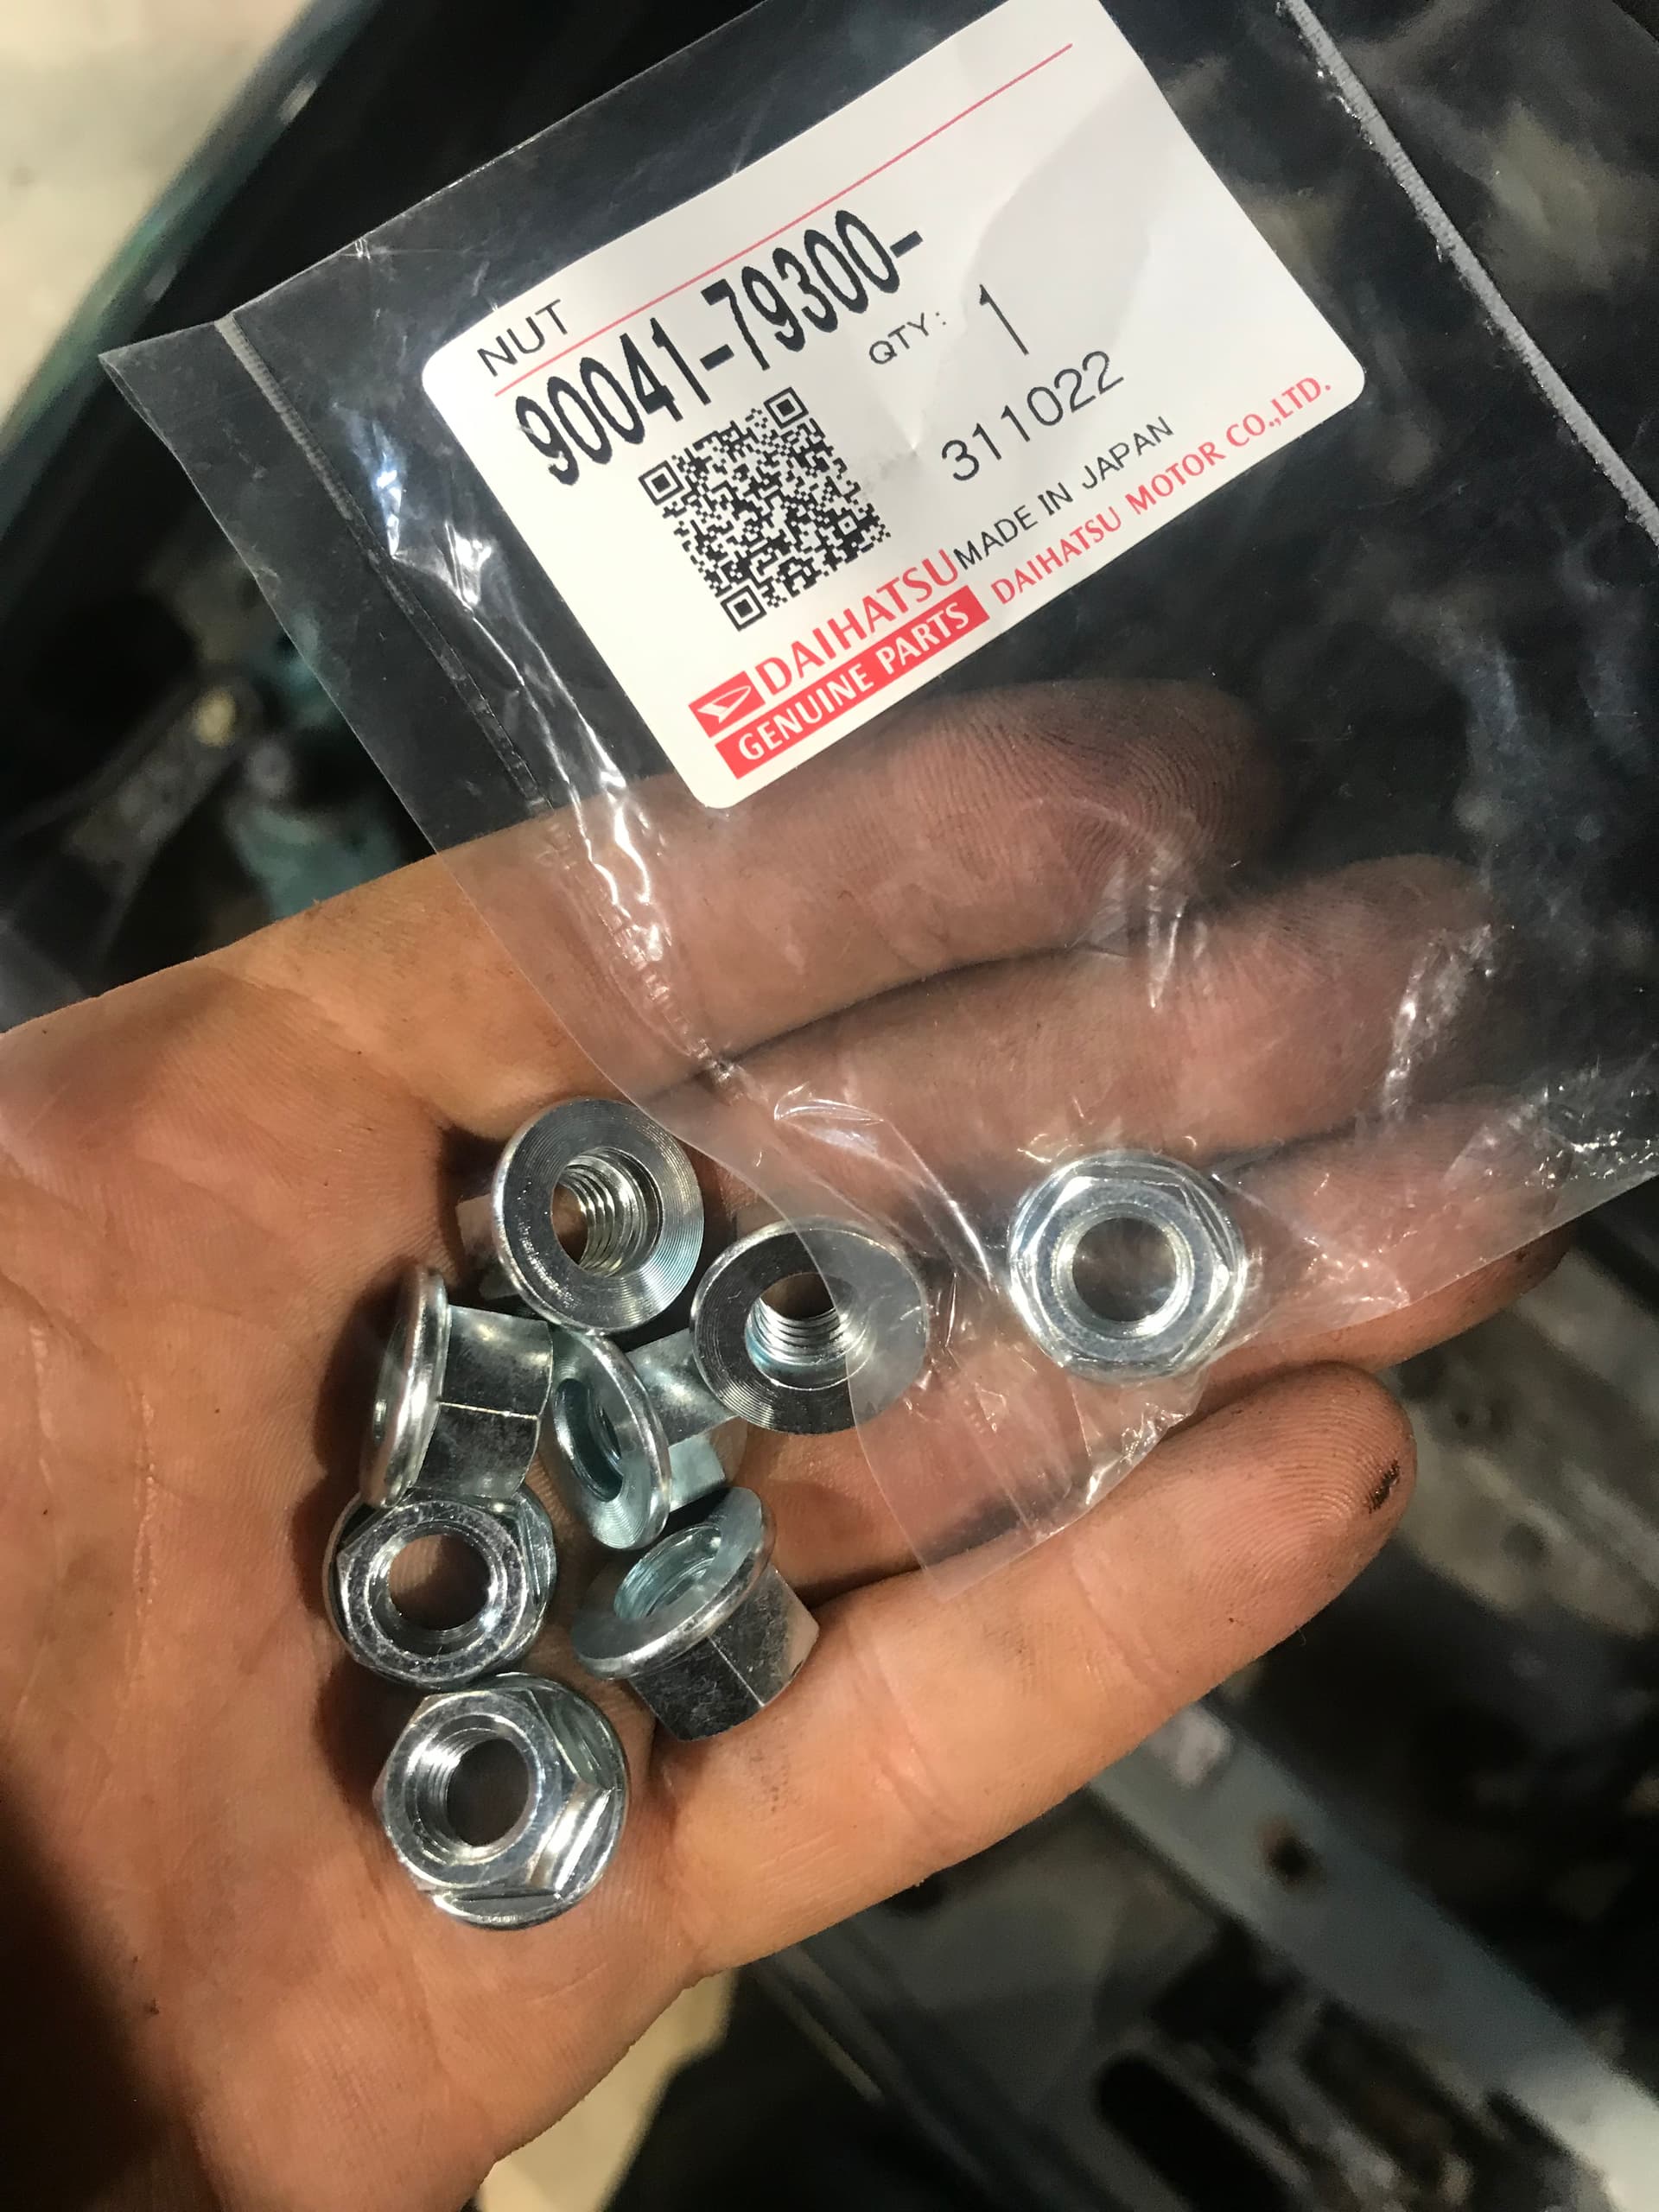
Wherever possible i used GENUINE Daihatsu parts.
All gaskets and seals i used were OE and OEM.
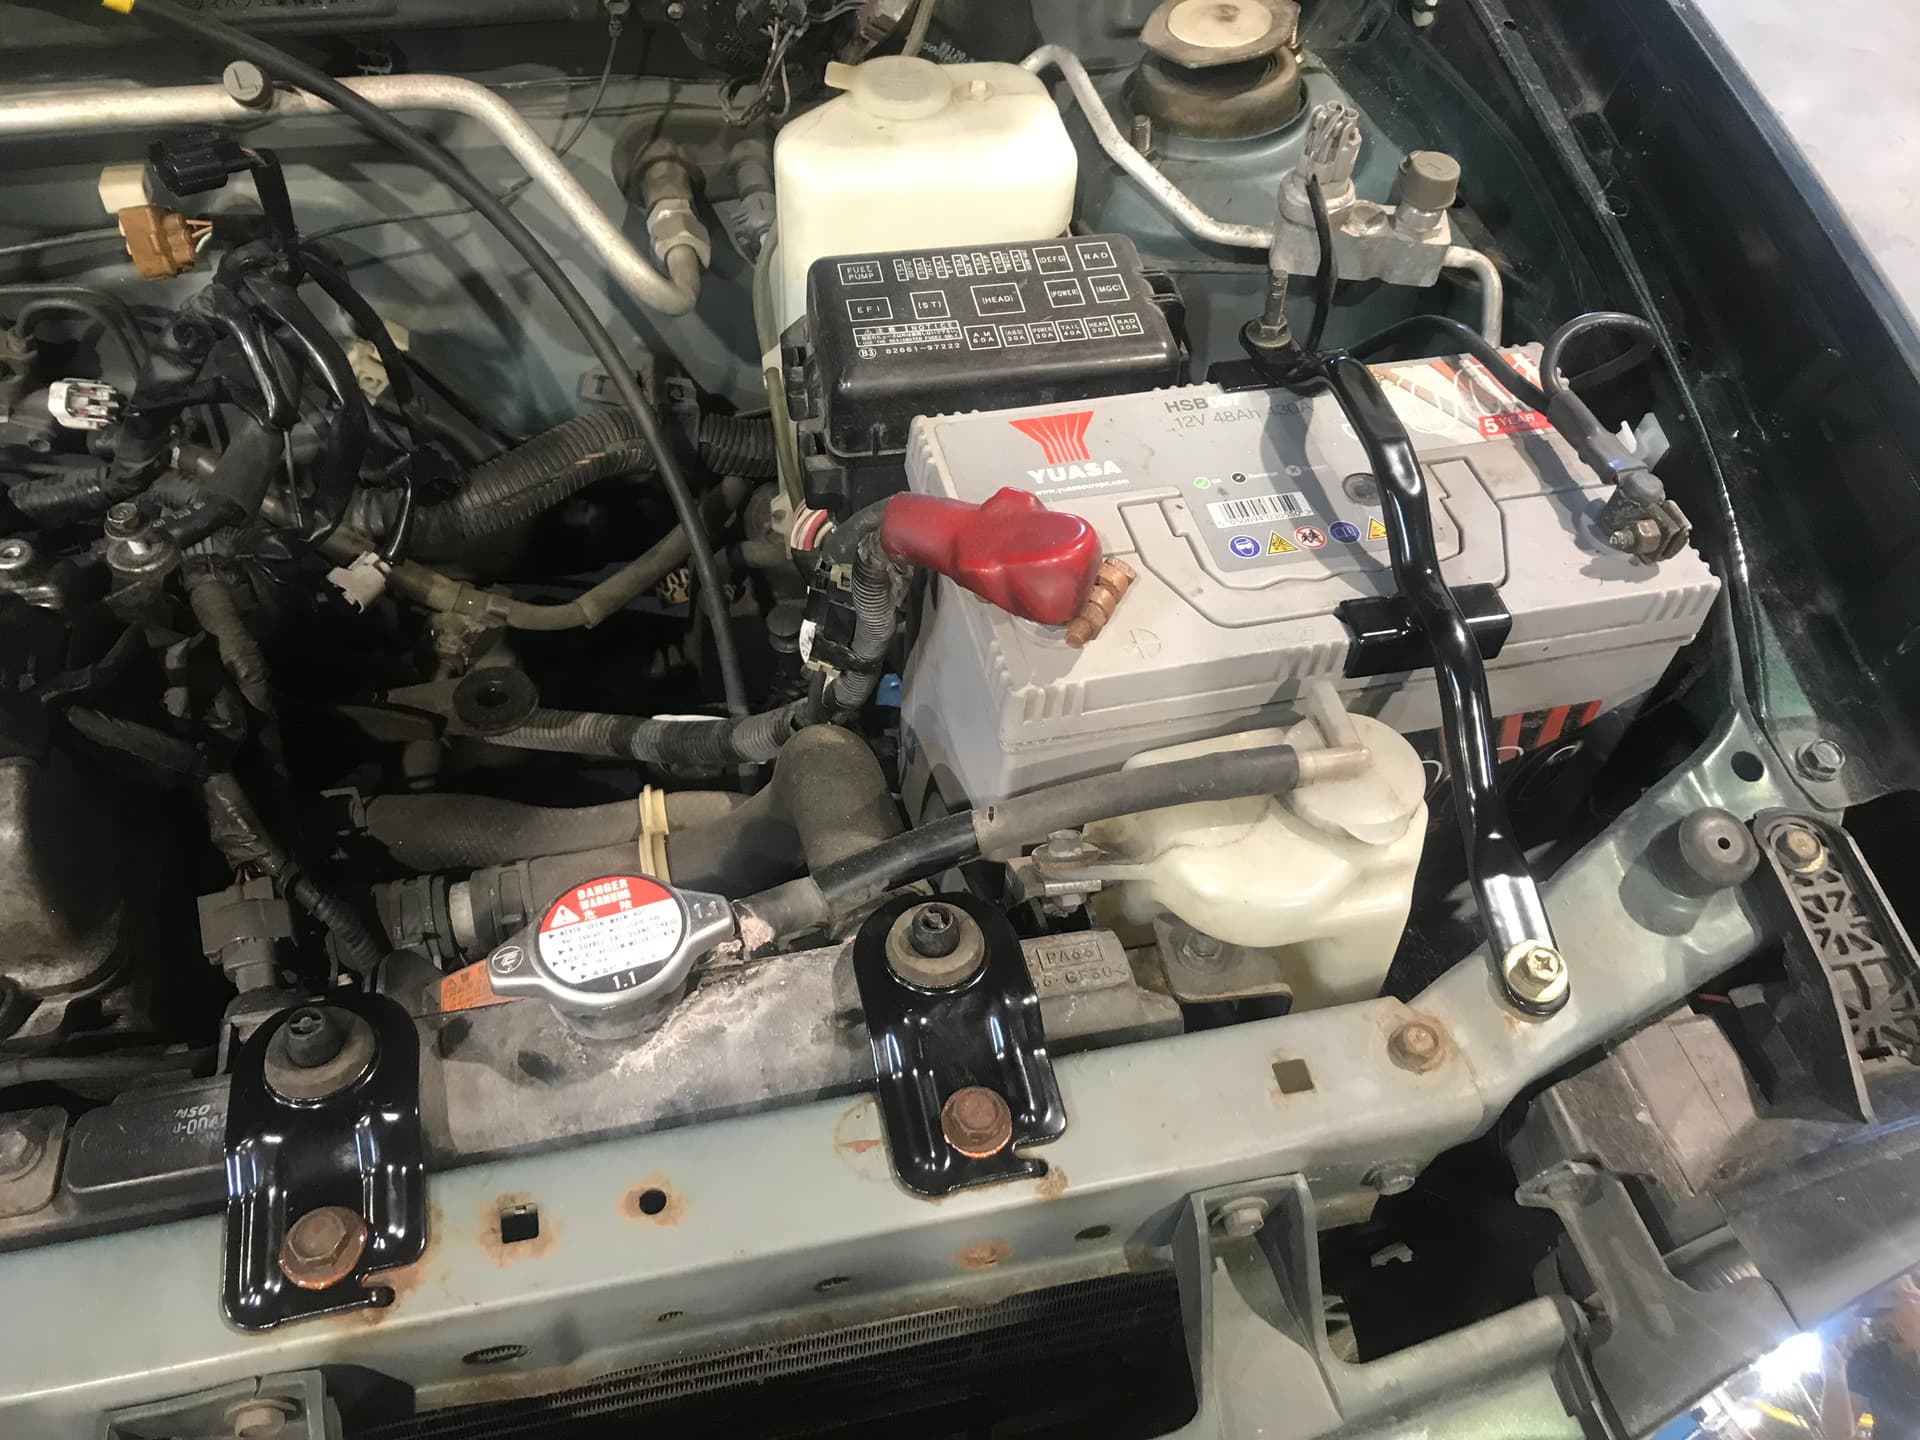
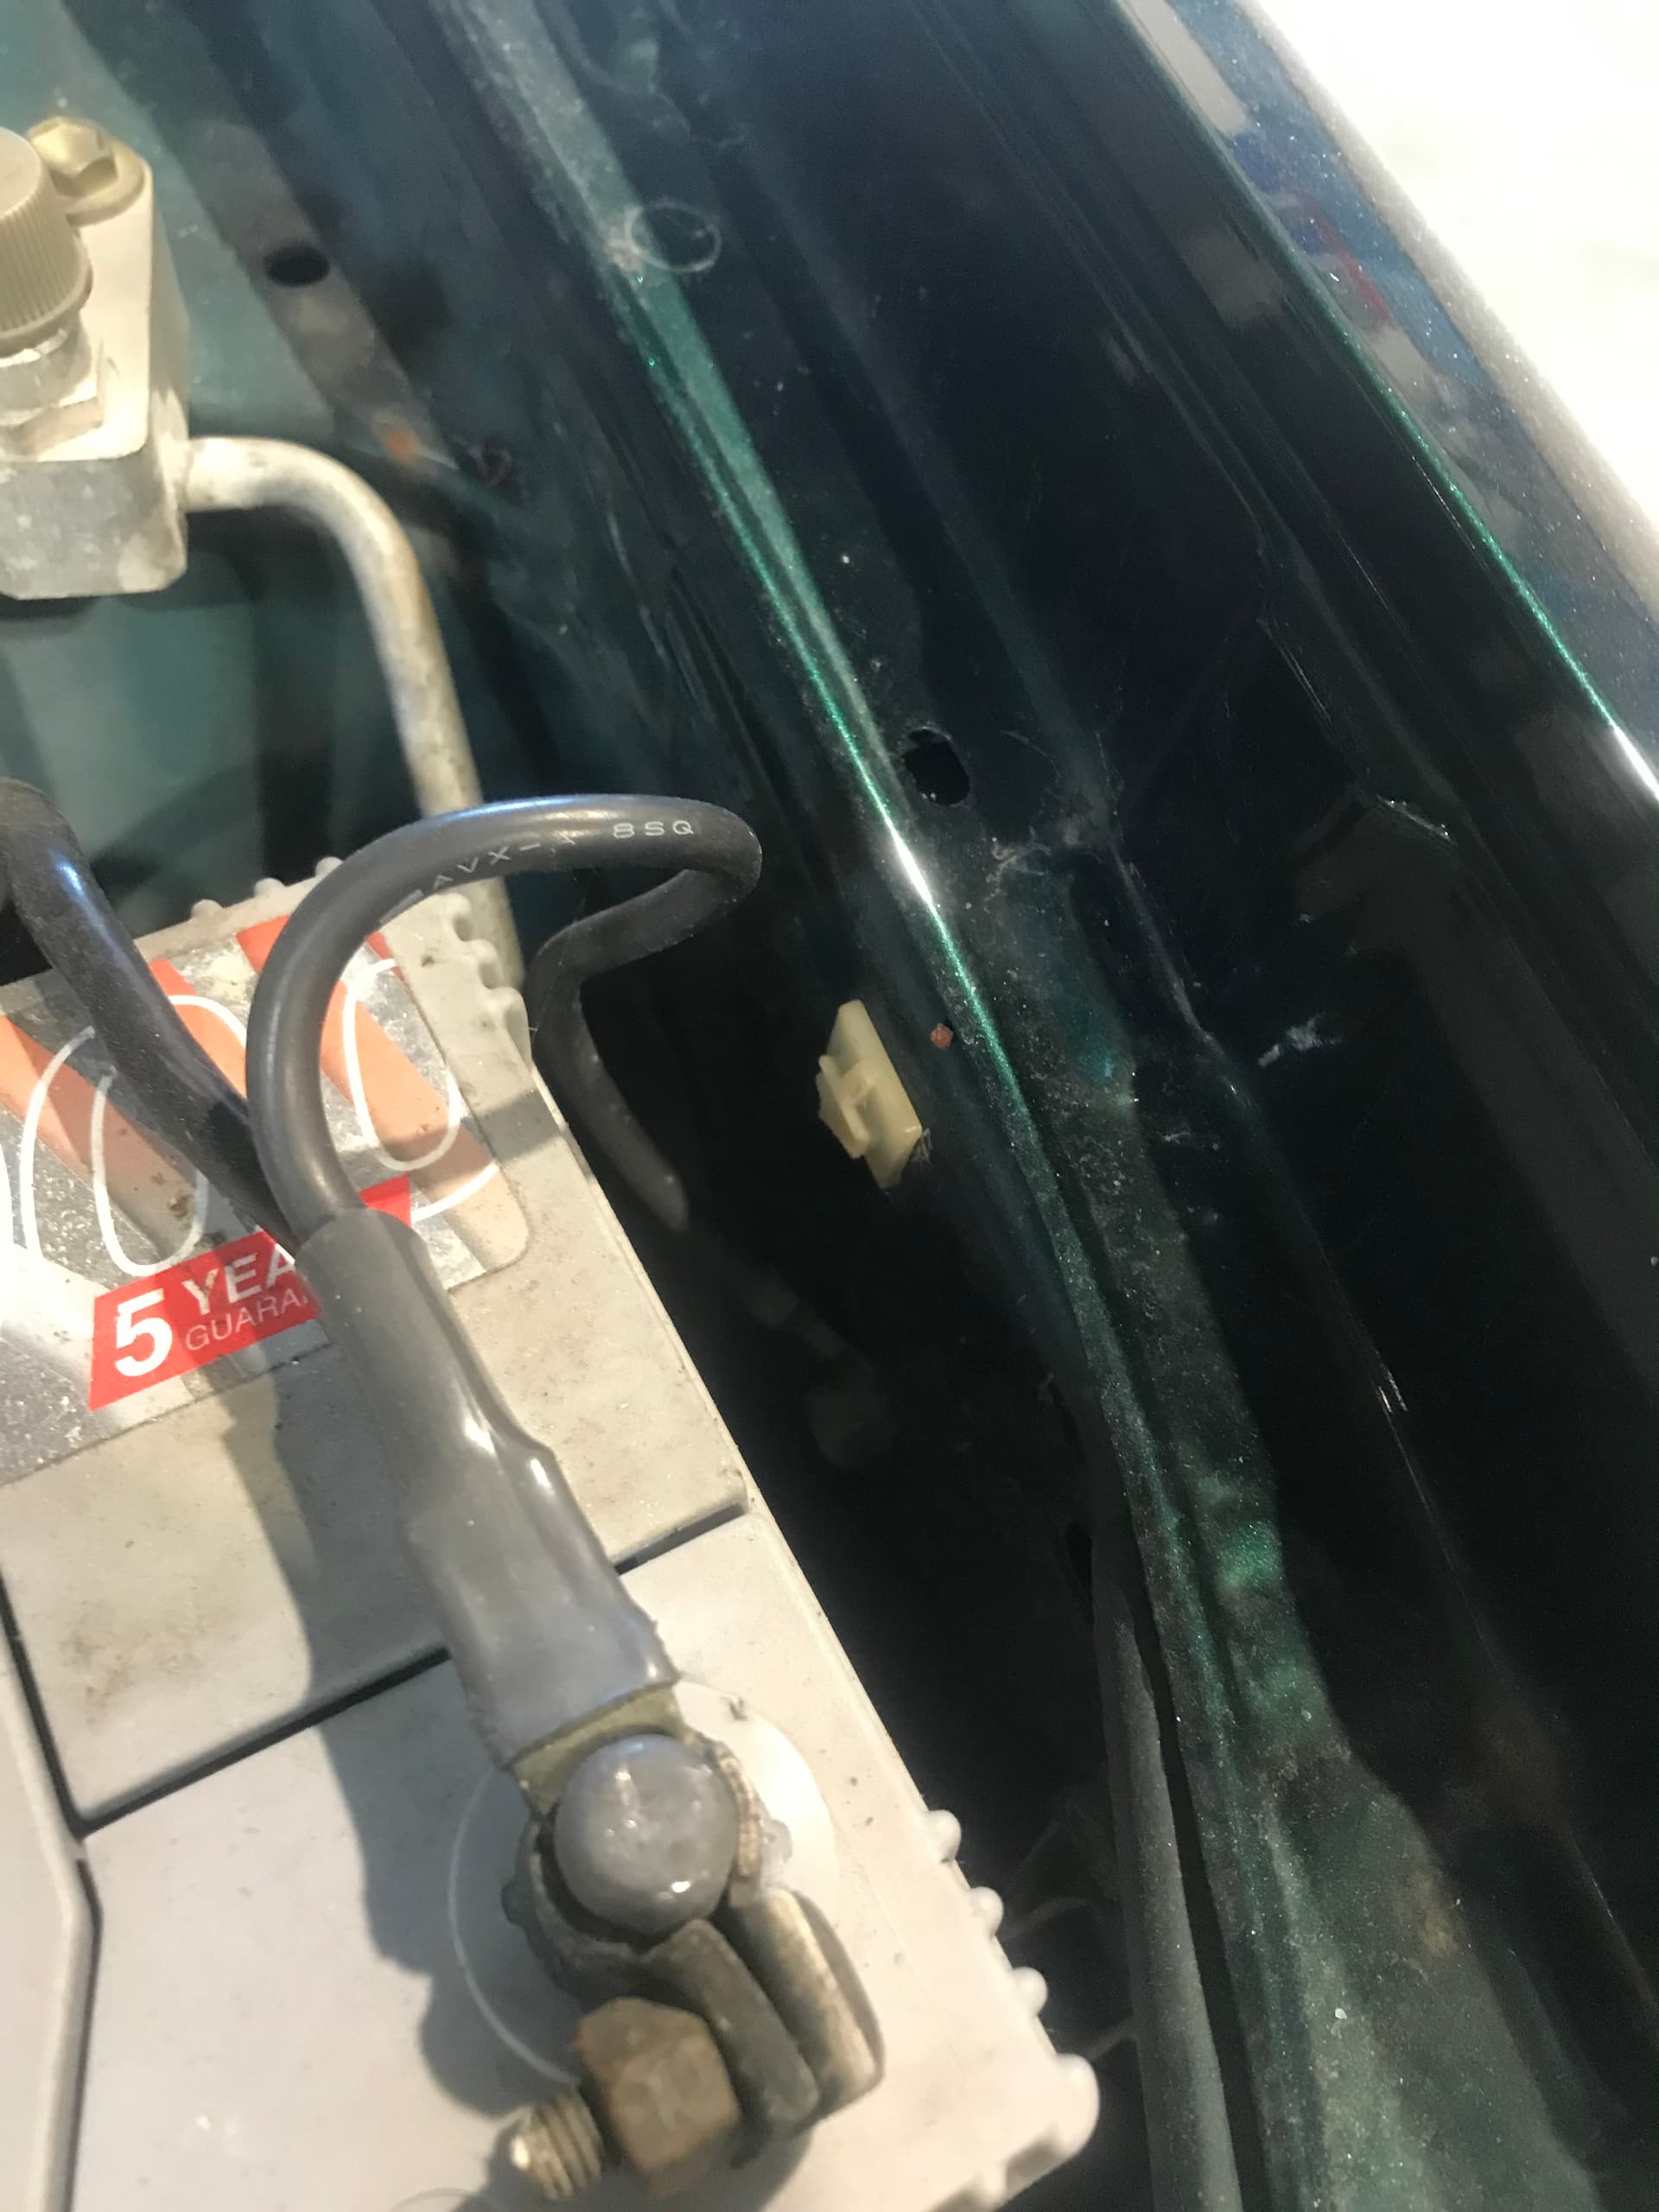
Freshly coated battery bracket, radiator brackets and intake manifold.
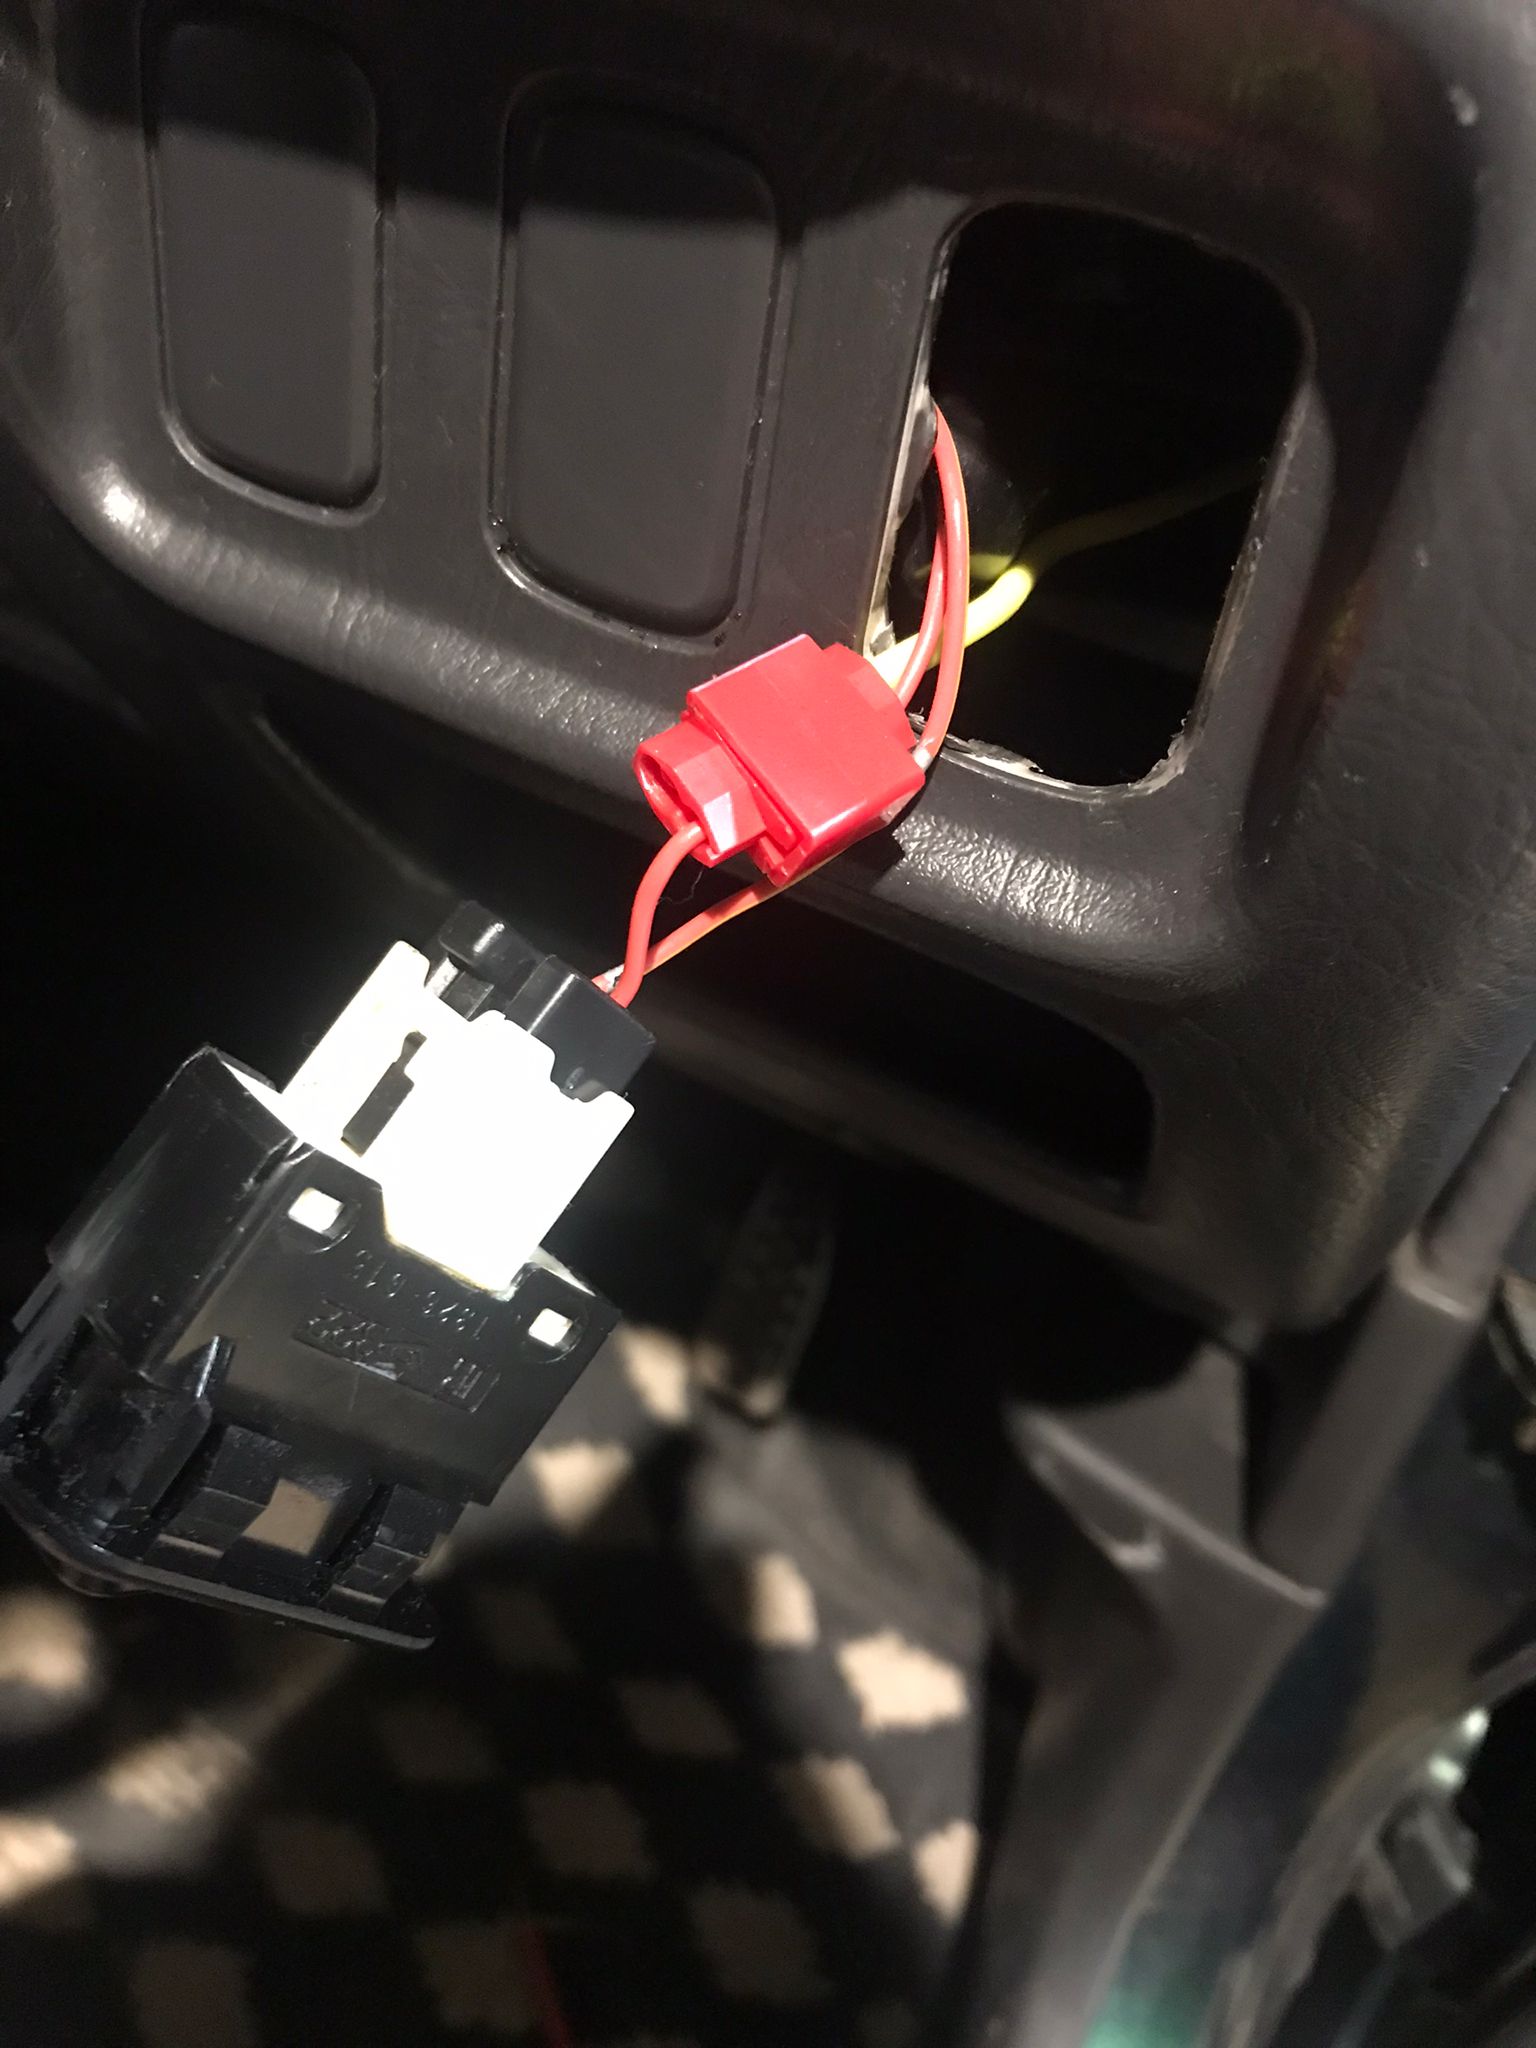
I also replaced the drivers side window switch assy for a new OE unit. Got a set of genuine wheel lock nuts too. Sometimes i’m impressed with how much is still available.
I decided to replace the single din original radio for a original double din. I really love it. It looks and sounds great. Now i just need to figure out how to set the clock.
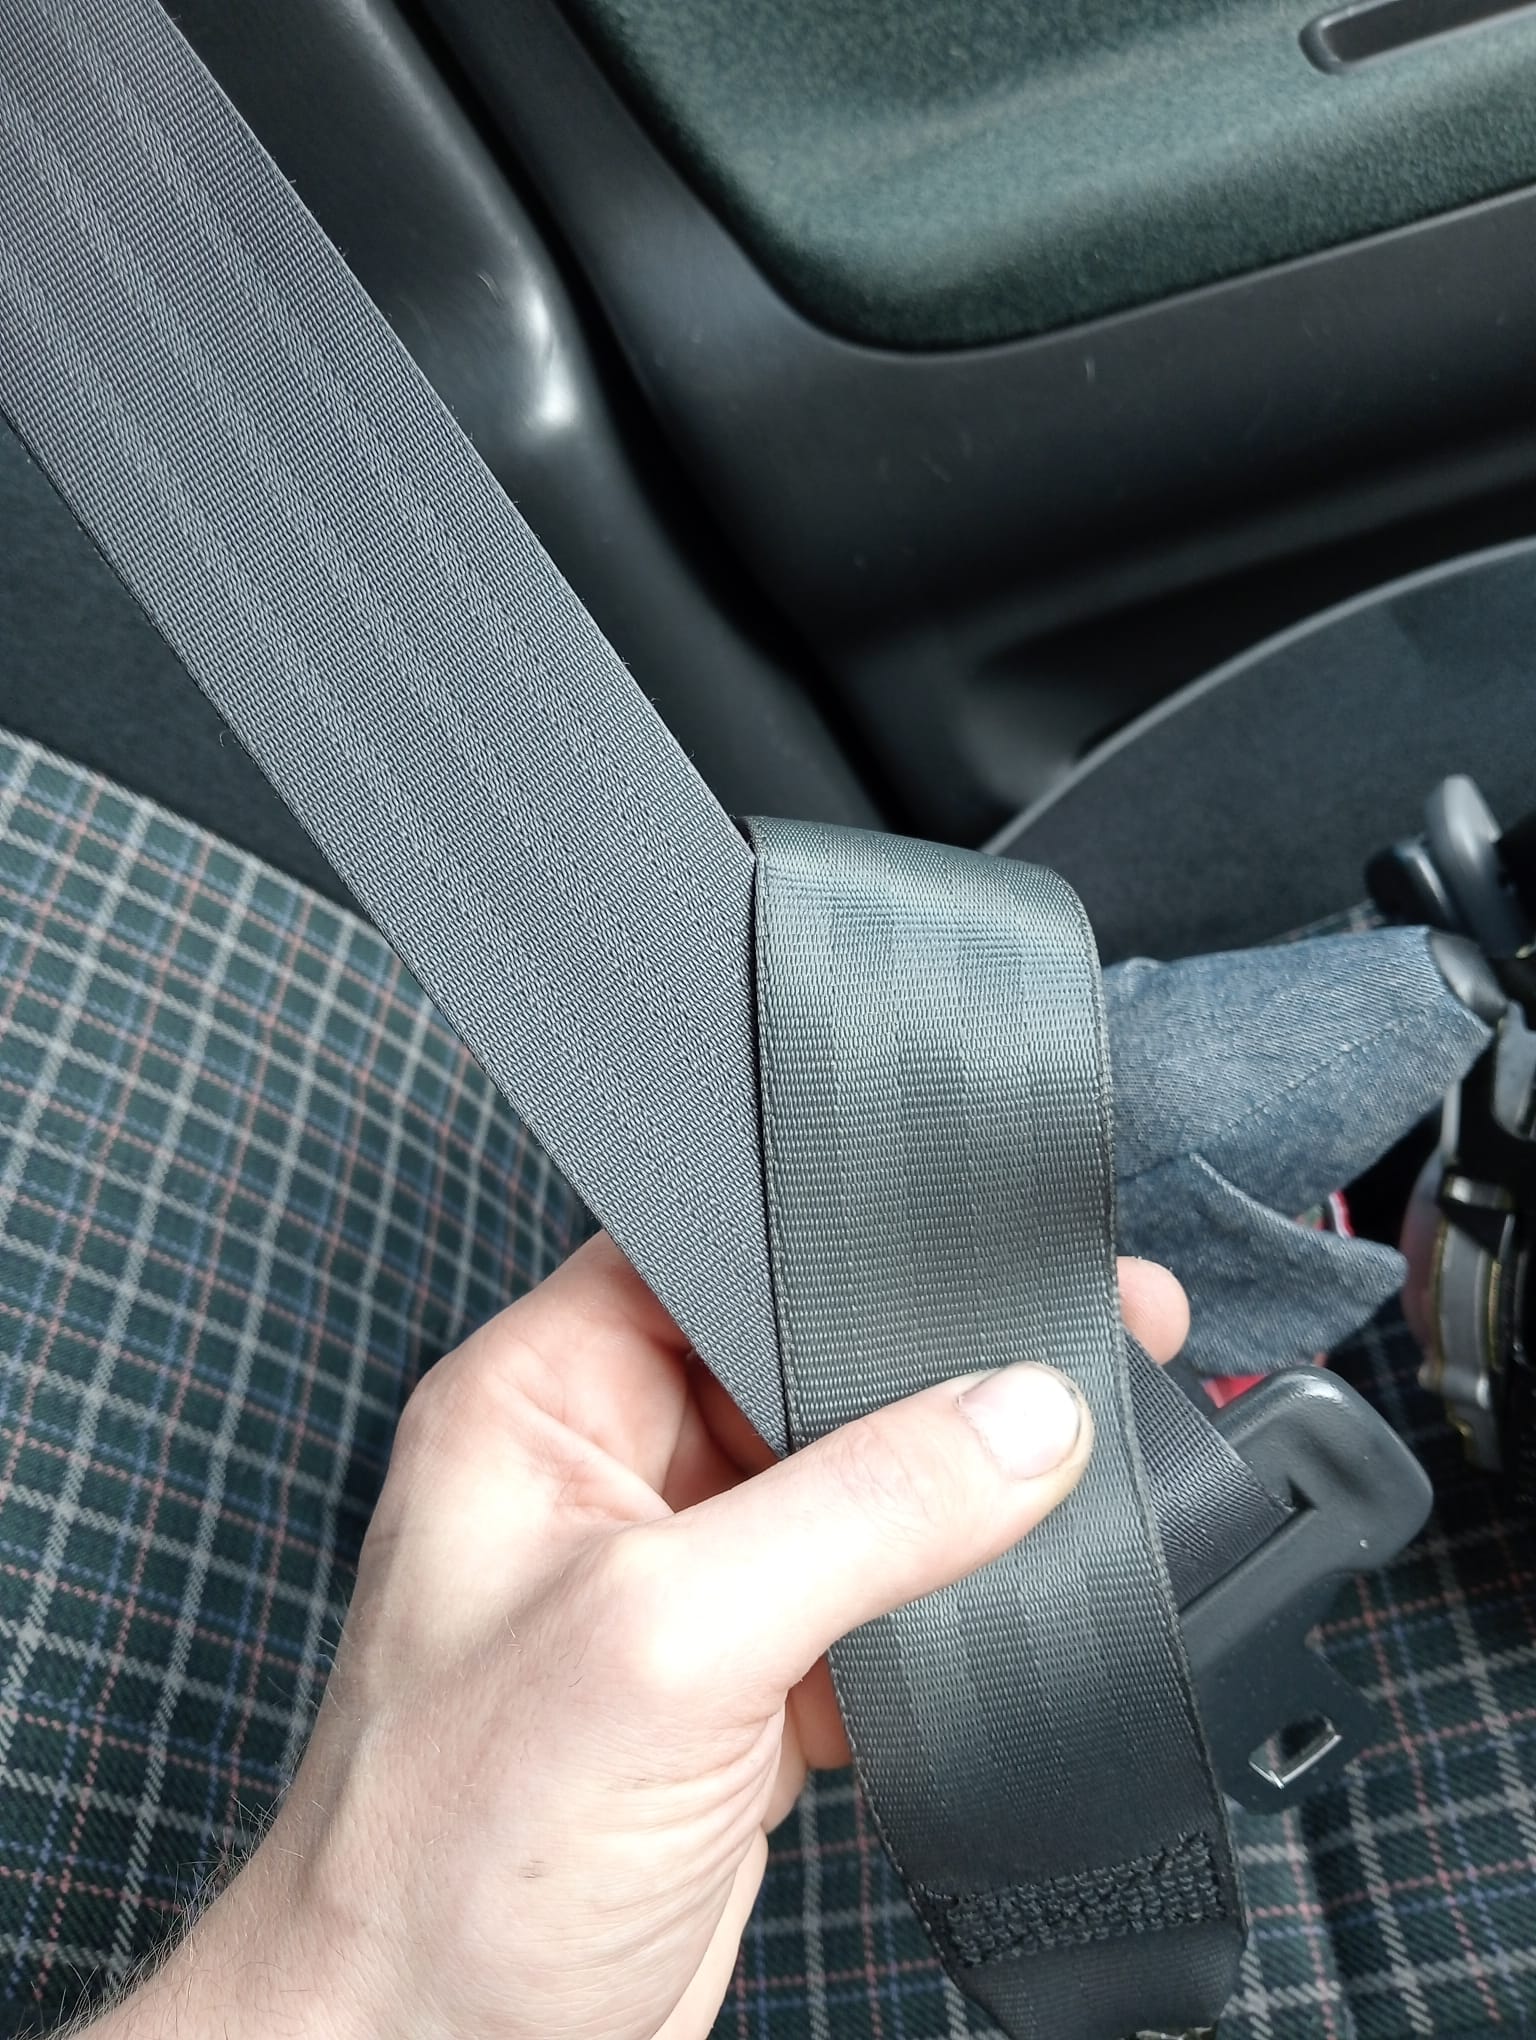
I send the drivers seatbelt out earlier today to get the belt replaced. And the headlights will be send out probably next week to get a LHD conversion done.
She’s almost ready to get registered.
We’ll be at GoJapan next week.
The good news is that the seatbelt was back before the show. And the gino got a lot of attention during gojapan.
The bad news is that the idle issue decided to come back while standing in line to go to the field.
Also she decided to start puking powersteering fluid on Friday. That must’ve been why a belt was slipping. Cause it started after replacing all belts.
While i thought the to do list had shrunk, it didn’t.
This was the last show she’ll attend this year as the season is almost over anyway and there’s plenty to do to get her registered.
So while I’m looking for parts to fix her I’m afraid I’ll also be looking for mods and upgrades. My bank account is going to be mad at me.
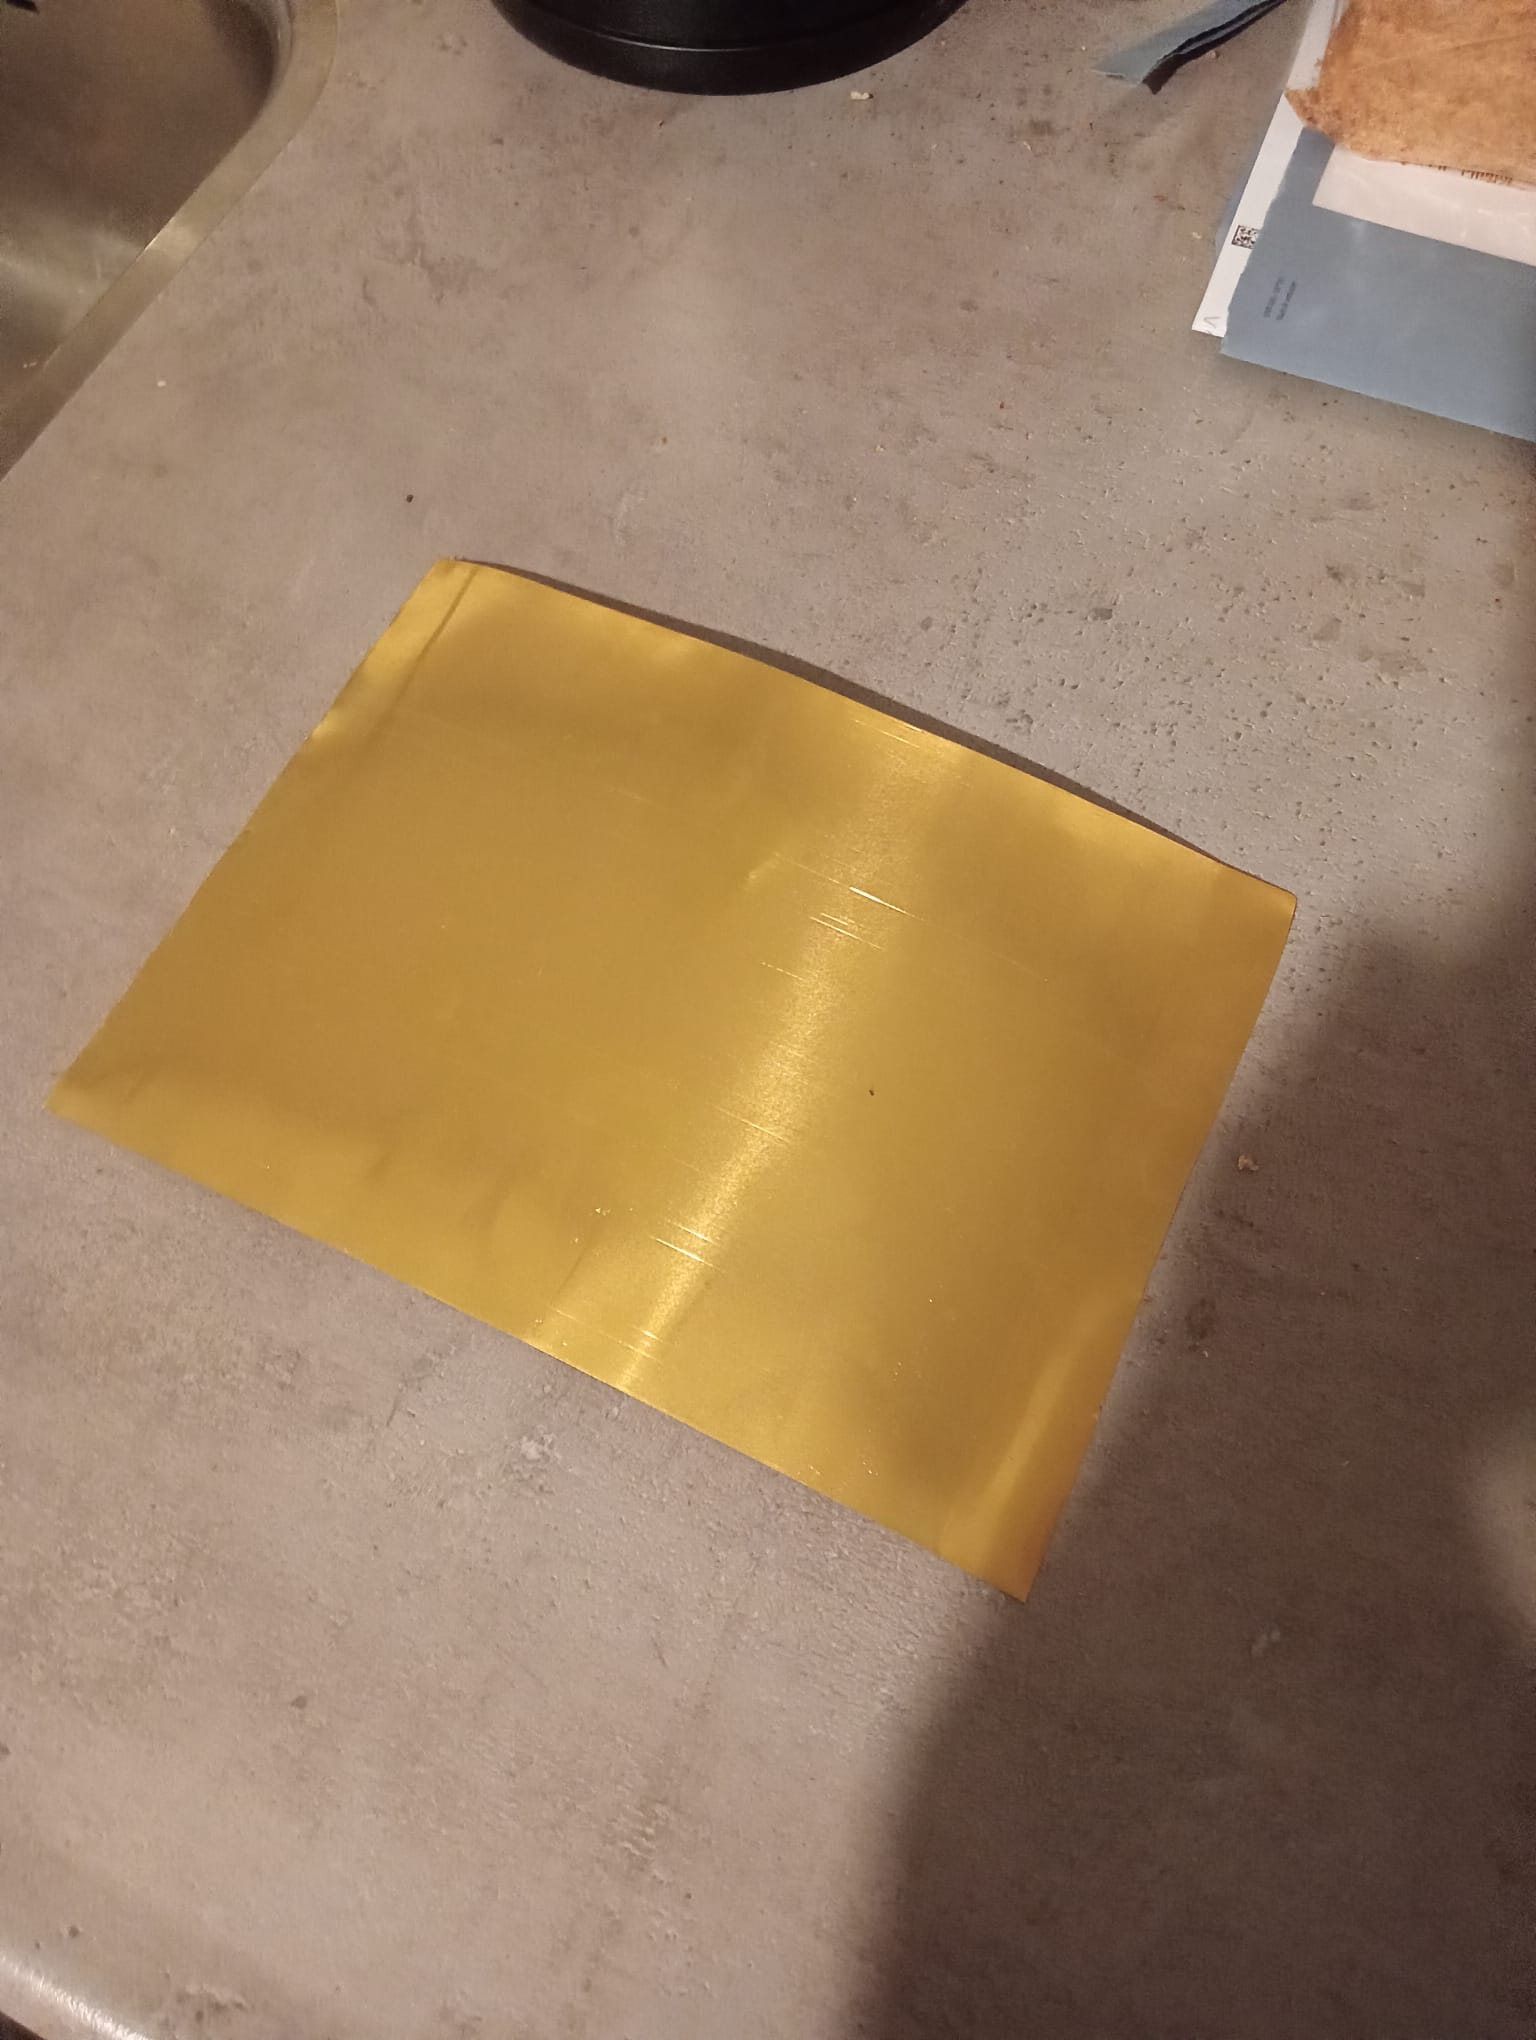
I just saved myself €140,- (shipping not included).
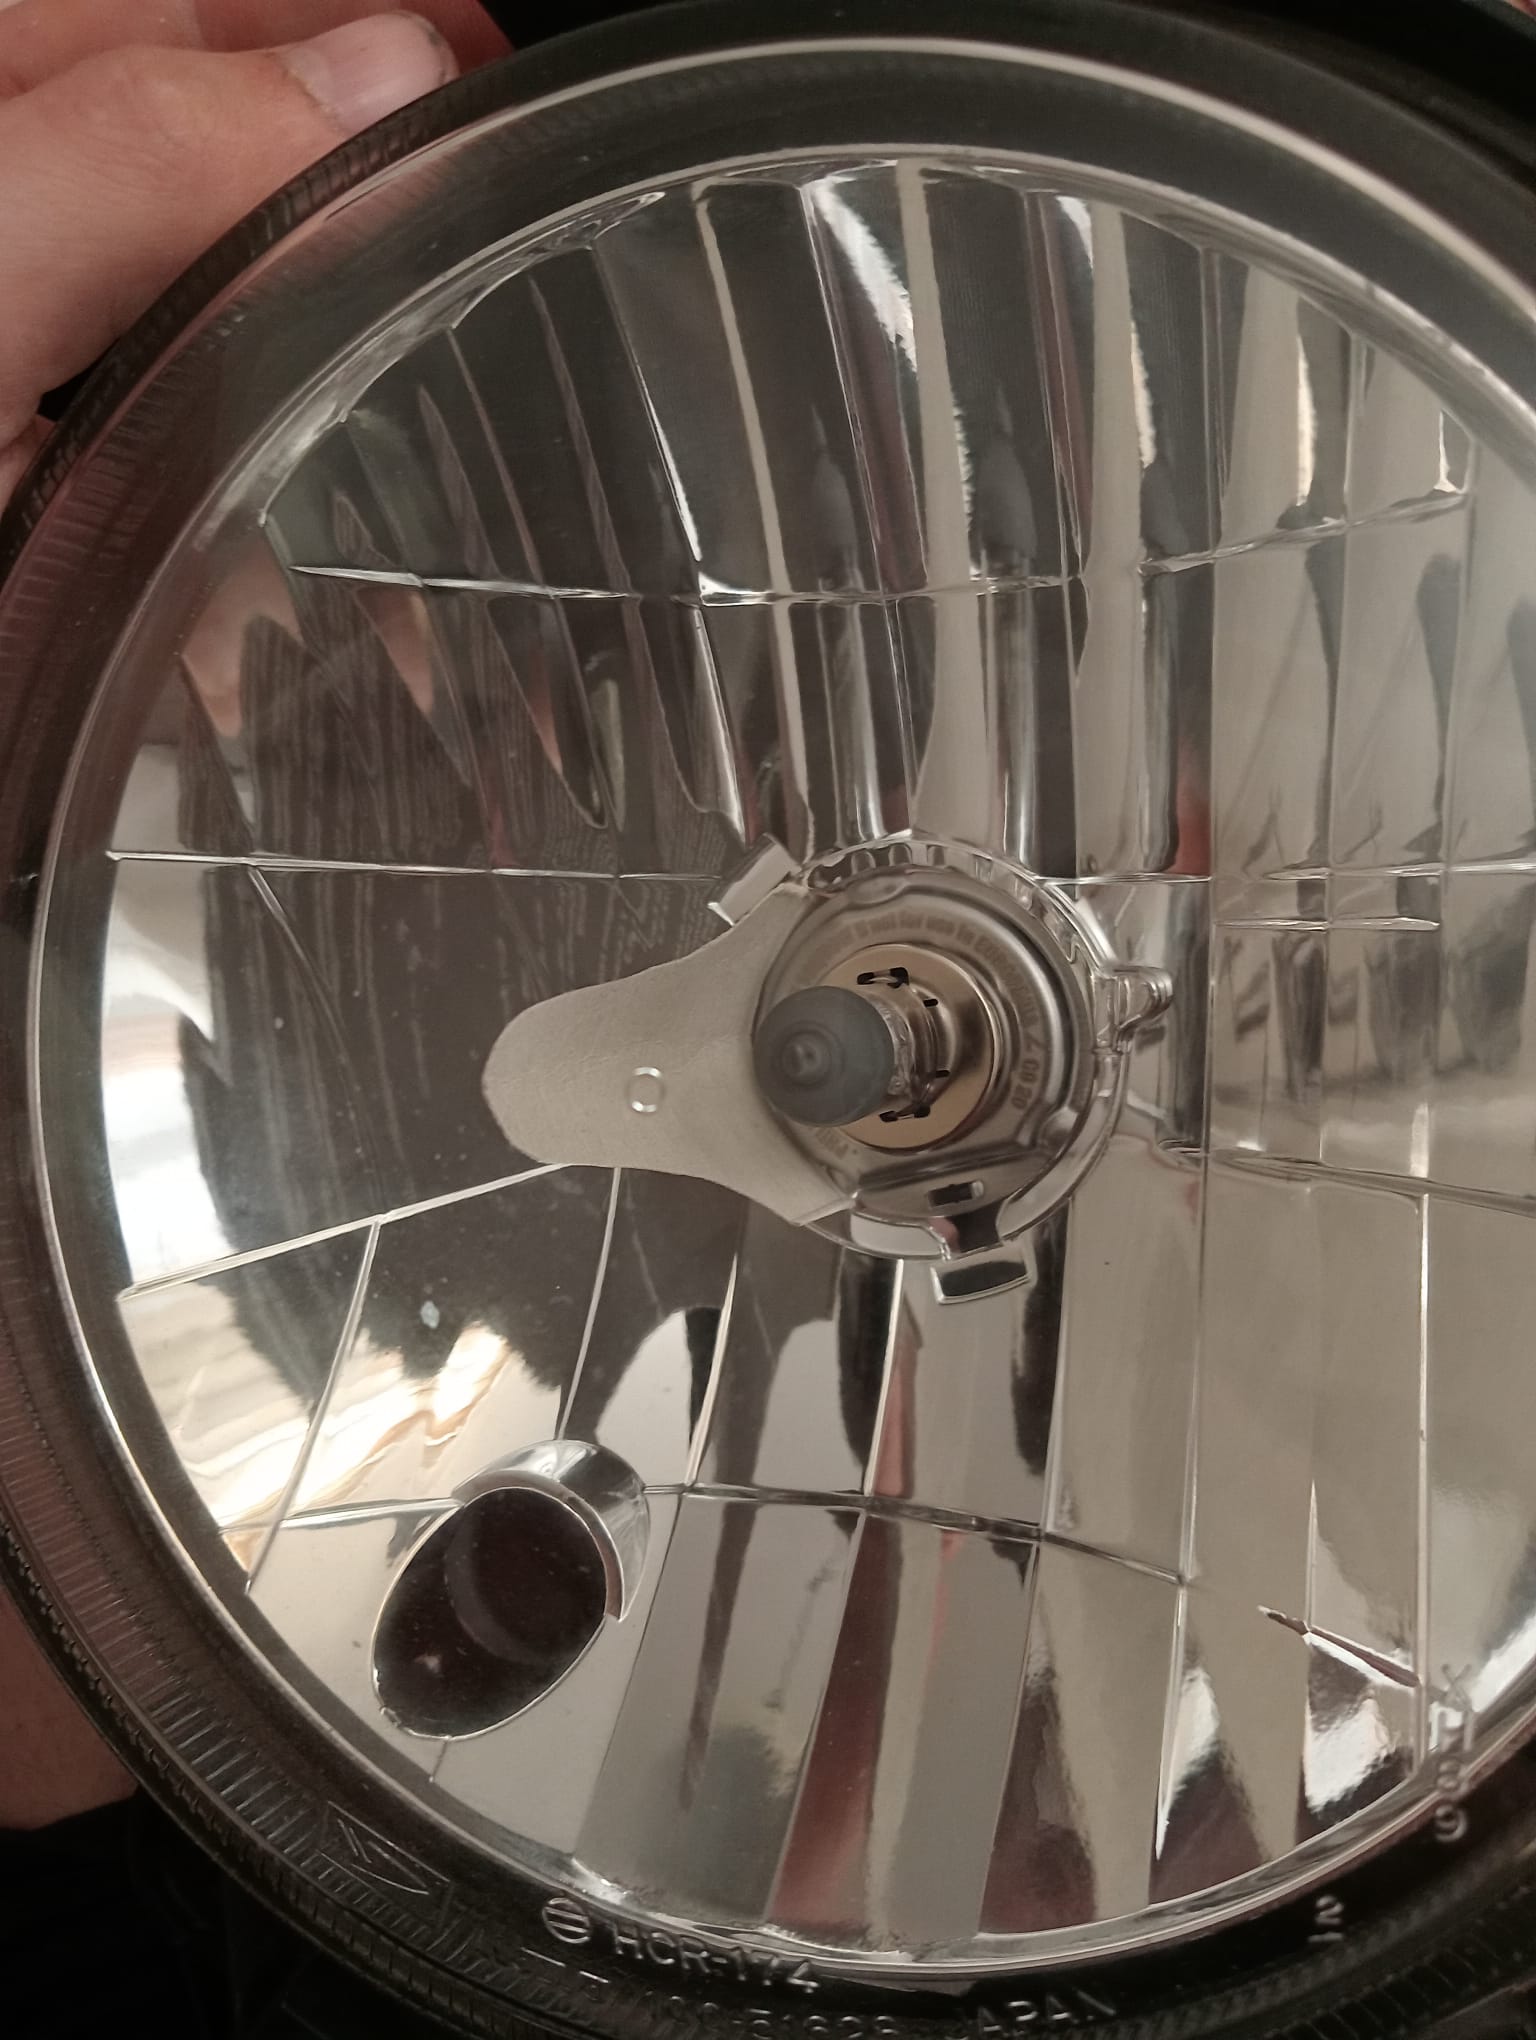
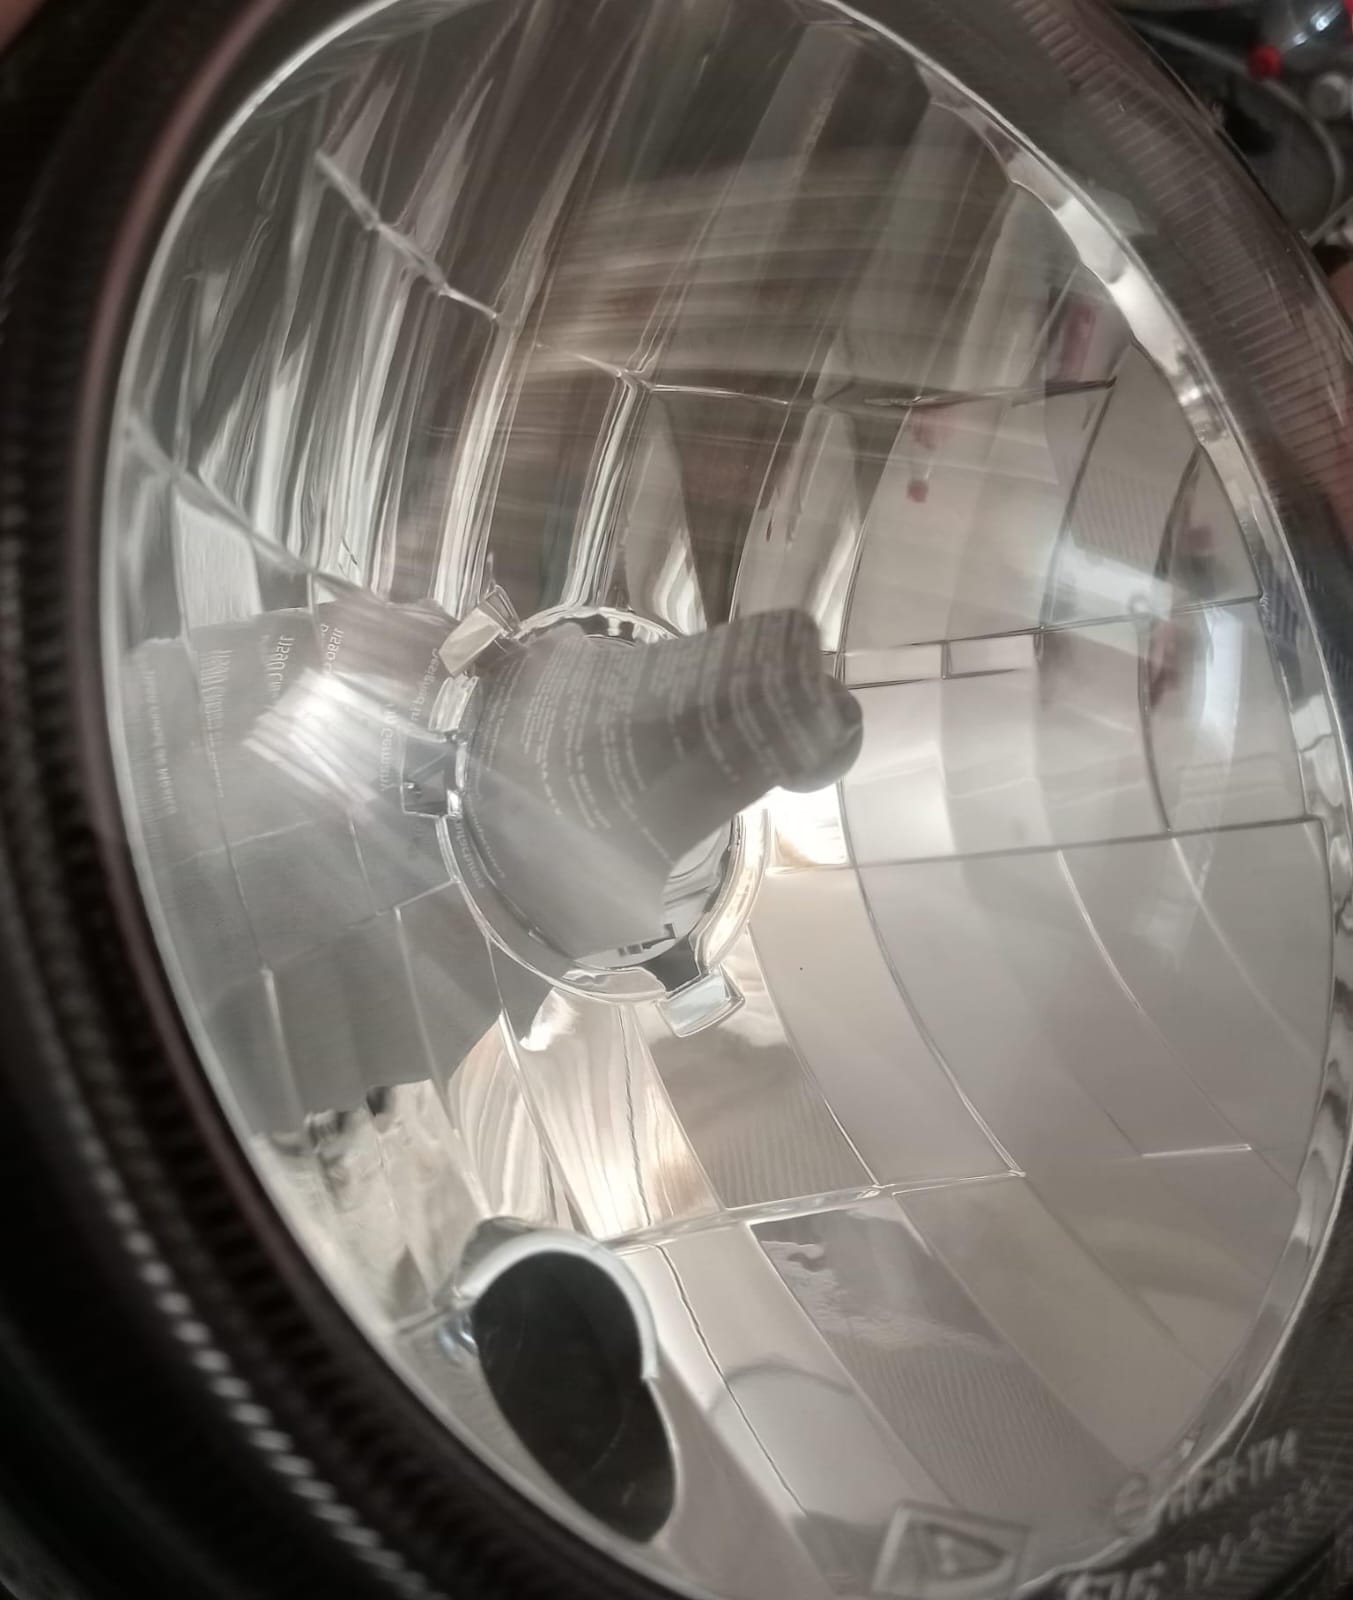
There’s very little to find on headlight conversions for these type of headlights. But after a couple of hours of searching i decided to try something…
Me too. But I don’t trust the Chinese lights and the brand name light are stupidly expensive.
Right now i got a set of high power halogen lights from philips. I hope they’ll make a difference.
Same here. I looked for the Philips LED lights which were around 100 euro but for something that is still illegal and without knowing if it even fits im not really willing to try right now.
The diameter is roughly the same.
I thought about getting something of the shelf. But the mounting point are completely different. And I don’t feel like making brackets.
There might be a reflector that fits somewhat. But that’s too much work as the position needs to be perfect.
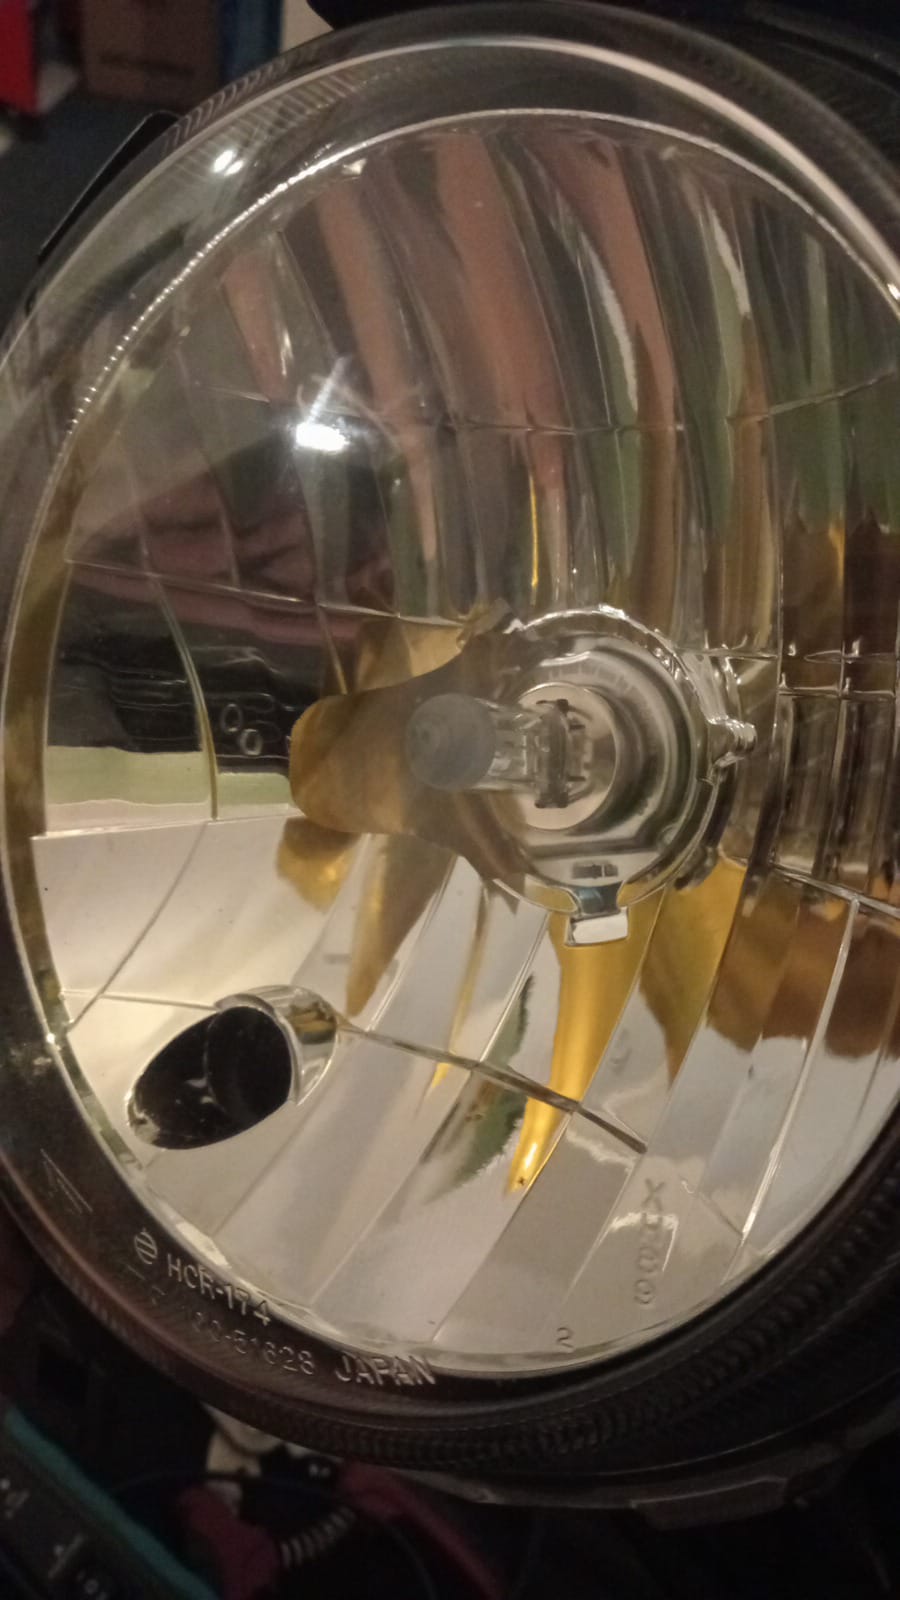
The prototype i made cost me less then 2 minutes to make. So I’m tempted to do it this way.
That’s why I’m going to try high power halogen lights. Mostly because i already have them and didn’t cost me anything.
If that doesn’t help enough I’ll look into decent led light.
[quote=“Aaron, post:12, topic:6308”]…the mounting point are completely different. And I don’t feel like making brackets…[/quote]You could visit a scrapyard and simply cut off a complete bulkhead from any vehicle which uses these headlamp assemblies and then weld this onto yours, before mounting a new pair of lamps. Here’s a supposed set of original Hellas inclusive of adjusters:
It’s a great idea. But i don’t wanna ruin the gino. And with the little plate inside the headlights it works just as well is quicker and easier and it easily reversible if it’s ever needed.
Not much progress lately.
But today i finally picked up some material from my work to make the headlight beam adjusters.
This should be enough to get it through the inspection. Which i will hopefully find out soon as I’m thinking of getting a “pre-inspection” at a local garage.
On another note…
I’ll be picking up a very special “new” Dai tomorrow.
I just can’t wait to show everyone and tell it’s story.
It does need quite a bit of work to get it back on the road and back in a proper “show” condition. But it shouldn’t take too long to get it back on the road.
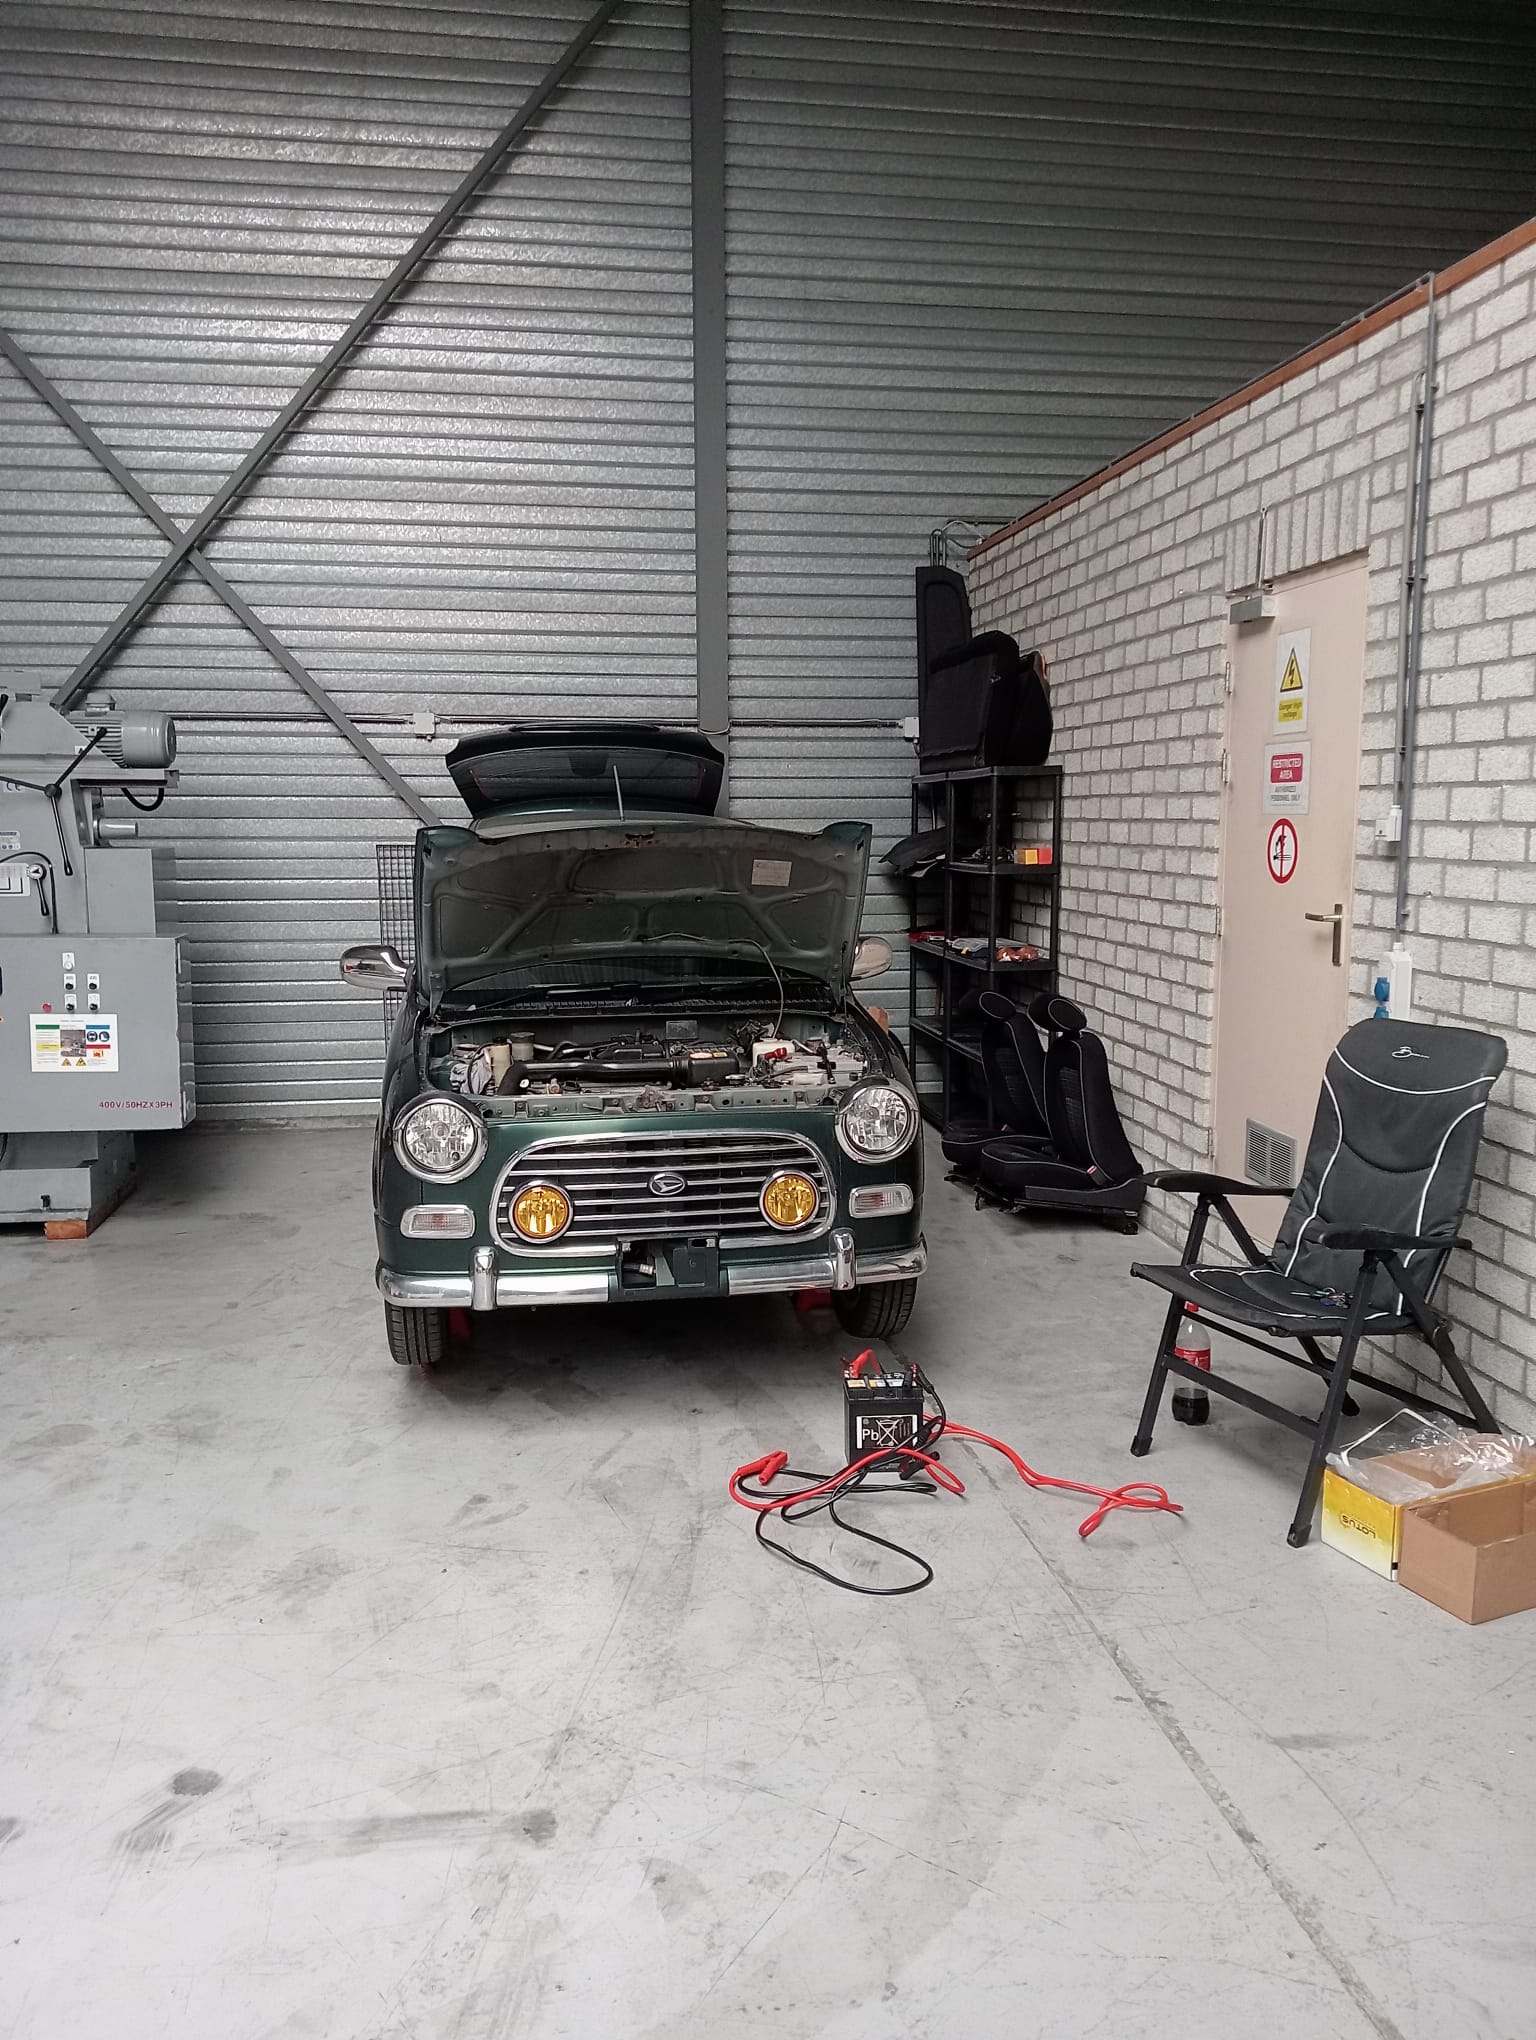
I’ve been having very little motivation (for many reasons).
But this week i got permission to make us of a space where i don’t have to move her back outside every time i’m done for that day.
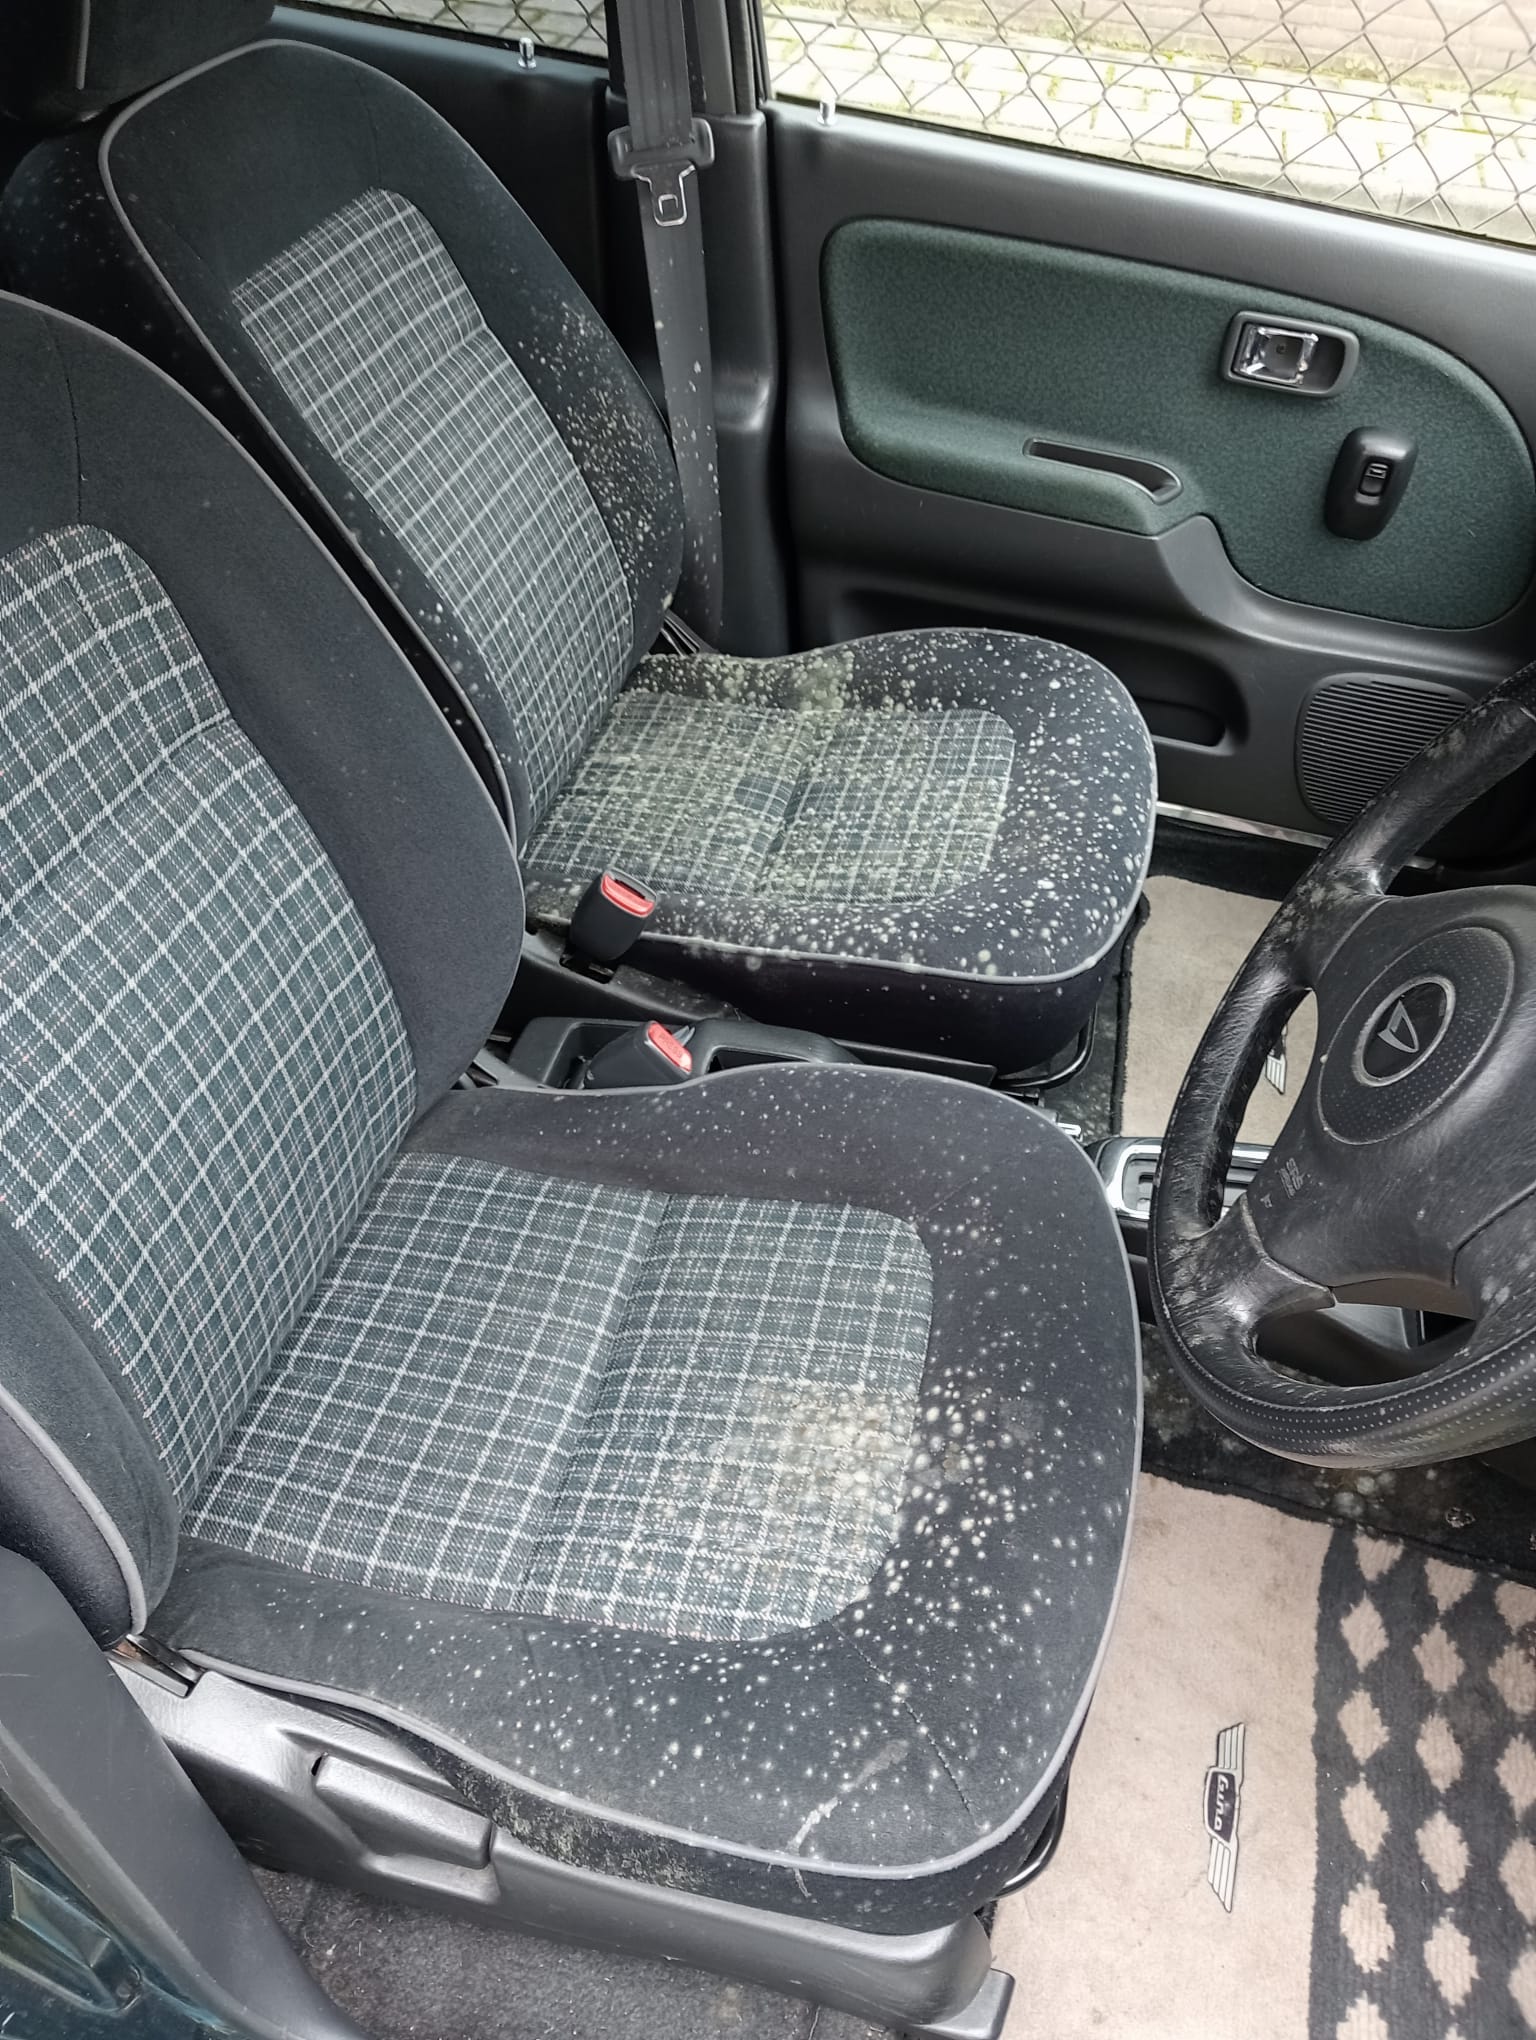
So i got her inside mostly to strip the interior to give it a proper clean as it got very moldy inside. I’m pretty sure a pig lived inside her.
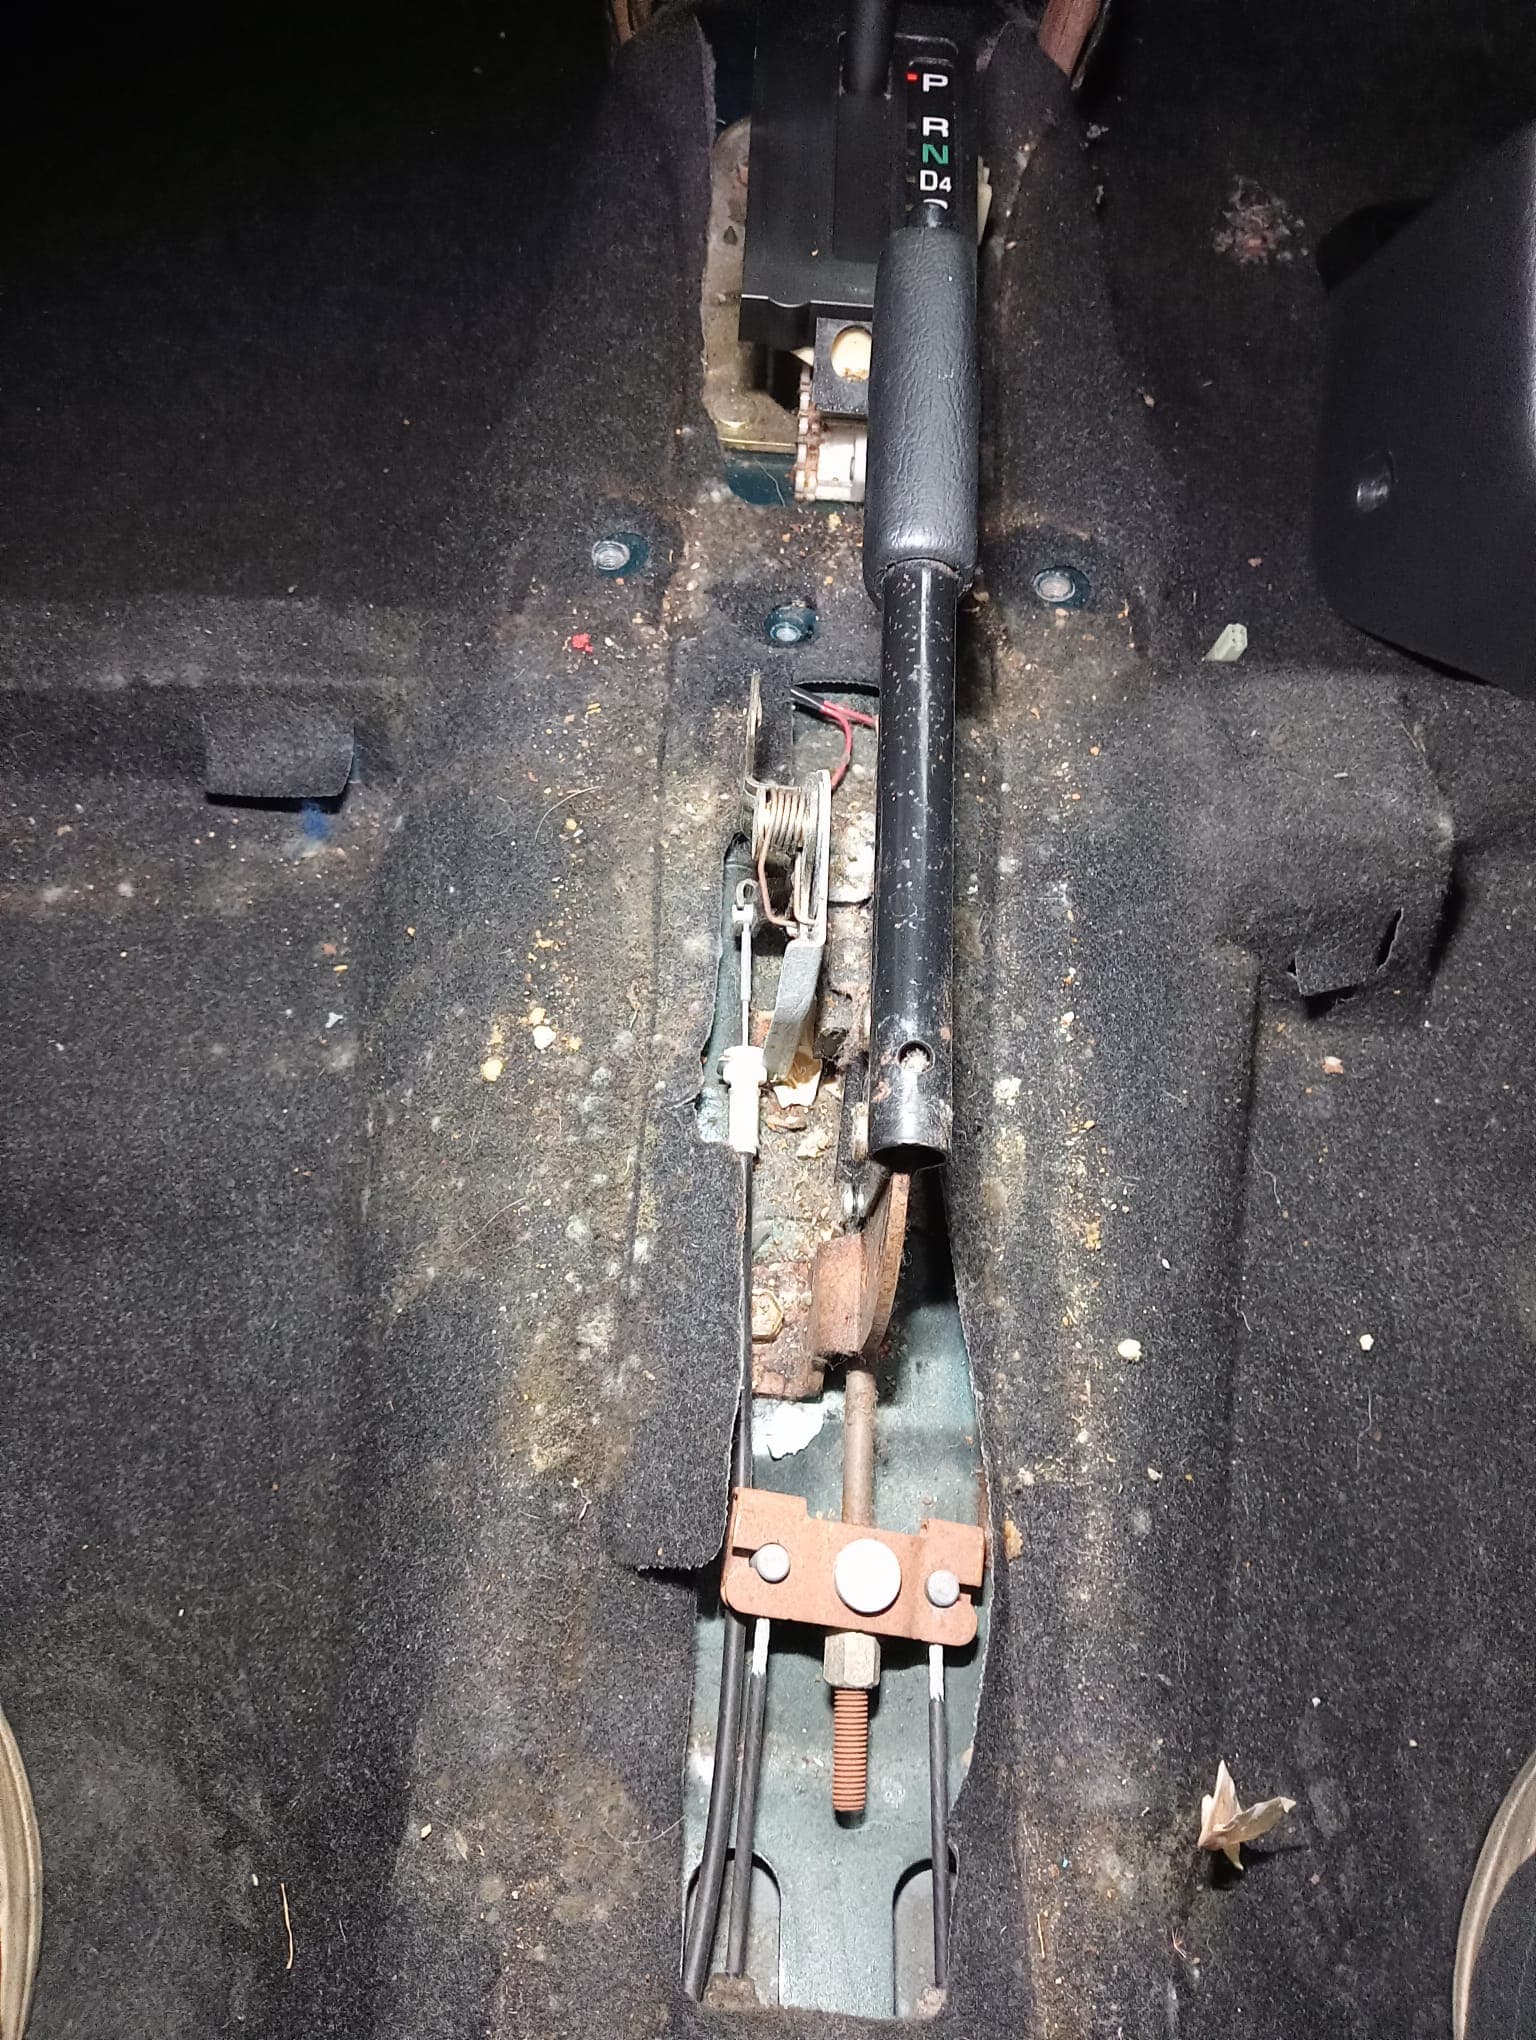
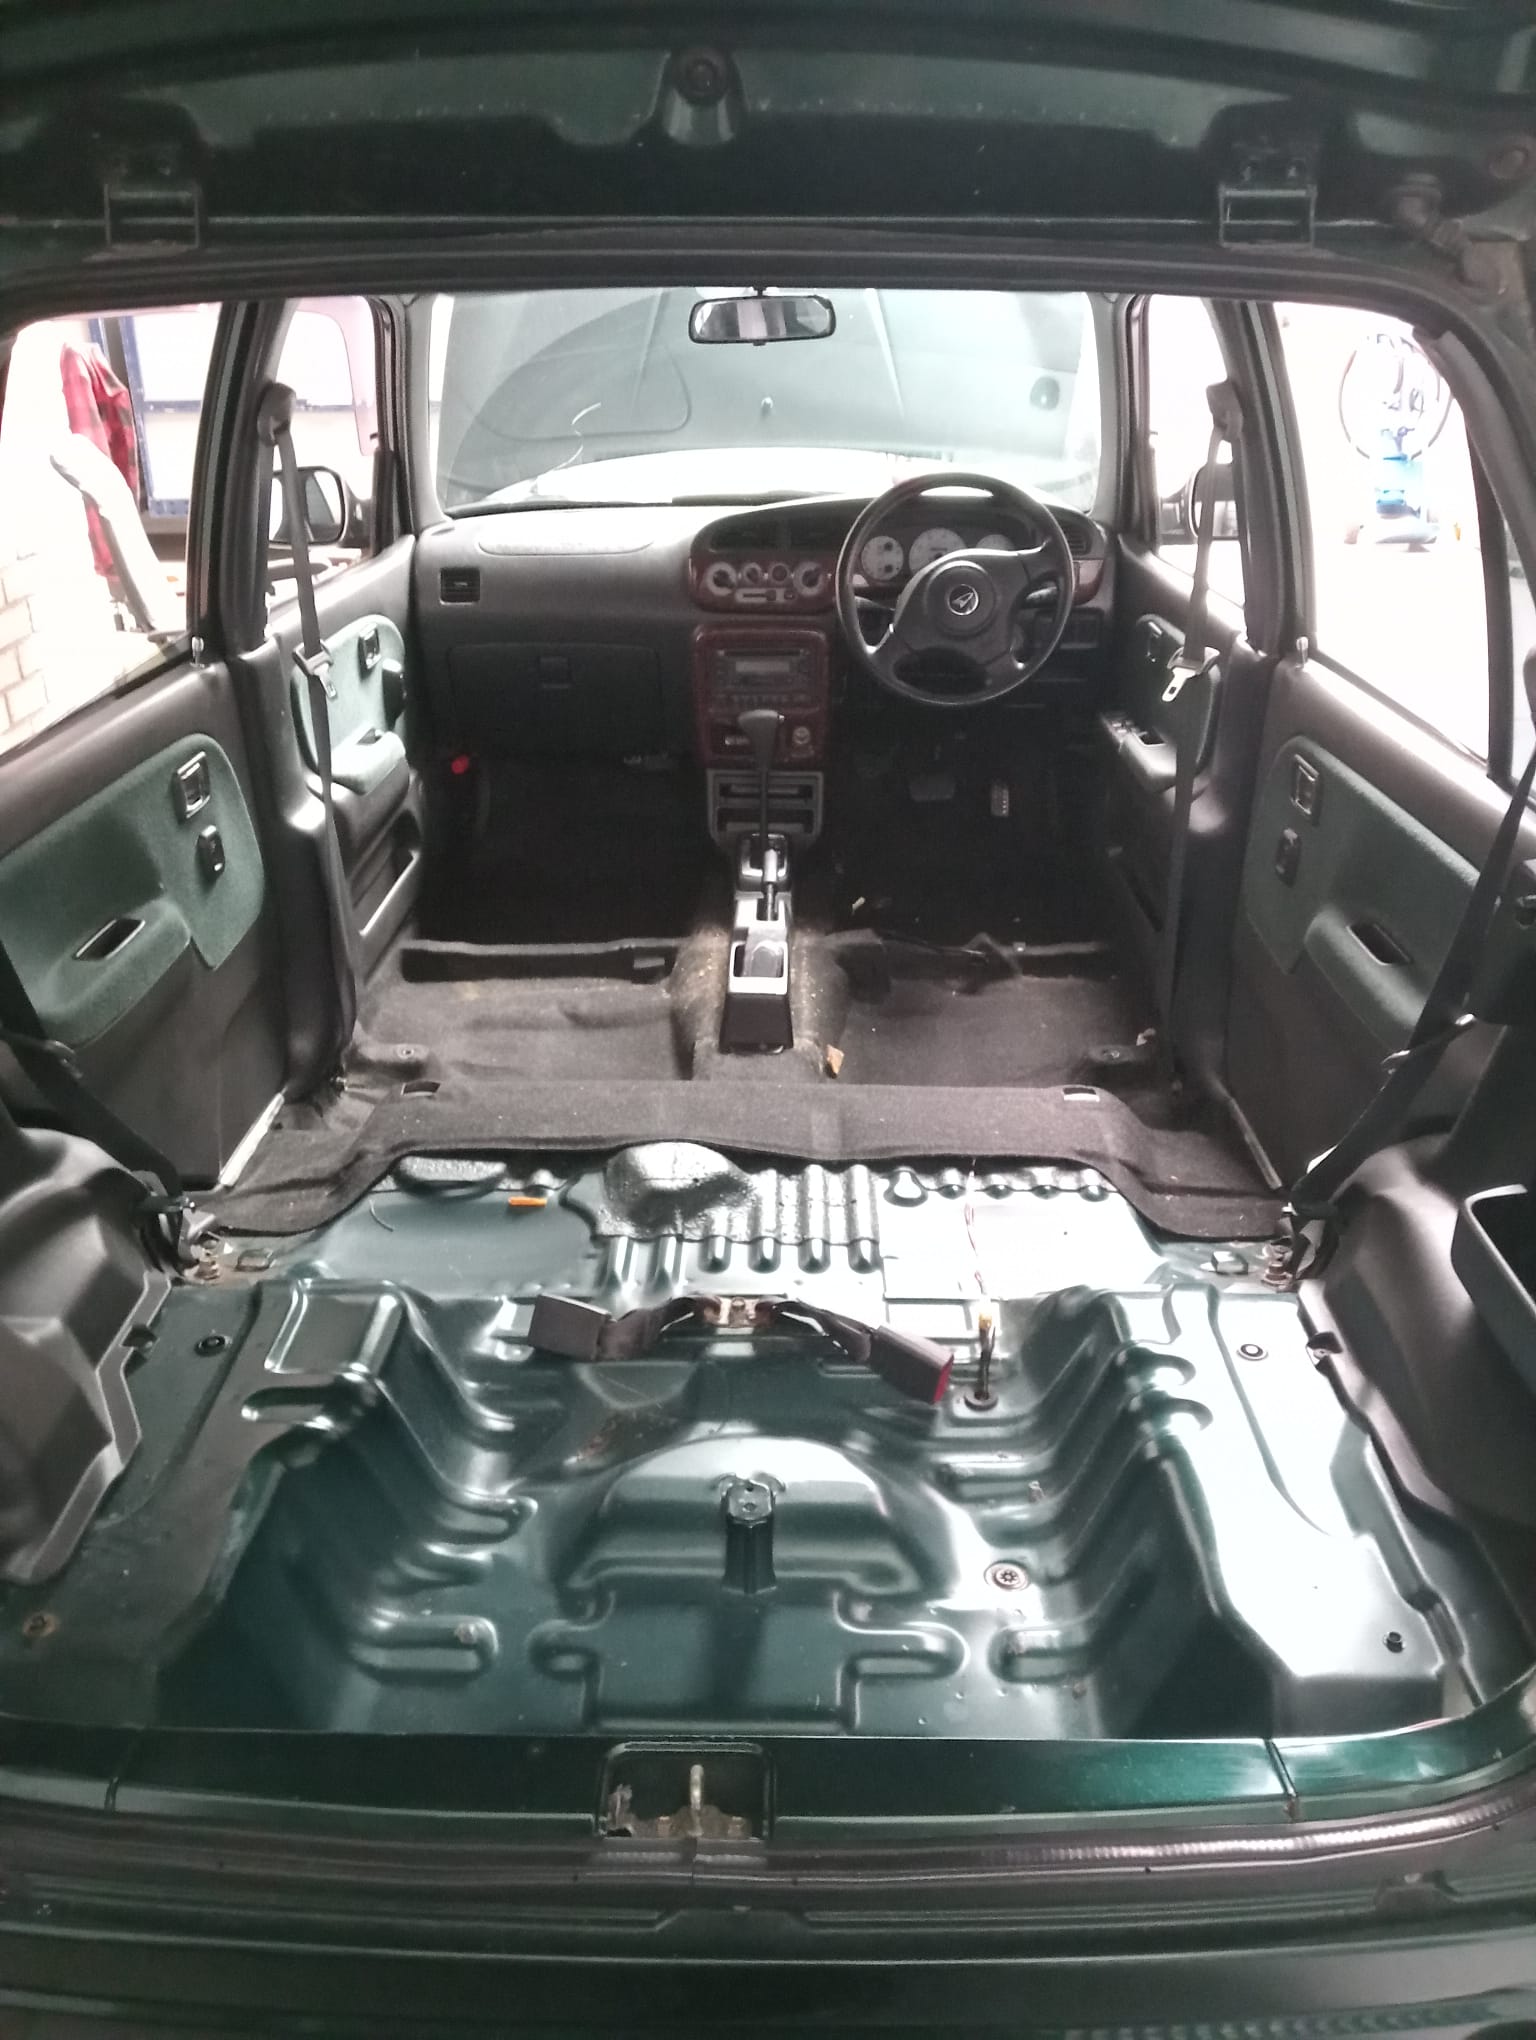
Yesterday i stripped the interior.
I’m very surprised how little rust there is inside. The L7’s that lived here their whole lives are very rarely this rustfree inside.
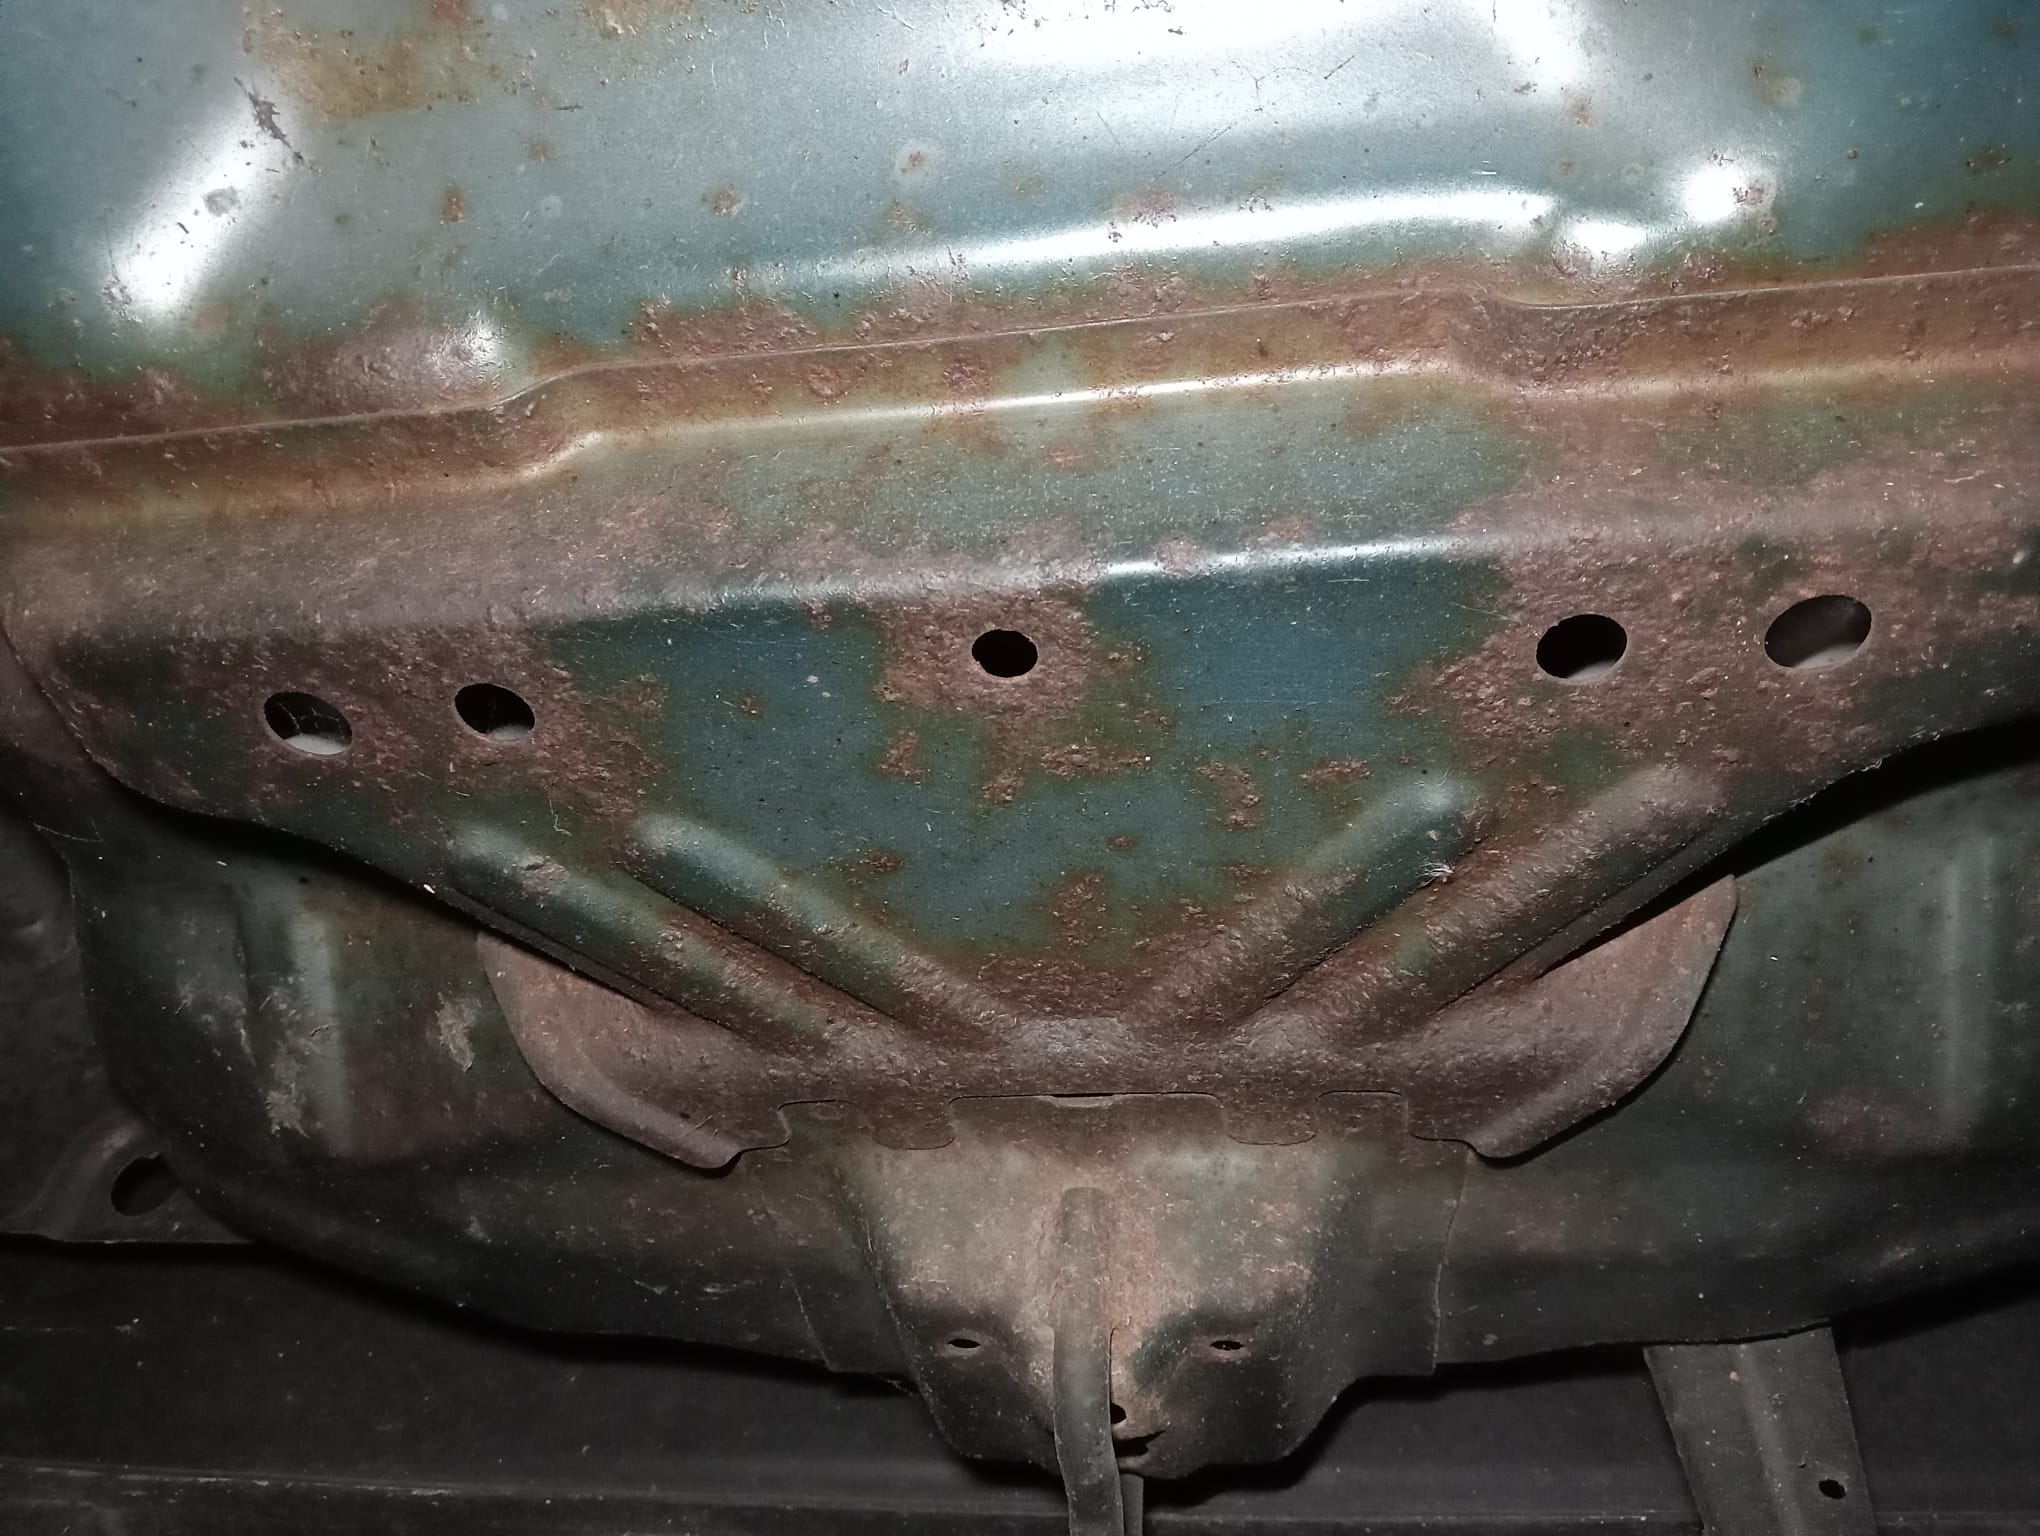
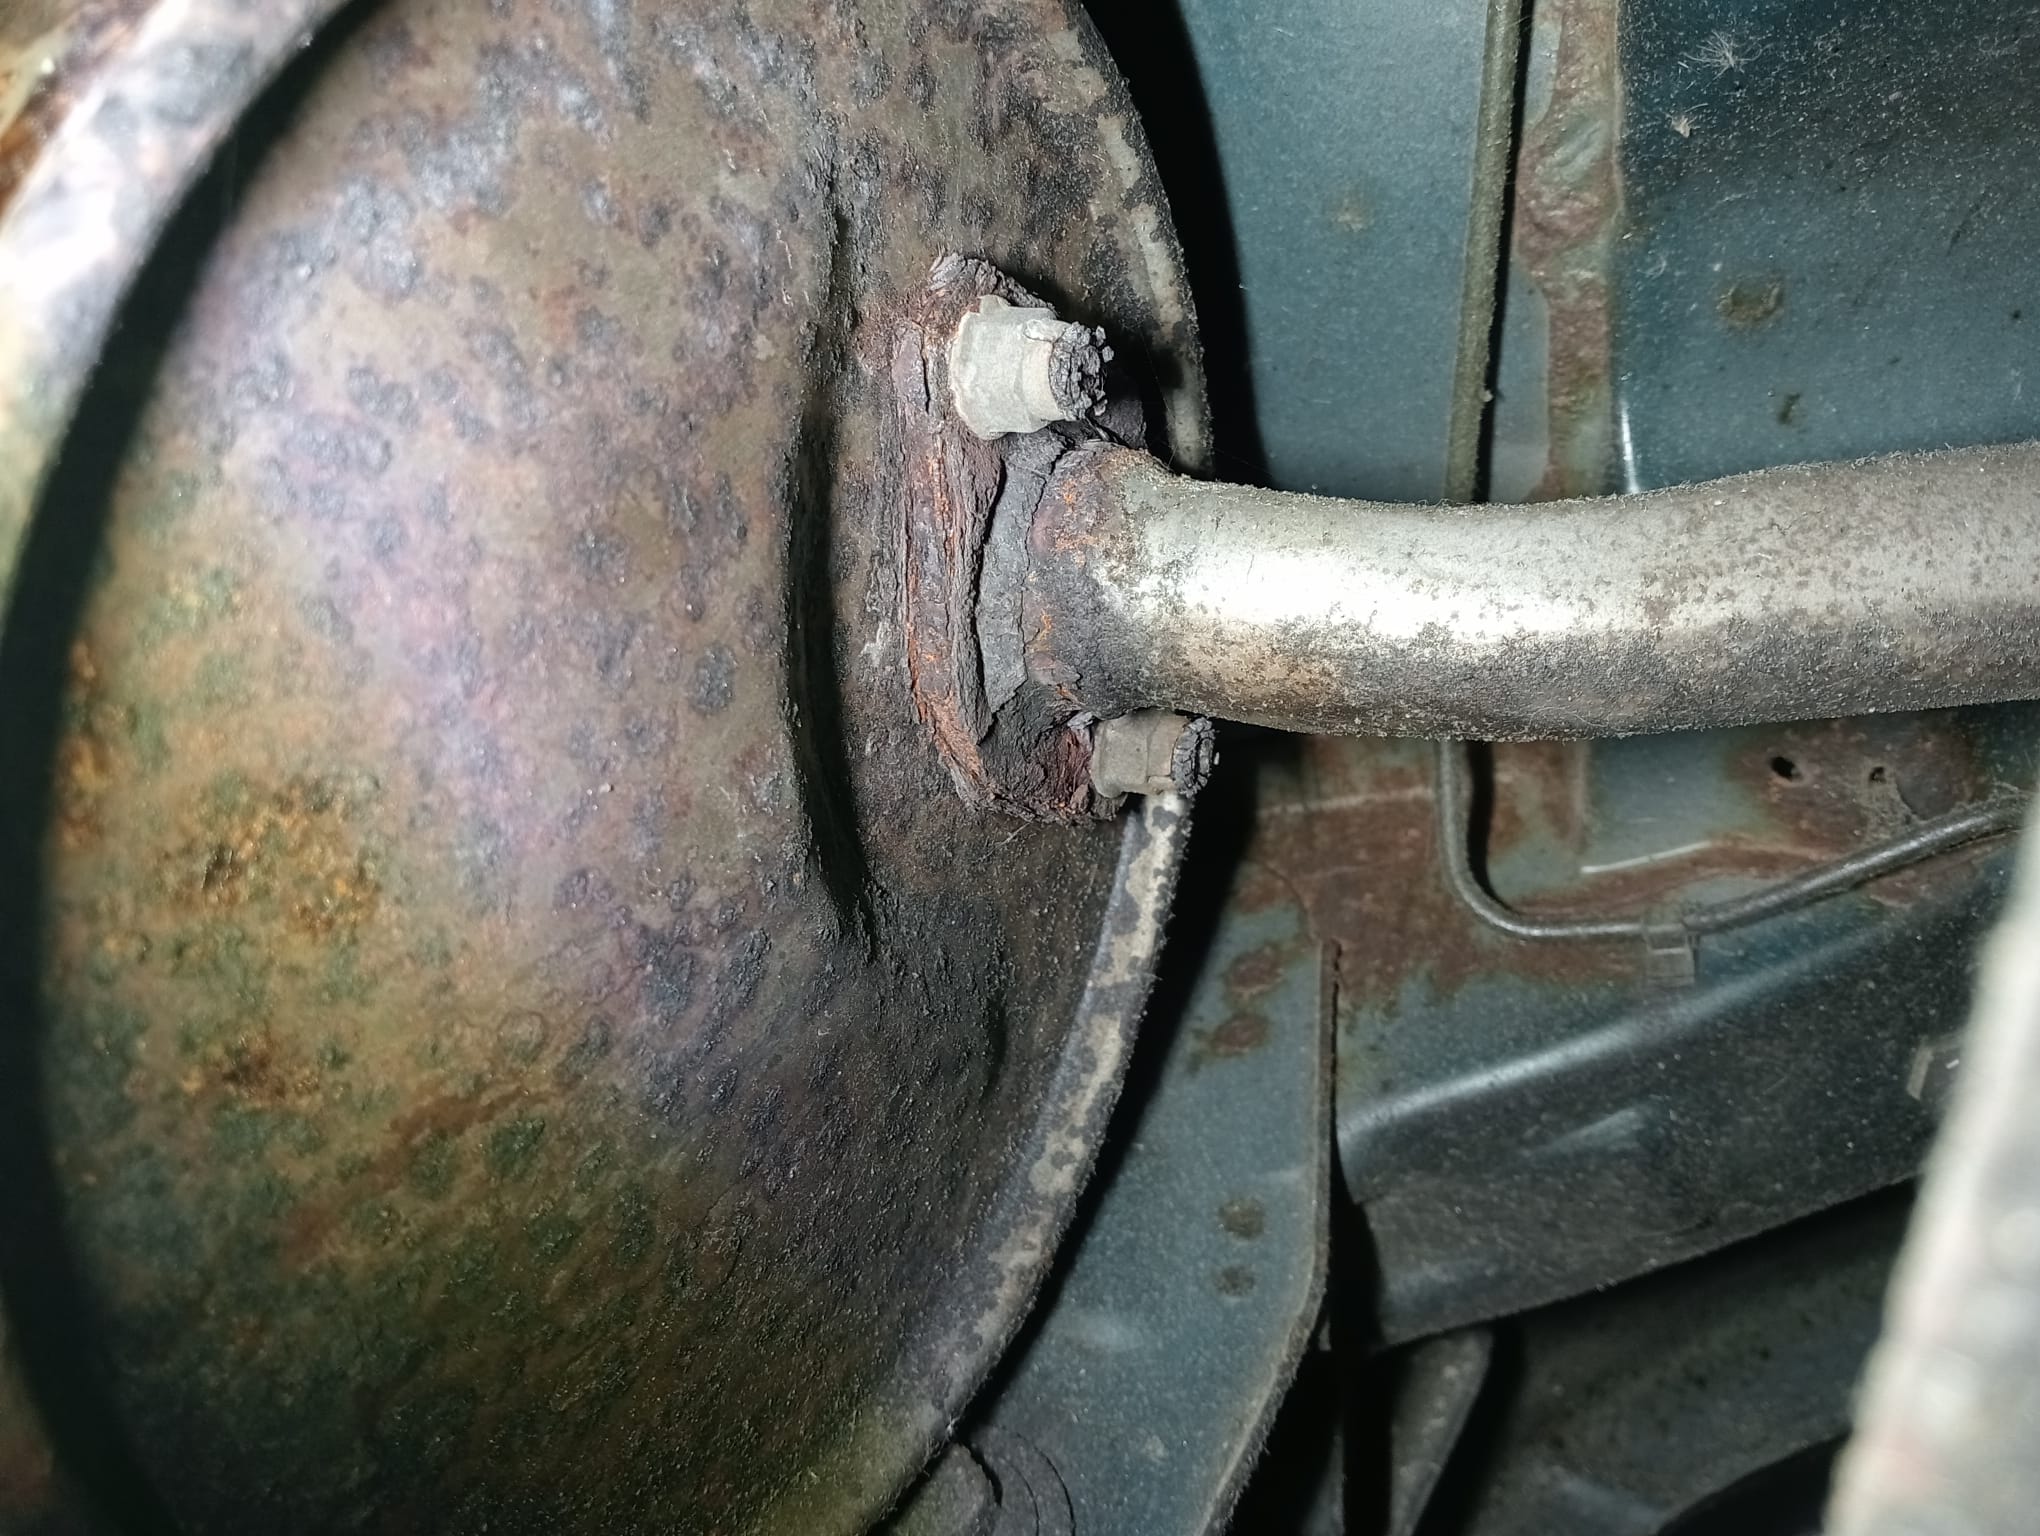
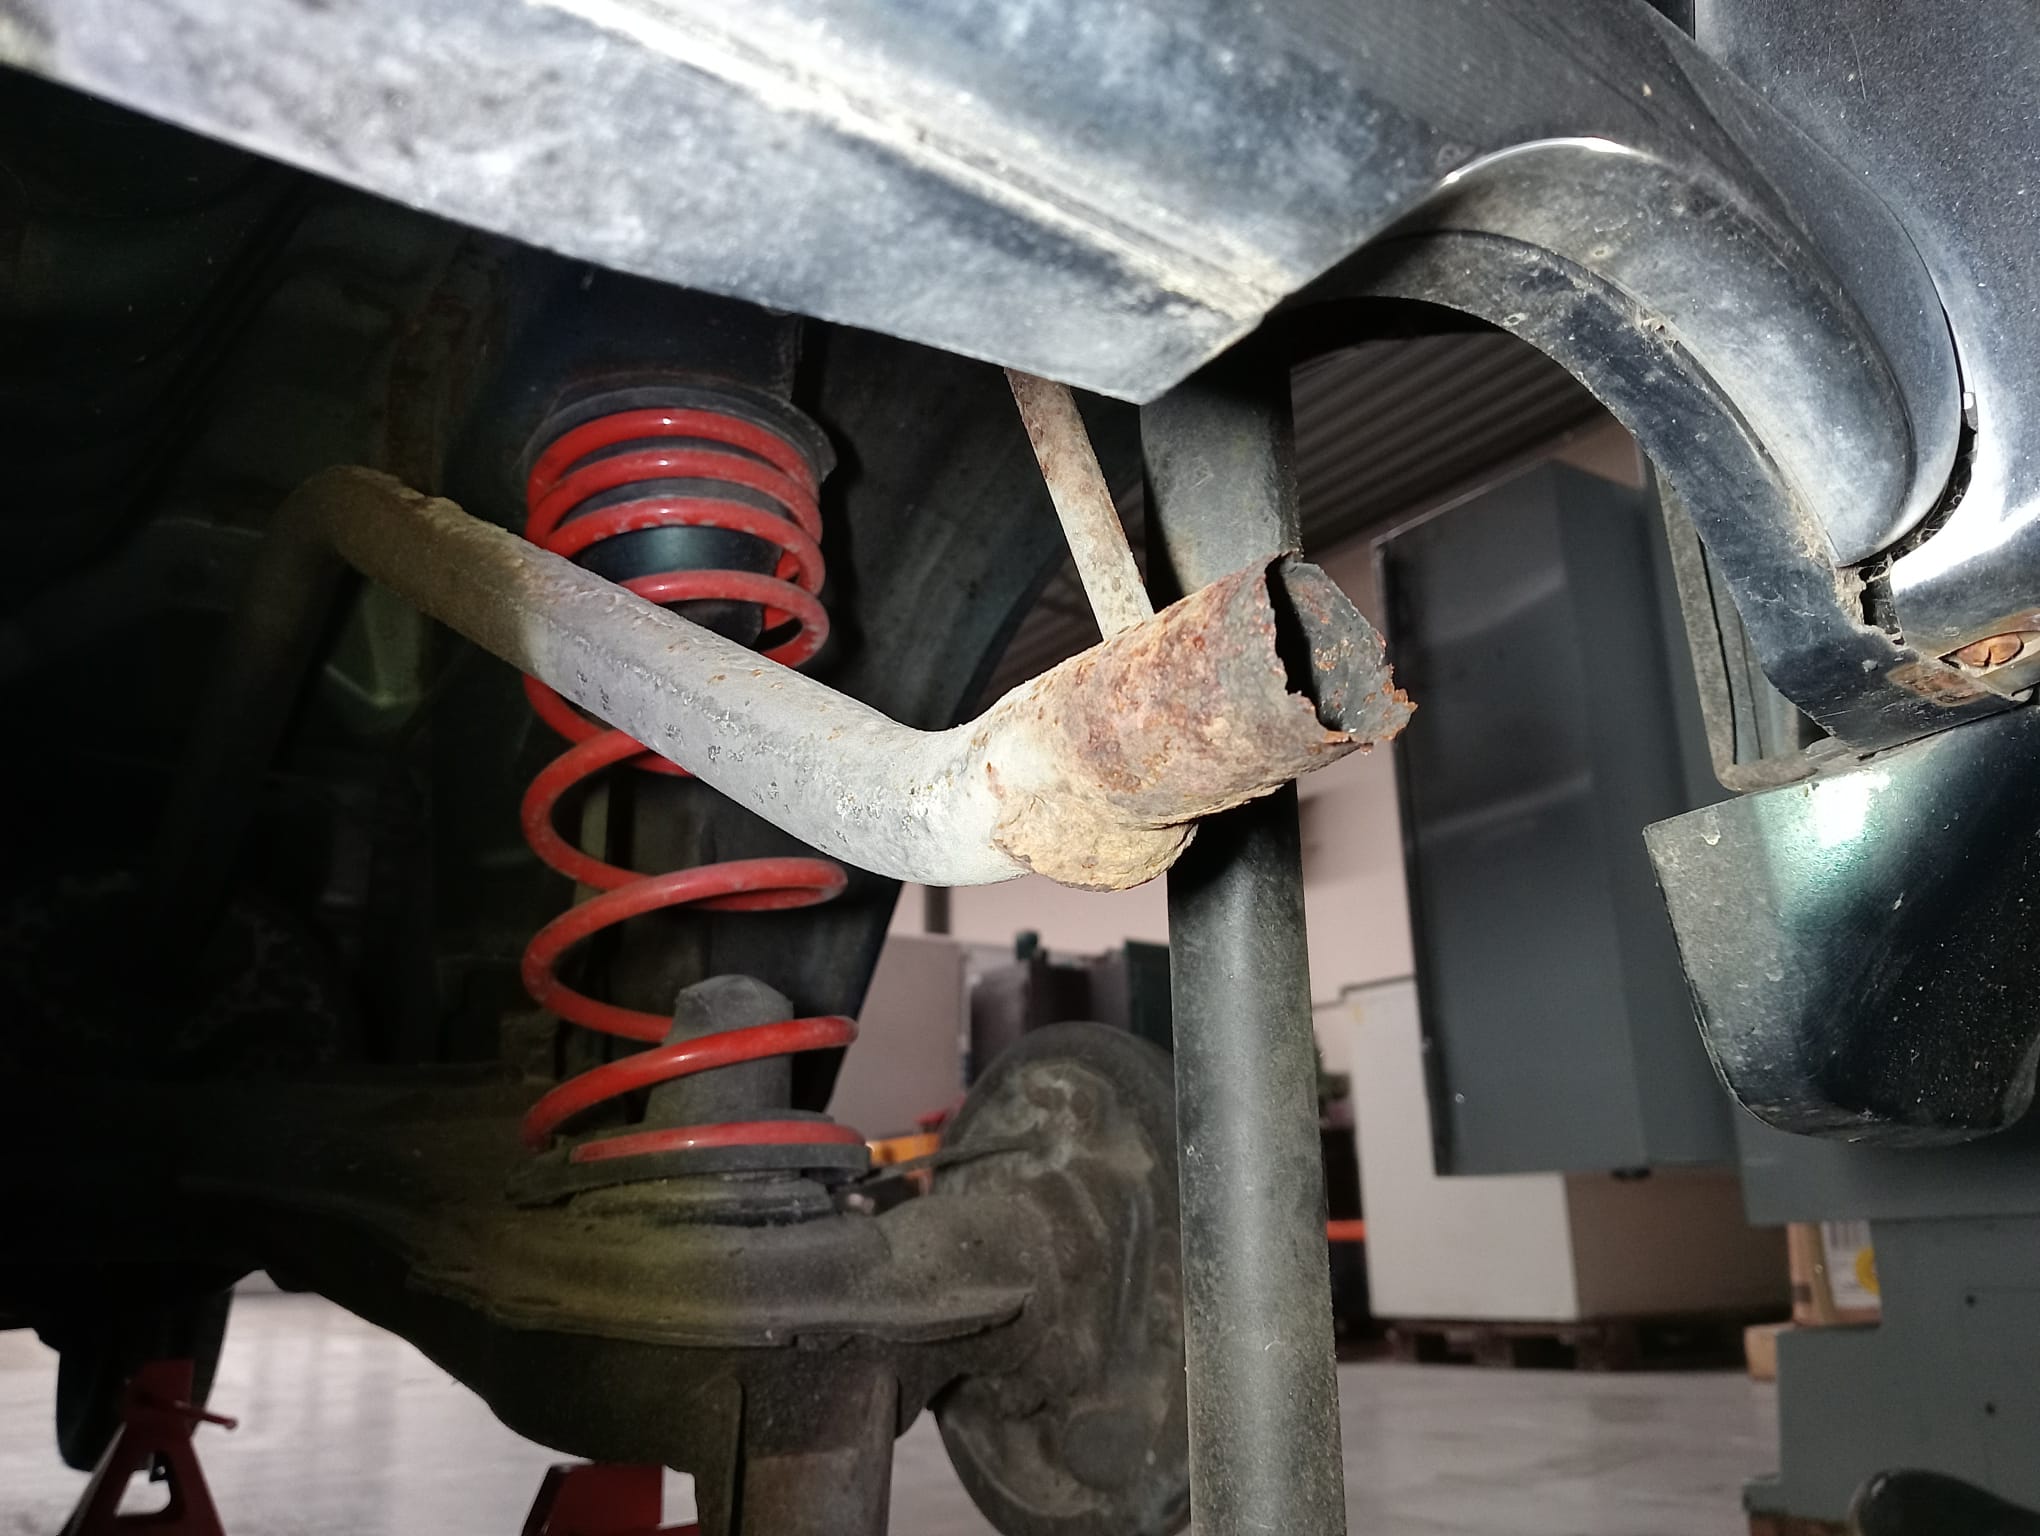
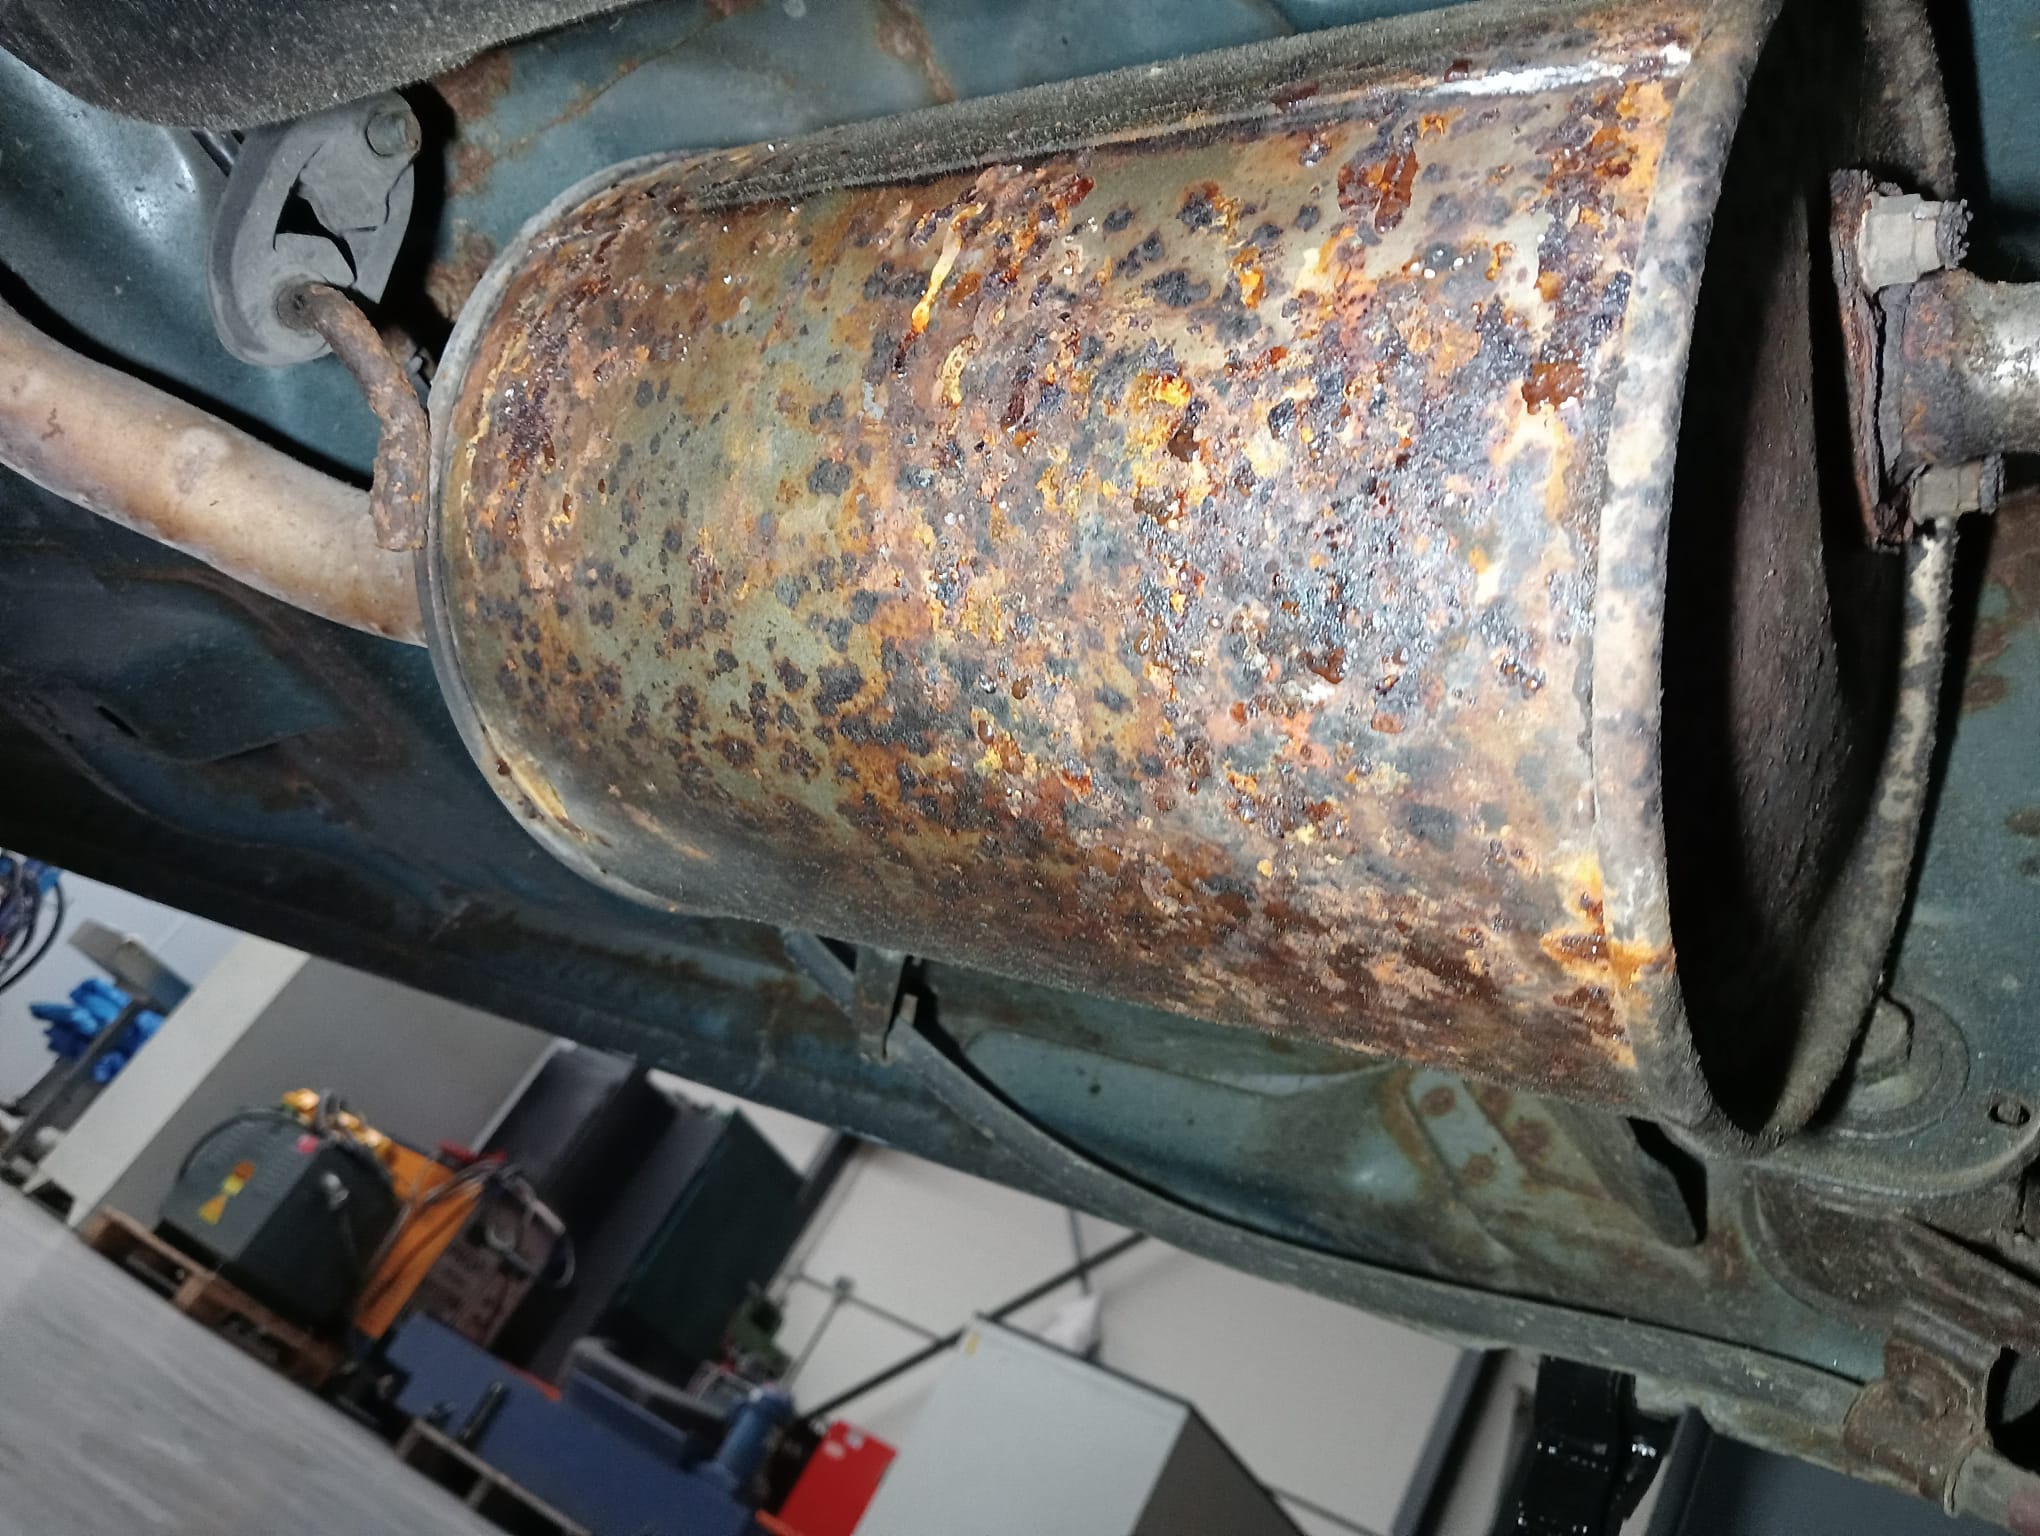
While she’s inside i’m going to tackle the starting rust problem before it gets too bad.
This is pretty much the worst there is.
Some of you (especially the dutch guys) will say this isn’t rusty at all. But it’s too much for me.
Right now the plans are to fully de-rust the underside, suspension and engine compartment. And deep clean the interior. And fix some stuff that’s needed to get her registered (yes i’ve got her almost a year now and she’s still not registered).
After everything is done and have saved up enough i’ll get her registered.
Other than that i haven’t got any plans for mods and such.