Love the Gino woodgrain stuff. you thinking of changing to the gino front?
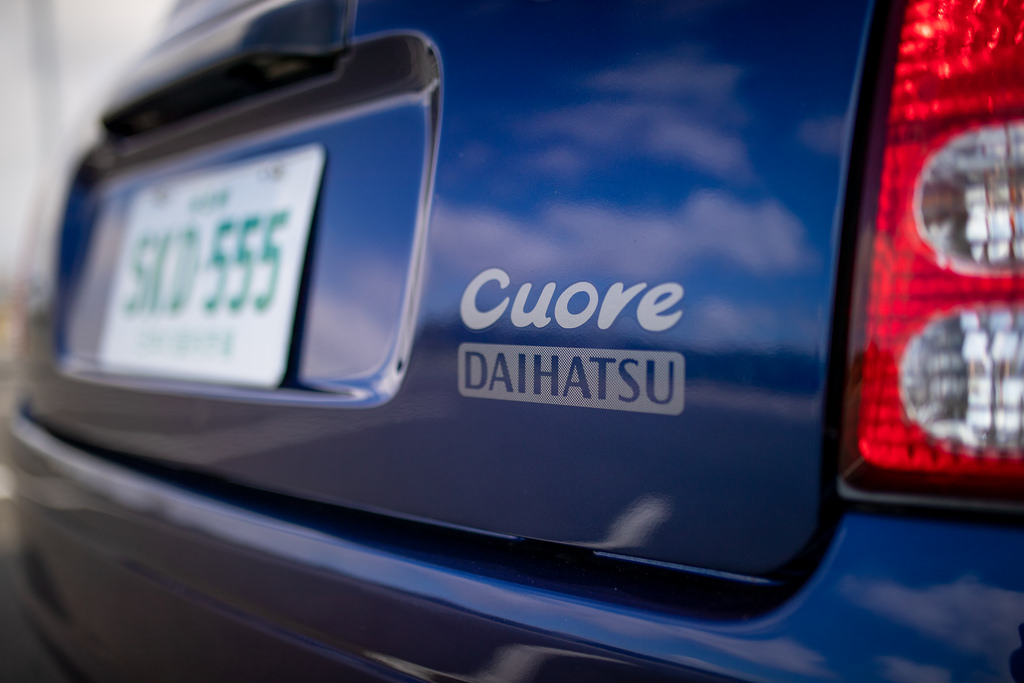
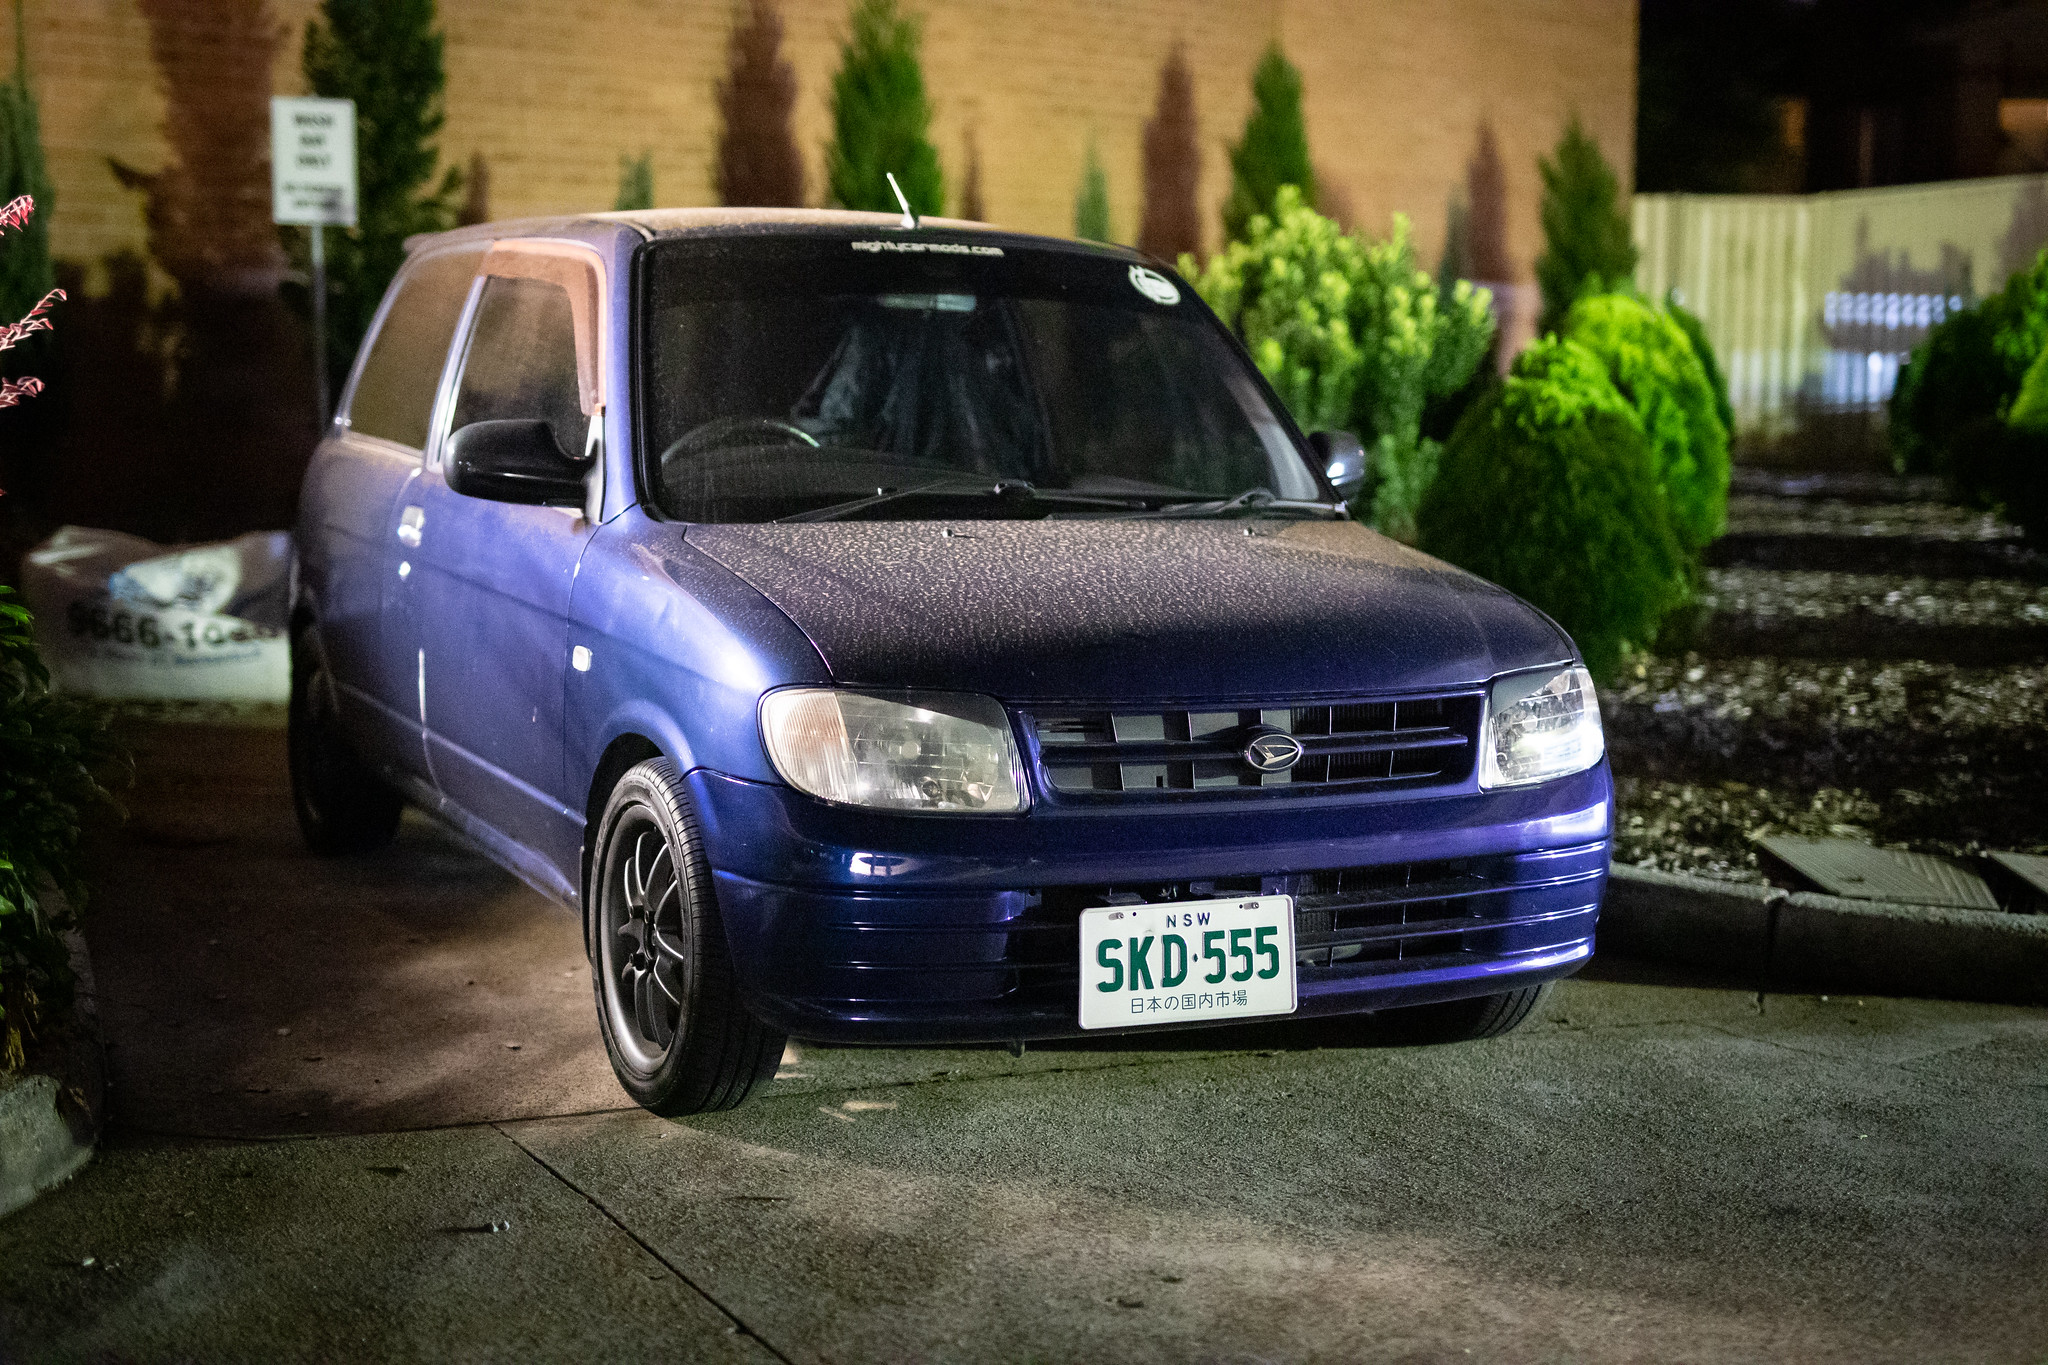
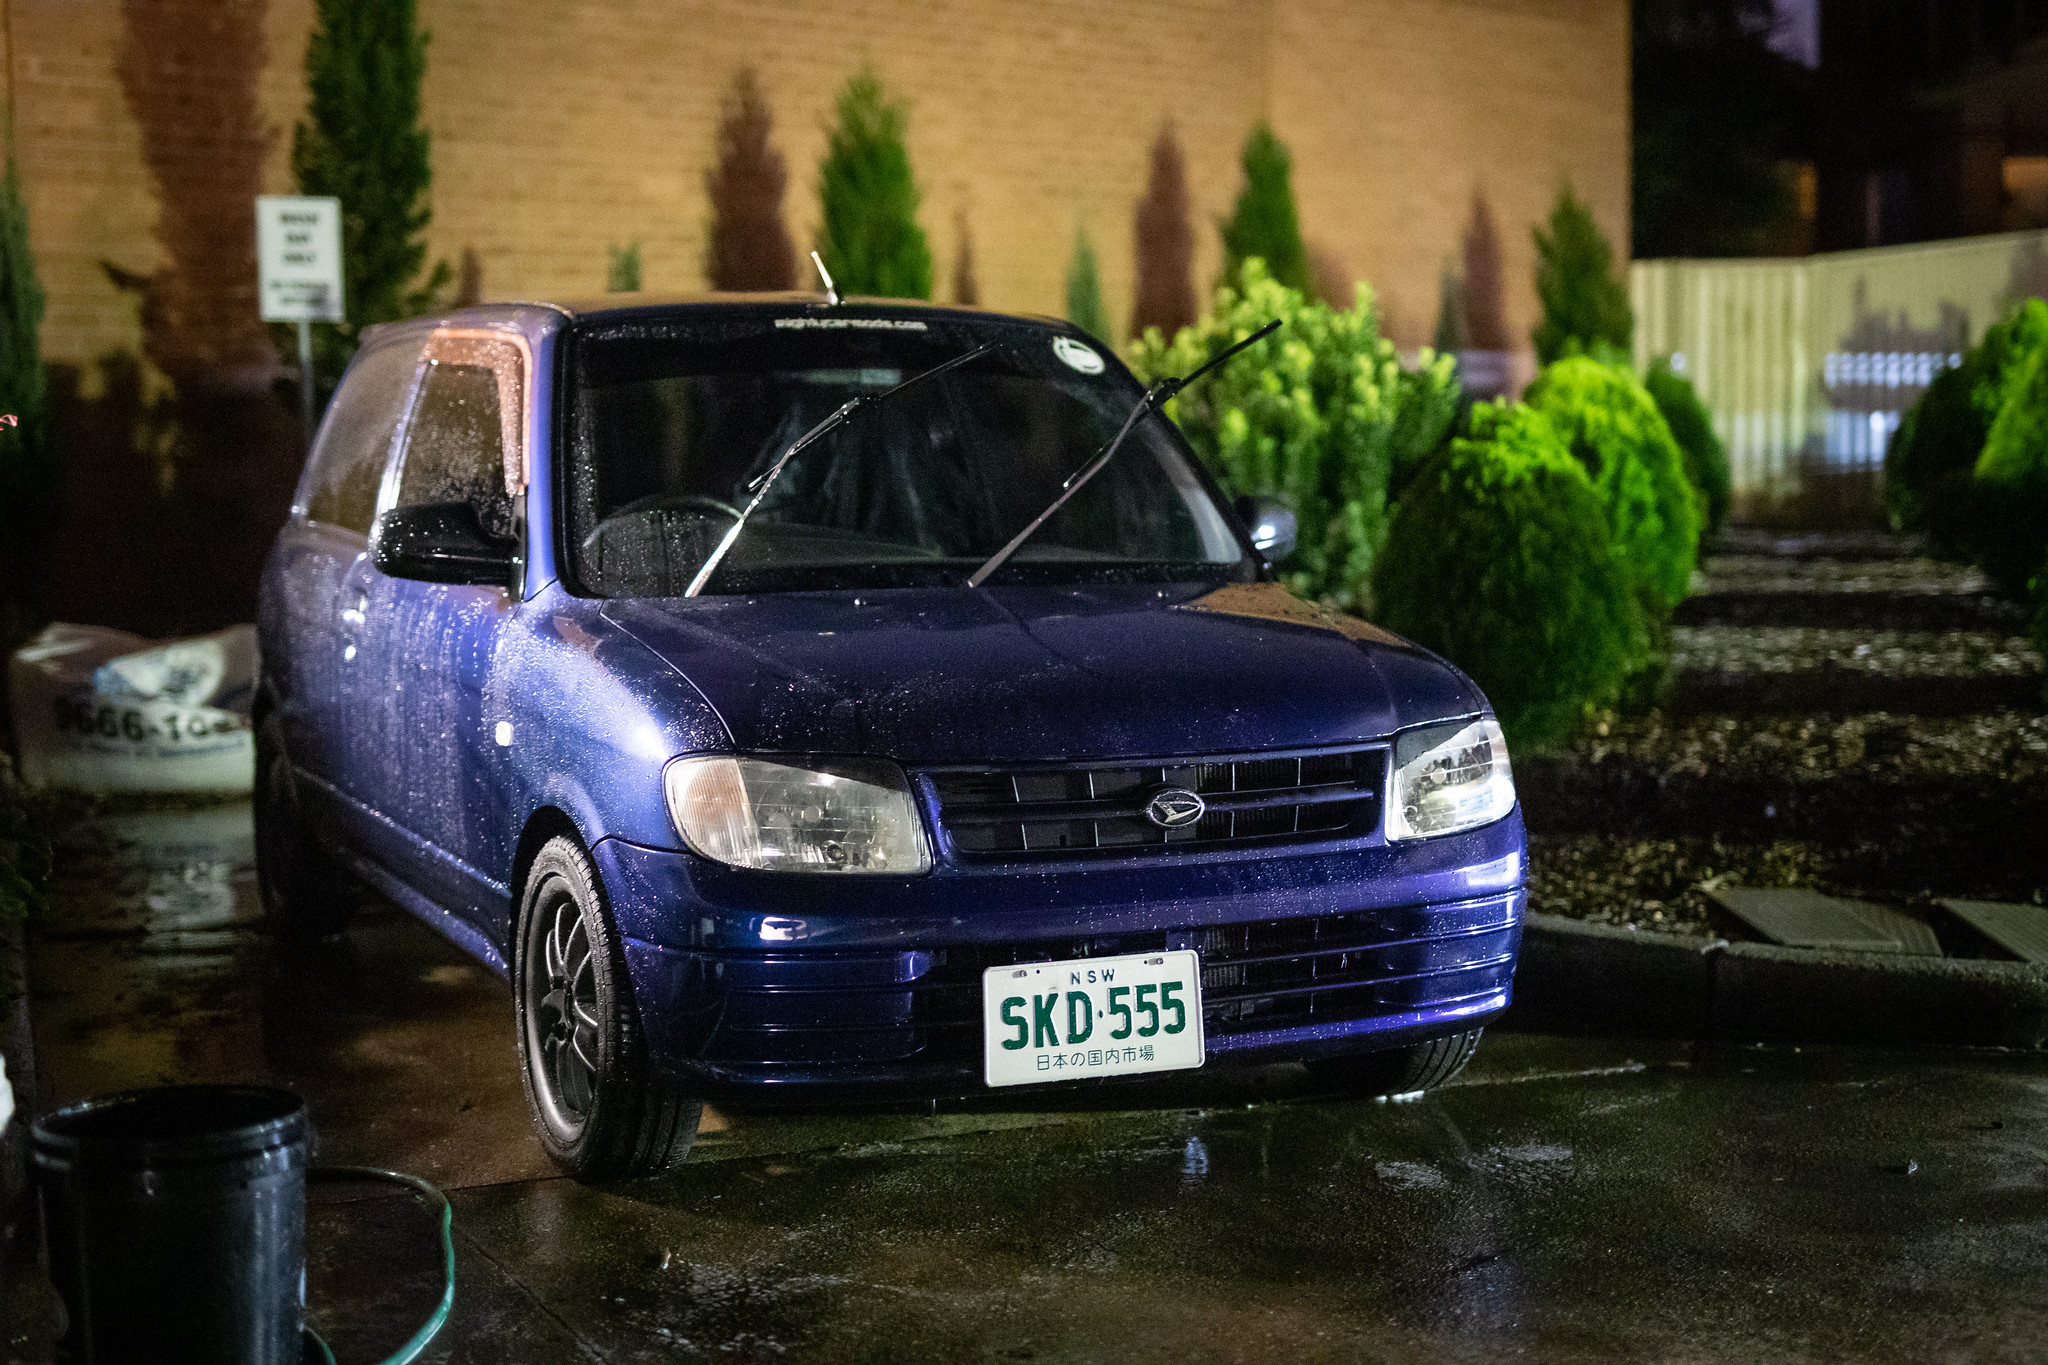
November 2018: Cuore got the old quarterly wash yesterday. My Subaru has become more and more broken lately meaning the Cuore is getting used way more than usual.

Dirty girl.


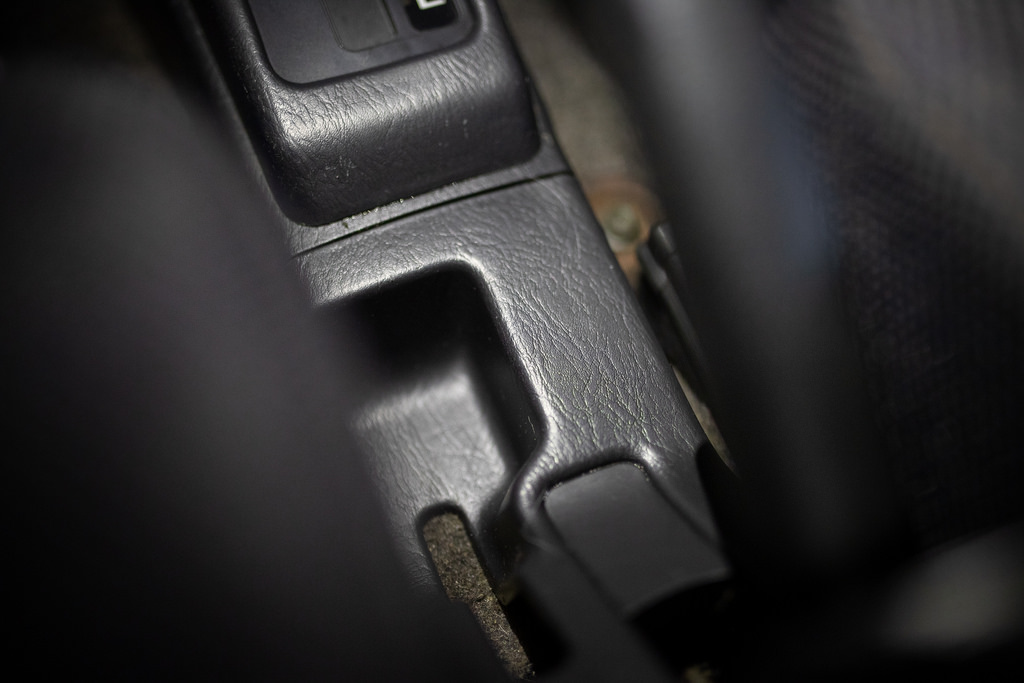
Clean boi.
Gave the new Meguiar’s APC a go on the interior.
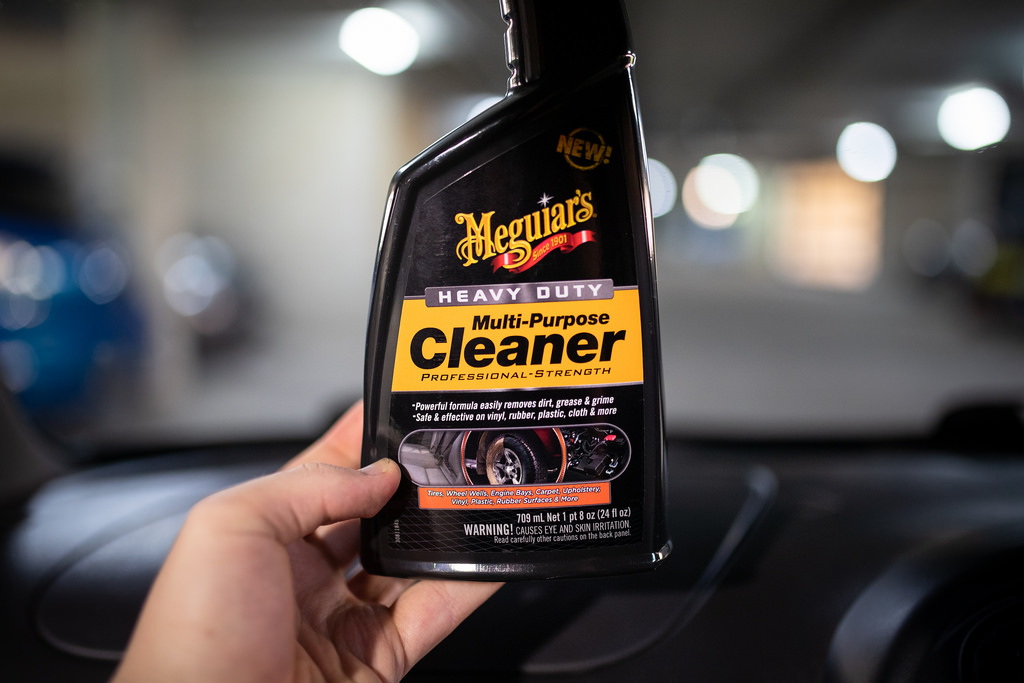
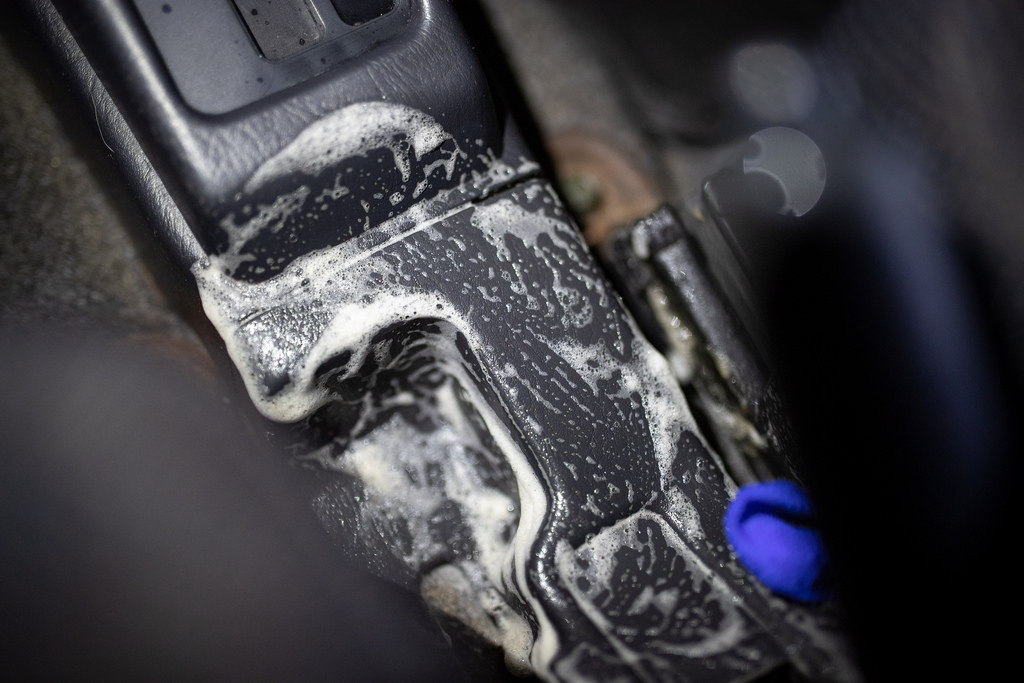
Works wonders.
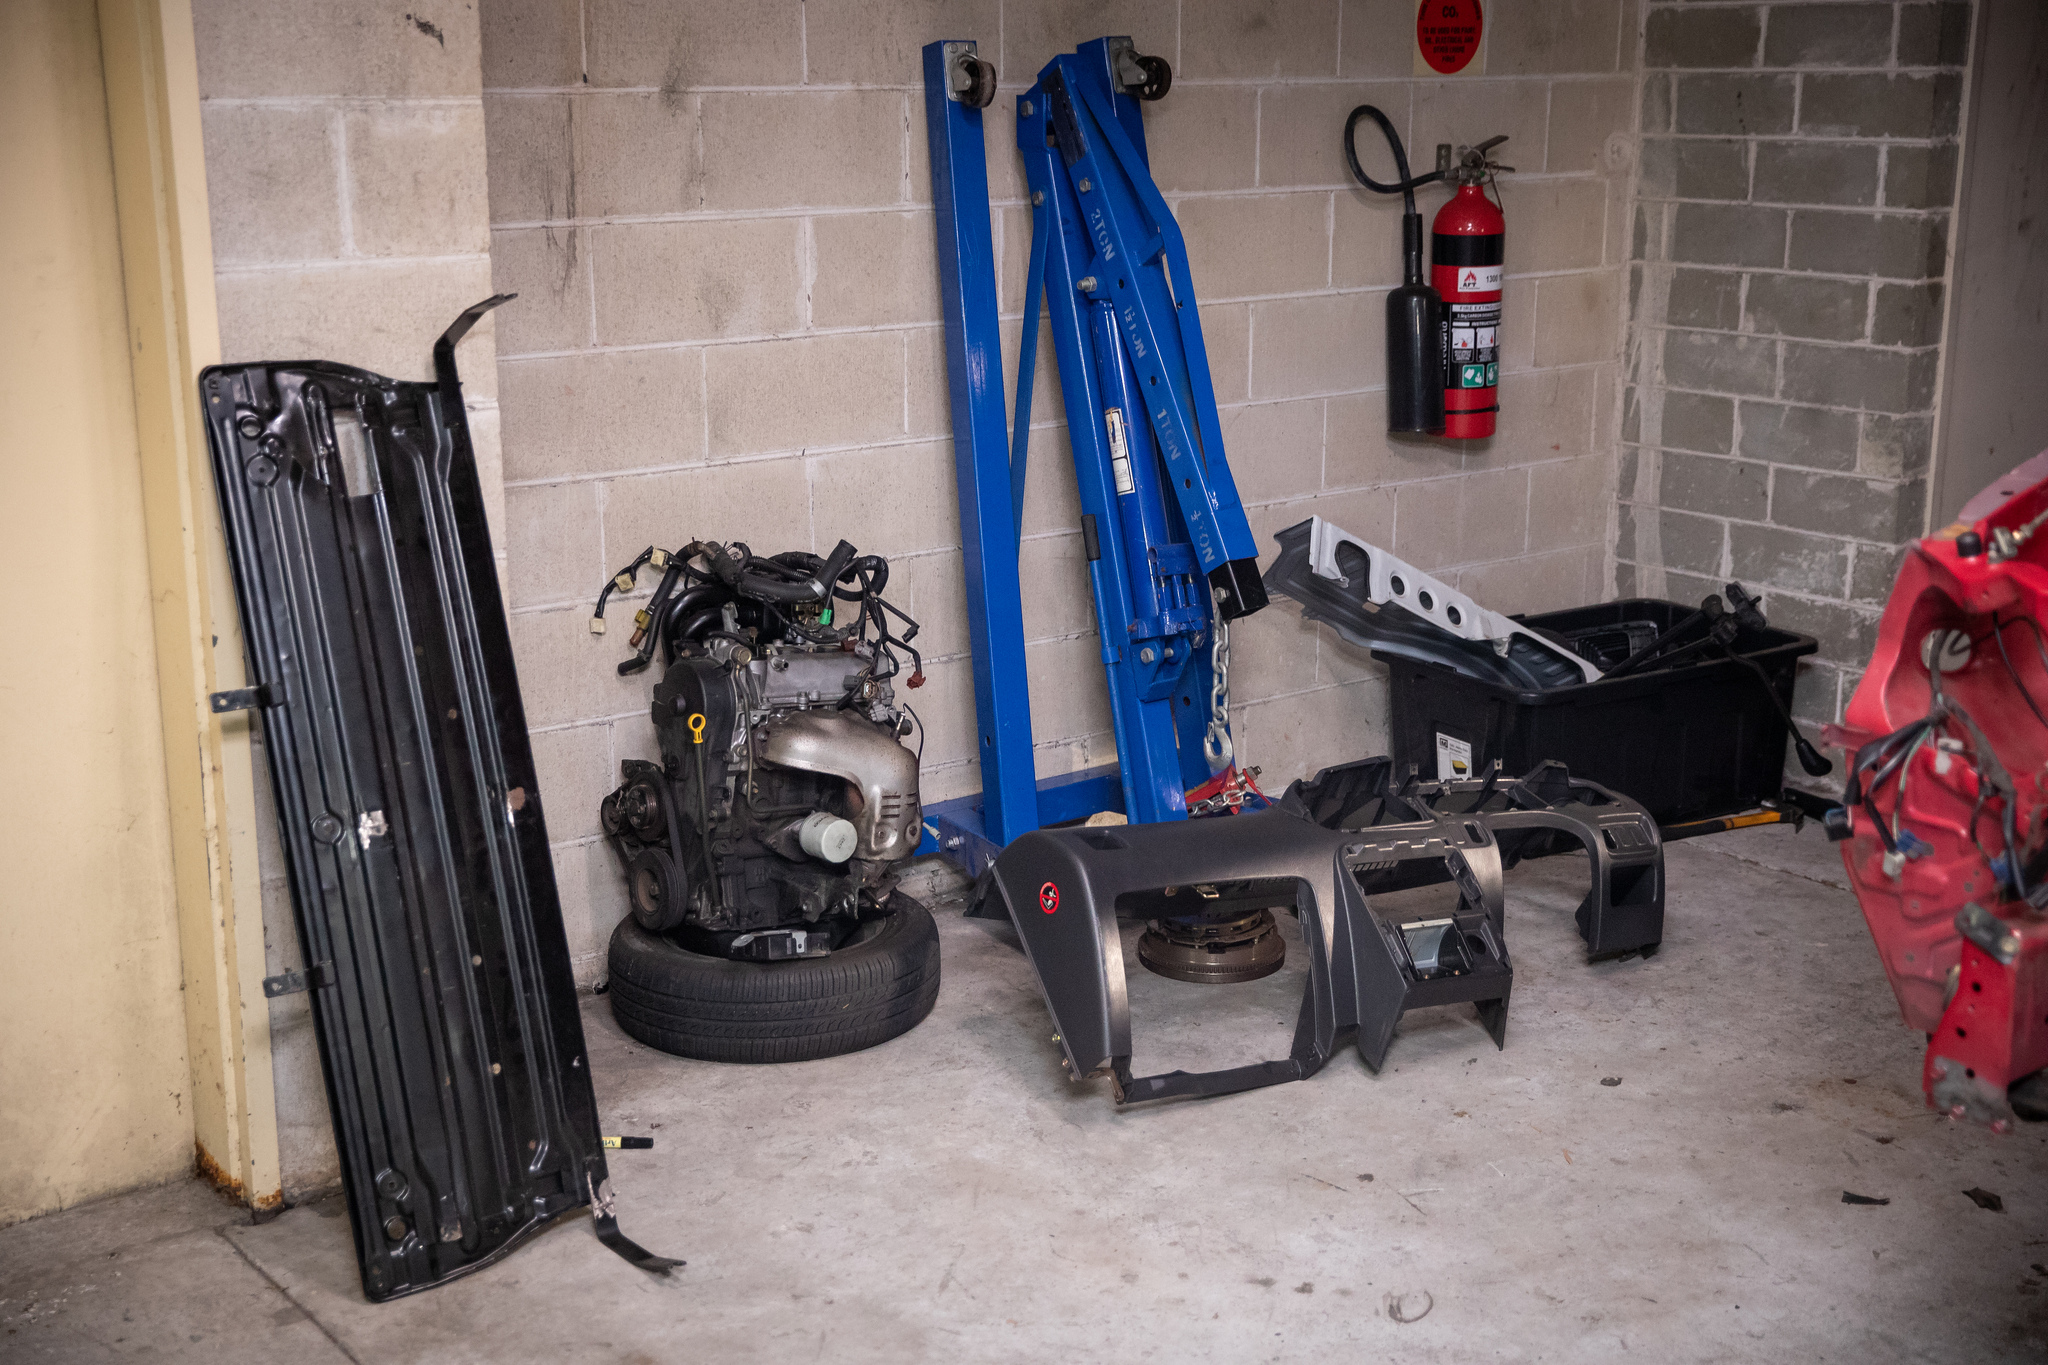
It’s been really useful having a full parts car around to just take bits and pieces off.
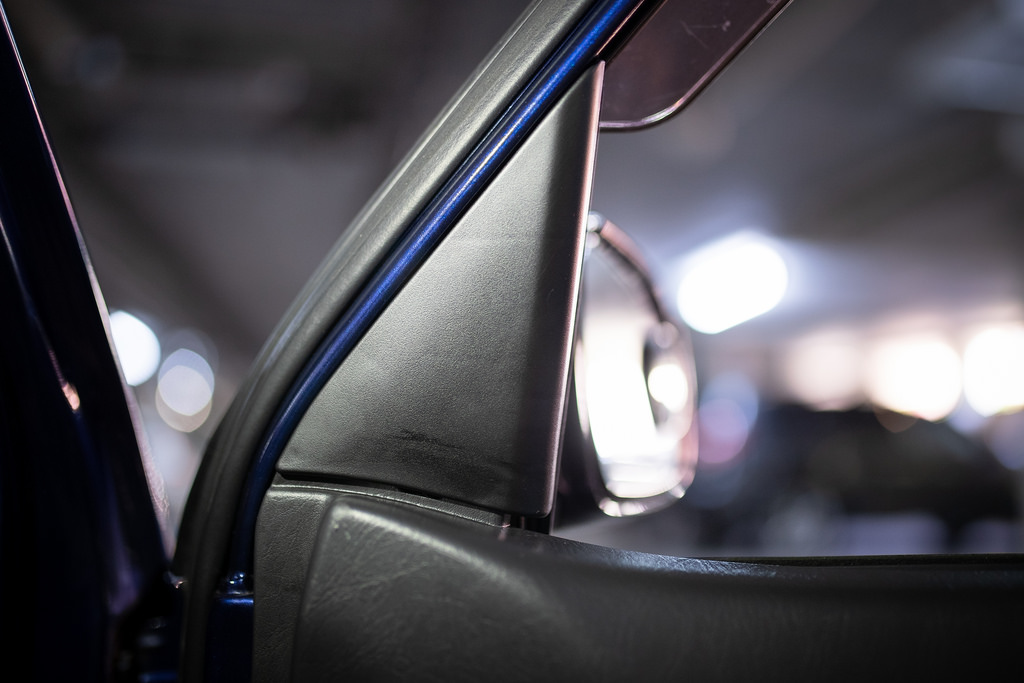
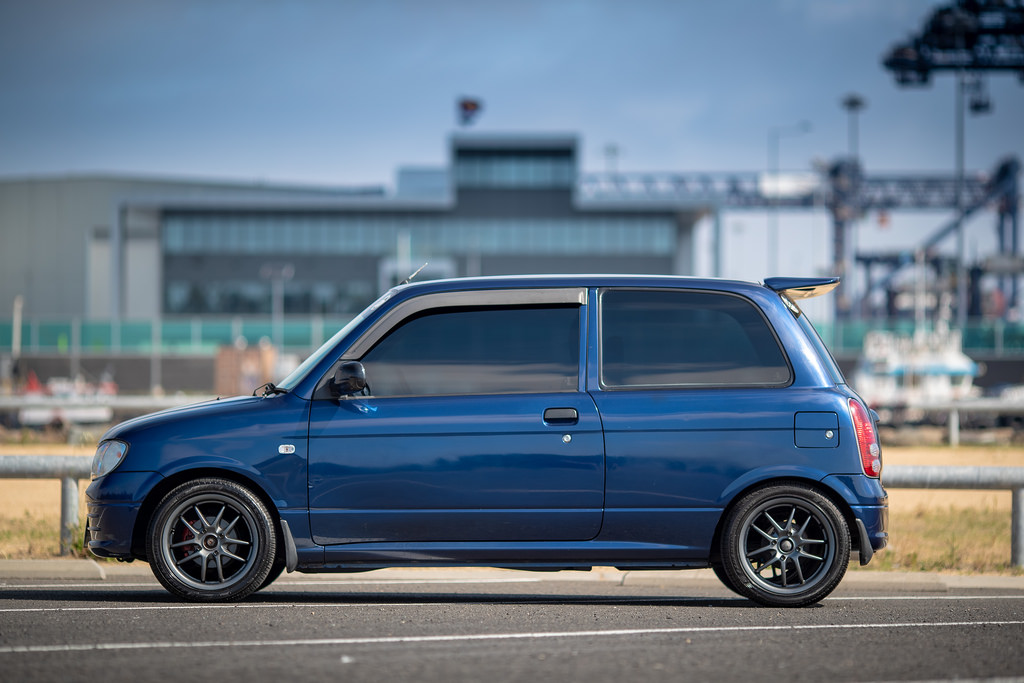
I also had some time to go and get some photos of the car.


6 Likes
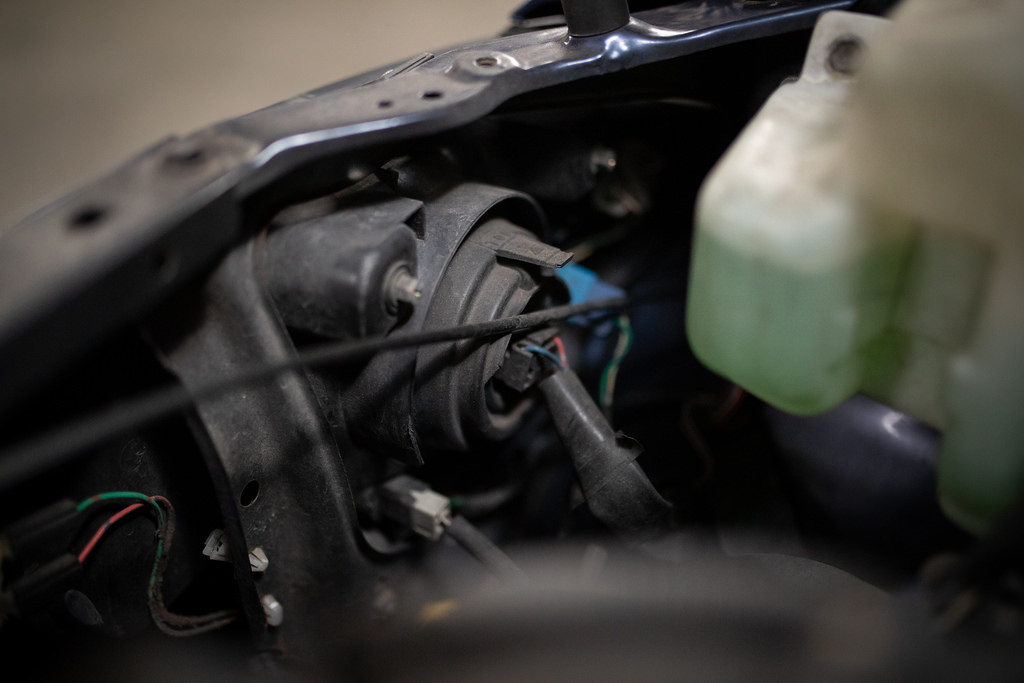
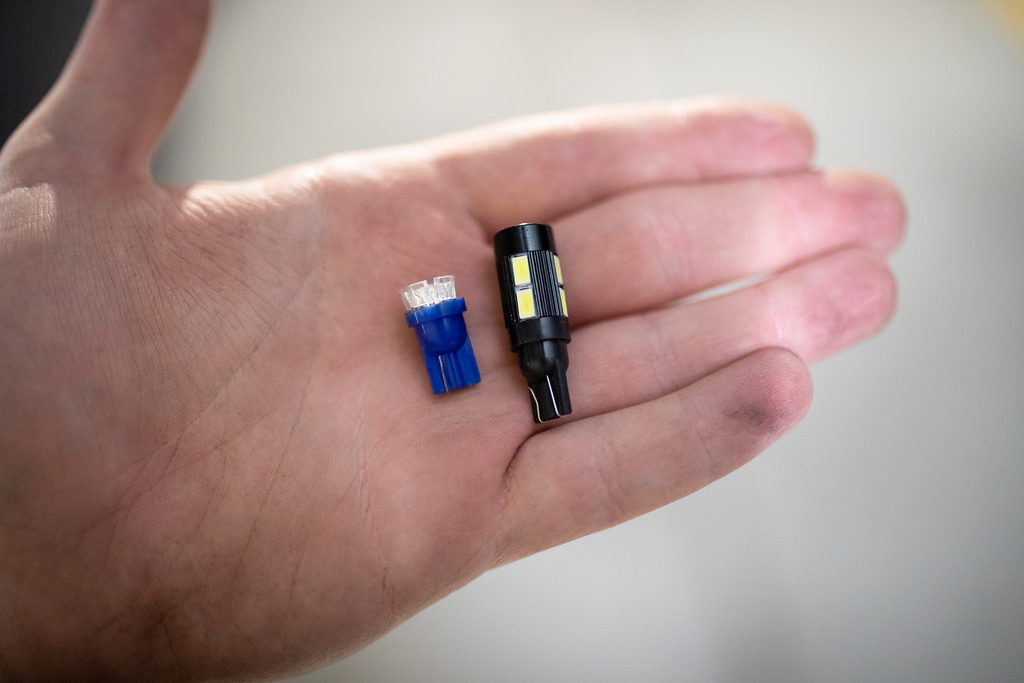
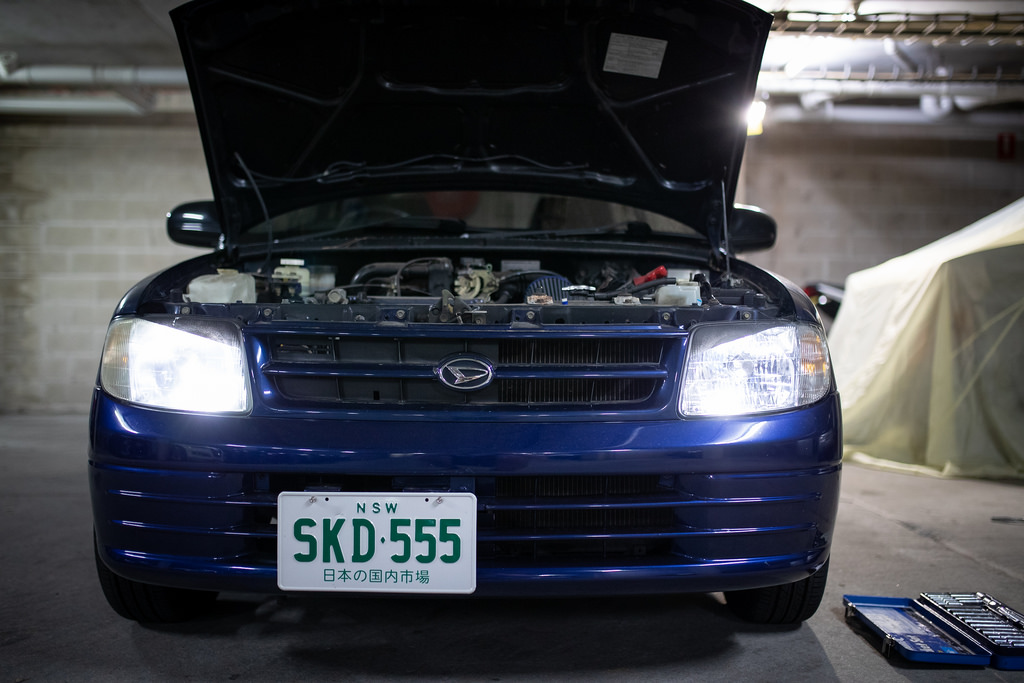
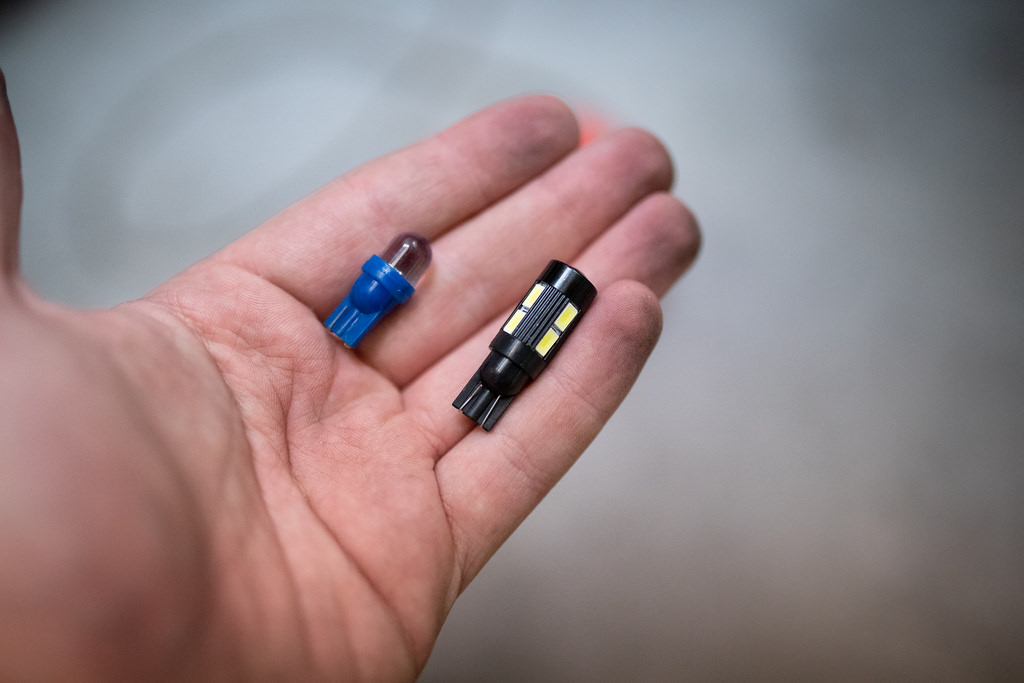
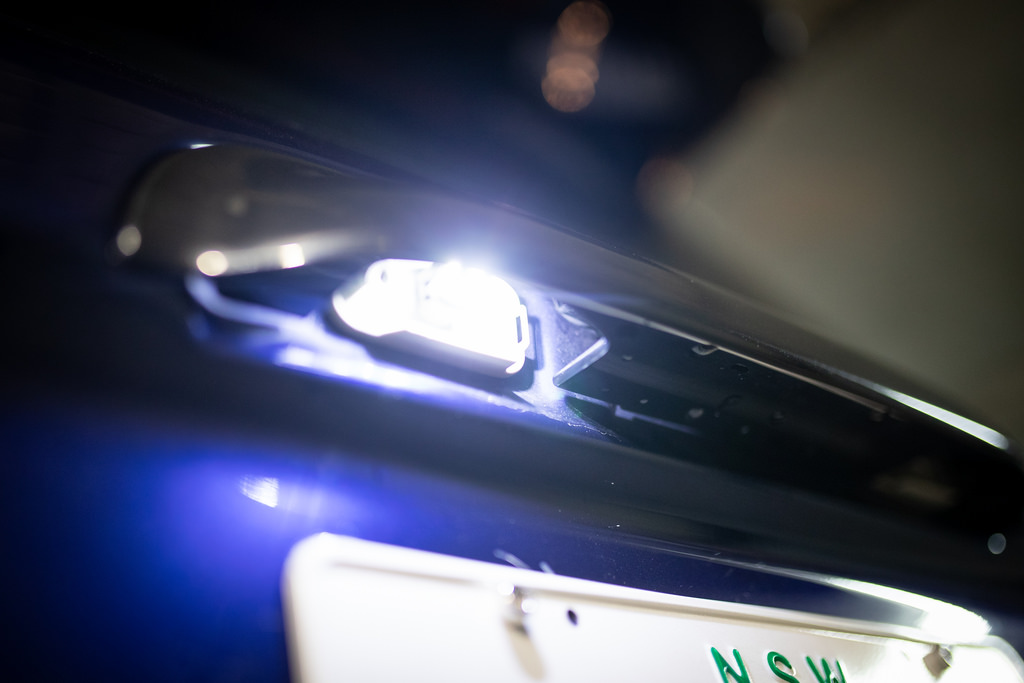
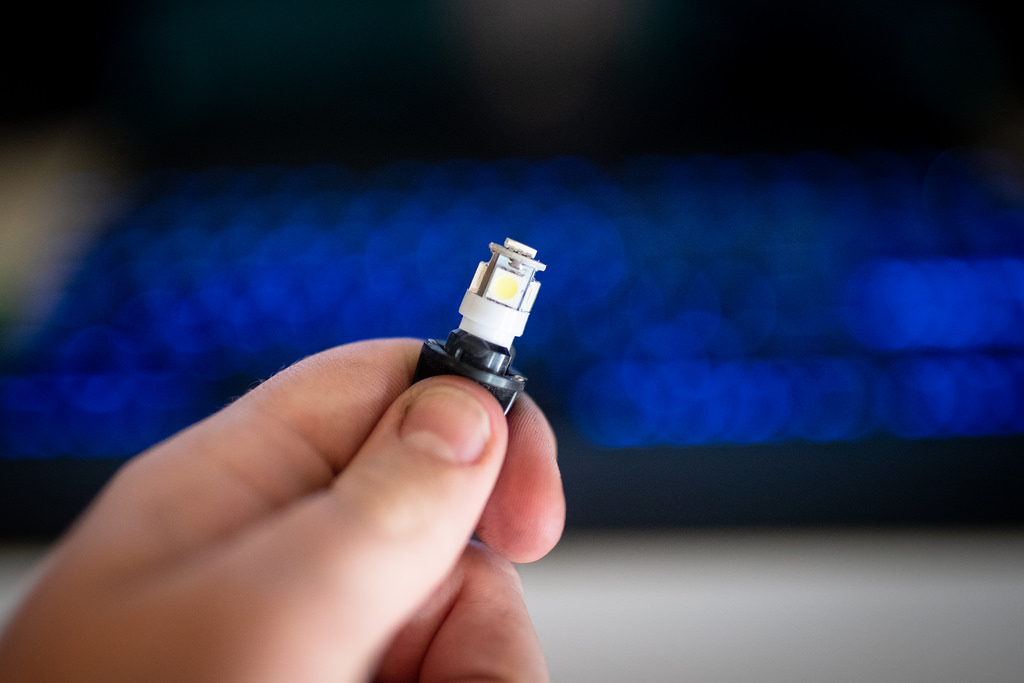
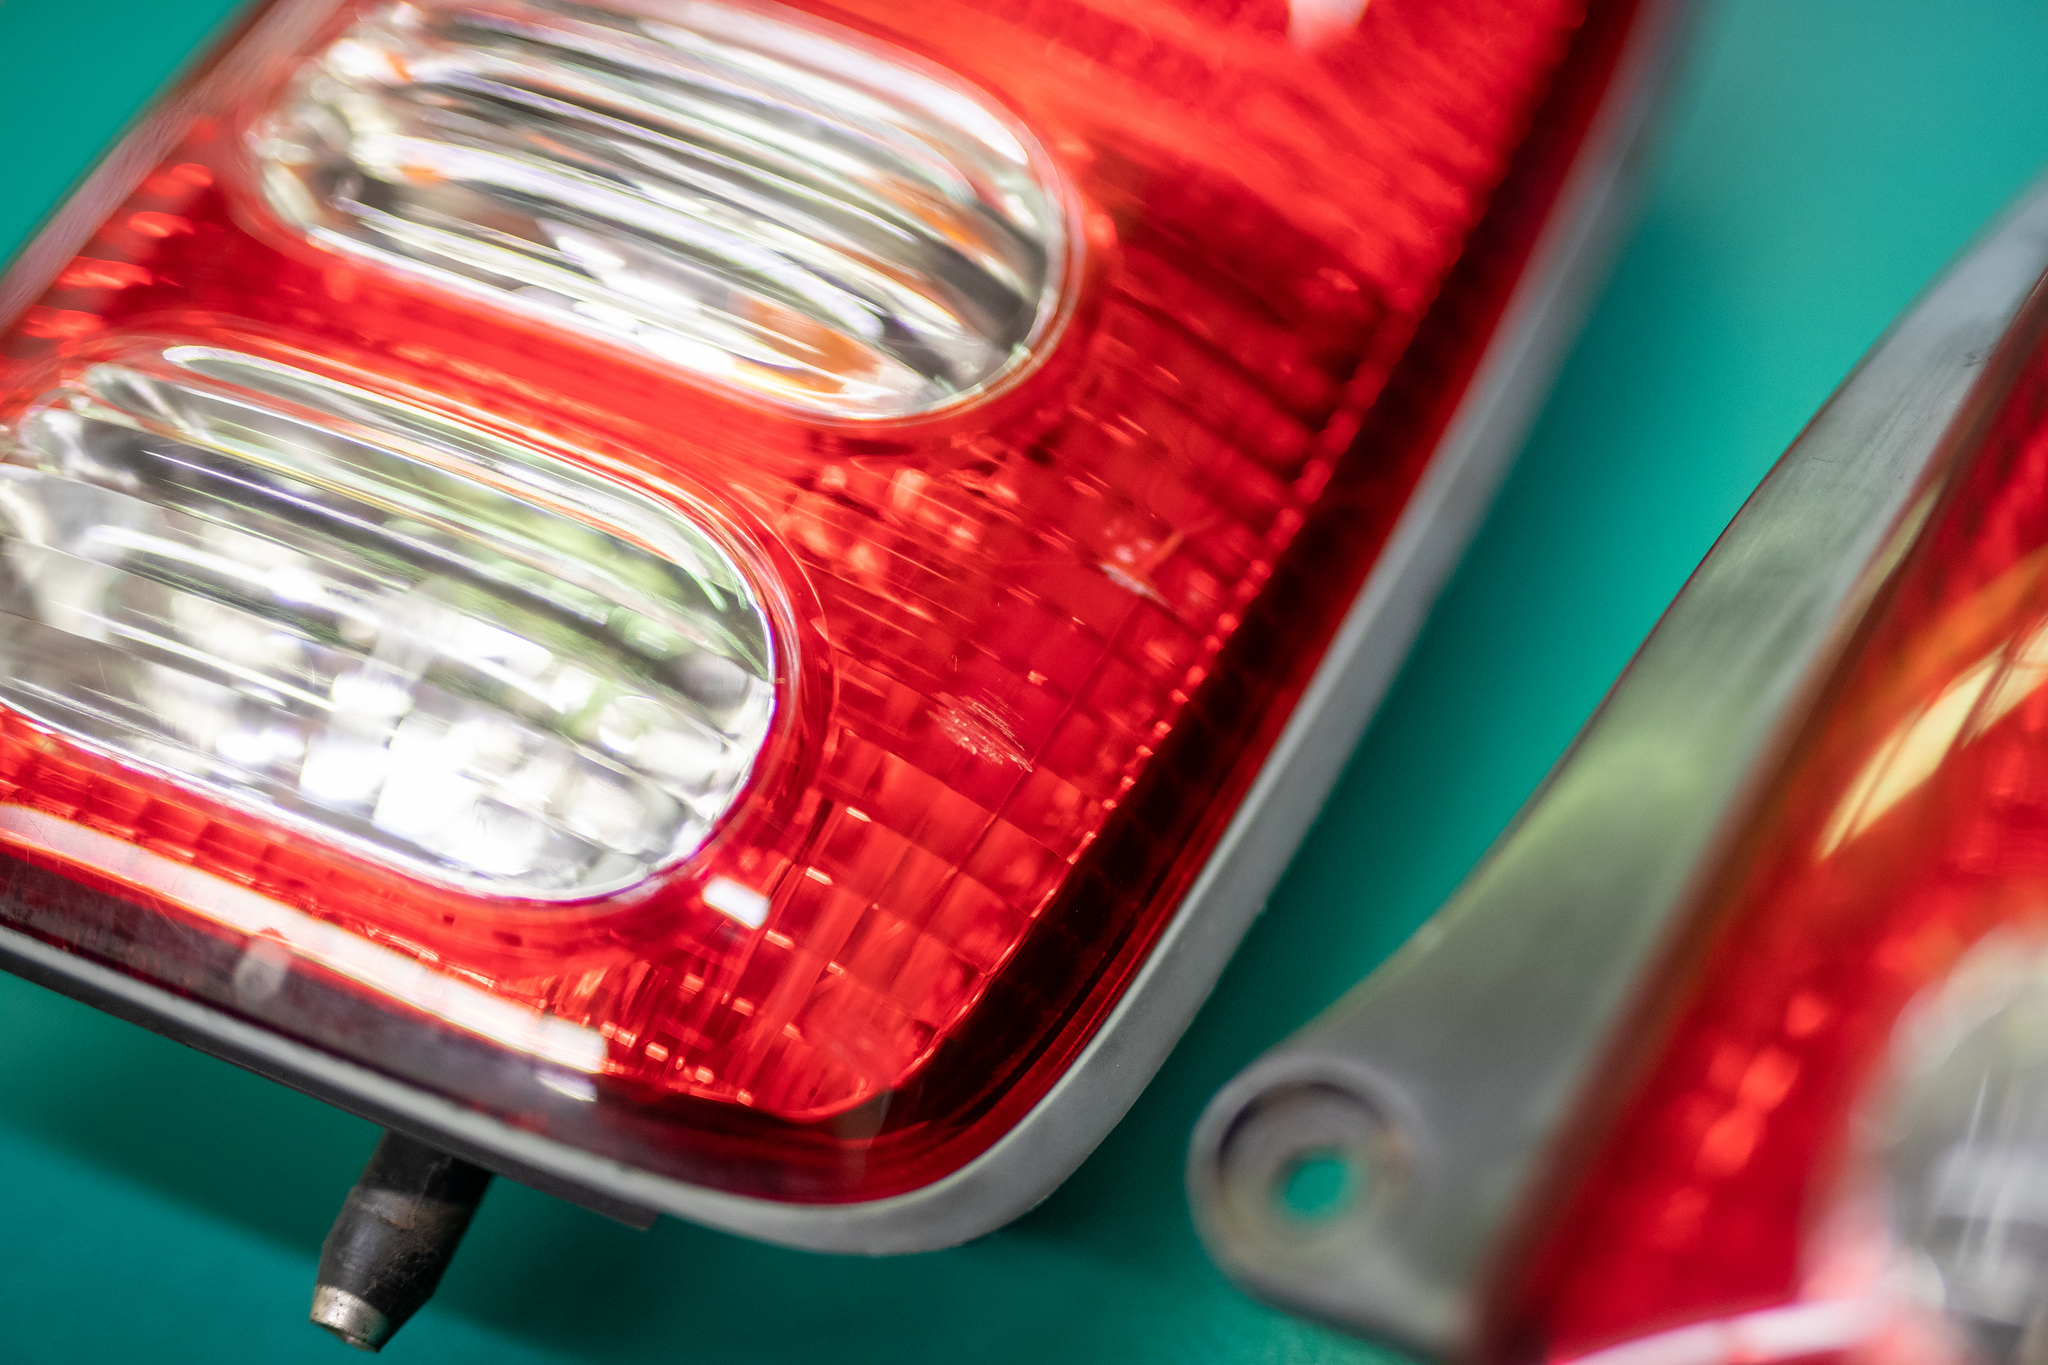
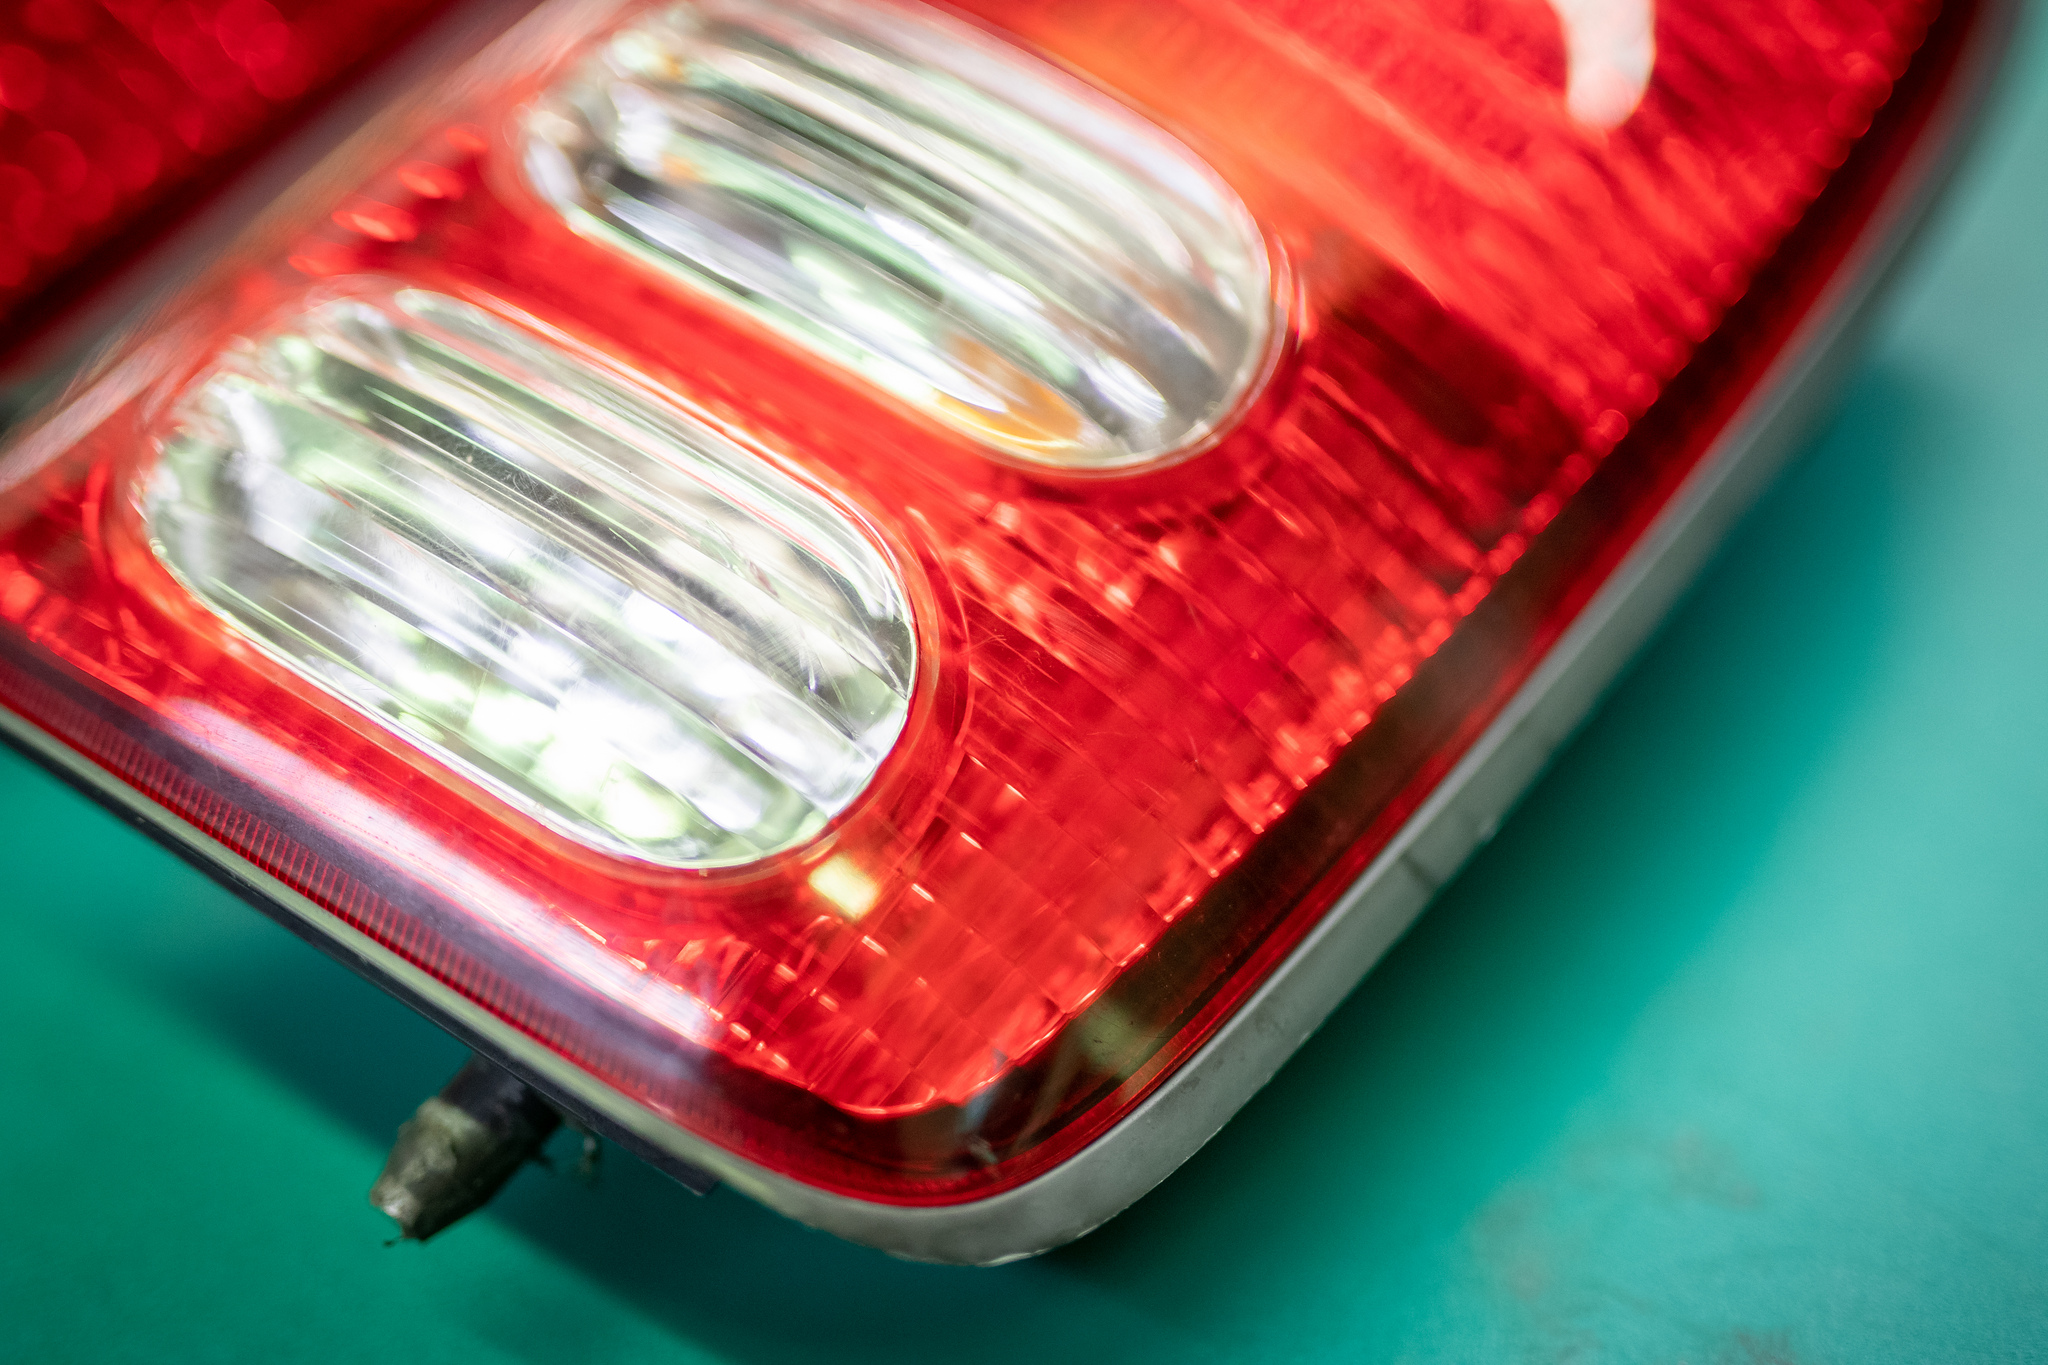
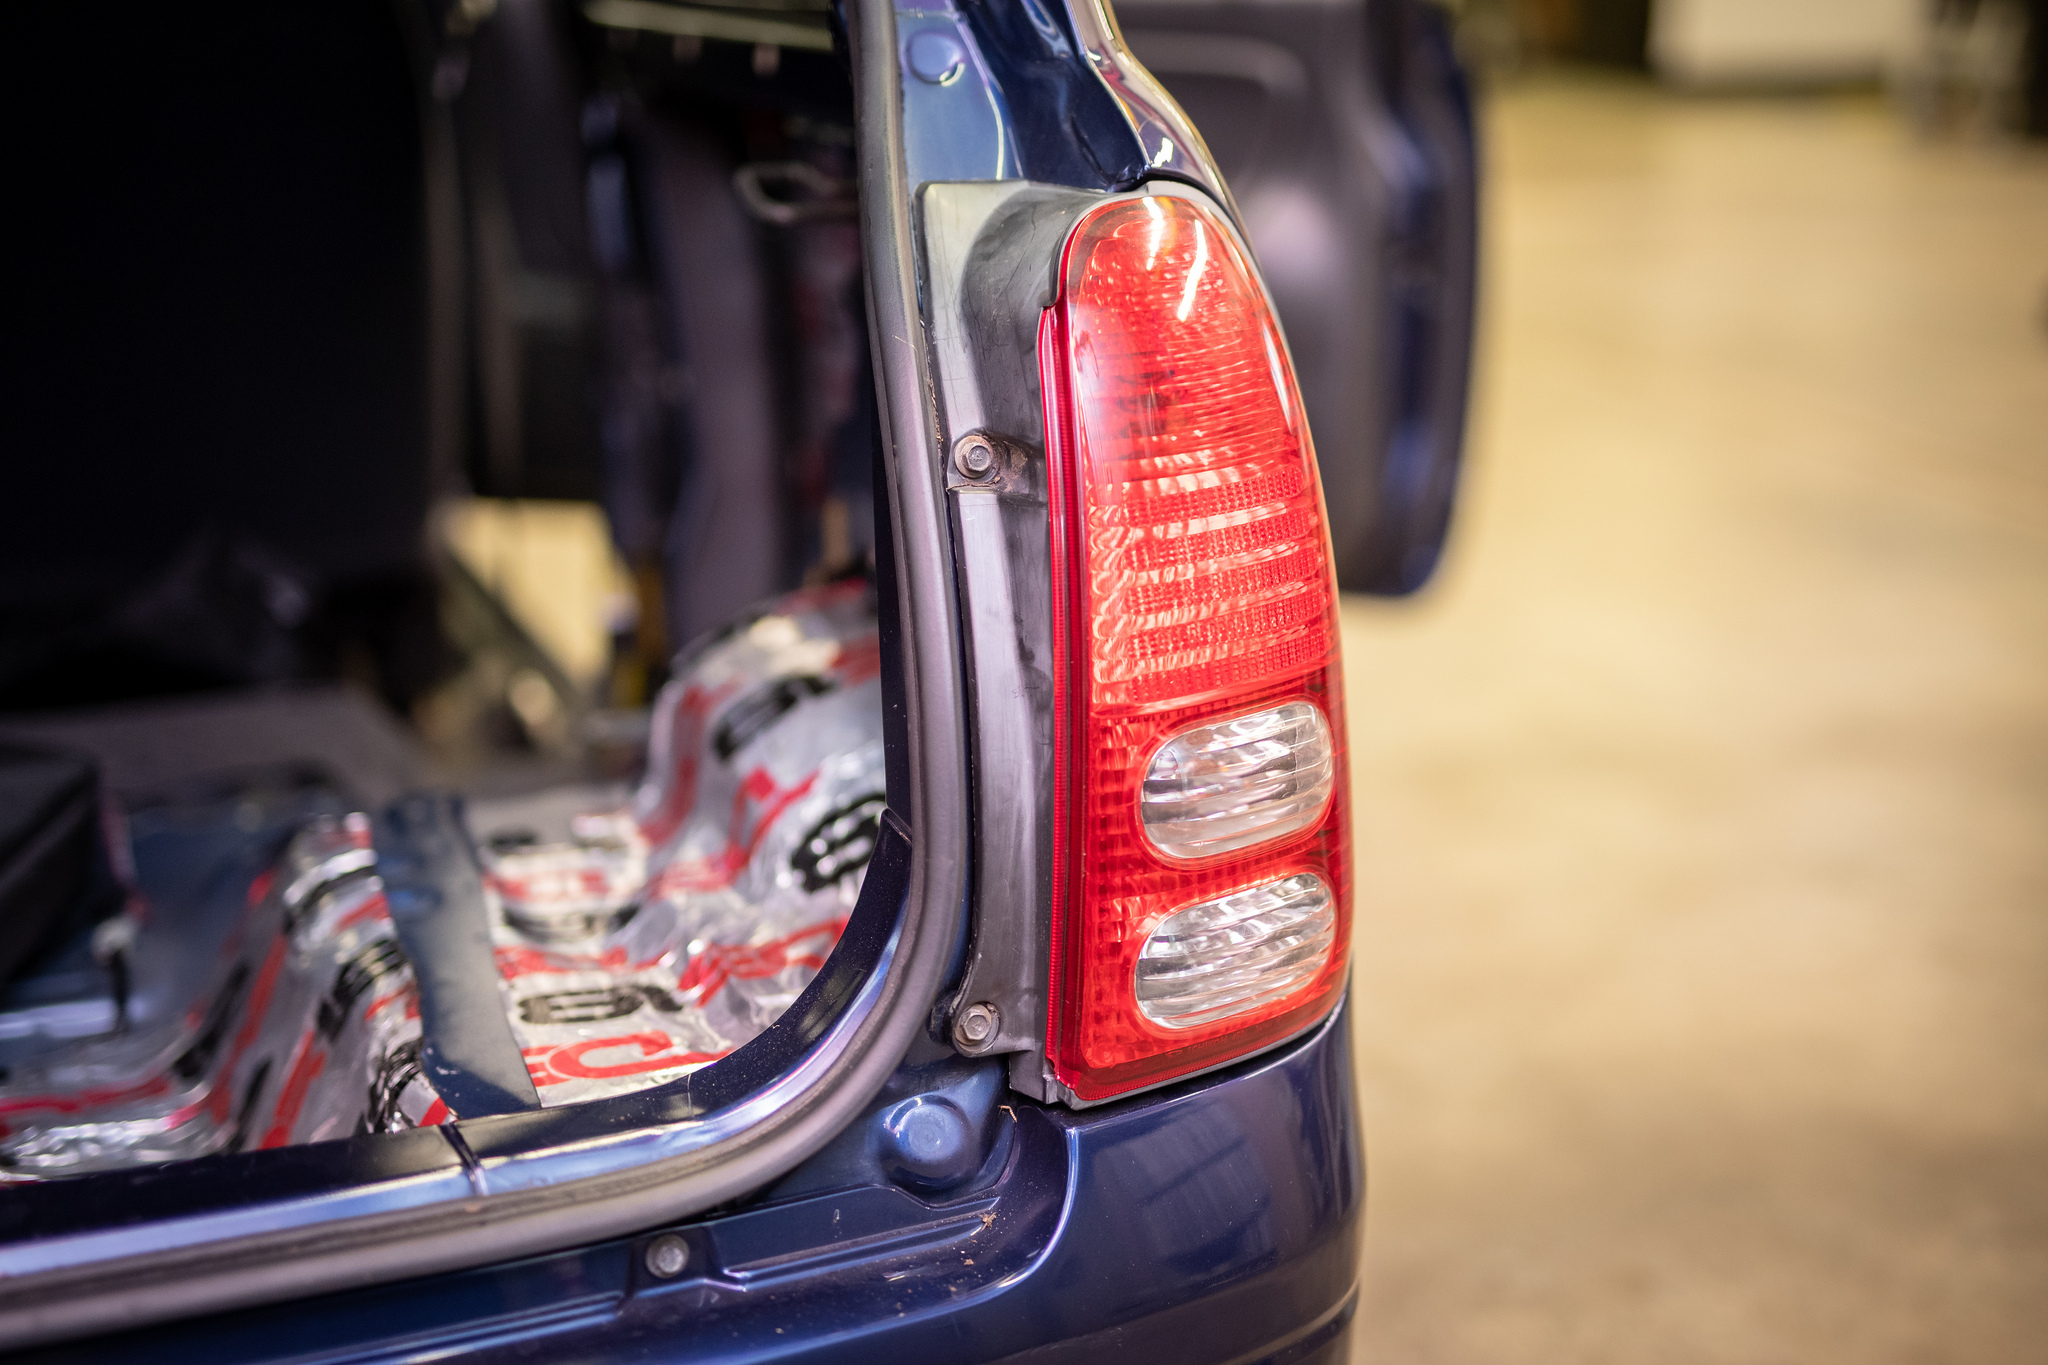
November 2018: I’m going to start ‘de-ricing’ some of the earlier ‘mods’ done in my P-Plater days. I picked up some white LED’s to replace the yuck blue ones I’ve been using in my parkers.

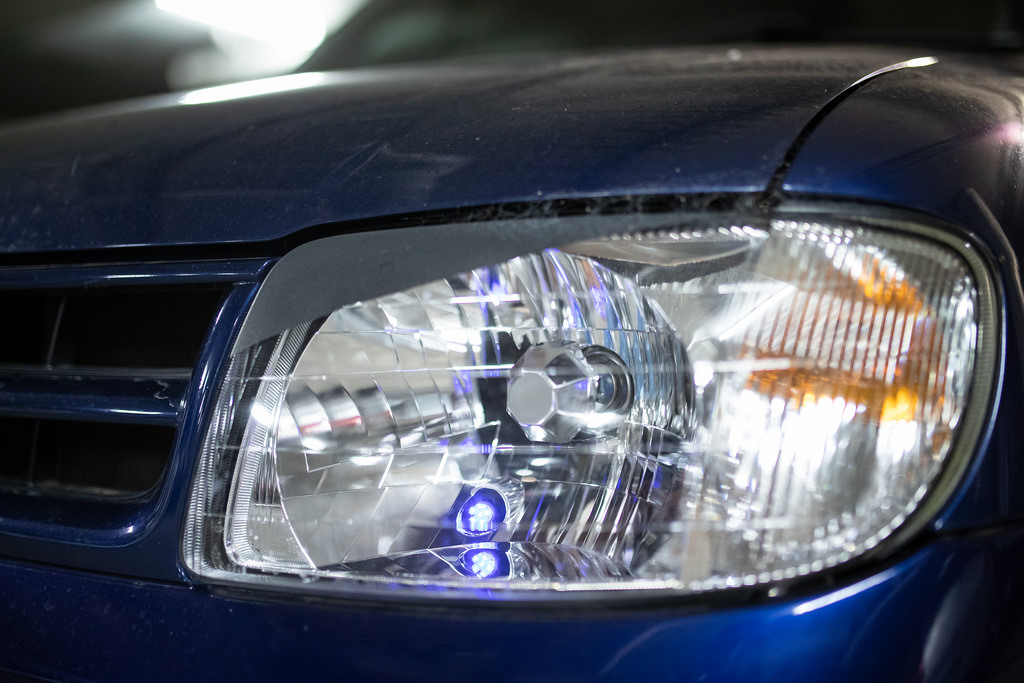
The blue ones were ready to go, I really need to fix up the drivers side headlight too, passenger one really is like new though.
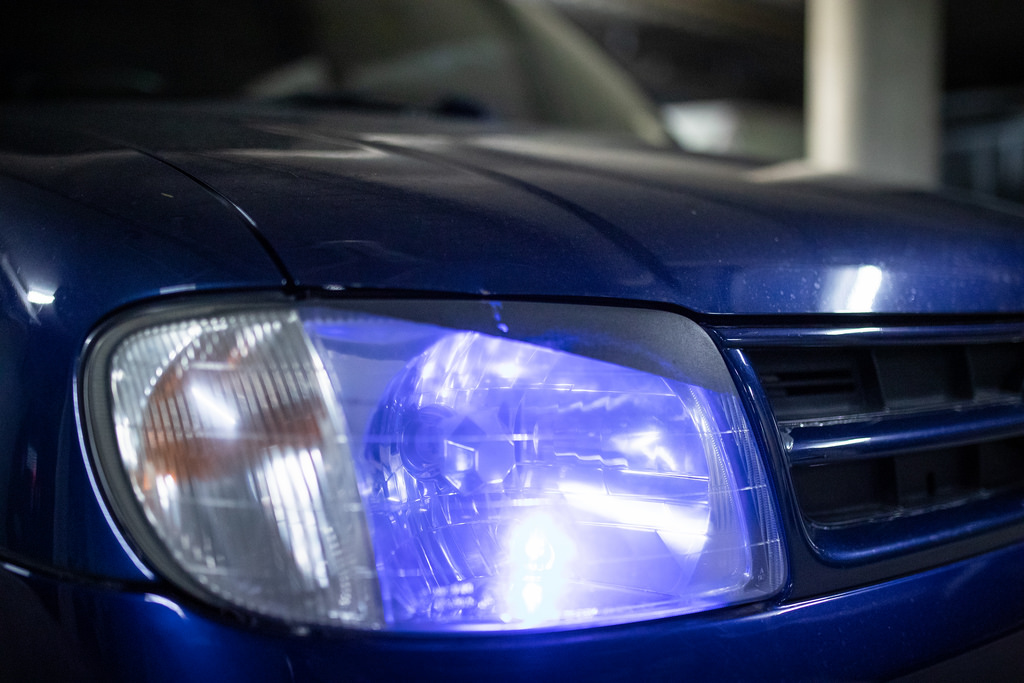
Out with the old.
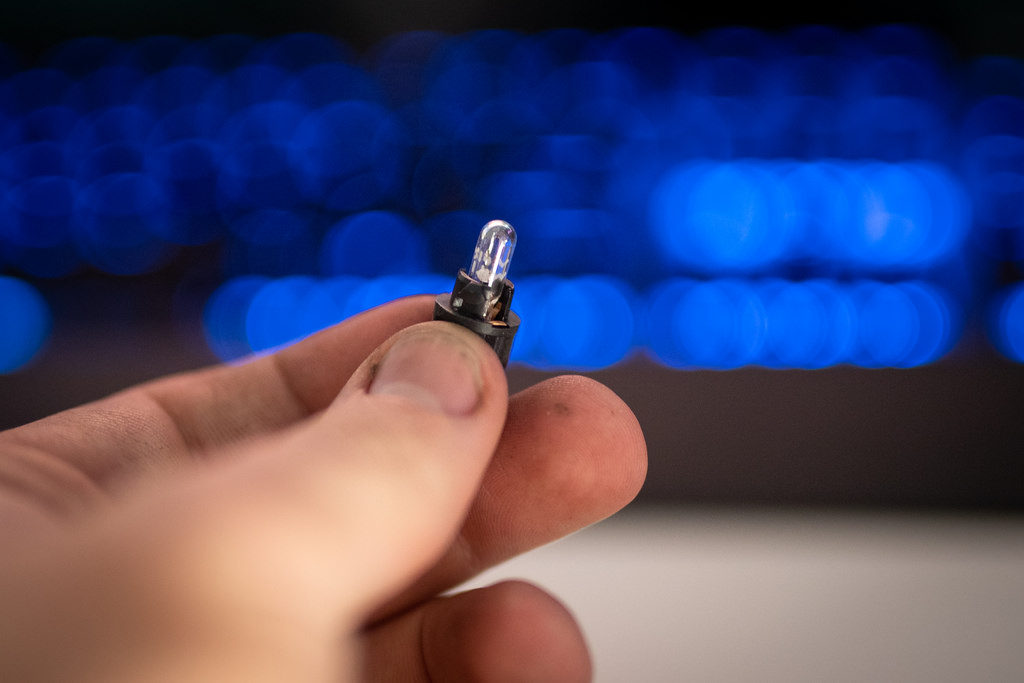
In with the new.
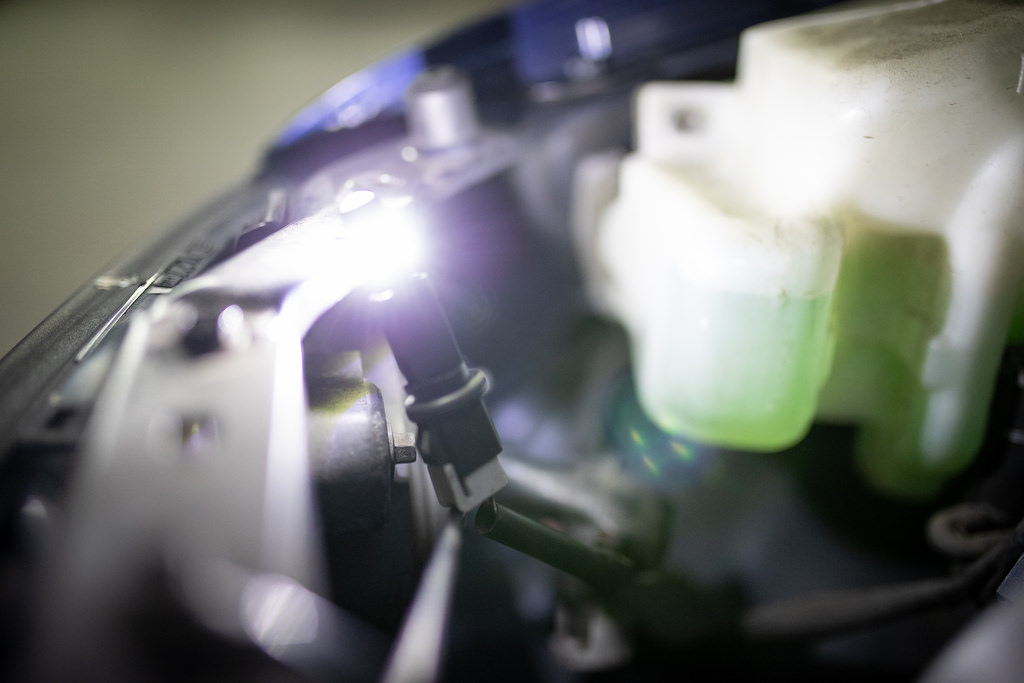
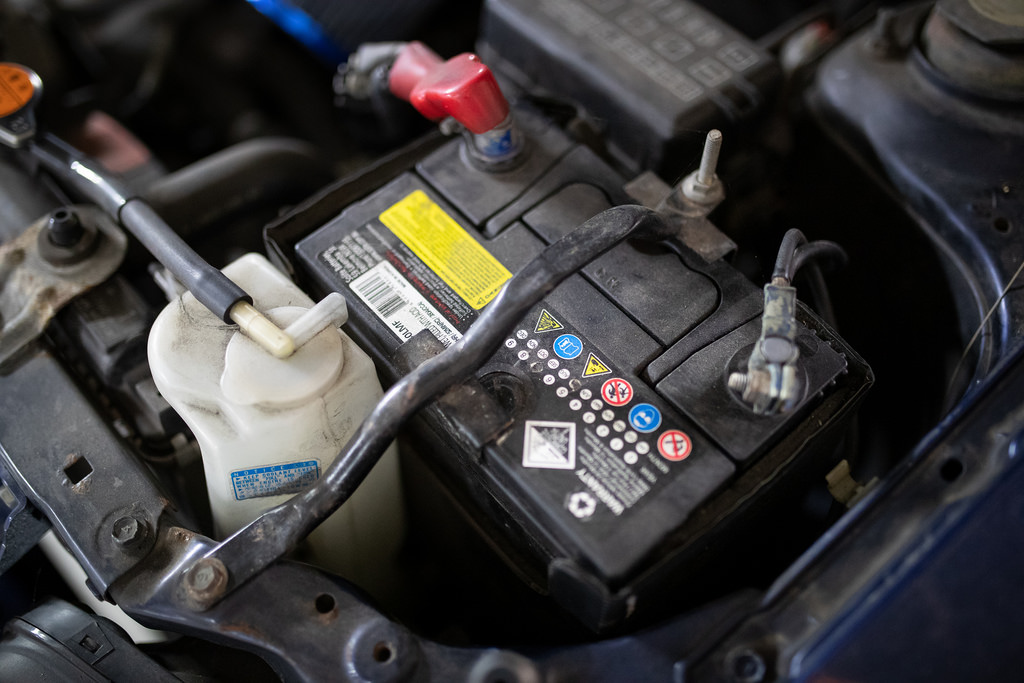
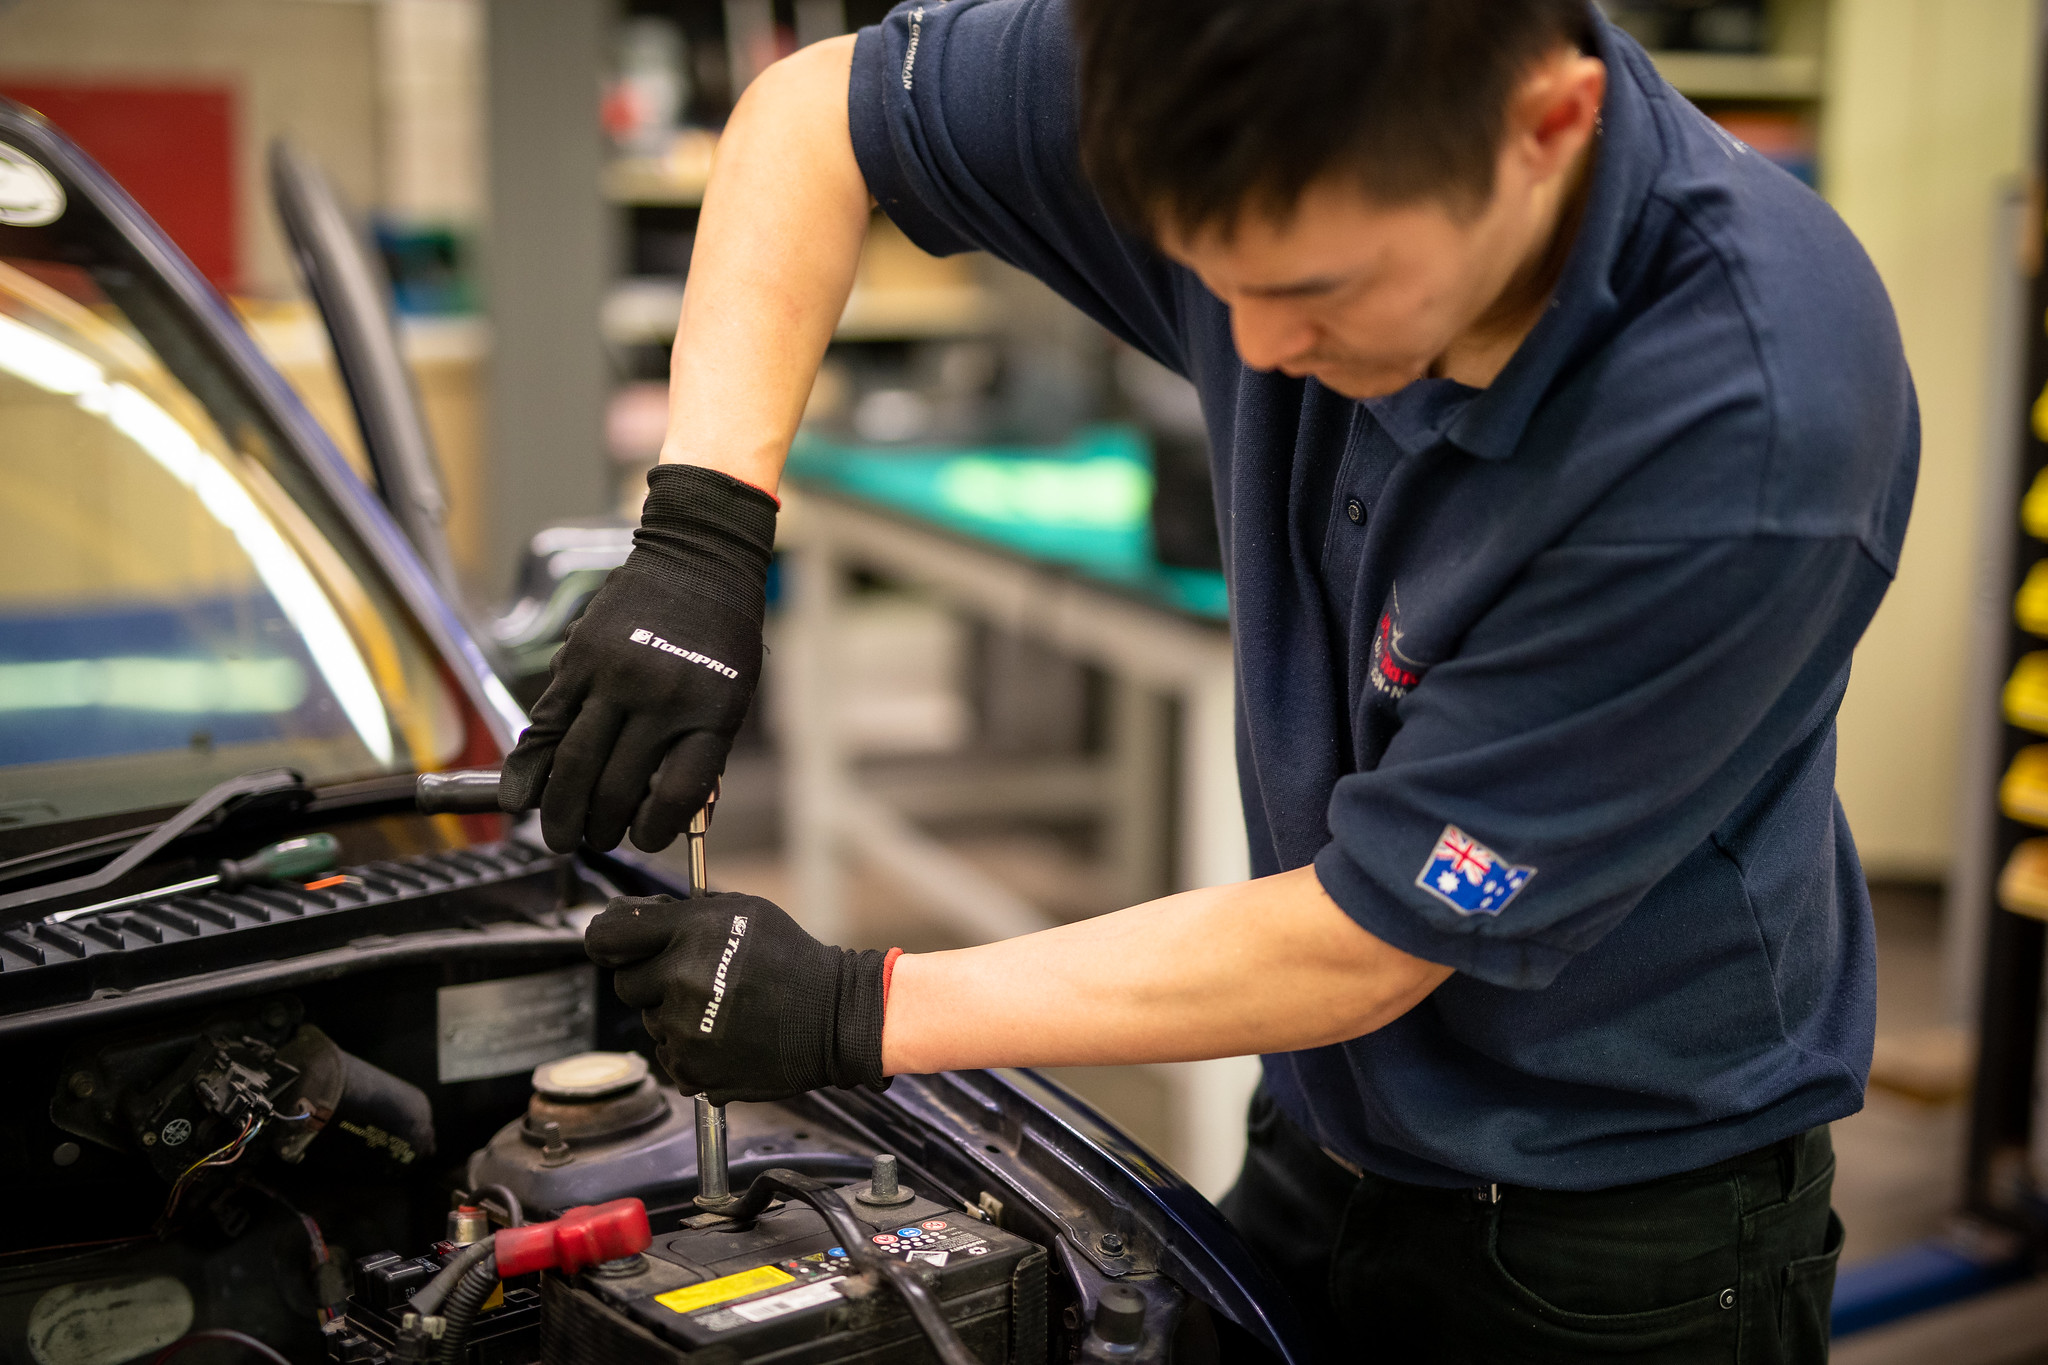
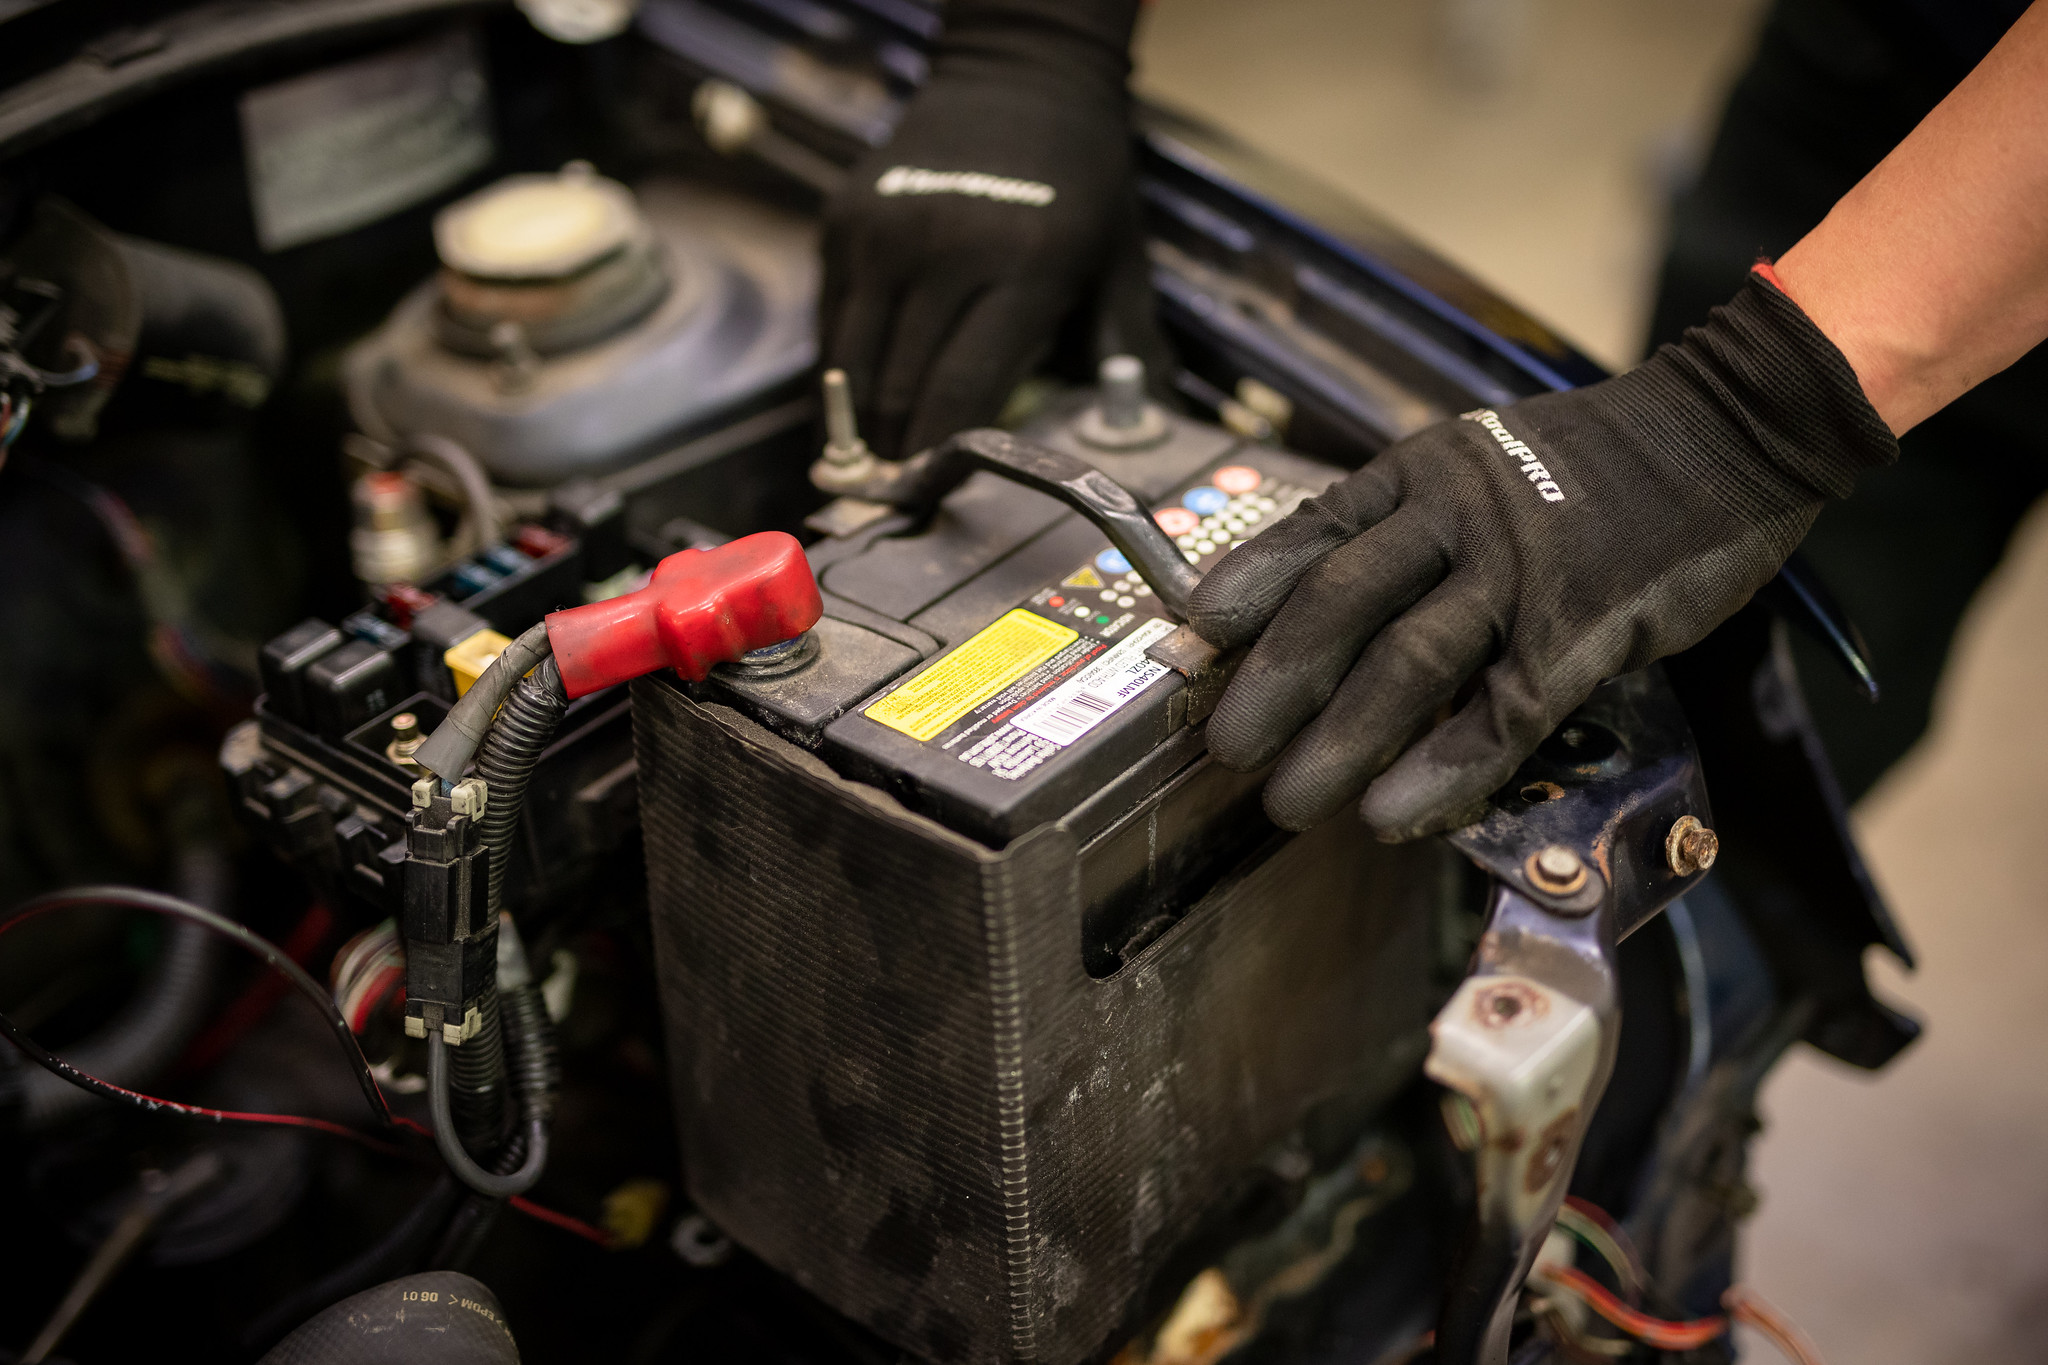
Passenger side was a little more of an effort with the battery but otherwise no biggie.
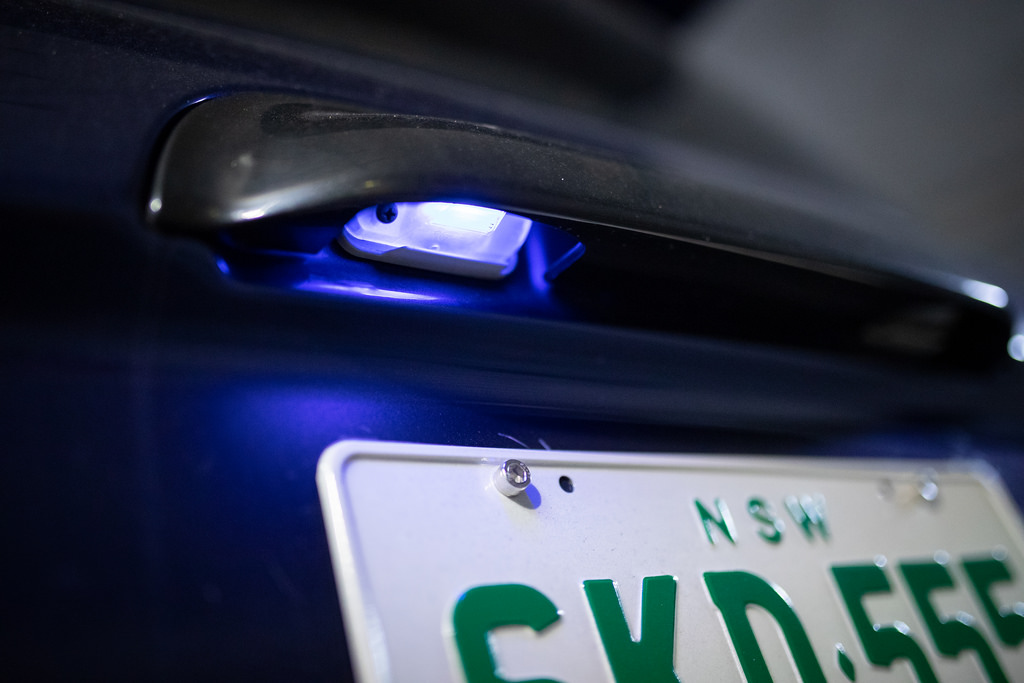
I was hoping to attack the number-plate lights but these LED’s are too long sadly. I’ll order some more and sort that out shortly.
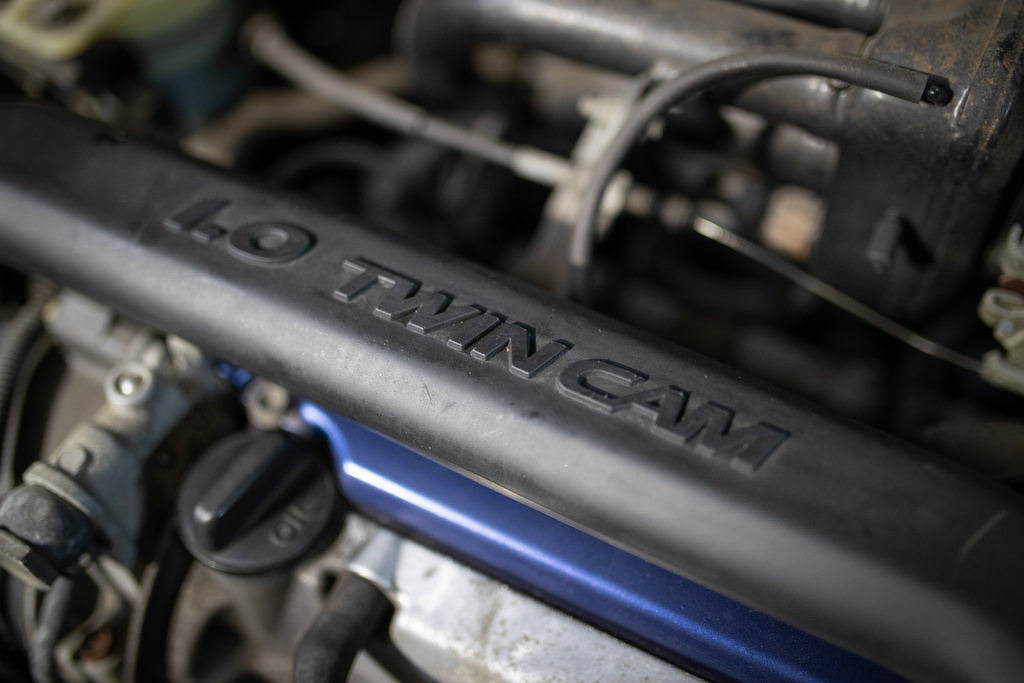
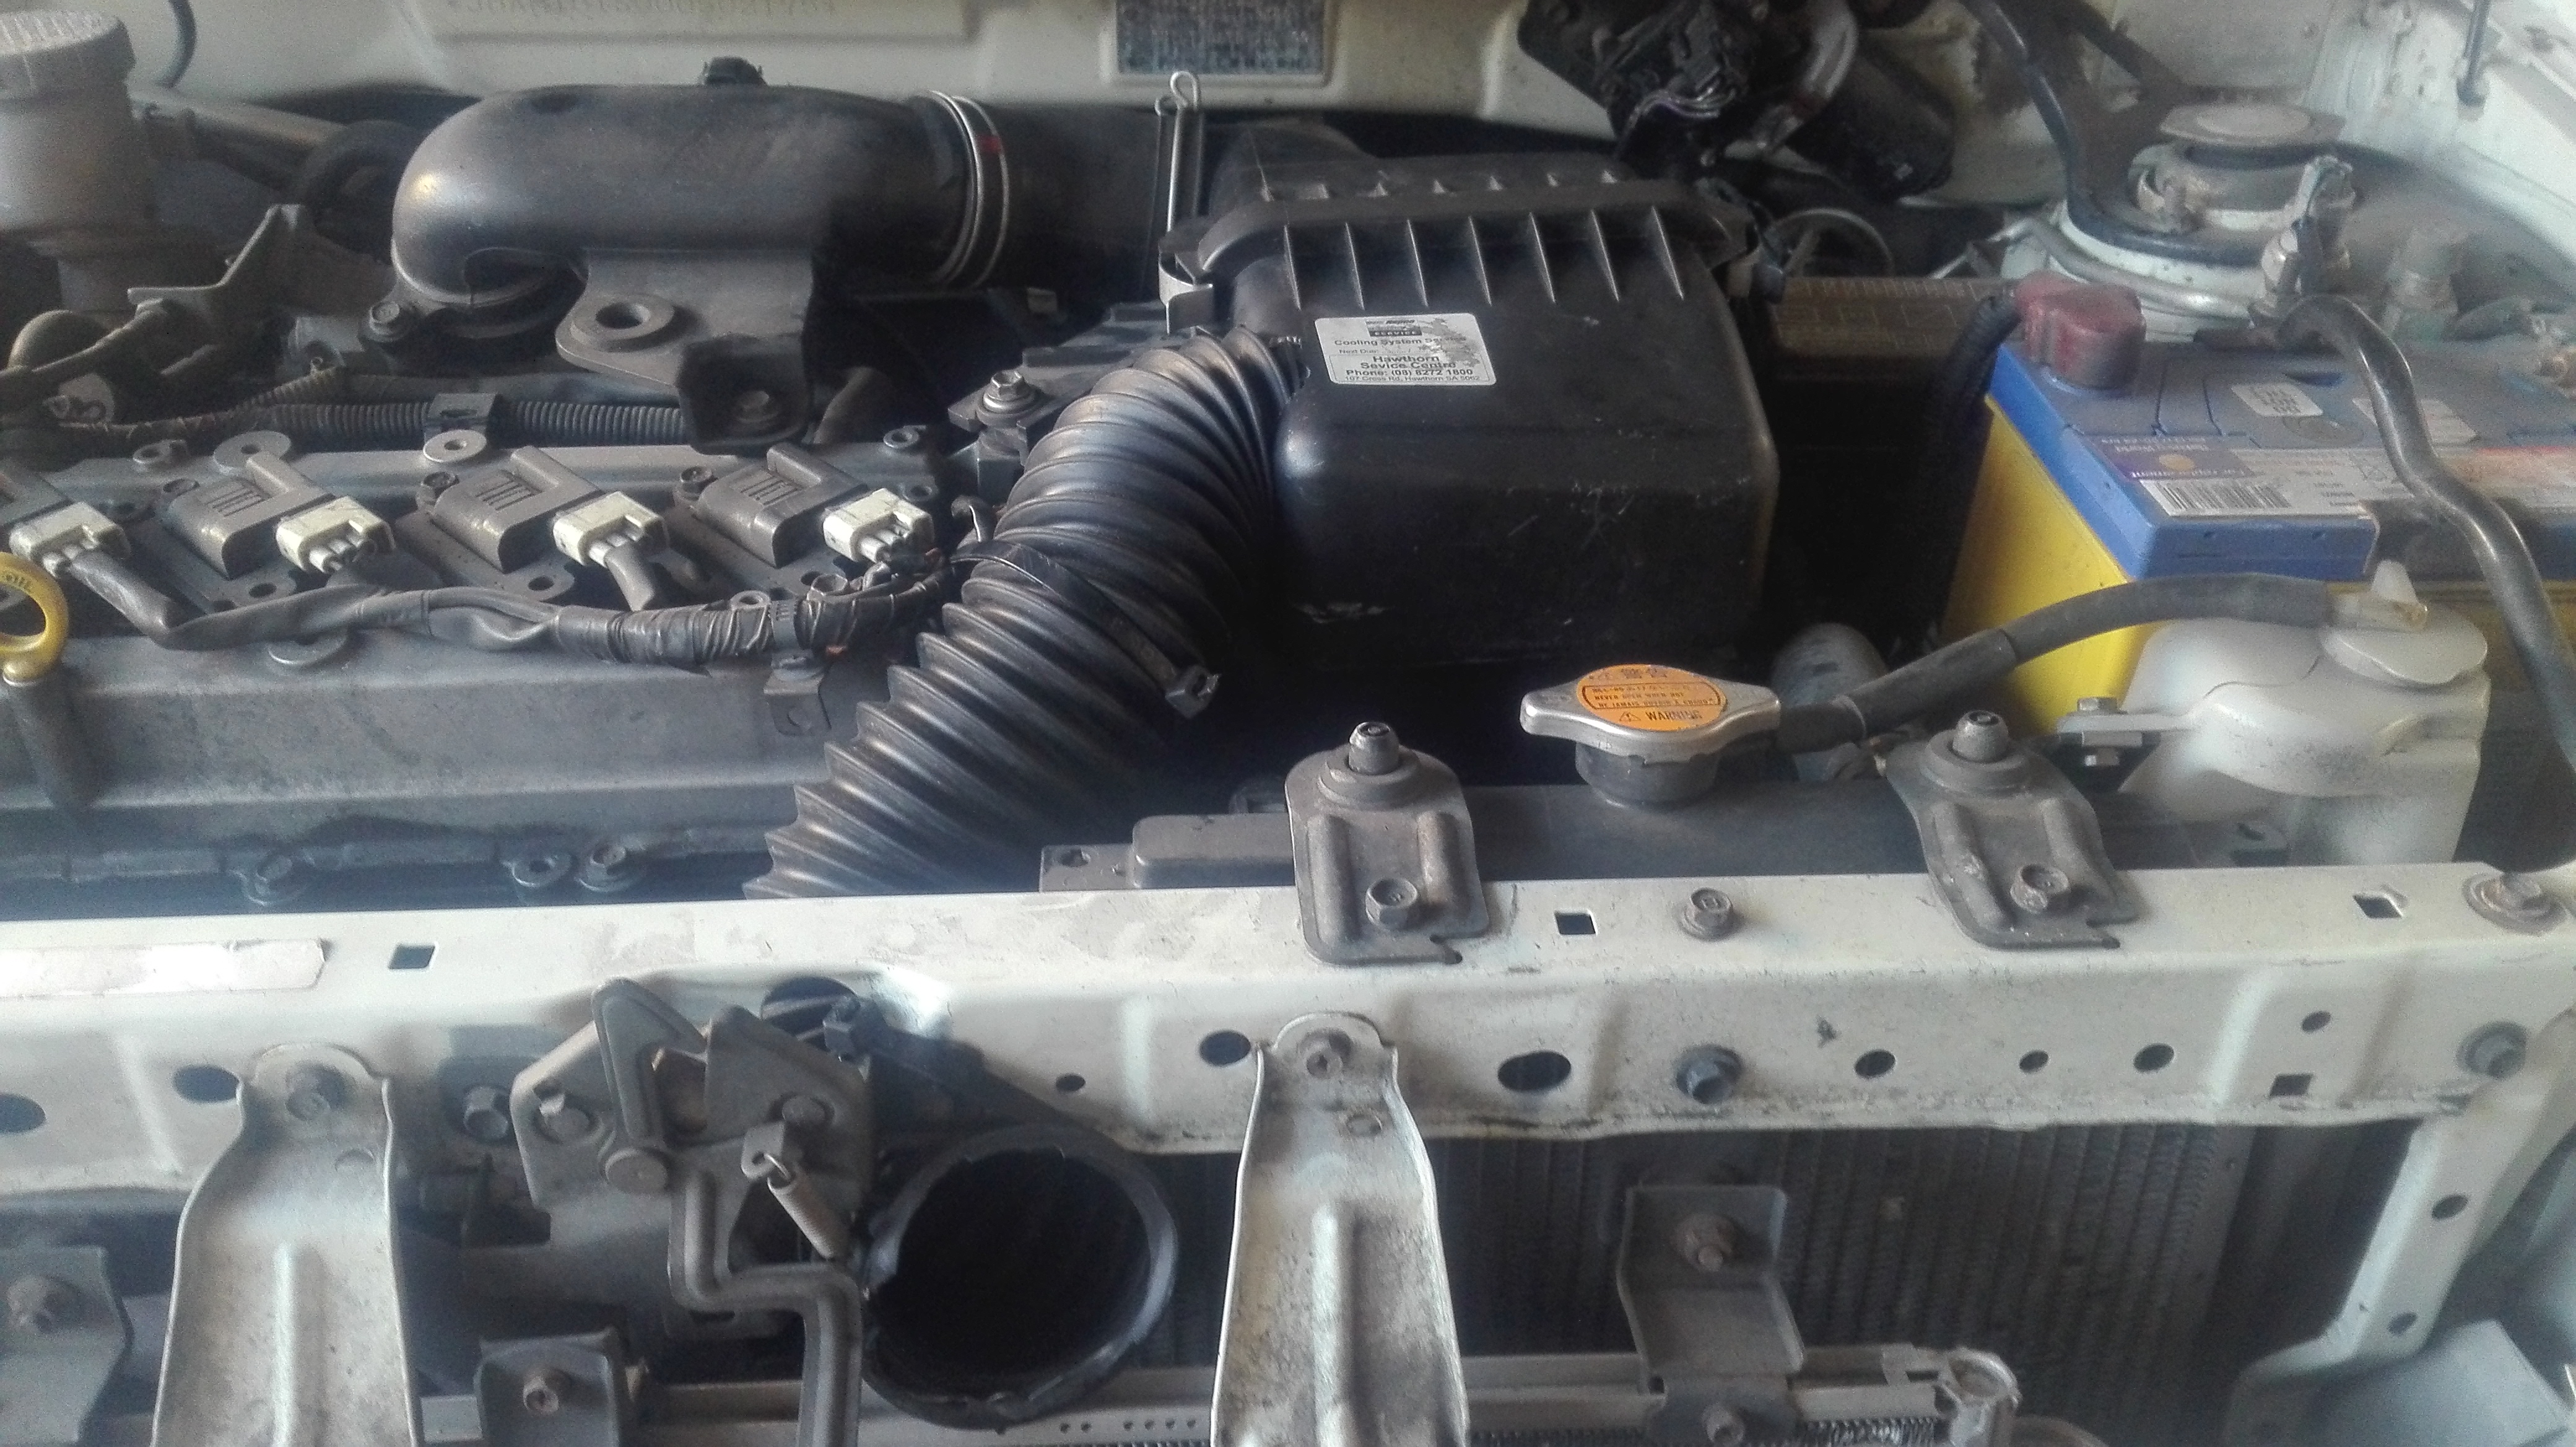
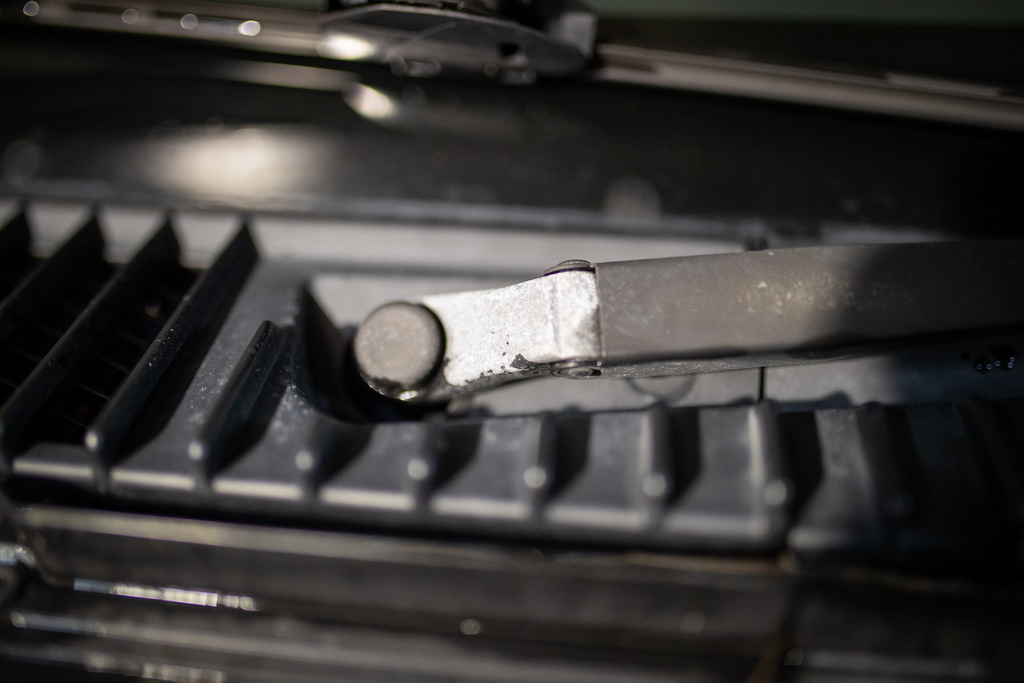
Continuing with the theme, I can’t believe I waited so long to remove the HAI (Hot Air Intake).

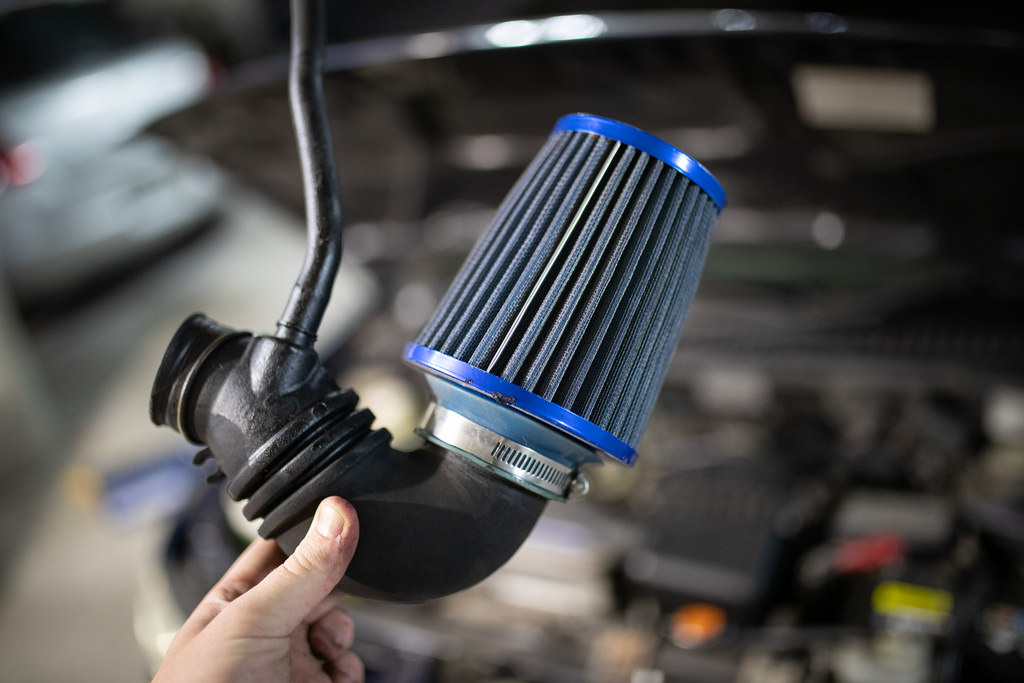
Back to factory goodness. The pod did sound good but had a really strange noise at part throttle, really it was a silly thing.
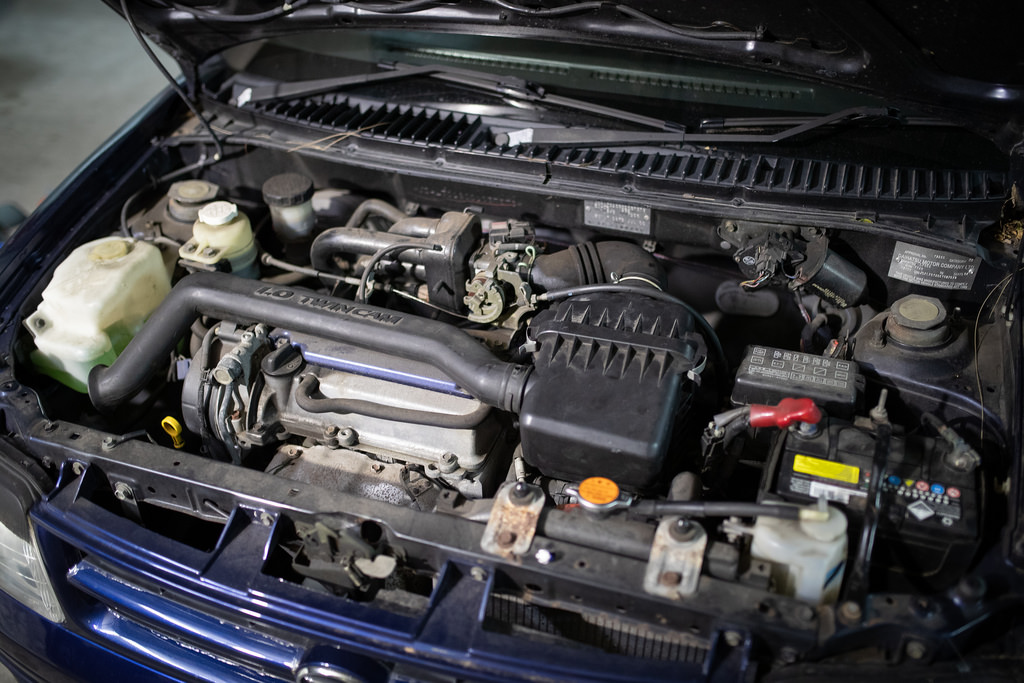

Gave it a quick hit of APC, I really need to do the whole bay. Added to the list.

4 Likes
If you want better performance, remove the little over the engine intake pipe and cut a 65 or 75 mm hole in the air box. Take a trip to Bursons or similar and buy some wire reinforced flexible tubing, there is a little hole just above the number plate in the bumper to fit it into.
Fresh cold air fed into the intake.
1 Like
November 2018: Some smaller T10 white LED’s arrived.


They were certainly still taller but they just fit in.
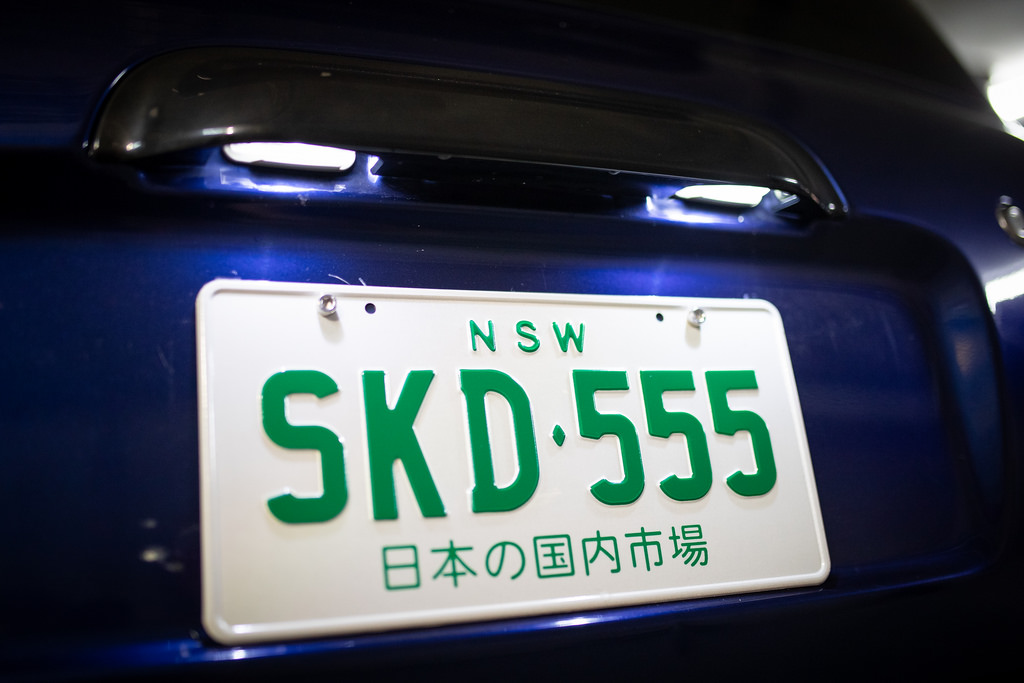
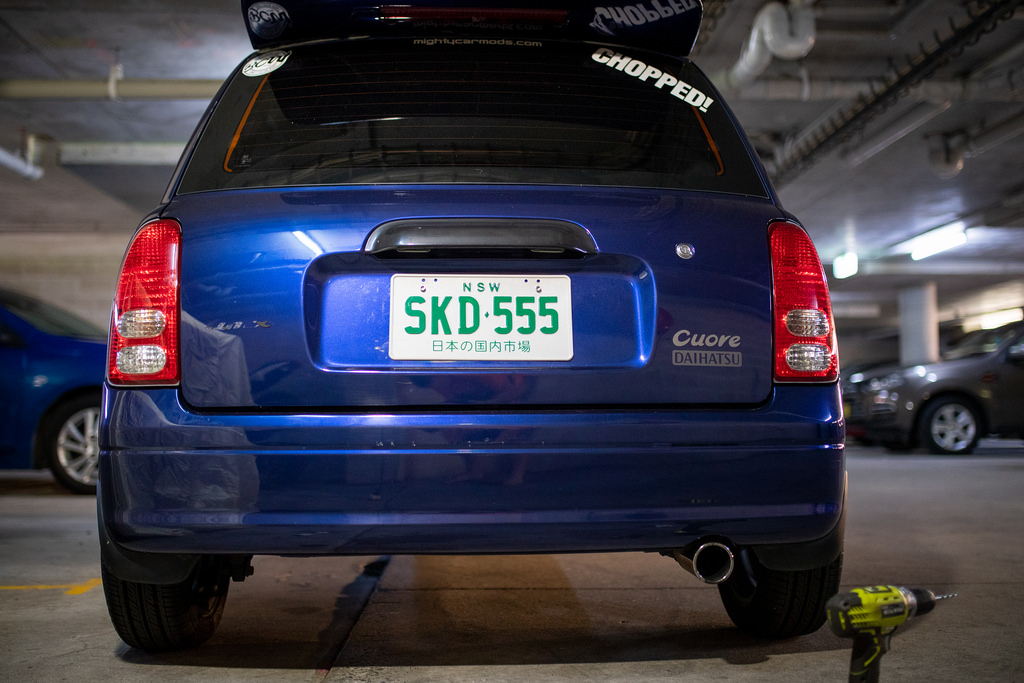
That prompted me to move onto something else. The NSW JDM plates also seem to sit lower then they are meant to. I’ve noticed this not just on my car but even real imports. Of course this isn’t a massive thing but you know, little fixes.
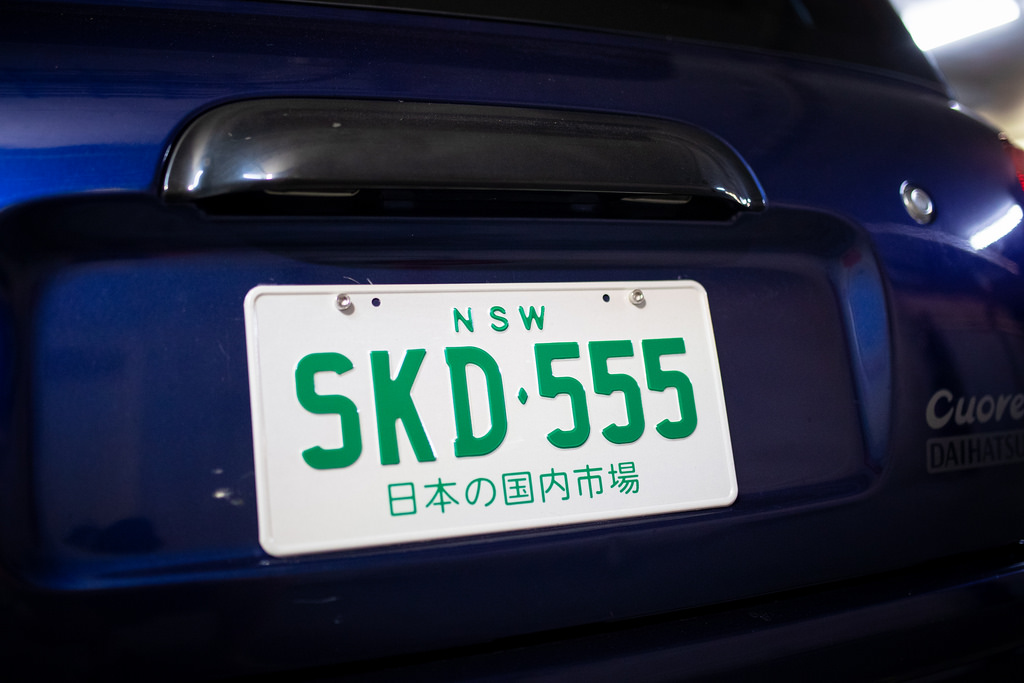
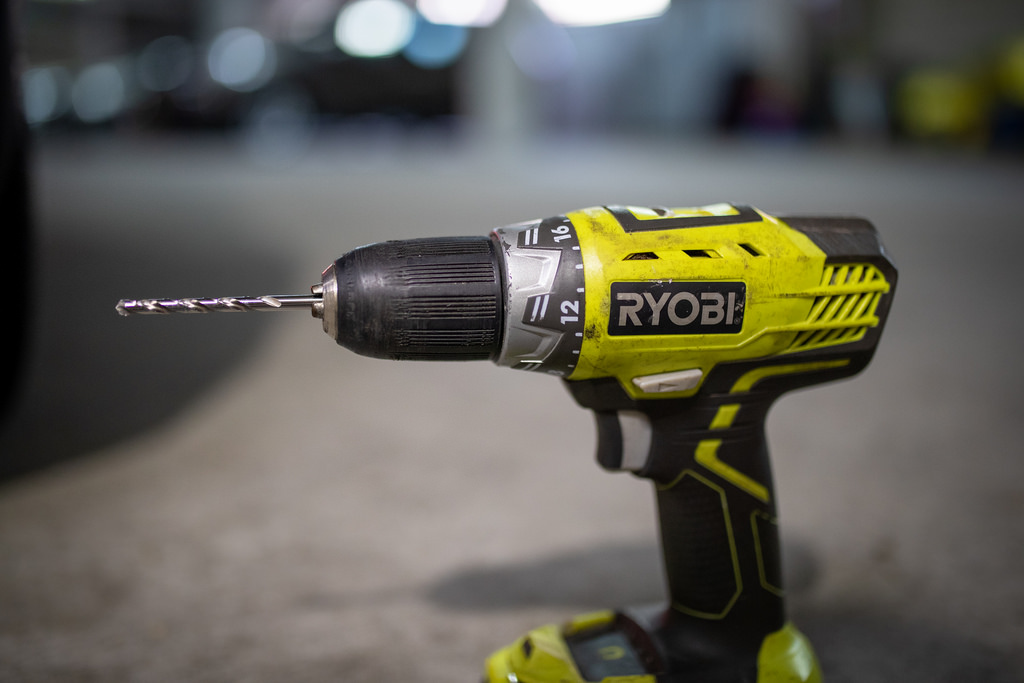
Grabbed some drill bits.
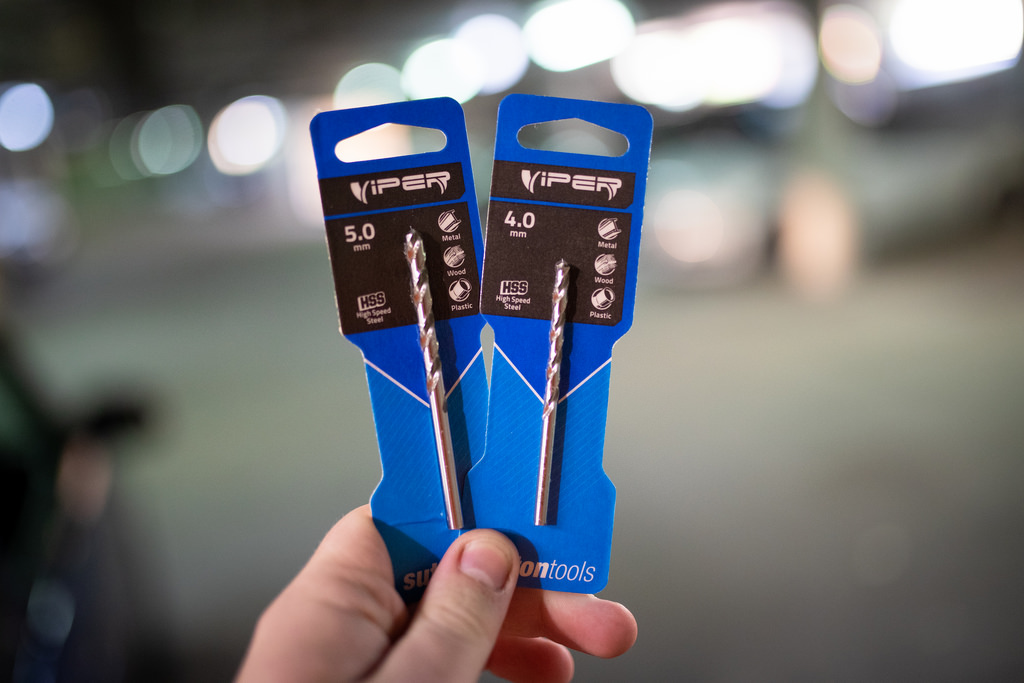
Popped it off and grabbed the drill out.

I made the holes as small as possible and brought it down about 15mm.
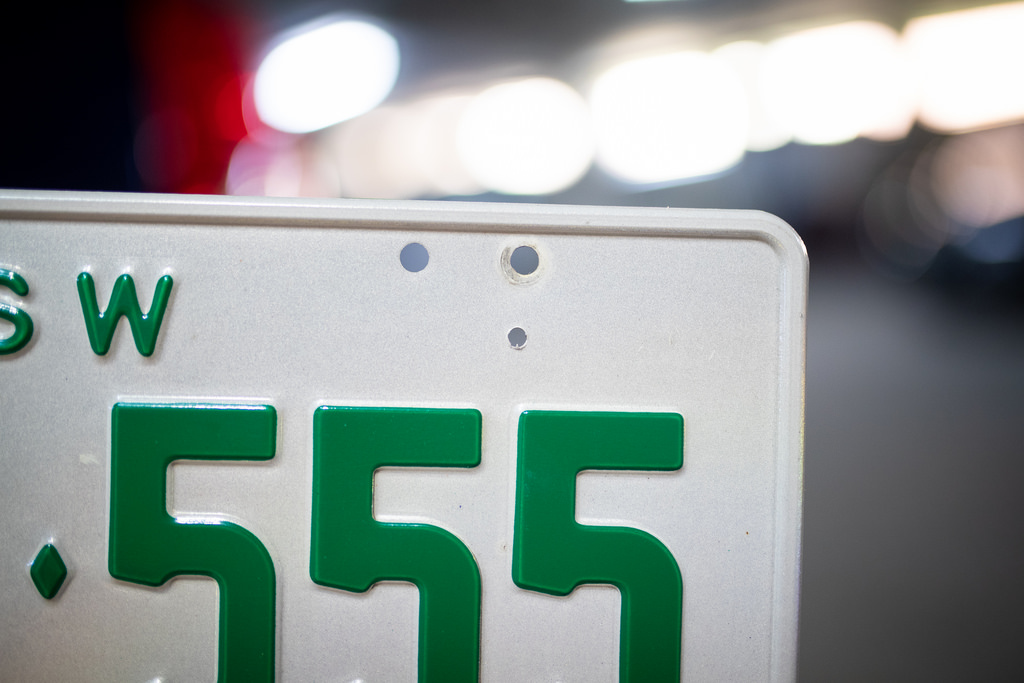
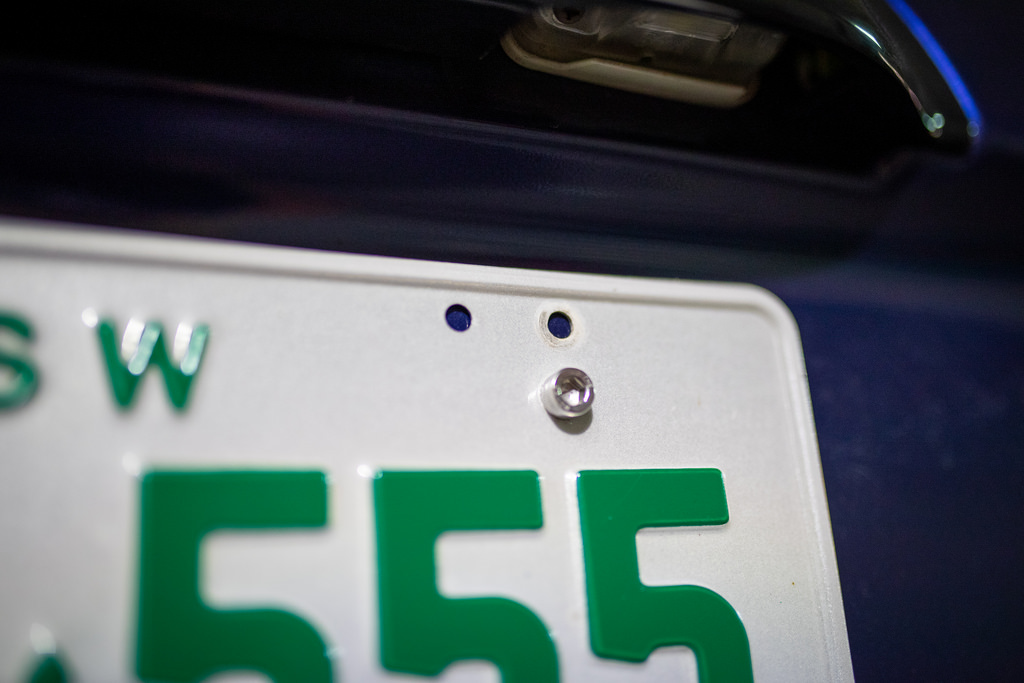
Much better, now its actually centre.

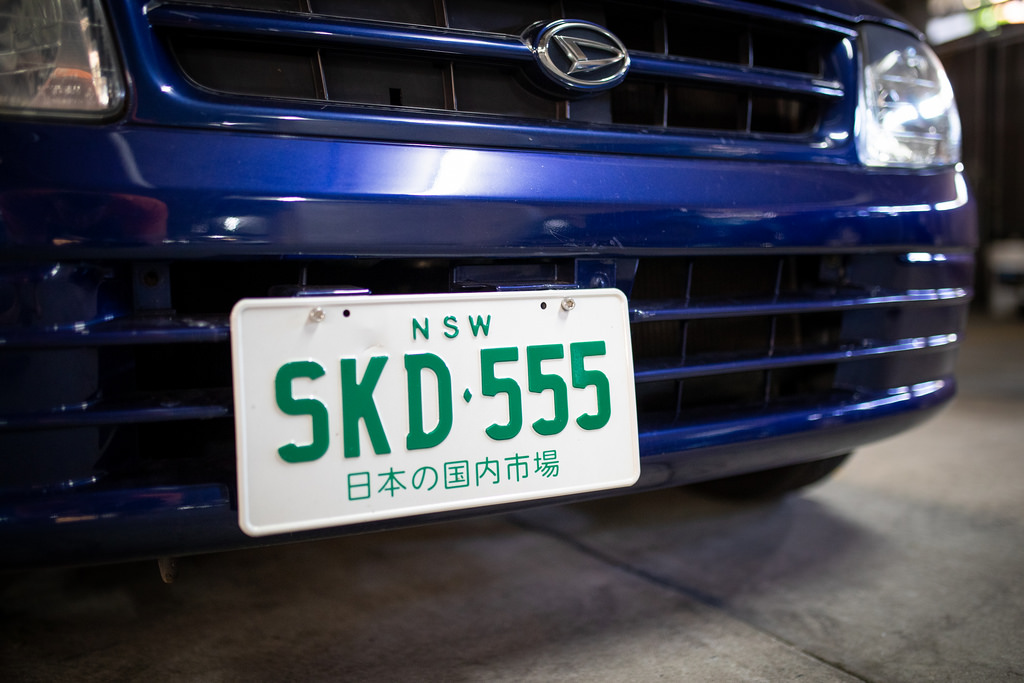
The front is a similar situation, although I’ll wait for the new bar to do this.
4 Likes
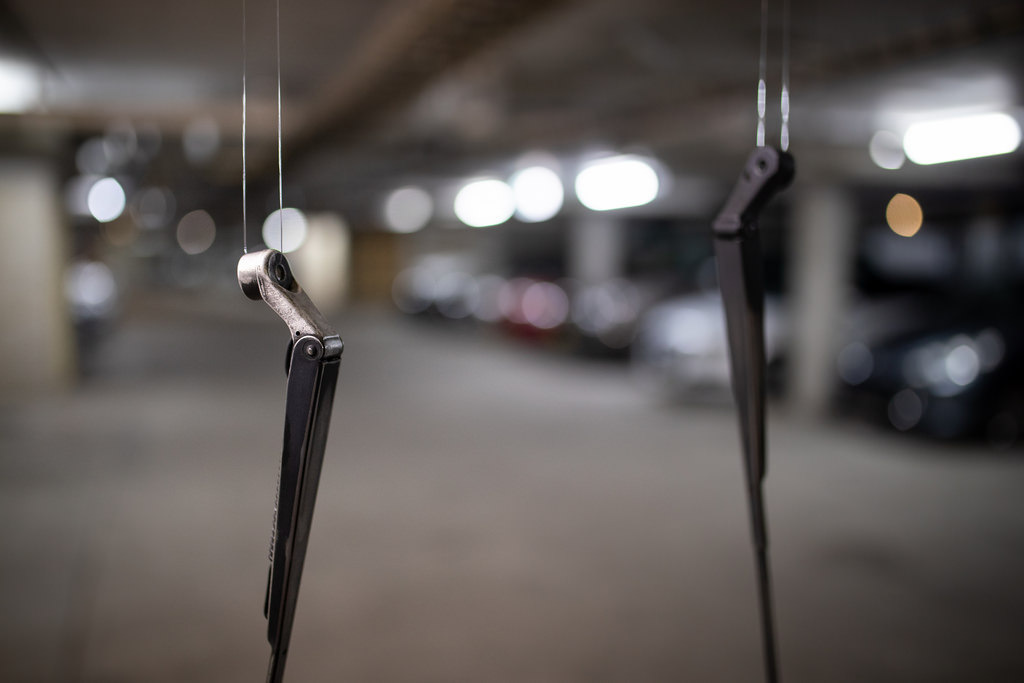
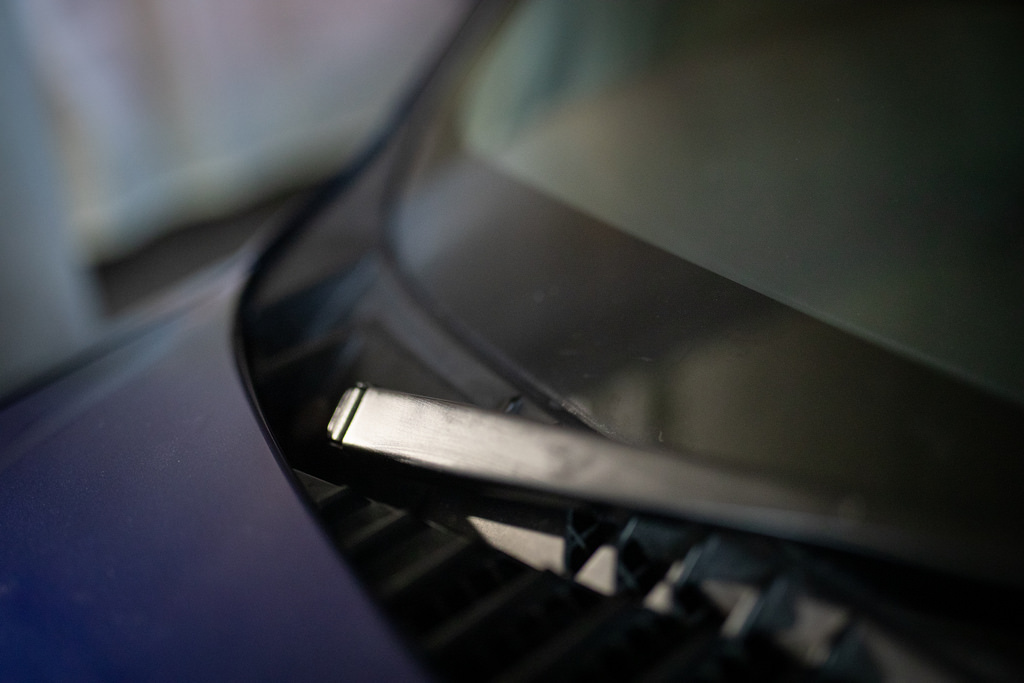
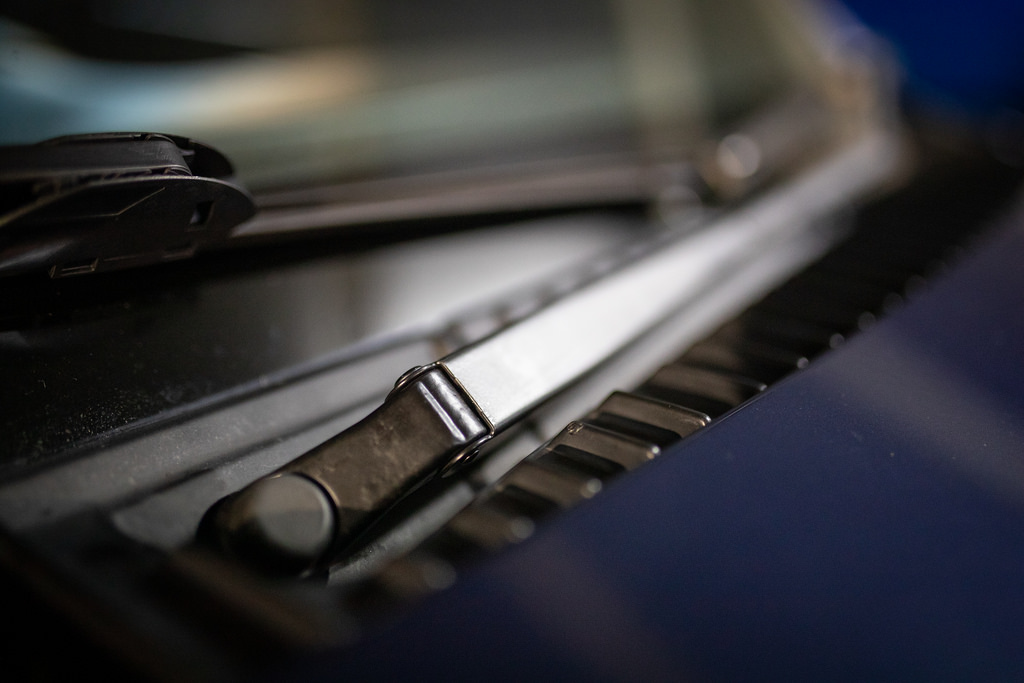
November 2018: The wiper arms on the car really have seen better days, although not bad I suppose for 18 years.
I’ve never done this before so I grabbed the set from the parts car to have a go on just incase. They were in similar condition, looks like they have the original wipers too!
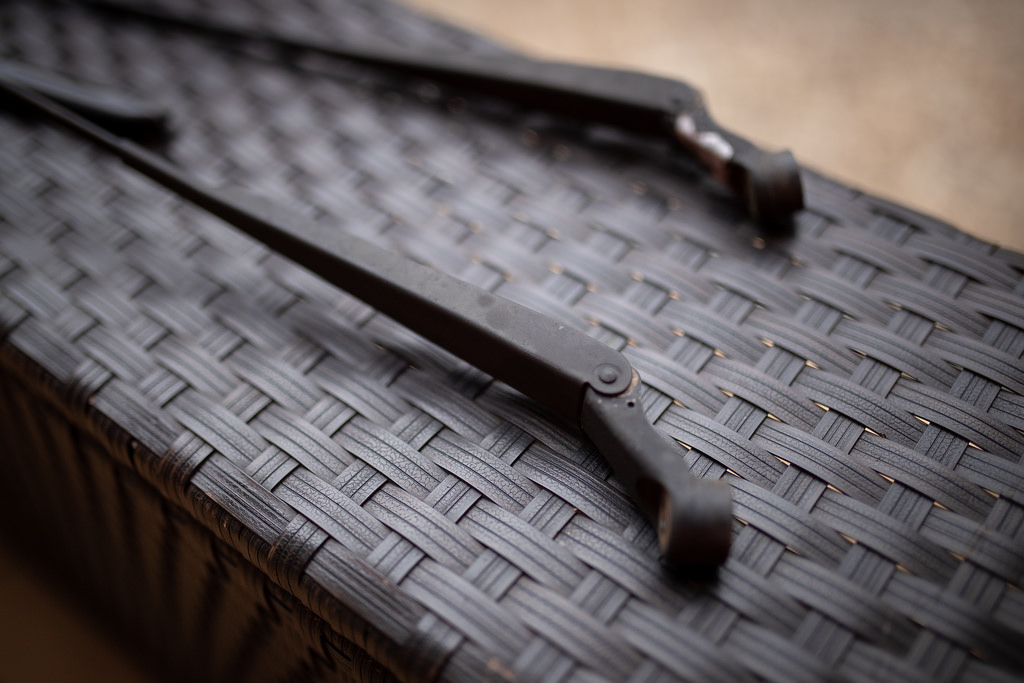
In good need of some prep.


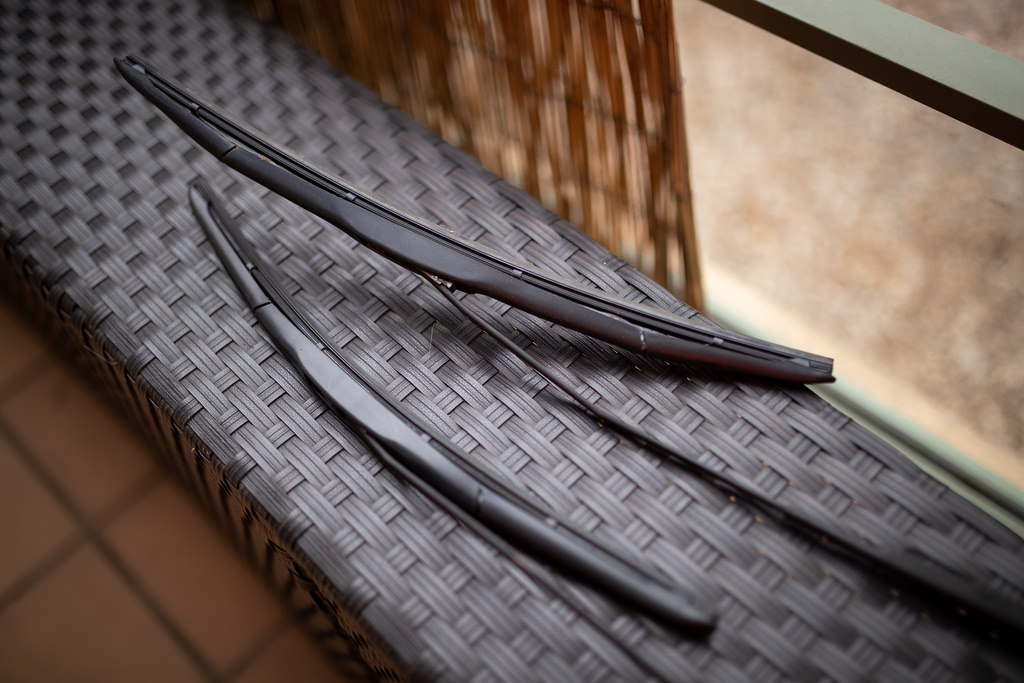
After a range of techniques they were ready.


They then went up before getting a good clean.
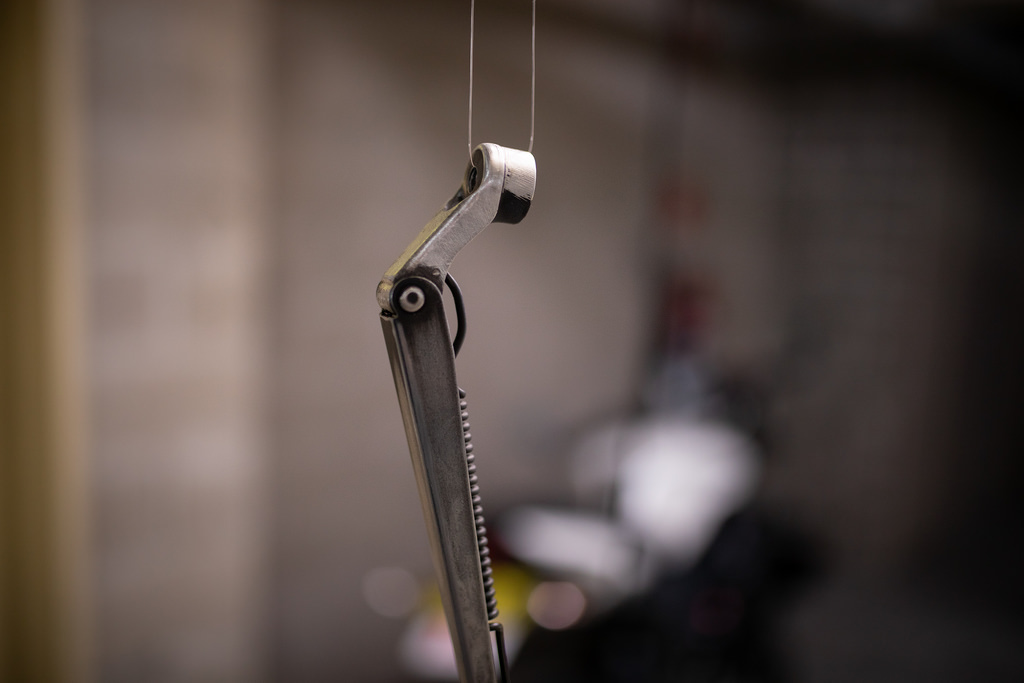
Started with some wax and grease to clean, then out the paint came, nothing special just some basic satin black.

Three coats in total, with a full 24 hours to dry.
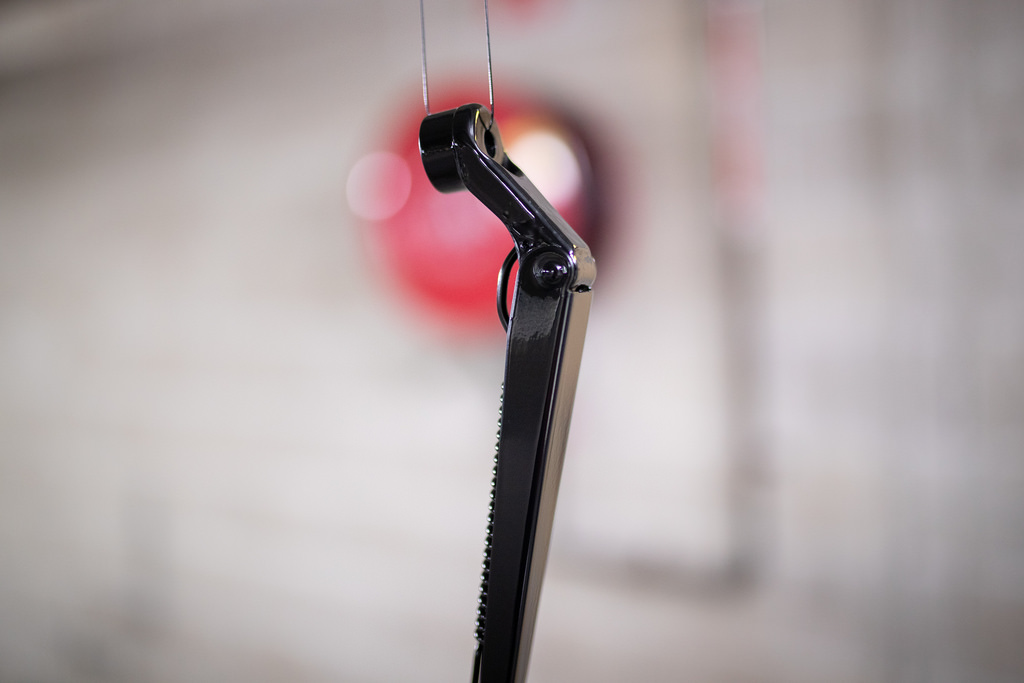
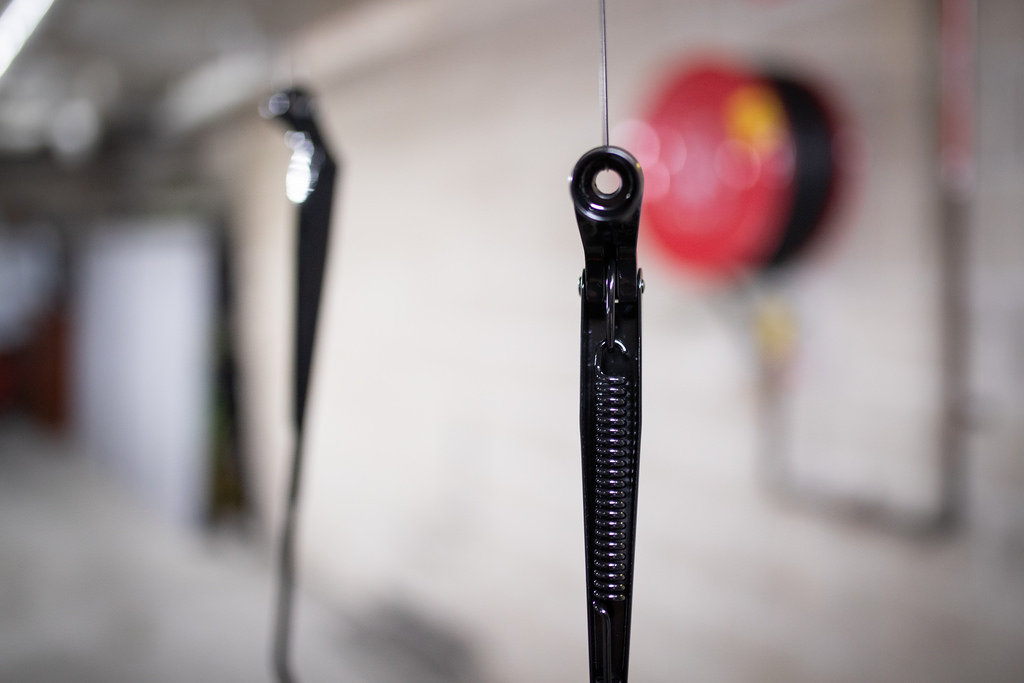
They came out just as I wanted.


Old ones then came off, I kept the blades on my car as they were still perfect.


On they went.
6 Likes
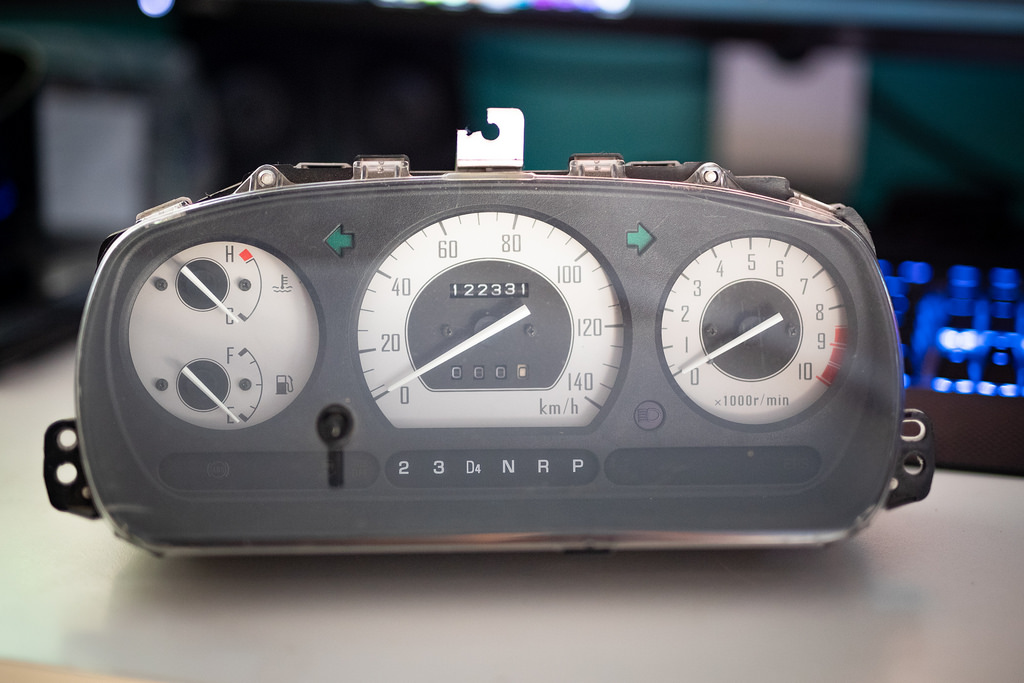
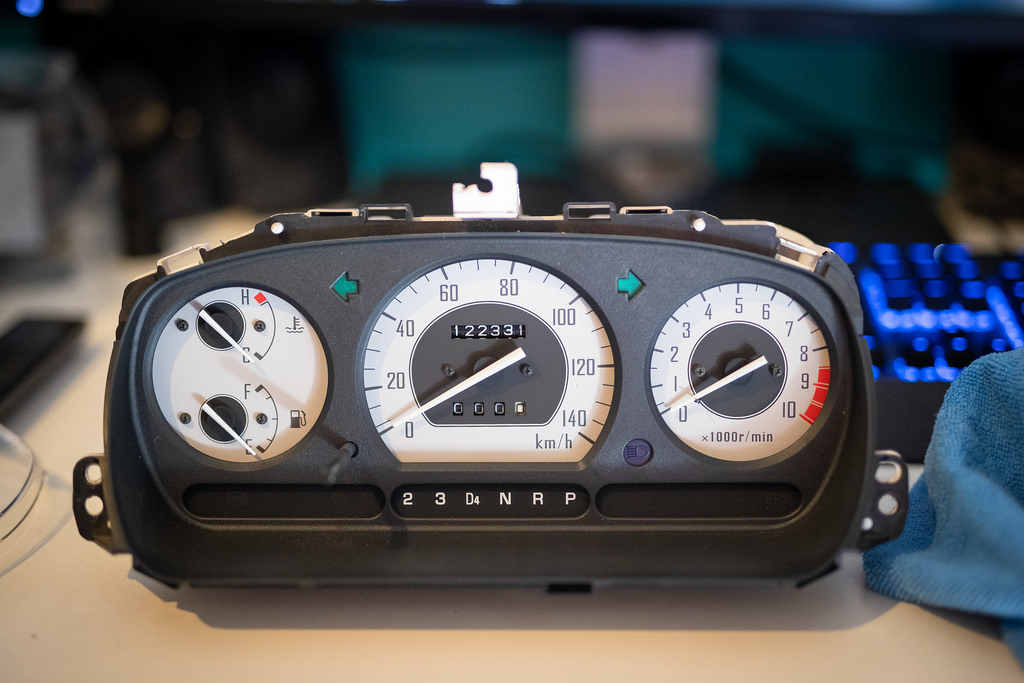
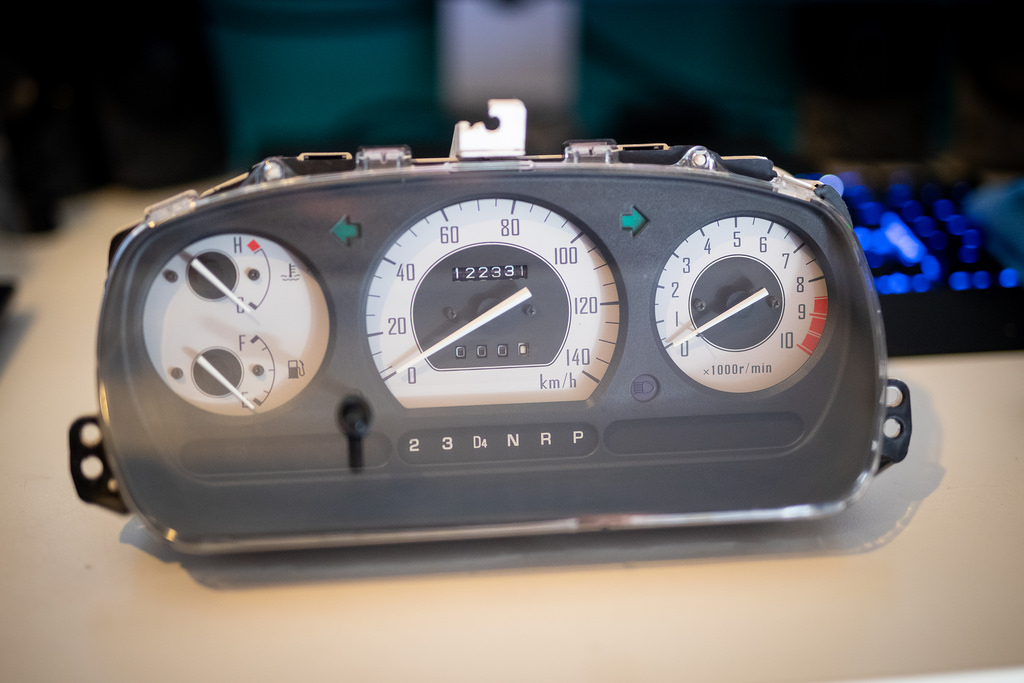
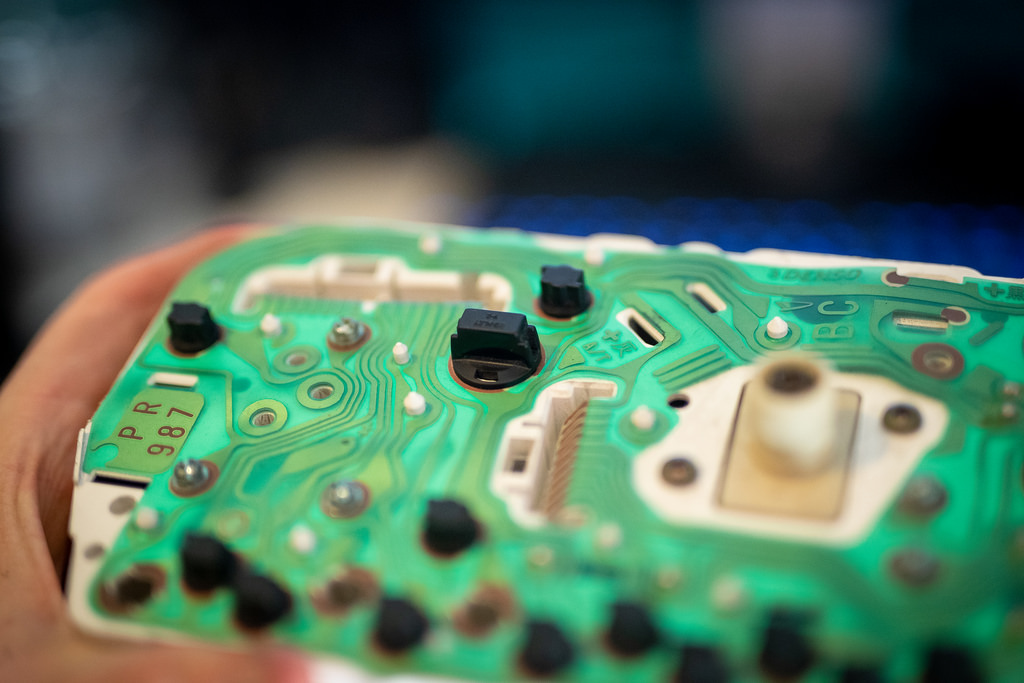
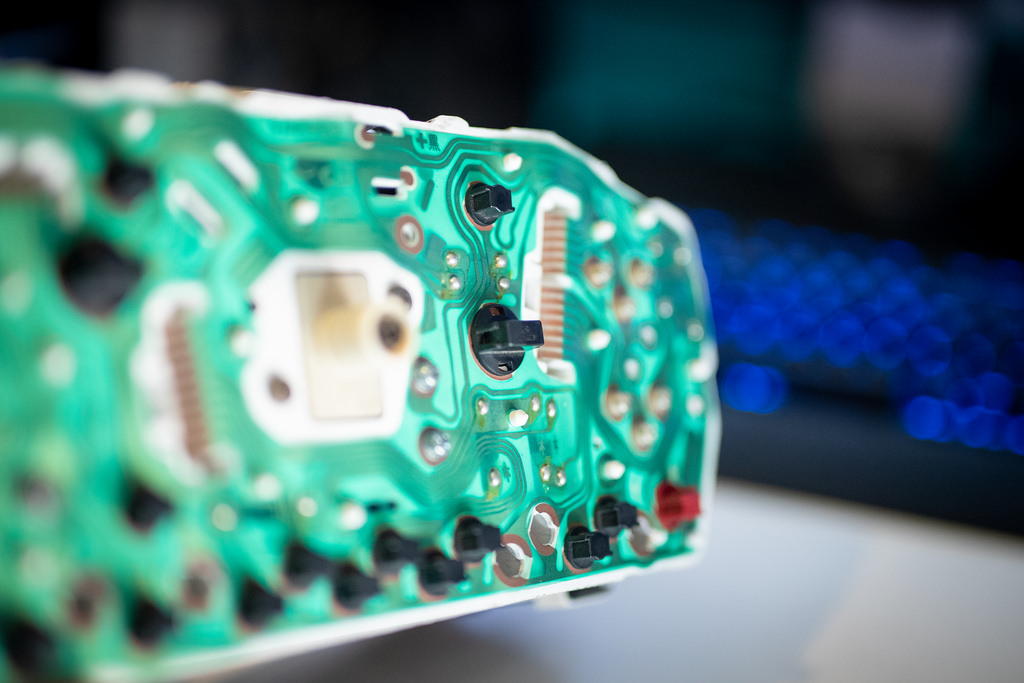
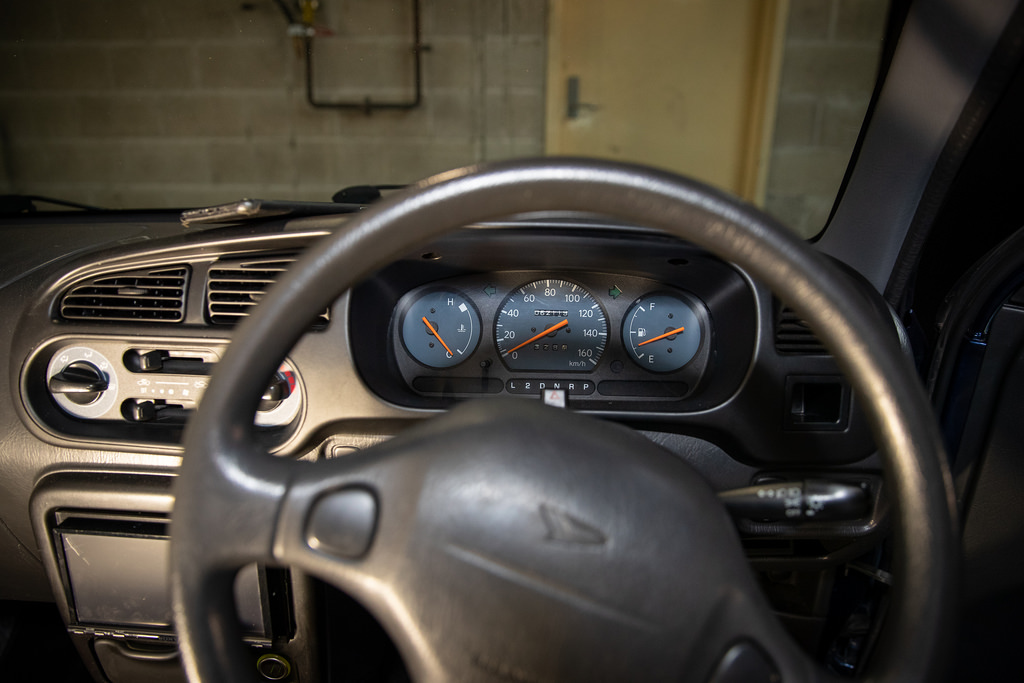
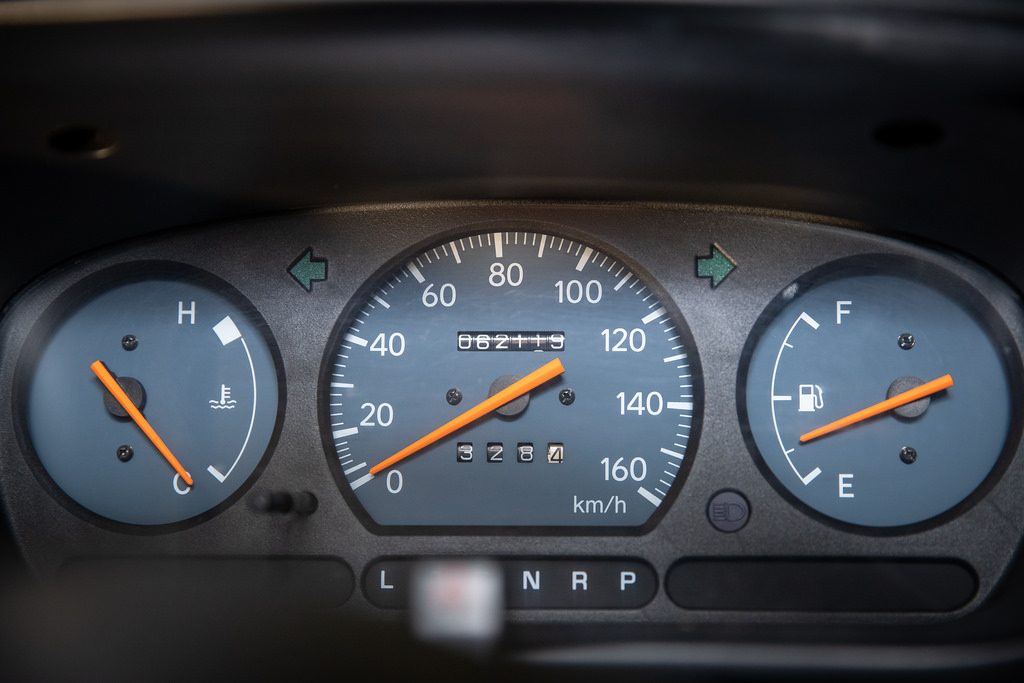
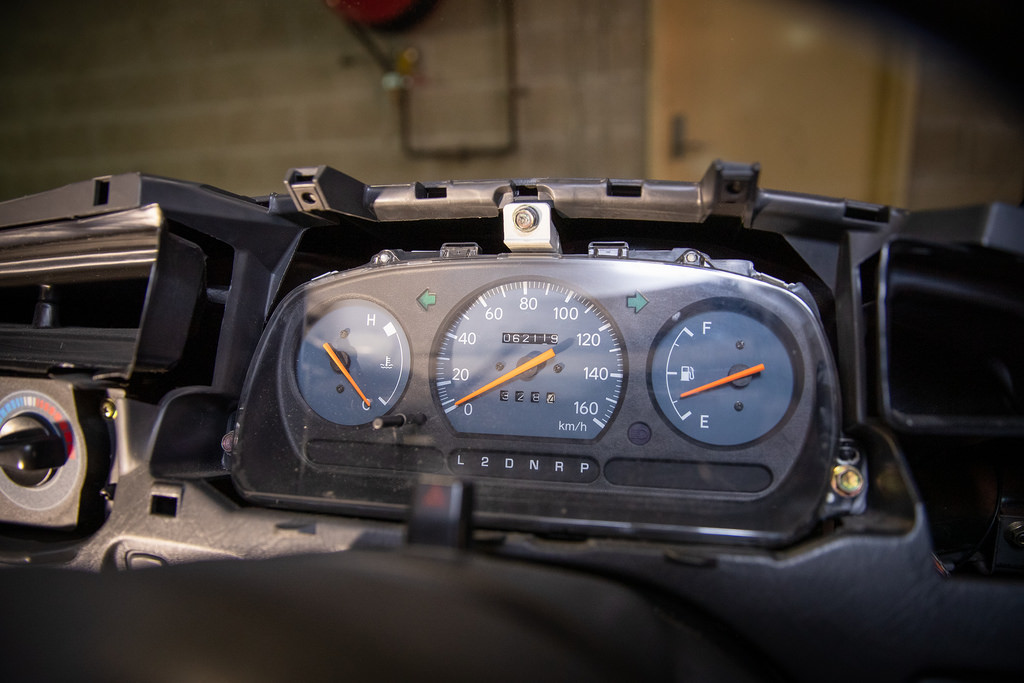
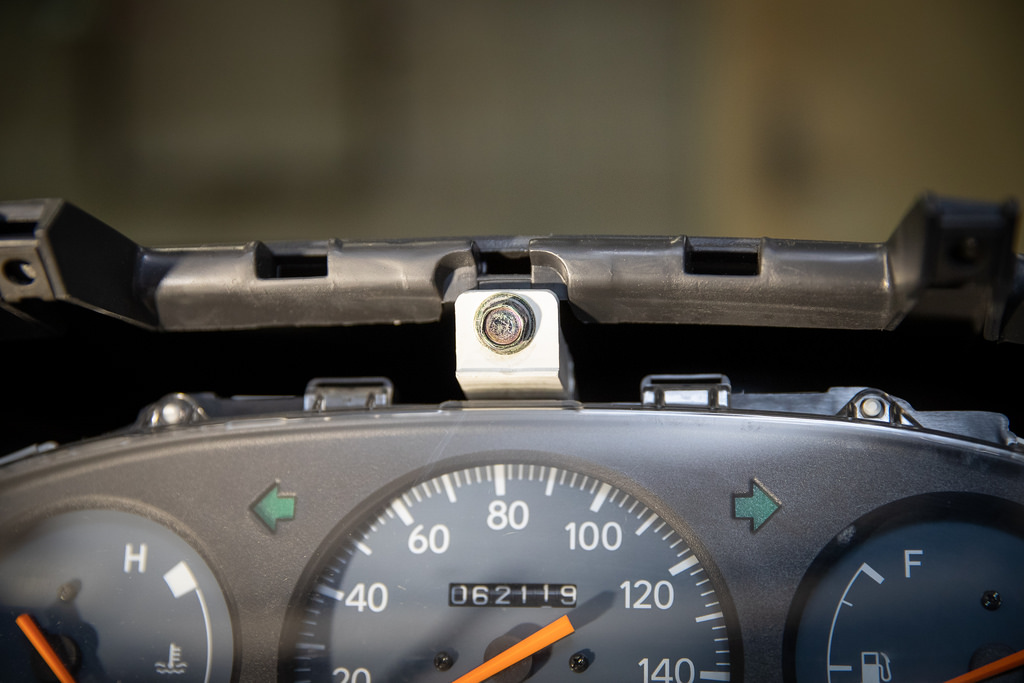
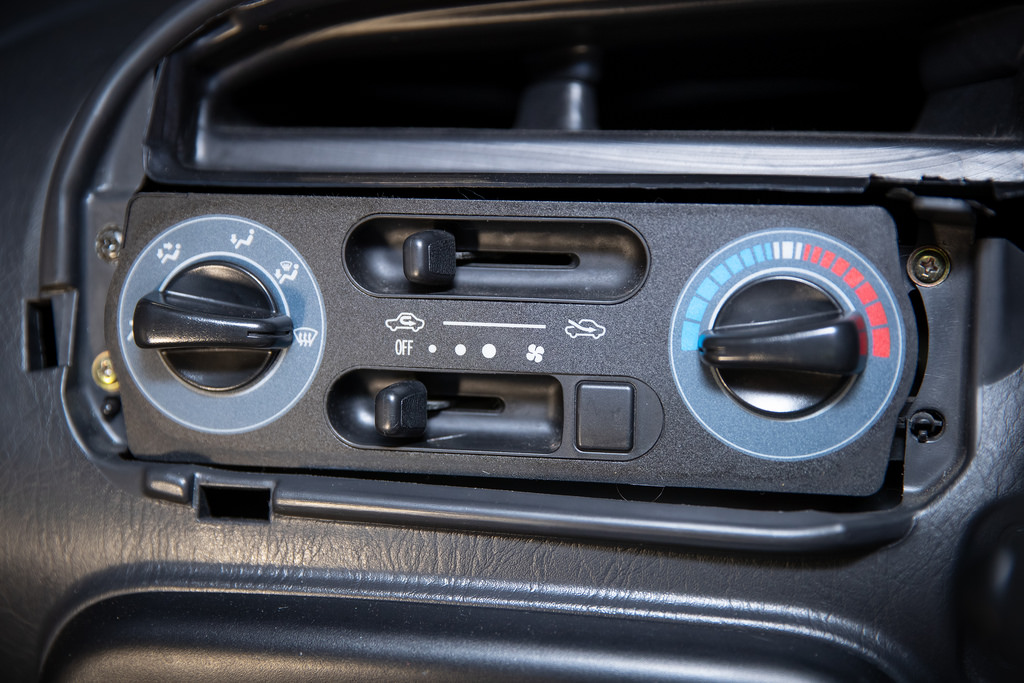
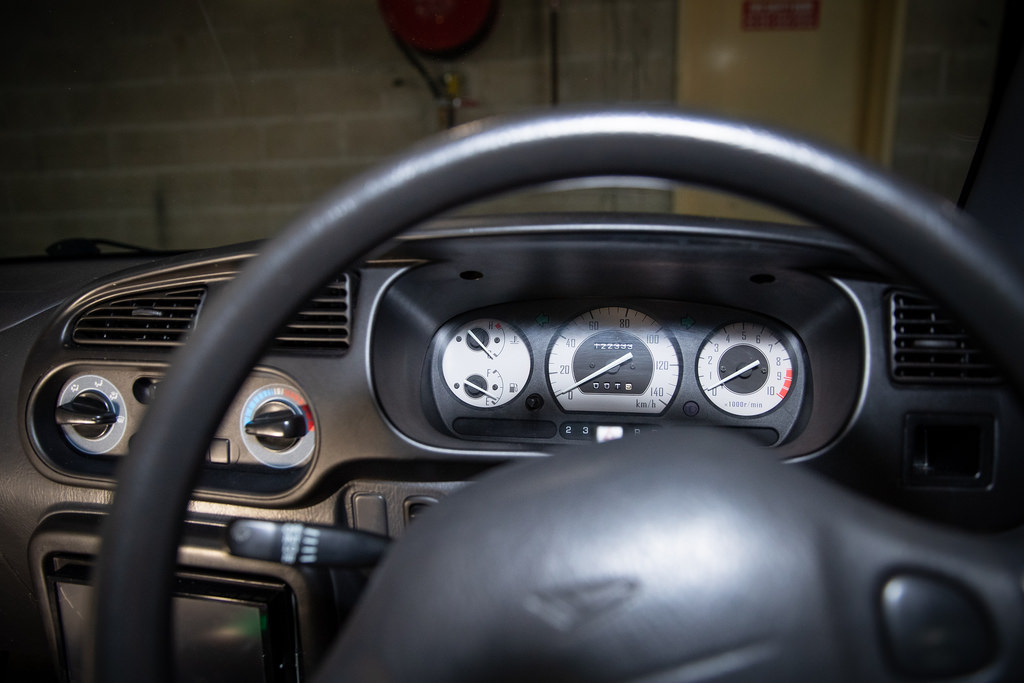
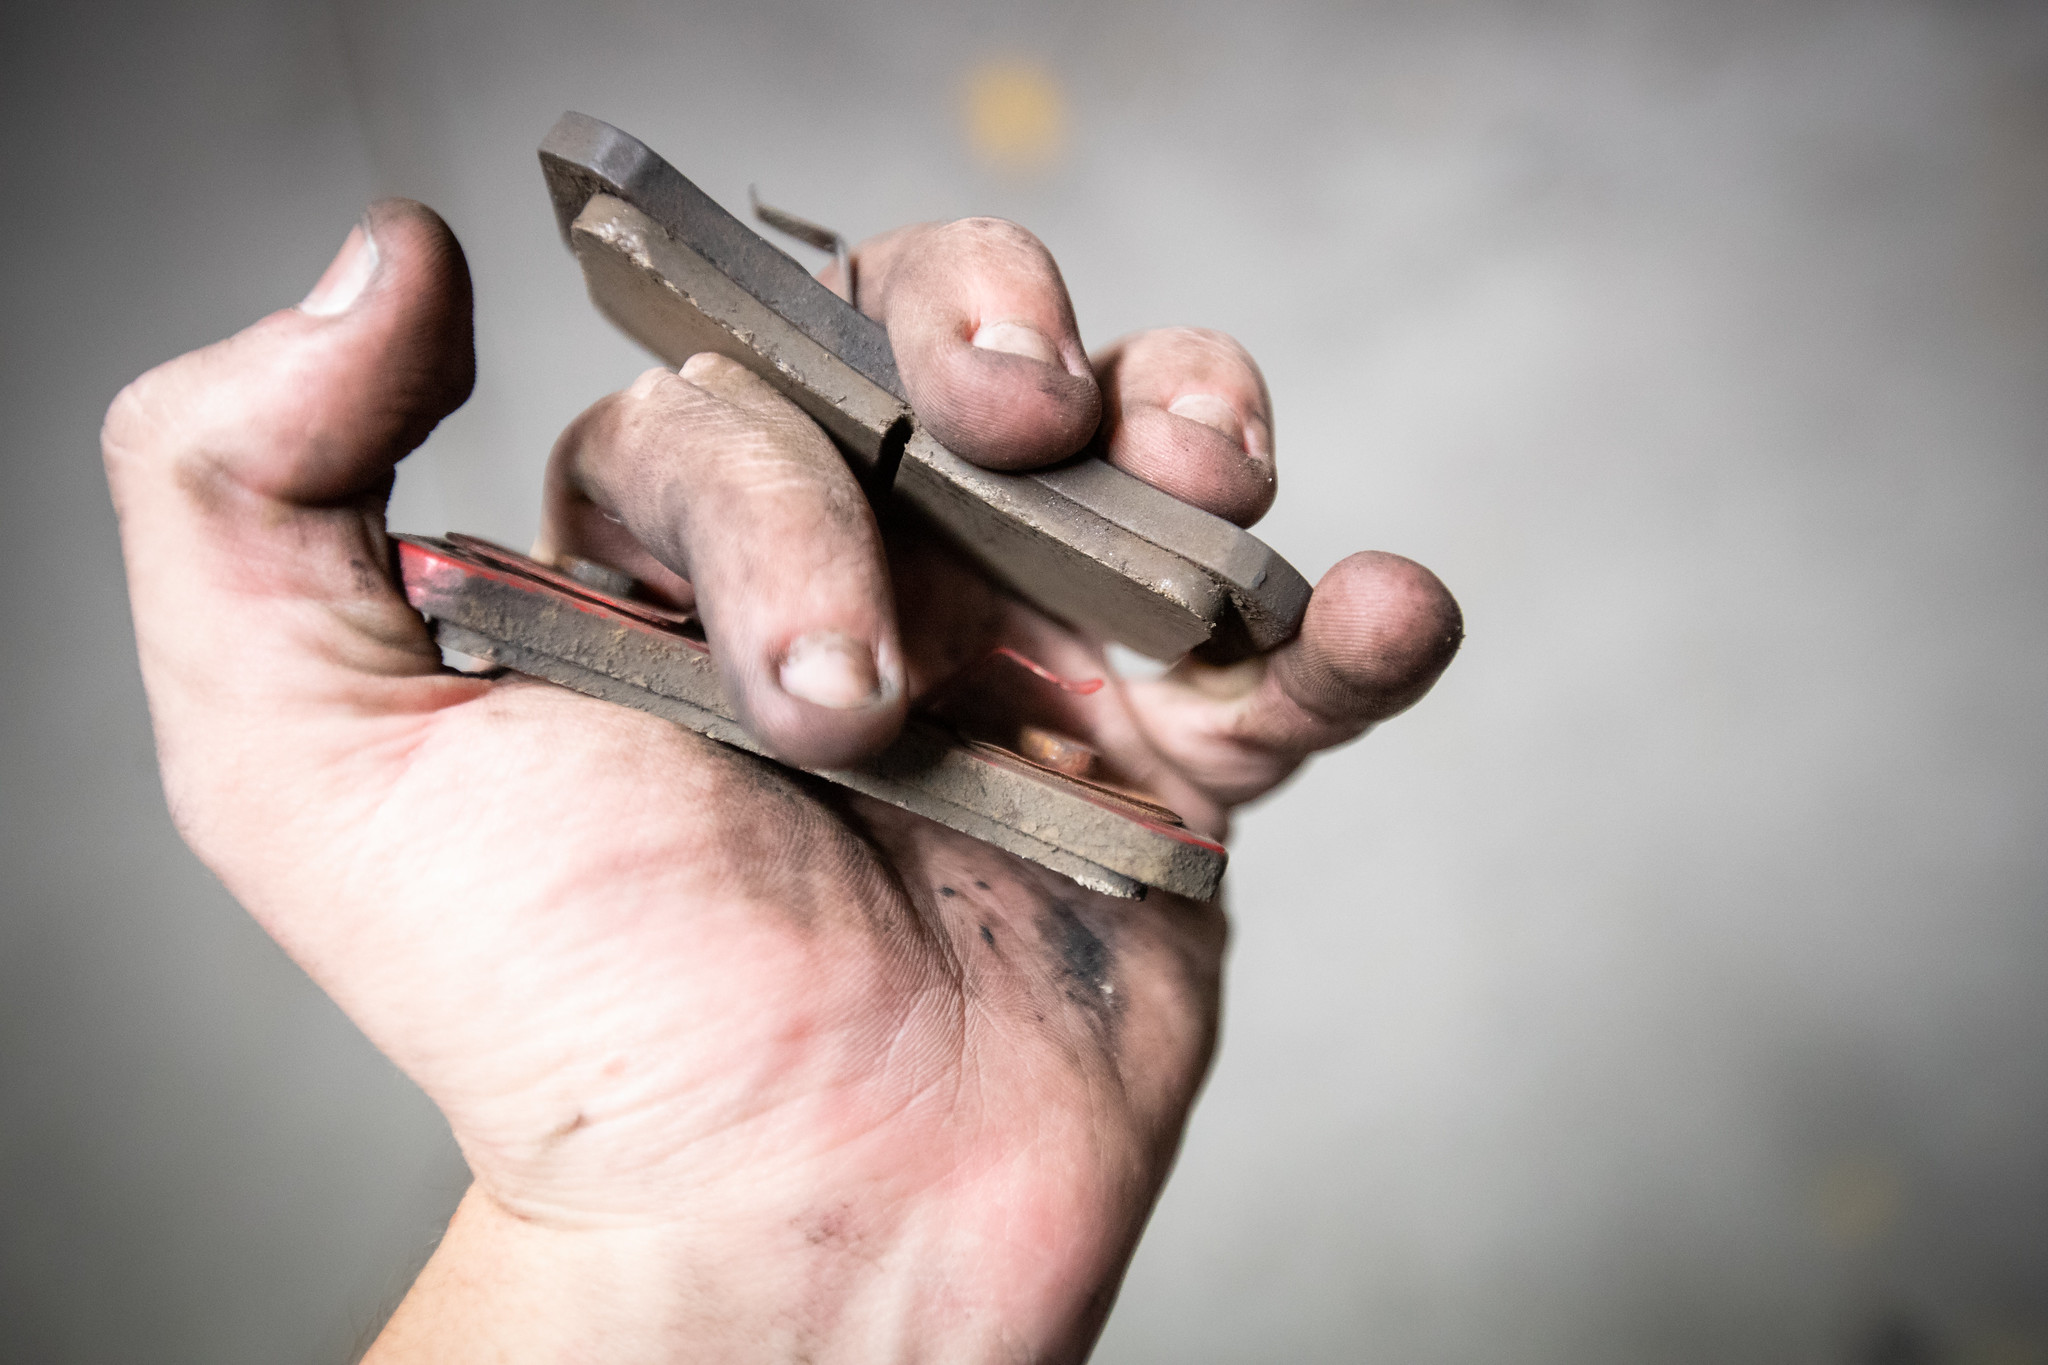
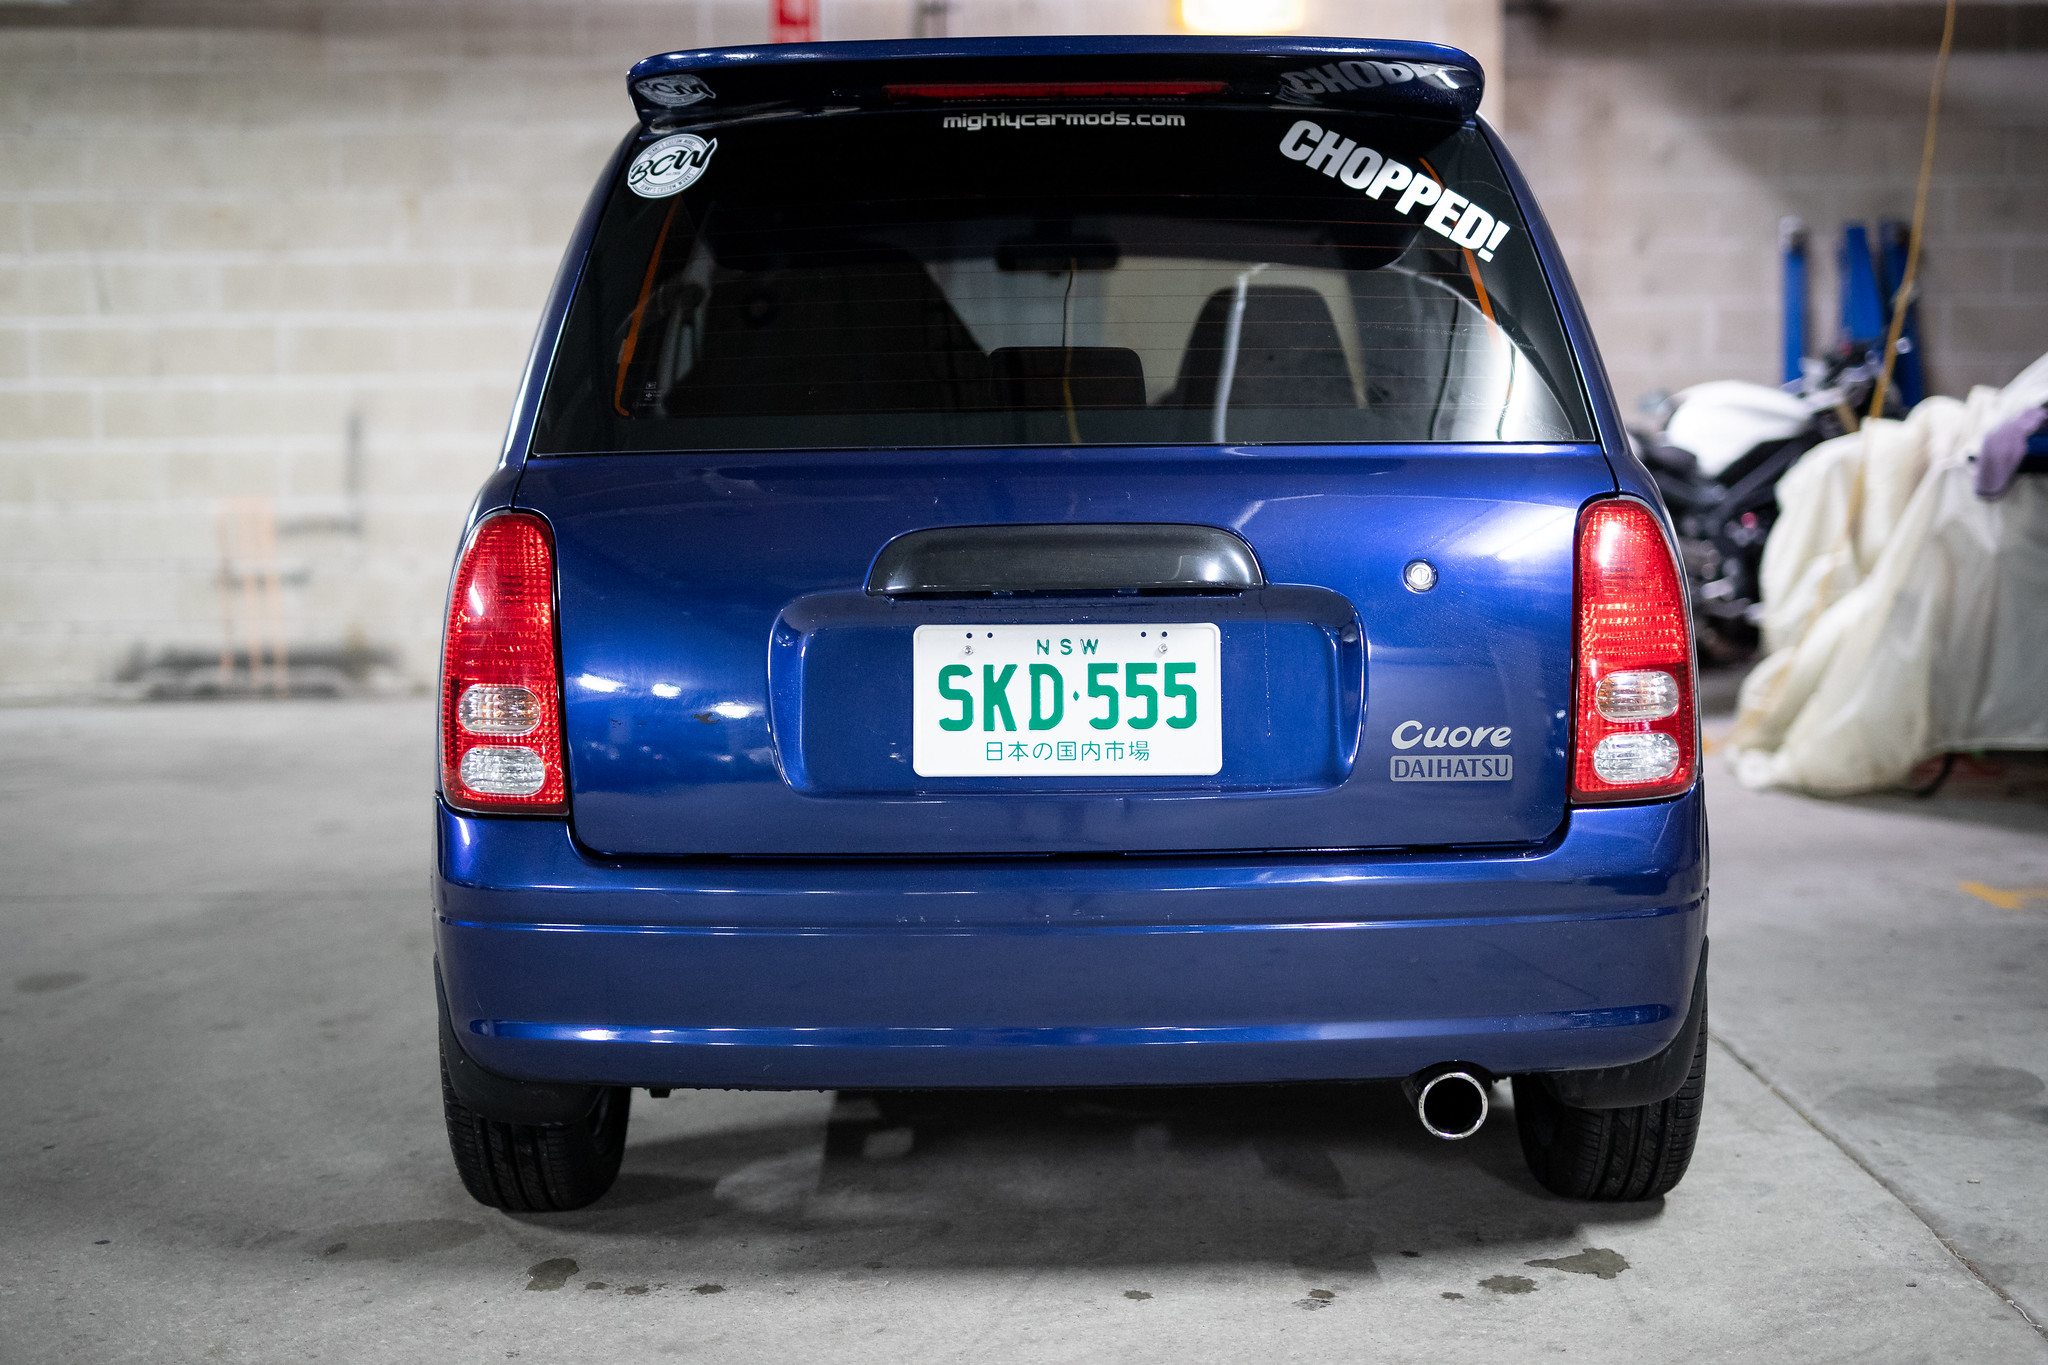
December 2018: So I’ve sold the Gino kit that came on the parts car. Most stuff I wasn’t really interested in as it wasn’t the goal of my build. Although one of the two things I did want to keep was the cluster that came with the car, because TACHO!

It’s clearly been sitting for awhile and thus was filthy and a little damaged. That needed to be sorted before it went in the car.
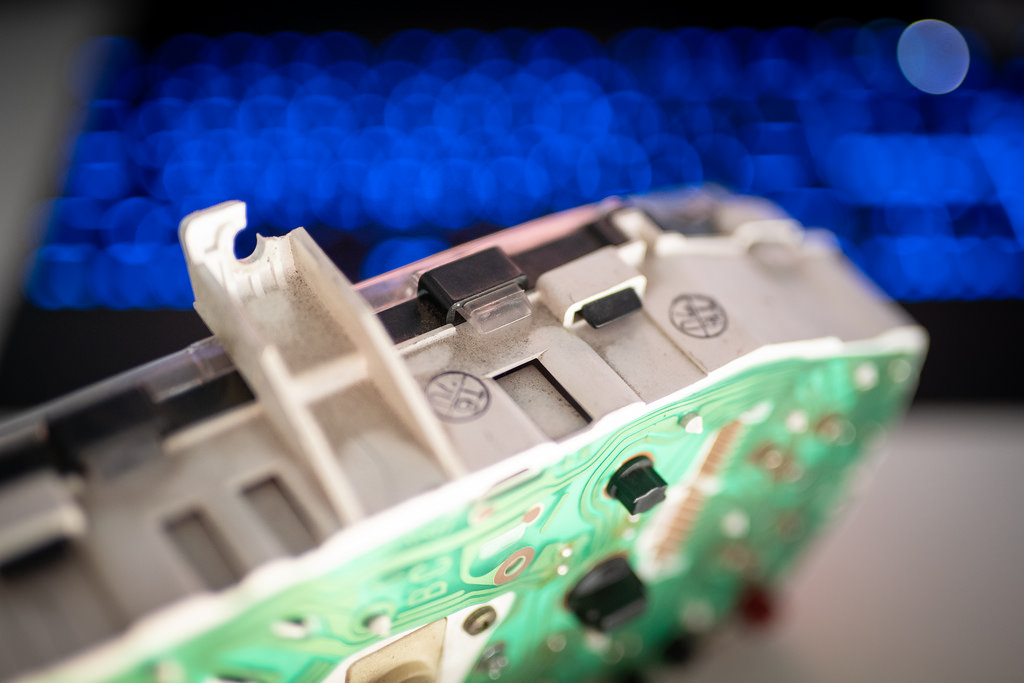
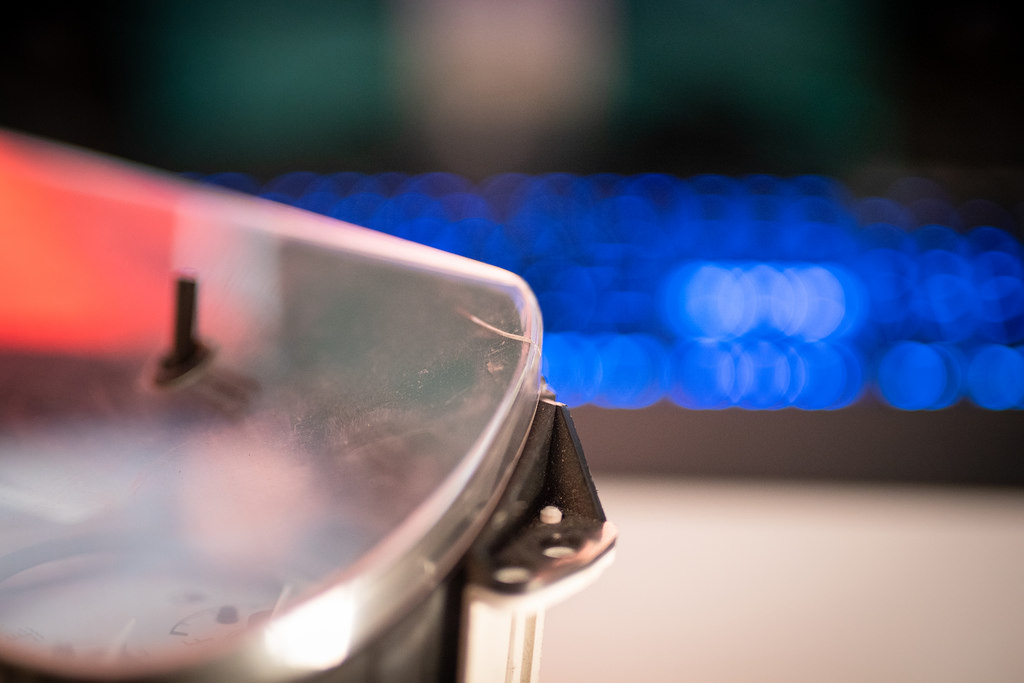
I’ve got a couple other spare clusters with perfect plastics so off it came. Pretty spotless inside.

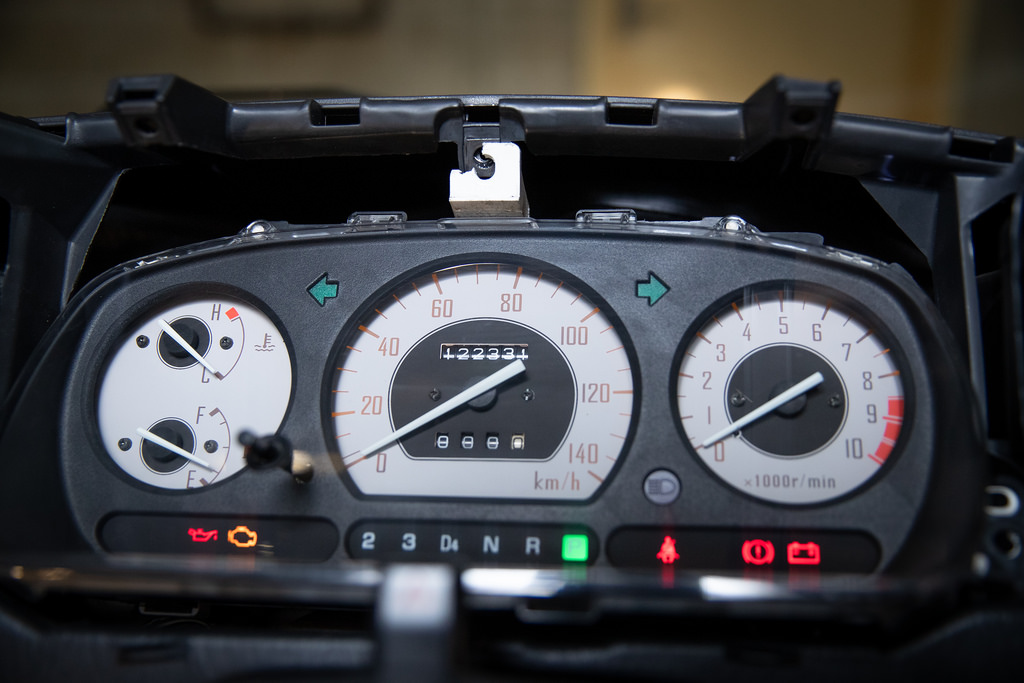
Back on, much better.

The standard bulbs were switched out for LED units, T10.
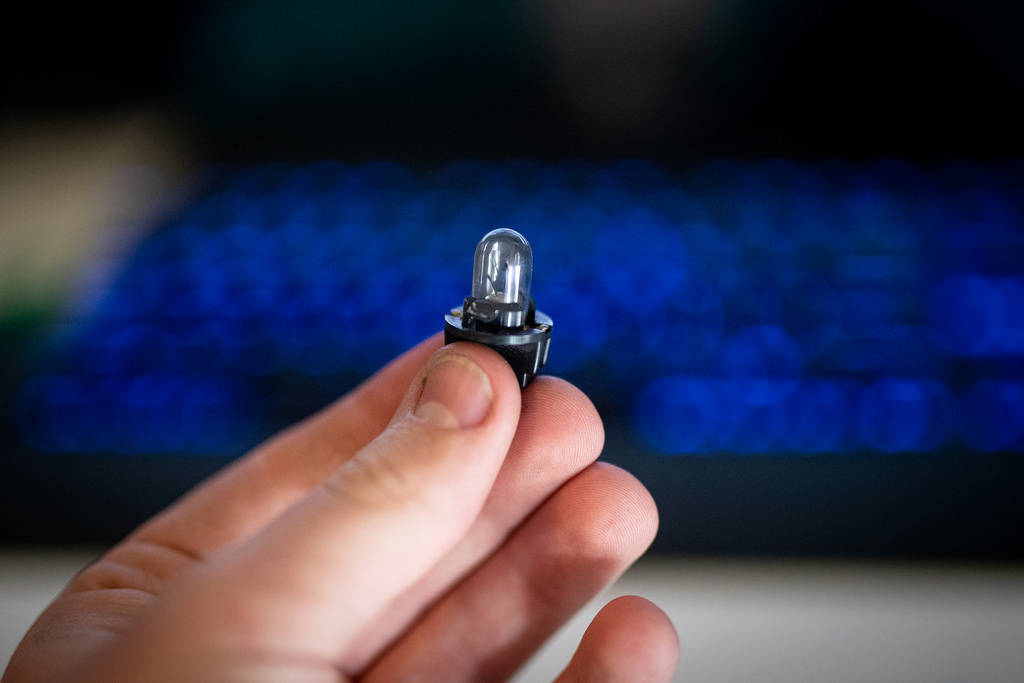
T5’s.

Popping them in is a breeze when the cluster is out.
Now to pull the old one out. It’s a little sad for me cause of those low low km’s. Oh well.
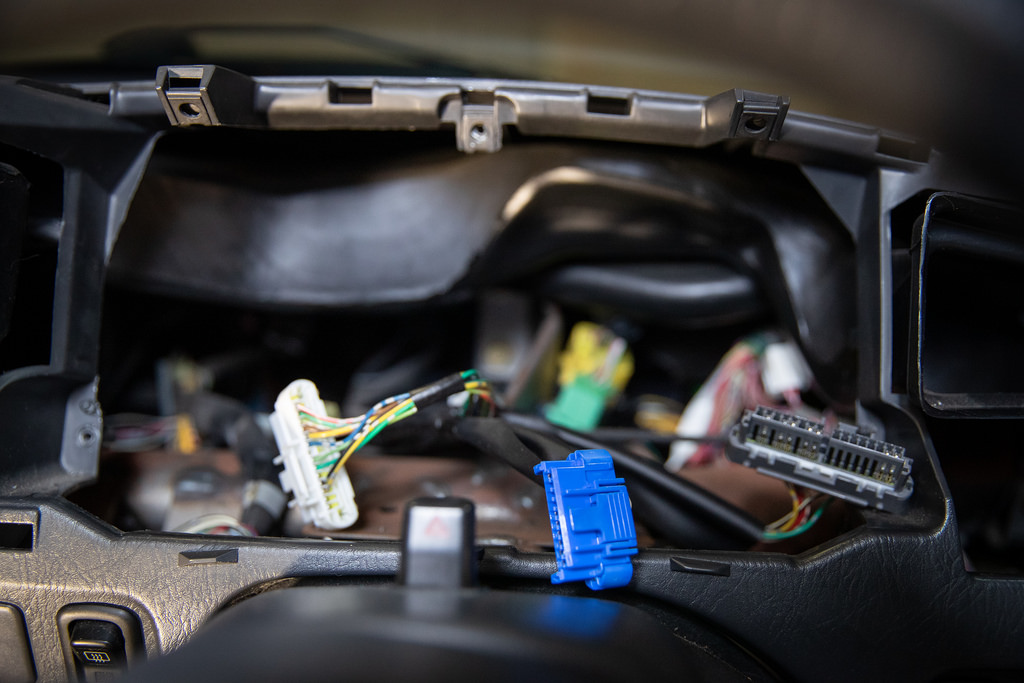
Onto the removal, dash surround pops off.

Three 10mm’s off.
Speed and wiring could then be detached.

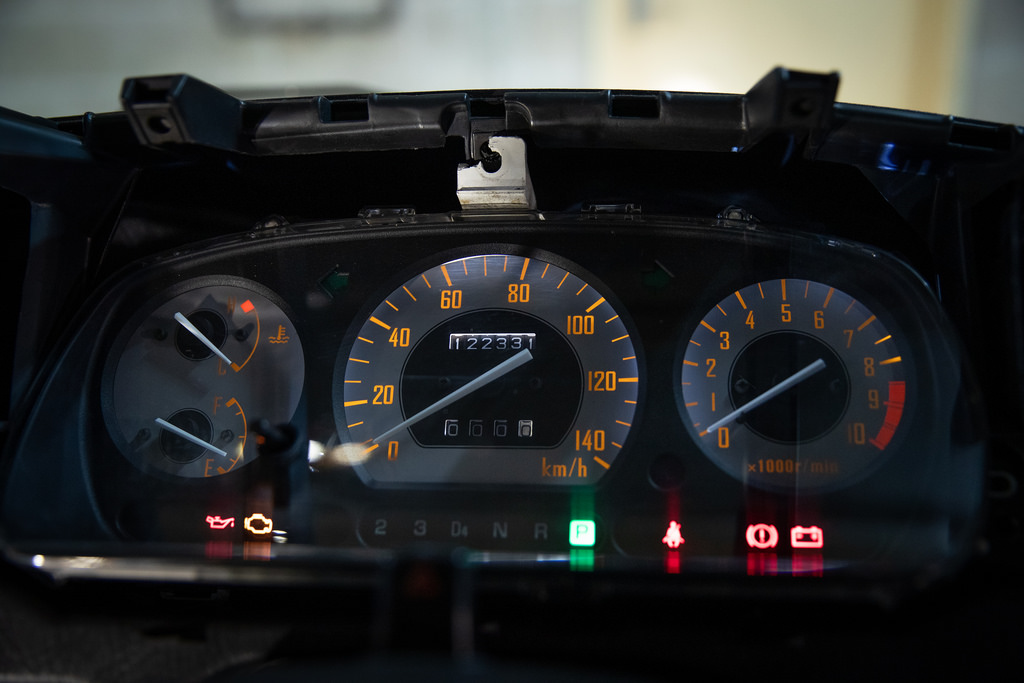
Popped it in and plugged everything in to check lights. Sadly even though the lights are white they light up orange. No massive problem though!
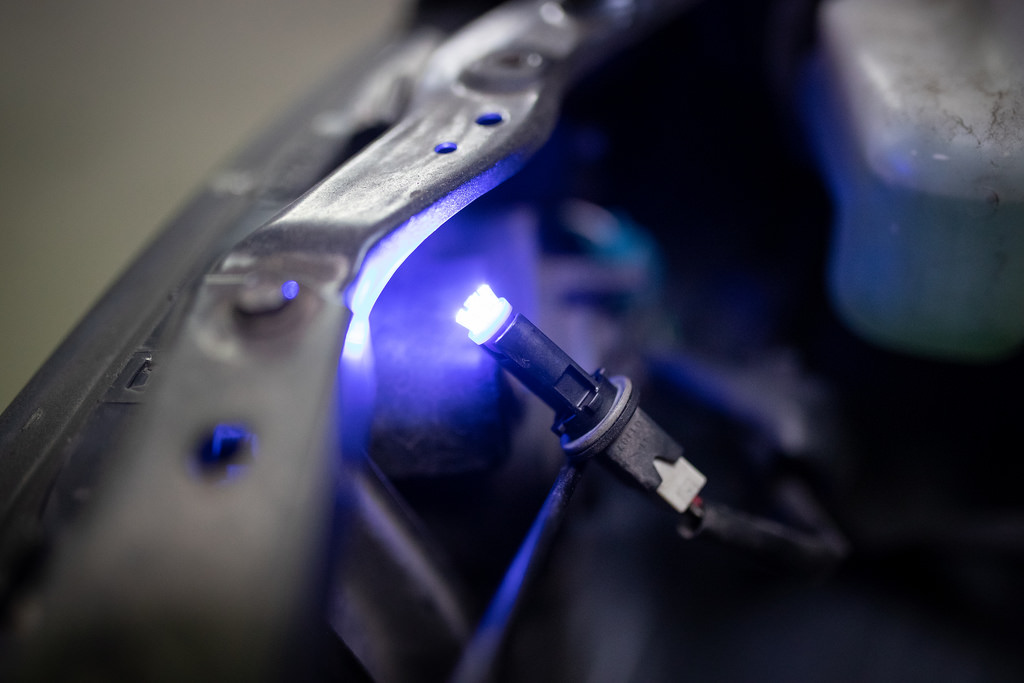
Now before I through everything completely back on, I thought it a good time to remove the last of the blue LED lights.
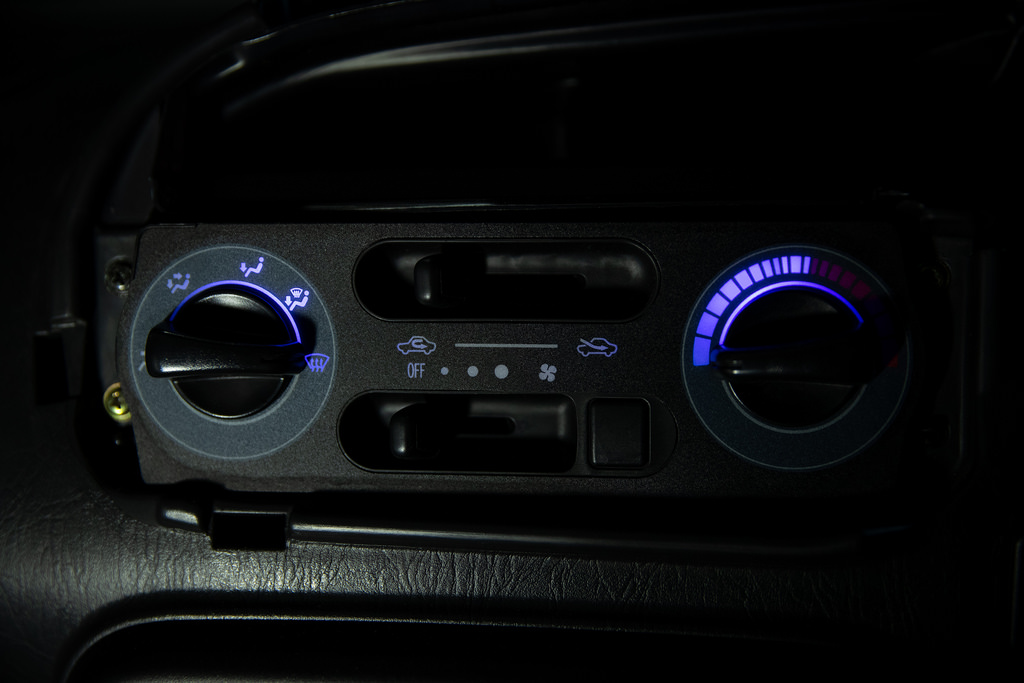
Easy in, I wish they were a little more even but maybe I’ll find better ones in the future.

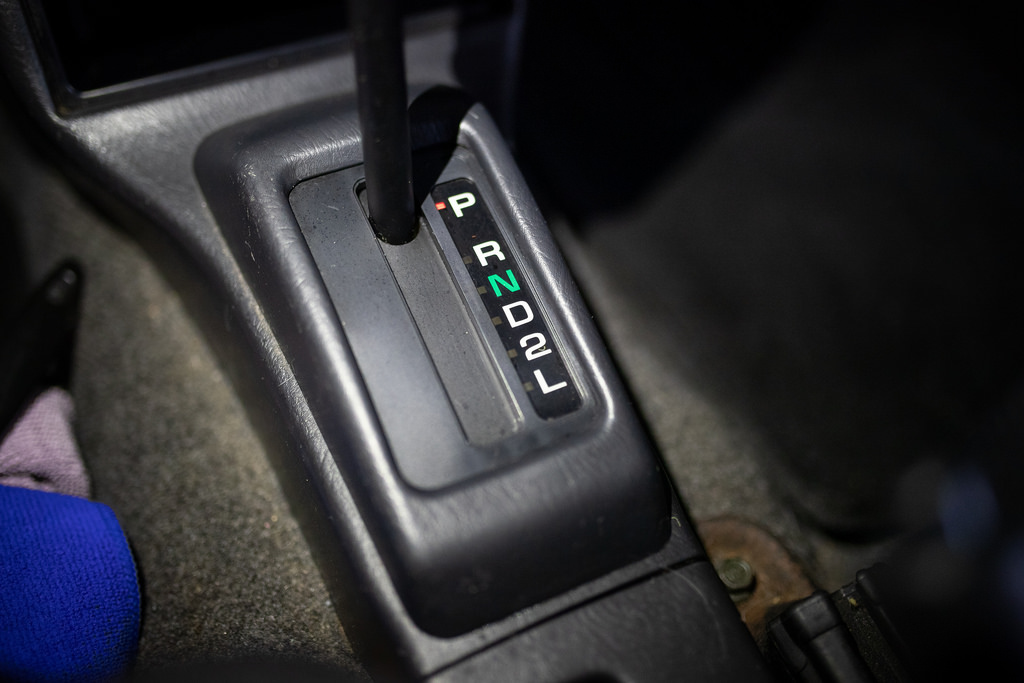
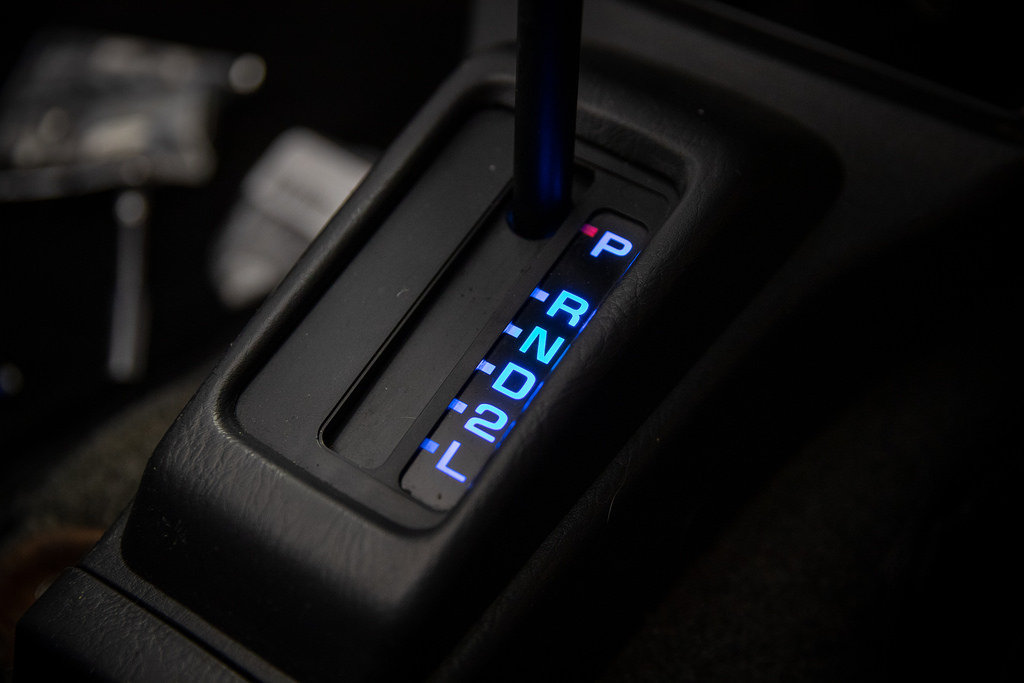
I did the auto shifter too even though it won’t be here for much longer.

Dash panel went back in then.

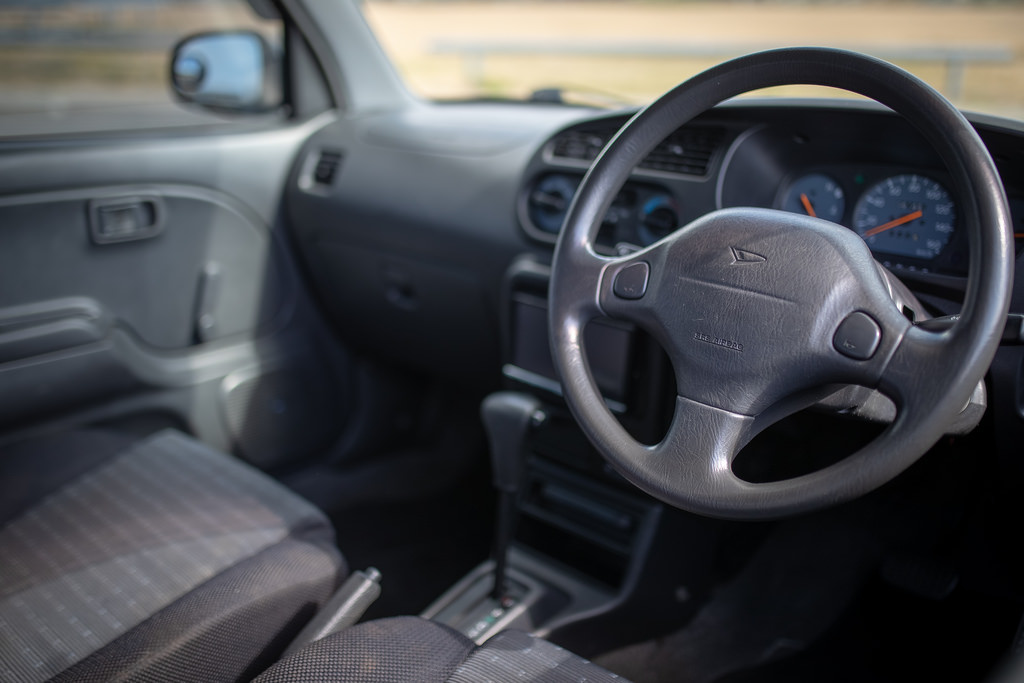
Popped out for some better pics.
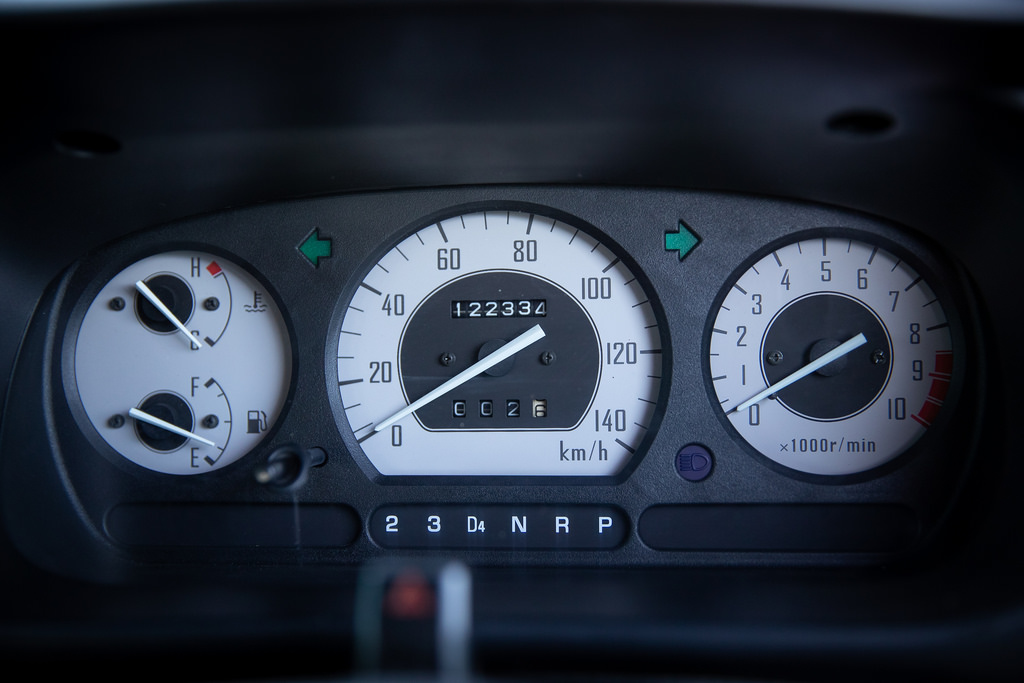

So cool having a tacho for the first time in this car. As the car is a 1L, redline is 6,500RPM, unlike the 8,500RPM from the 660cc this cluster is from. Still cool though. Love that it was completely plug-n-play with no modification what so ever.
With all the issues I’ve been having with my Subaru lately I’m so grateful for this little thing, it brings me so much joy.
8 Likes
Nice… 


1 Like
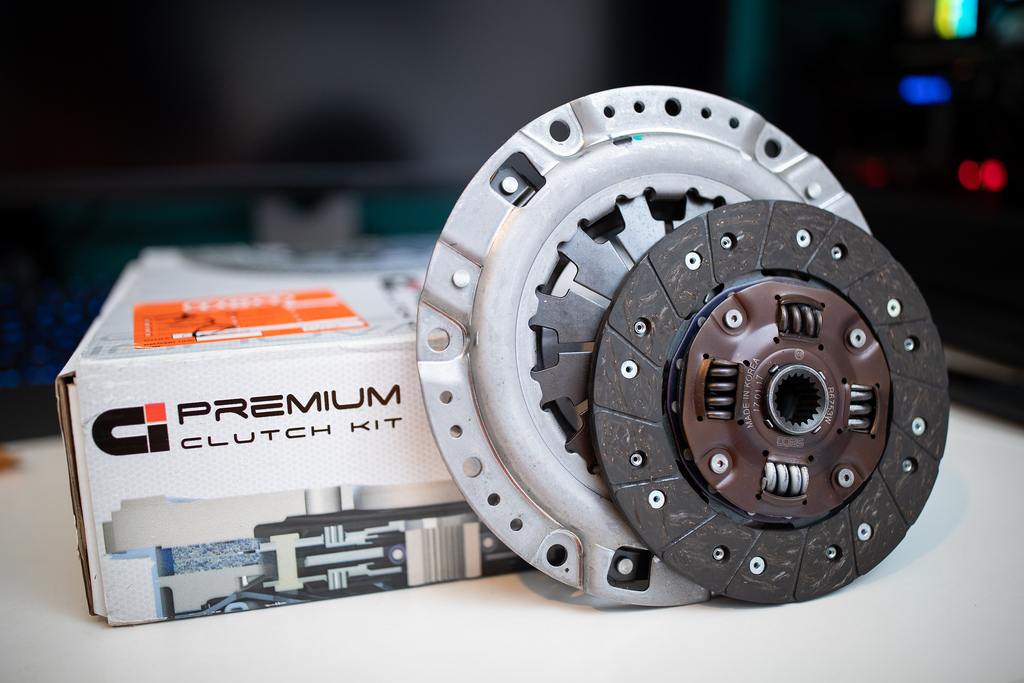
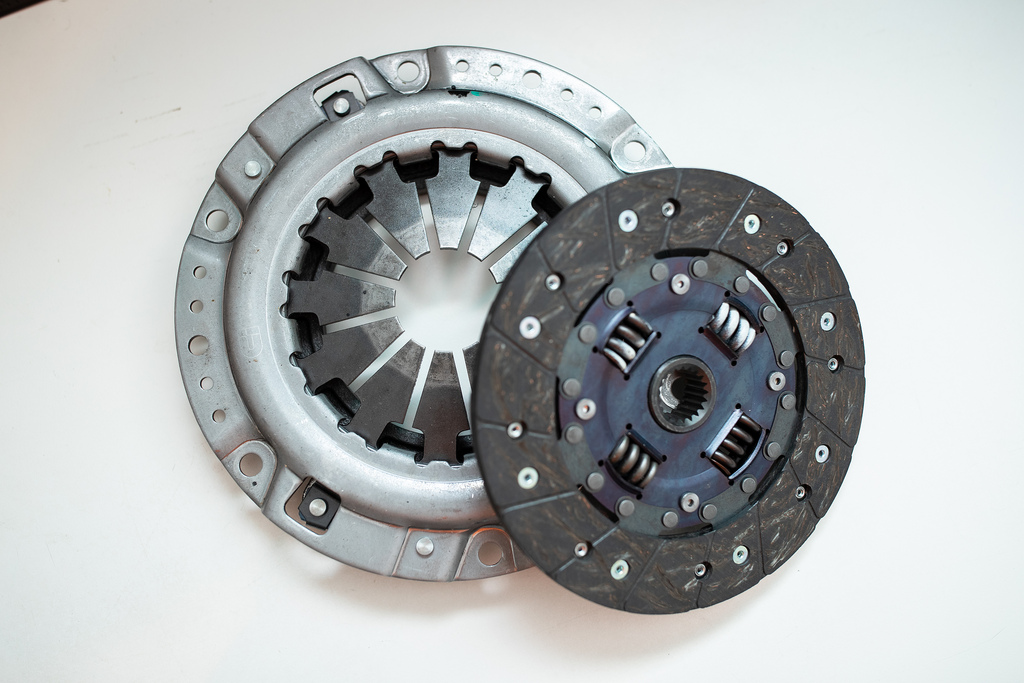
December 2018: So the parts Cuore has been sitting in my garage for wayy to long and it’s time to pull my finger out and get things going. The whole point of the car was to use it for a manual conversion in my car. Before any of that could happen though I needed to get a clutch.
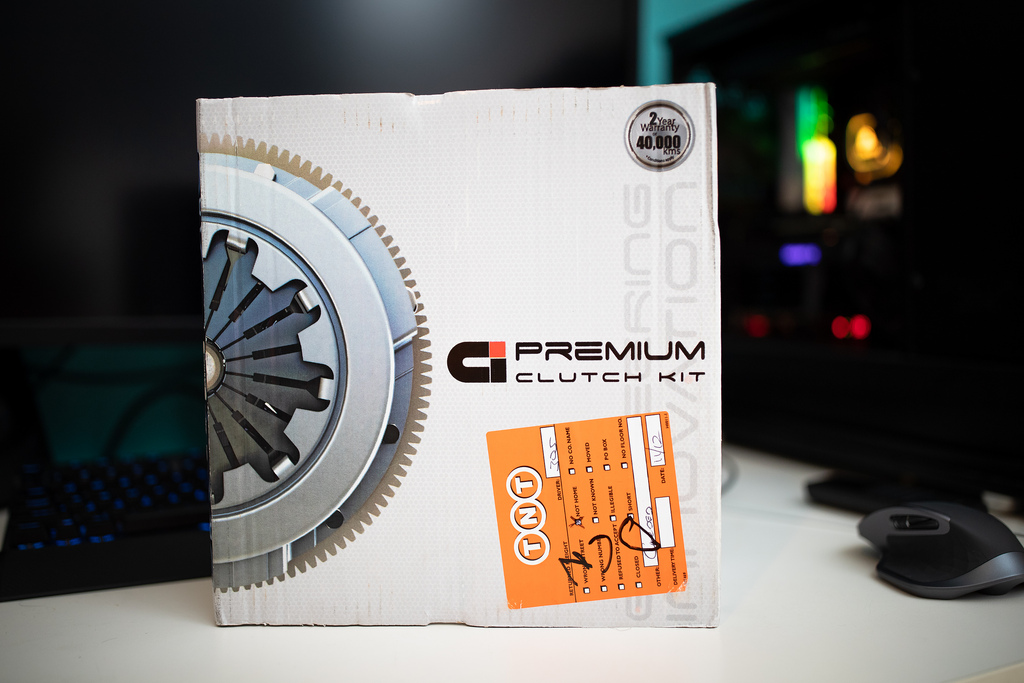
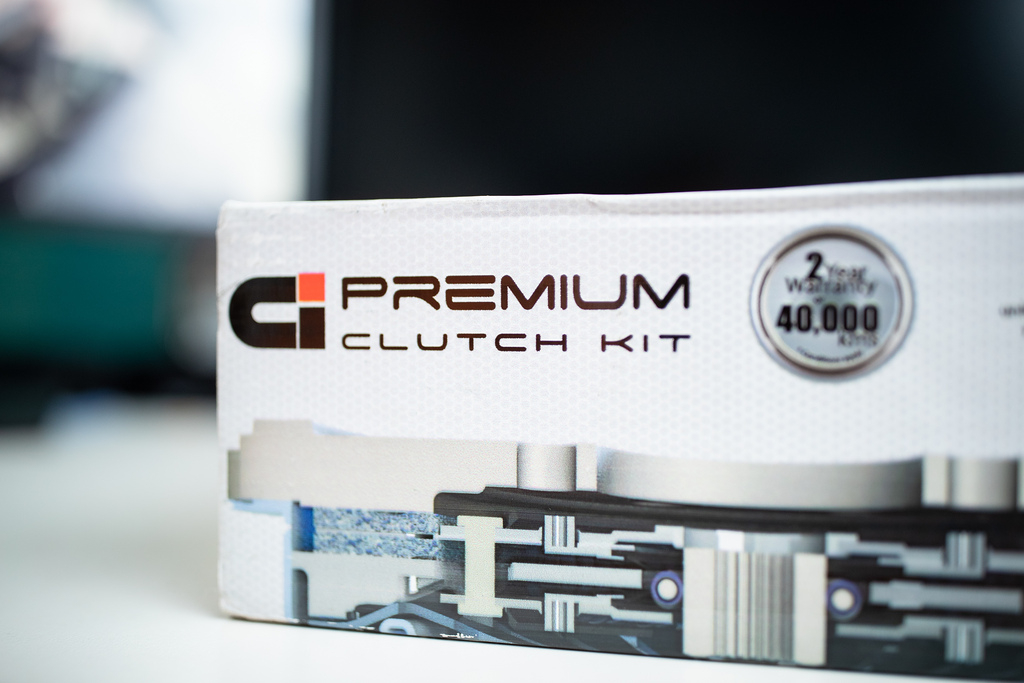
After a quick eBay search I ended up with a unit from Clutch Industries. It was only $110 shipped which really makes me laugh, but that’s why I love these cars. Everything is small and cheap. I believe CI own Mantic which is the clutch I have for my Subaru.
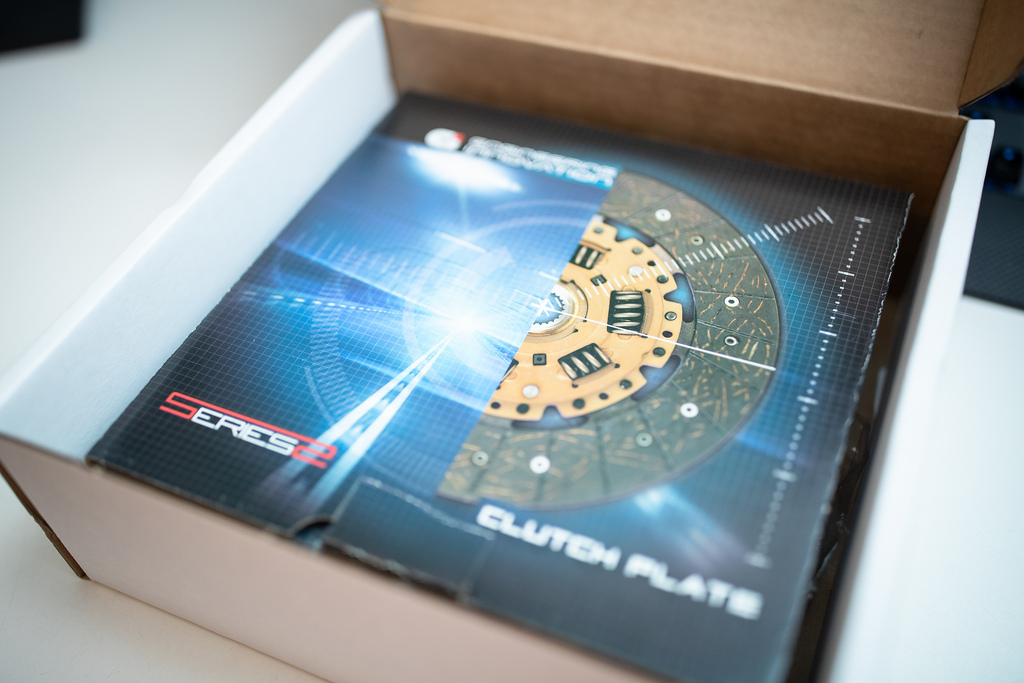

The part number is R1943N for anyone interested.
Hopefully I can get everything in, in the next 3ish weeks!
3 Likes
February 2019: Time to really get stuck into pulling this thing apart. I started with the Gino kit, everything came off and surprisingly I managed to sell it the next day.

Interior bits out.
It’s funny, I had the car under car for a few days and another resident in my apartment building drove into it and knocked it off the stands. Luckily for them it wasn’t anything special, lucky for me the wheels were still on it with the handbrake up.

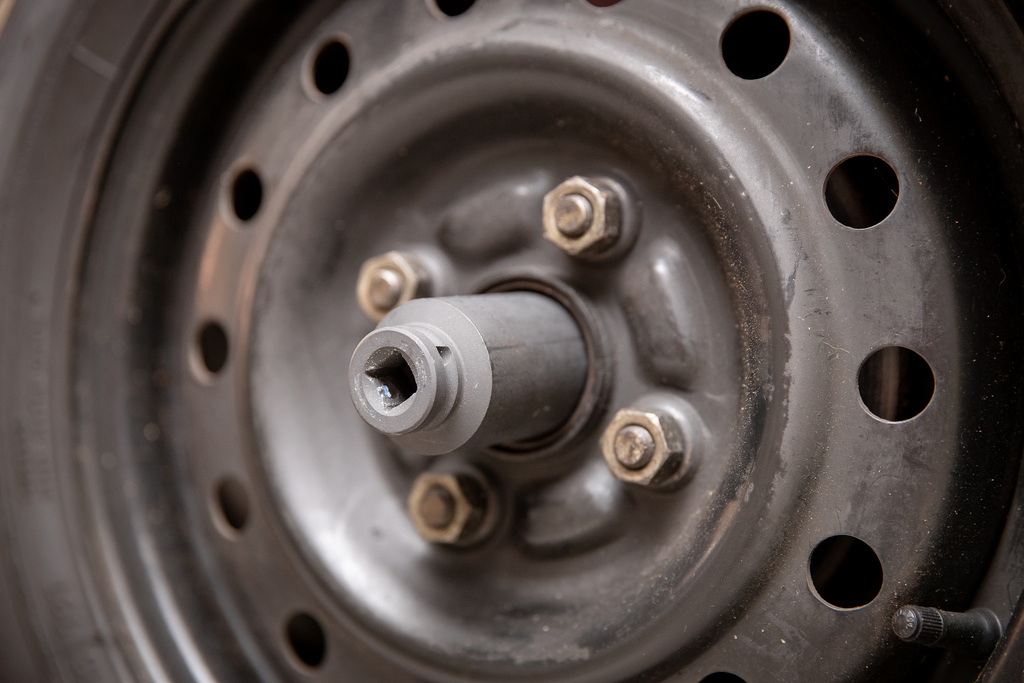
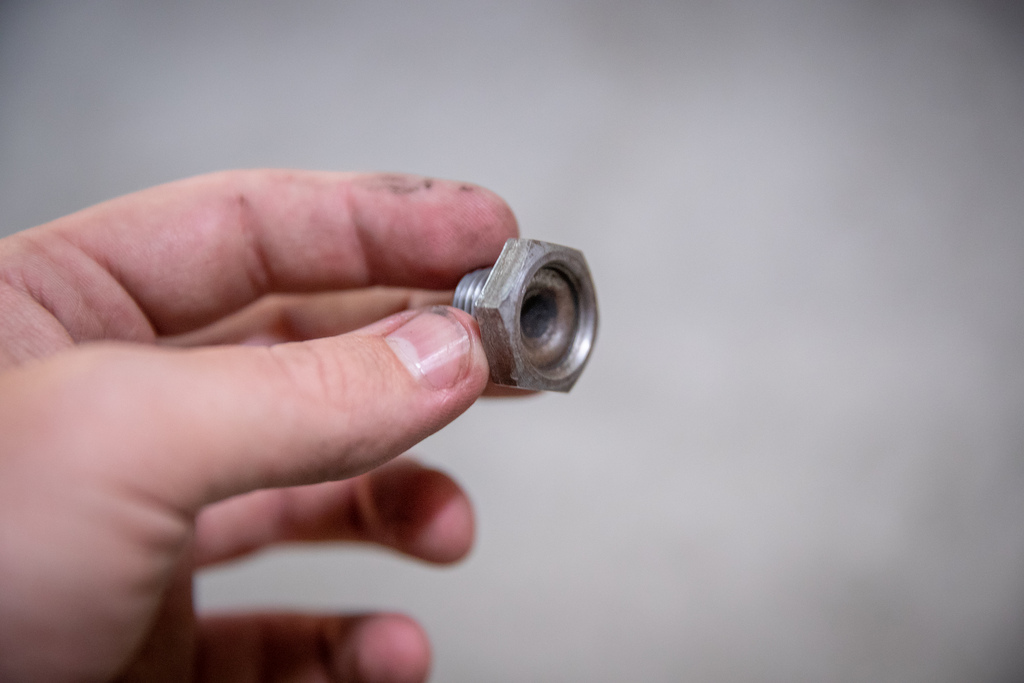
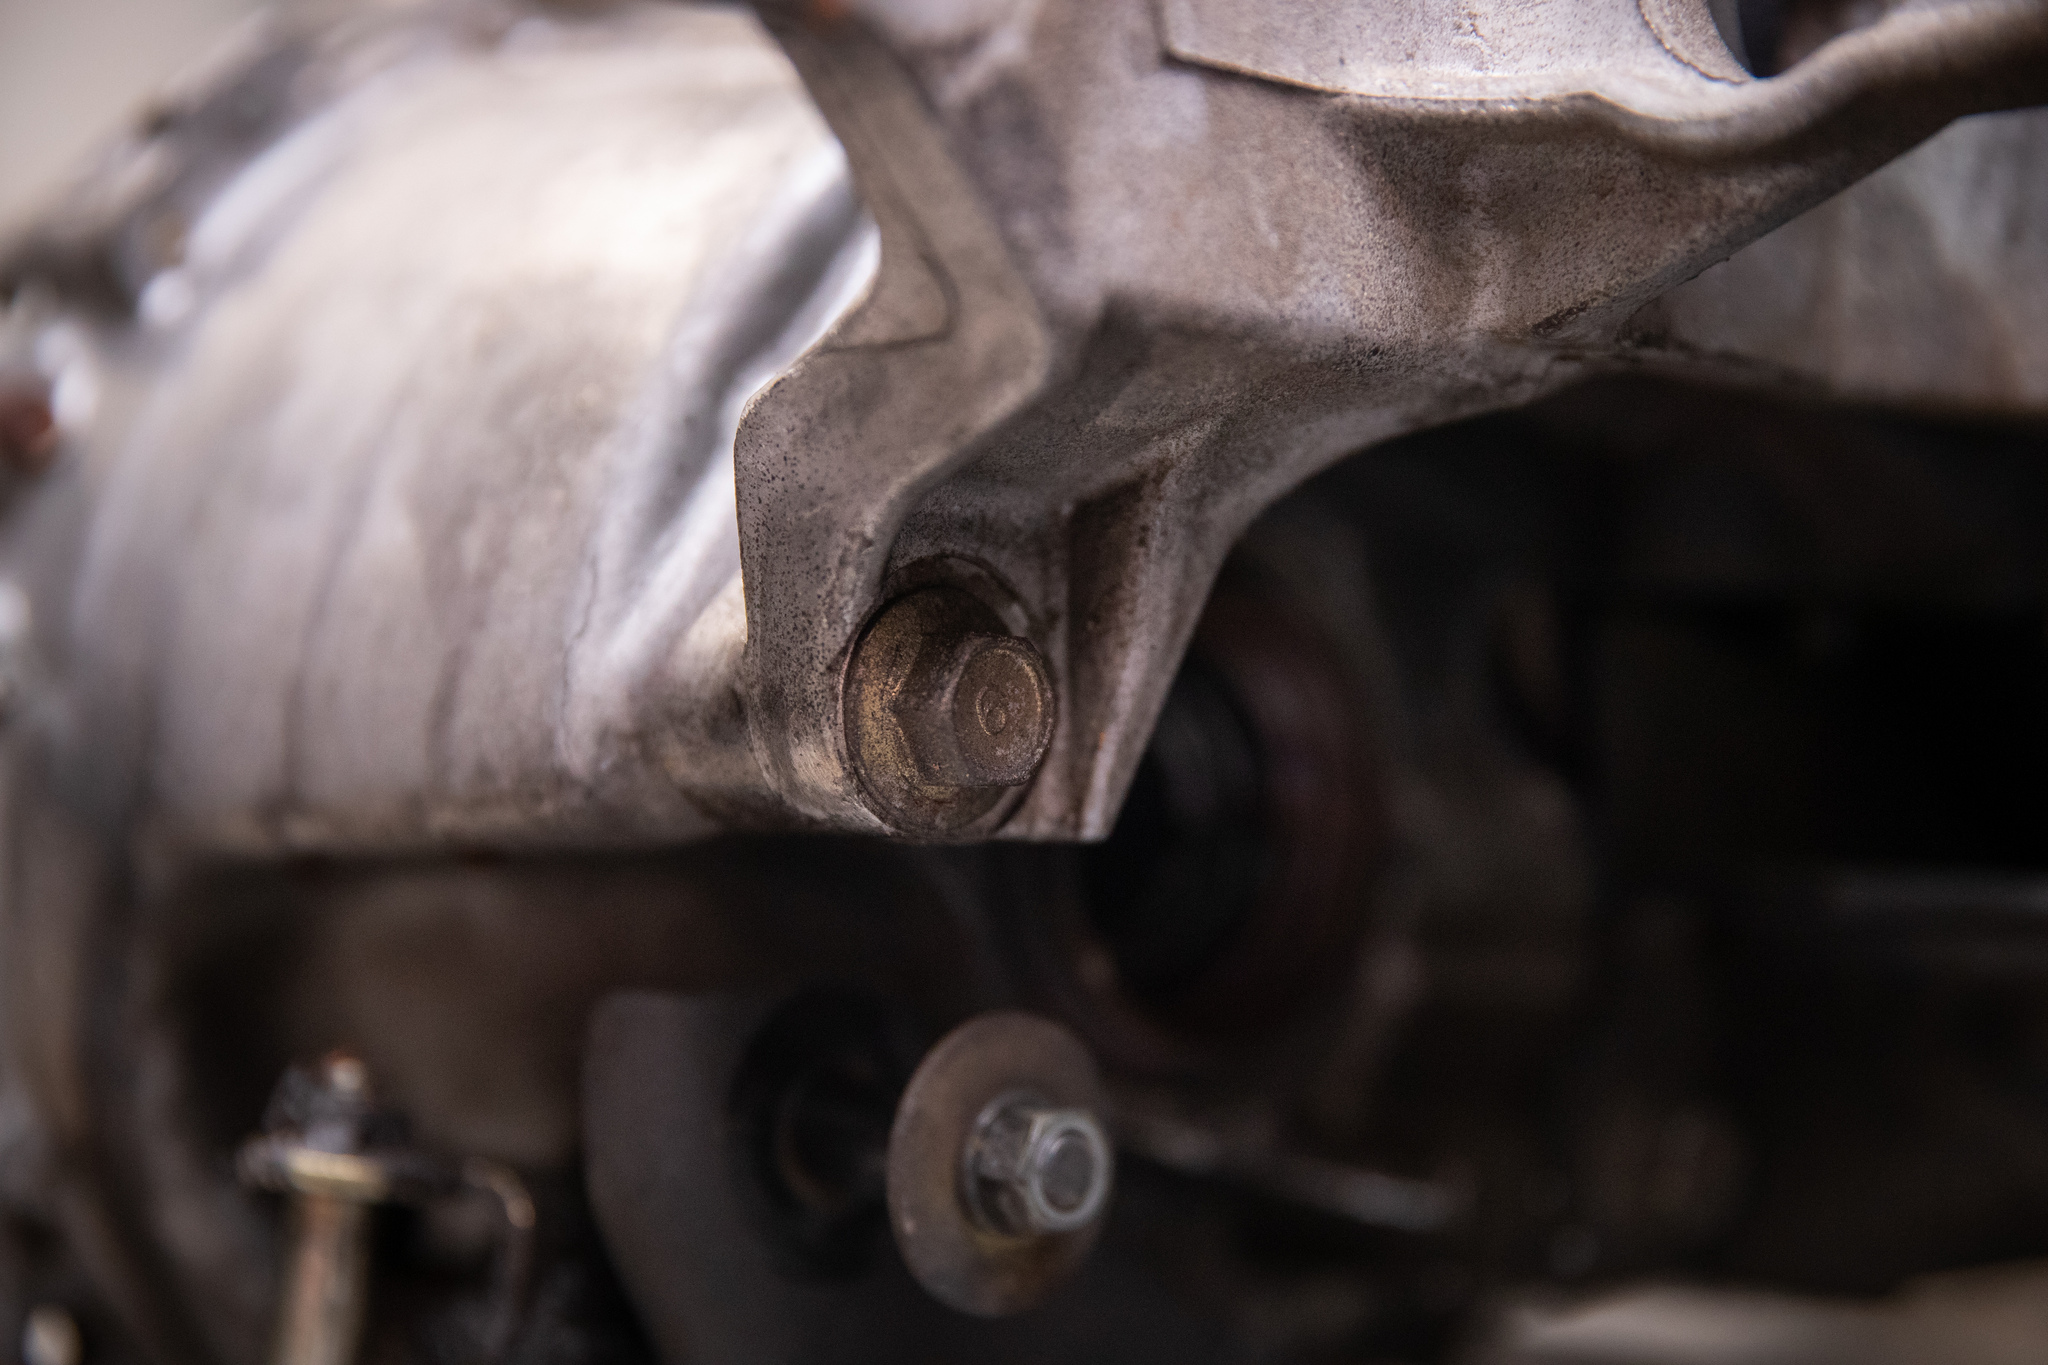
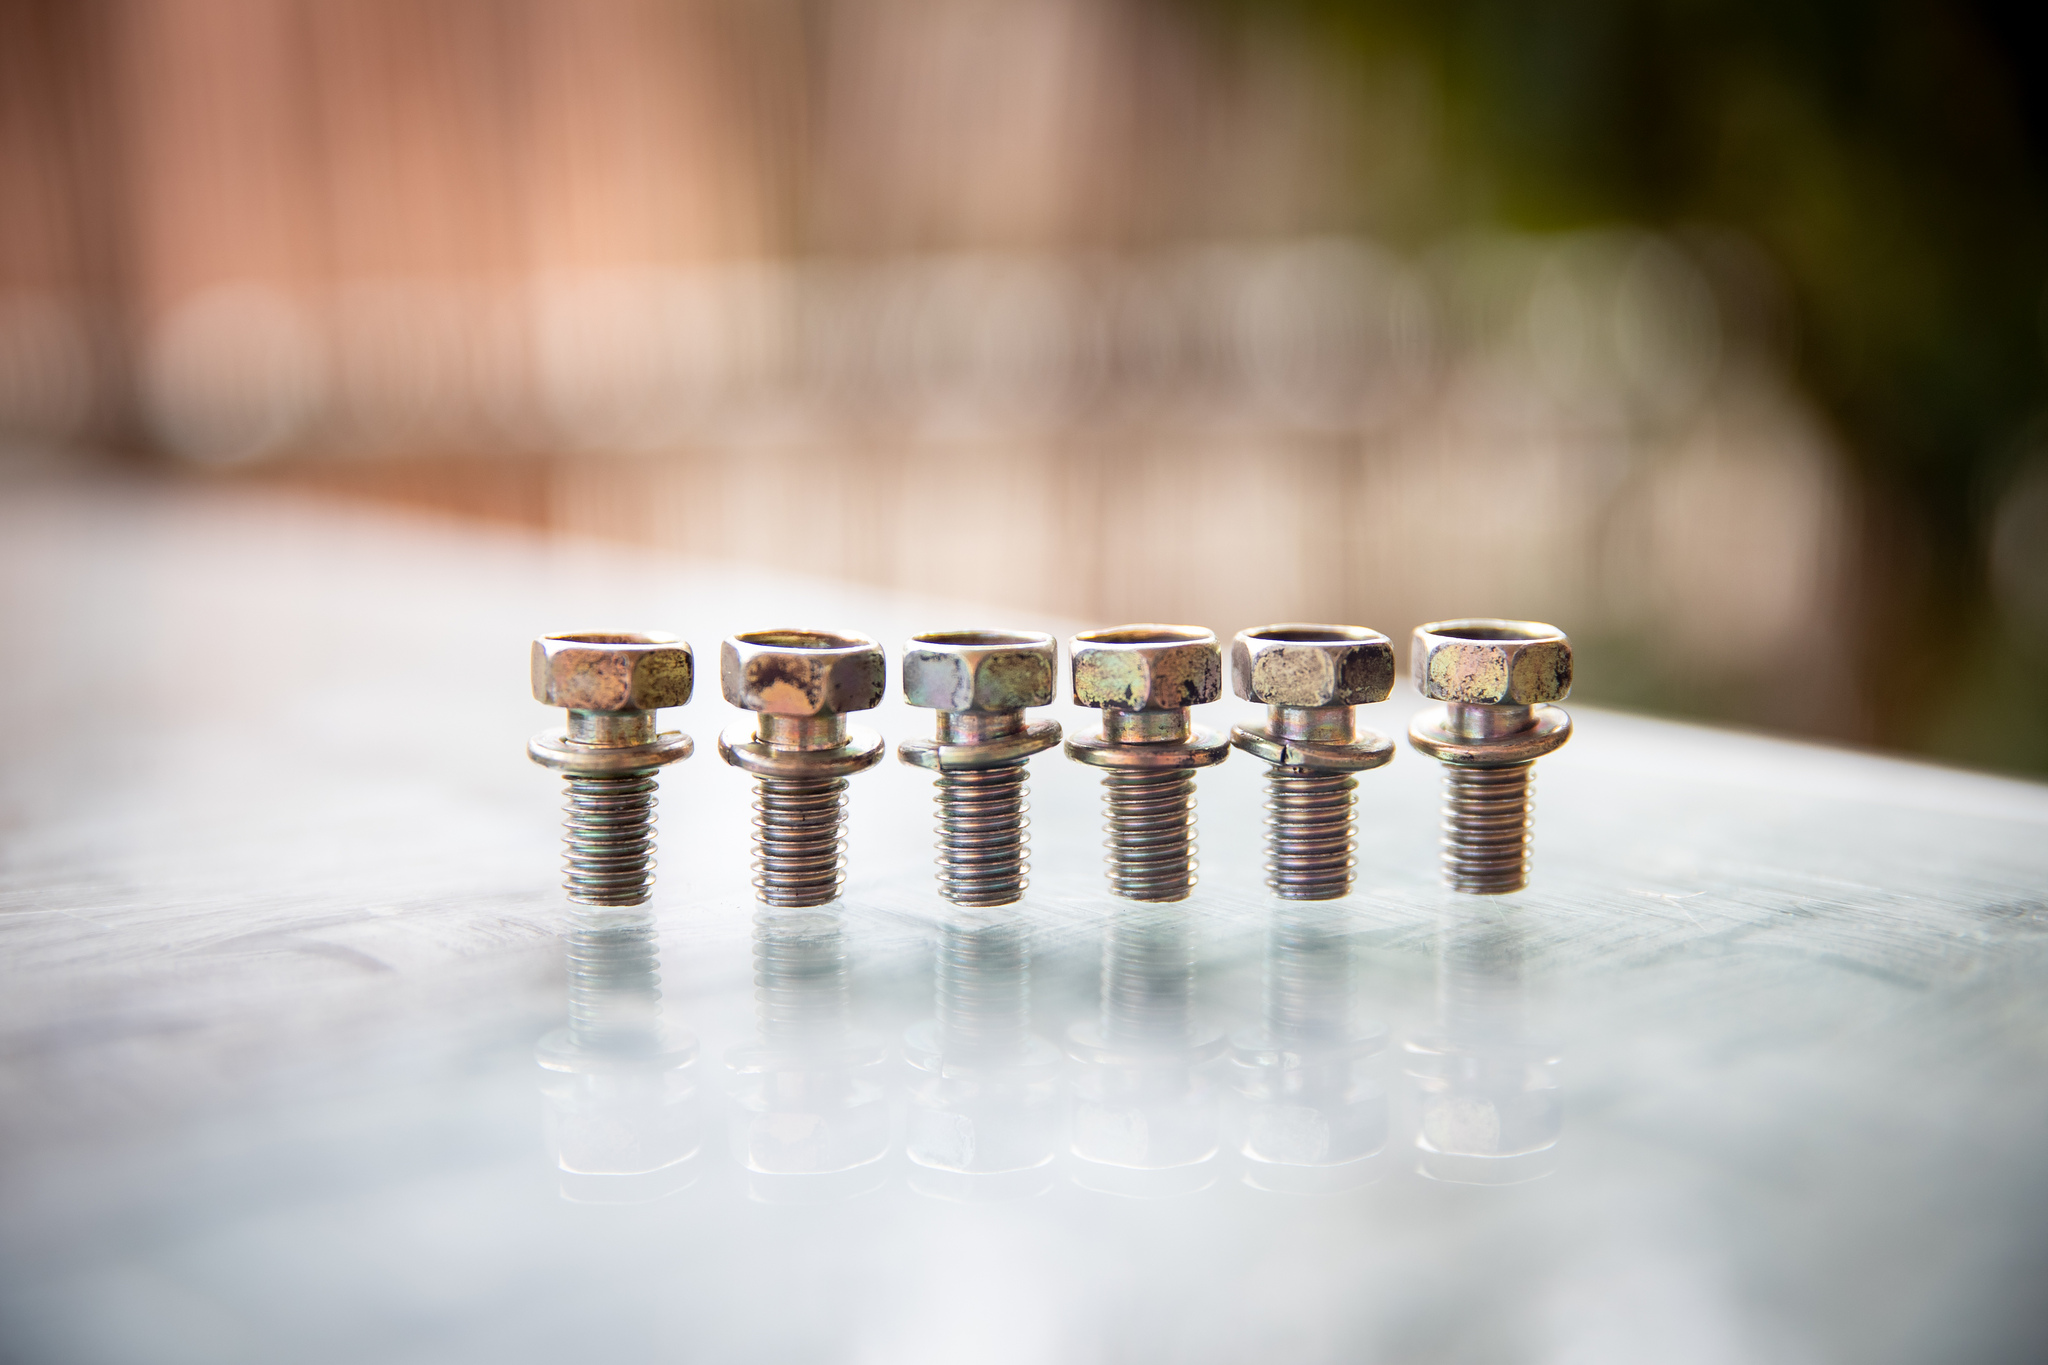
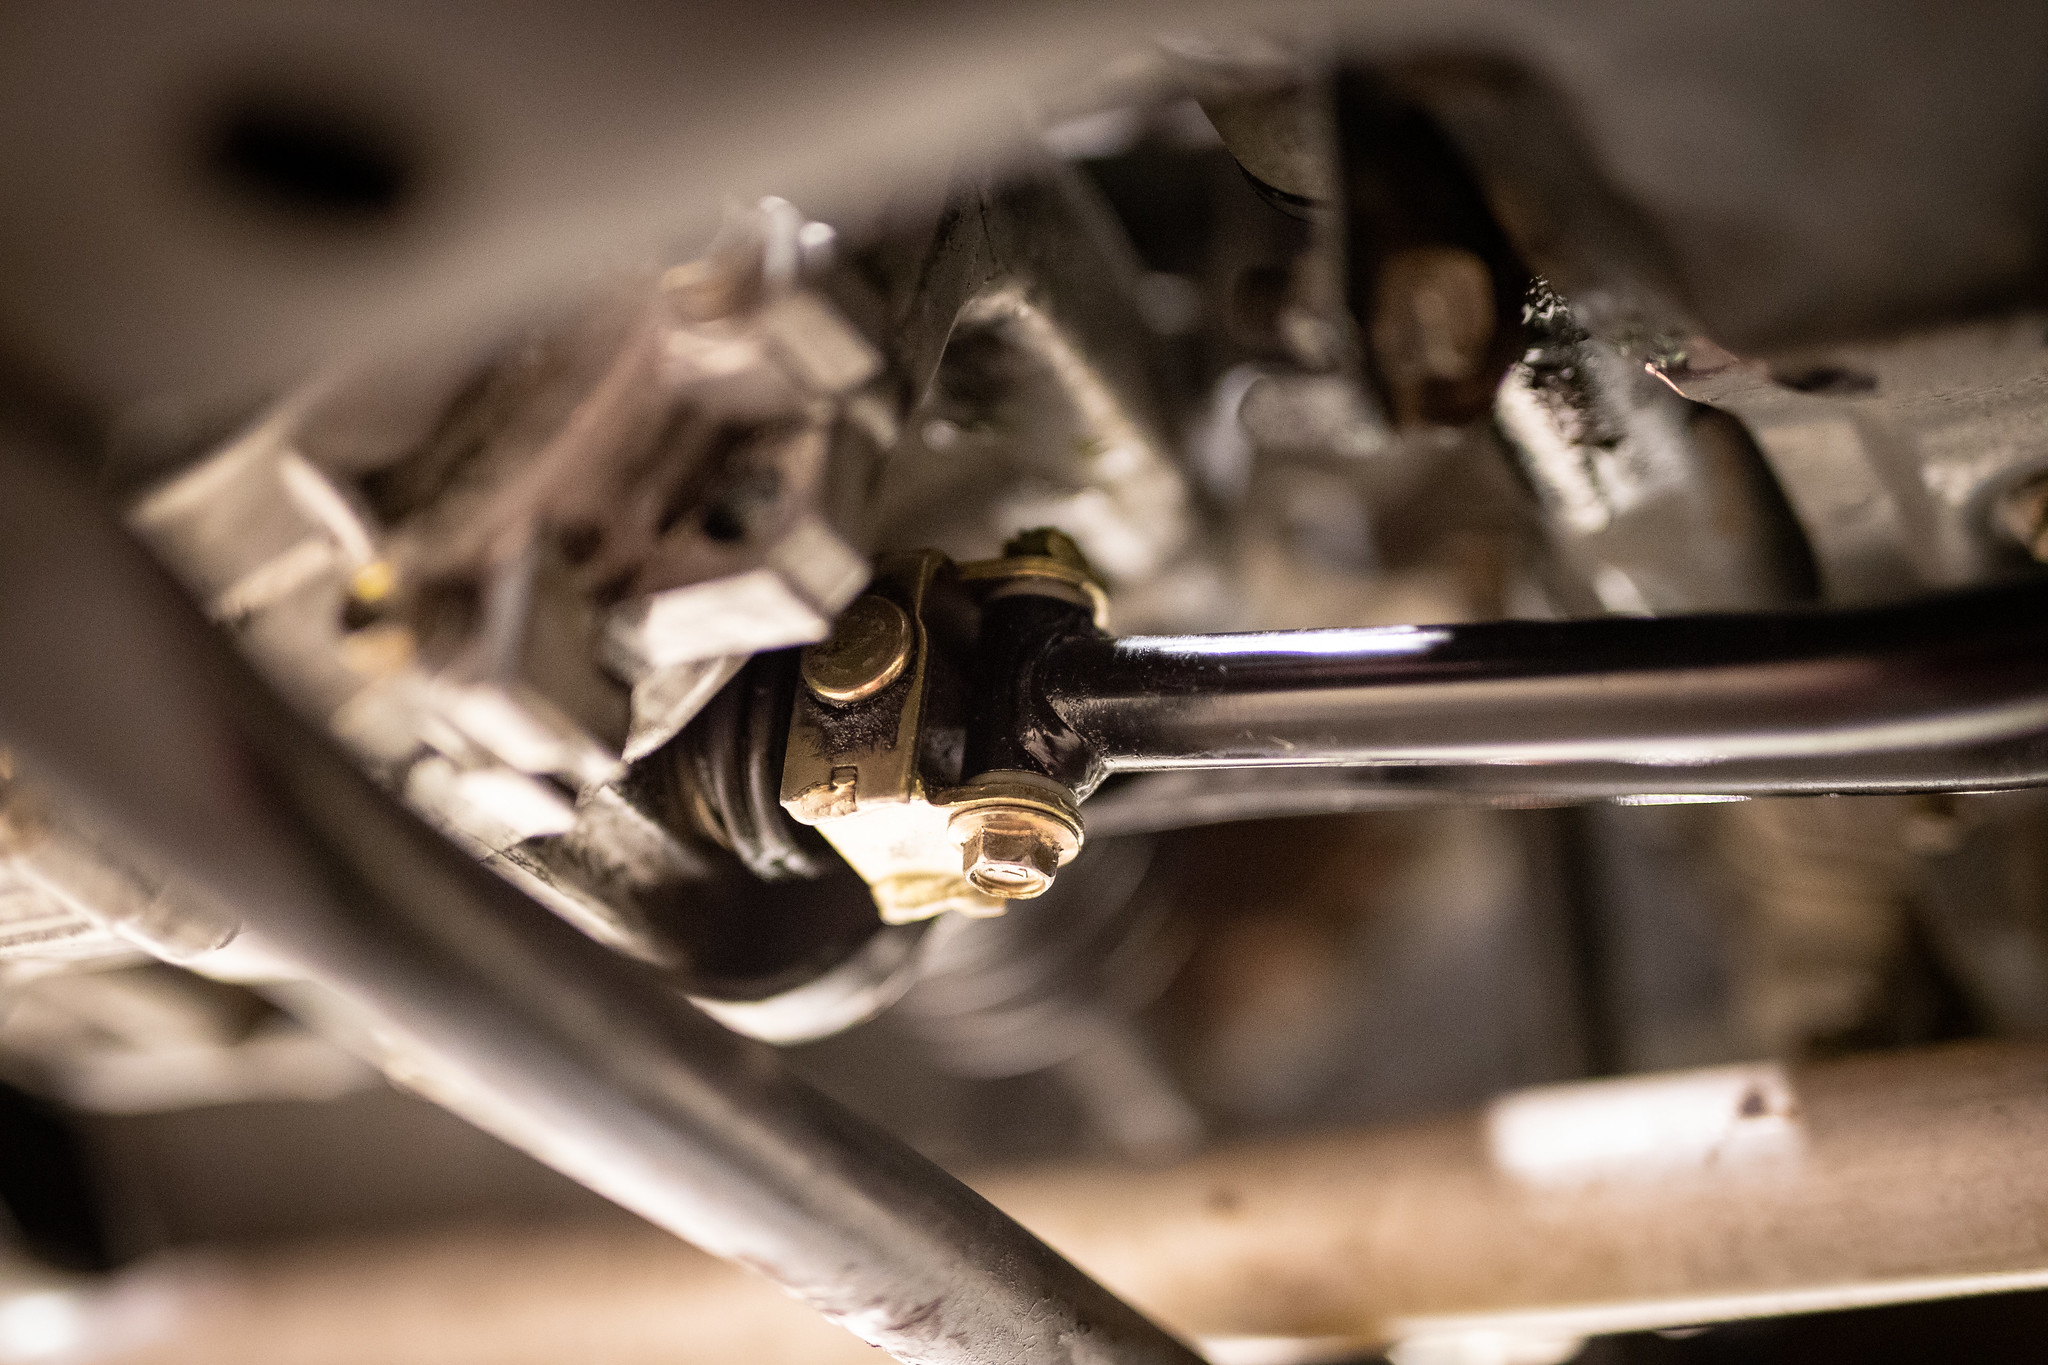
Before it went back up I quickly took the chance to get the drive shaft bolts off. Strangely, drivers side was a 30mm and passenger side was 32mm. I’ll get new ones when I reuse them later.
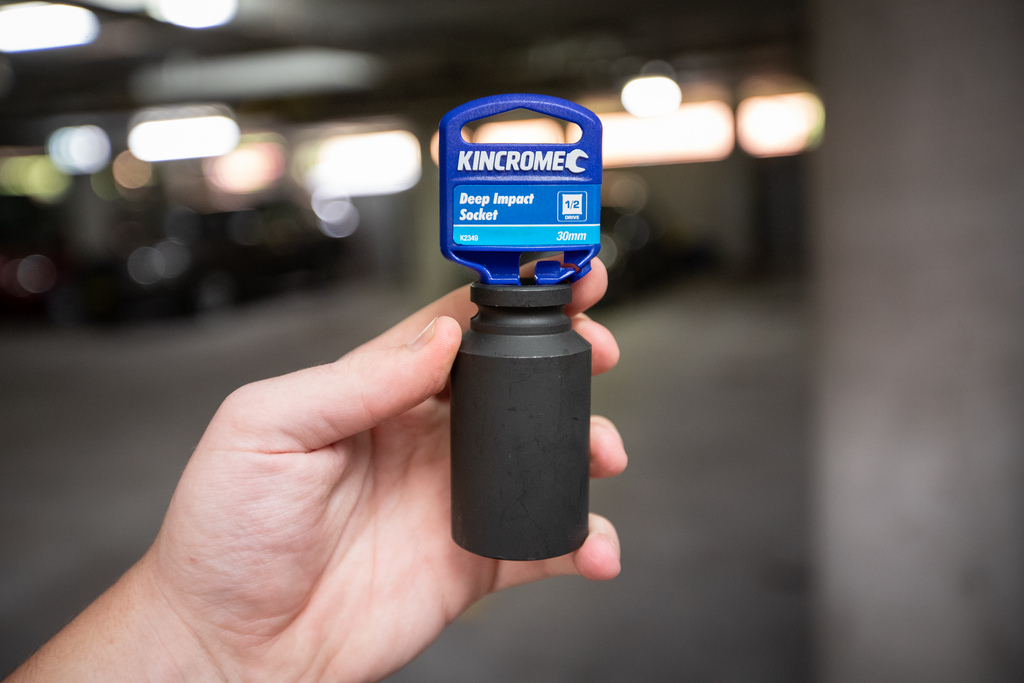
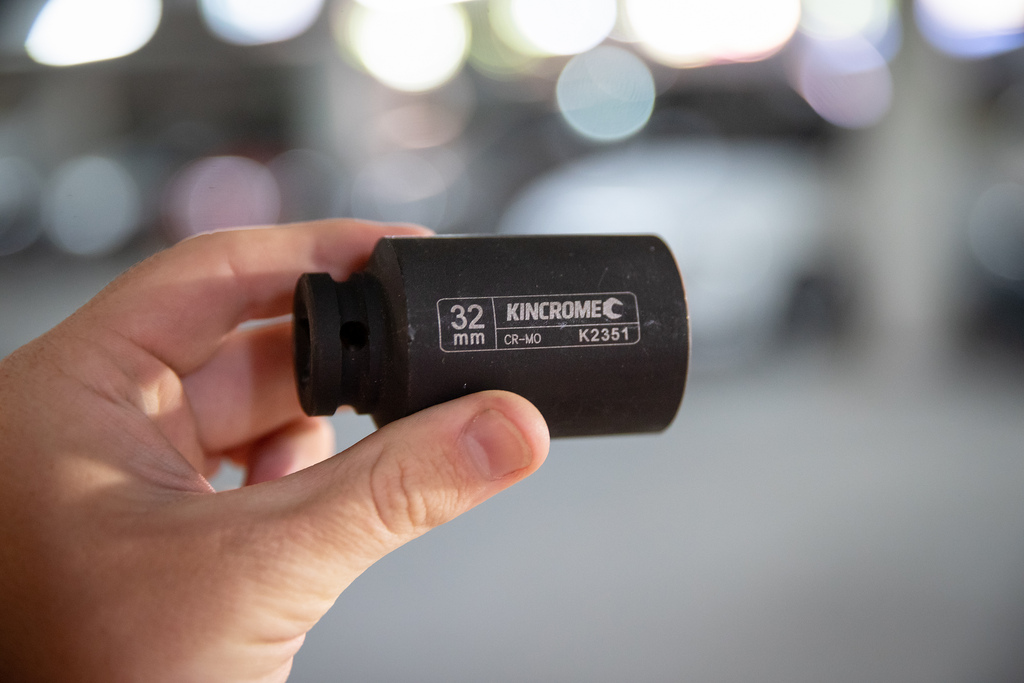
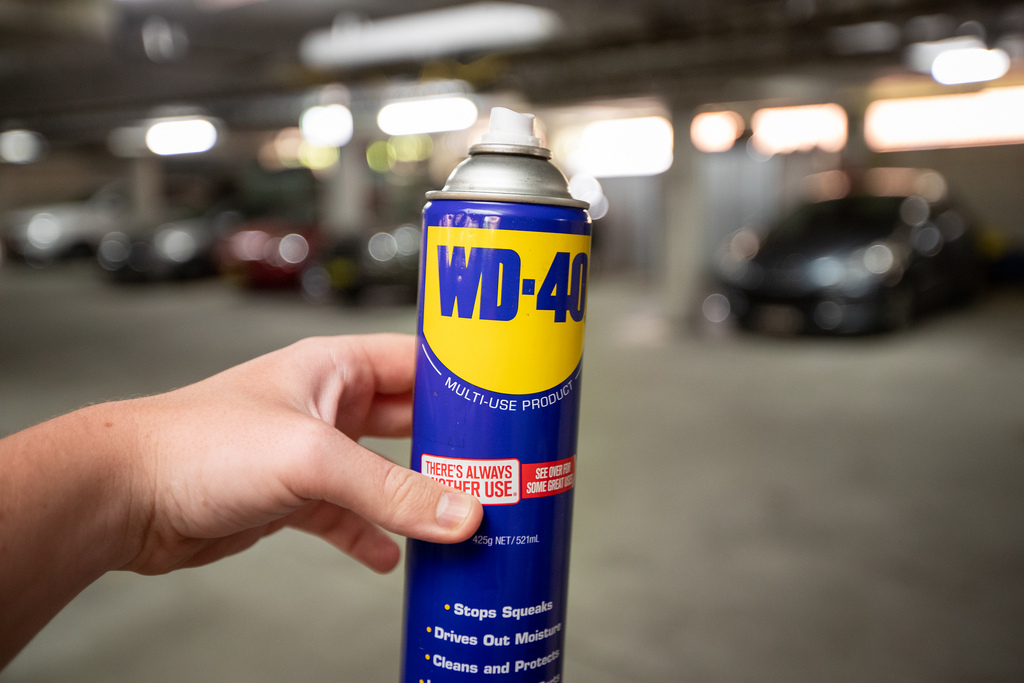
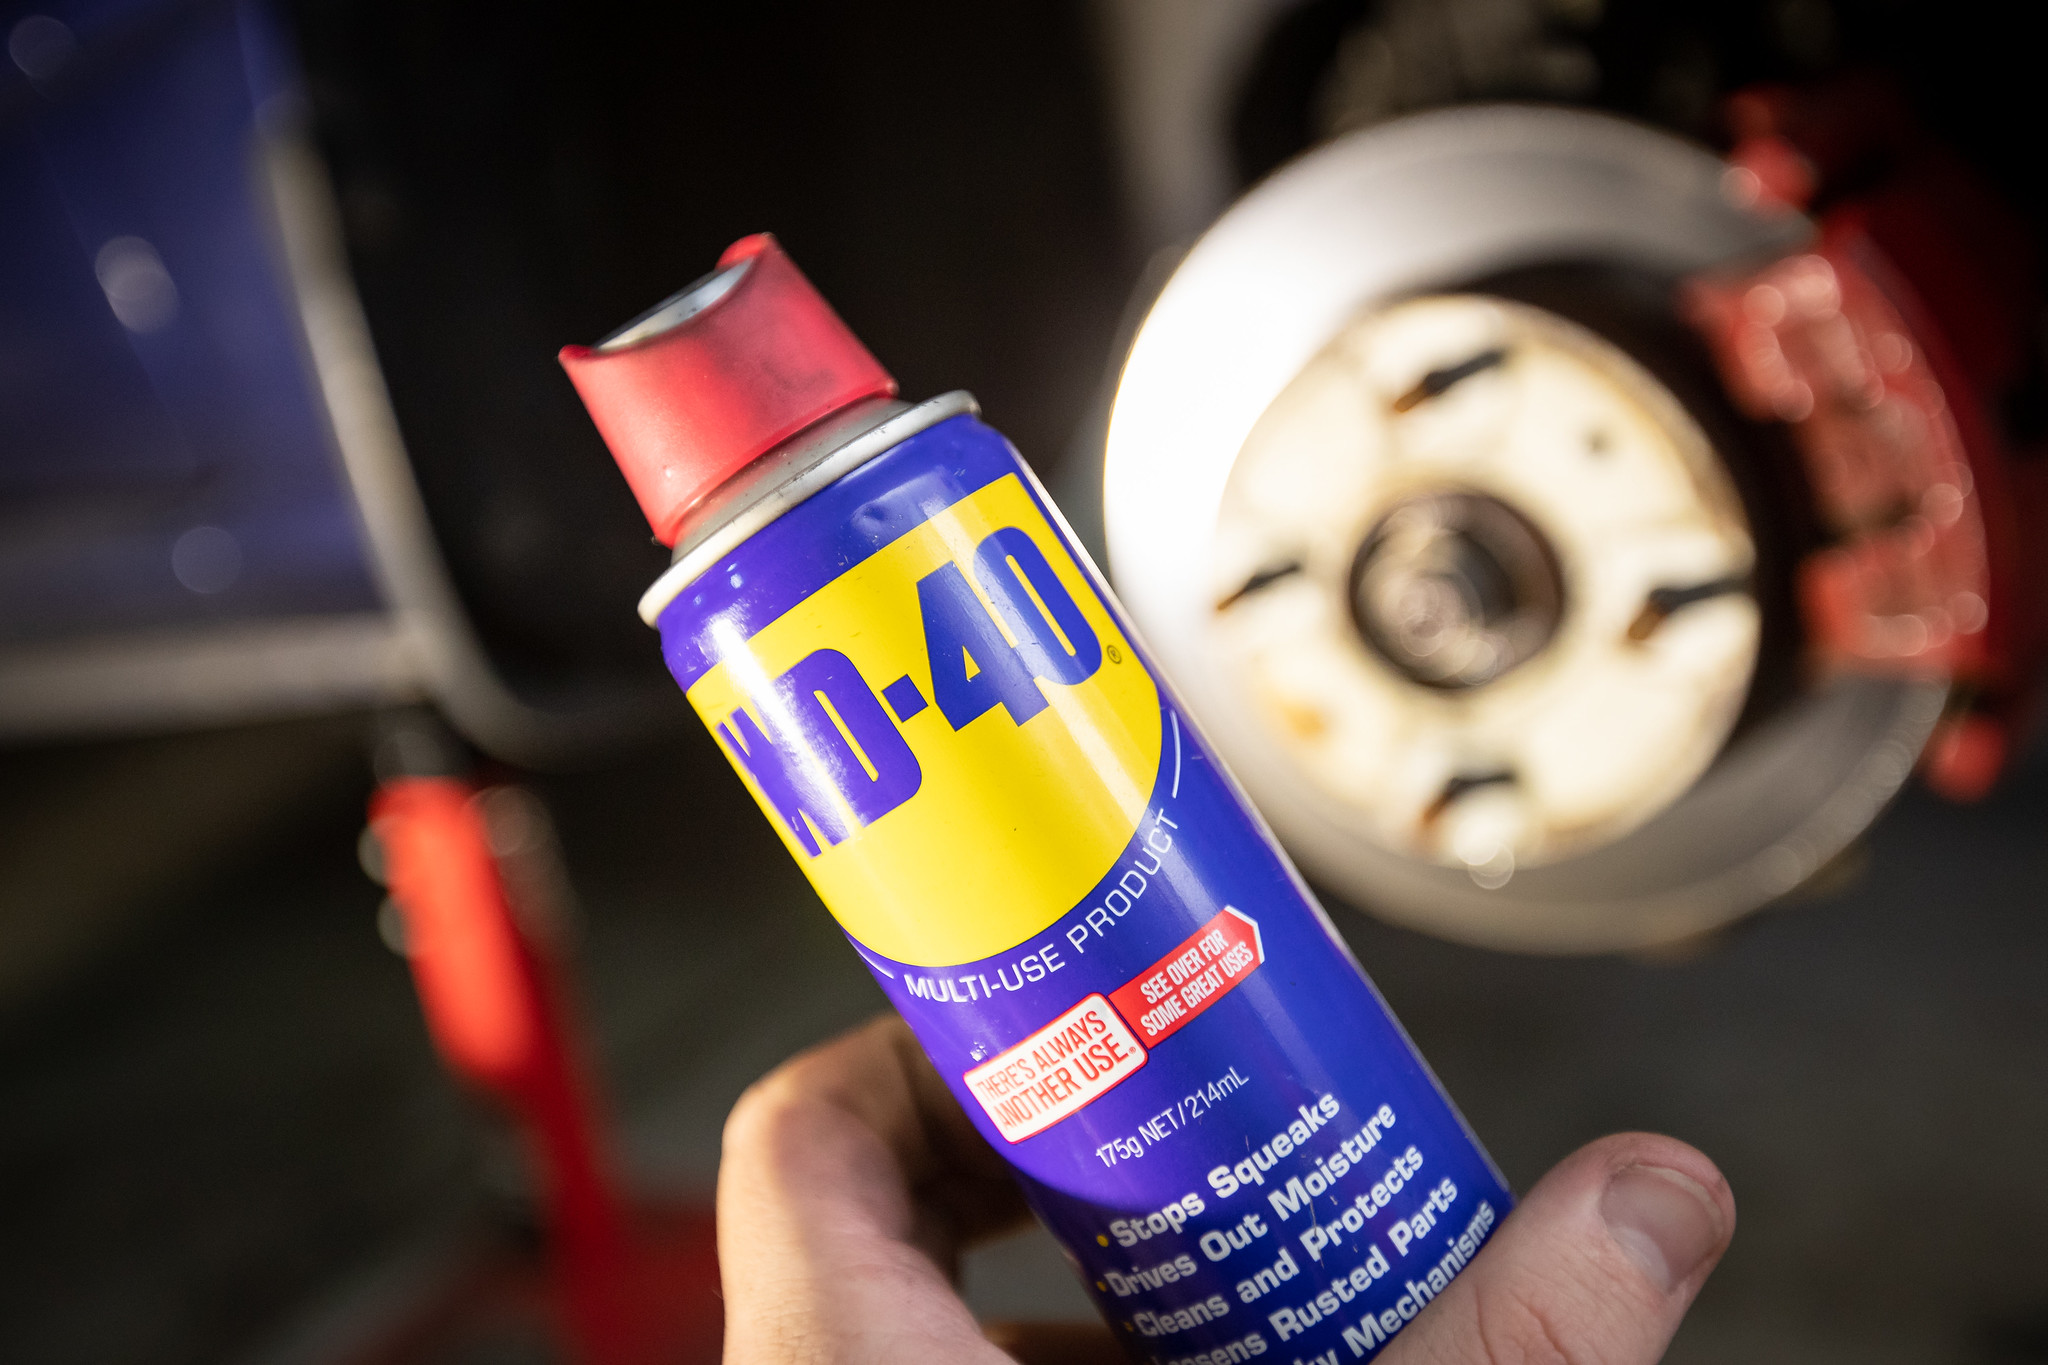
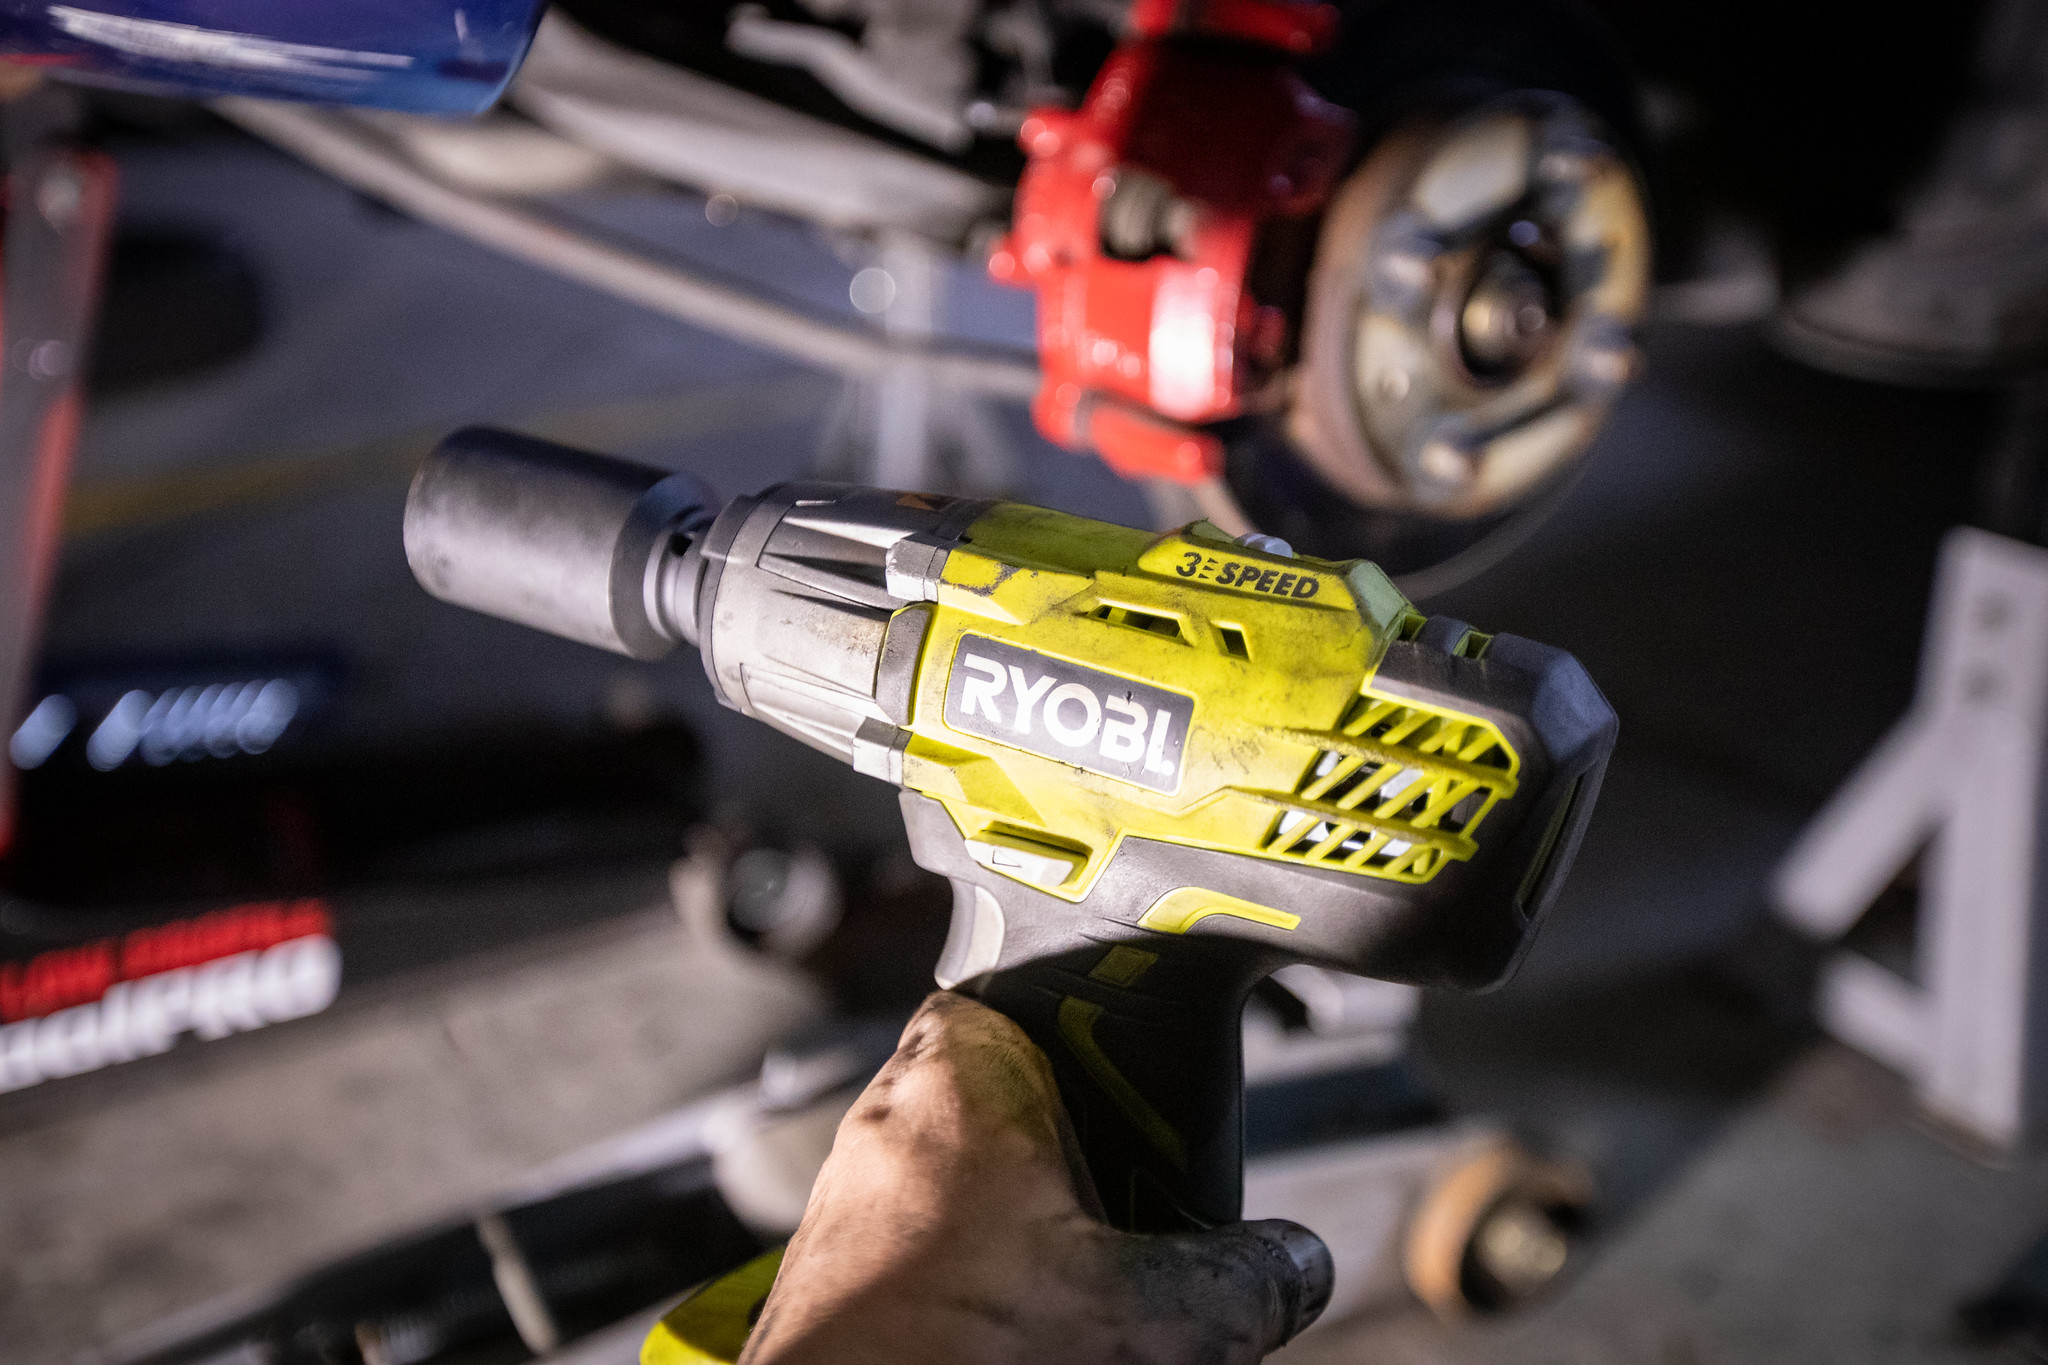
Bit of WD40 and some ugadugs with the dack and they came off no worries.

Off.
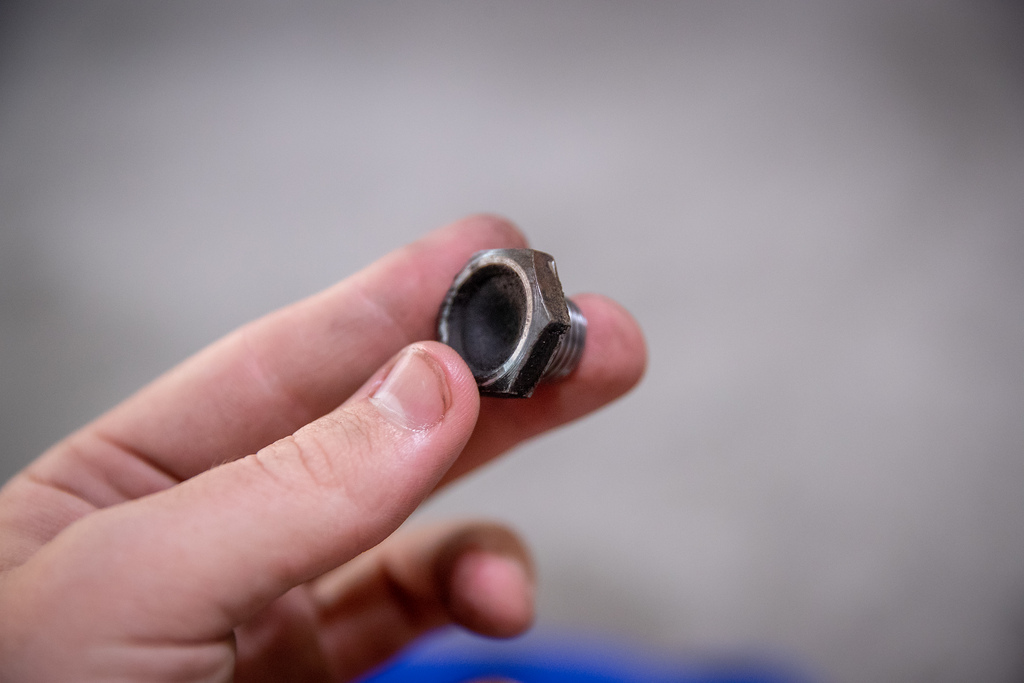
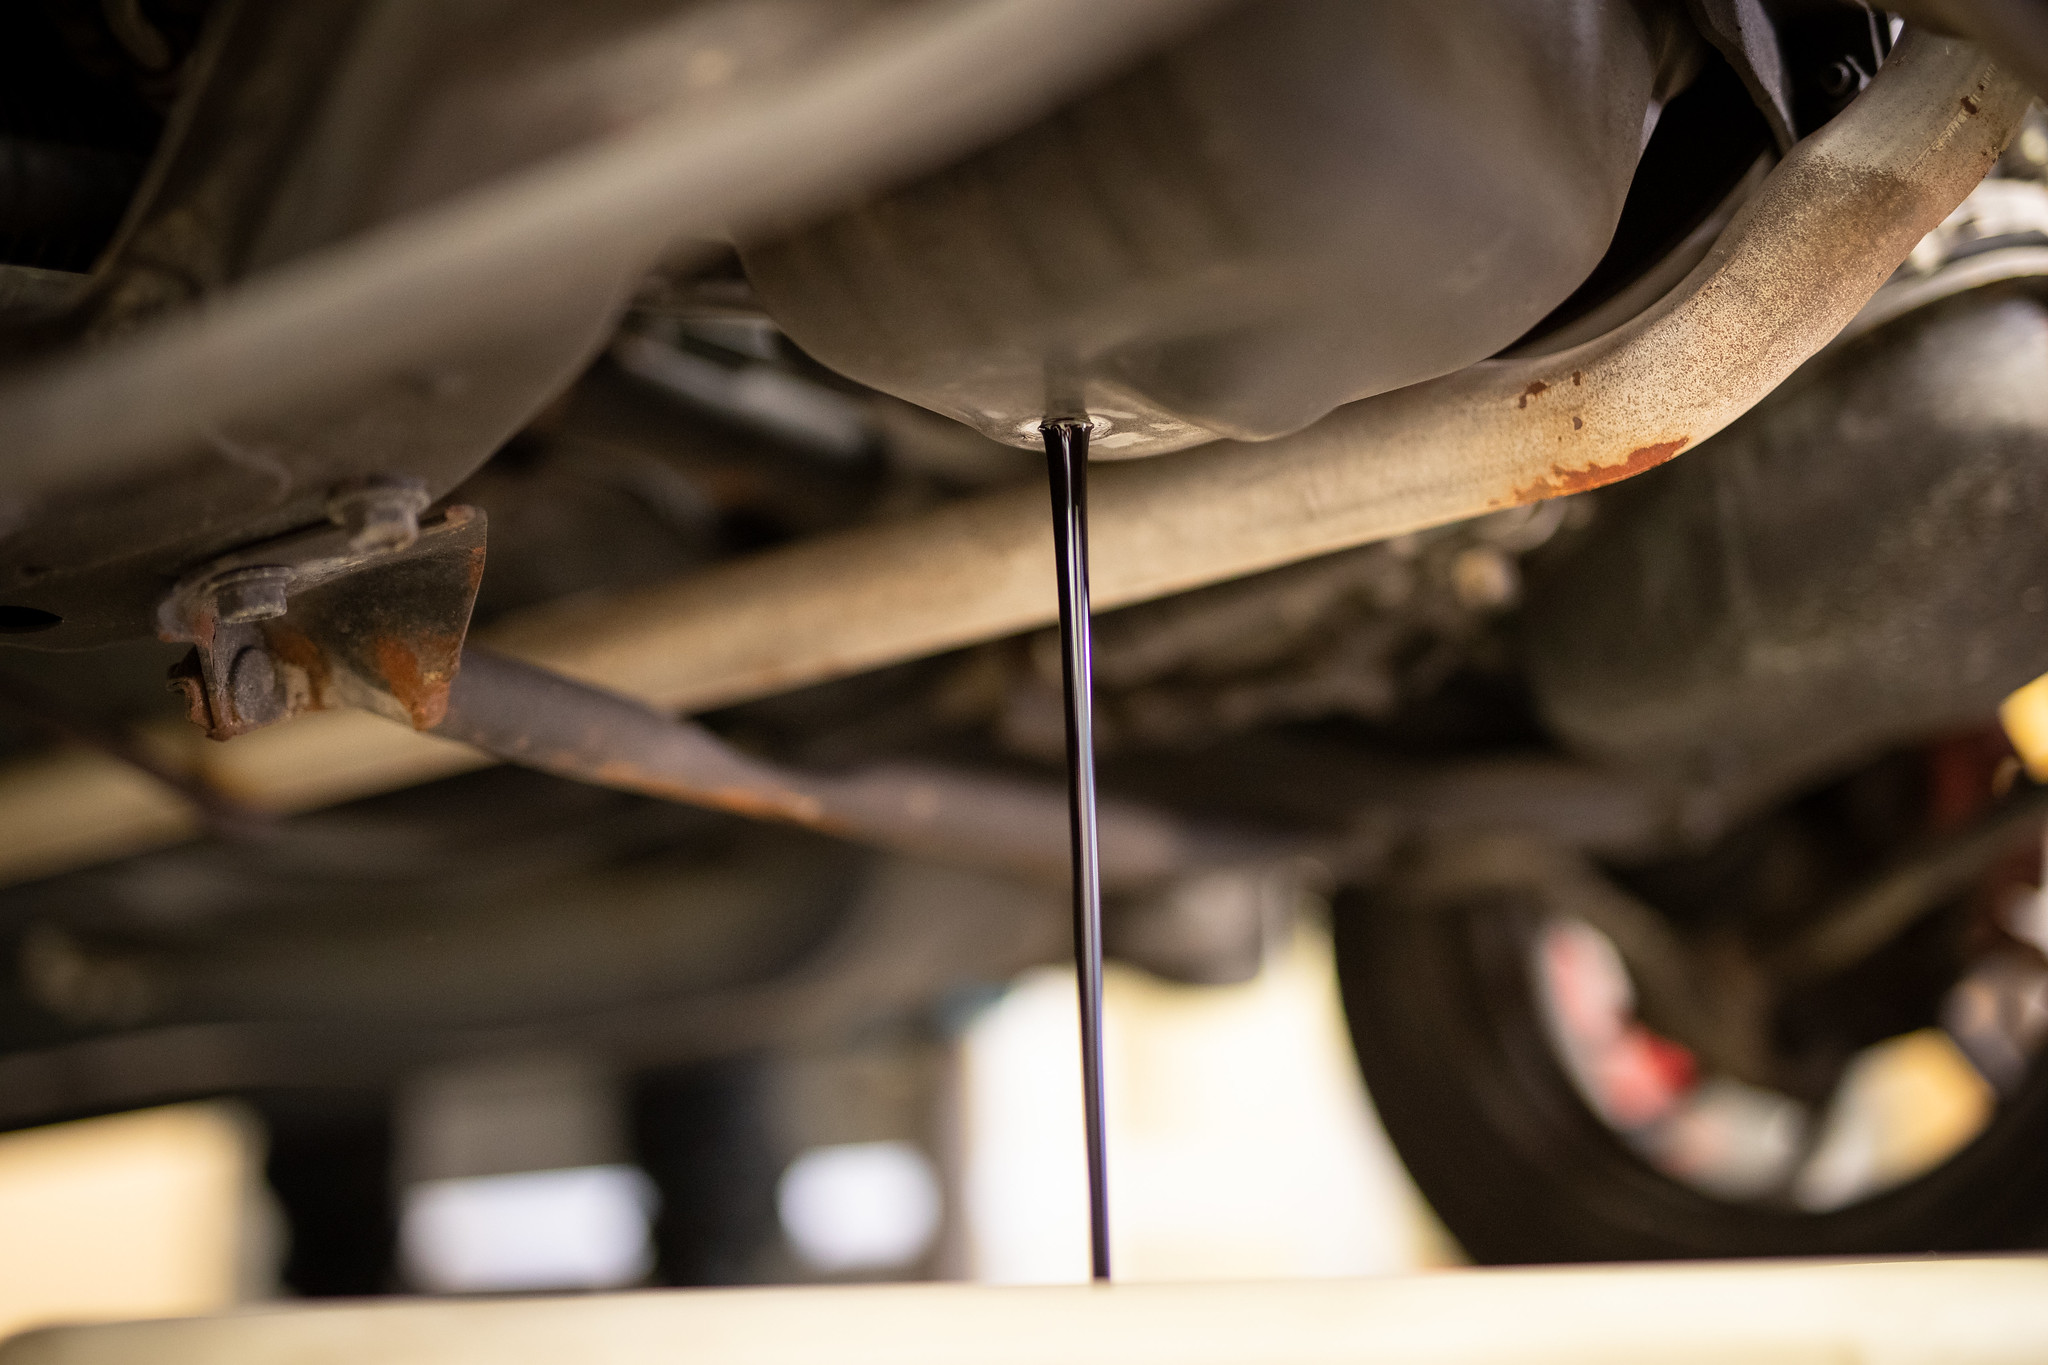
I proceeded to drop all the fluids.

Gave the plug a quick clean. Before anything goes on my car it will get a proper bath.
Tomorrow I’ll pull the shafts out and hopefully get just about everything else out. Ready to pull the motor and box soon.

1 Like
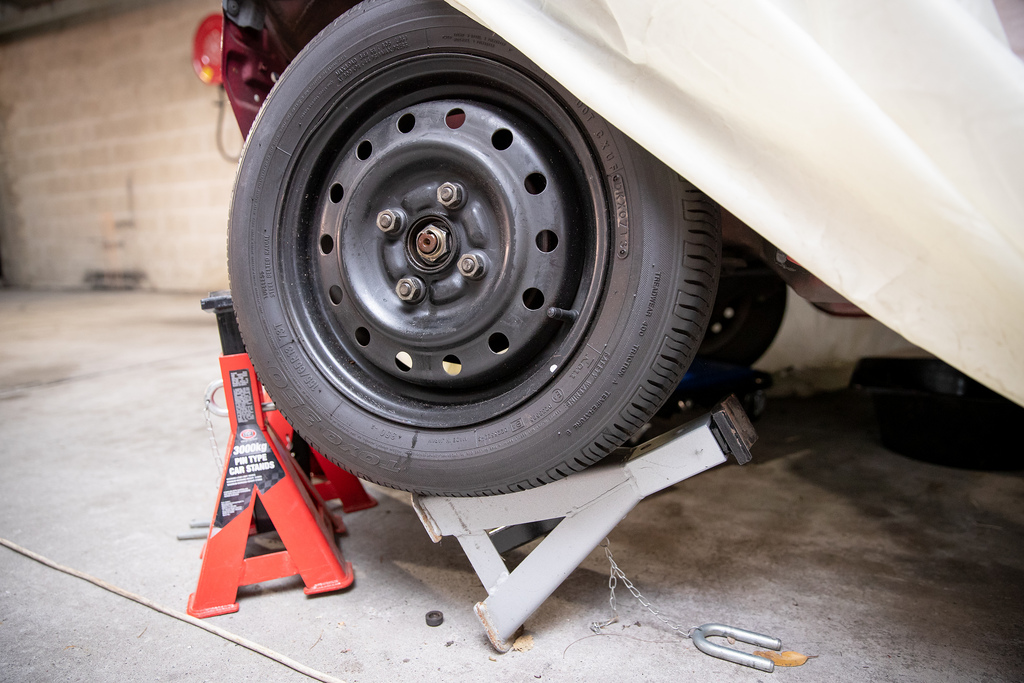
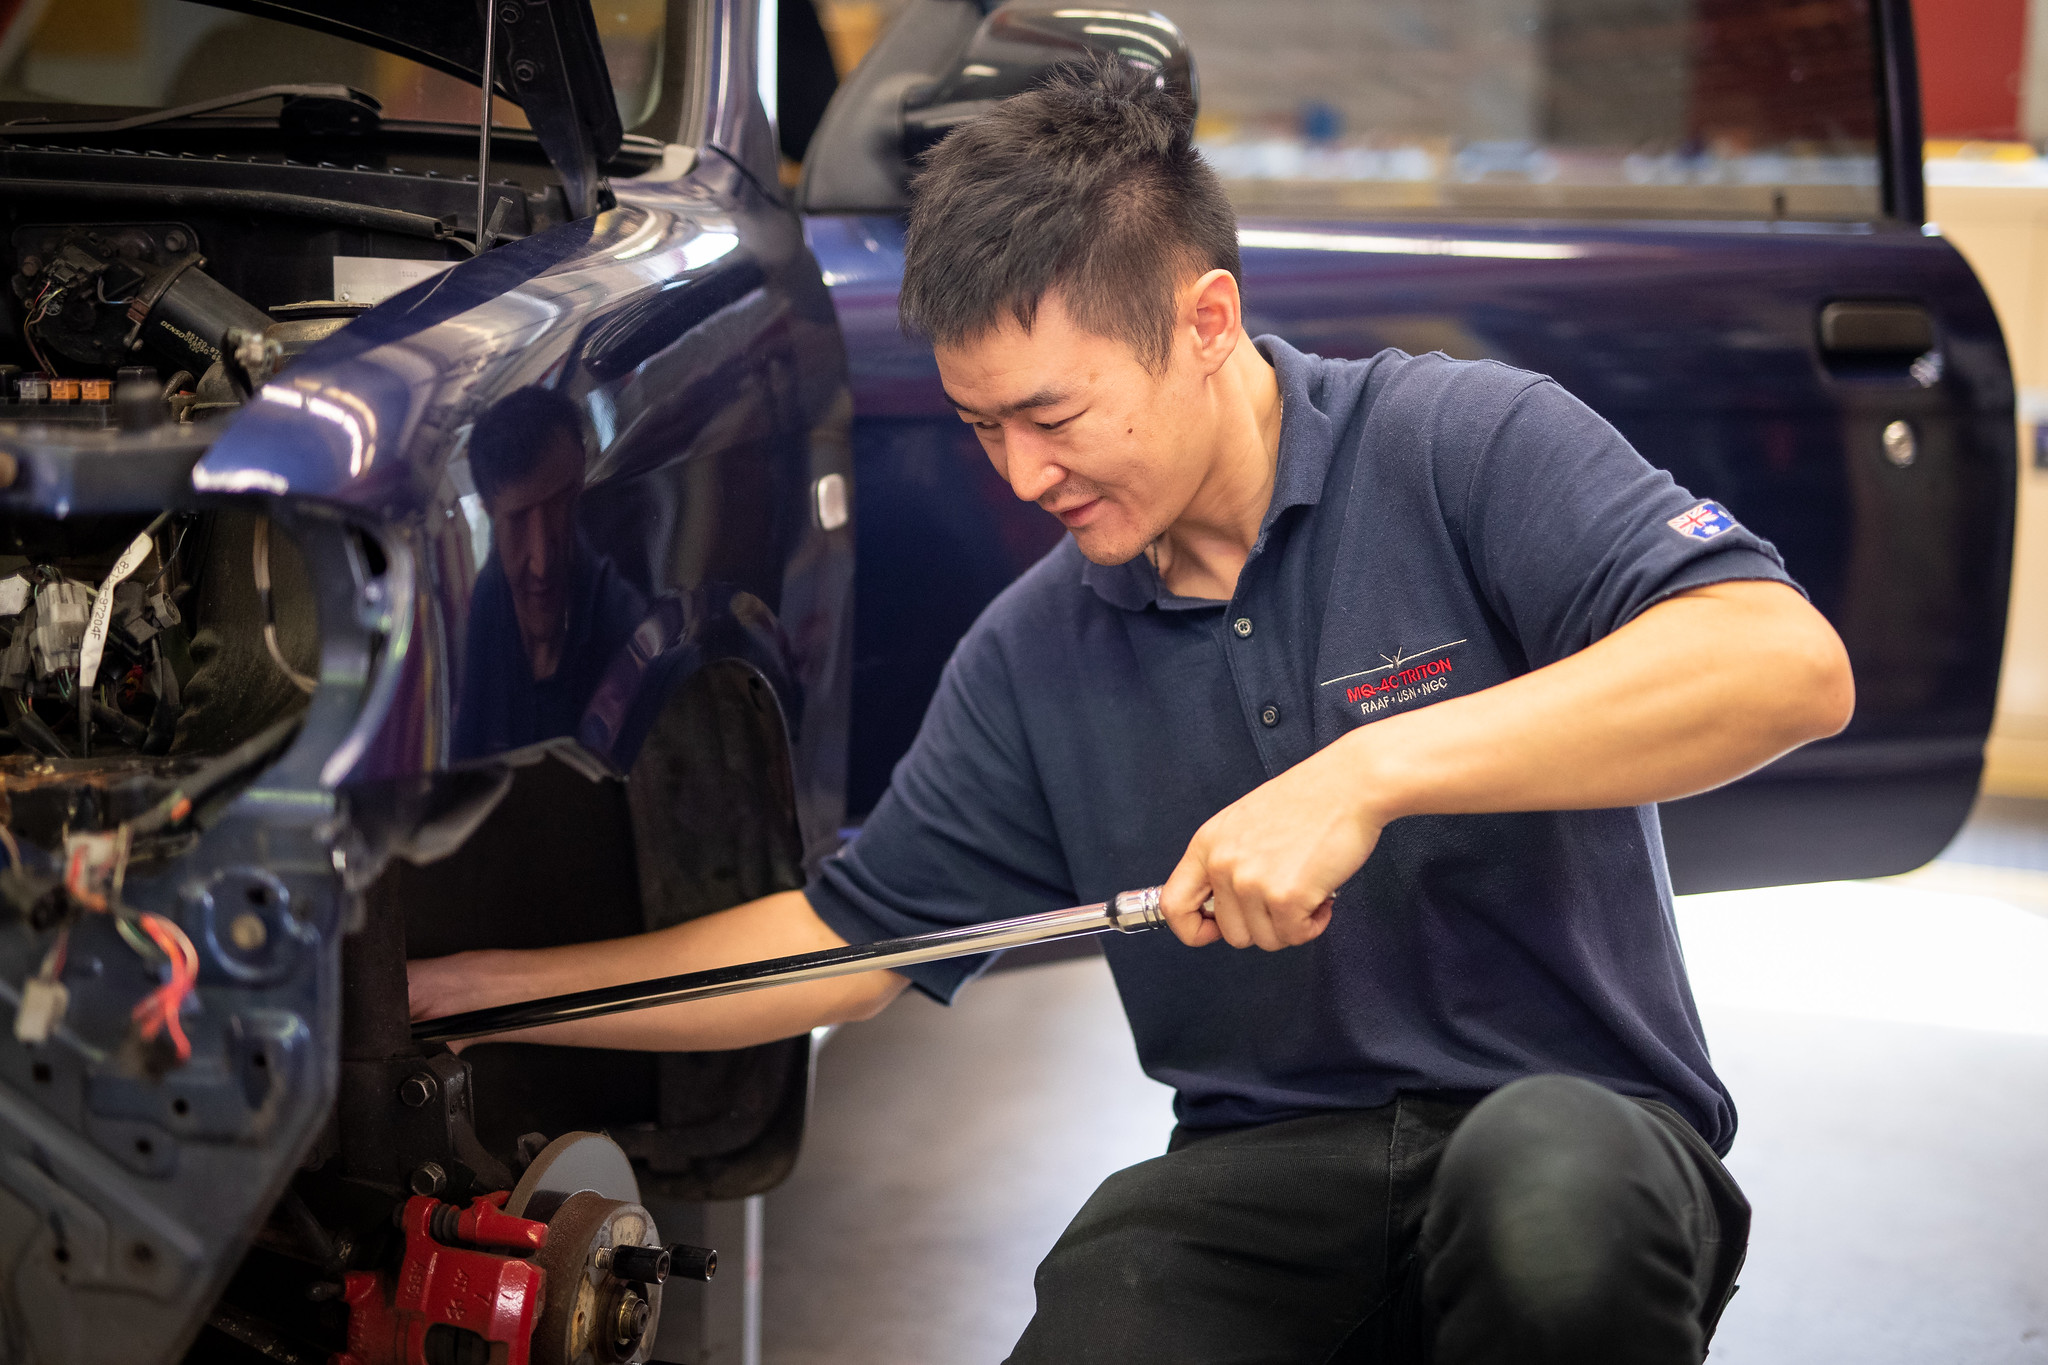
March 2019: I had a few hours free this evening to work on the car and progress more. Wheels came off.

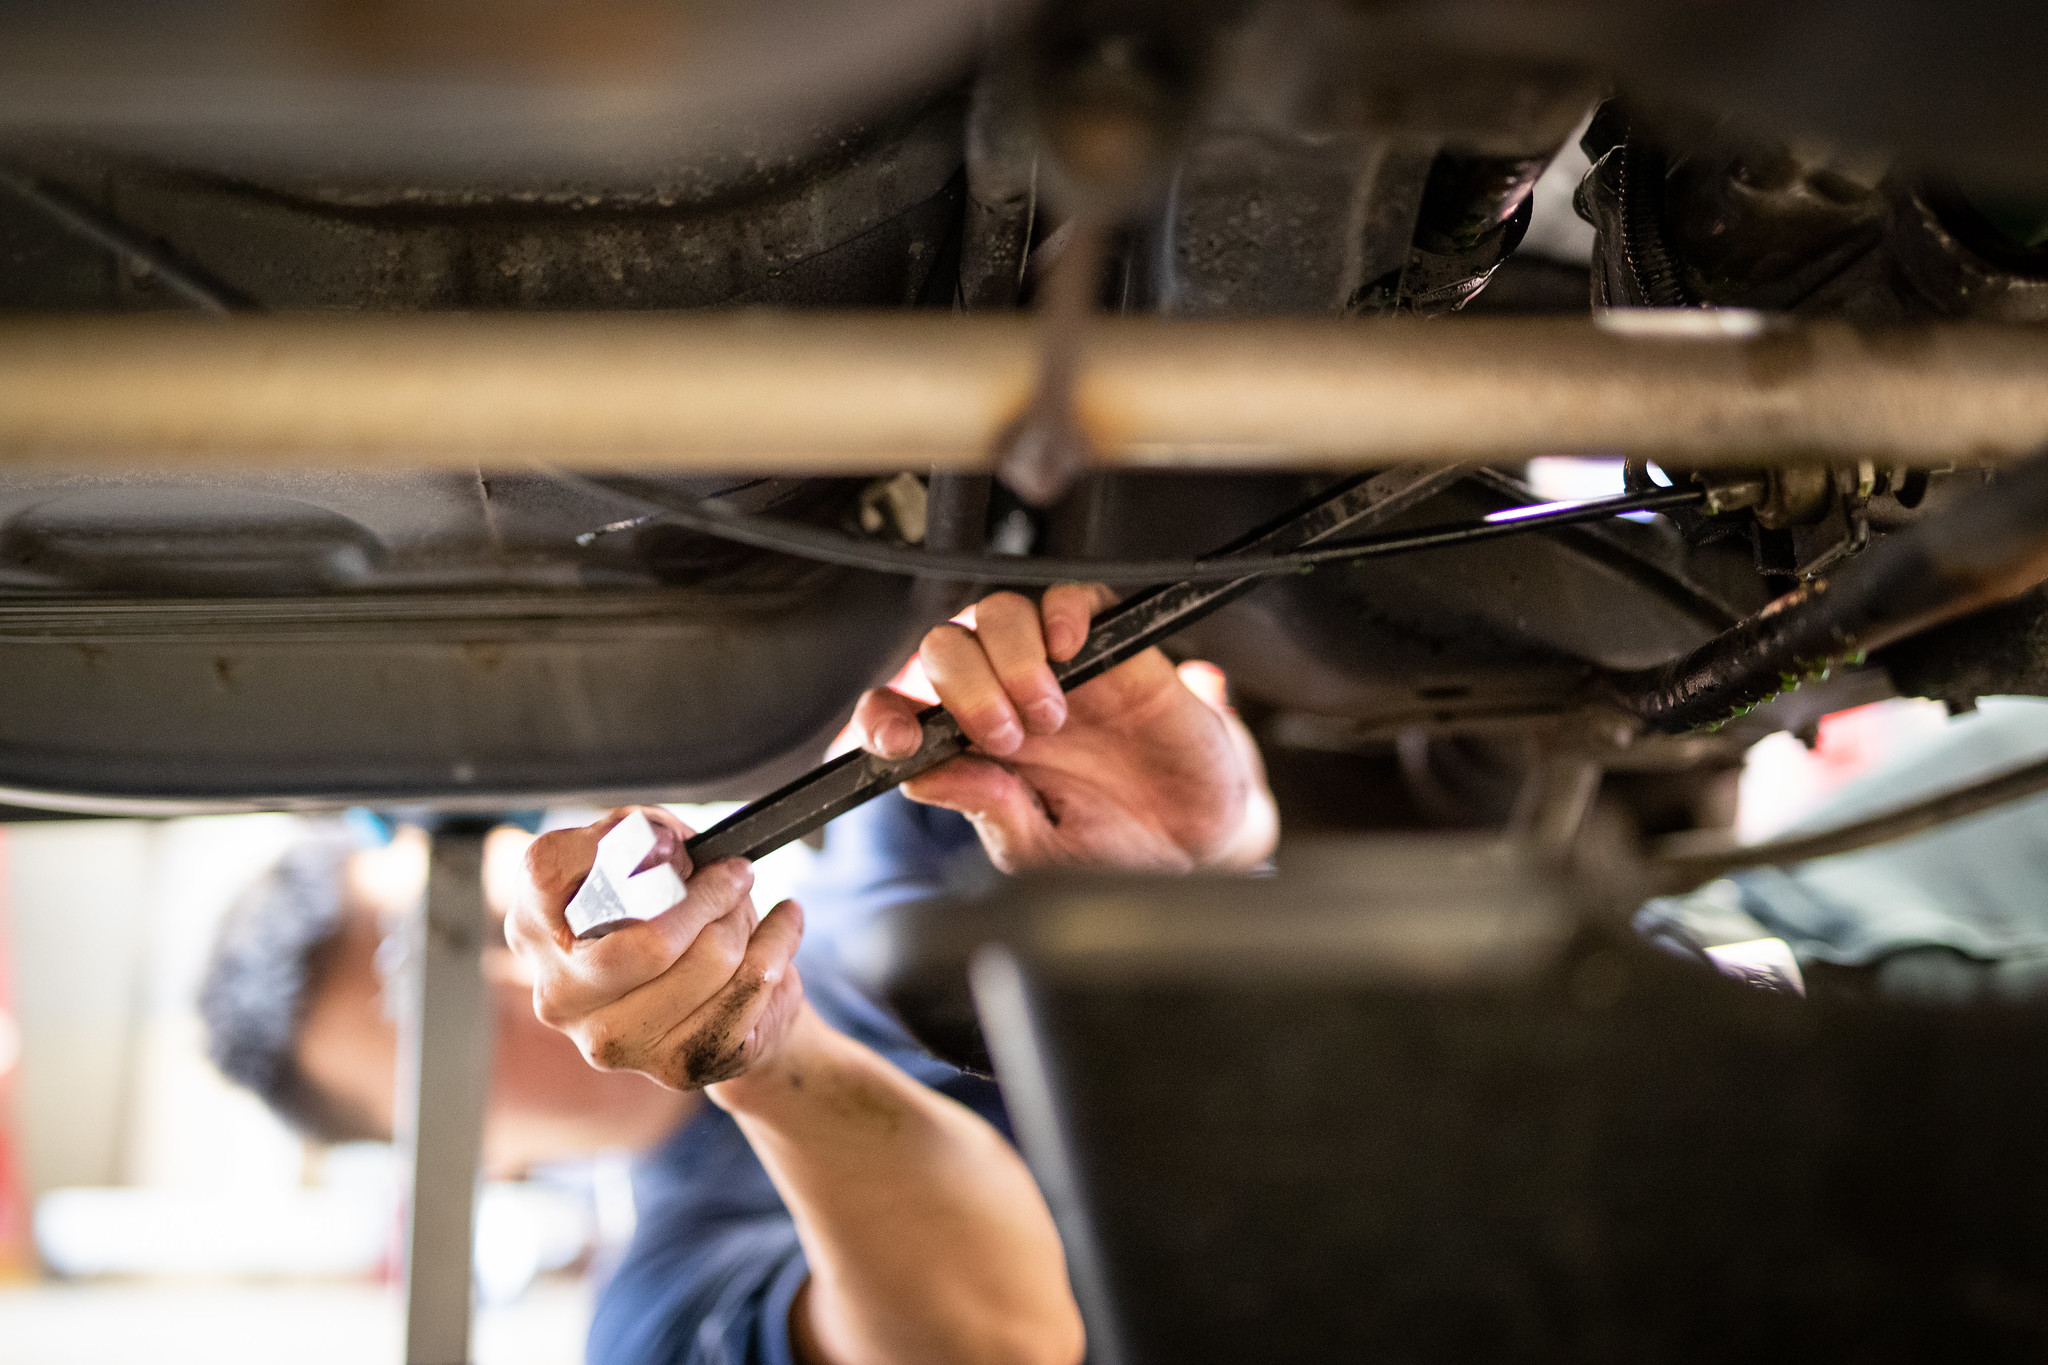
I undid the bottom of the strut to give me some extra movement to get the shaft out.

After doing so they came out with ease.


Rinse and repeat for the other side.
]
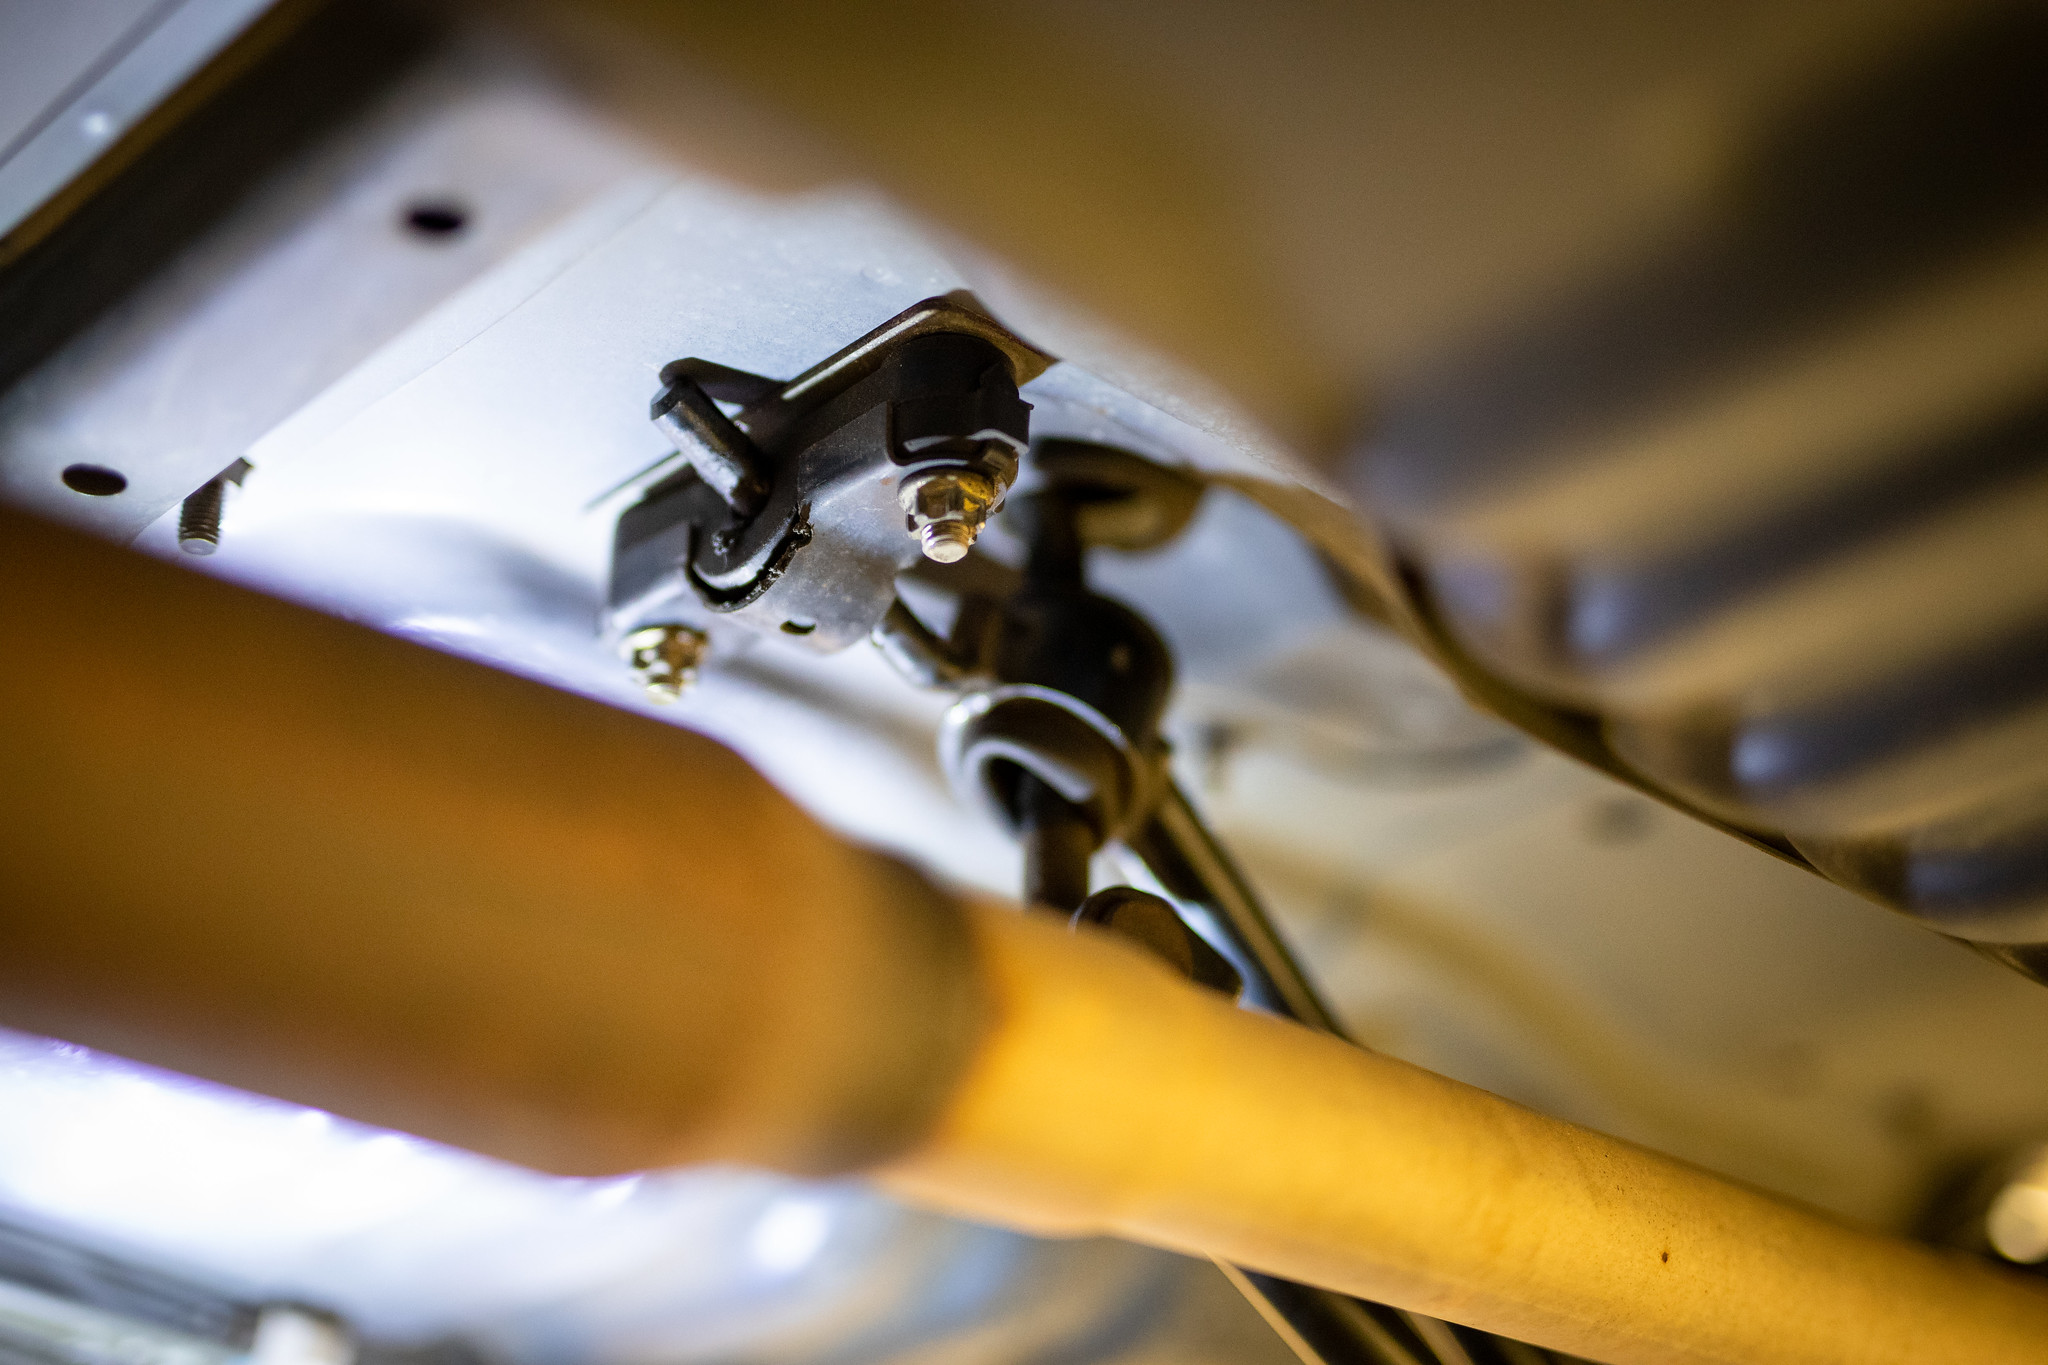
Next up to be tackled was the shifter linkage.

Something has been a little leaky in this area, bolts came off.
And off under the floor.

Before anything could come out, I needed to pull some more interior trims bits out.
Few screws here and there.
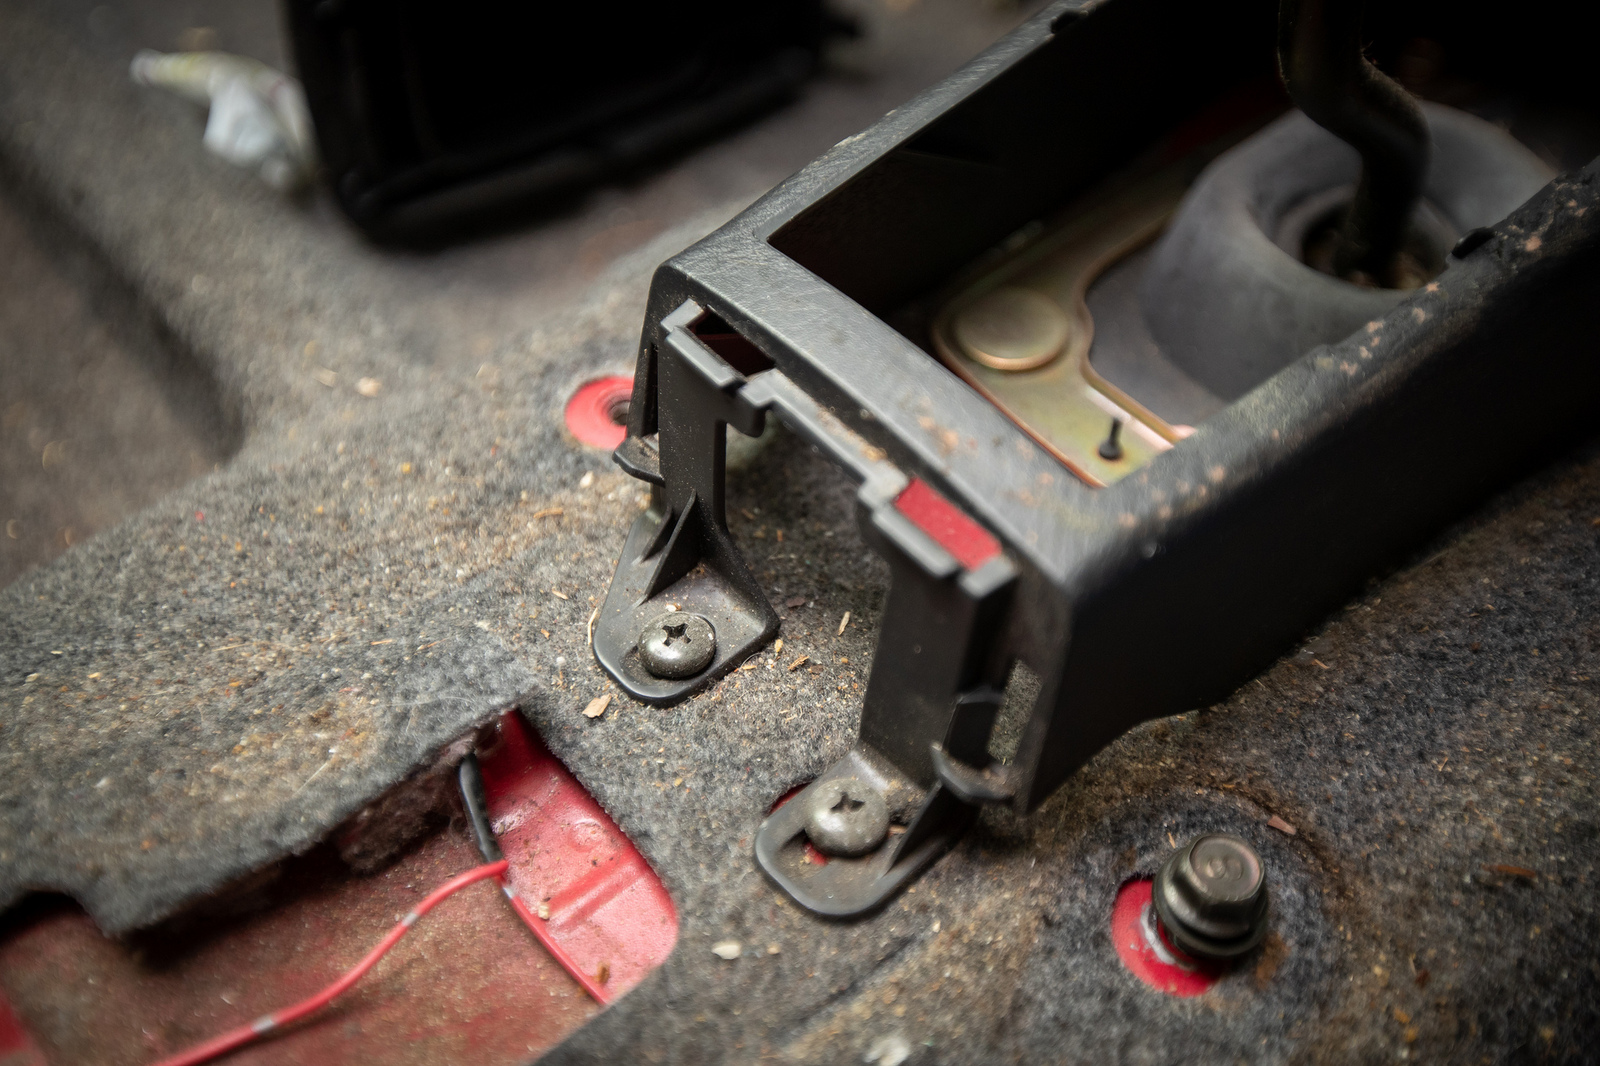
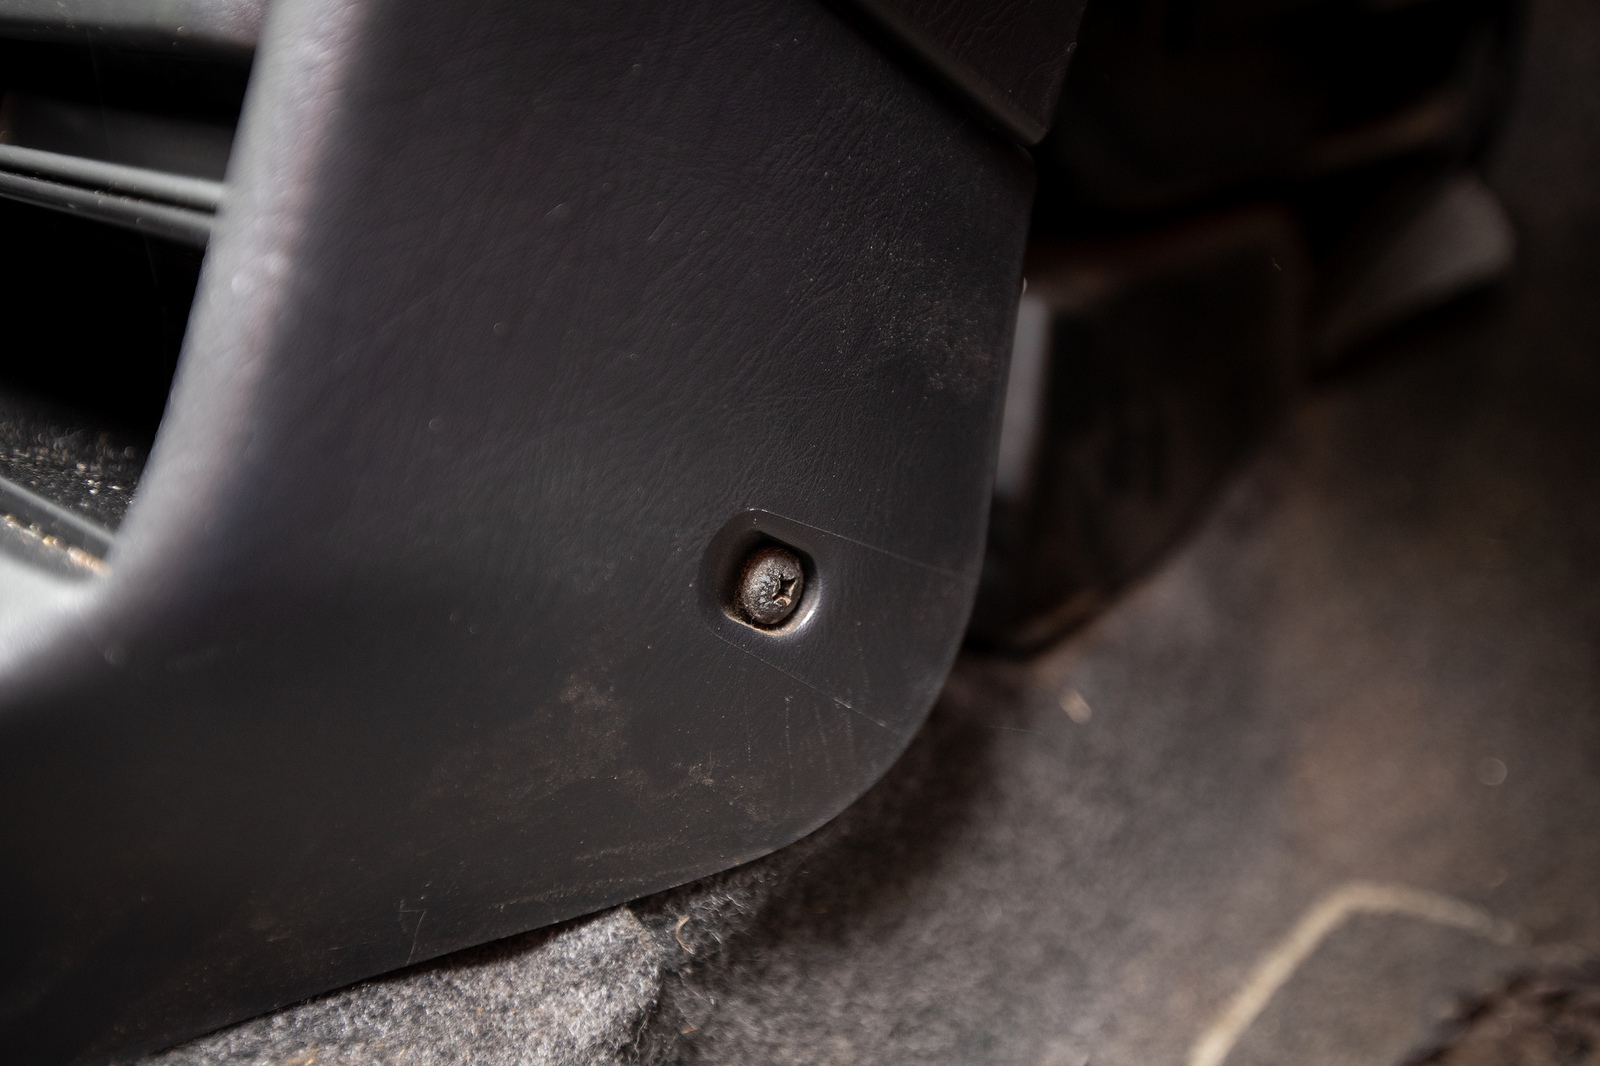
Out it came.

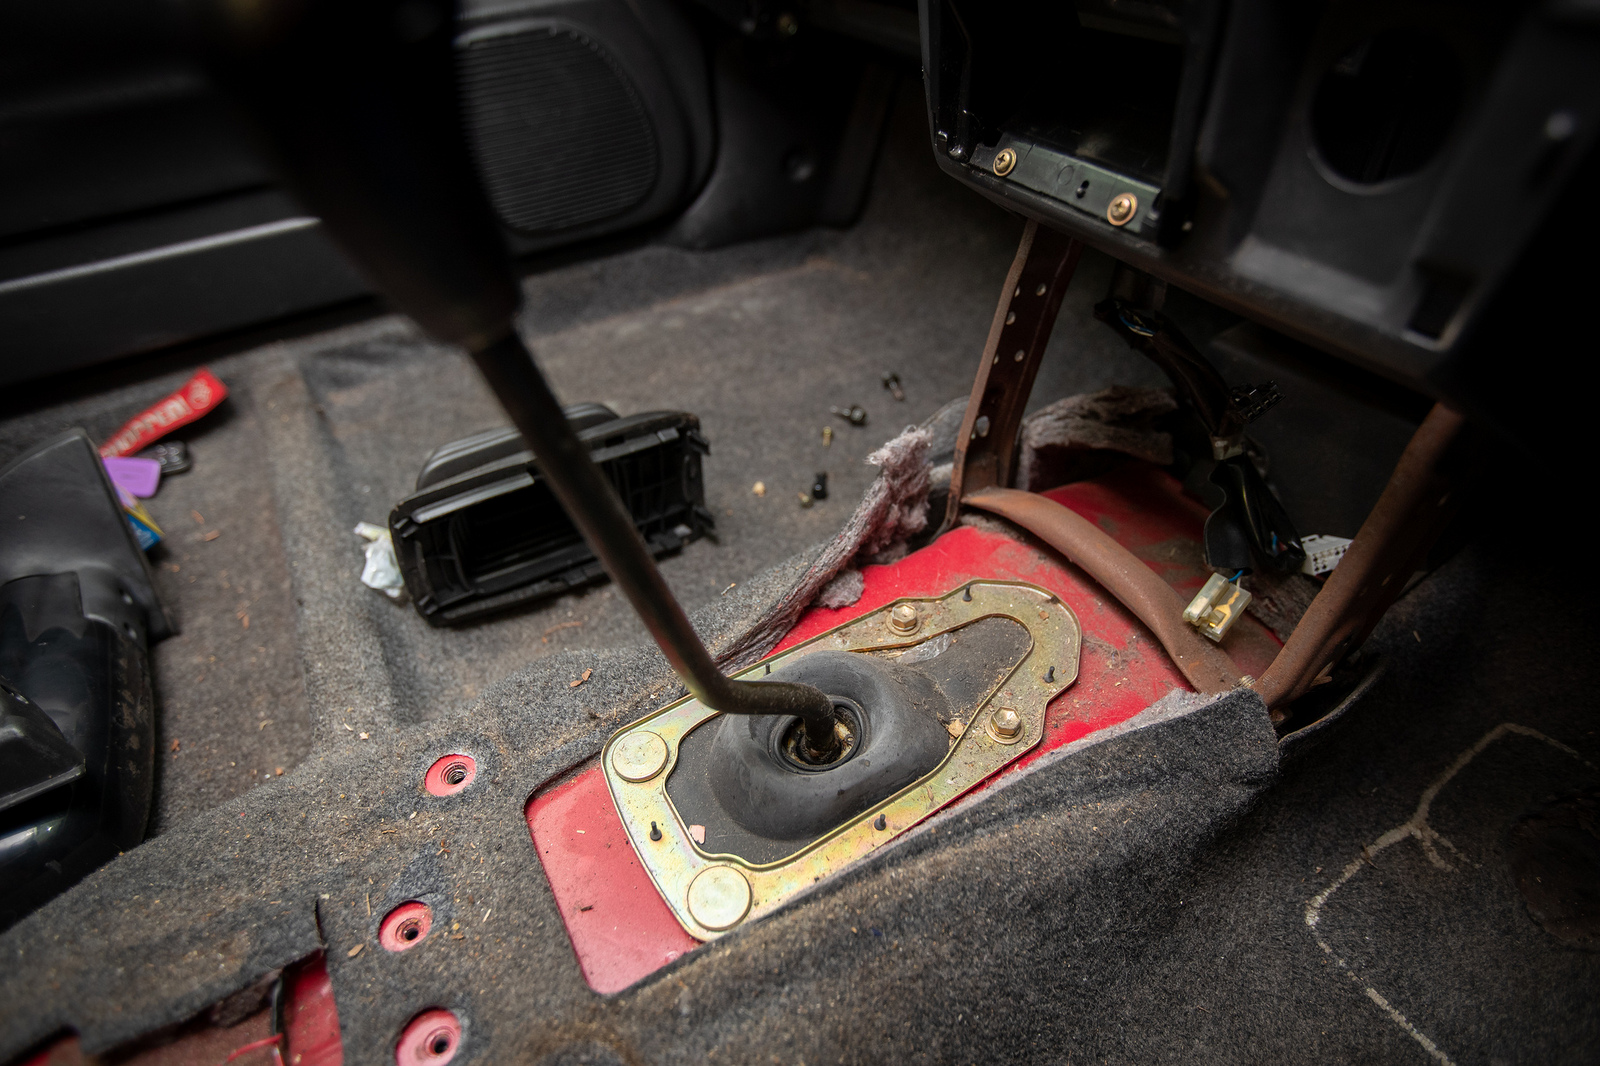
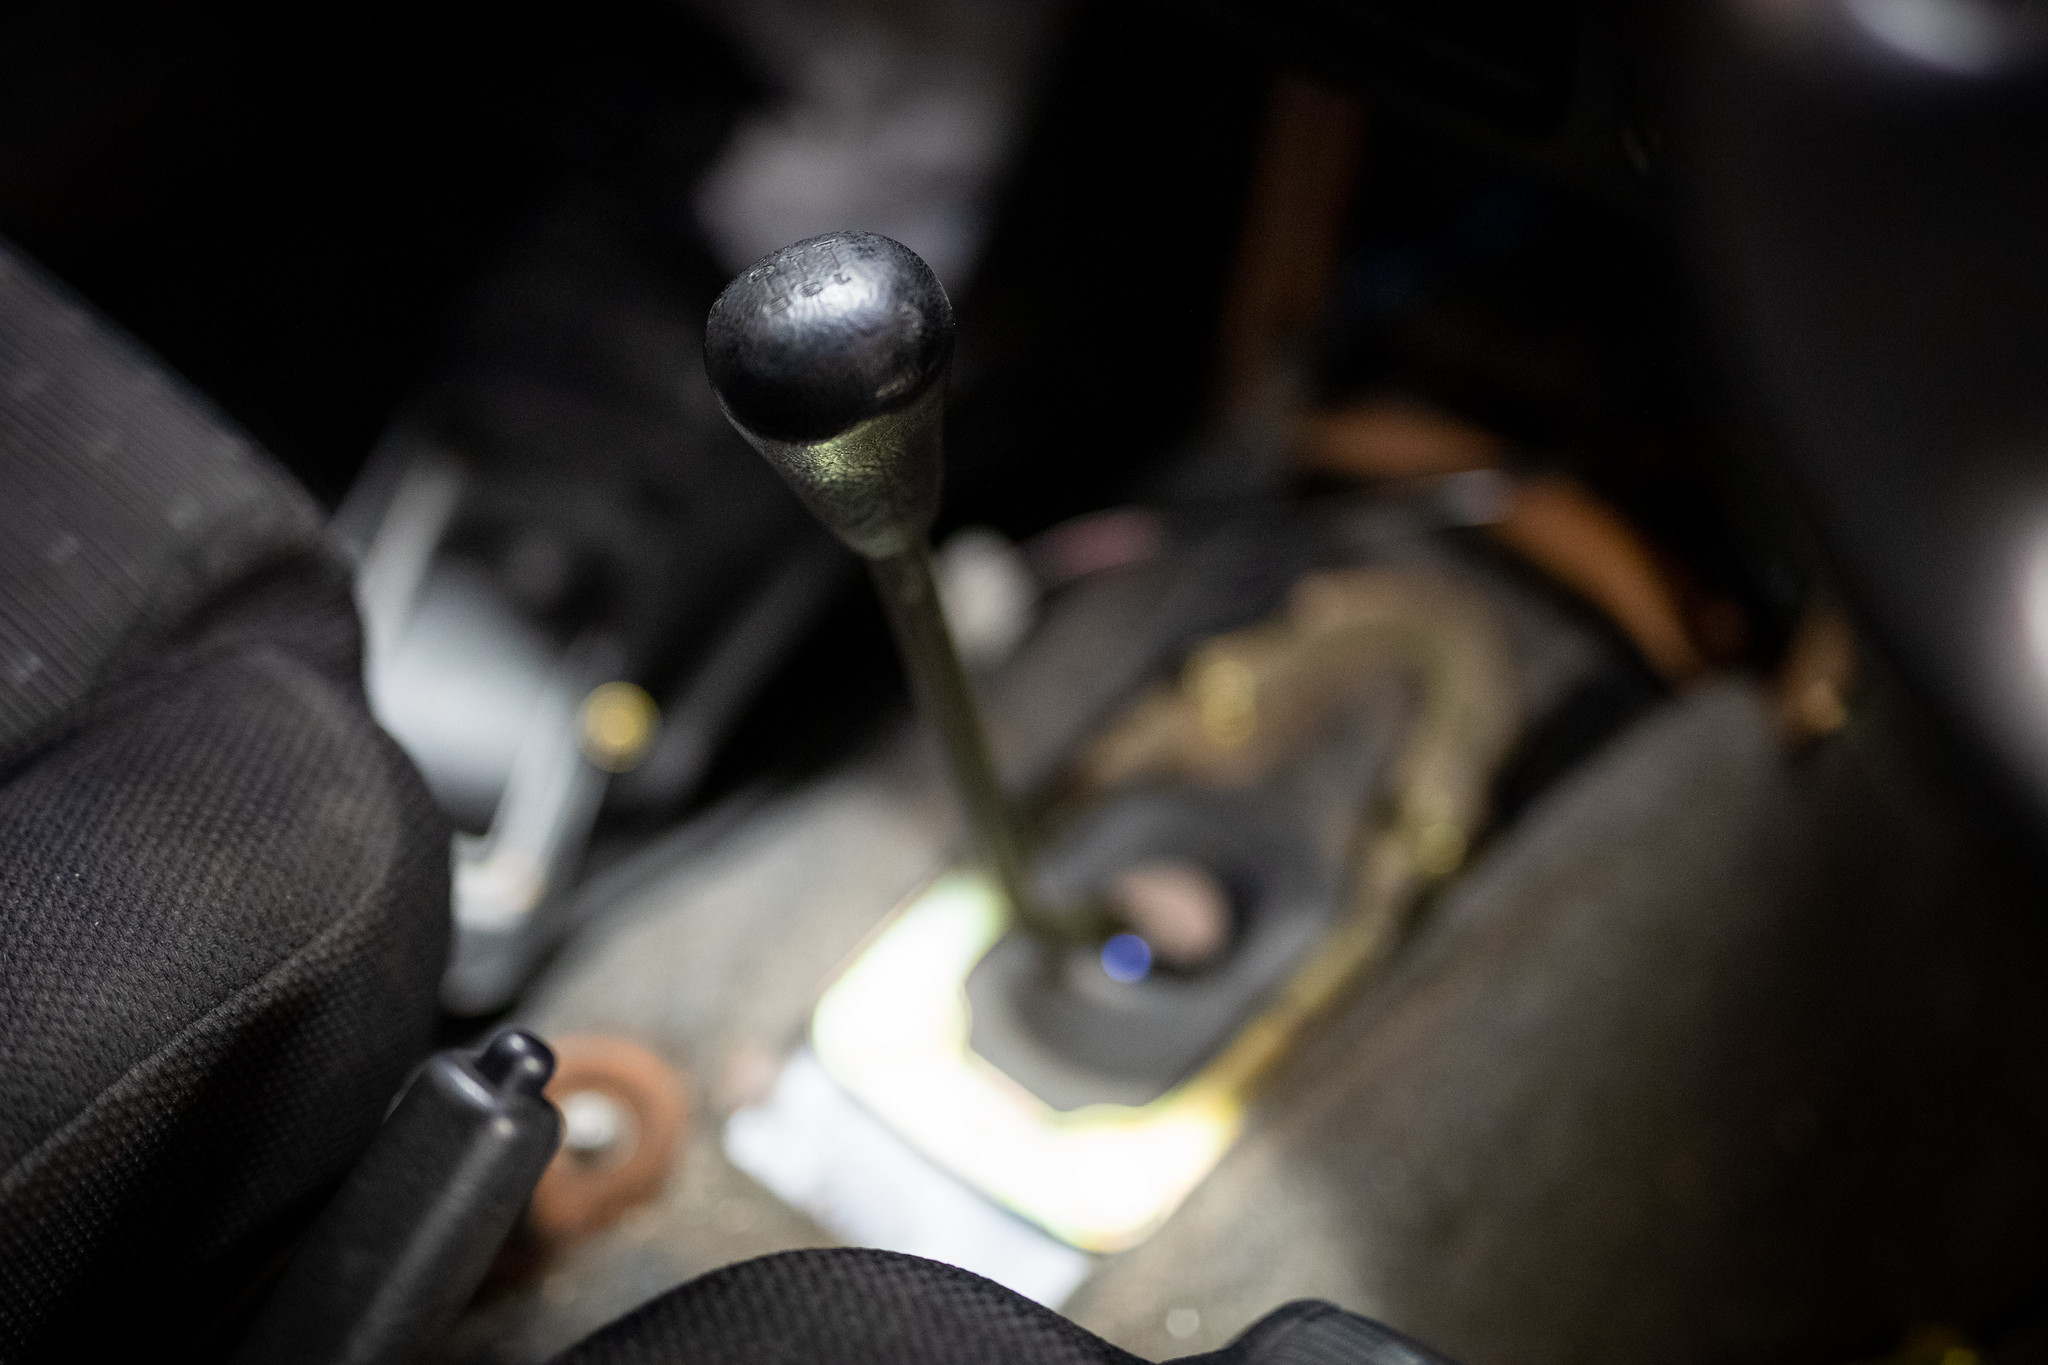
Removing the knob let the shifter fall through.
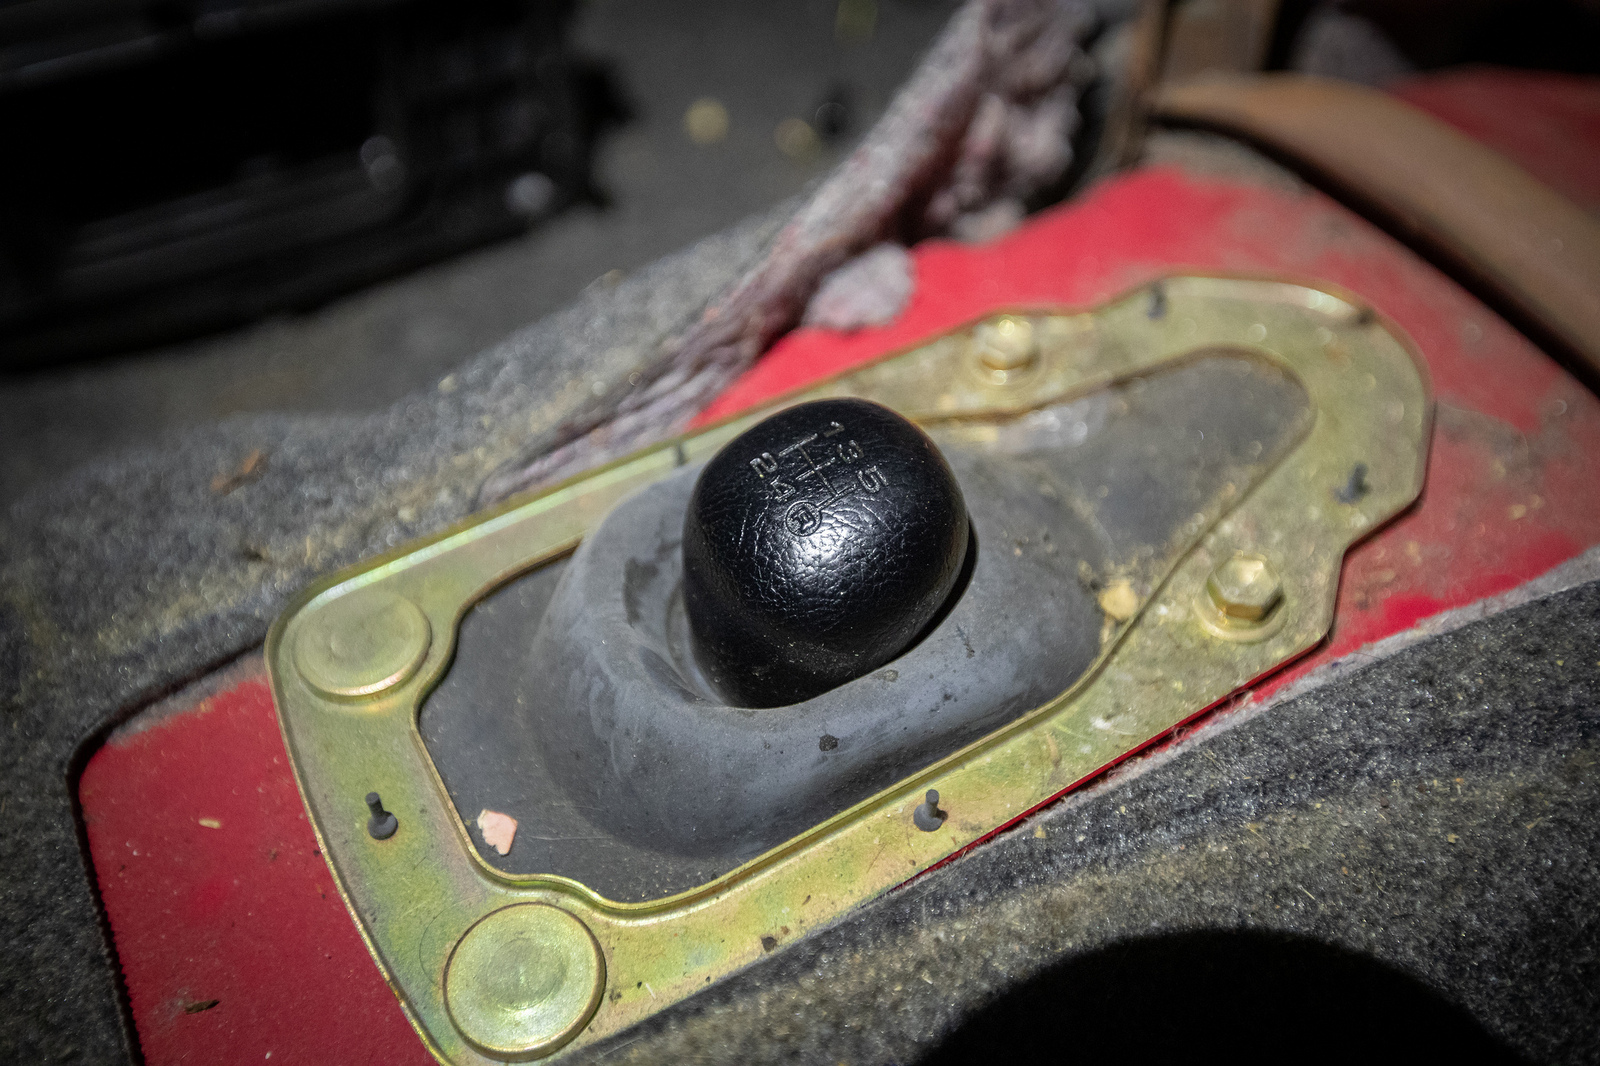
Couple bots let the floor mount pop out.
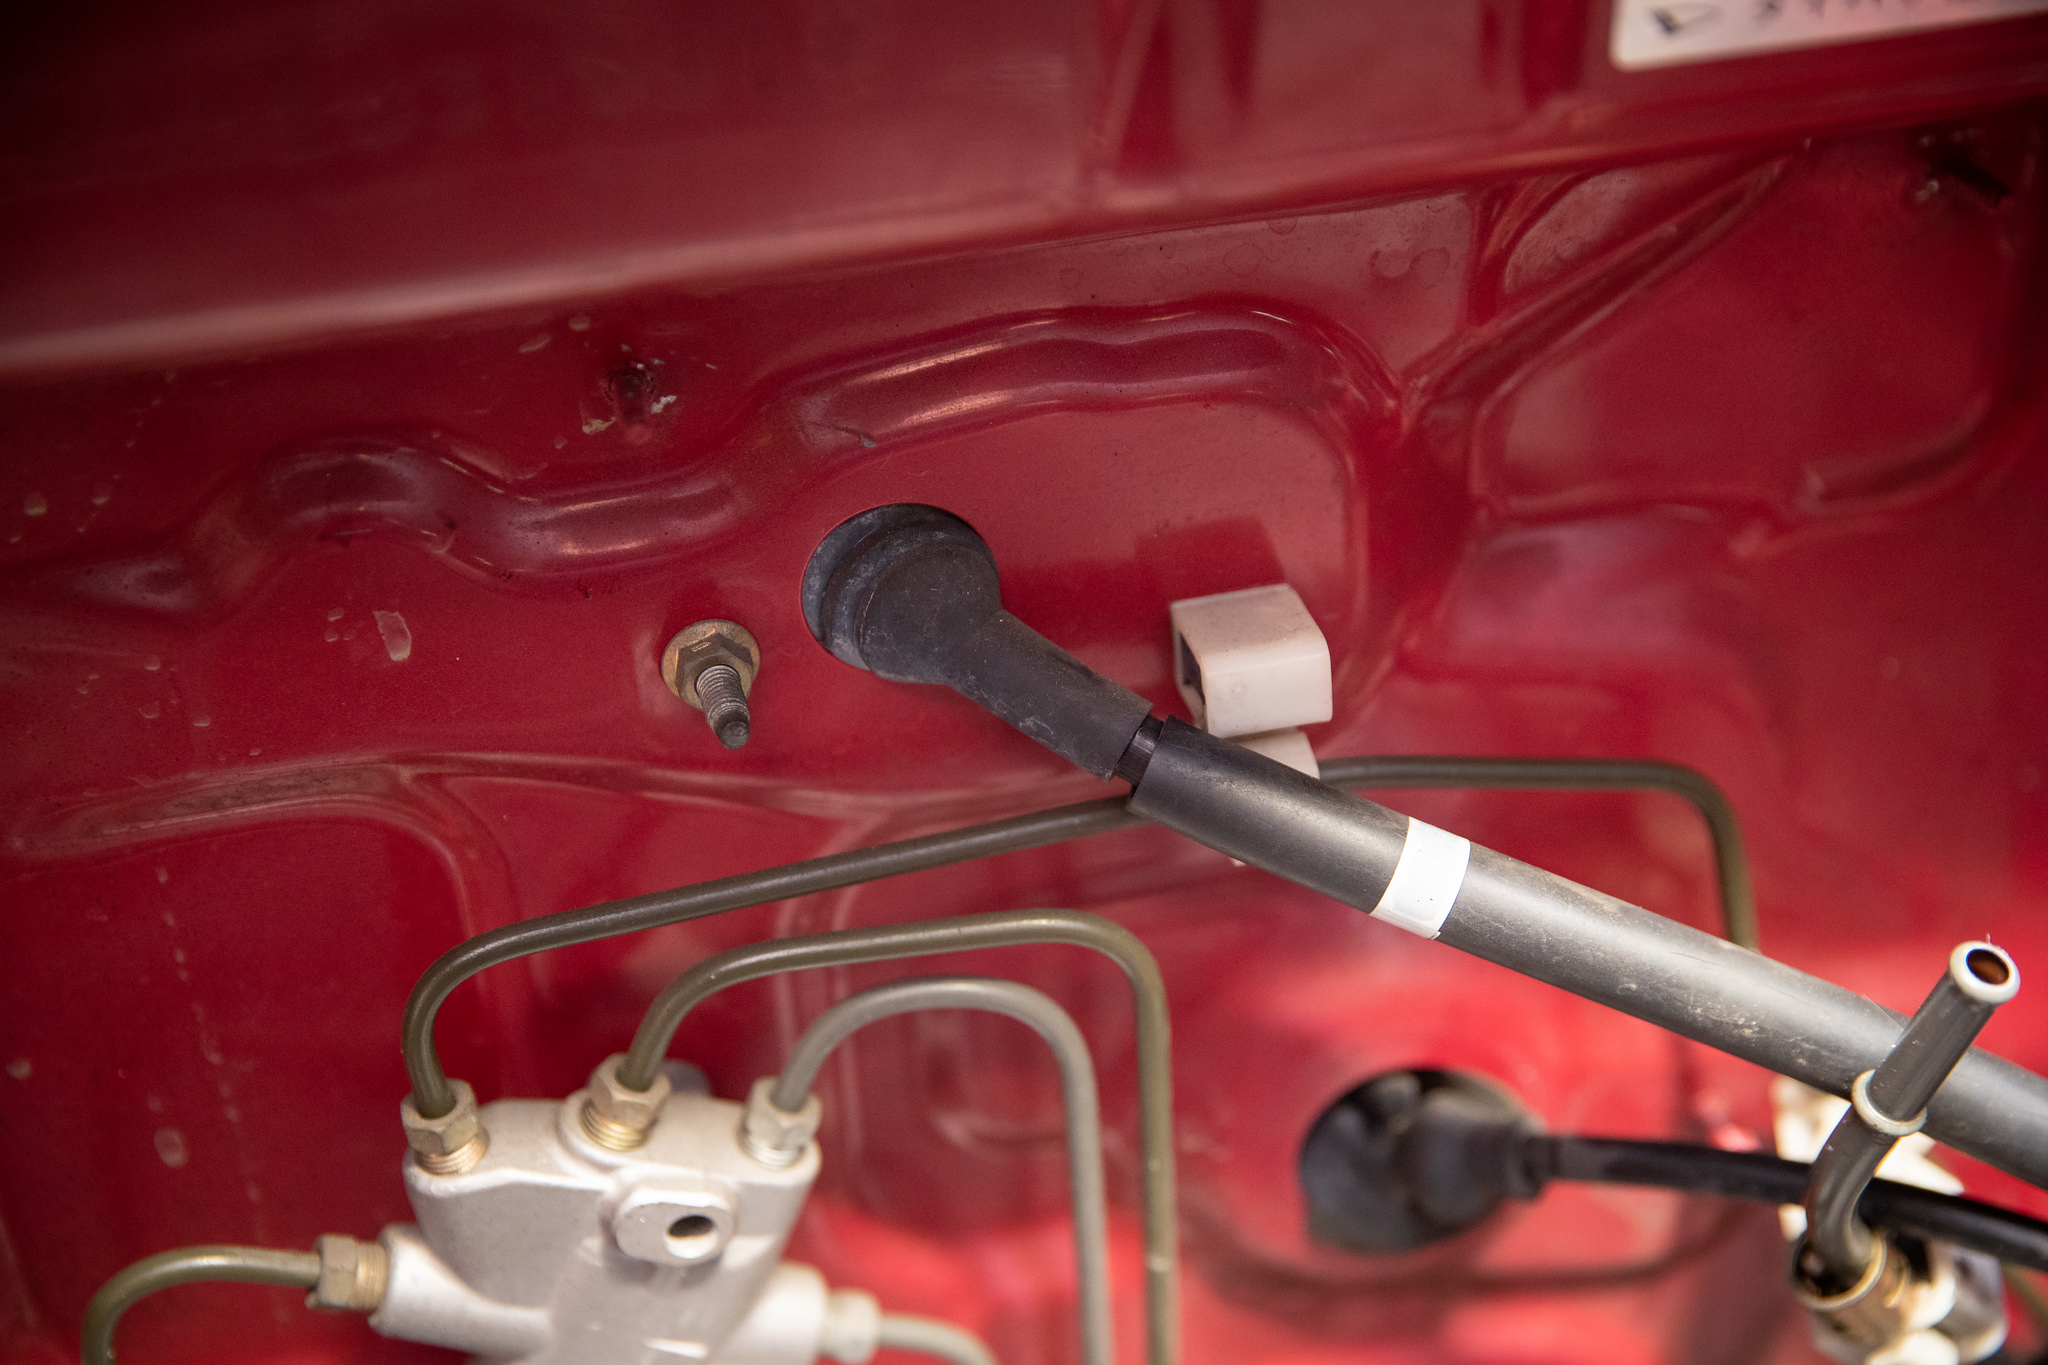
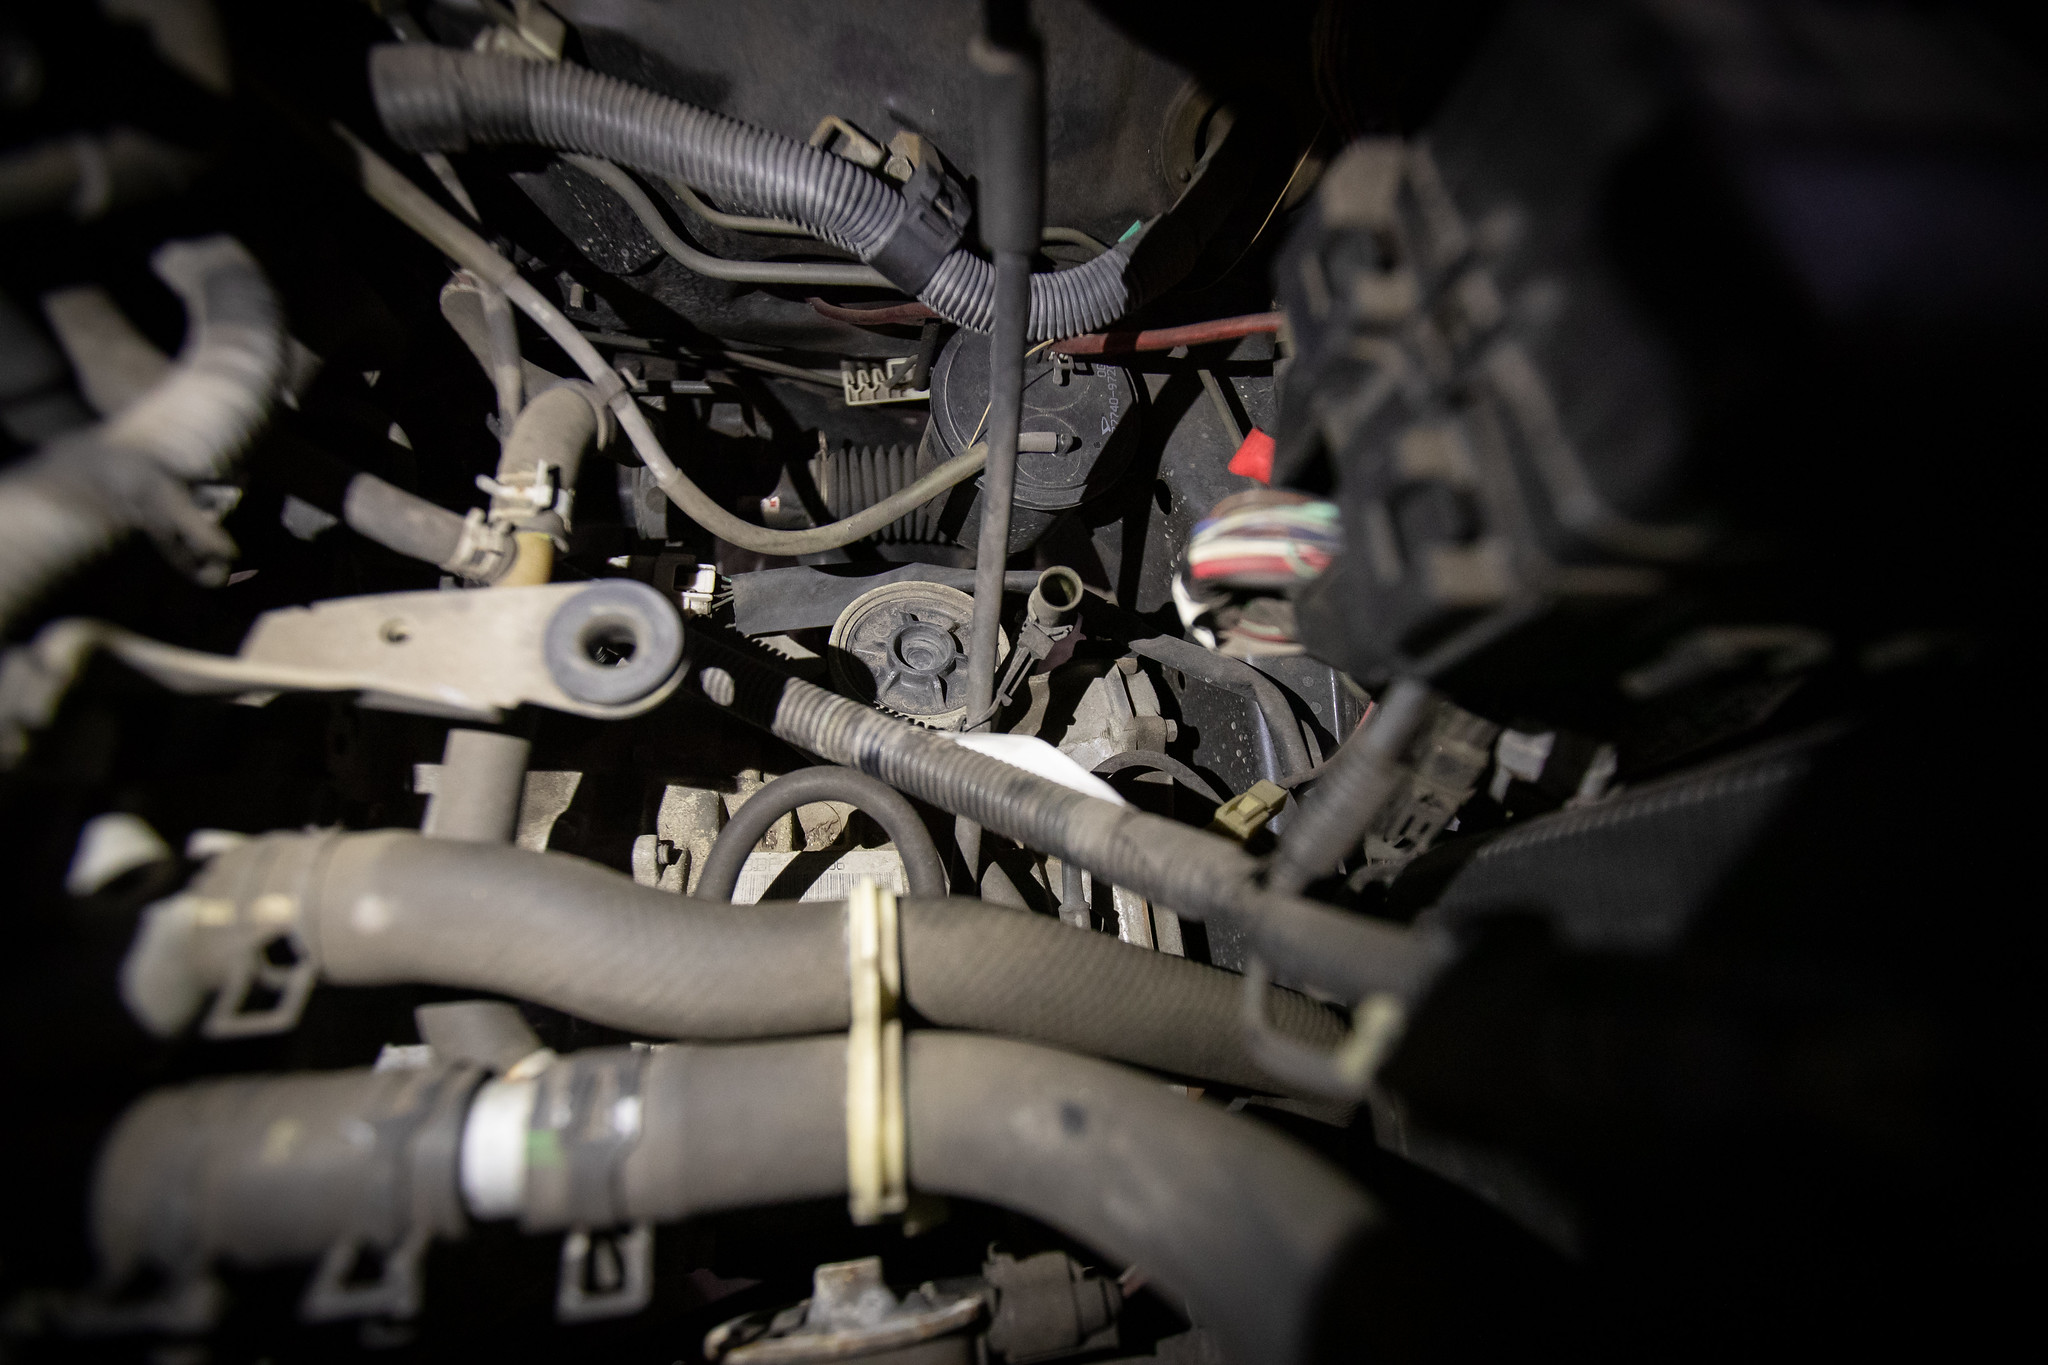
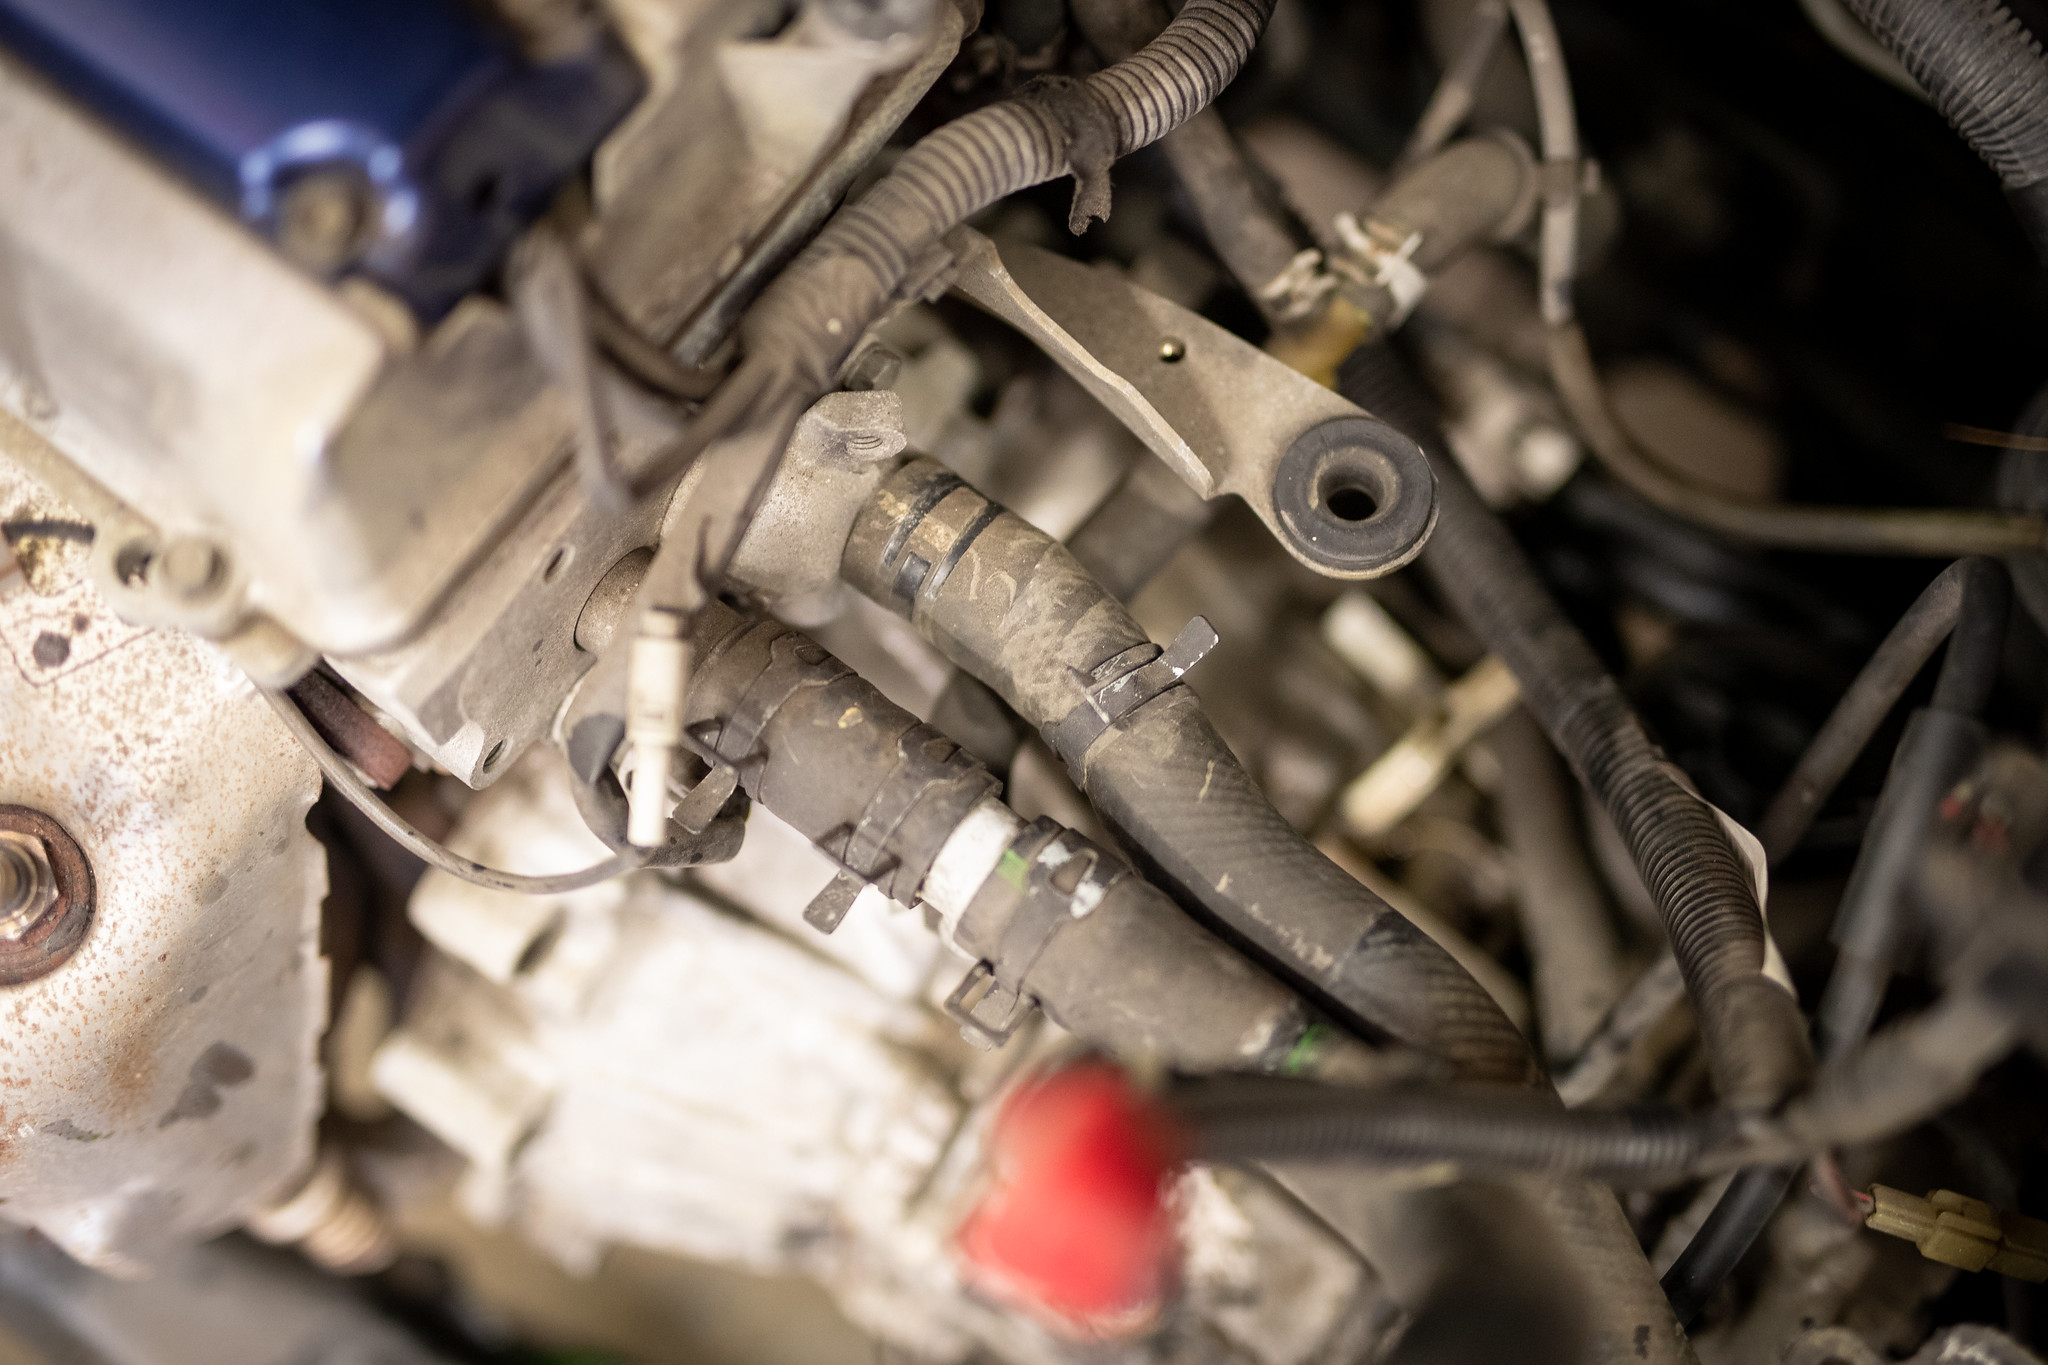
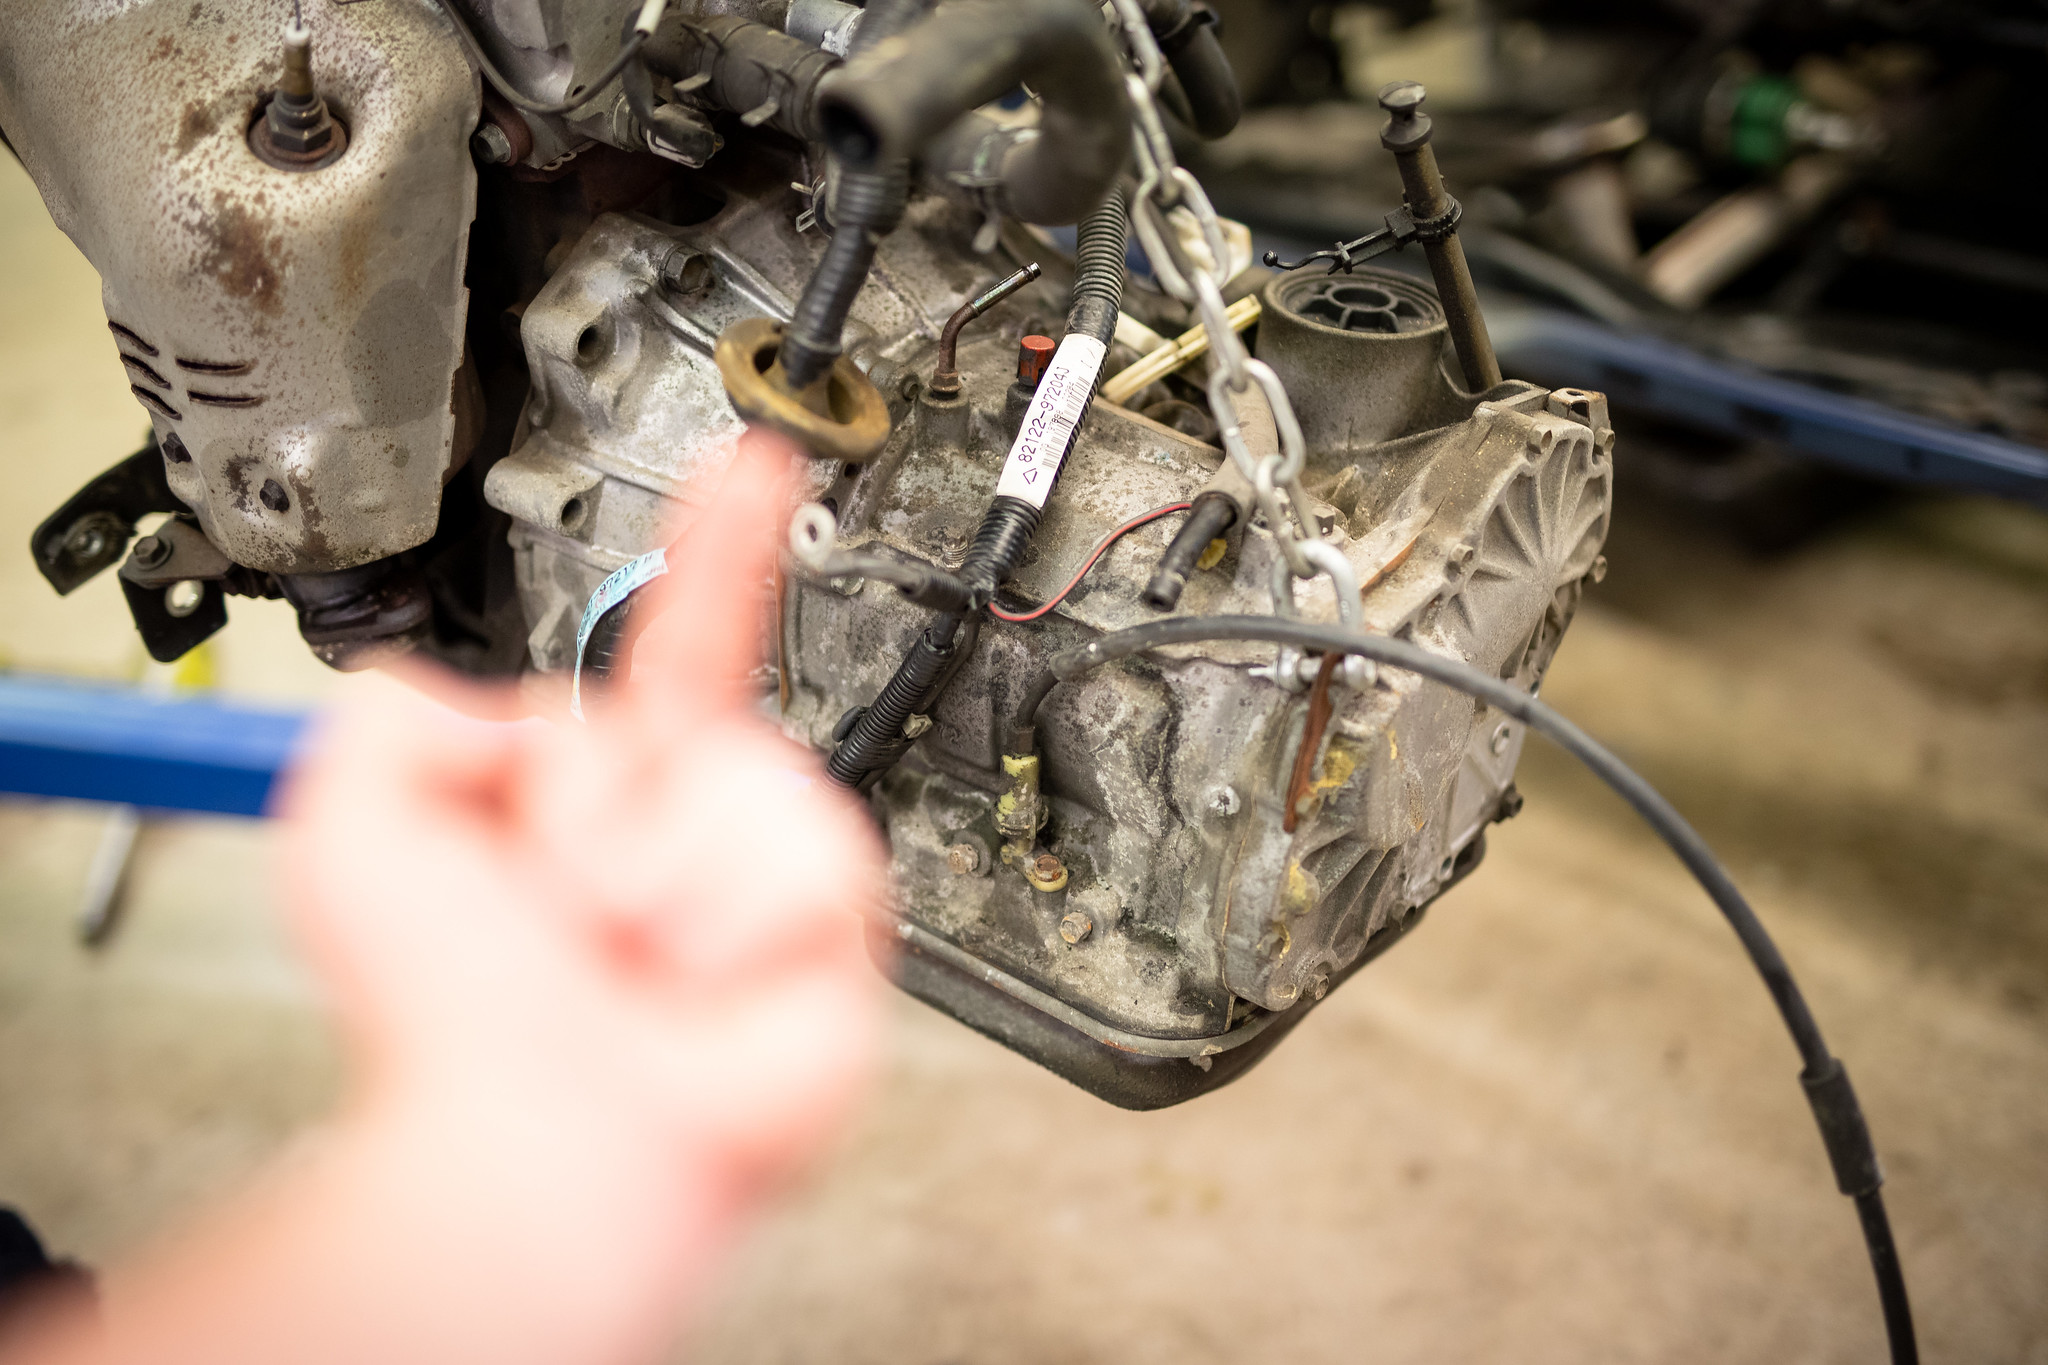
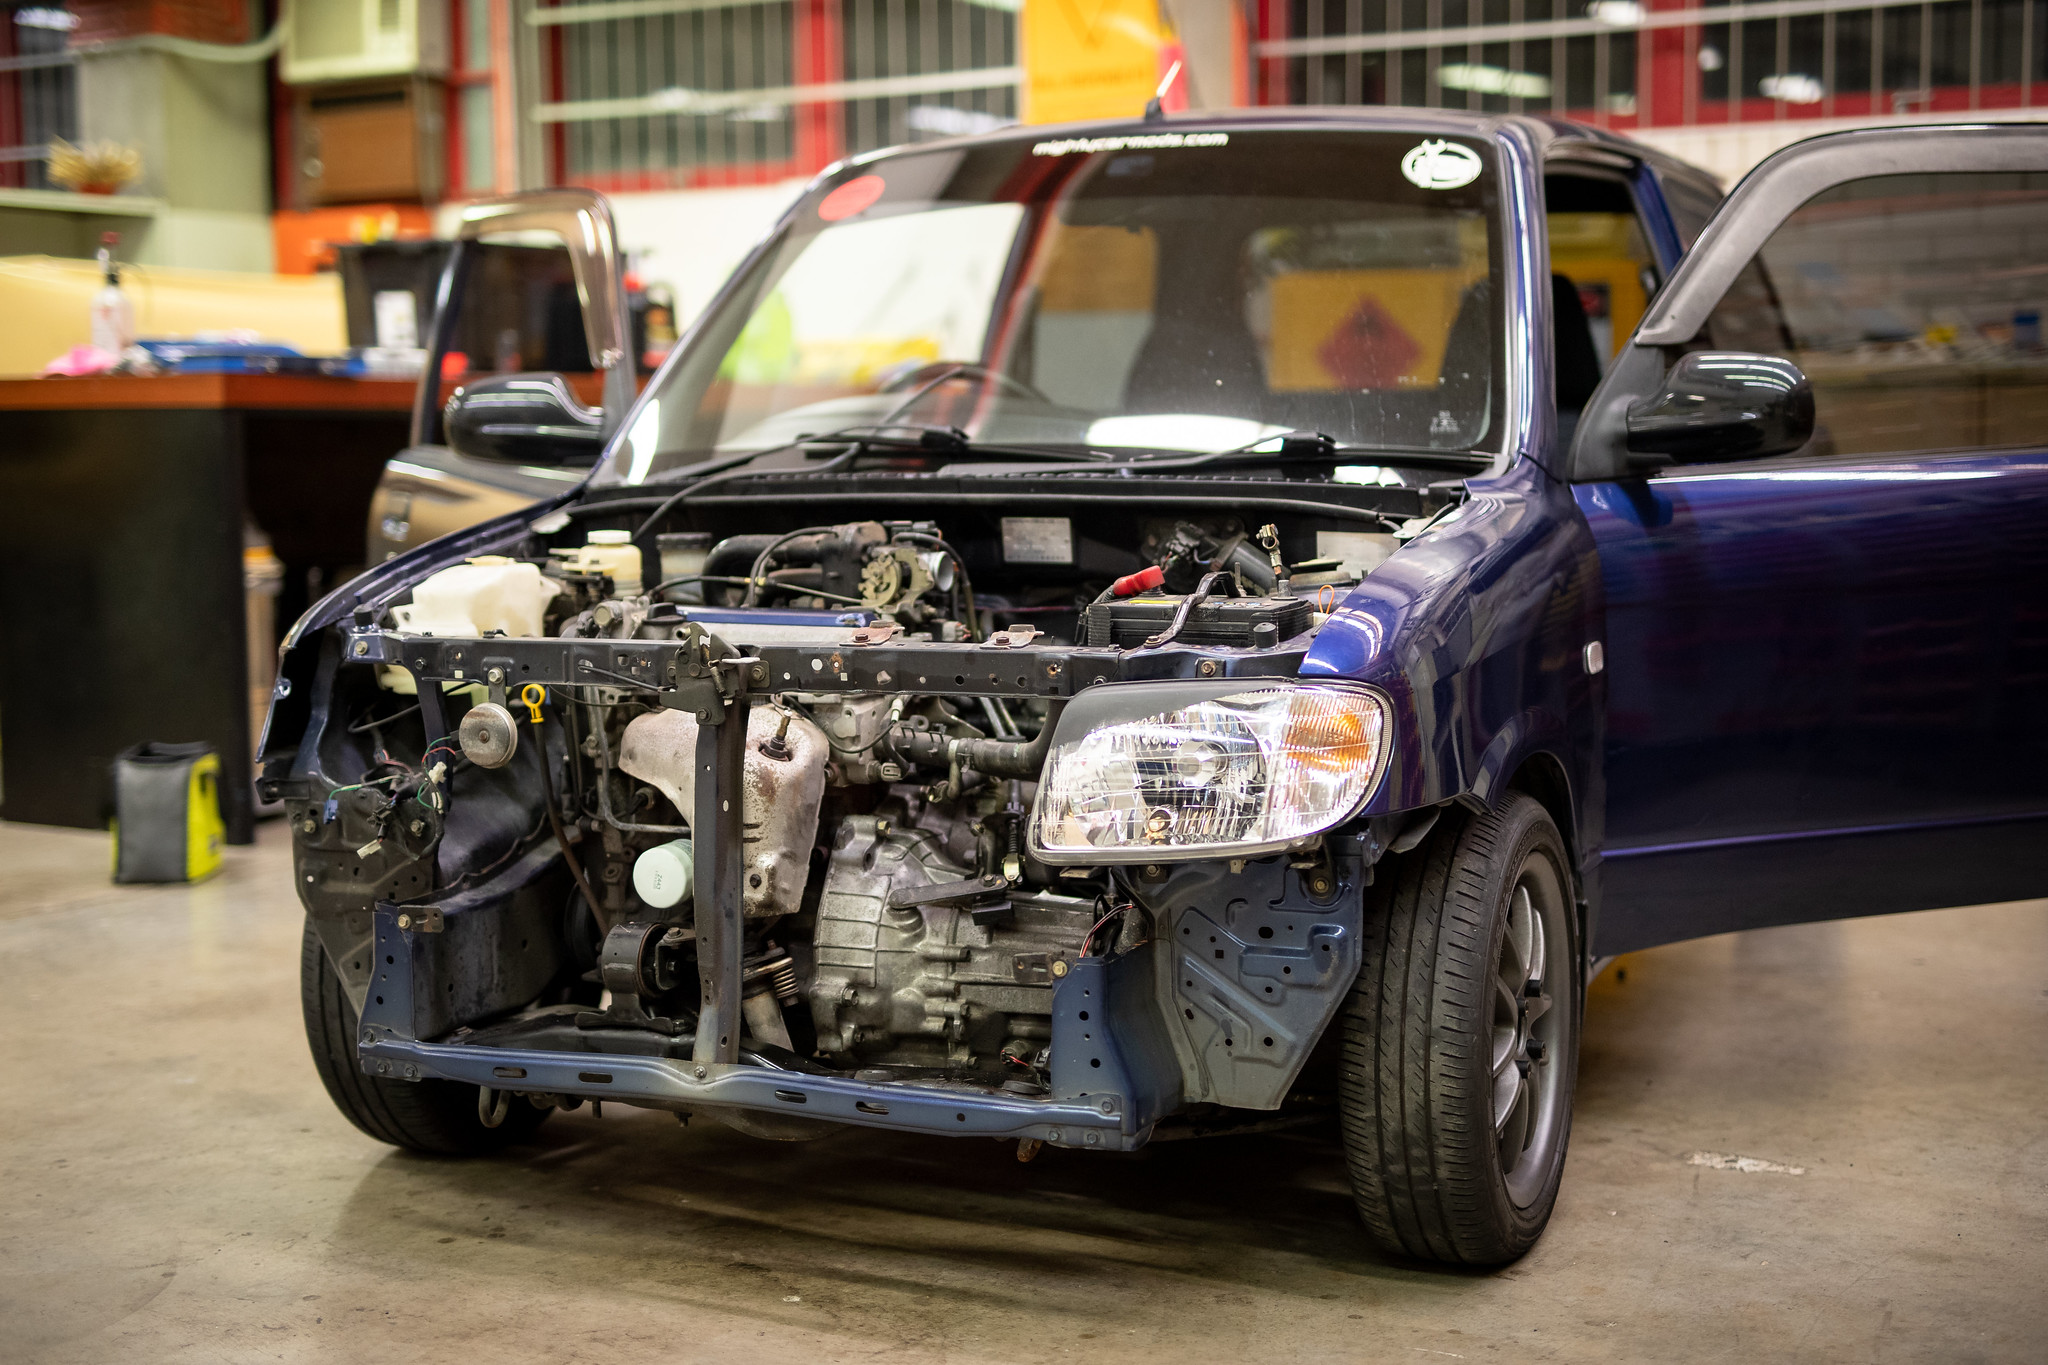
Moving onto the engine bay, rather than disconnecting all the power steering lines, I’ve heard recommendations to just move it to the side when pulling the engine to save the mess. So that’s what I did.

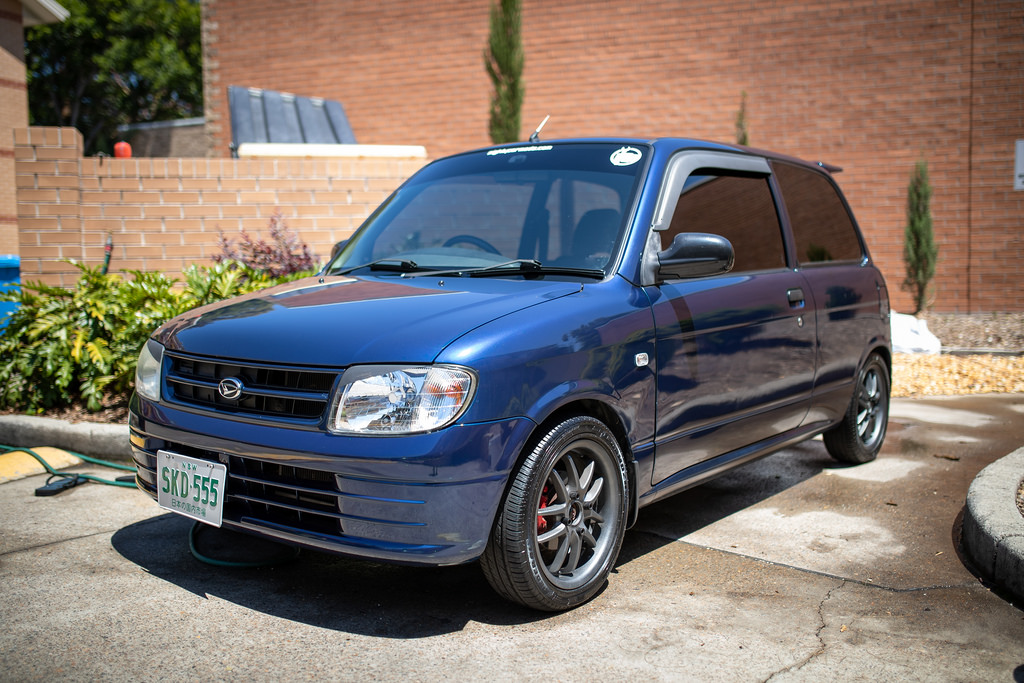
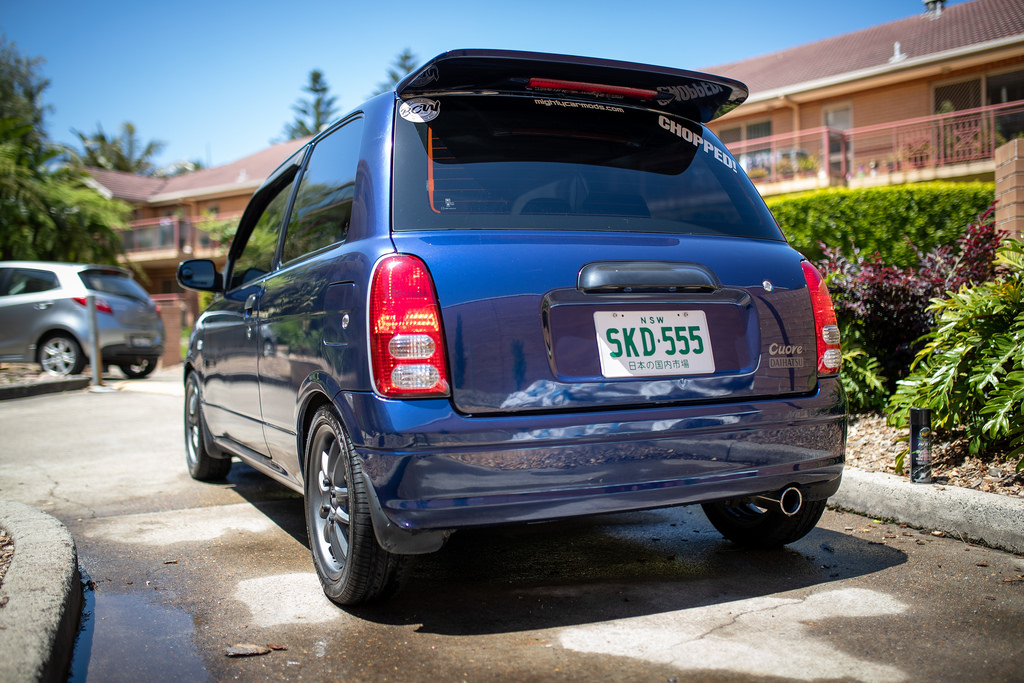
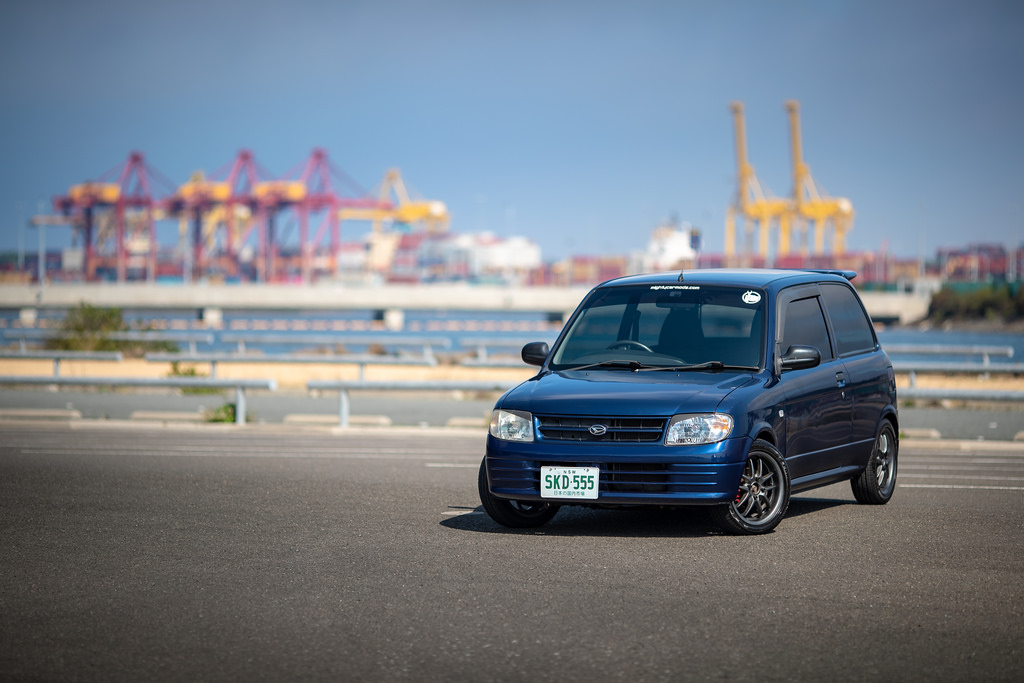
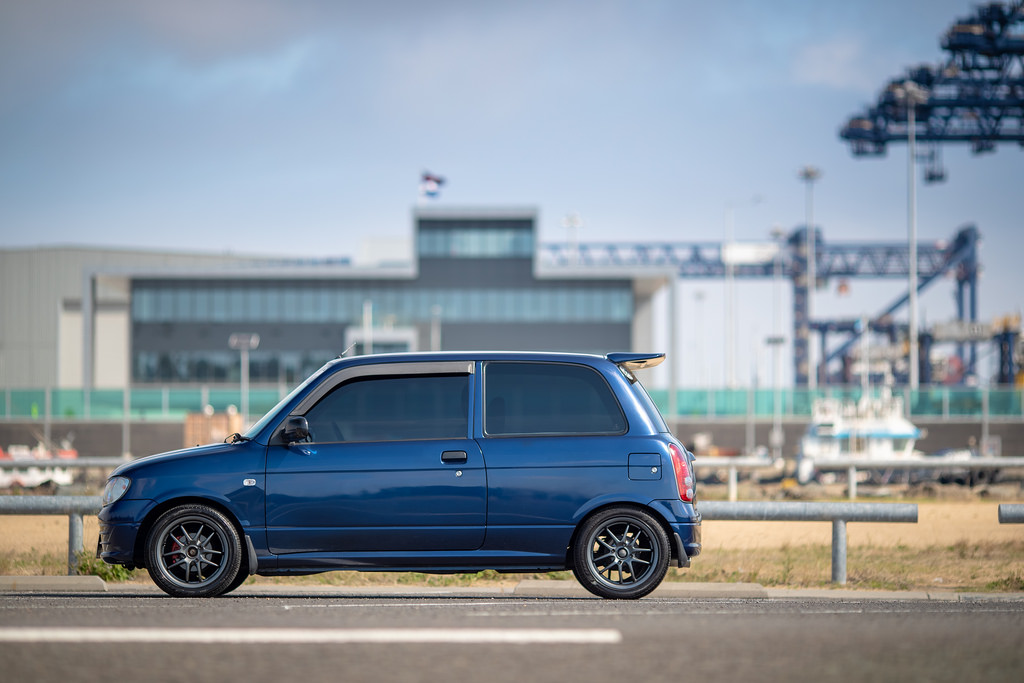
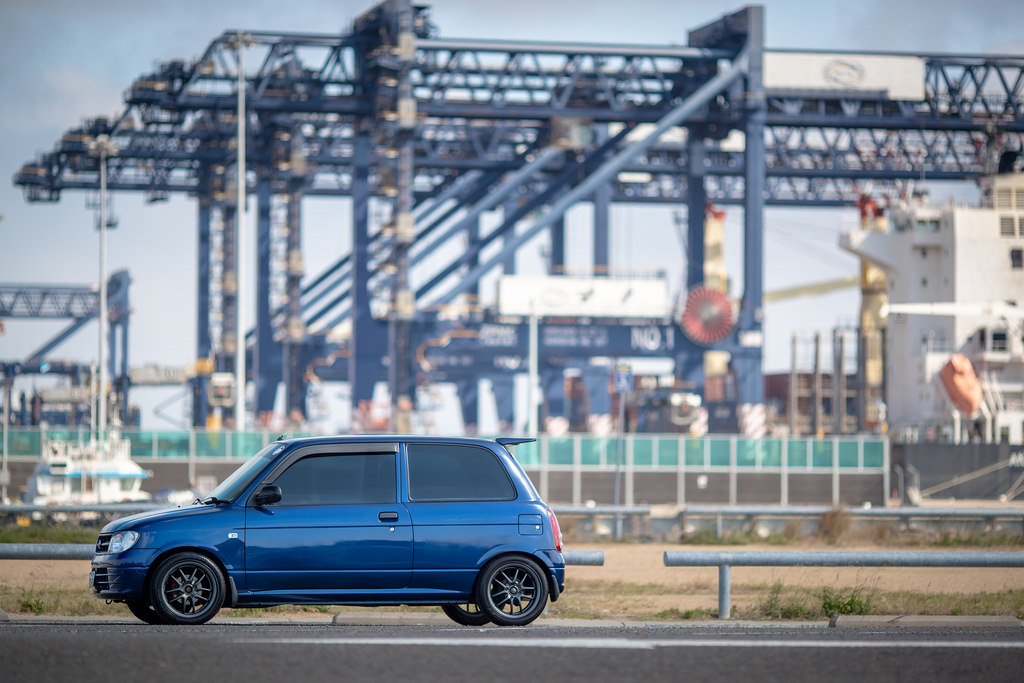
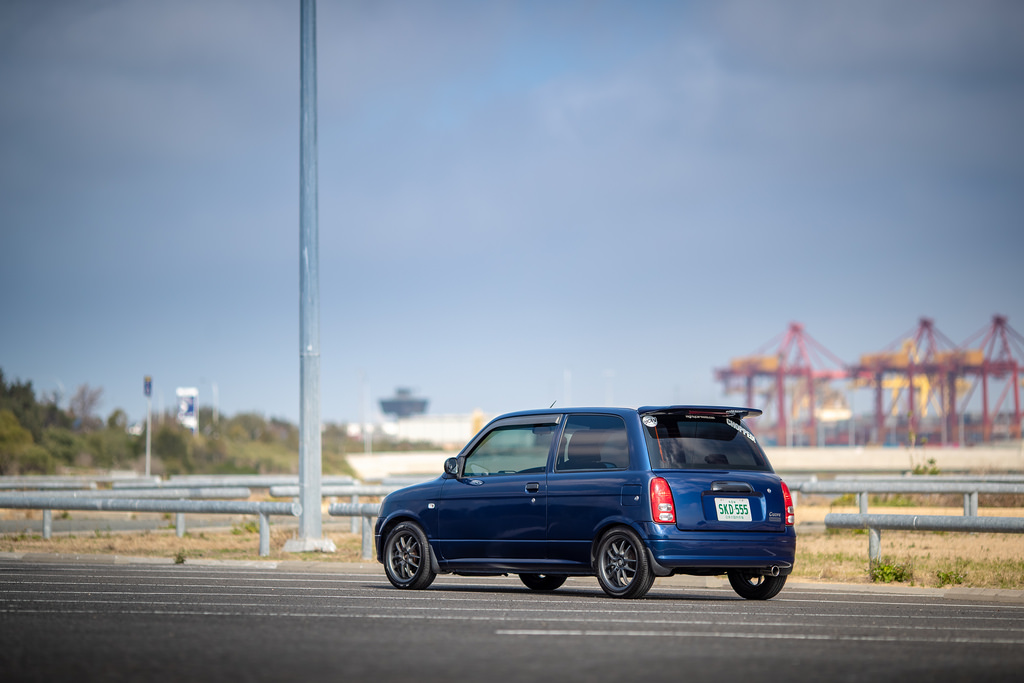
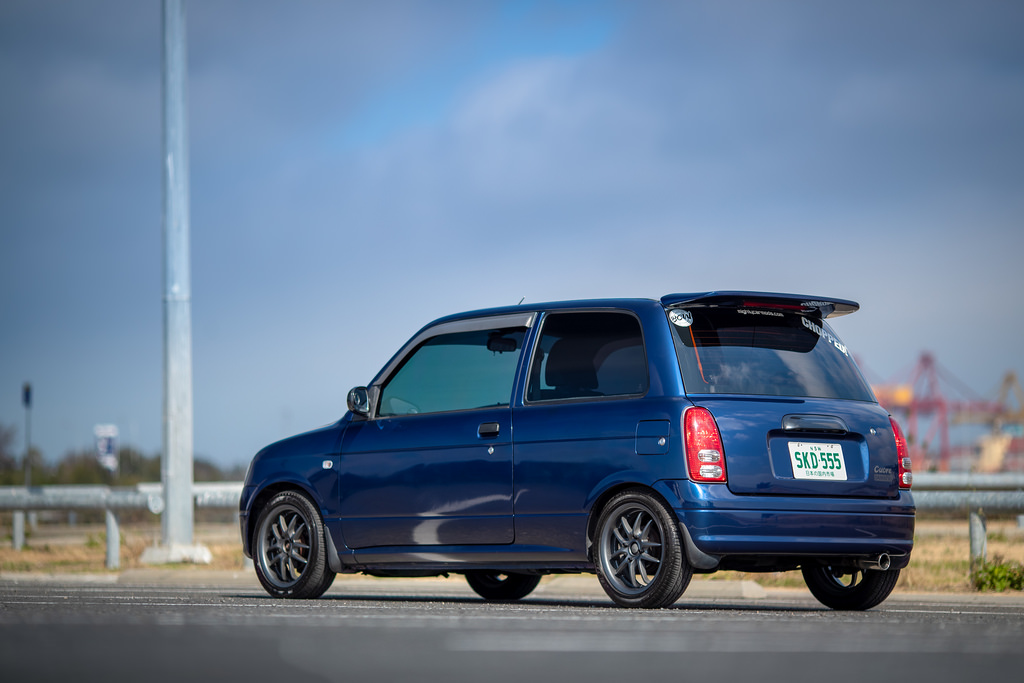
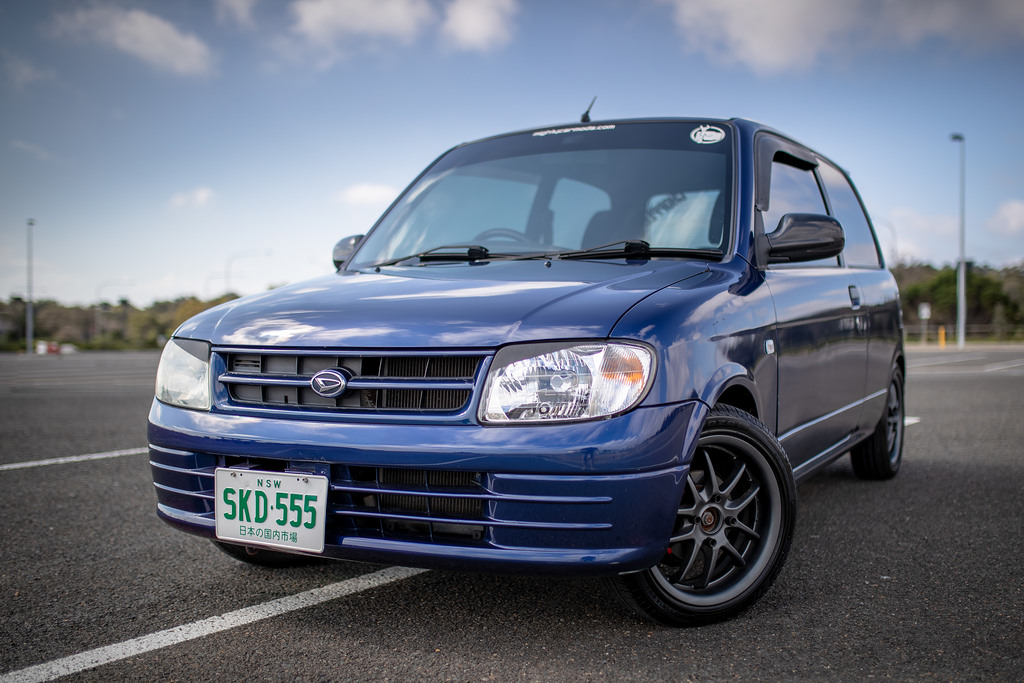
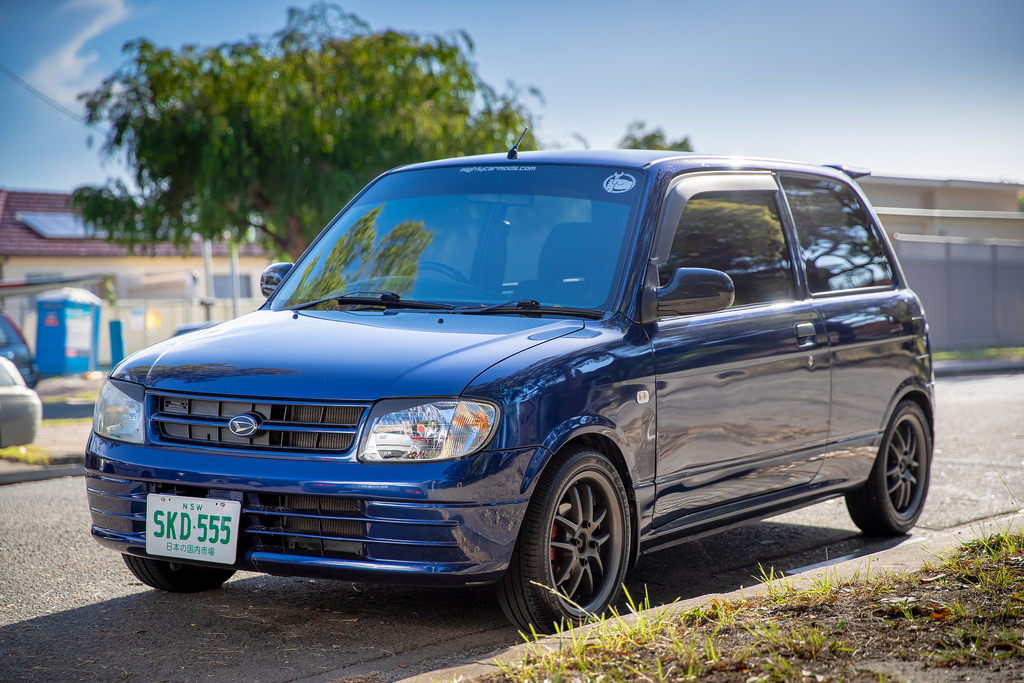
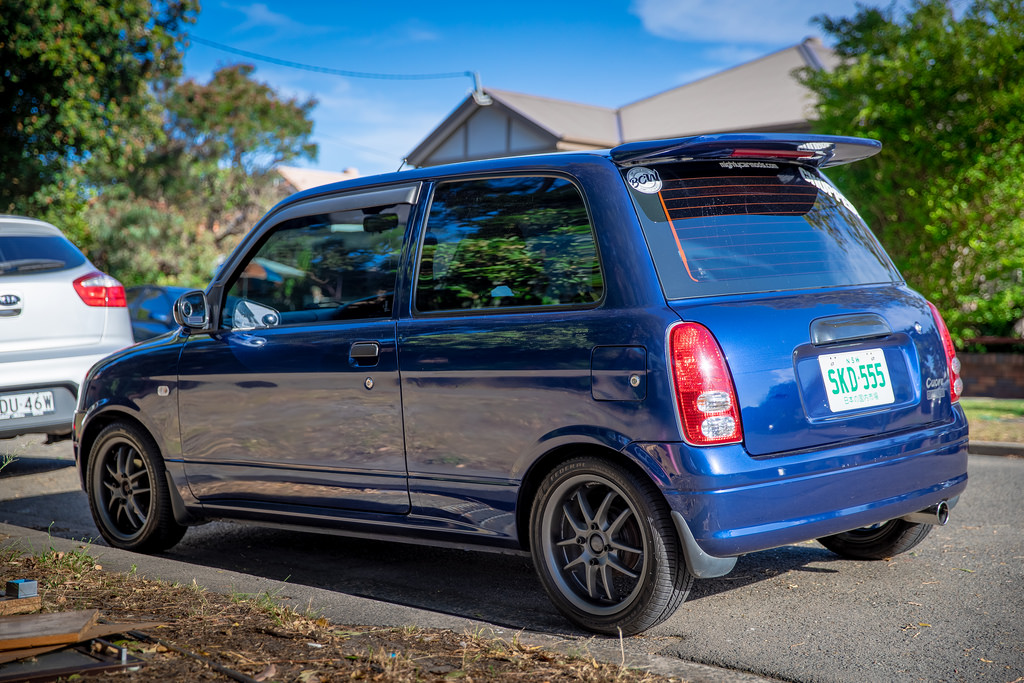
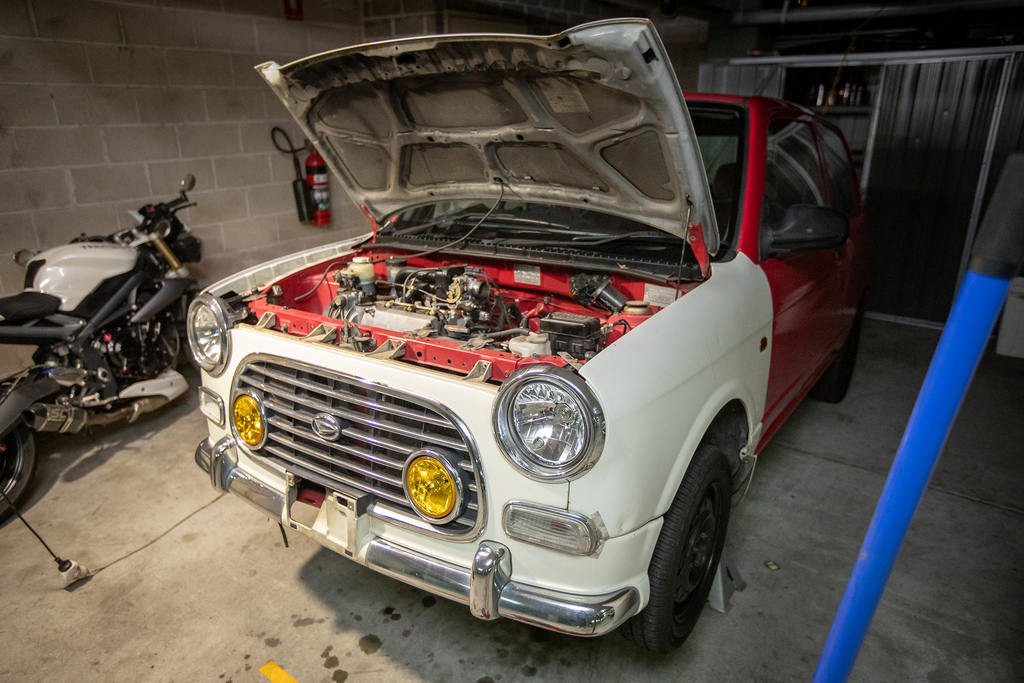
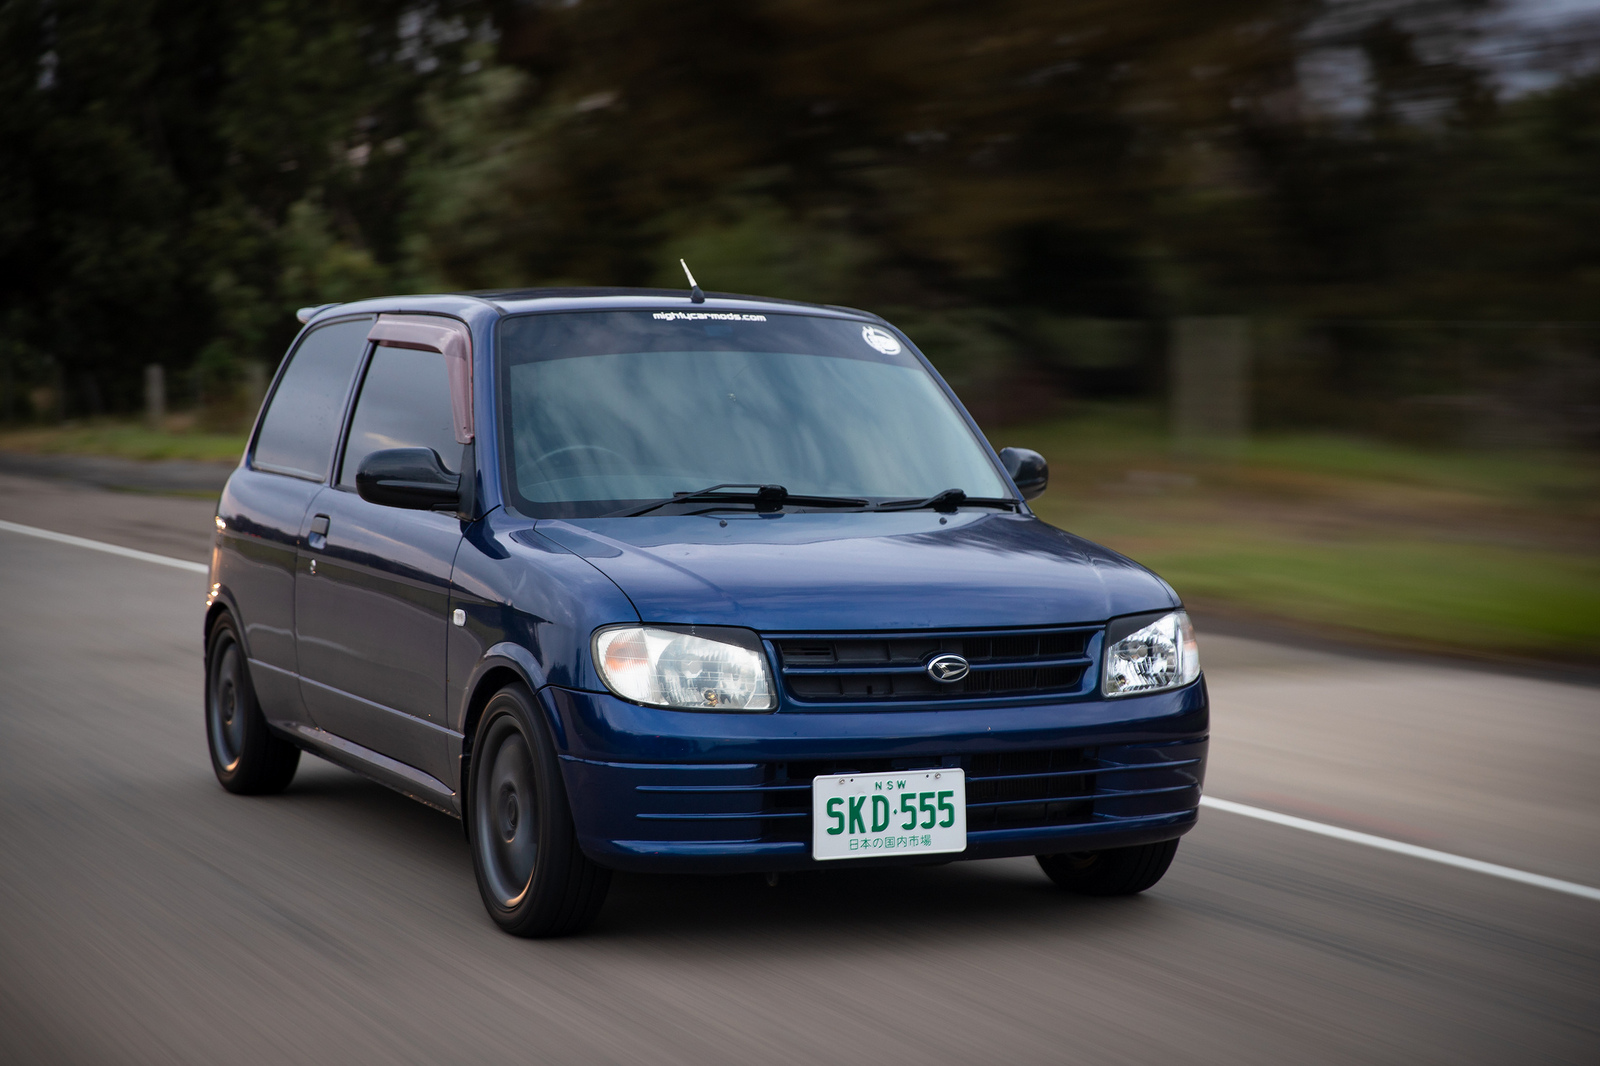
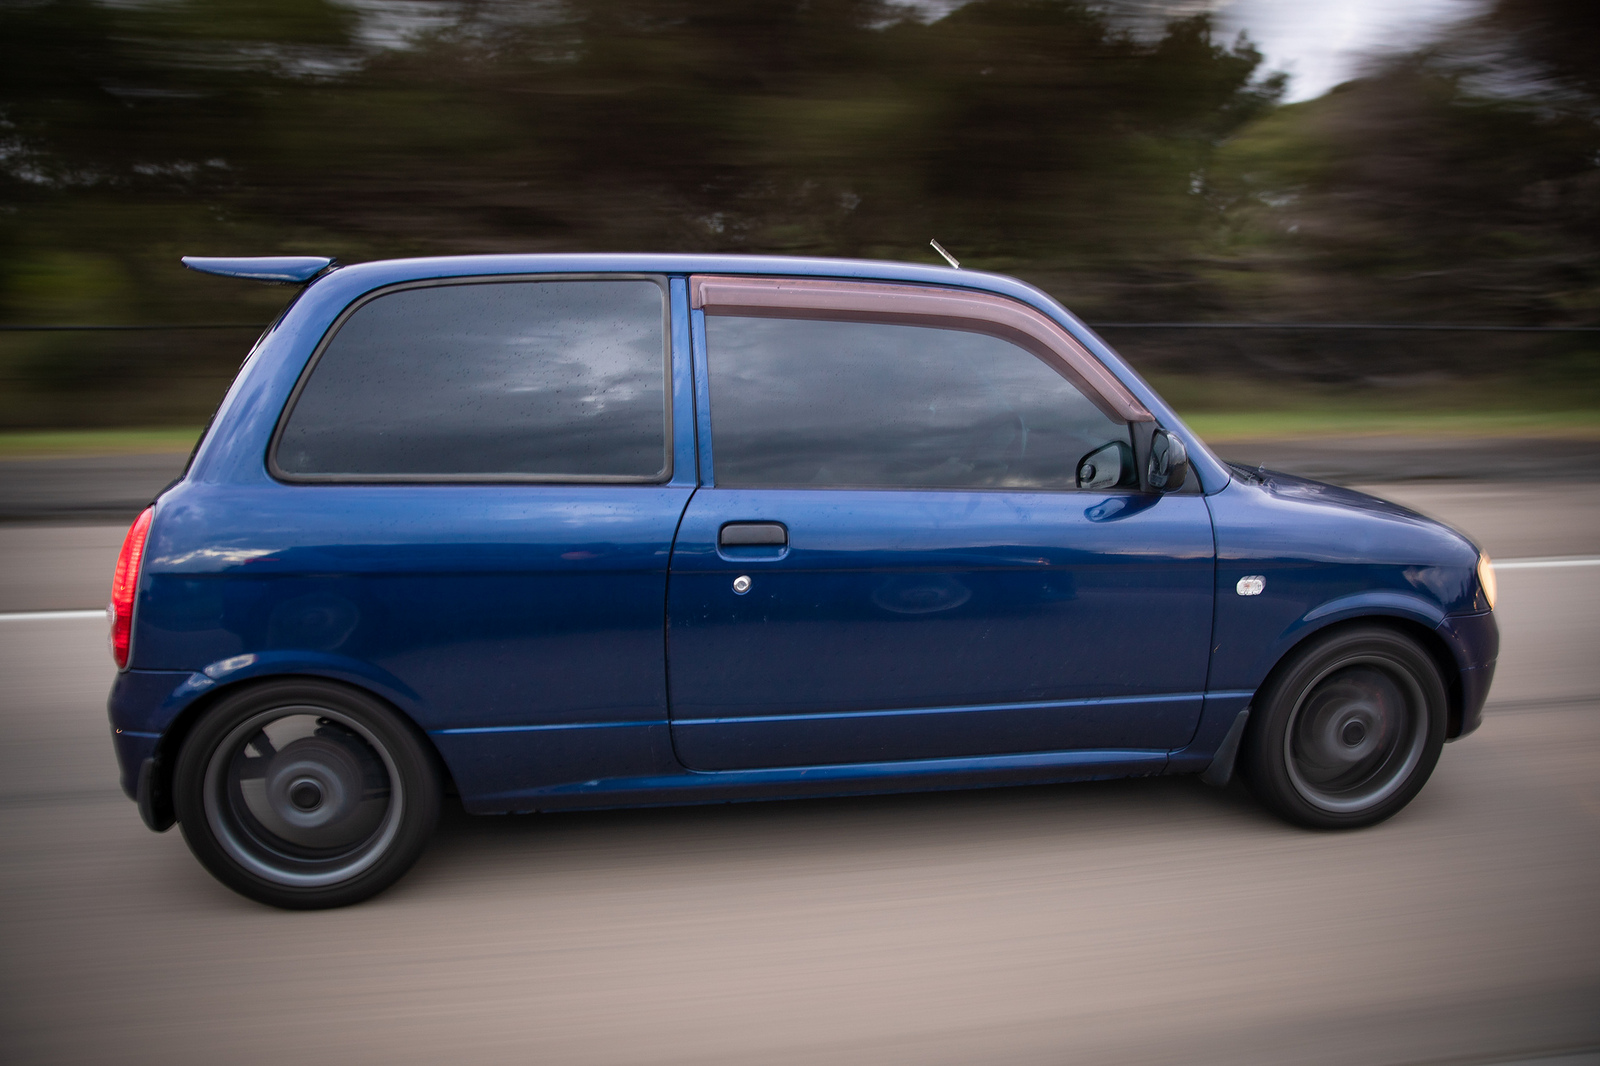
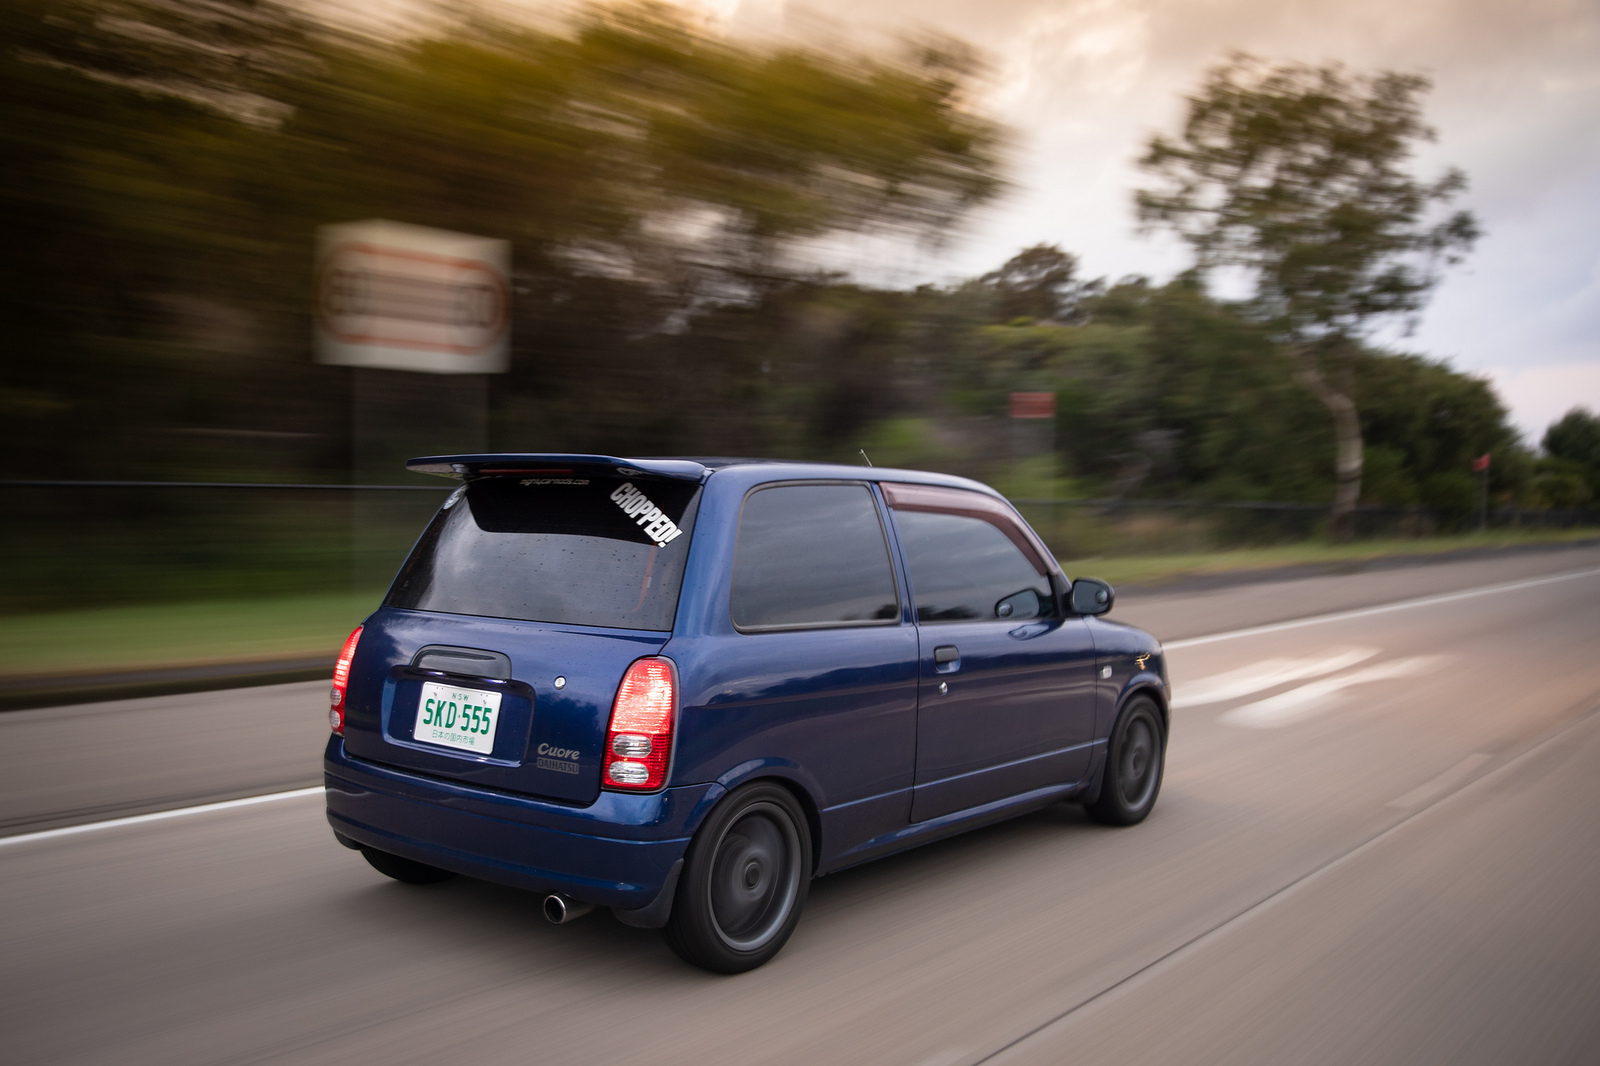
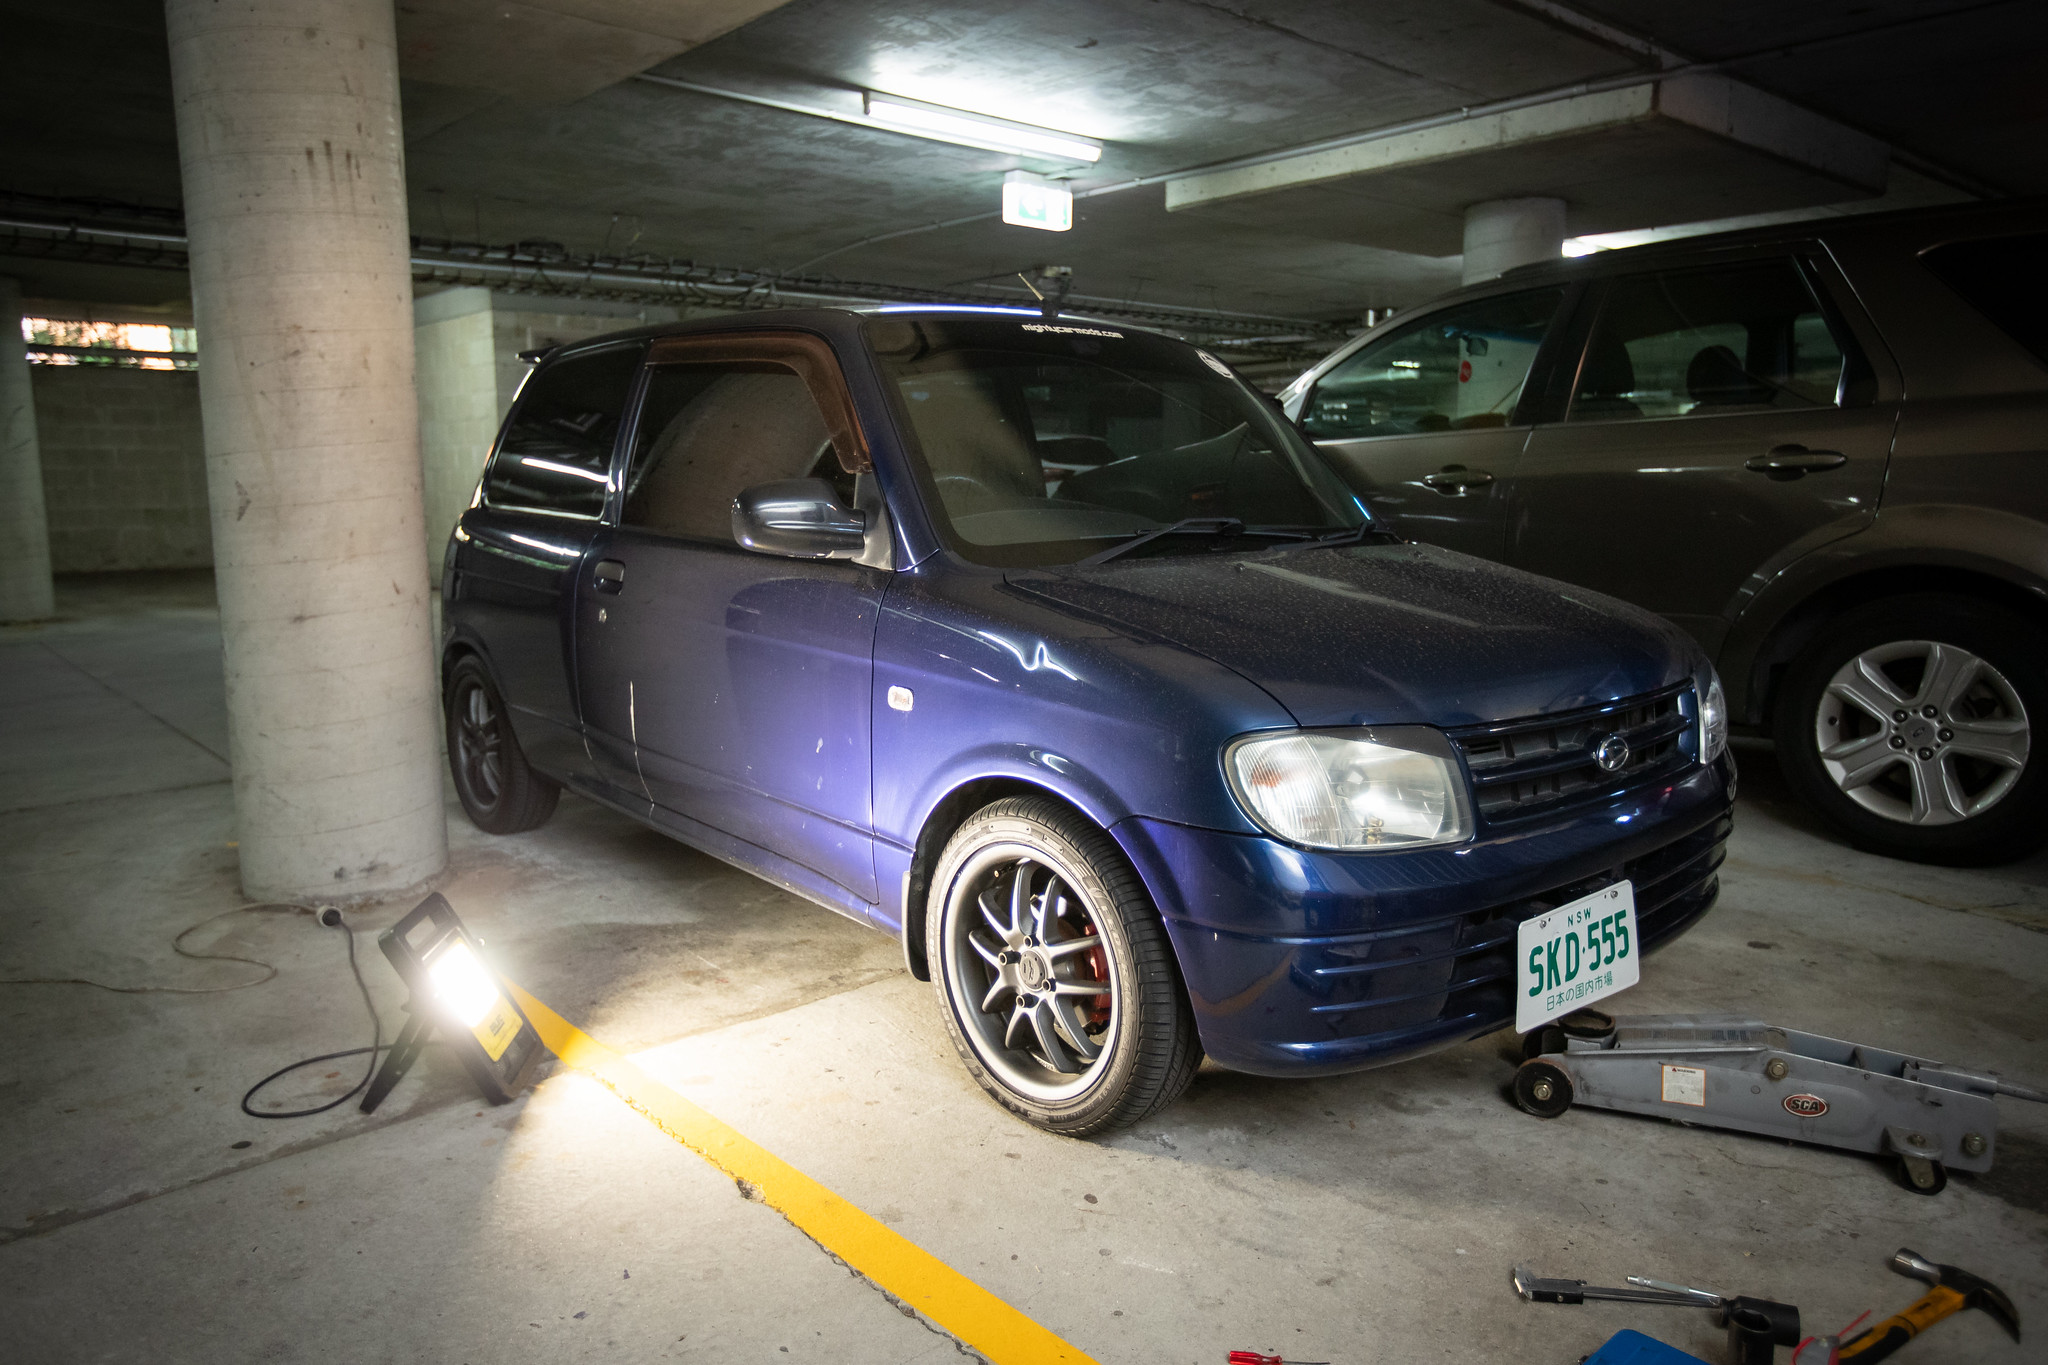
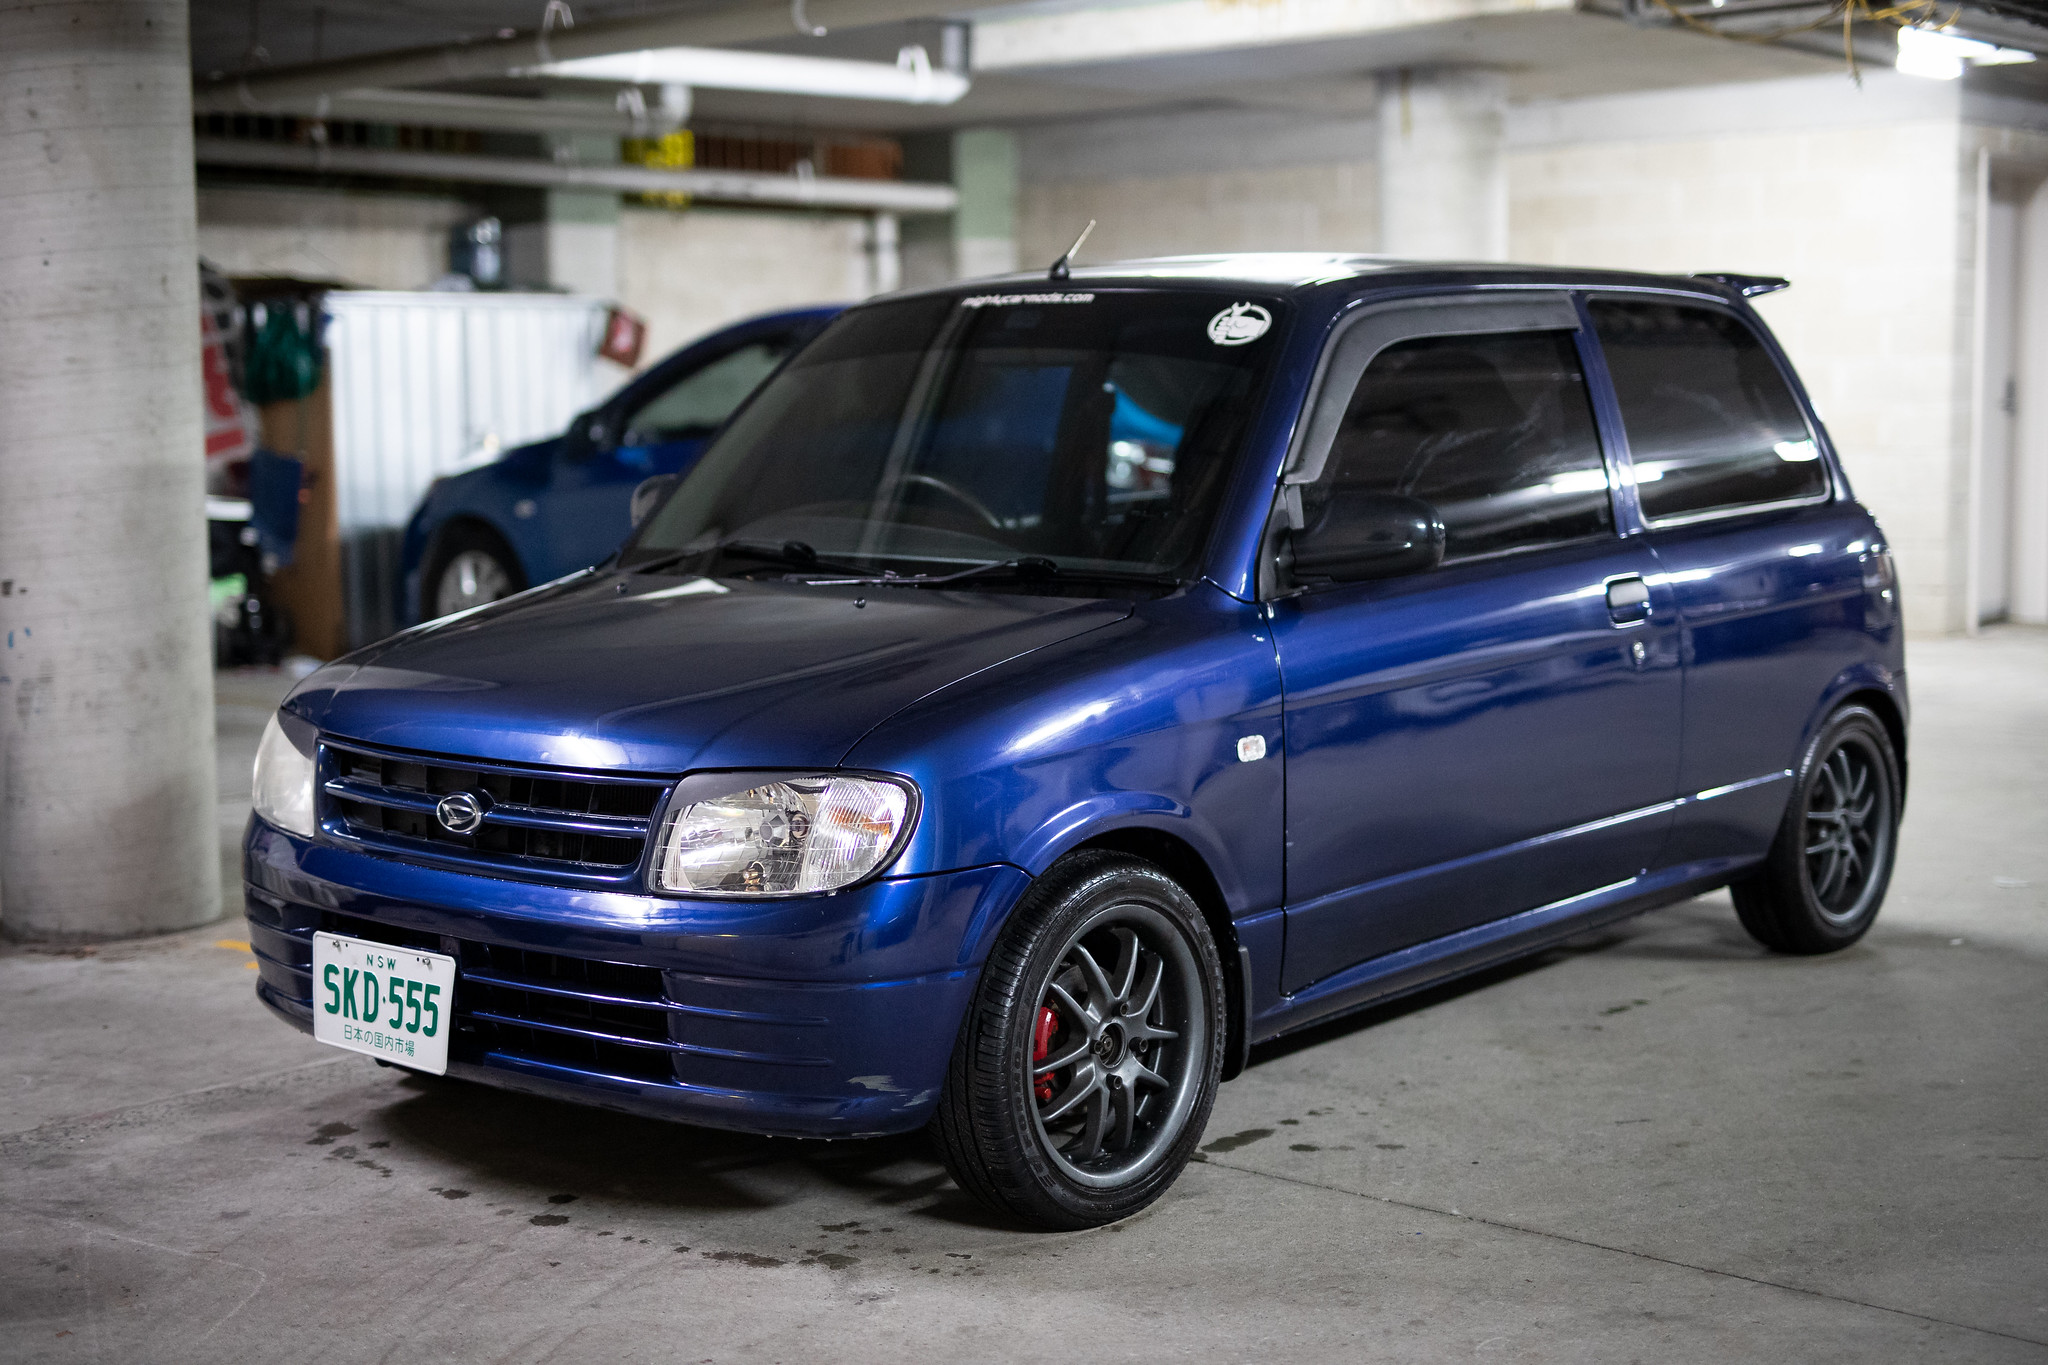
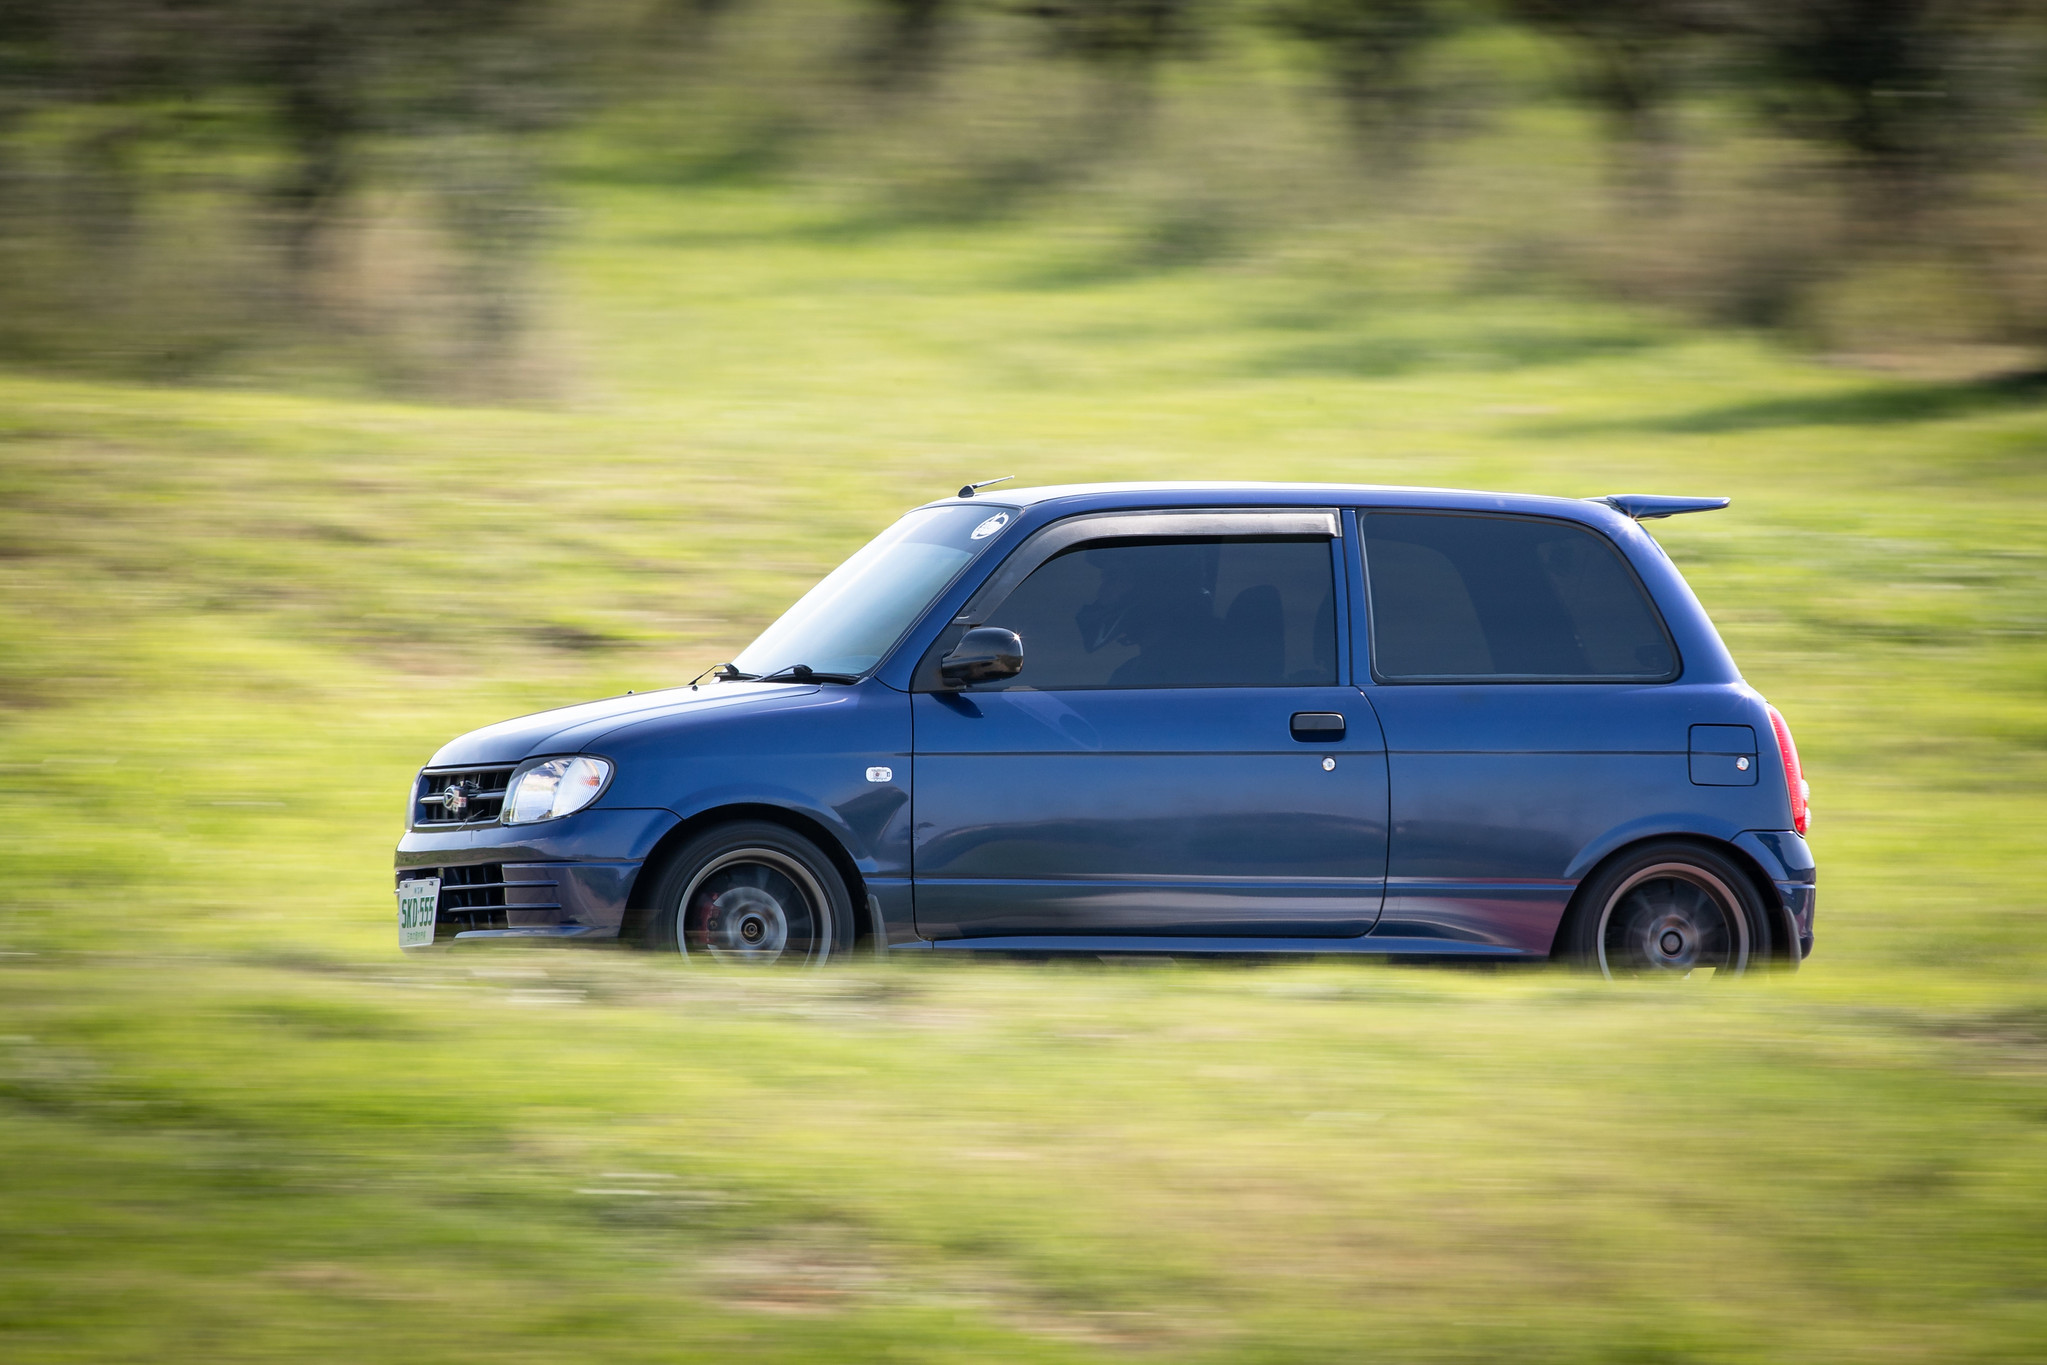
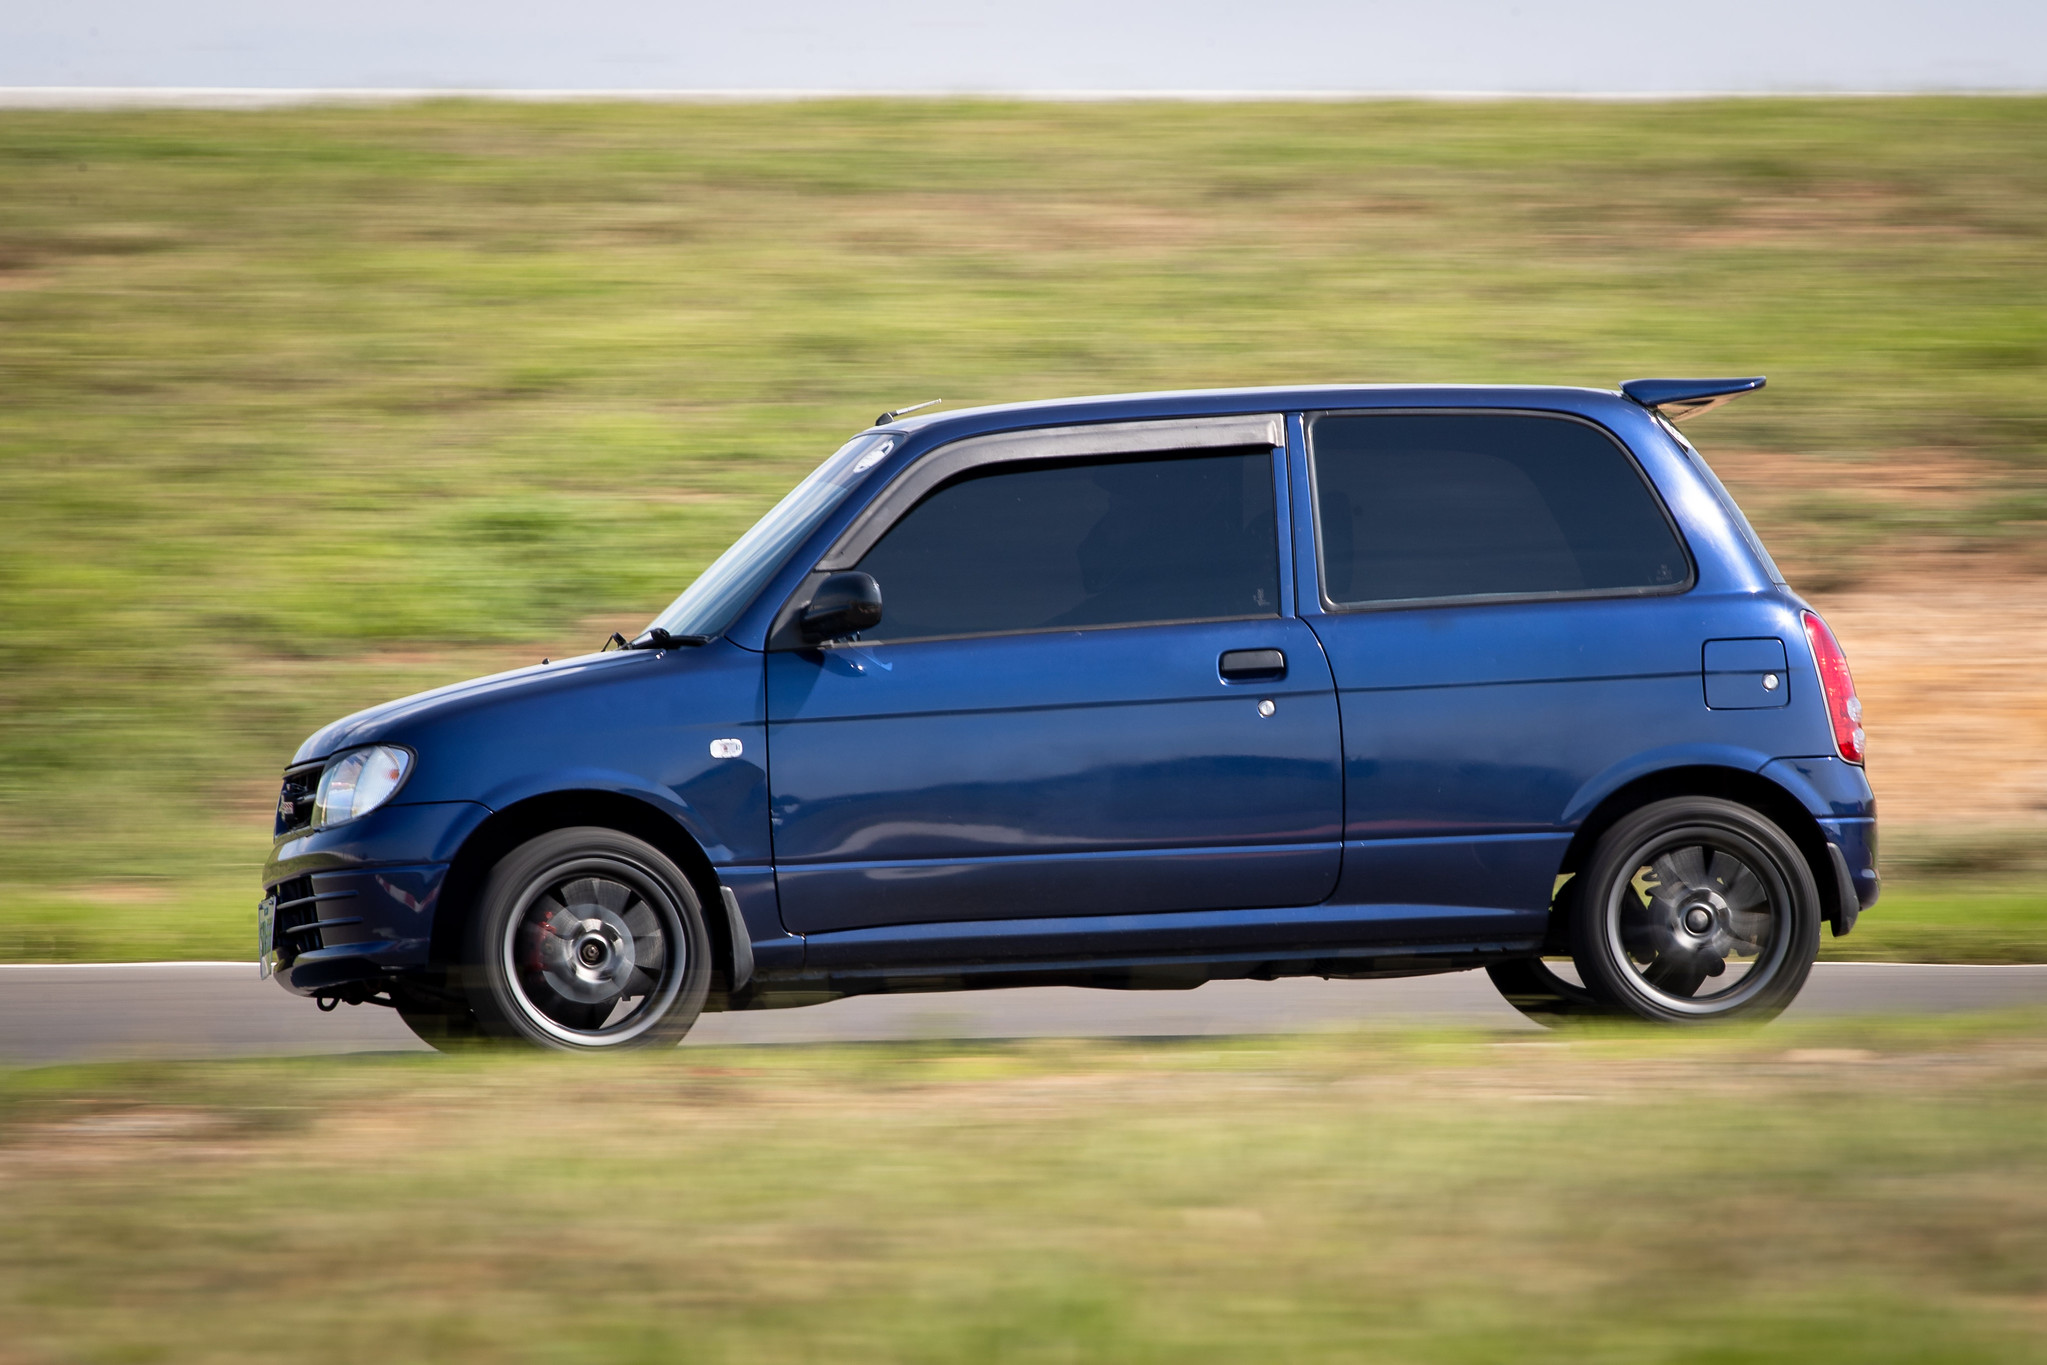
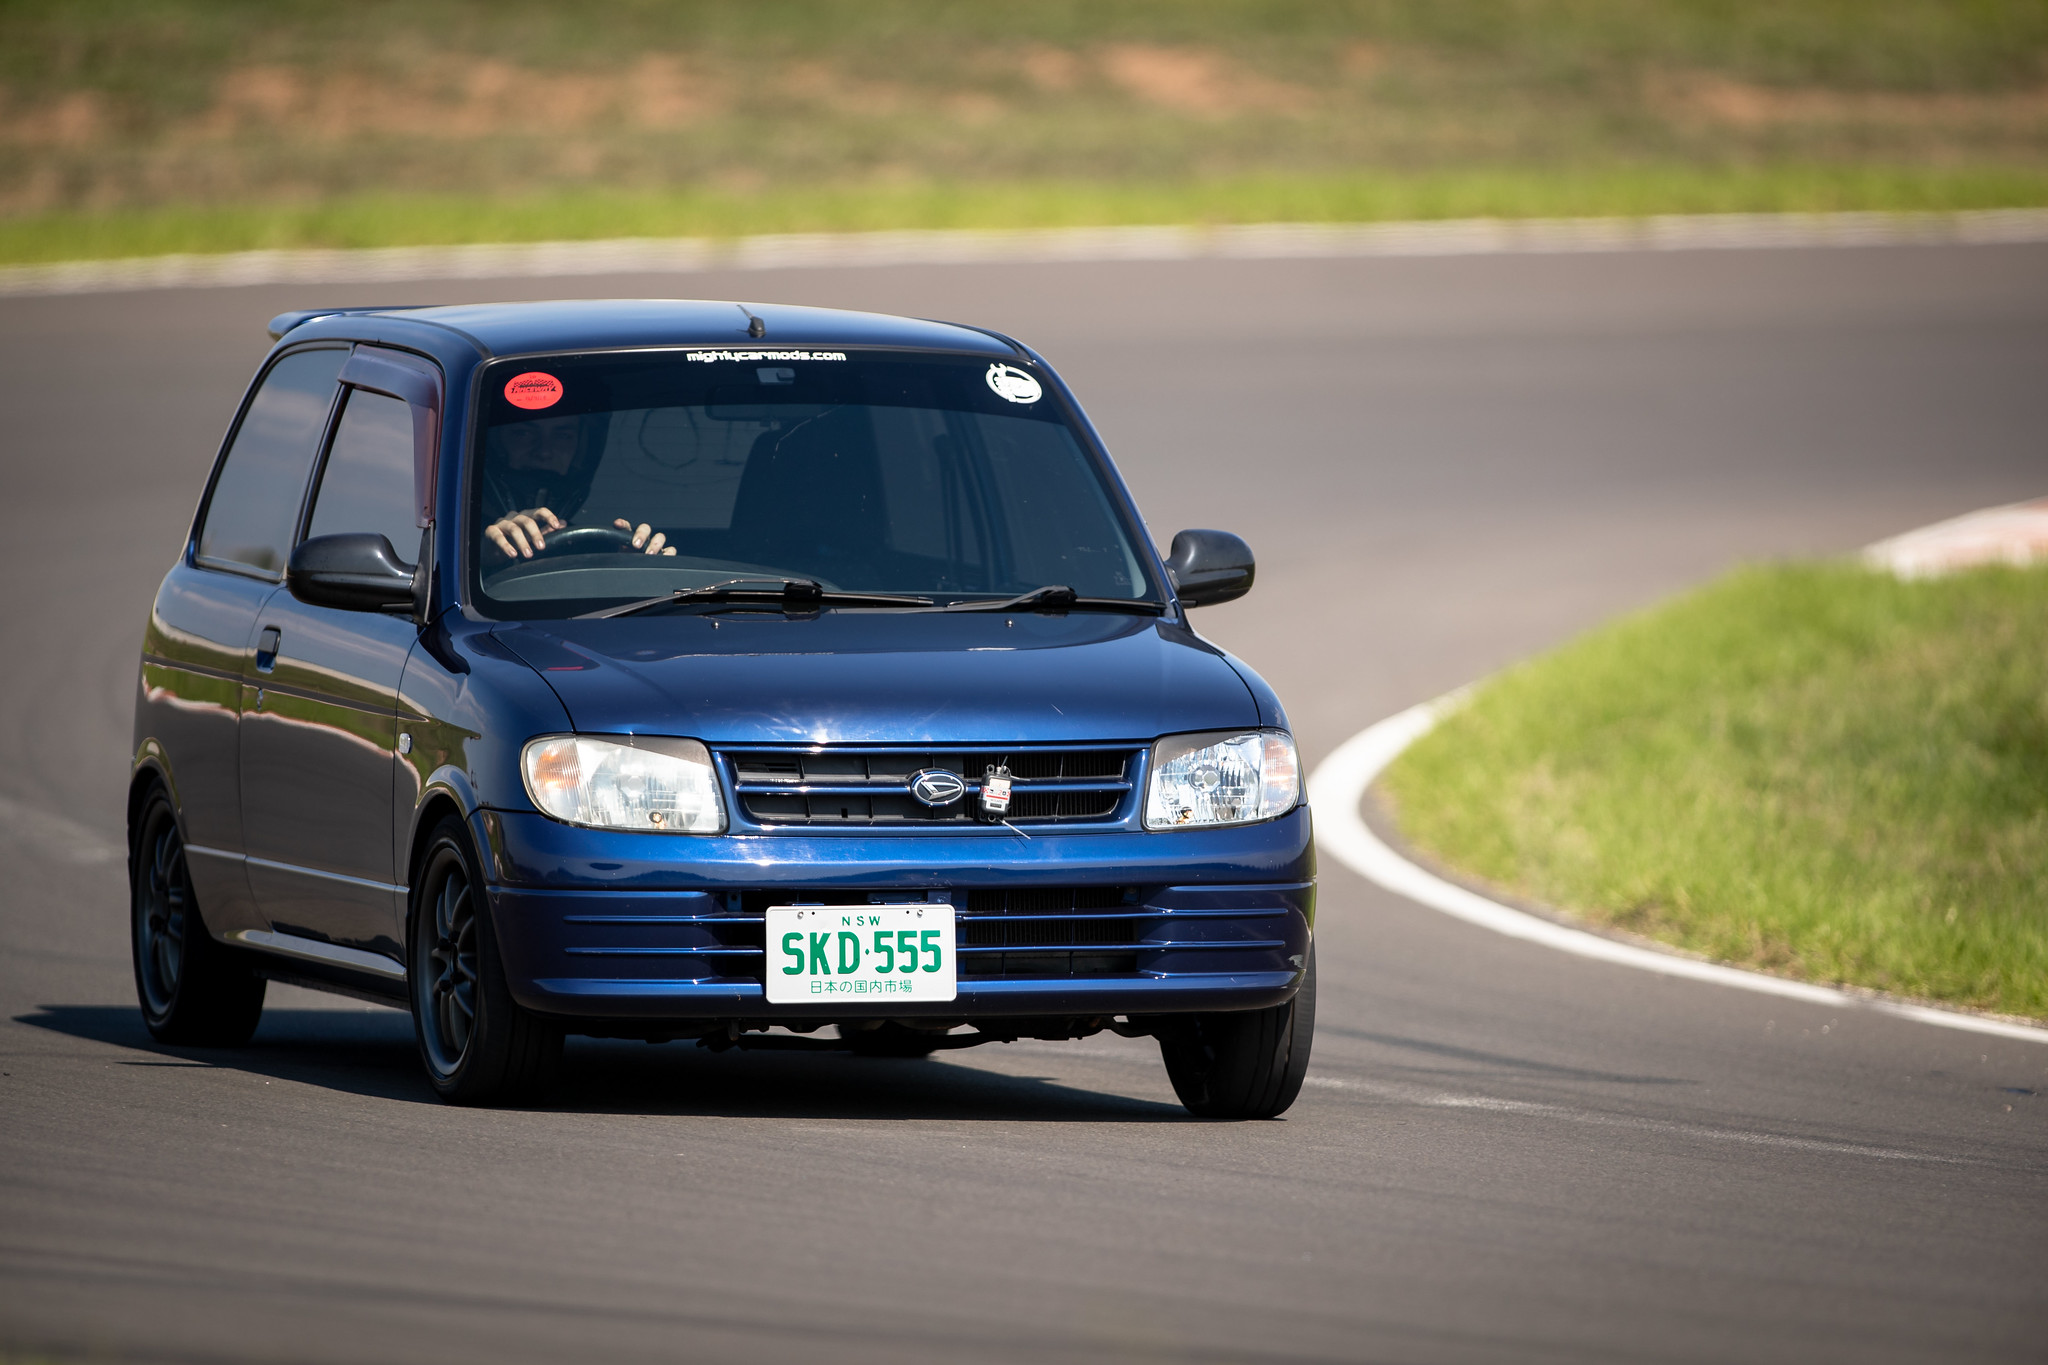
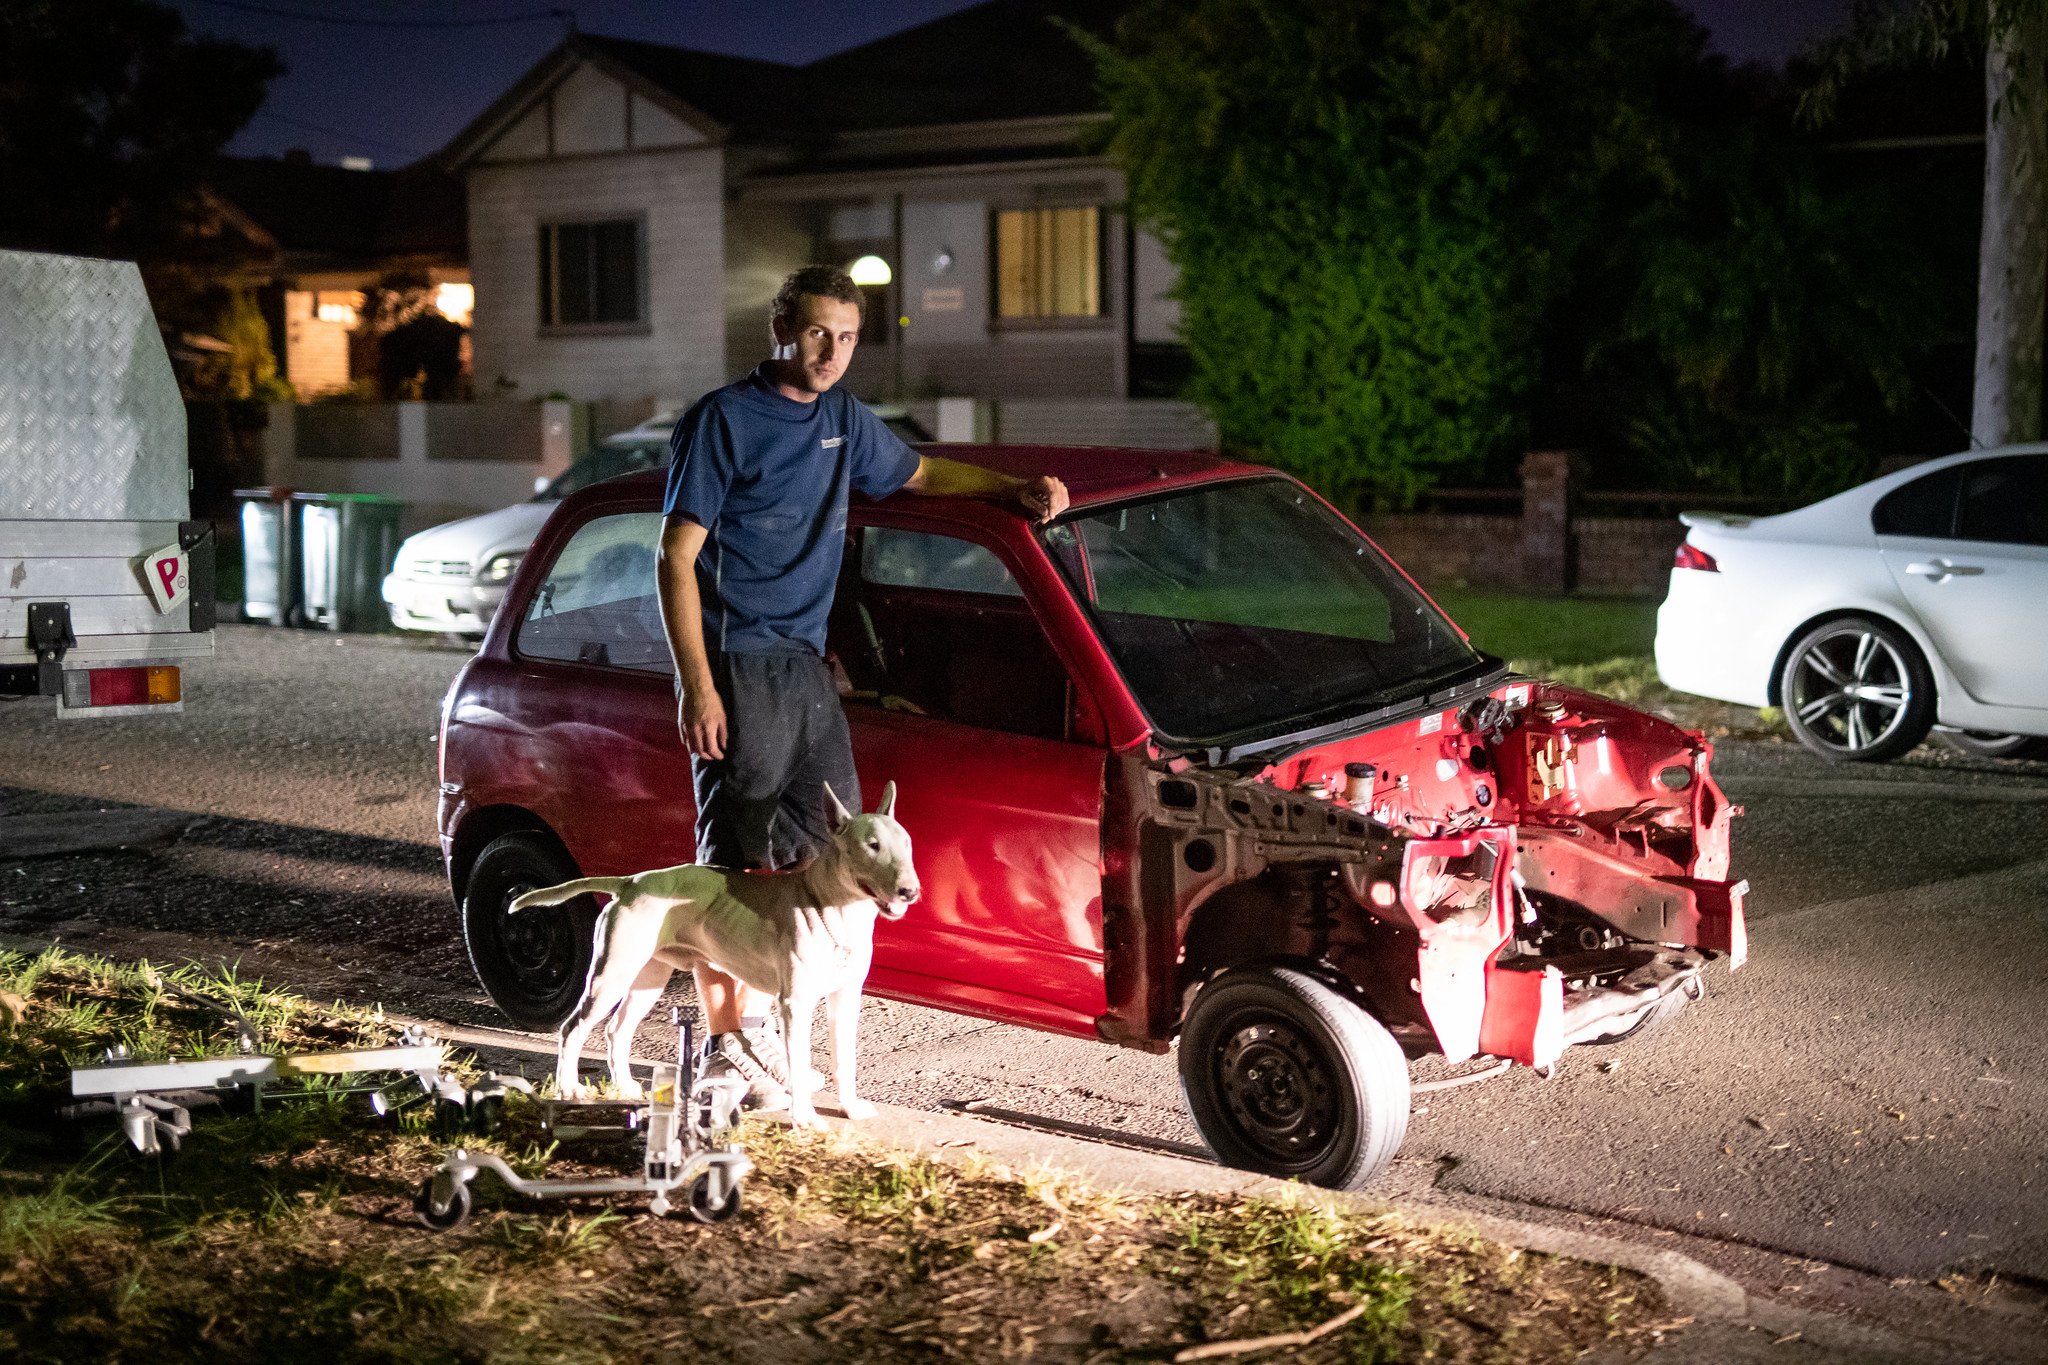
While shooting some of my mates cars over the weekend I got one of them to jump into my car so I could get some roller shots of it. Never had a chance earlier.


8 Likes
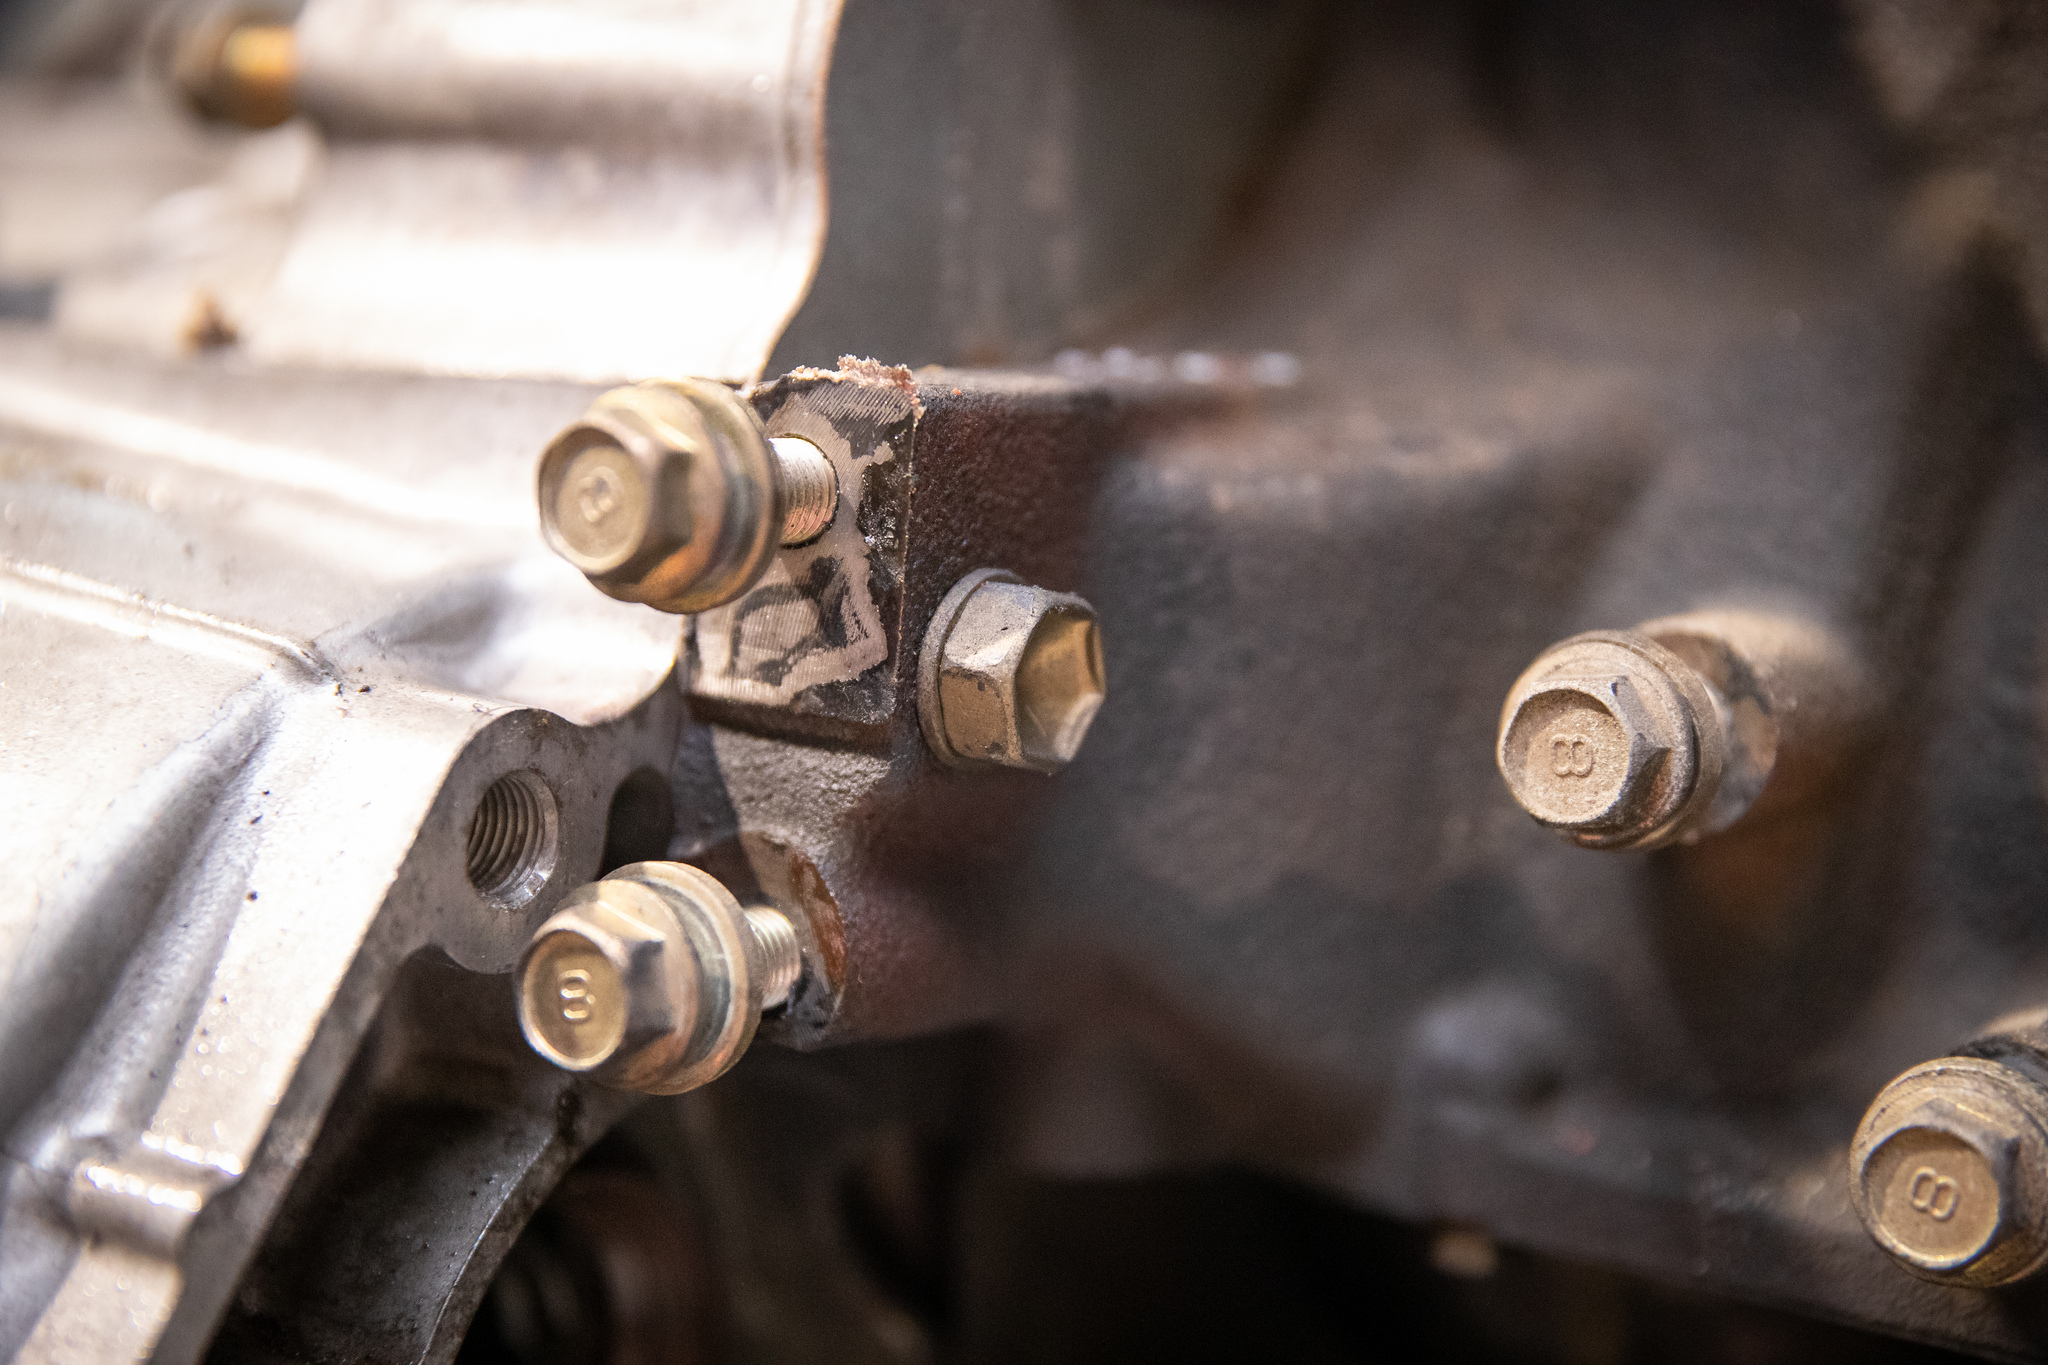
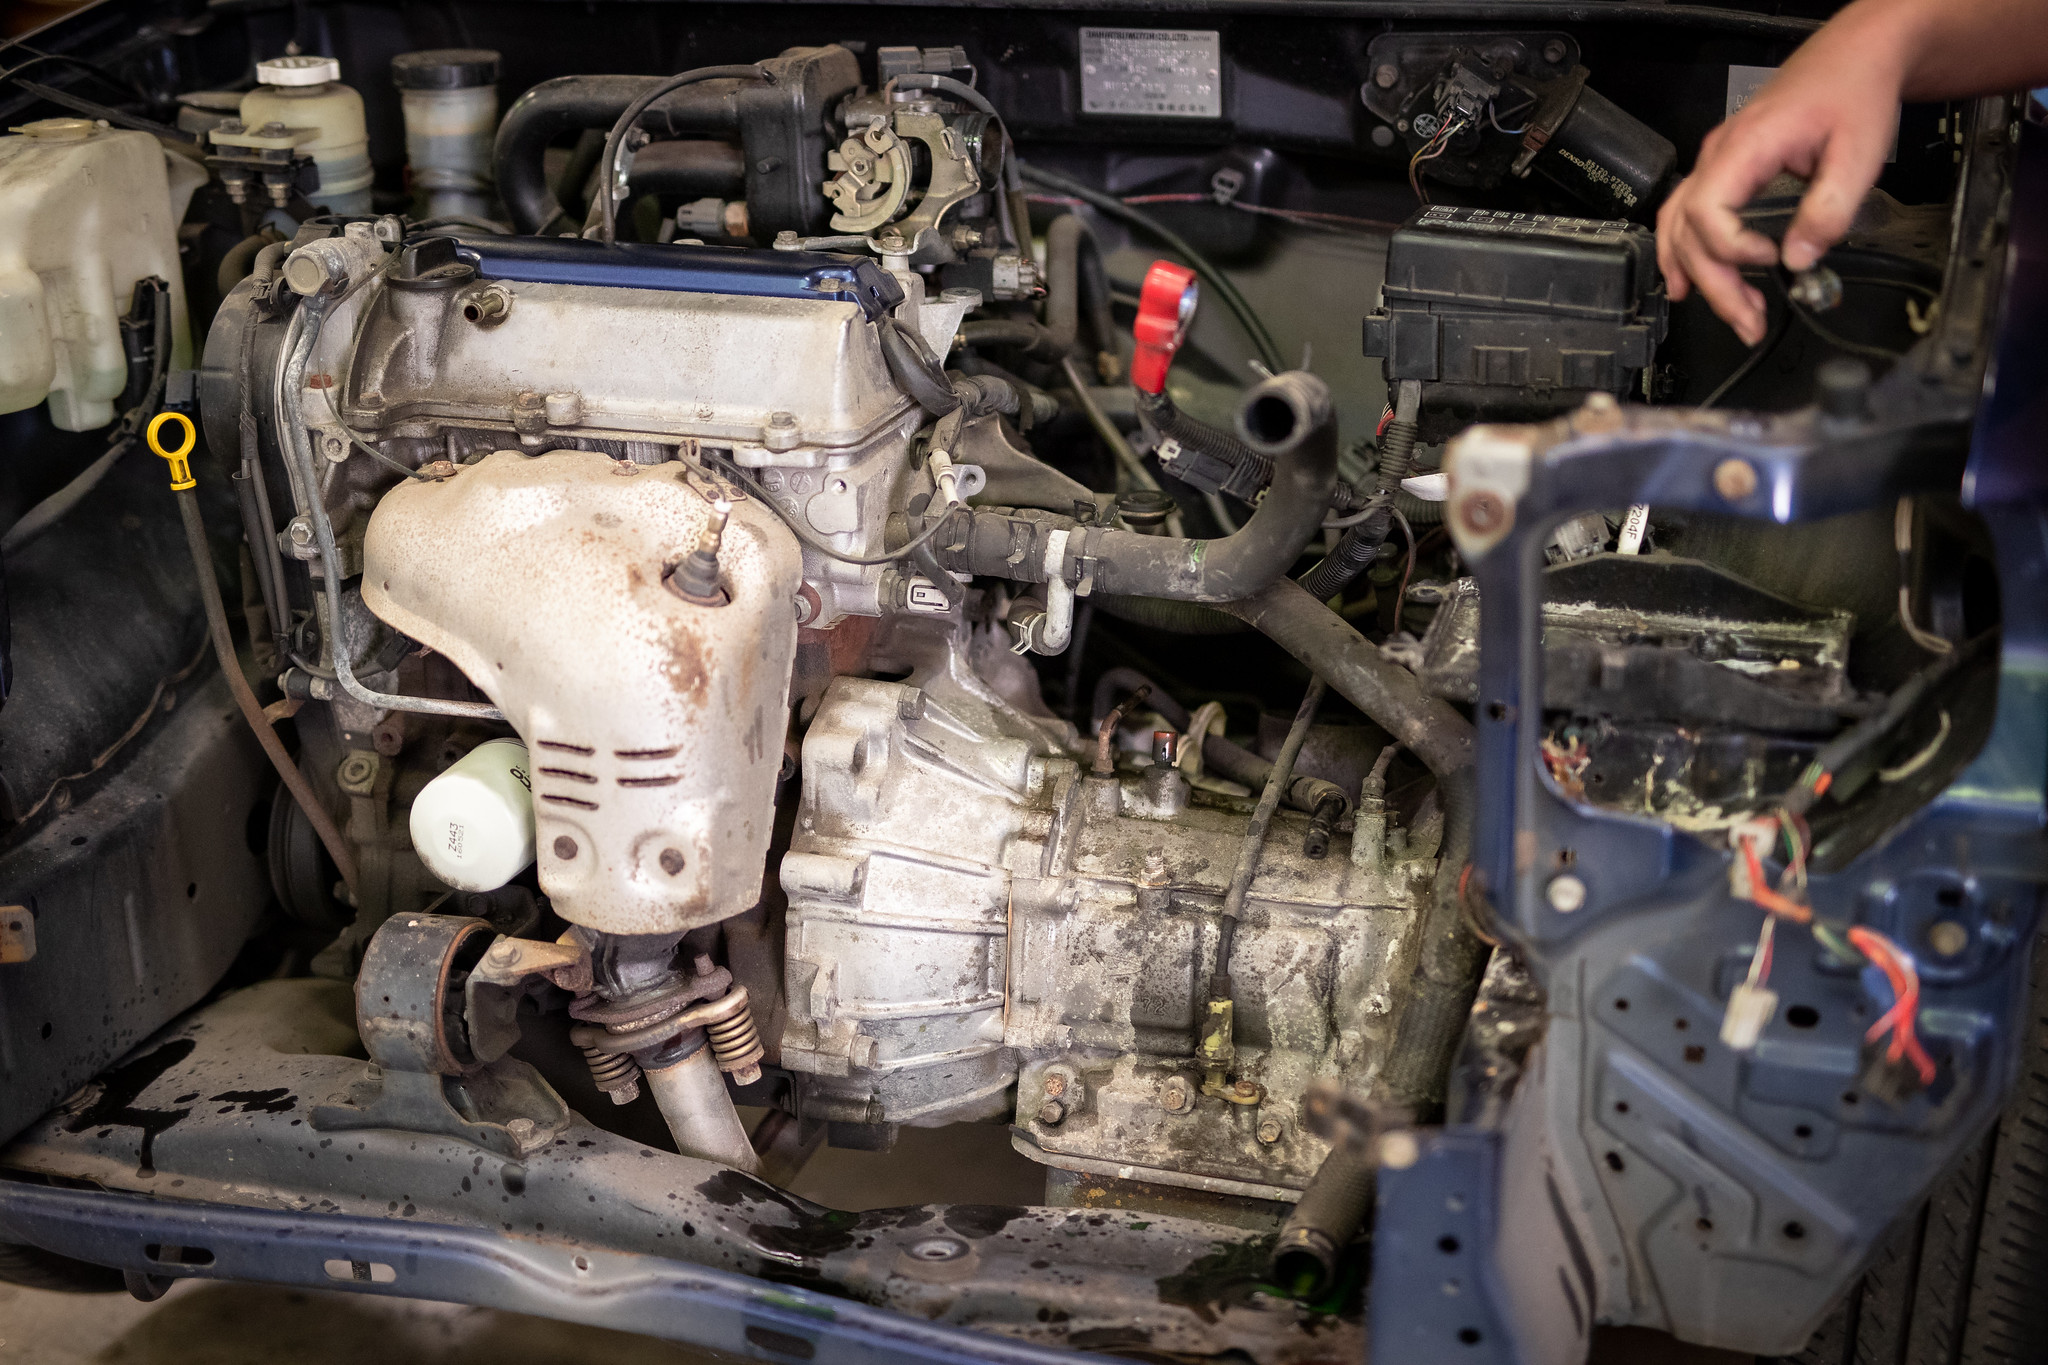
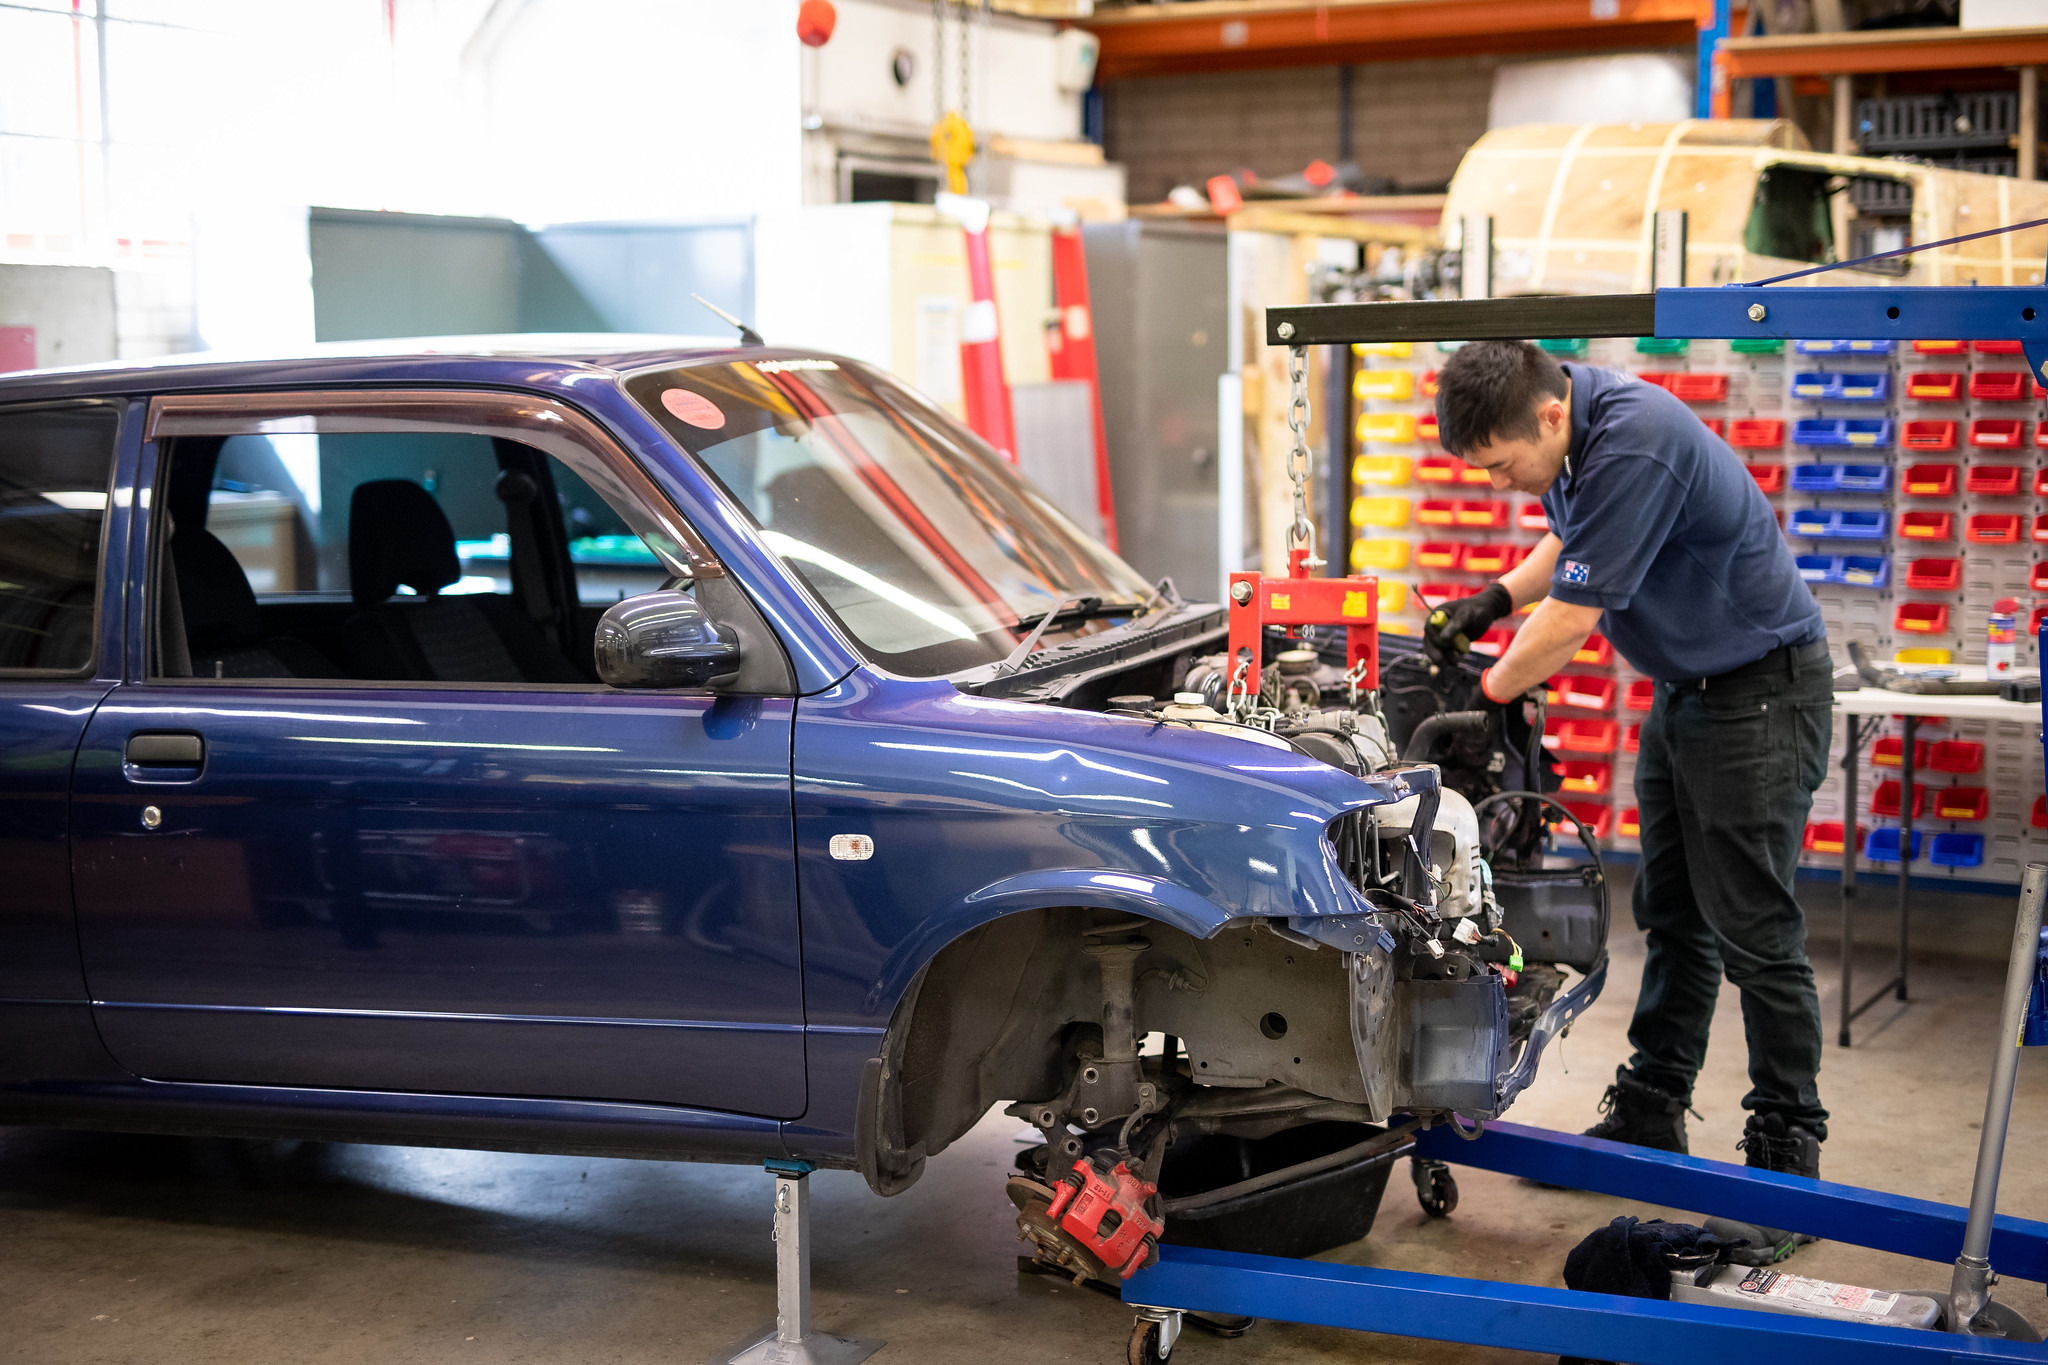
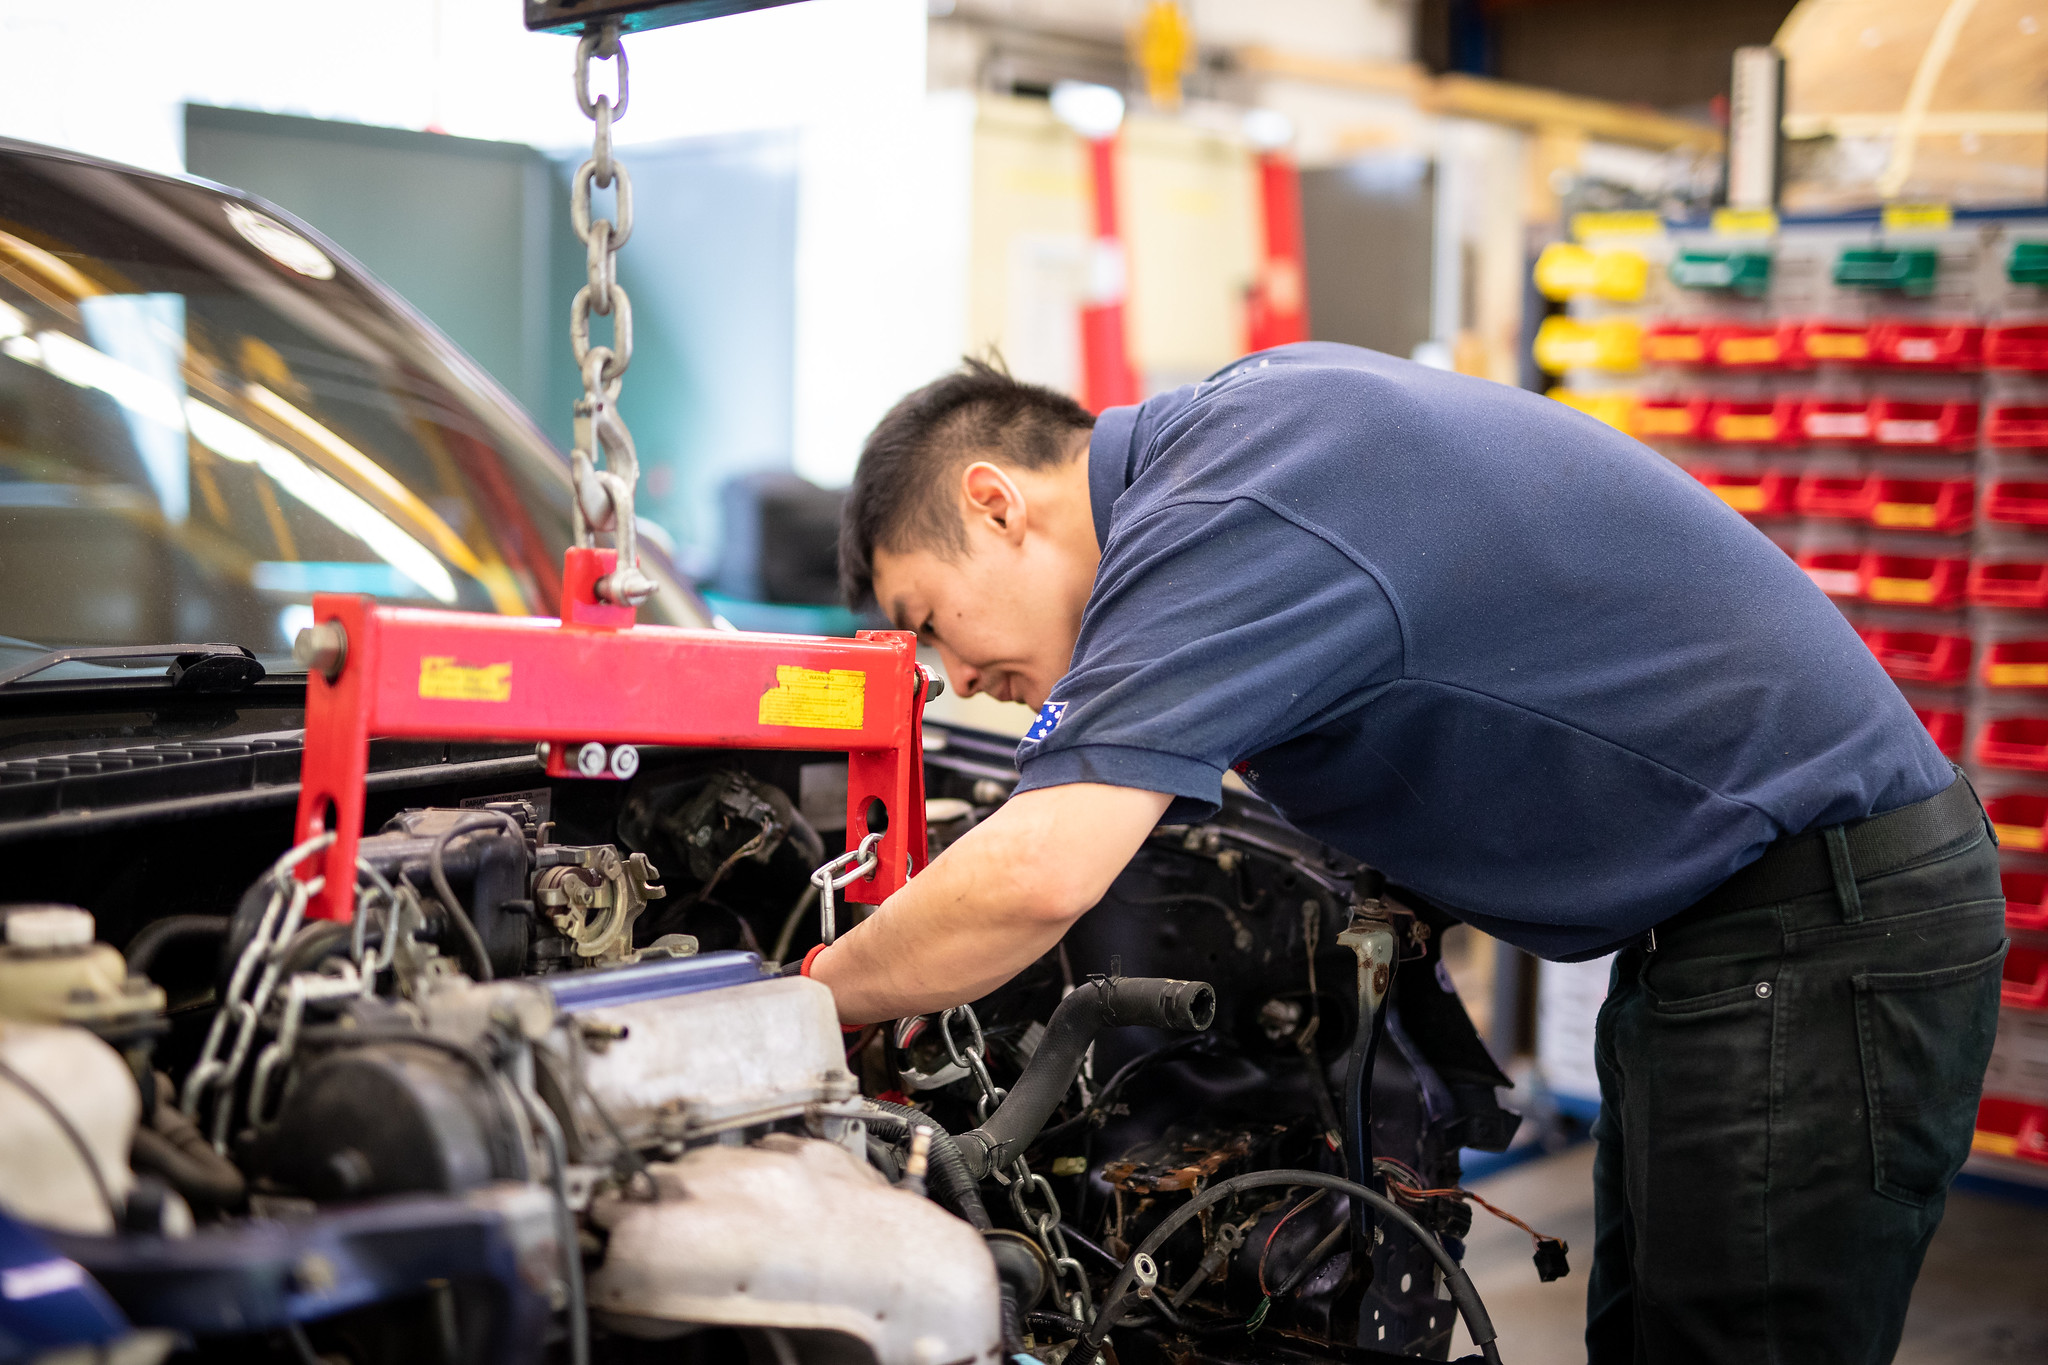
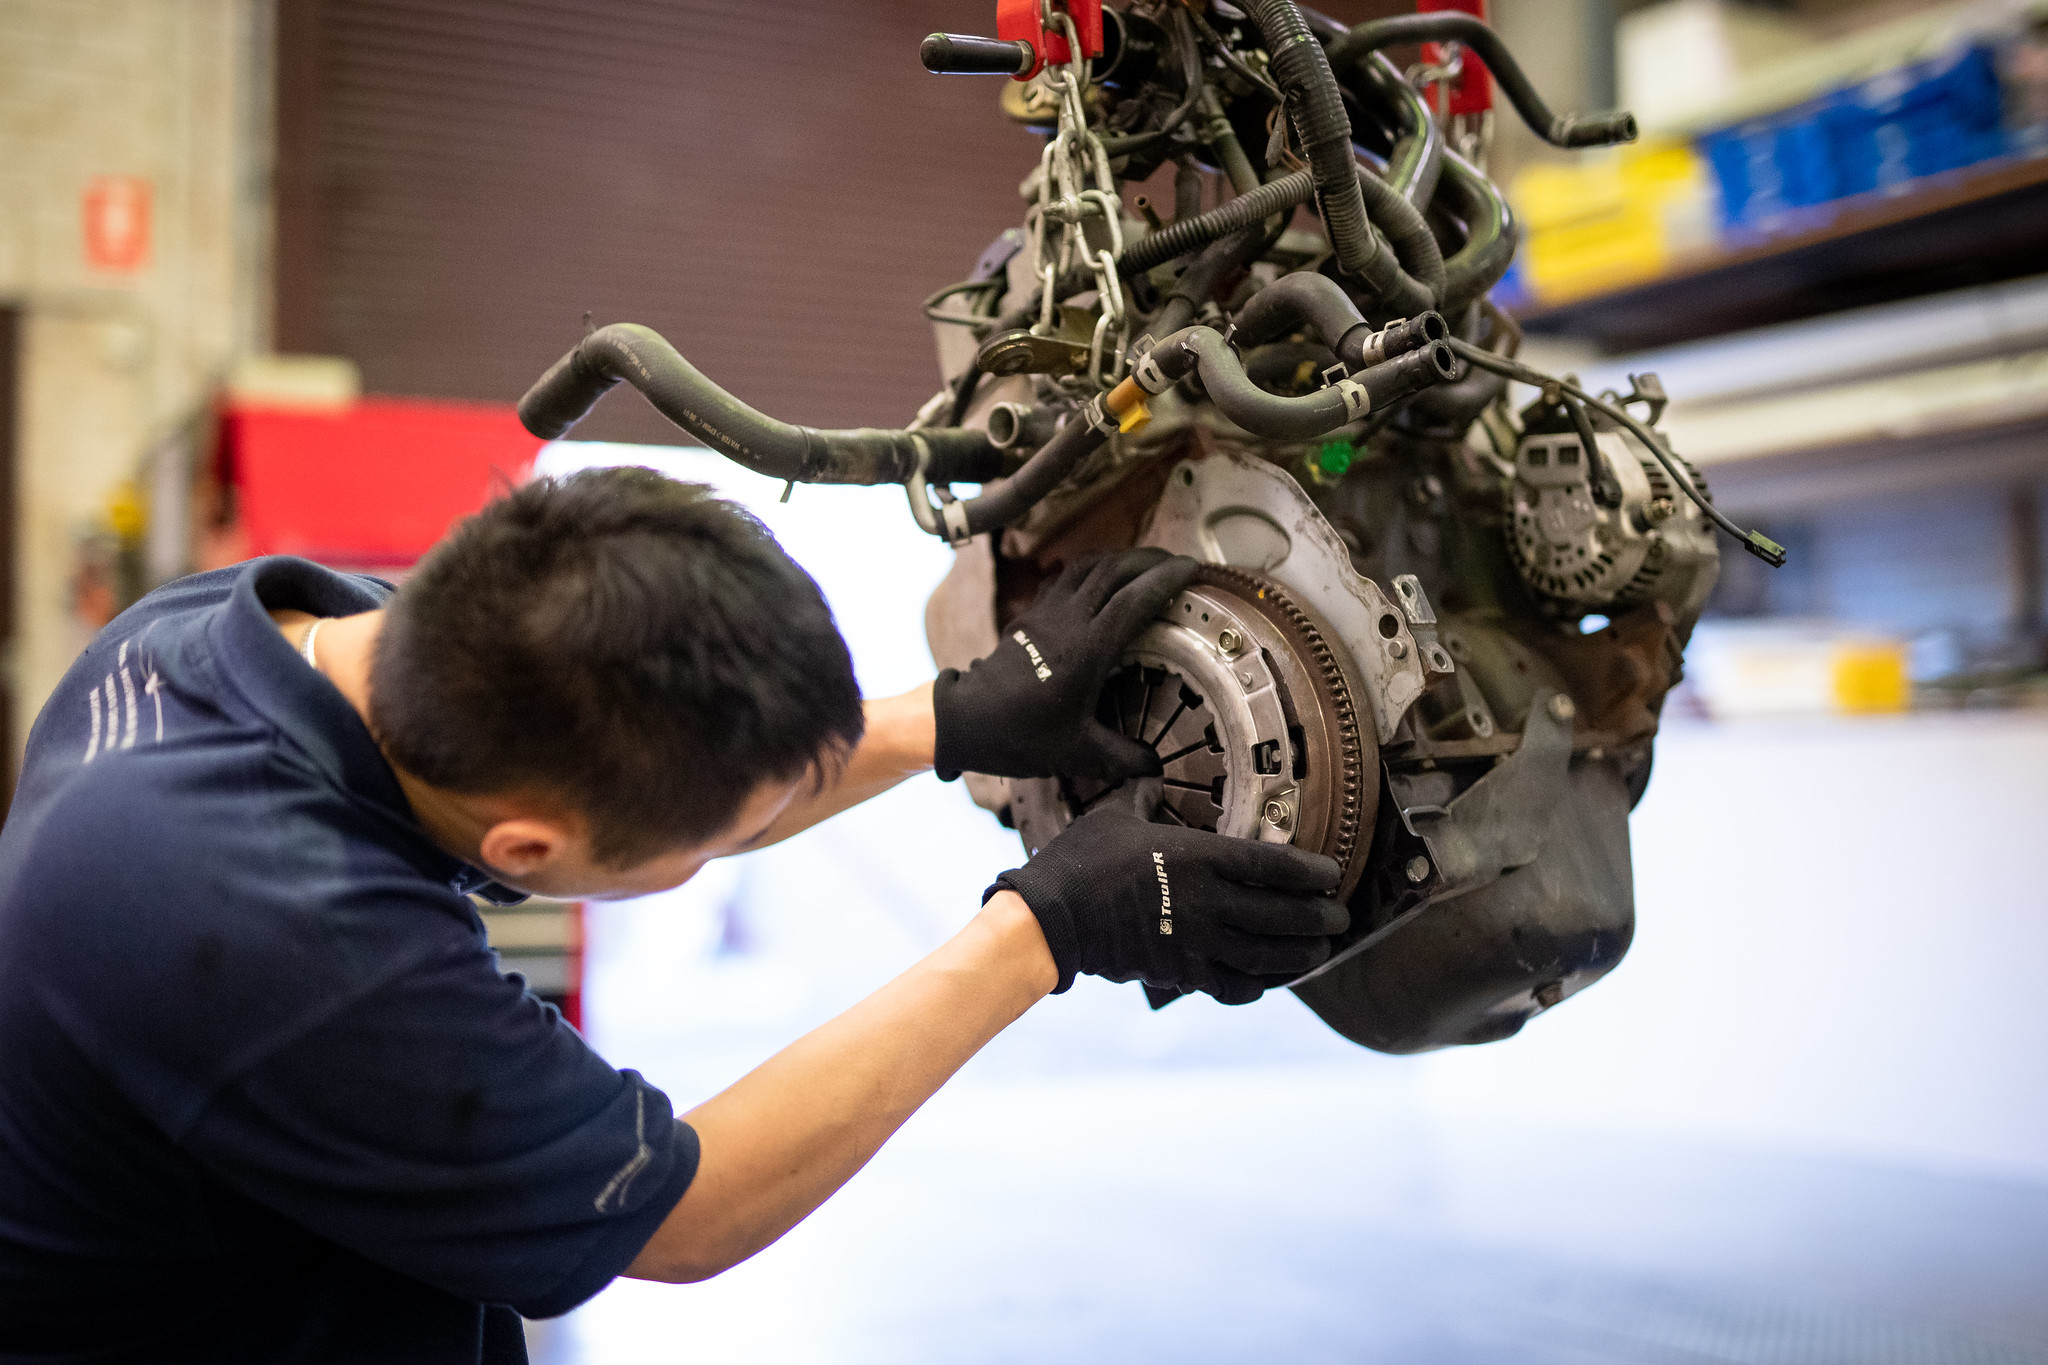
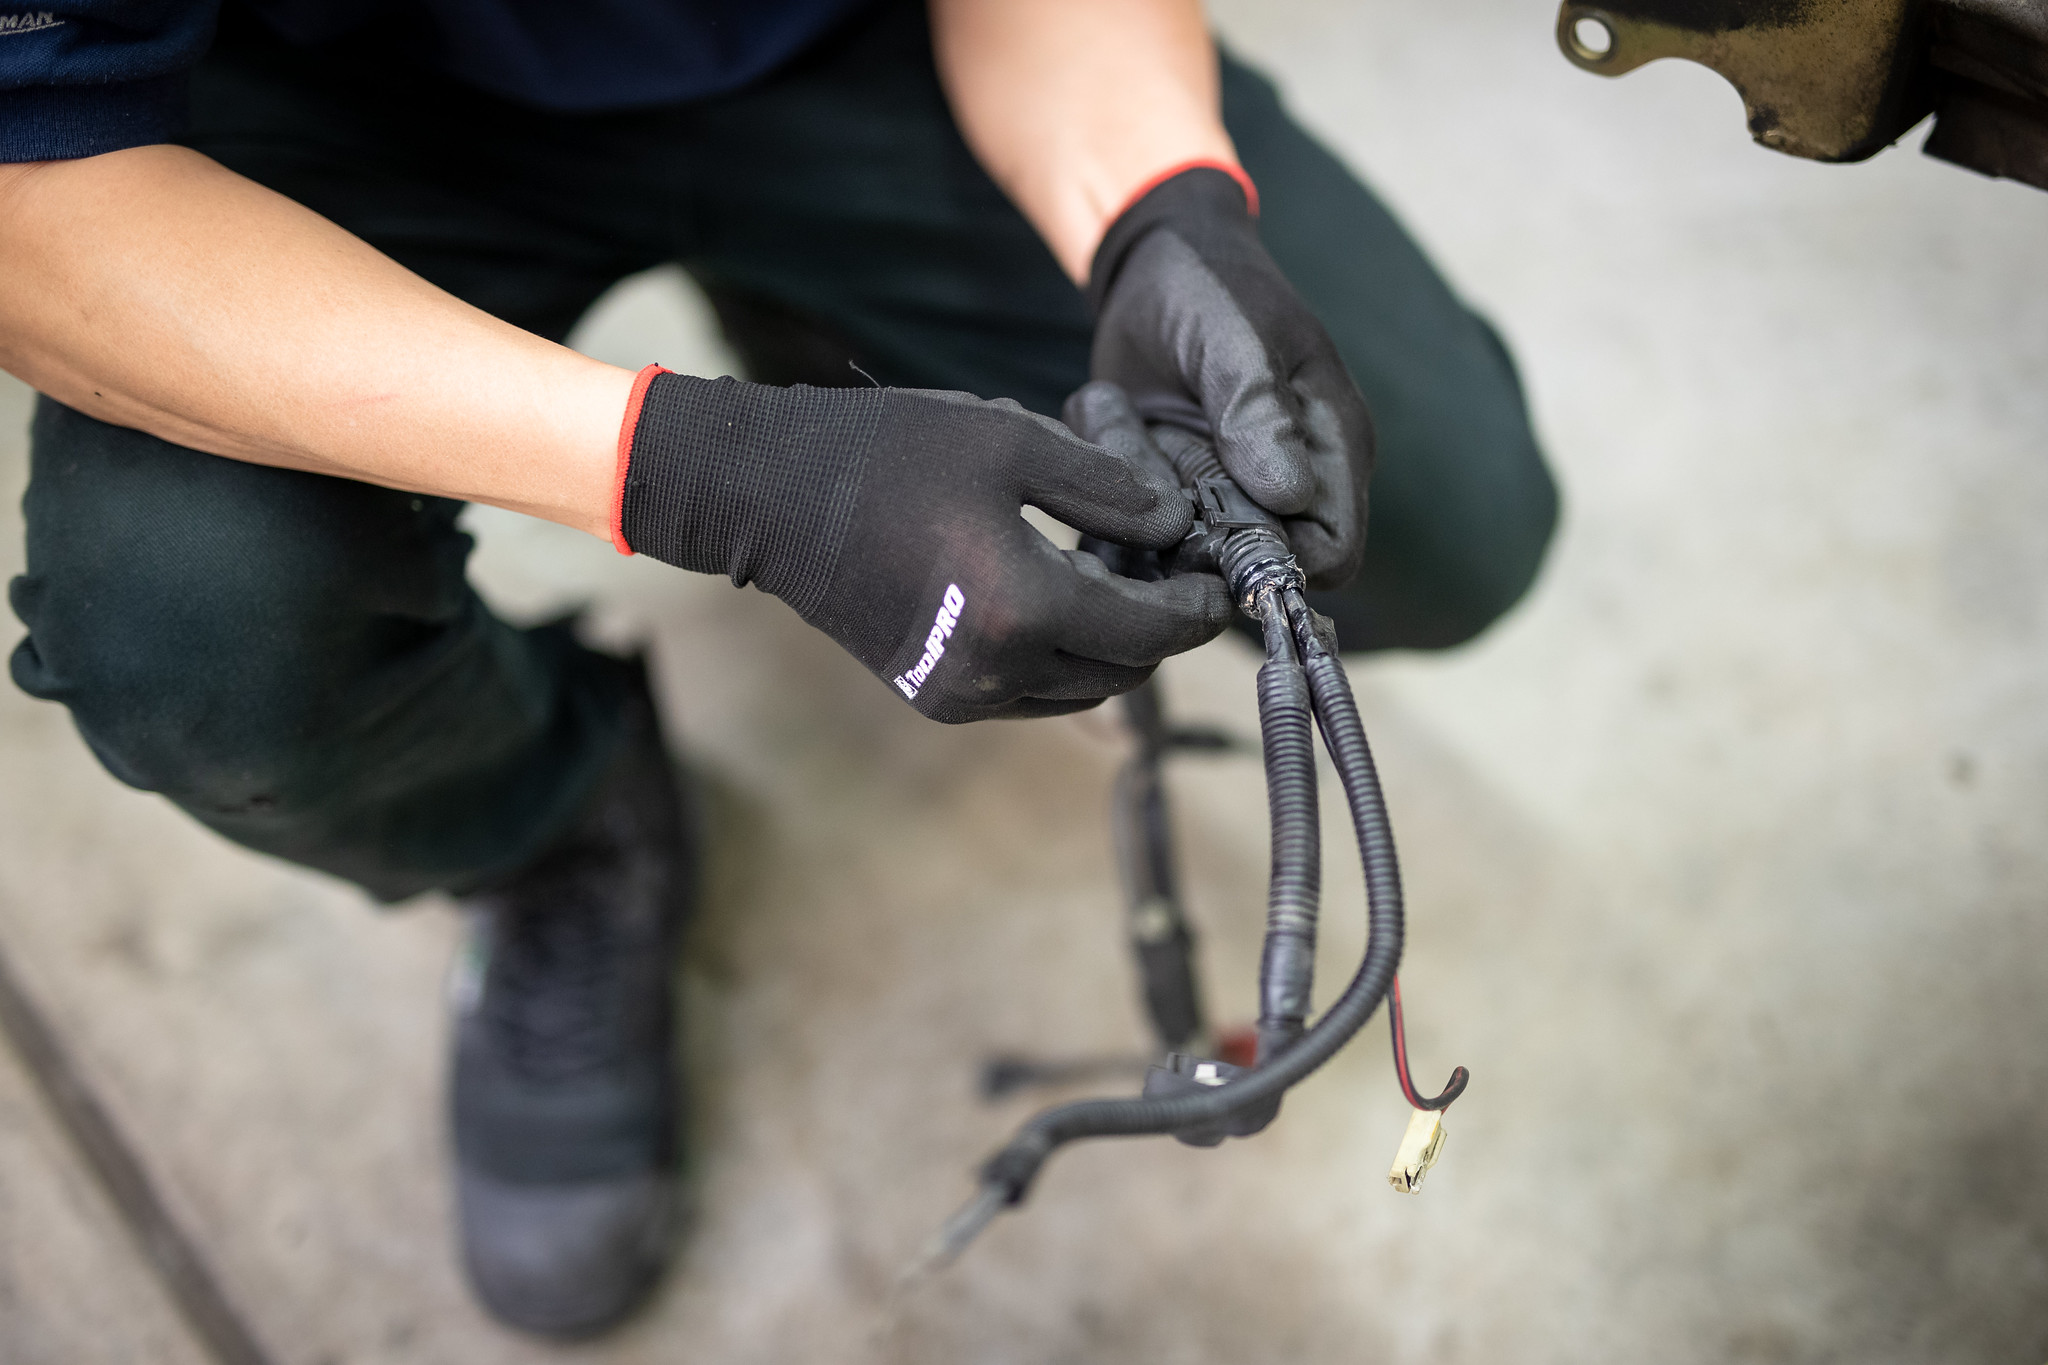
March 2019: Today was finally the day to pull the engine out. Before though, there was a couple little bits that still needed to come out. Clutch cable needed to be moved out of the way.


For anyone pulling an EJ out, something to remember, there are a few left over wires connected to the back of the alternator.

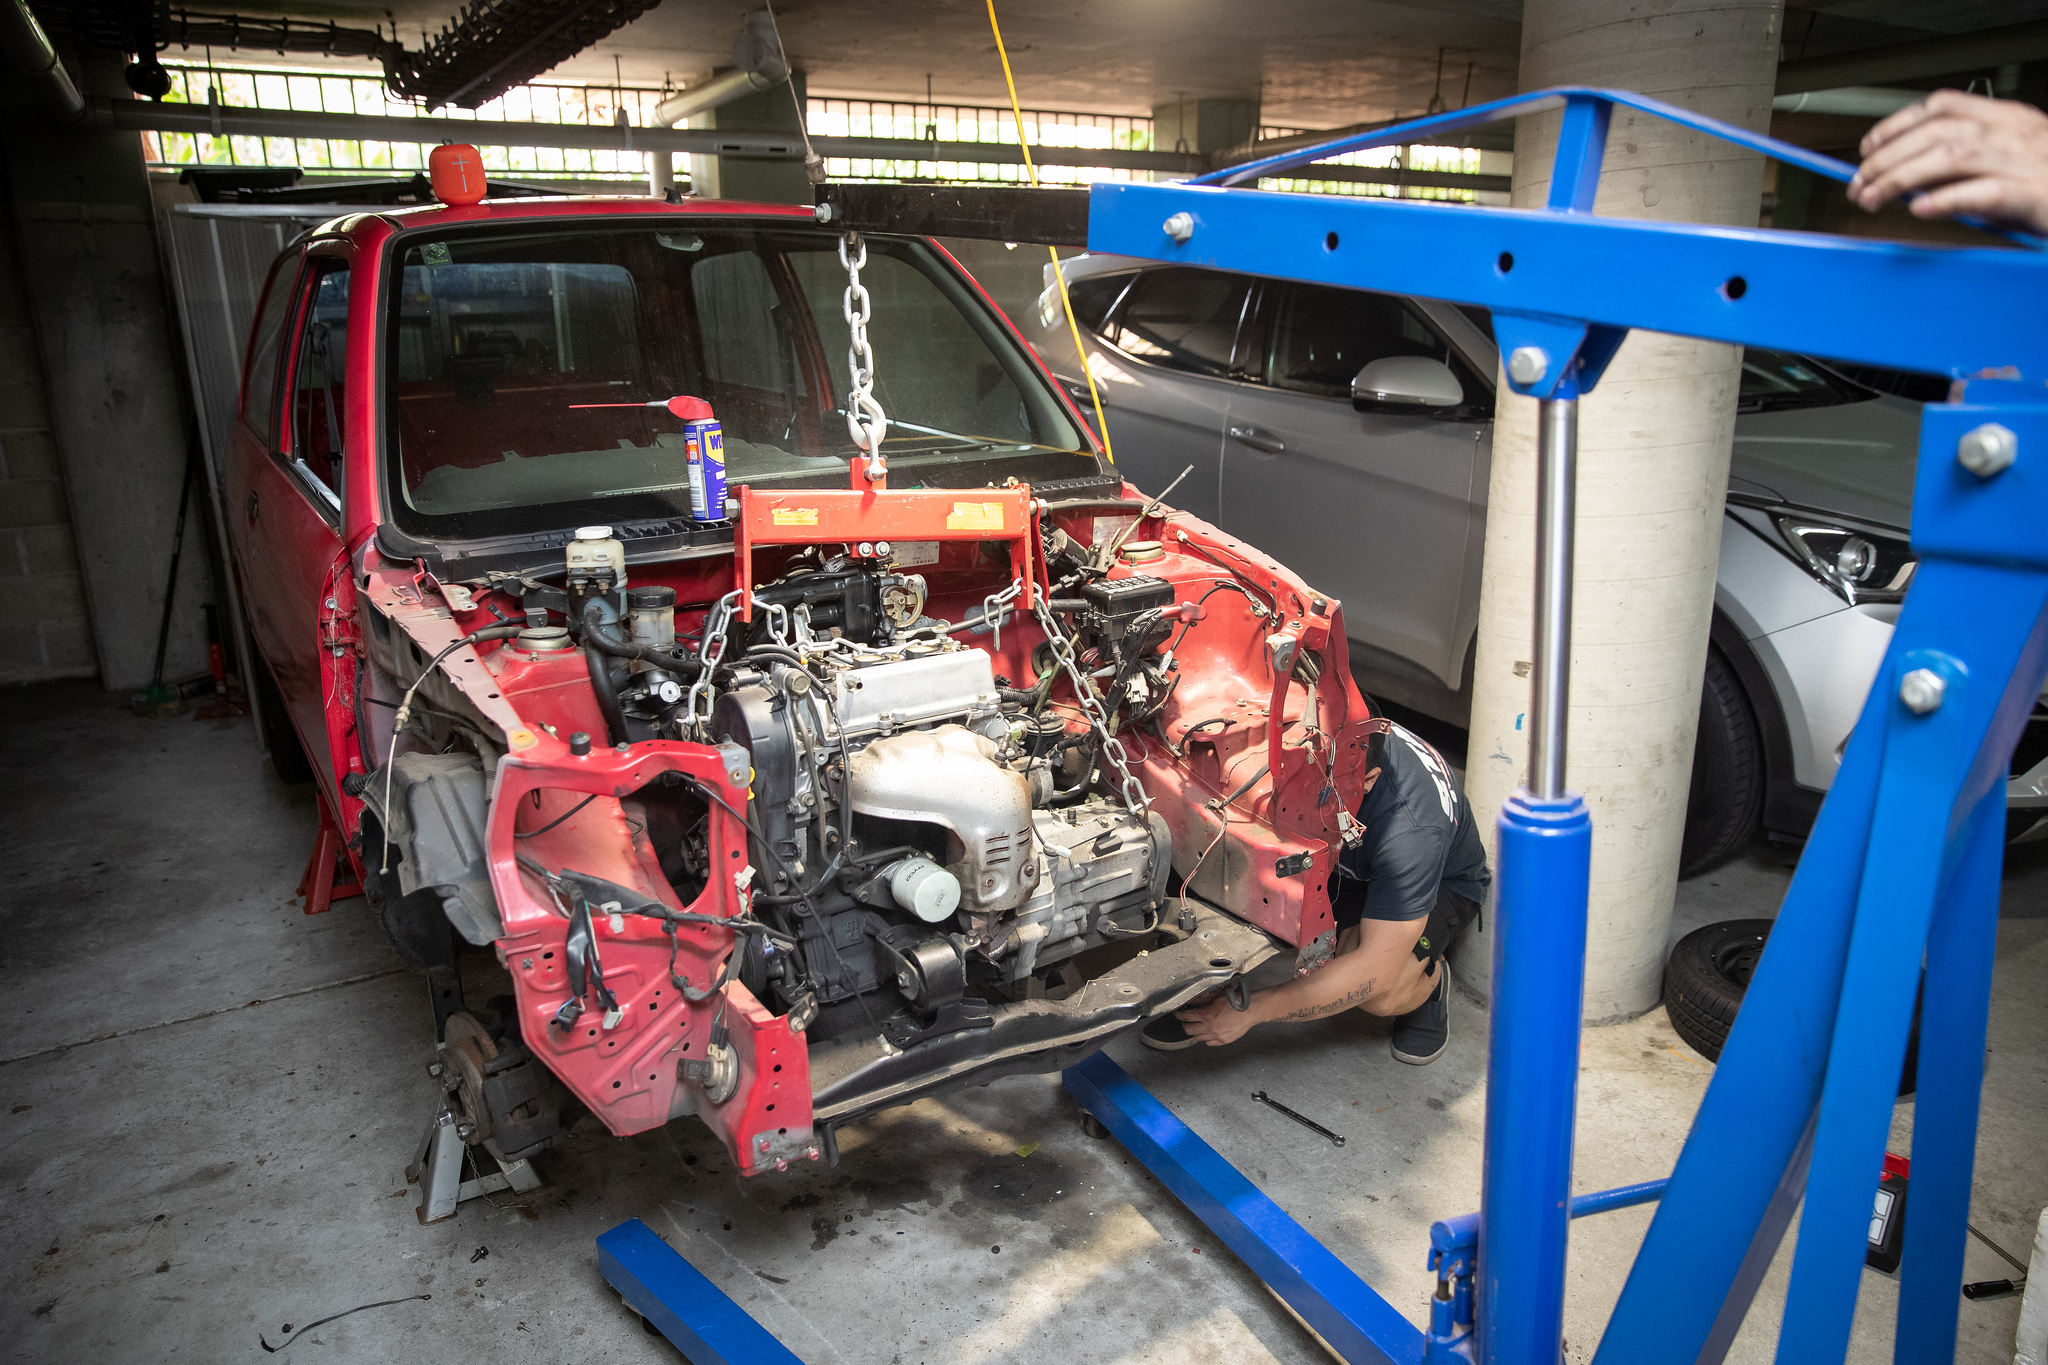
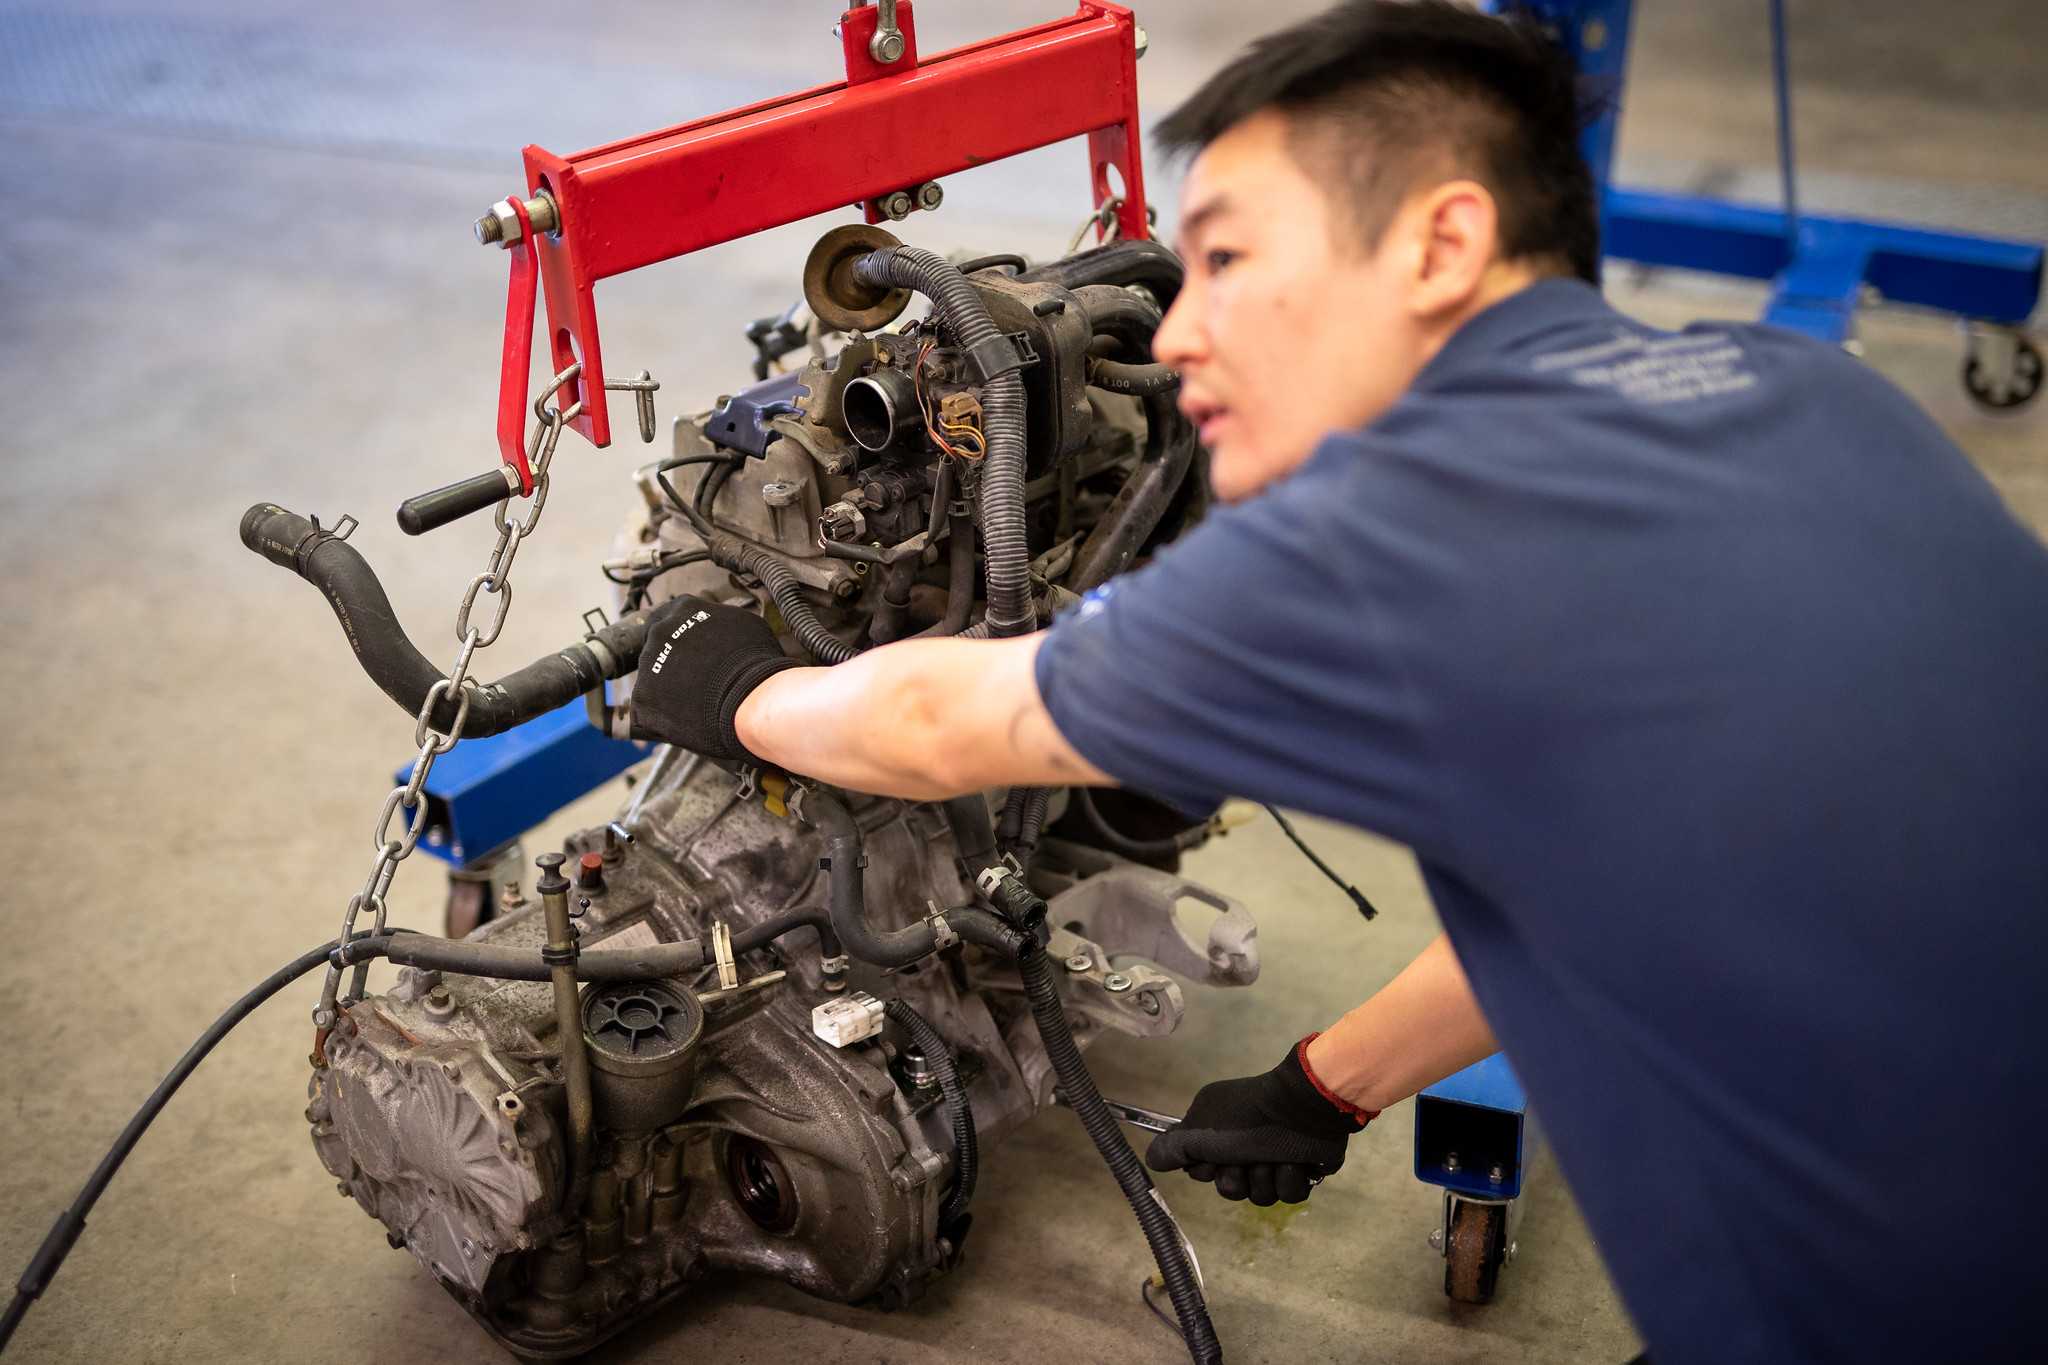
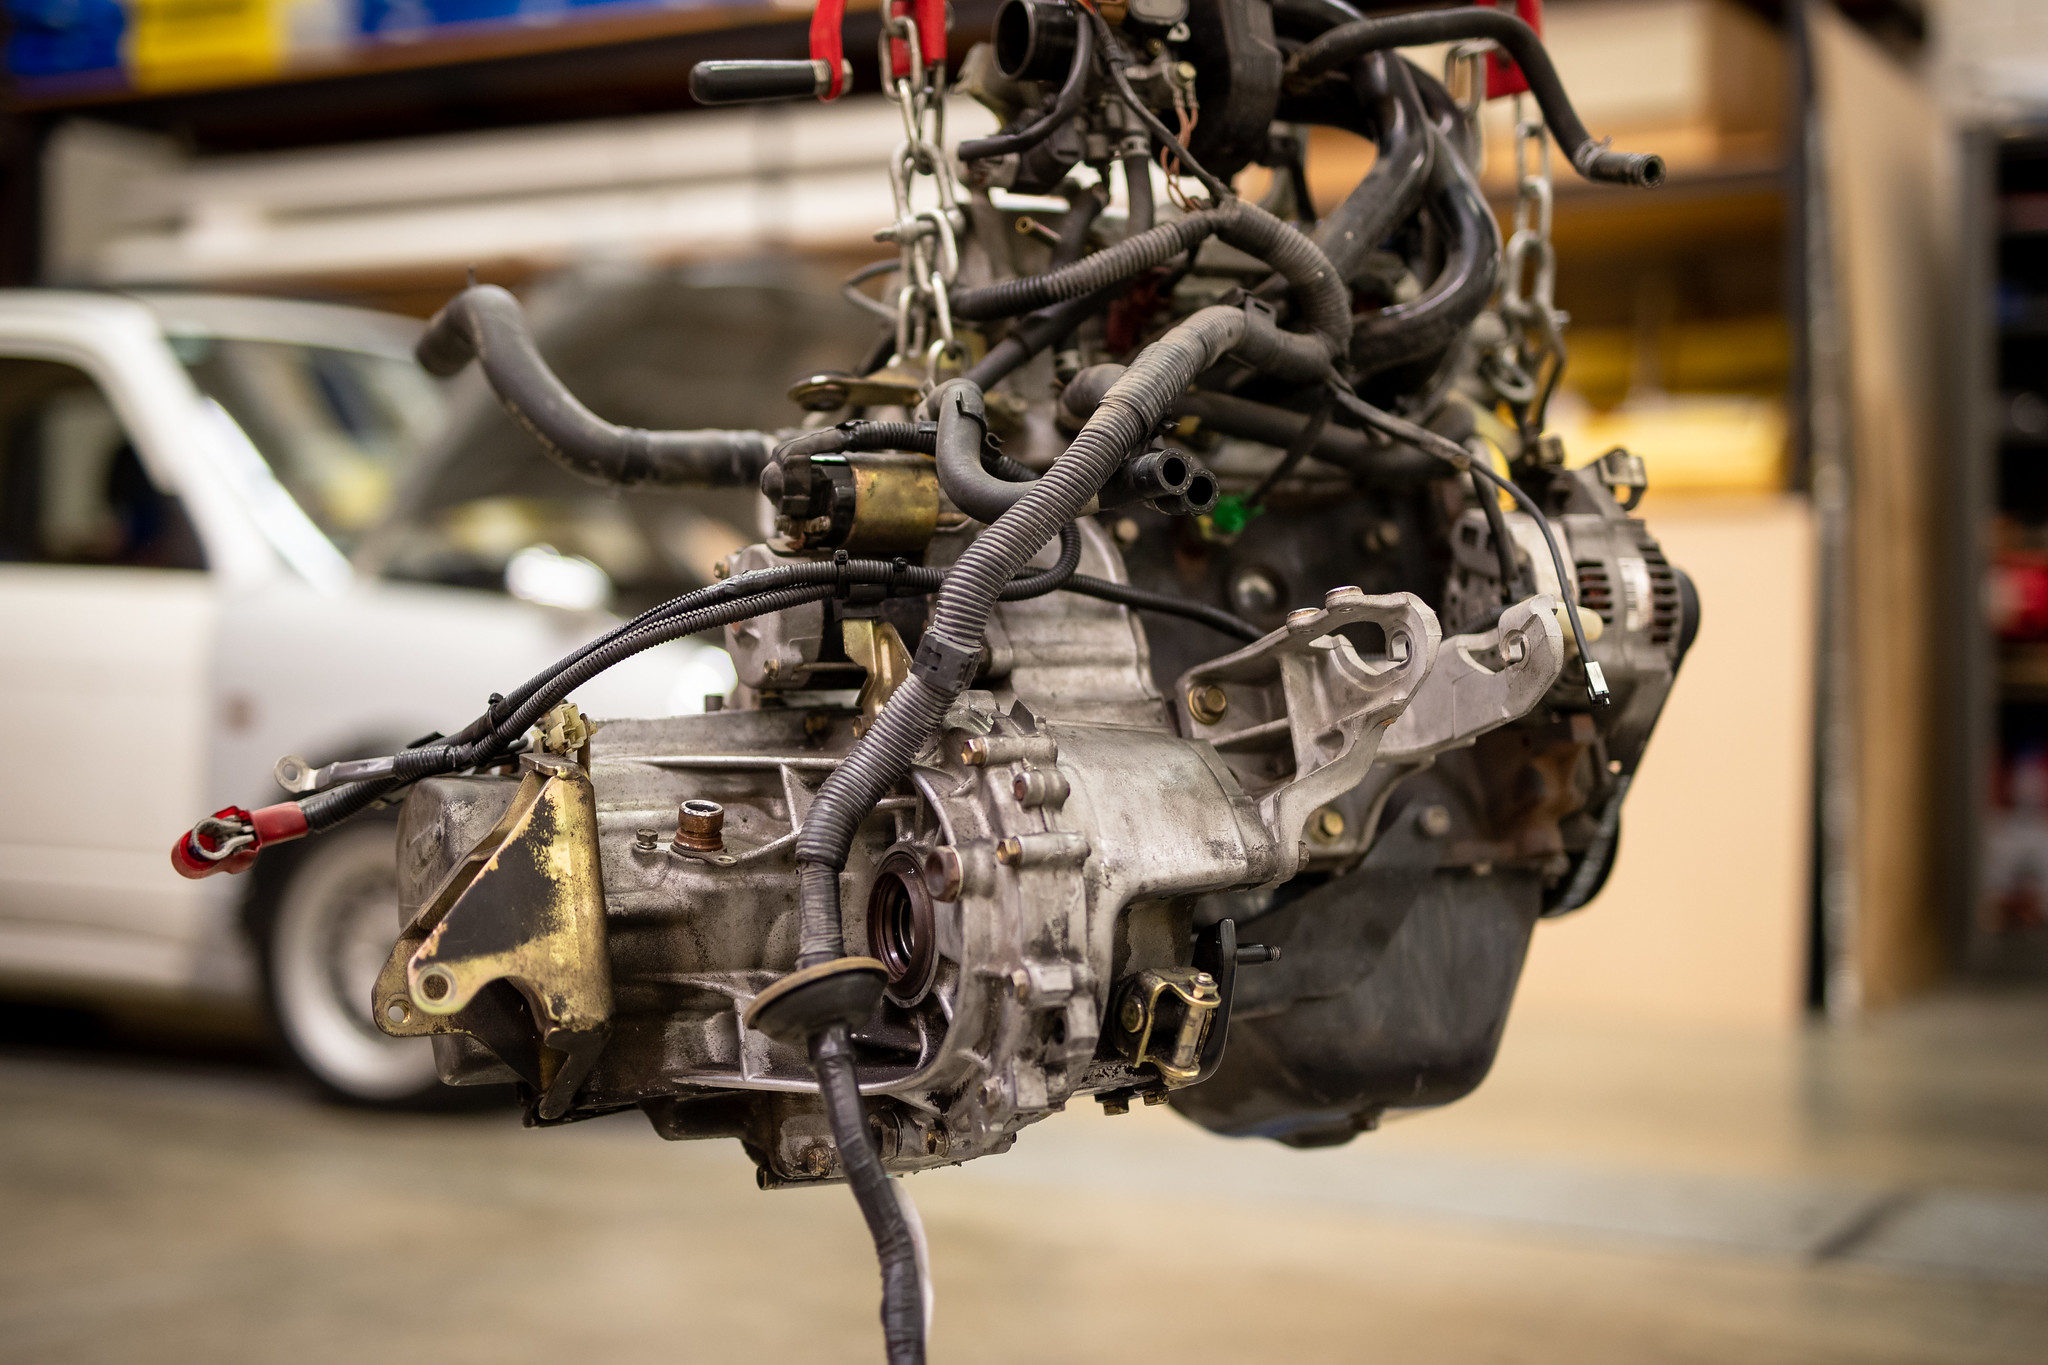
Engine was then chained up.
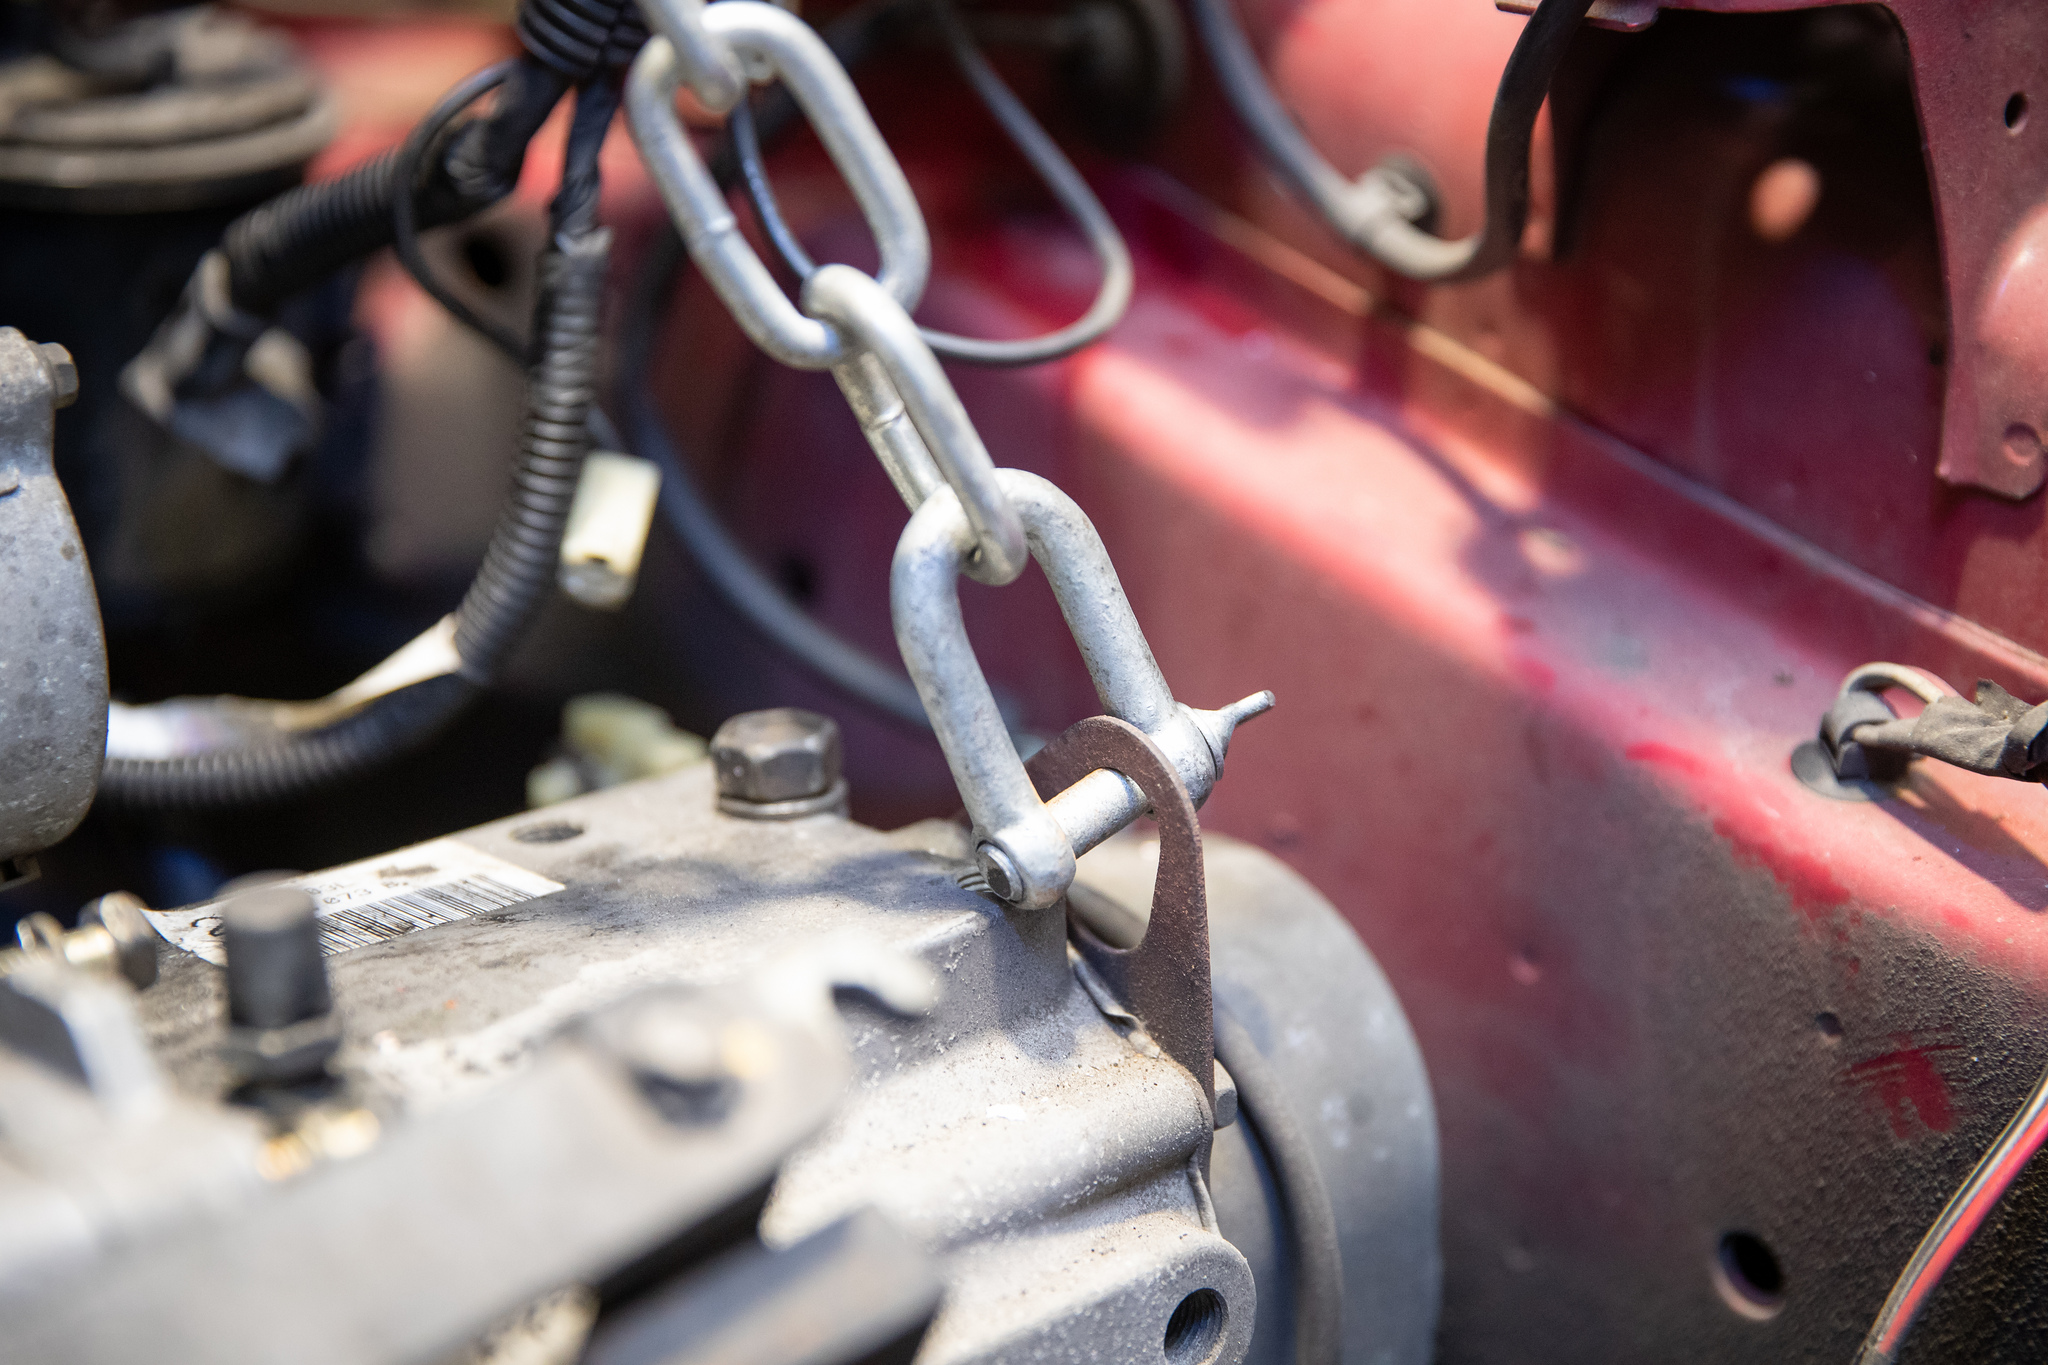
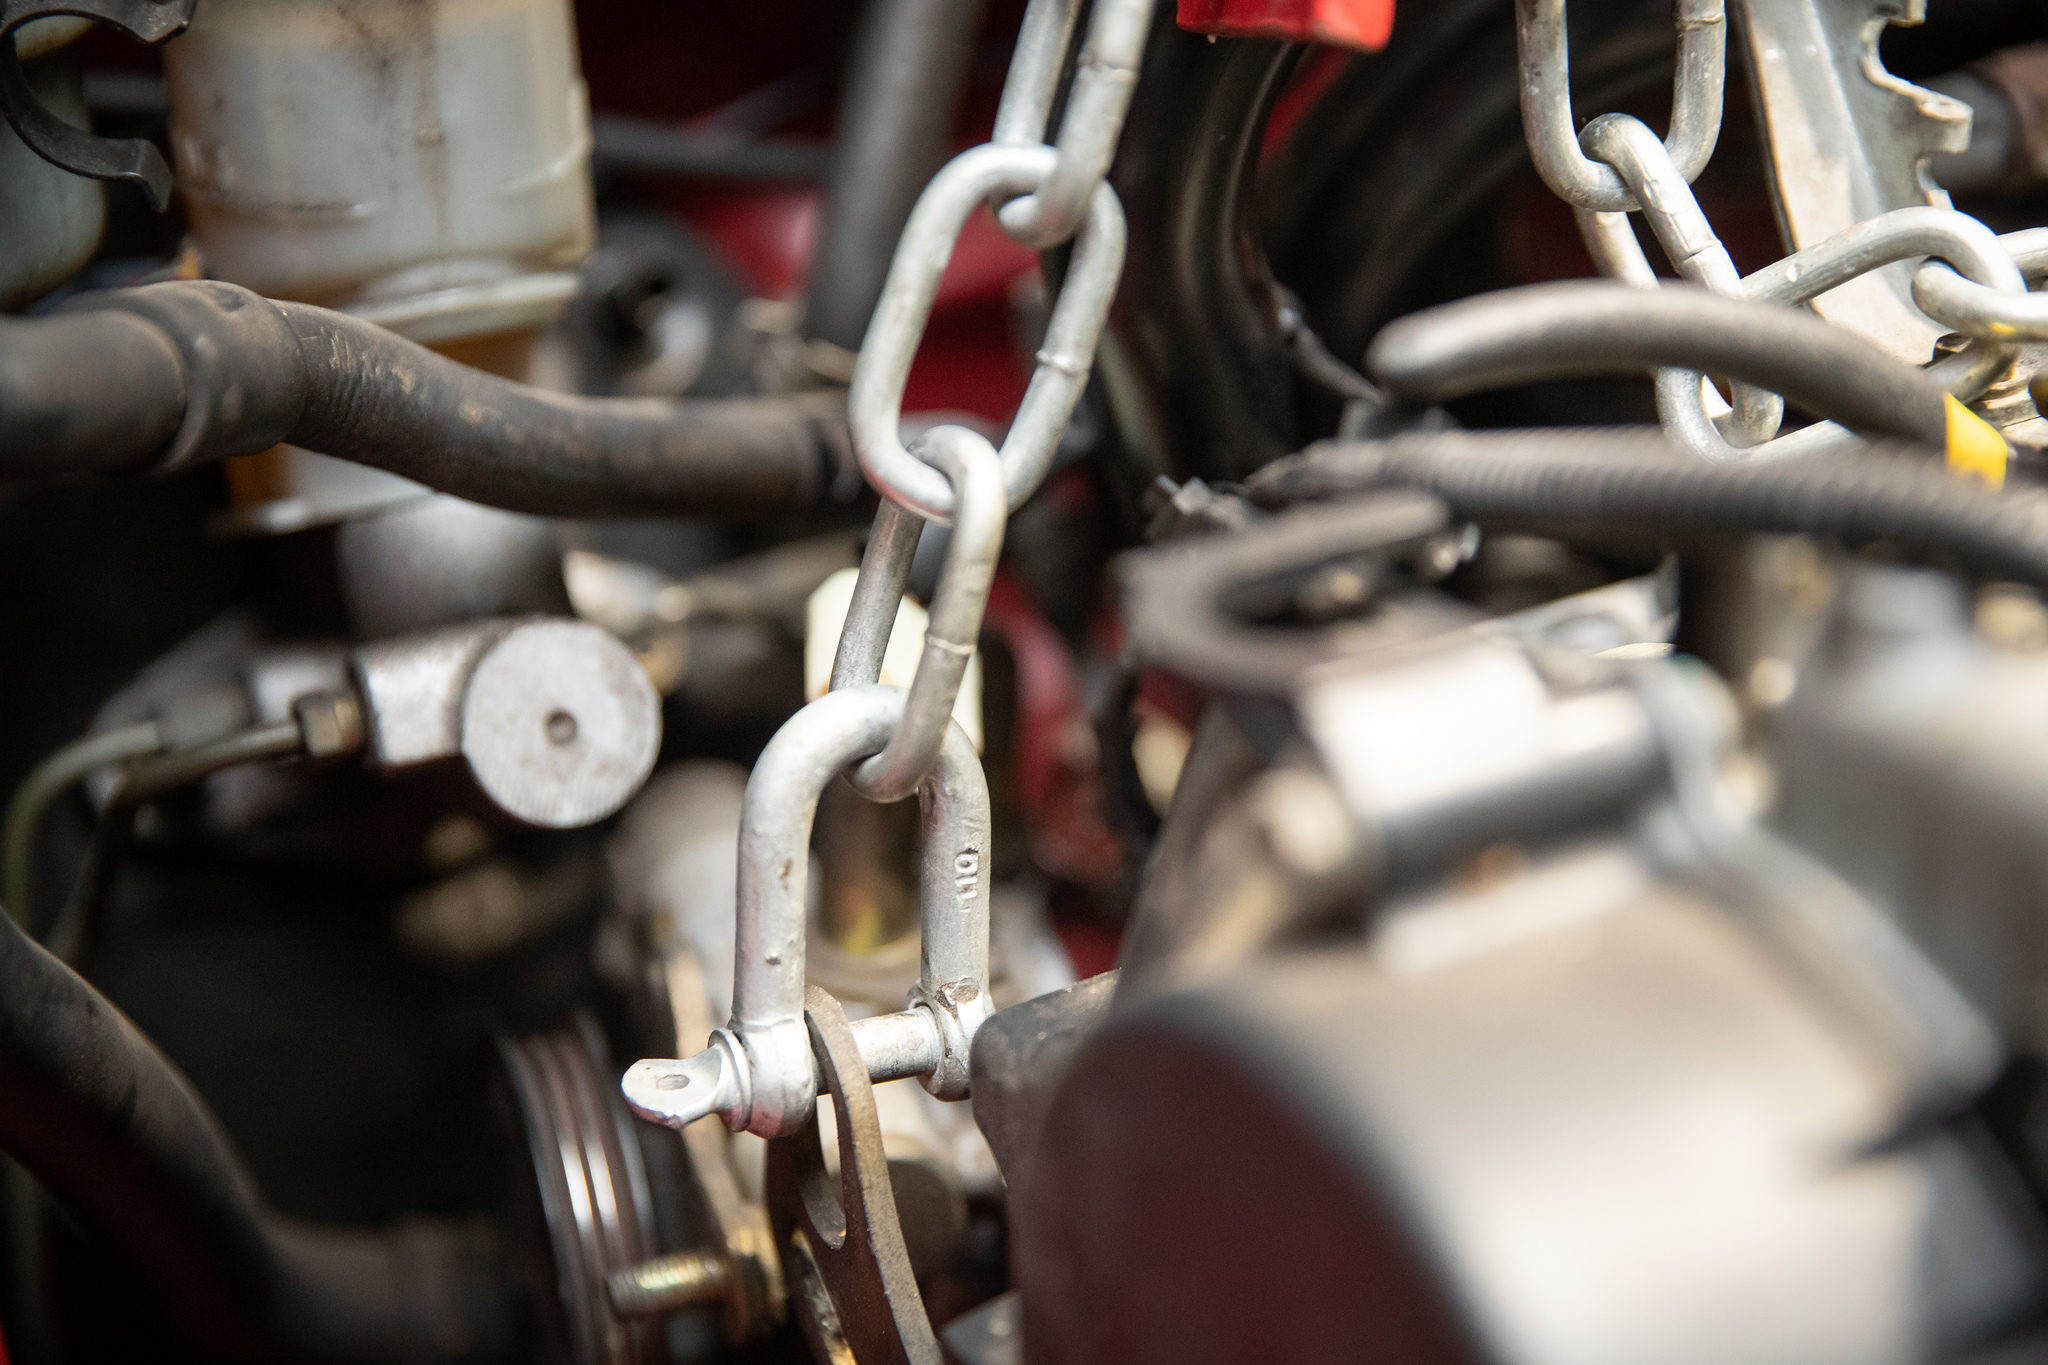
The tilter makes the job much easier. Weight could then be lifted to making unbolting engine mounts easy!
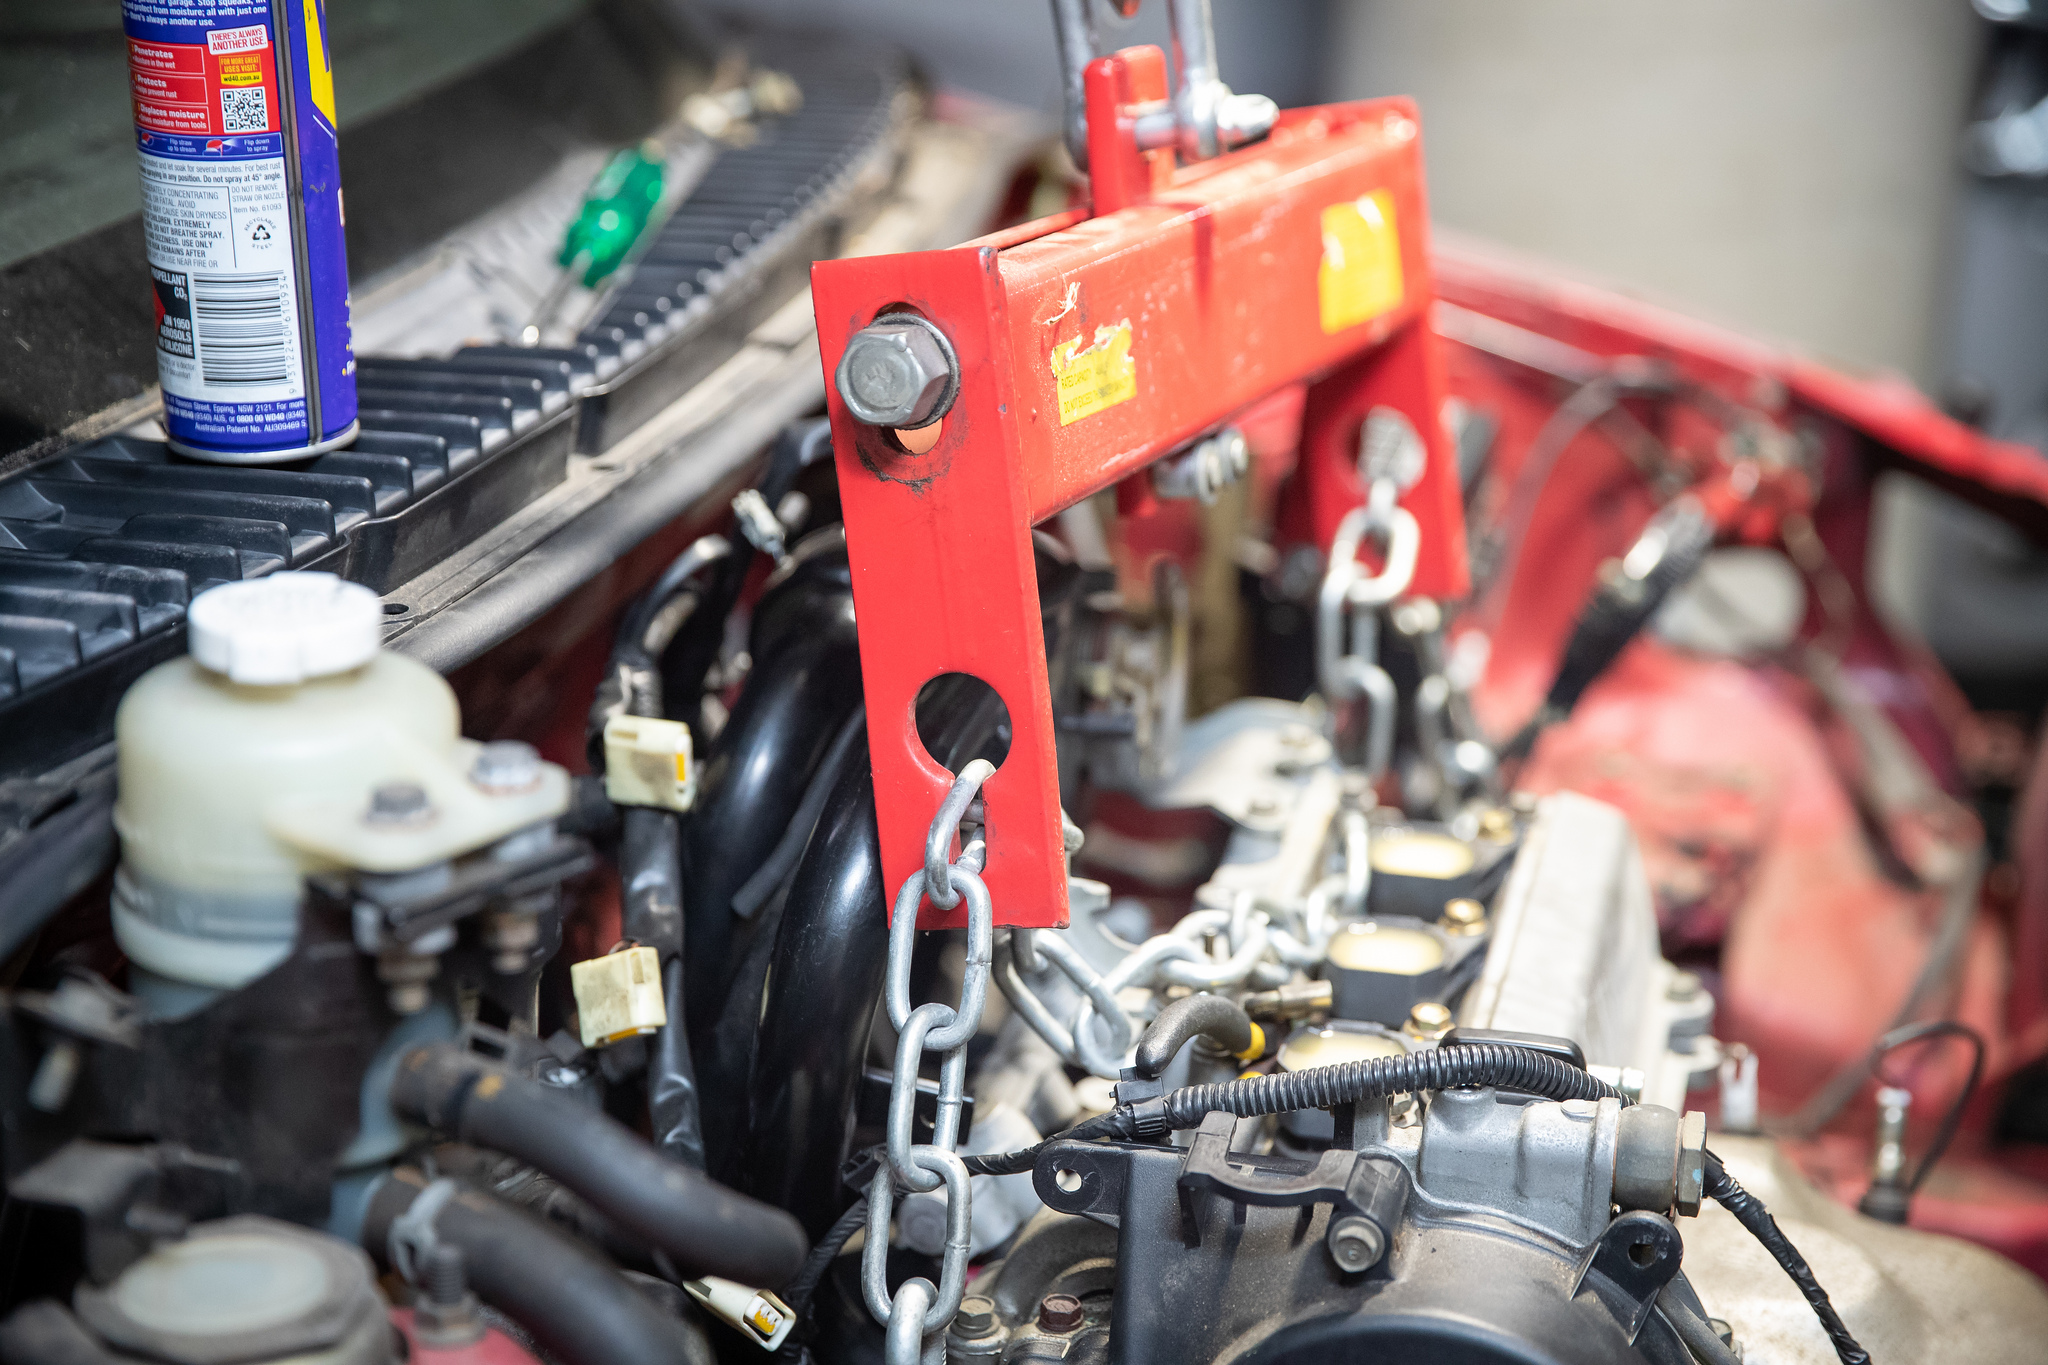
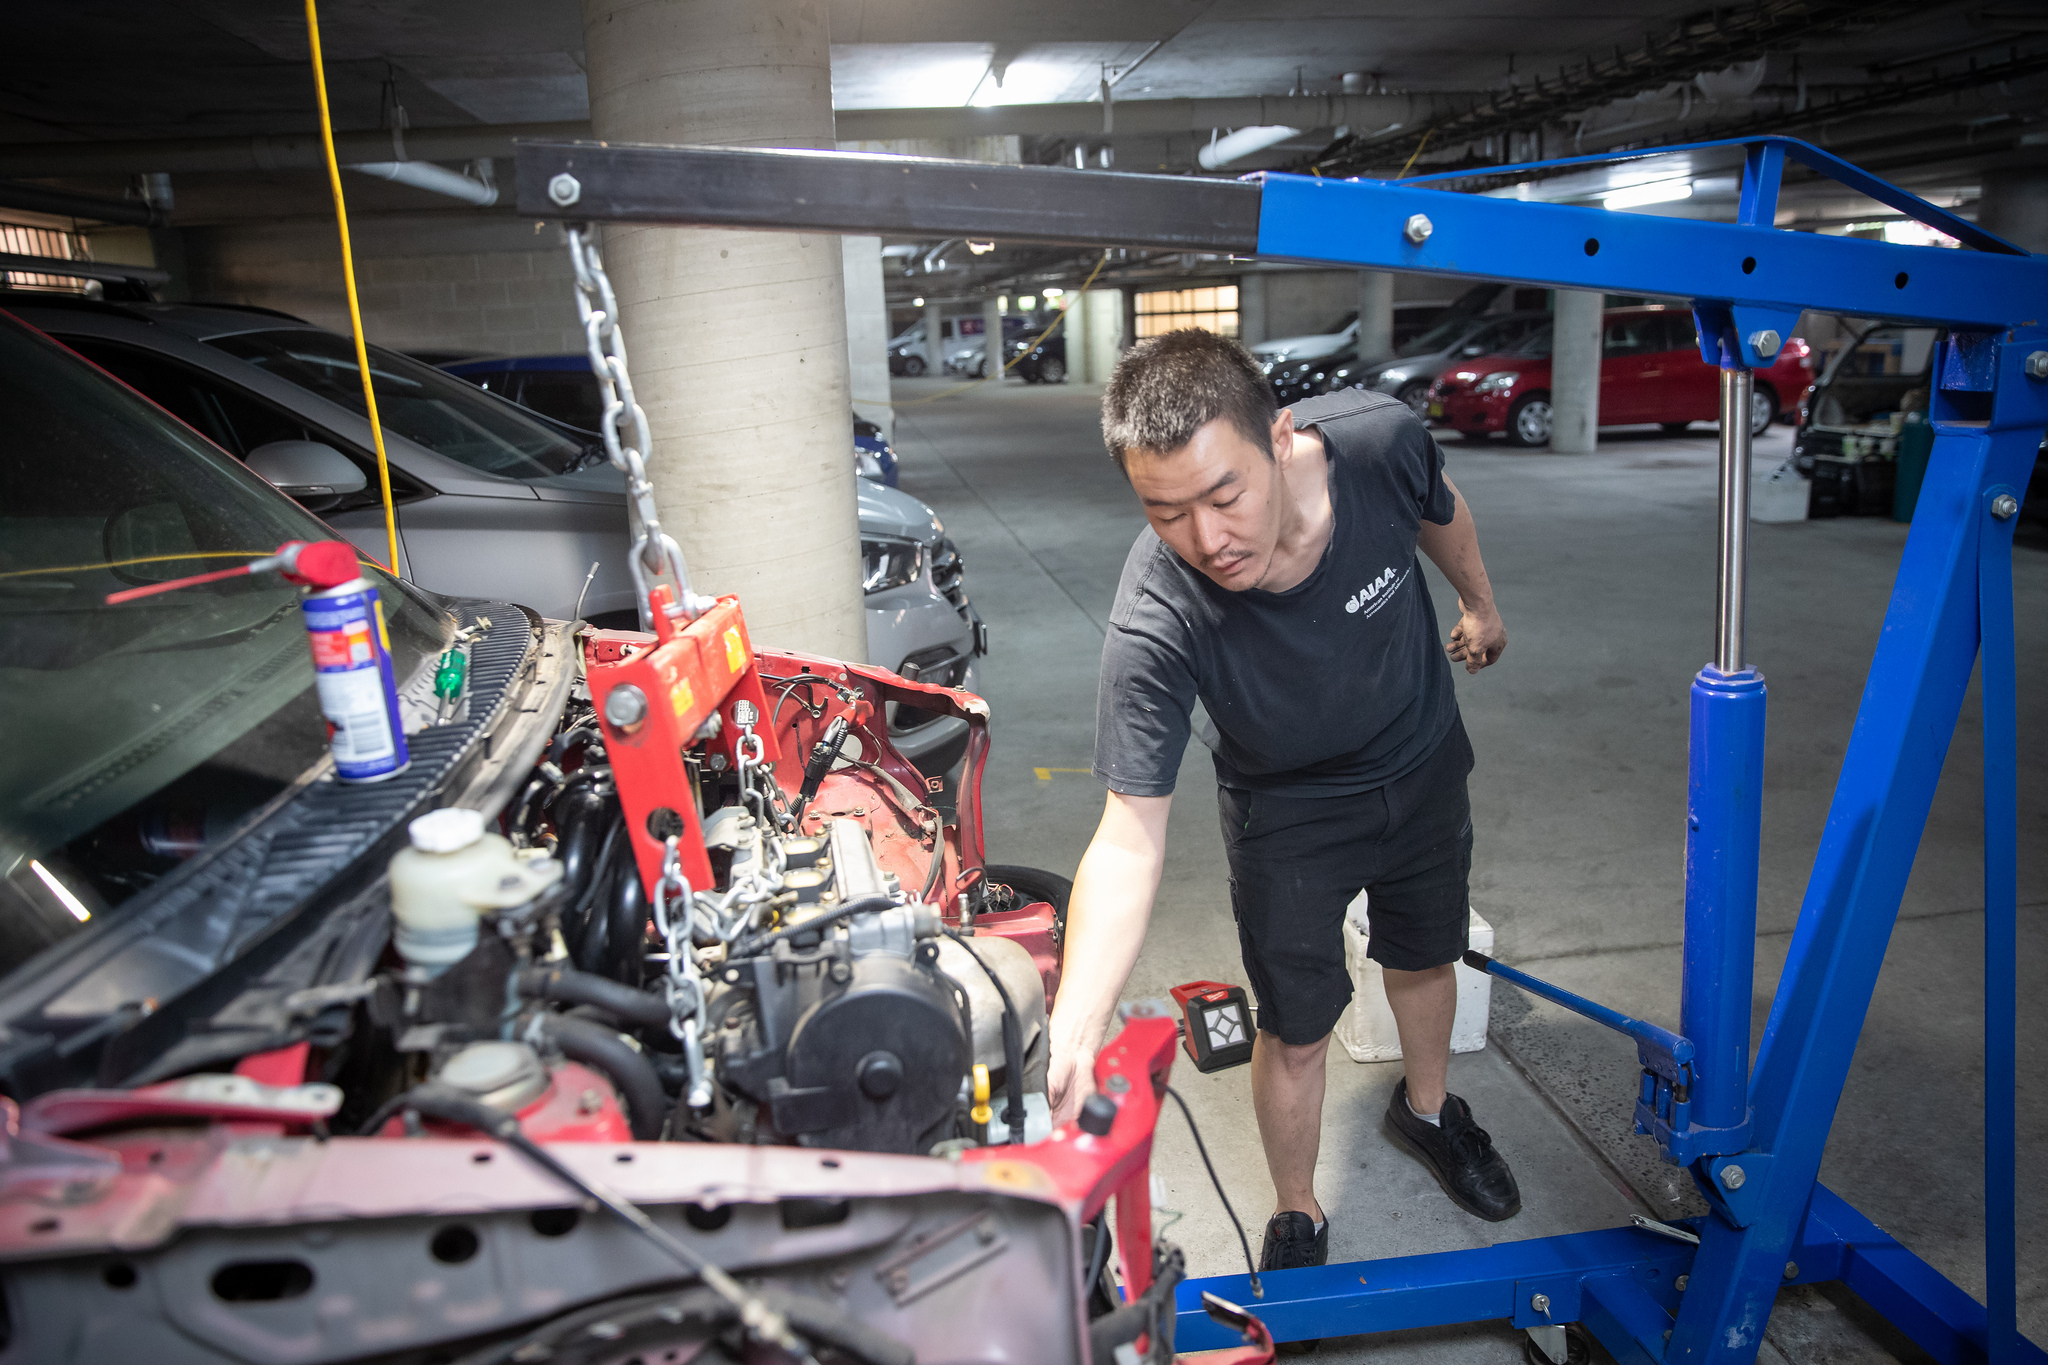
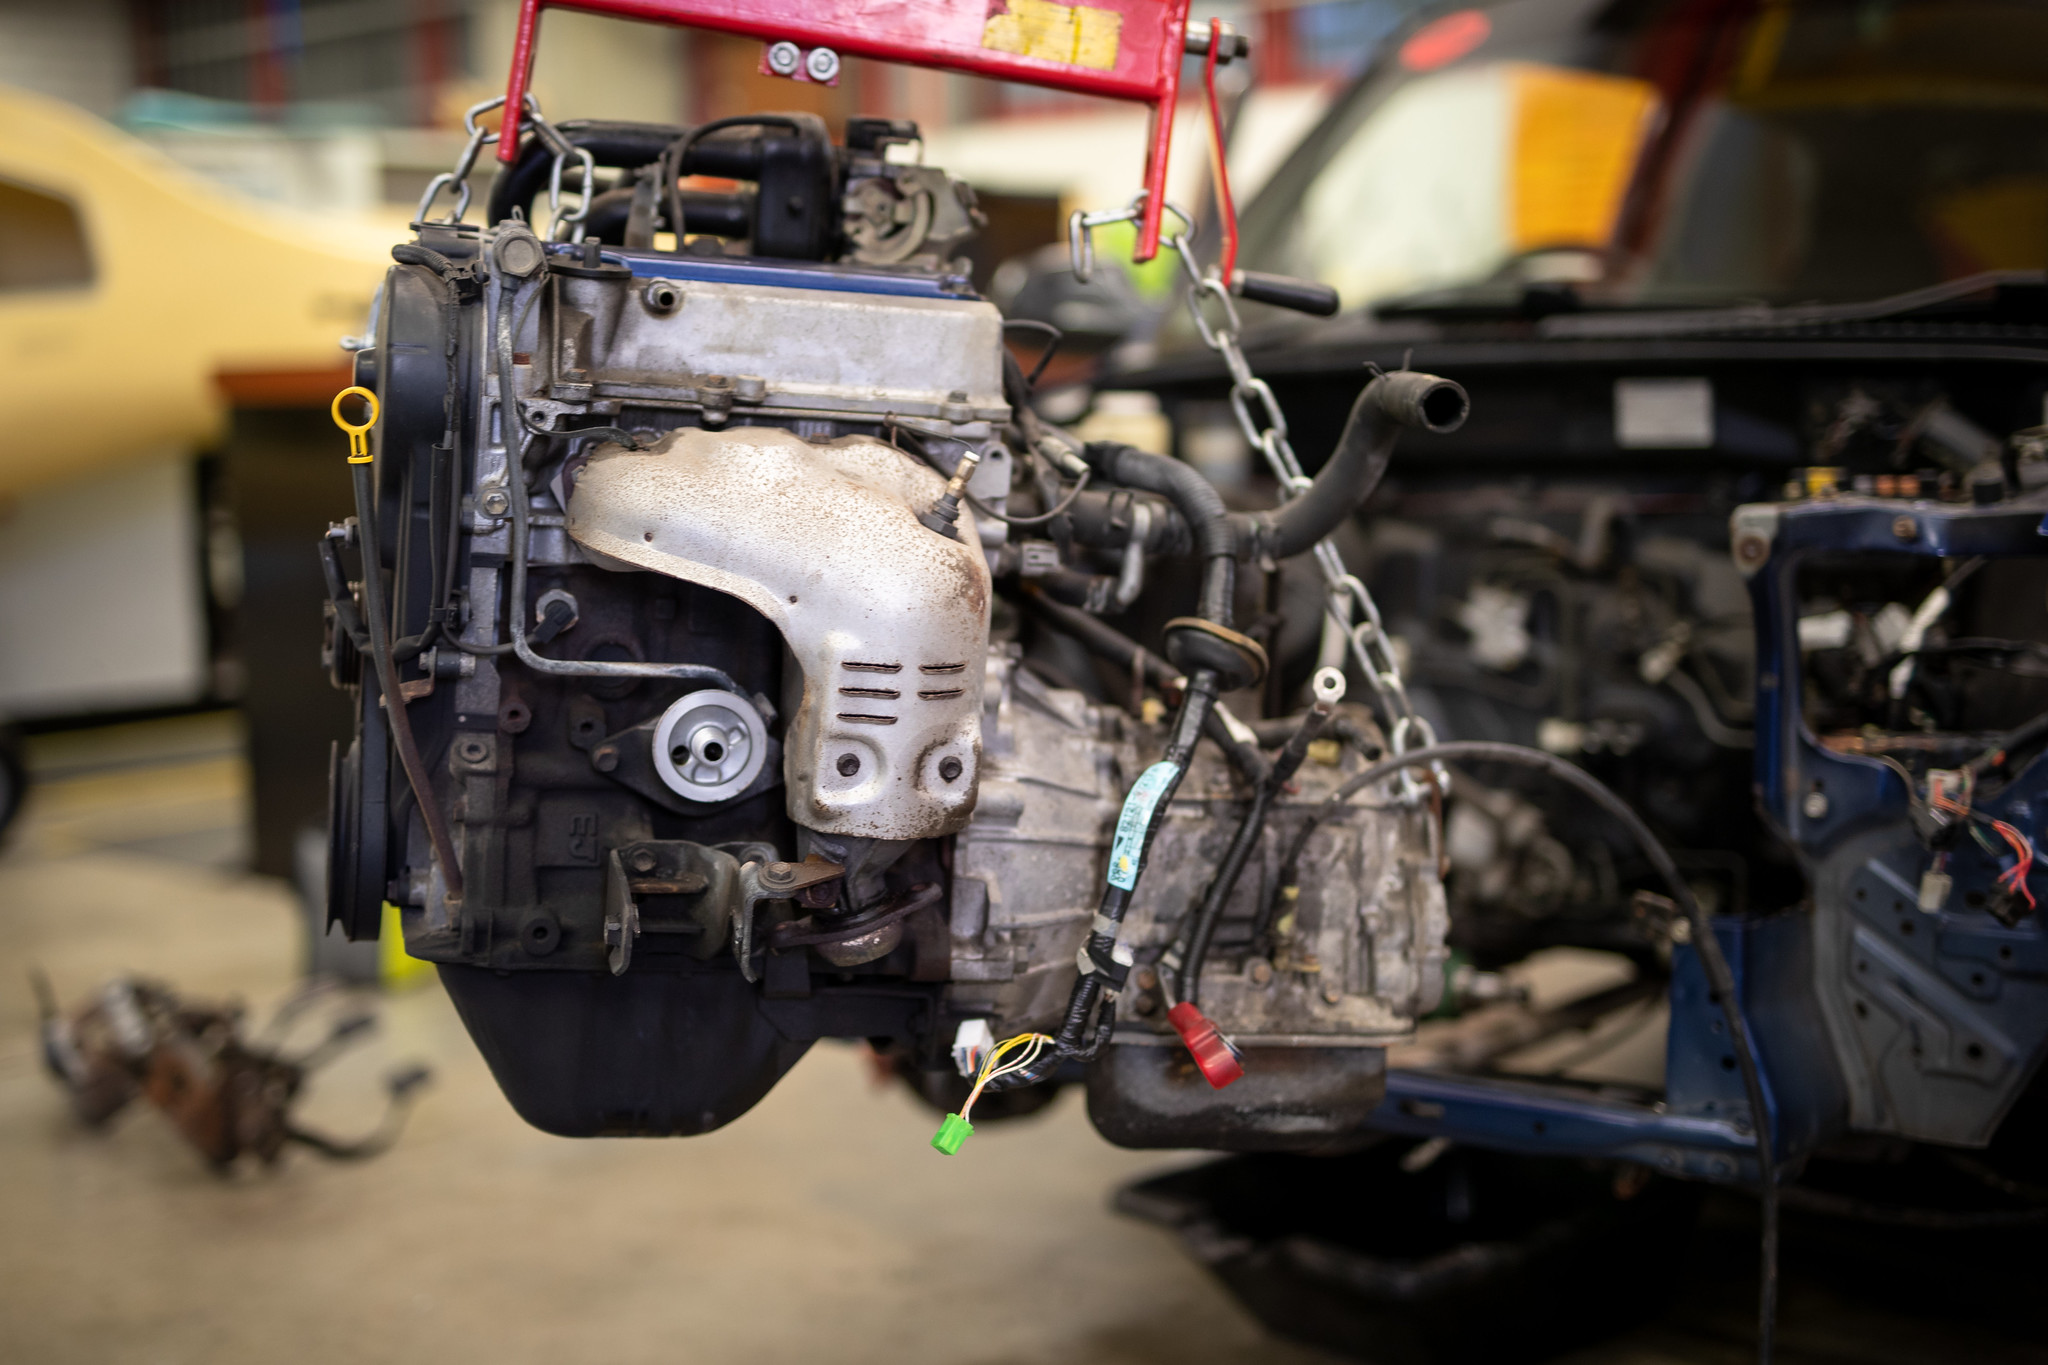
And out it came!

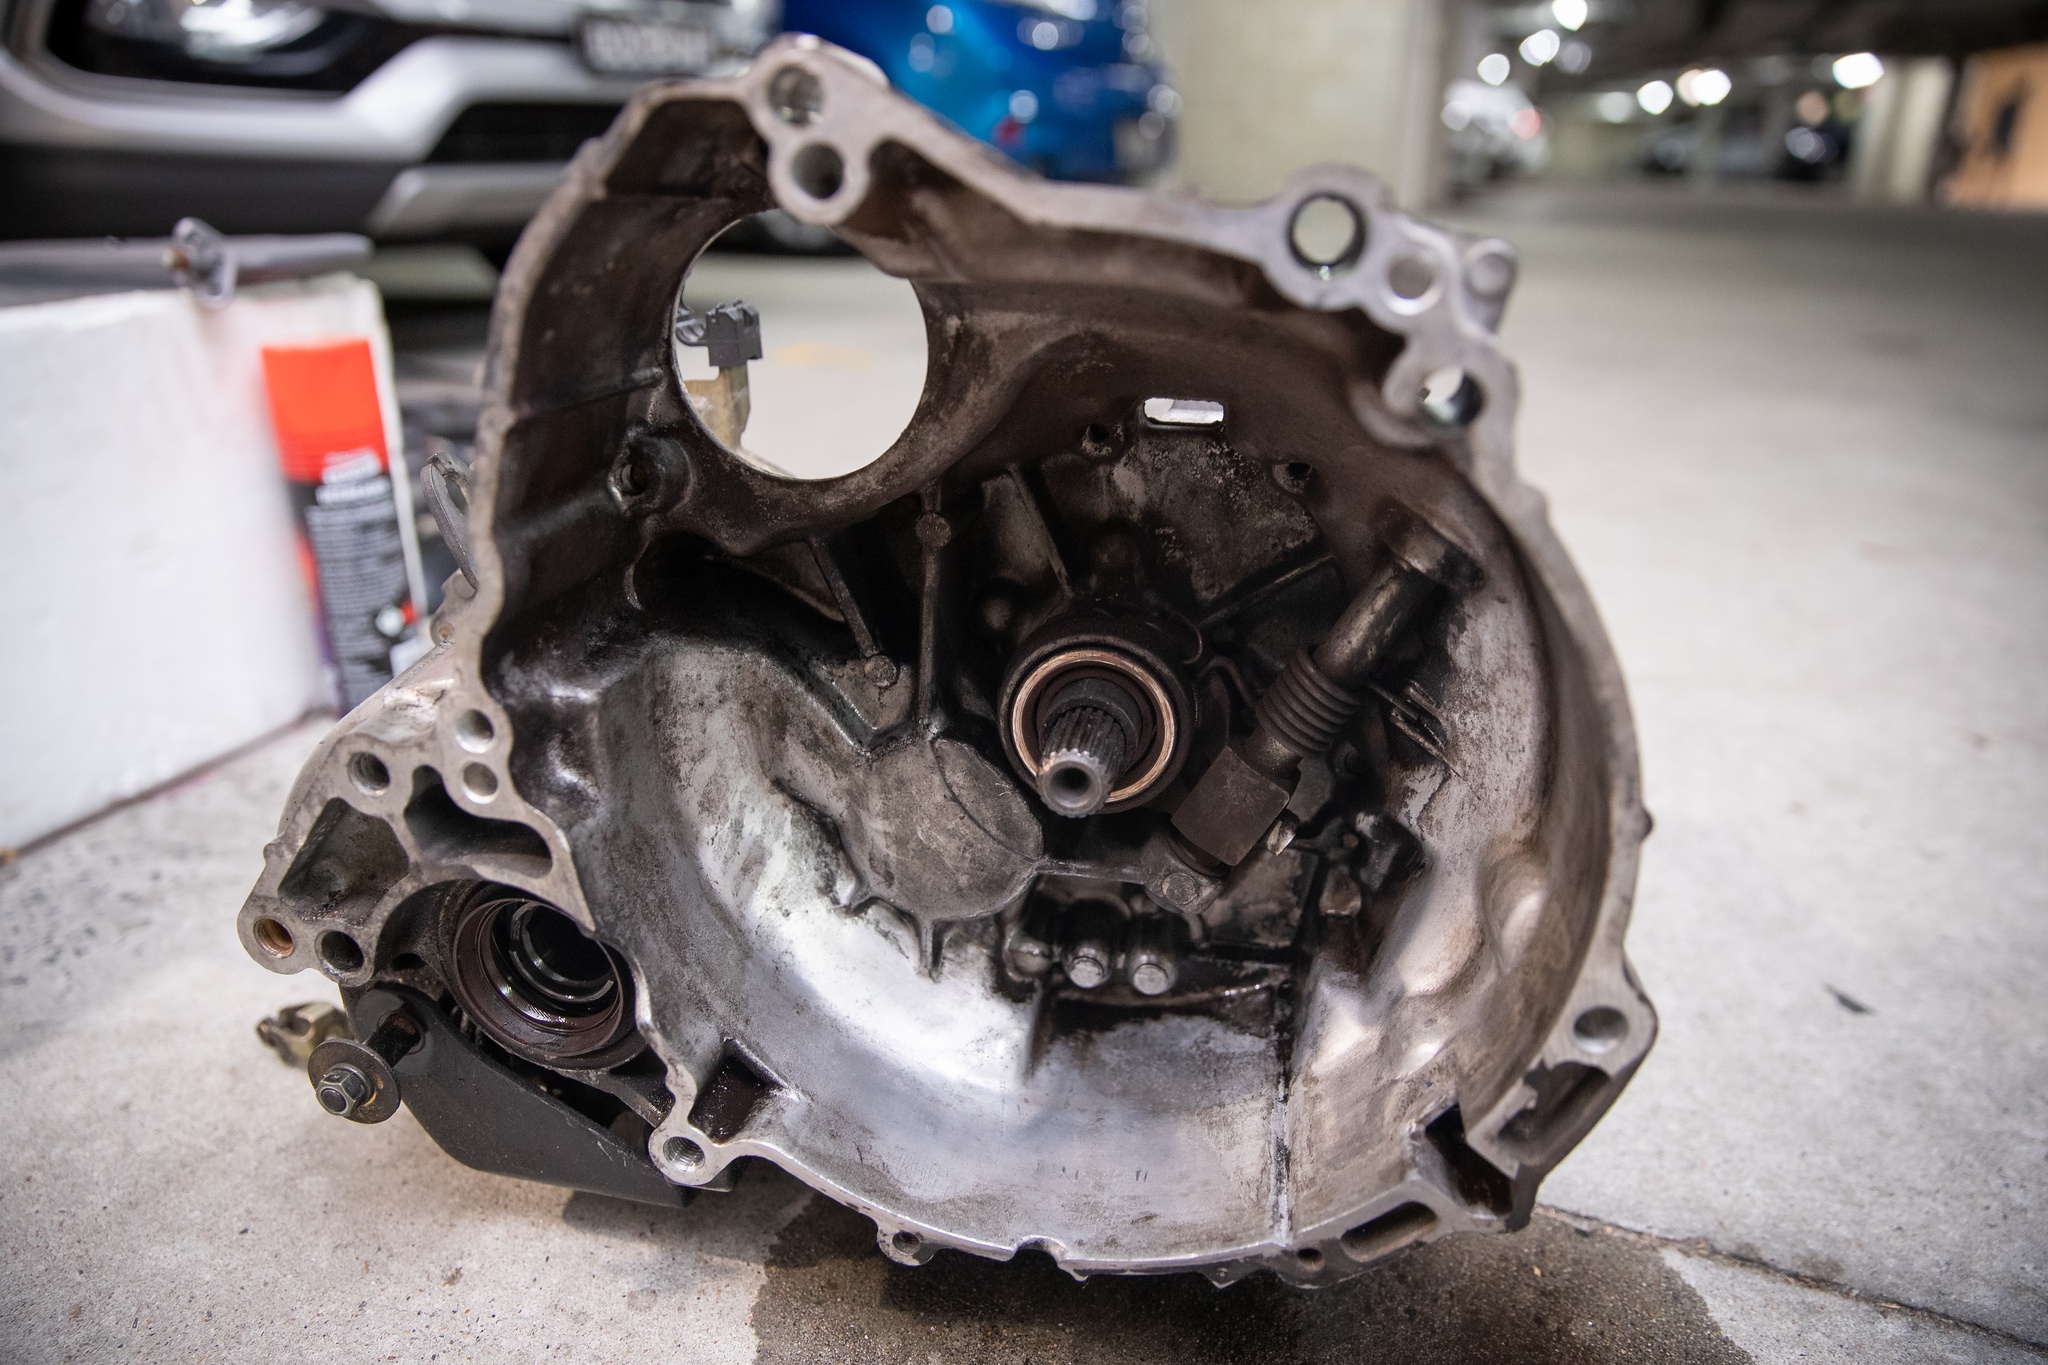
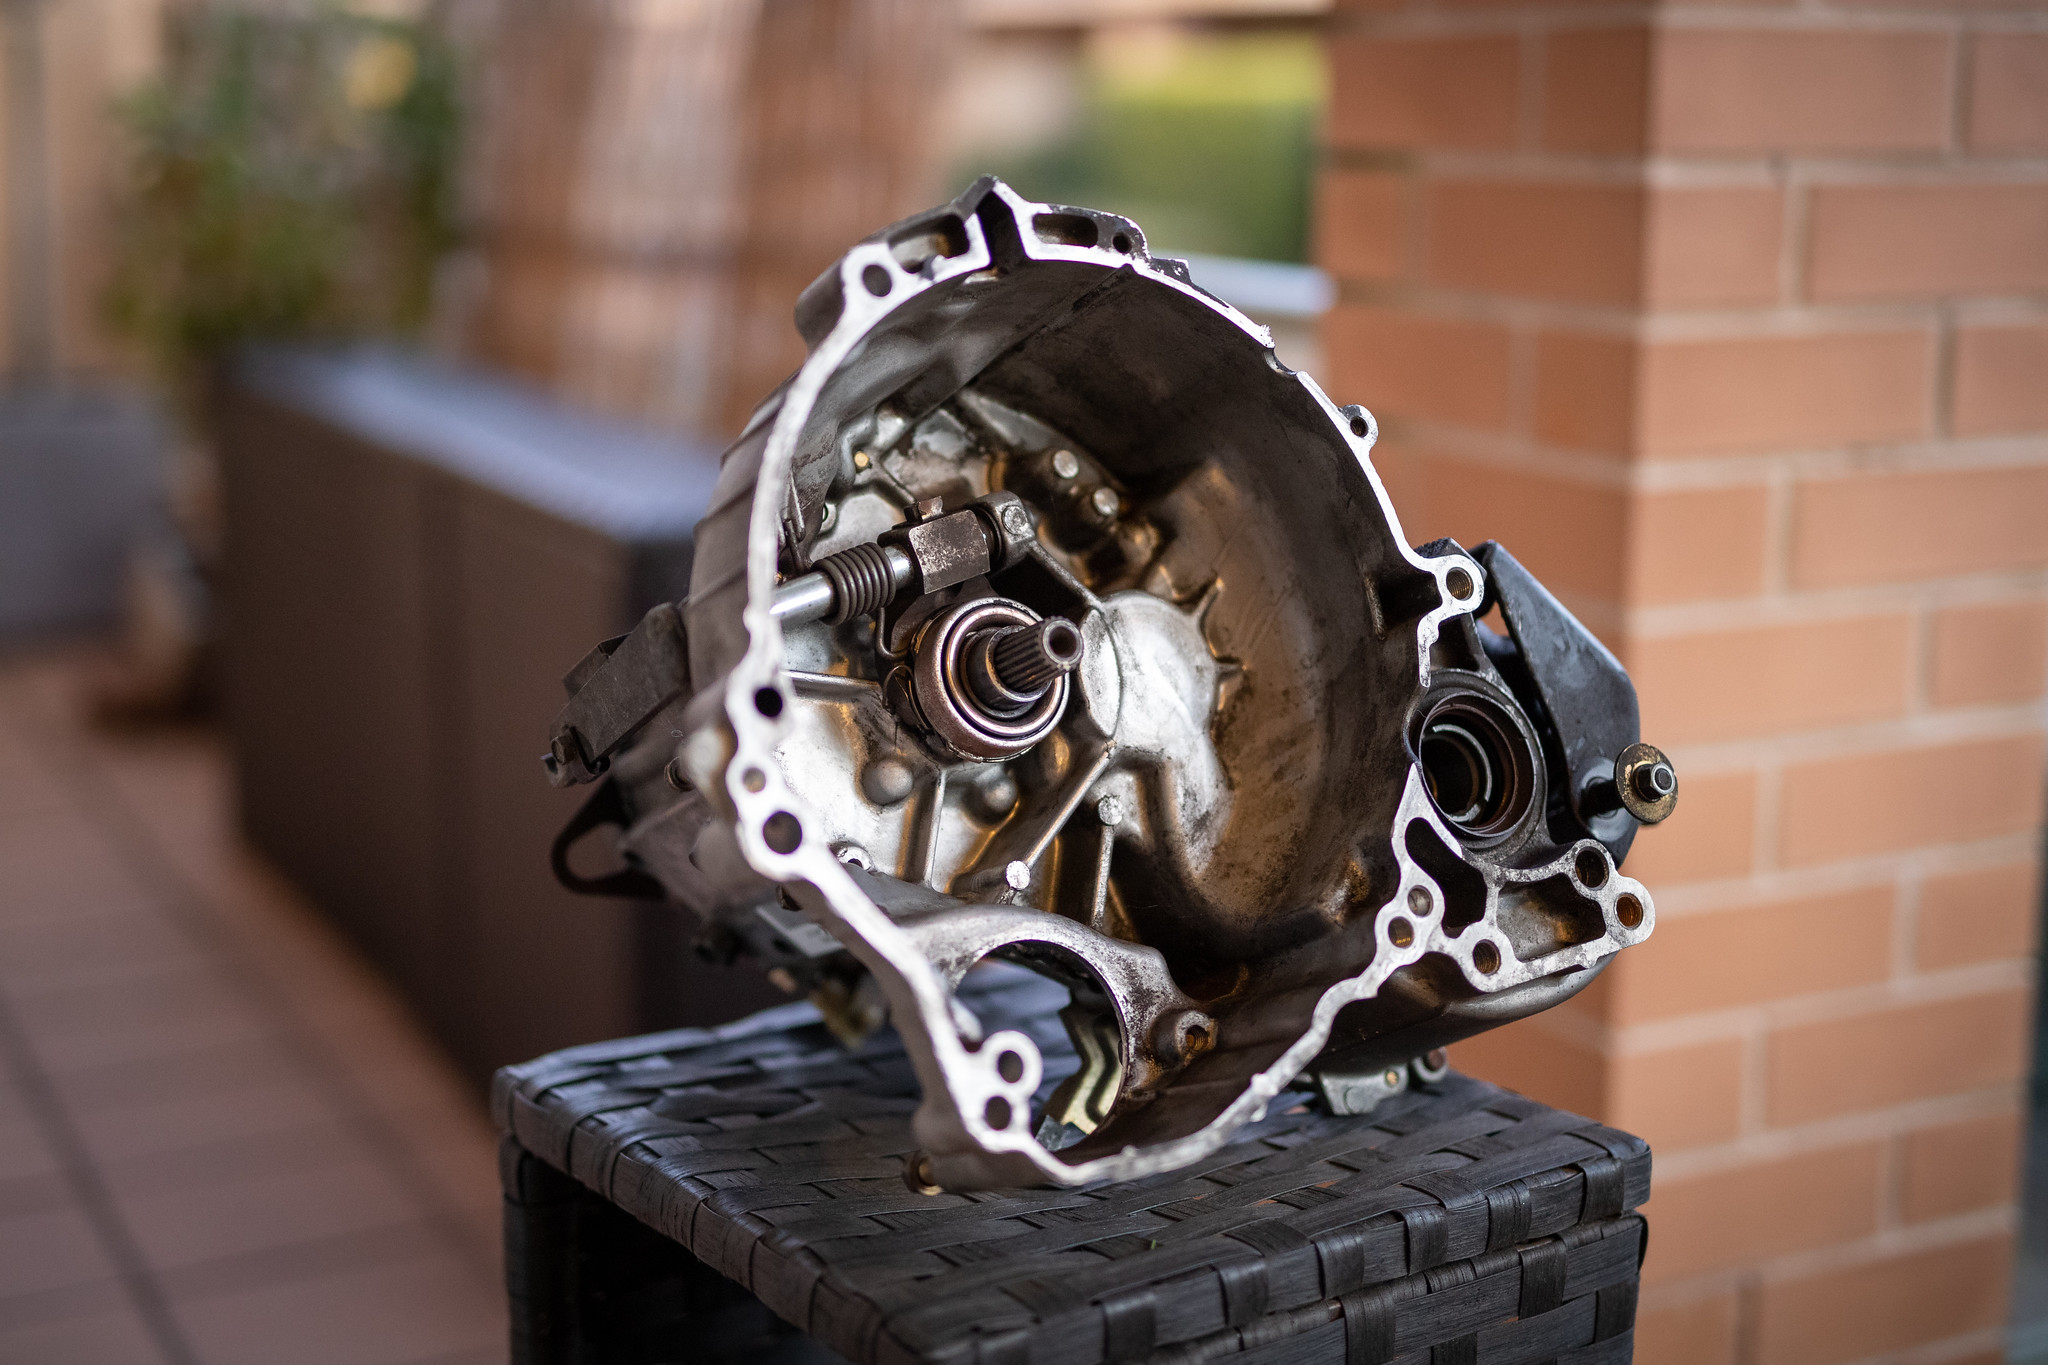
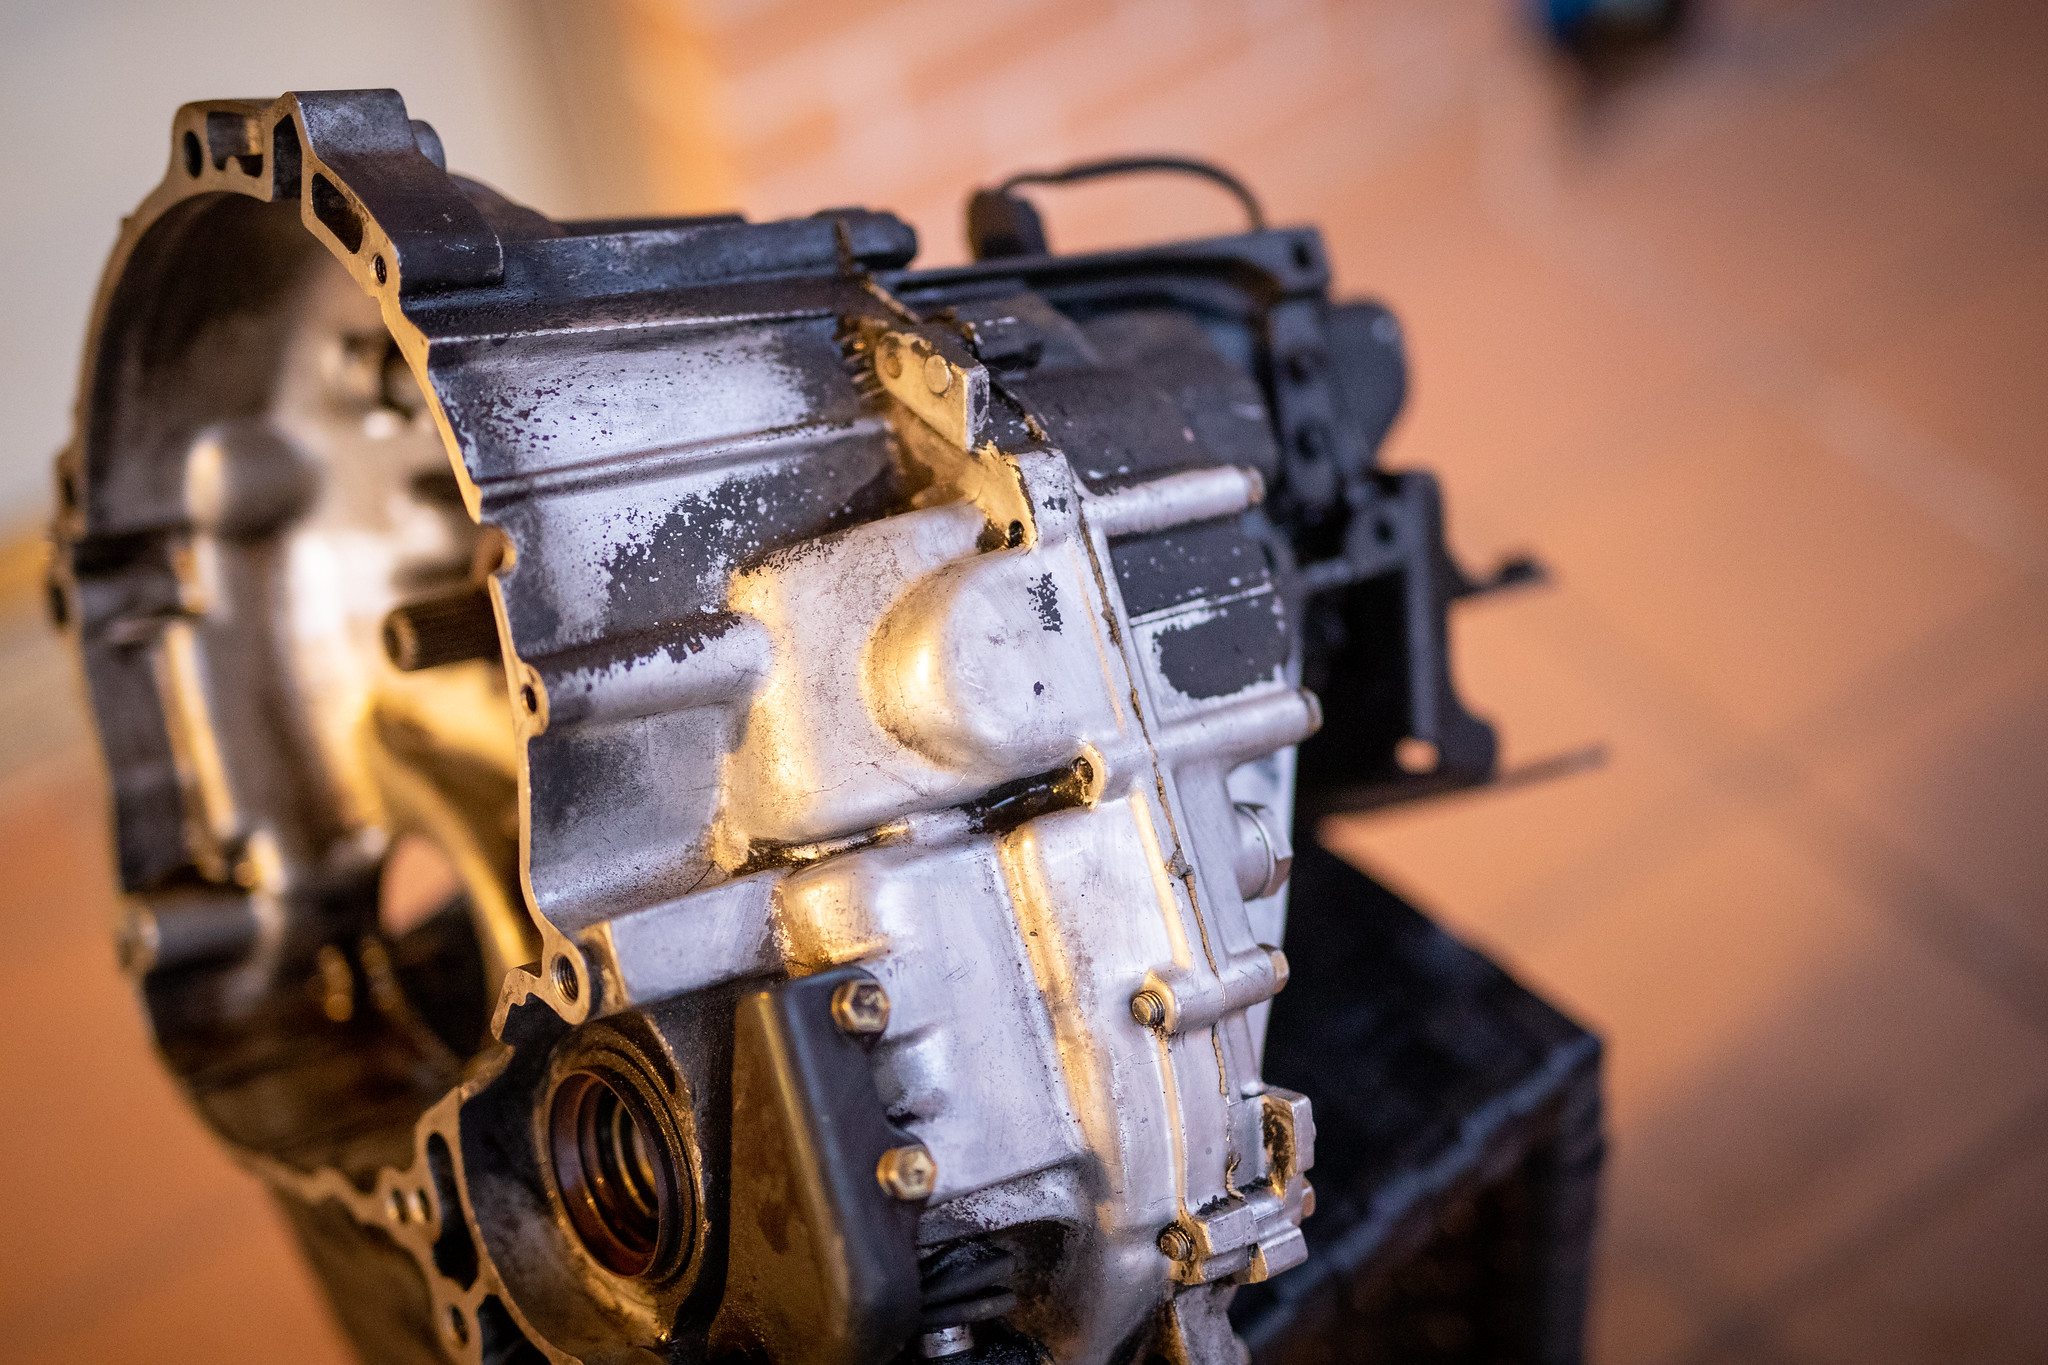
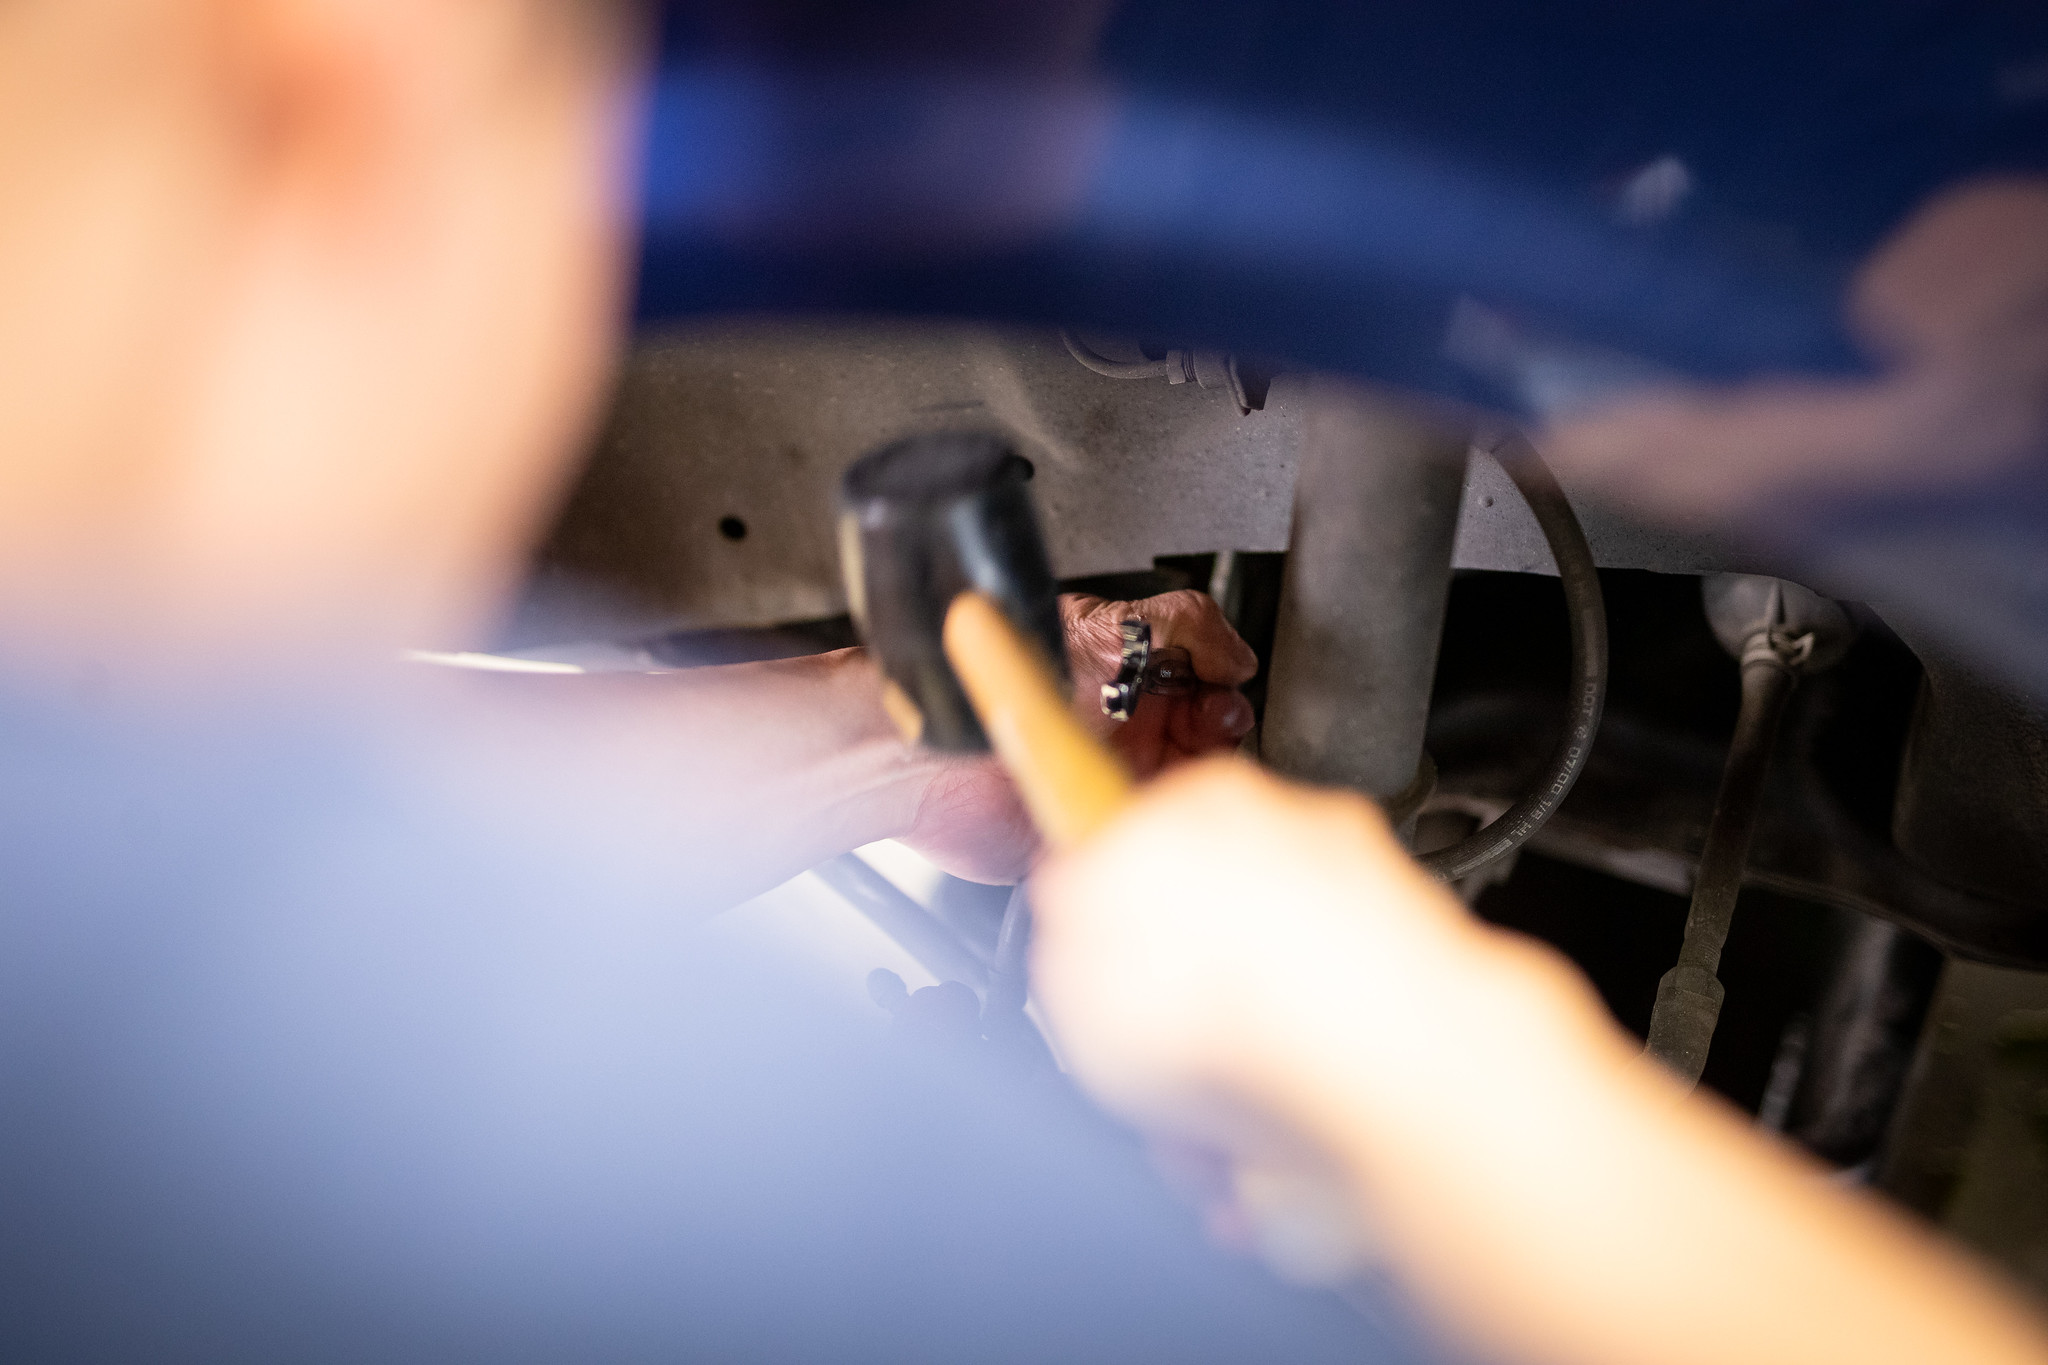
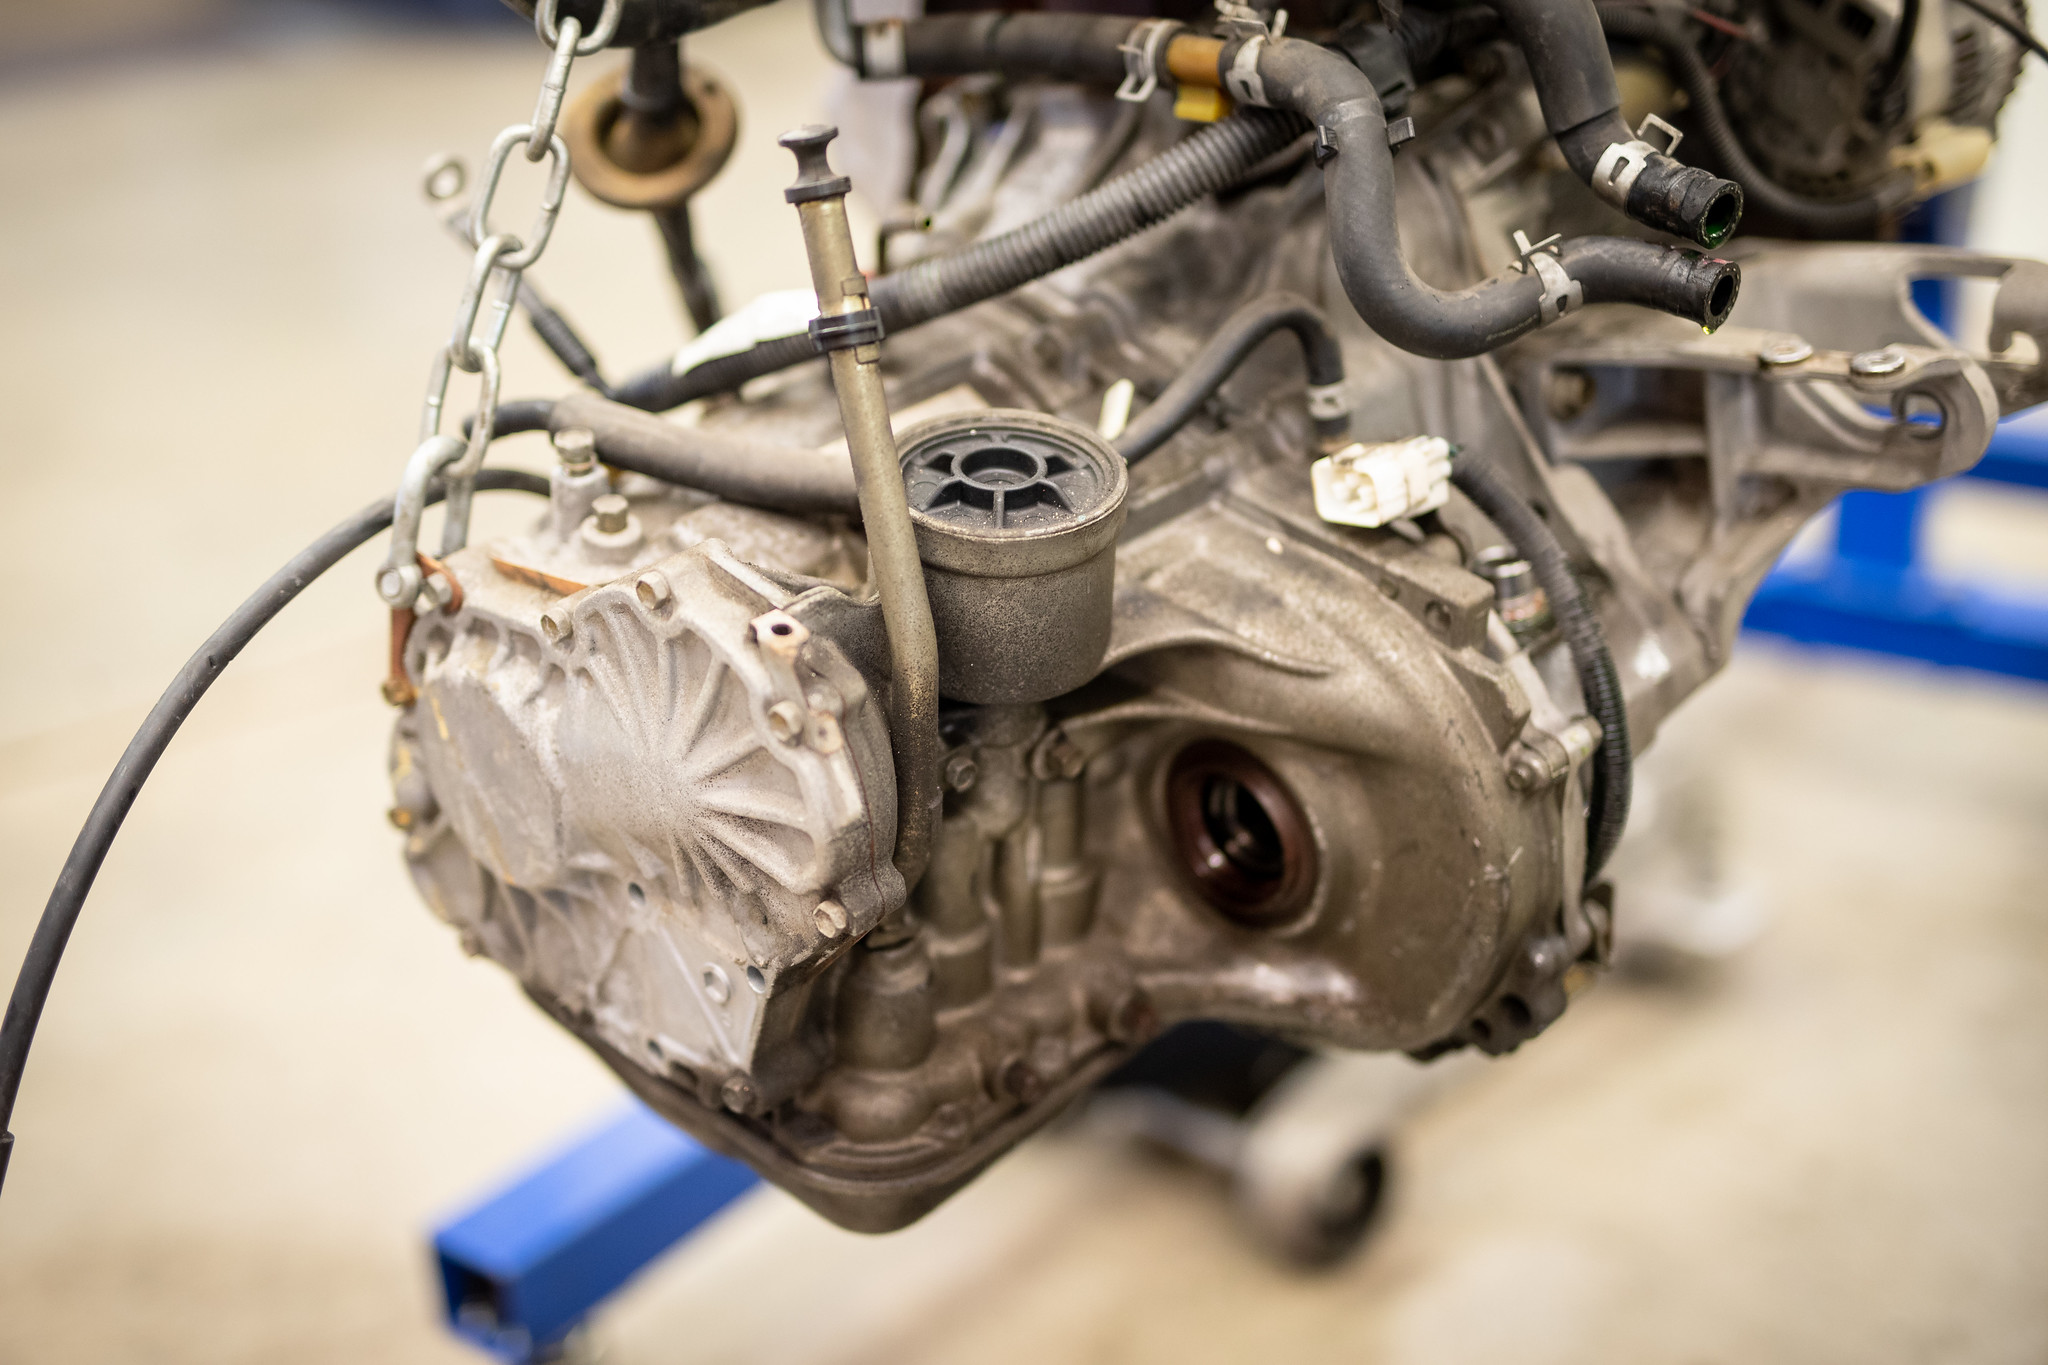
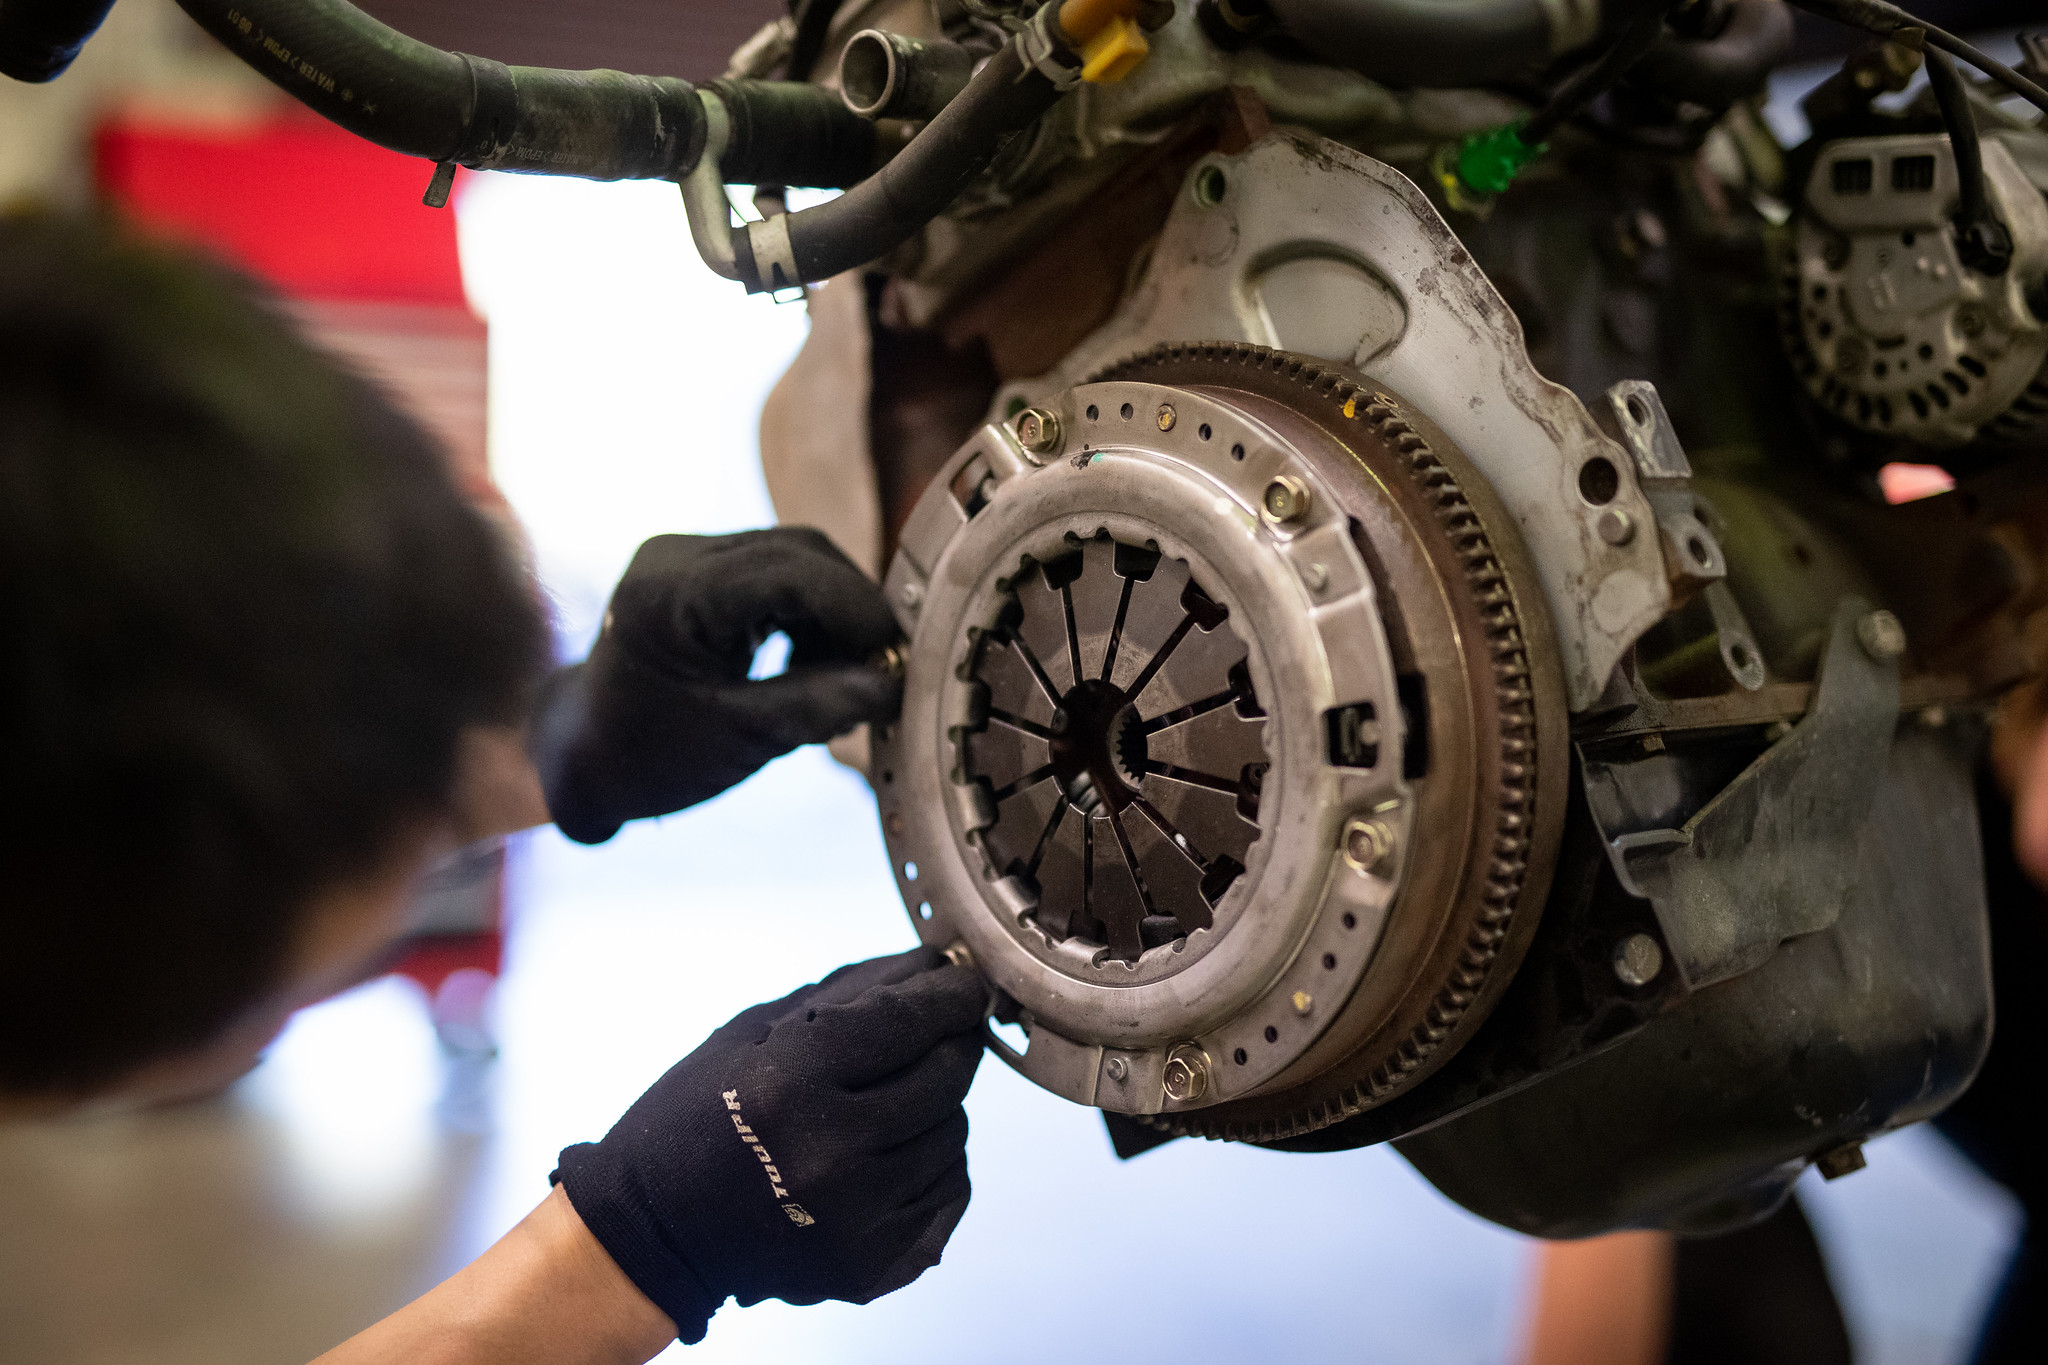
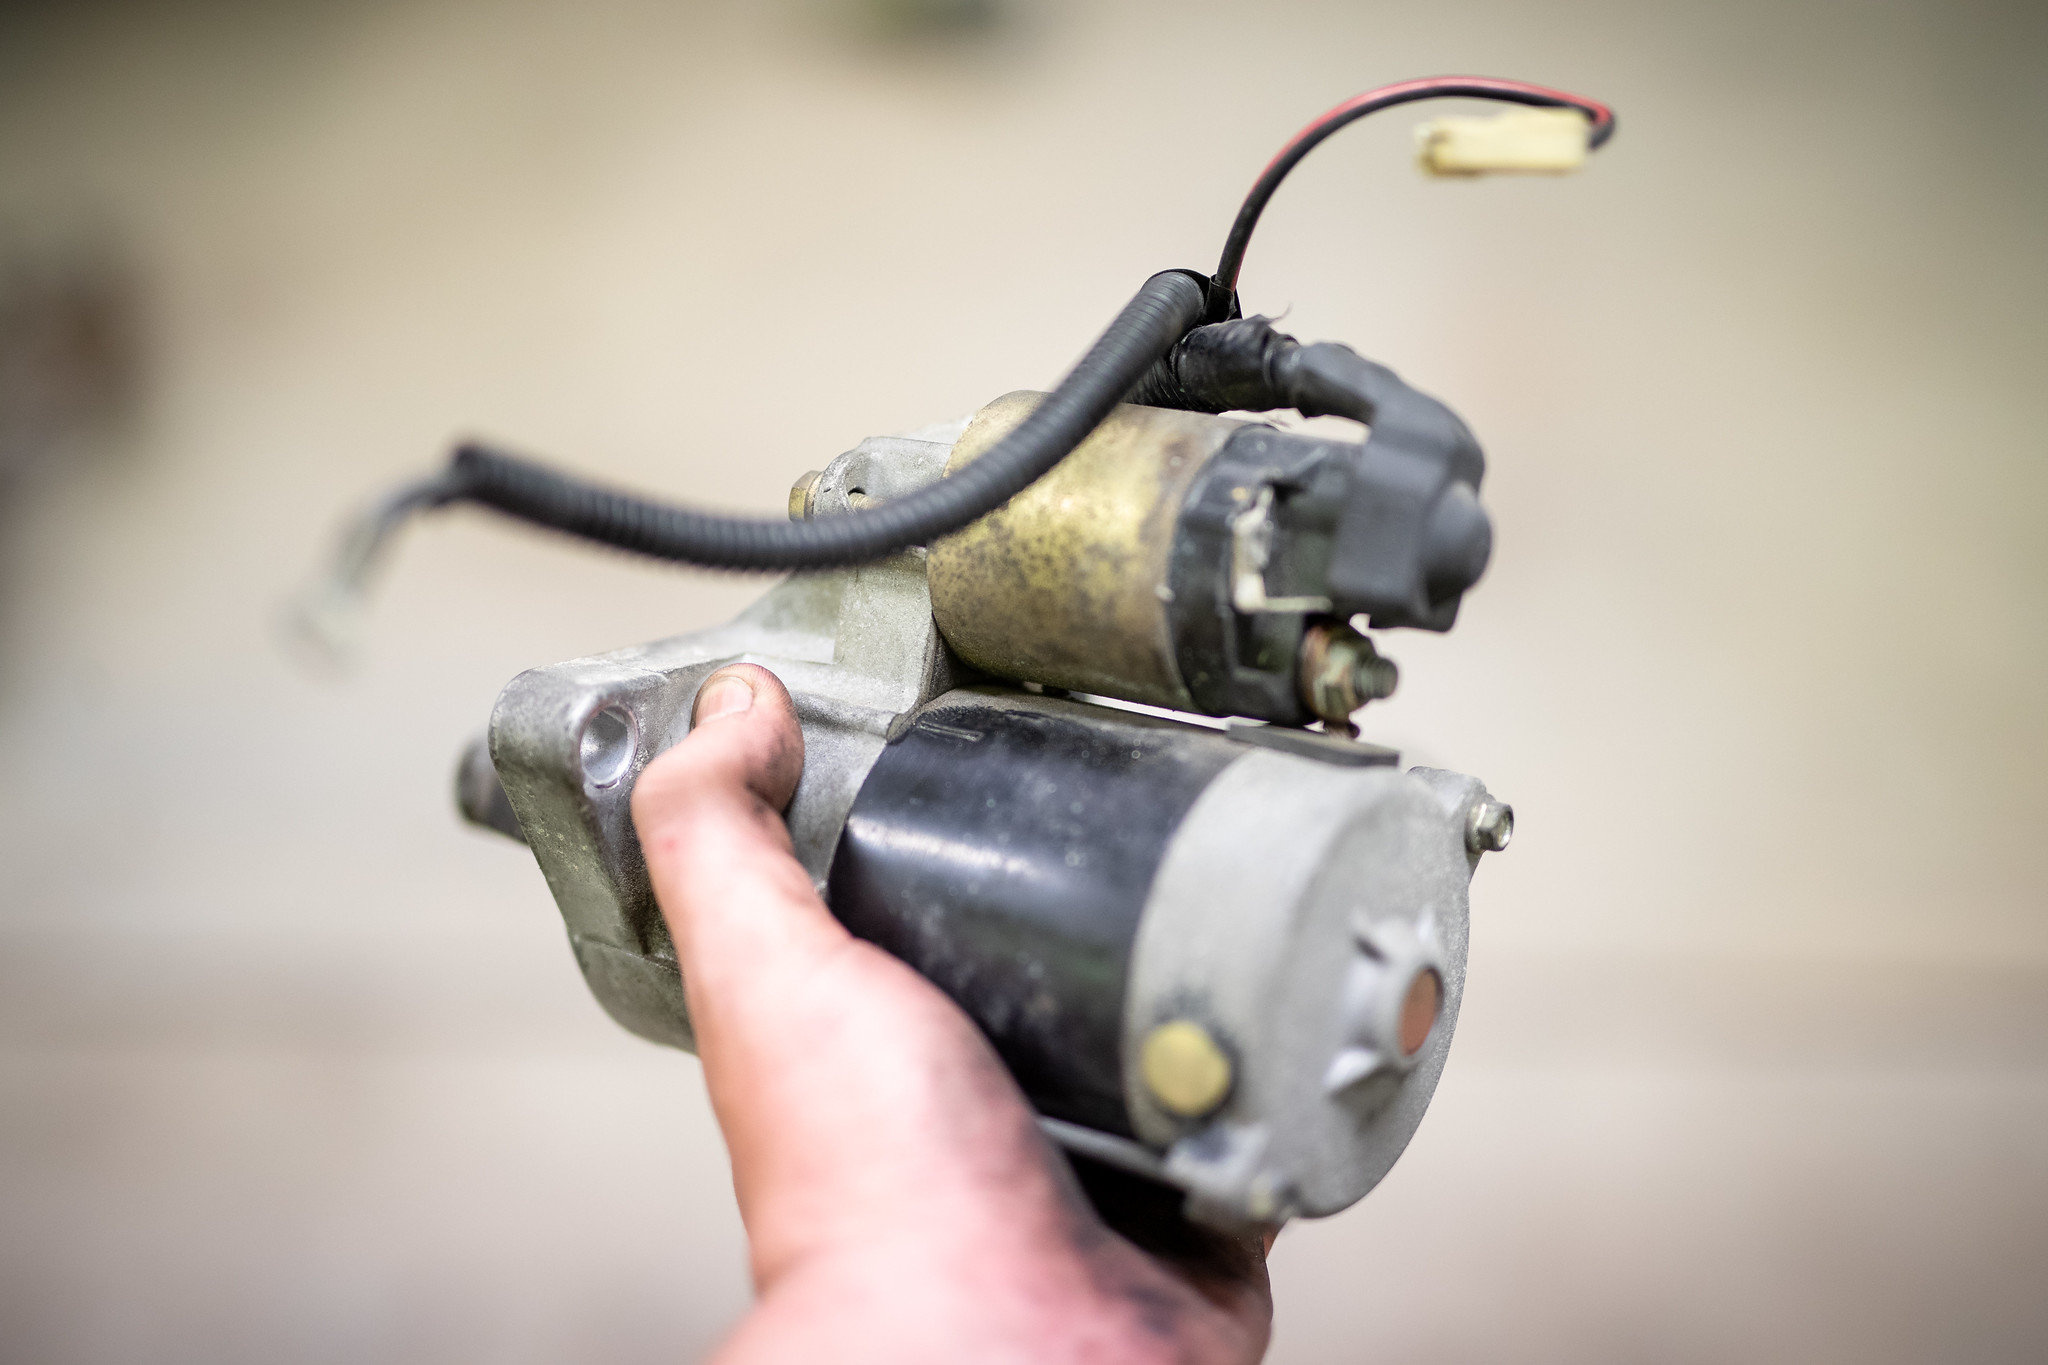
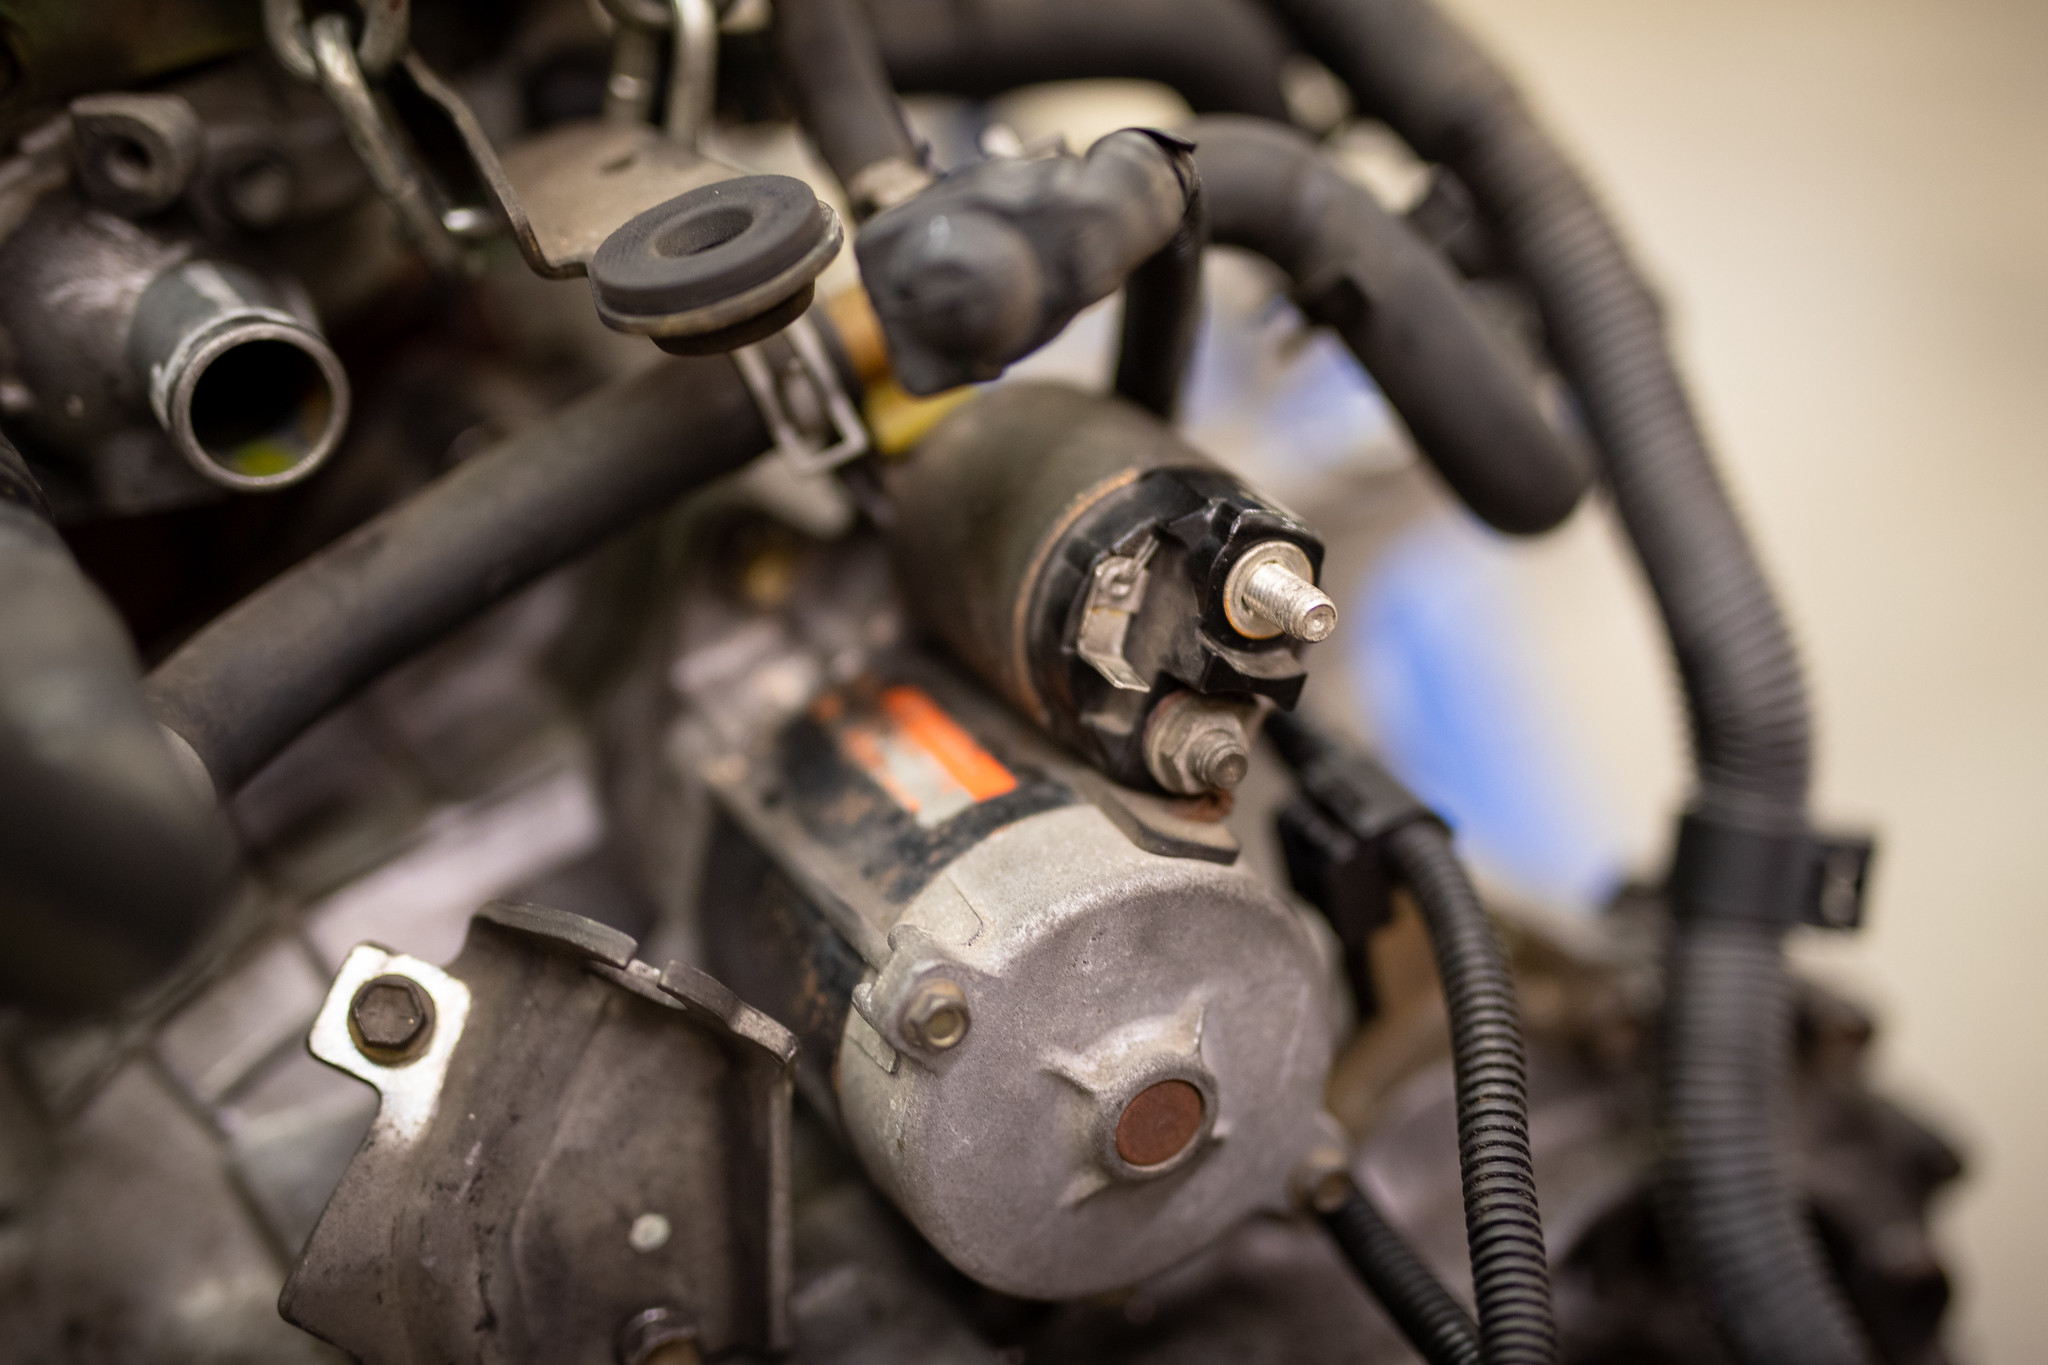
With the engine out I could separate the box and the motor. Started out with pulling the starter off.
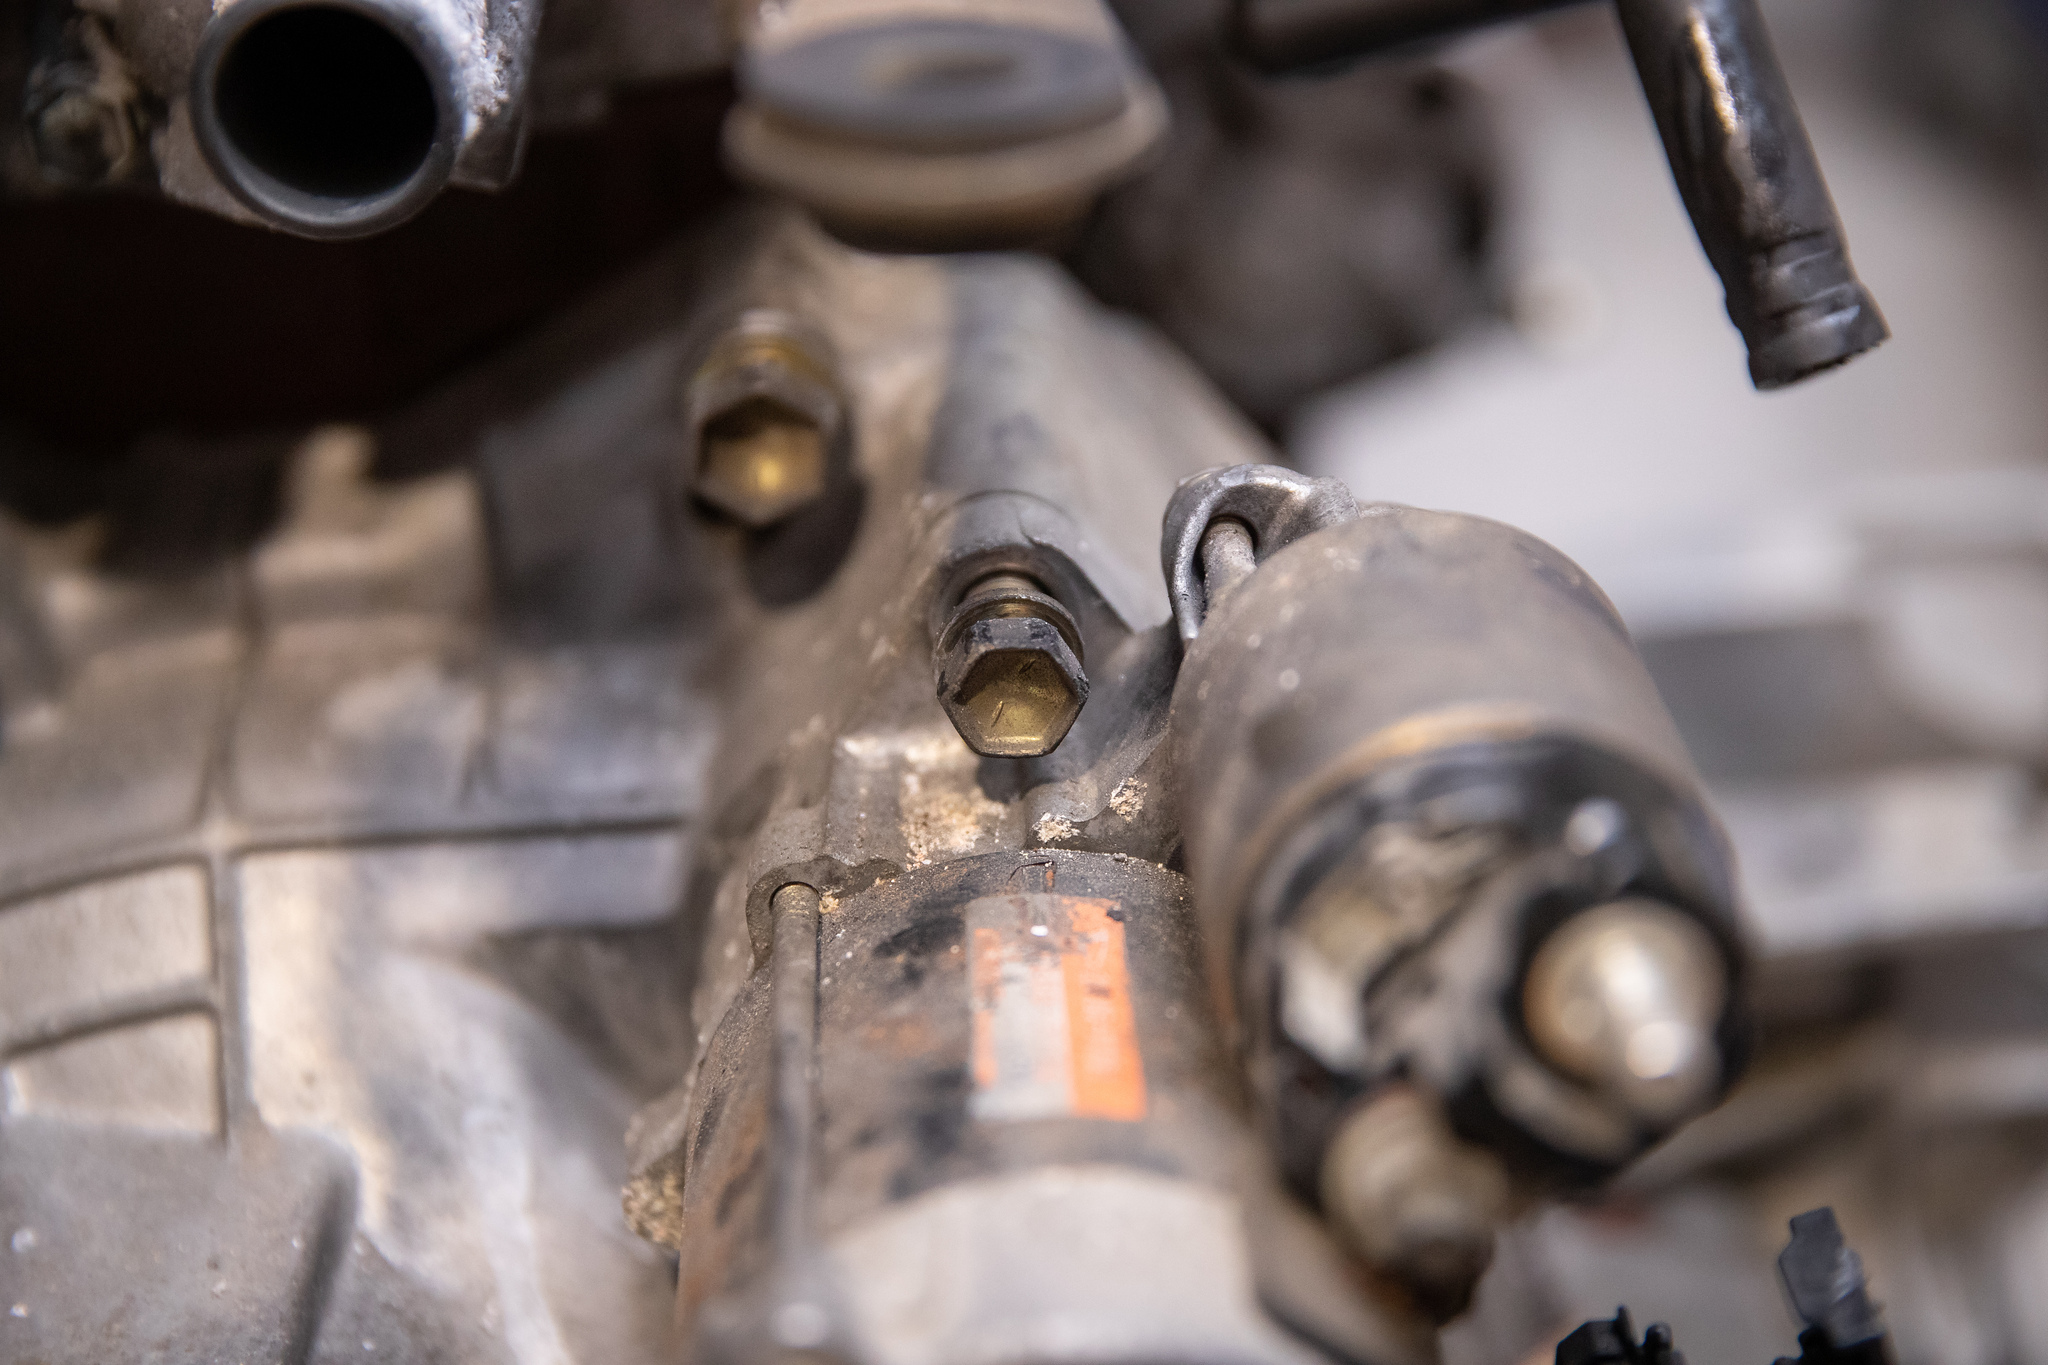
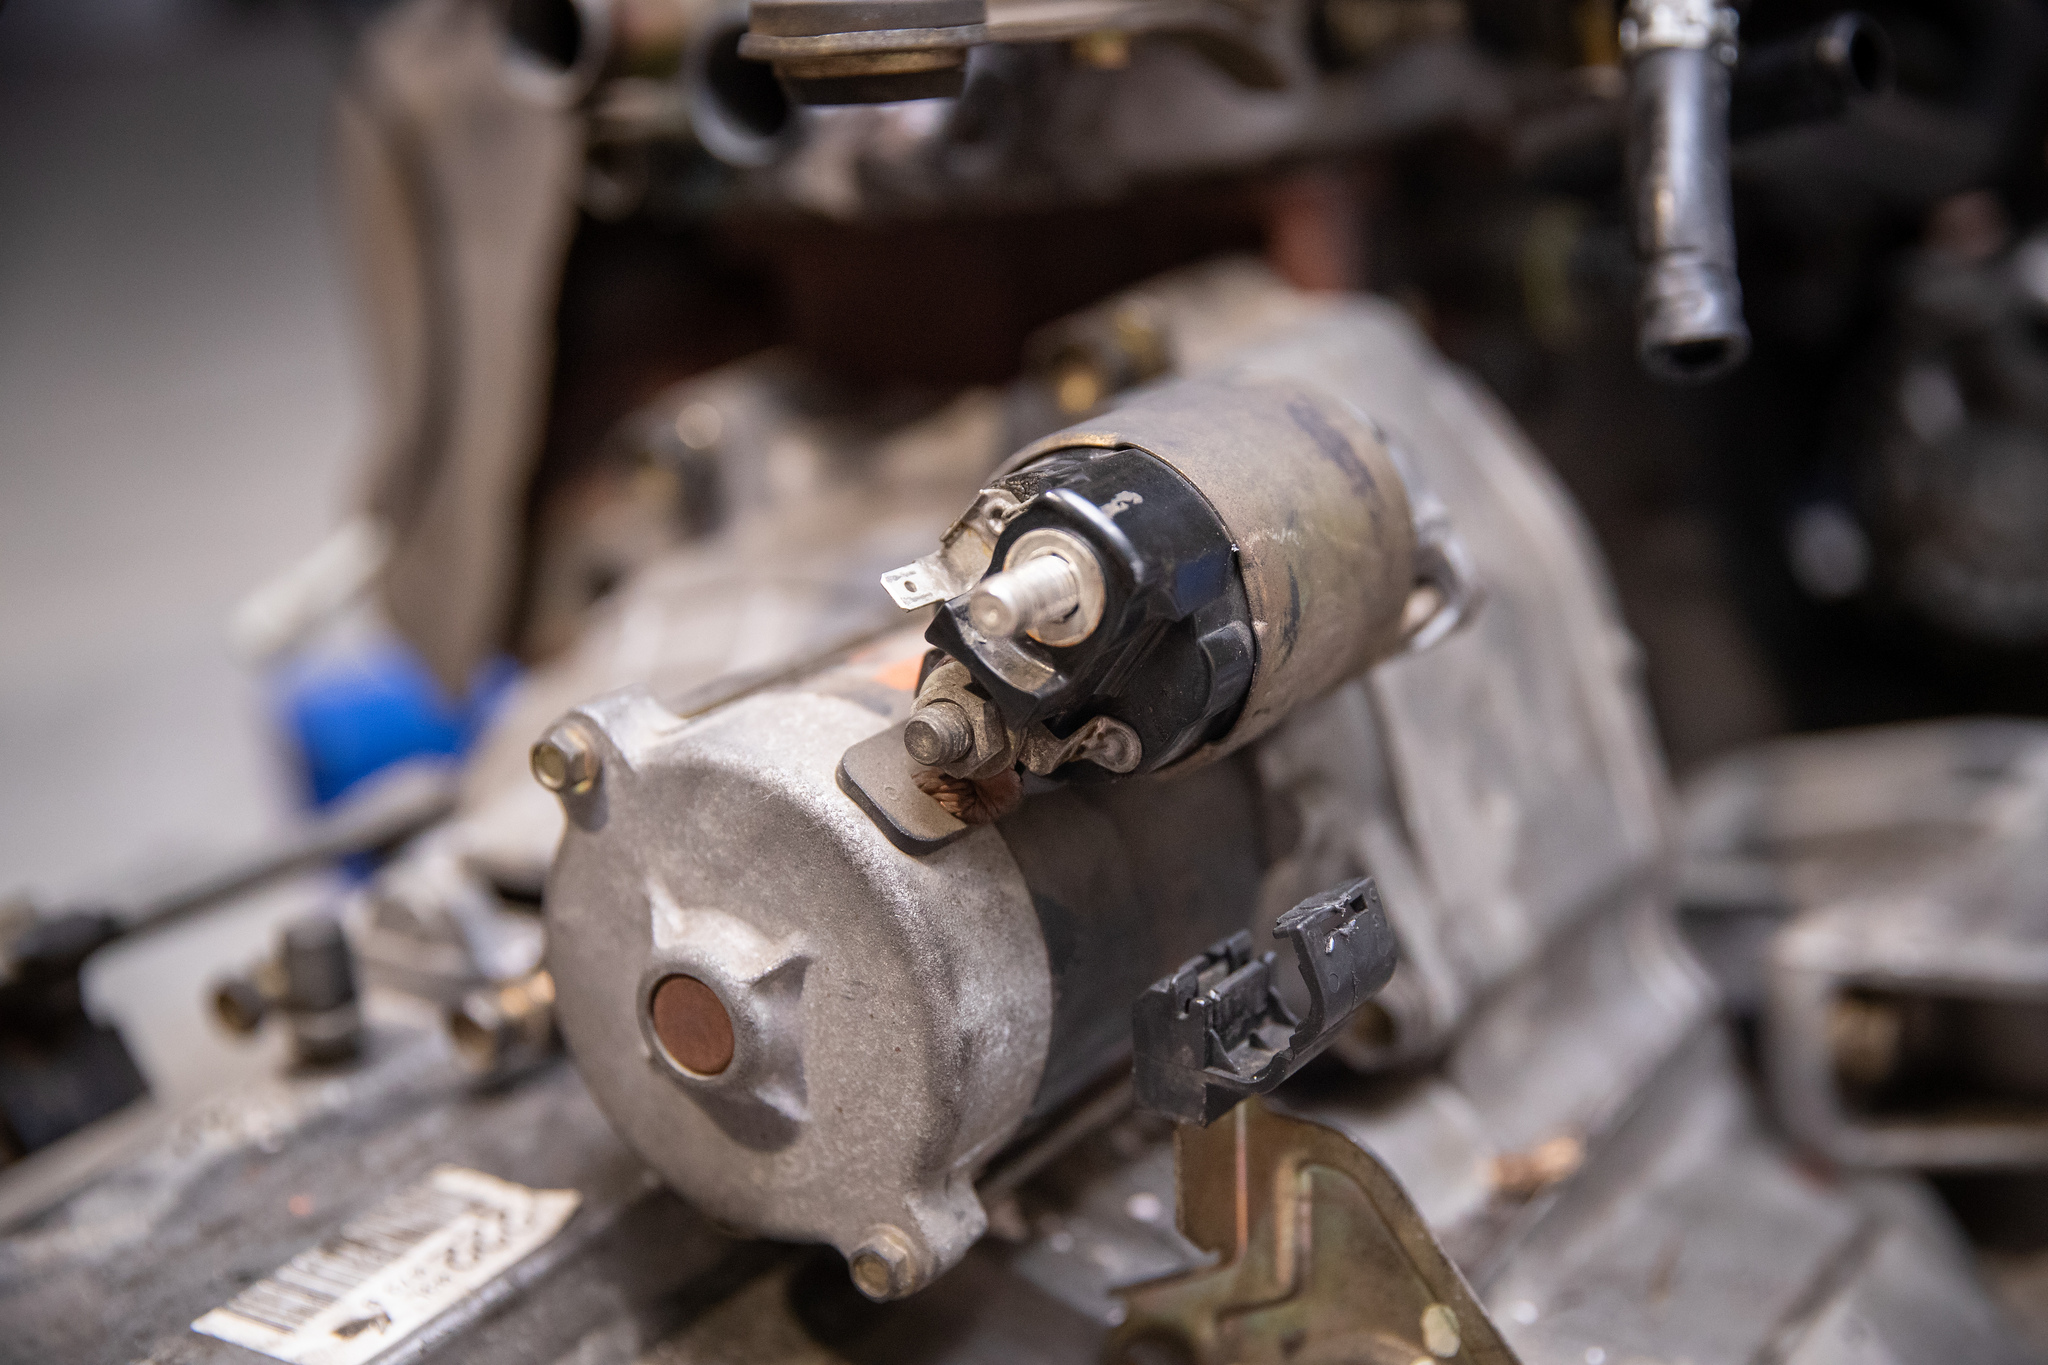
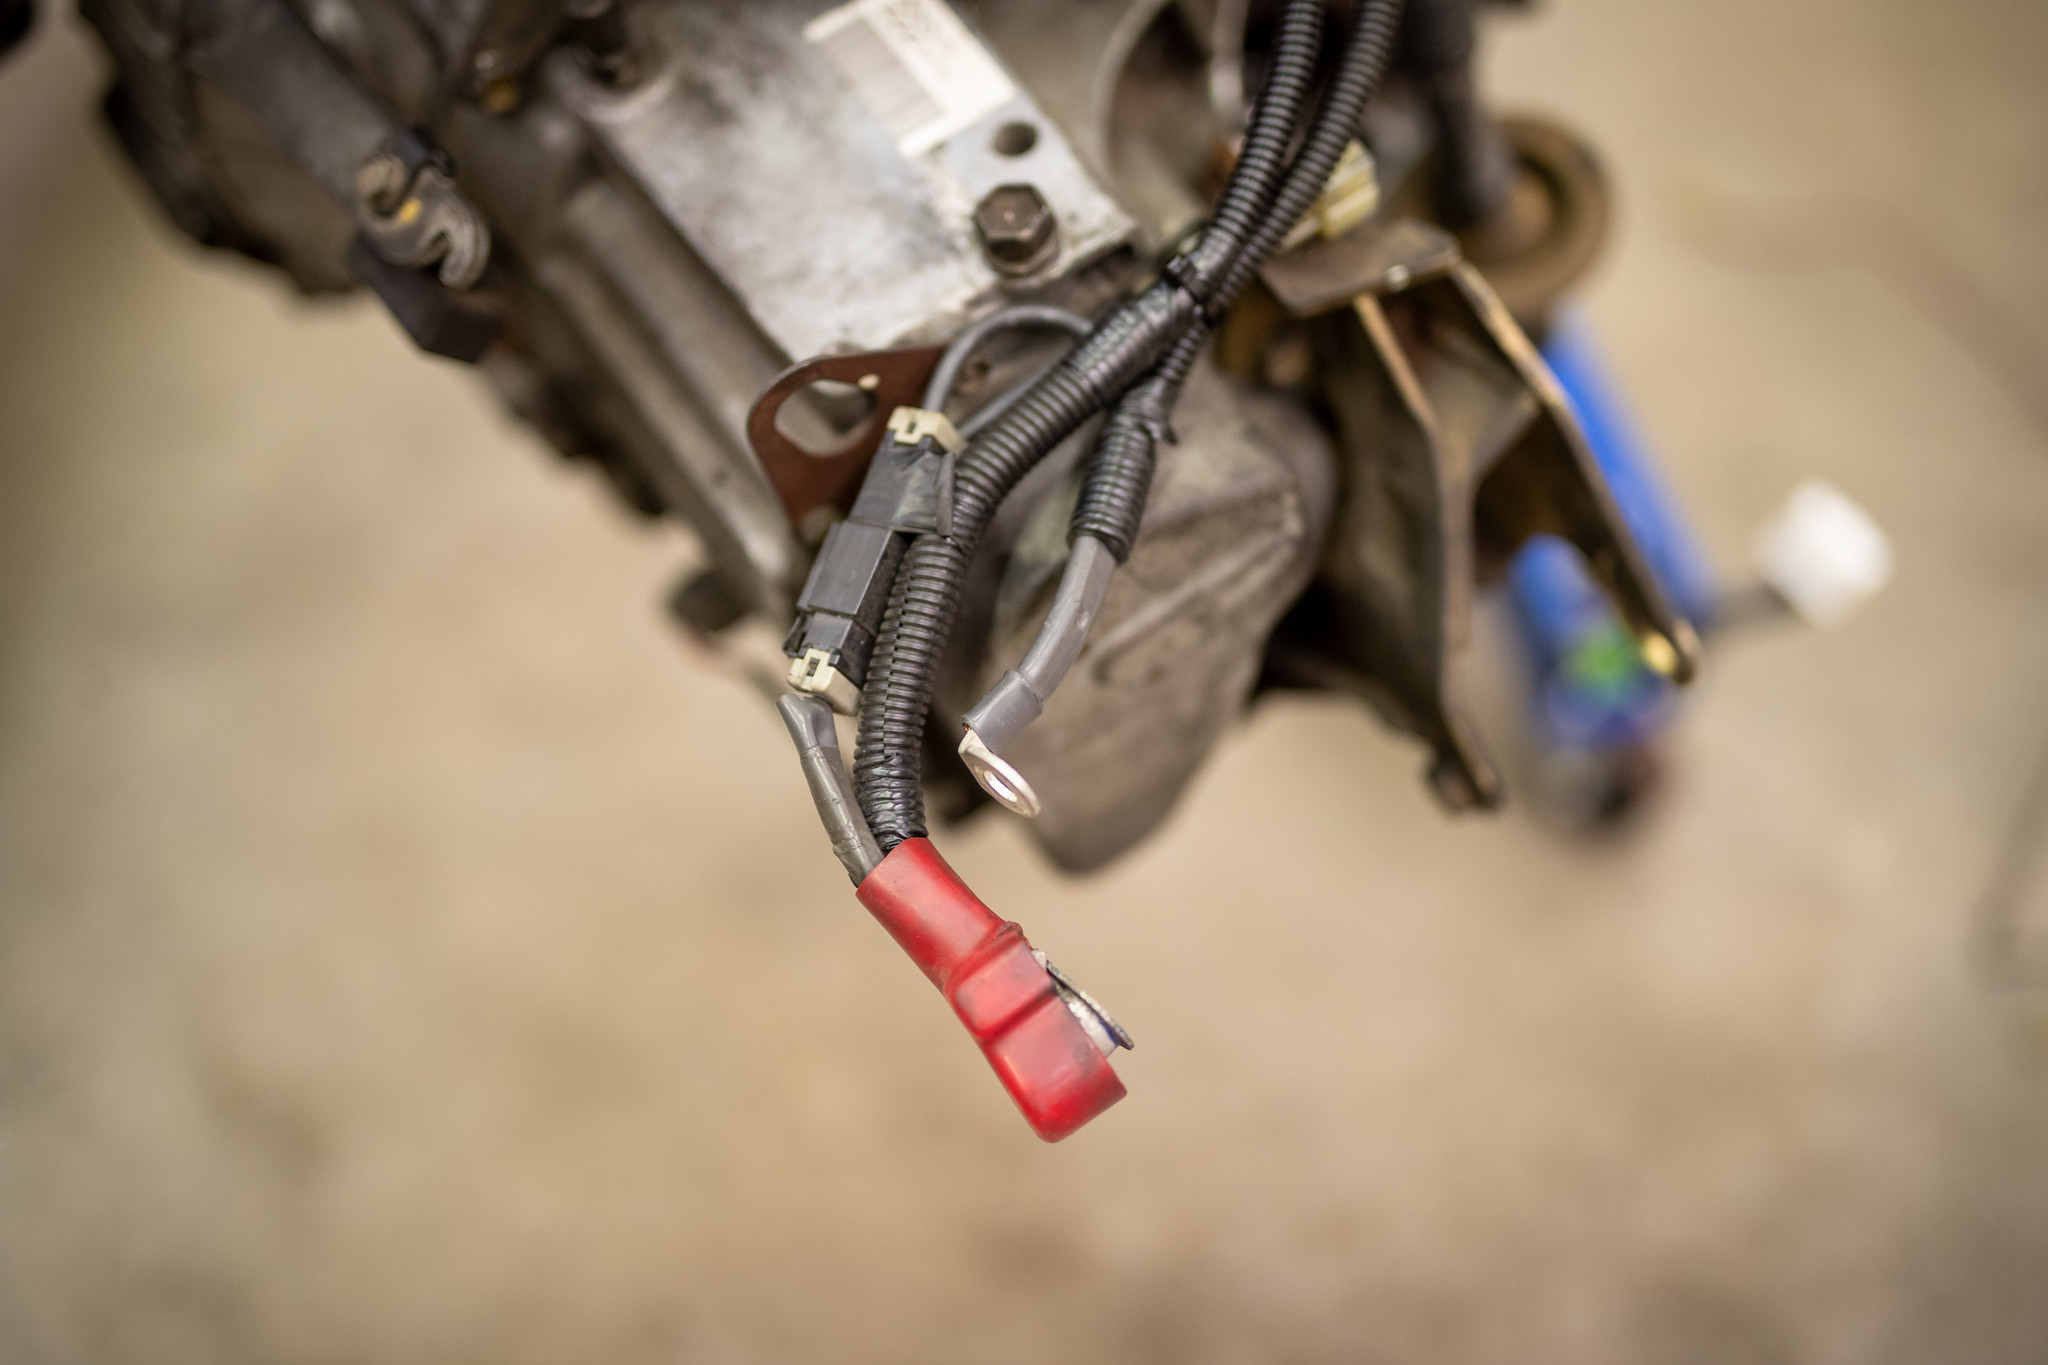
Lot of sneaky bolts behind and under for the box.
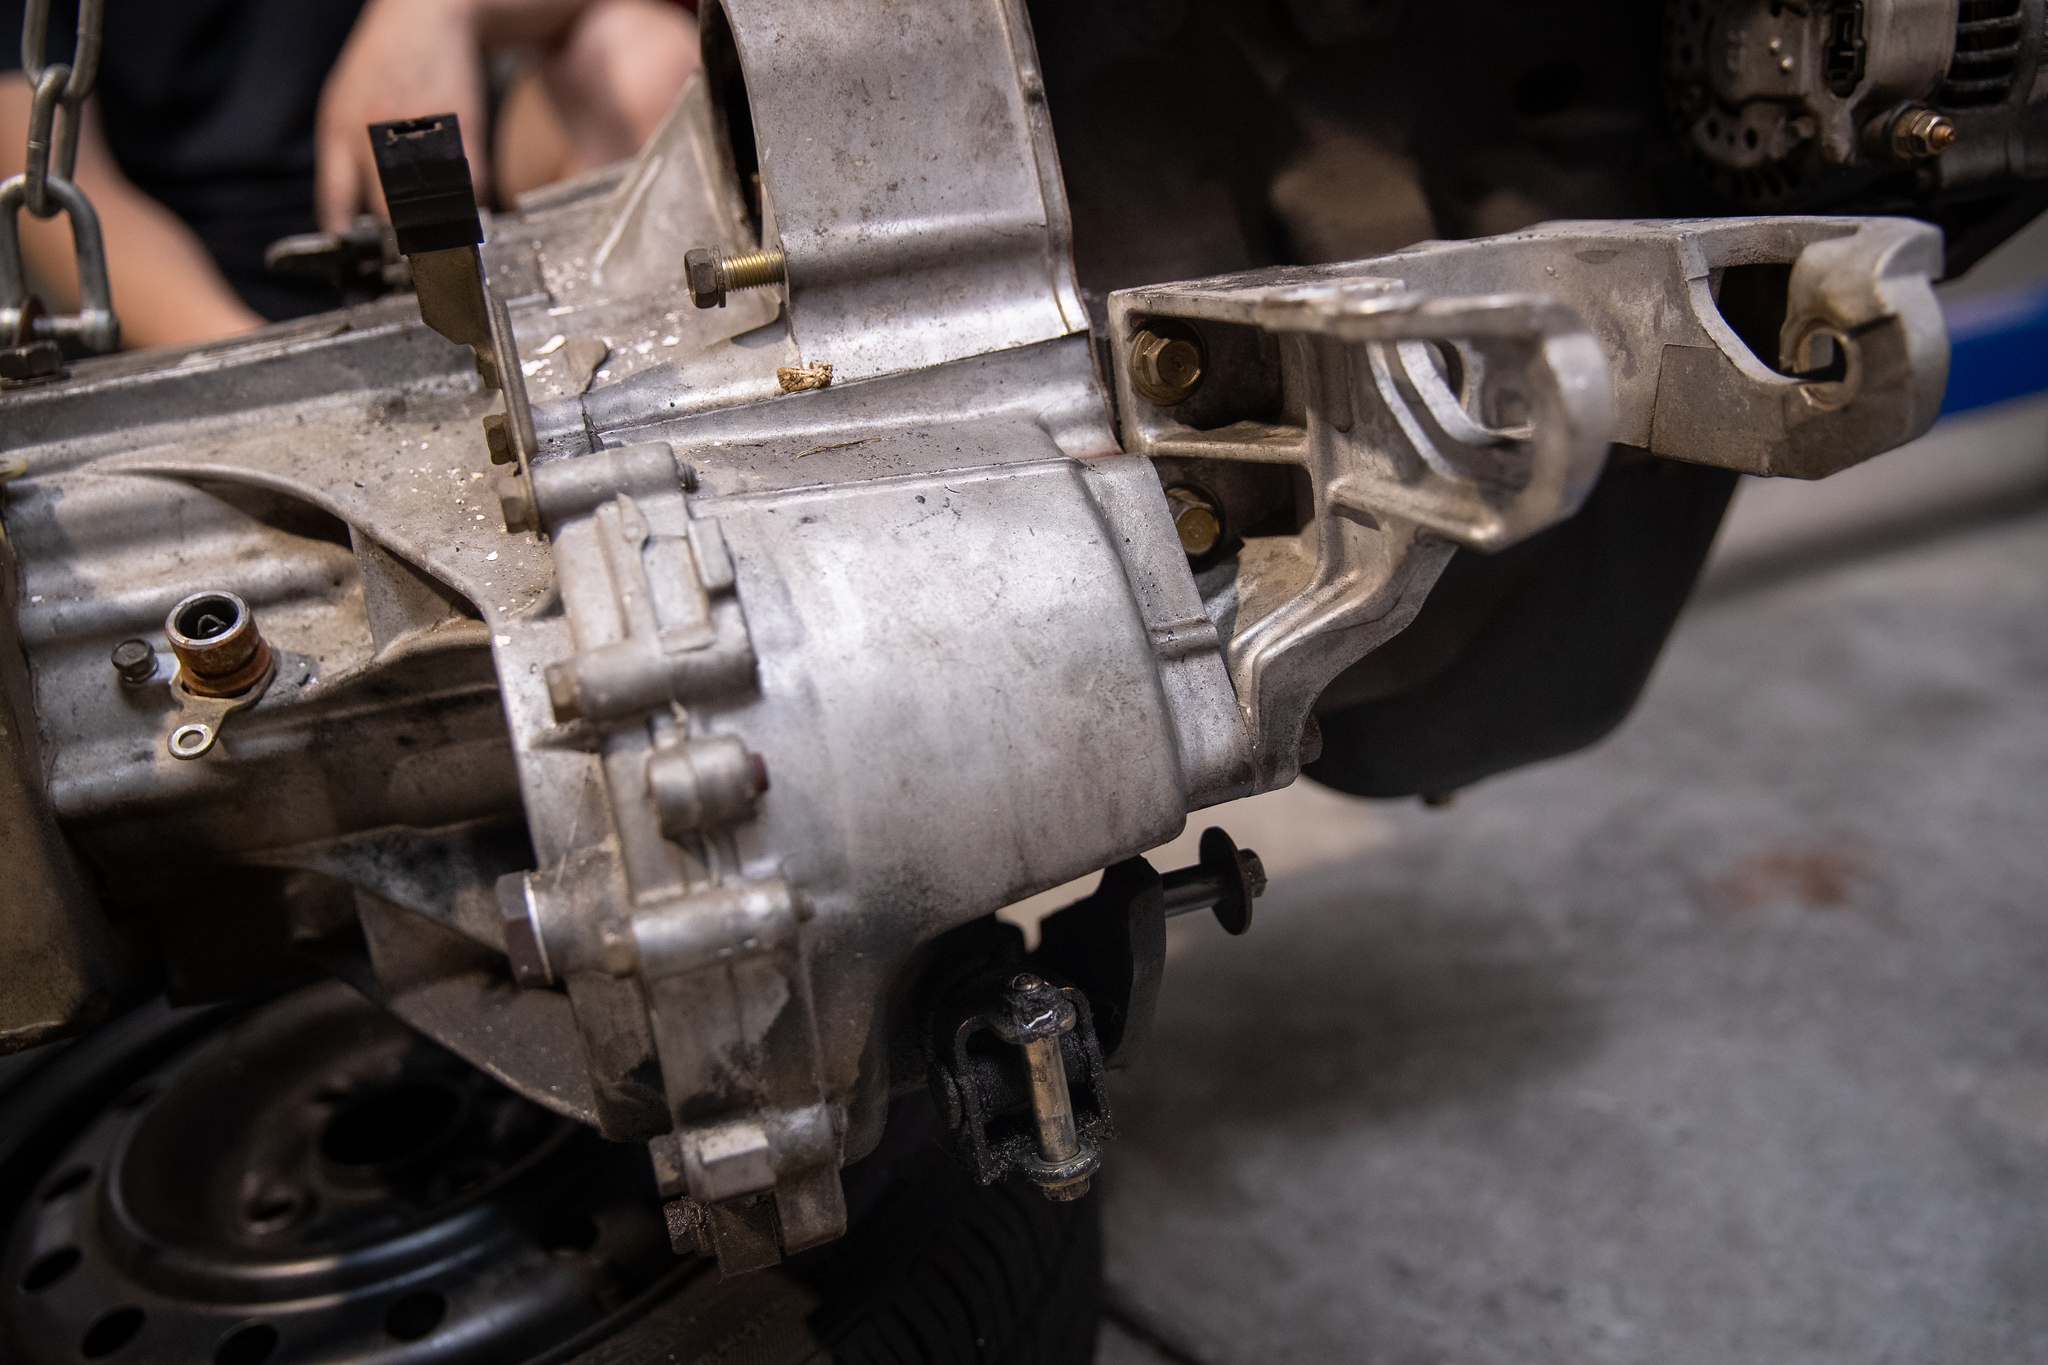
More.
And more.
Aye, off it came.
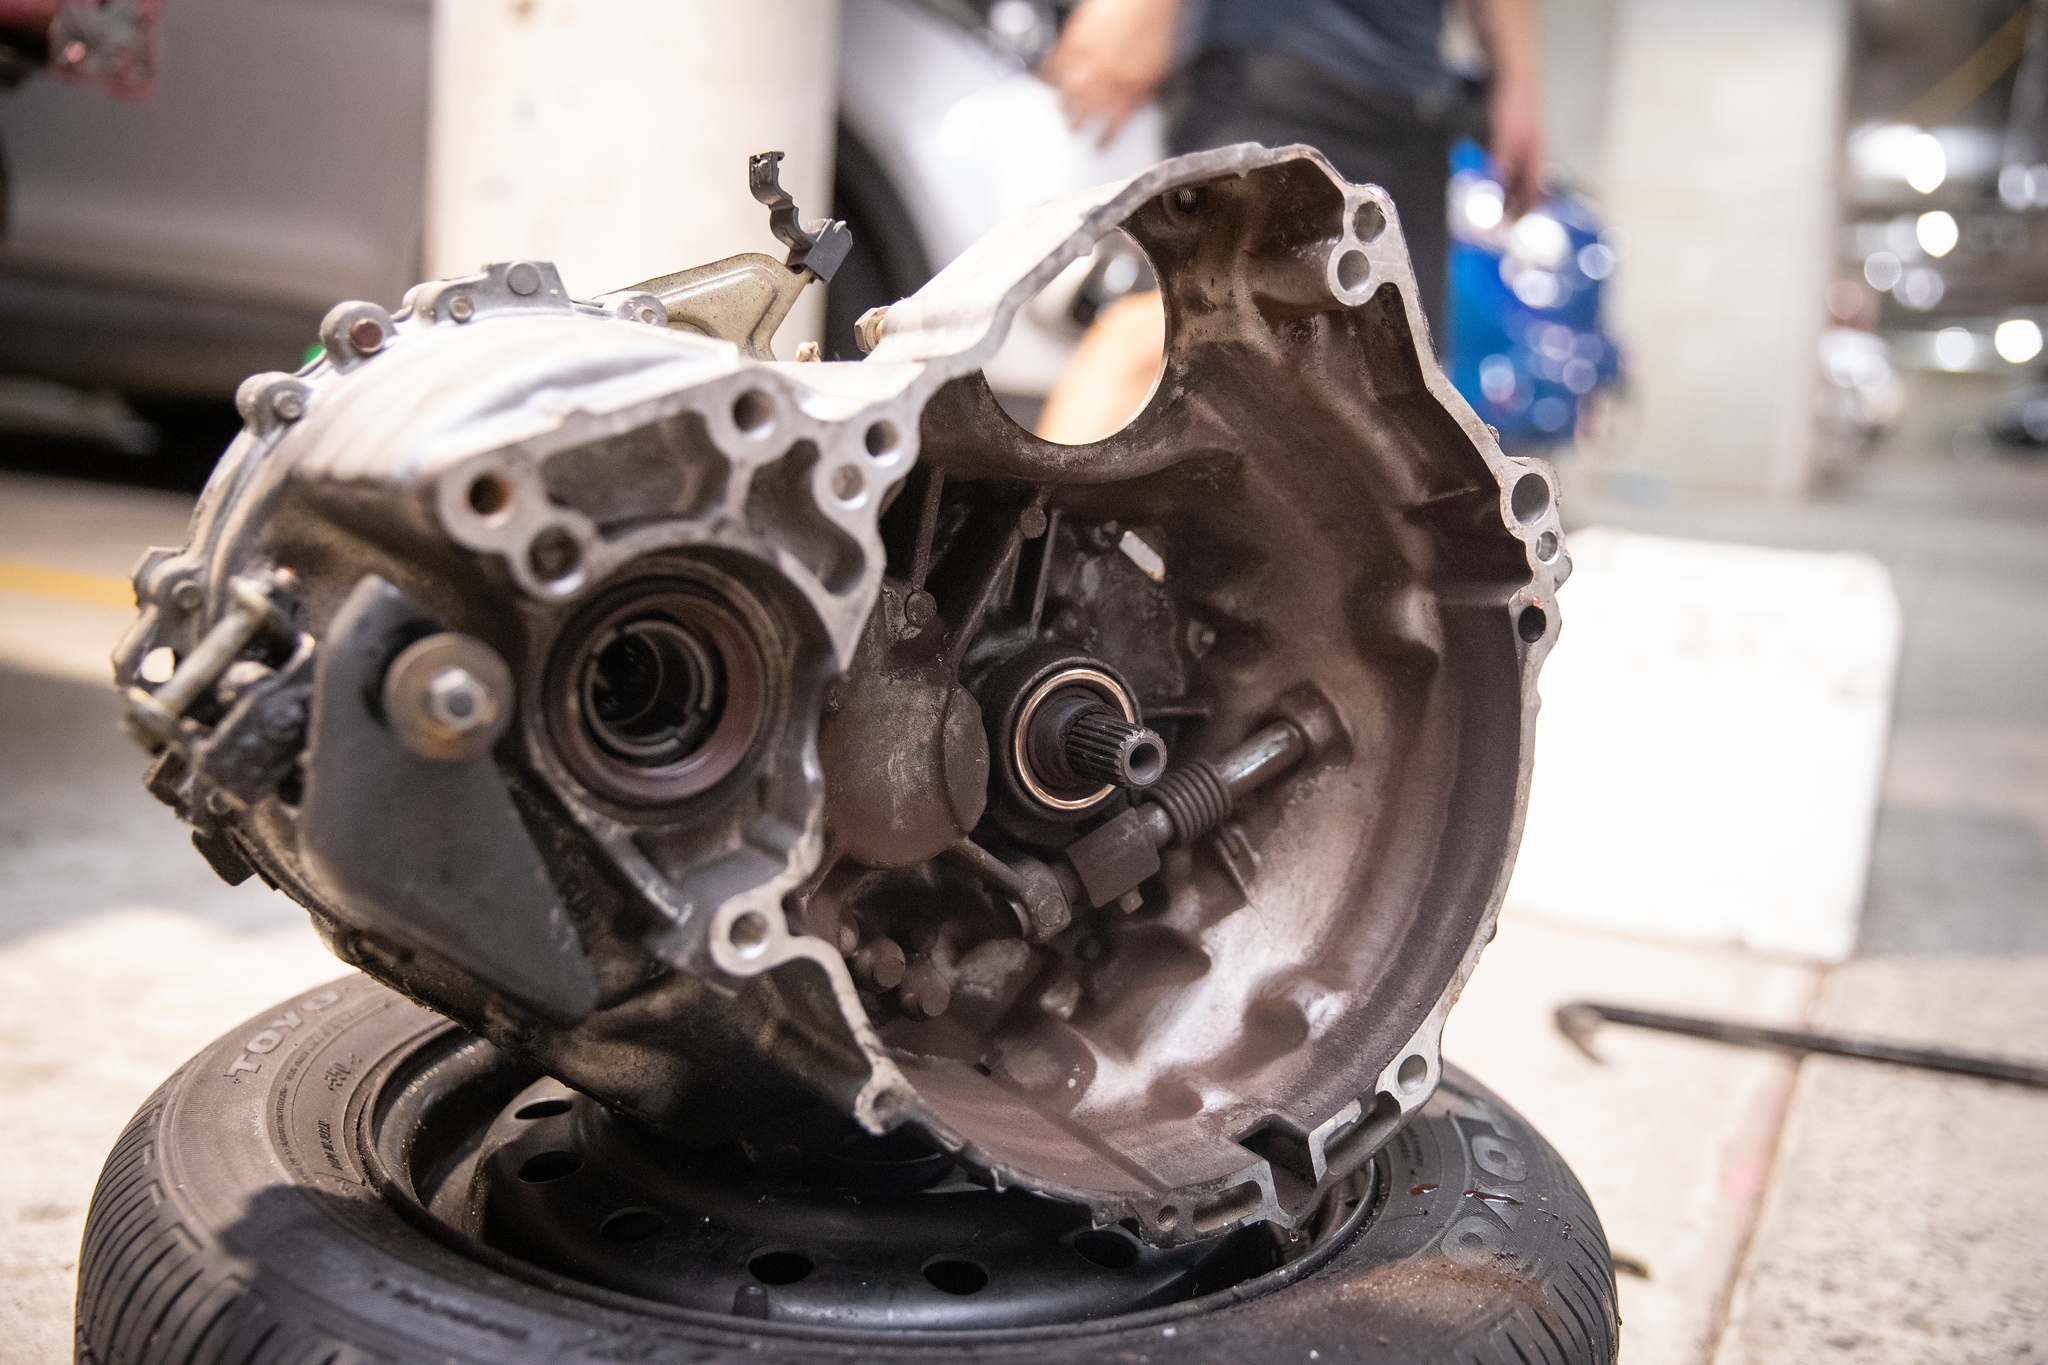
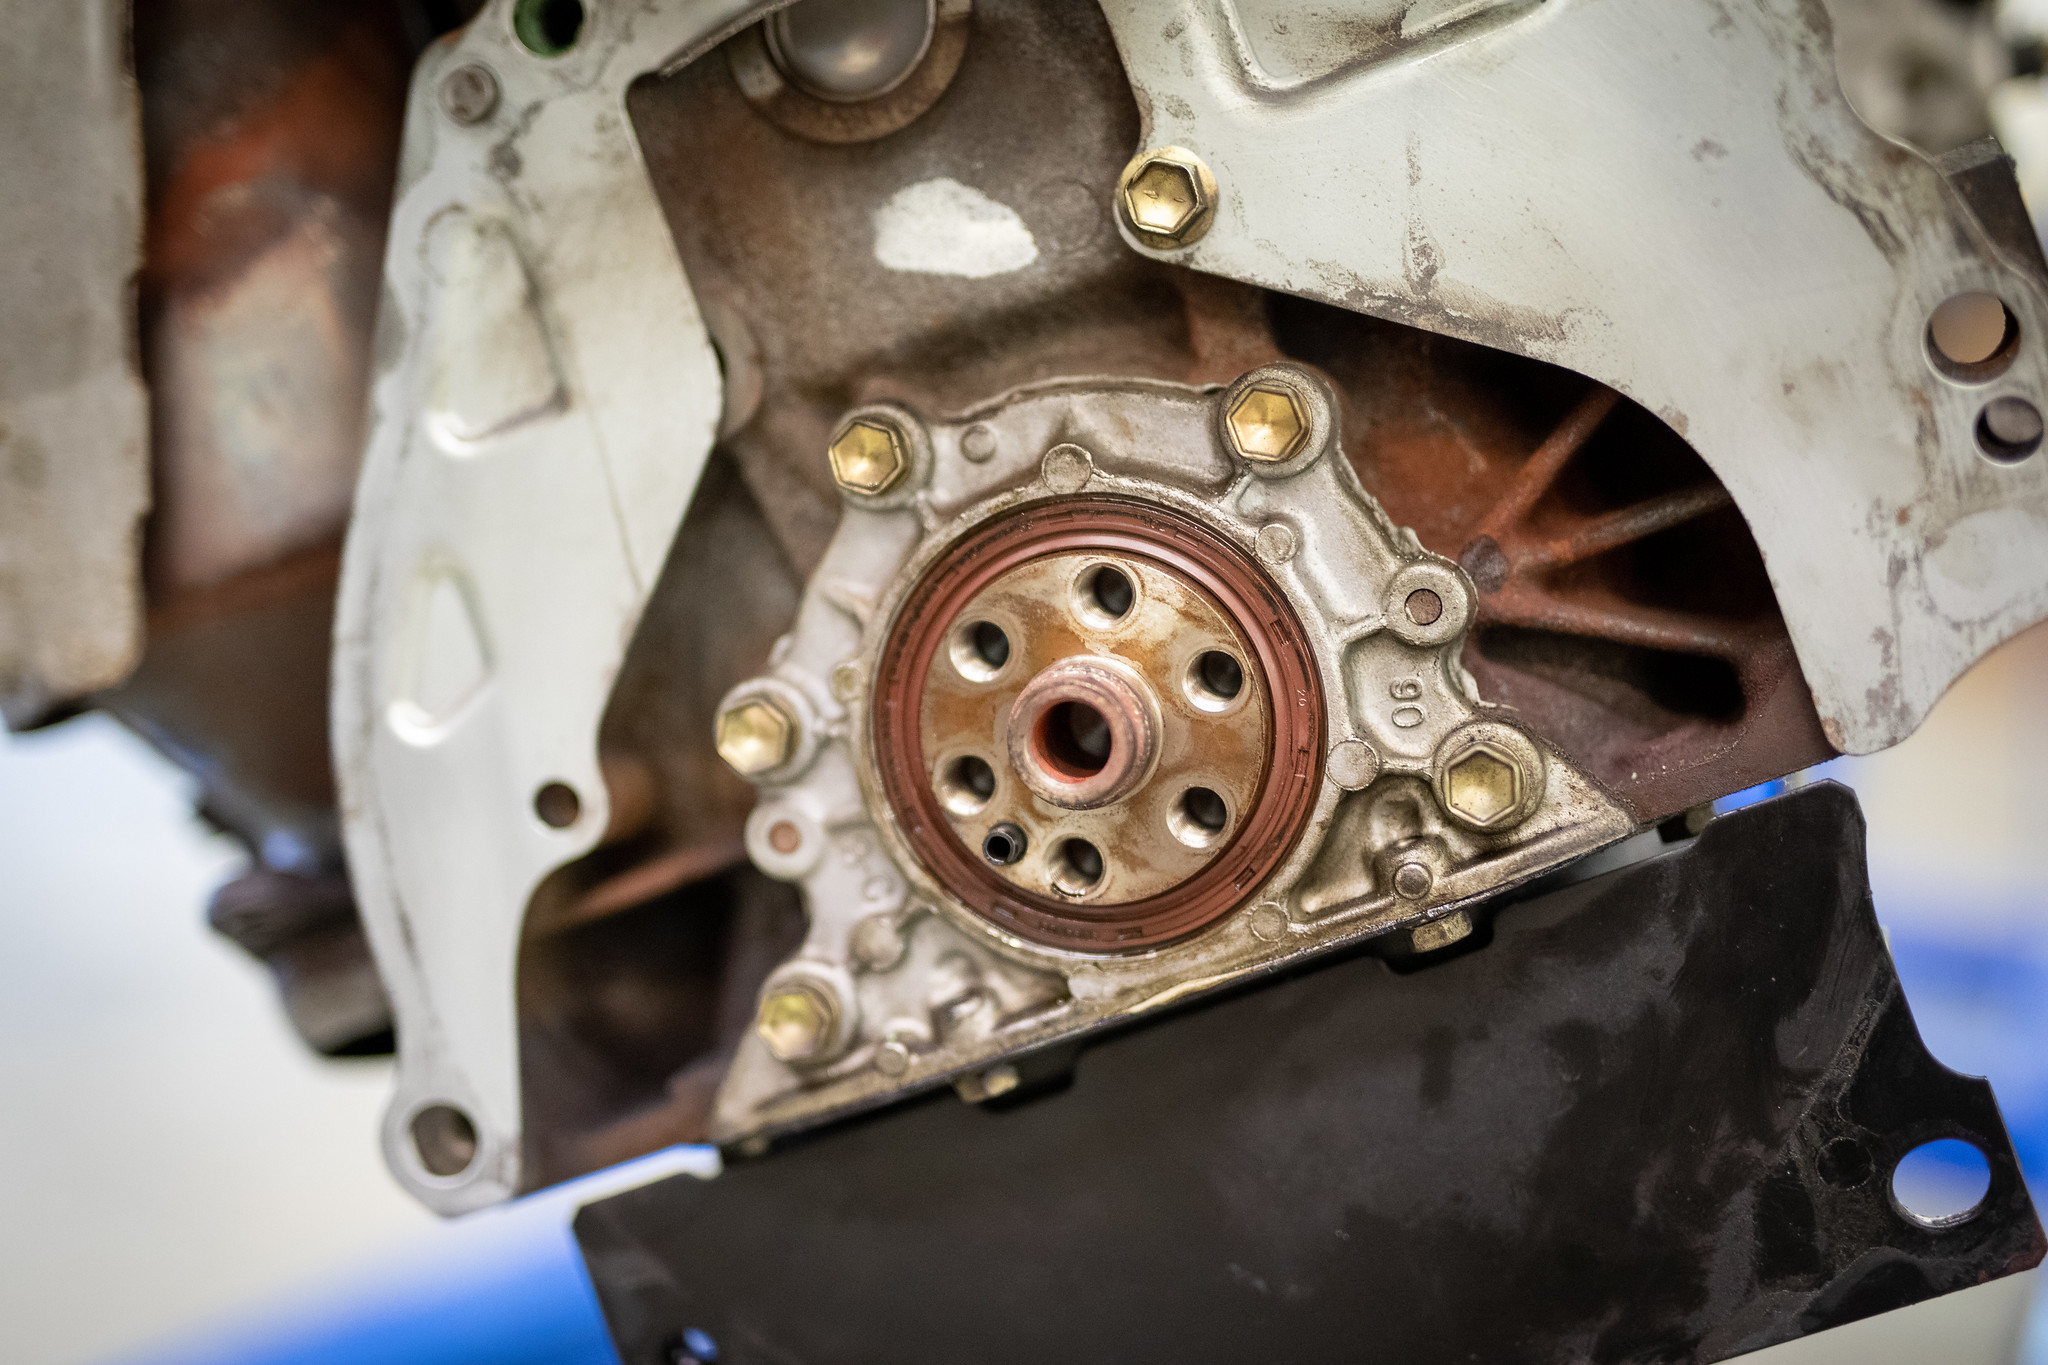
Seems the clutch was replaced once in it’s life. EXEDY unit.
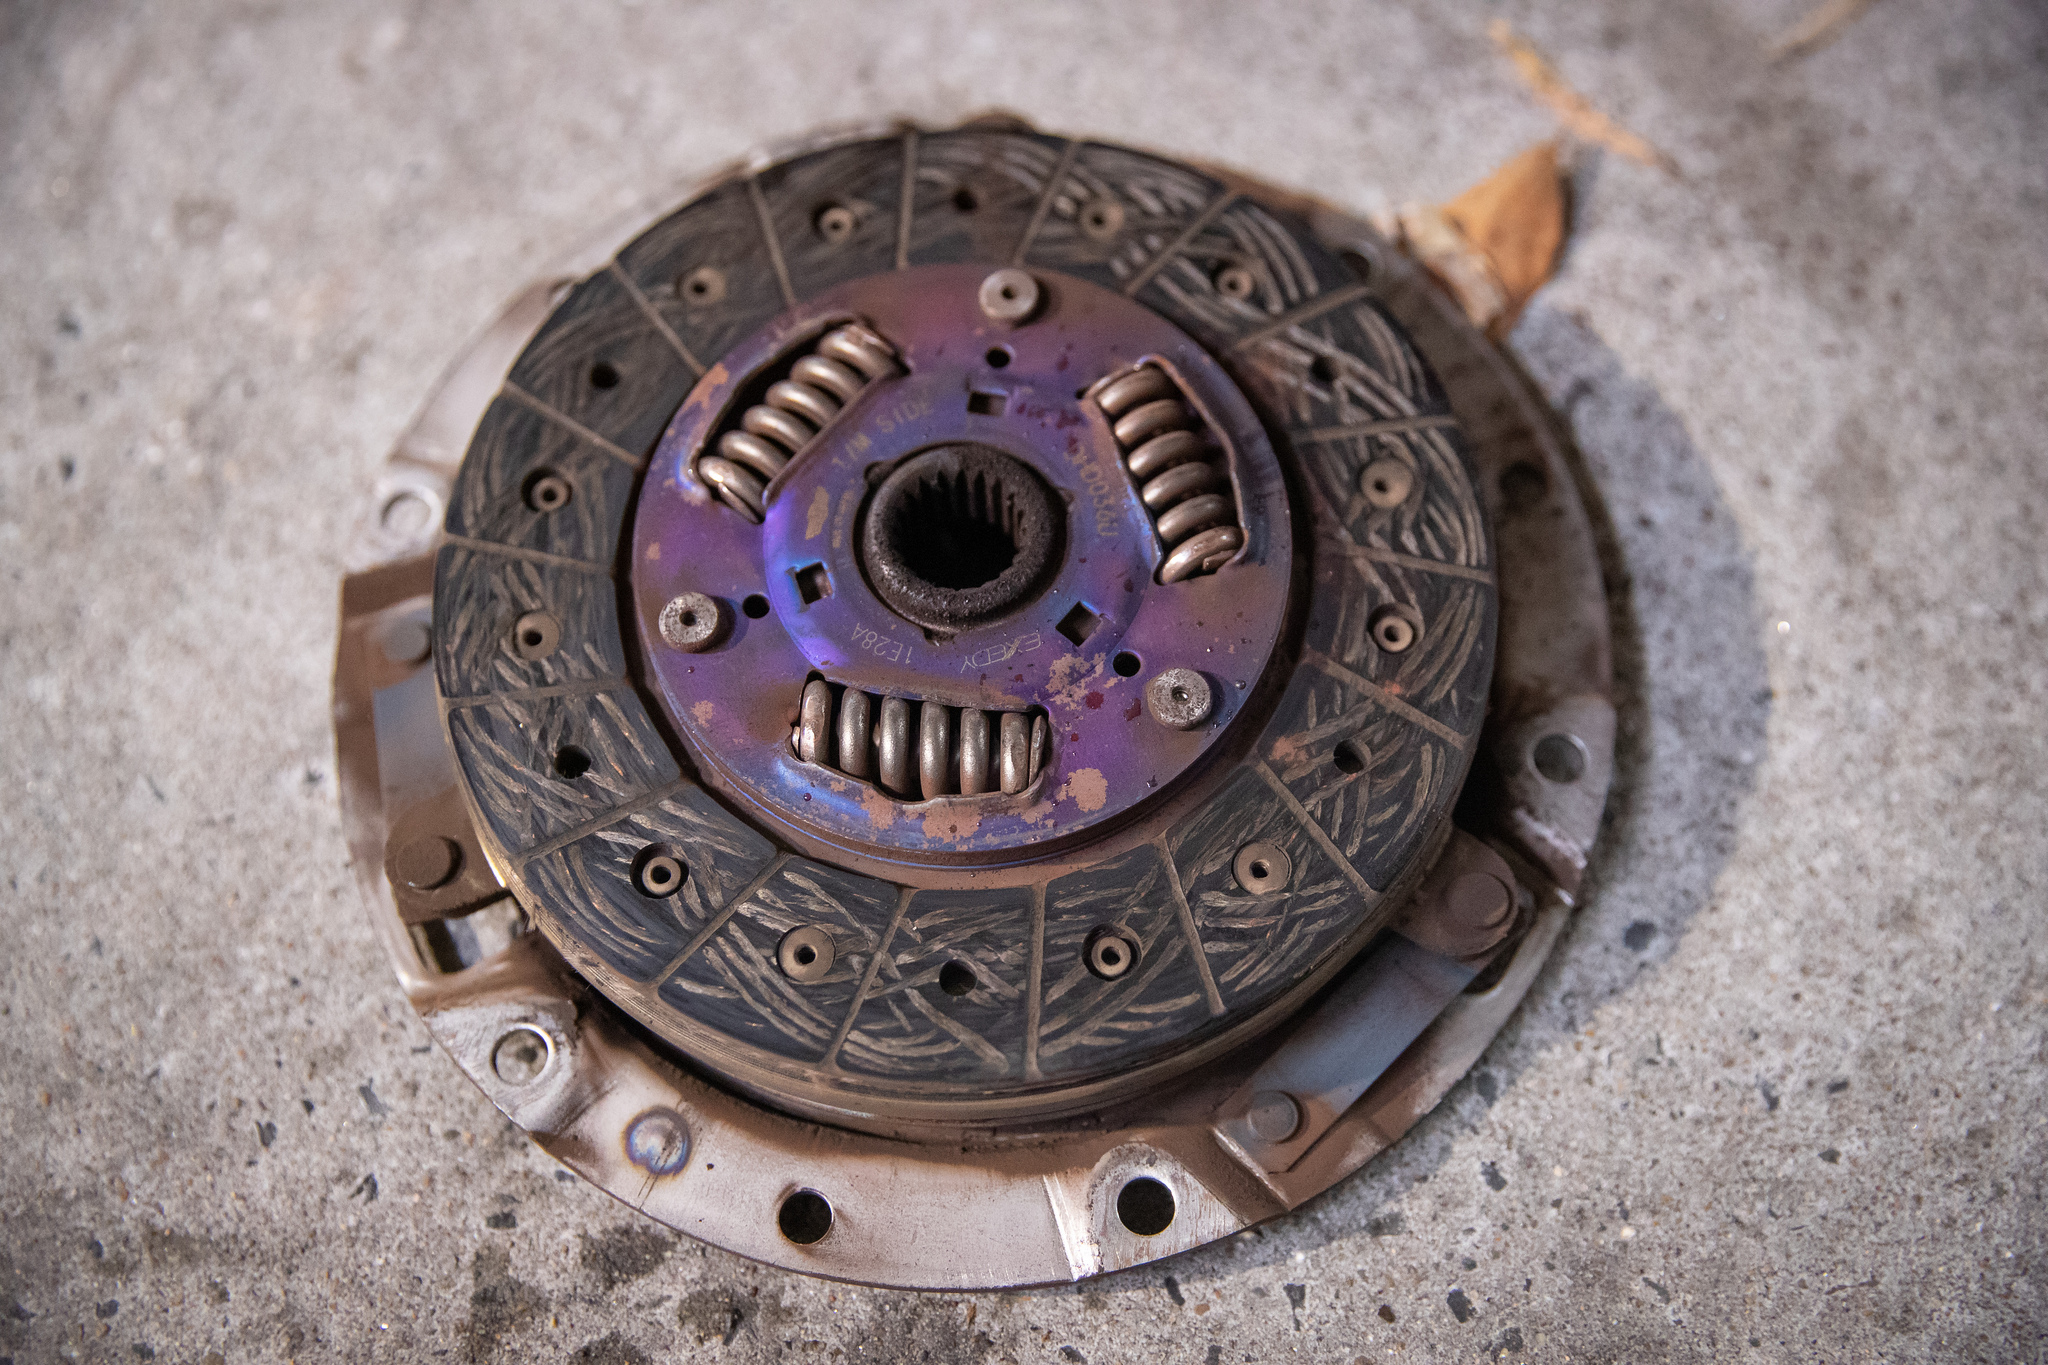
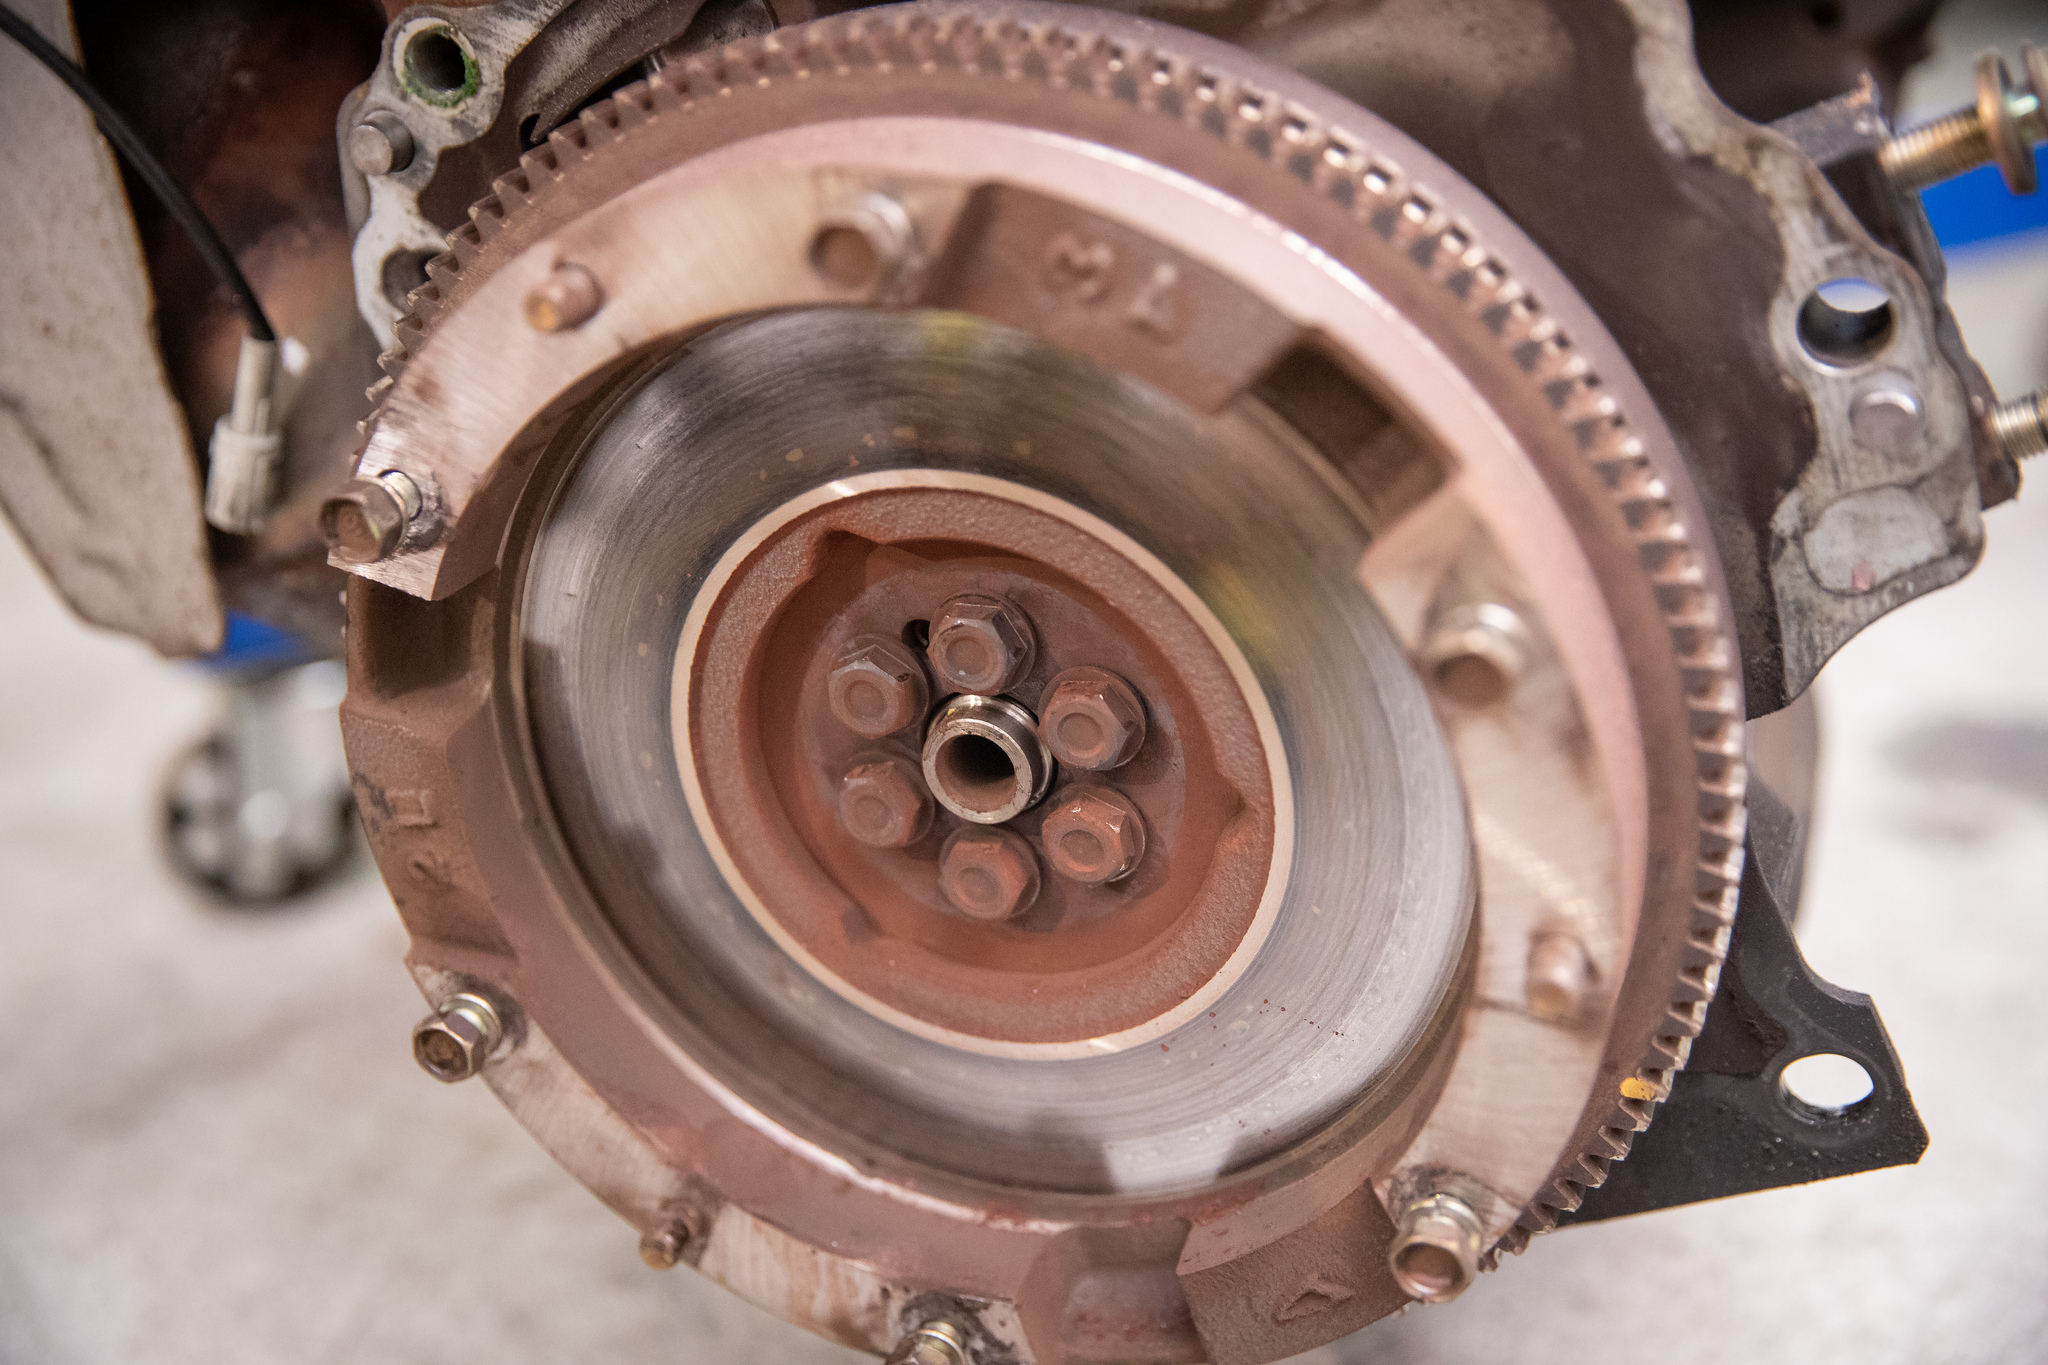
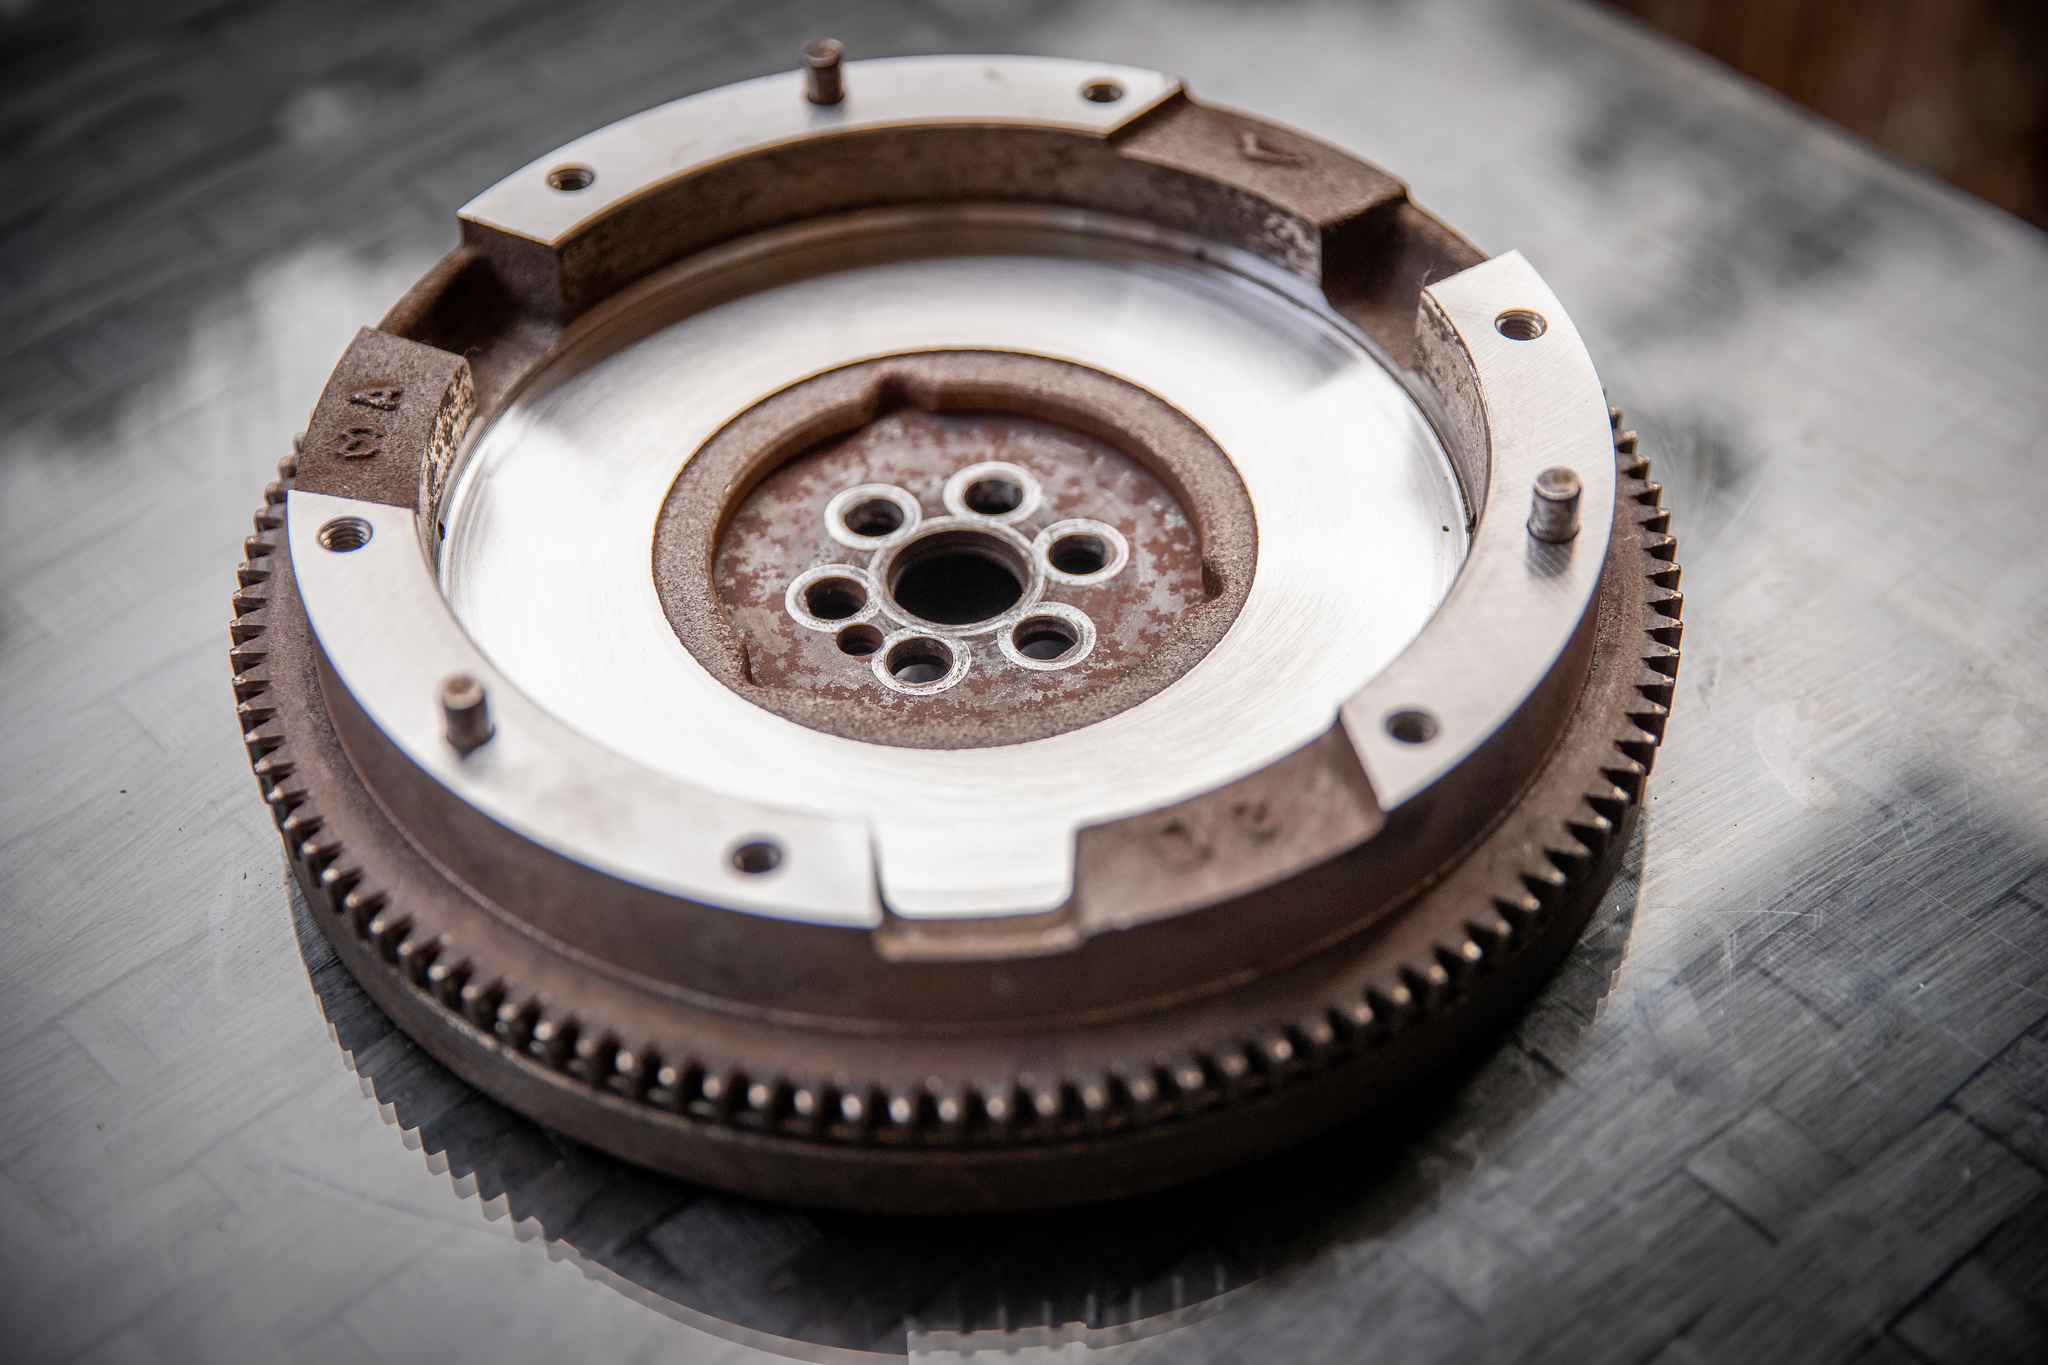
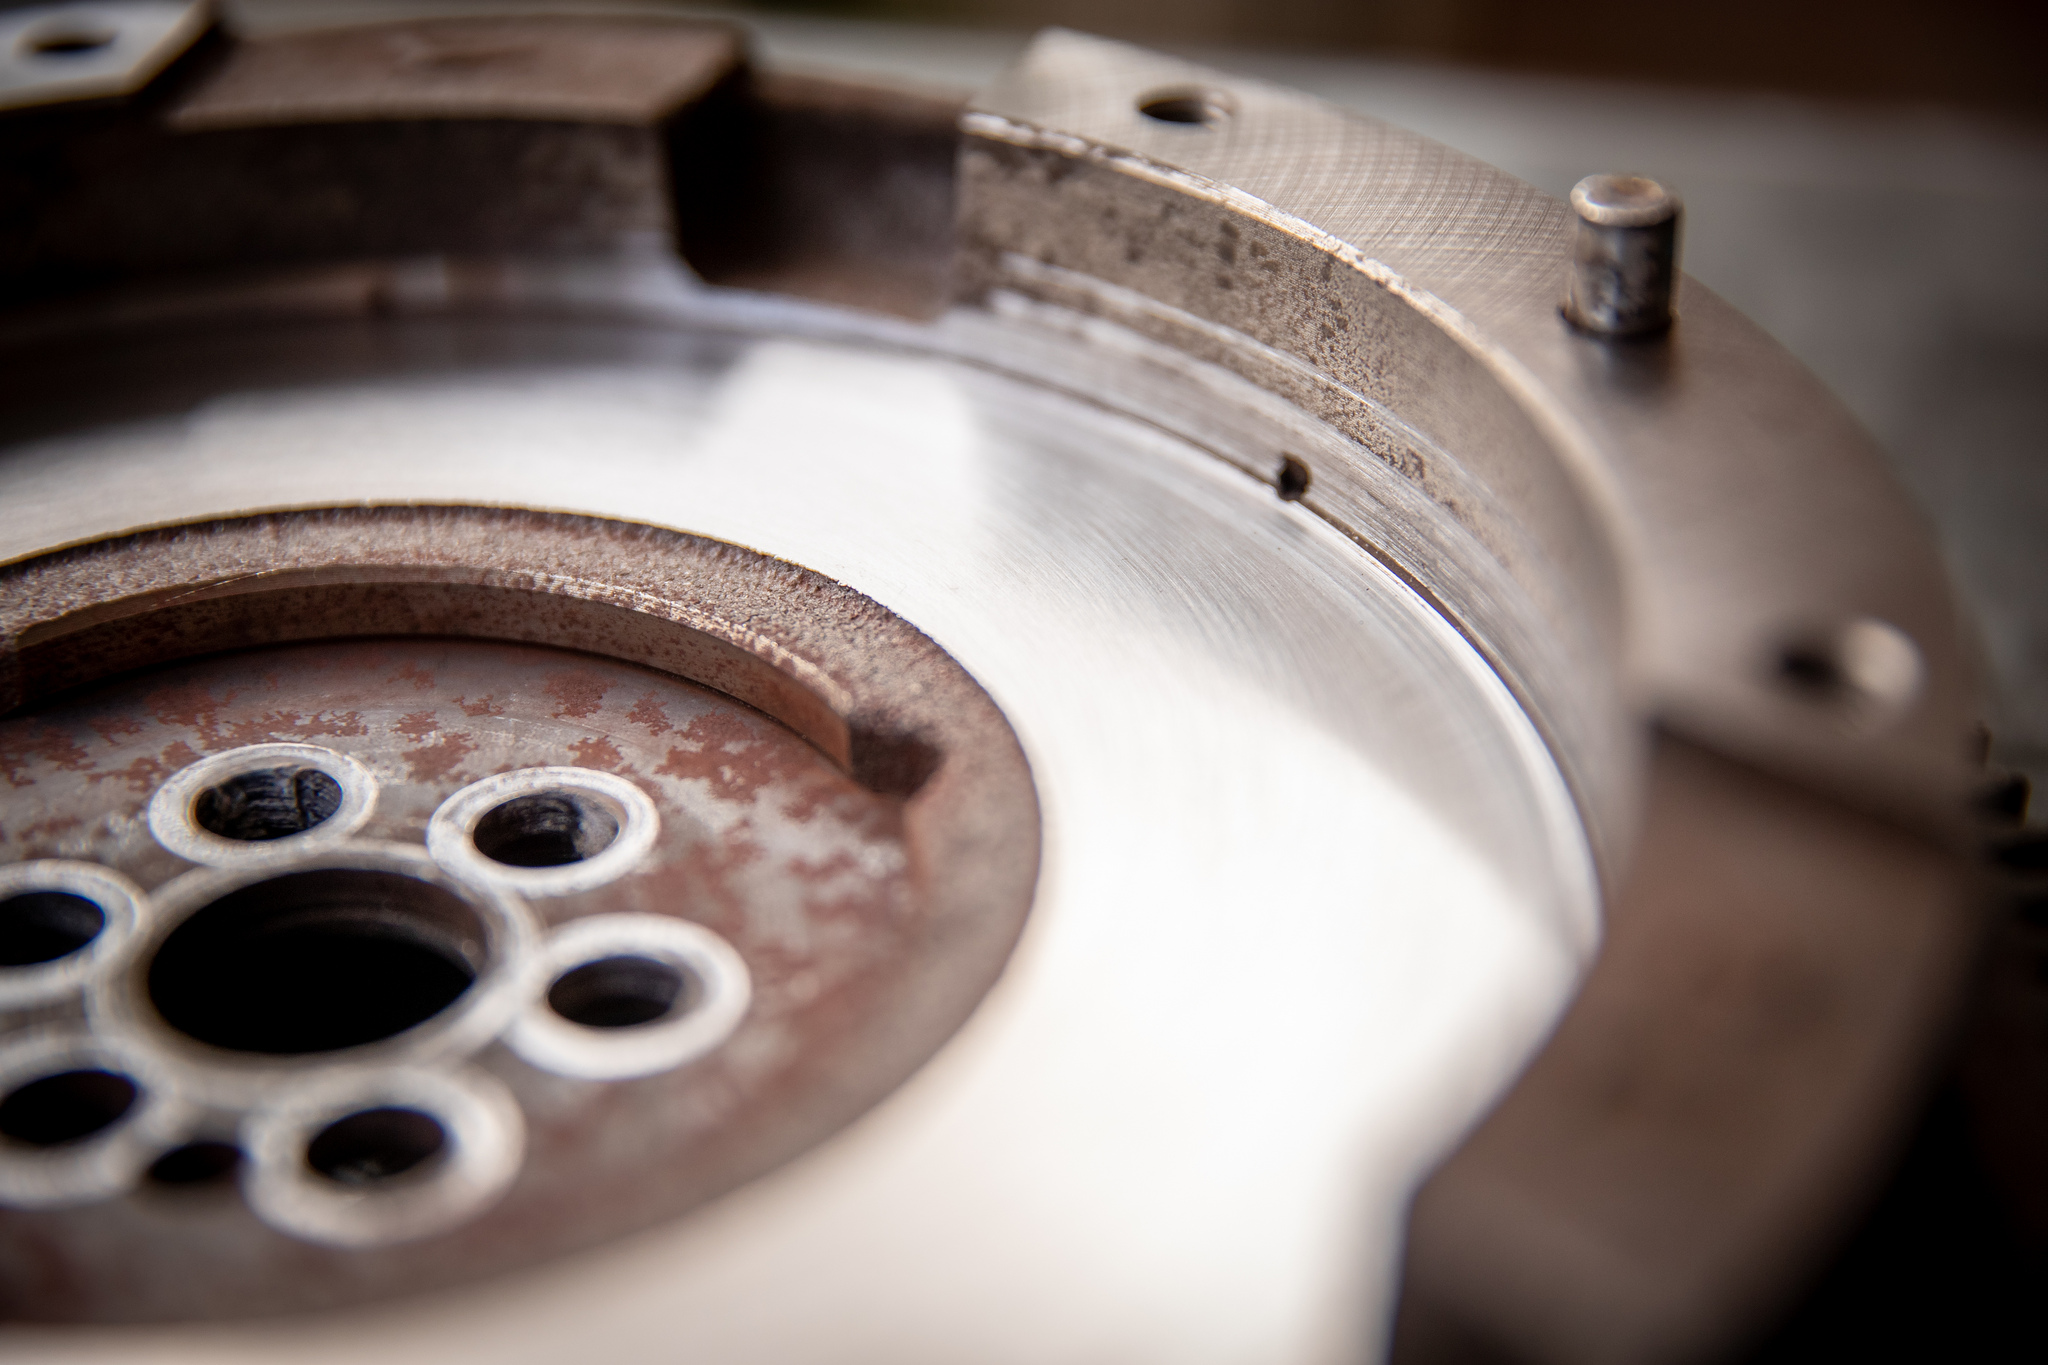
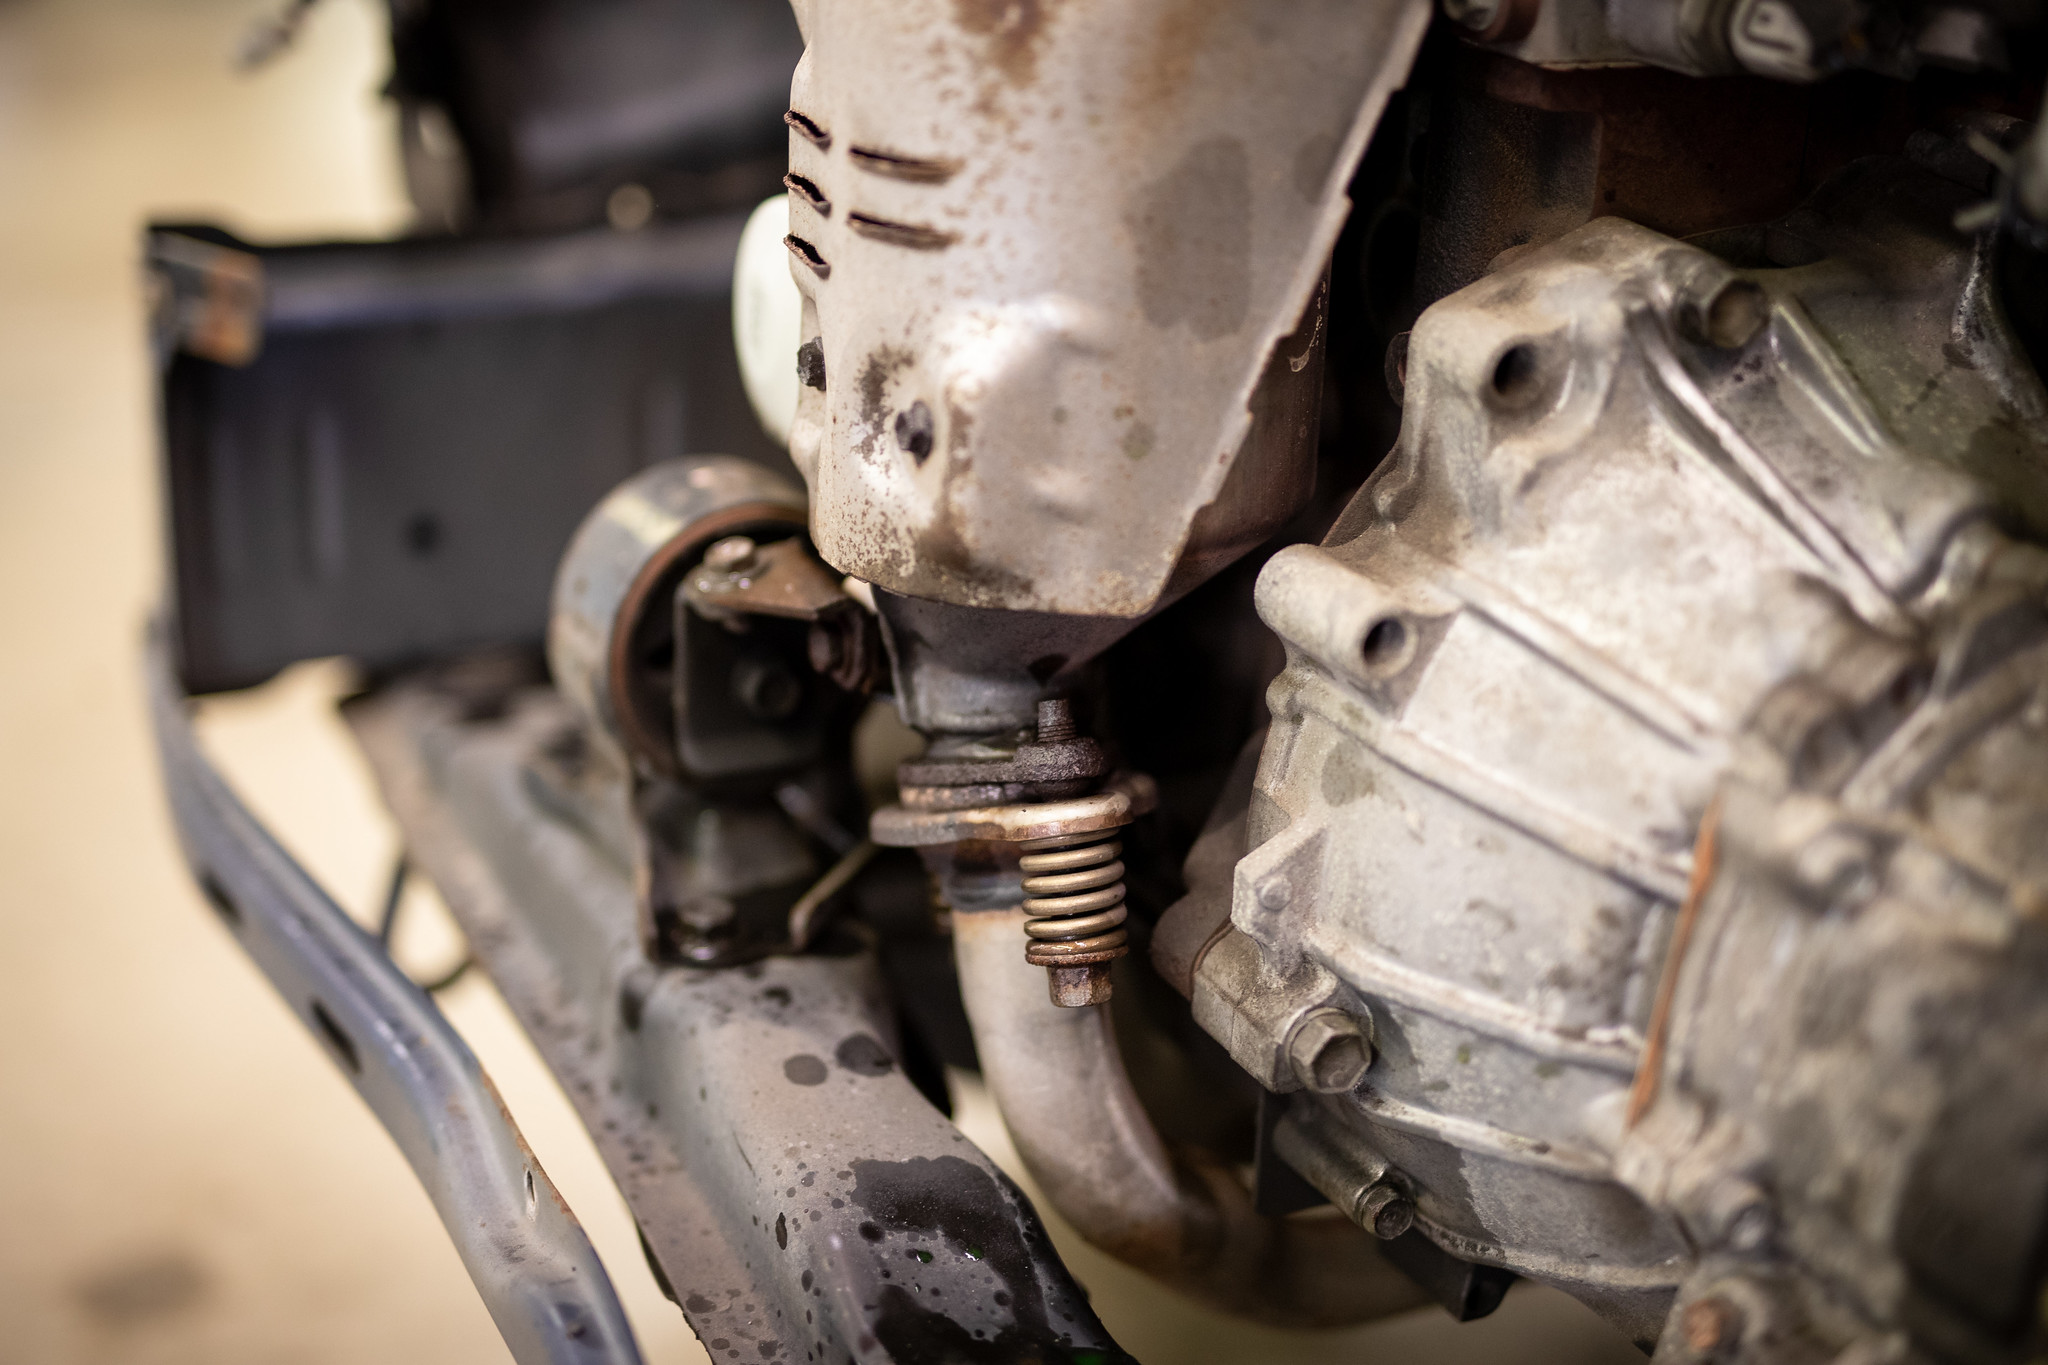
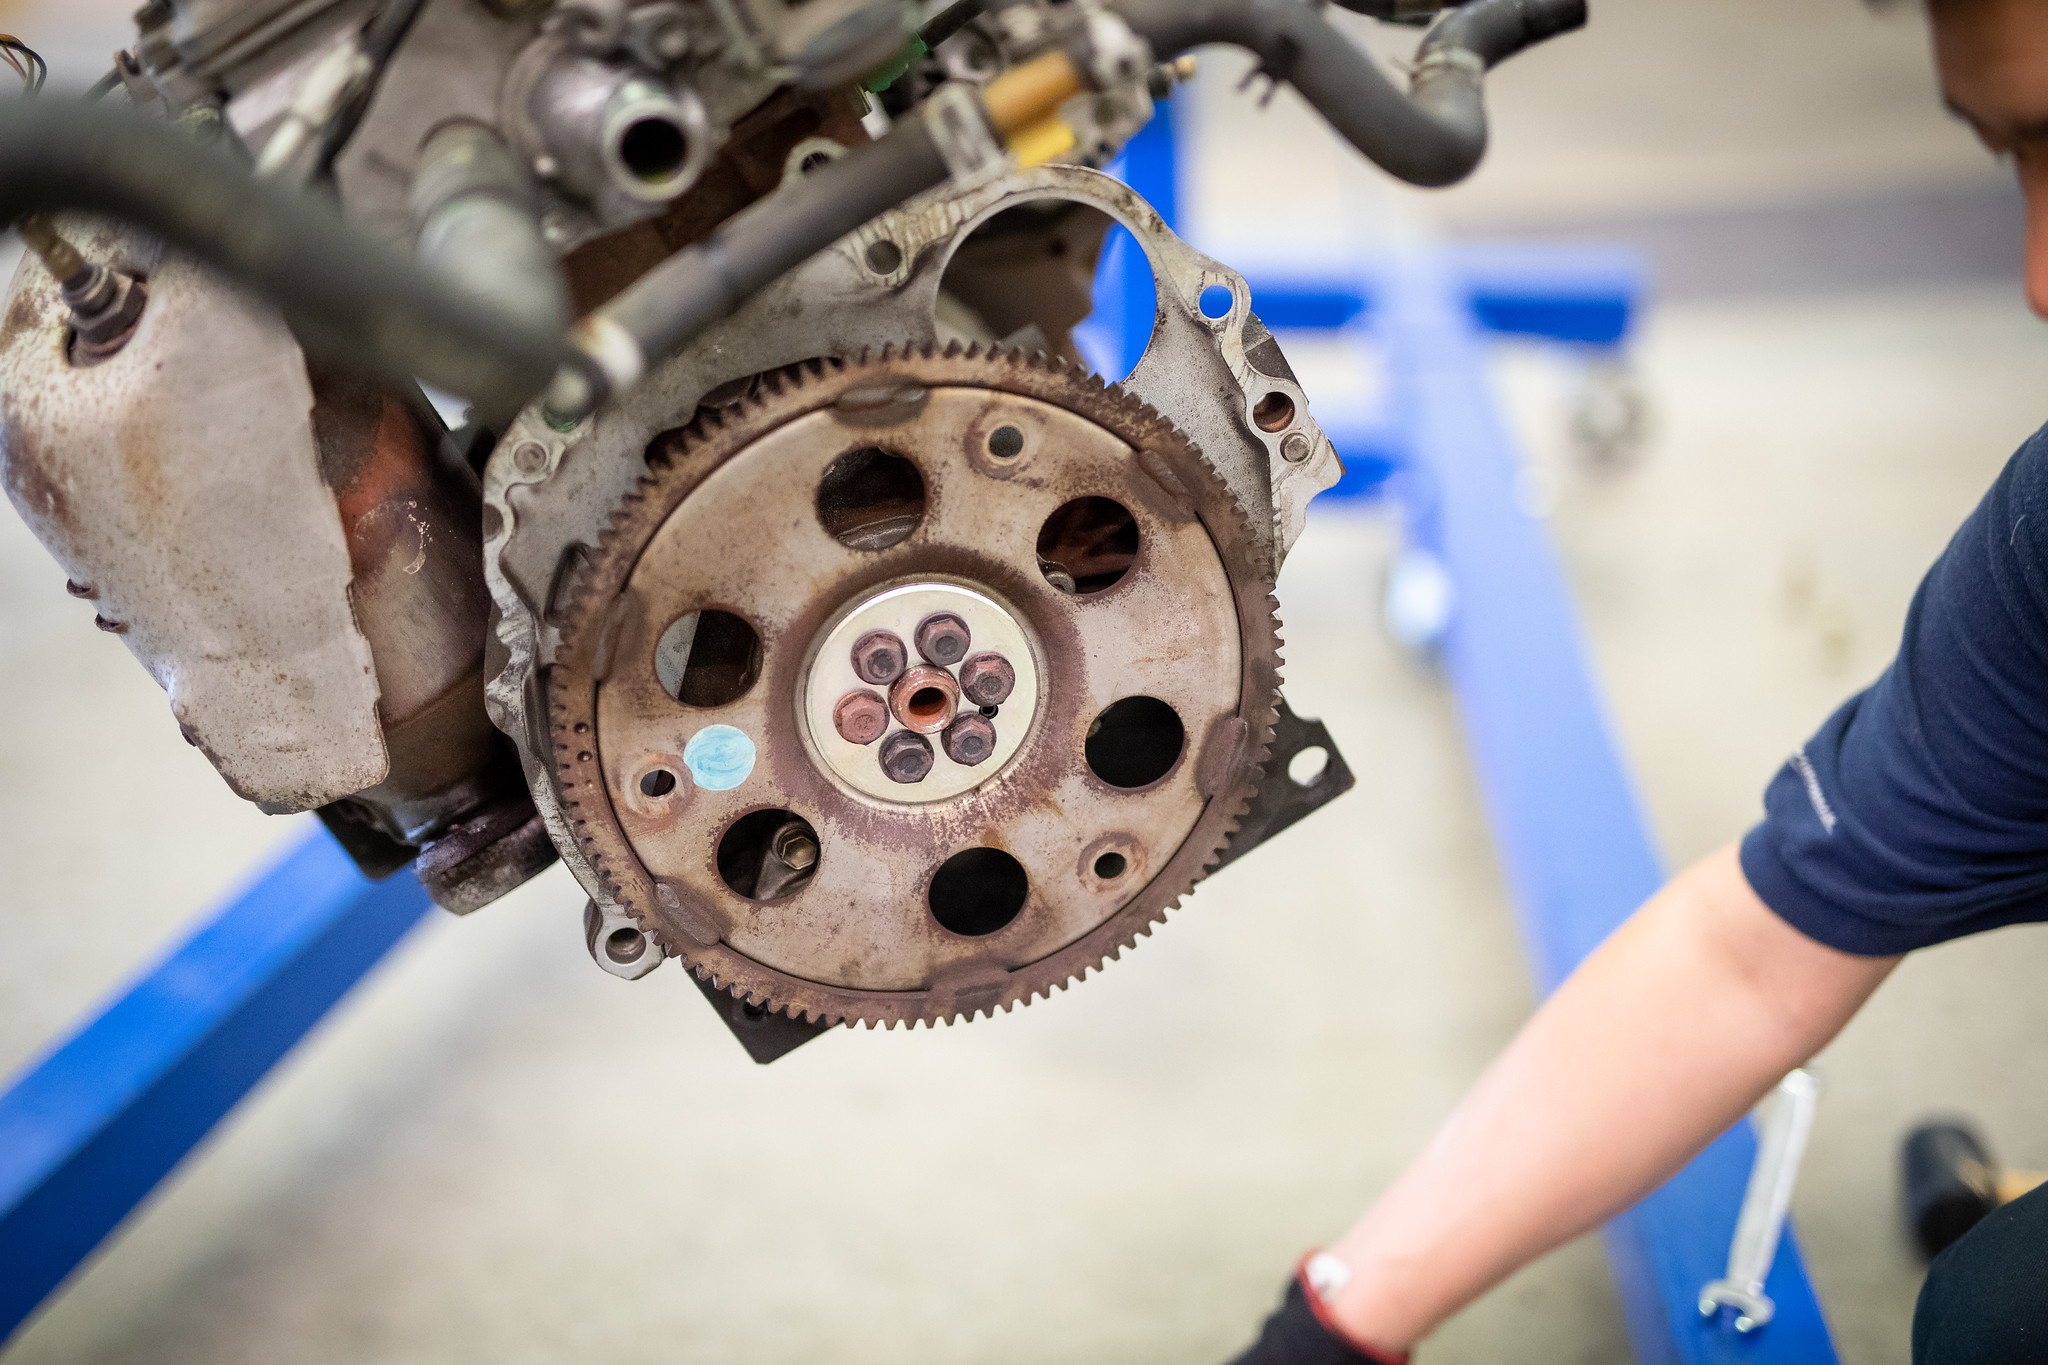
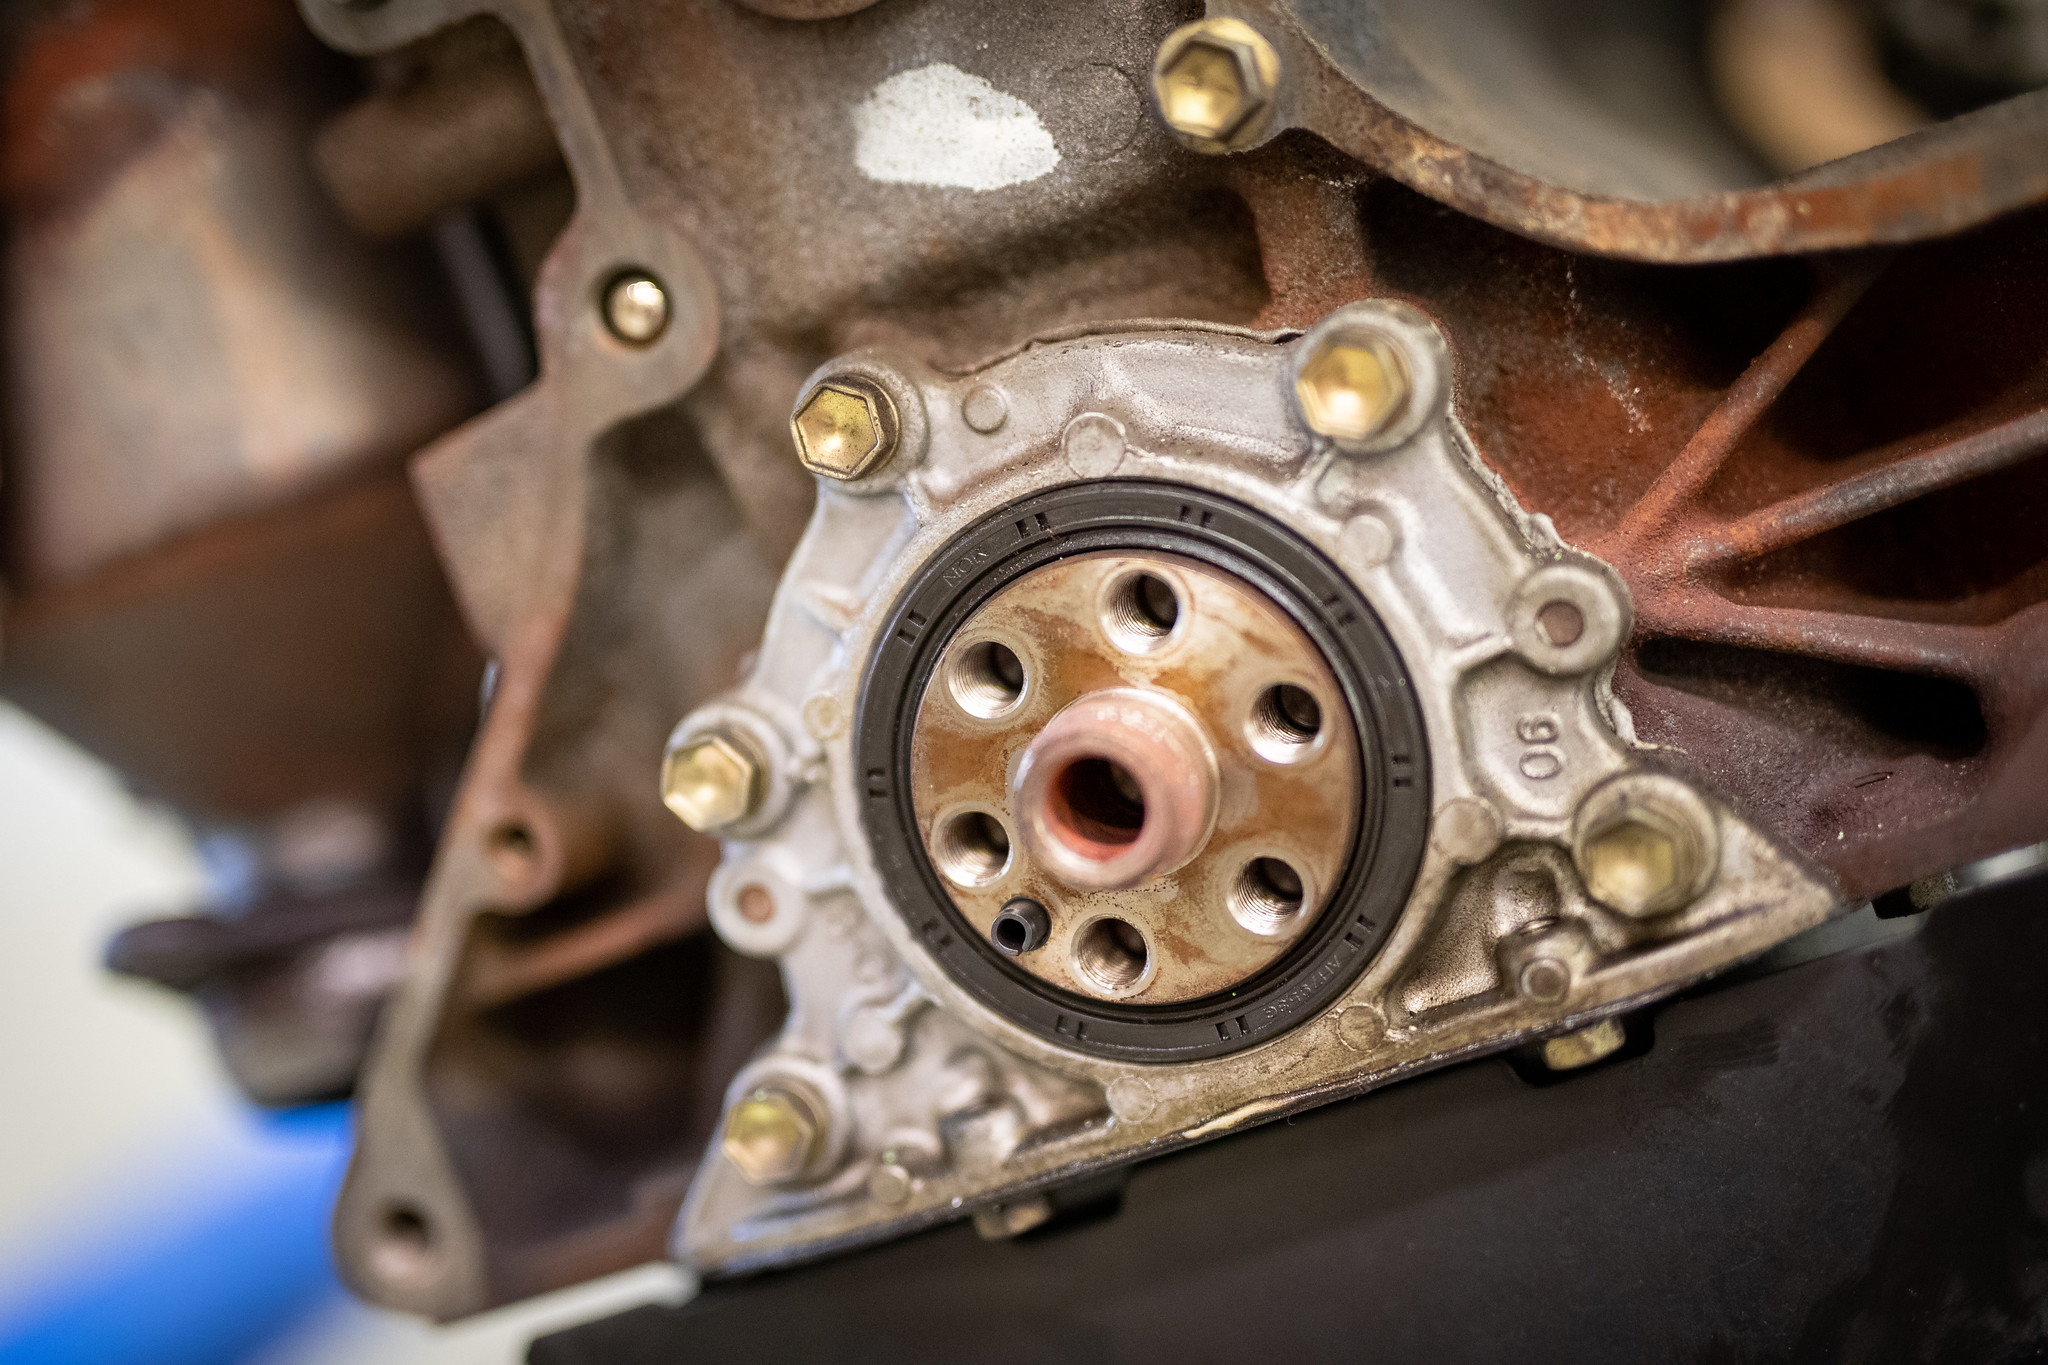
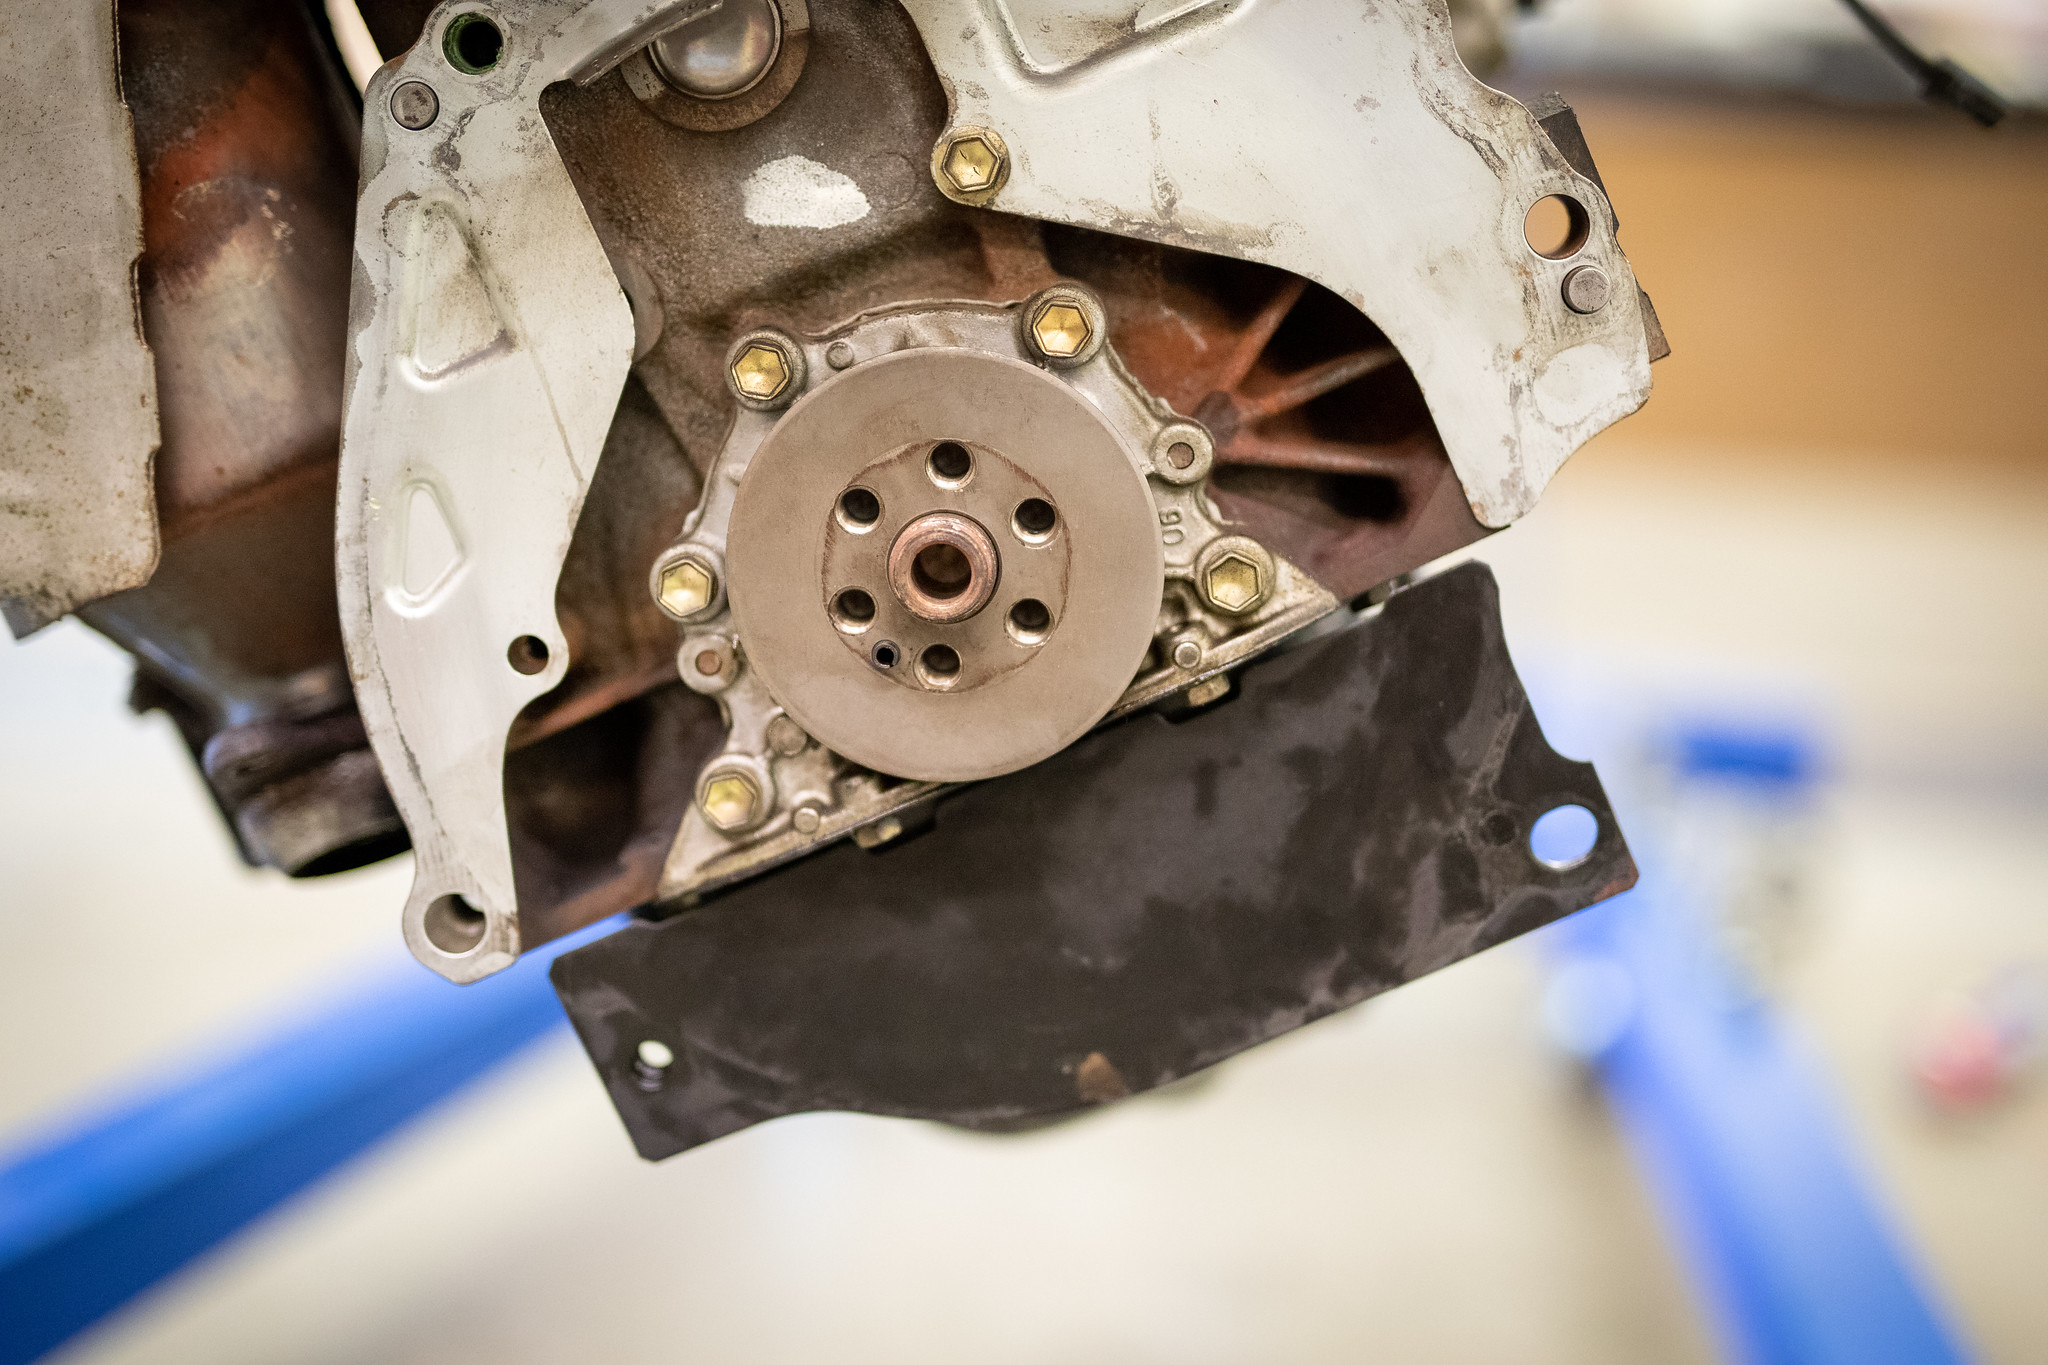
Flywheel looks like it’s in great shape, it’ll be machined regardless. Rear main seal did seem to have a tiny leak. Nothing major though and an easy replacement for the next owner.

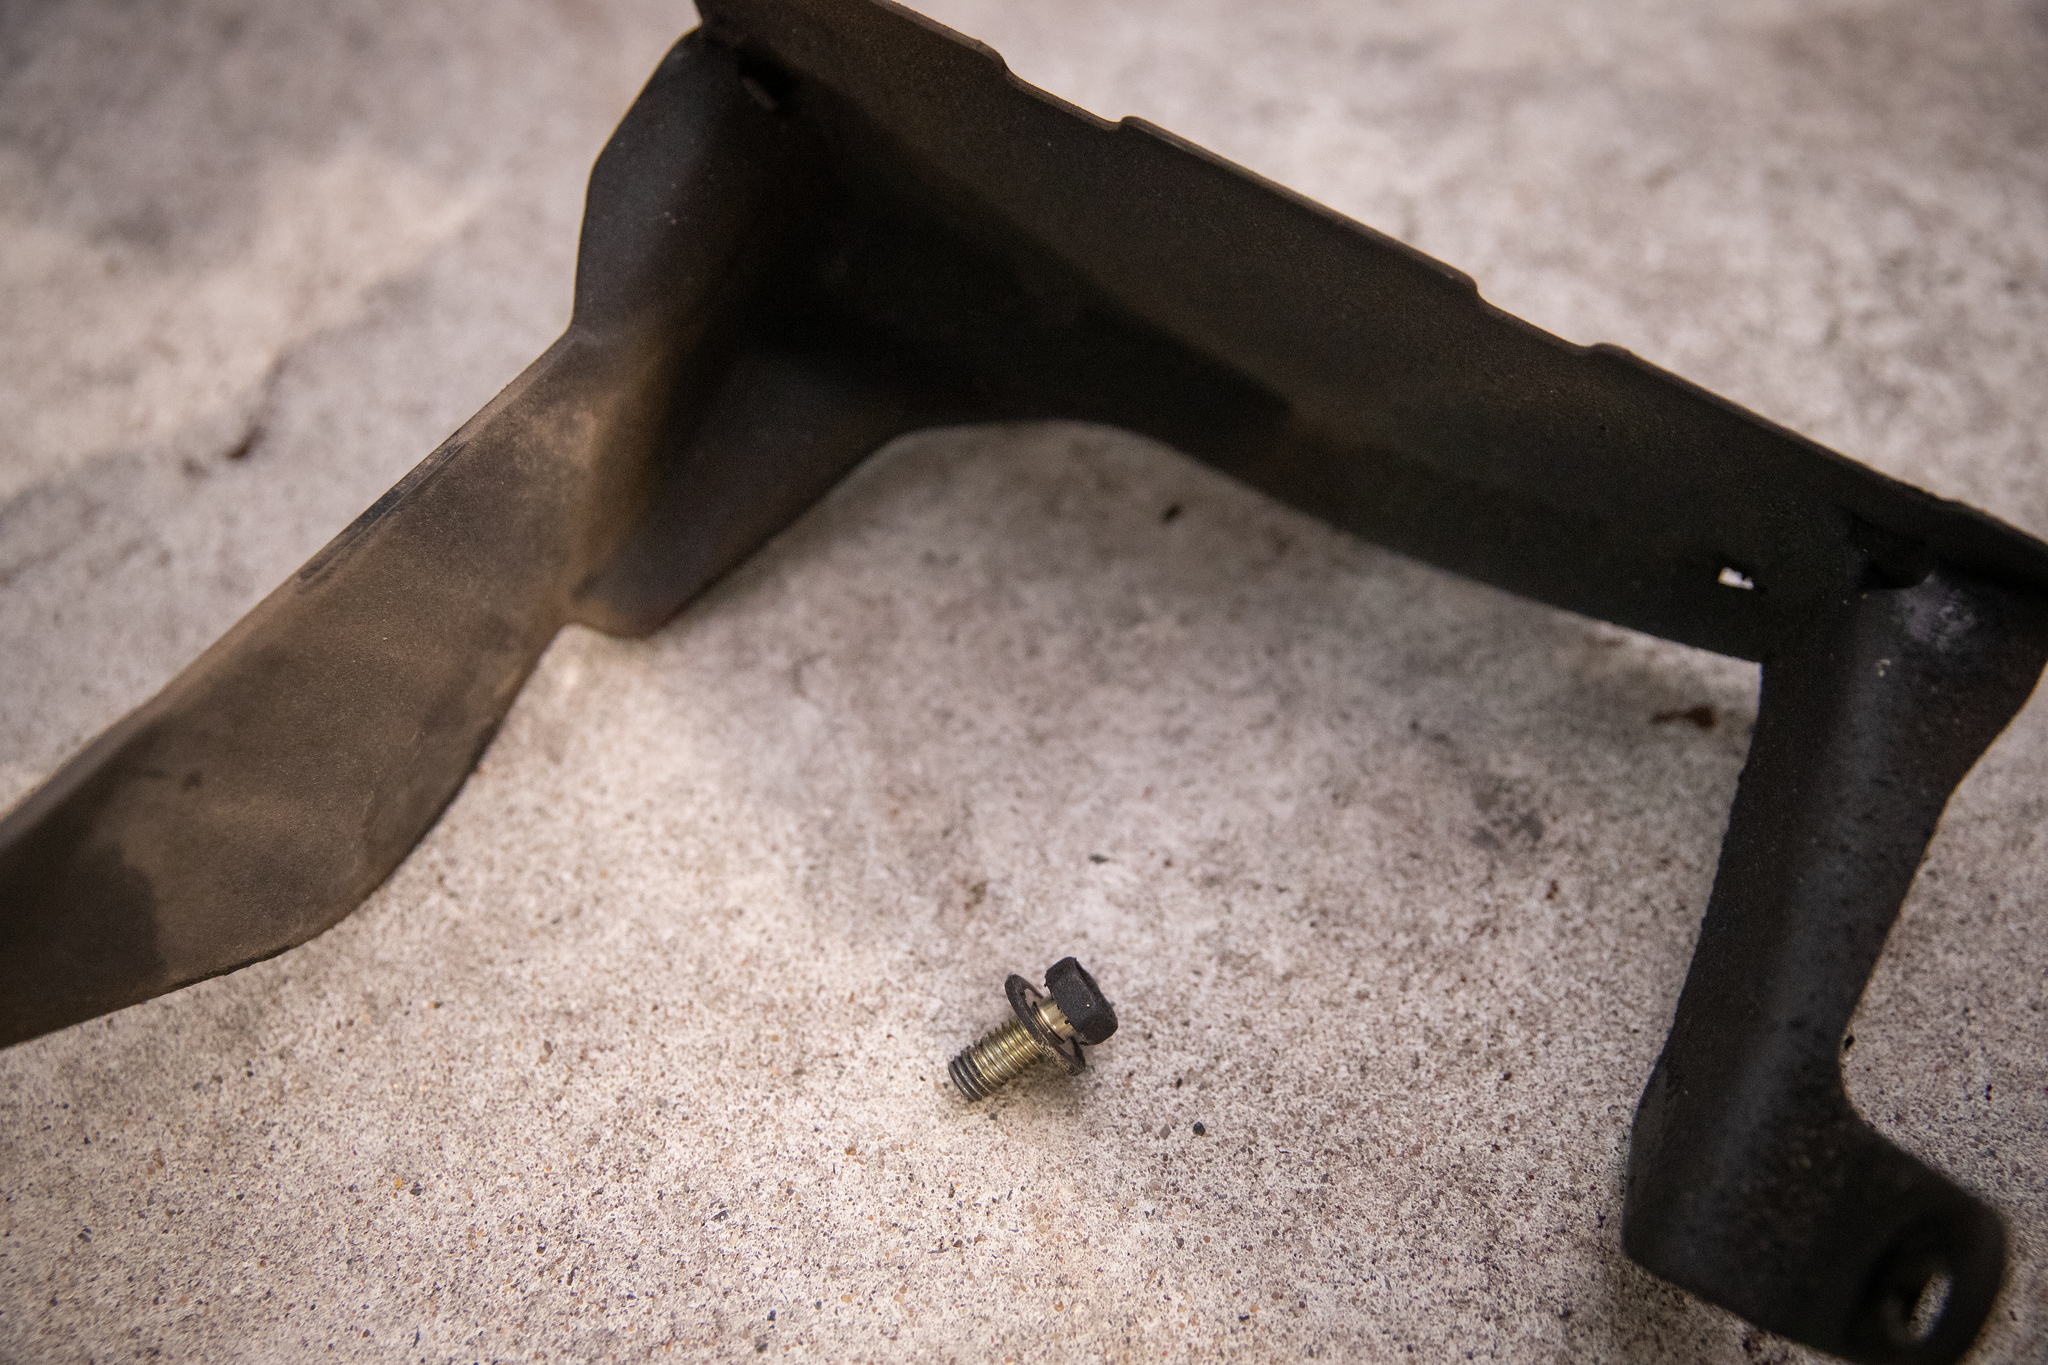
This plate needed to be kept as they are different on the auto.

The new box will need a good bath before going into my blue car.
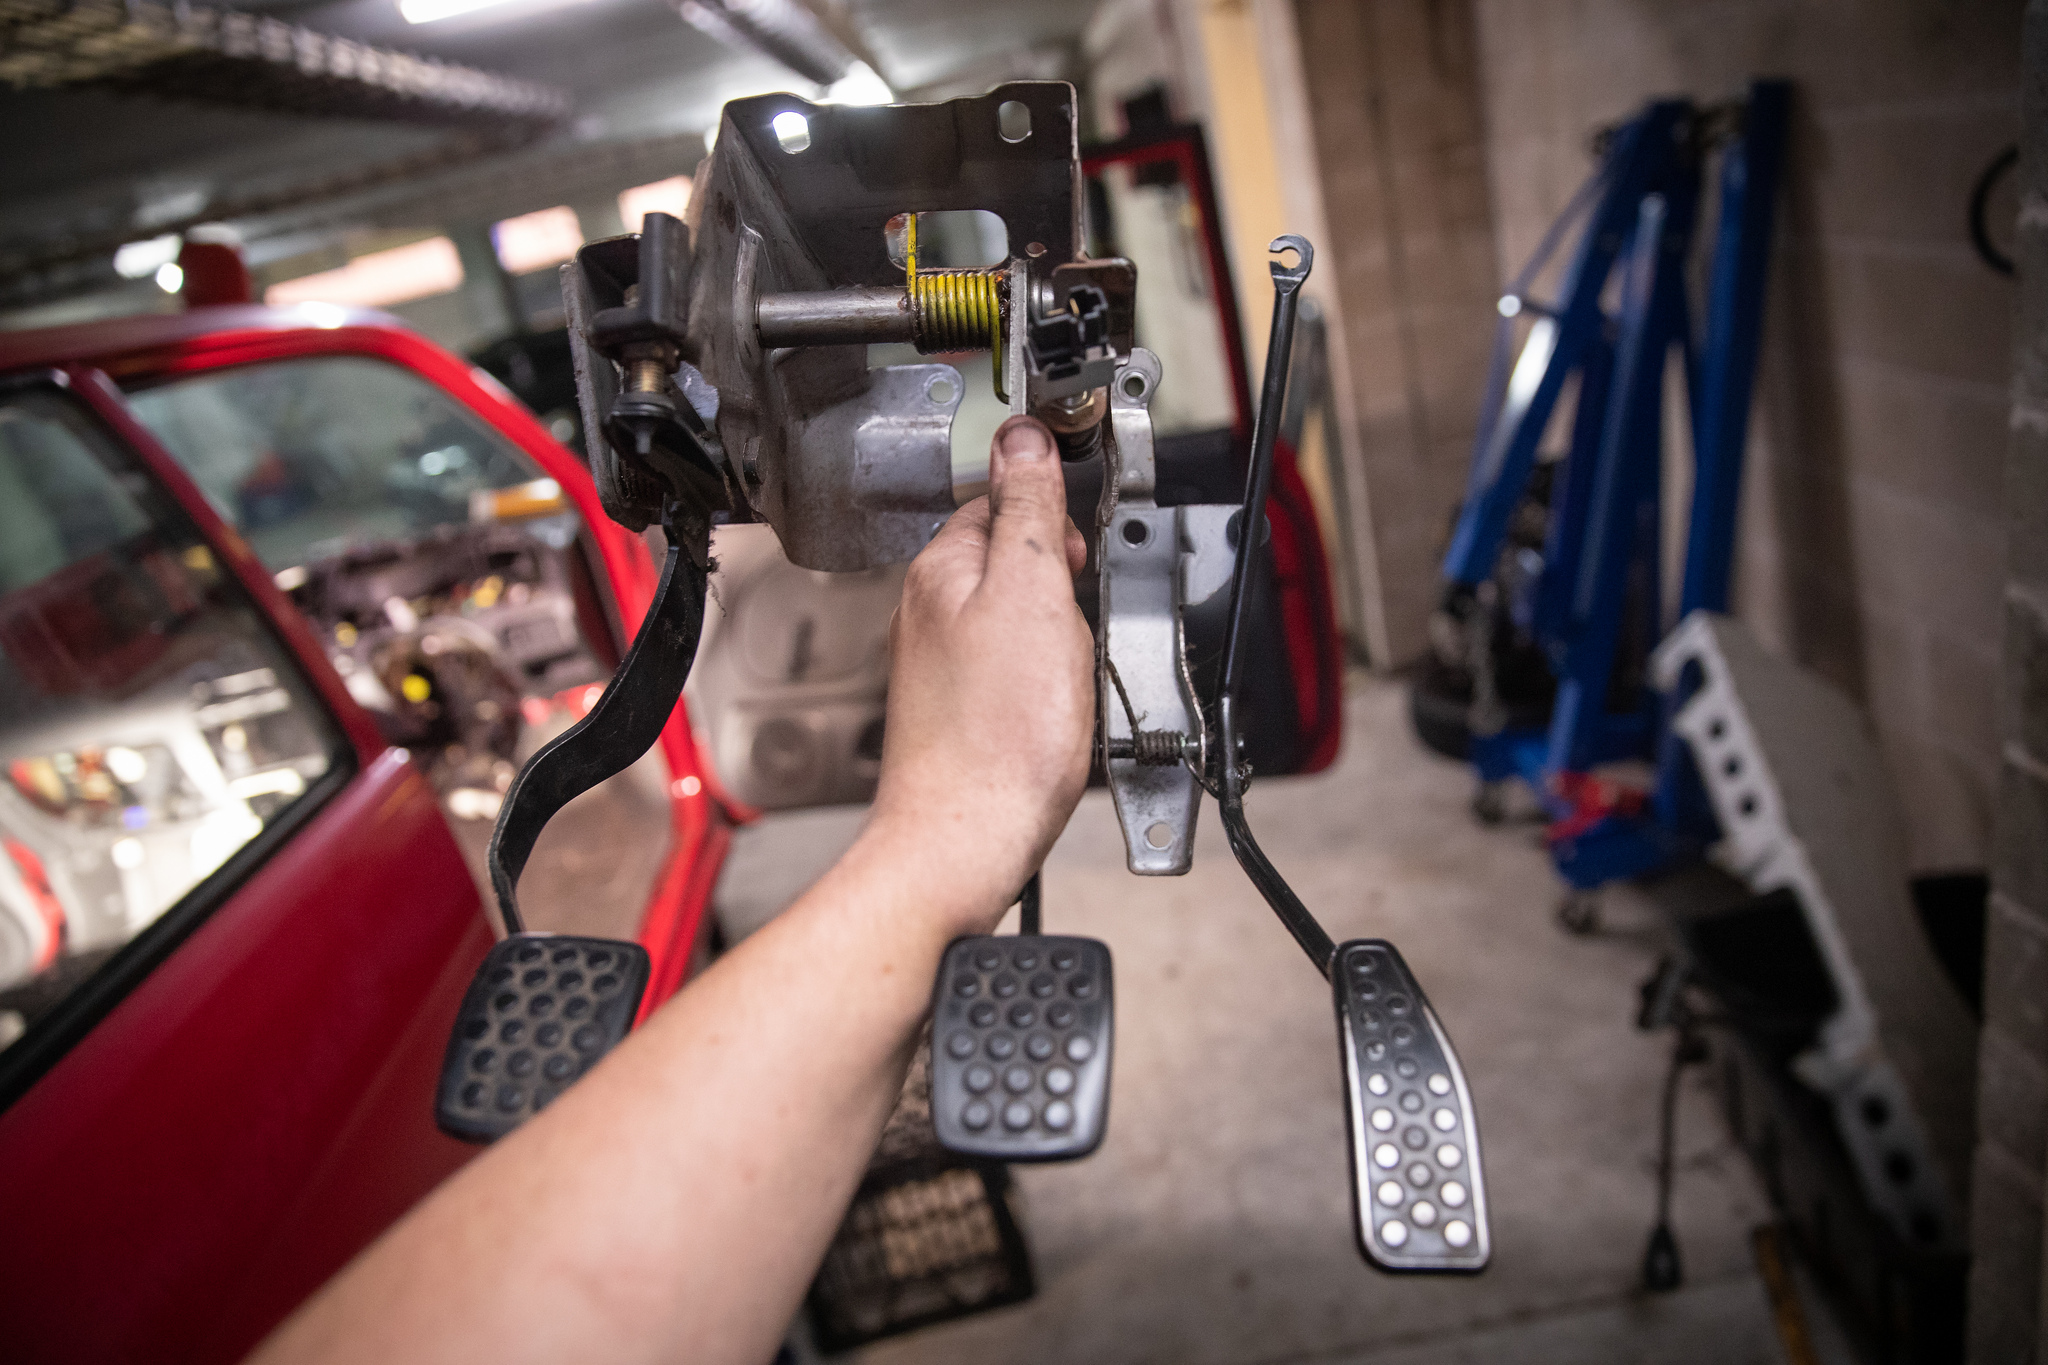
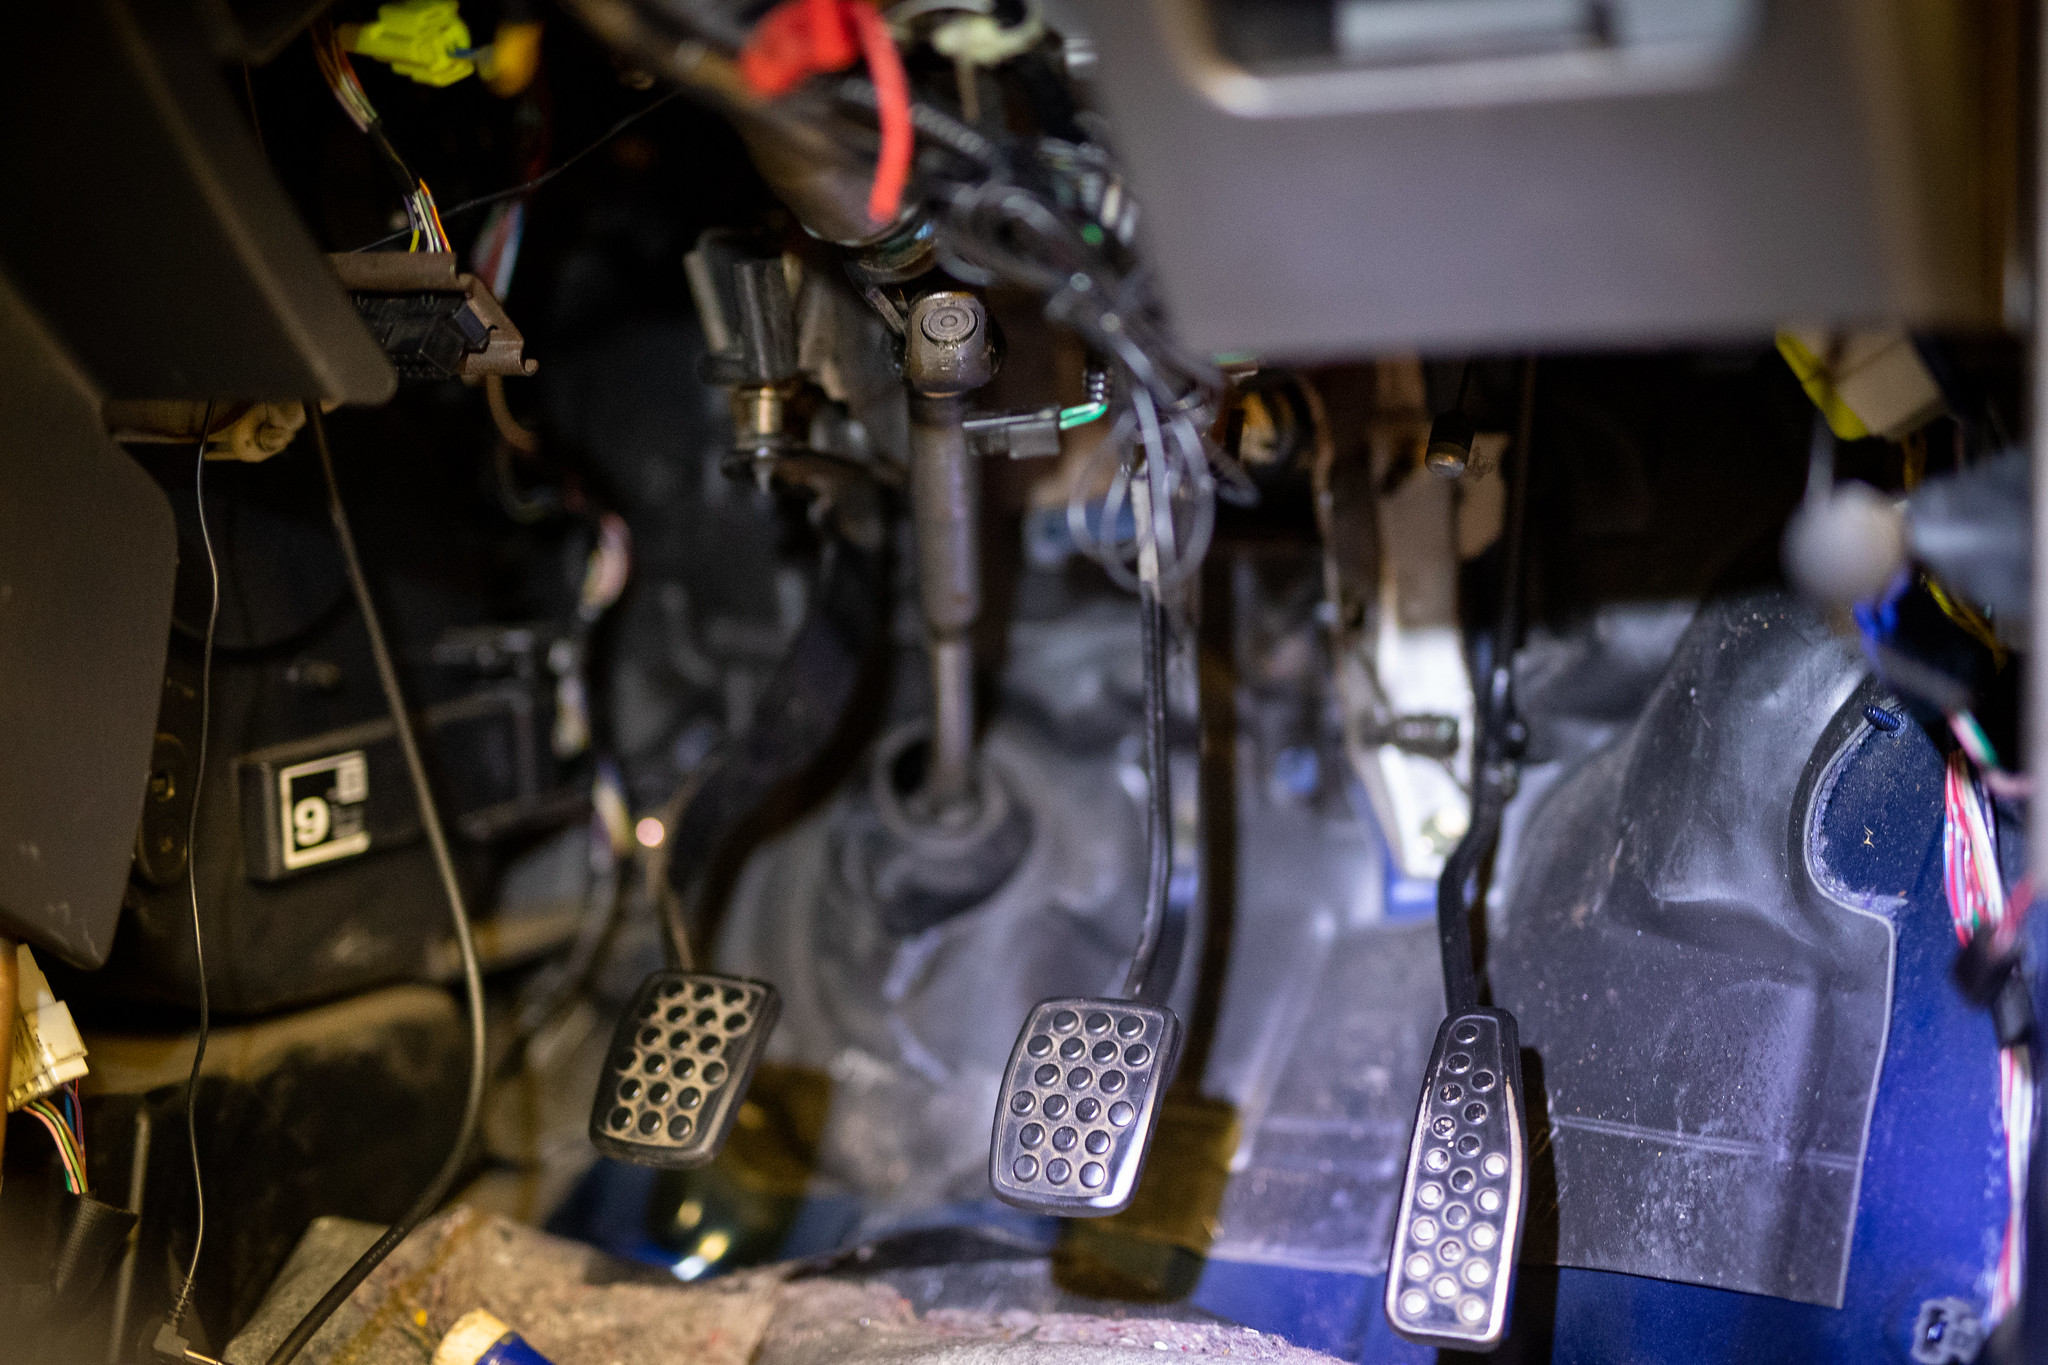
With all that sorted it was time to move onto the pedal box. The entire unit comes out as one piece.
Two things are in the way that we found prevented the unit from coming out. The steering column and brake master. We found it a little easier to pop the steering column out. It’s going to used in a friends project anyway. It’s easy enough to pop in and out anyway.
With the column out the pedal box came out no worries.
Lastly the clutch cable could be unbolted and pulled through and we’re done.
A whole load of things were also pulled out for a couple friends’ projects, love how much can be fitted in the back of a L700.

3 Likes
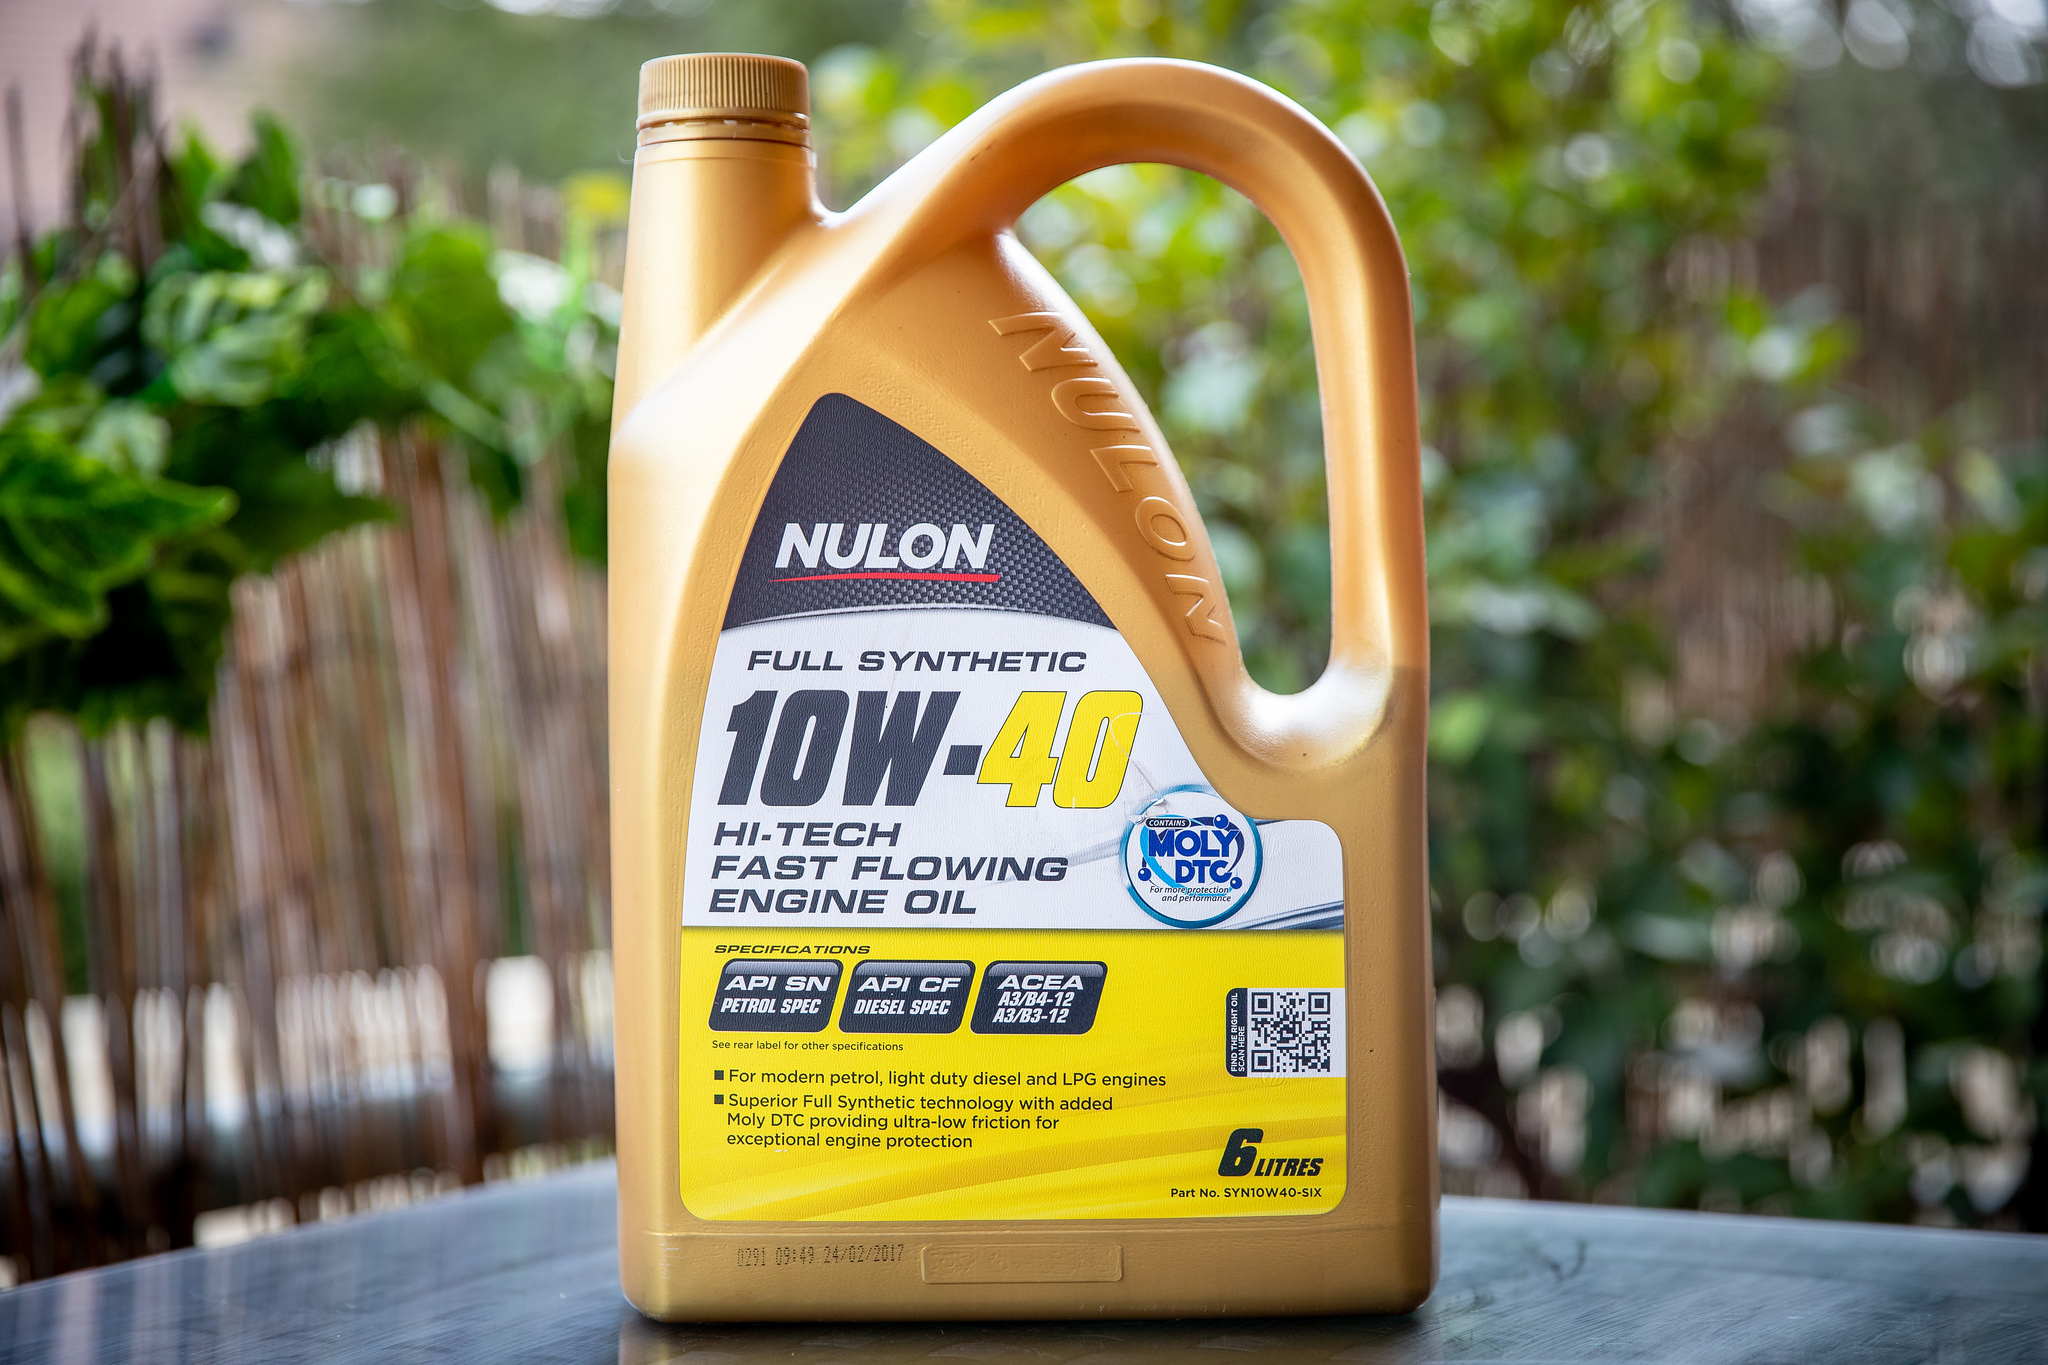
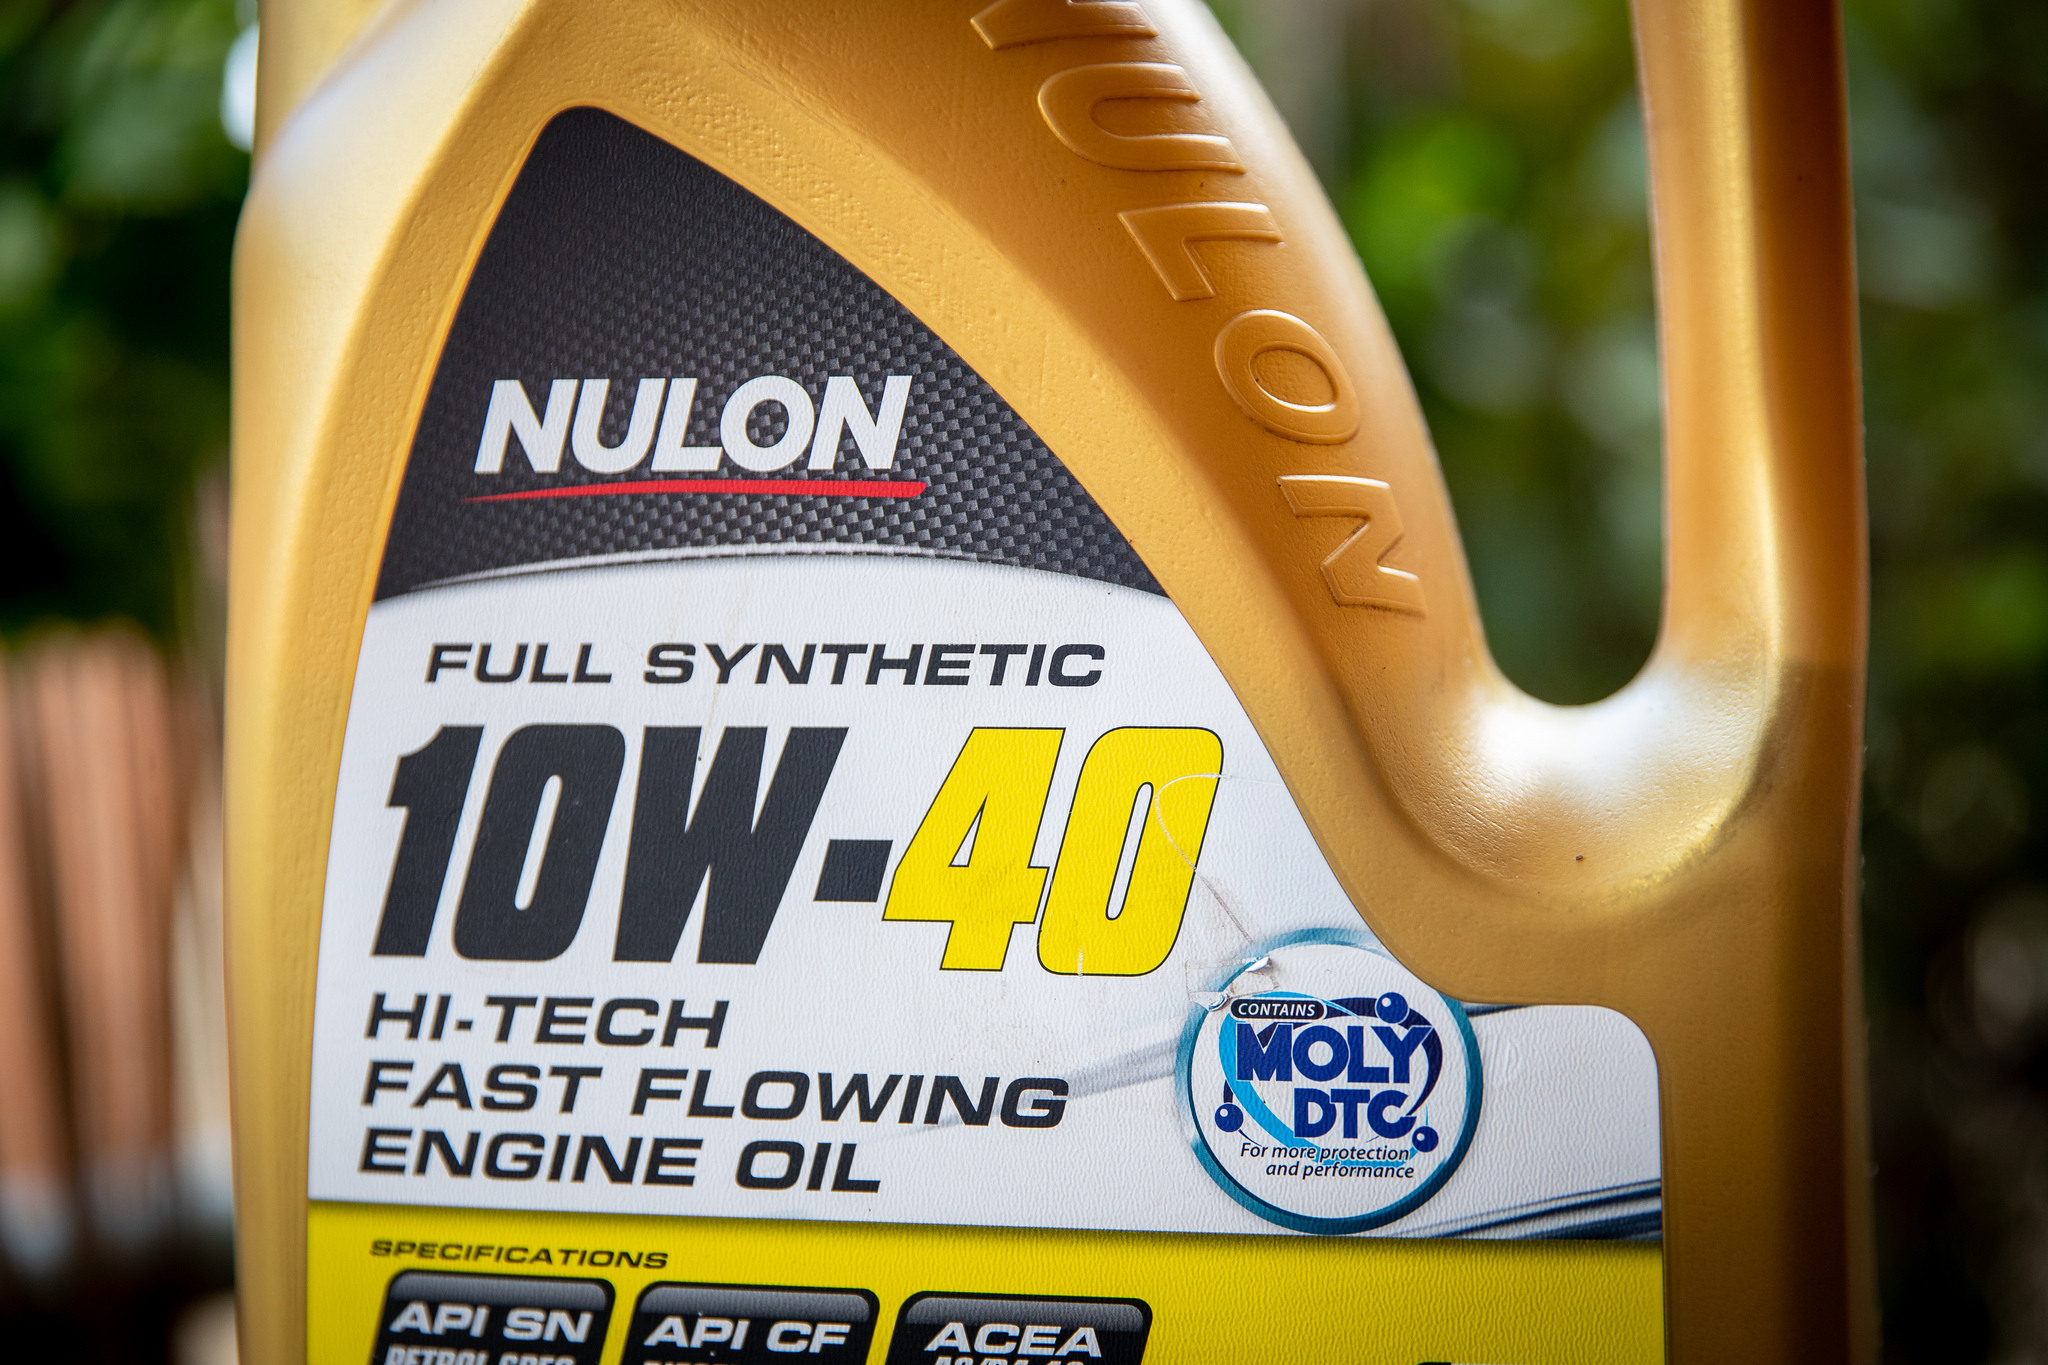
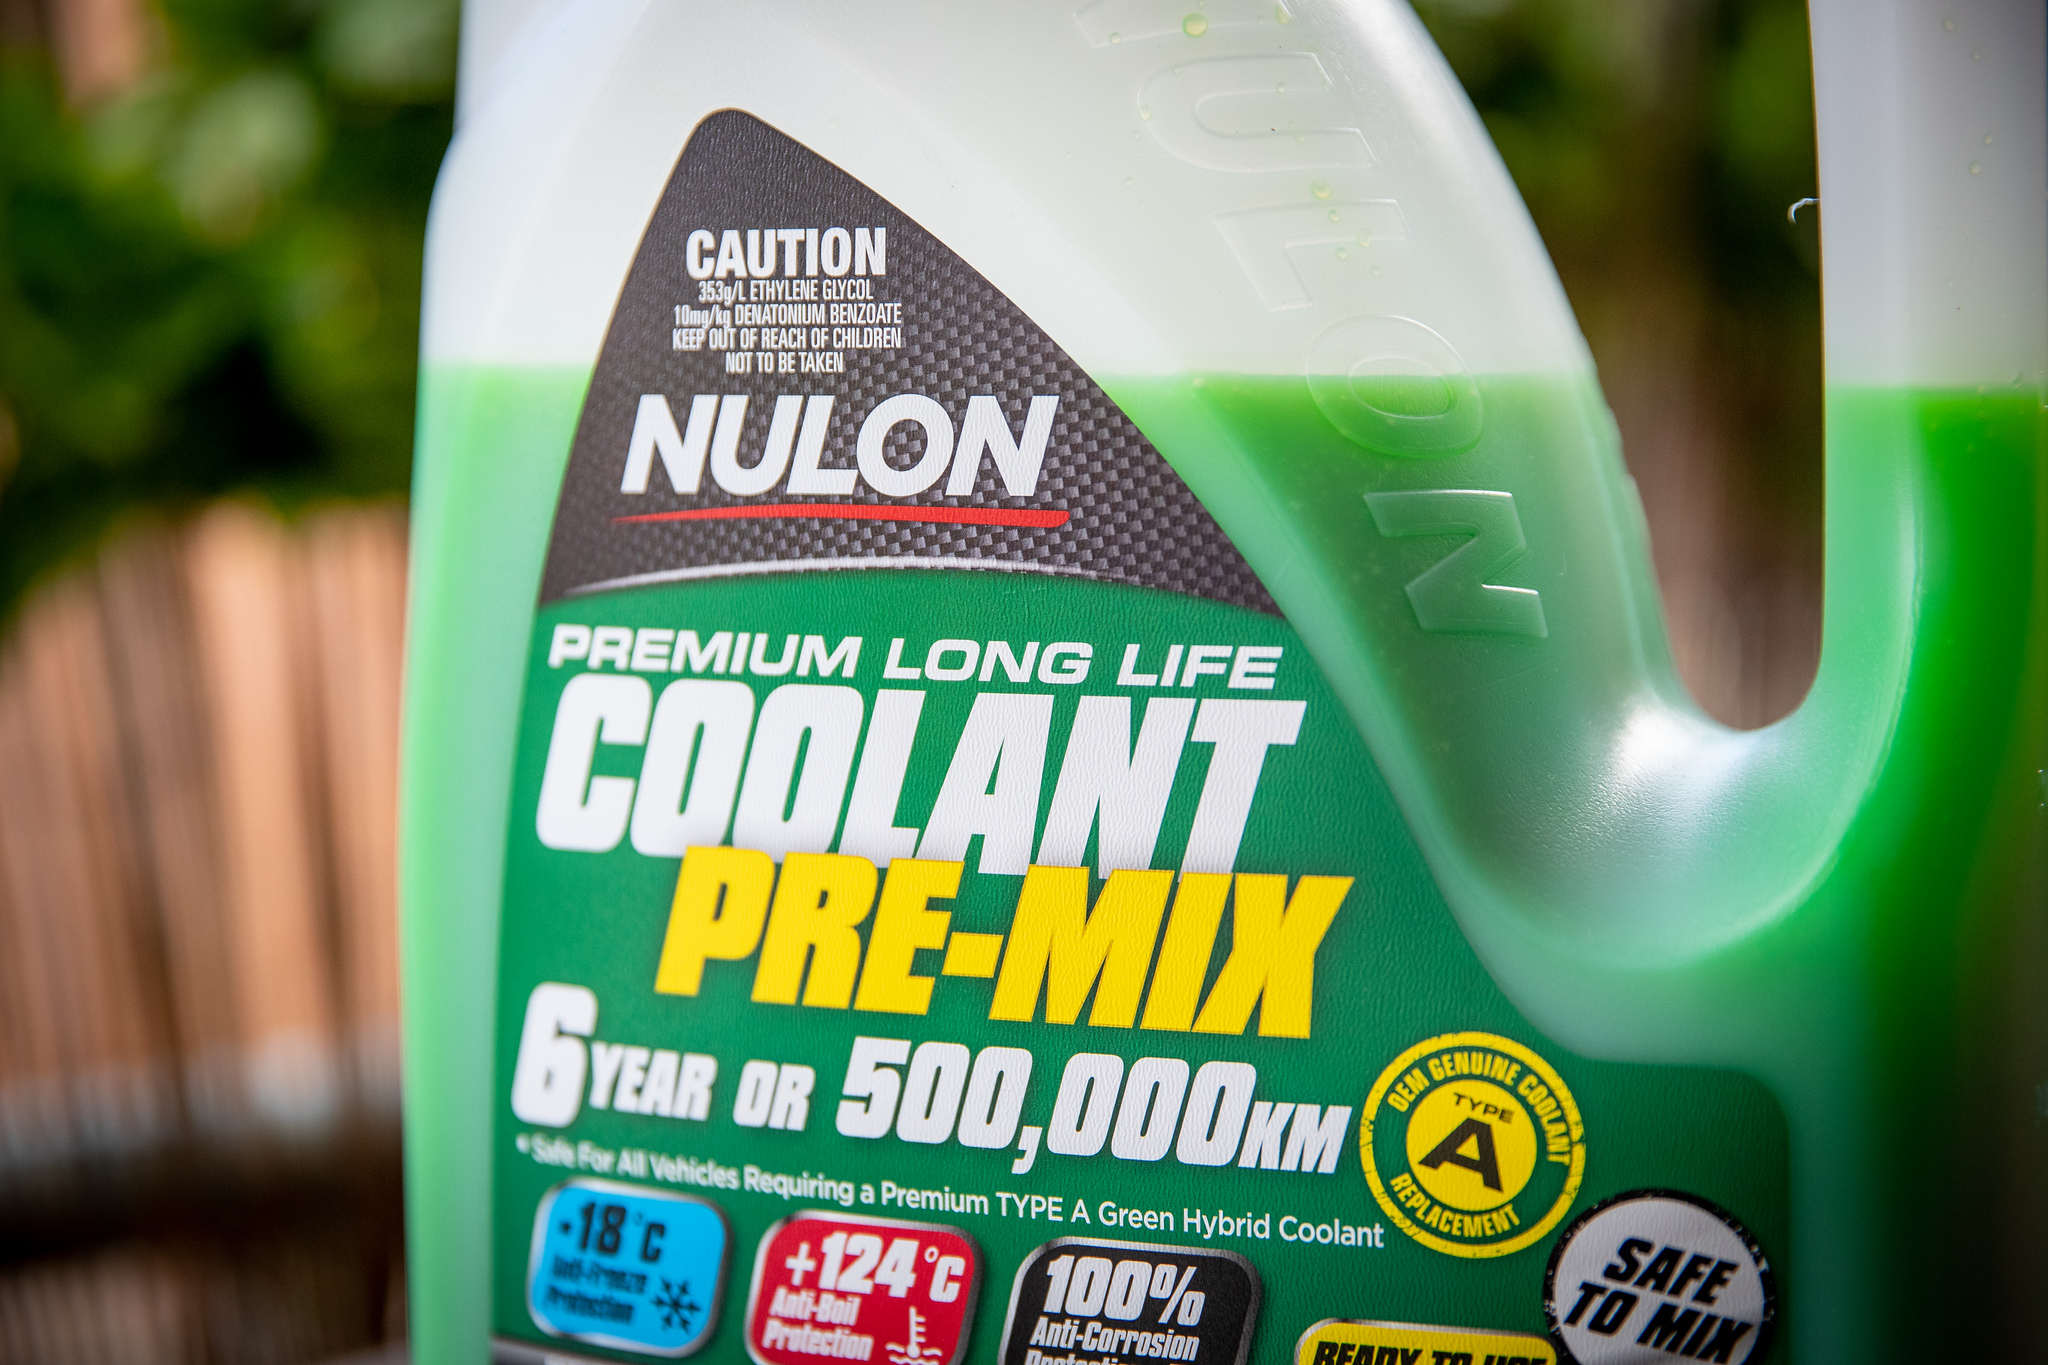
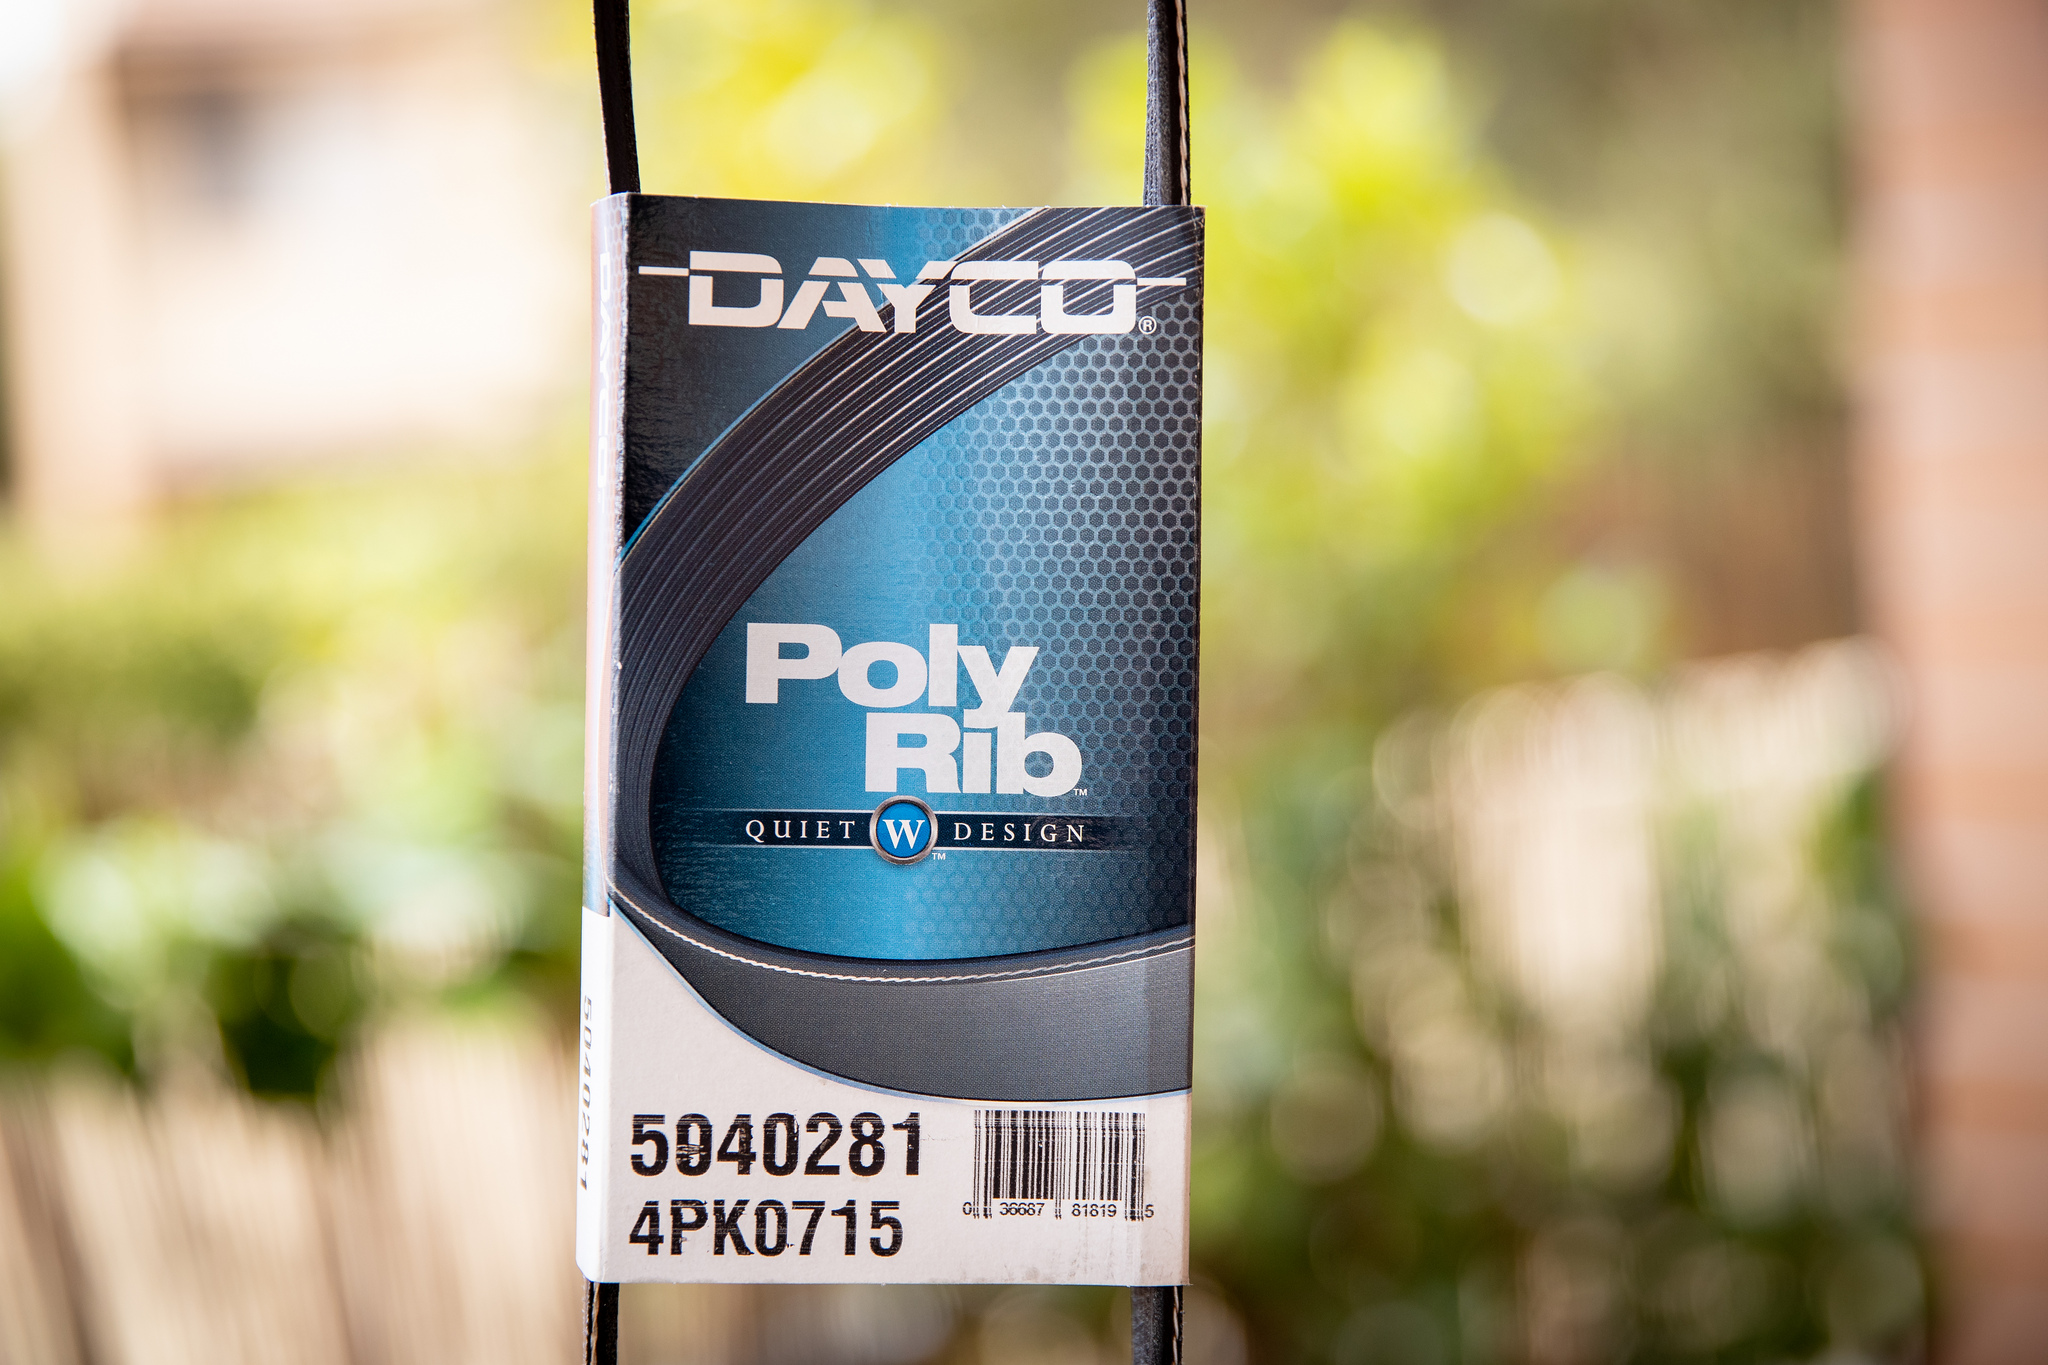
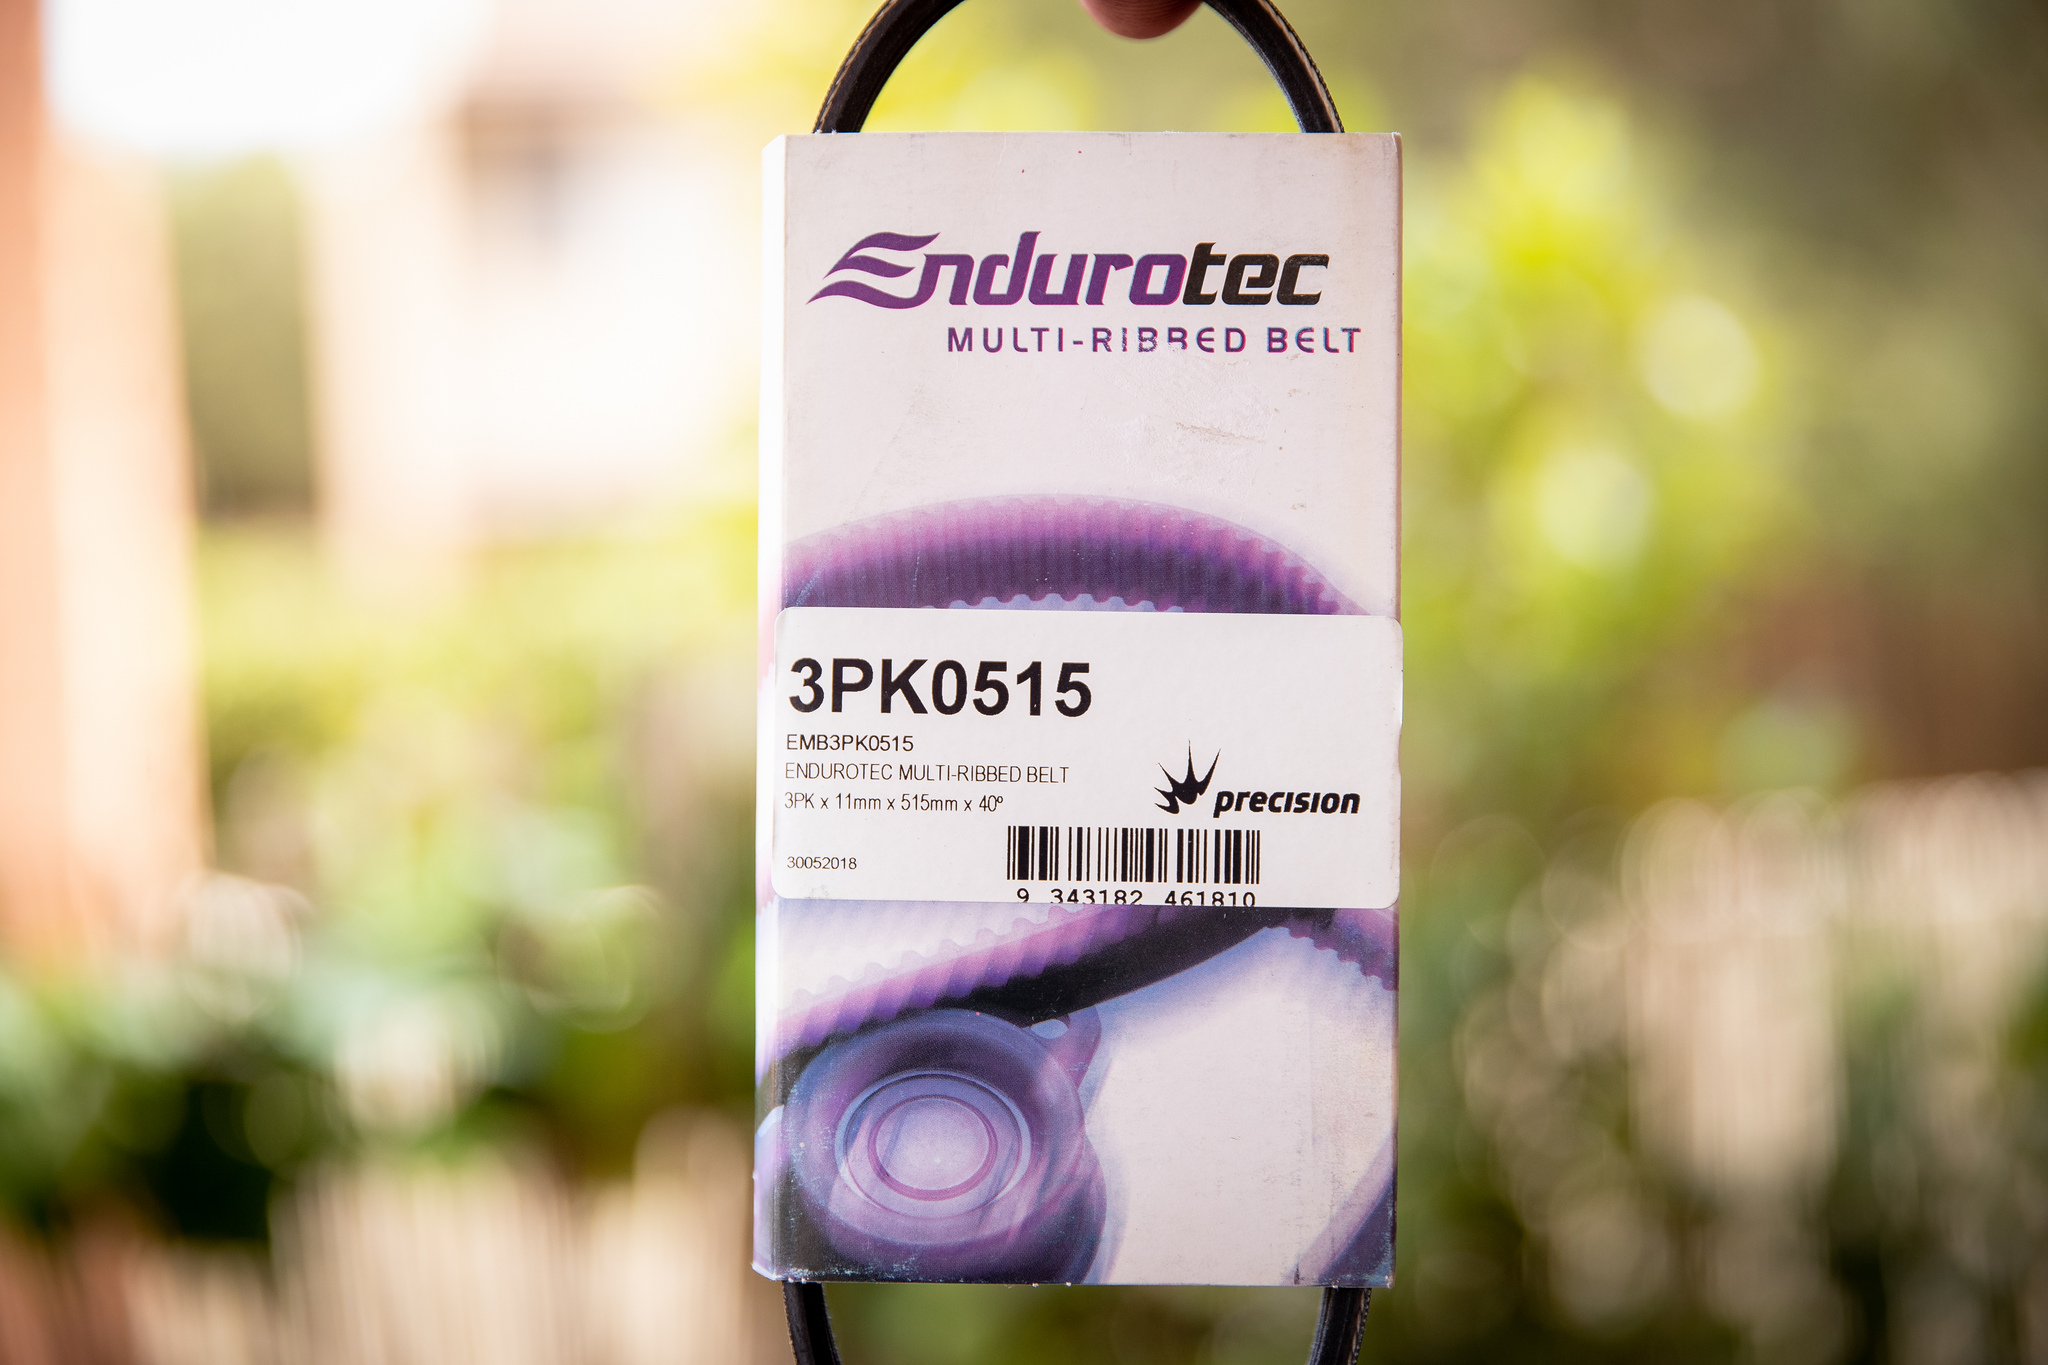
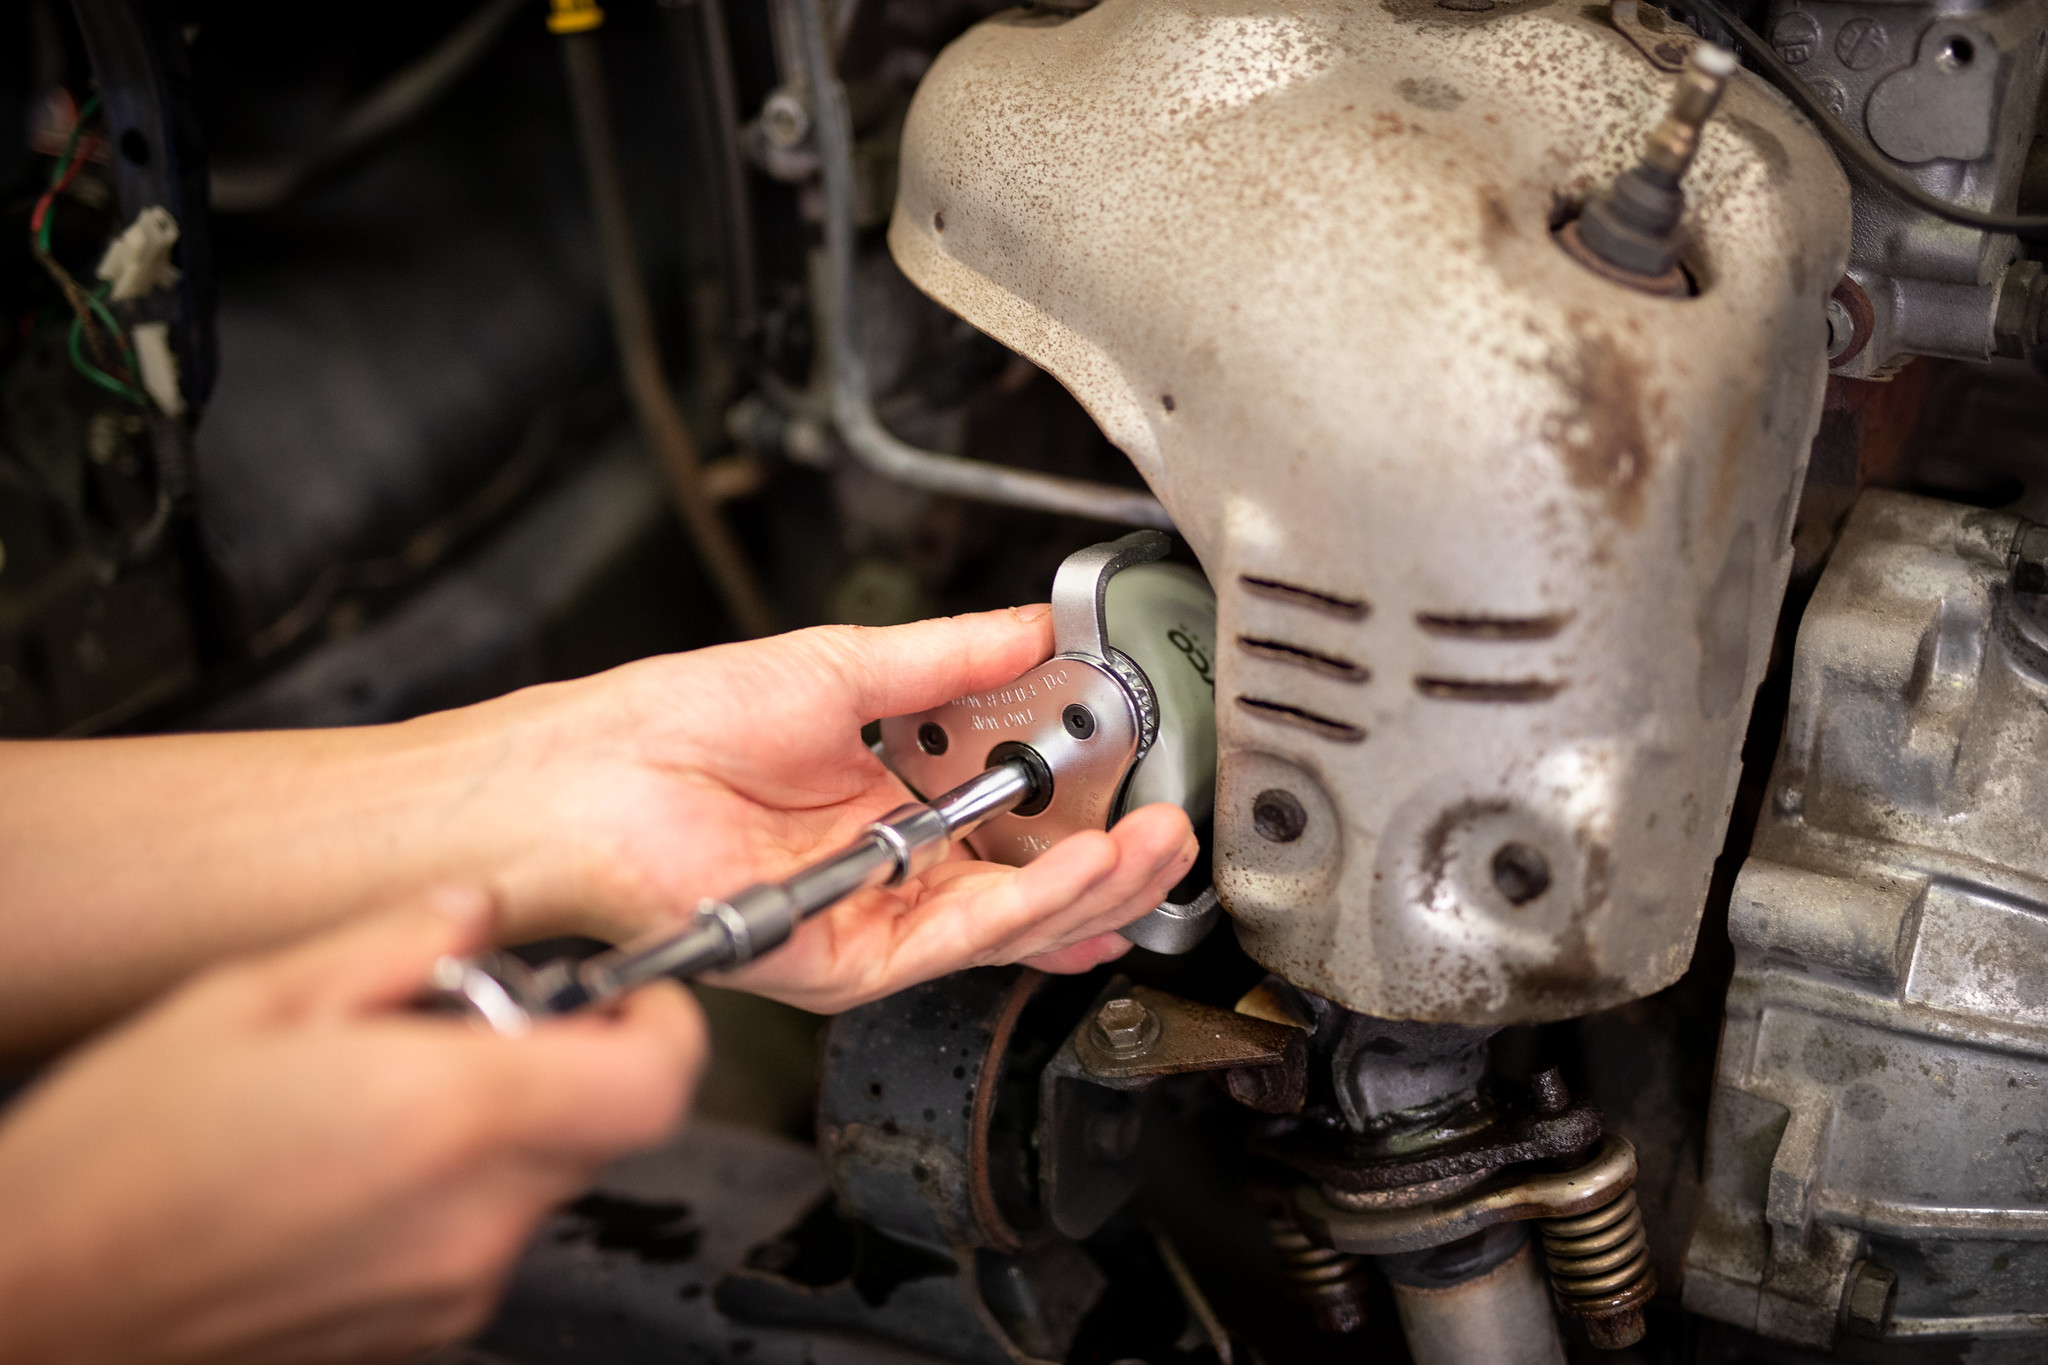
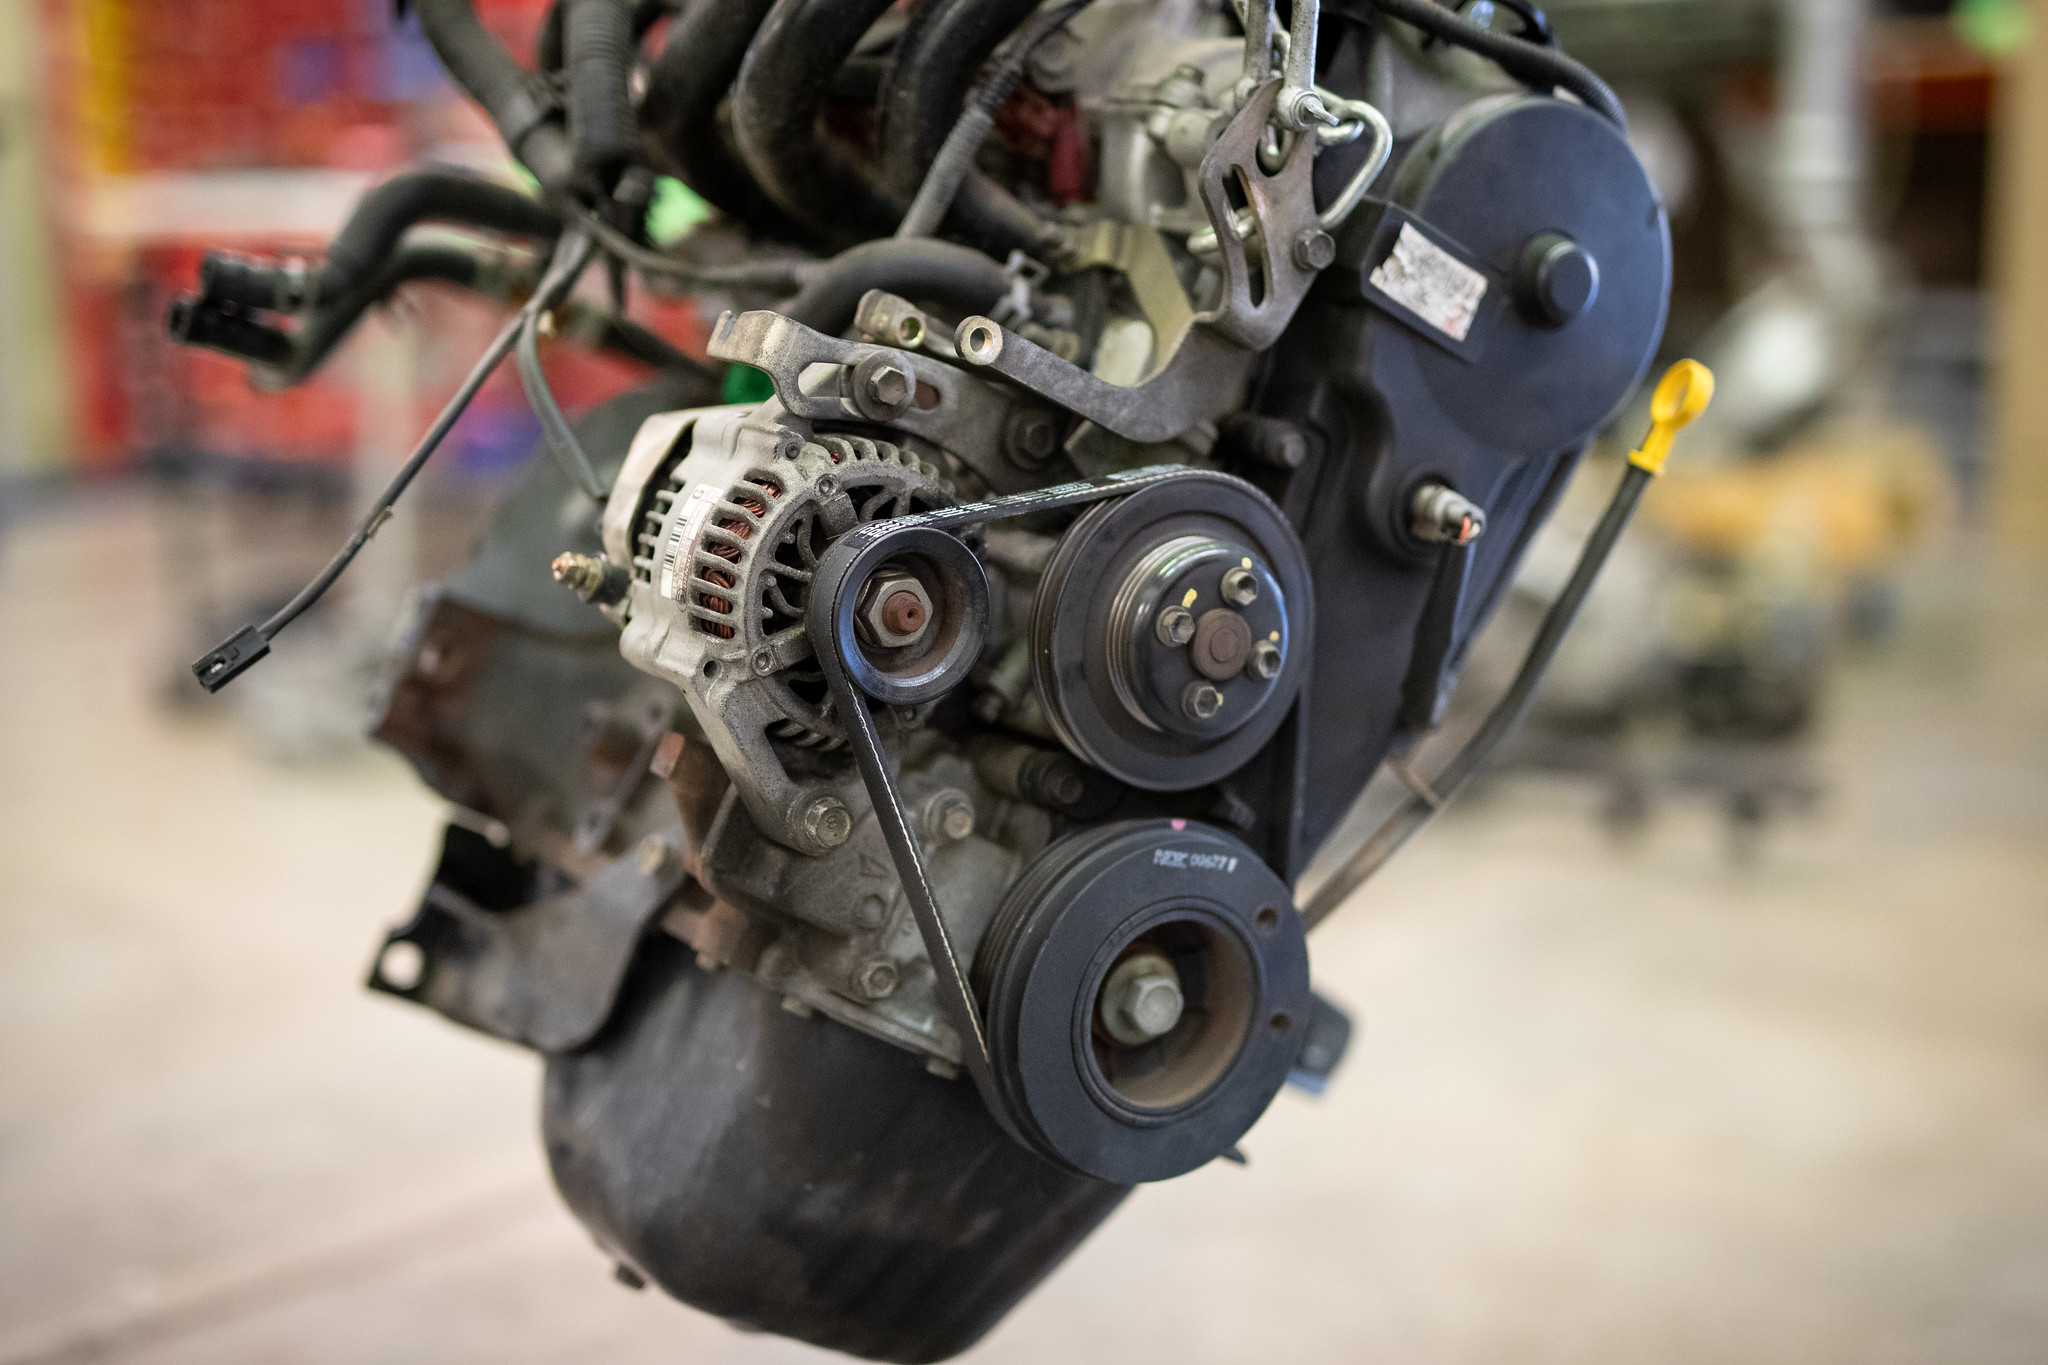
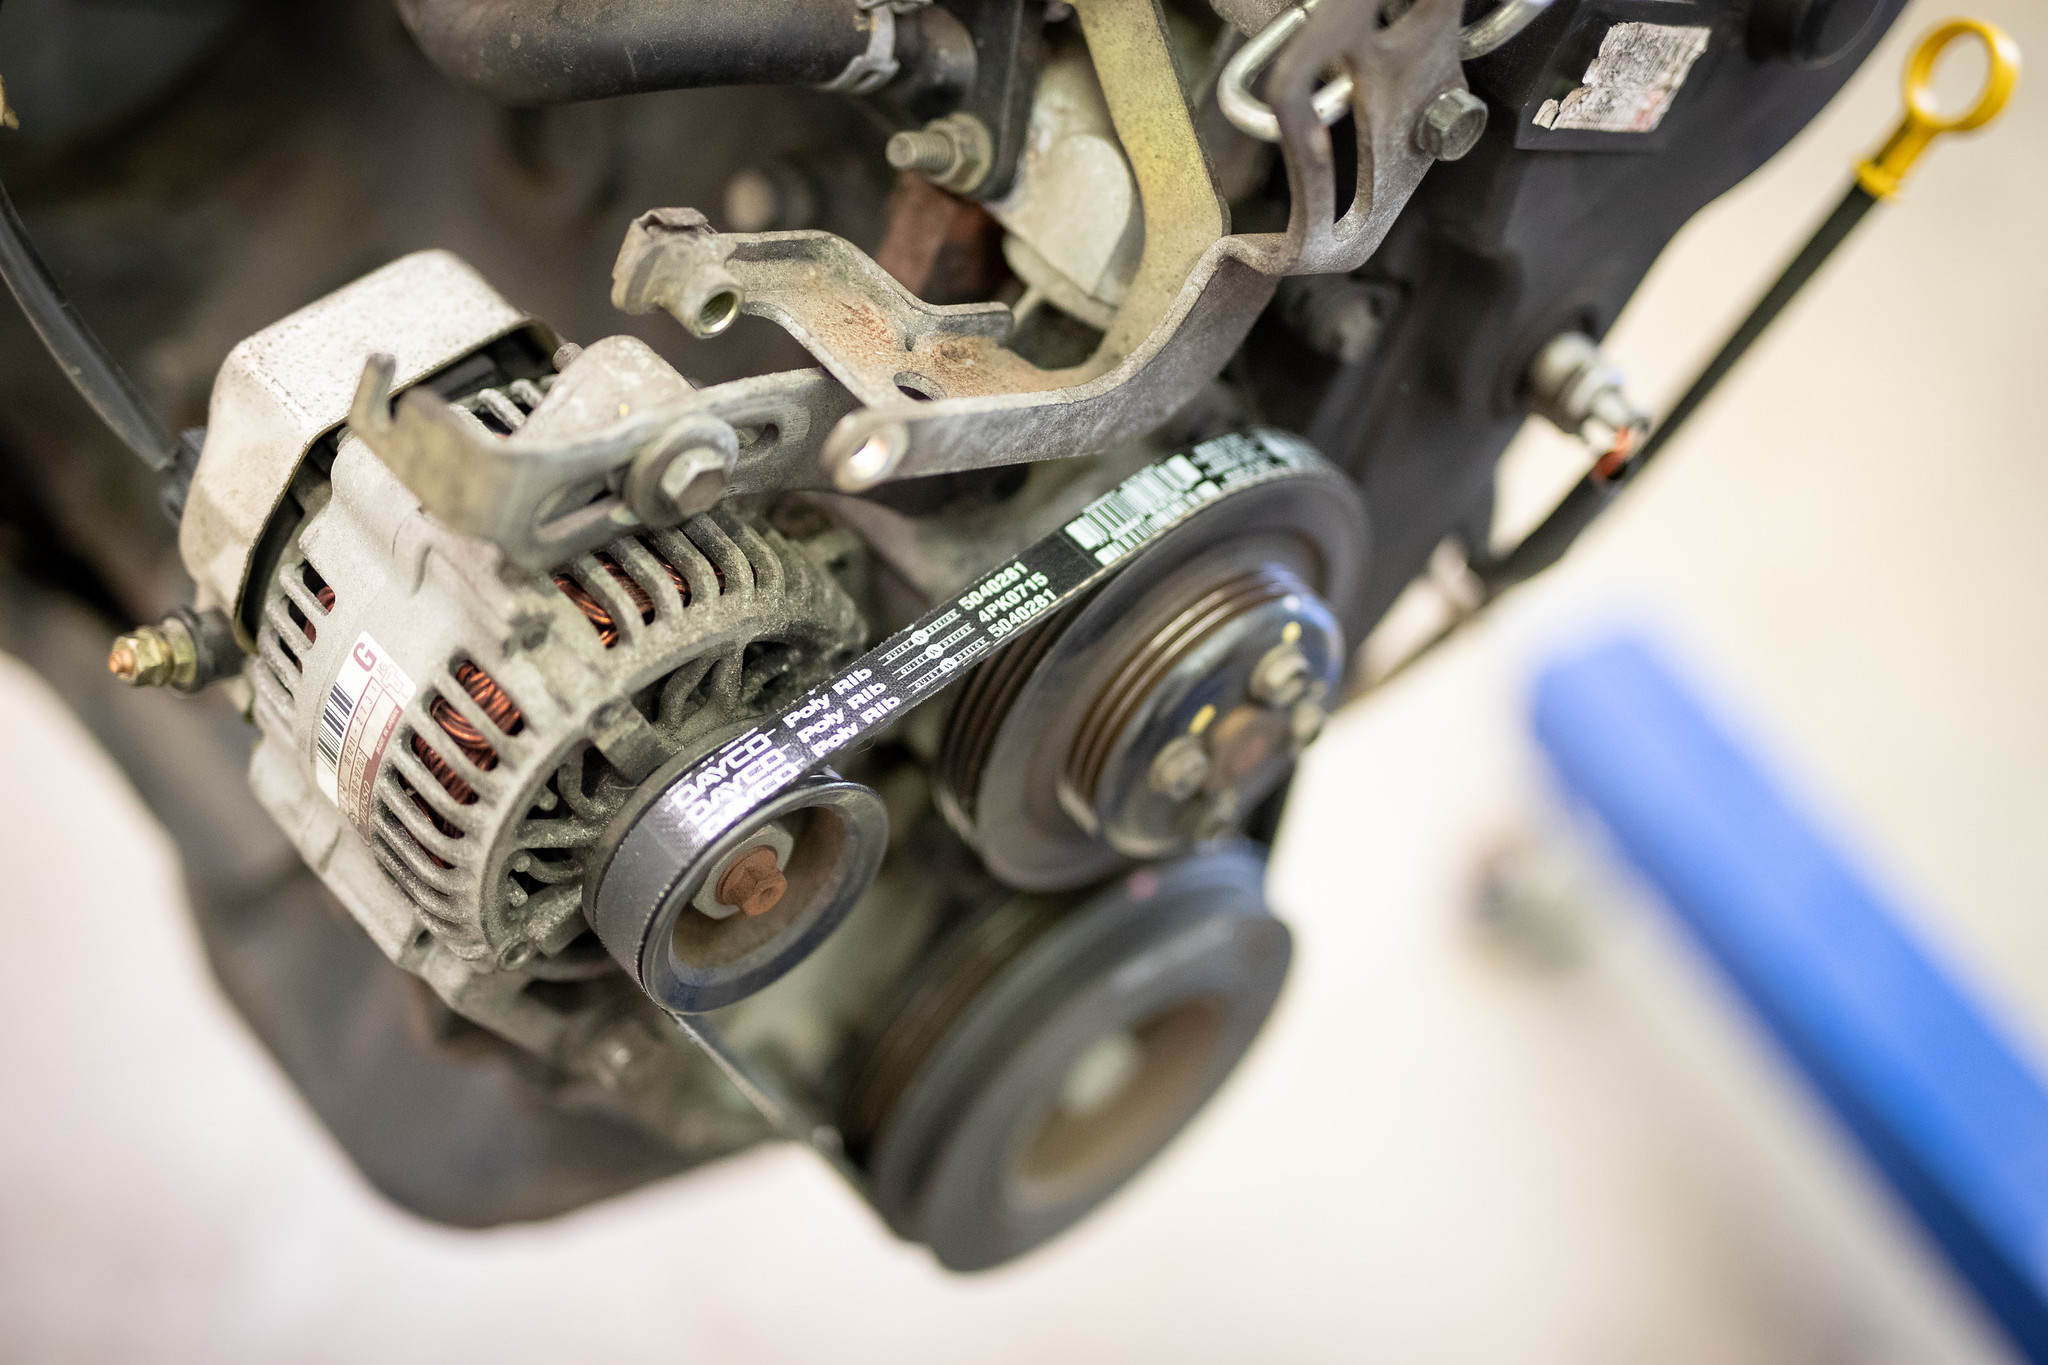
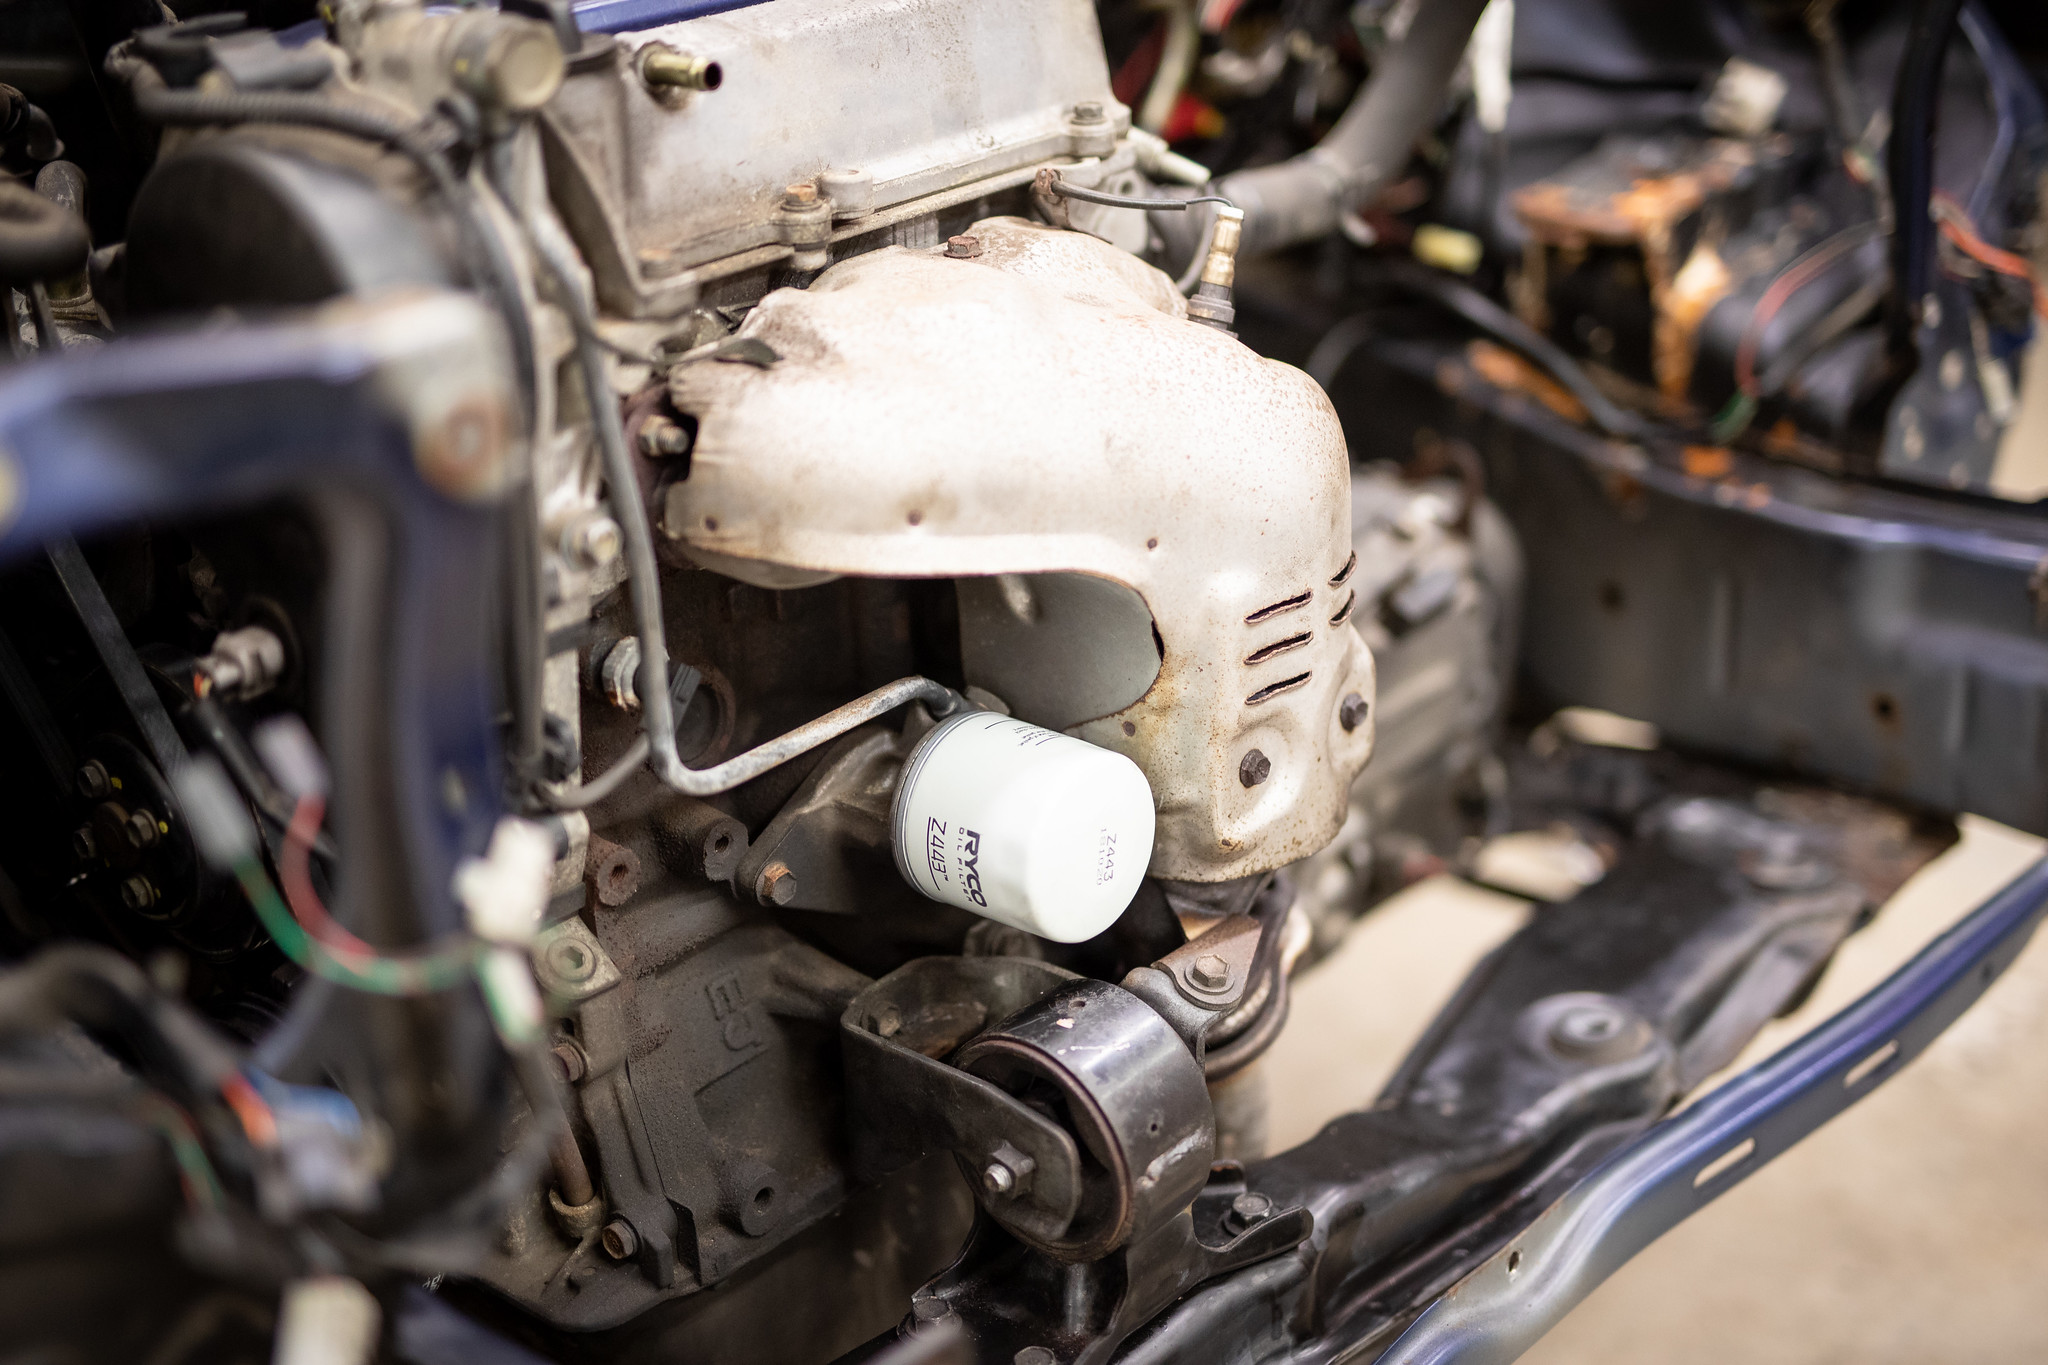
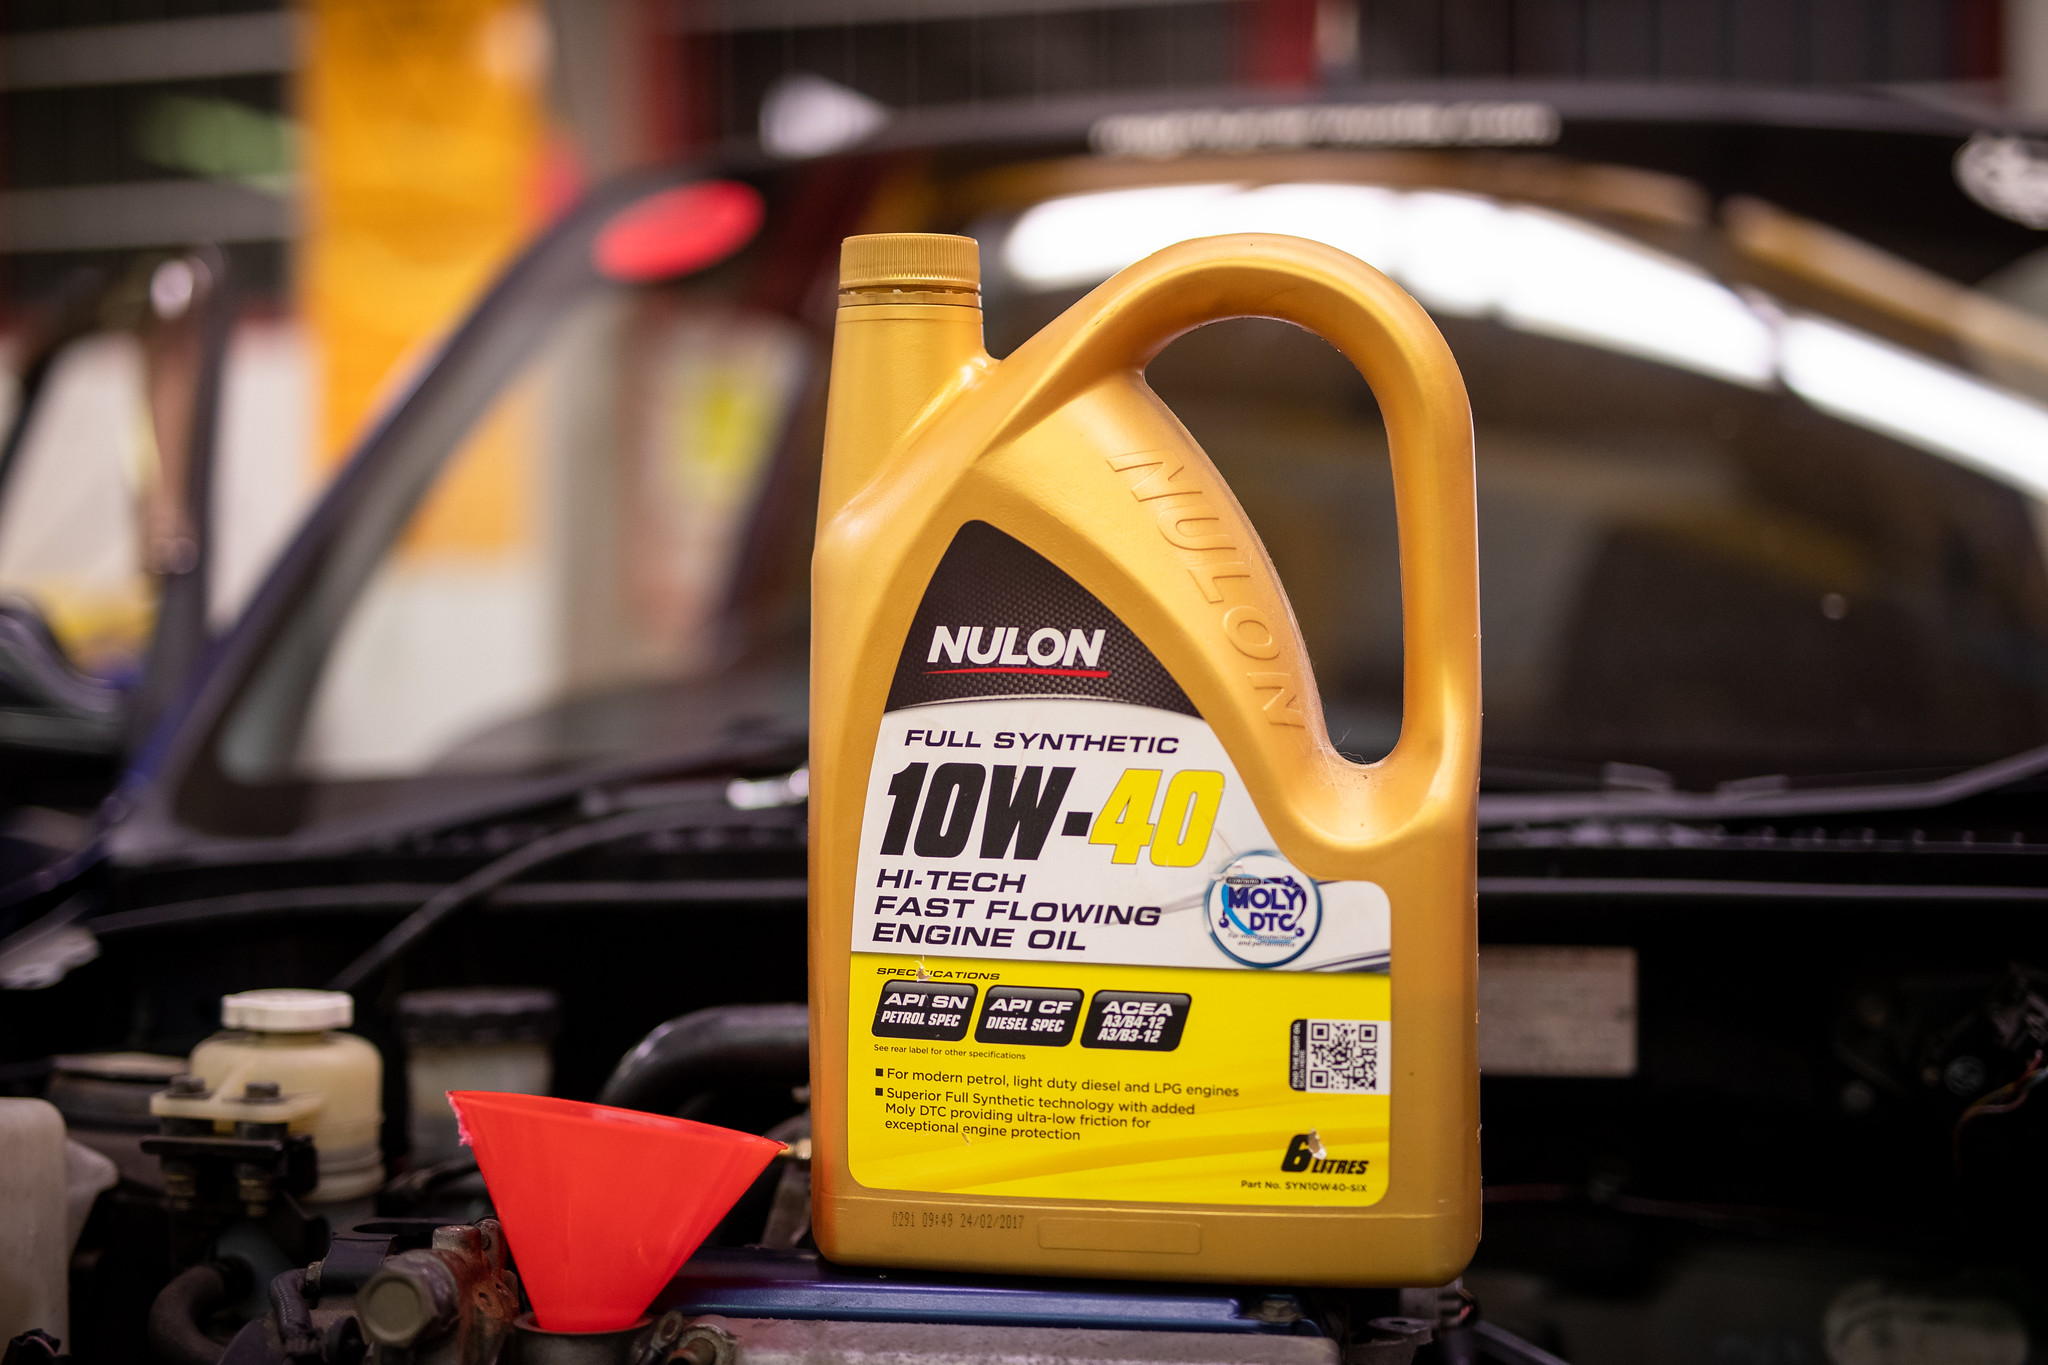
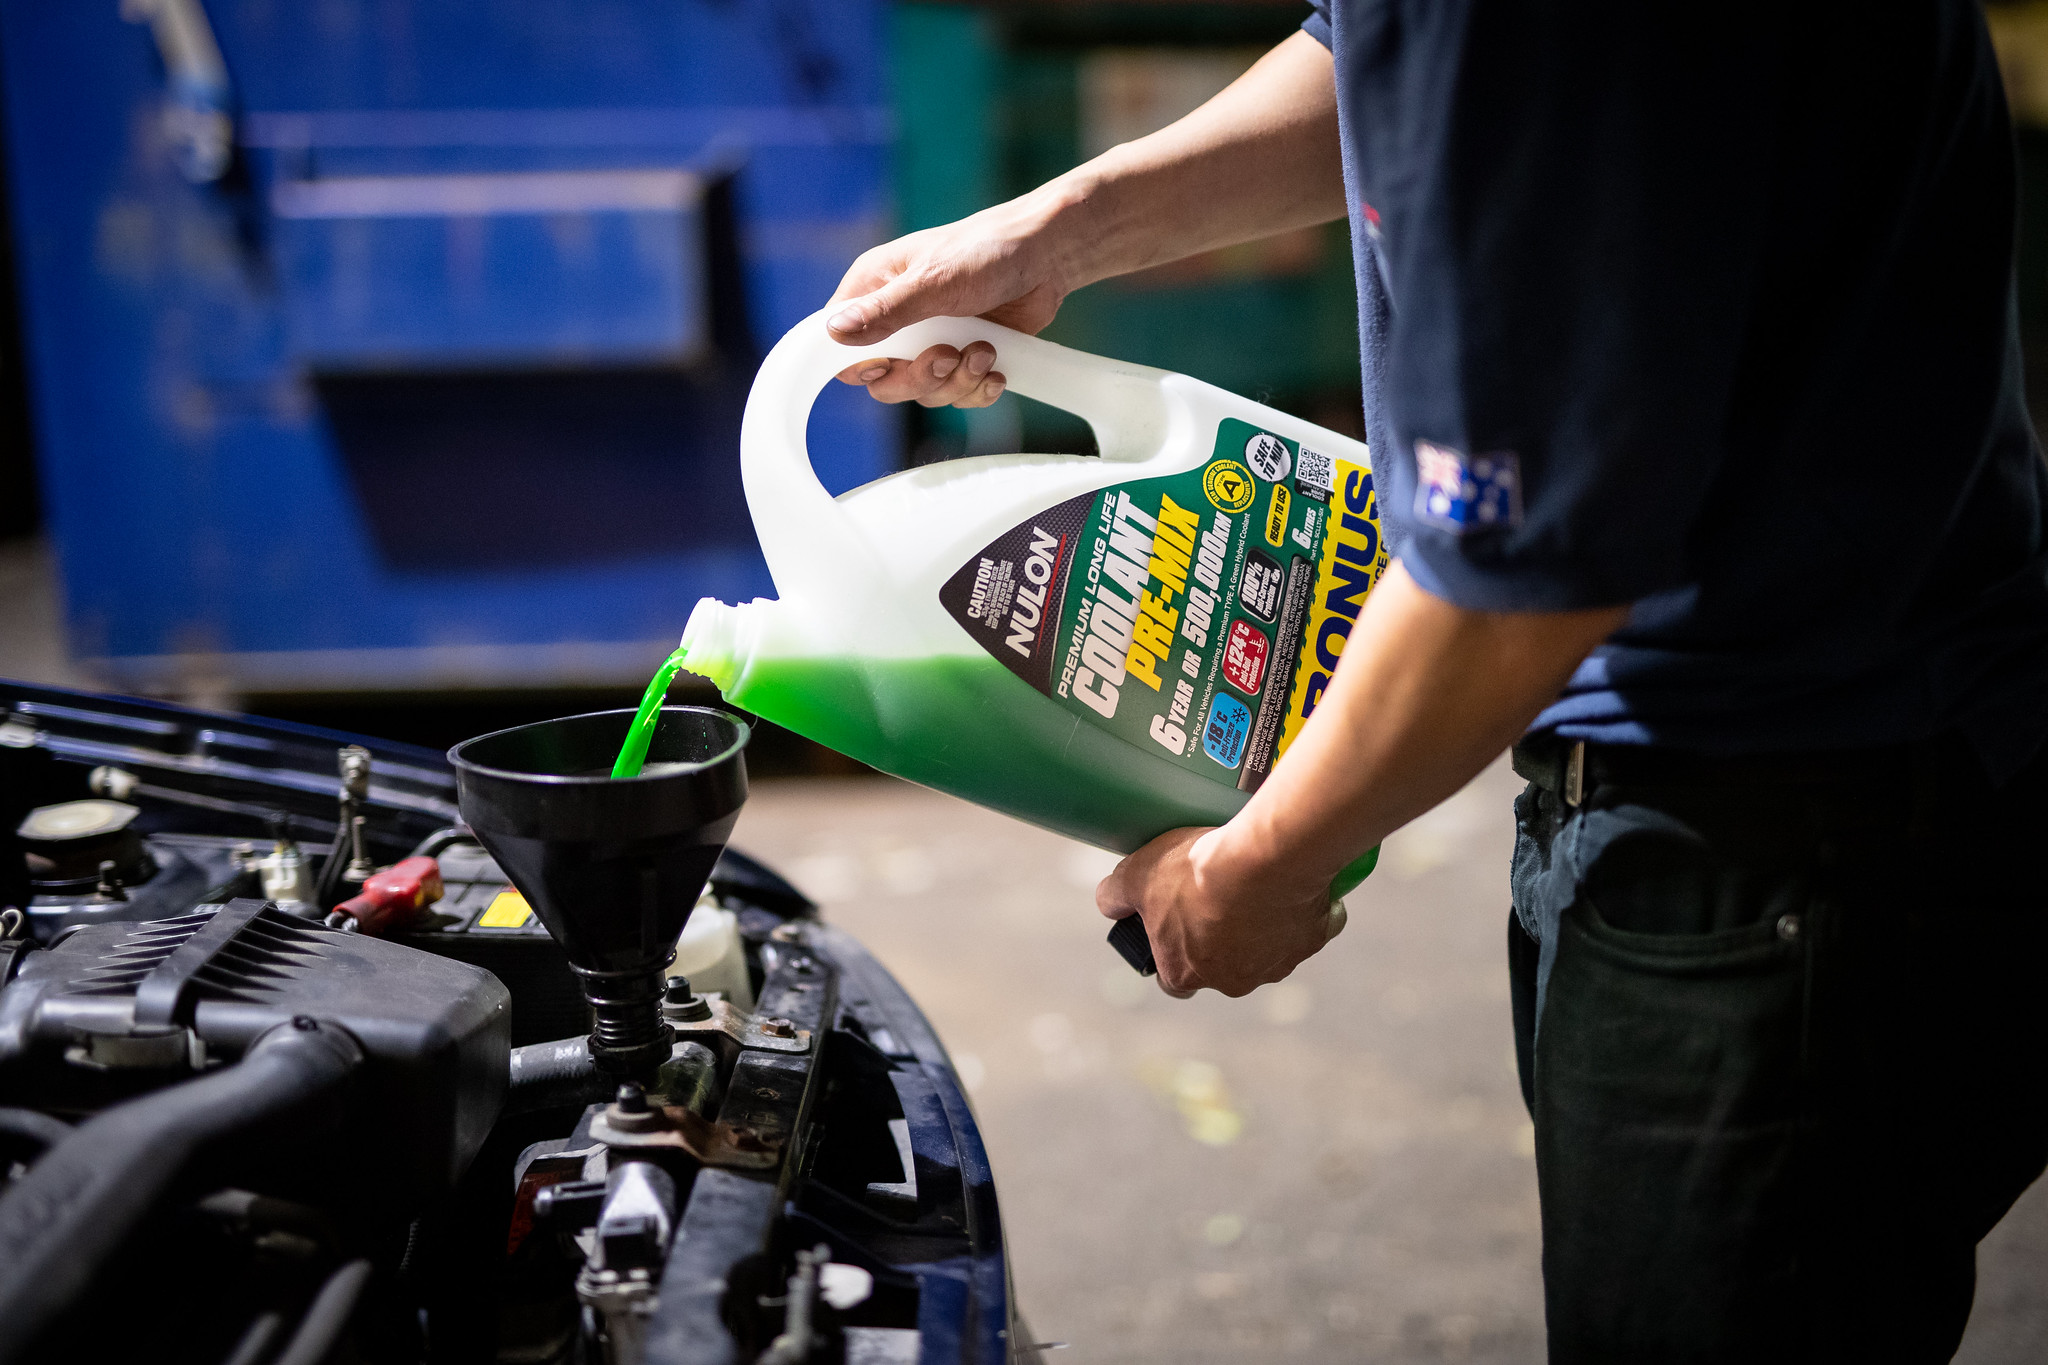
March 2019: So in the last week and a half I’ve been gathering the last bits needed to do the swap. While it may not be completely necessary, I’m going to do a major service. So here’s a photo dump.
Oil: Nulon 10W-40 Full Synthetic
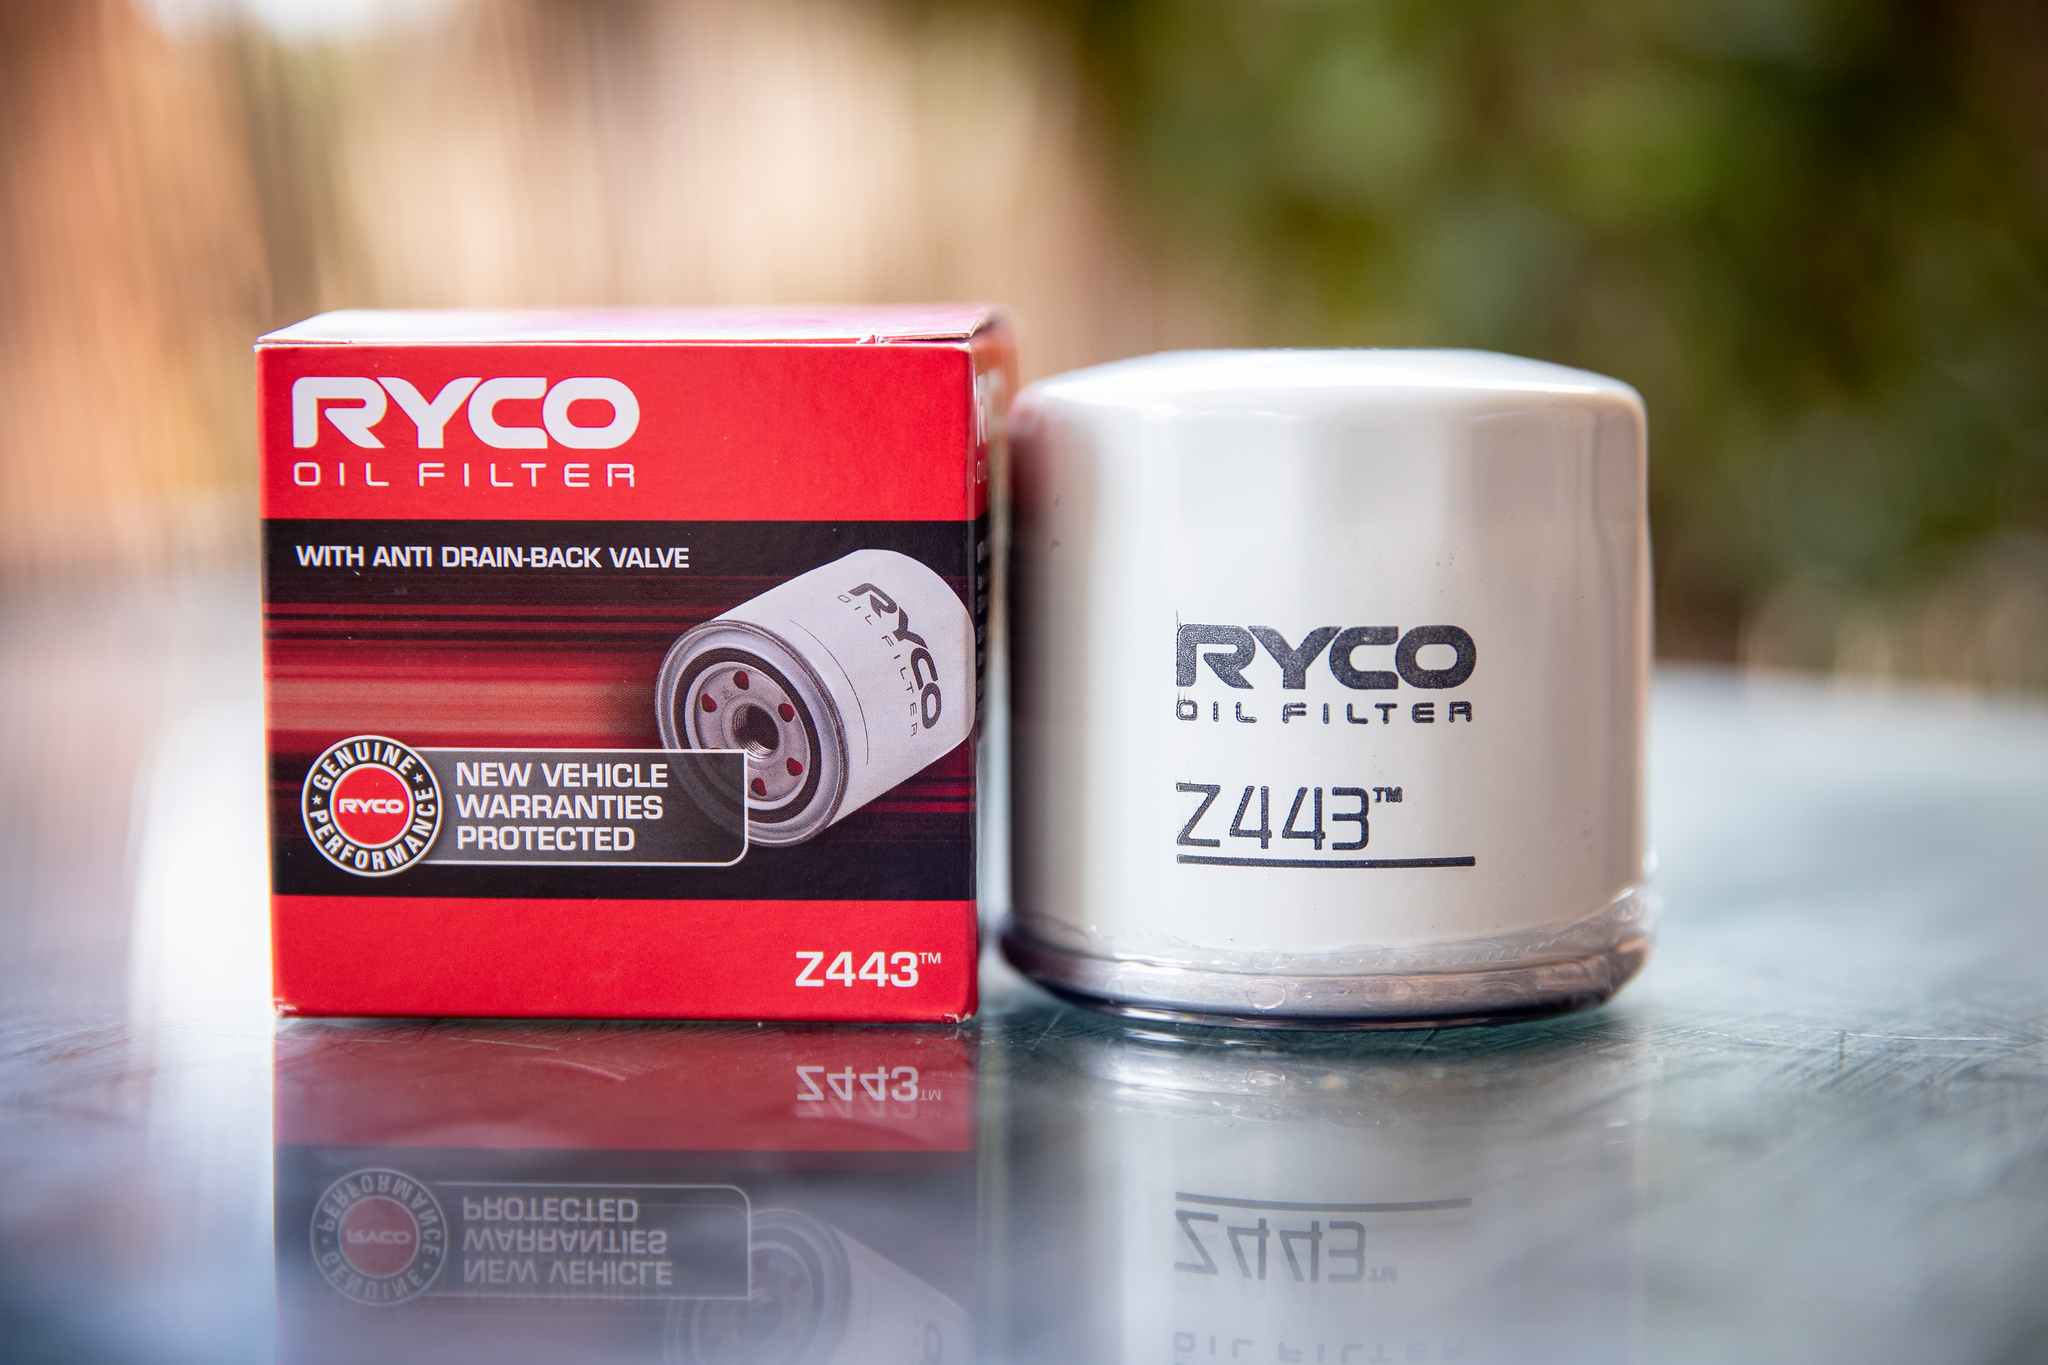
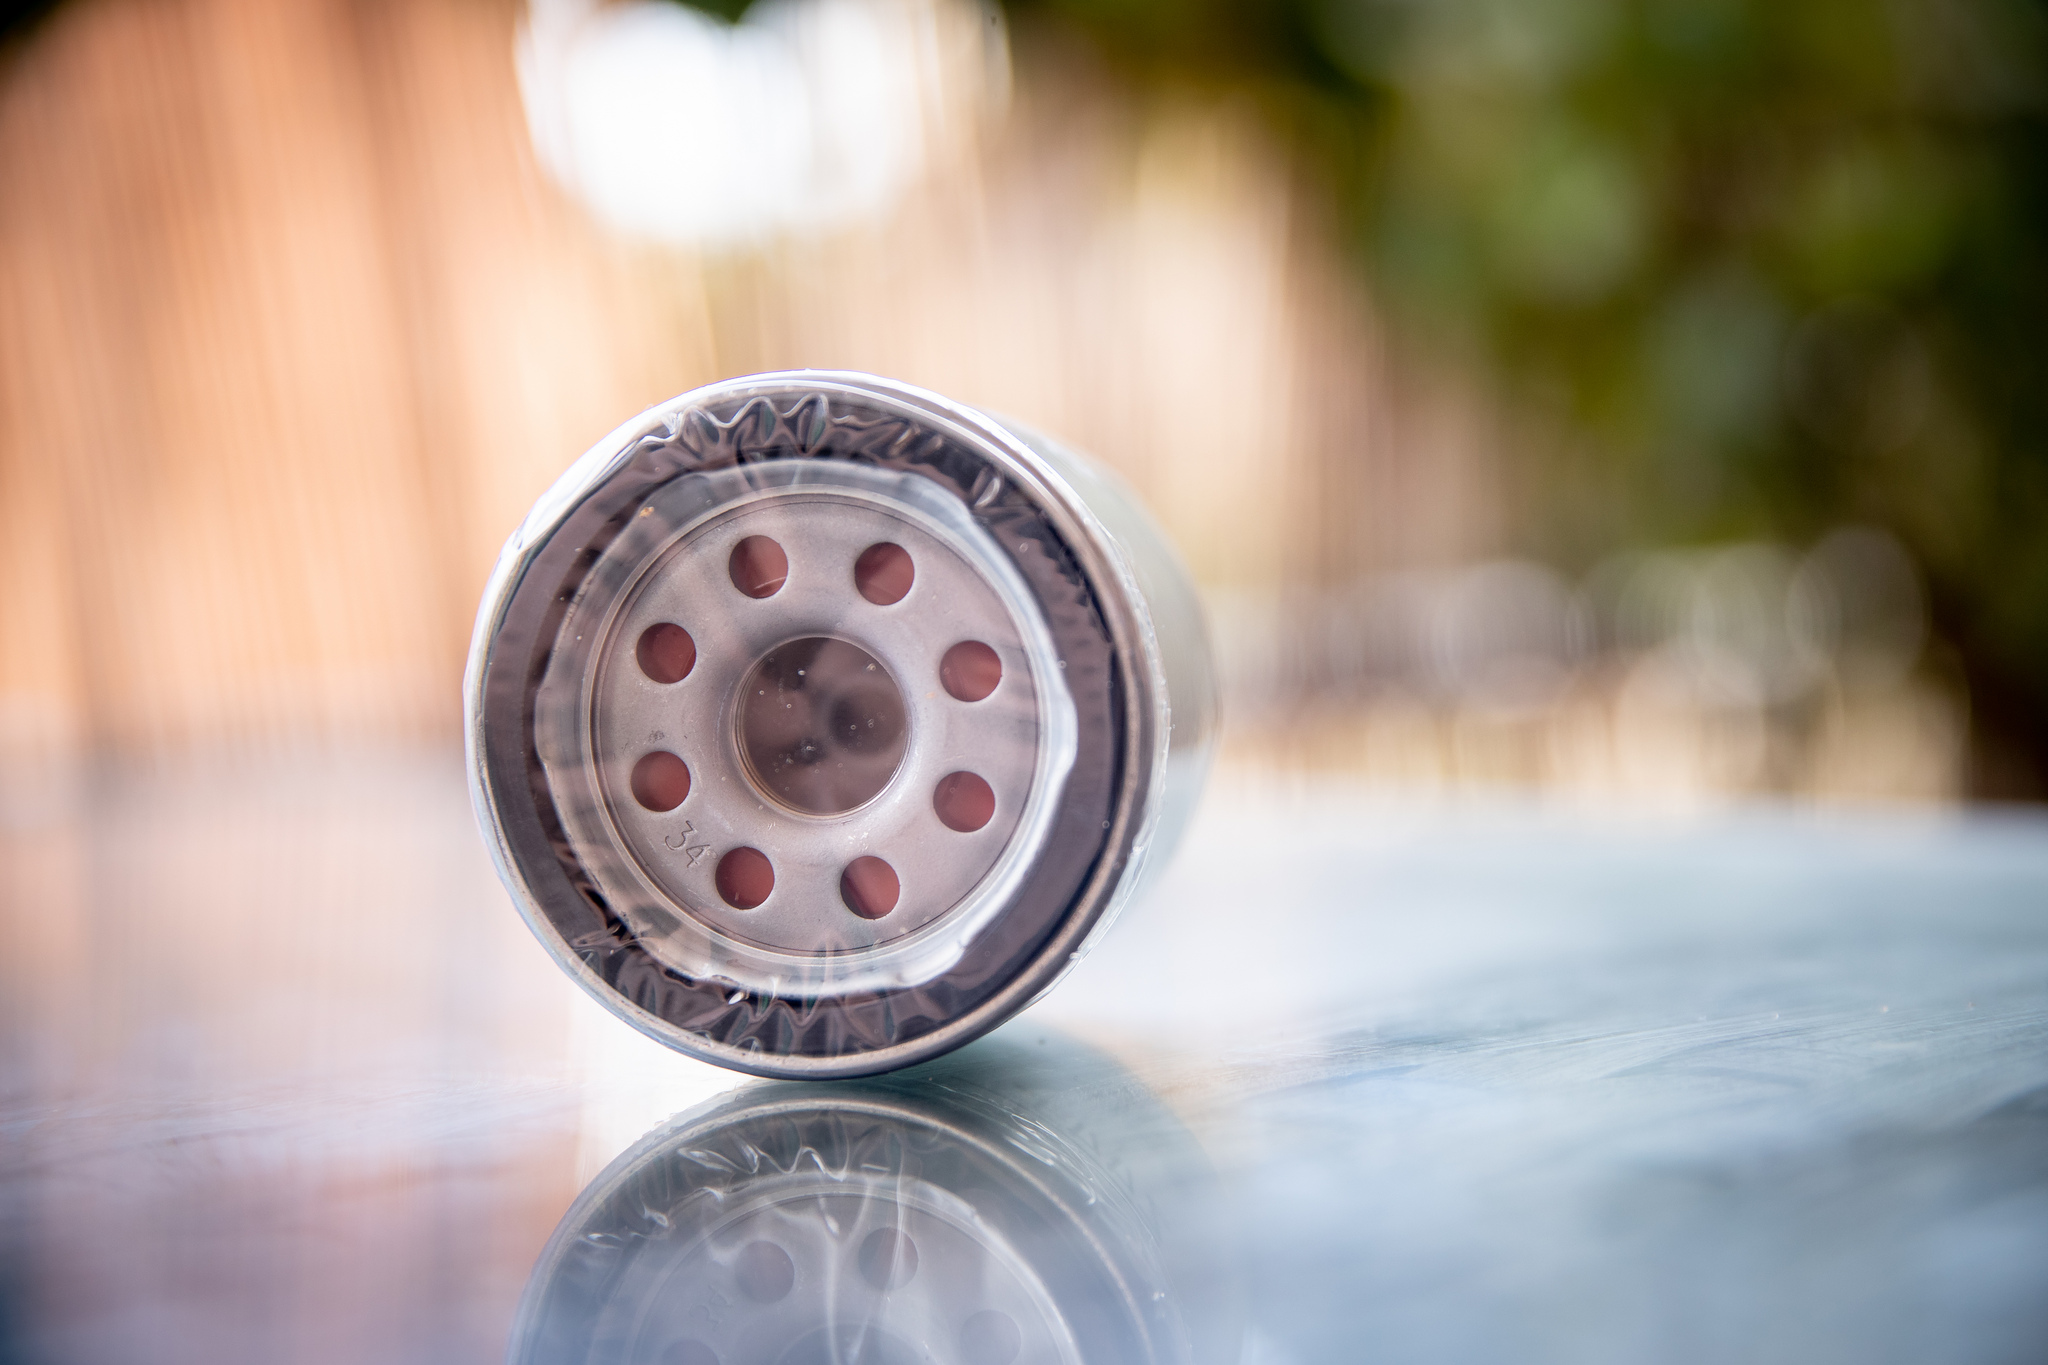
Oil Filter: Ryco Z443
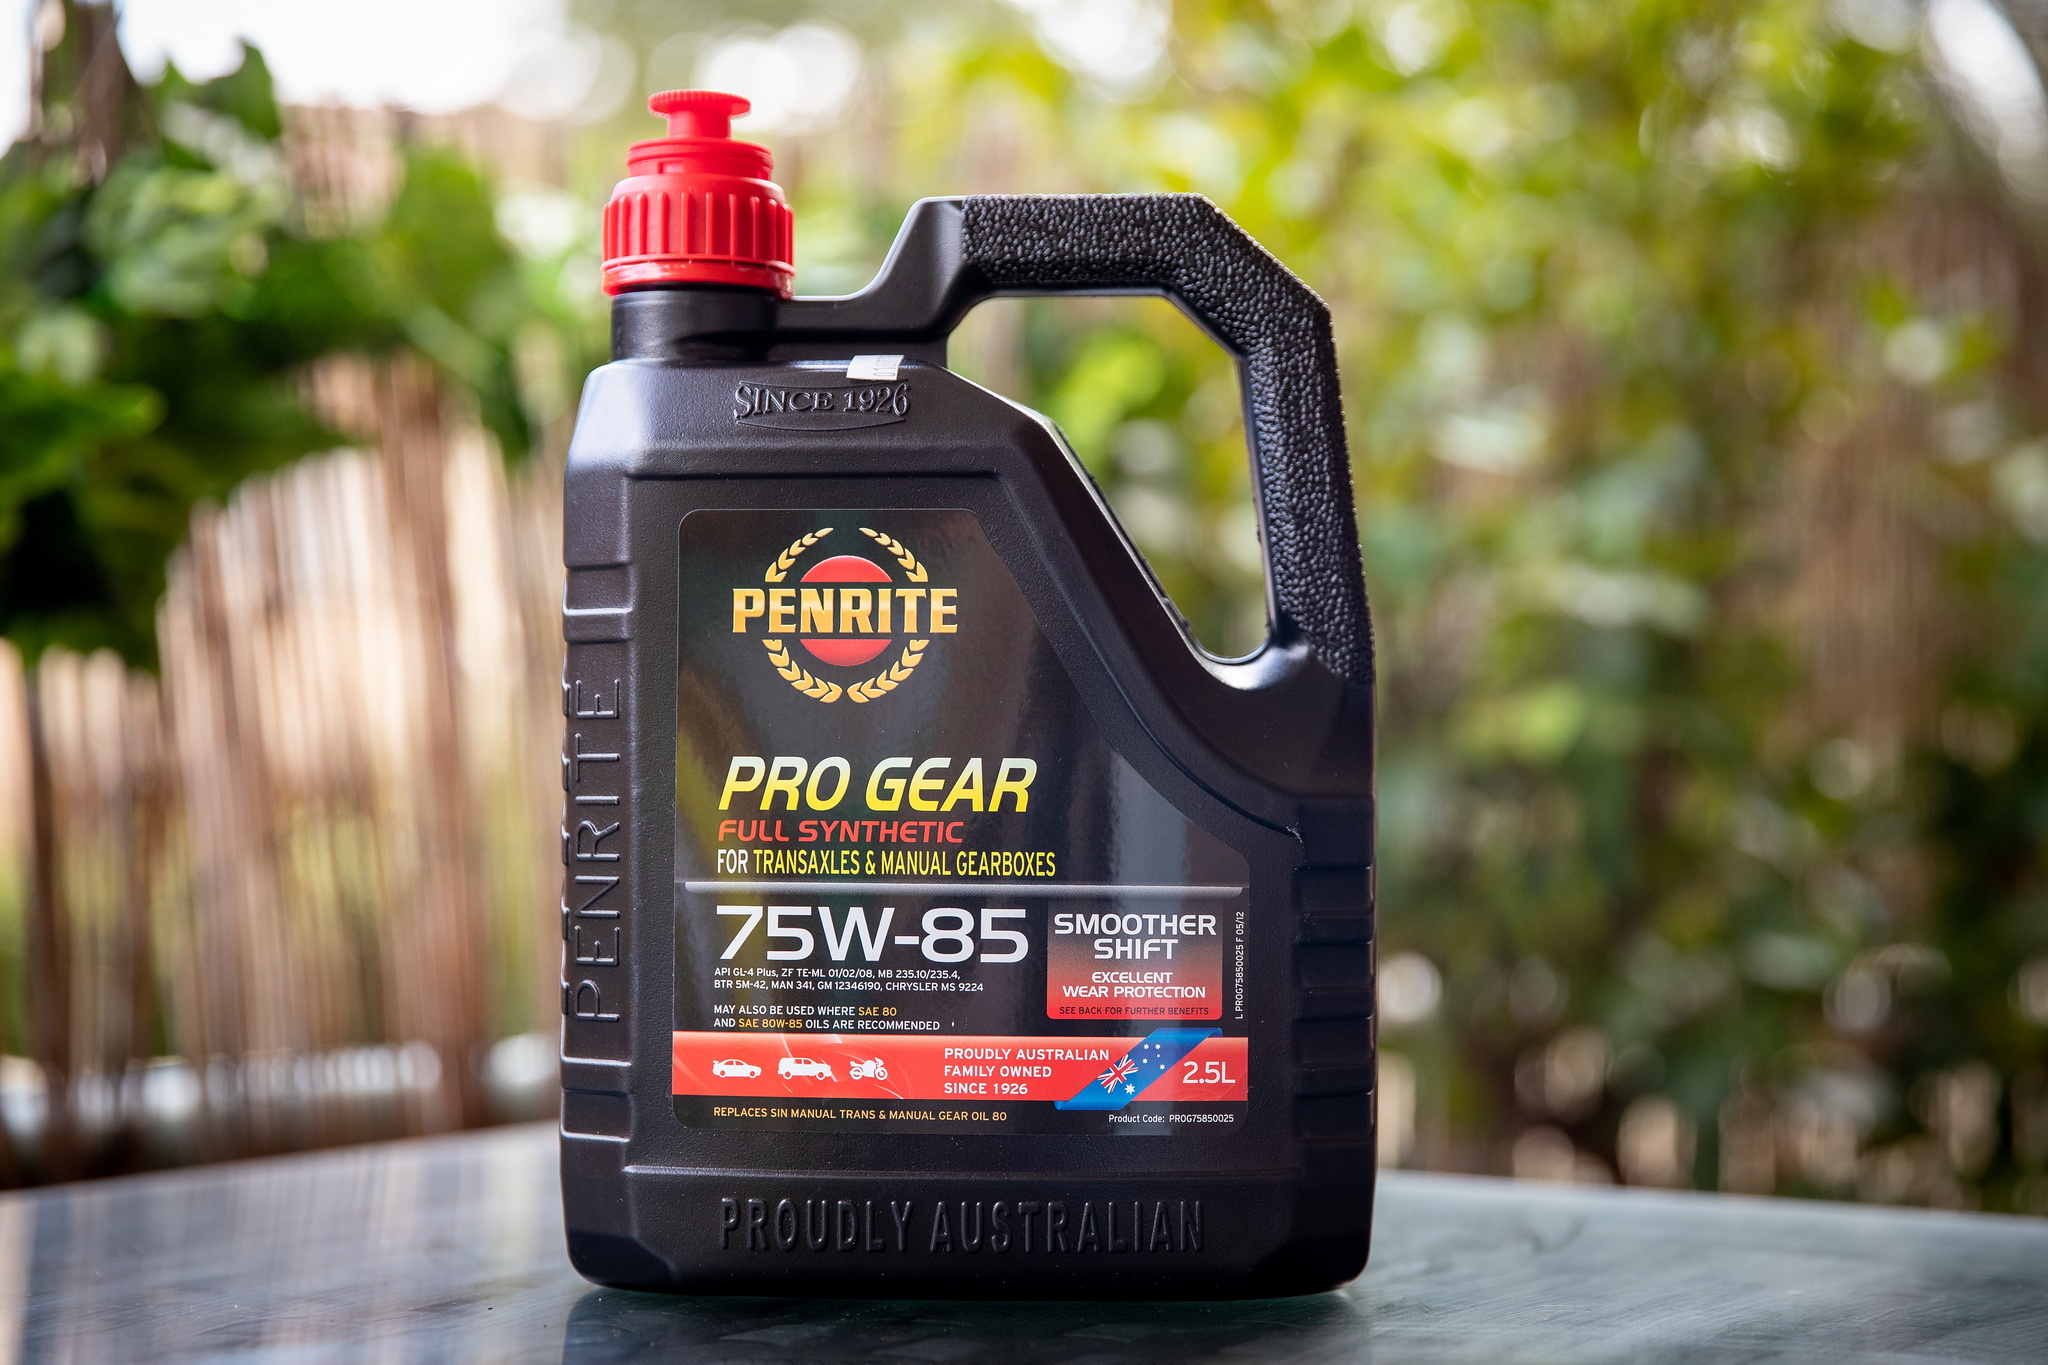
Manual Transmission Fluid: Penrite Pro Gear 75W-85 Full Synthetic

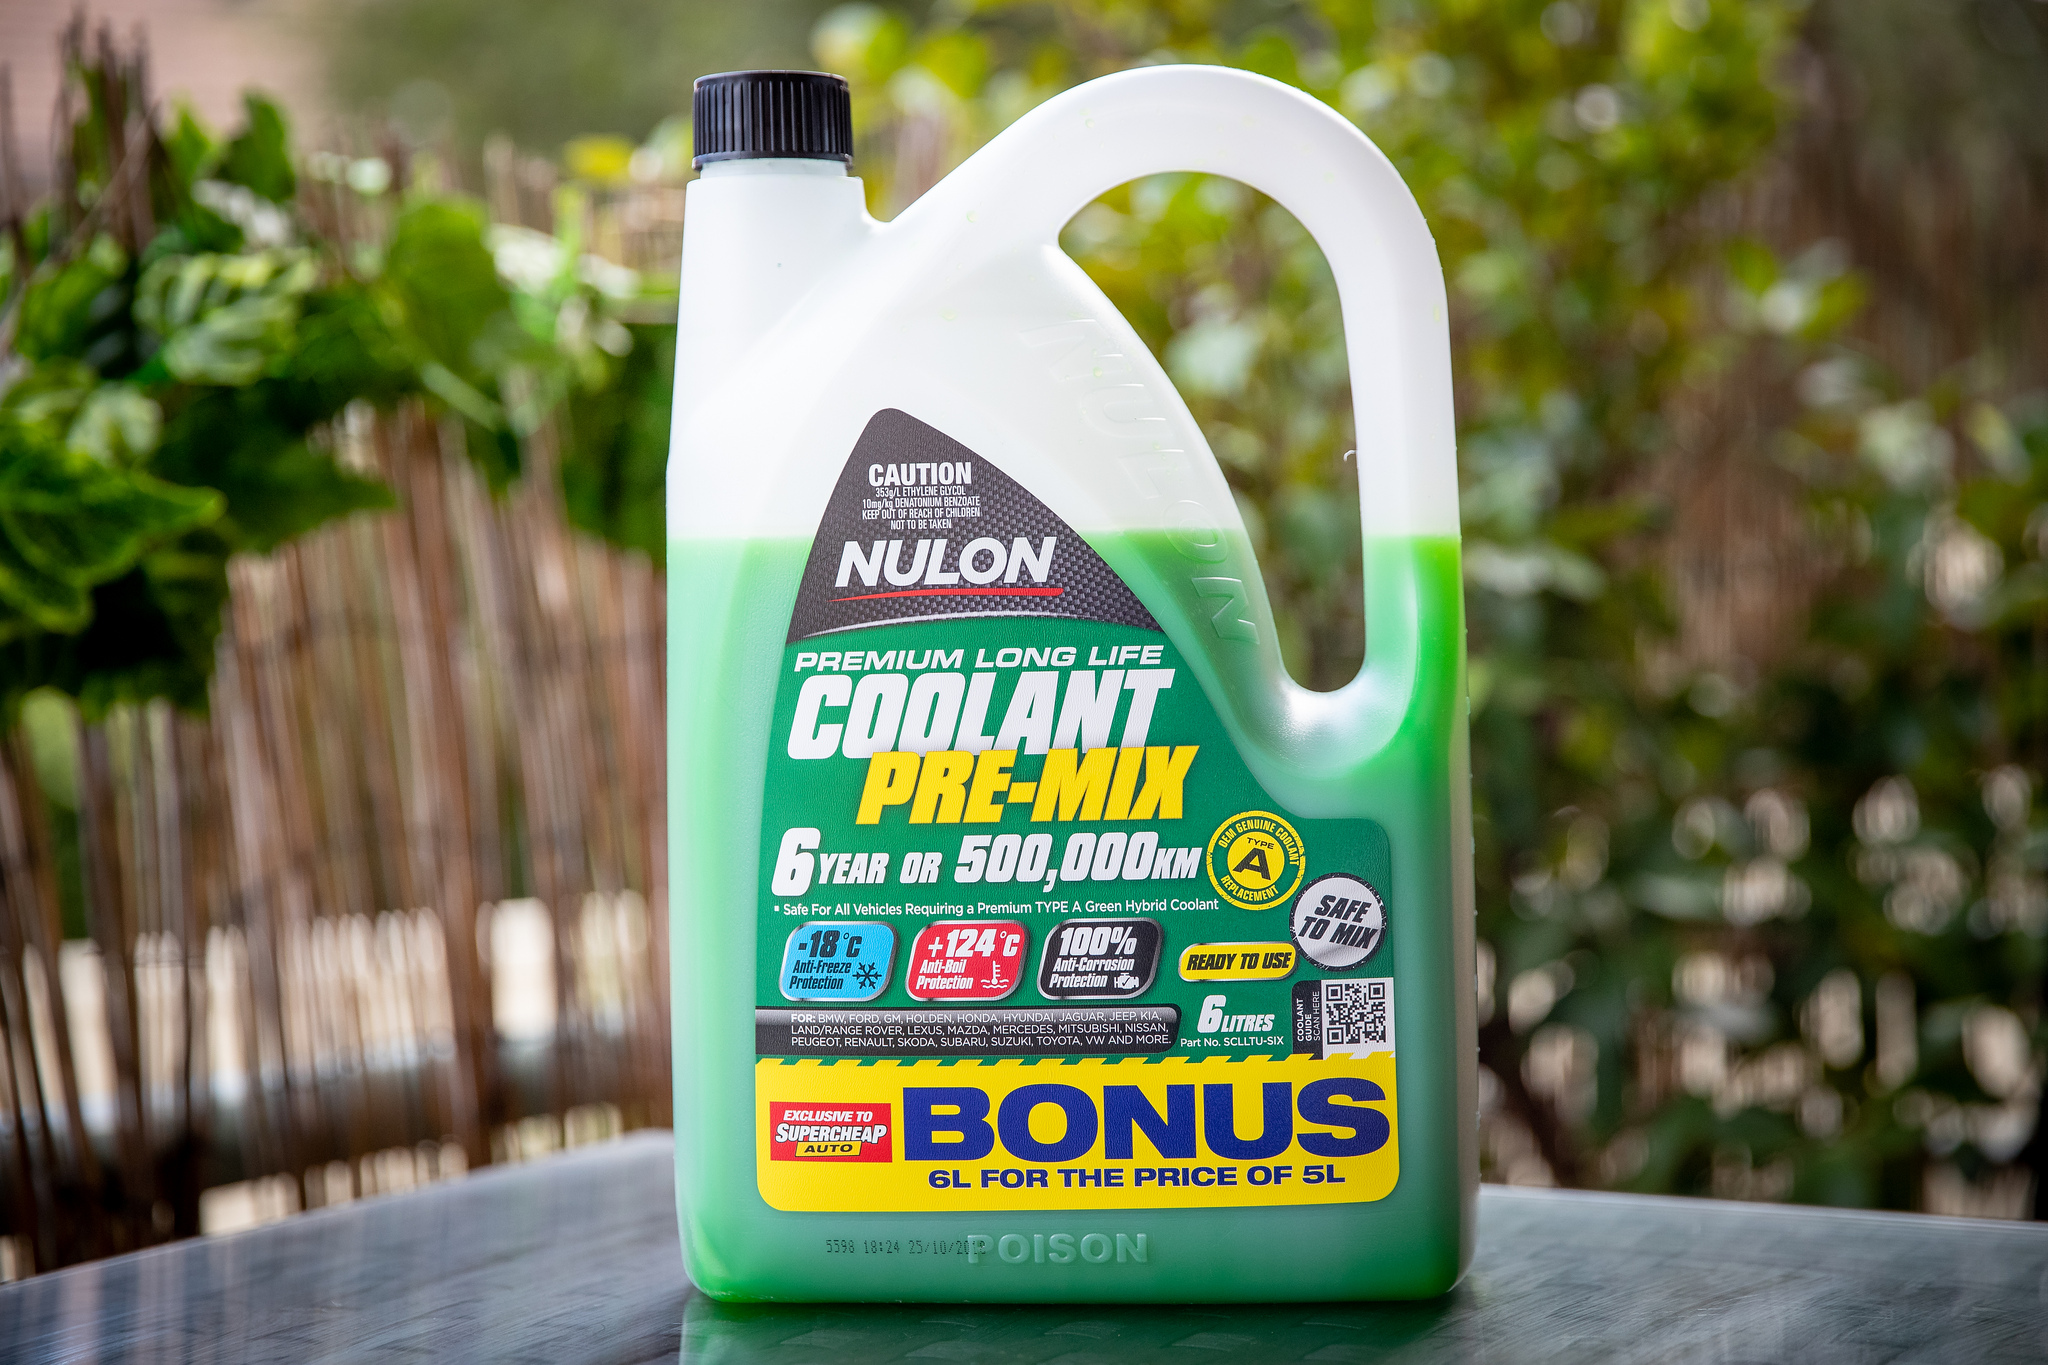
Coolant: Nulon Pre-Mix
Alternator Belt: Dayco Poly Rib 5040281 4PK0715
]

Power Steering Belt: Endurotec 3PK0515

Rear Main Seal


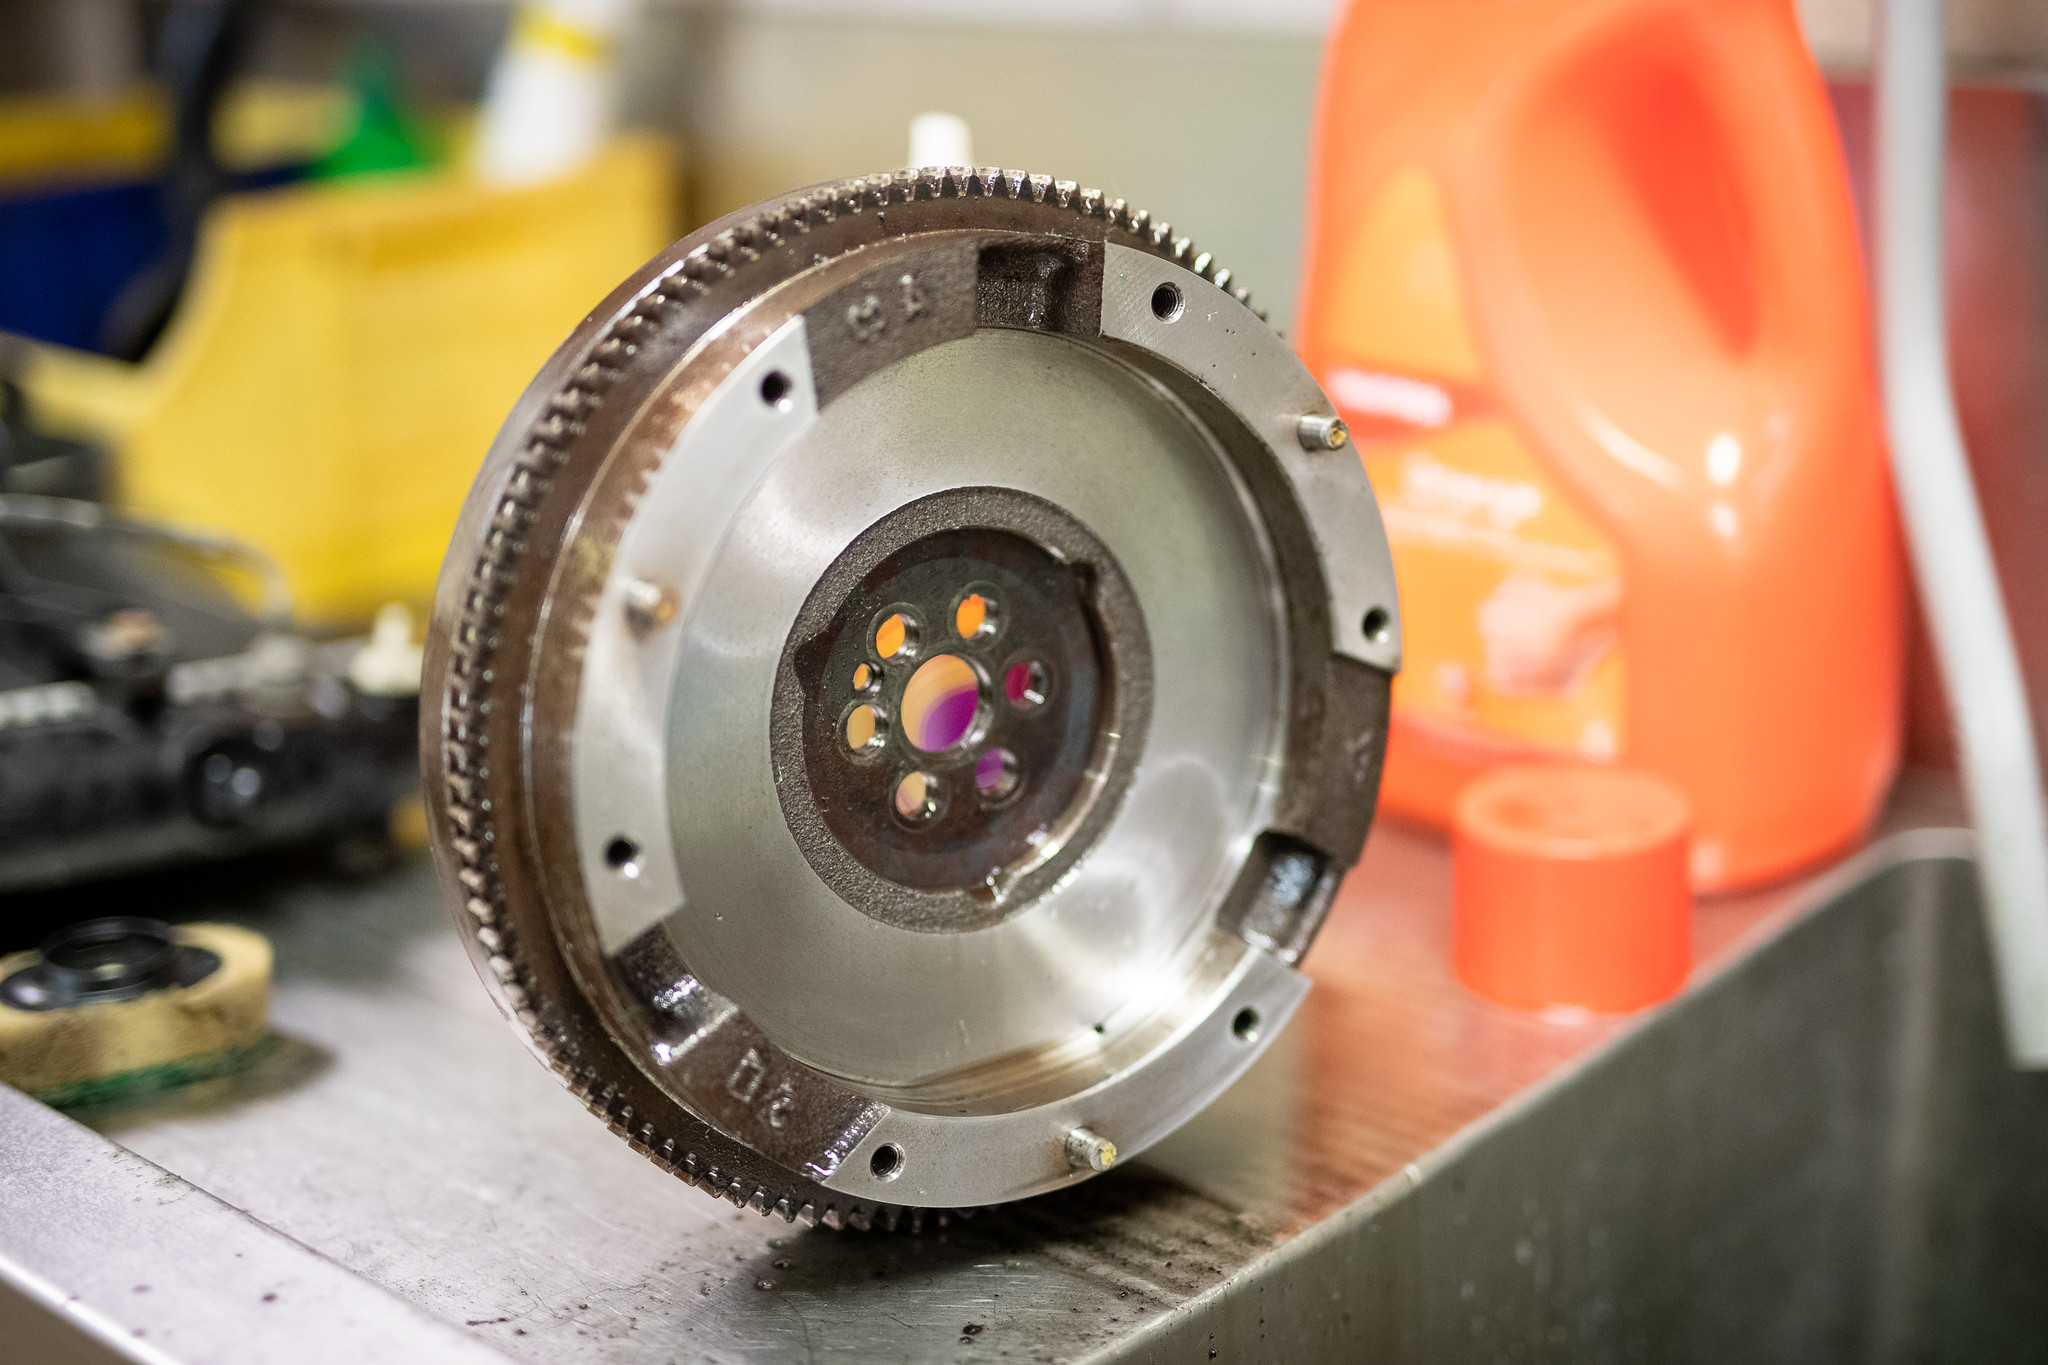
The flywheel was in desperate need of a machine.


Bursons turned it around quick smart.
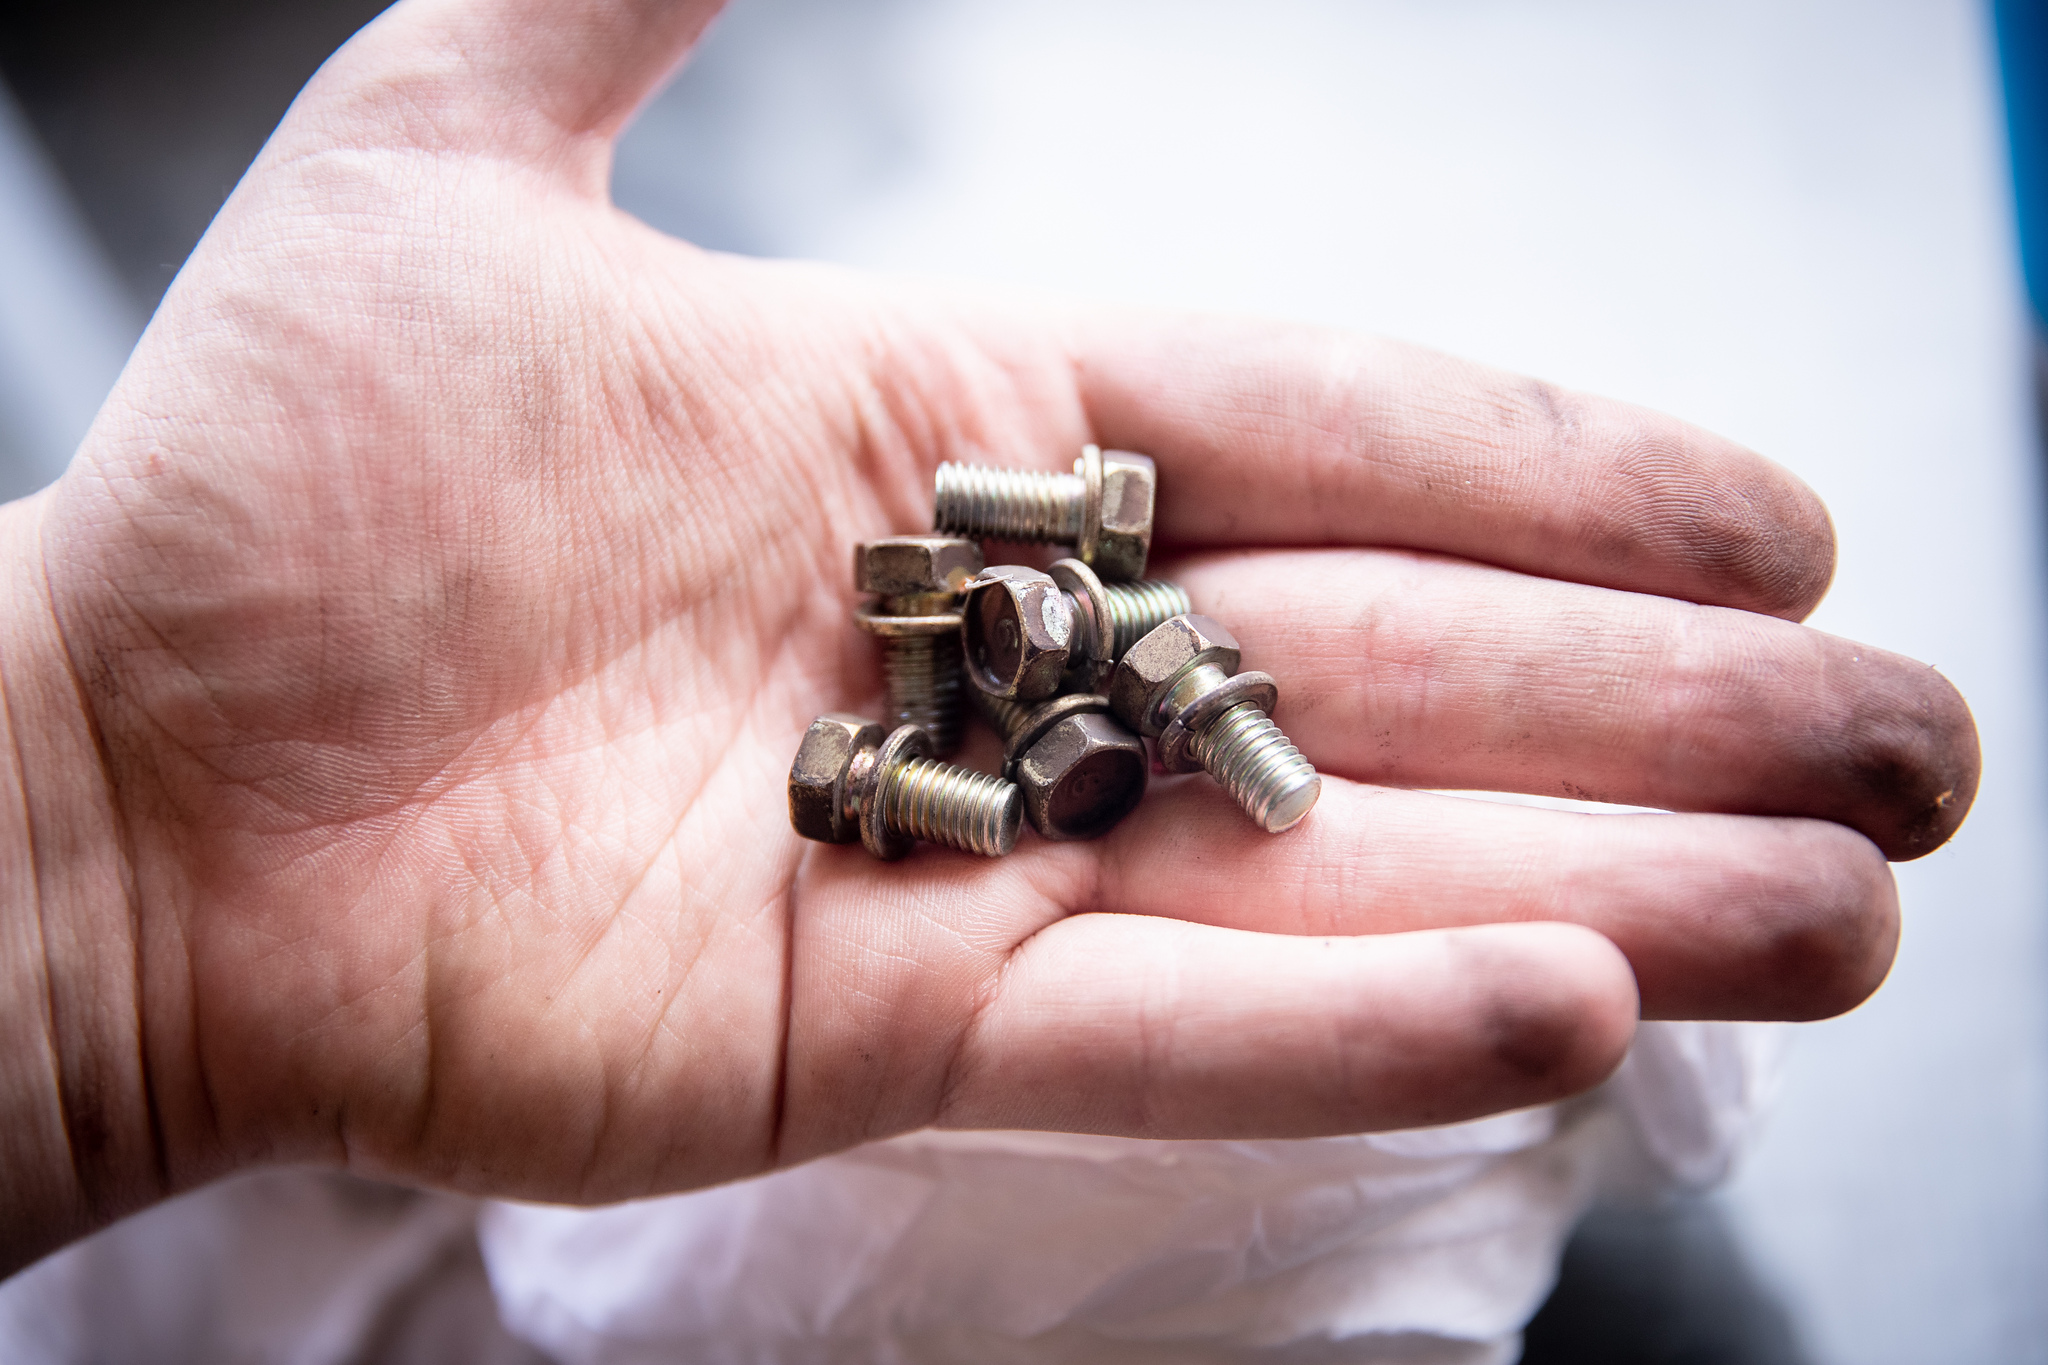
Bolts also got a quick clean.
I was helping a mate convert the manual steering in his Gino converted Handi to power steering donated from my red parts car. I realised I had a blow break light. So we quickly tended to that.

There was a spare set of lights hanging around that was in better condition than mine so I chucked them on.
Sorted.
7 Likes
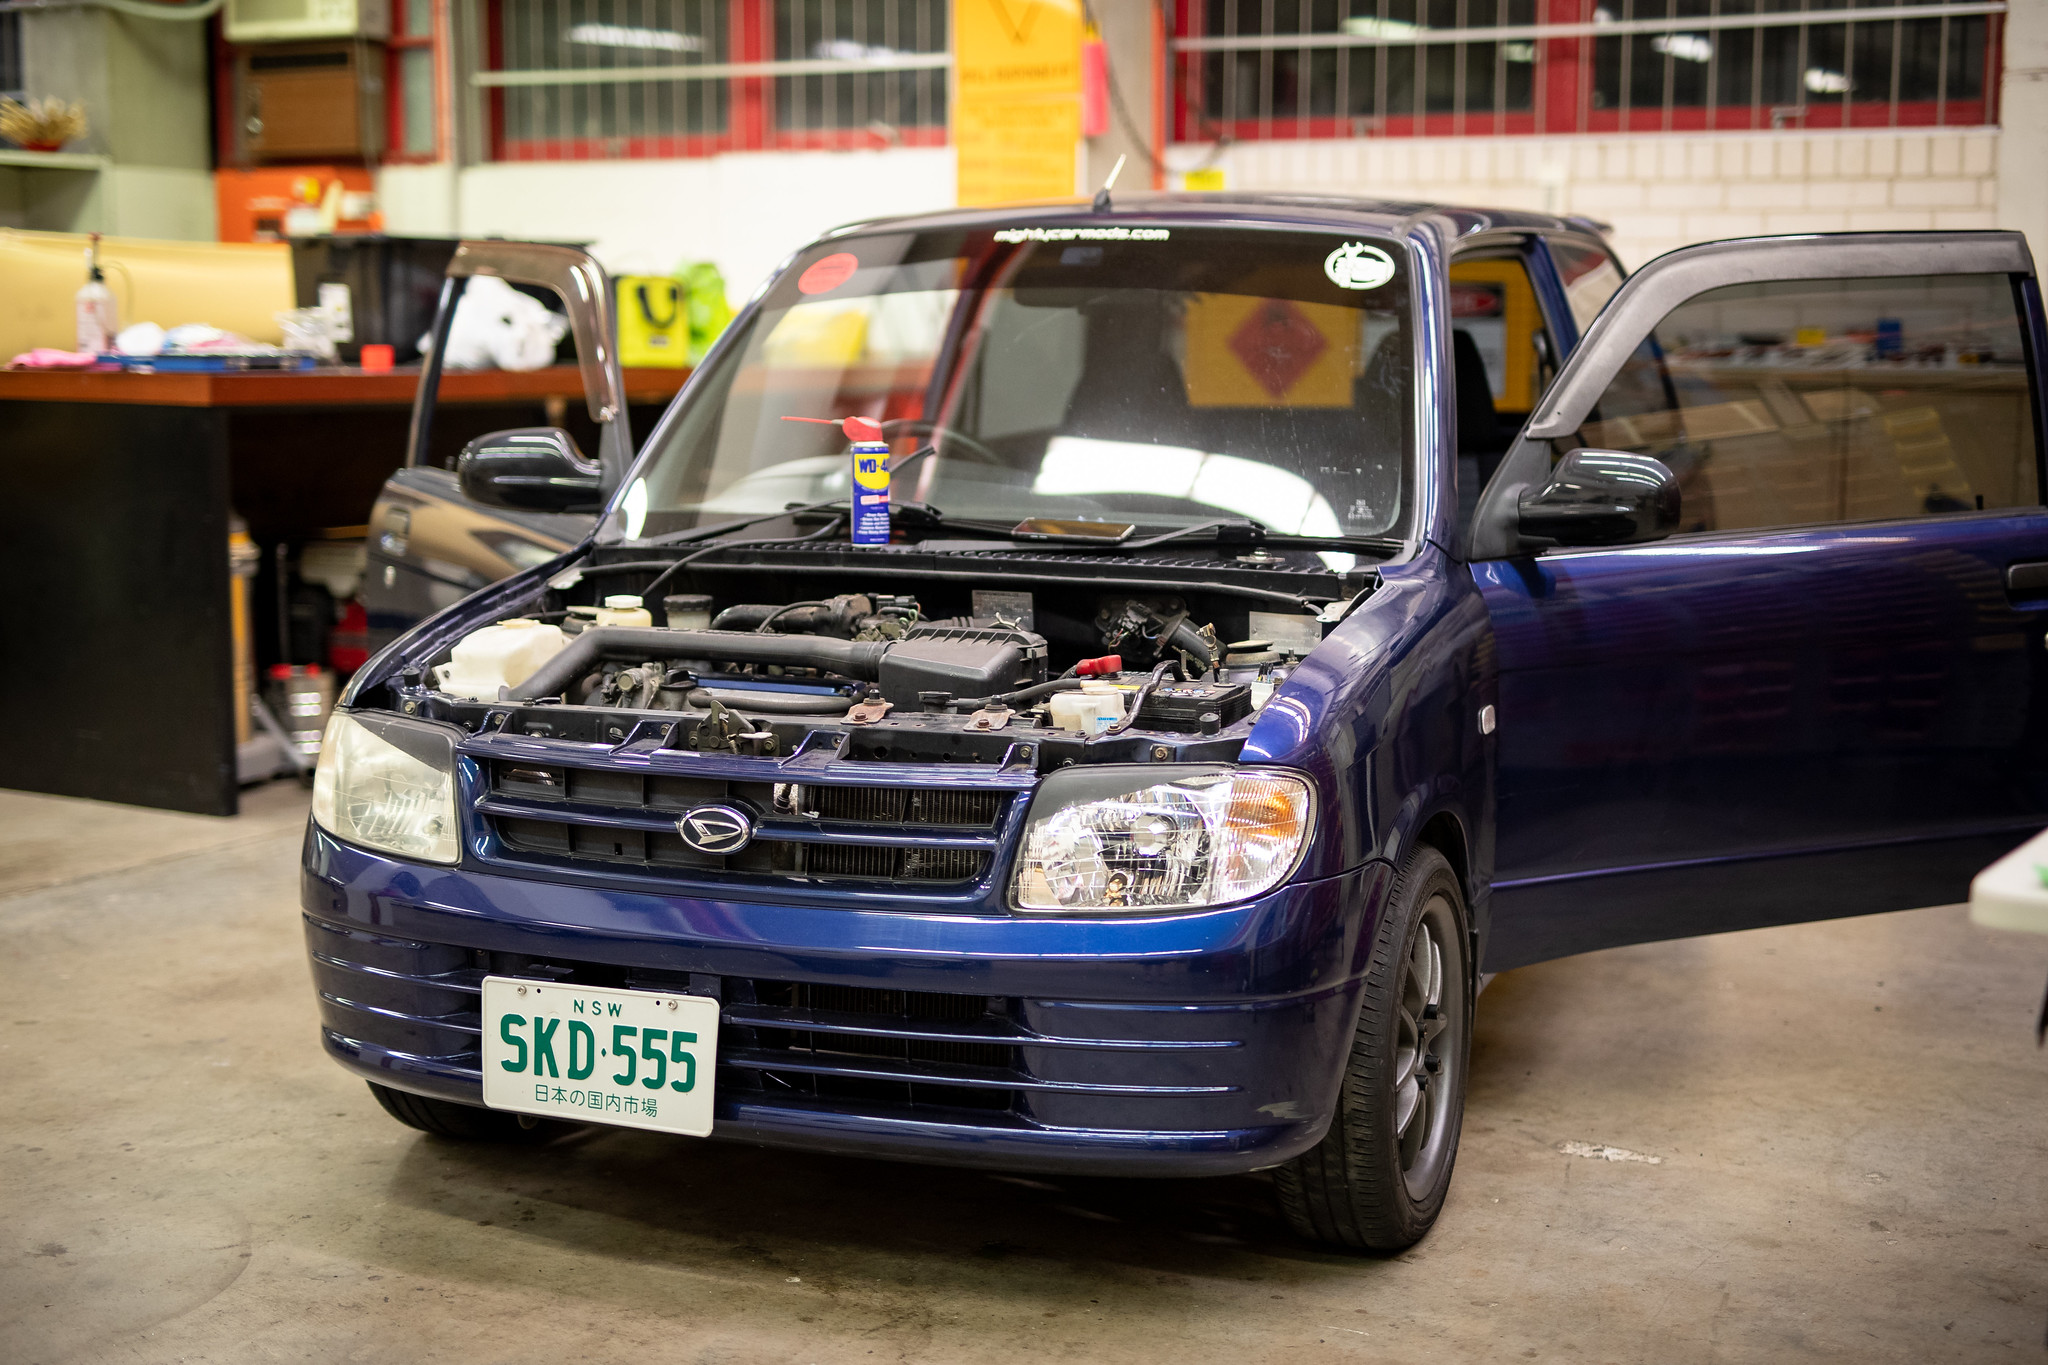
April 2019: So somewhat sadly we ran out of time to be able to get the manual swap done for the trackday. In saying that I thought it’d actually be fun to see what it would be like with the auto. Now that meant that two things needed to be done.
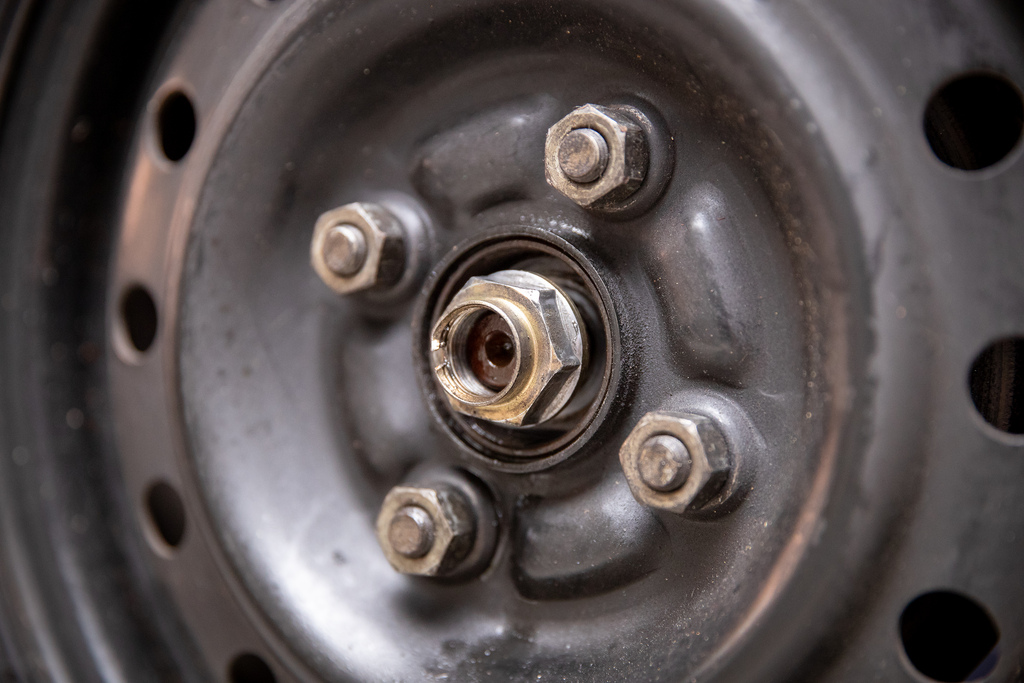
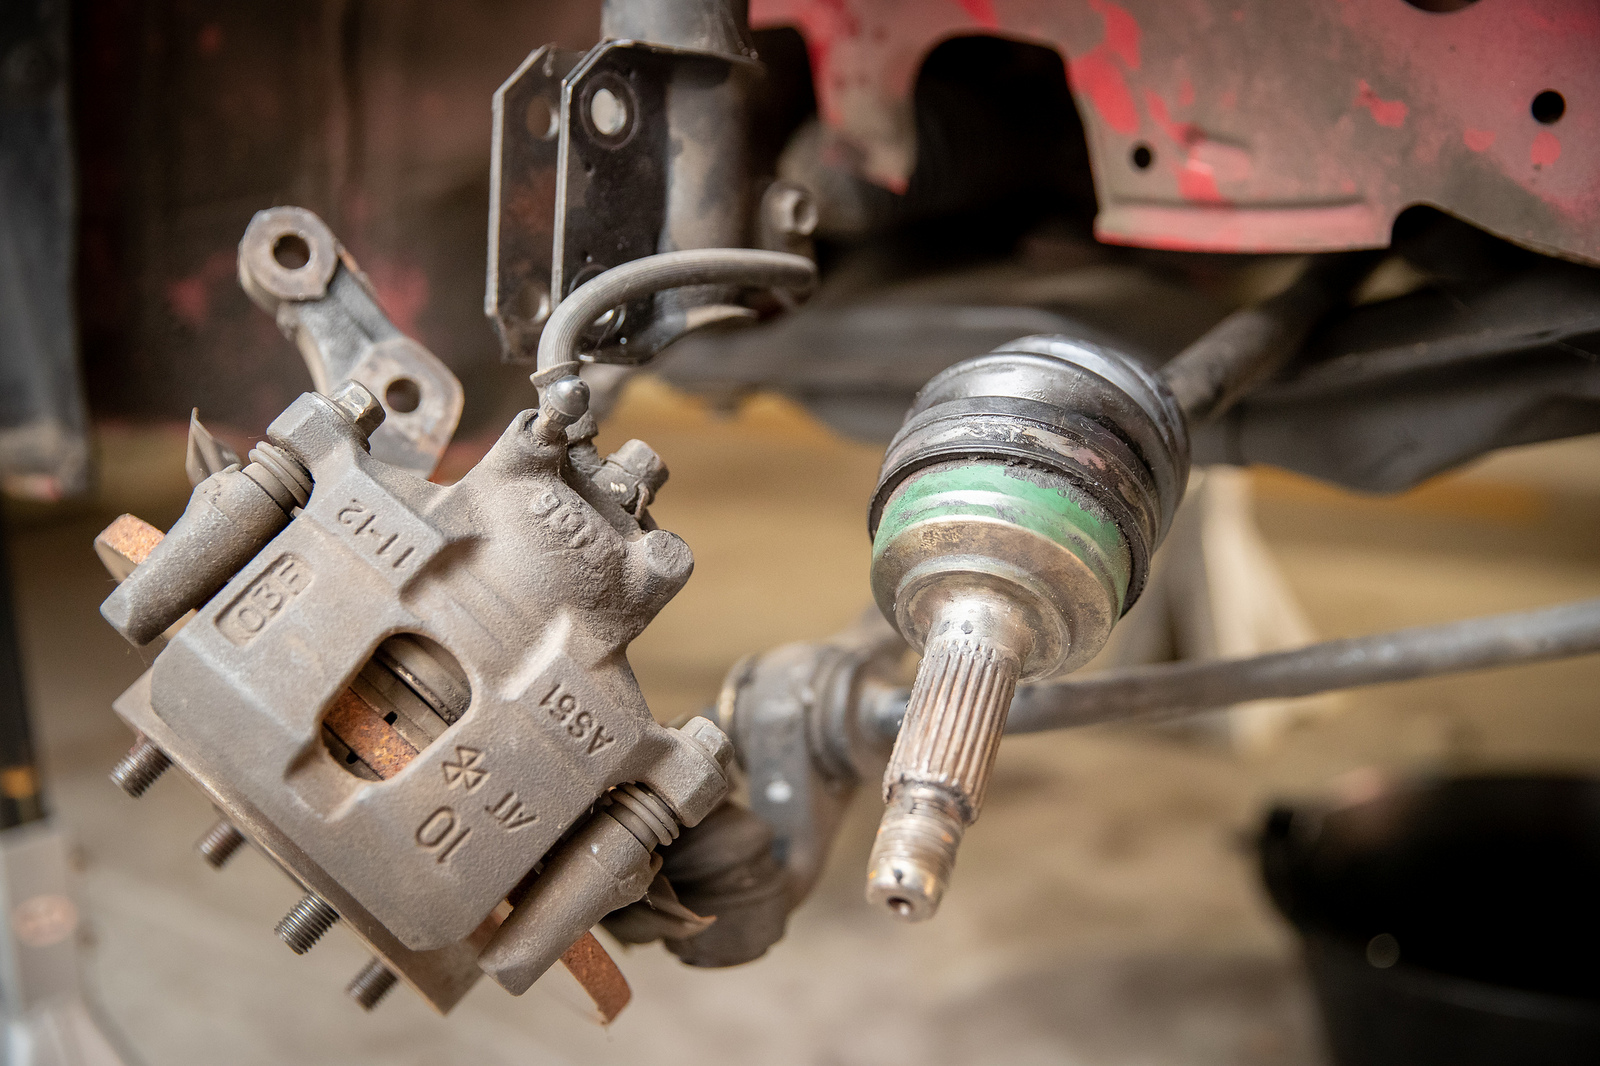
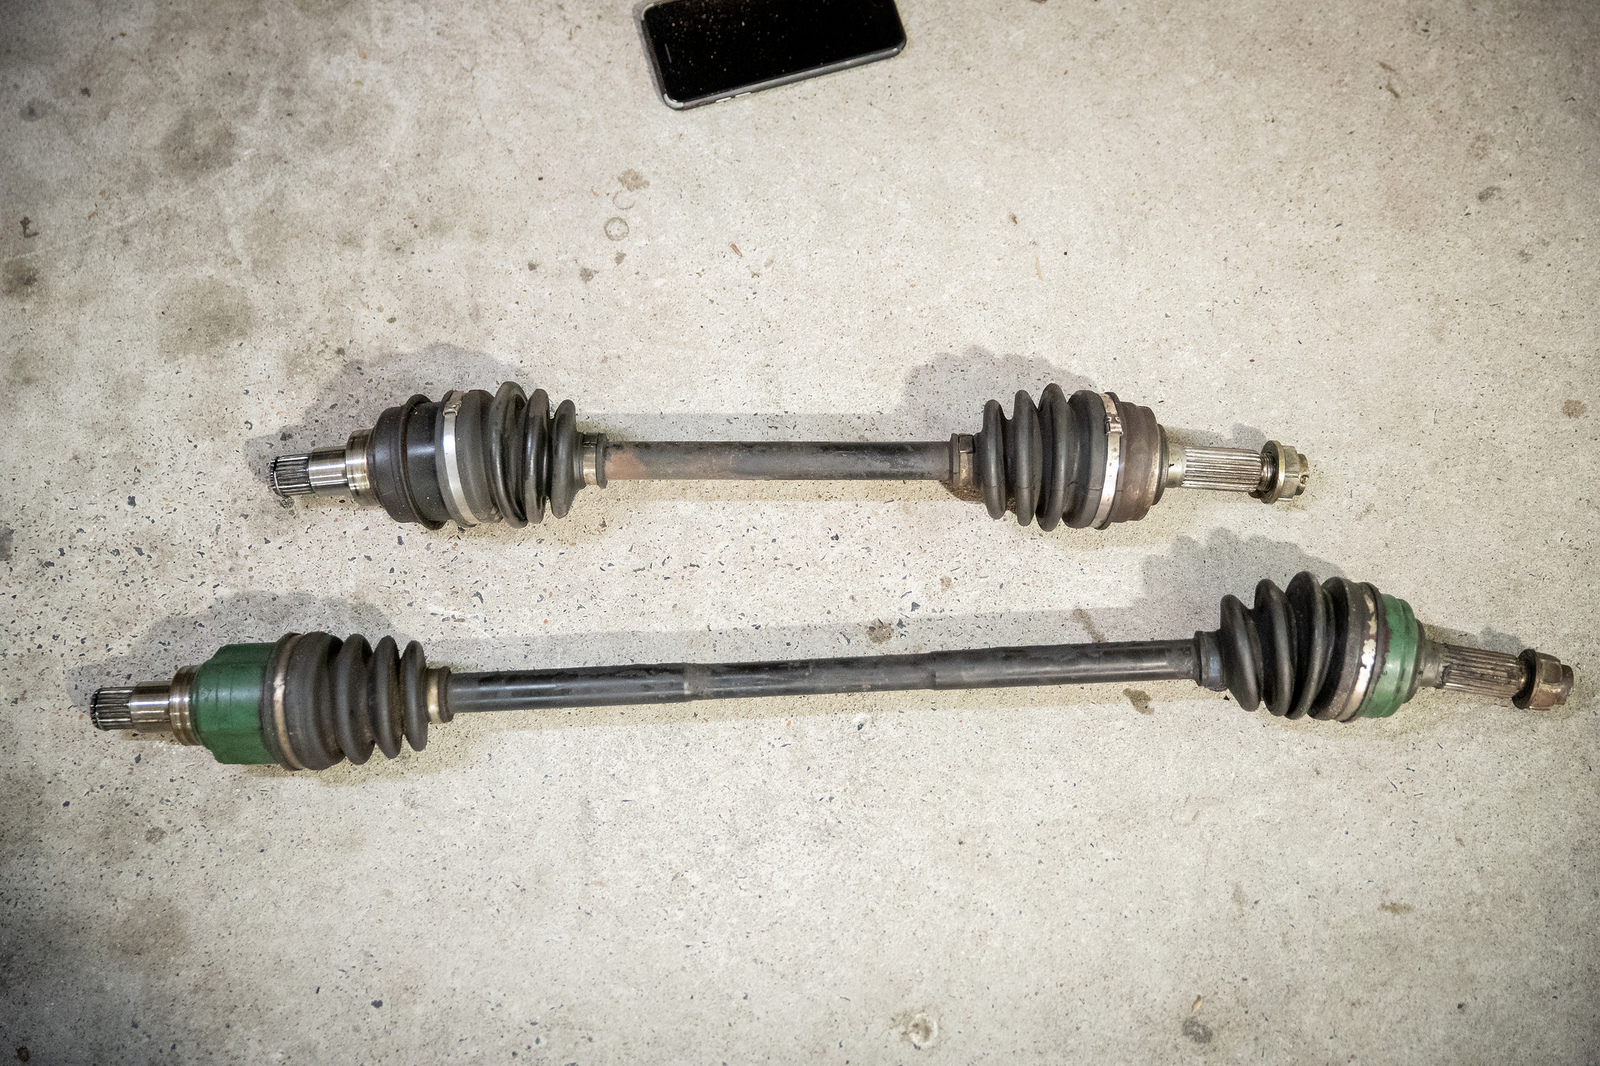
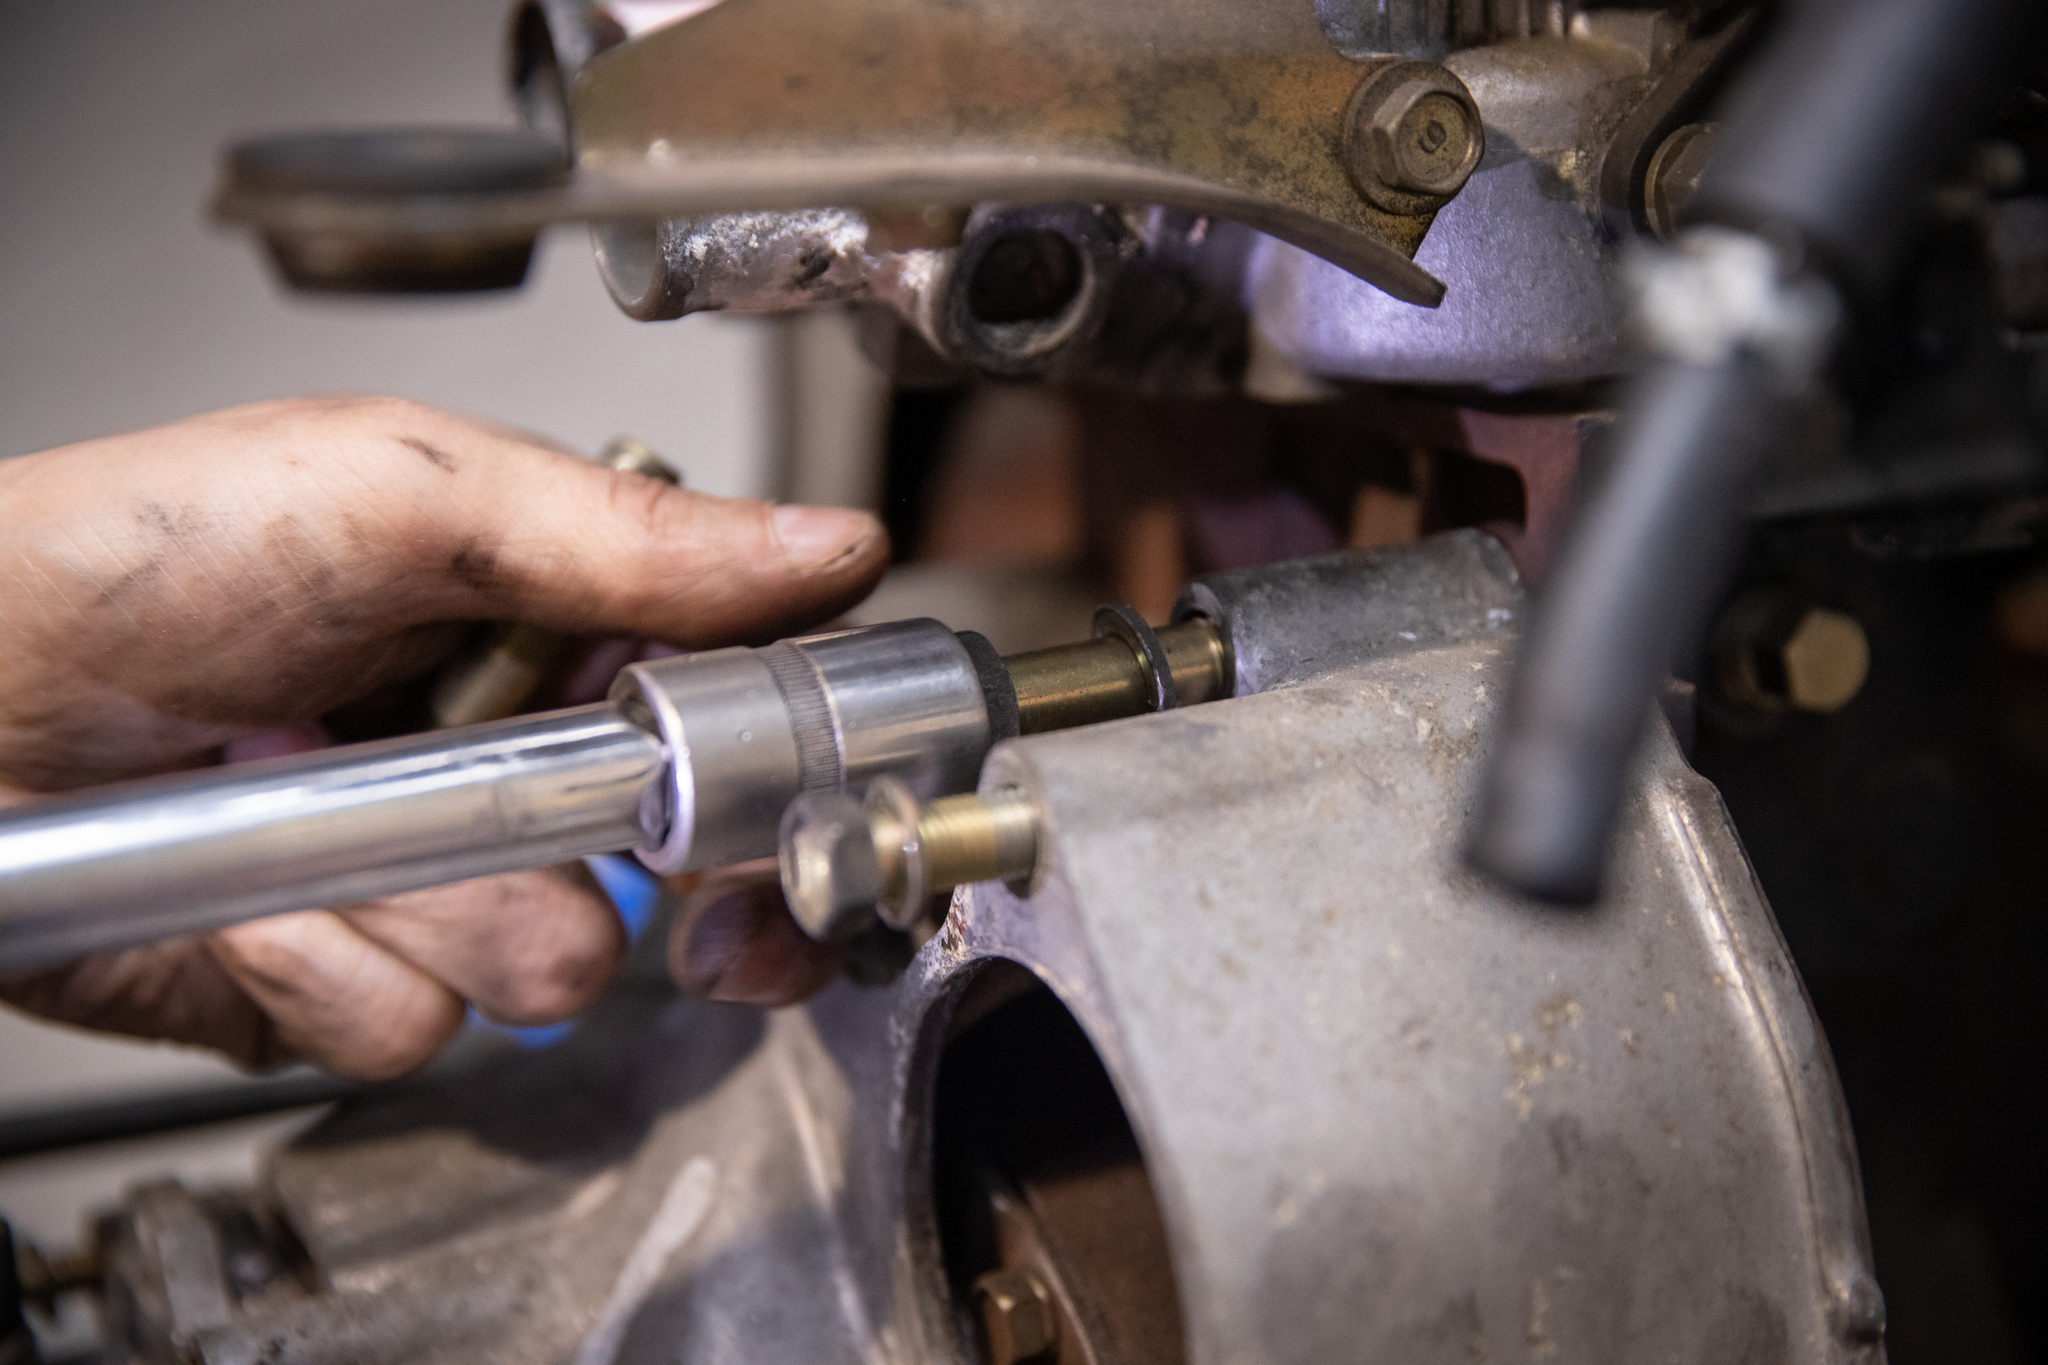
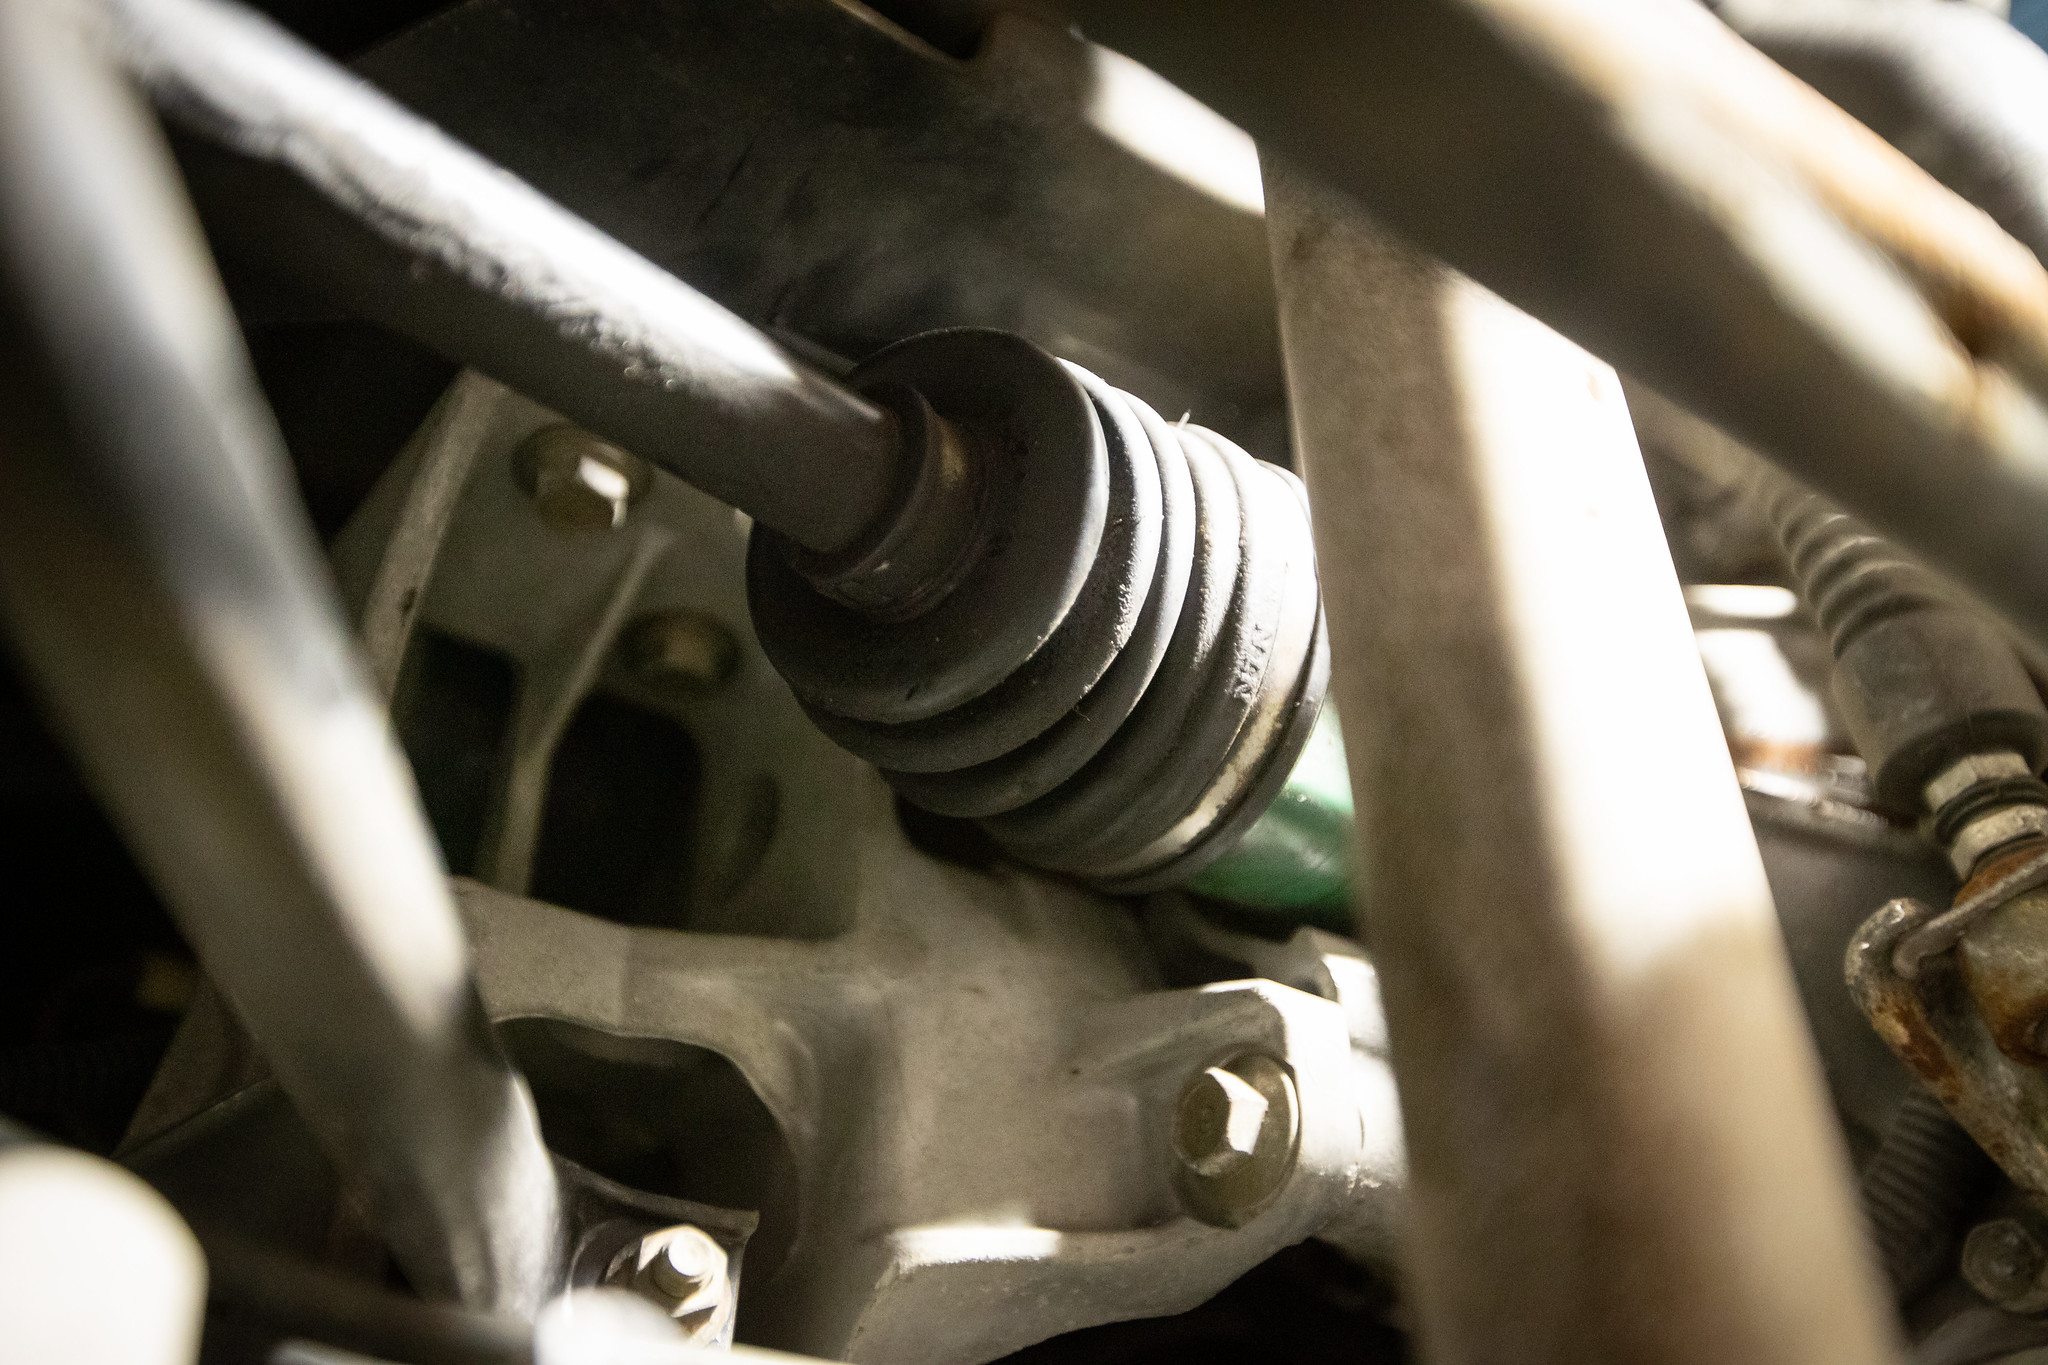
Now my drive shafts have both been rooted for months, but I waited to replace them as they needed to come out for the manual swap anyway, but I didn’t want that to maybe cause an issue on the track. So they needed to be replaced. Up she went.
Wheels off.
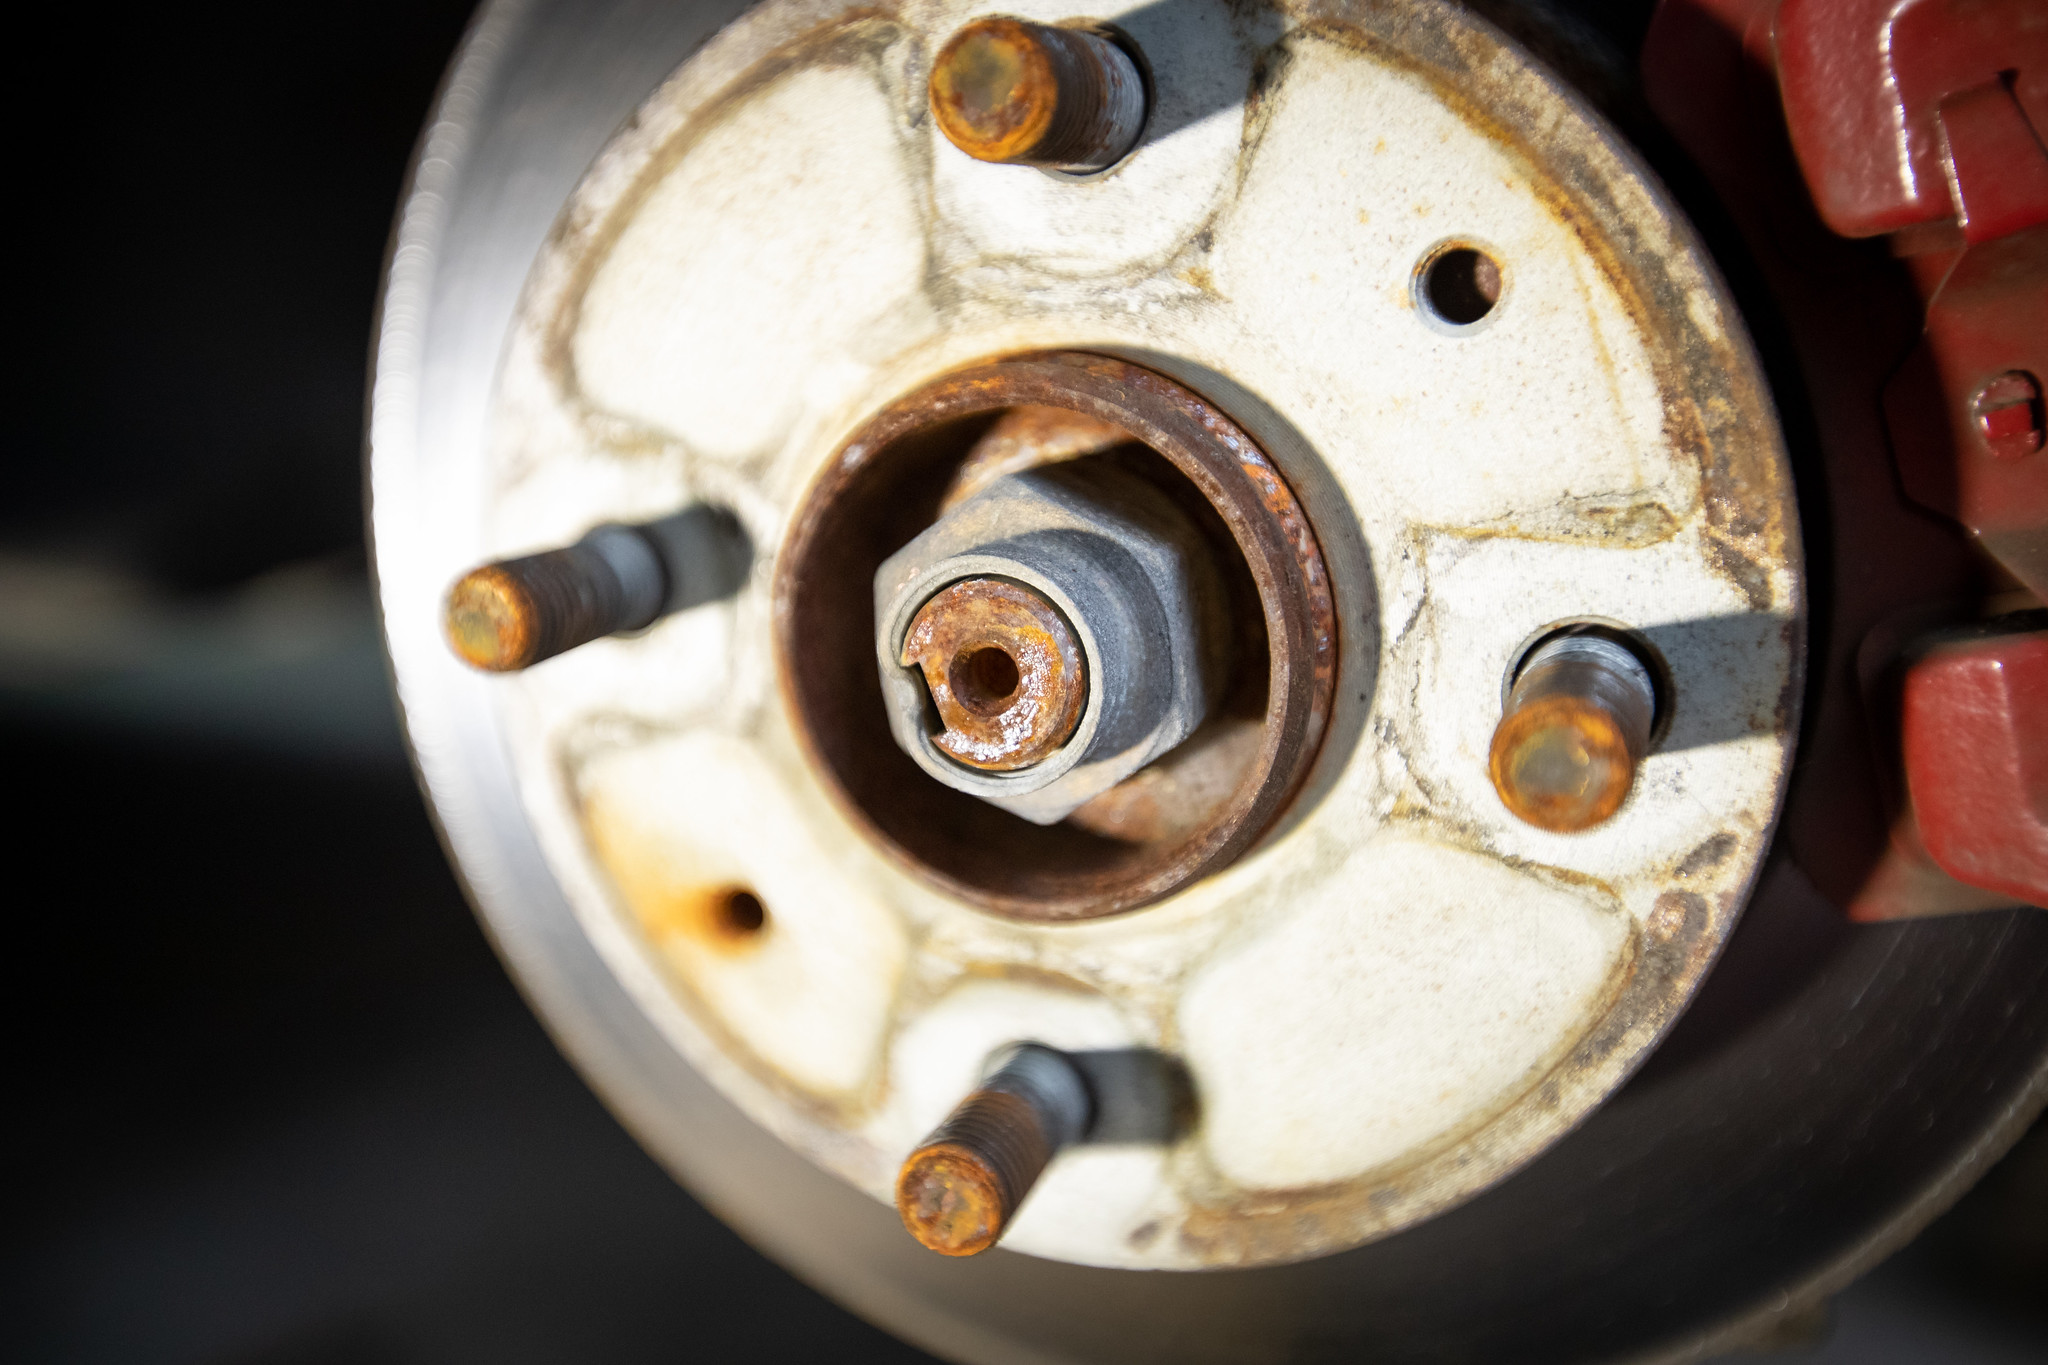
A hammer and punch plus some WD40 helped prep the main nuts.

Trusty old dac popped the nut off like it was nothing.

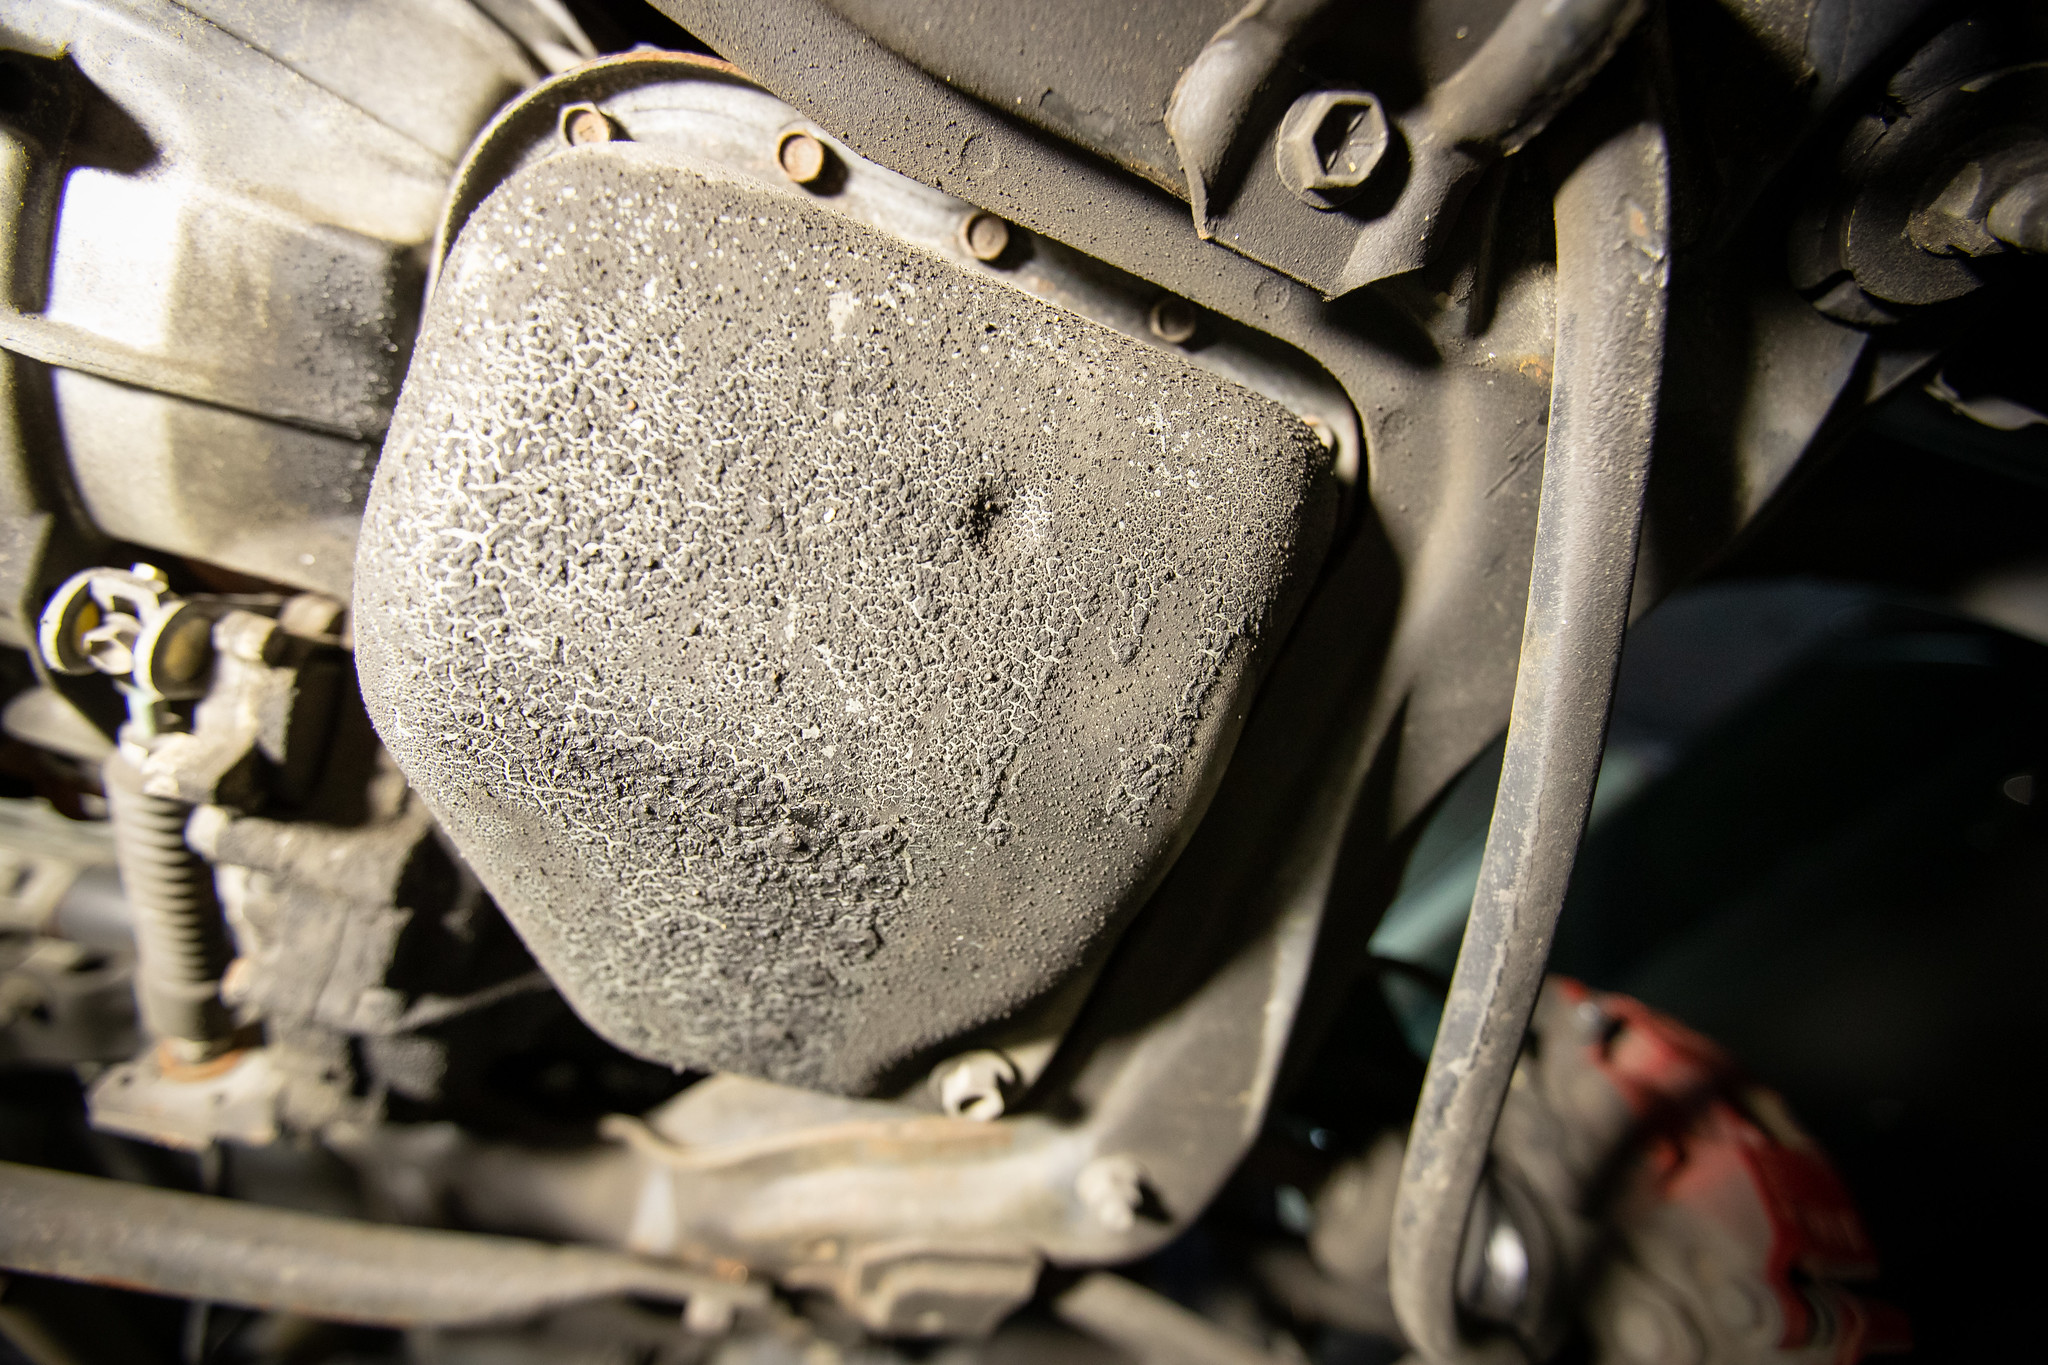
Before the shafts came out though, I drained the ATF. Now in the 5 years I’ve owned the car, this is something I’ve never done, for the same reasons as above. I’ve been meaning to for ages. I’ve had the oil for years. Yummy chocolate oil.
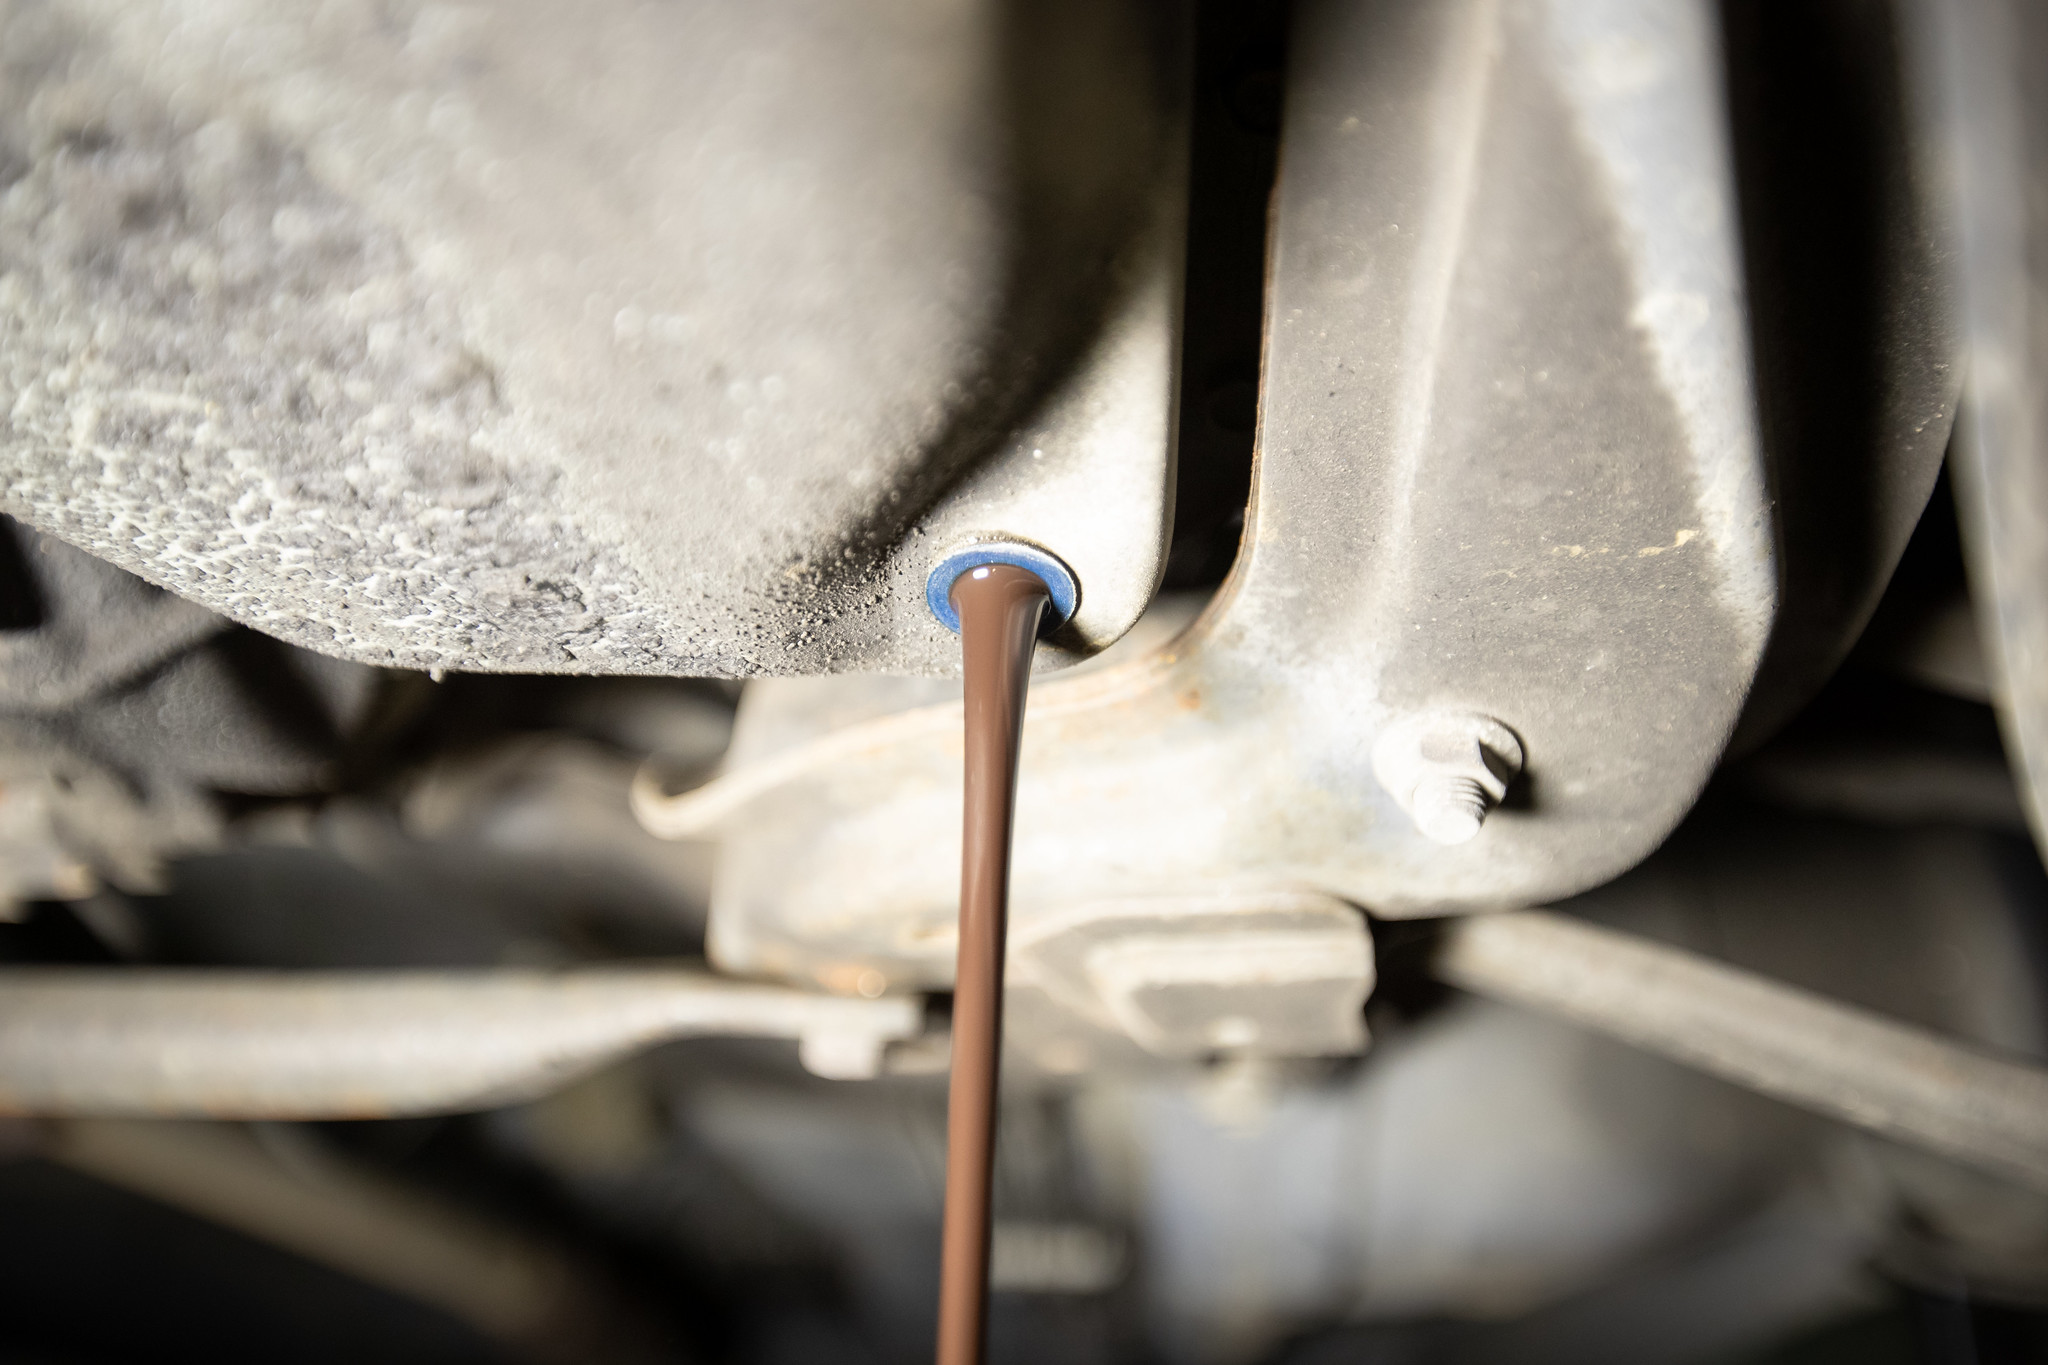
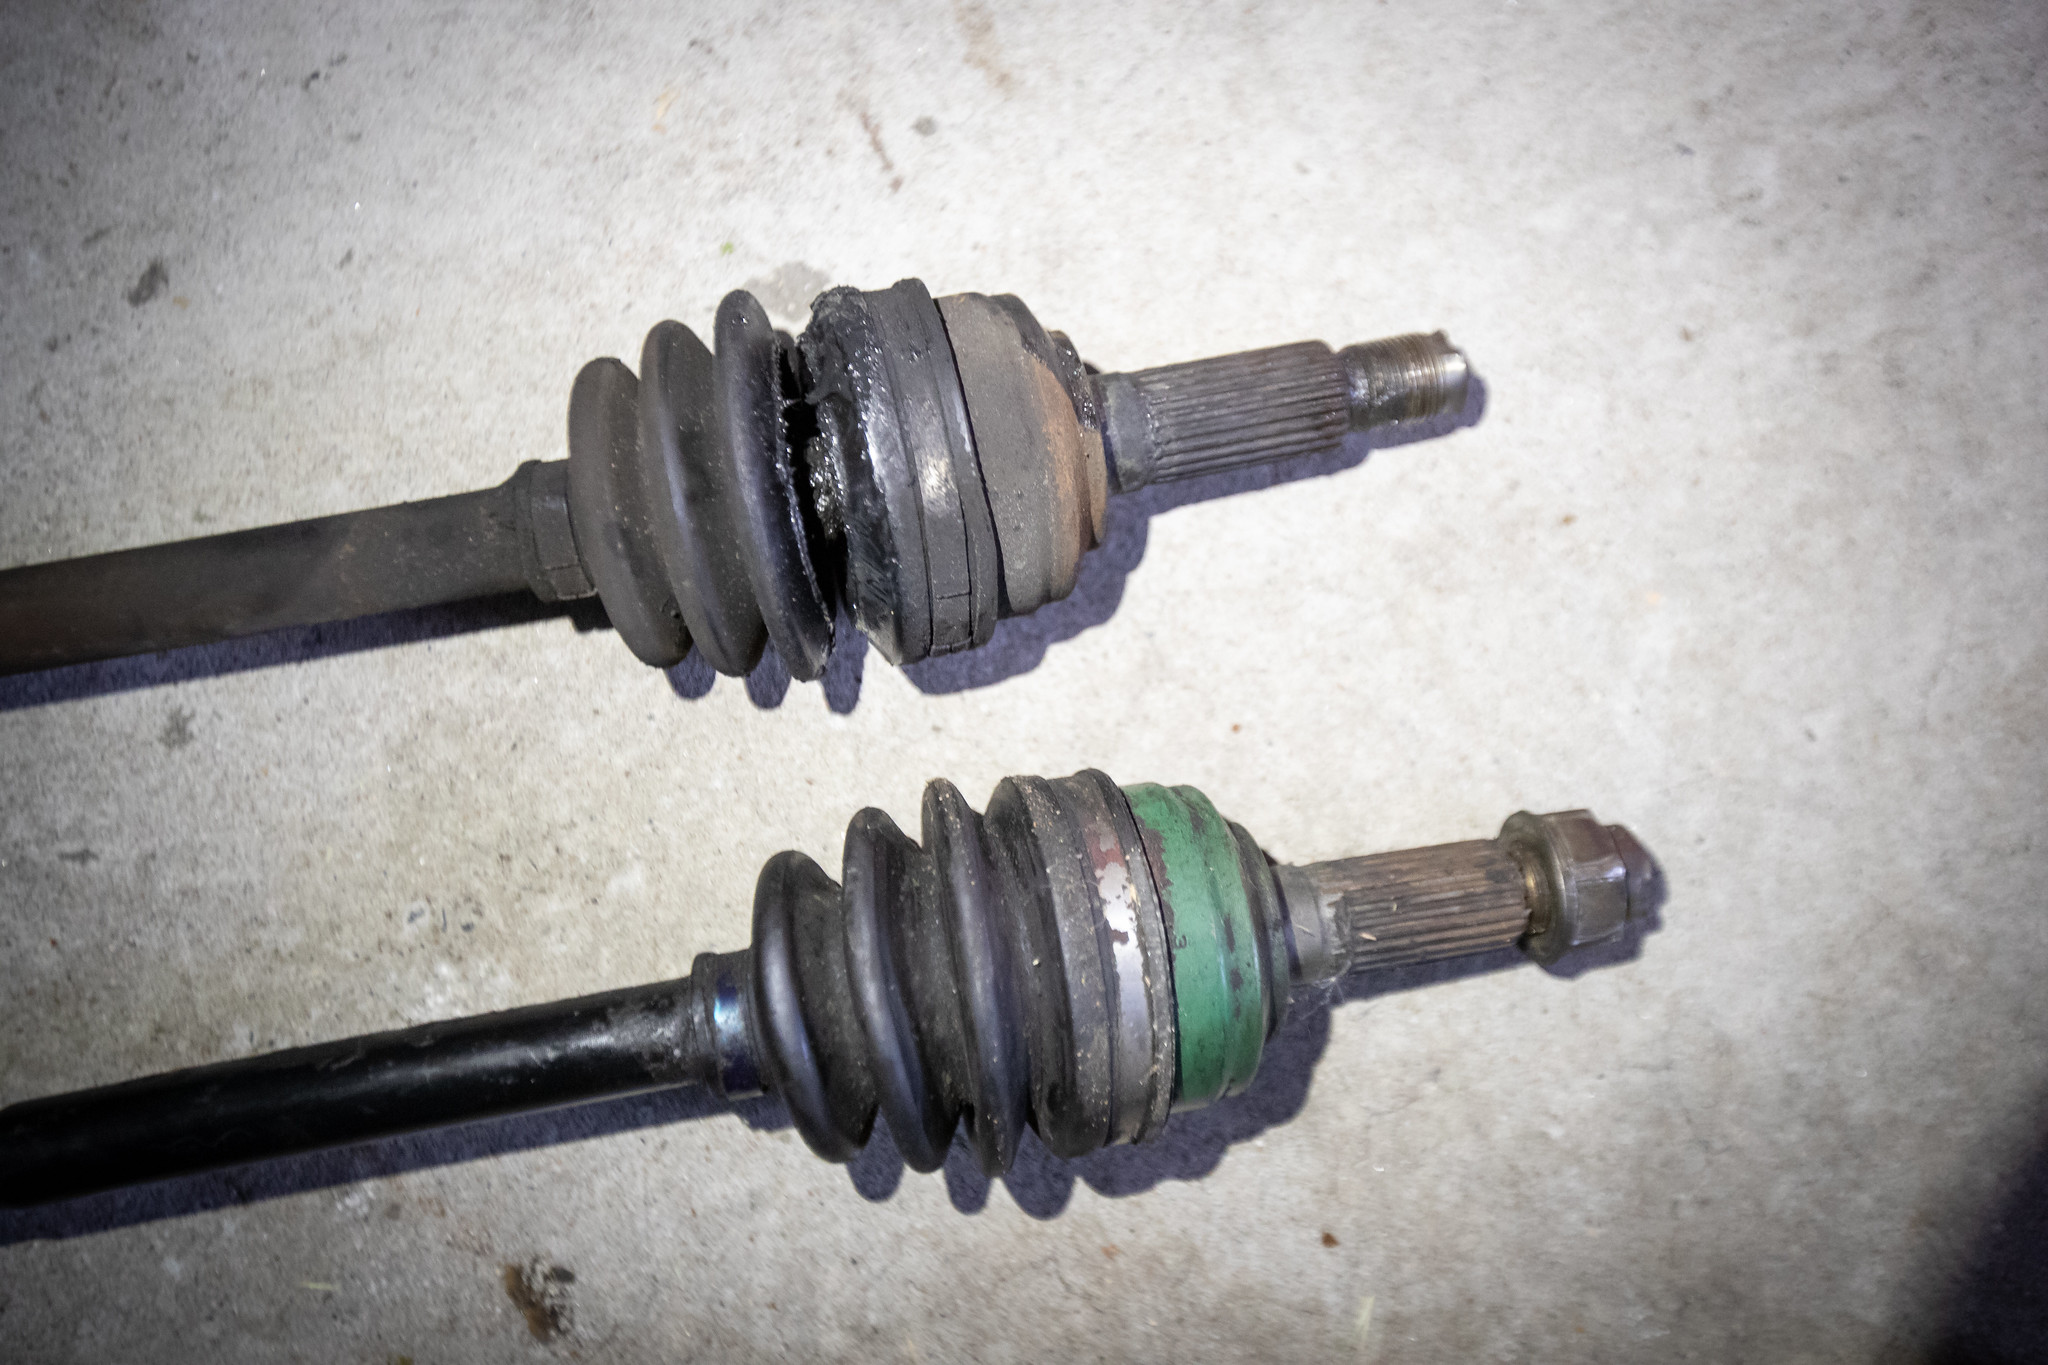
Easy to see where they are split here.
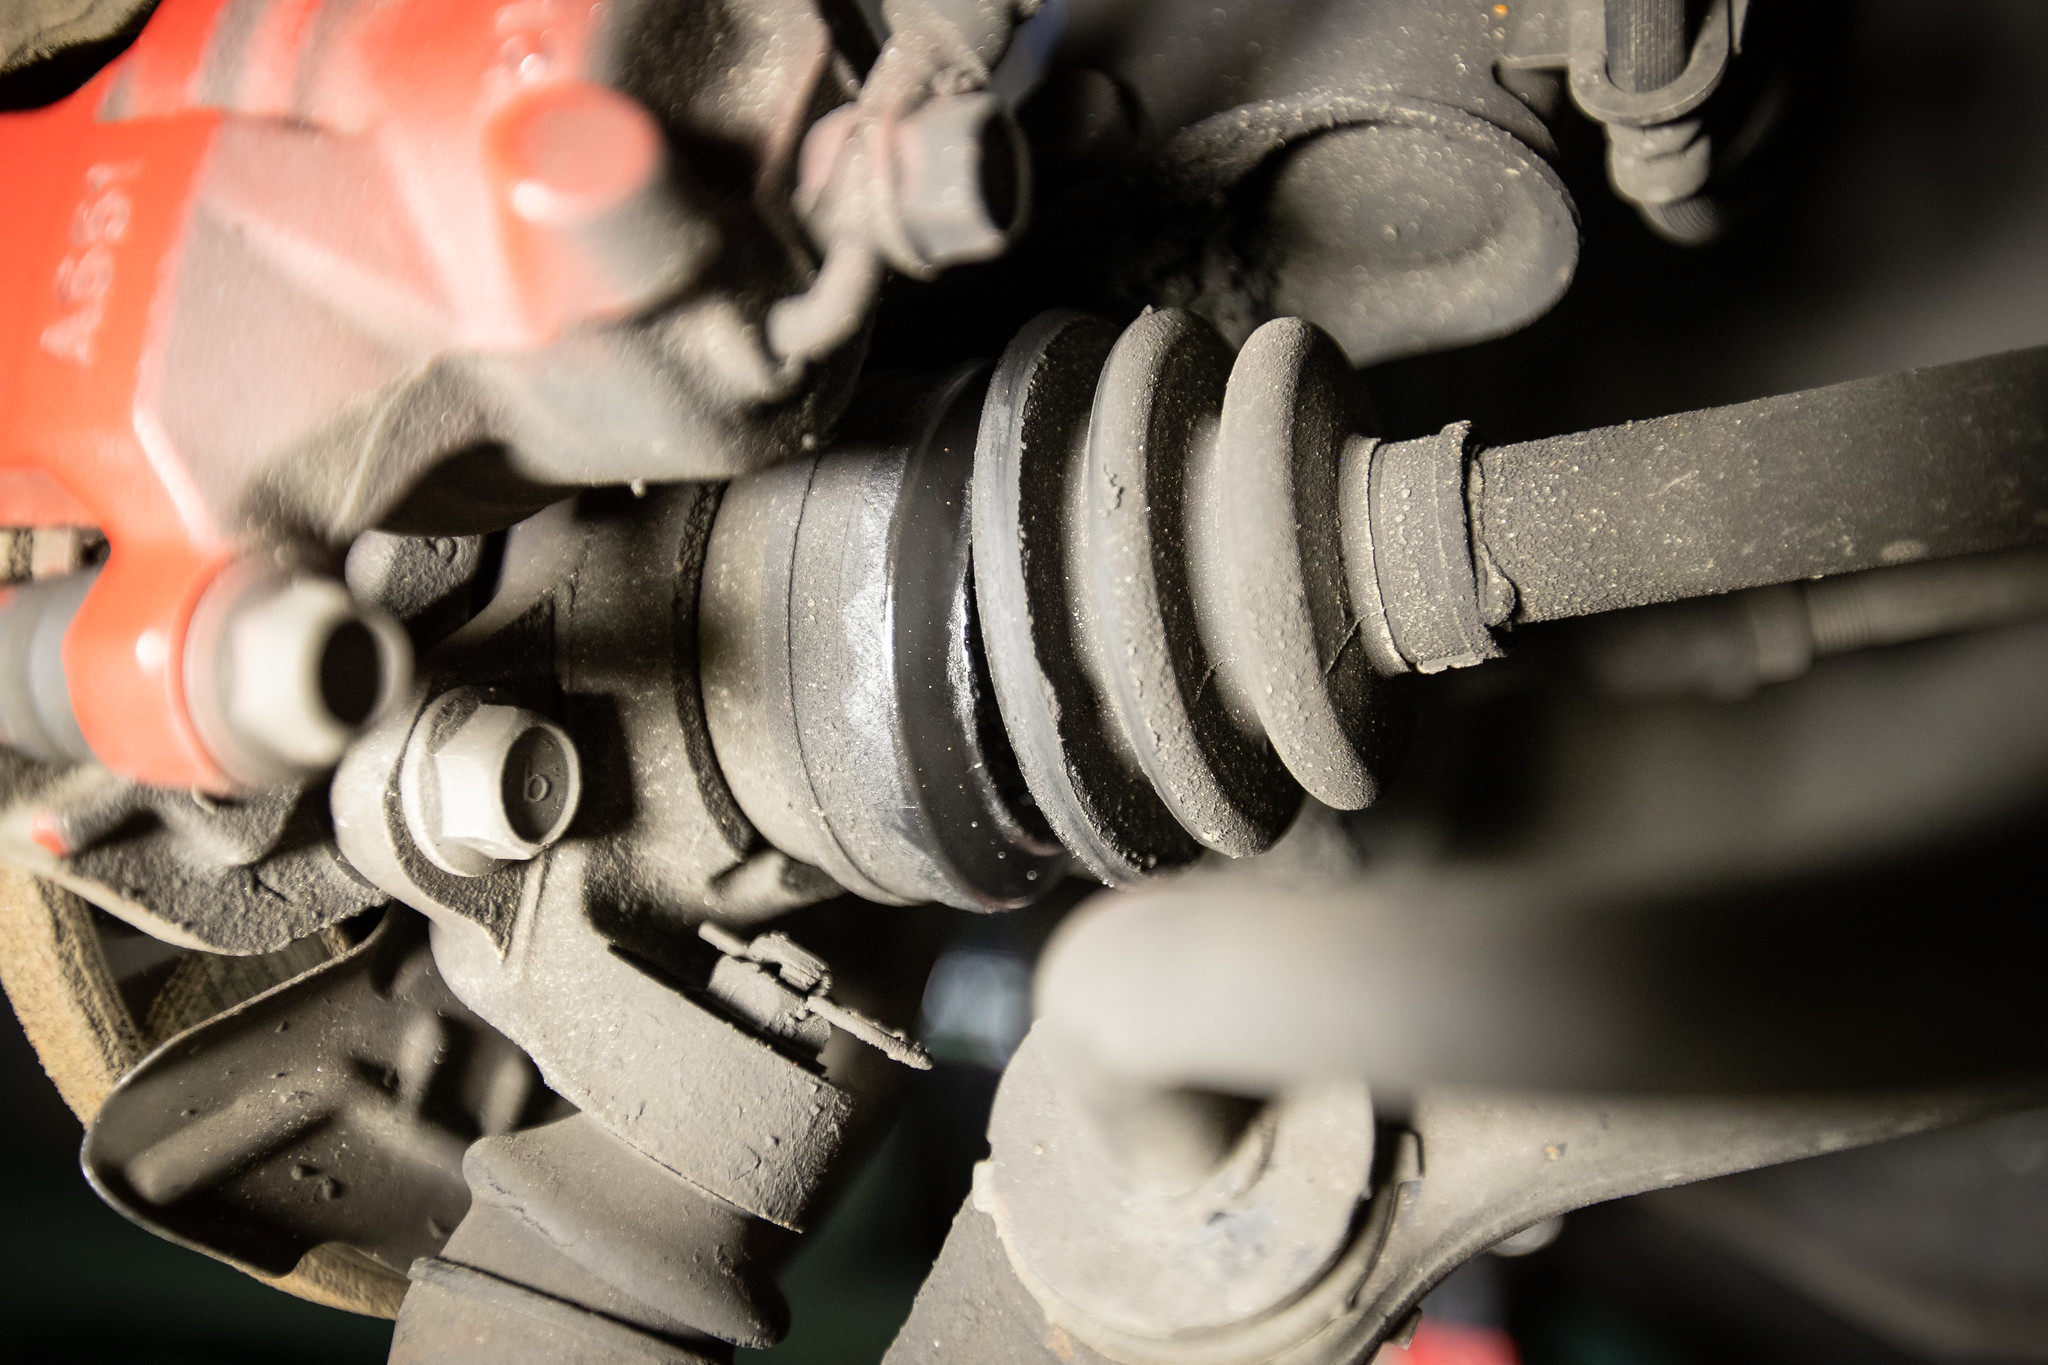
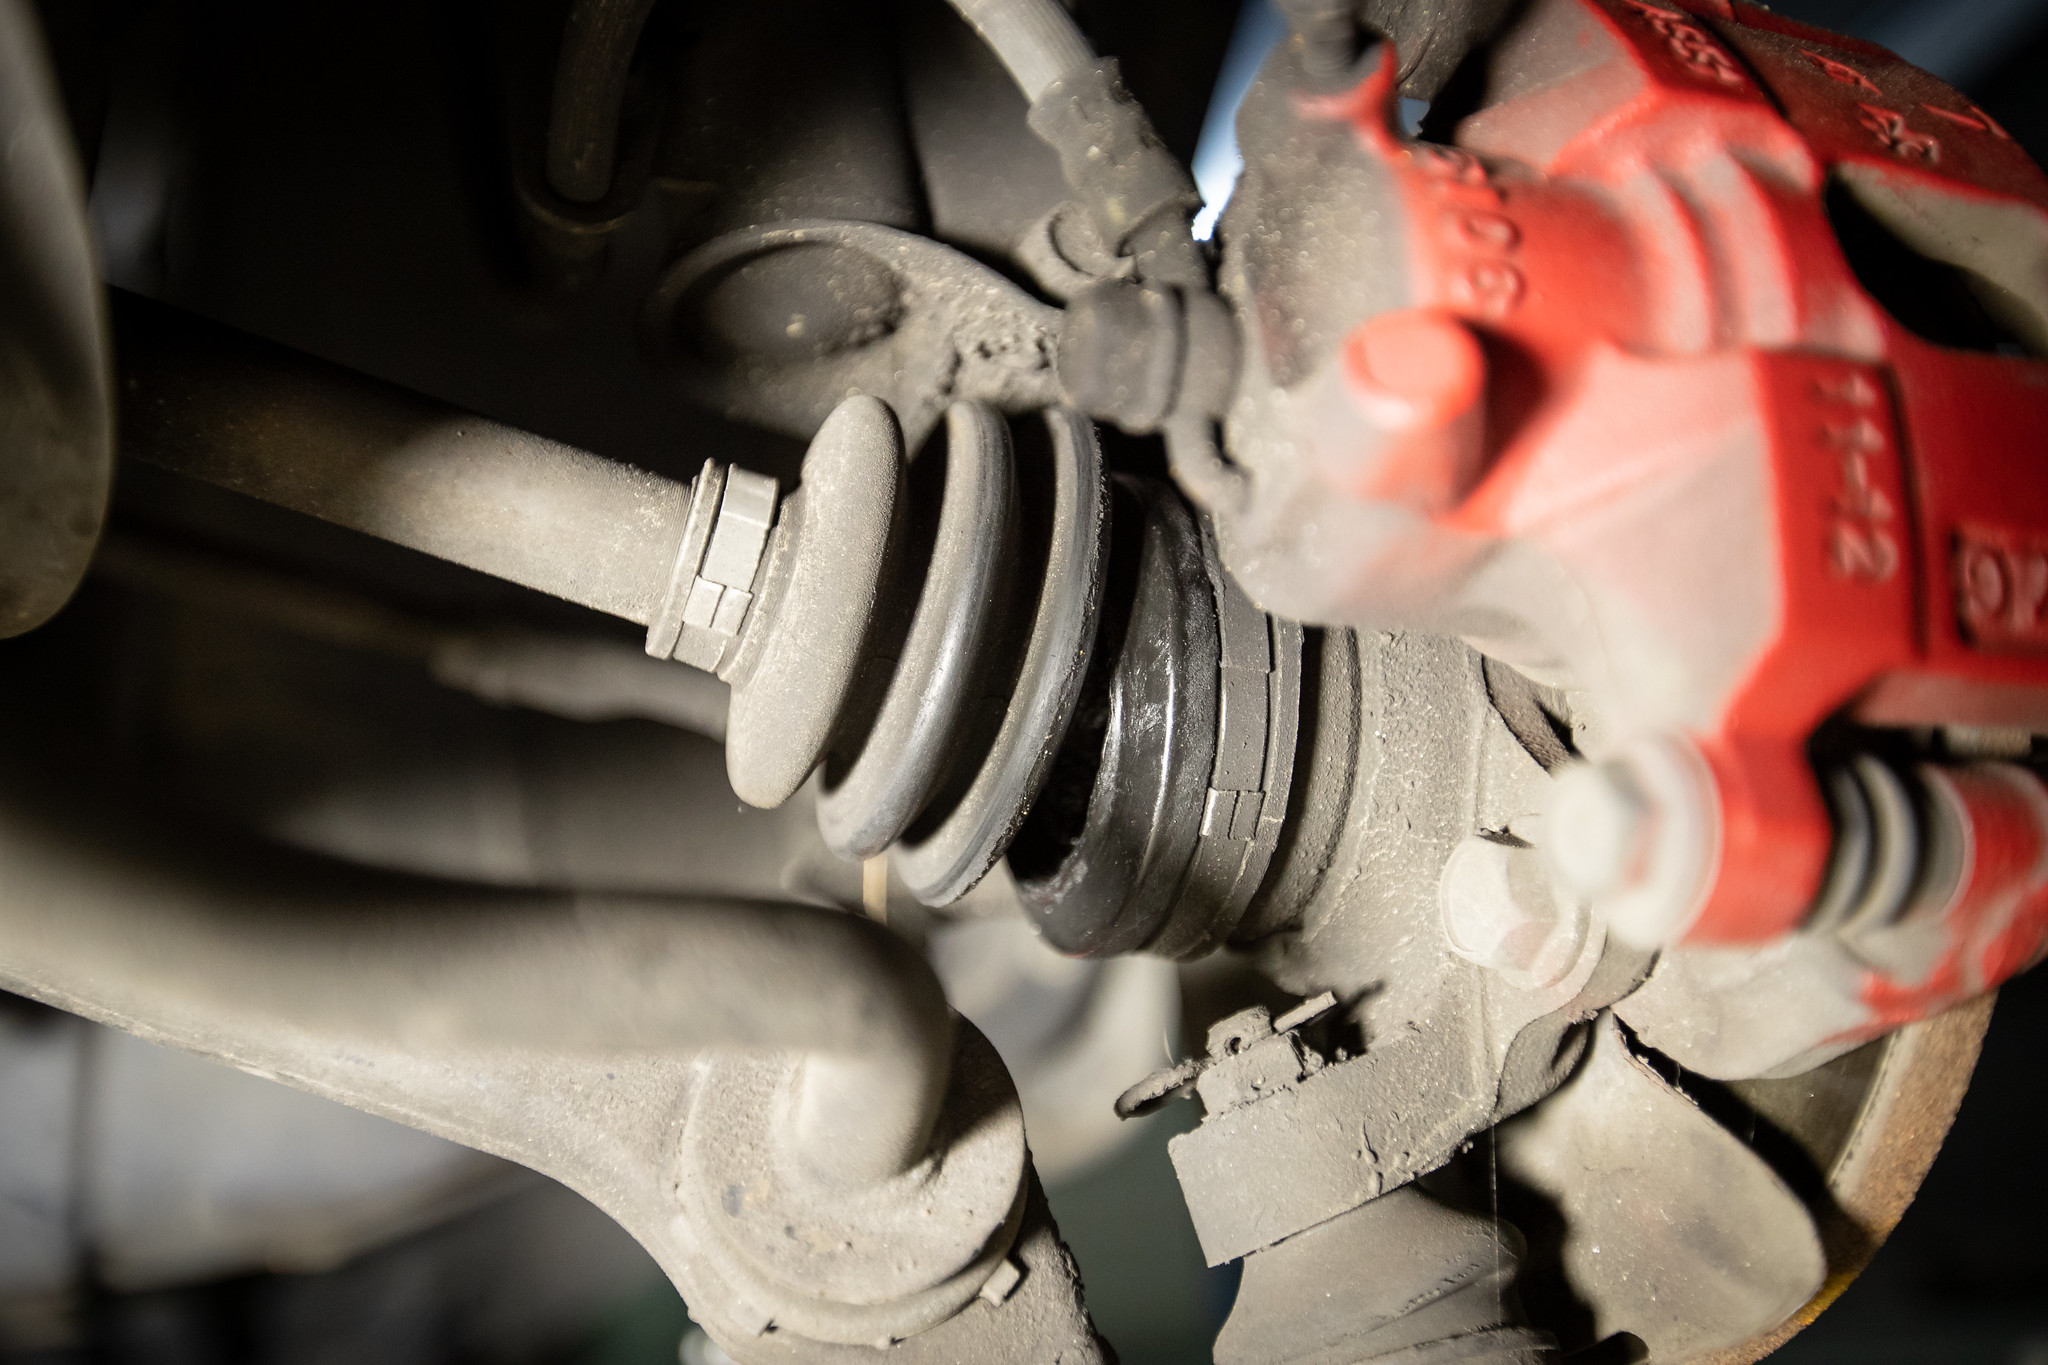
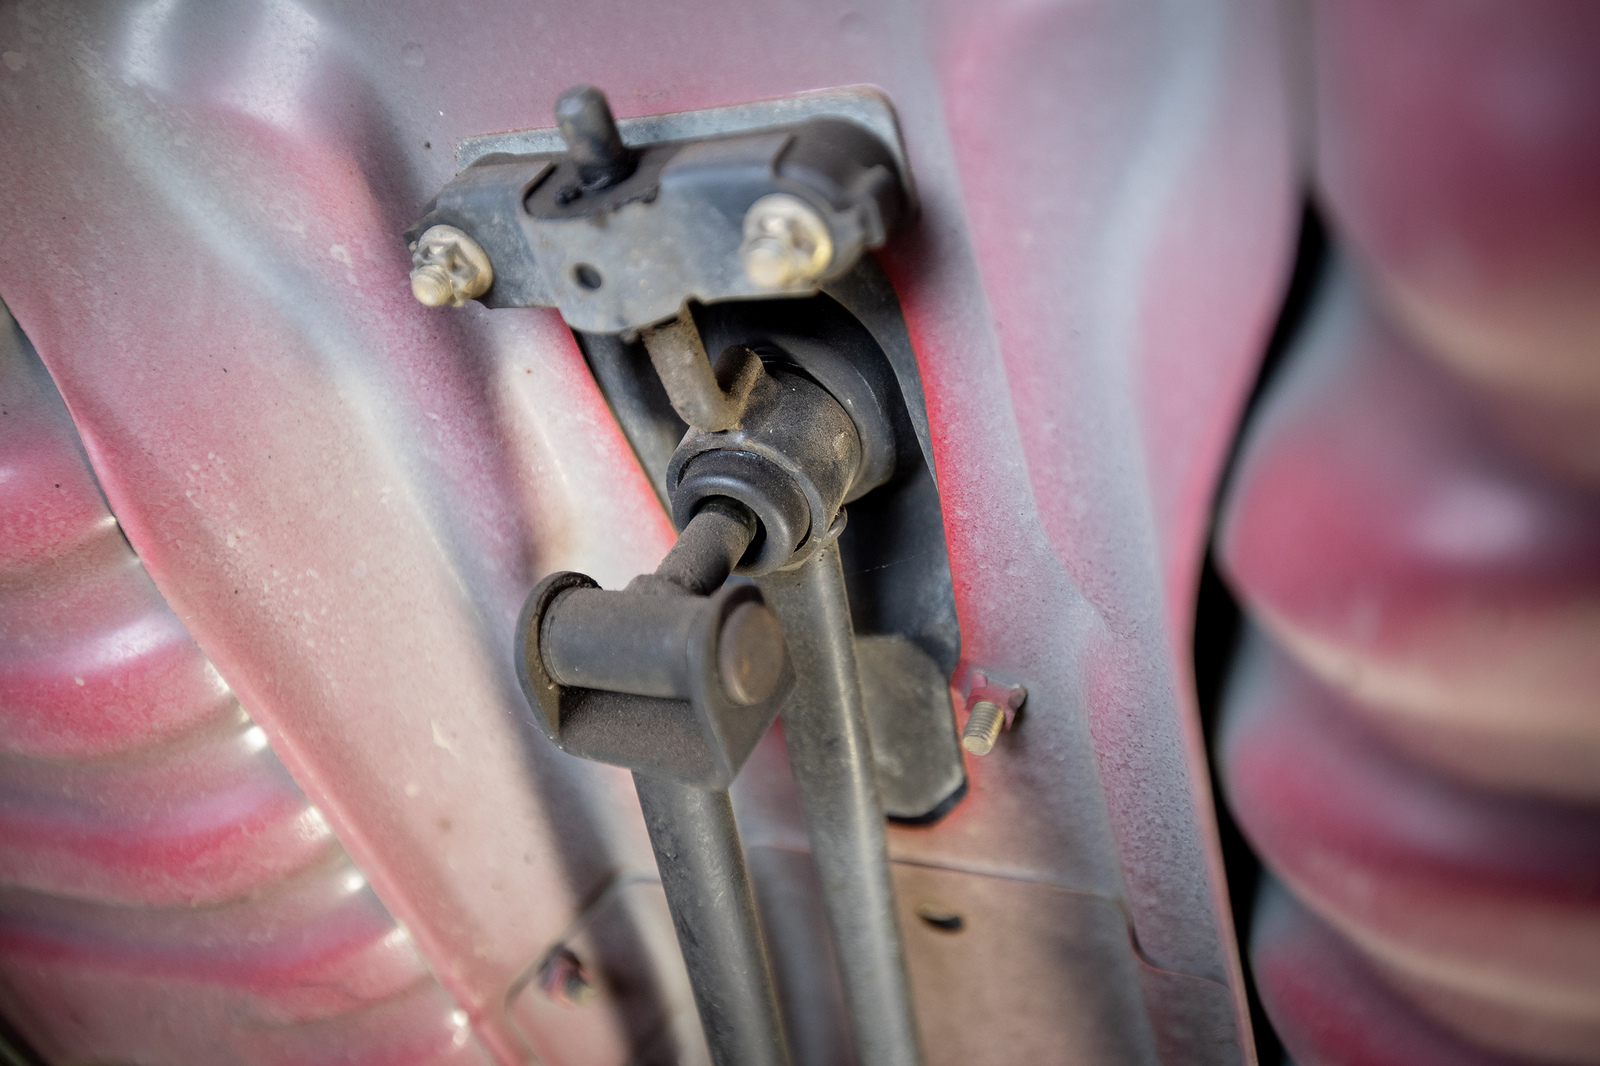
I popped the arms off the struts to make it easier to get the shafts out.
Passenger side came out ok but the drivers side put up one hell of a fight.

Passenger before and after.
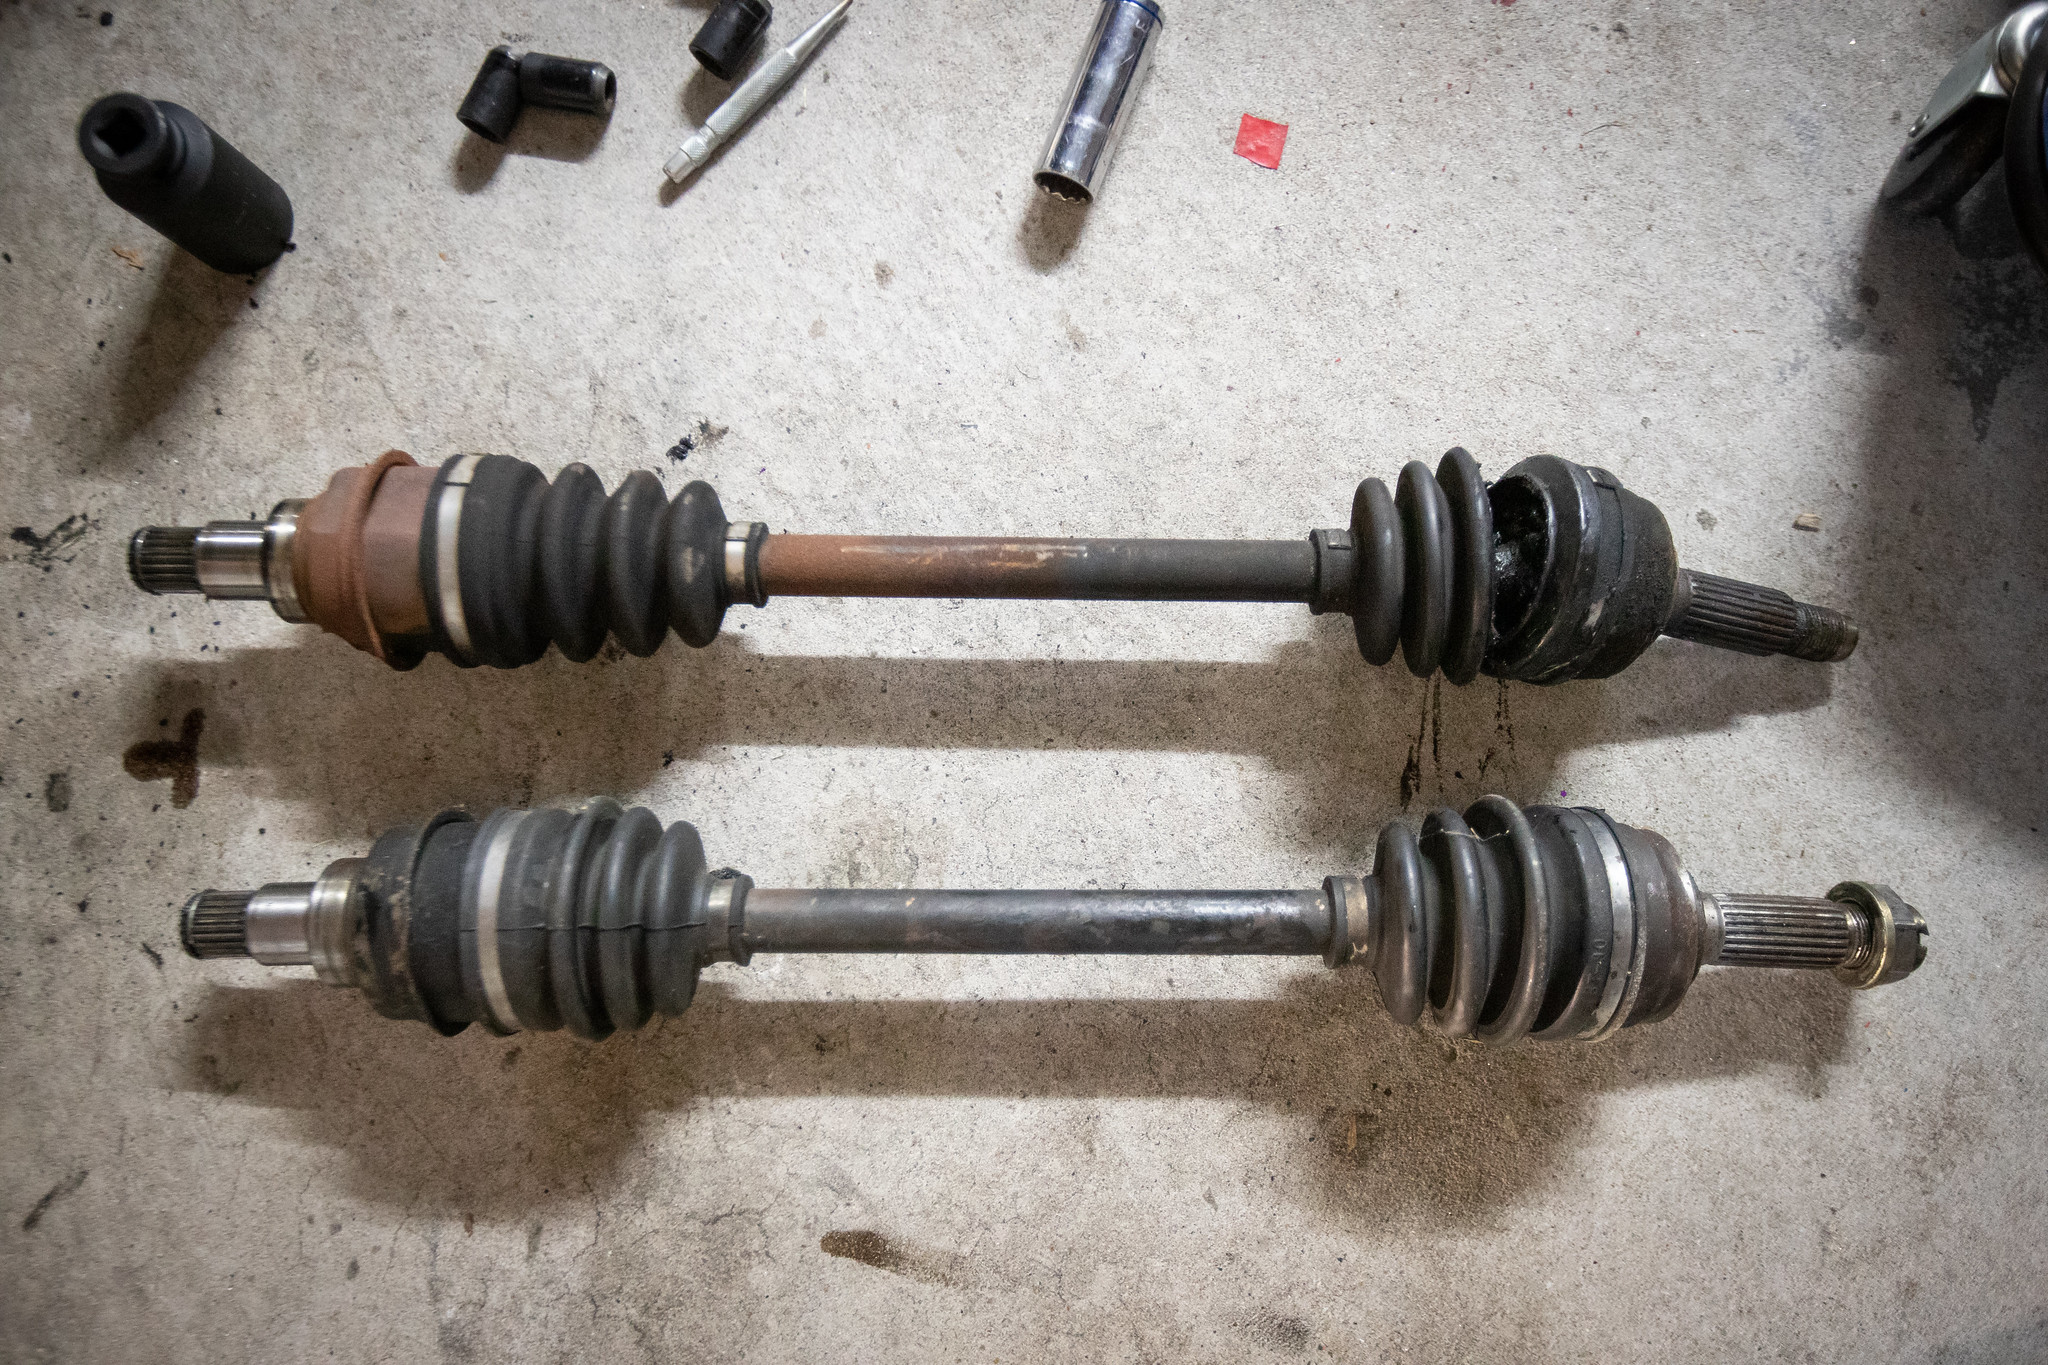

Drivers side.

In they went.

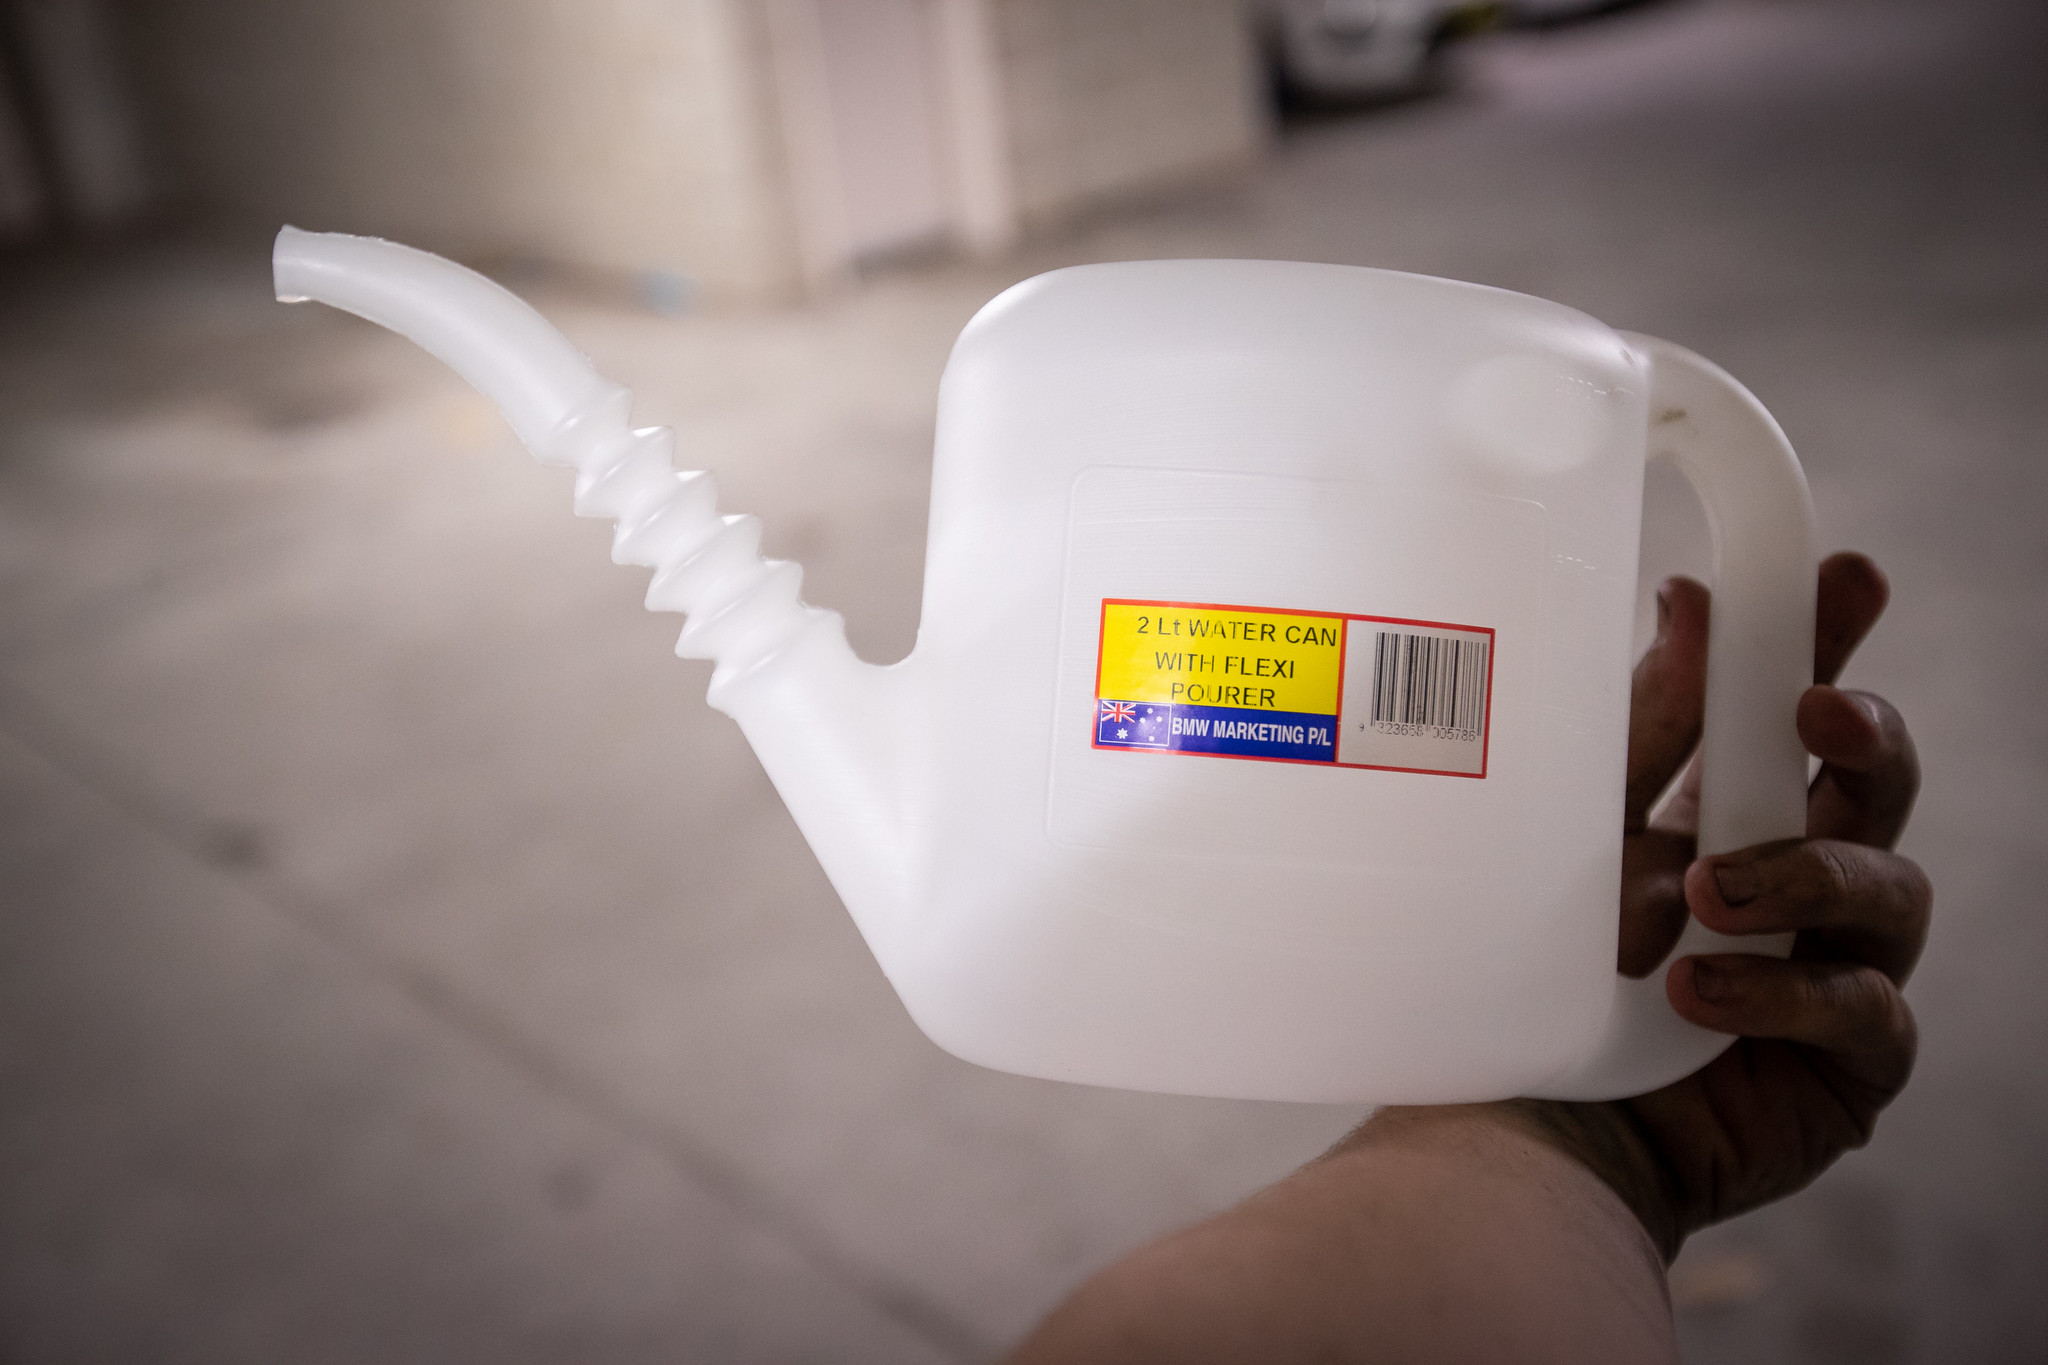
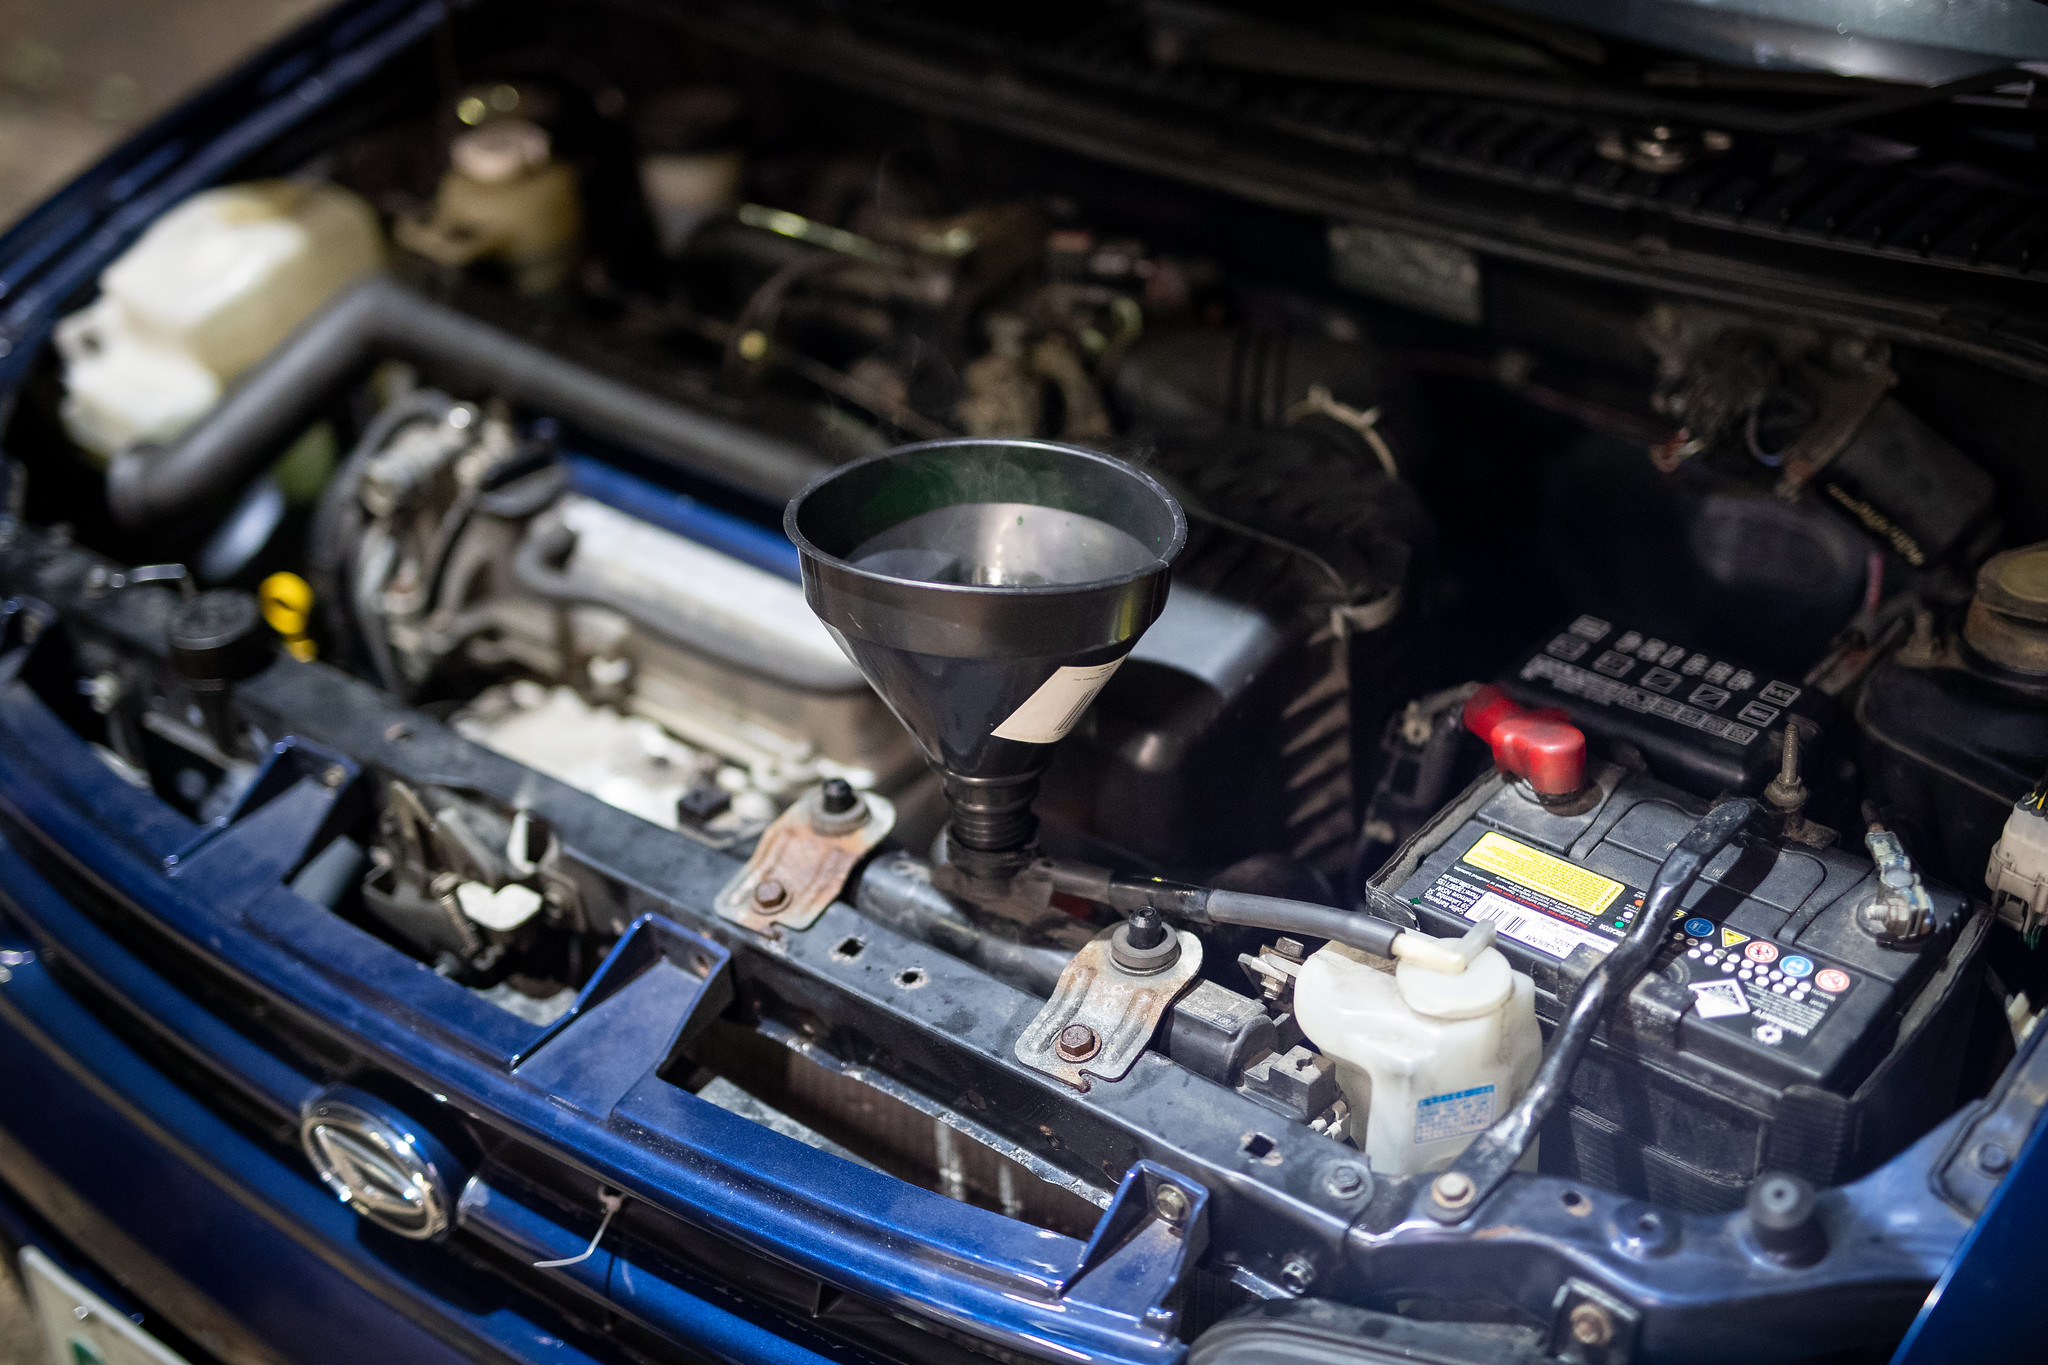
Time to refill the ATF.
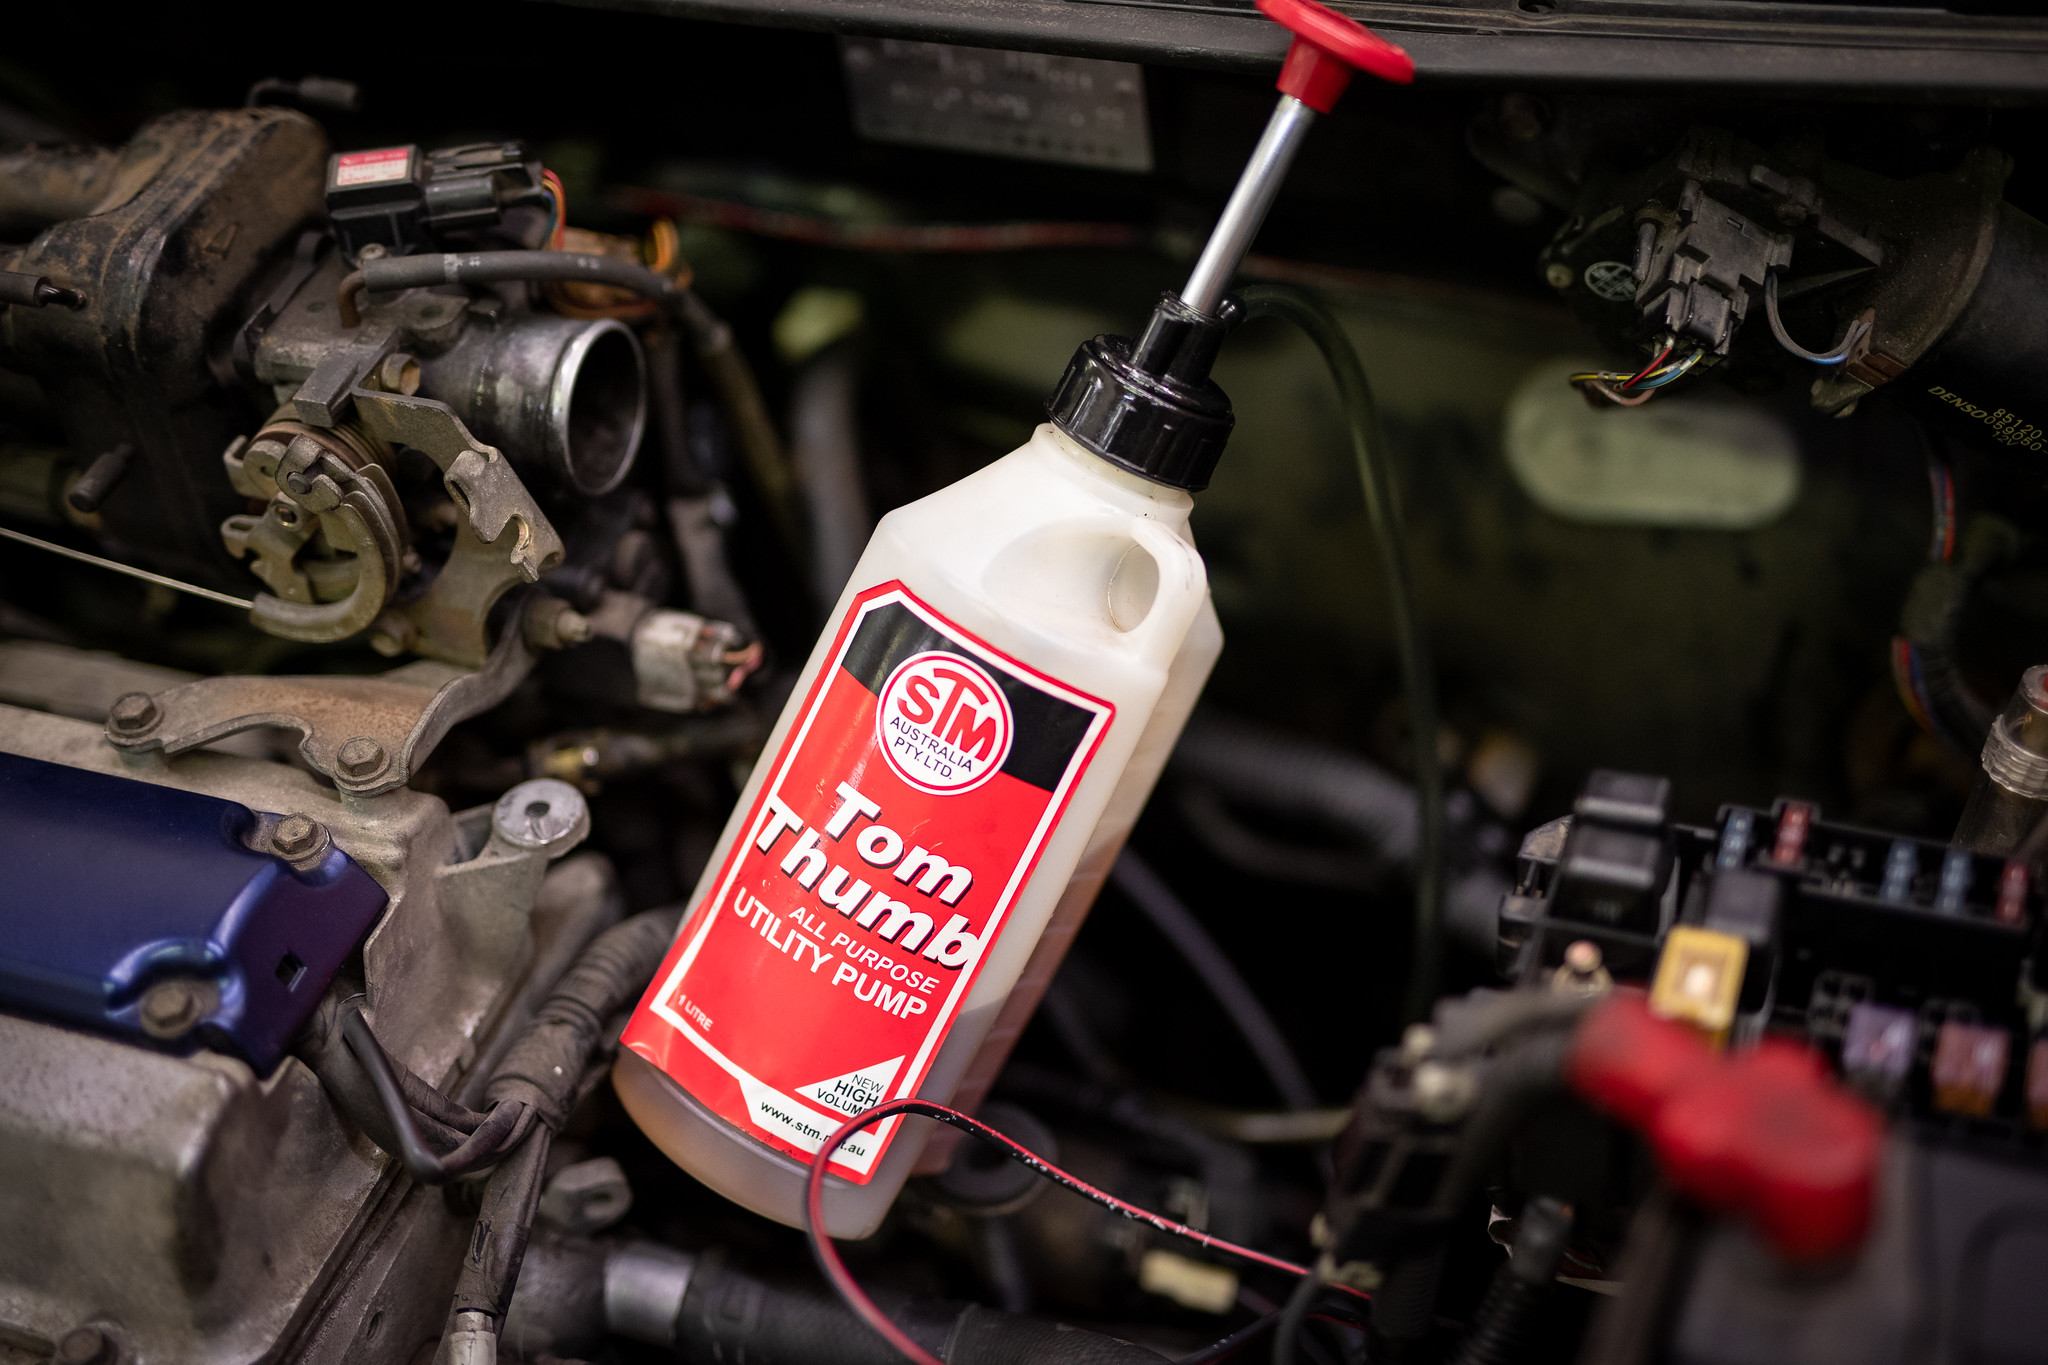
I couldn’t find a funnel small enough for the hole. The only place open at 8PM was Bunnings. This was the best thing they could do for me… It’ll do for the ATF.
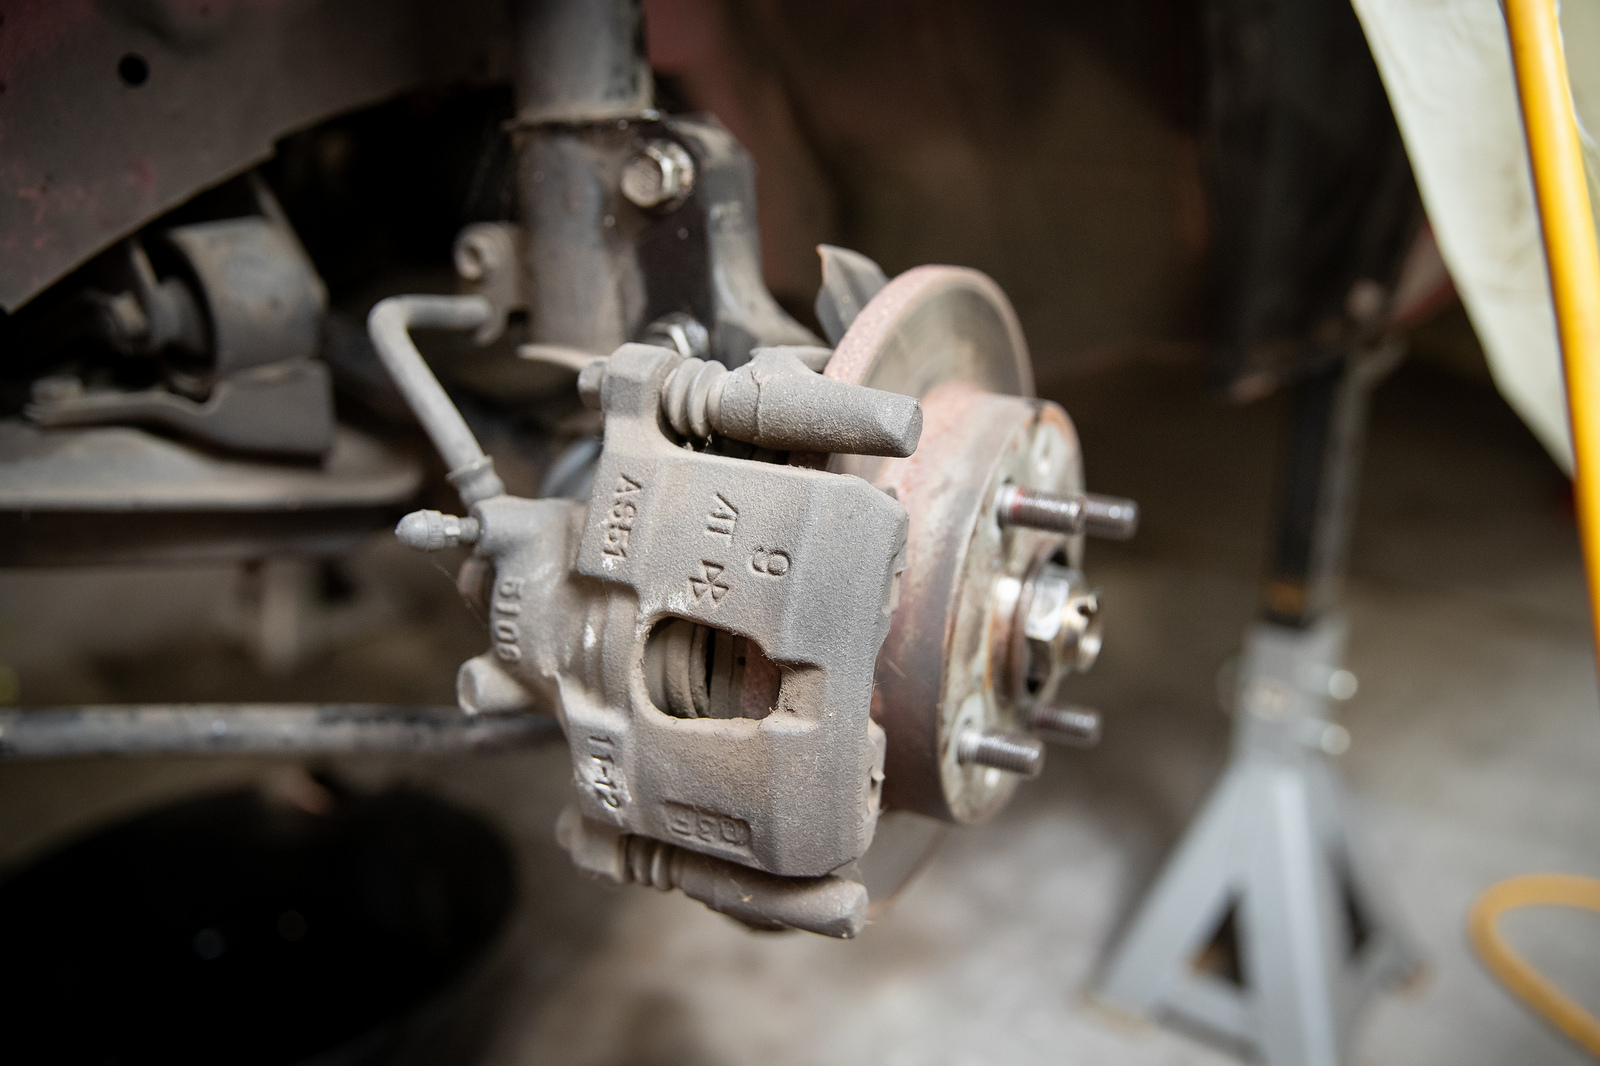
Once all that was sorted I got the car back down on the ground and began cycling the fluid. I went to use the brake and it completely went to the floor. Luckily I was quick on the handbrake but I was so confused what was the cause of this. Turns out, somehow when I was getting one of the shafts out the rear drivers side brake pad shook out and slid down slightly. Causing this to happen.

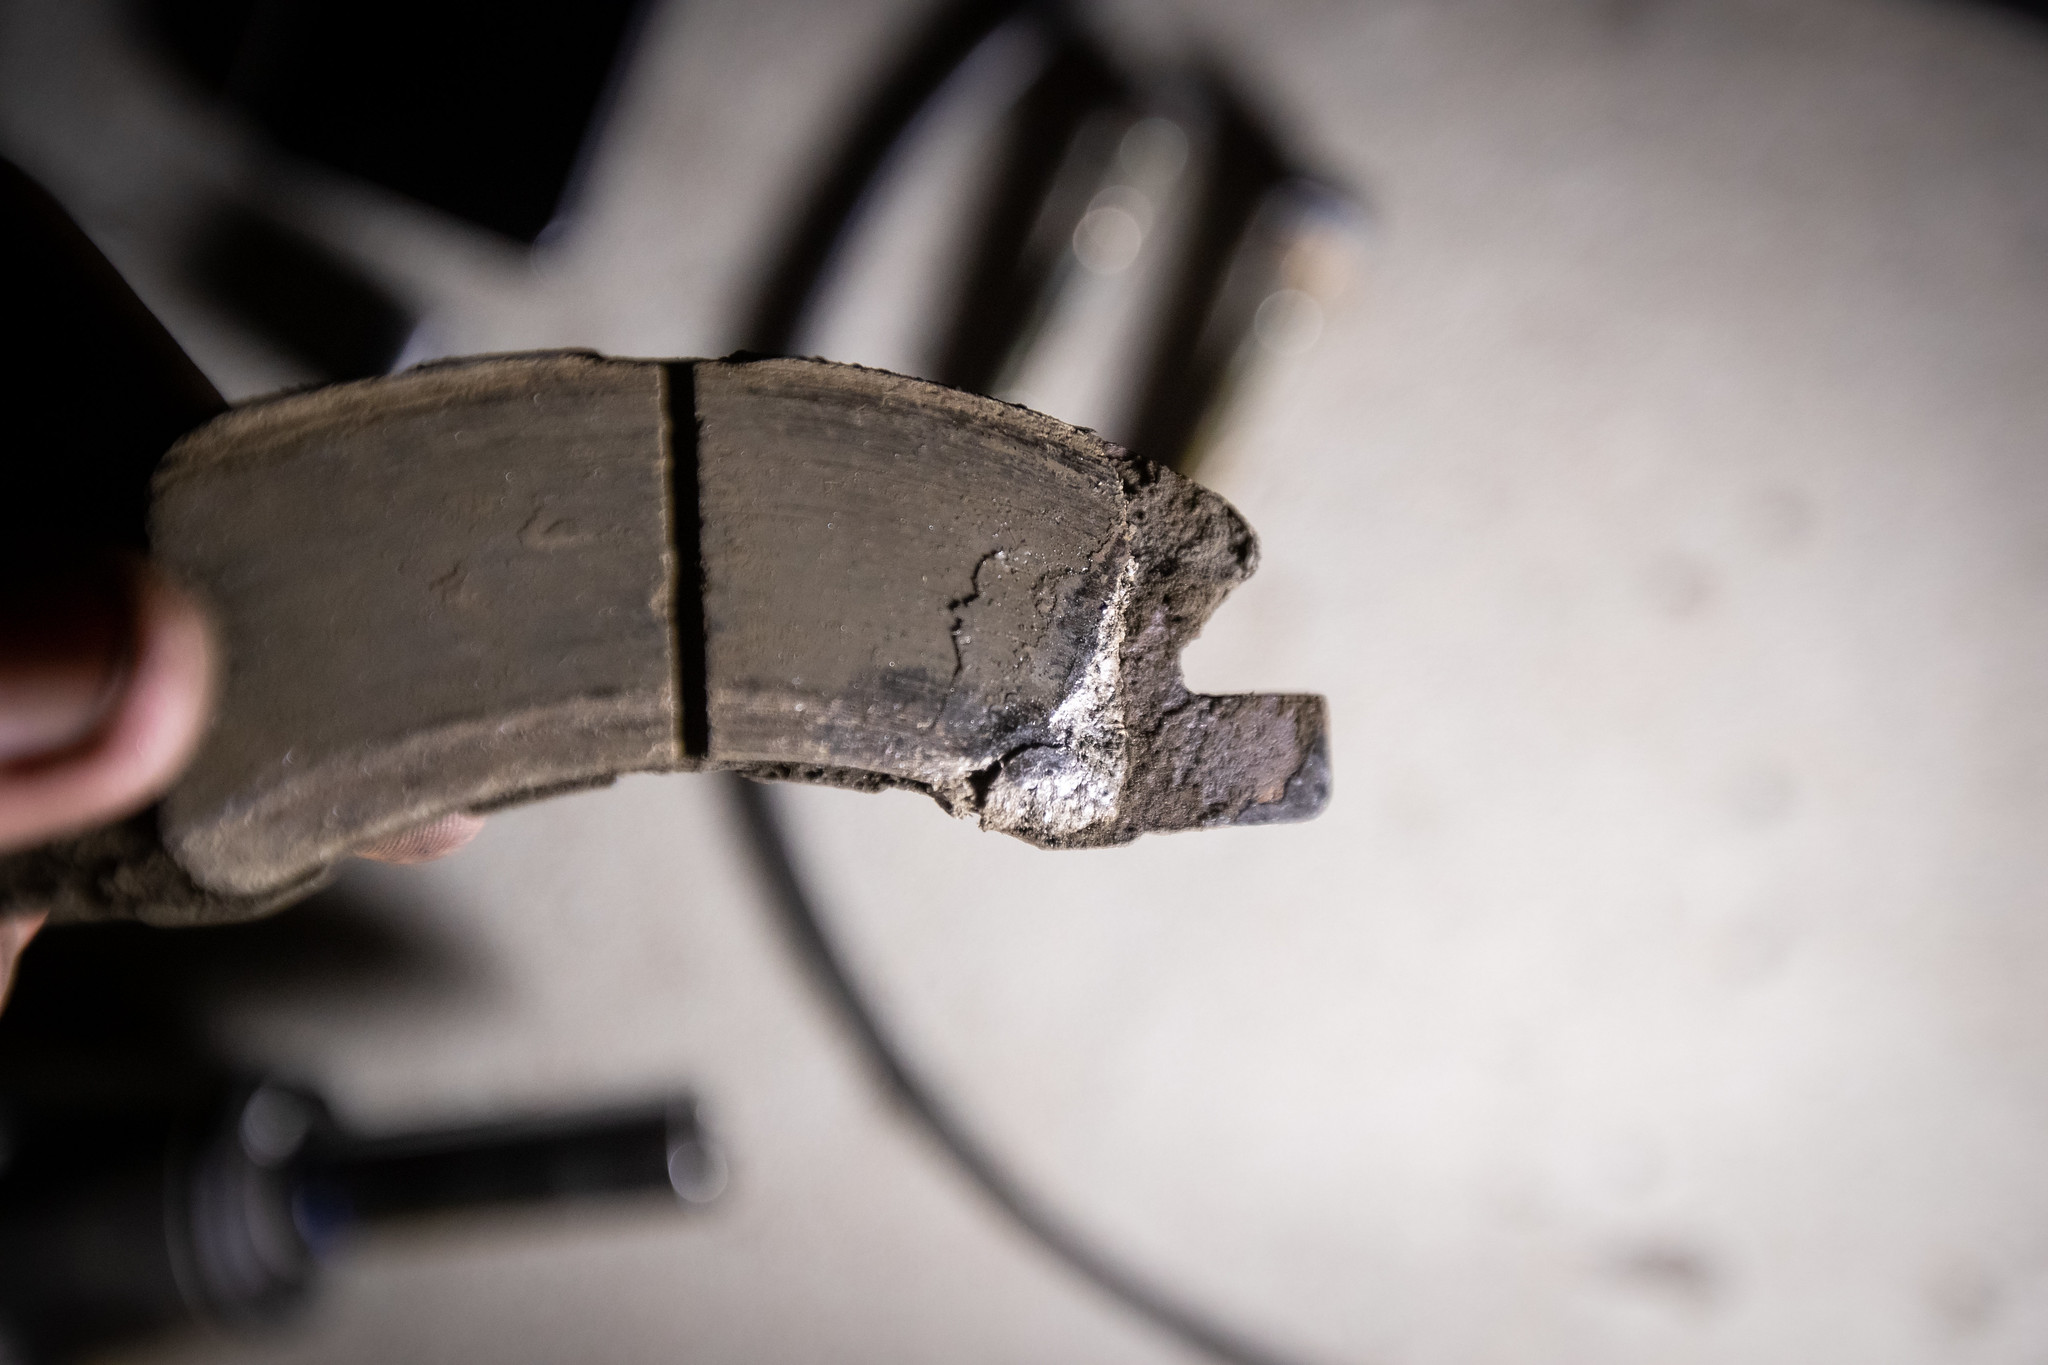
Now at this point I would’ve been screwed for the trackday, but luckily this turd is still around.
Grabbed all the pads off it and chucked them on. Much more life on them!
Poor thing was filthy and needed a good clean too.
Better.
4 Likes
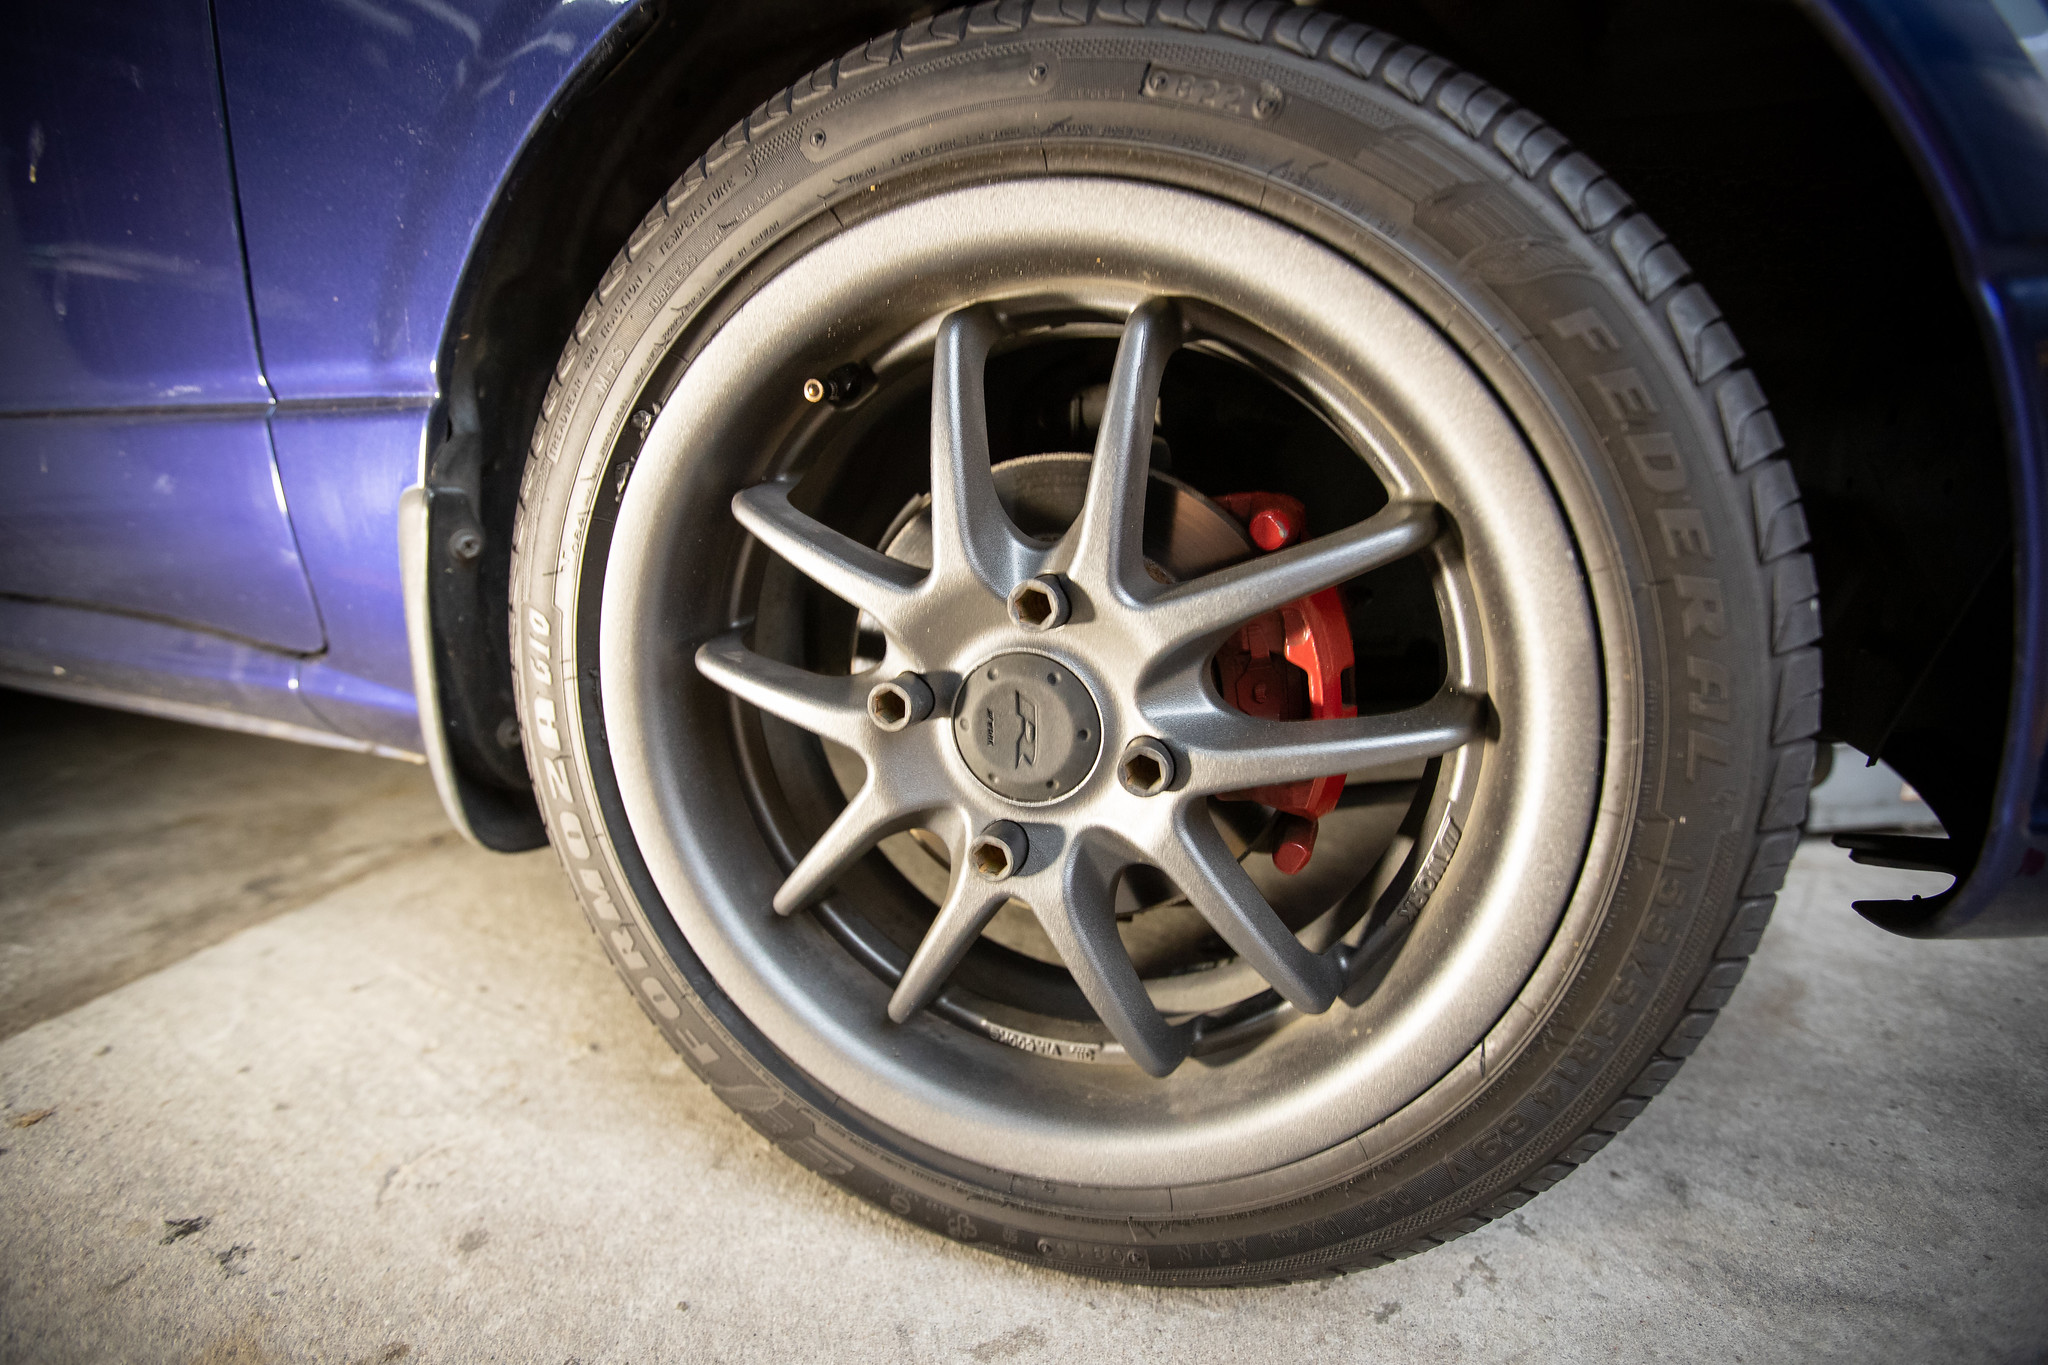
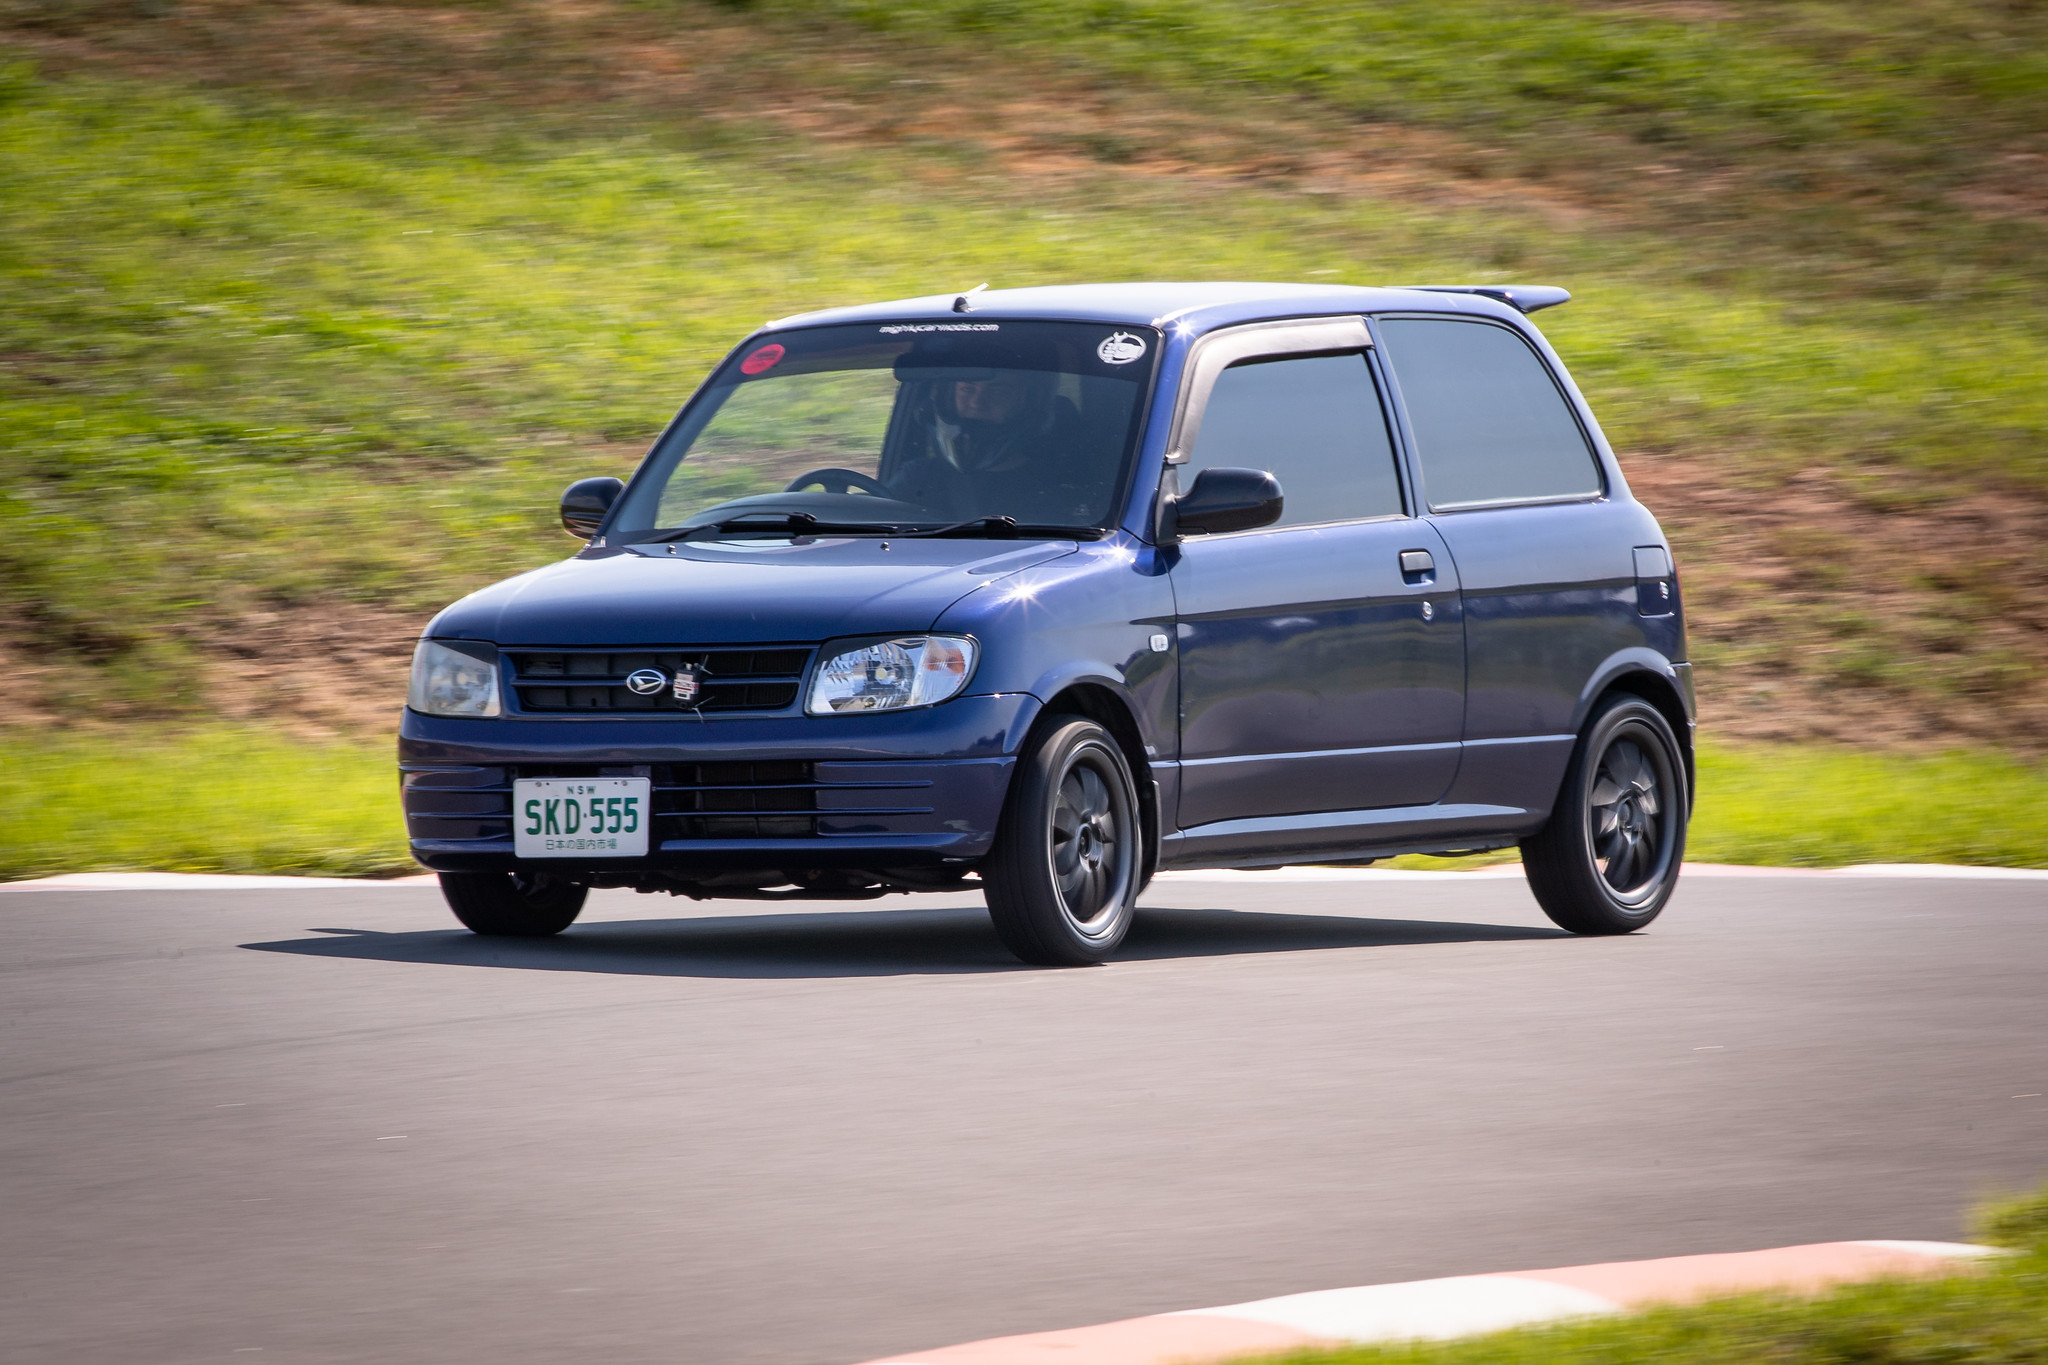
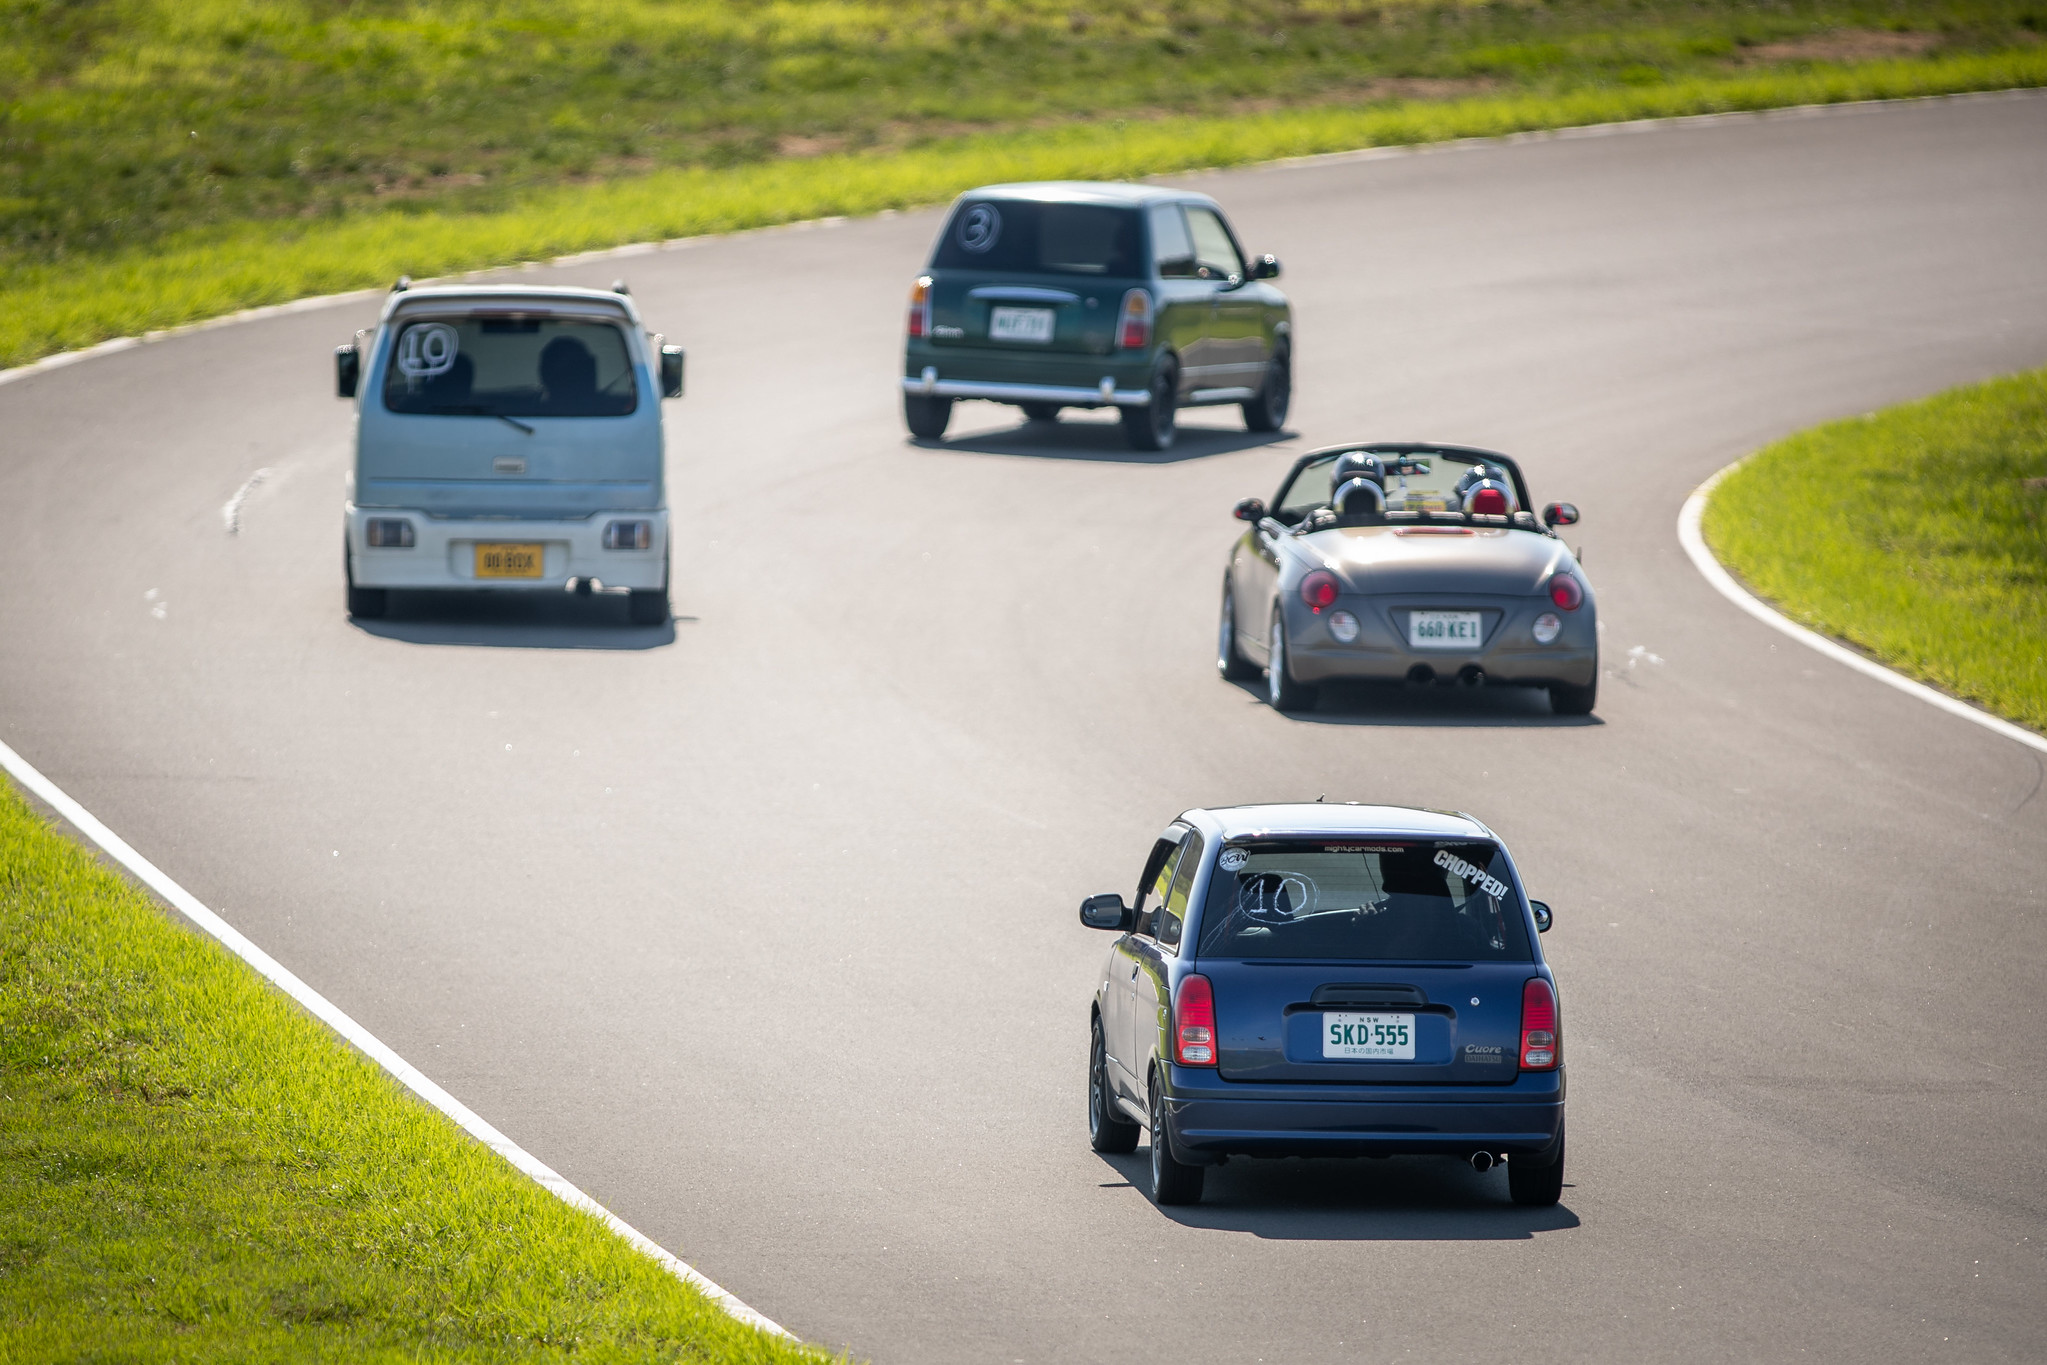
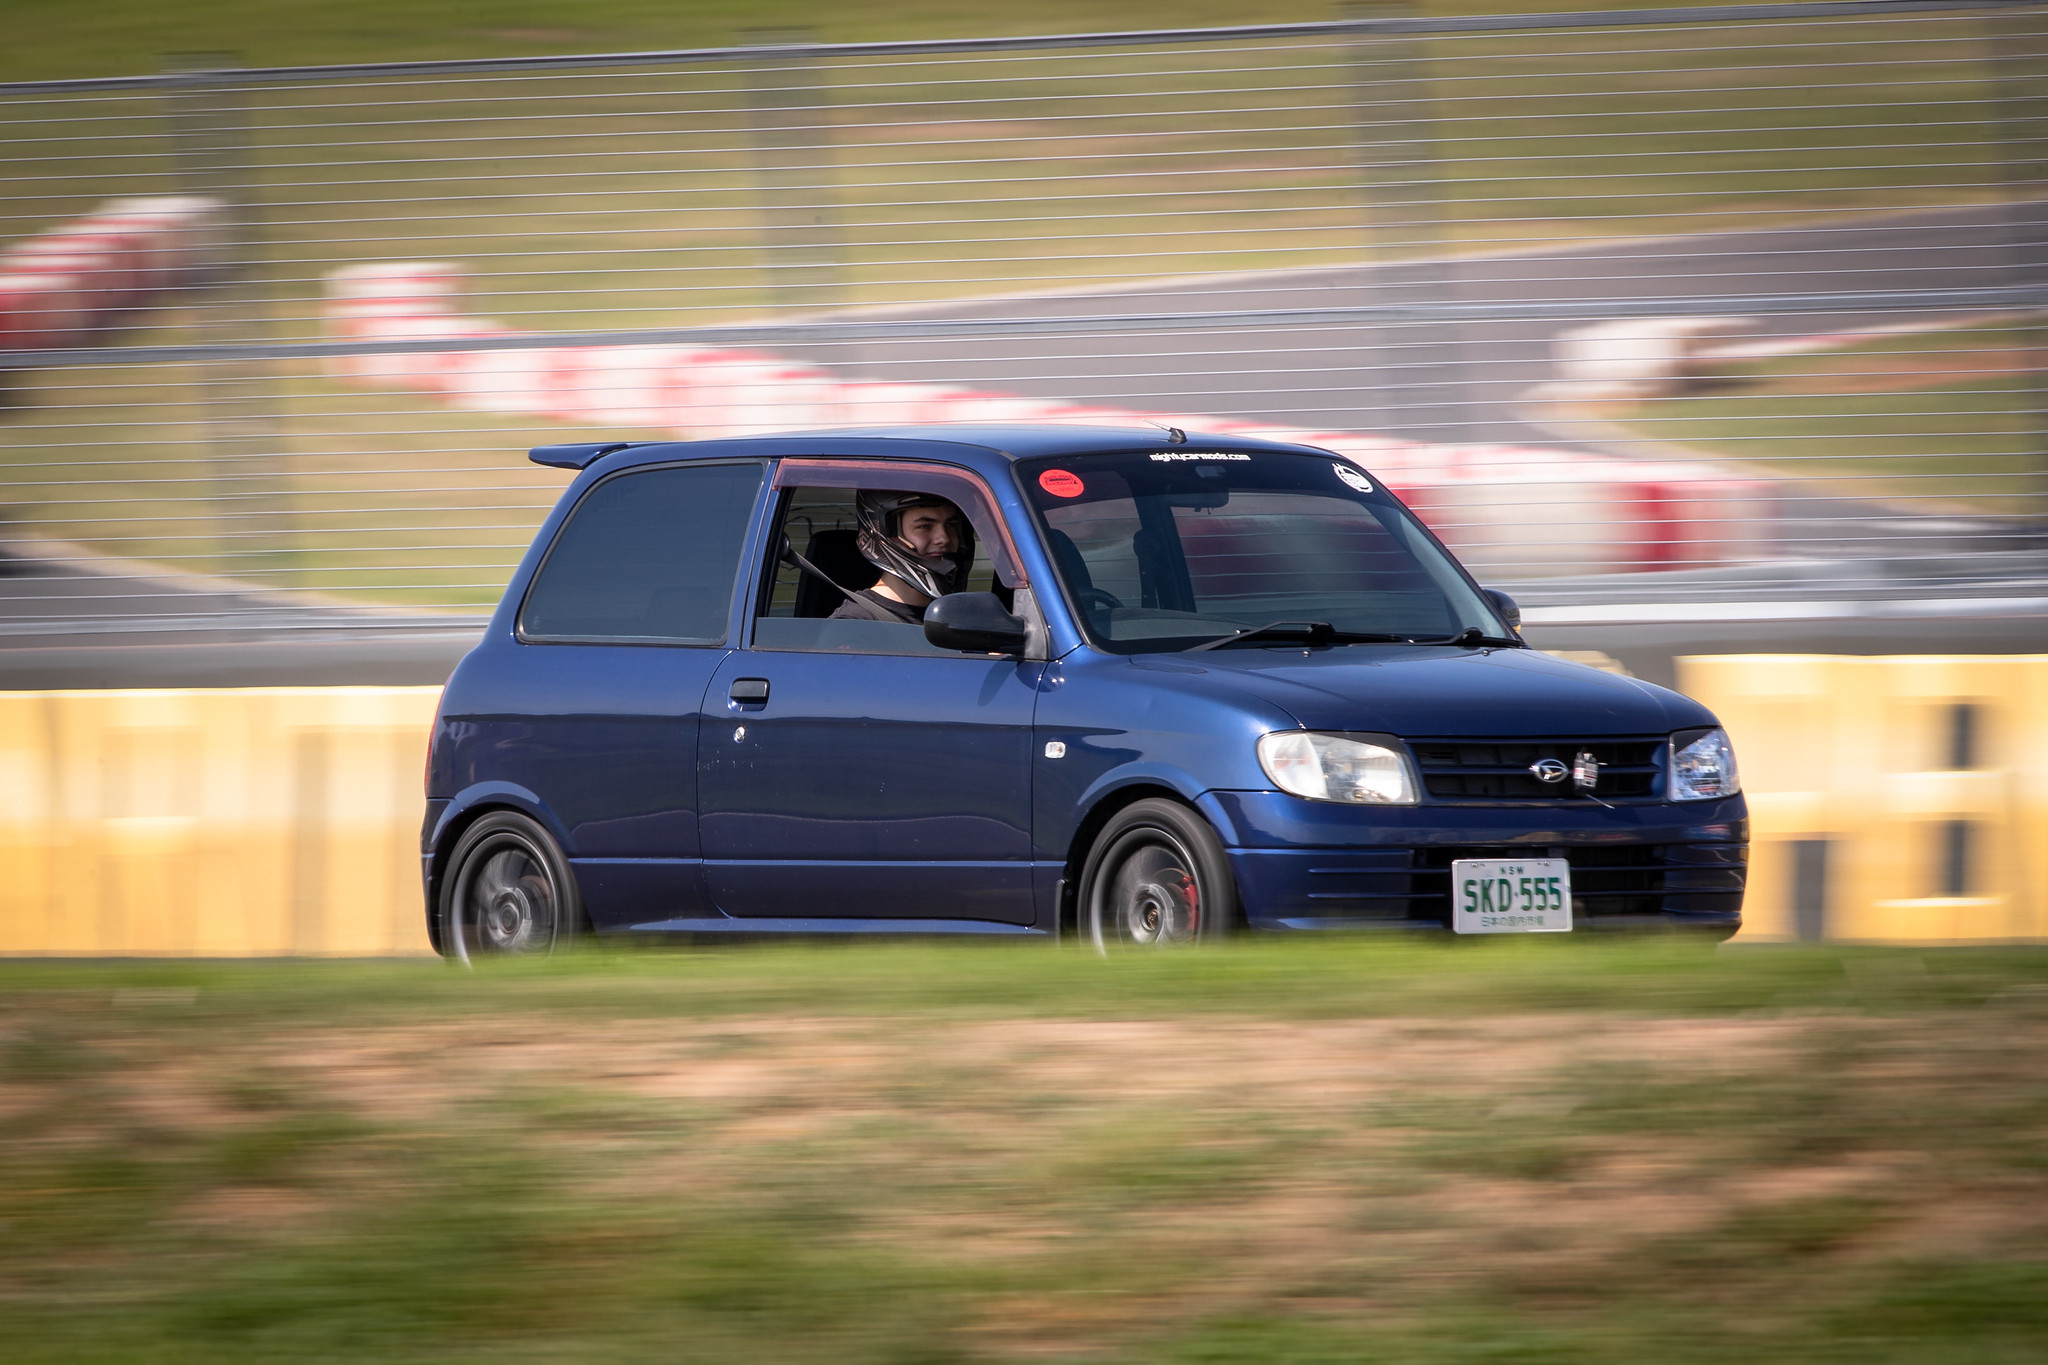
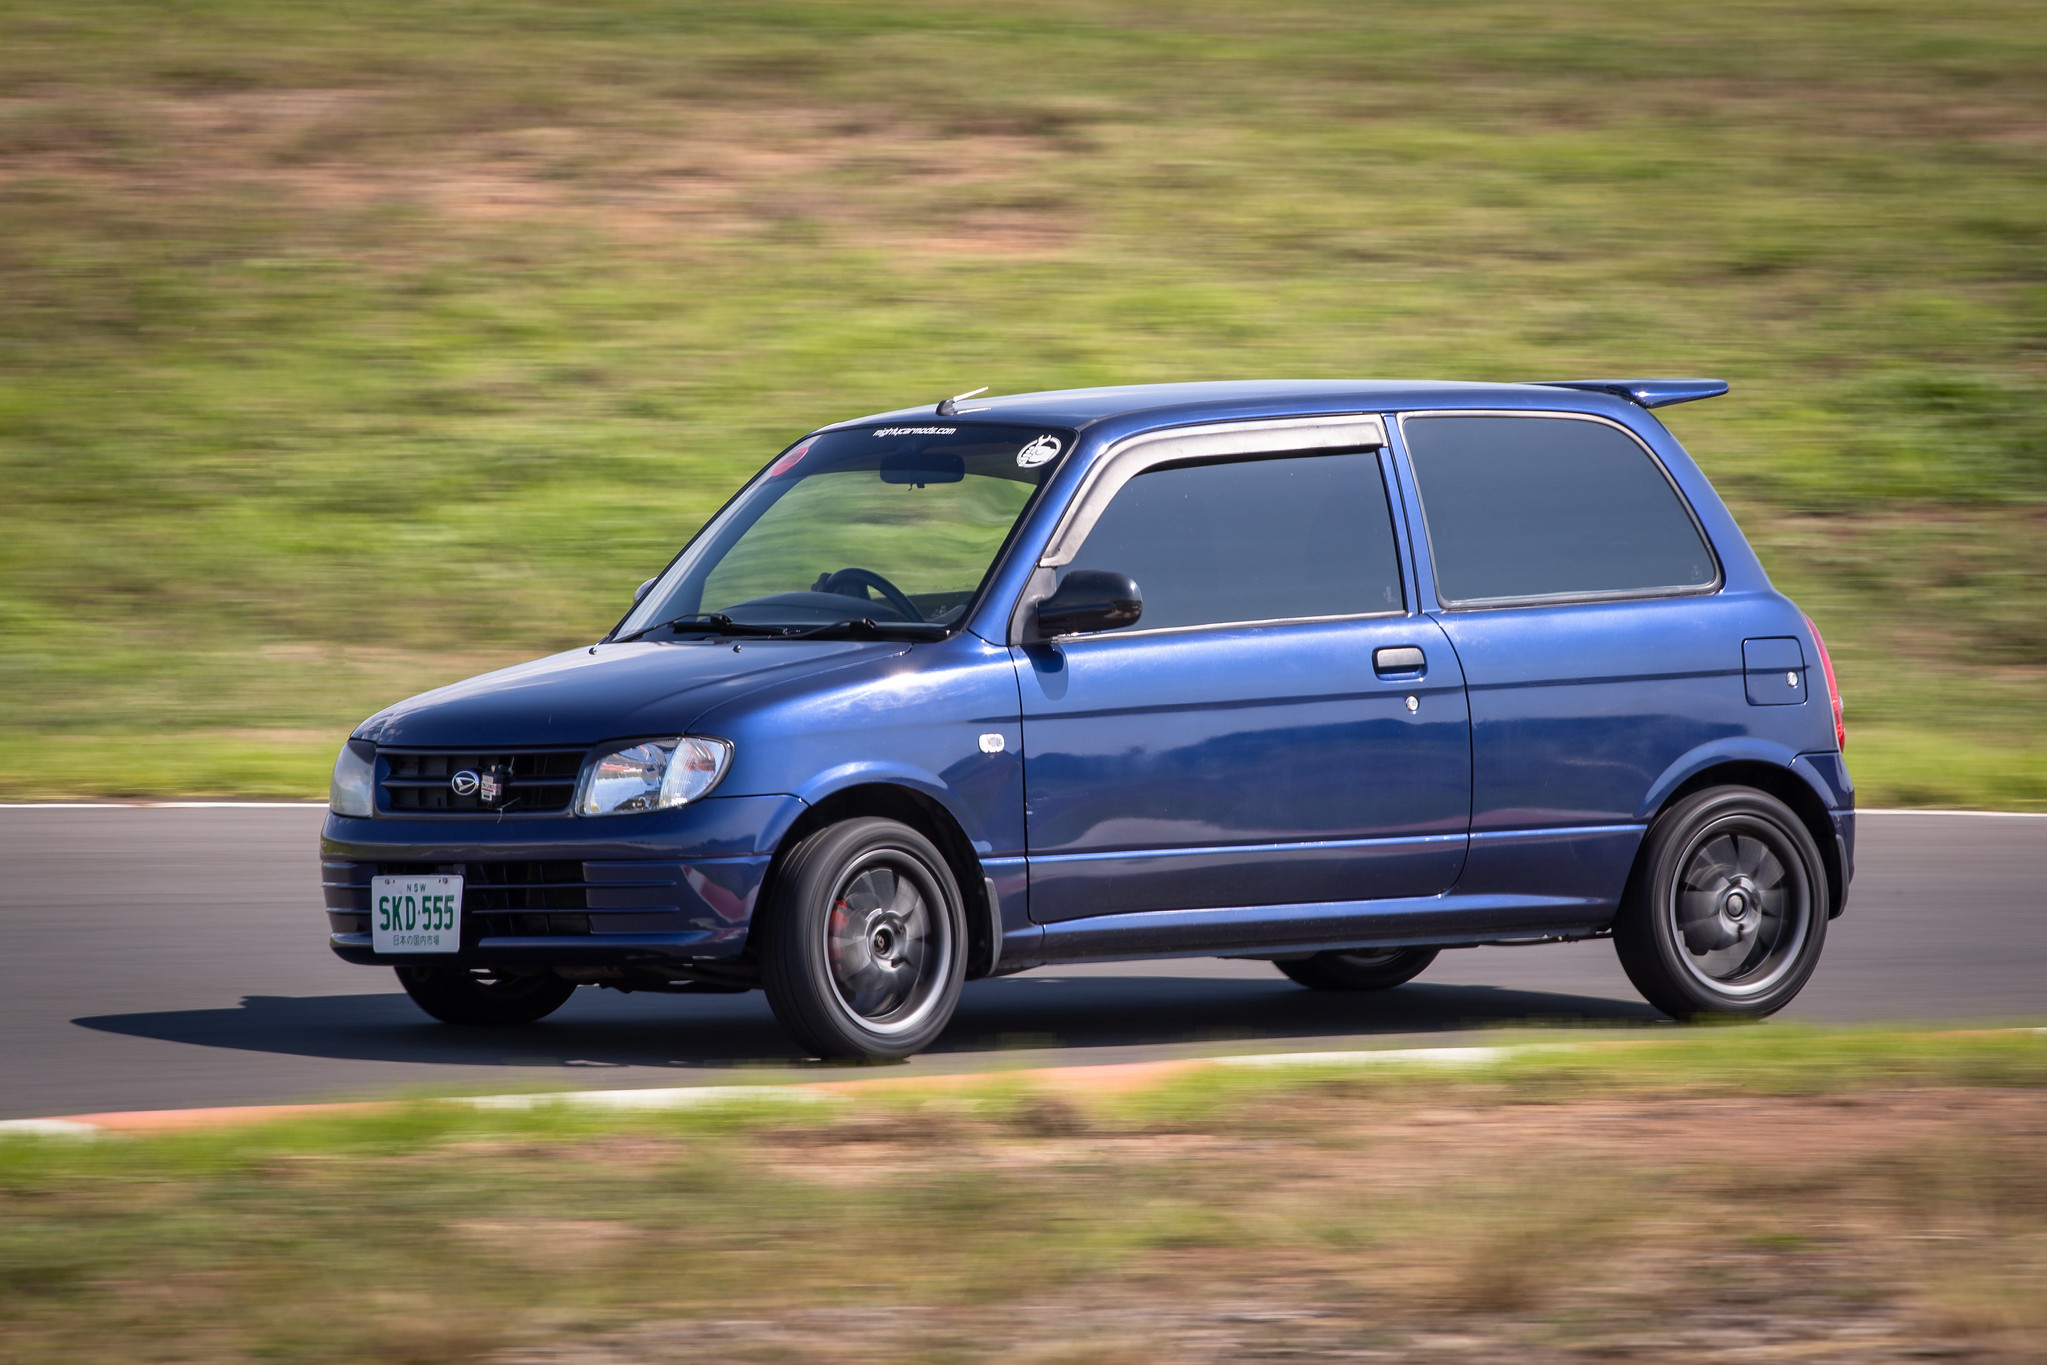
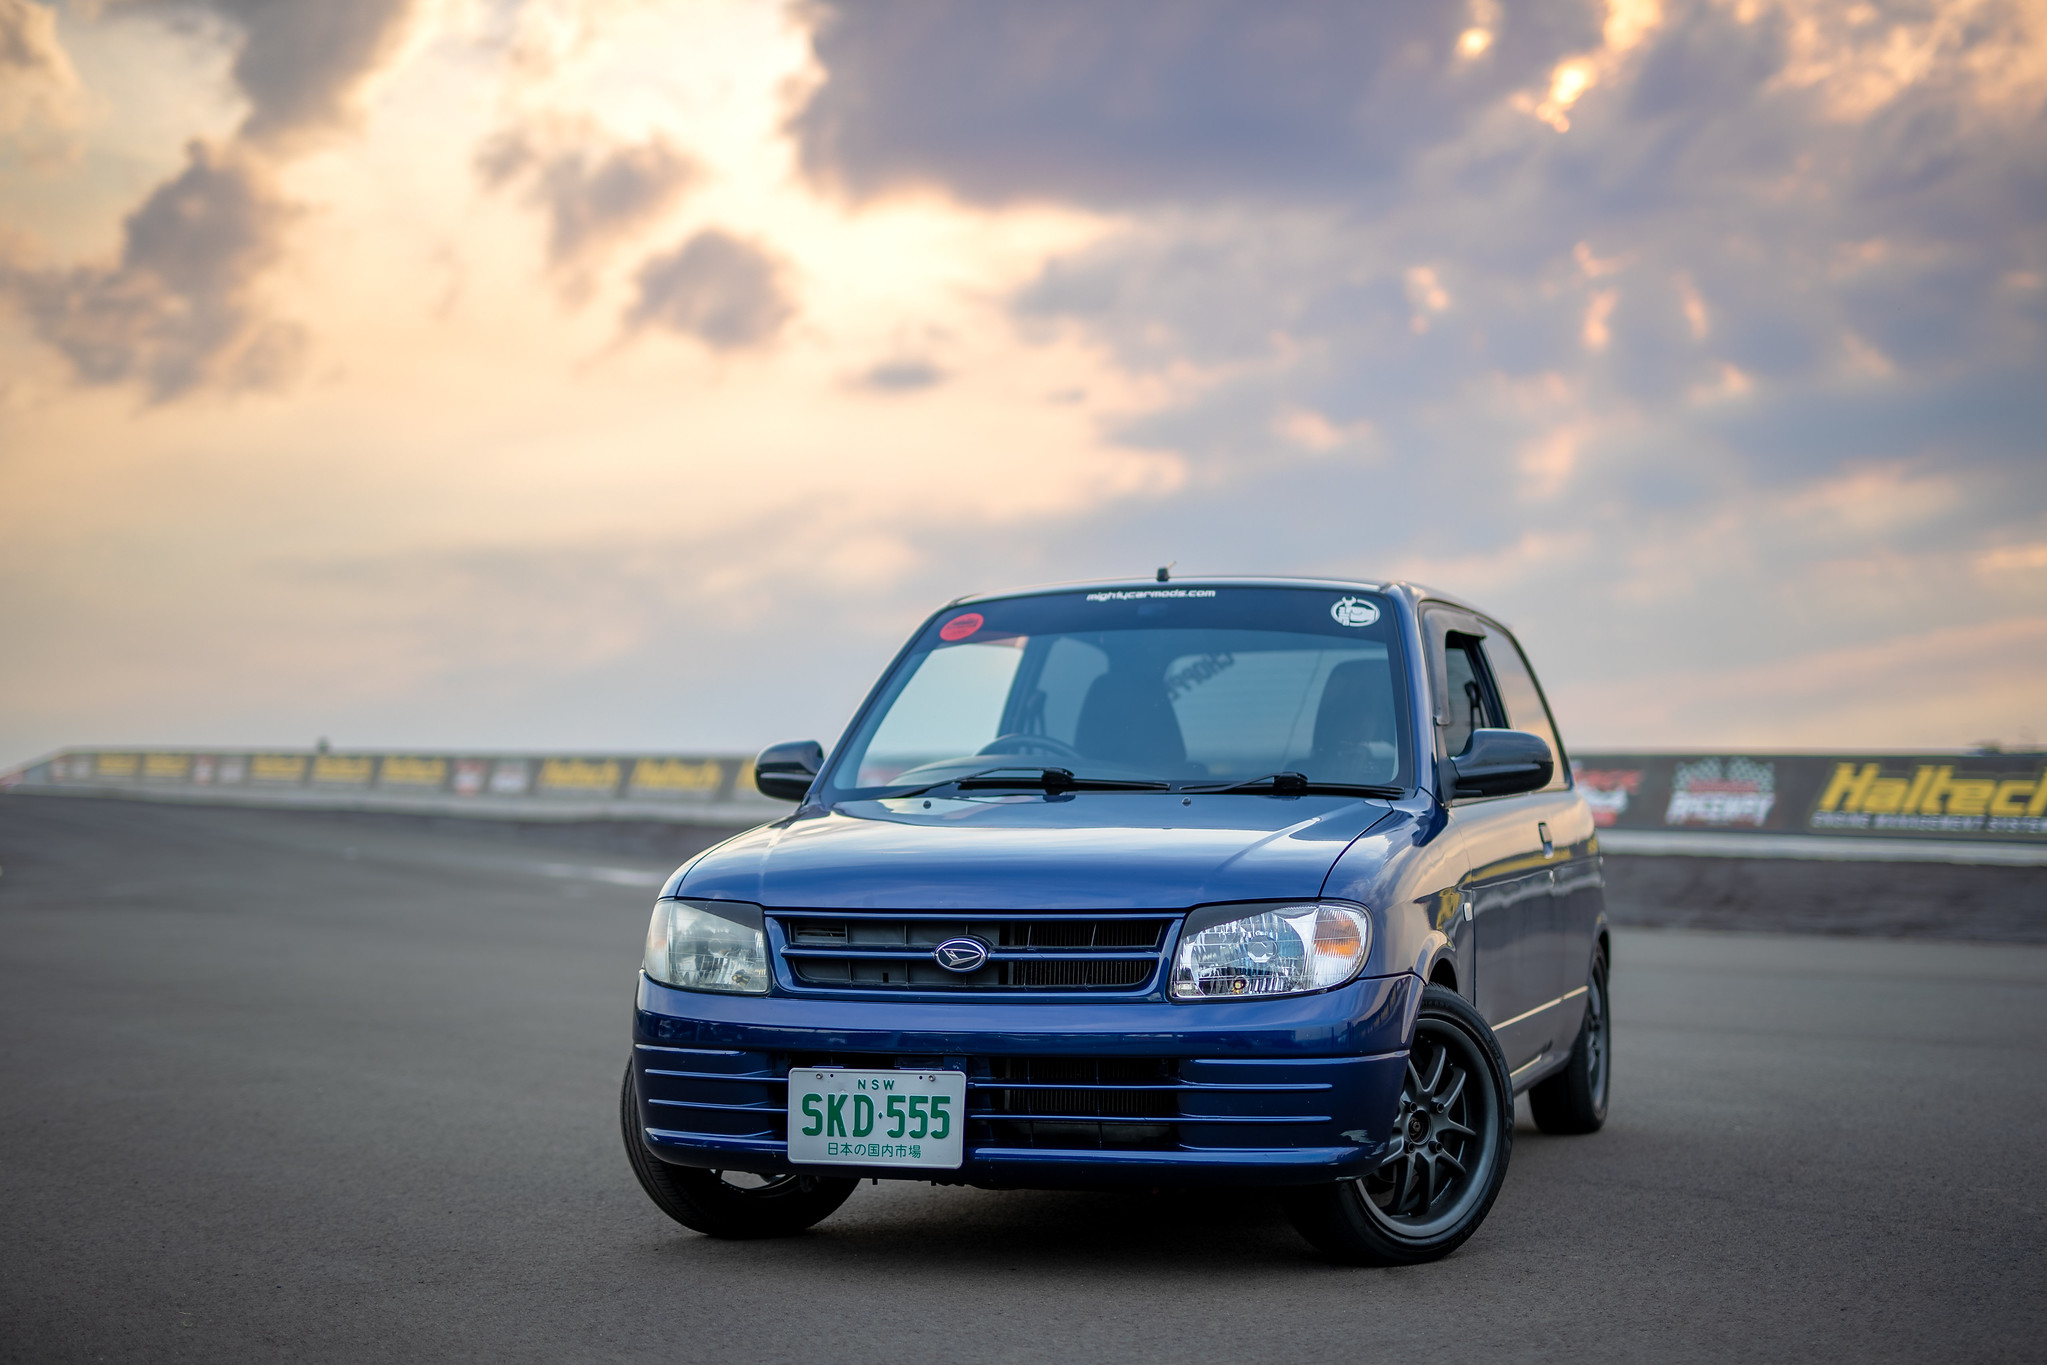
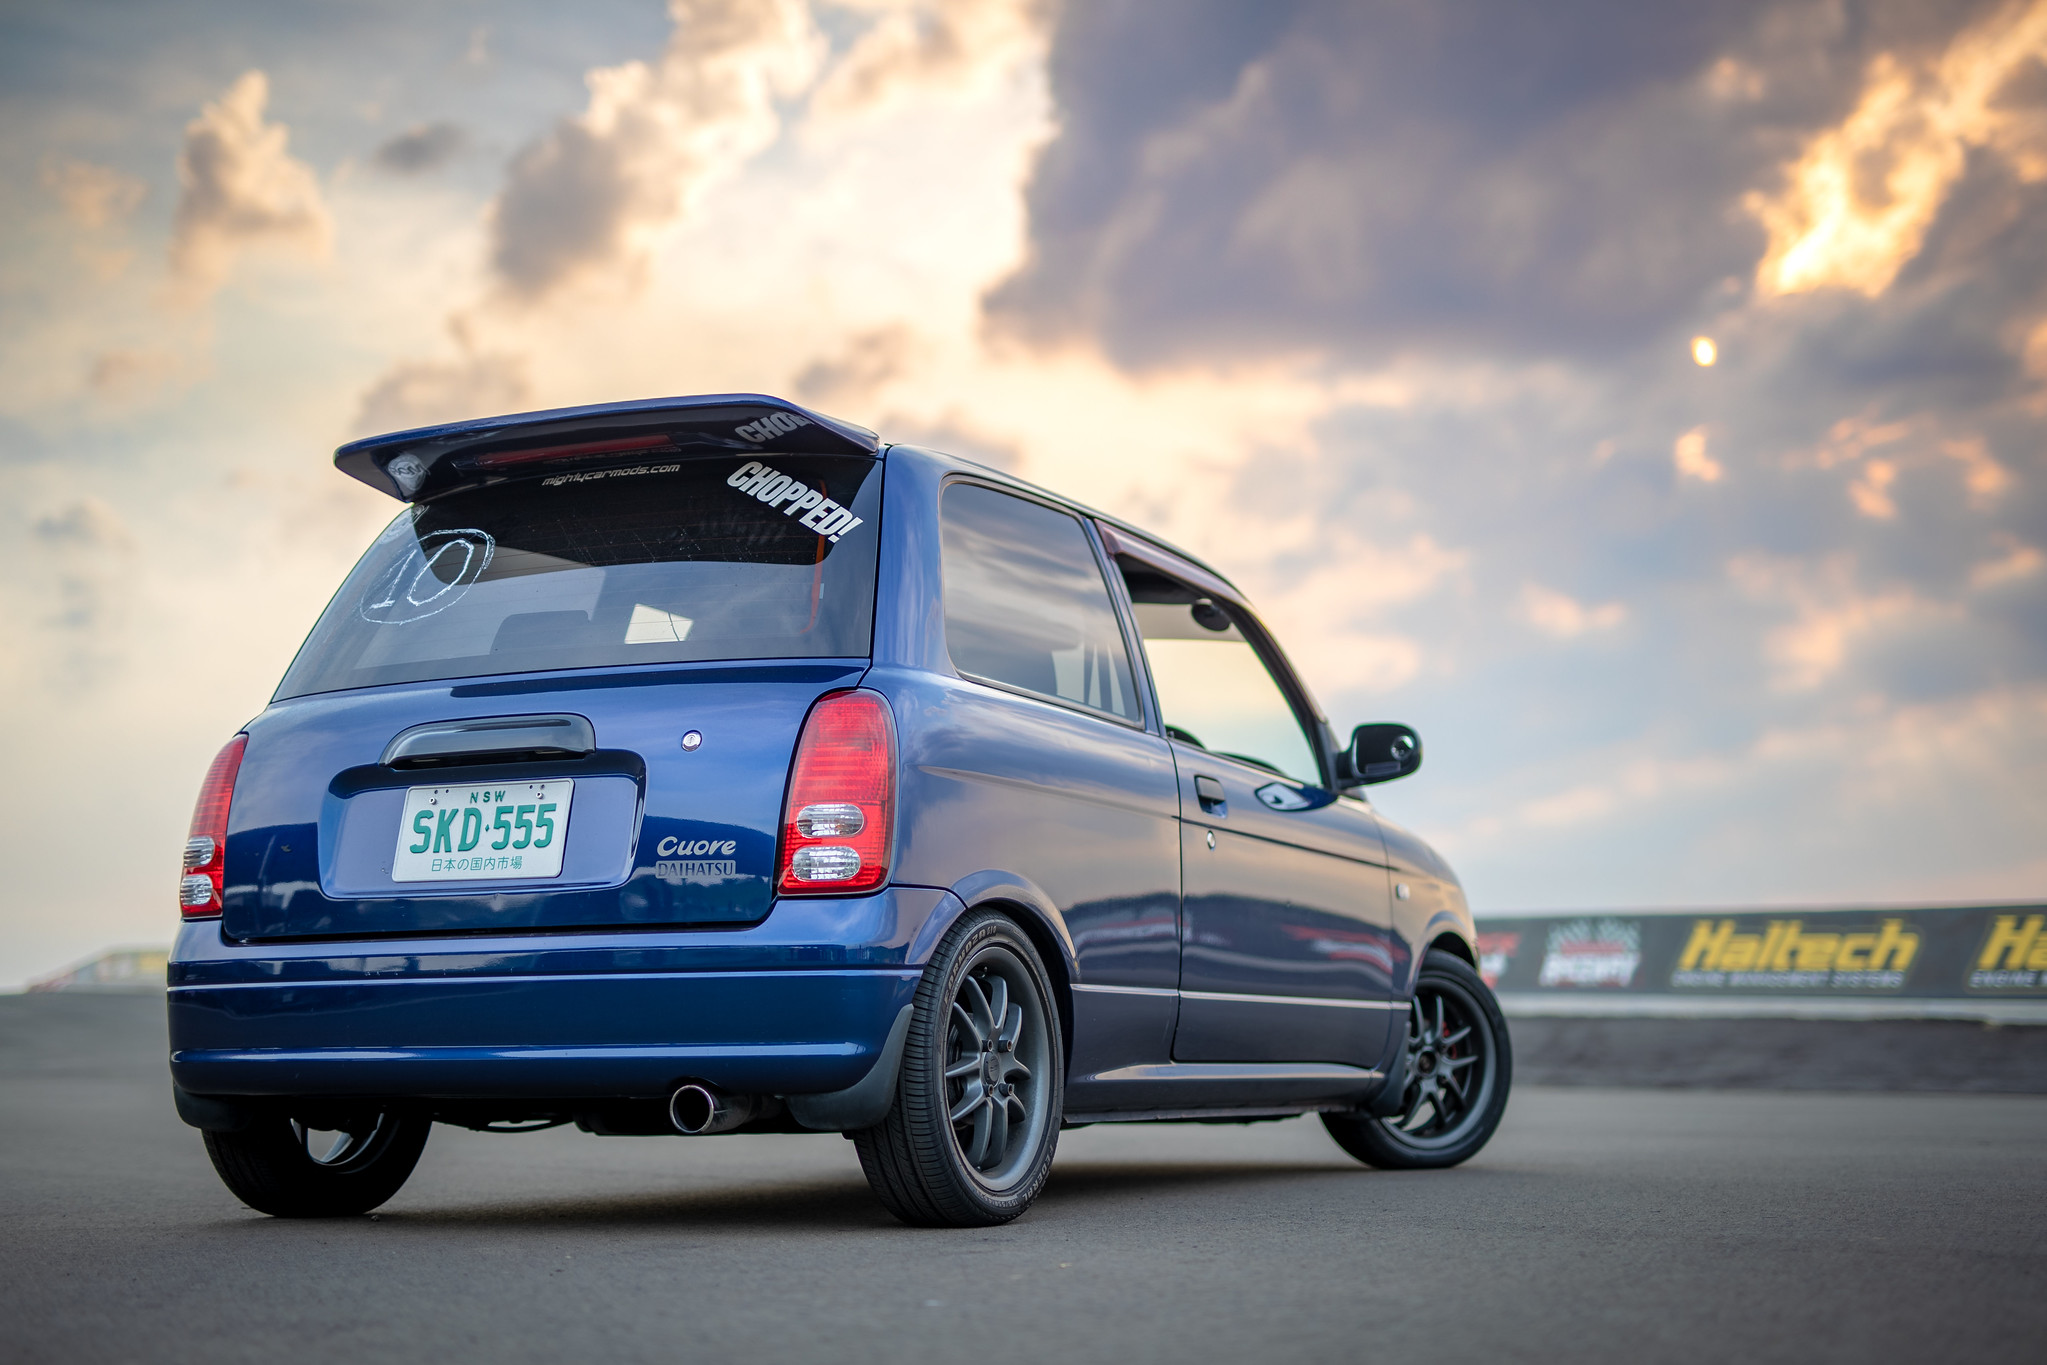
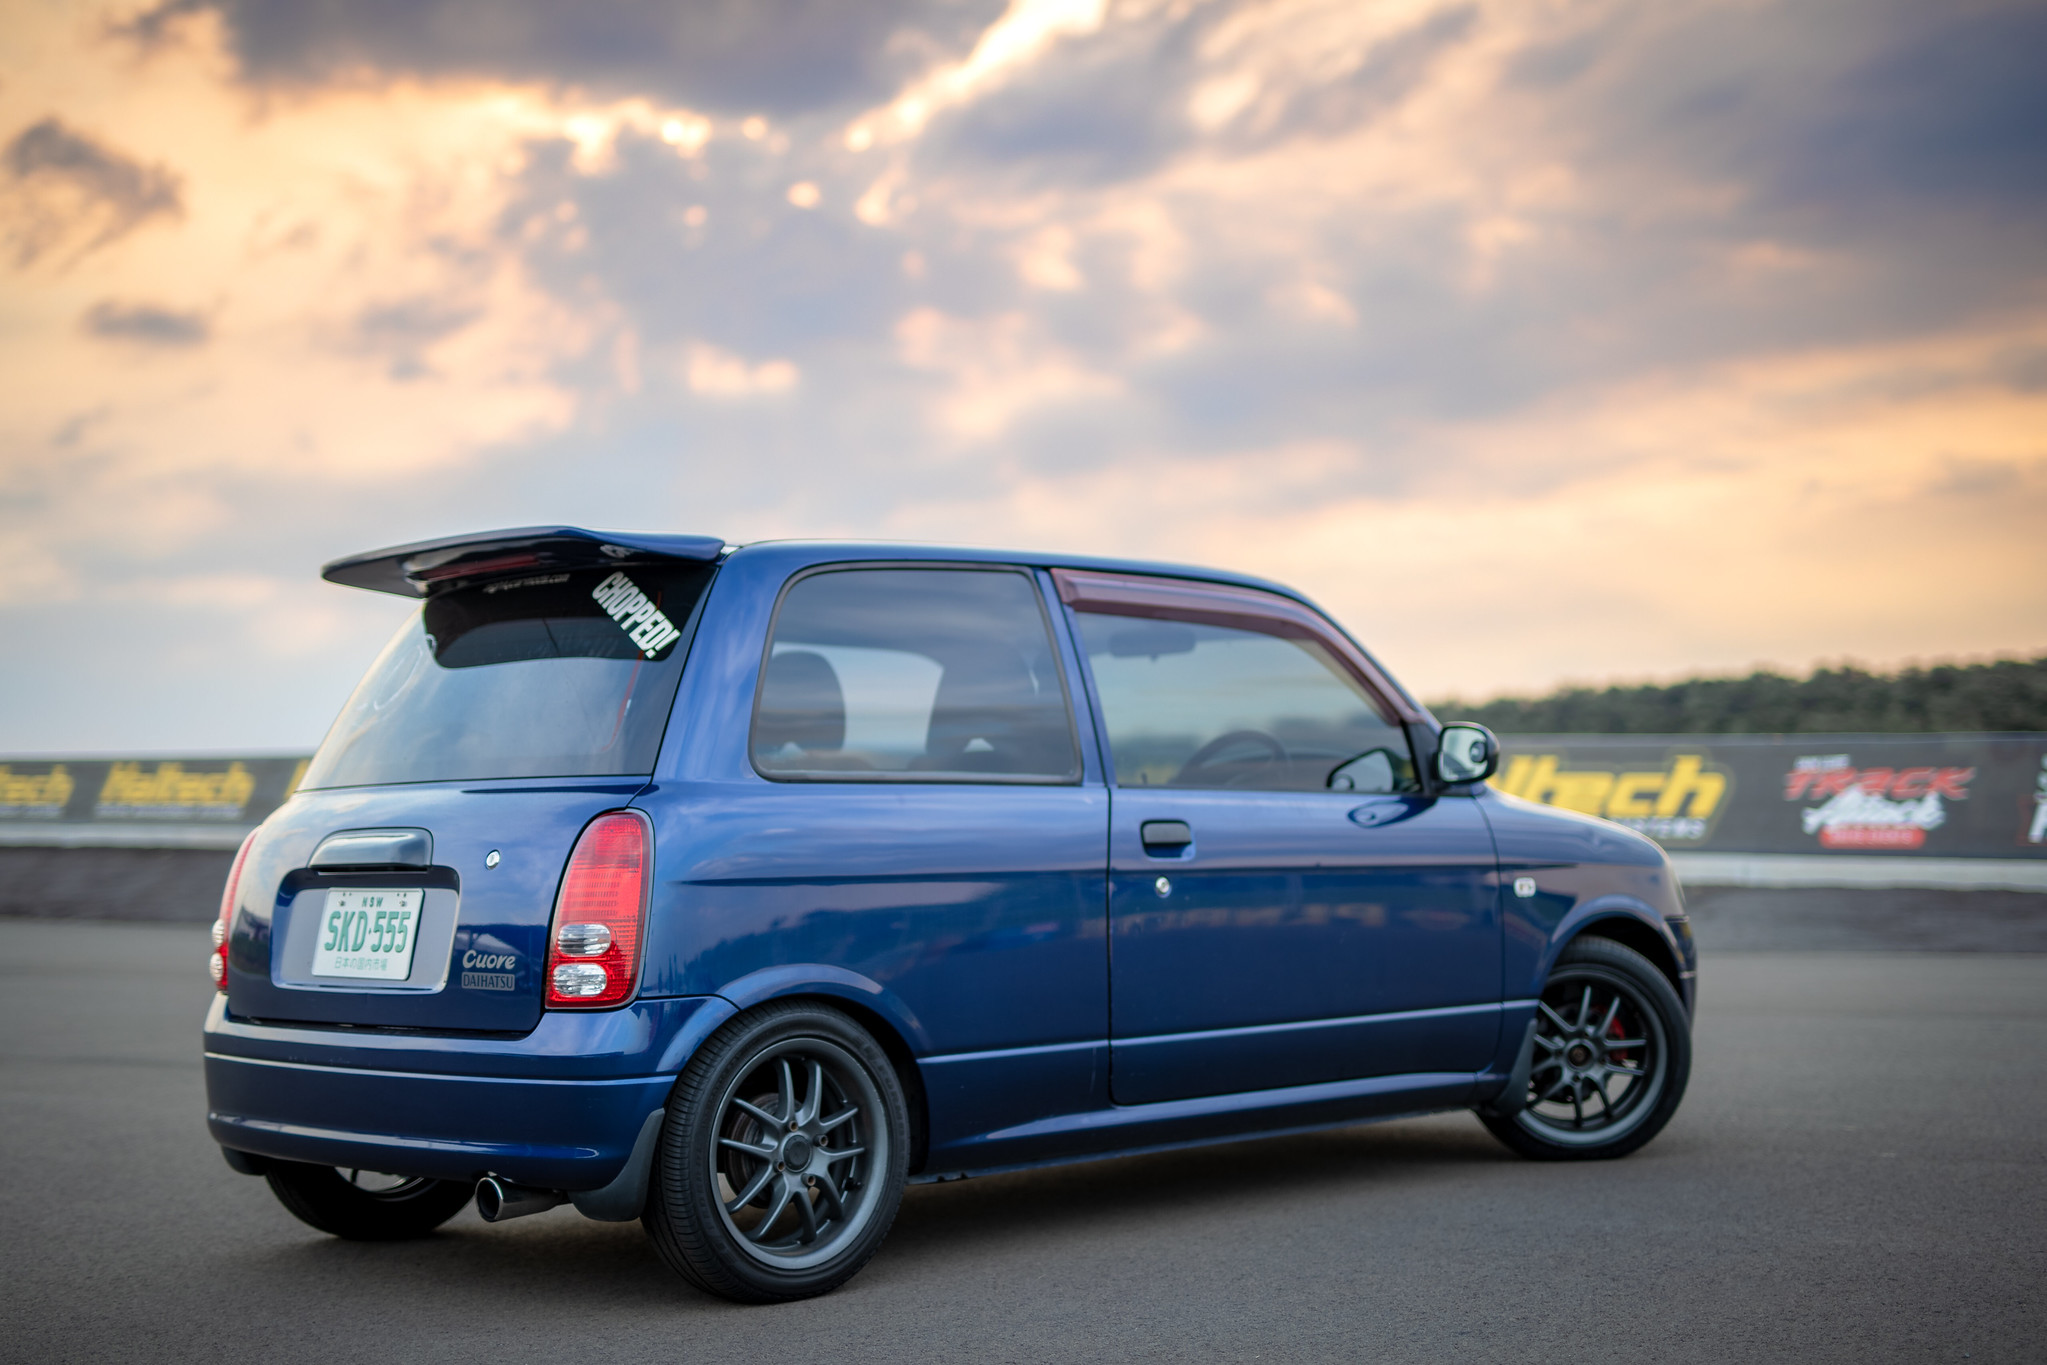
April 2019: So here we are at the track day. It was so much fun I can’t explain. This car is so inappropriate yet so perfect. Luddenham Raceway is the perfect kind of track for these little cars. I managed to get faster and faster throughout the day. It was all laughs. The car didn’t have a single issue and took the abuse like a champ.
Anyway. here’s a bunch of pics from the day.
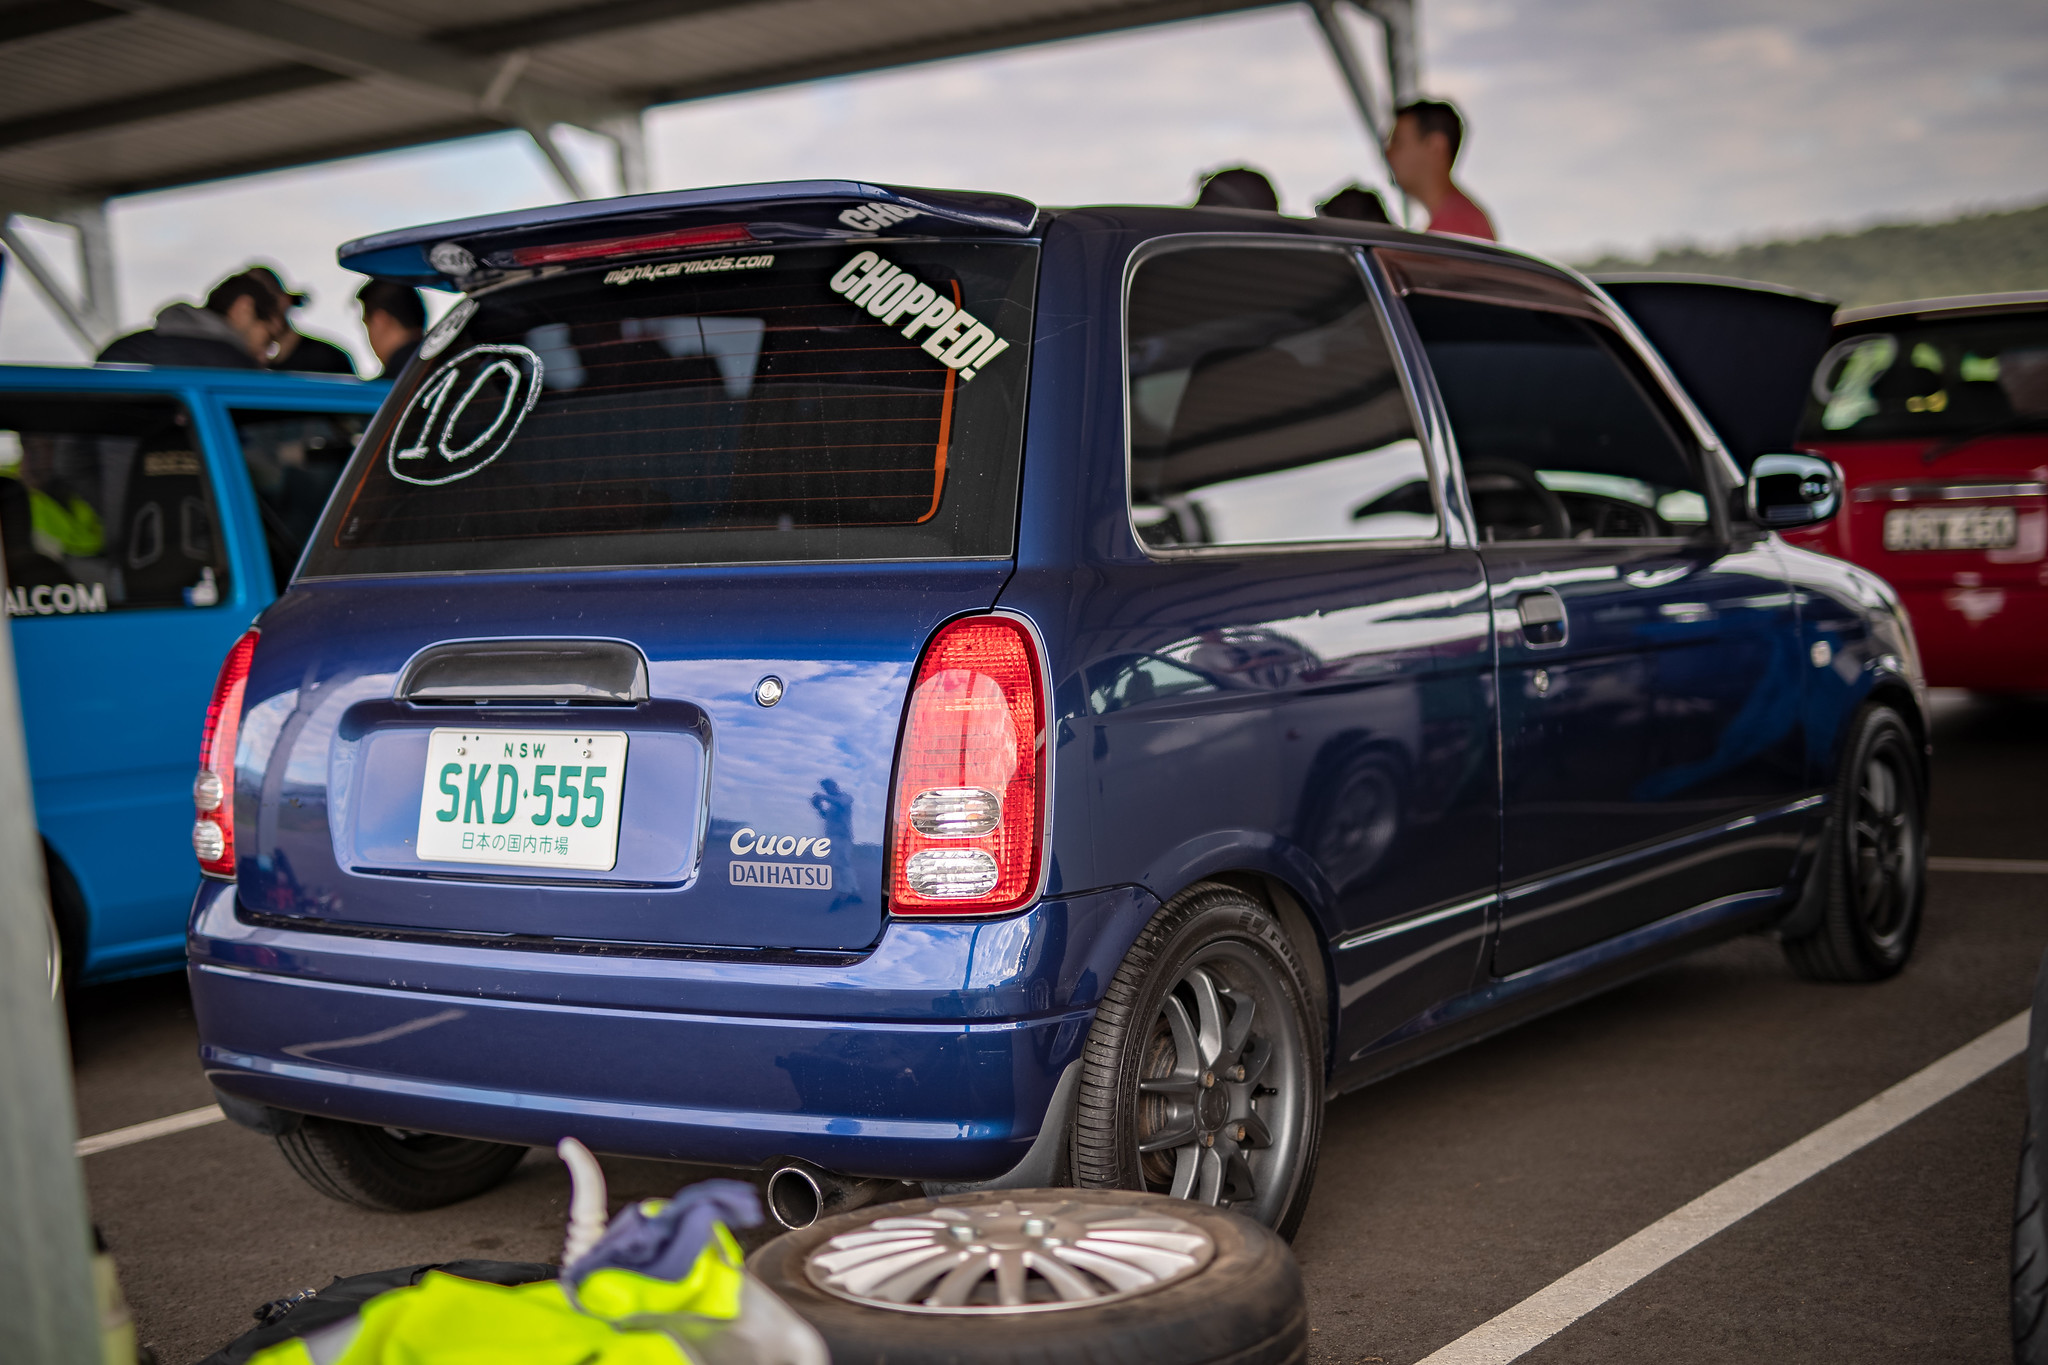
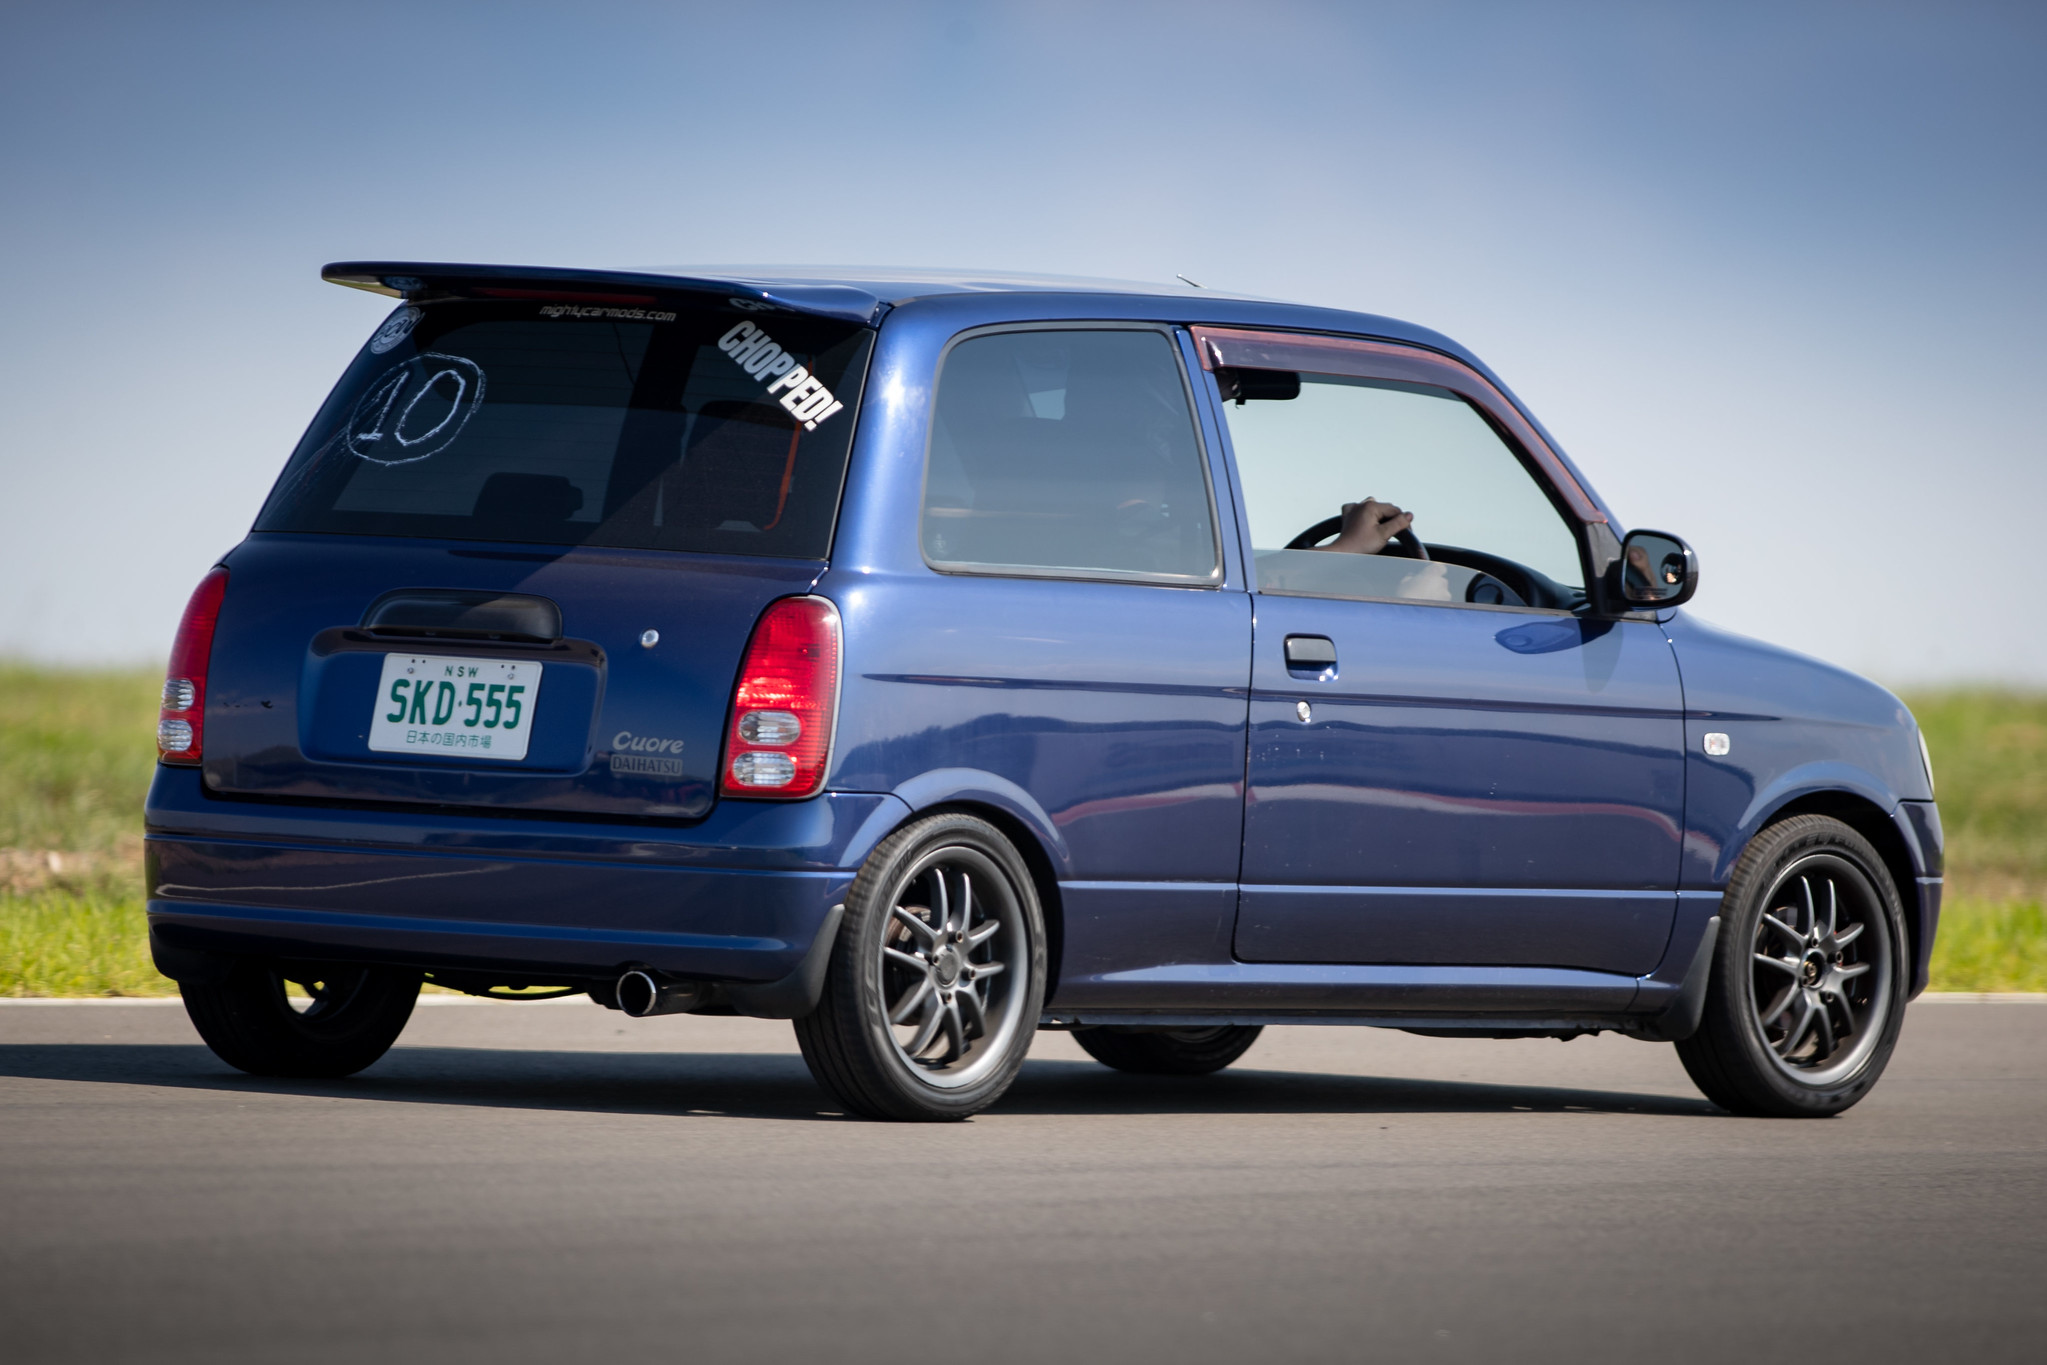
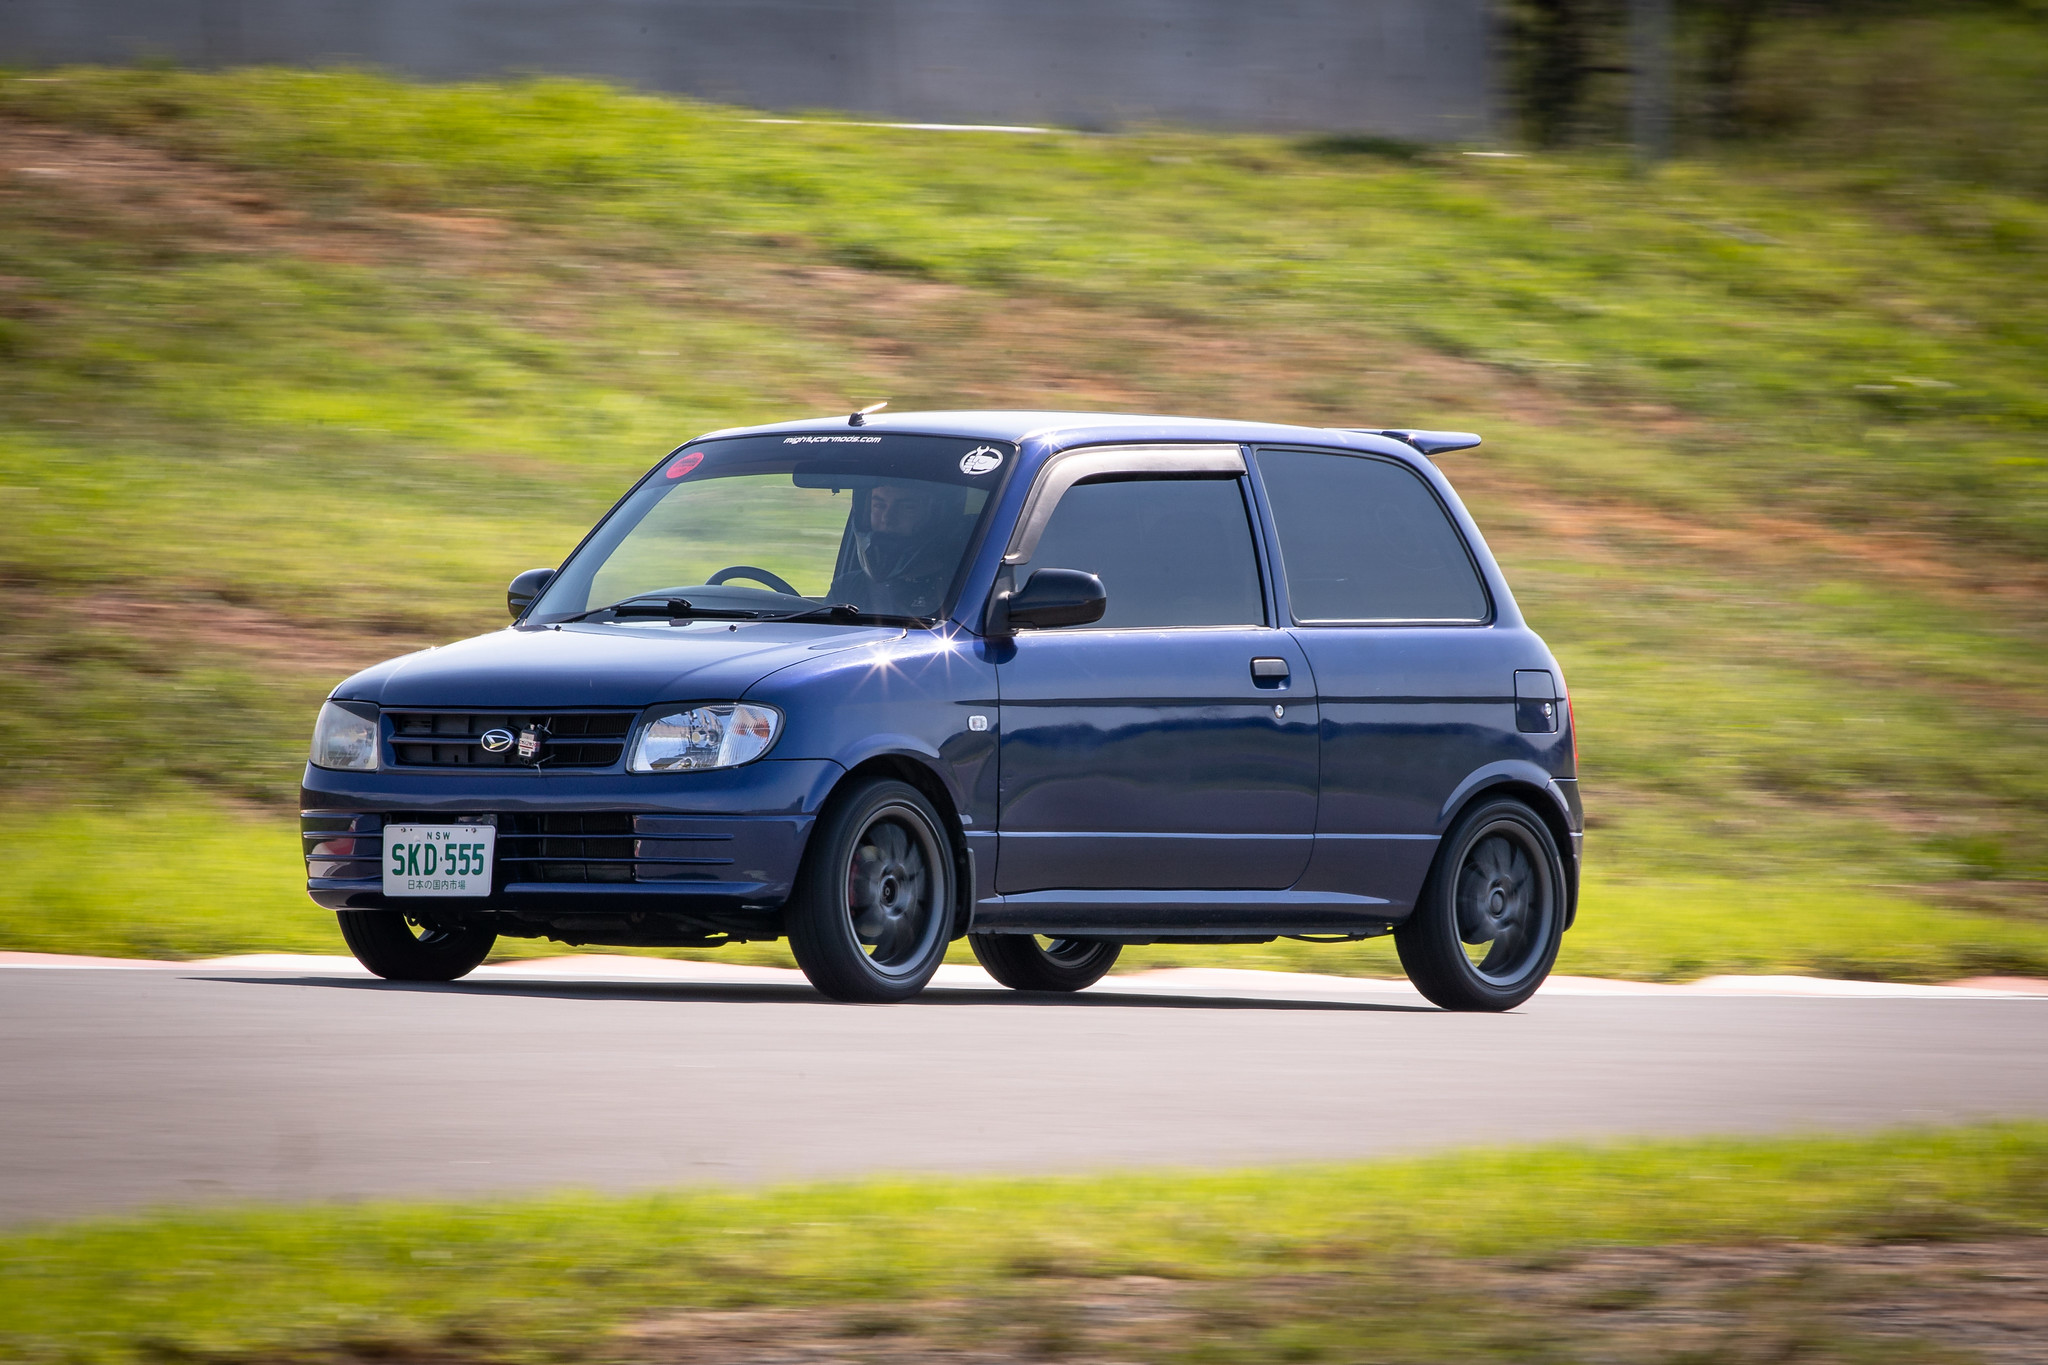
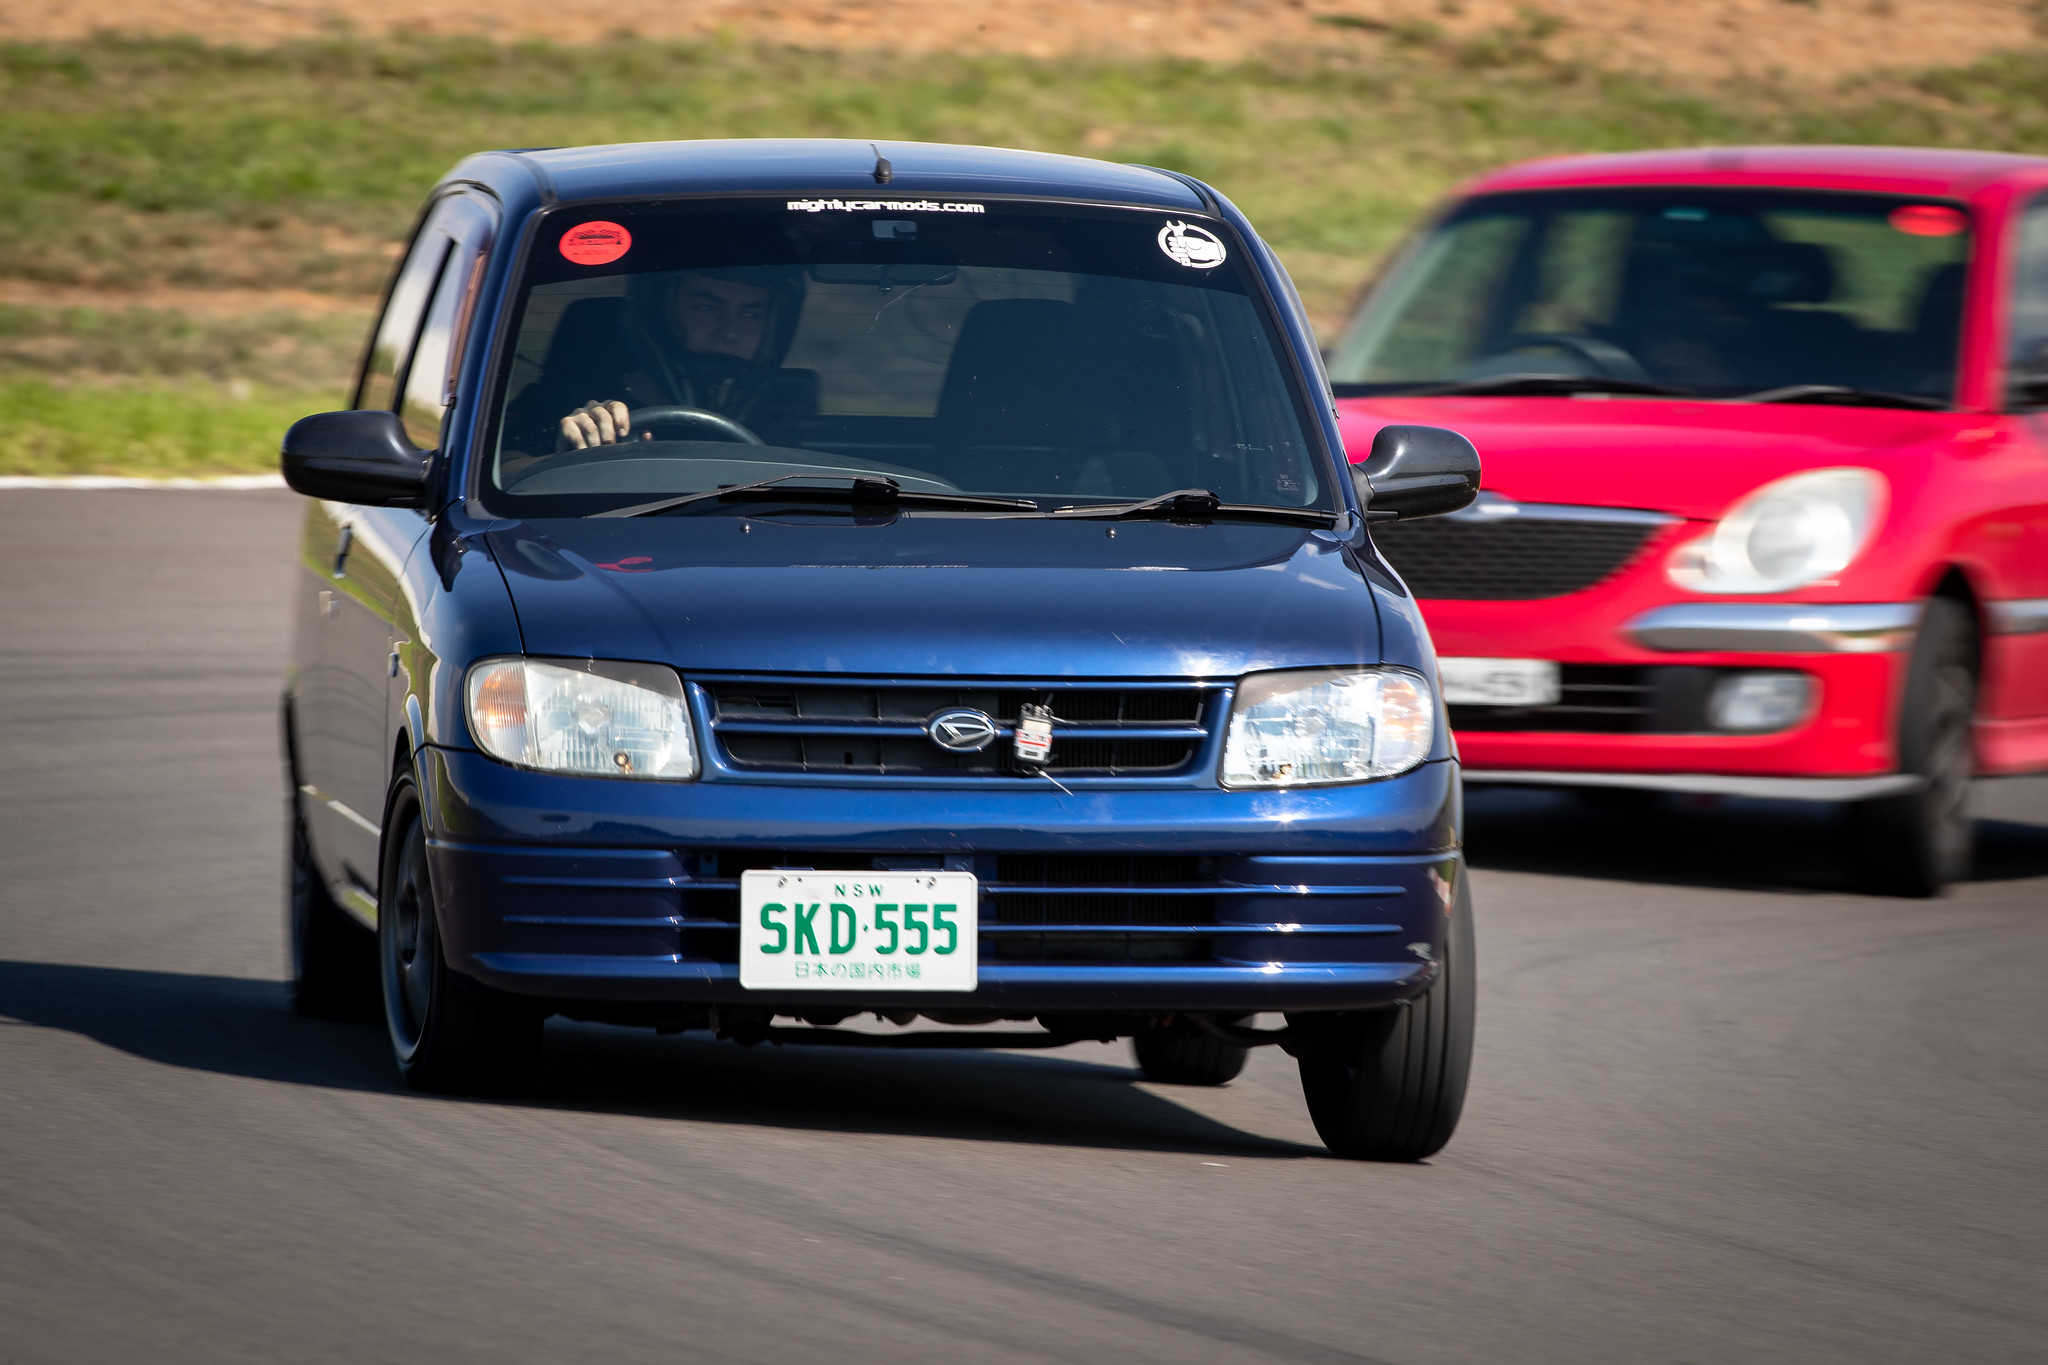
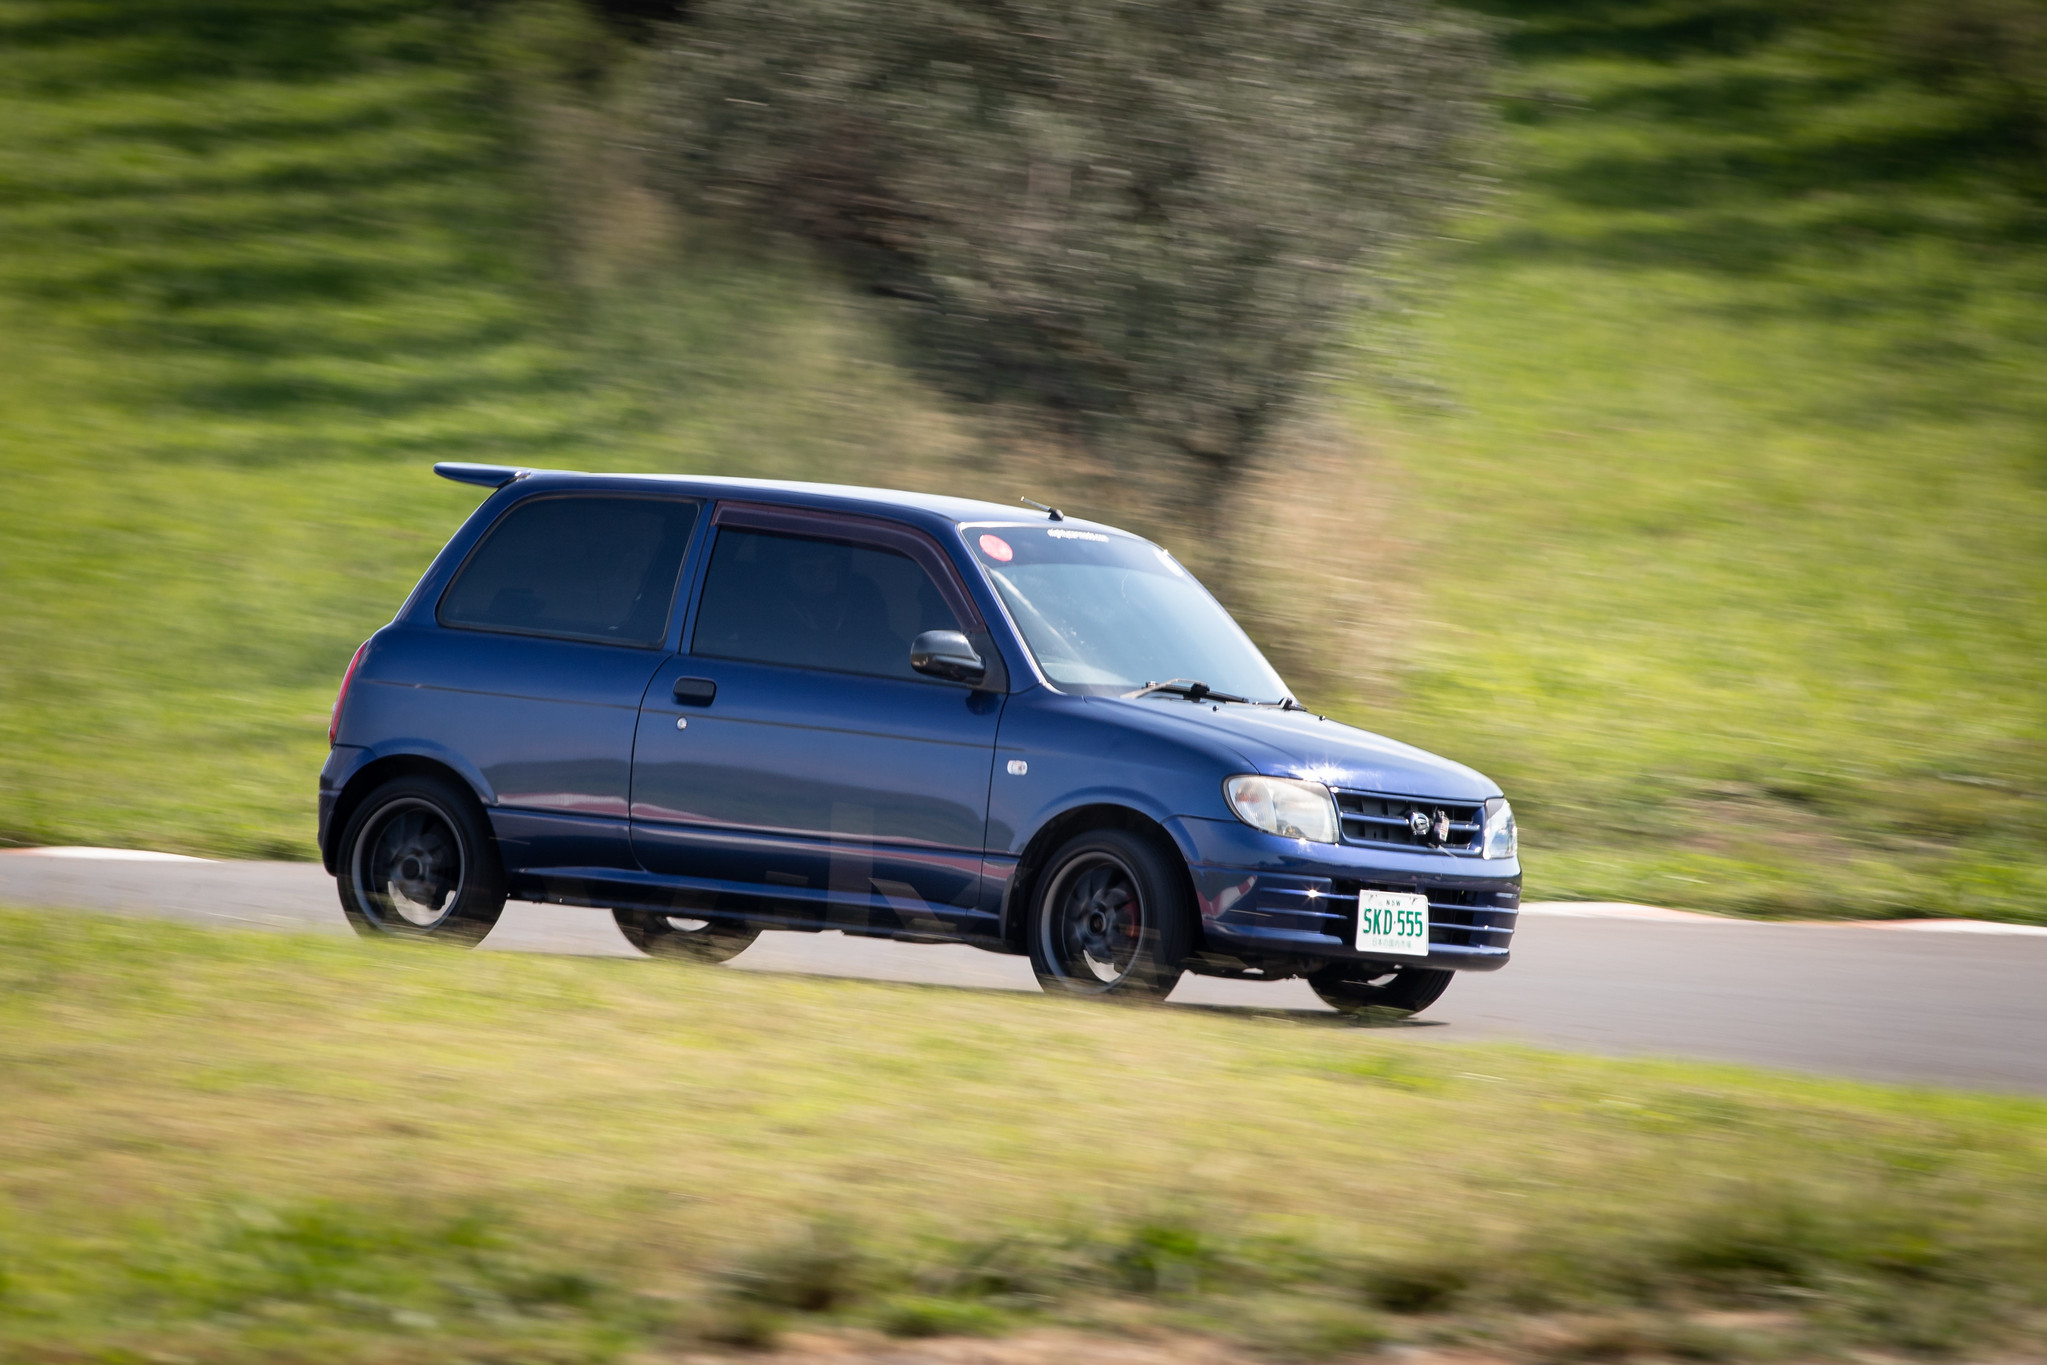
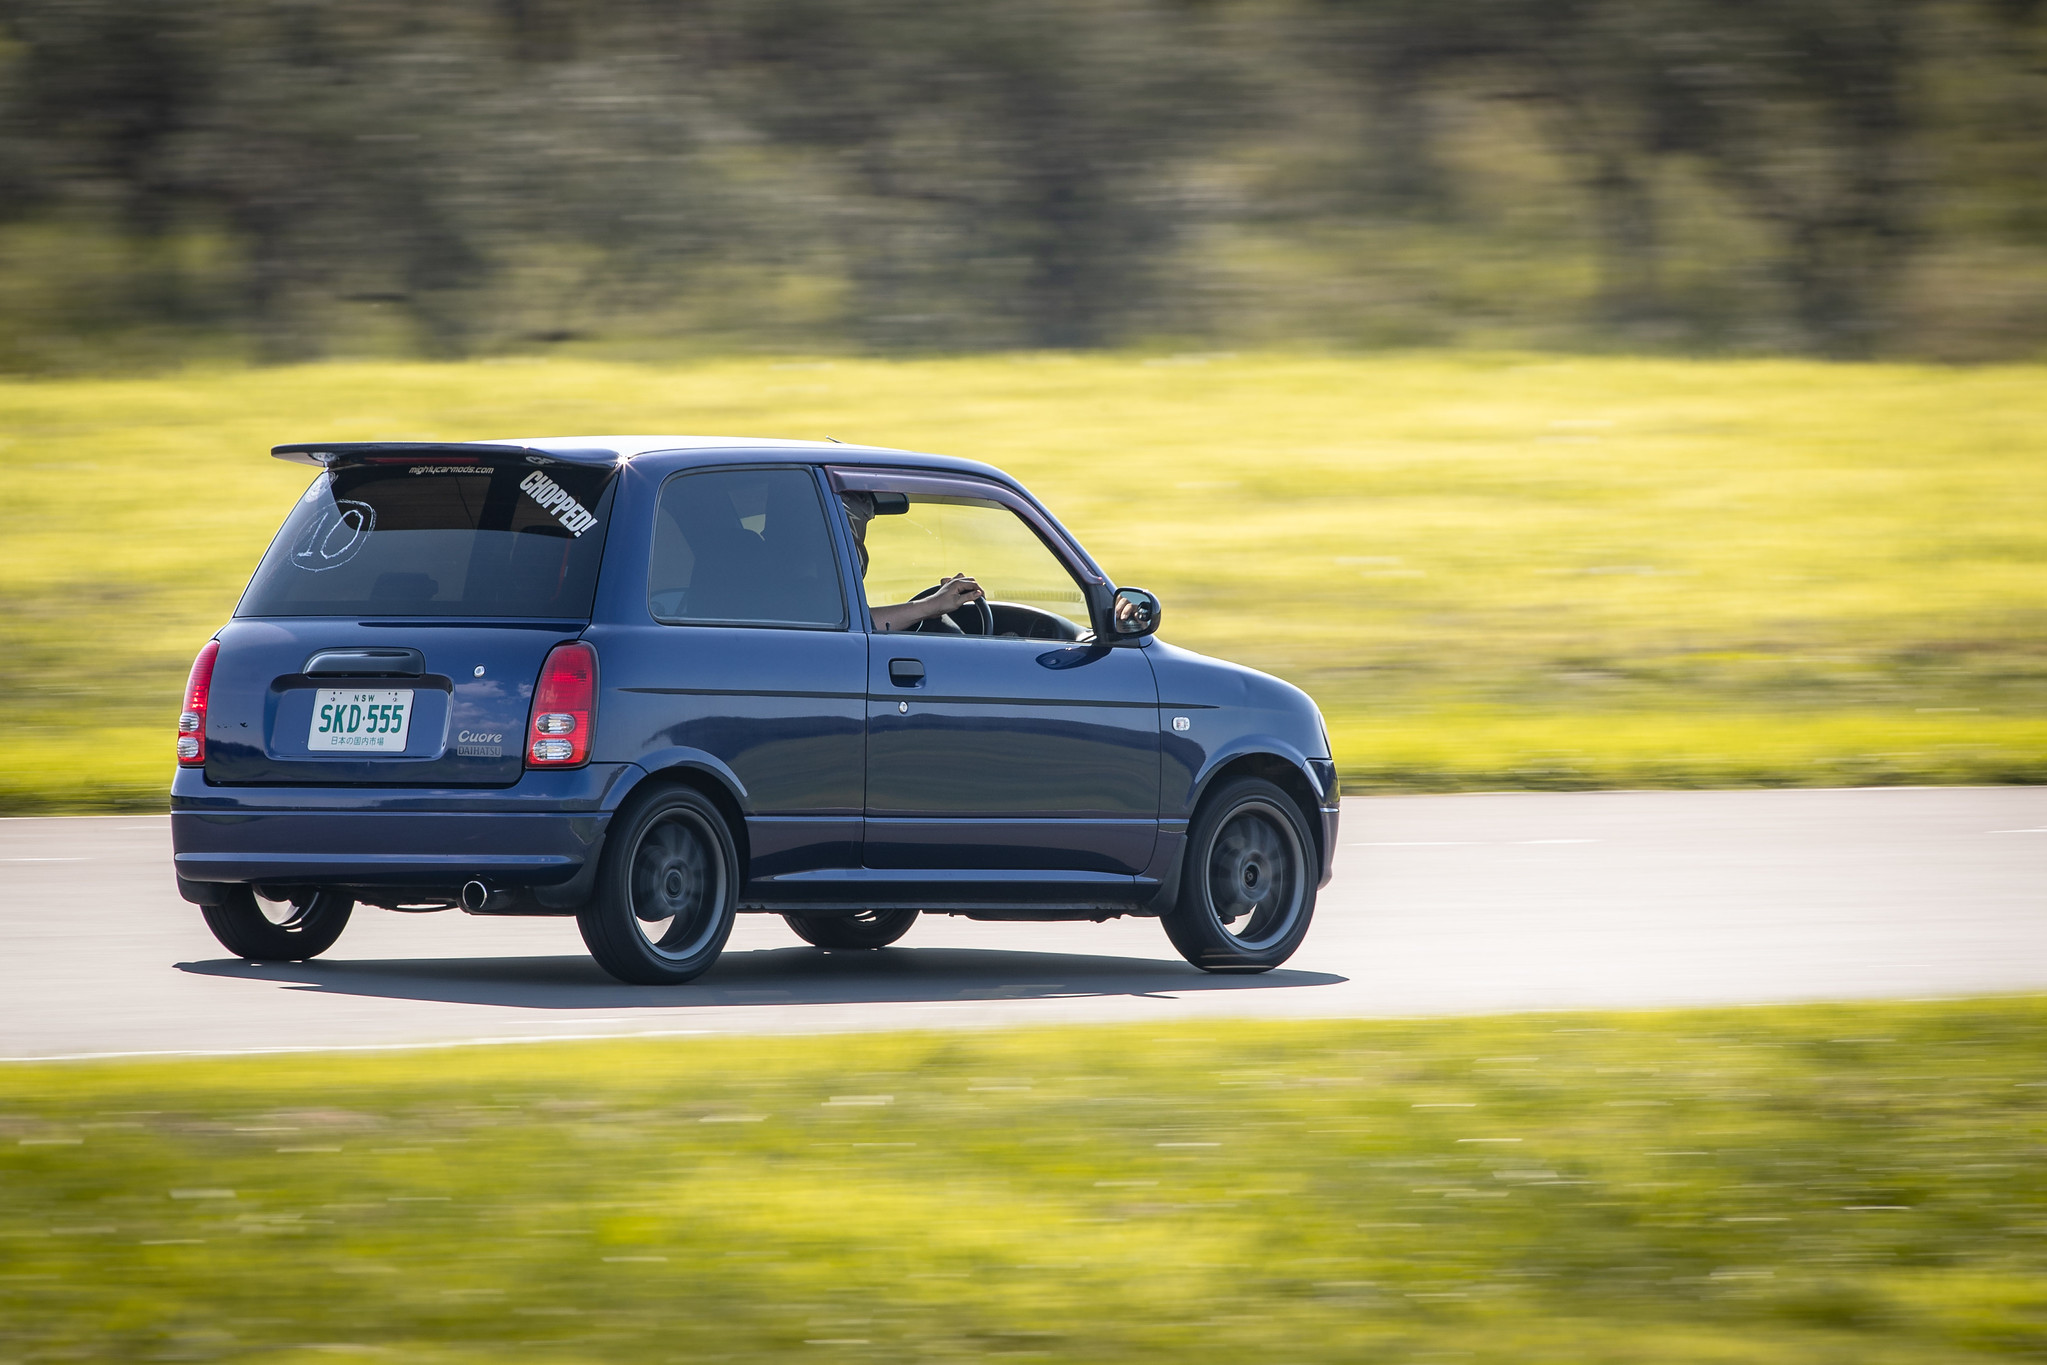
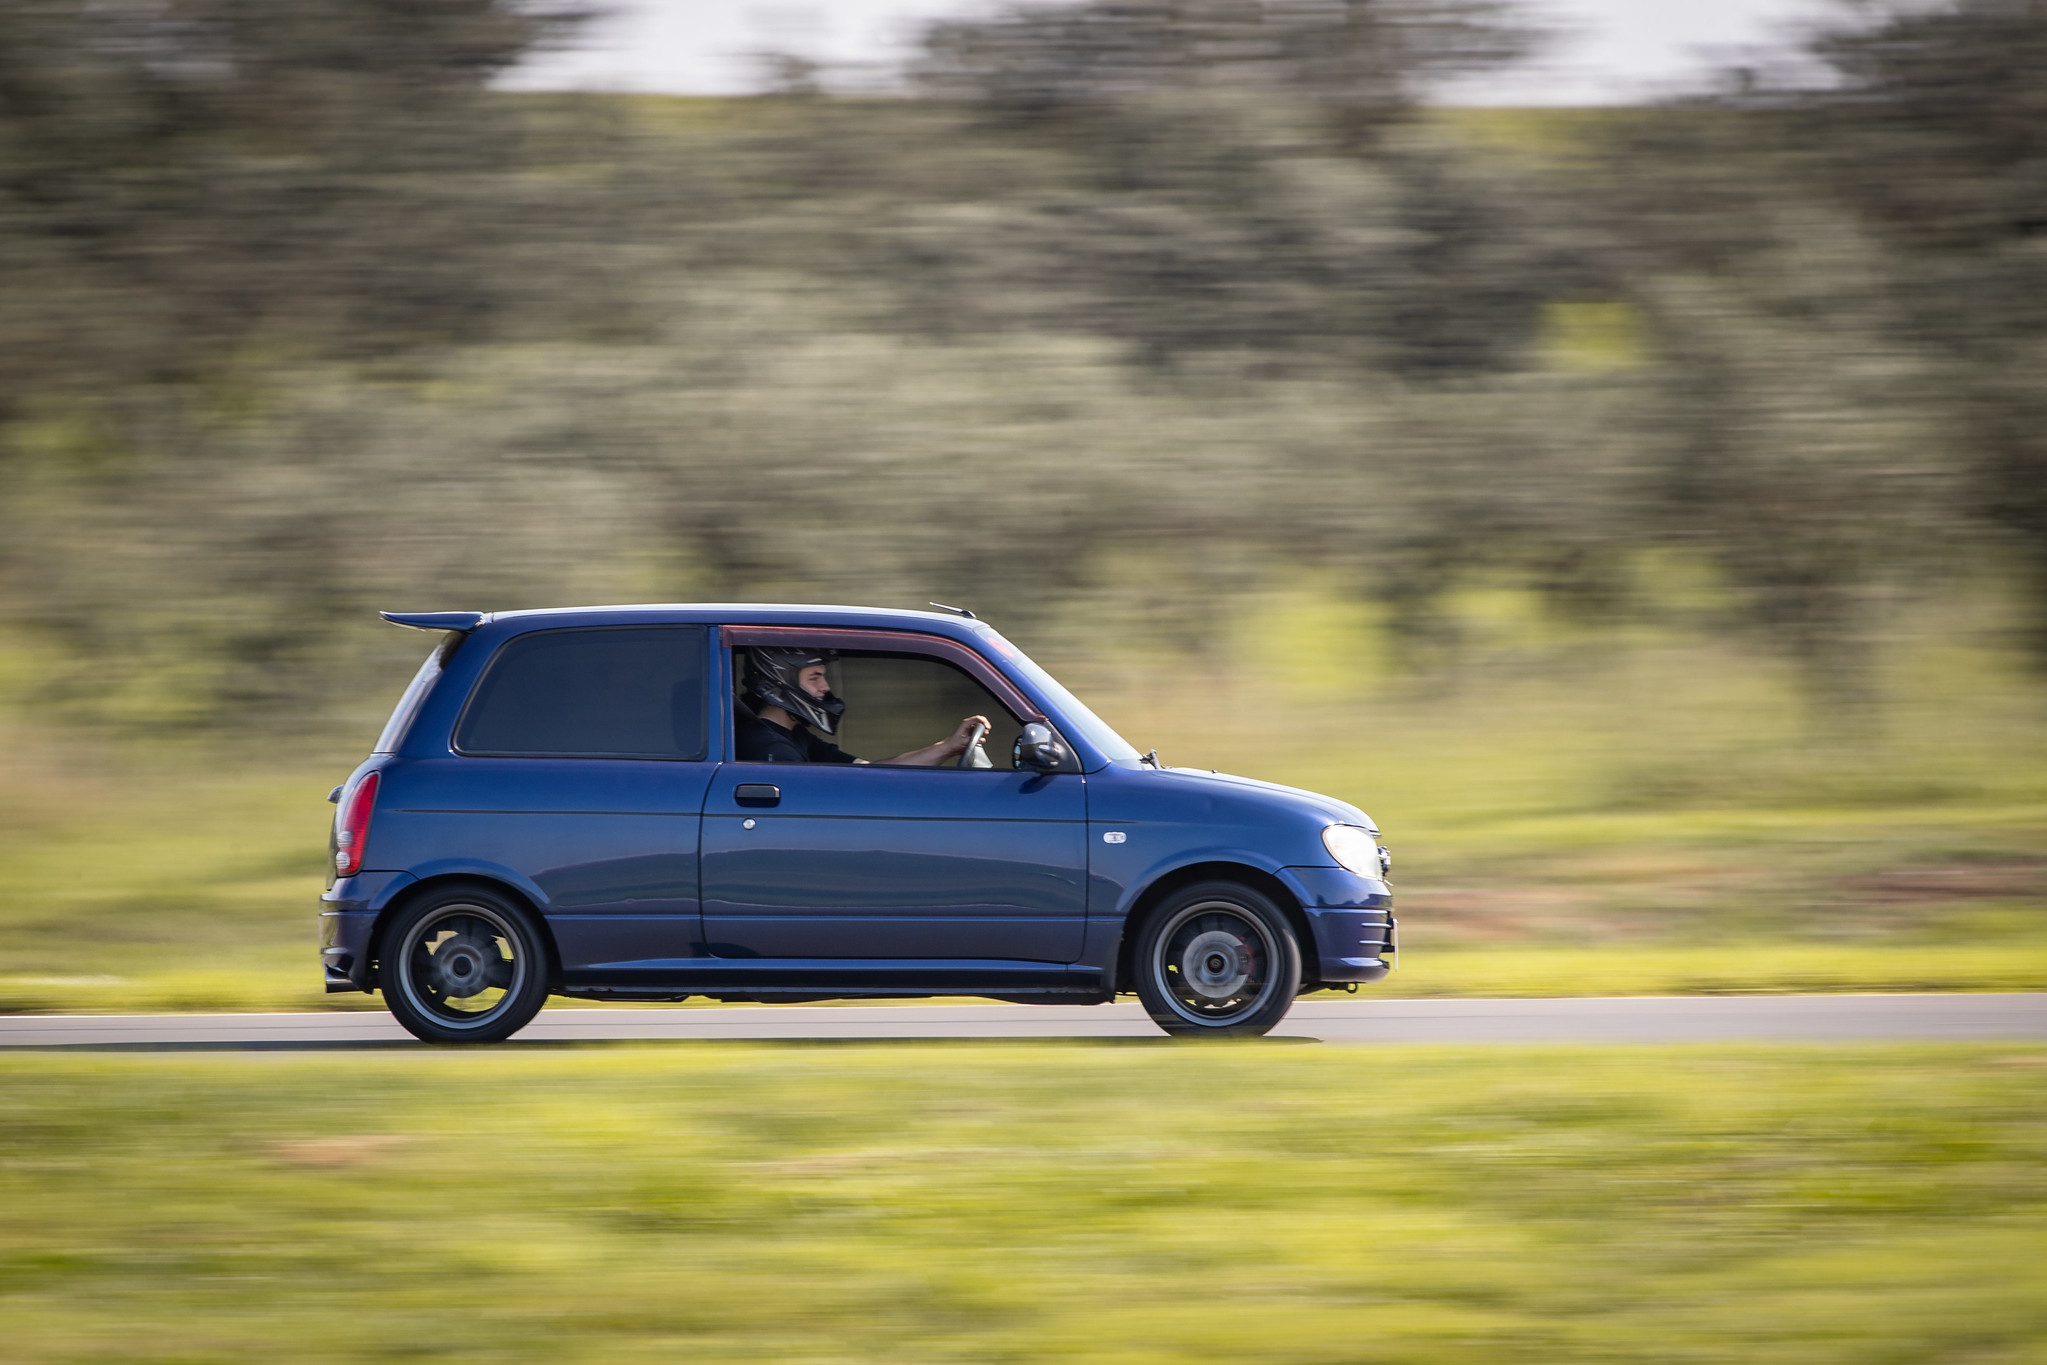
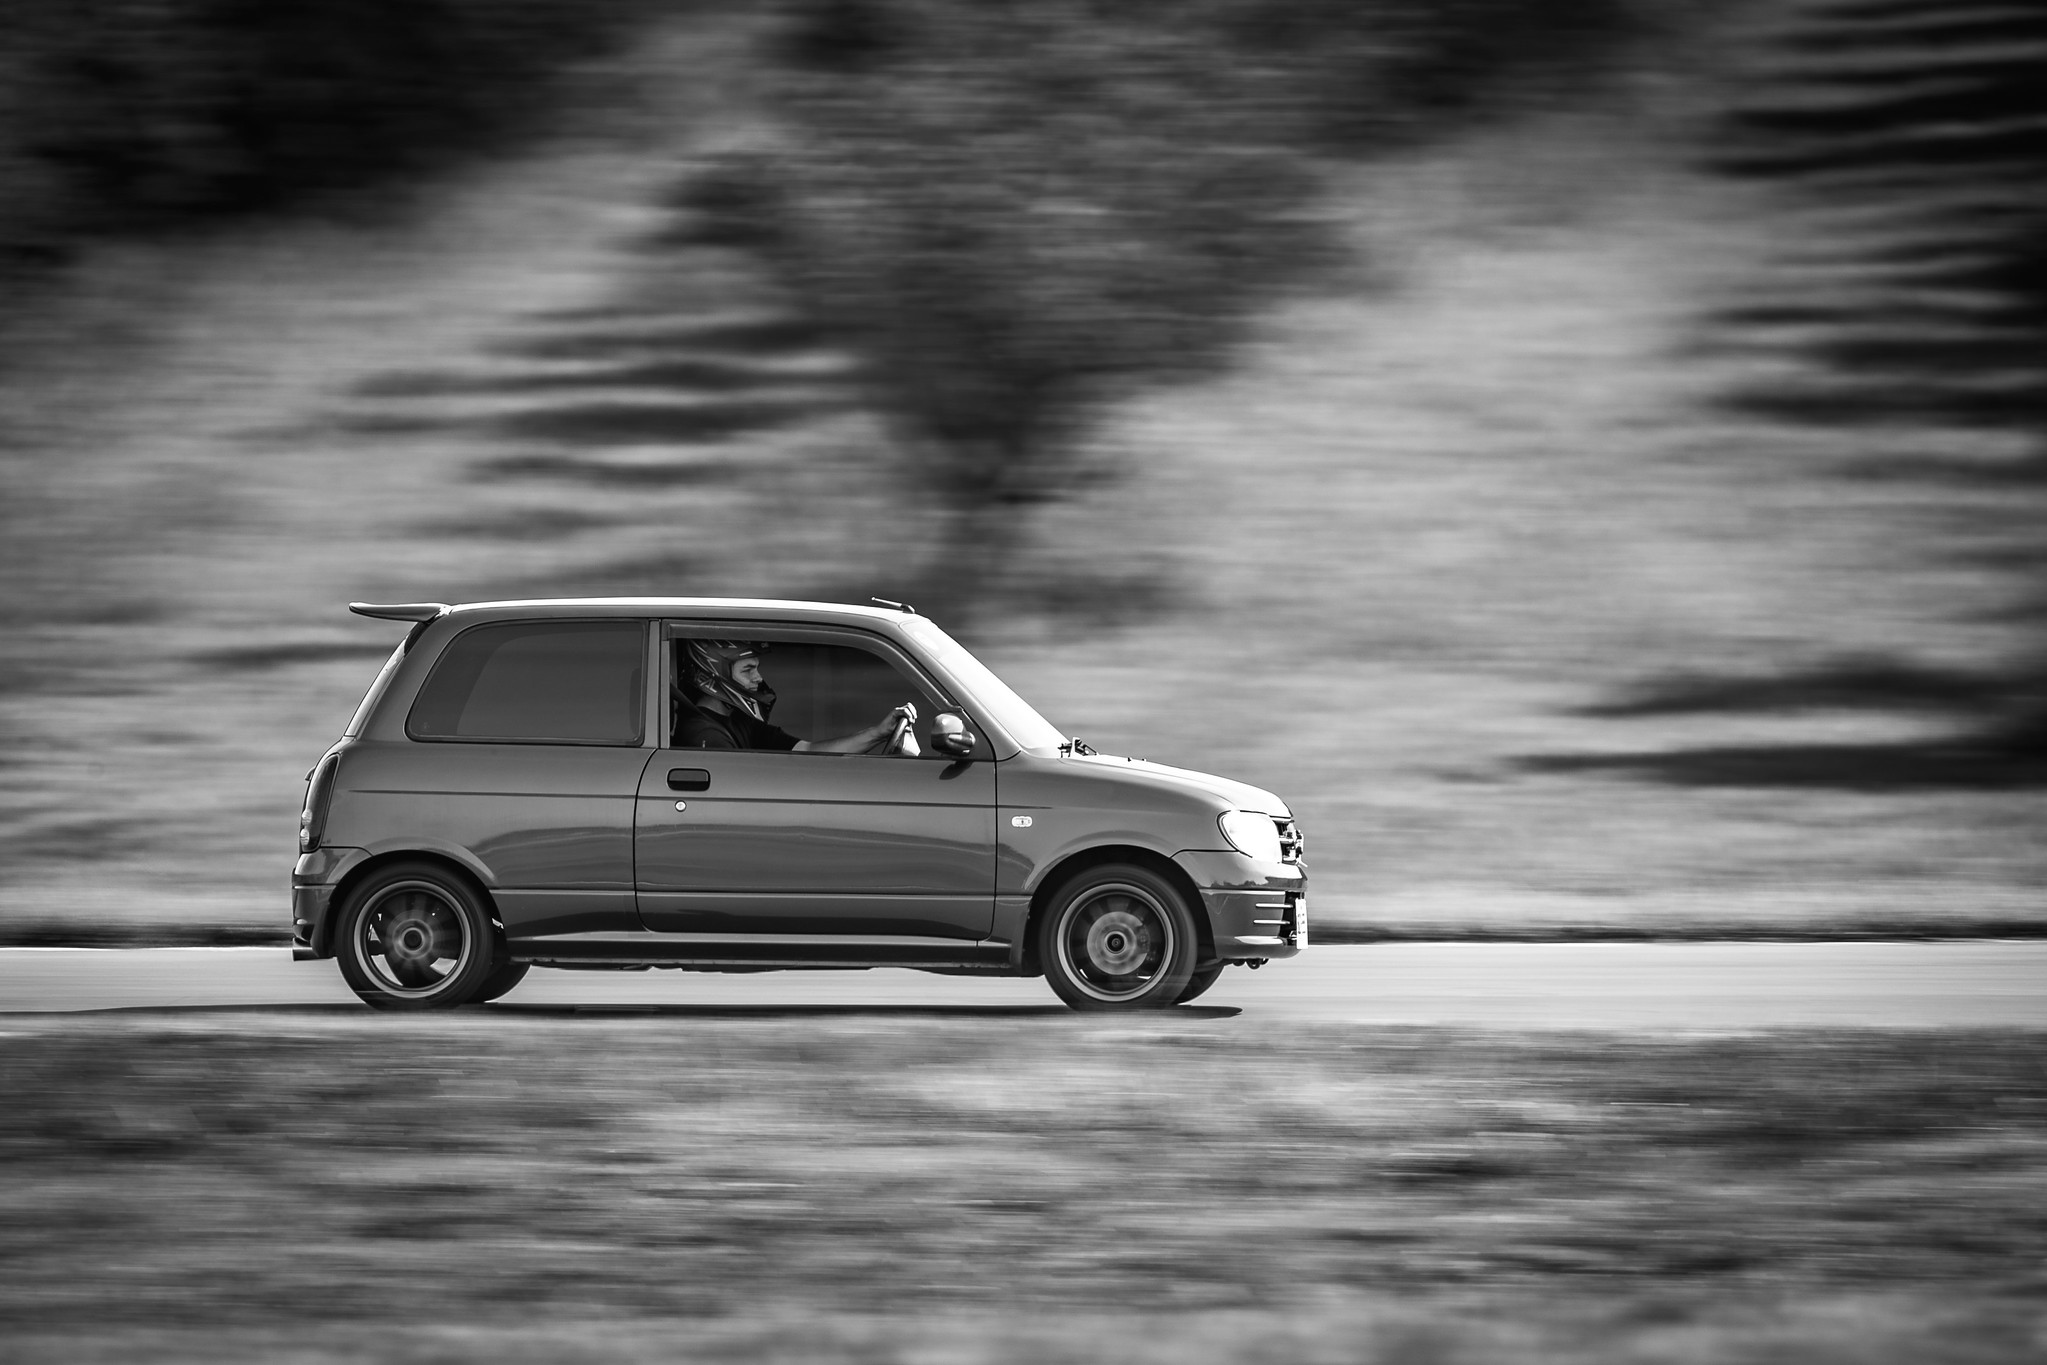
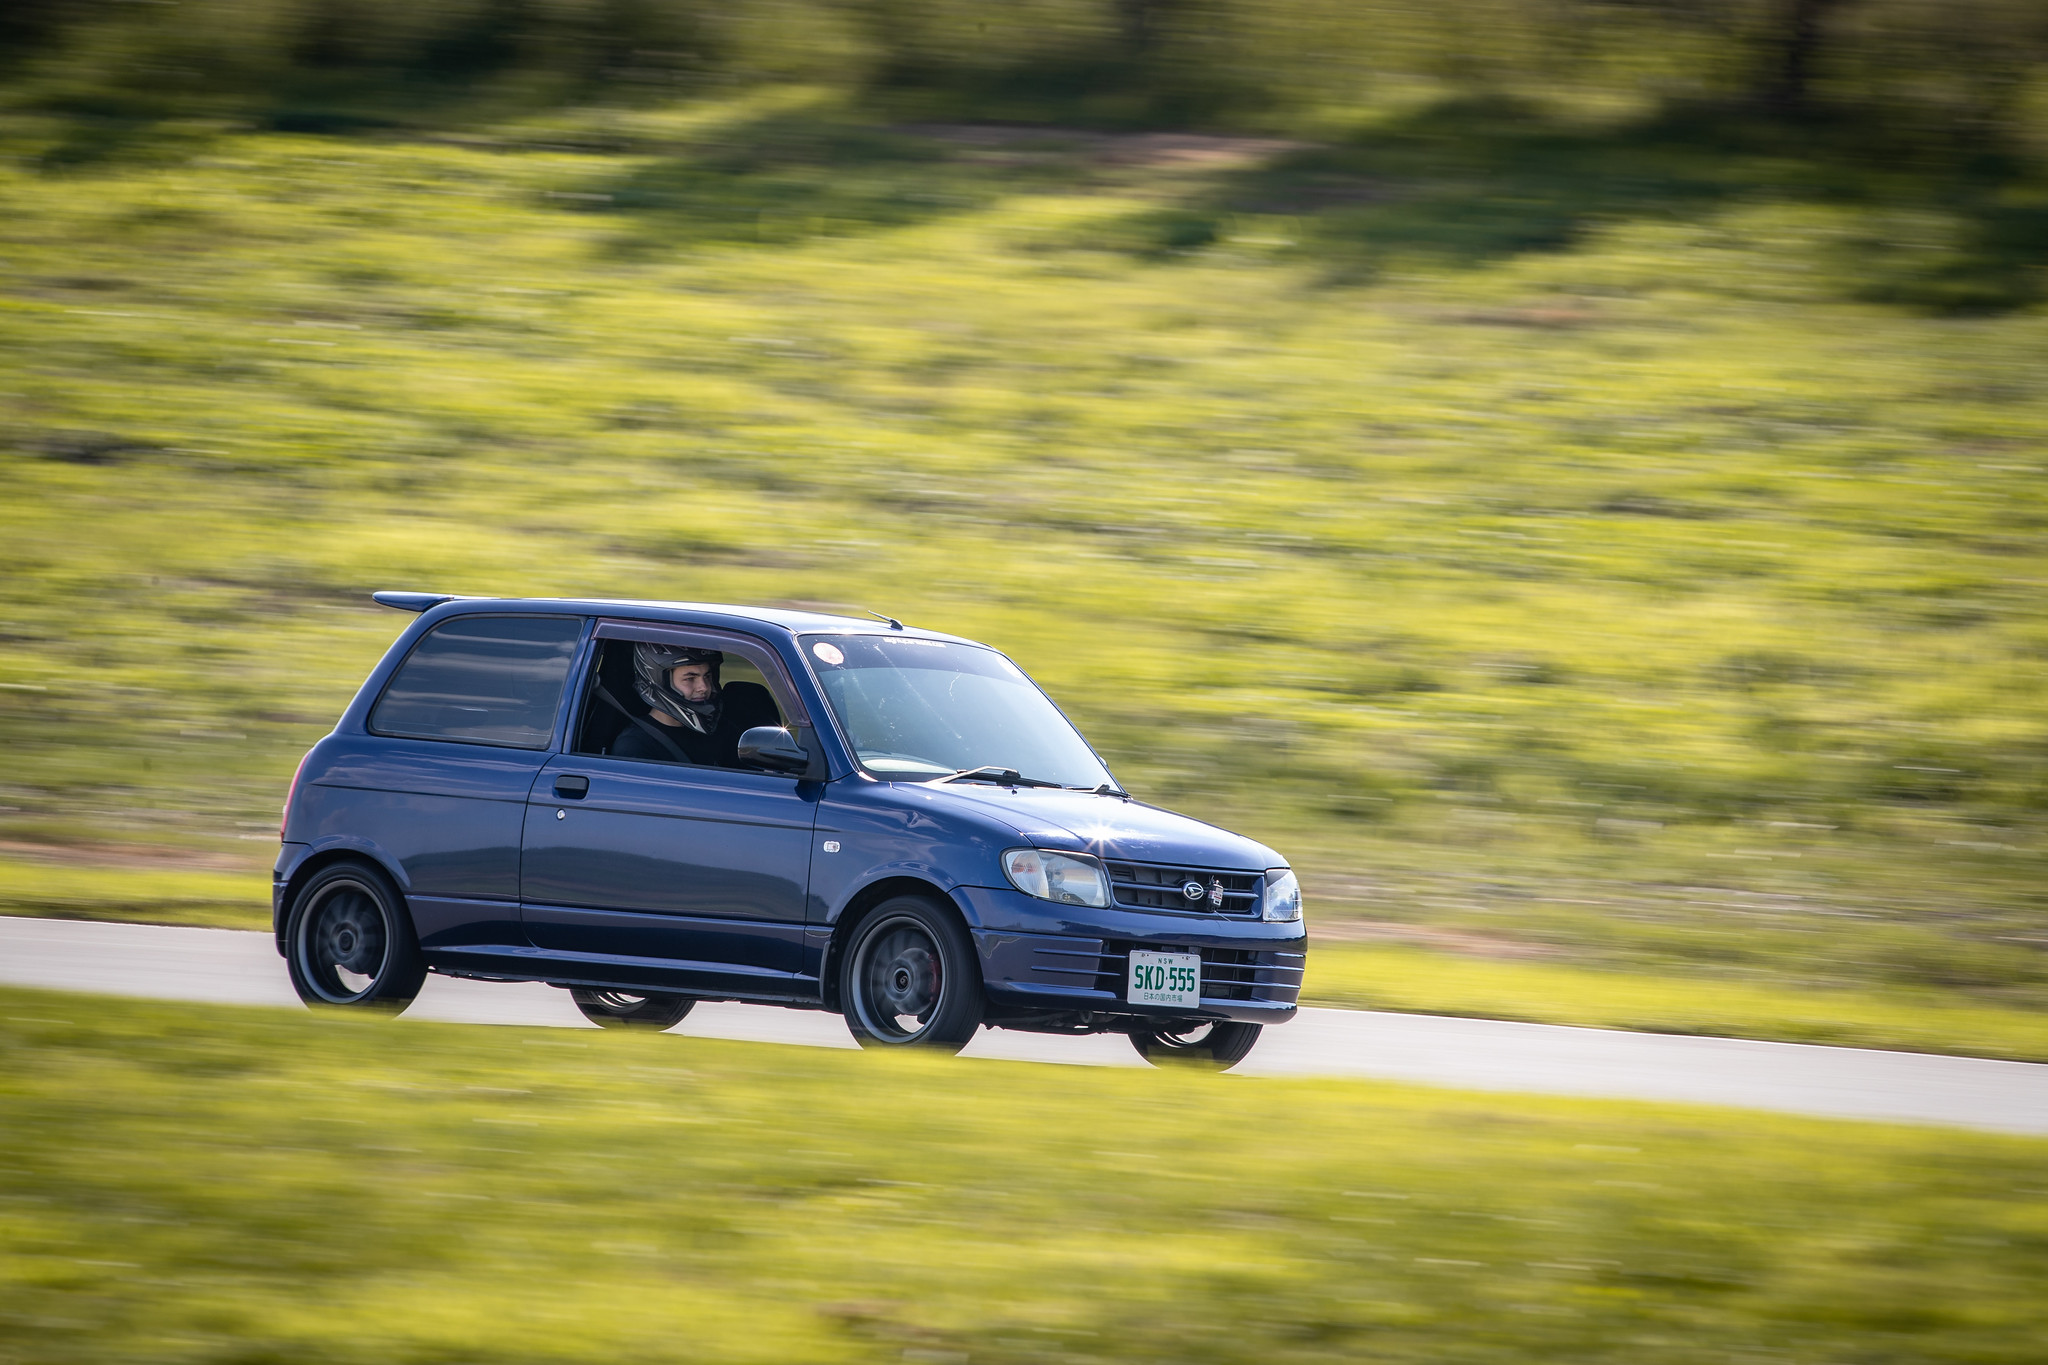
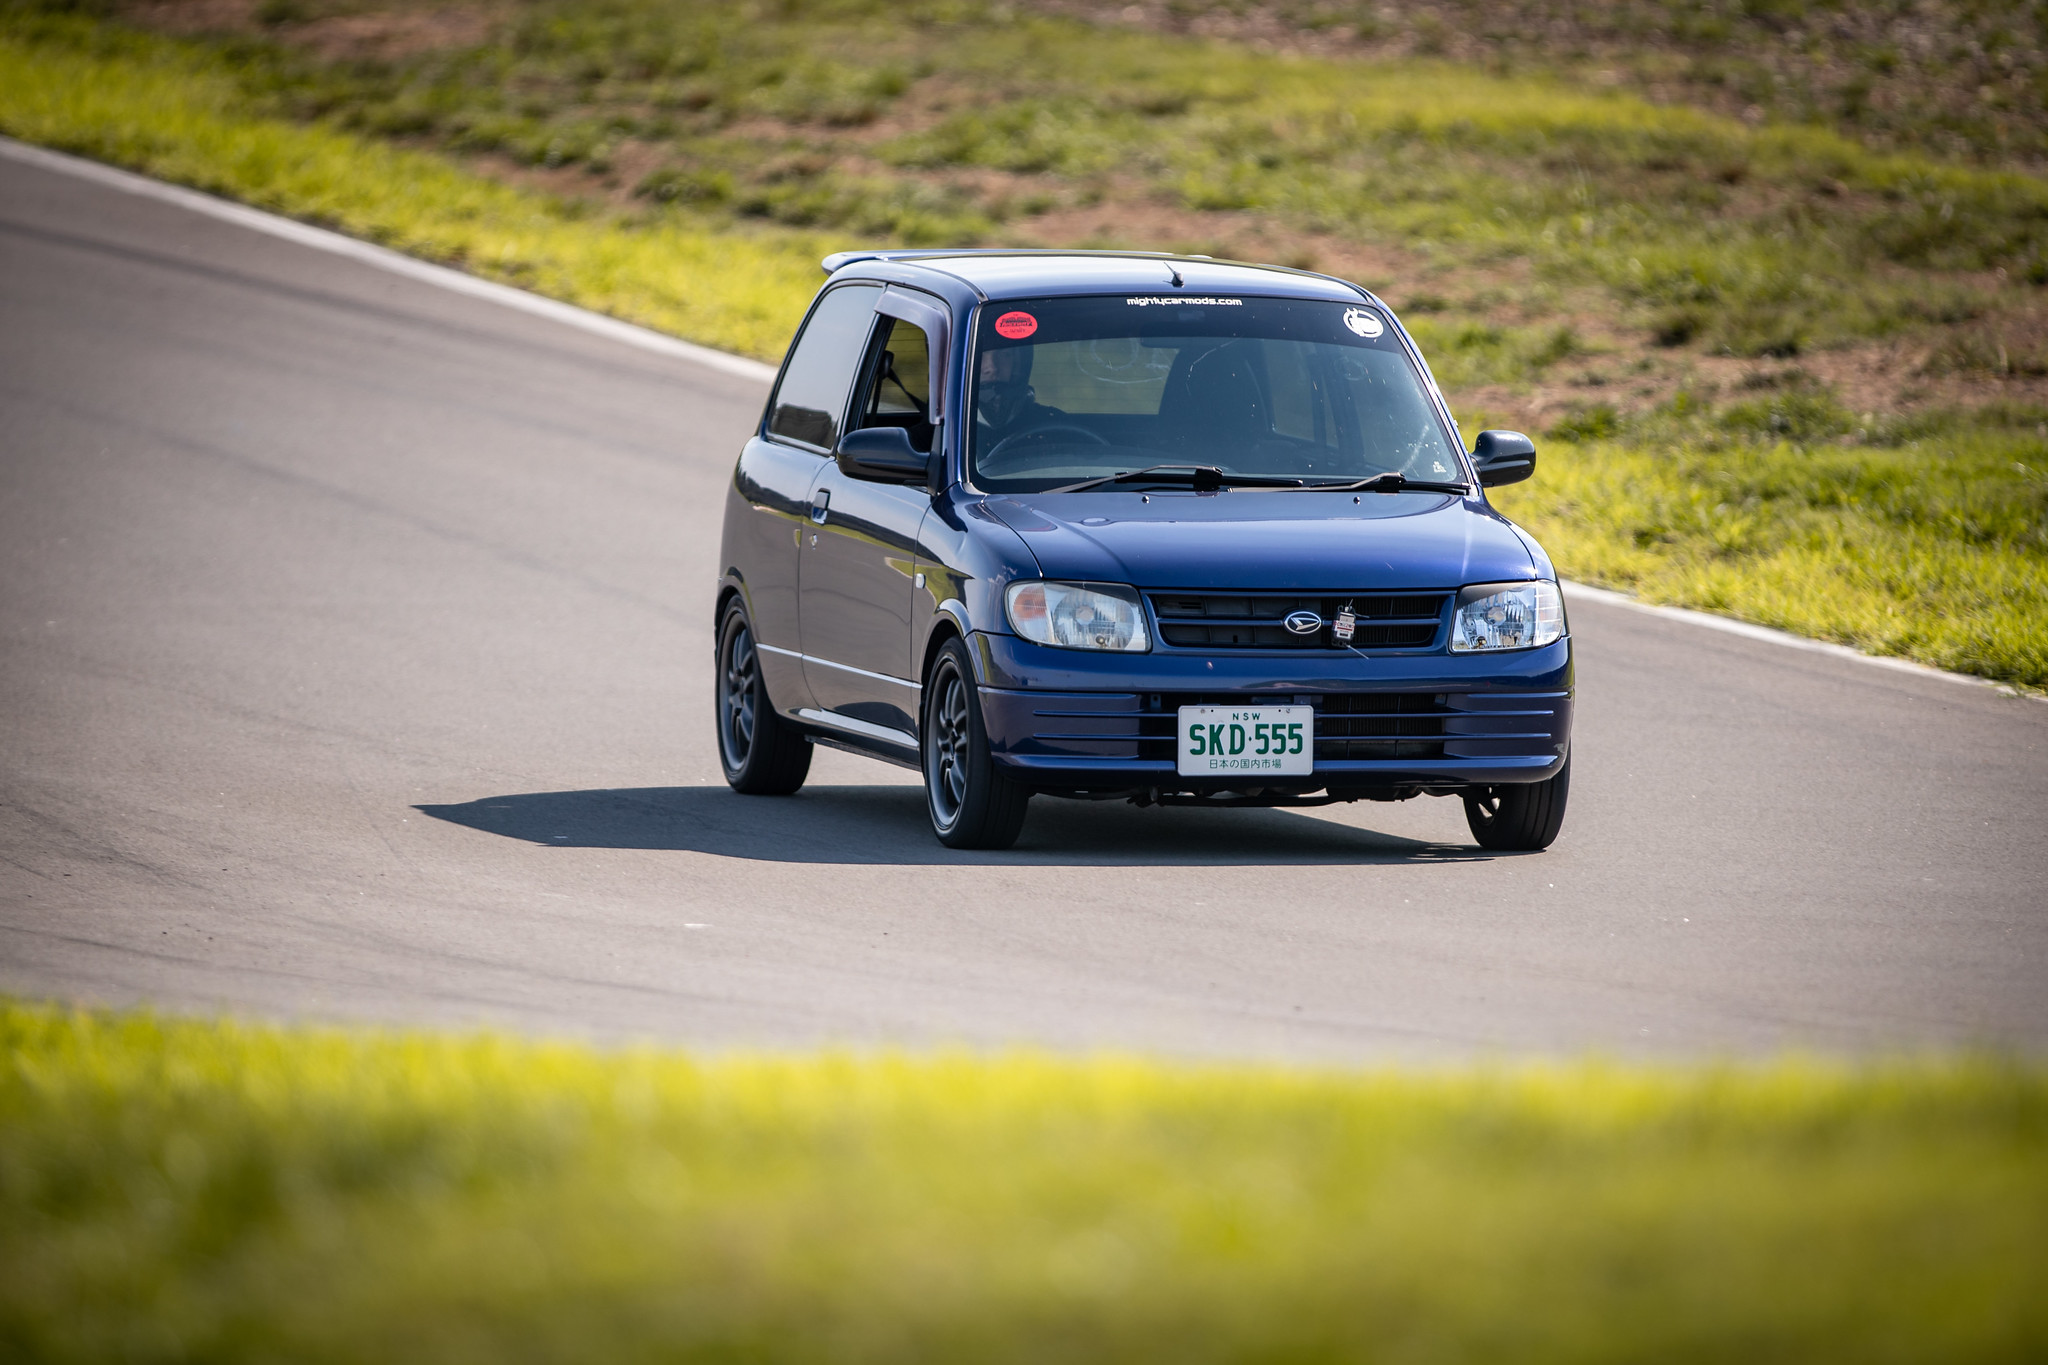
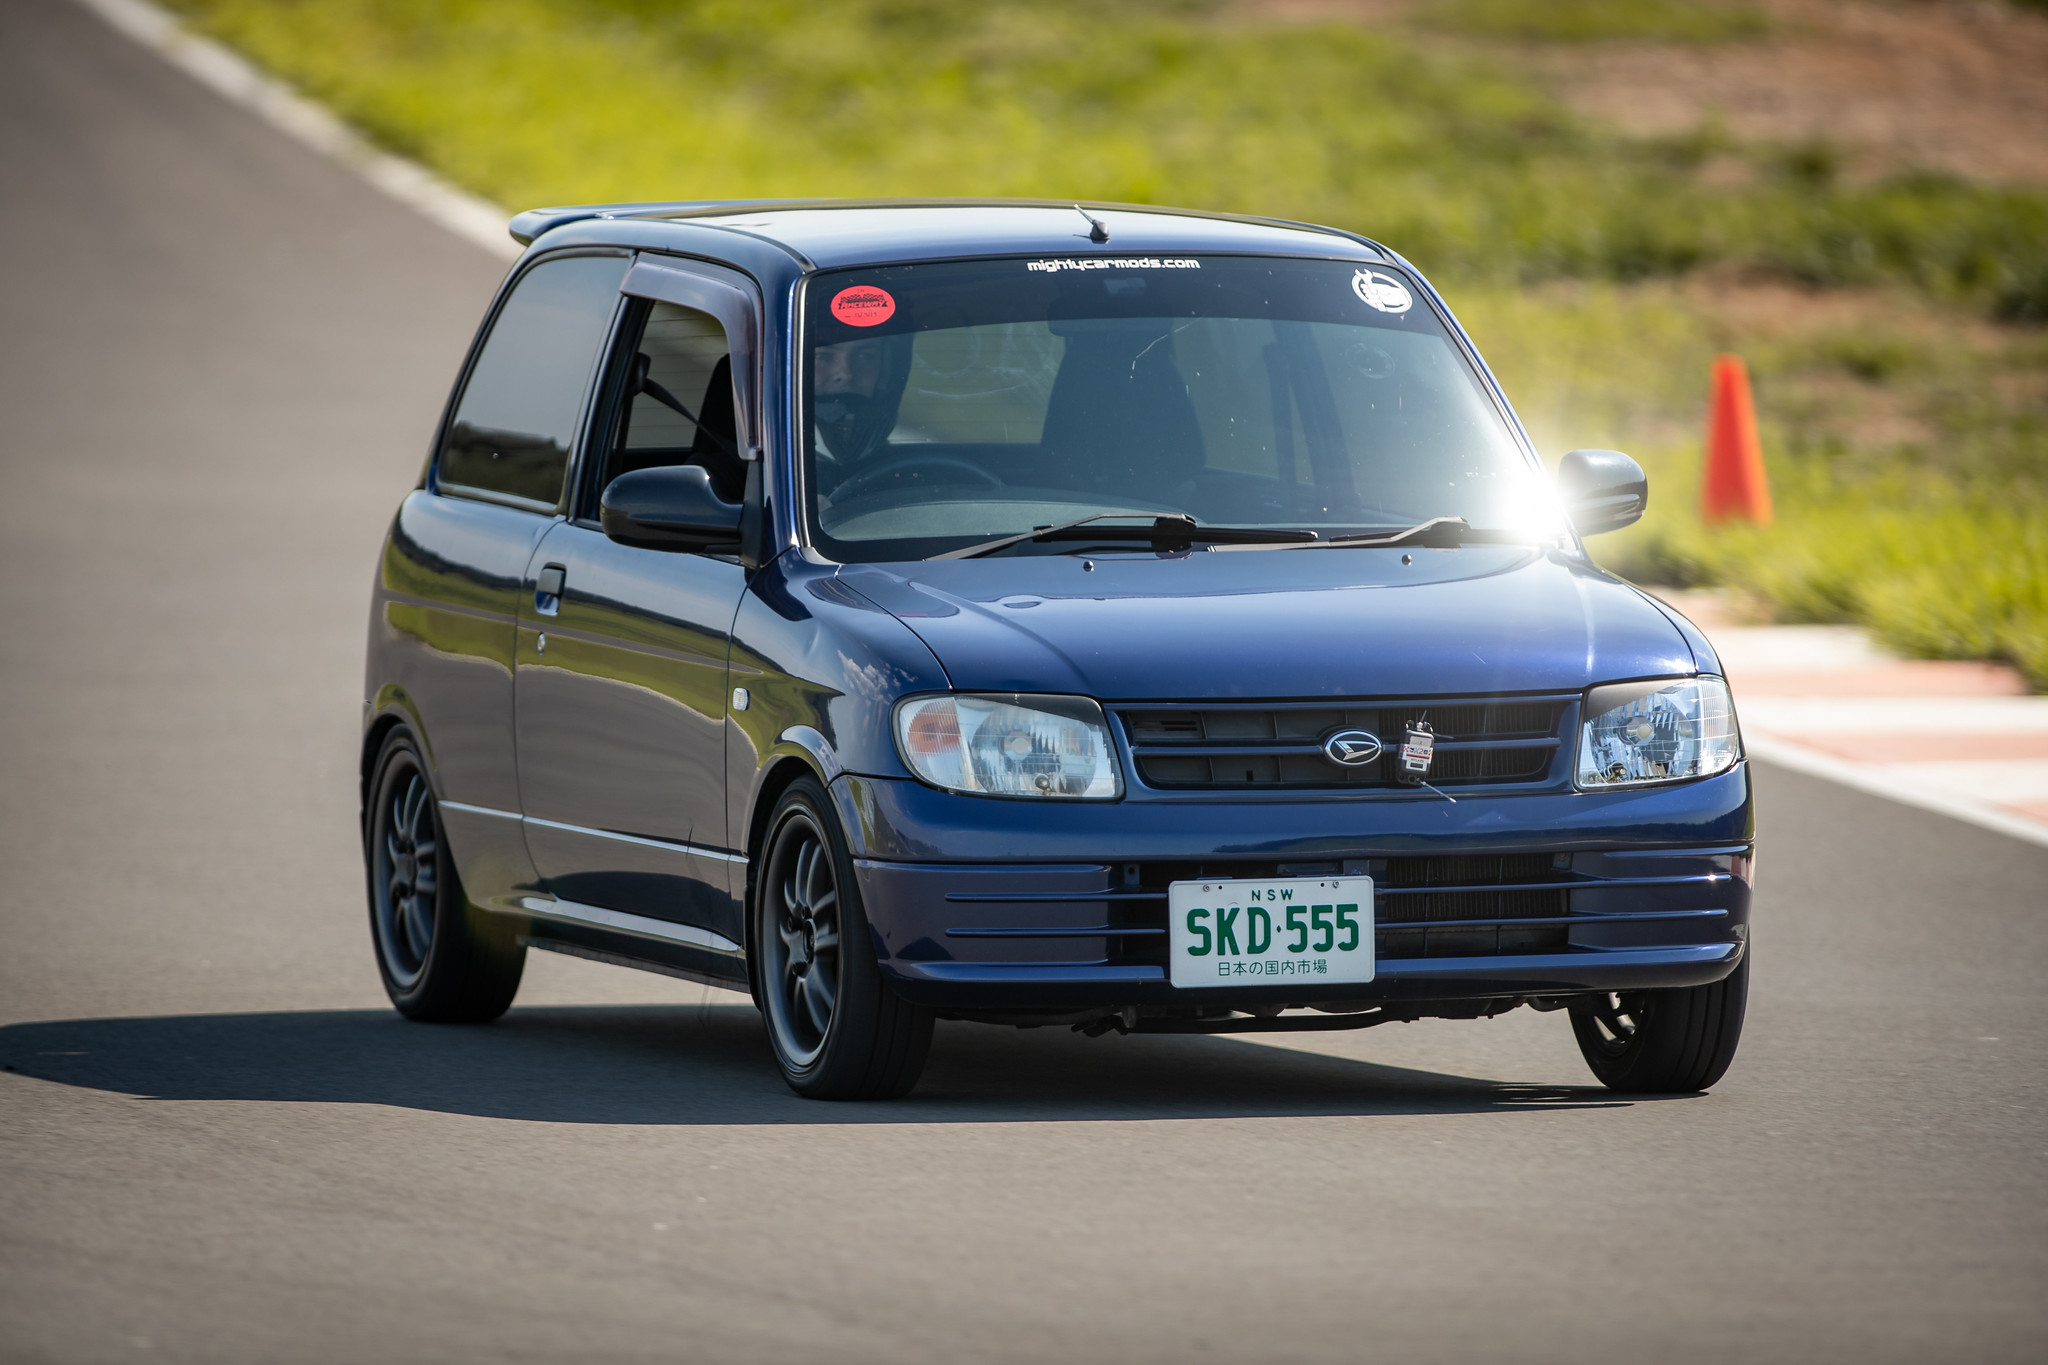
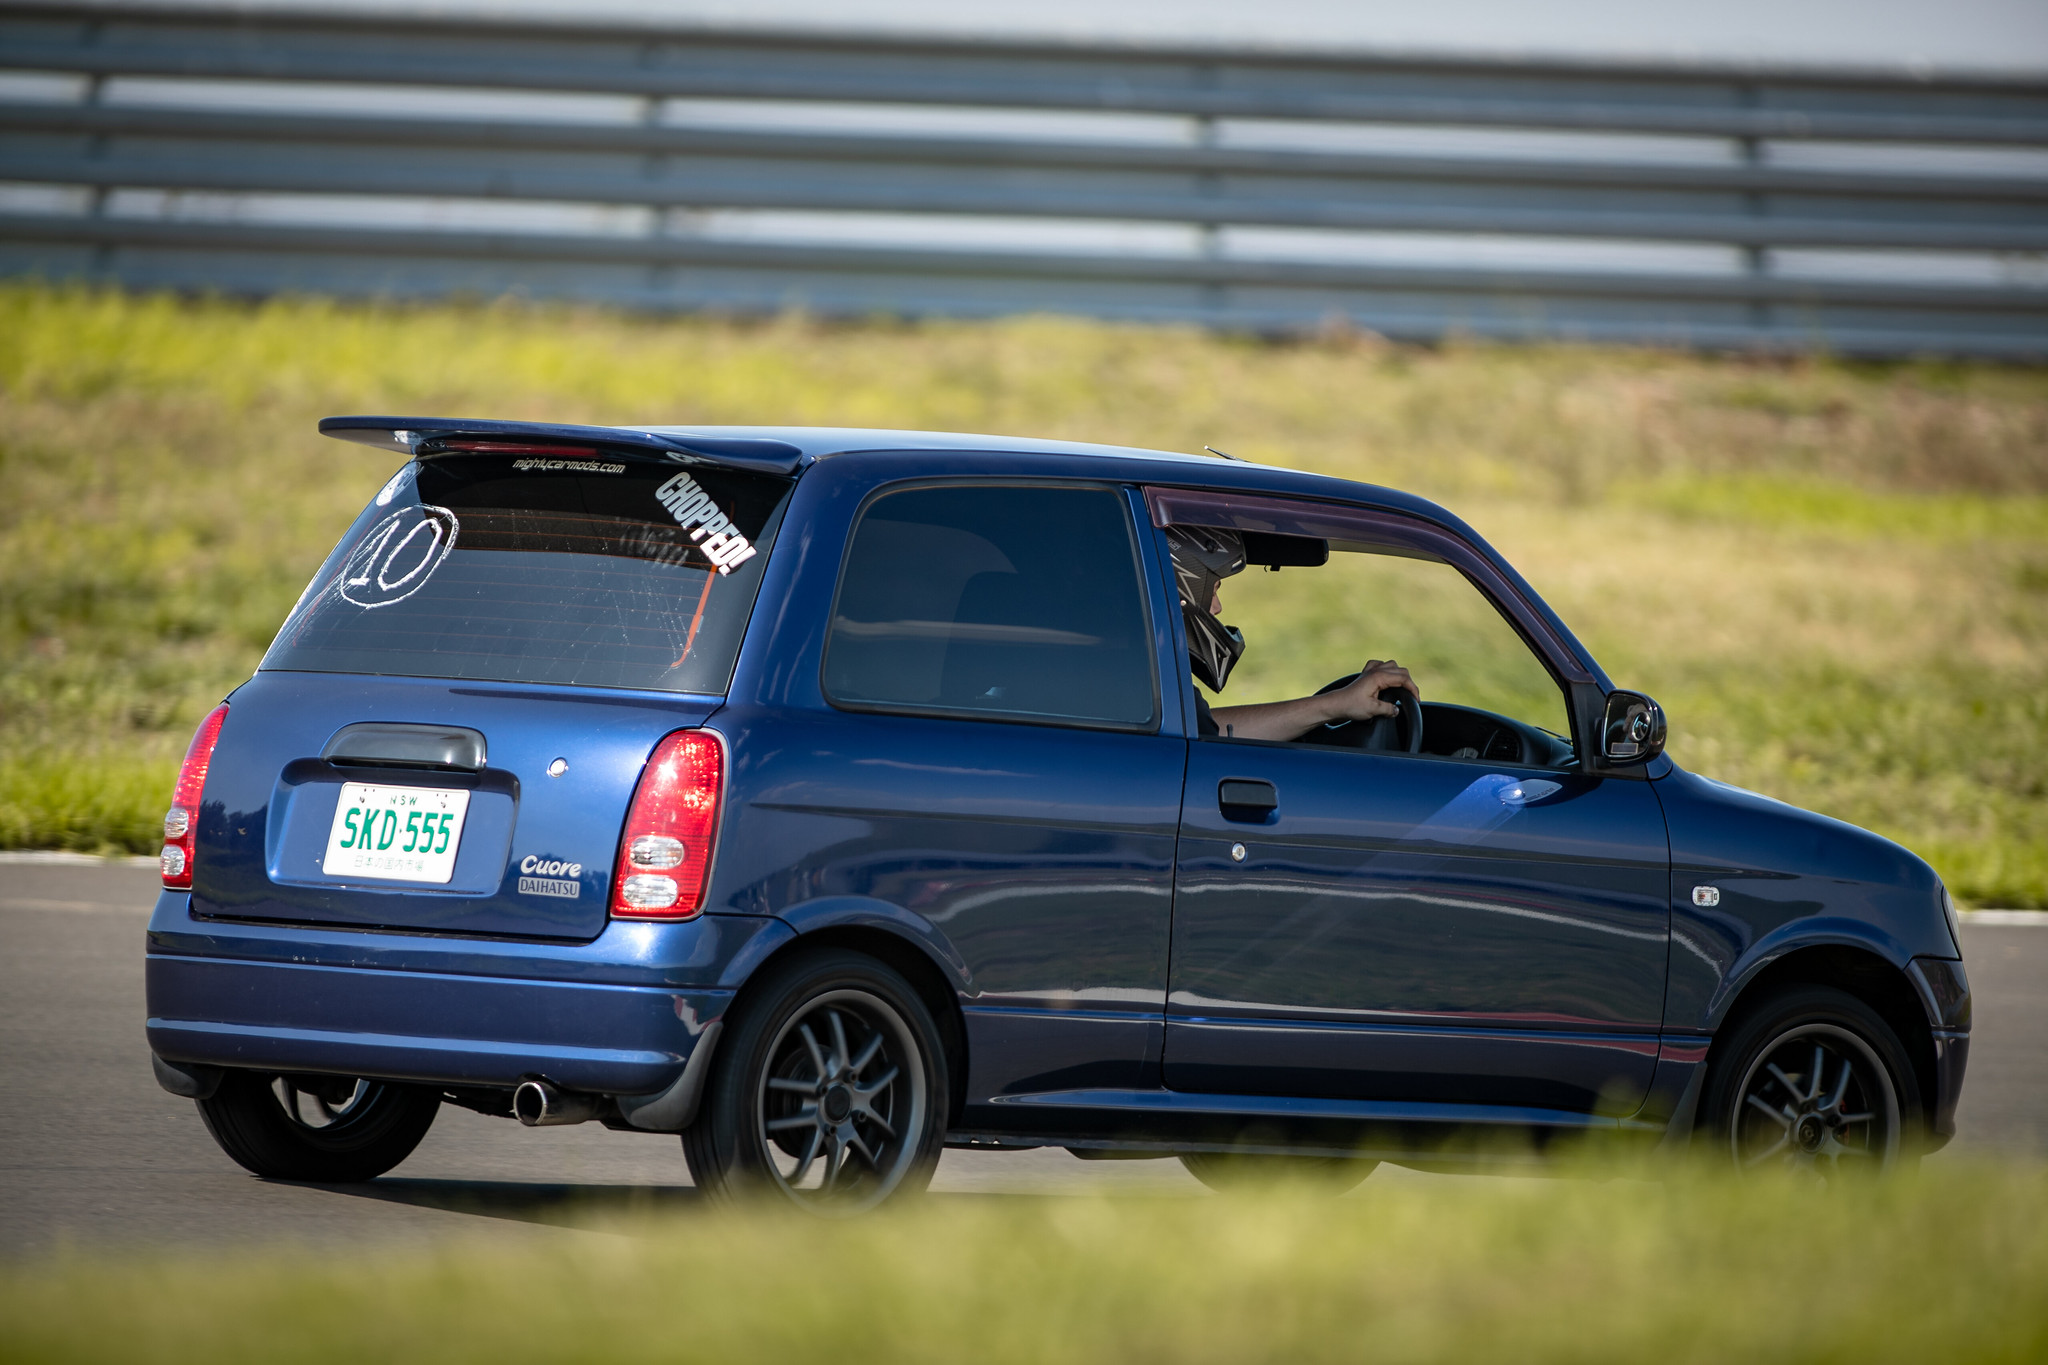


9 Likes
Great post!
your pictures are always top quality.
1 Like
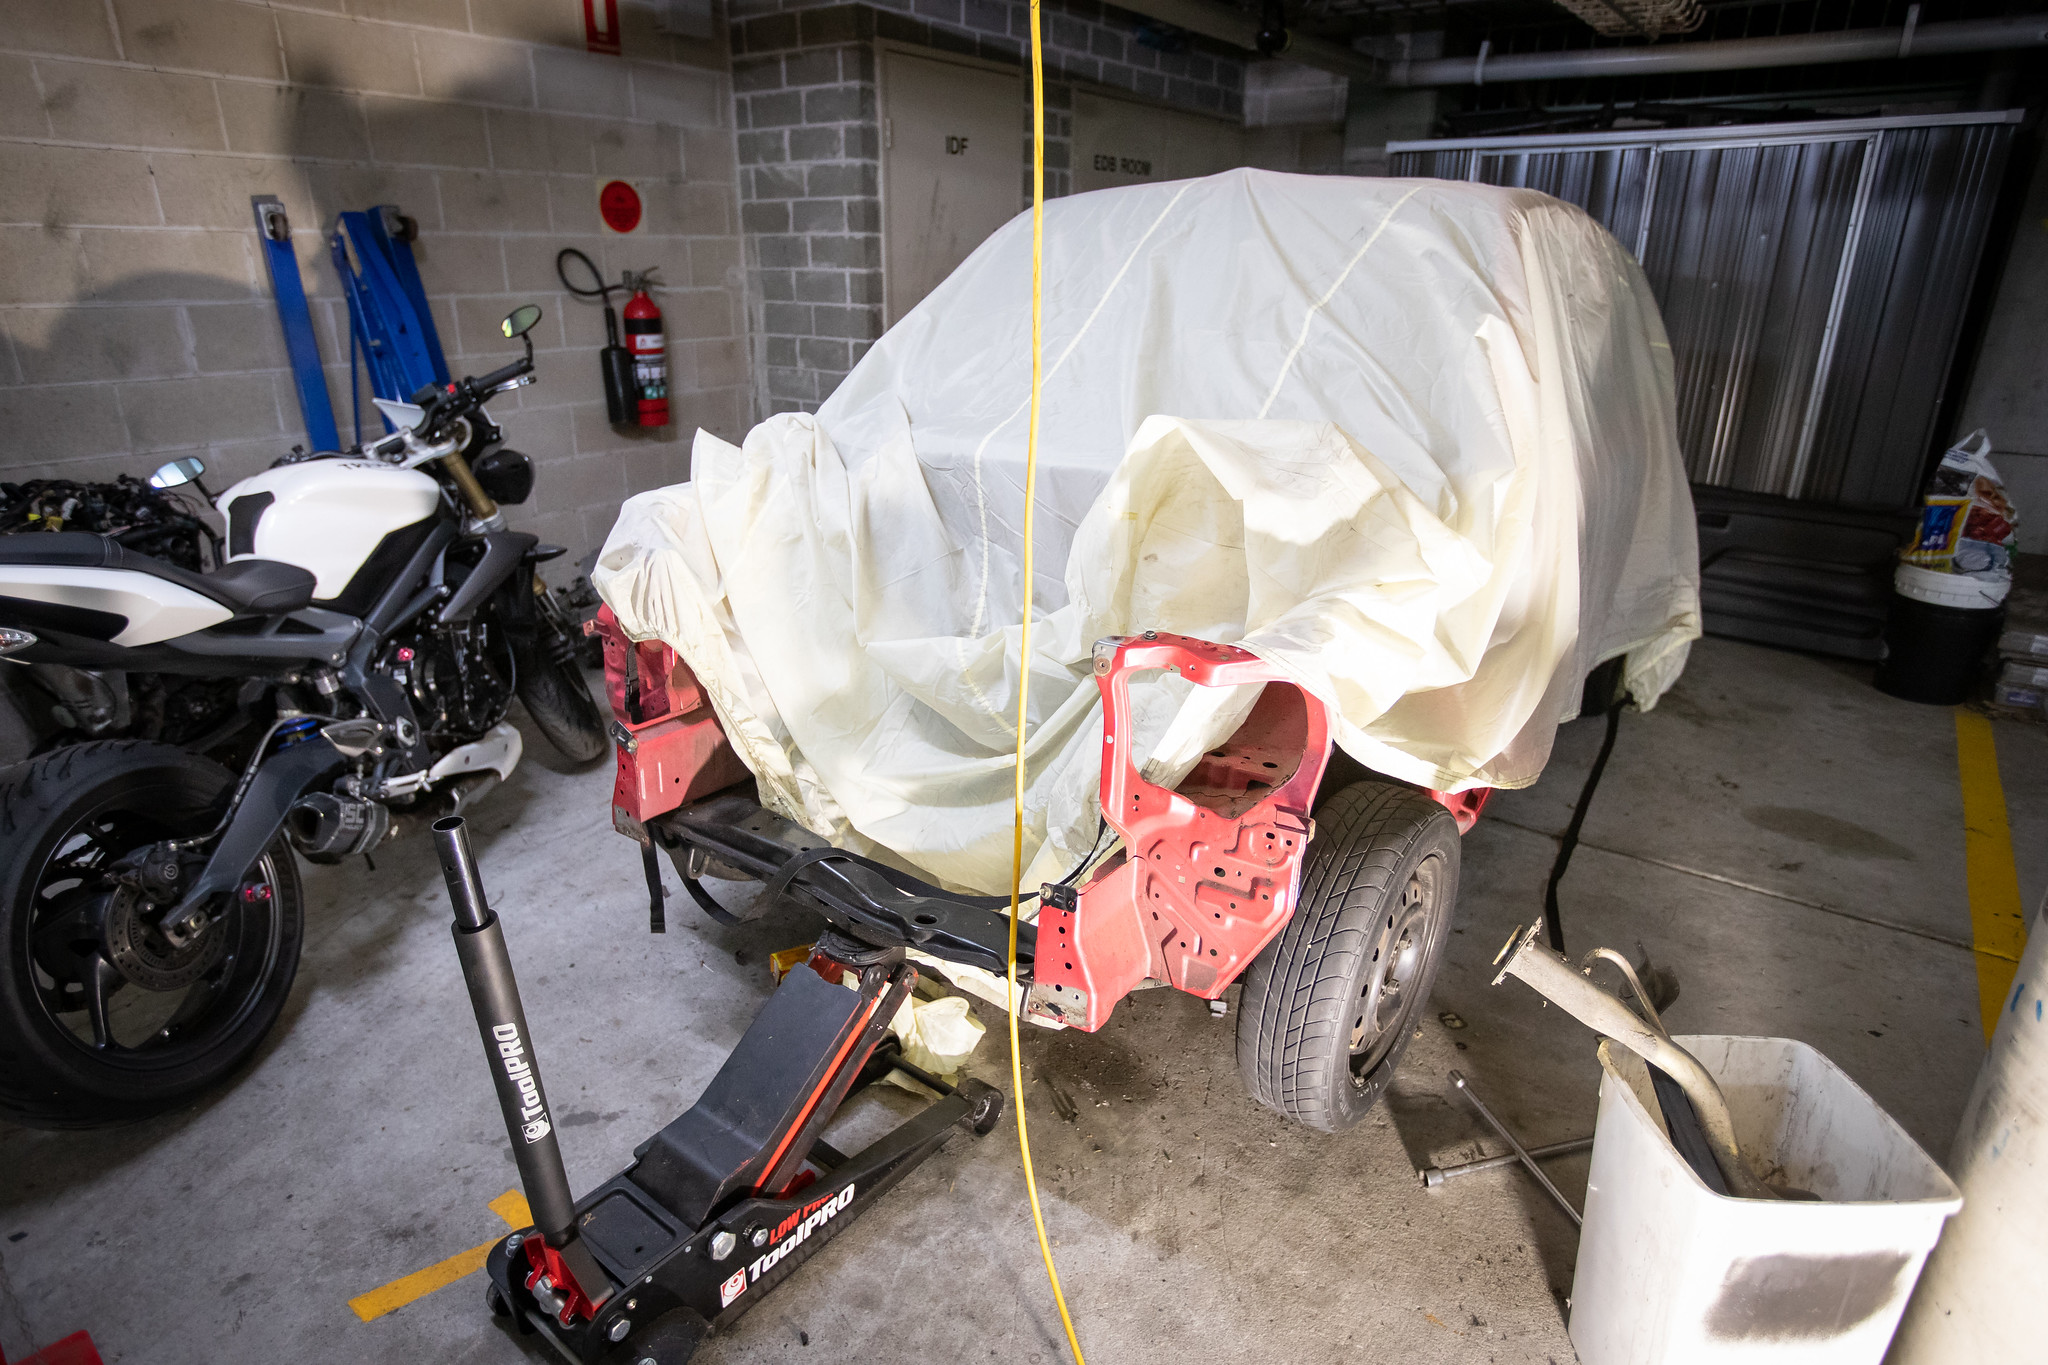
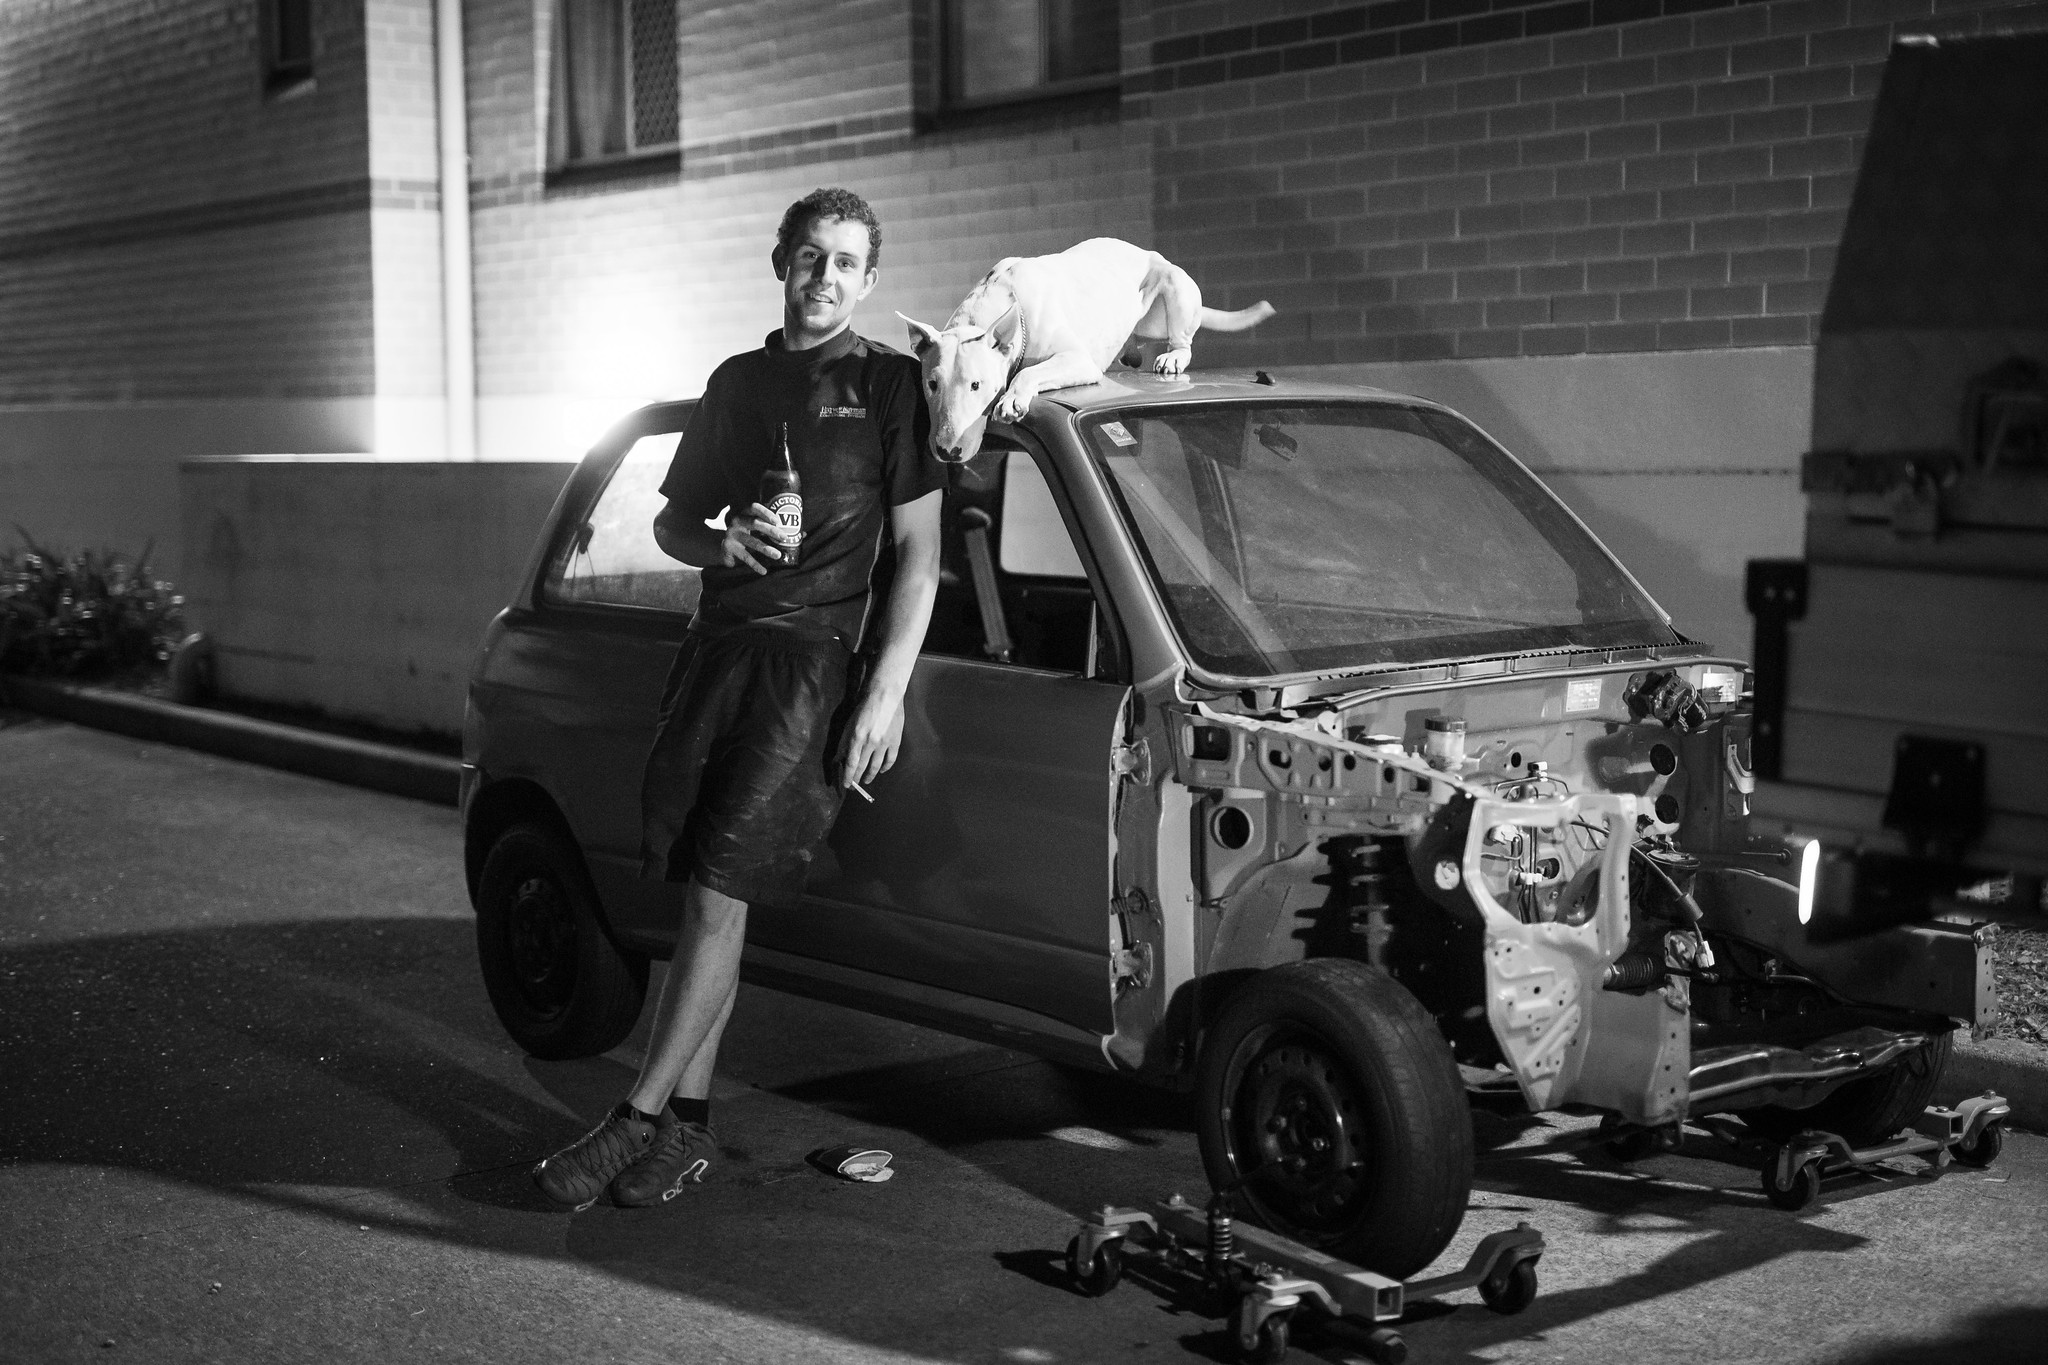
April 2019: I’m happy to say there is an end to one chapter. The bloody parts car is finally out of my garage, thanks to my mate and his doggo!
6 Likes
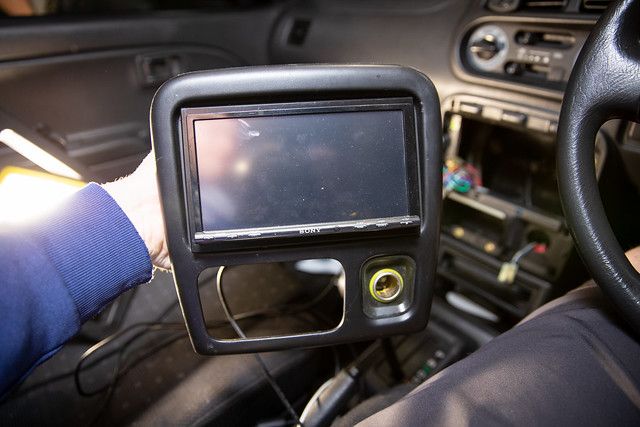
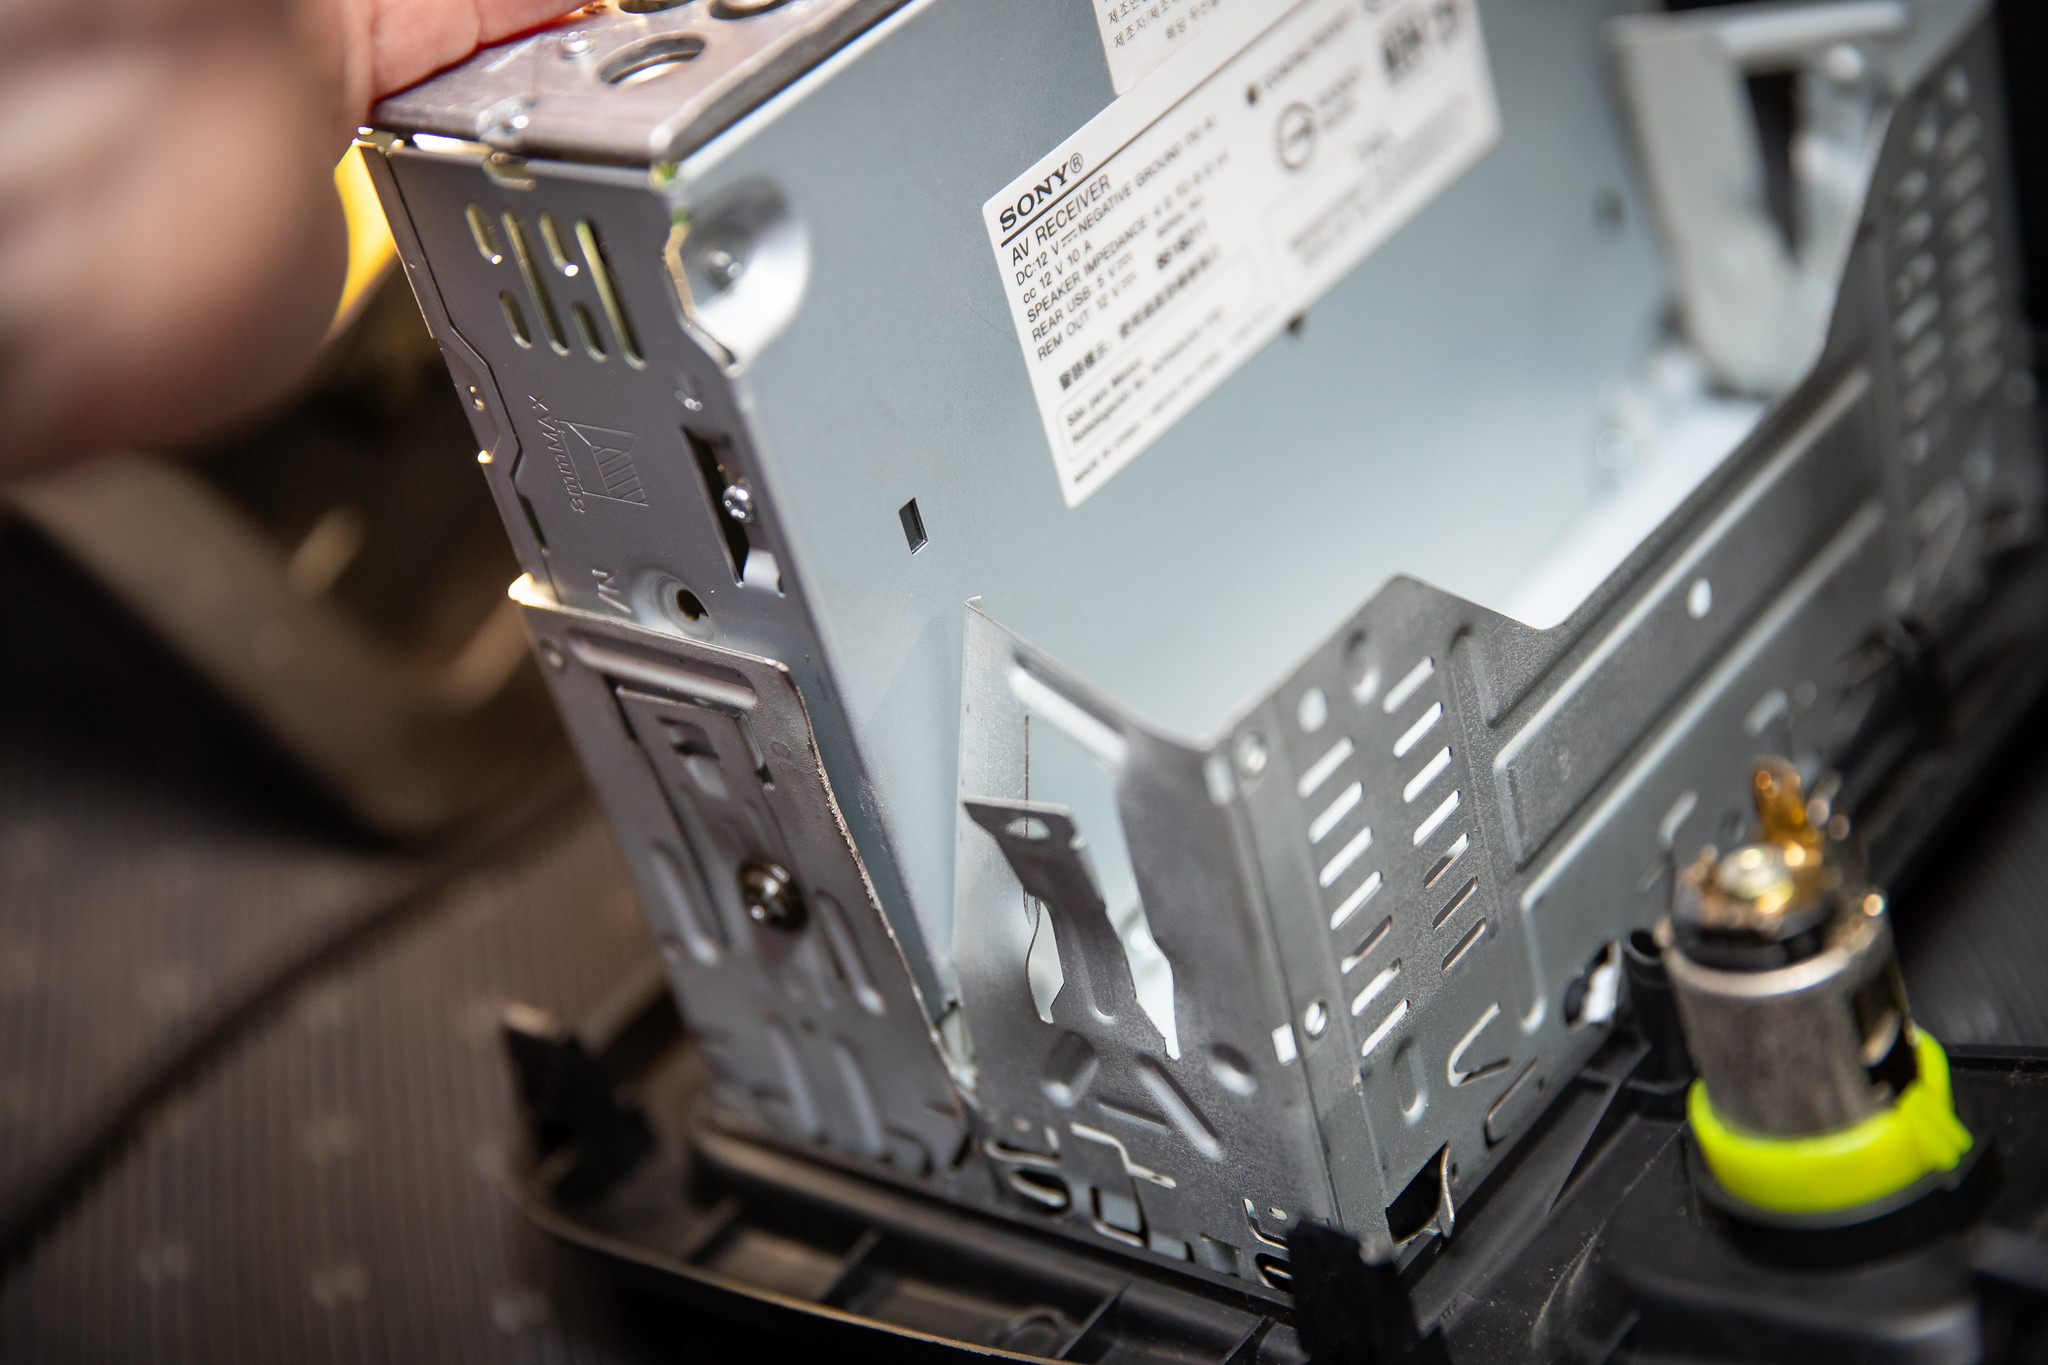
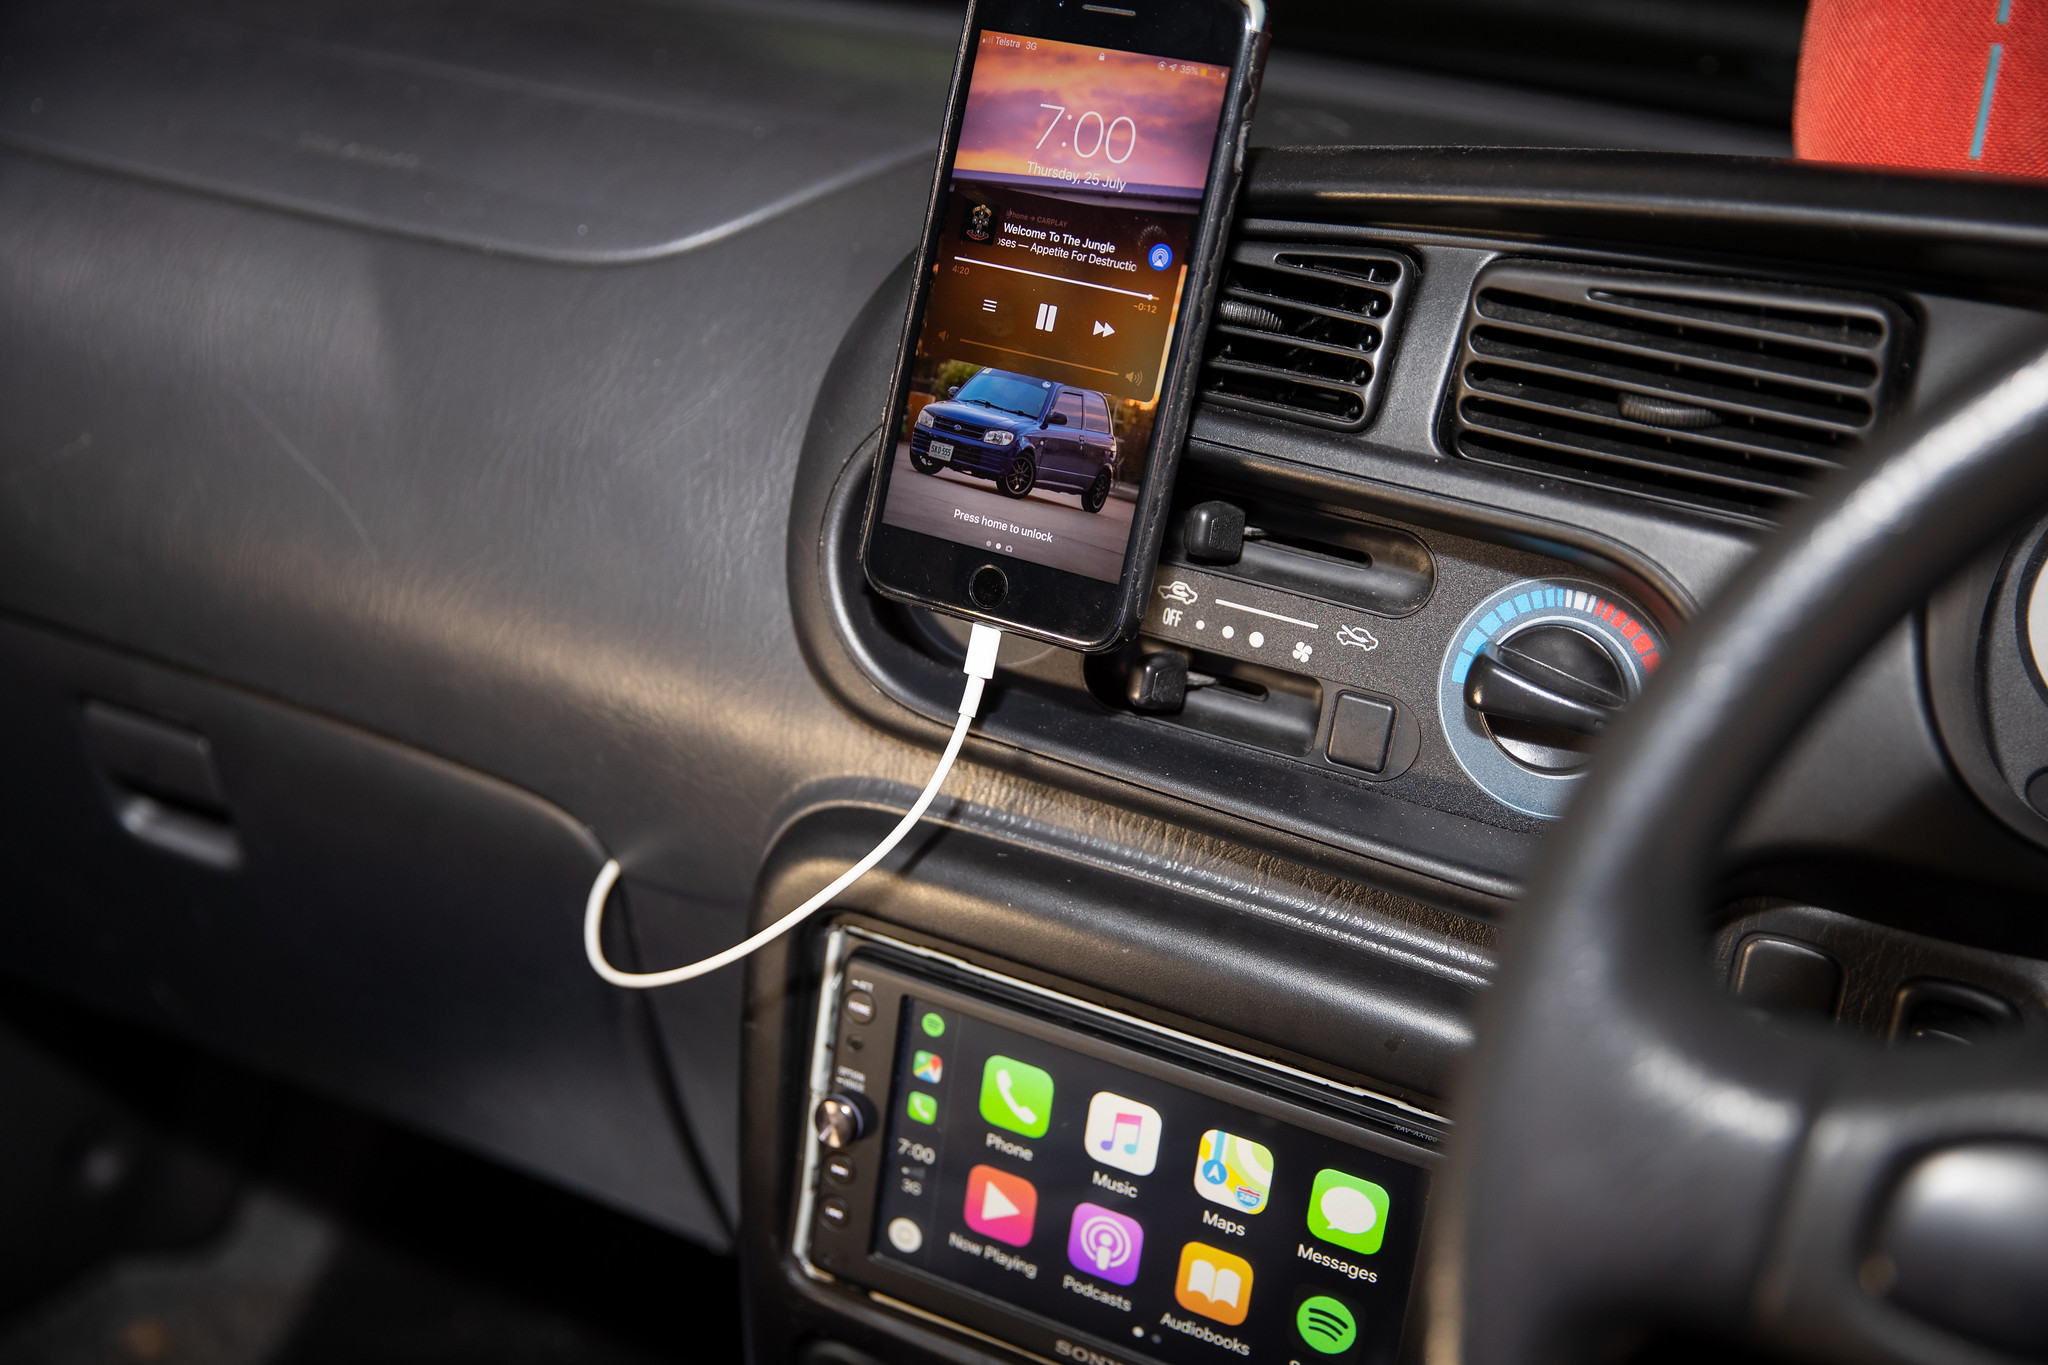
July 2019: My journey with my Subaru wagon is about to end. A new owner is lined up and while I’m selling the car as is and heavily modified, the entire stereo system will be coming out and going into the Cuore, which is exciting cause its a pretty high end one.
The car will be sold with no speakers or amp but I do need to swap the headunits around, the current one in the Cuore is actually from my Subaru. I hate it so much I can’t explain.

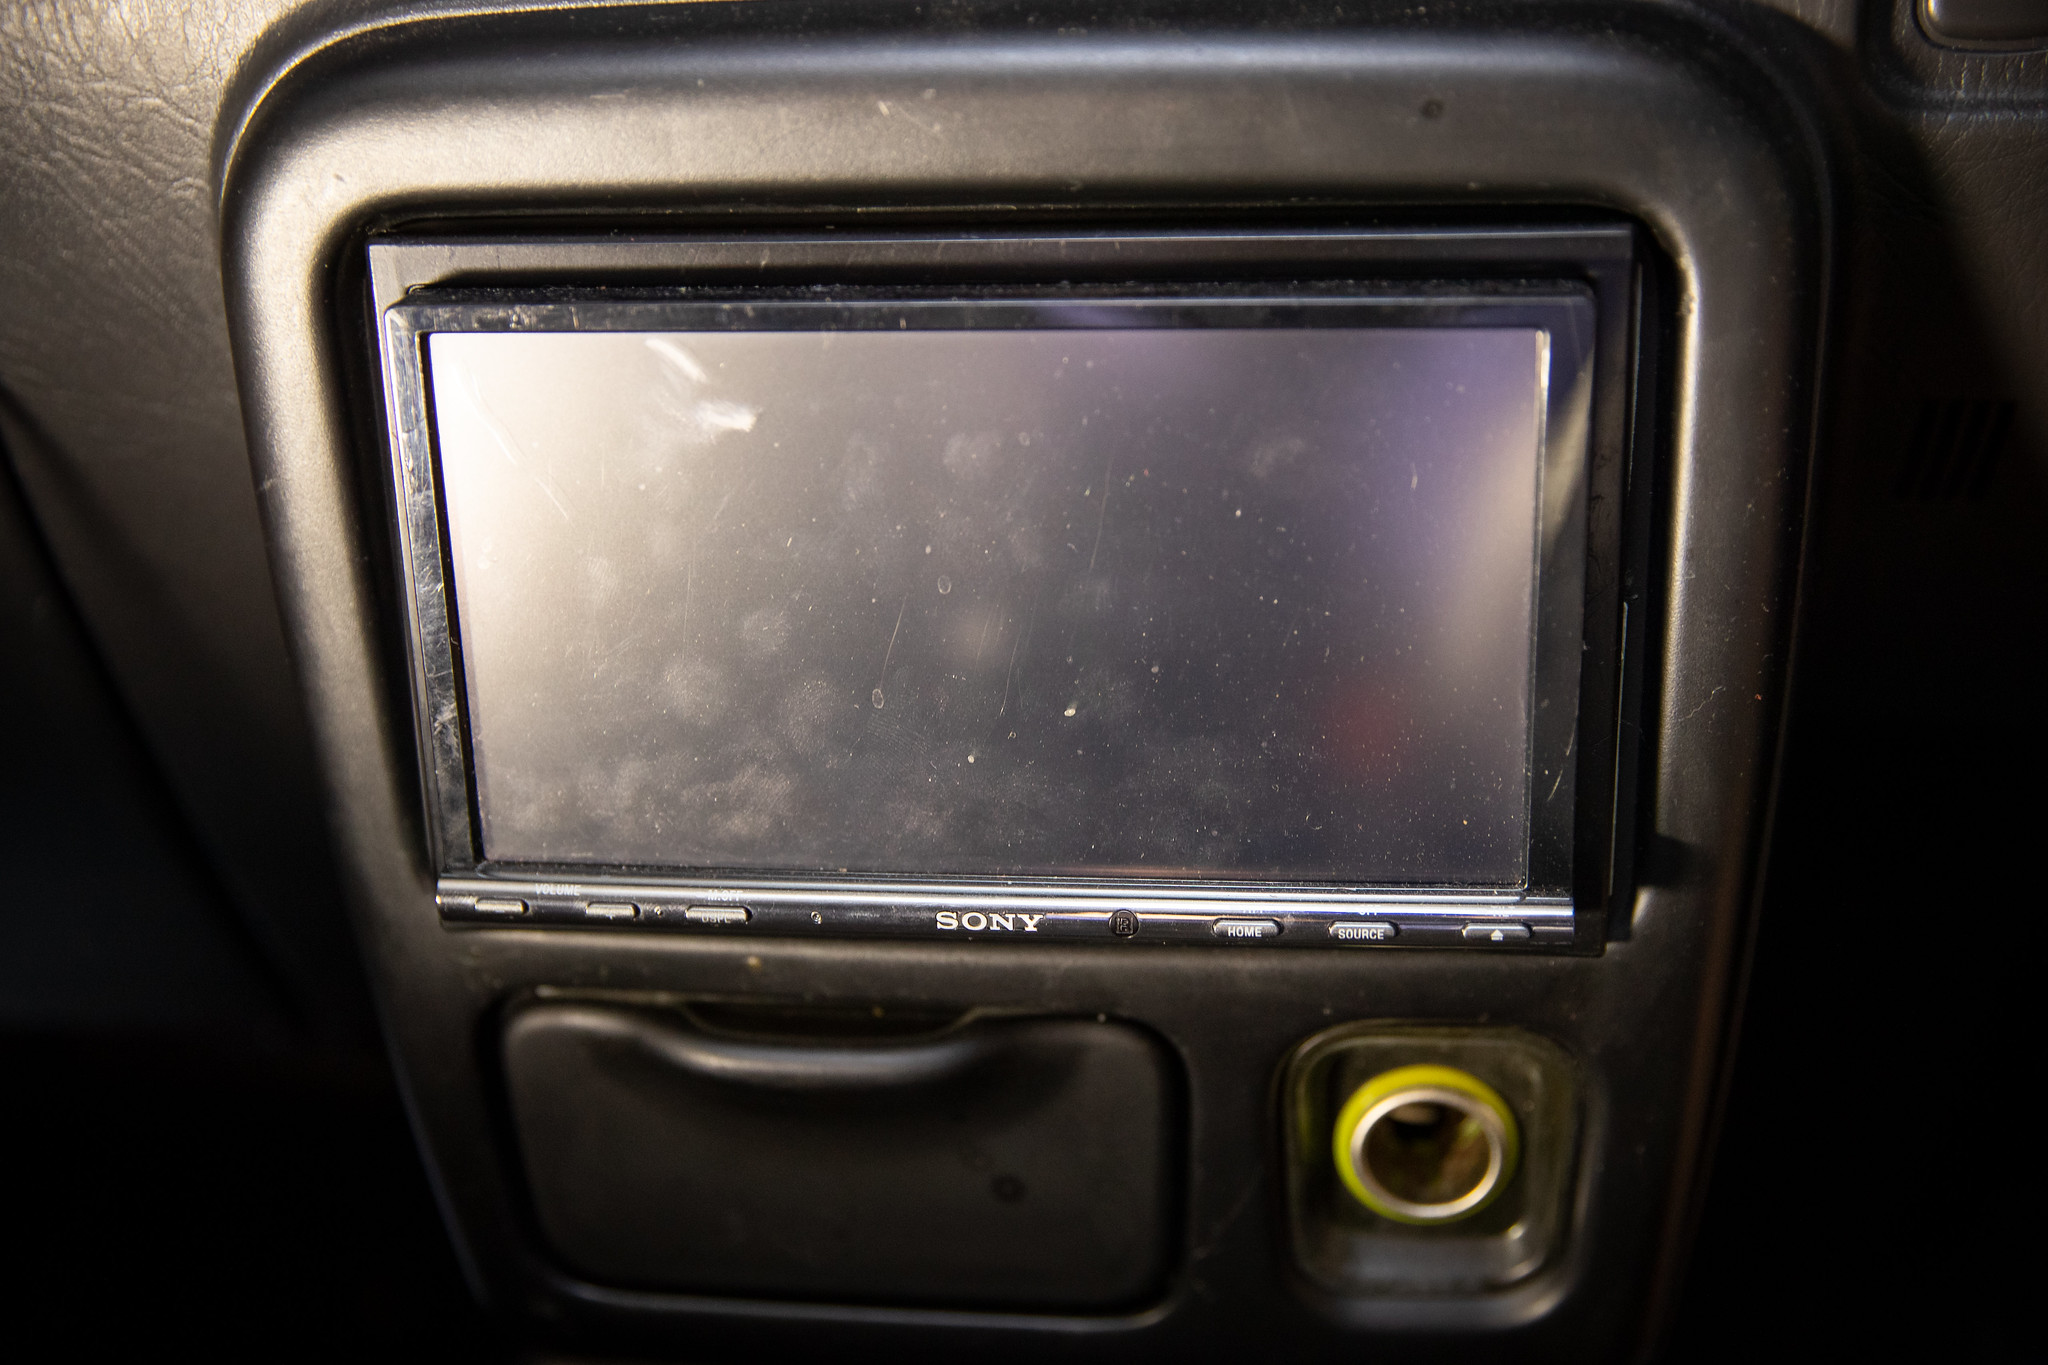
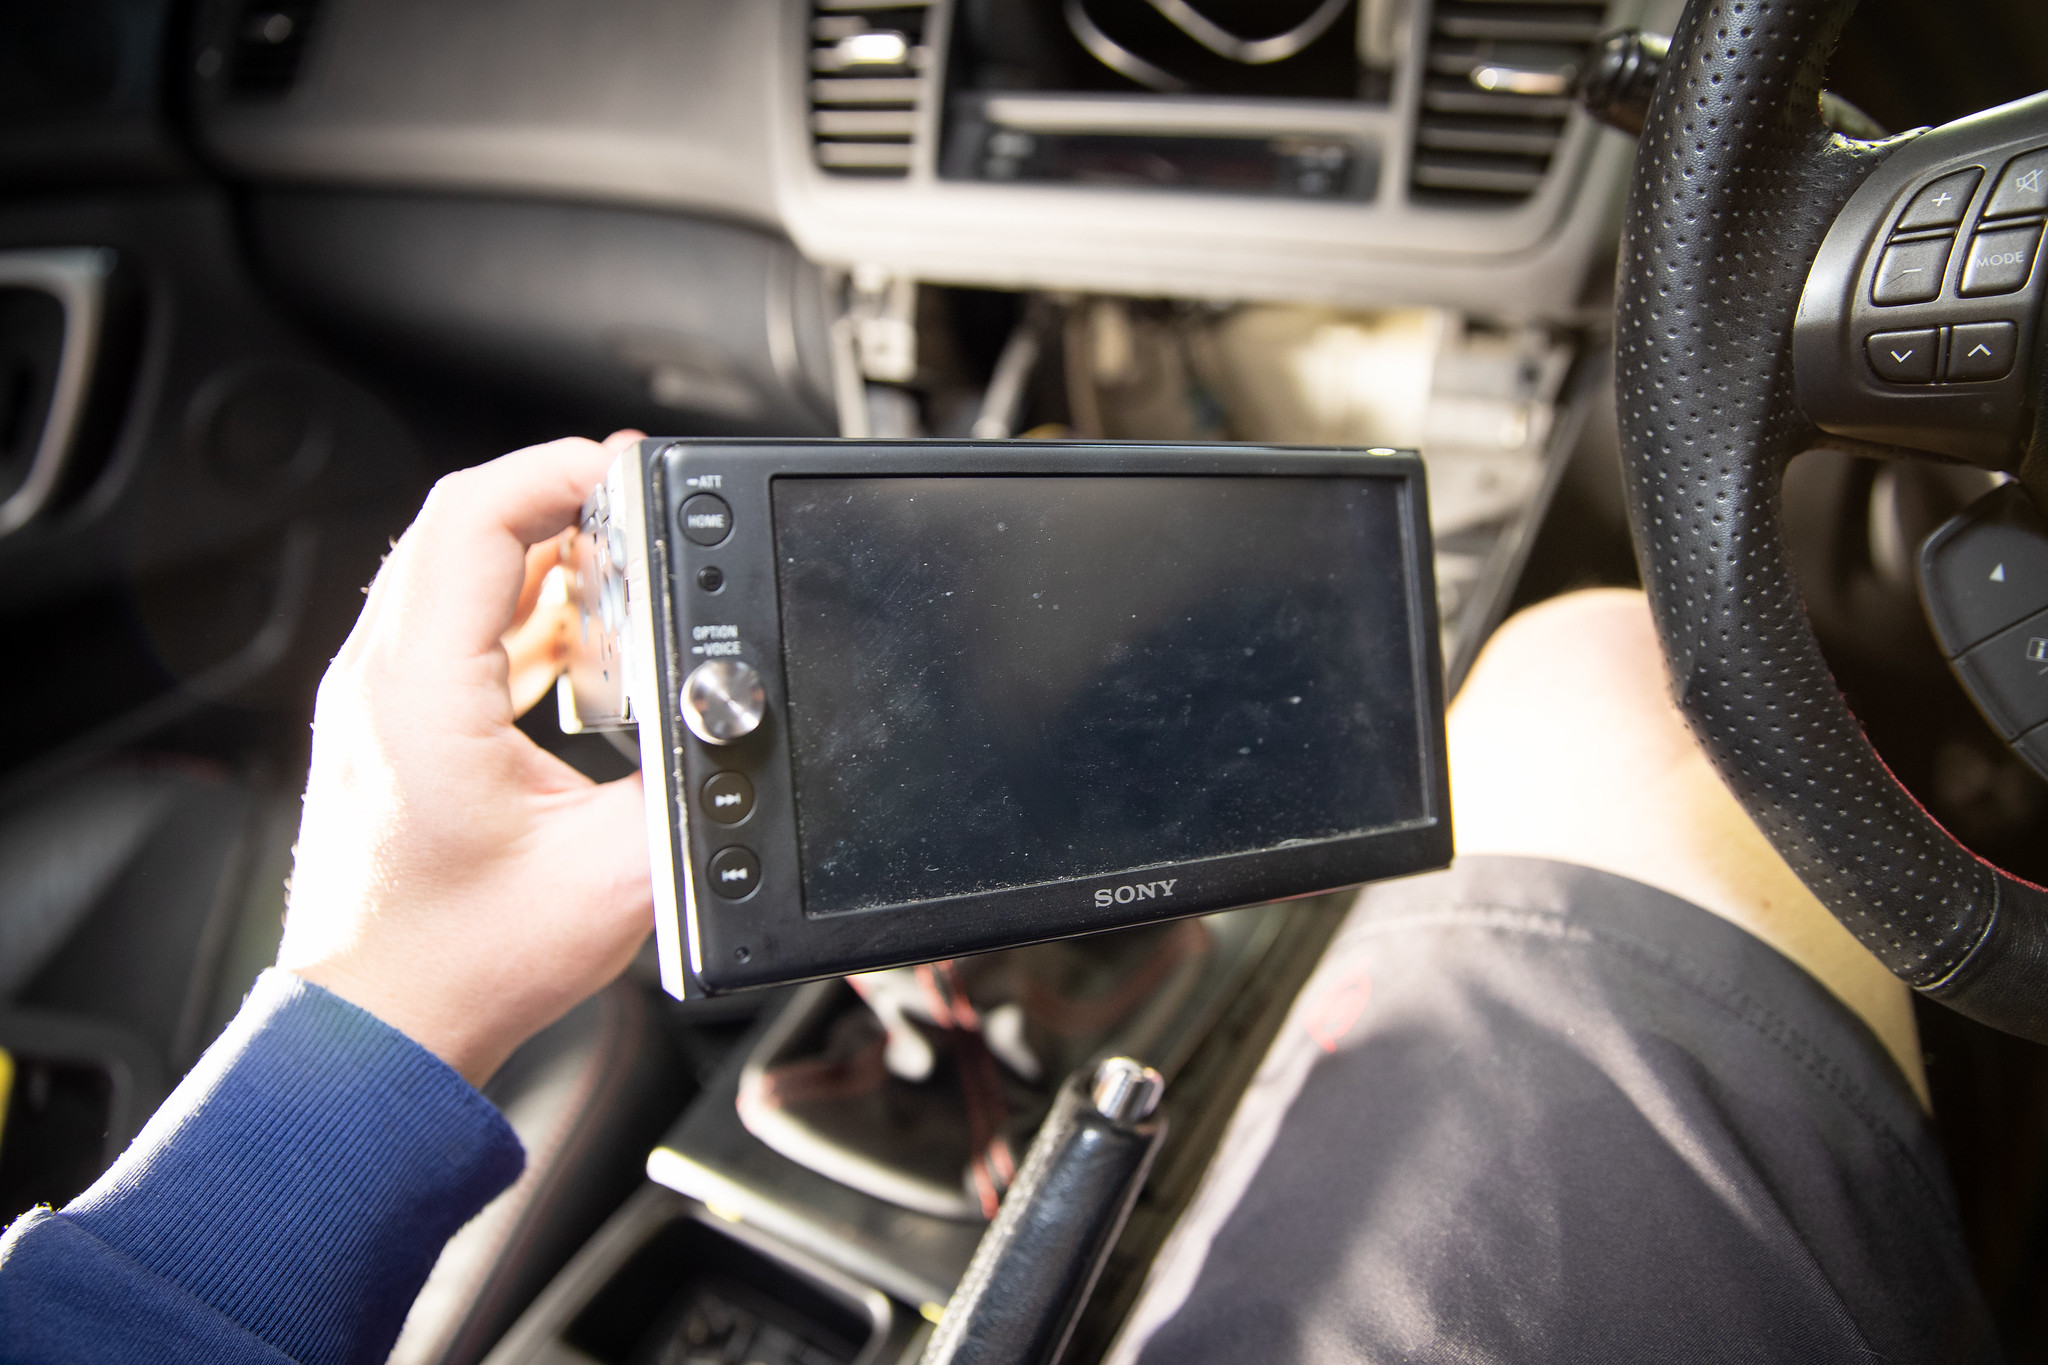
First thing though, I gotta pull the ‘new’ one out of the Subaru.
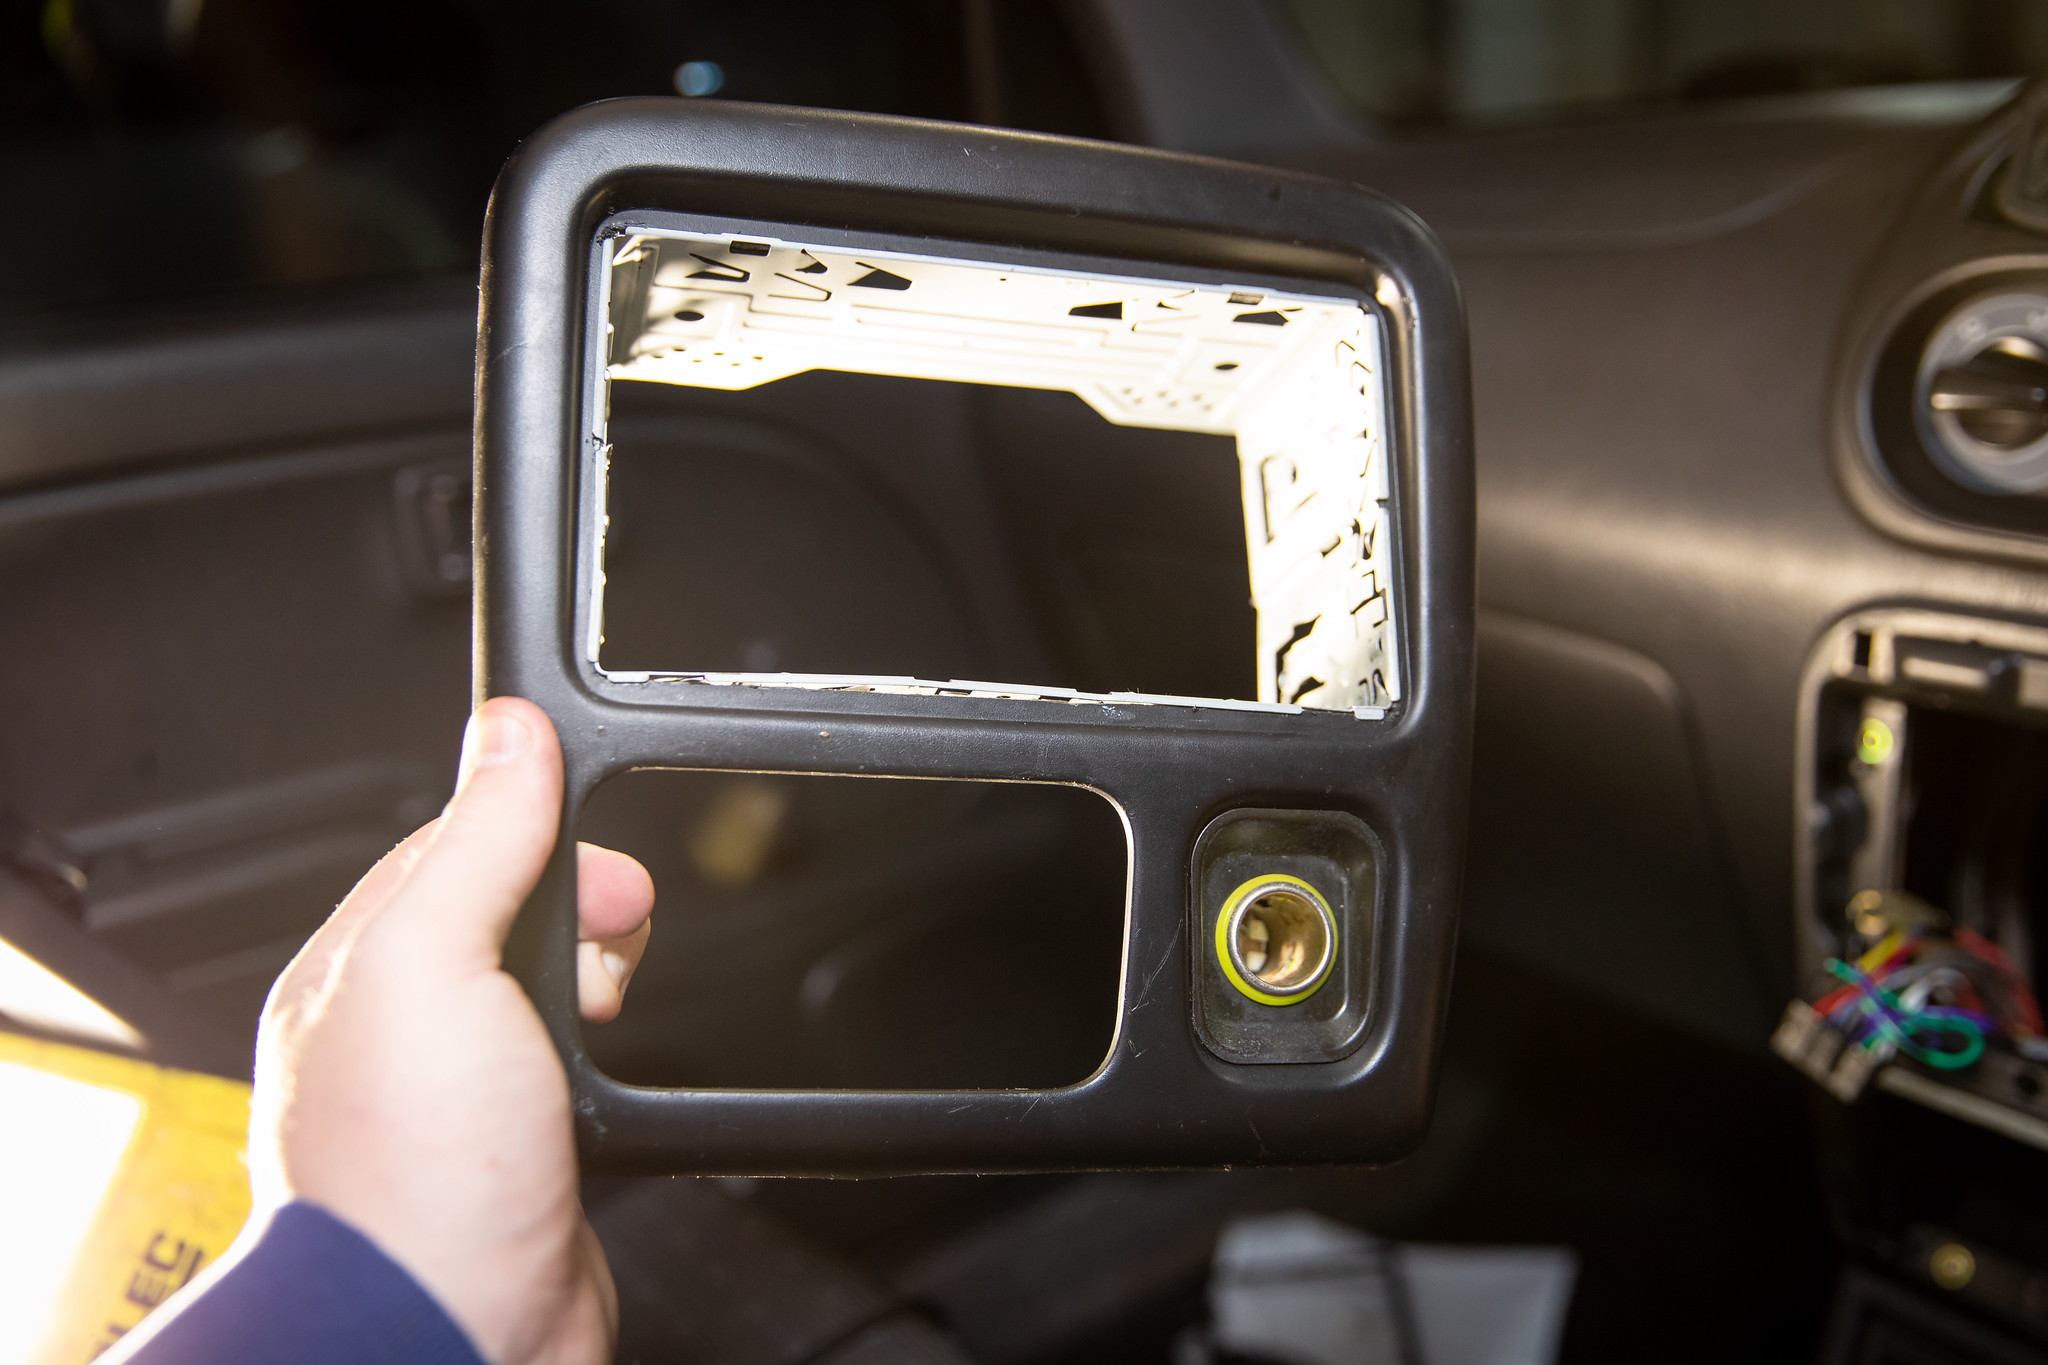
With that sorted the old one in the Cuore could come out, I forgot how ghetto it was mounted, with two single din mounts.
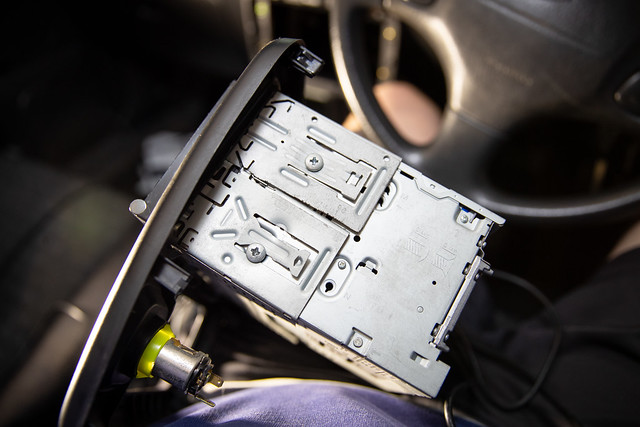
I’ll have to look for a different solution.
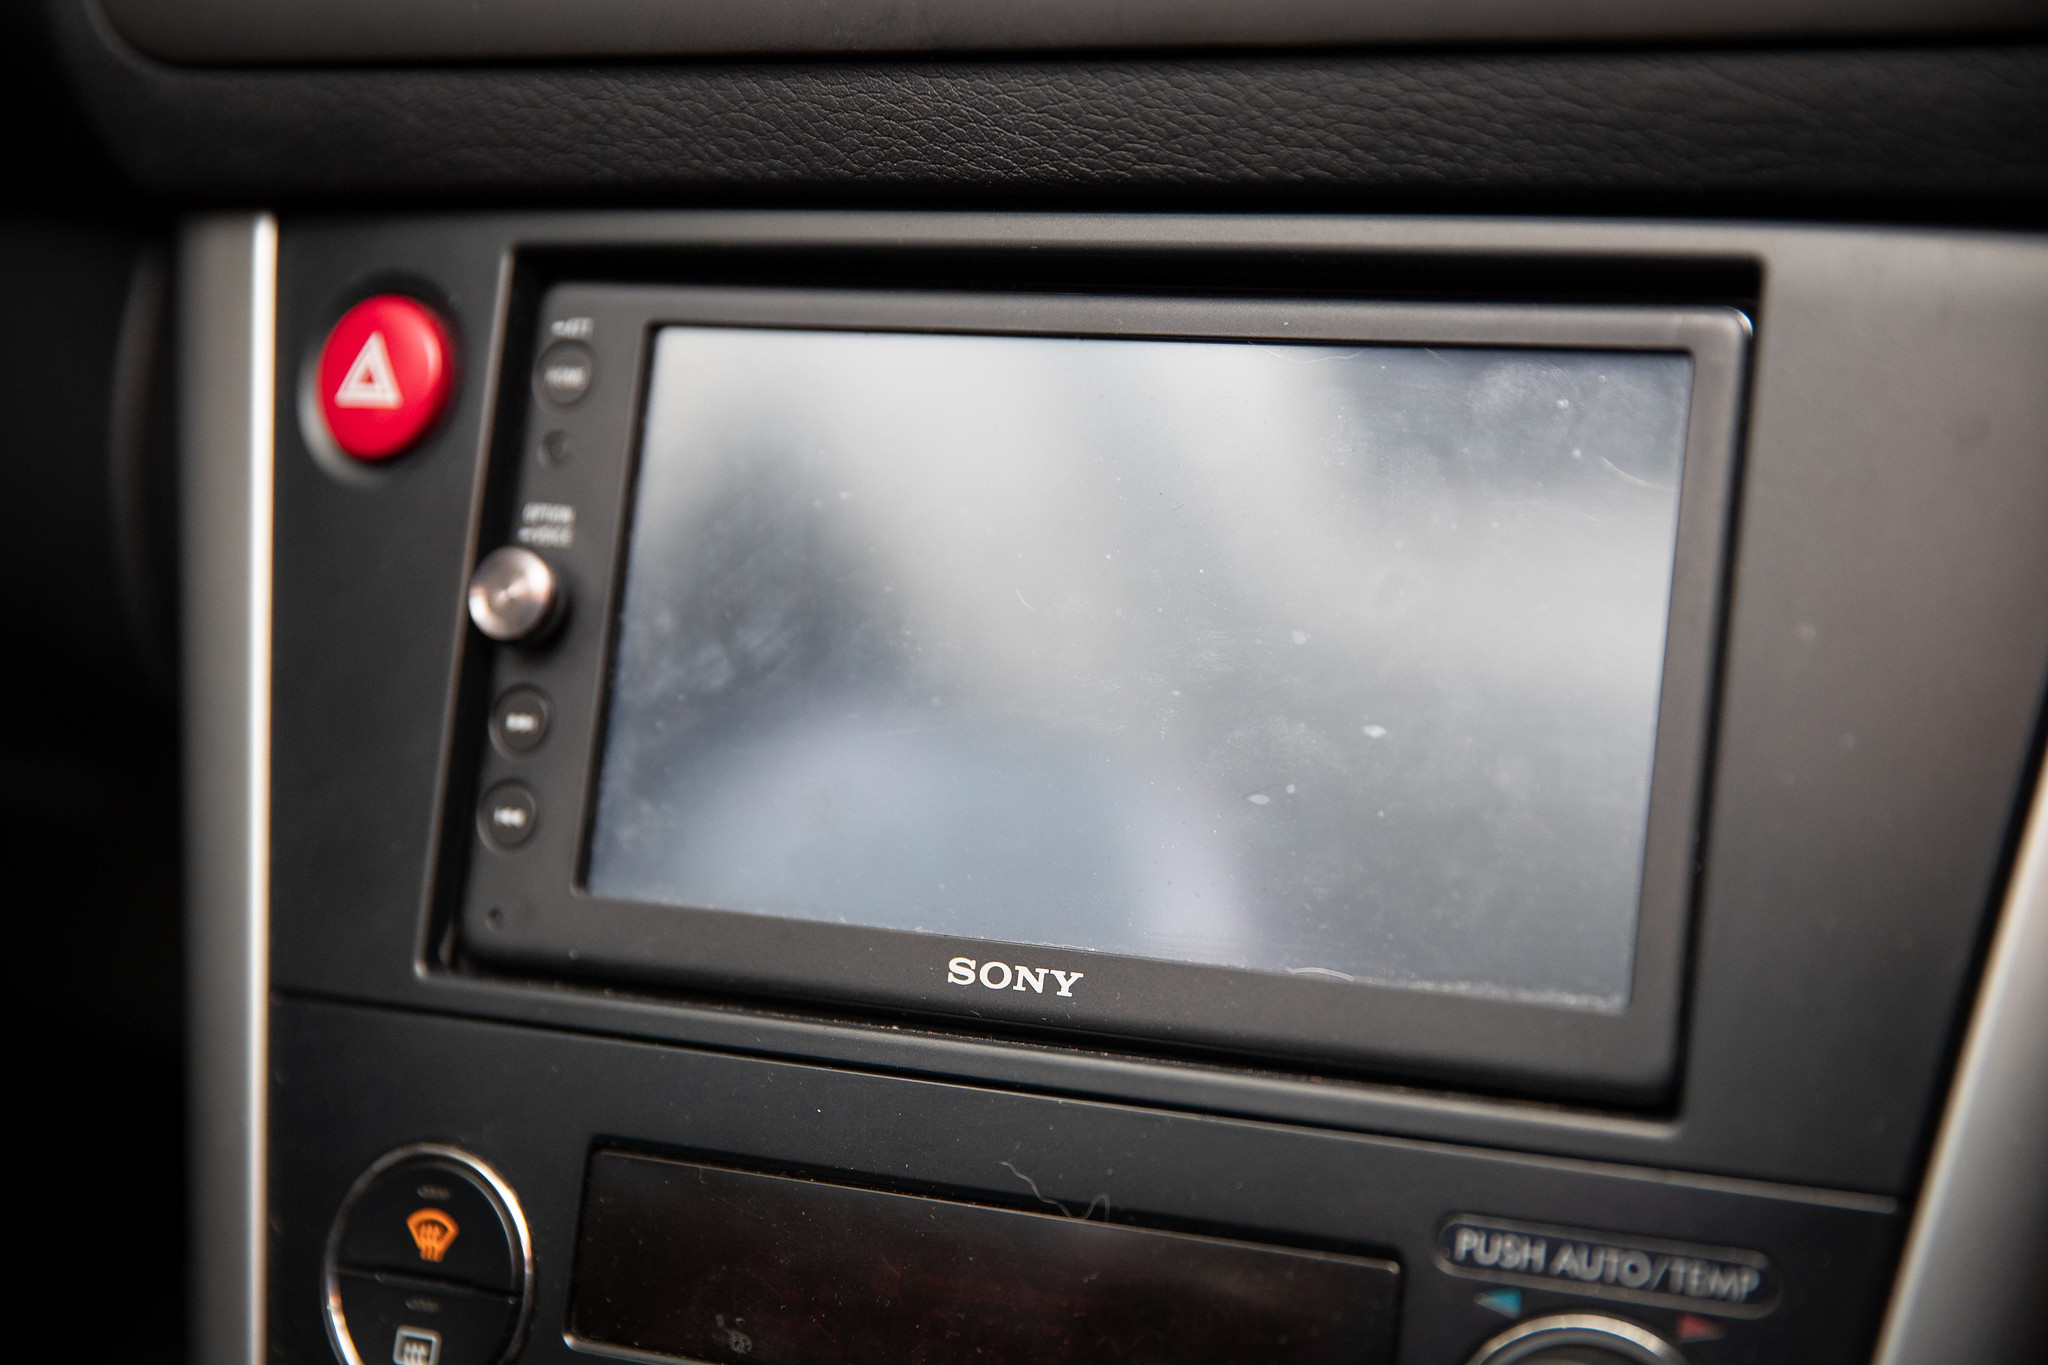
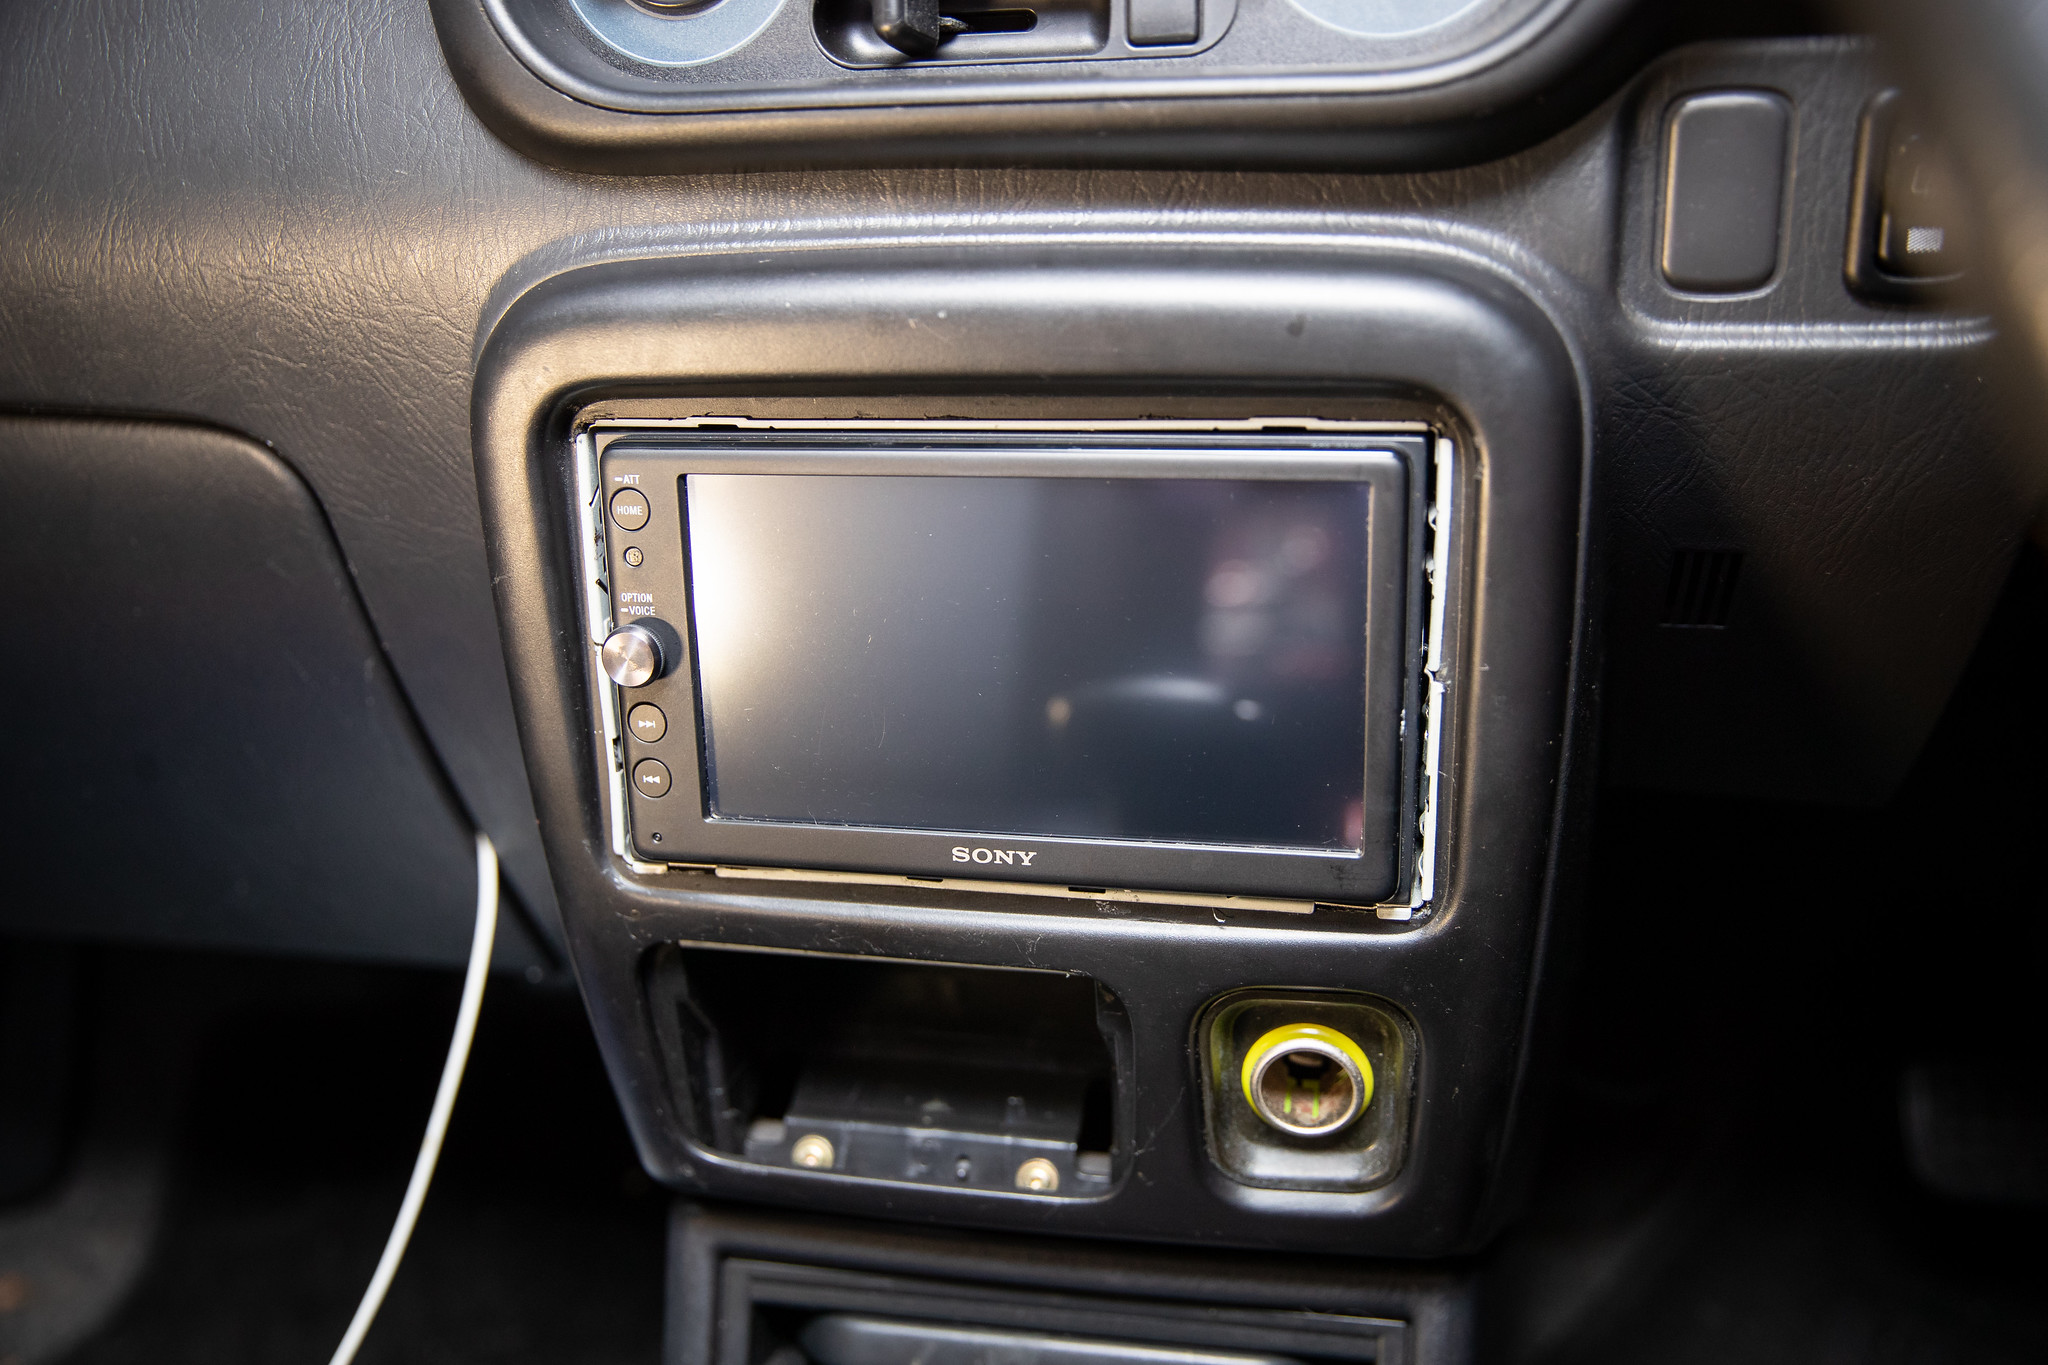
Quick test fir with the new headunit, the Sony is a little different as it just uses a single din to mount, I had to bend the tabs just to hold it in. It all has to come out anyway when the new speakers go in so it’ll be fine for now.

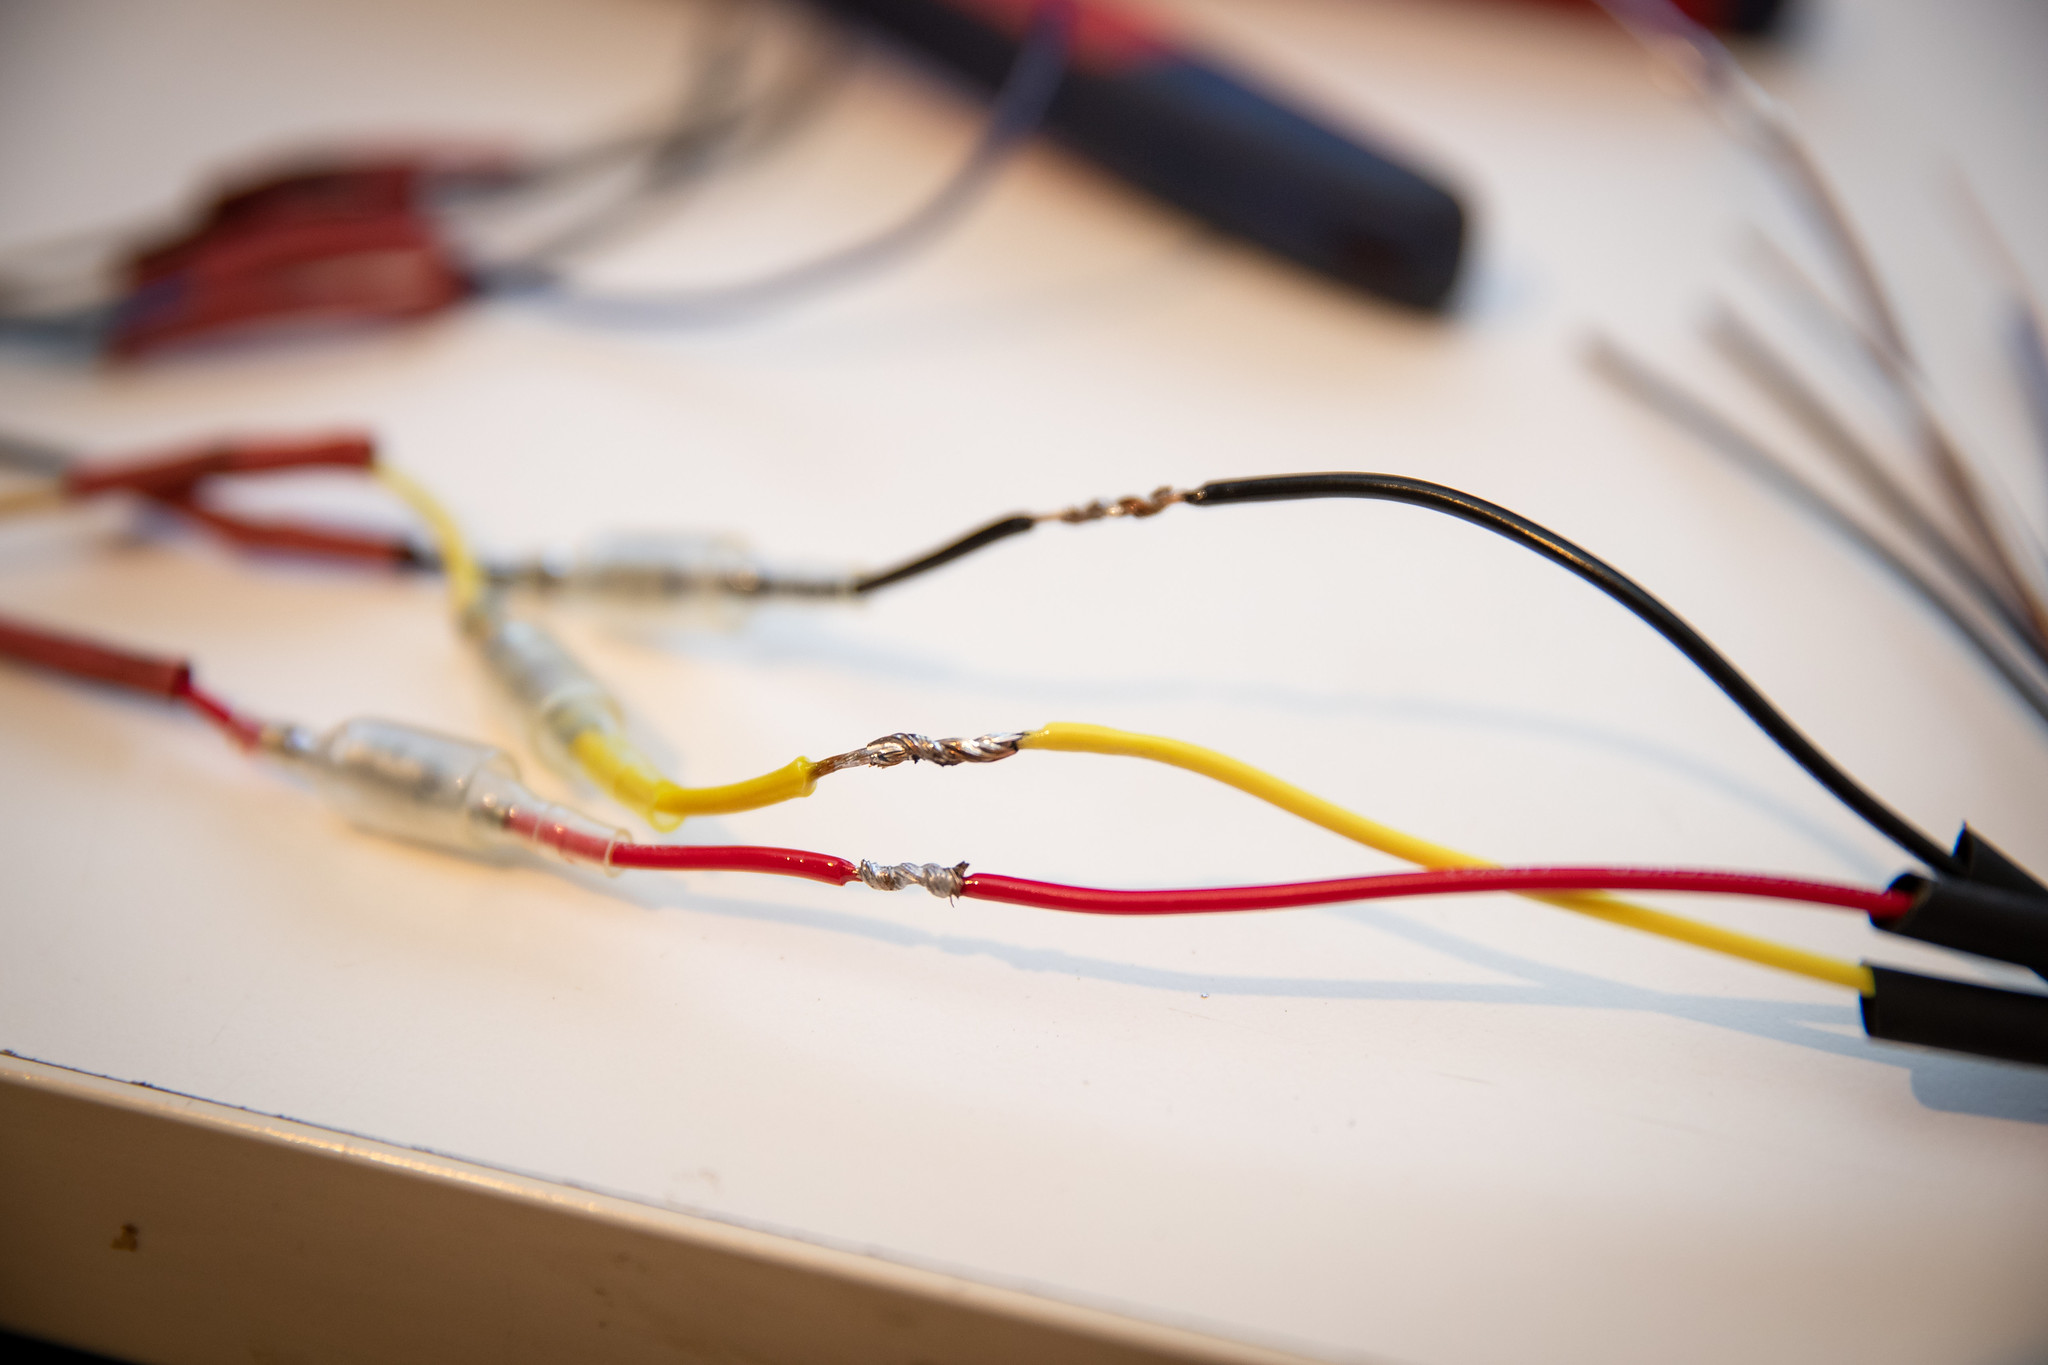
Despite both being Sony’s the loom connector is different.
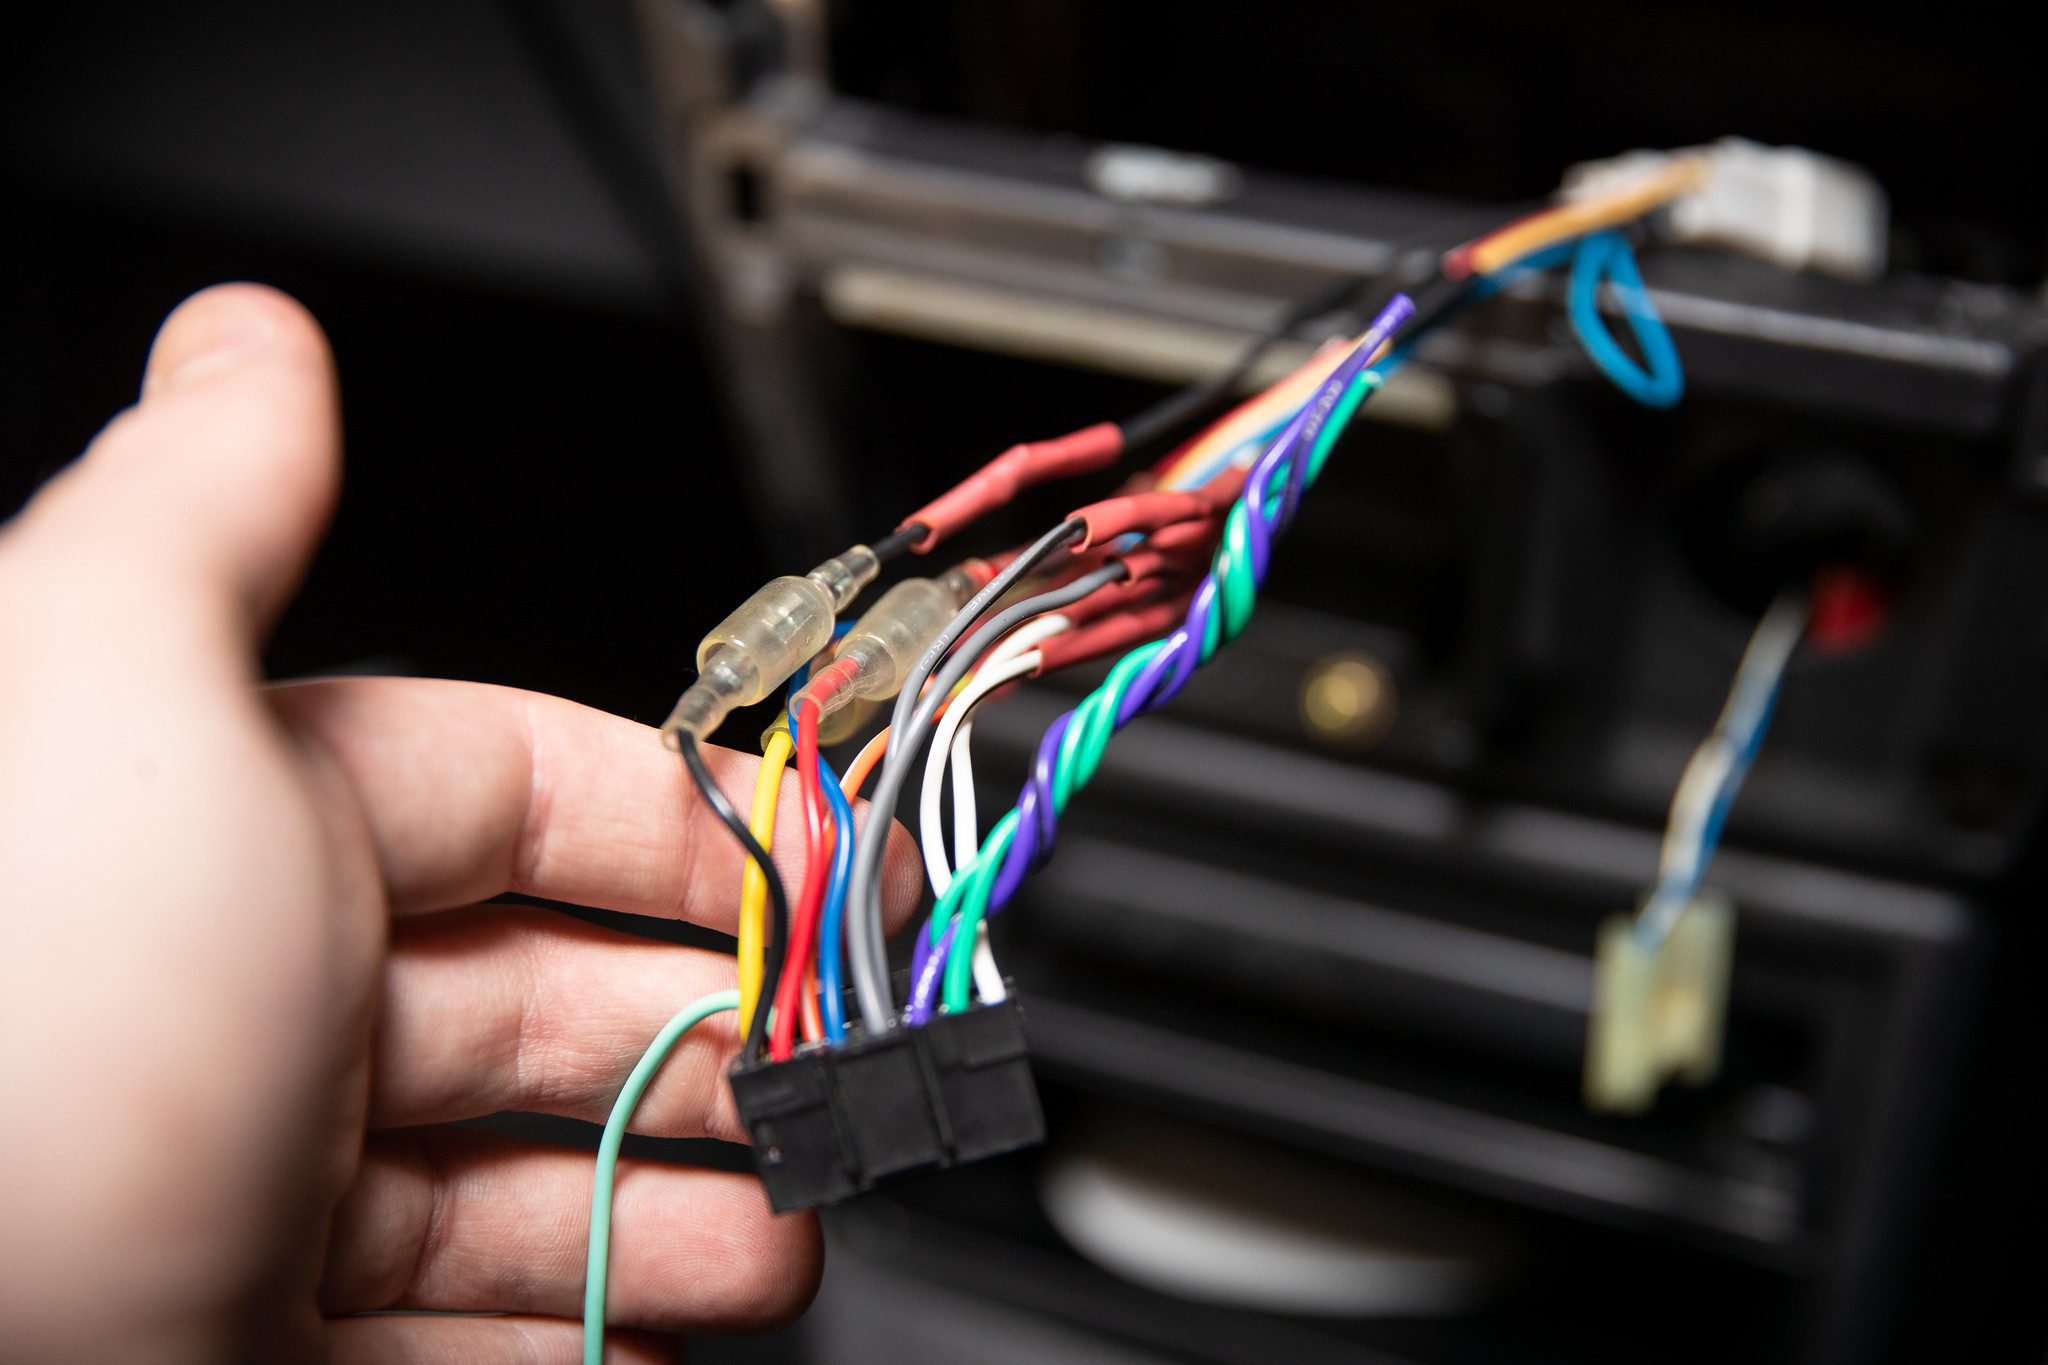
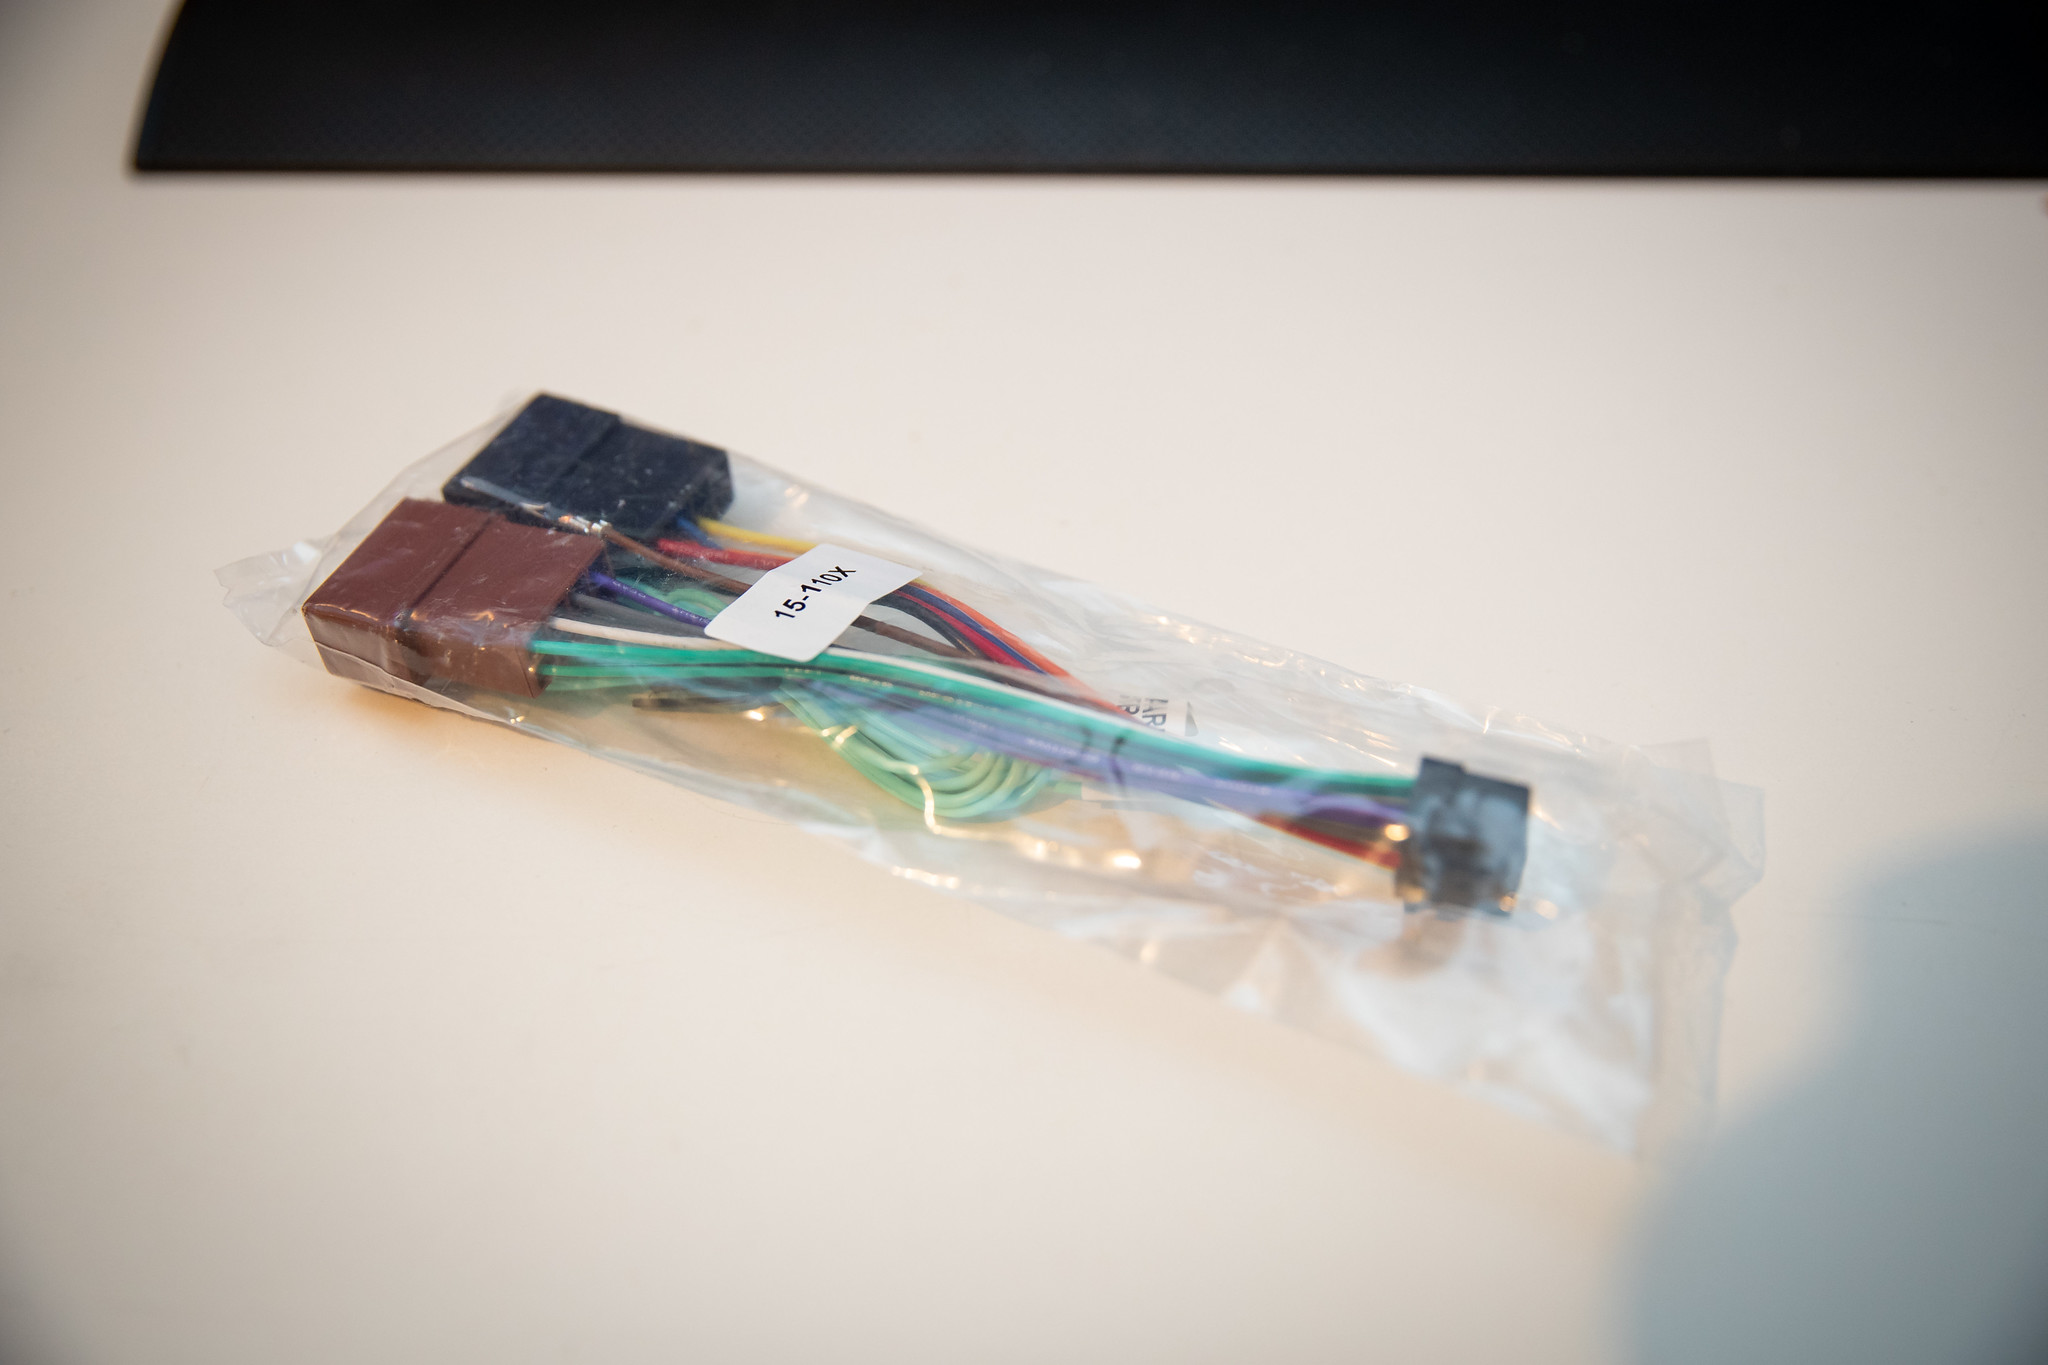
I got an ISO adaptor on eBay so I could cut those off and make another one, again this is just for now, cause there will end up being three joins in it, which isn’t preferred but it’ll work fine for now. I’'m going to repin the Daihatsu adaptor at a later point to have no joins.
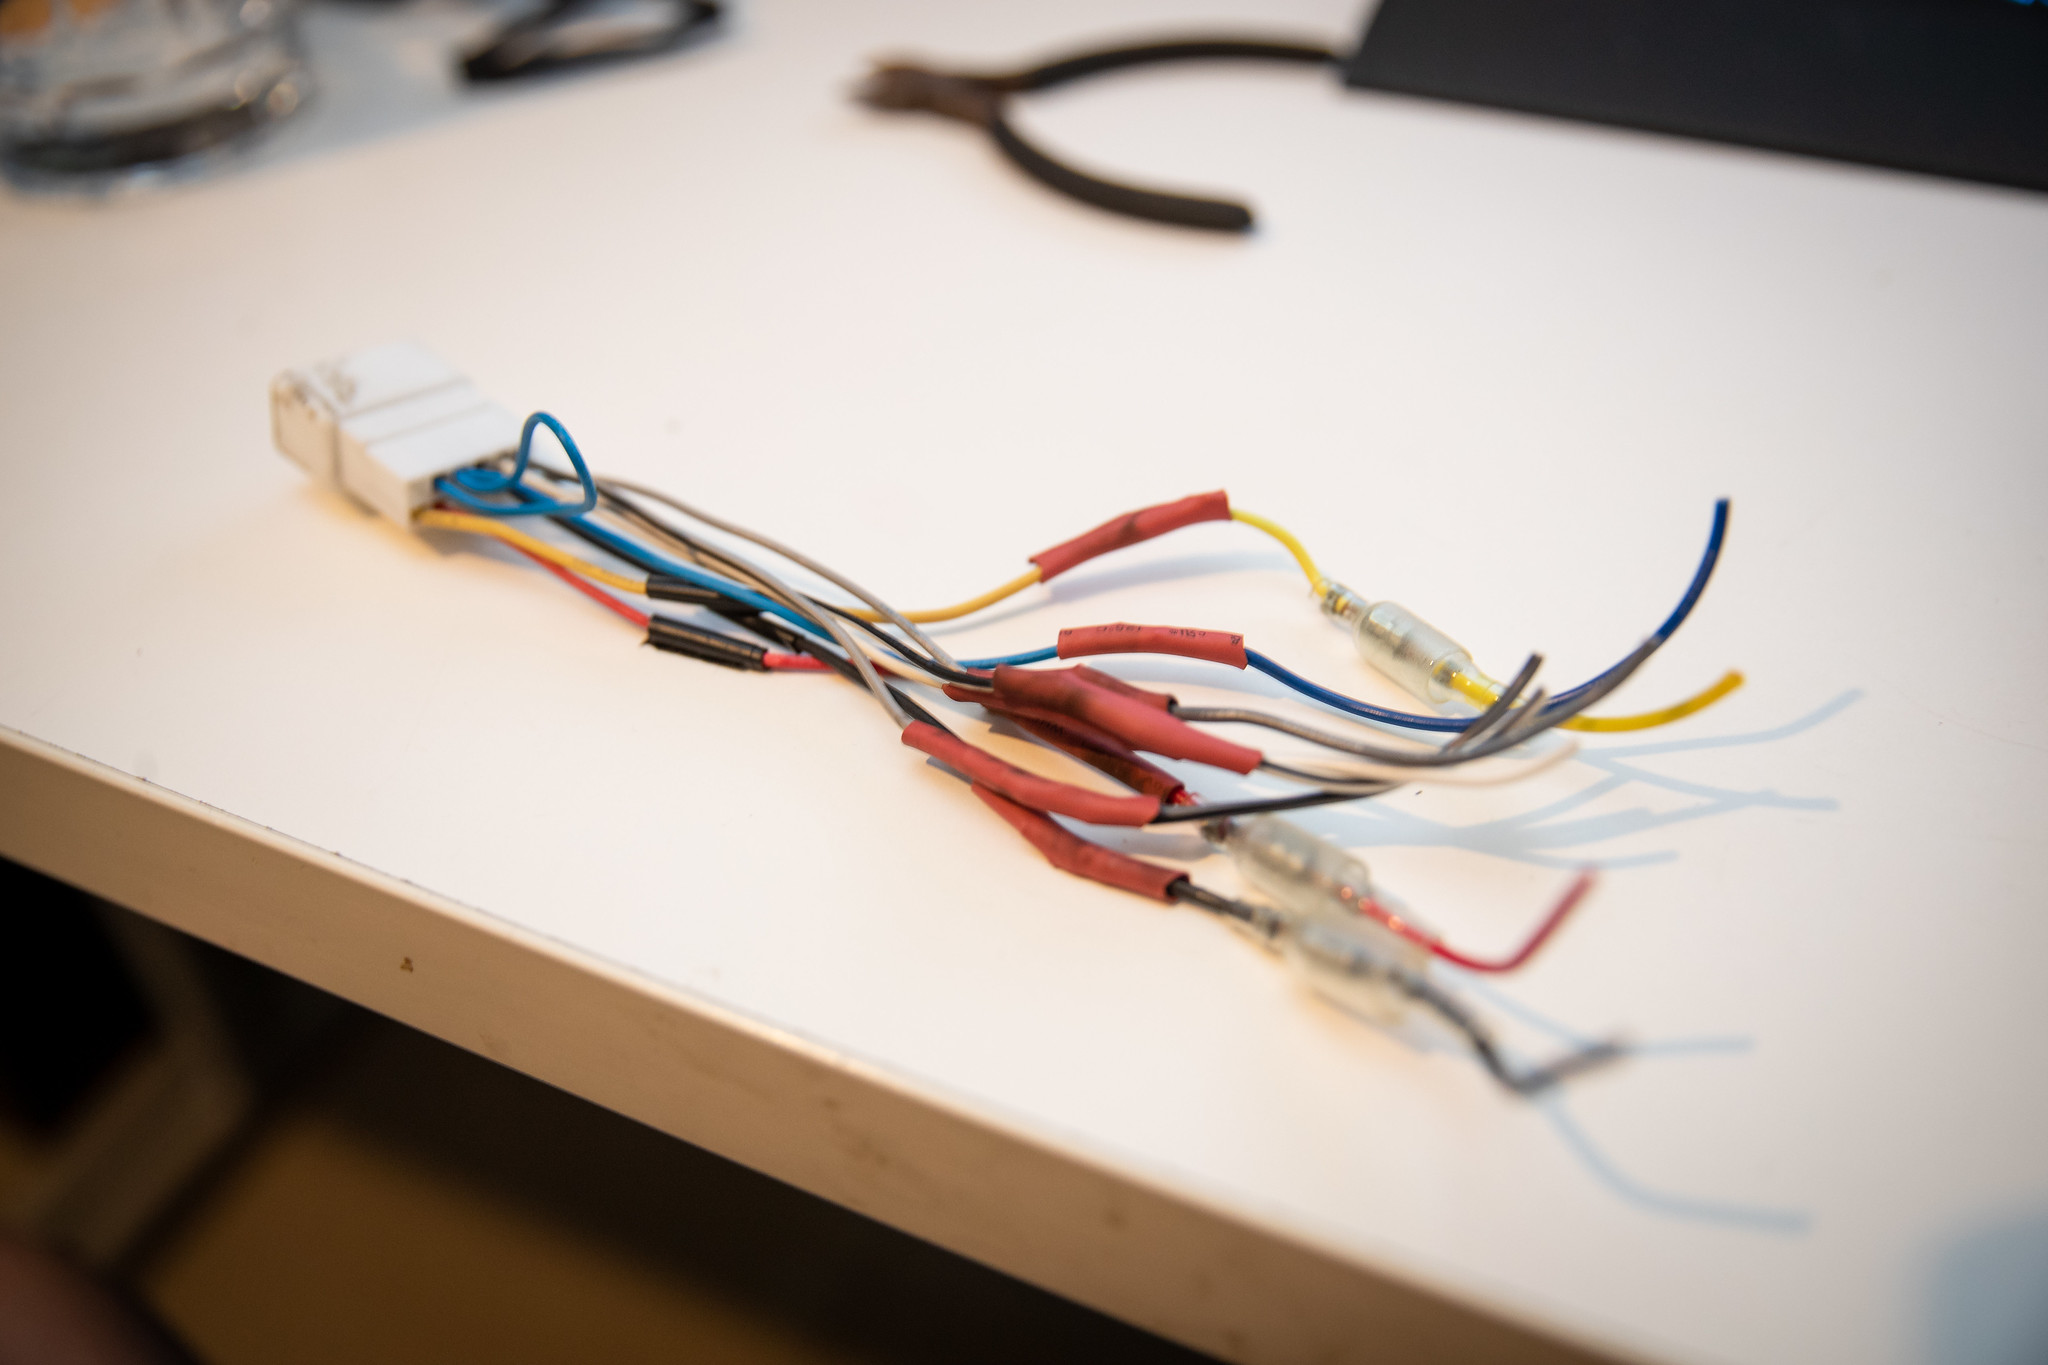
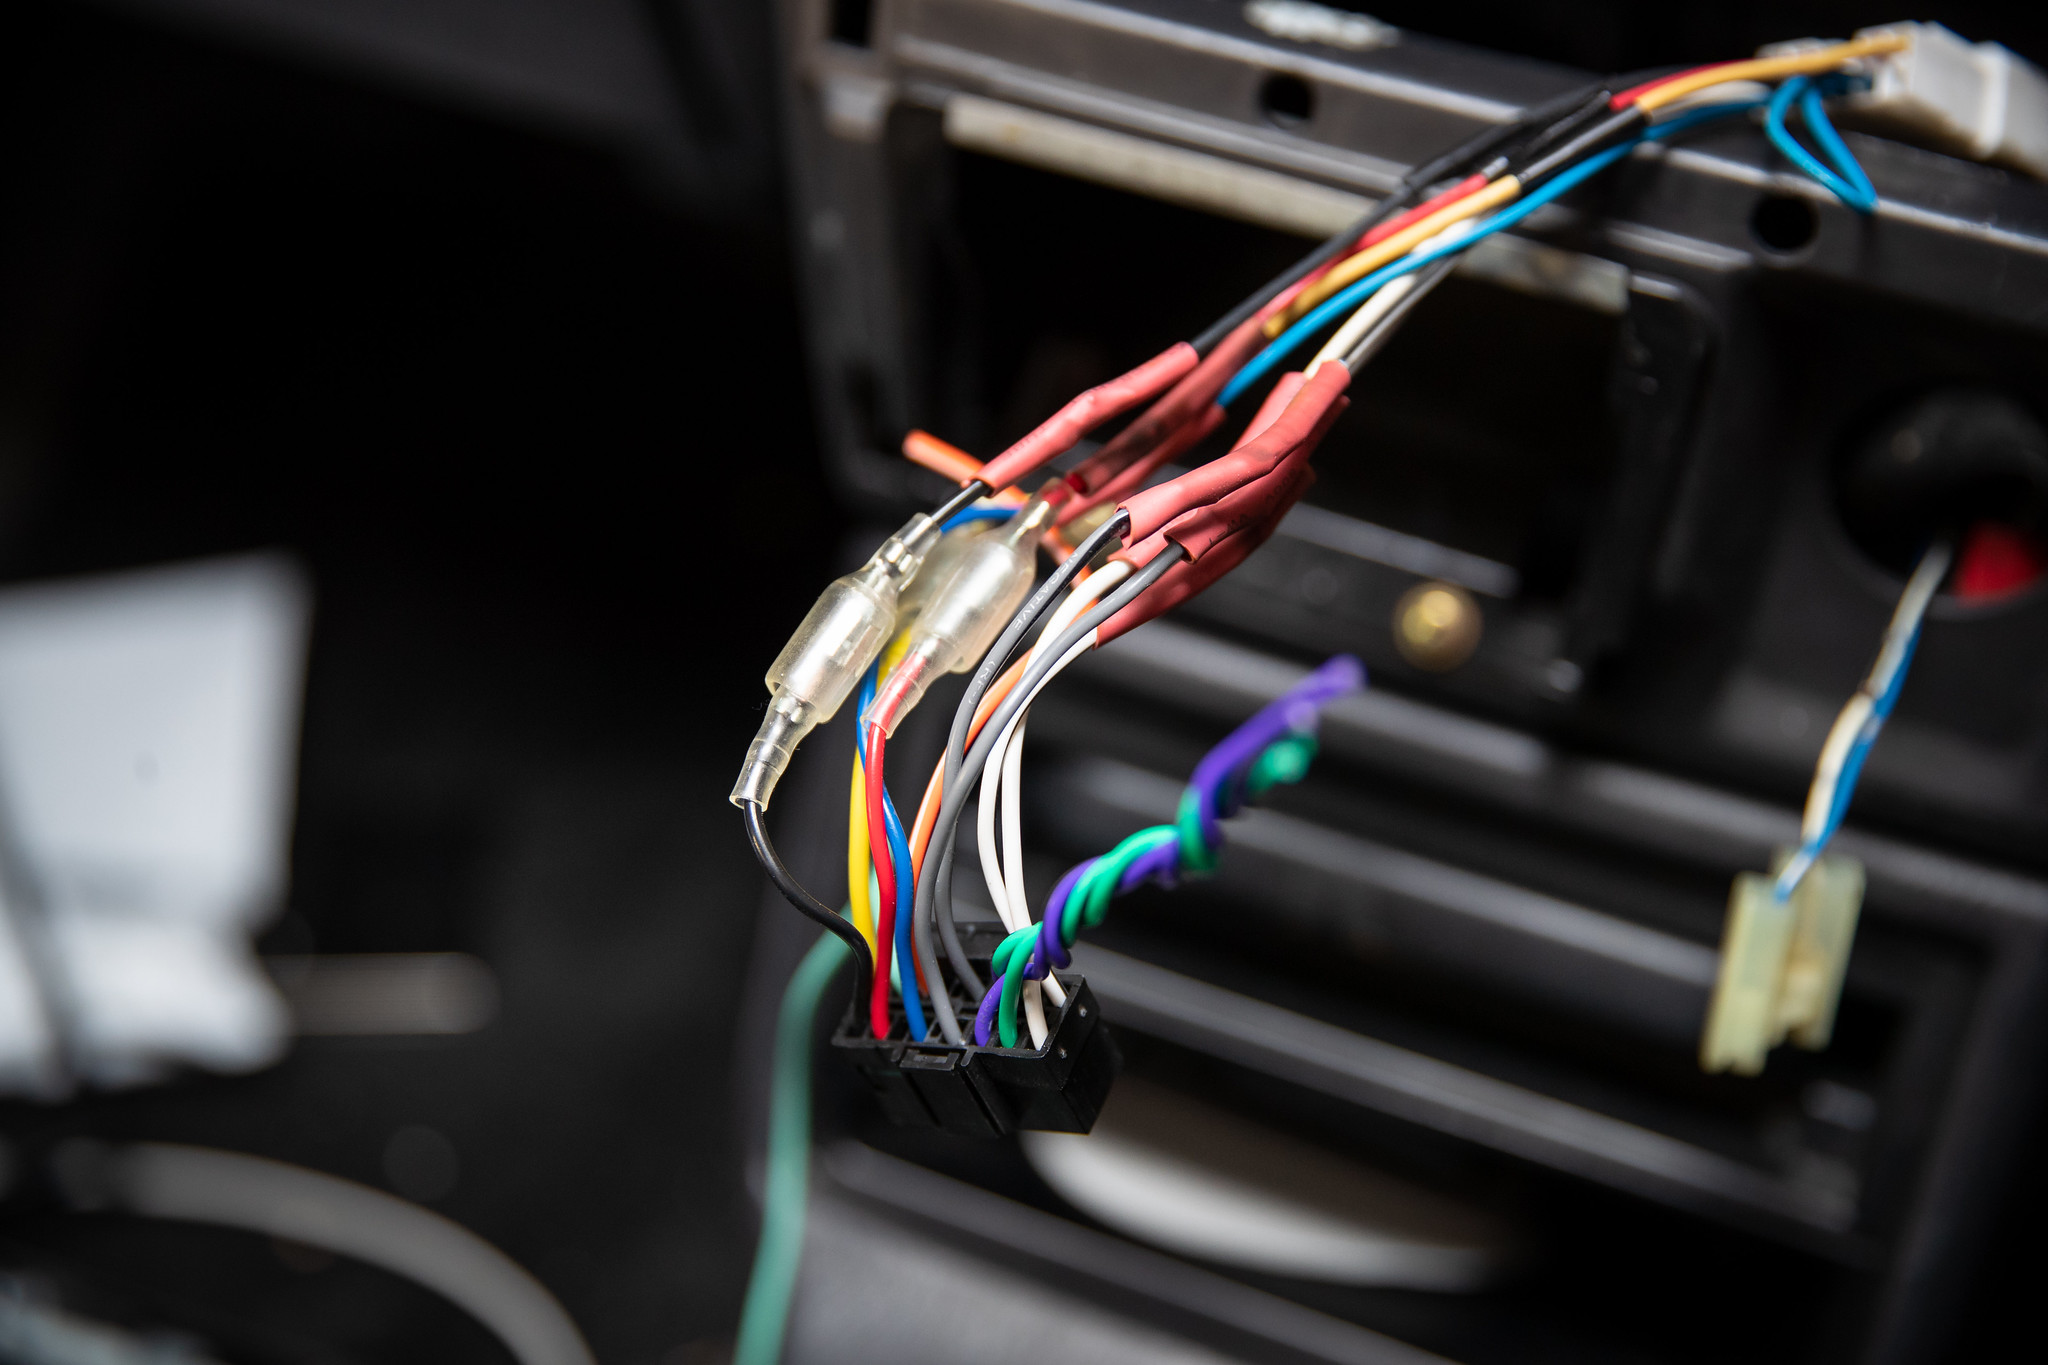
Joins done.
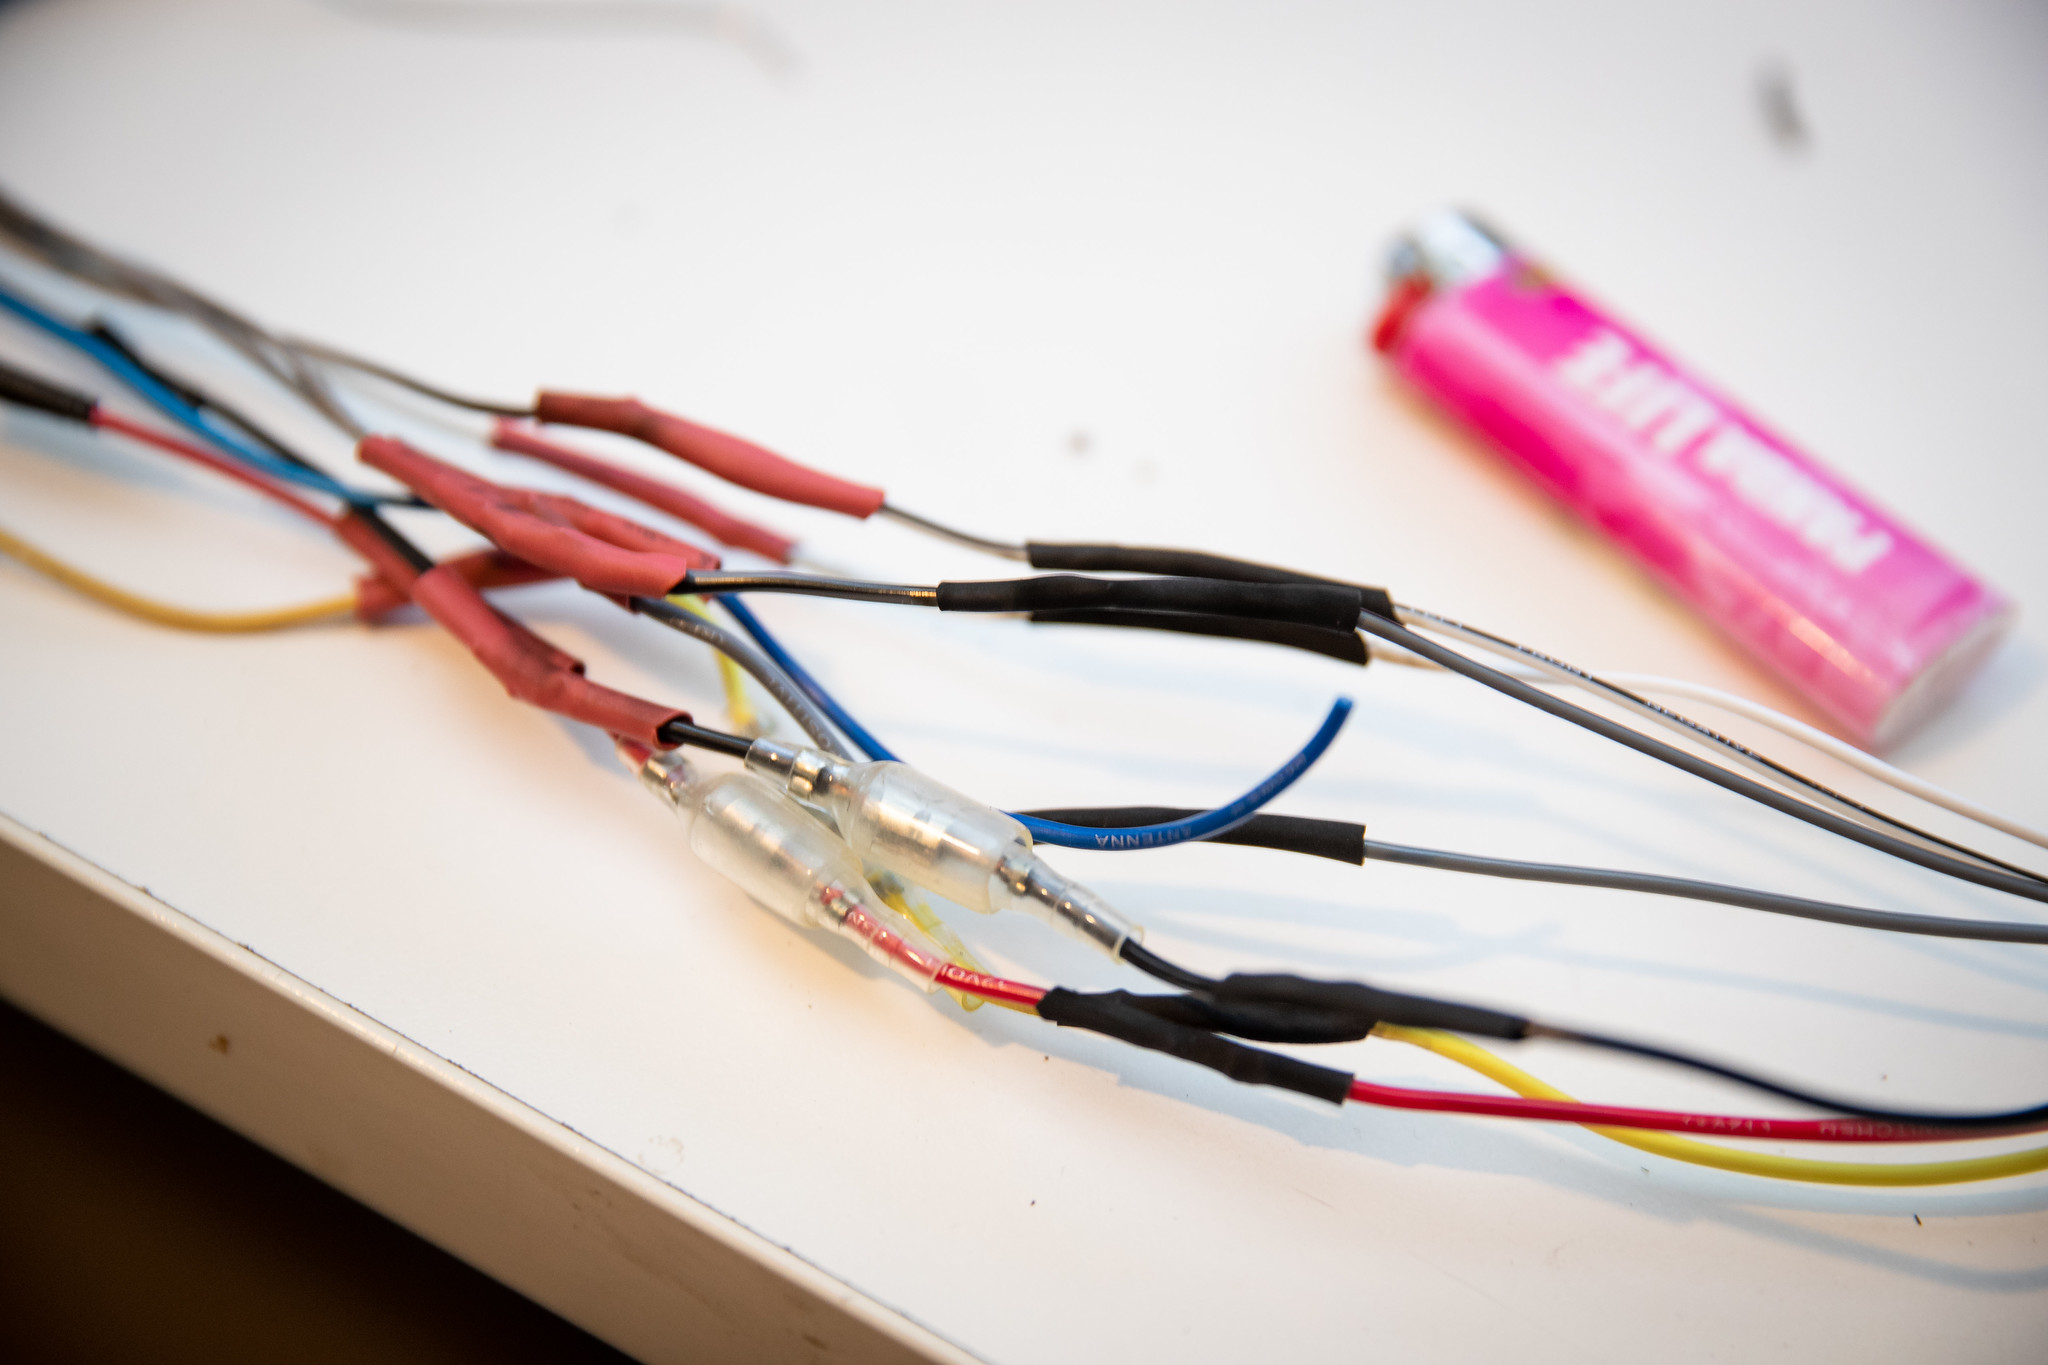
Quick check in the car.
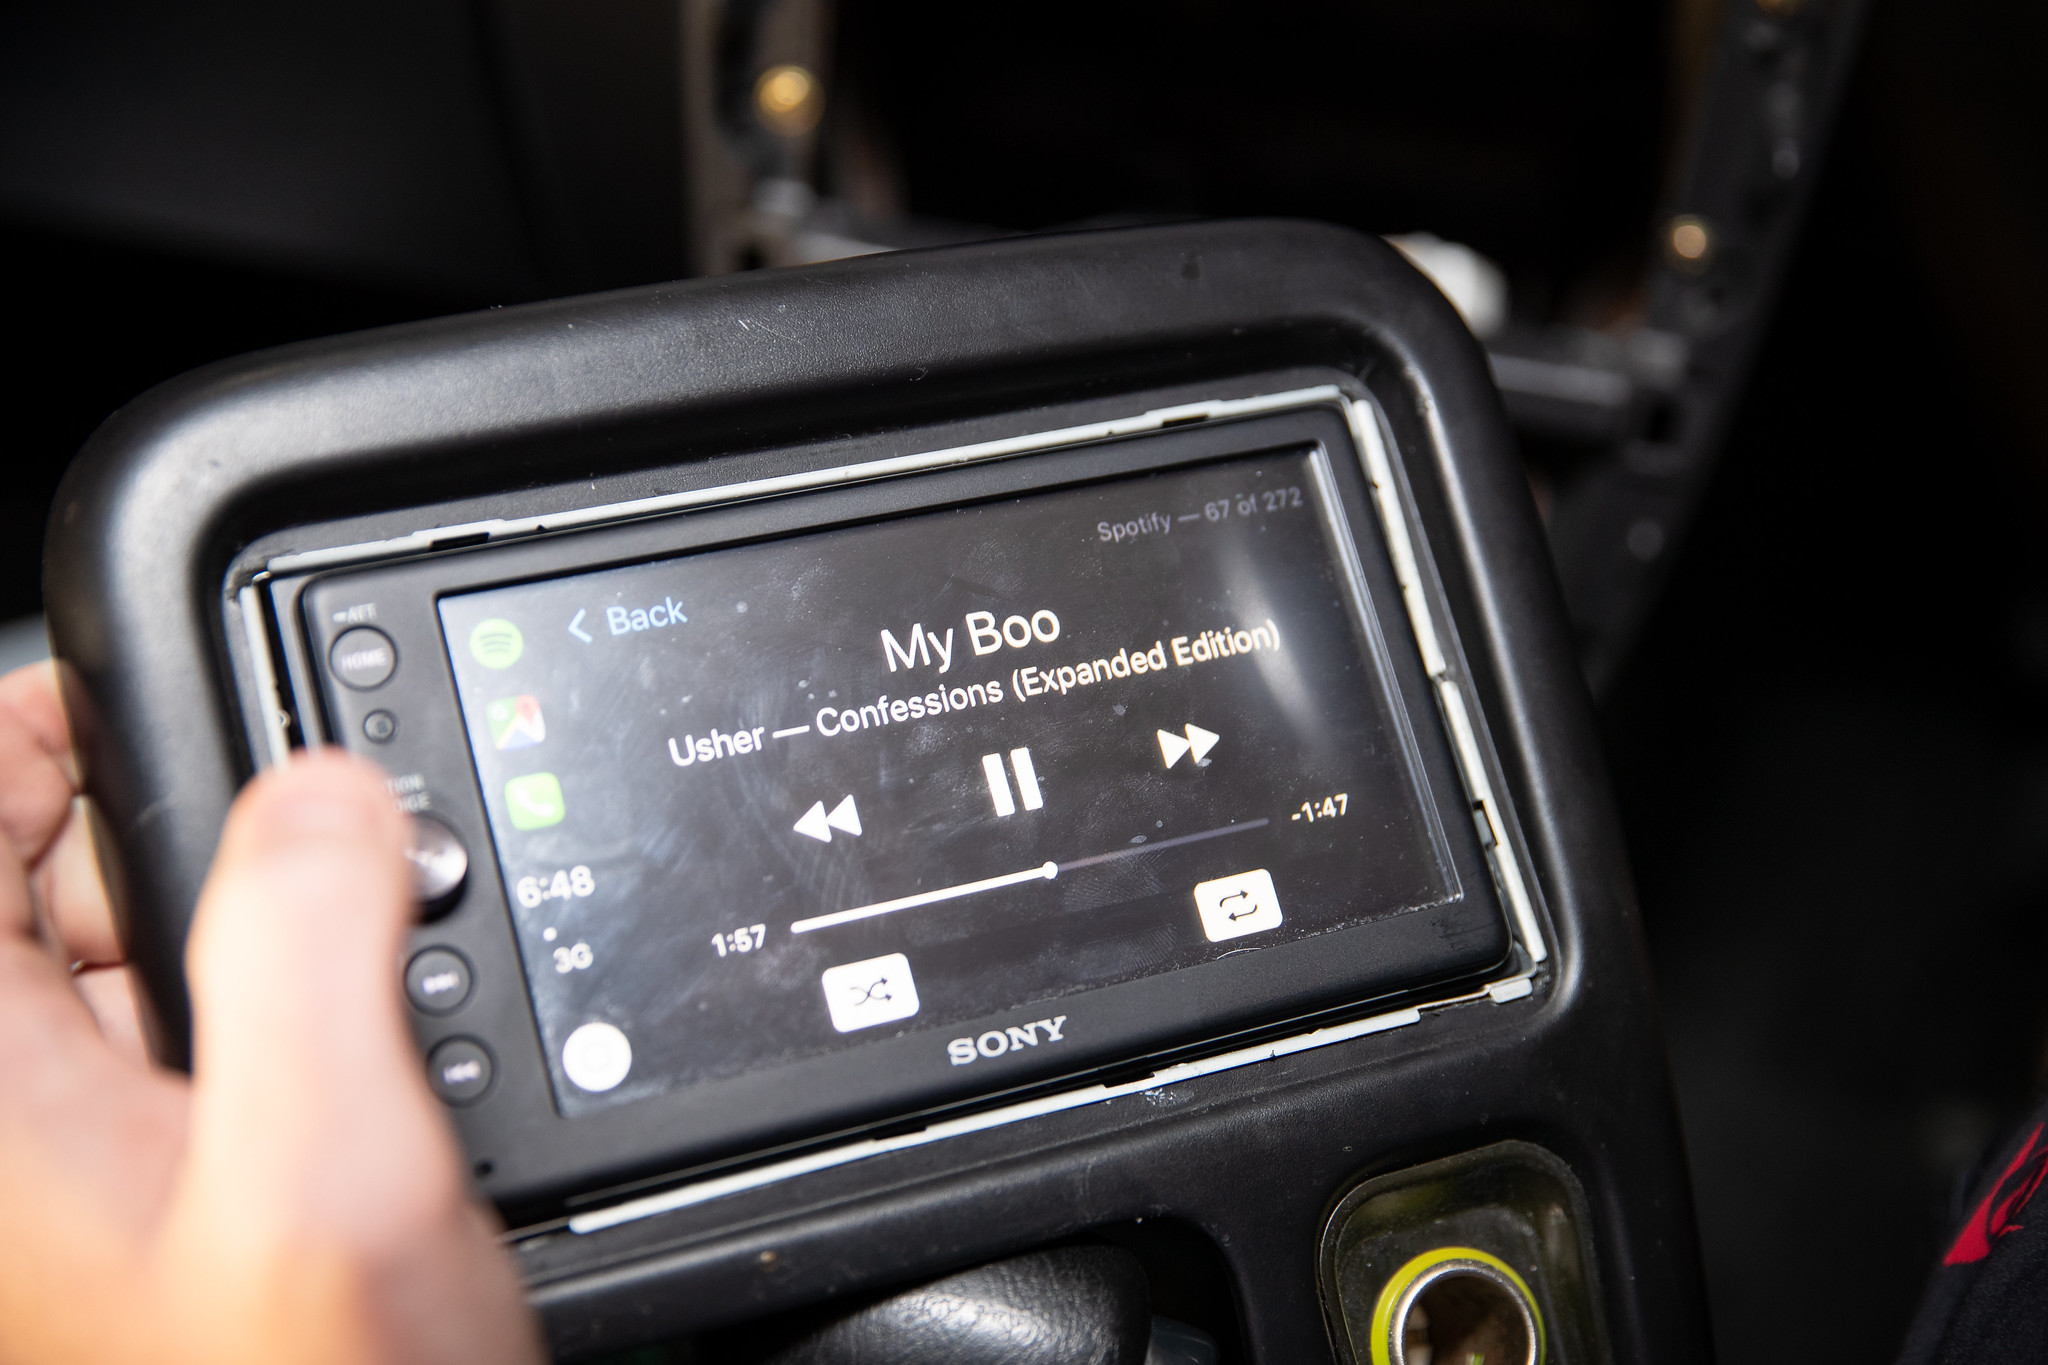
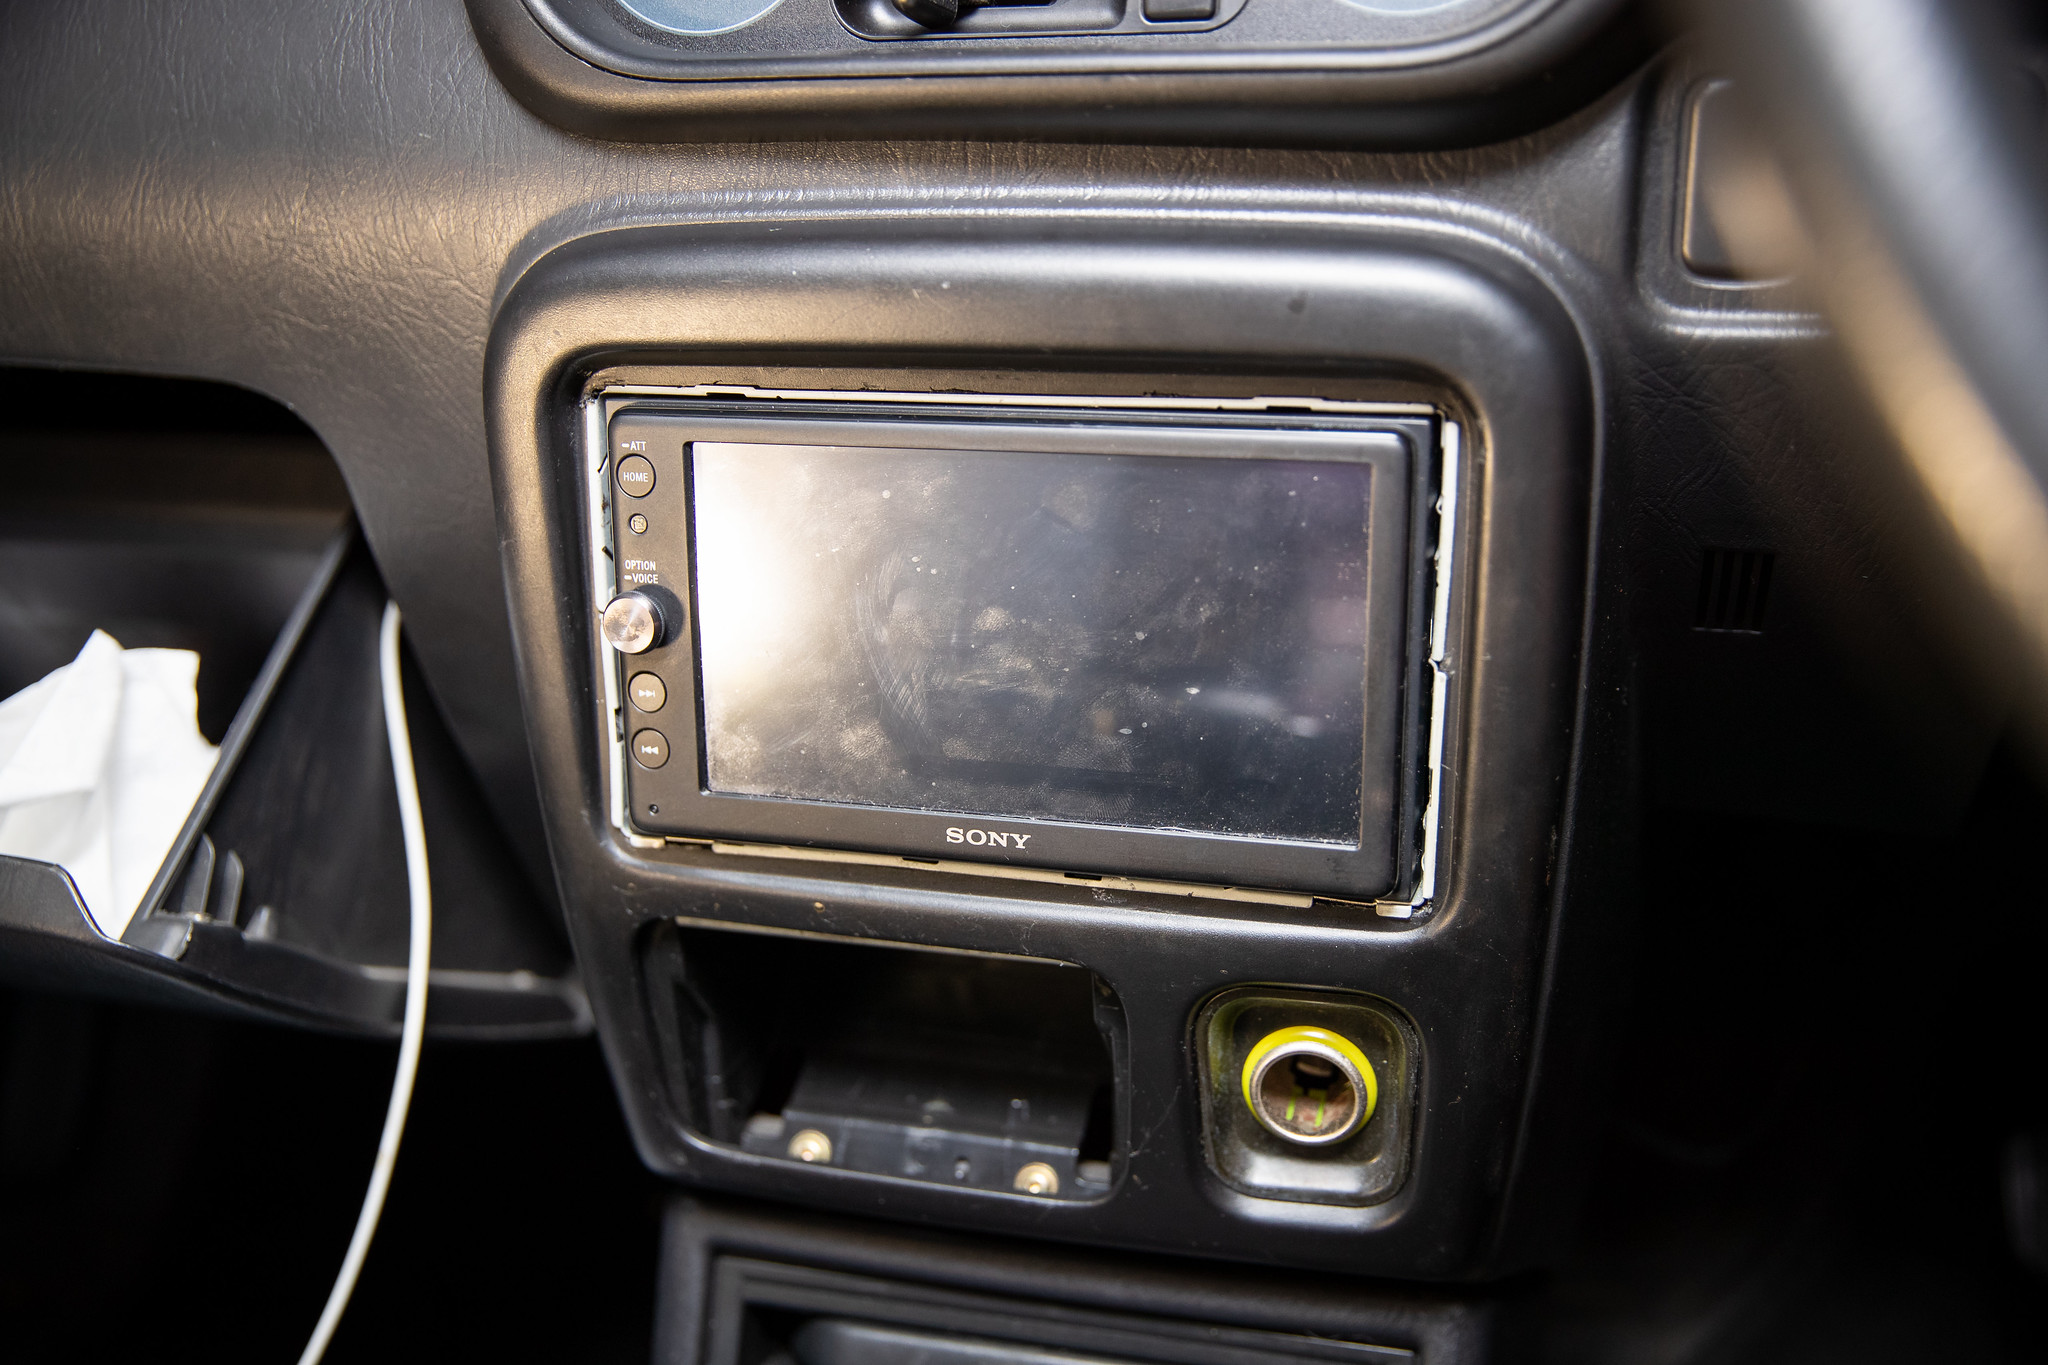
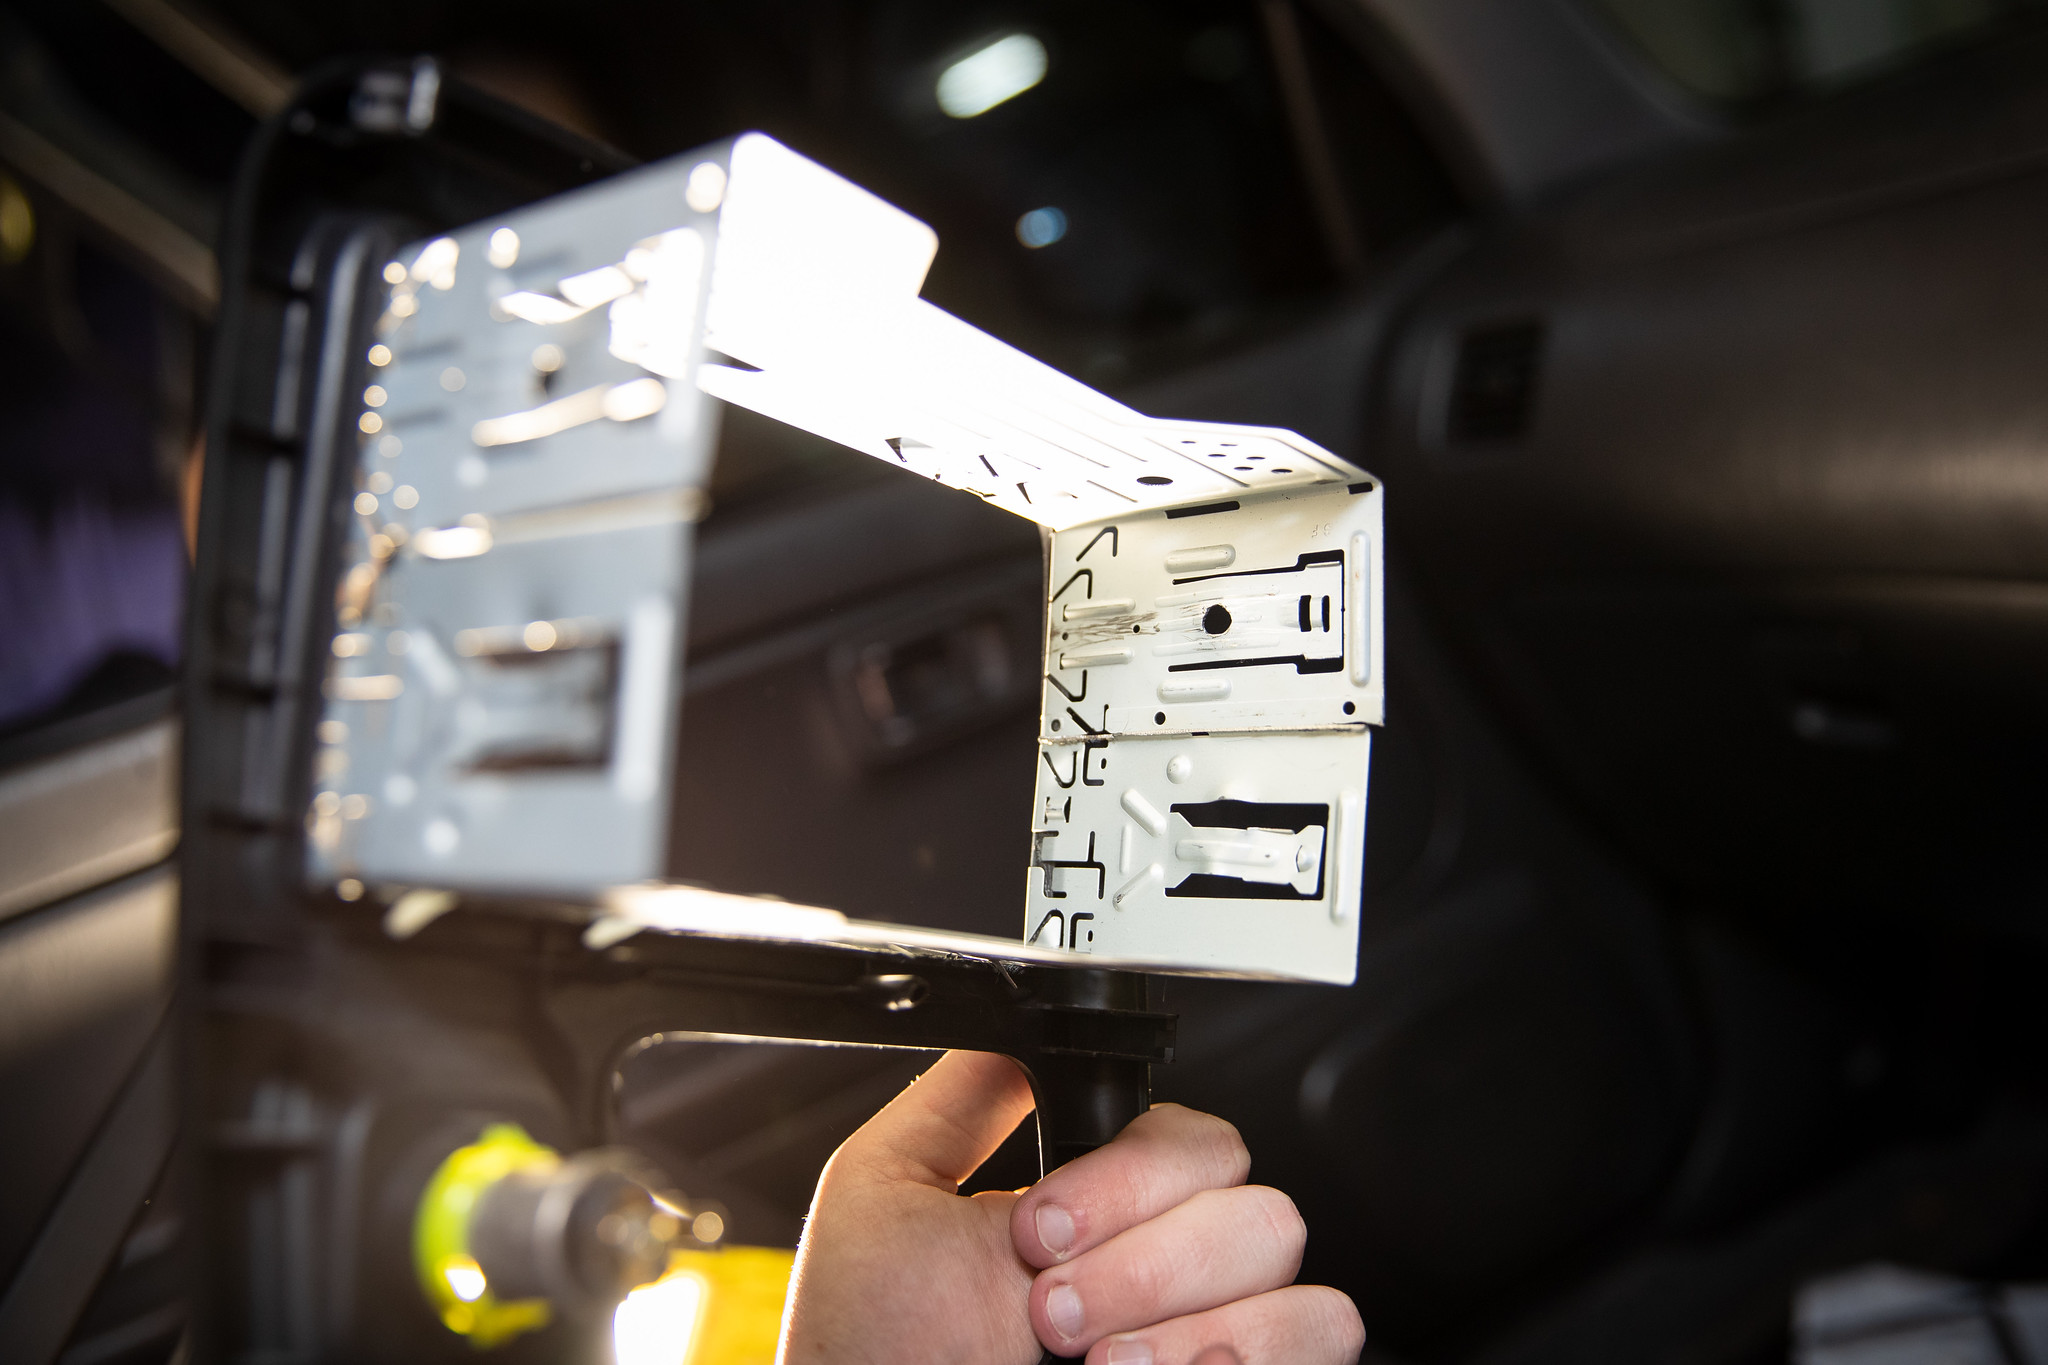
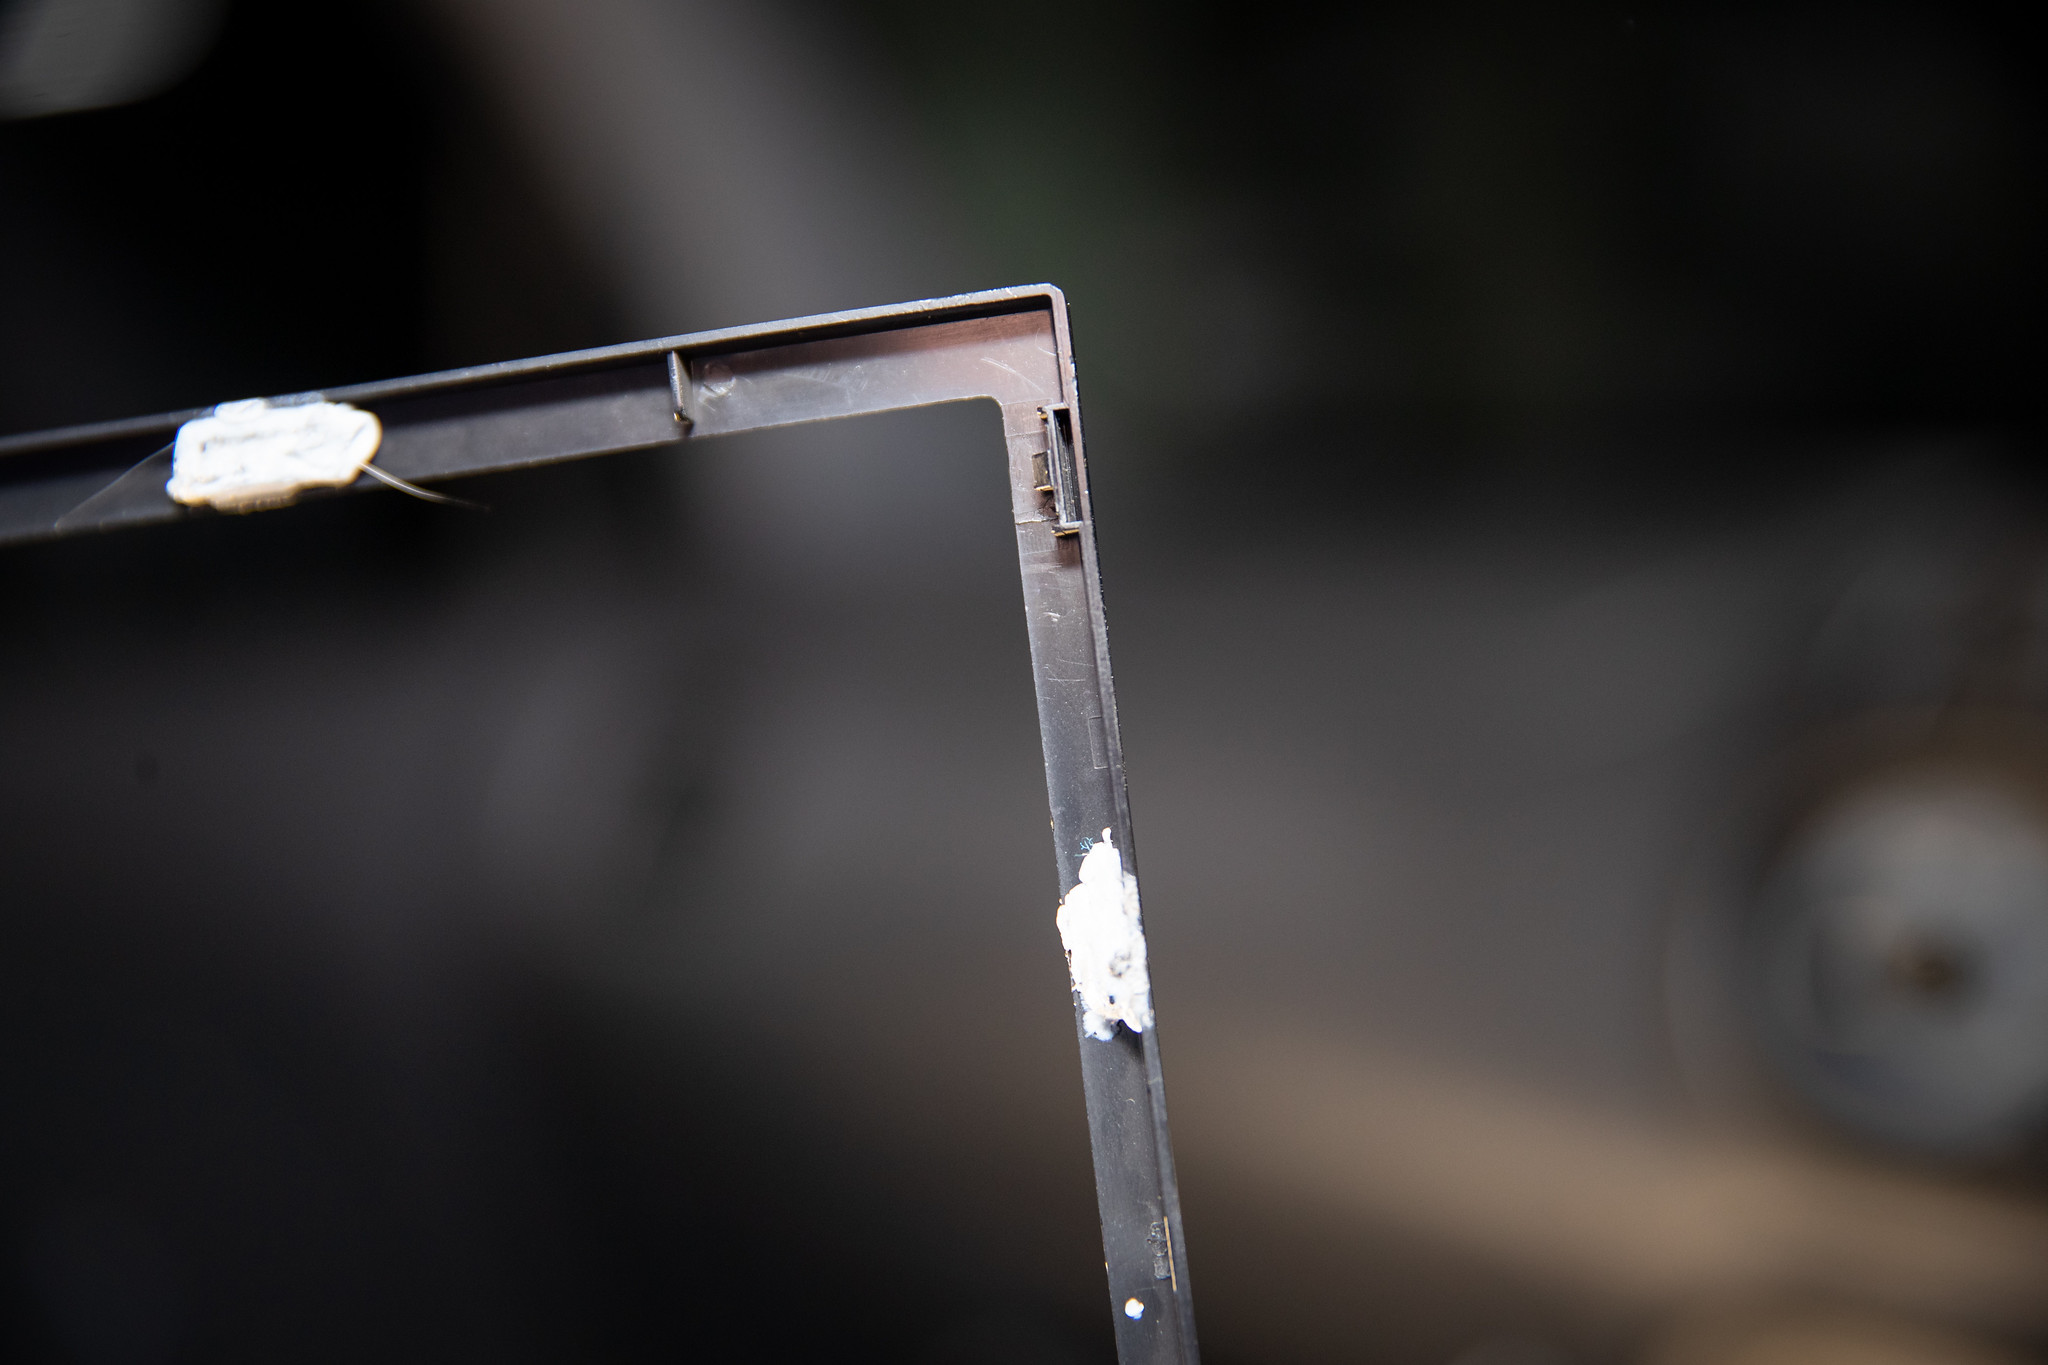
Anoyyingly the sourround doesn’t fit, I’ll either have to modify or find another one to try.
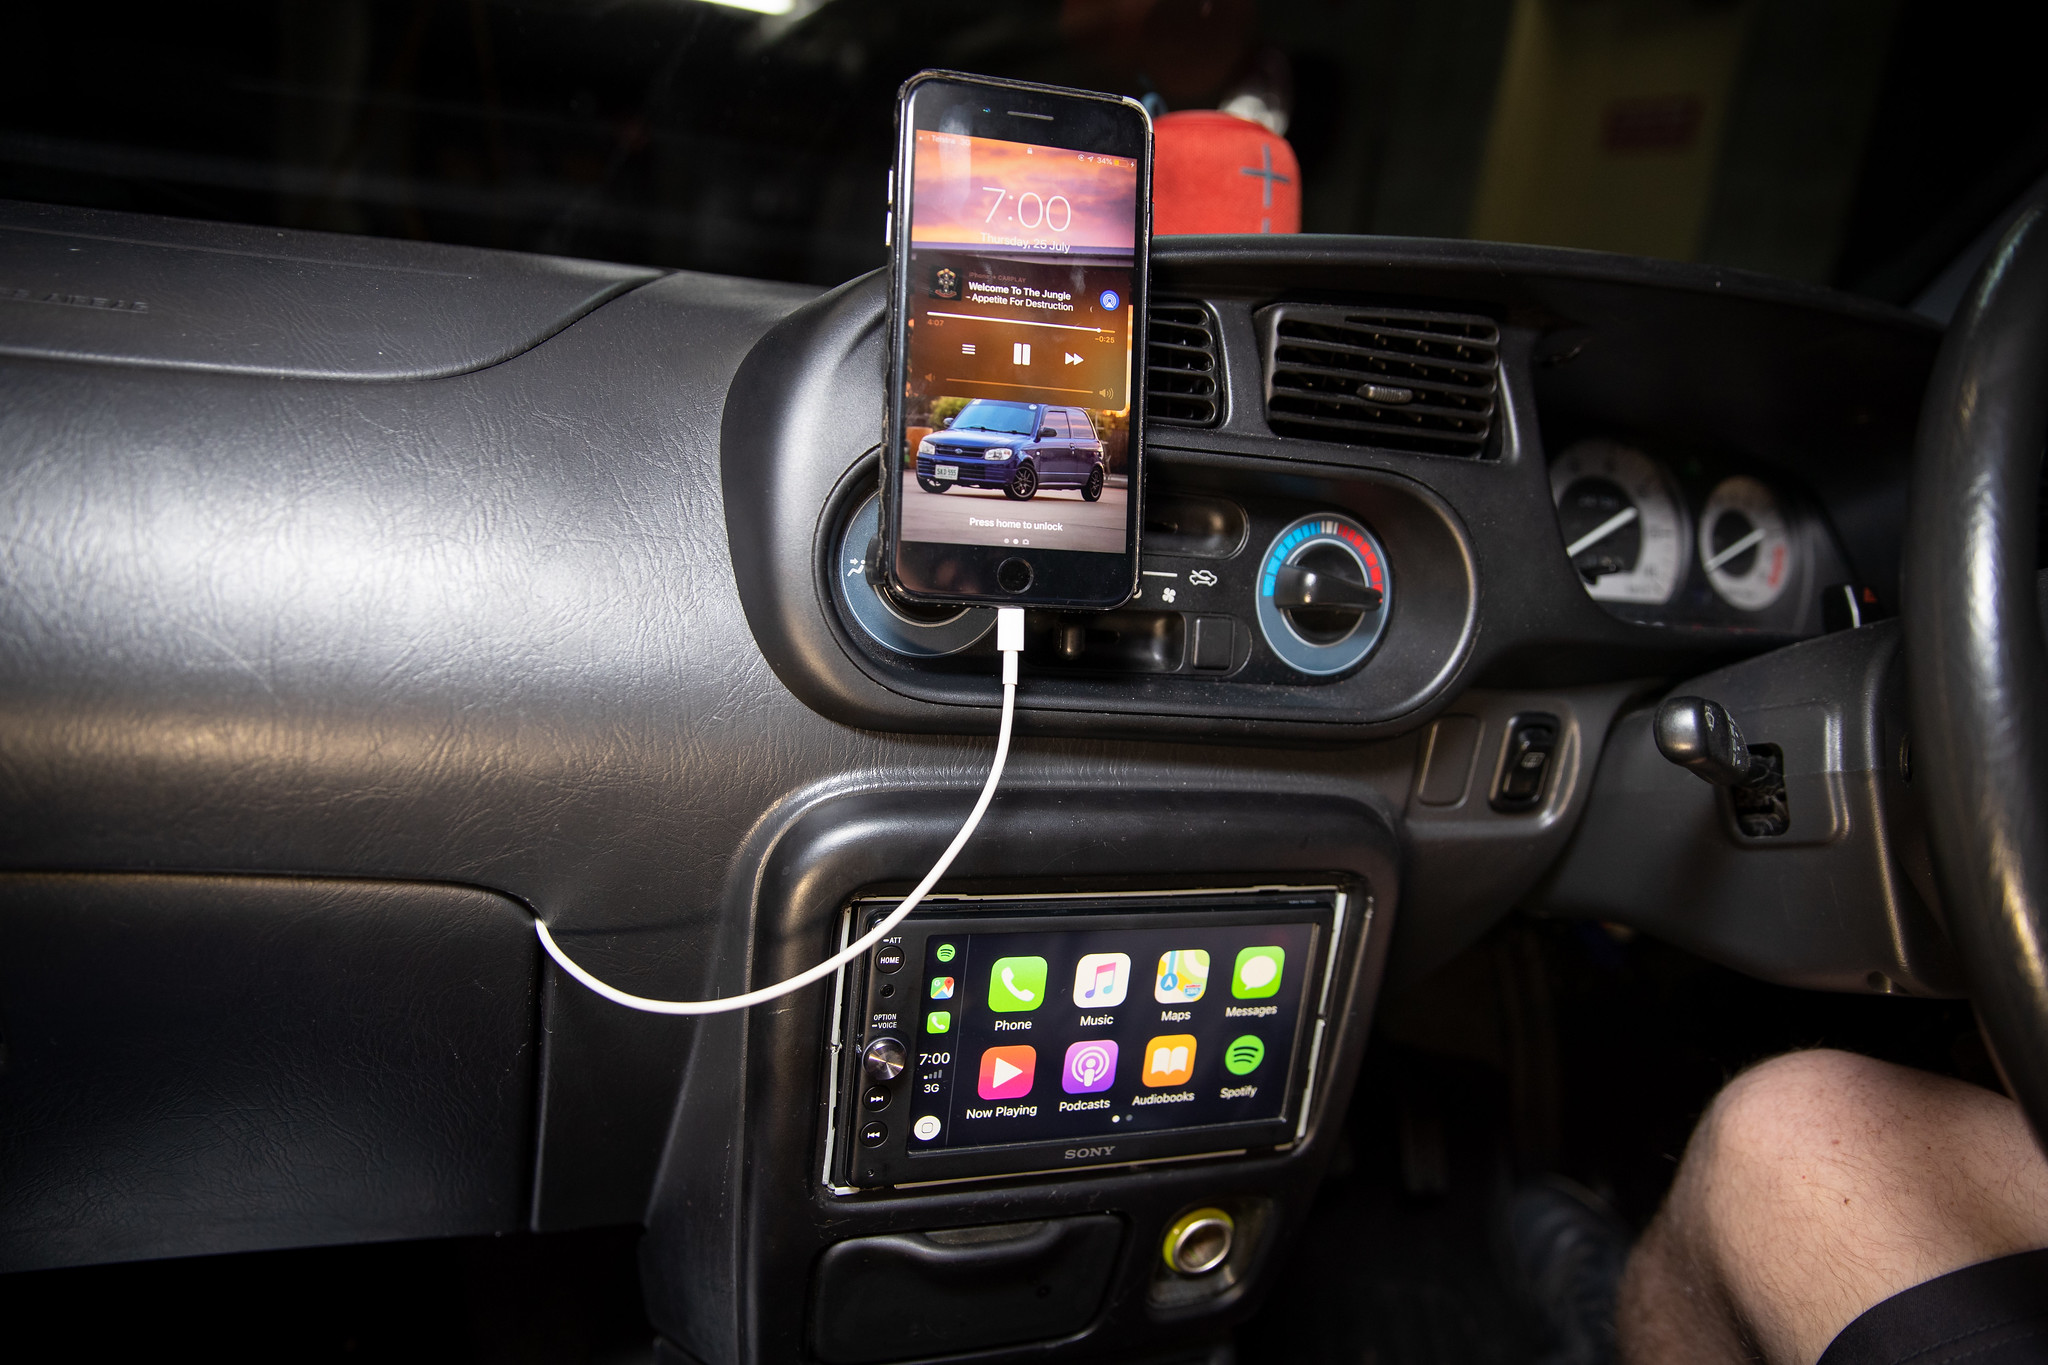
Lots of exciting times ahead for this, I’ll be making a real effort to do it properly.
6 Likes
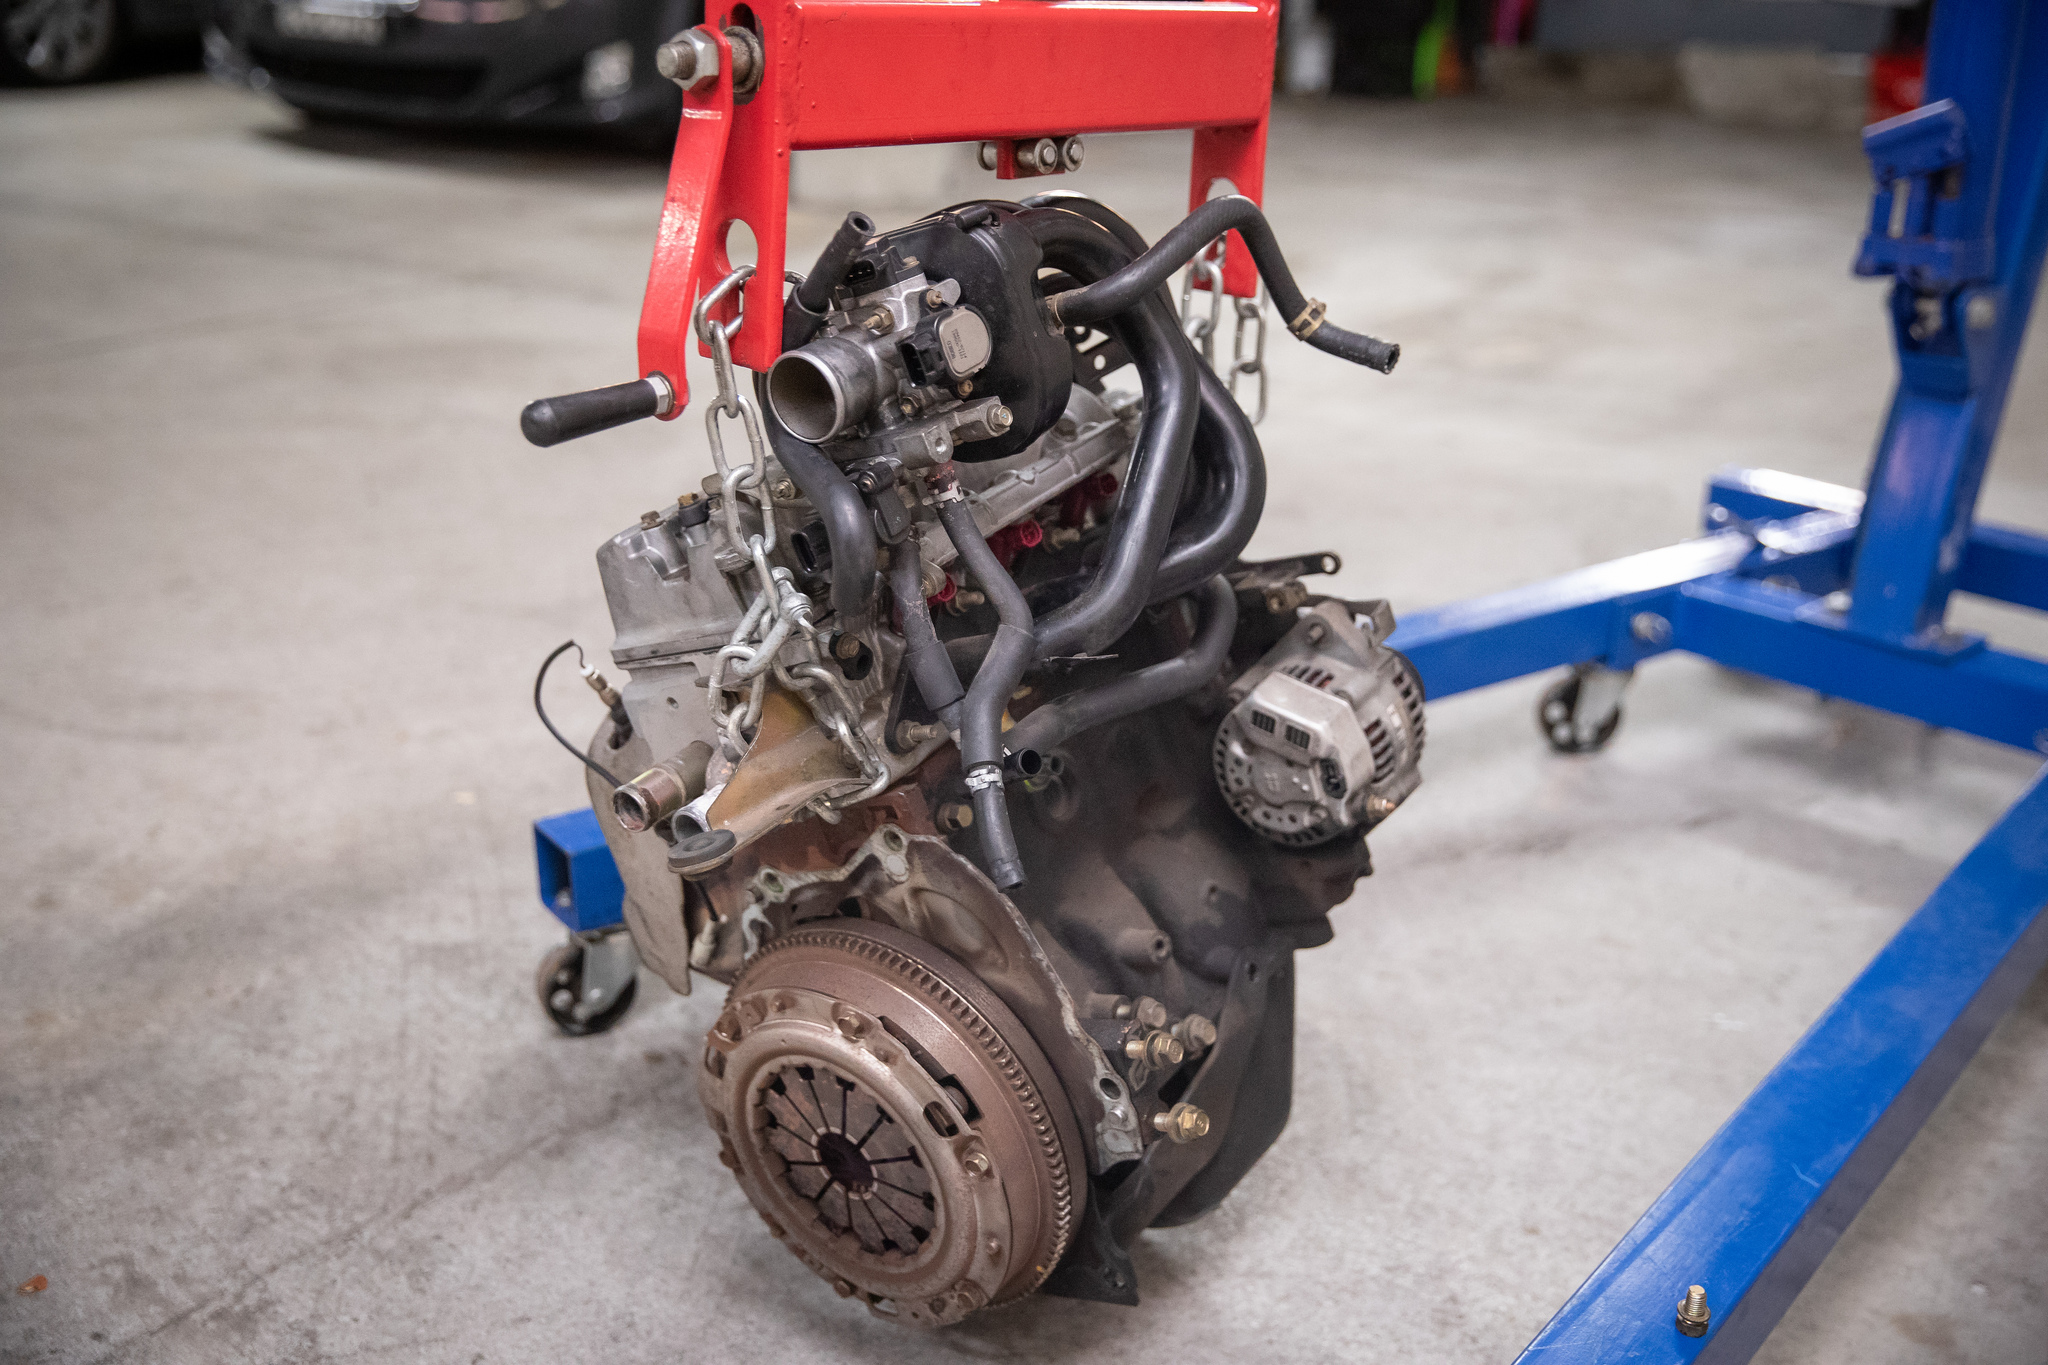
August 2019: So this one is going to be a big one, it’s a very big thing to finally happen to this car. Manual swap time!
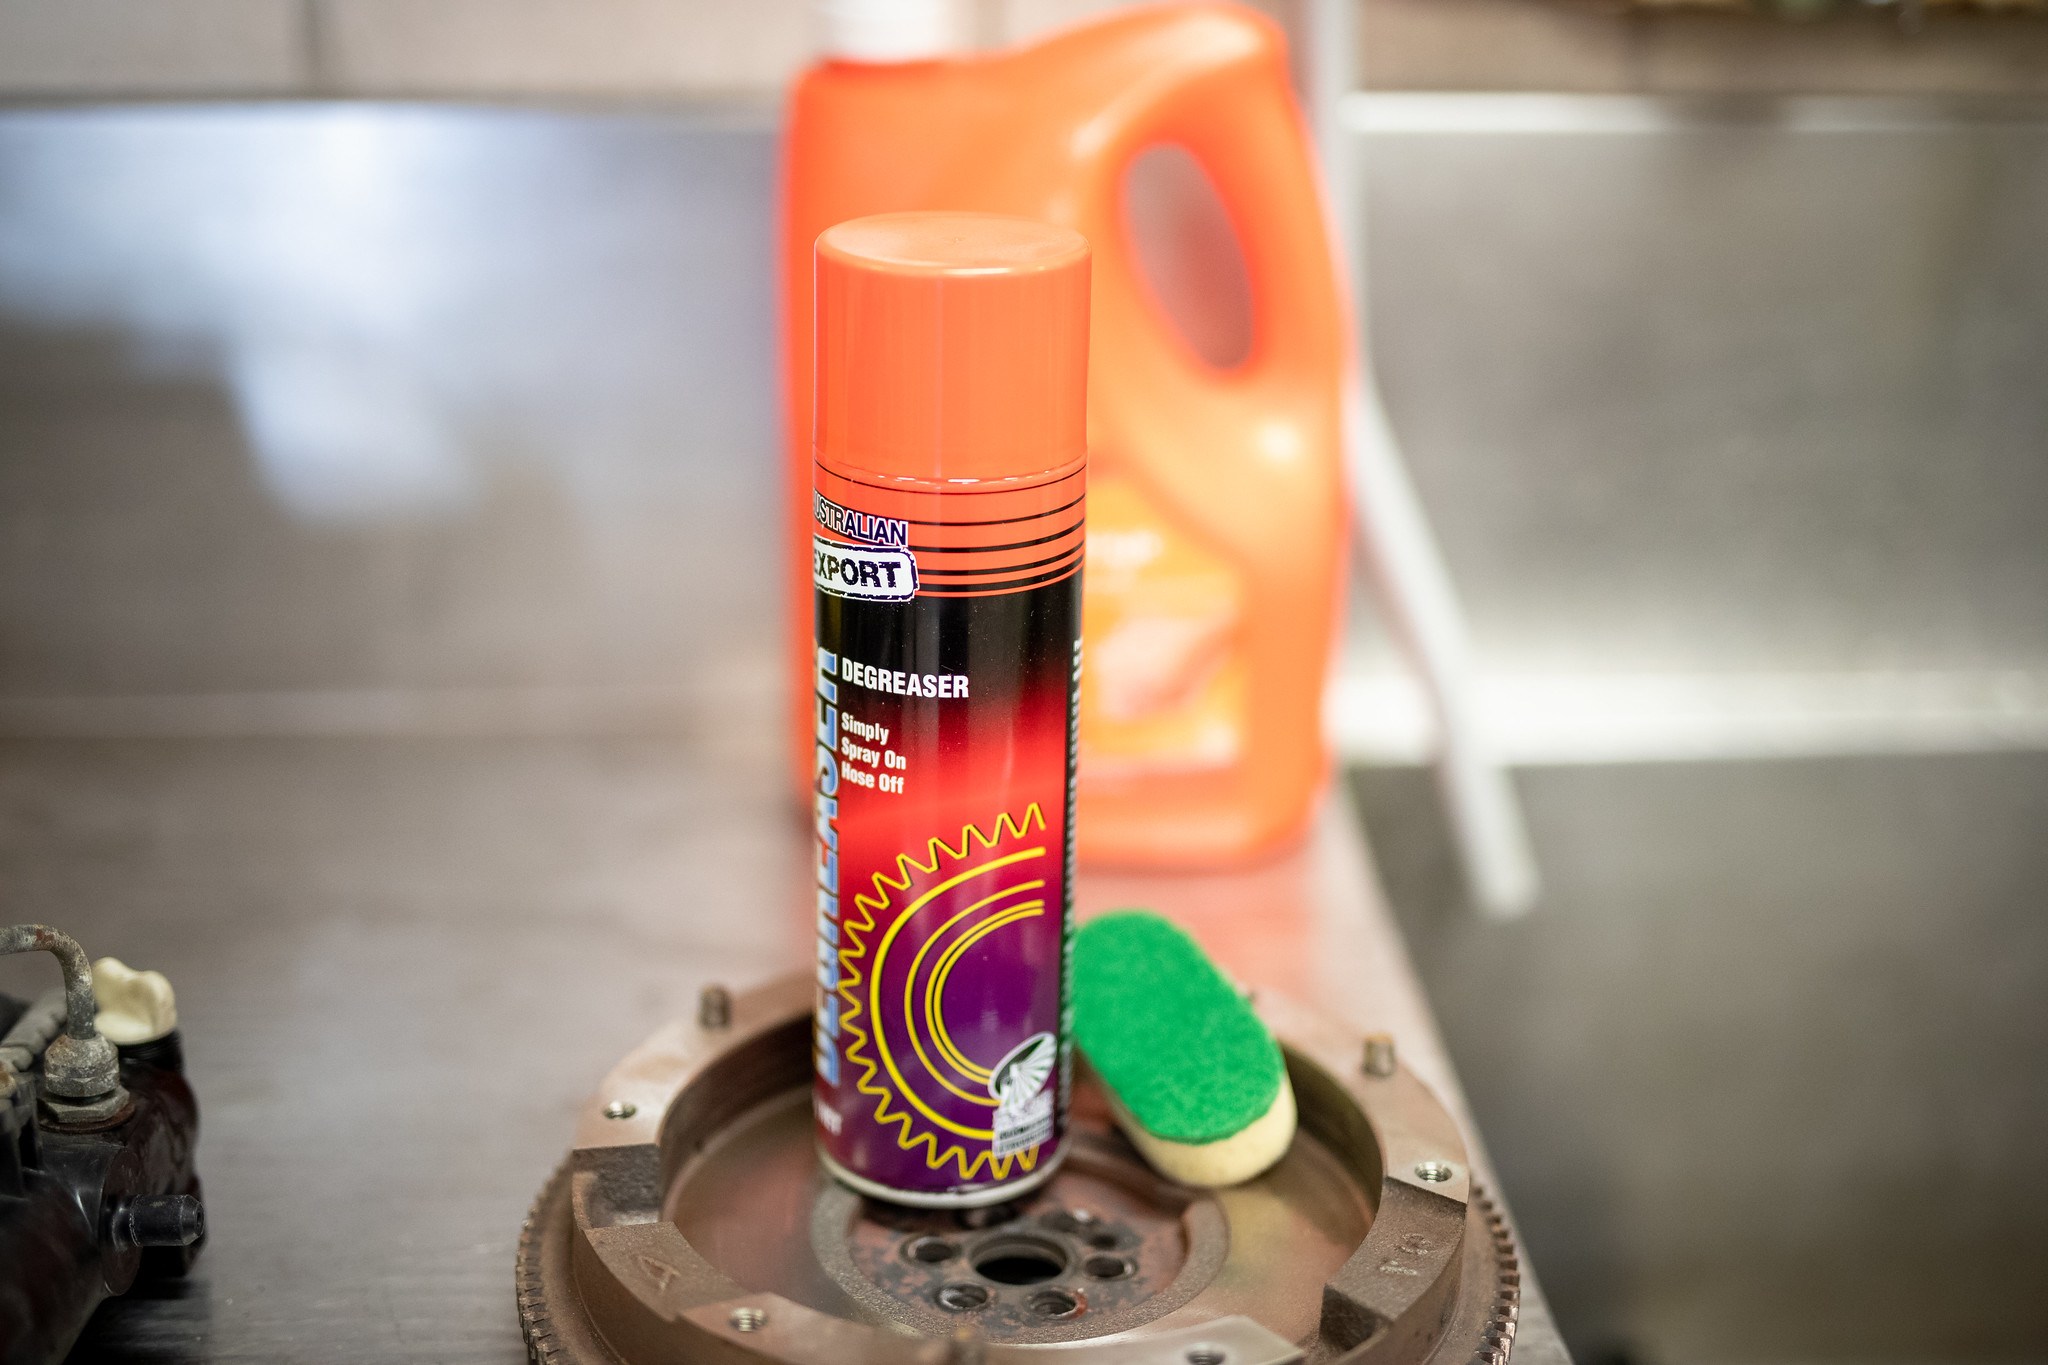
I had everything prepared but I wanted to take the quick moment to give the box a little once over with some degreaser.
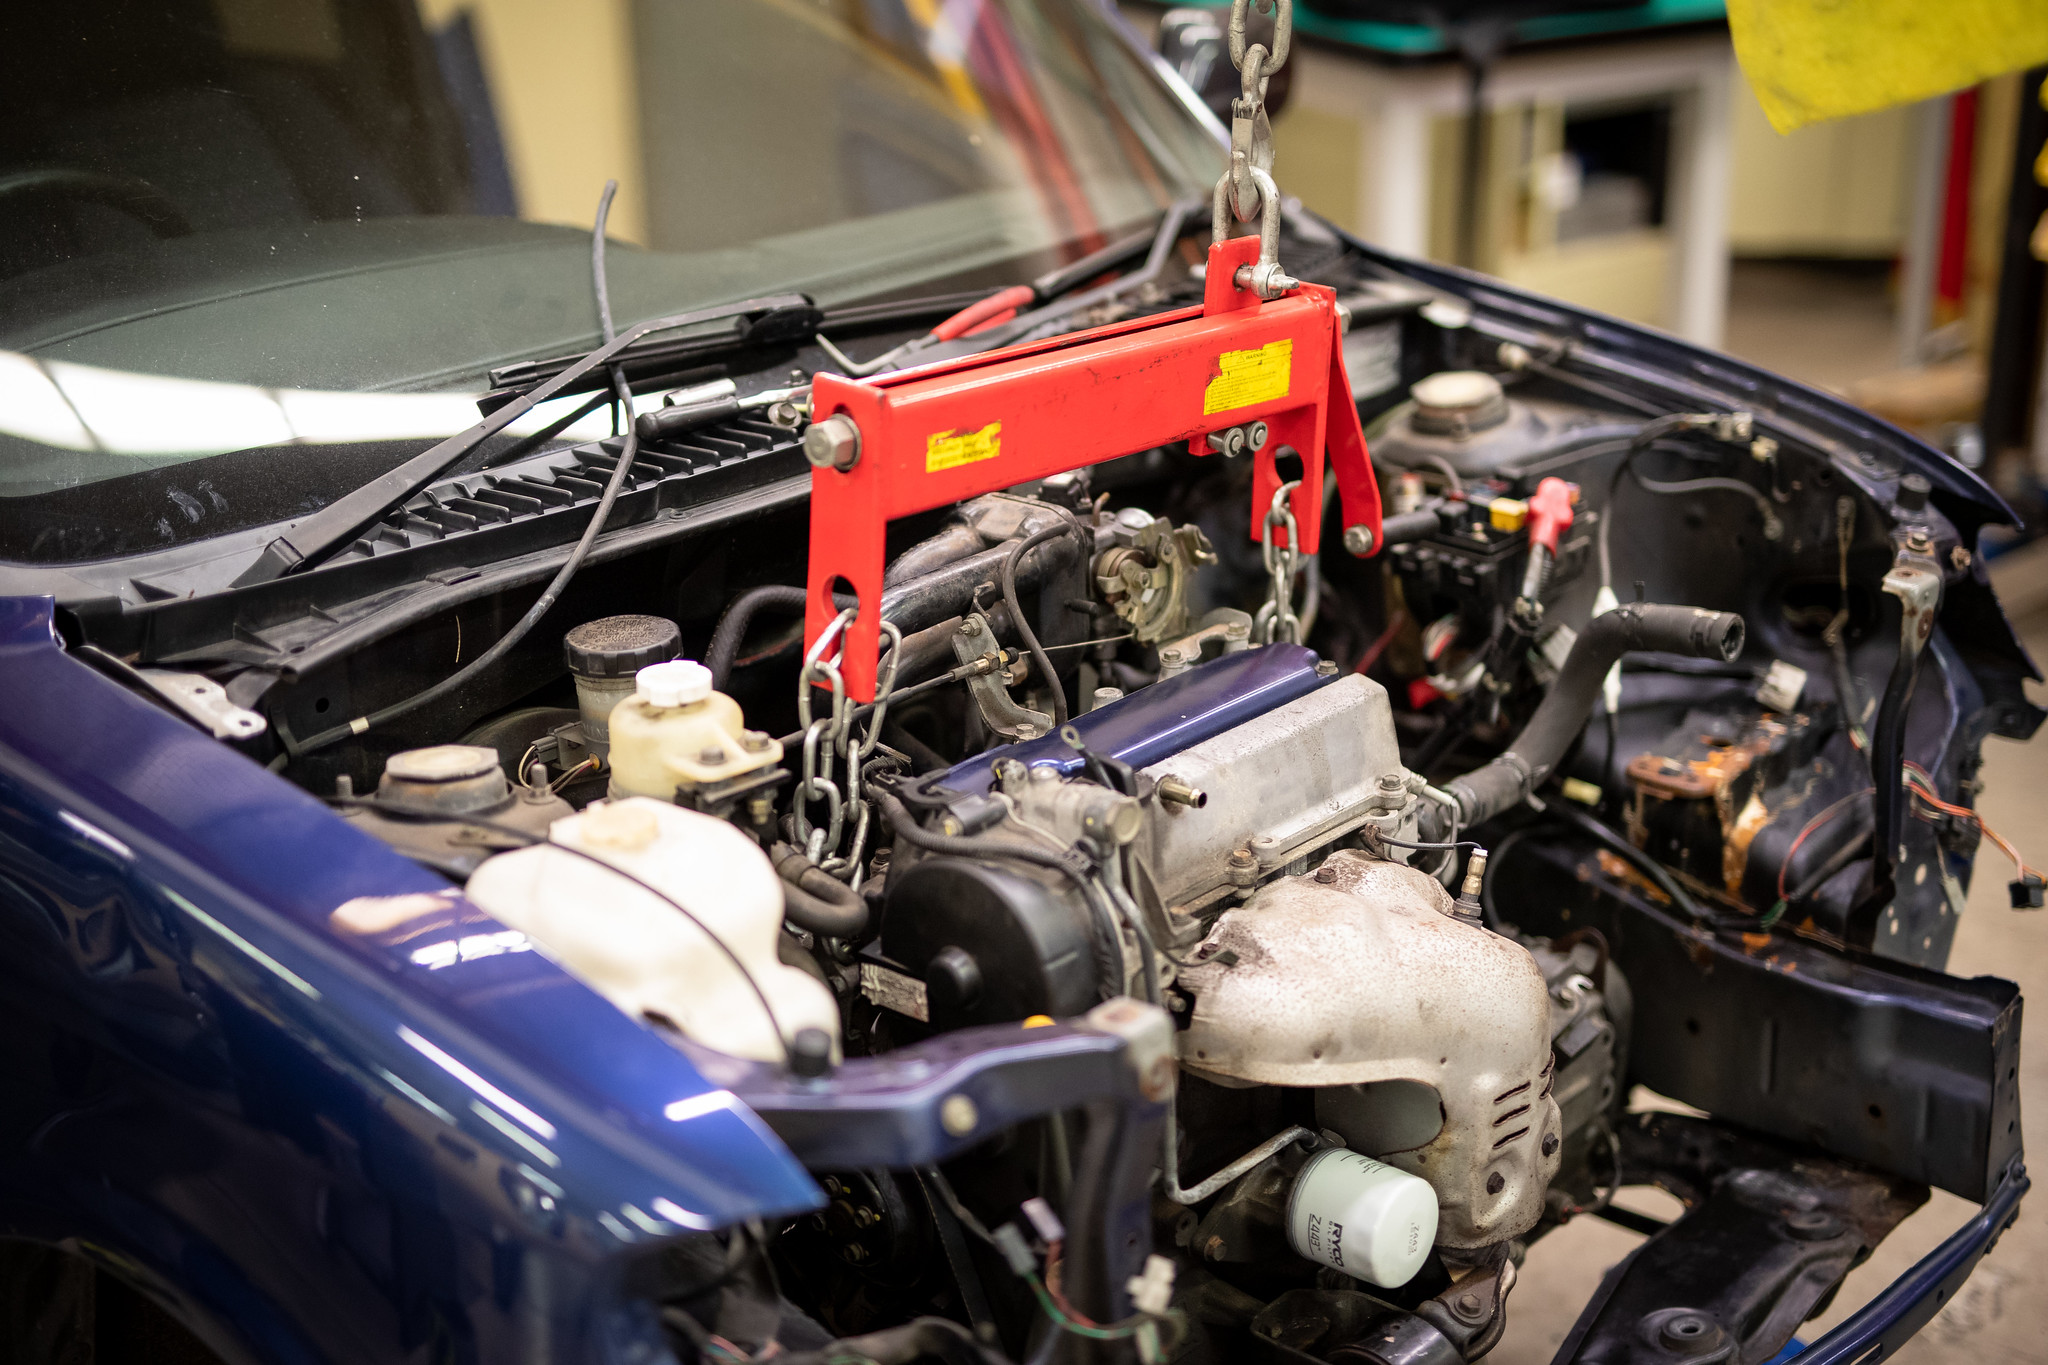
Now that we’re ready to get going, time to pop it in the air.
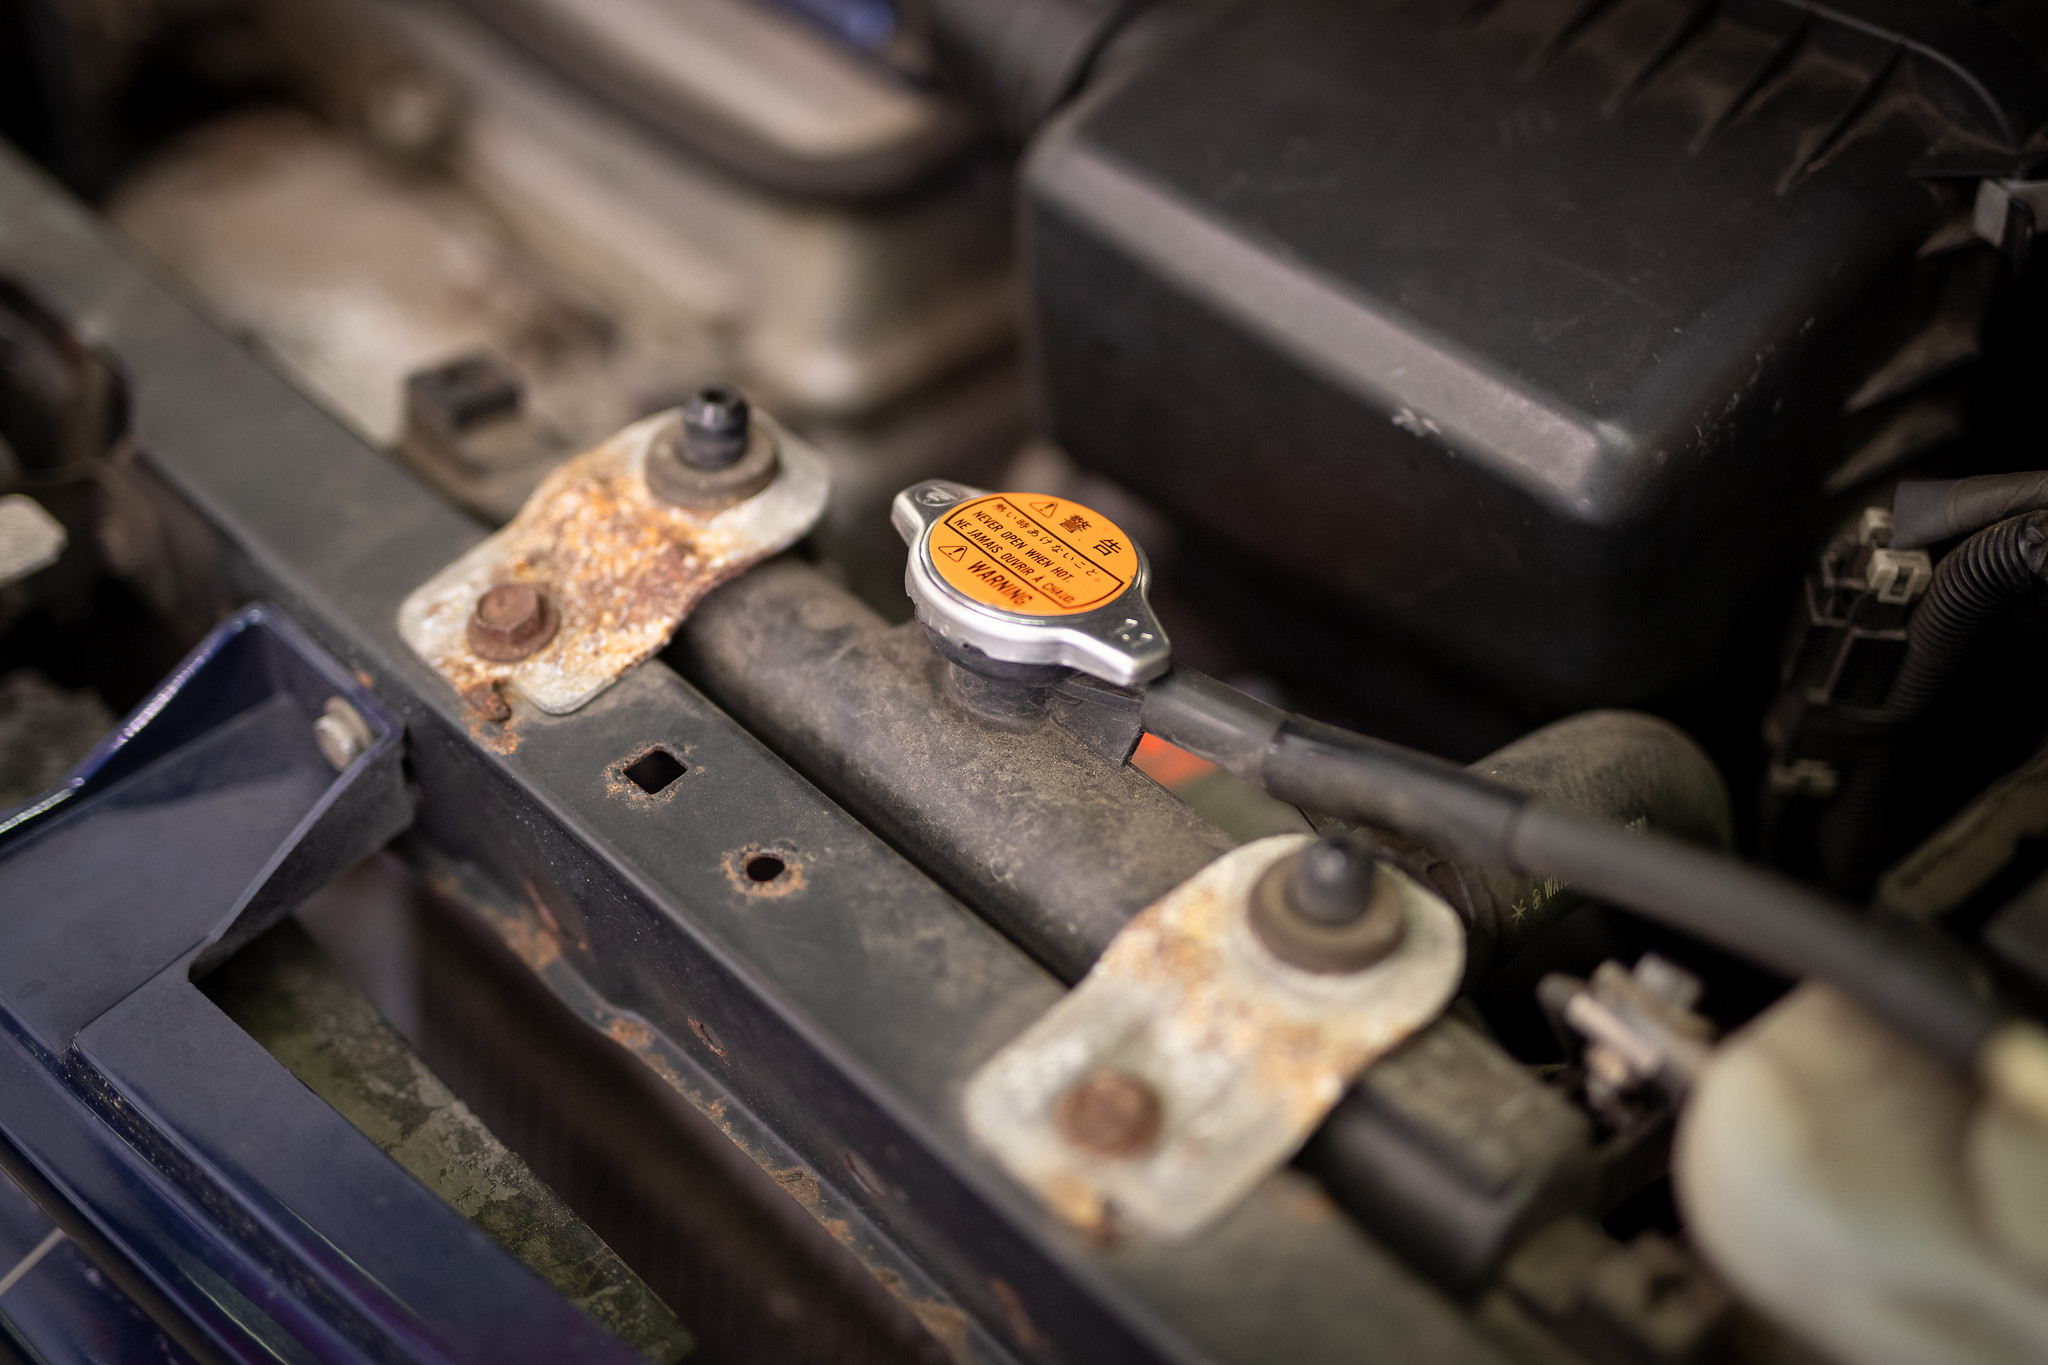
Fluids were first on the list, coolant first.

Oils and filter.
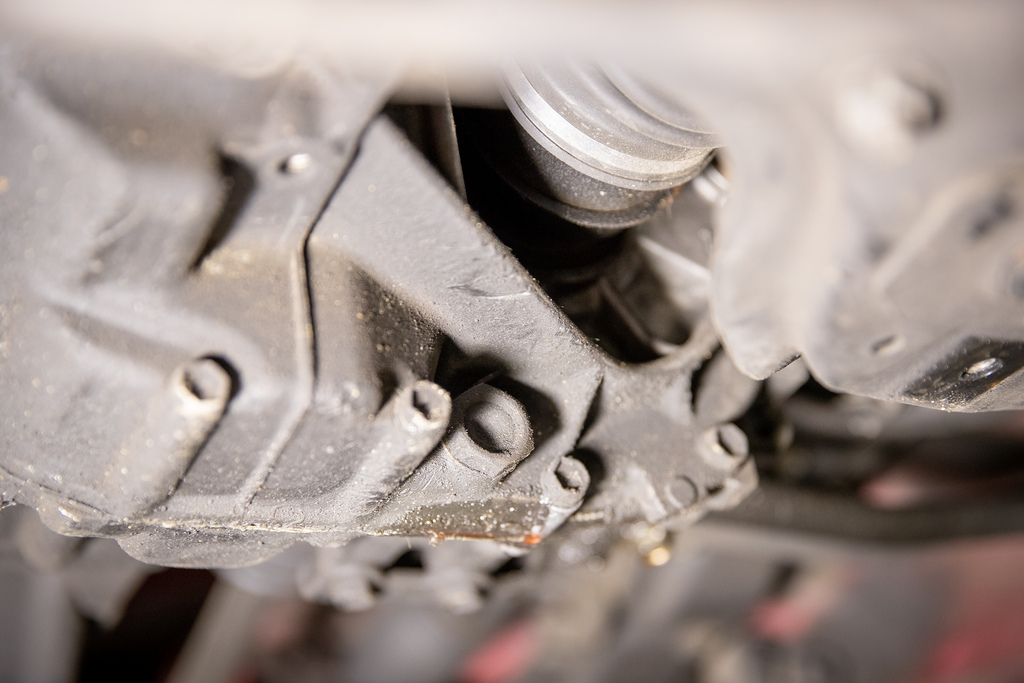
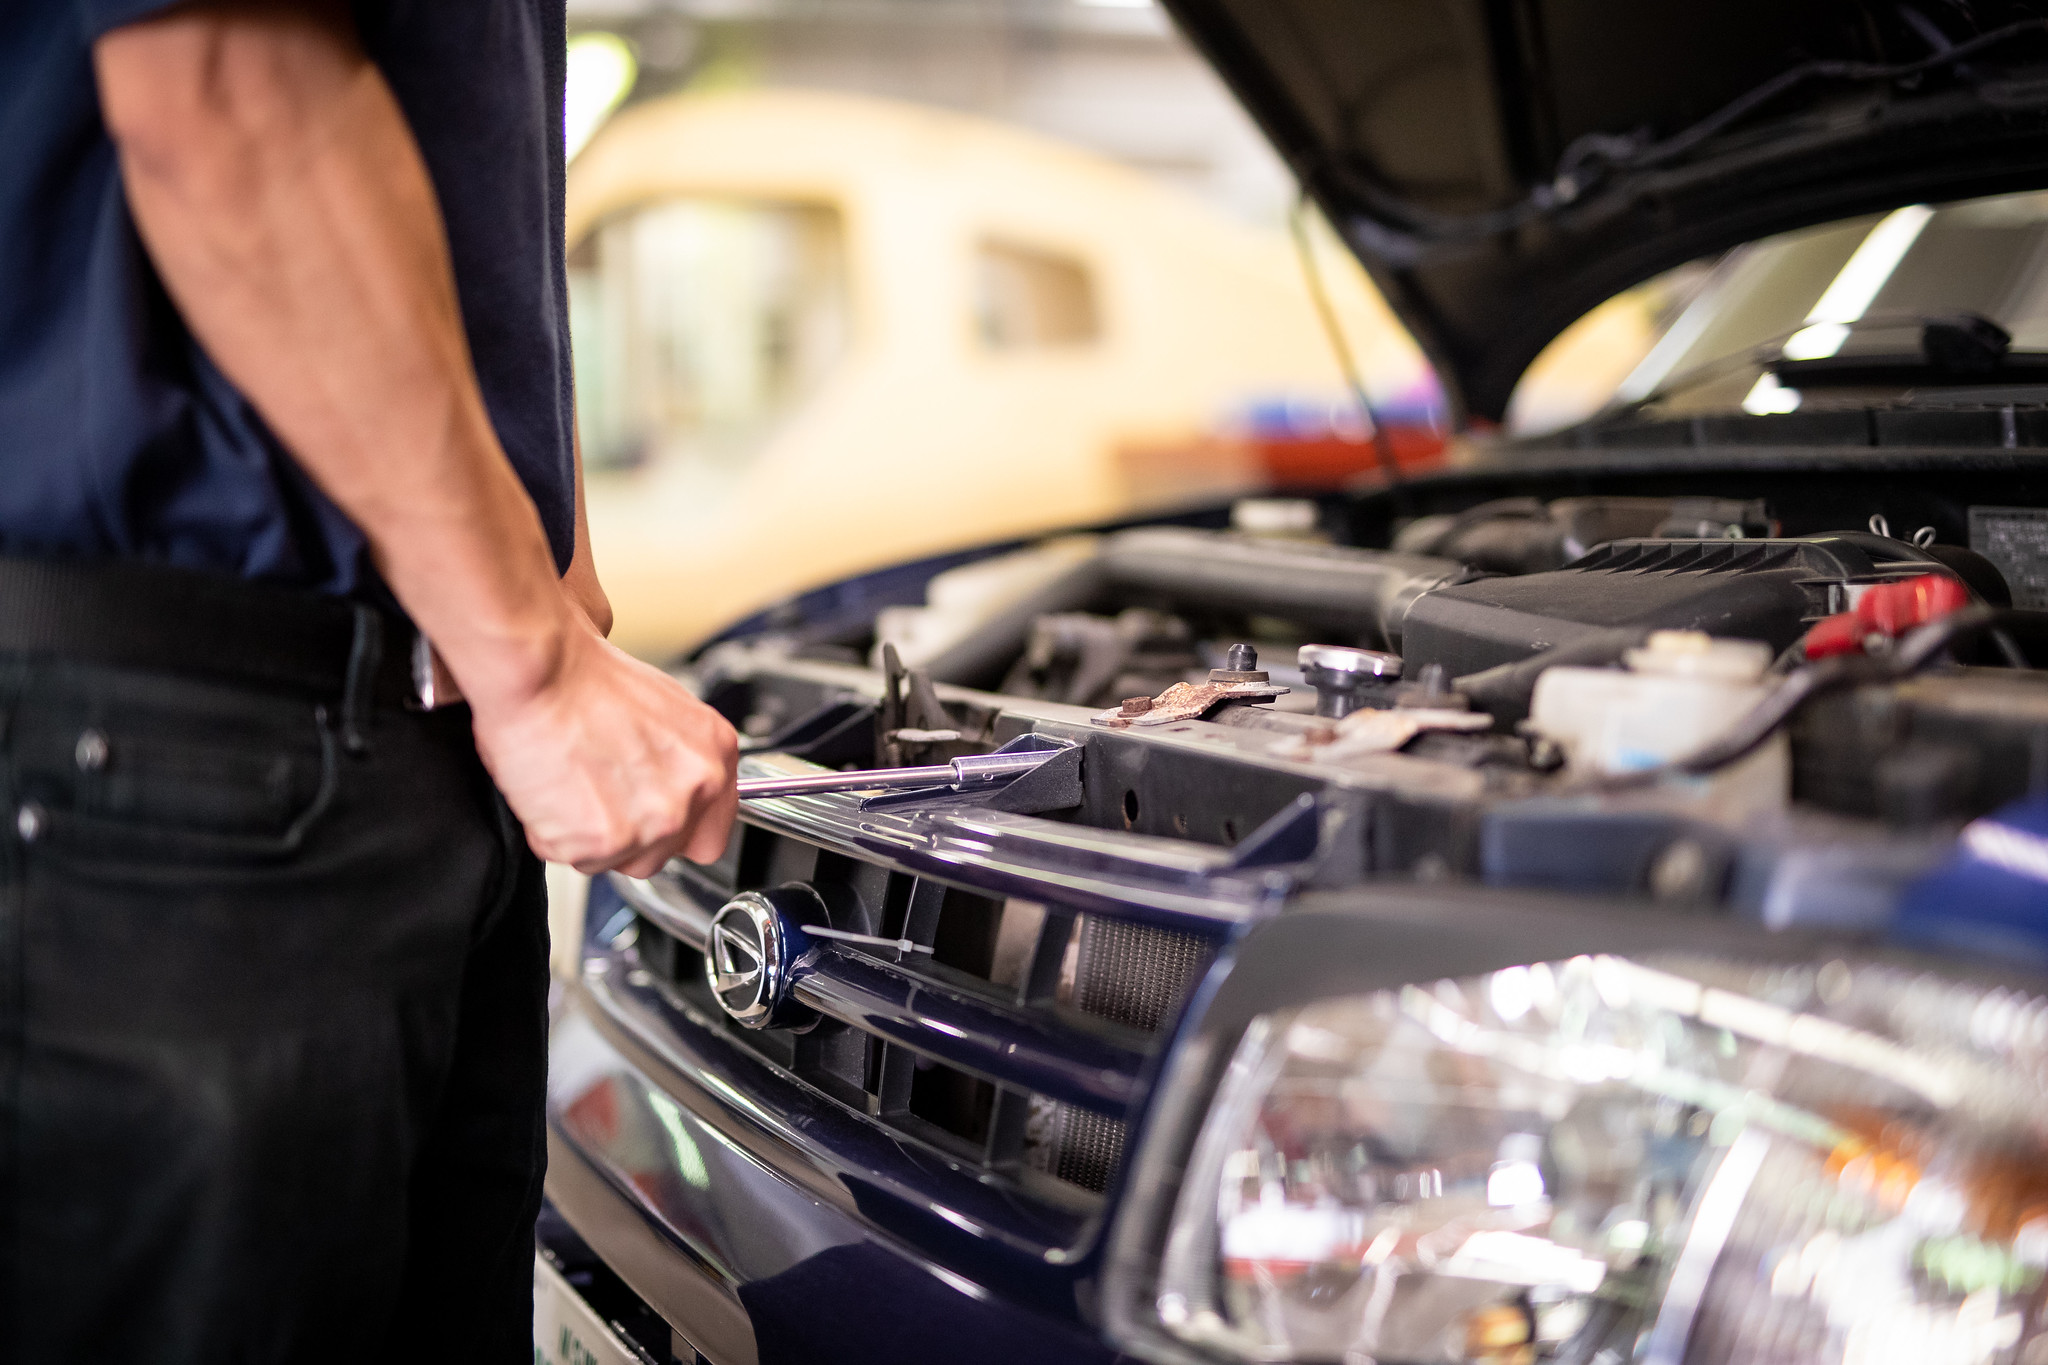
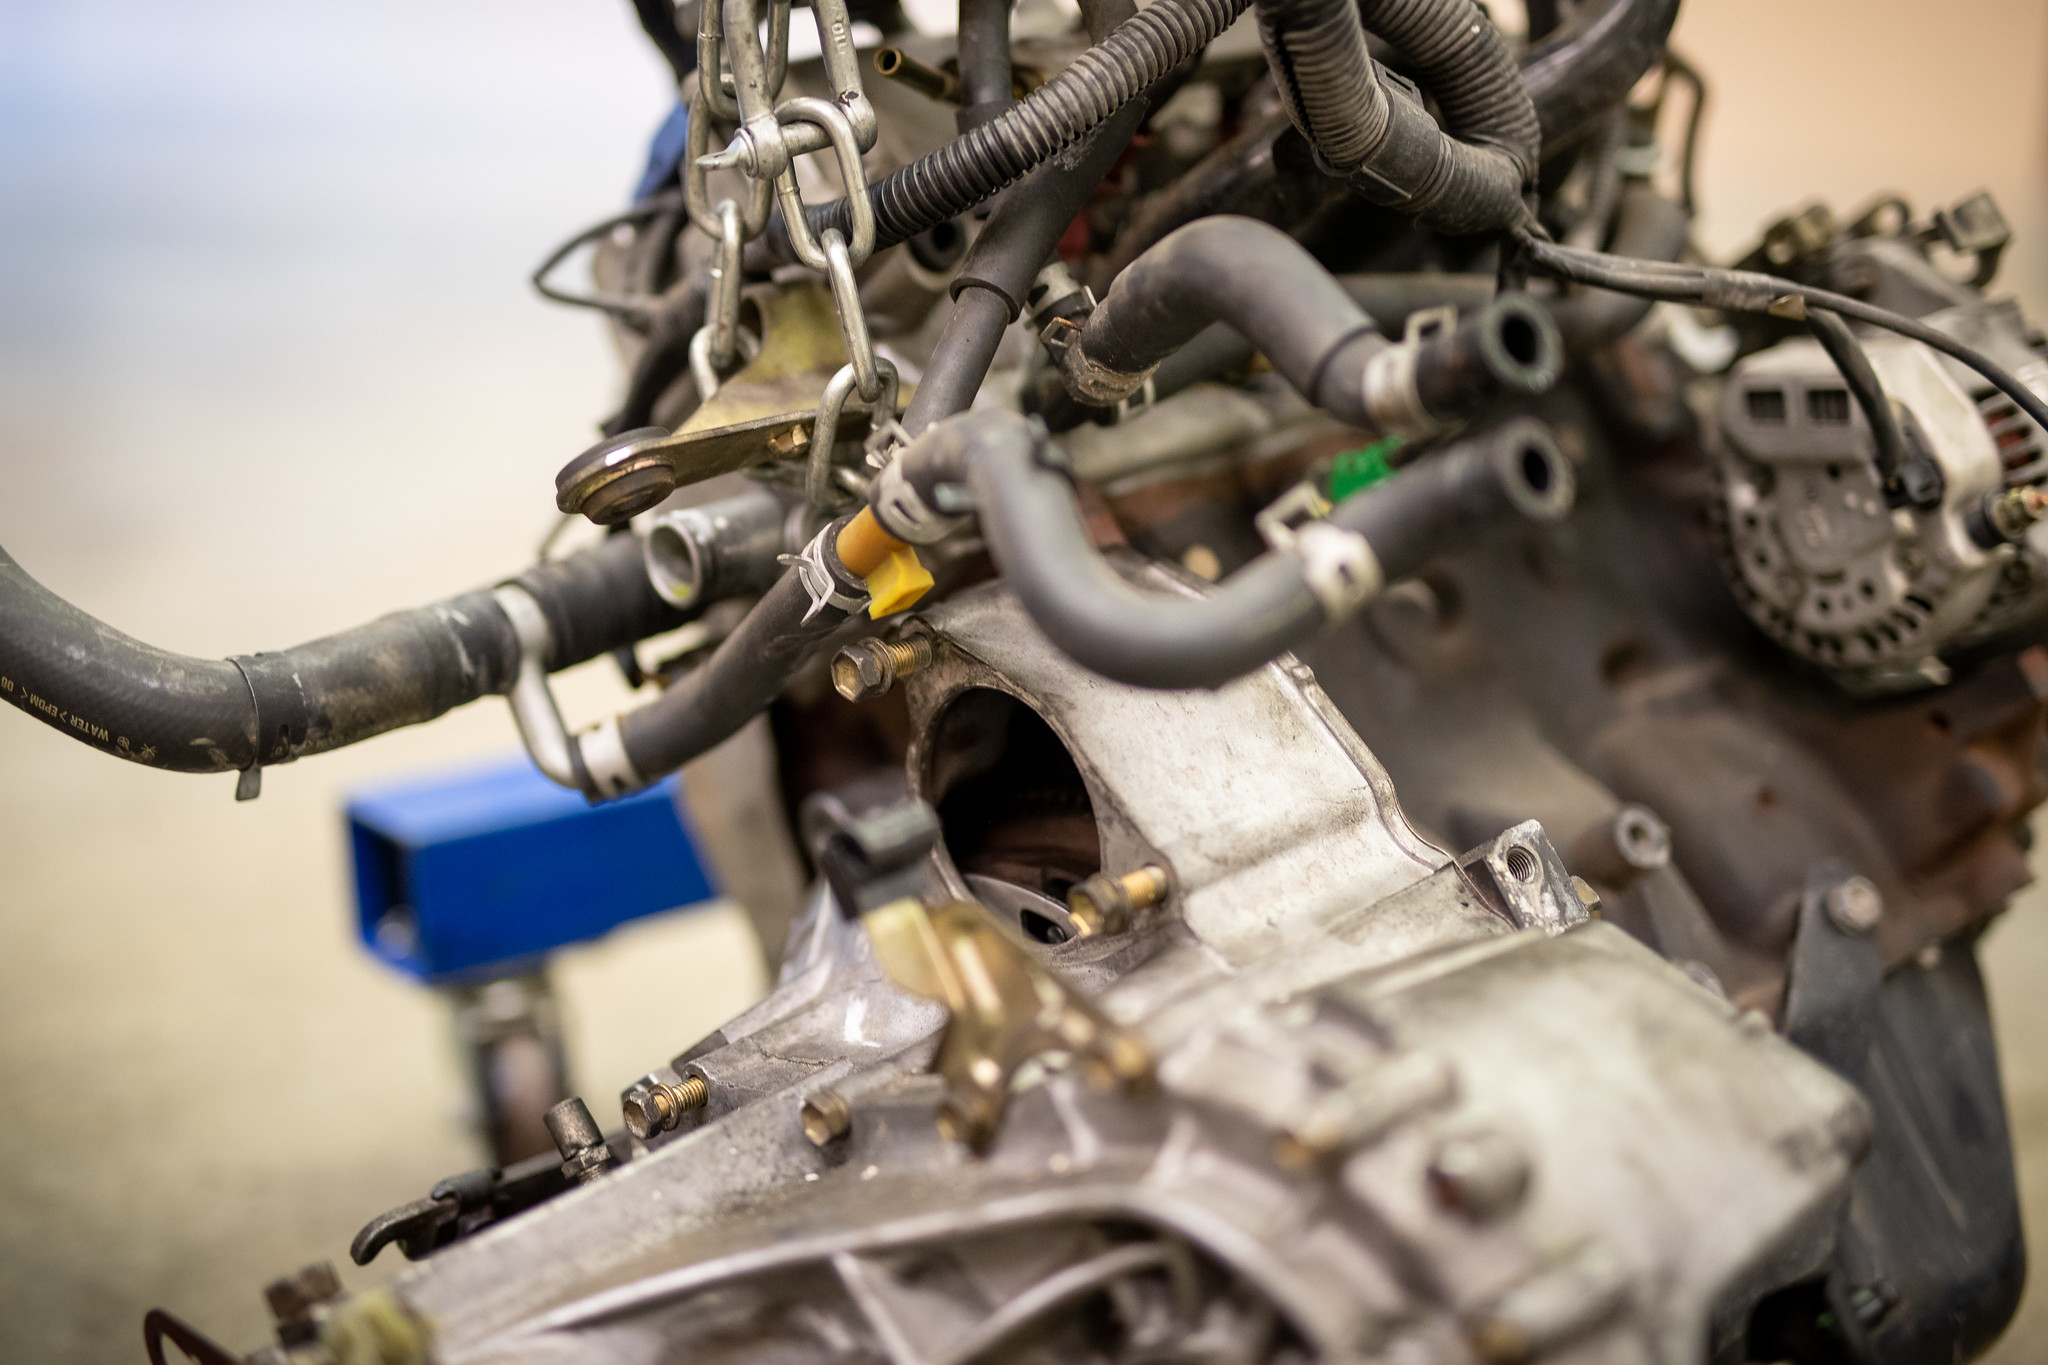
As we’re pulling the engine out with the crane, we need all the space we can get, so the front end can come off.
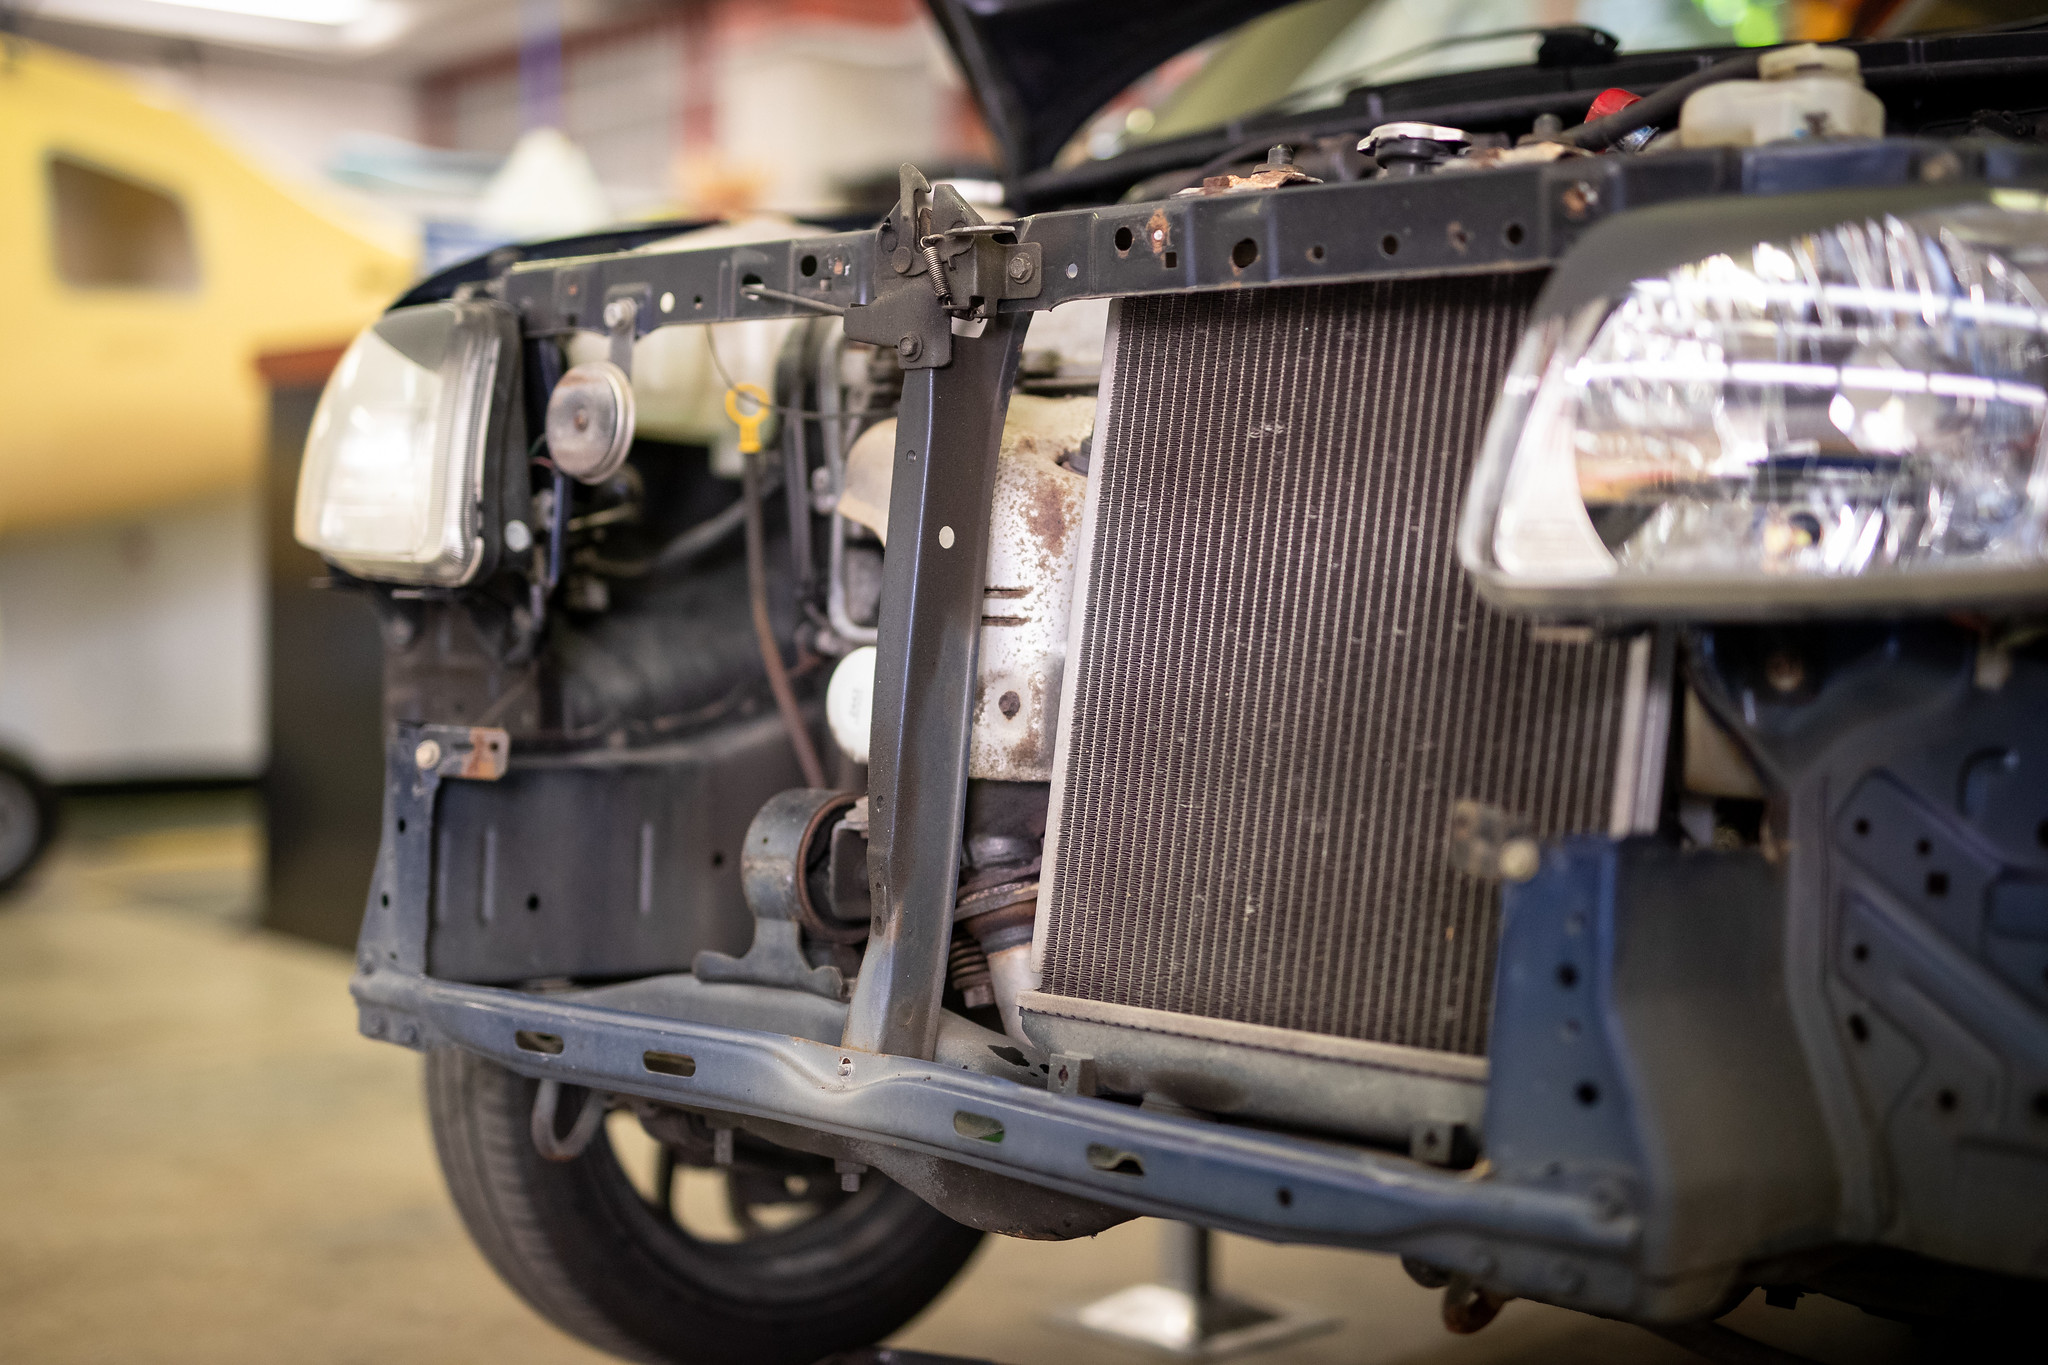
The radiator could come out as one now.

Hoses and exhaust.
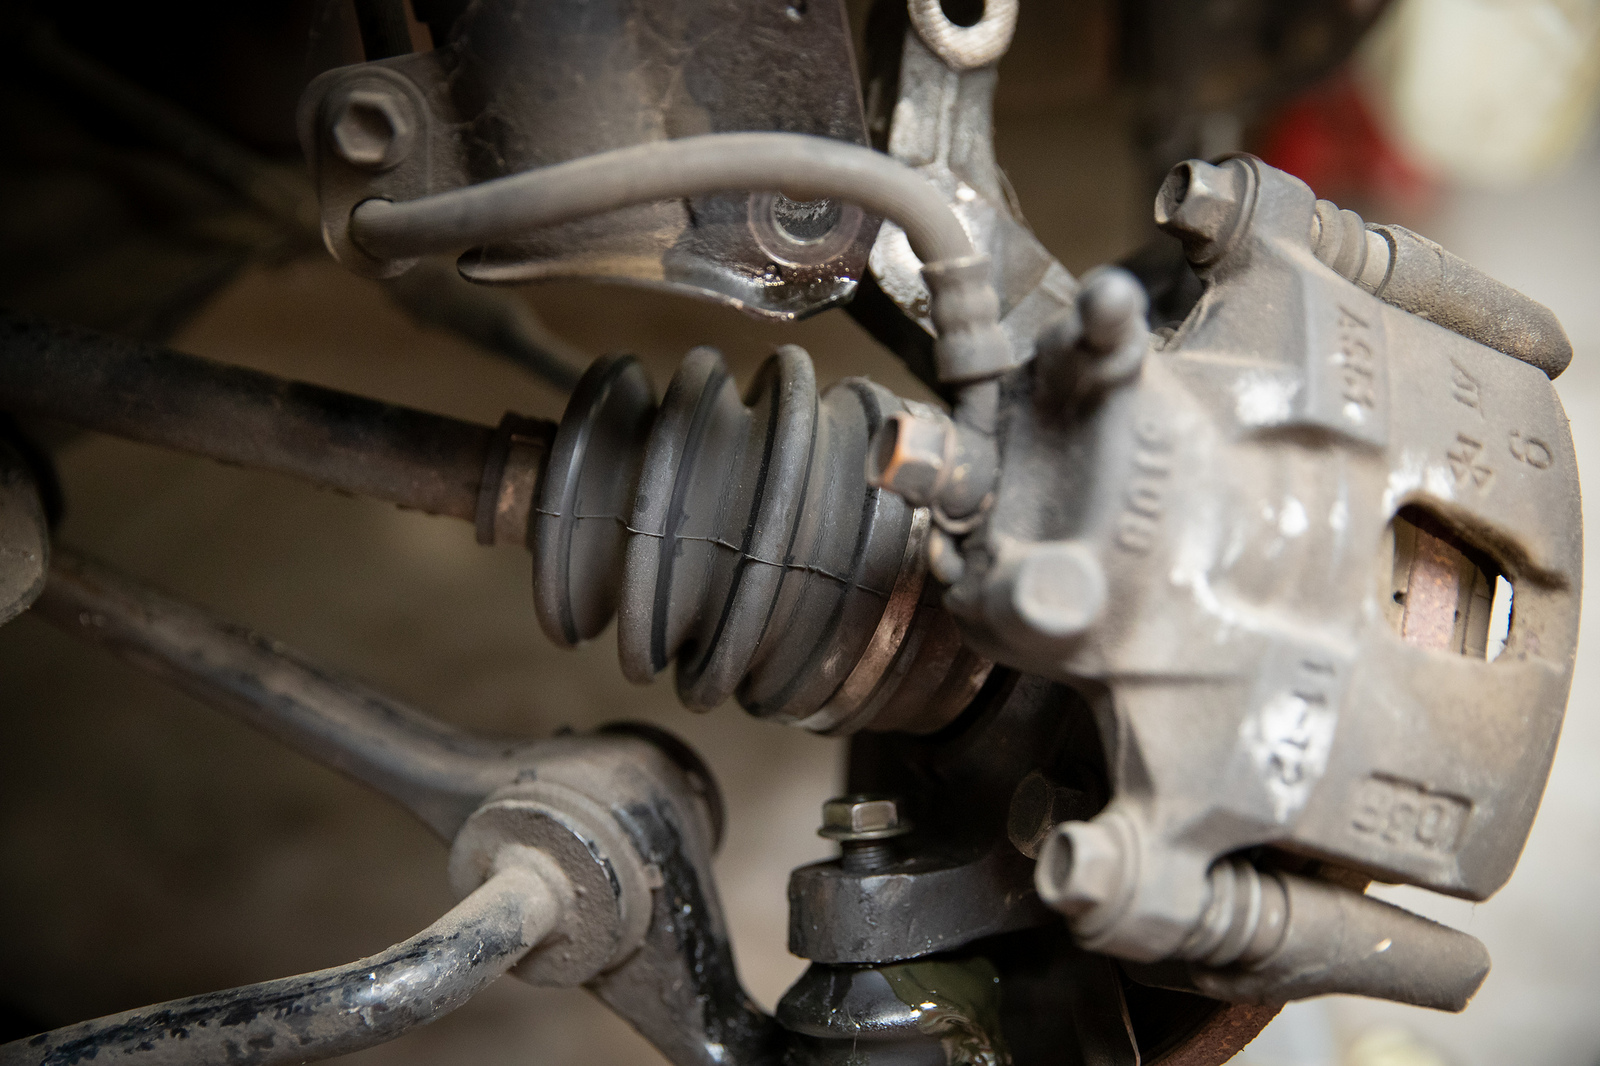
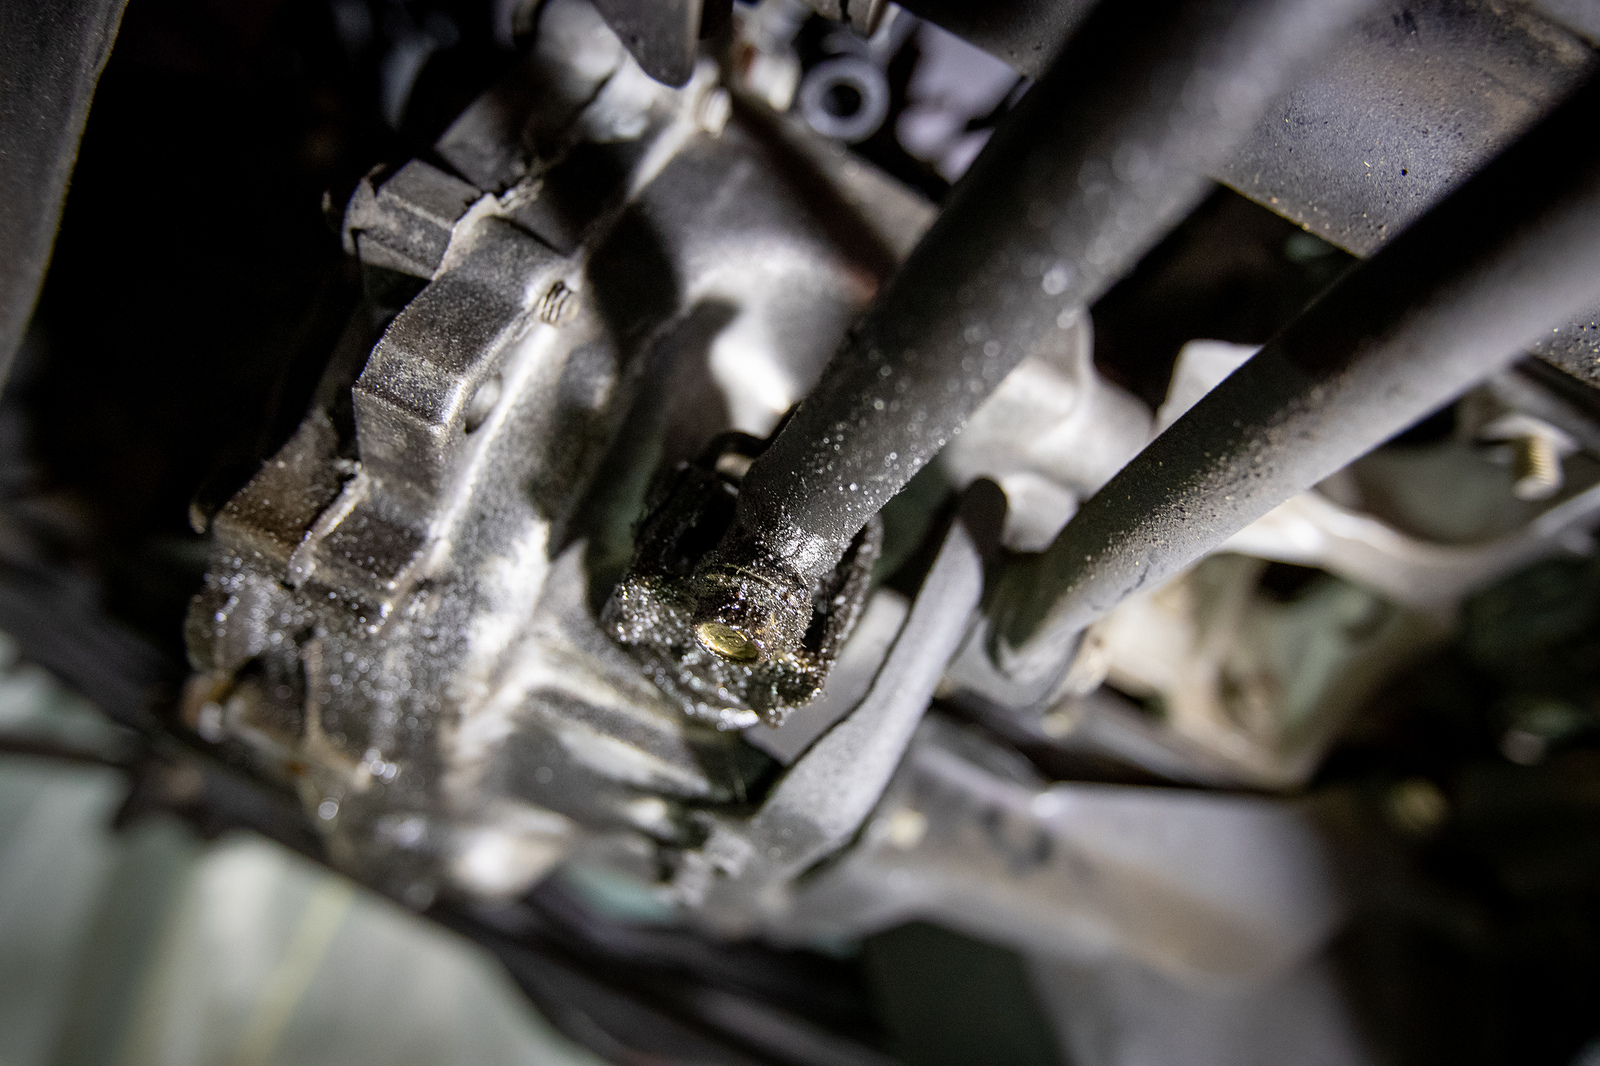
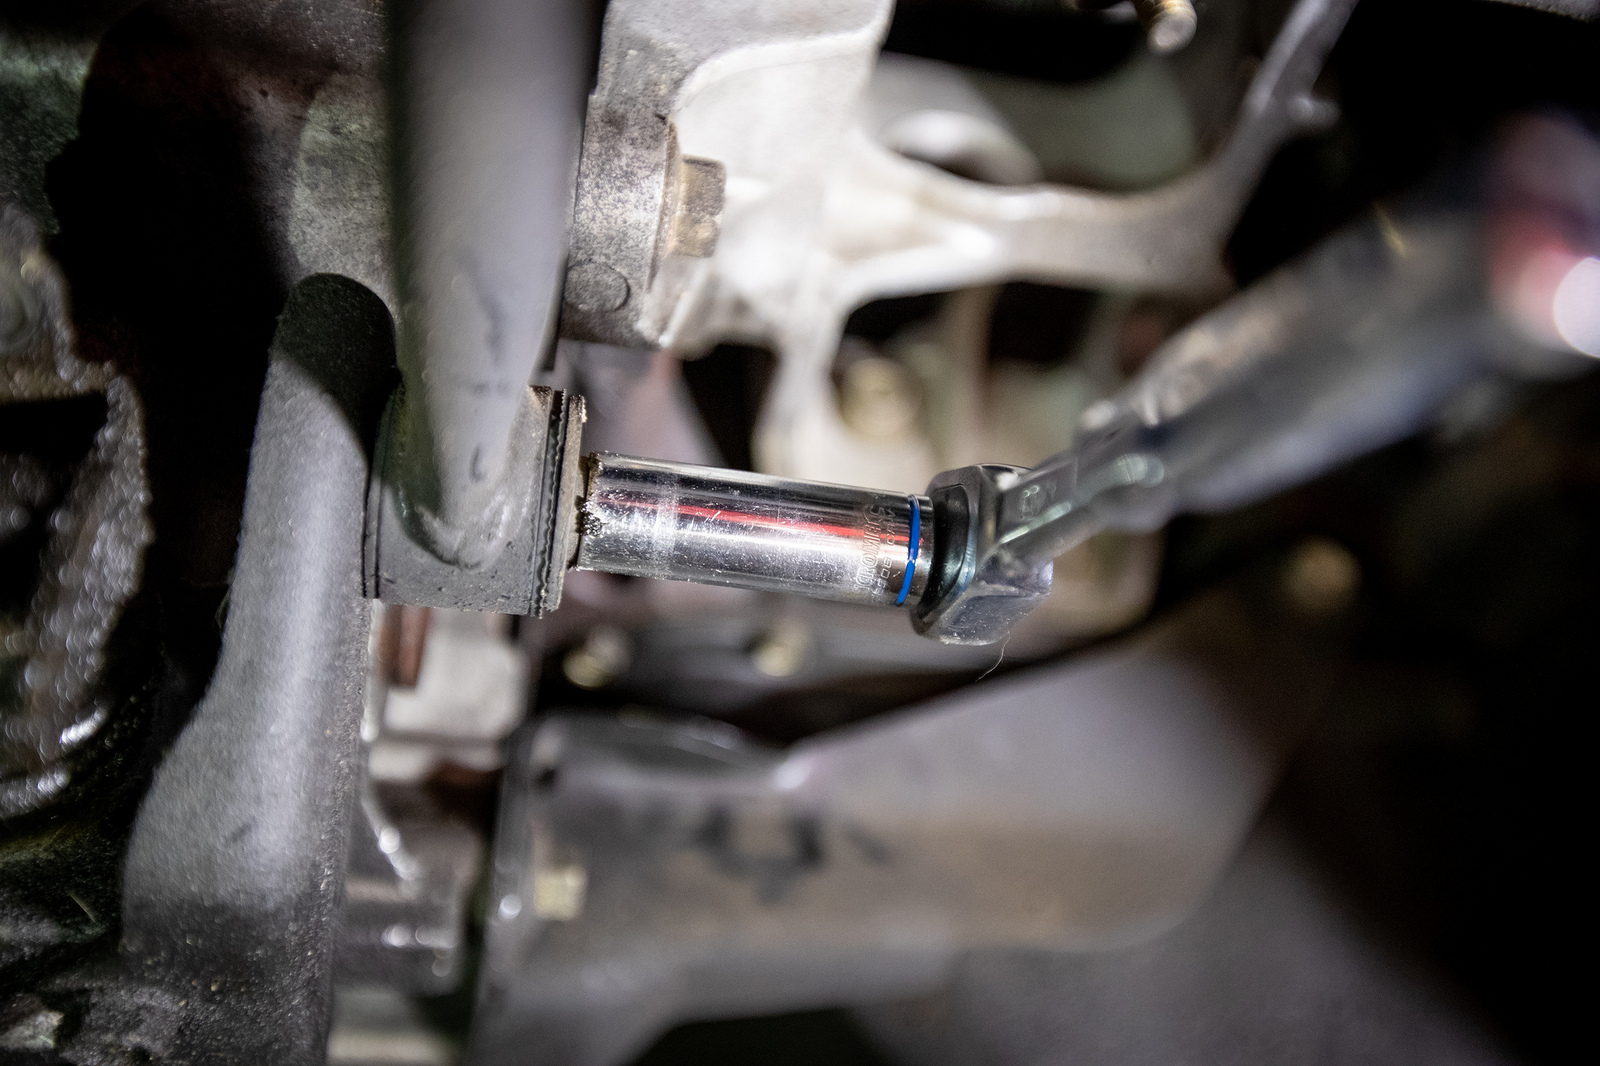
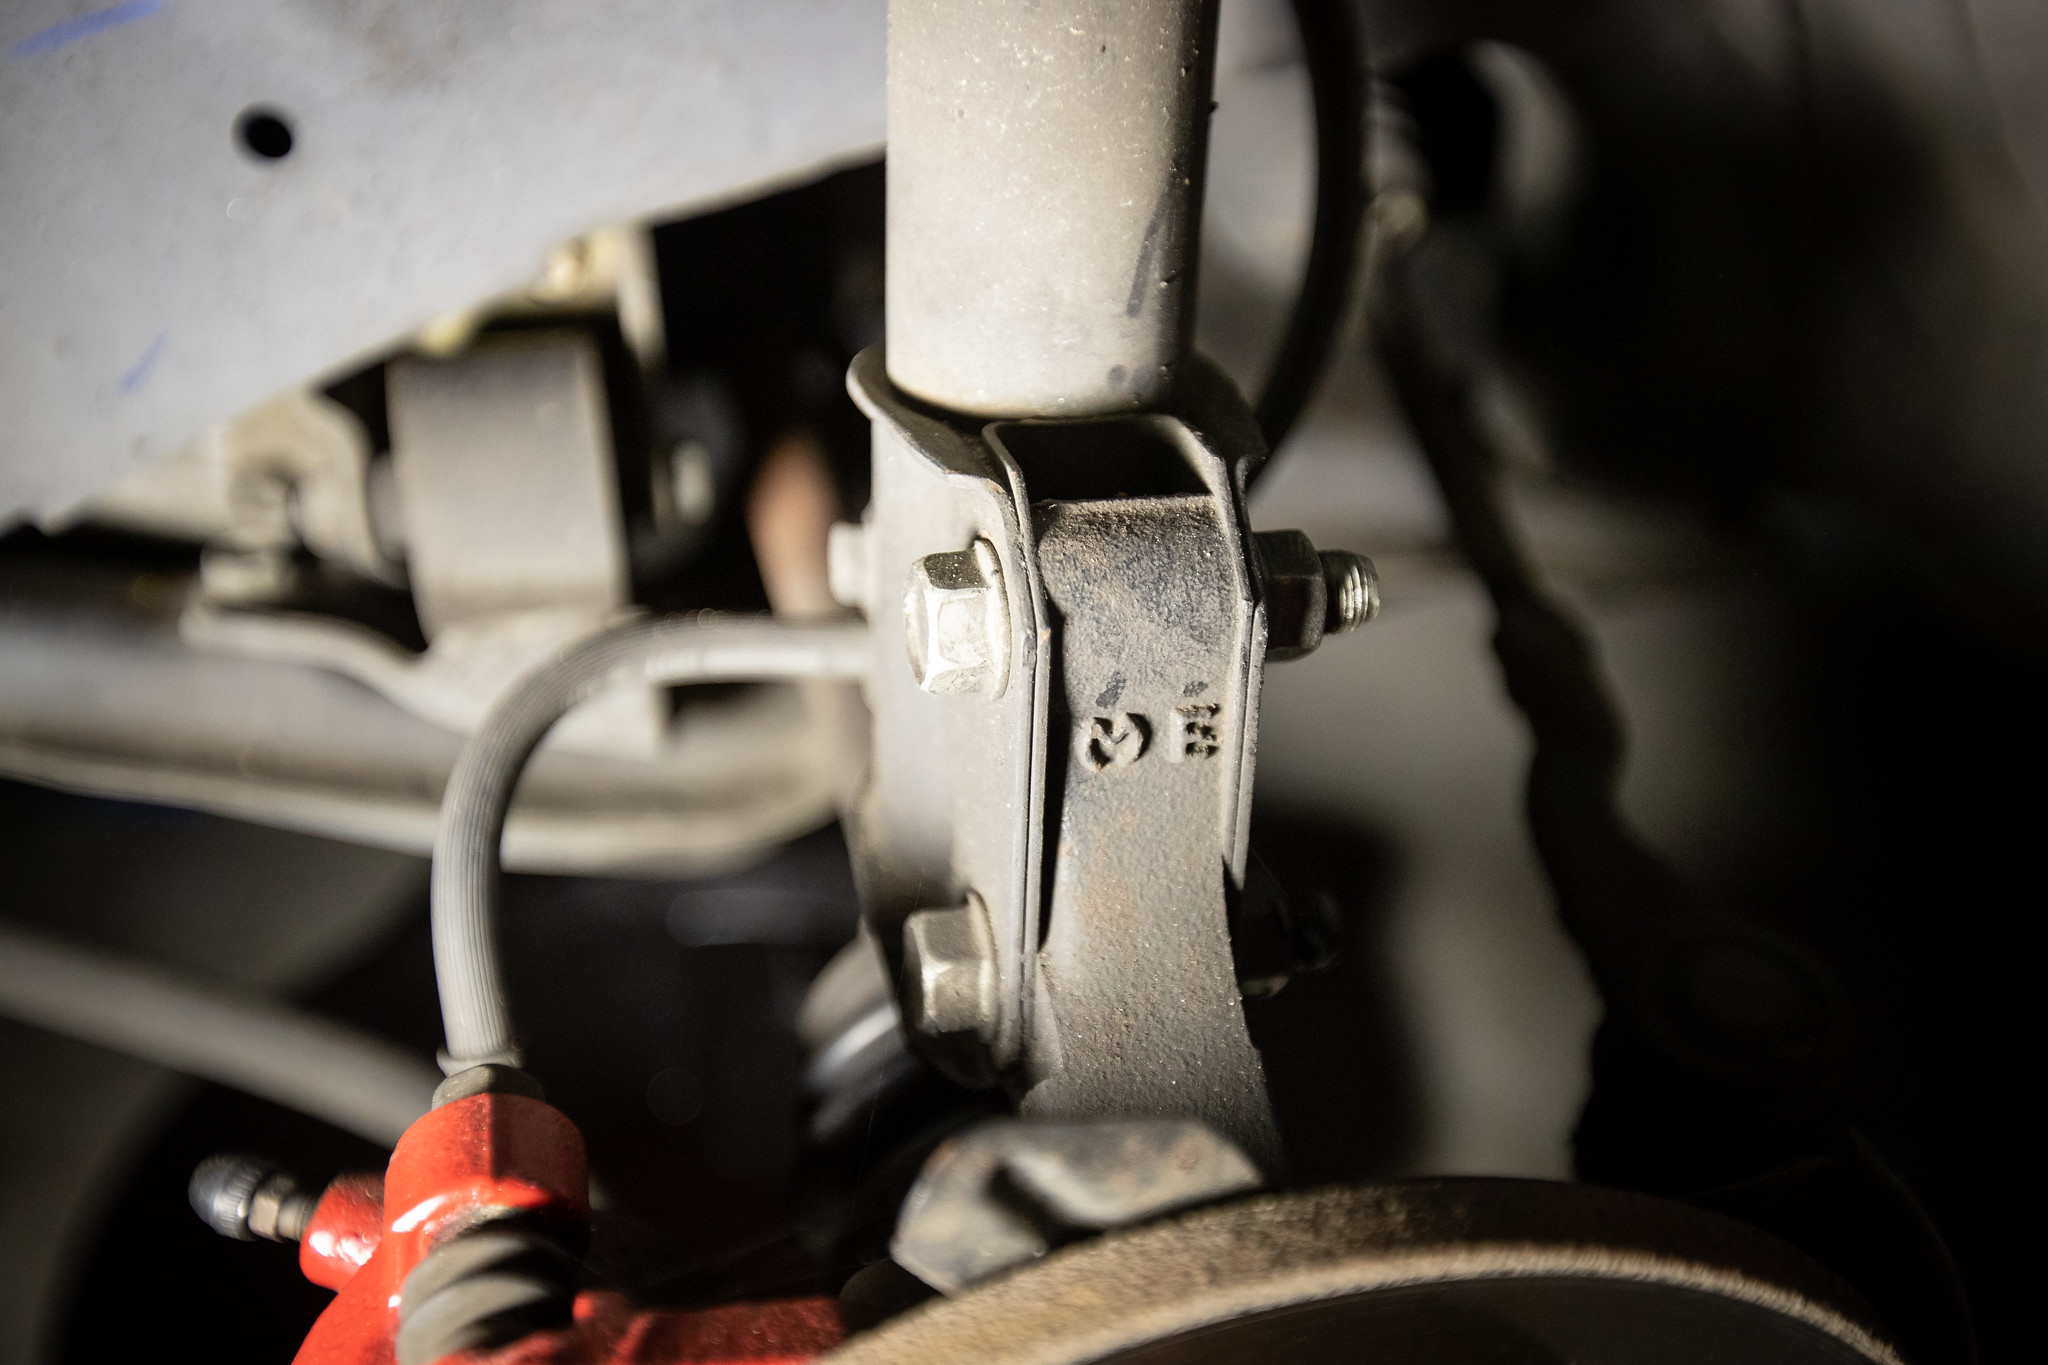
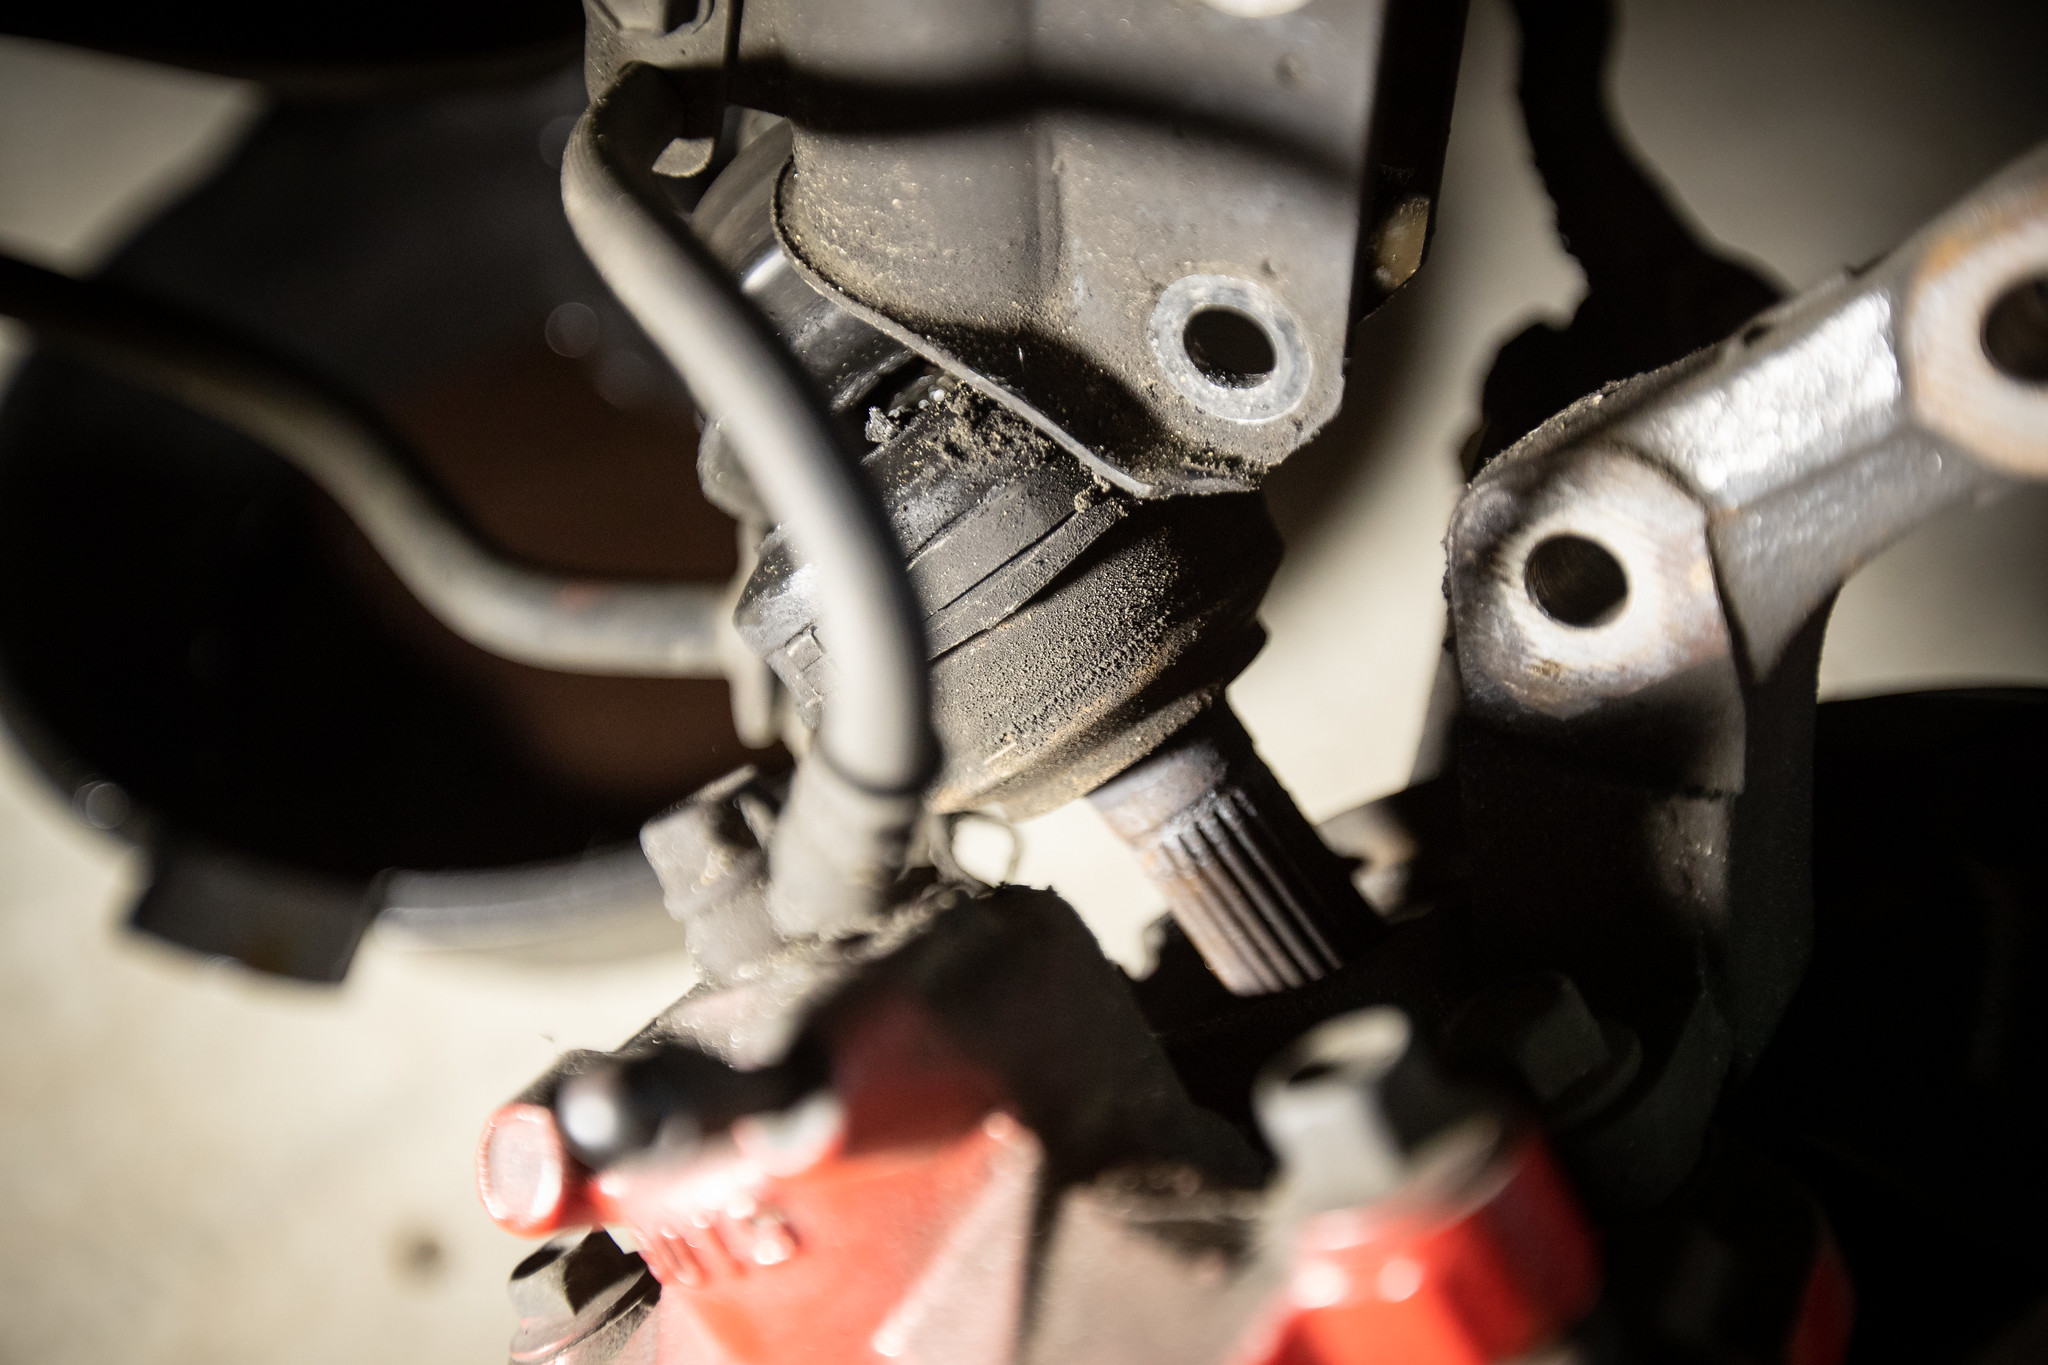
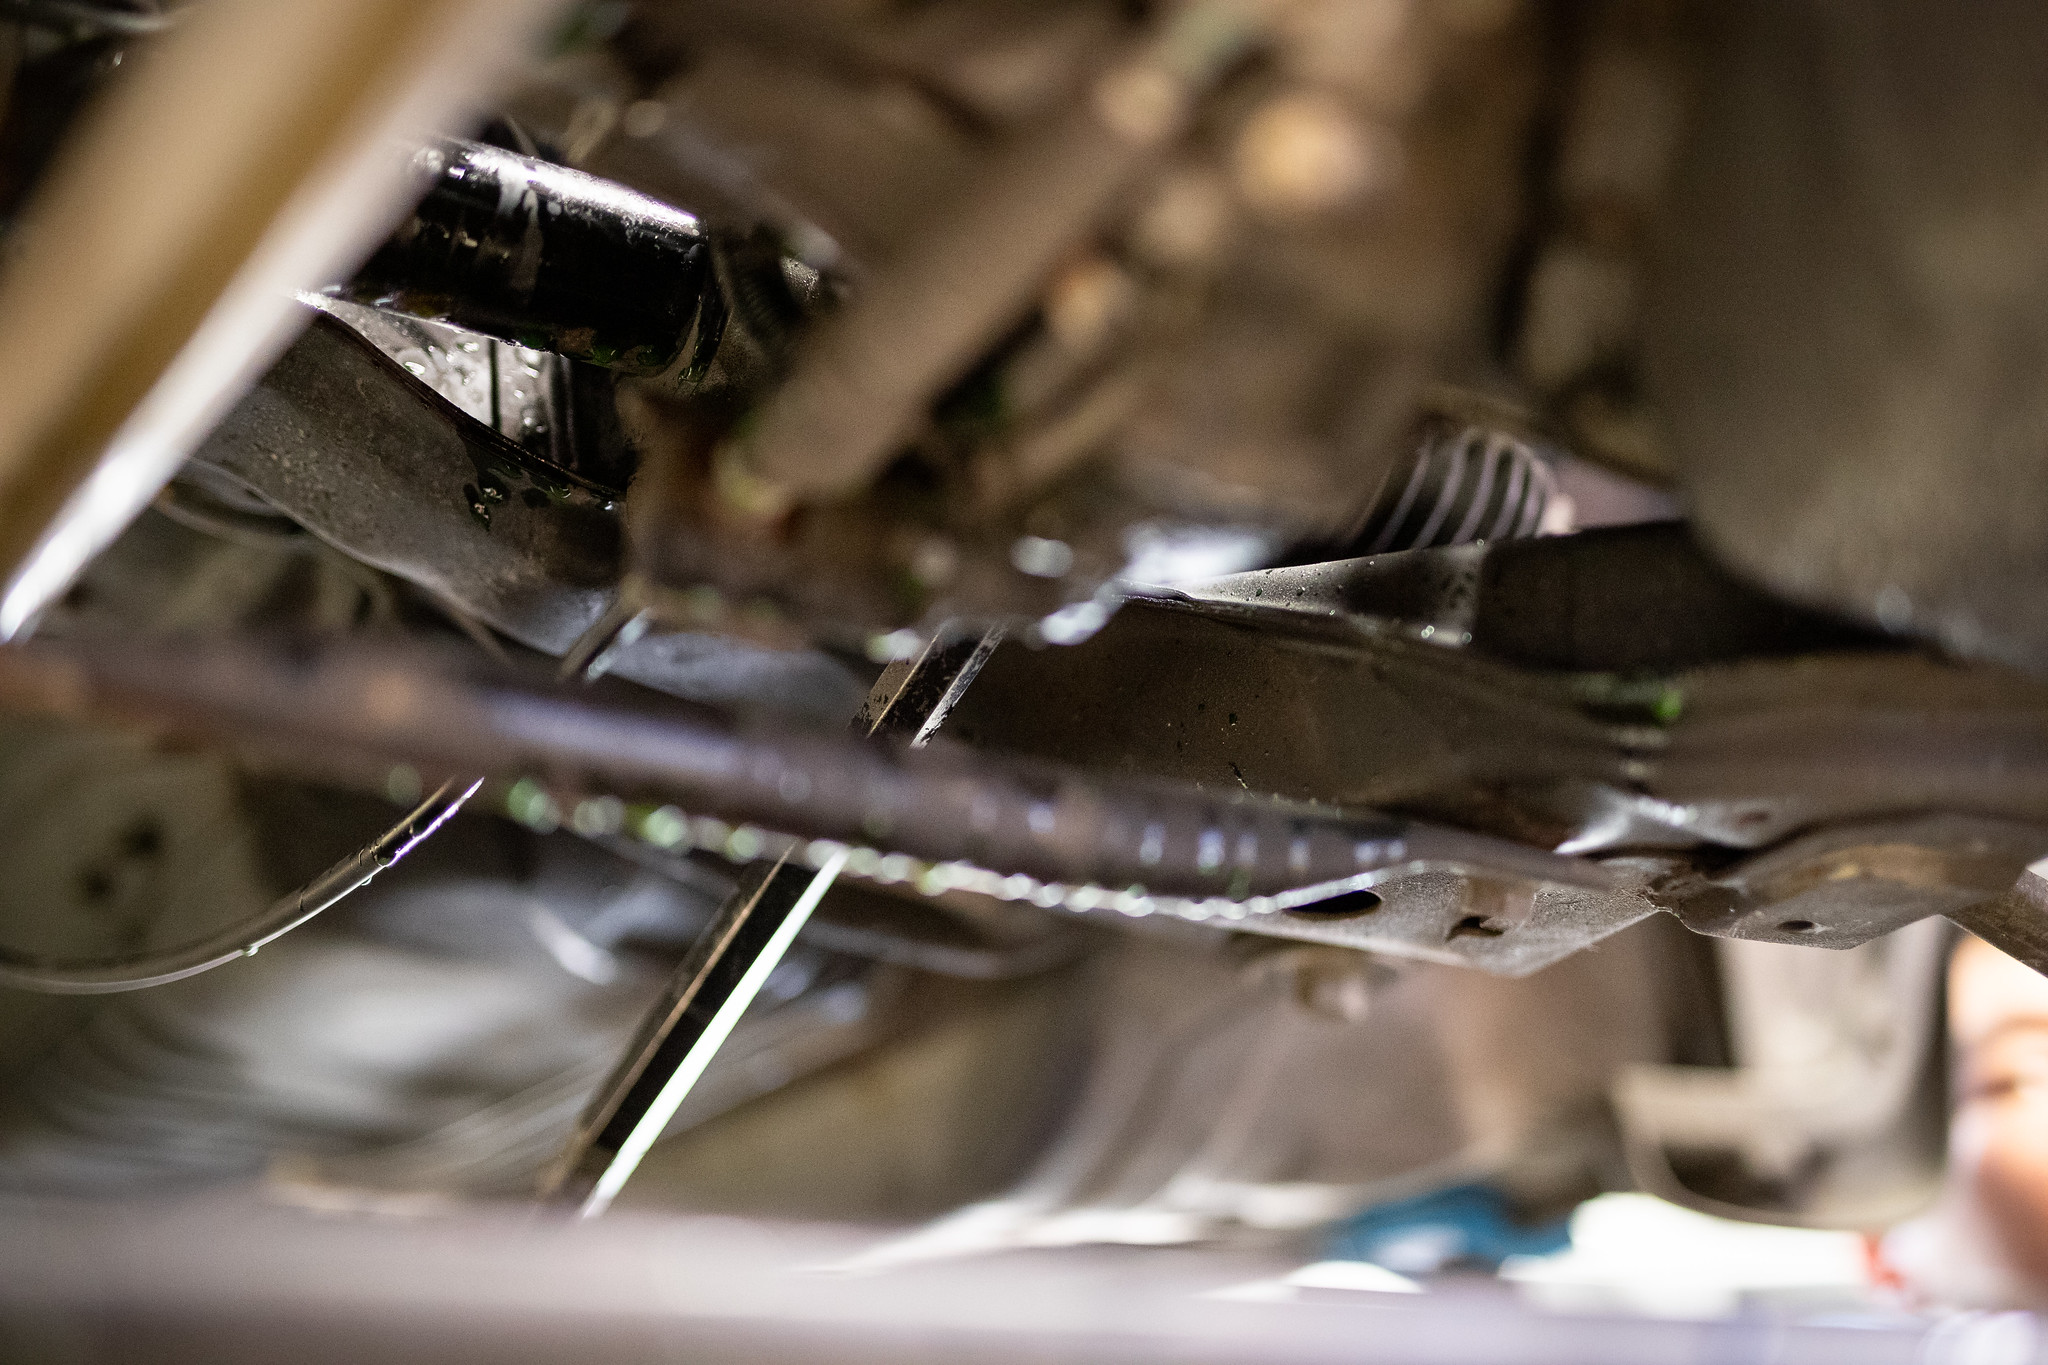
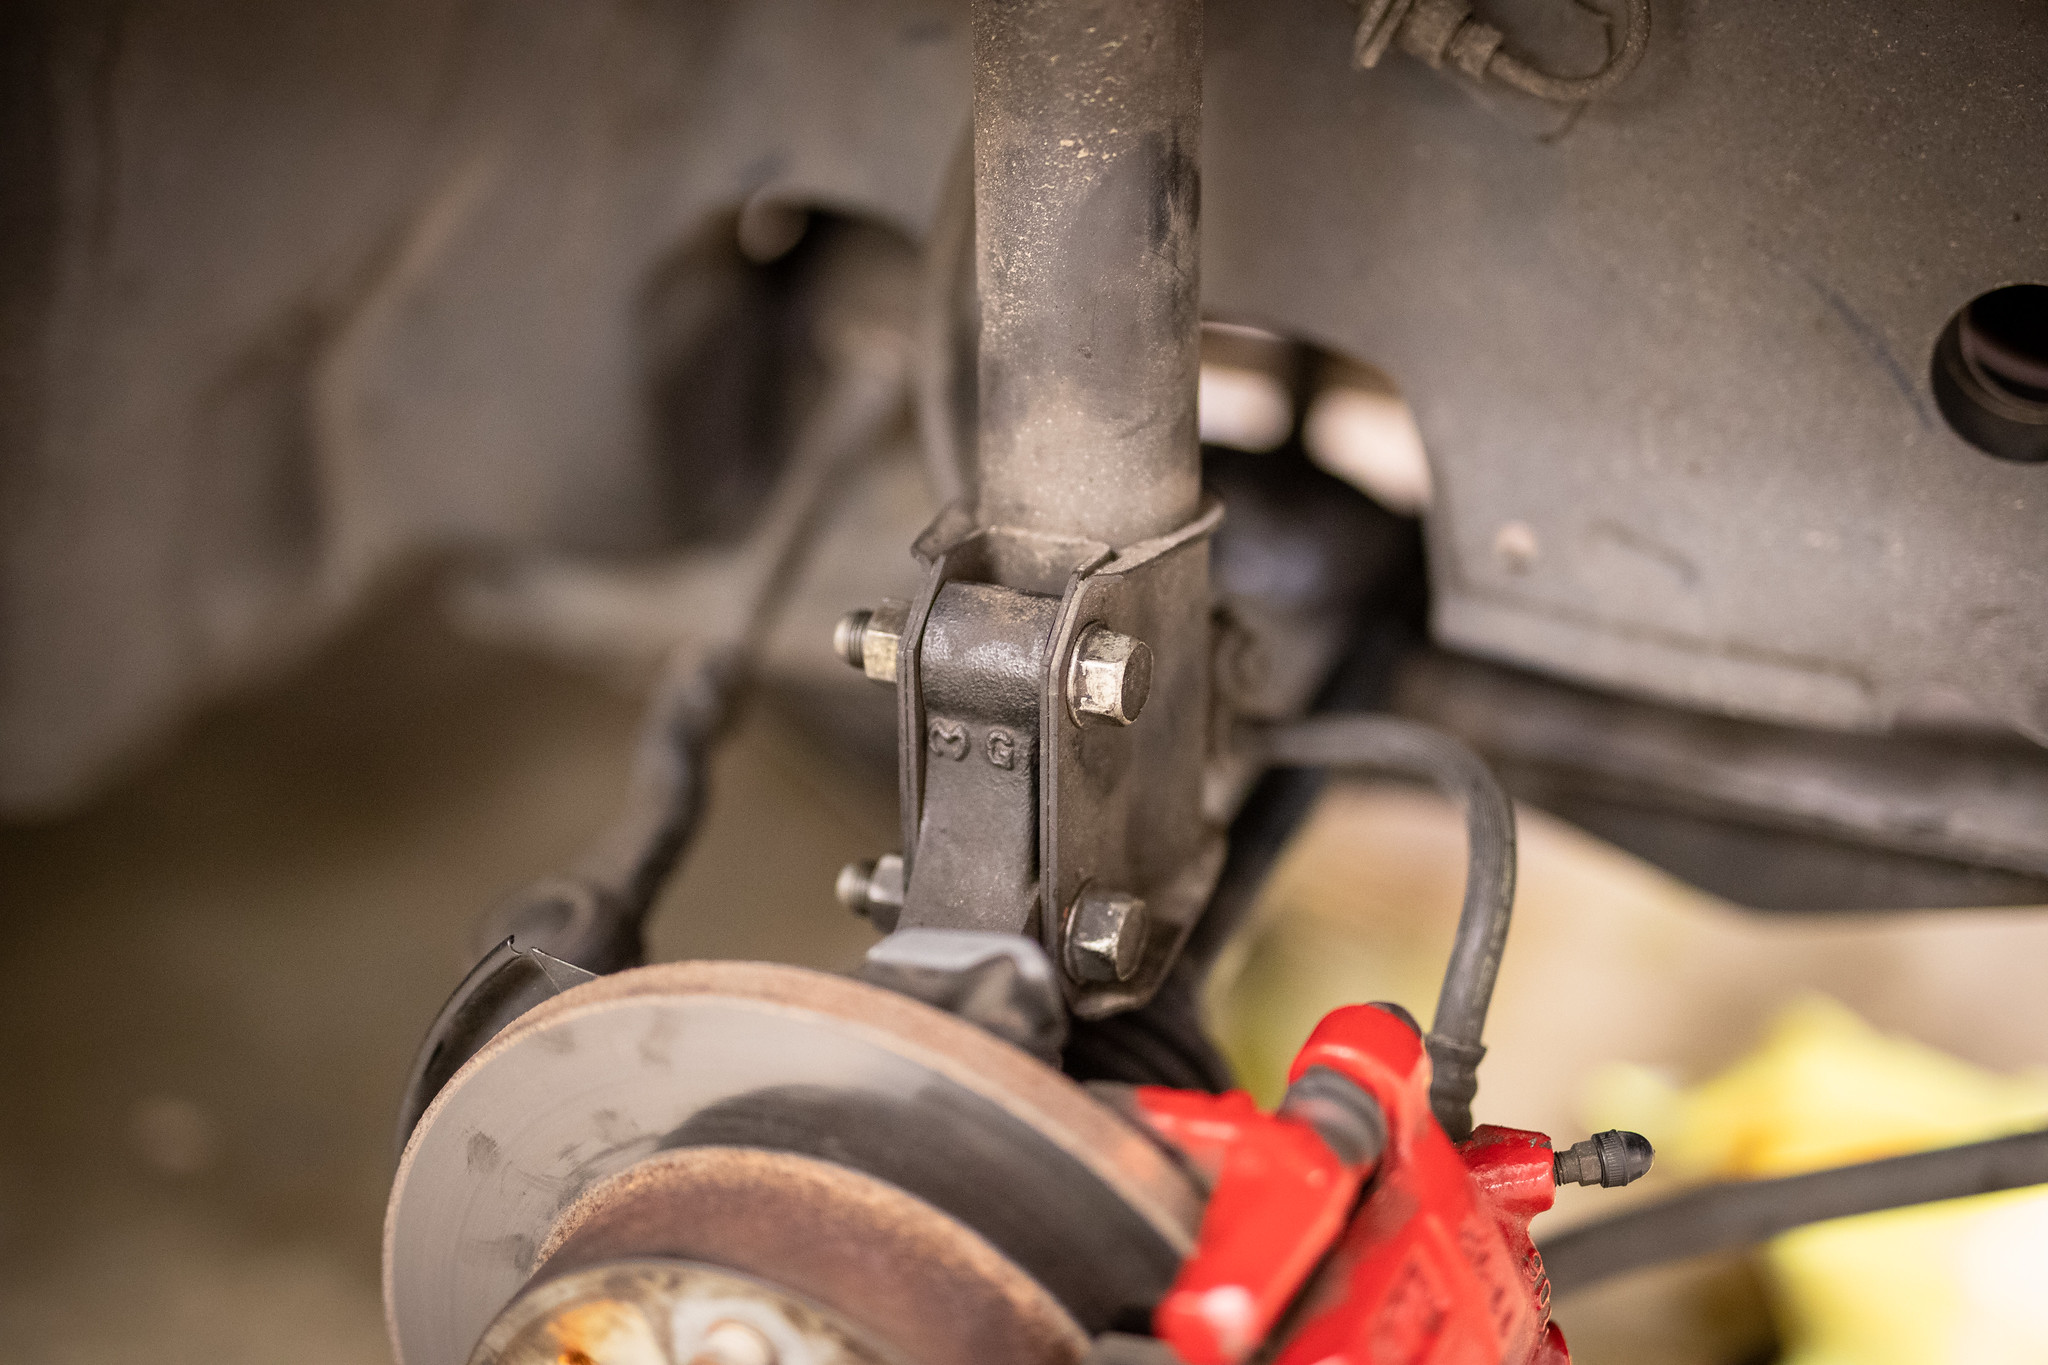
The lower bolts on the struts could come off the give the knuckle movement the make it easier to get the driveshaft out
They’re going to stay in the car but they just need to be popped out of the box.
With everything on the engine side out, it was just about ready to pull. The loom needs to be sorted though, there are two ways to do it, disconnect everything from the engine, or what we did, remove the plug from the ECU and being the entire loom with the engine. This was a much much easier way we believe.

On the crane, it went.
Out it came.

Good riddance.
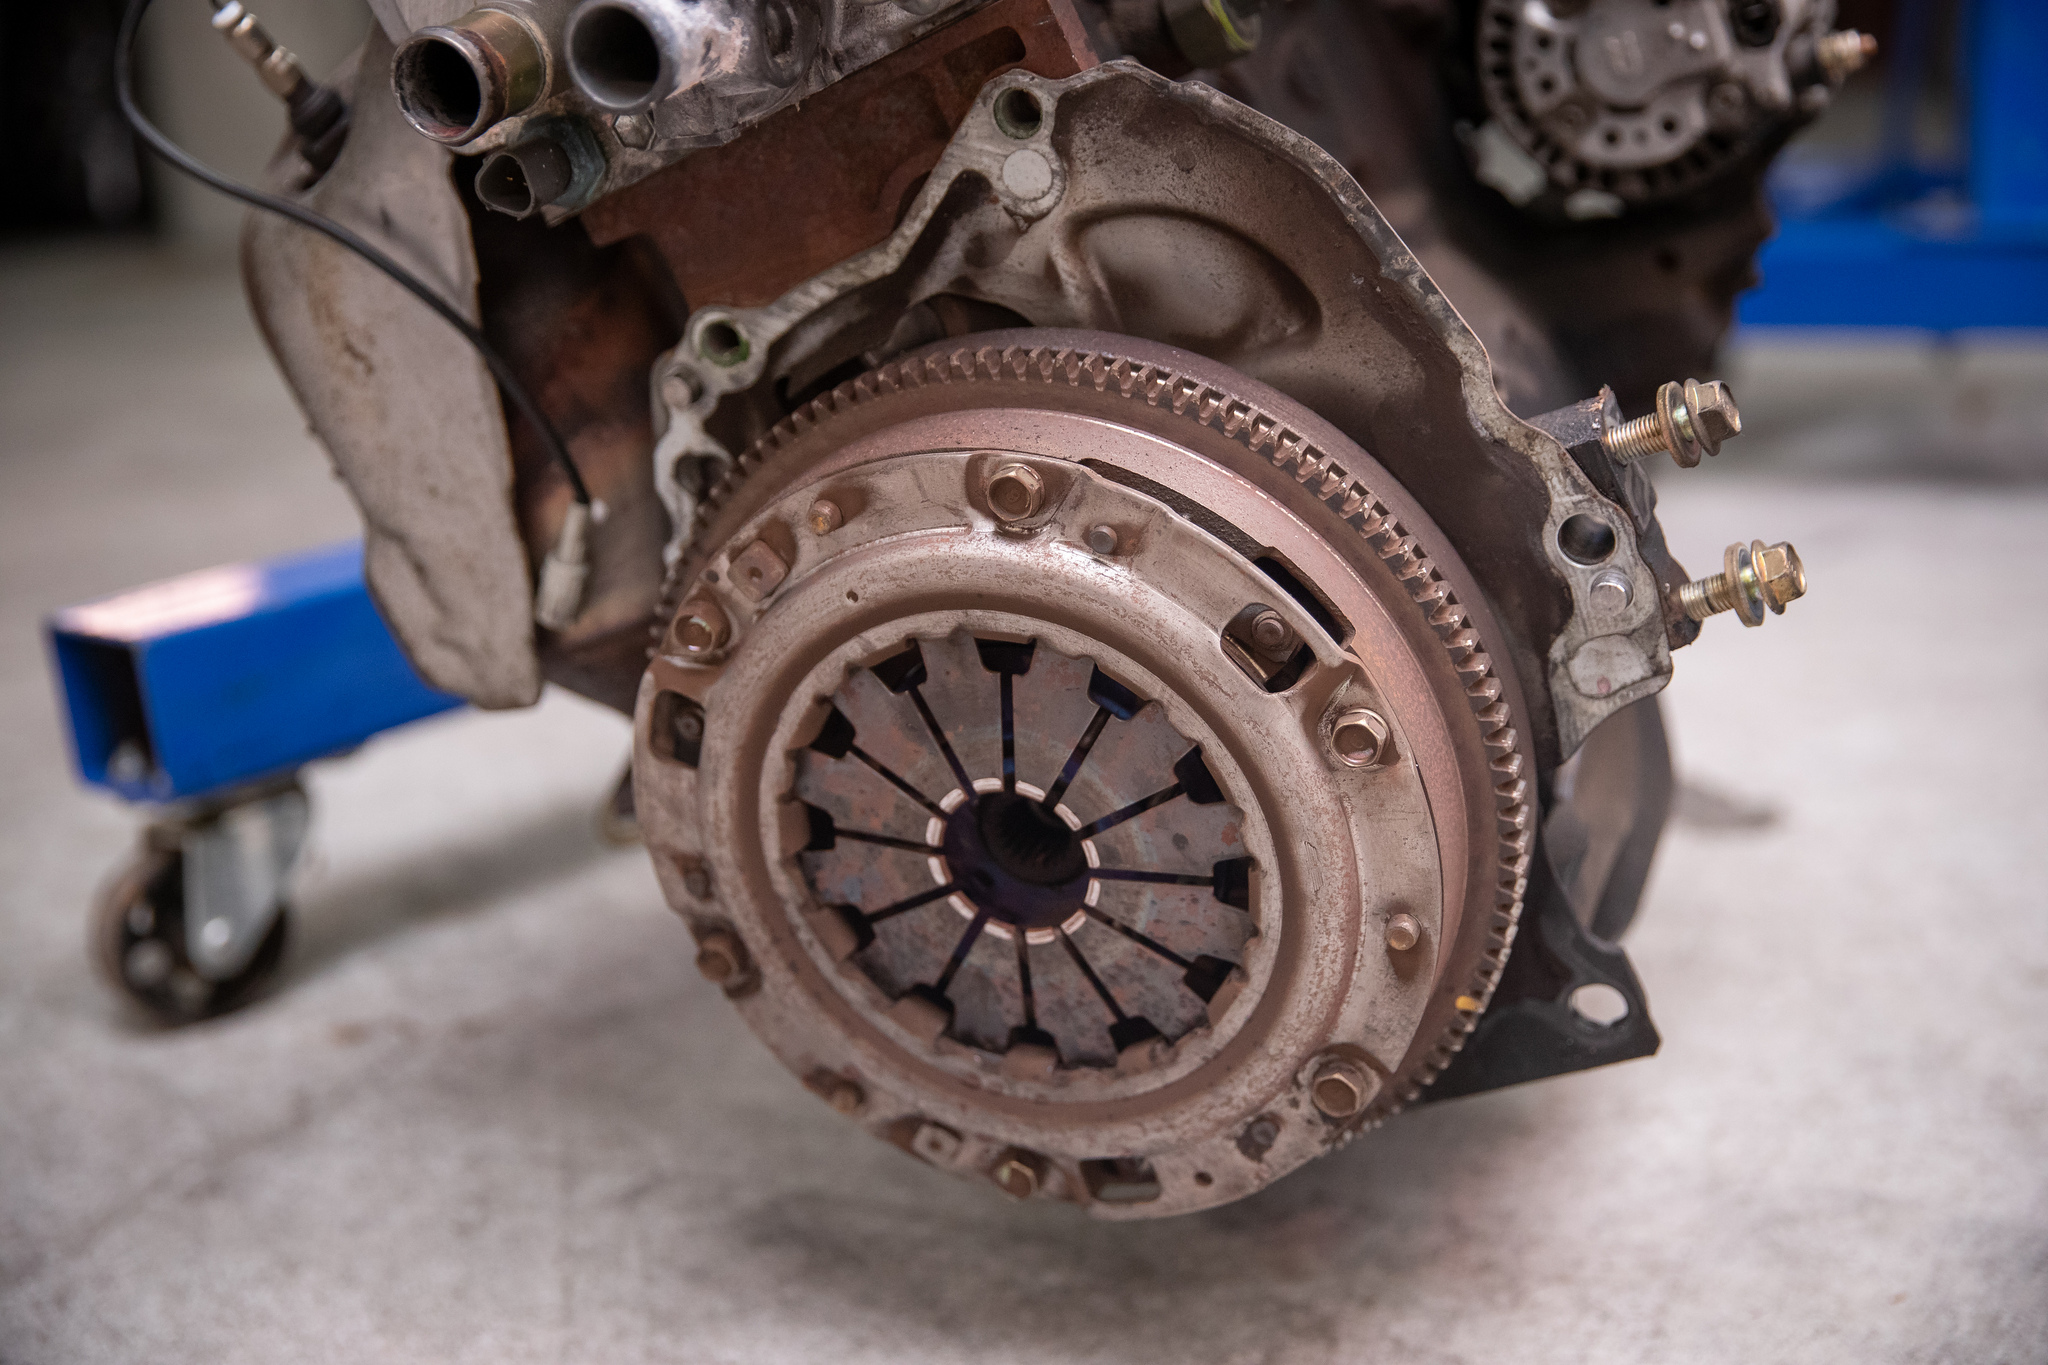
It could then come off the block for the last time.

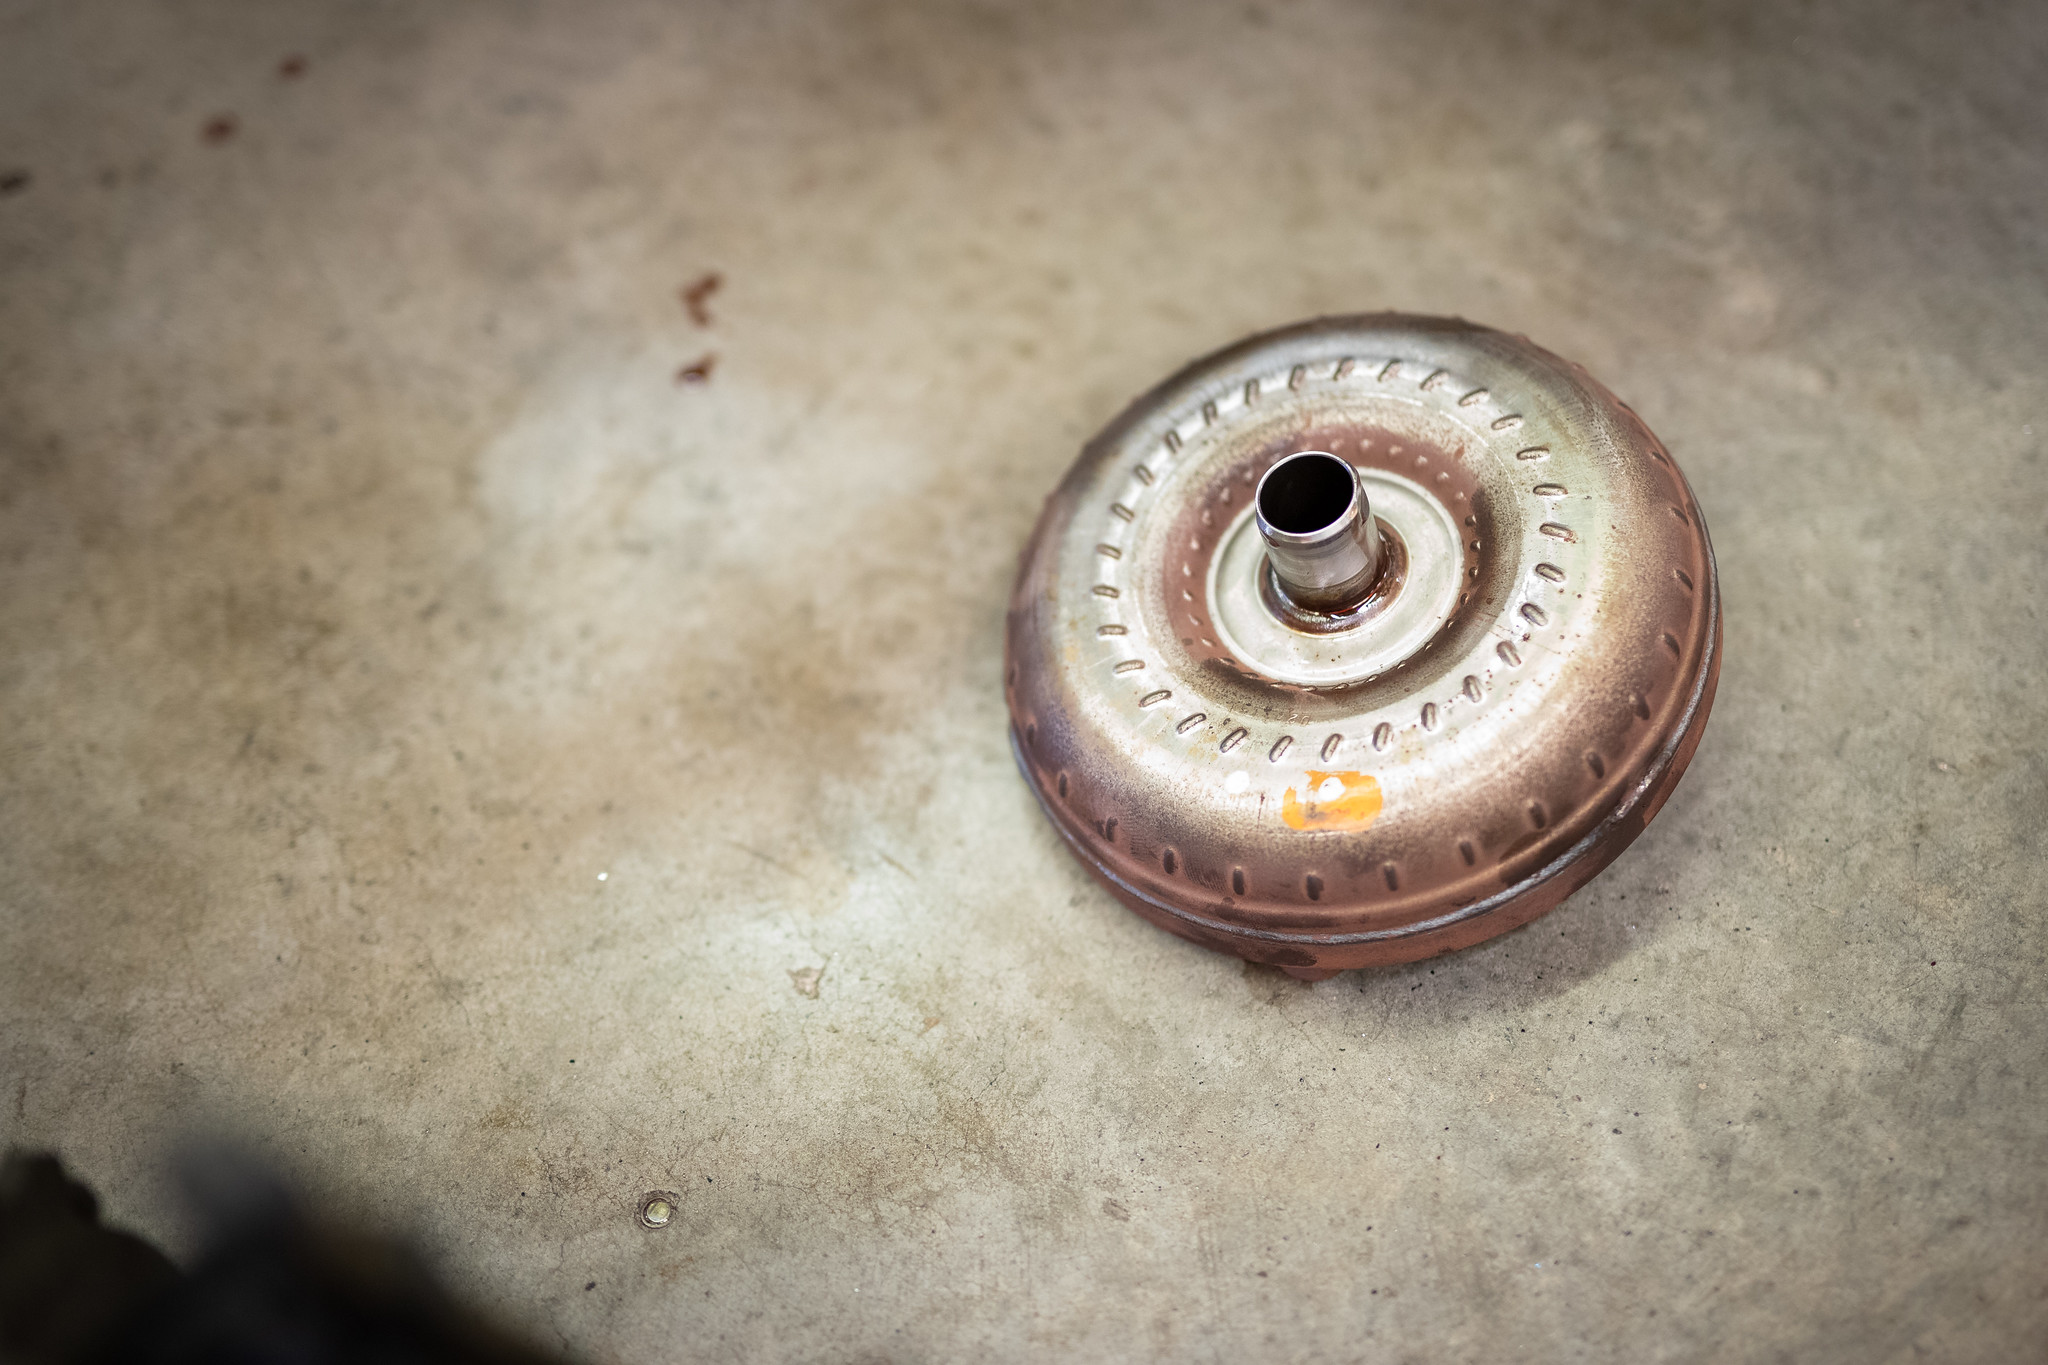
Converter and flexplate off.
Looking at the rear main that was in the car, it was actually in really decent shape considering its never been replaced. I’ve got a new one though and it’d be stupid not to change now.
With all the auto stuff now off, we can prep the engine for the manual box. I had the flywheel machined quite some time ago, it had the slightest amount of rust. A quick hit with some degreaser and a green sponge and it was good as new.
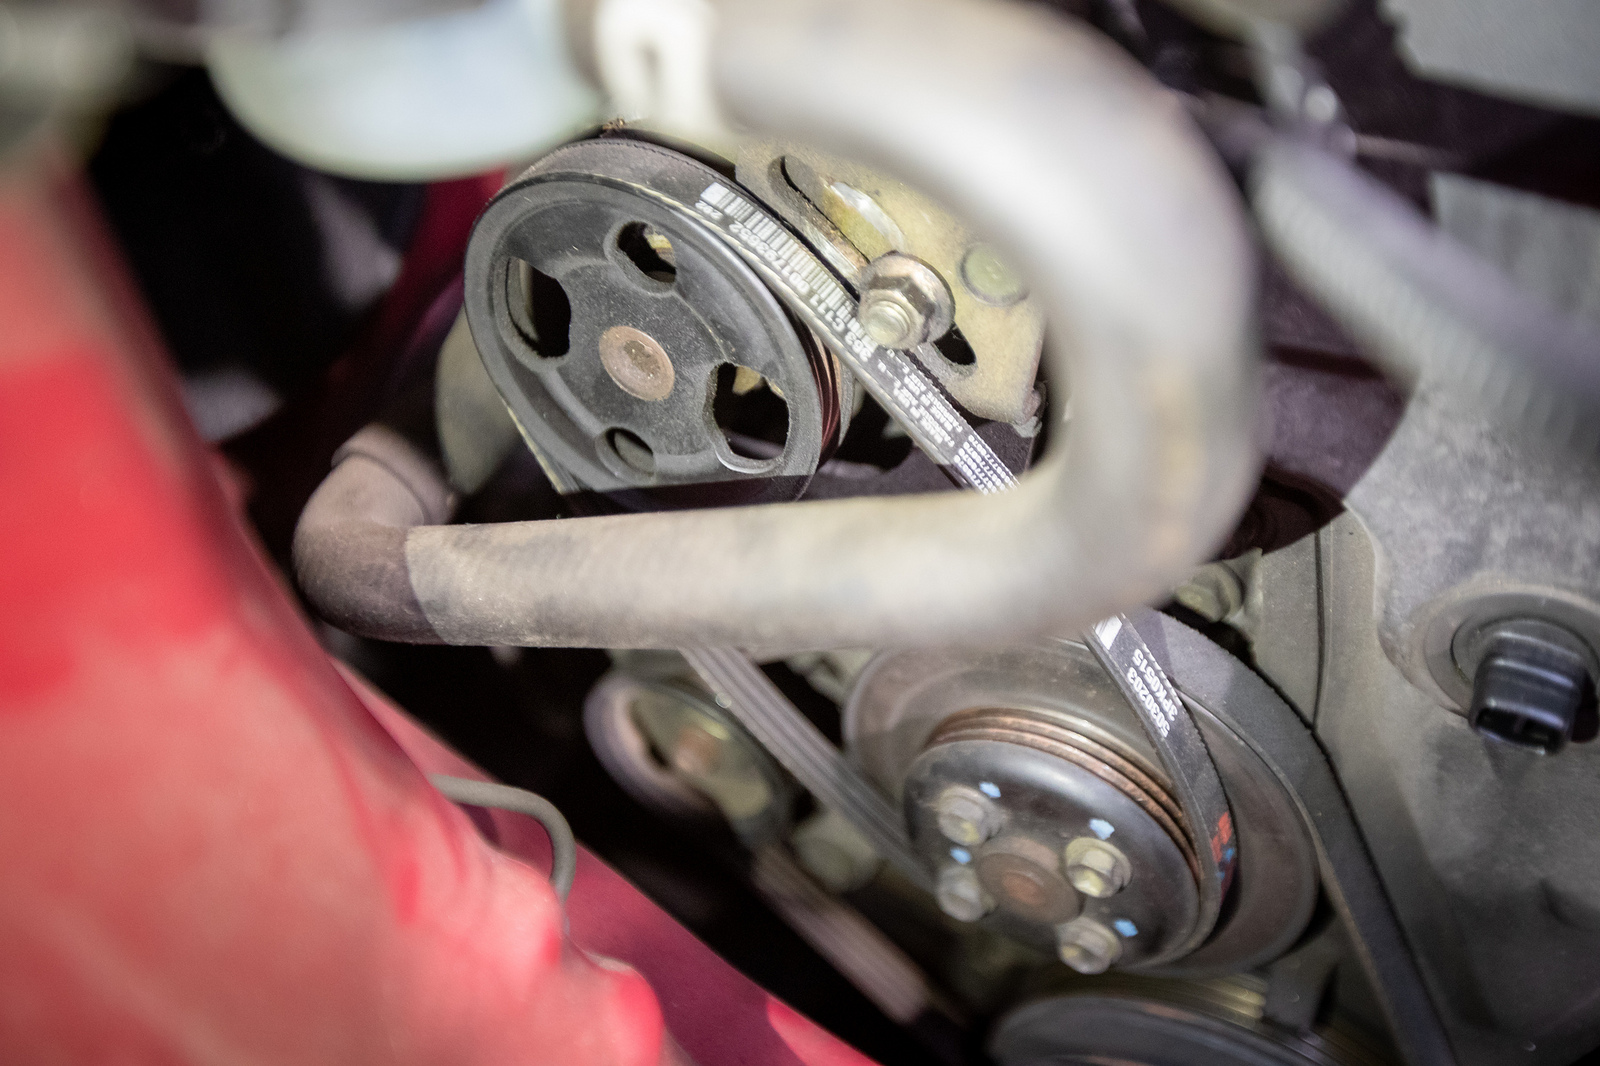
New drive belts could then go on, again originals were in great shape but it had to be done.
Manual specific spacer before the flywheel got thrown on with bolts torqued to spec.
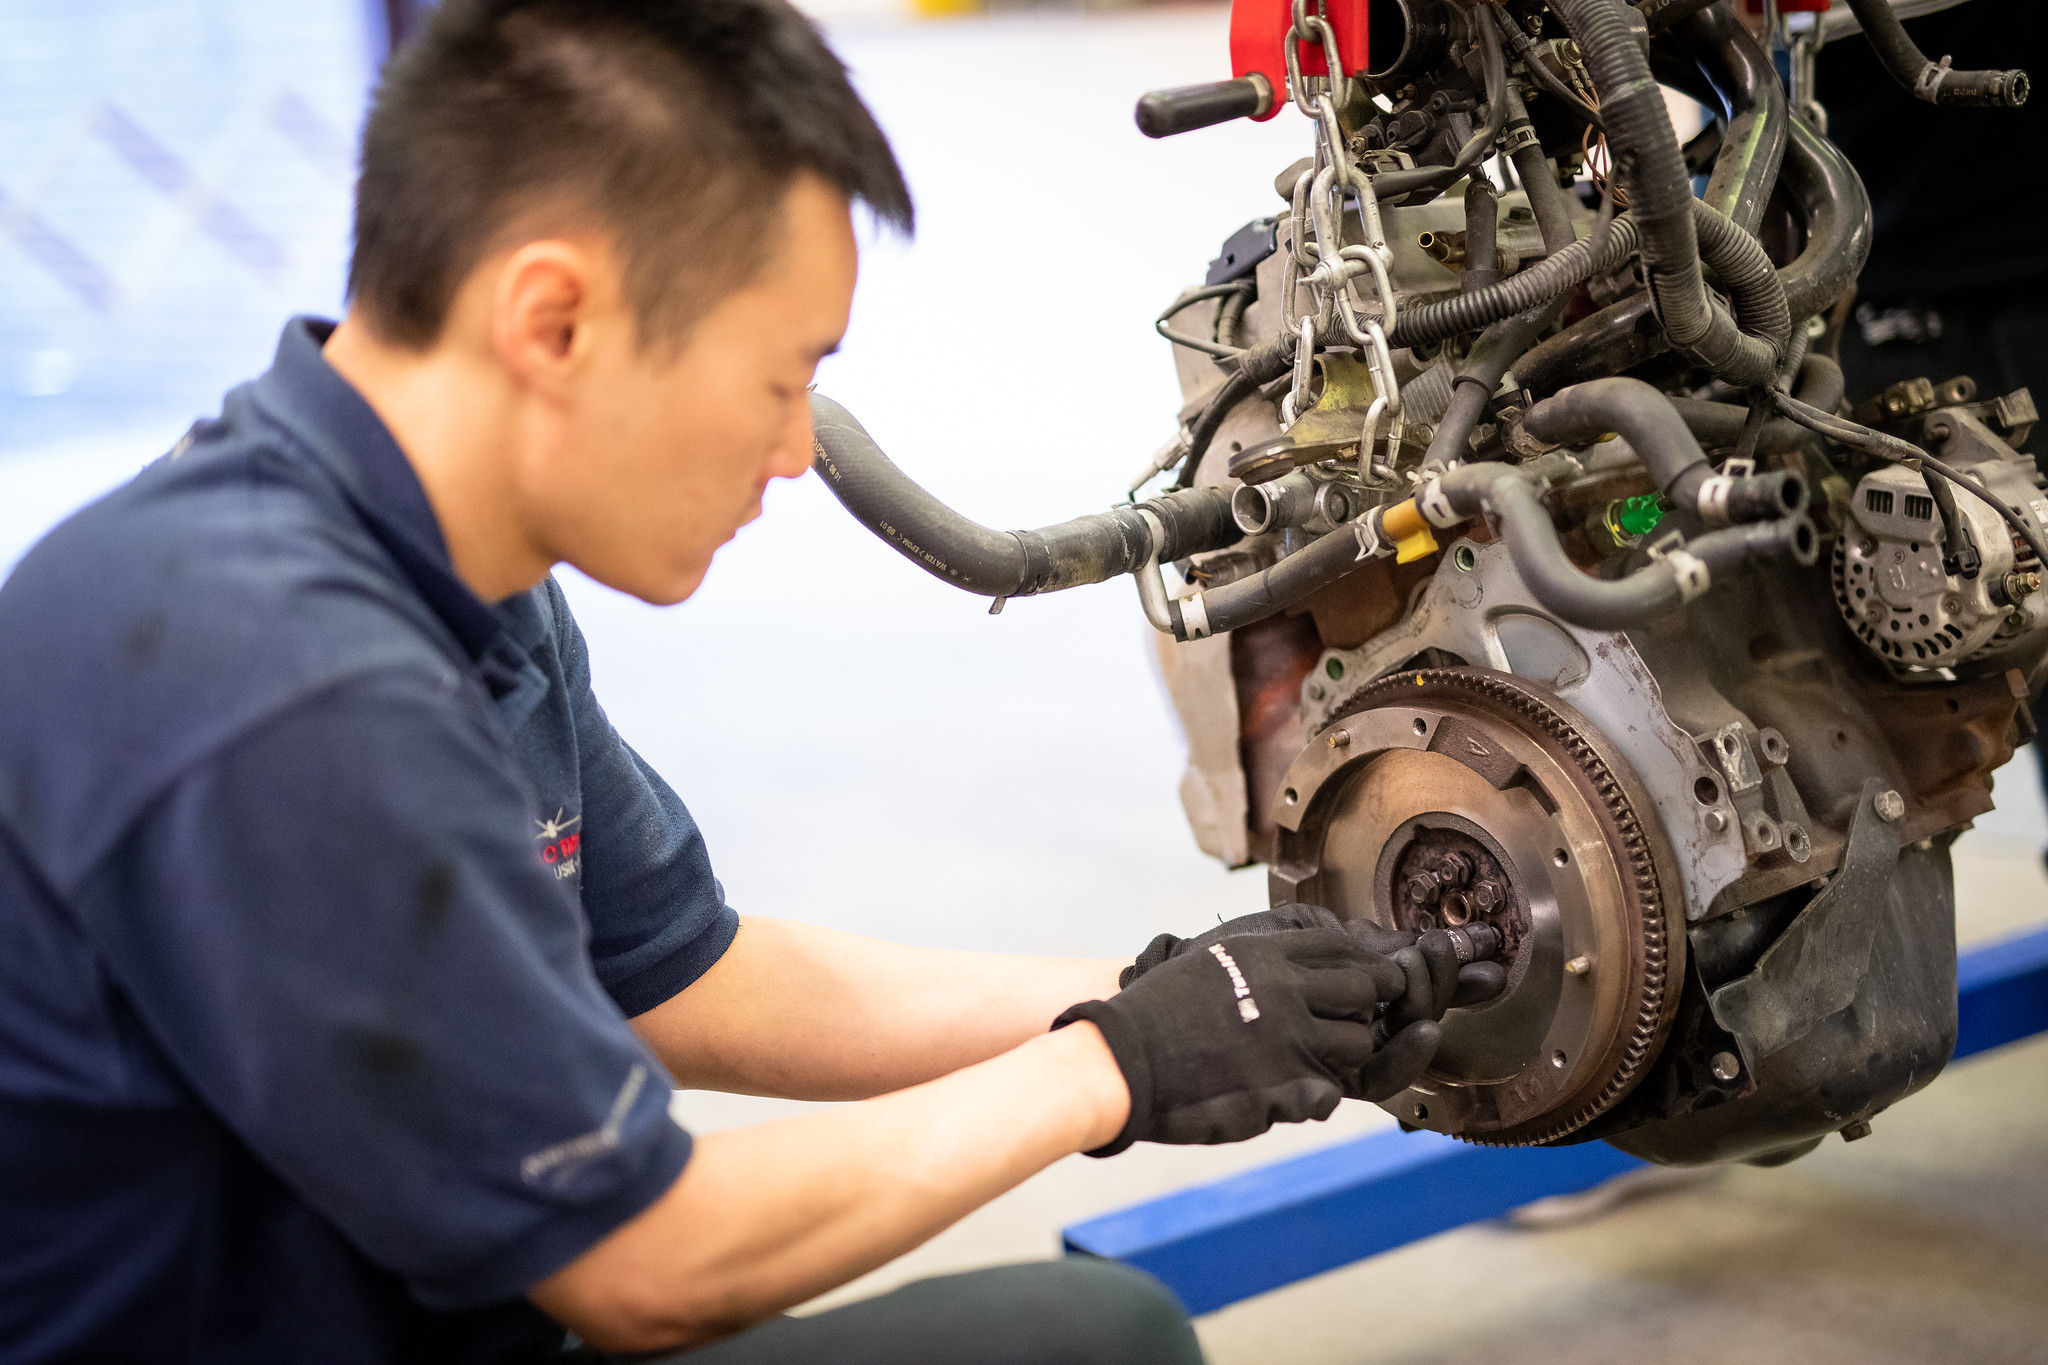
We didn’t have the correct clutch alignment tool on hand to it took a little trial and error to get everything aligned in the end.
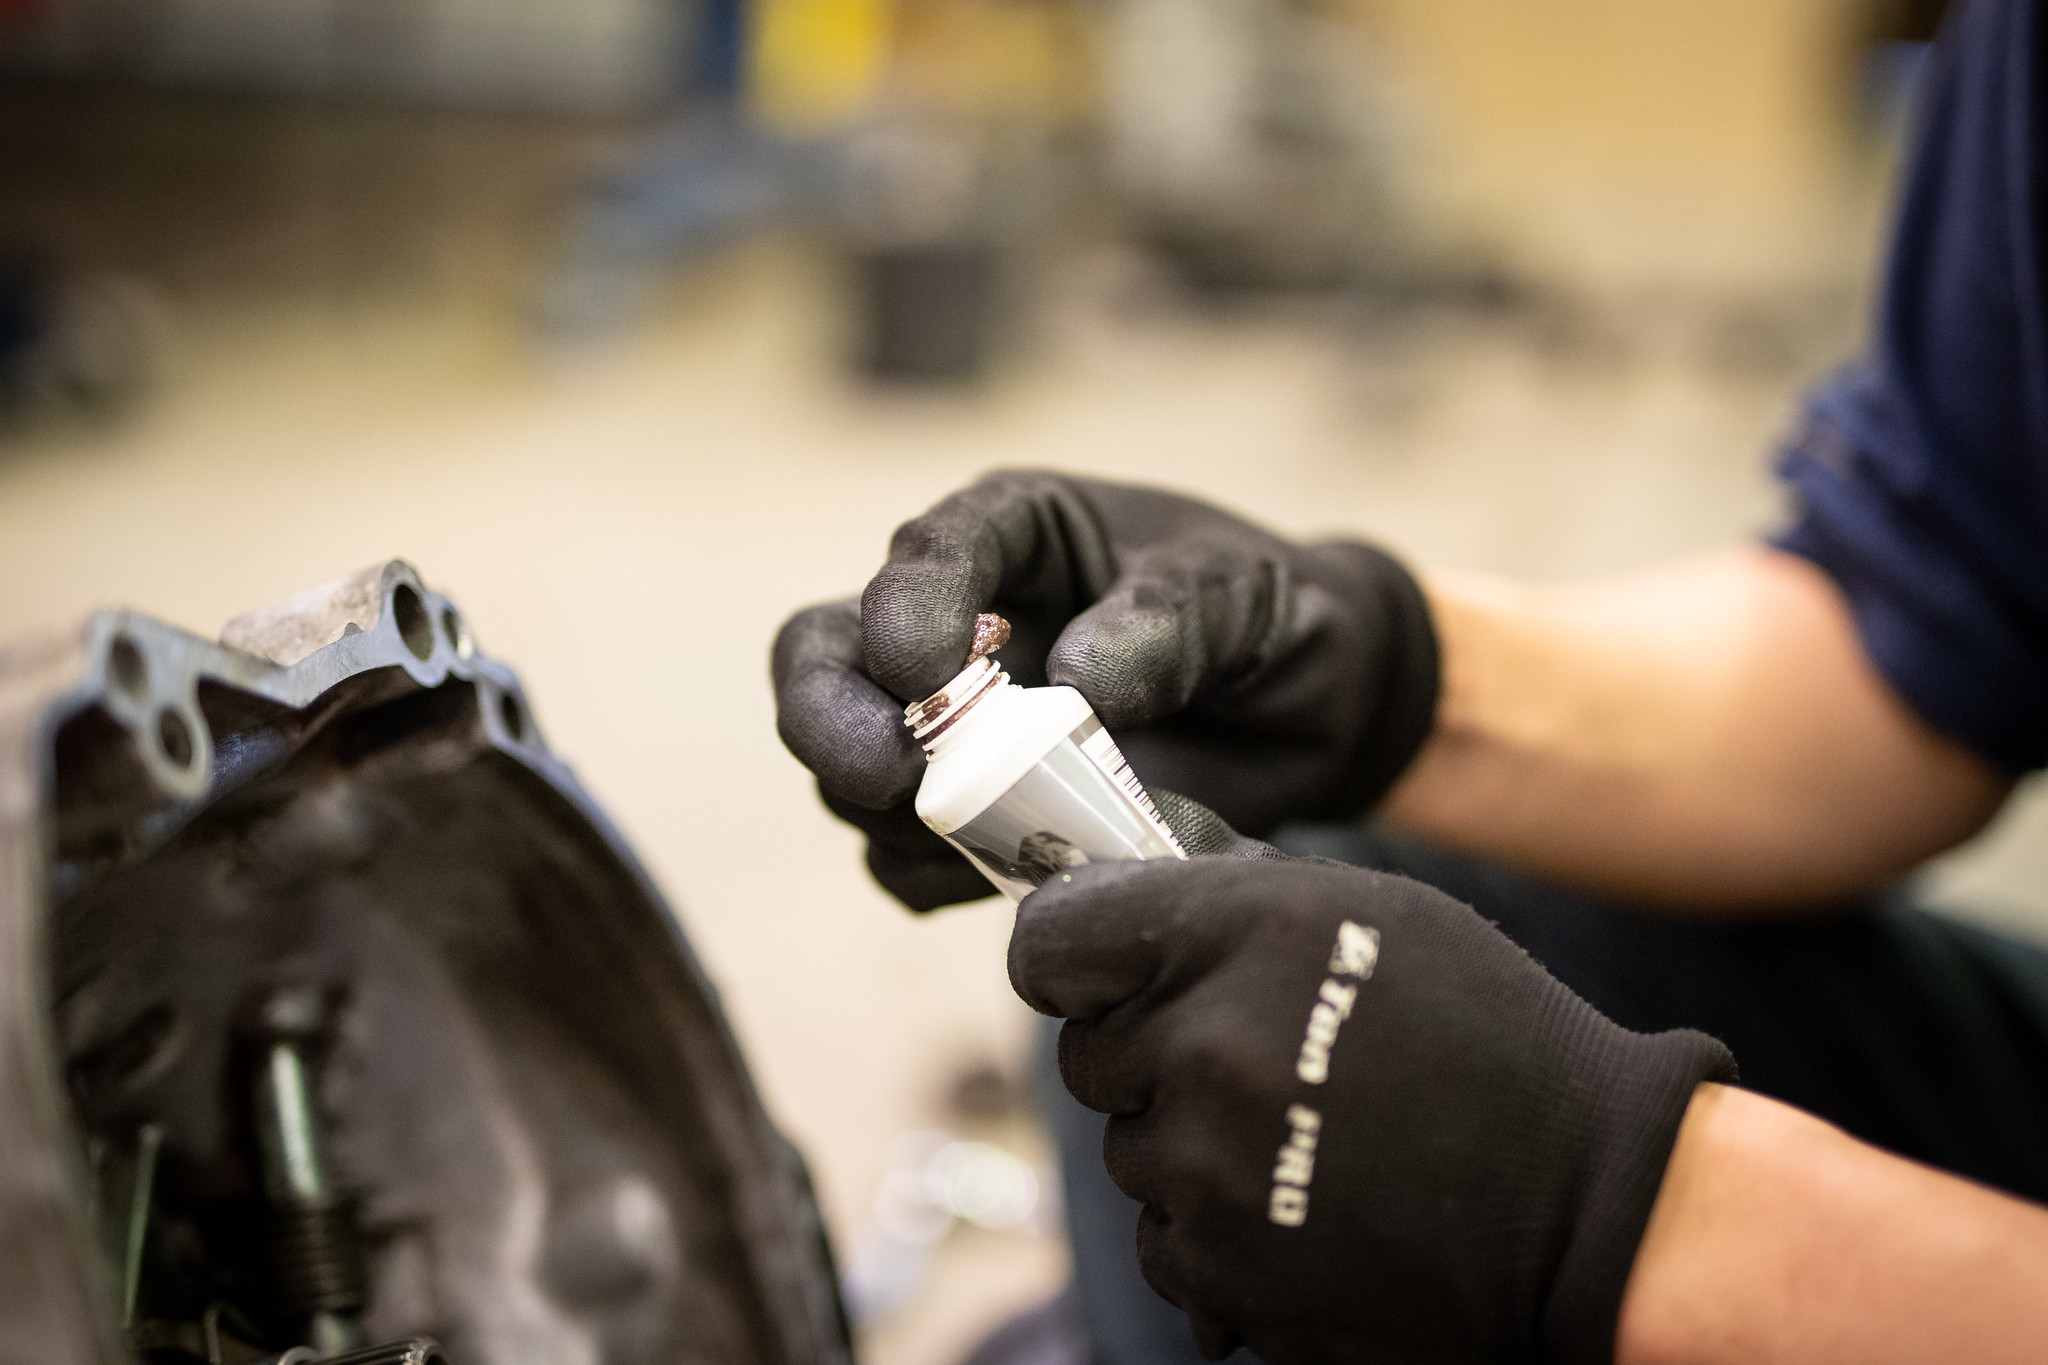
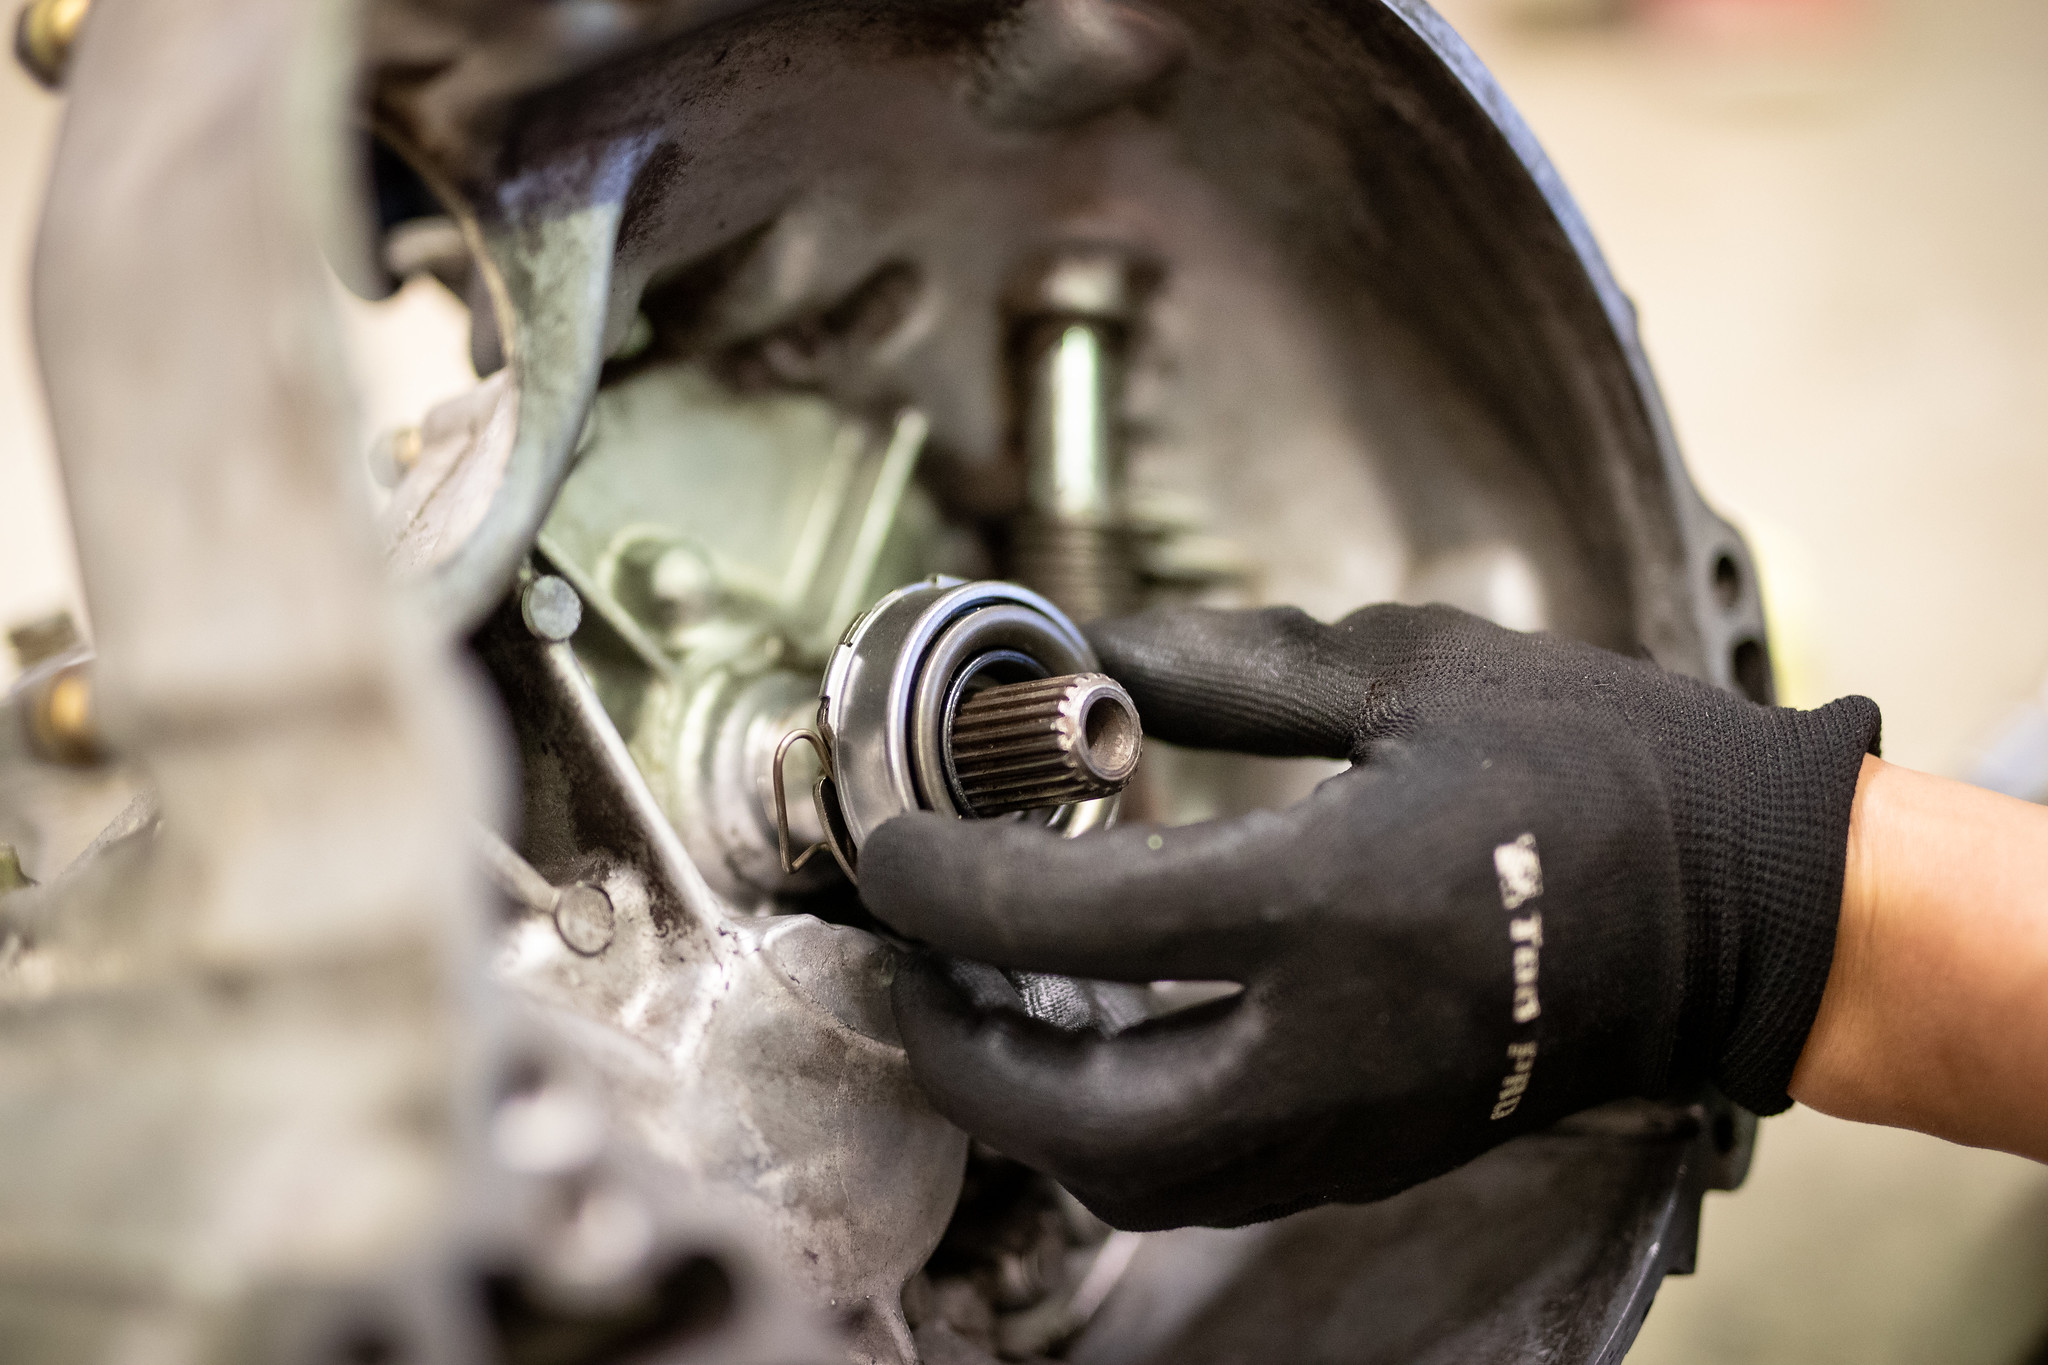
Now this thing was a bastard, the old bearing came off no worries, we gave the shaft a quick clean.

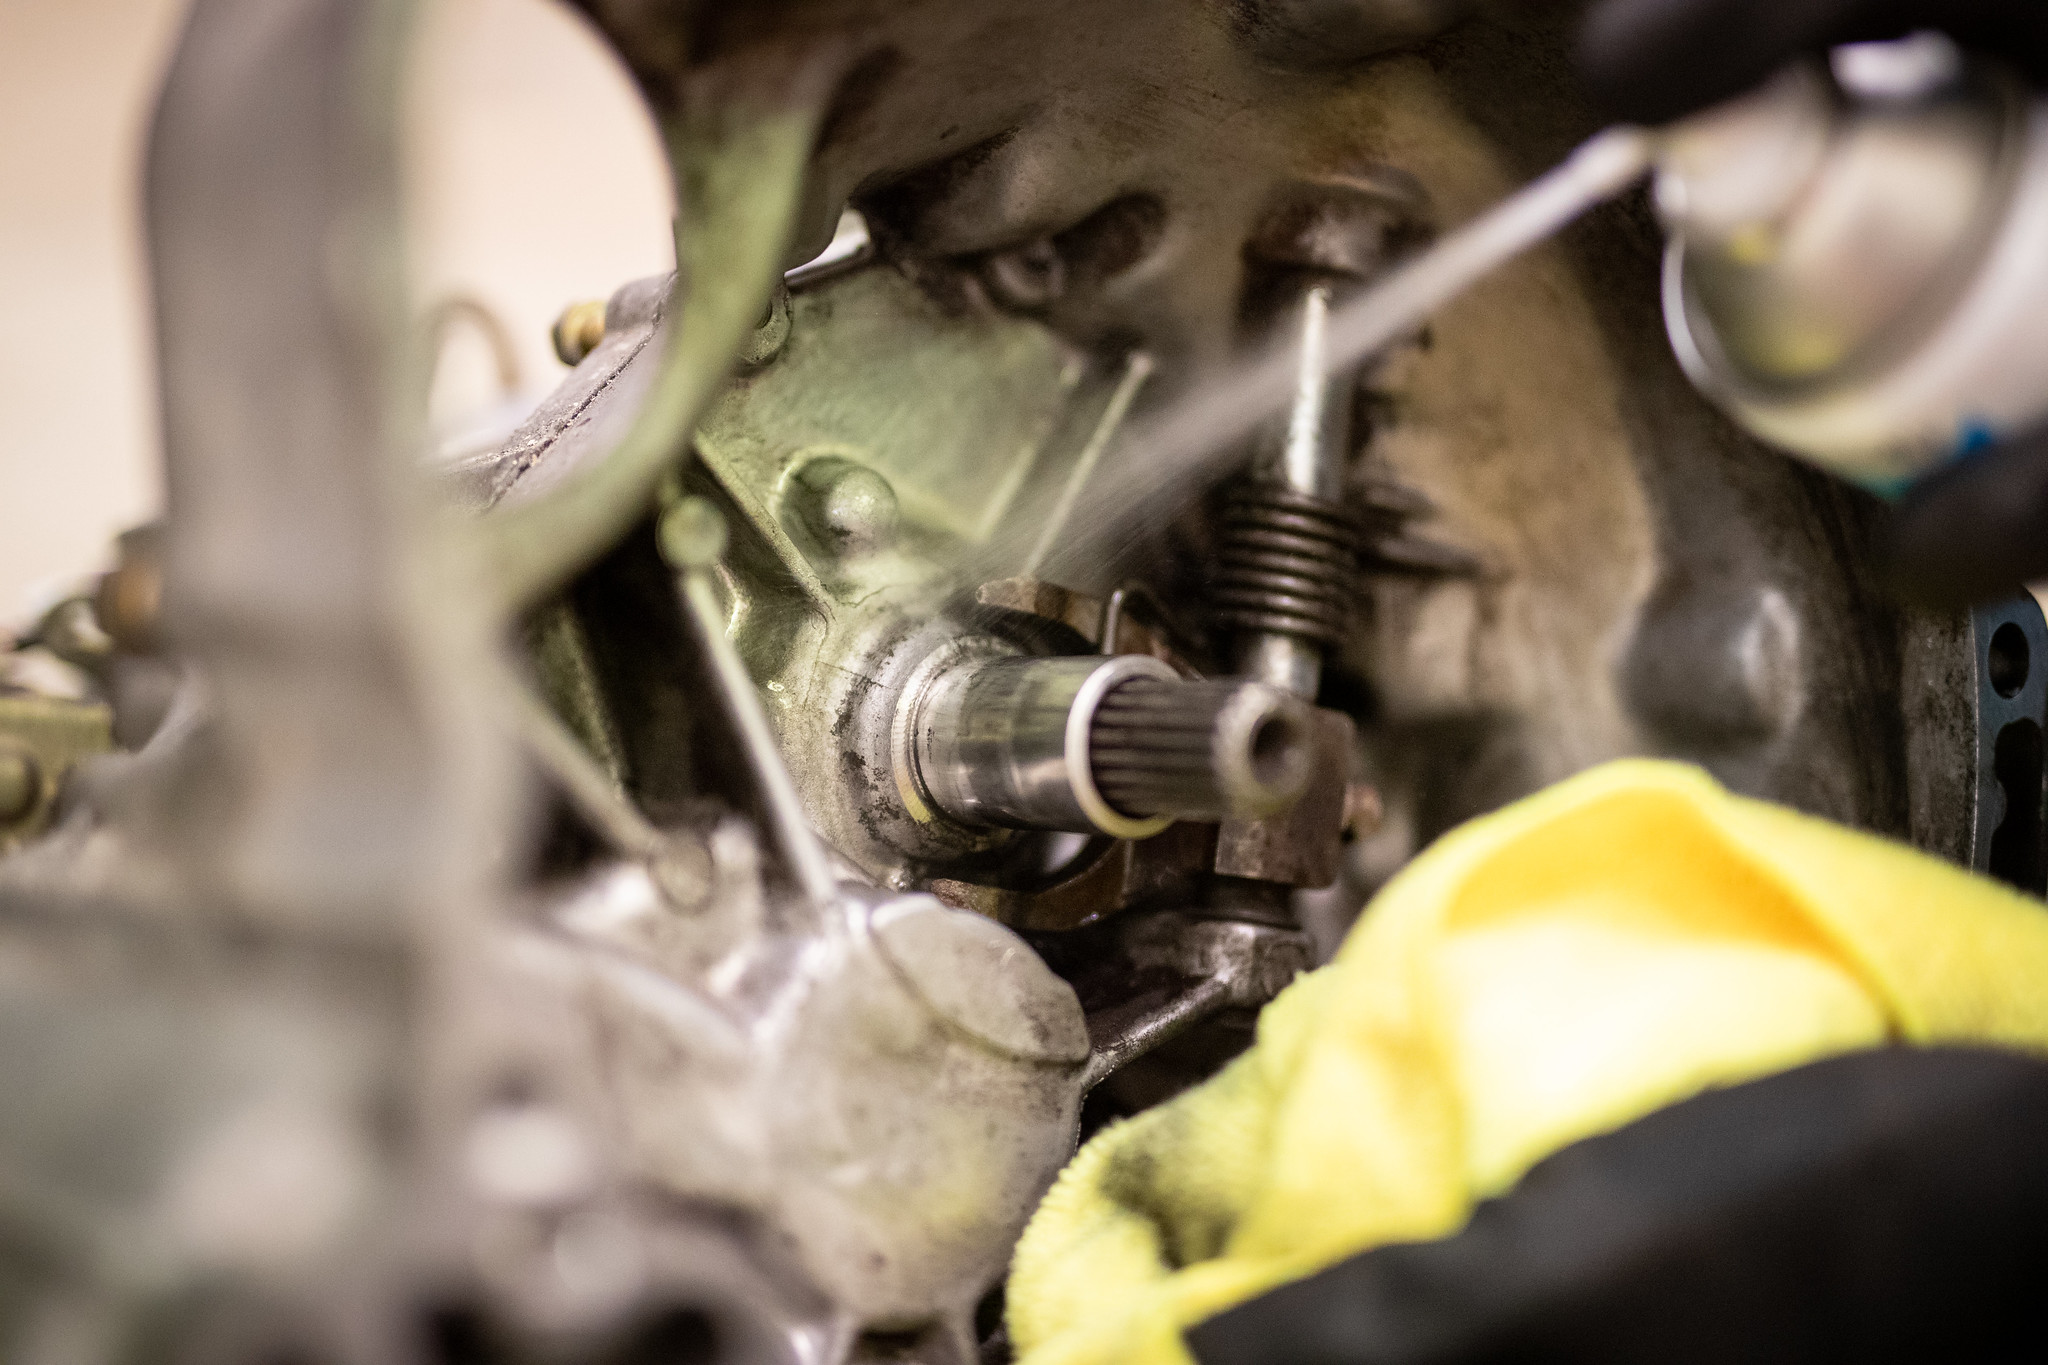
Quick grease.
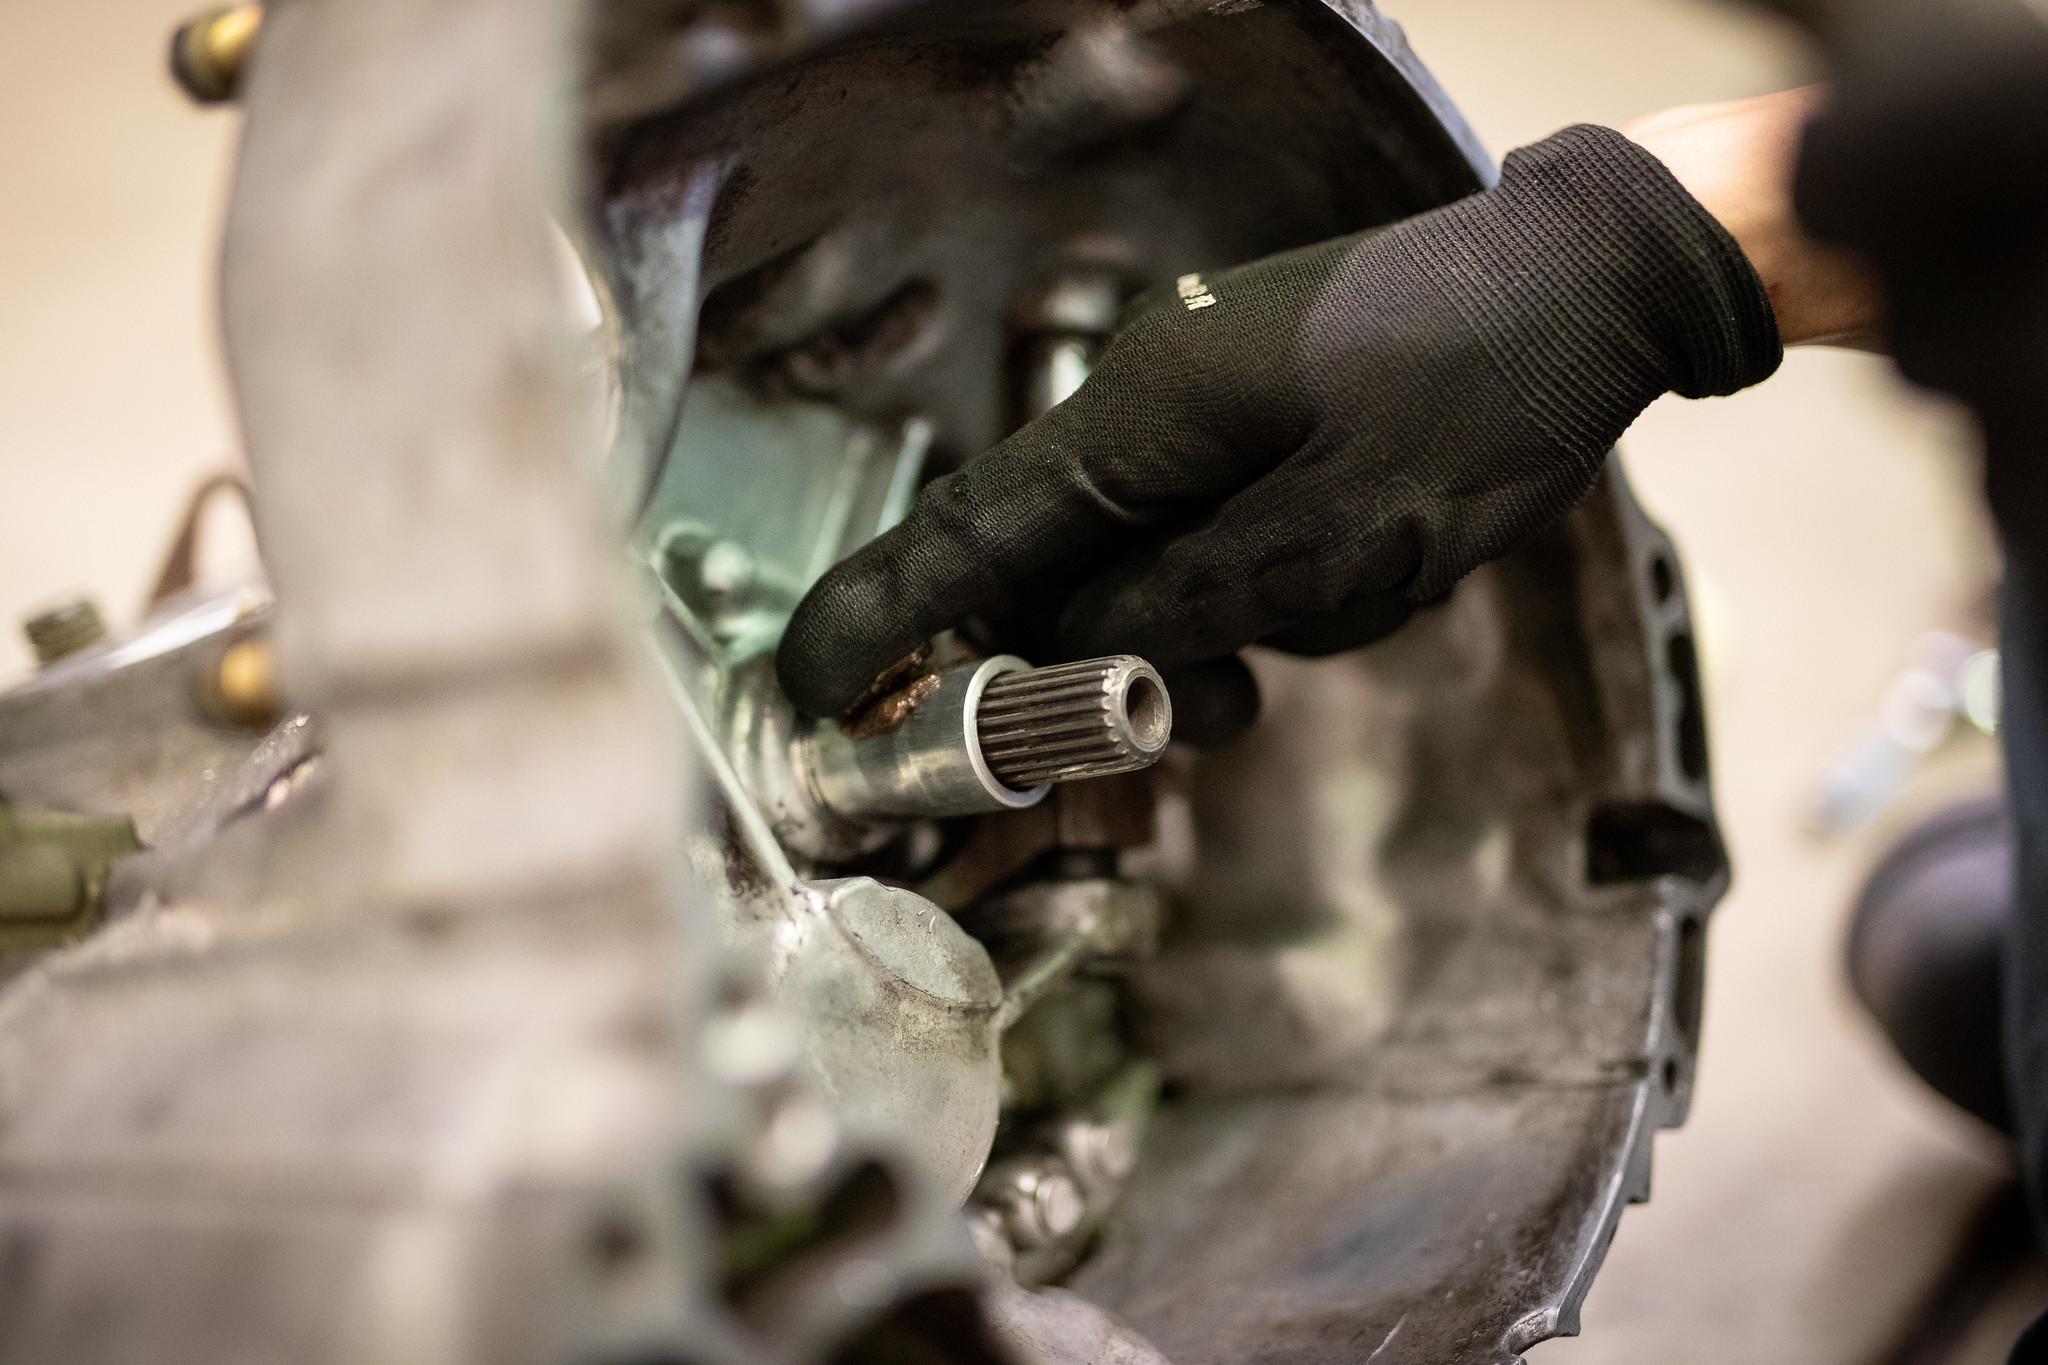
Must’ve taken almost an hour to get this little shit seated and clipped in correctly, we got there in the end.
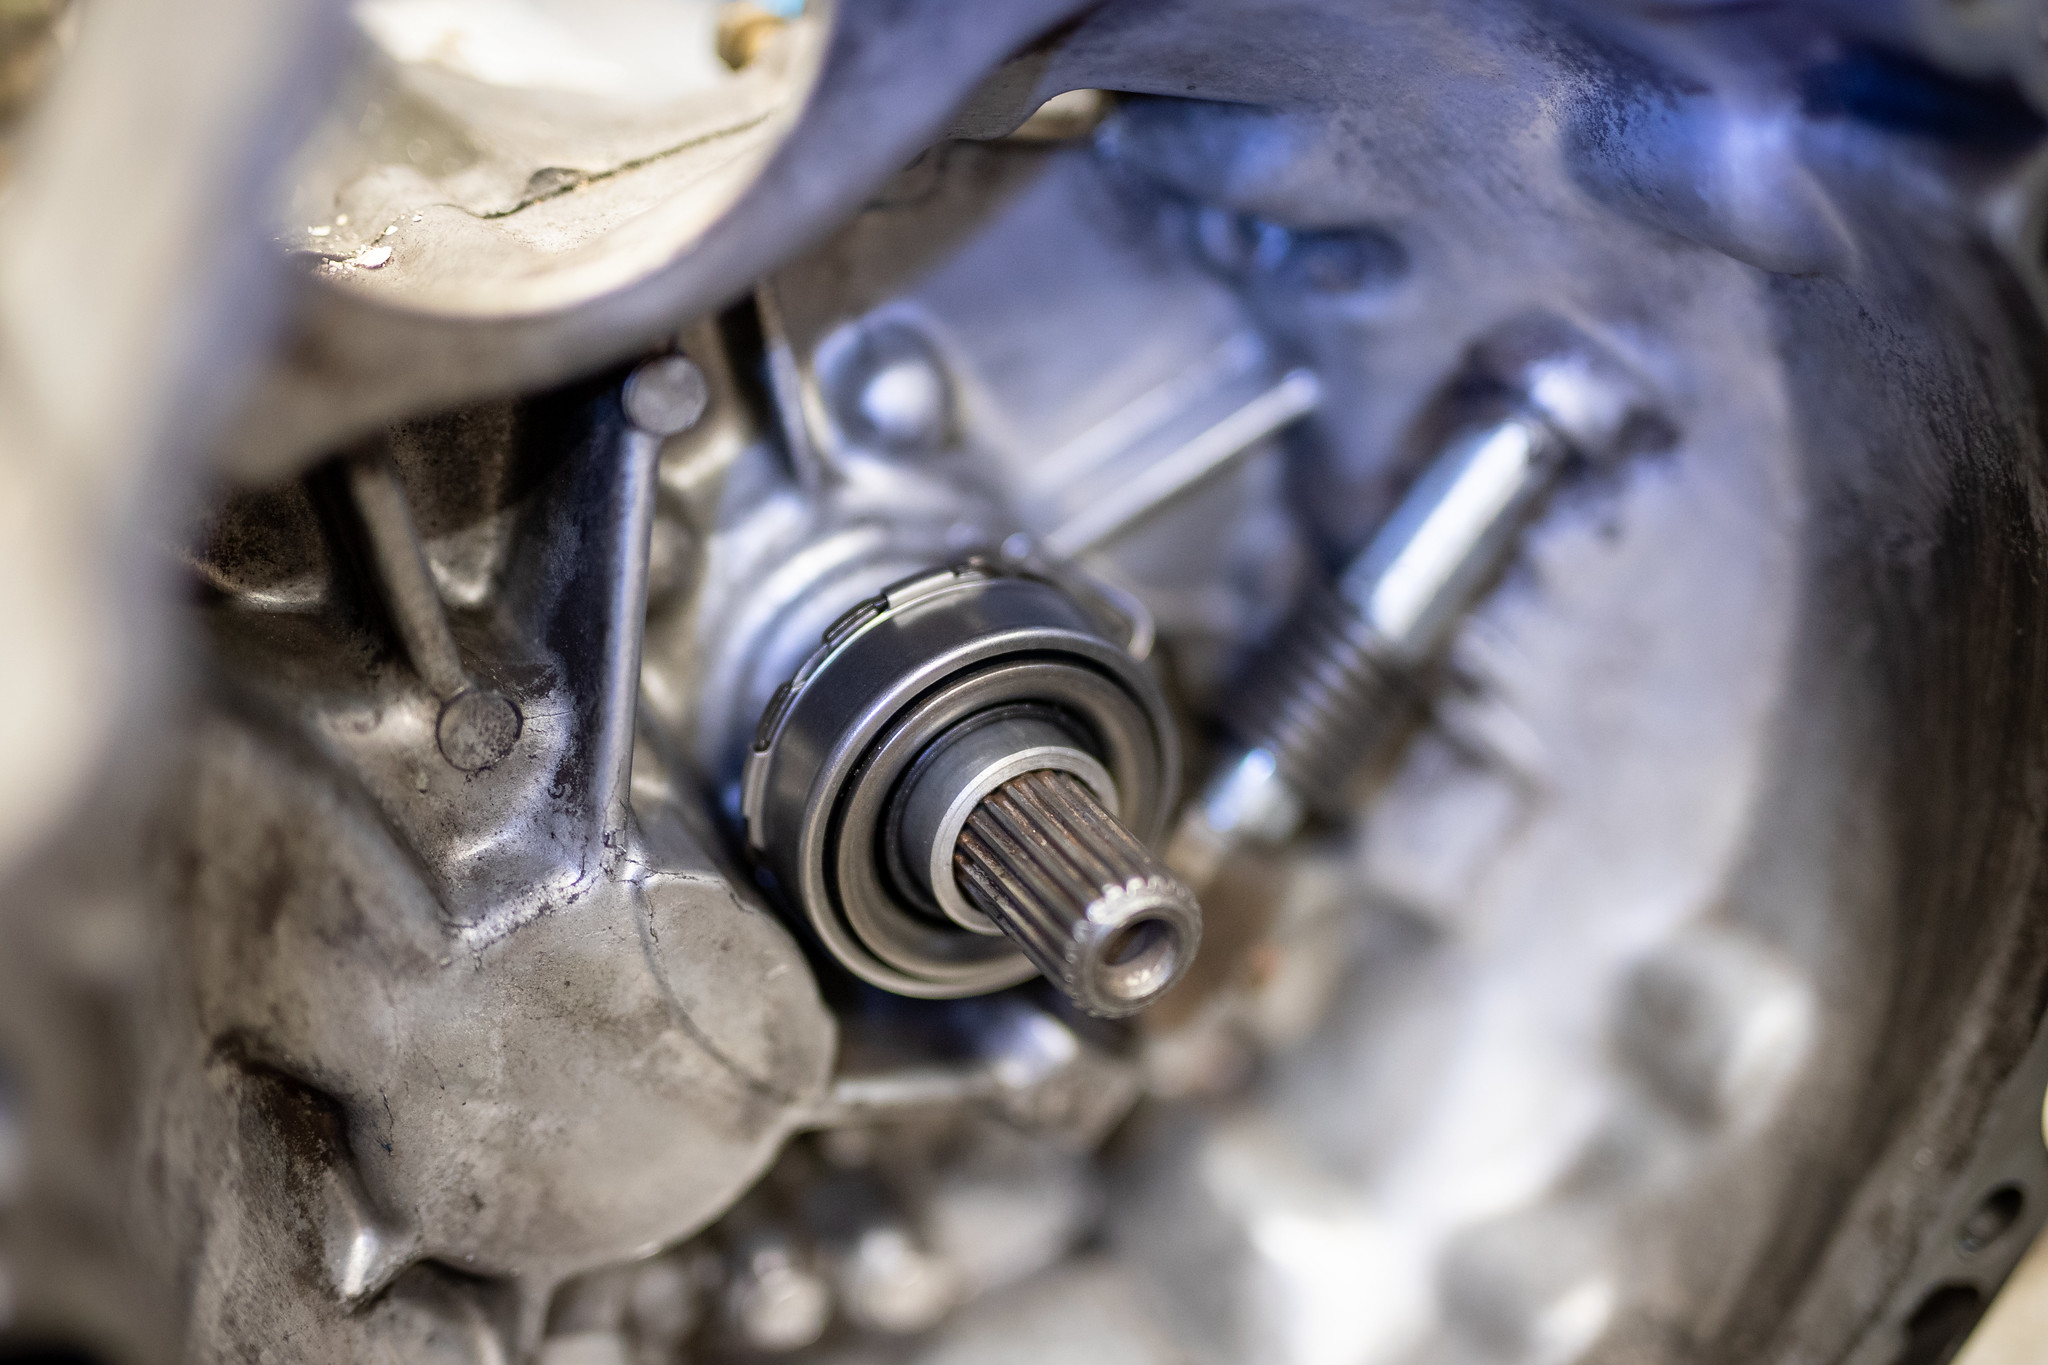
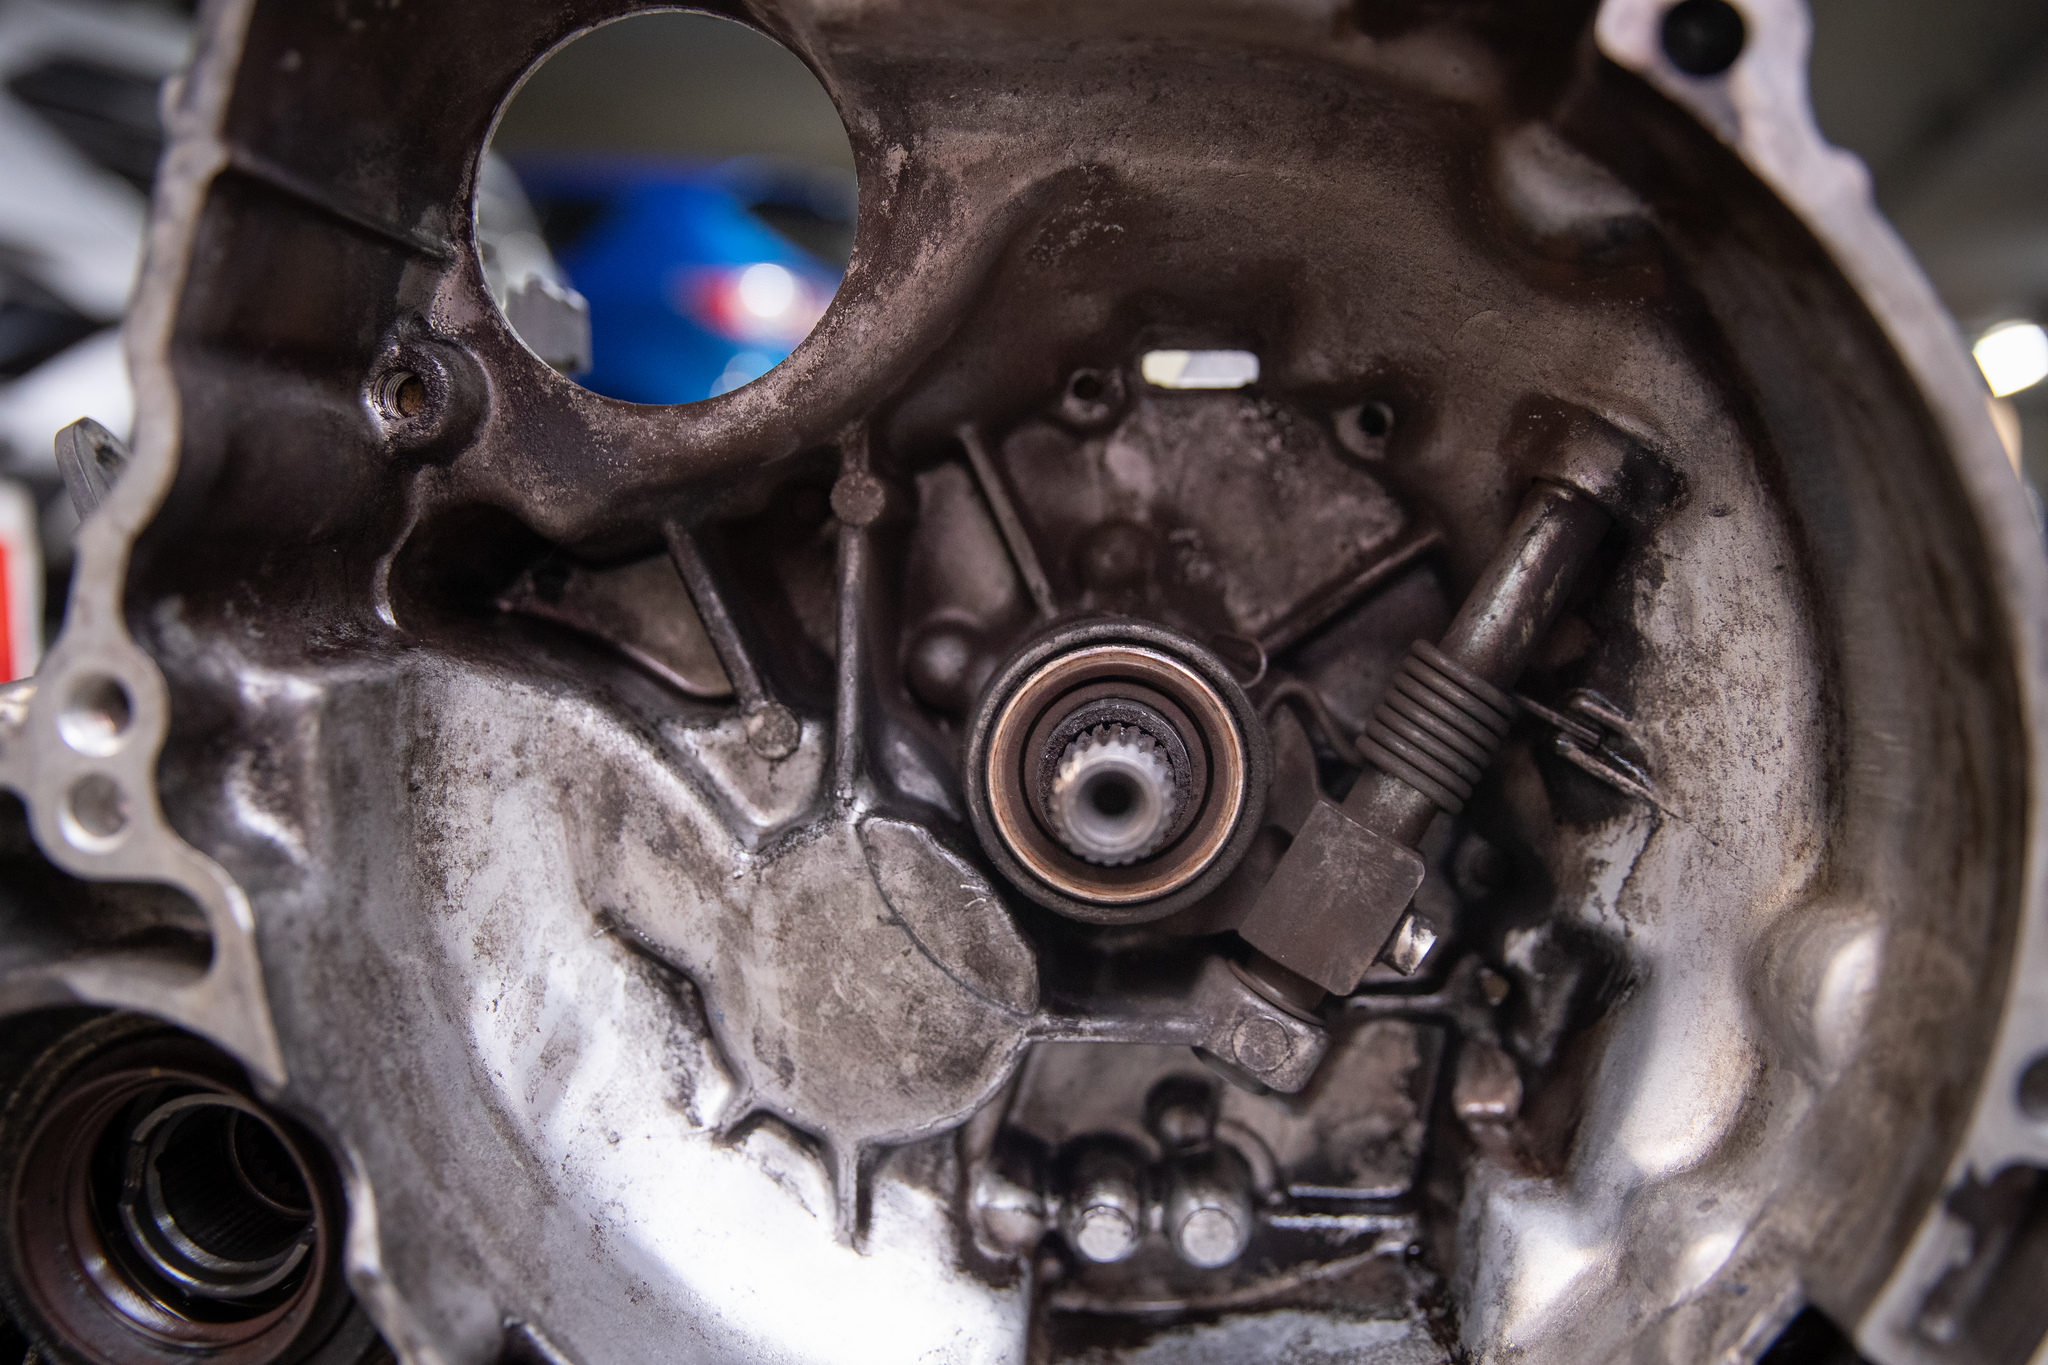
The manual box was no ready to go on for the last time.

Starter motor is something that is different between auto and manual, you can especially hear it when you start the car, they sound very different. The wiring connectors are the same, however the loom length is routed differently as the starter is on the bell housing side rather than the block side like the auto one.
Easily sorted.
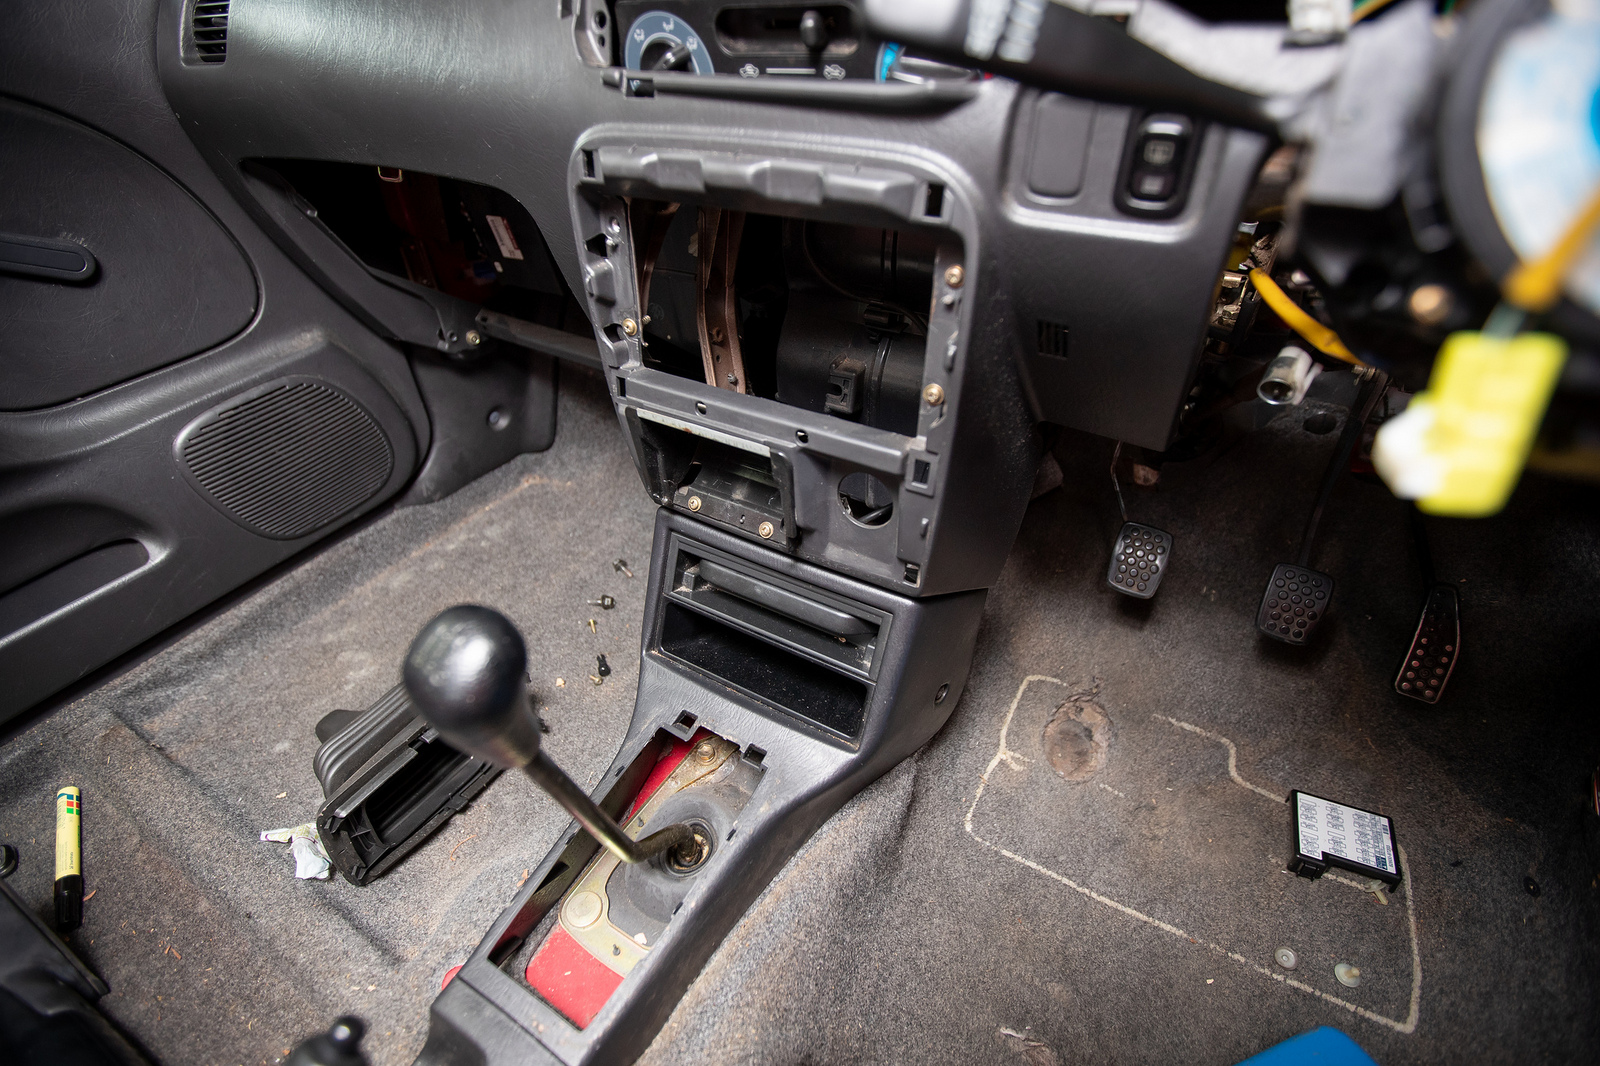
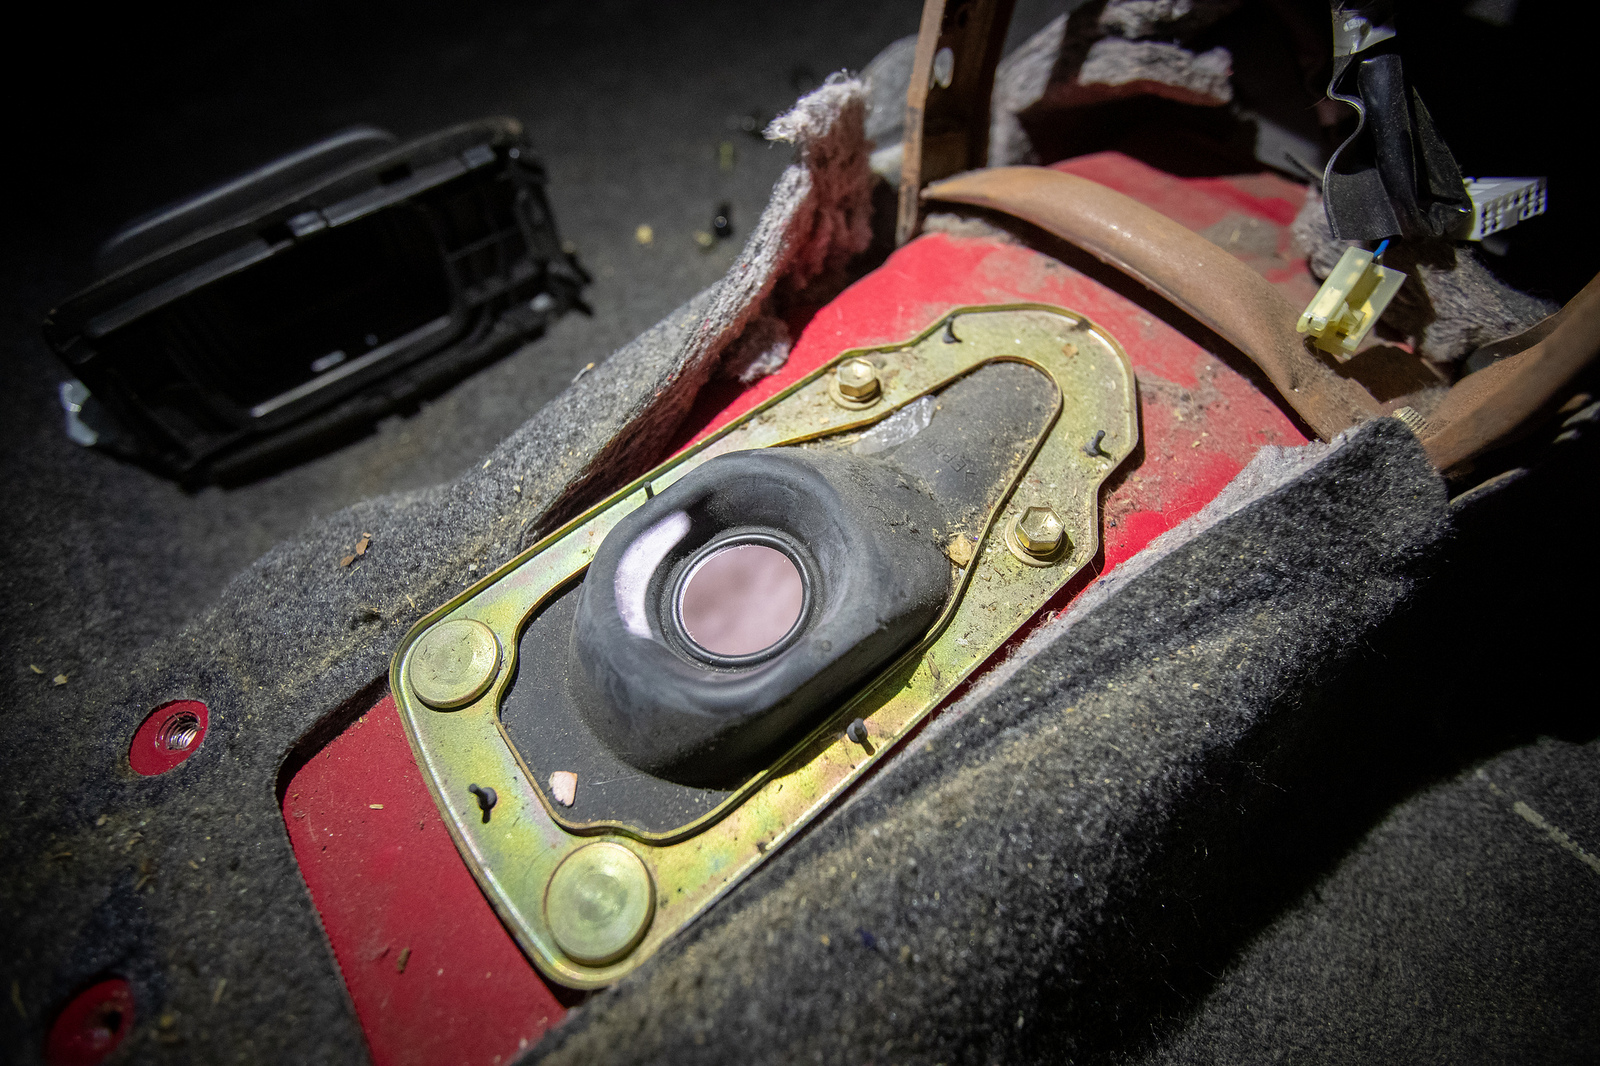
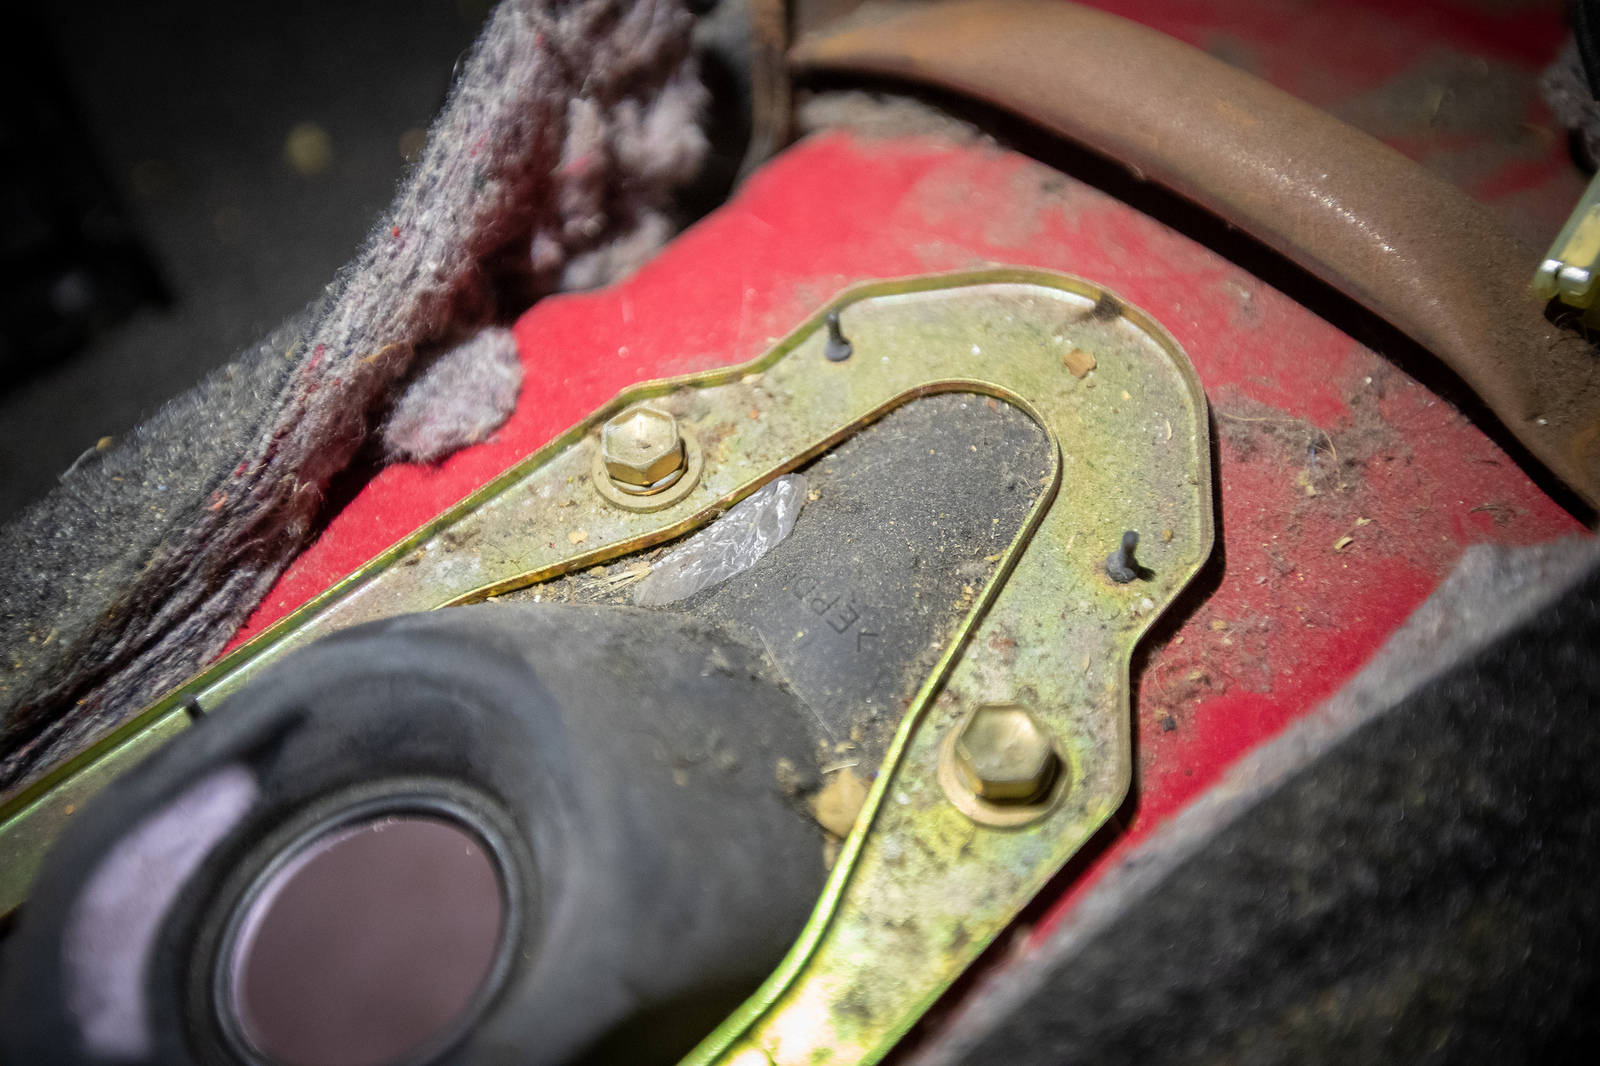
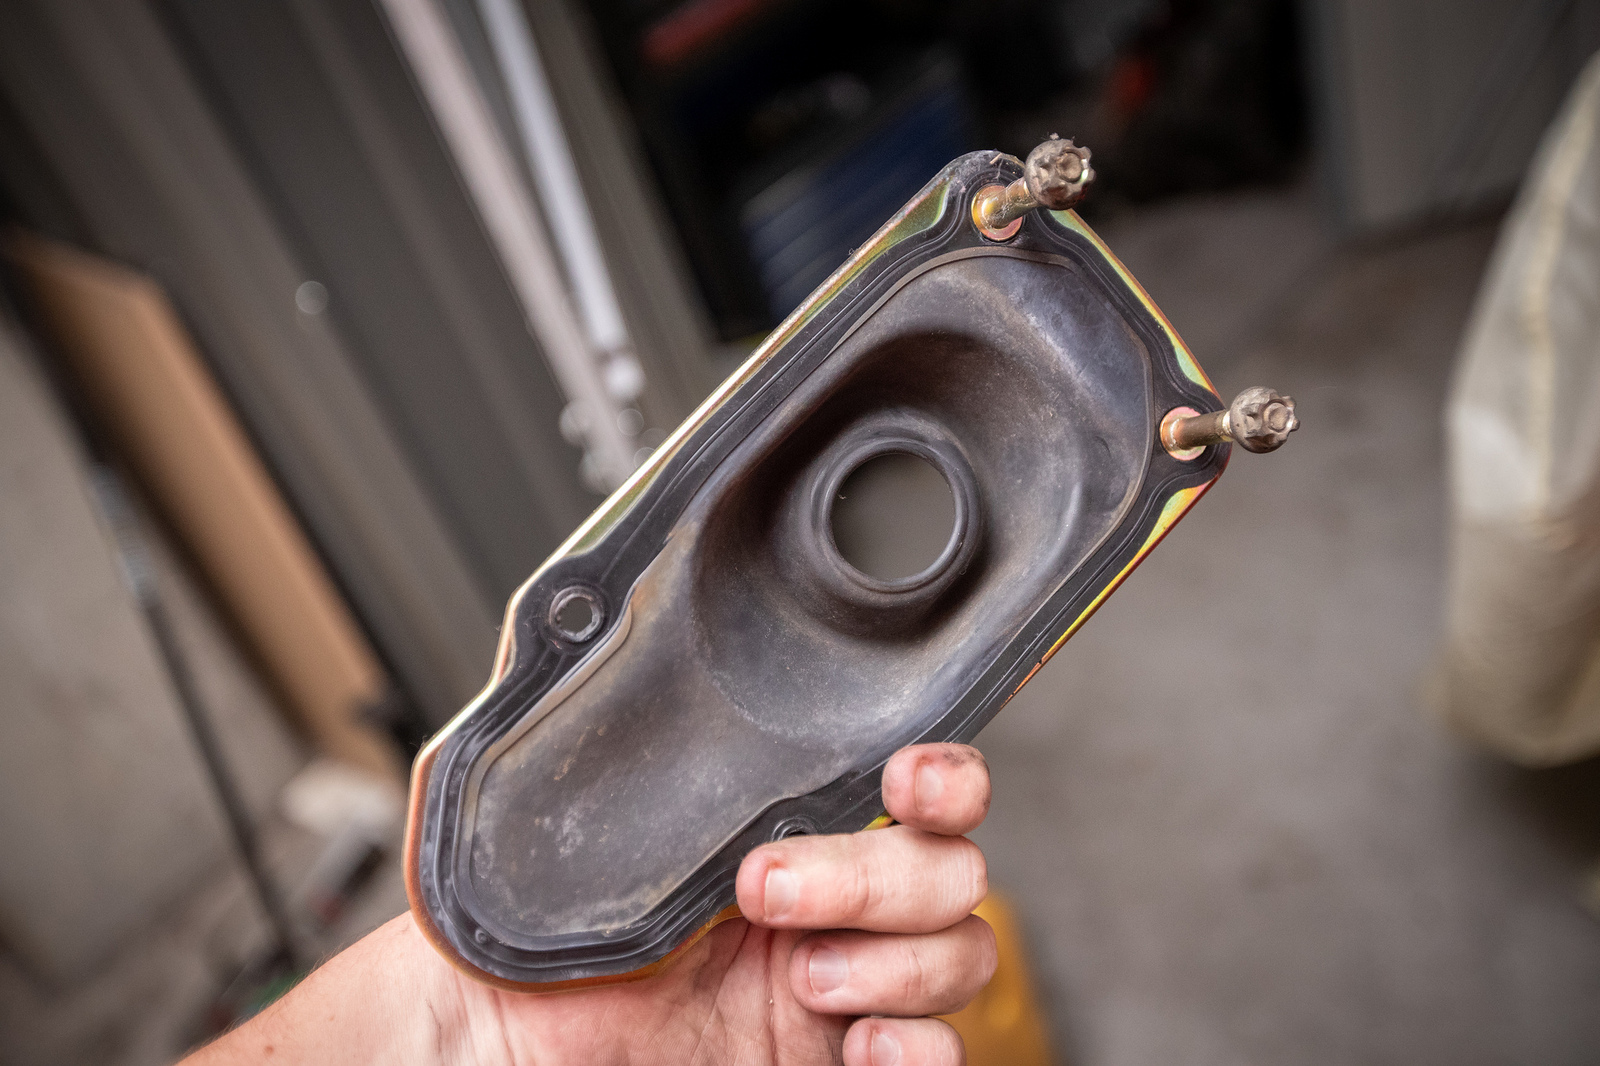
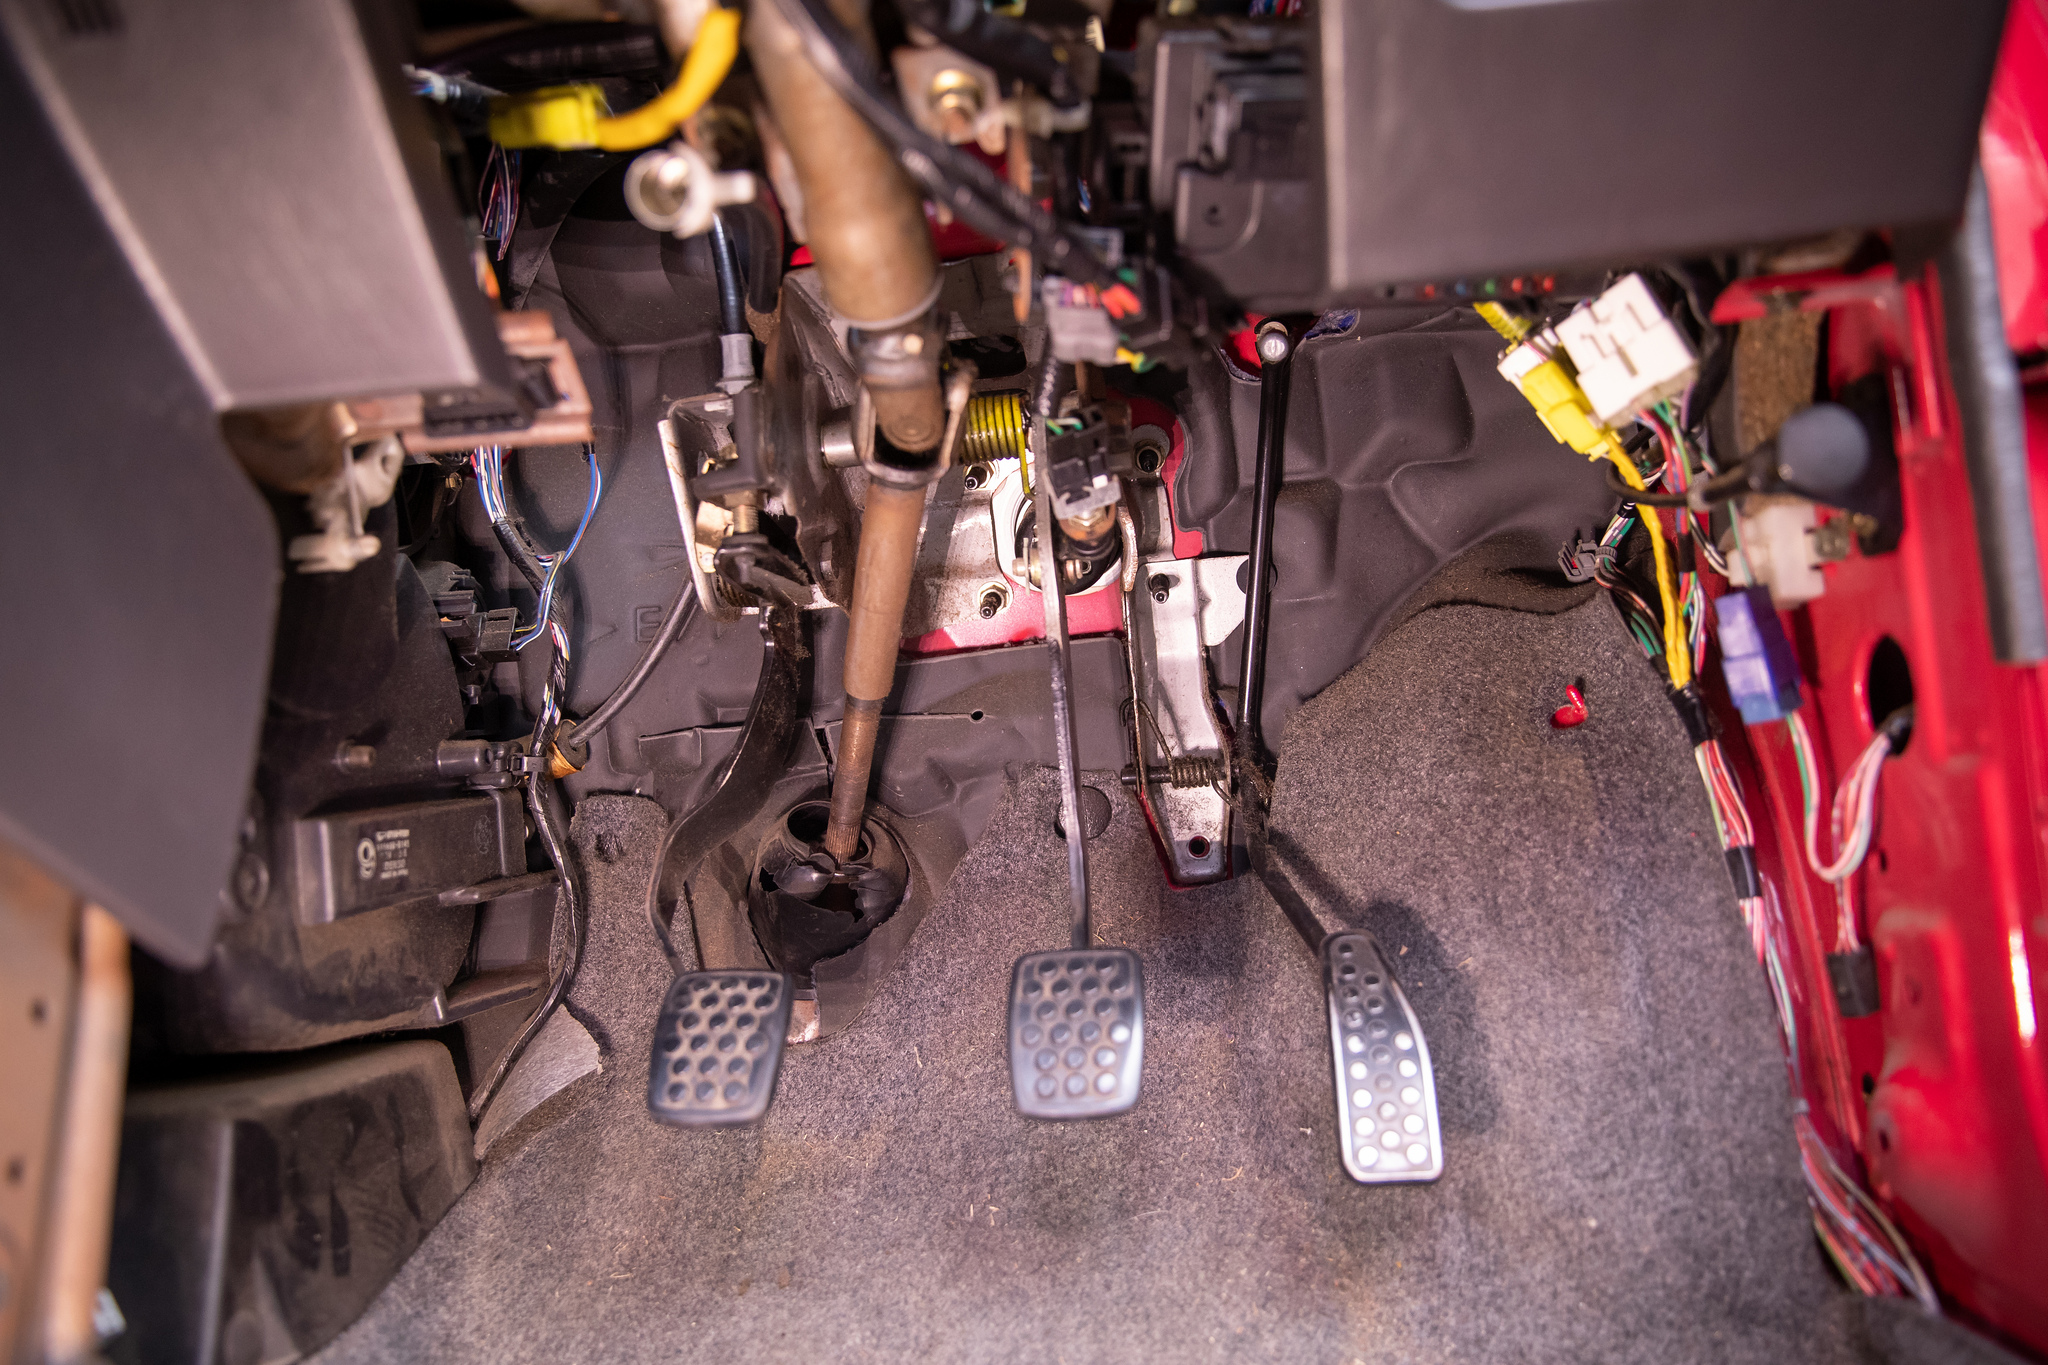
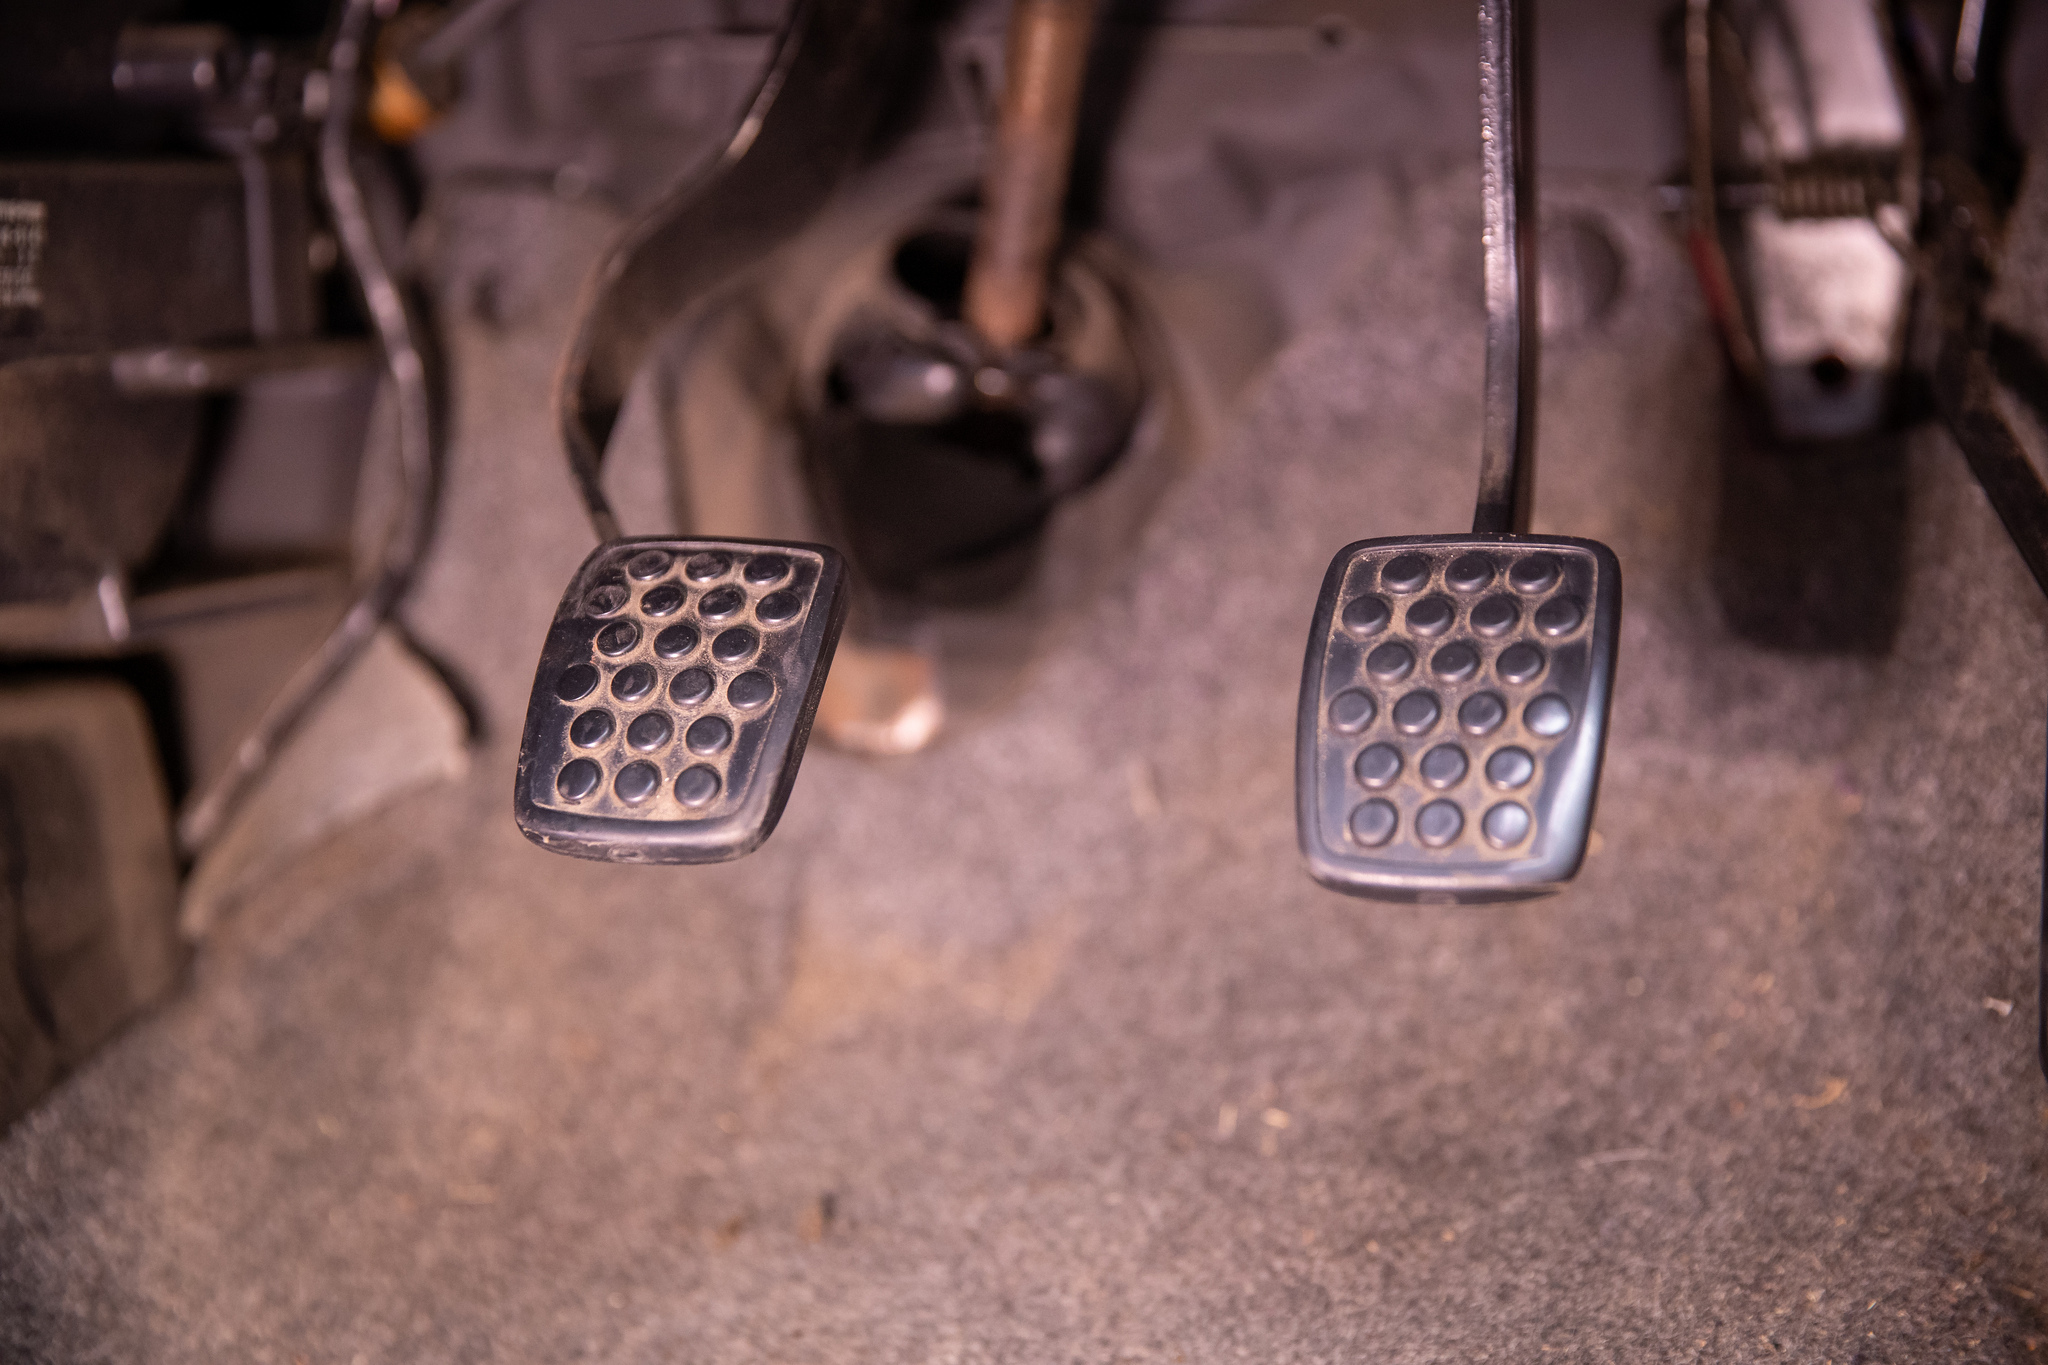
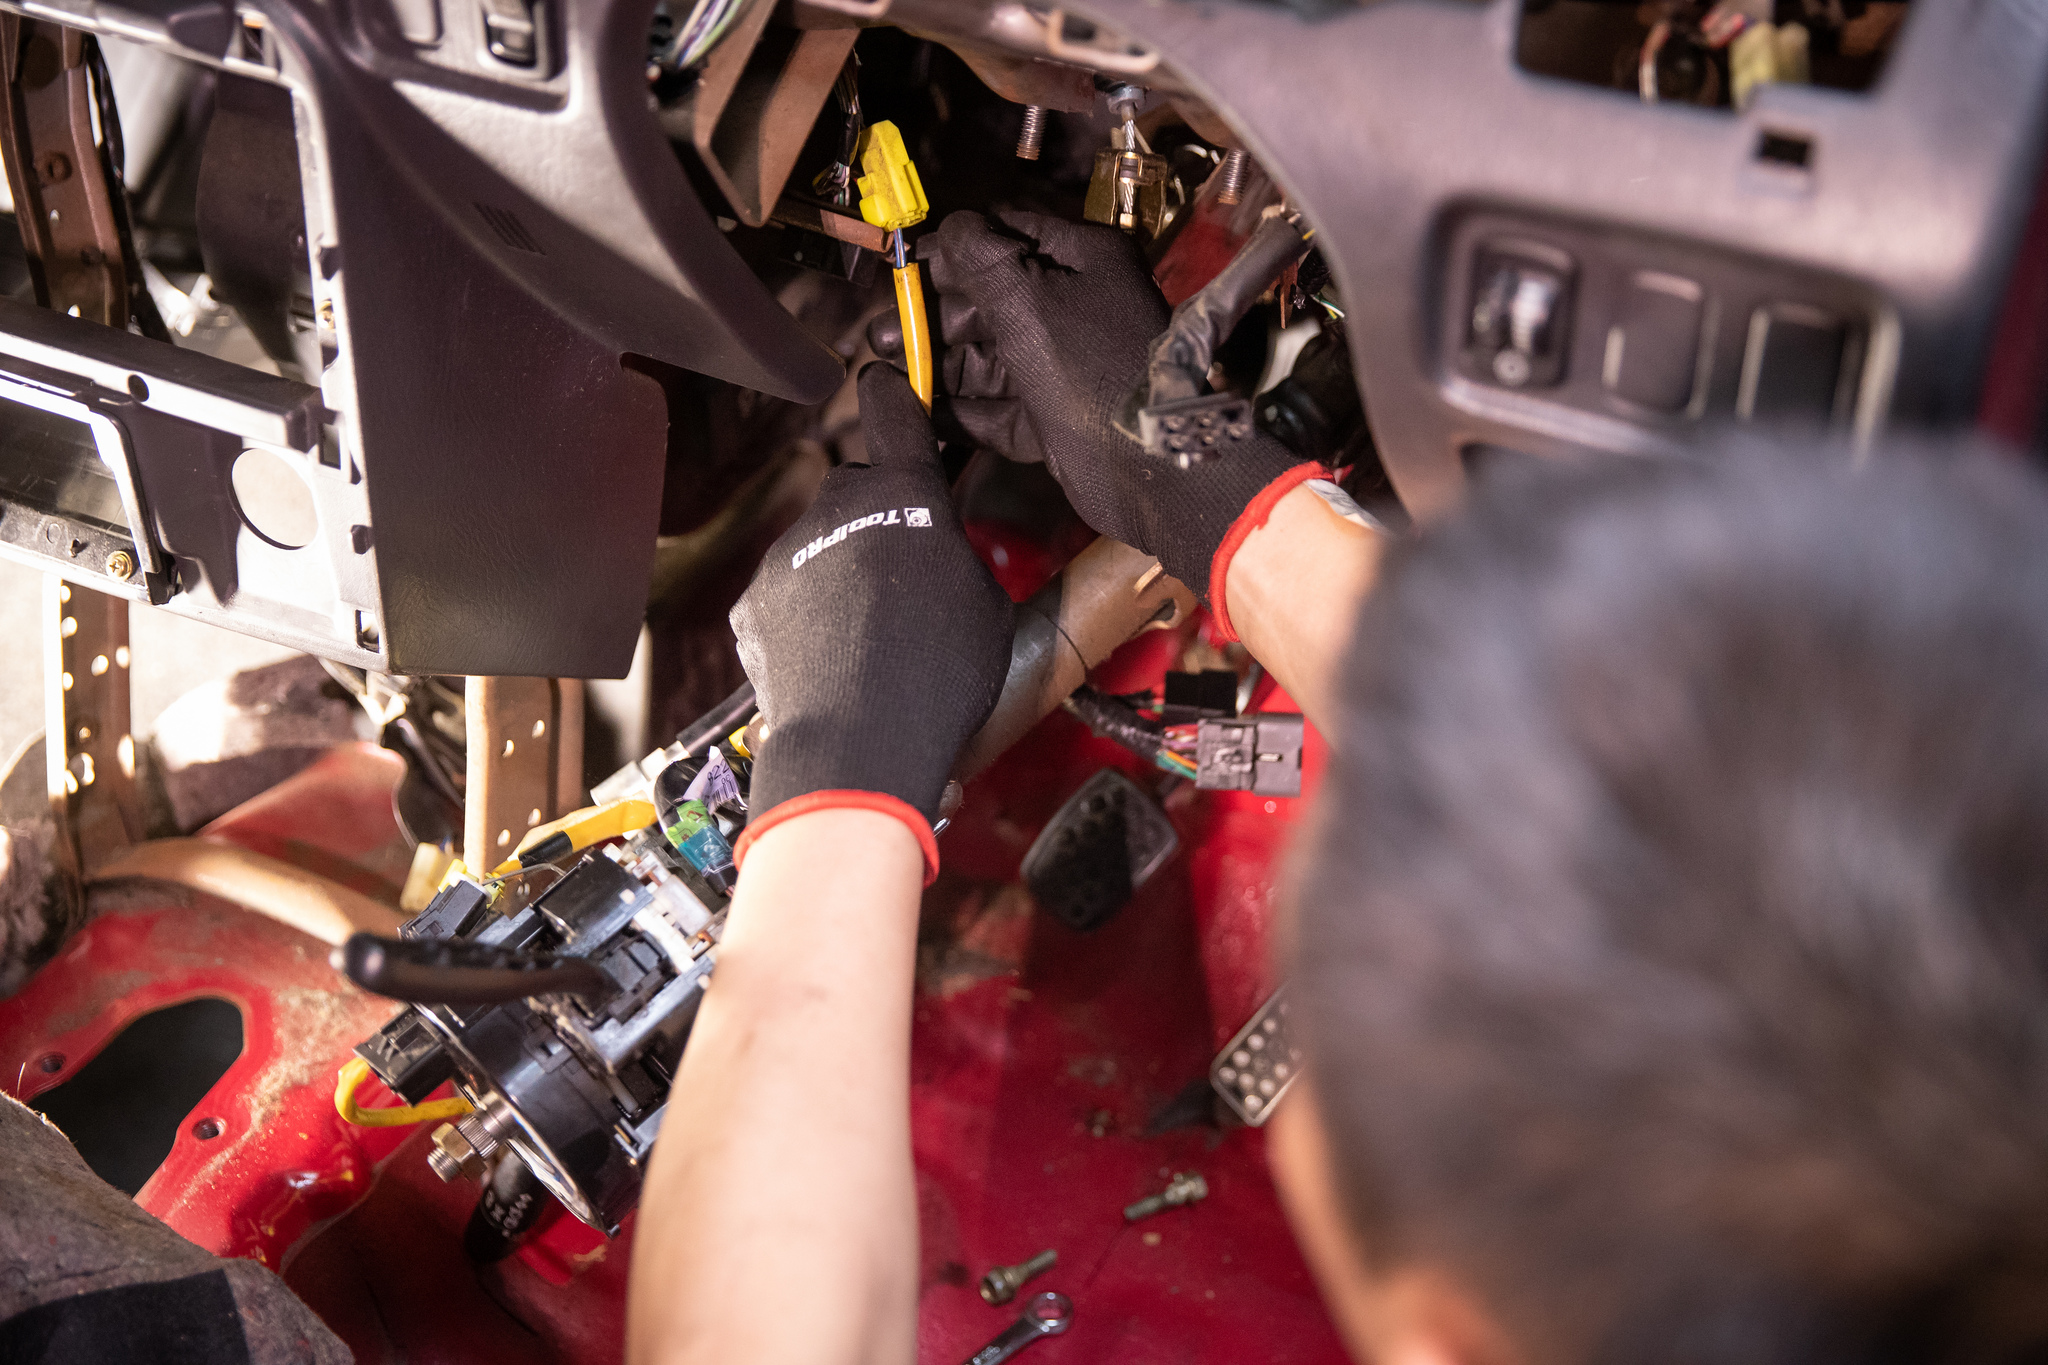
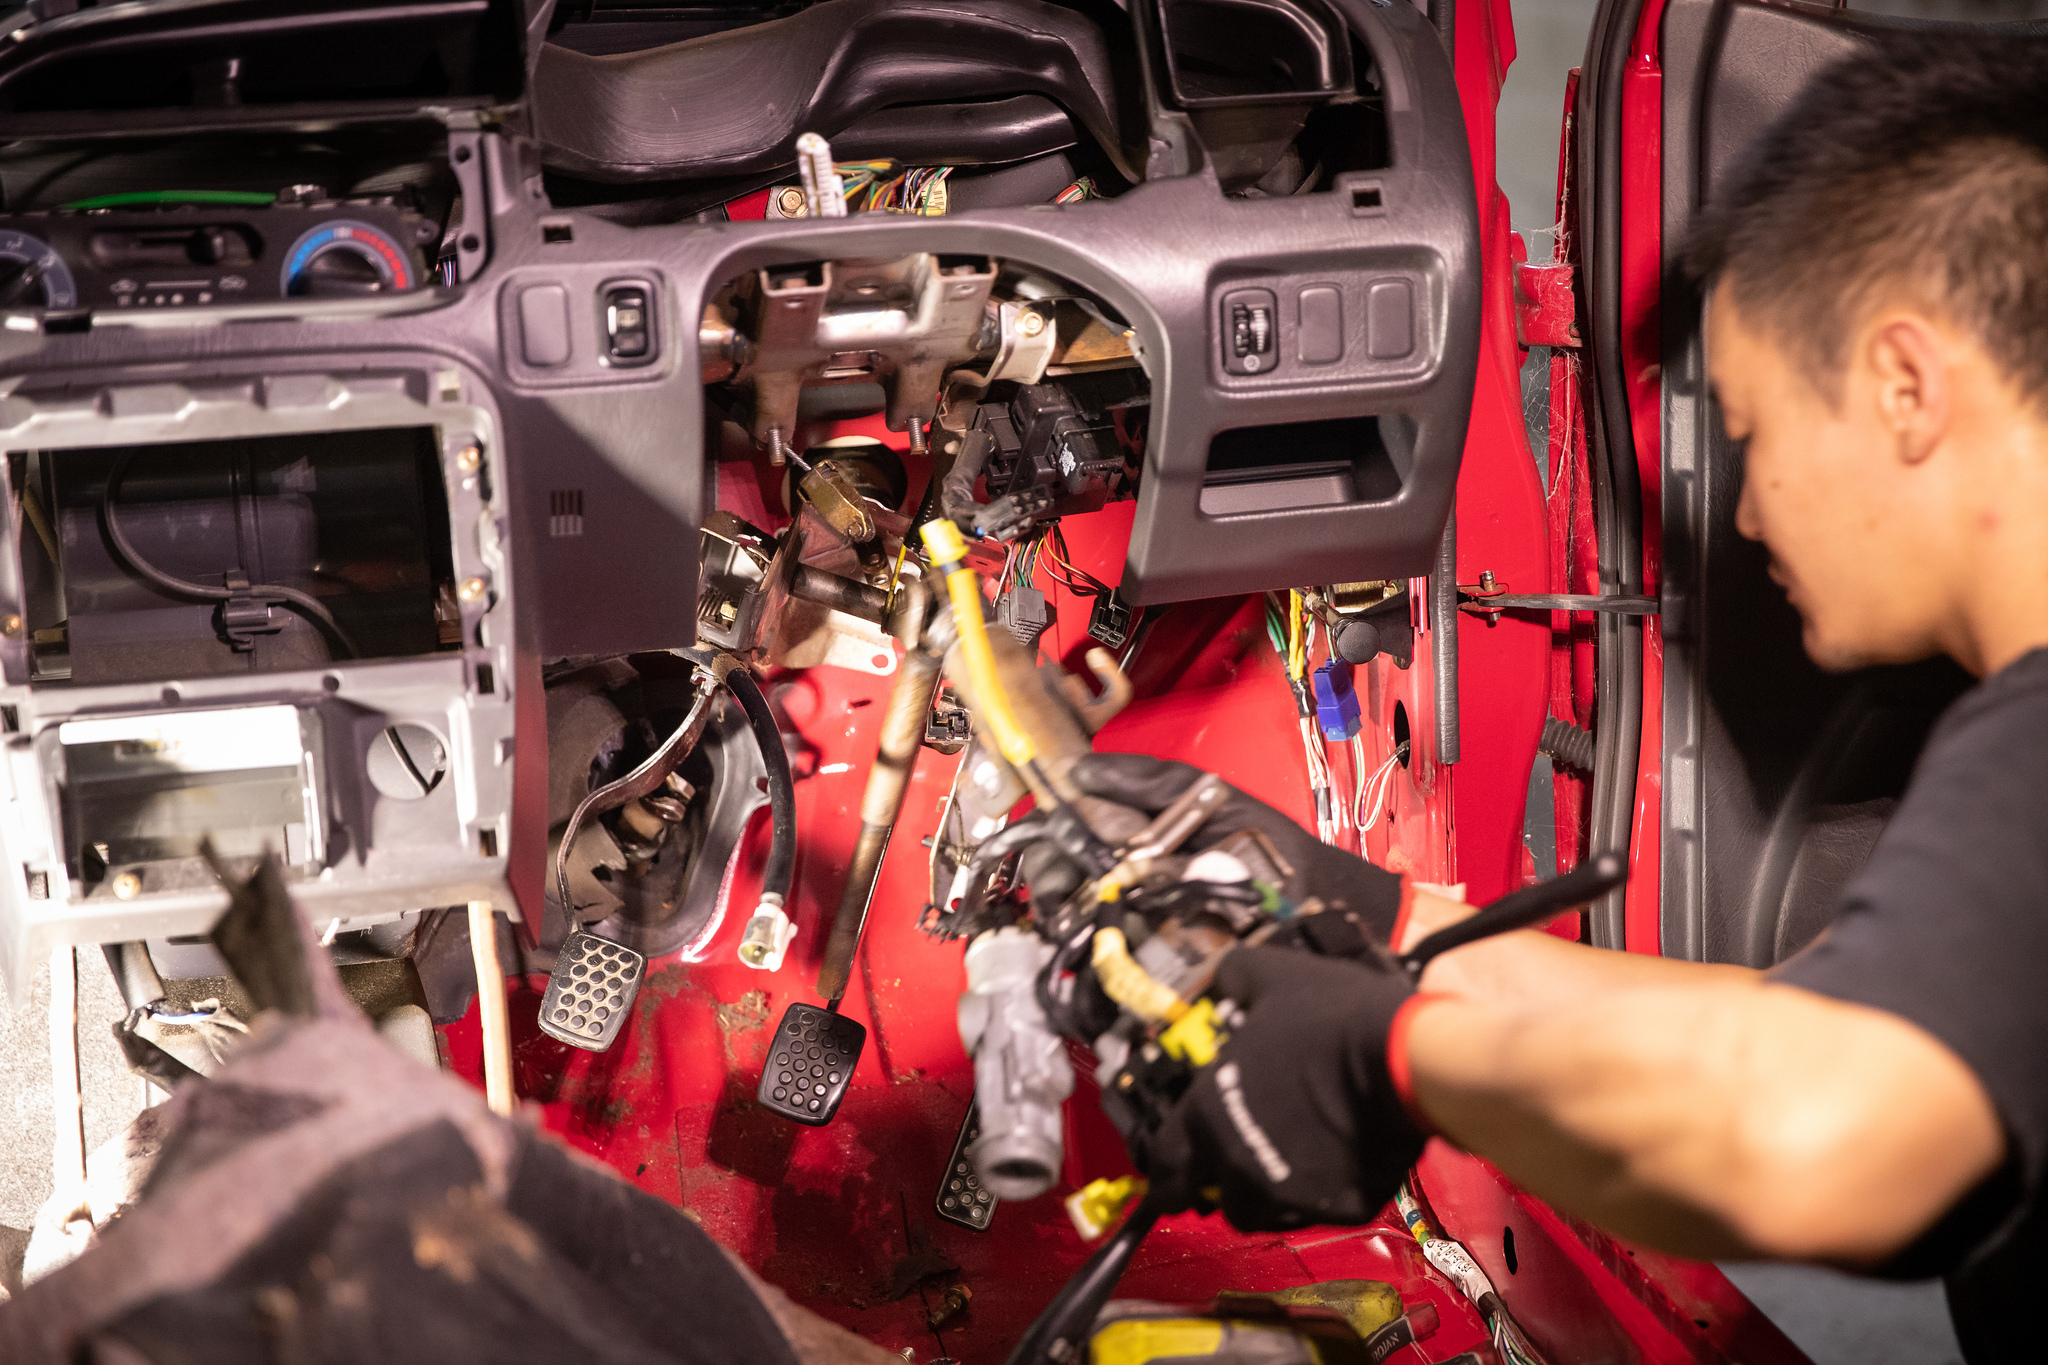
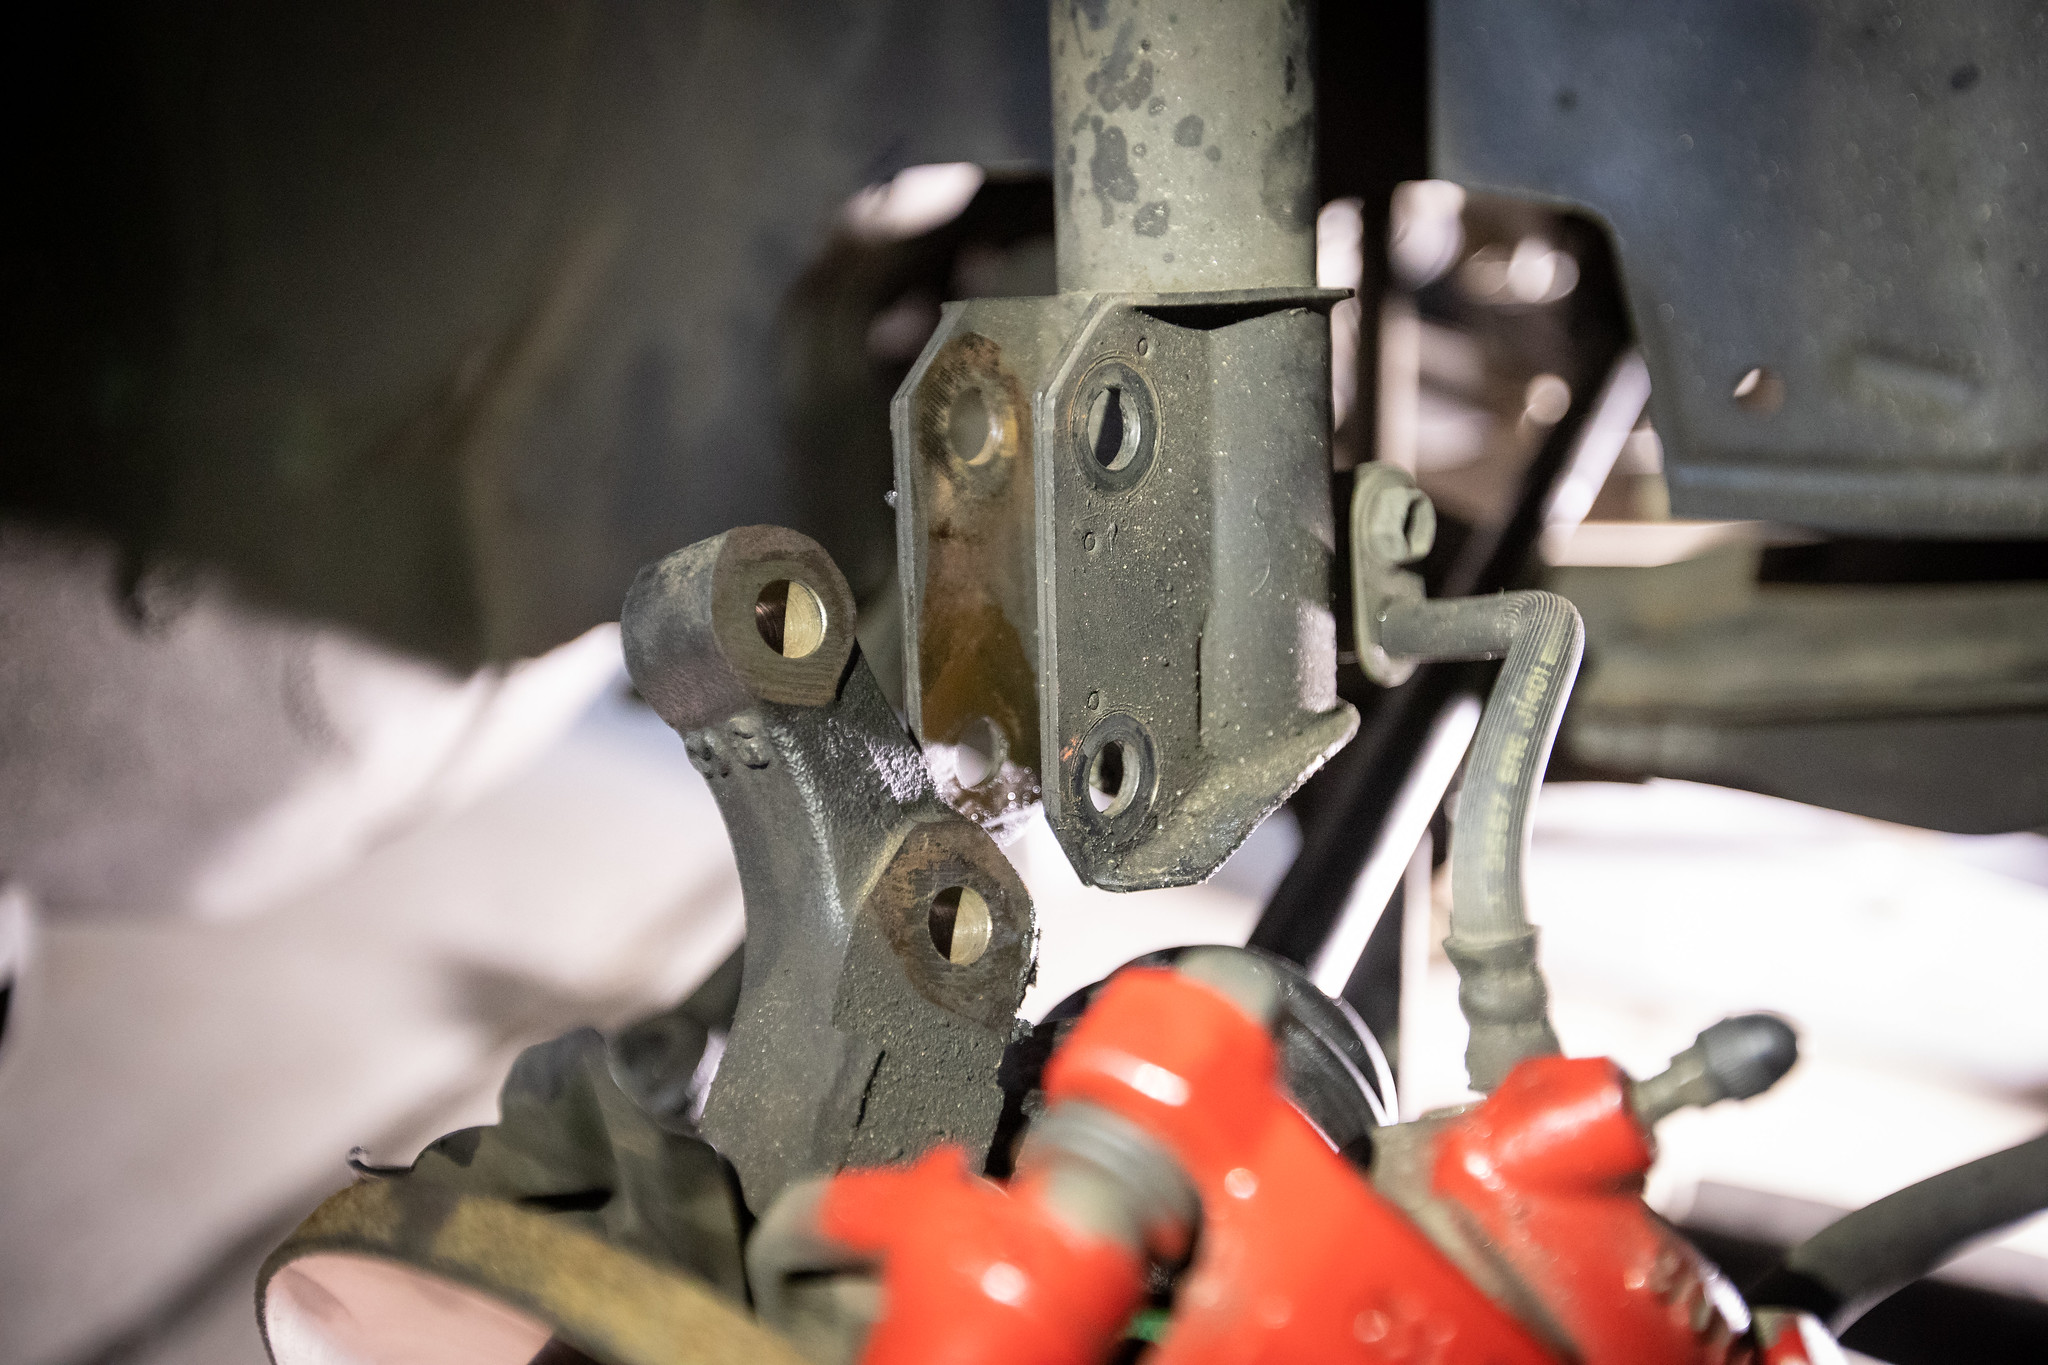
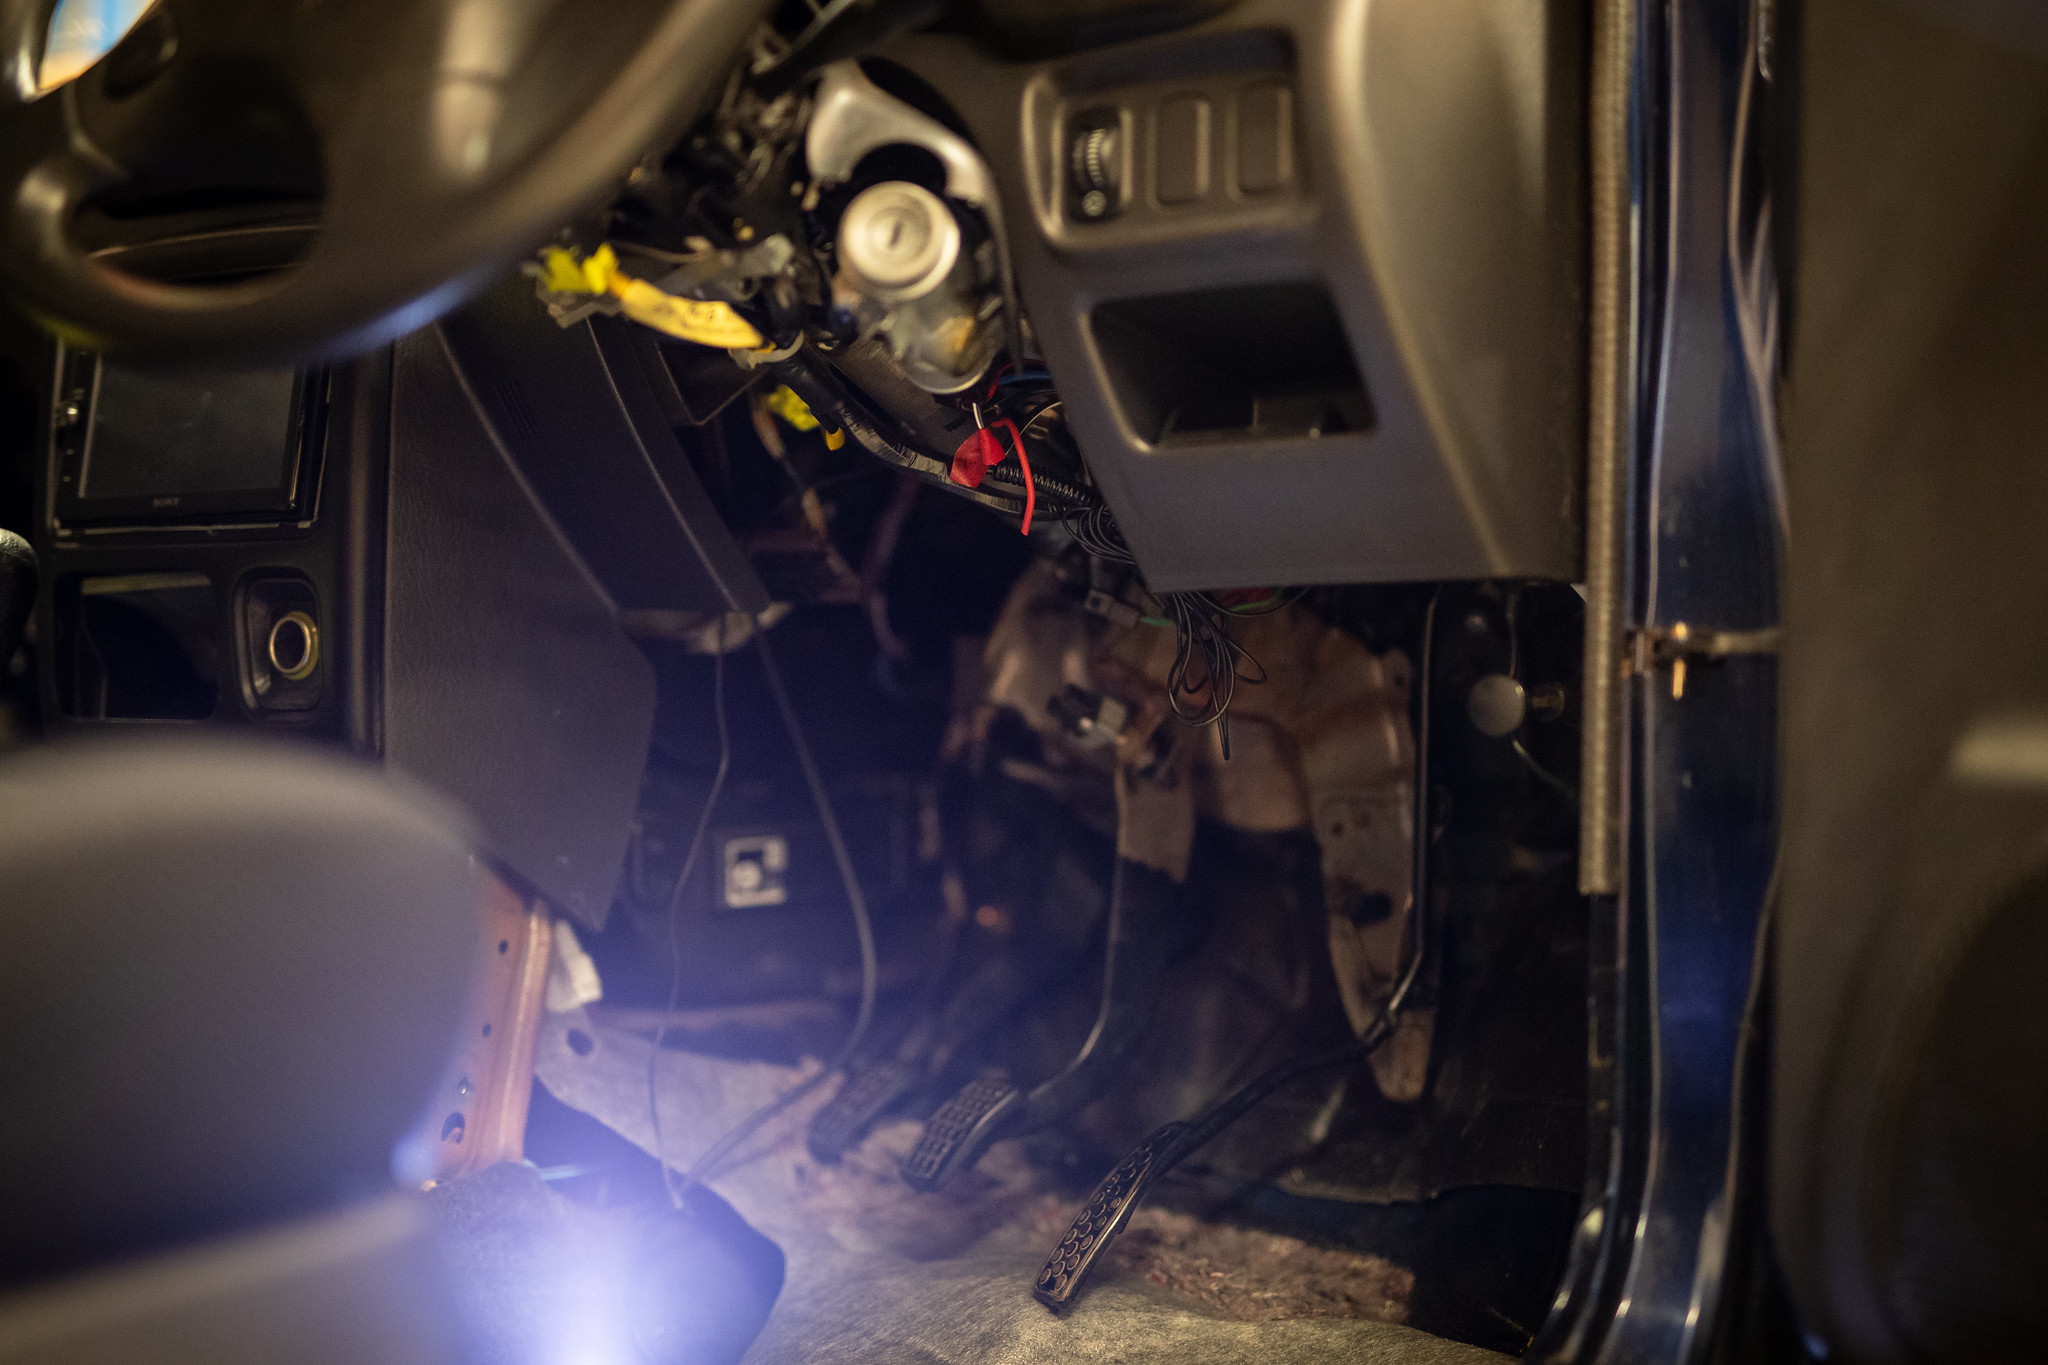
Before continuing we wanted to get the interior stripped of all the old auto stuff first. Starting with the pedal box.


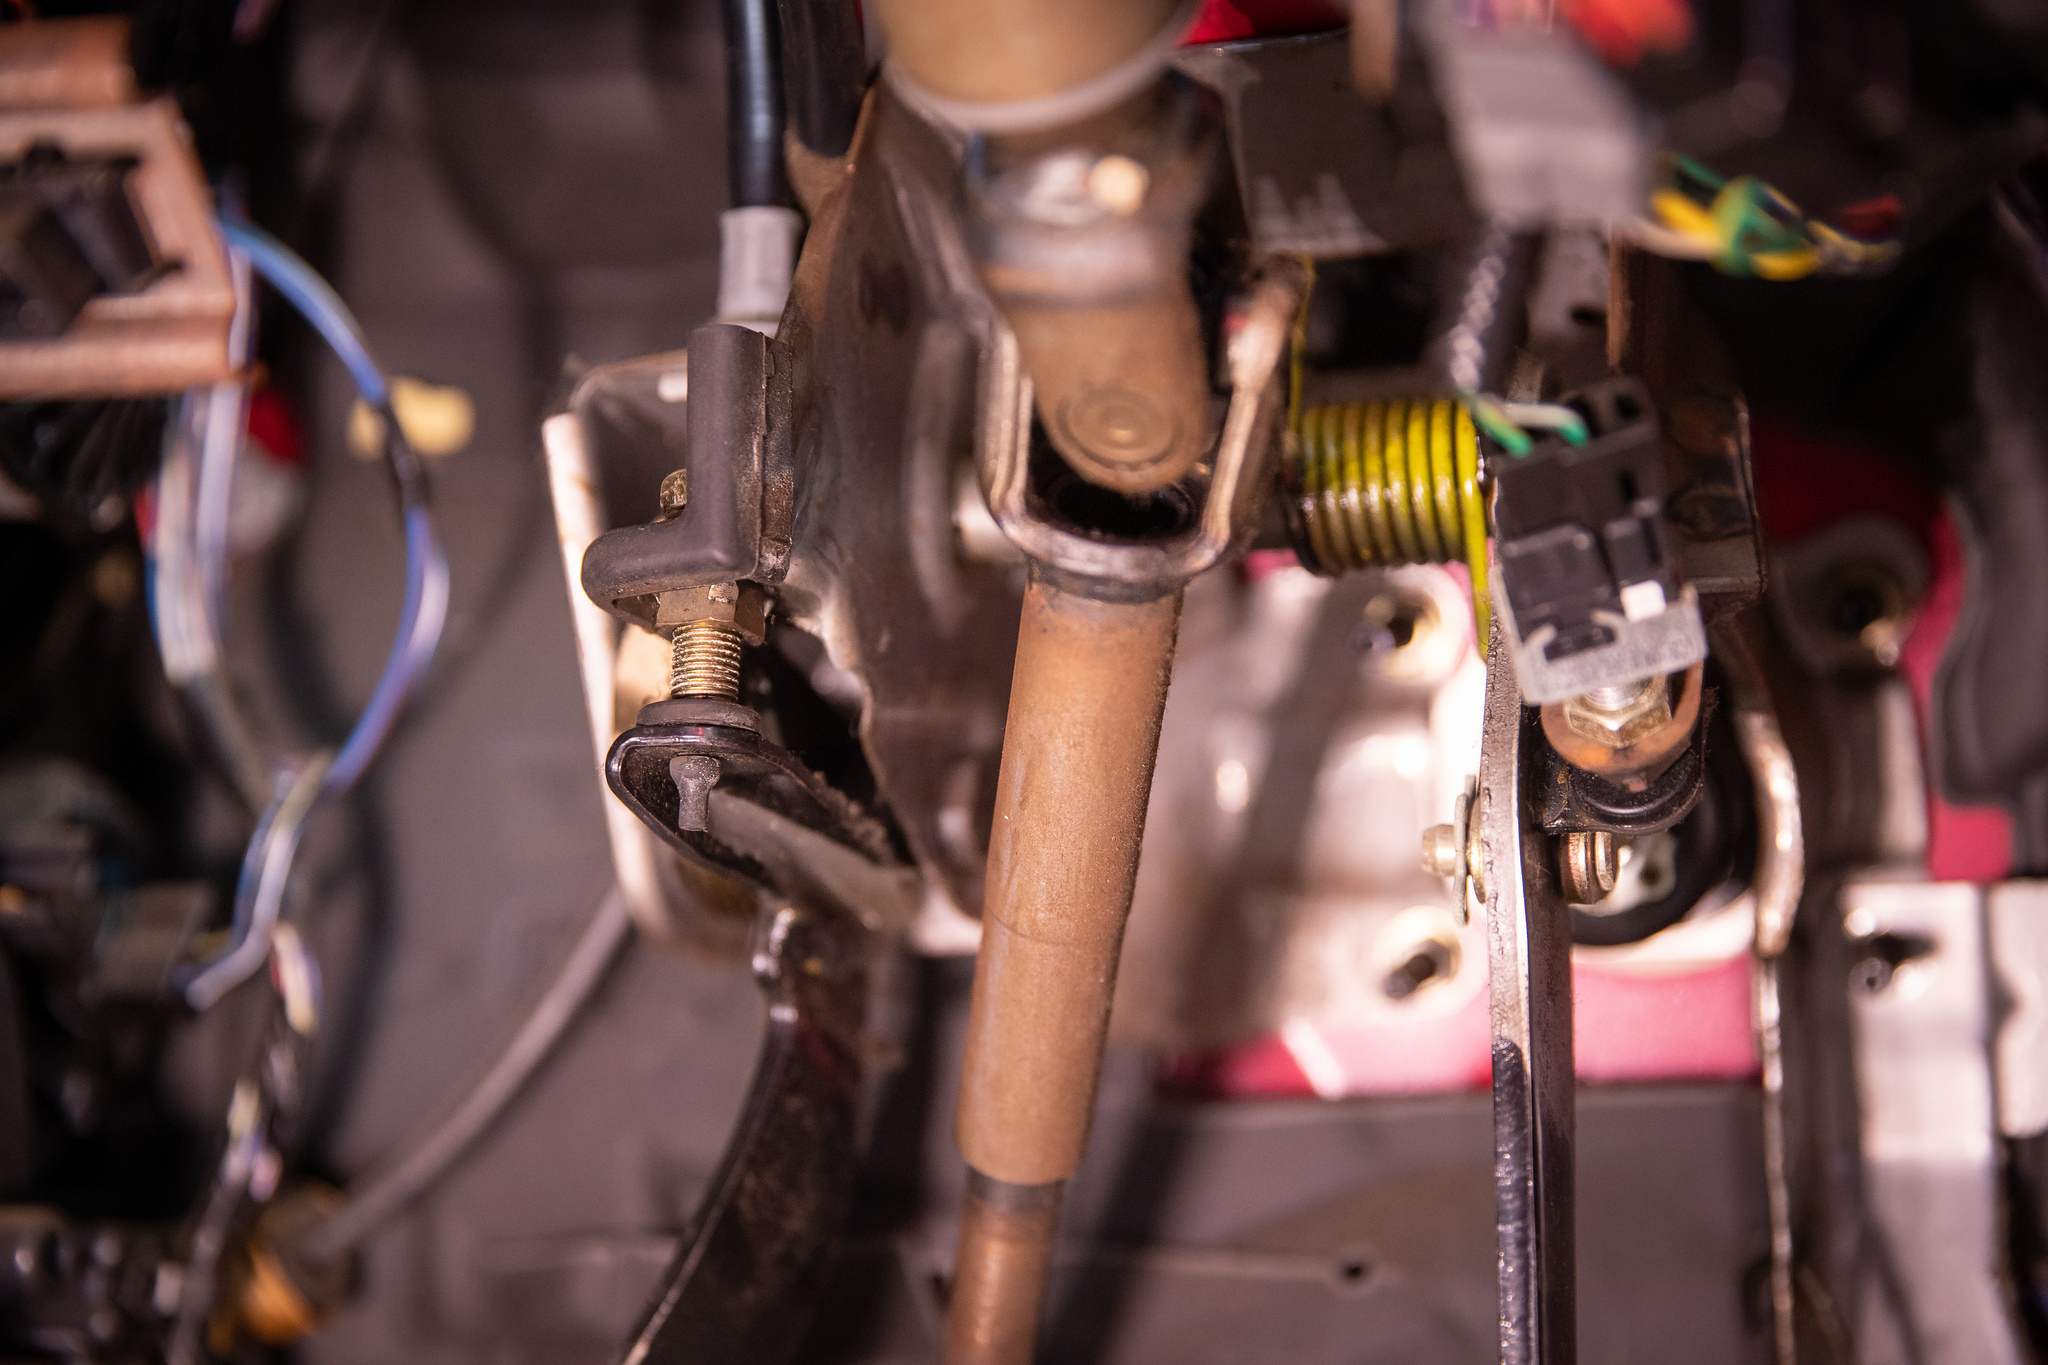
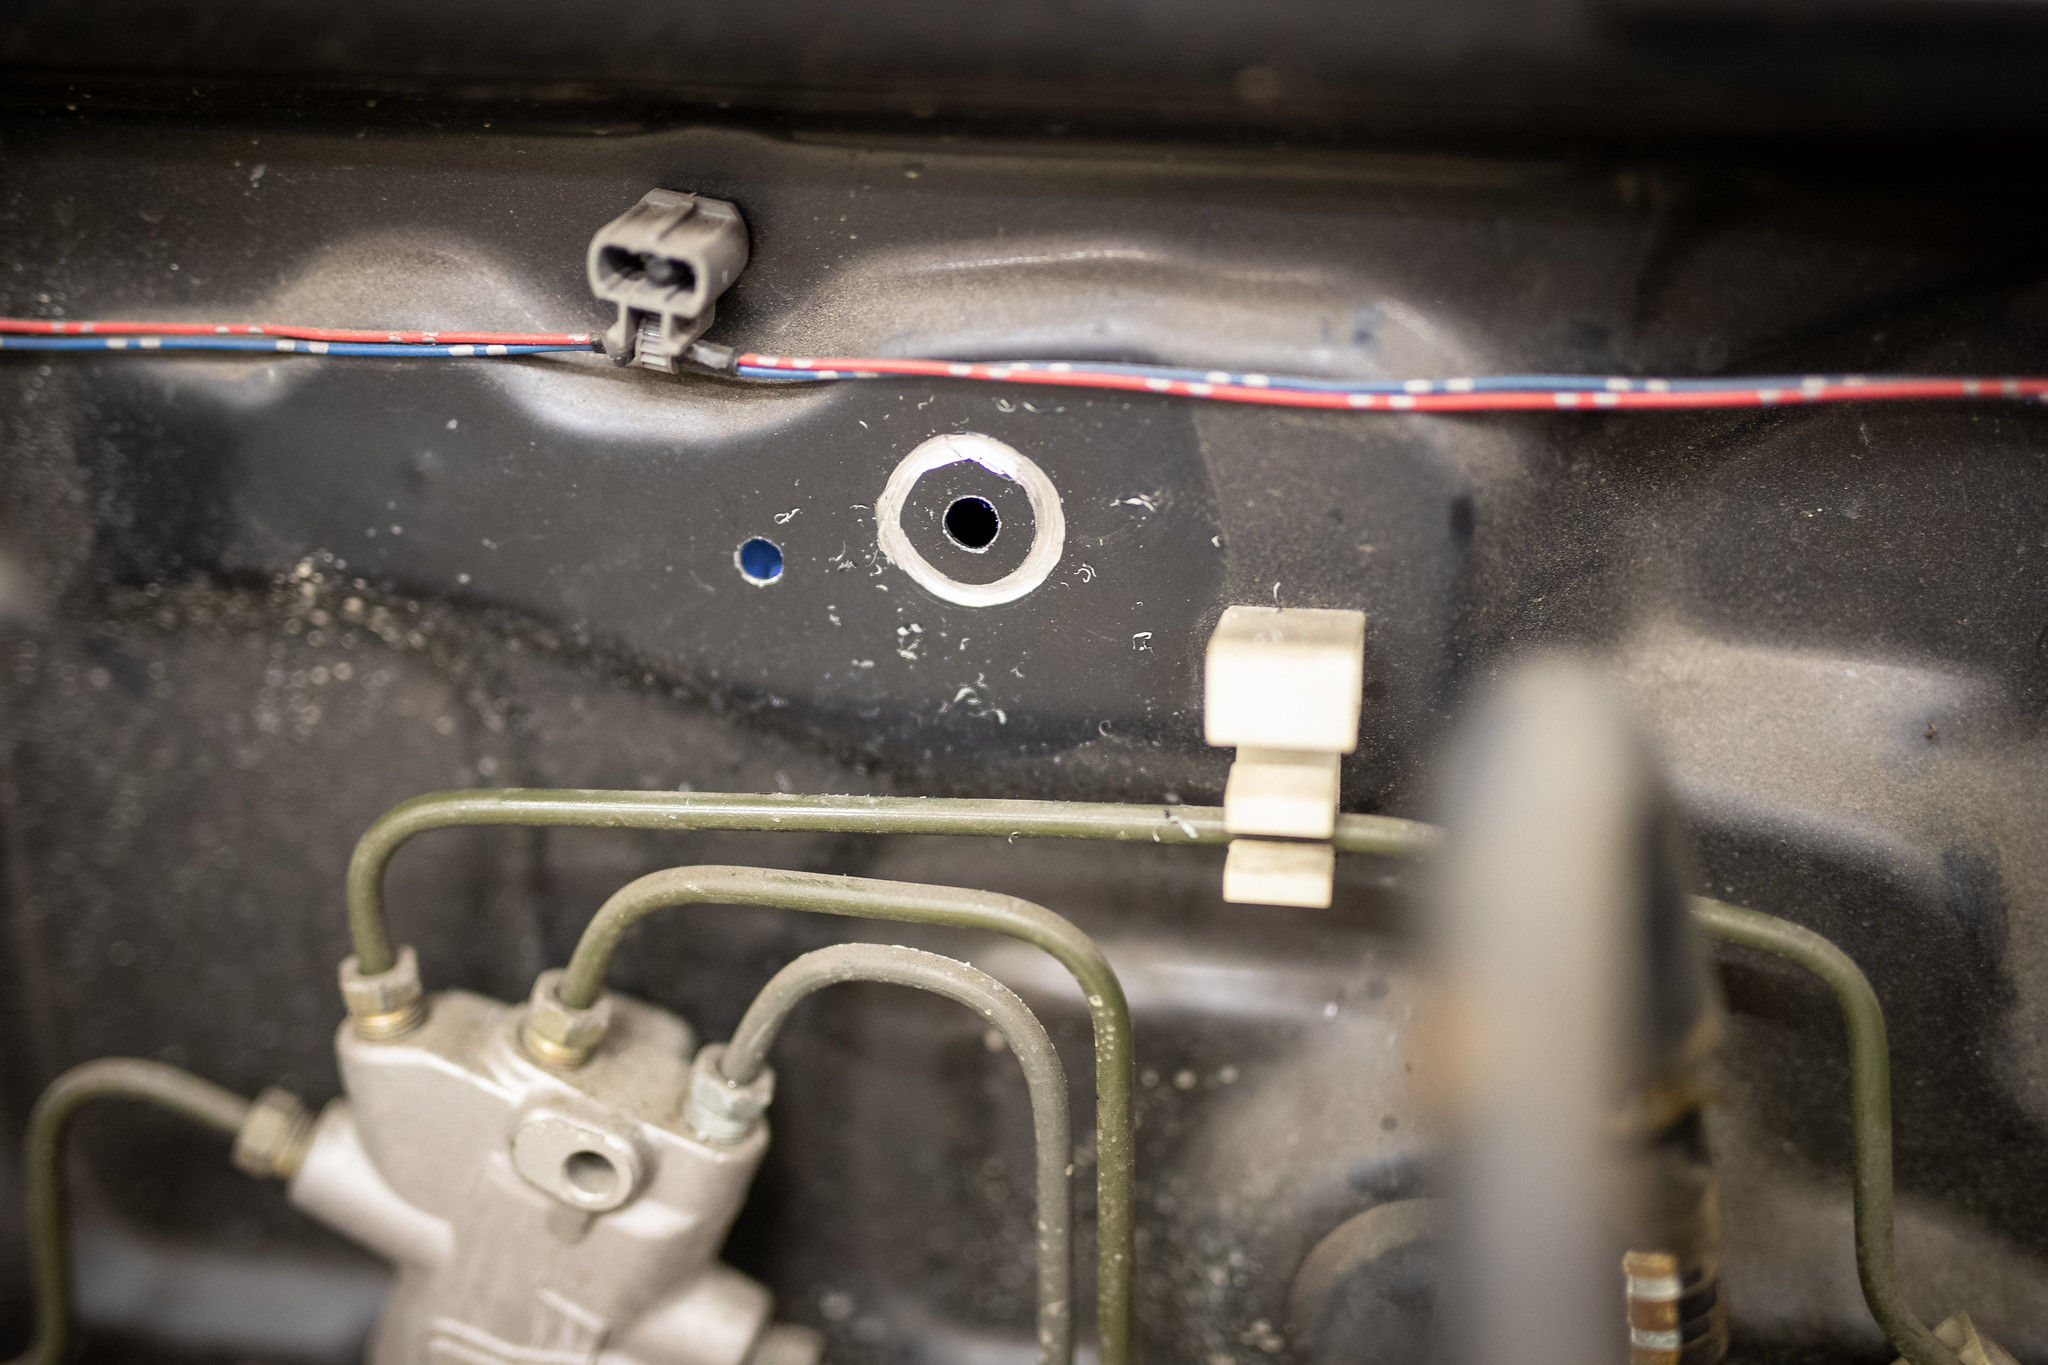
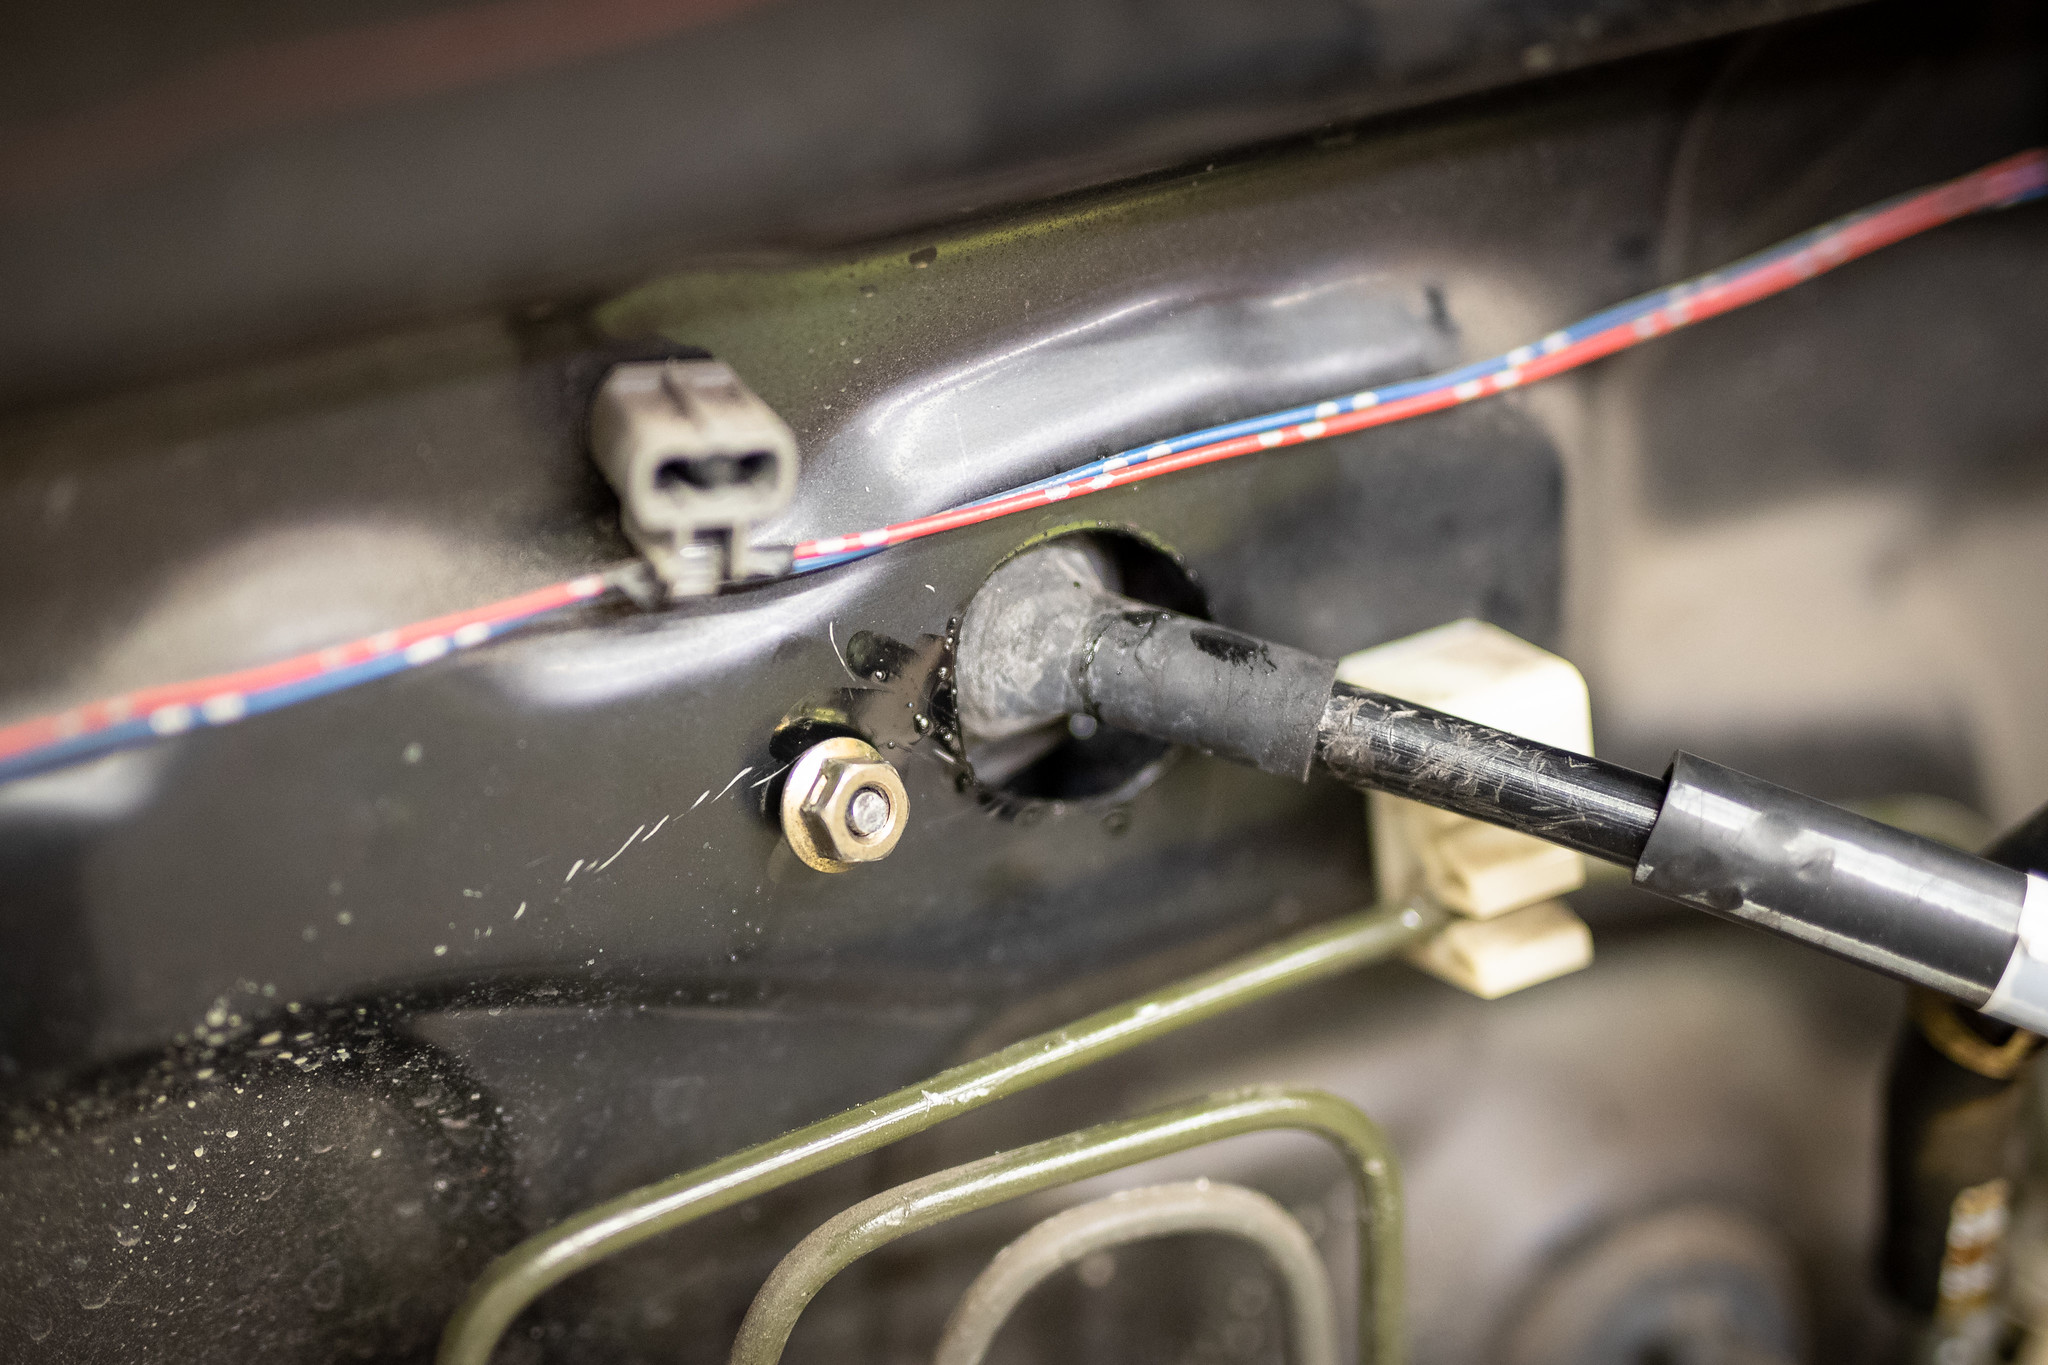
Engine is ready and waiting but when we went to go and throw the clutch cable in we noticed that for some strange reason there wasn’t a whole for it. It’s interesting to see they made two different firewalls for auto and manual.

Luckily we had a bunch of Cuore’s around us to get an idea of the exact placement.
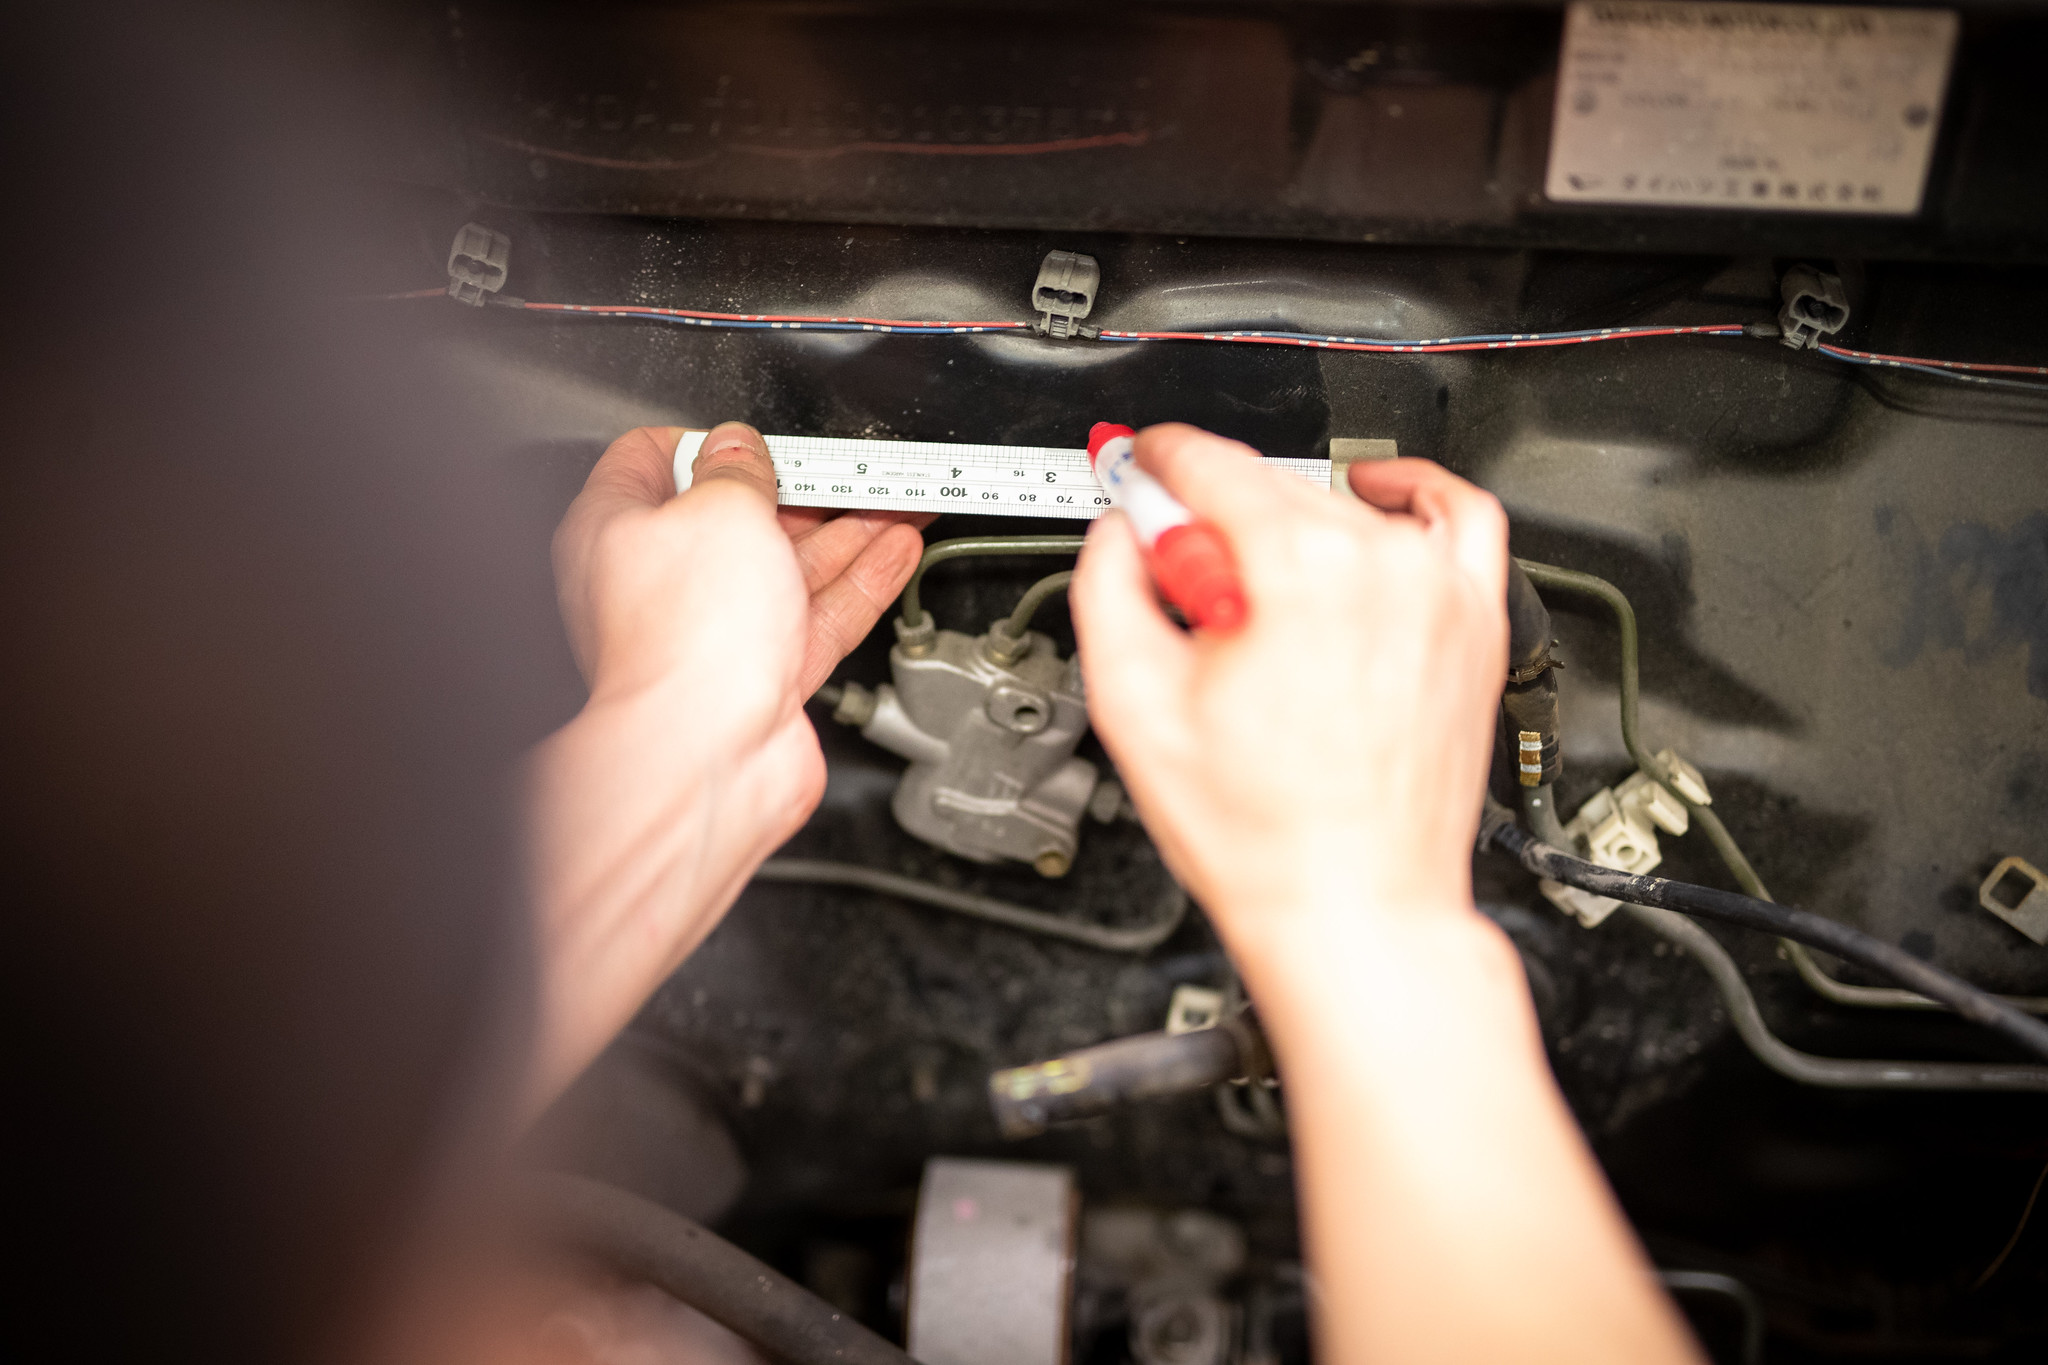
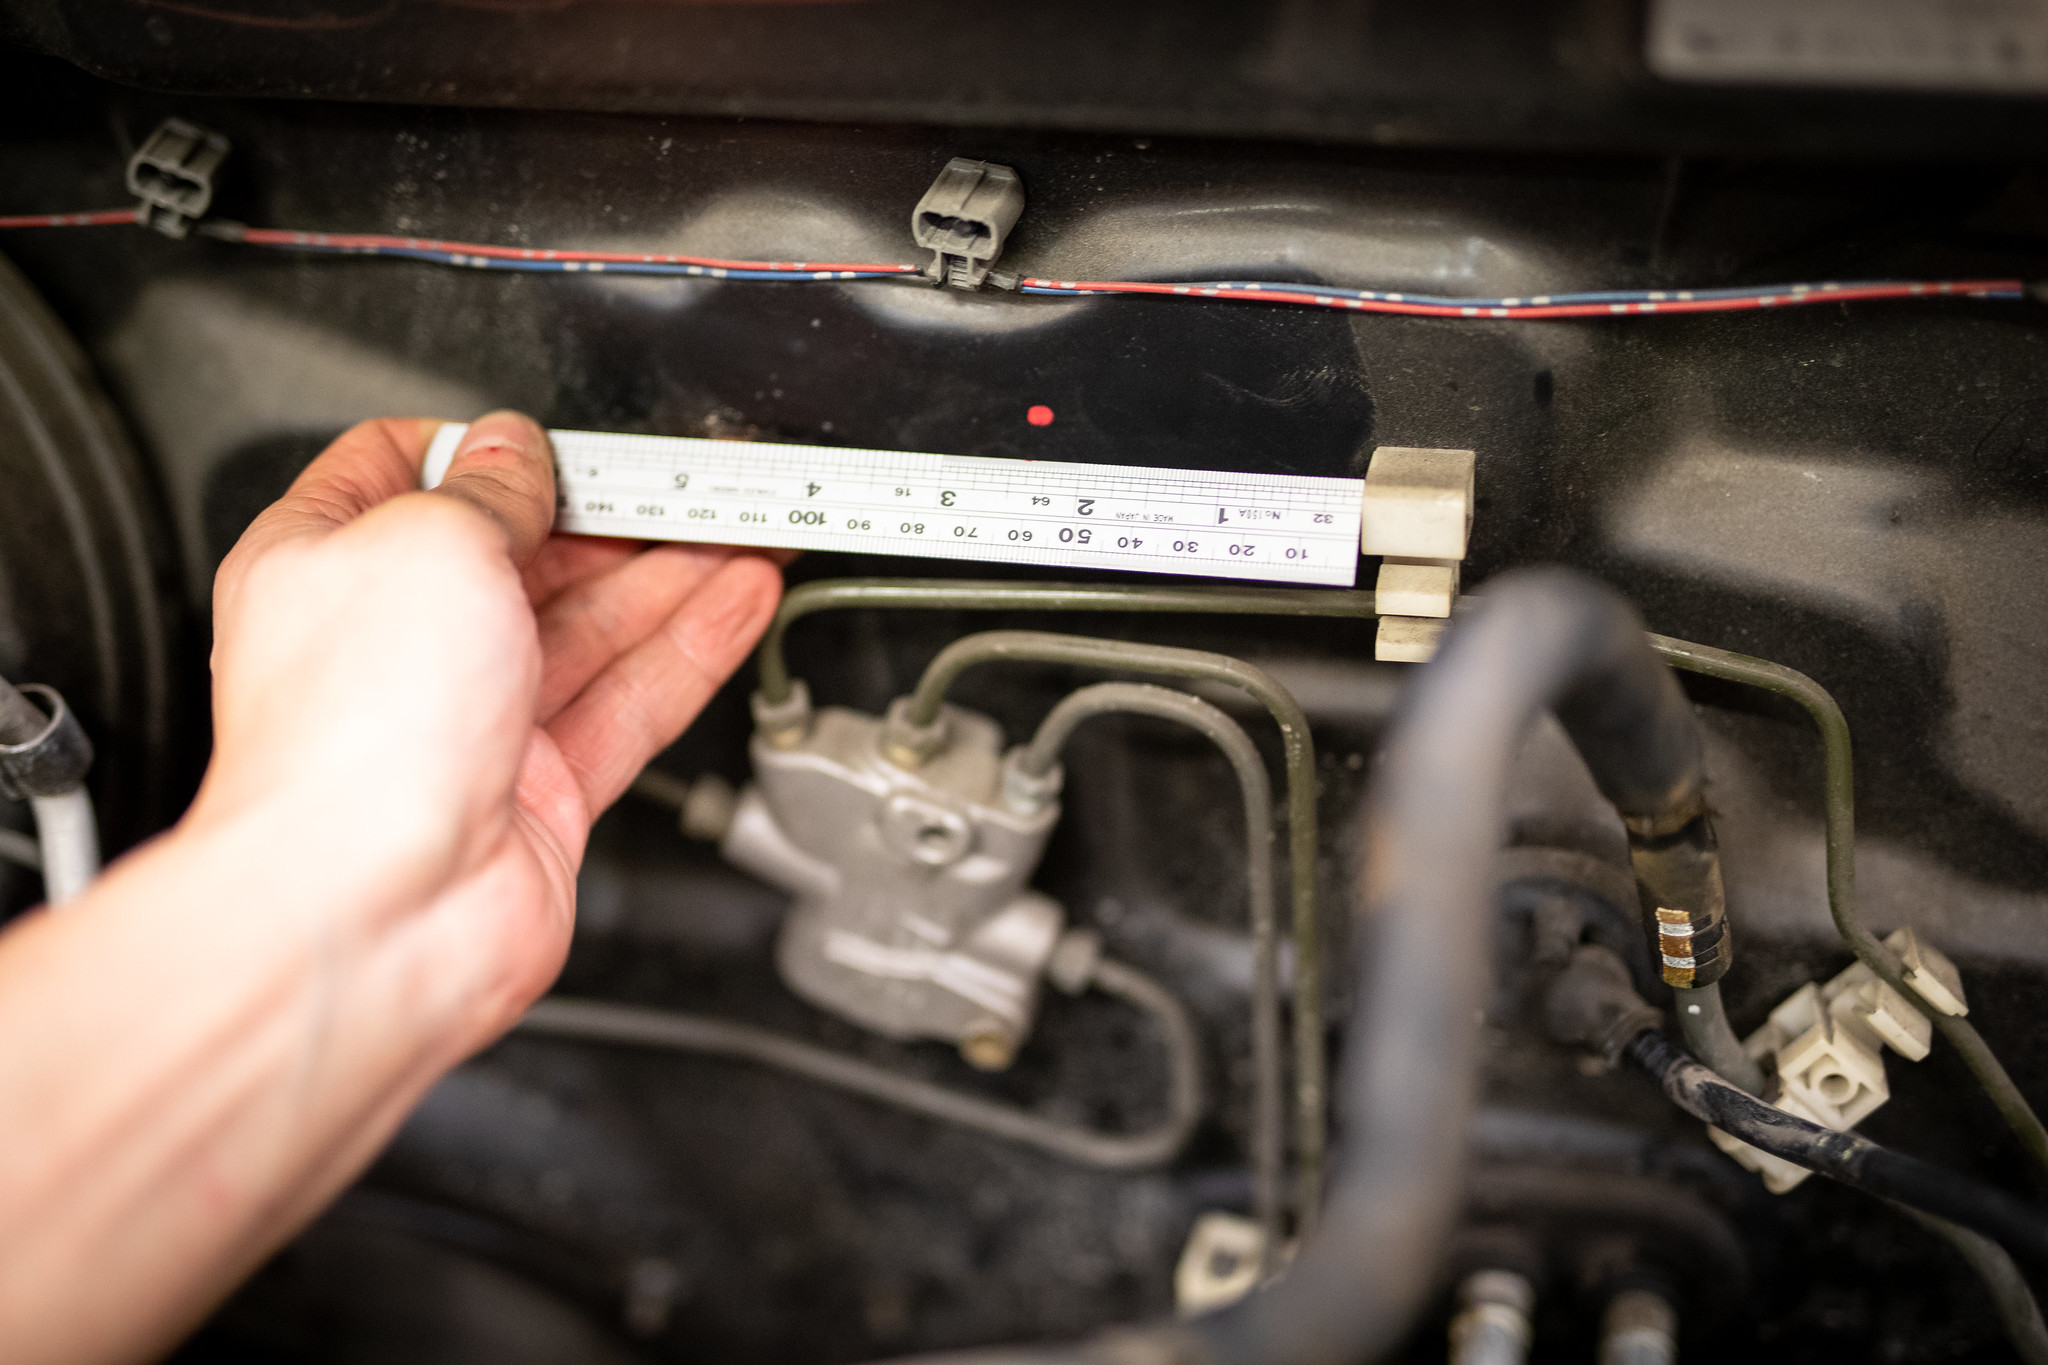
Started with the bracket hole.
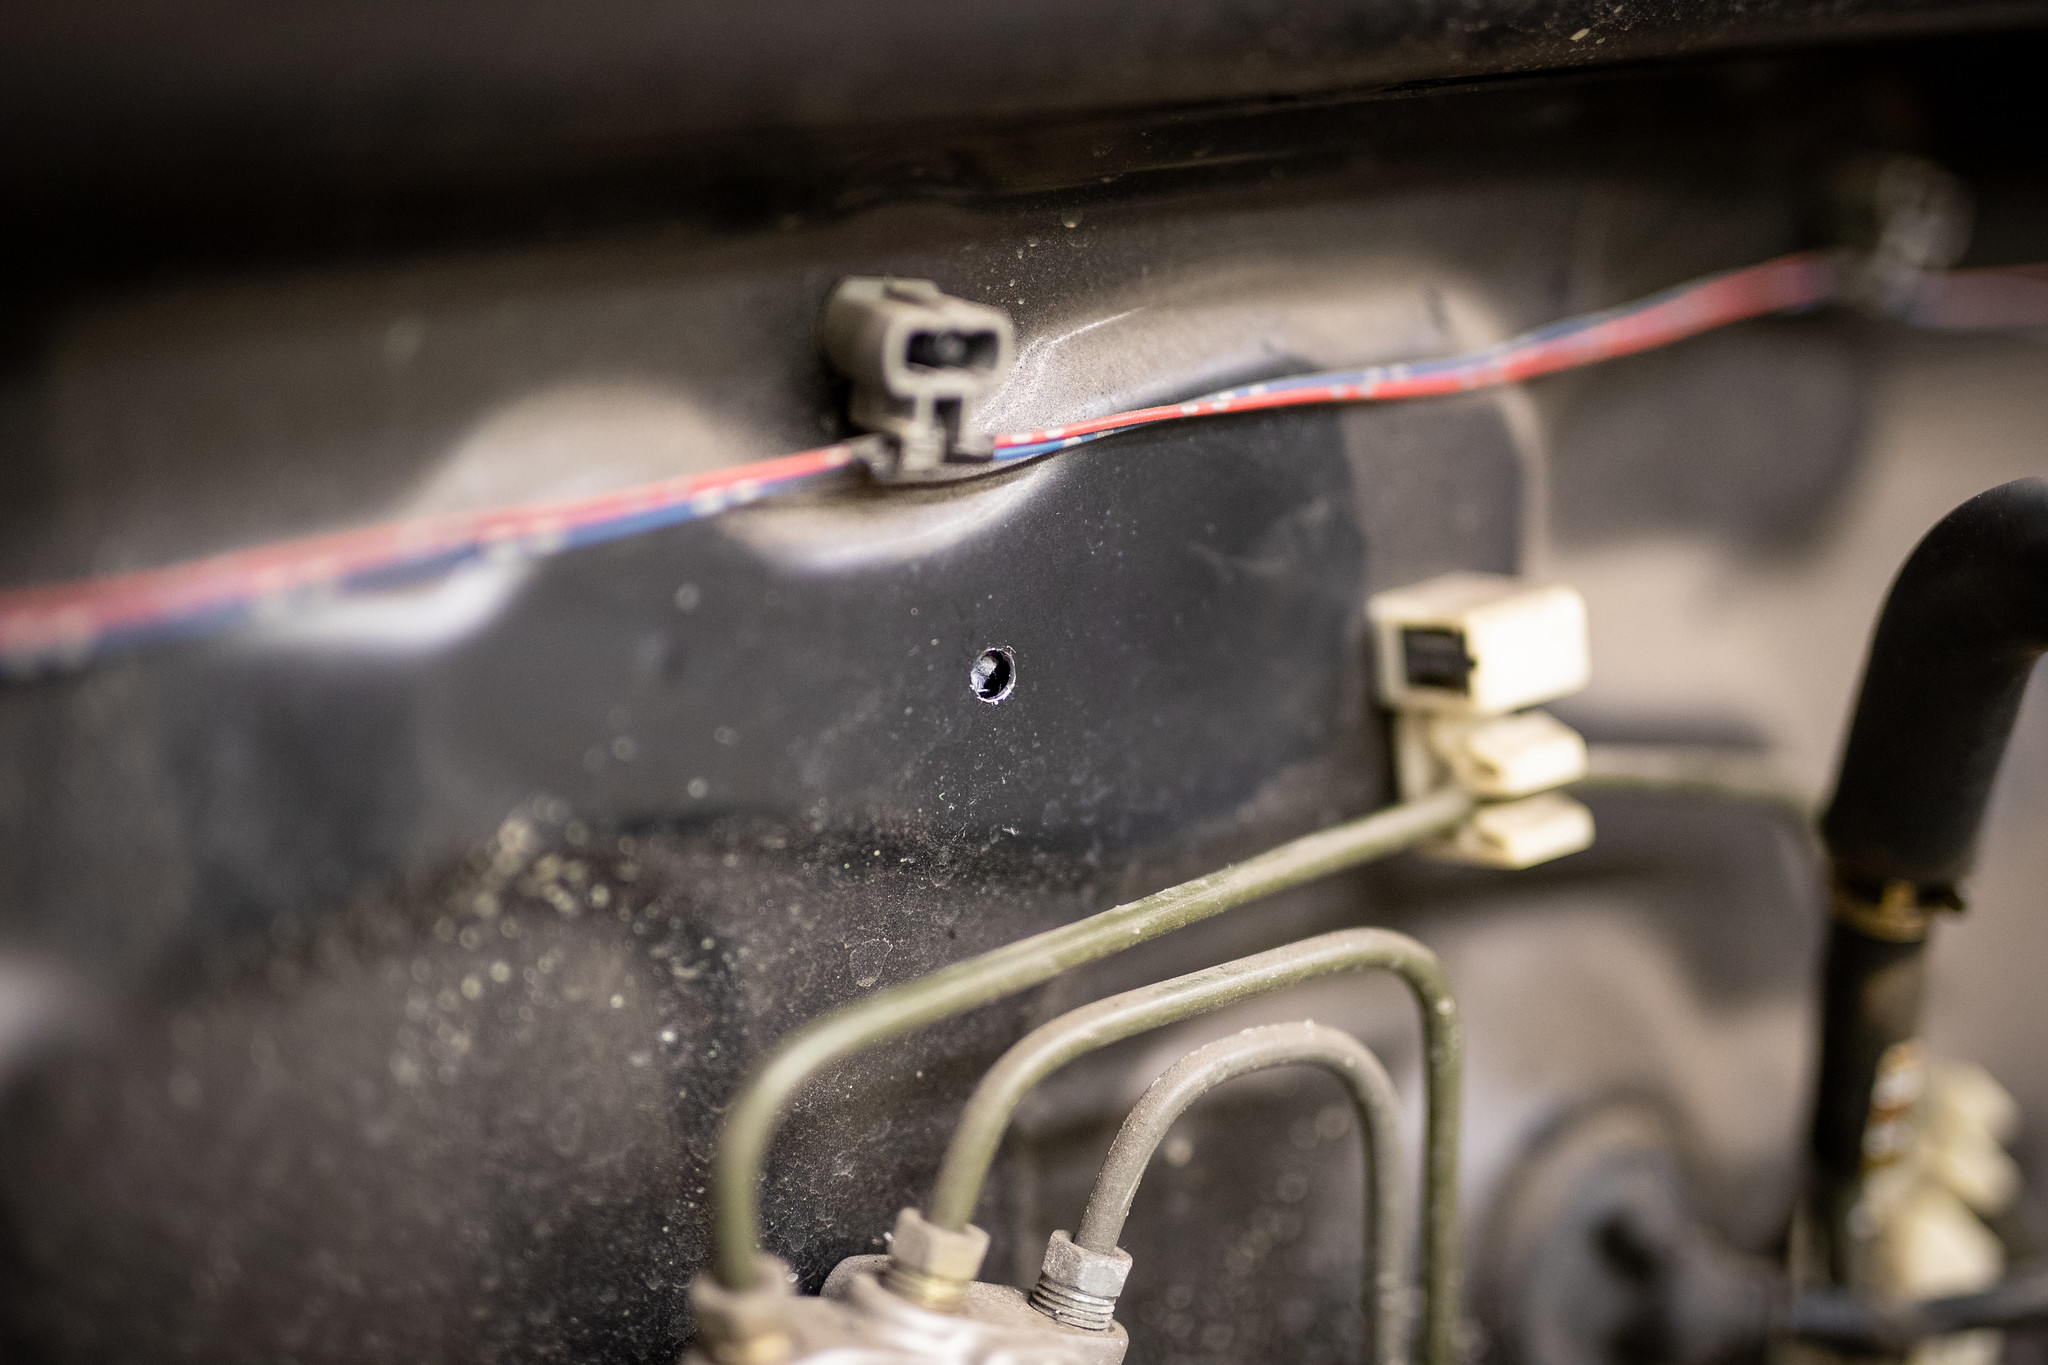
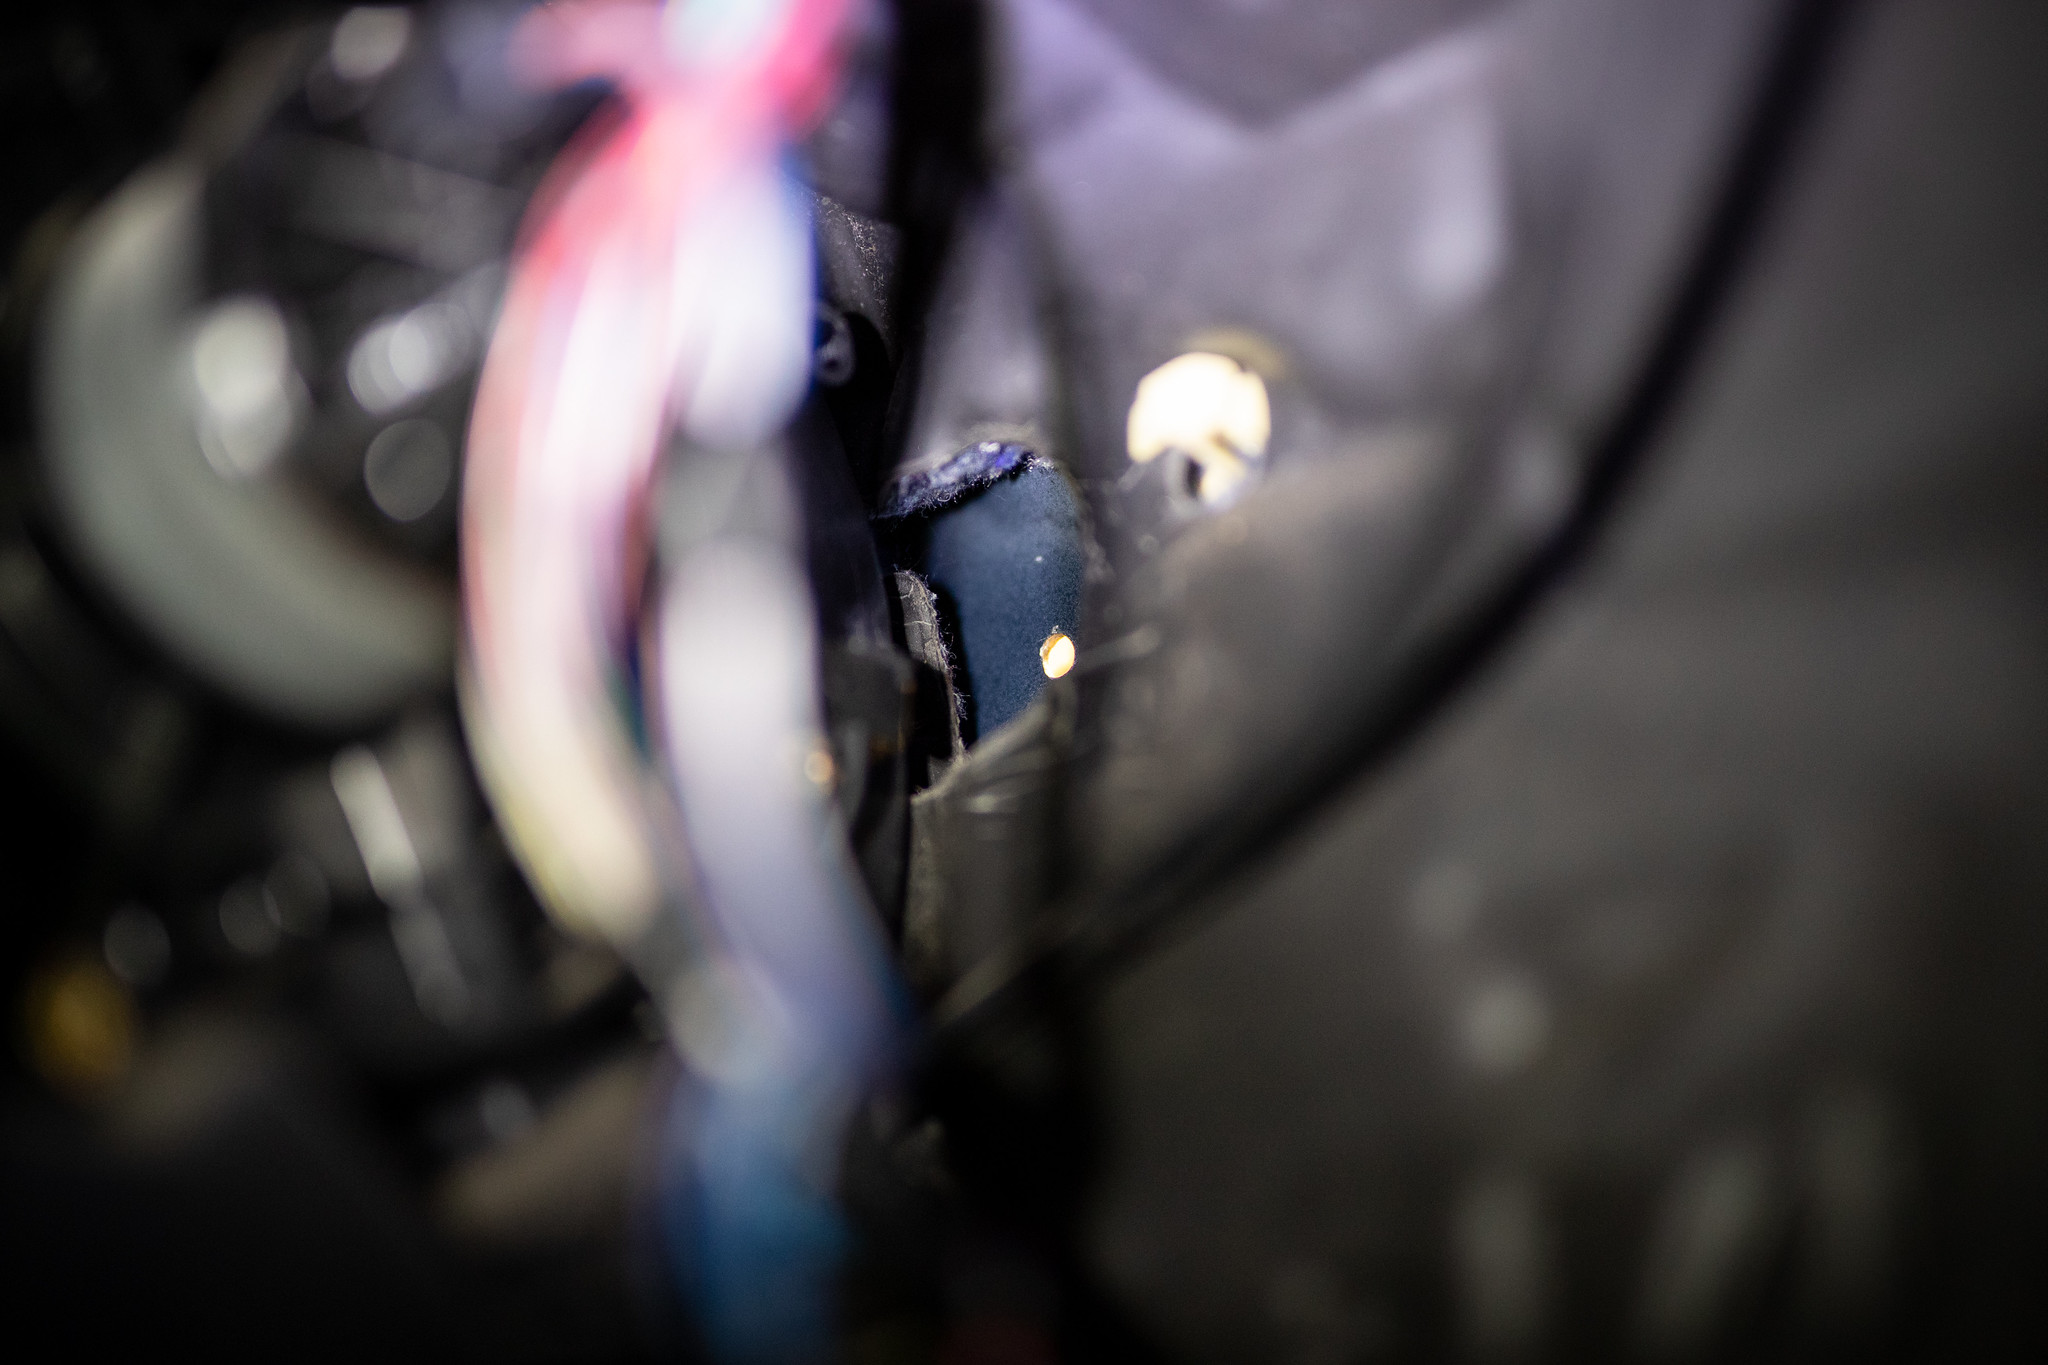
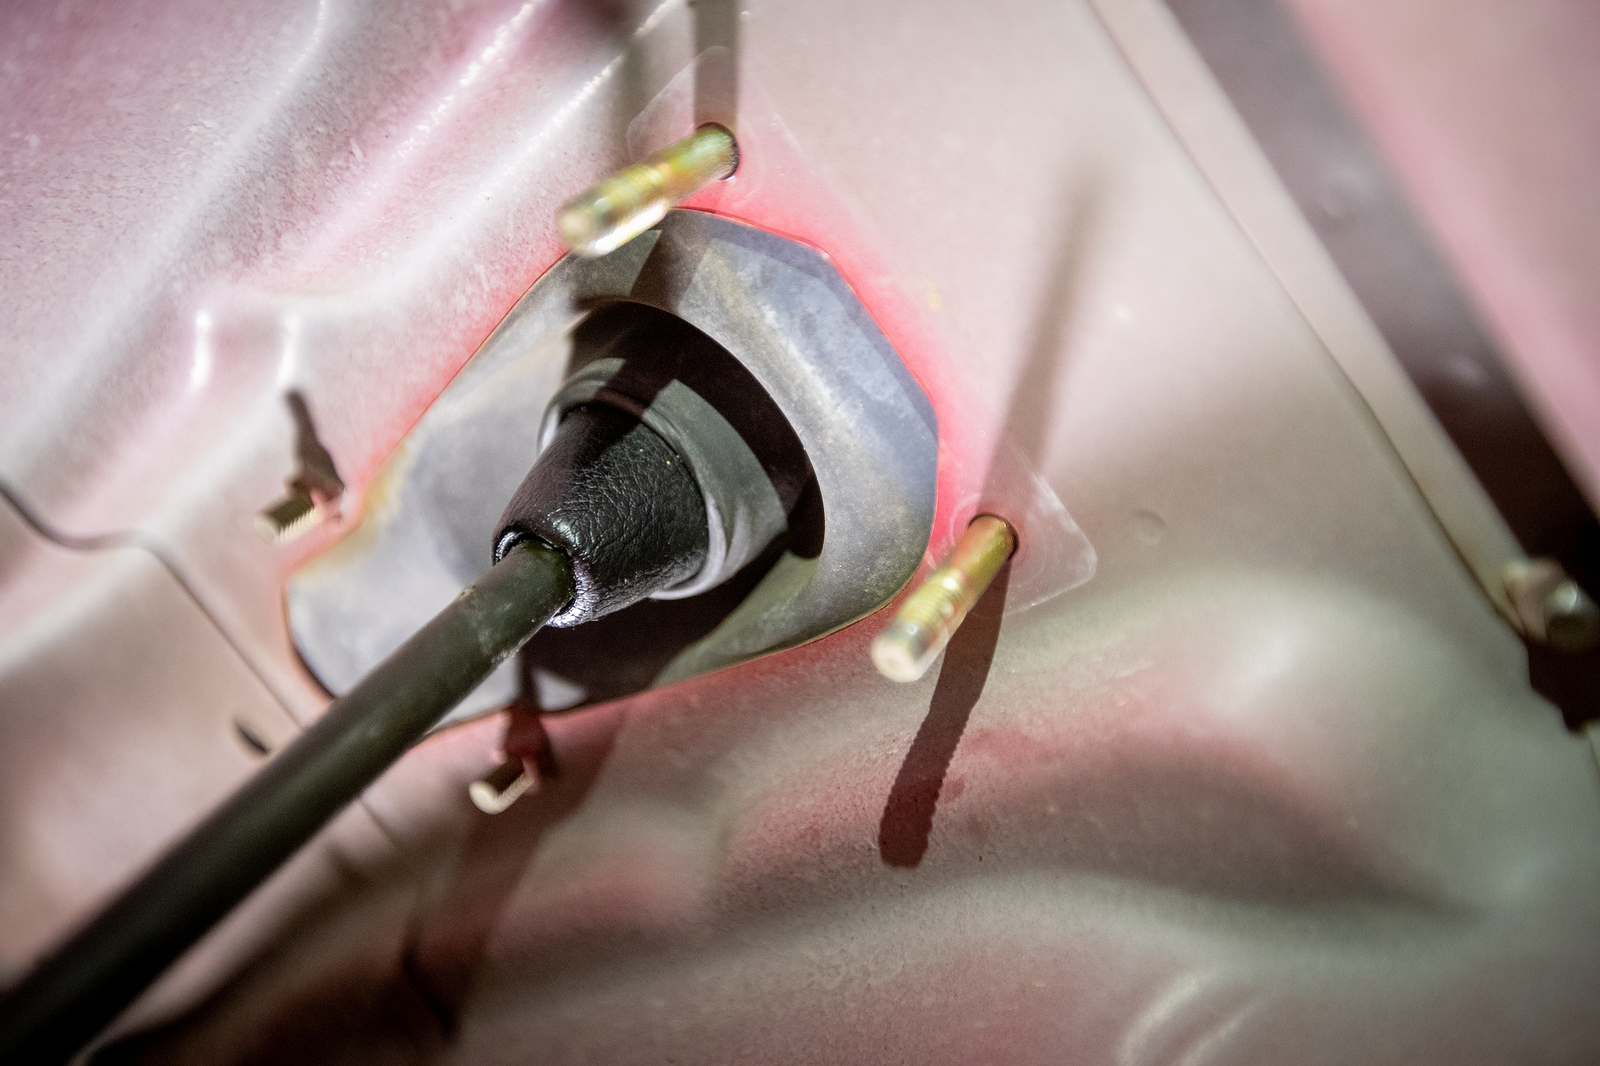
Then the main hole for the cable, it needs to be bigger than the cable so the adjuster can be brought though, it needs to be fed from the interior.
I could then bolt up the manual pedal box, I had to drop down the steering column to make it a little easier for it to pass through.
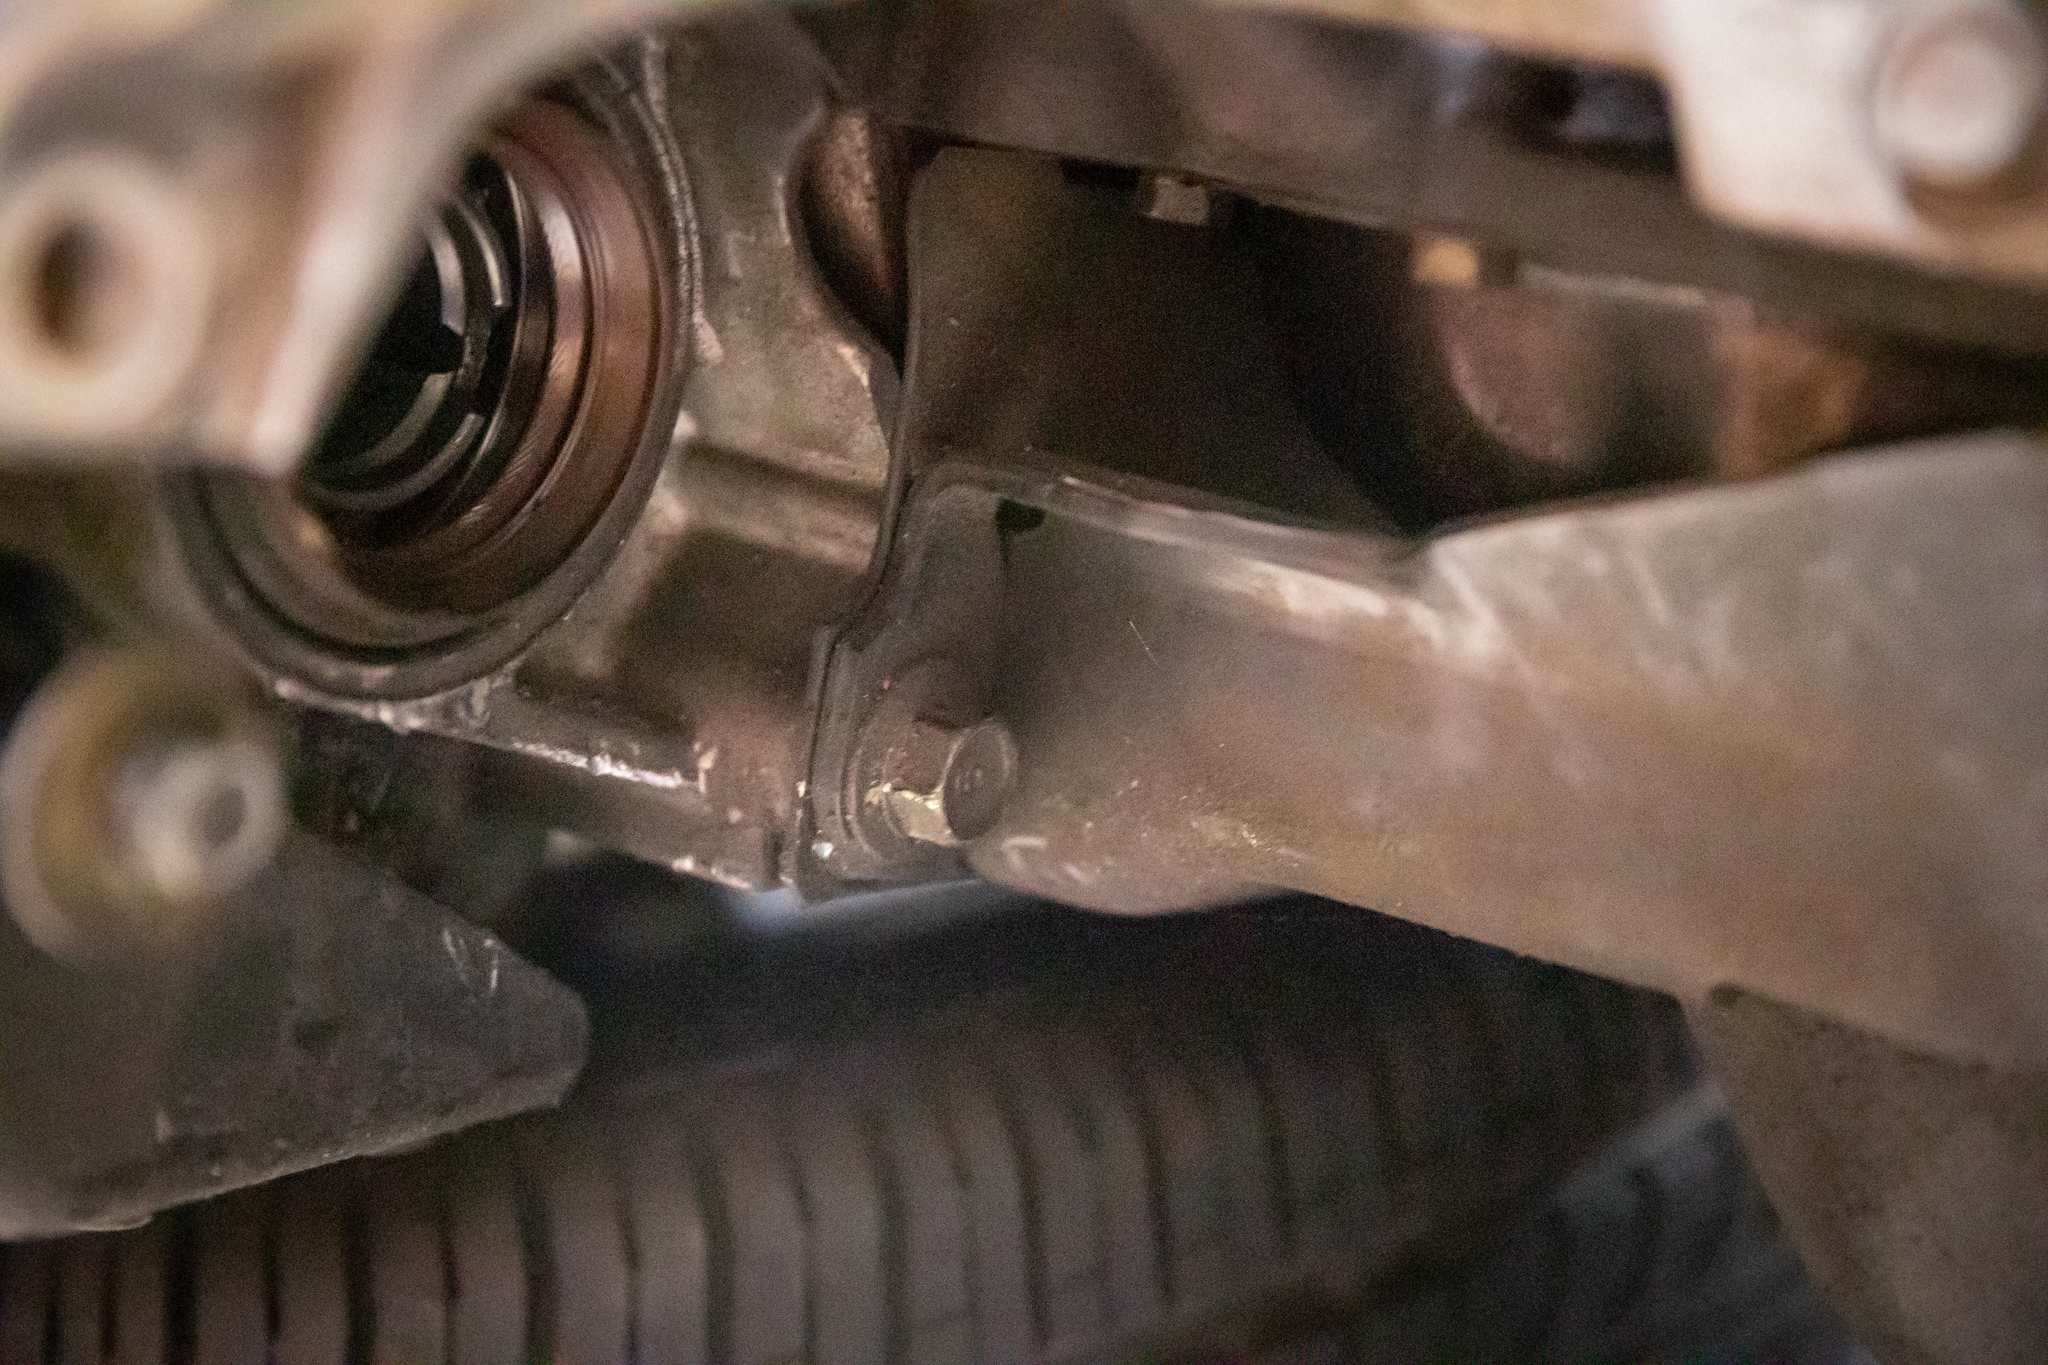
Good time for the engine to go back in now.

Struts back together after the shafts were pushed back in.

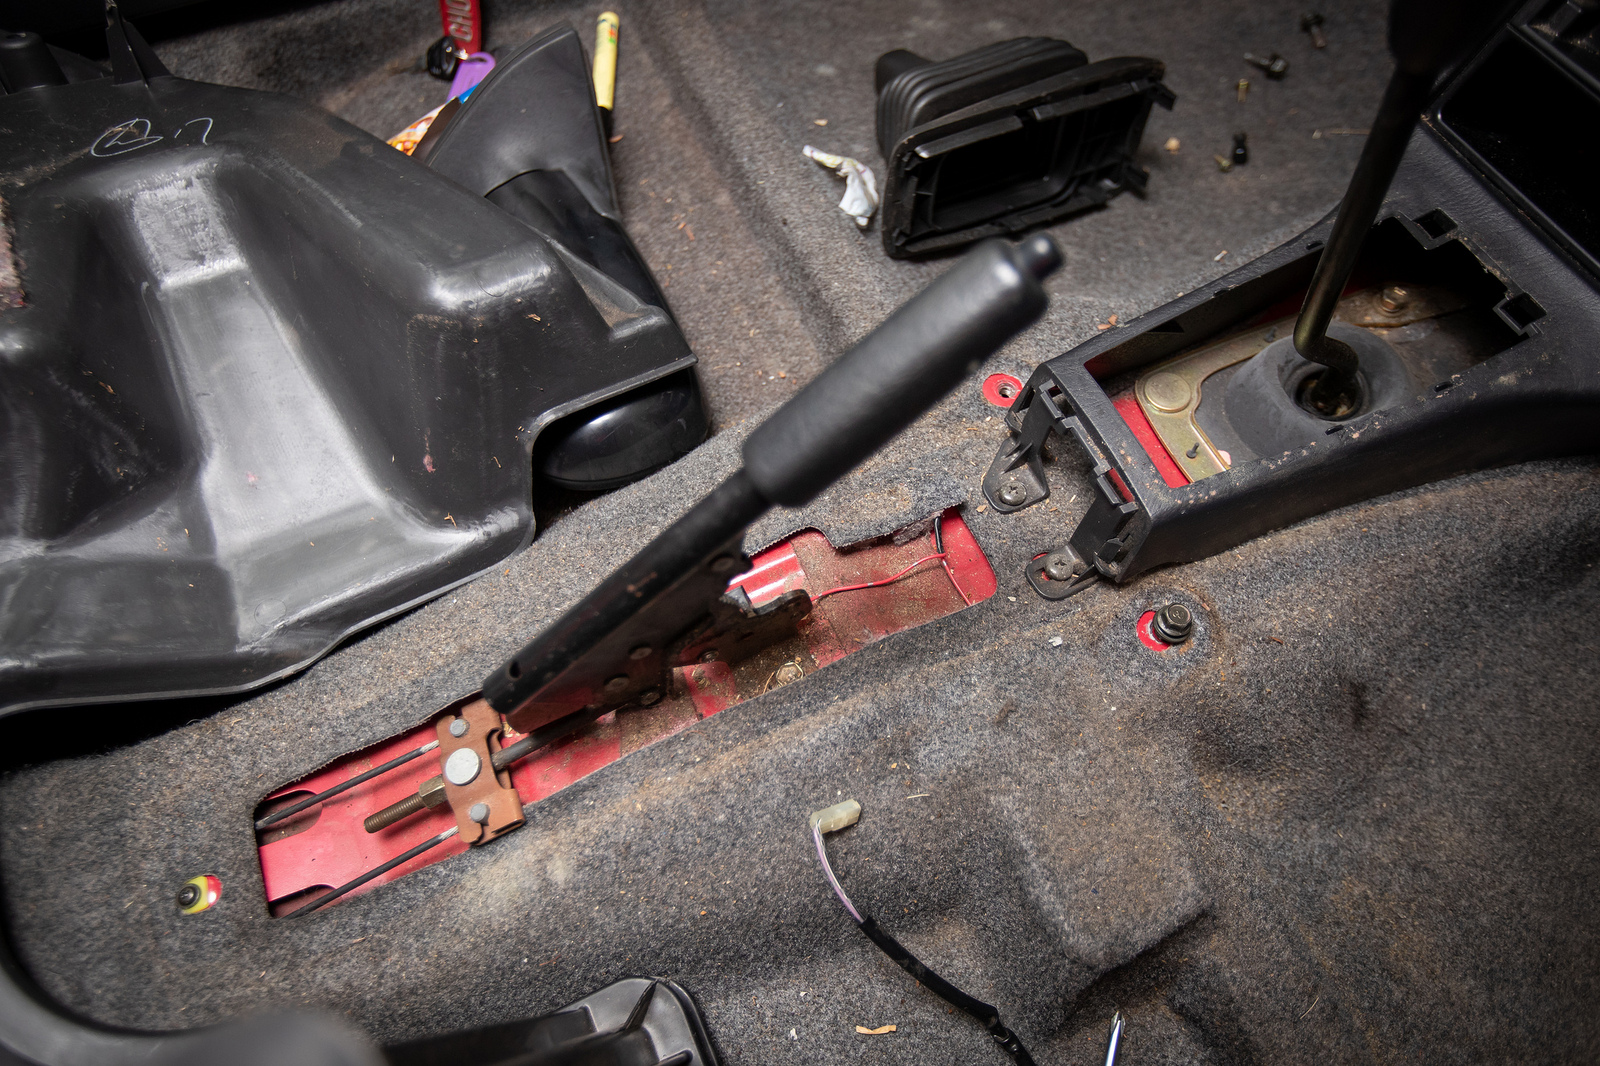
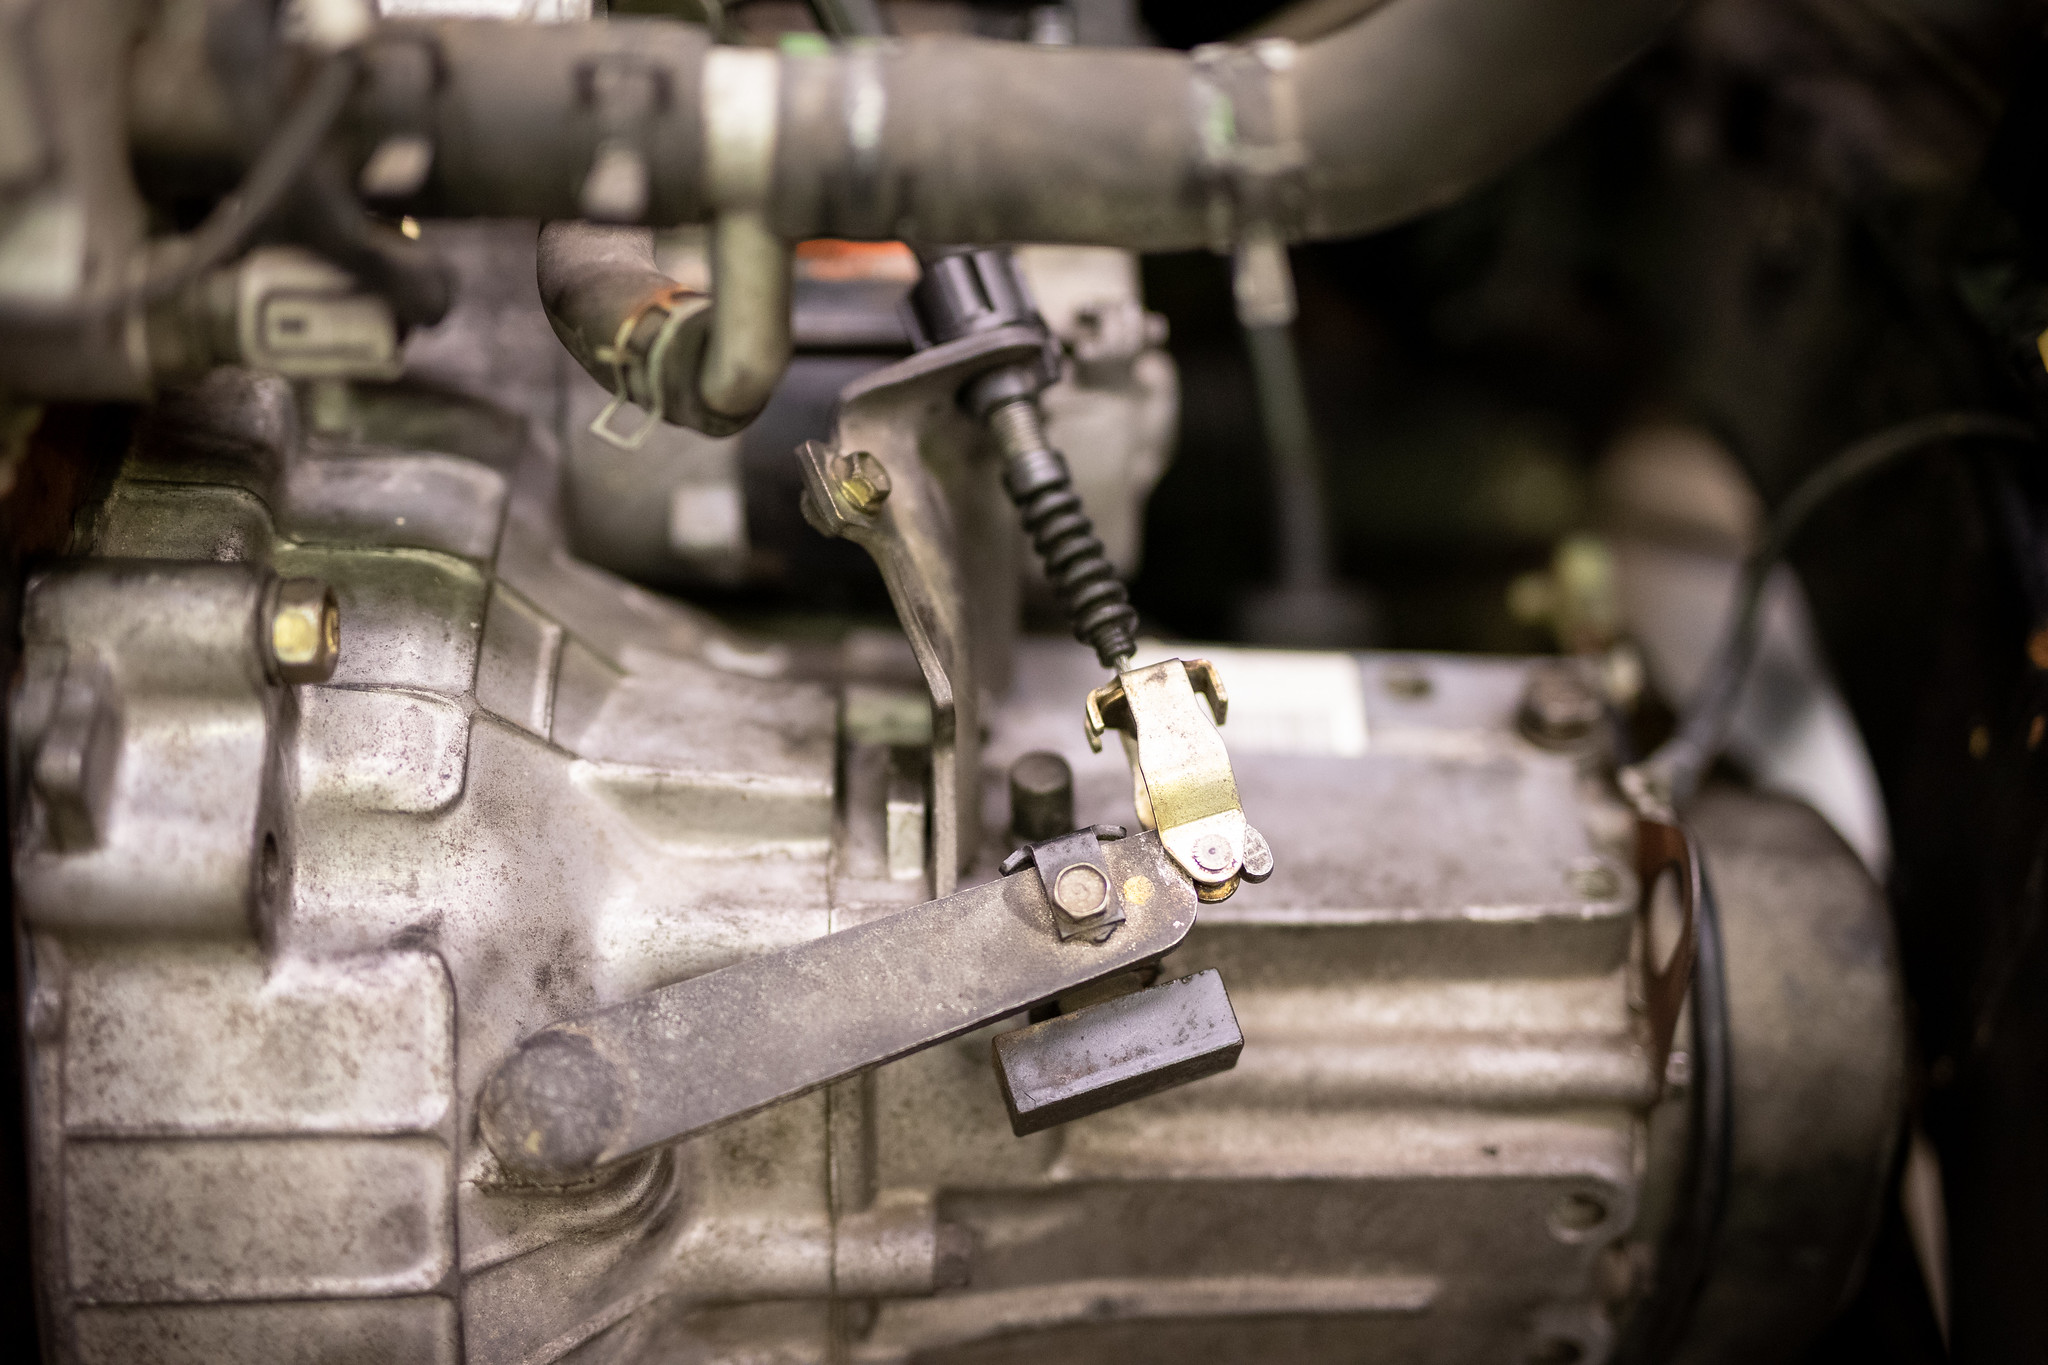
Clutch cable and shifter linkage on.
Time for fluids.
Fresh Ryco Filter.

Nulon 10W-40 and a fresh sump washer.

Box got some Penrite 75W-85 Pro Gear

Battery in.
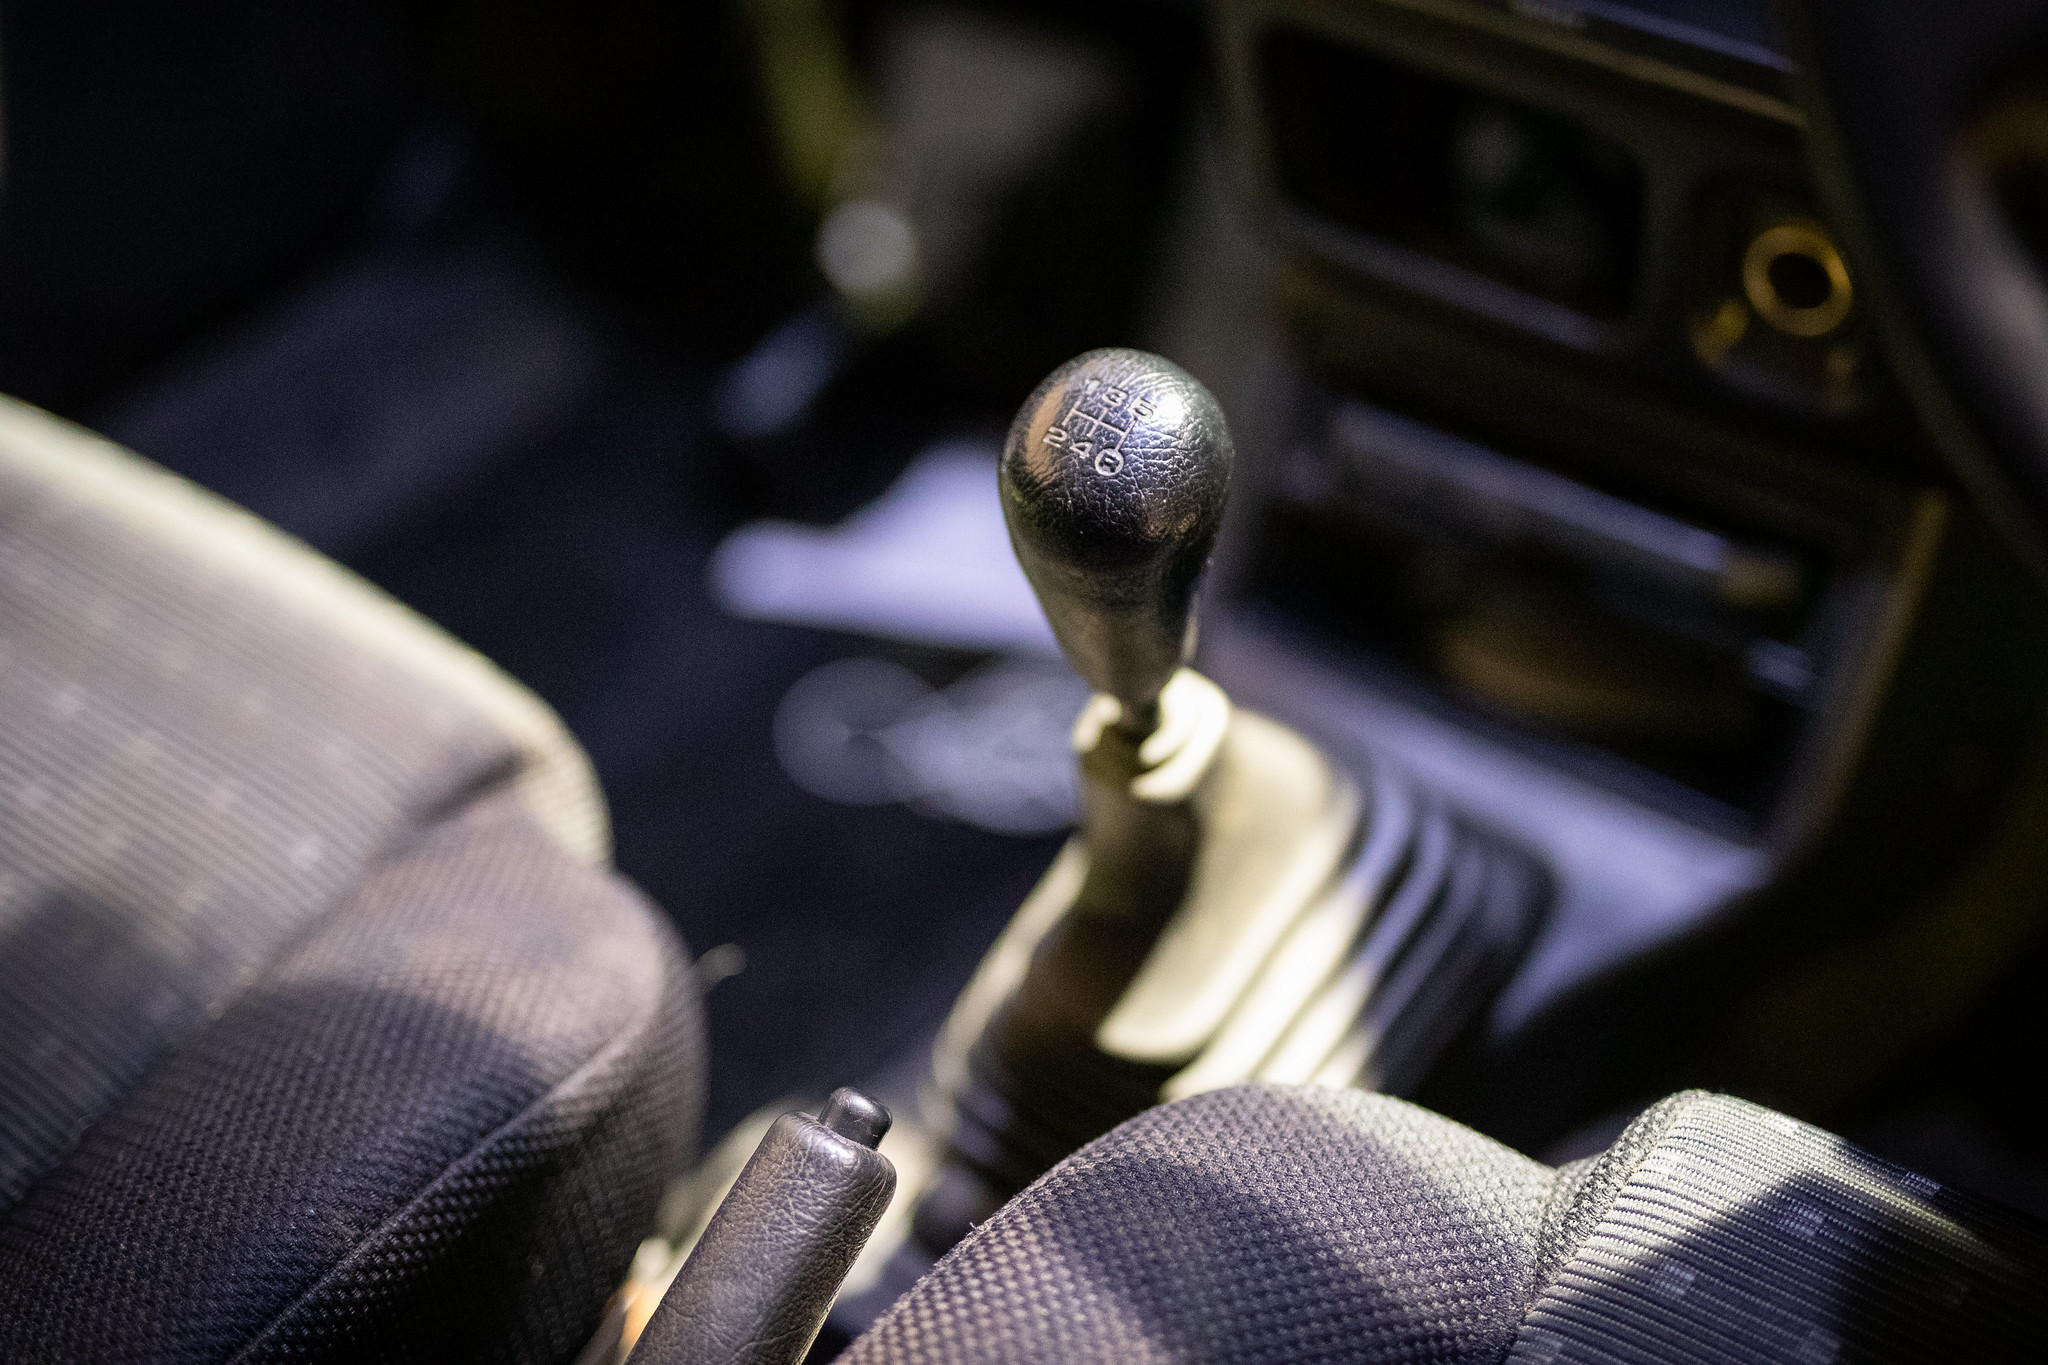
Got the shifter all buttoned up too.


In.
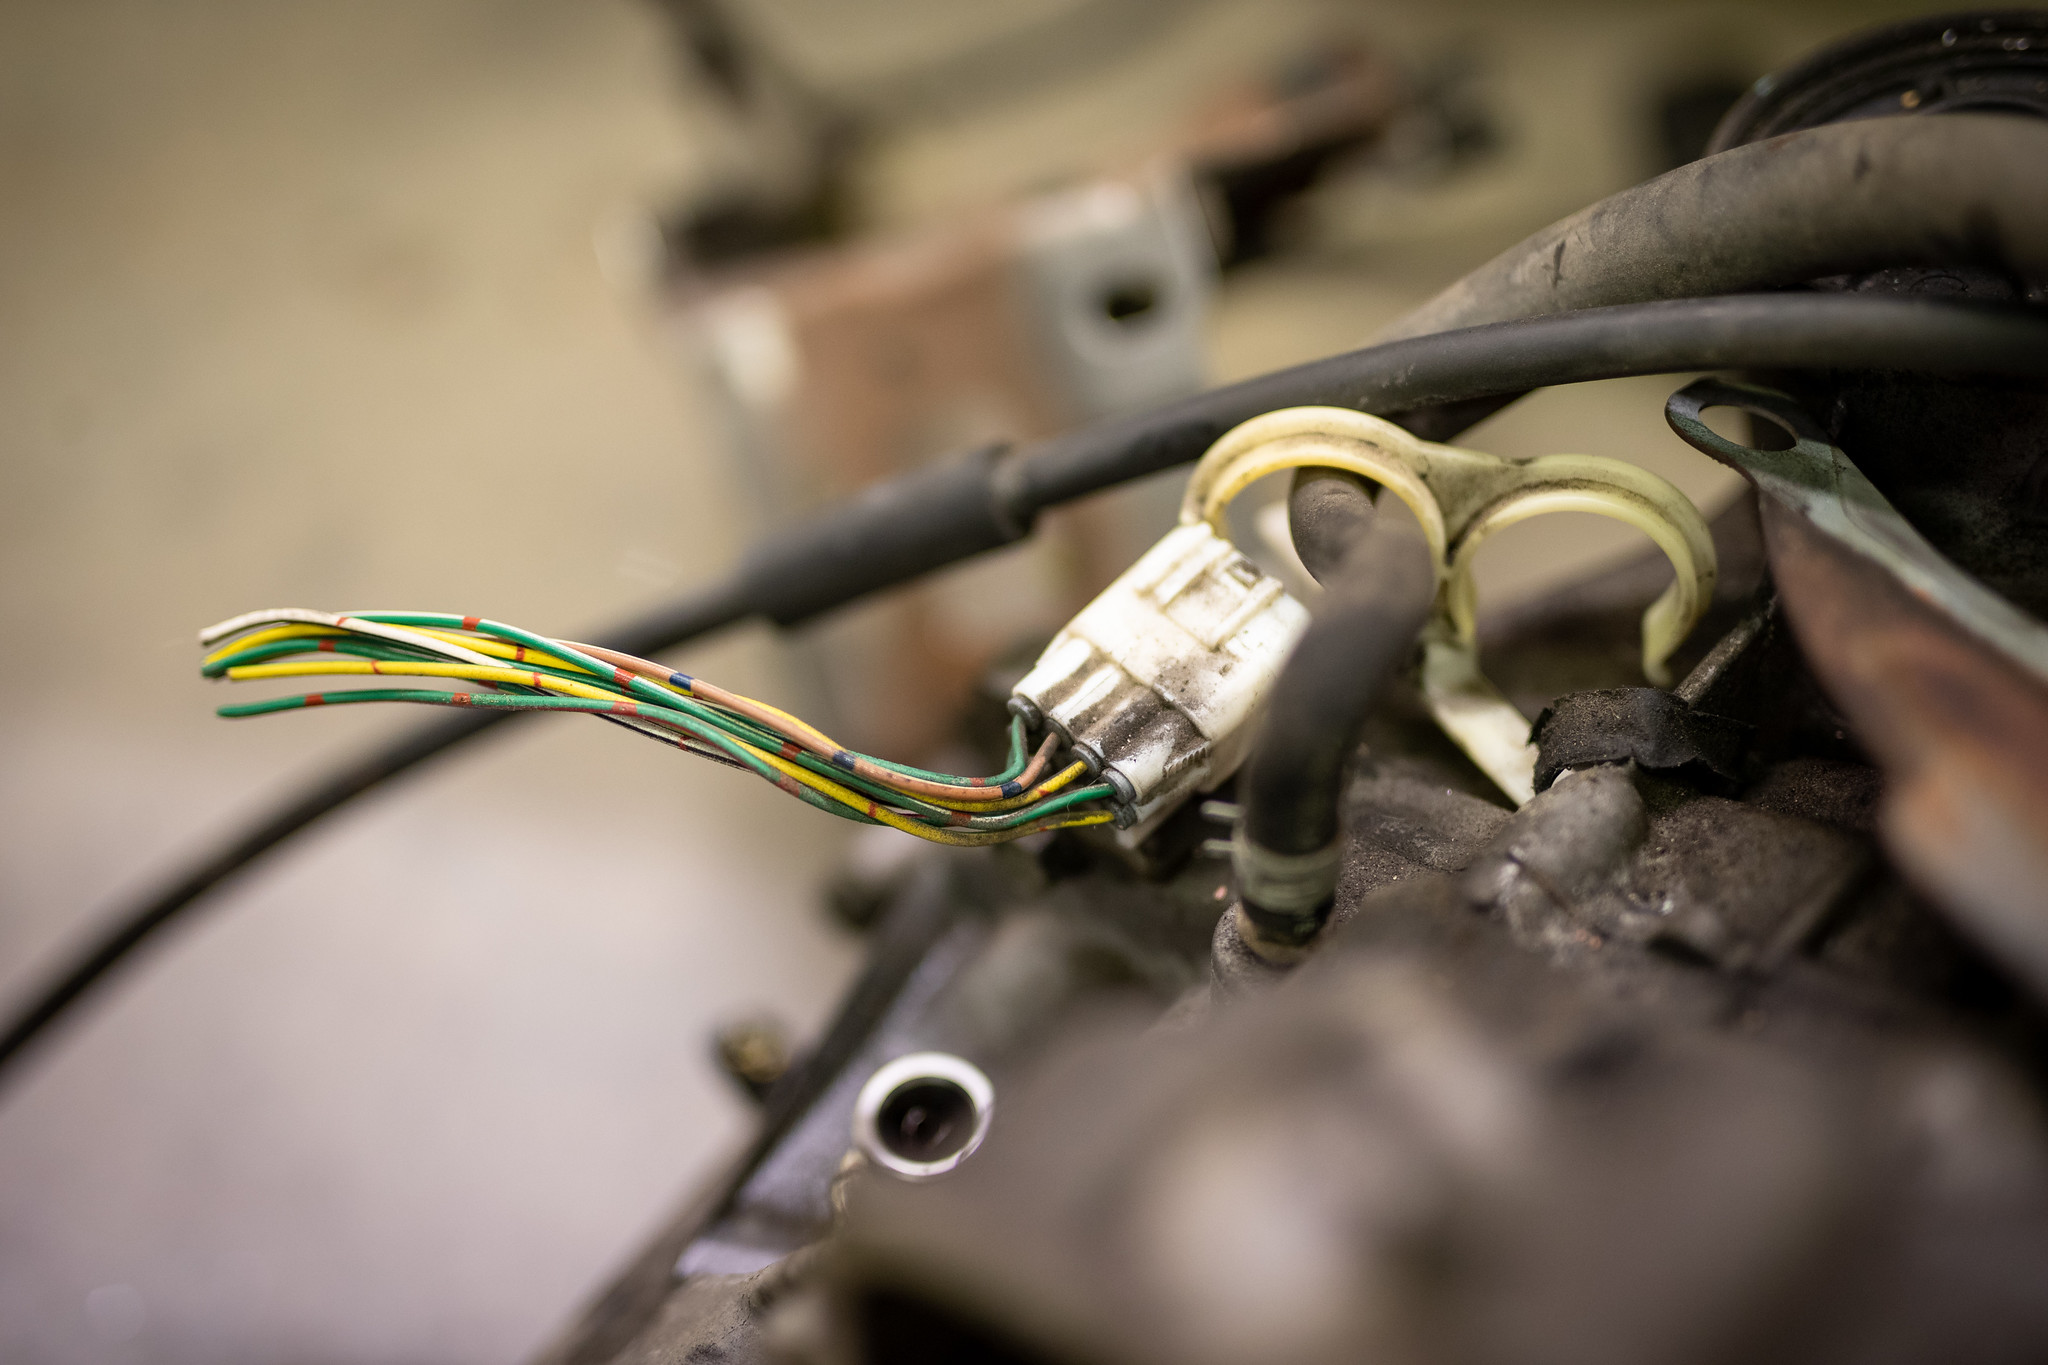
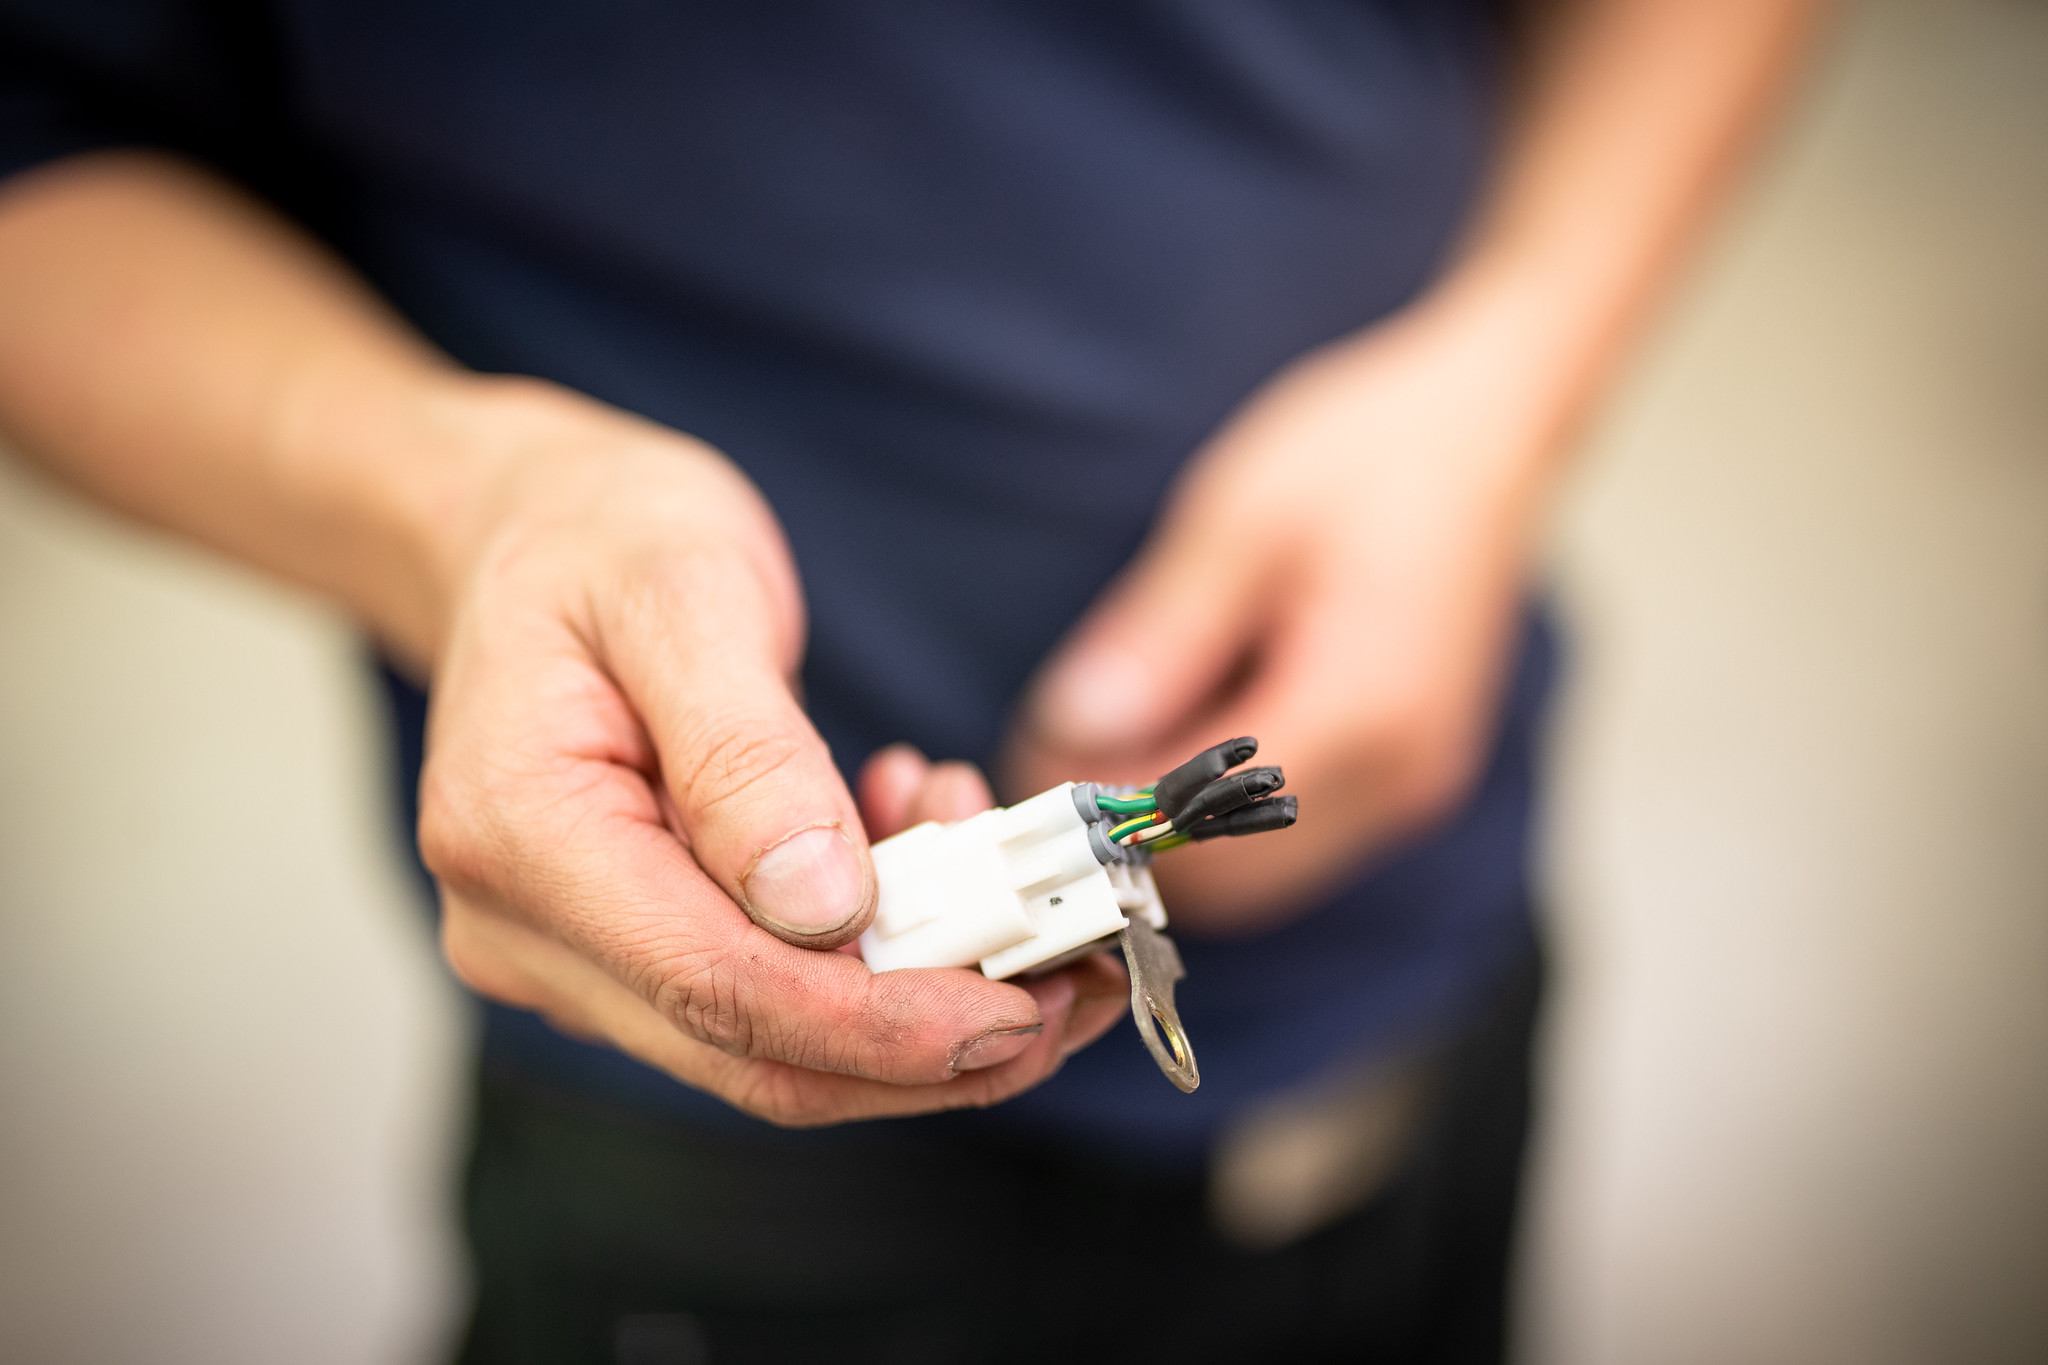
As we’ve retained the auto ECU, the car won’t let itself start without getting the inhibitor sorted. A quick check with a multimeter and look at the service manual.
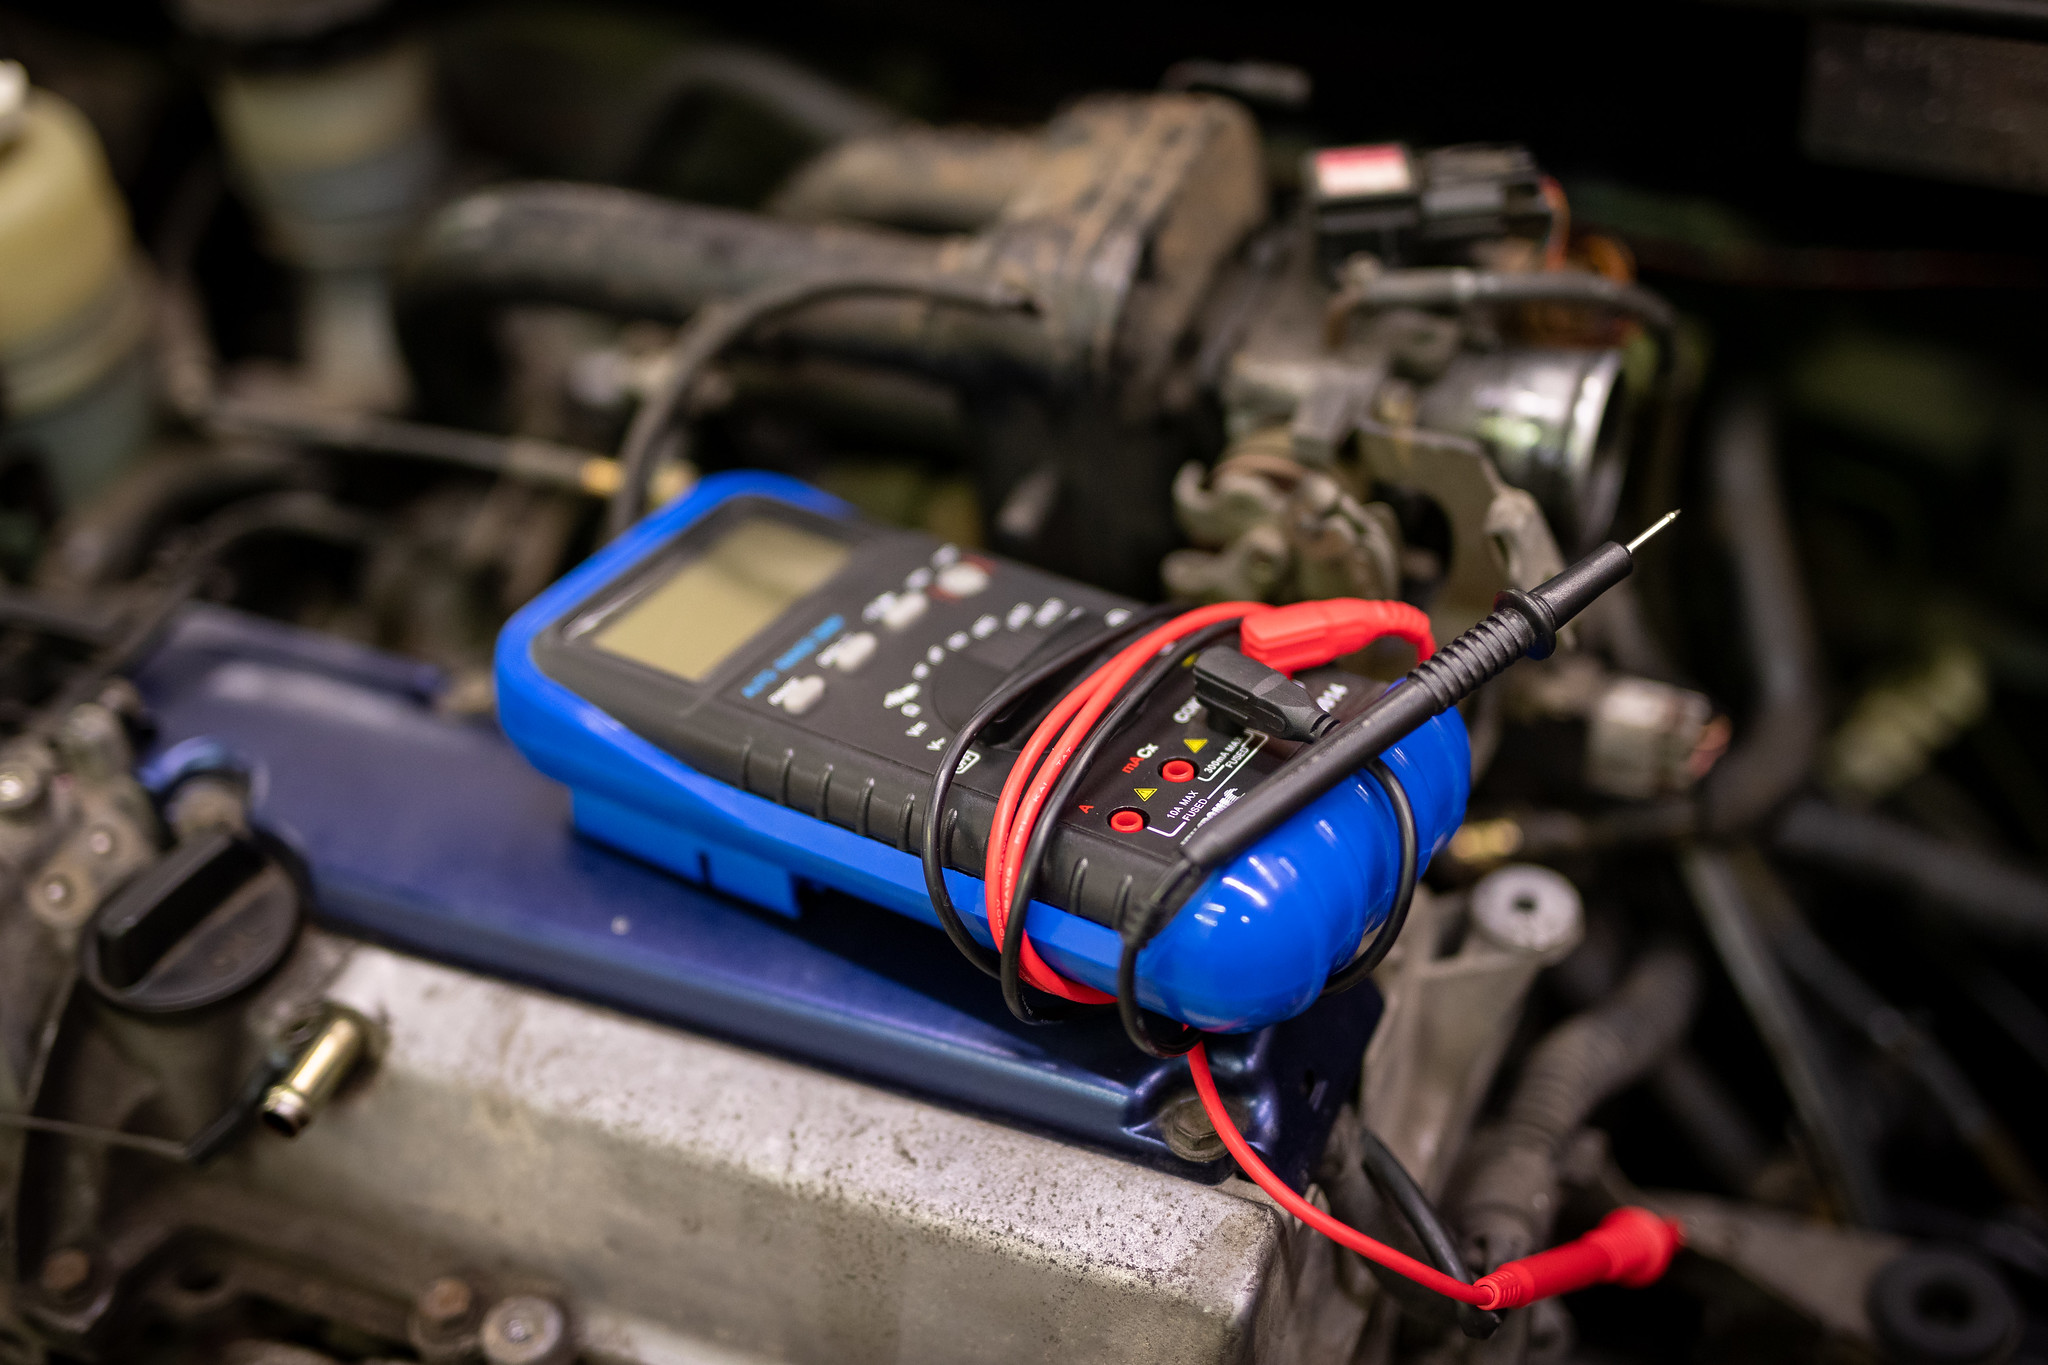
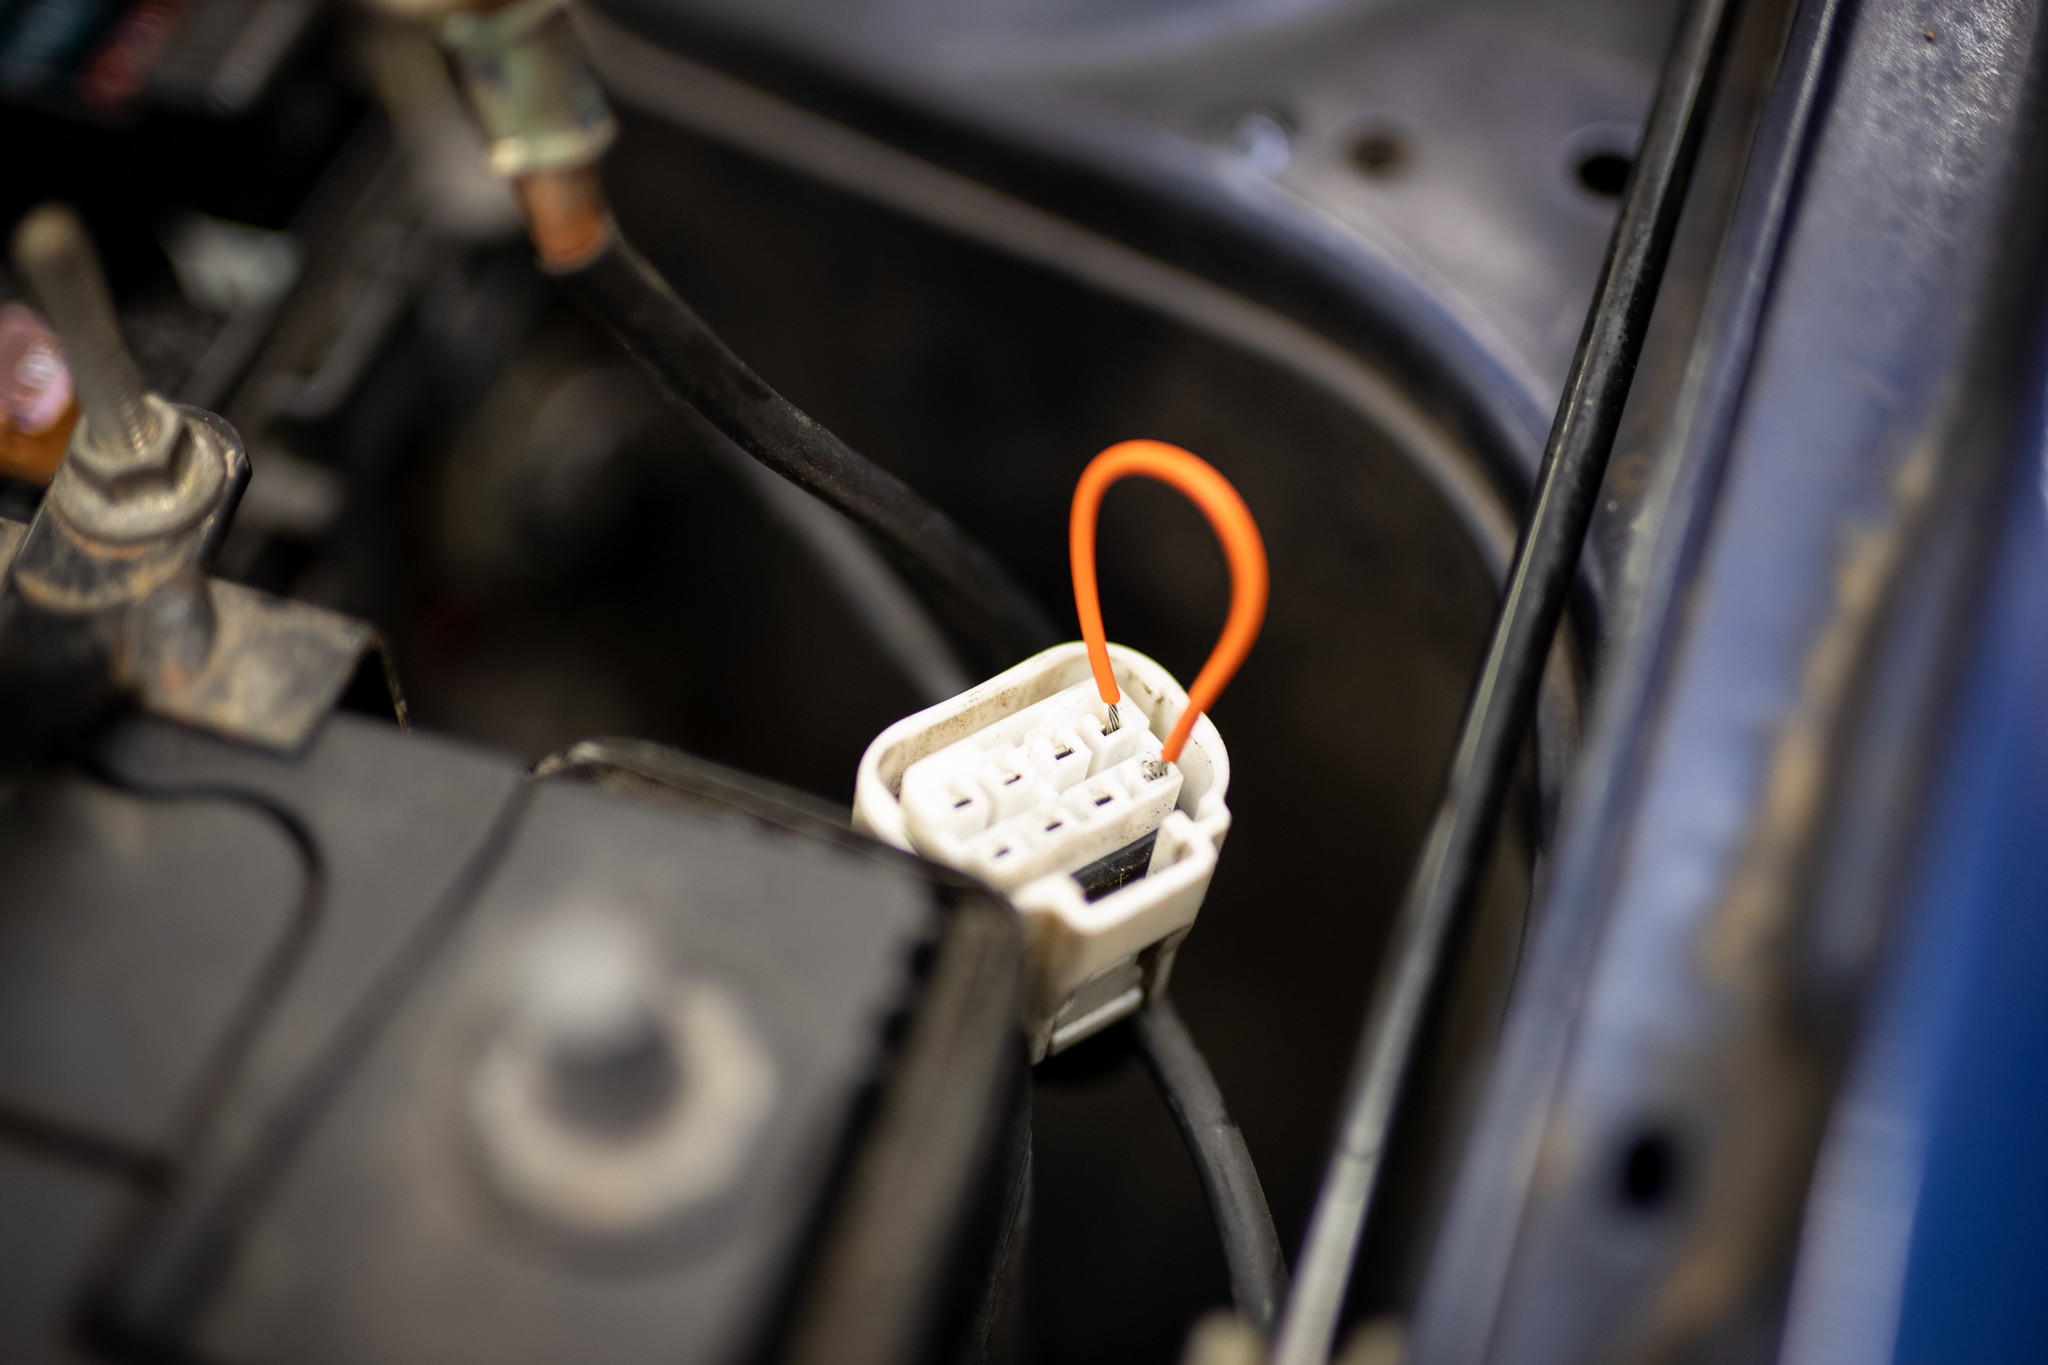
Derrick had a smart idea to cut the original connector off and wire it up instead.
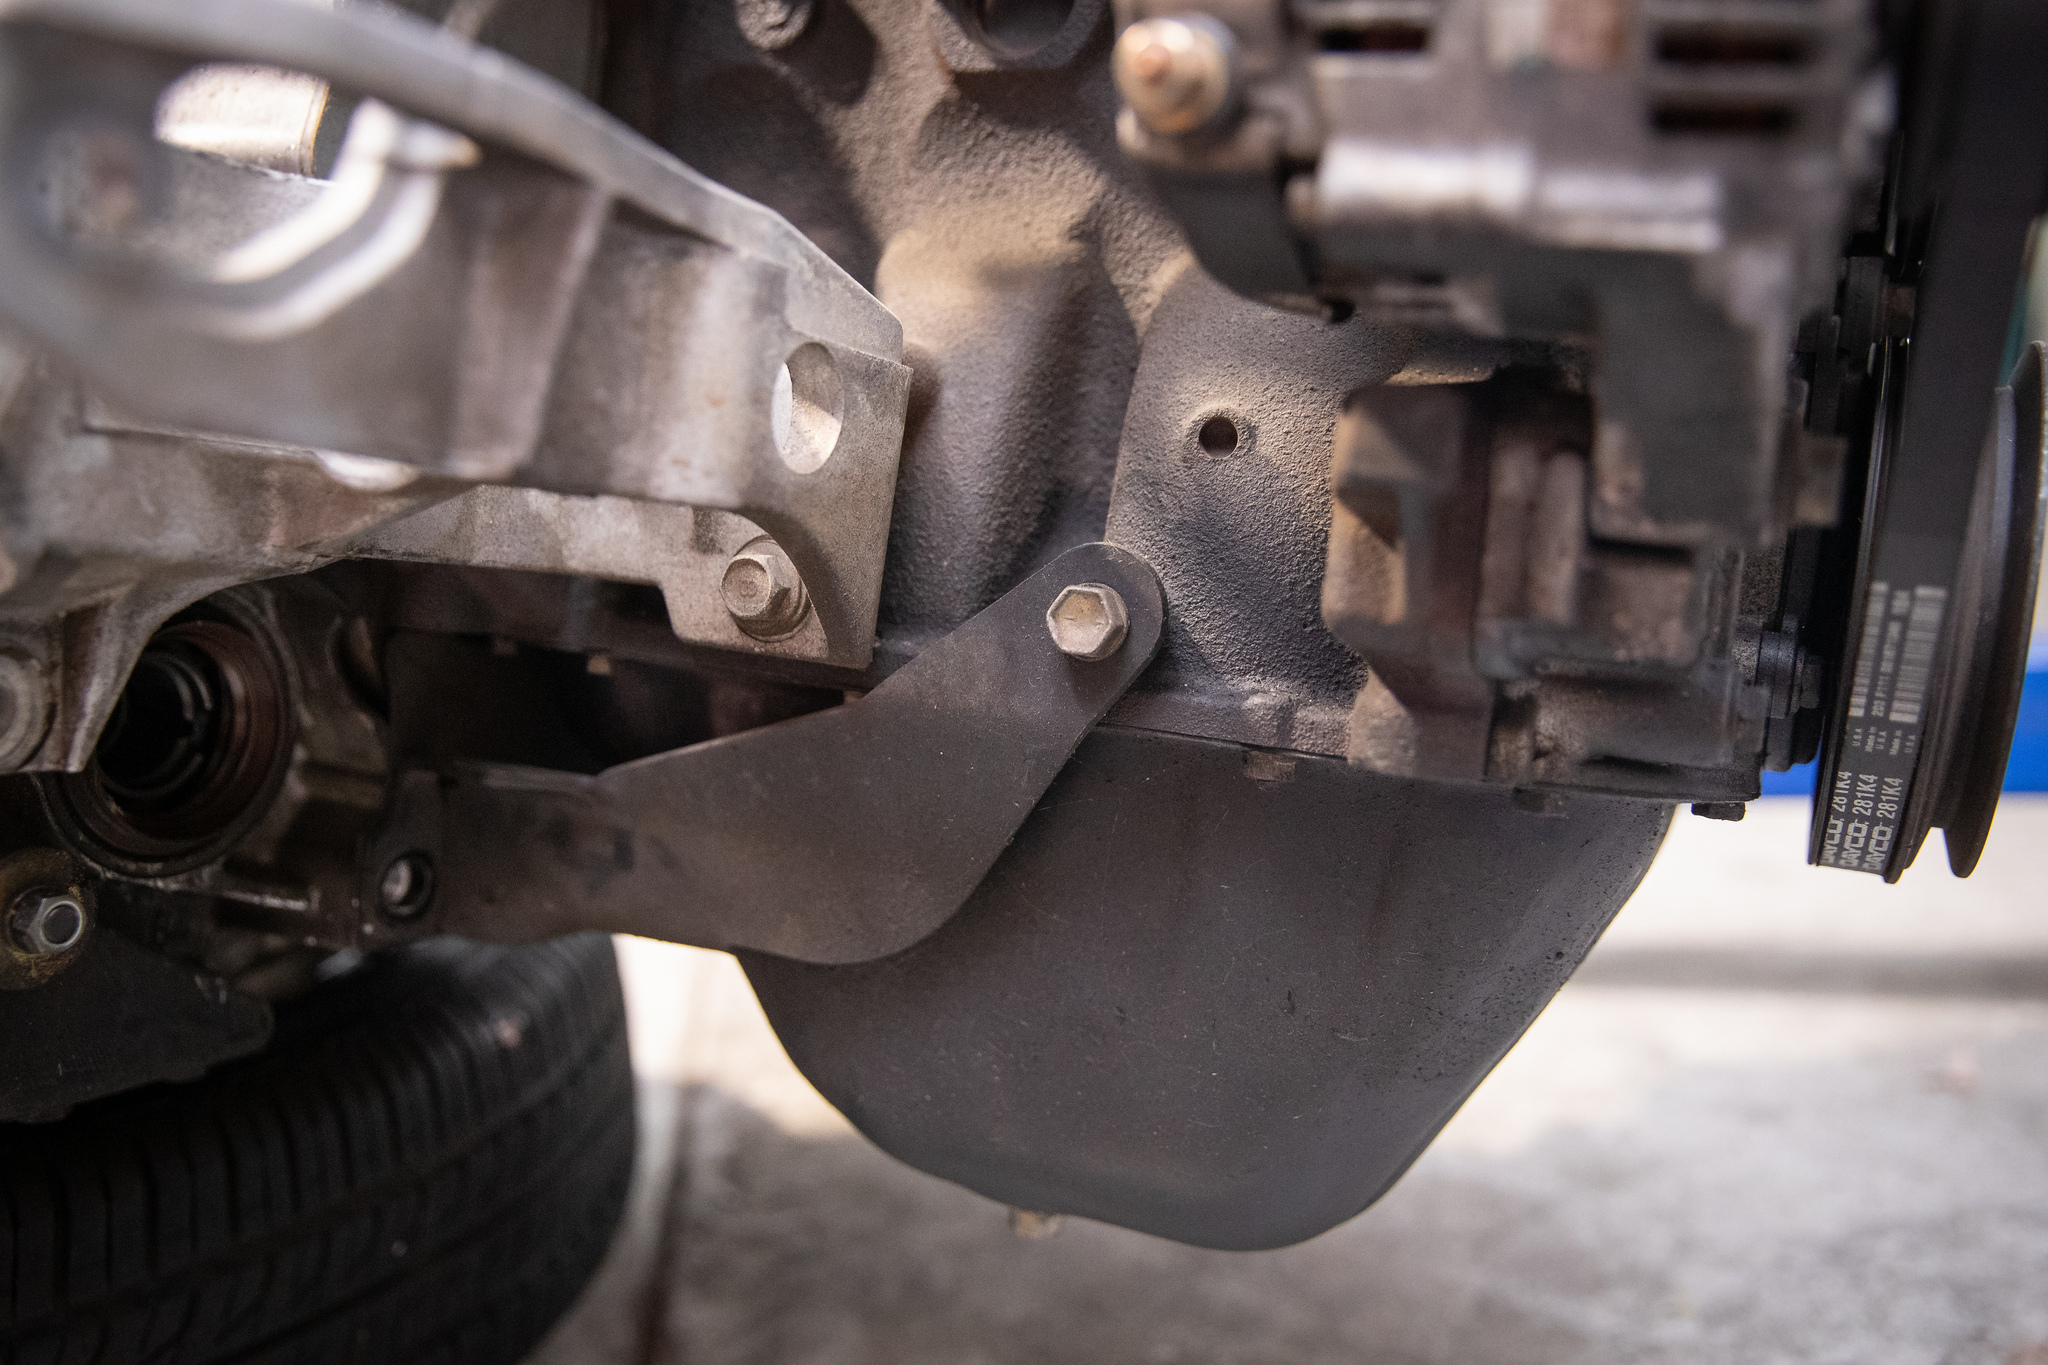
The front end could then go back on.
Coolant went in outside just in case.

And it started up perfectly.

At about 1.30am we were finished. All up it took about 14 hours but we got it done and I was able to drive home. What a transformation it has made. The car feels like it almost has double the power.

9 Likes