Nicely done! I’m amazed at how great your photo quality is, and even more at how rust free your cars in Australia are. I’m really jealous 
2 Likes
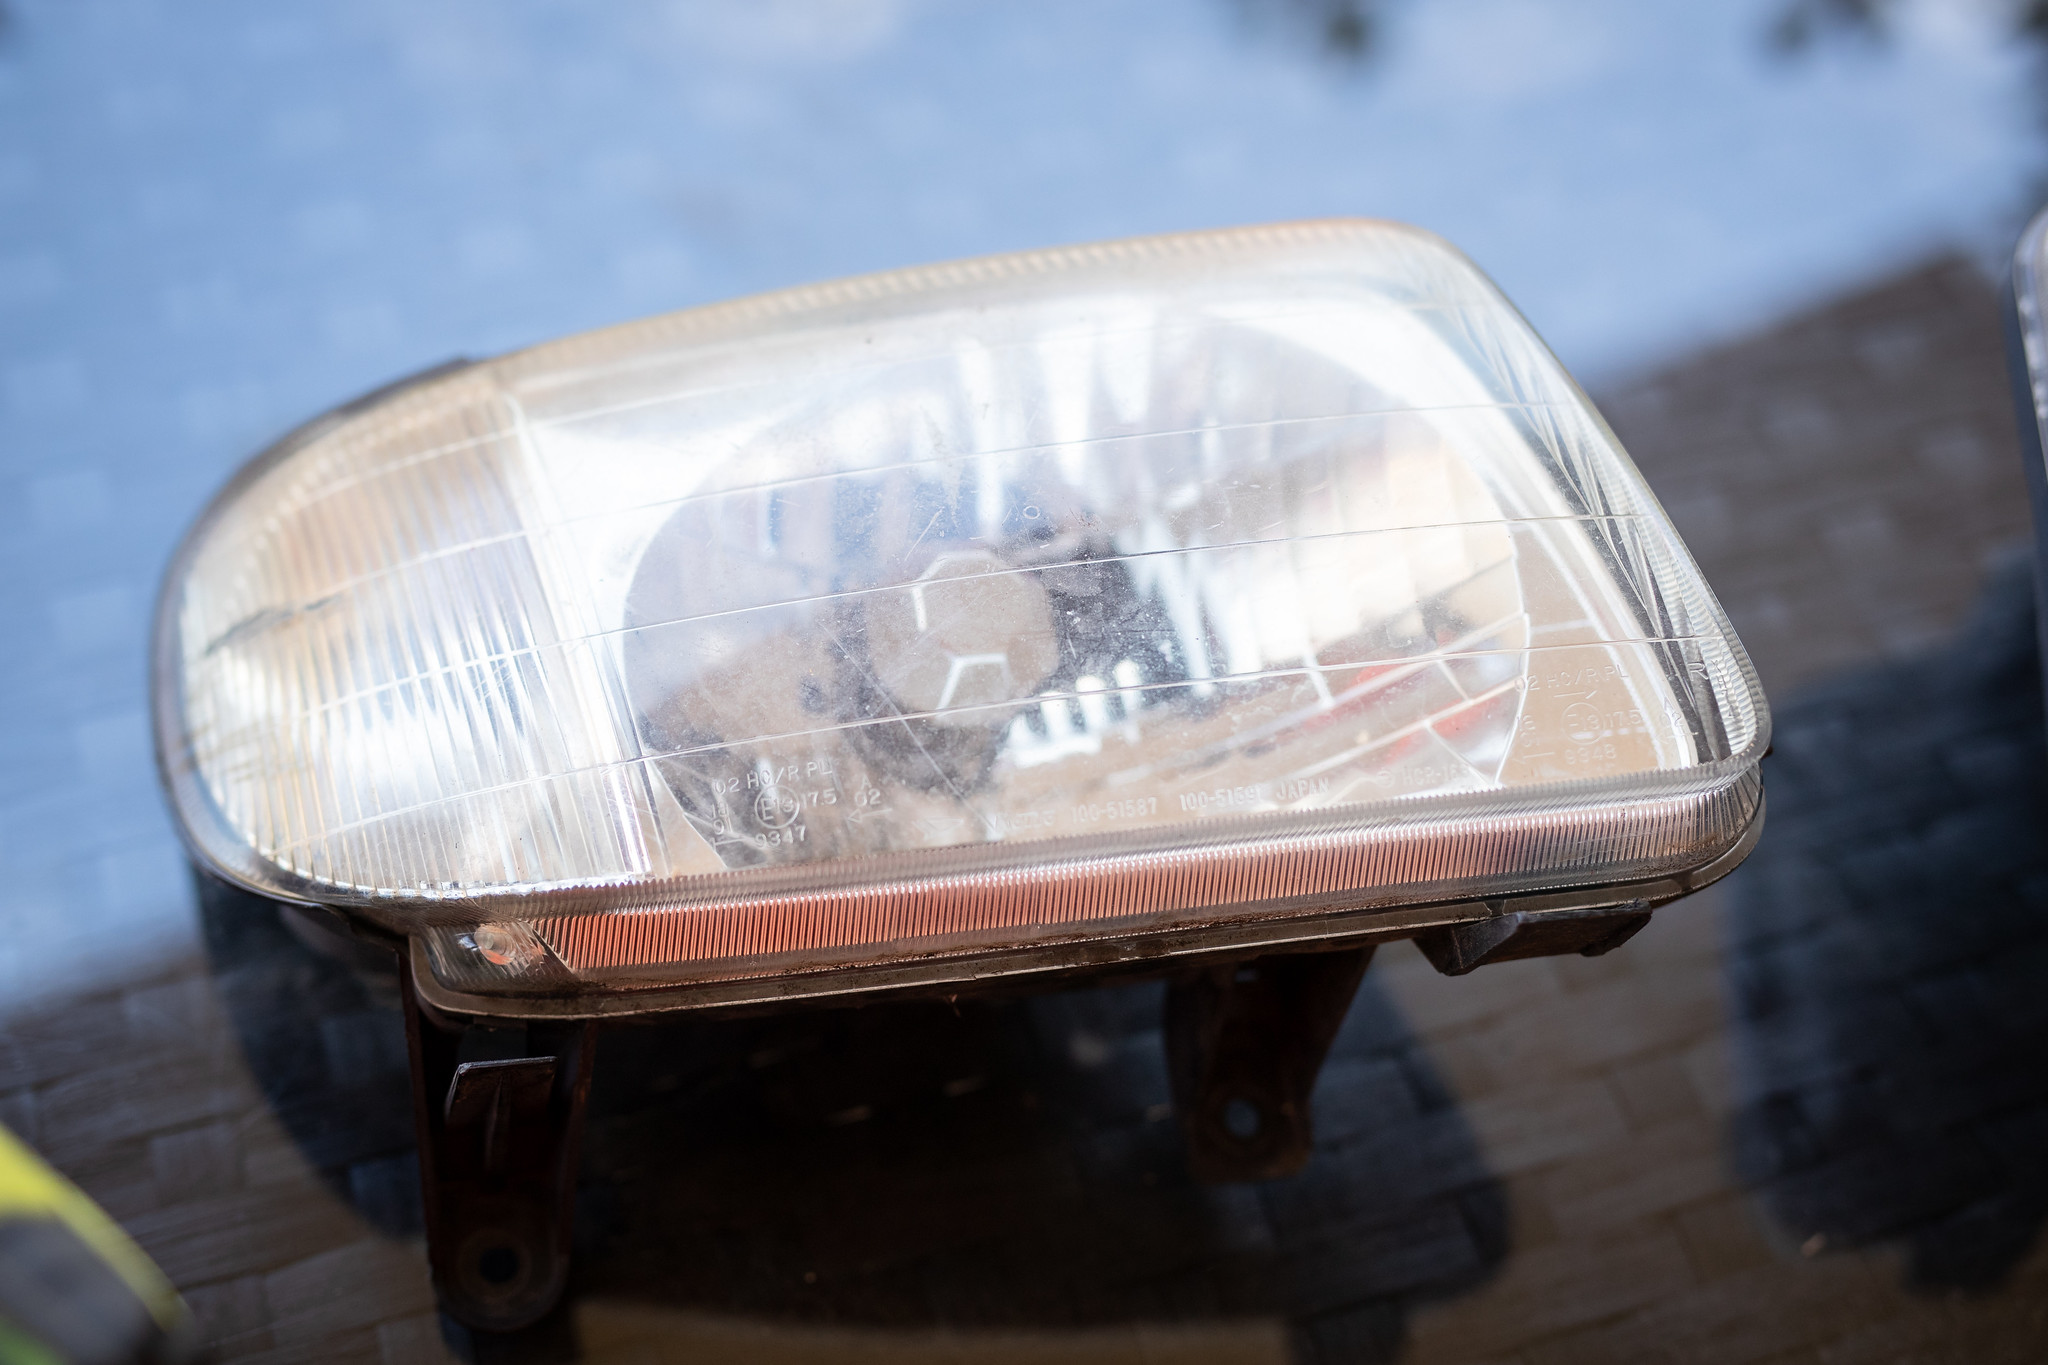
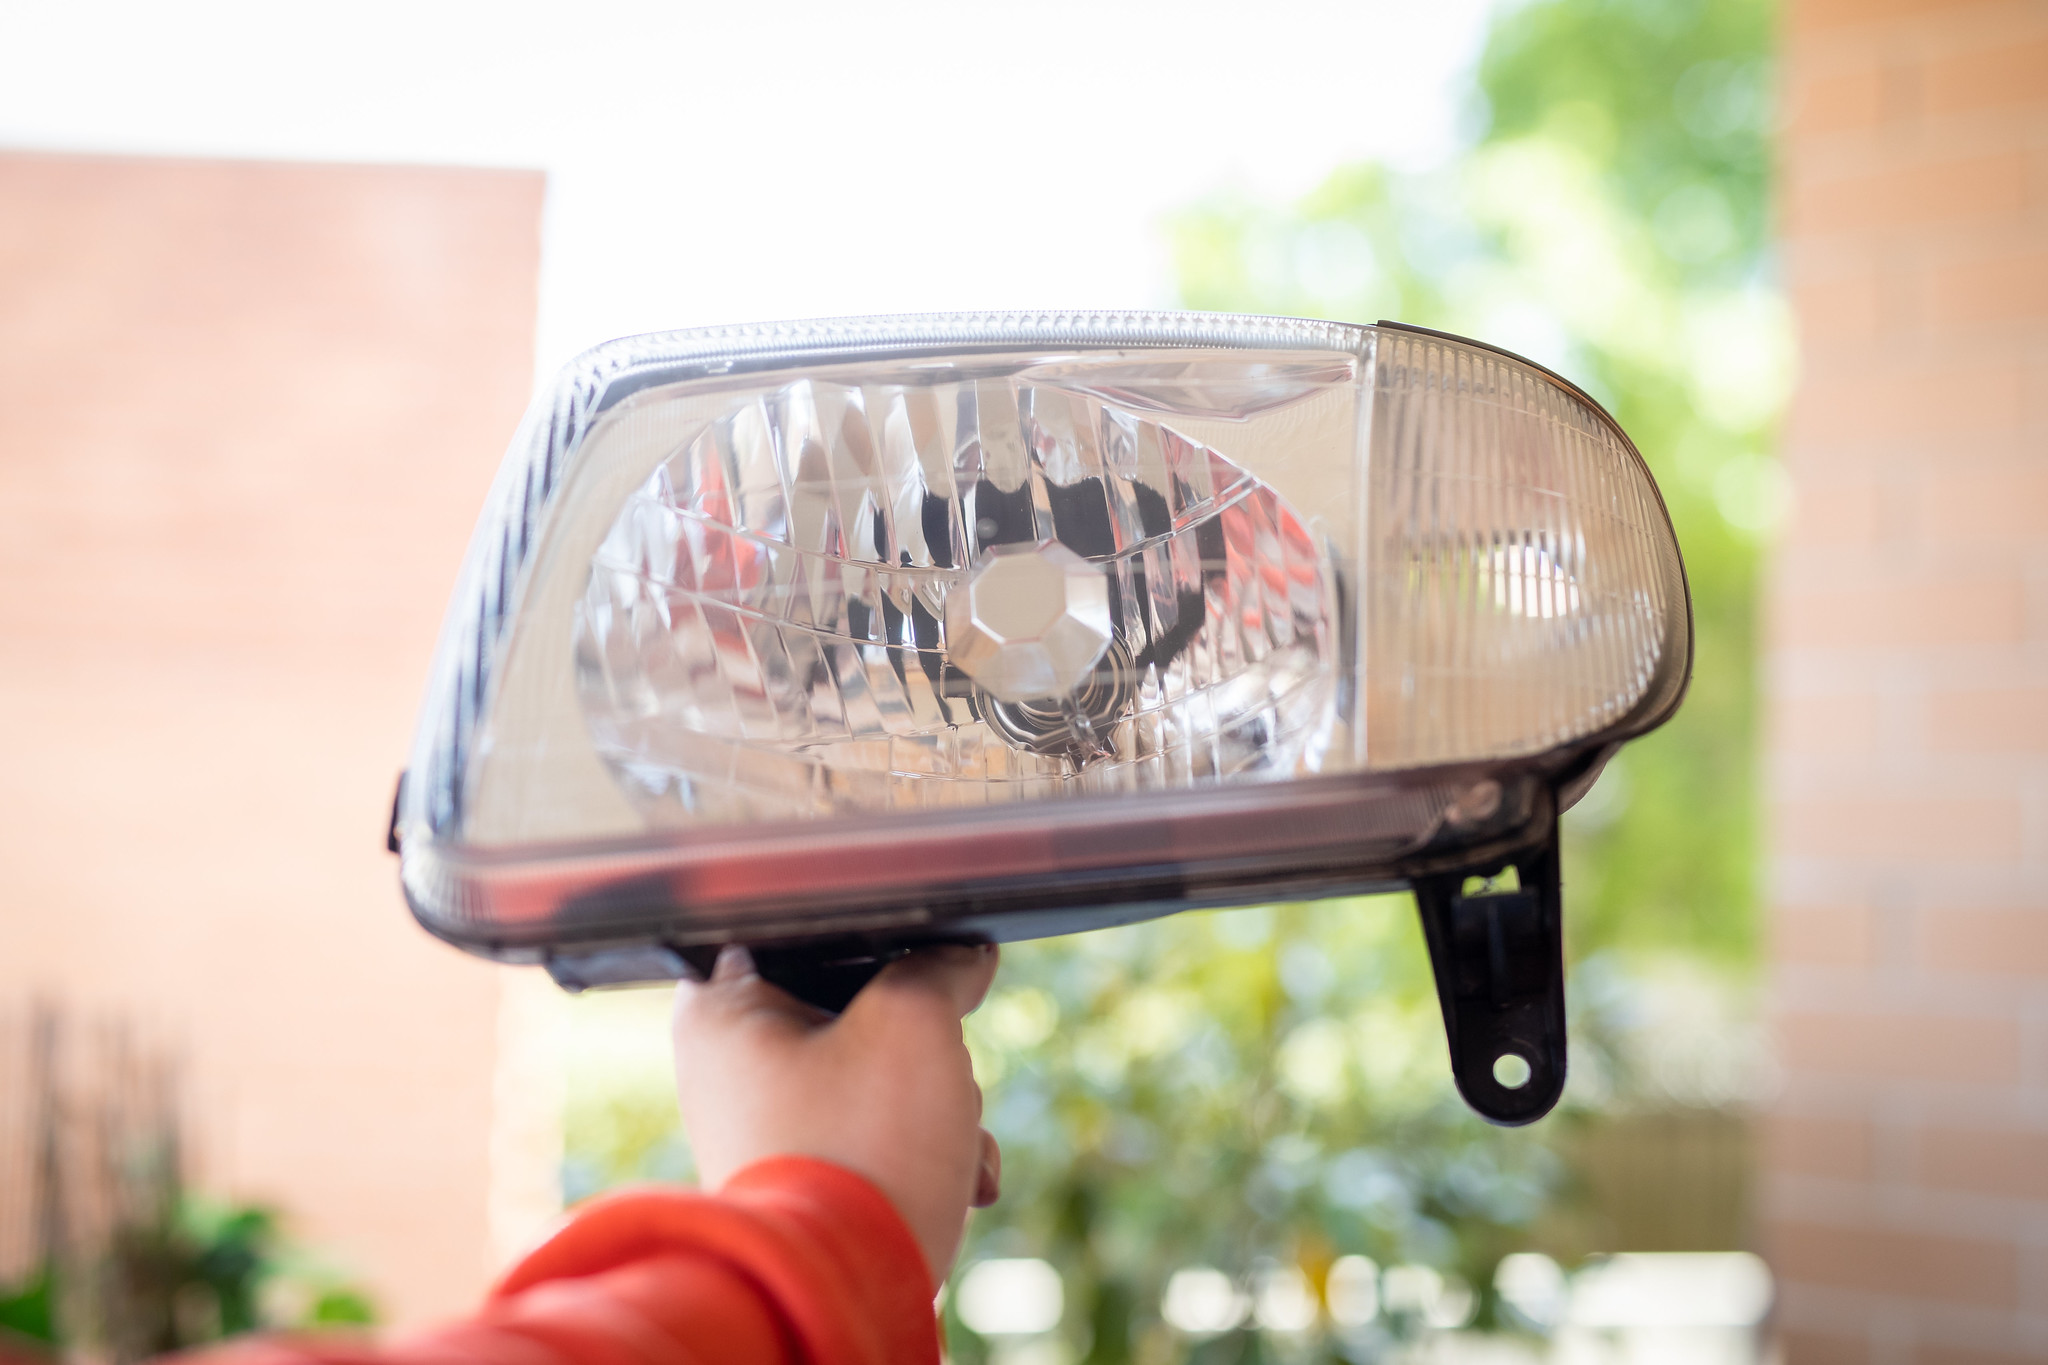
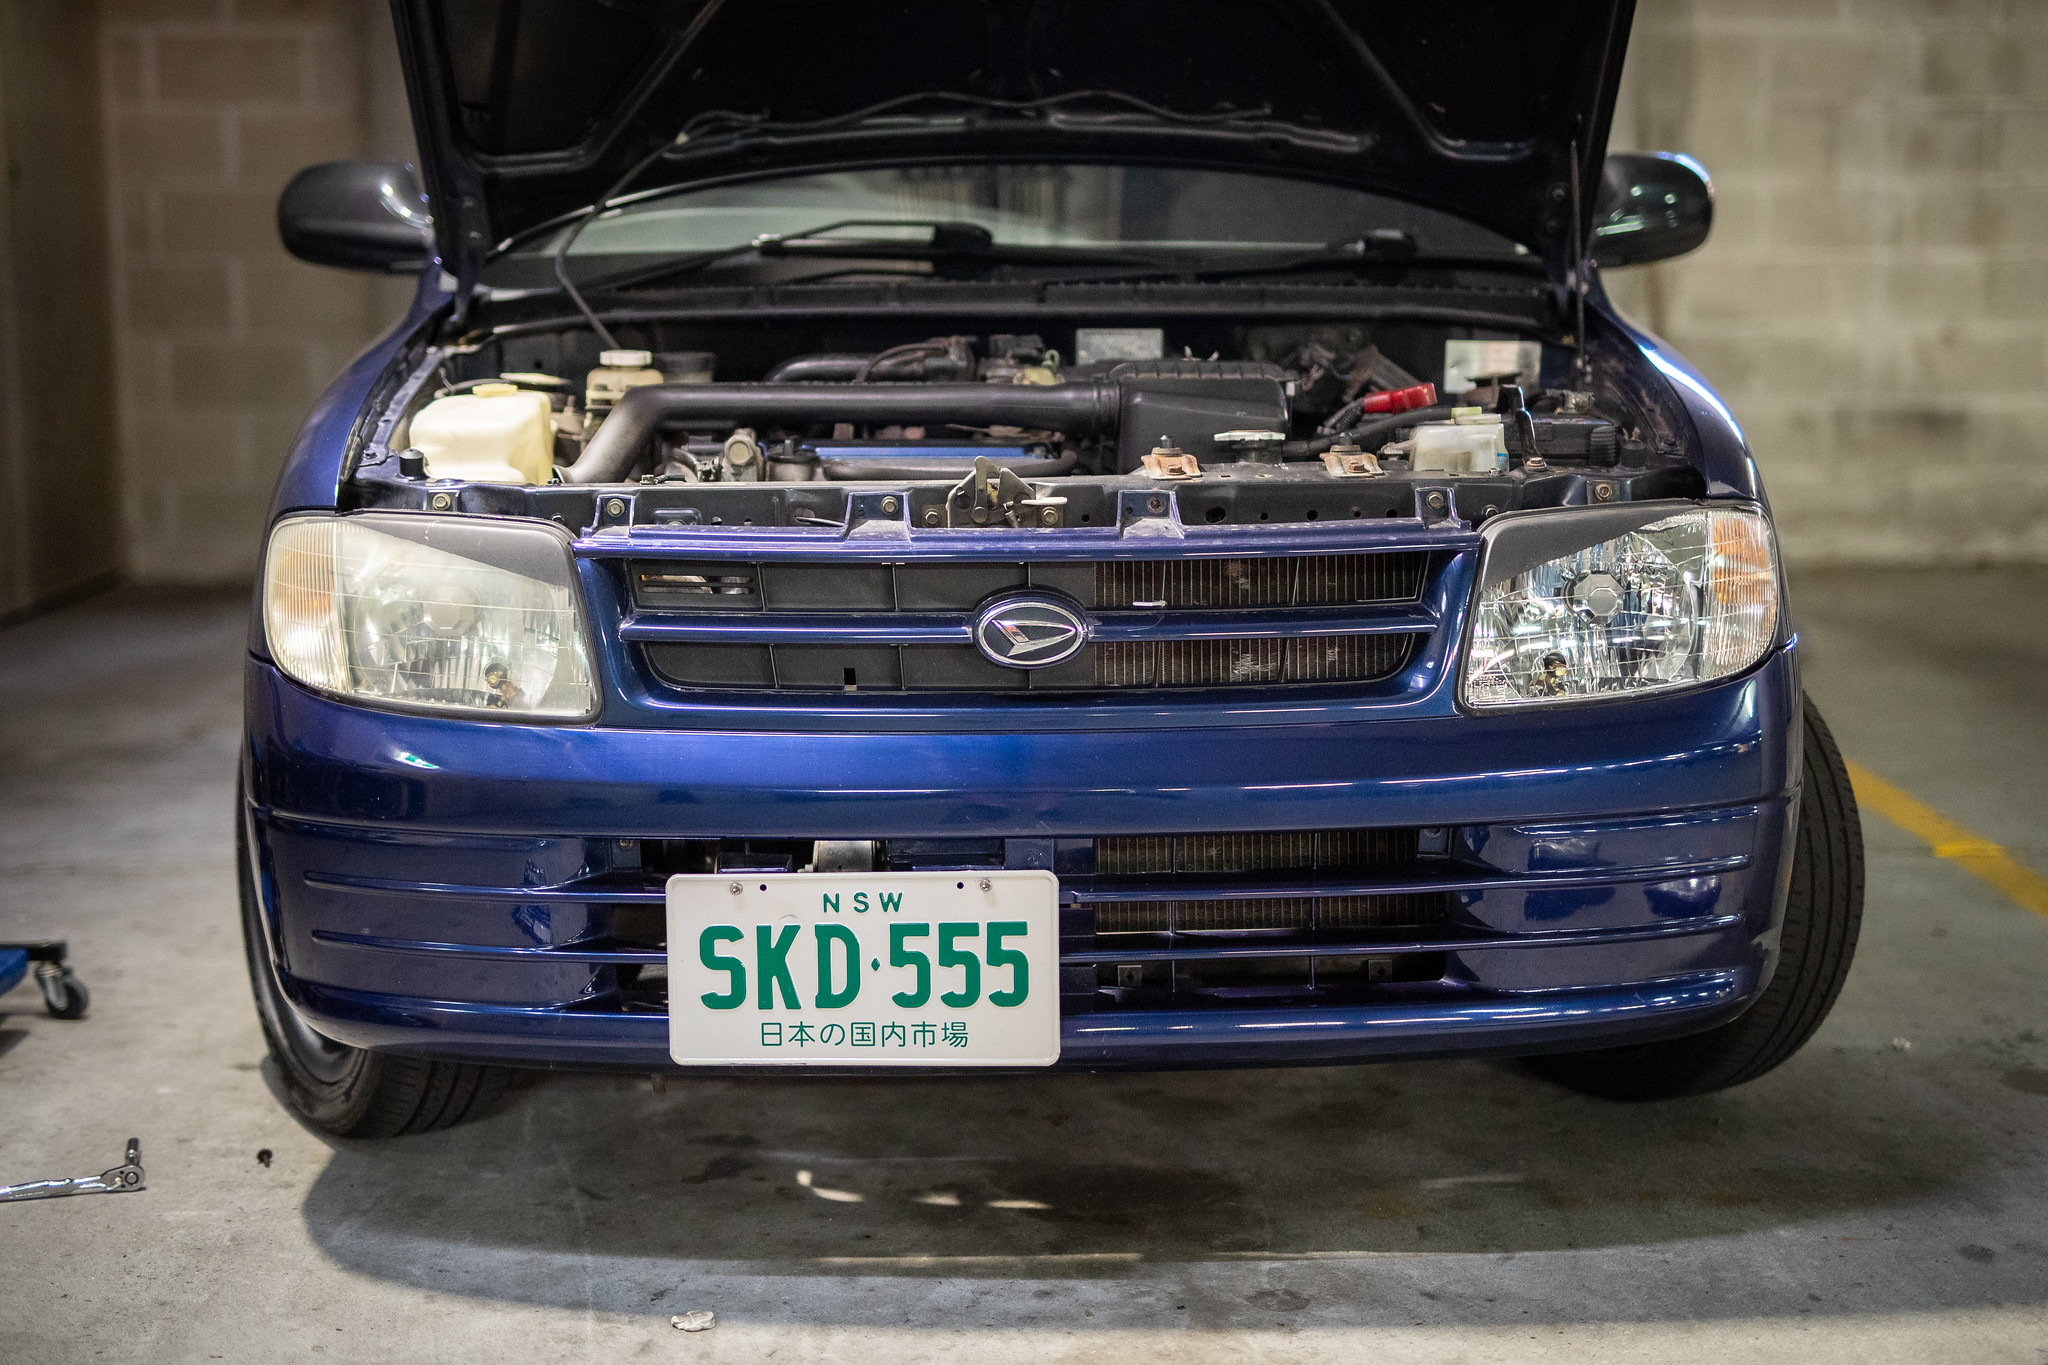
September 2019: I’ve had a spare set of headlights lying around now, and a friend gave me a headlight restoration kit. I’m going to get my original set properly done and cleared when the car is painted.
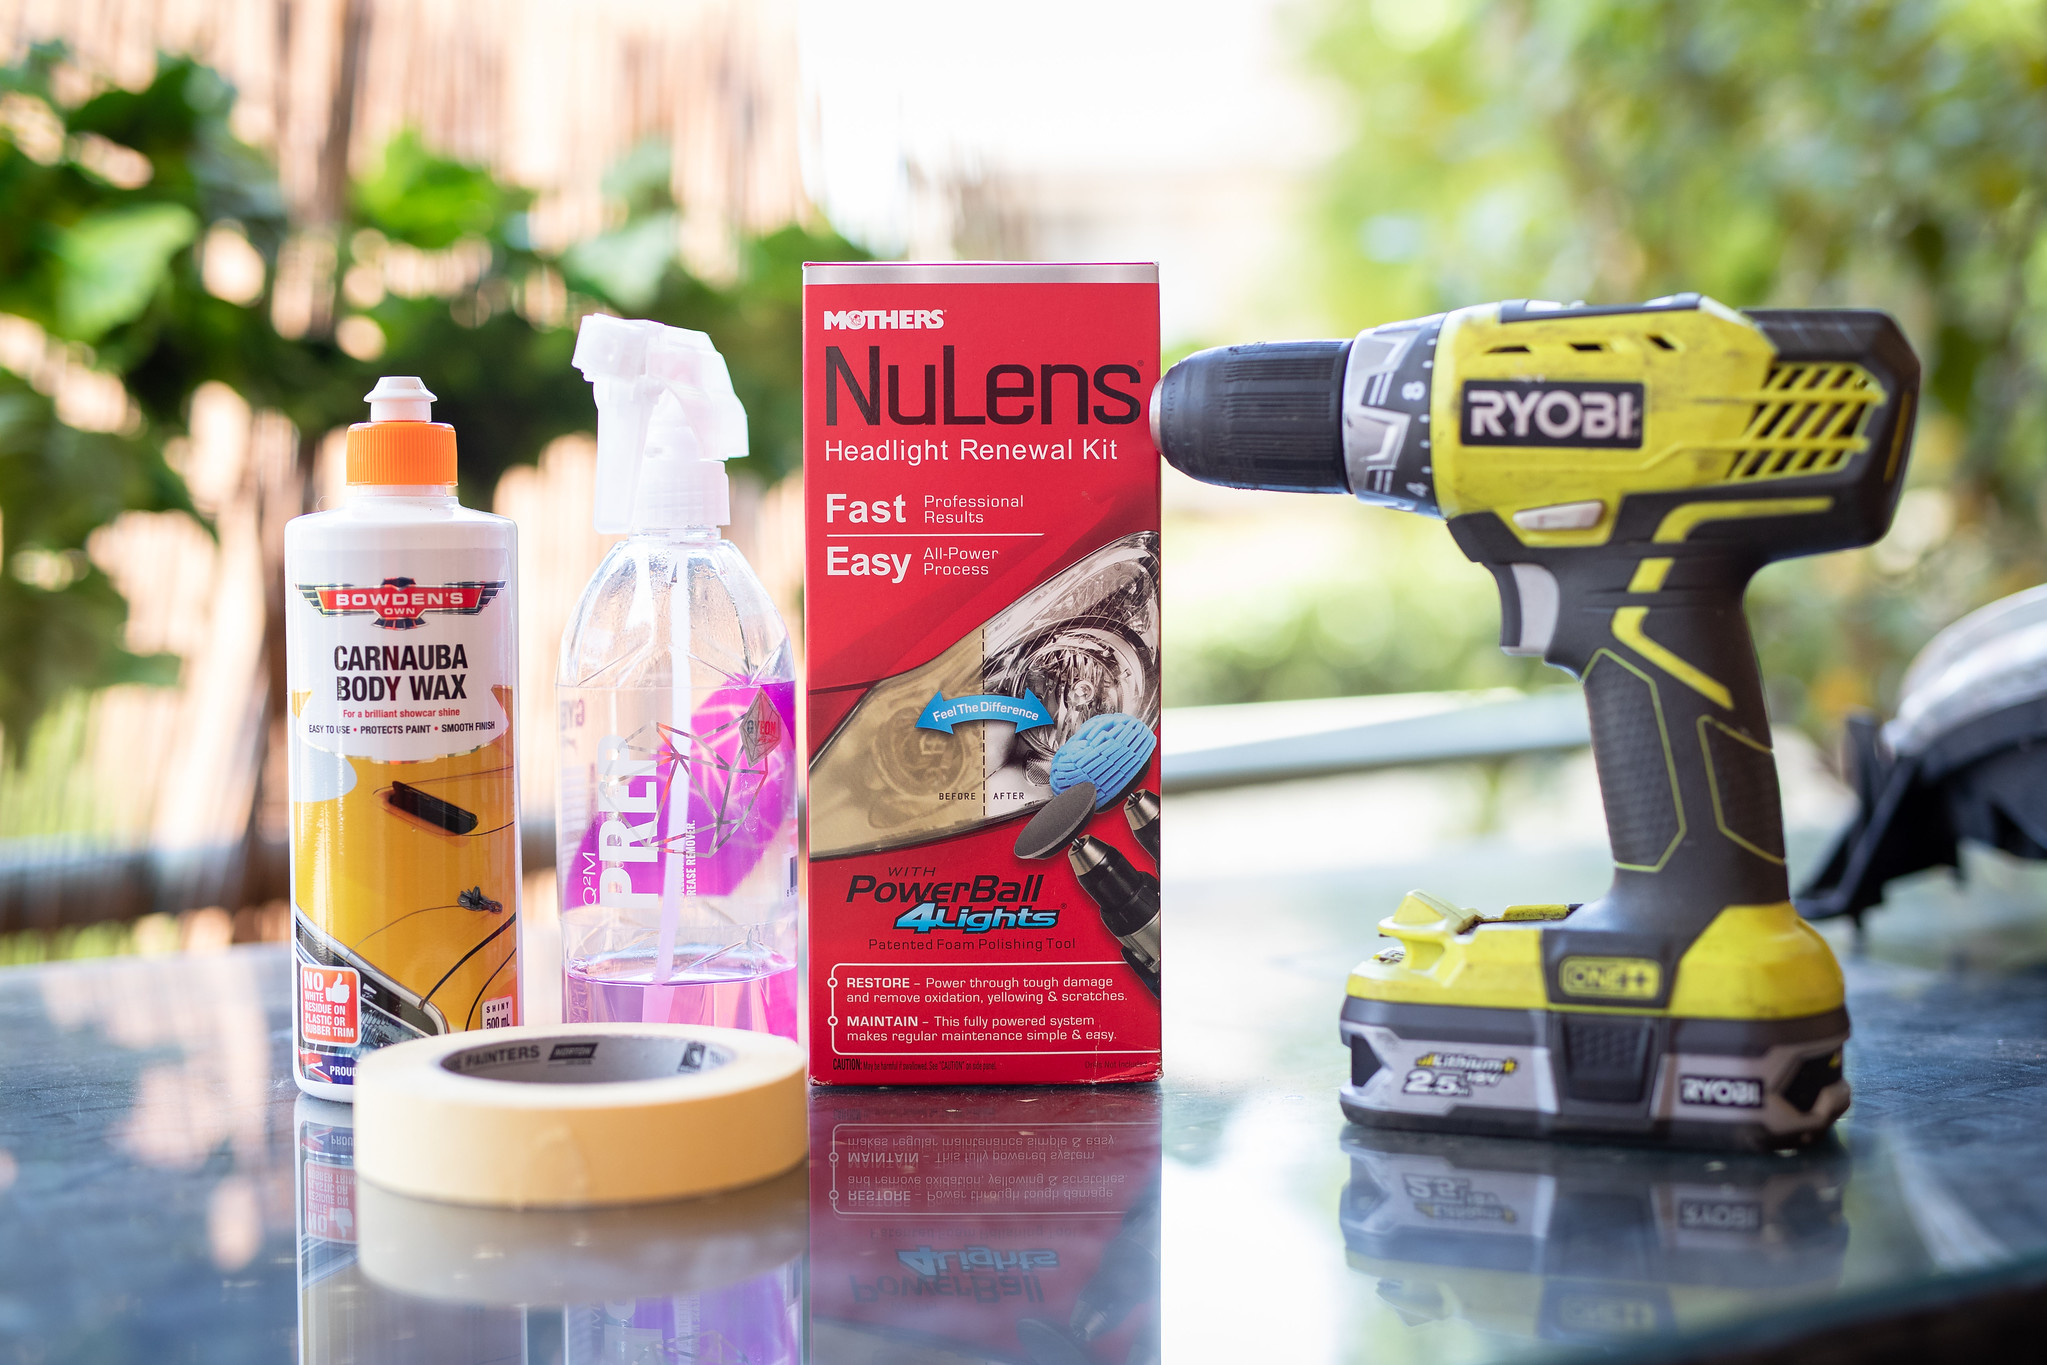
This is just a simple Mothers Kit
The came up looking pretty great.

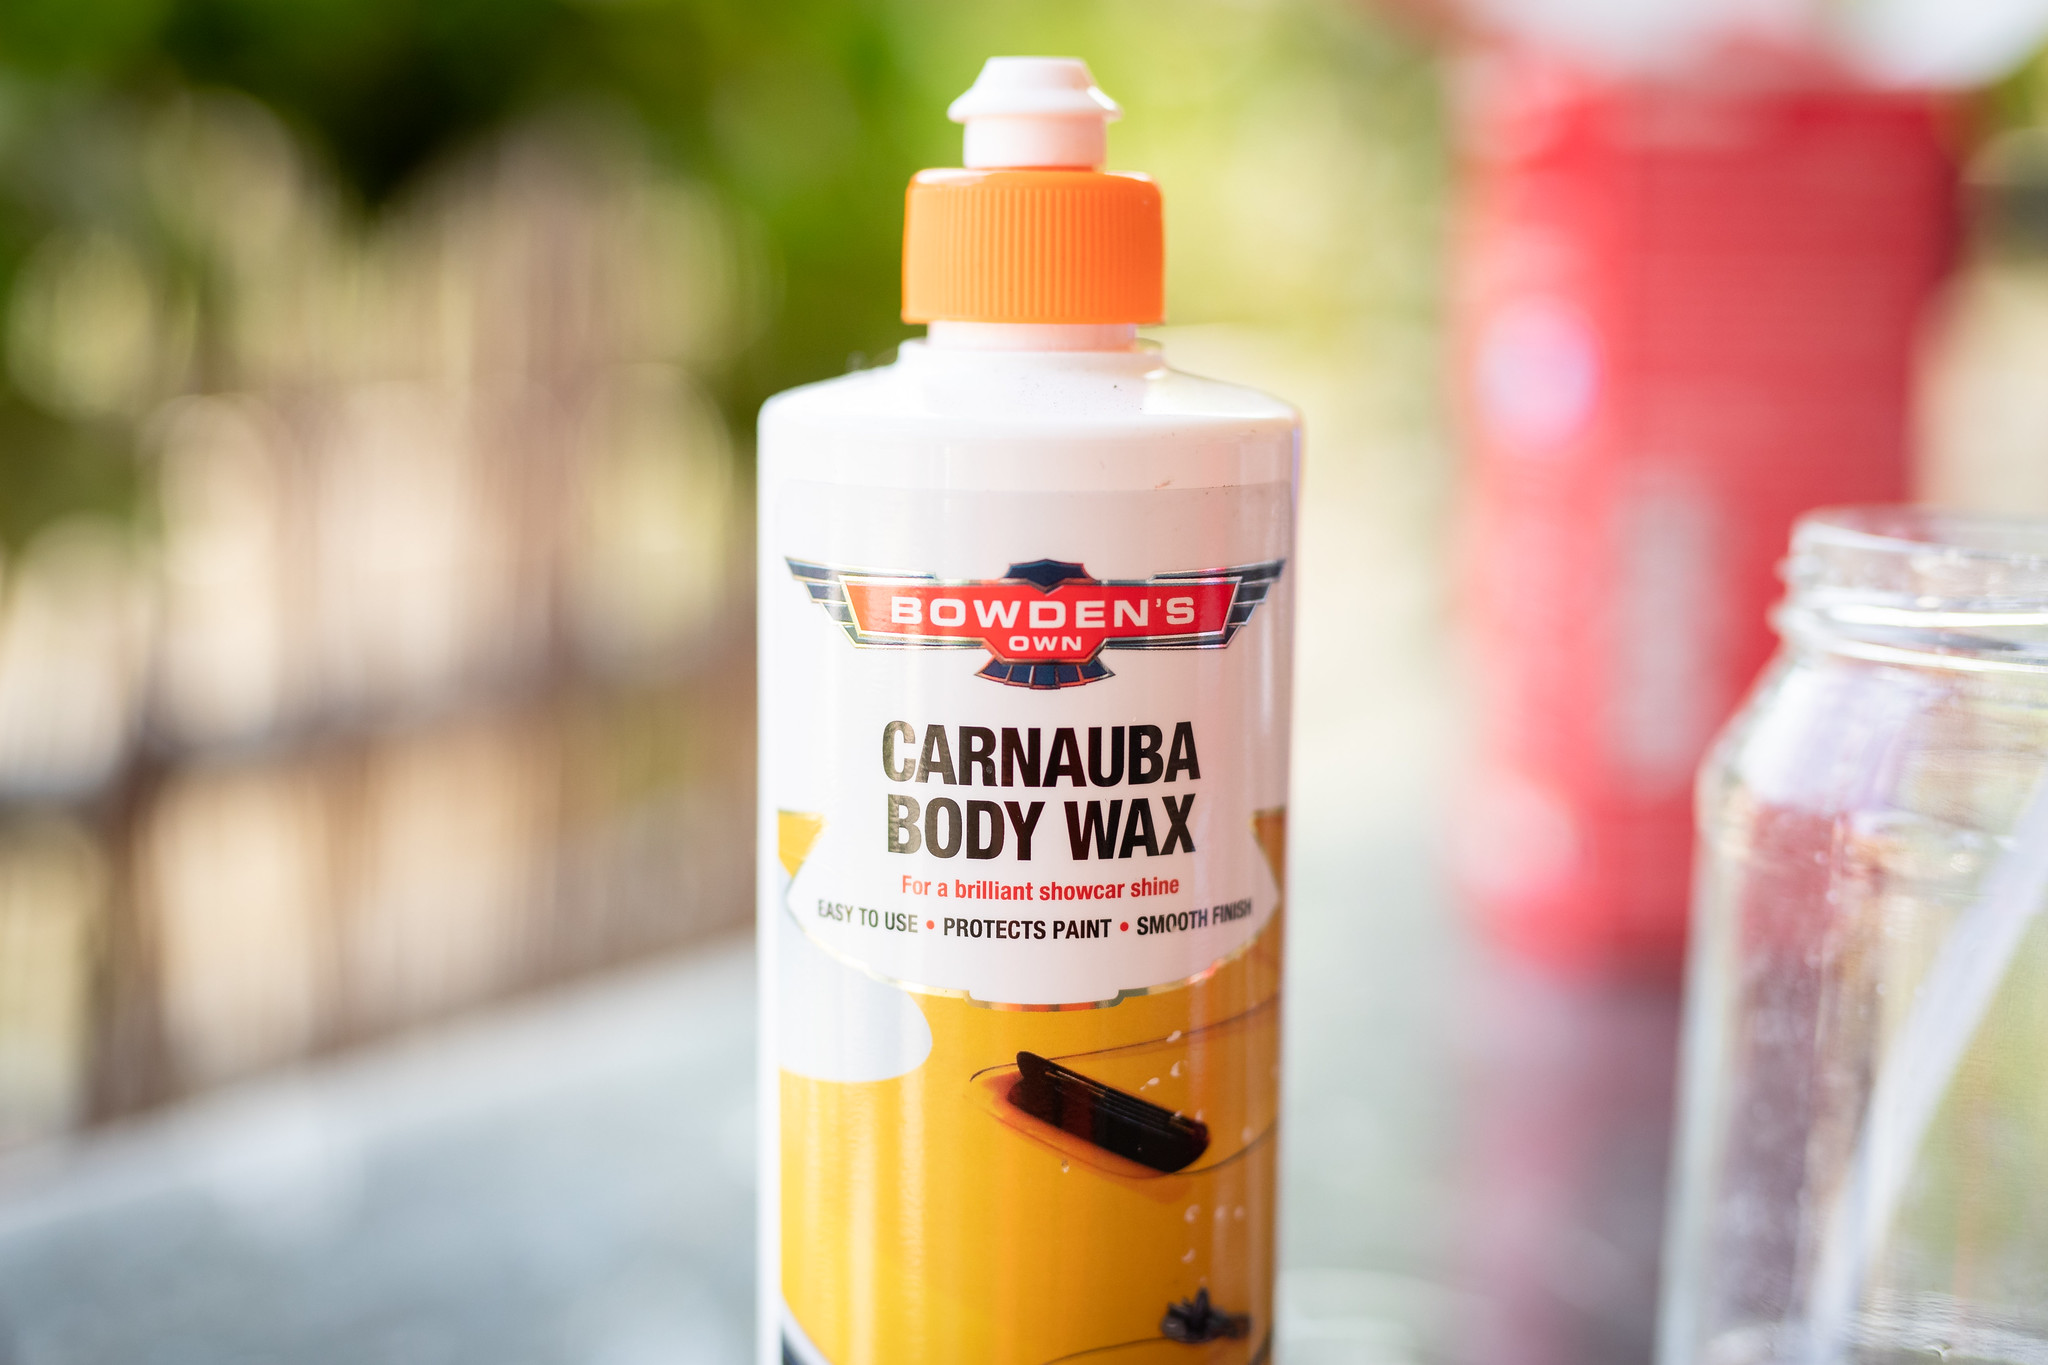
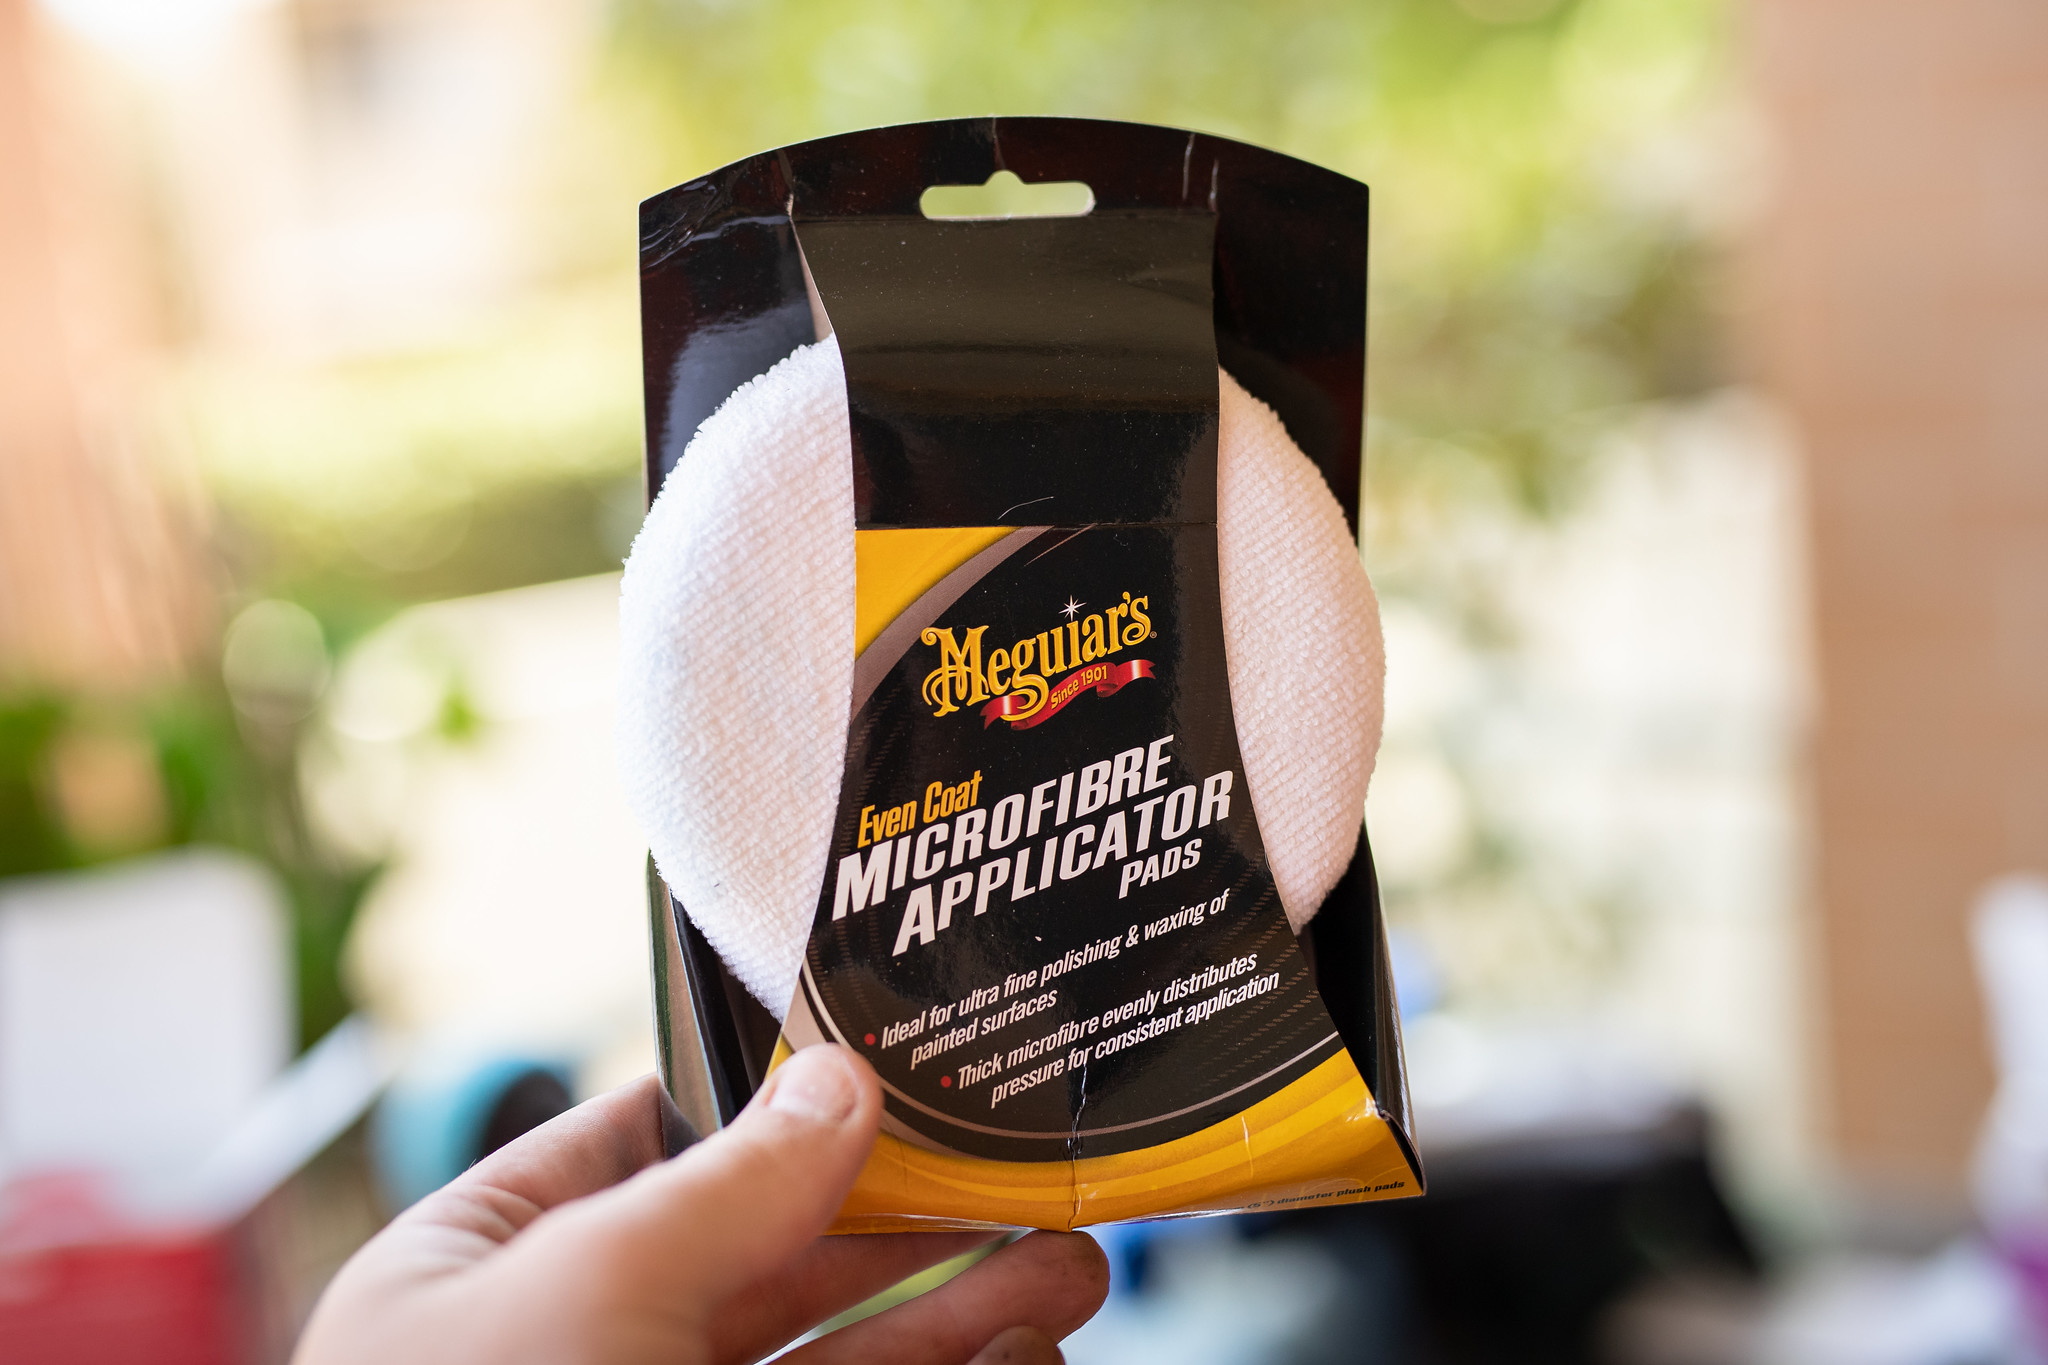
Gave them a quick hit of wax too.
Strangely, my driver’s side was shocking and my passenger side was as new.
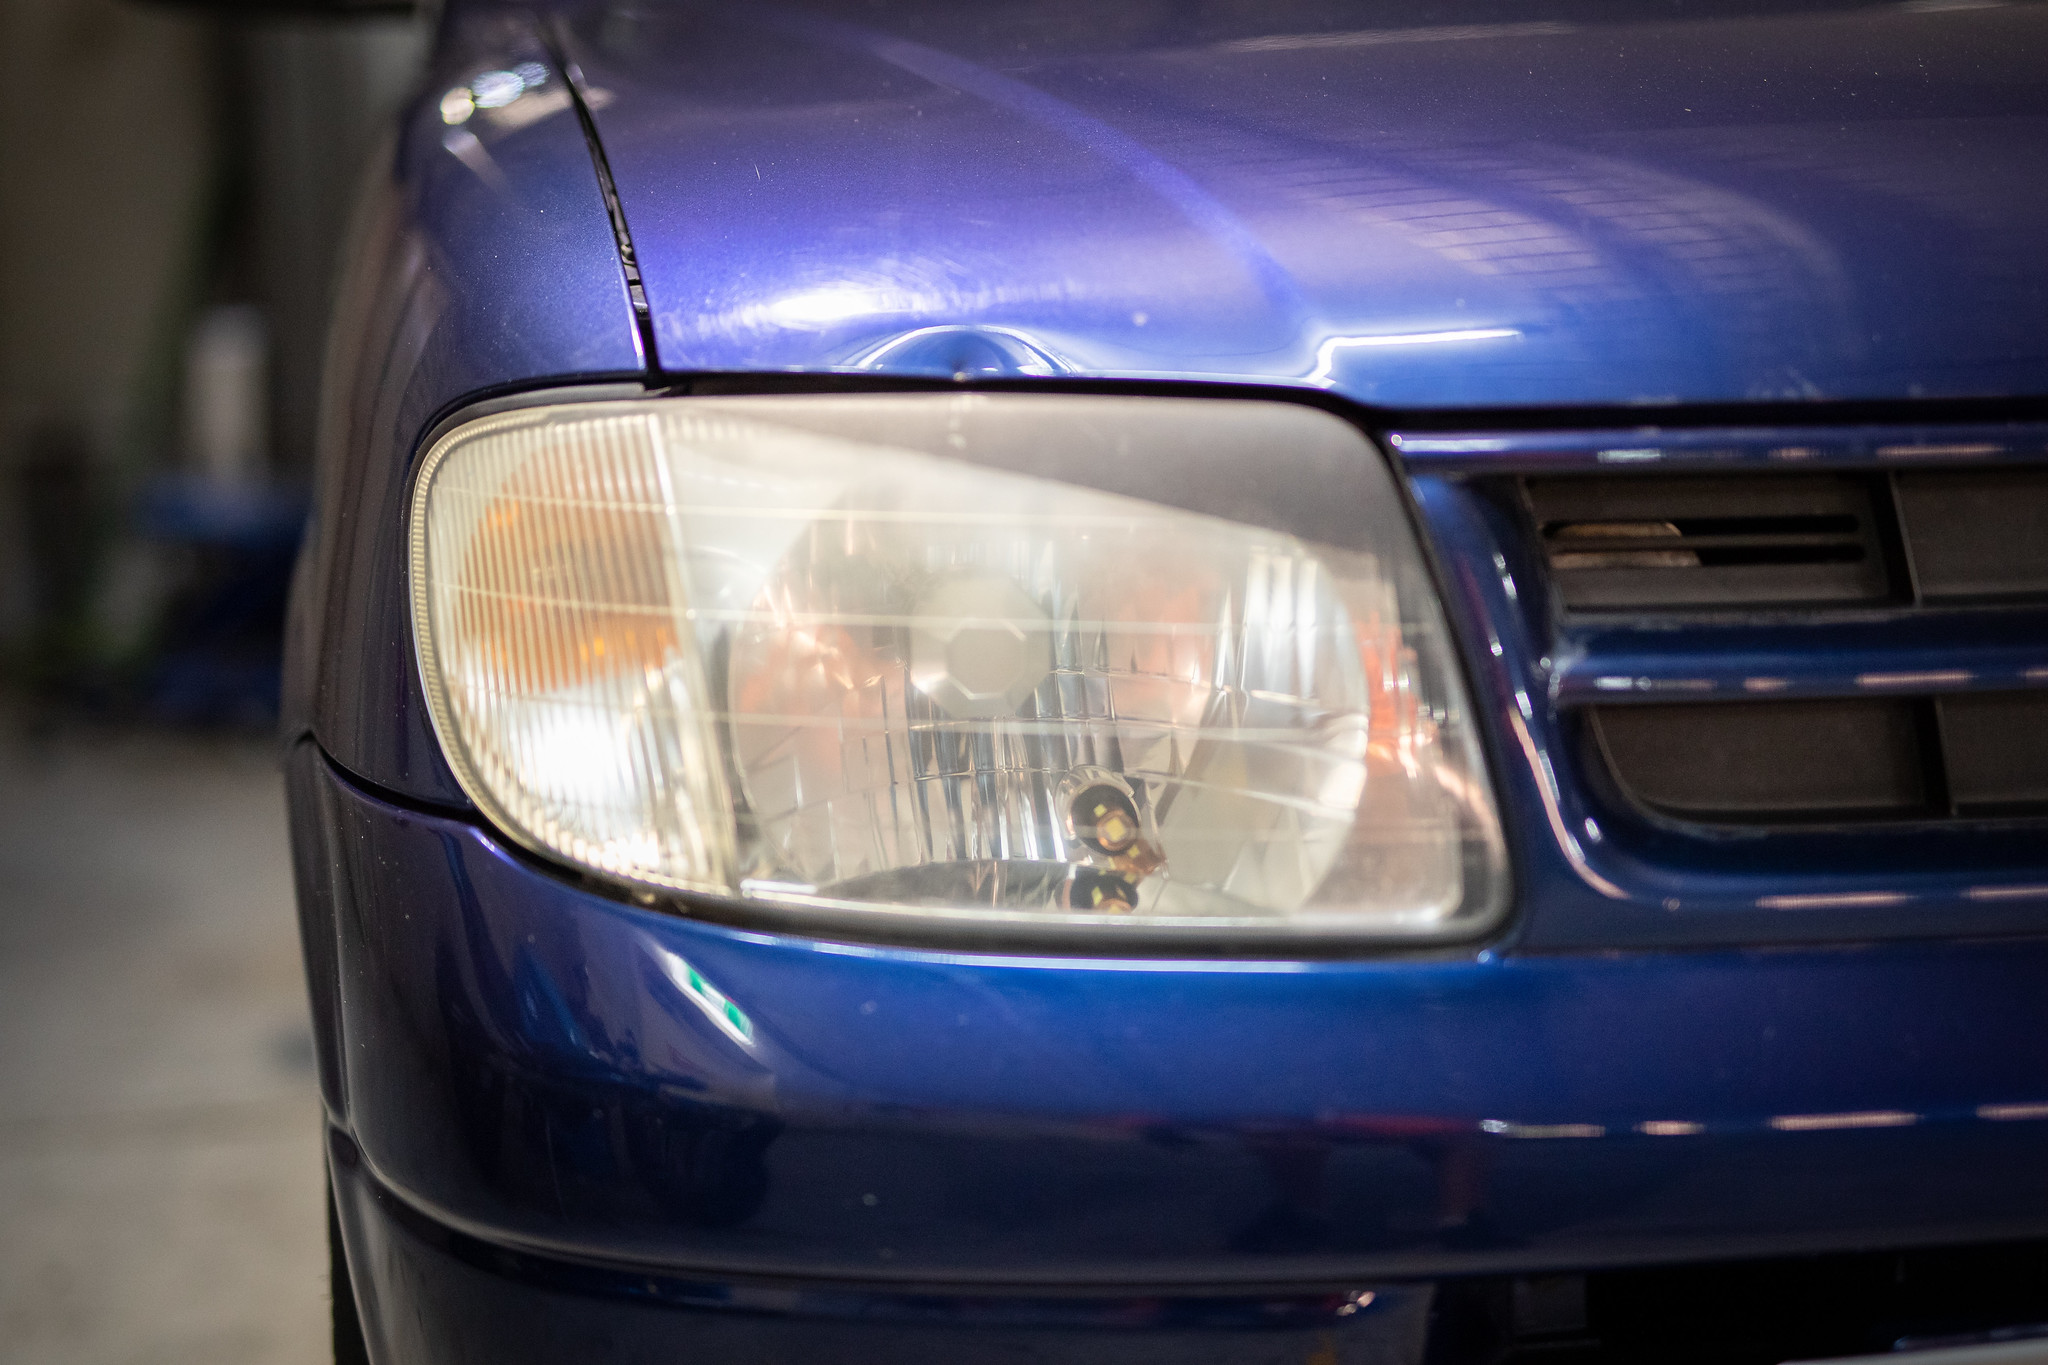
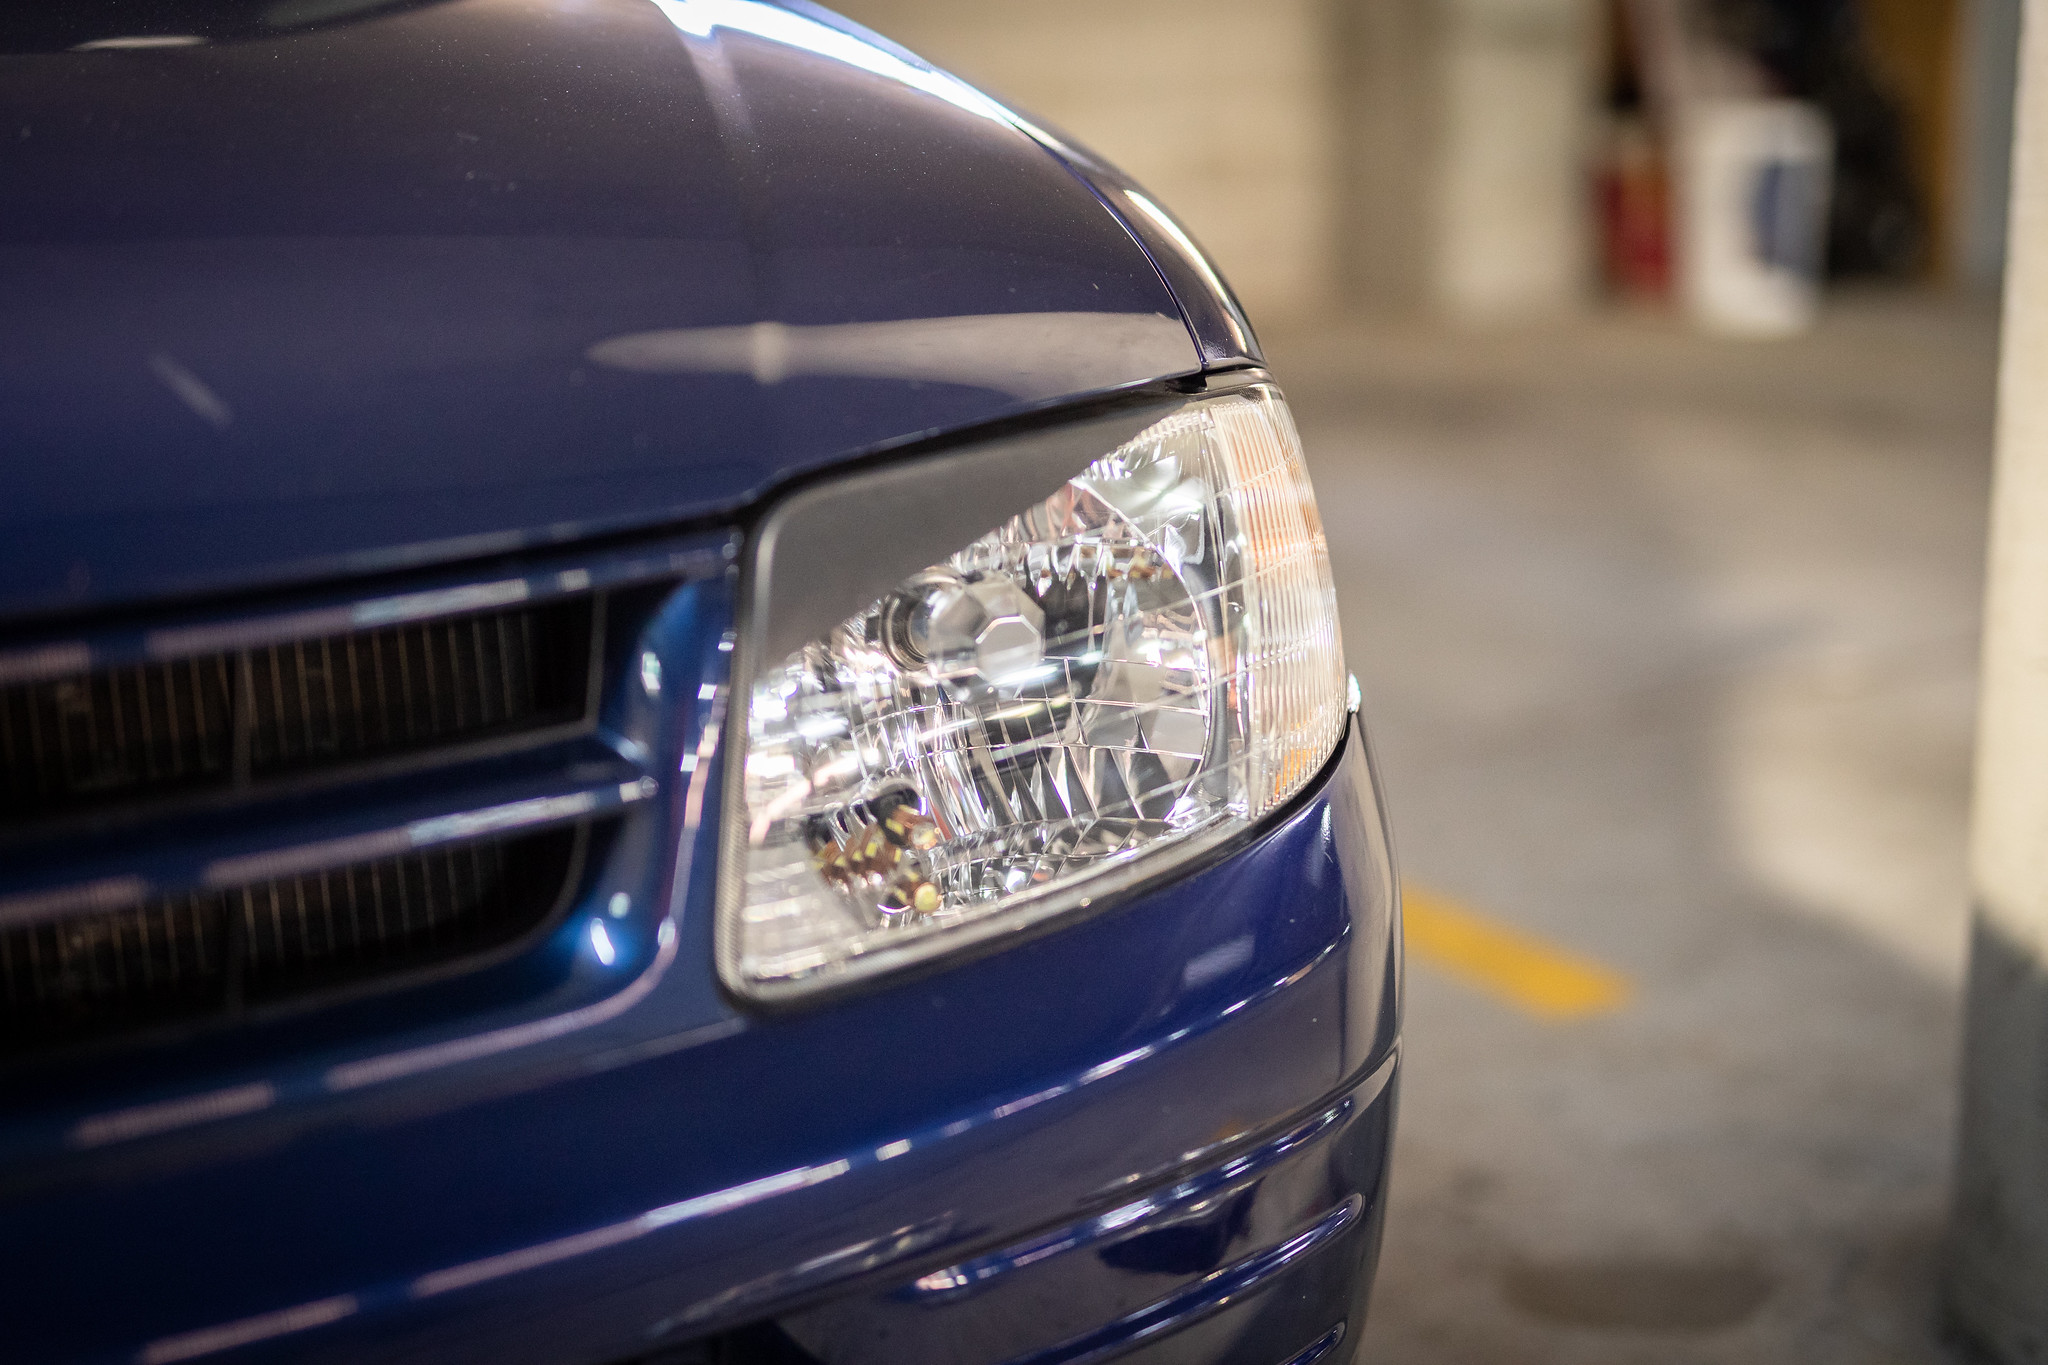
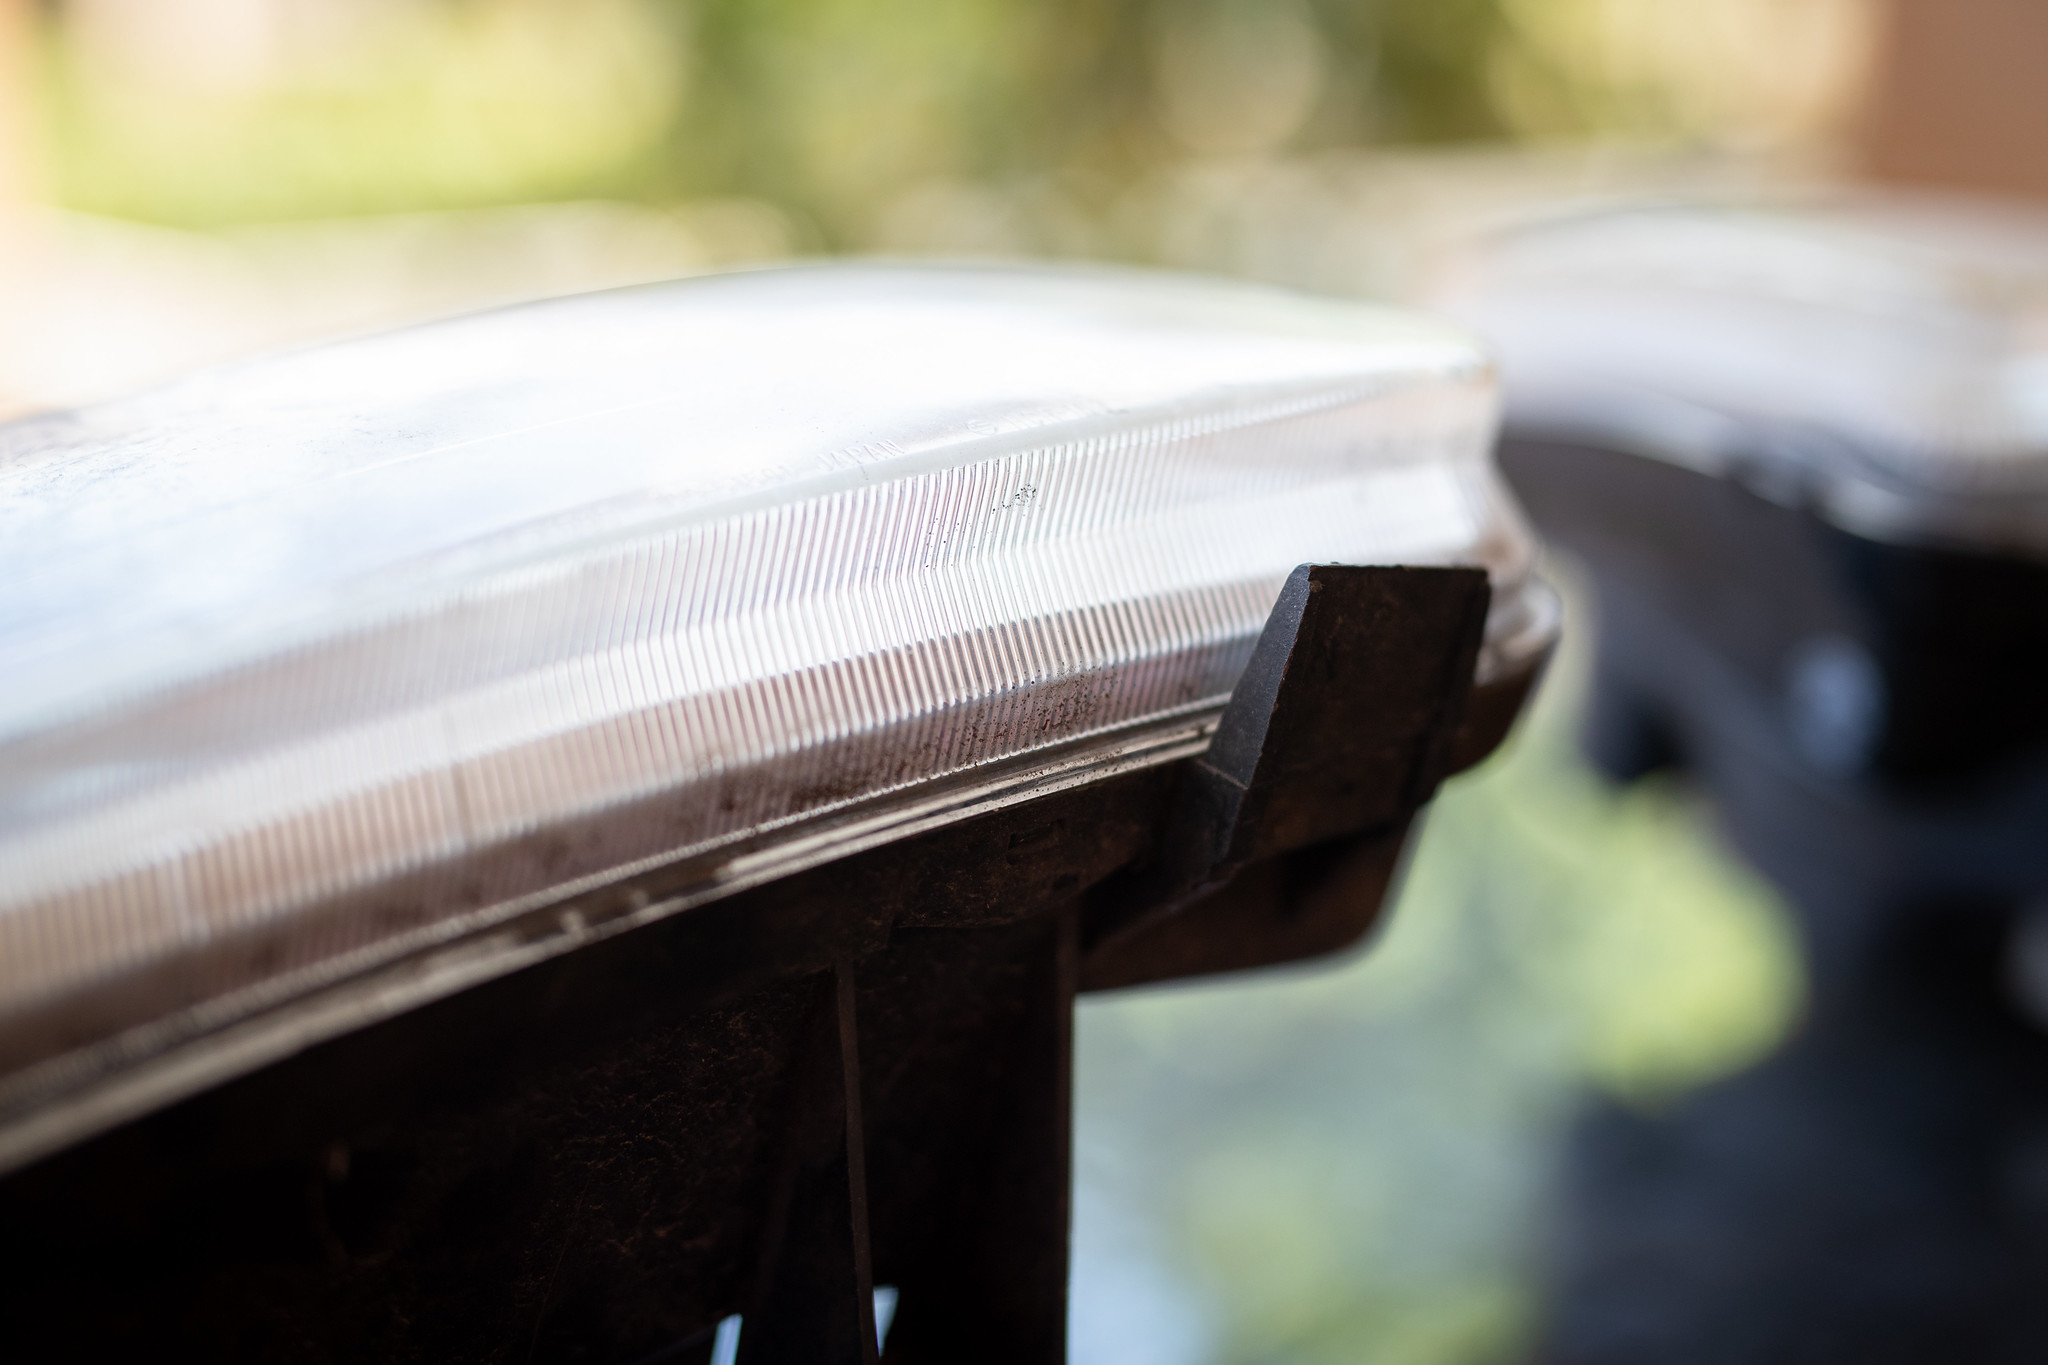
Before and After.
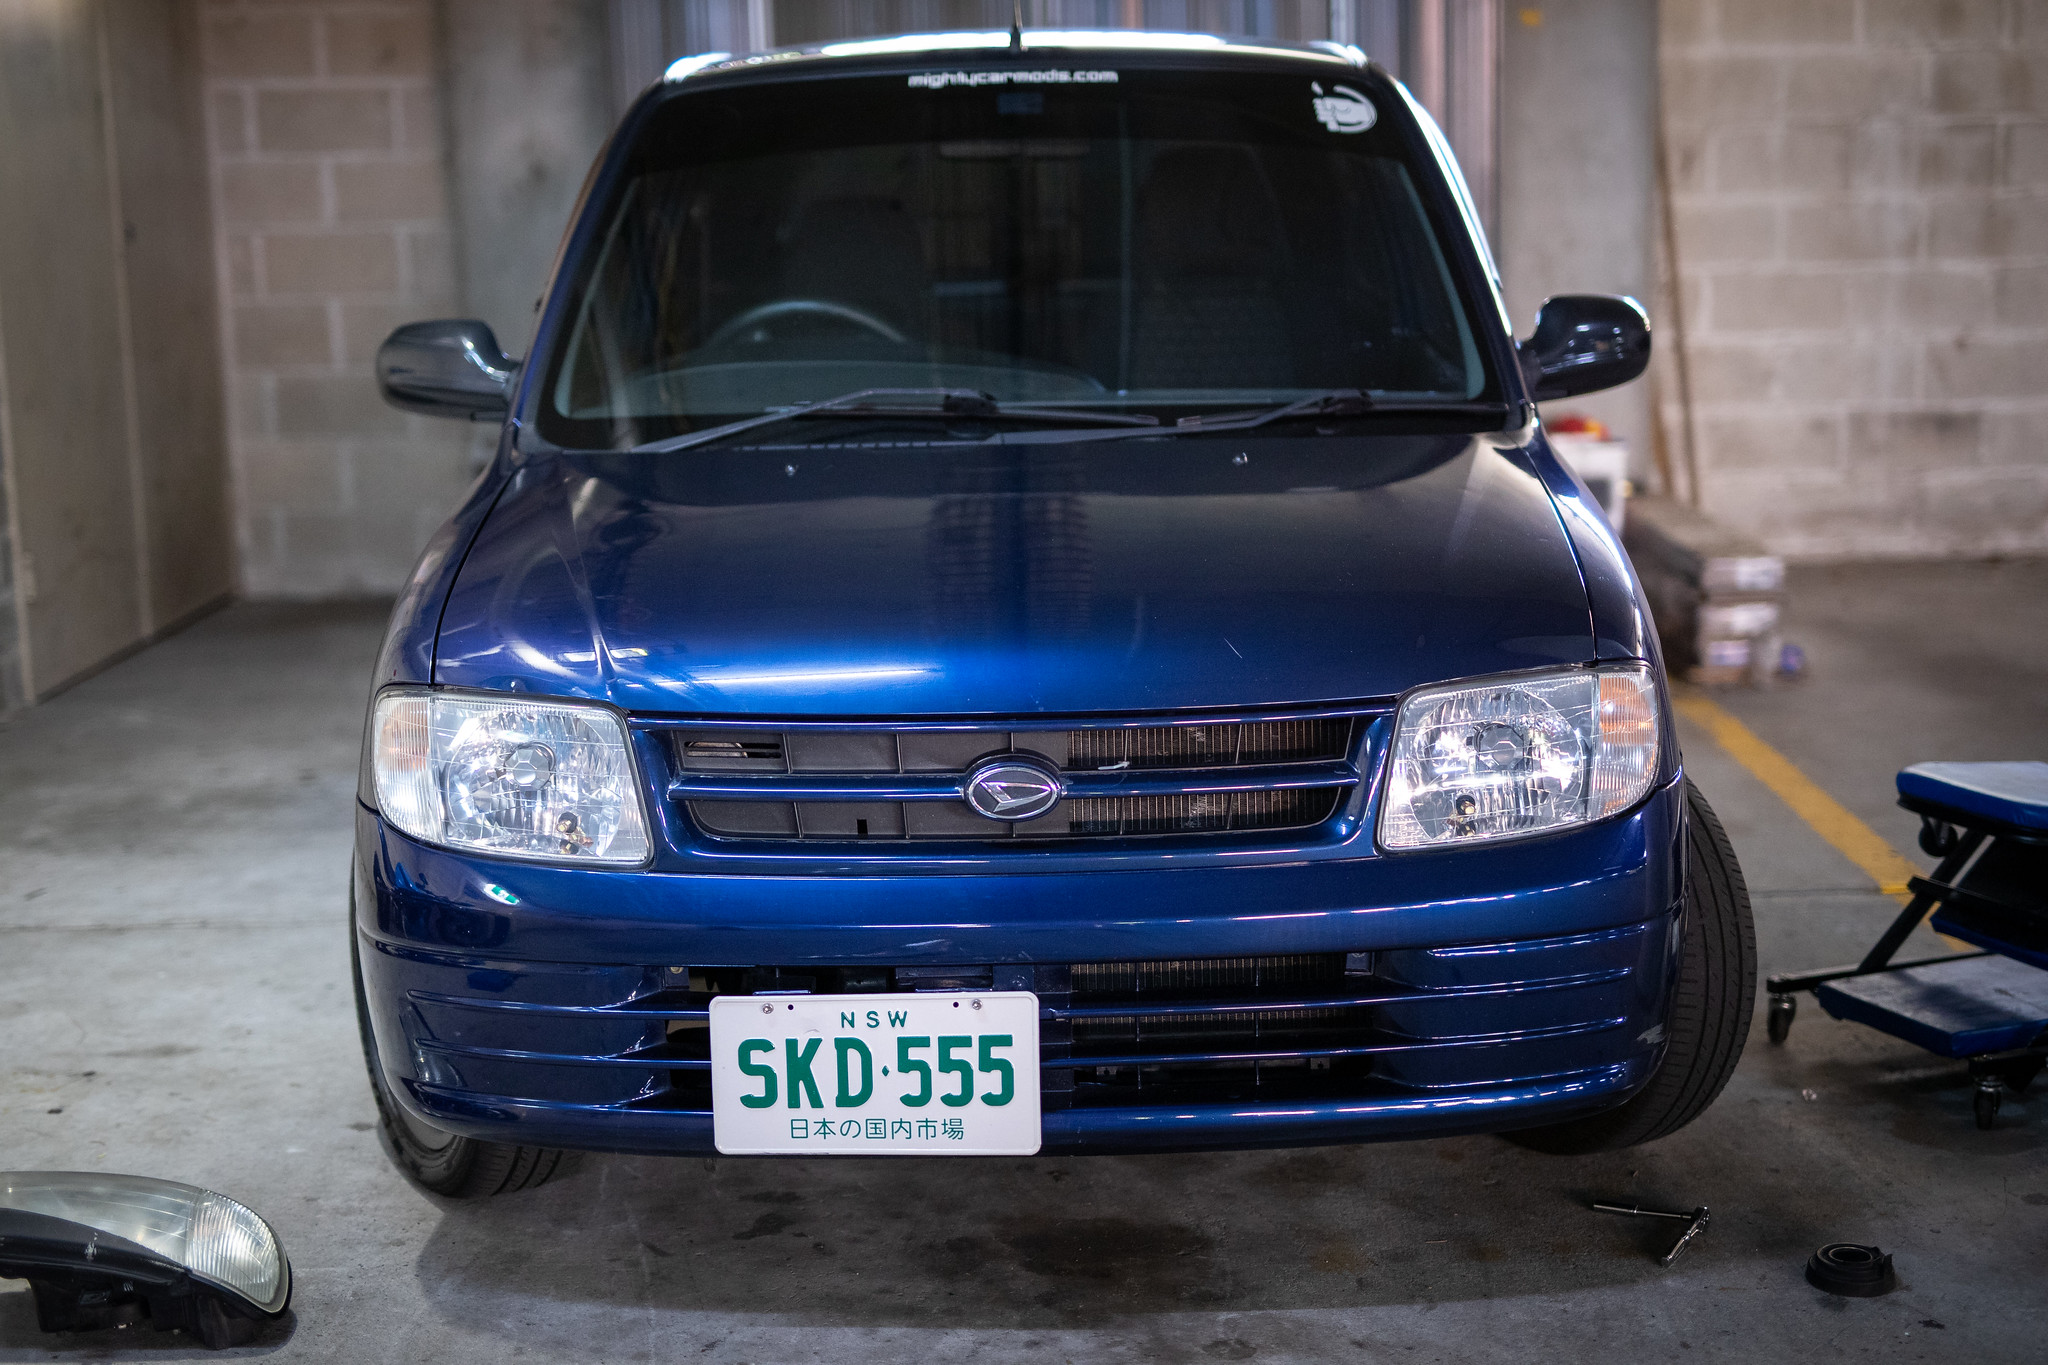
For a quick couple hours on a Sunday, I’m happy with the result.
7 Likes
Looks mint!
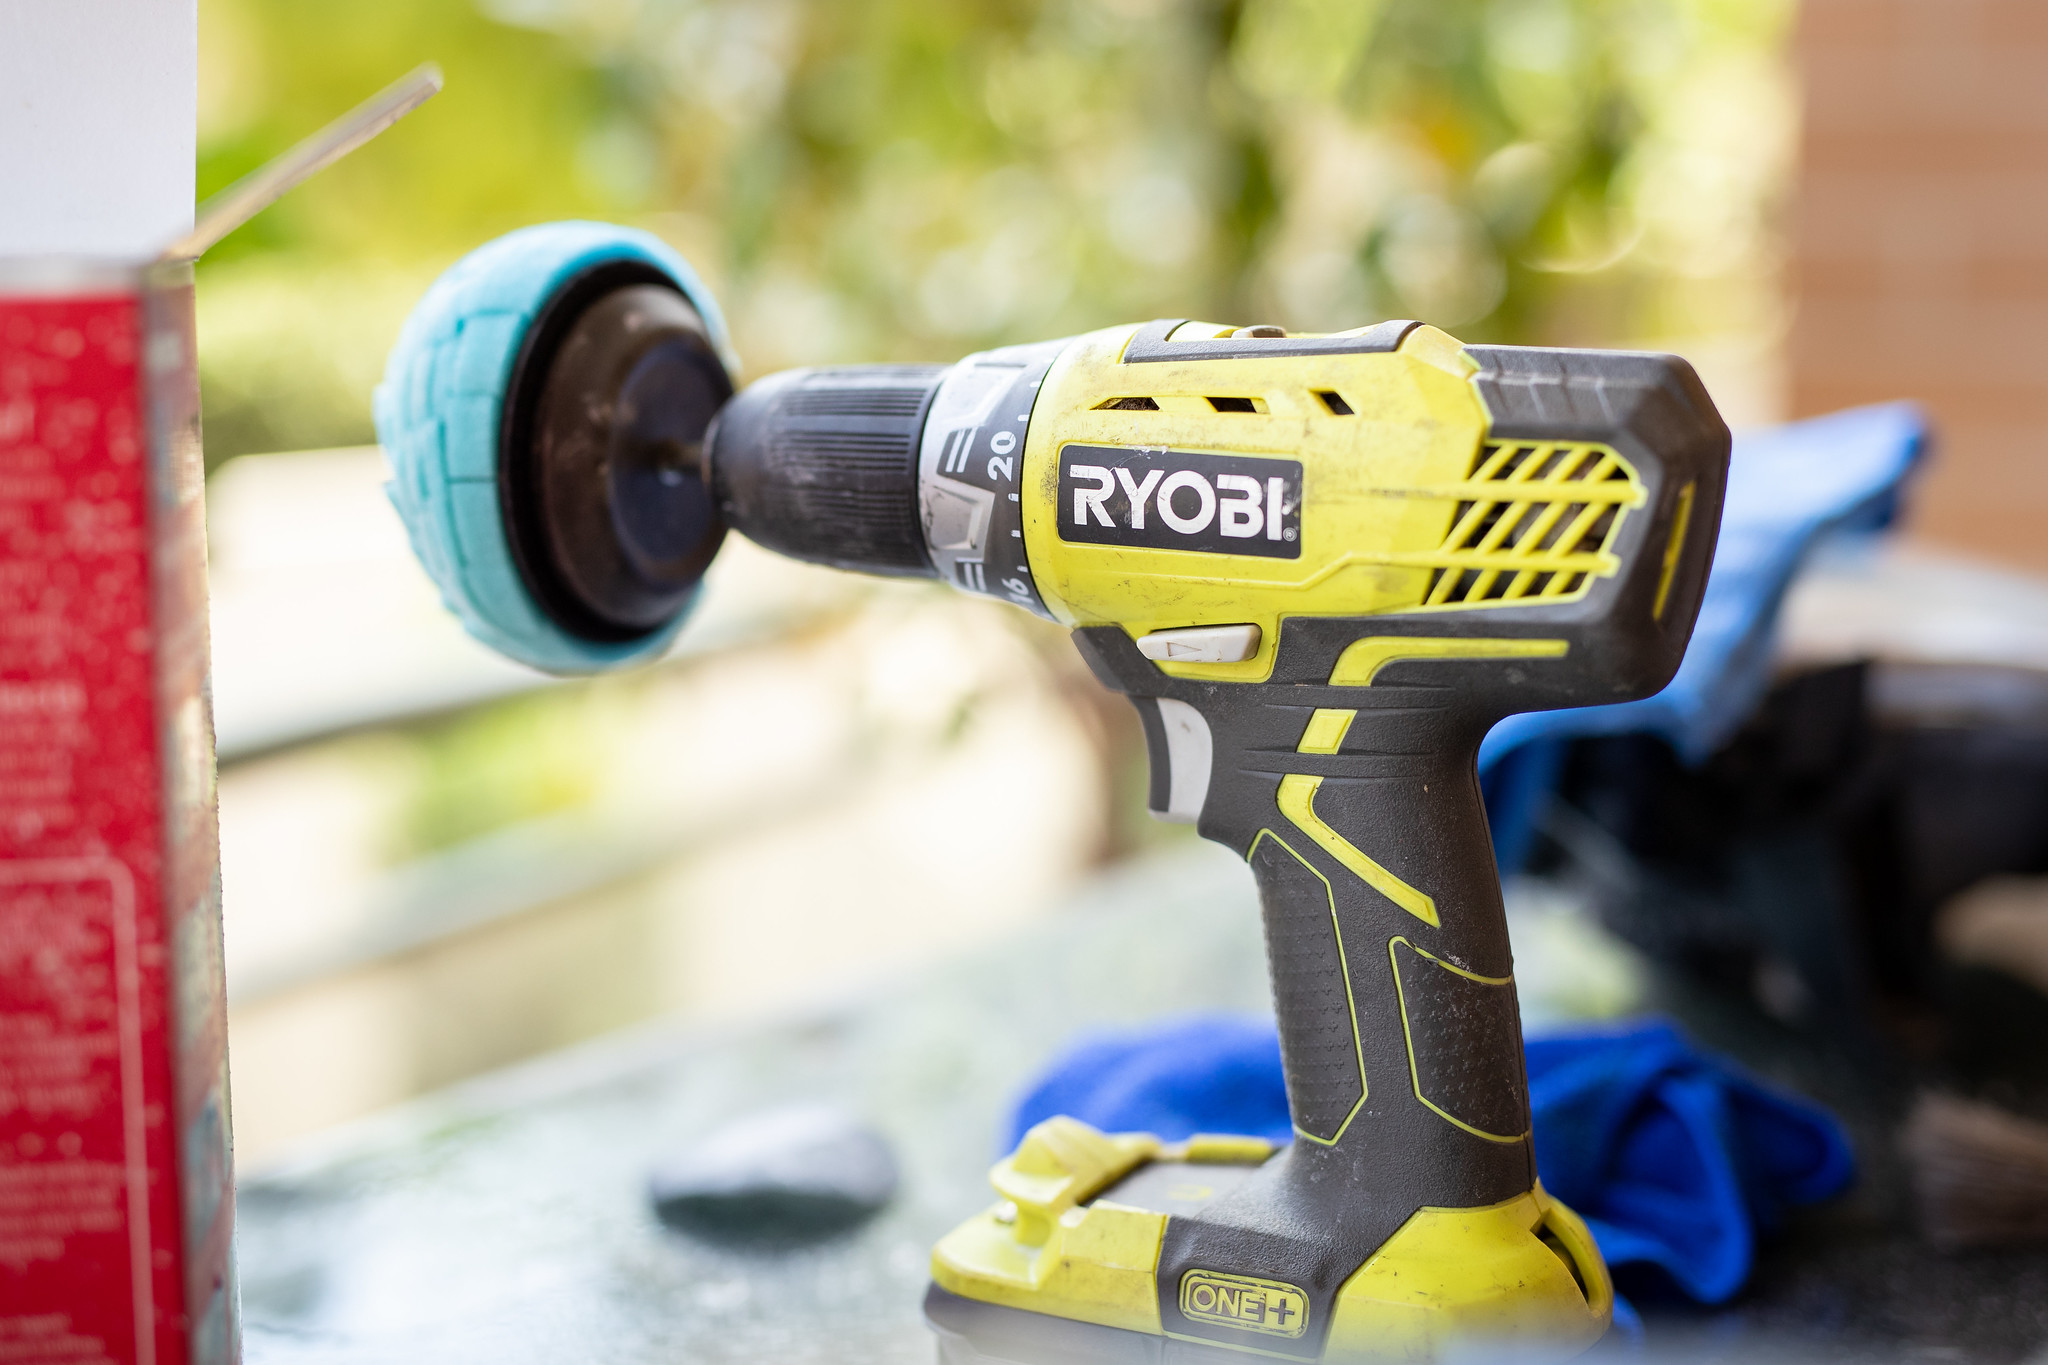
I have done the old “Various stages of wet sanding” on other headlights, but purchased the “powerball” when it was on sale one time.
I agree, it was a very simple process and worked a treat, much easier than wet/dry sanding. Have done the Sirion’s and an Evo IX’s headlights…quality outcome each time.
2 Likes
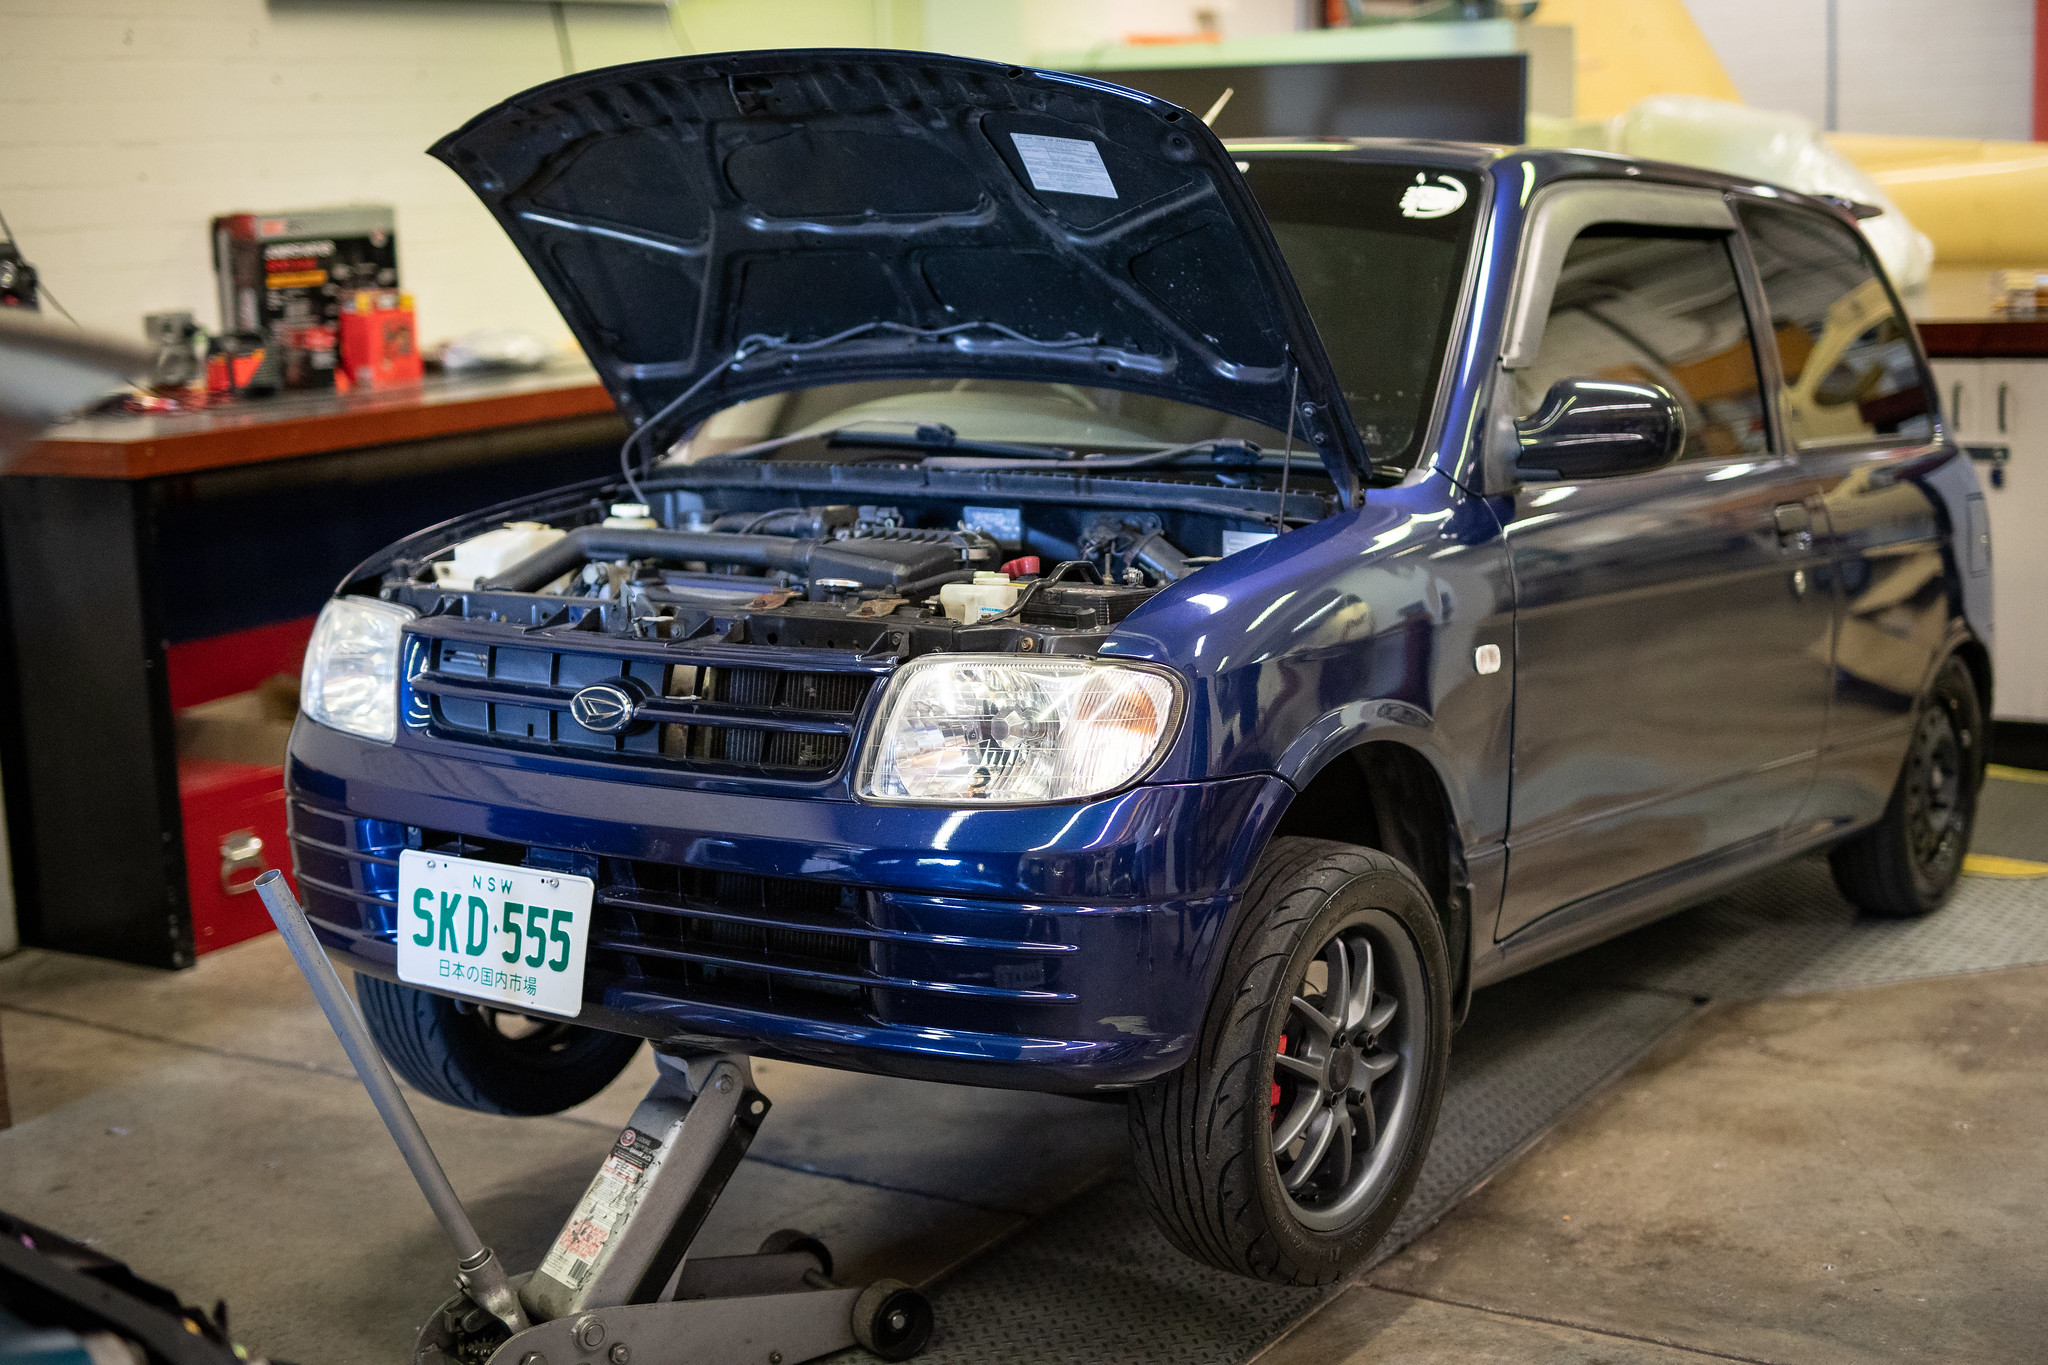
October 2019: Been keen on doing this for some time, and with the Subaru leaving me, and injecting some cash back into my wallet it was time to do it, and do it properly. Copen brake upgrade.
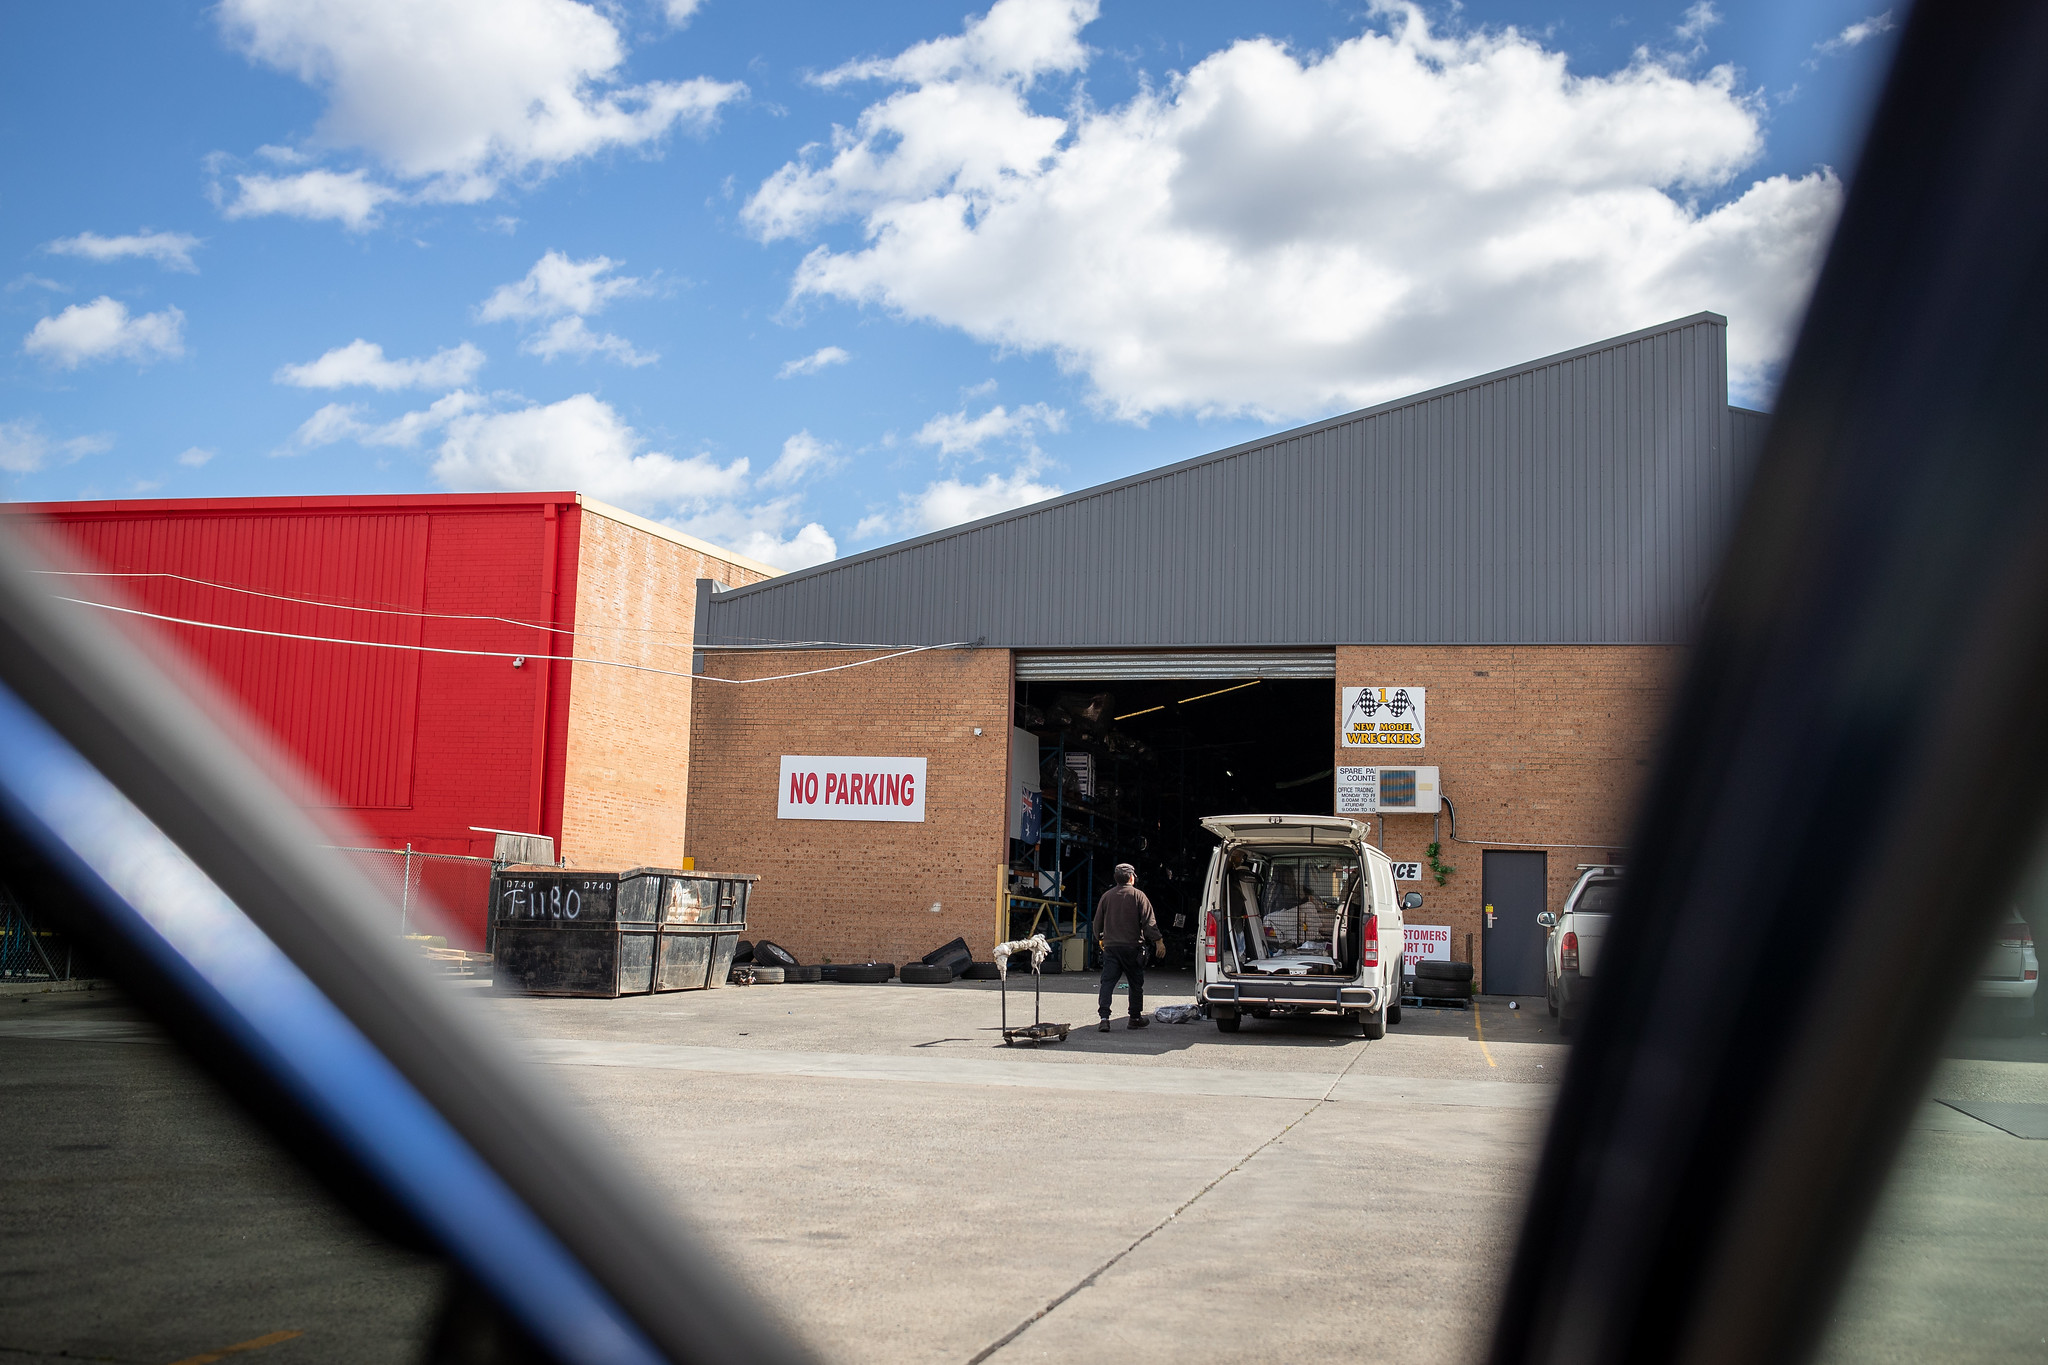
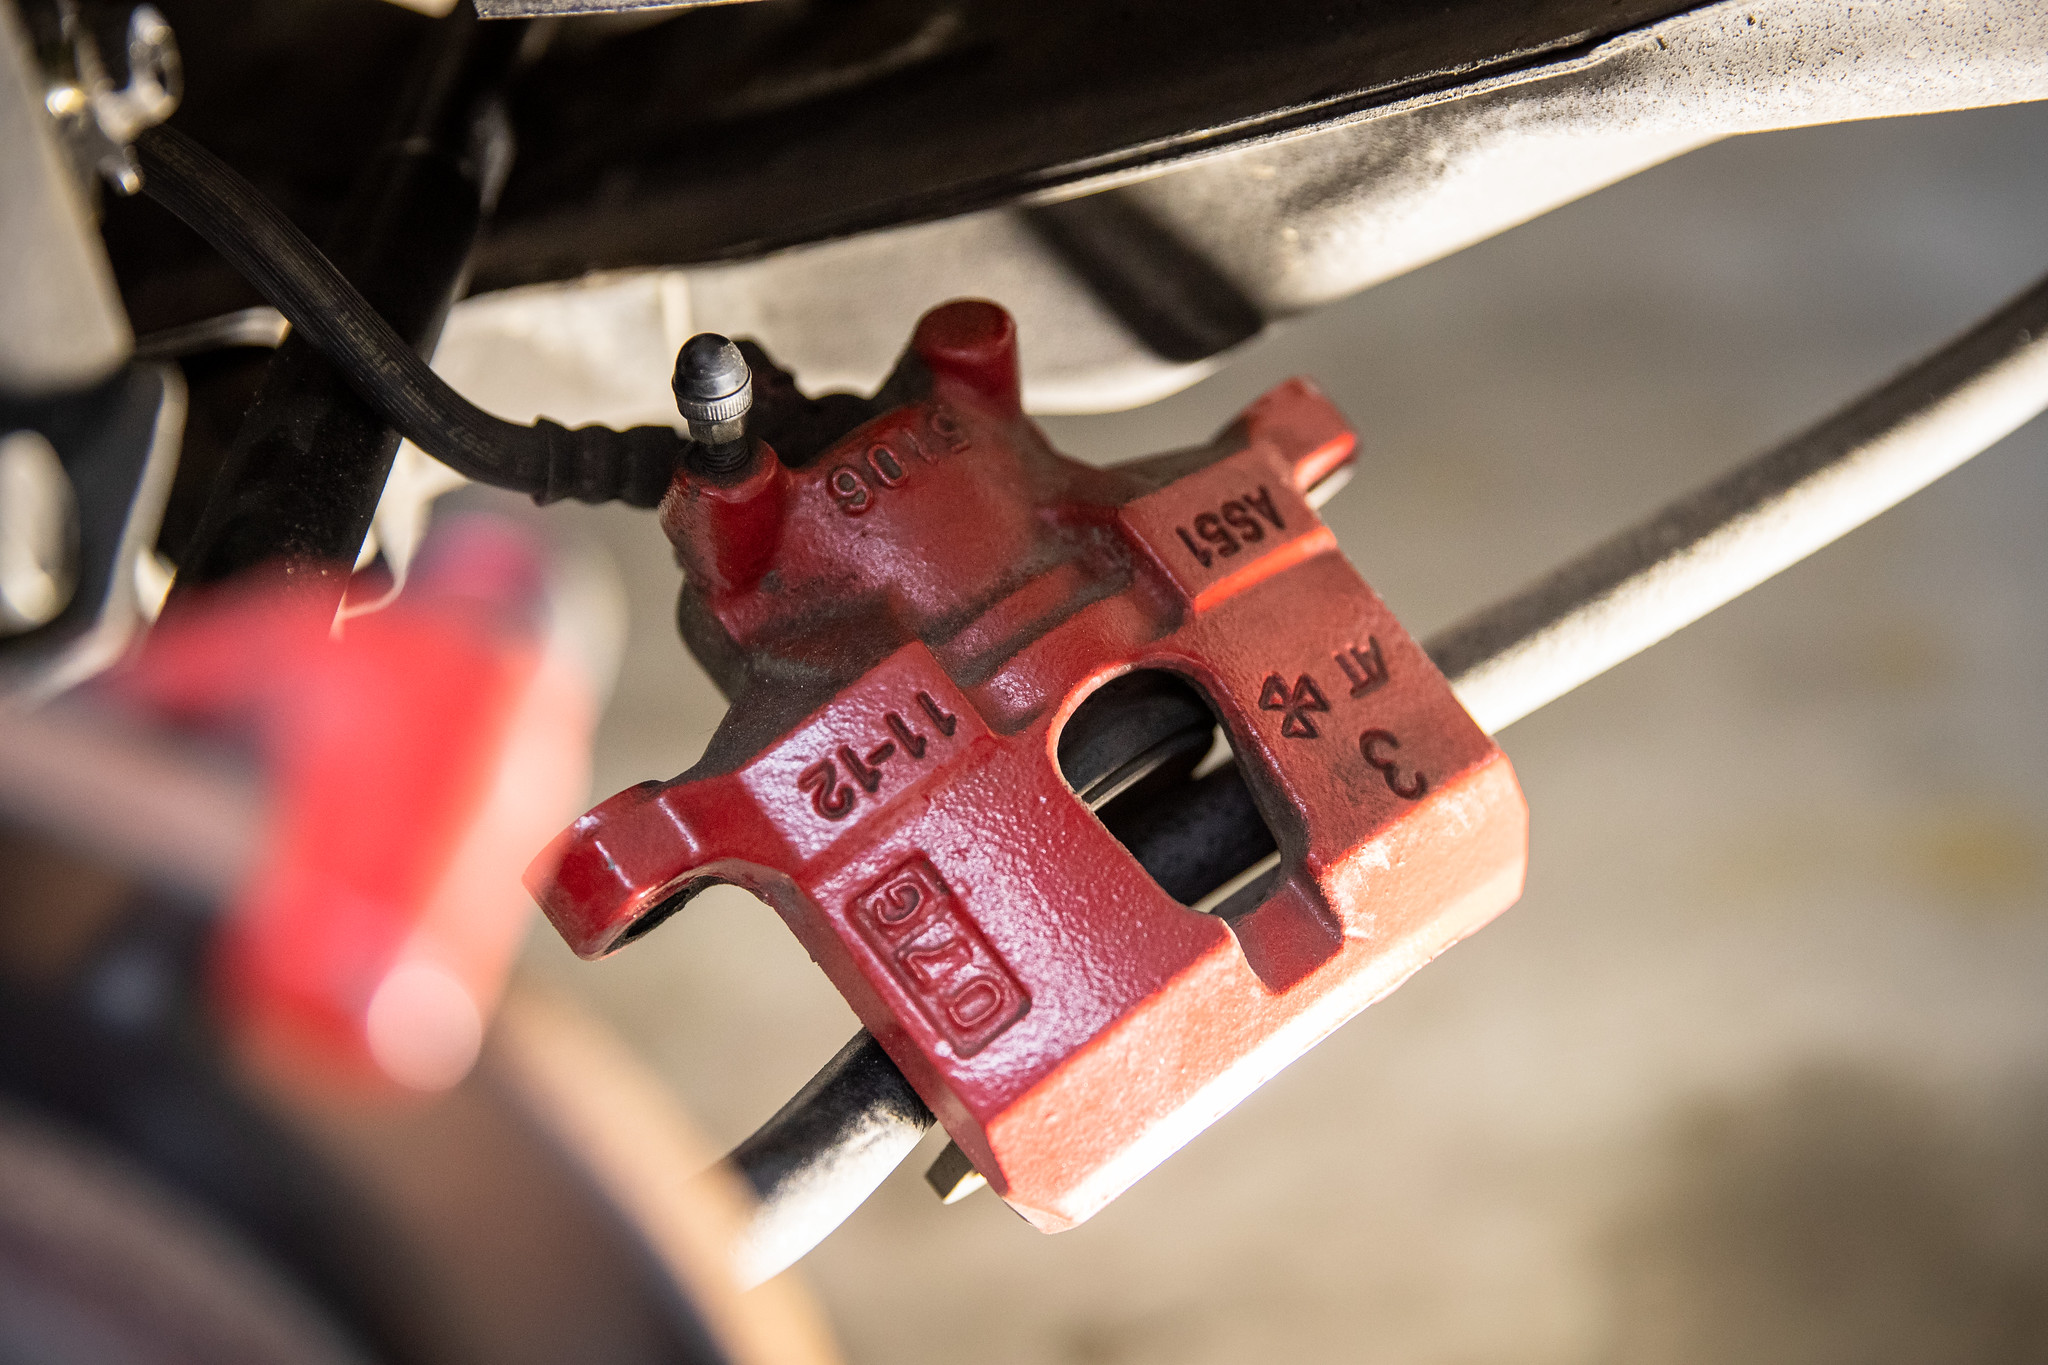
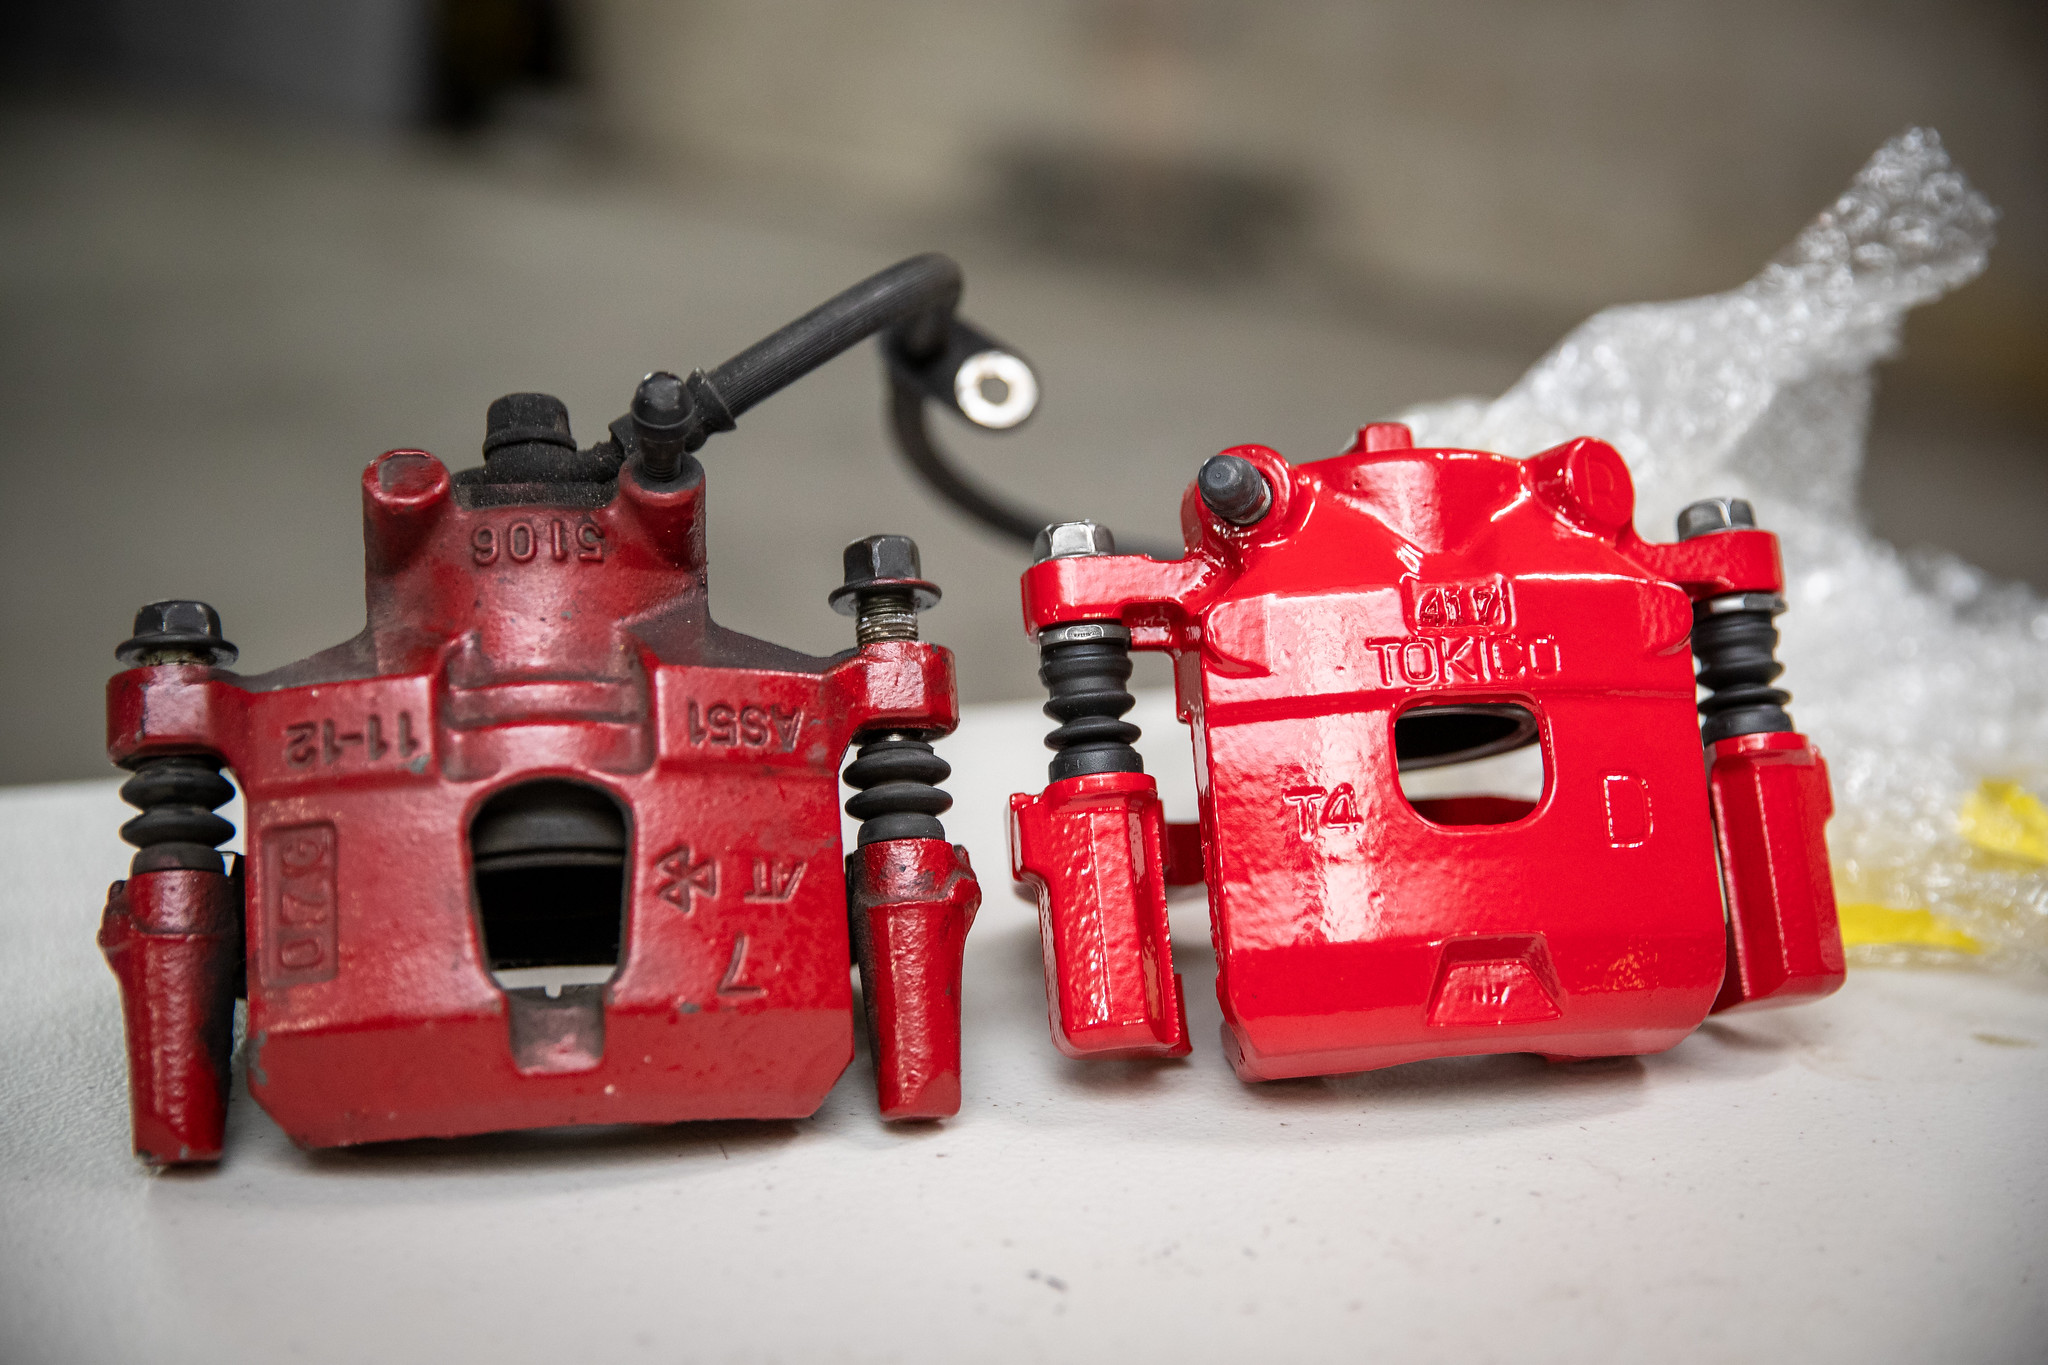
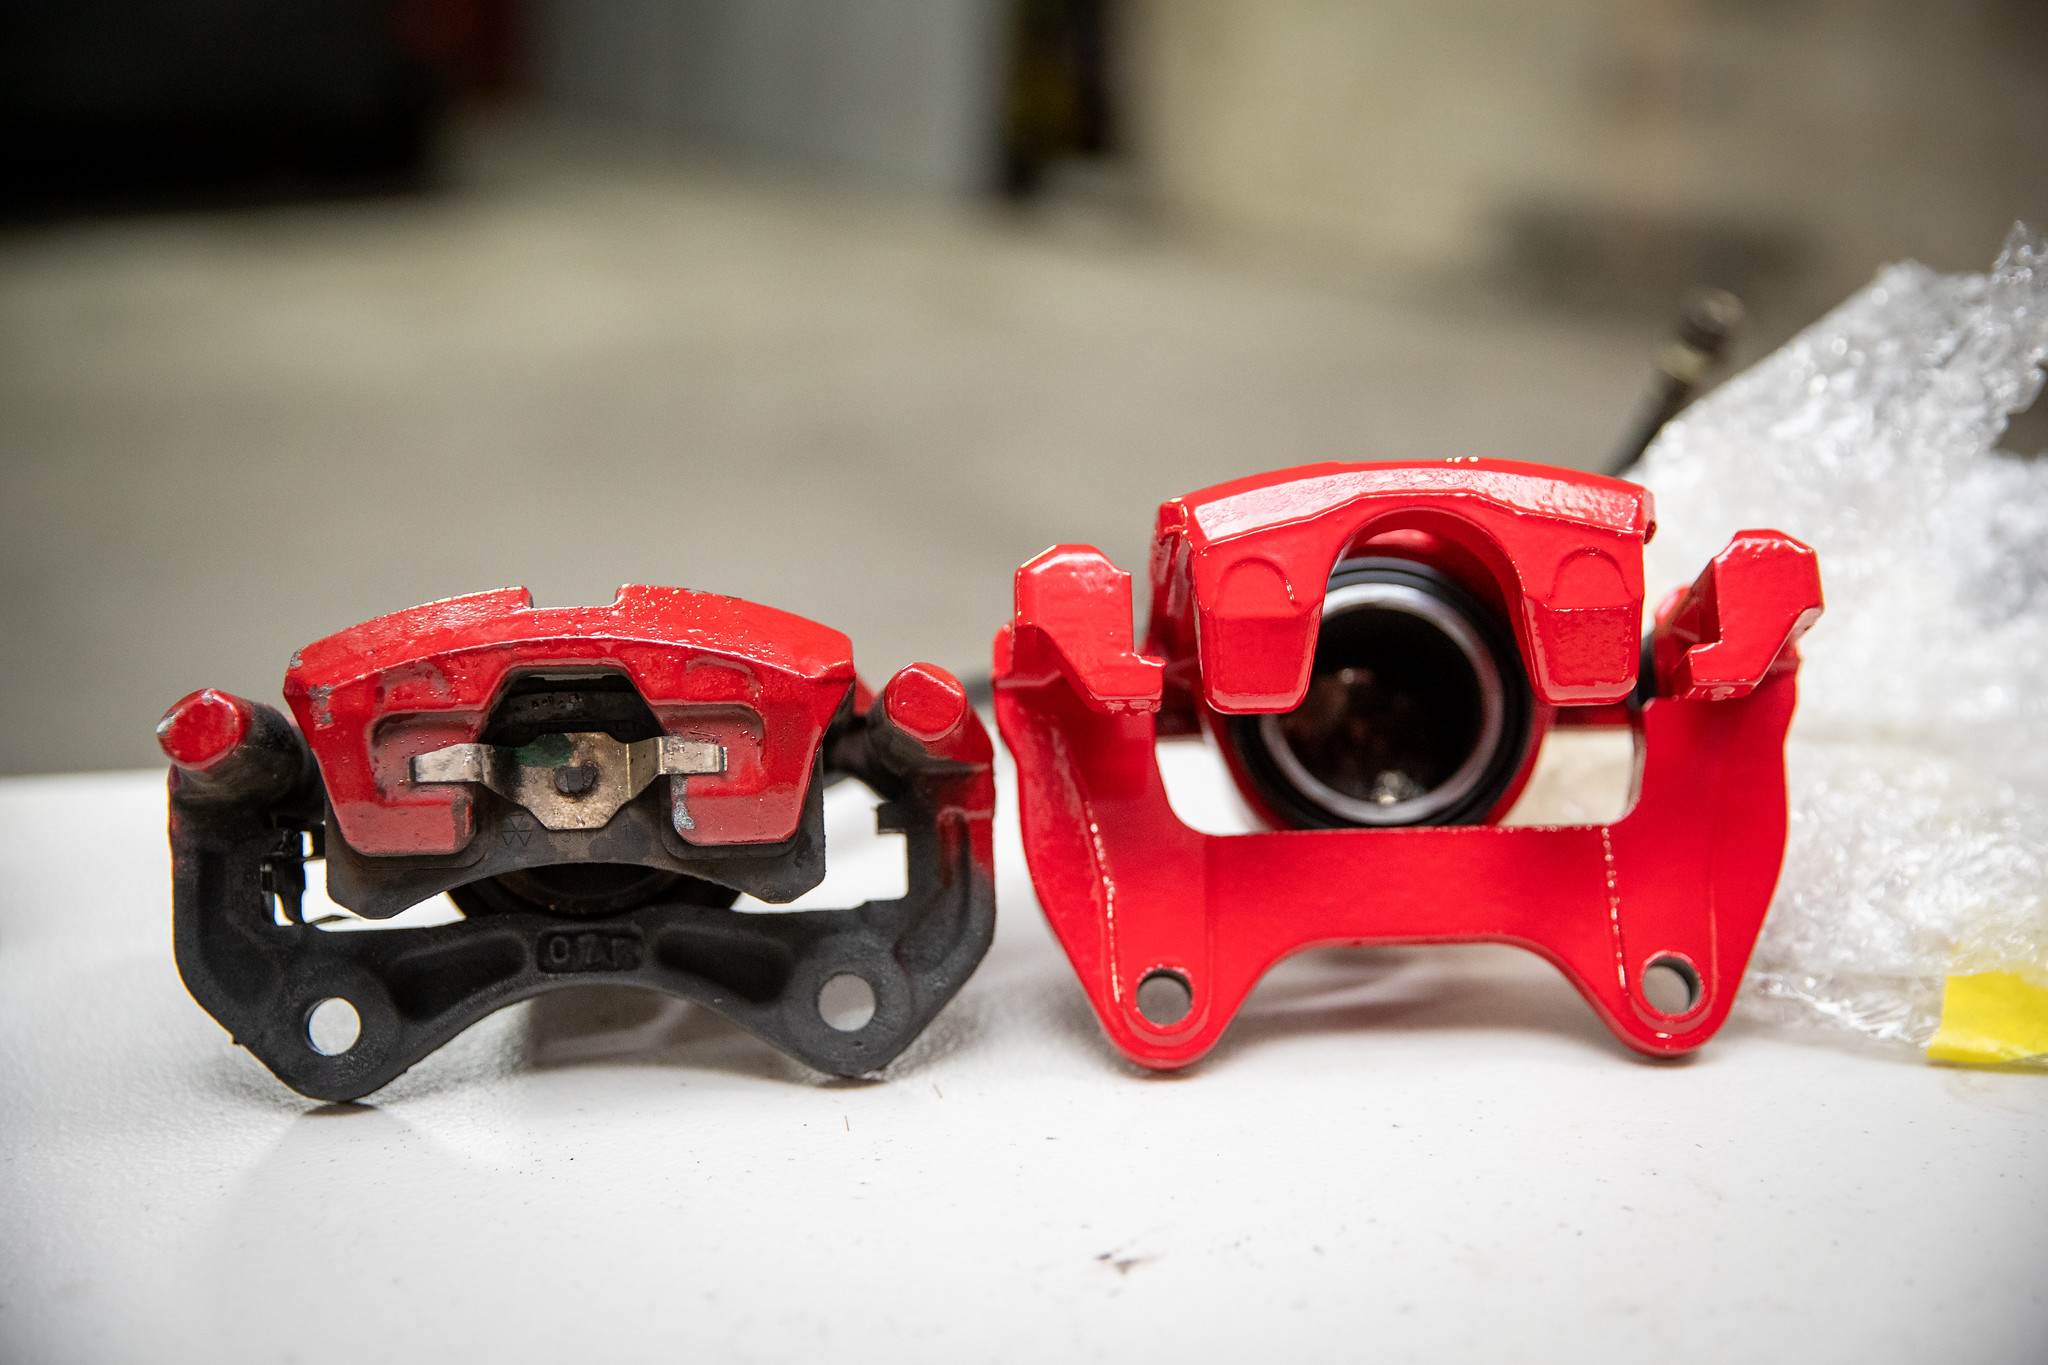
Before anything could get happening I needed to head over to New Model Wreckers to grab myself a set of Daihatsu Copen calipers. They sold me everything as is whole on a hub. Not bad for 150. Also grabbed a second set for a mate.
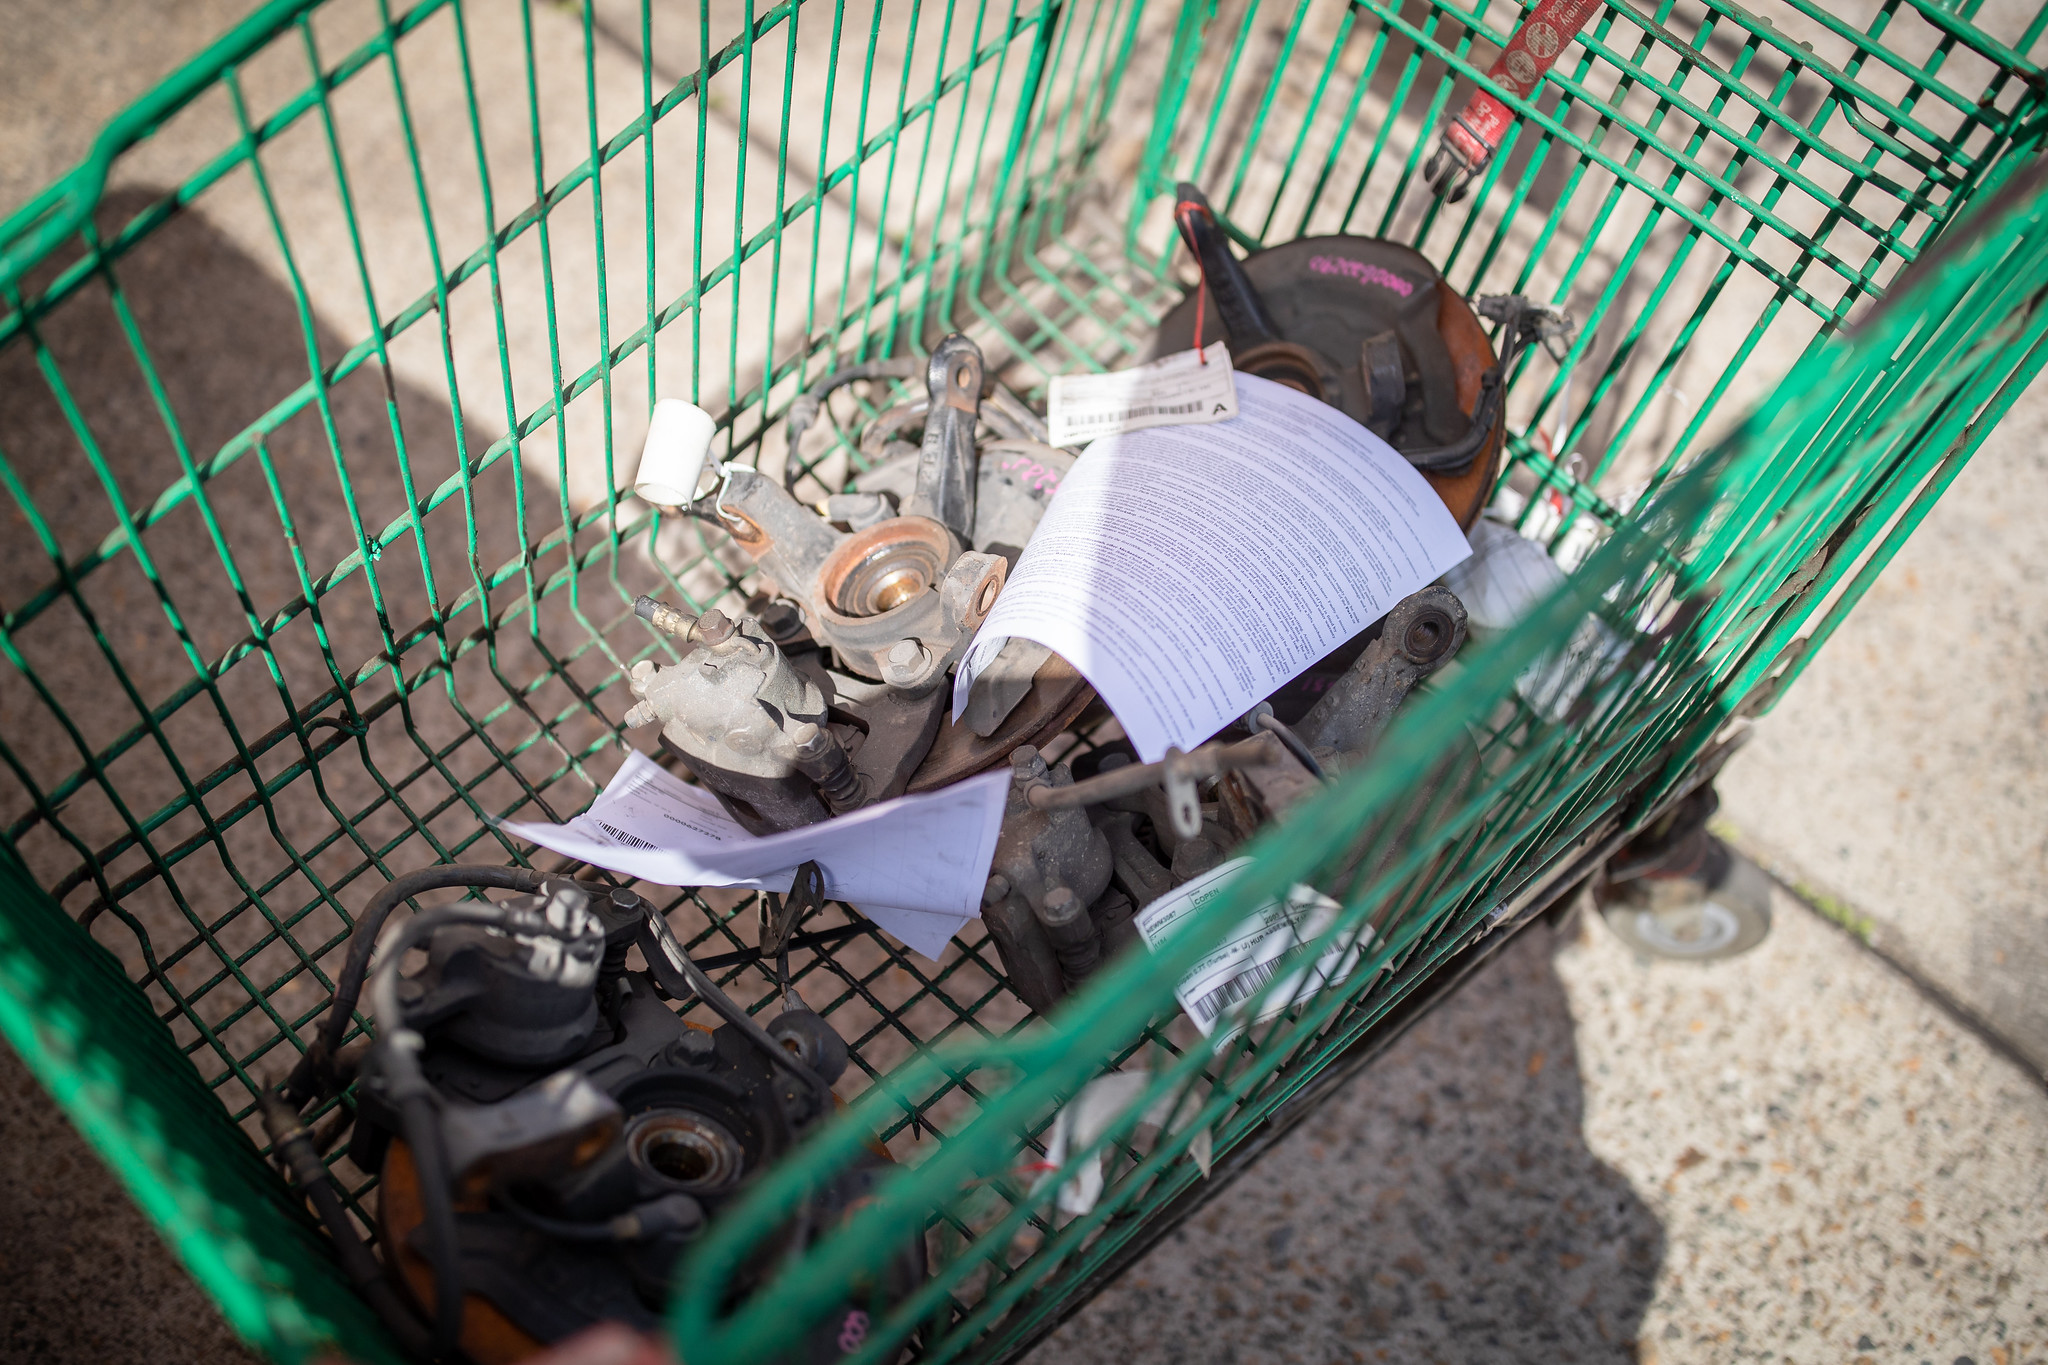
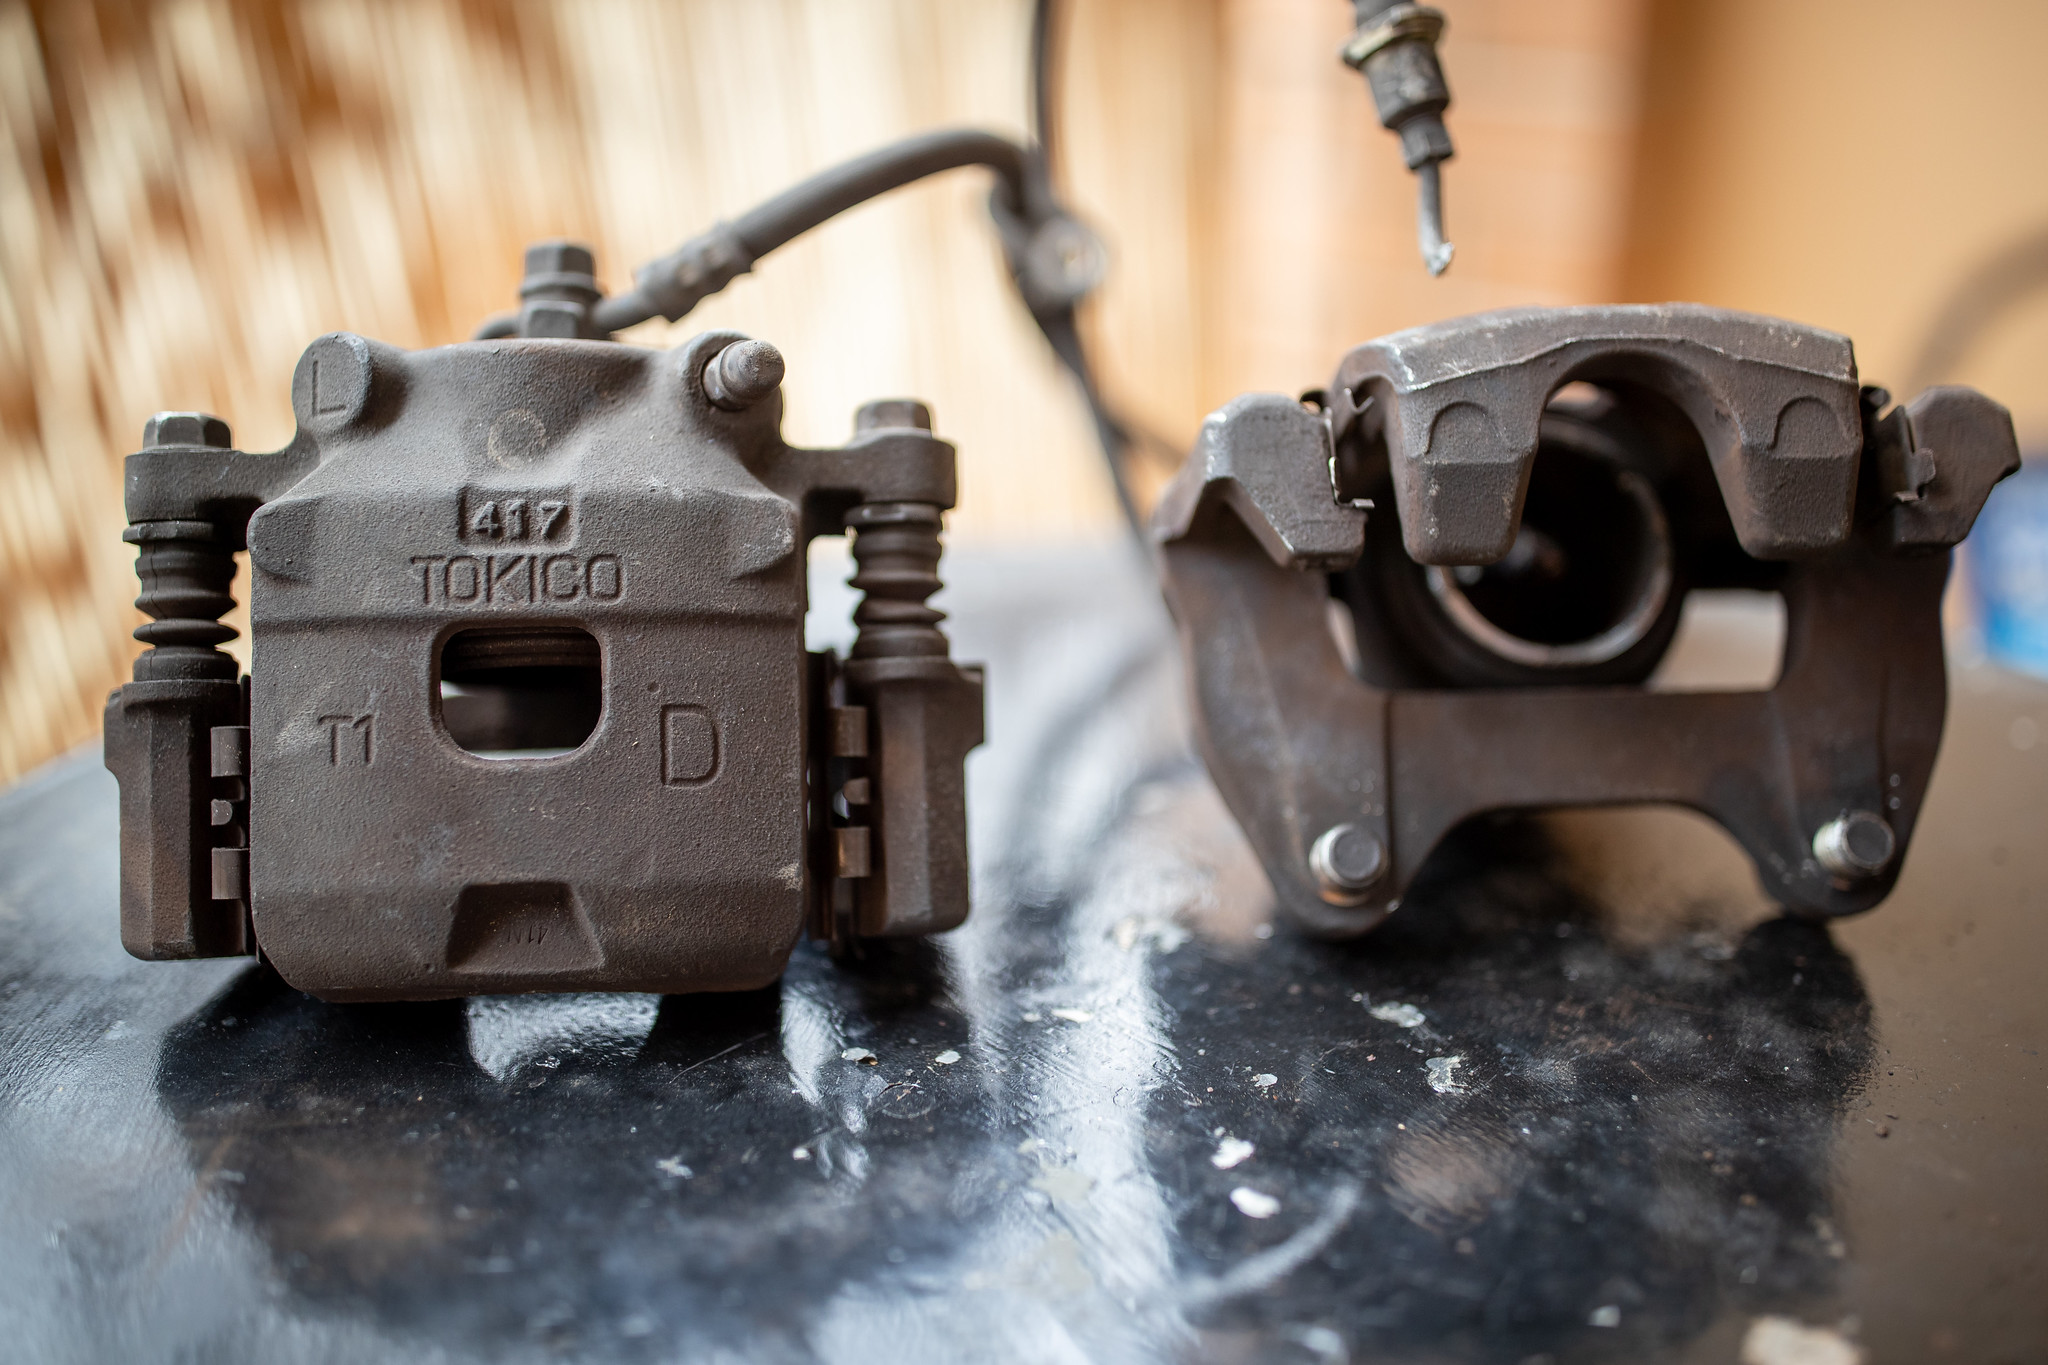
Got them home, they looked pretty decent.
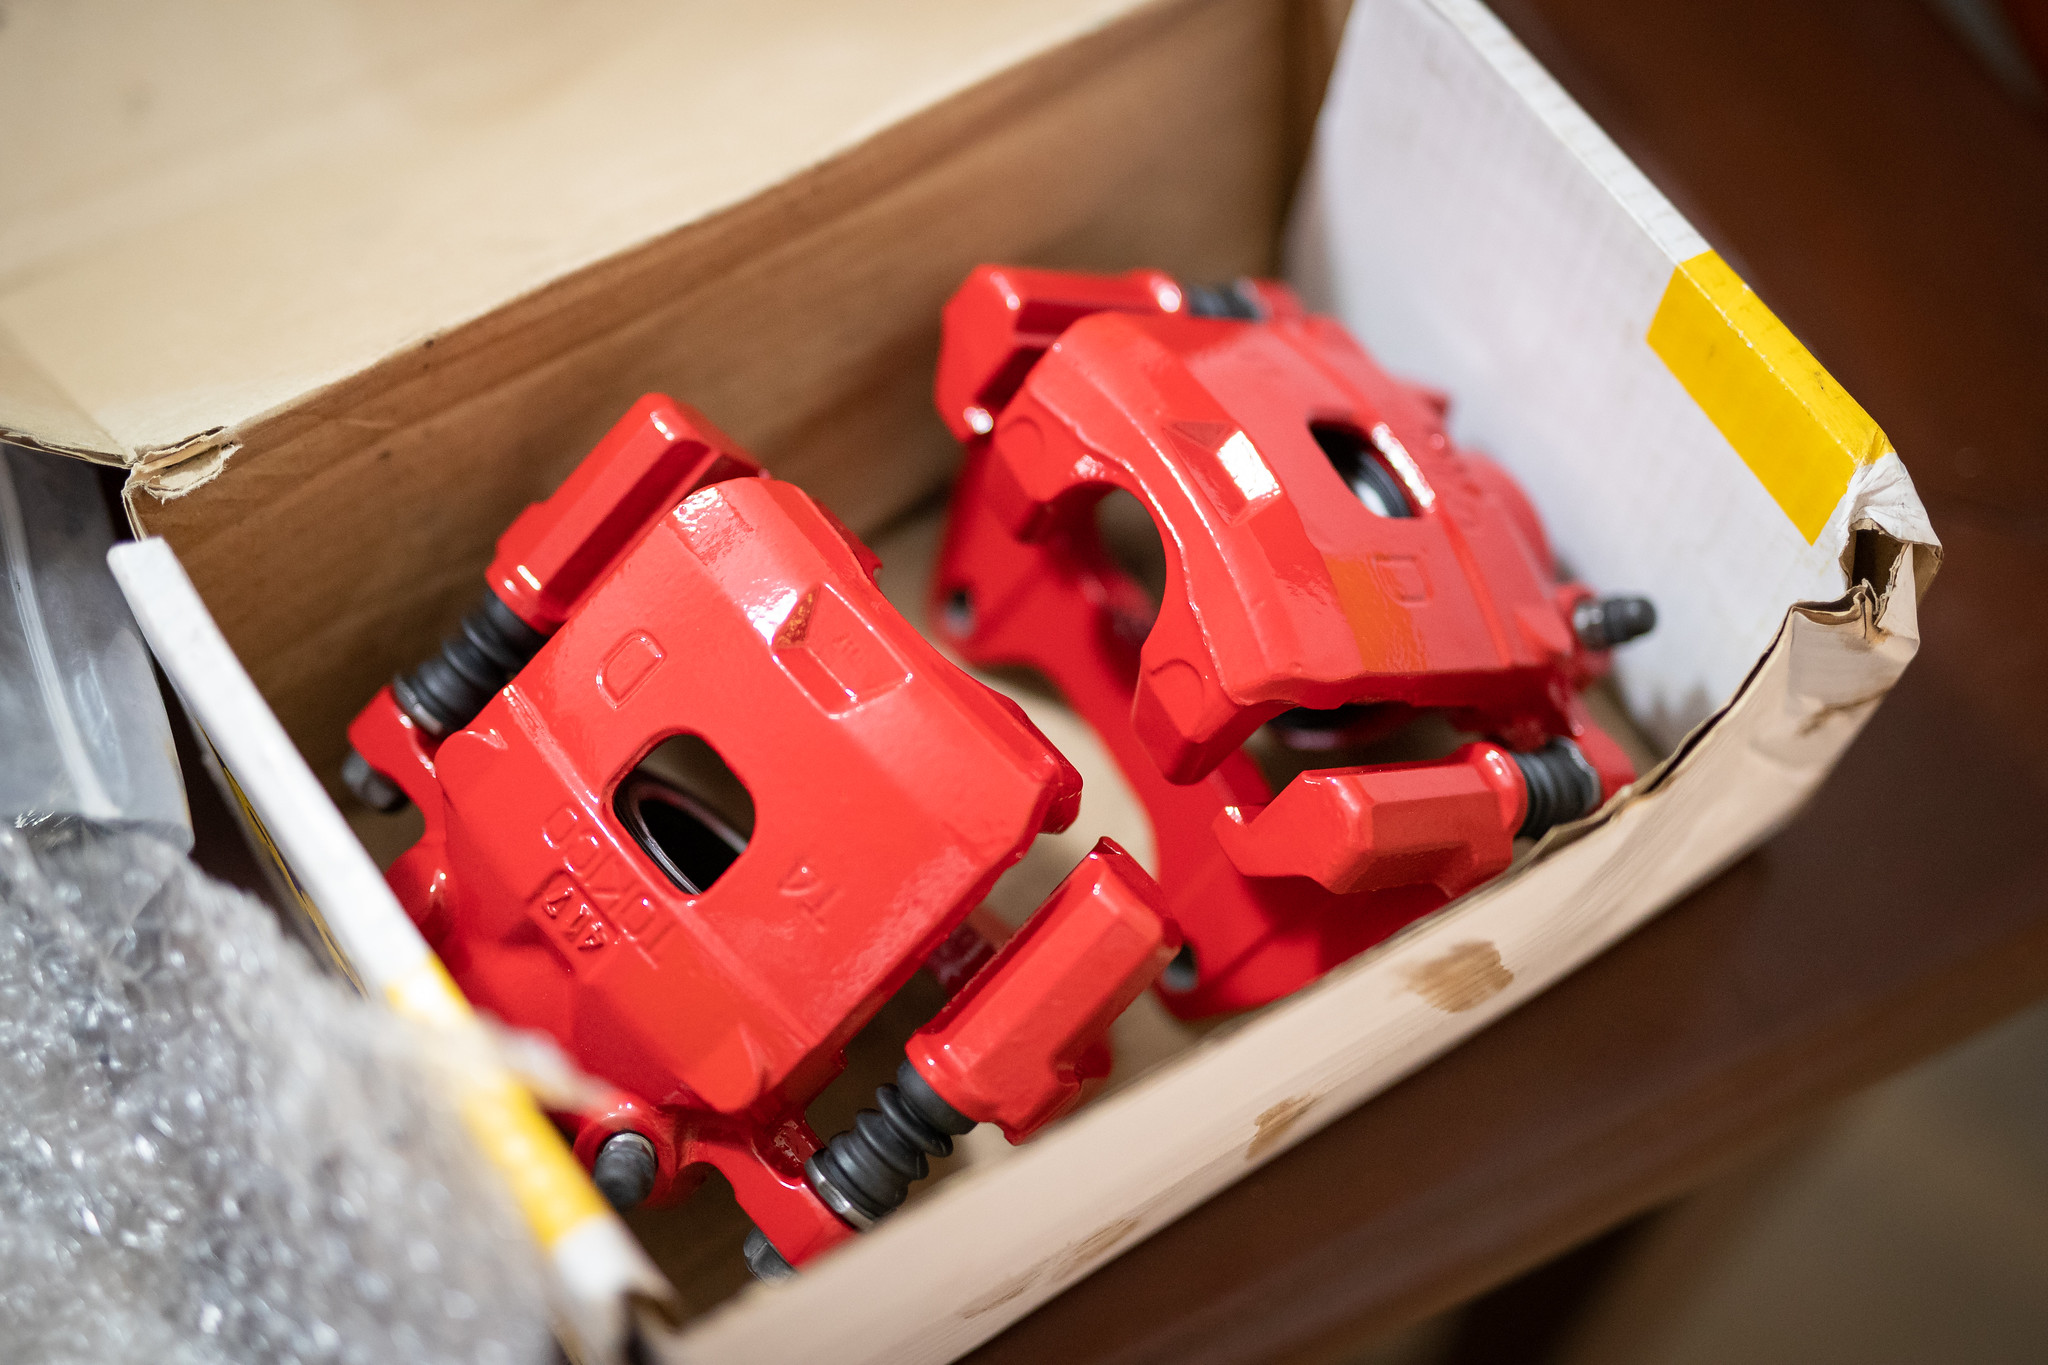
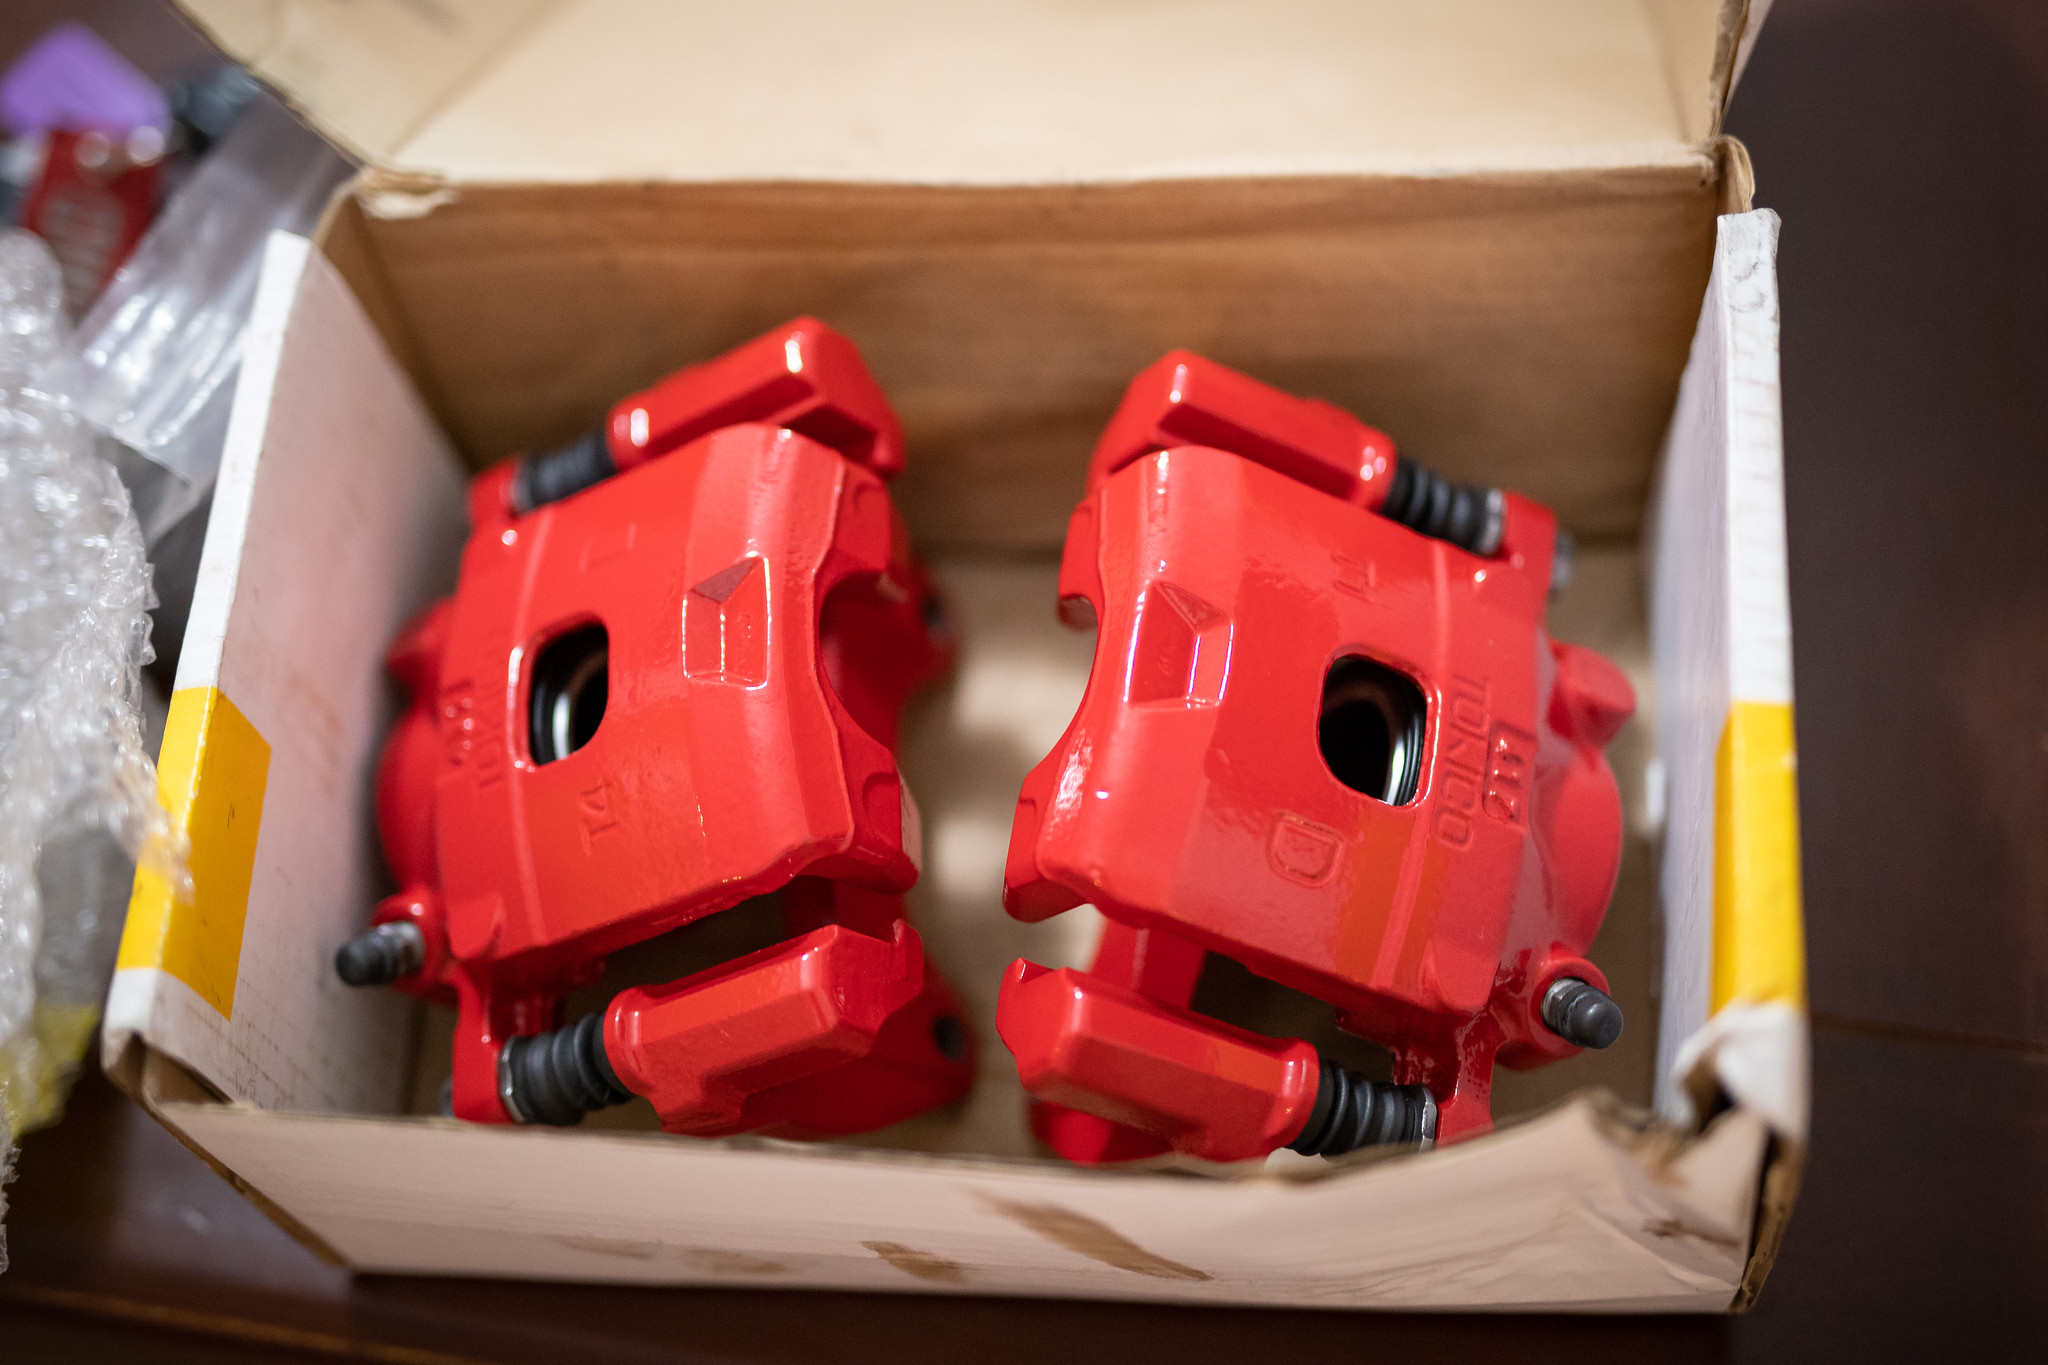
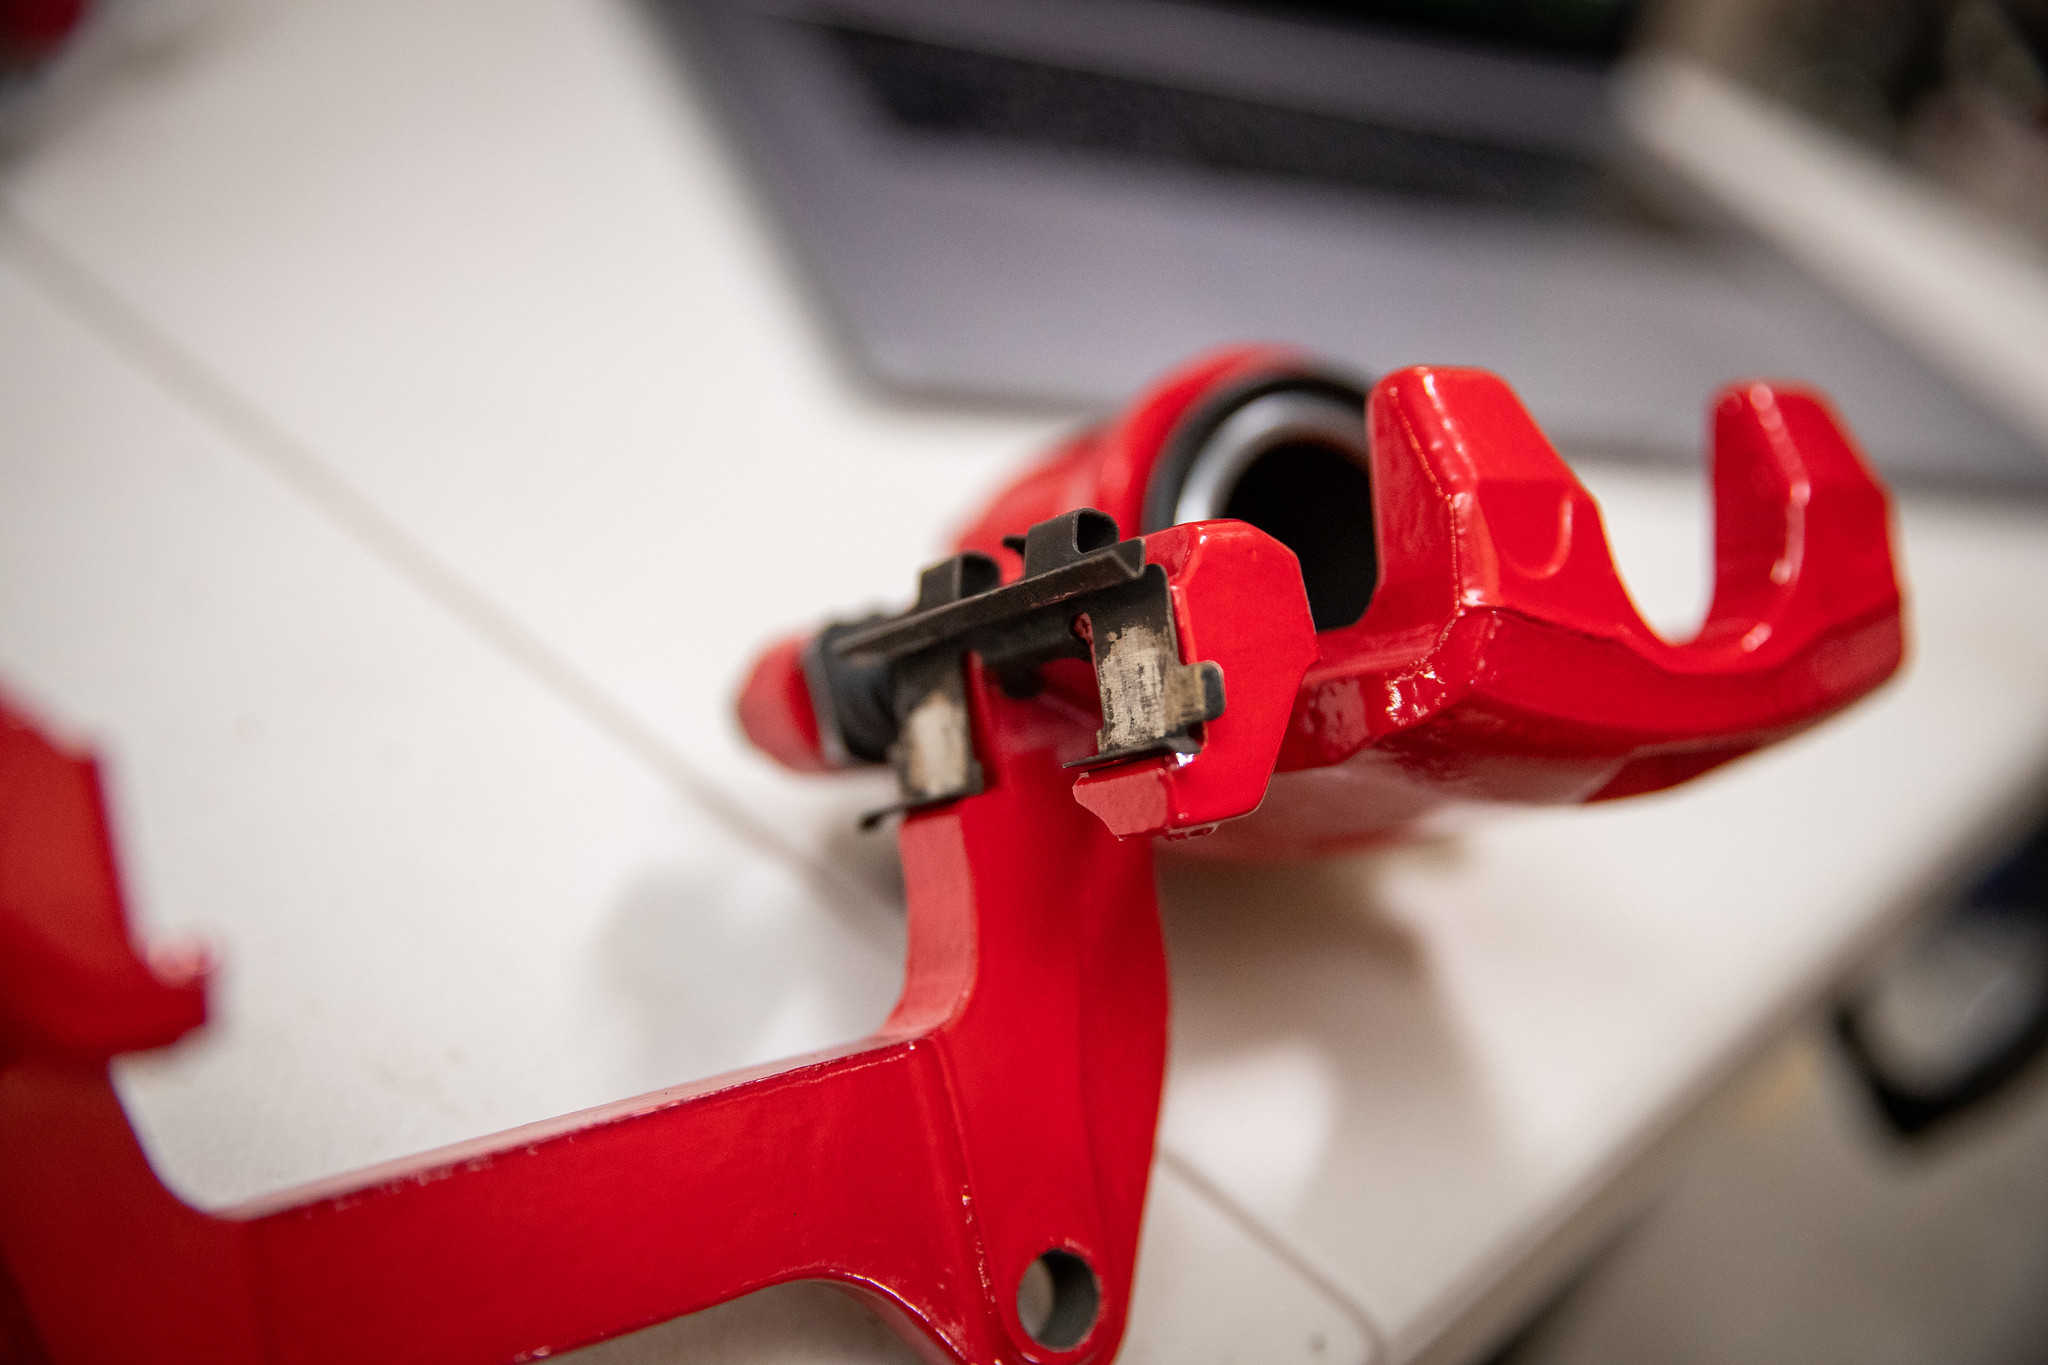
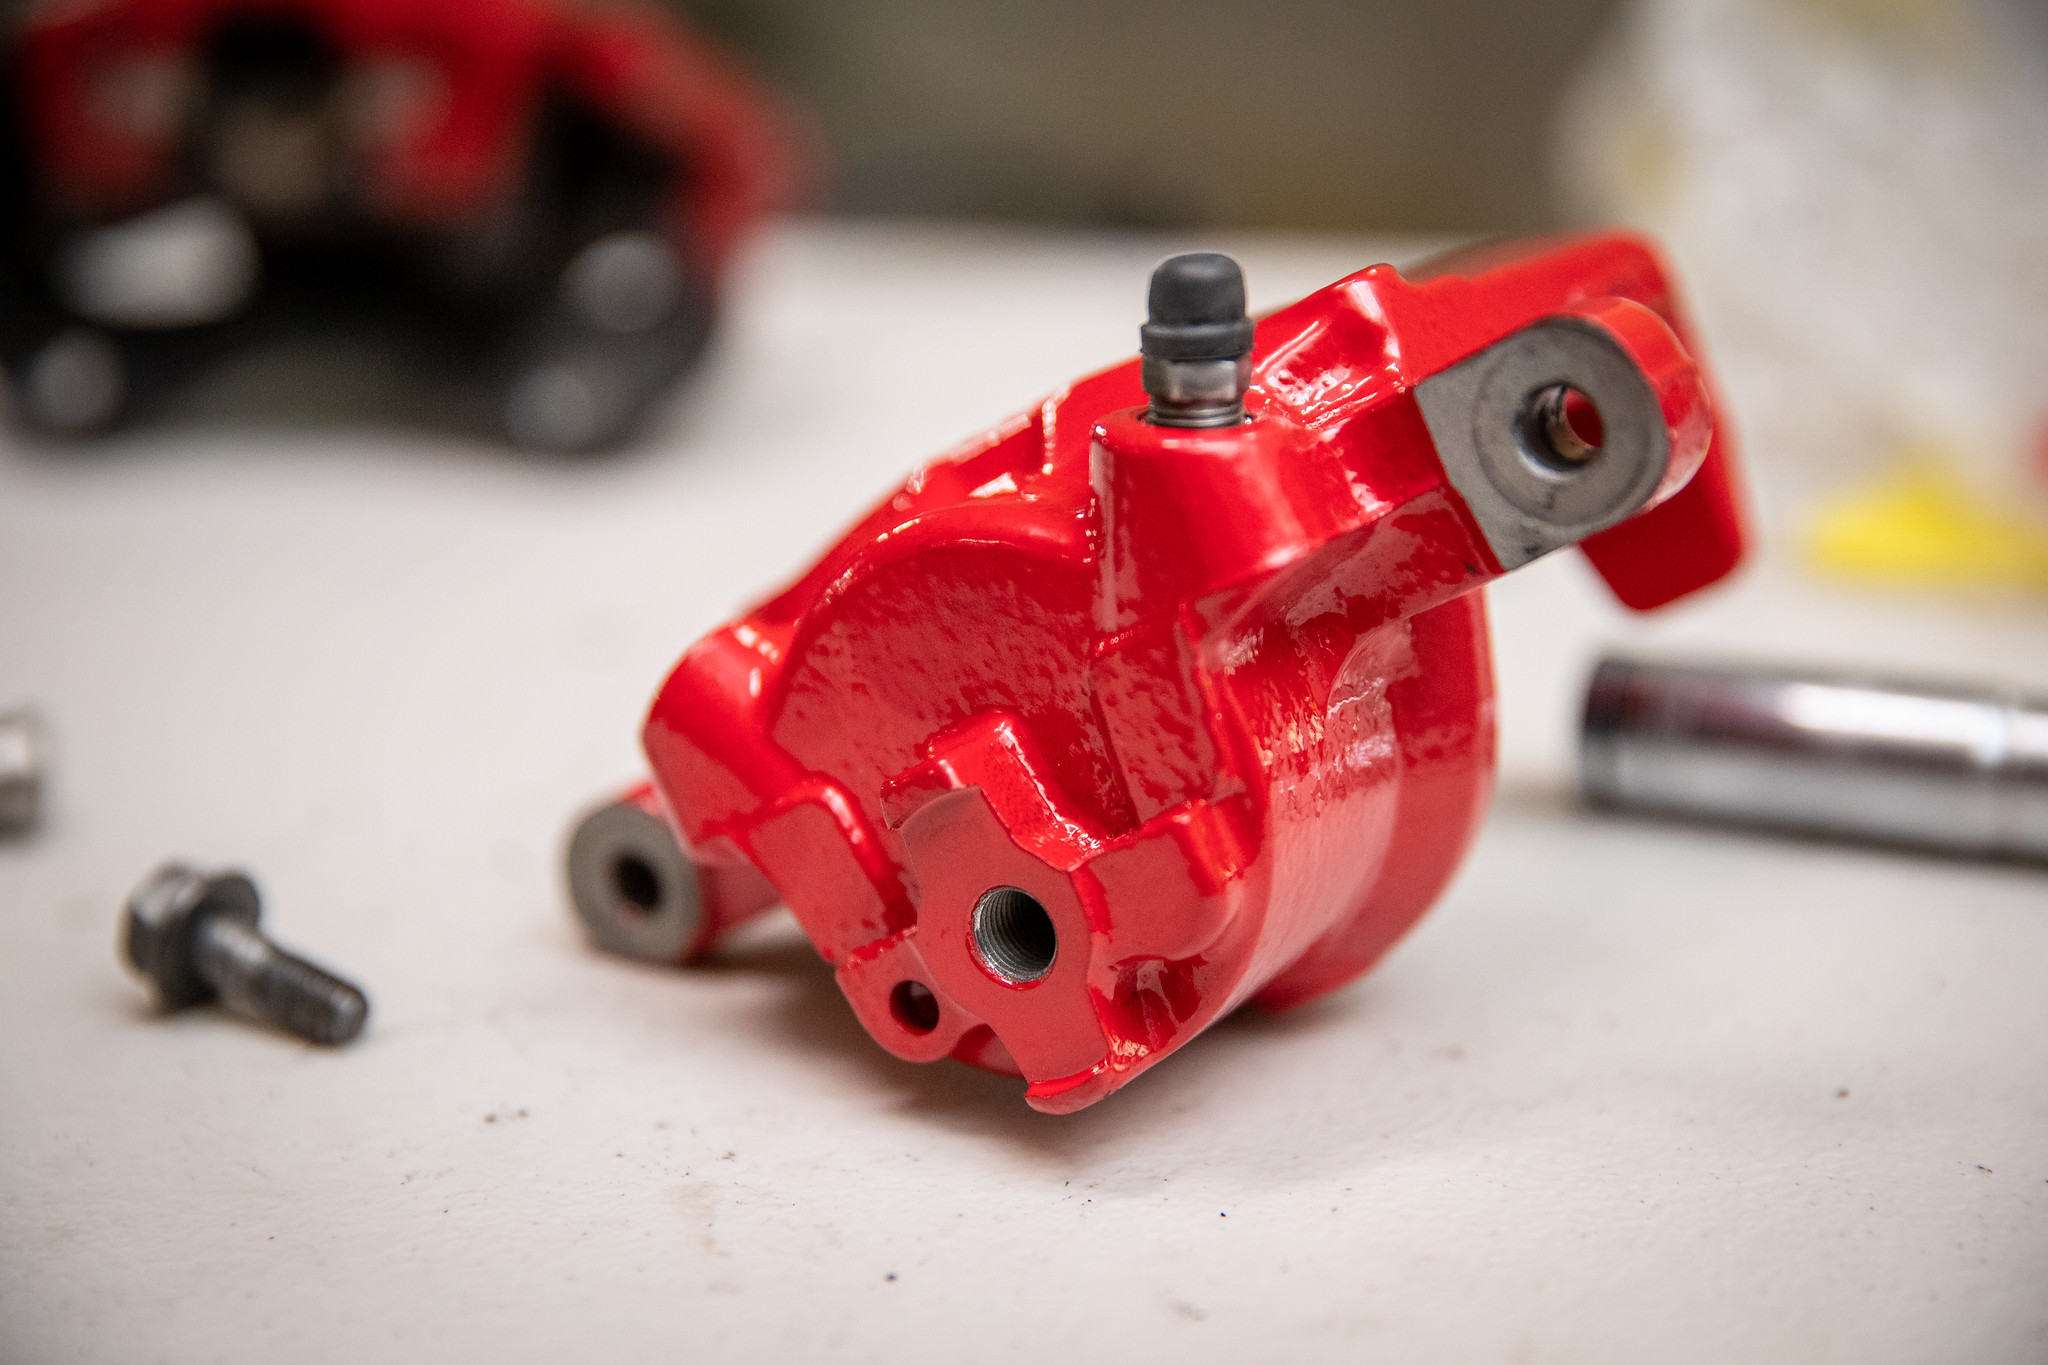
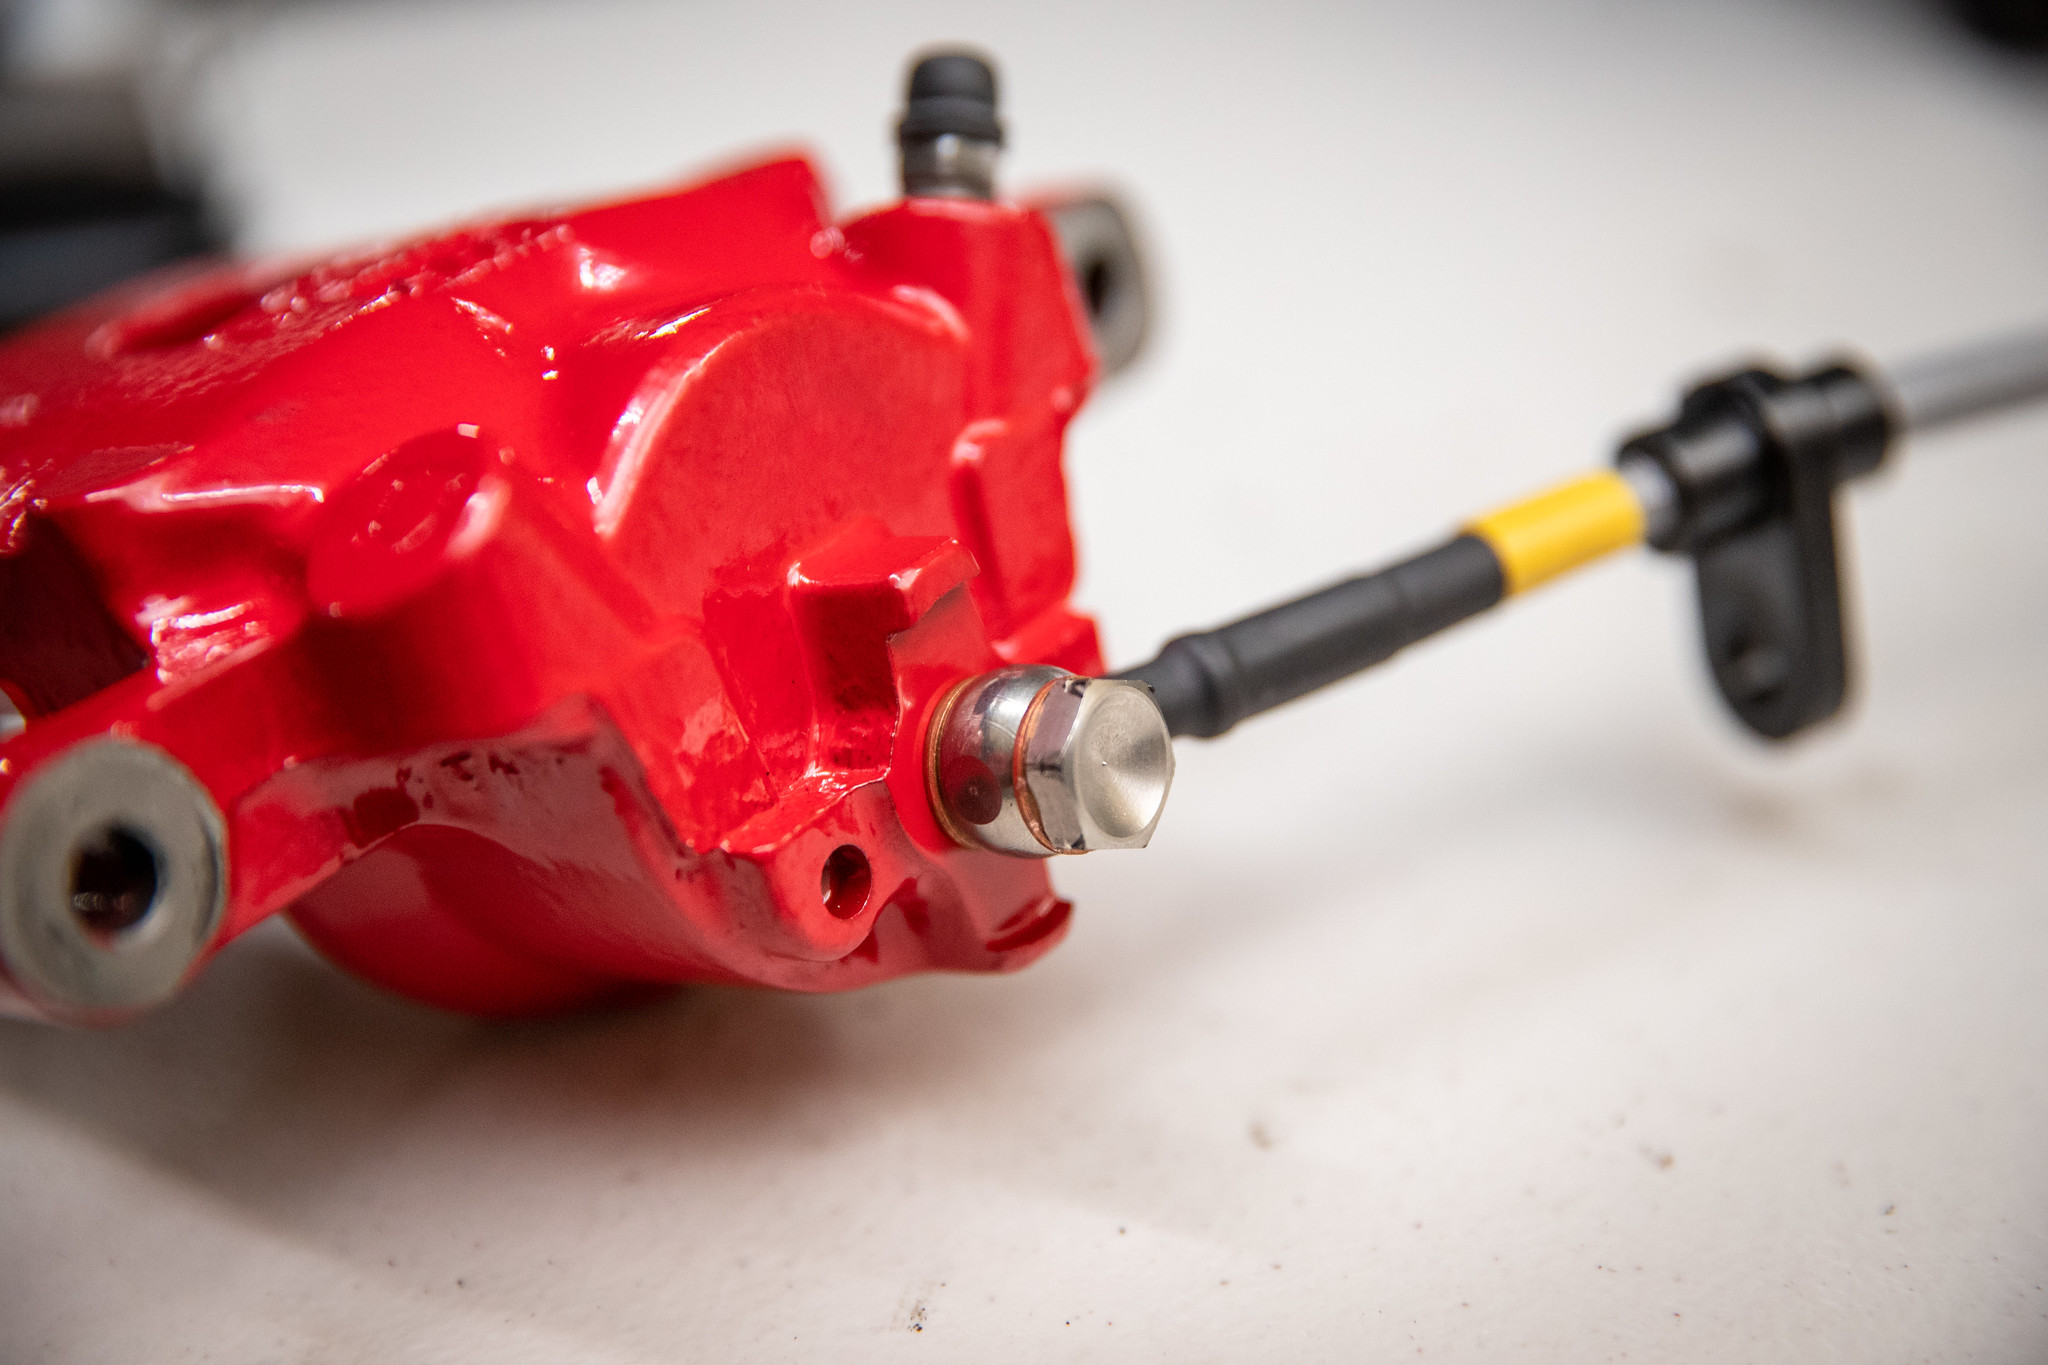
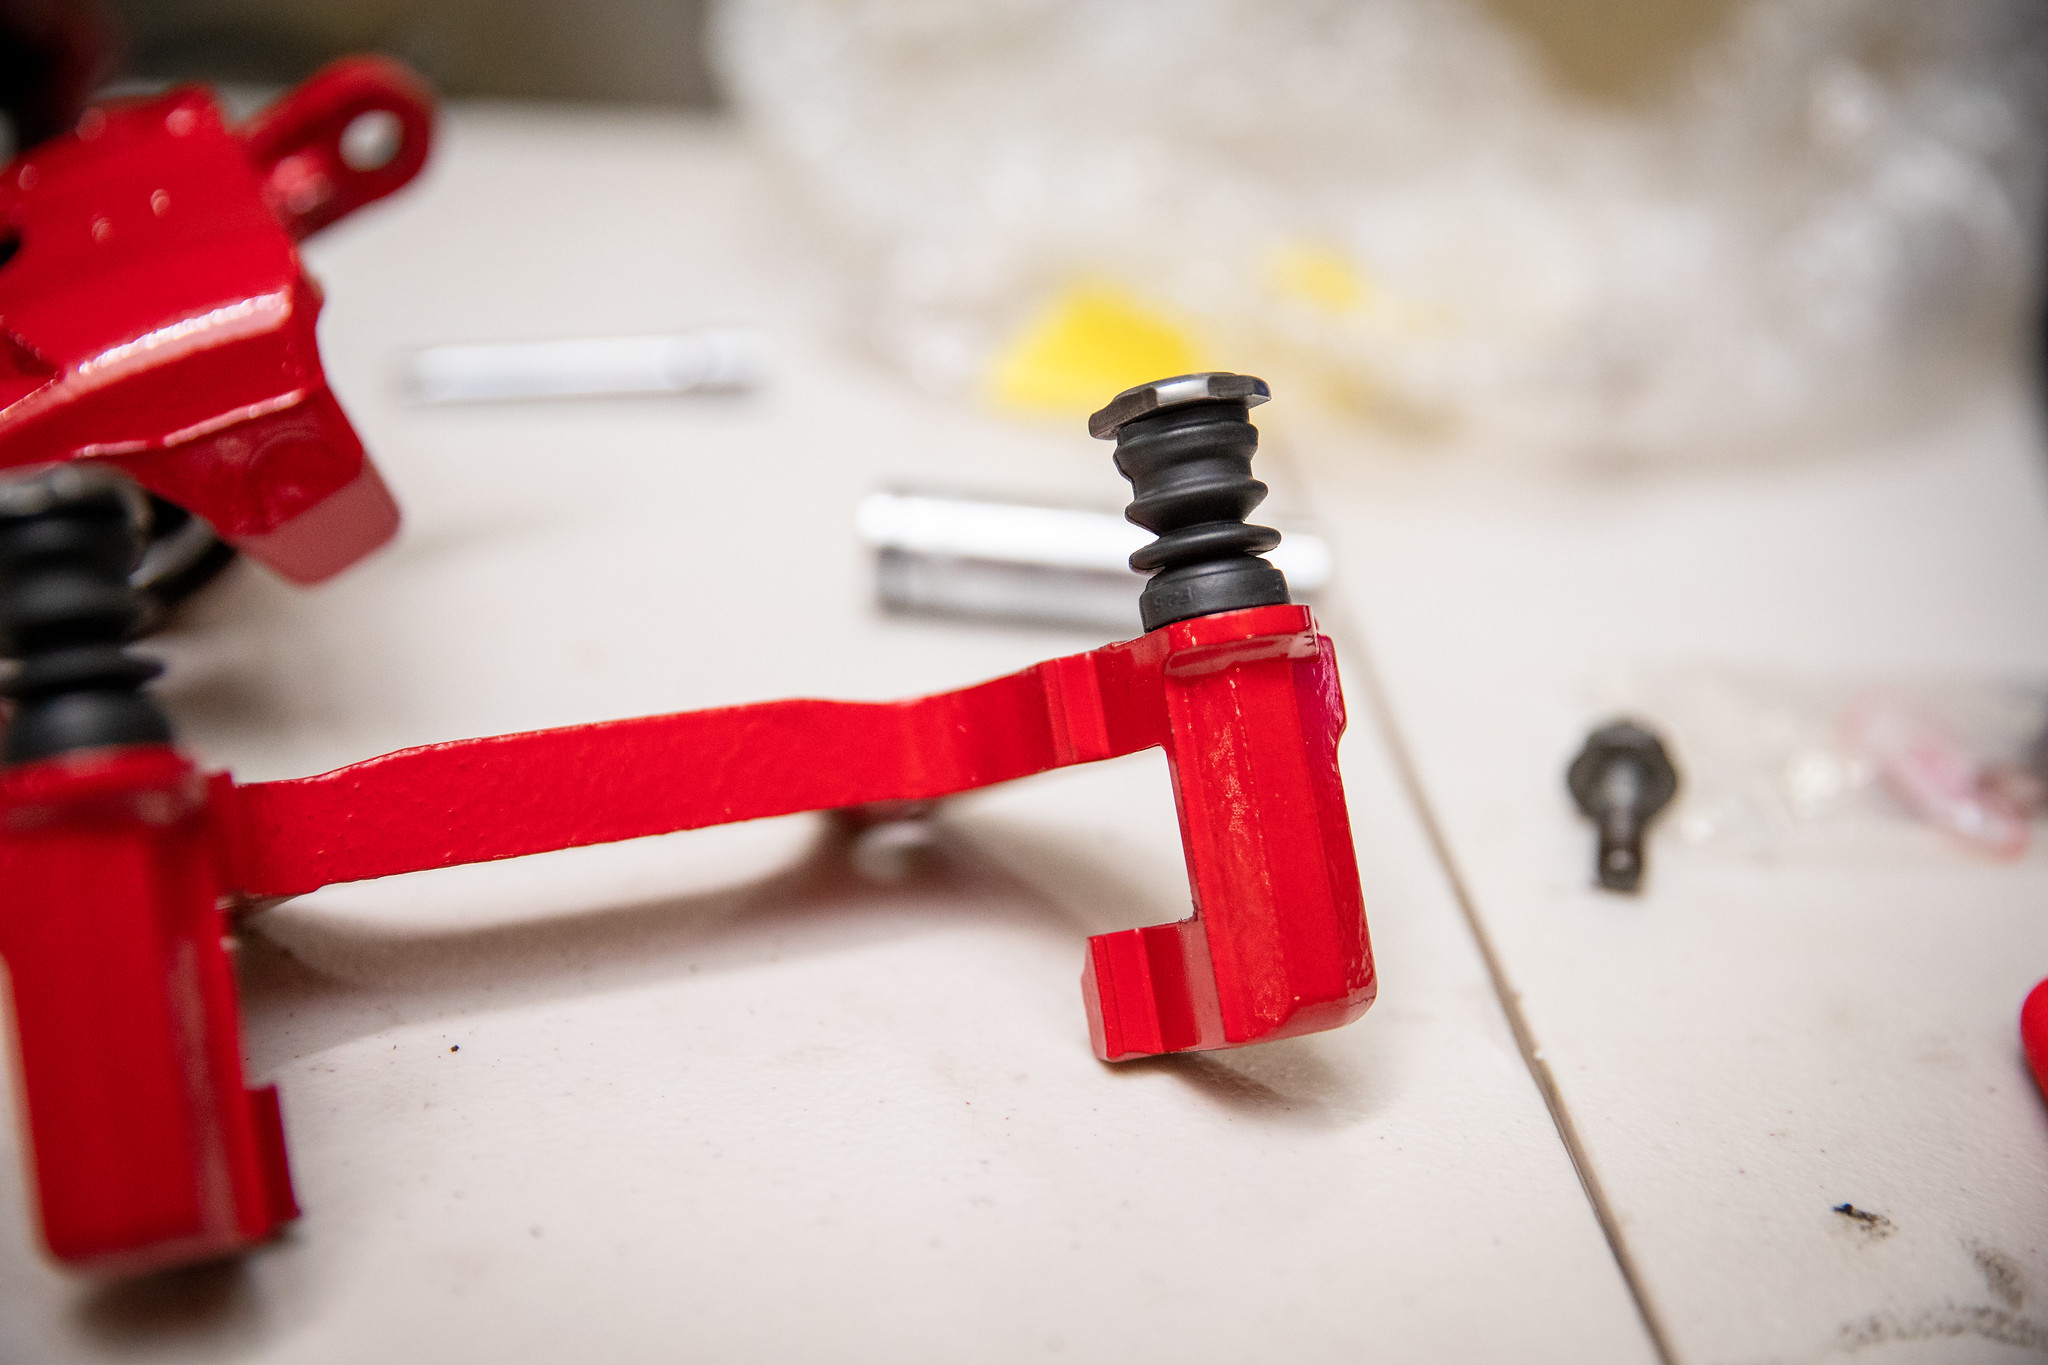
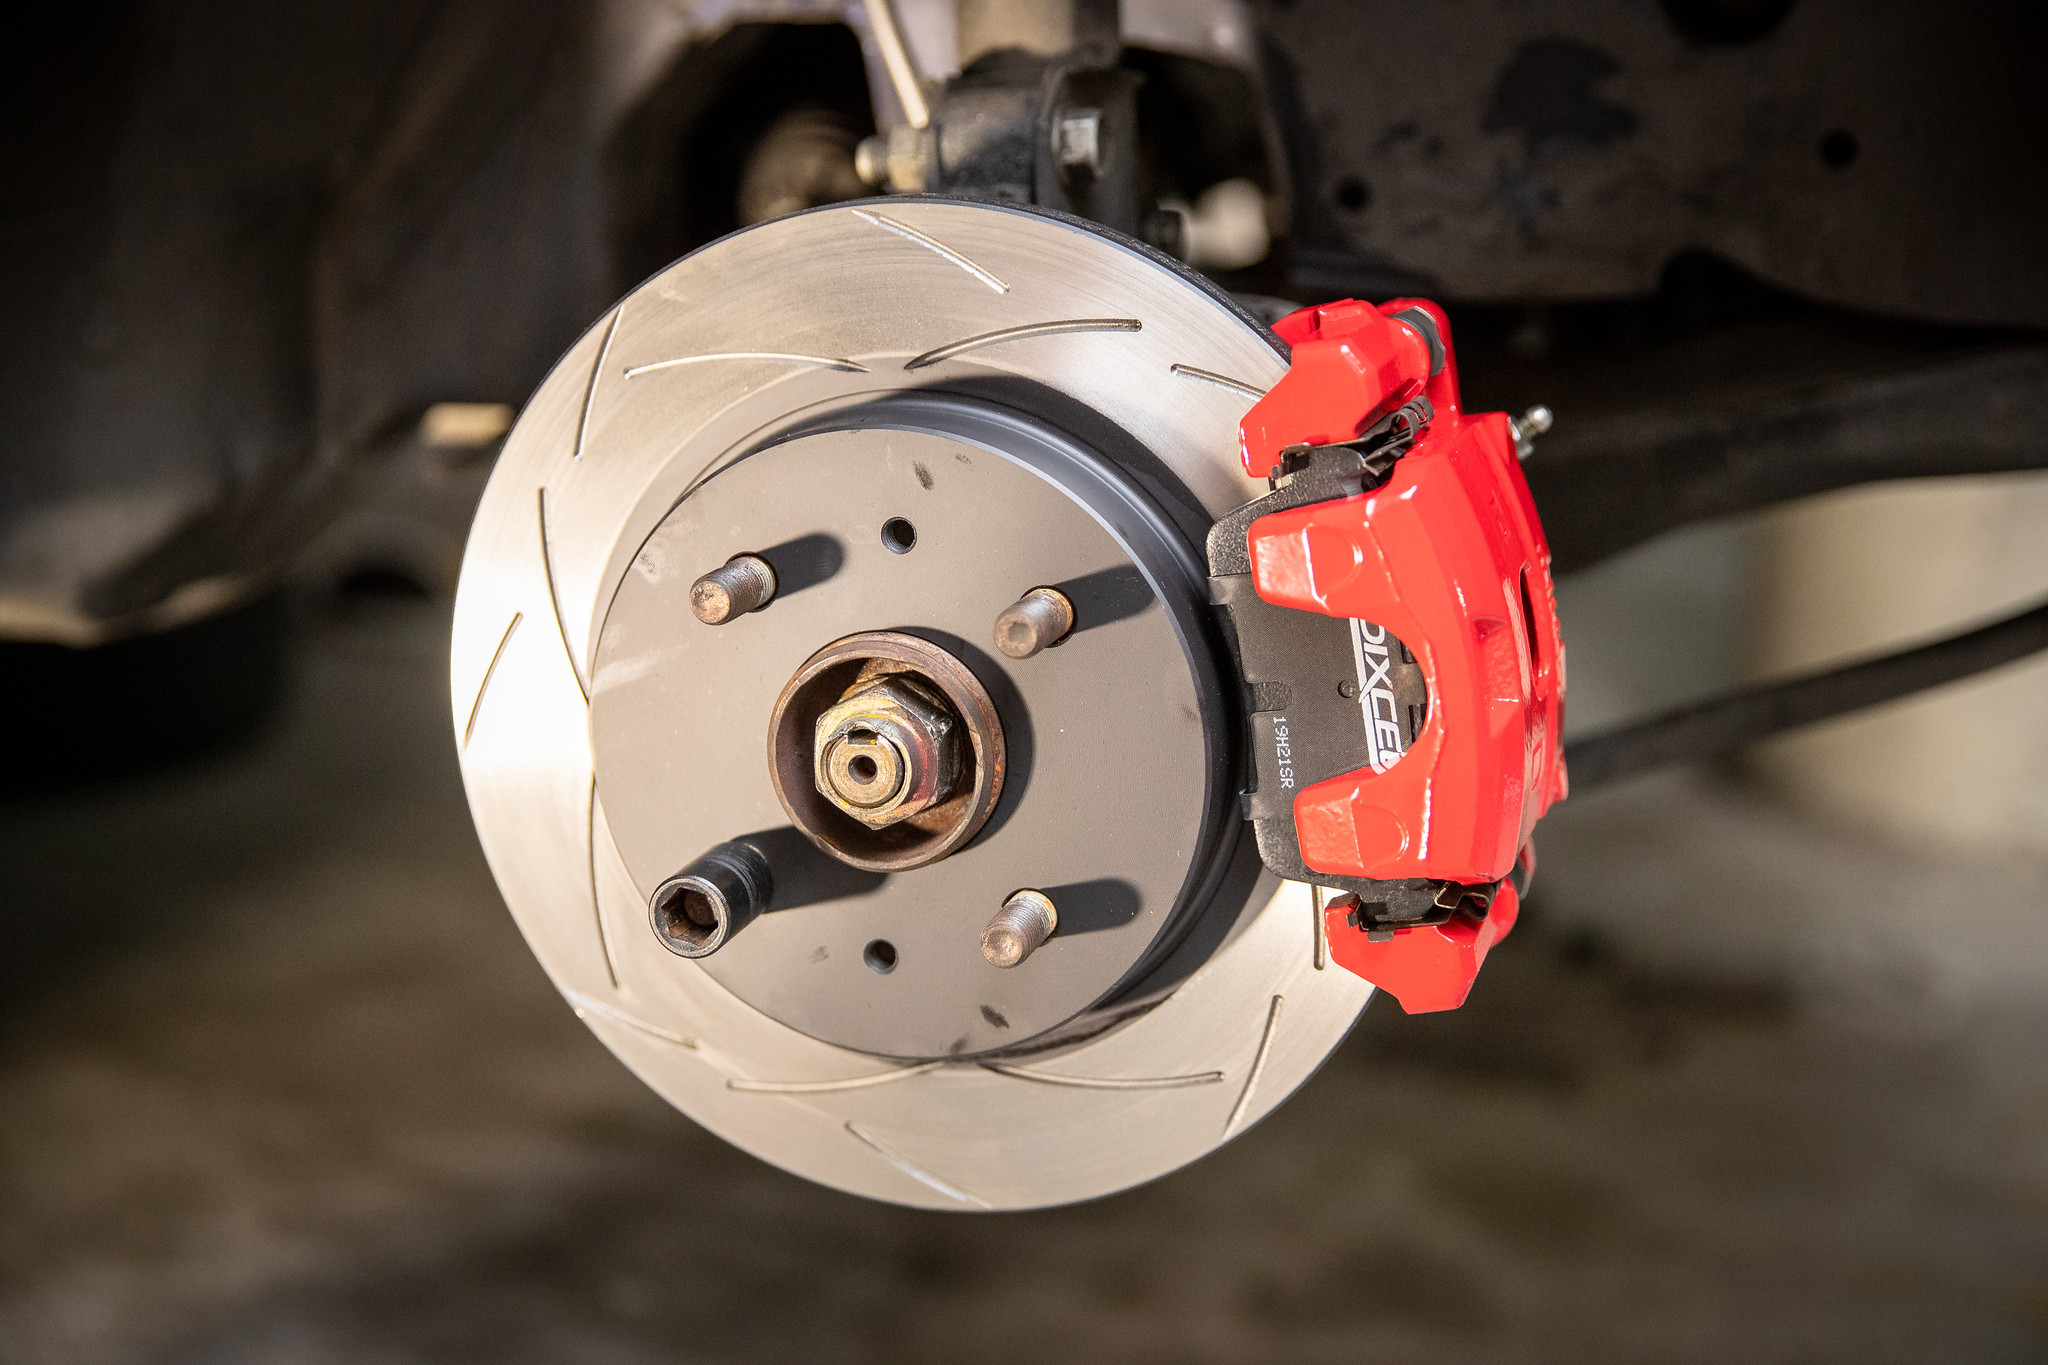
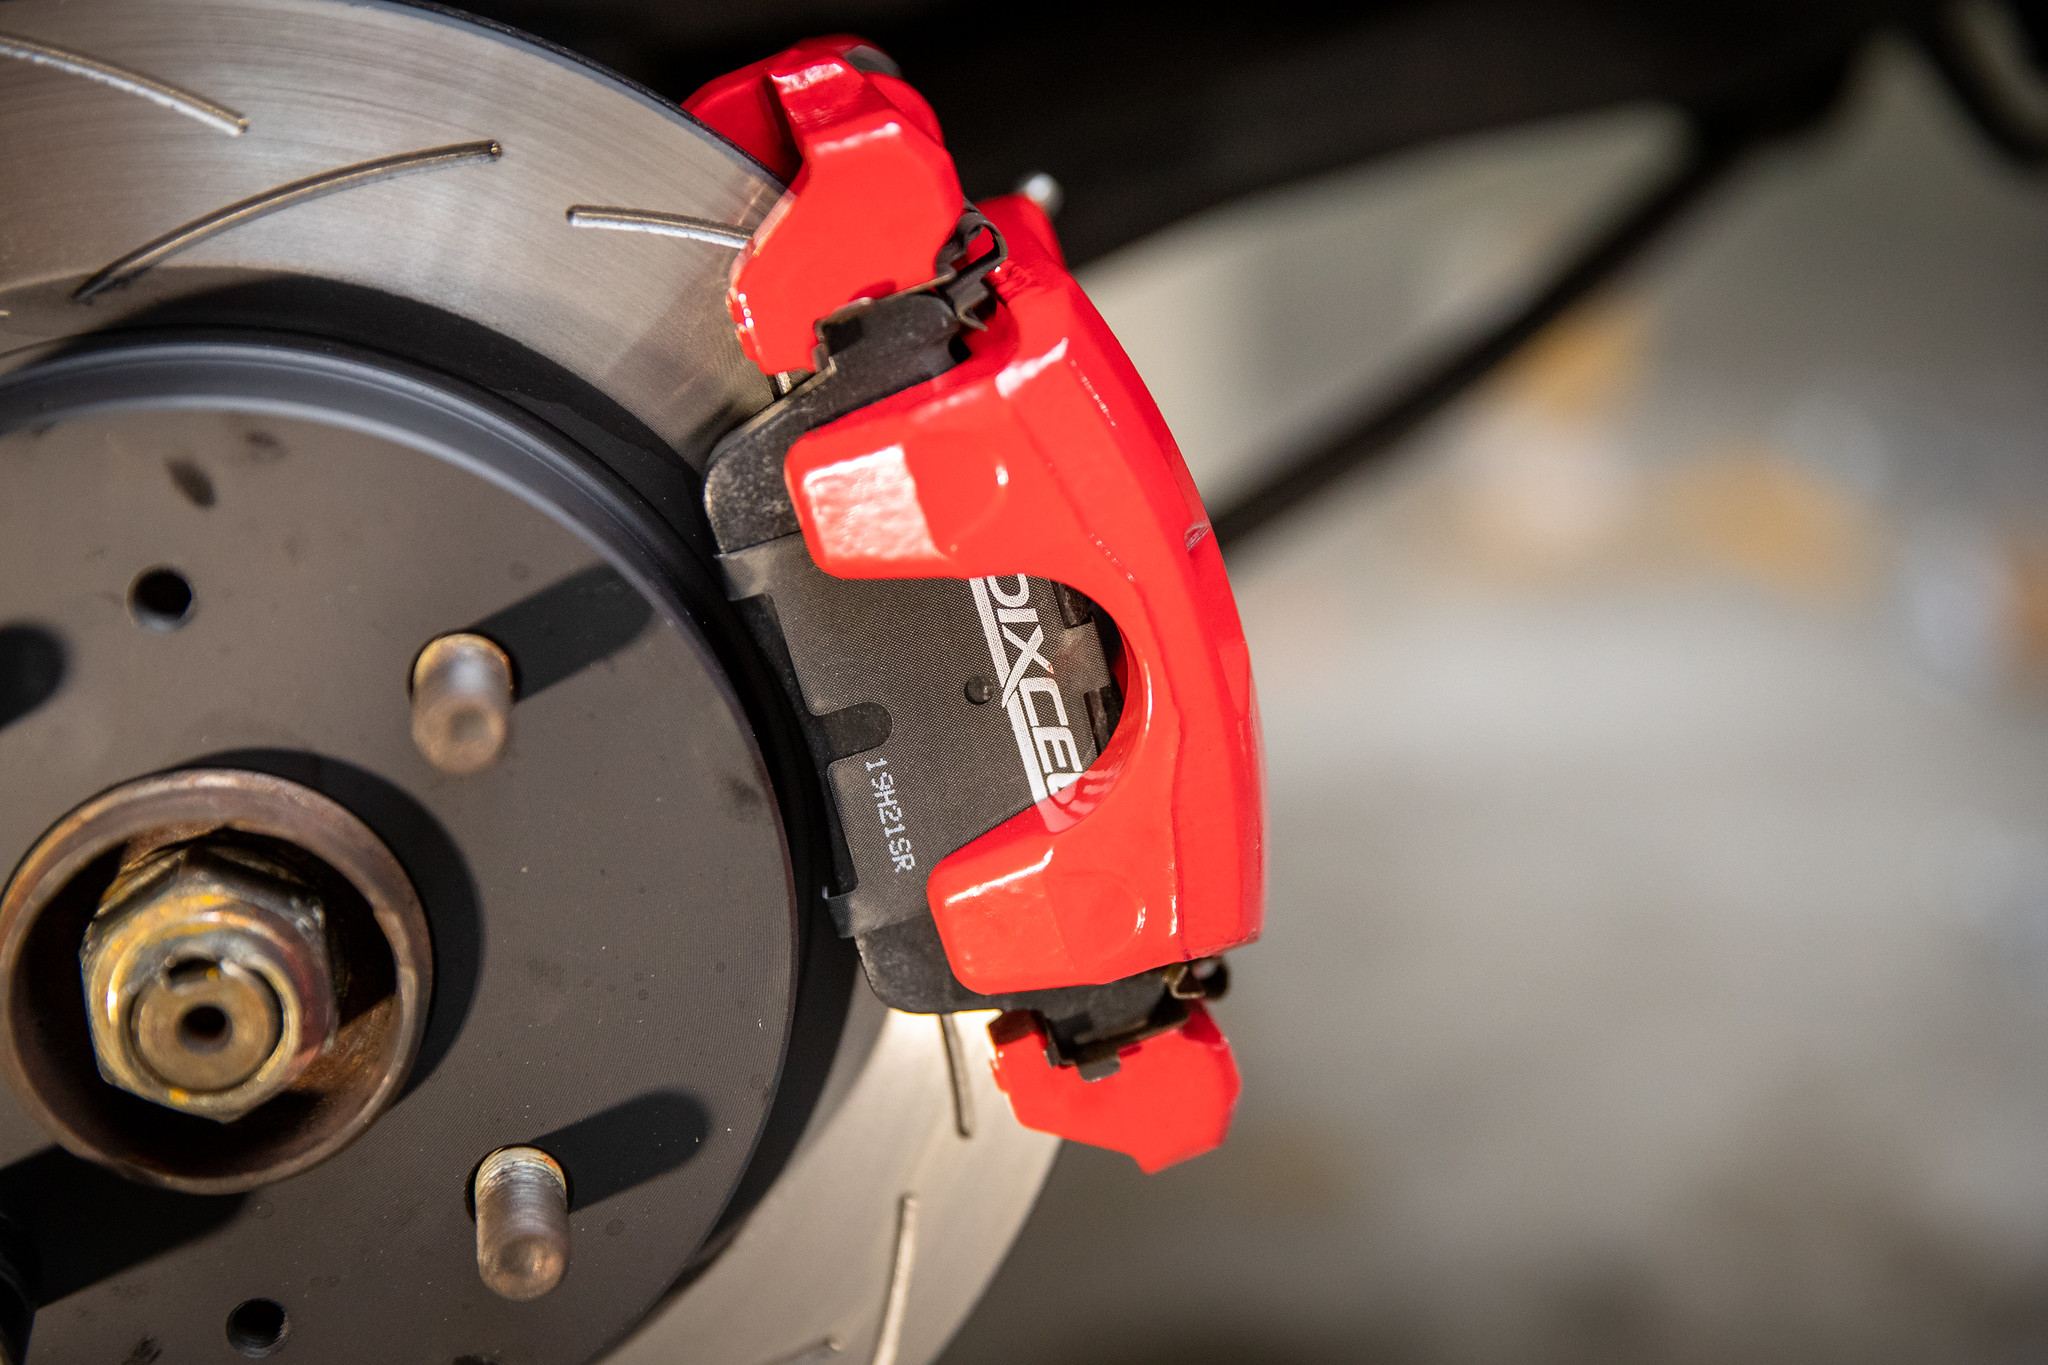
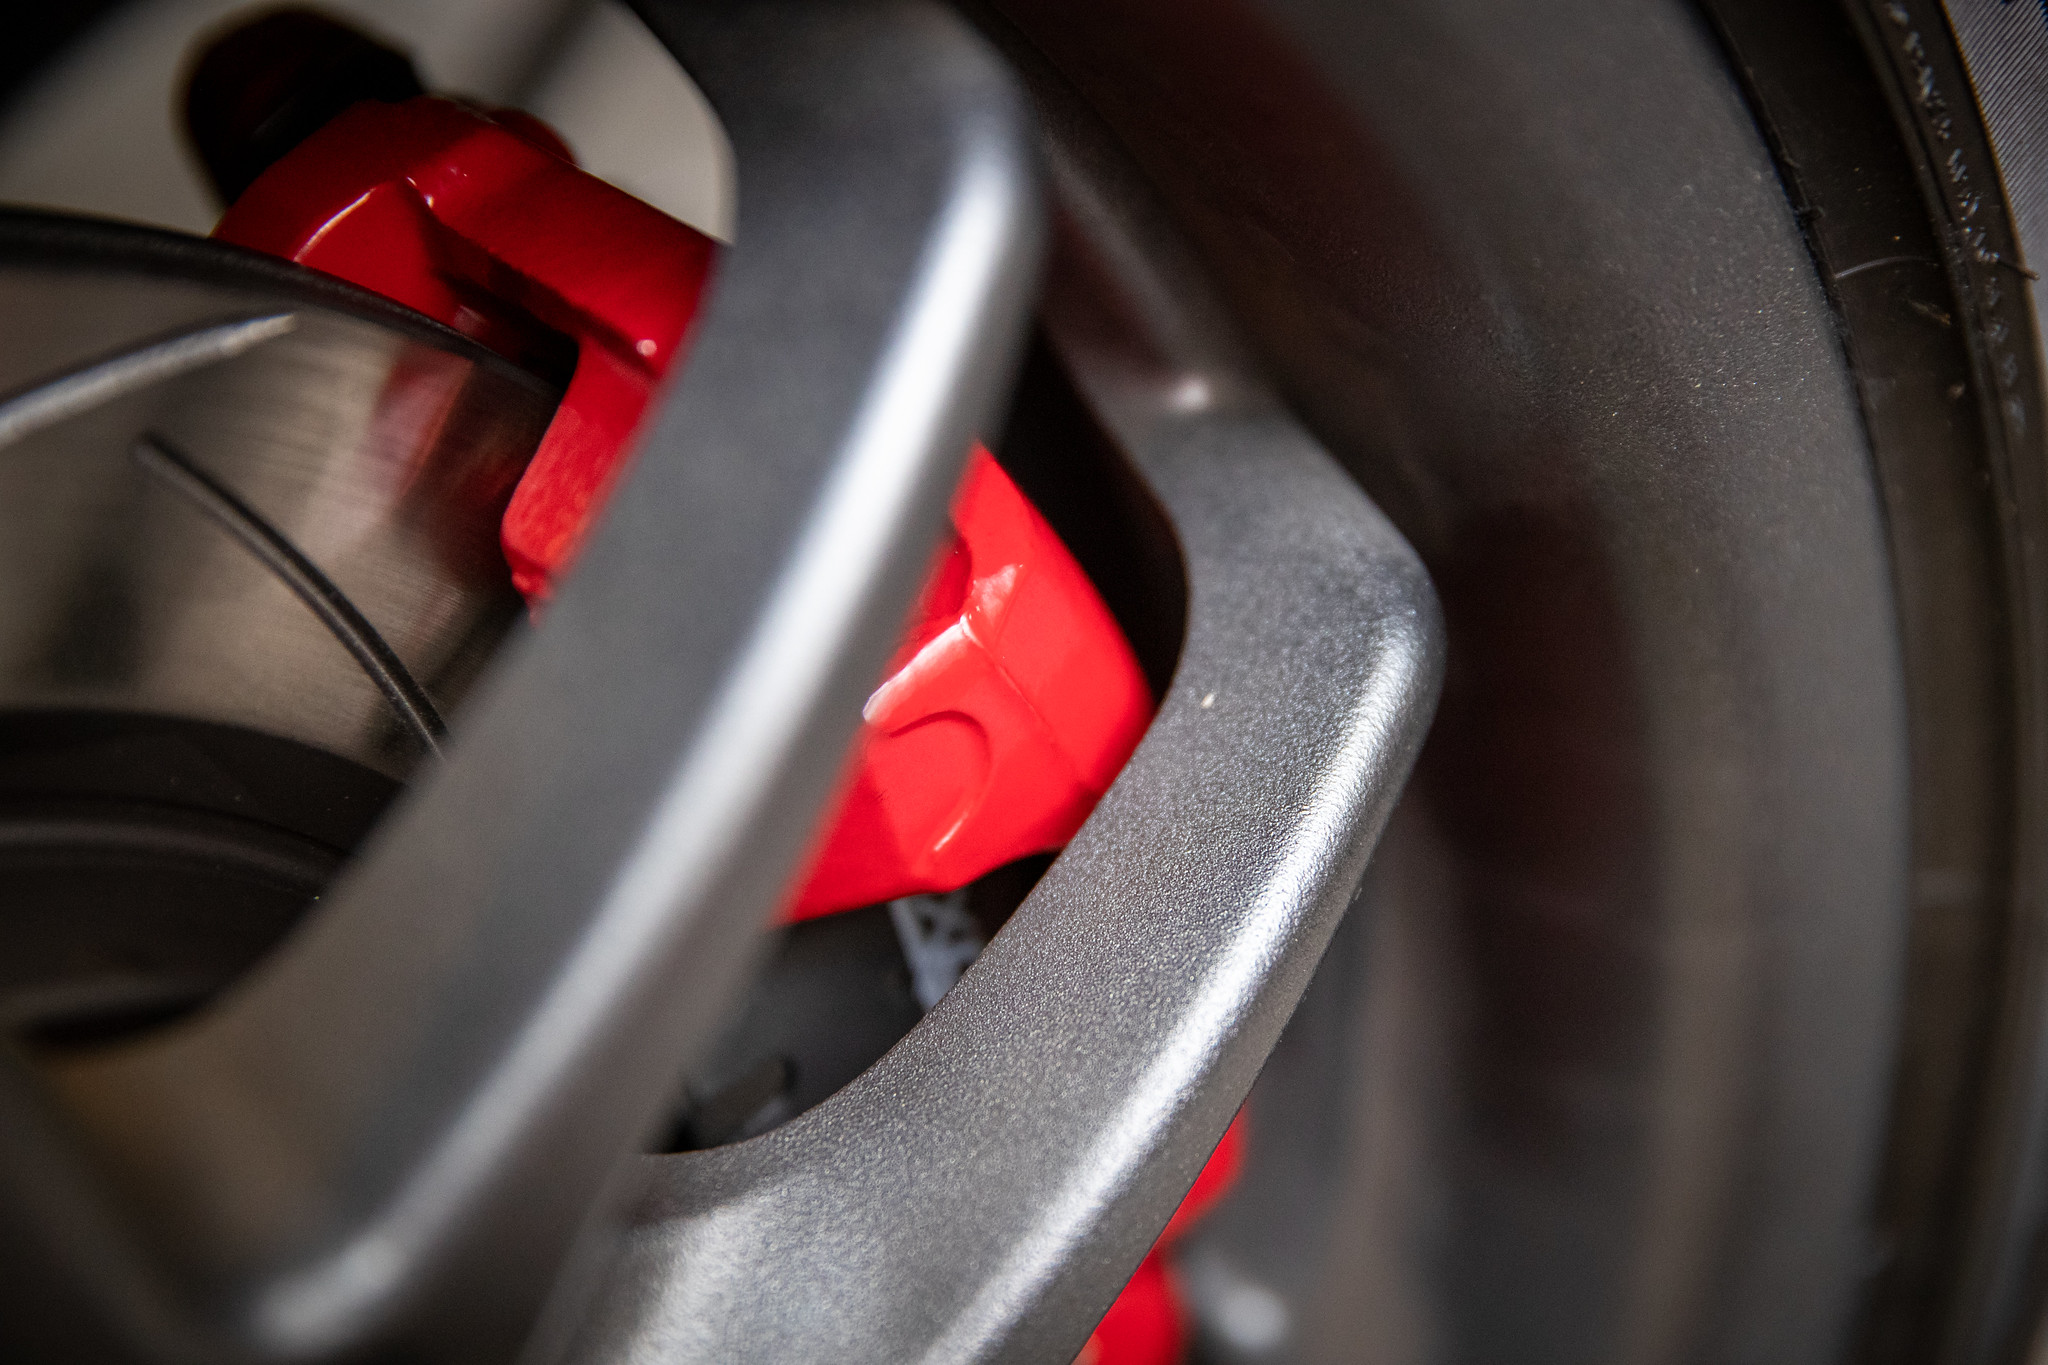
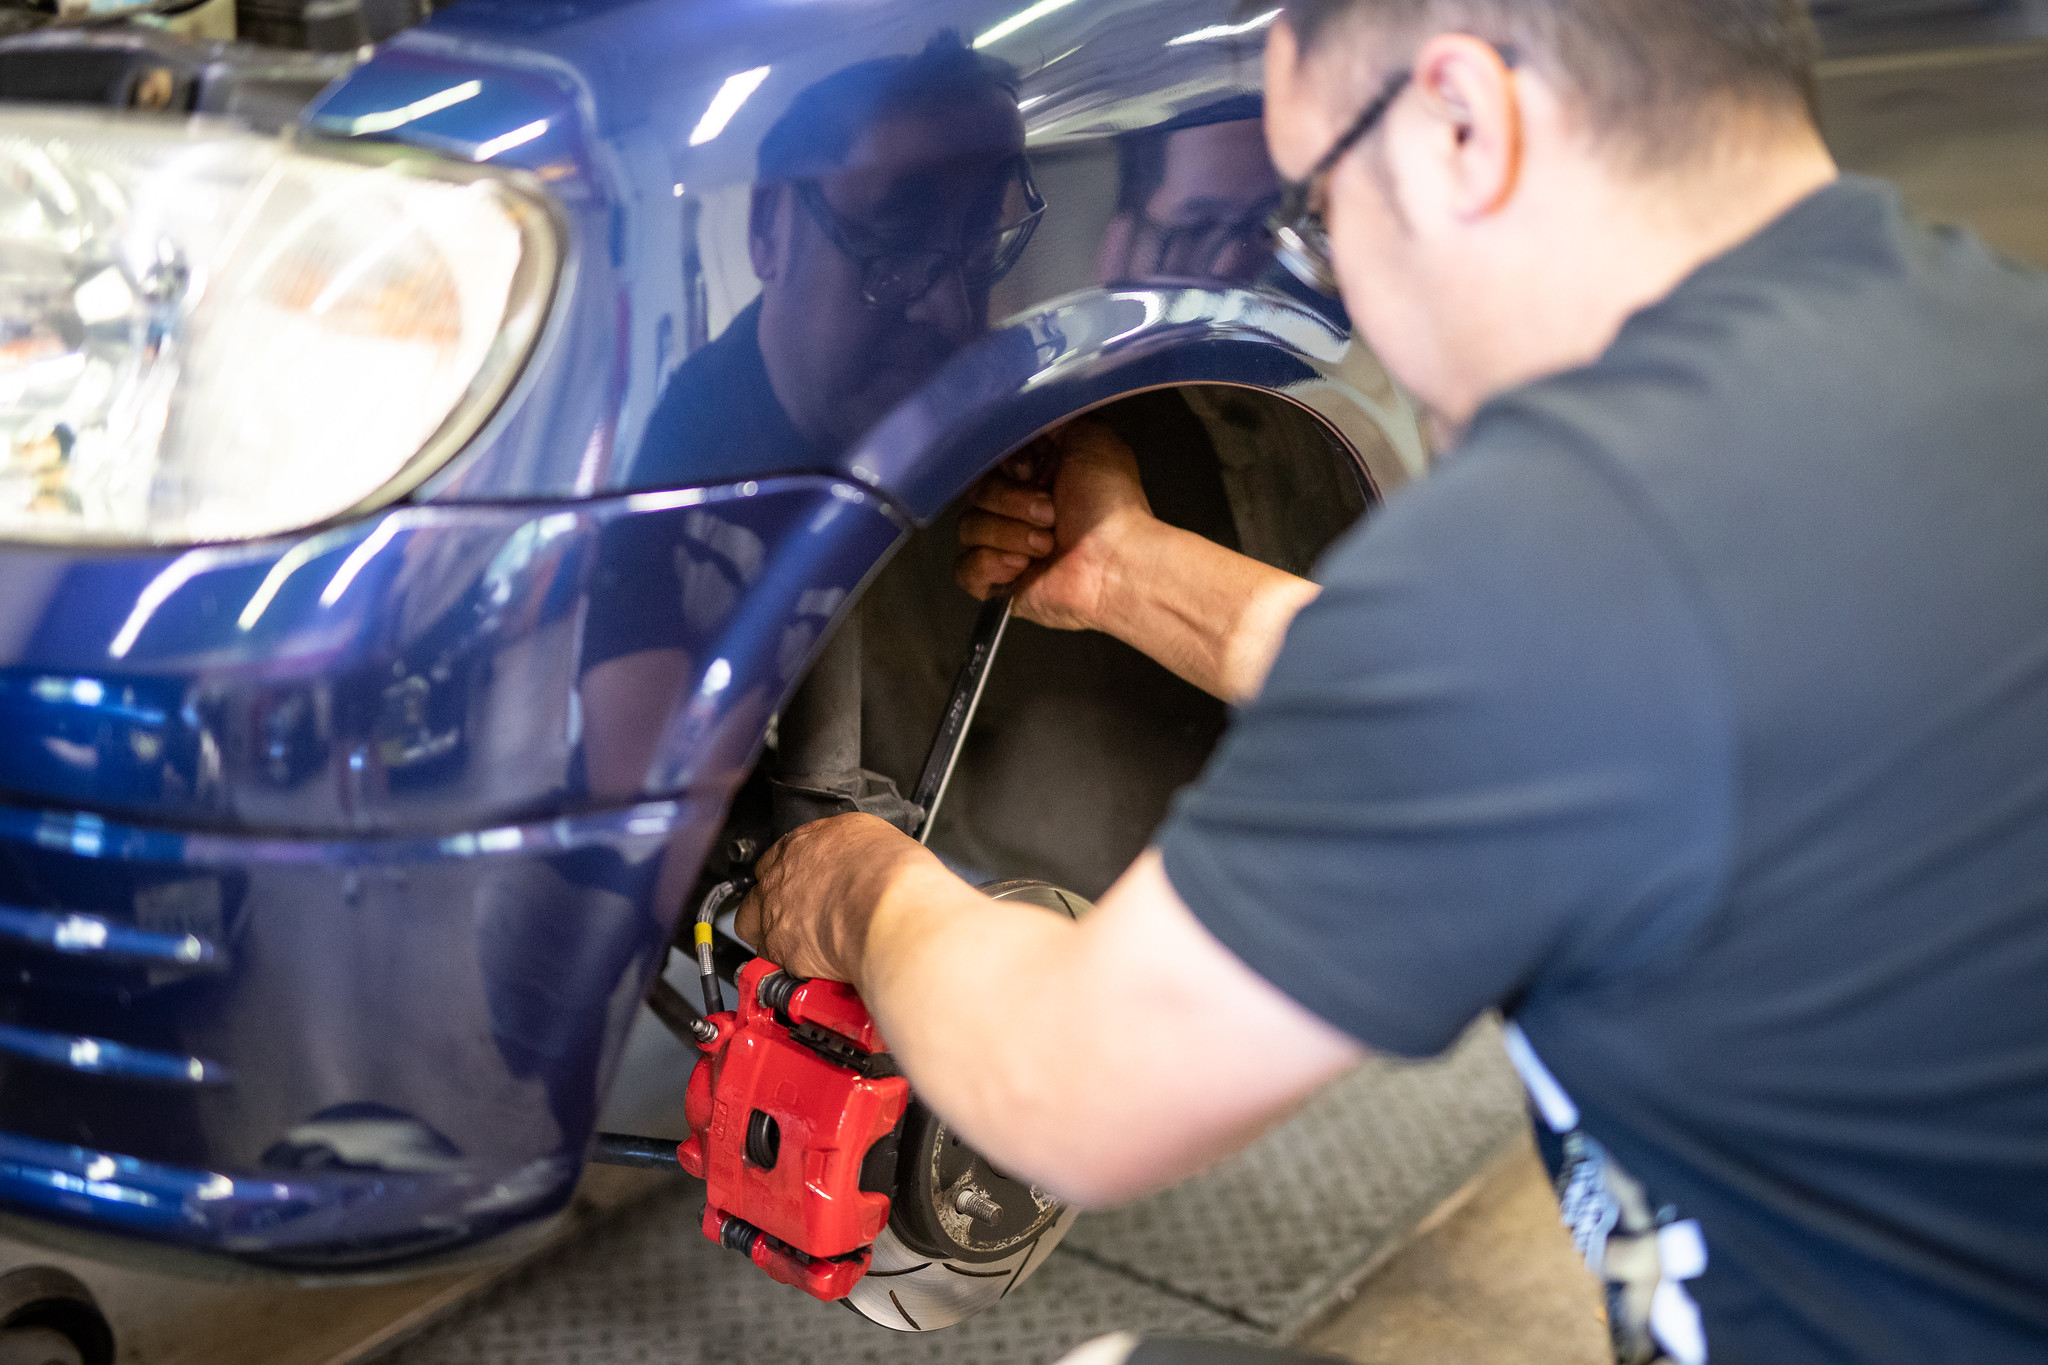
In the spirit of doing this properly, I decided to have them professionally rebuilt with genuine seals and rubbers, plus powder-coated in Oxytech Flame Red by a bloke in Sydney called On The Brakes. Glad I did, cause holy balls they come out amazing!
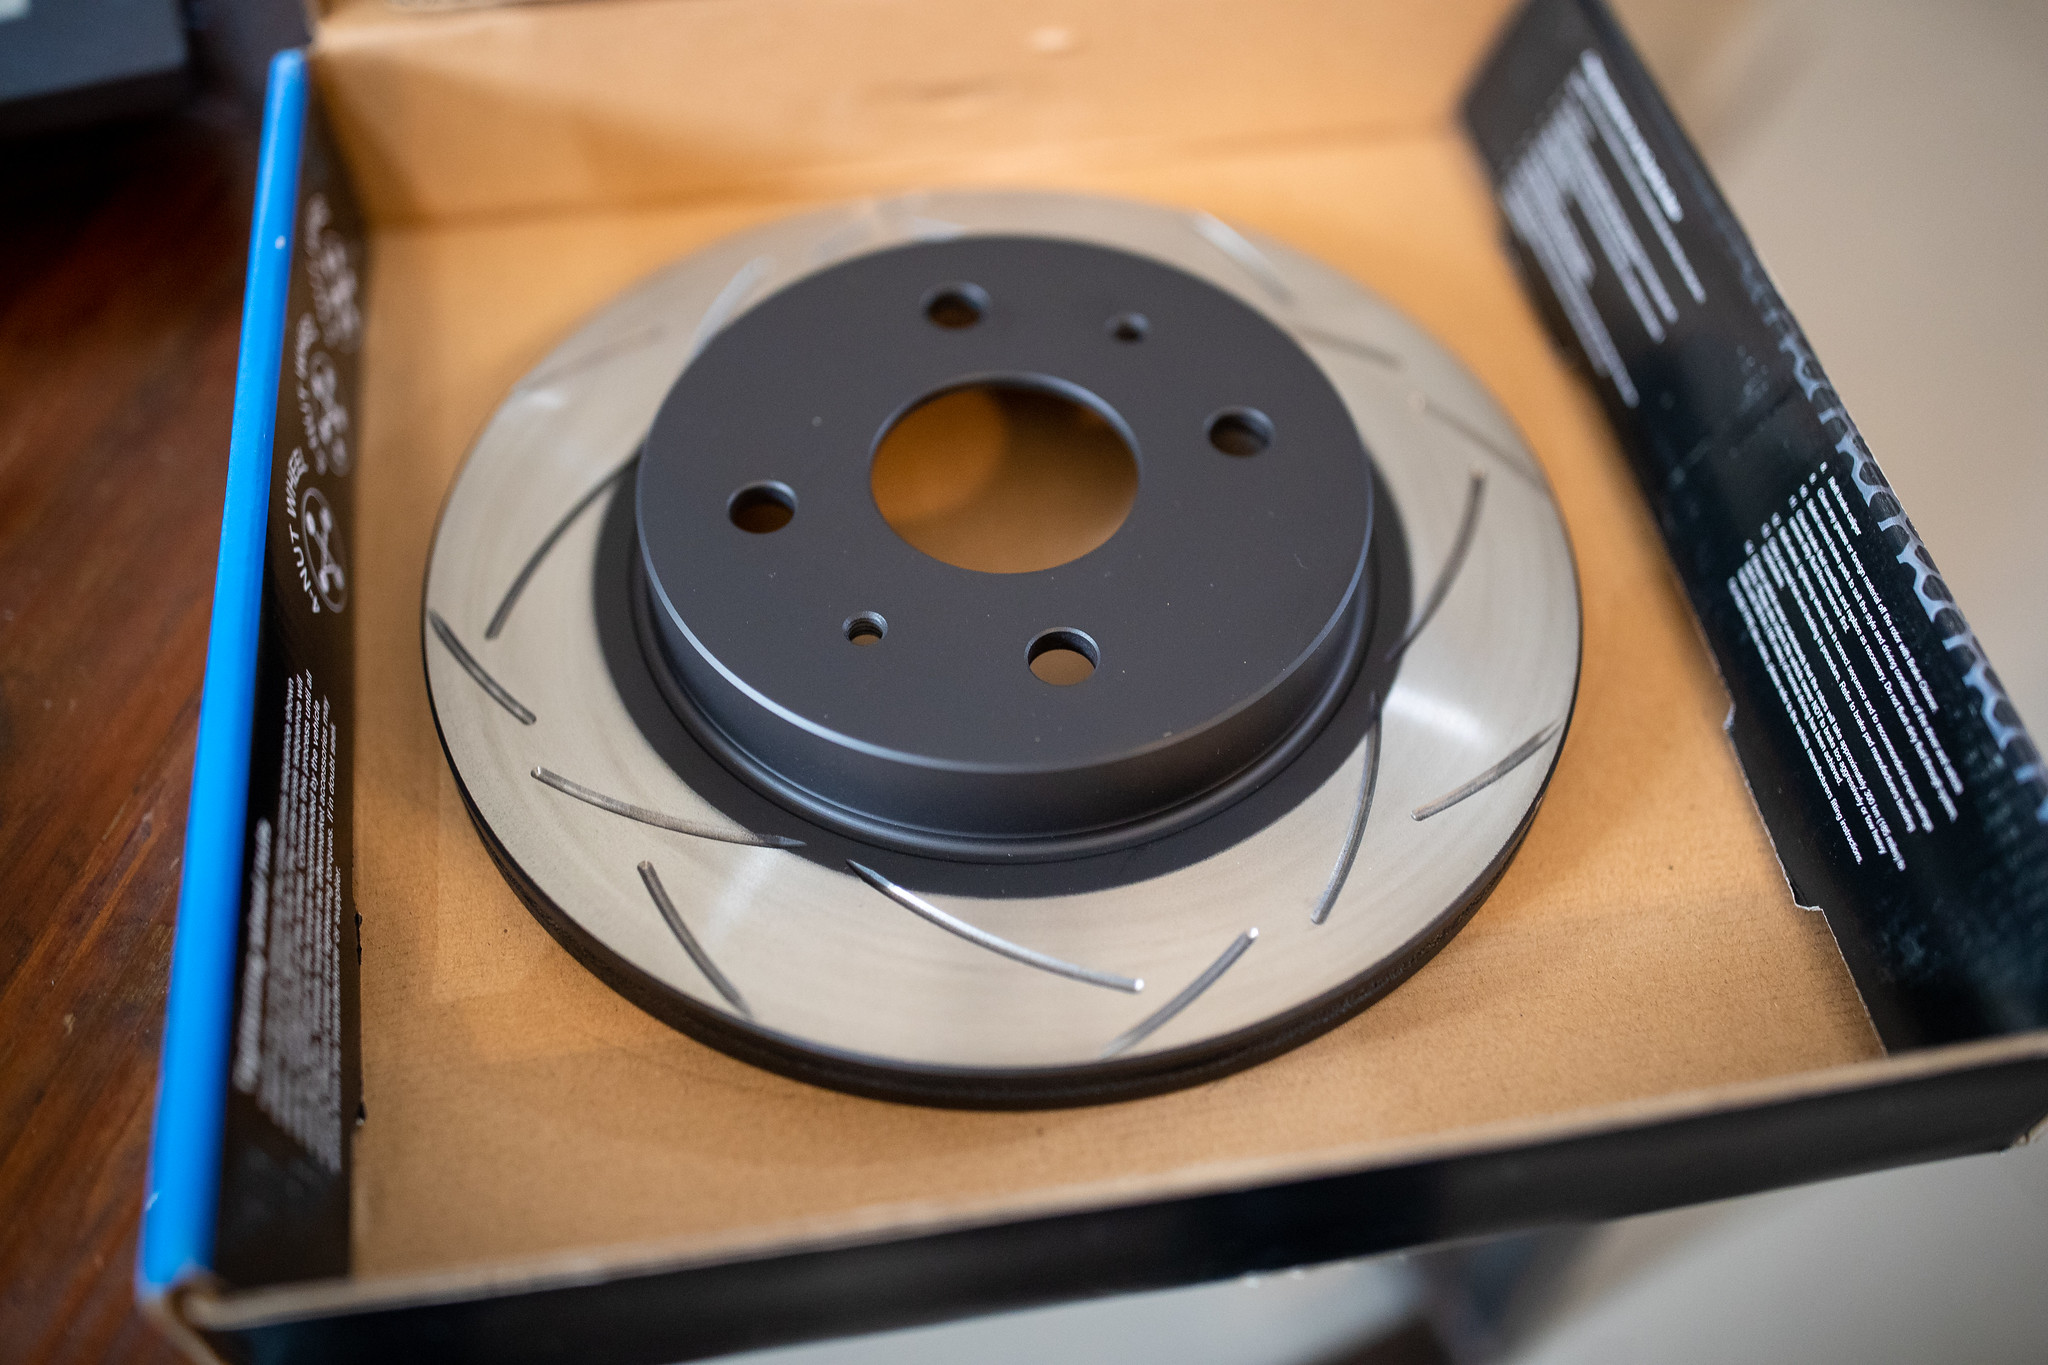
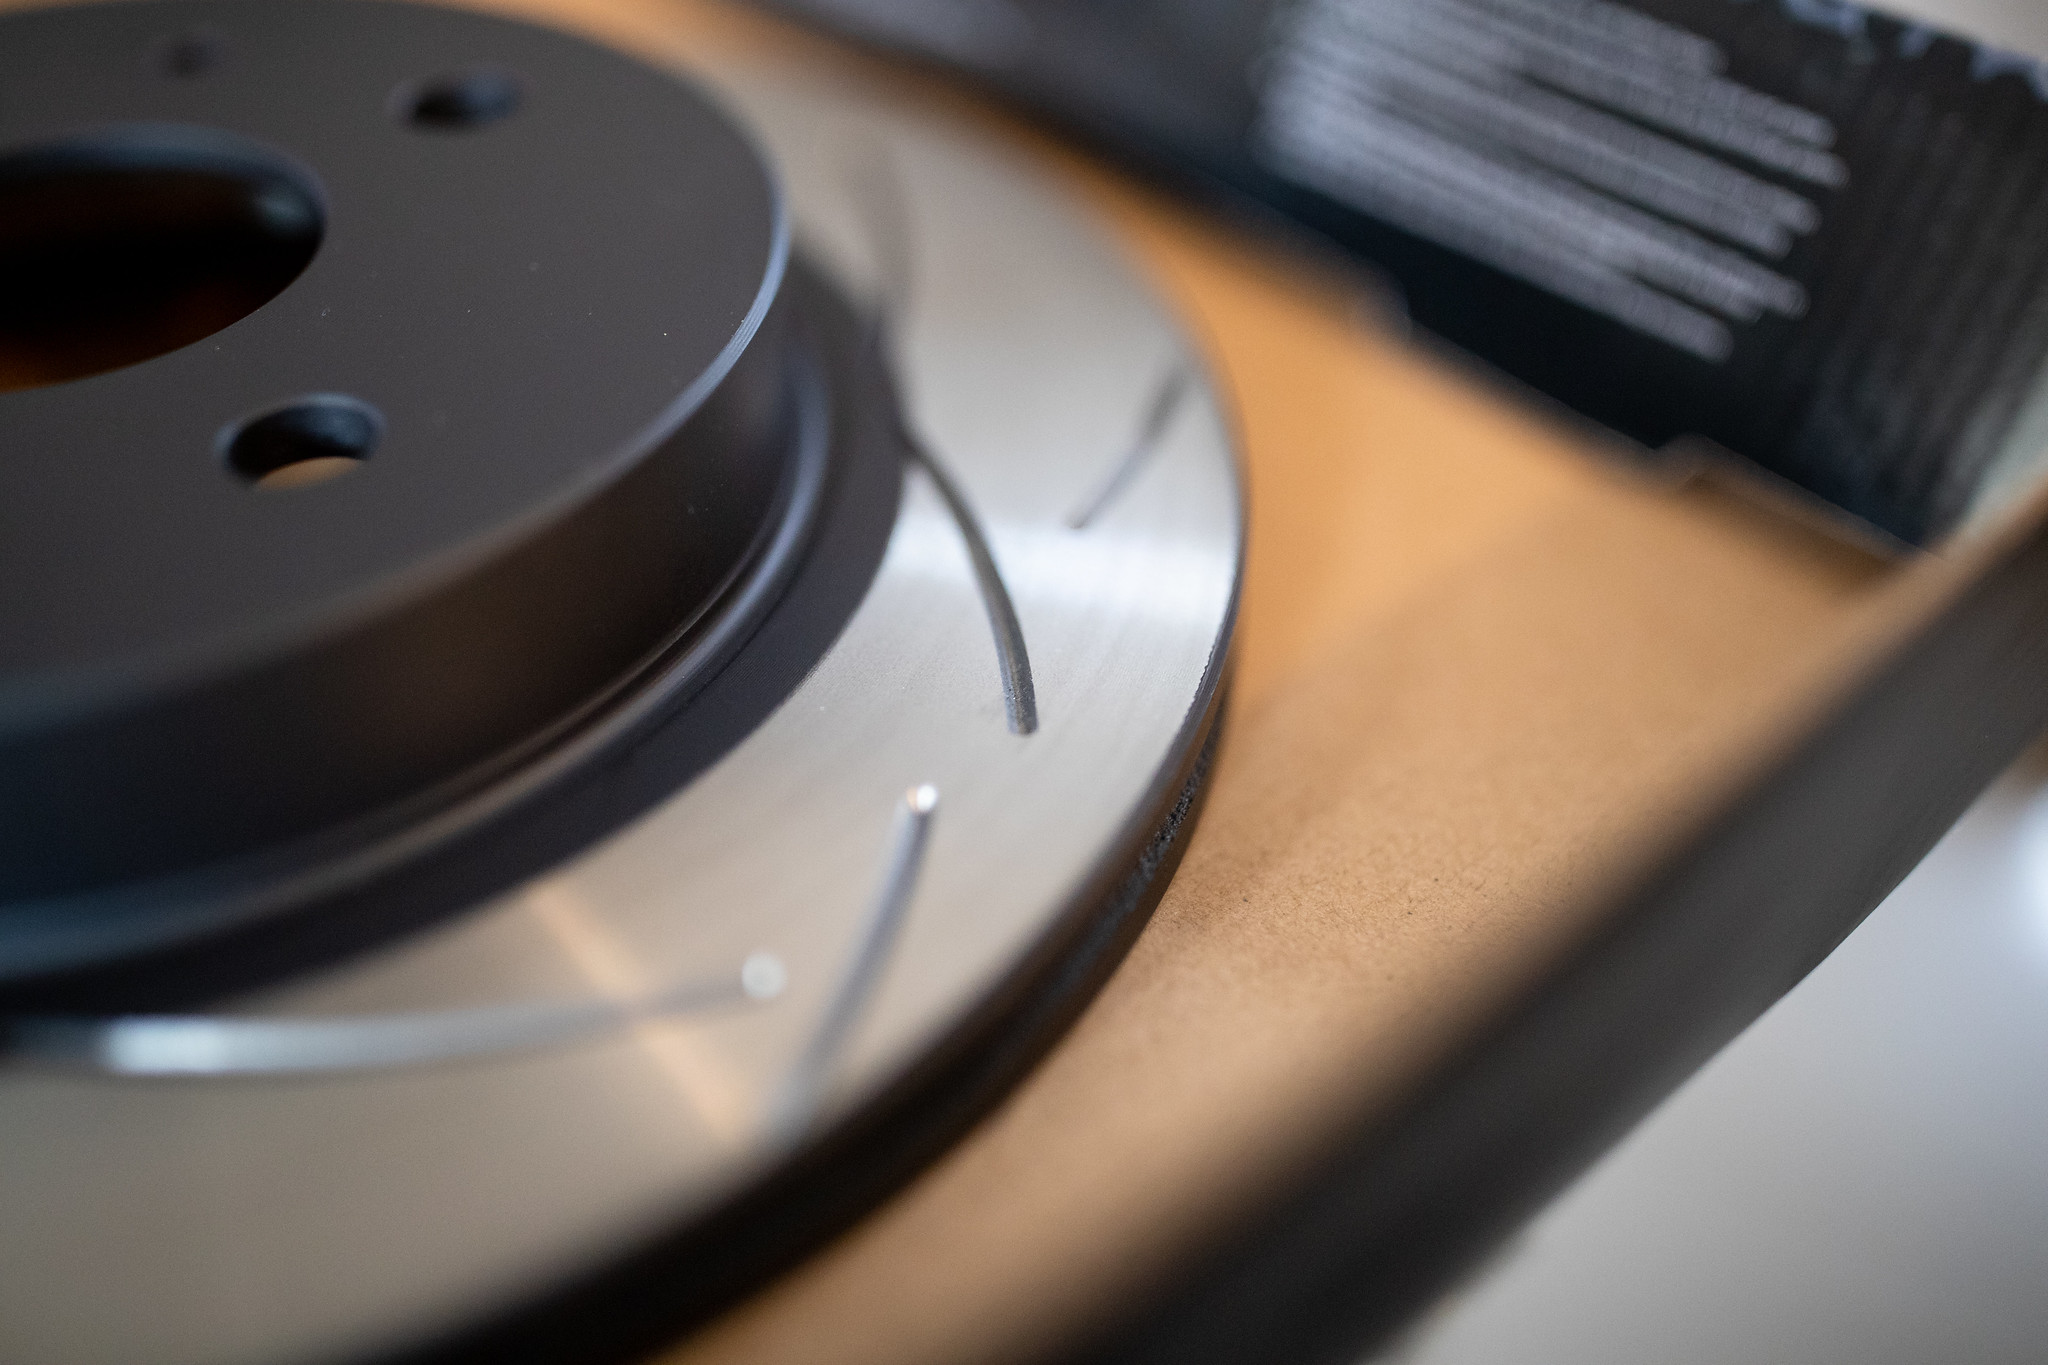
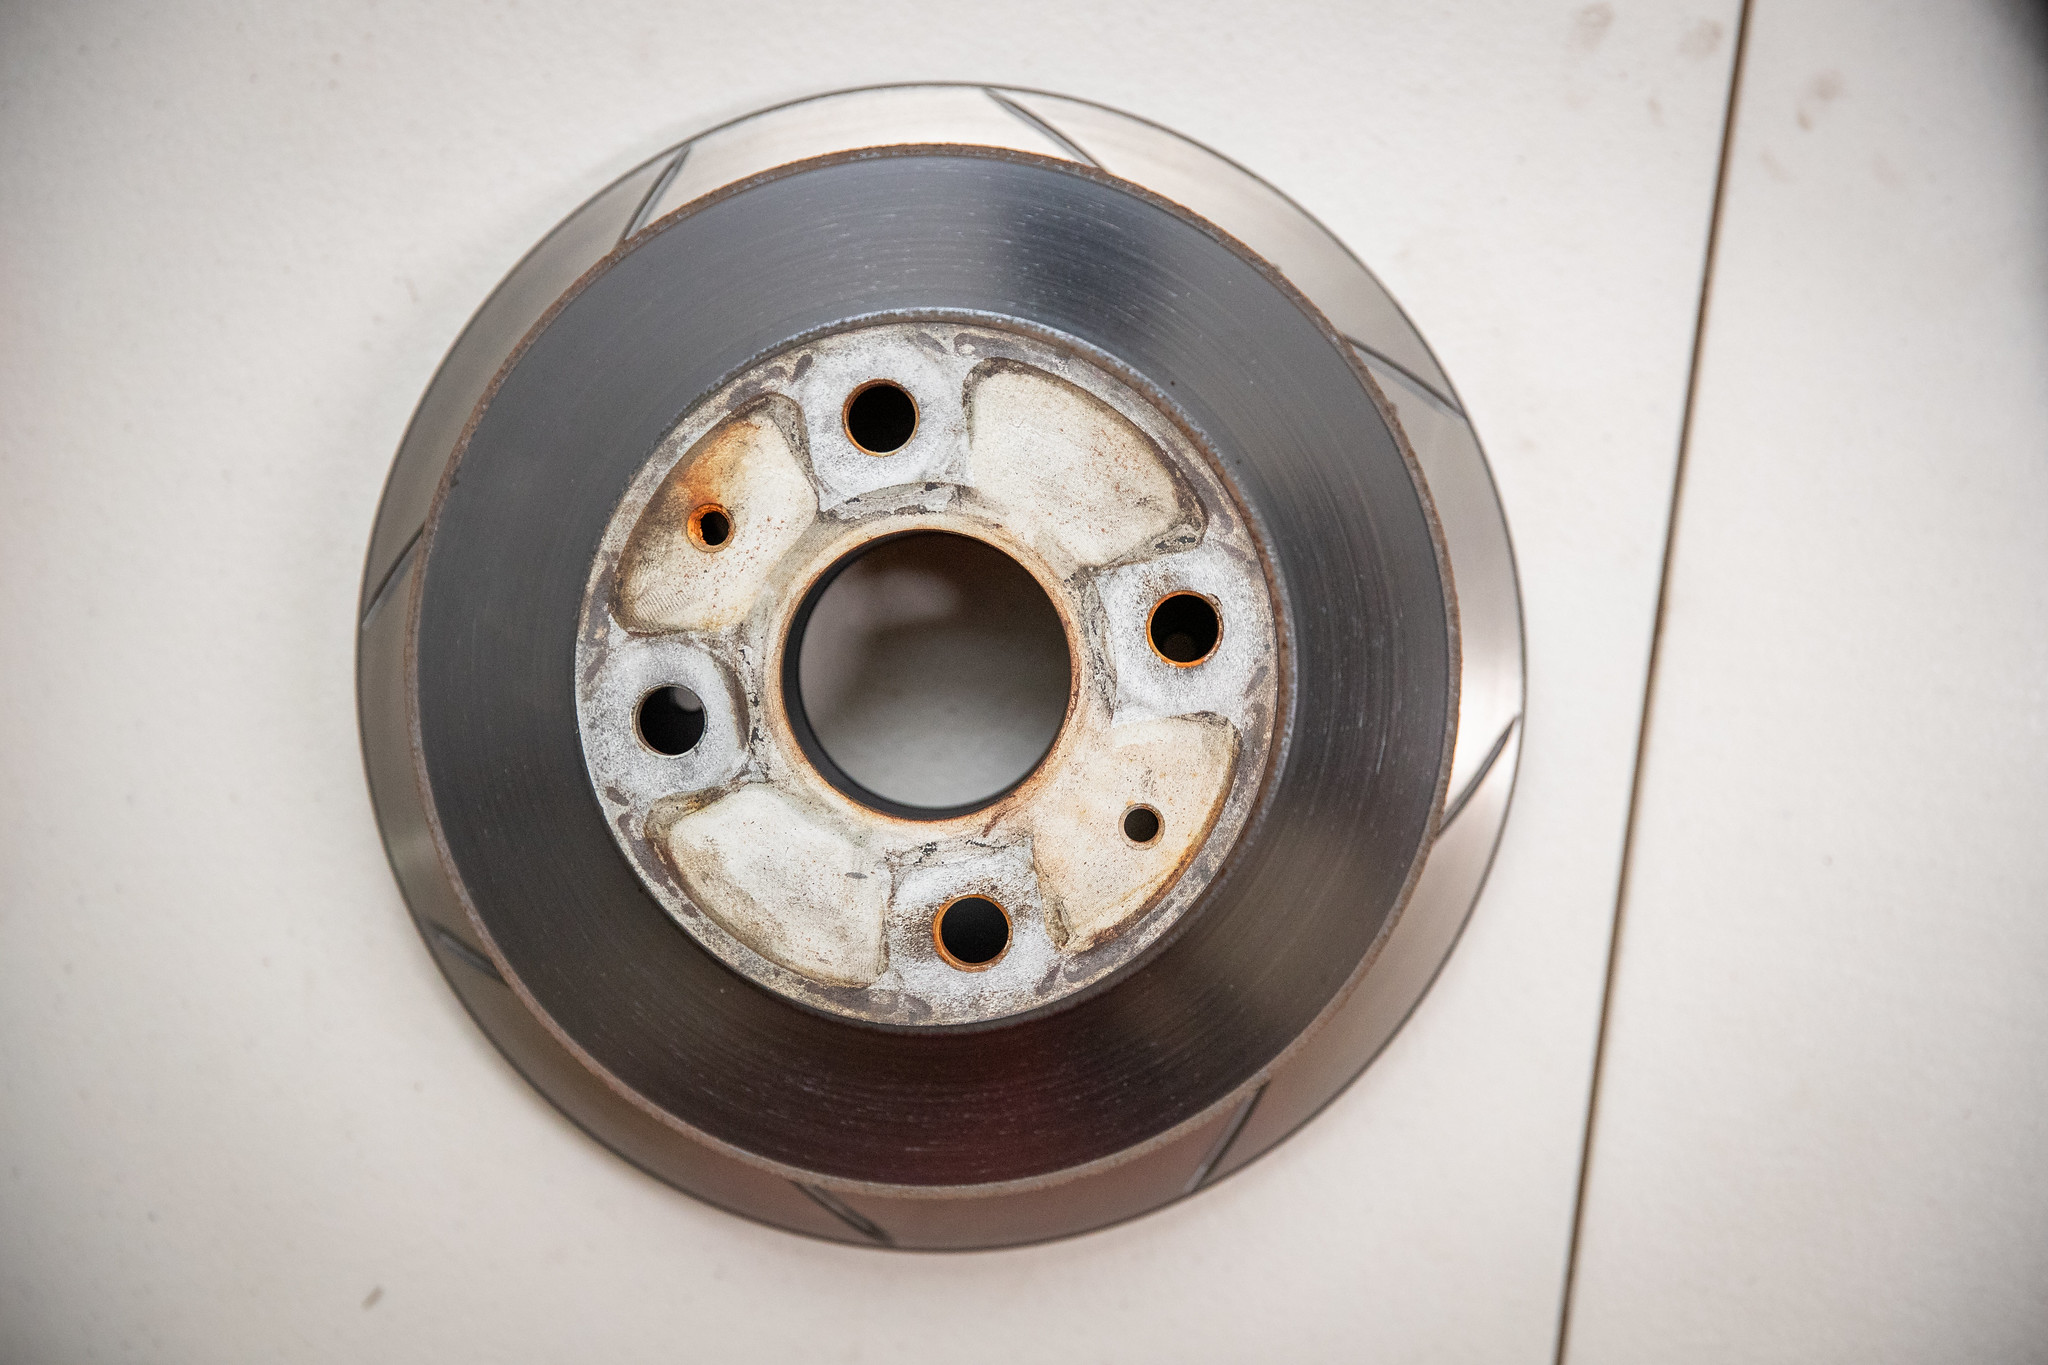
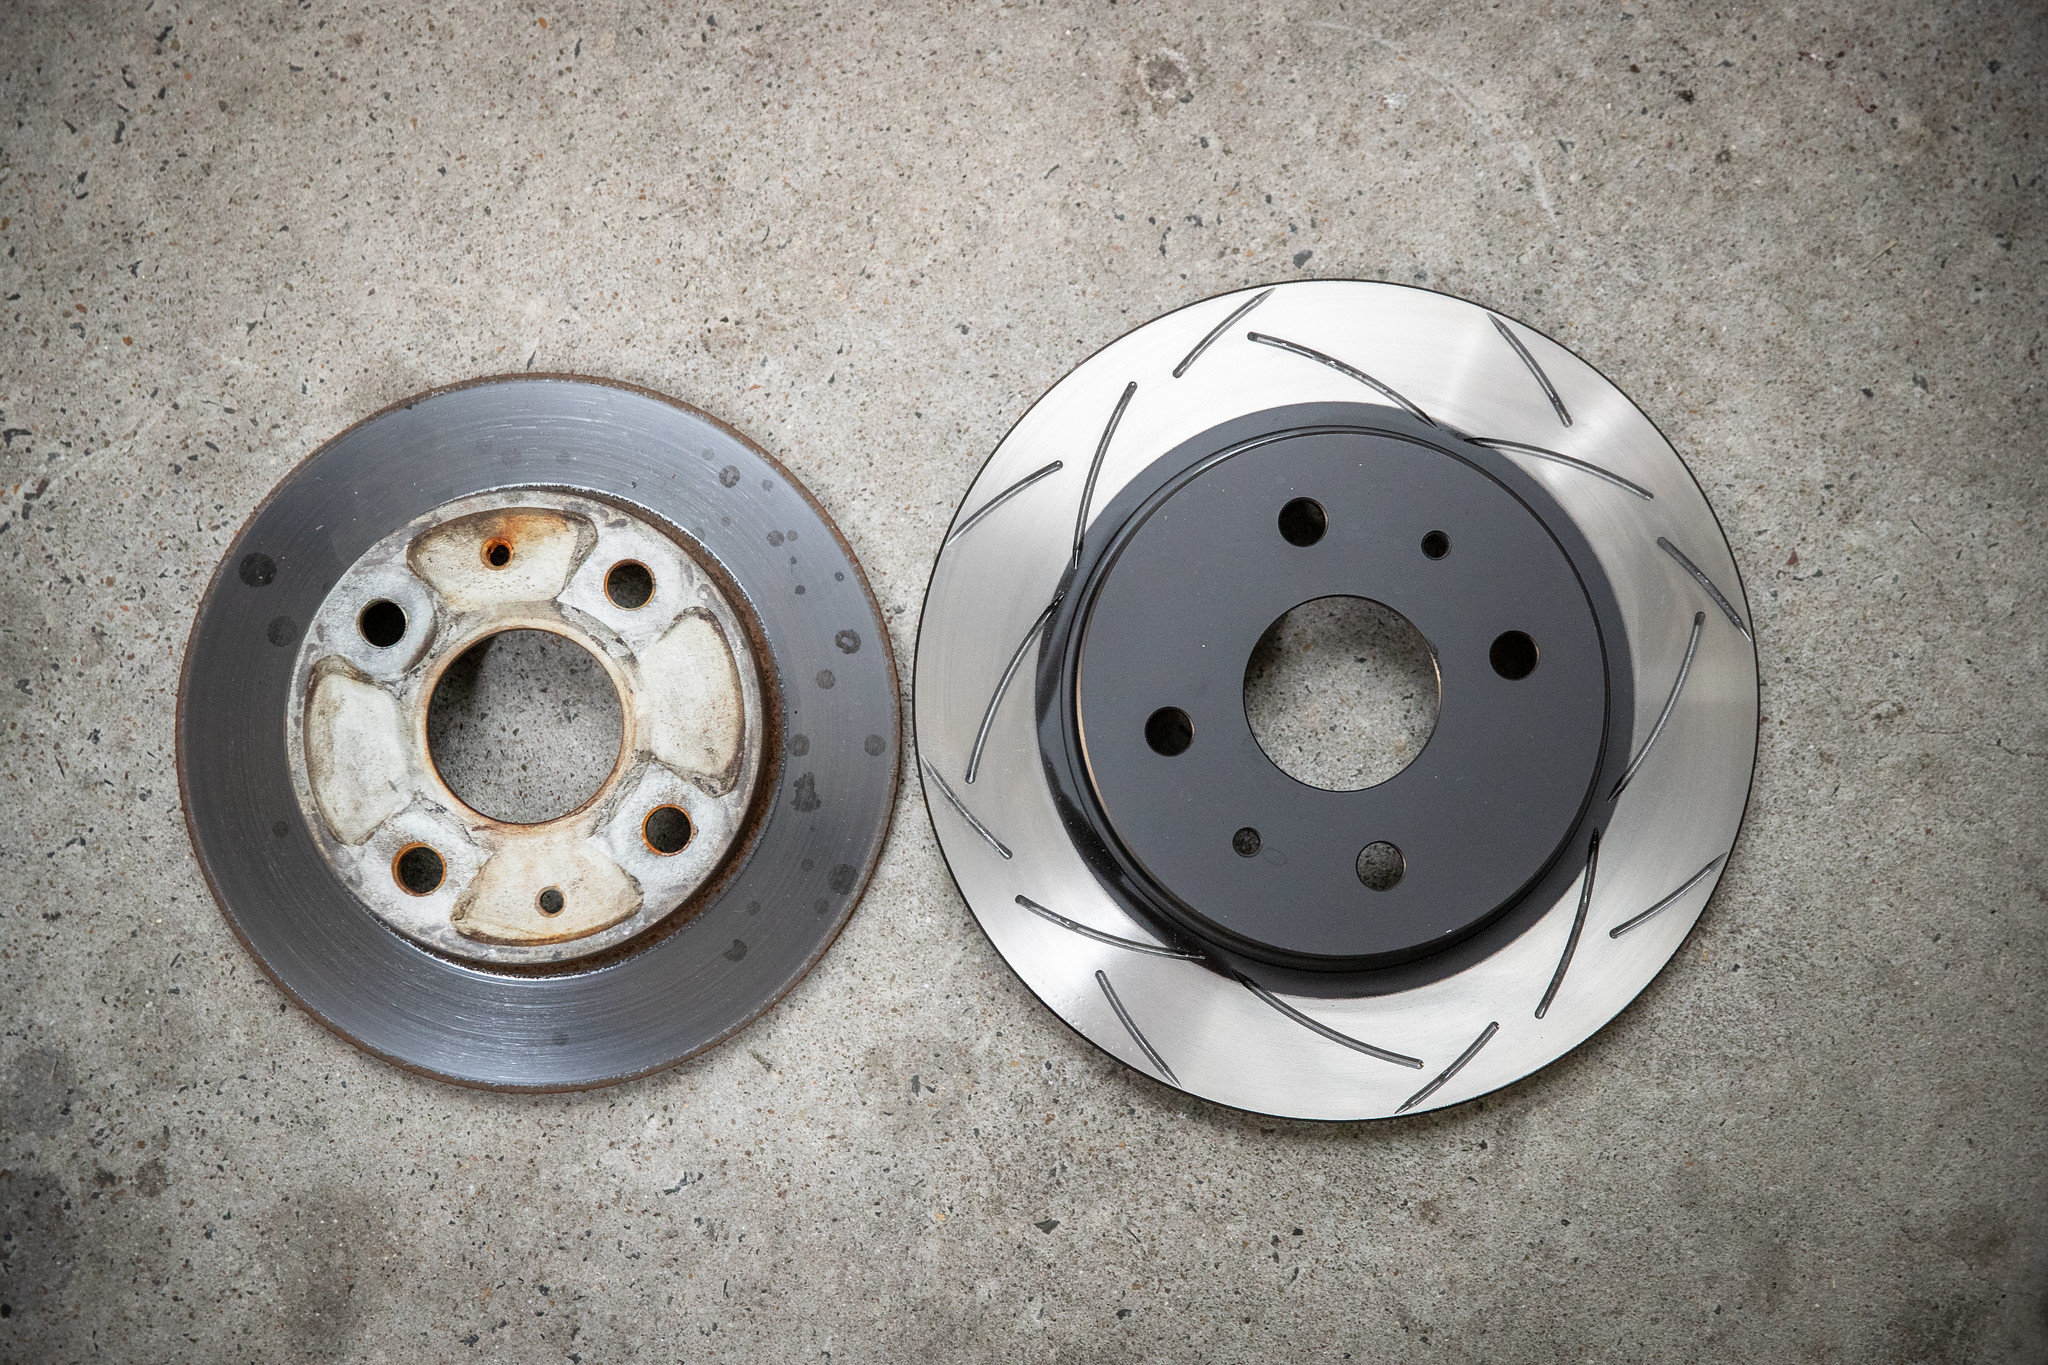
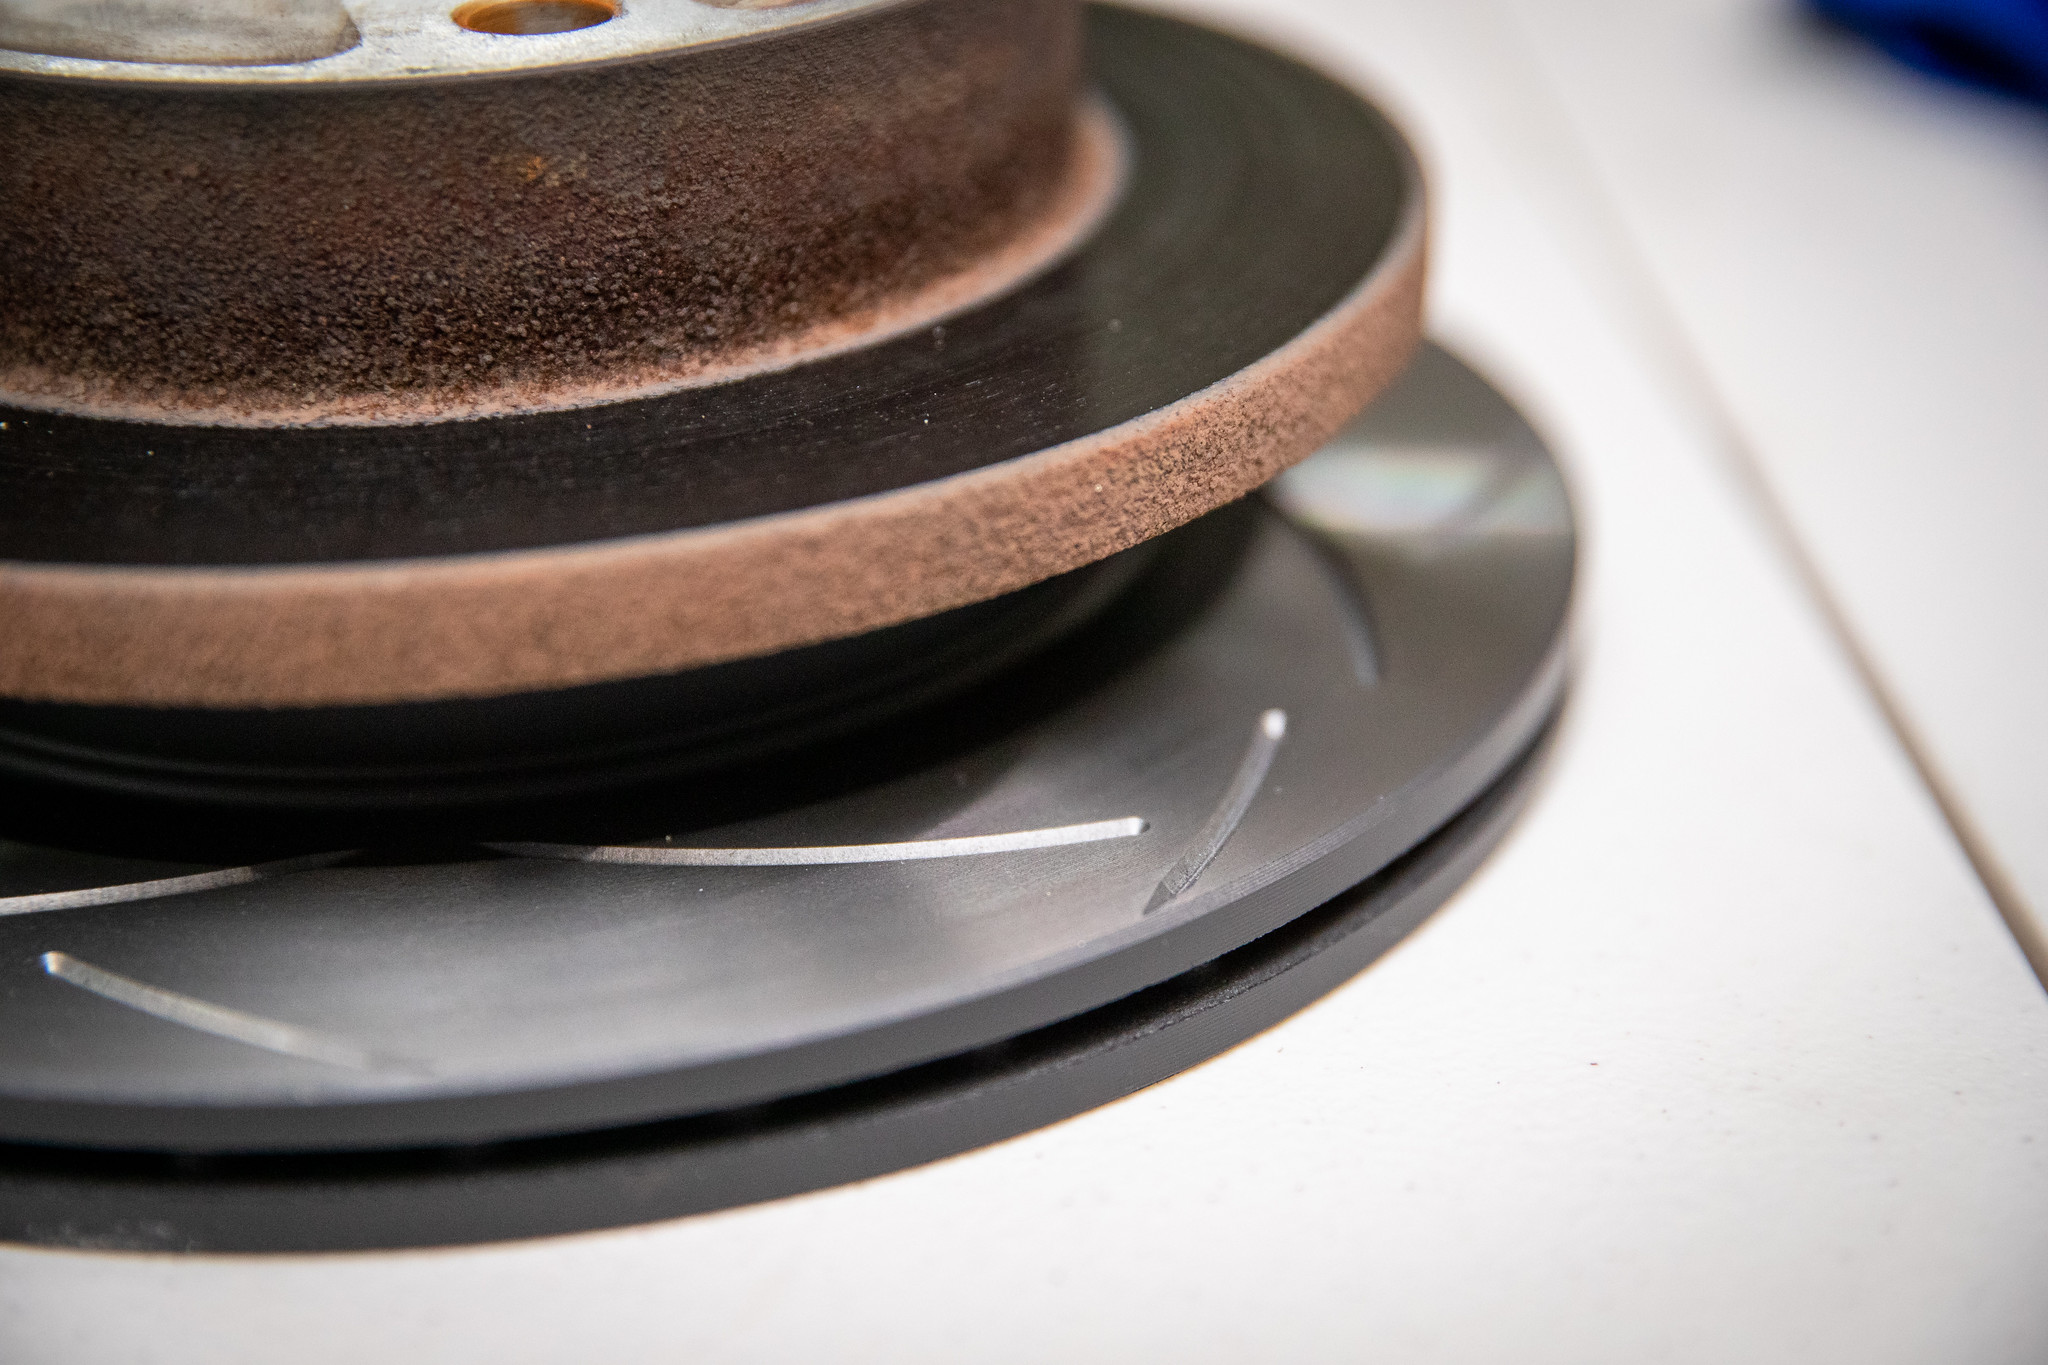
With no interest in using the original pads and rotors, I needed to upgrade those too. For disks, I went with DBA’s T2’s. They’ll do perfectly for this application and look great.
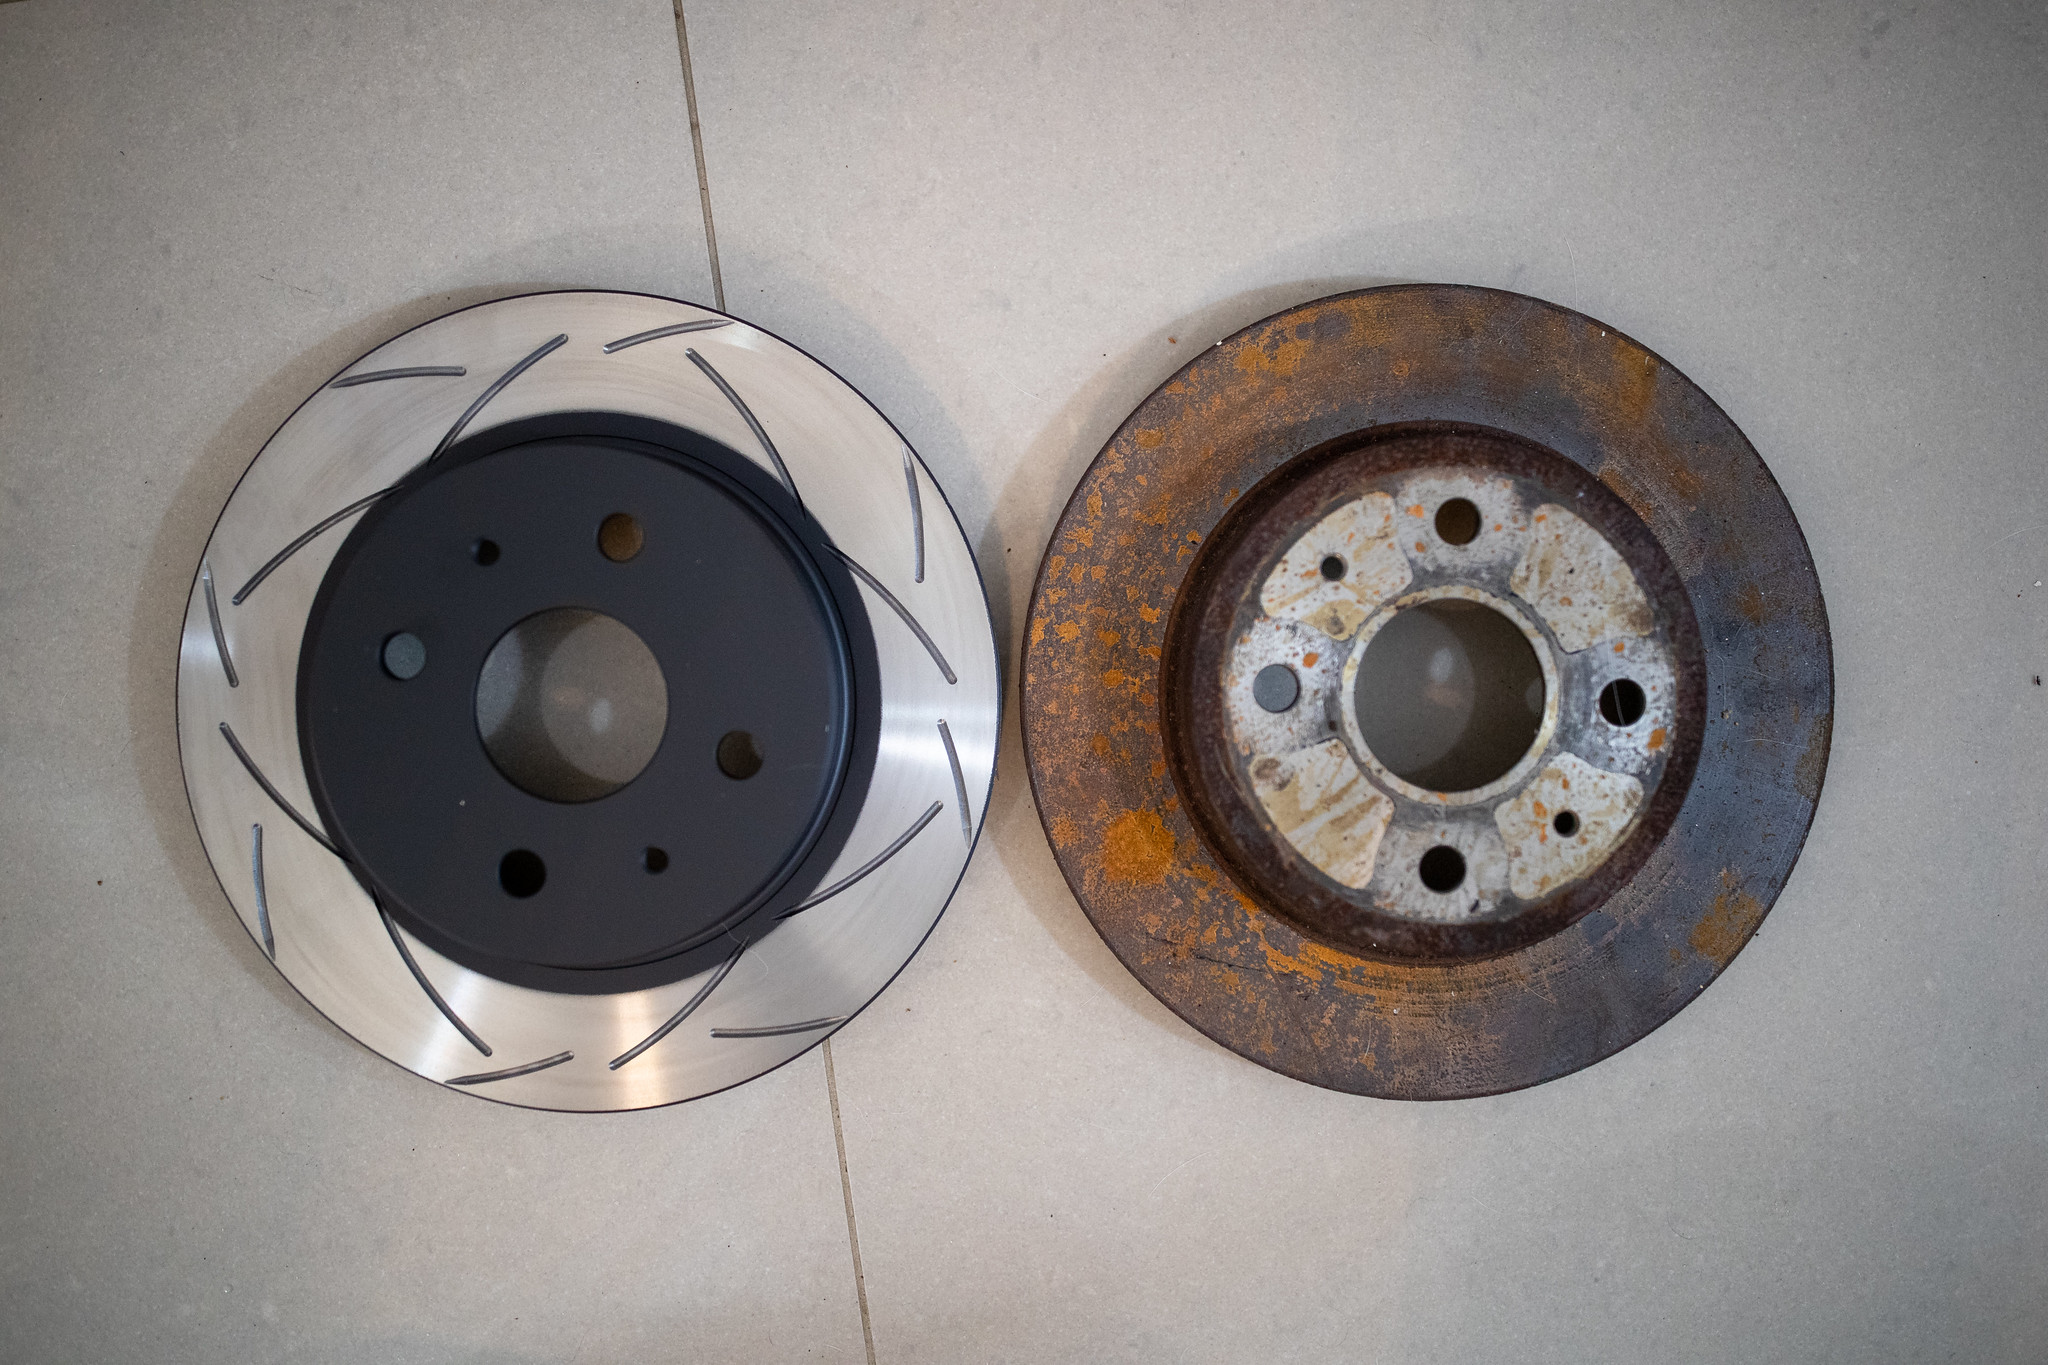
Much better shape than the old stuff.
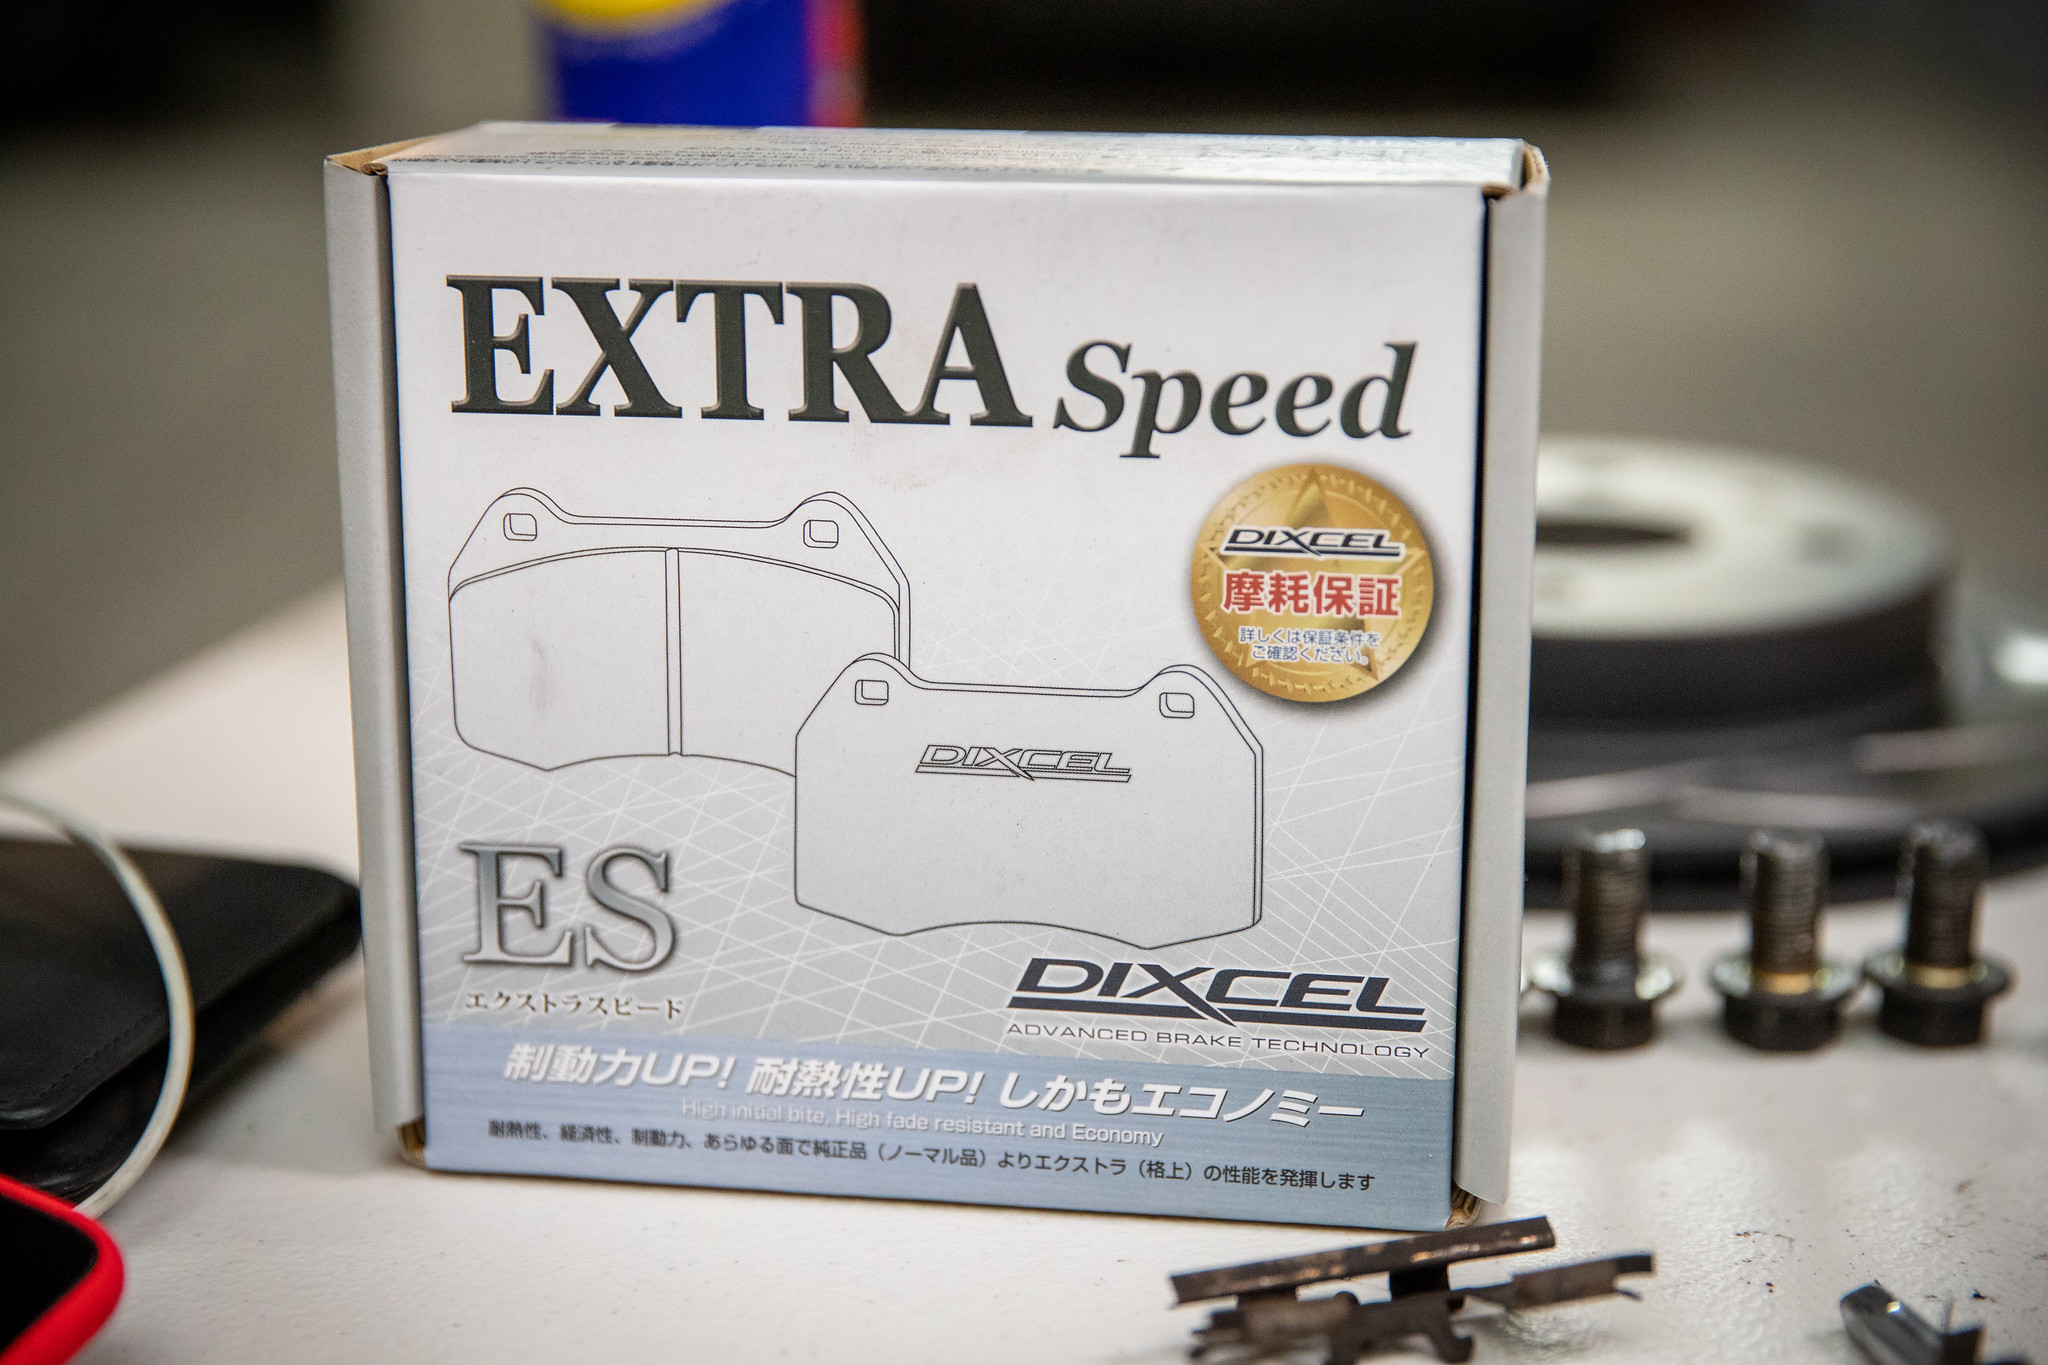
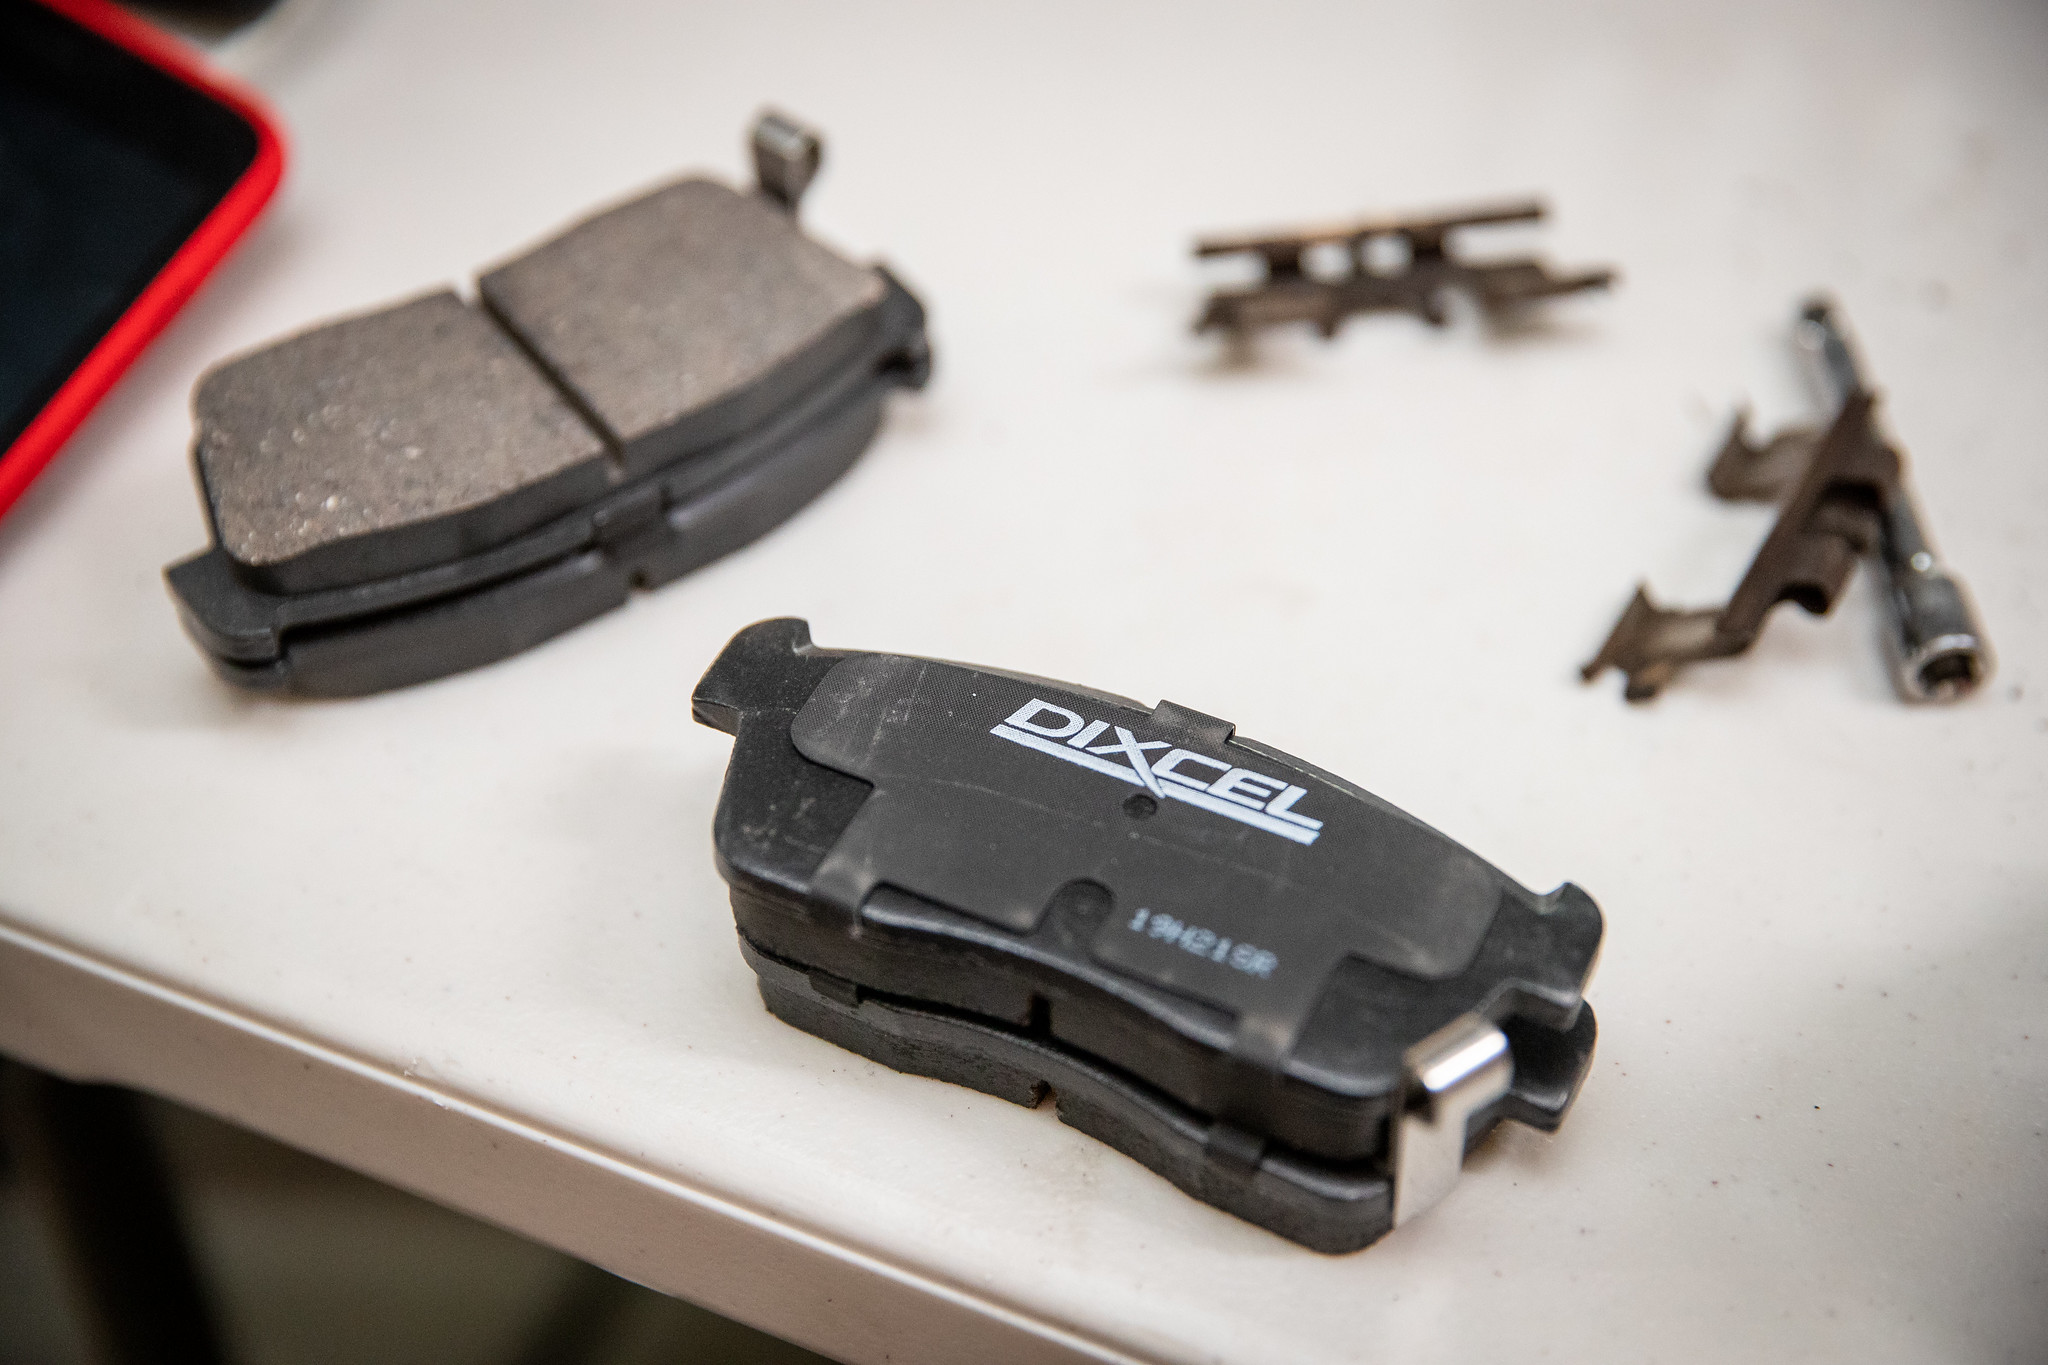
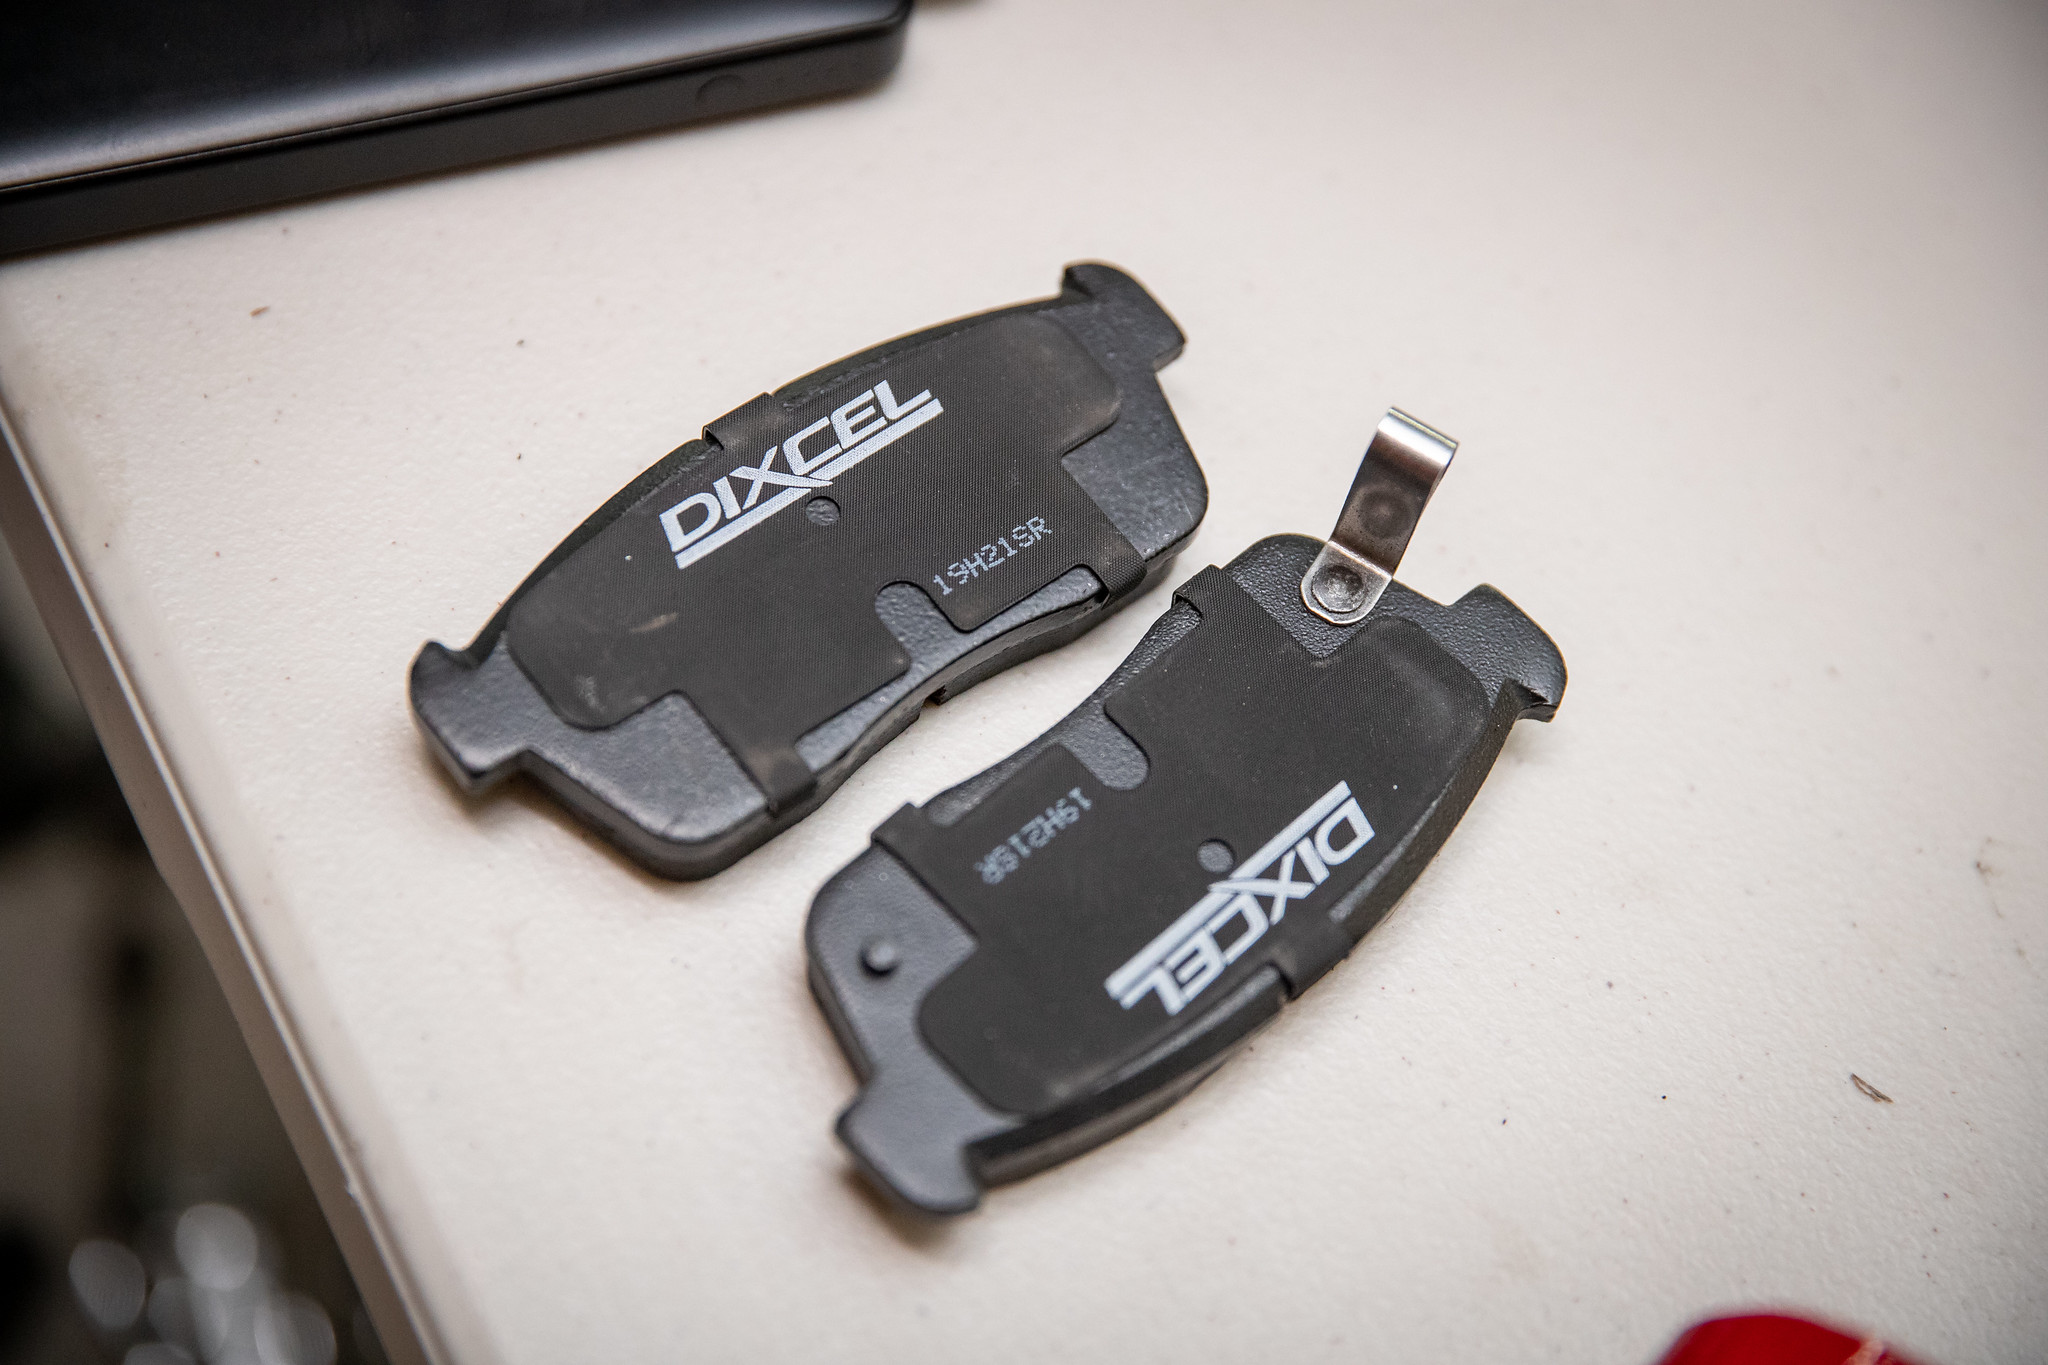
For pads I went for another thing I’ve been familiar with on other builds. Dixel, Type ES’s in this application.
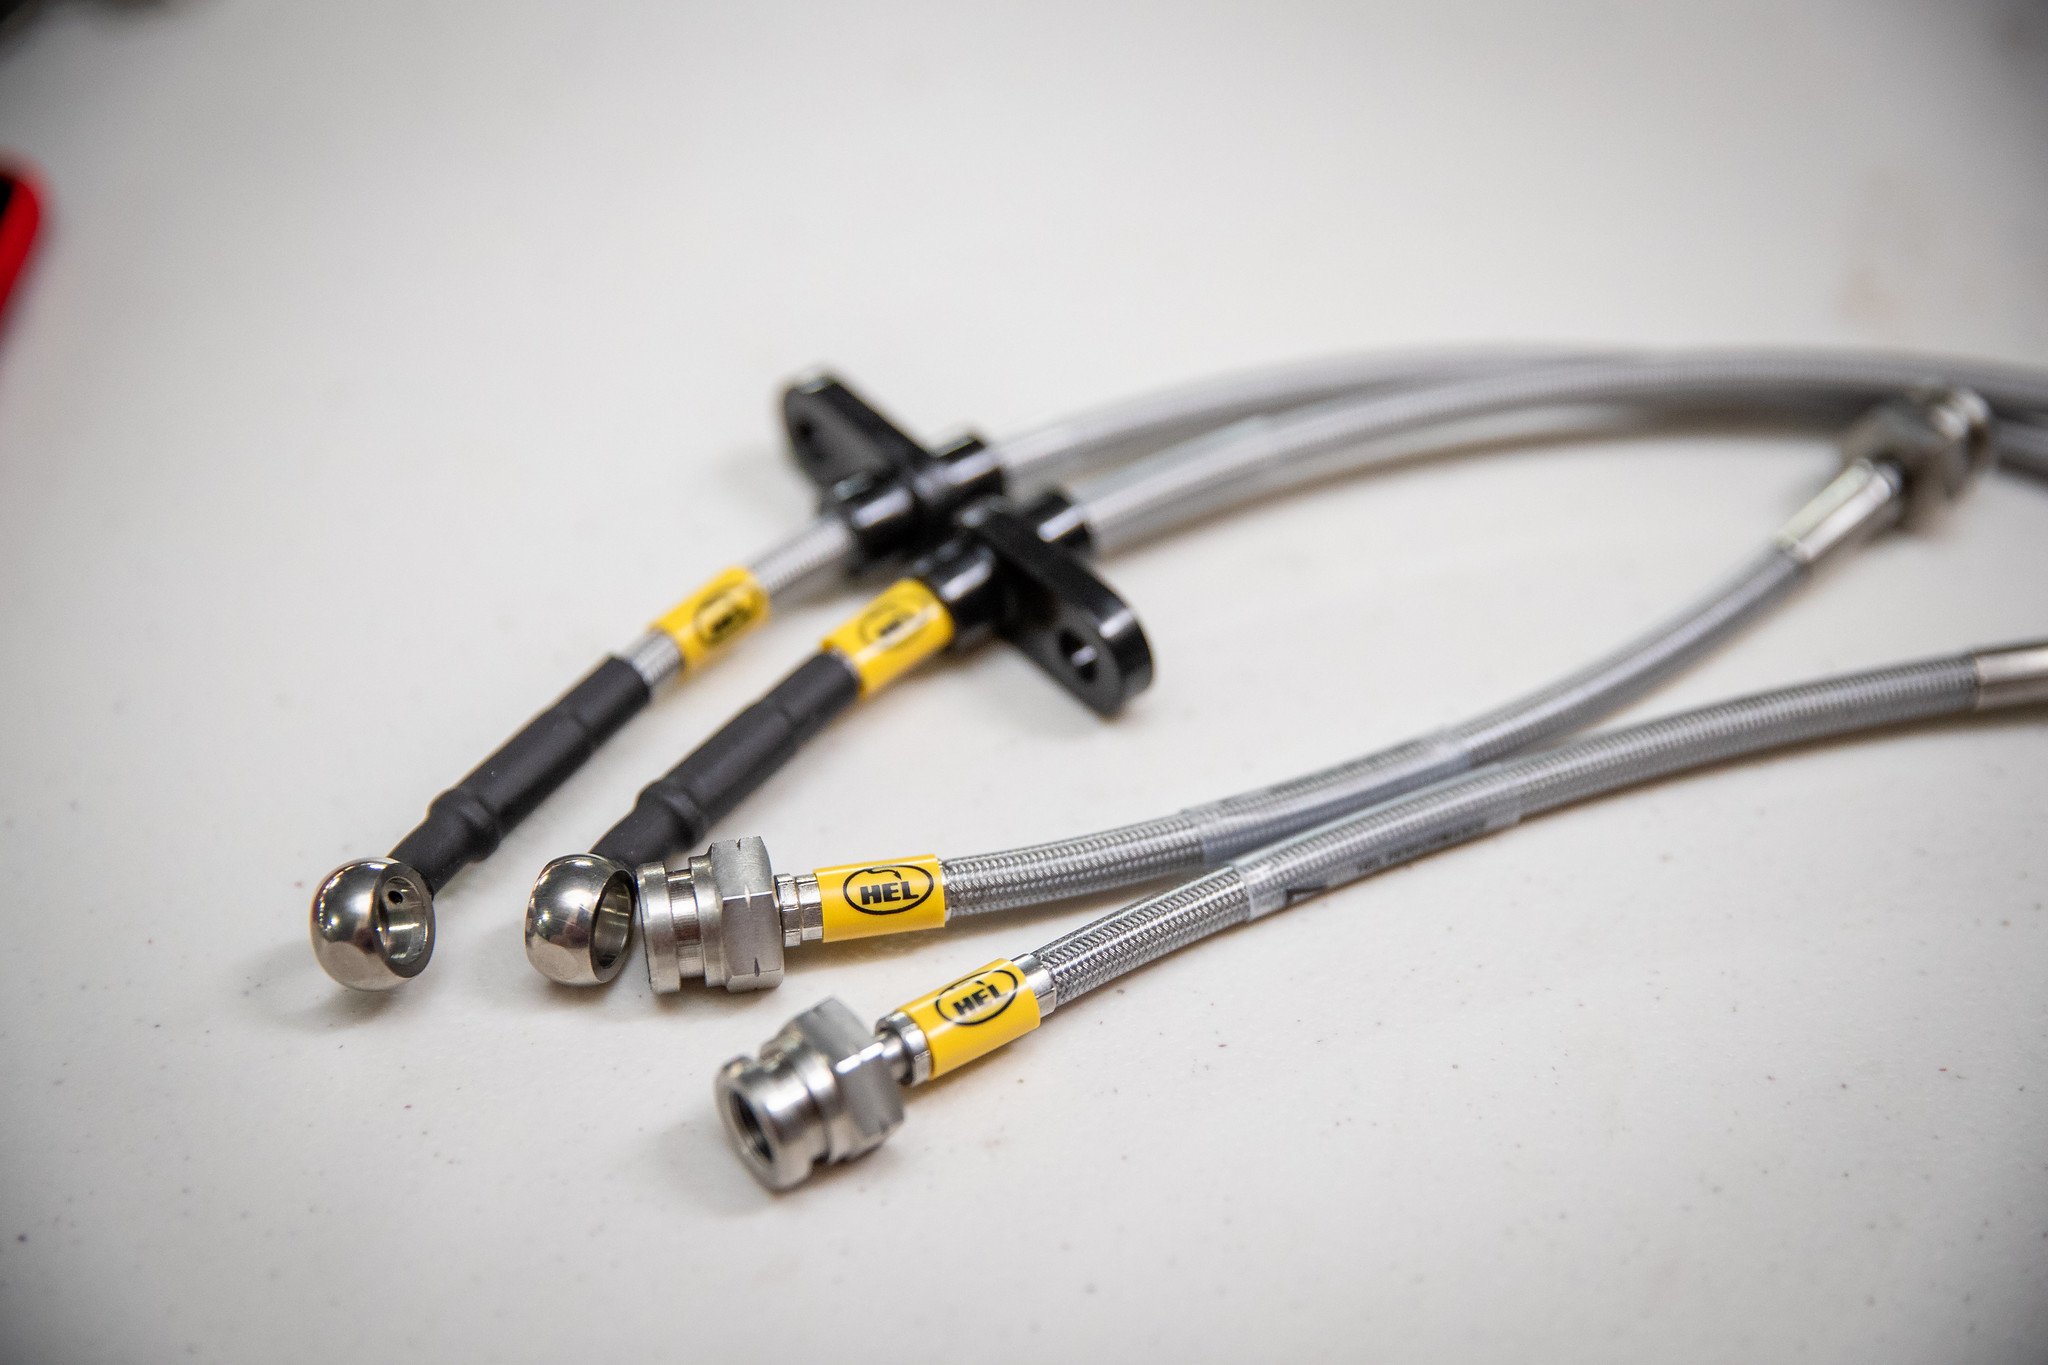
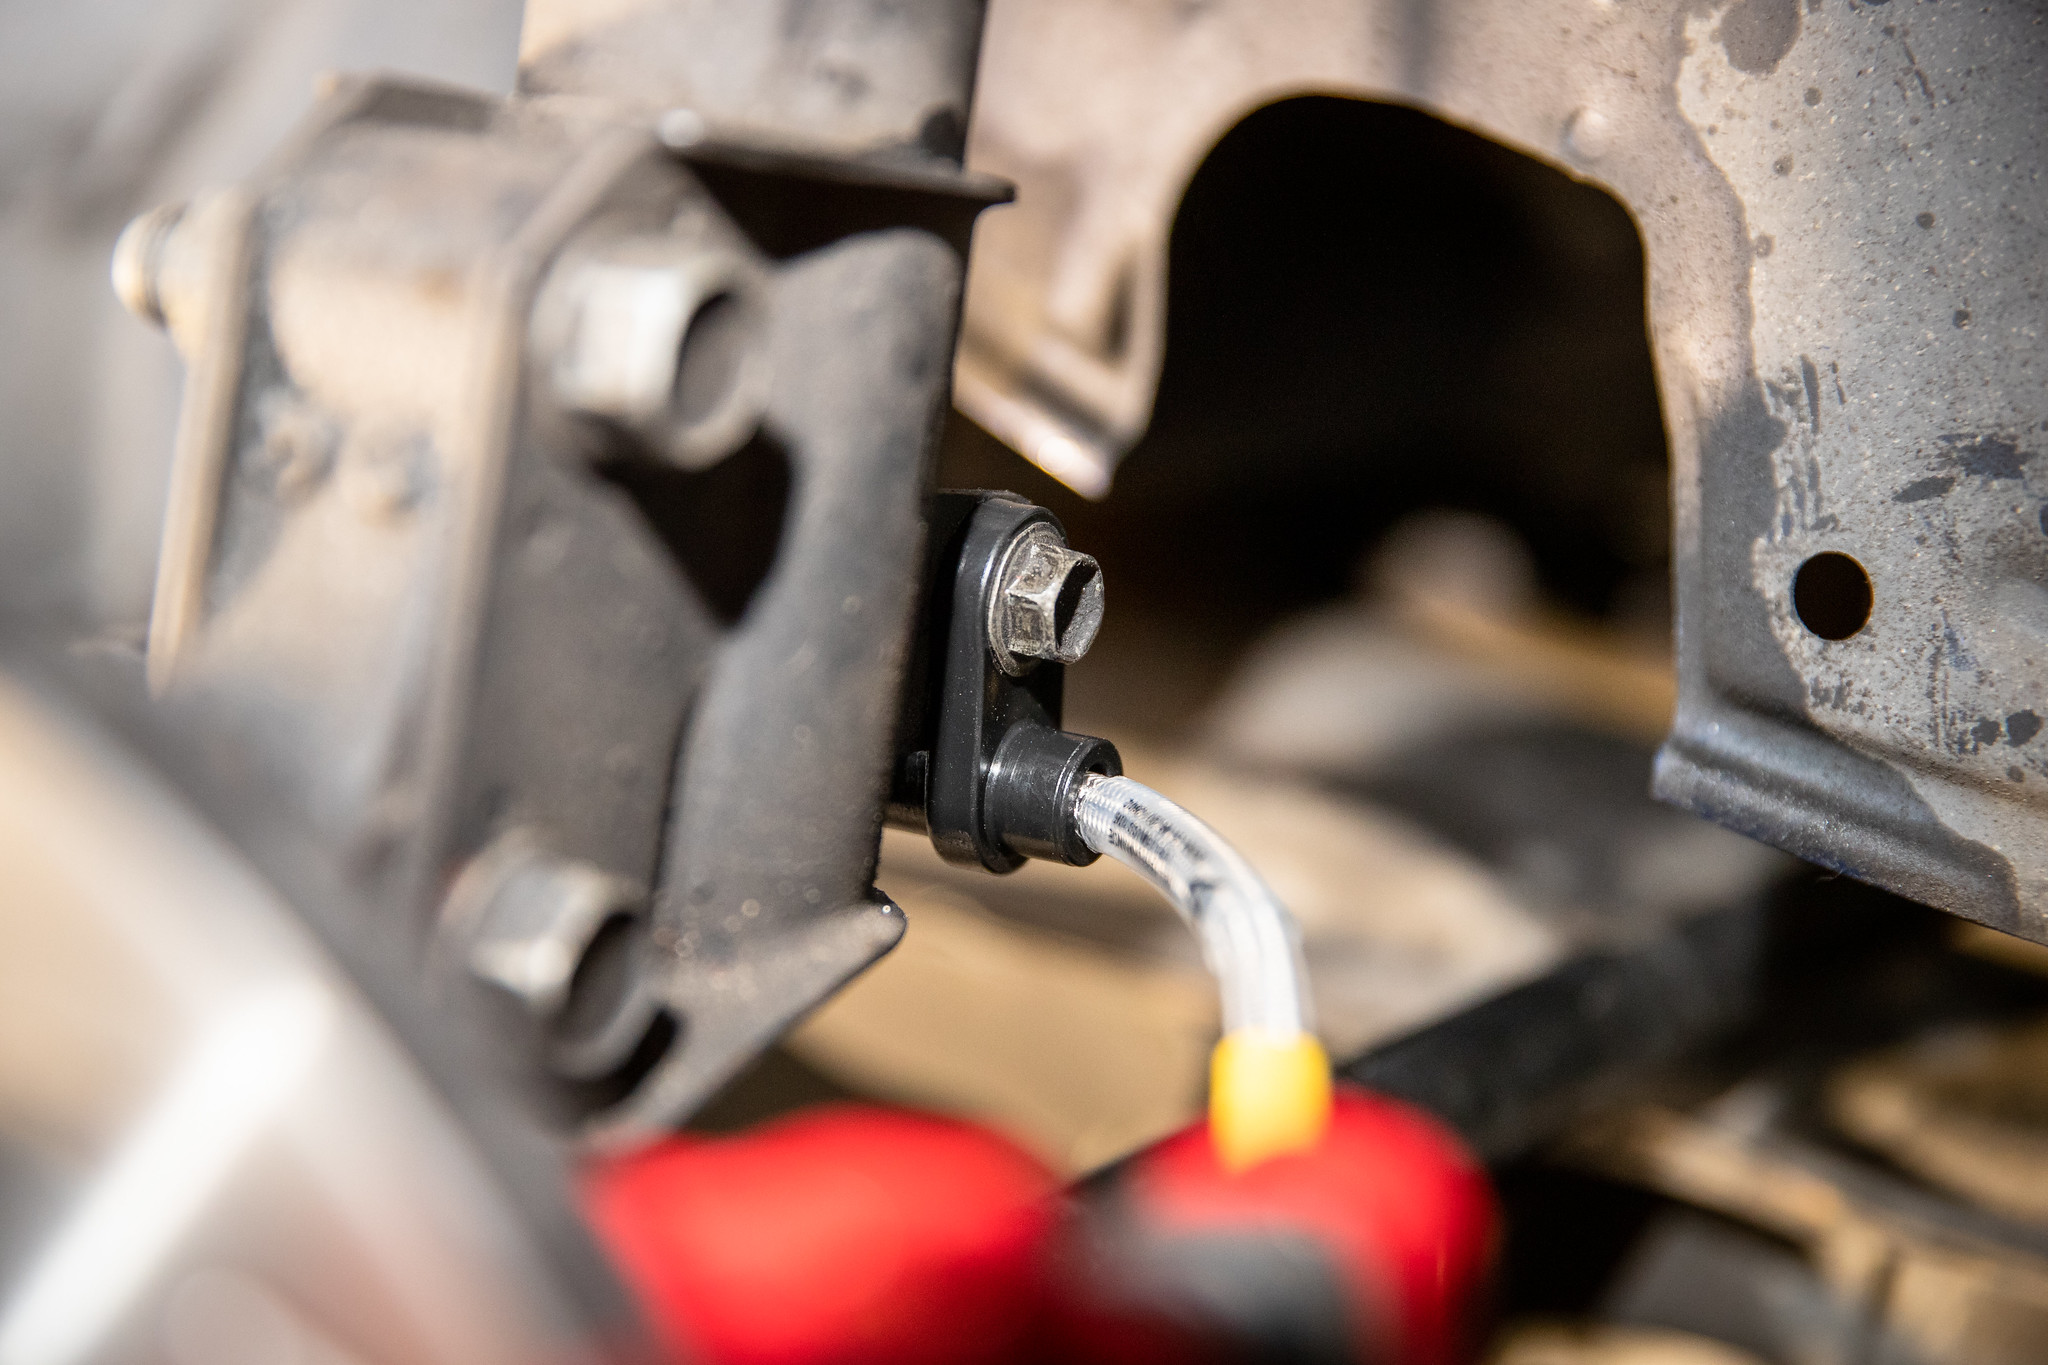
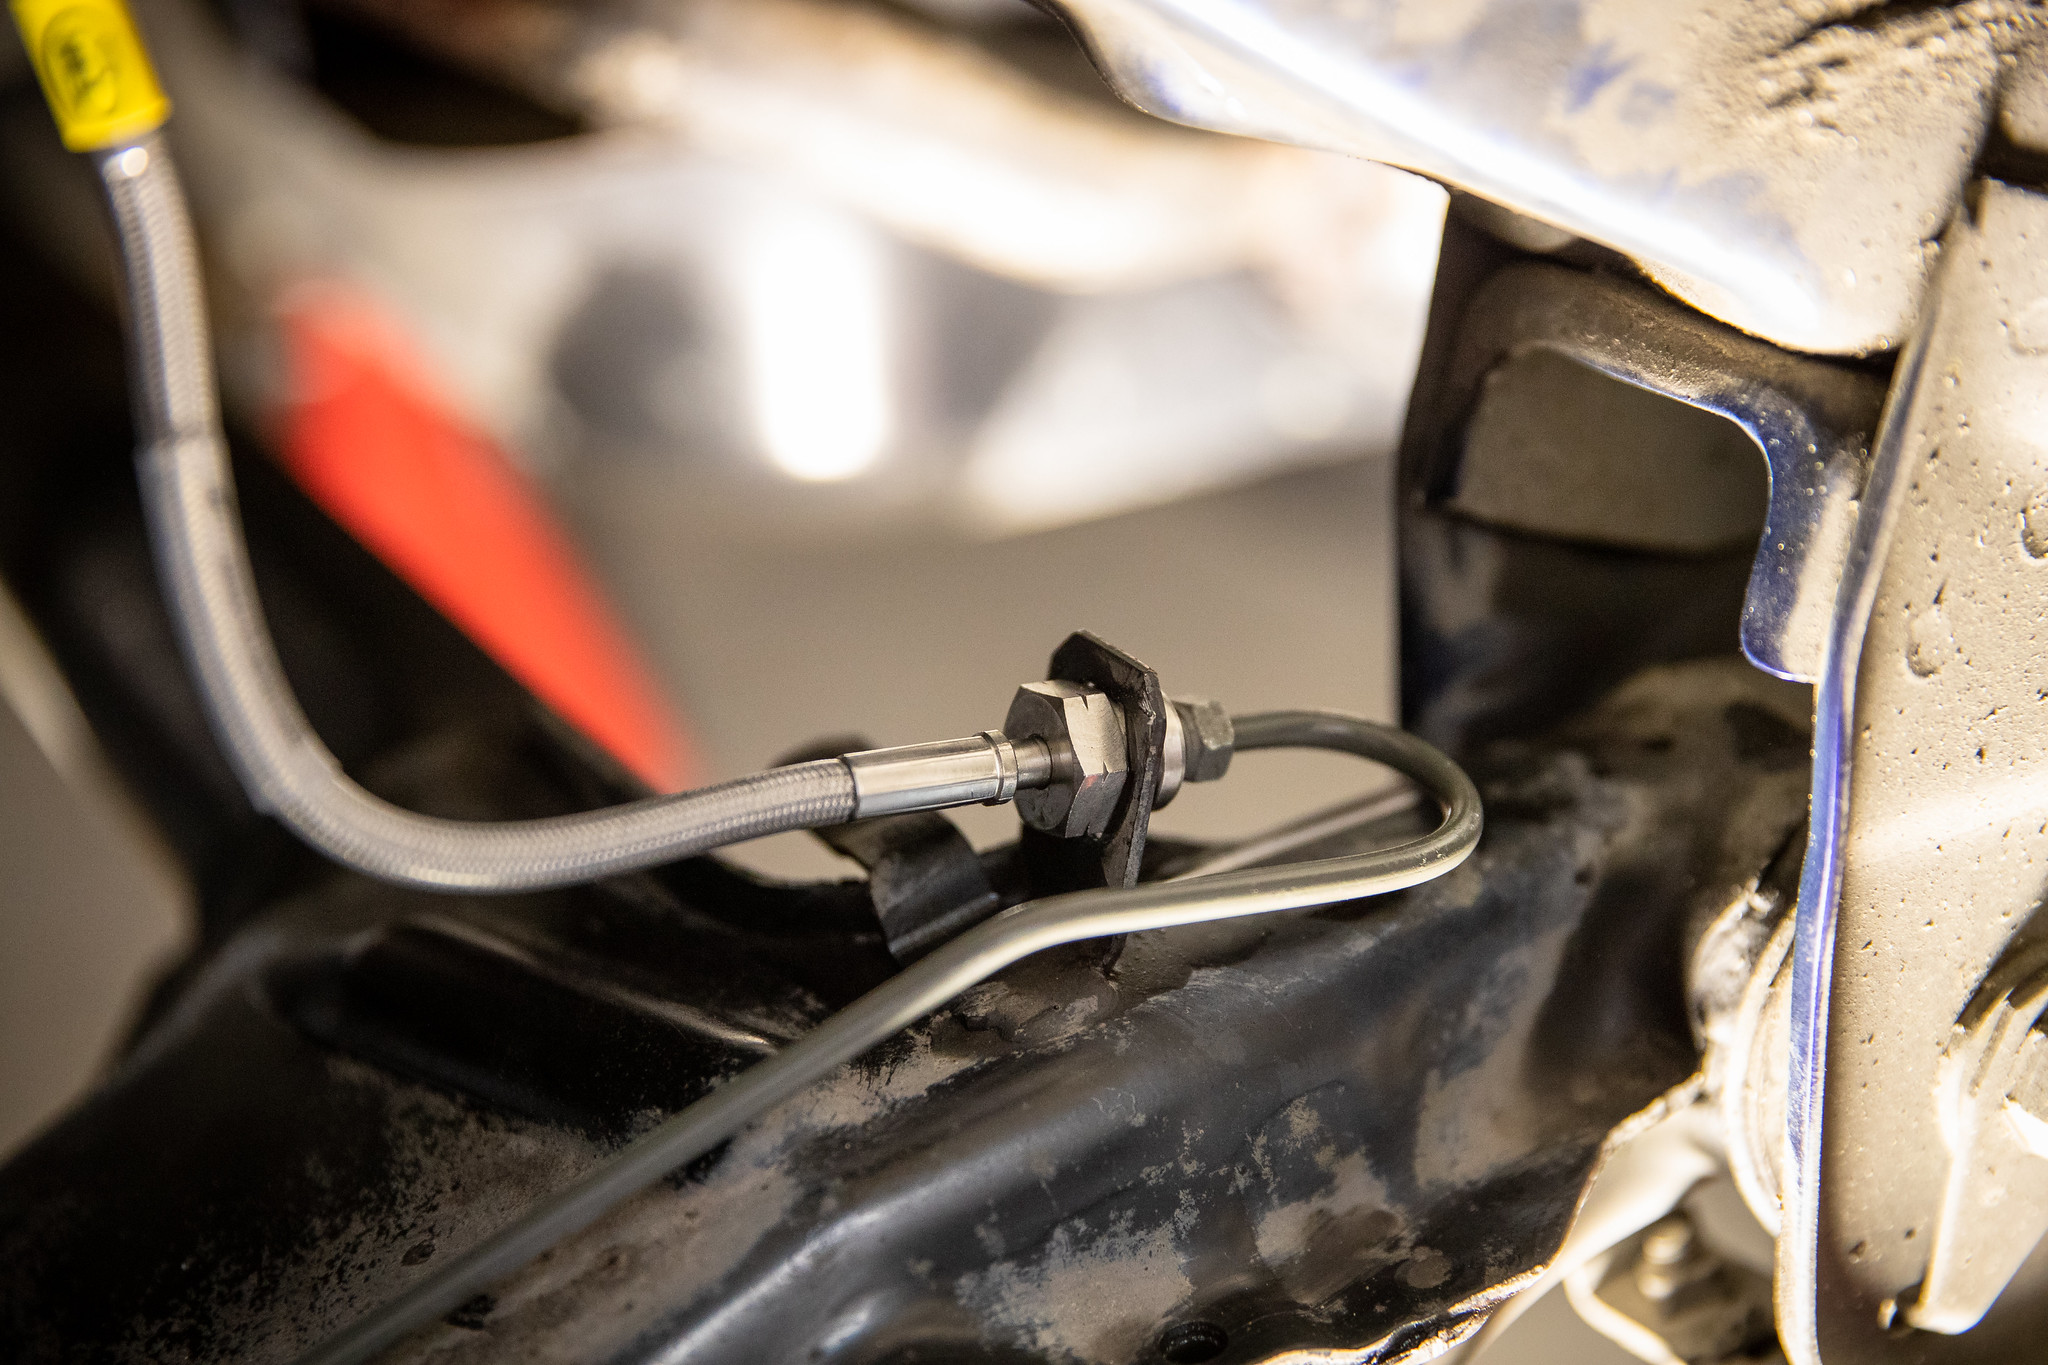
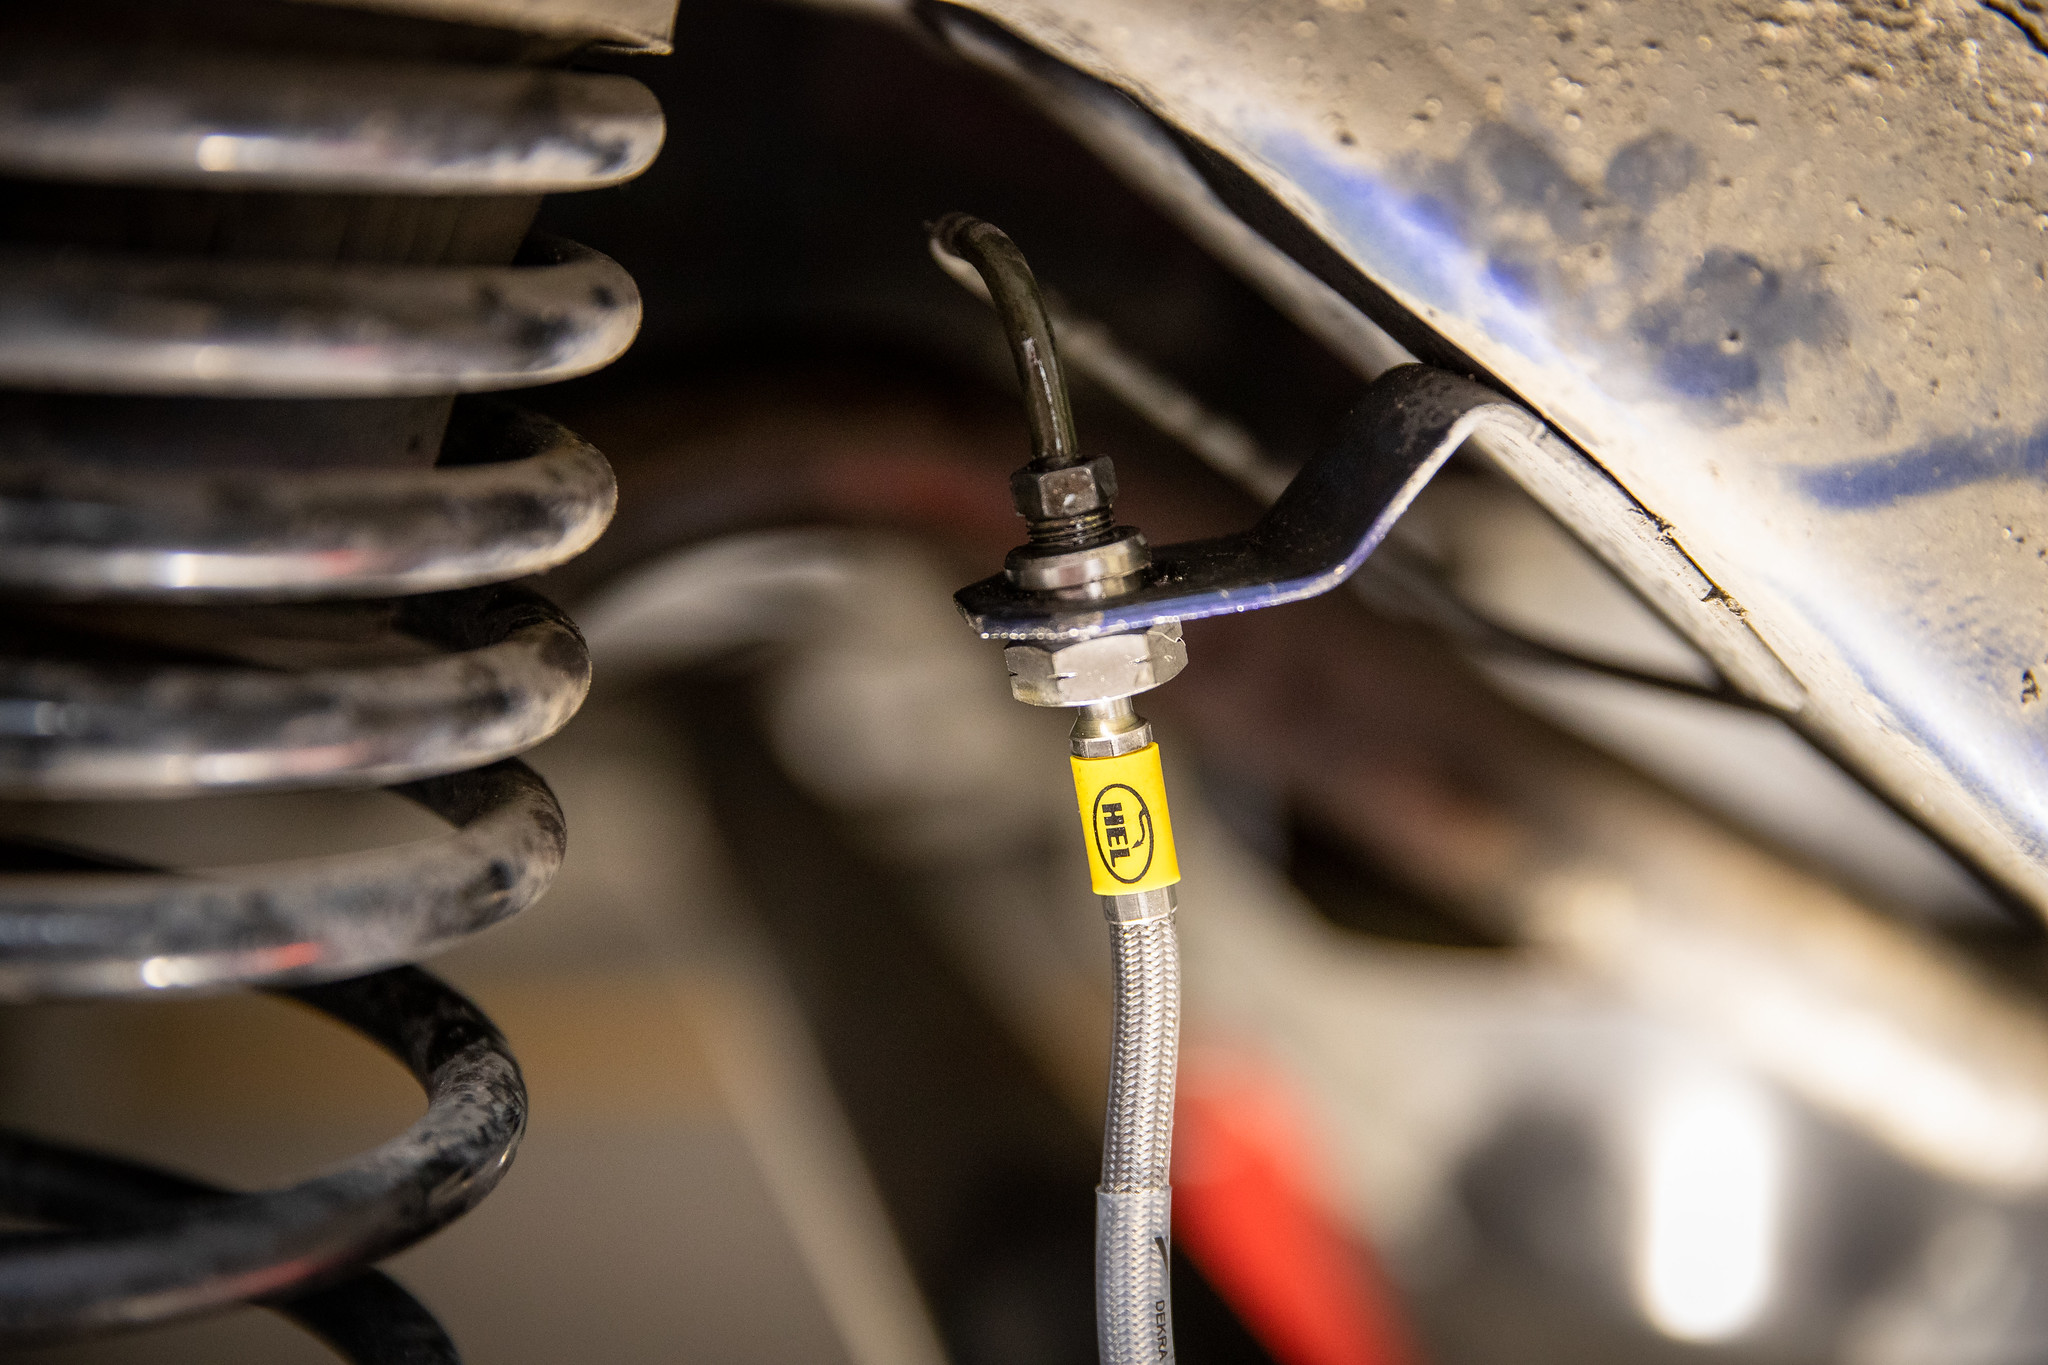
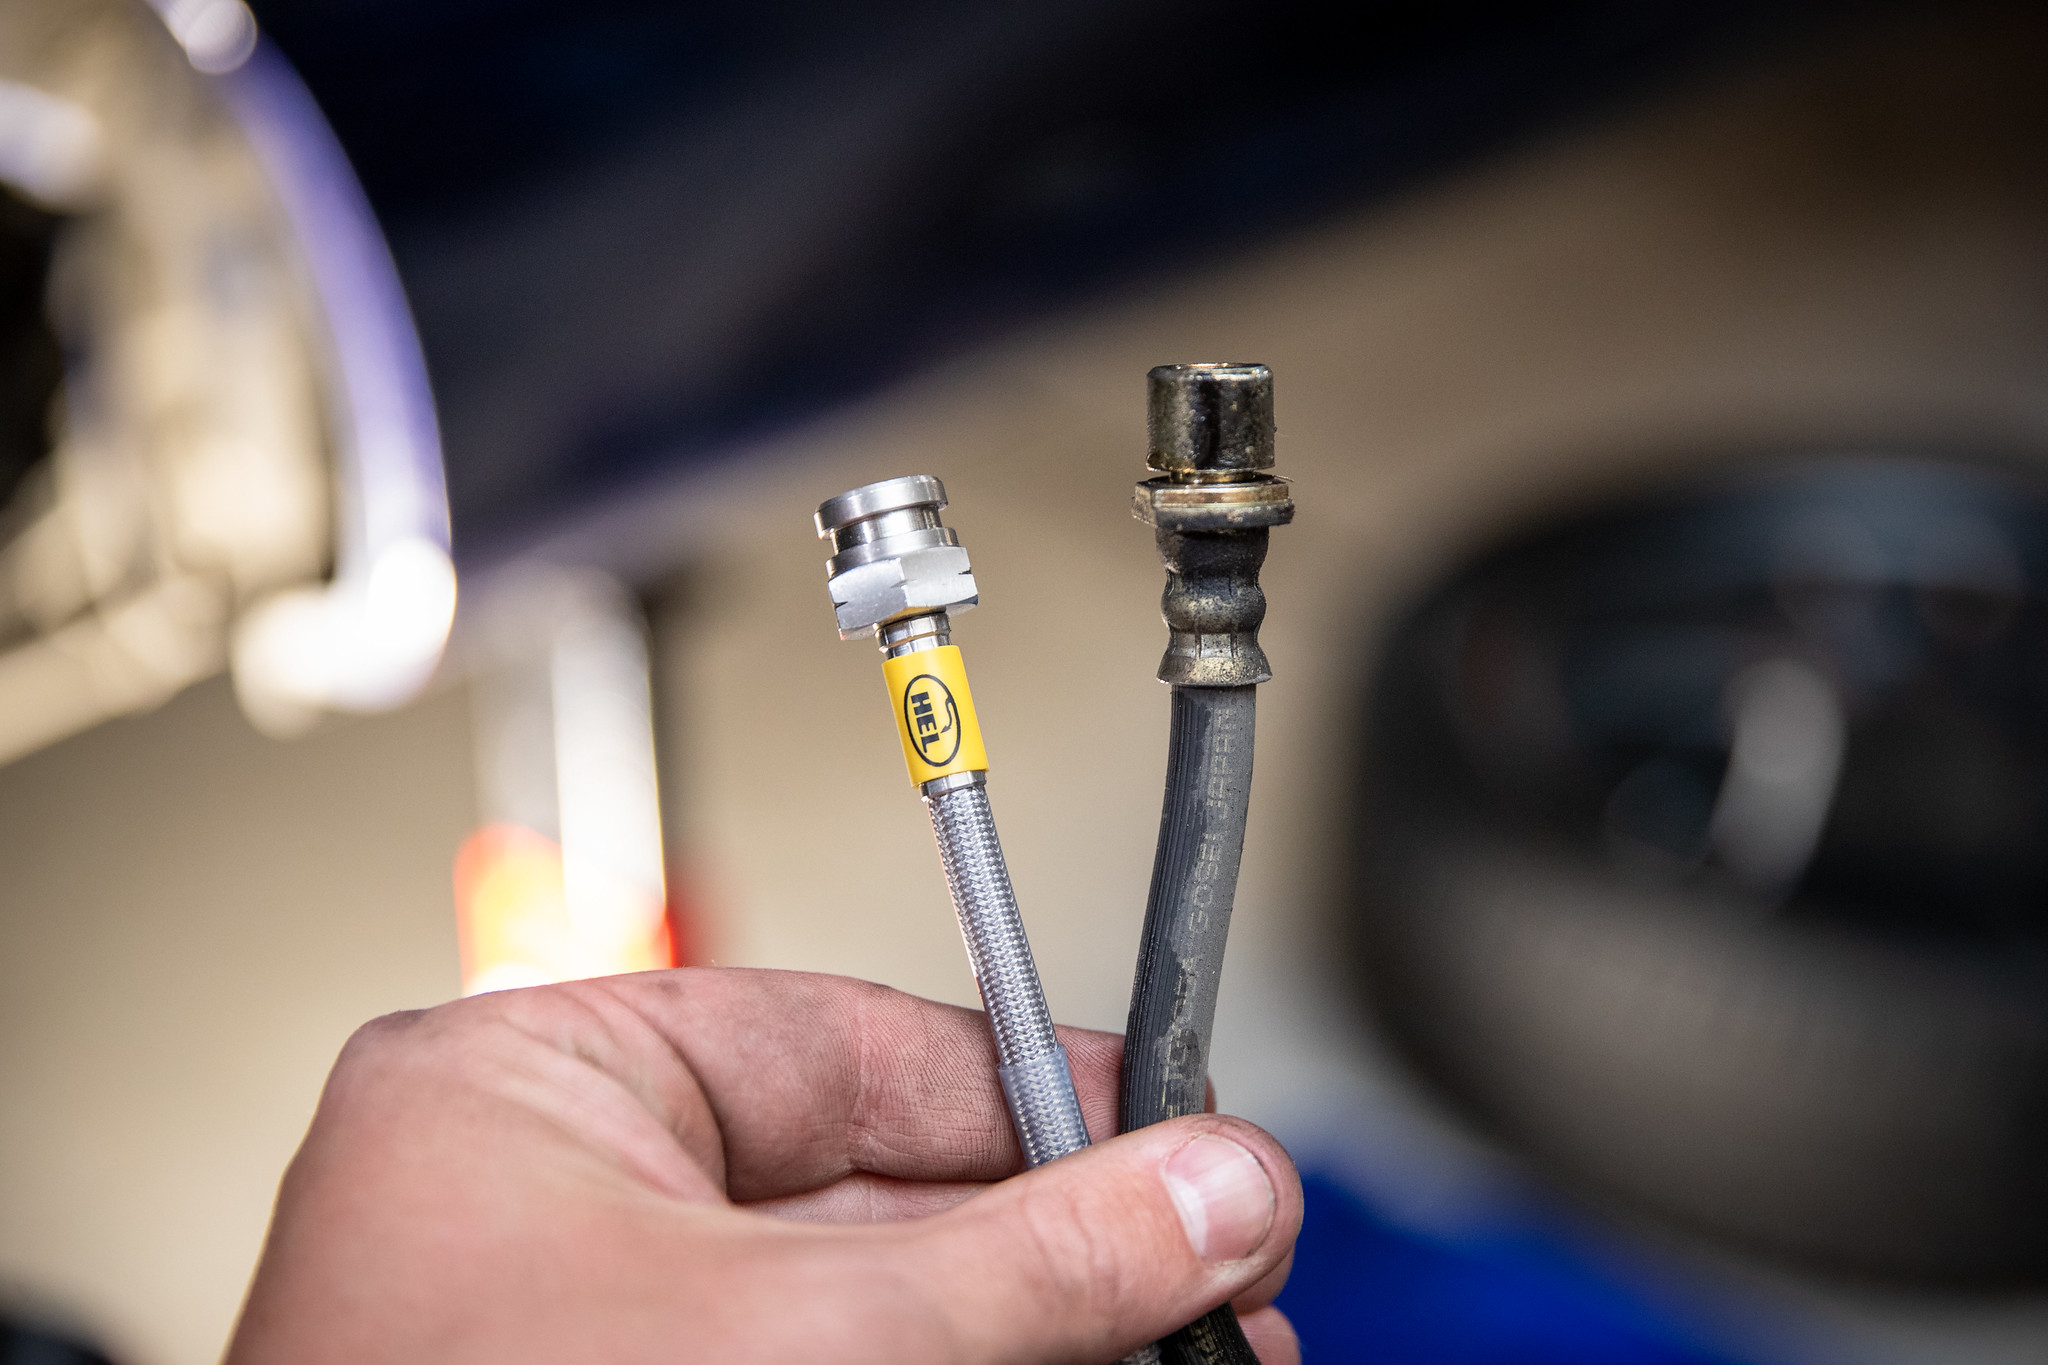
I truly believe this is the best bank for buck mod you can do to a car, braided brake lines. Hel as always.

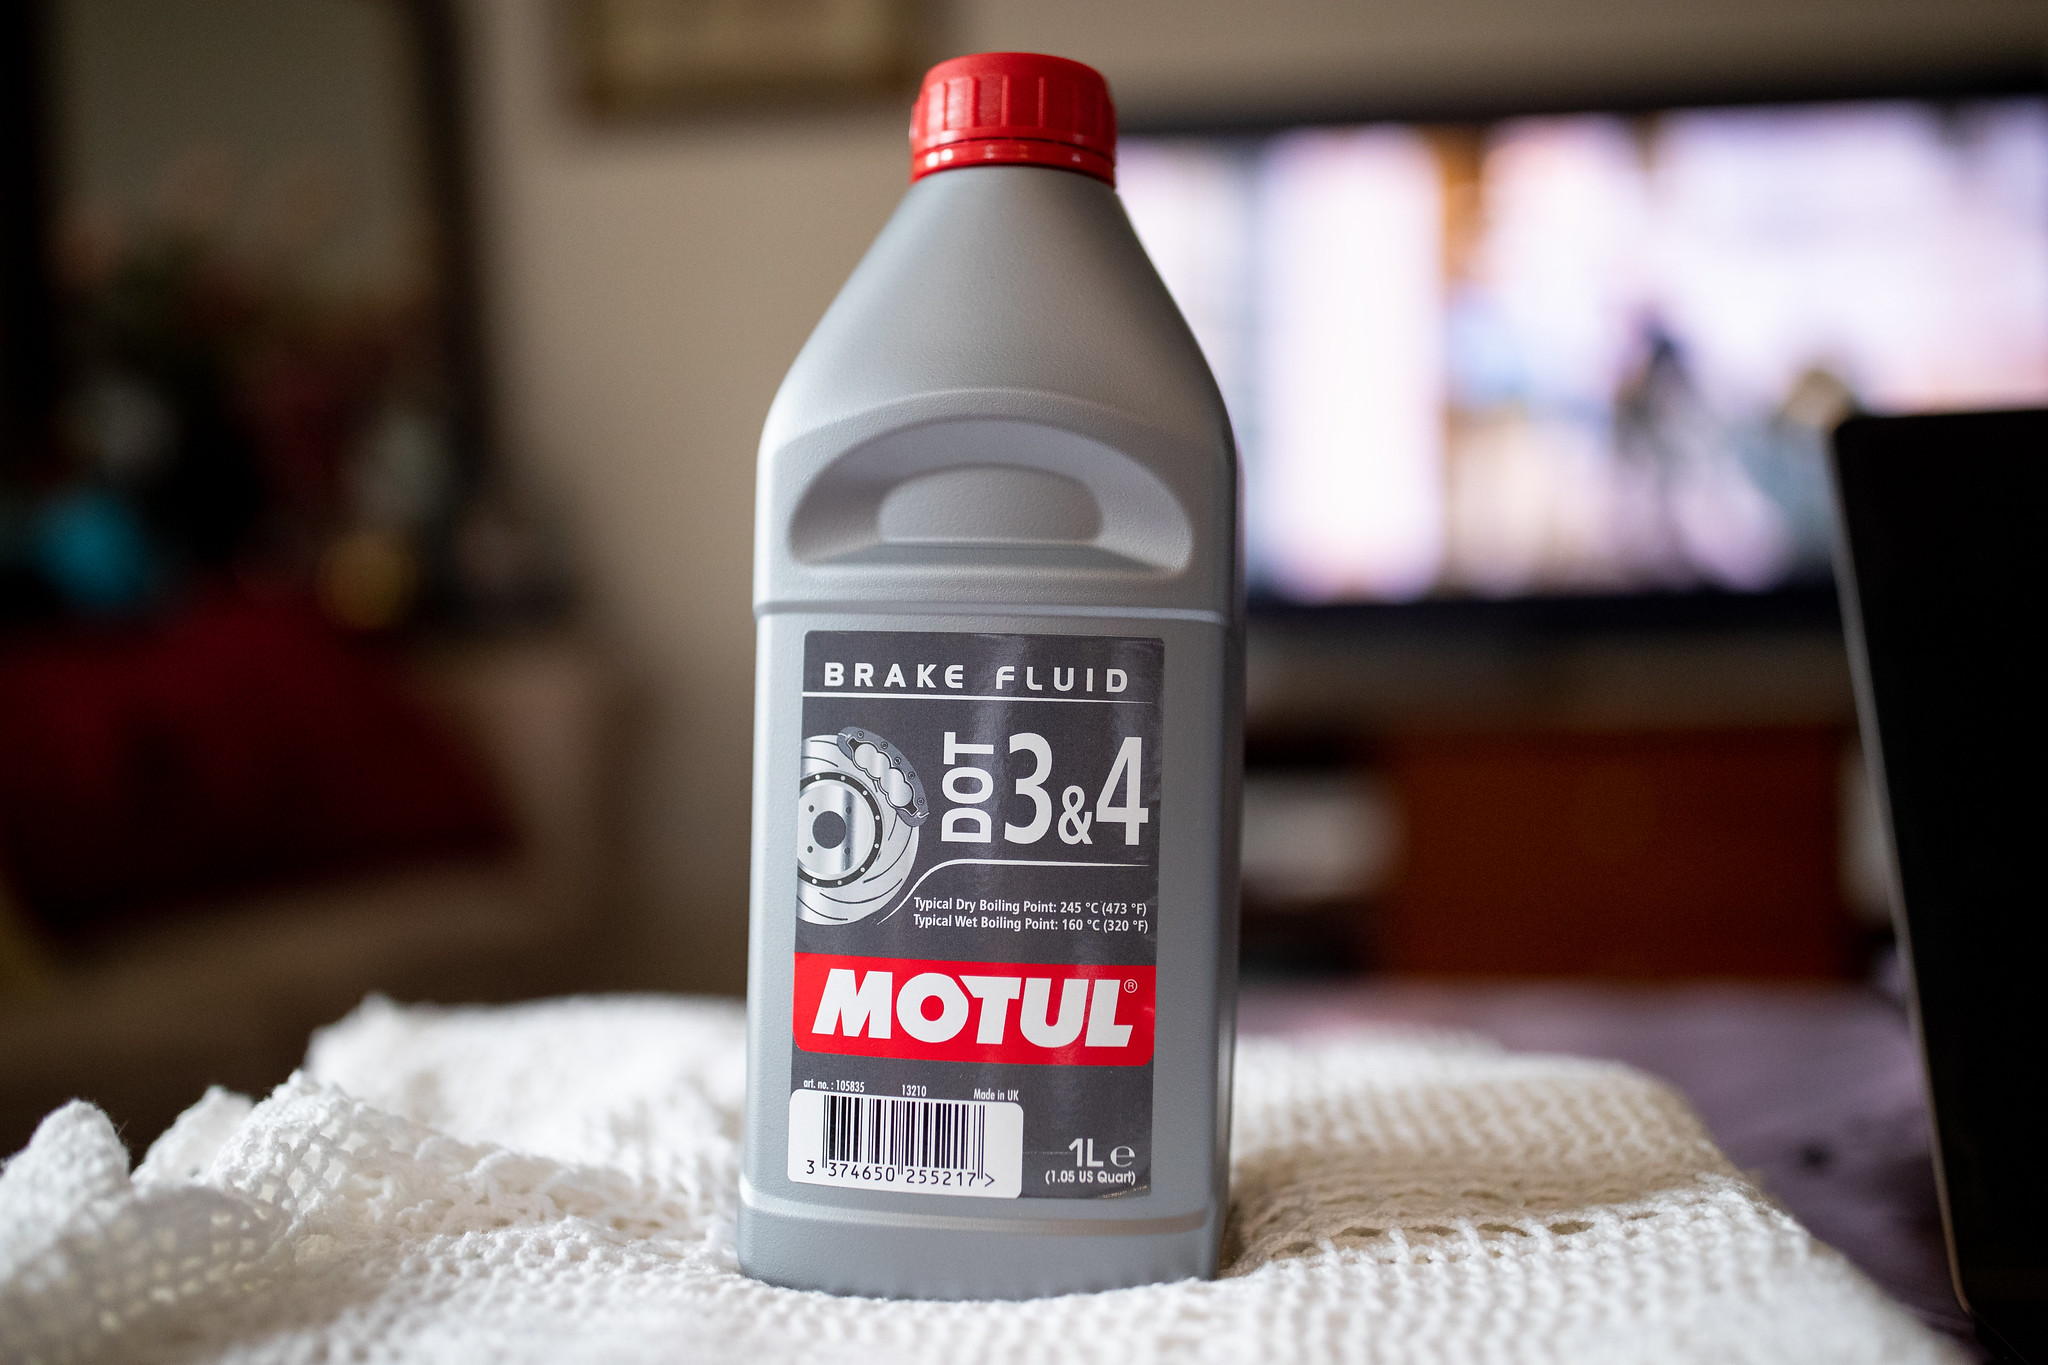
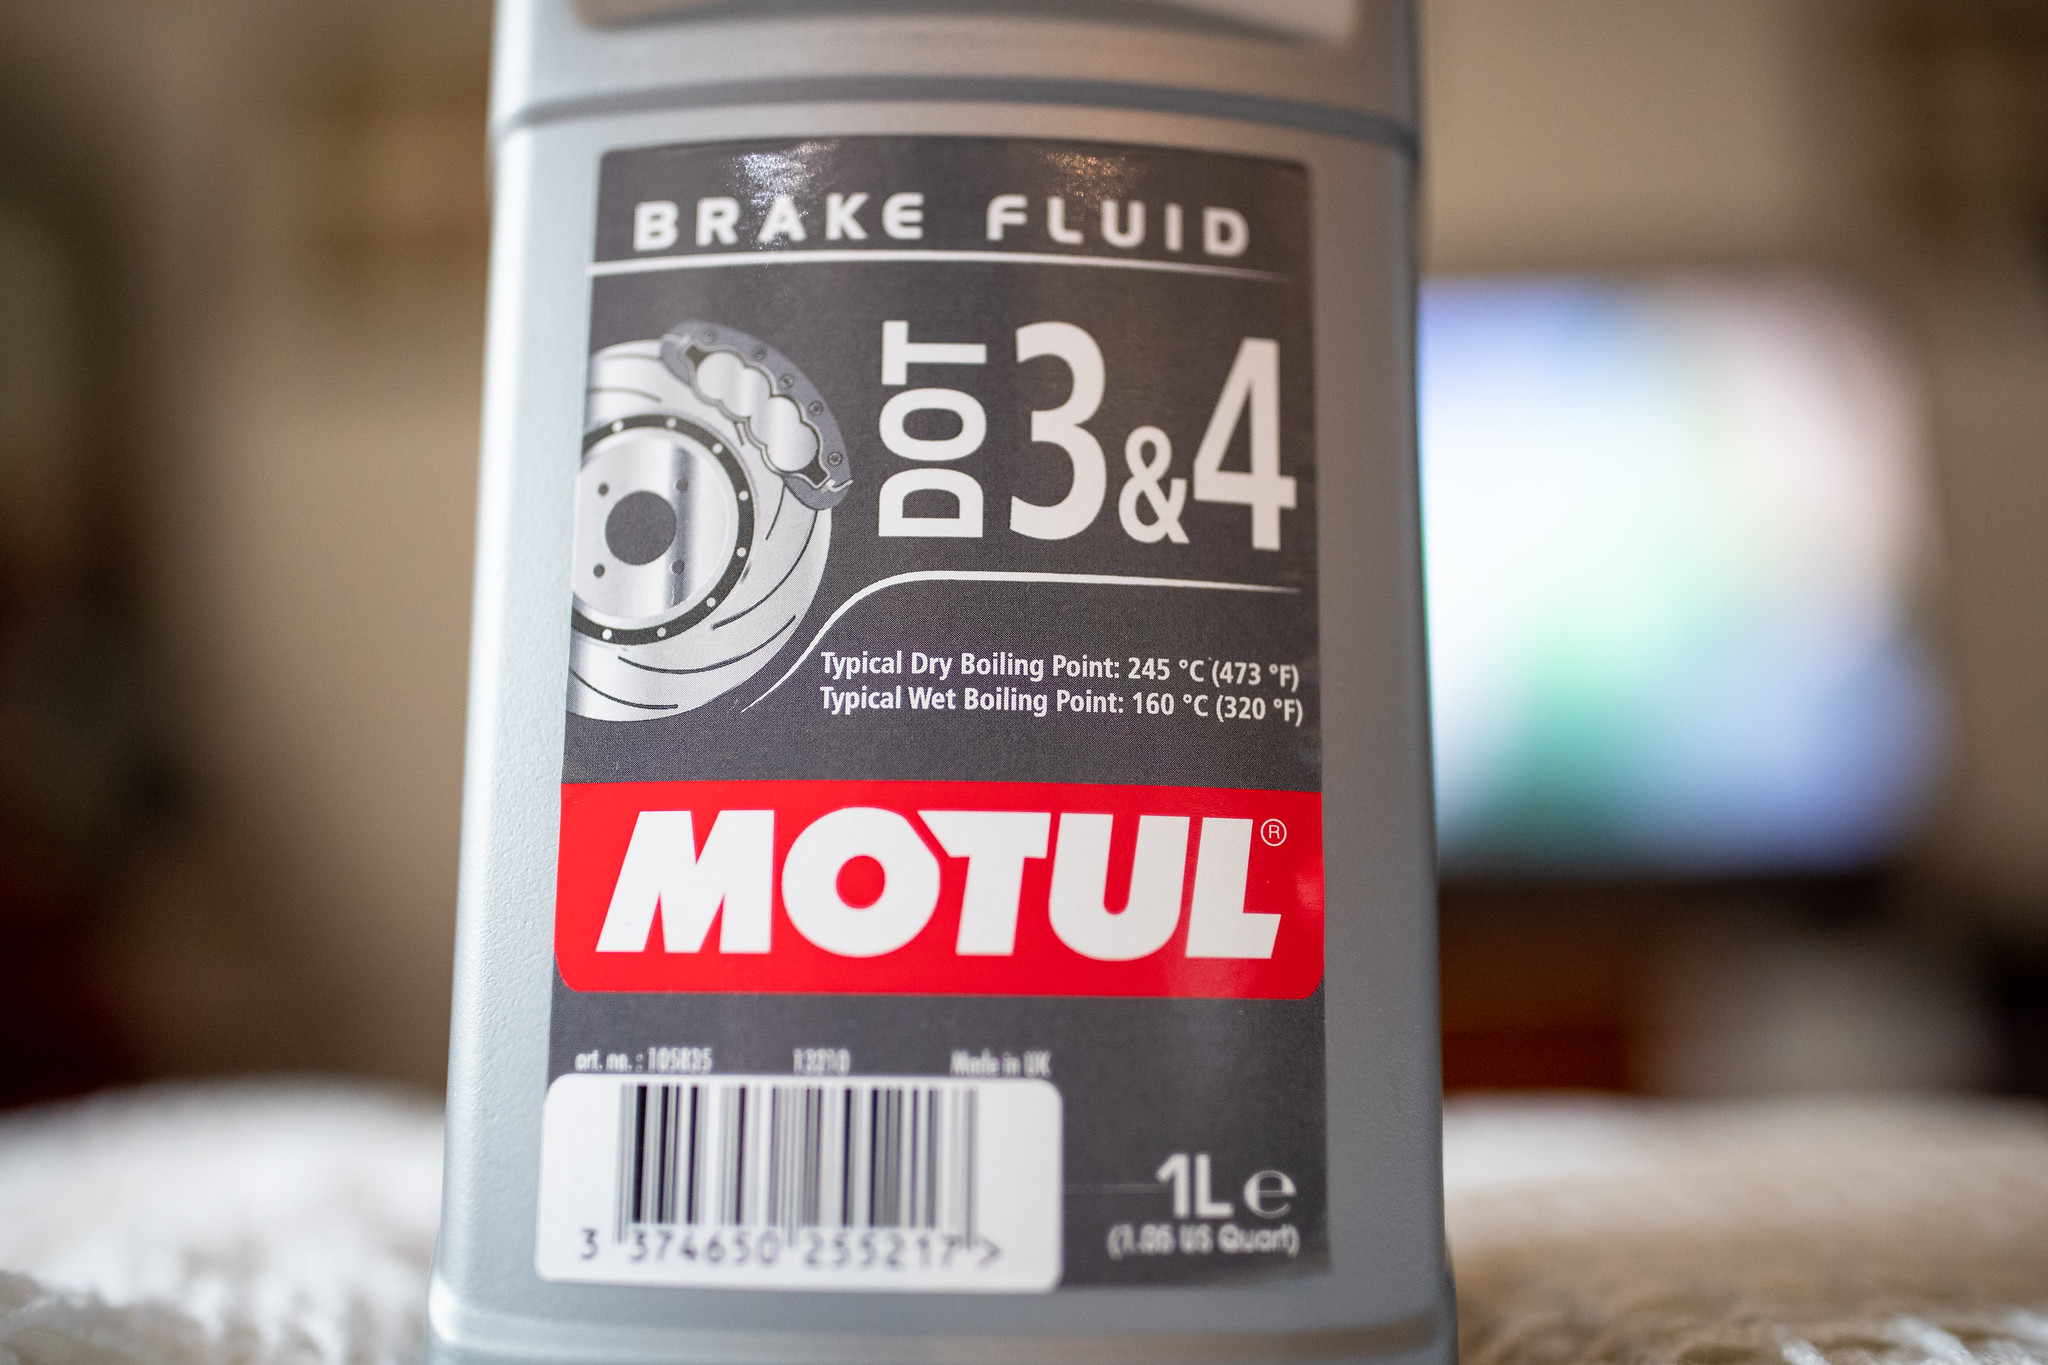
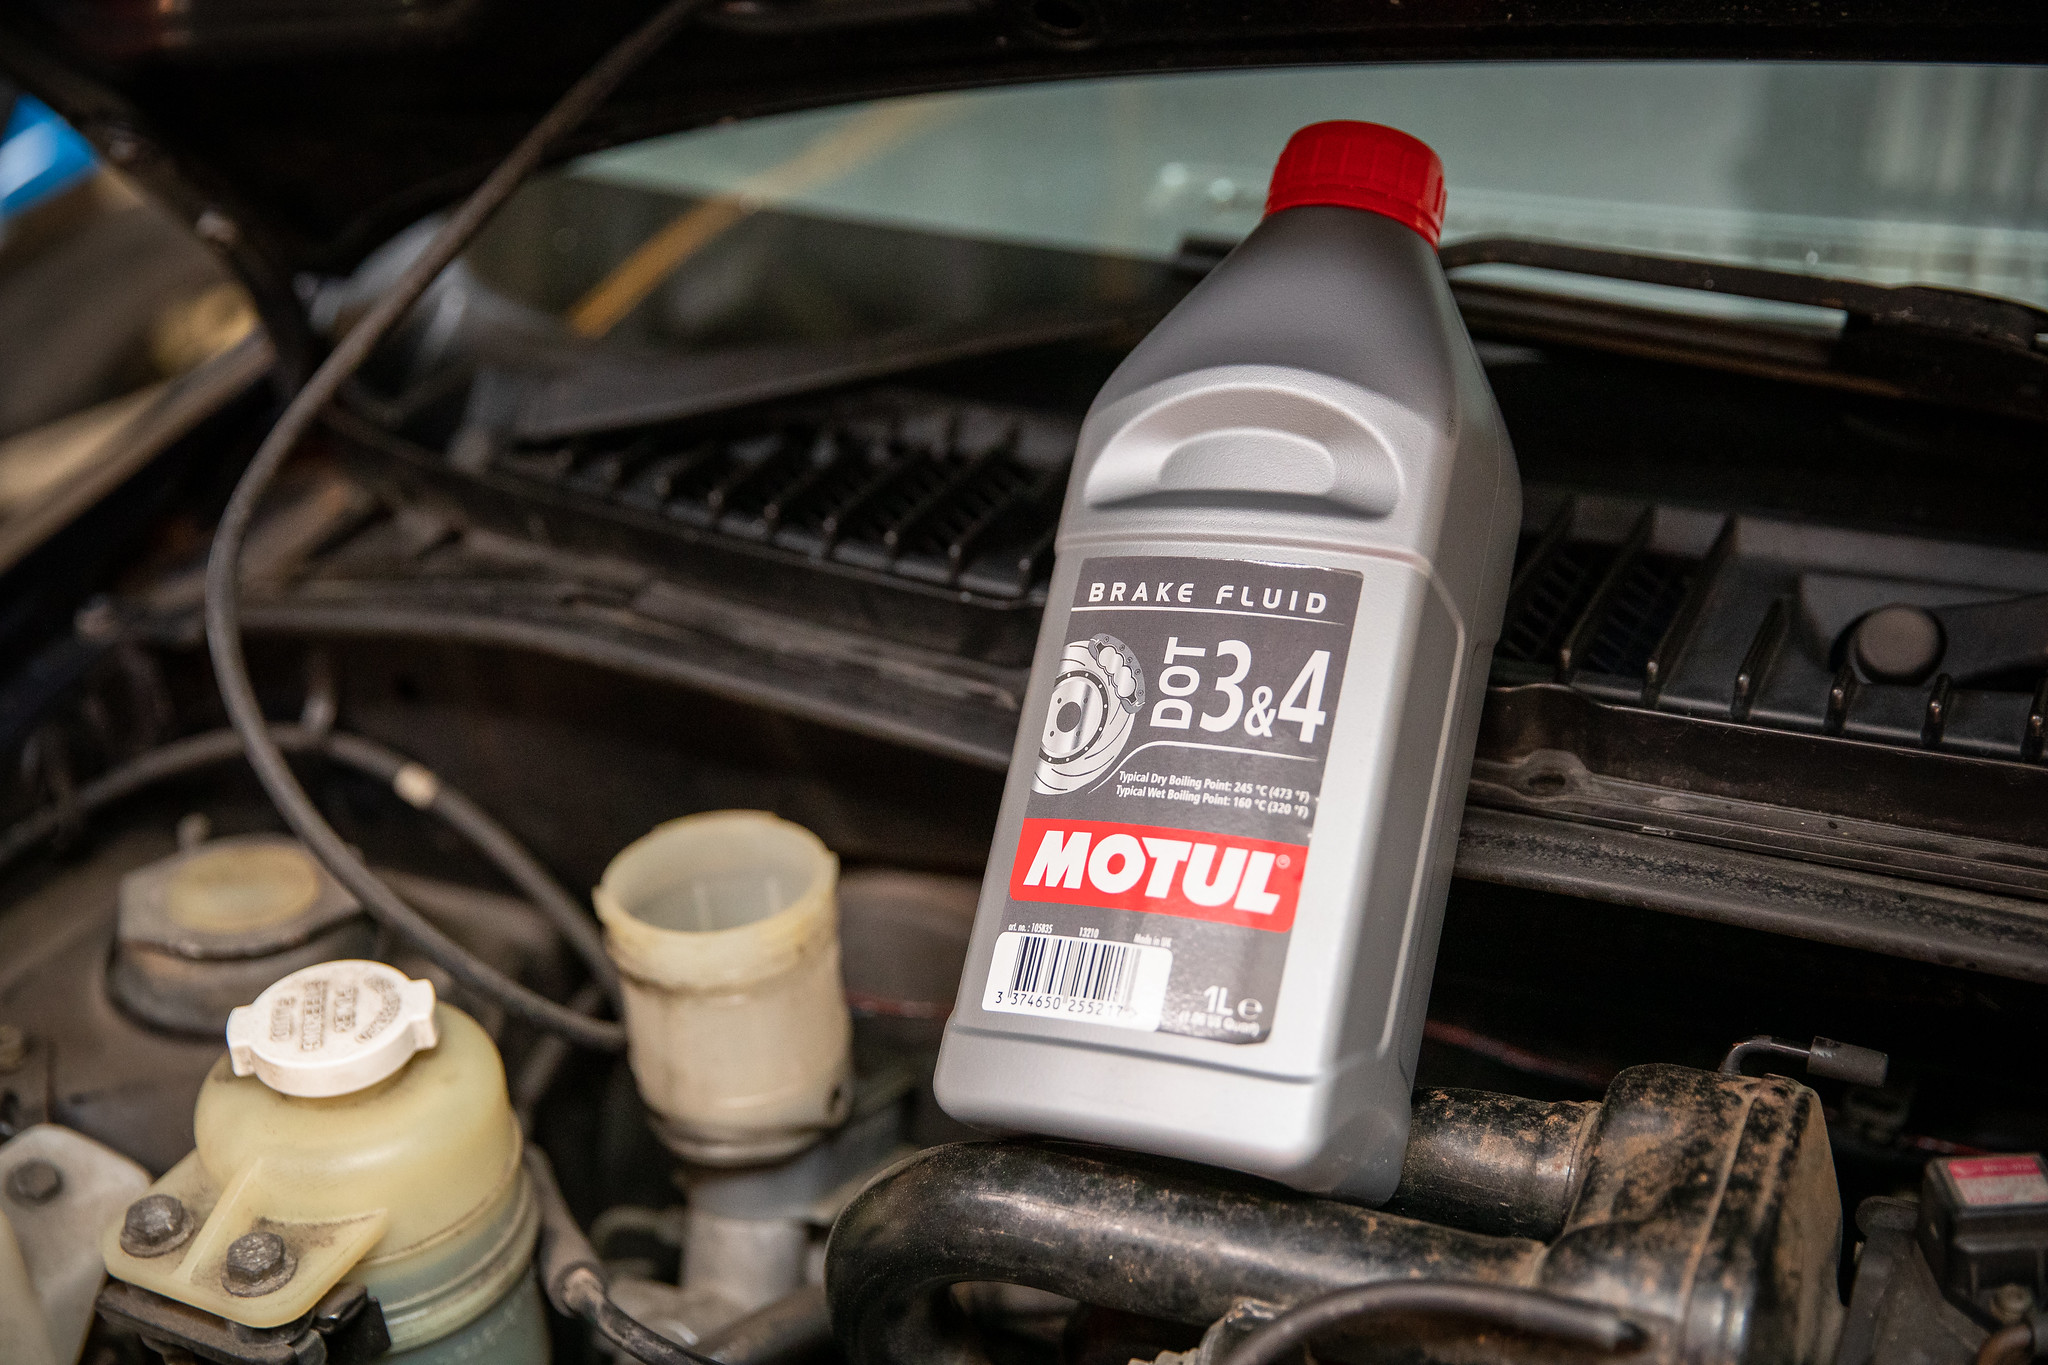
Lastly, for fluid I went for some Motul Dot 3 & 4.
Before we get into this, these are such smol boi’s its halarious.
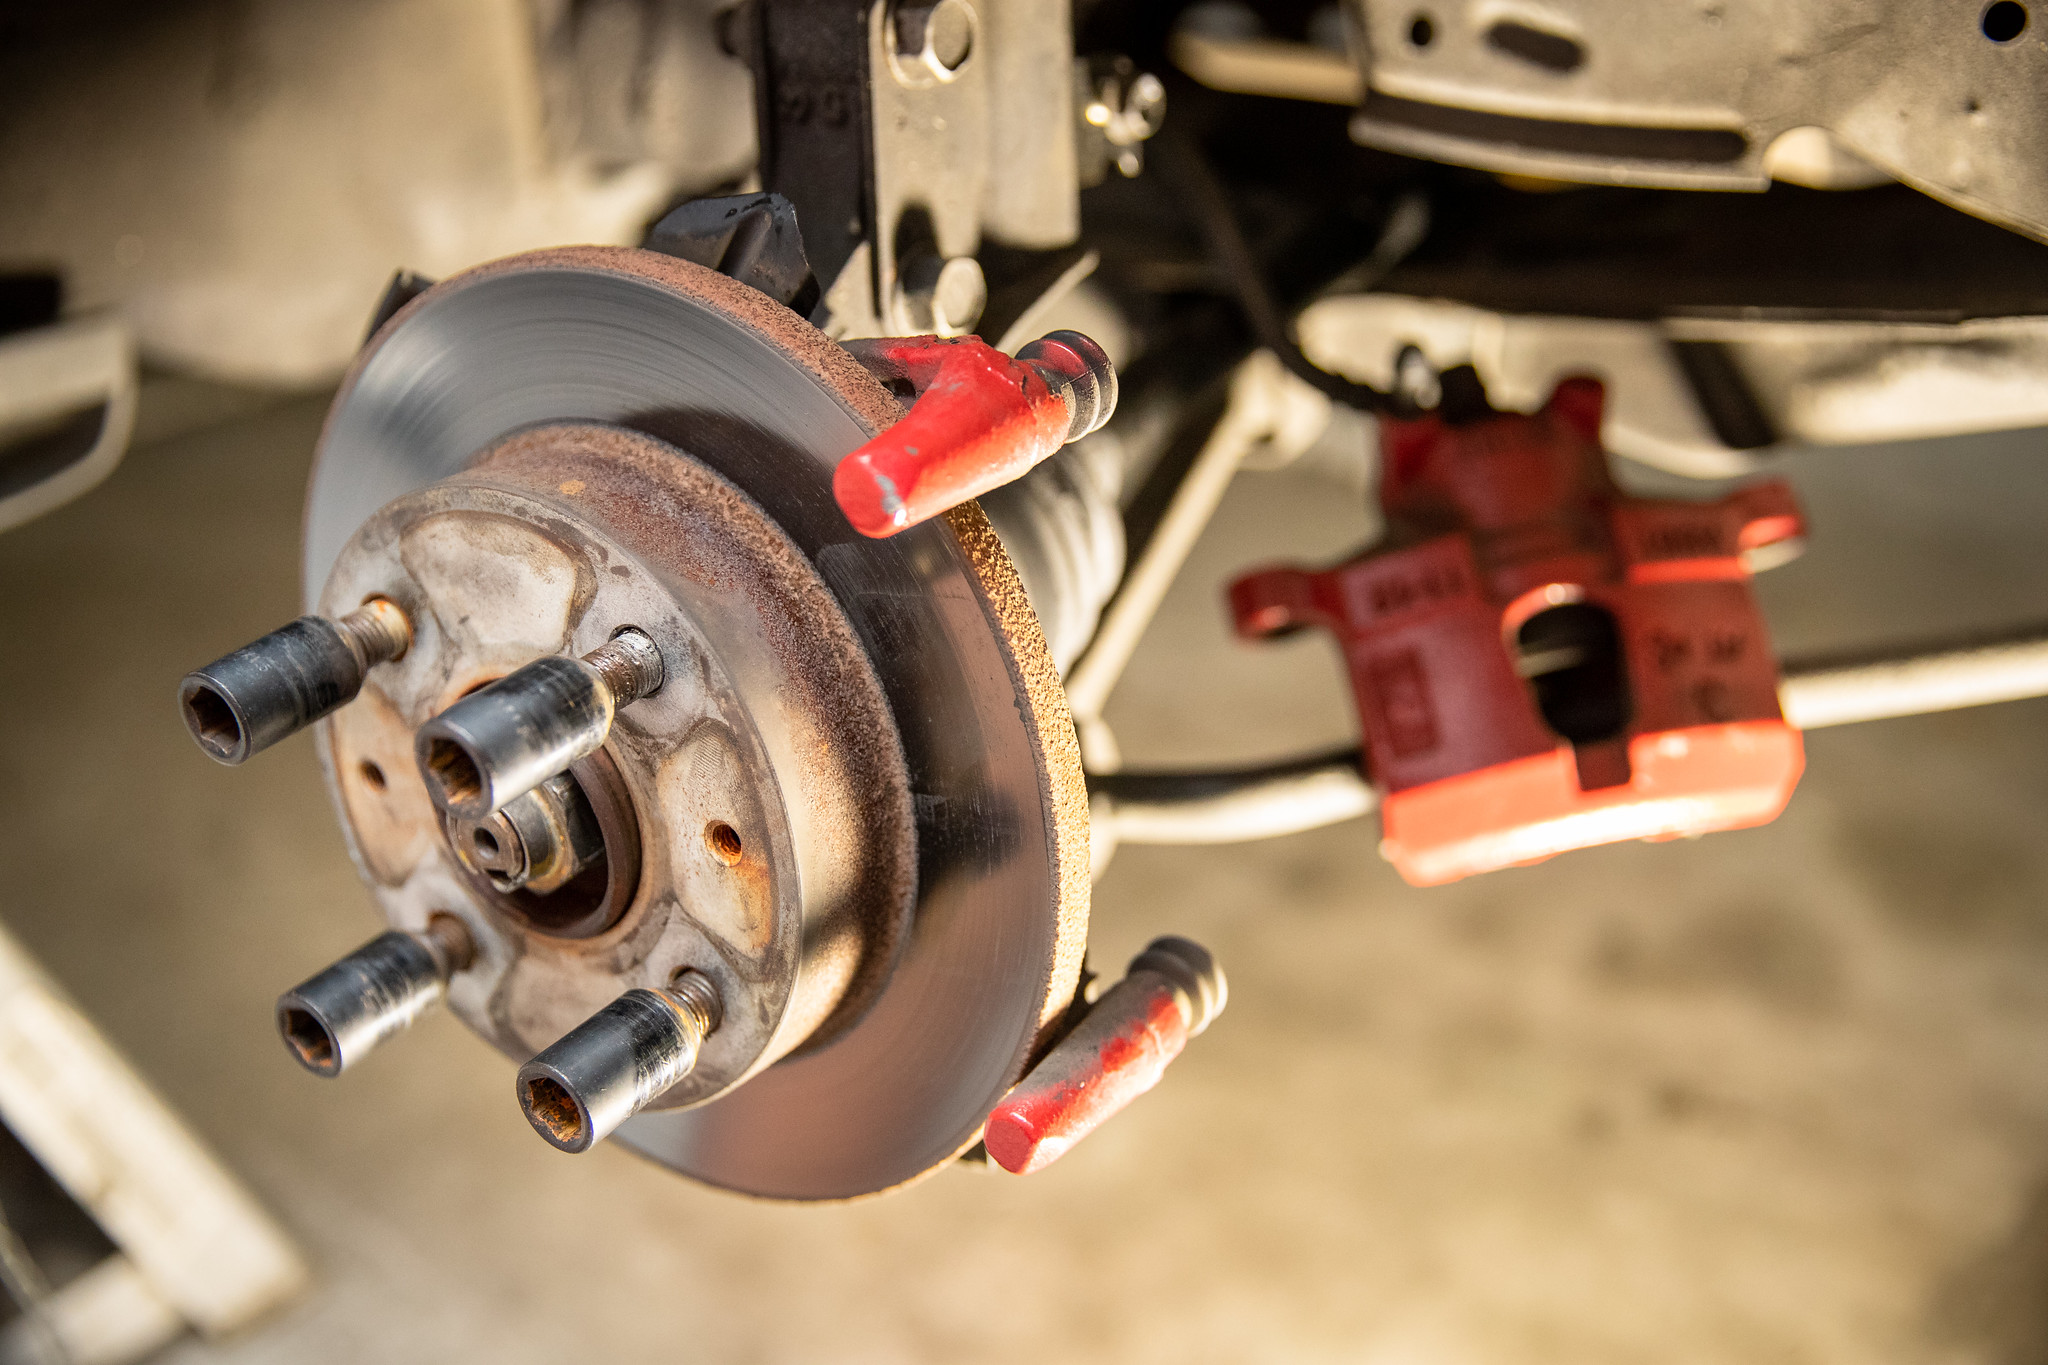
Alrighty, in the air we go, wheels off.

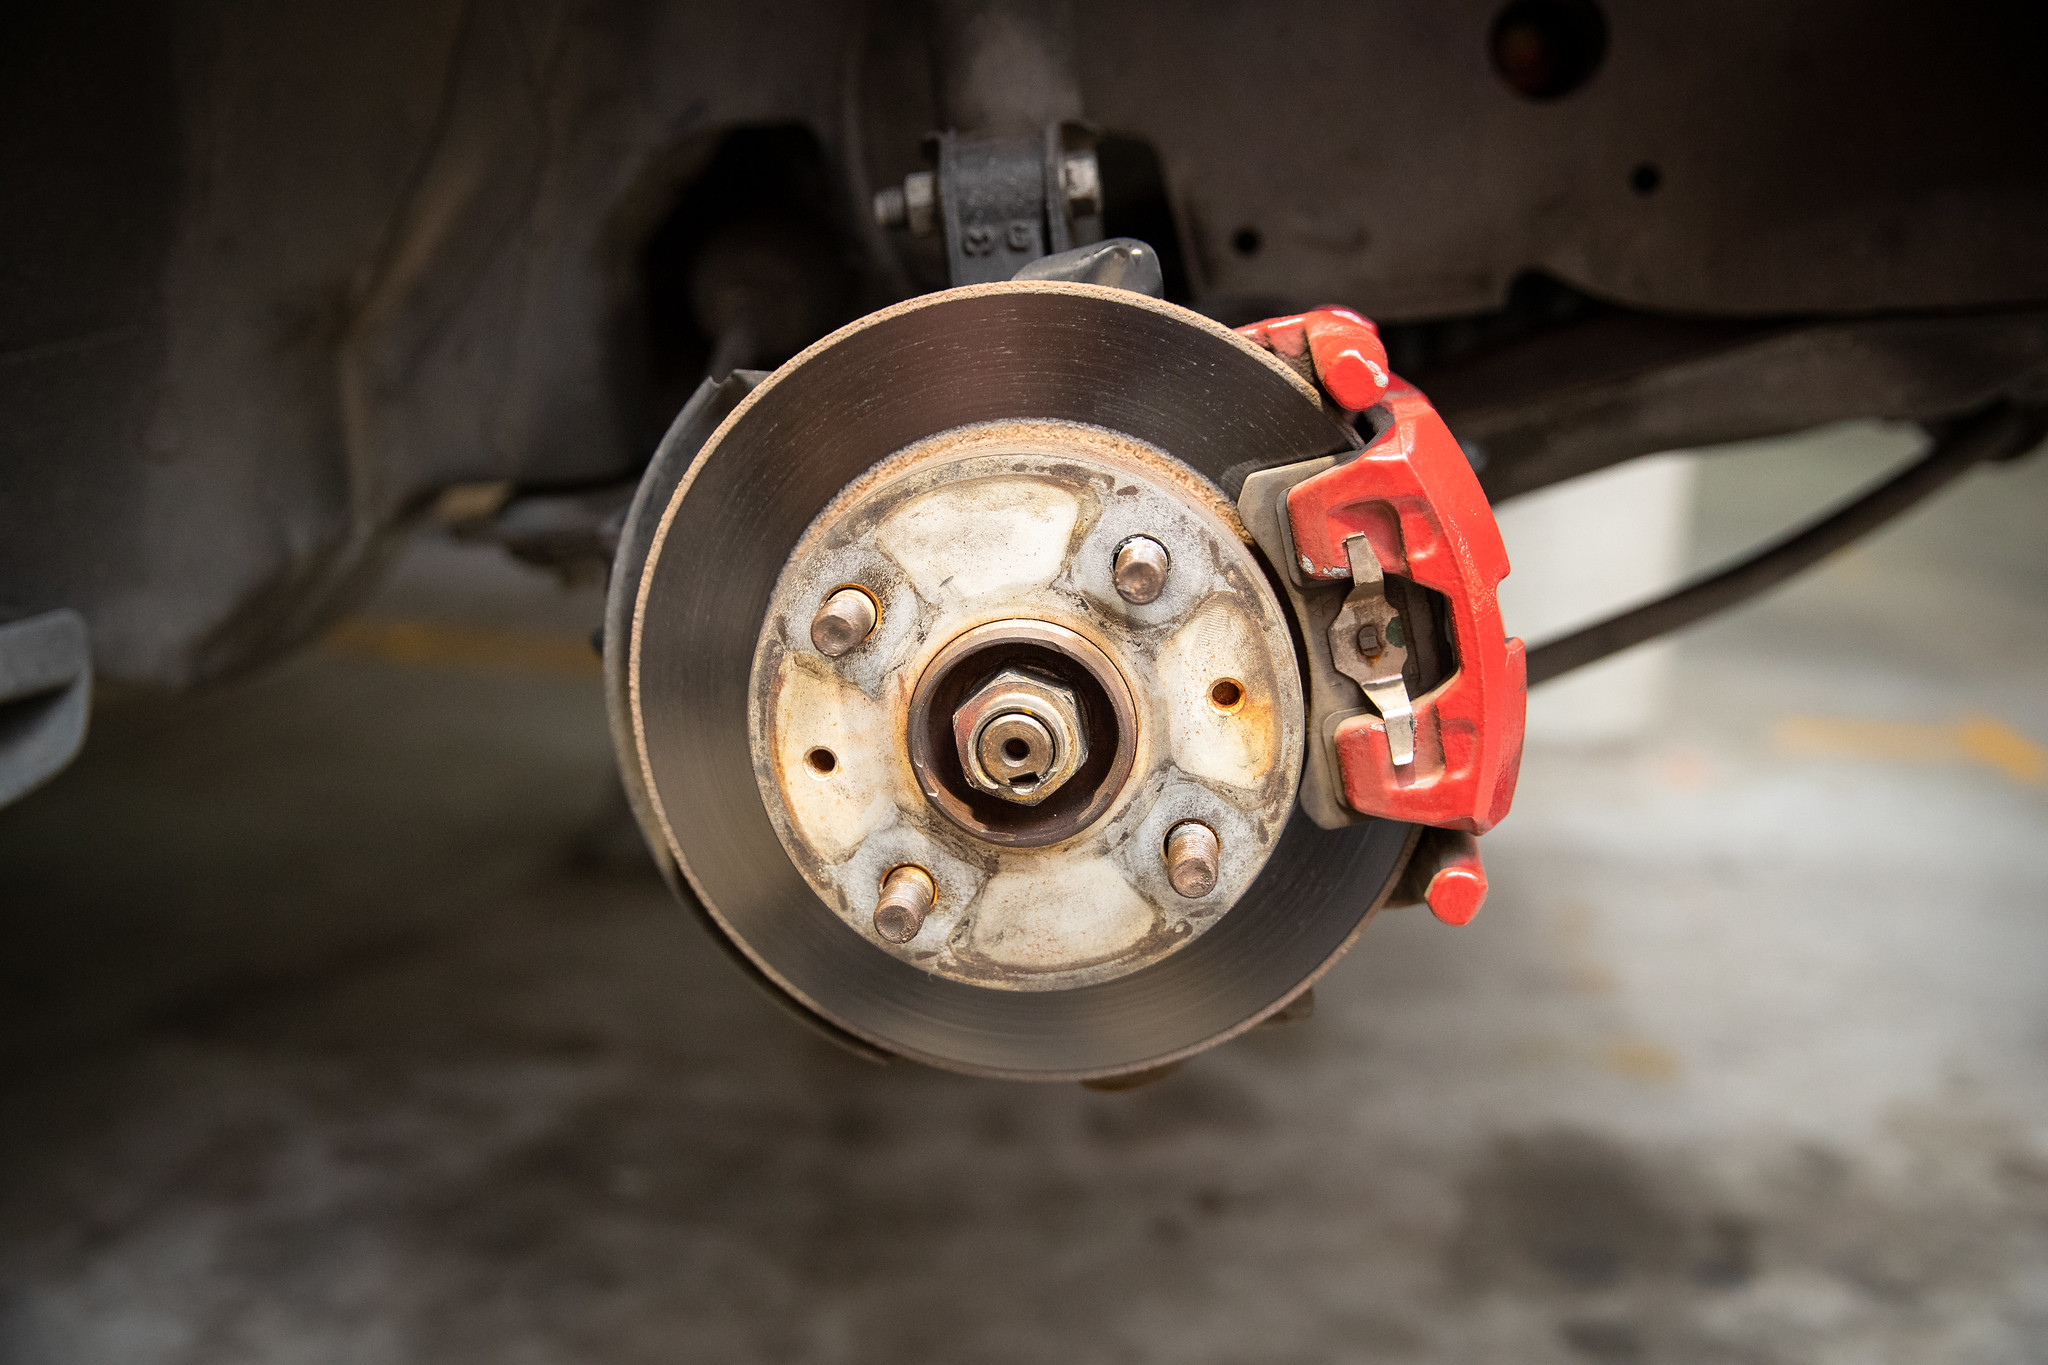
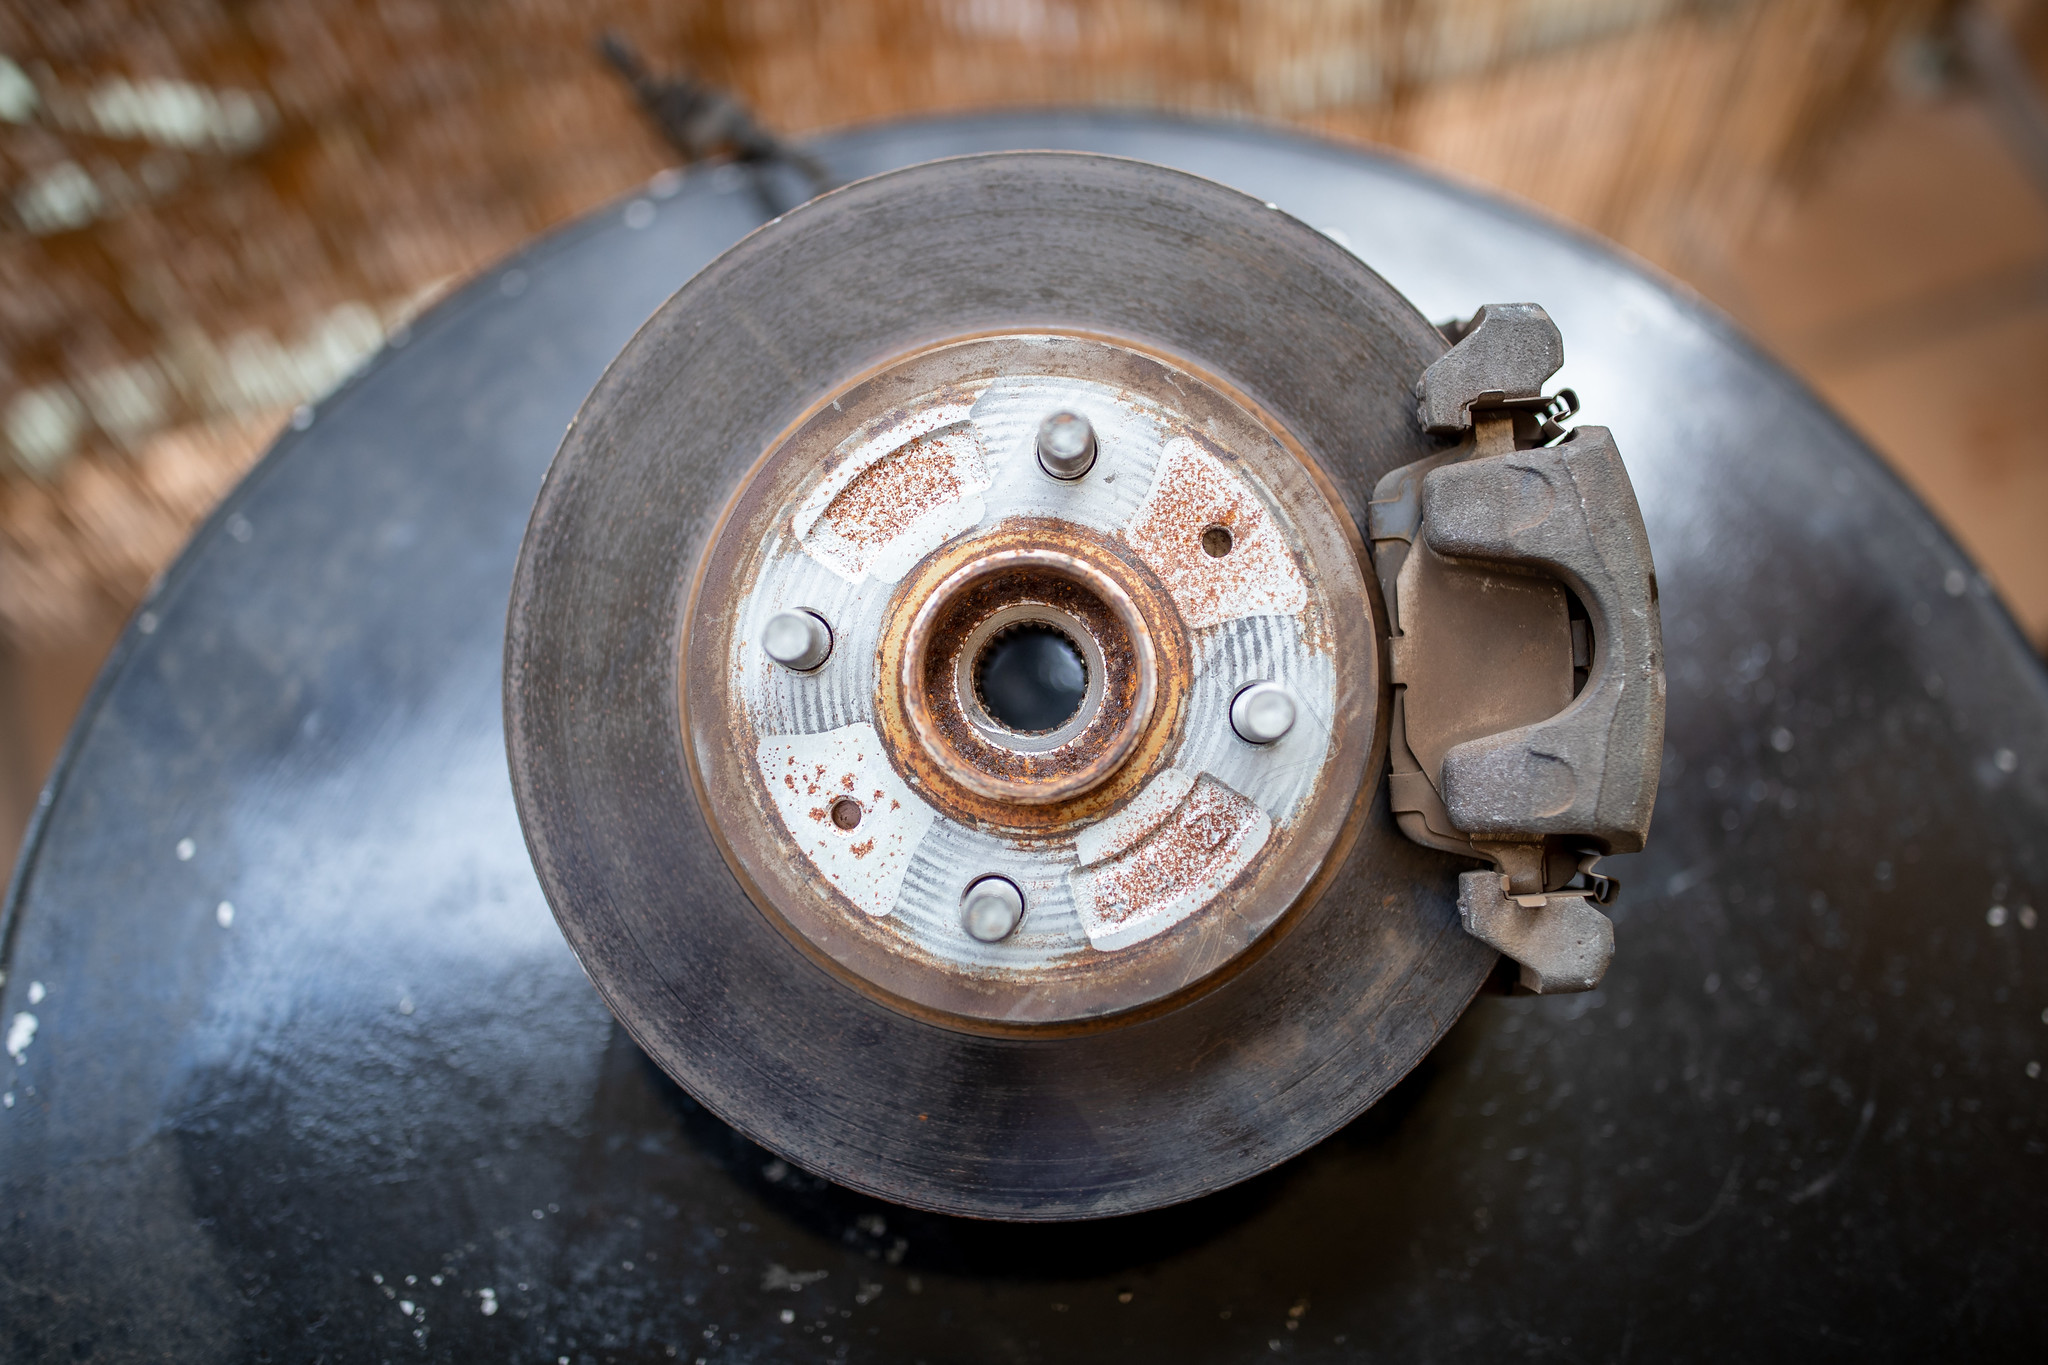
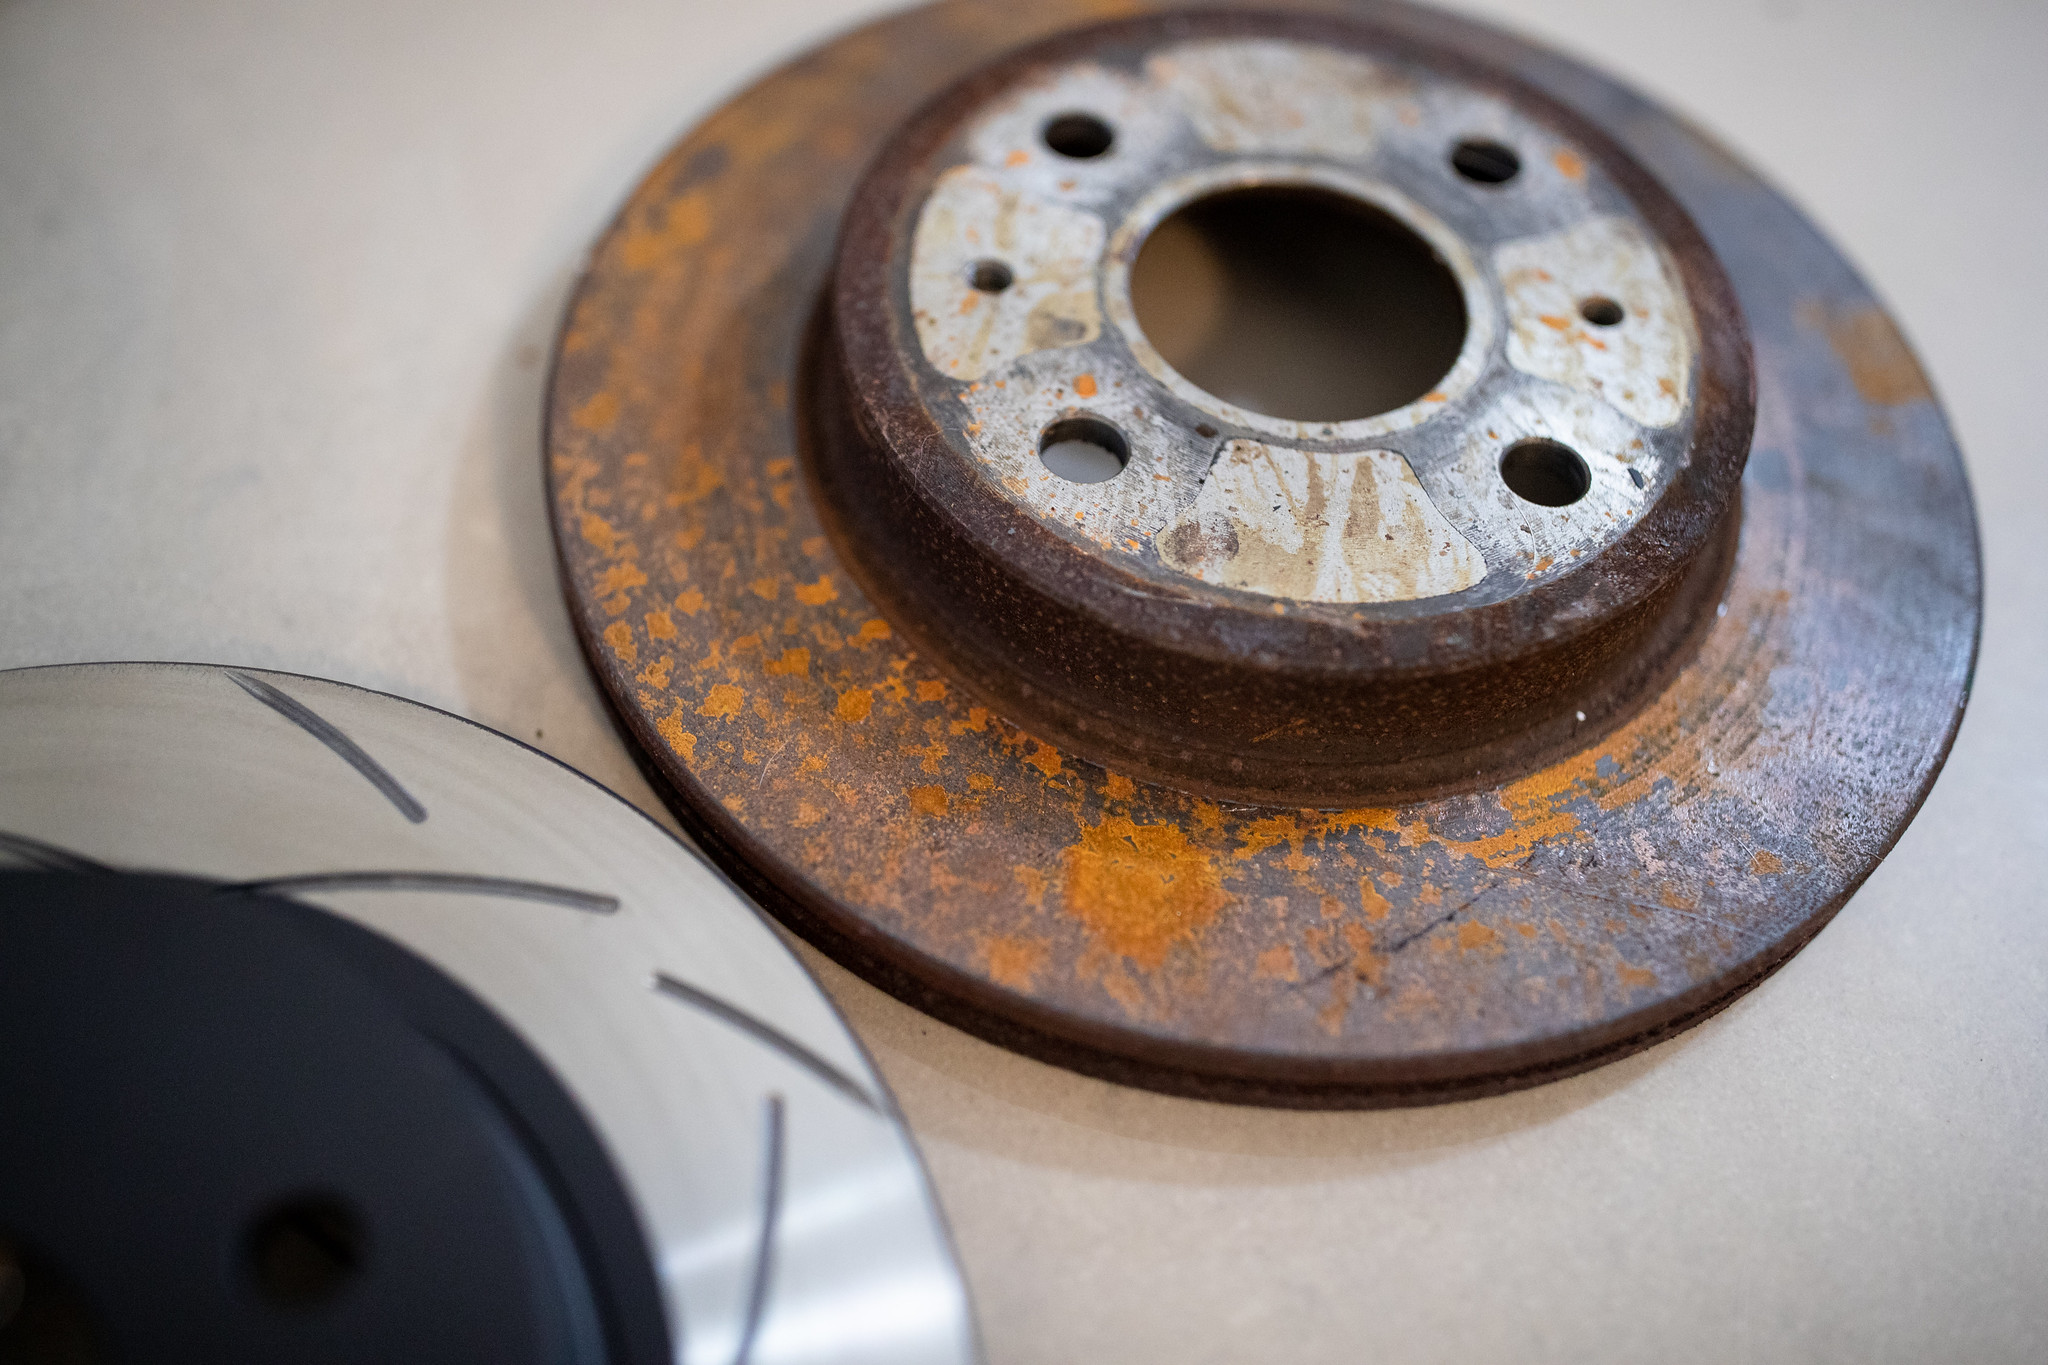
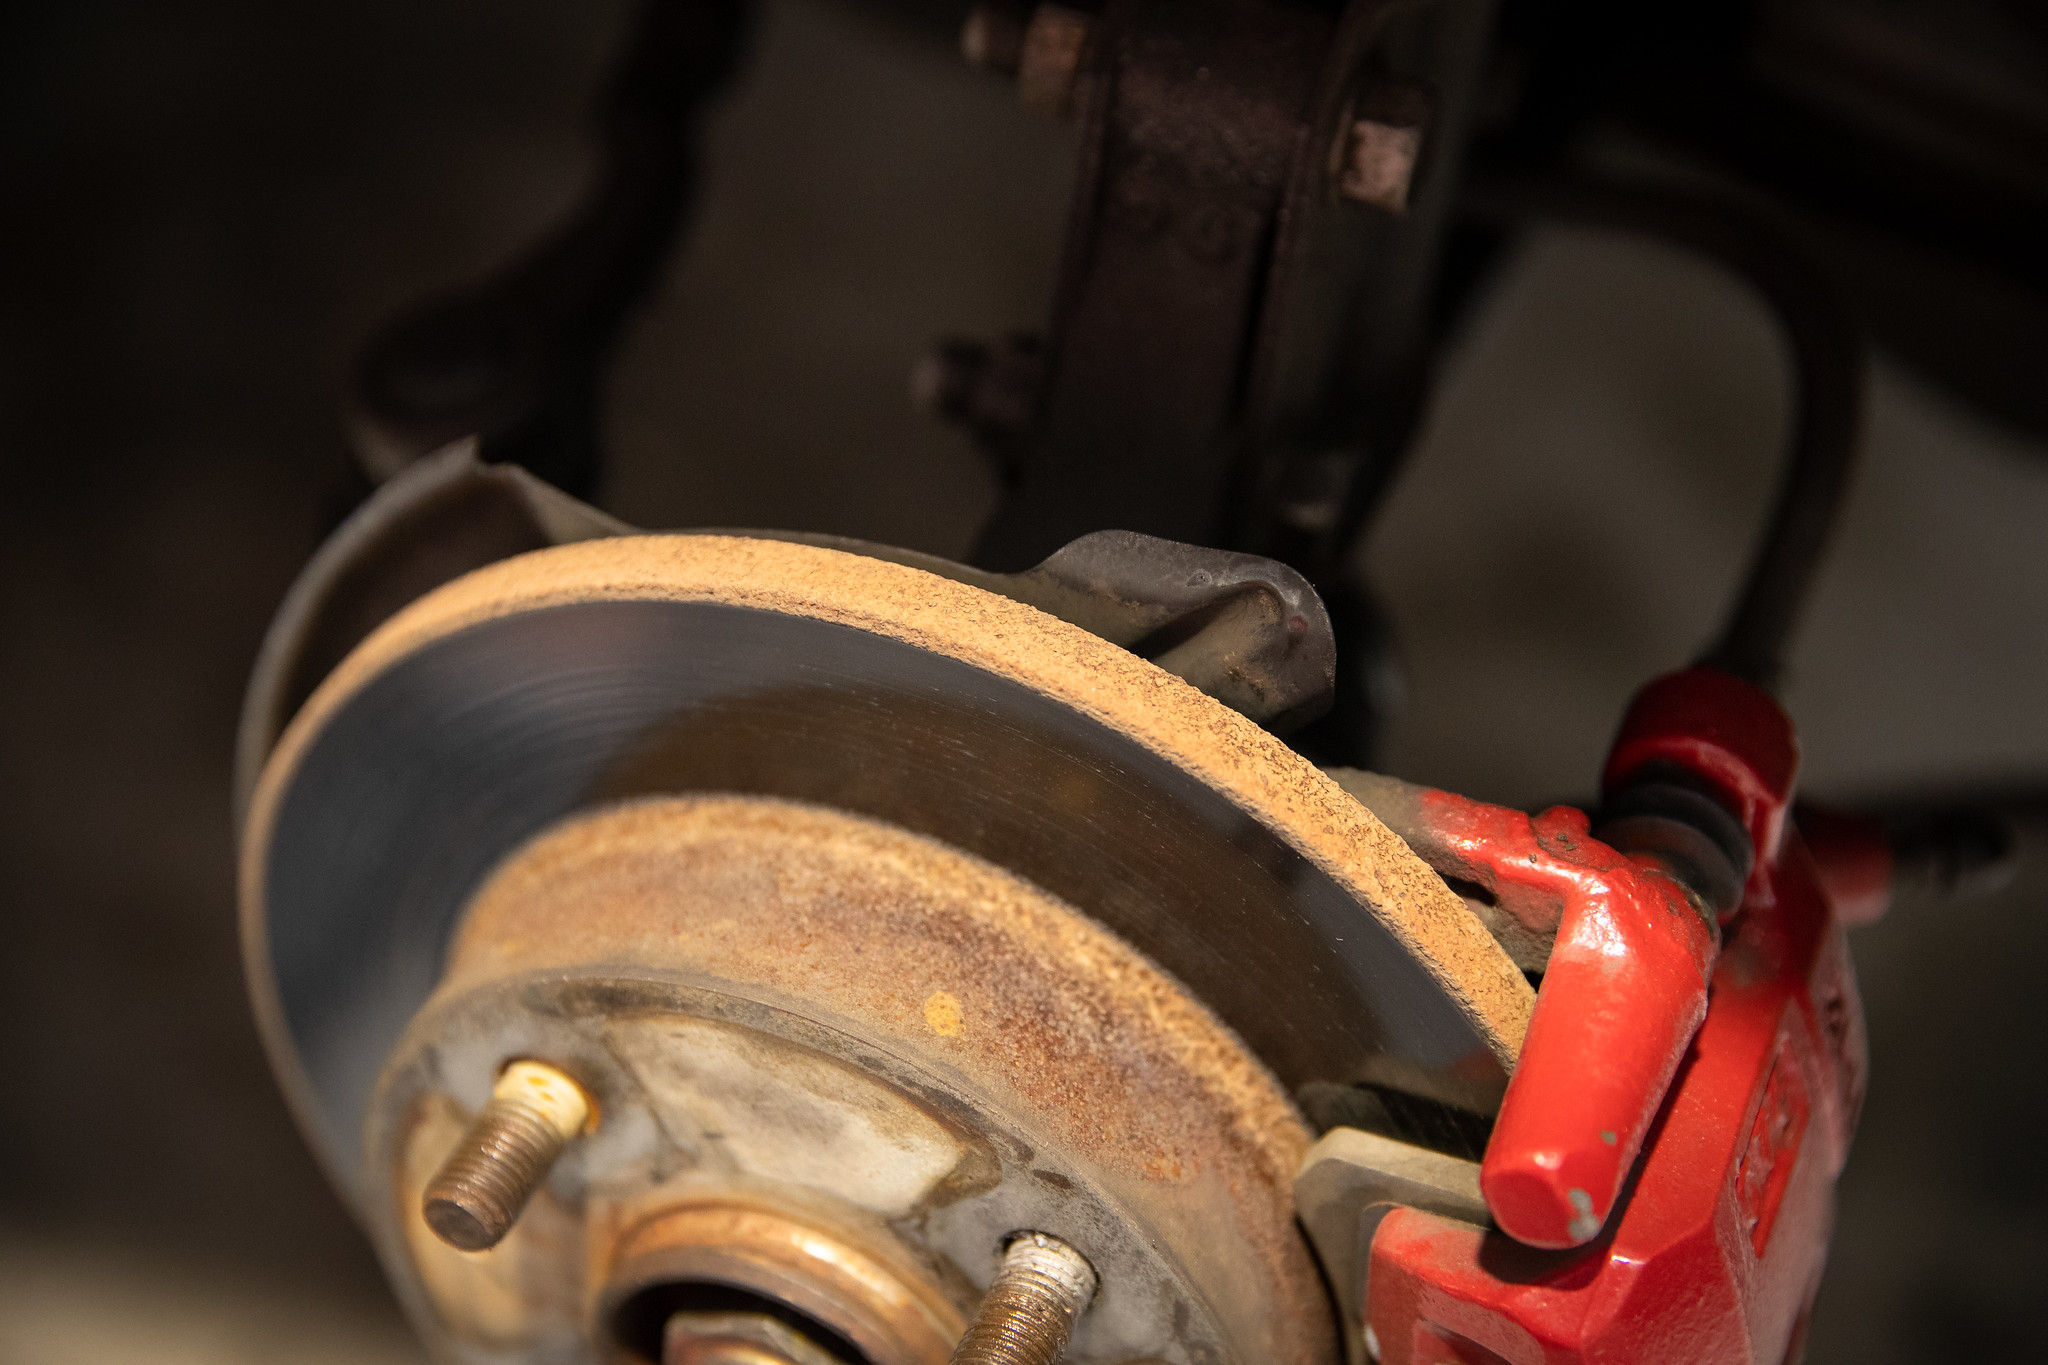
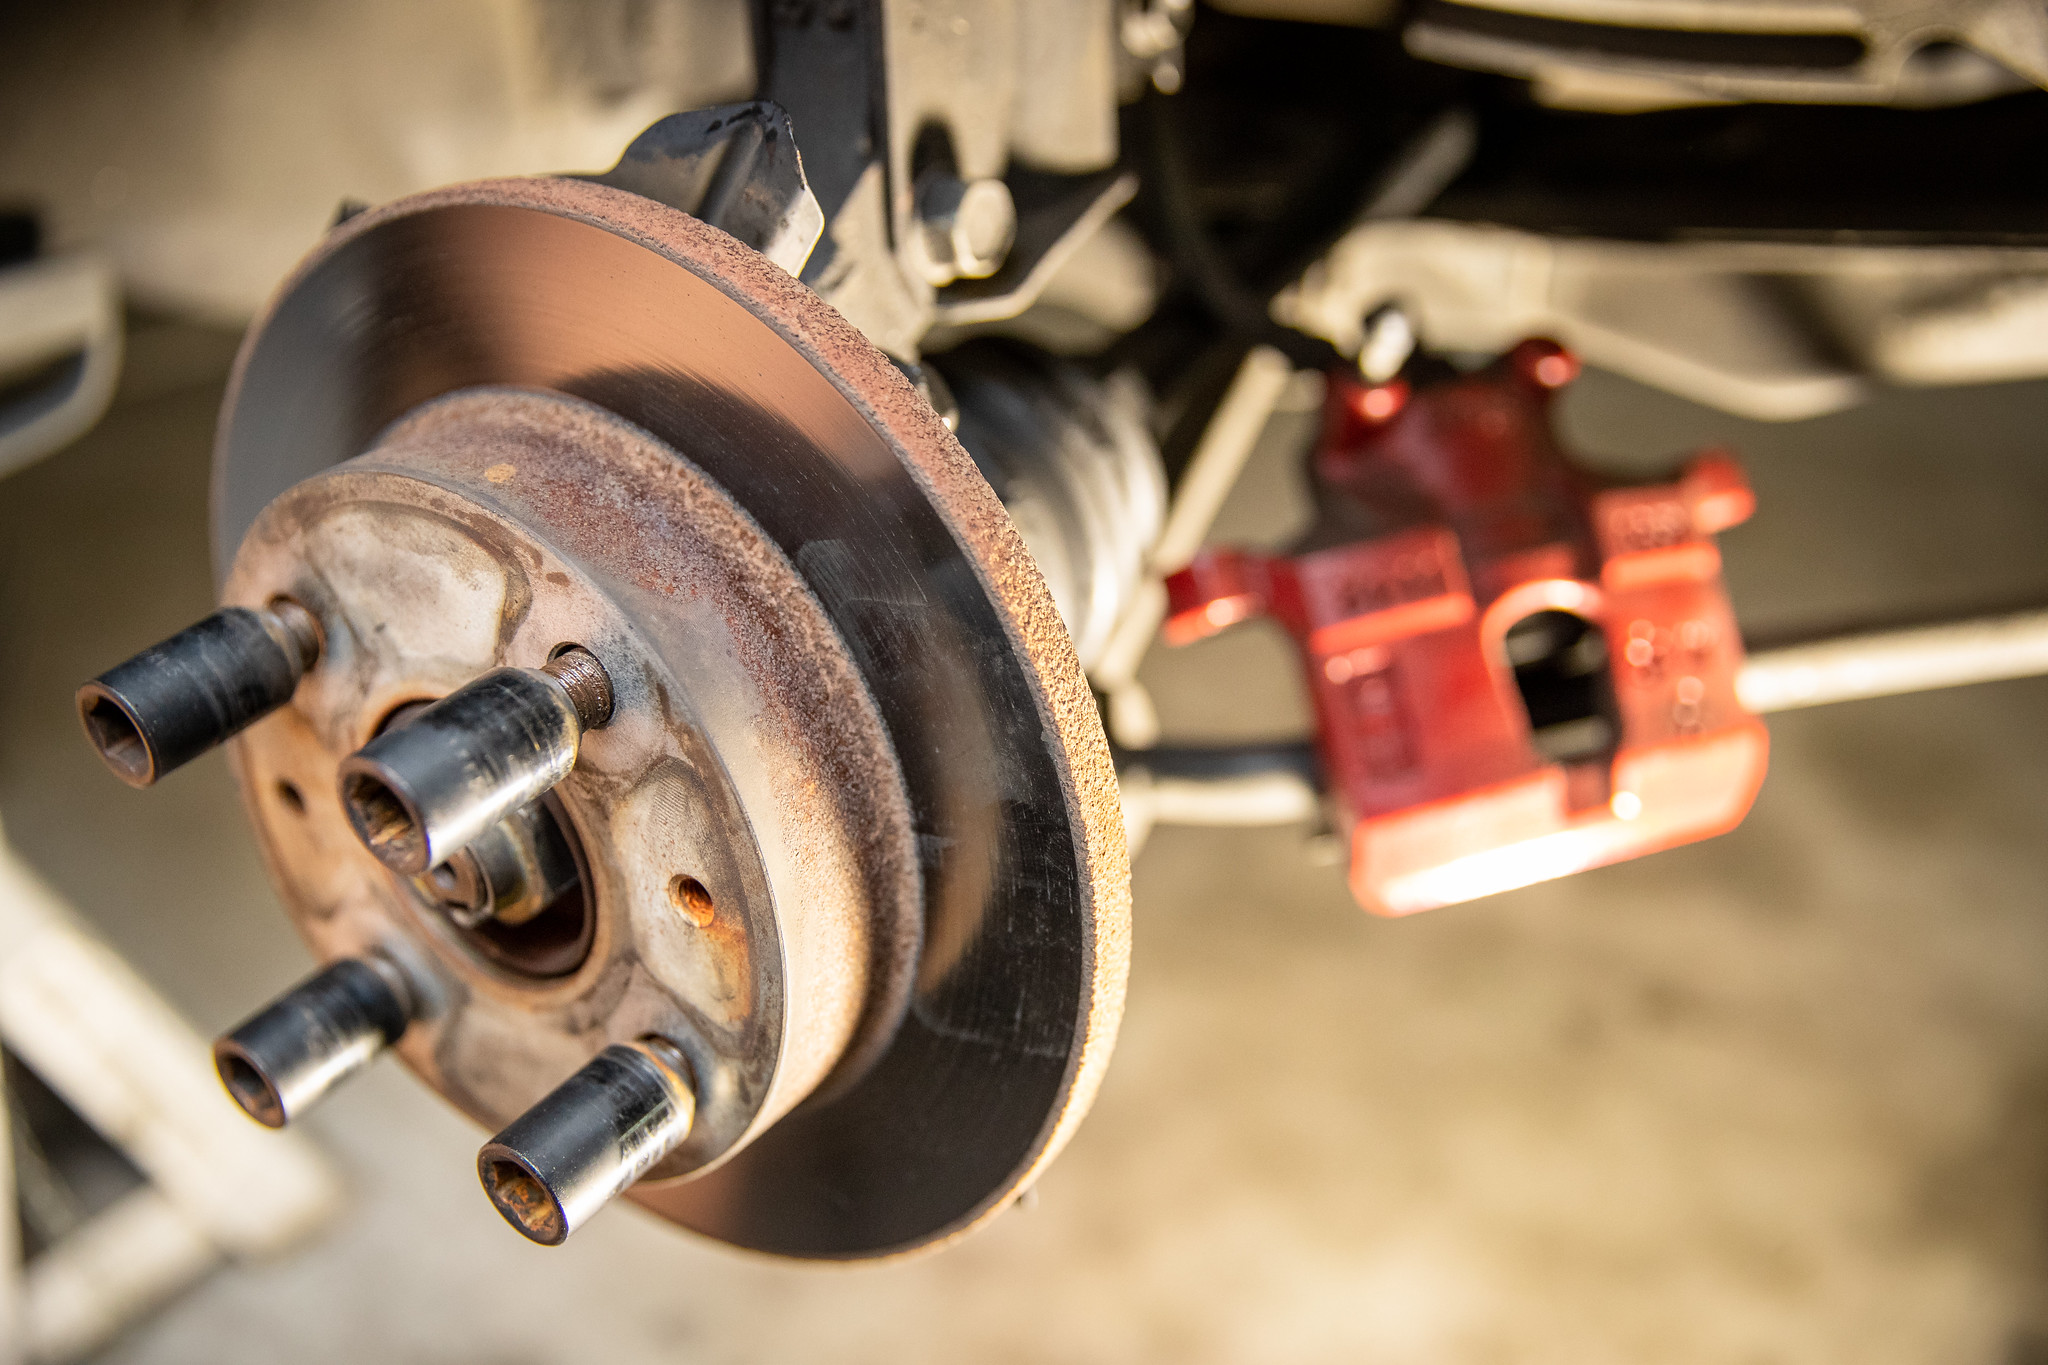
The rotors seem to be original, they are thick with rust and have multiple cracks surrounding them.
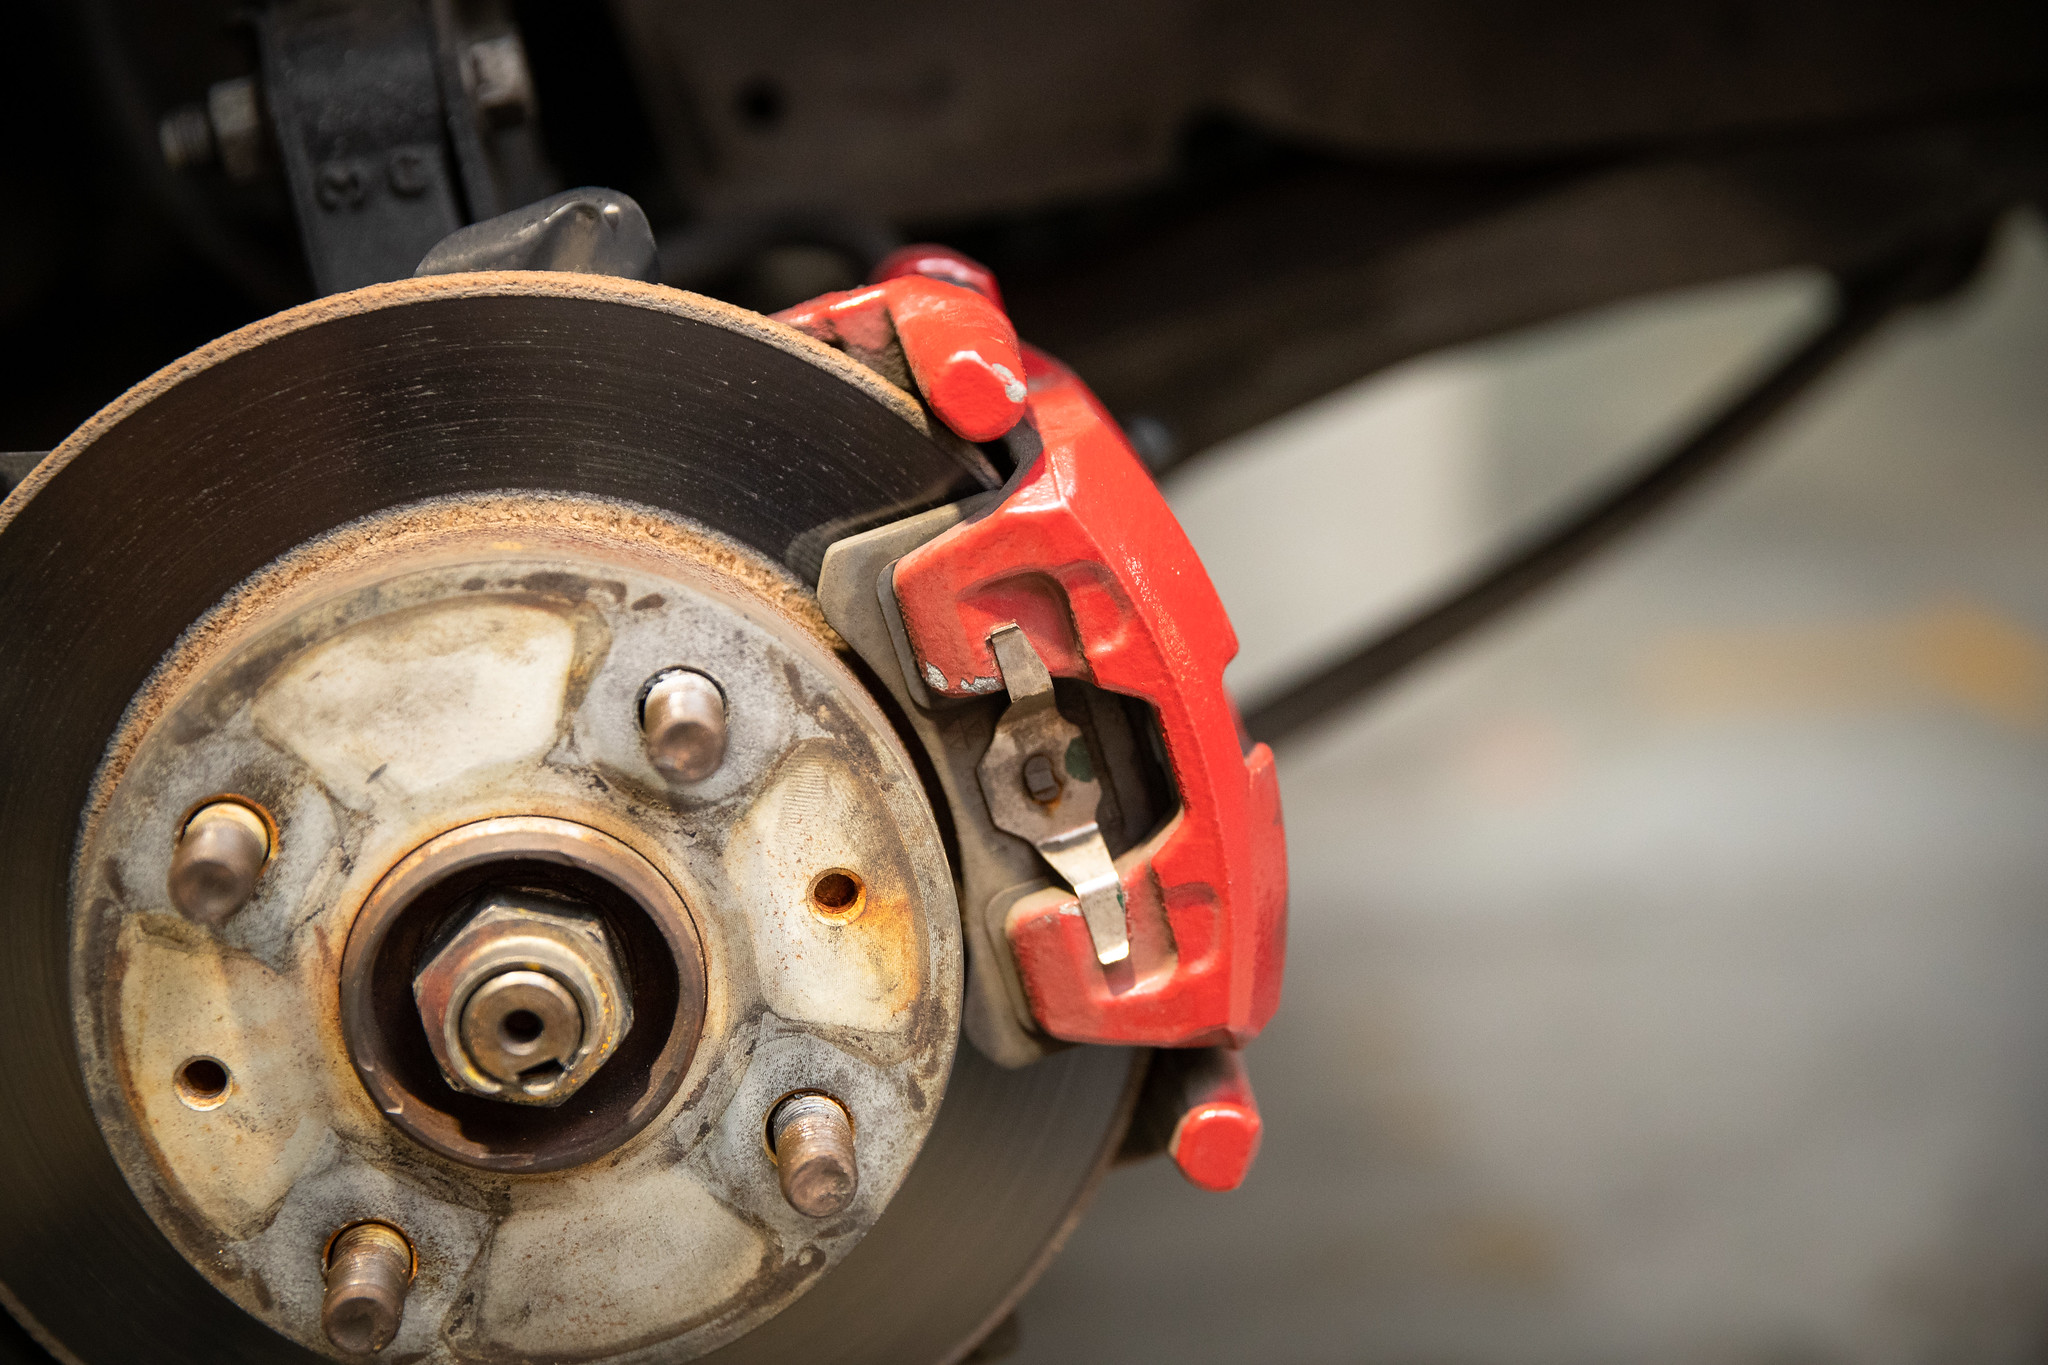
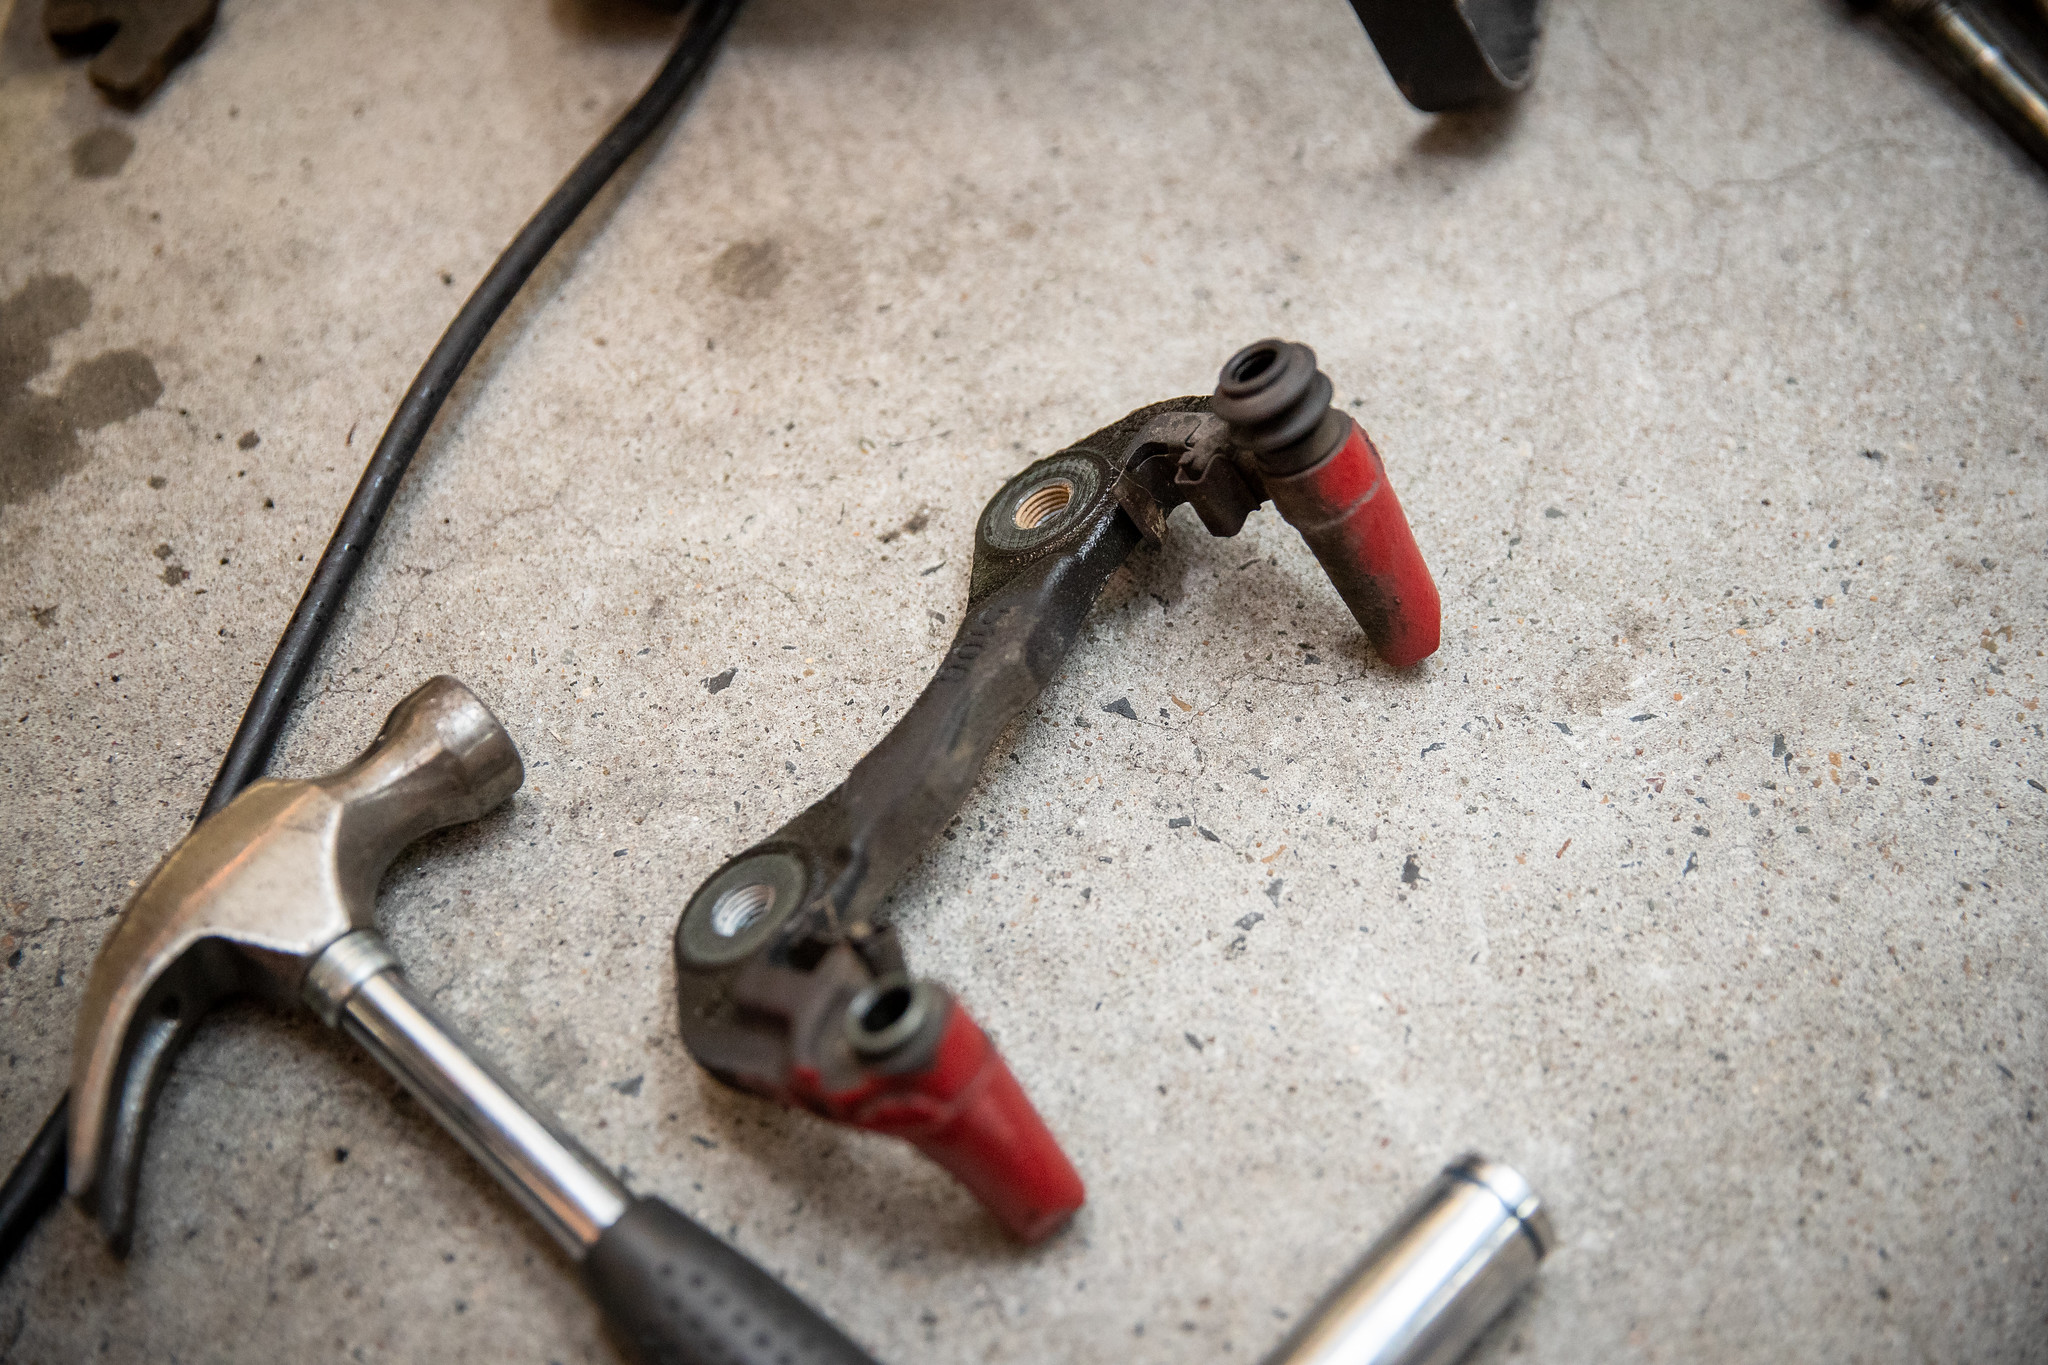
Main part of the brake caliper could now be popped off.
Then the holders could come off.
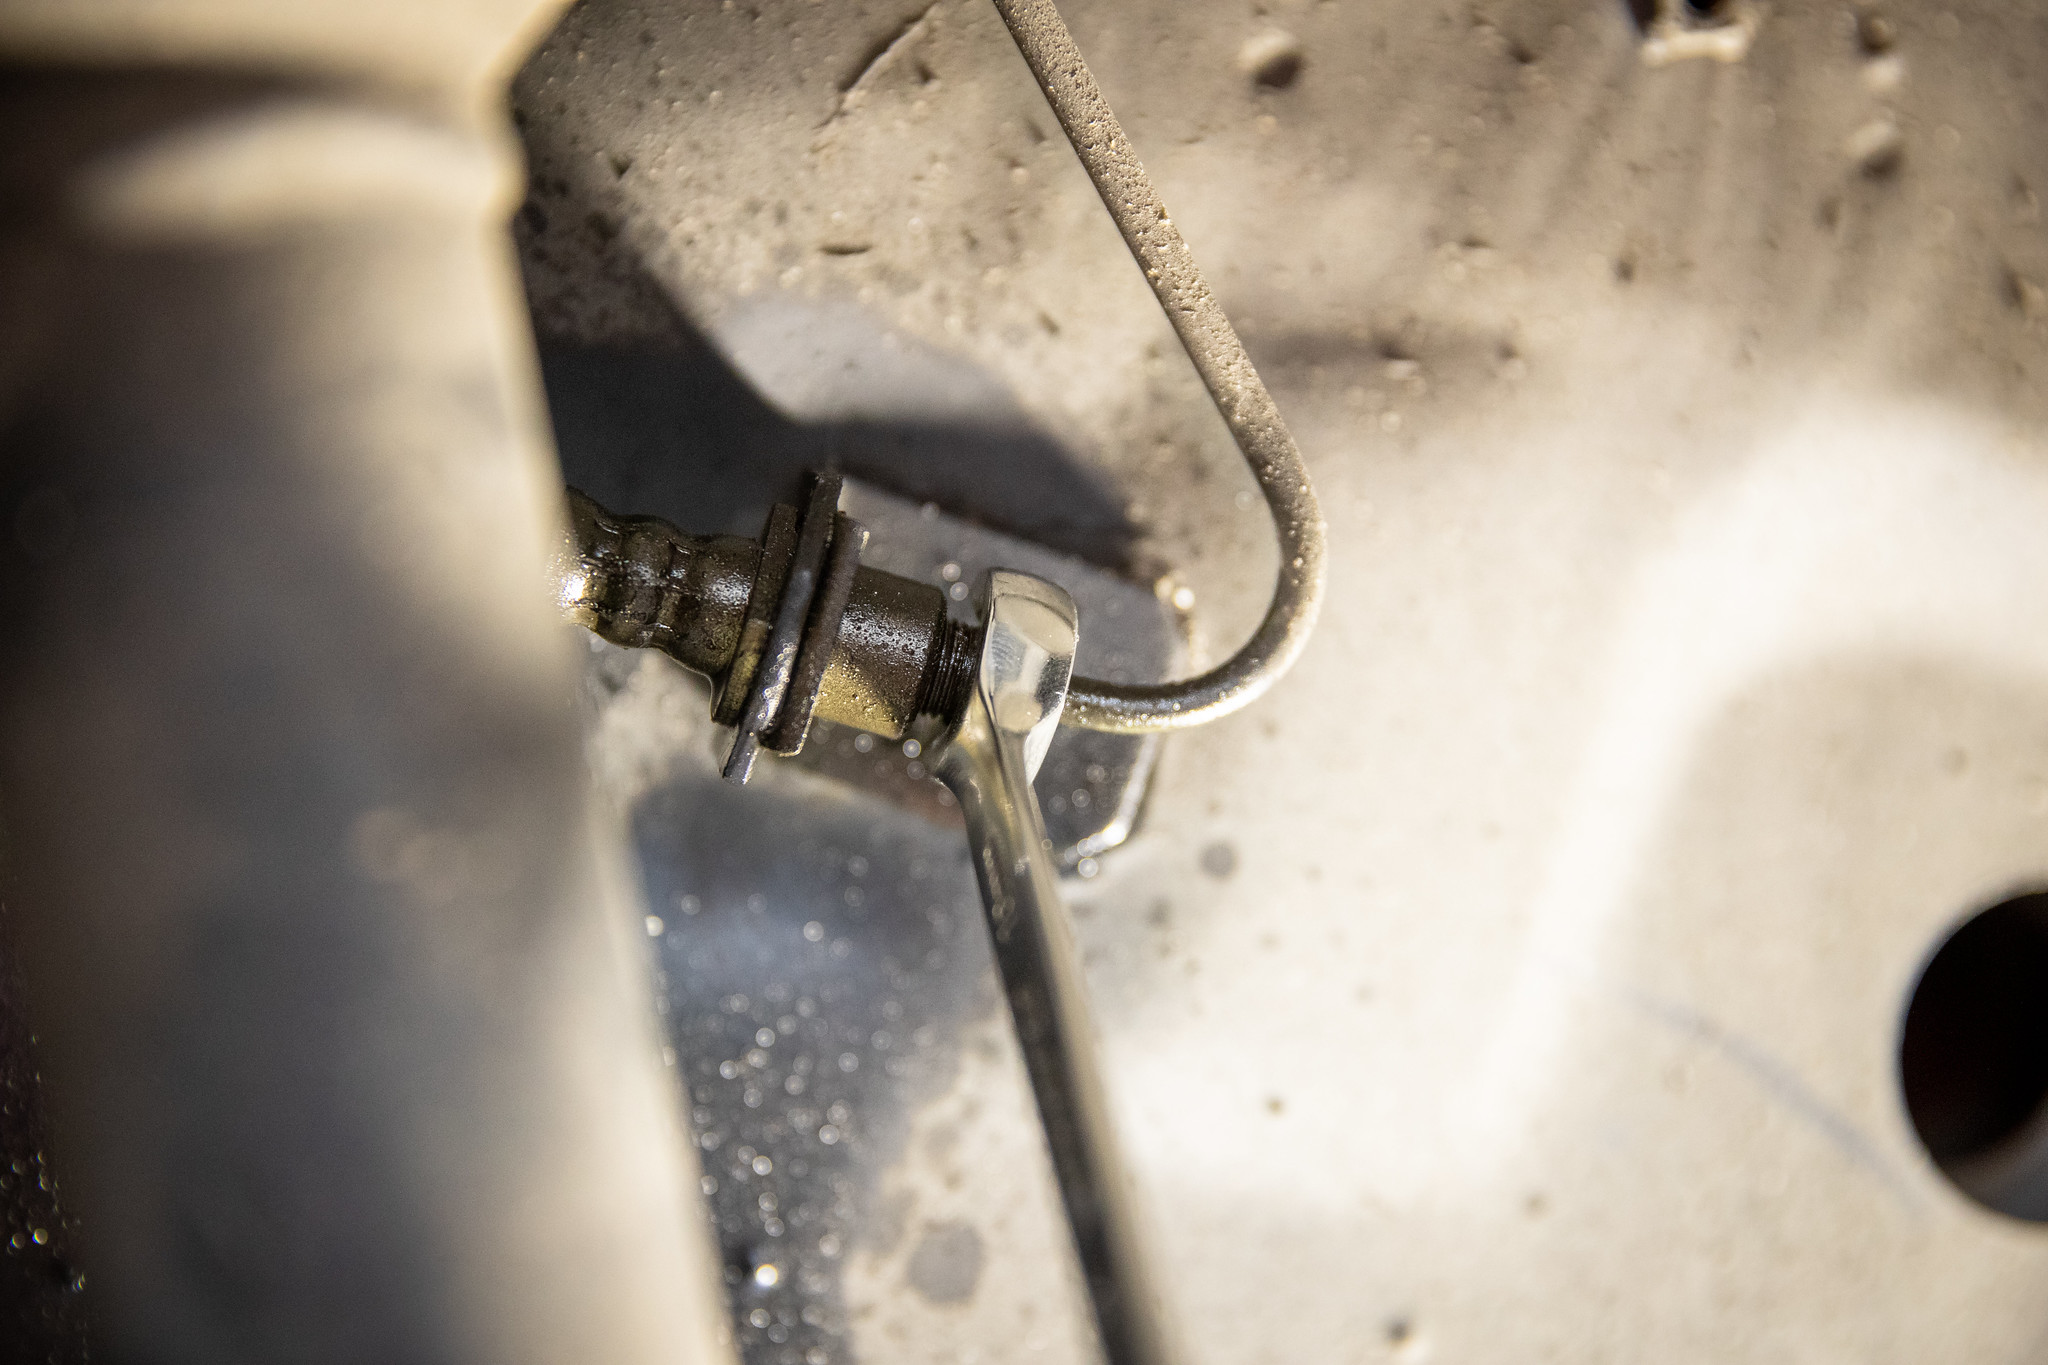
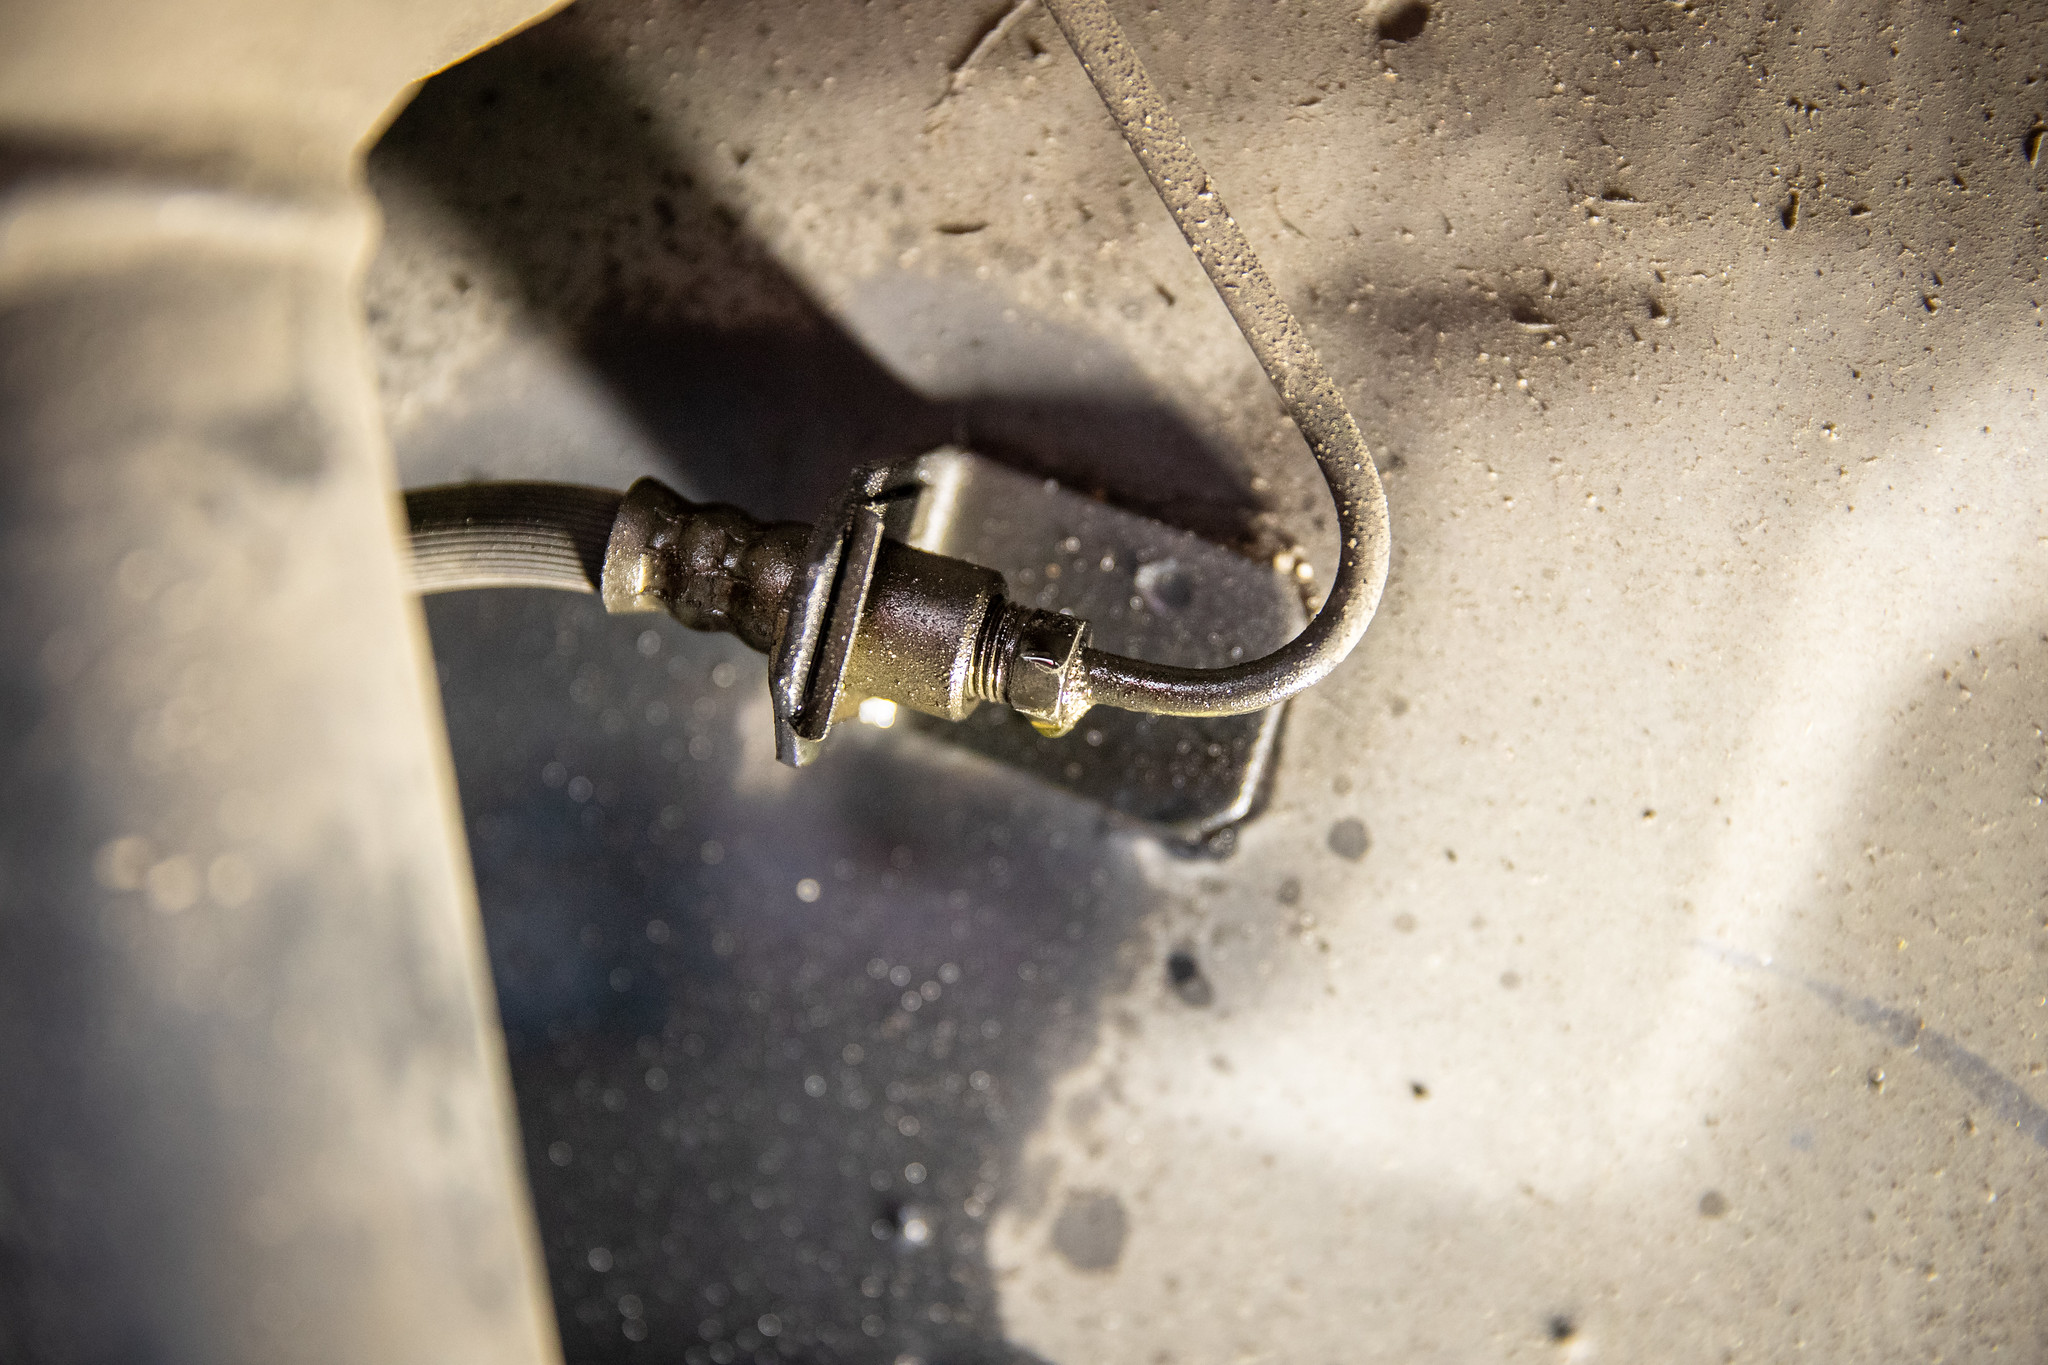
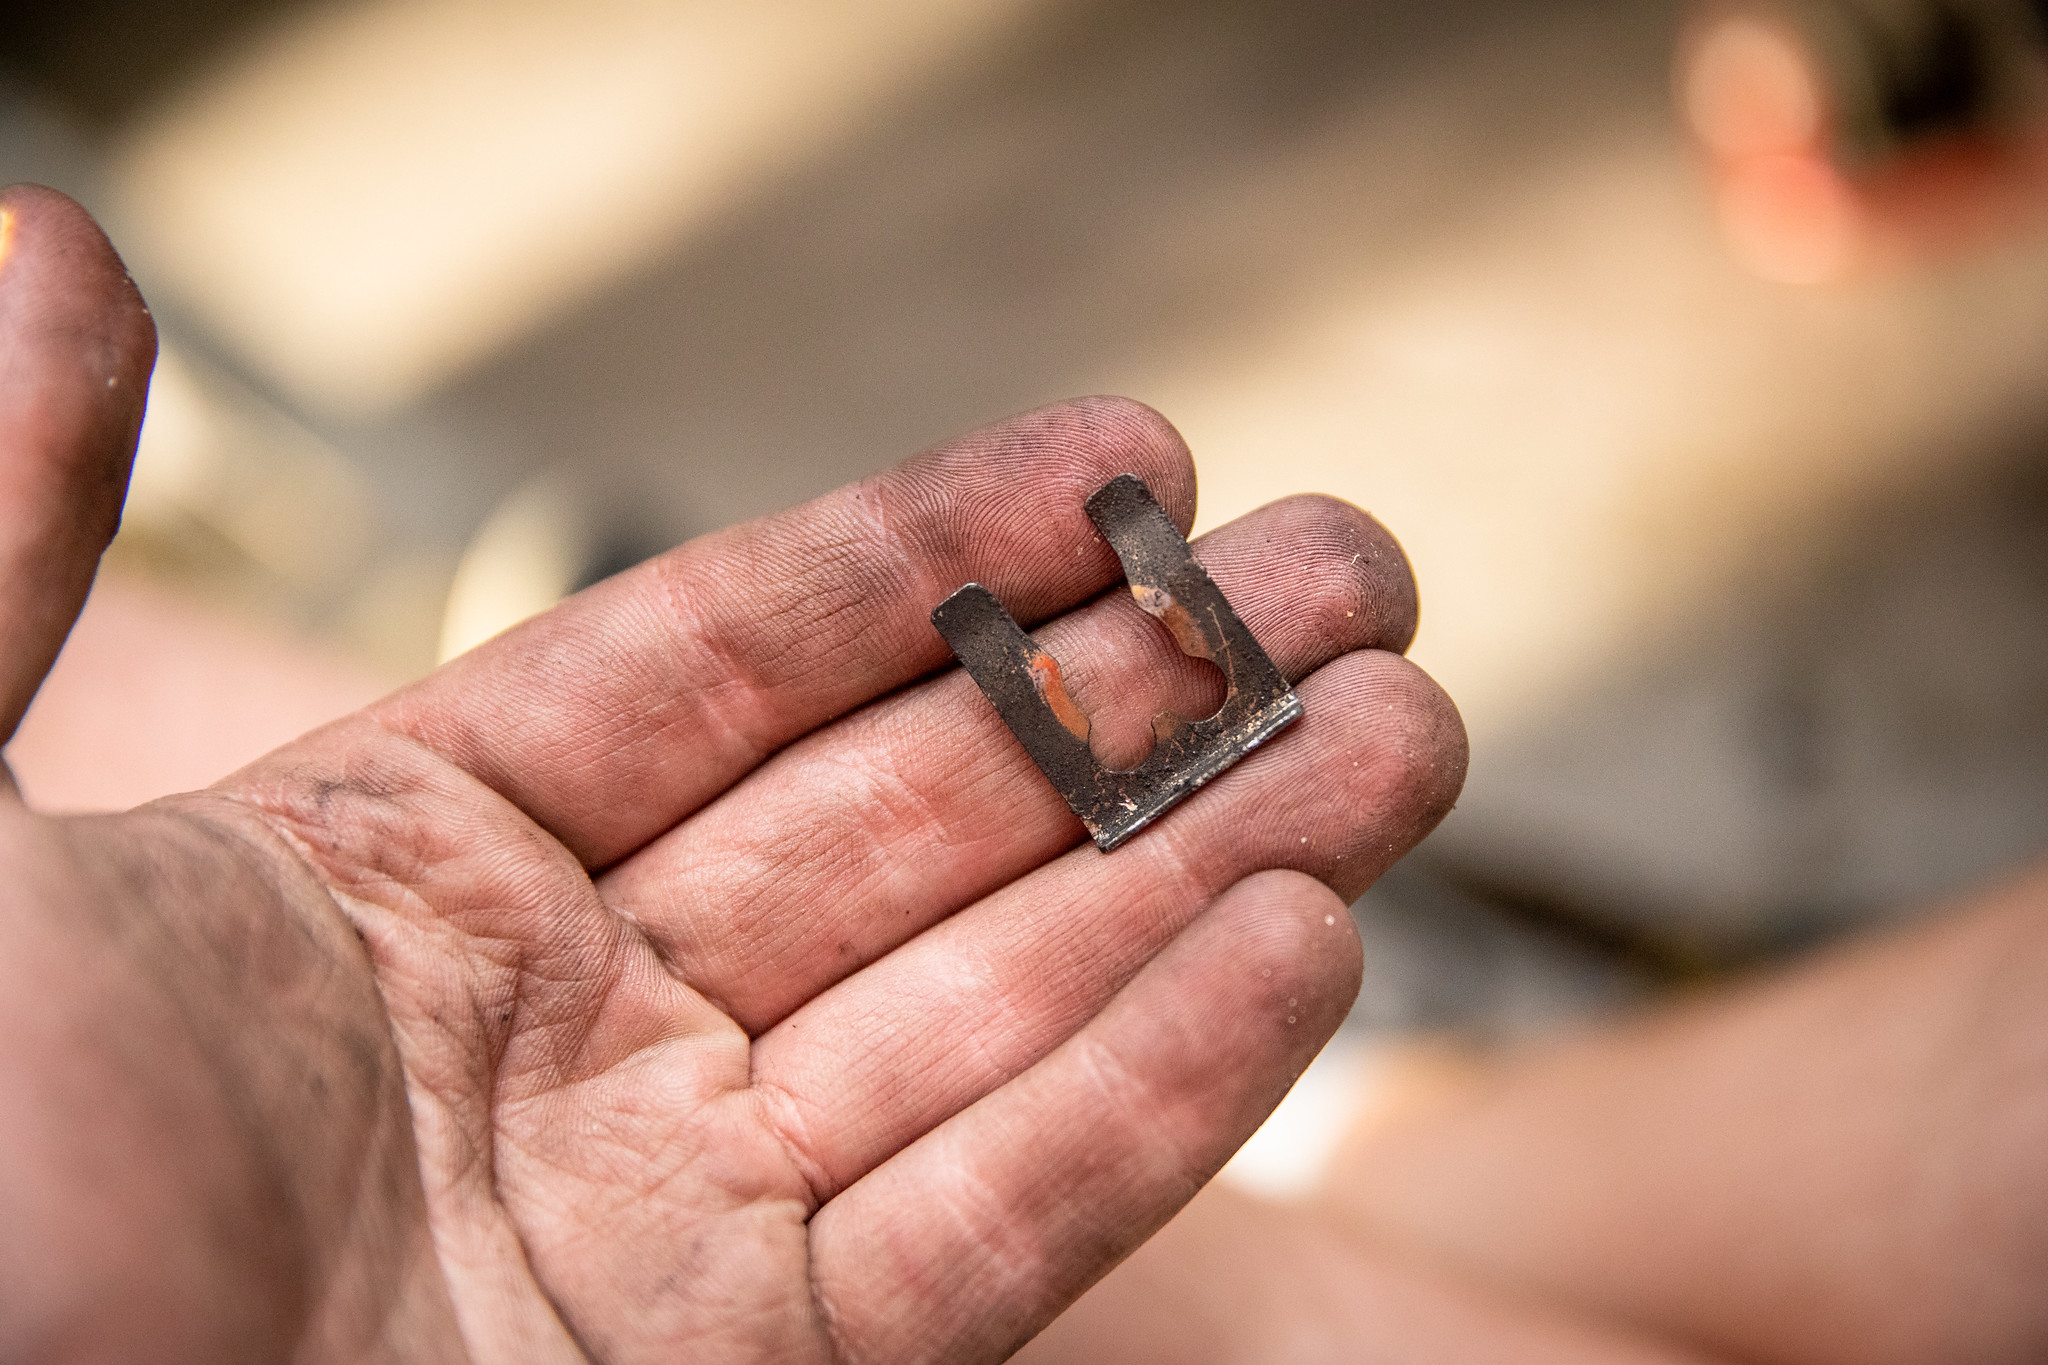
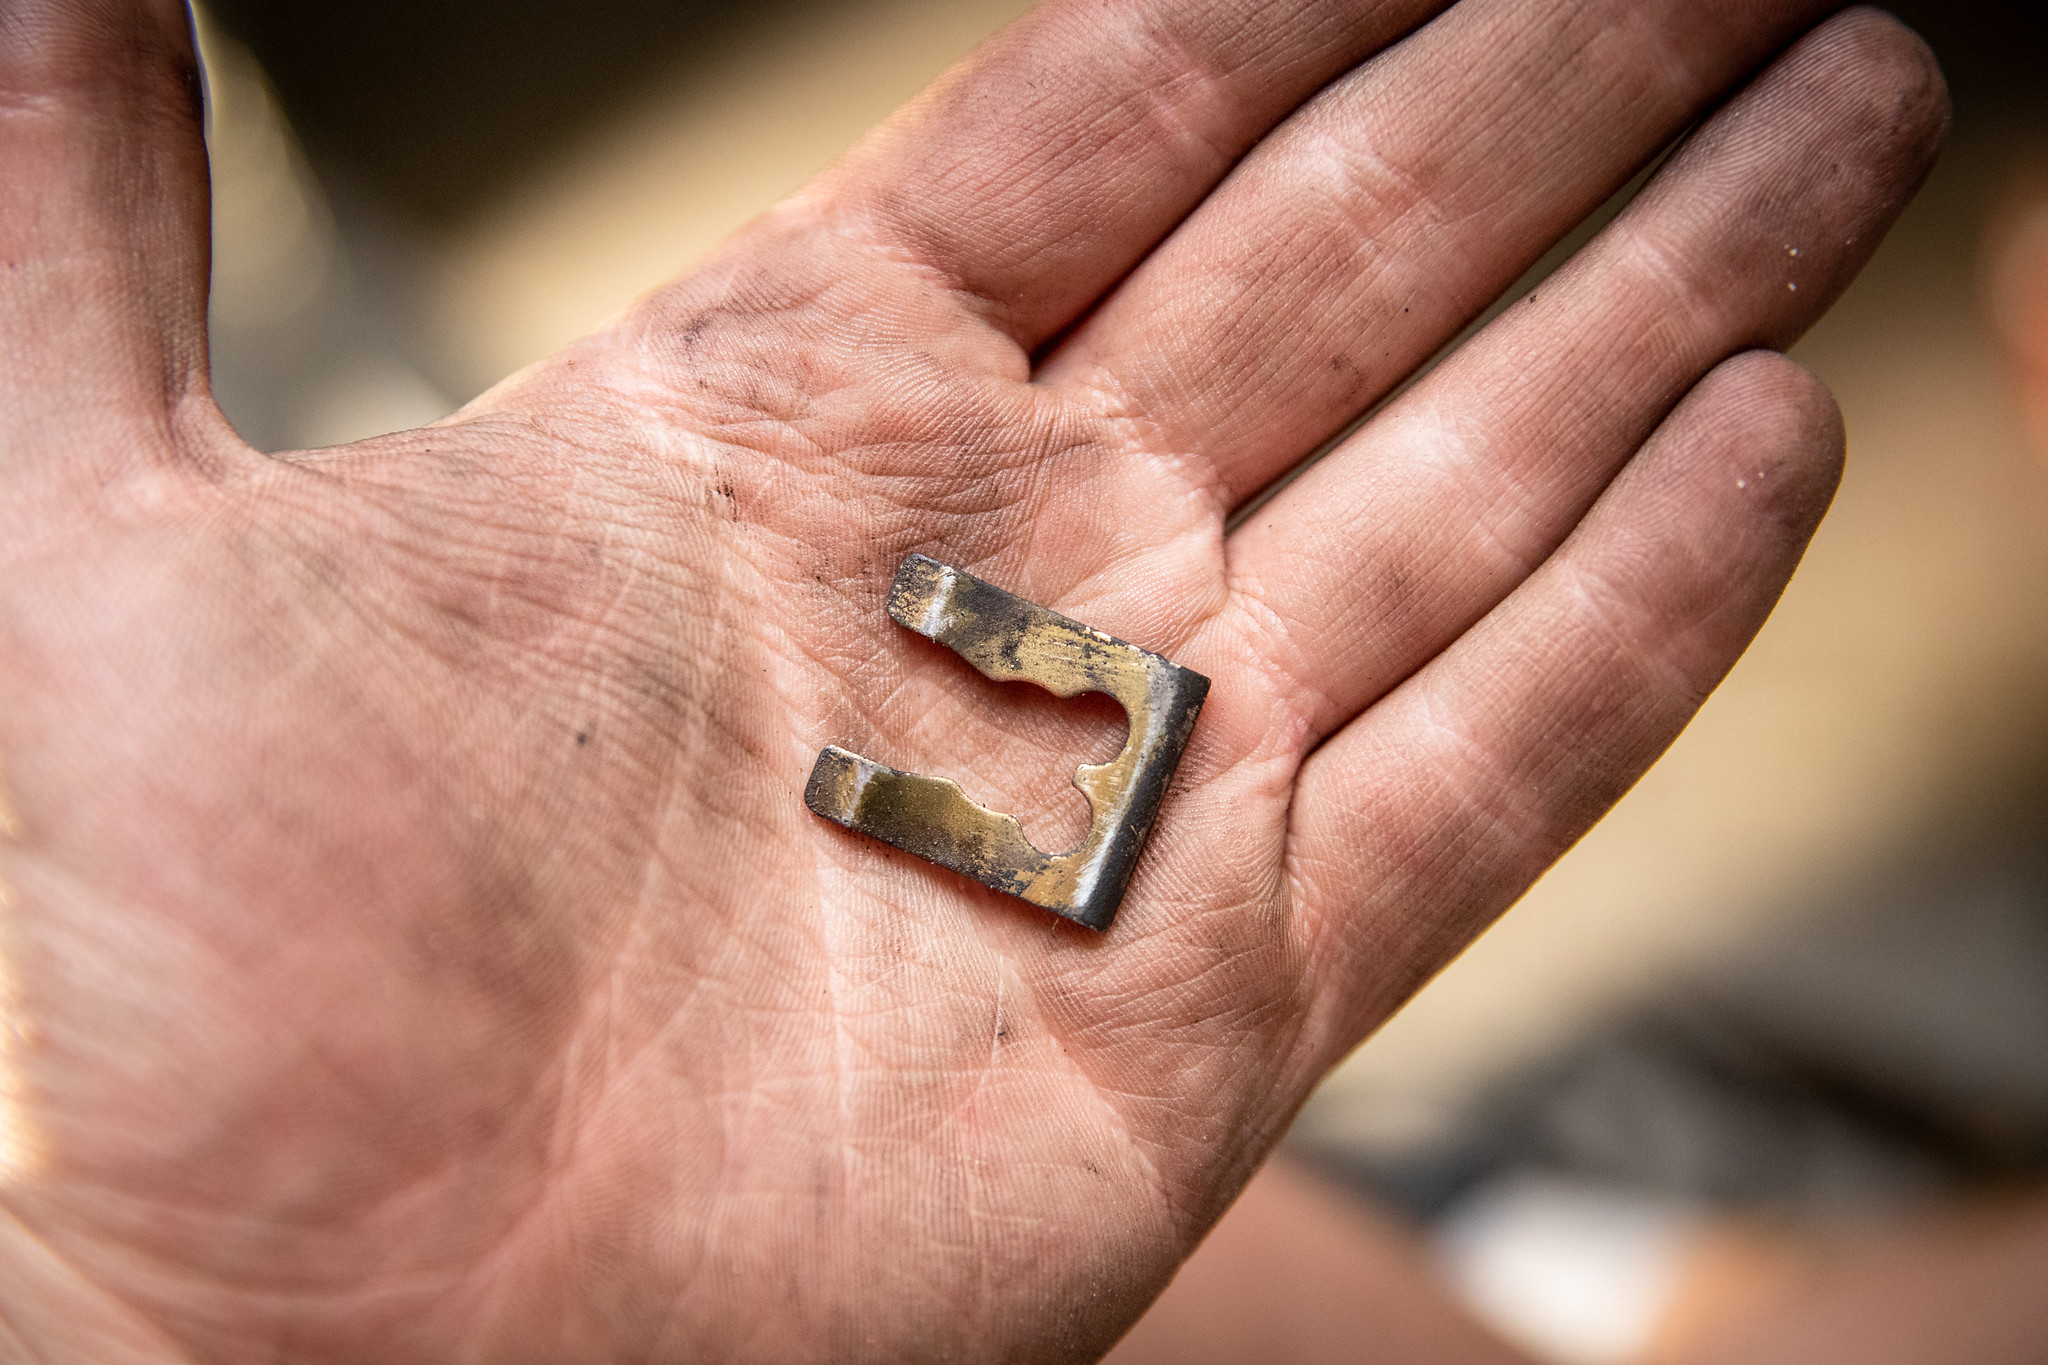
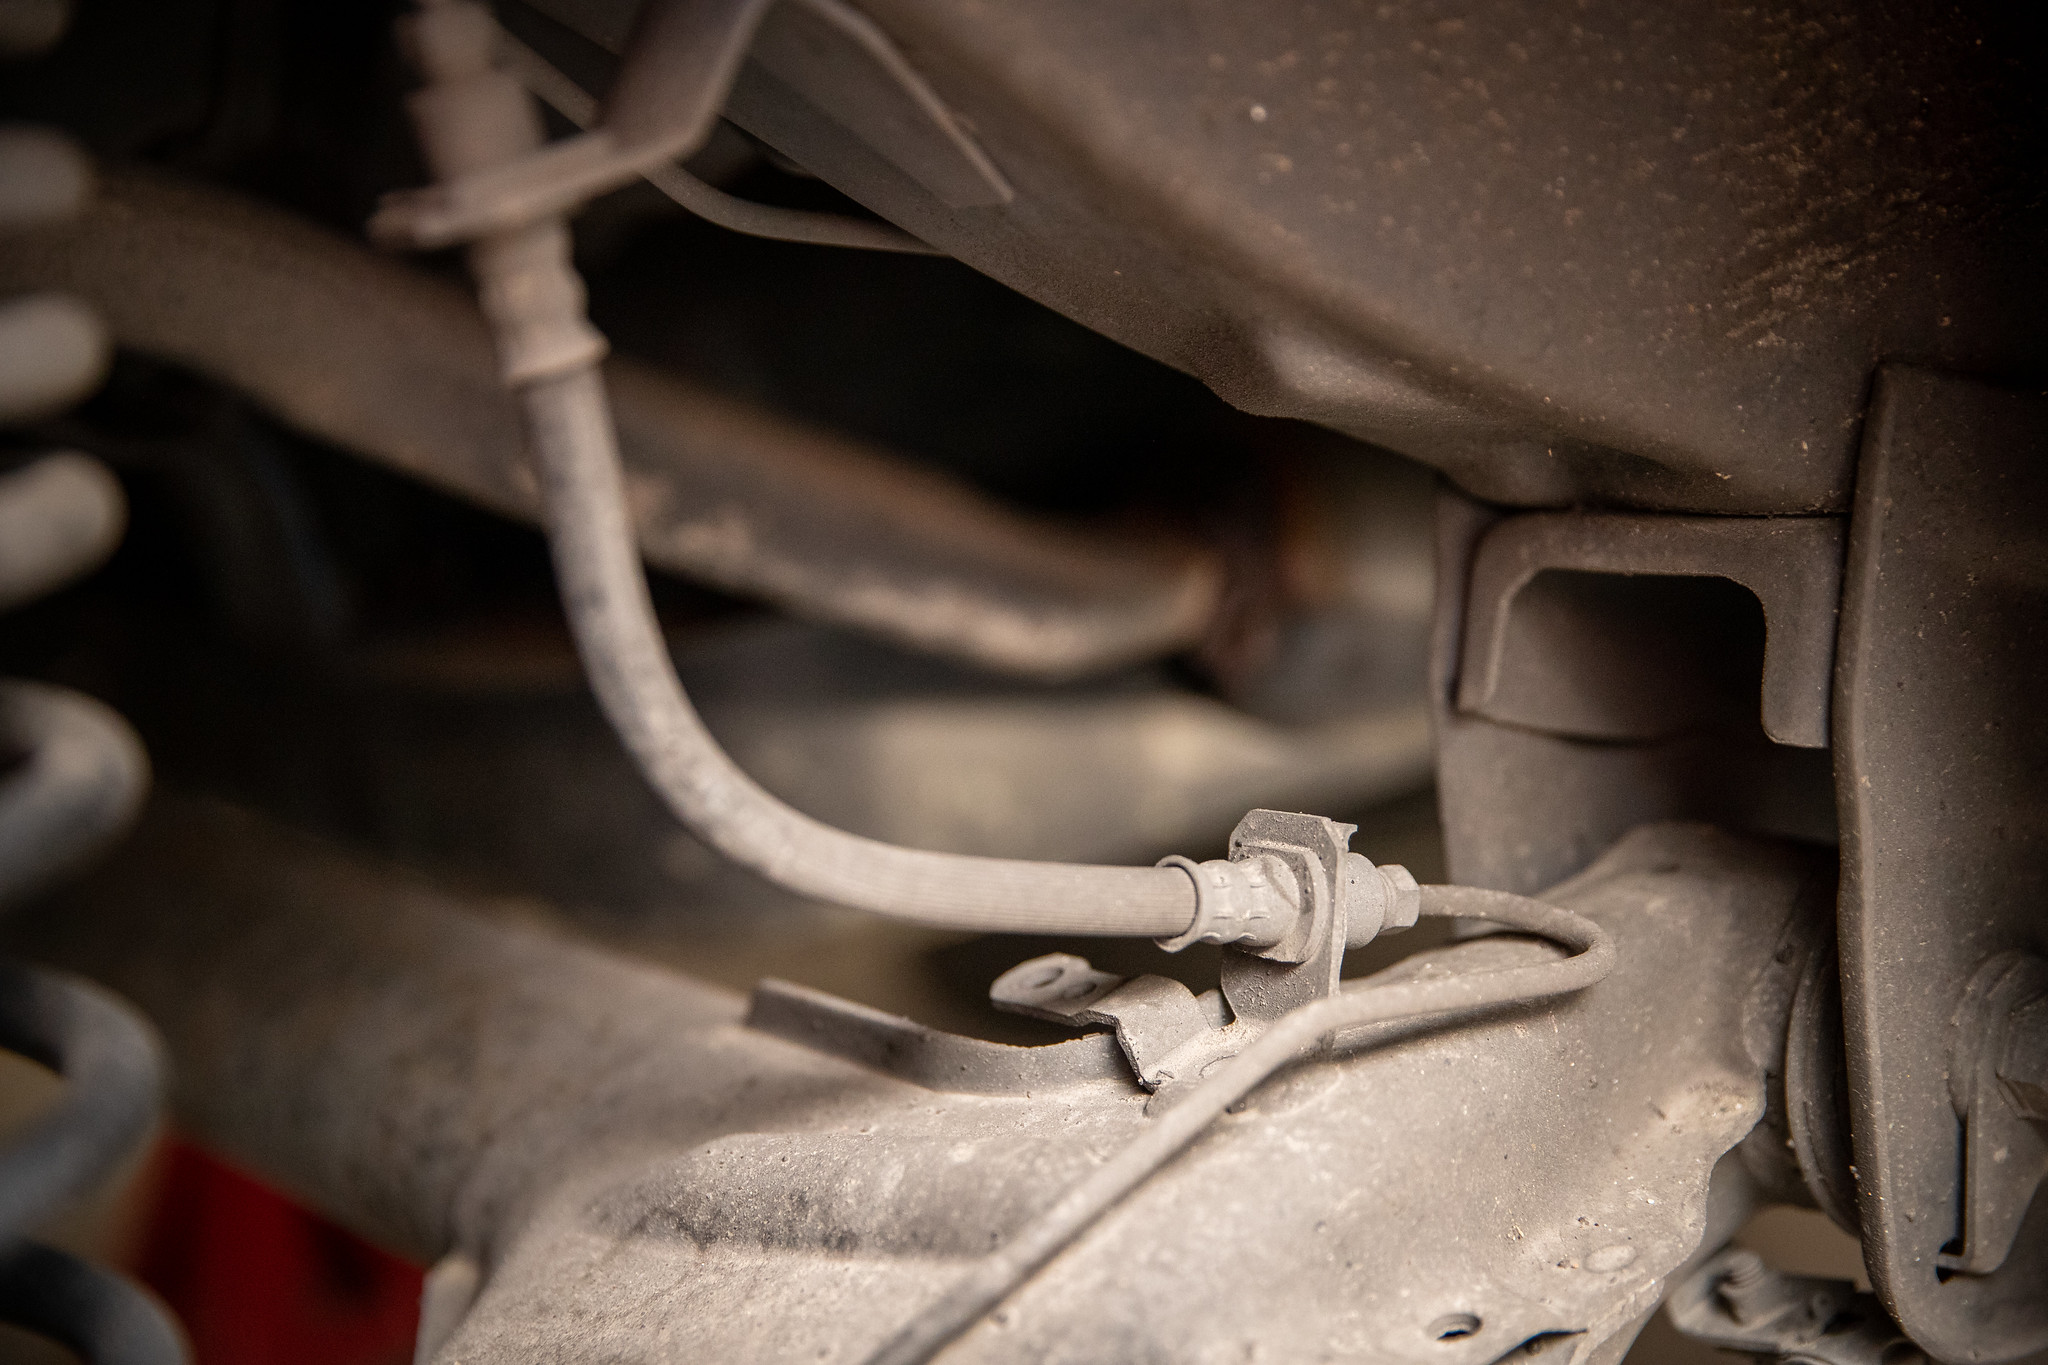
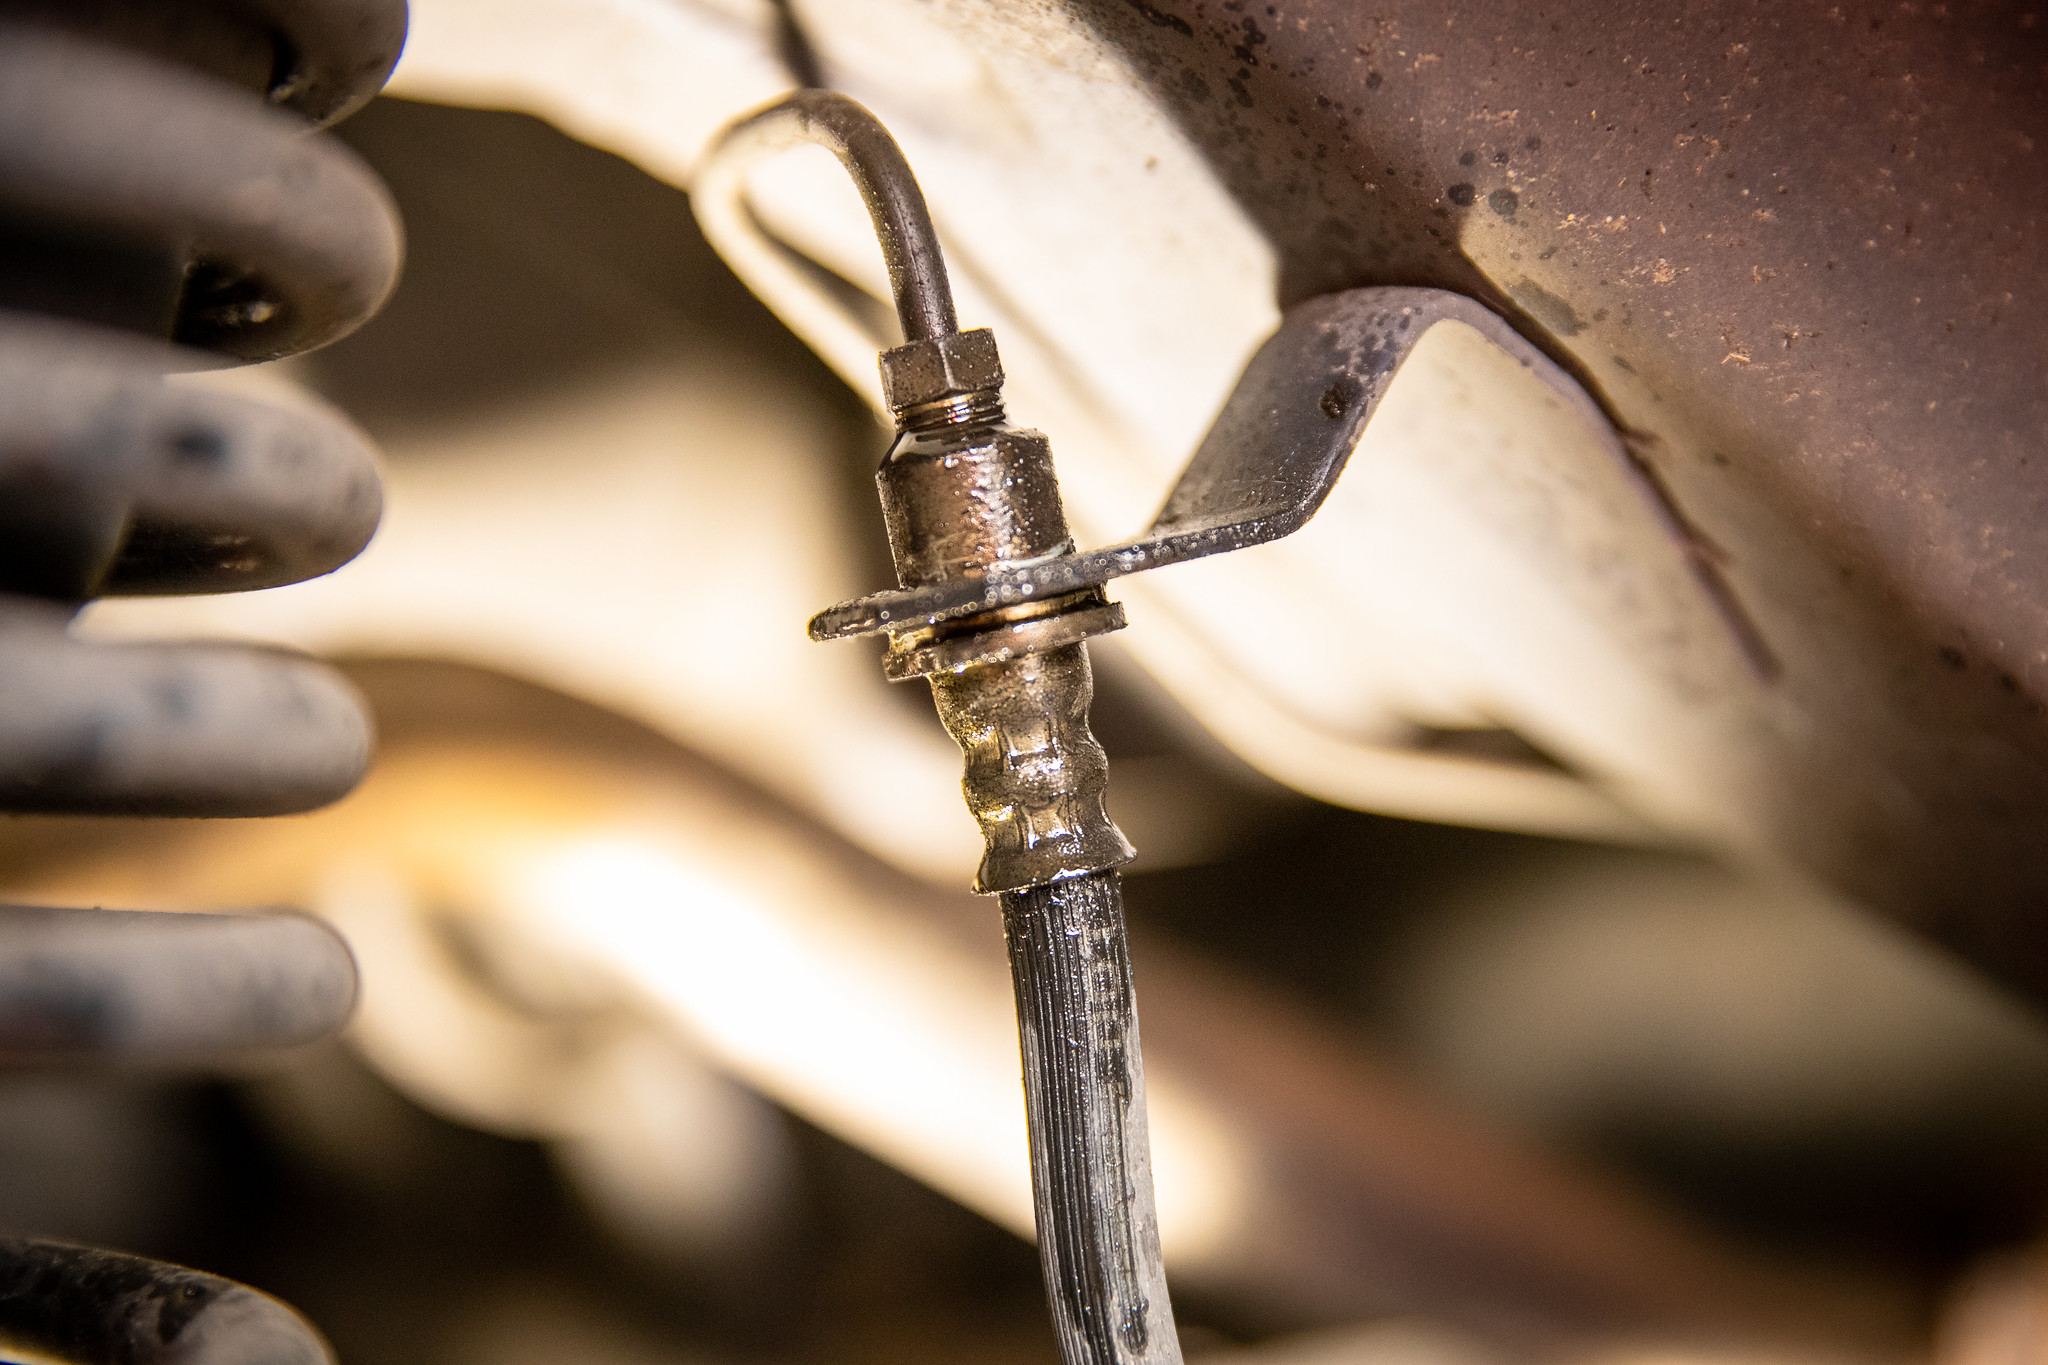
Brake lines could then come off, also something that scares me, but flare nut spanners and a shitonne of WD40 help the anxiety.
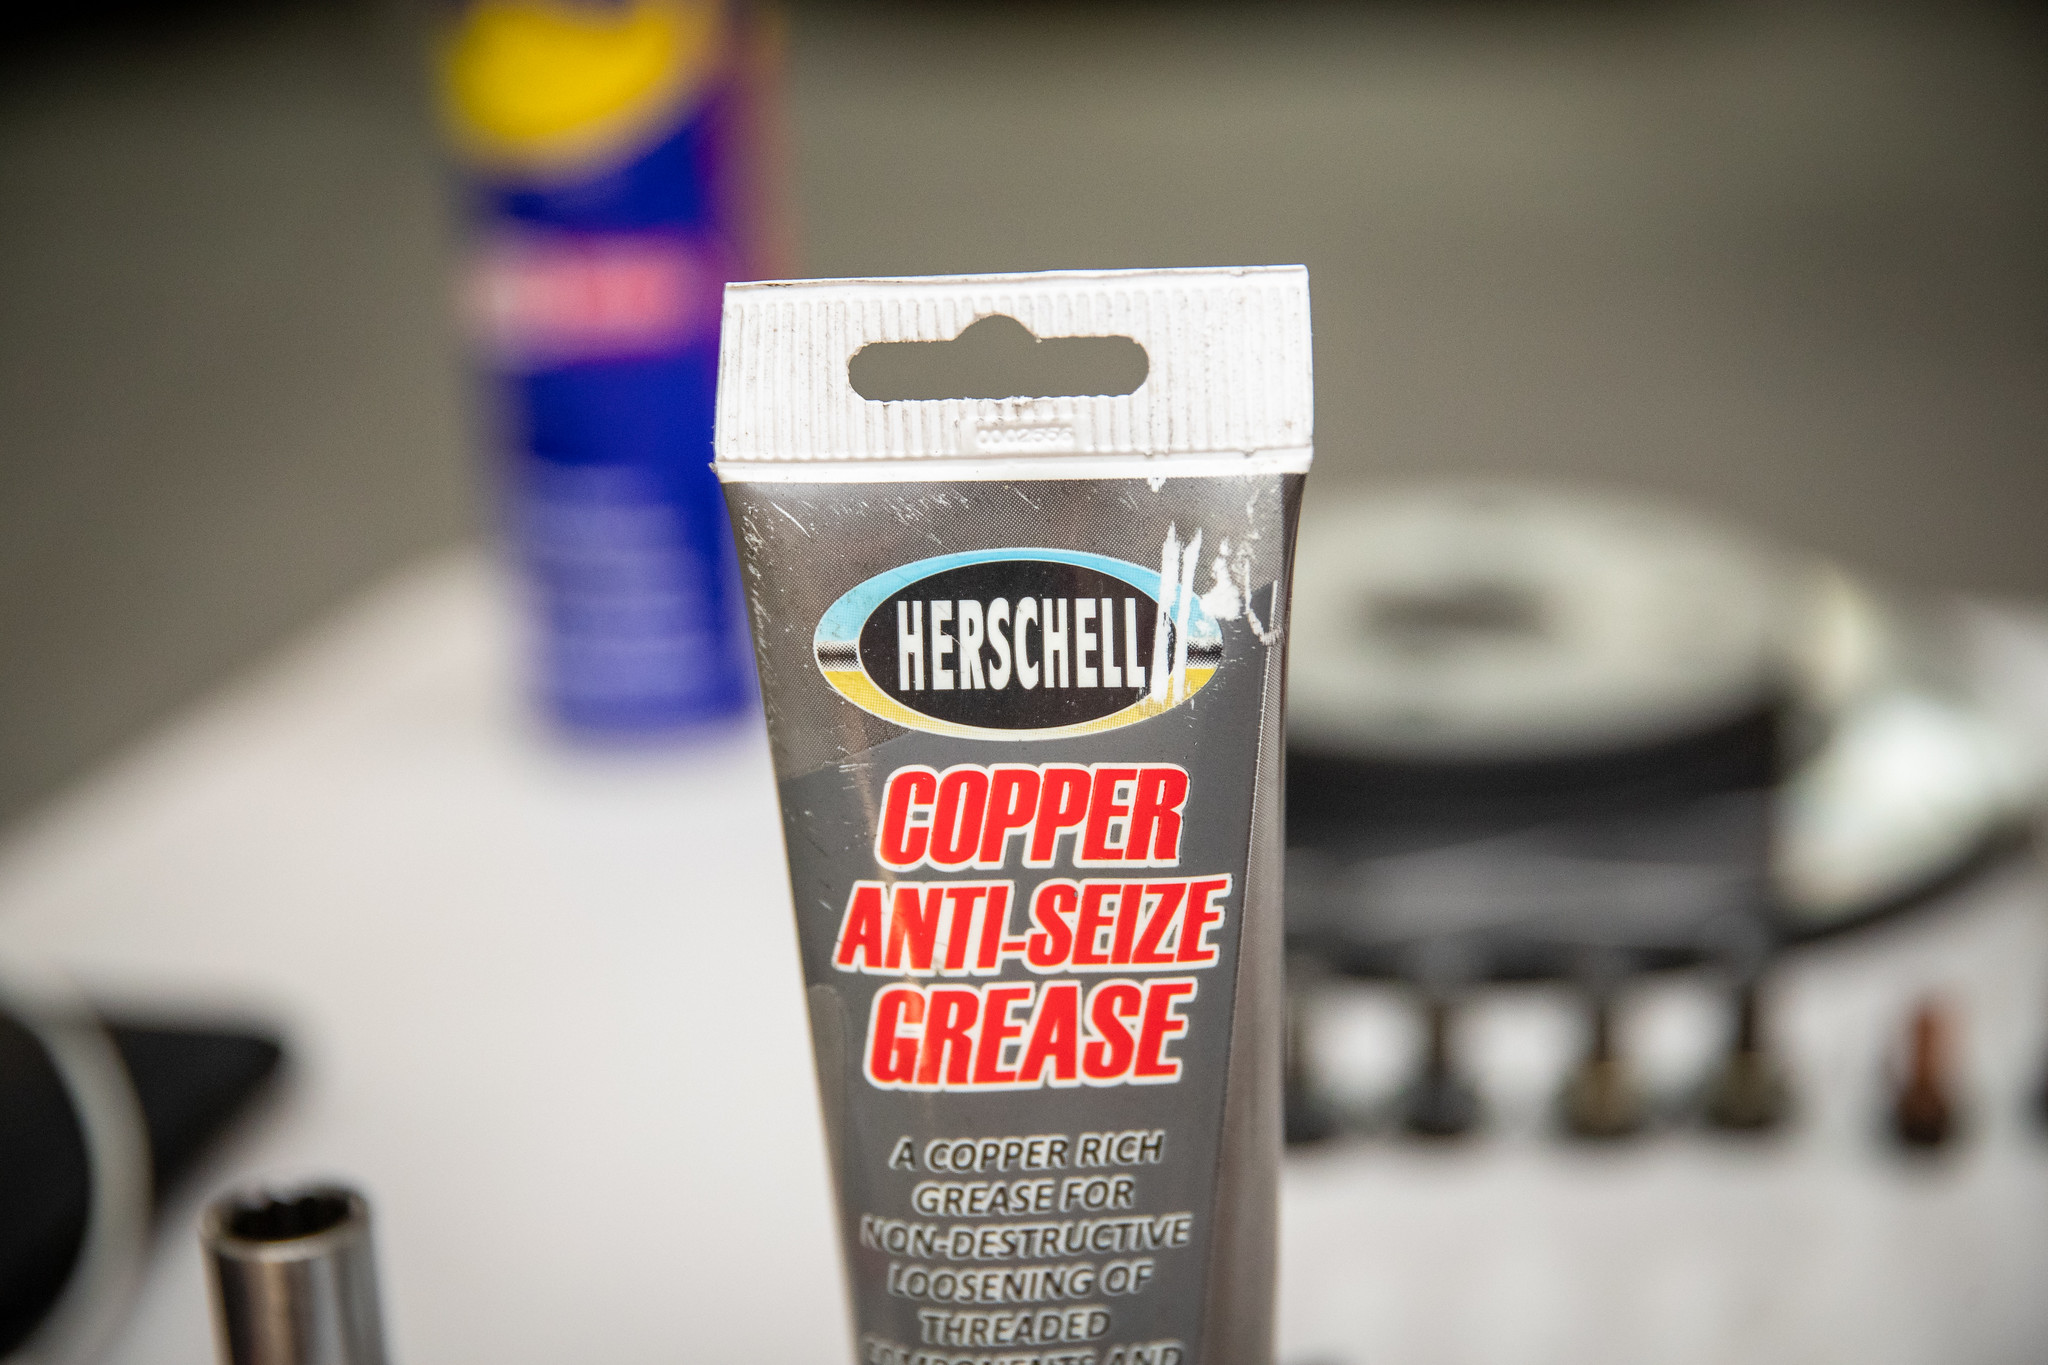
With everything removed, I needed to prep the brakes. The hardware got a light coating of copper anti-seize
Lines went on the caliper side first as it’ll be a little easier routing it.
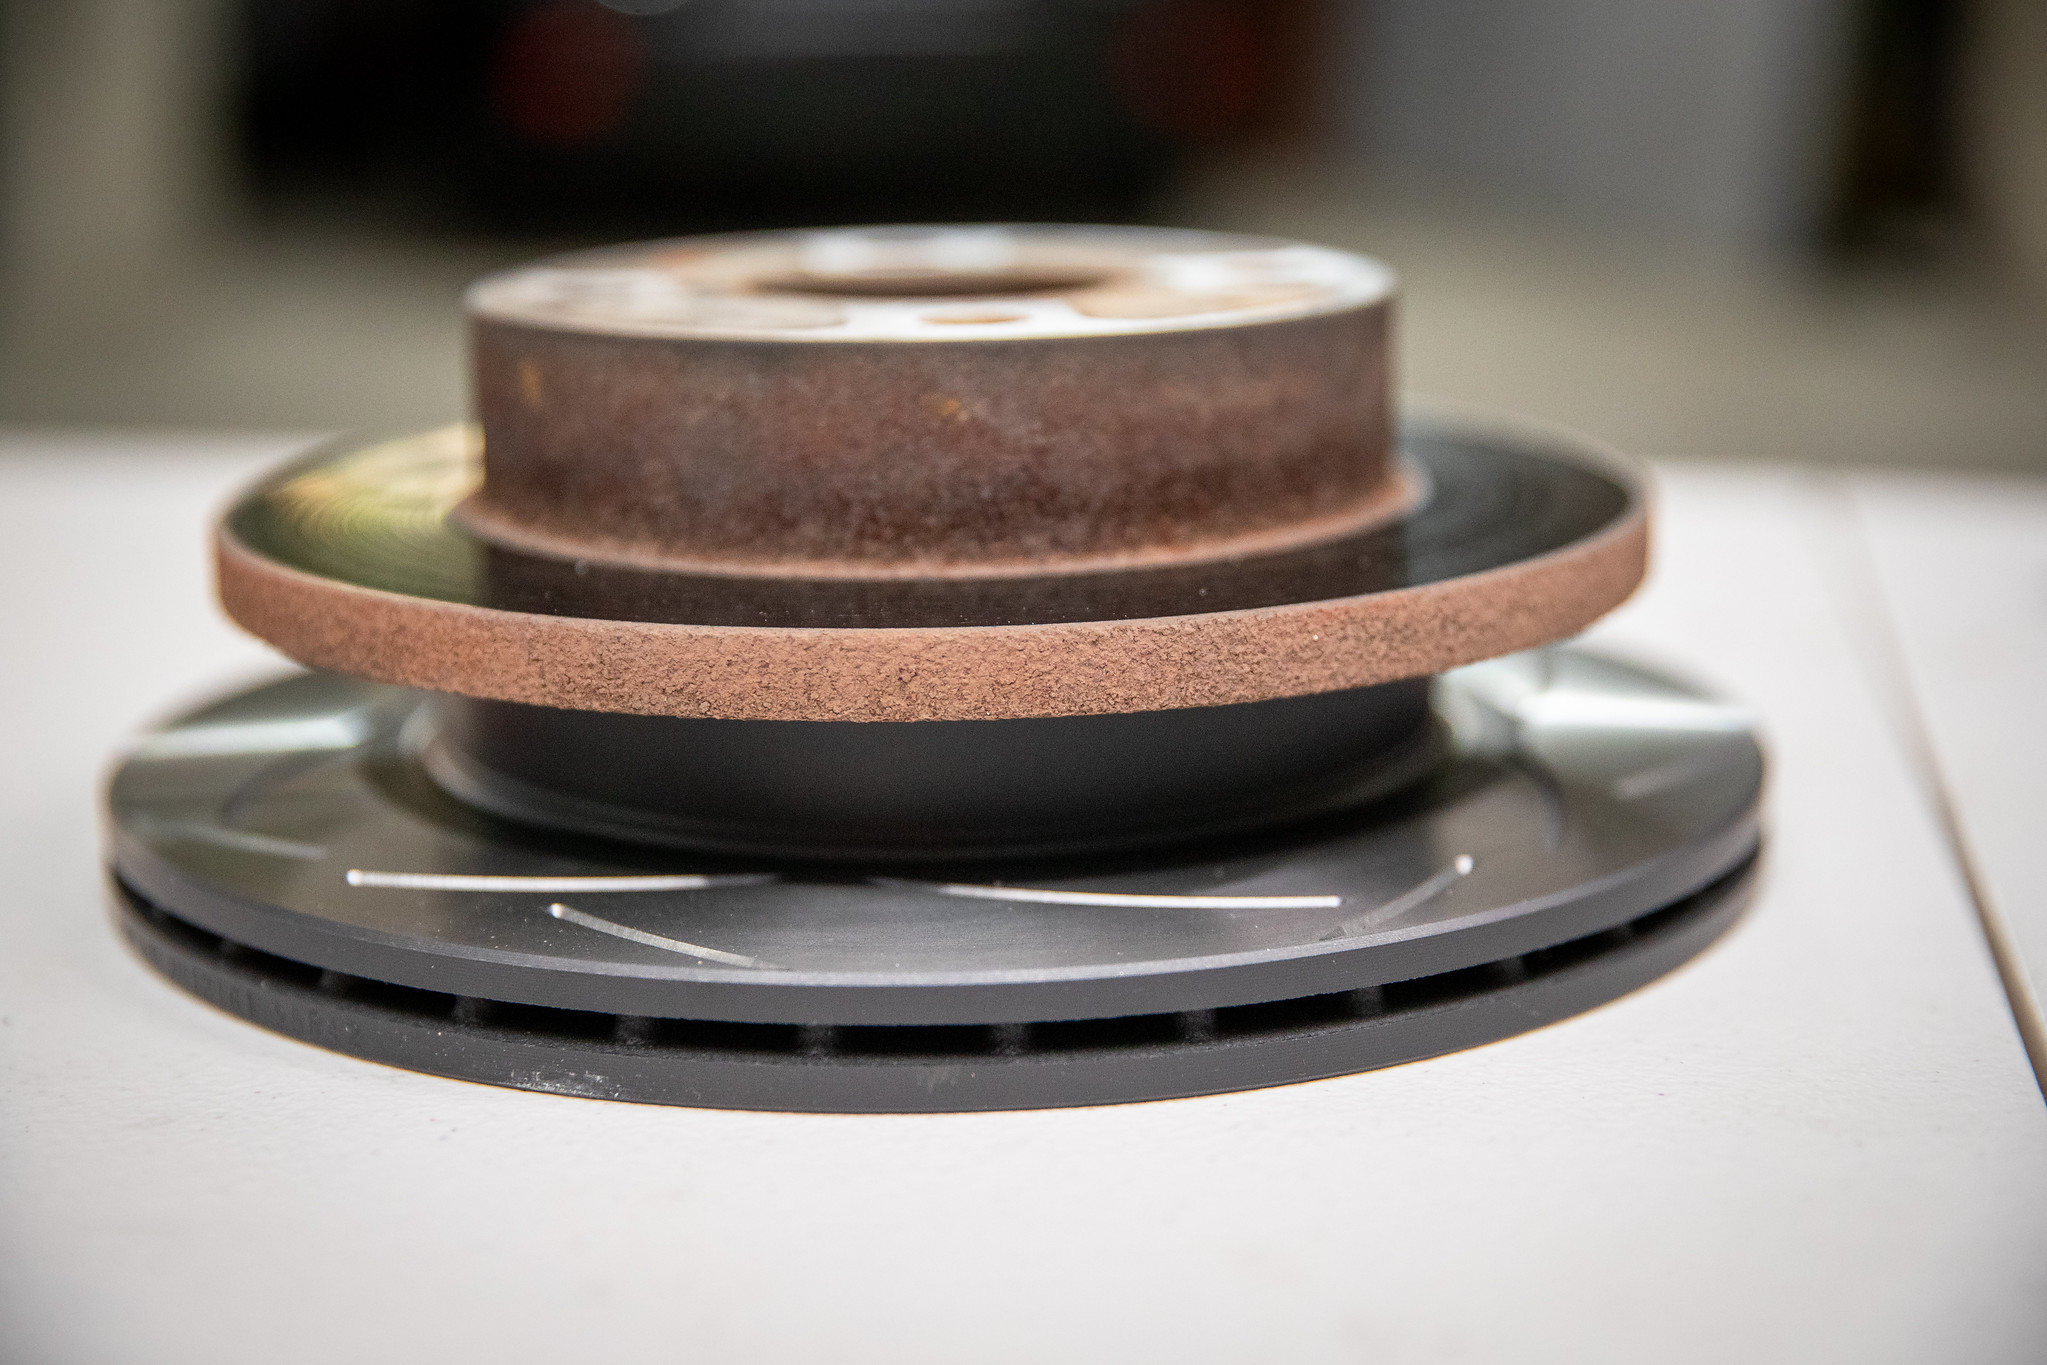
Quickly through the disks side by side, the size difference is hilarious.
Not to mention that fact we’re going from solid to vented.
Same deal with the factory calipers.
Anyway, back to it.
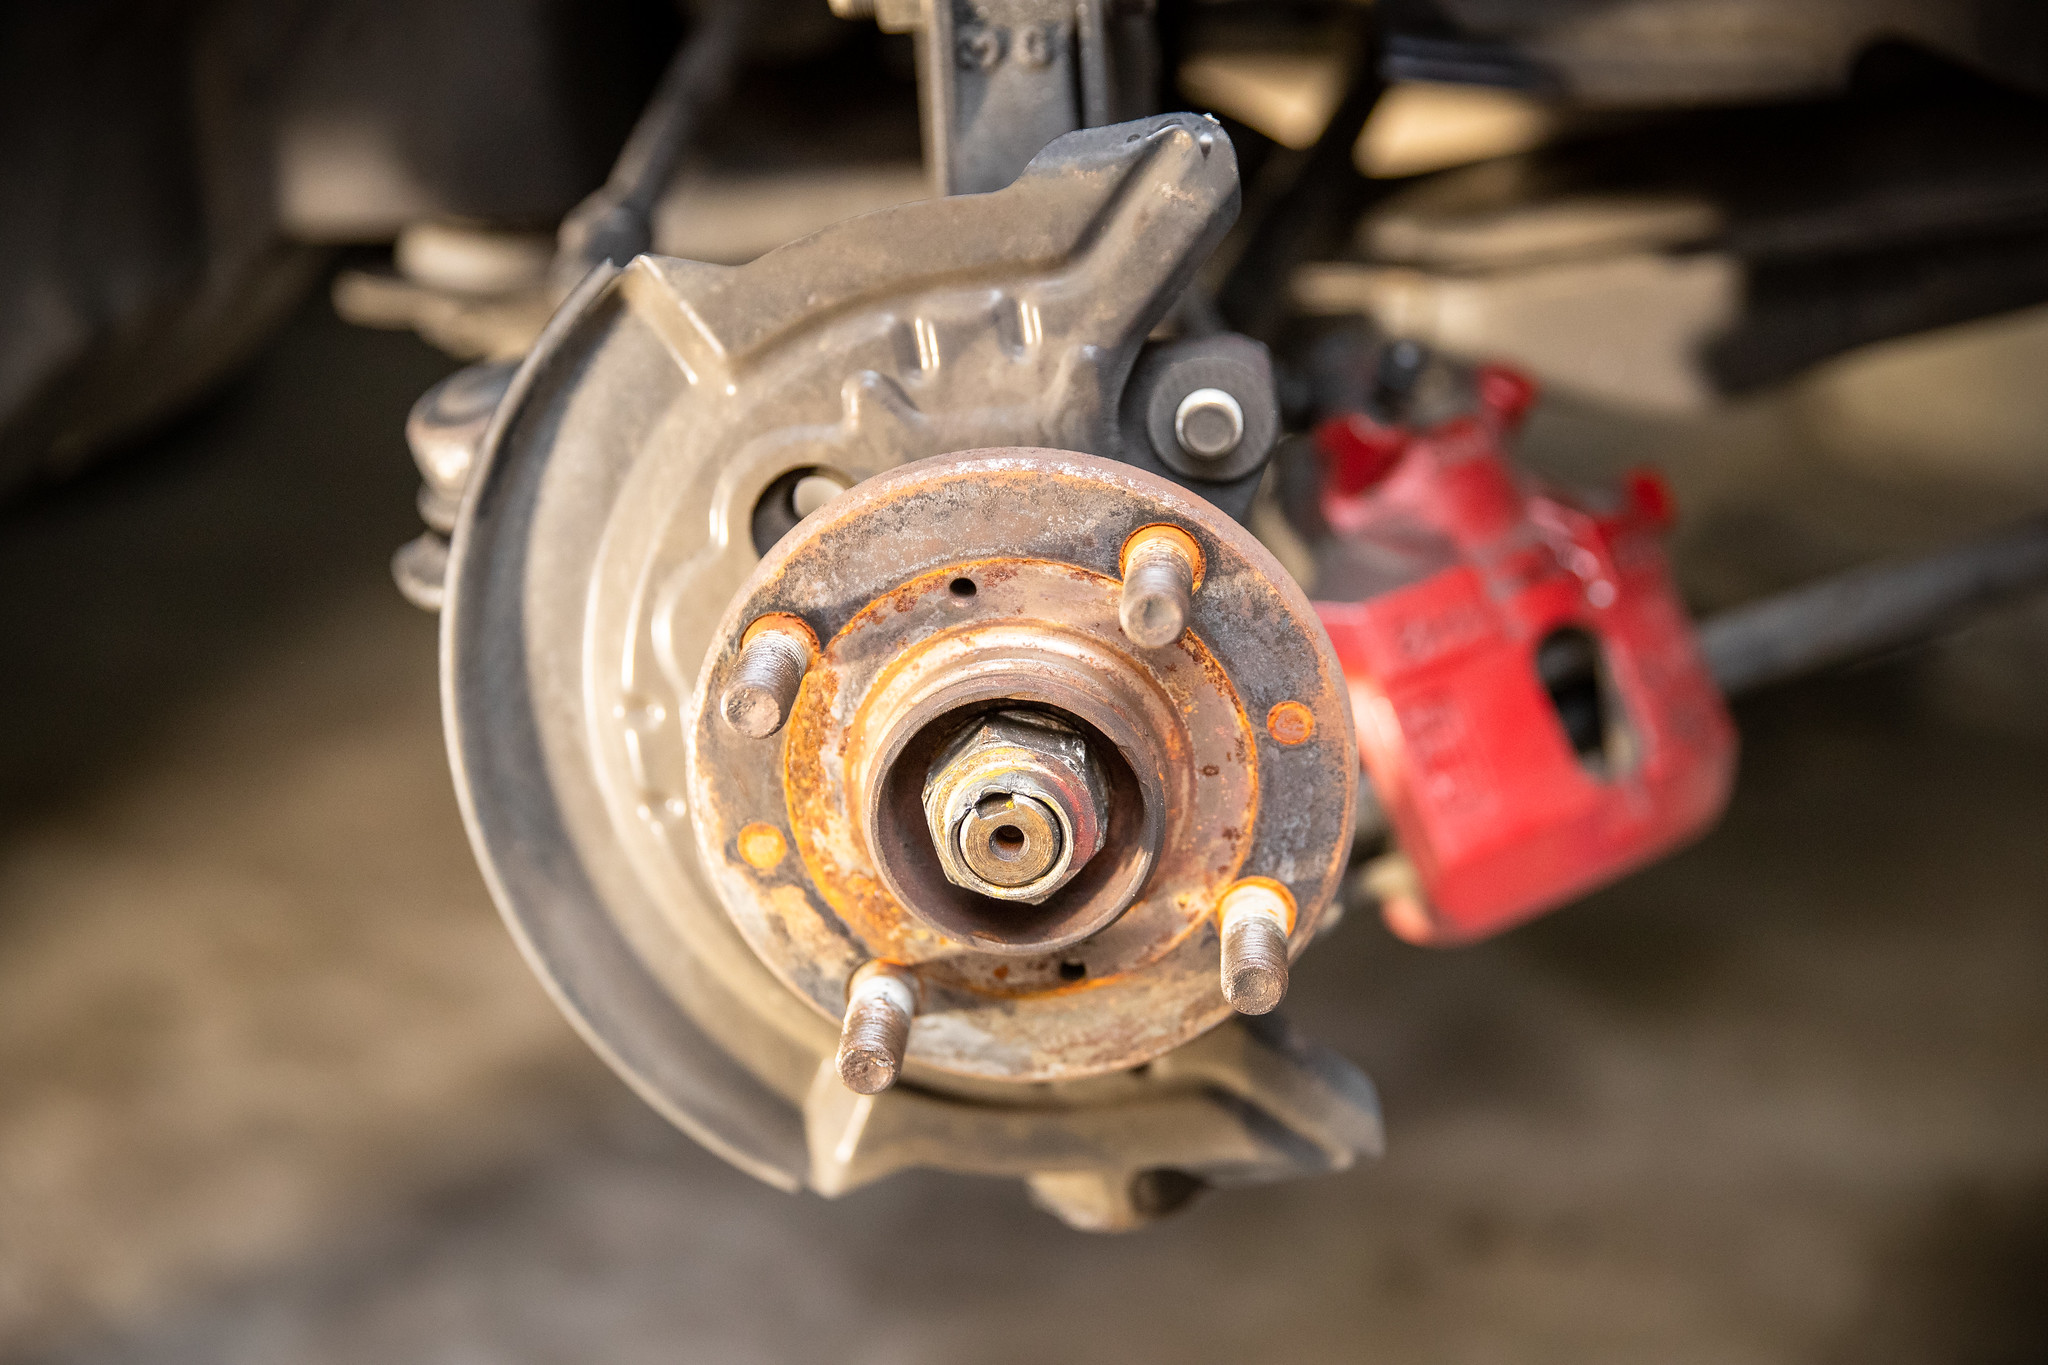

Mounting brackets could then be fitted.
Pads then went in.
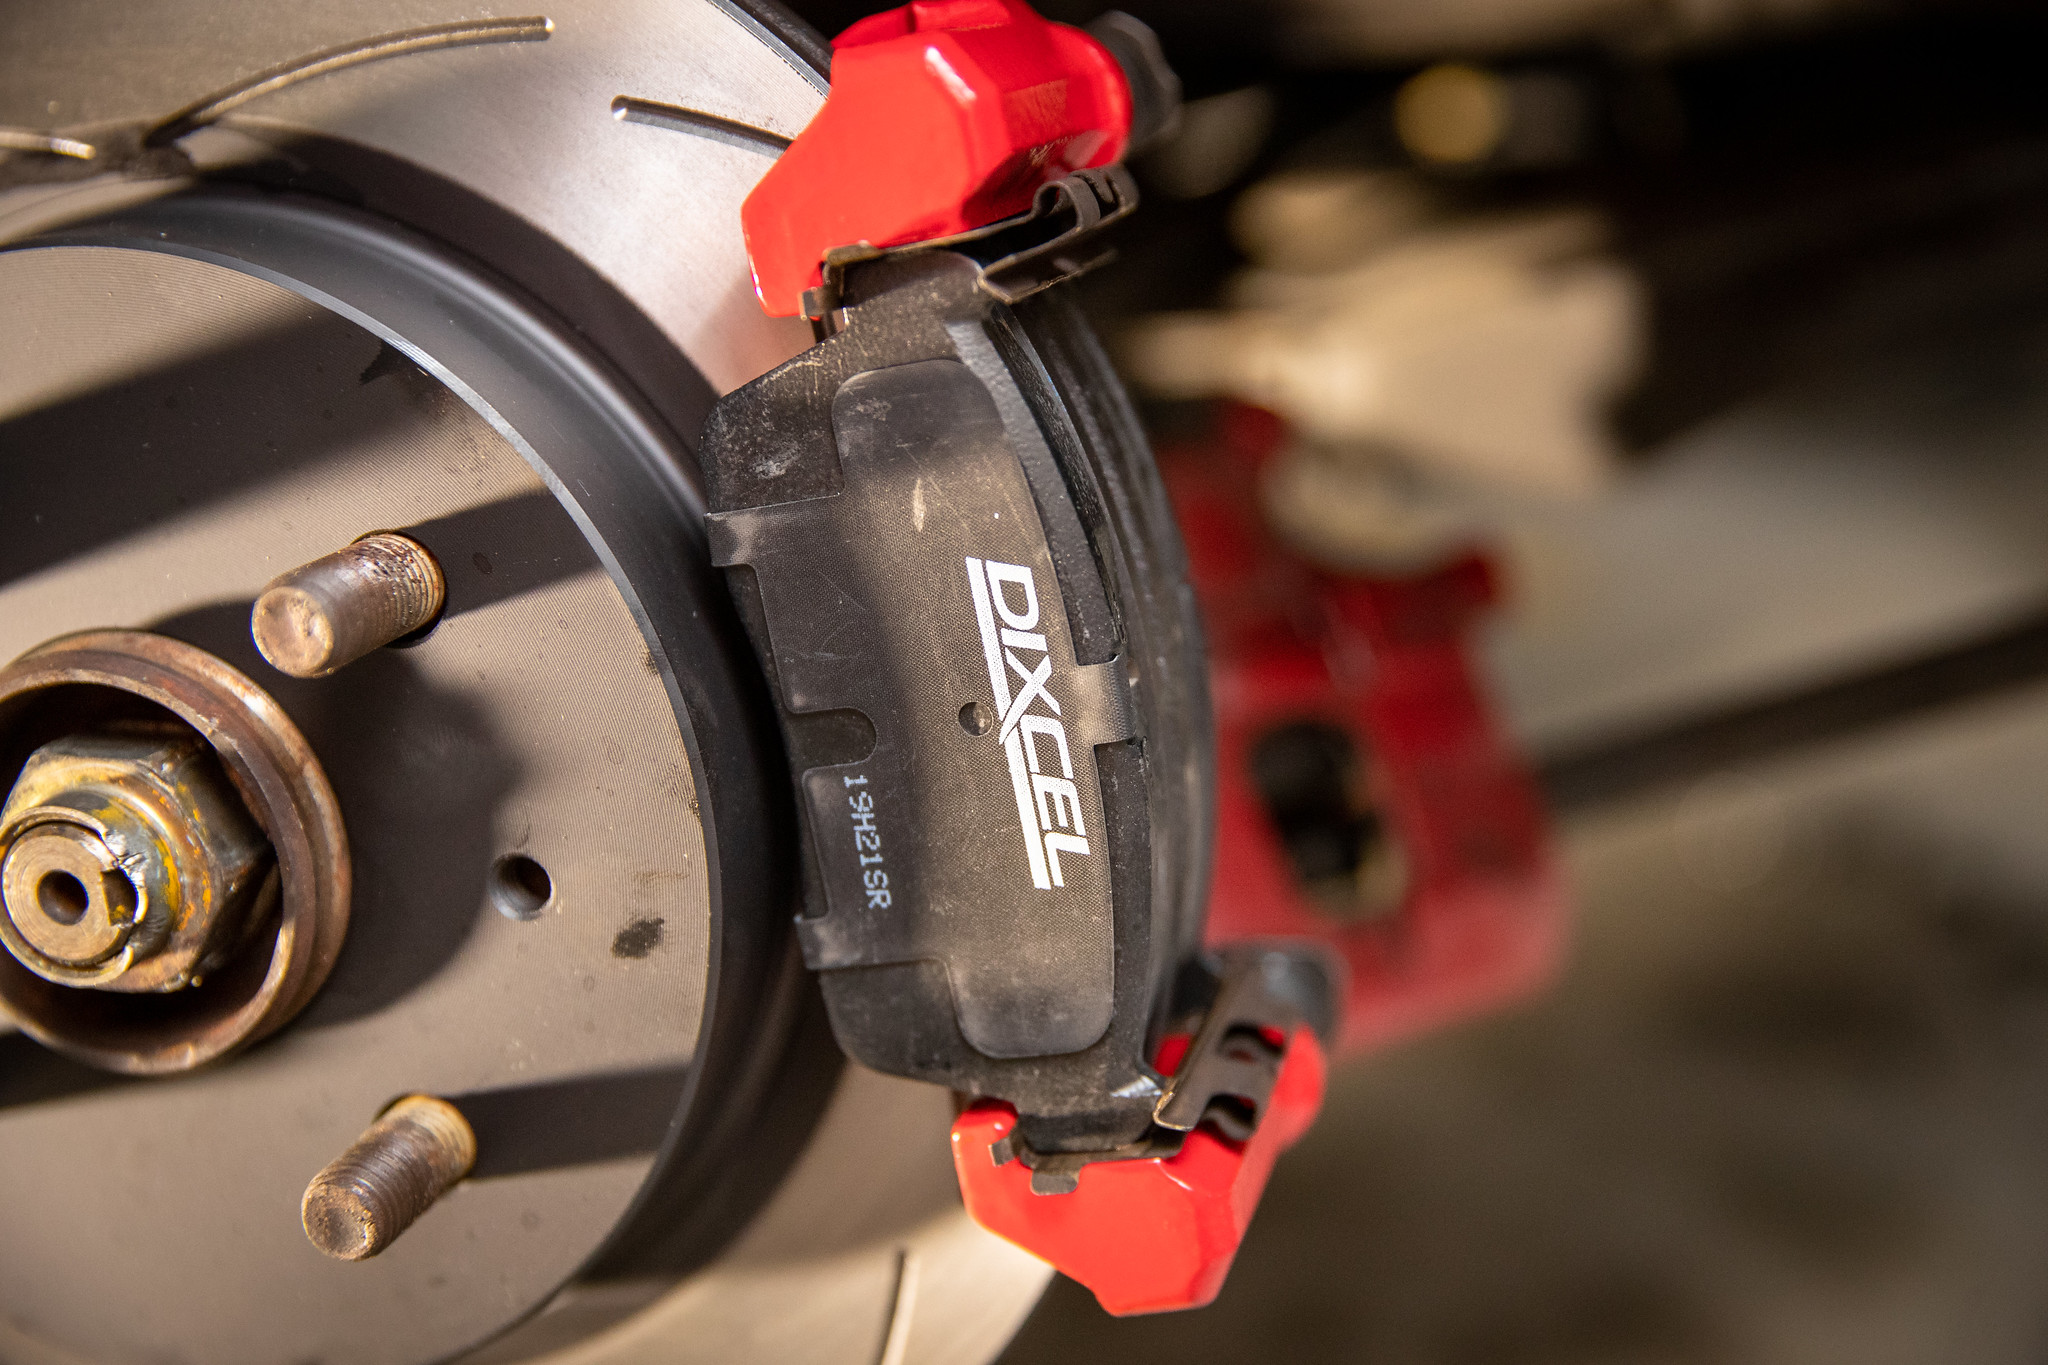
Main part of the caliper could then go on.
Front lines in.
Always a pleasure working with satins clips.
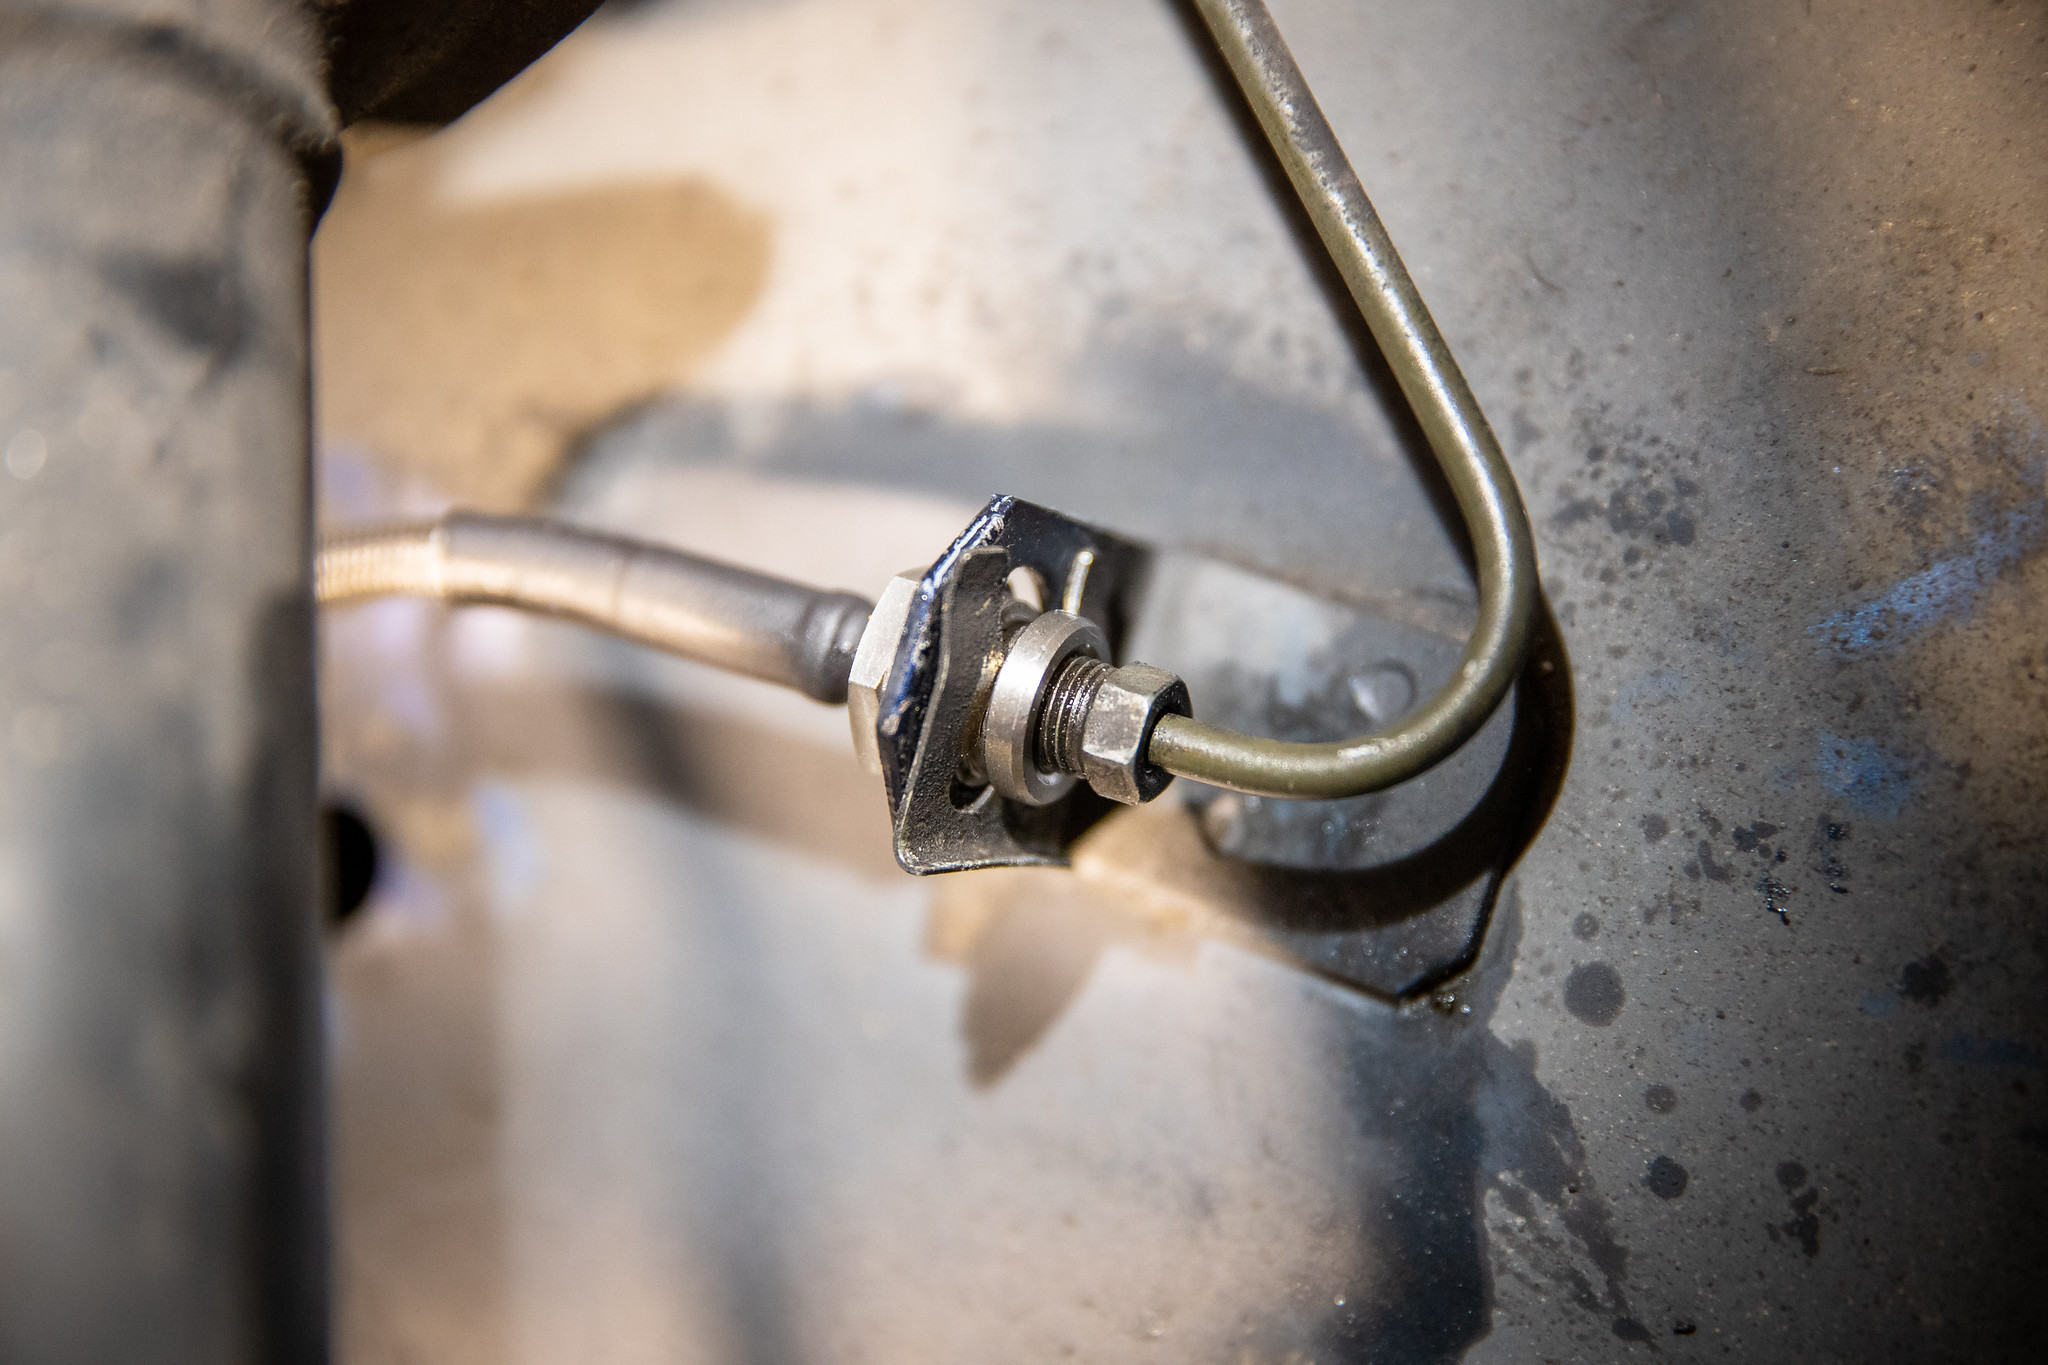
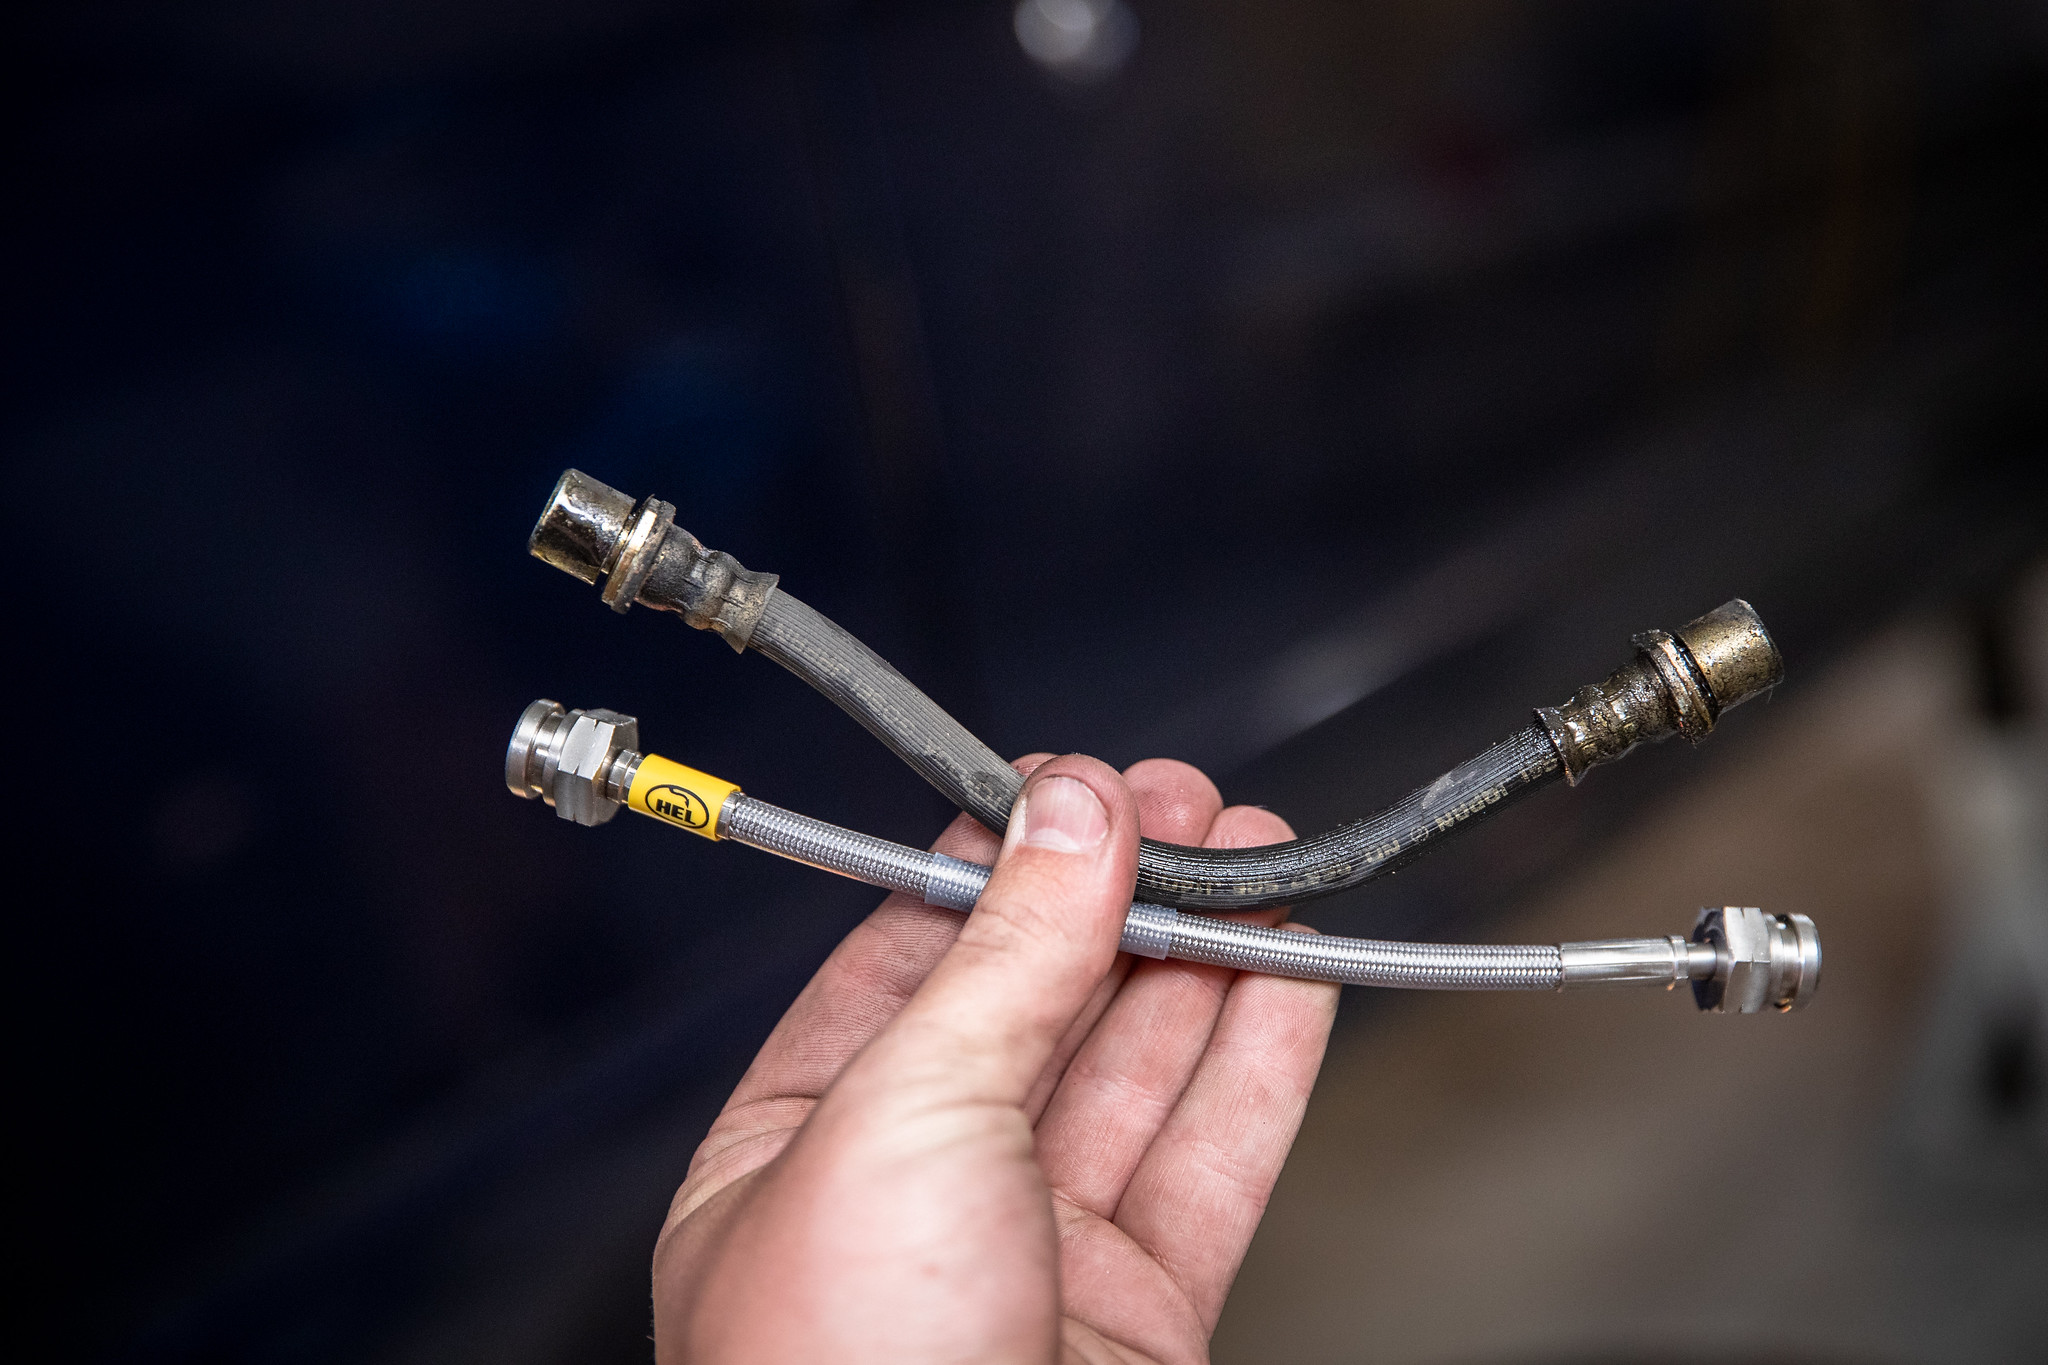
Despite the fact I’m leaving the rear drums alone, for now, I still wanted to do the rear lines.
Nice difference.
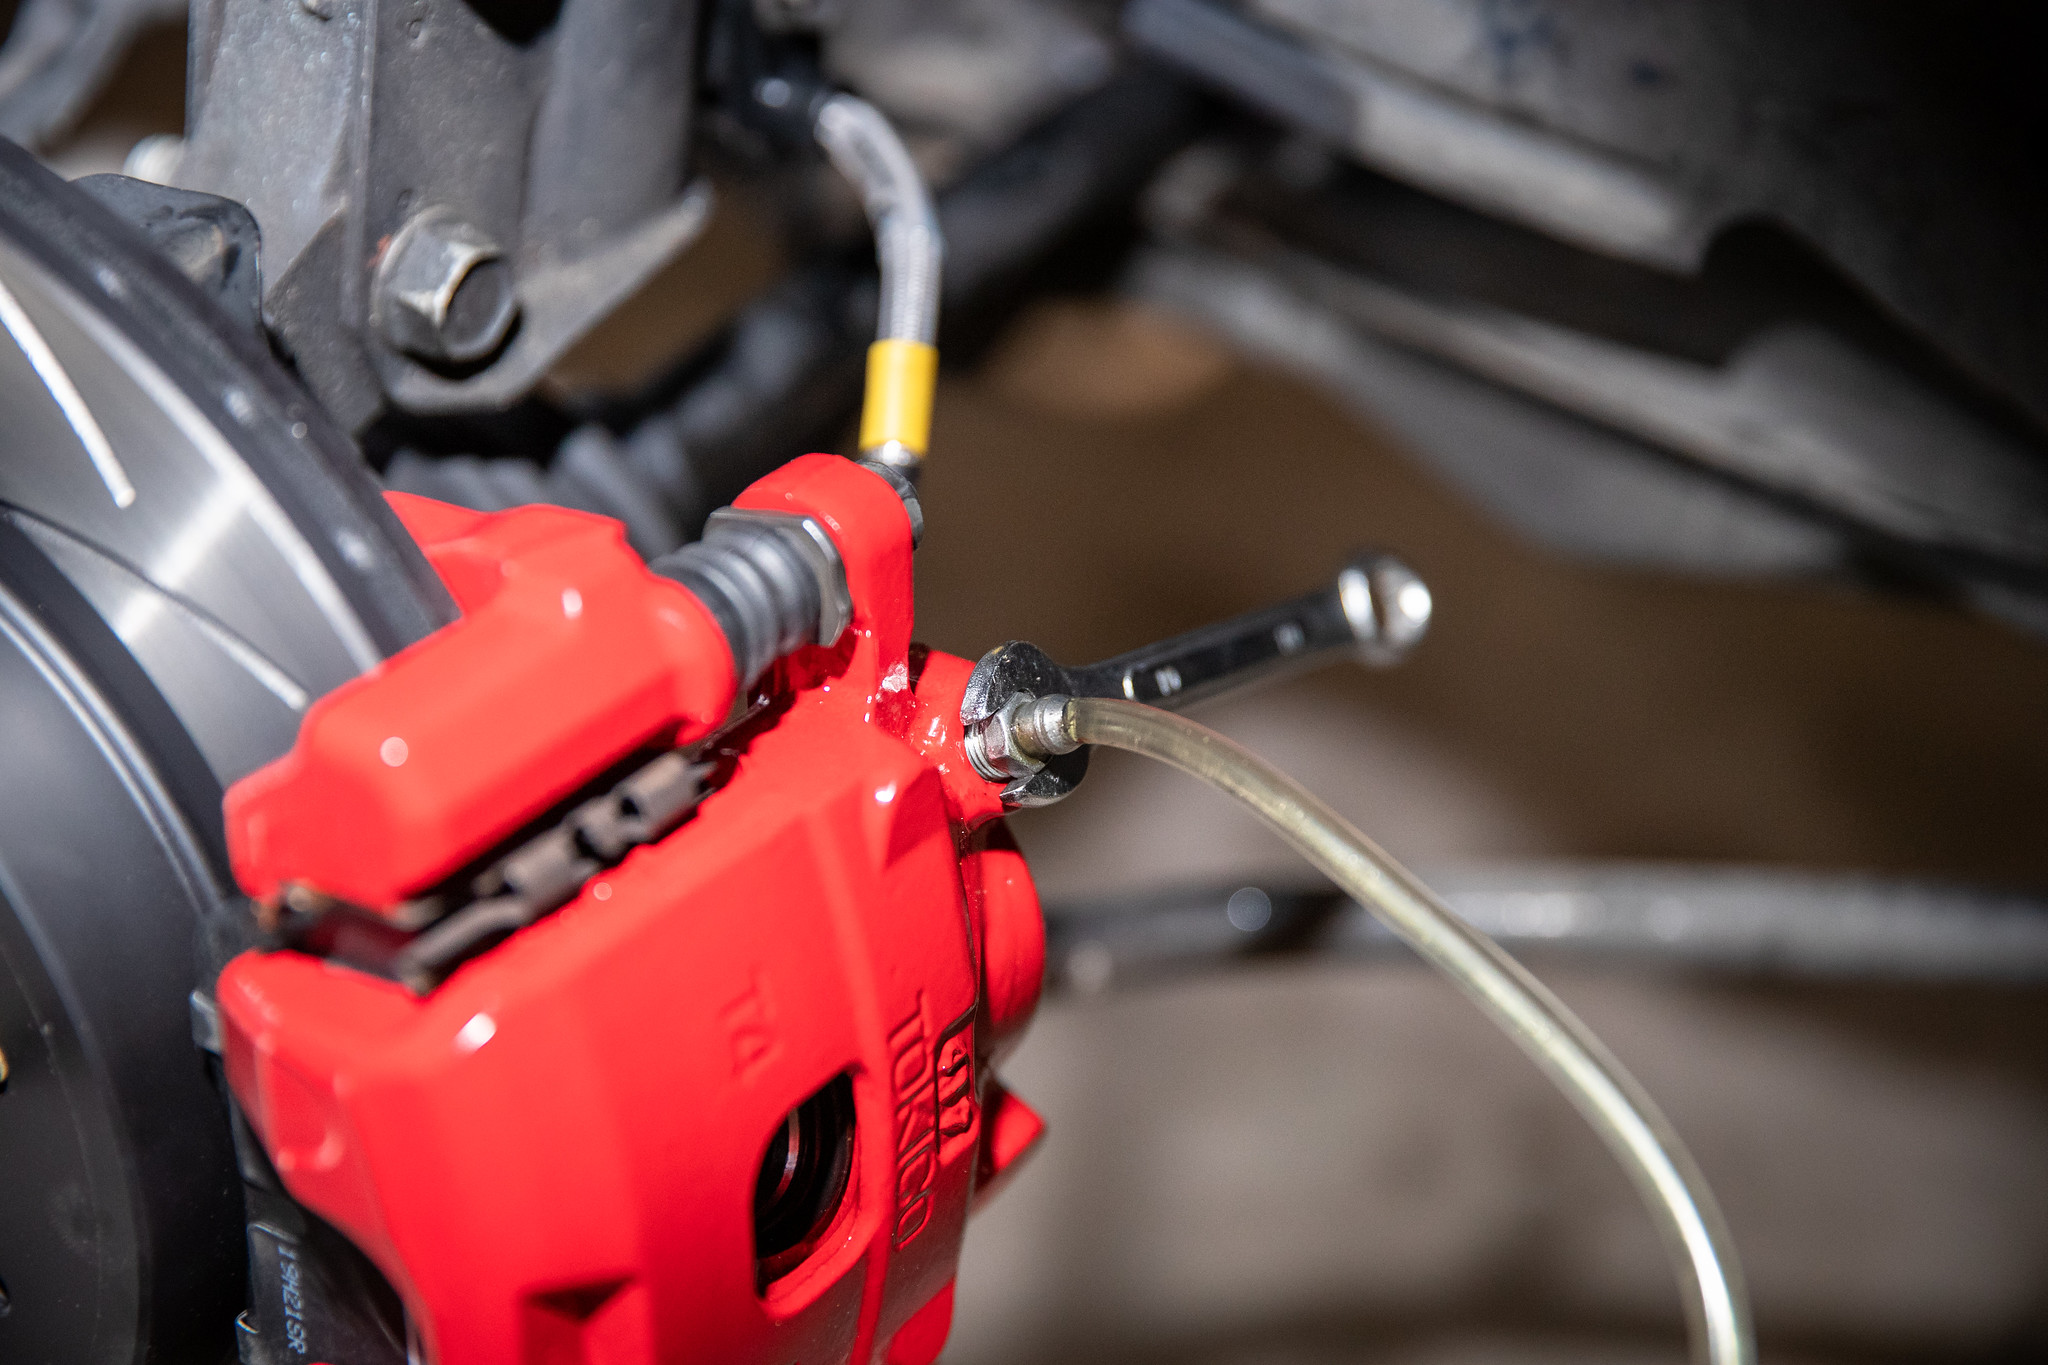
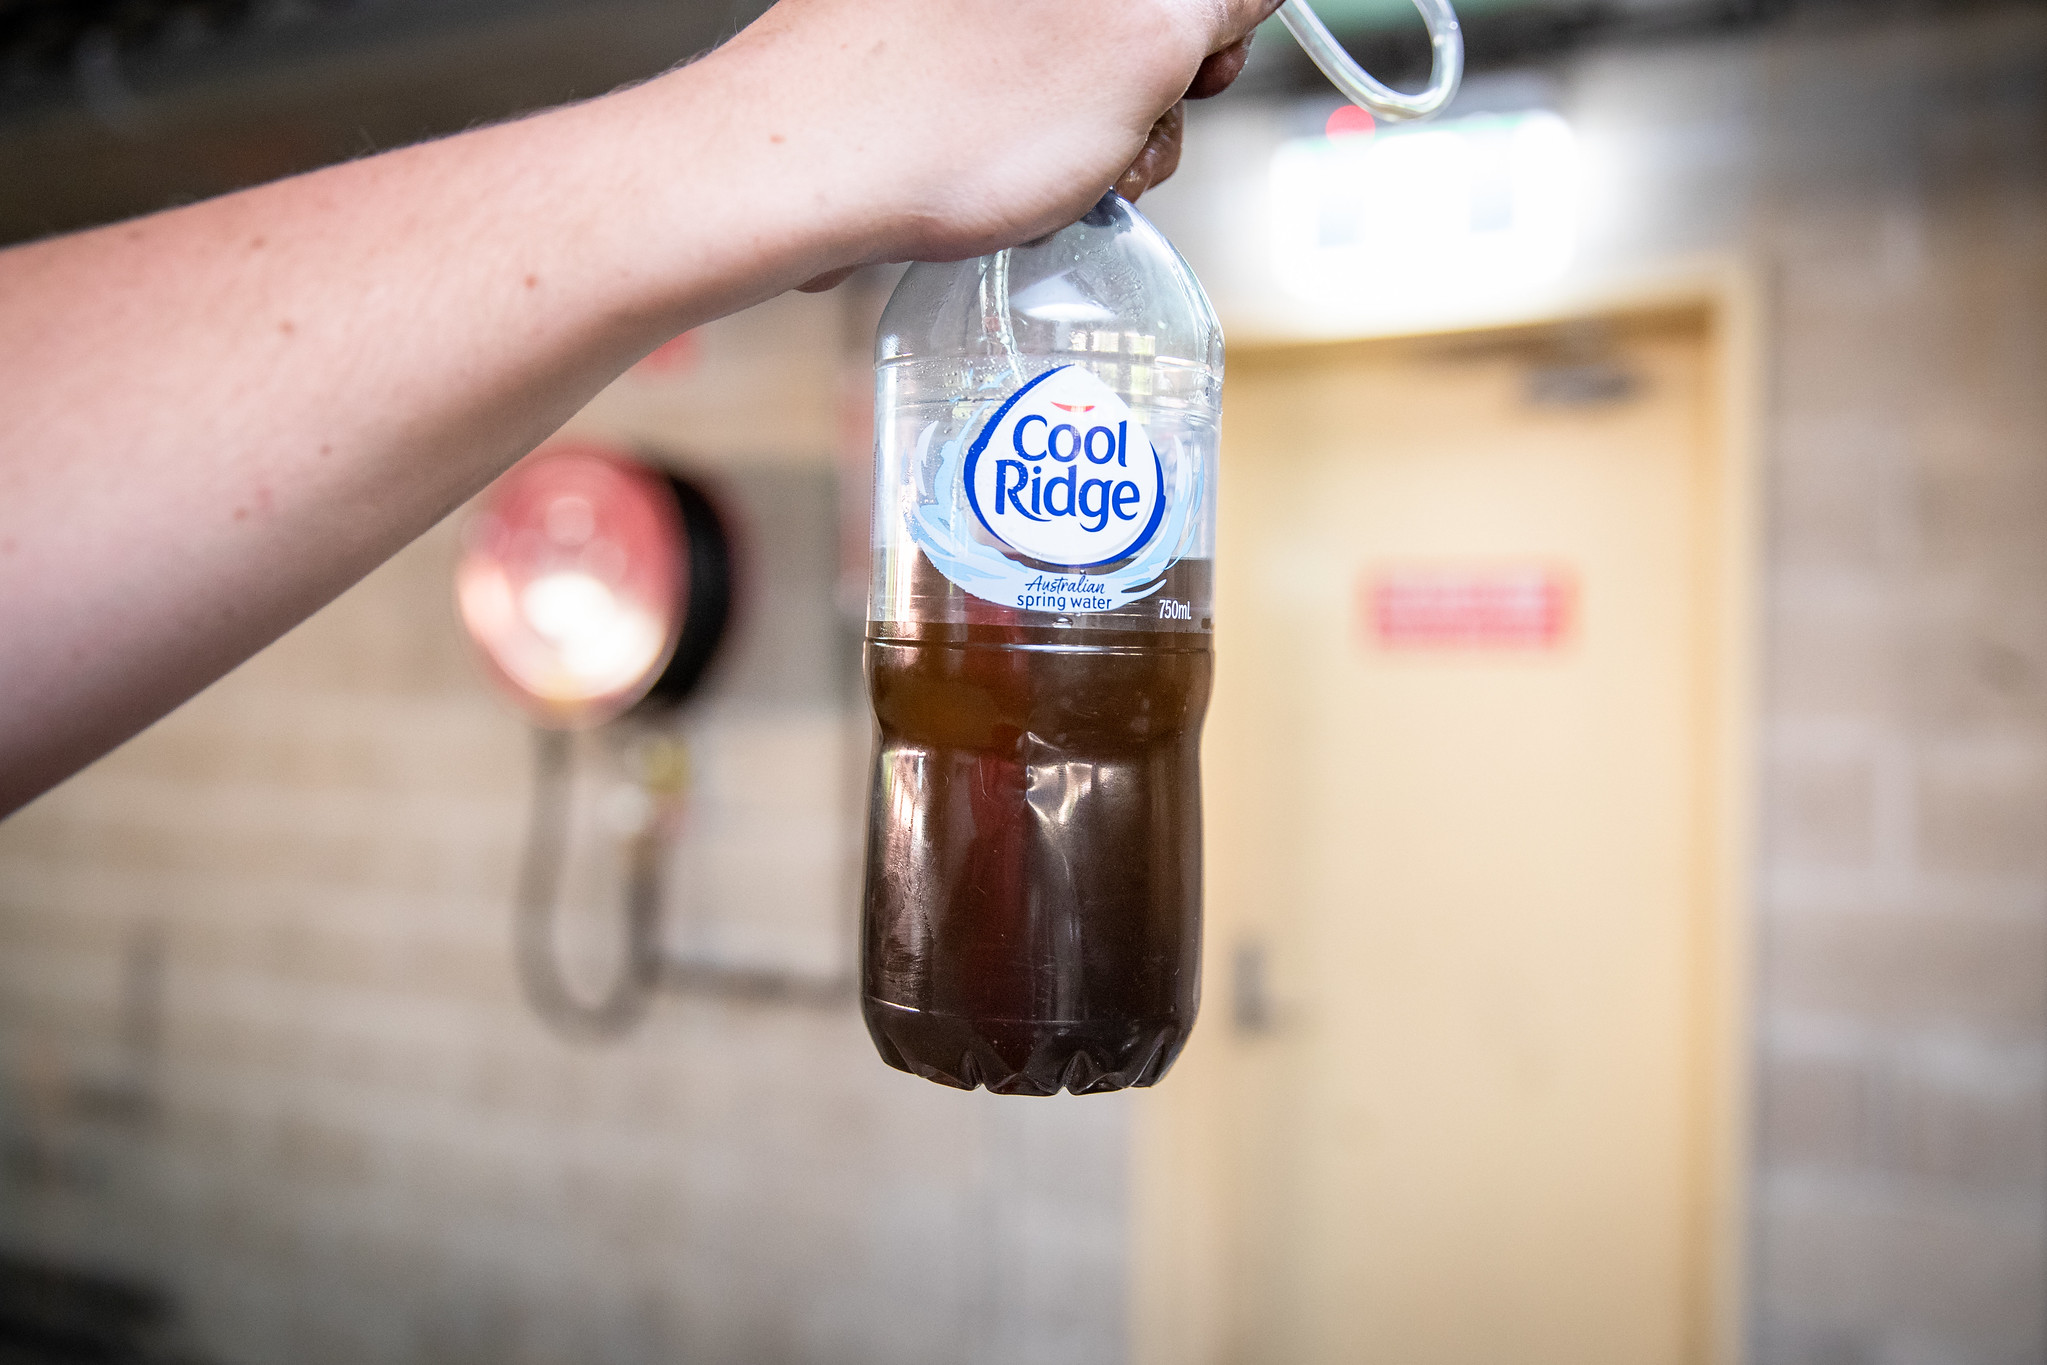
Finally, everything is in. Before it can be dropped though we gotta bleed the system.

Far as I know, its never been done, and boy oh boy was it yuck.
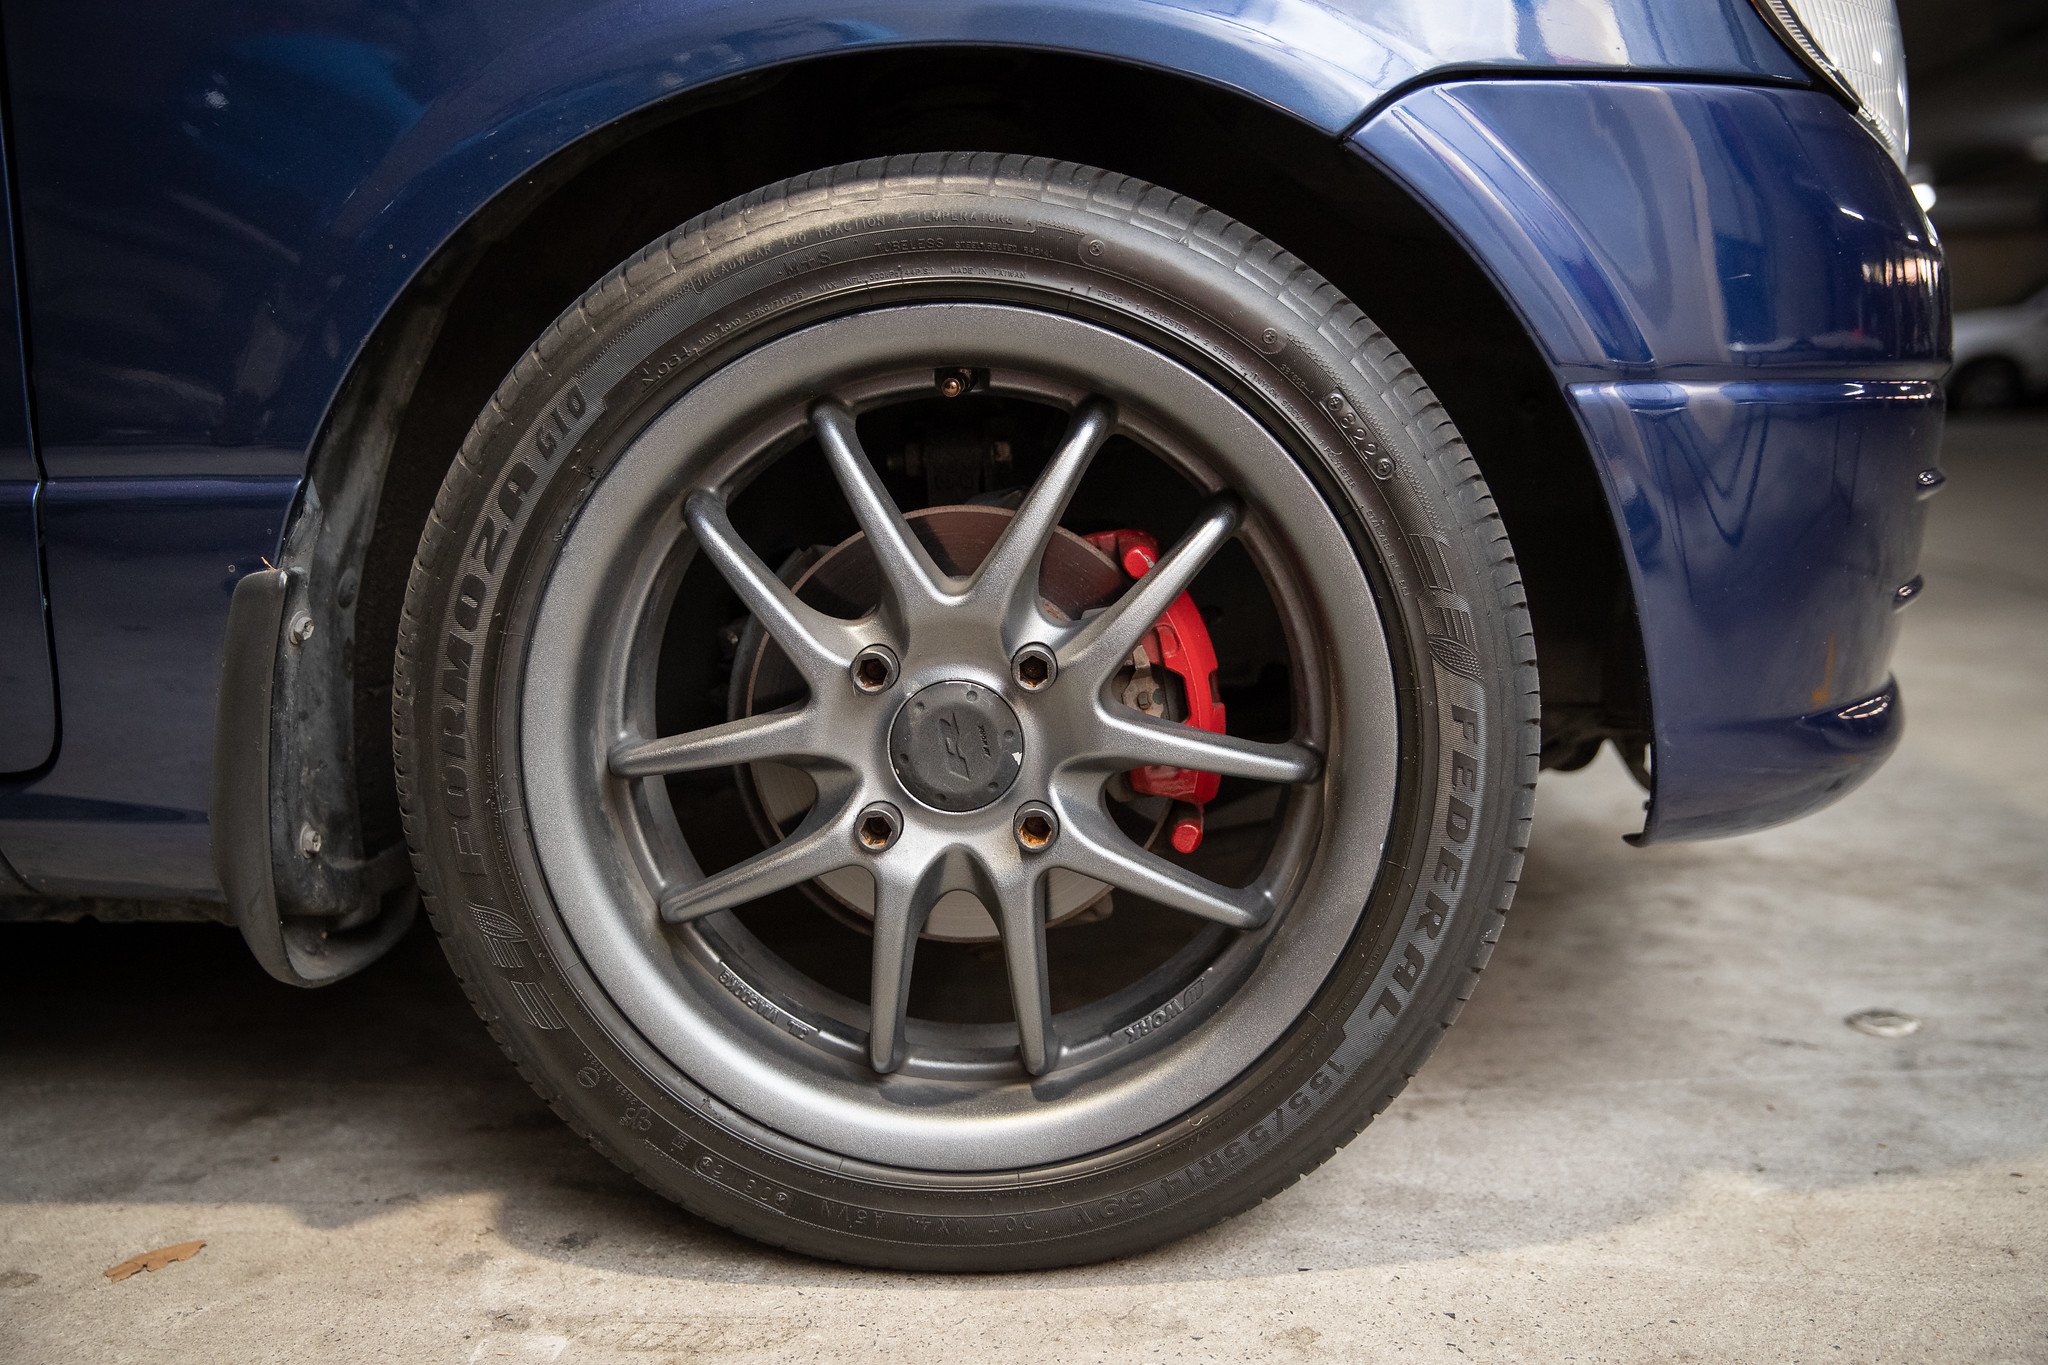
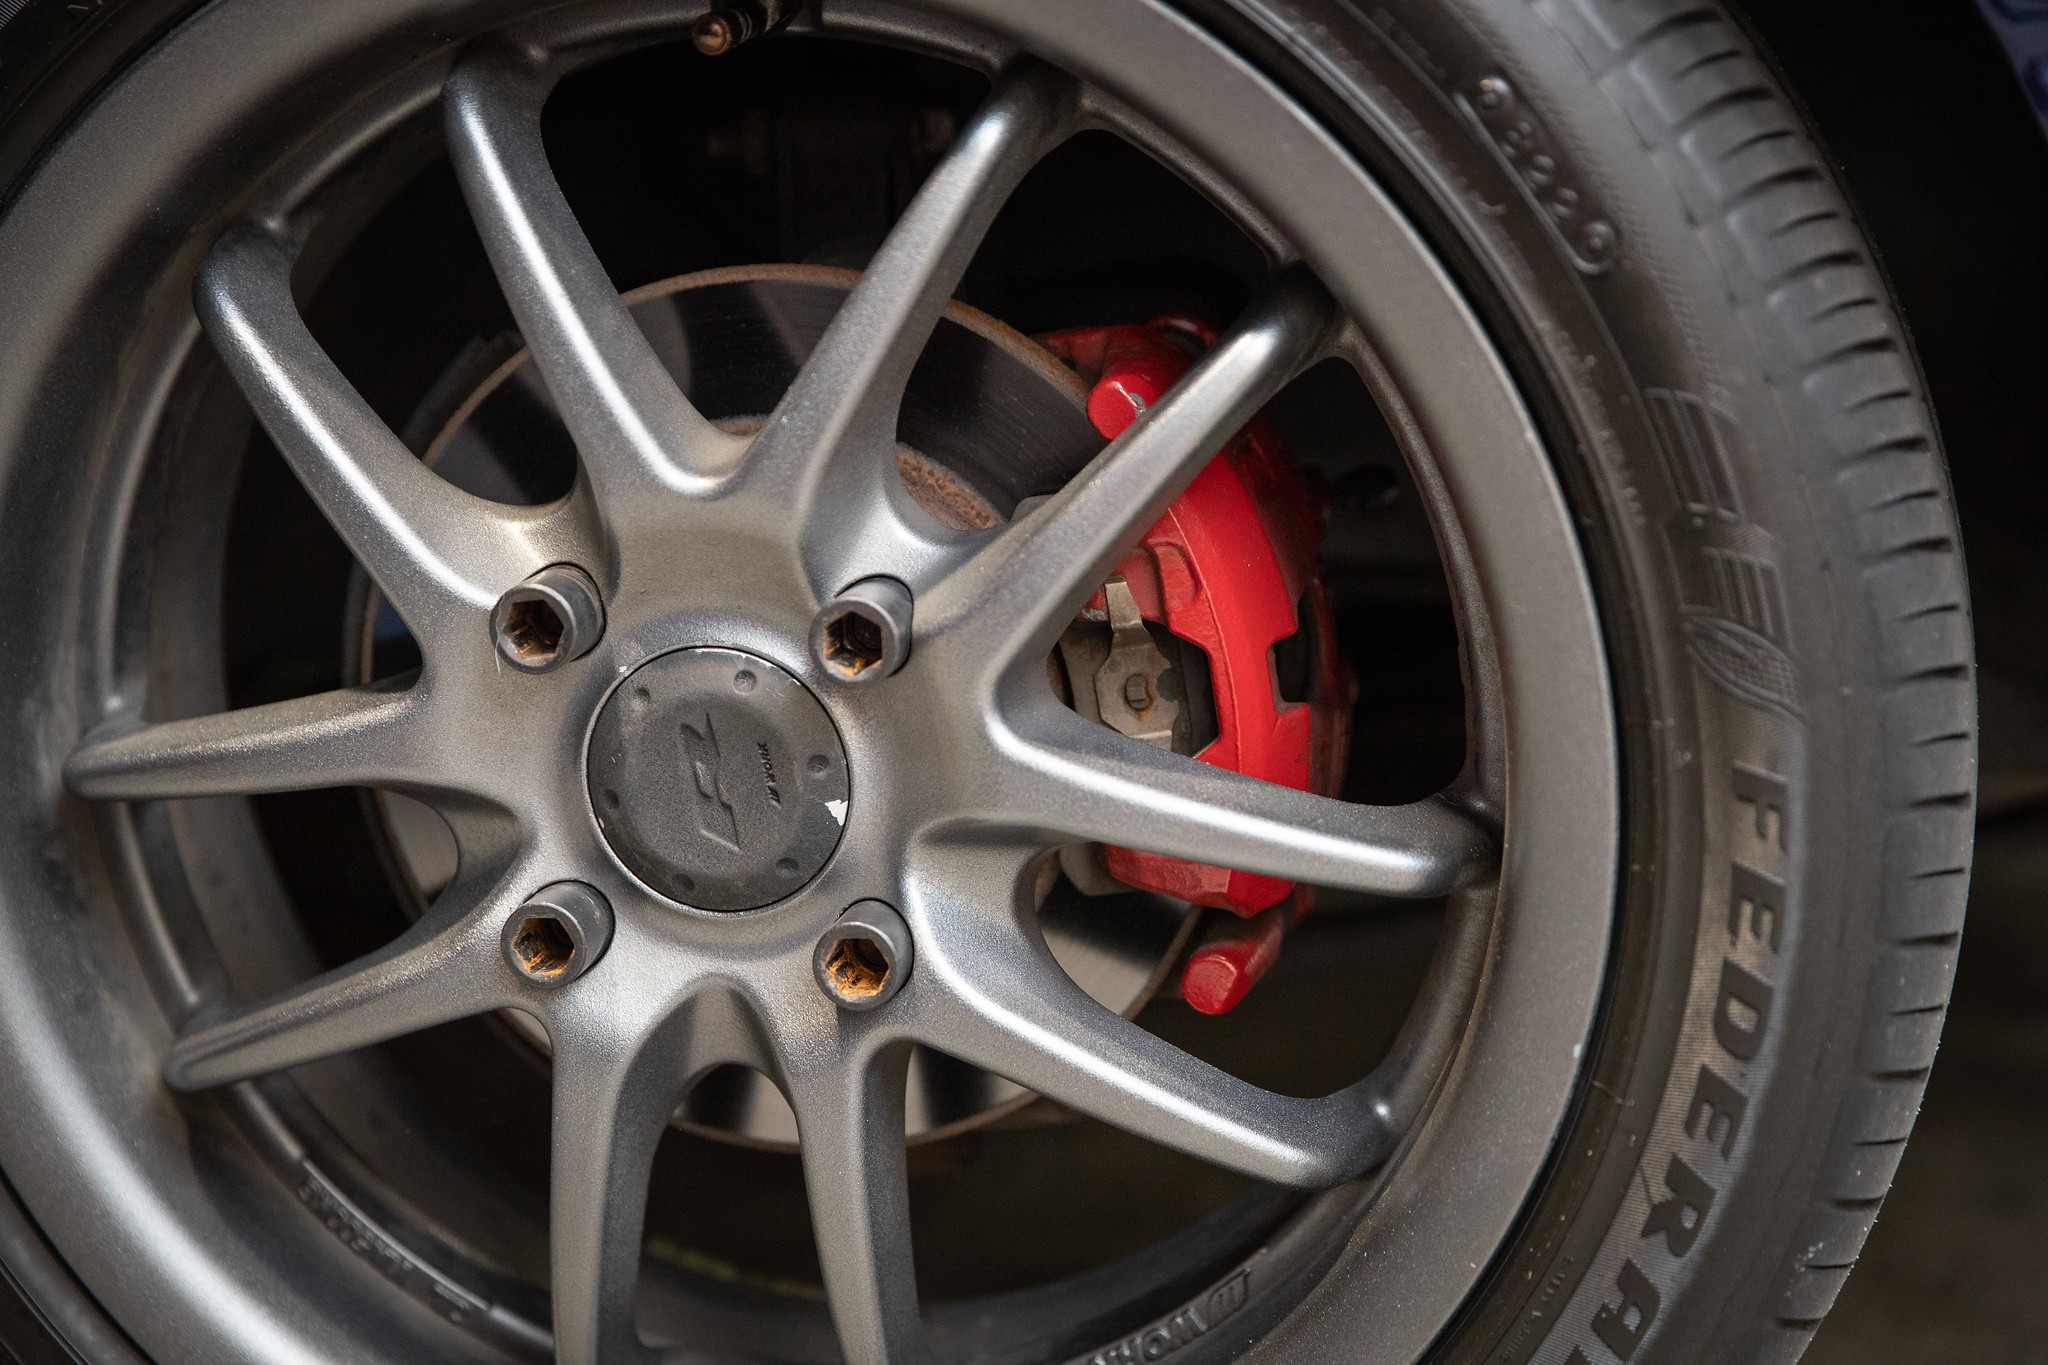
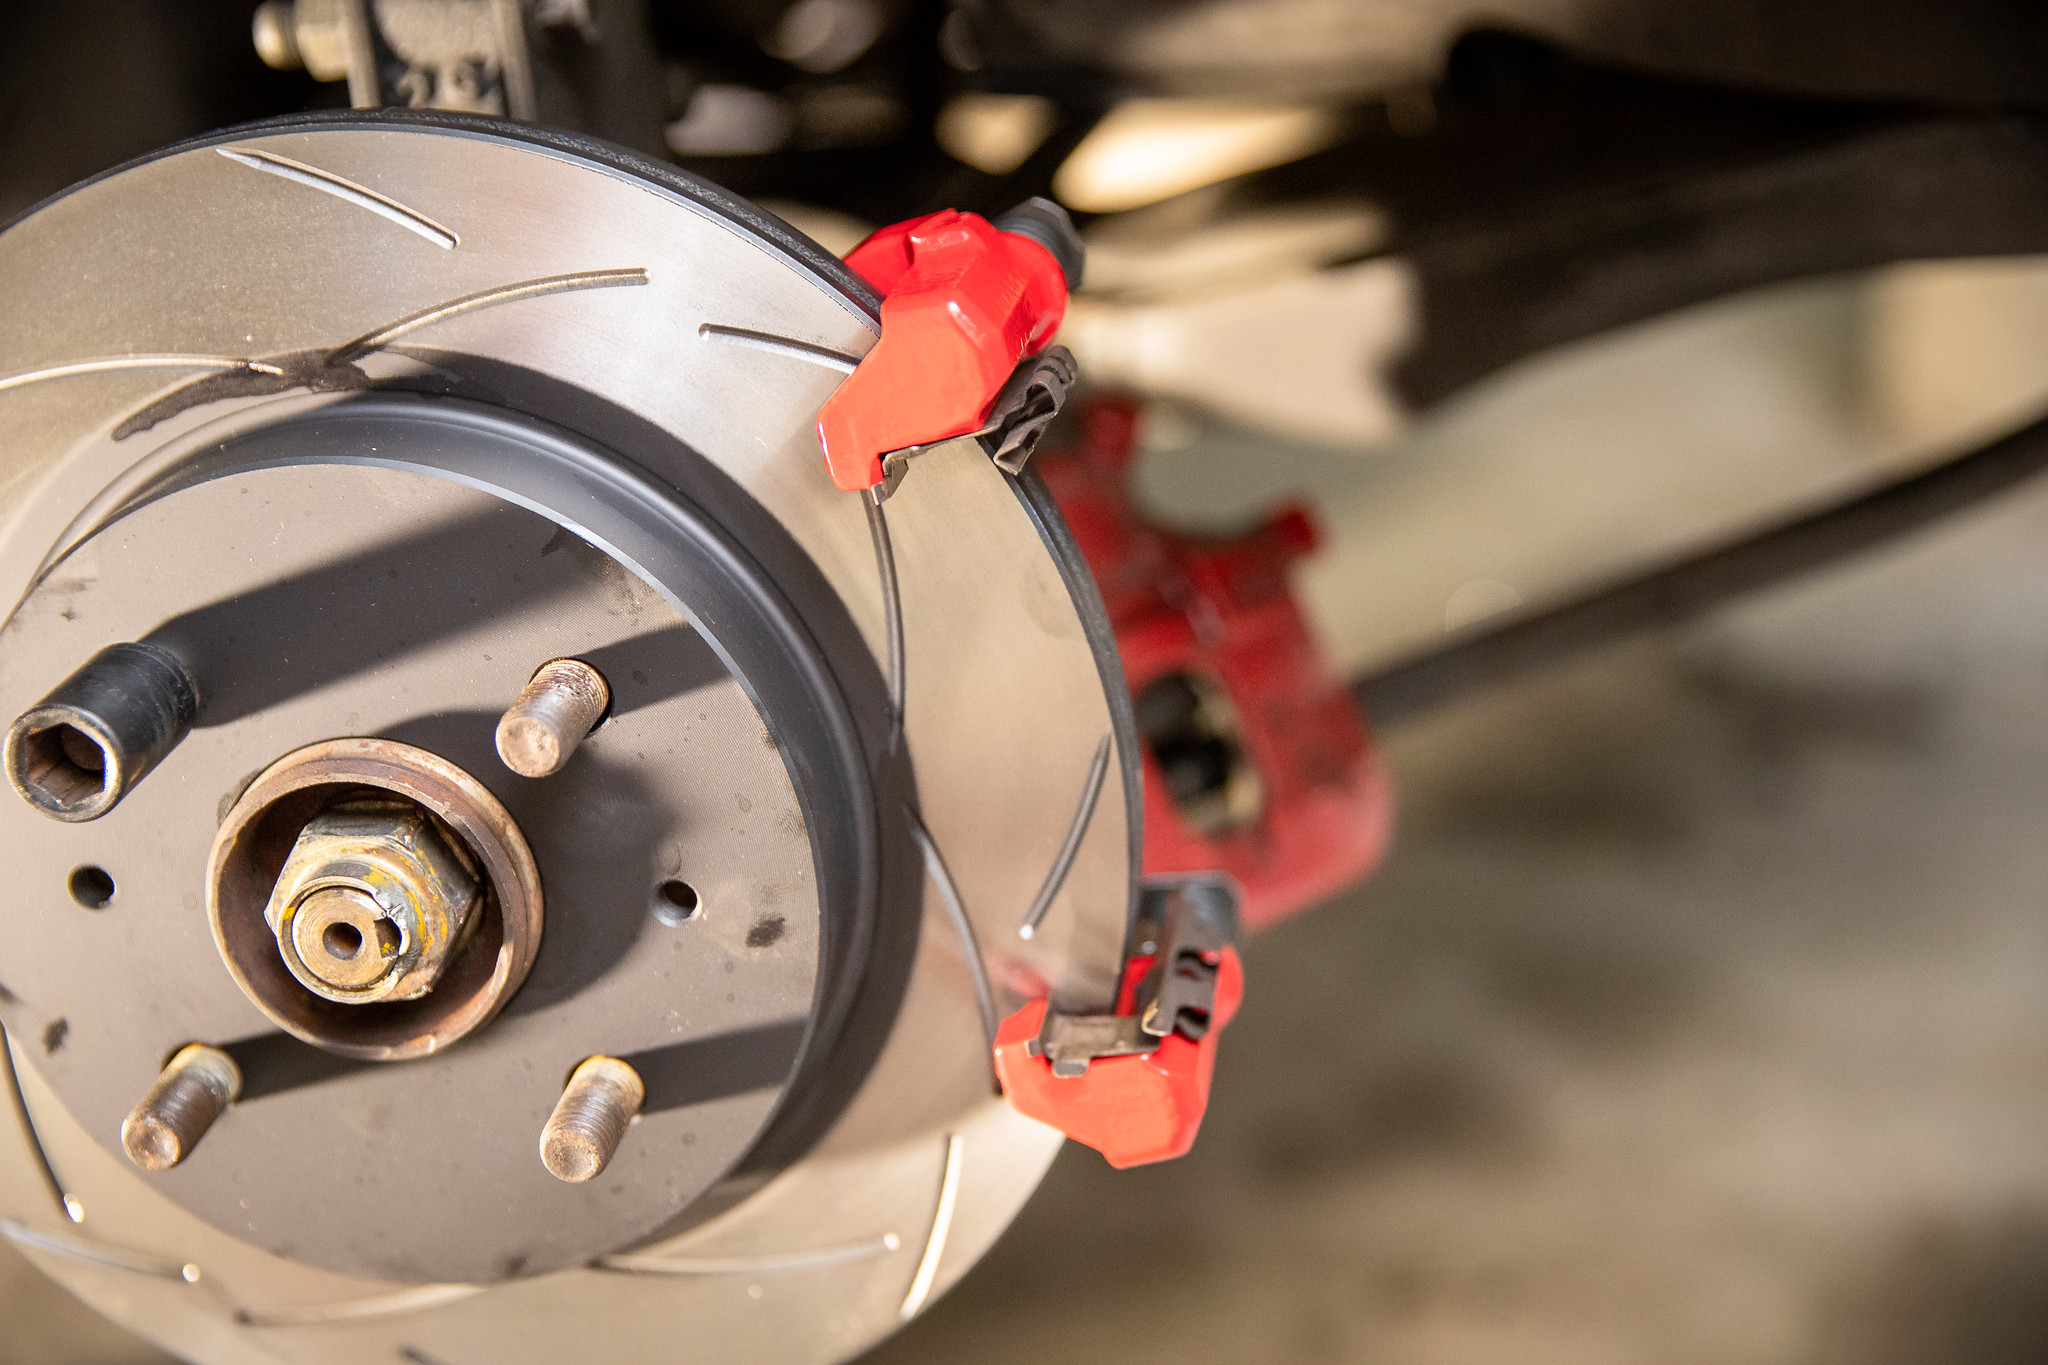
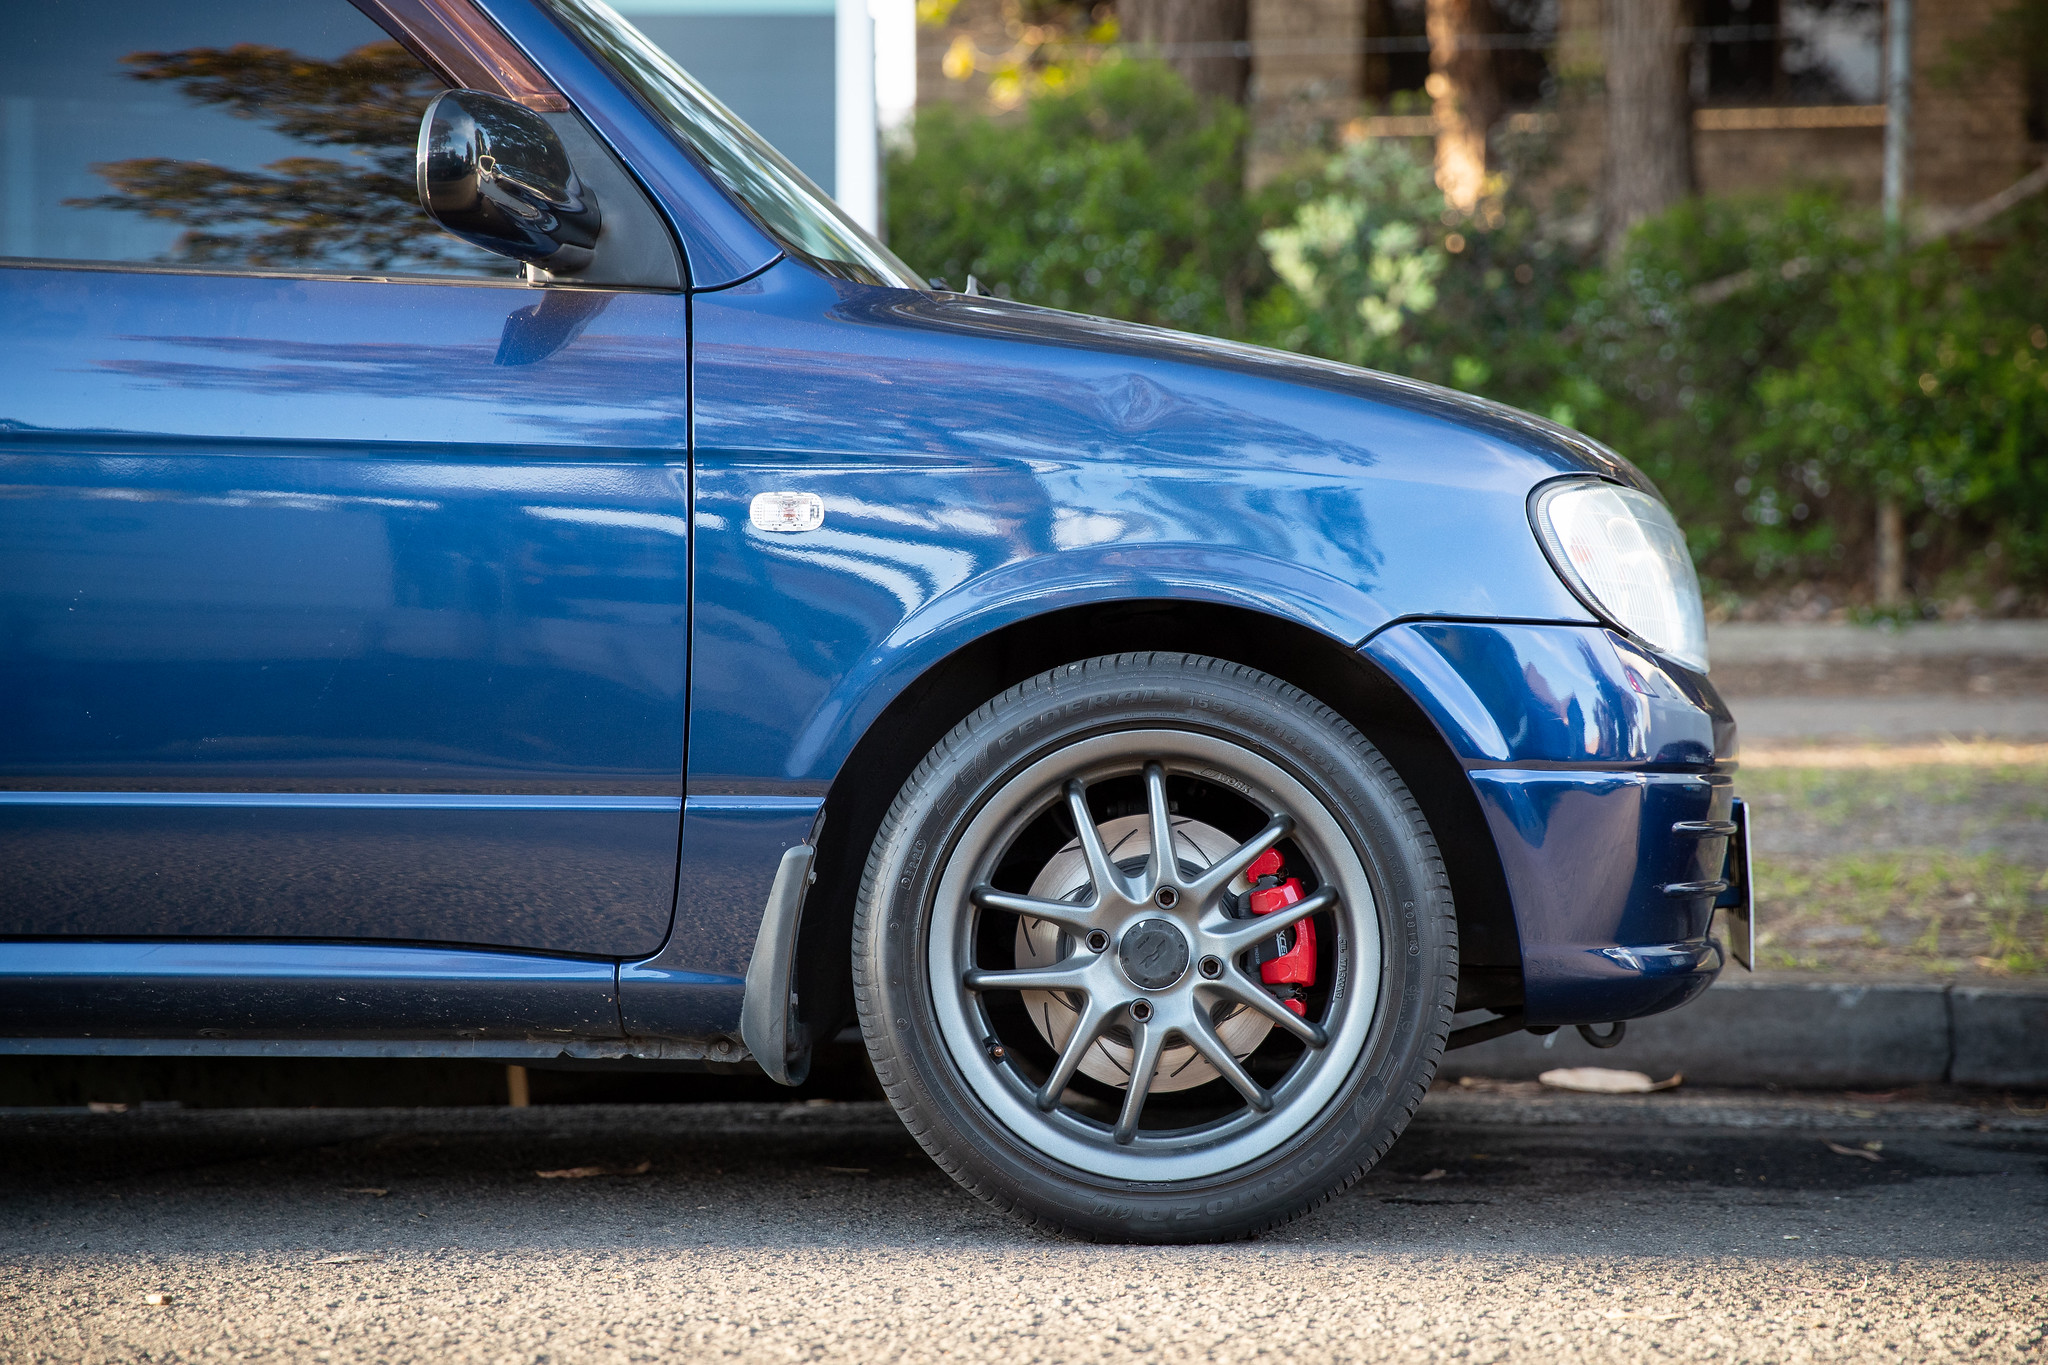
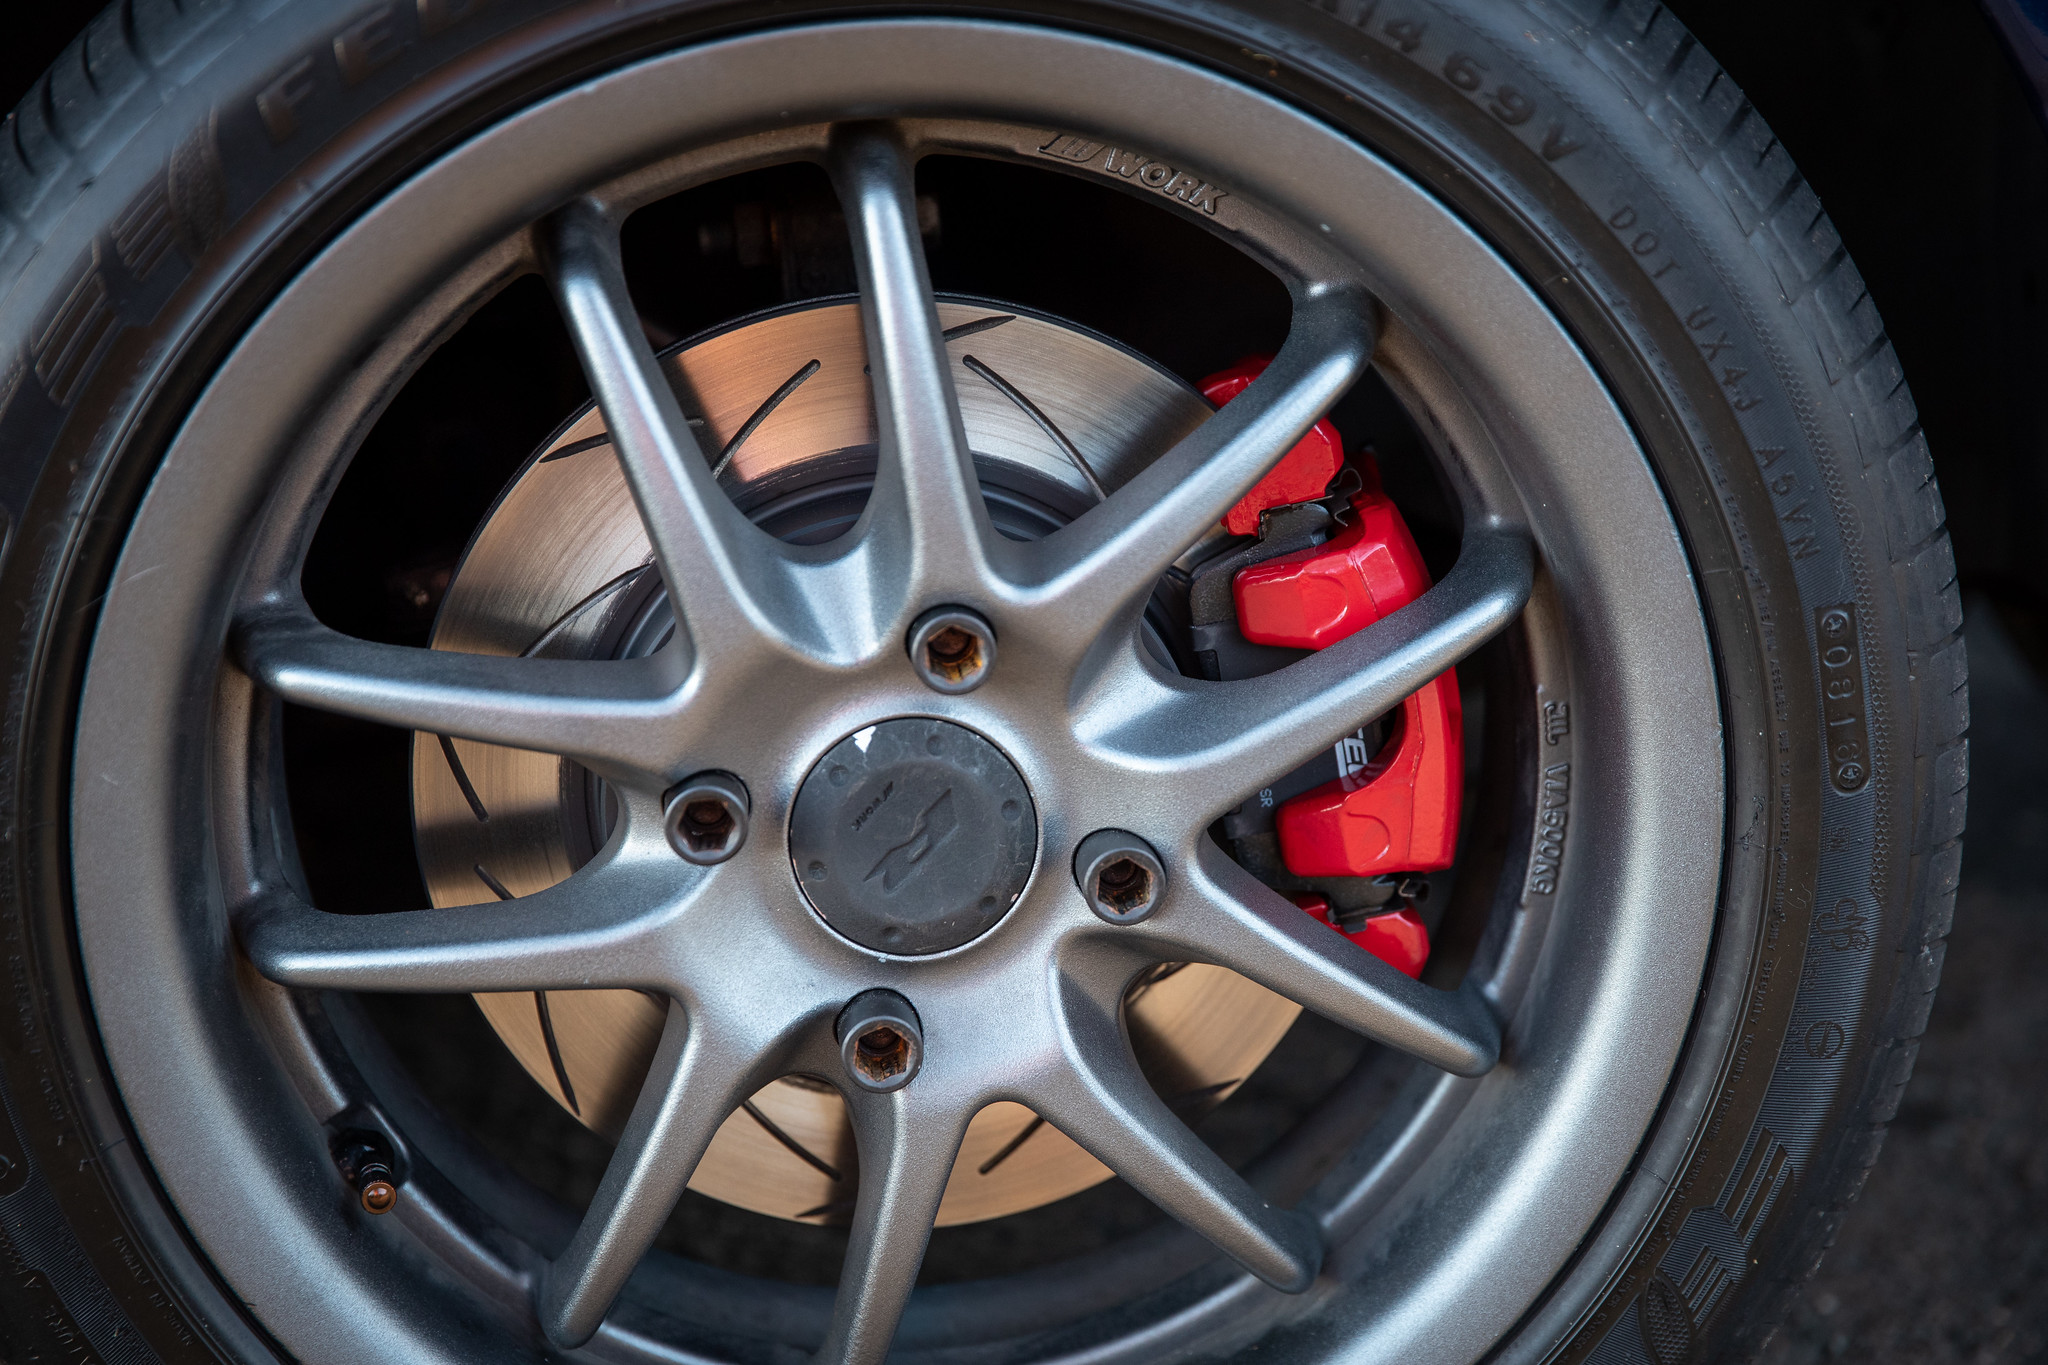
Wheels could then go back on, got lucky with clearance that’s for sure!
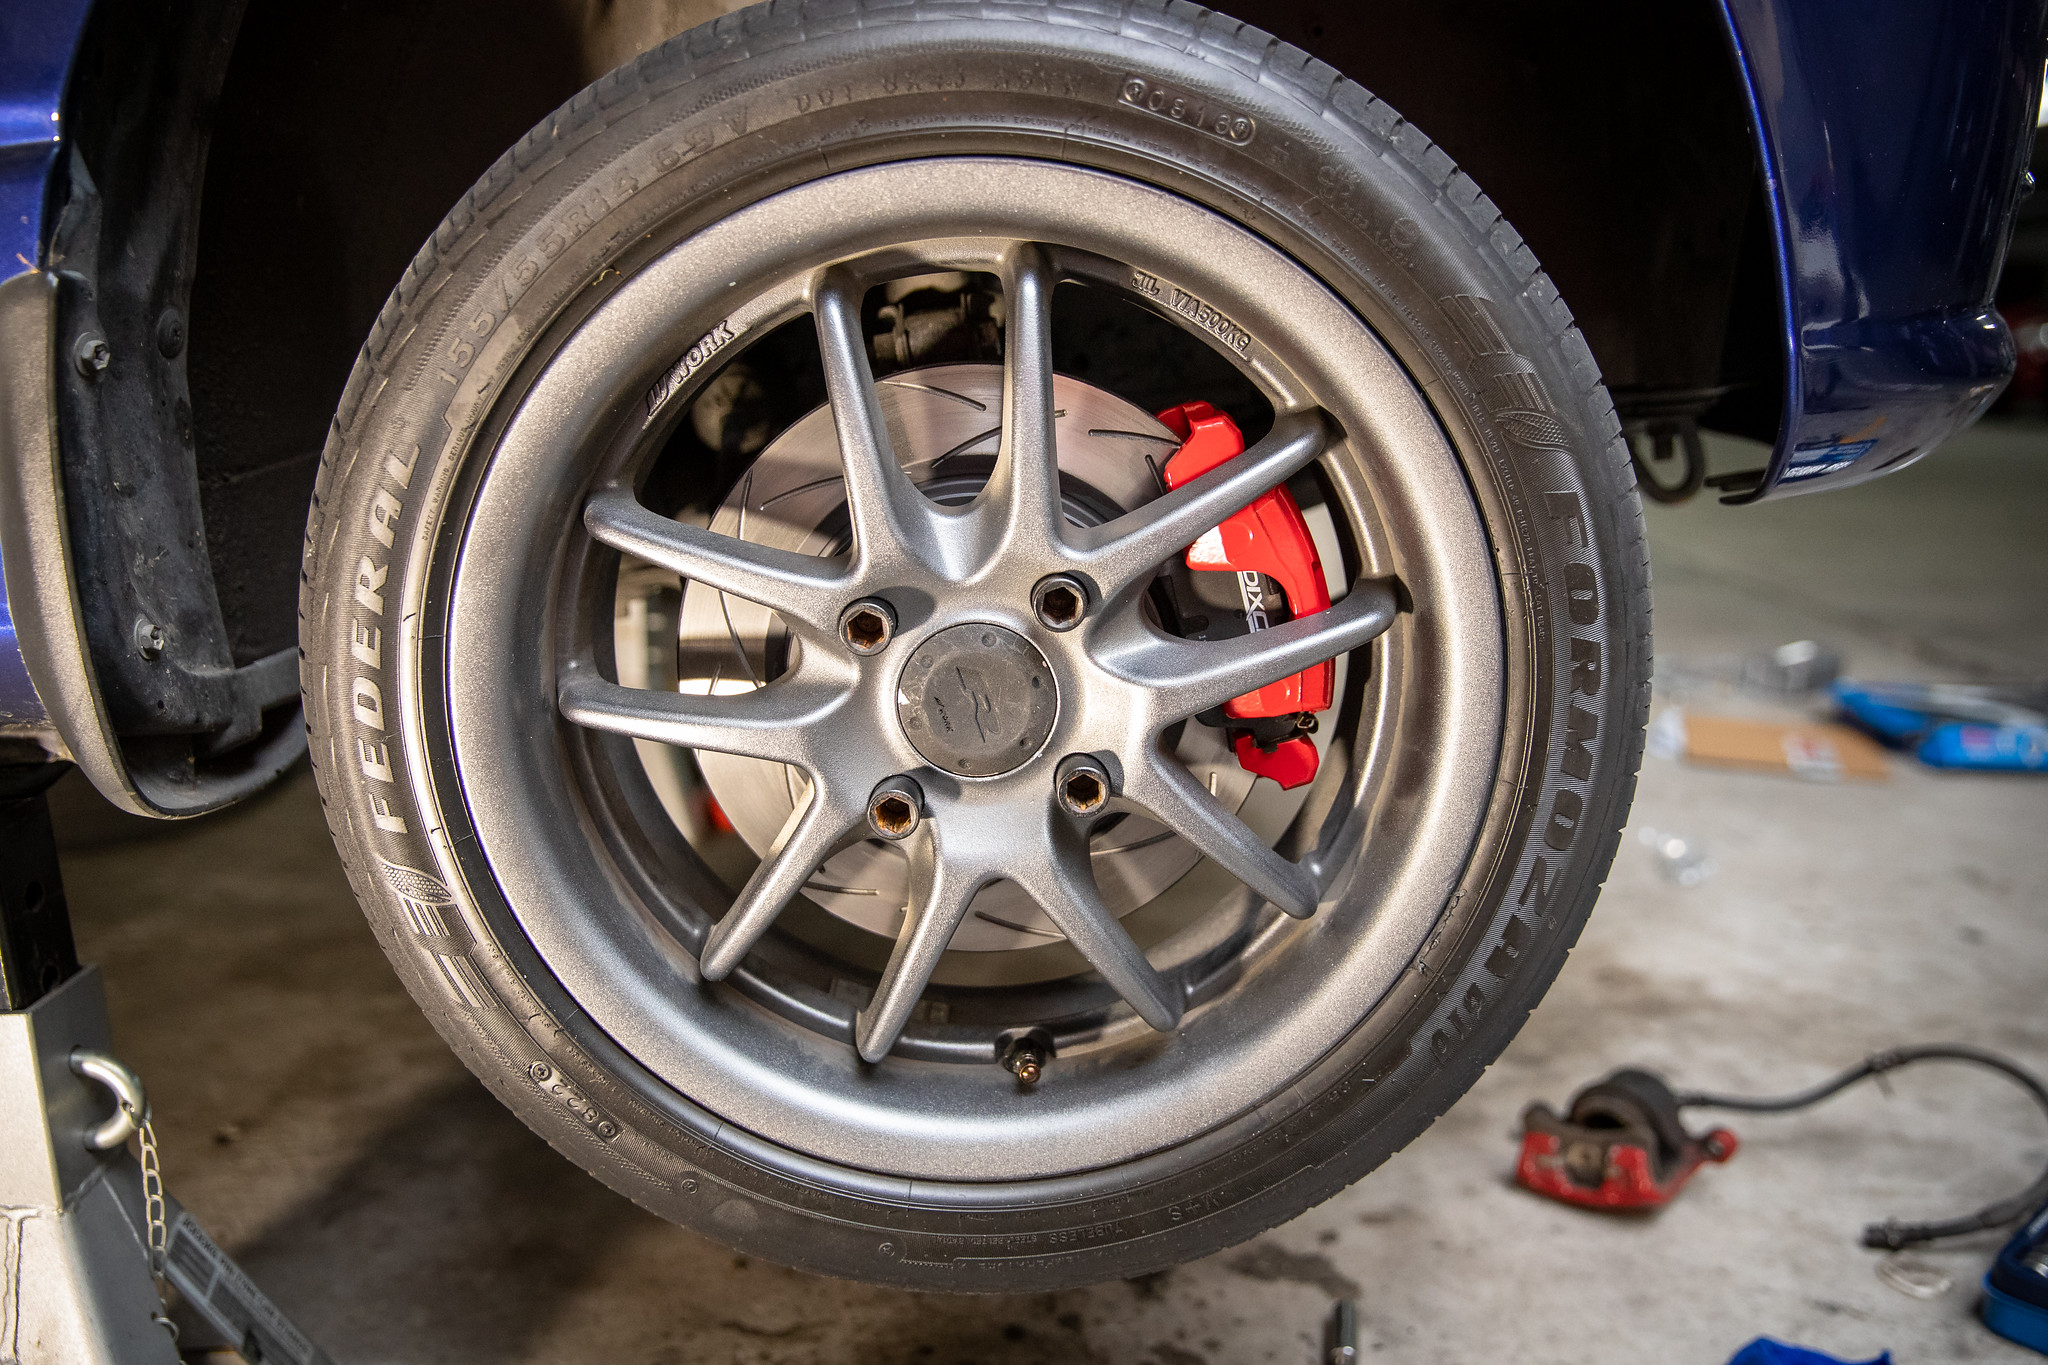
Got a few outside too, so happy.
10 Likes
Love your photos mate!!
About time for that k3 right? 

Thanks for that mate, I wouldn’t be able to work on the car without my camera these days haha.
Look I’ve thought about it many times but I love that the car is a triple, so while more expensive I’ll be staying EJ and going turbo hopefully sometime in the new year.
4 Likes
I had that mindset too, and then I drove a K3VE powered L700. An EJDE of the same power level has a terrible power curve.
Ask some that have done the swap on whether they have regrets.
4 Likes
I loved mine, bang for buck its the best reliable power upgrade you can get!
4 Likes
After owning a M100 Sirion and a M101 Sirion GTVi, for city driving I would take the EJ-DE, the k3ve2 is only really good in the hills but I would still prefer the EJ
I would rather drive on limit of a smaller engine then hold back on a more powerful engine.
5 Likes
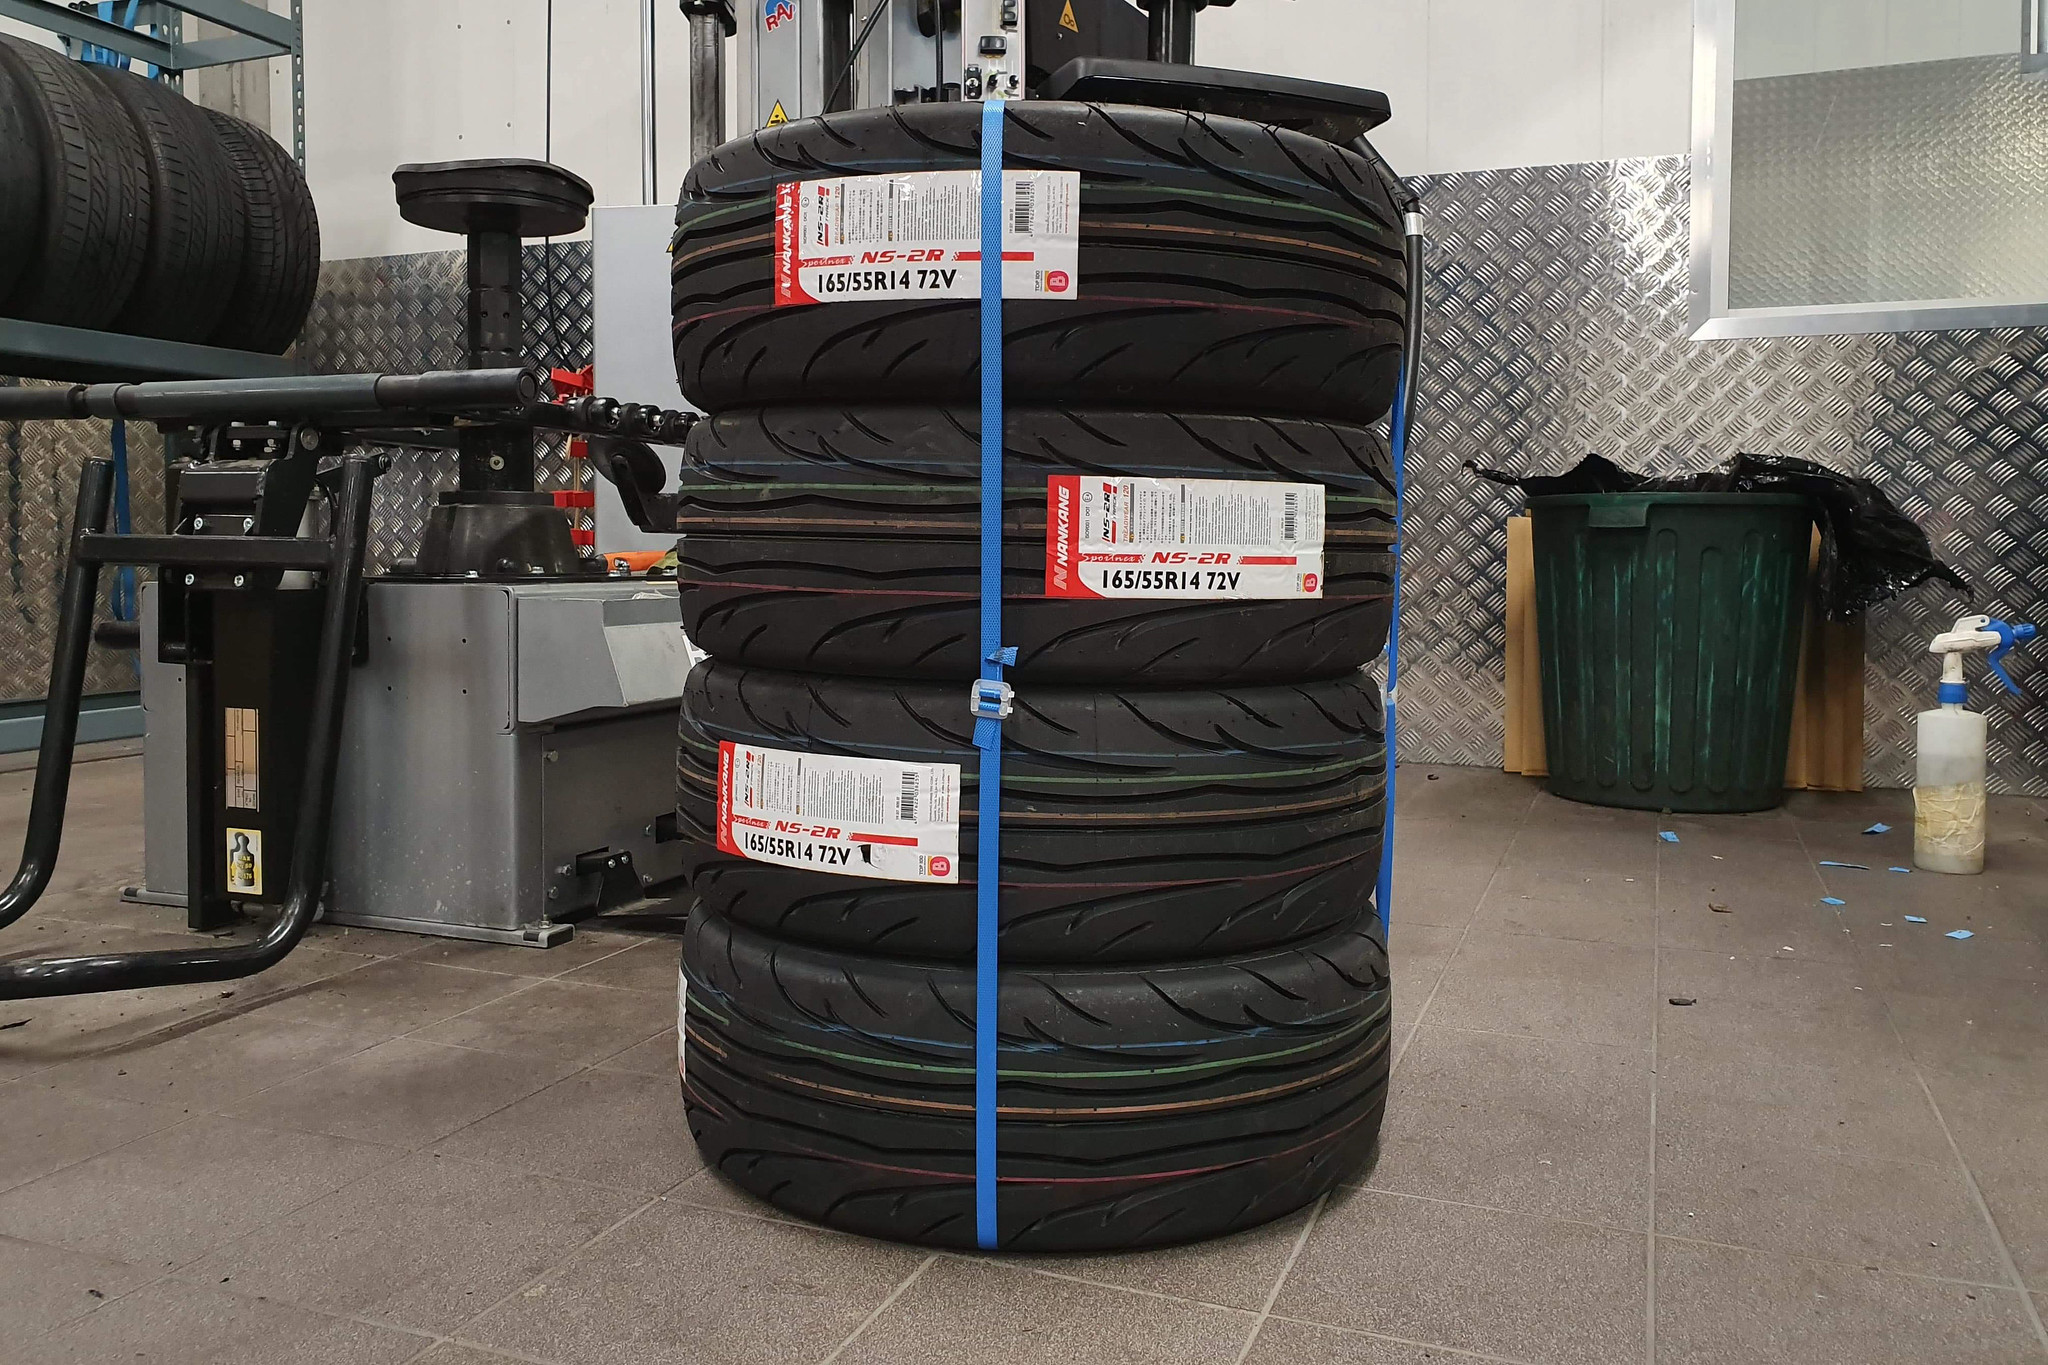
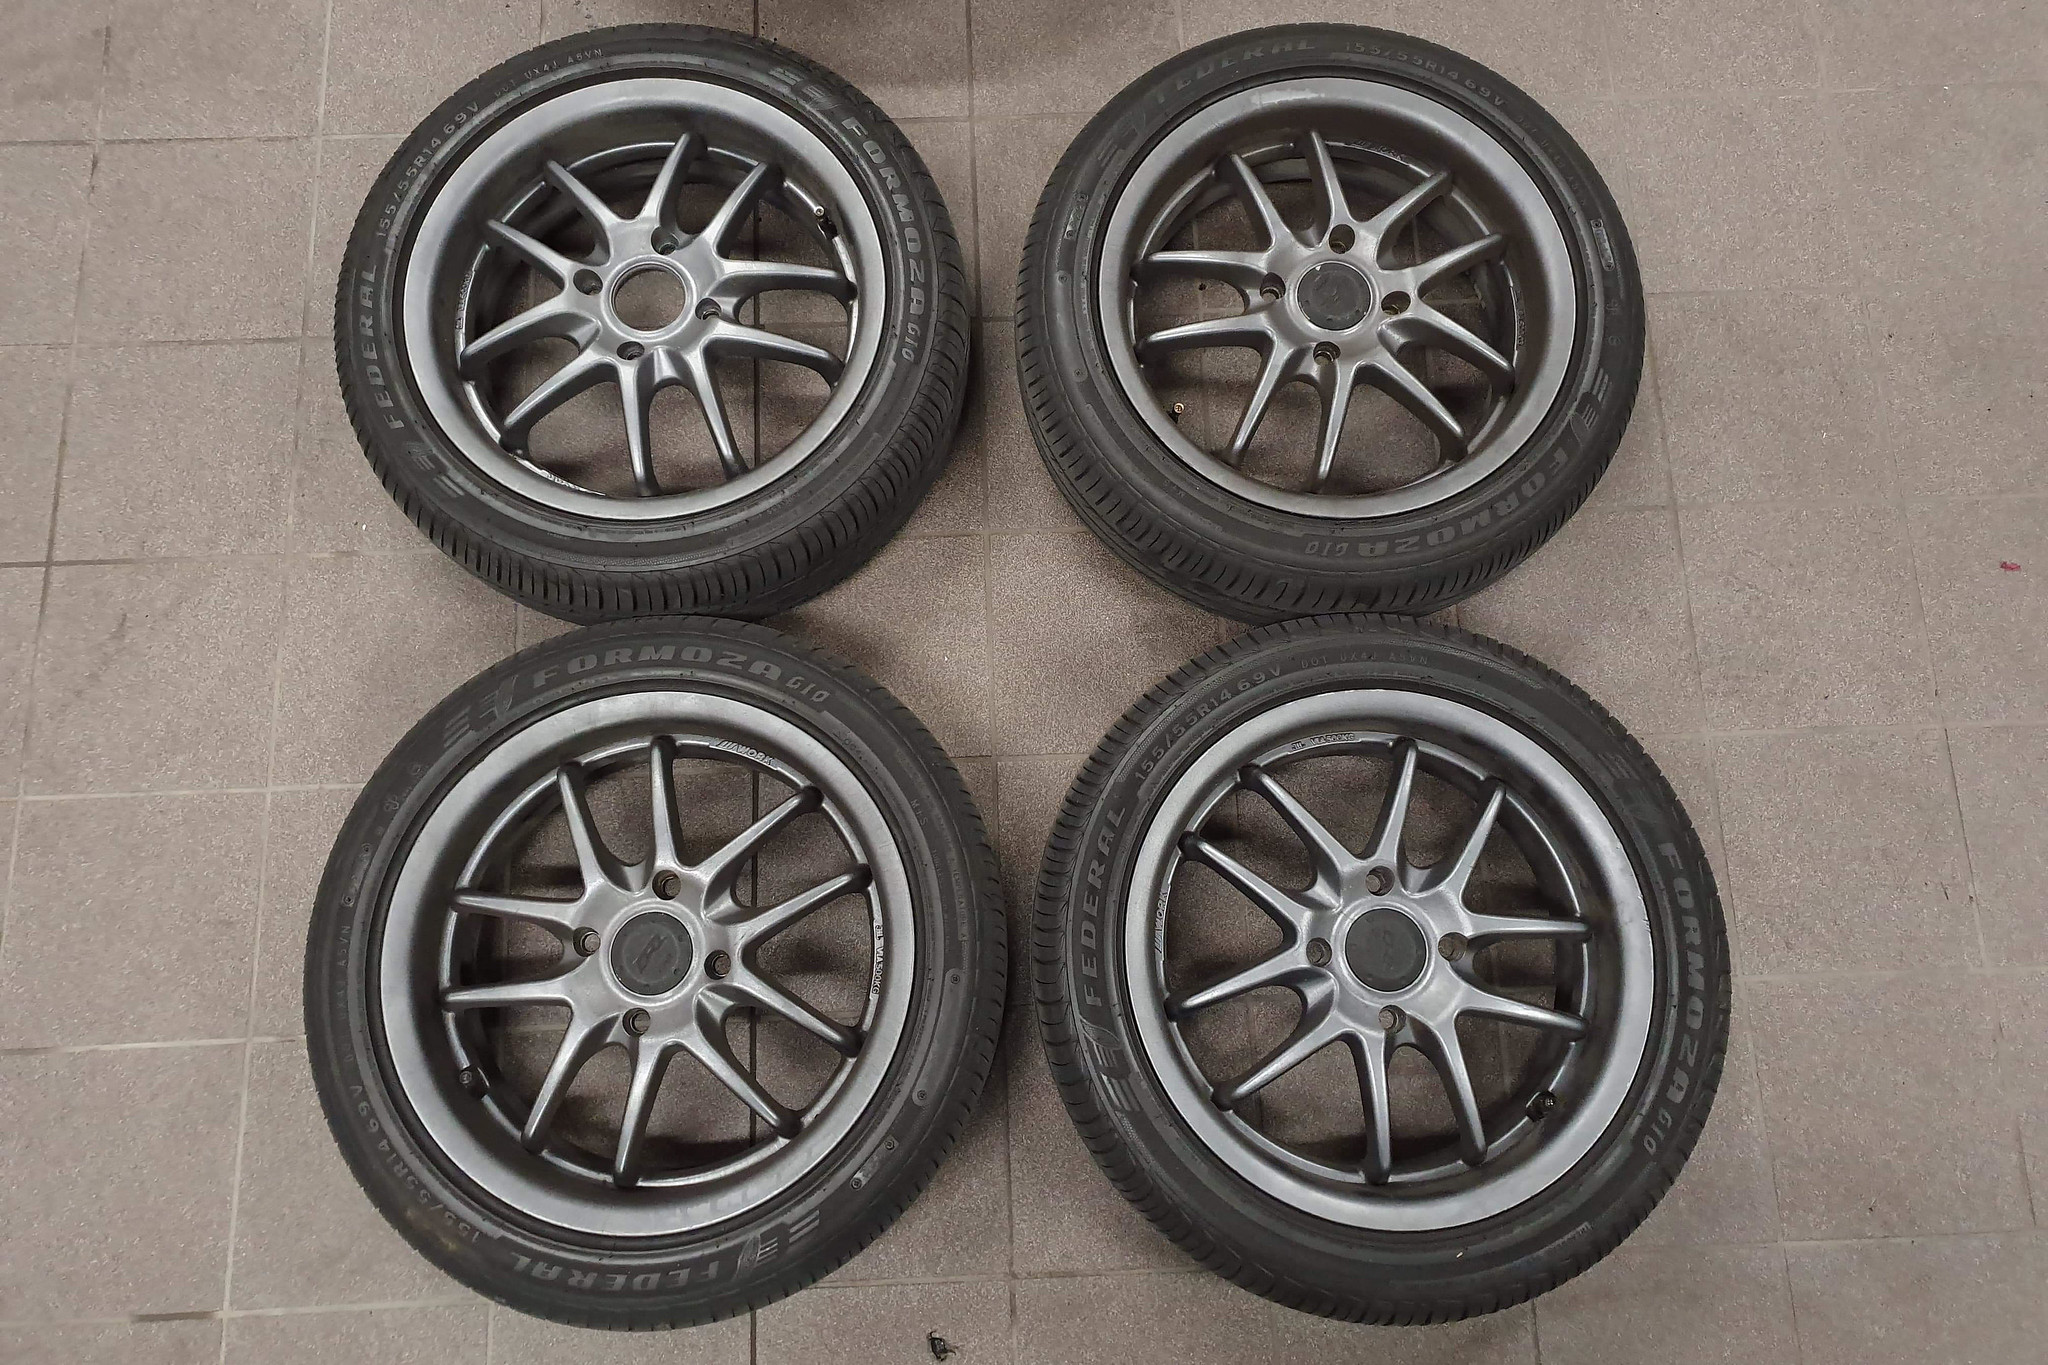
November 2019: With the brakes completely overpowering the tyres, which I knew would happen, it was rubber to be on the list next.
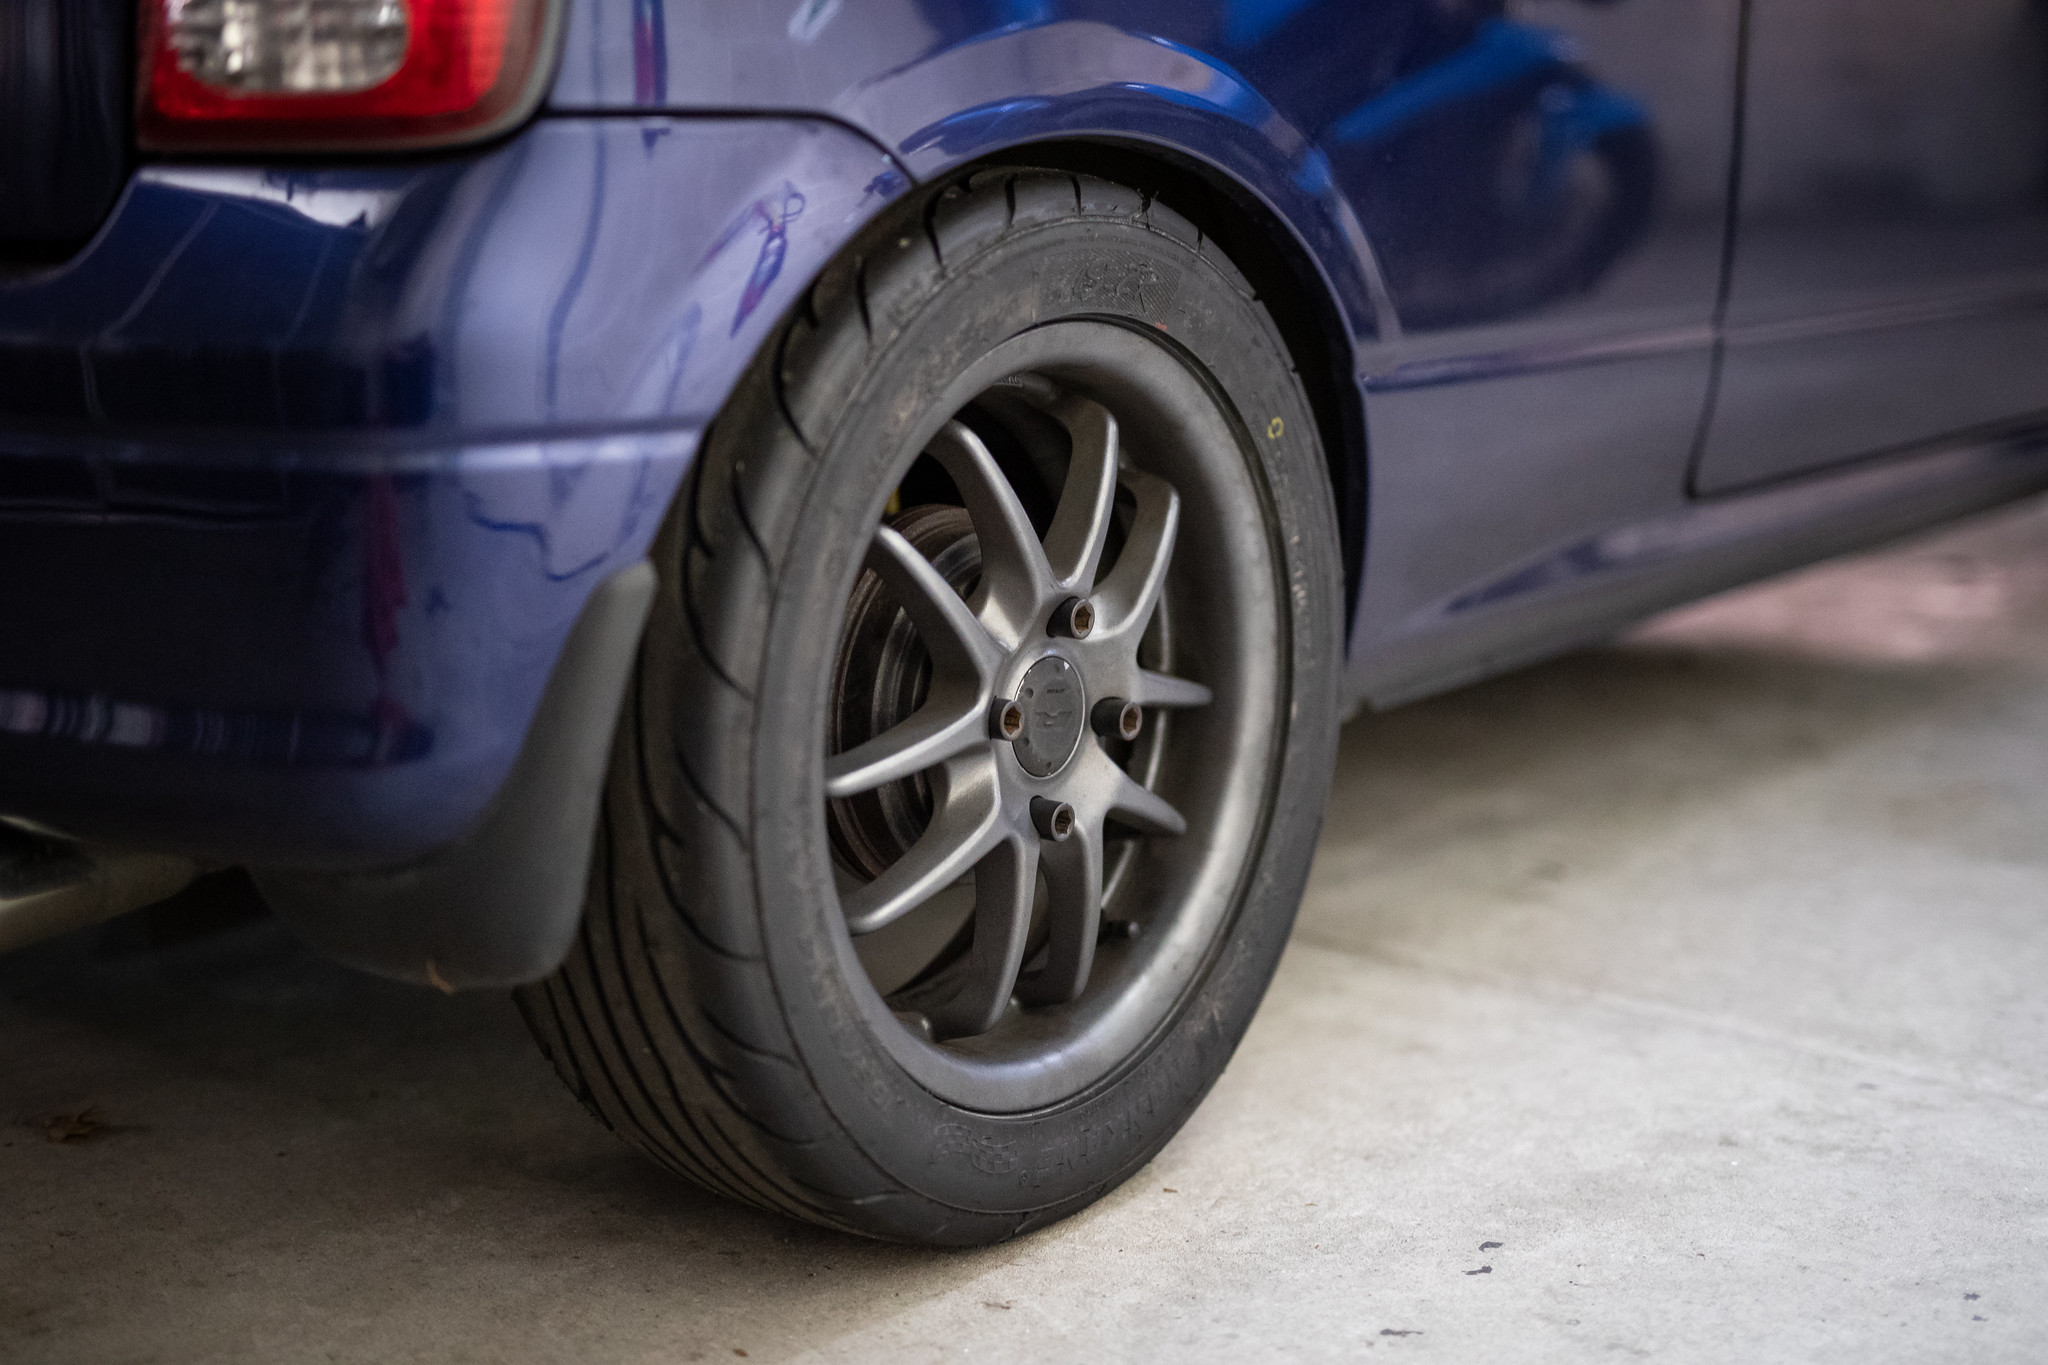
Being extremely limited on size options I ended up going with some Nankang NS2-R 165/55R14’s. I wanted the 180’s but they could only get 120 treadwear. Keen to see how long they last.
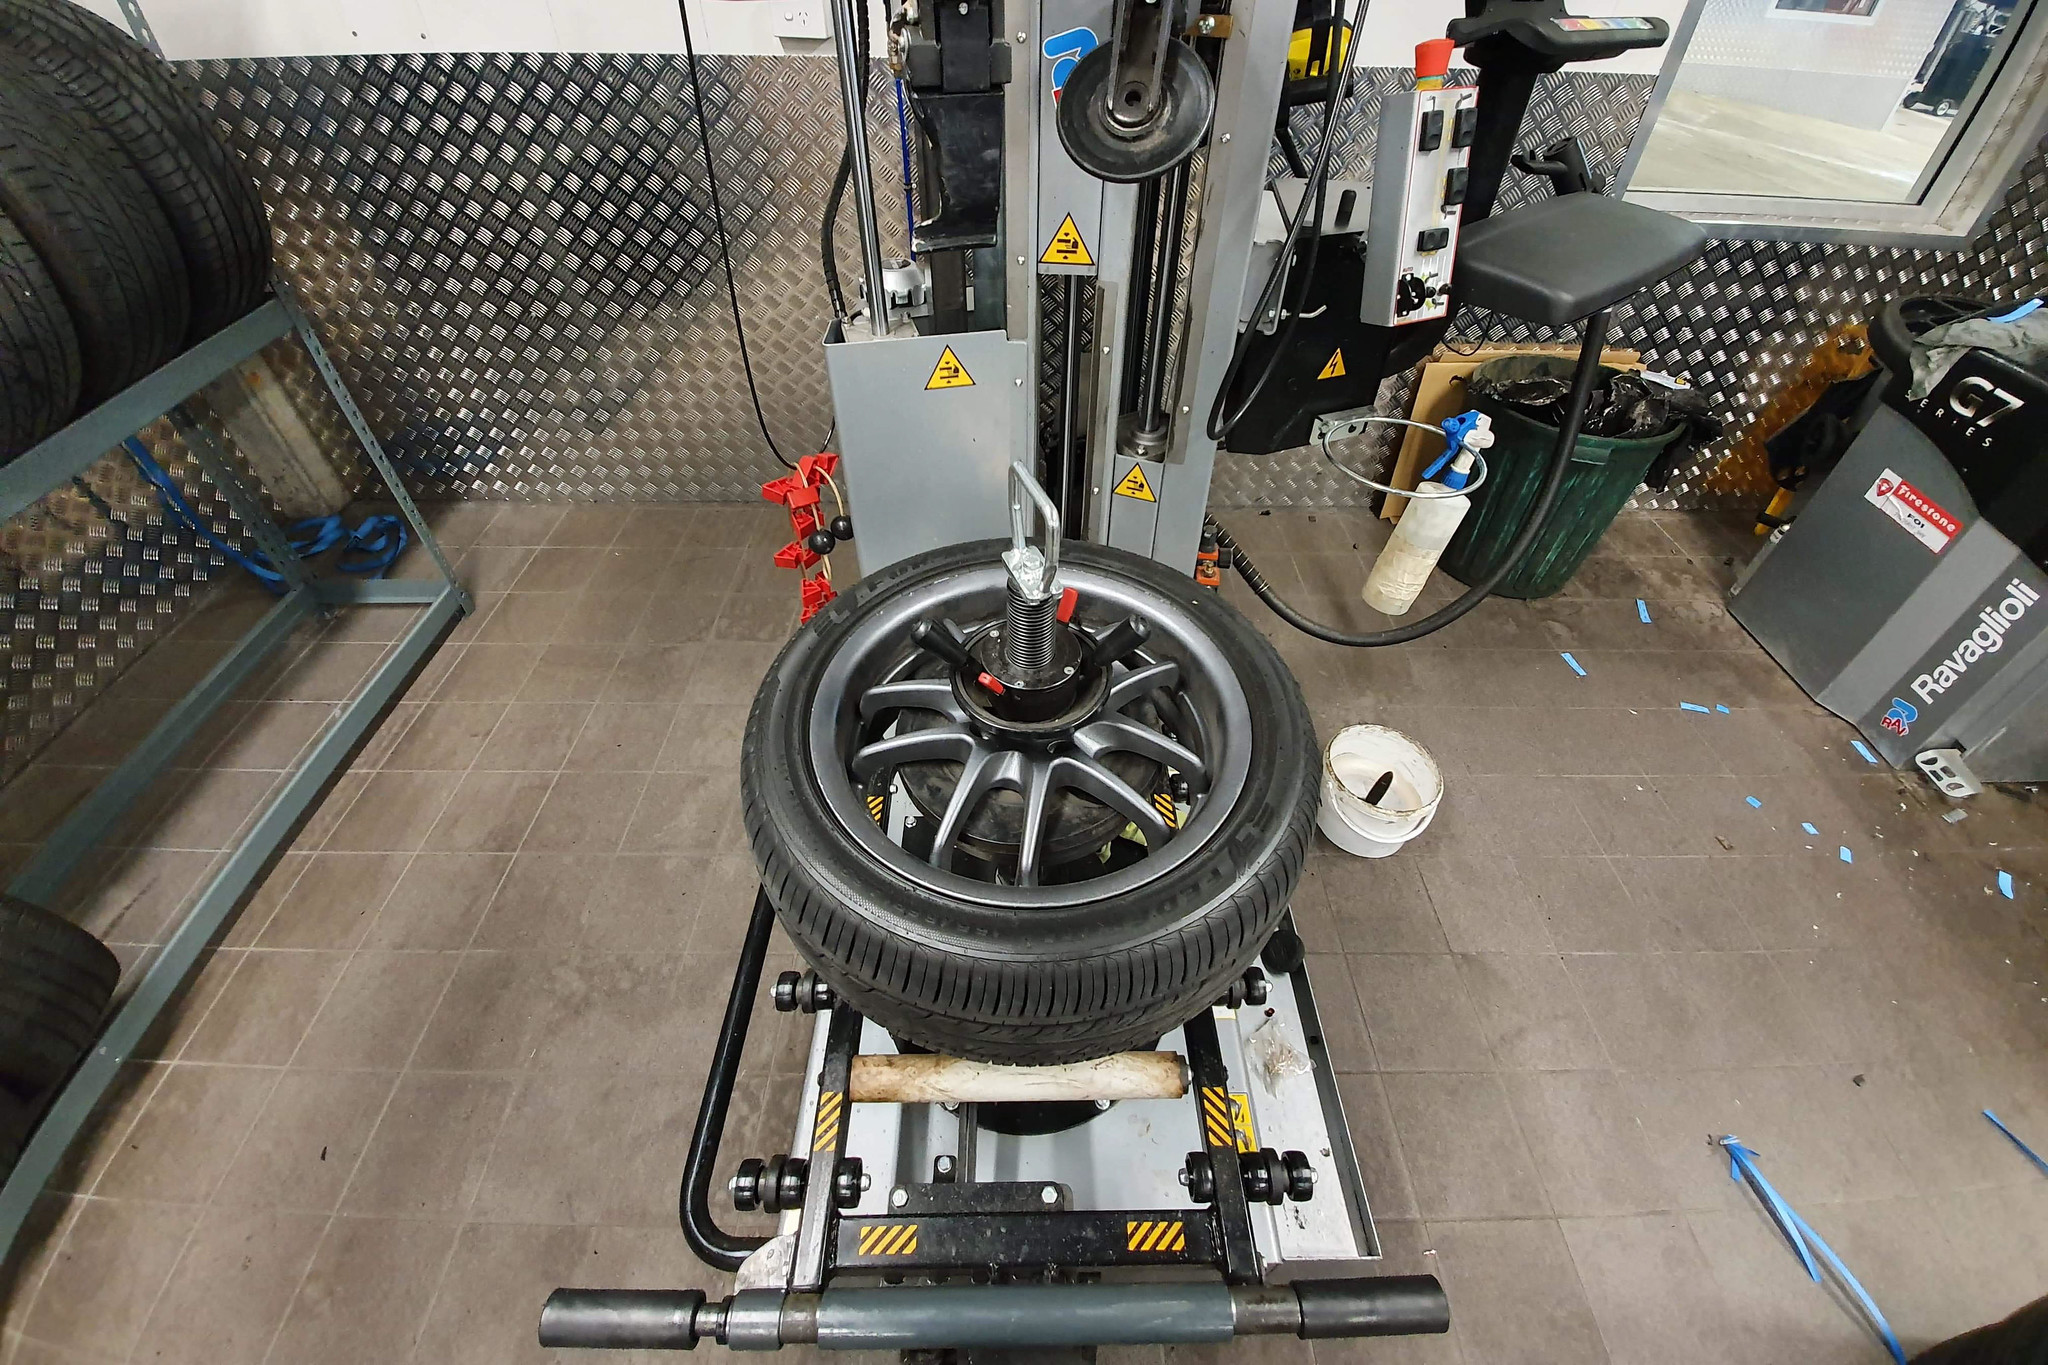
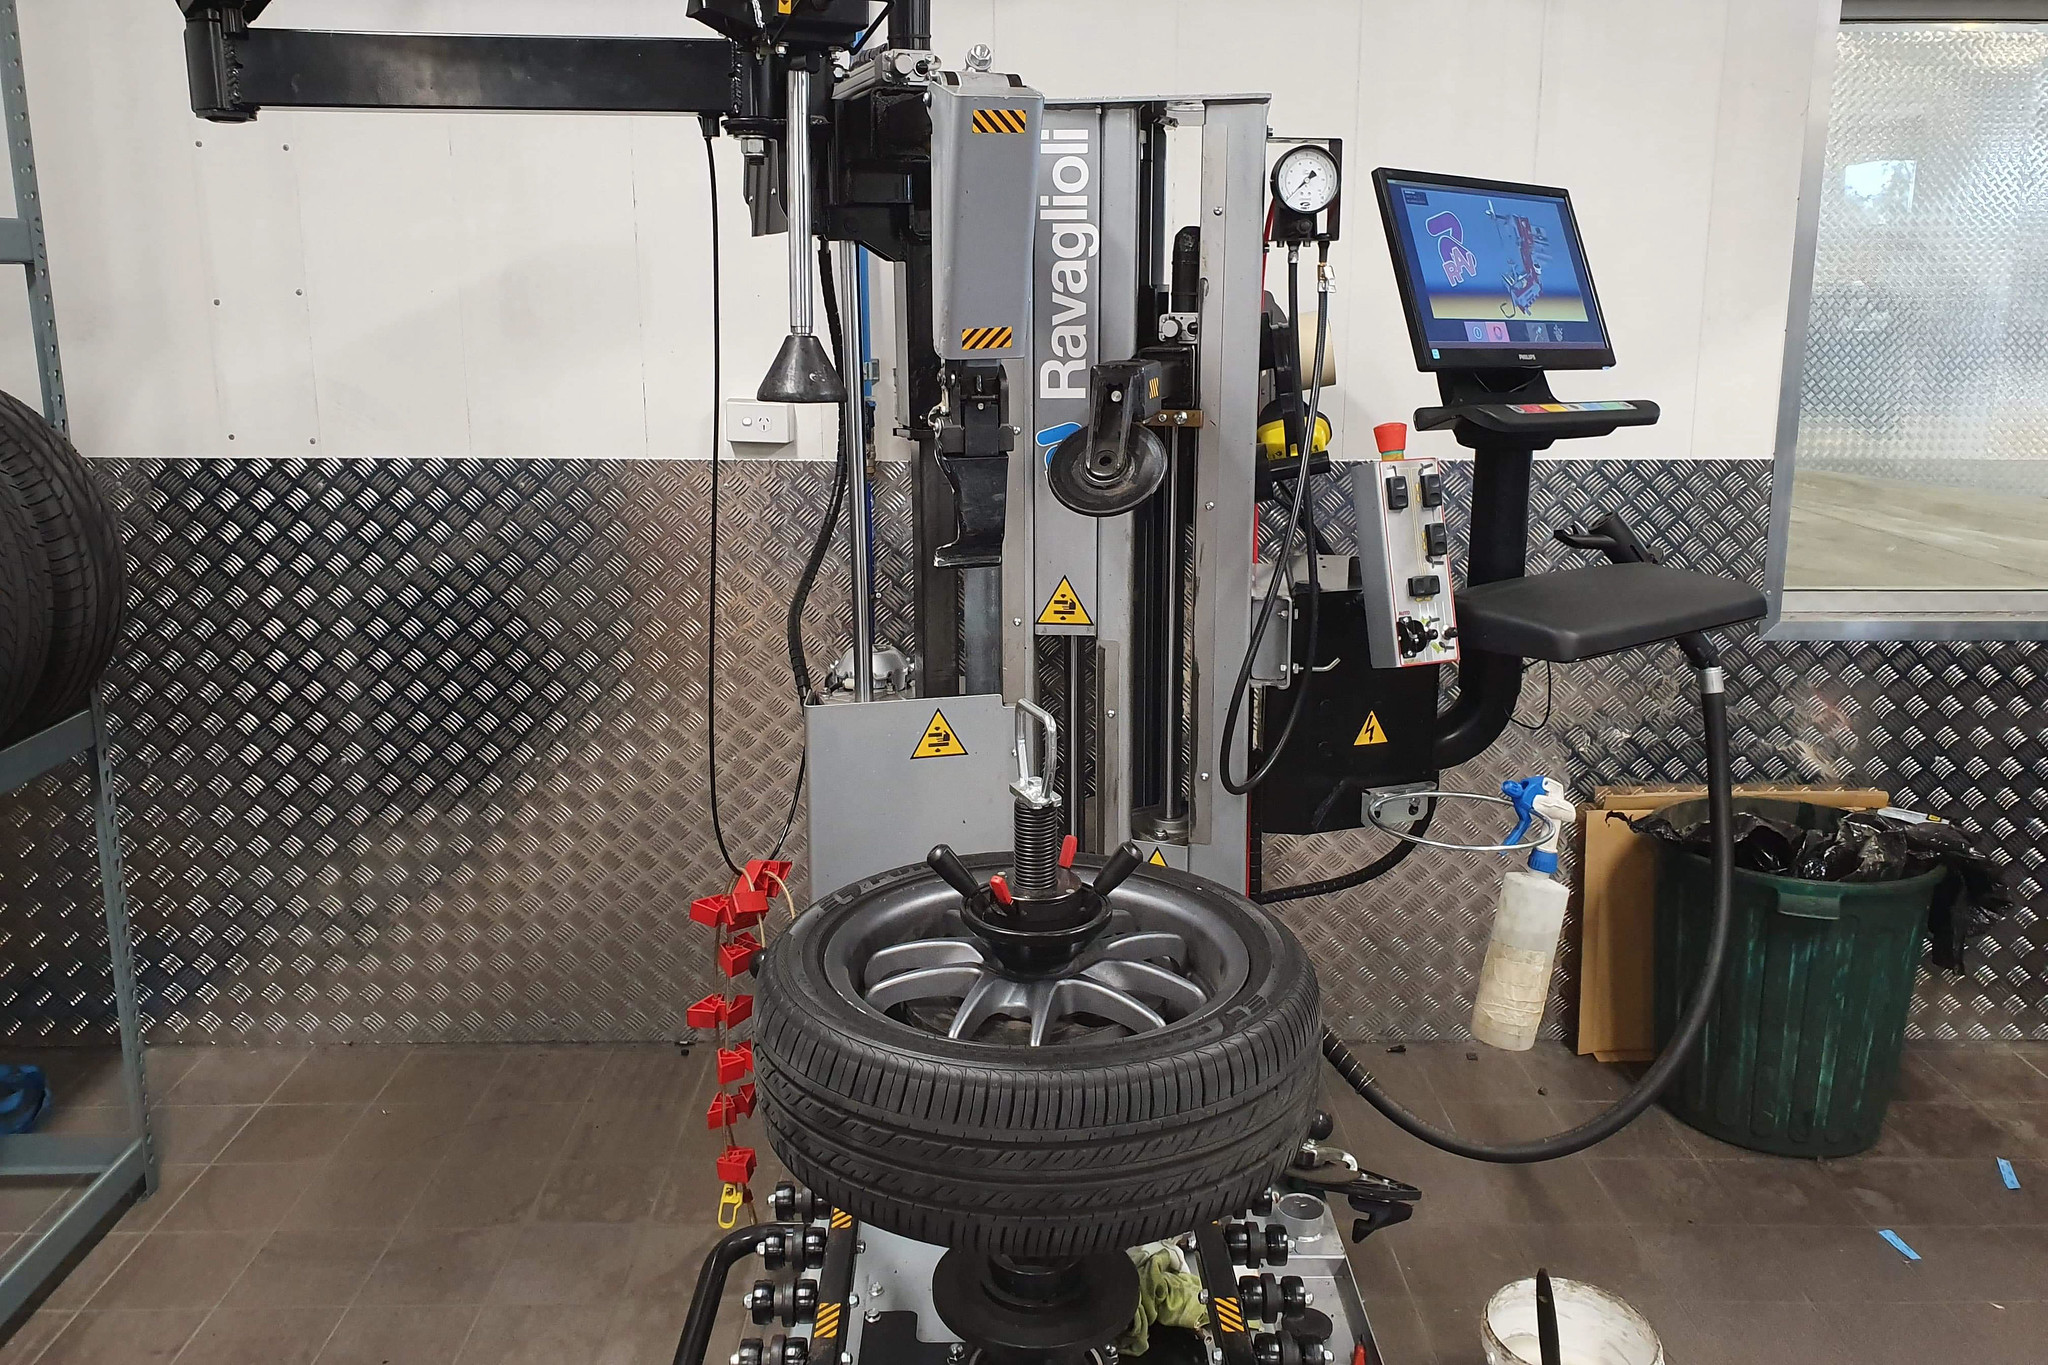
Mounting.
Big difference in width and sidewall.

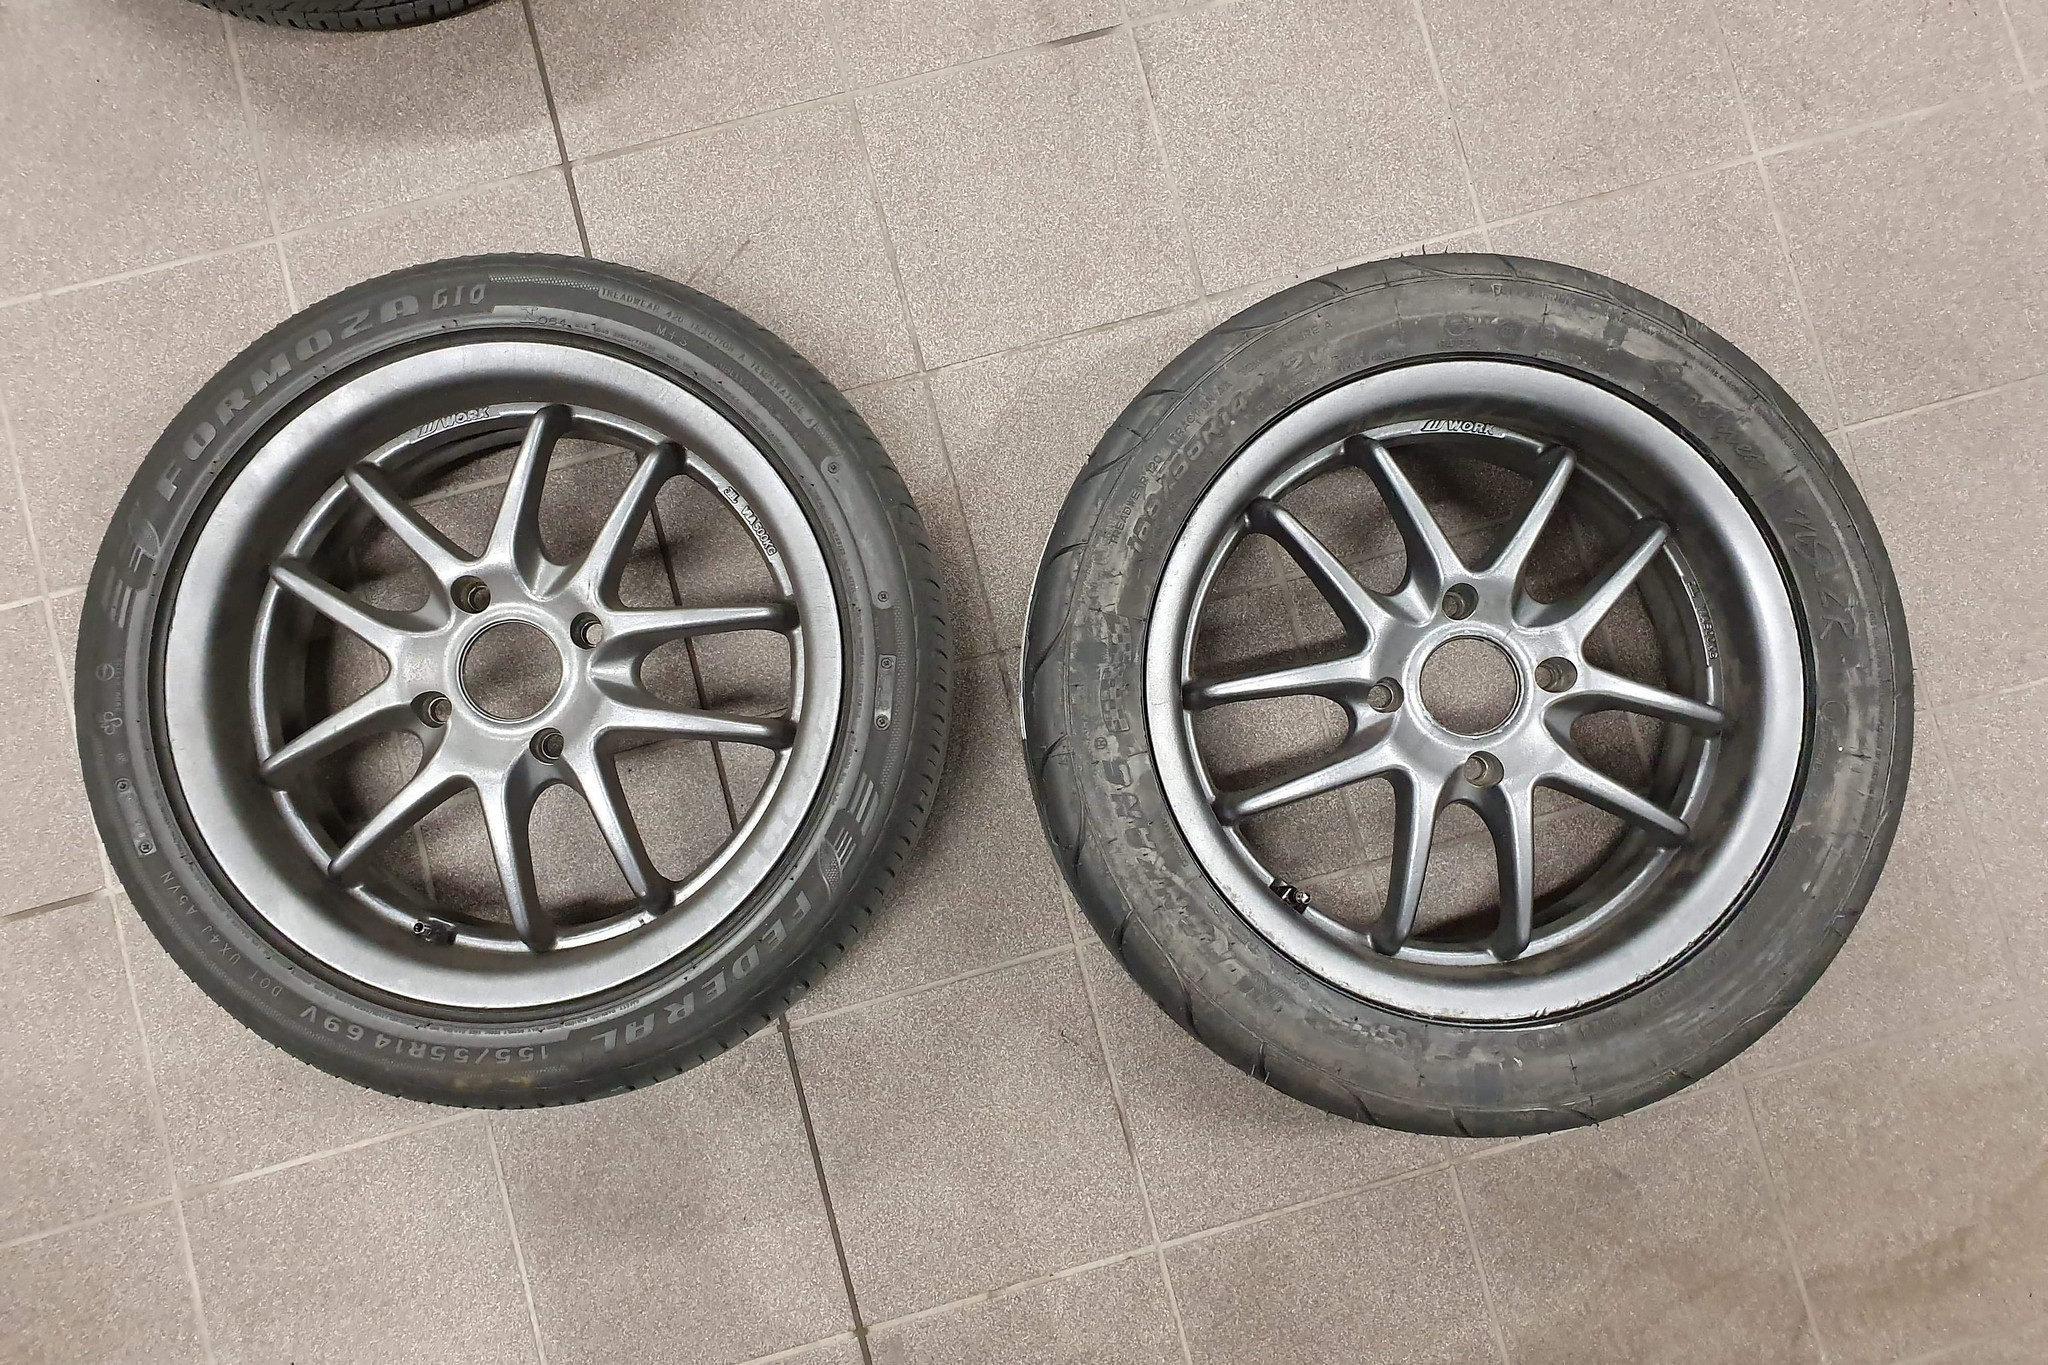
They fit good and look pretty tough on the car.
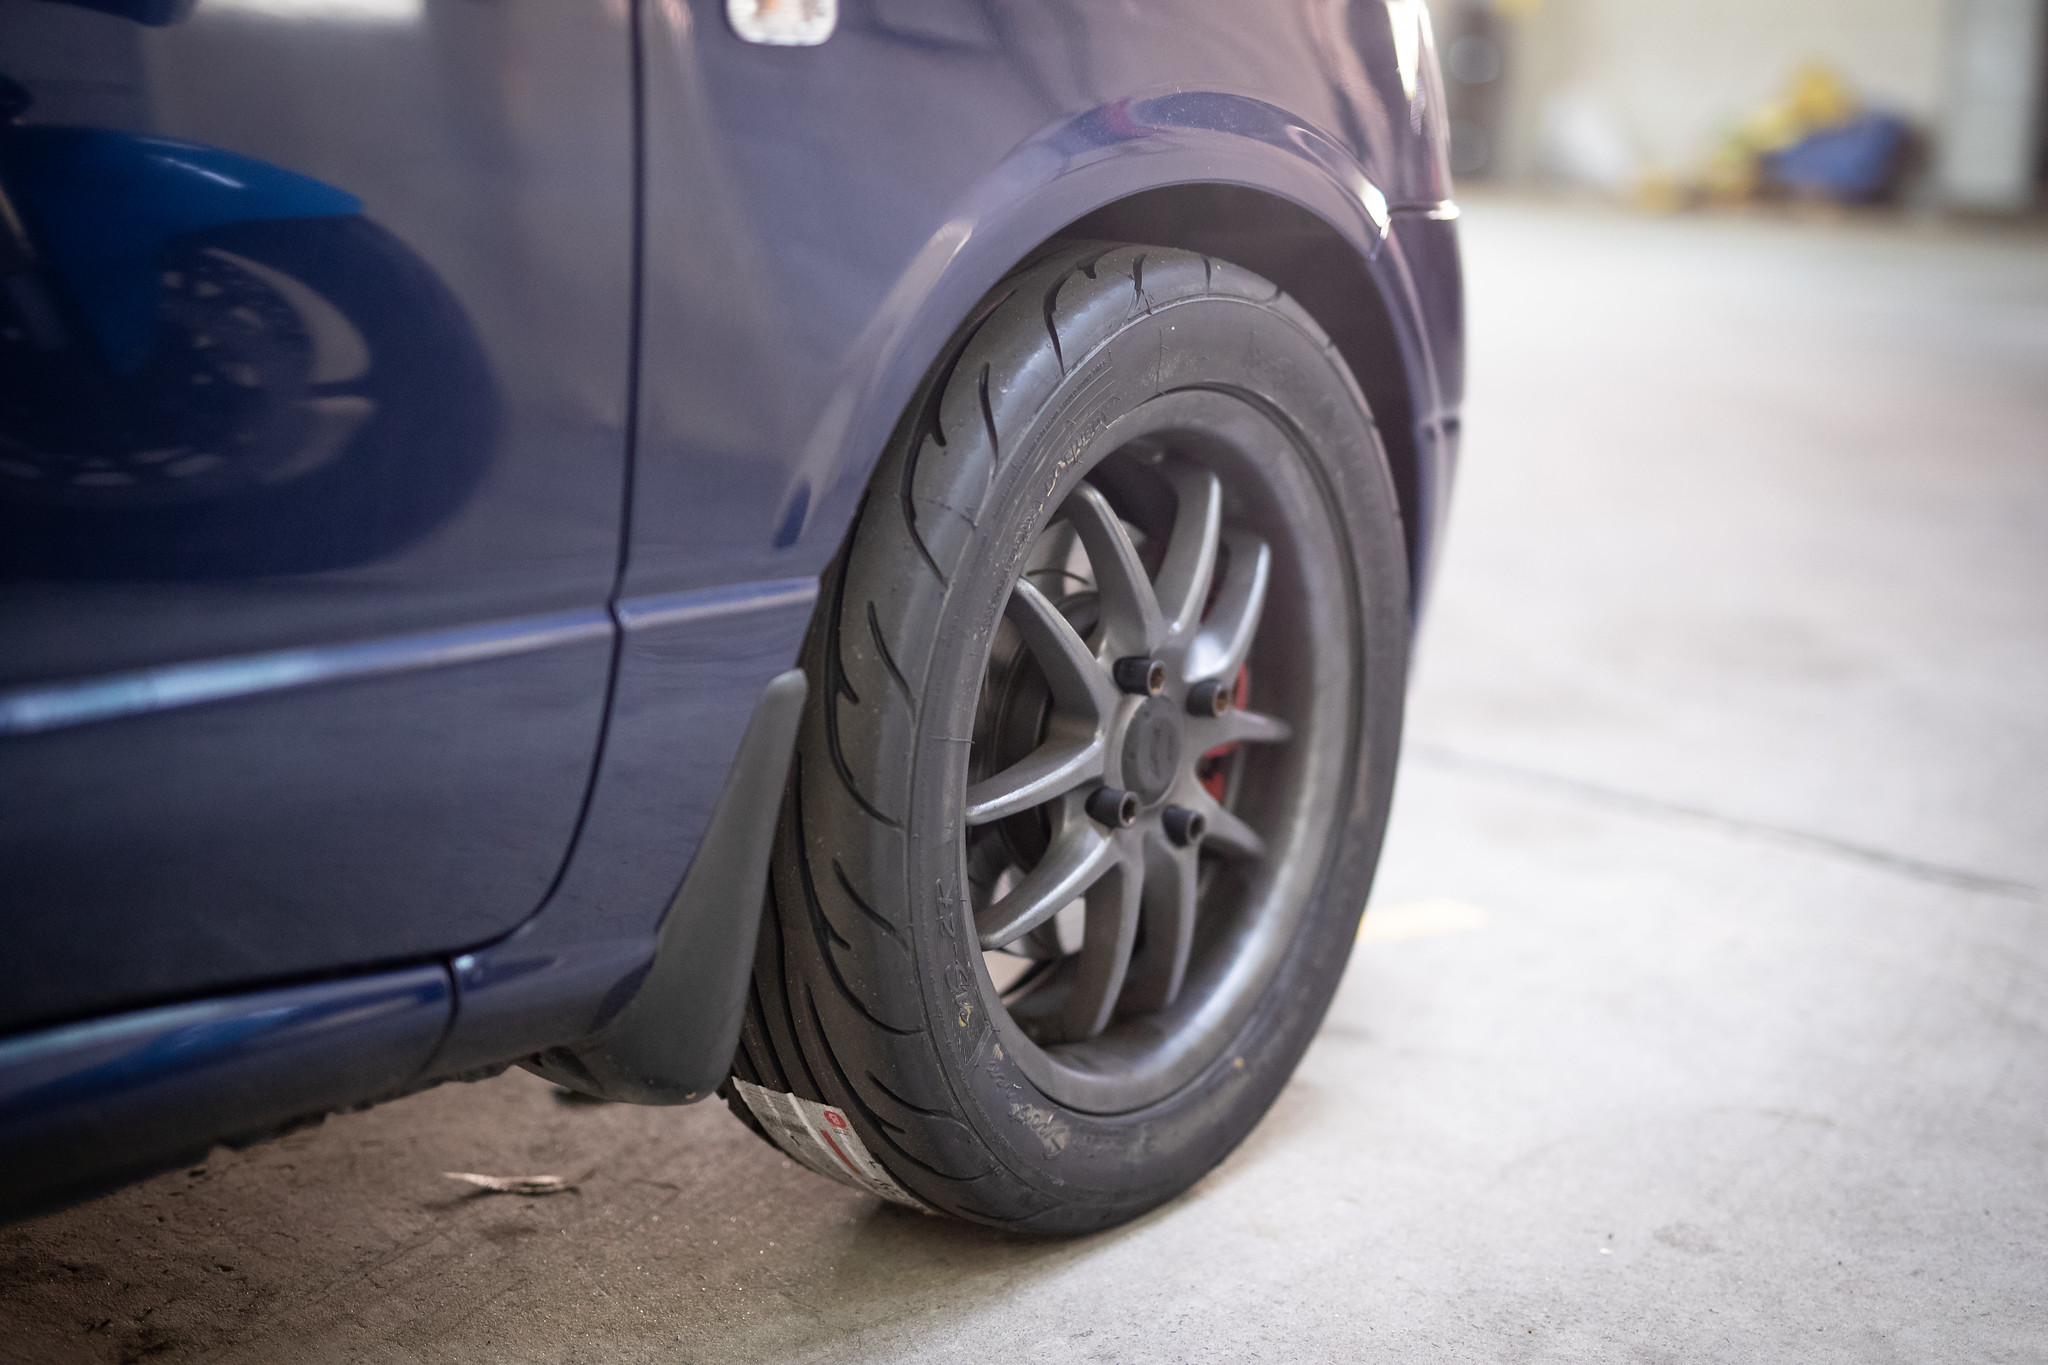
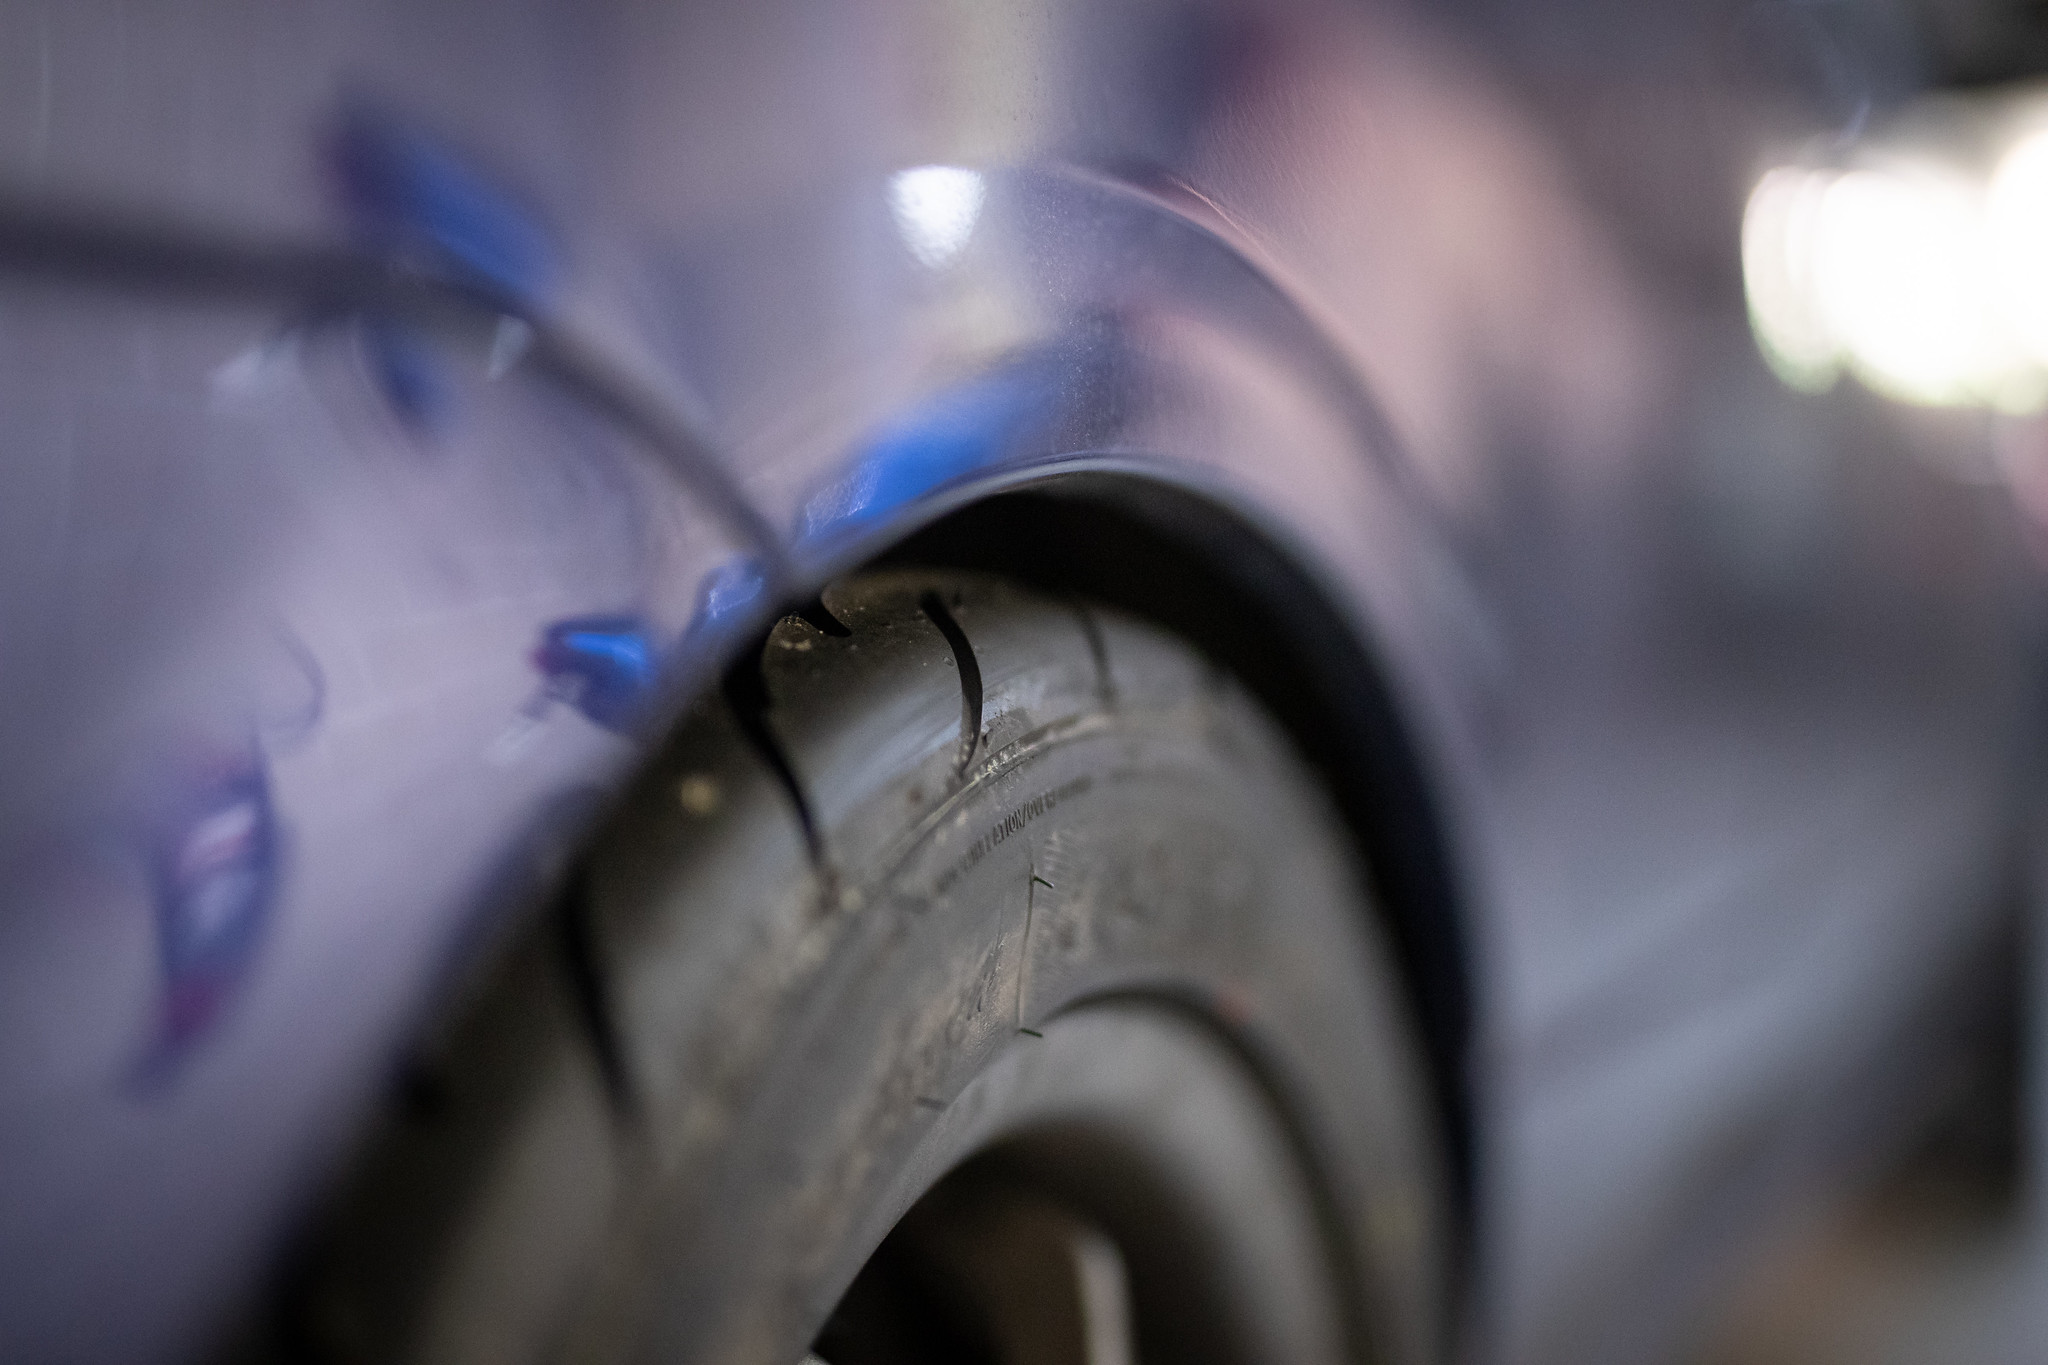
The rear looks great but as the factory suspension is soft it rubbed really bad on any bump.
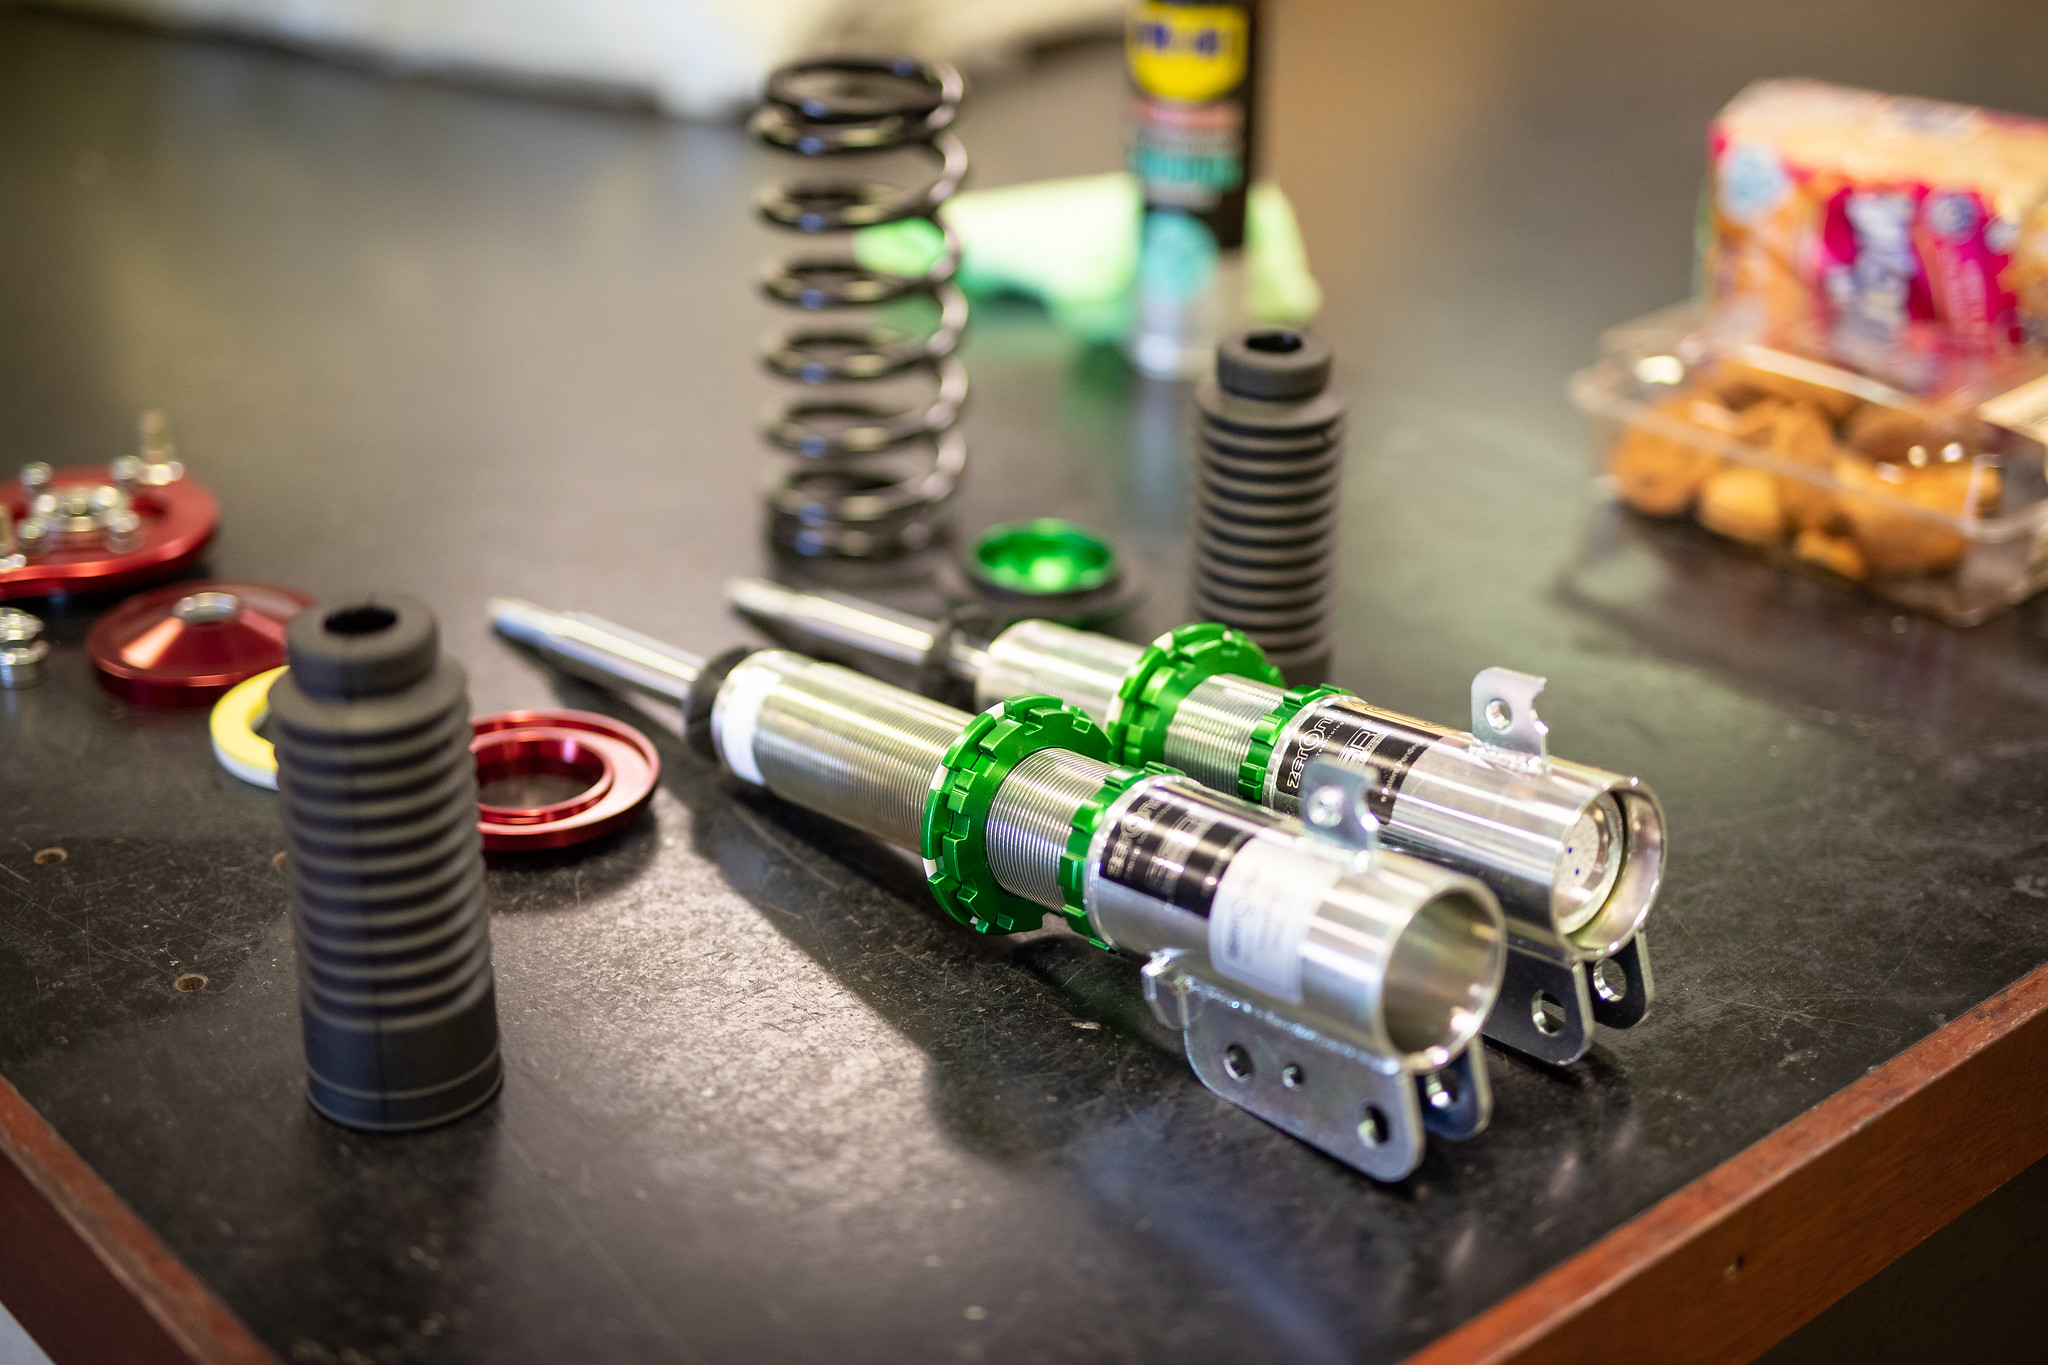
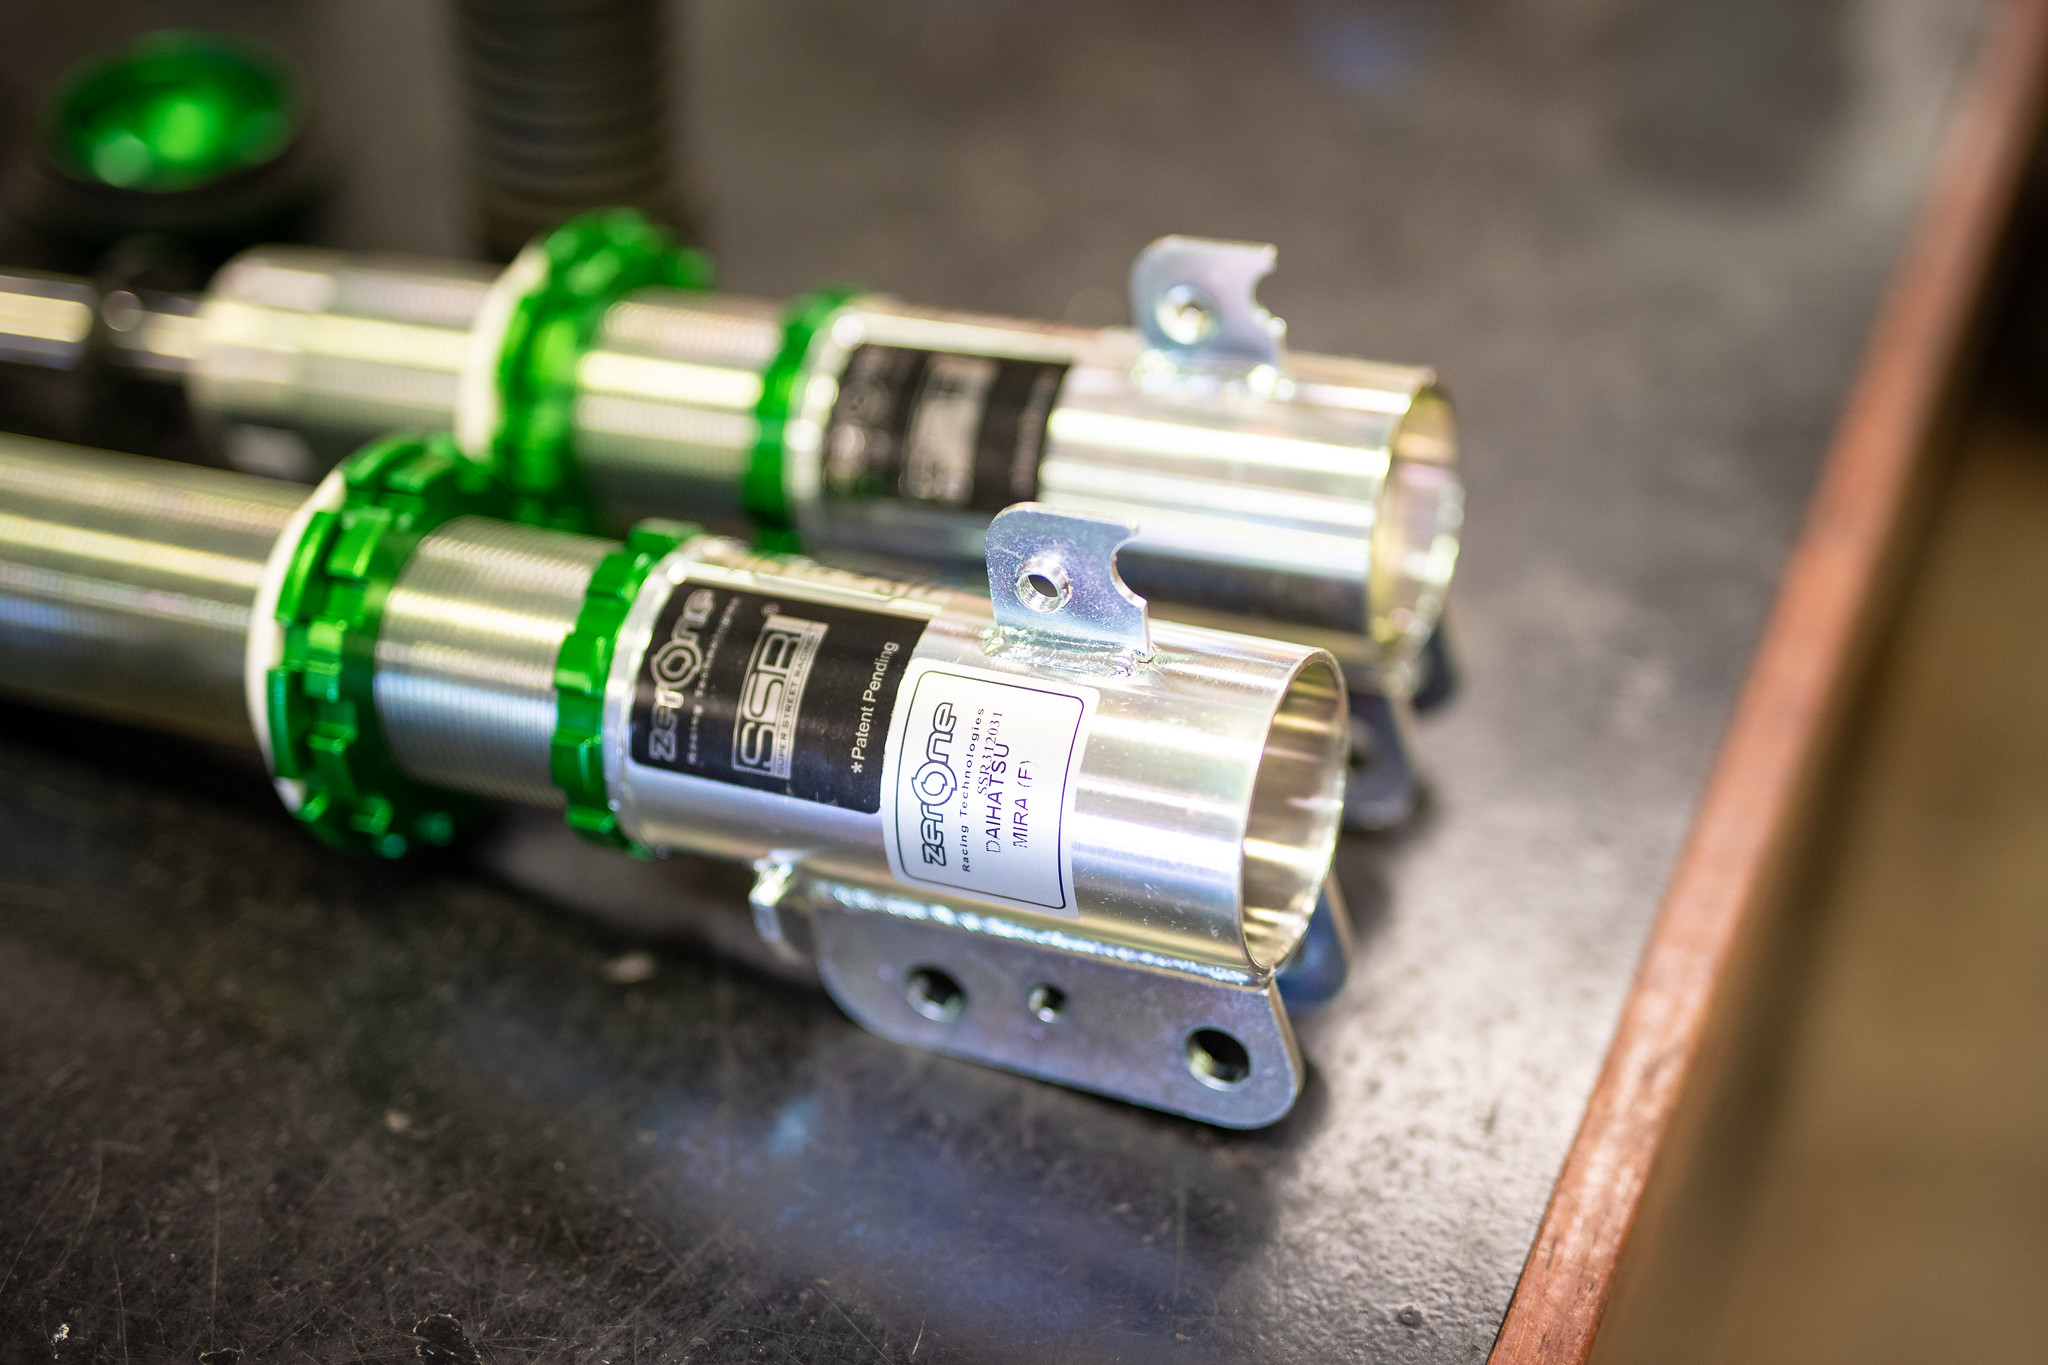
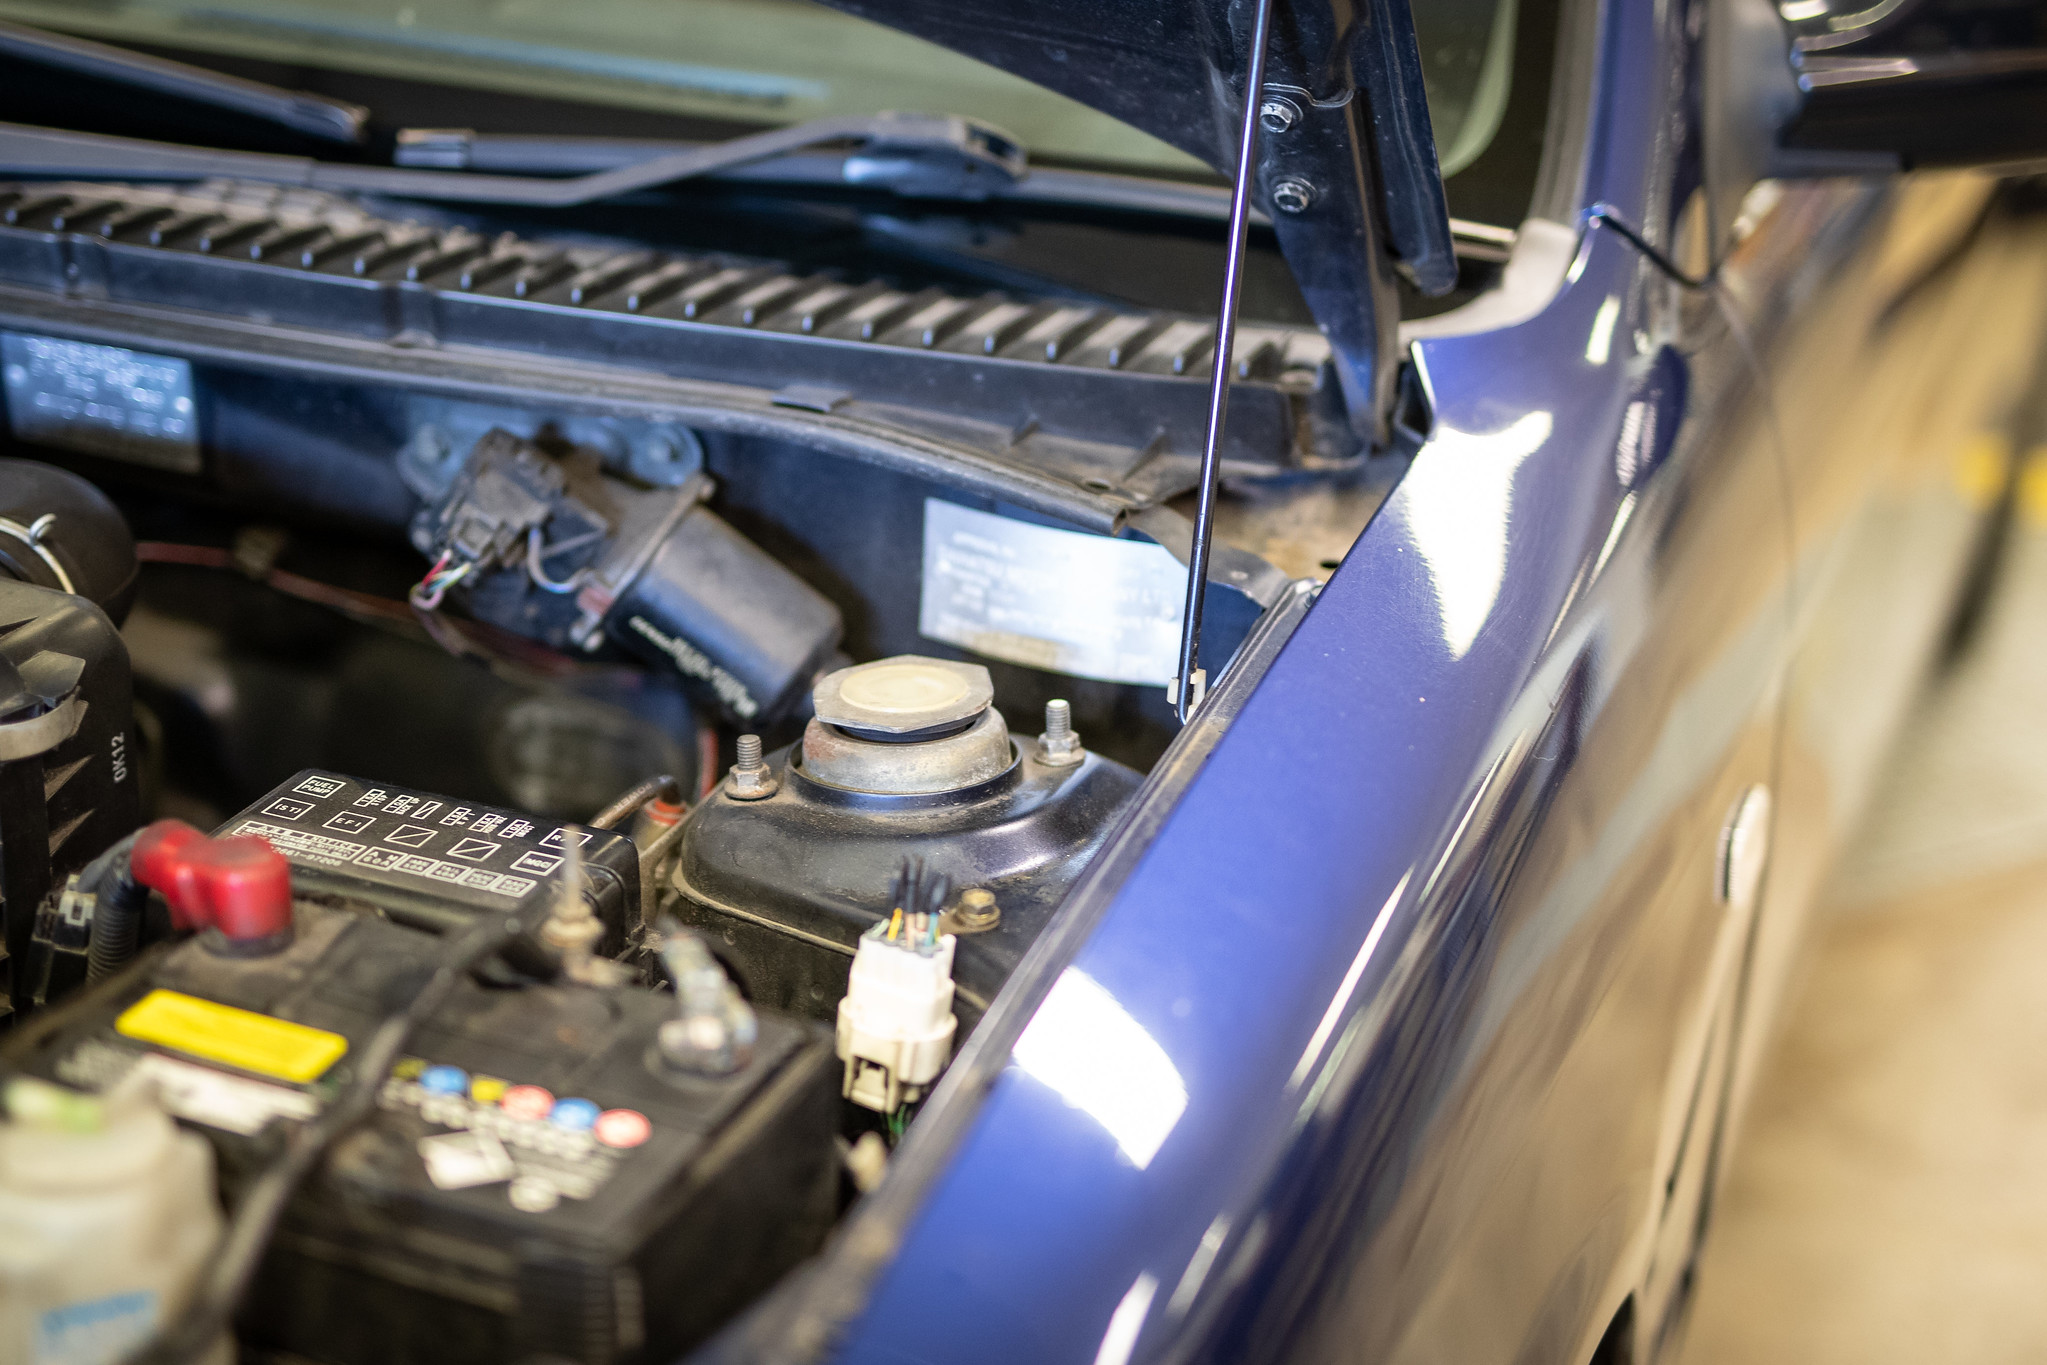
Luck would have it a friend was parting his Gino after an unfortunate event in traffic. Due to this, there was a set of ZerOne SSR coilovers with custom pillowball camber mounts up for grabs.
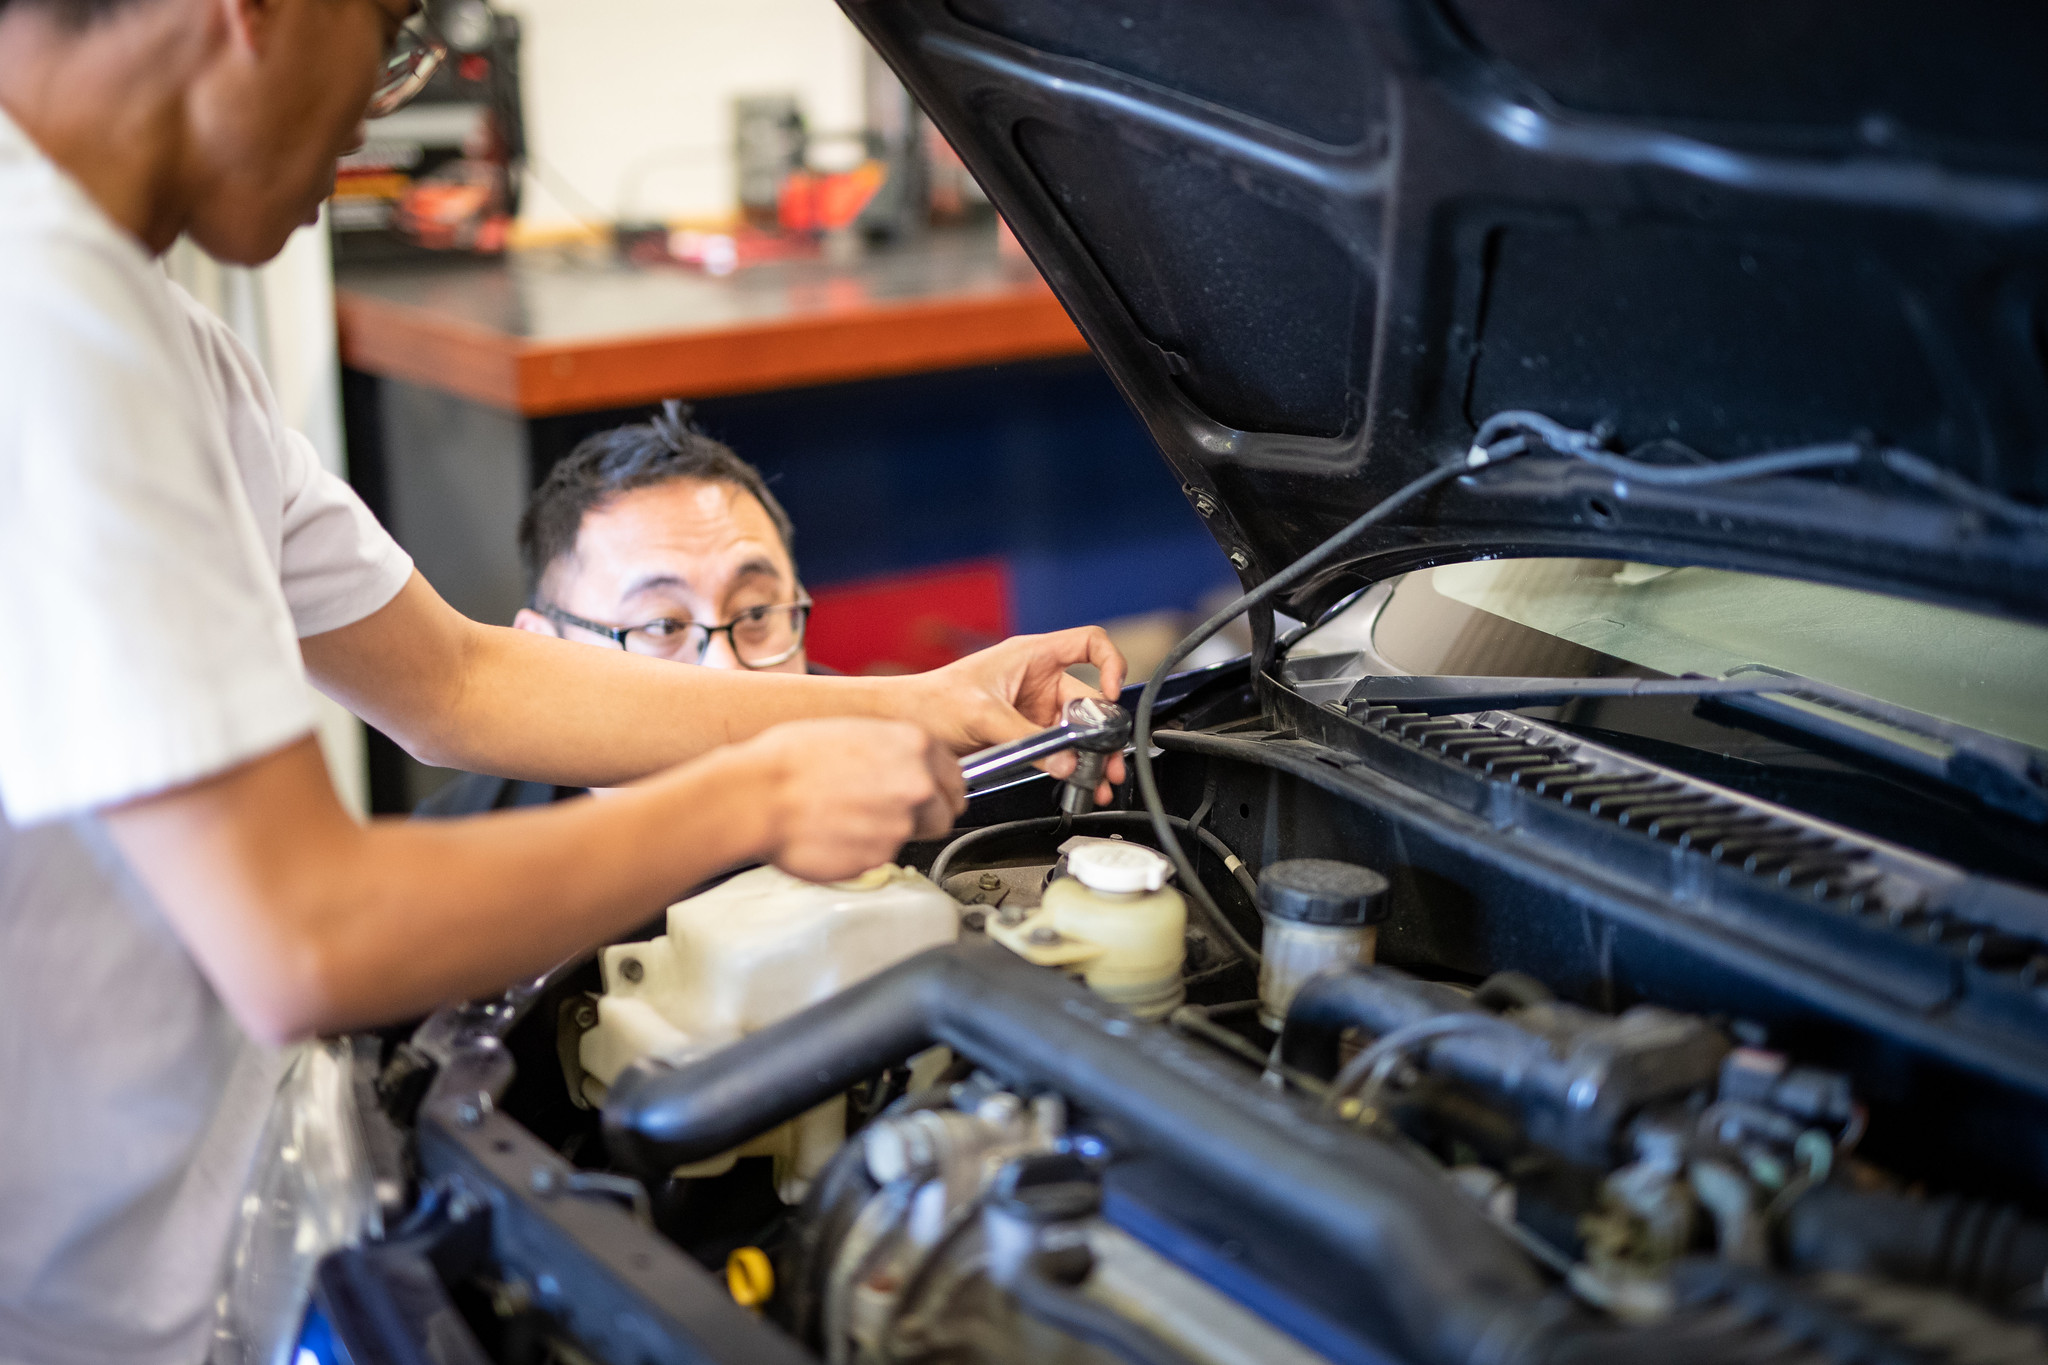
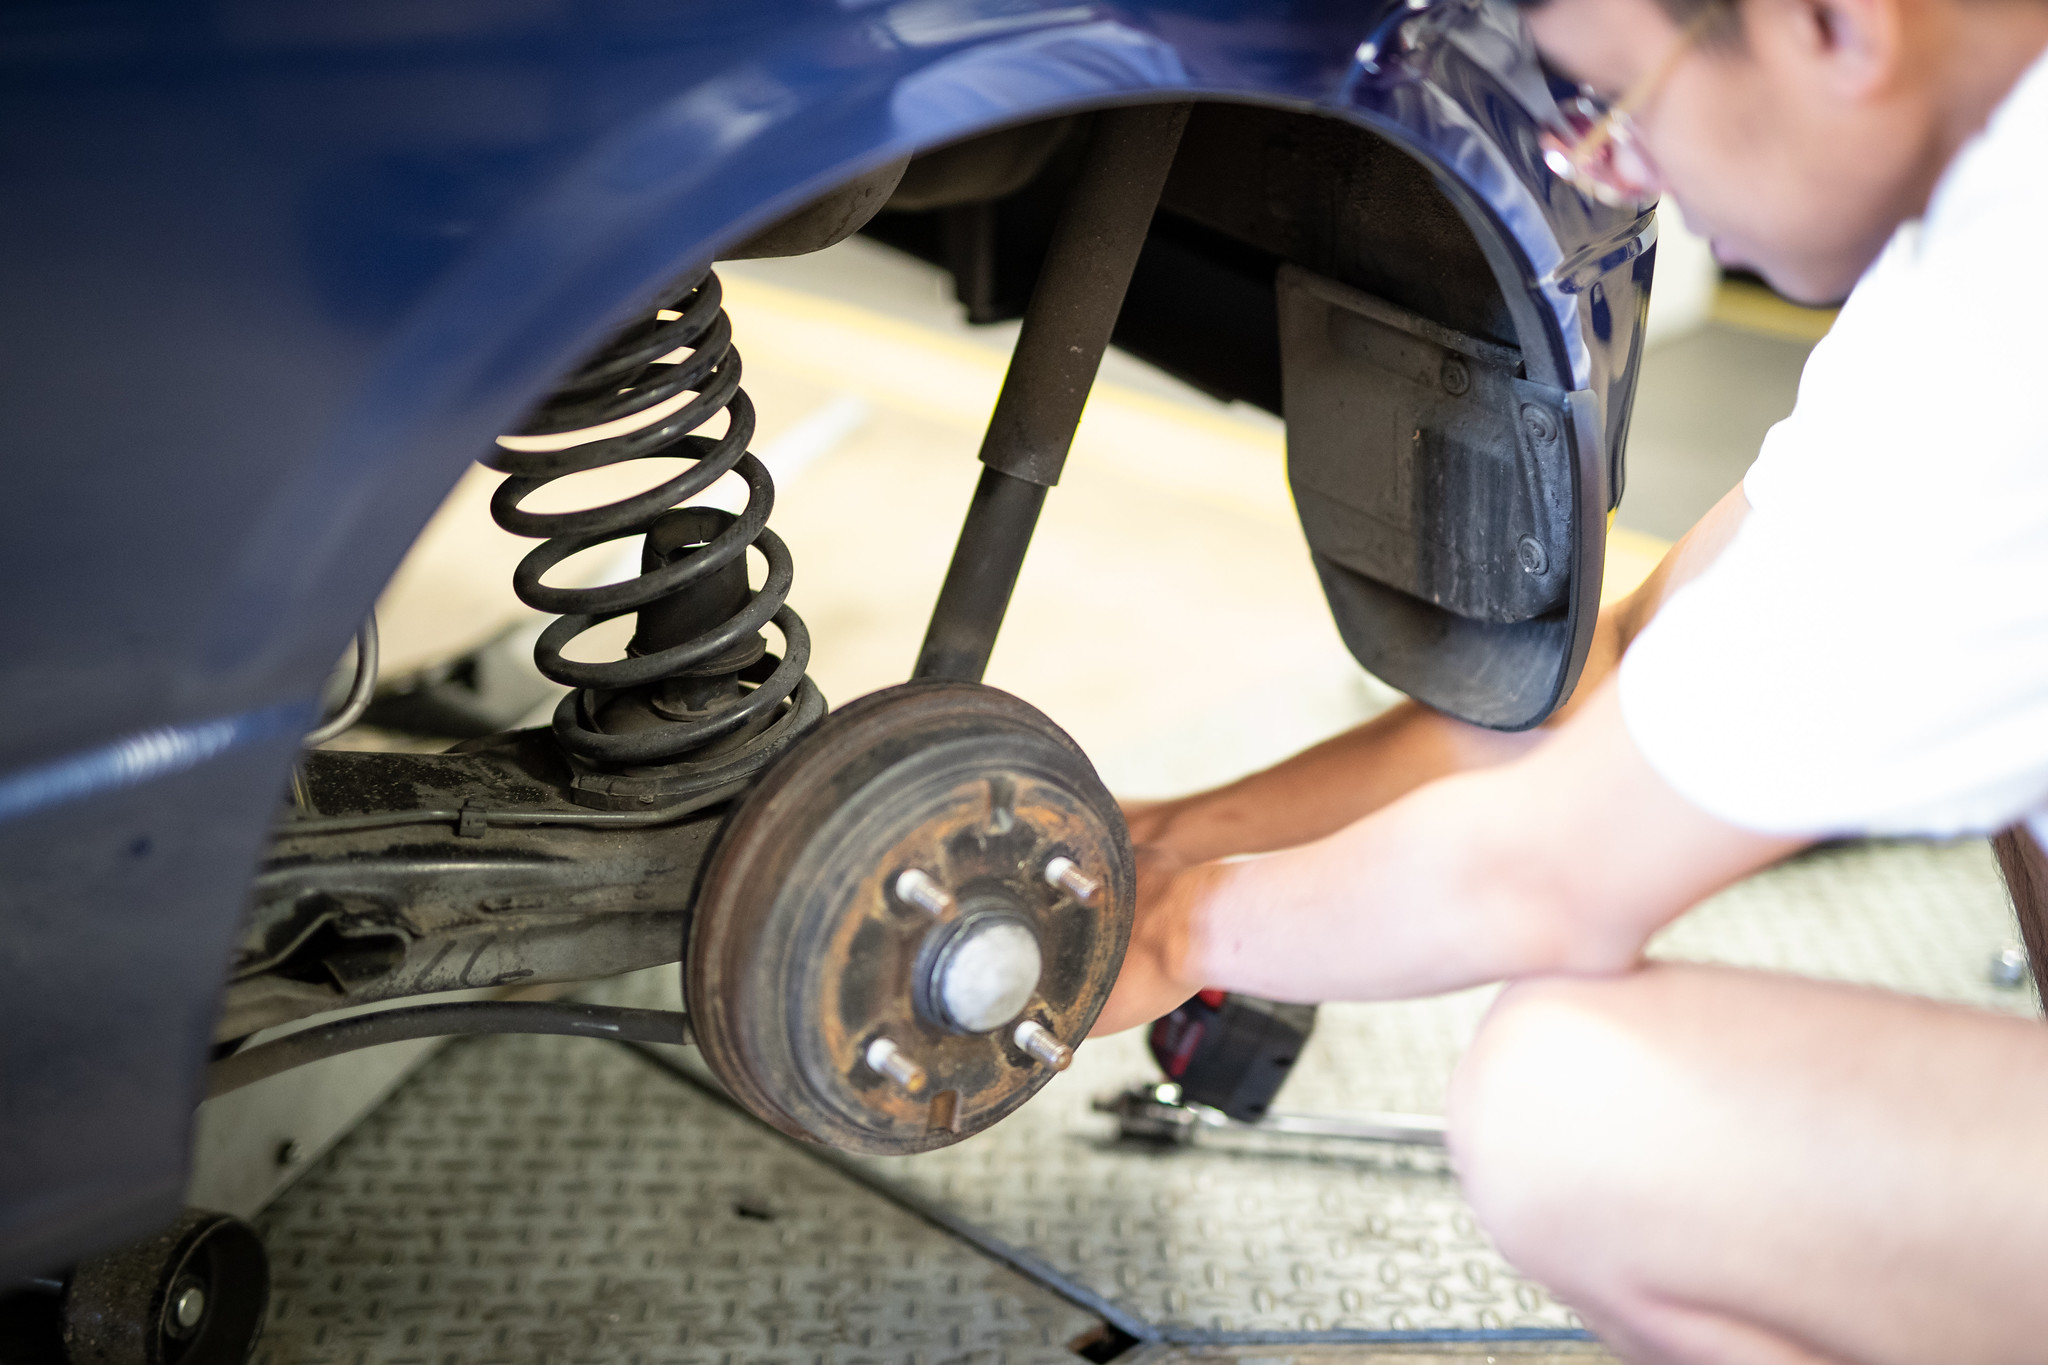
Up it went to chuck in.
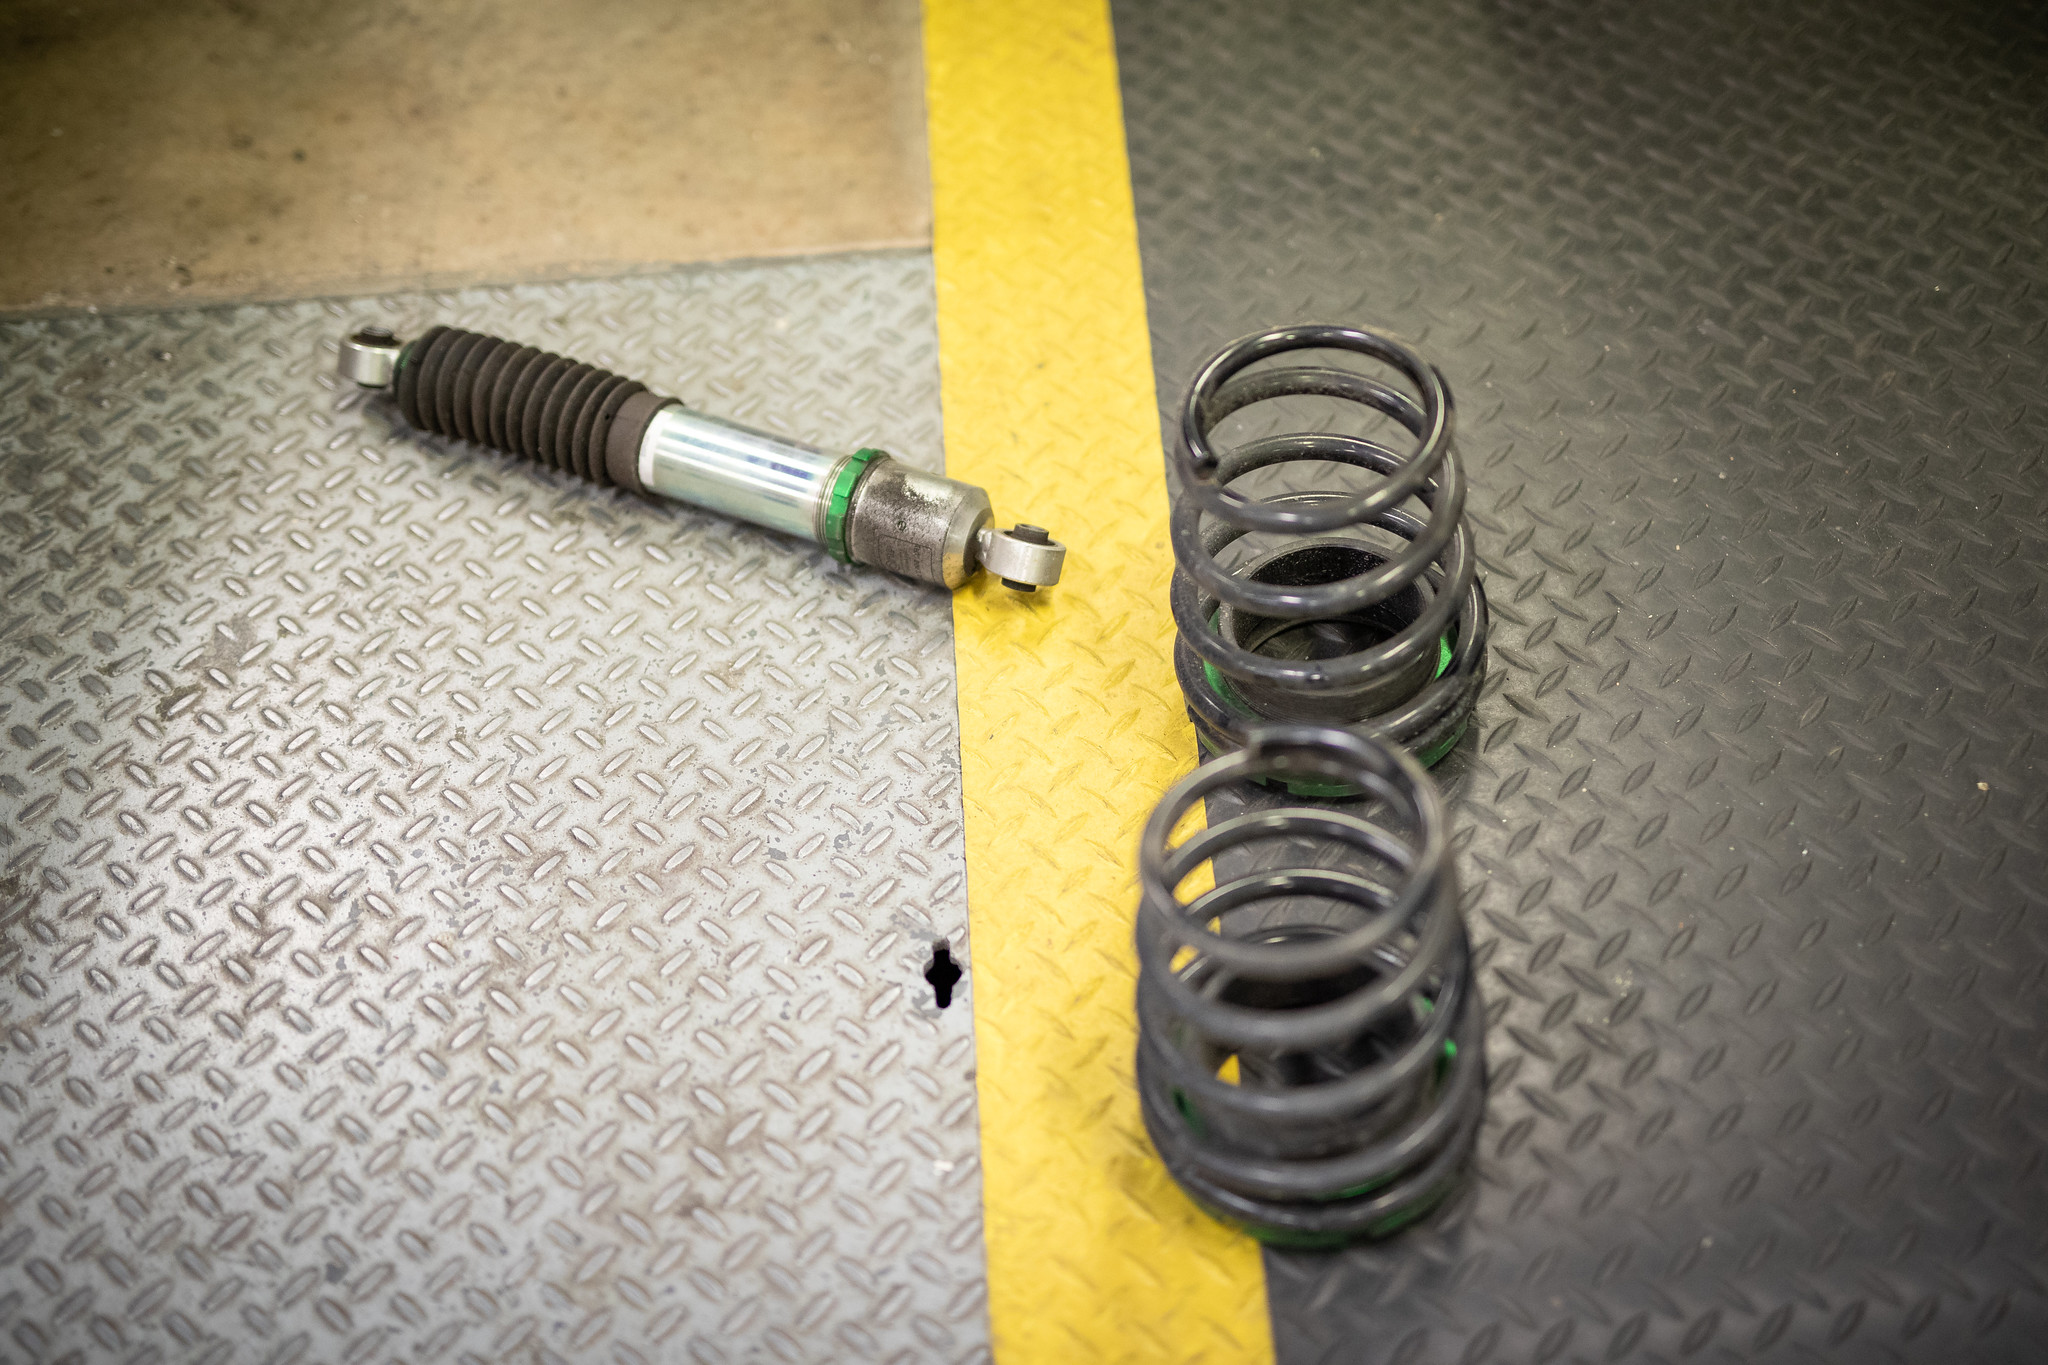
Old stuff came out pretty easy.
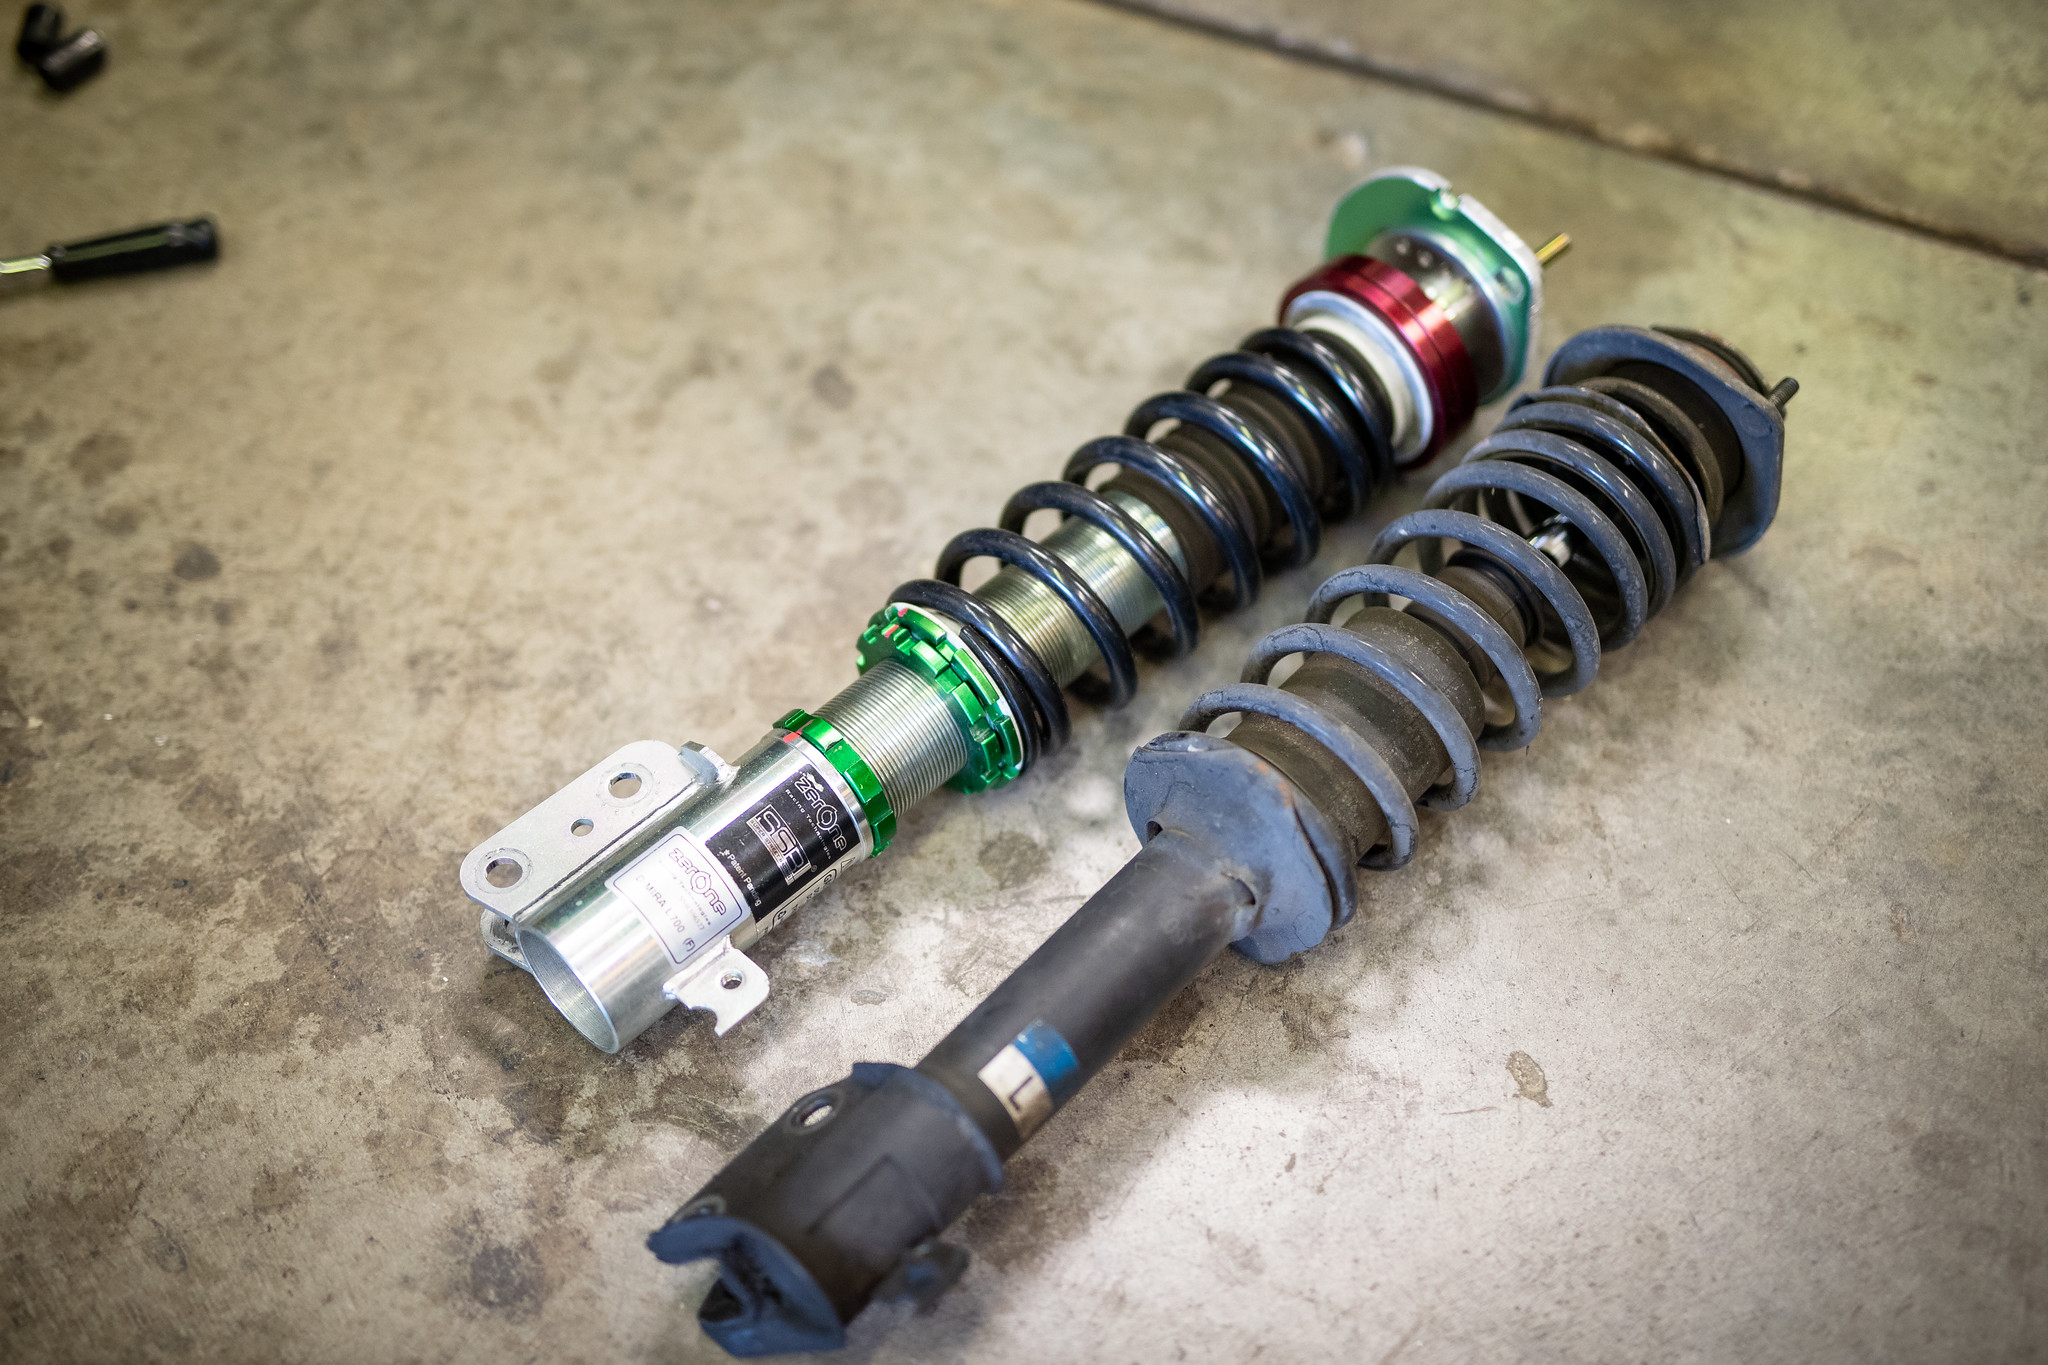
Before and after of the front.

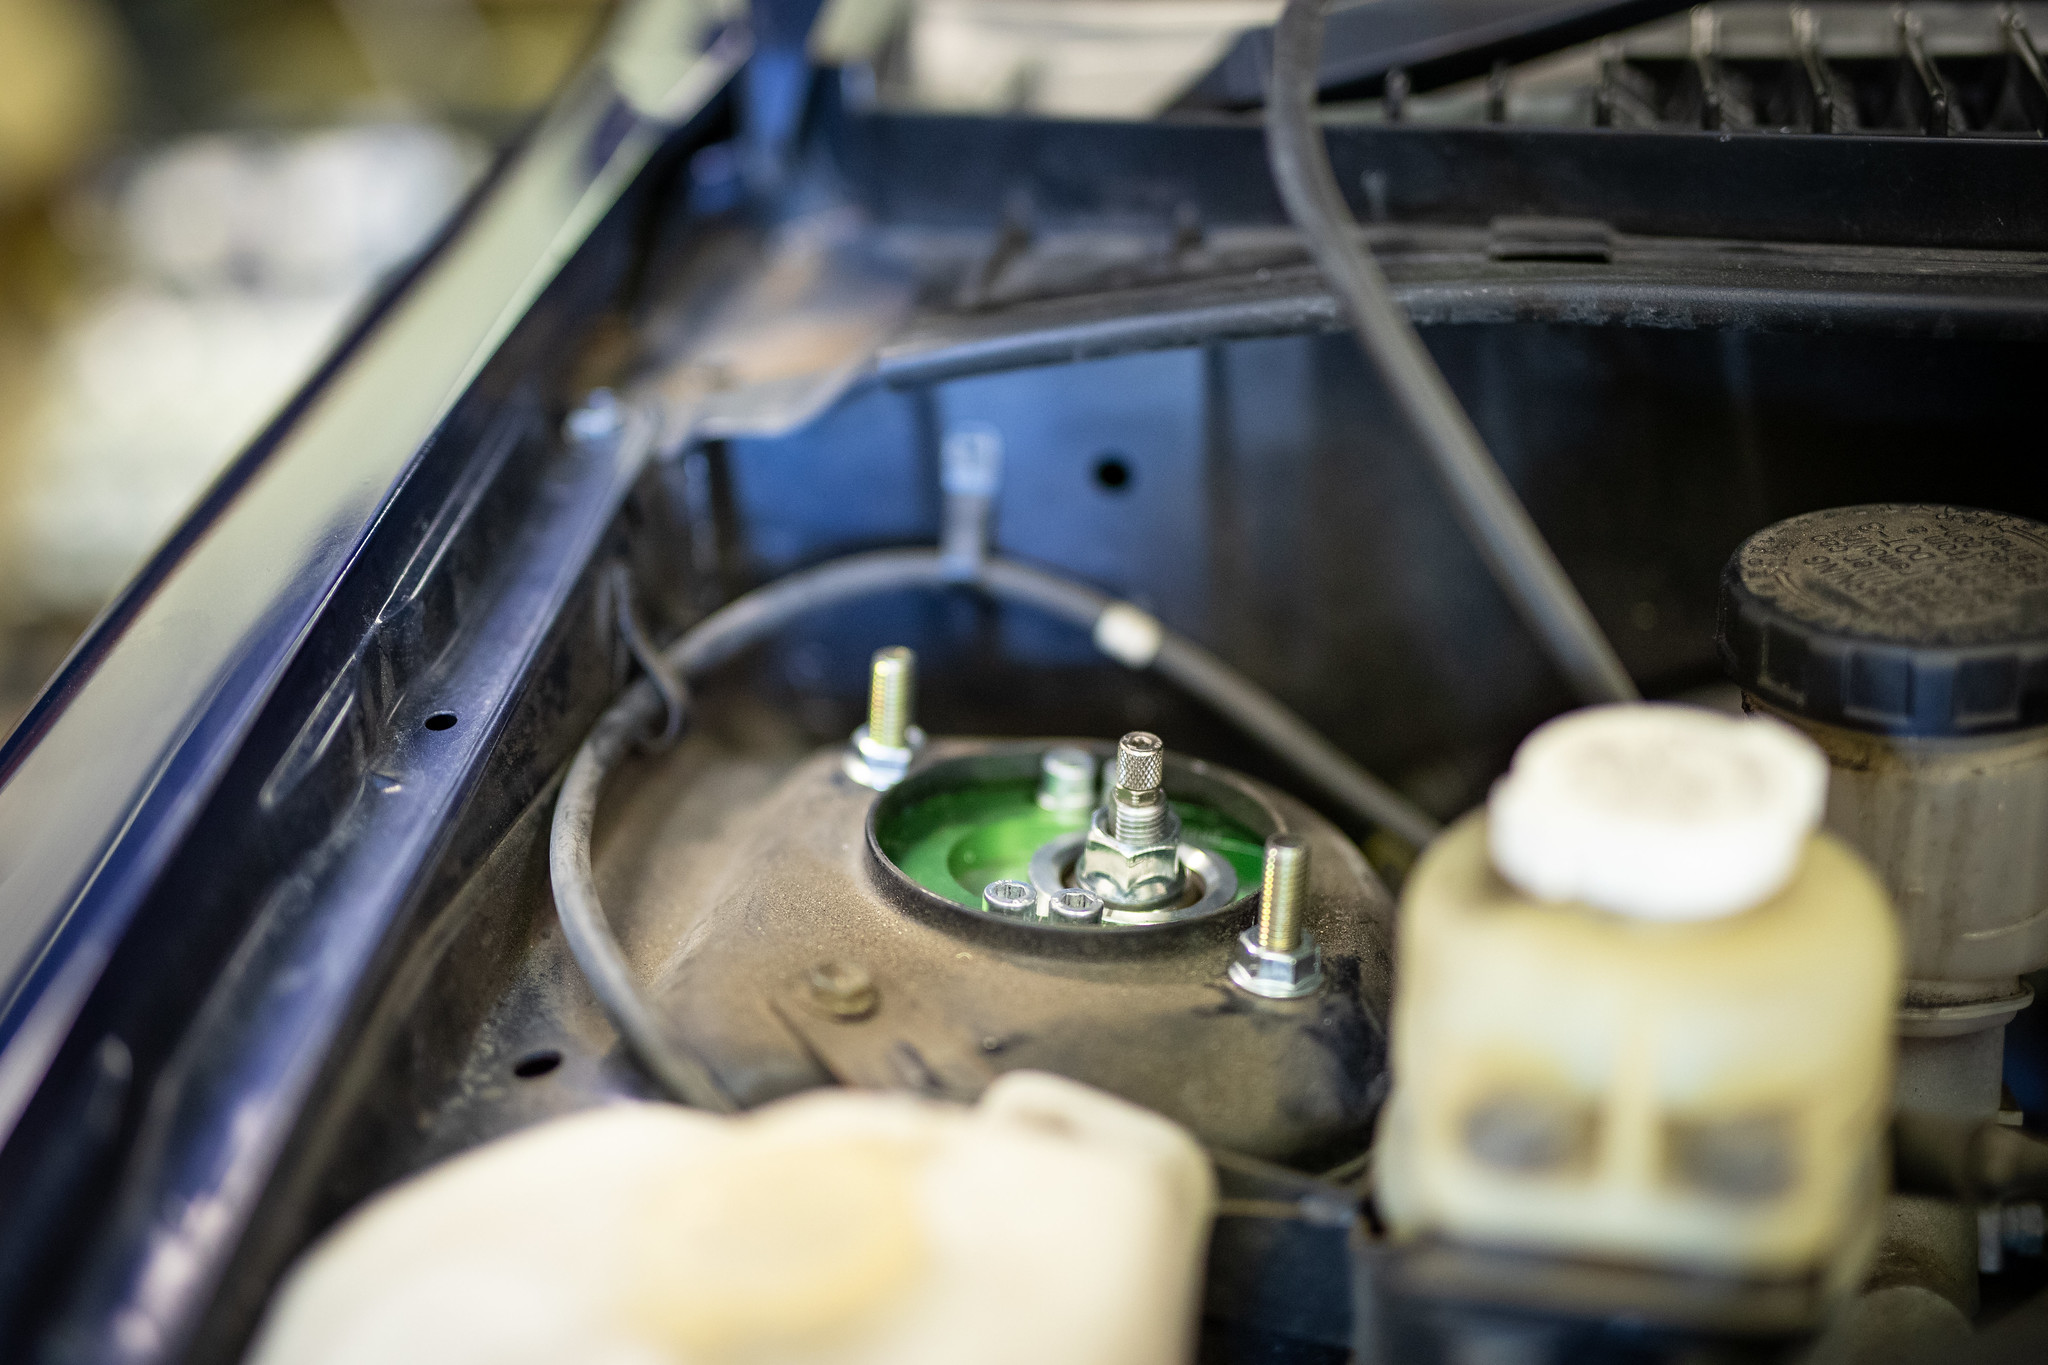
We had to ever so slightly notch the strut mount to get the camber tops to fit correctly.

Rear then went it.
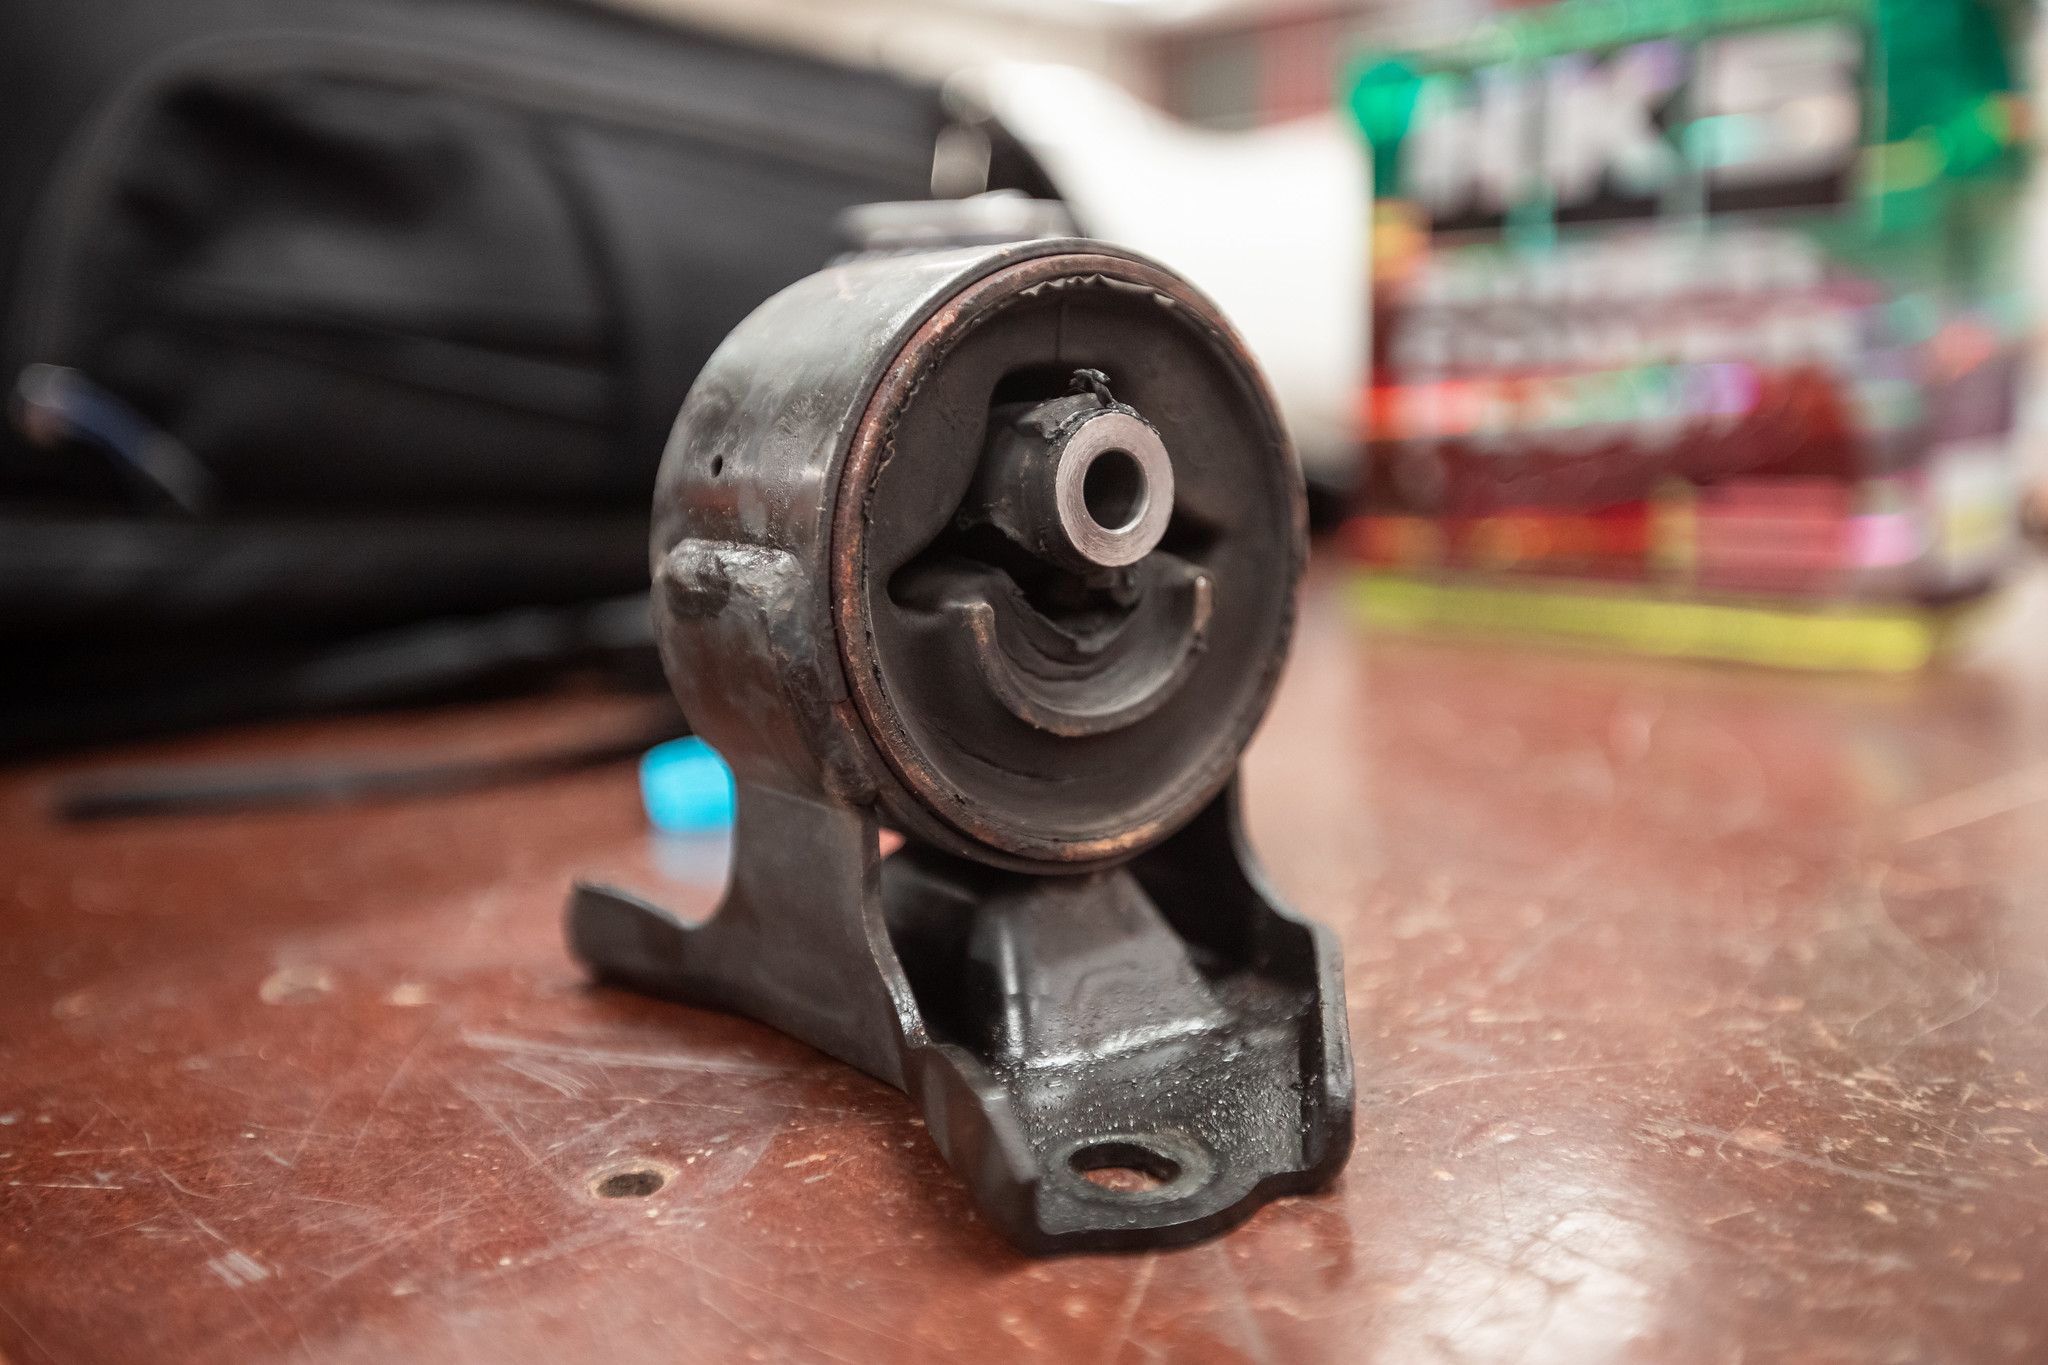
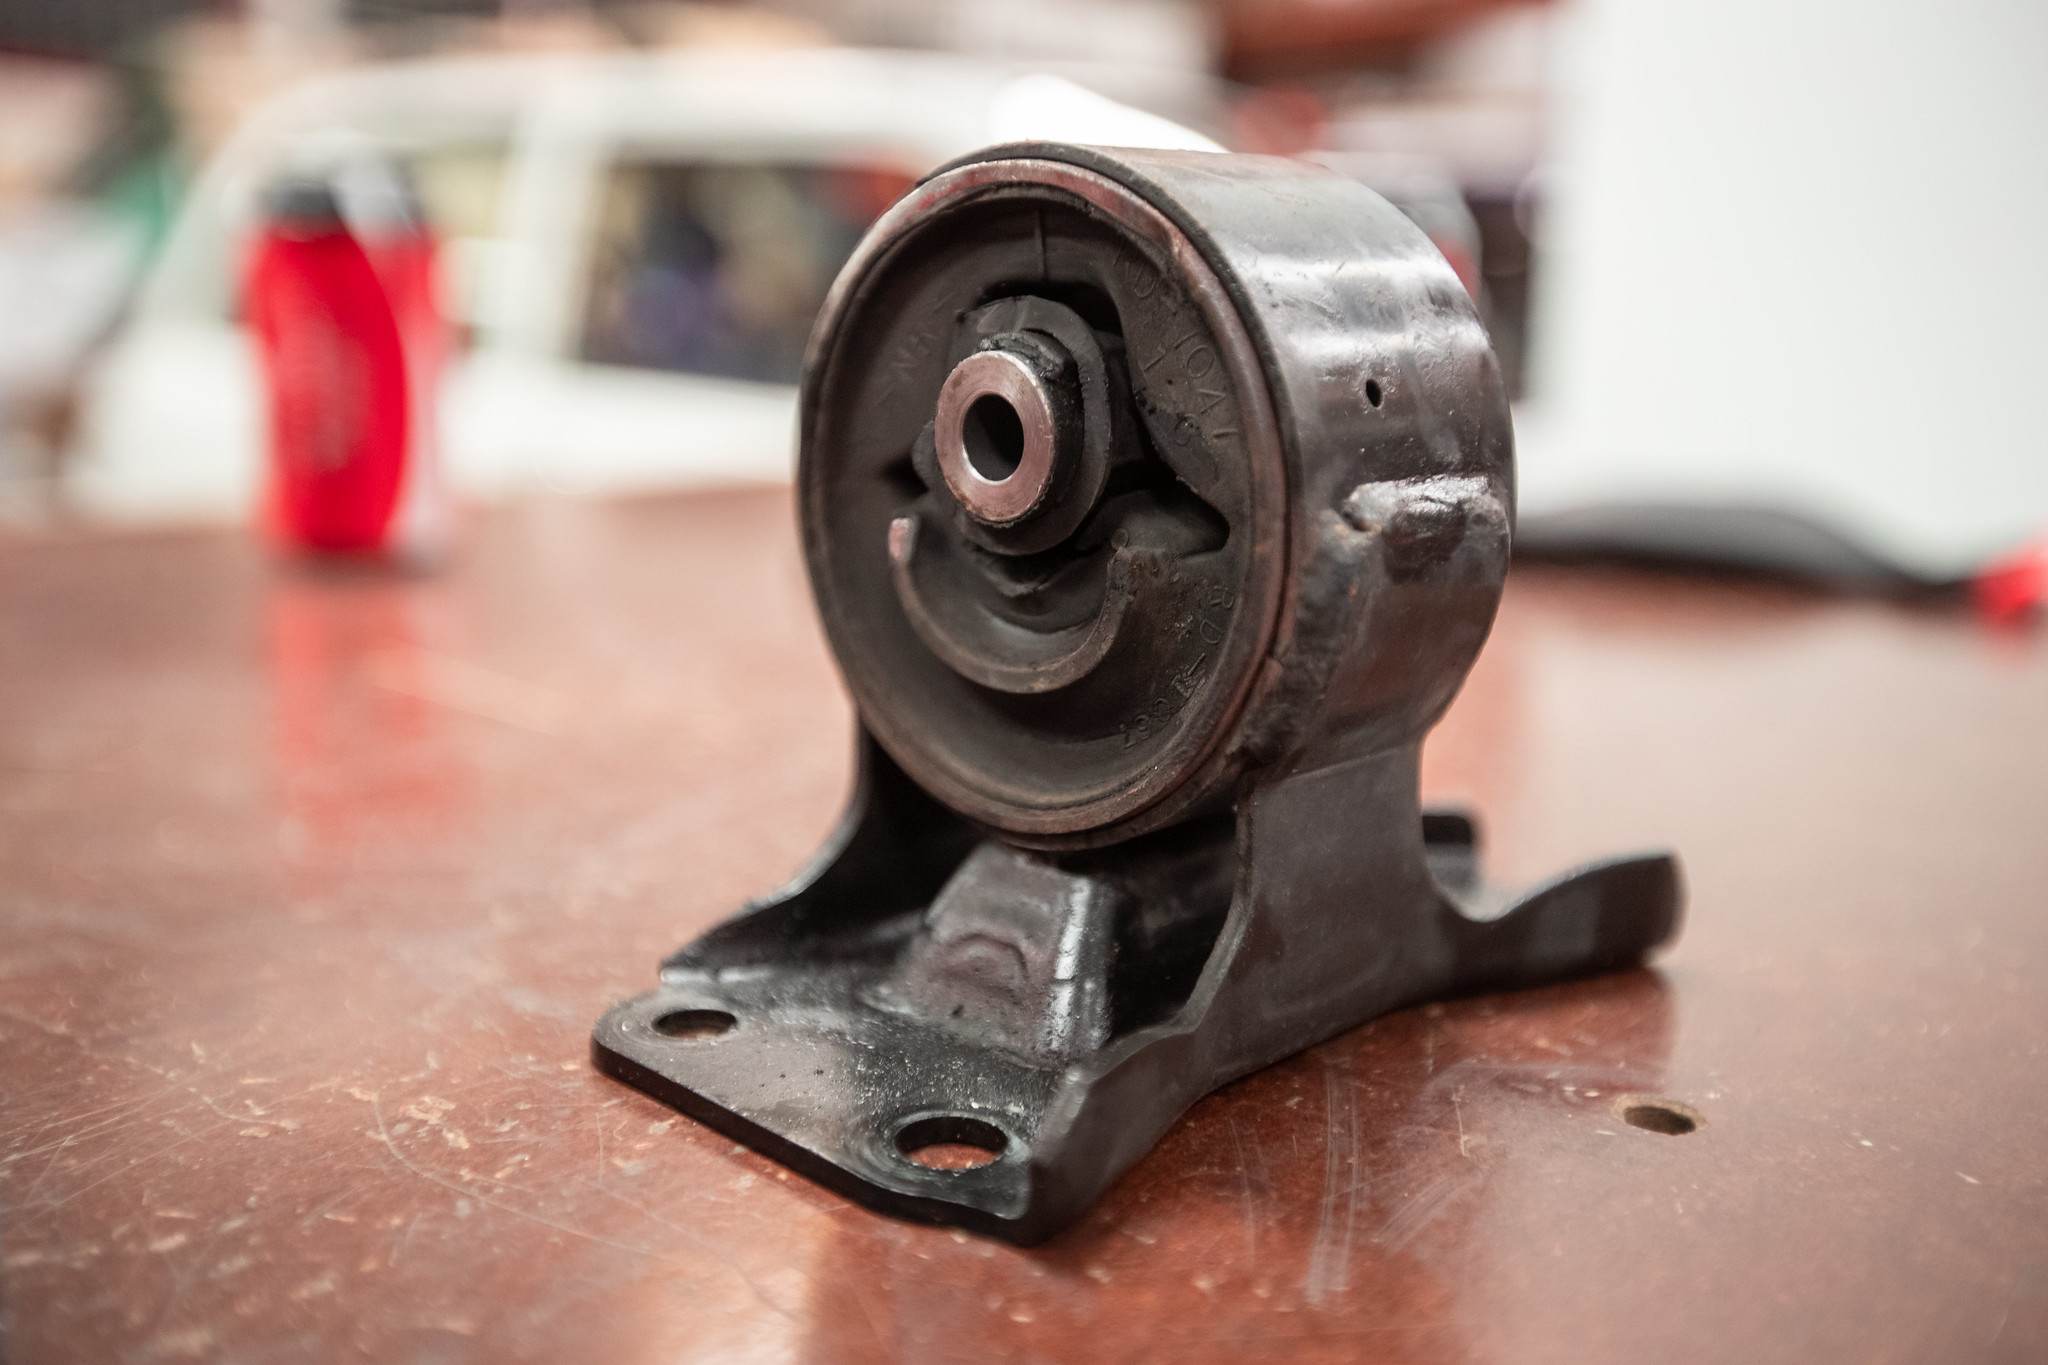
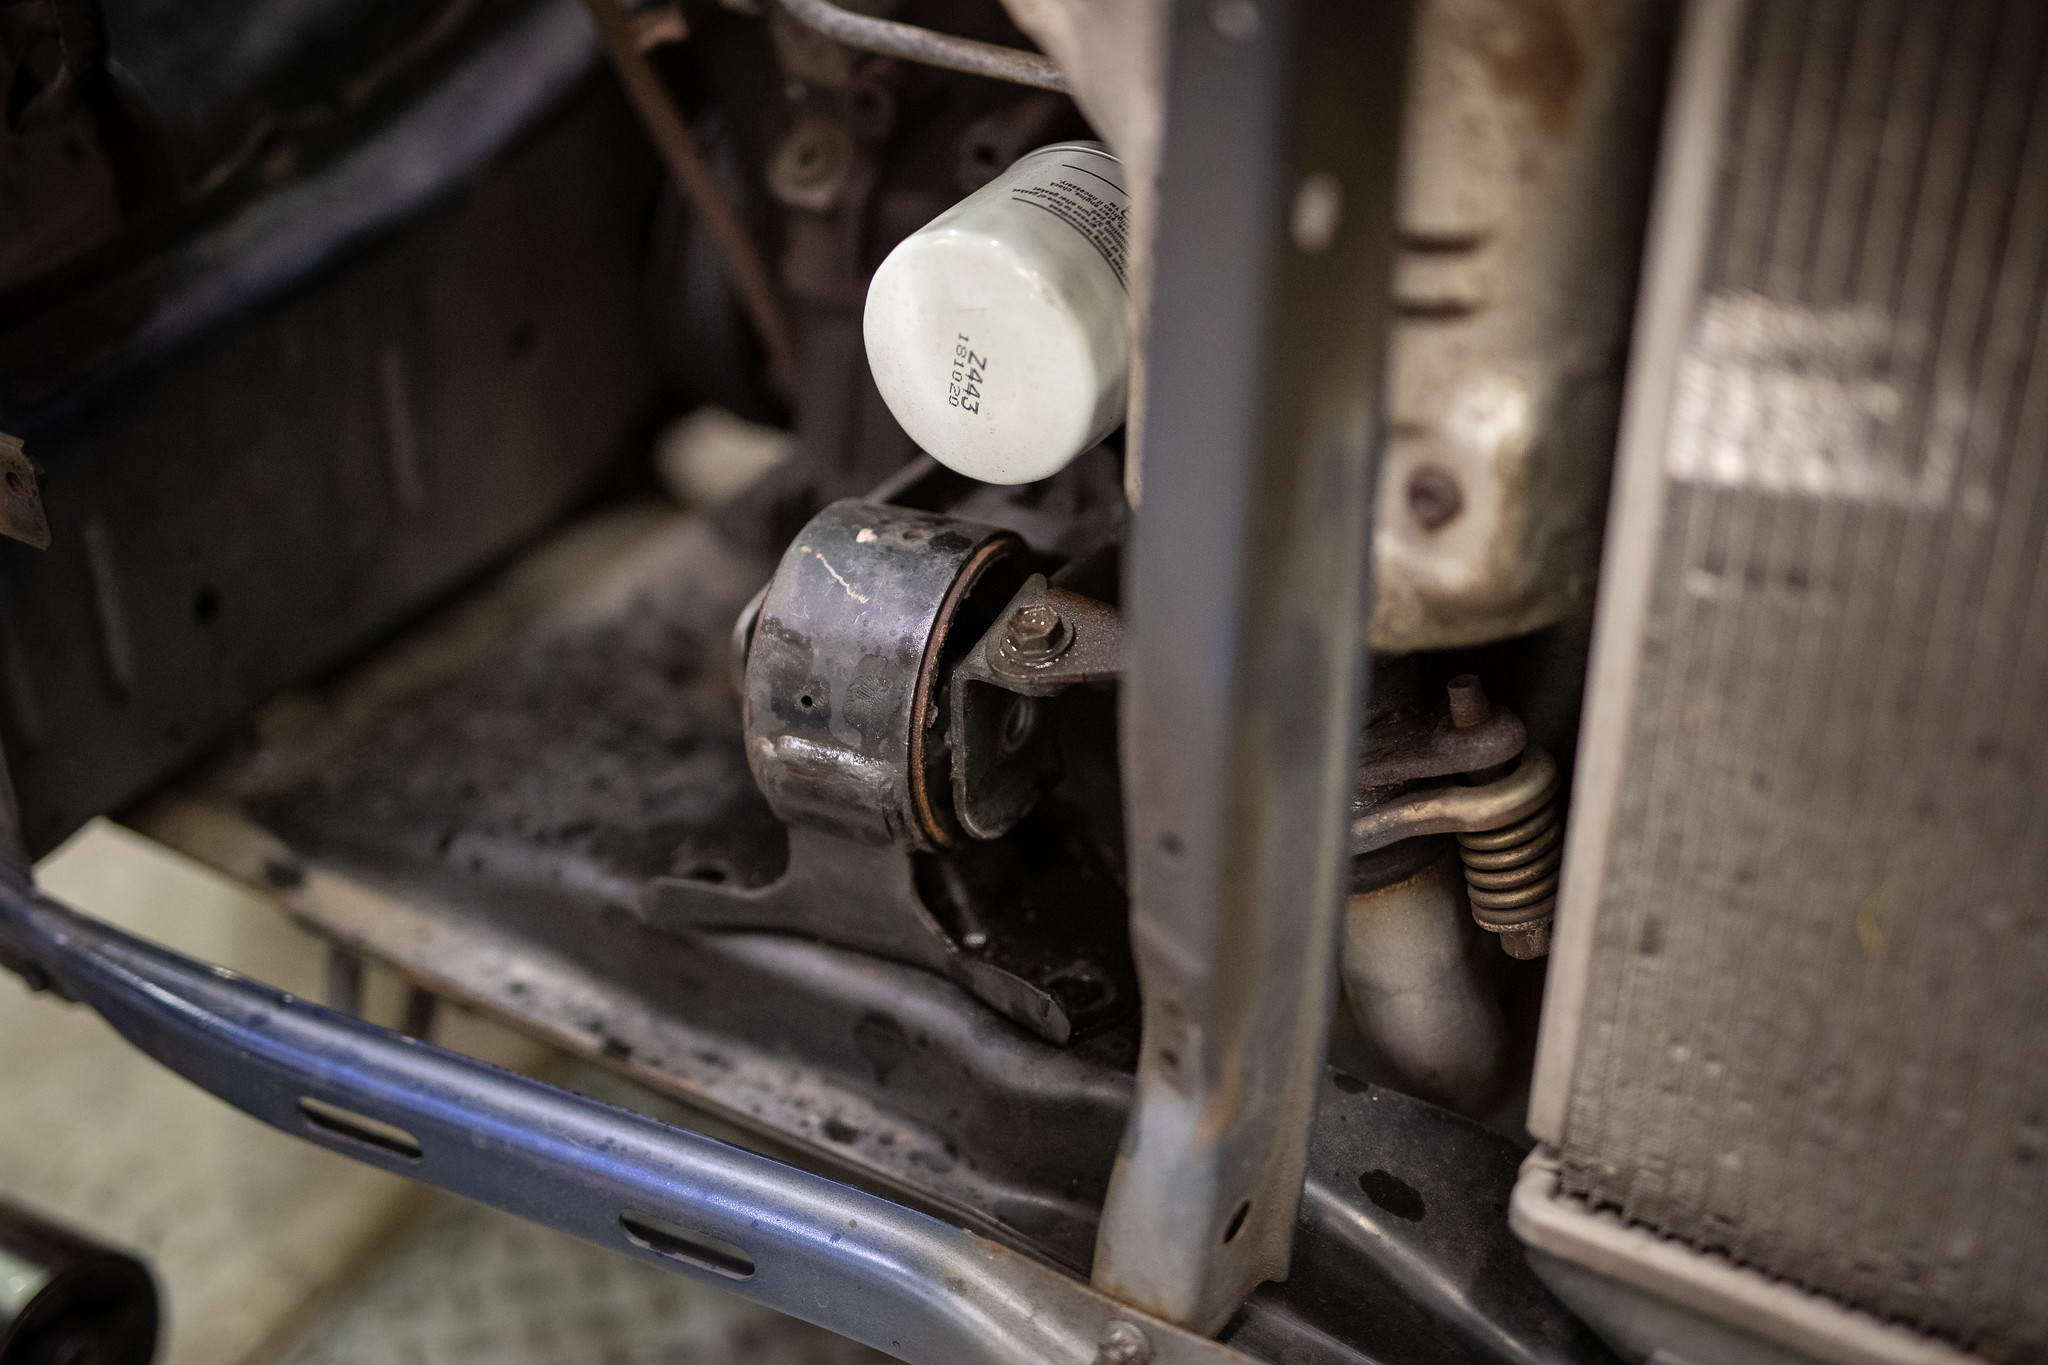
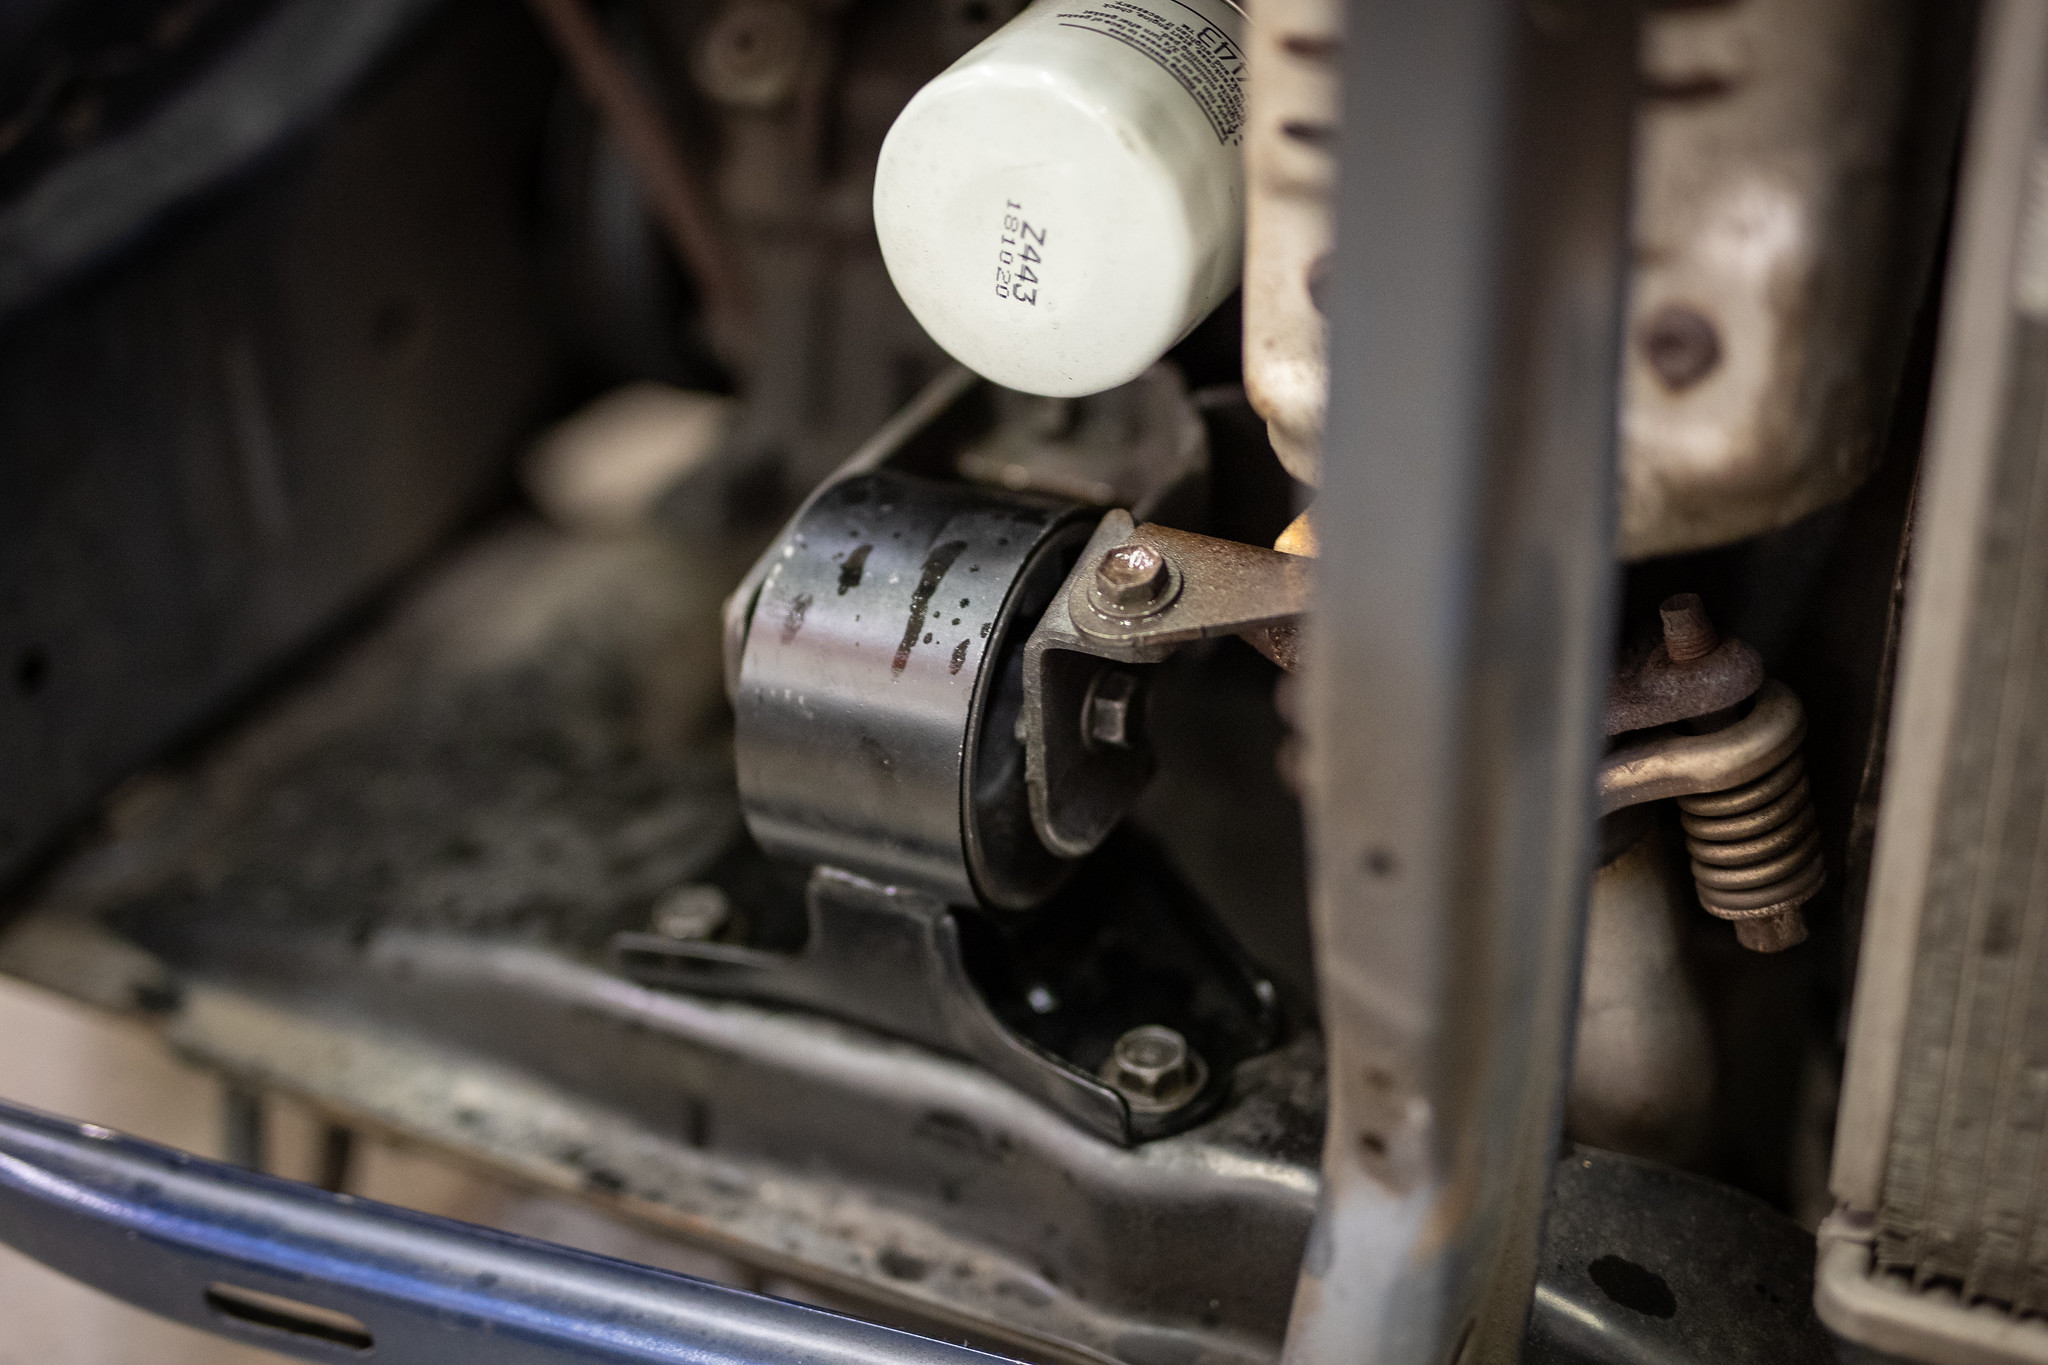
Before we finished up for the night I chucked in a new front engine mount we noticed was completely rooted from when we did the manual conversion.
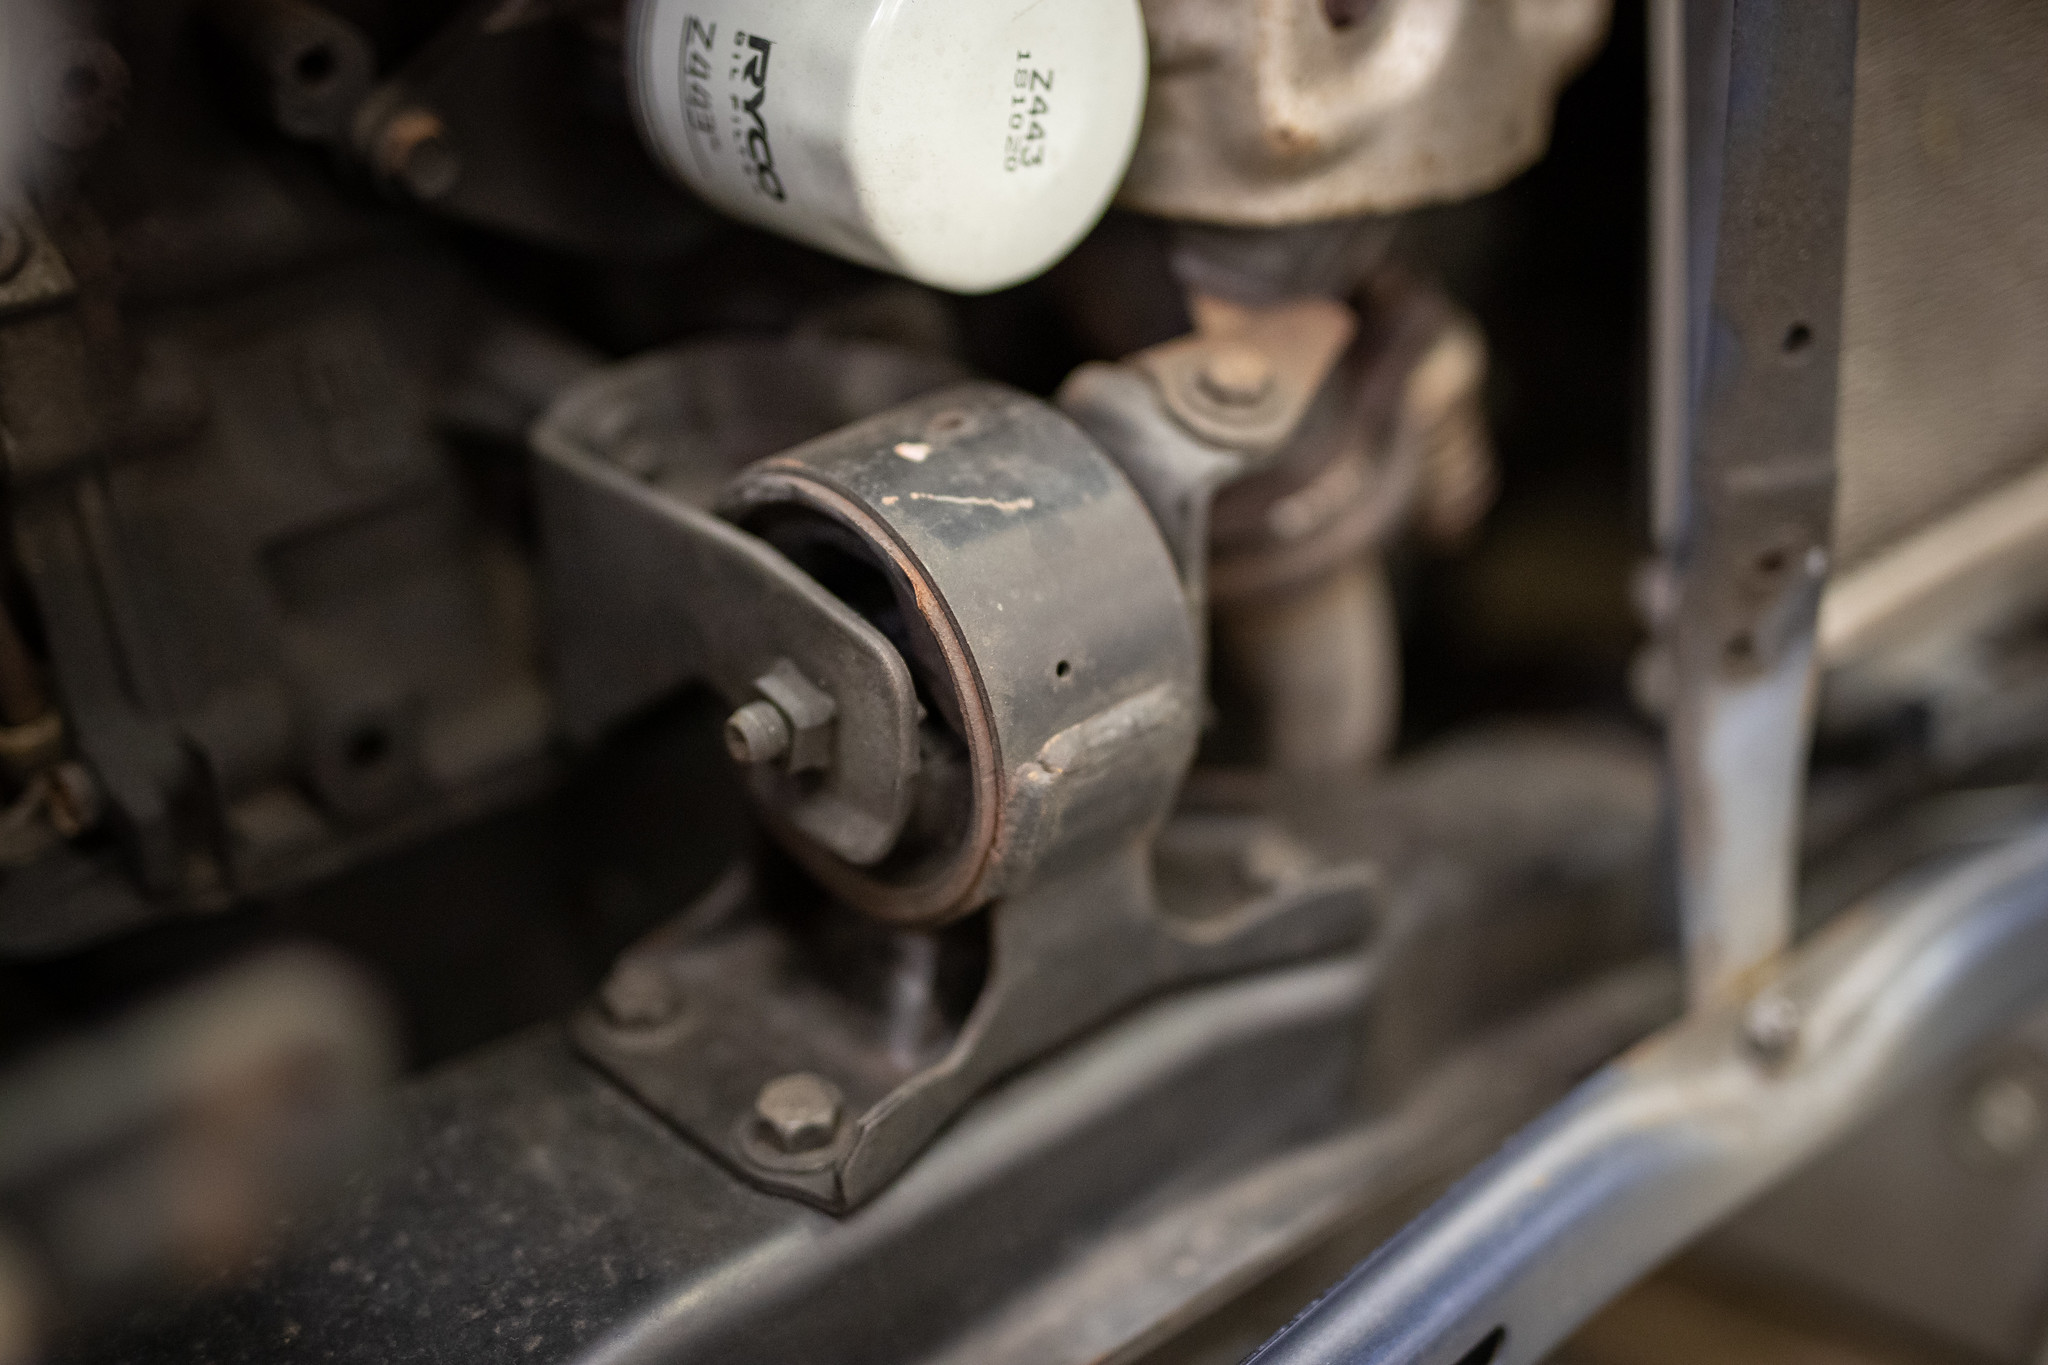
Gone.
New one is nice and fresh.
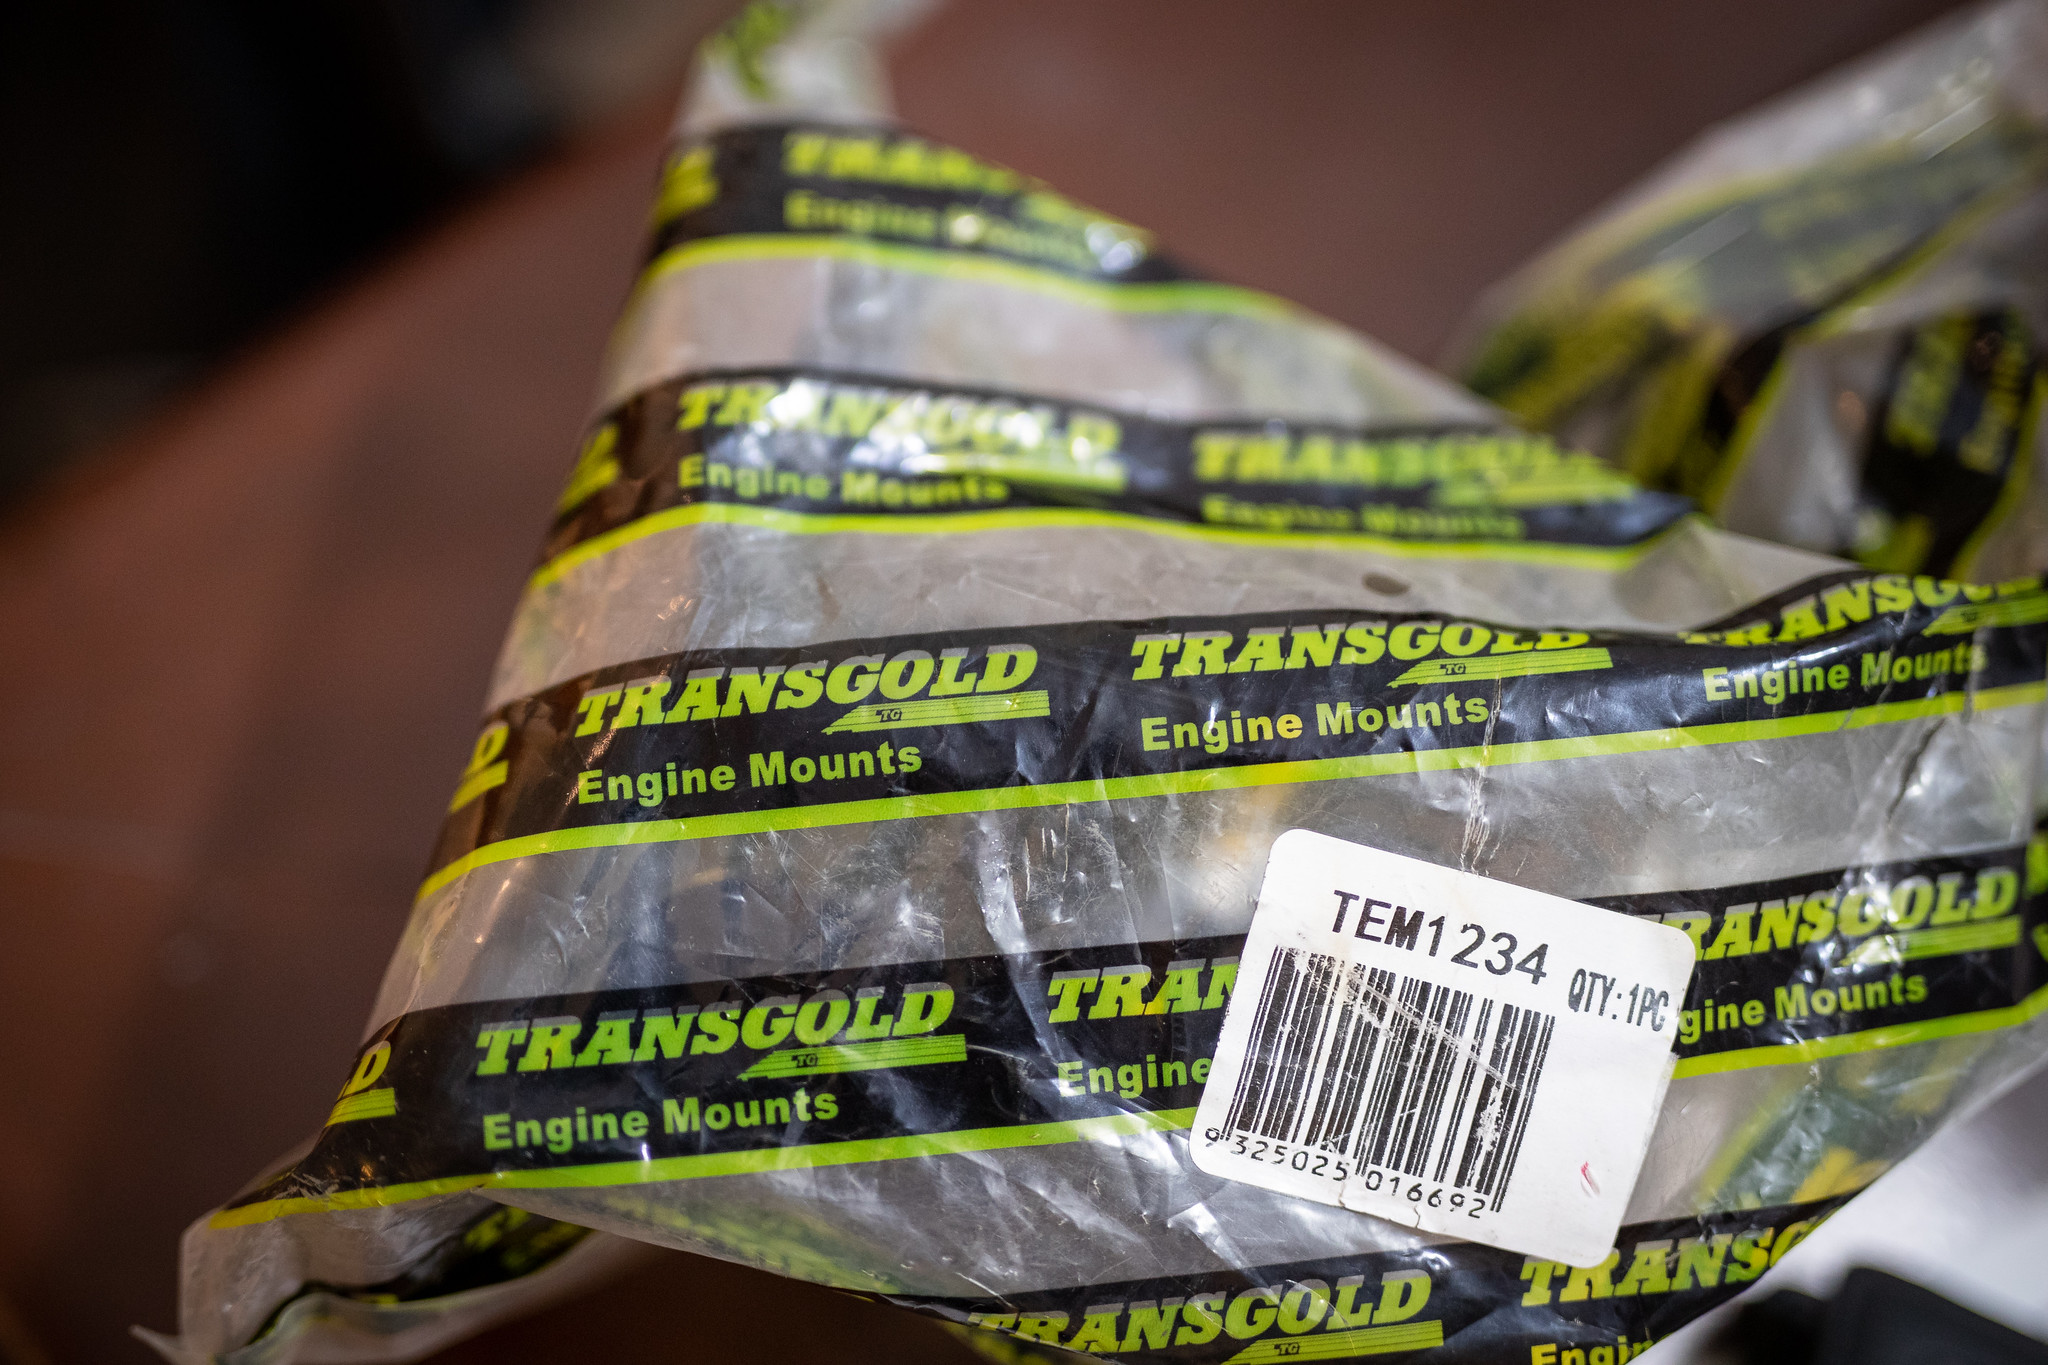
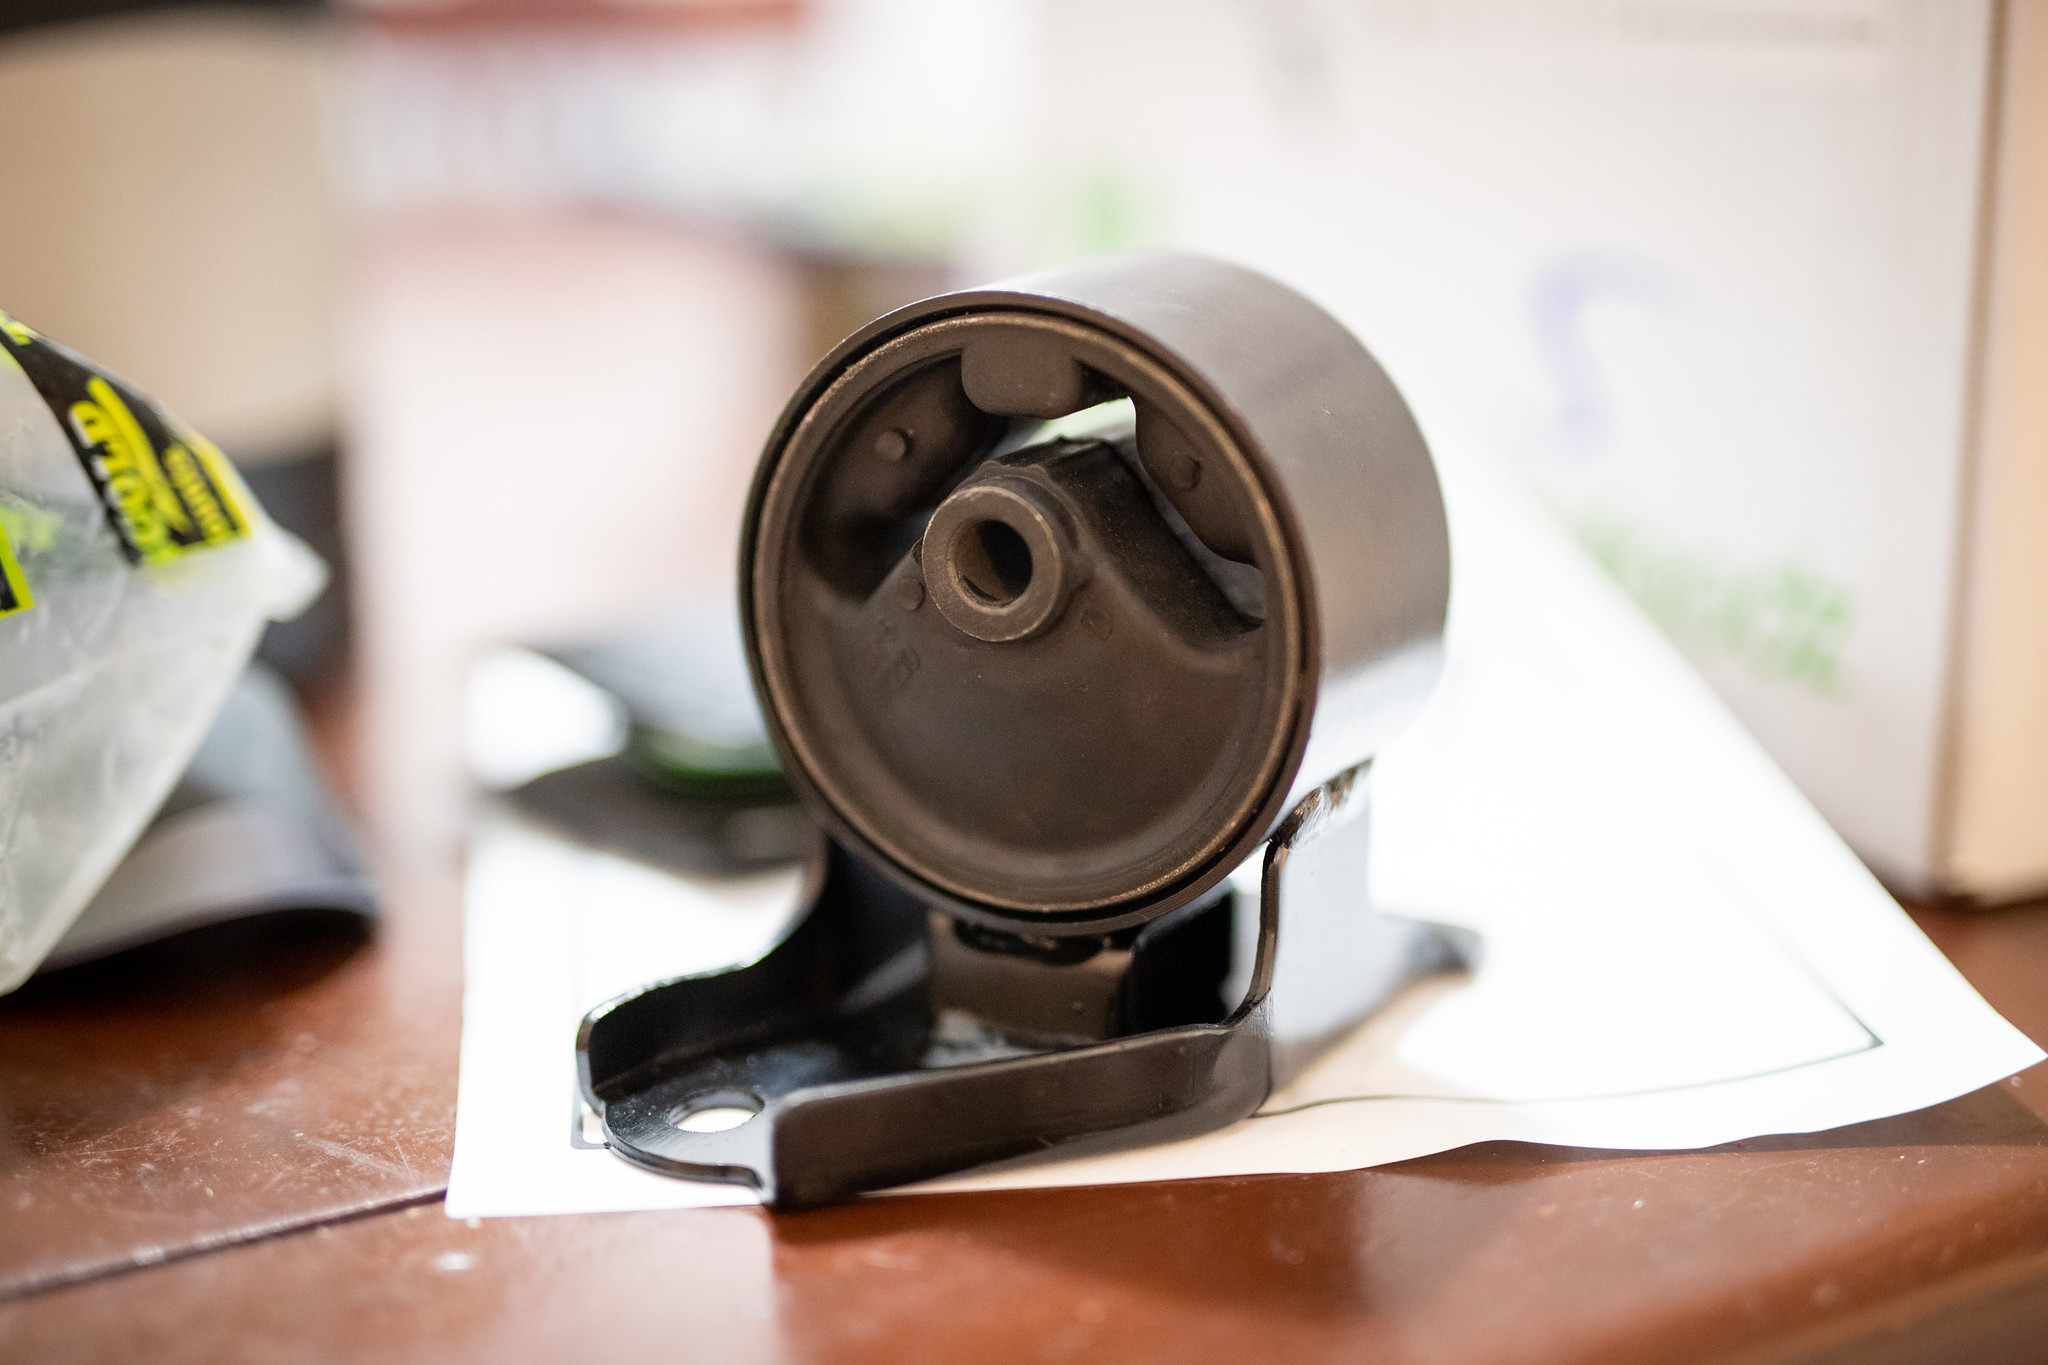
Out with the old, in with the new.
We got a couple of pics of the crew that evening too.

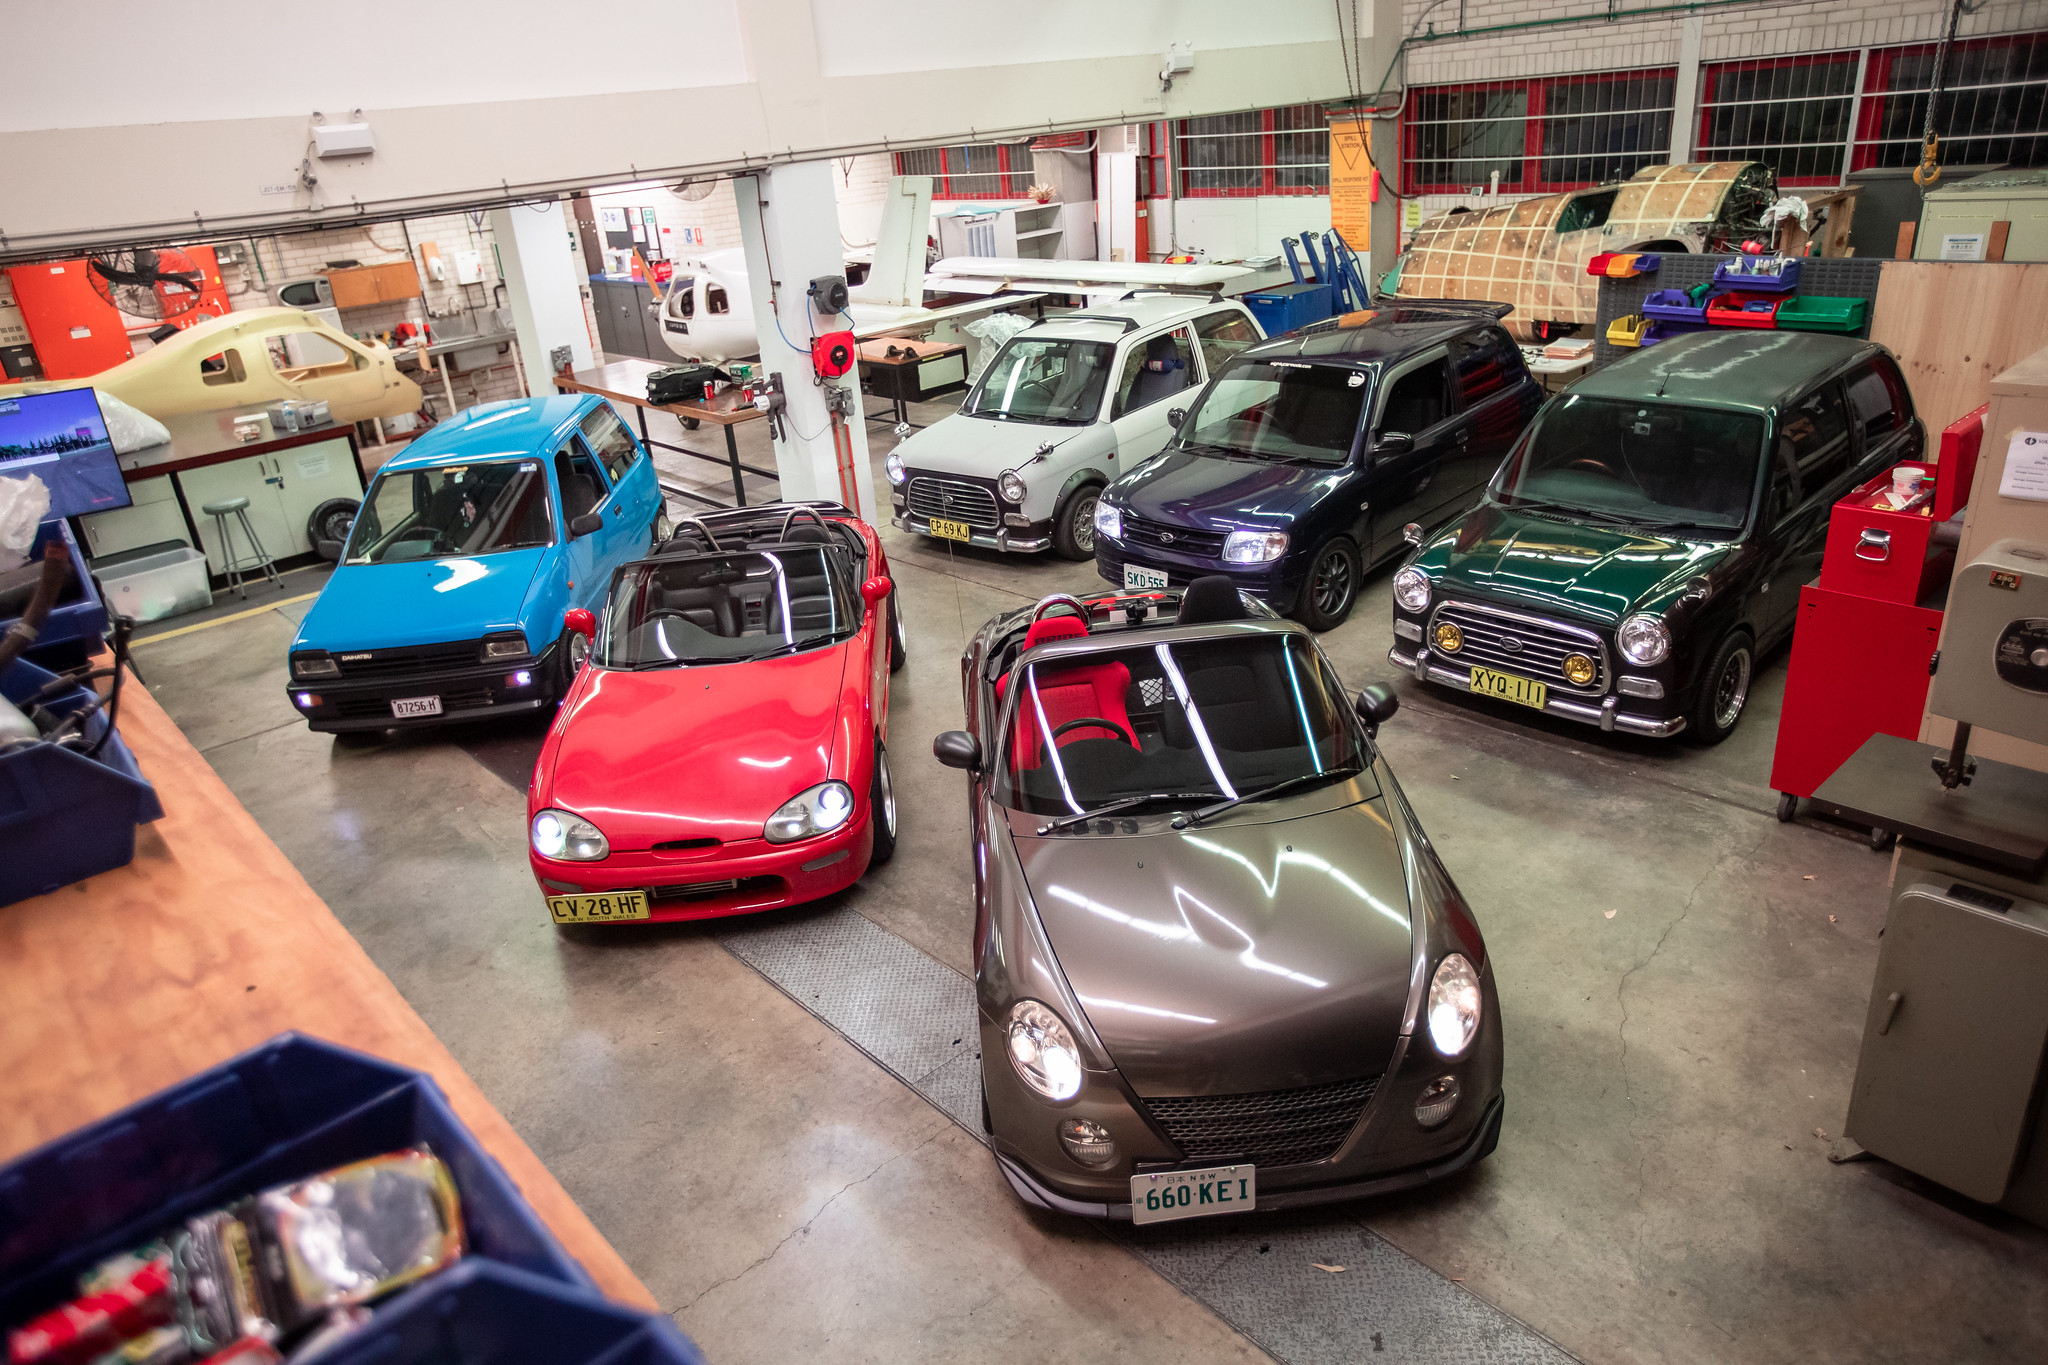
13 Likes
Hi James, awesome build to review.
I have a 2001 DAIHATSU L700S and after a recent service at my local mechanic to have the rocker cover gasket replaced and to isolate a tapping/vibration in the steering (it was bubble in the rear Tyre so they were both replaced and swapped to front) they advised the suspension is worn and should be replaced.
They quoted around $790-990 to do the work but I know they are going to just throw in a standard kit. I note you got your hands on the ZerOne SSR(550?) coilover suspension kit. I think I have found that same kit on ebay for $825AU from Malaysia and I have asked for a quote for the mechanic to fit the kit. If it is $400-500 for the work I am keen to consider that. Do you recommend the kit? Is $825AU a good price point for it:
Car is only used for daily driving but if I can get a performance suspension kit for $200-300 more than a standard kit I would much prefer that.
If you do advise it would there be any tips for the set-up I should advise the mechanic or I can do myself?
In my experience the Zerone is not a performance product. It is a product for slamming the car down low and being about to stand back and admire how low it is, as opposed to making the car drive better. BC Racing is probably the only off the shelf performance option.
1 Like
I think they are a decent option, it made a massive difference to body roll and cornering in my car. I never really drove the car on completely stock suspension but I did have lowering springs on the car, it was extremely bouncy. Personally I’ve actually found it to be more comfortable then it was, even on full hard on the front. BC likely is a better option, as they’re easy to get and easy to contact if you ever have an issue but they are another 3-400 more. Neither come with camber tops which is annoying.
You’ll certainly save a good bit of cash putting them in yourself.
1 Like
It doesn’t look that complicated either with the right gear.
Aren’t they pictured here on the units?
https://www.ebay.com.au/itm/BC-Racing-Coilover-Suspension-Kit-Daihatsu-Mira-Gino-Cuore/113924307524
Nah that’s just a generic picture. The rears aren’t a full coilover, they are a separated shock and spring. And Cuore ones don’t come with them.
1 Like
Thanks for the heads up and sorry if I had started thread hijacking I am creating my own thread. So in theory you have to re-use the camber tops from my existing suspension?
I have found the specific kit (V1 Design VN Series) and can clearly see no camber top and the rear is as expected;
https://bcracing.com.au/vn-coilovers
- Front OEM Upper Mounts Re-used
- Rear OEM Upper Mounts Re-used
So a spring compressor will be needed as well to get the old camber tops etc?
All good I have just found your very detailed thread.
The Australian kit doesn’t but have a look here were they are getting the V1 VM kit for the Mira with camber tops included:
WOW - I have just had an email response from BC Racing confirming the VM kit will work (it will just have the standard rubber tops listed in the description);
"Hi Paul
This is the kit you are after, we do not have photos of every kit unfortunately as we have such a large range that not our resellers can purchase every kit to be photographed
This kit is in stock at BC HQ so will be 7-10 working days to your door
We have had extremely good feedback on this kit from Cuore owners"
Look at the ‘Models’ tab…
2 Likes
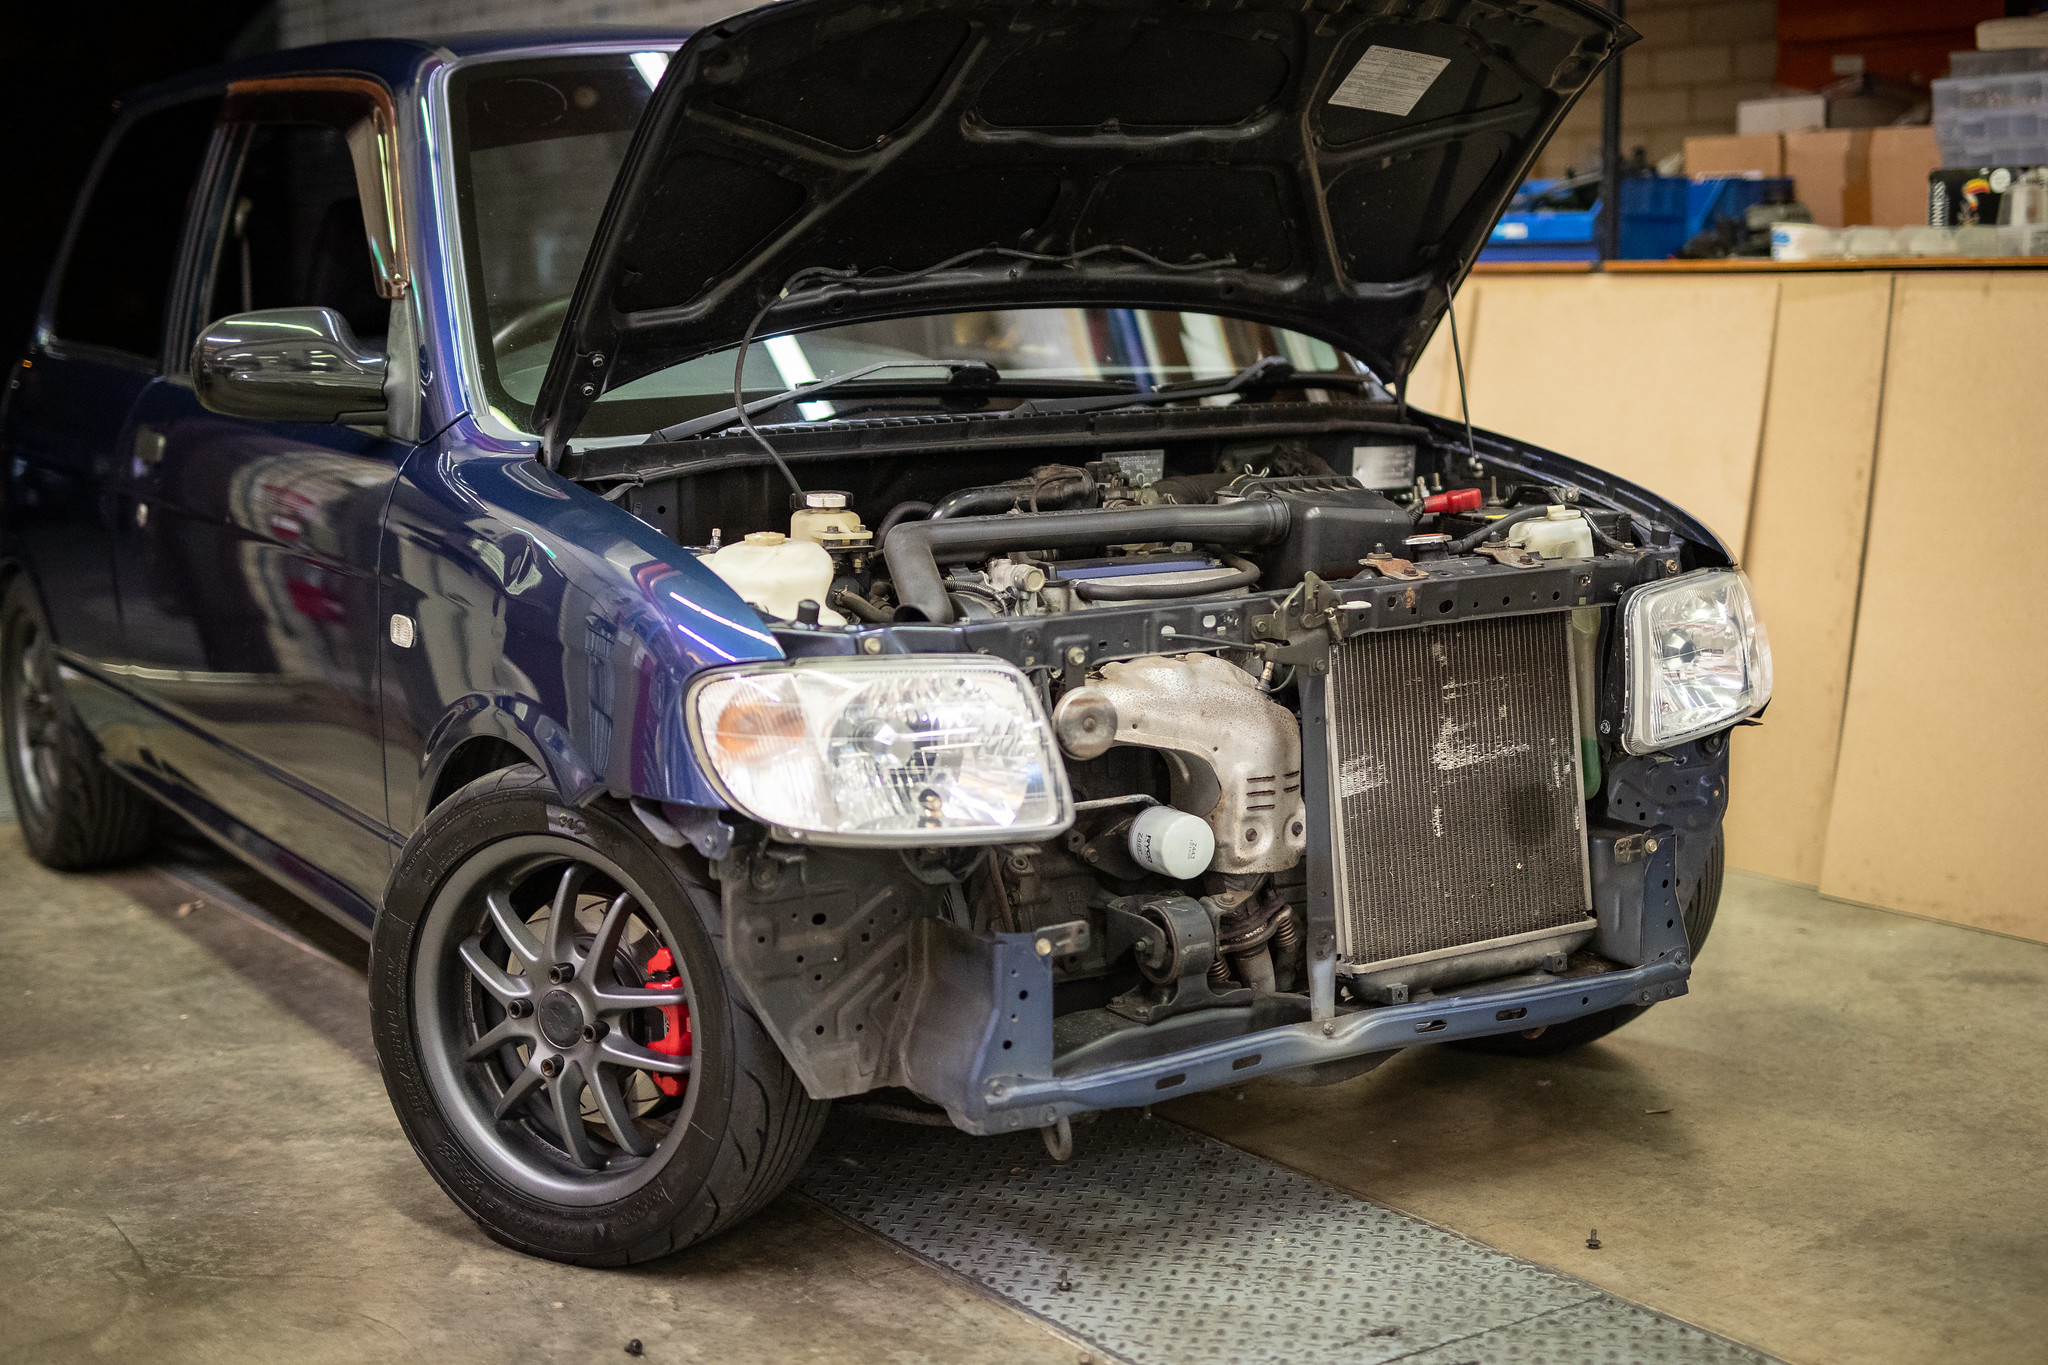
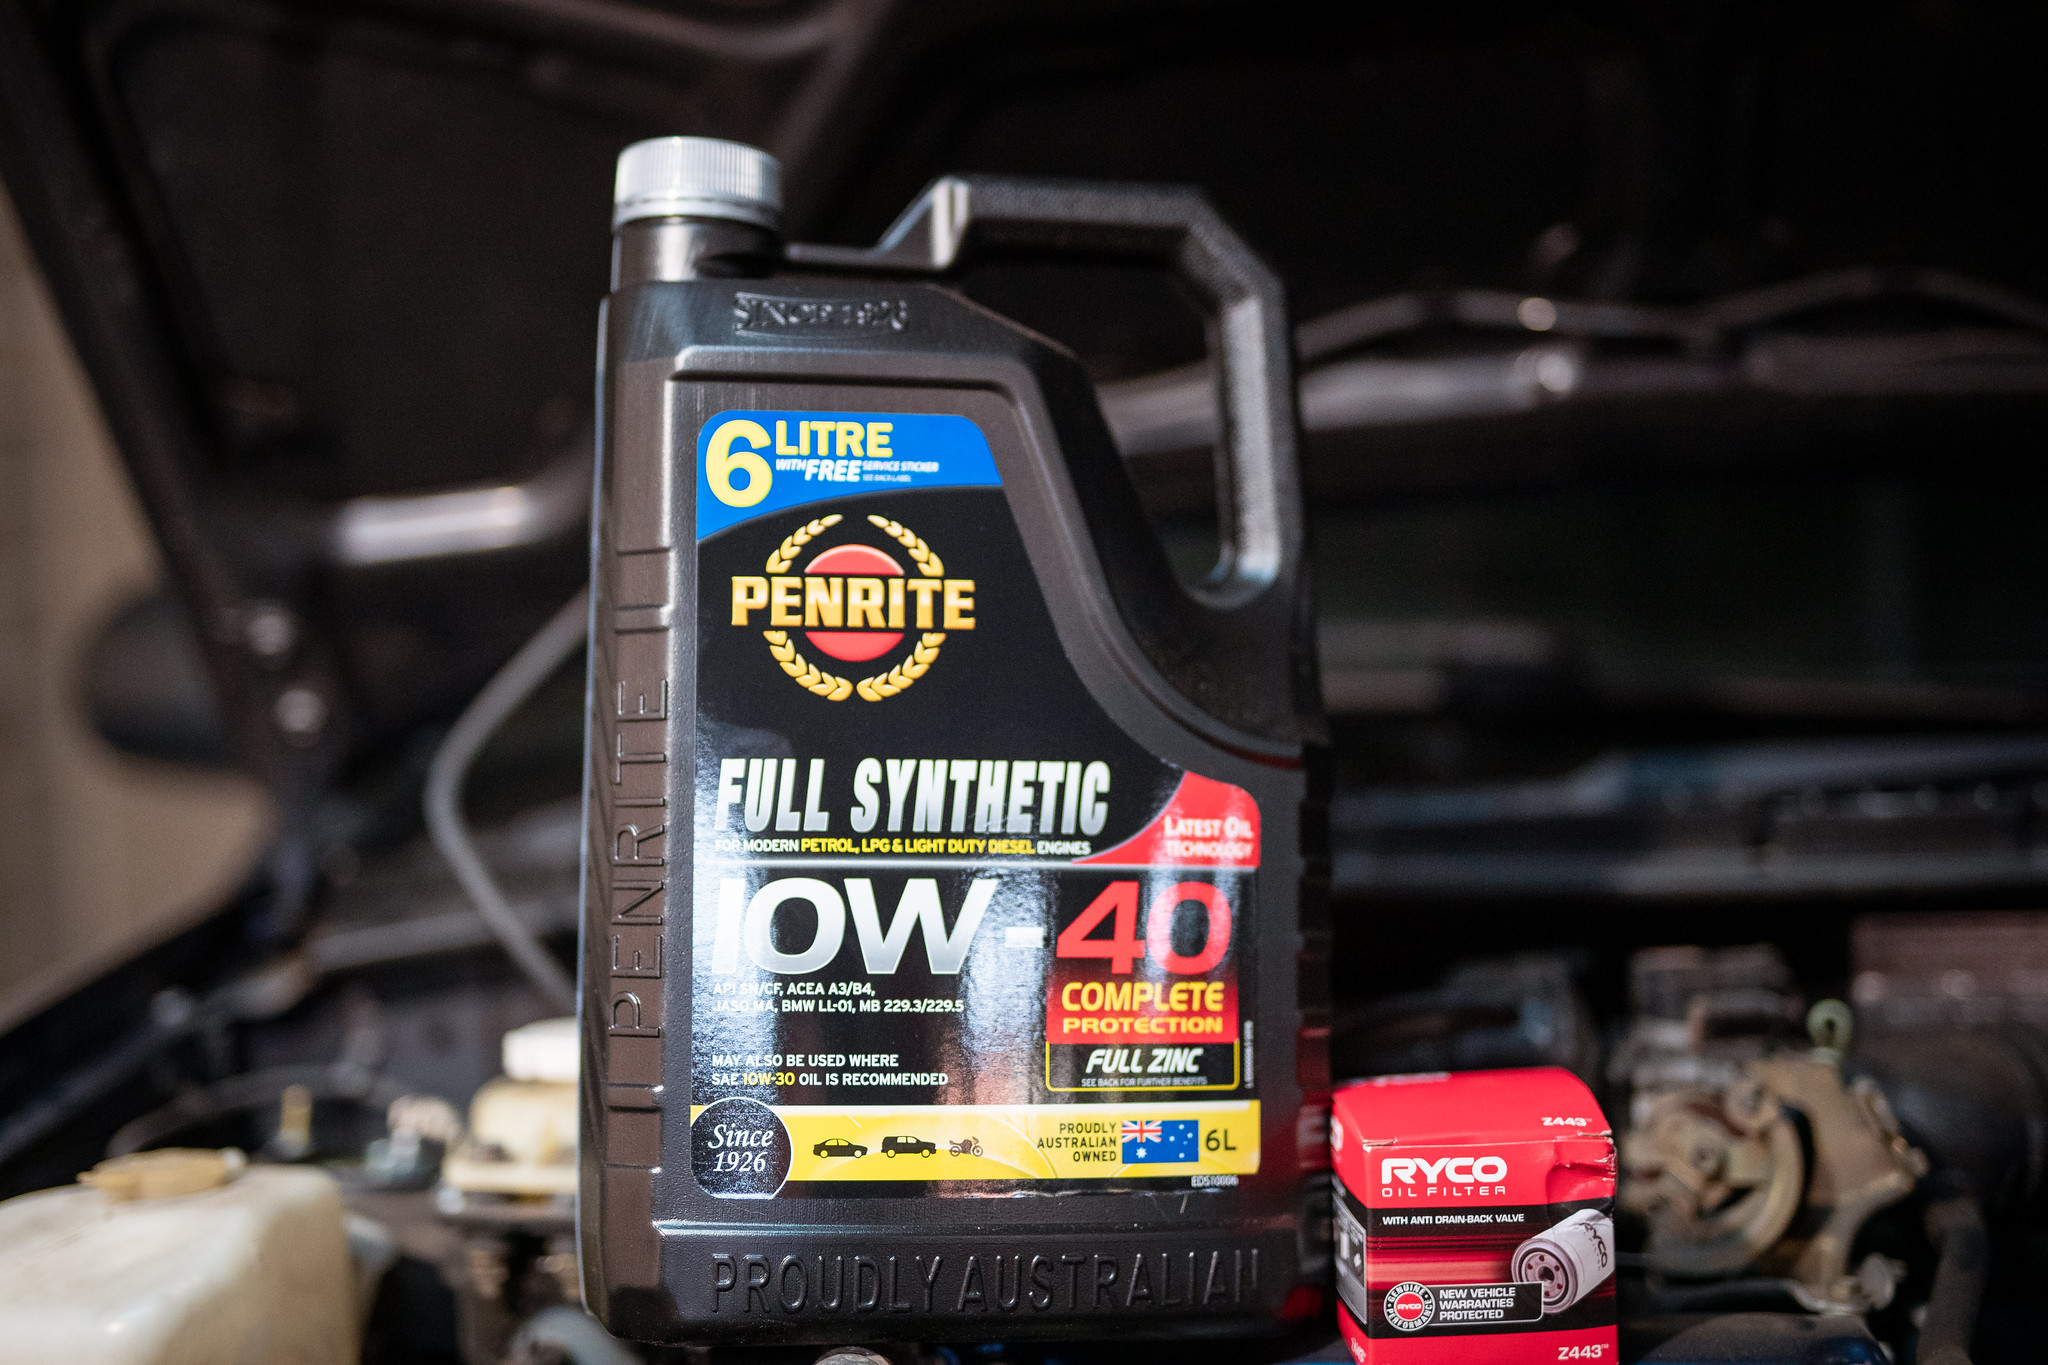
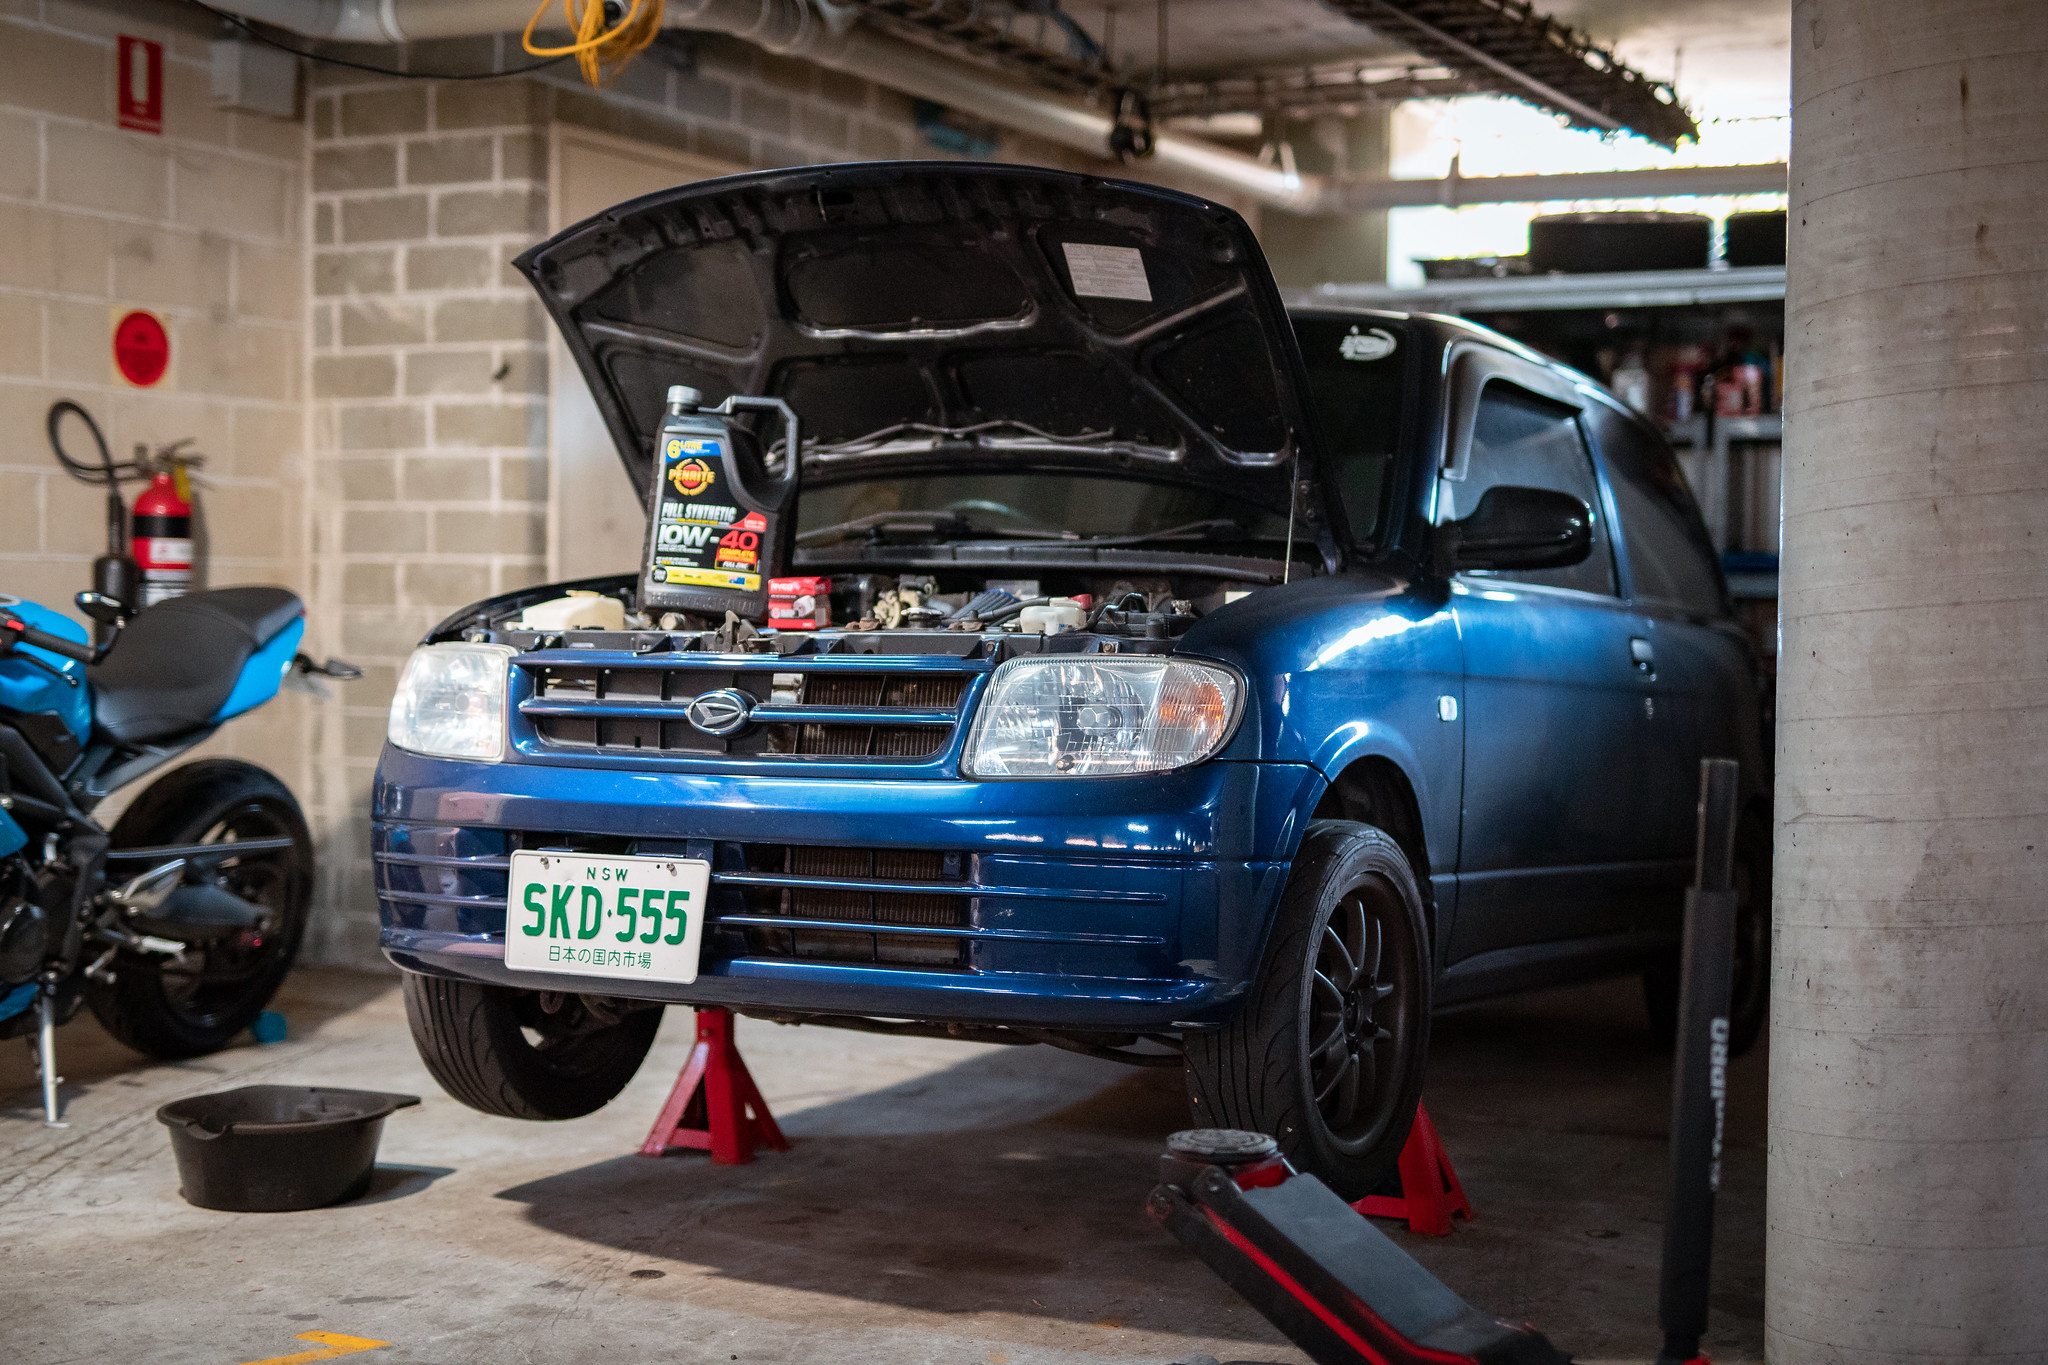
January 2020: Supercheap Auto recently had a big sale on some things, like oil and such. So I took this opportunity to service the car. It’s been less than my usual 5,000km, however, I’ve done three track days in the car so it’s well overdue in my eyes.
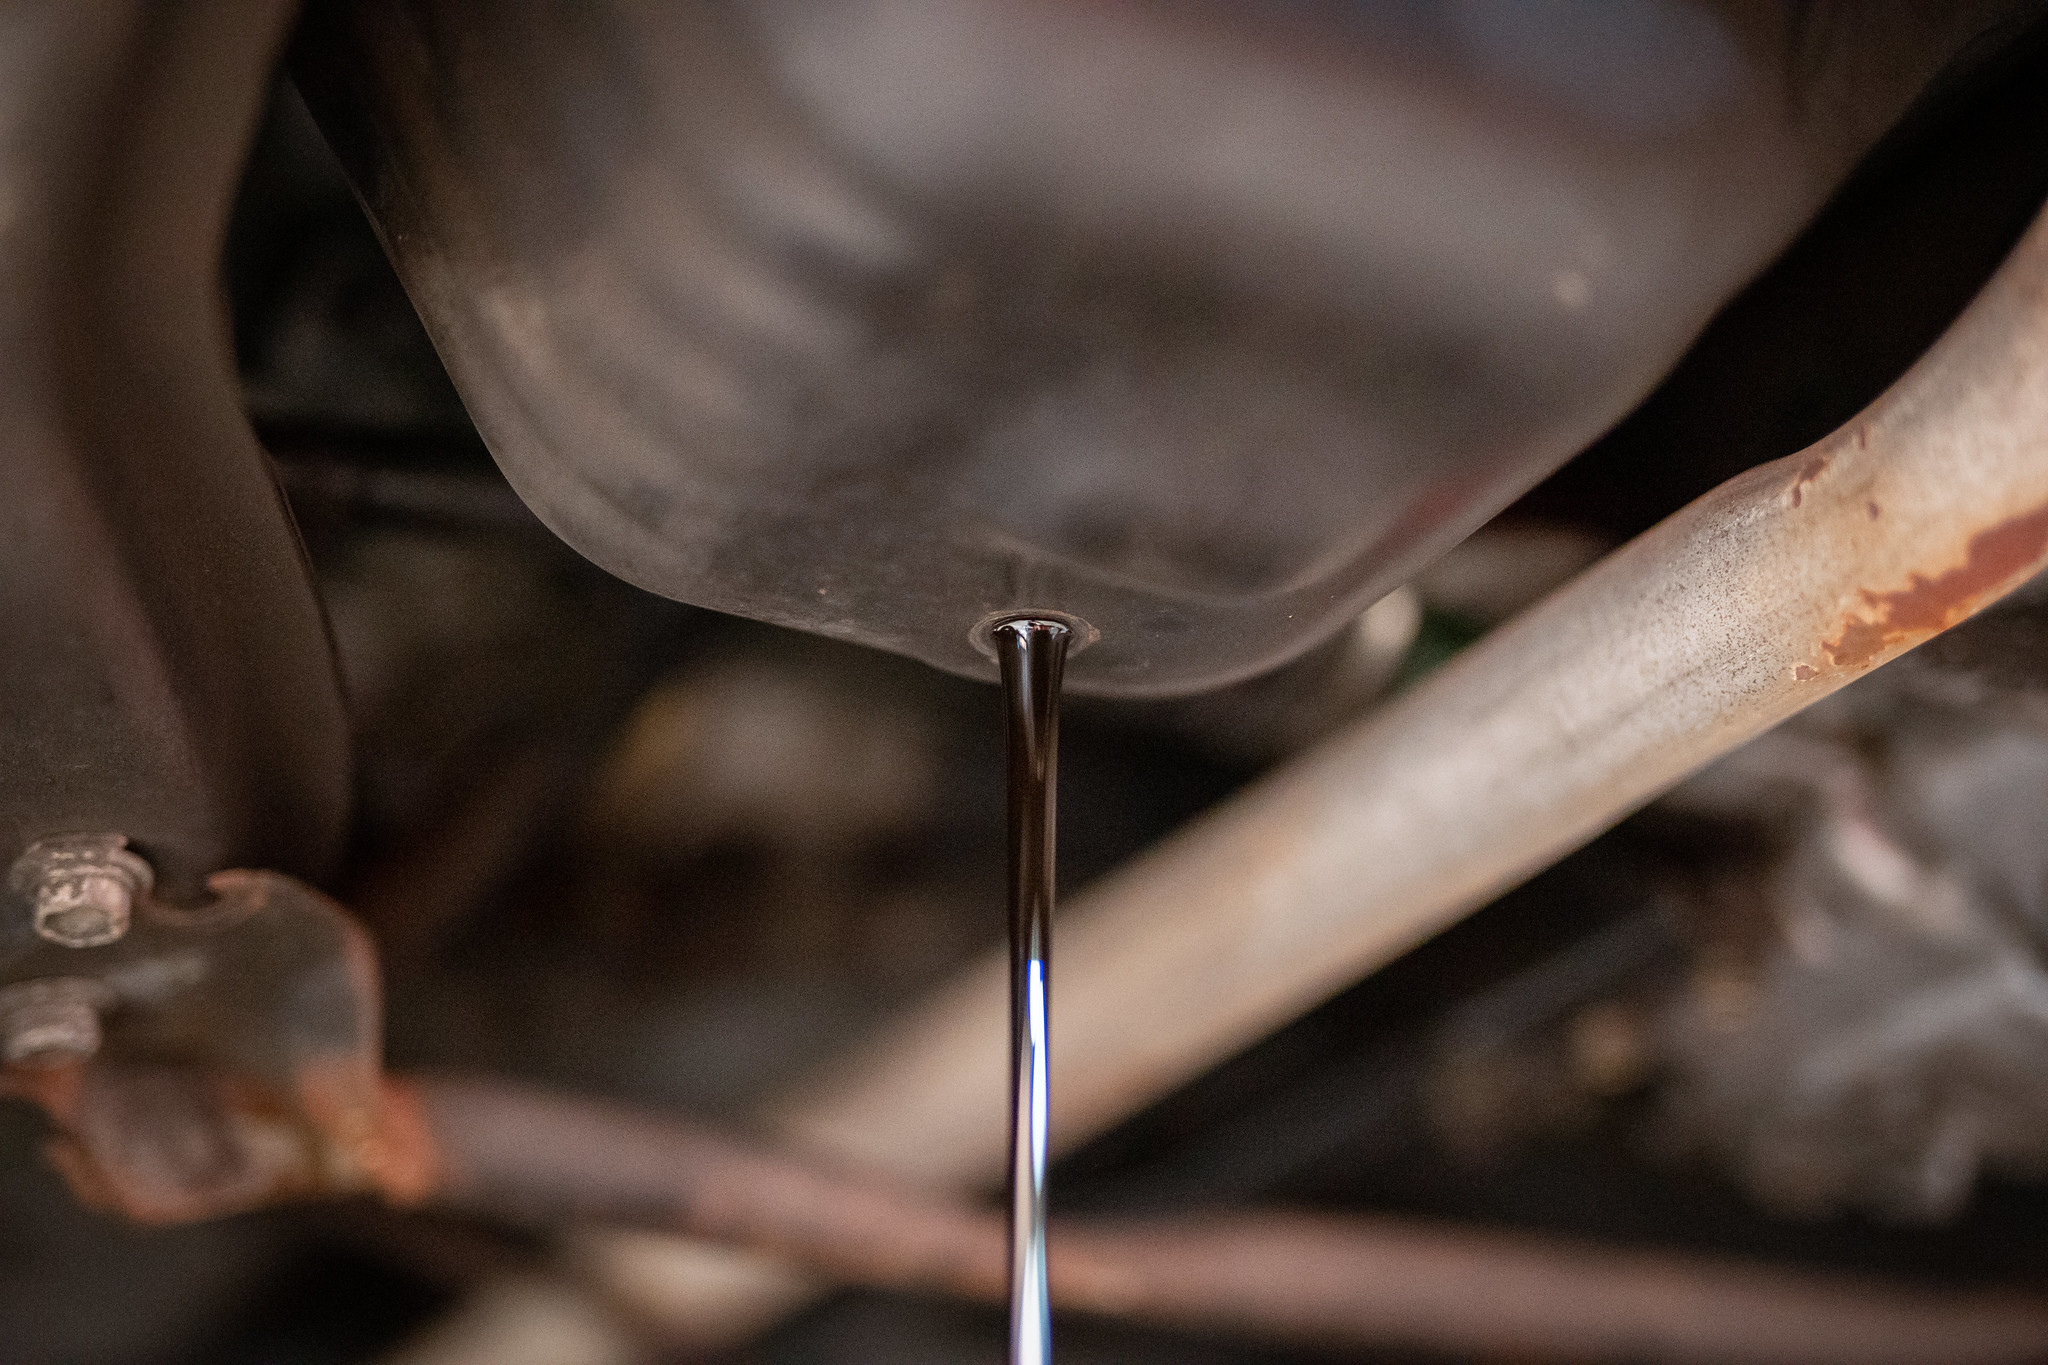
Car was jacked up and drained quick smart.
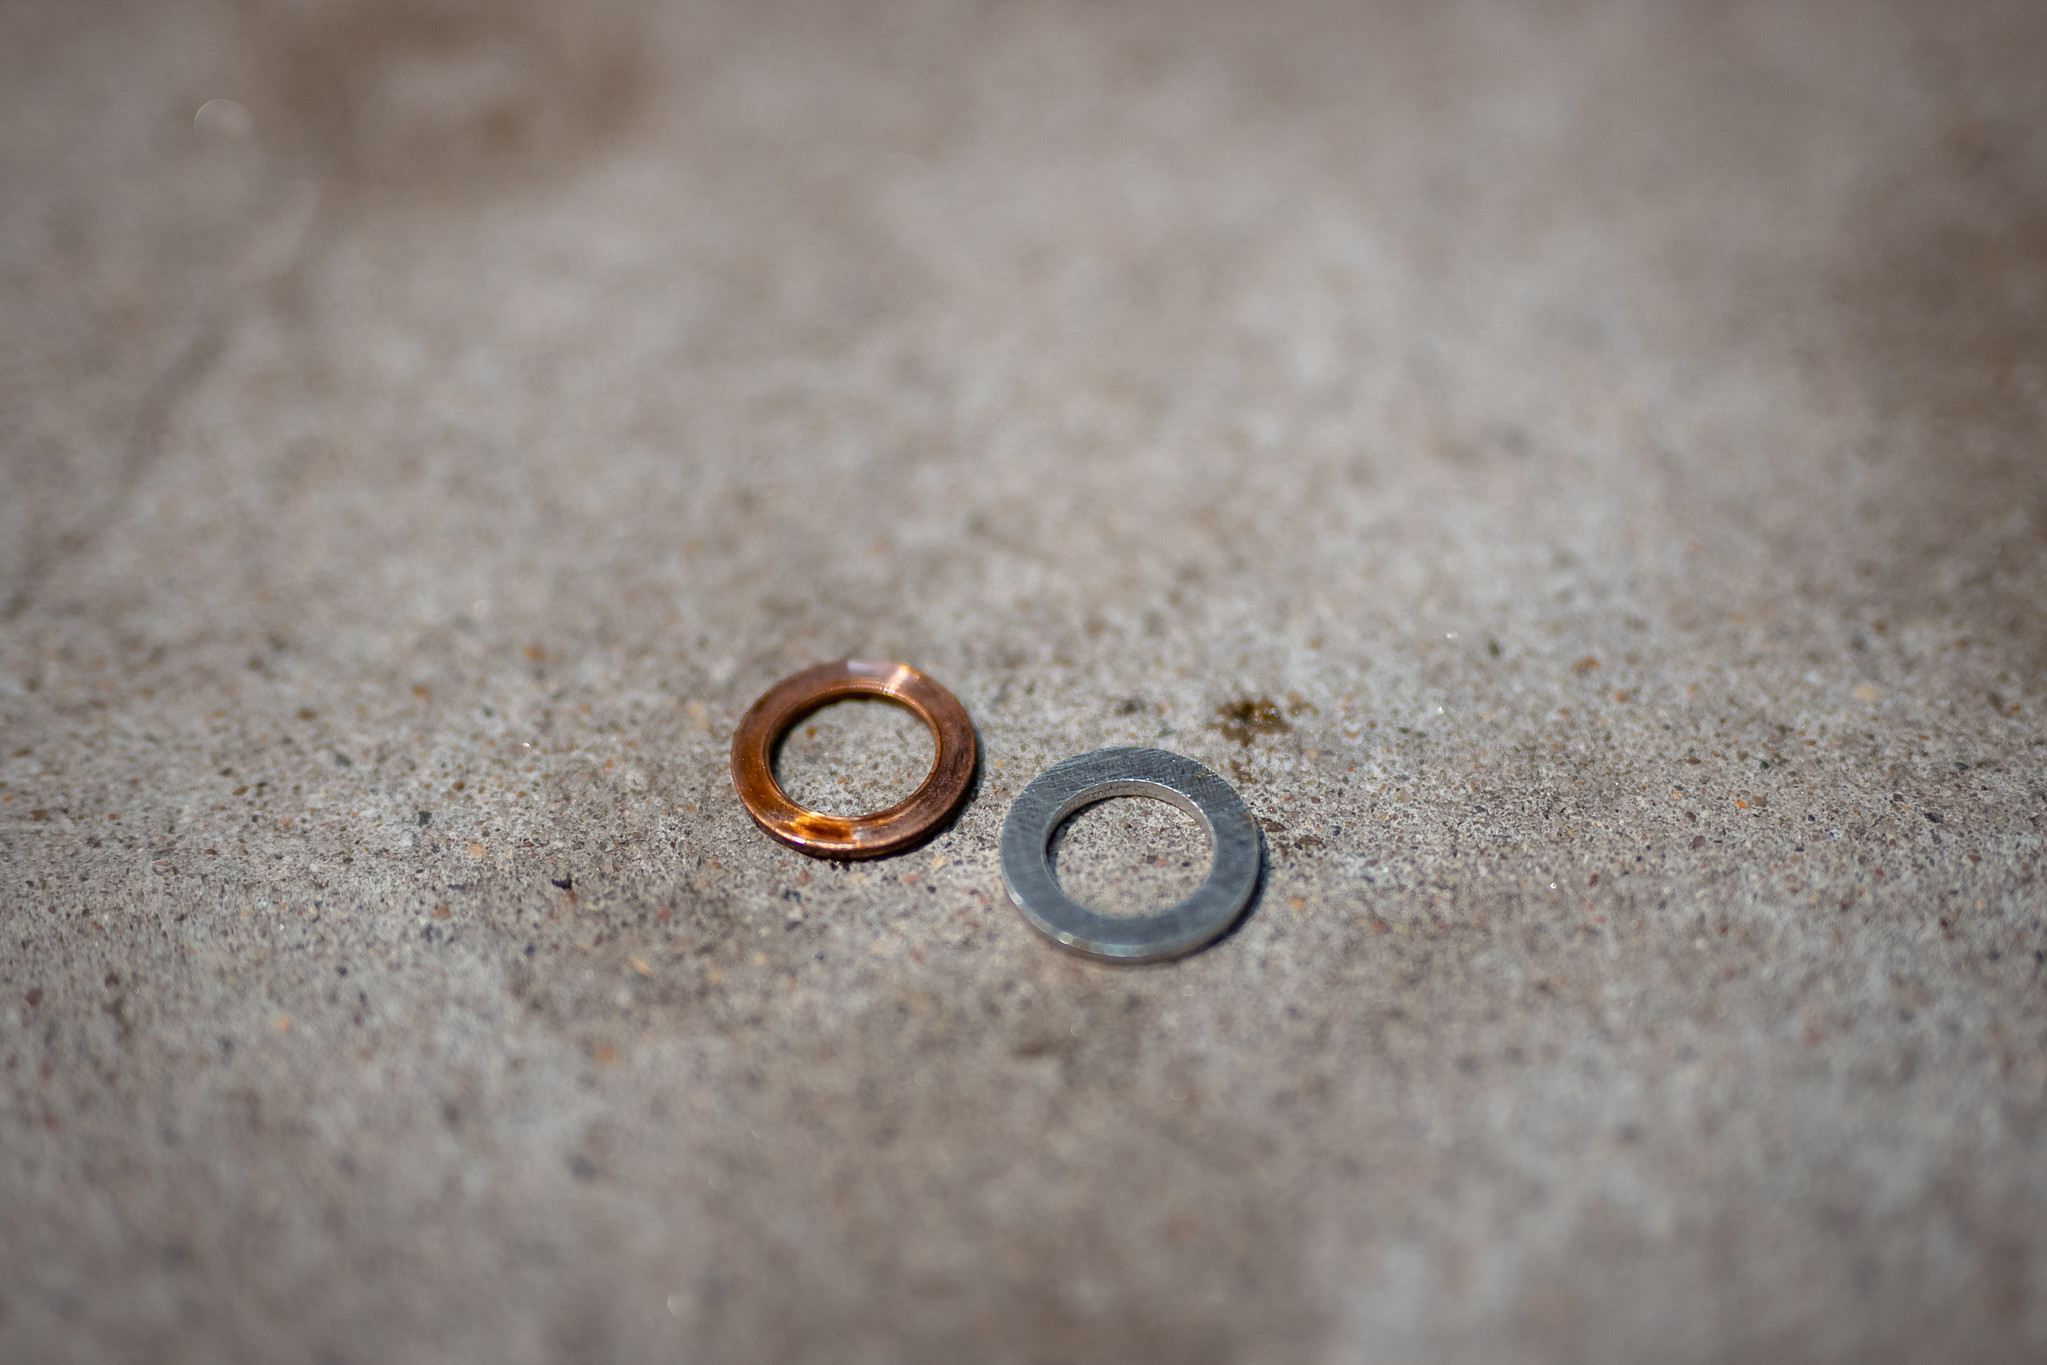
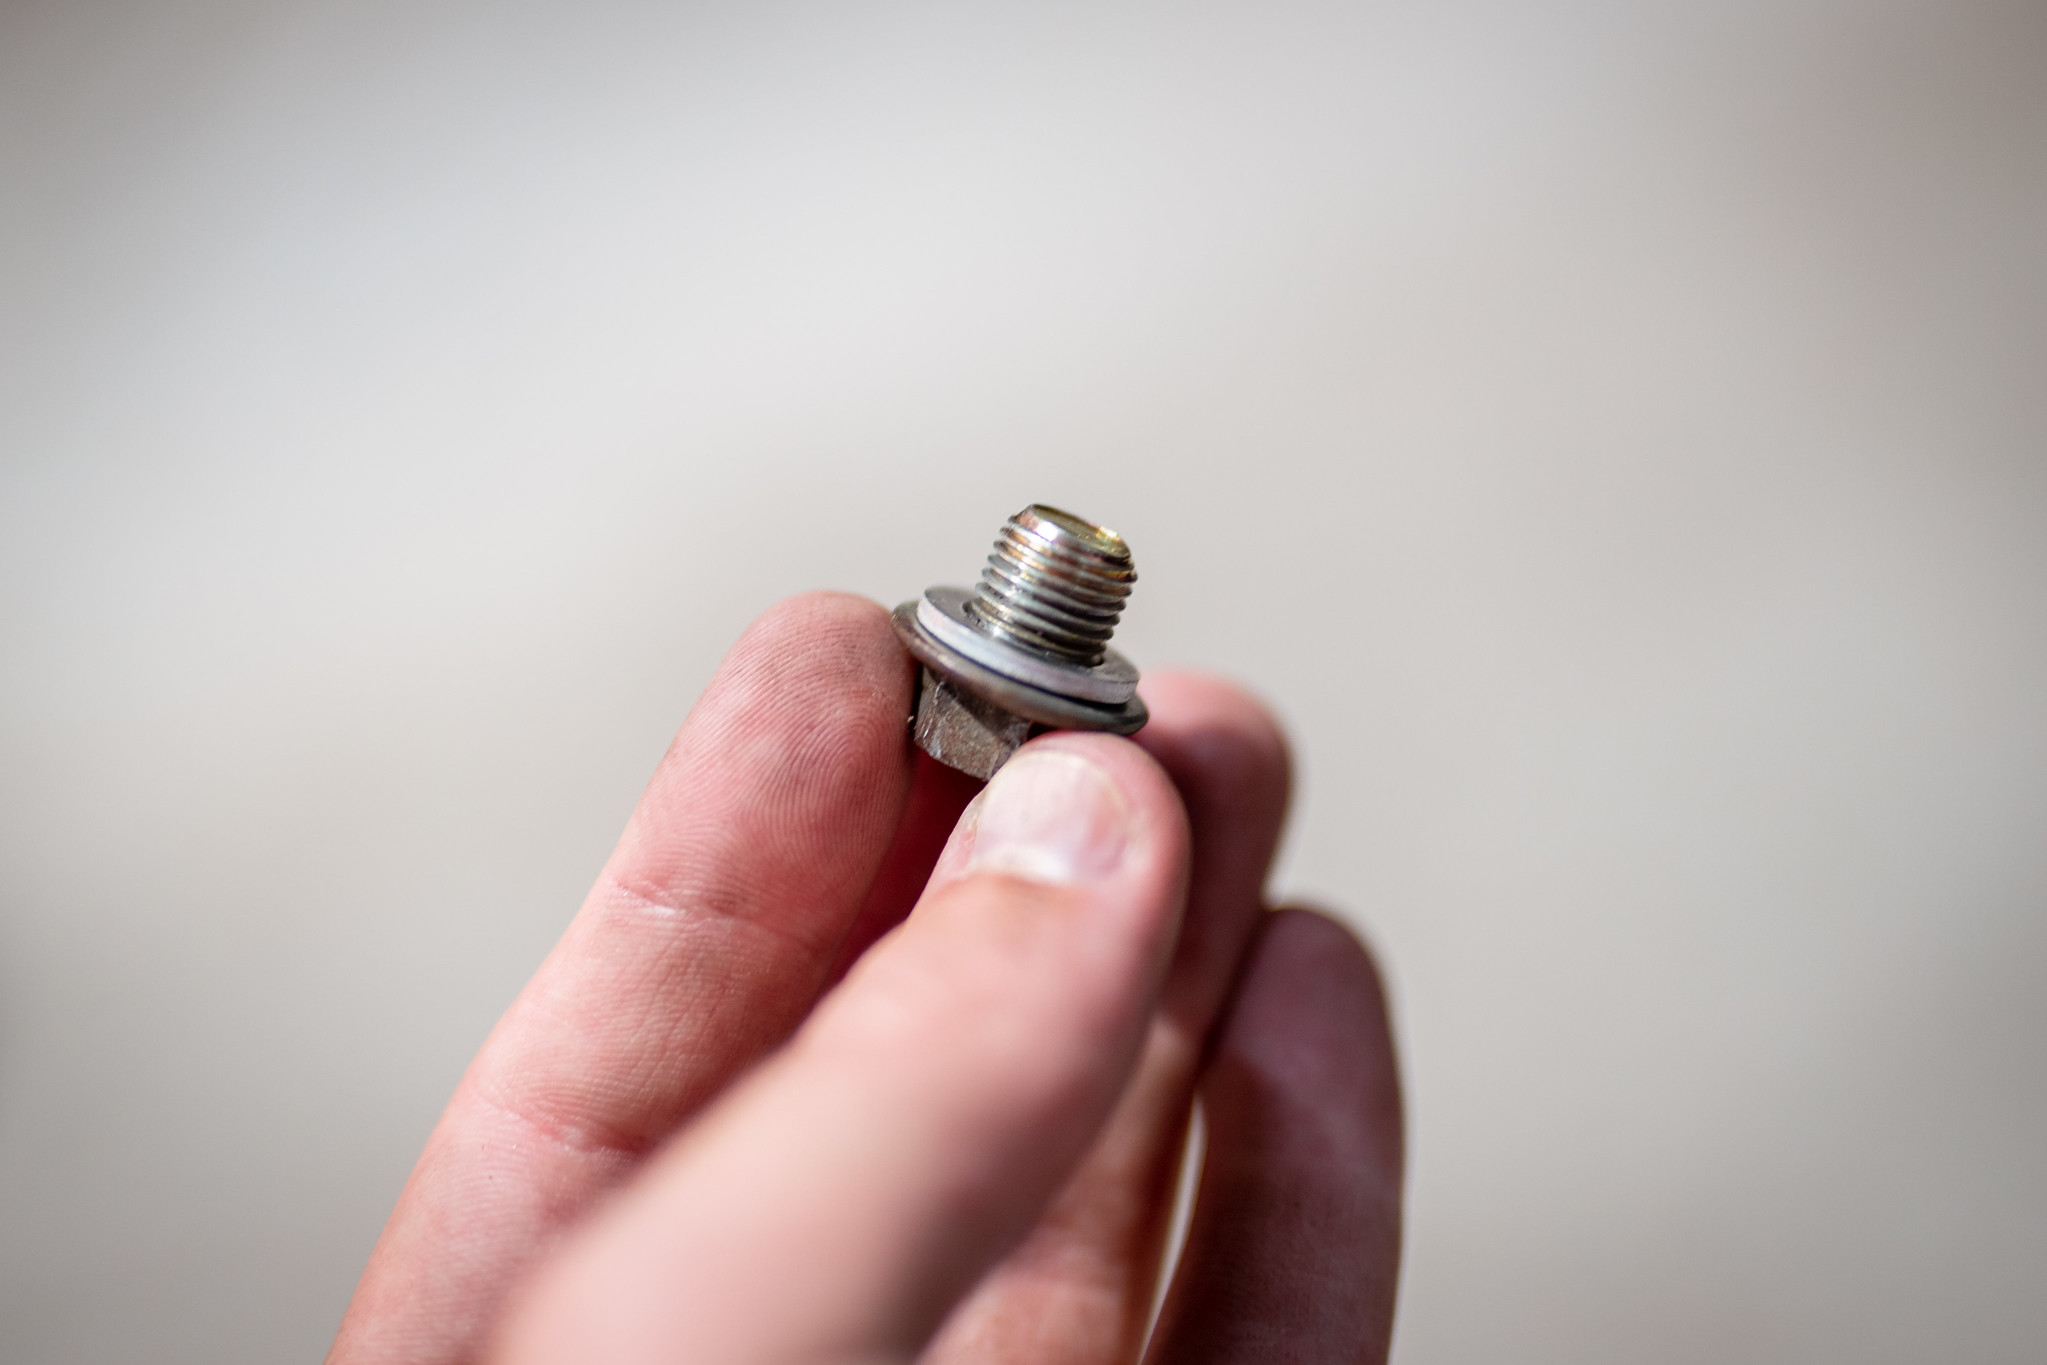
Replaced the sump plug washer, ran out of copper ones but I had some ally ones lying around.
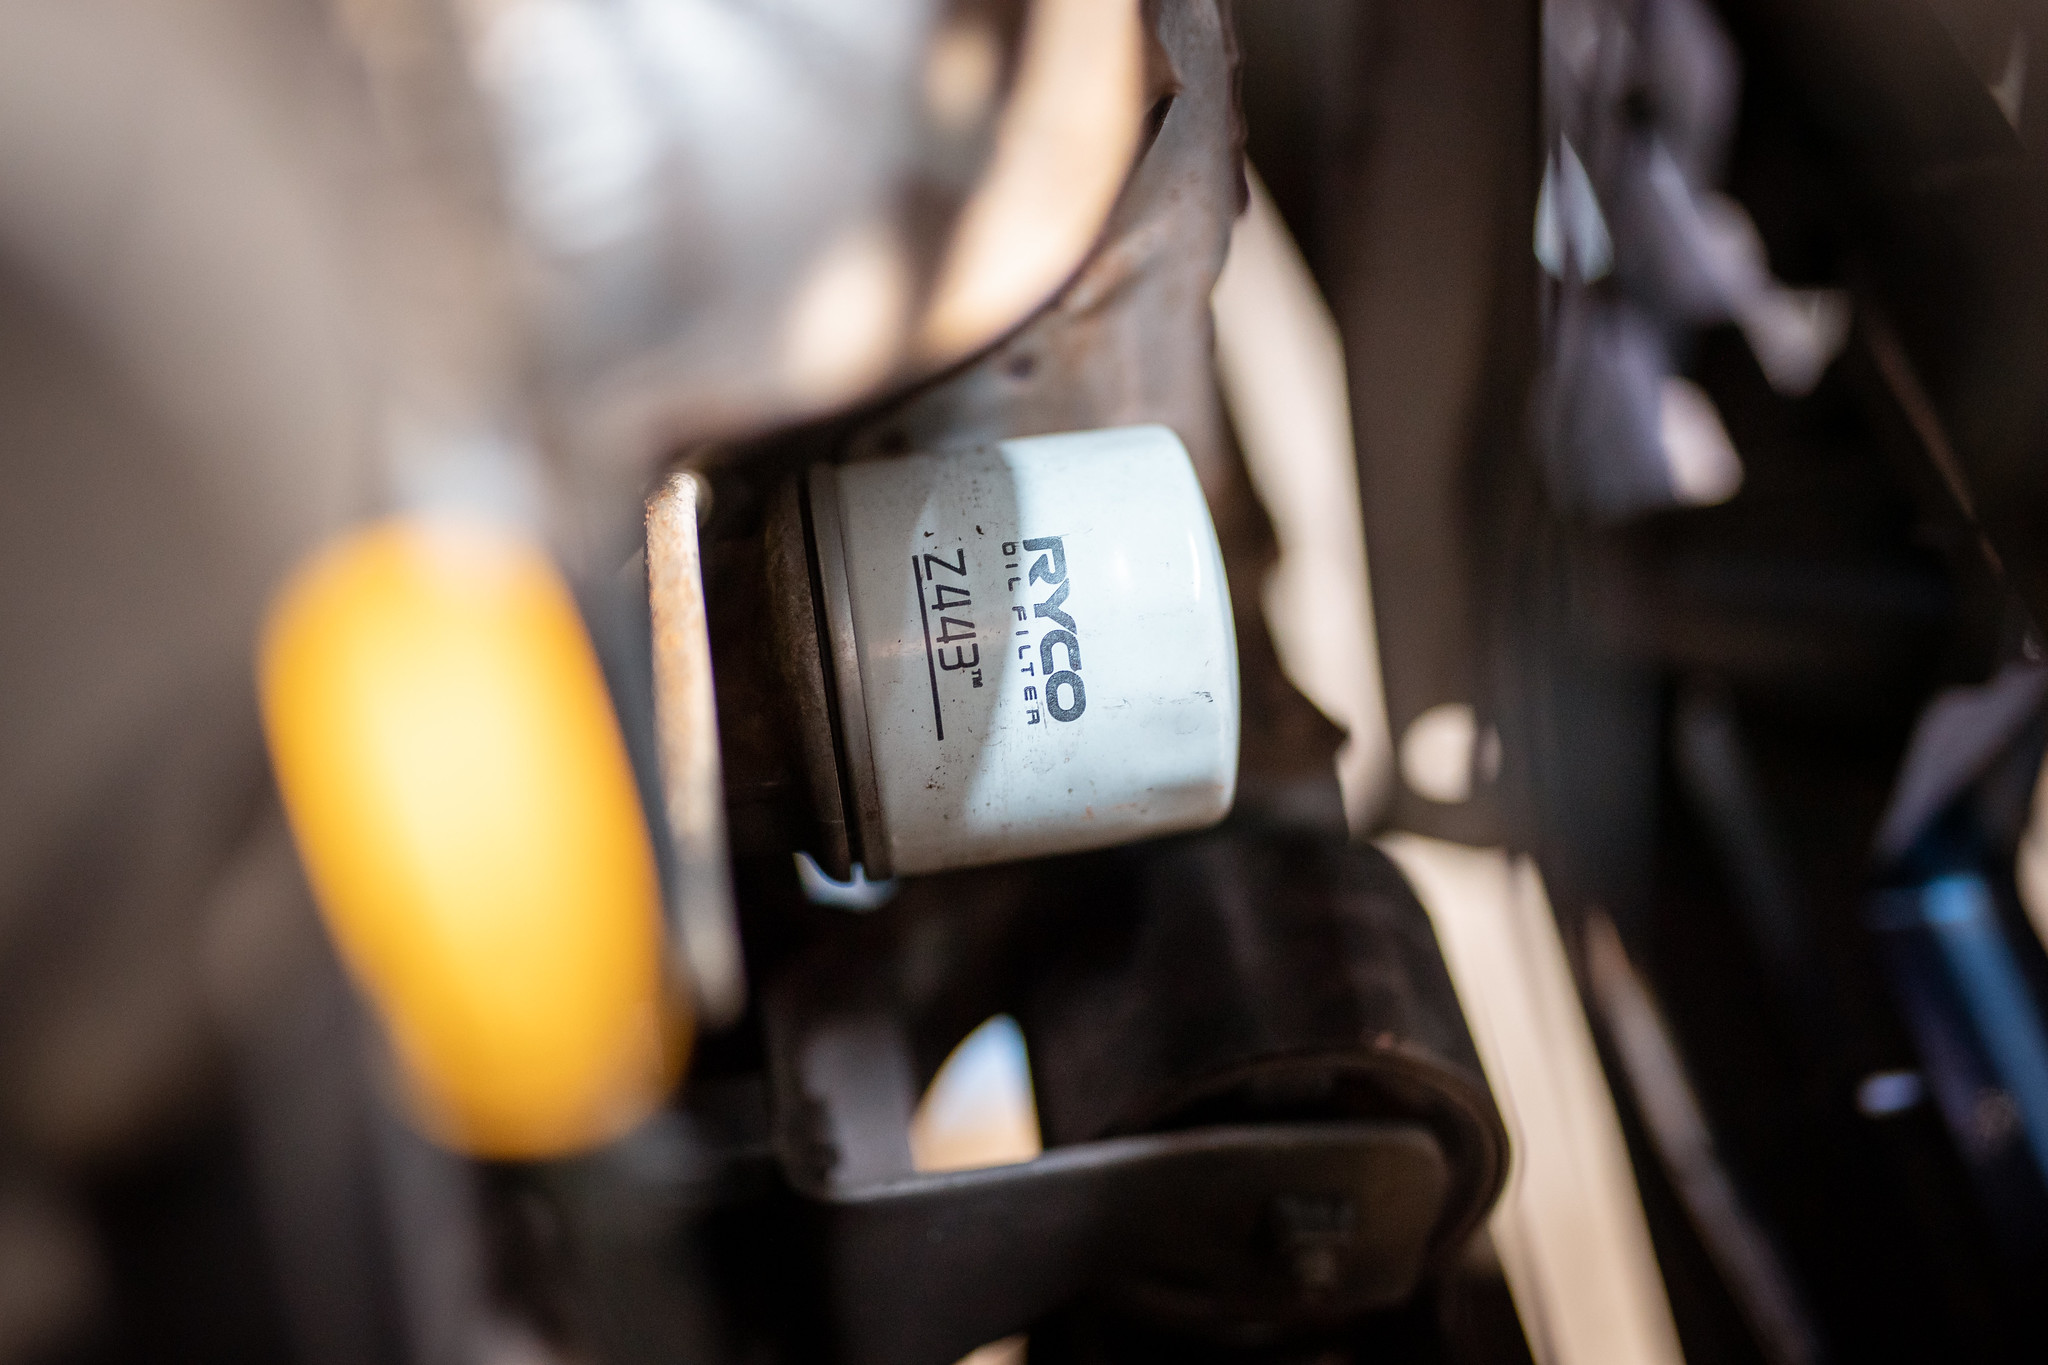
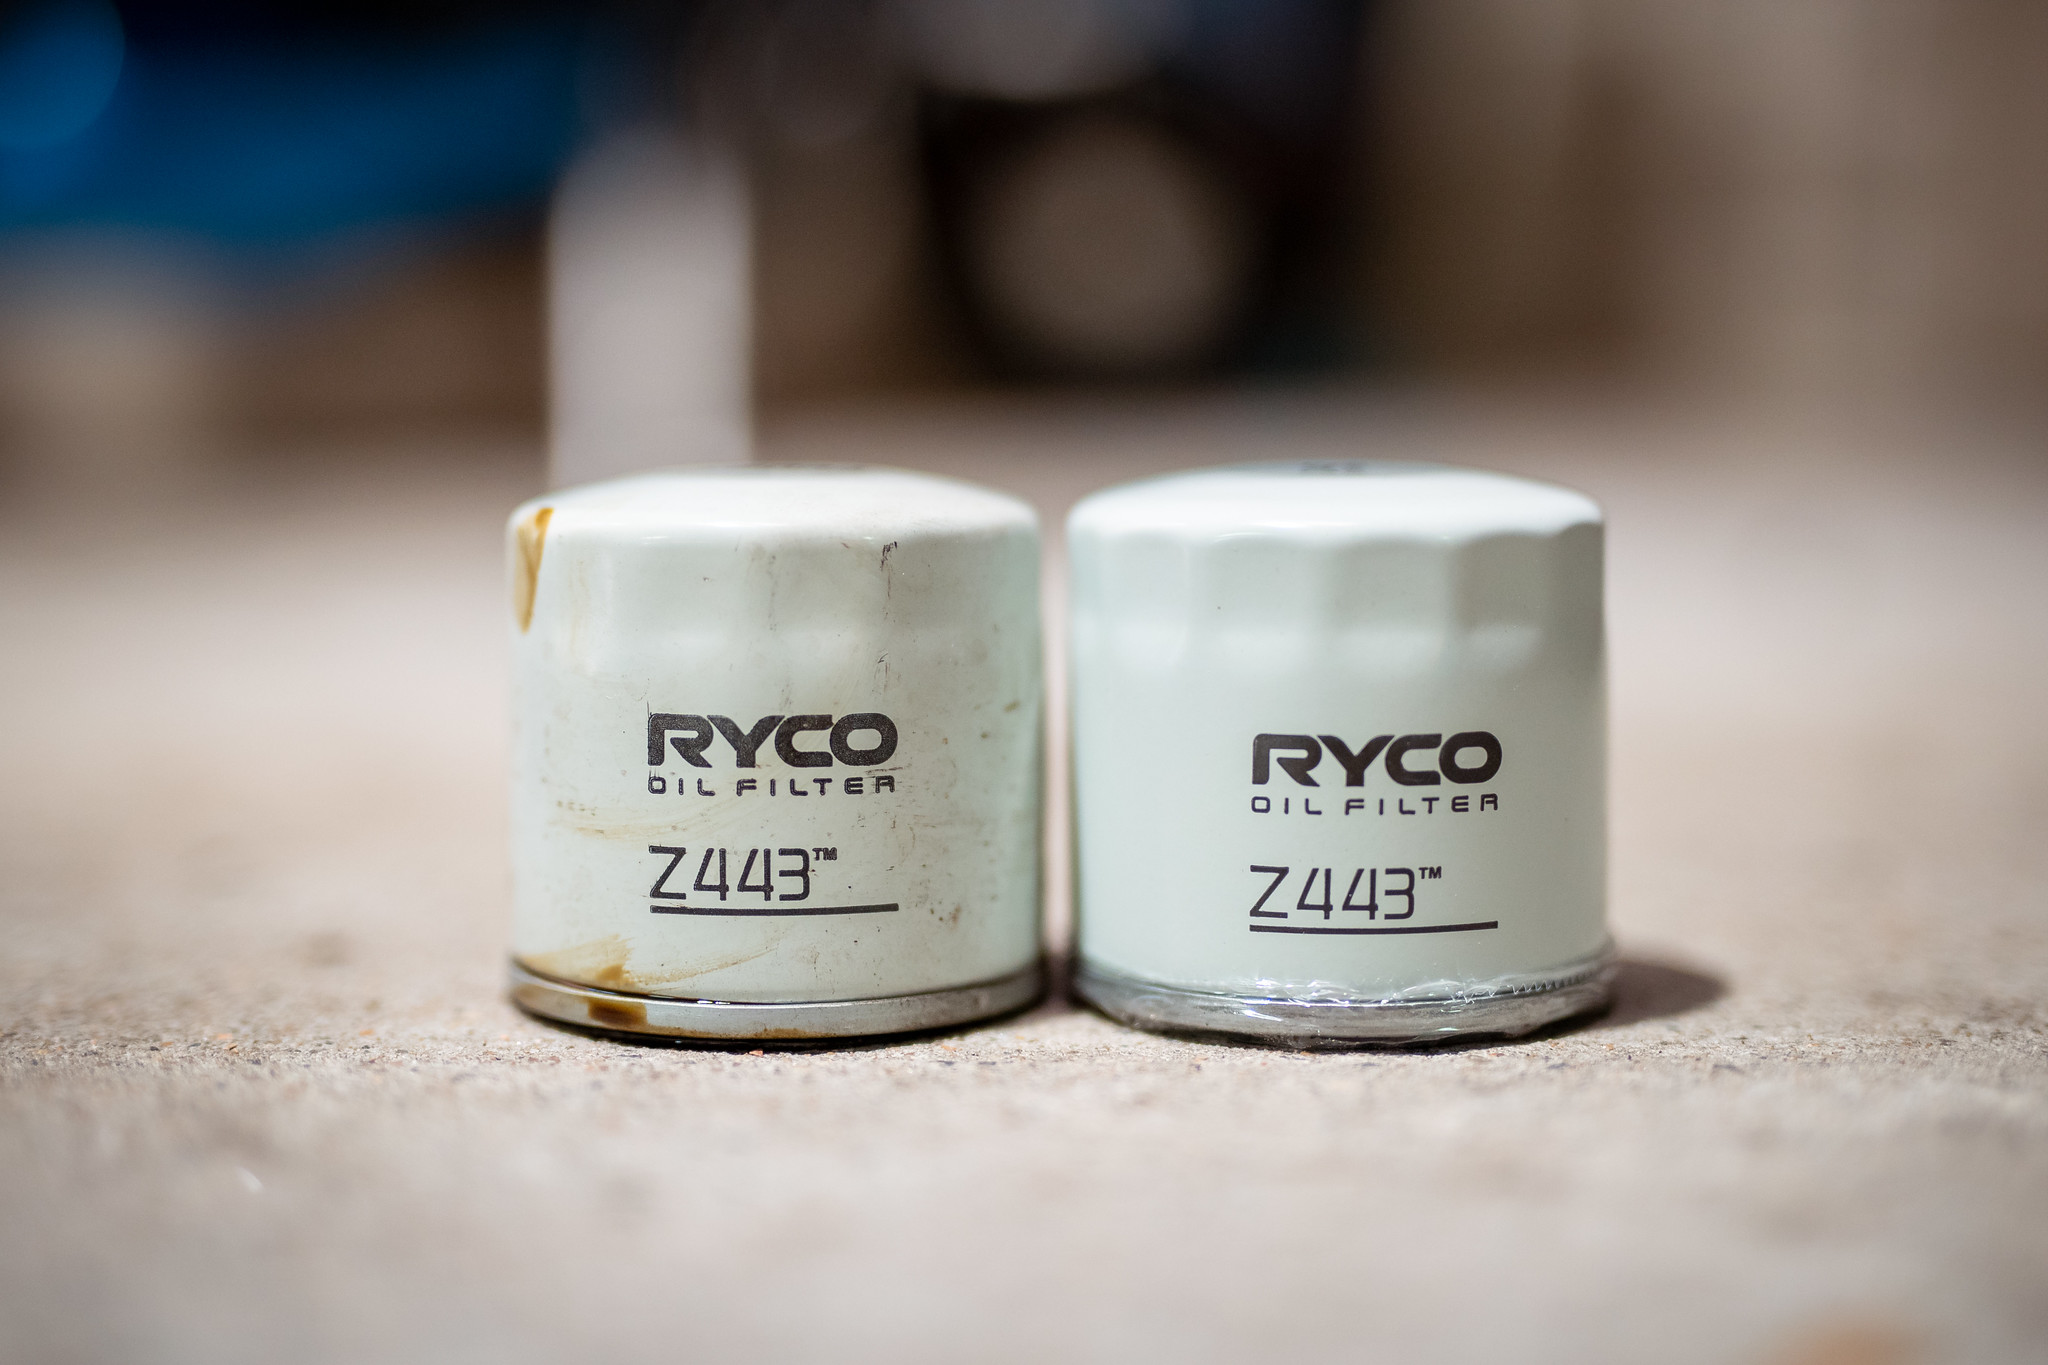
Filter replaced.
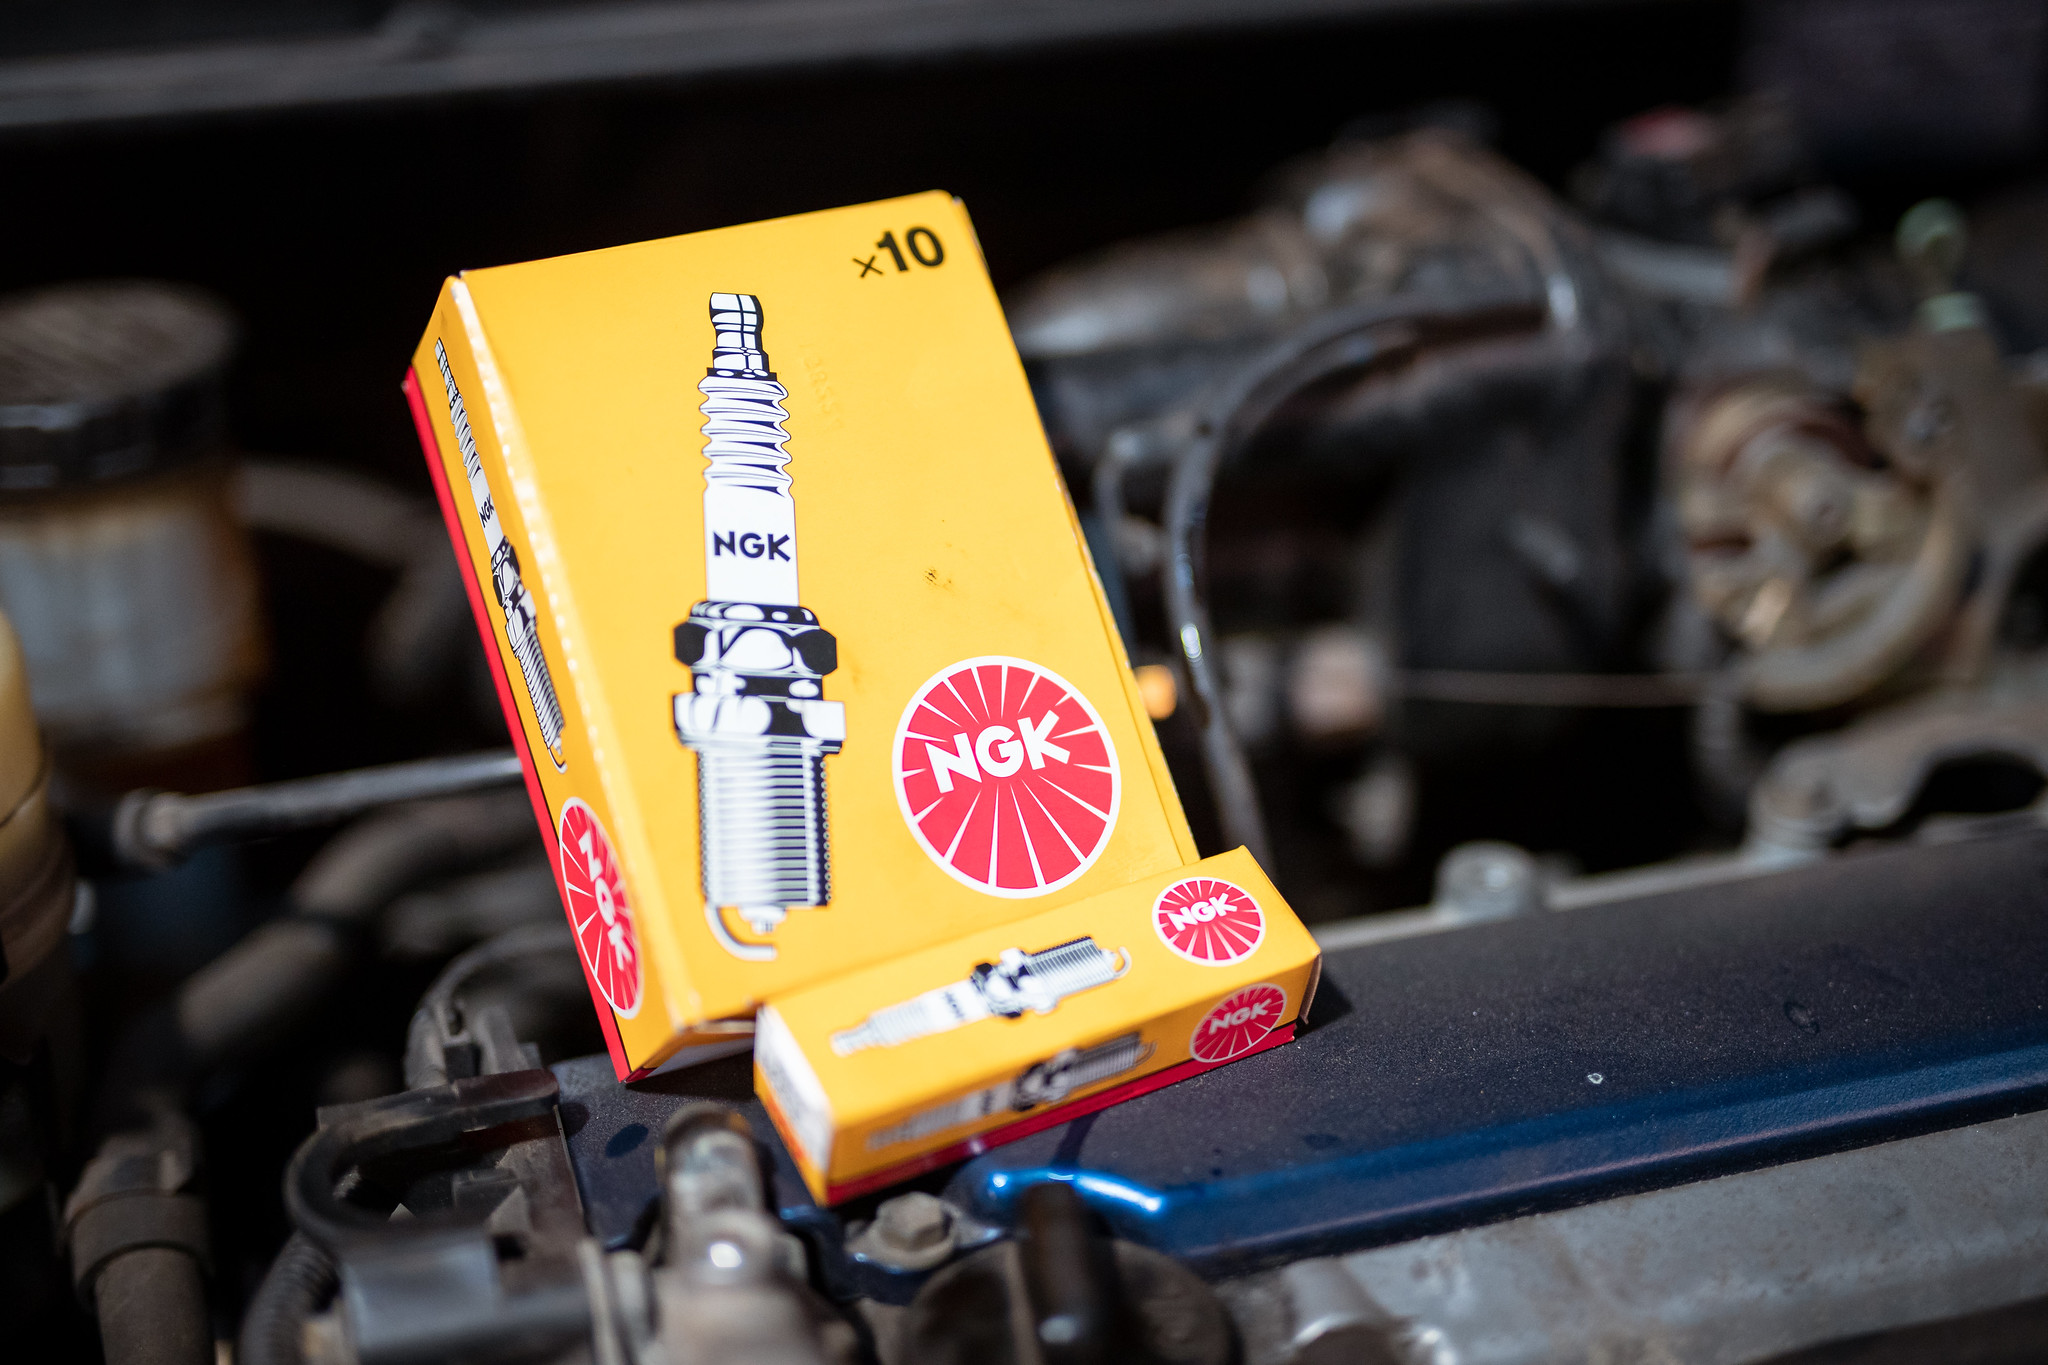
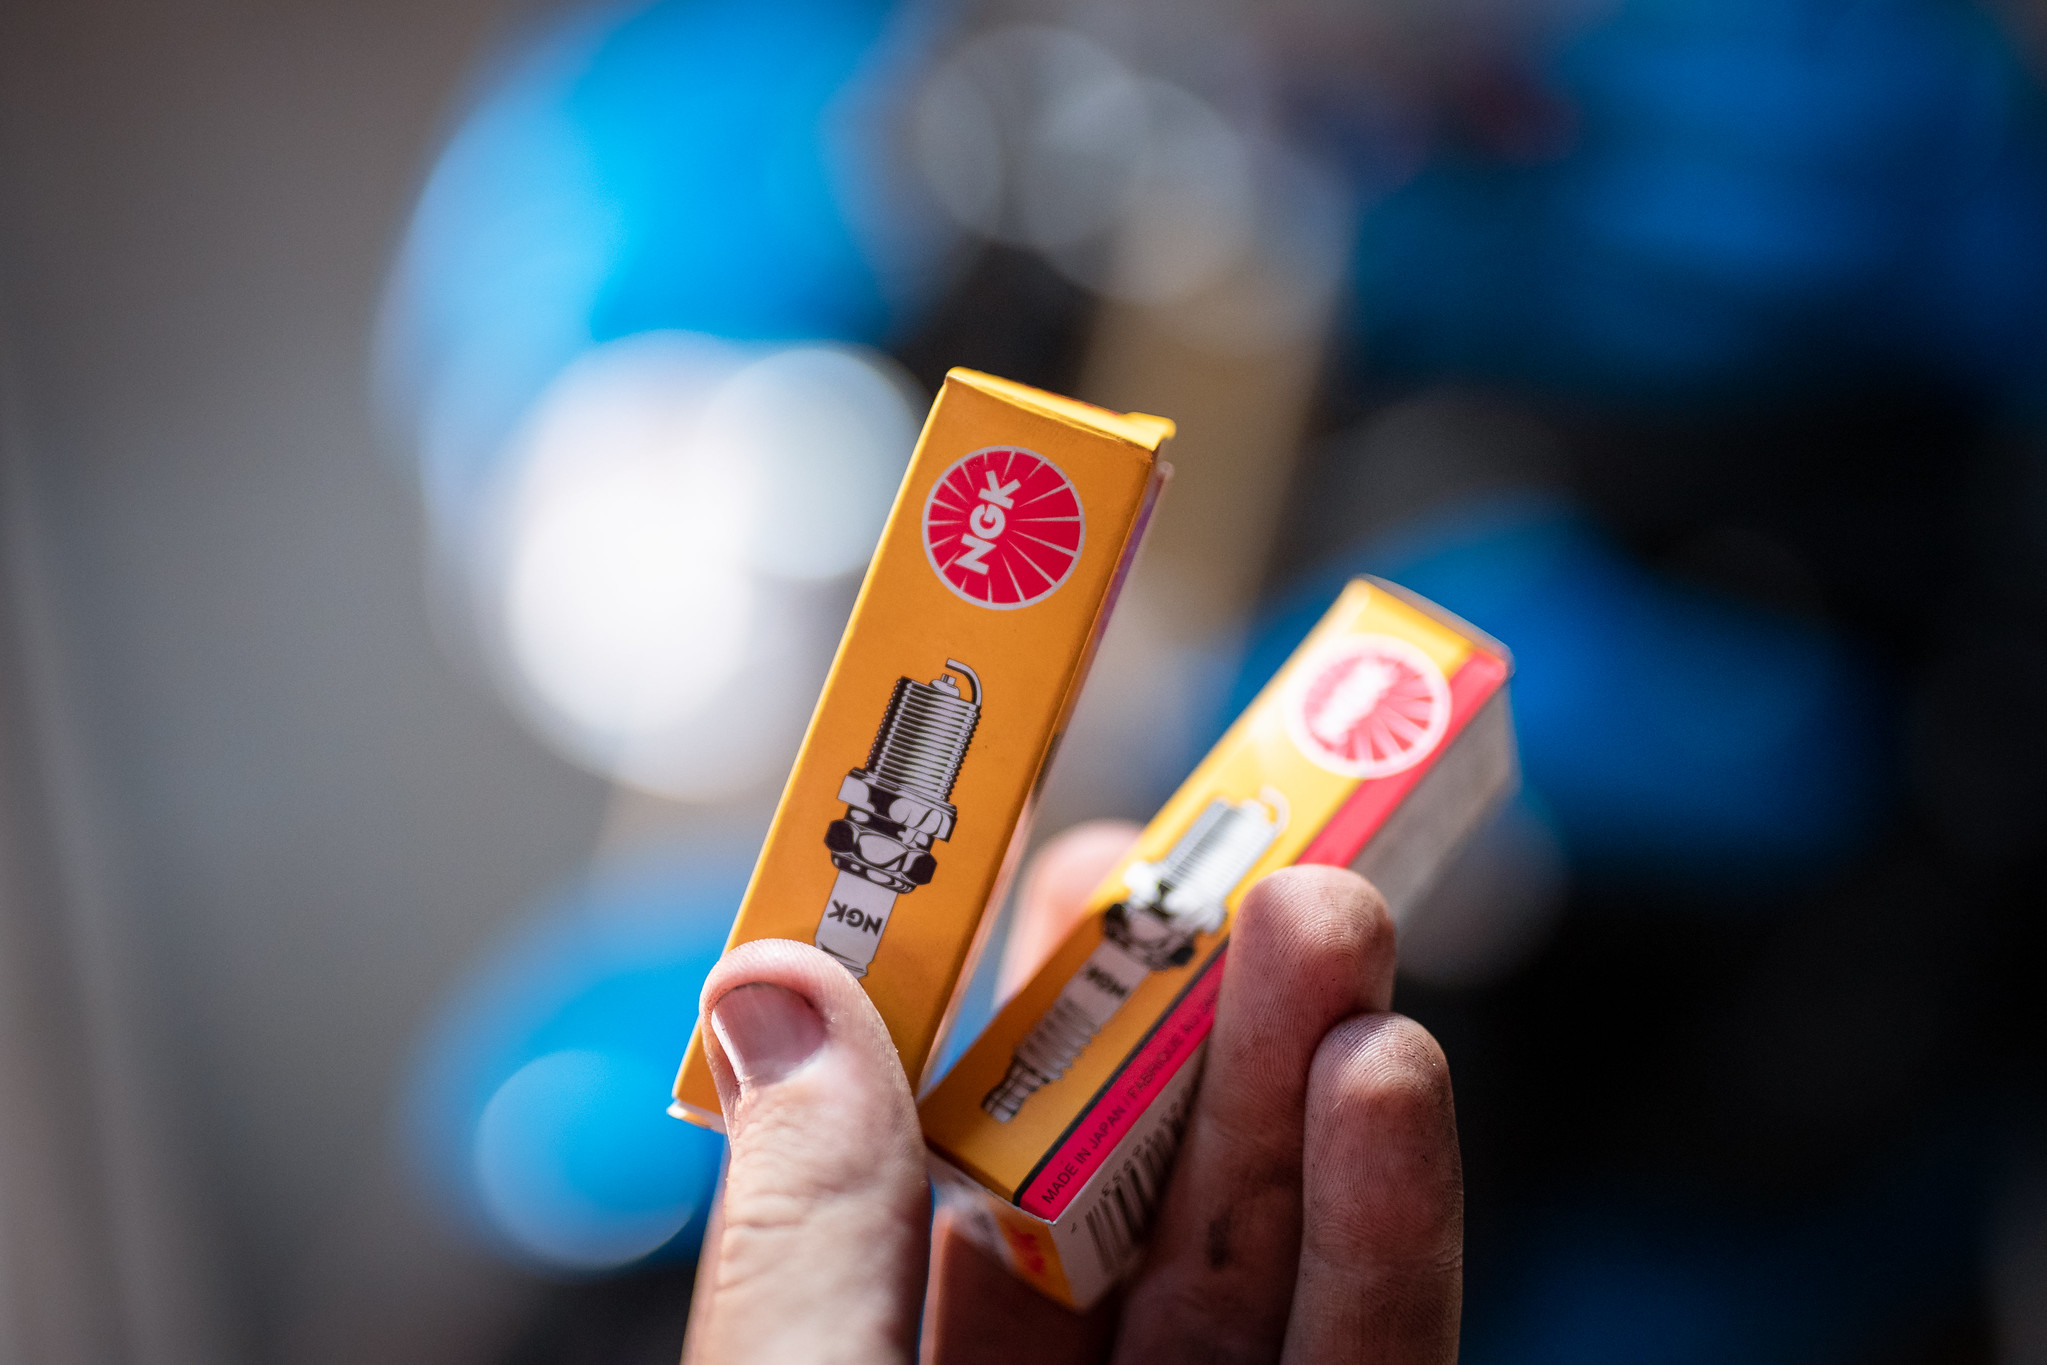
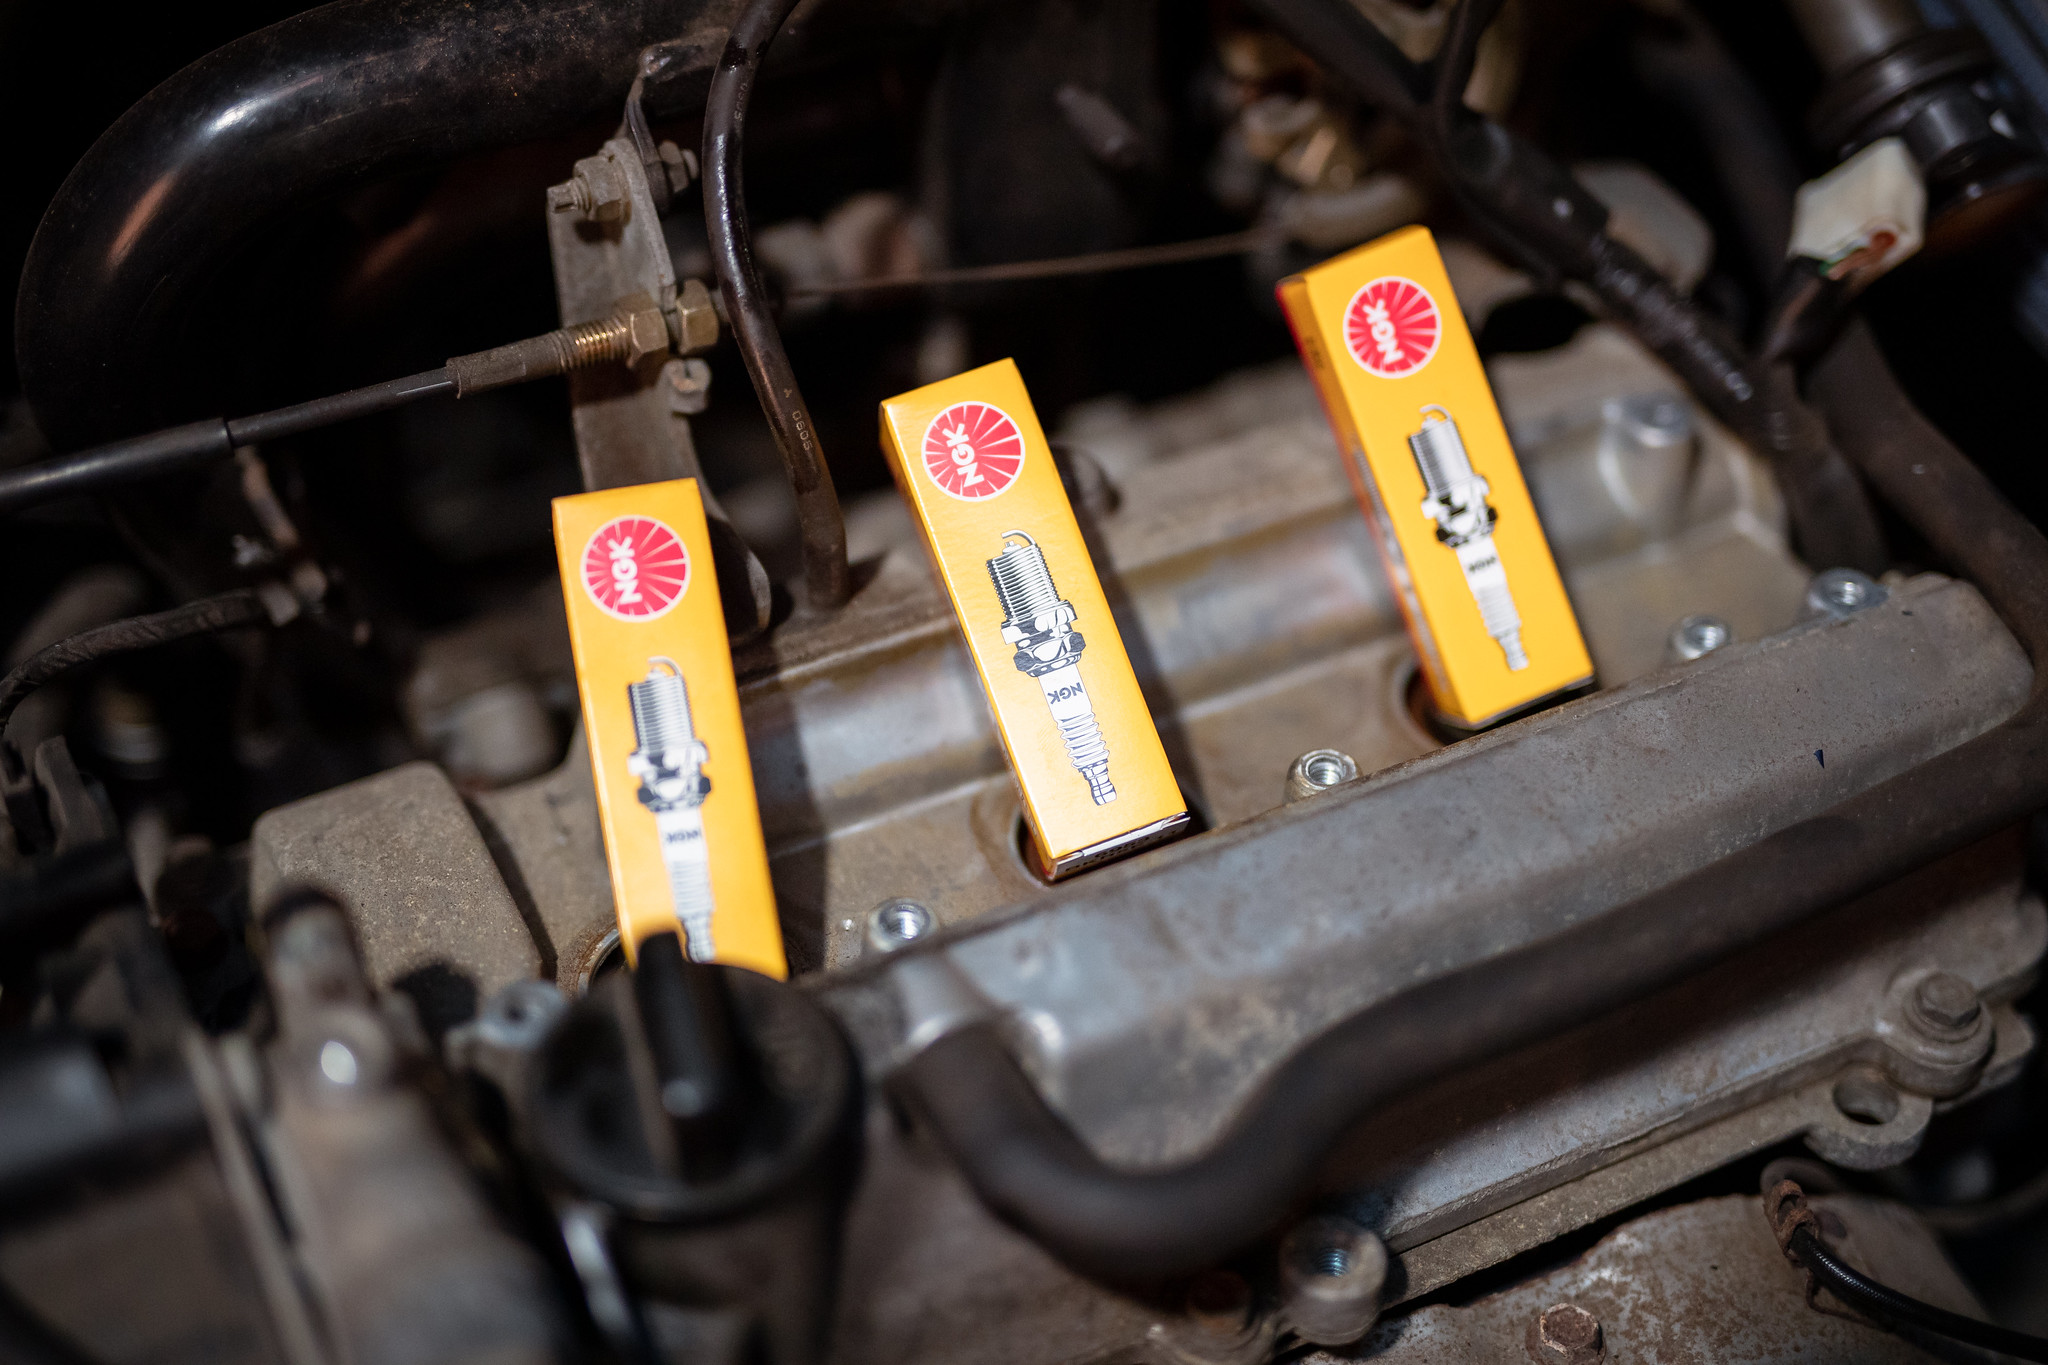
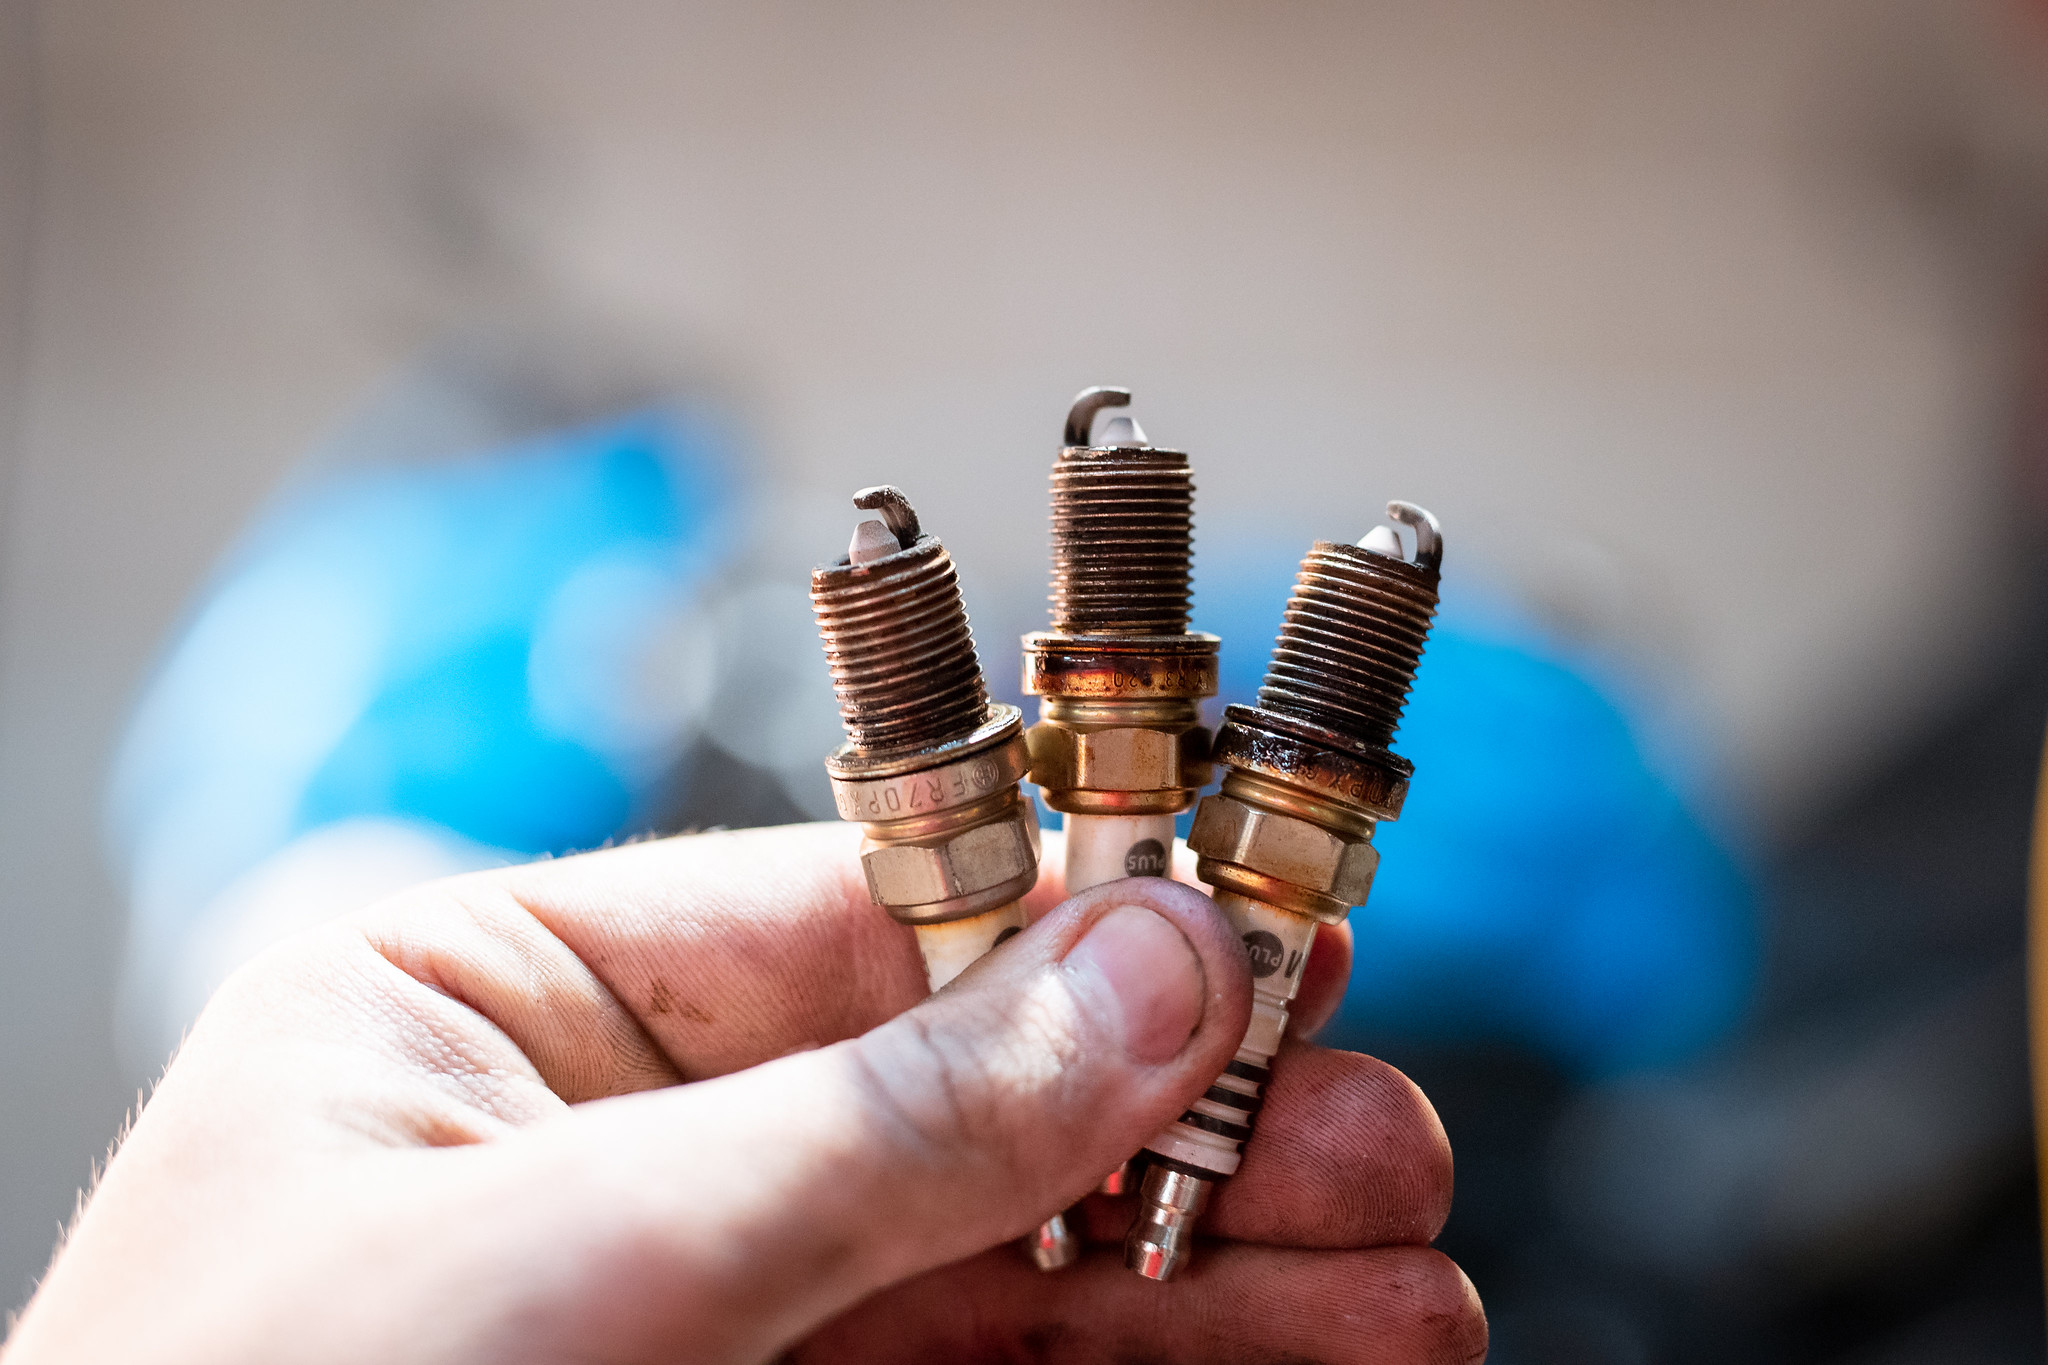
I thought it would be a good time to chuck some new plugs in too while I’m there.
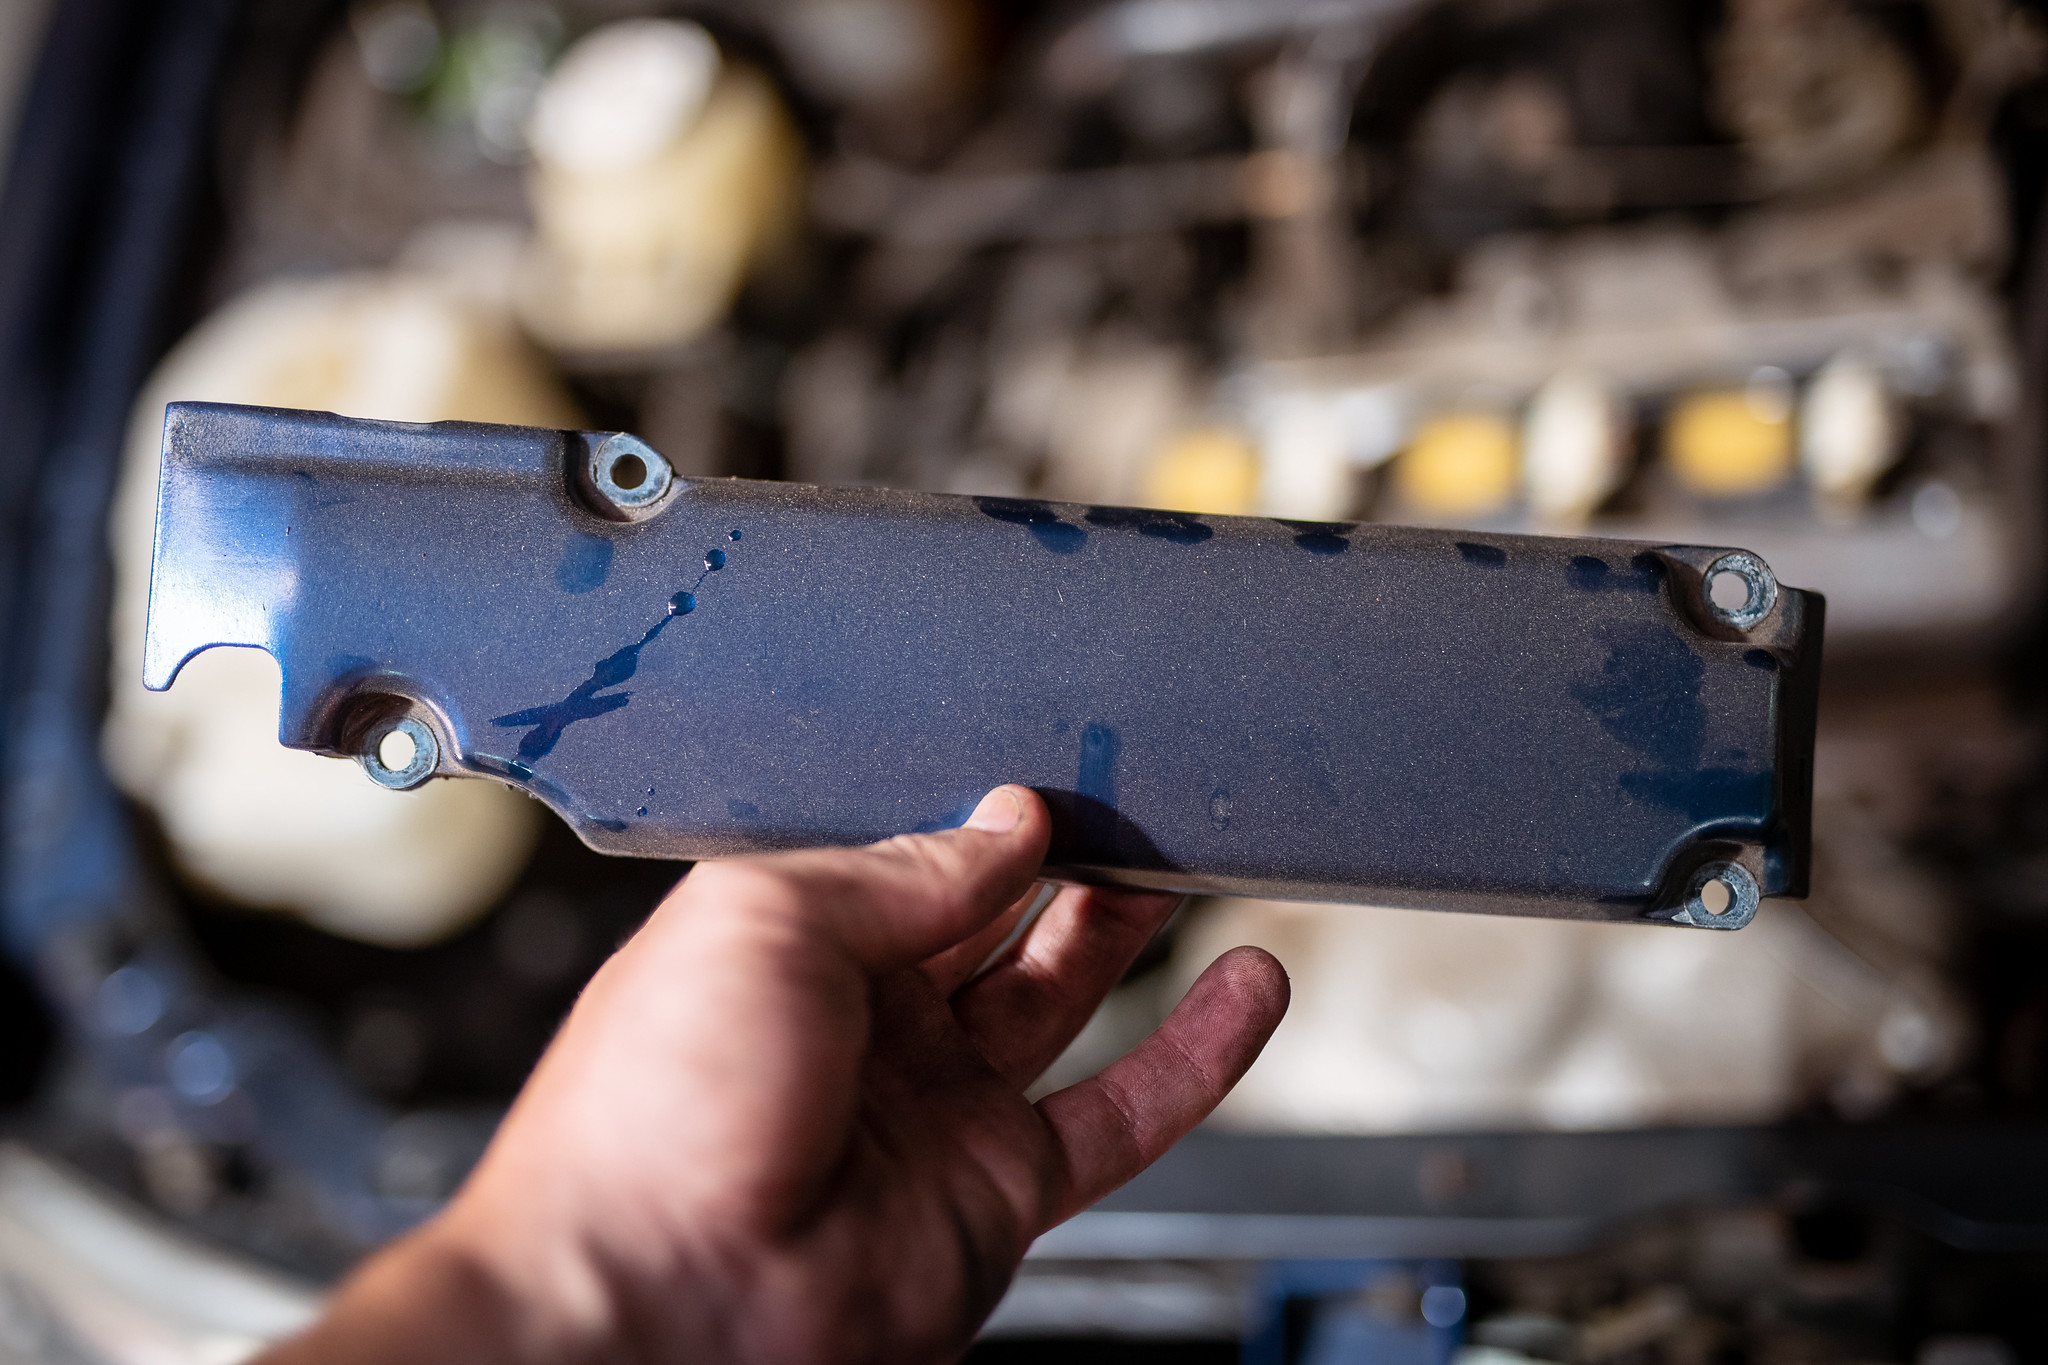
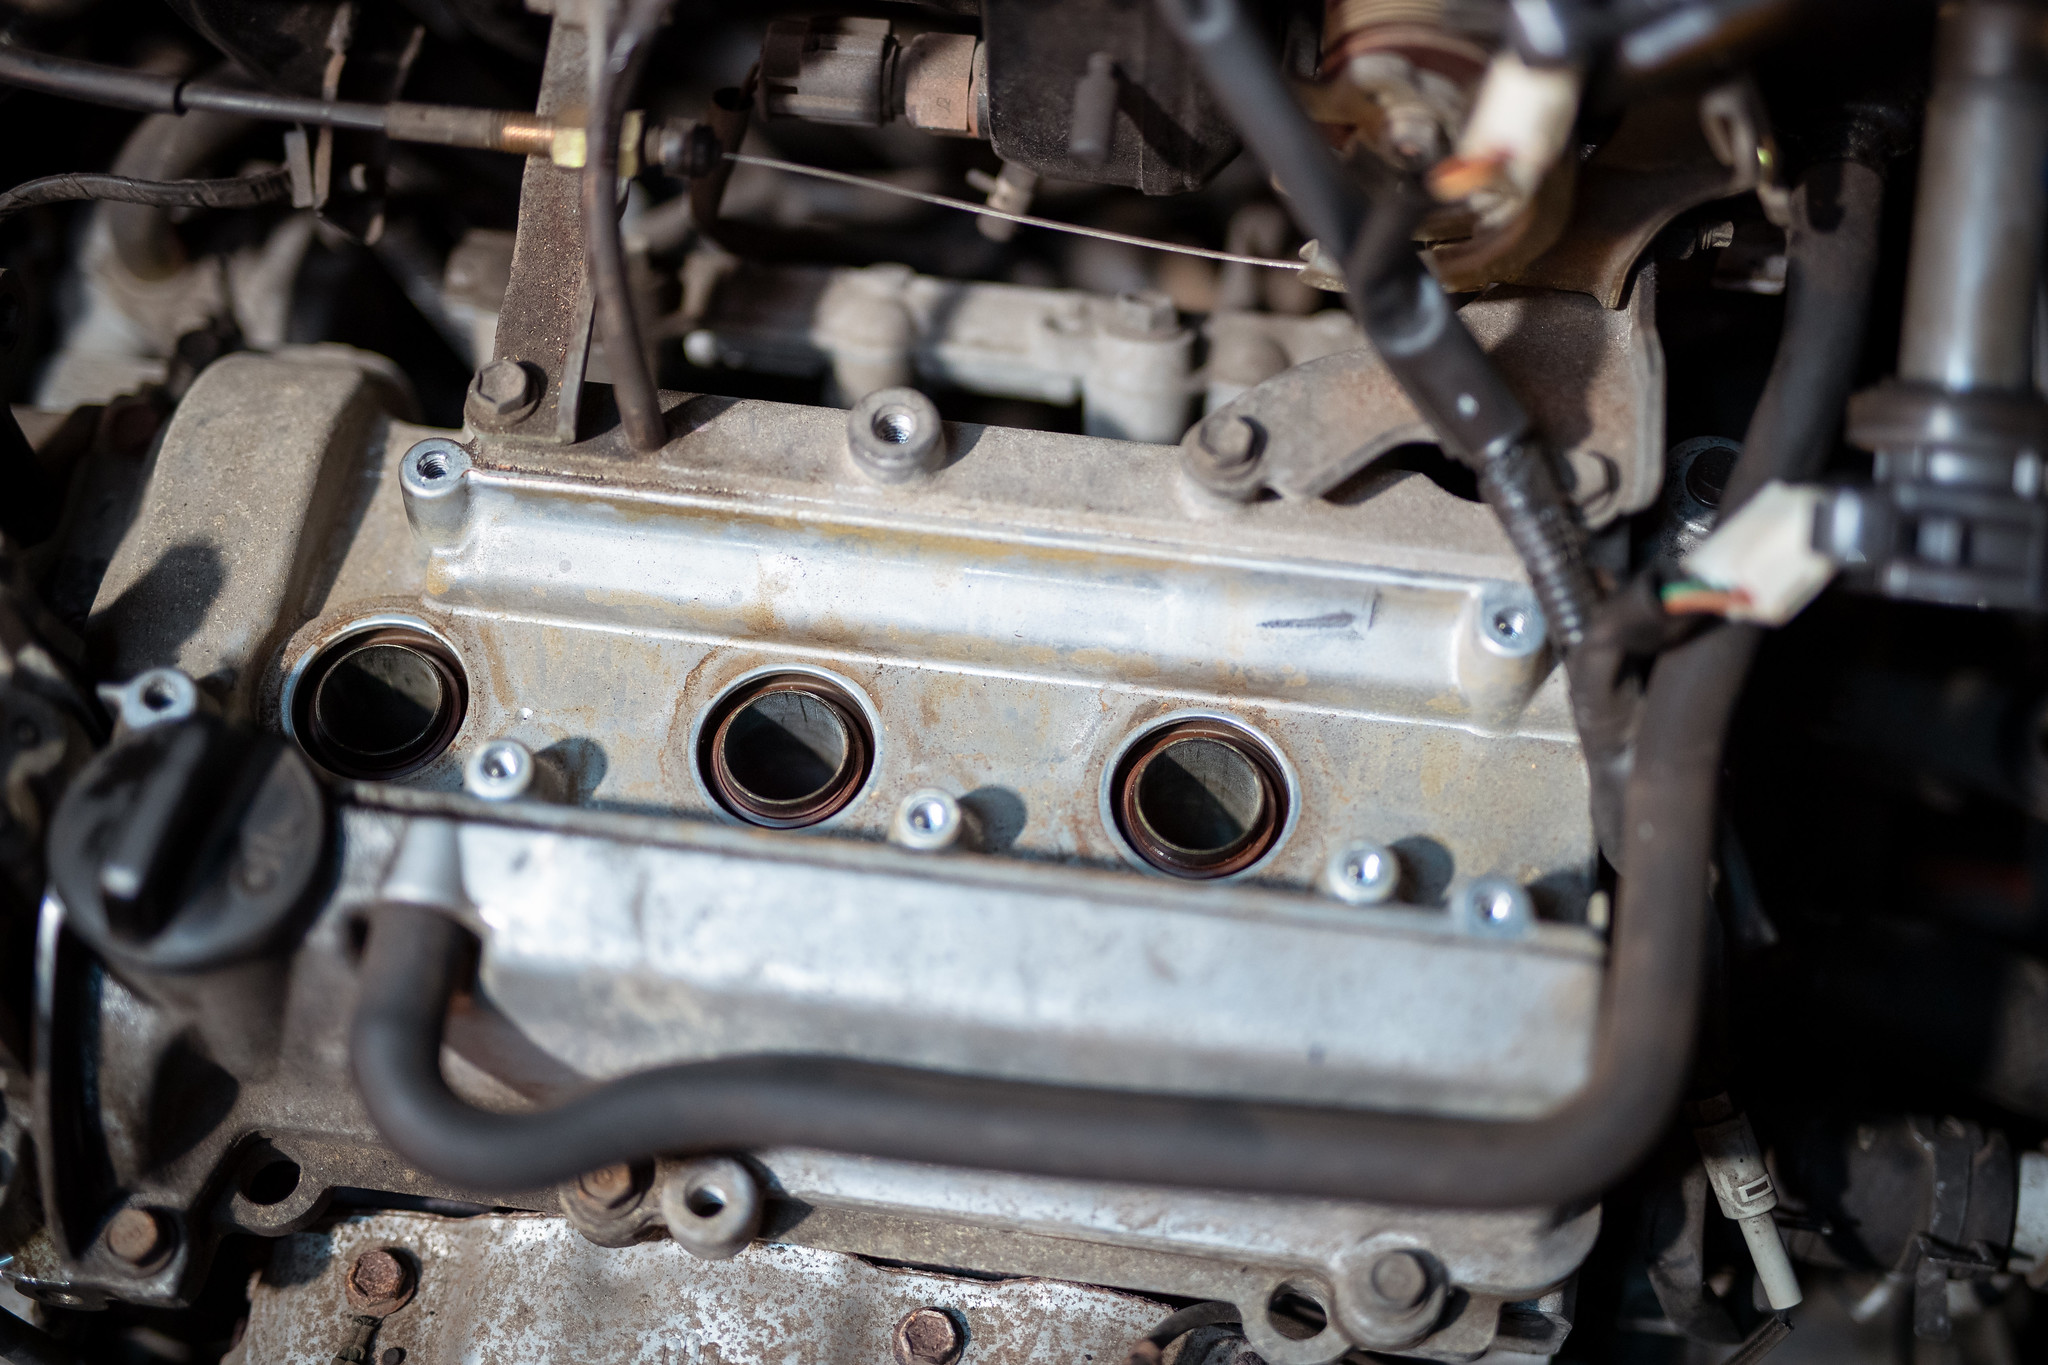
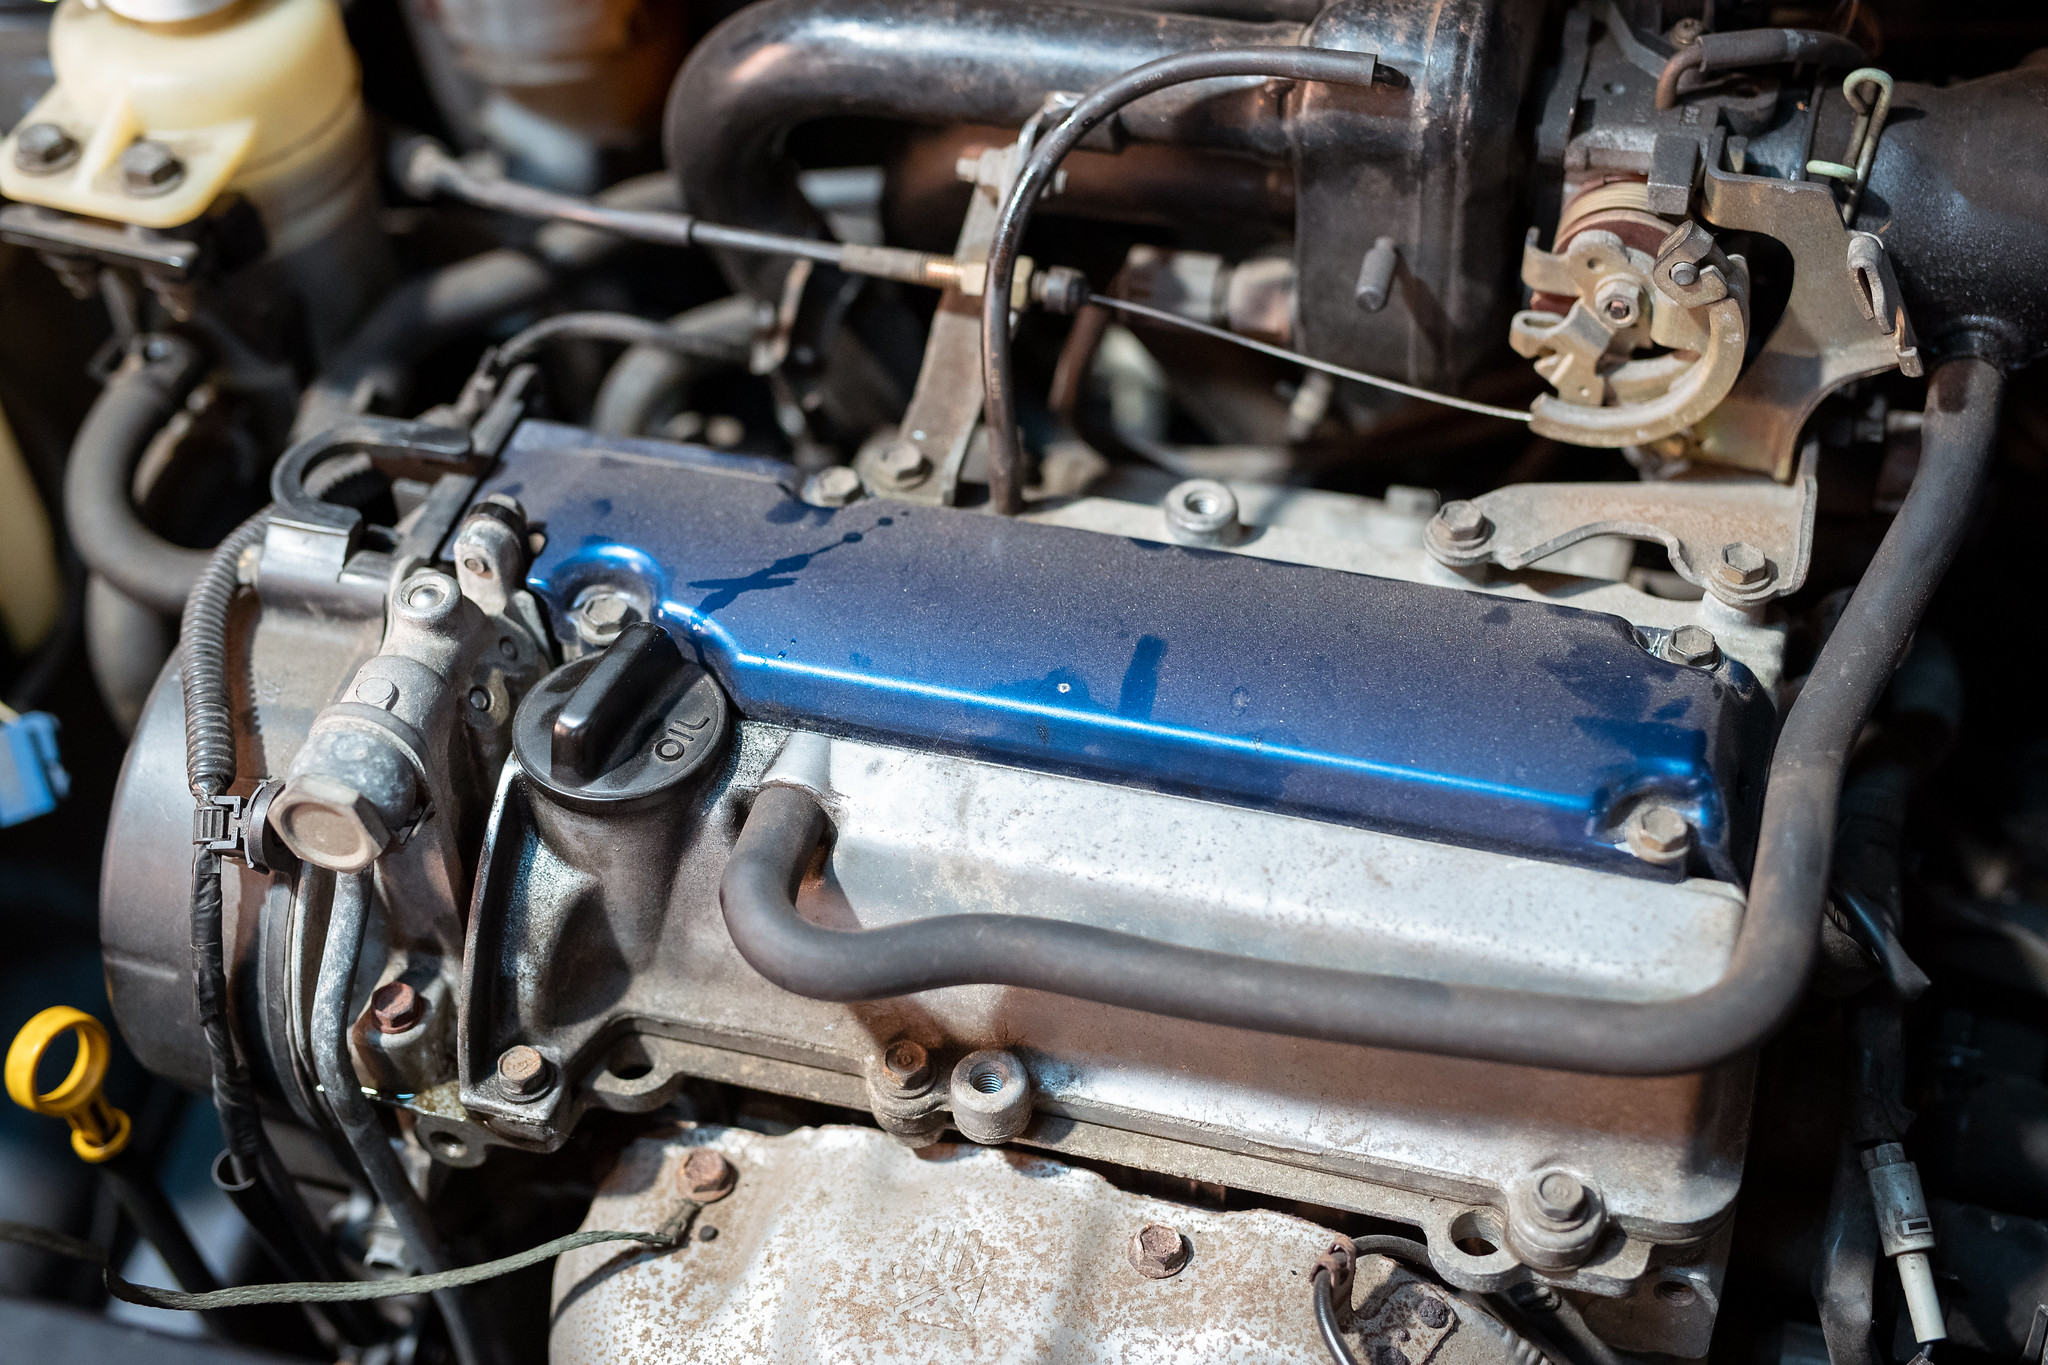
The cover came off with ease.
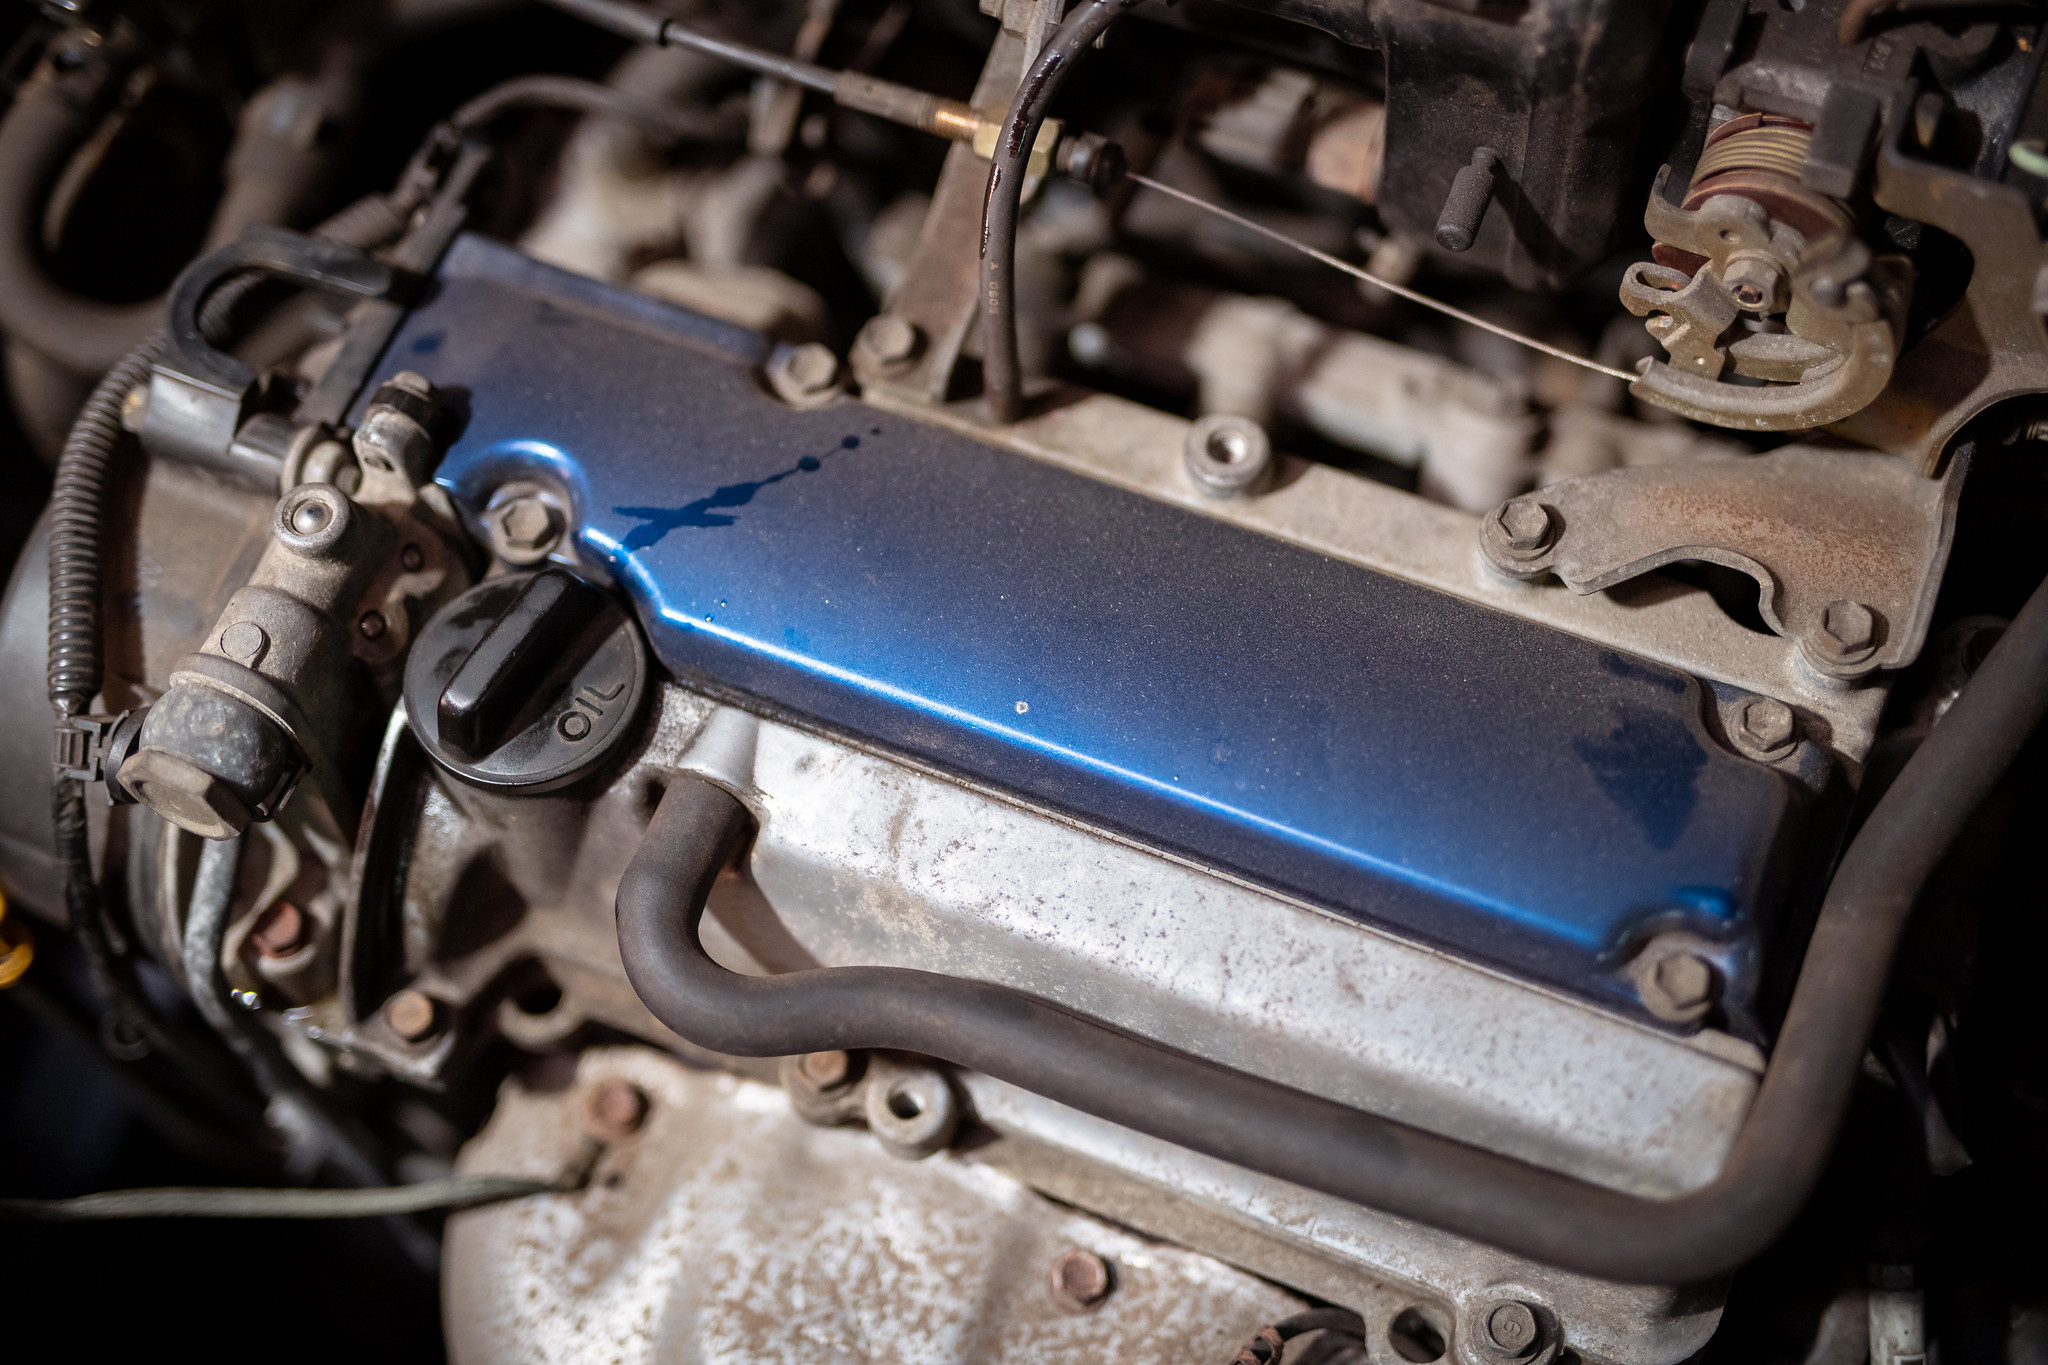
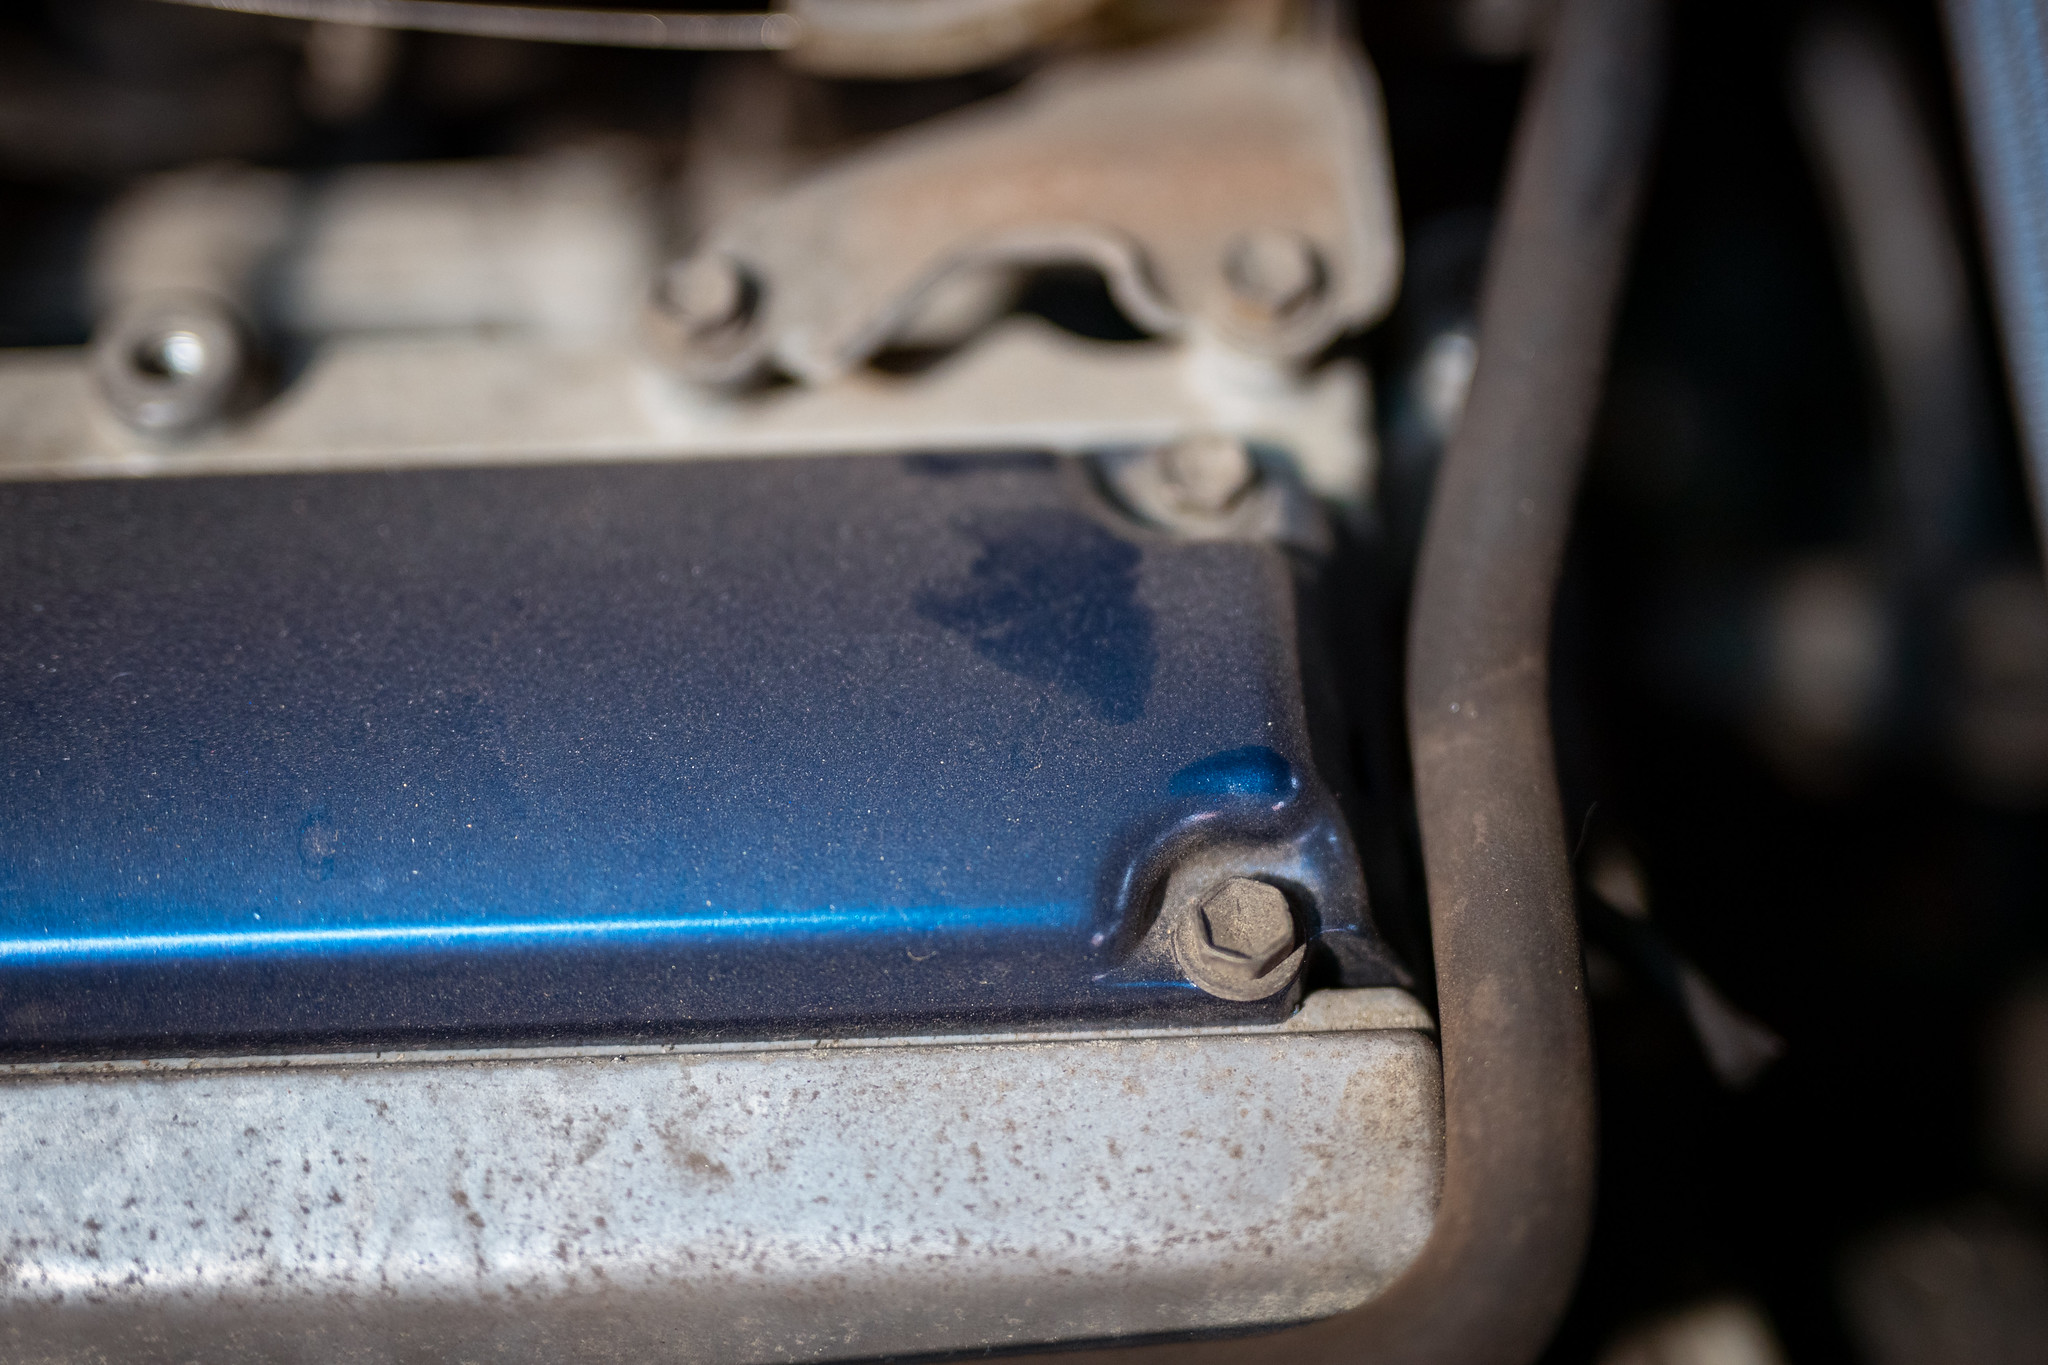
Revealing the coil packs.
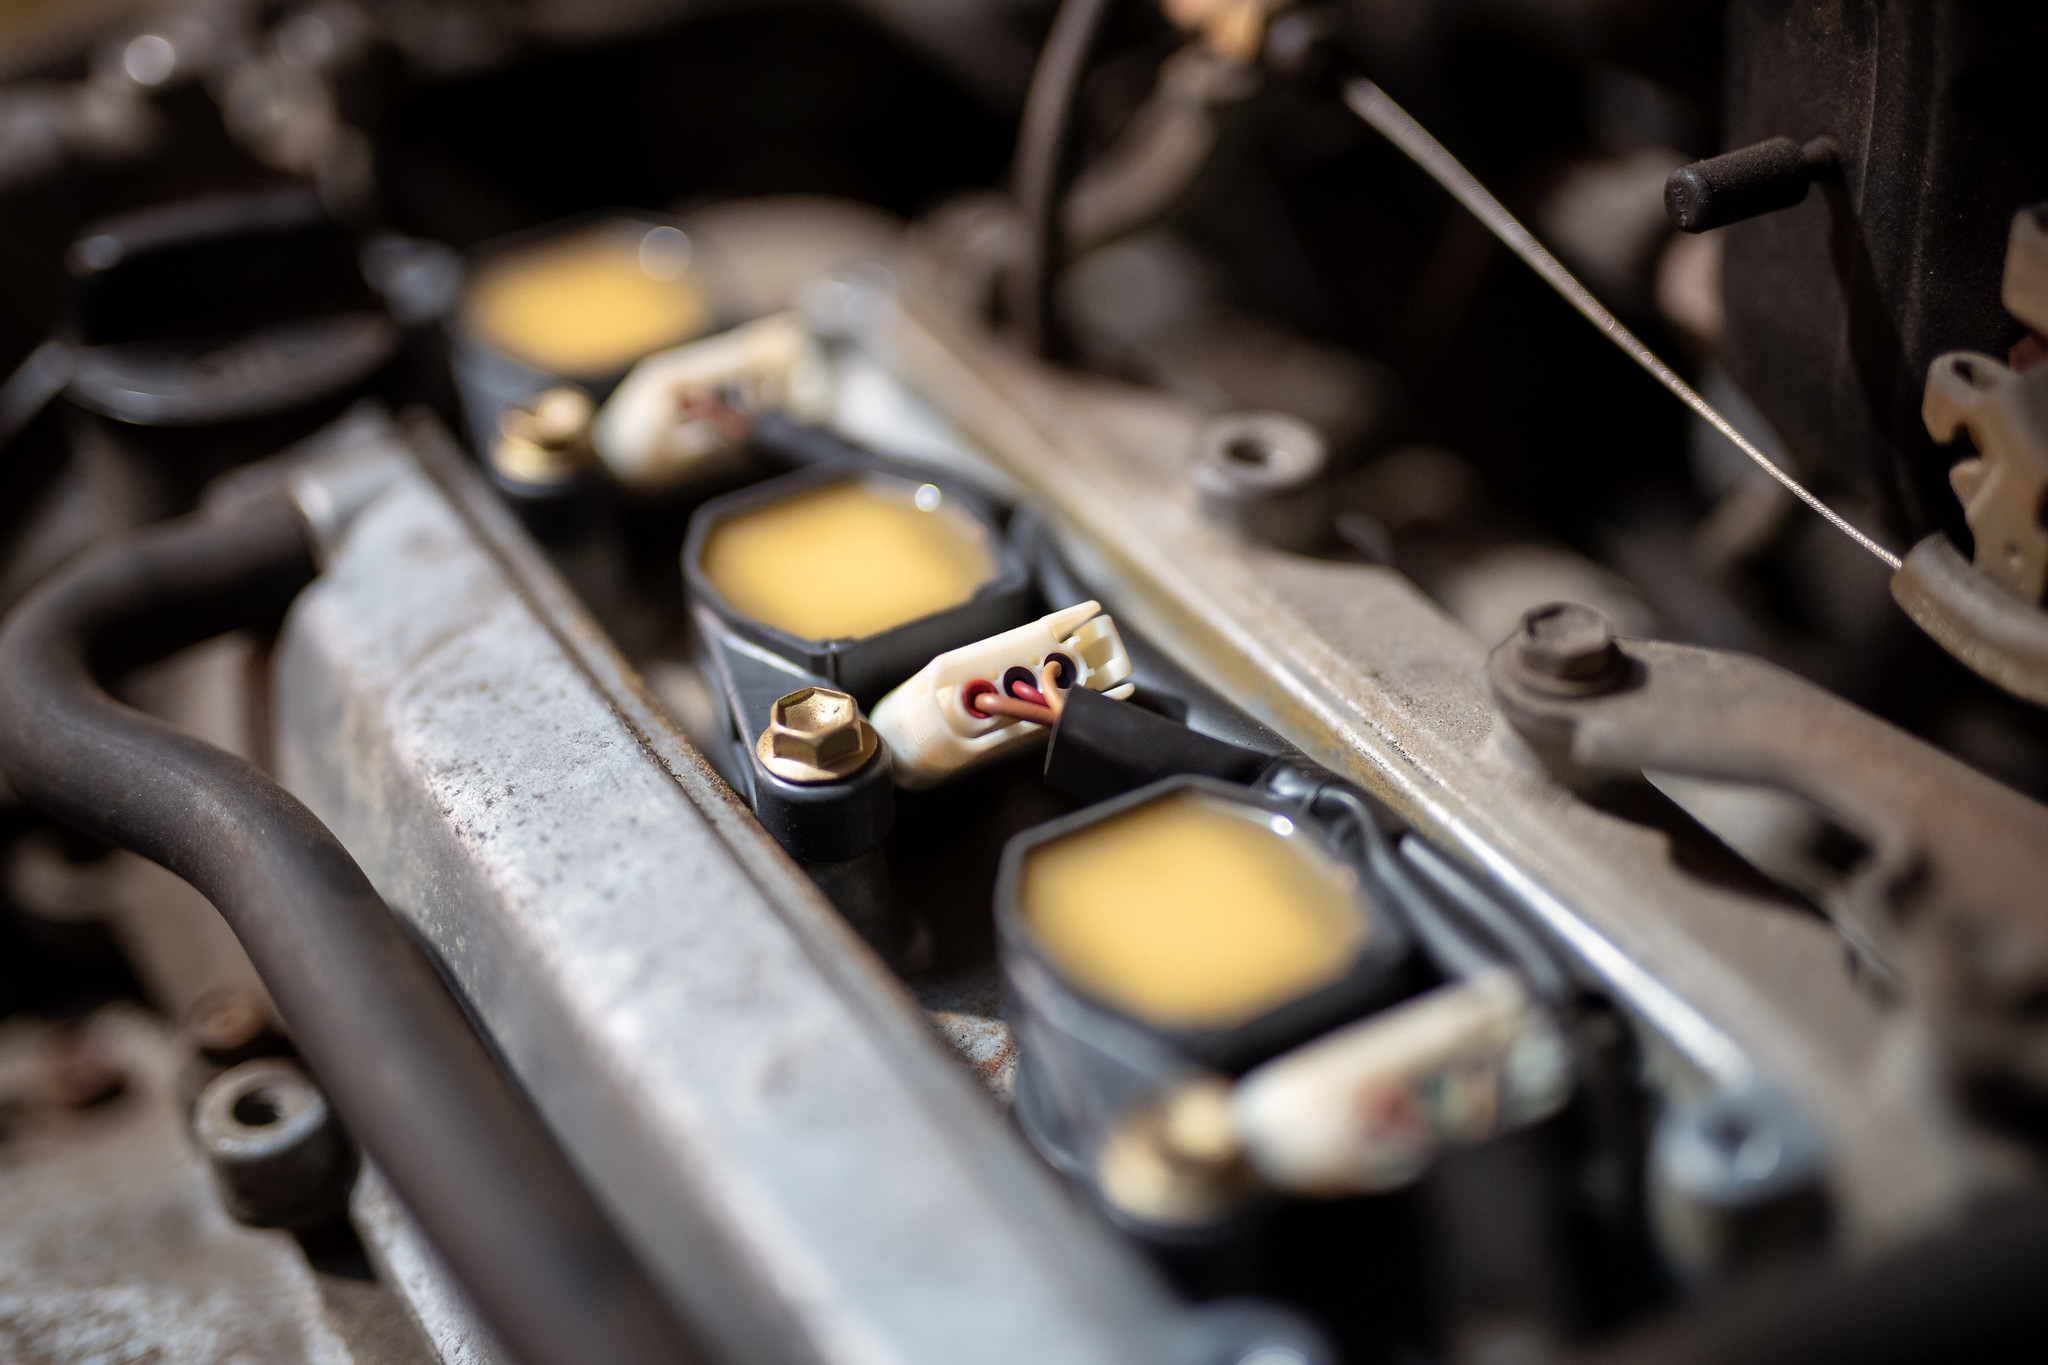
Am I doing it right?
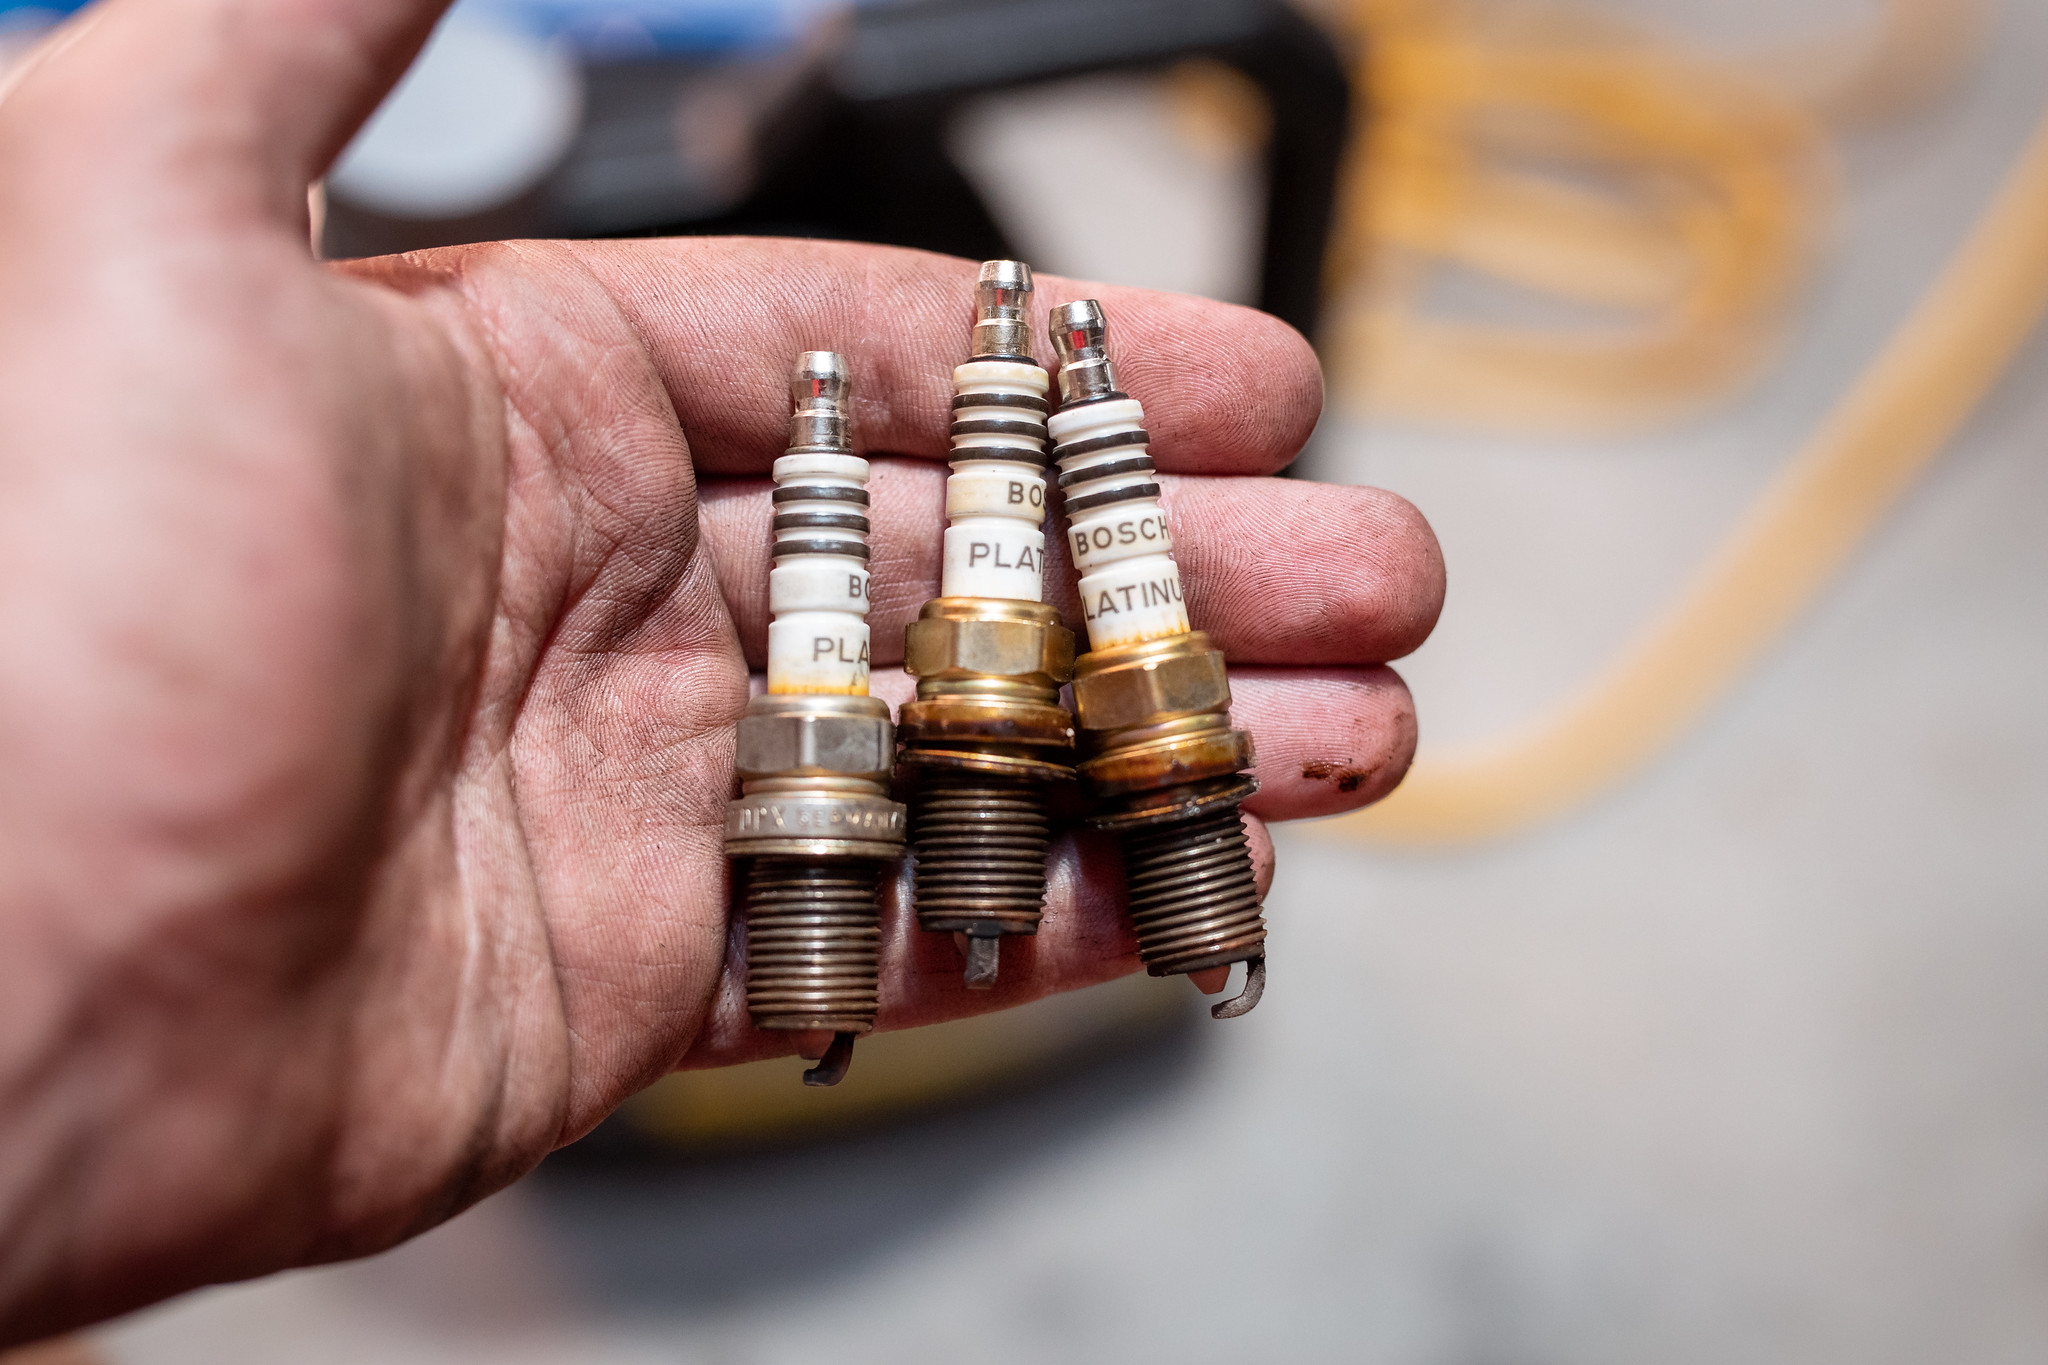
Old plugs came out easy enough, they look ok for 4 years old.
New ones certainly look better.
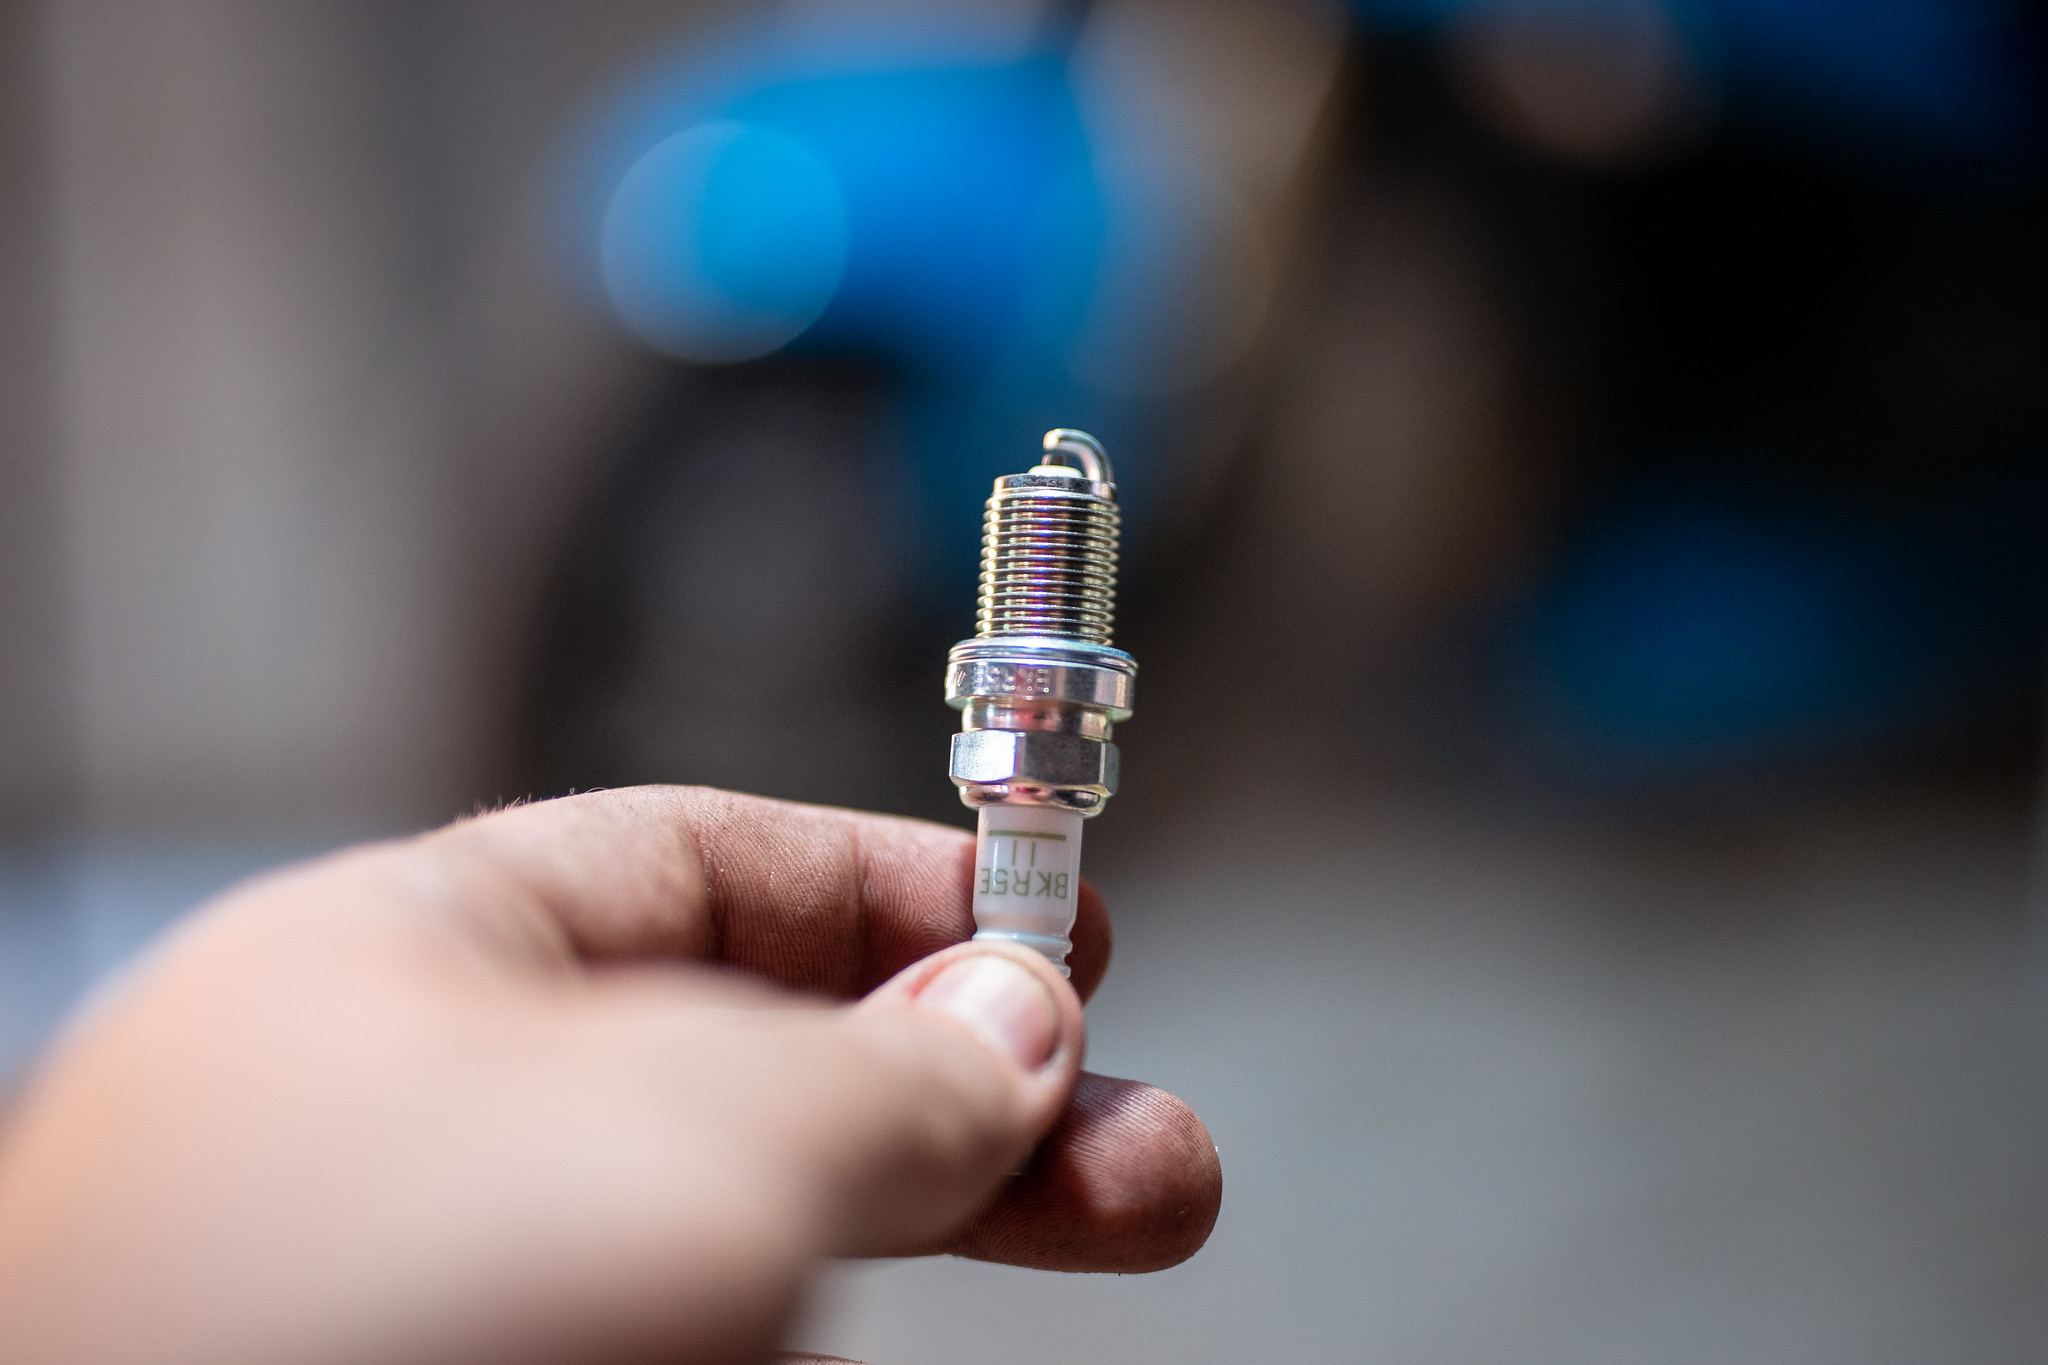
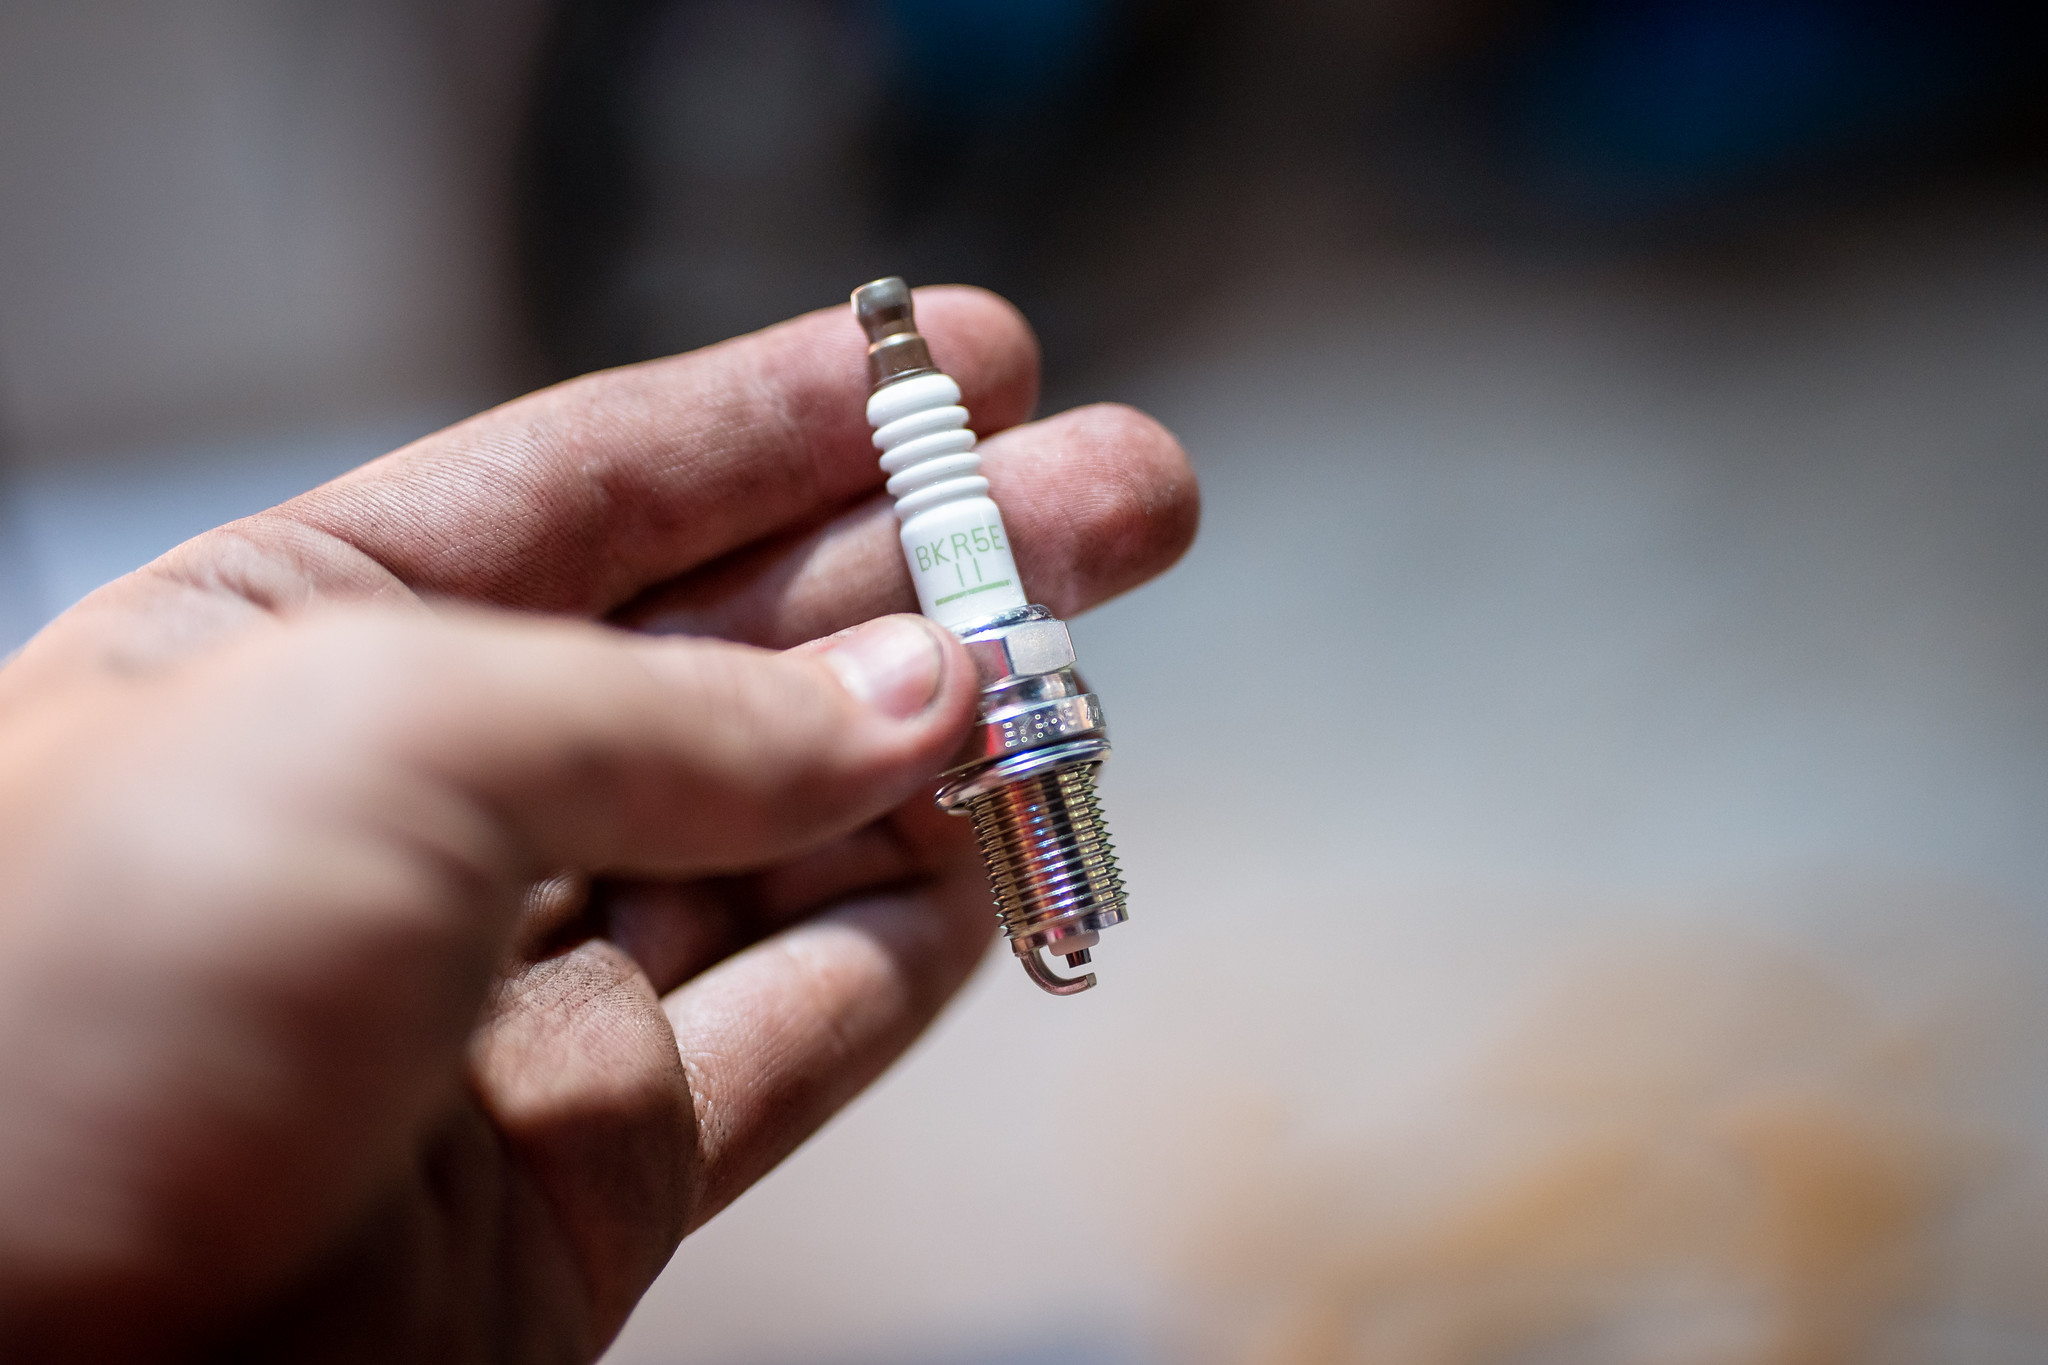
And done.
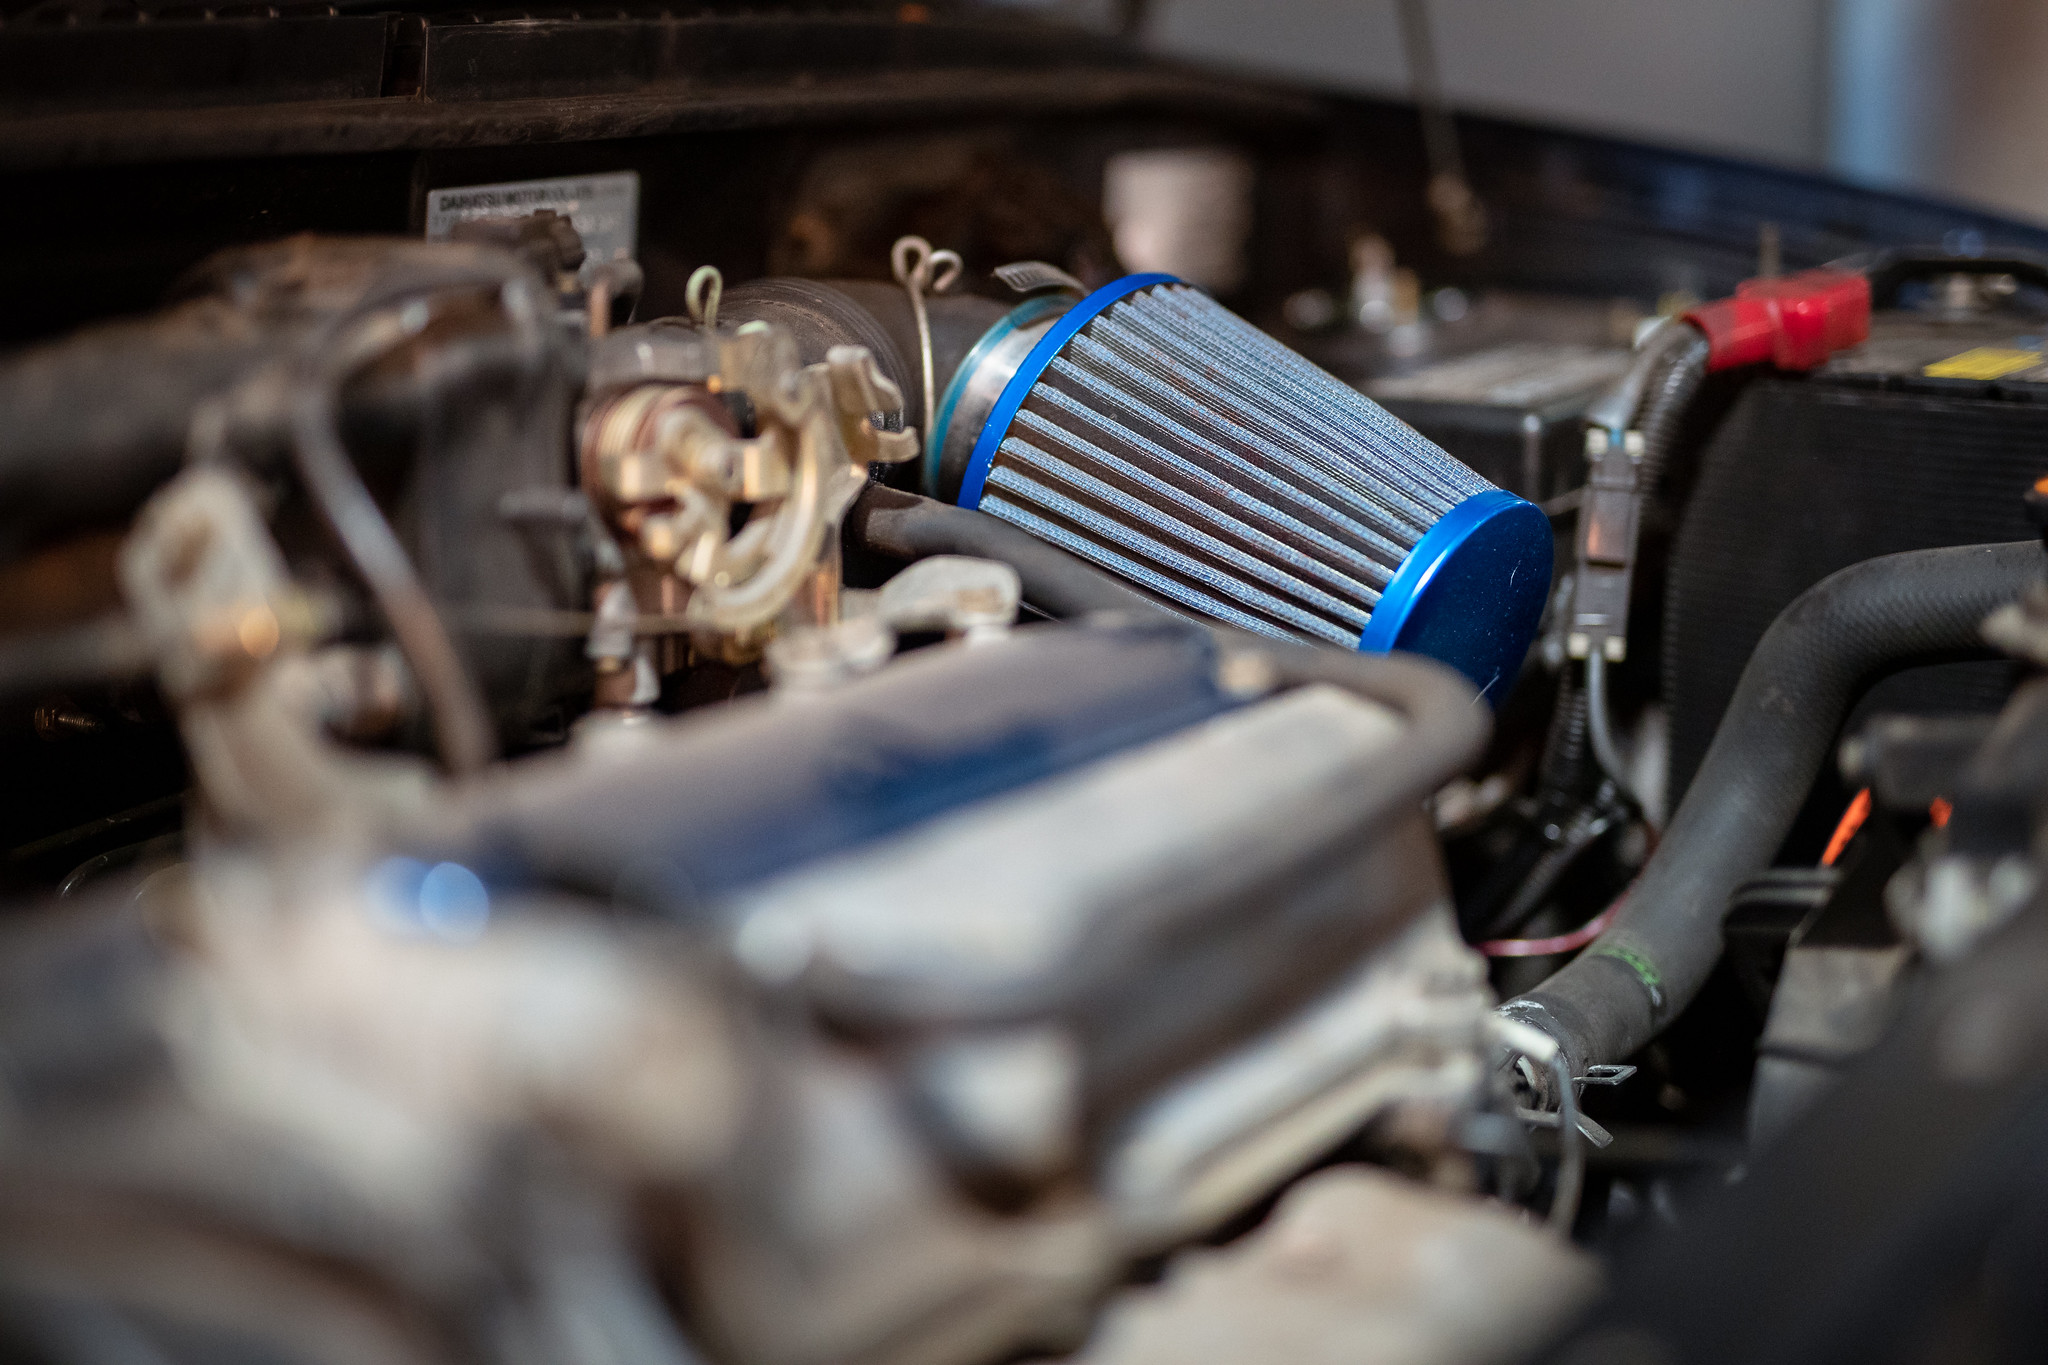
Couple other things. I originally fitted a pod to the car ages ago, but it sounded like arse with the auto. I thought it’d be fun to chuck it on again to see if its better. It is! Will get a nicer one soon.
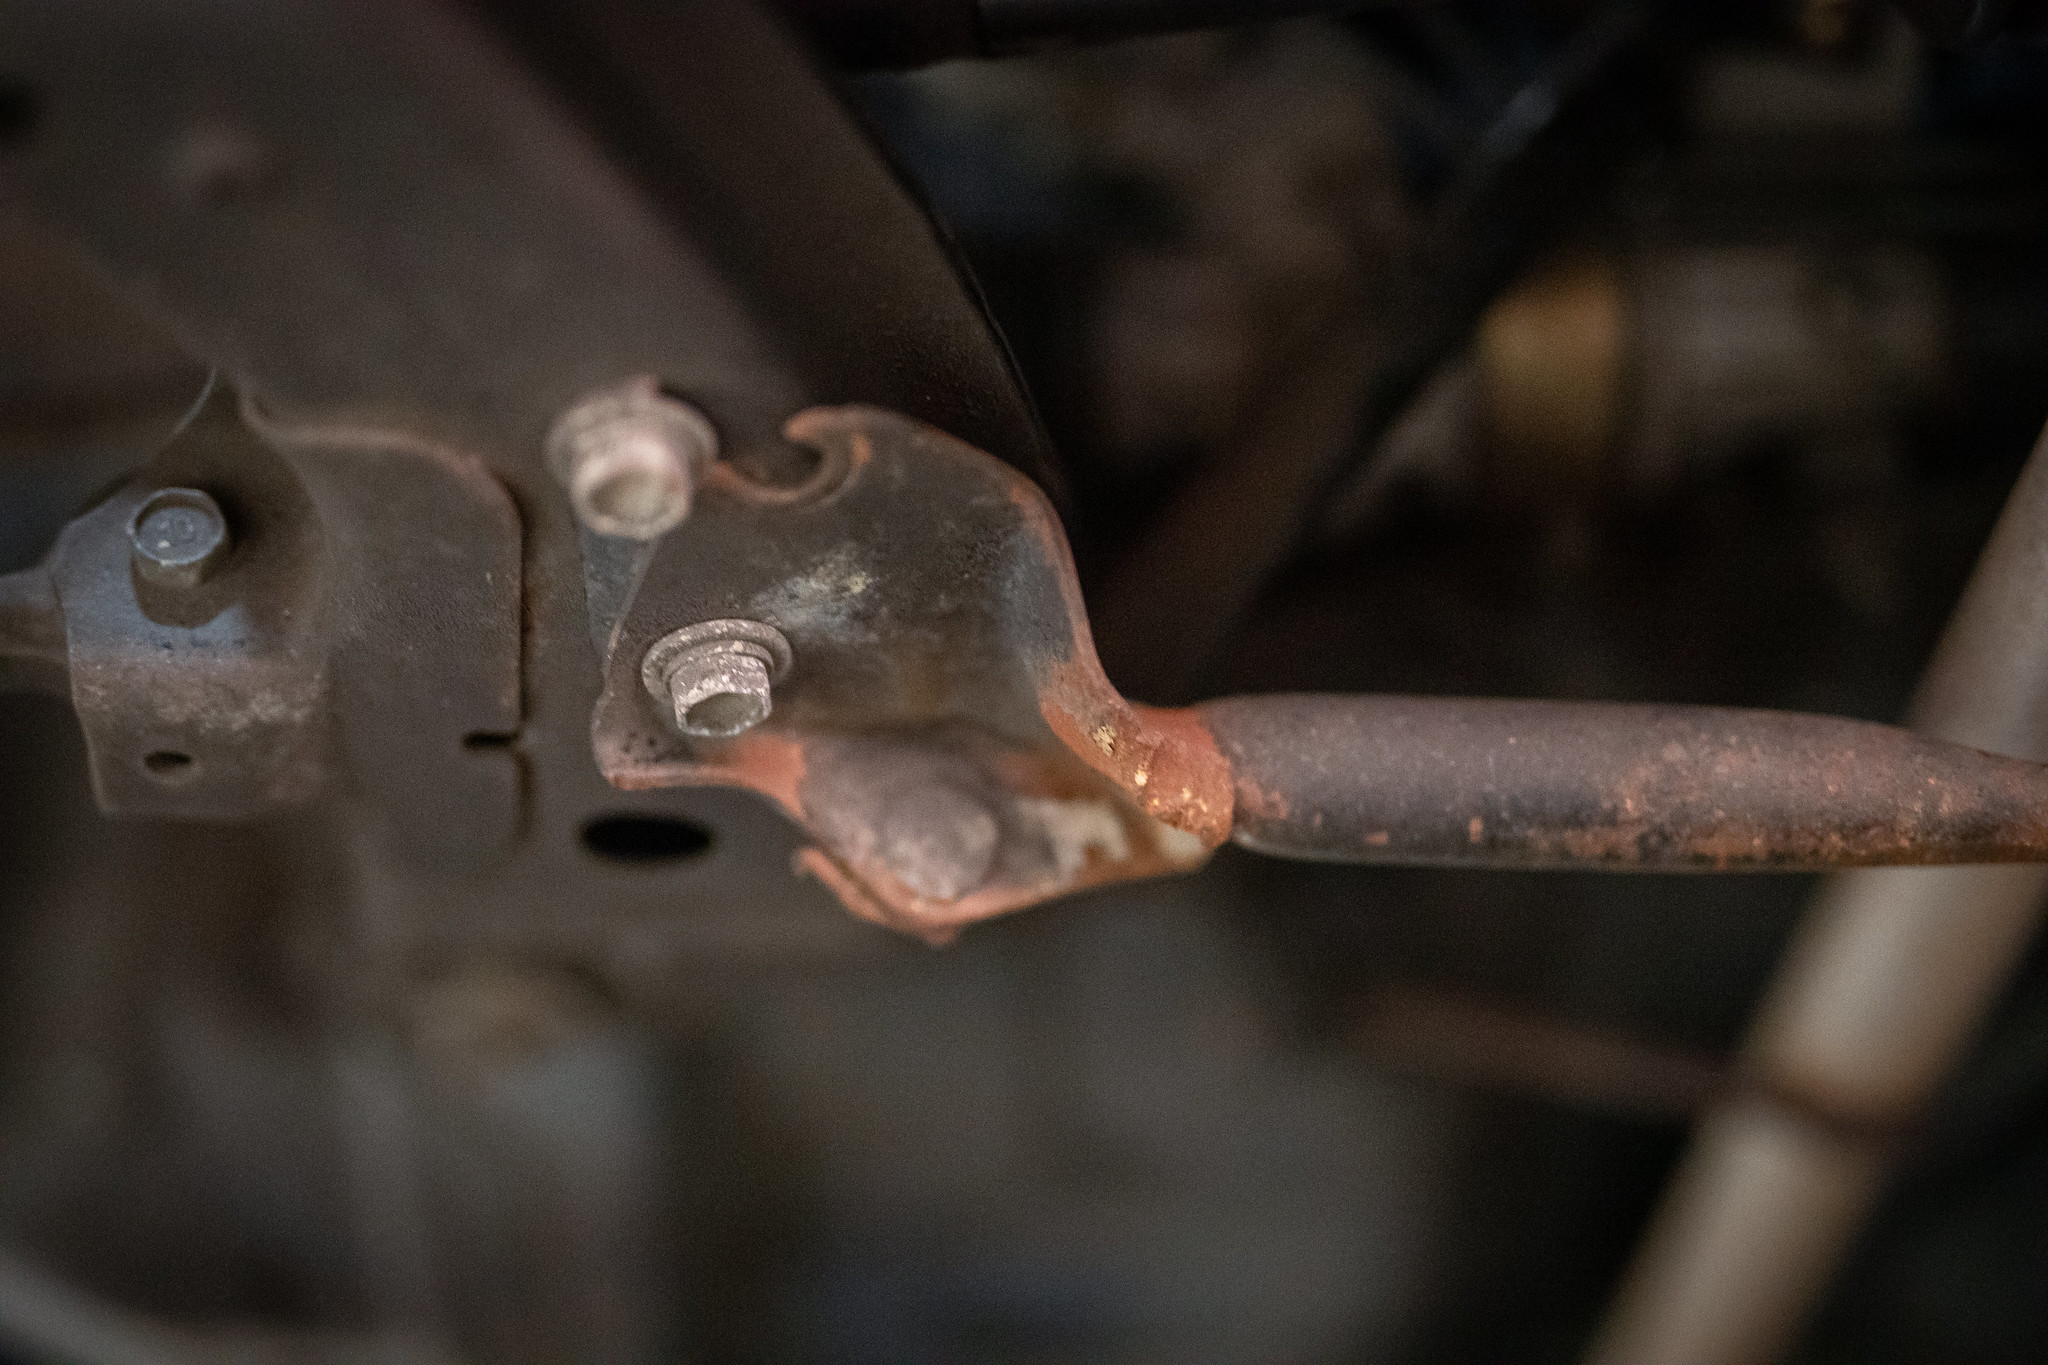
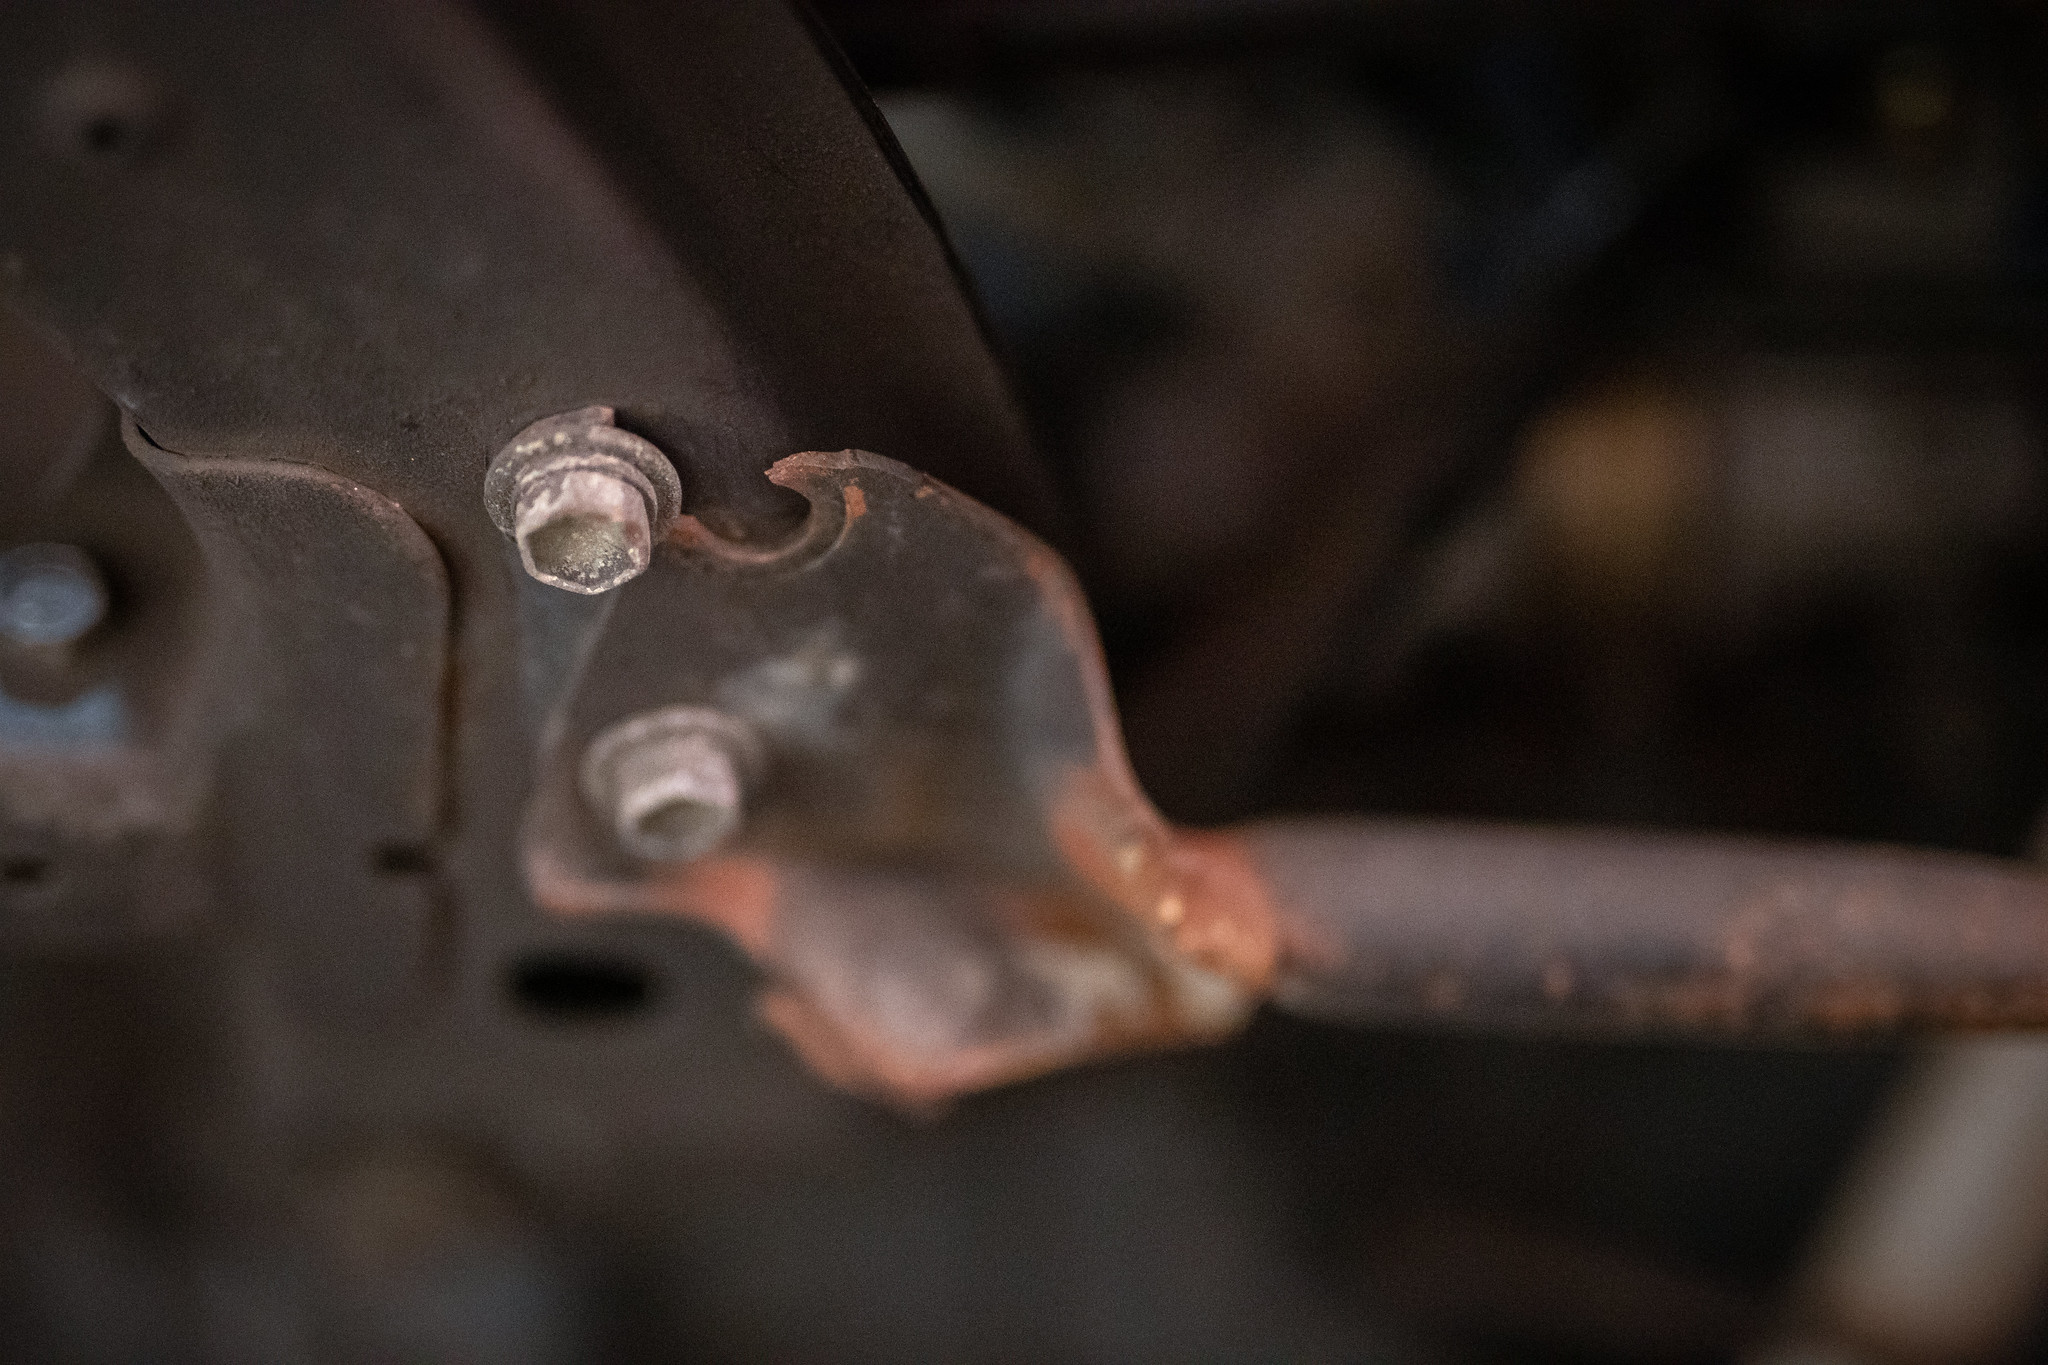
Now lastly, we noticed this when we did the manual swap. The bar that connects to each side of the k-frame was completely munted. Now it looks like it came from hitting something, hard! I tried to think back hard and I don’t think it was me, but who knows. Either way I wanted it sorted.
Luckily I kept a spare, you can see how munted it got.
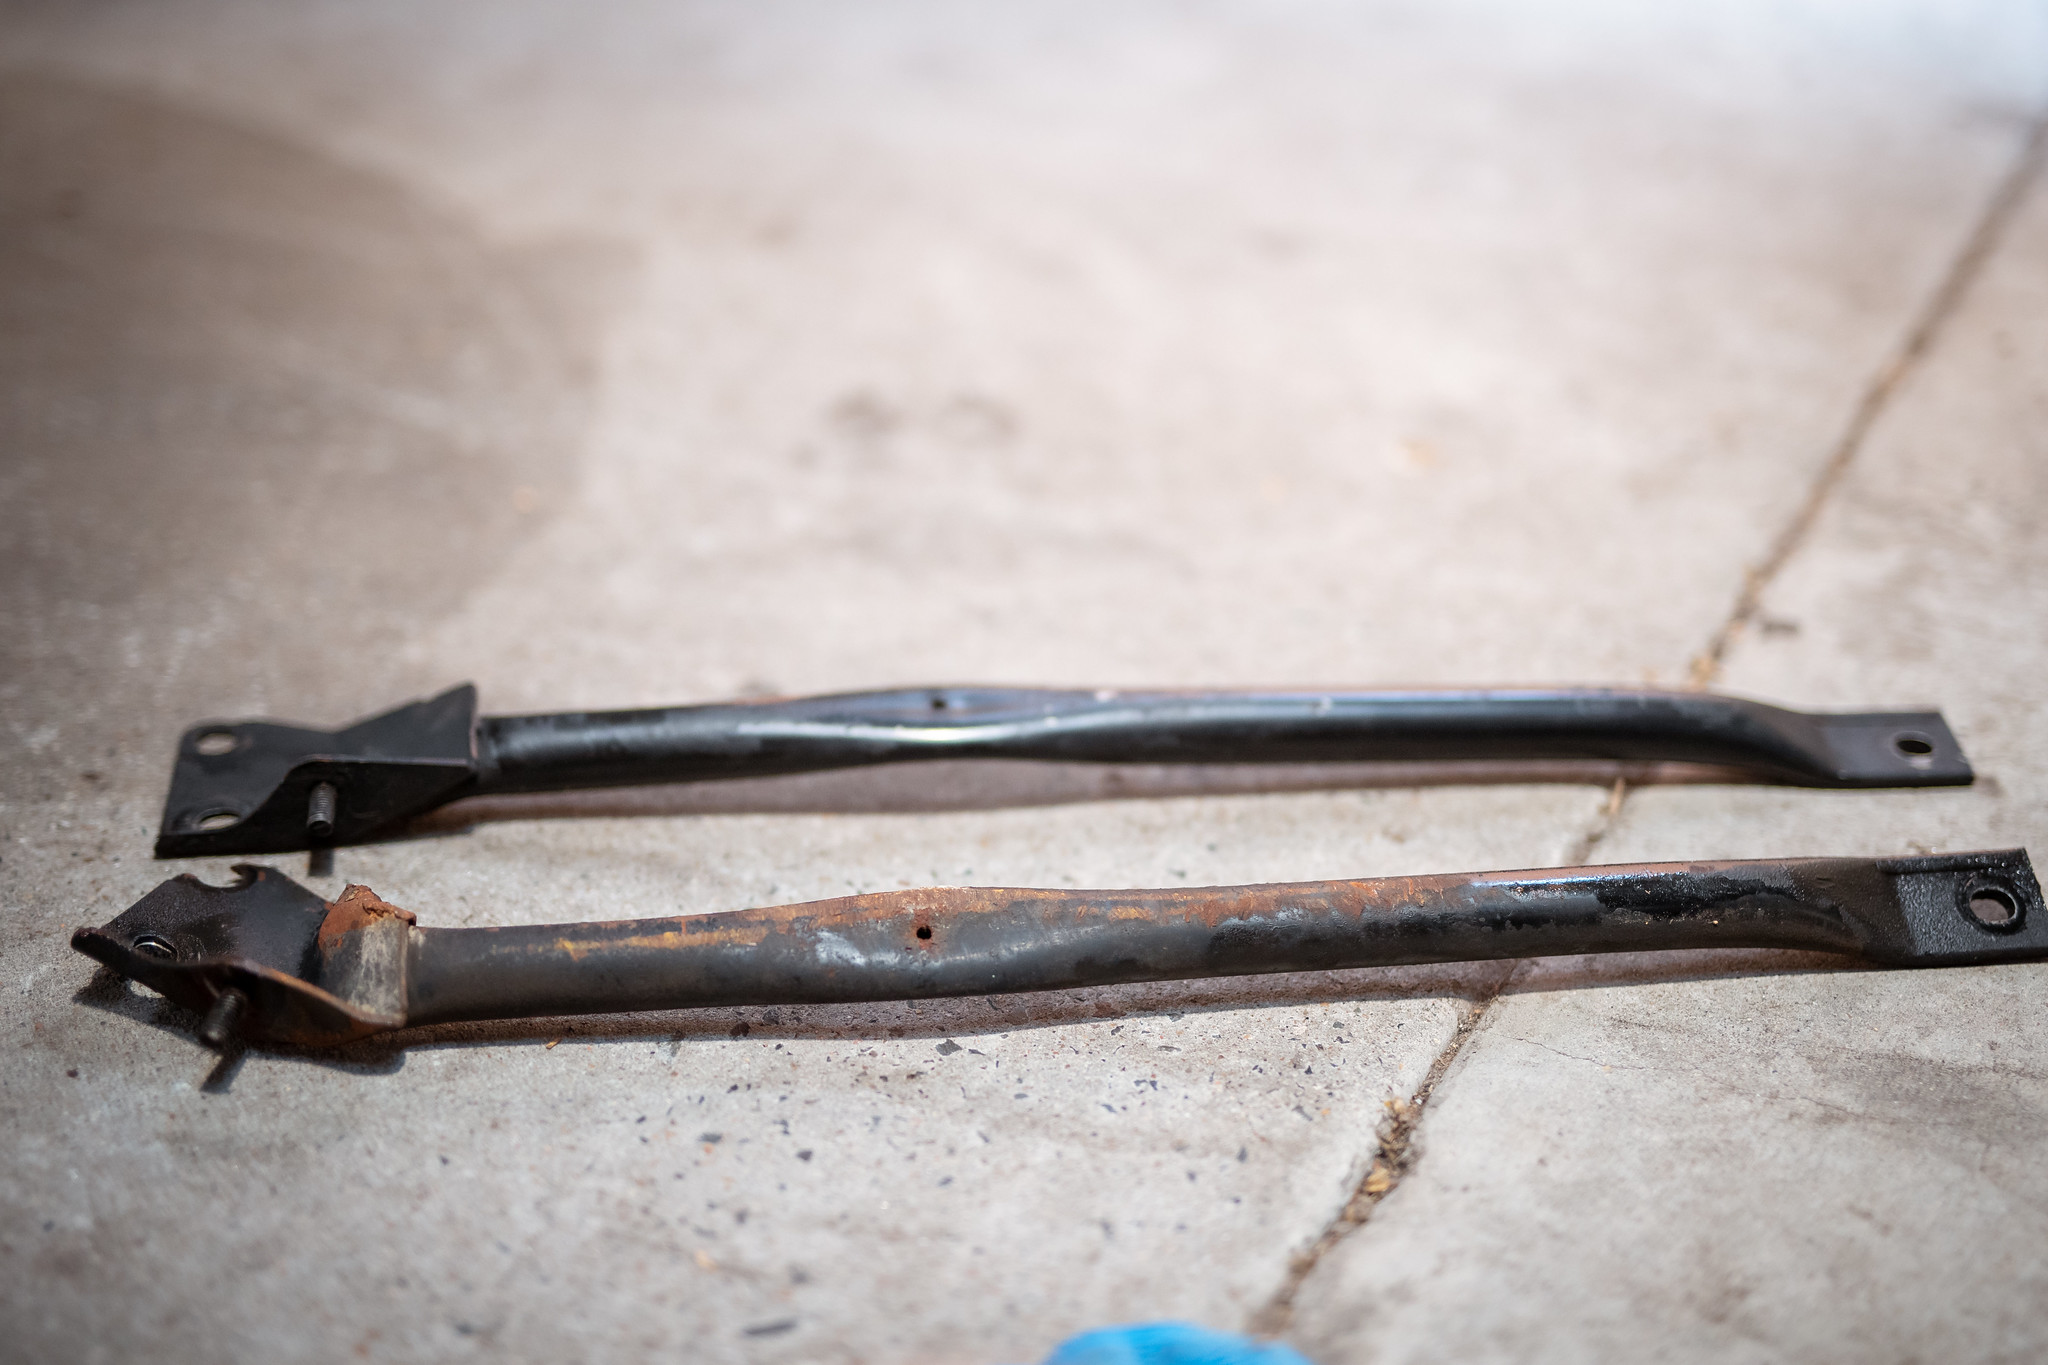
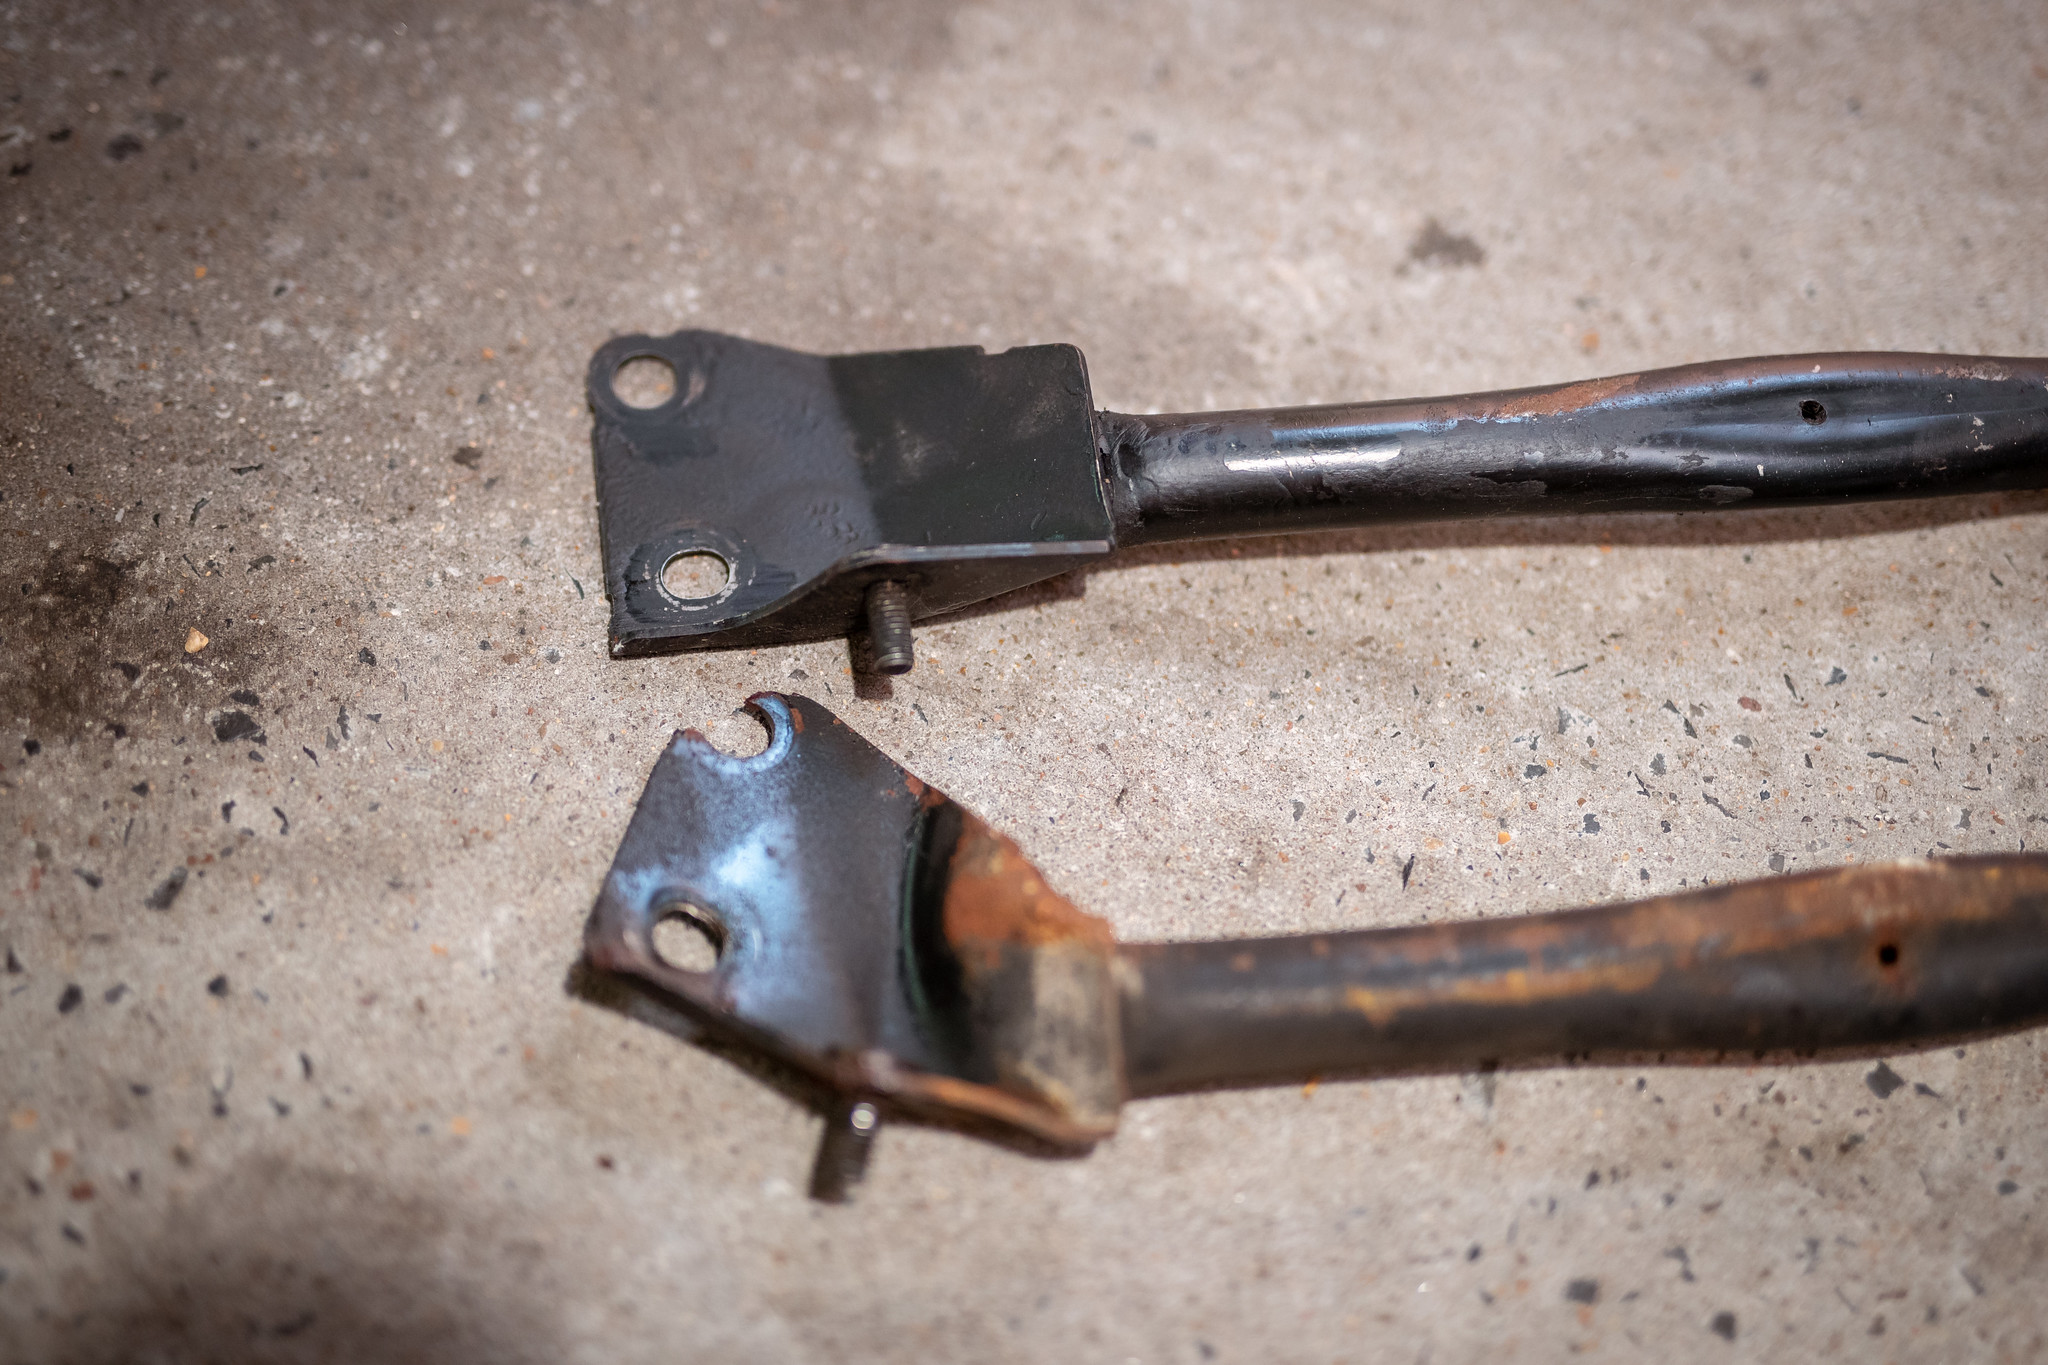
It needed a bit of work to get back in but eventually got it sorted.
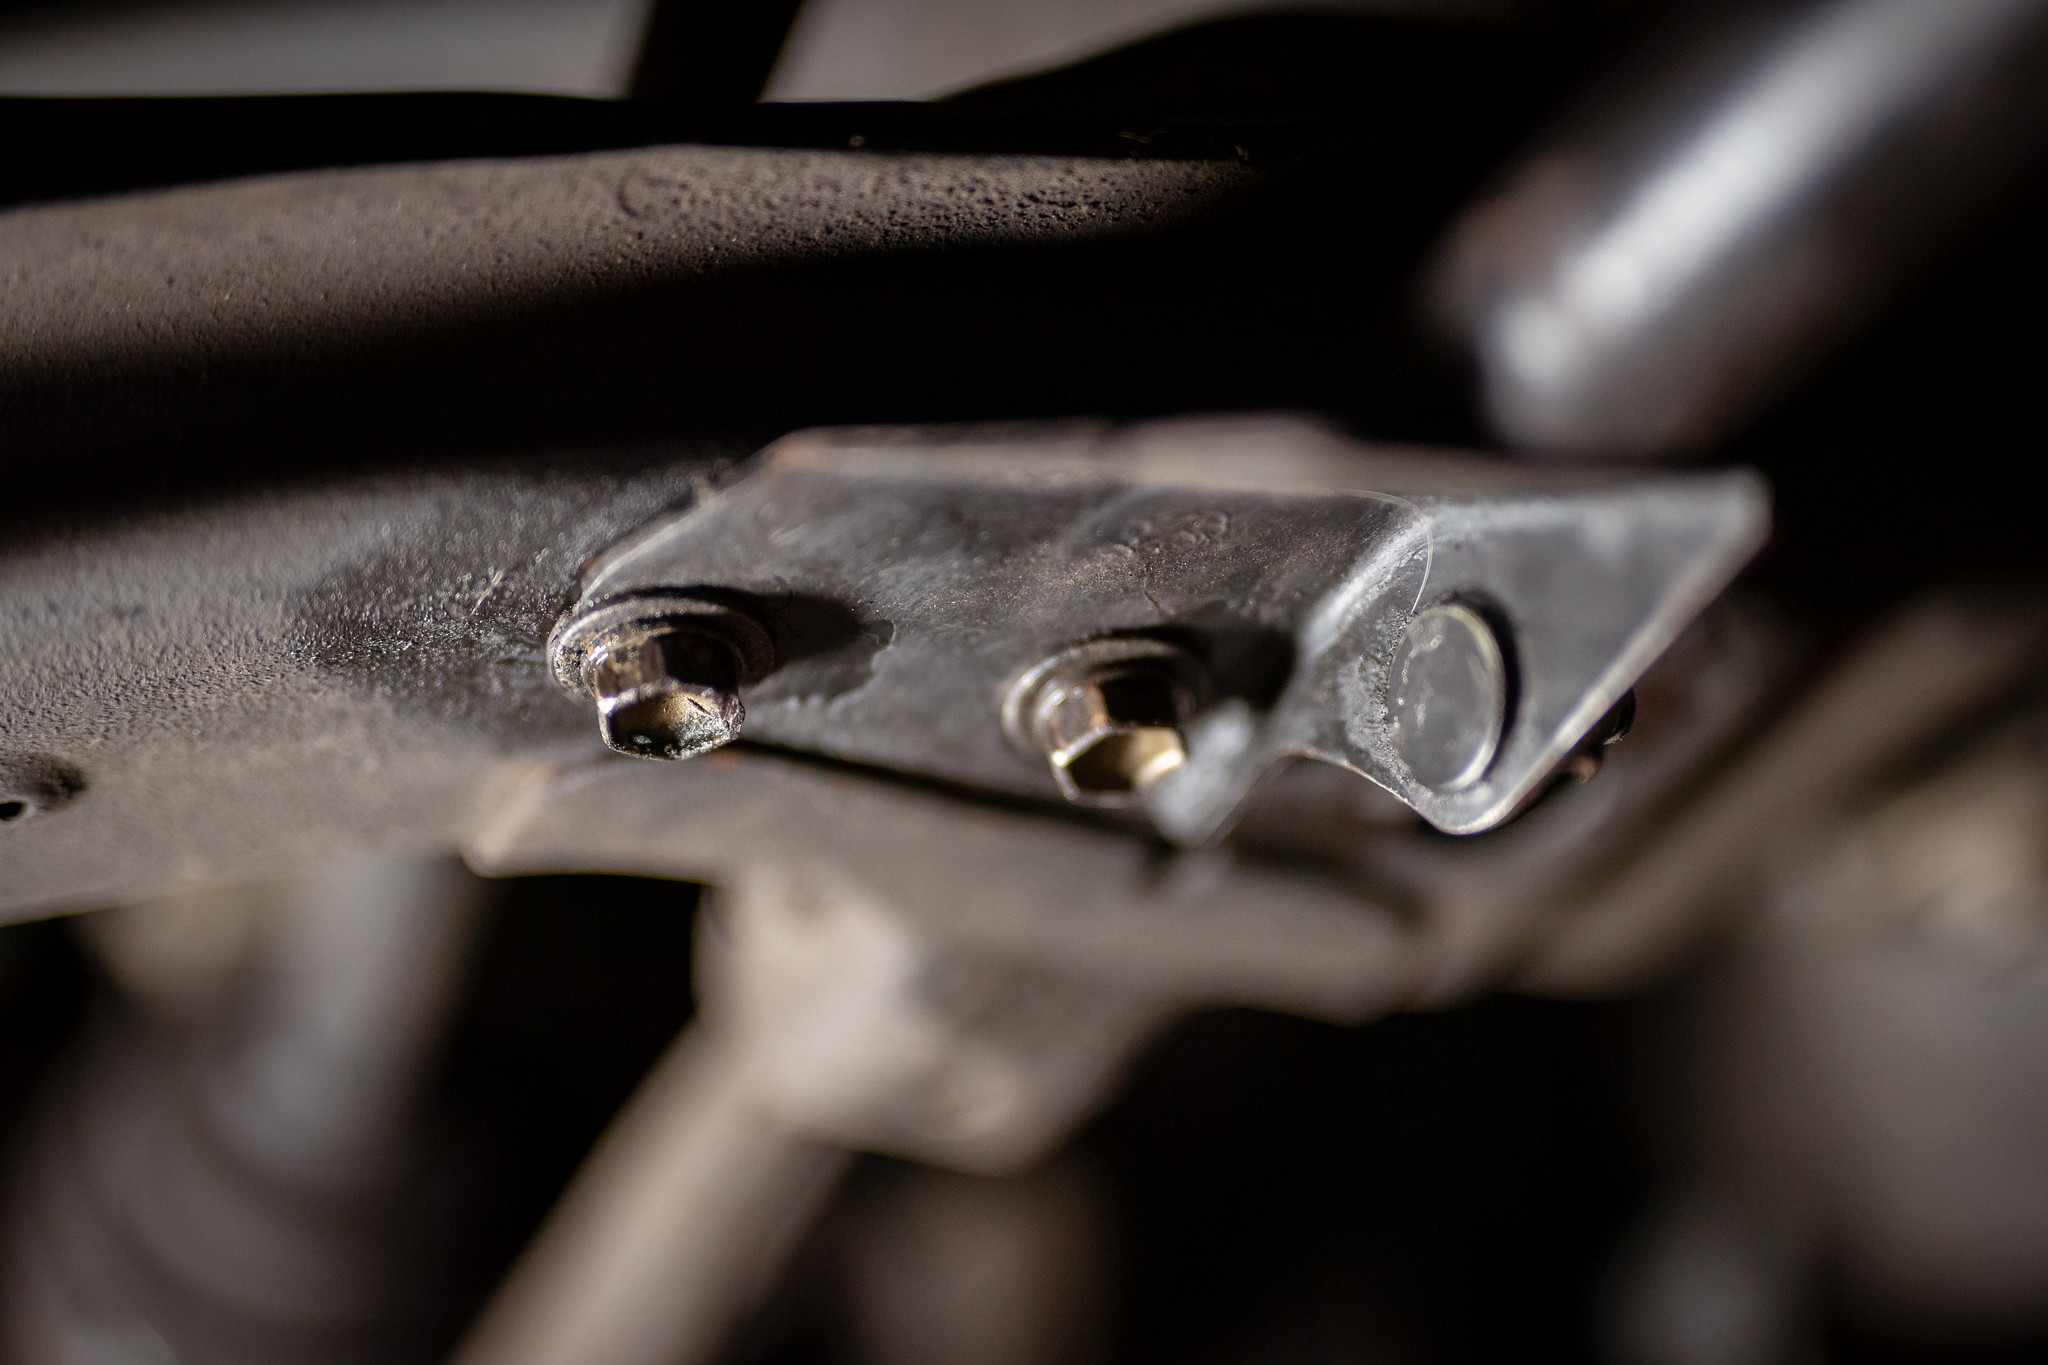
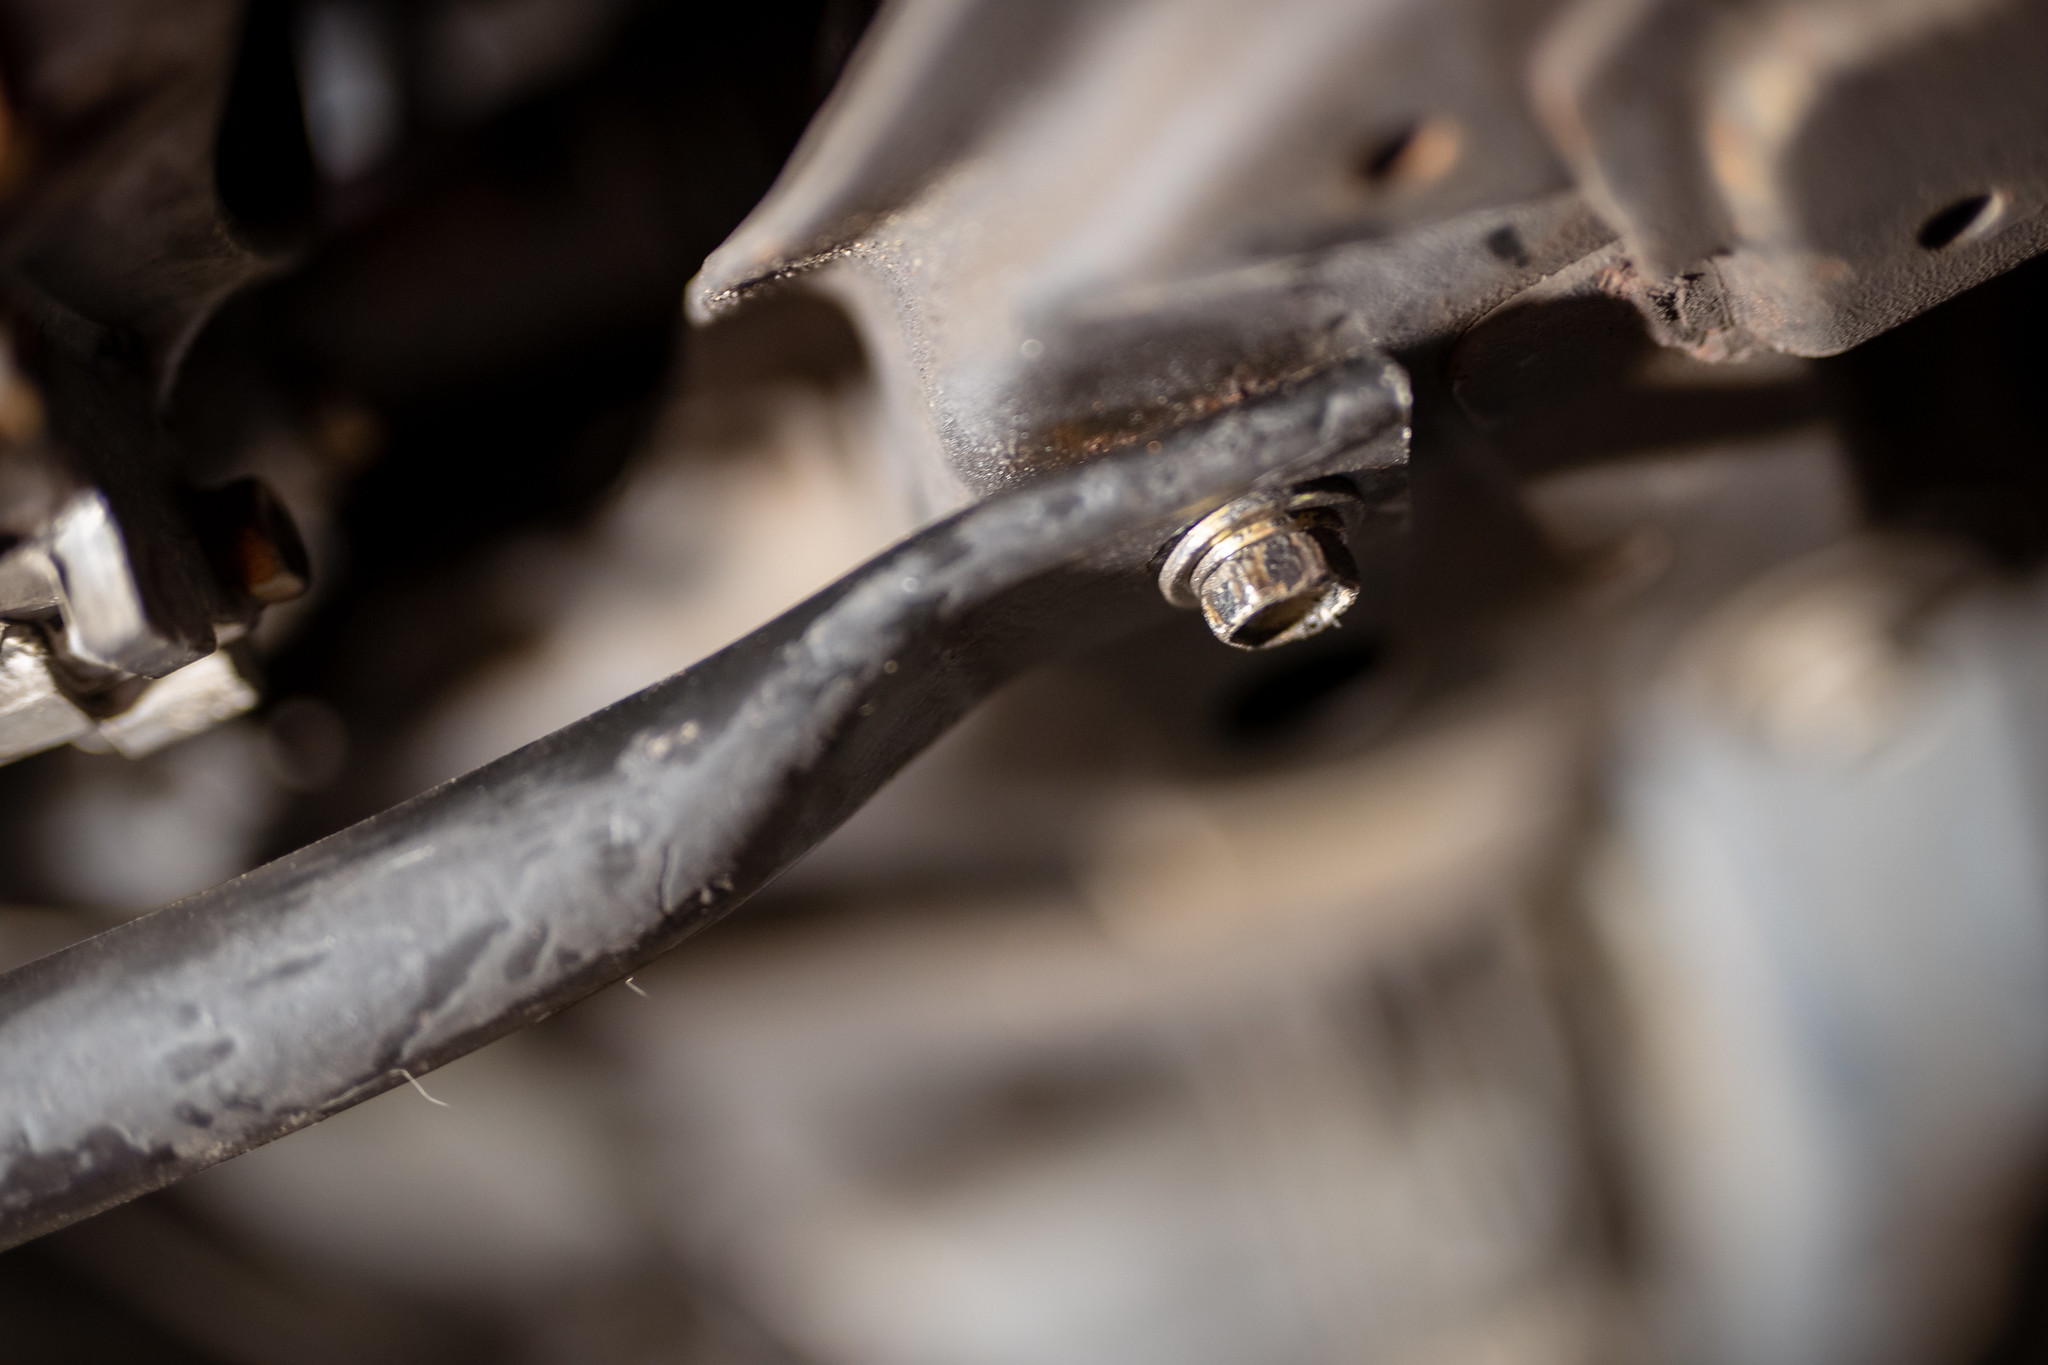
I did notice that there is a bar that goes to one of the engine mounts. The bolt was finger tight, so I think some of the vibrations I’ve been noticing lately could’ve been coming from that.
6 Likes