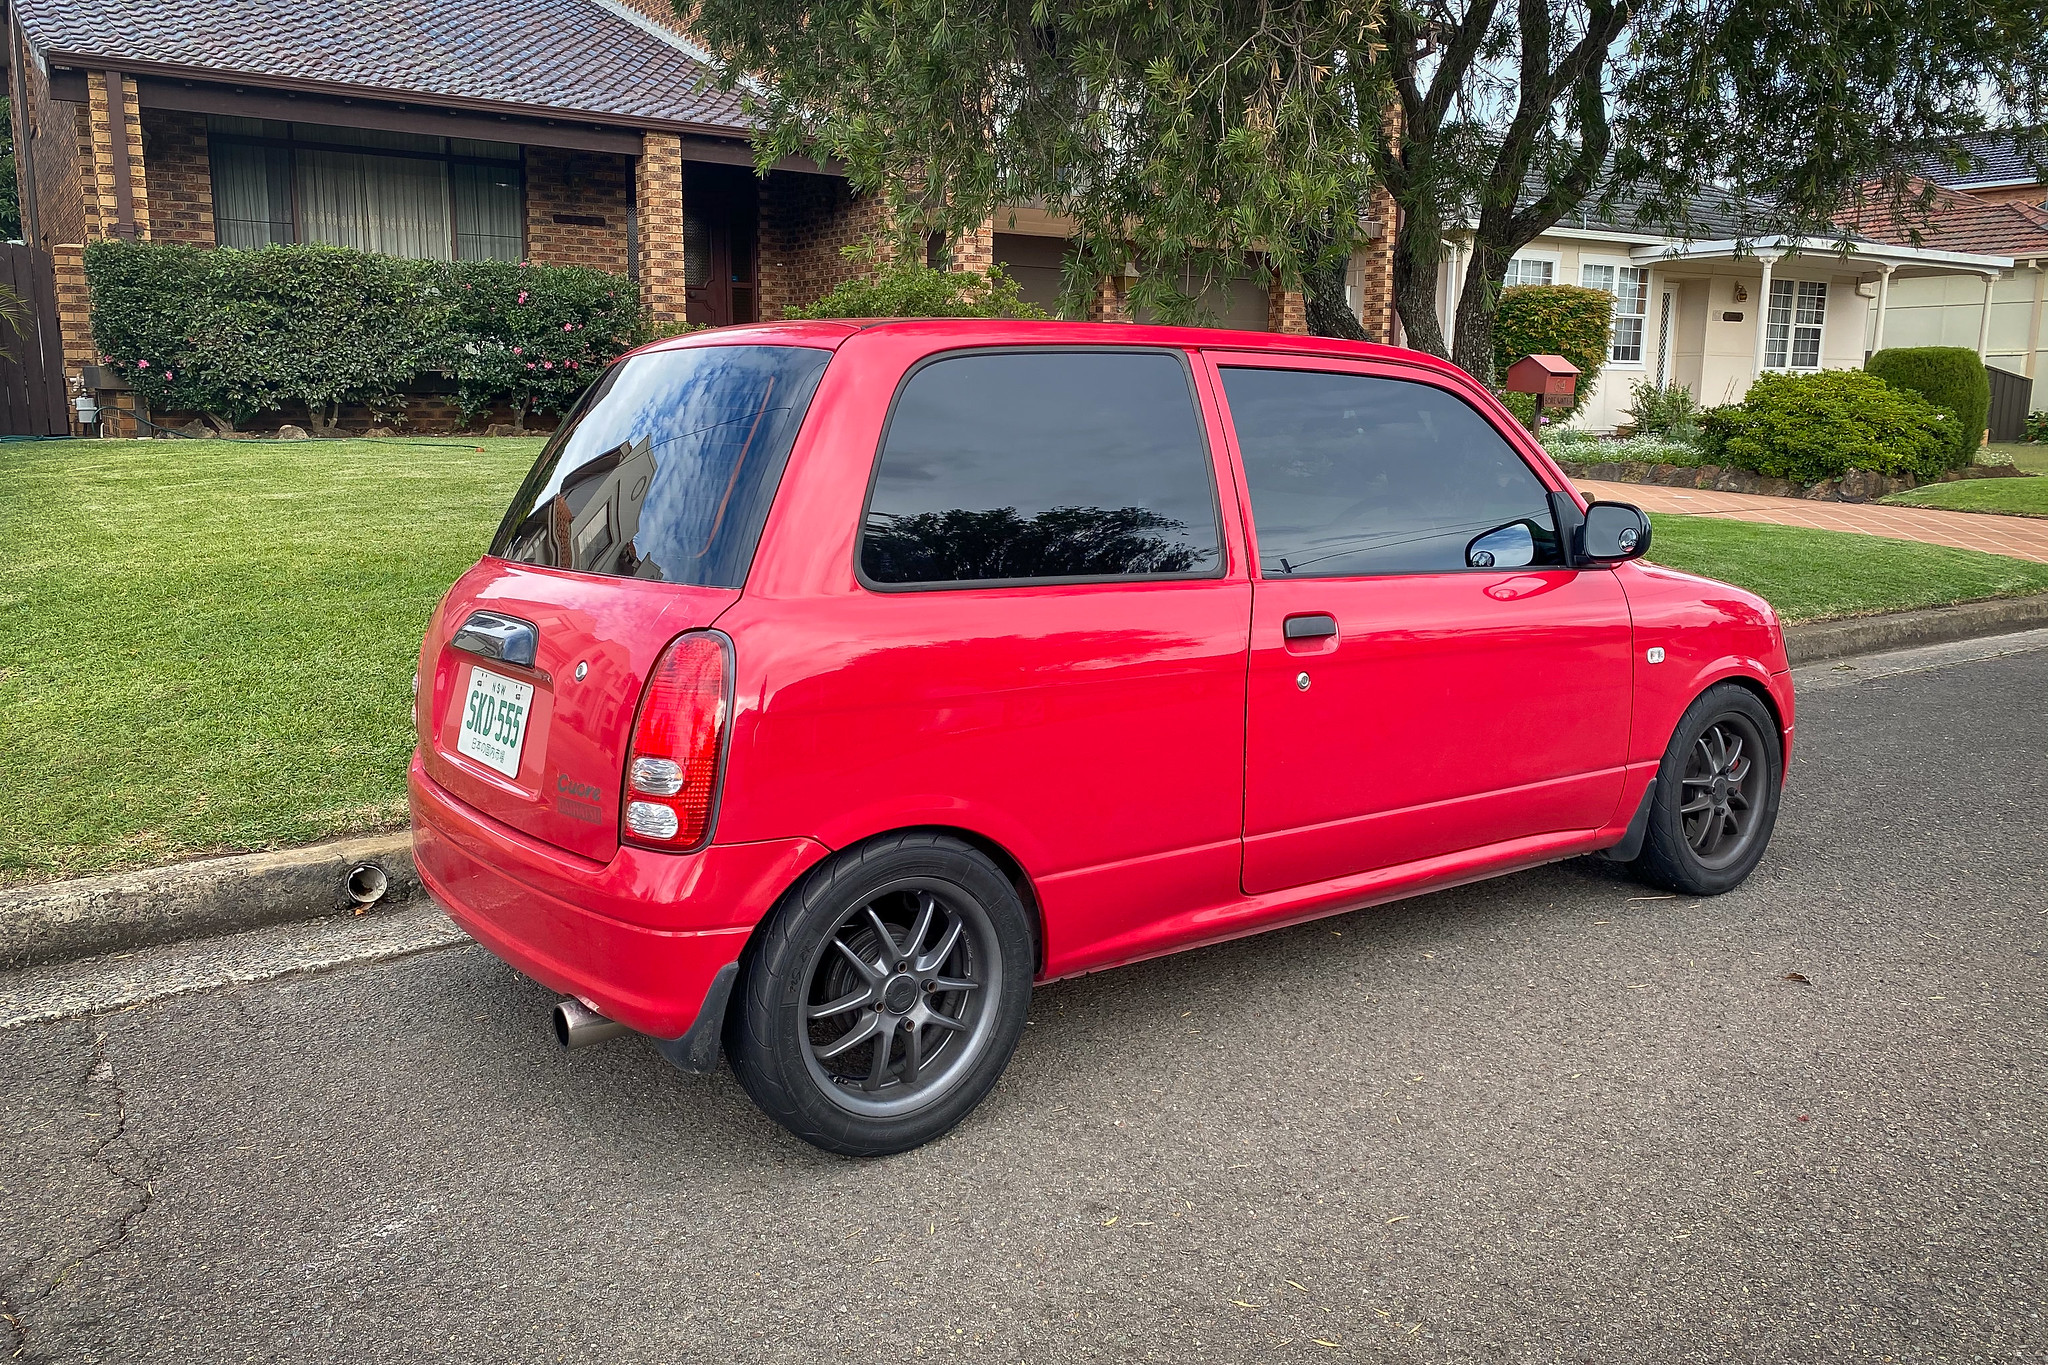
Maybe review that drivers rear jack point (or is that water catching the light making it look white/metalic)? Would some gaffer tape at the jack points look cool whilst adding some paint protection?!? Just wondering?
You will need to update your manifold, as the smallest restriction is 1-5/8 inch (41mm in the metric). Other than that it’s awesome
1 Like
Must be the light, its perfection under there 
2 Likes
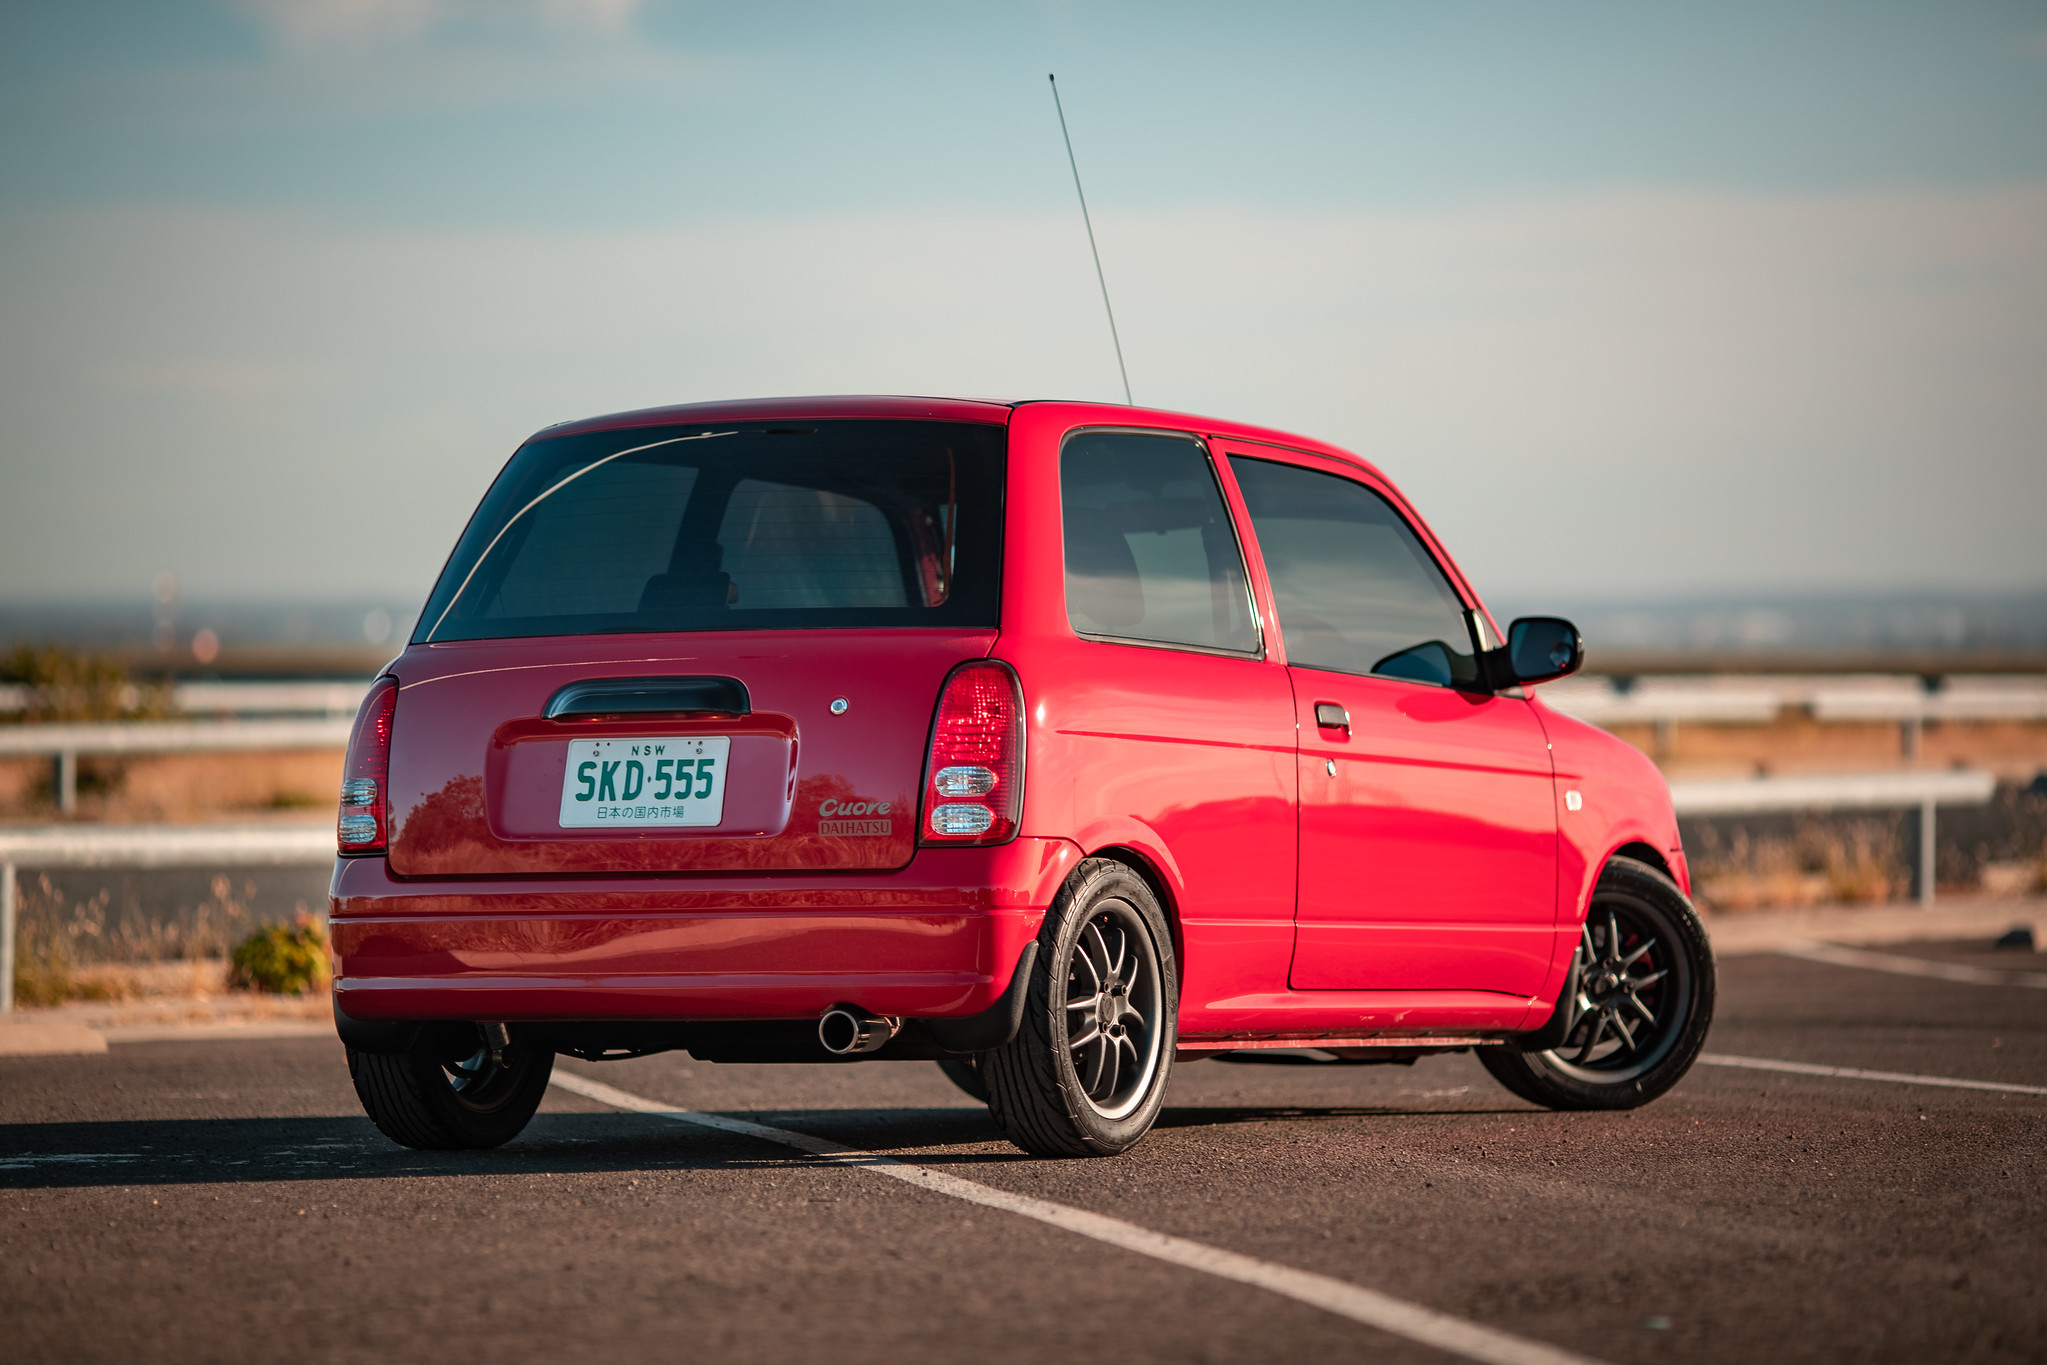
Good point. Although, I’m not looking to develop the car more with the NA setup. We went with 2" exhaust so it didn’t need to be redone when the car gets turbo’d at some point.
1 Like
That exhaust looks very neat 
1 Like
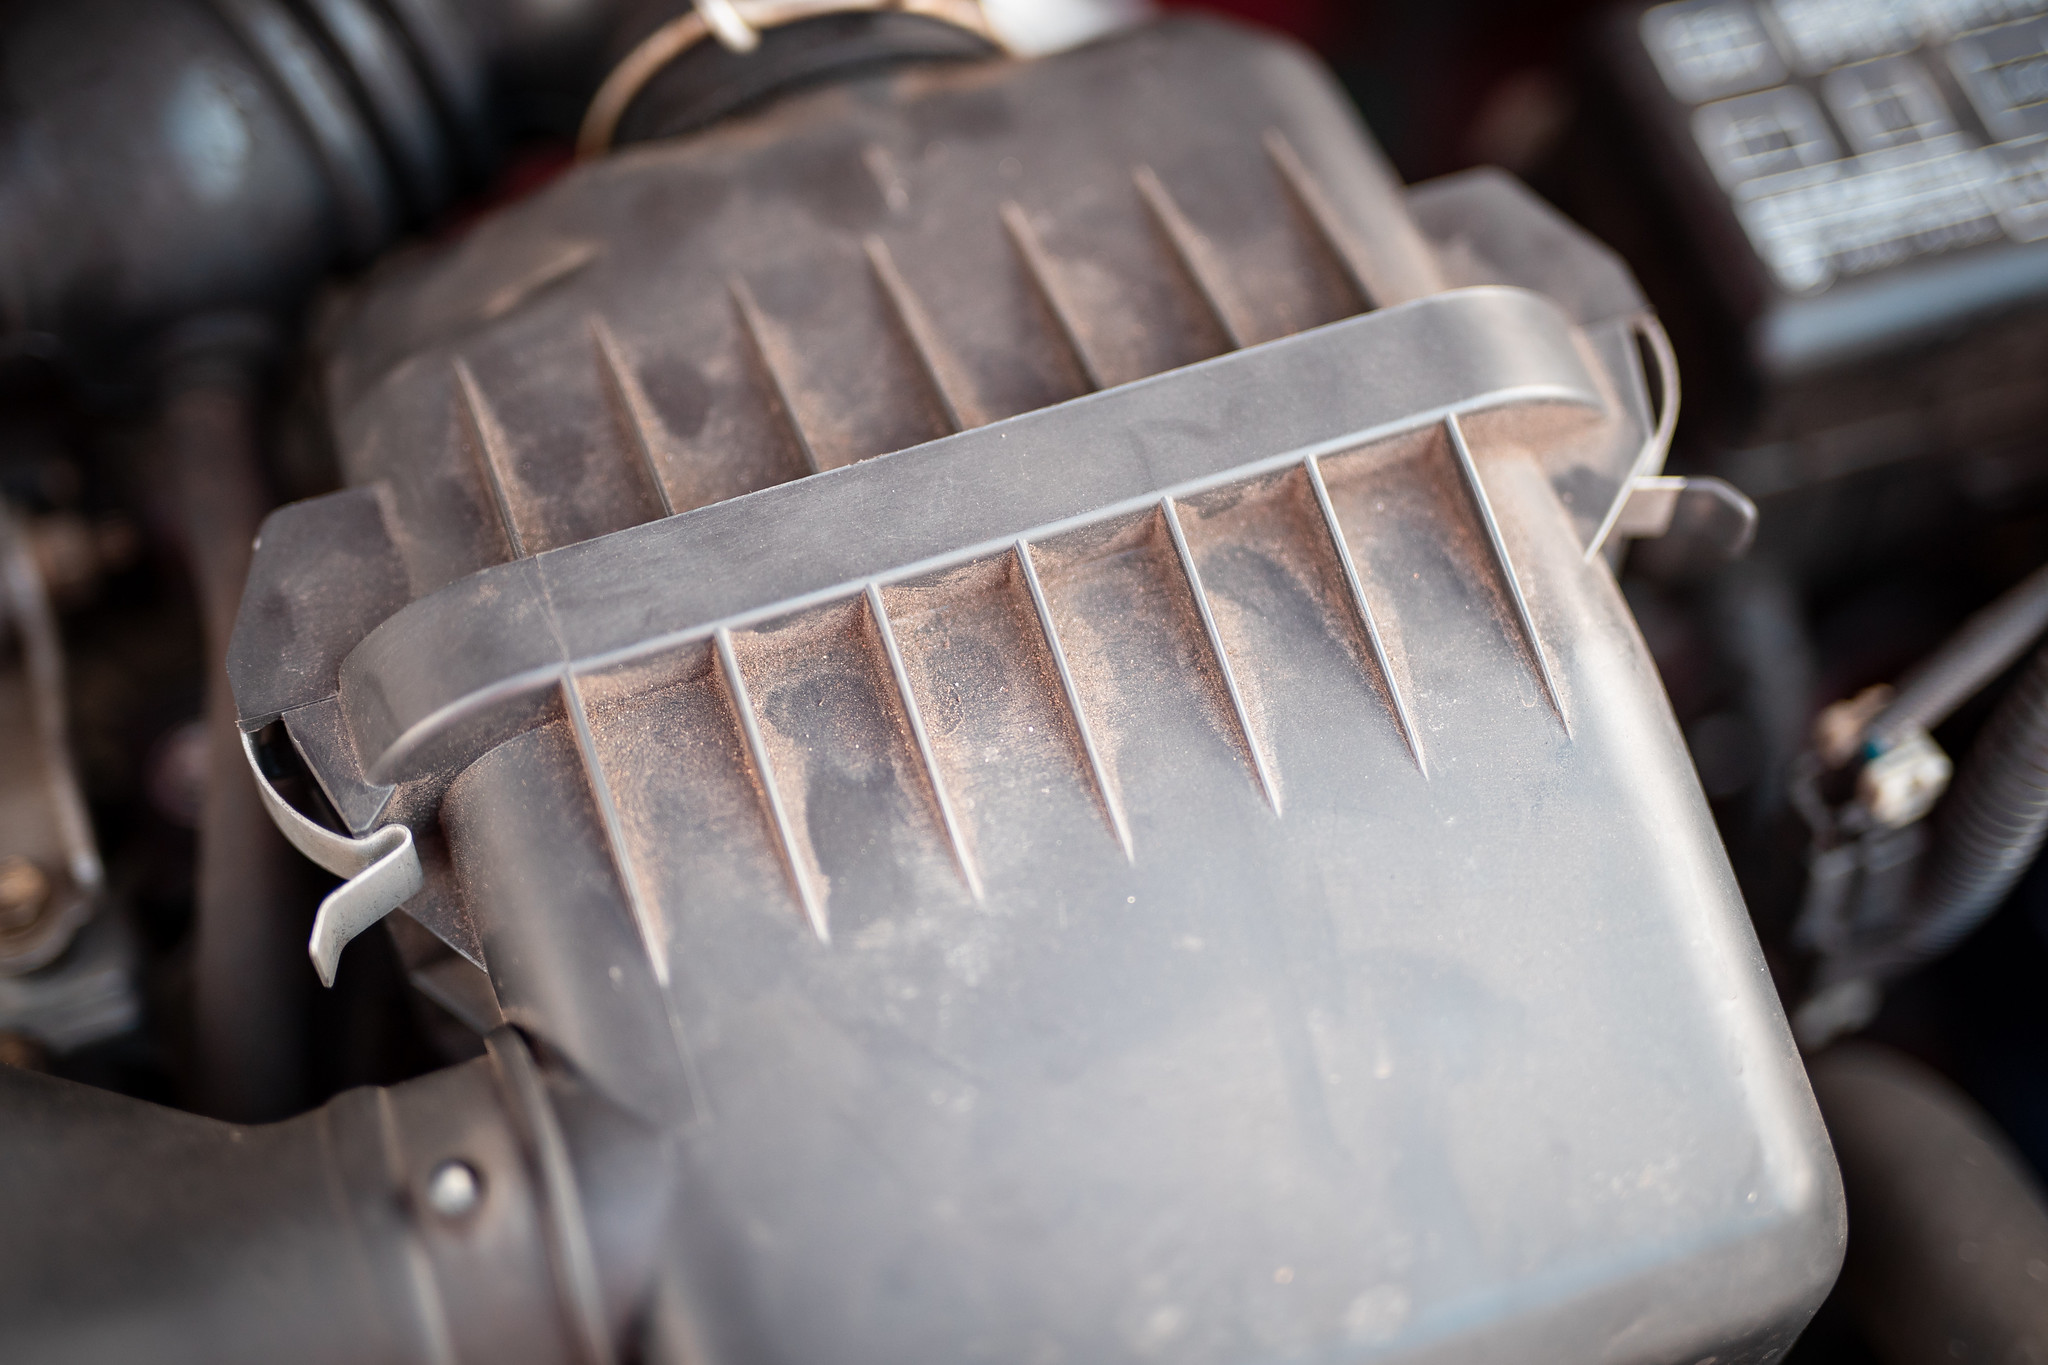
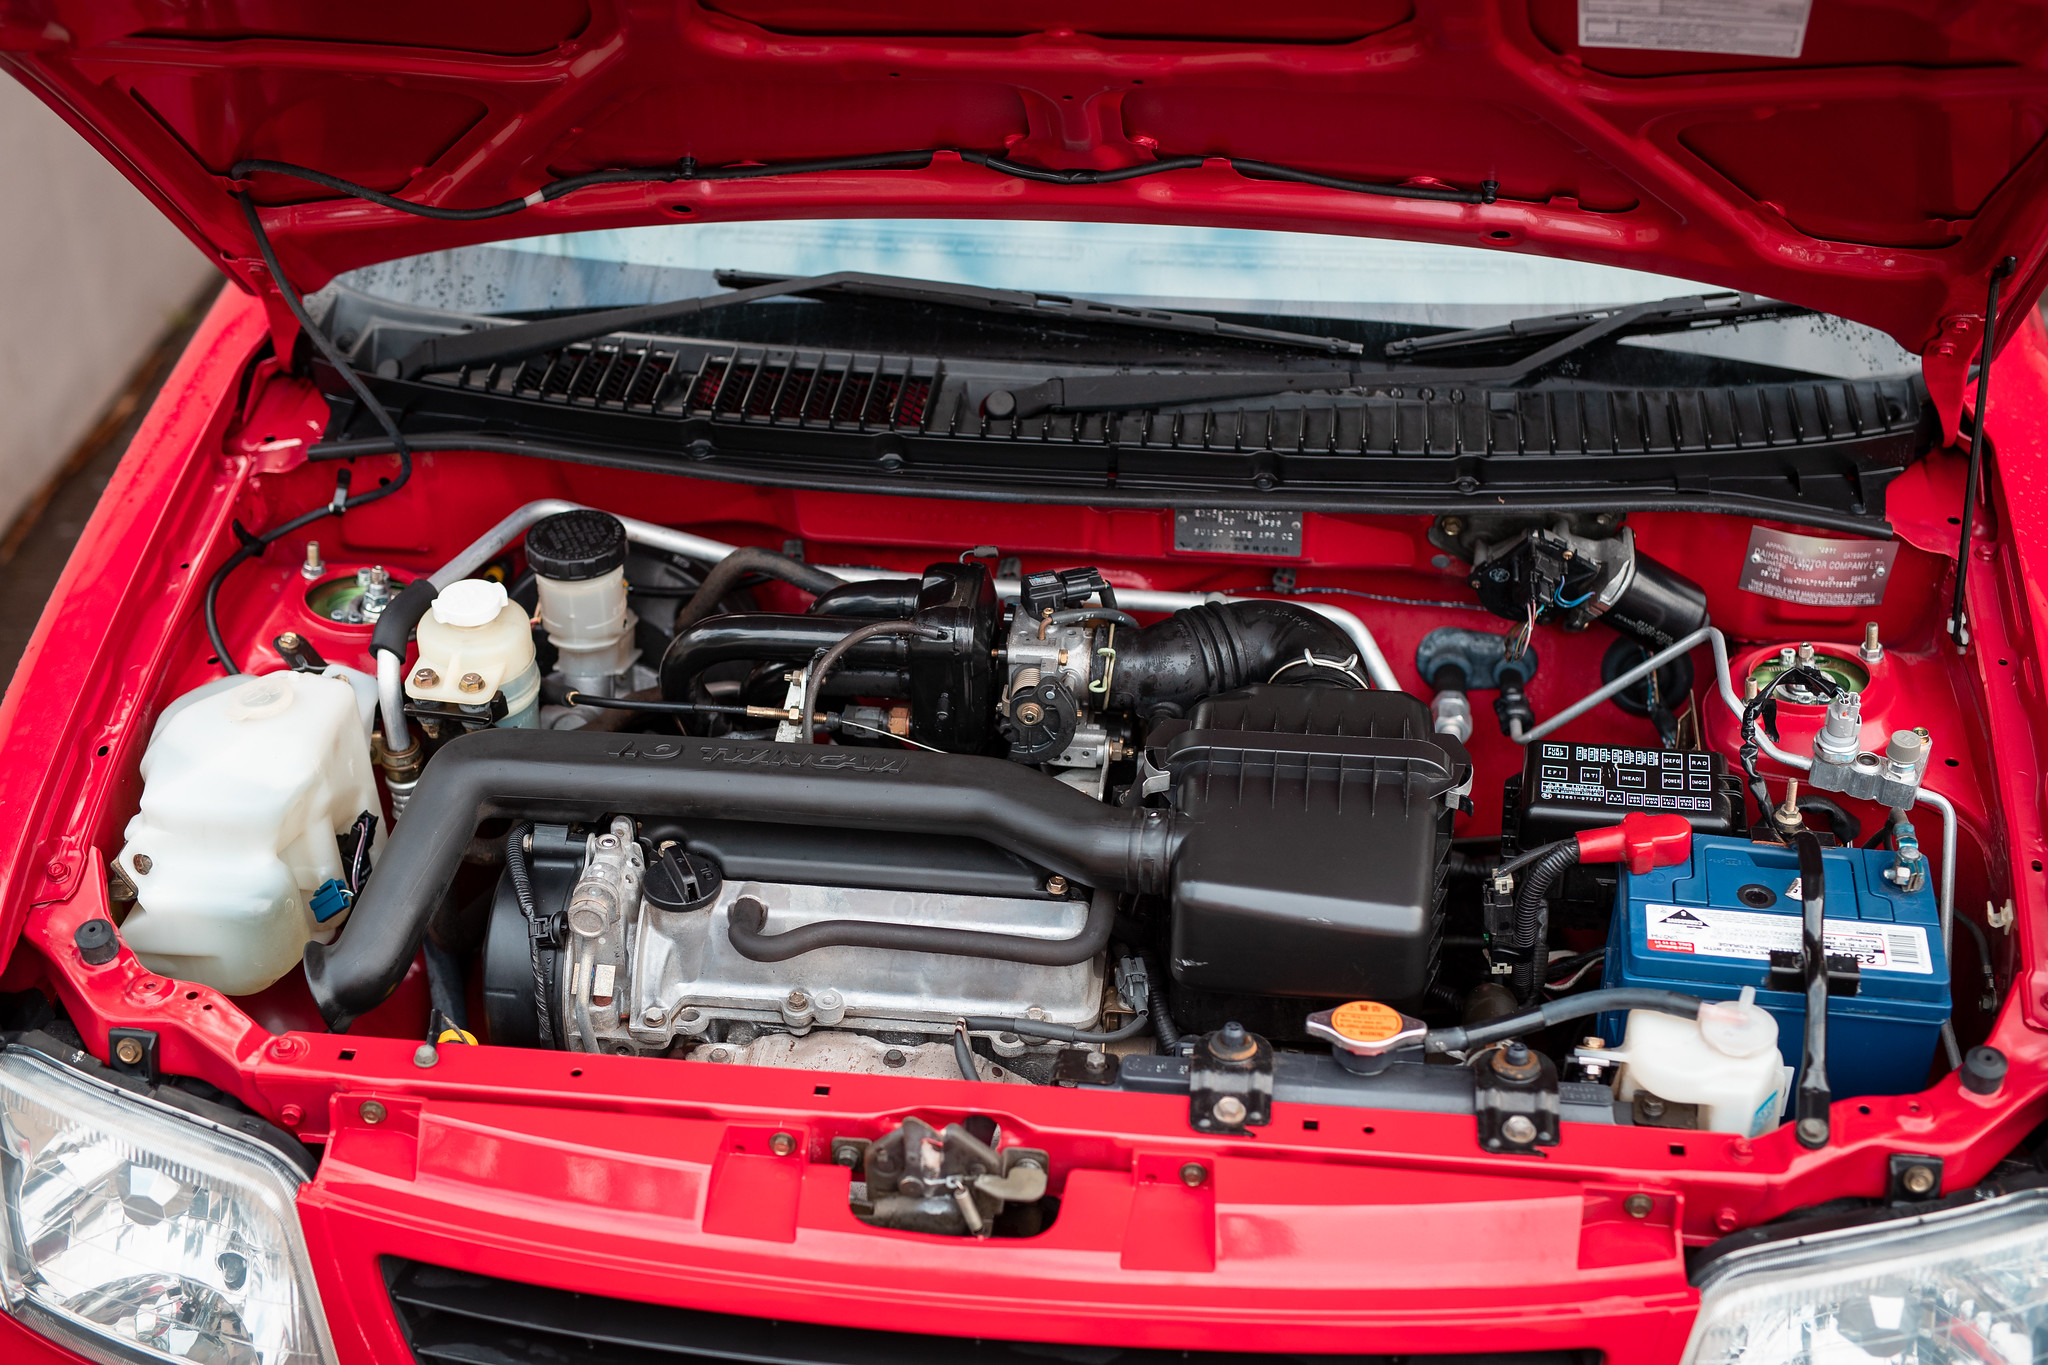
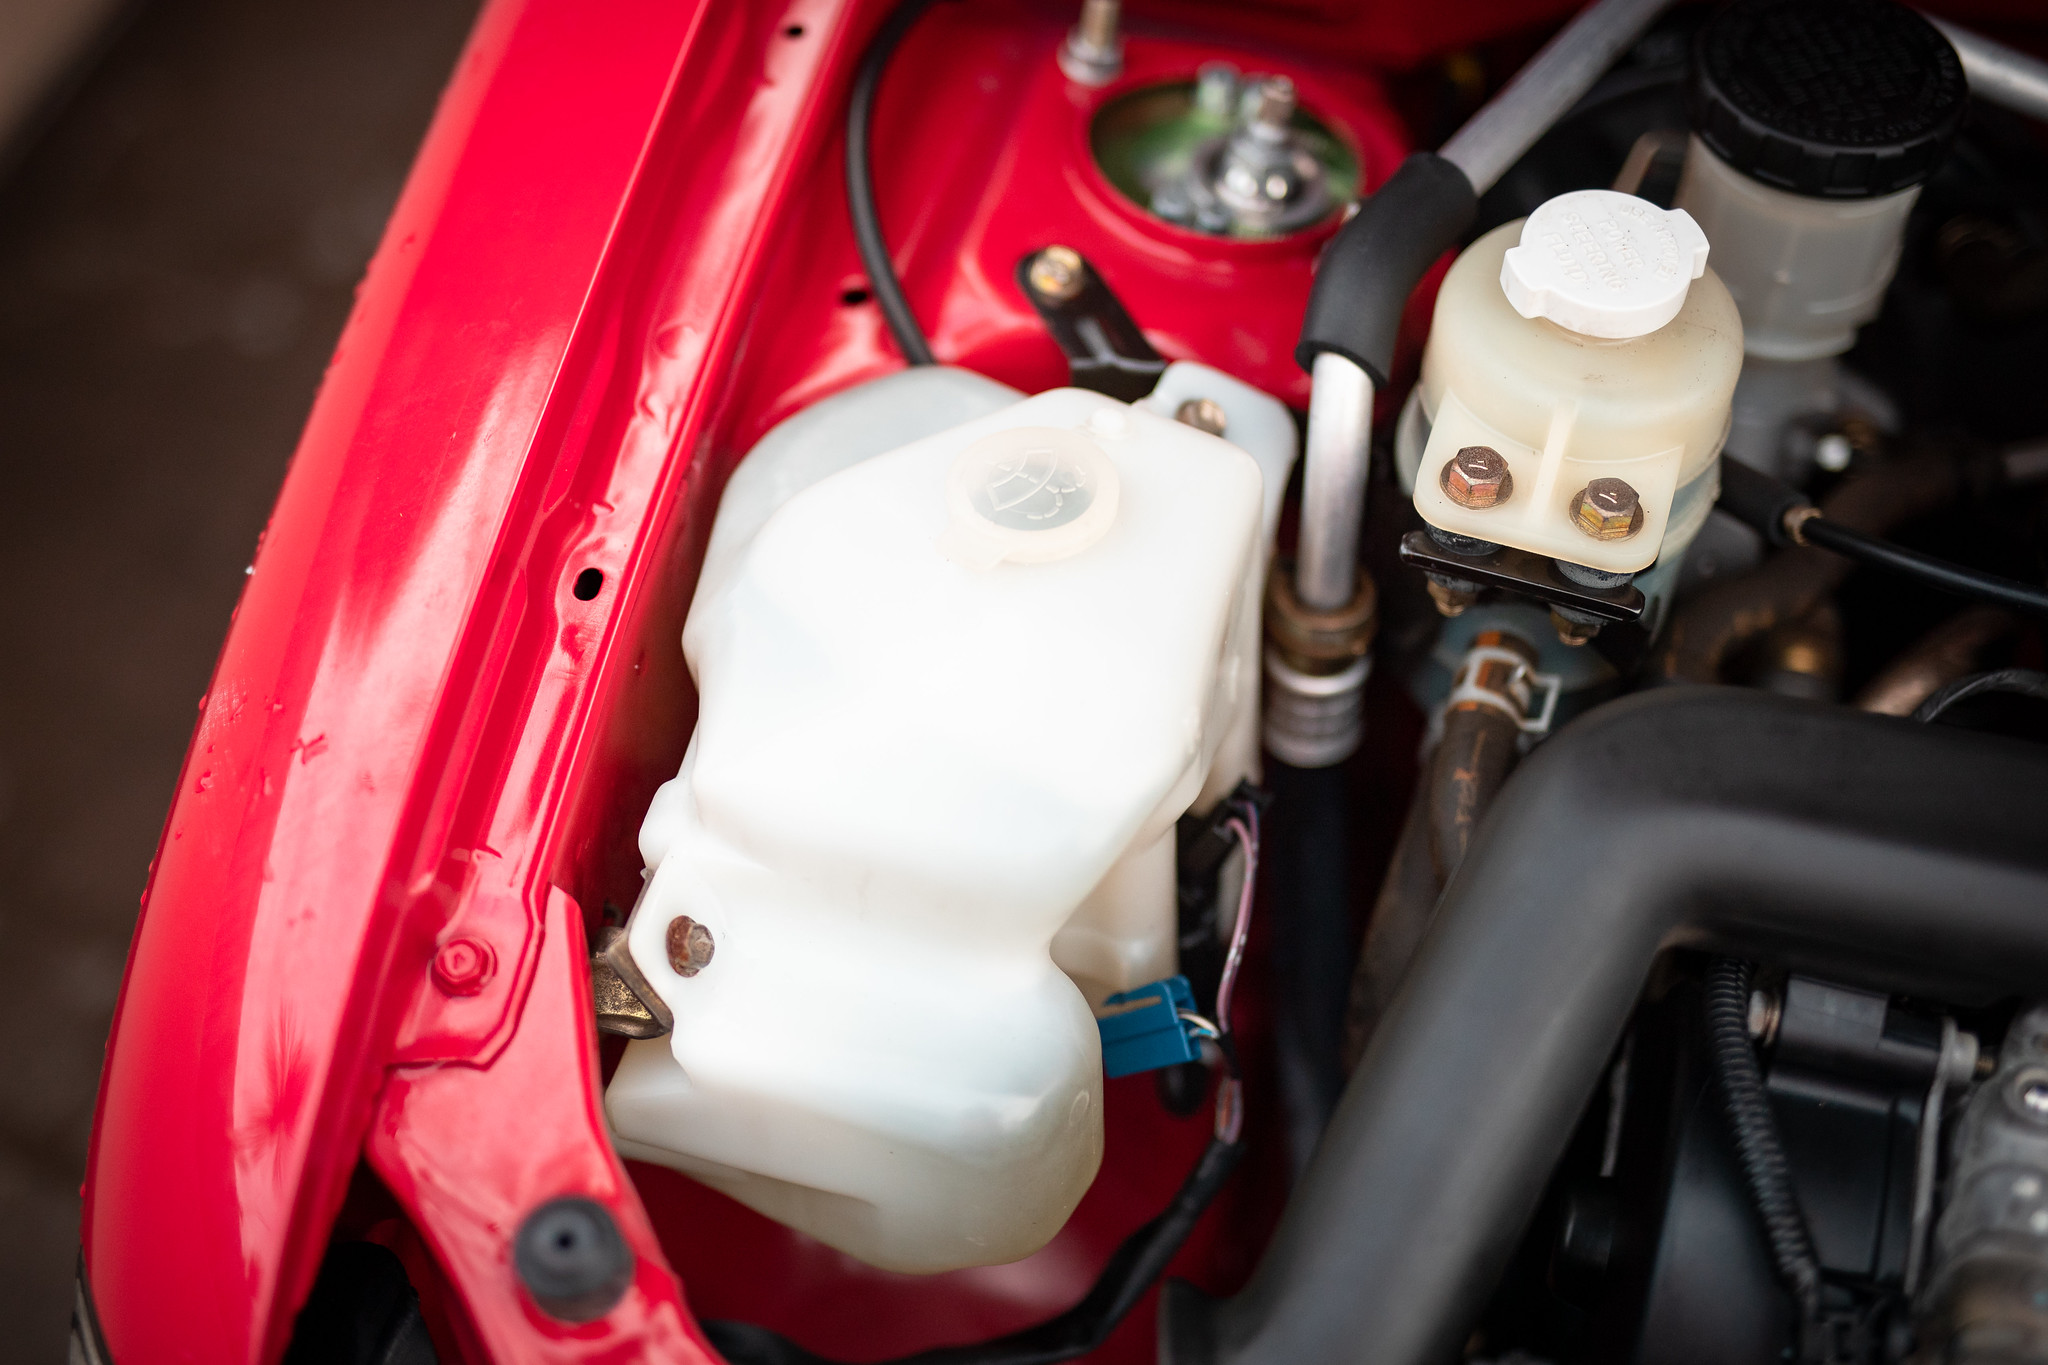
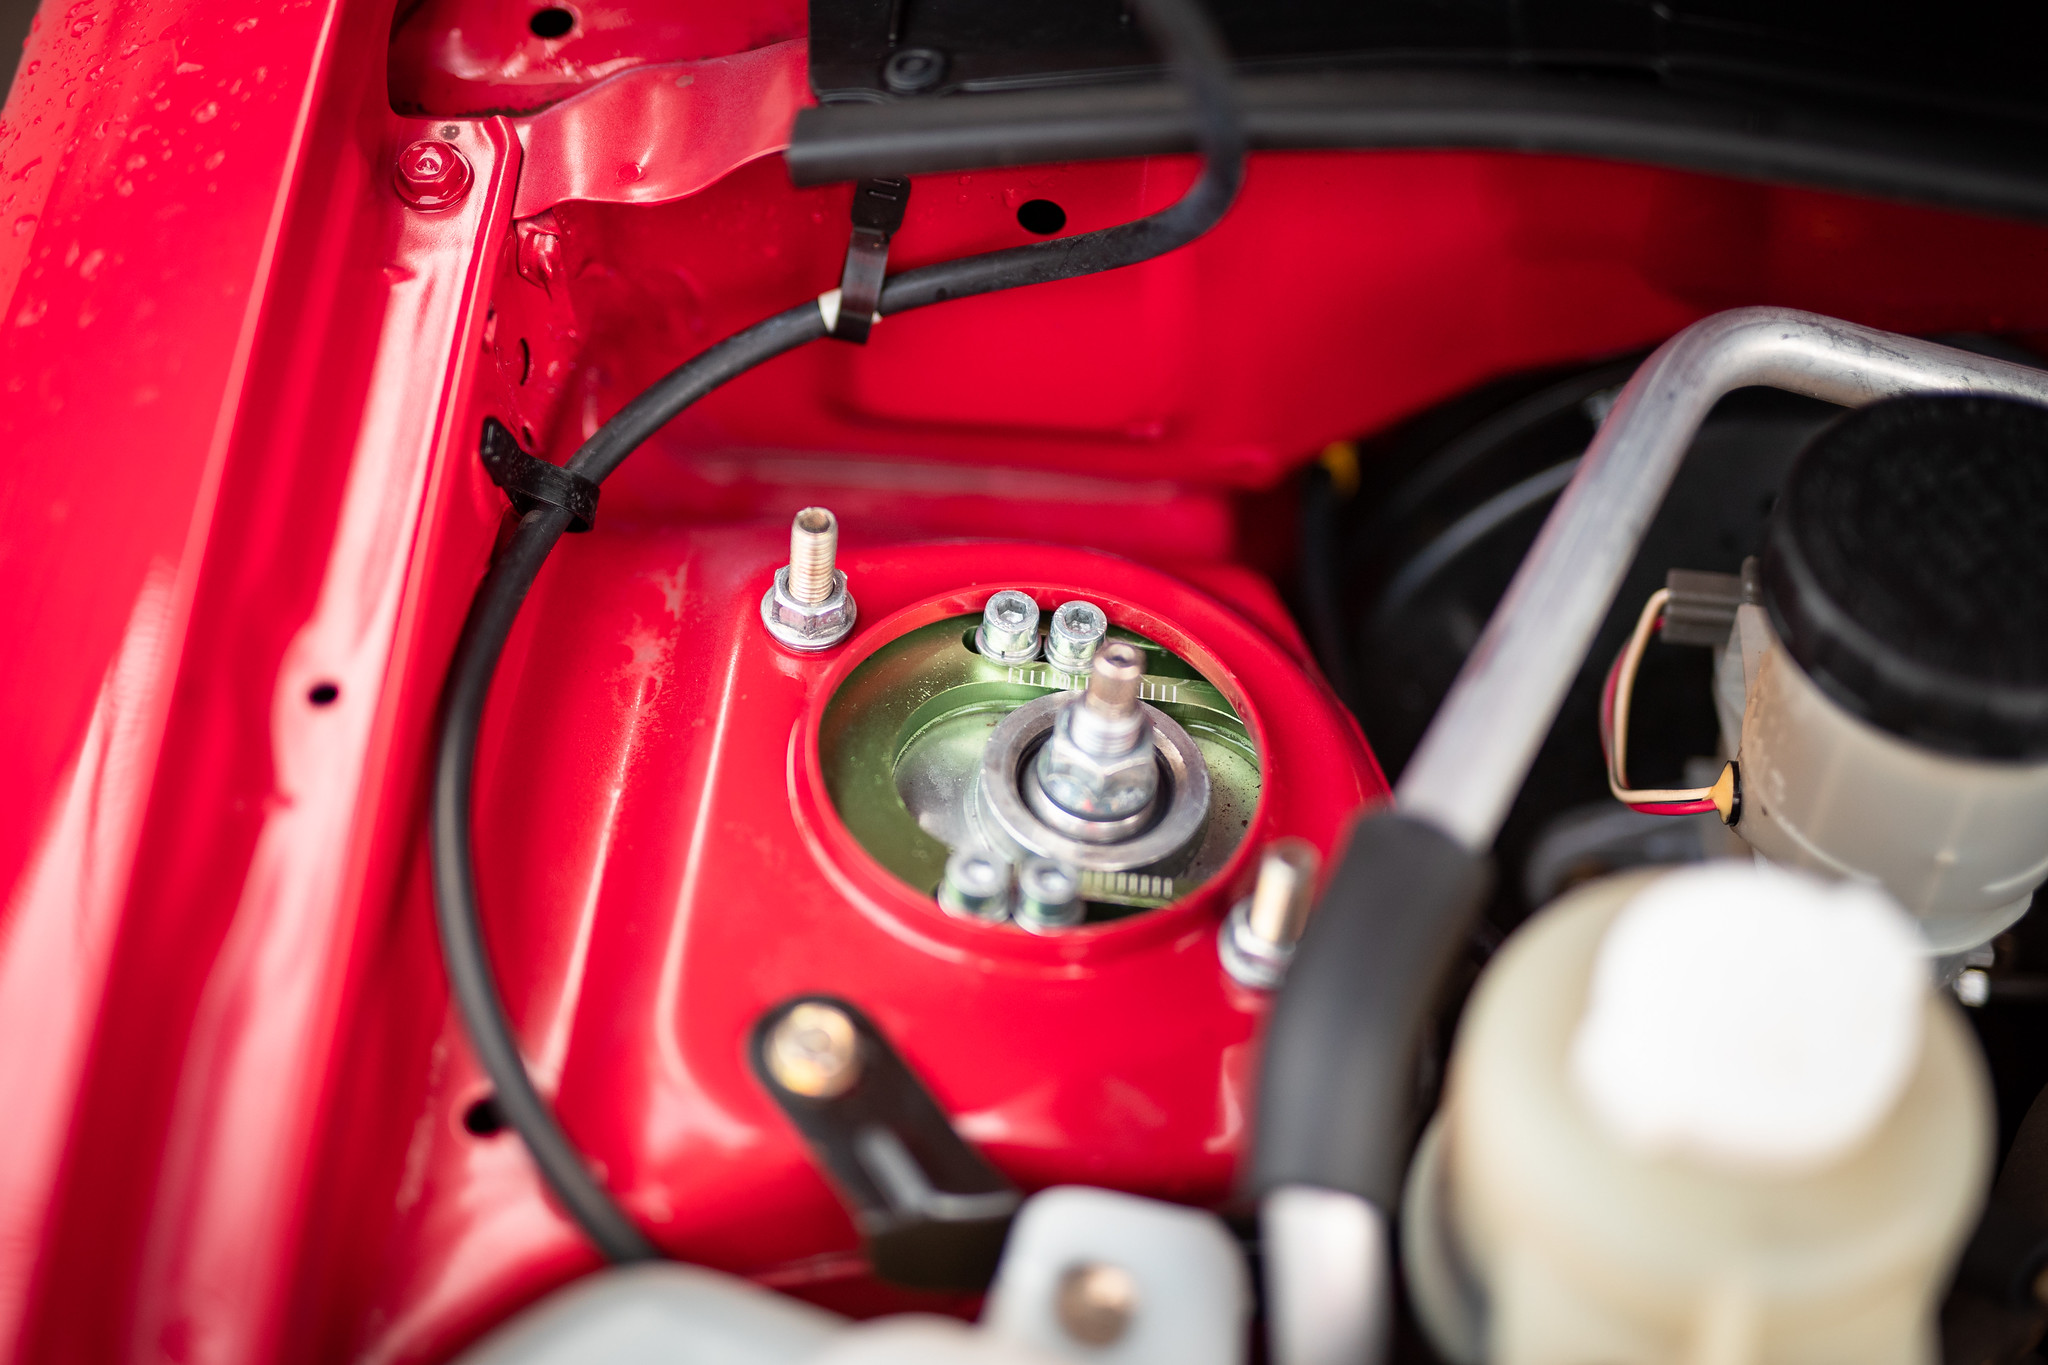
April 2020: In these strange times I gotta keep myself busy so I thought why not give the bay a quick mini detail.

This was the combo I decided to use for the clean.
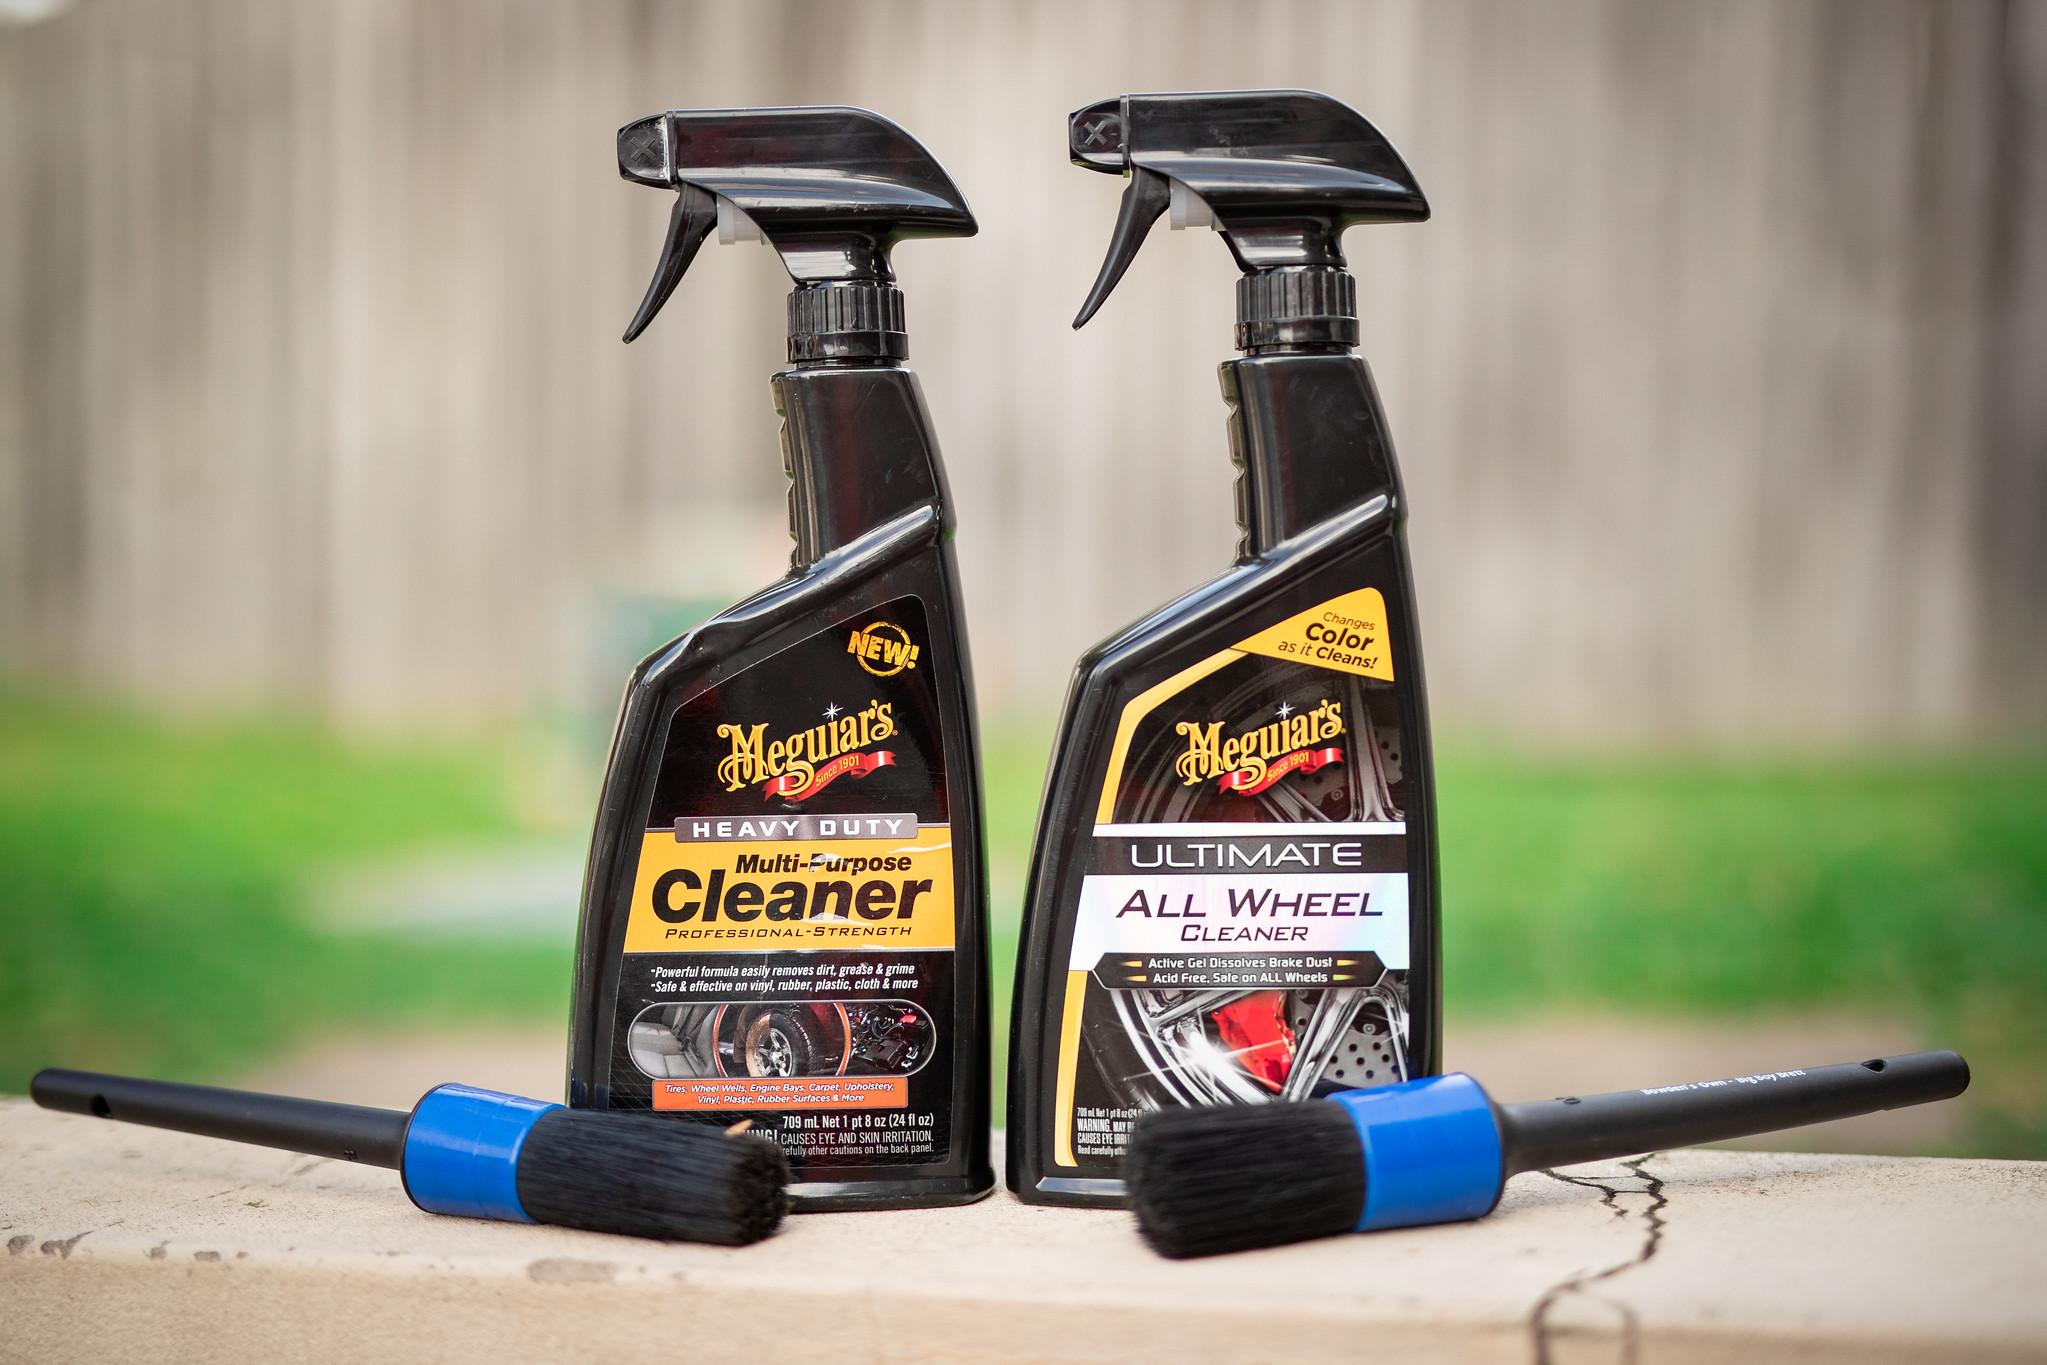
She was pretty dirty but its unlikely ever been cleaned before.
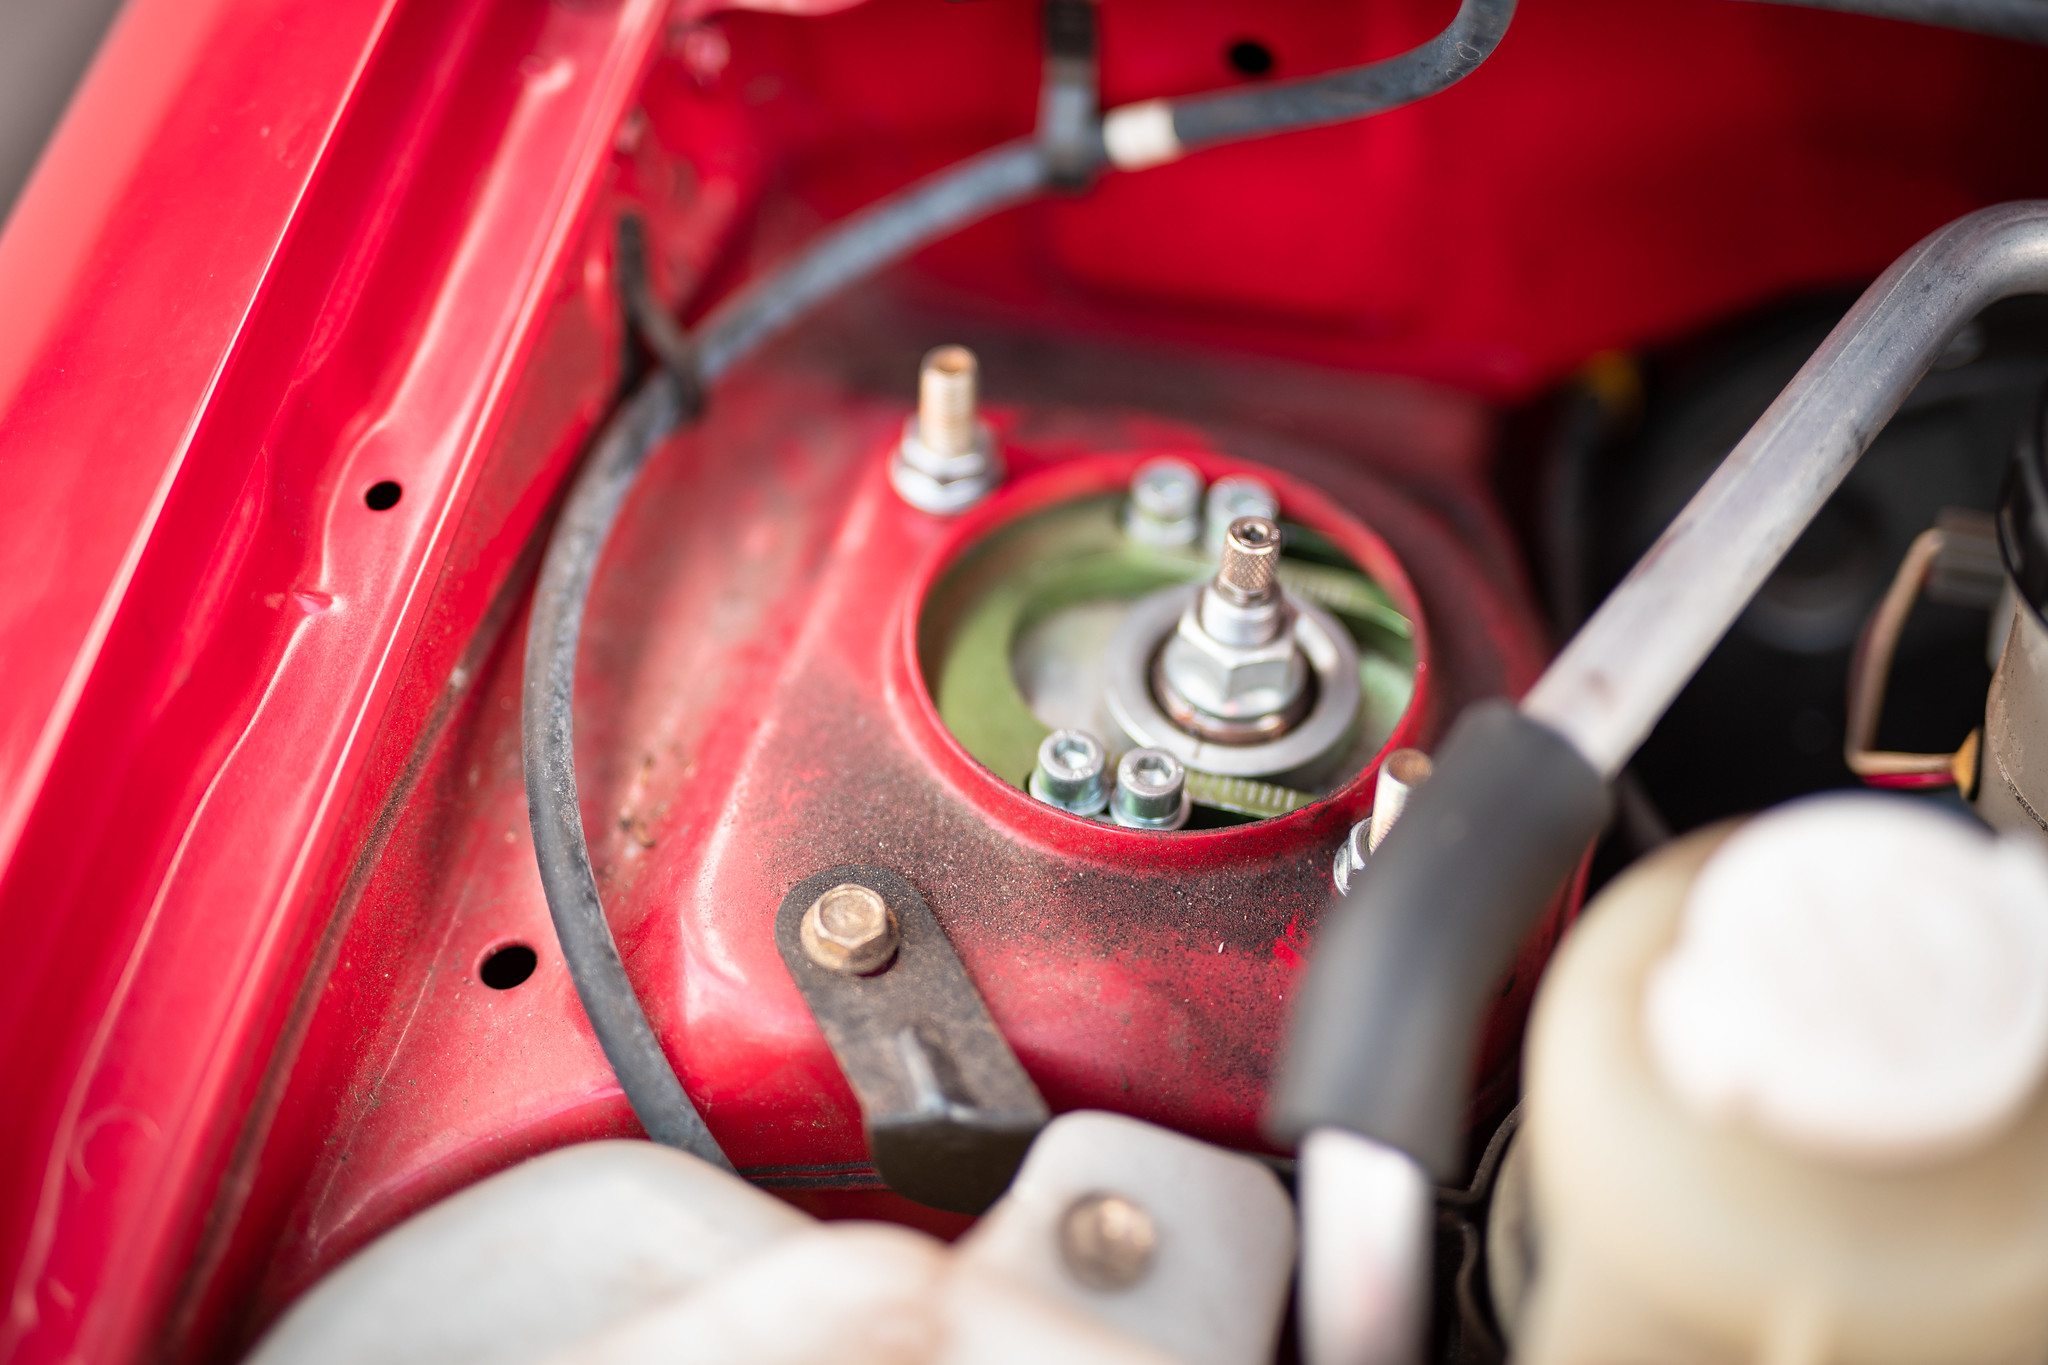

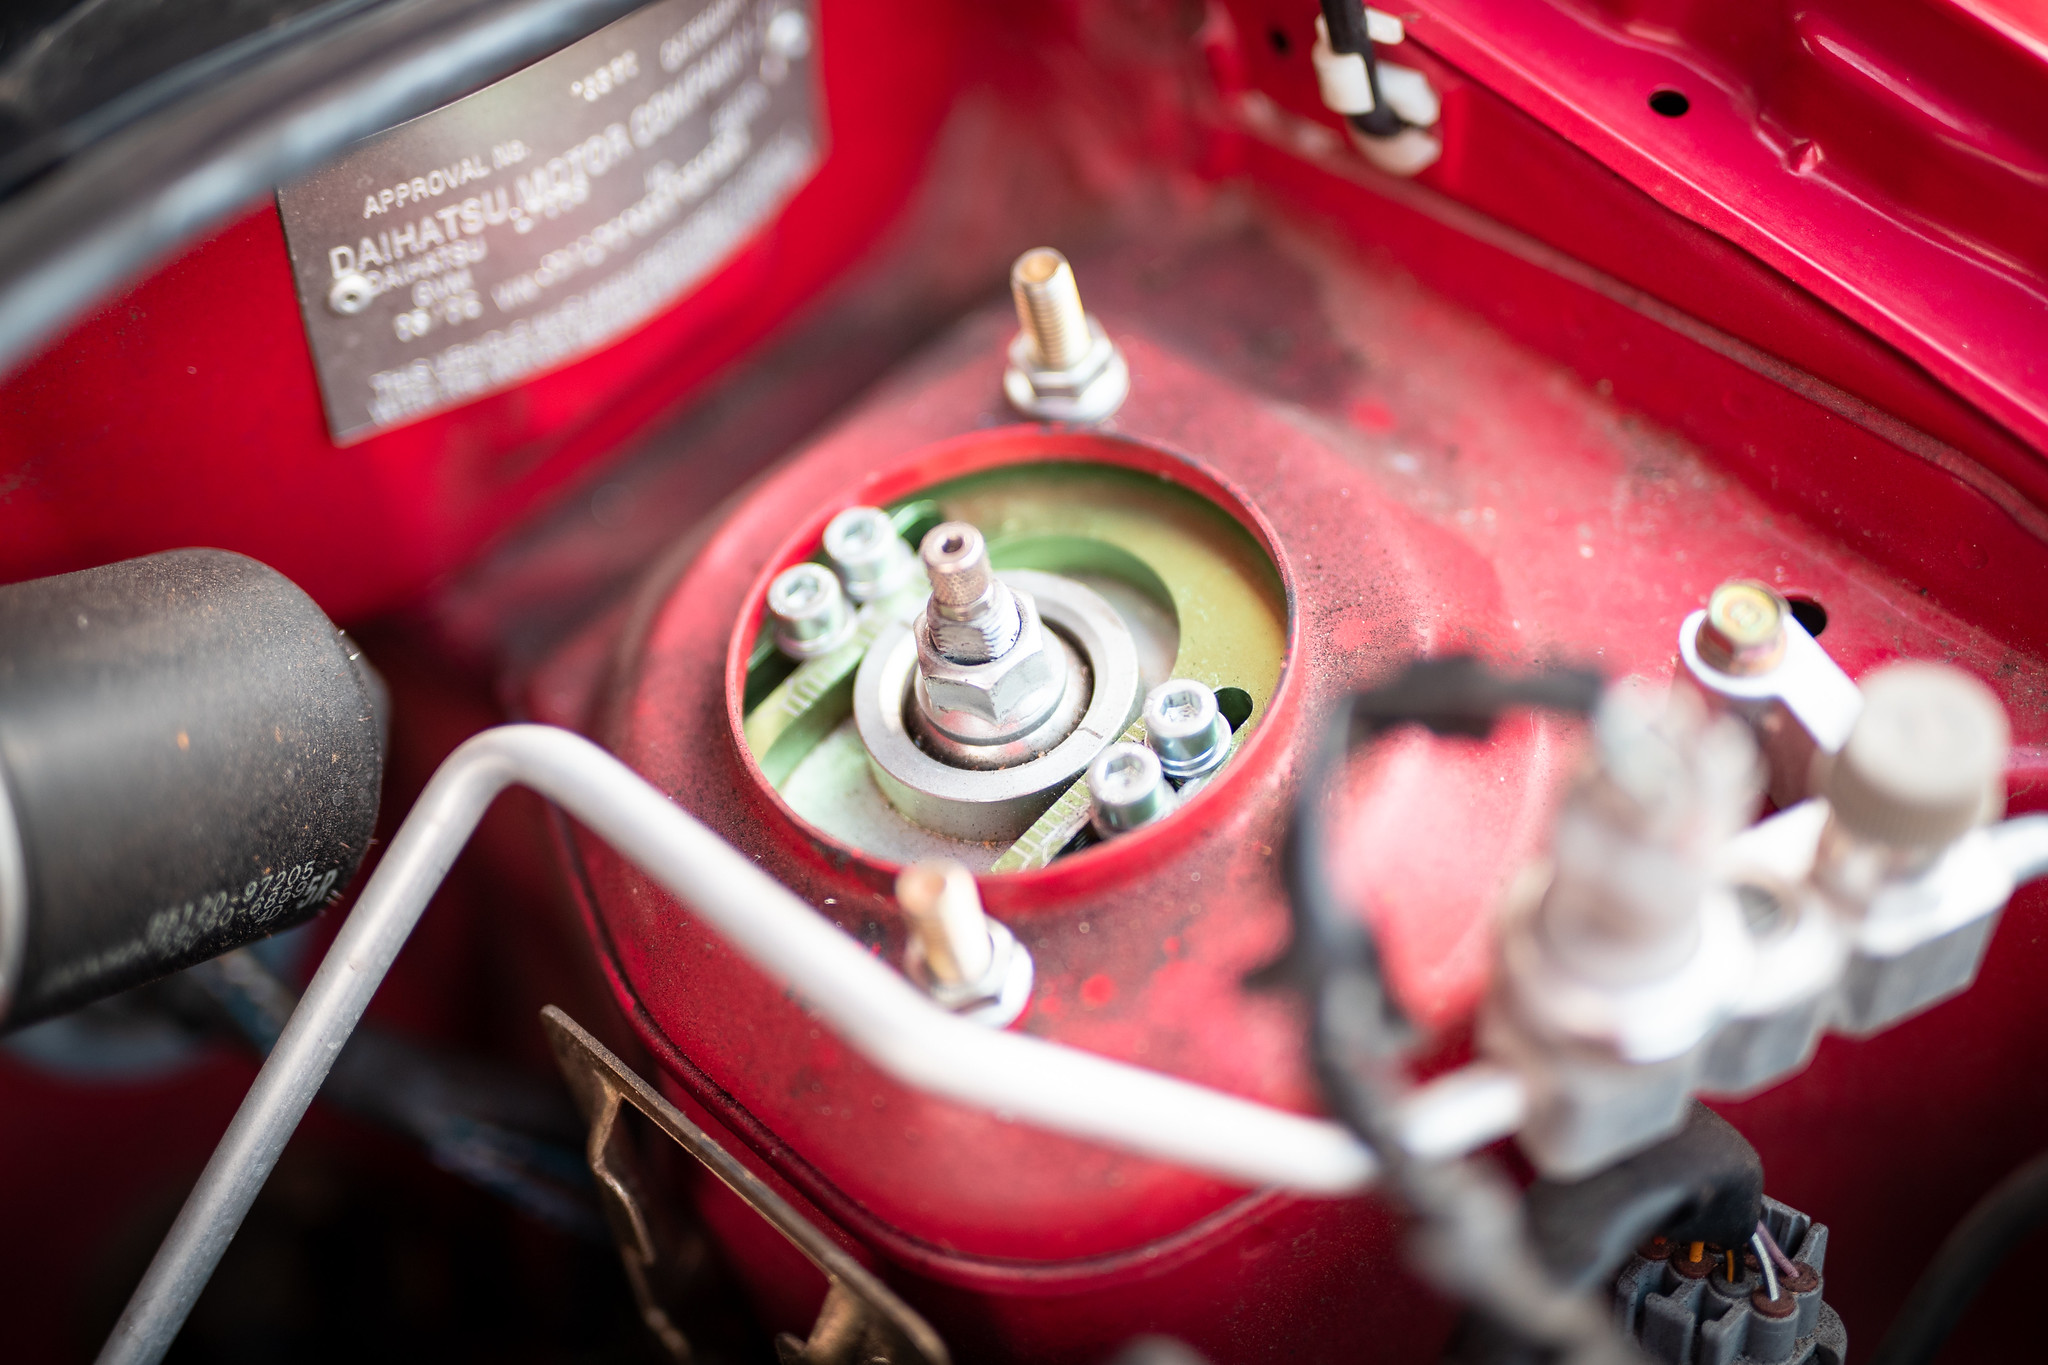

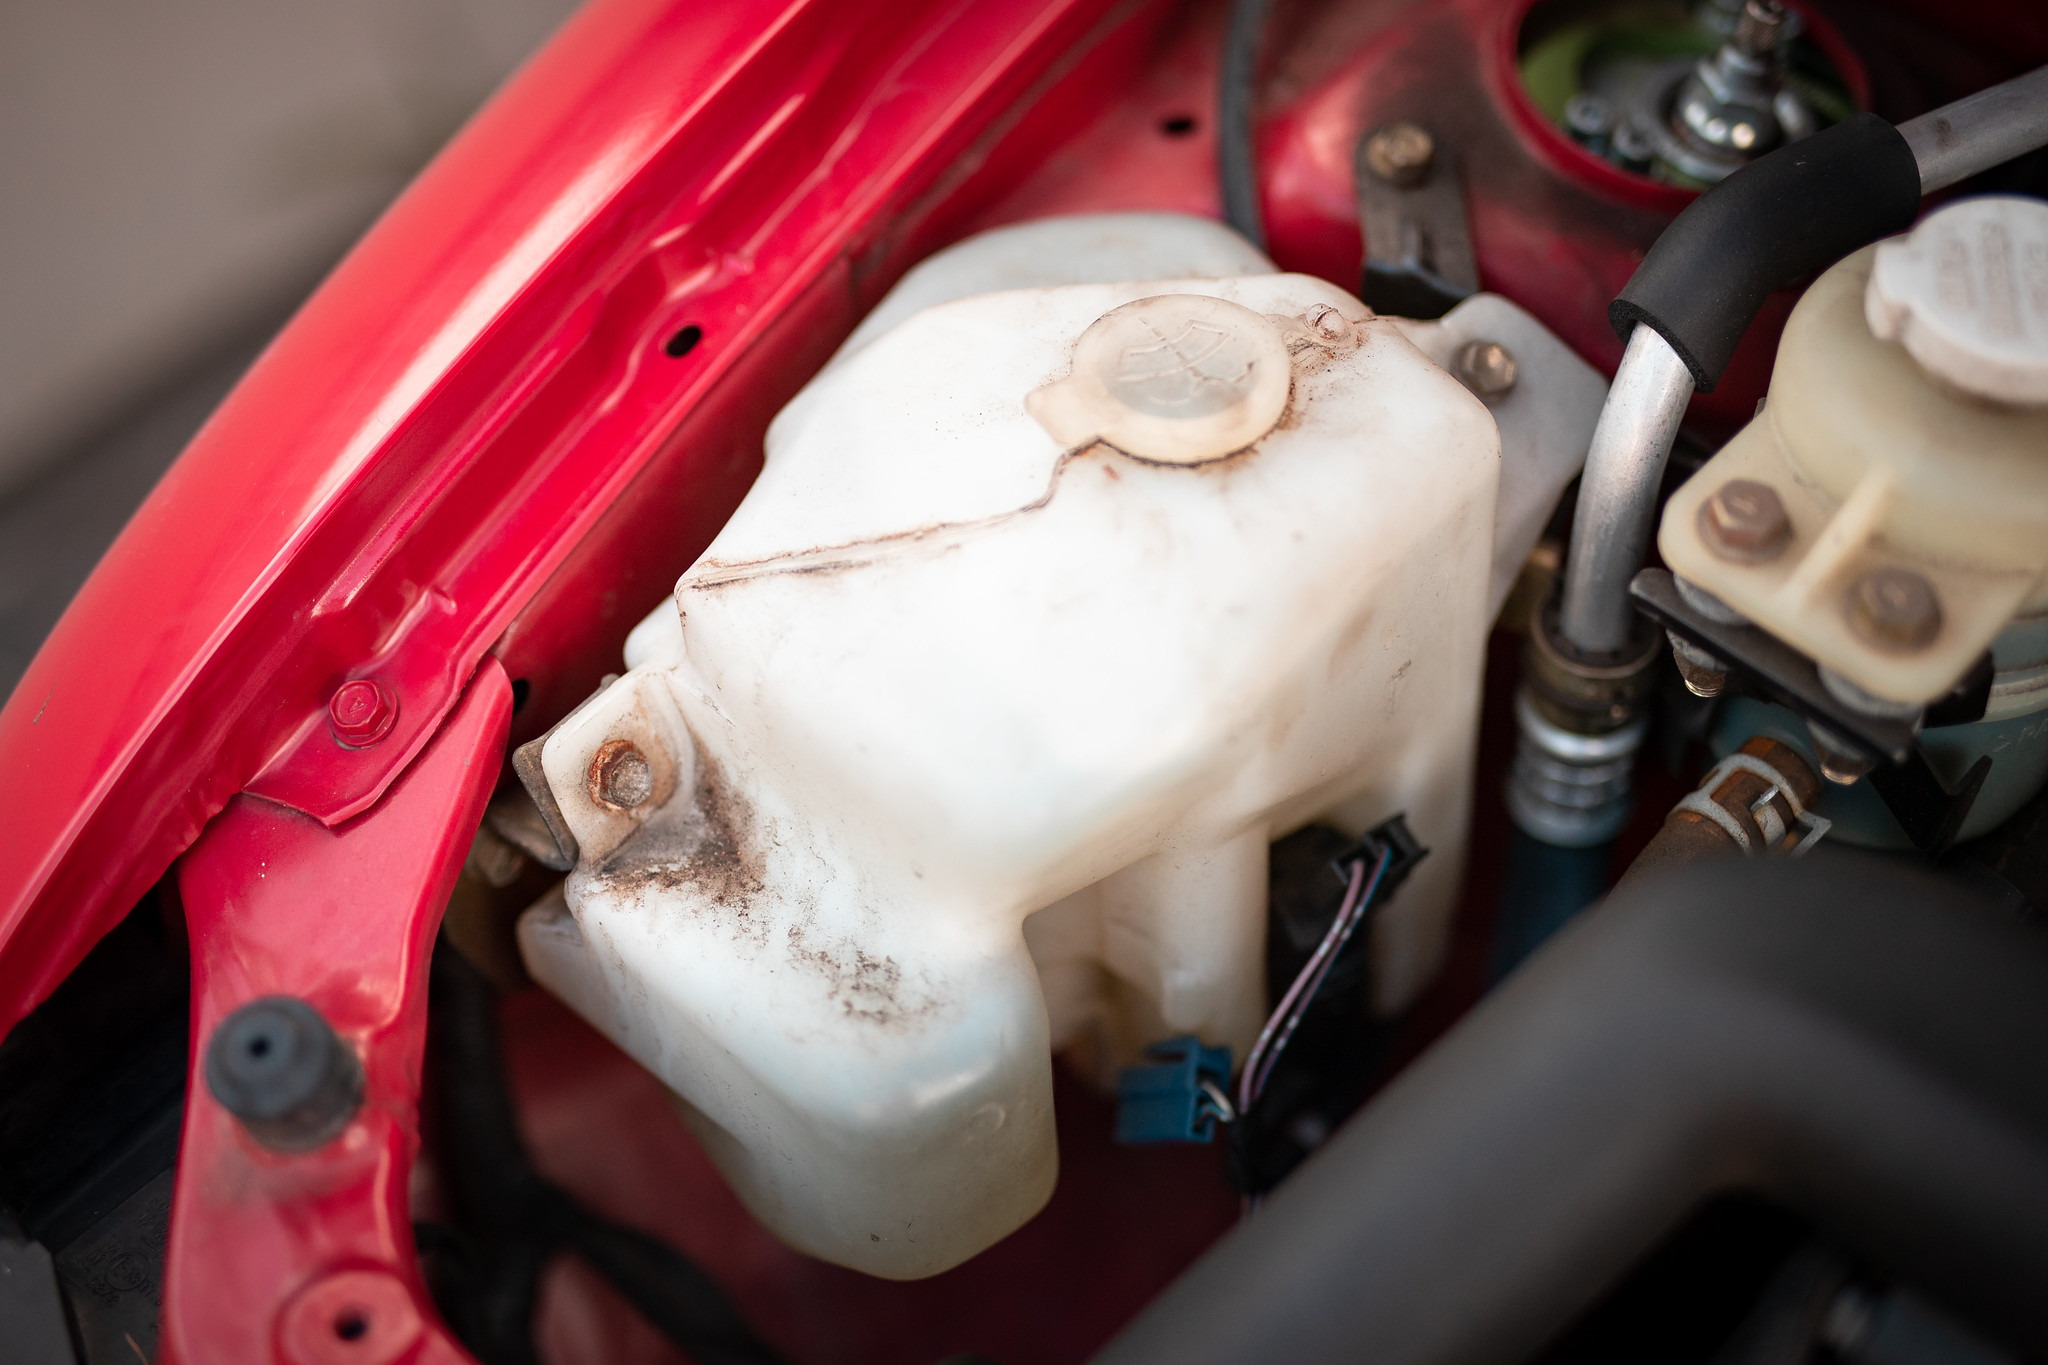
Ended up looking a hell of a lot better after the work.


8 Likes
Awesome looking outcome and it makes me feel lazy - it is certainly on my to-do list.
You call that “mini detail”?? Modest much??
April 2020: So this is a bit hilarious, but I’ve ended up with another two Cuore’s. I promise there is a reason to my madness, this makes these my 6th and 7th Cuore for those counting at home.
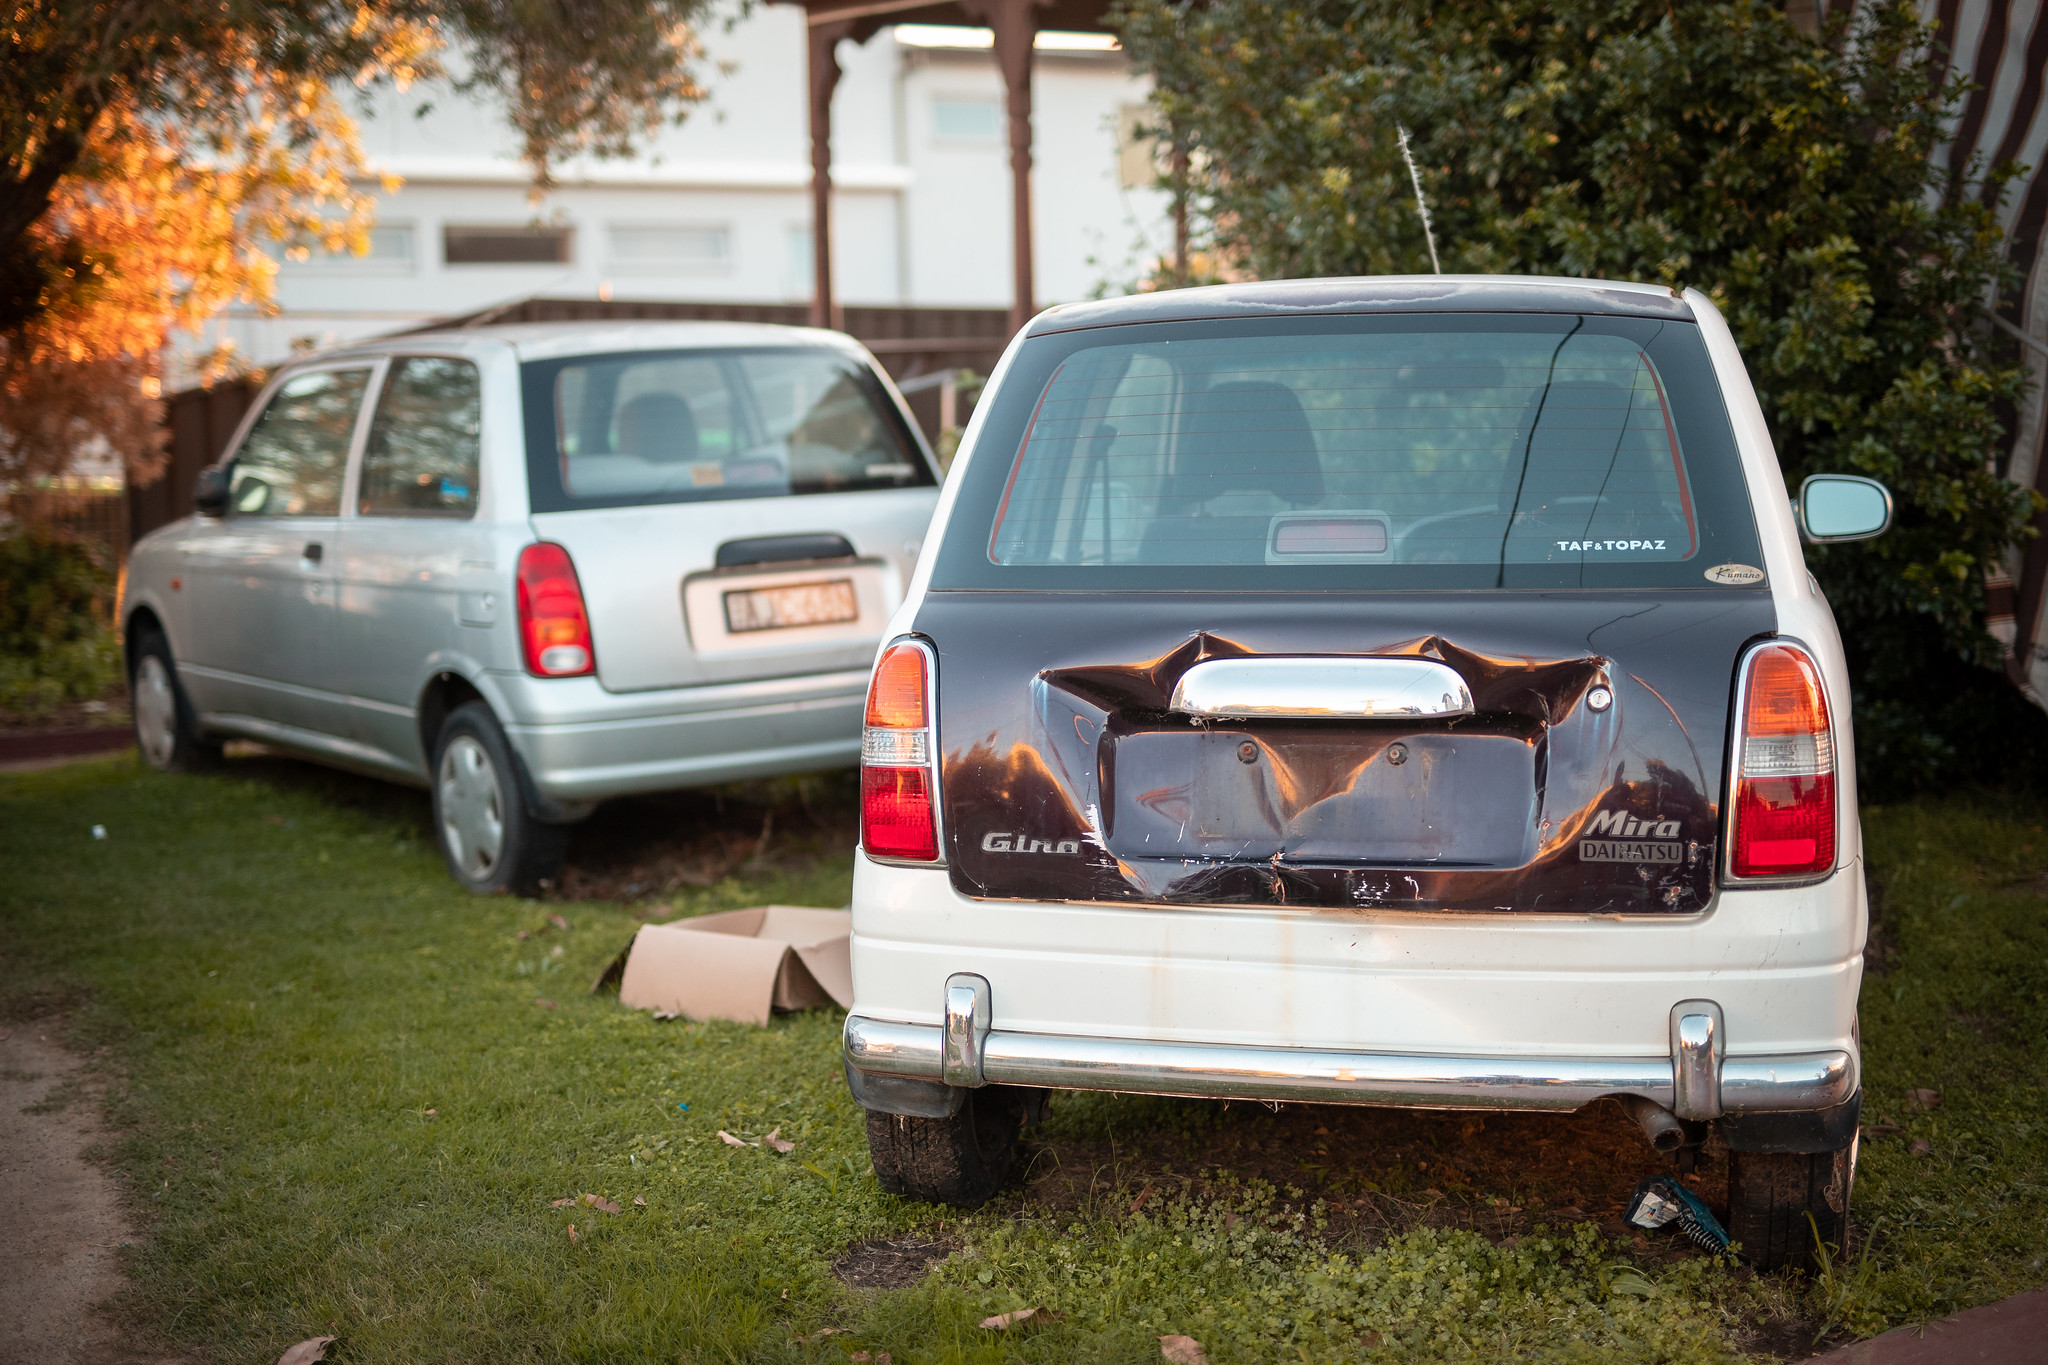
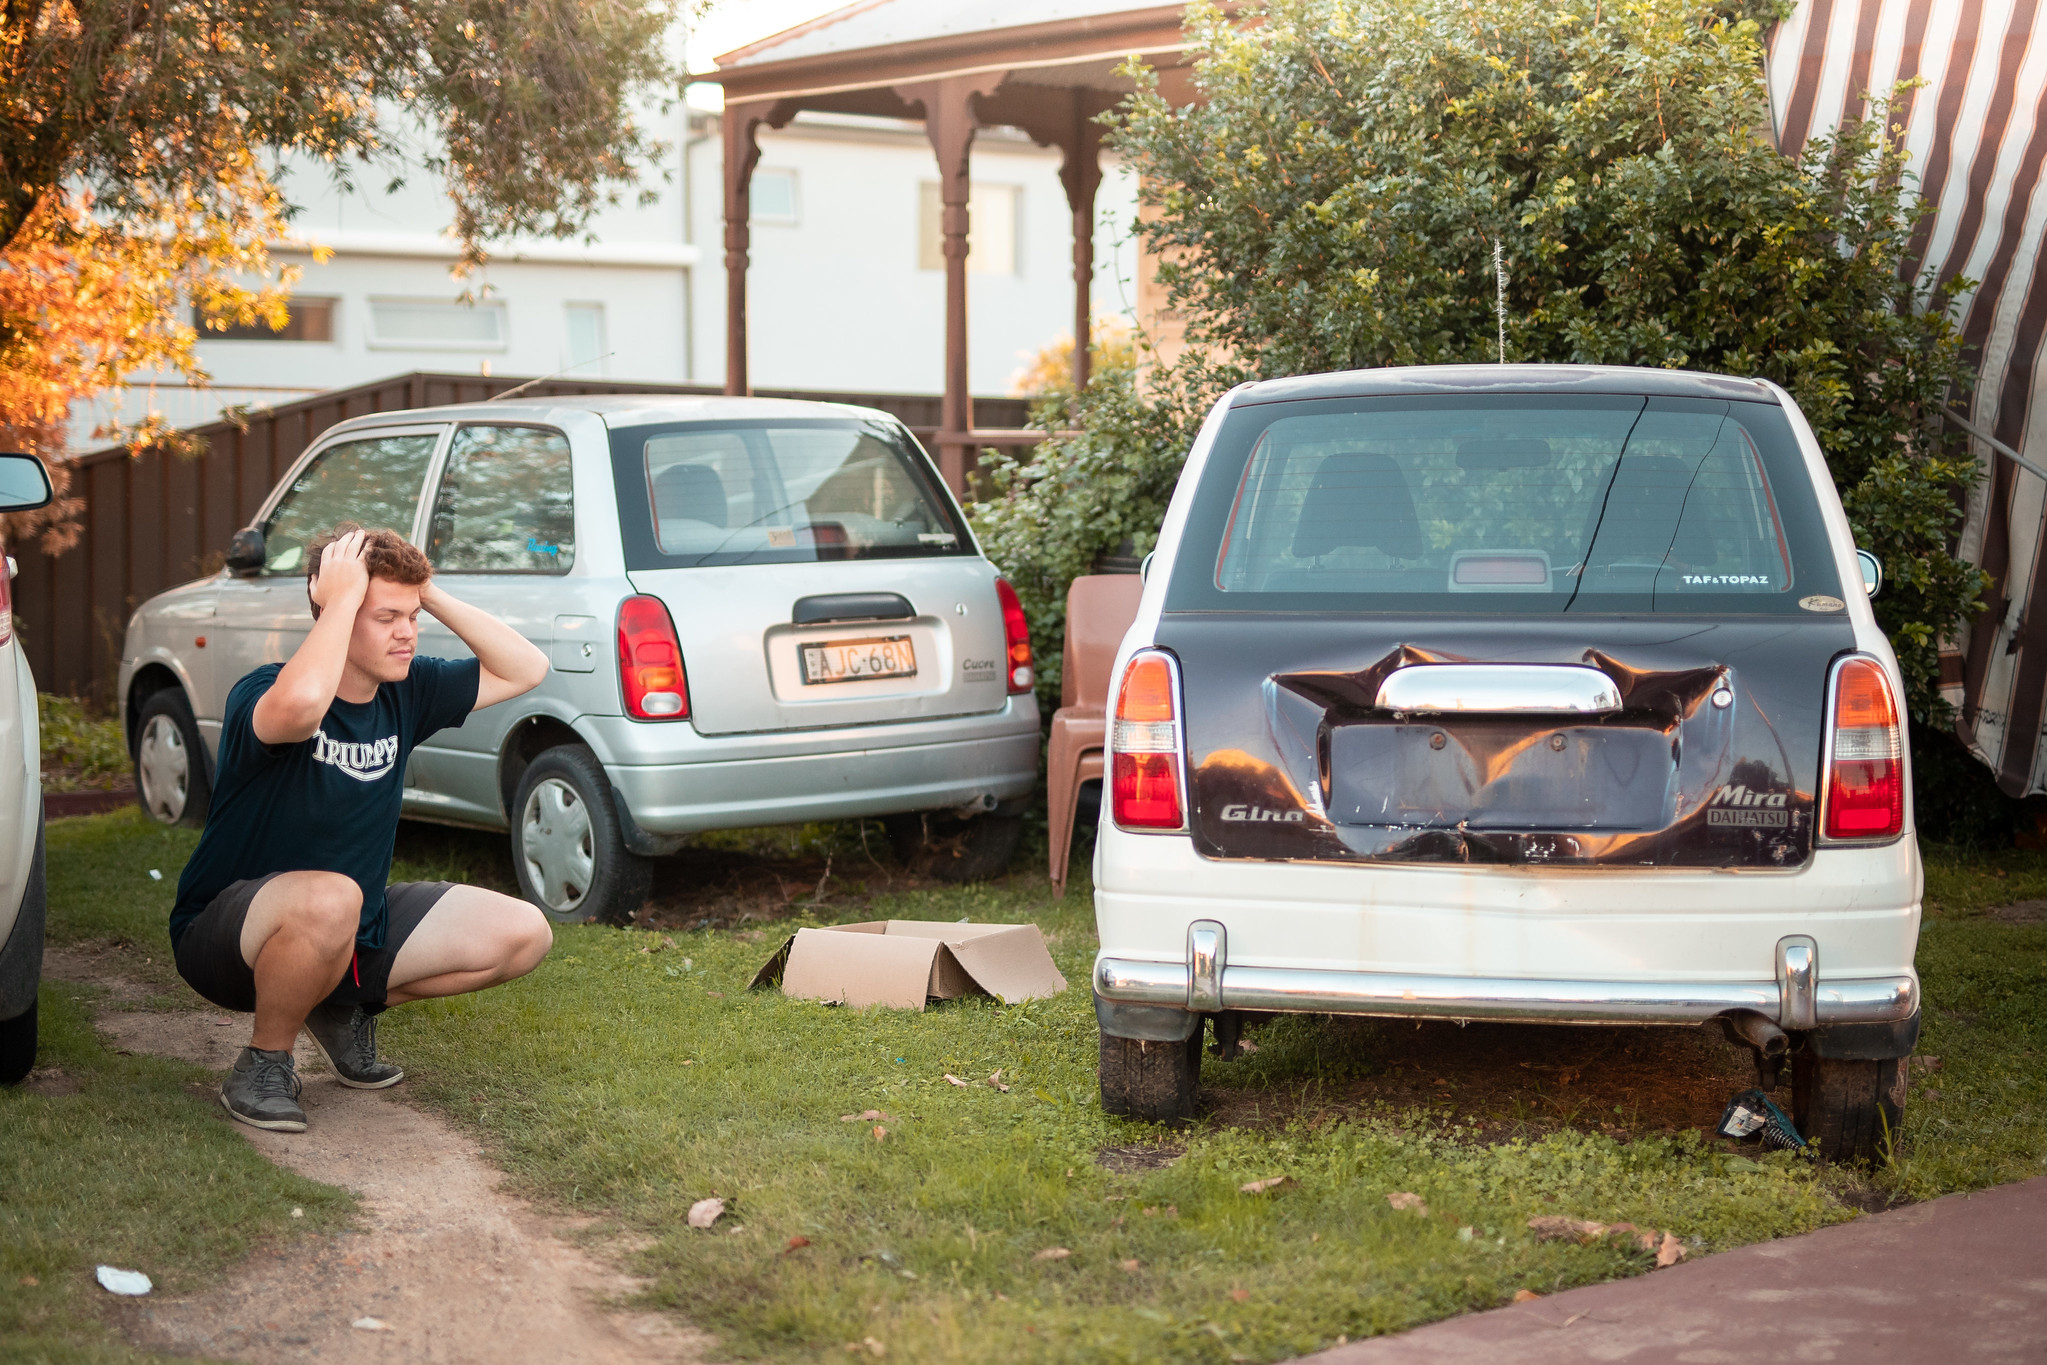
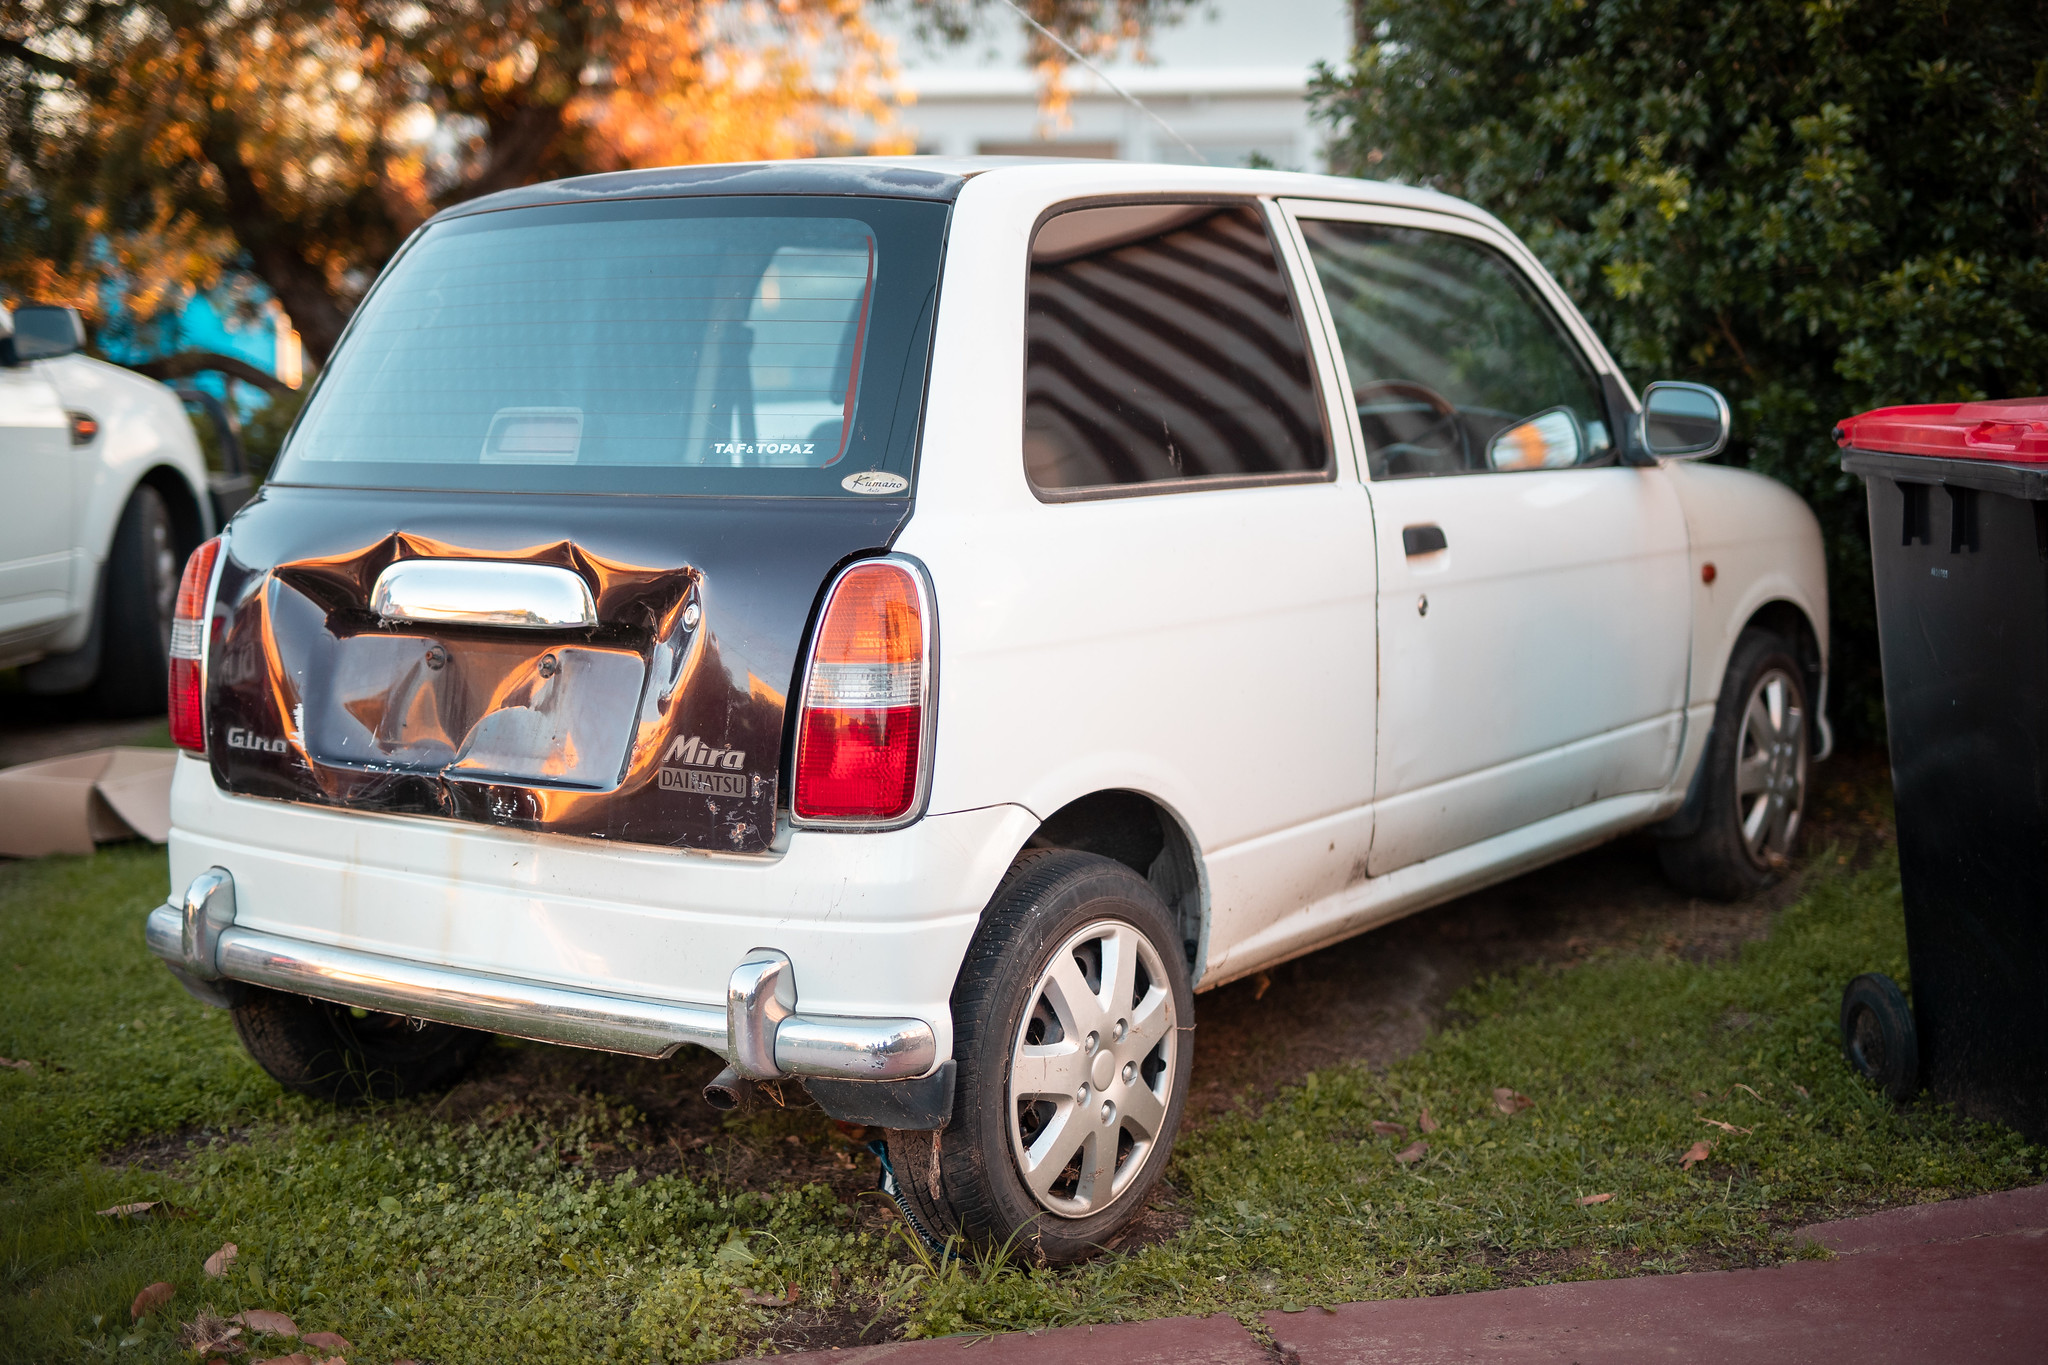
One is an ’02 with a Gino kit that’s been written off after a hit up the bum.
The other is an ’00 with suspected blown HG, clearly they’ve both been sitting for ages.
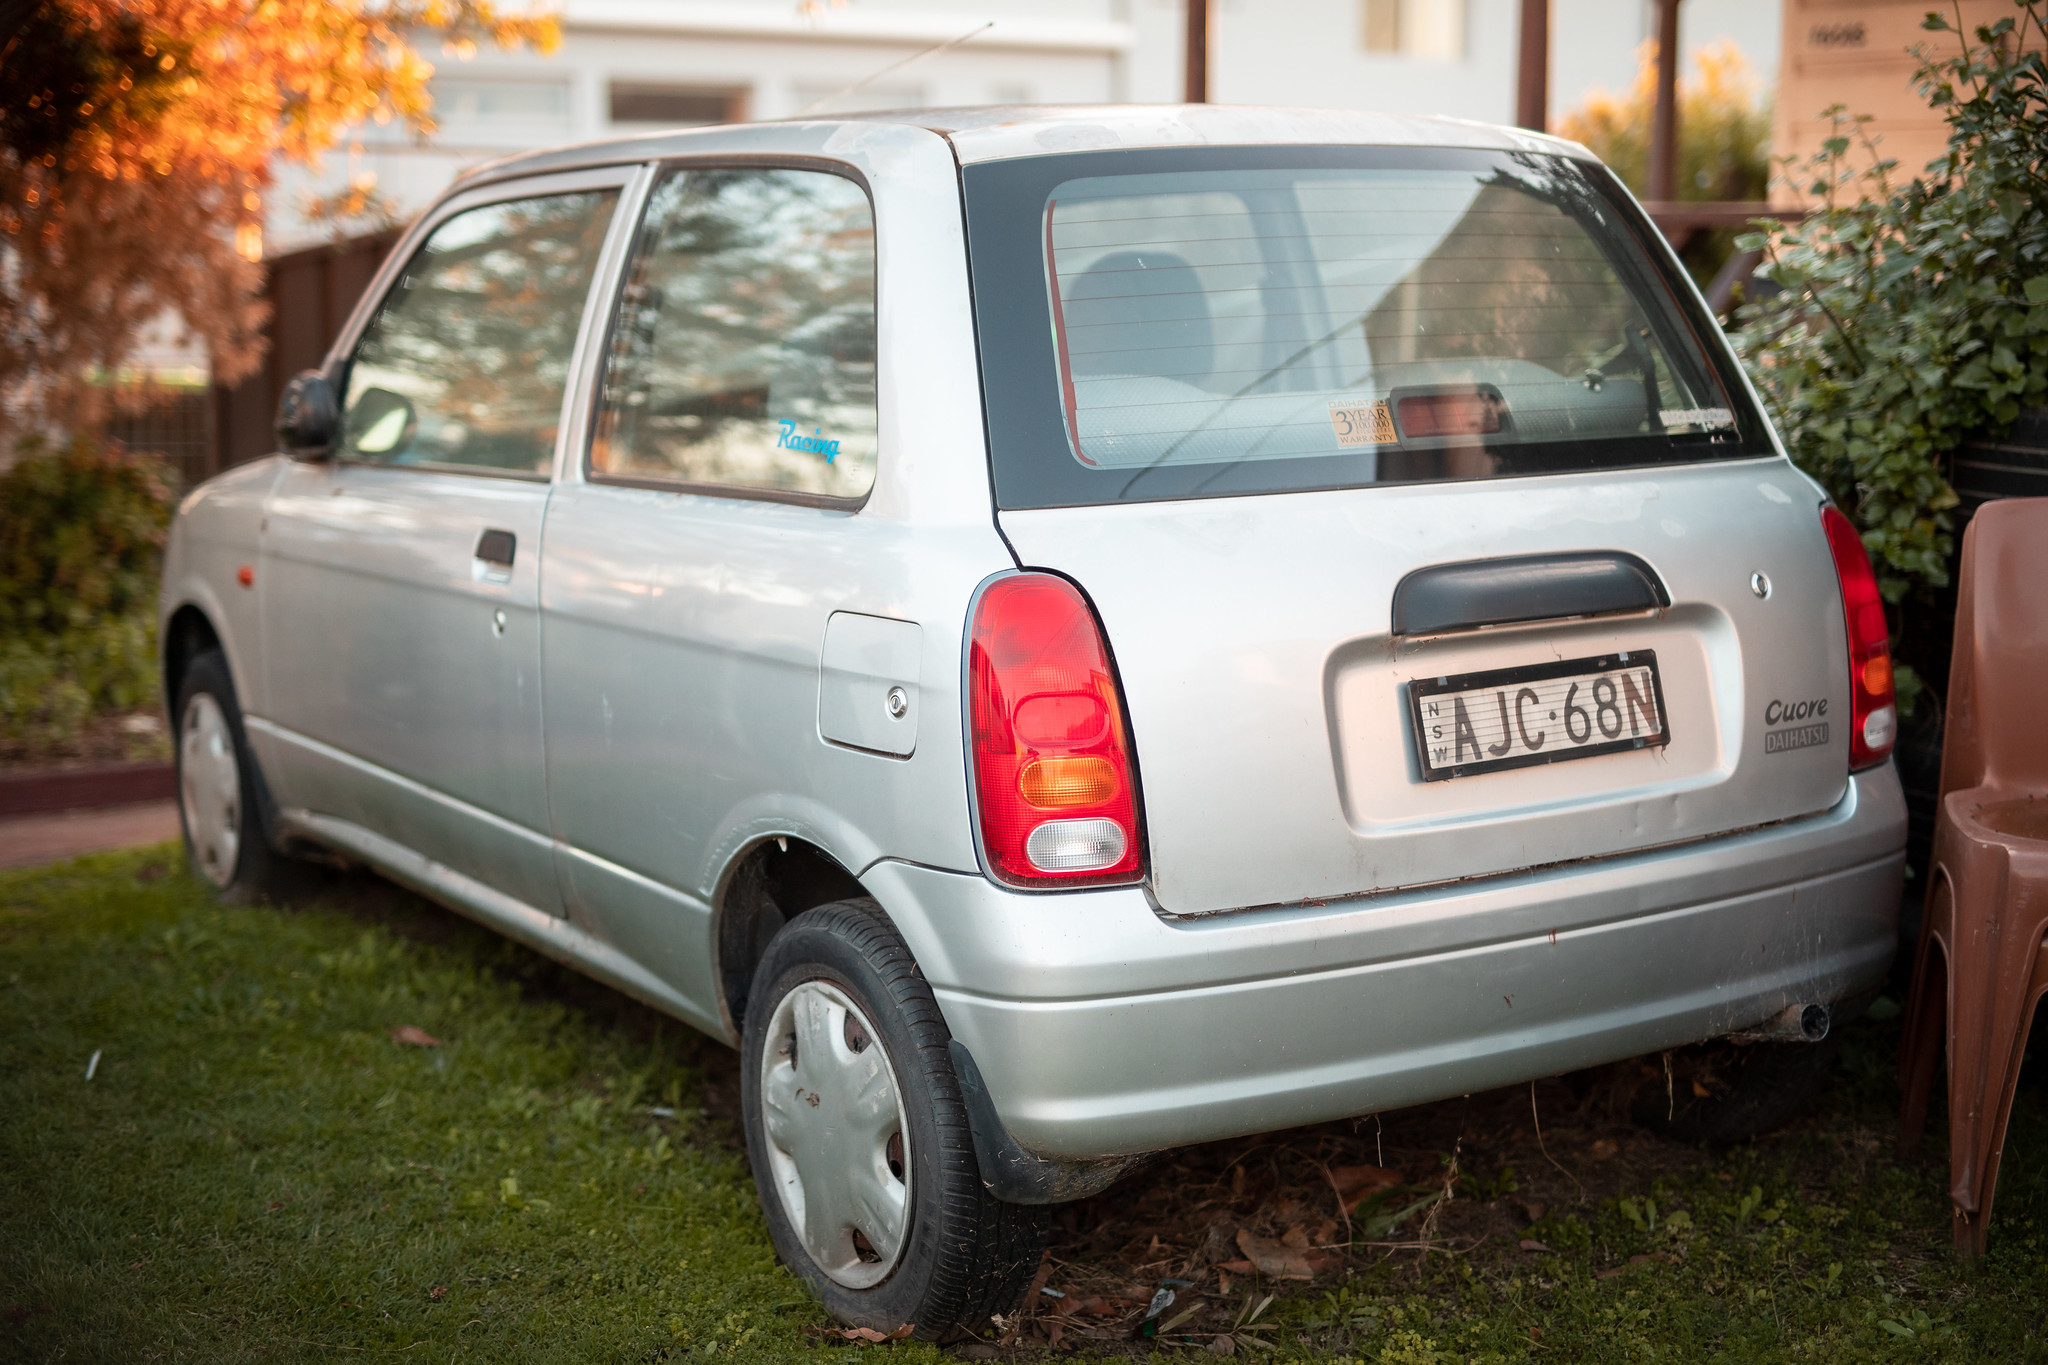
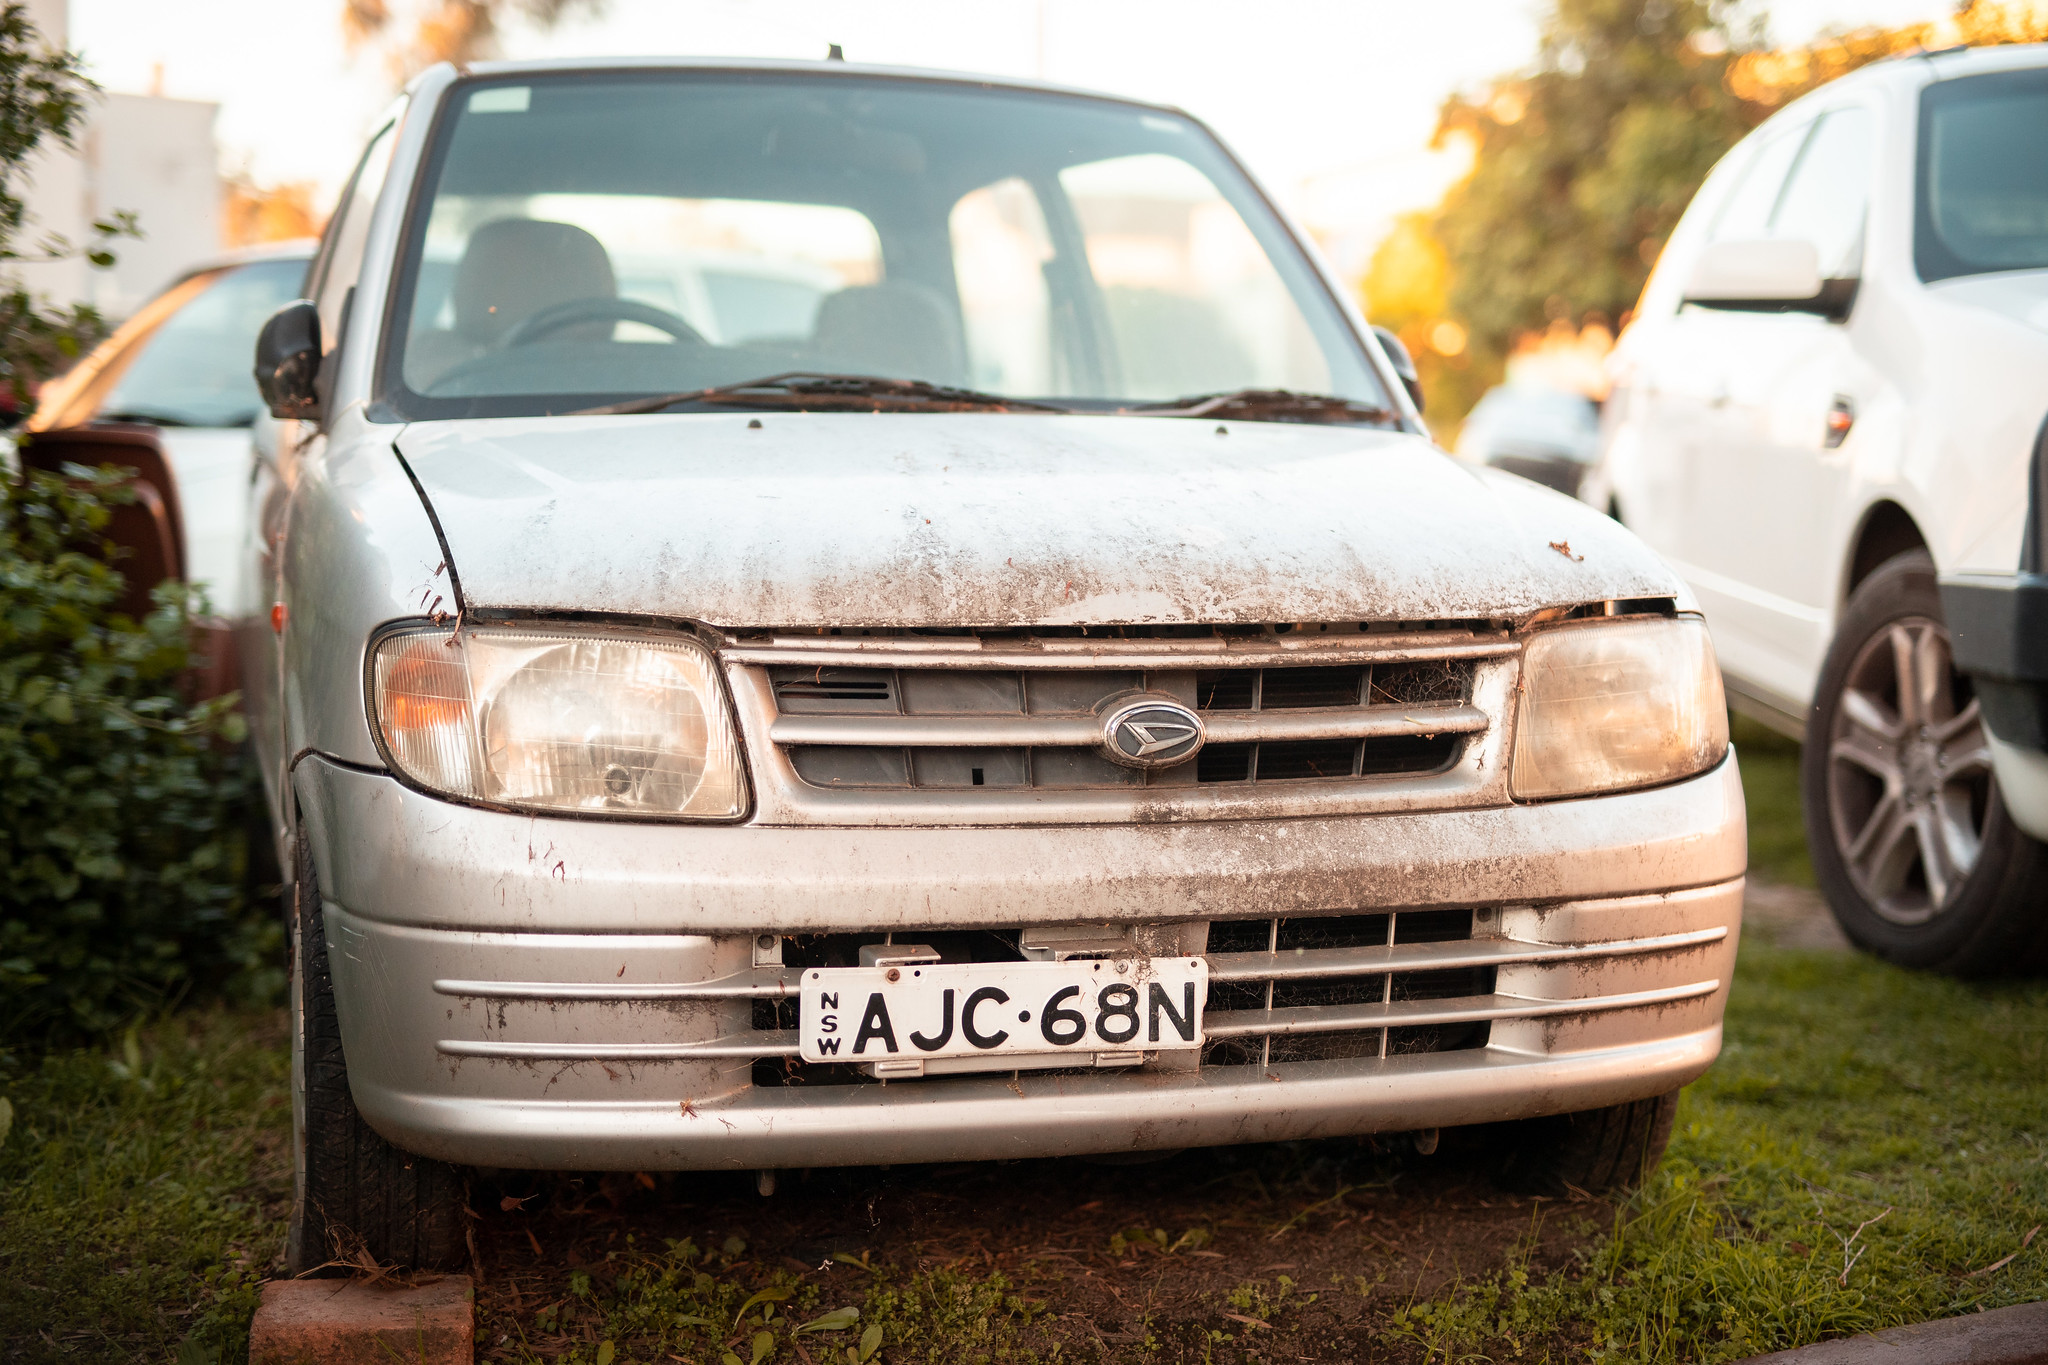
Anyway, this is pretty simple. They were dirt cheap and rather then let them rot I’m doing something with them. The Gino is being stripped then scrapped and the silver car will likely be going to a mate to be K3 swapped. I’ll show that if and when it happens.
But for now it’s time to pull the bitch apart.
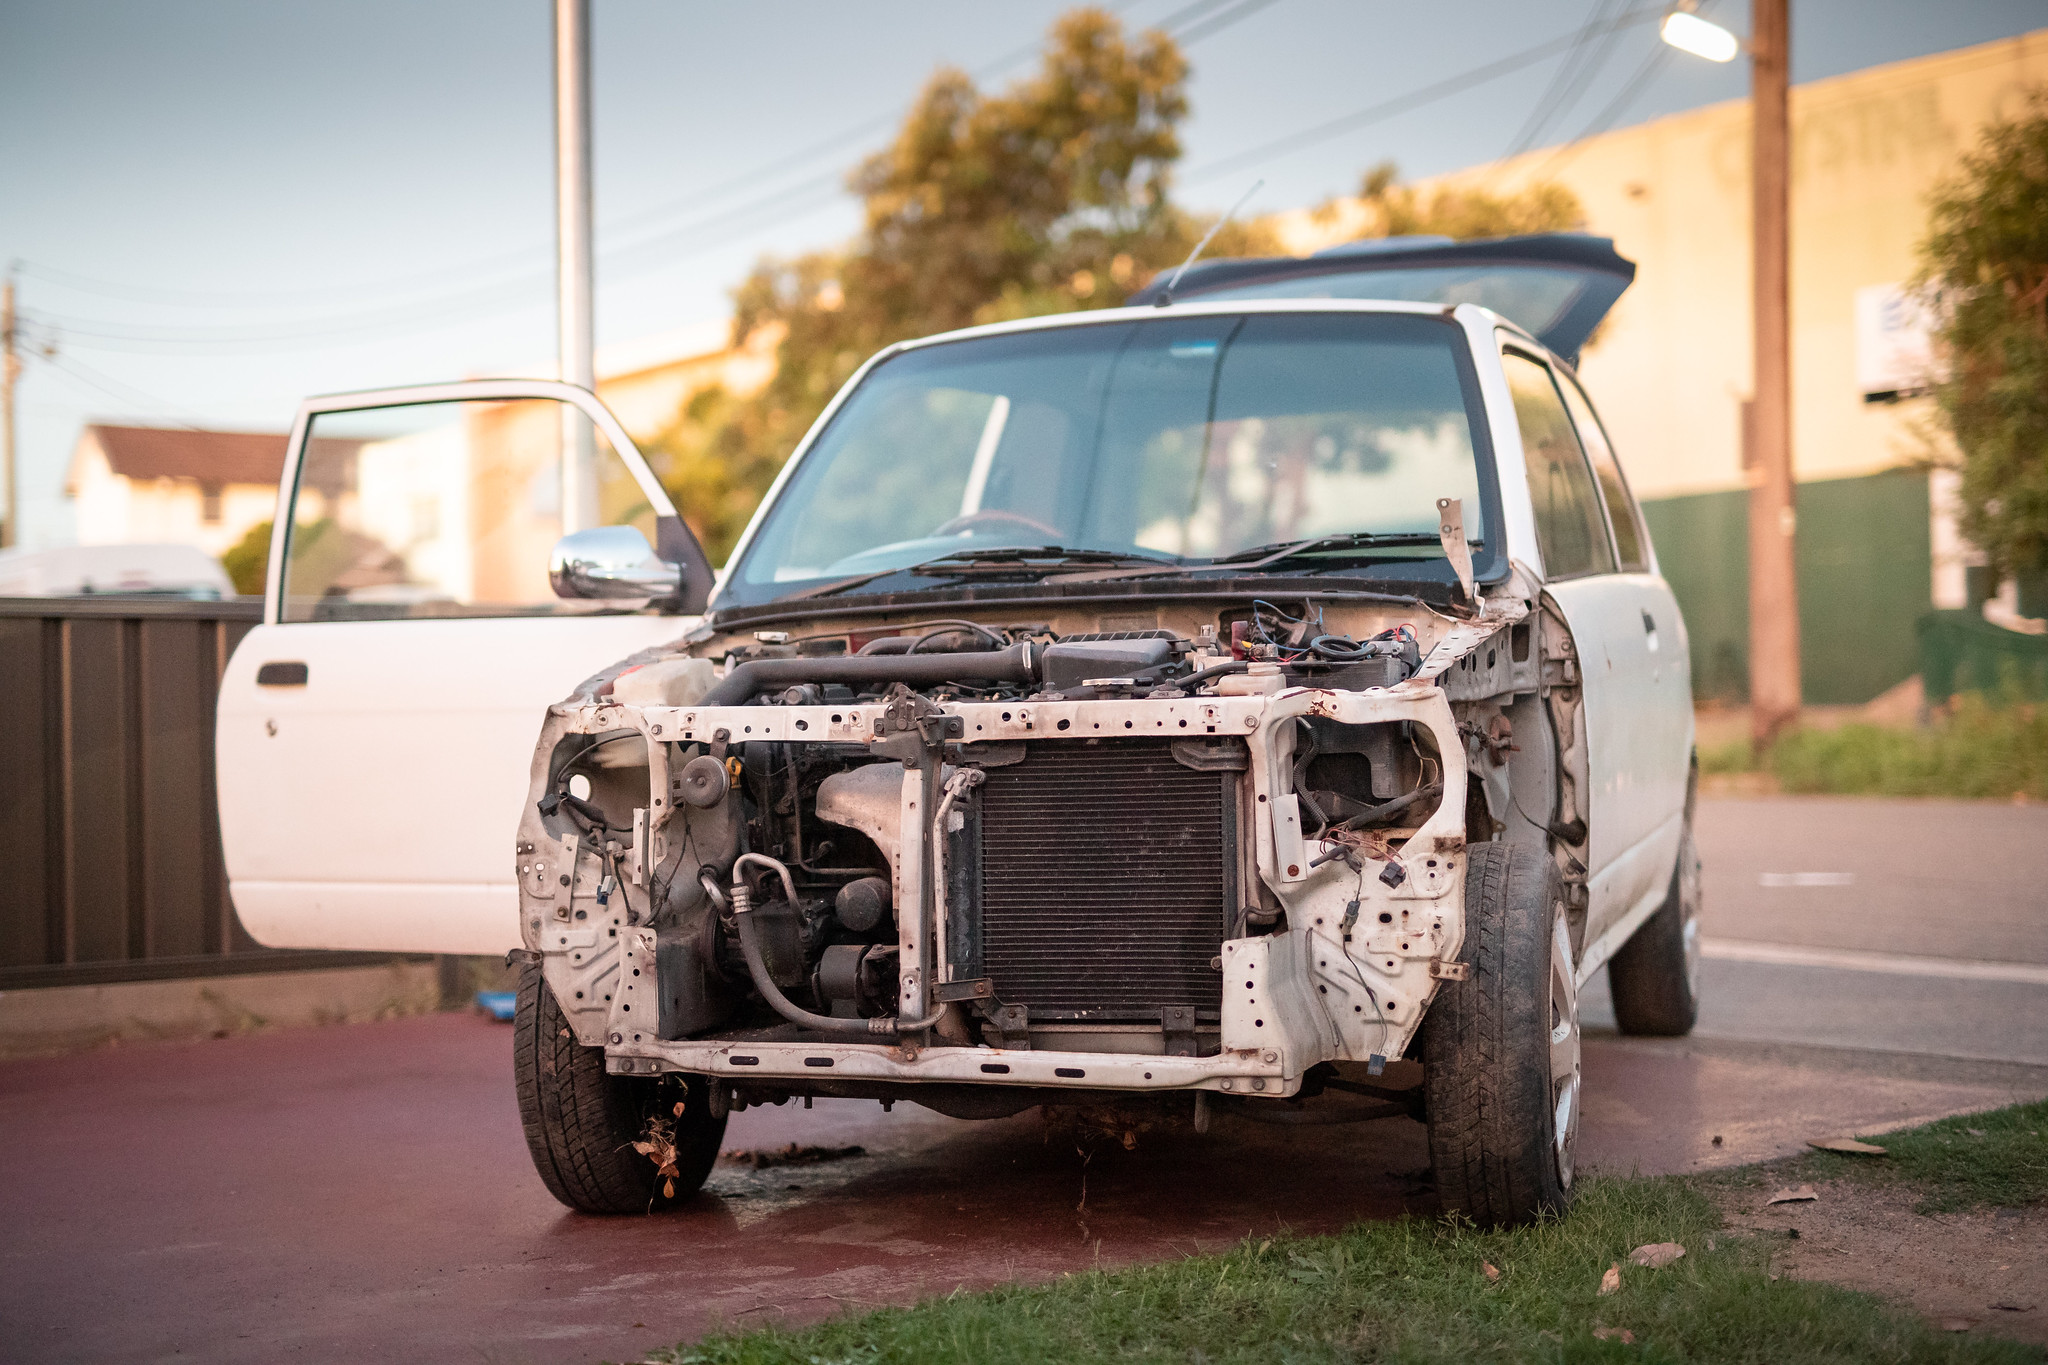

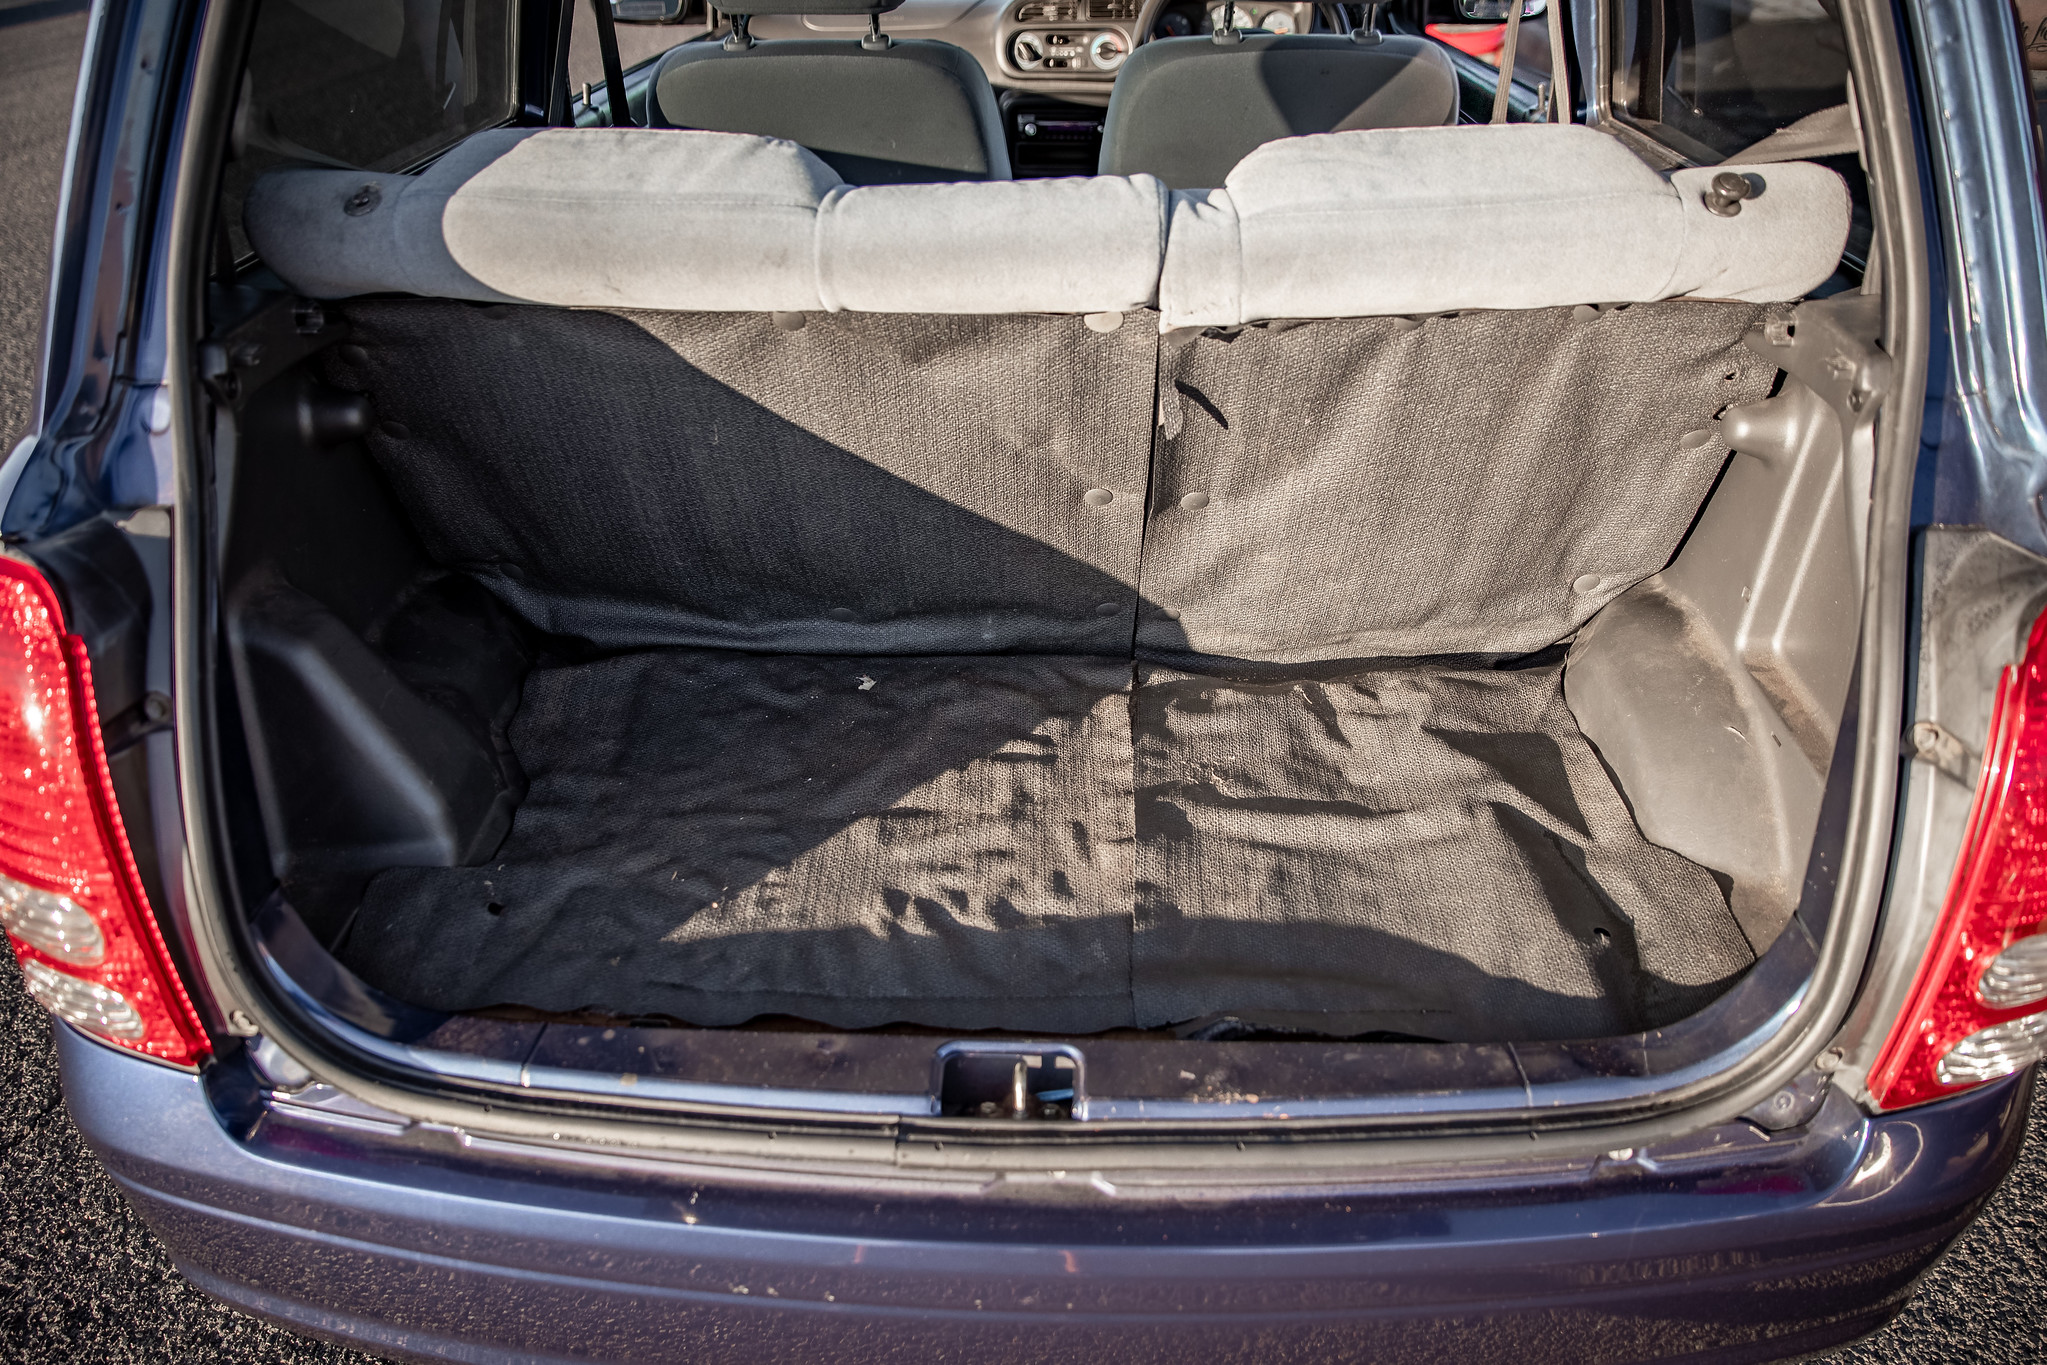
Before you ask, I already sold the Gino kit. I like them but I also like the Cuore front :). Something I did need though was the back seats cause that’s the last think I needed for the blue Cuore before I could put it up for sale.
And with that it is now ready for sale. Here are the final pics.


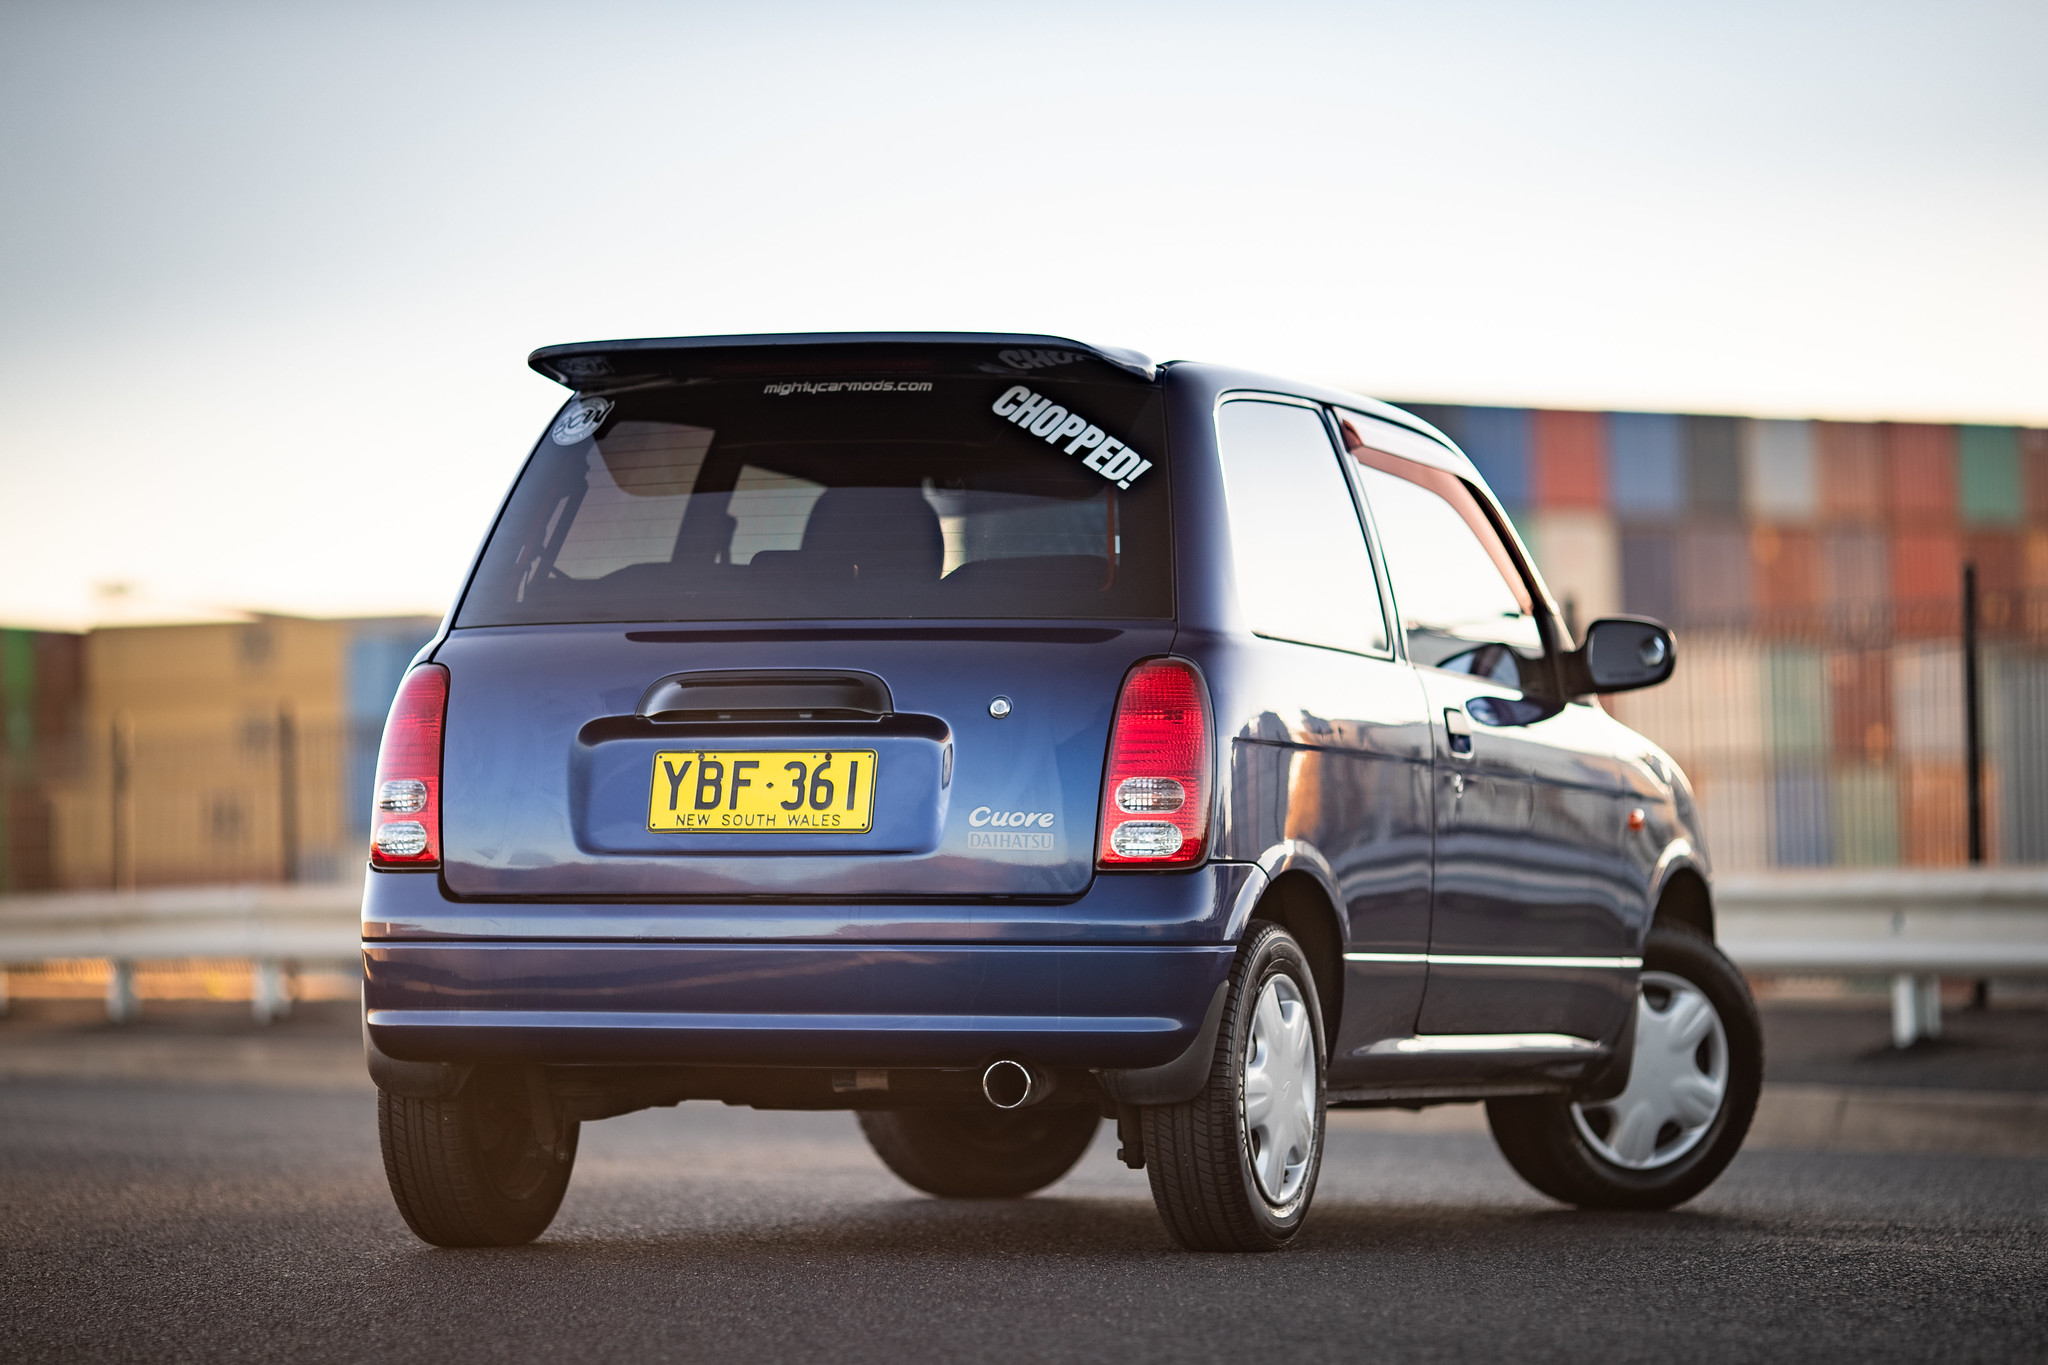


After putting it up everywhere online, 1 hour, yes 1 hour later someone came and took it home. I can’t explain how sad it was to see this car leave me. I’ve had it for almost 6 years and learnt so much on it. I met so many incredible people because of it, and had so many memories with it, even in high school on my red P’s.
It’s only making a path for a bigger and better build with the red car. I’m giving myself 1,000 of the money from the sold blue car for mods to be done on the red car. Lots of exciting things happening with that. More on that soon.
7 Likes
I love your work! I’m dying to see what you will do with the 2 new Cuore you bought!
1 Like
In that unit that your wrecking does it still have the LHS roof moulding and if so is it available and how much for it and to have it sent to 4116, QLD??
Sorry man, another friend of mine already beat you to it. Sorry.
1 Like
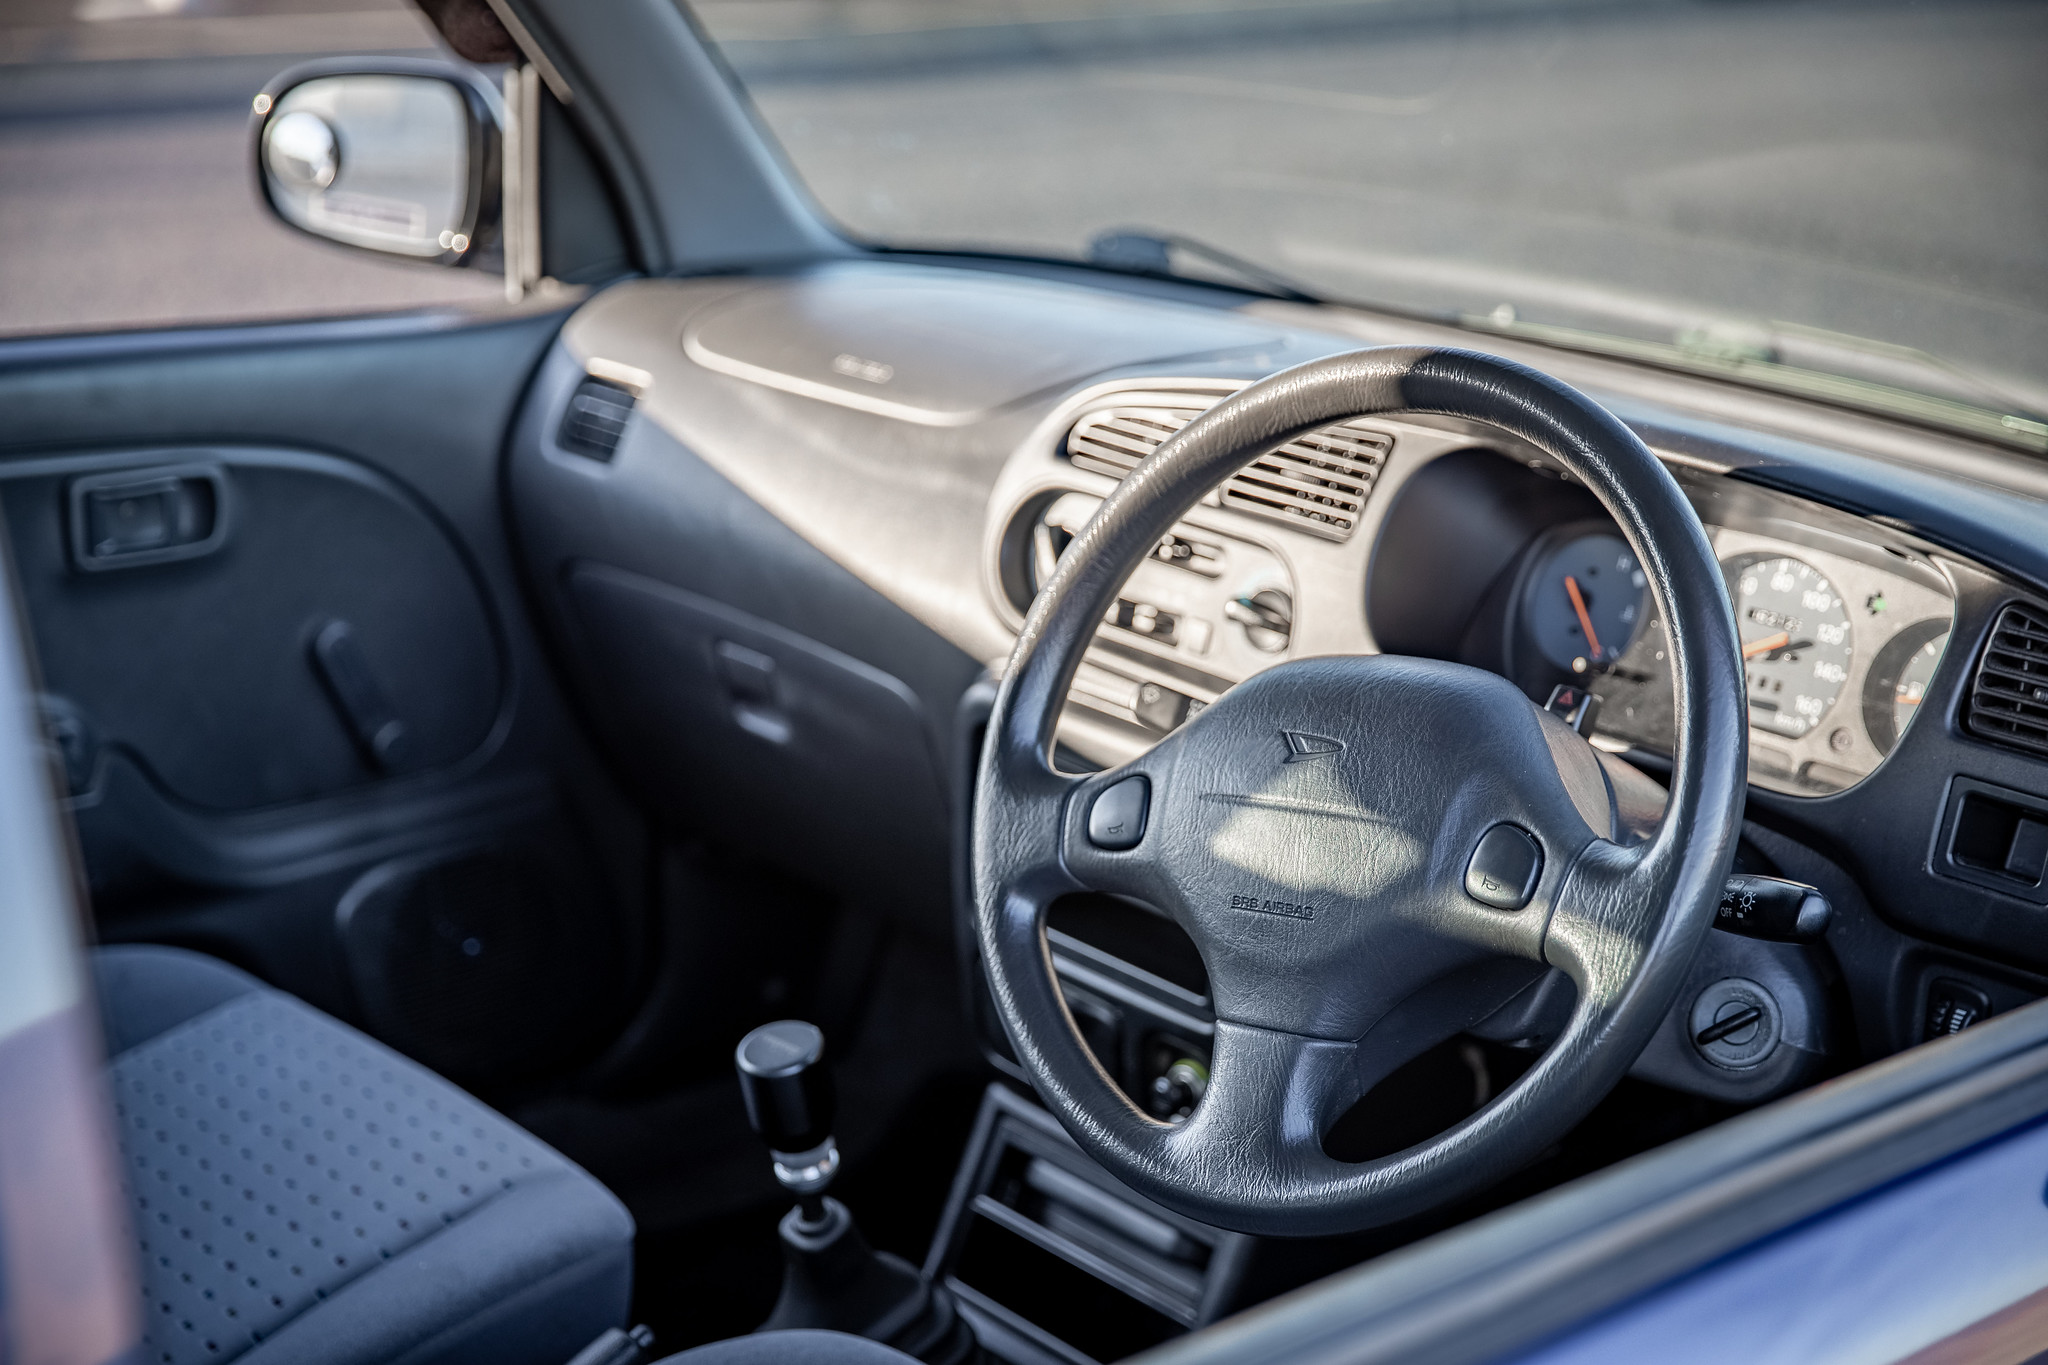
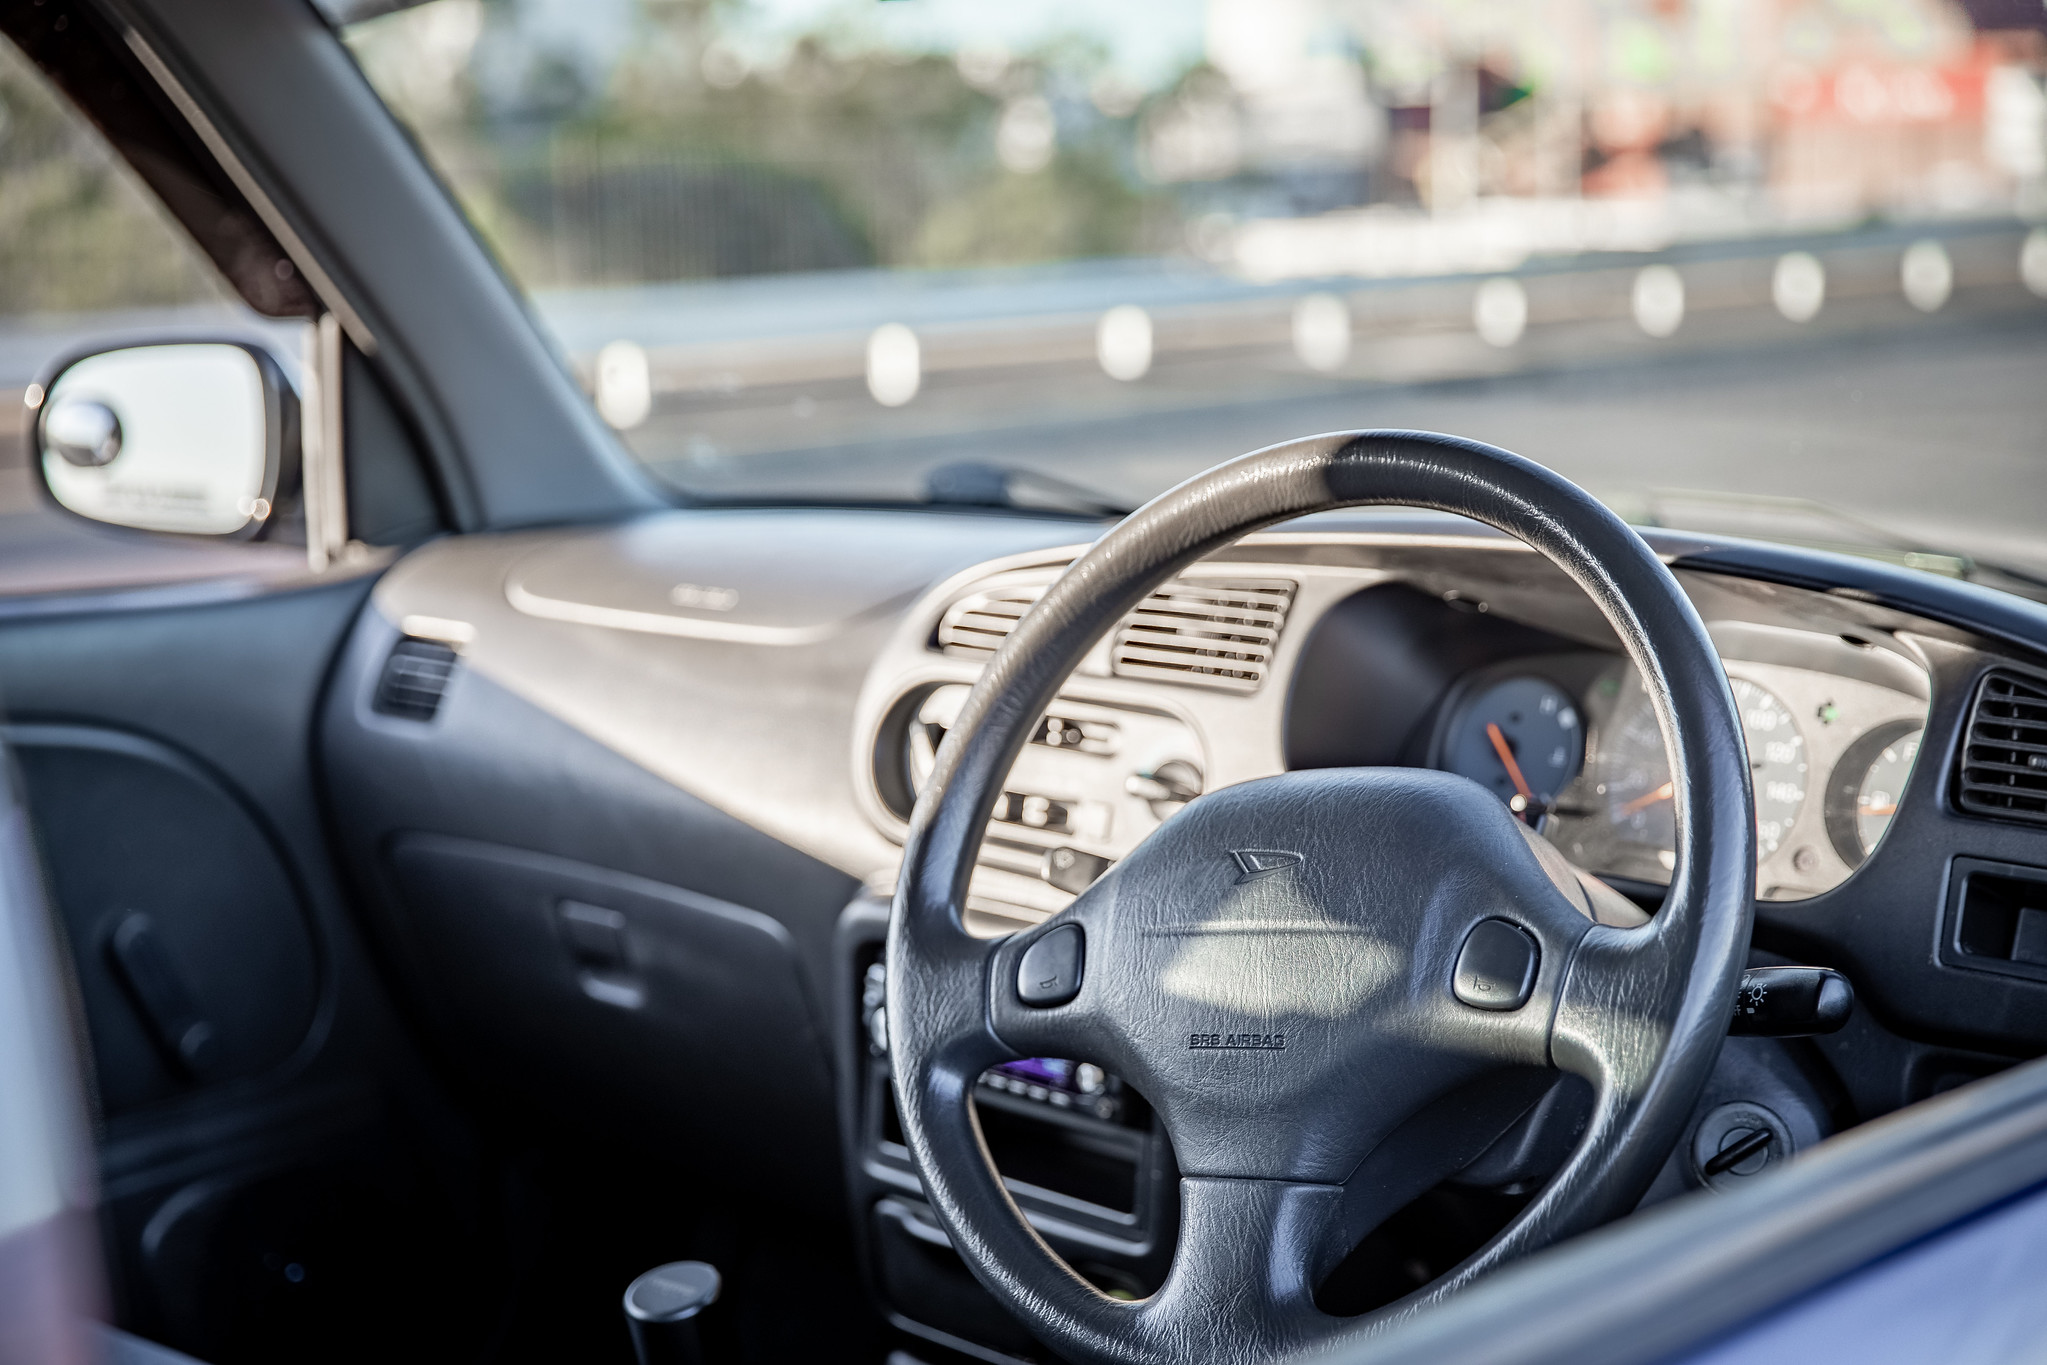
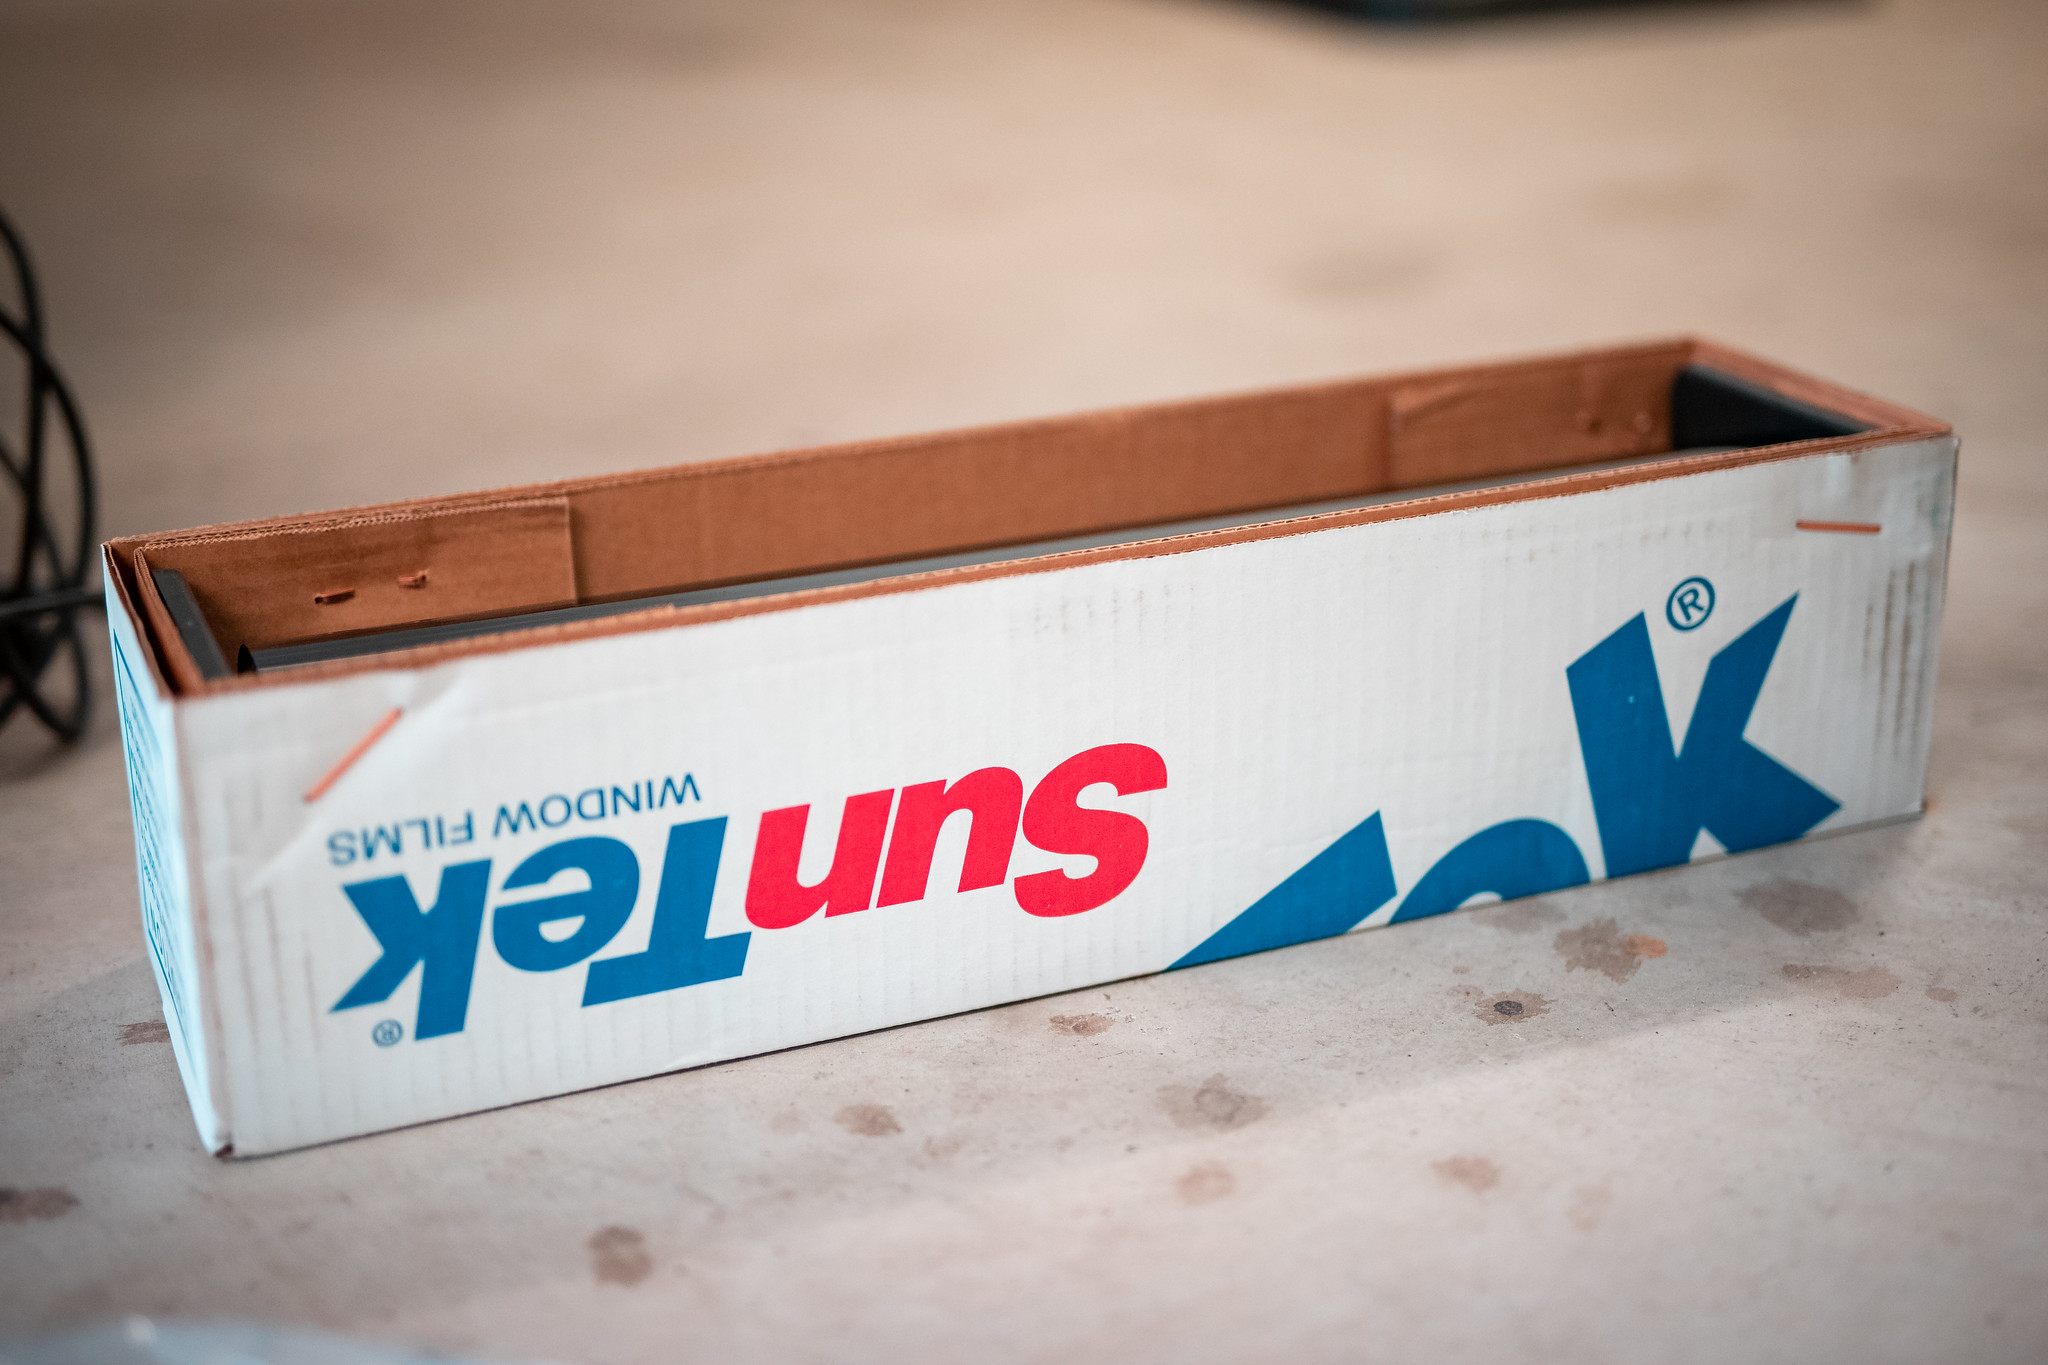
April 2020: I can’t do cars with clear glass. I need tint, the difference it makes in and out is beyond incredible. I had Show Us Your Tints come out again, he did the blue car and my Subaru 3 years ago.


We decided on 15% VLT Suntek film.
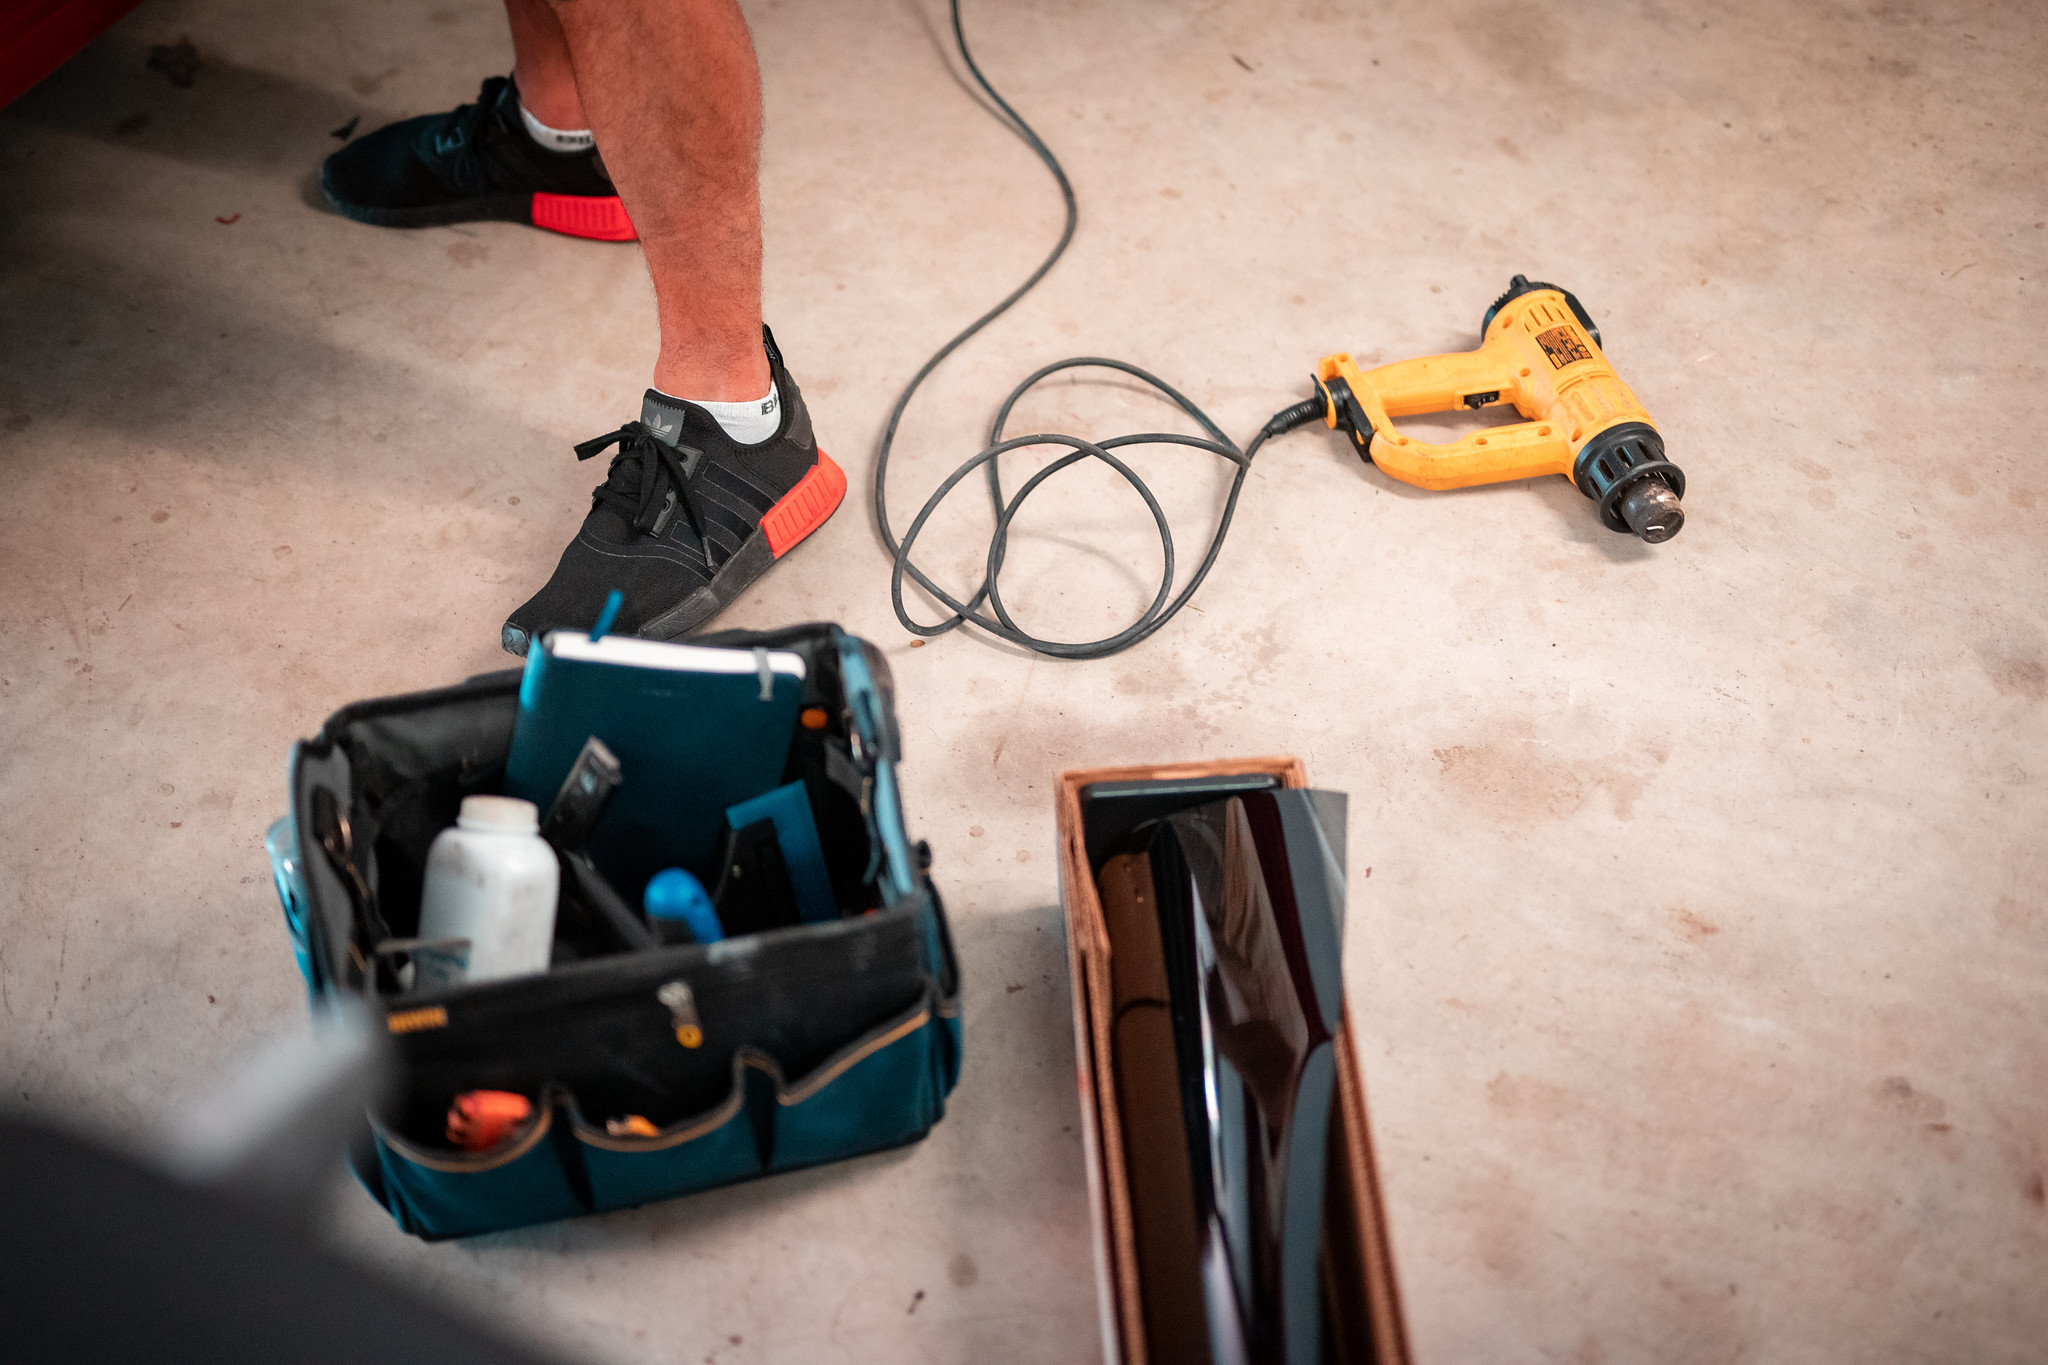
Here are some phone pics for now. Happy to say the car is booked in for a full paint correction detail soon, so will leave the proper pics until then.

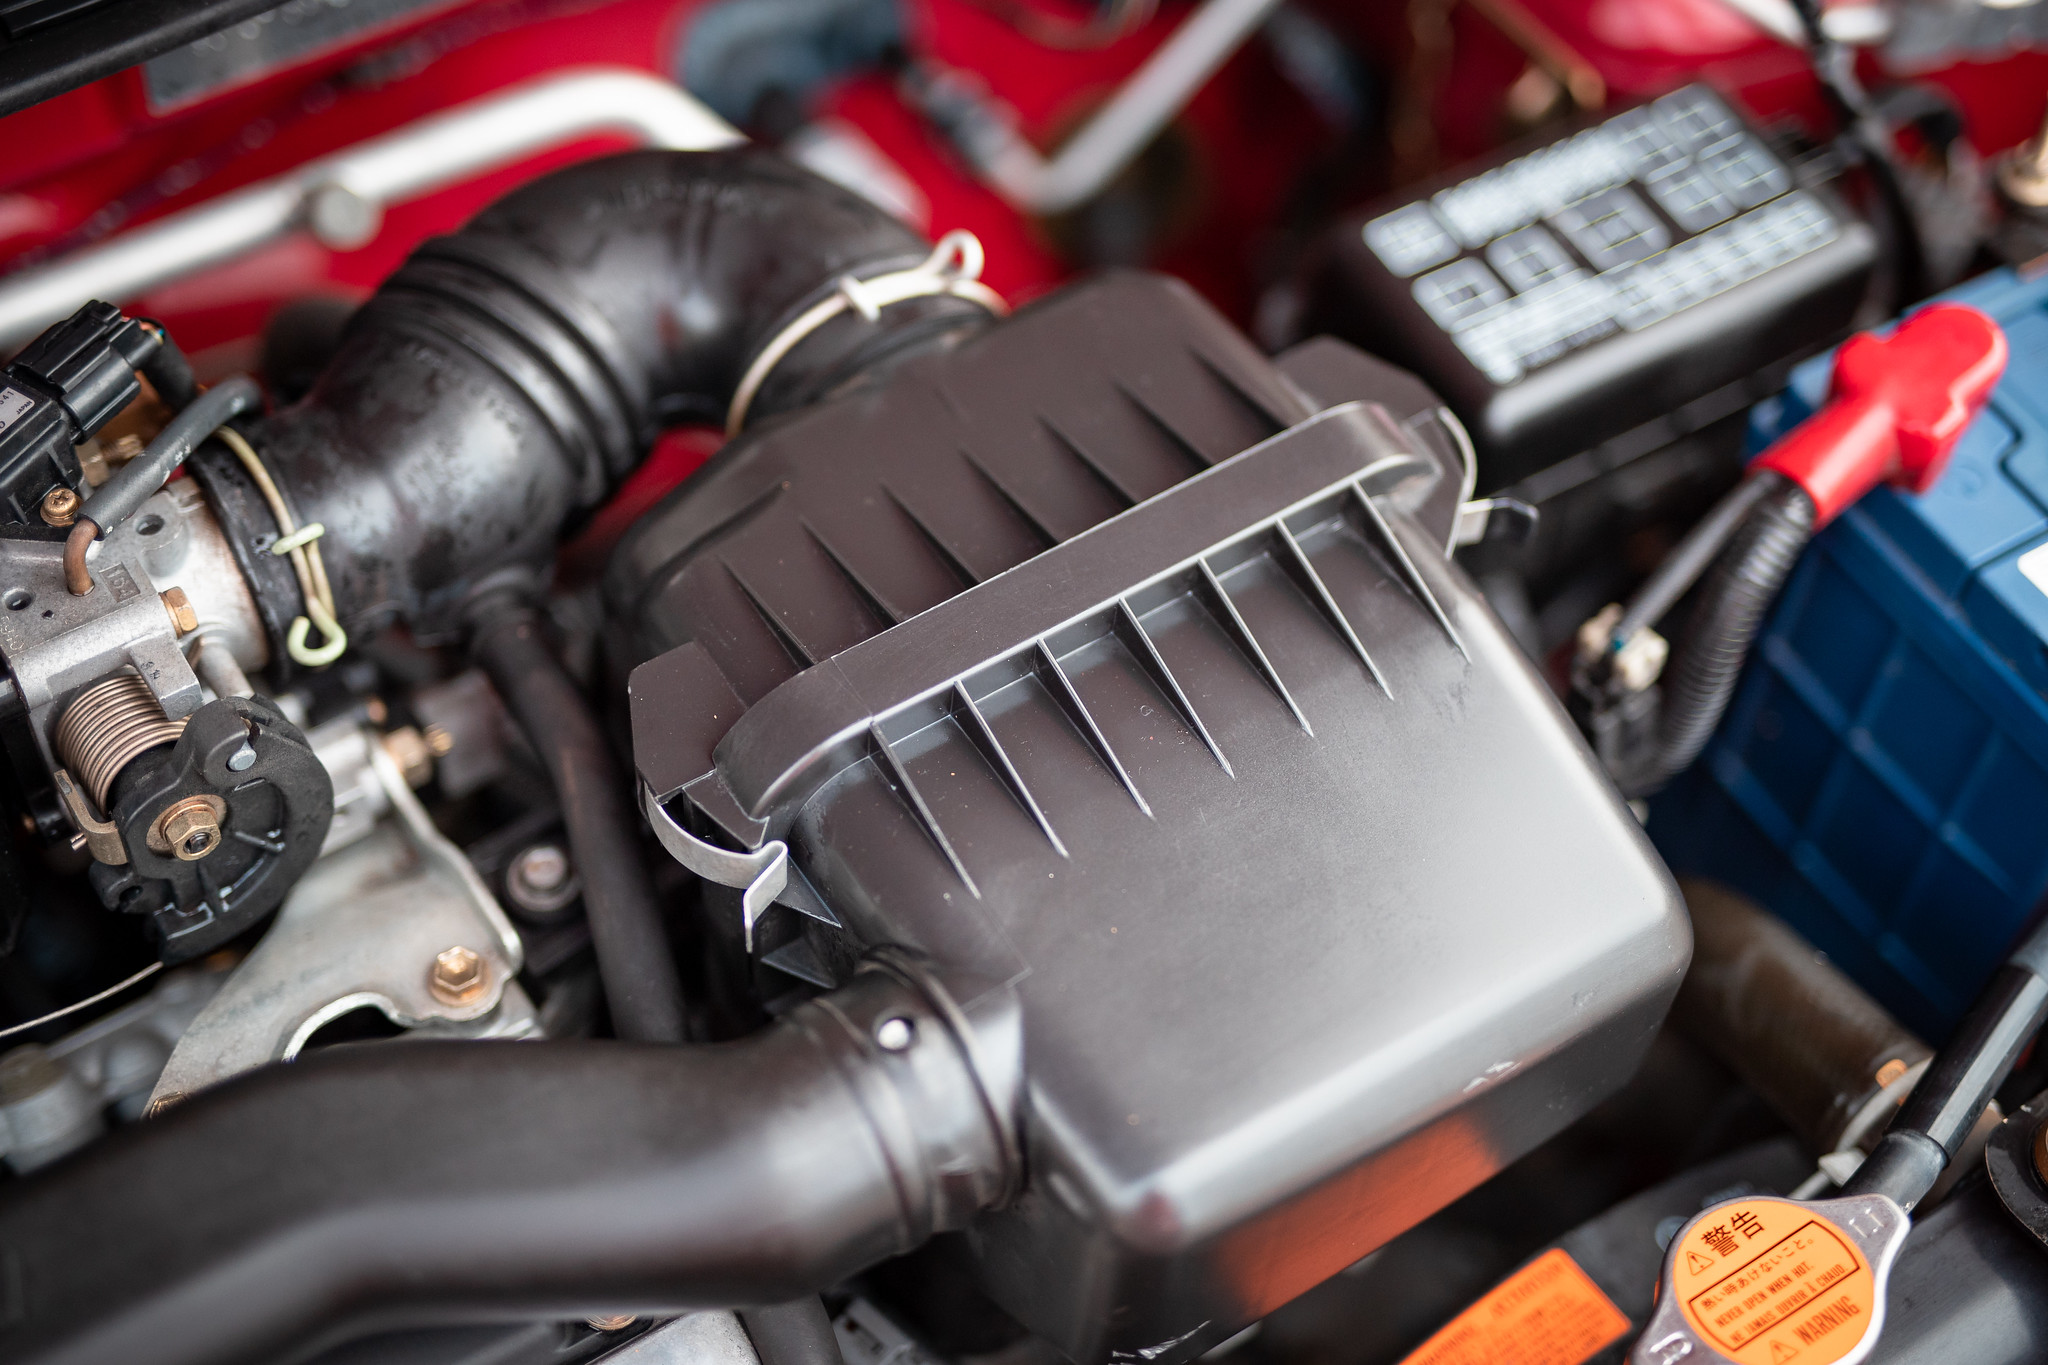
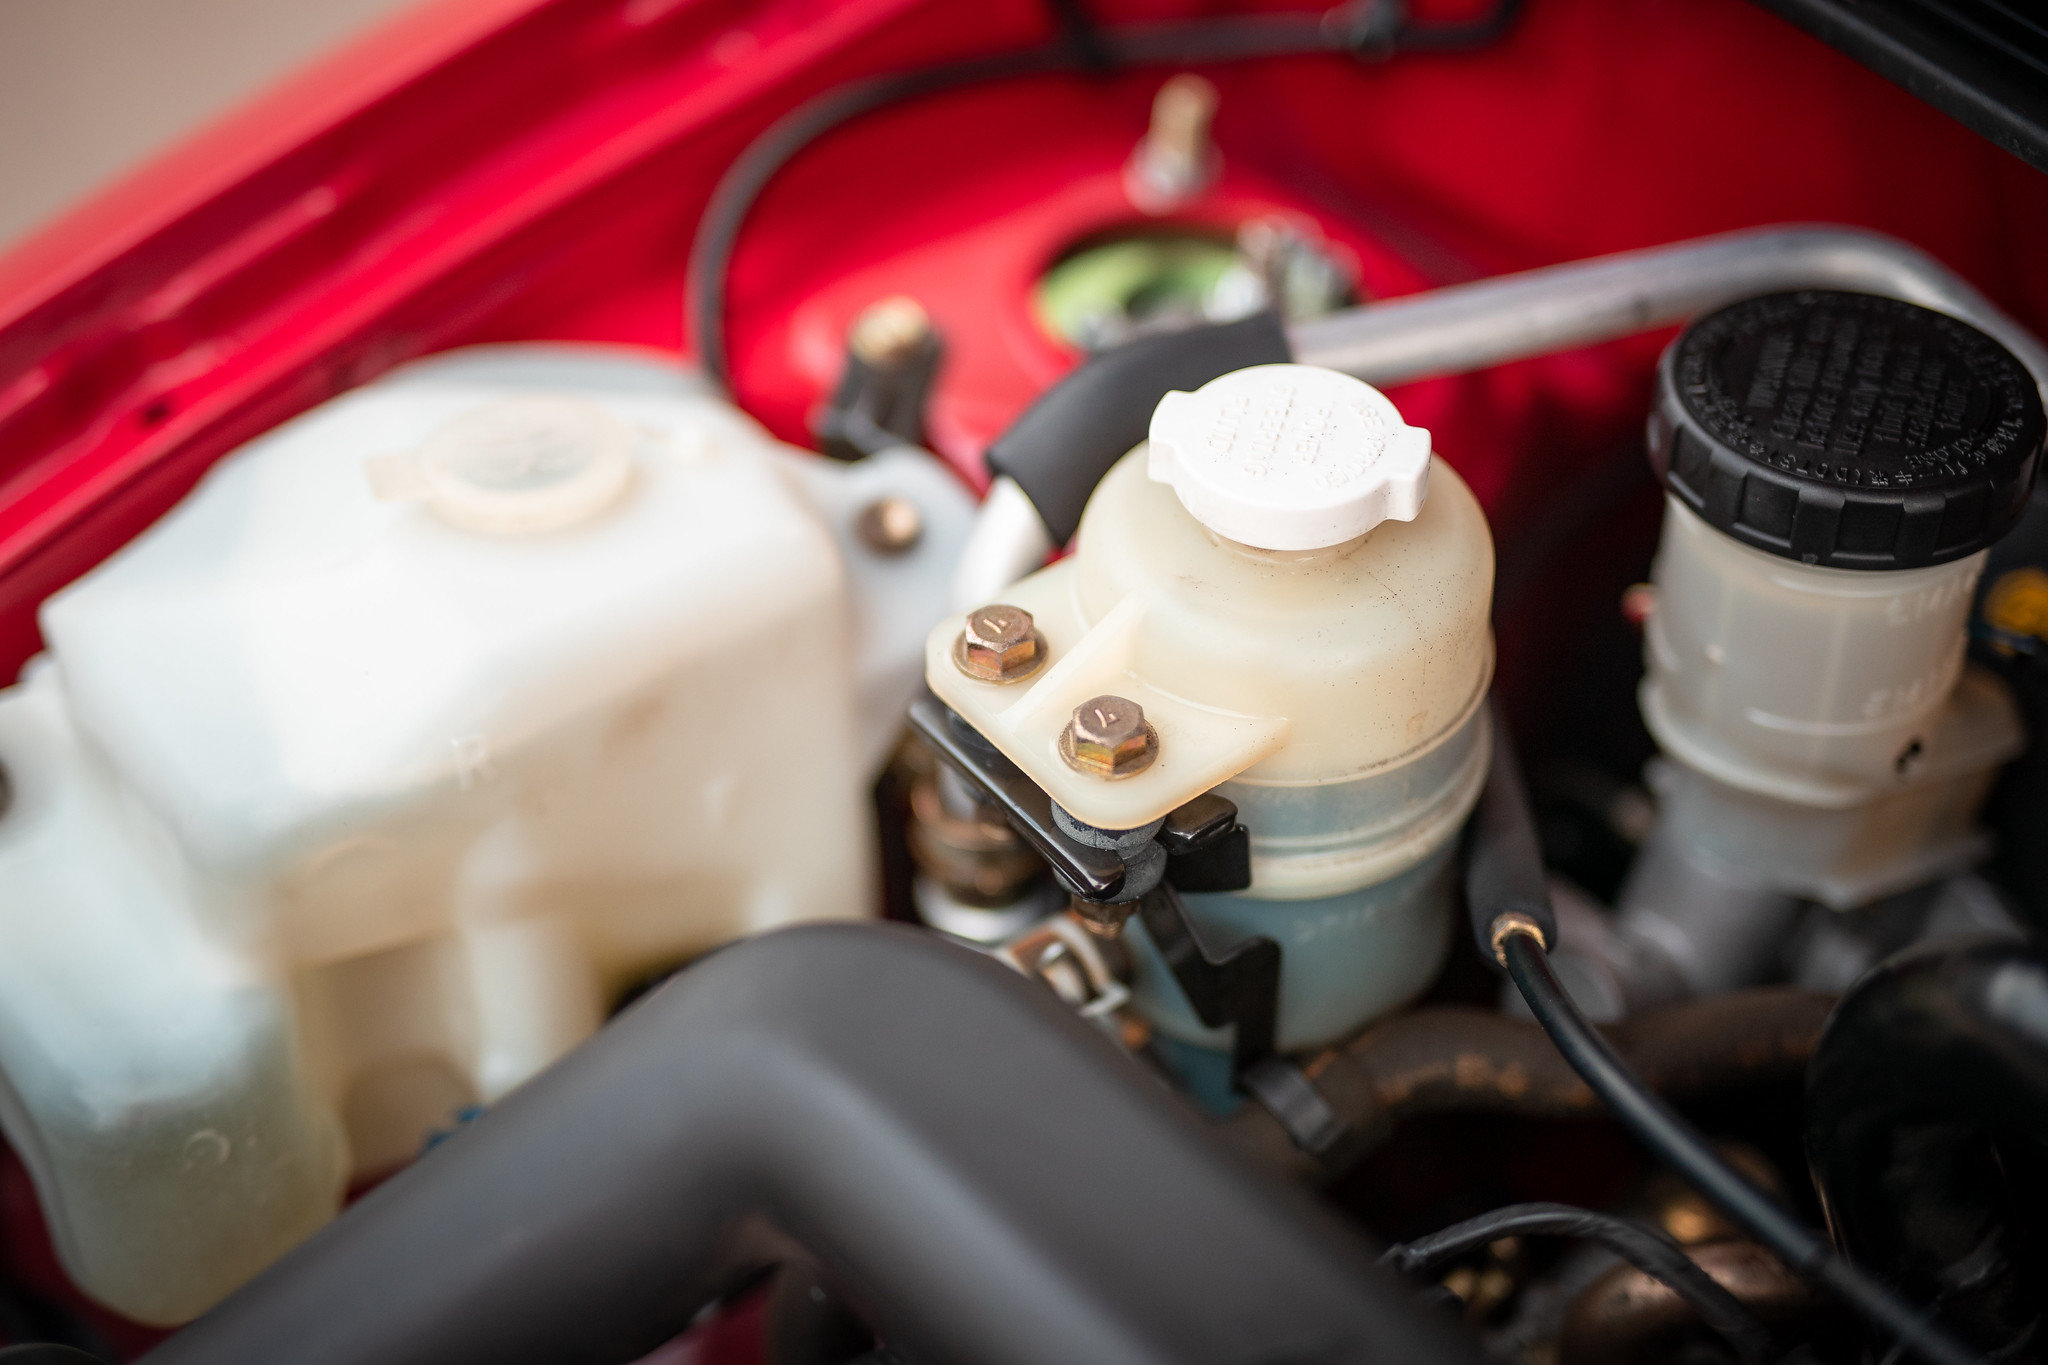
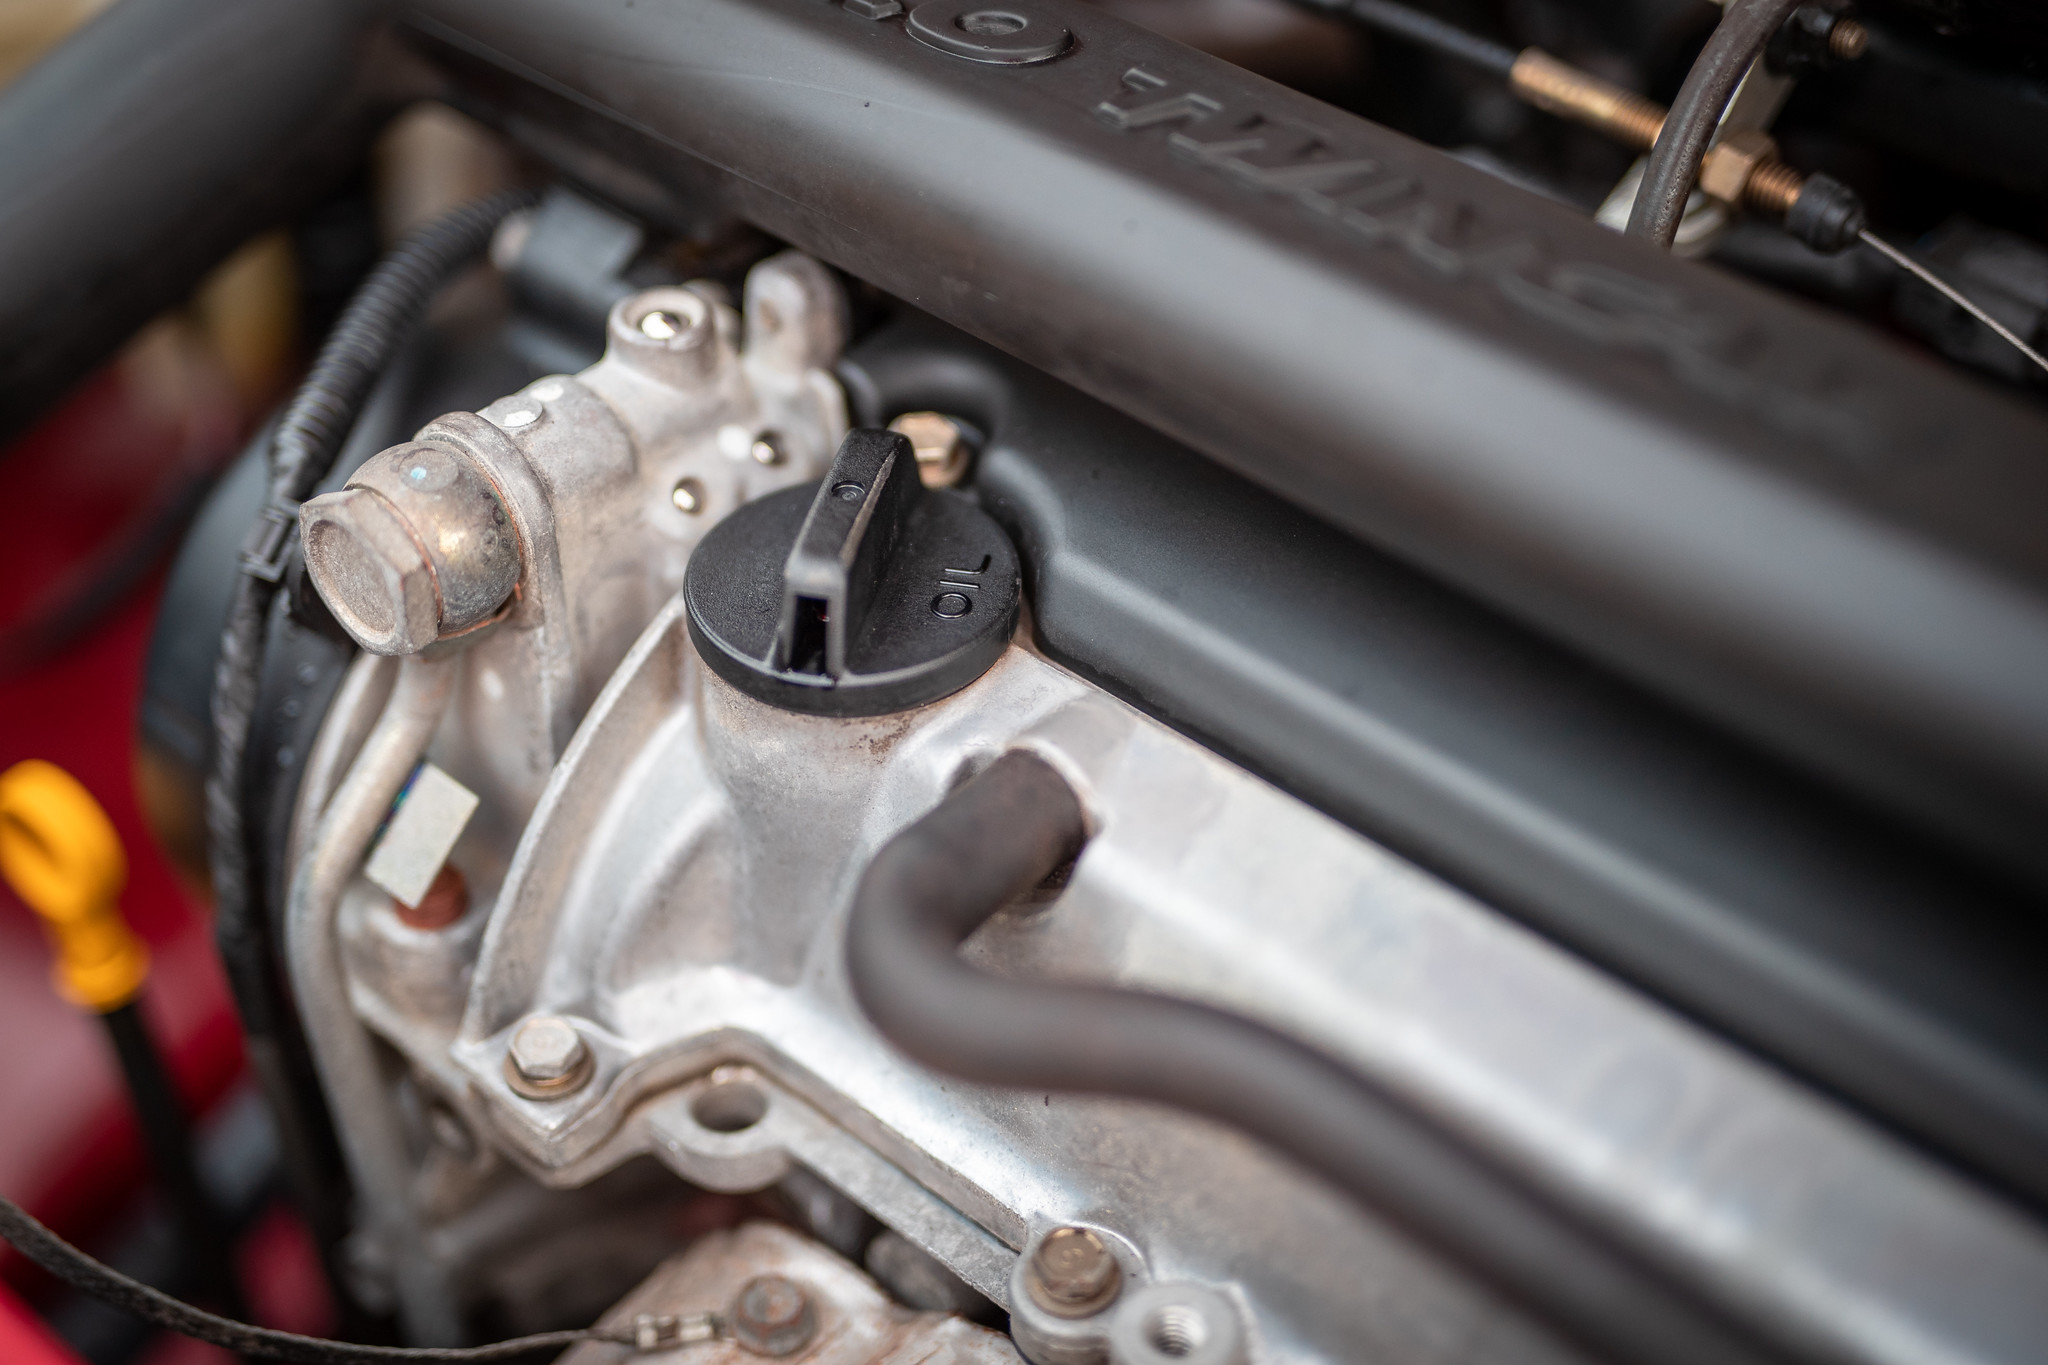
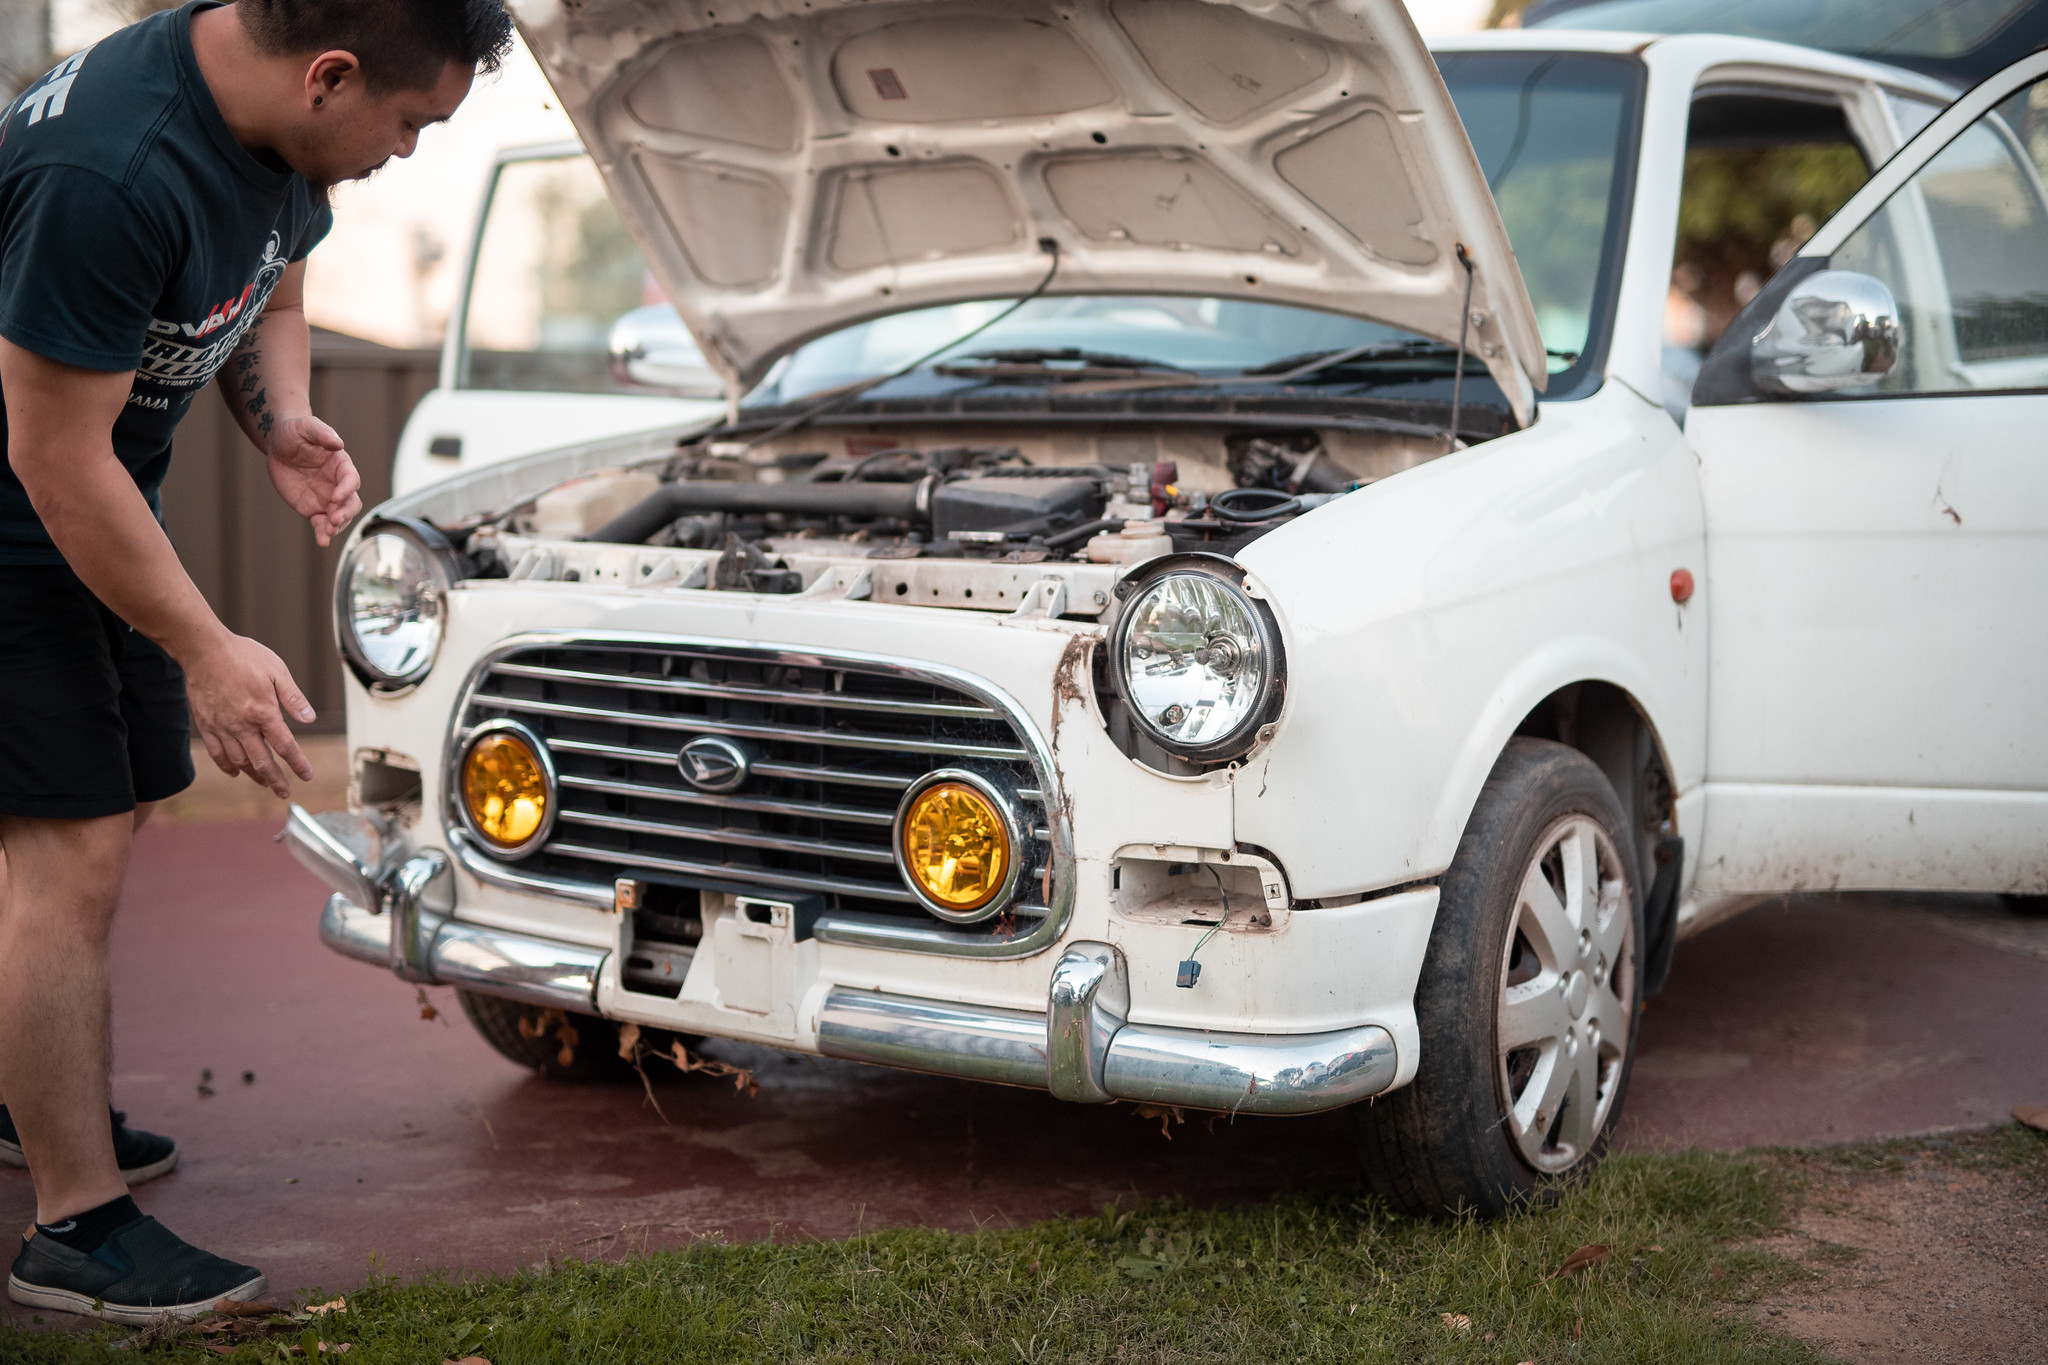
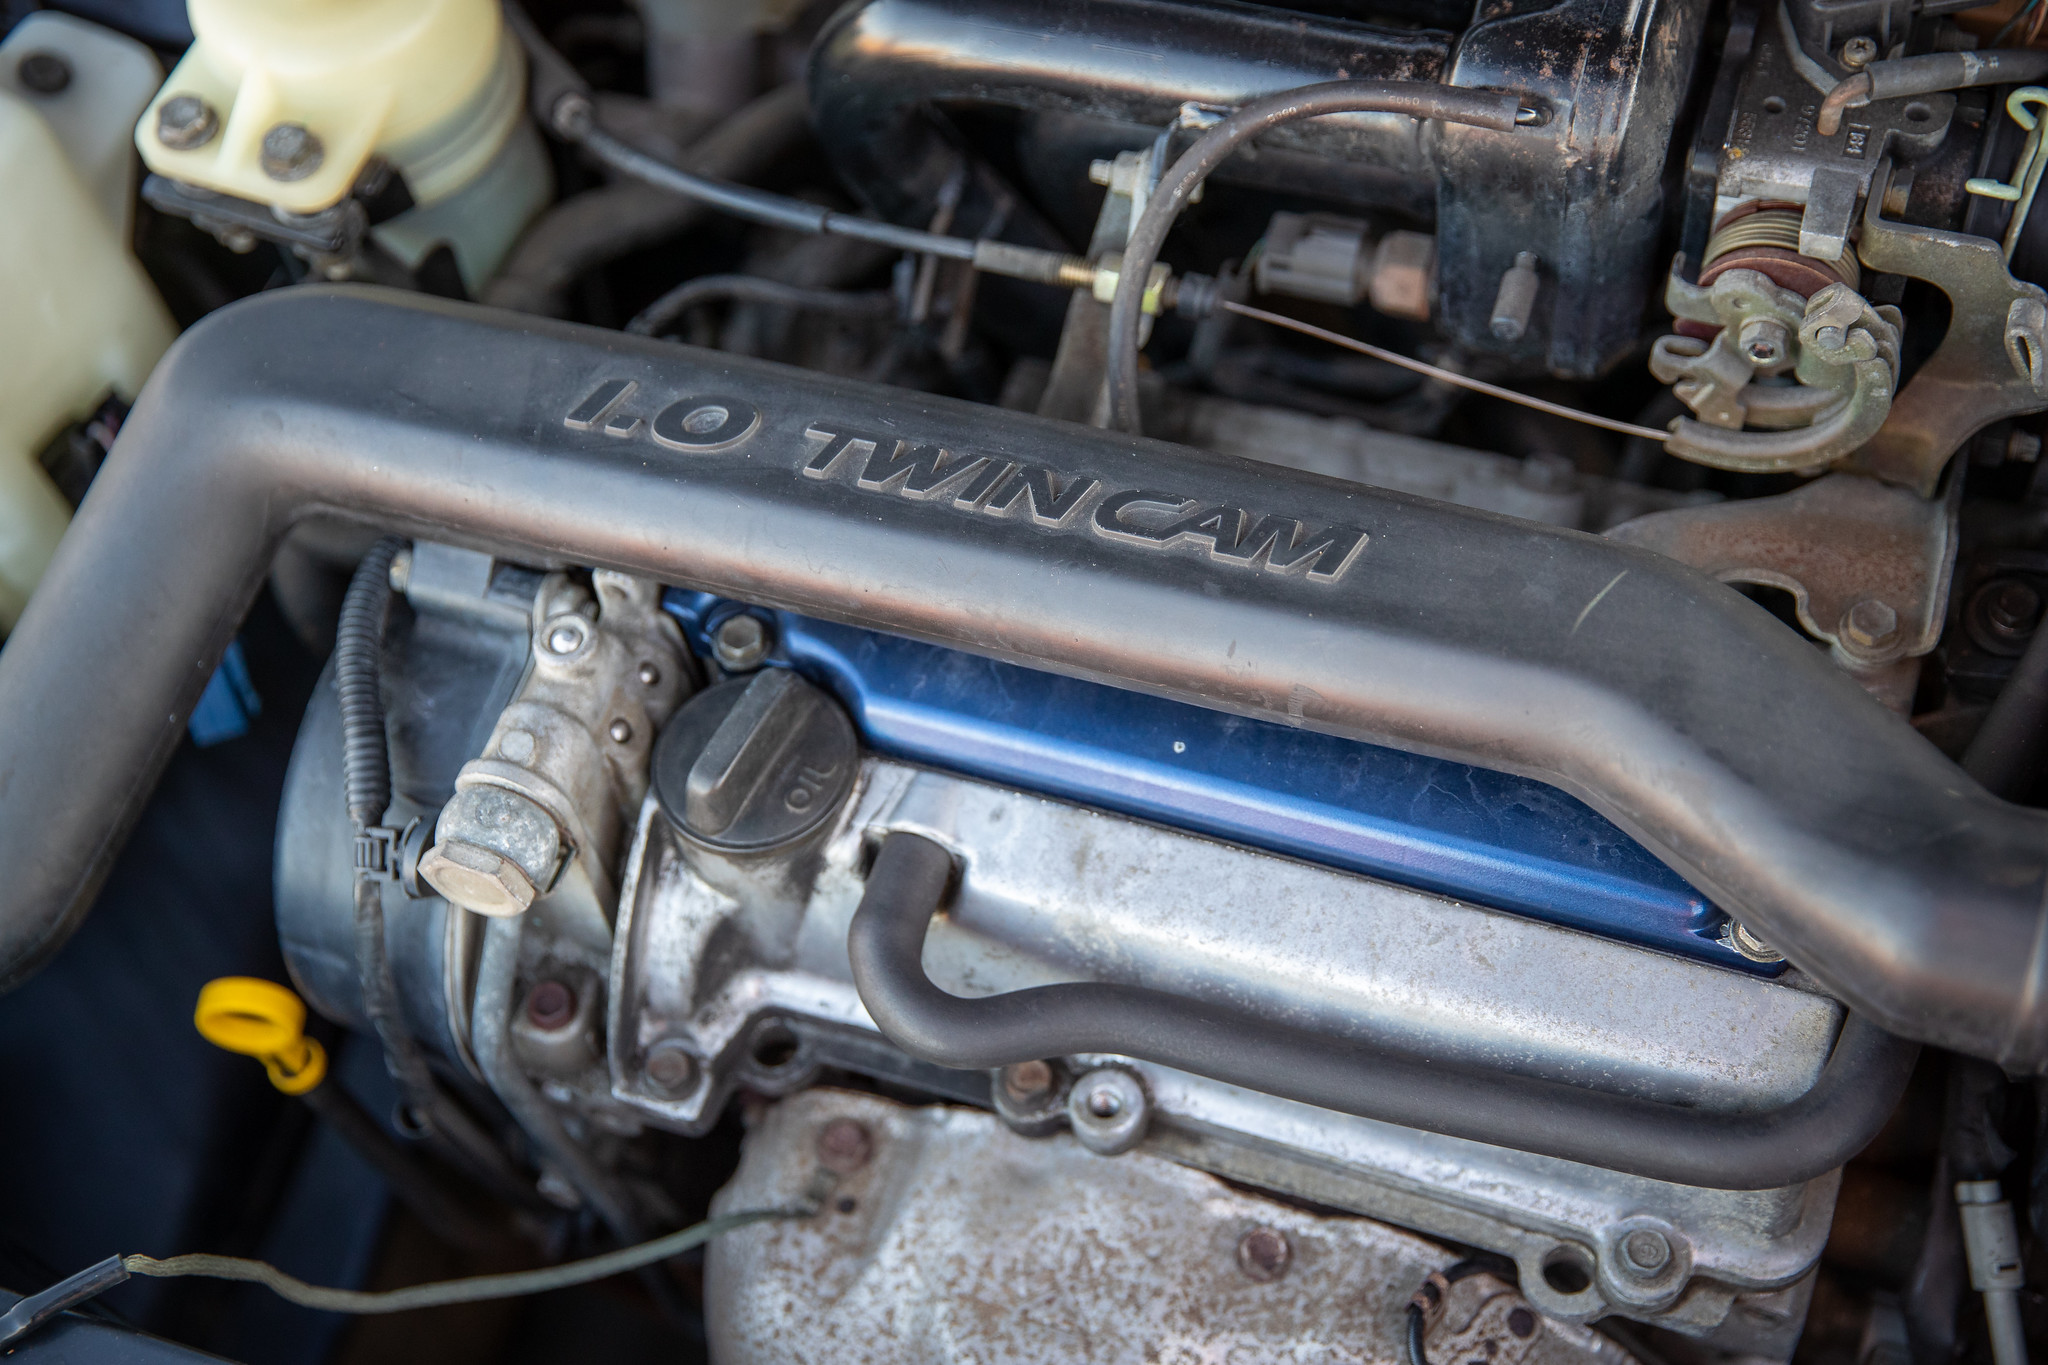
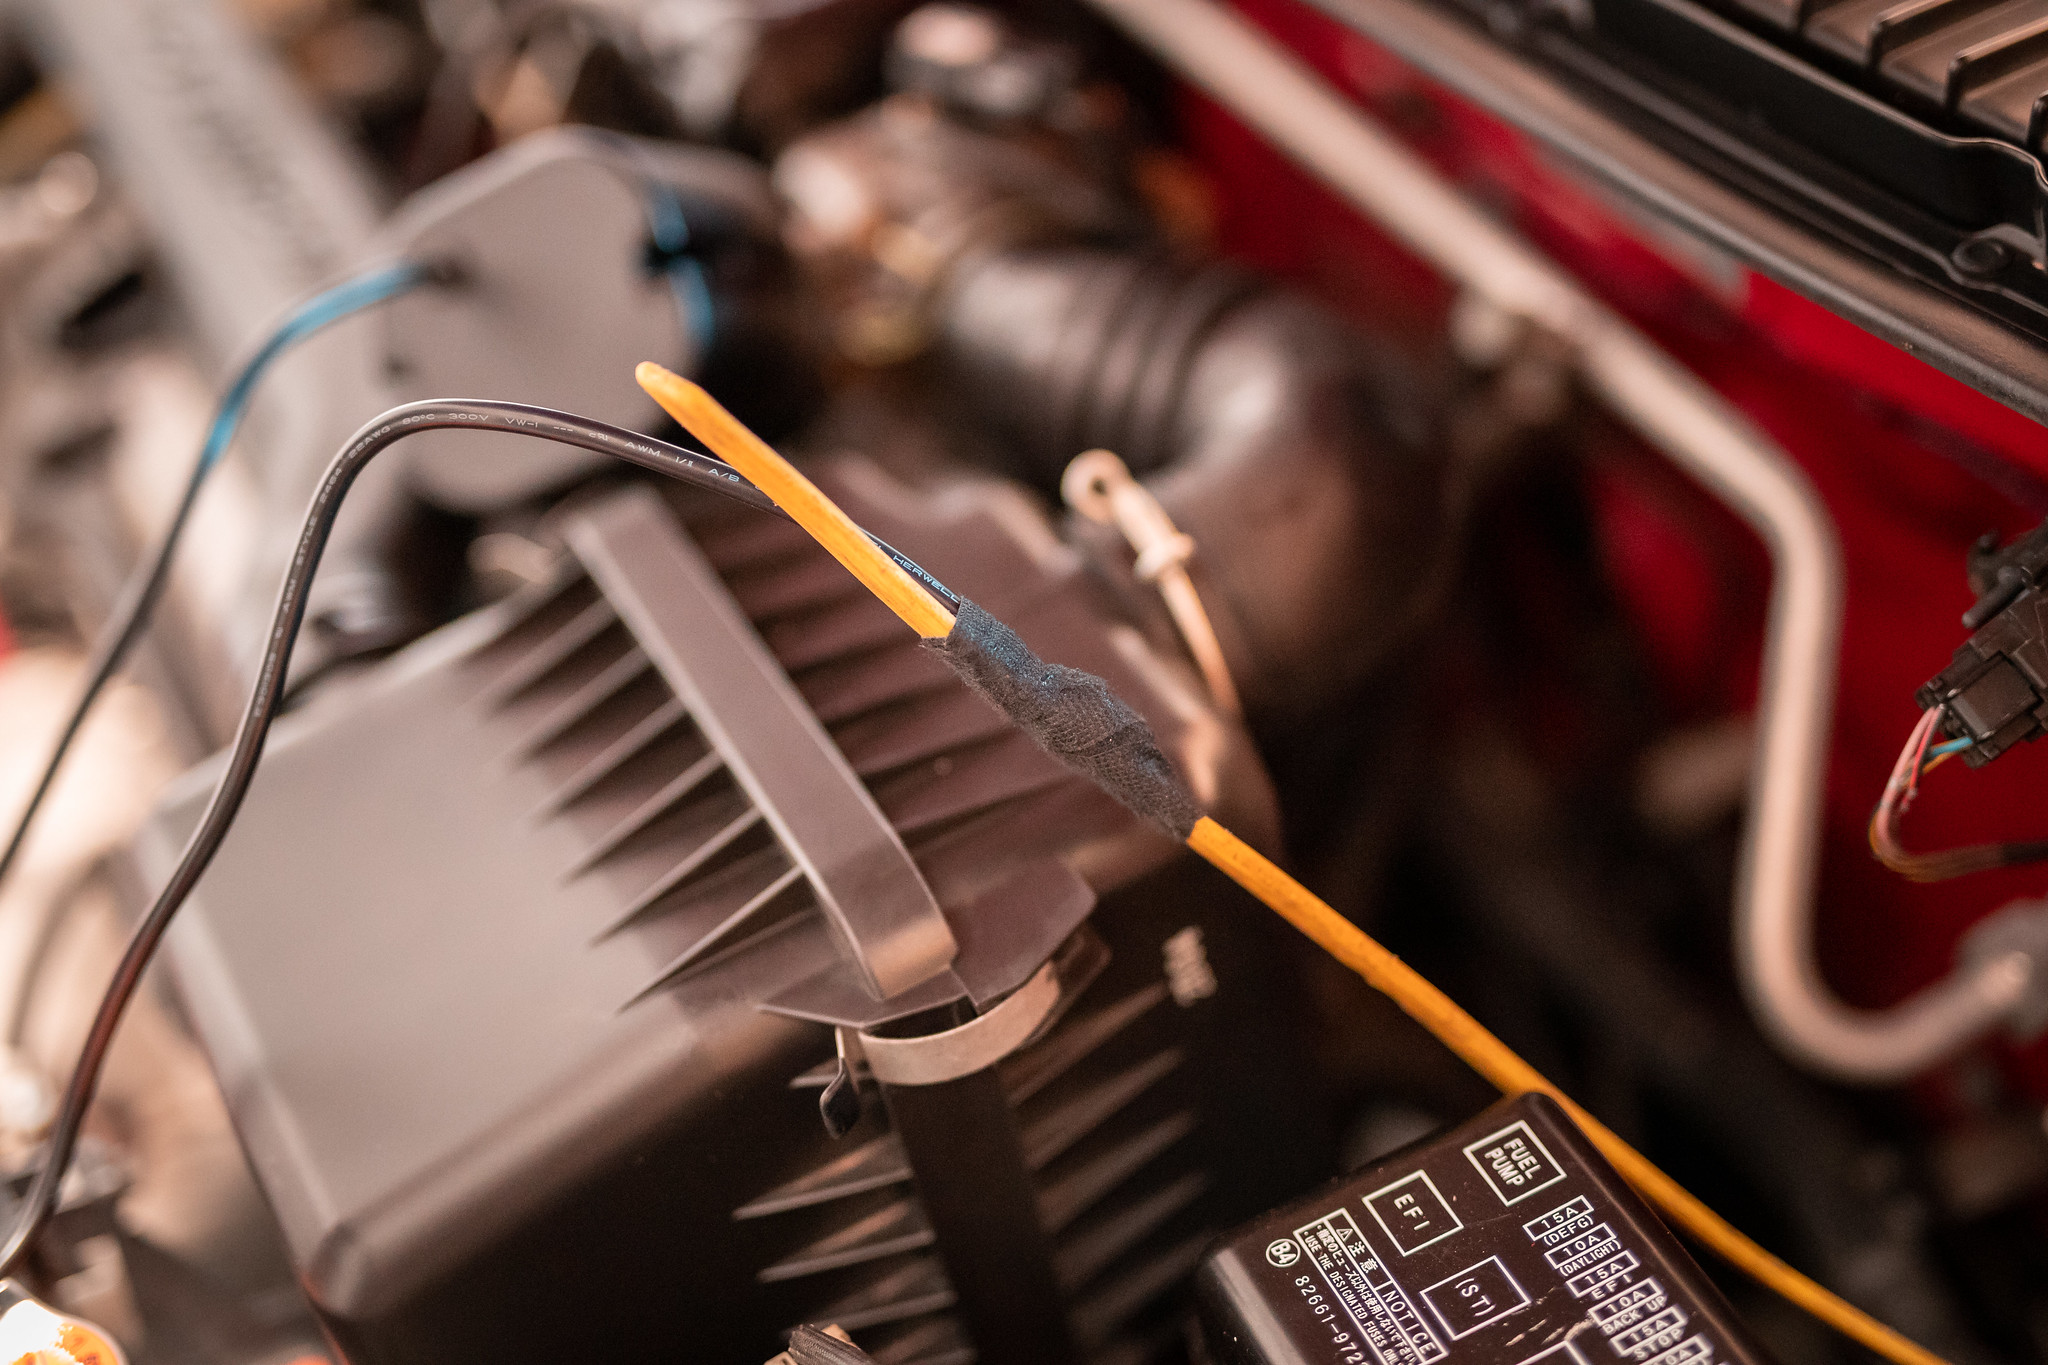
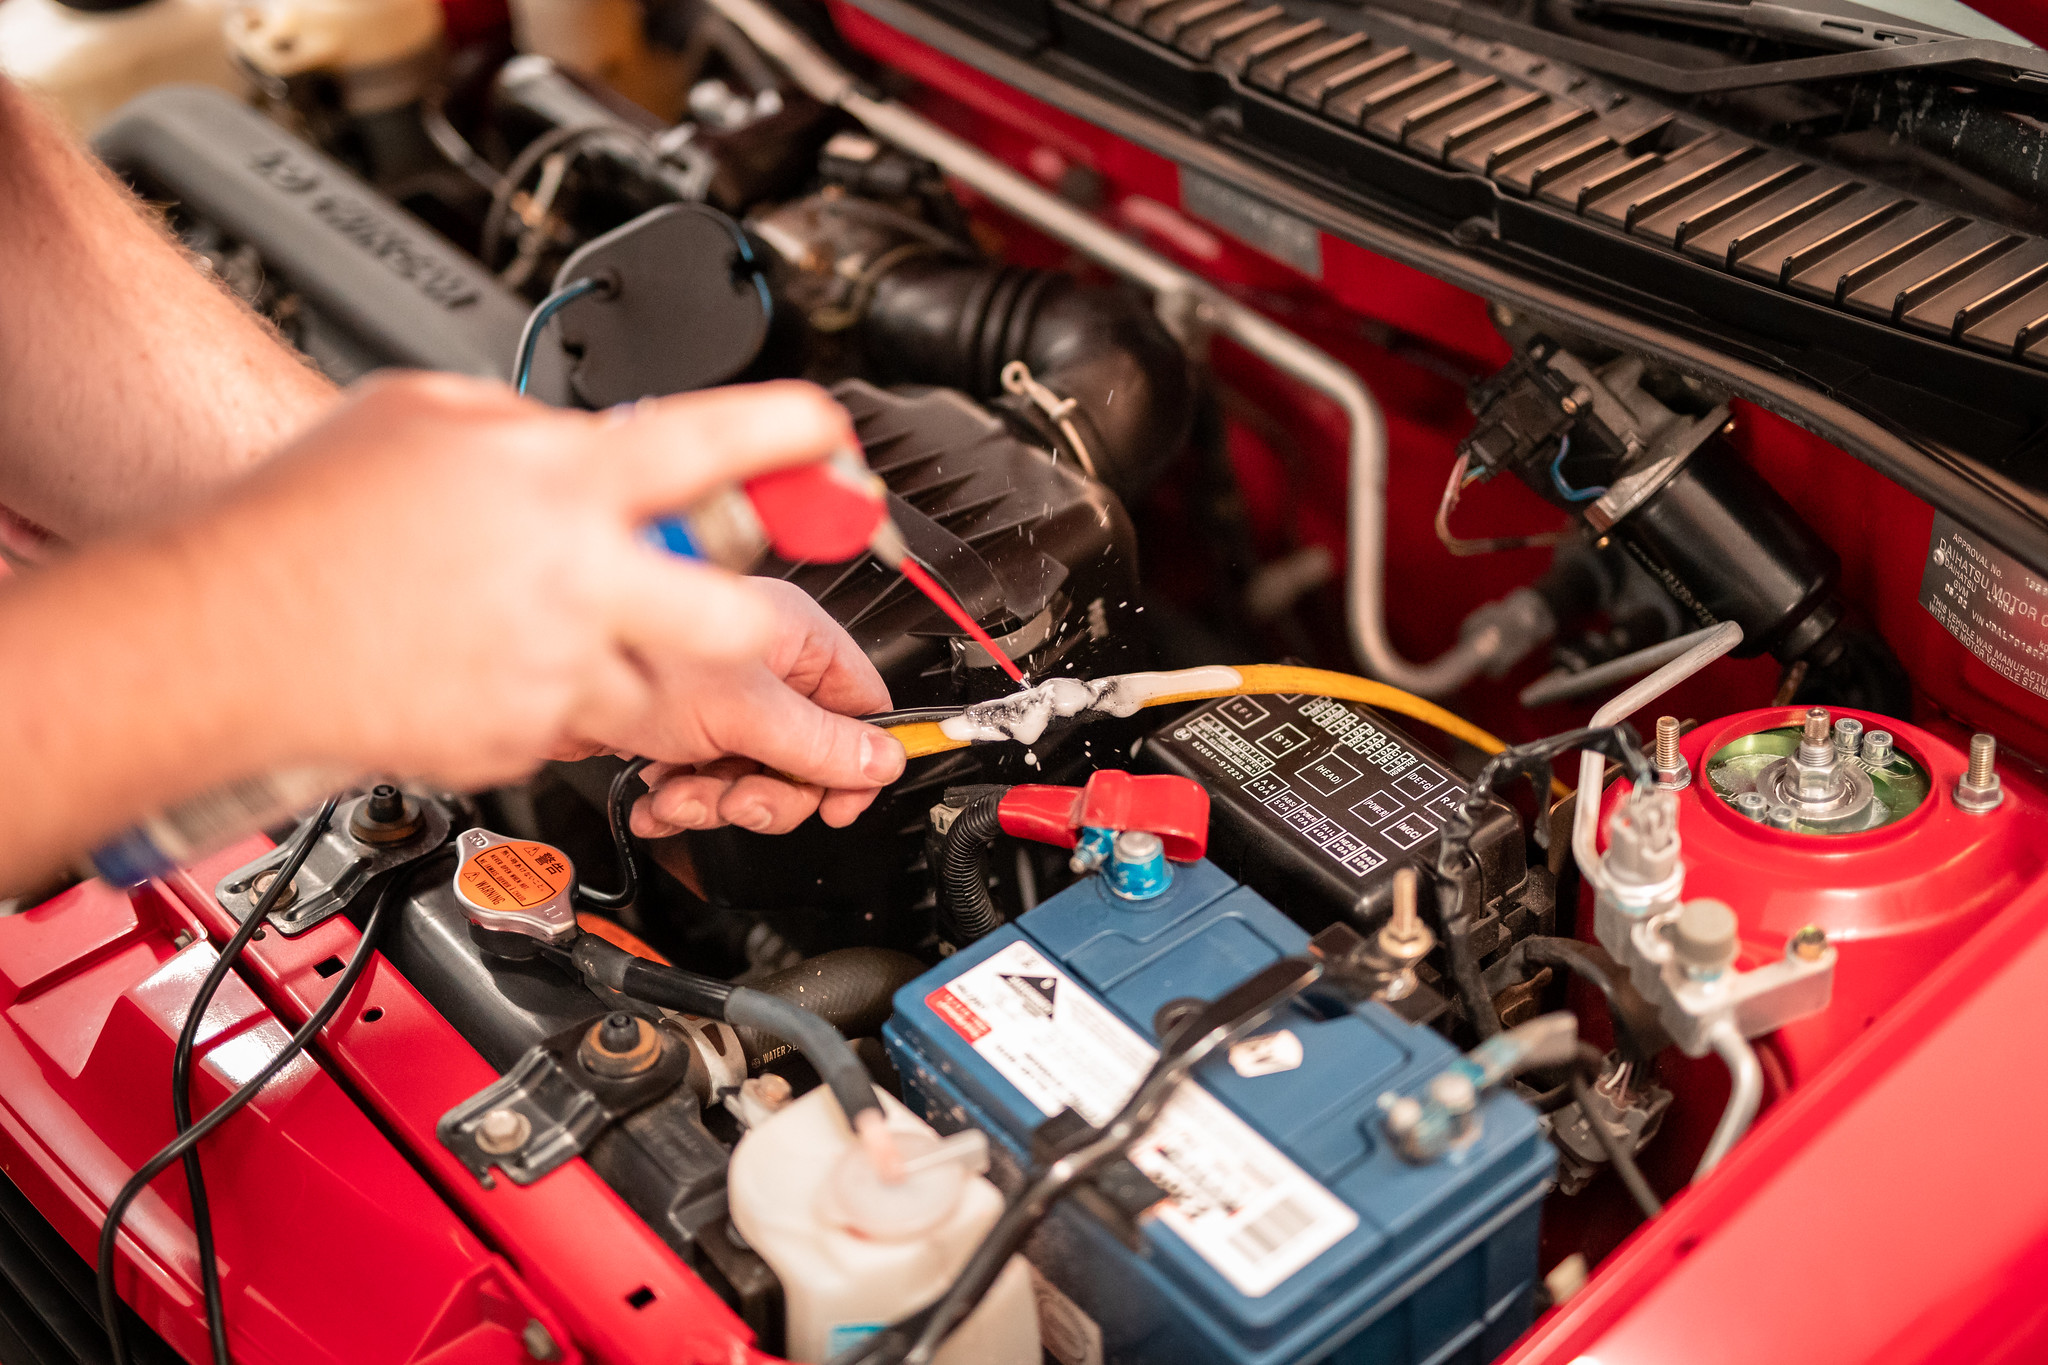
Next on the list was getting the injectors cleaned to hopefully fix my fuelling issue.
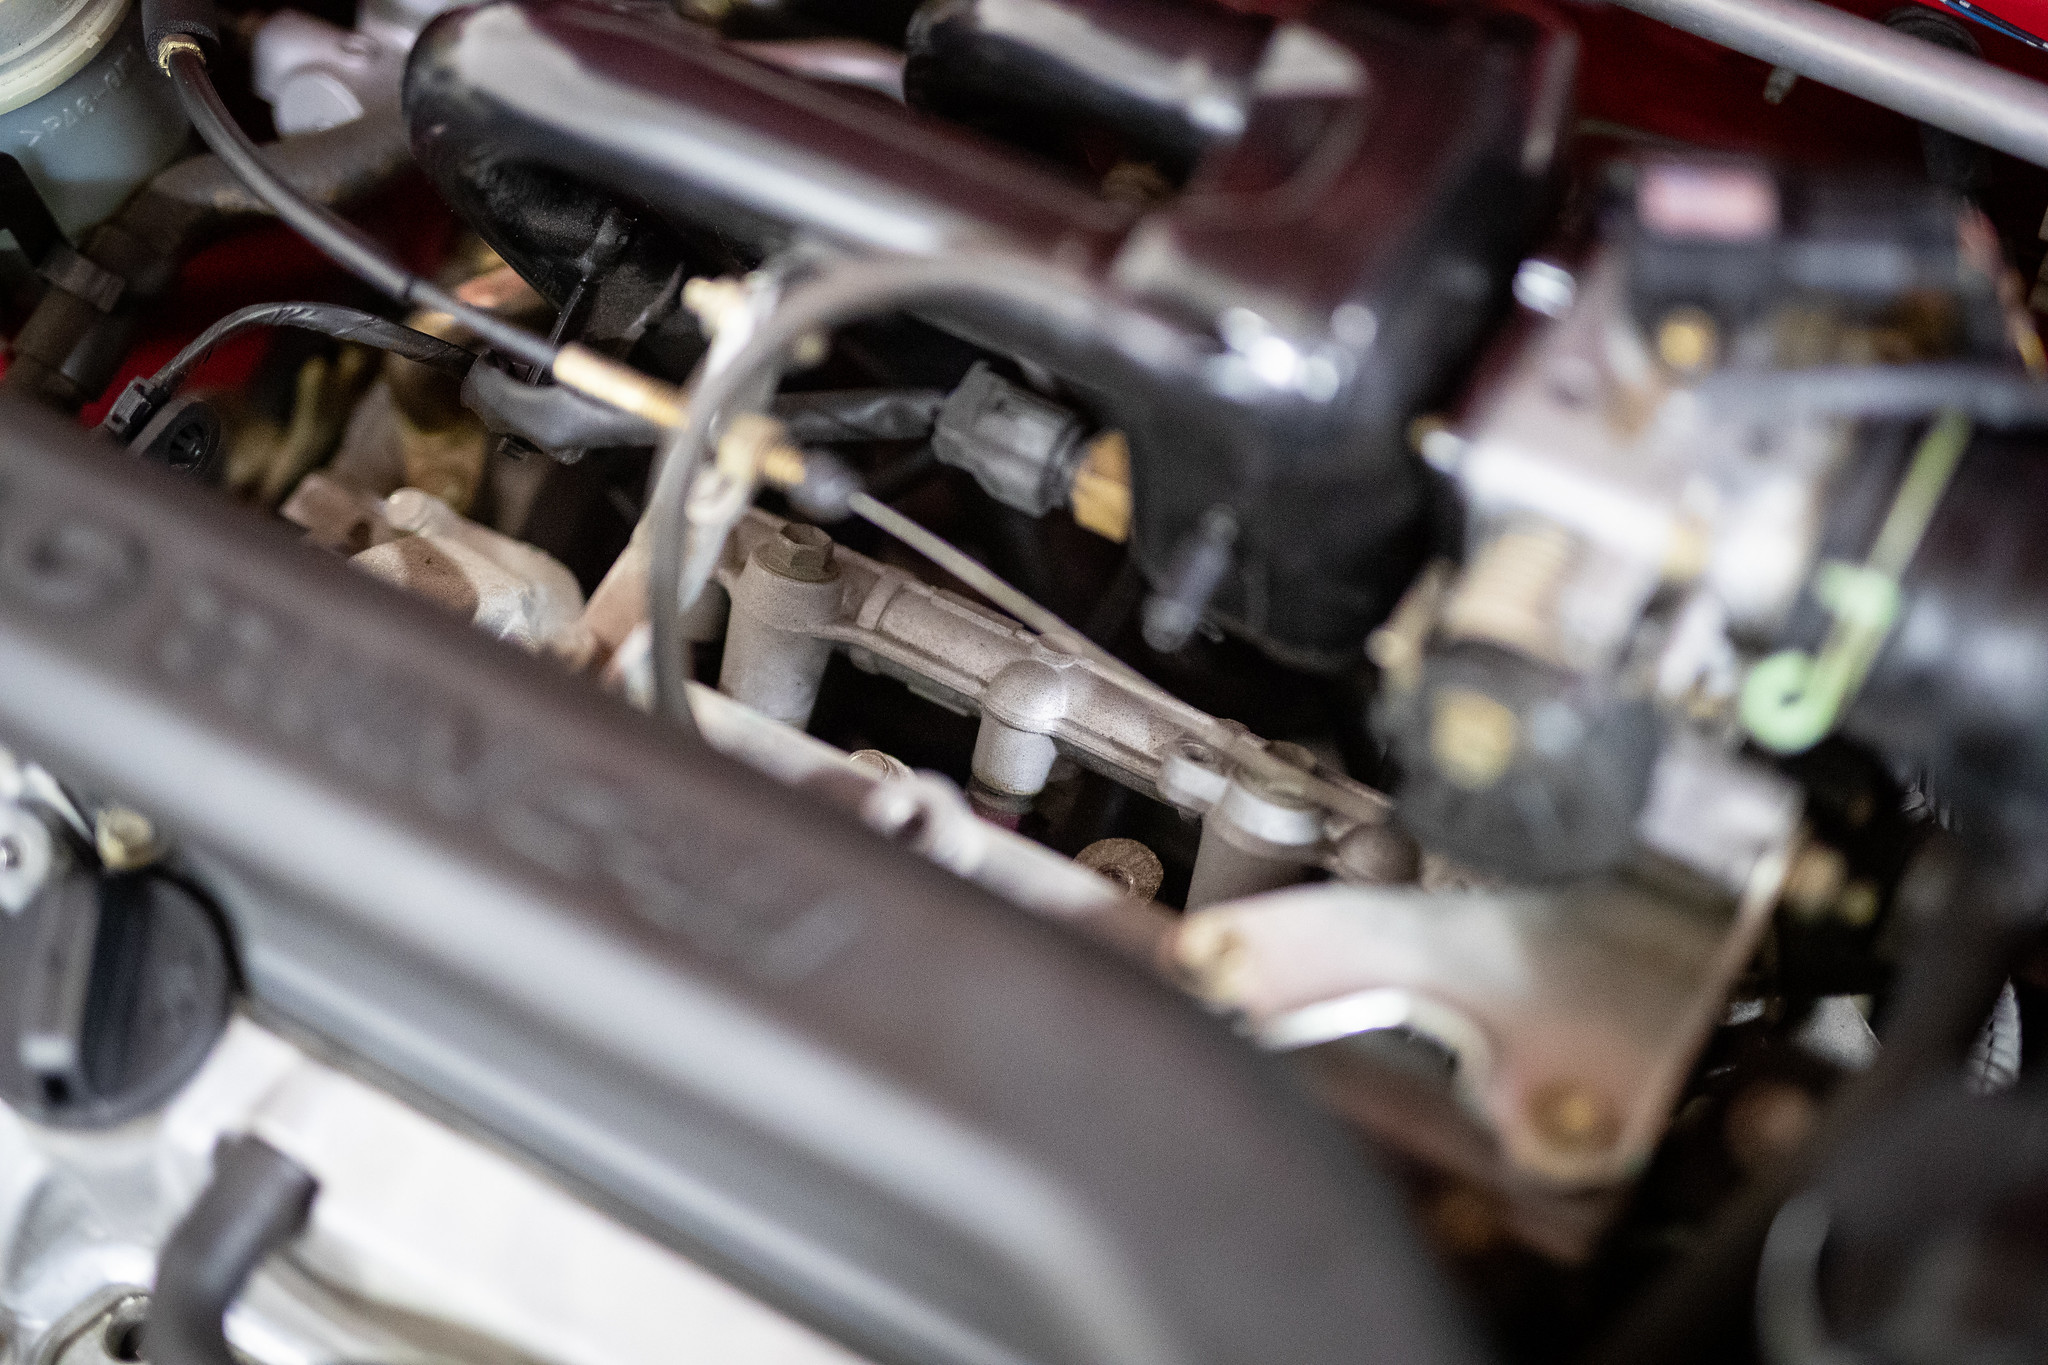
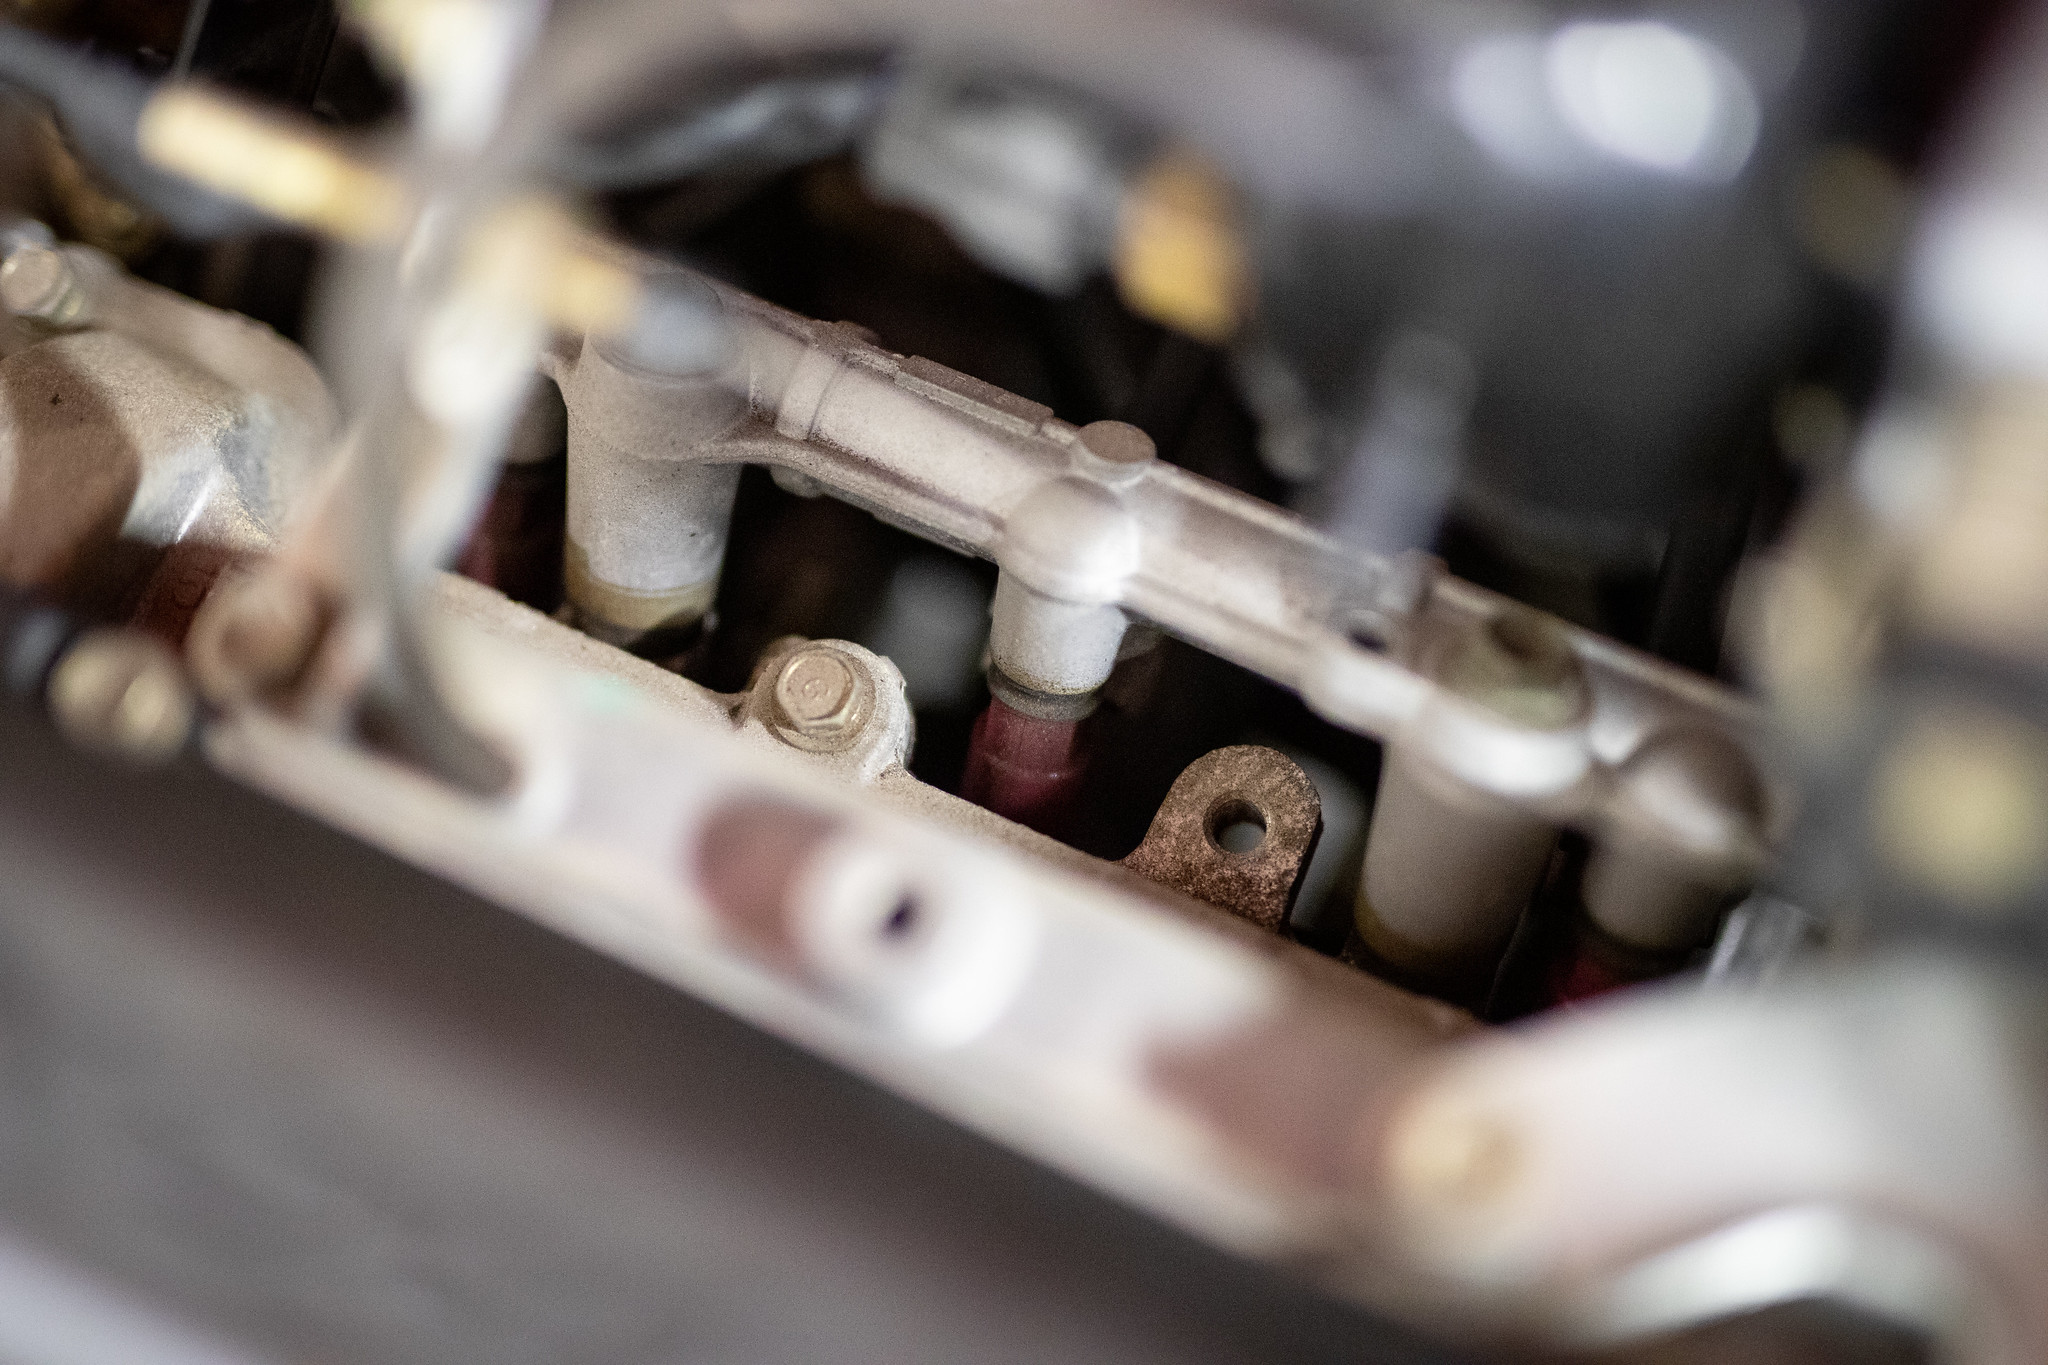
Popping the rail off wasn’t too hard.
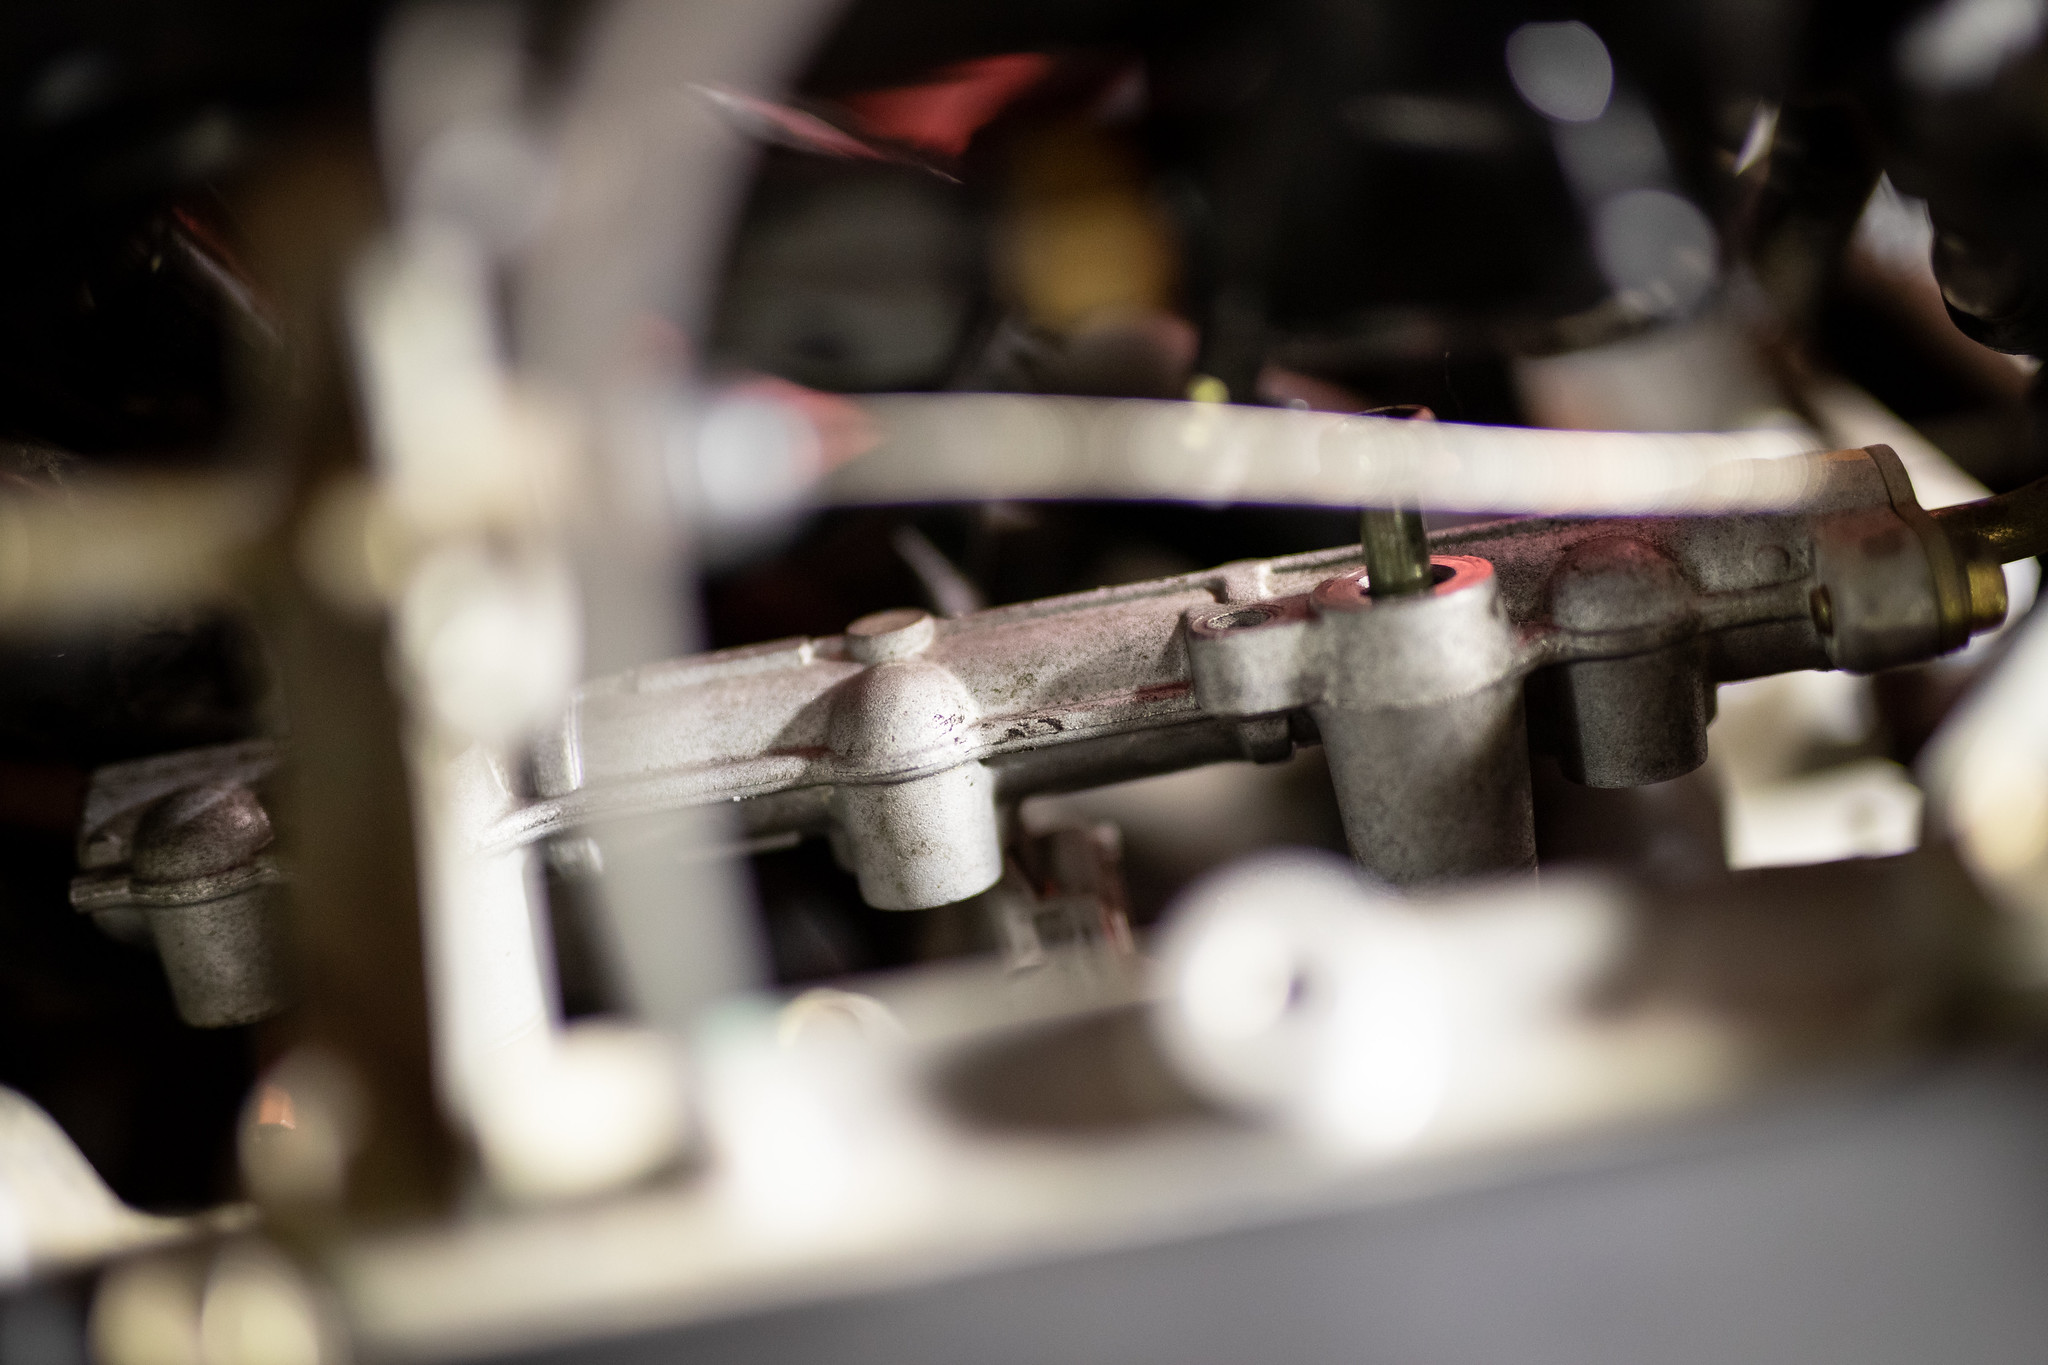
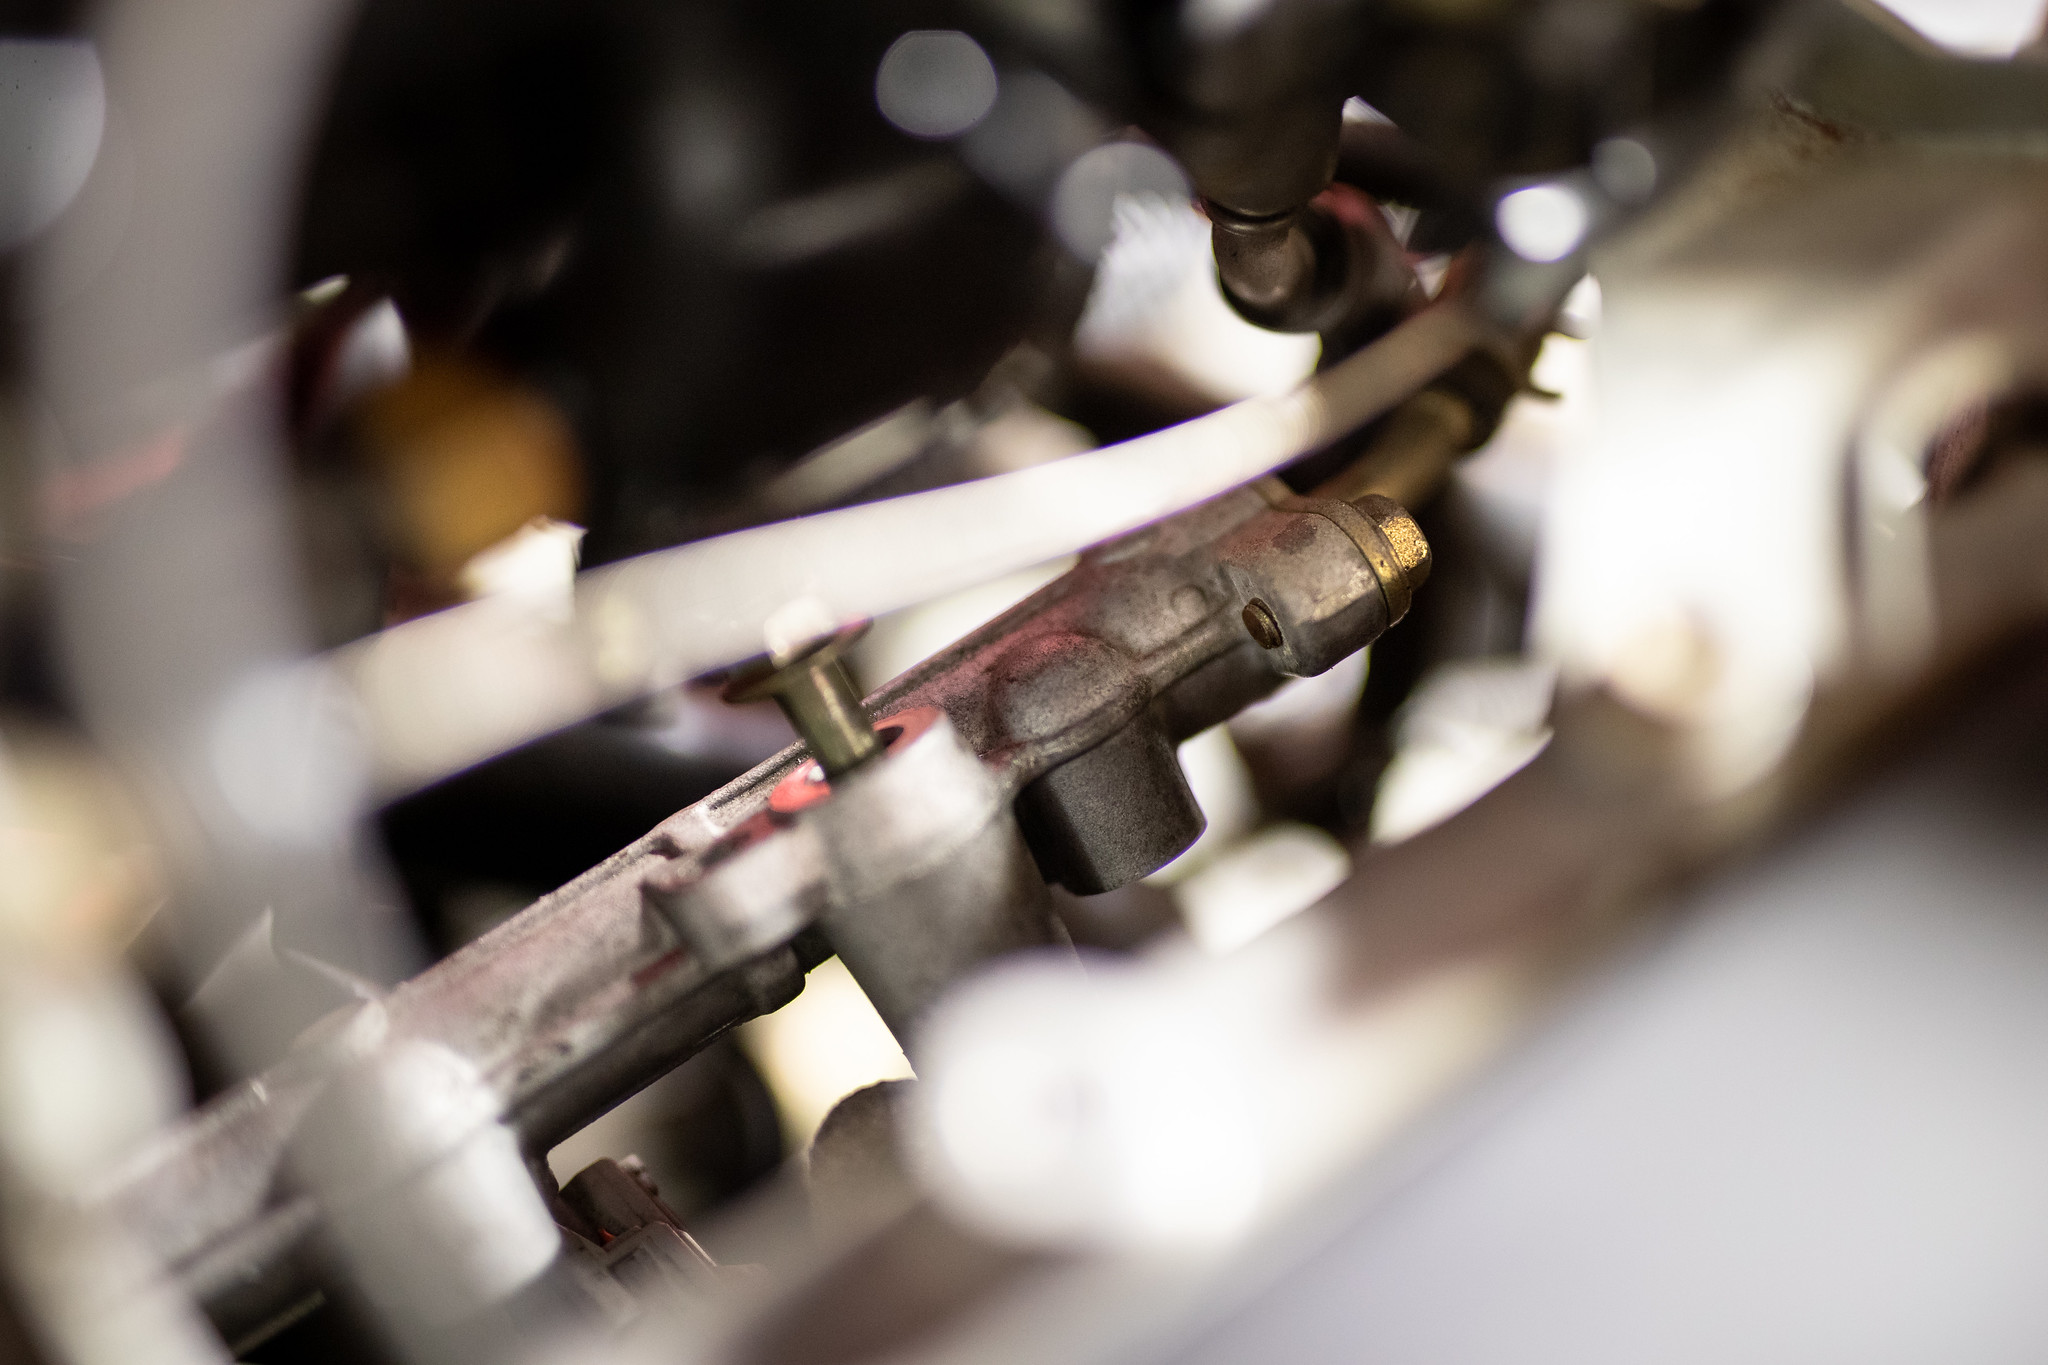
Out they came.


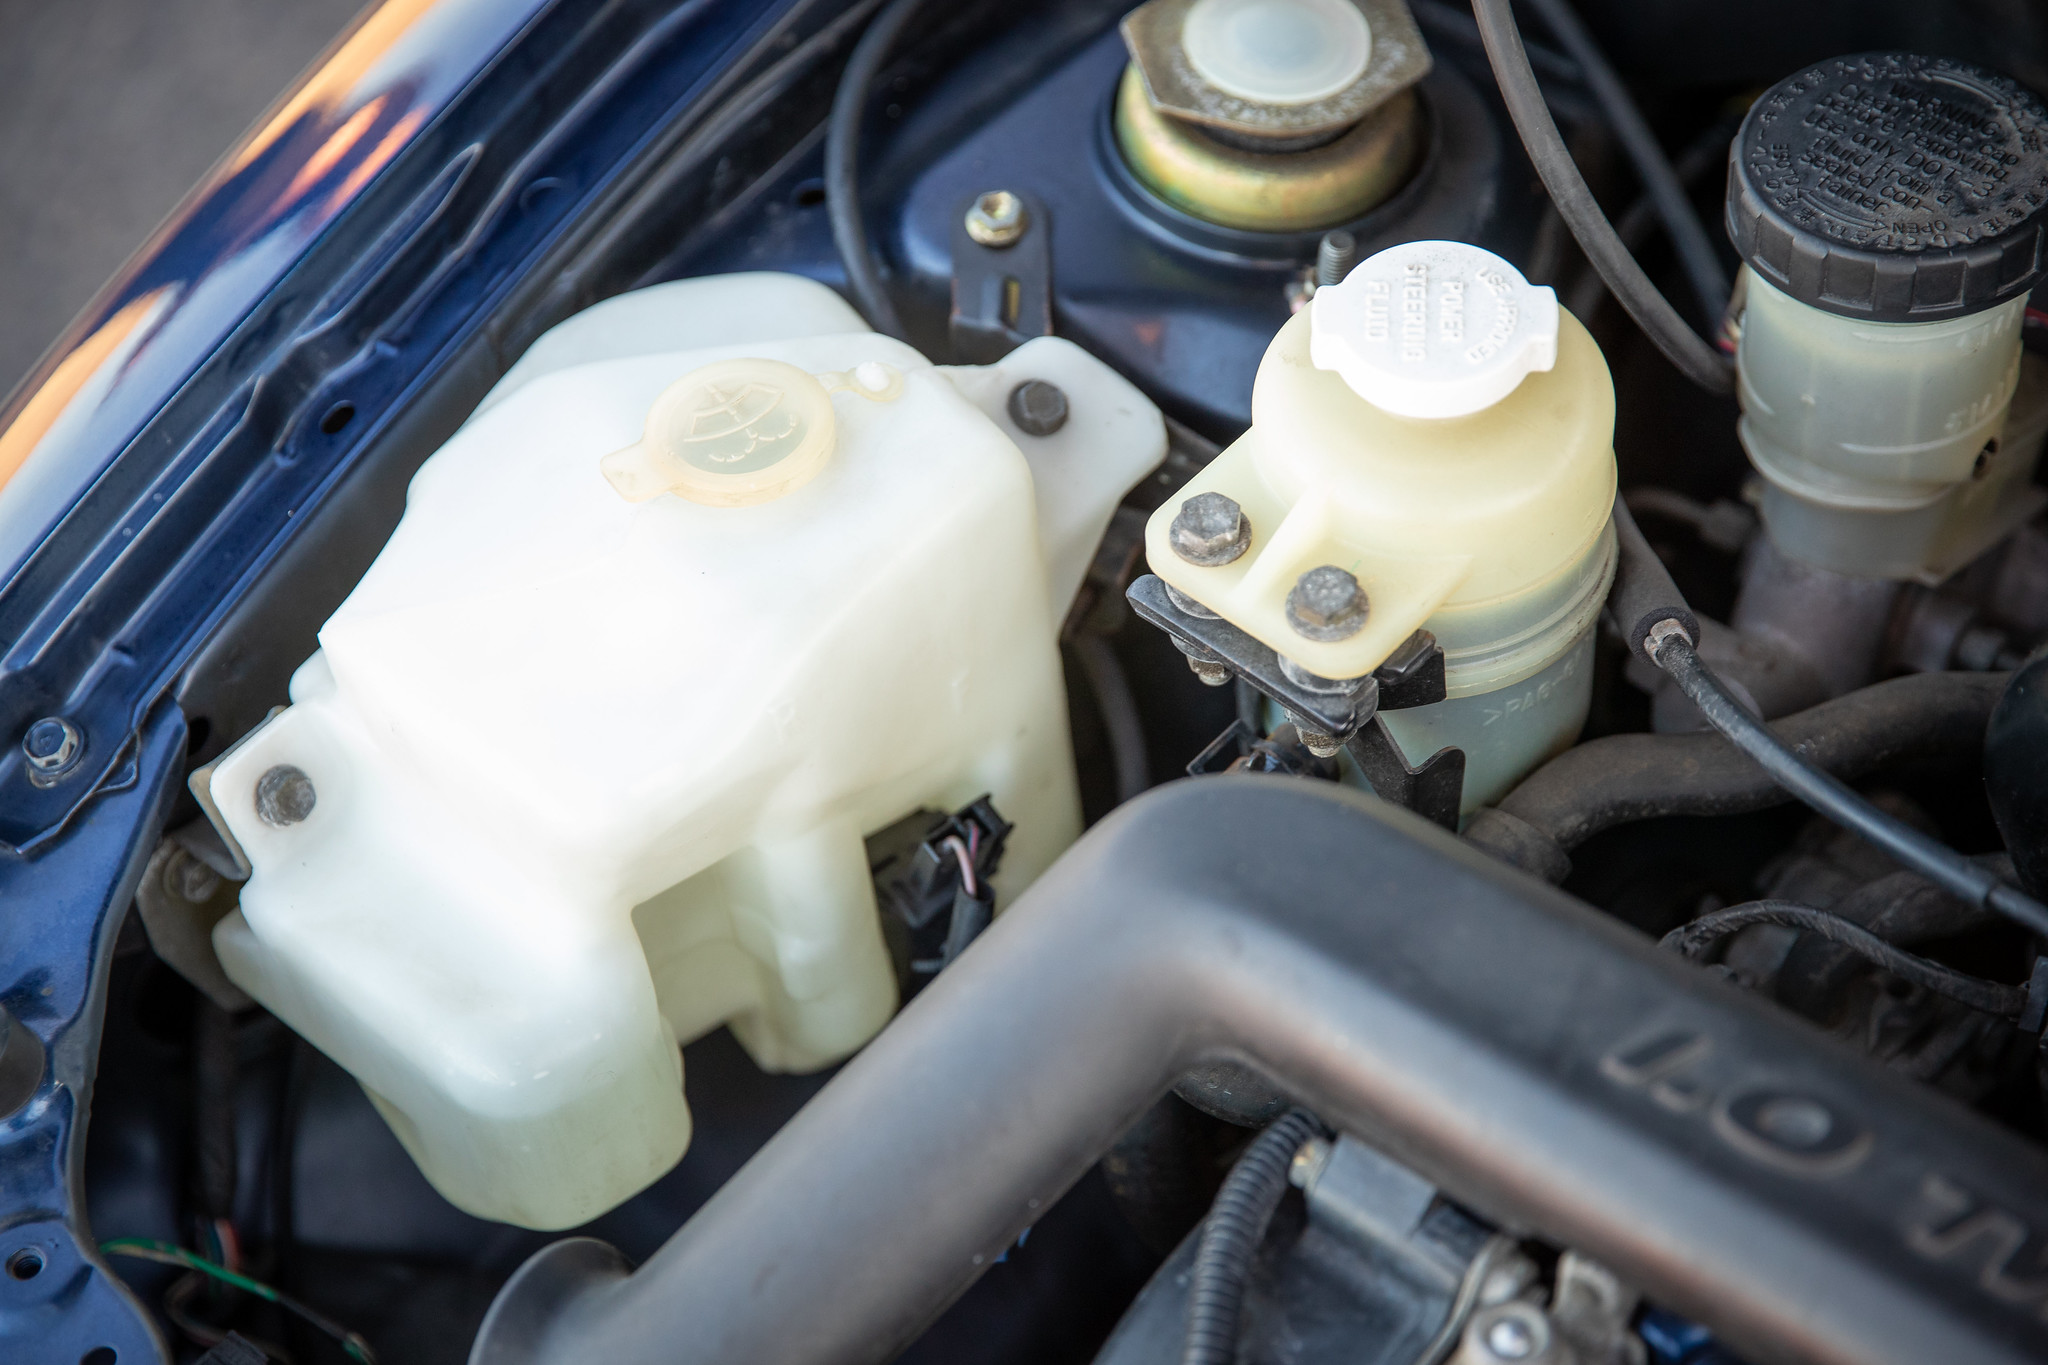
I had them professionally cleaned by Mr J Mobile Injector who has told me they were a little blocked up and could straight away tell they’ve always run with very poor fuel quality. Sadly this didn’t completely fix the issue so that means its pump / filter related.
I cannot find a part number for a Cuore fuel filter but I’m hoping that one from an M100 Sirion will work, as they are easy to get. Will likely put a new fuel pump in at the same time. I’ll be pulling the tank out the parts car to use as a way to compare.
5 Likes
curiosity, how much were you charged to get the injectors cleaned? only one place up here does it that i know of and i won’t go to him for various reasons
Cost me 176 bucks. But he came to my house to do it. They are mobile.
2 Likes
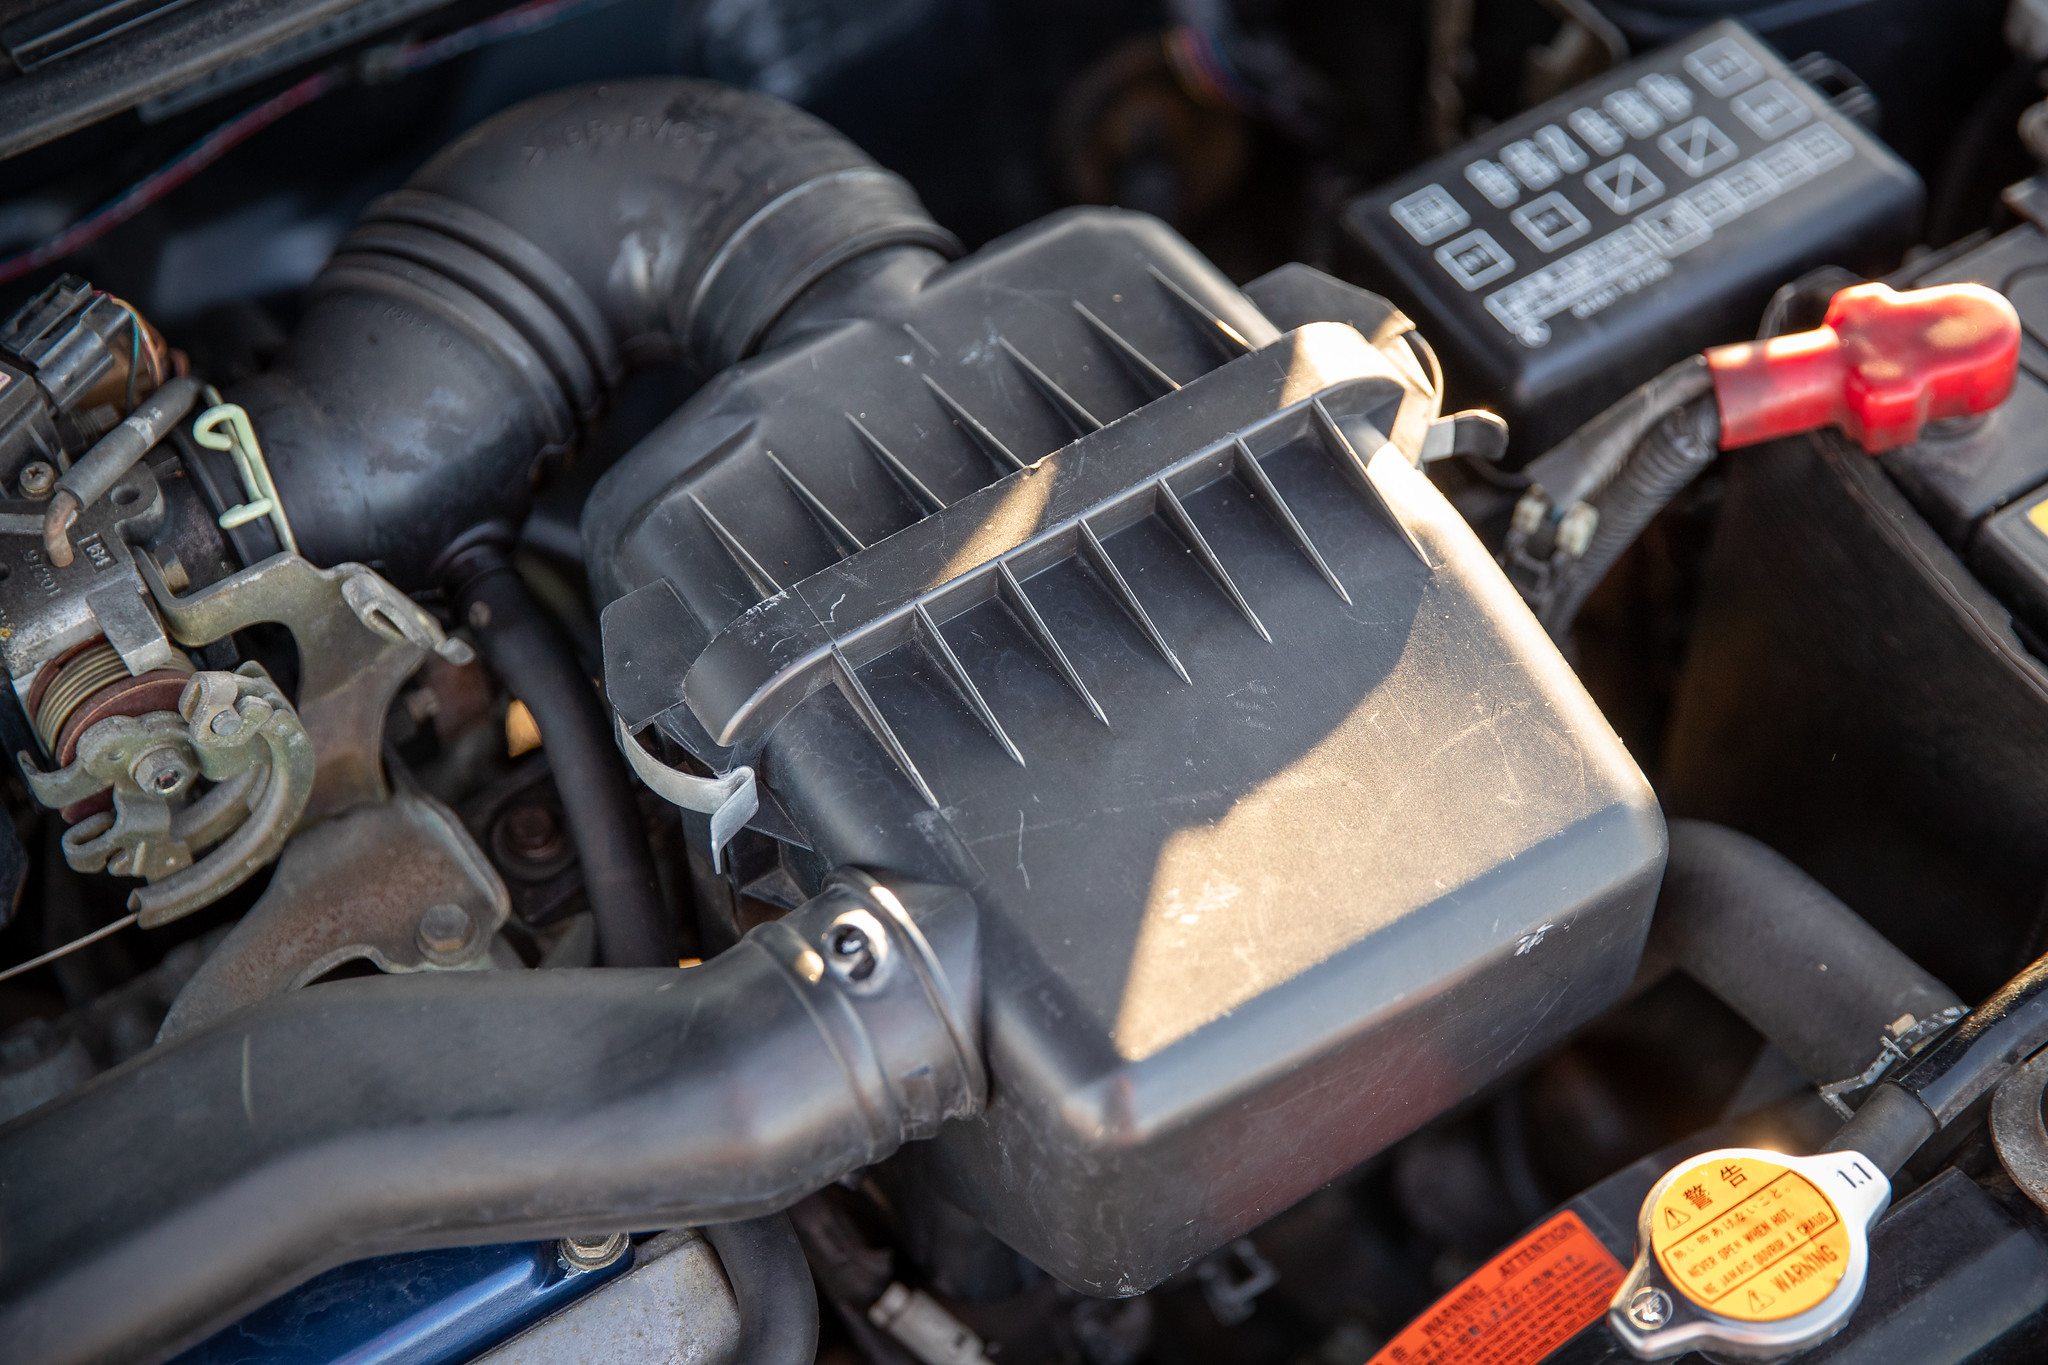
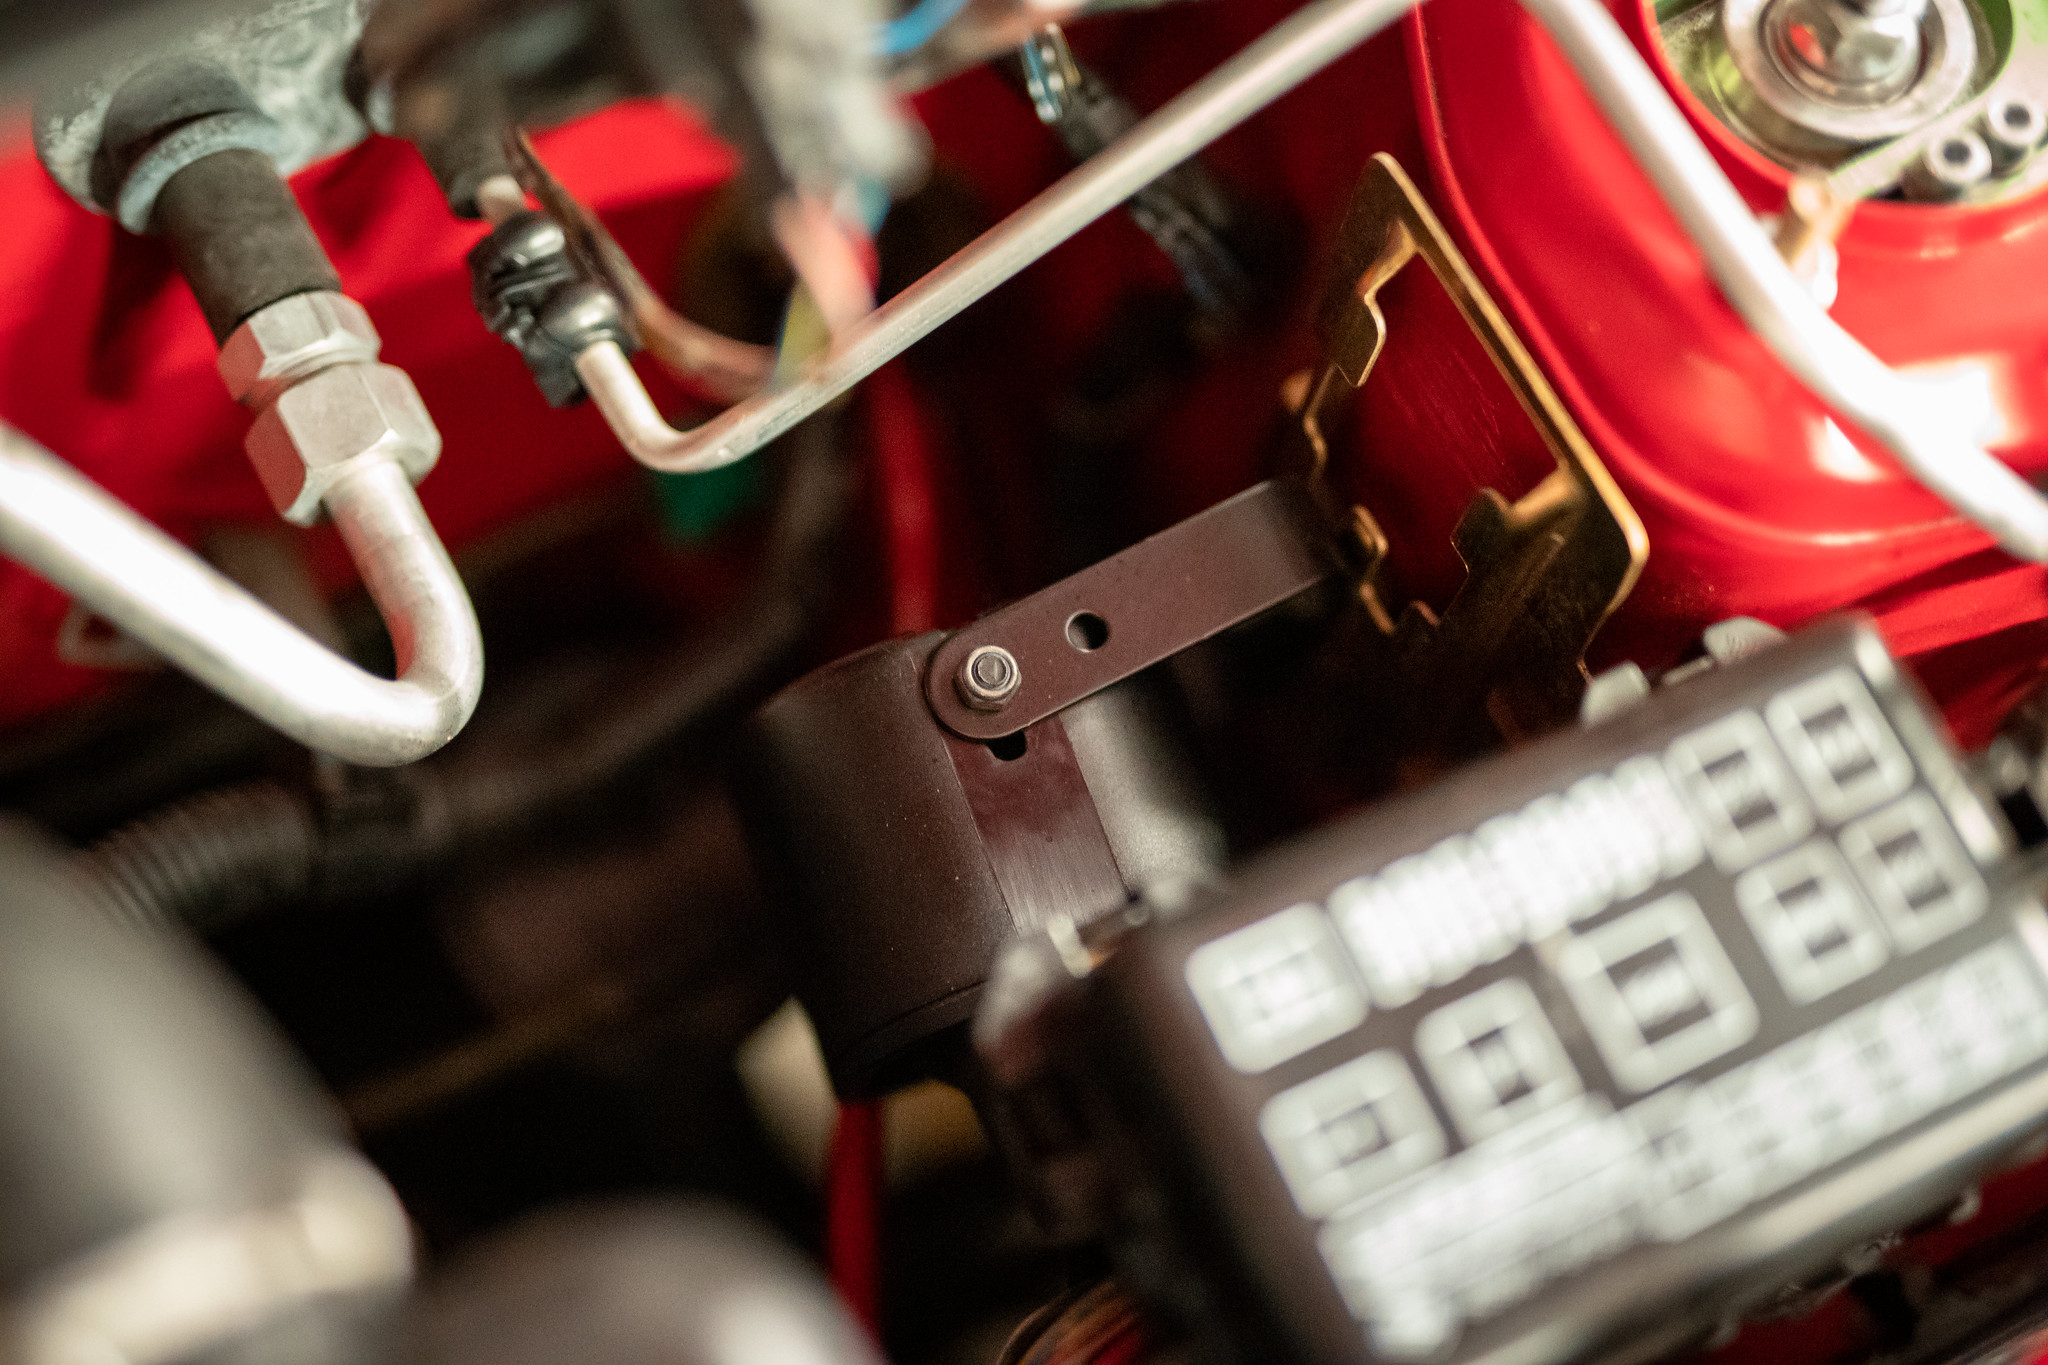
They don’t have a fuel filter, only the seiv in the tank on the pump. Maybe that’s blocked or the pump is defective.
3 Likes
Fair enough, I’ll pull it out over the weekend and have a look. Hopefully, it’s just one of those two, pretty easy to change if so. Still costly and still annoying, curse E10
2 Likes
April 2020: This is something that has been a long time coming. I was planning it for ages on the blue car but it never happened. And having a good place to start from scratch from on the red car has given me the perfect blank canvas.
Firstly a bit of history. About 3 or so years ago I basically spent my entire tax return of that year on a ‘higher’ end set of speaker components on my Subaru liberty, and did an average install into that car. When I sold the car last year, I did so mostly with all the mods on it. However, I didn’t want to let the audio equipment go, as I really wanted to throw it into the Cuore. So here we are. The theme with this install really will be ‘proper’. Firstly, here are the components, accessories and install additions I’ll be using.
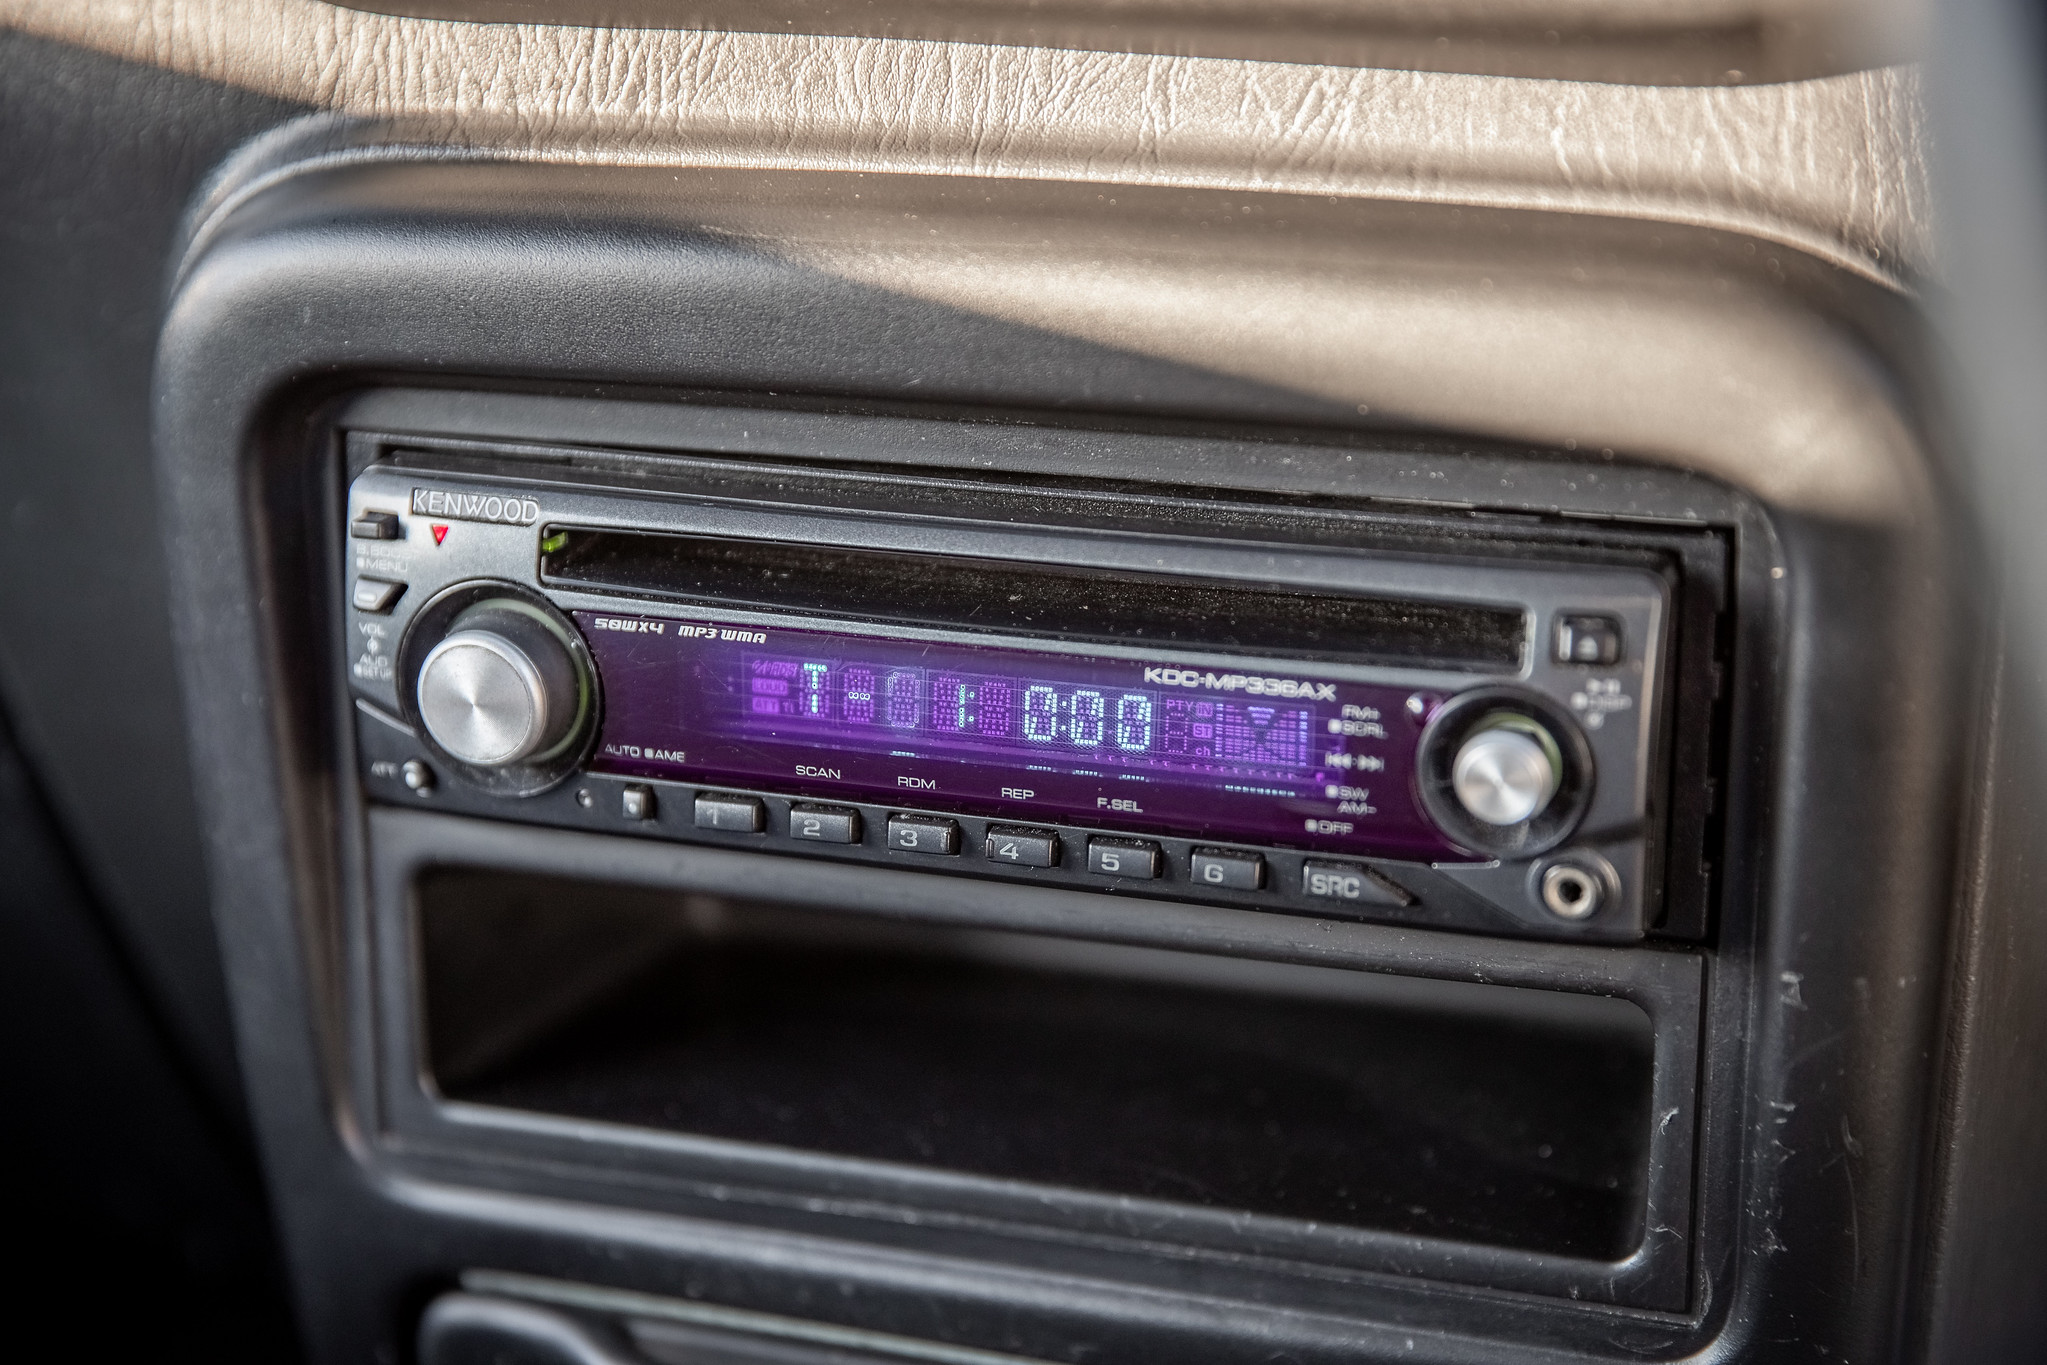
Headunit: Sony AXV-AX100. Yes this is already in the car but I wanted to mention it again.


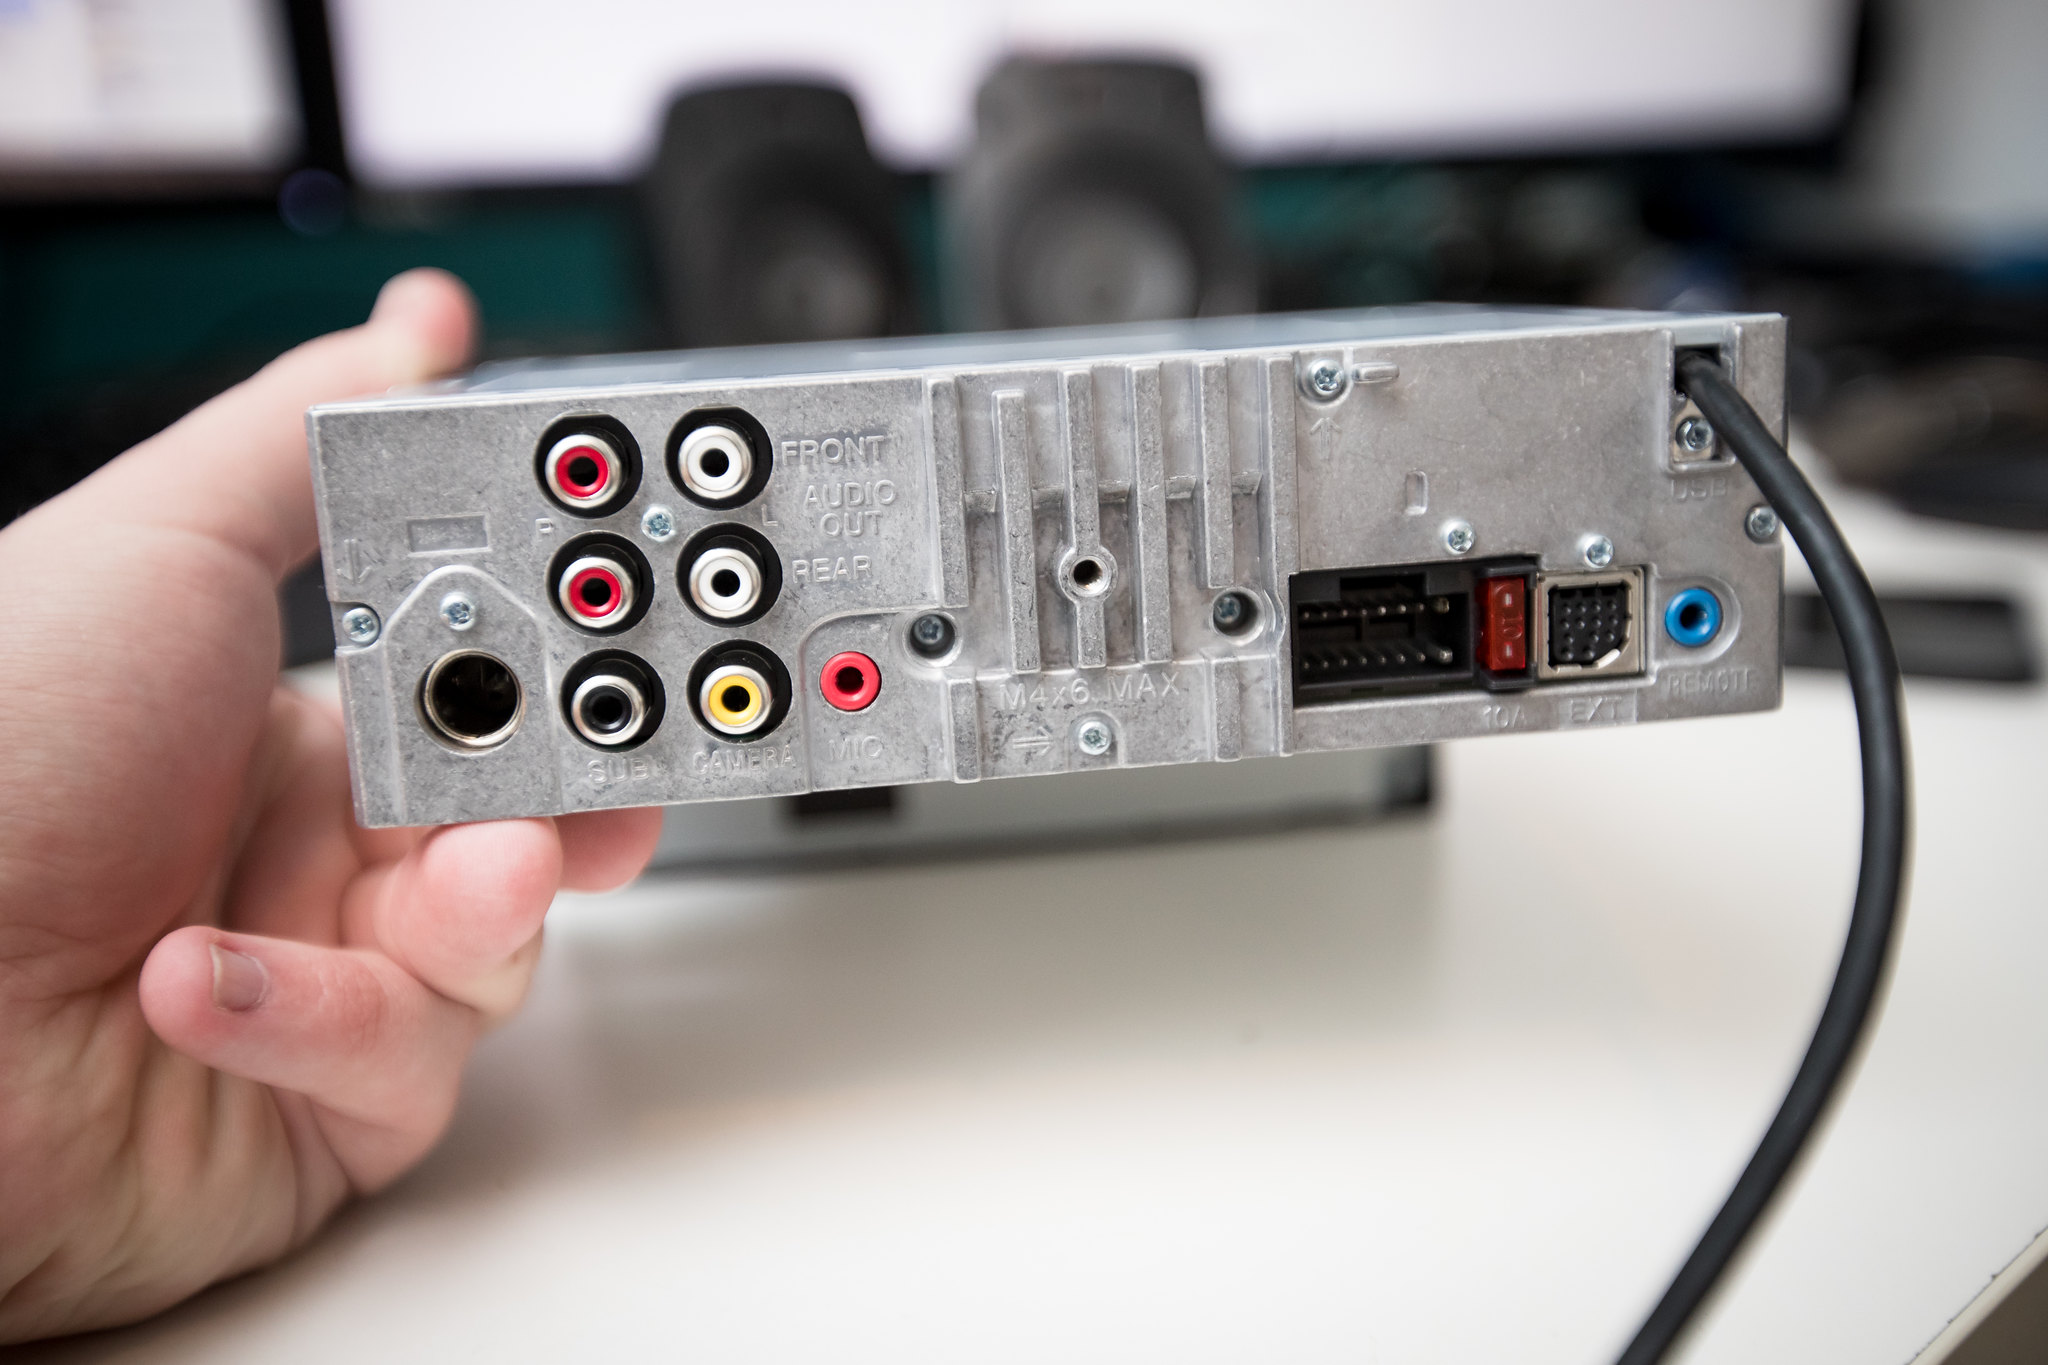
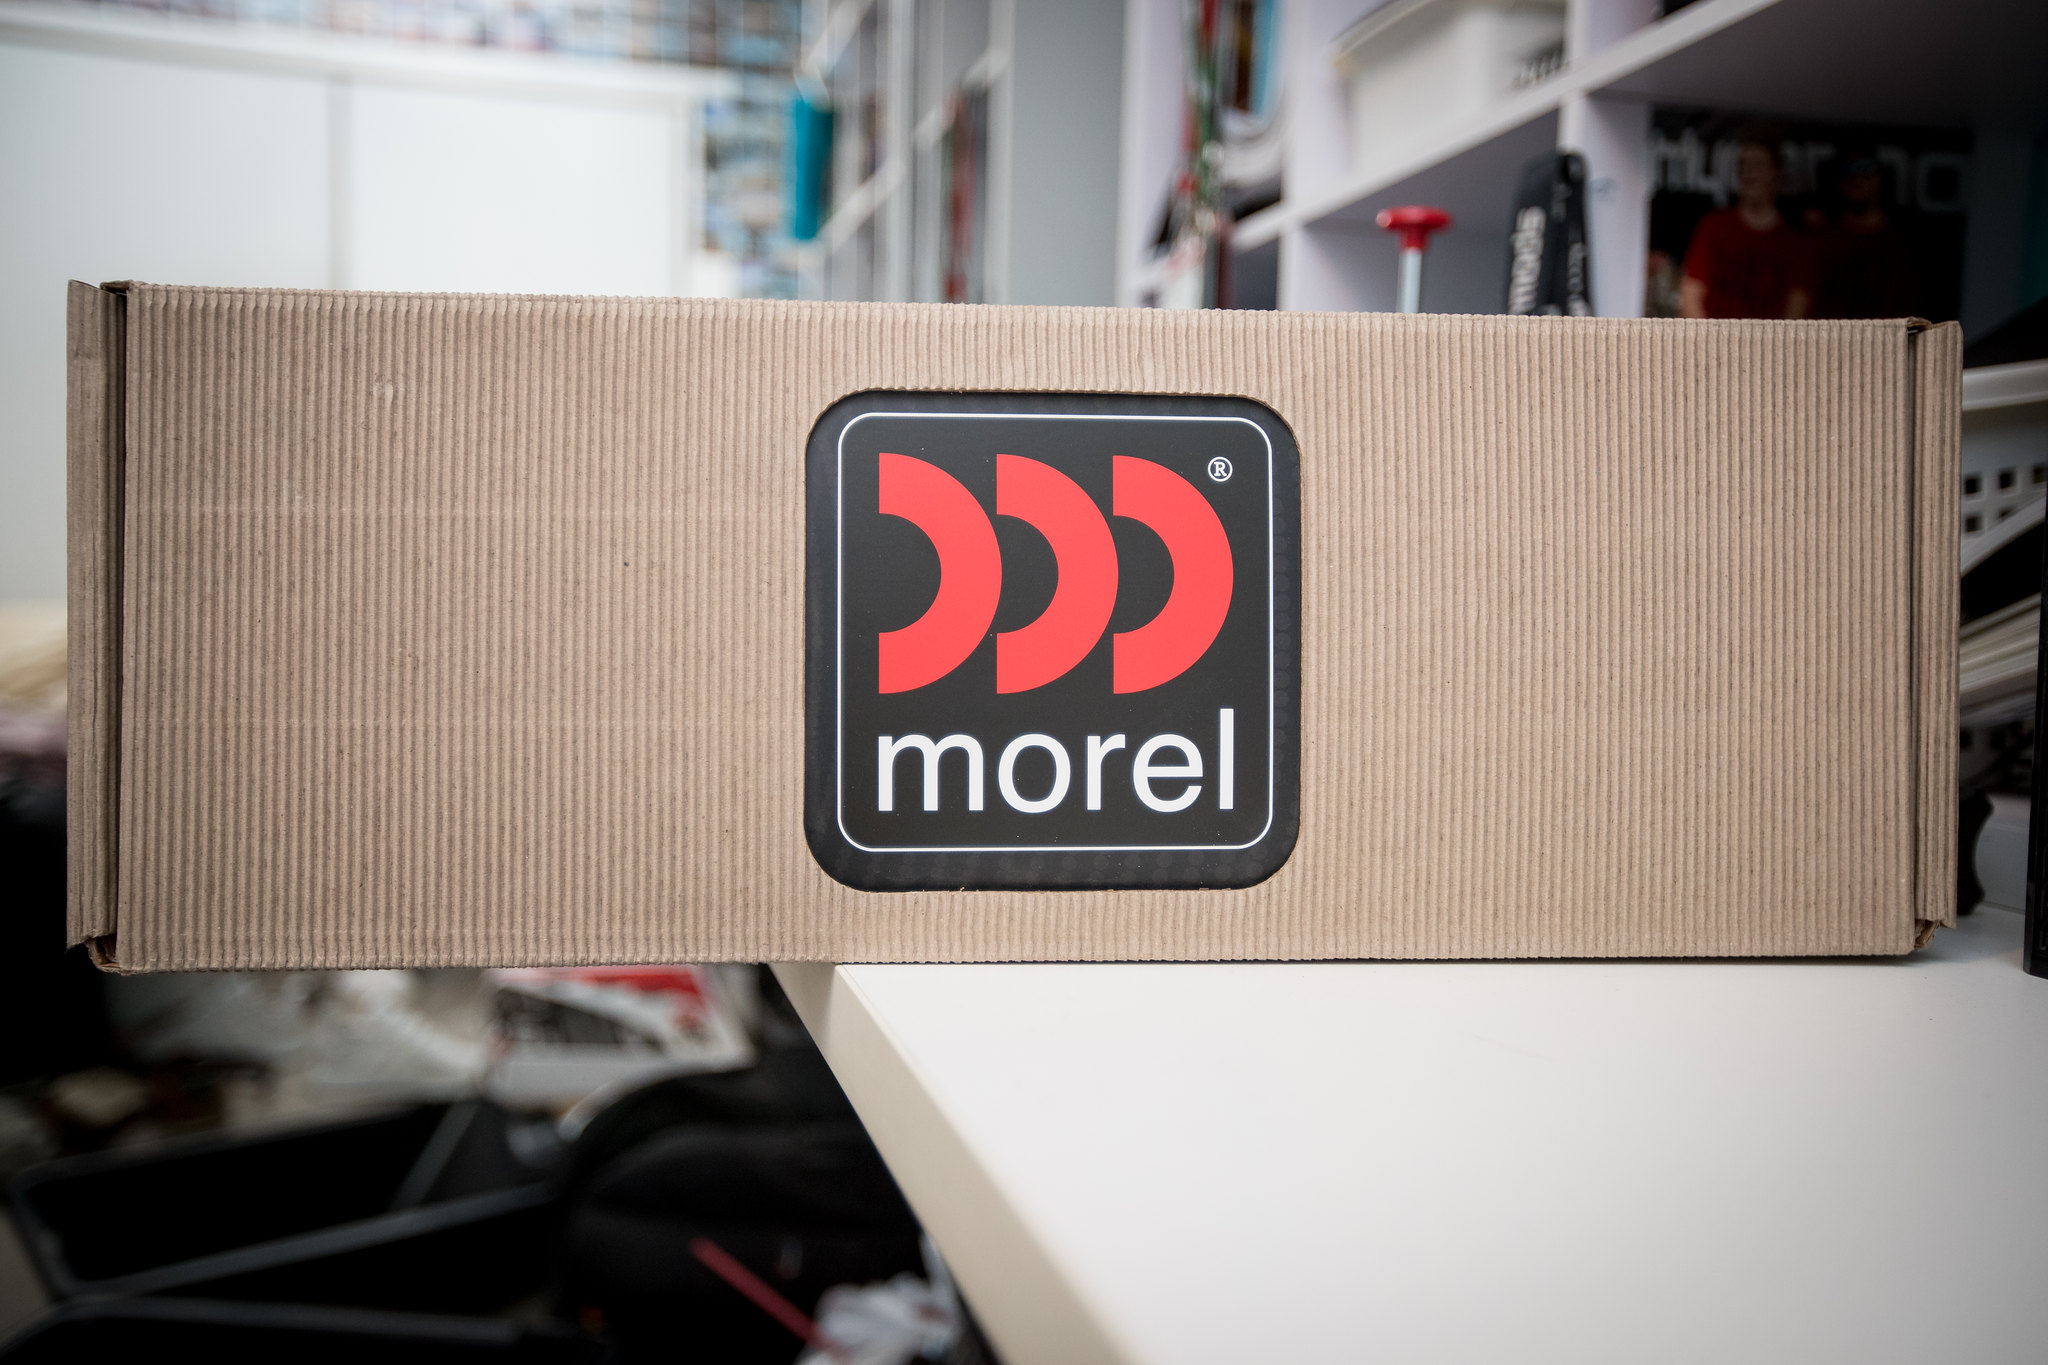
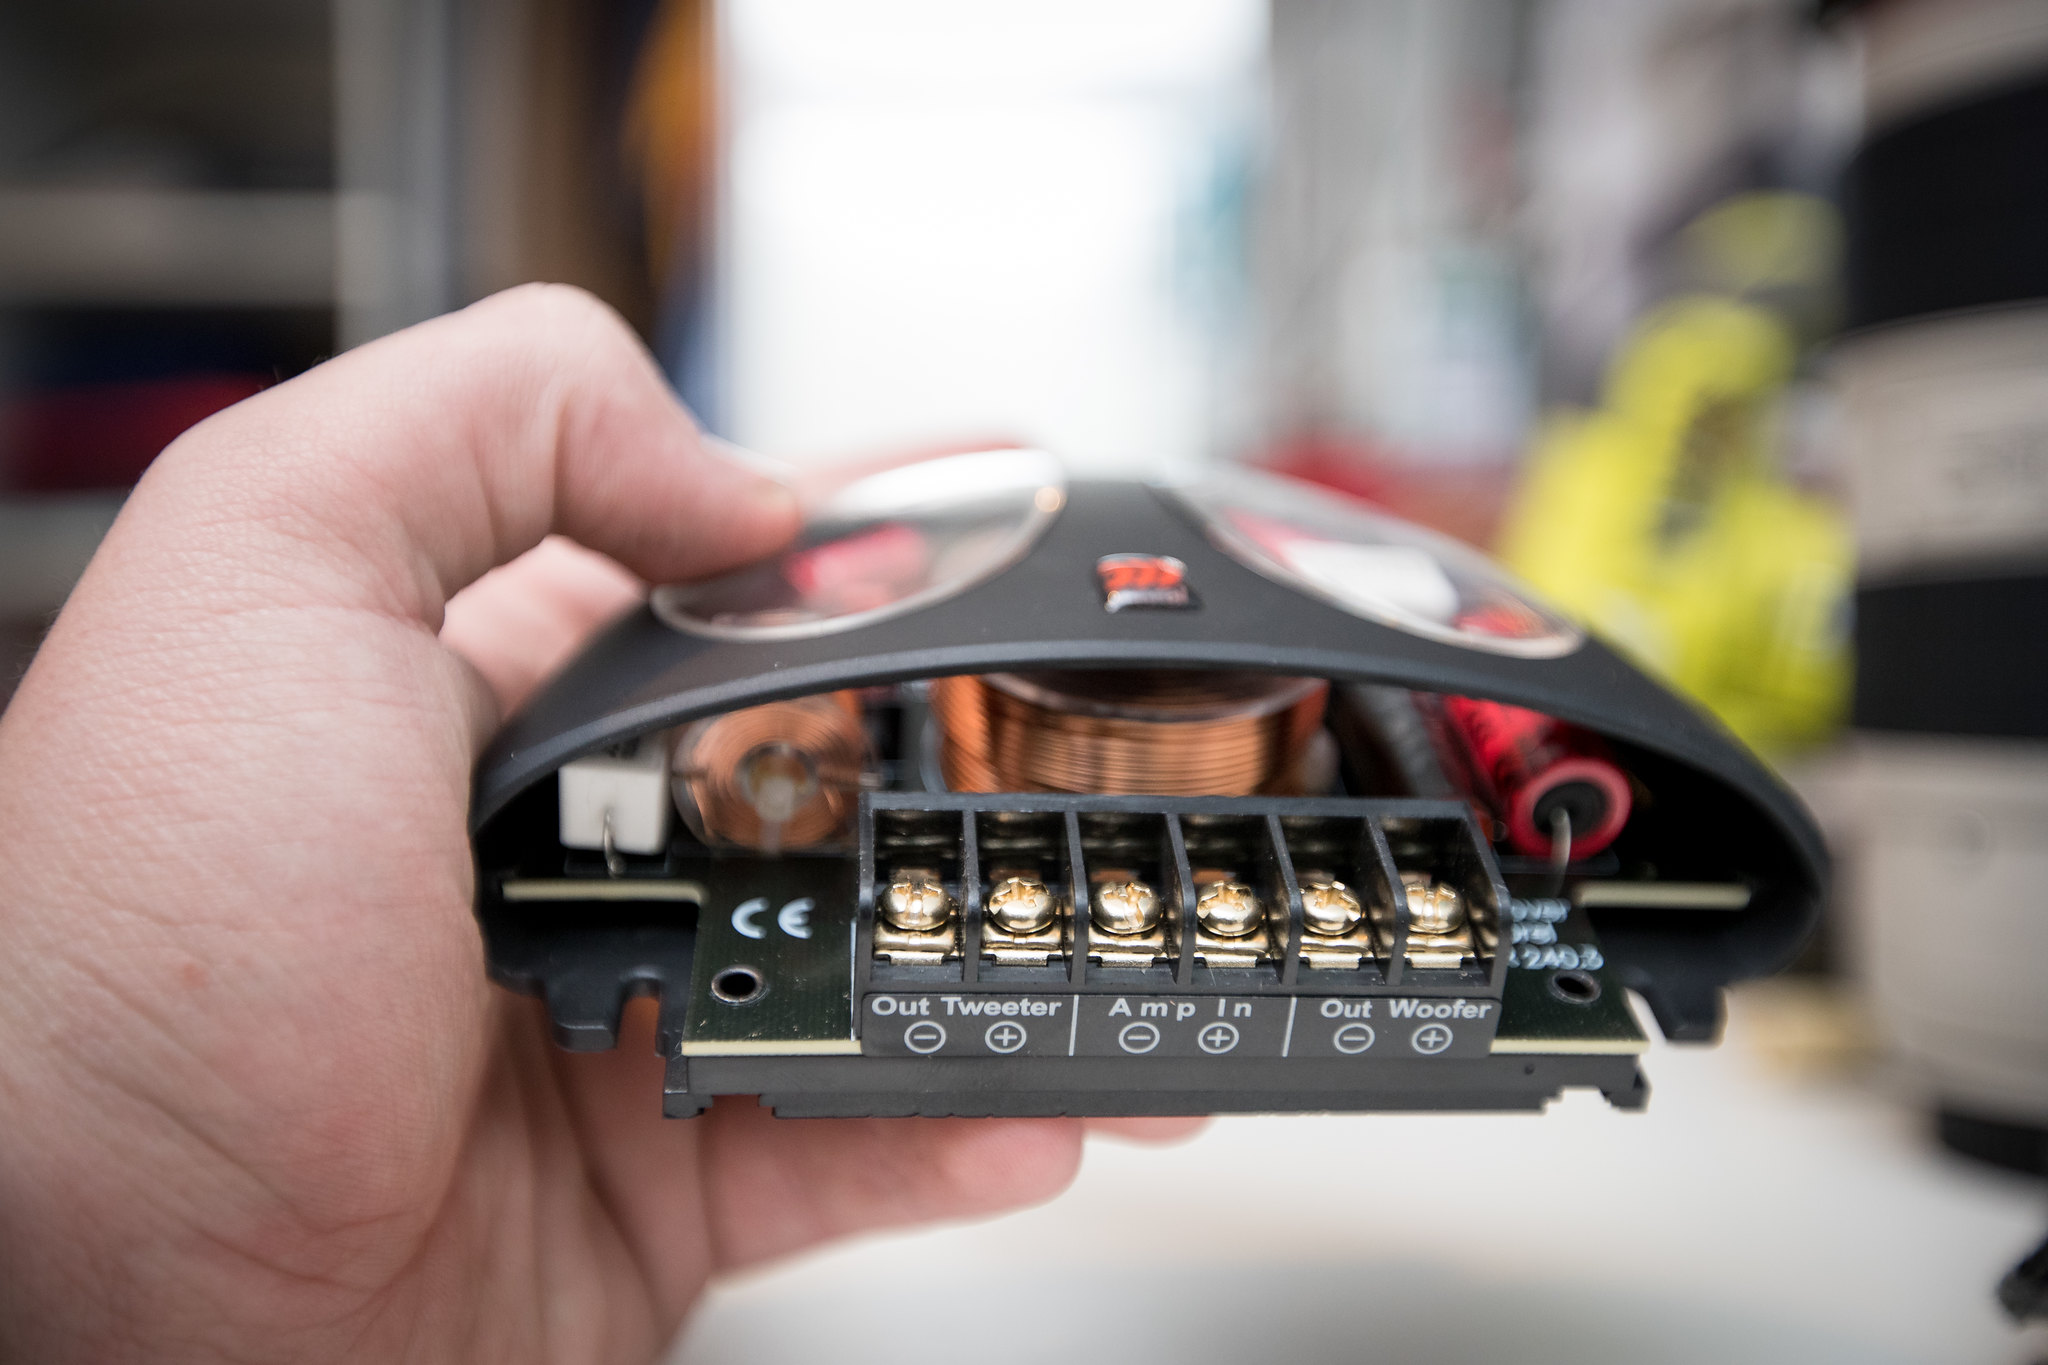
Front Speakers: Morel Hybrid 2-Way Component speakers
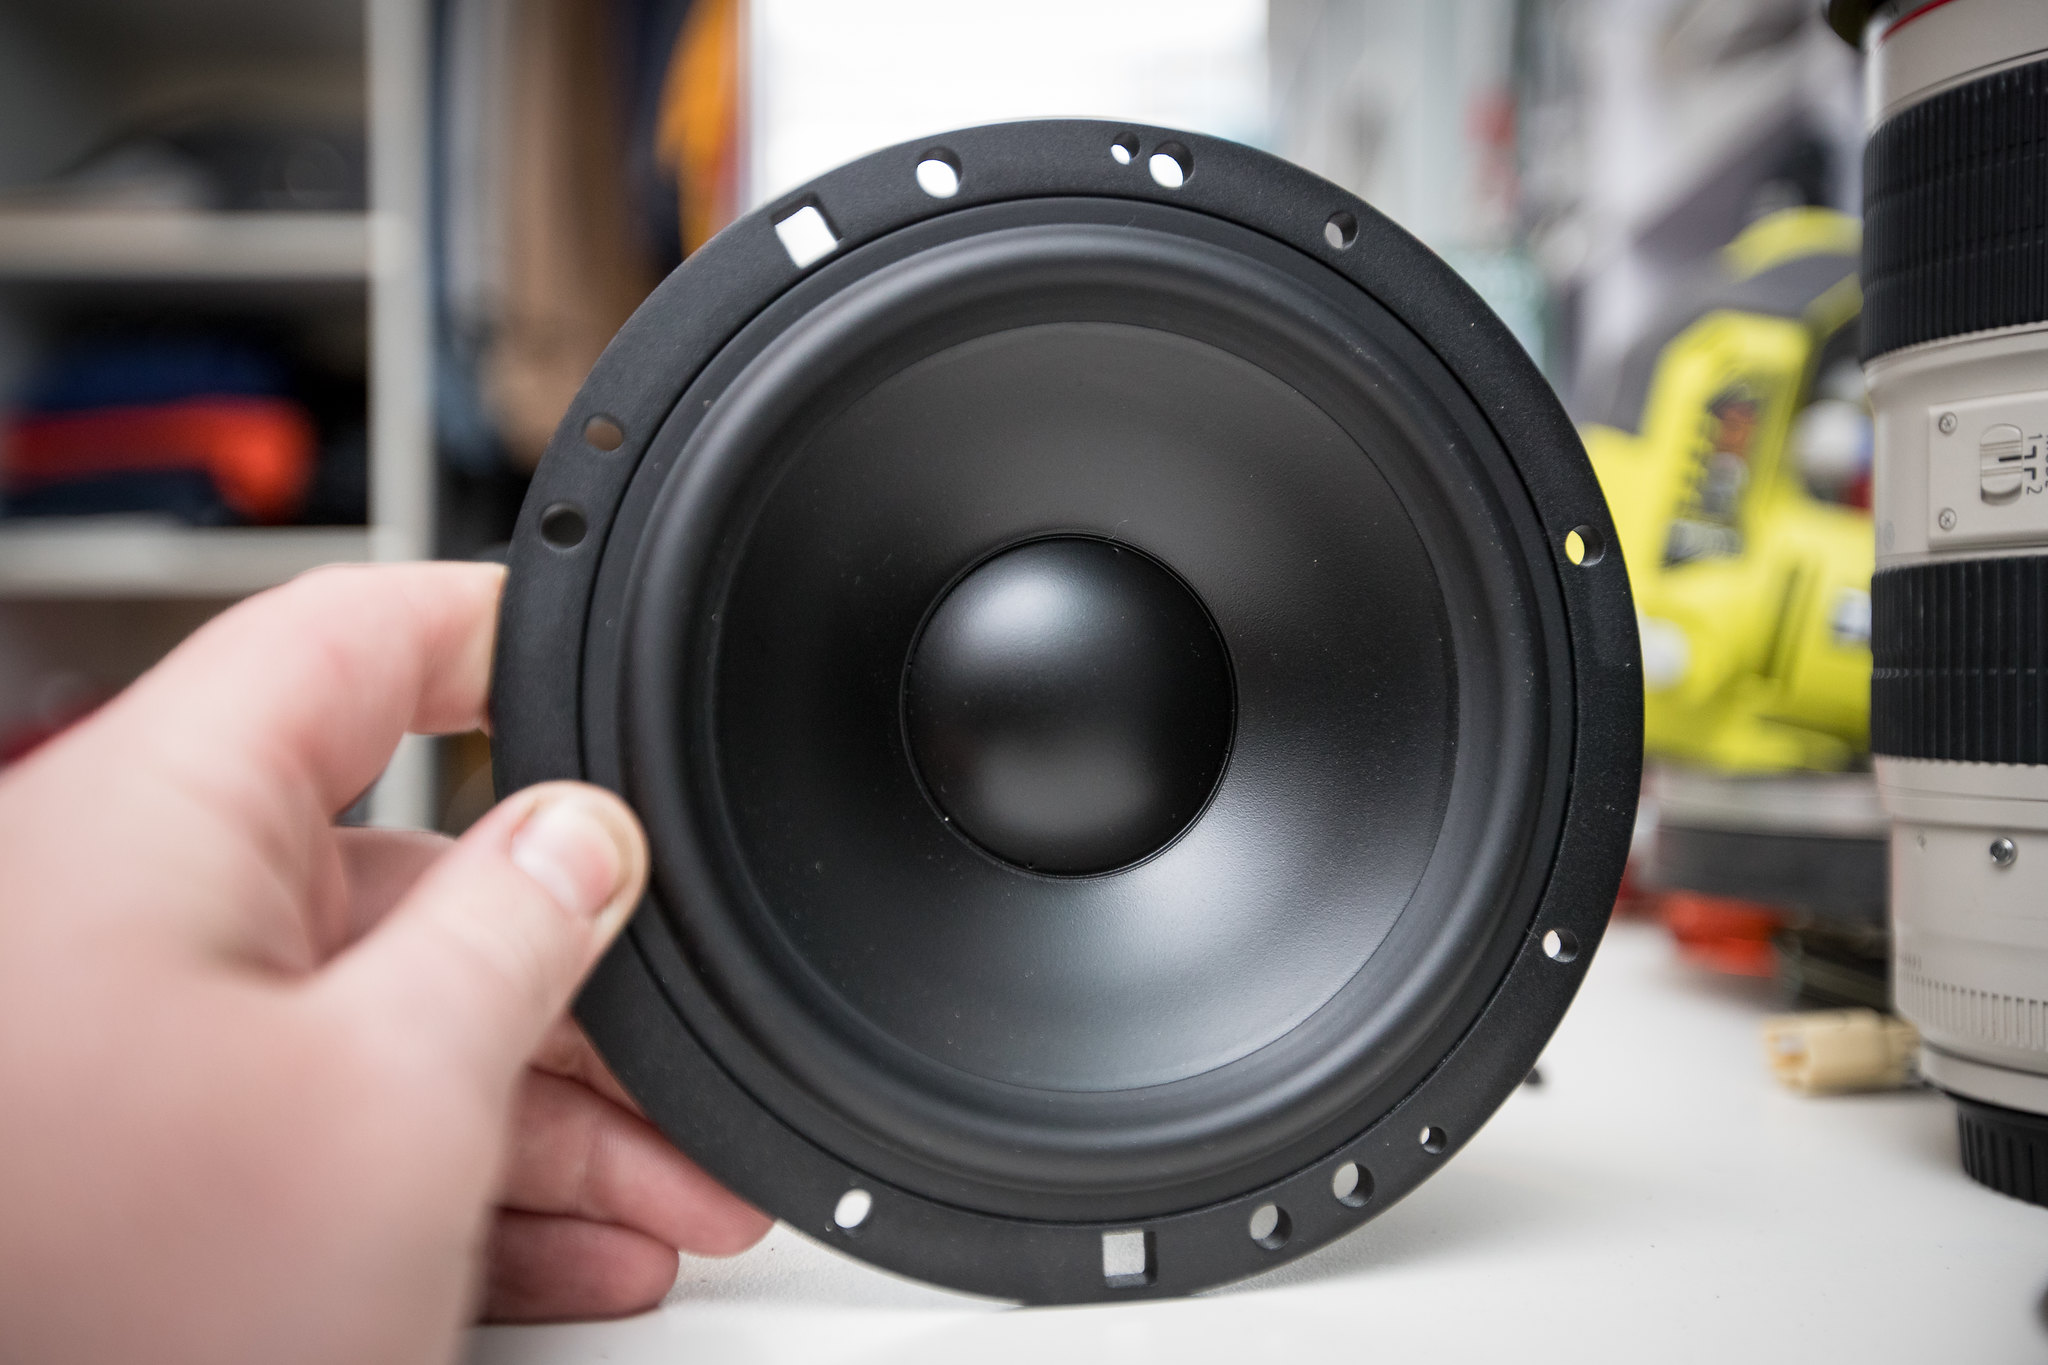

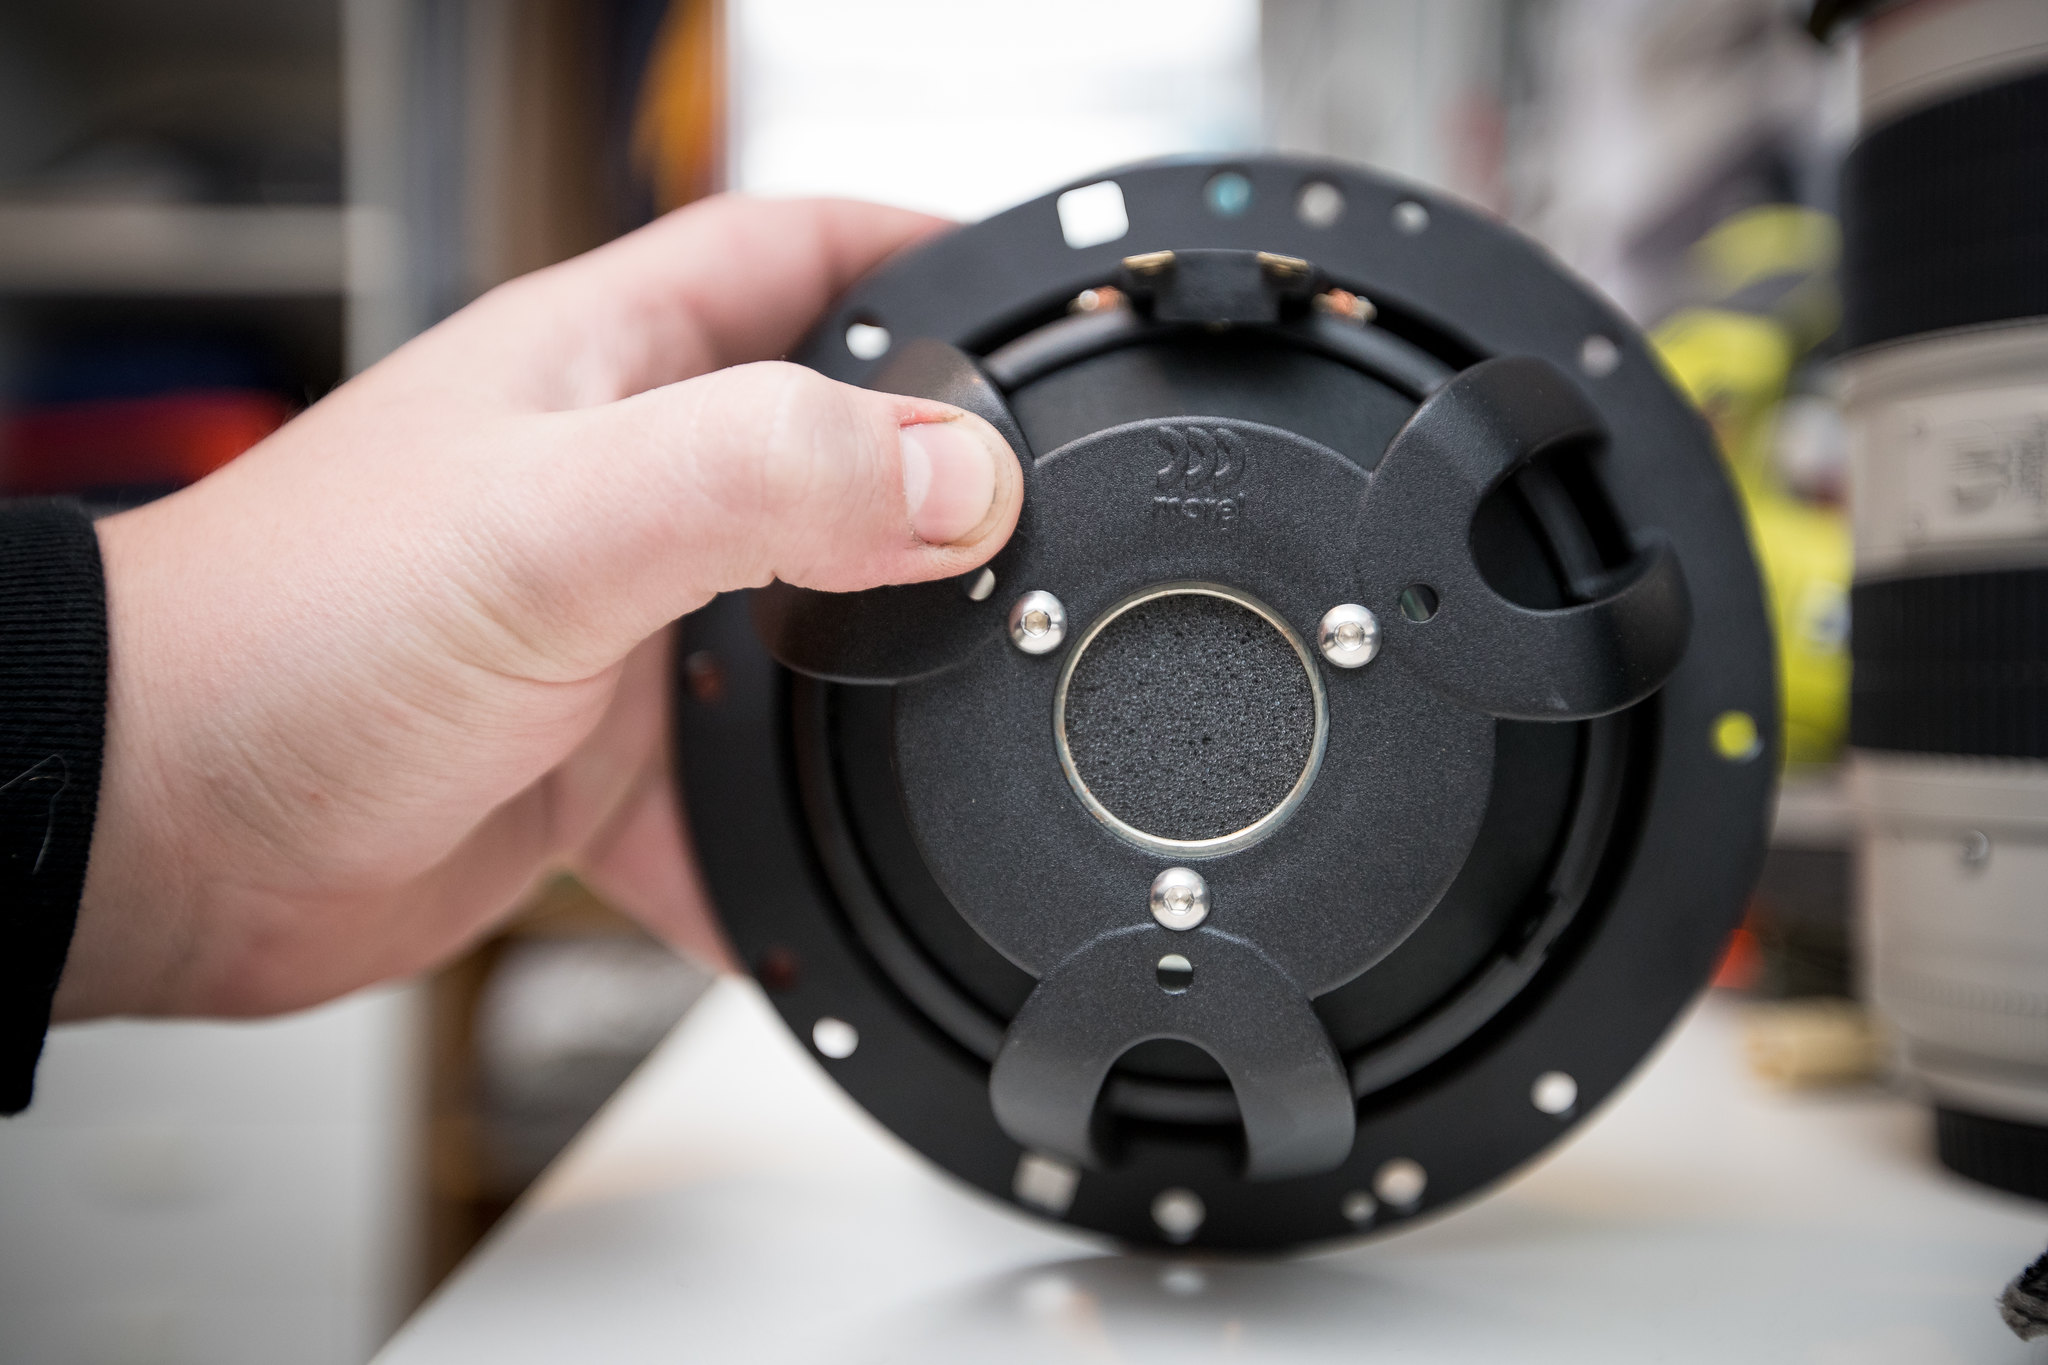

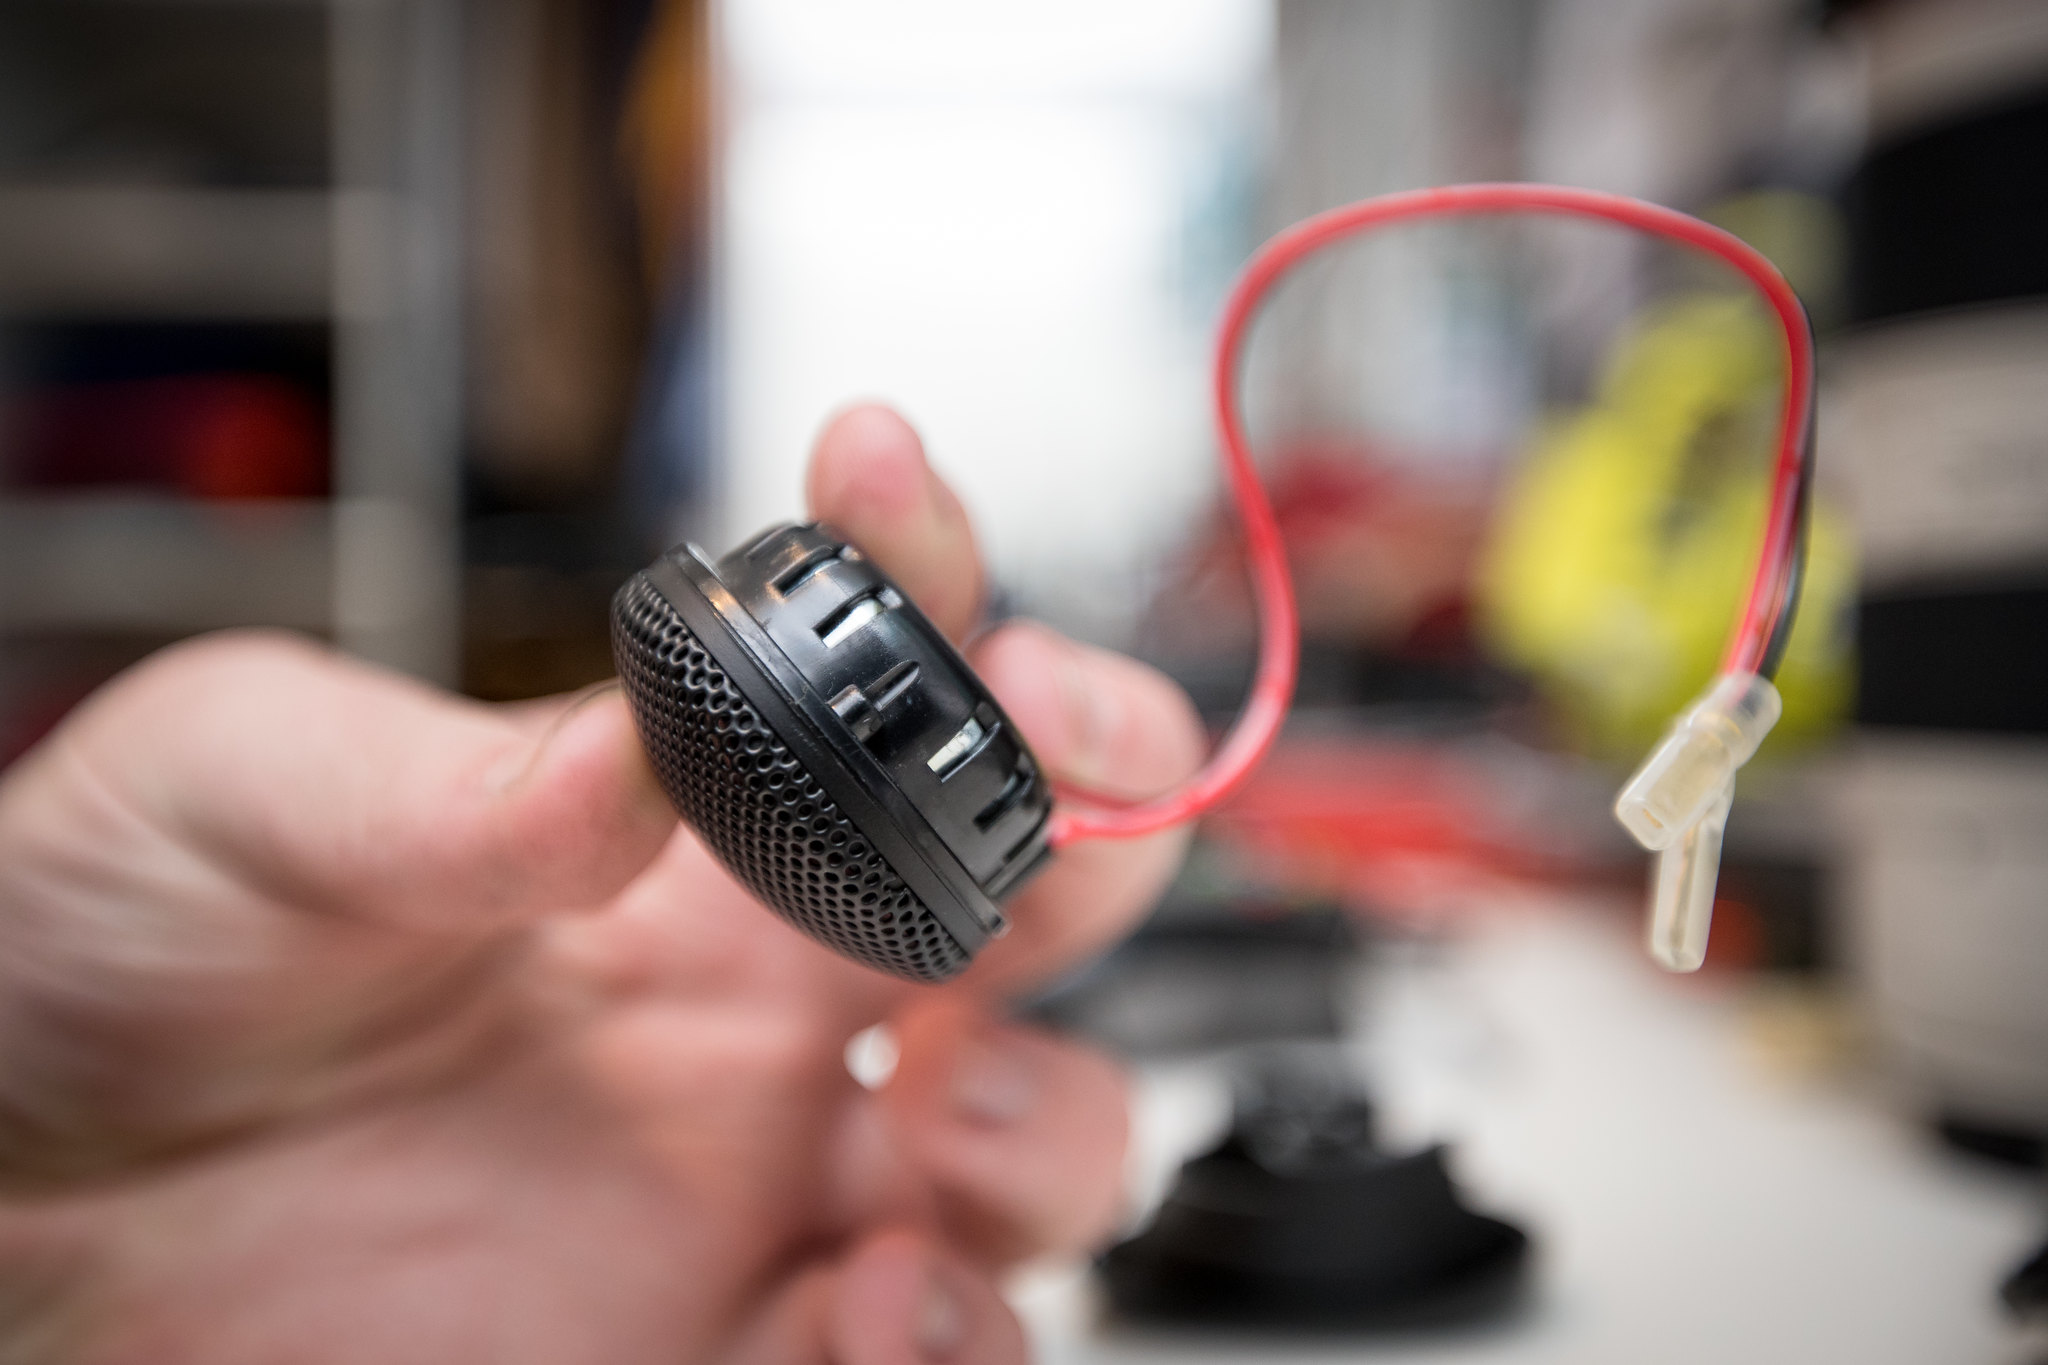

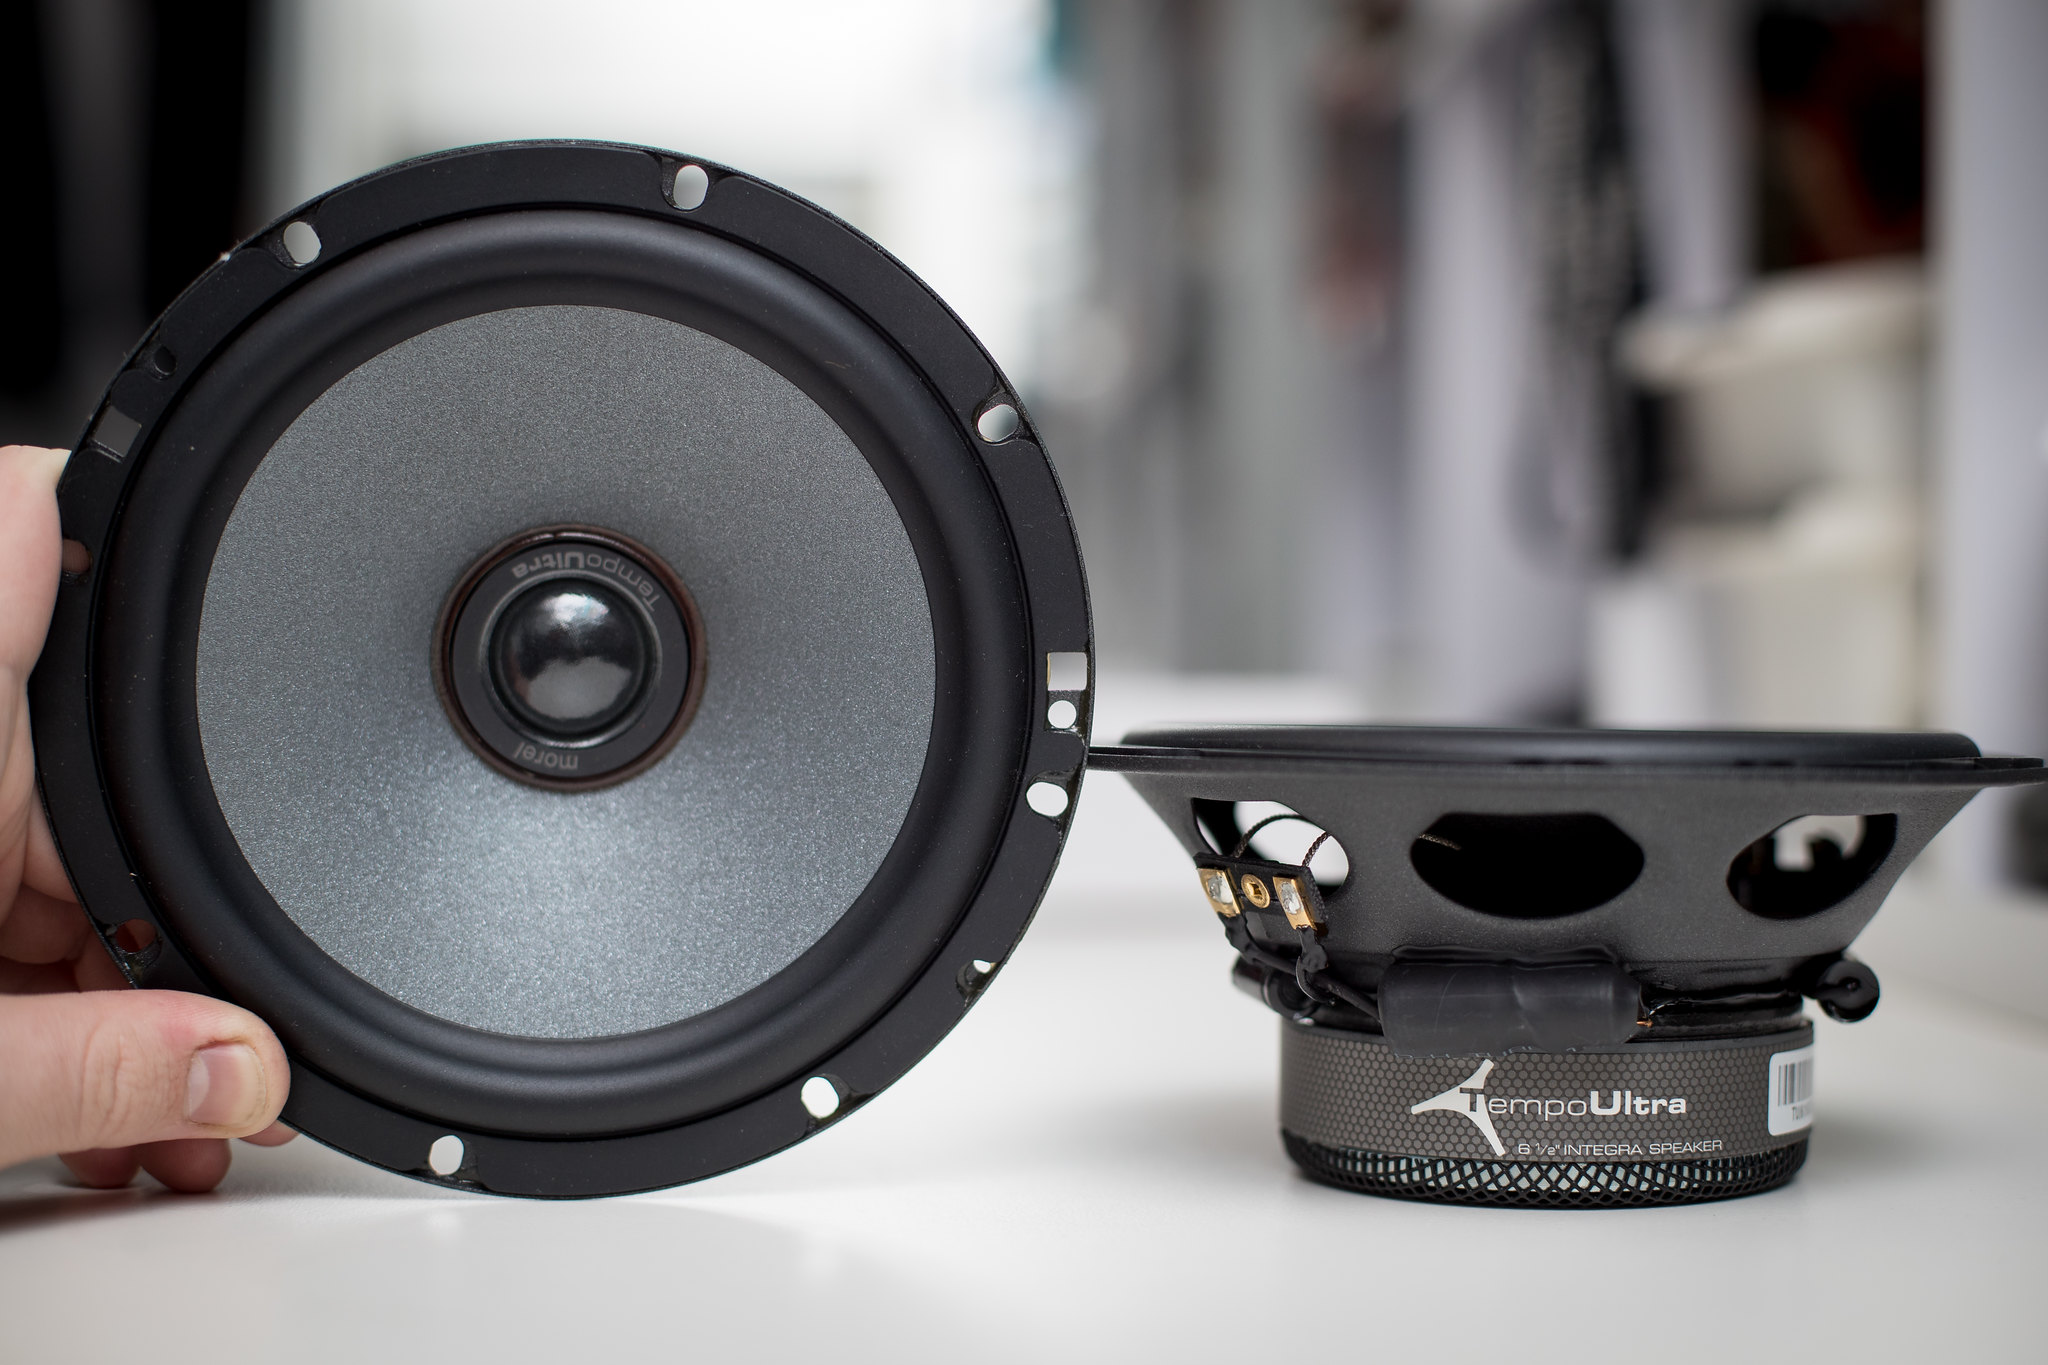
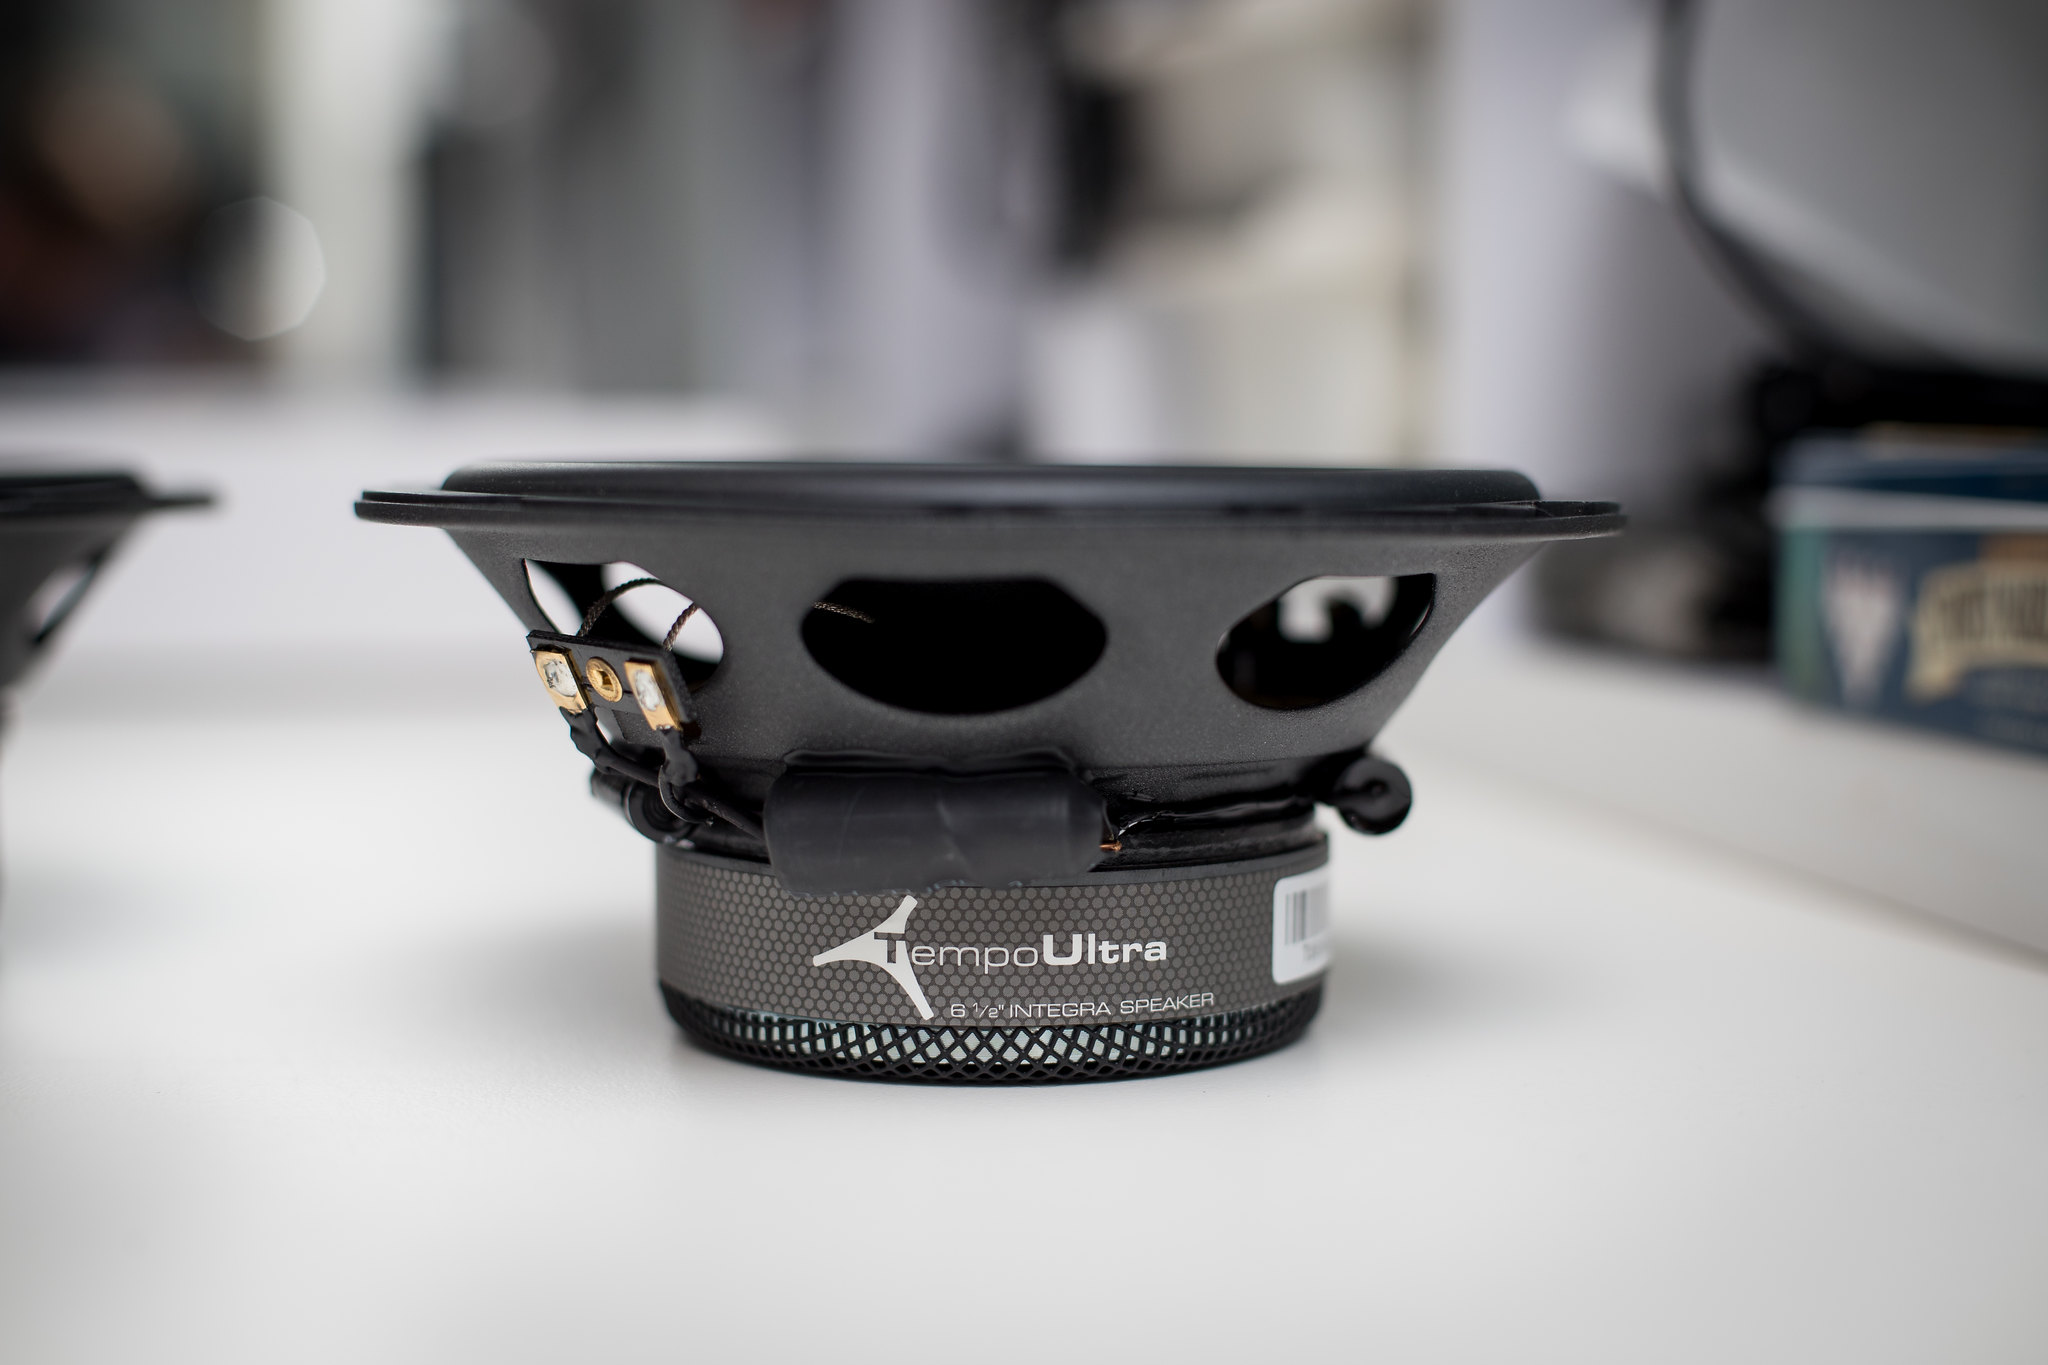
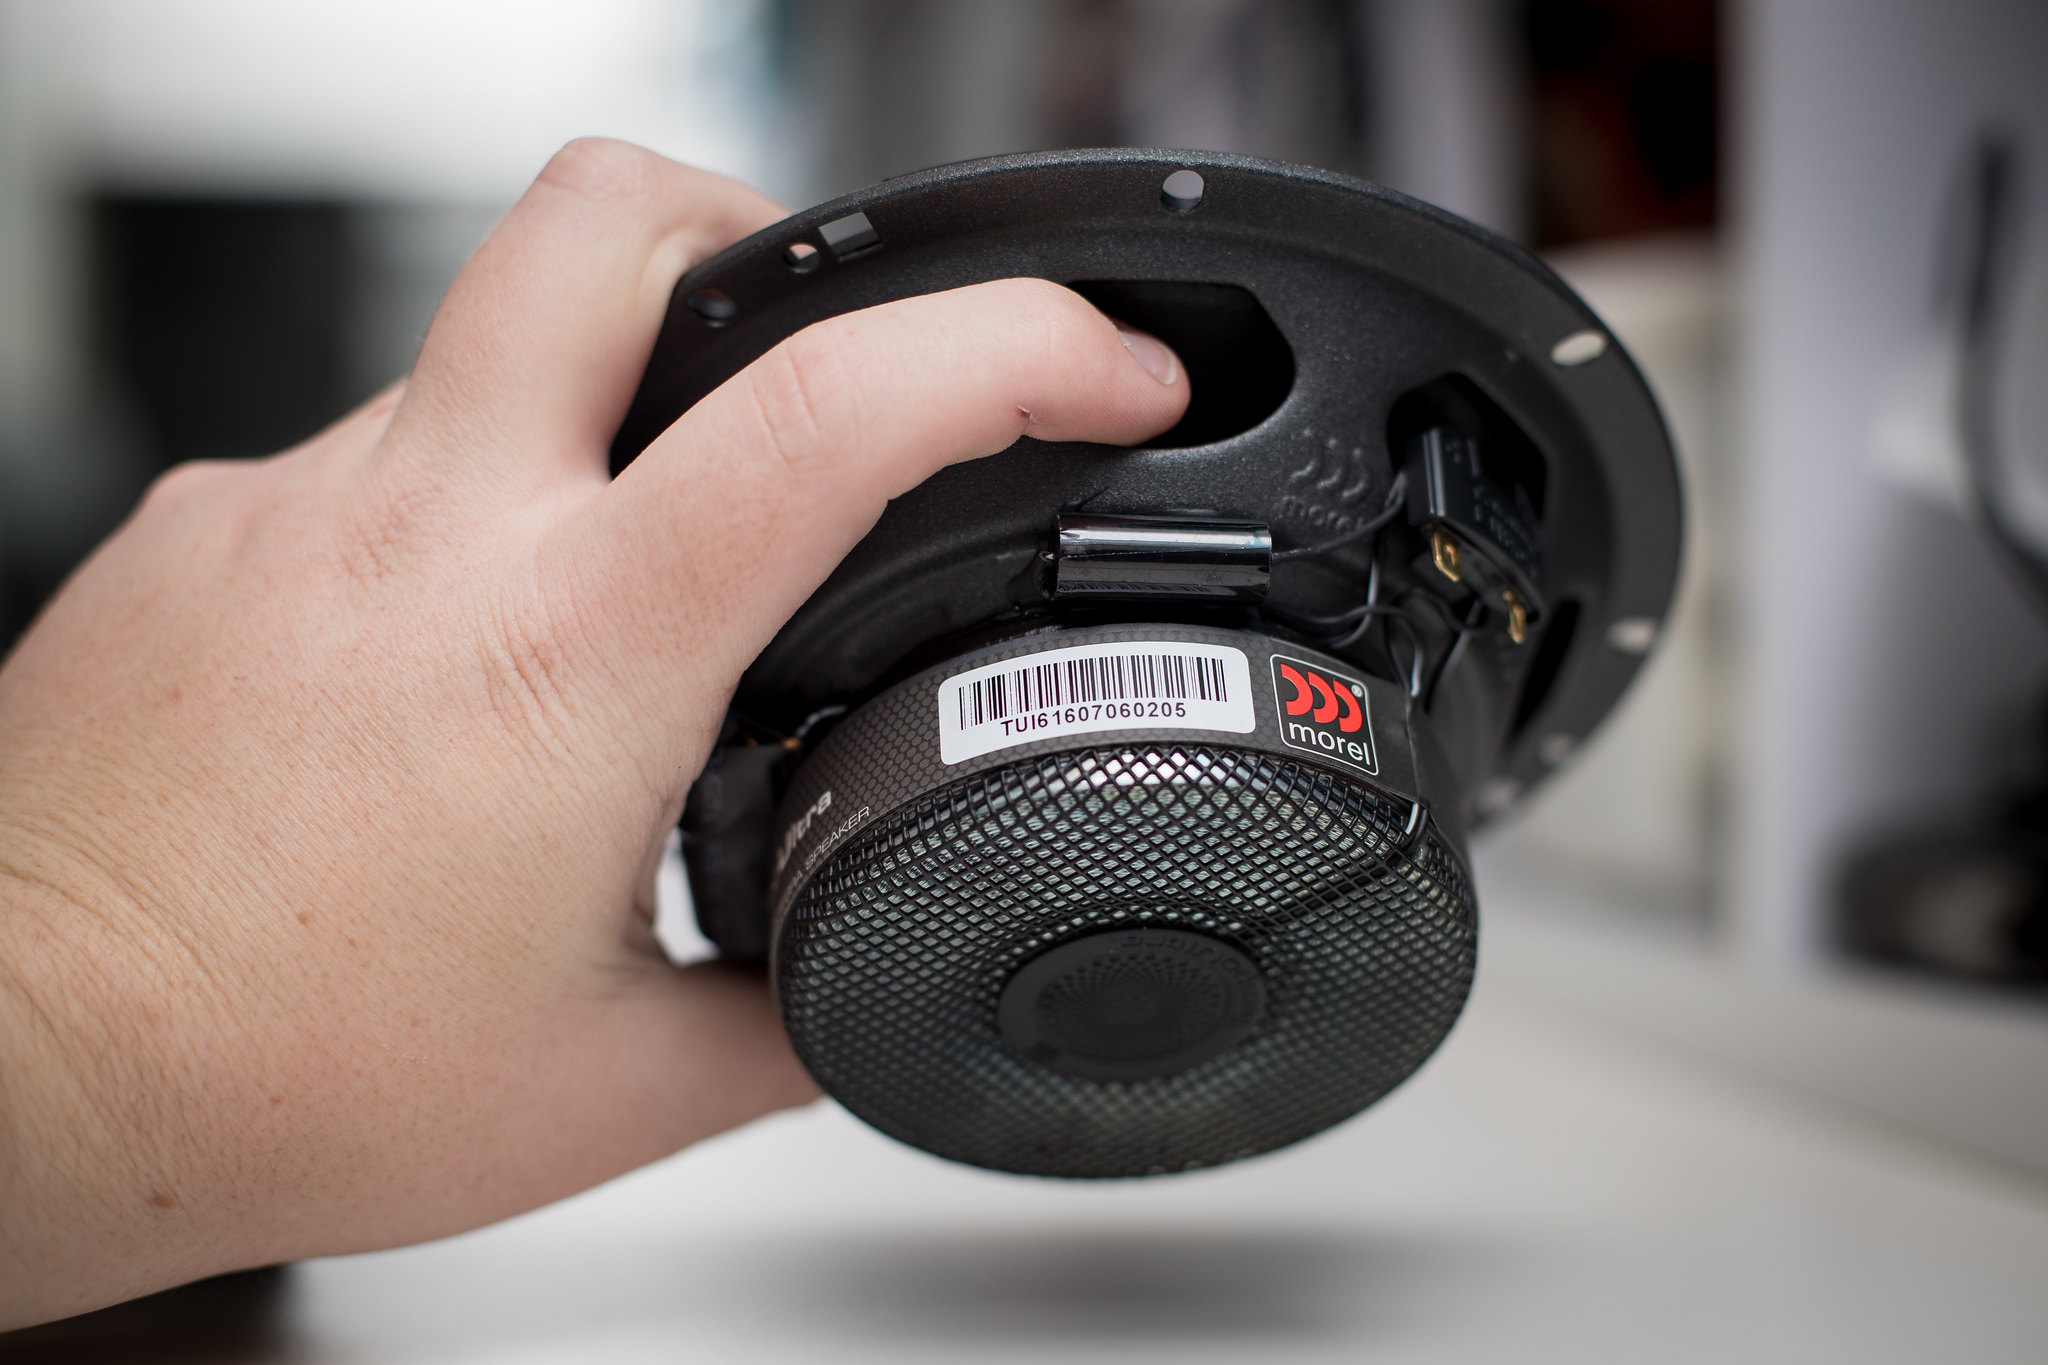
Rear Speakers: Morel 602 Tempo Ultra Intergra Coaxial speakers

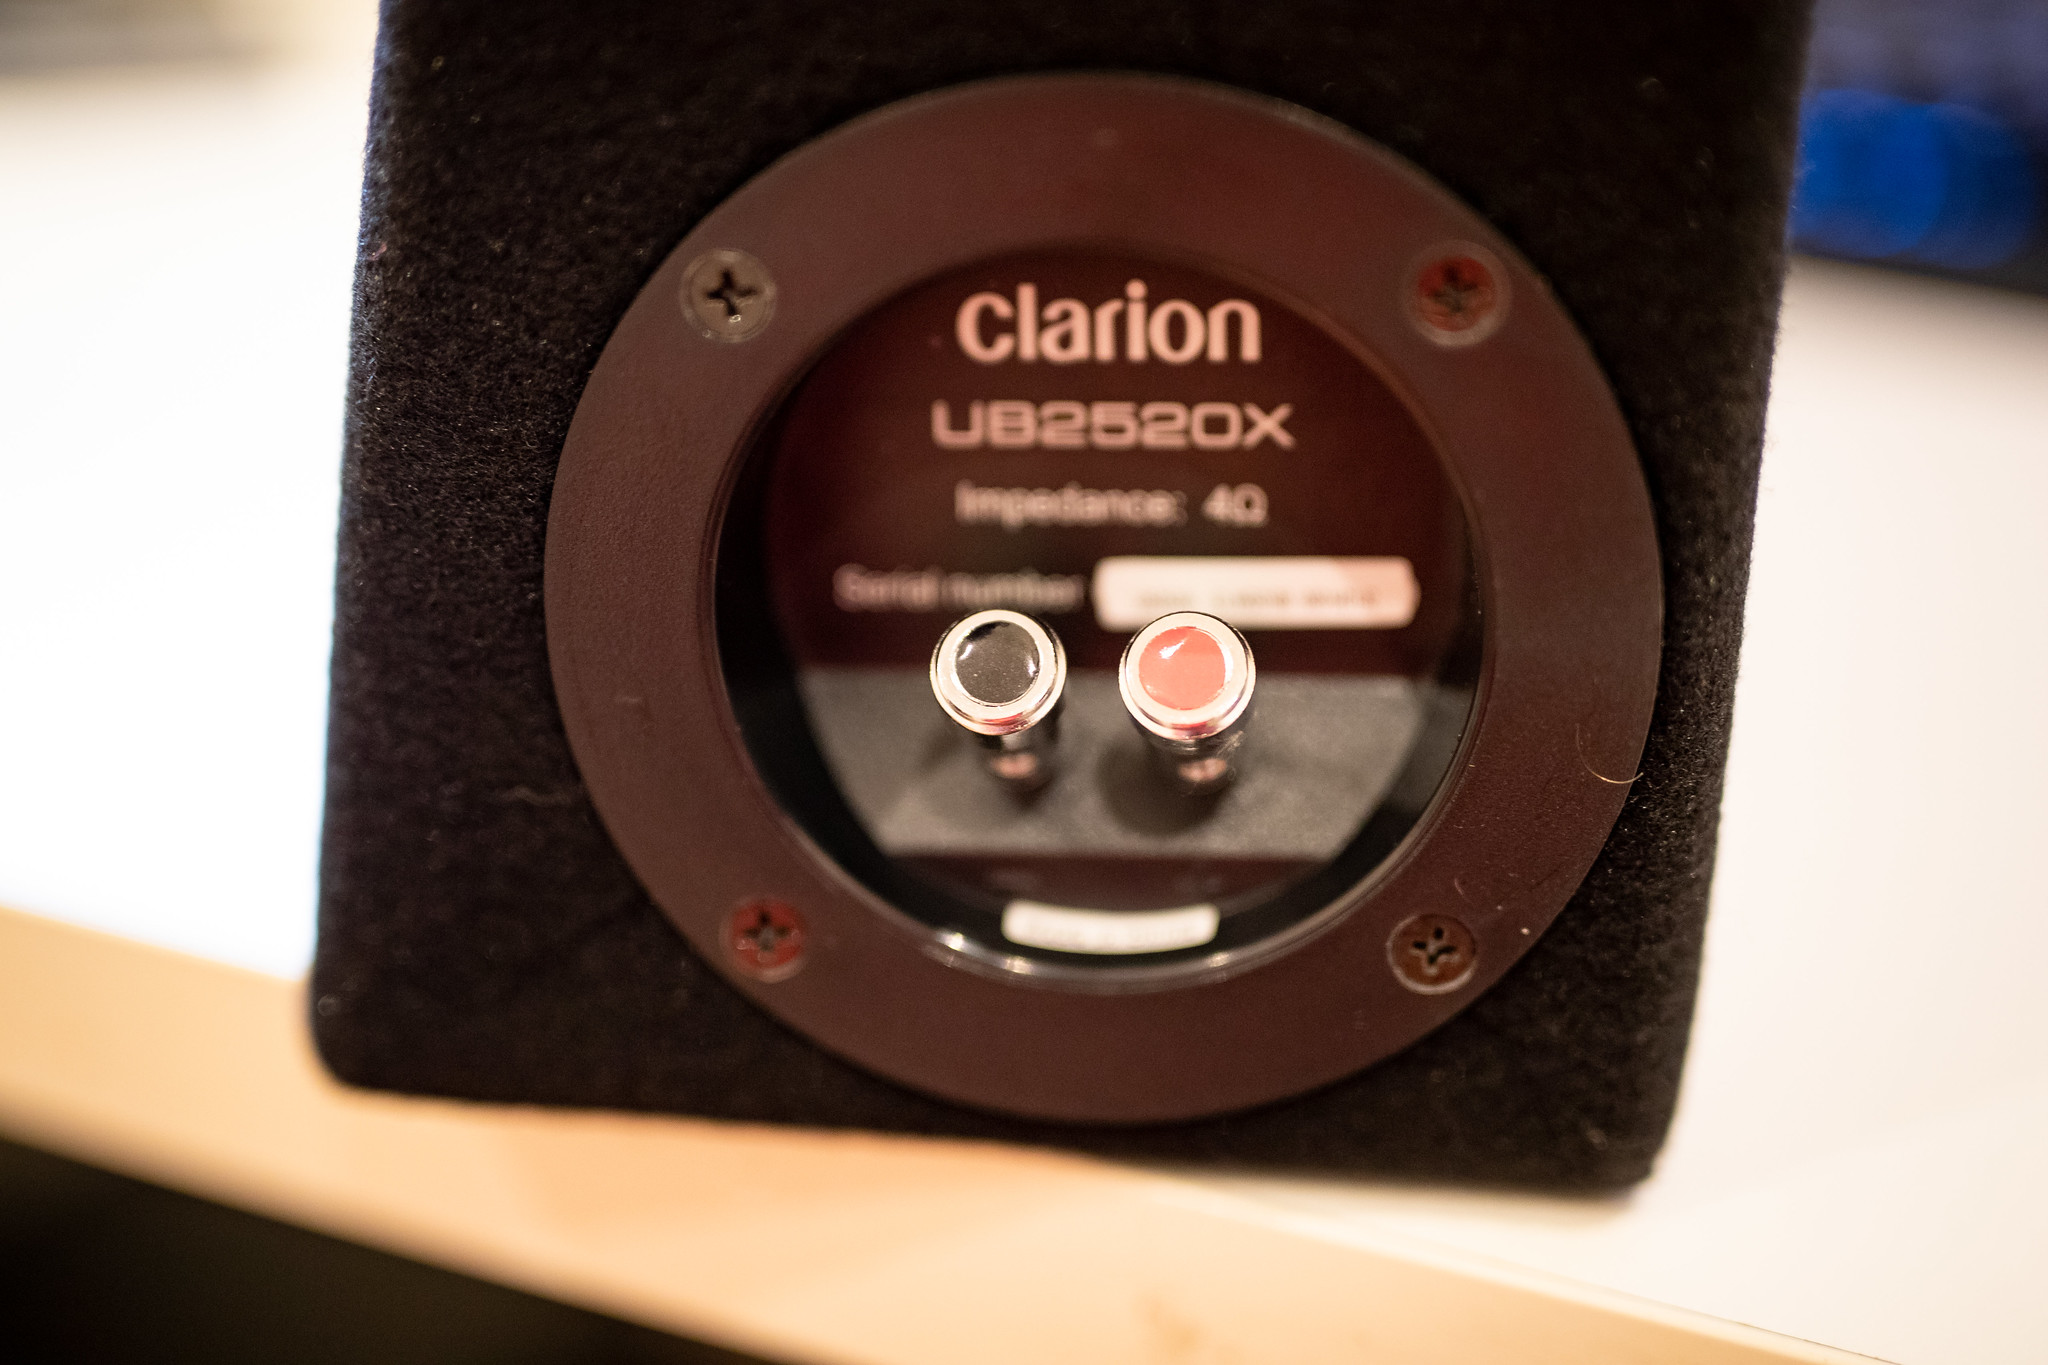
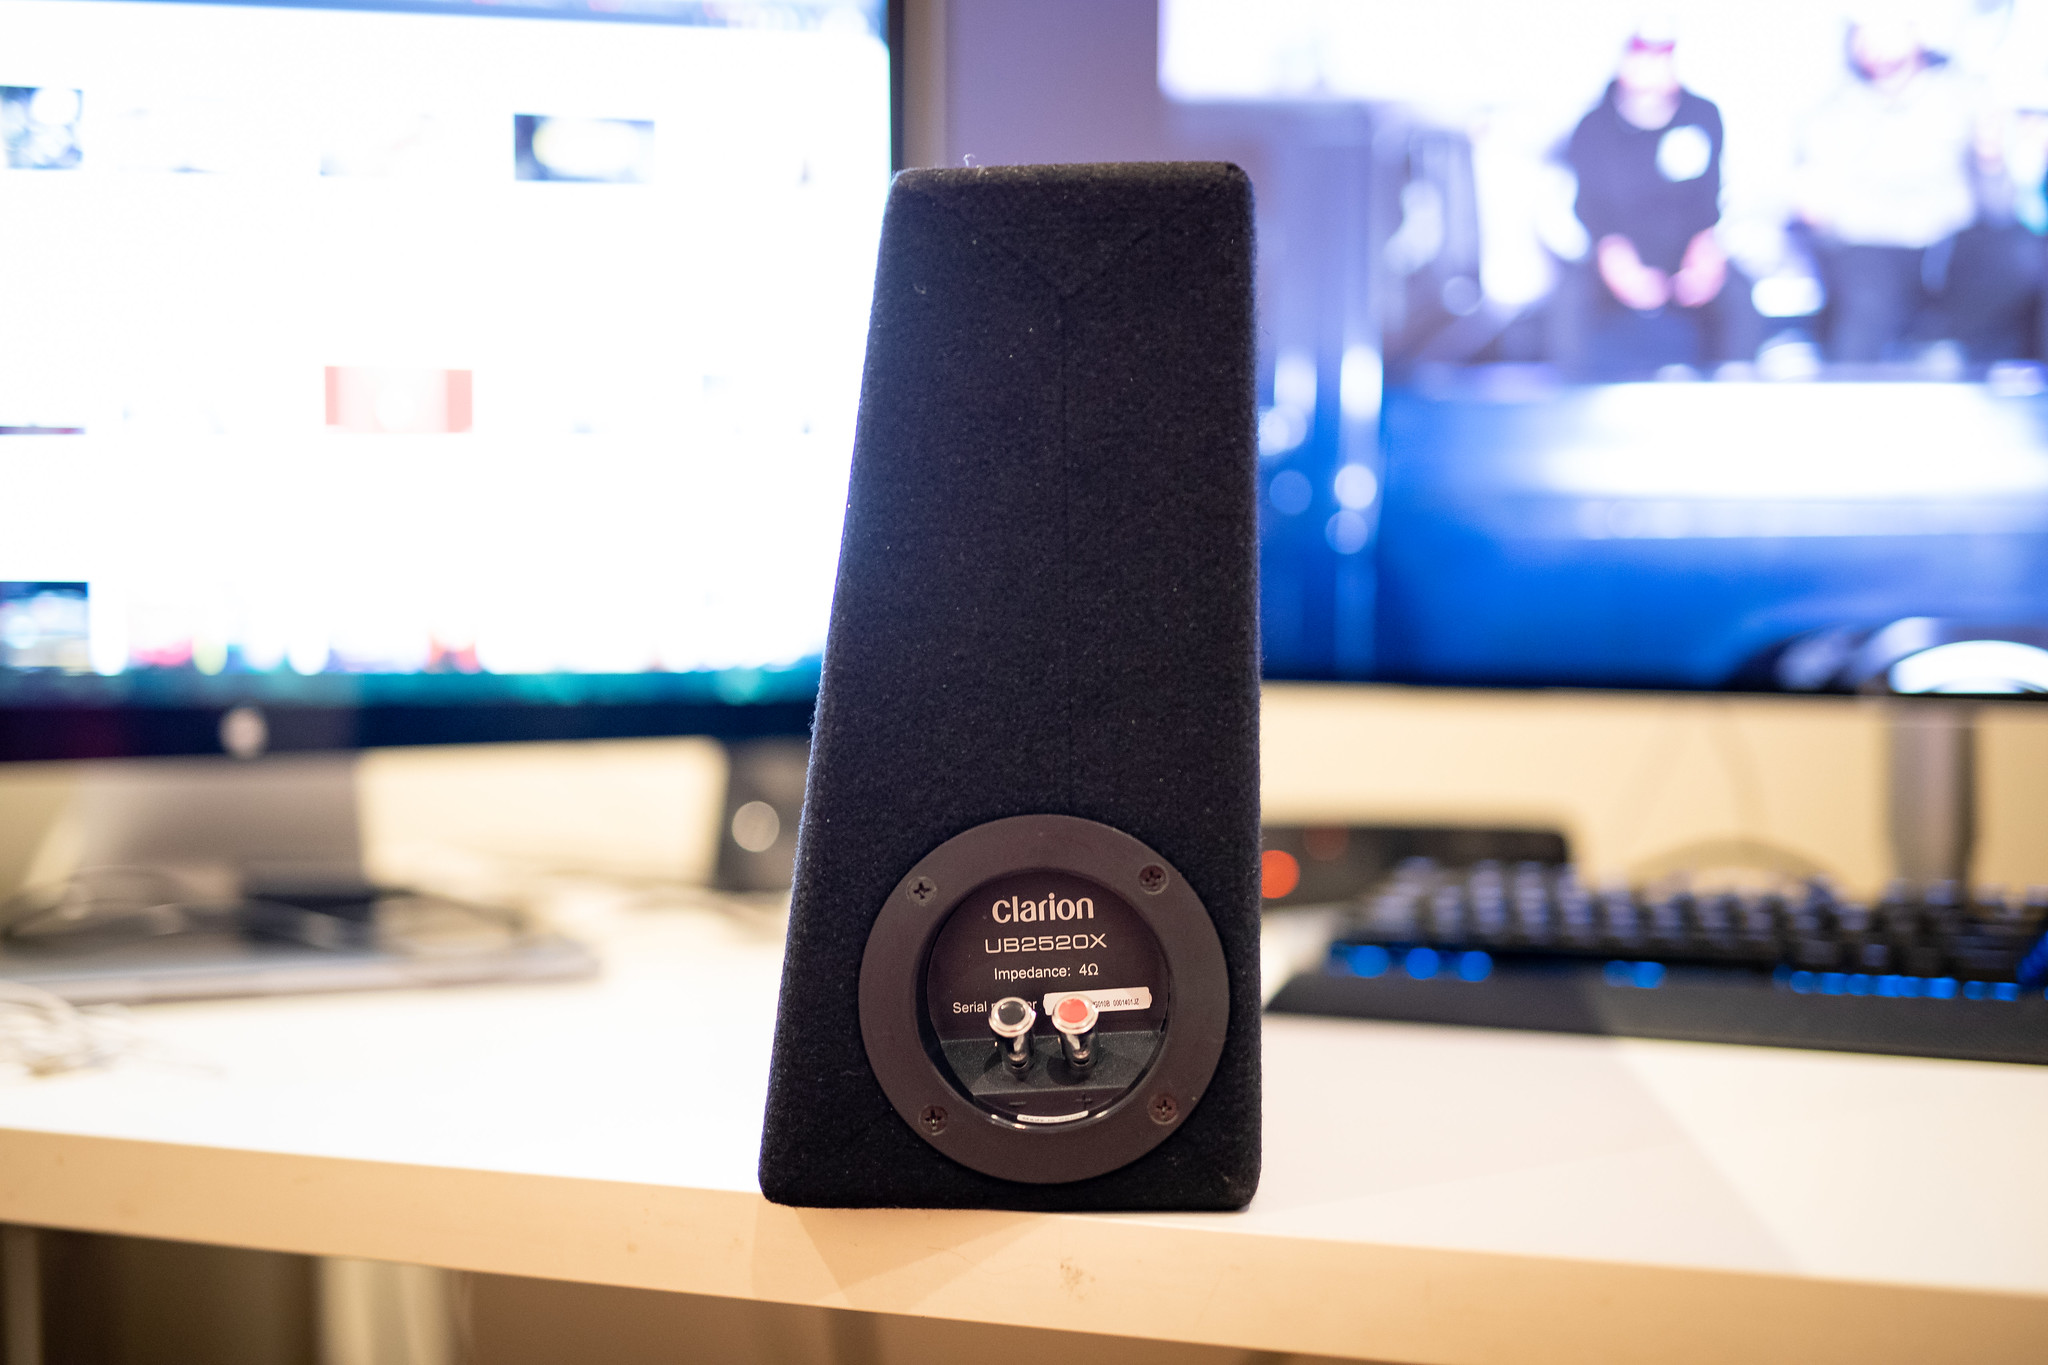
Subwoofer: Clarion UB2520


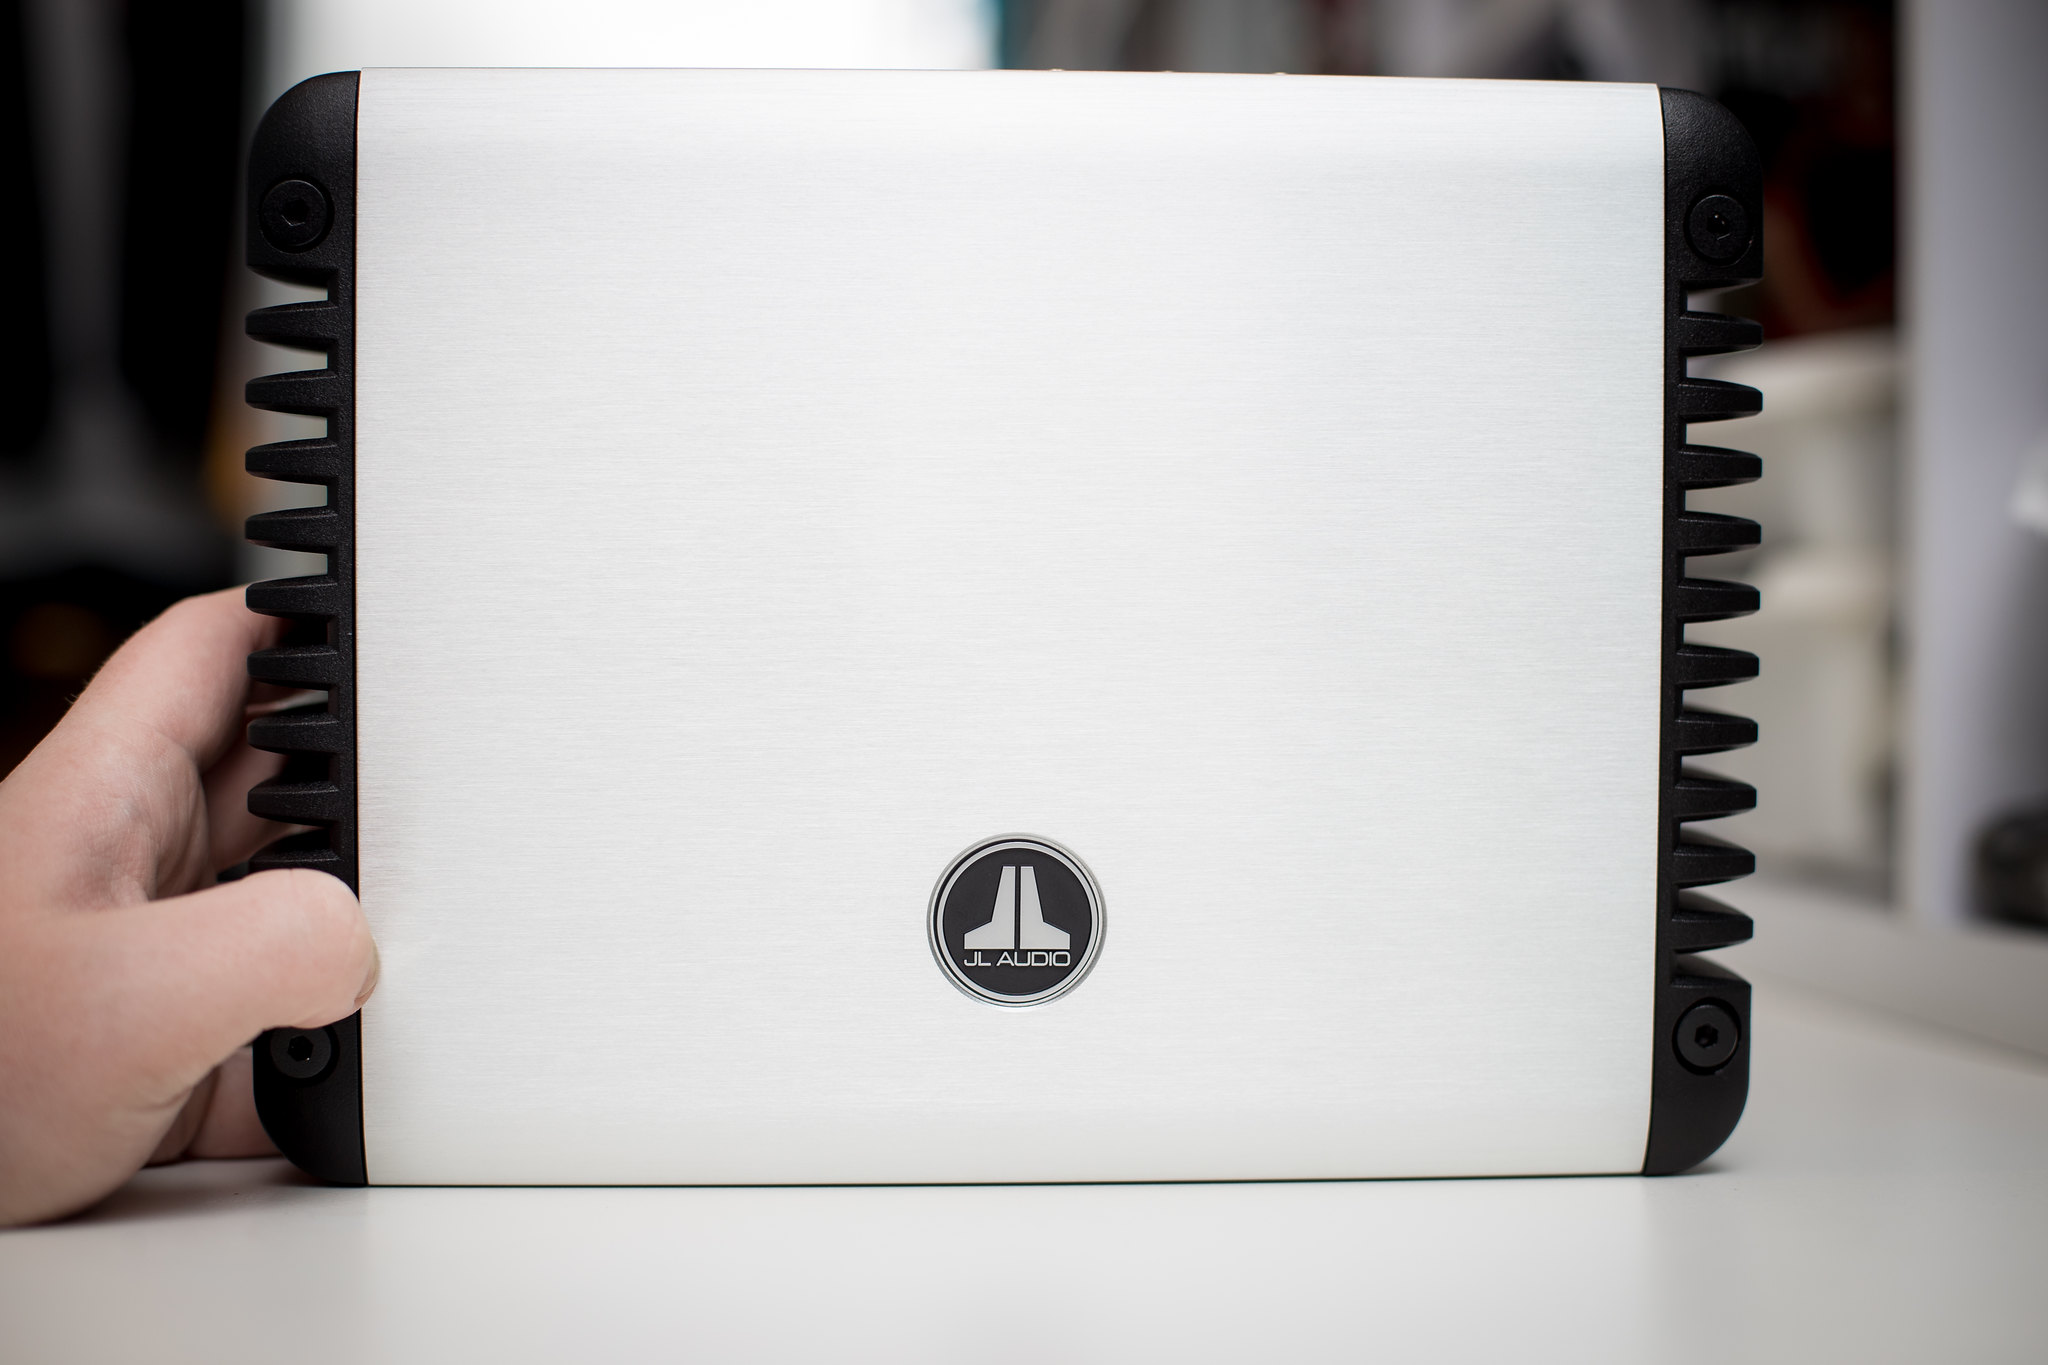
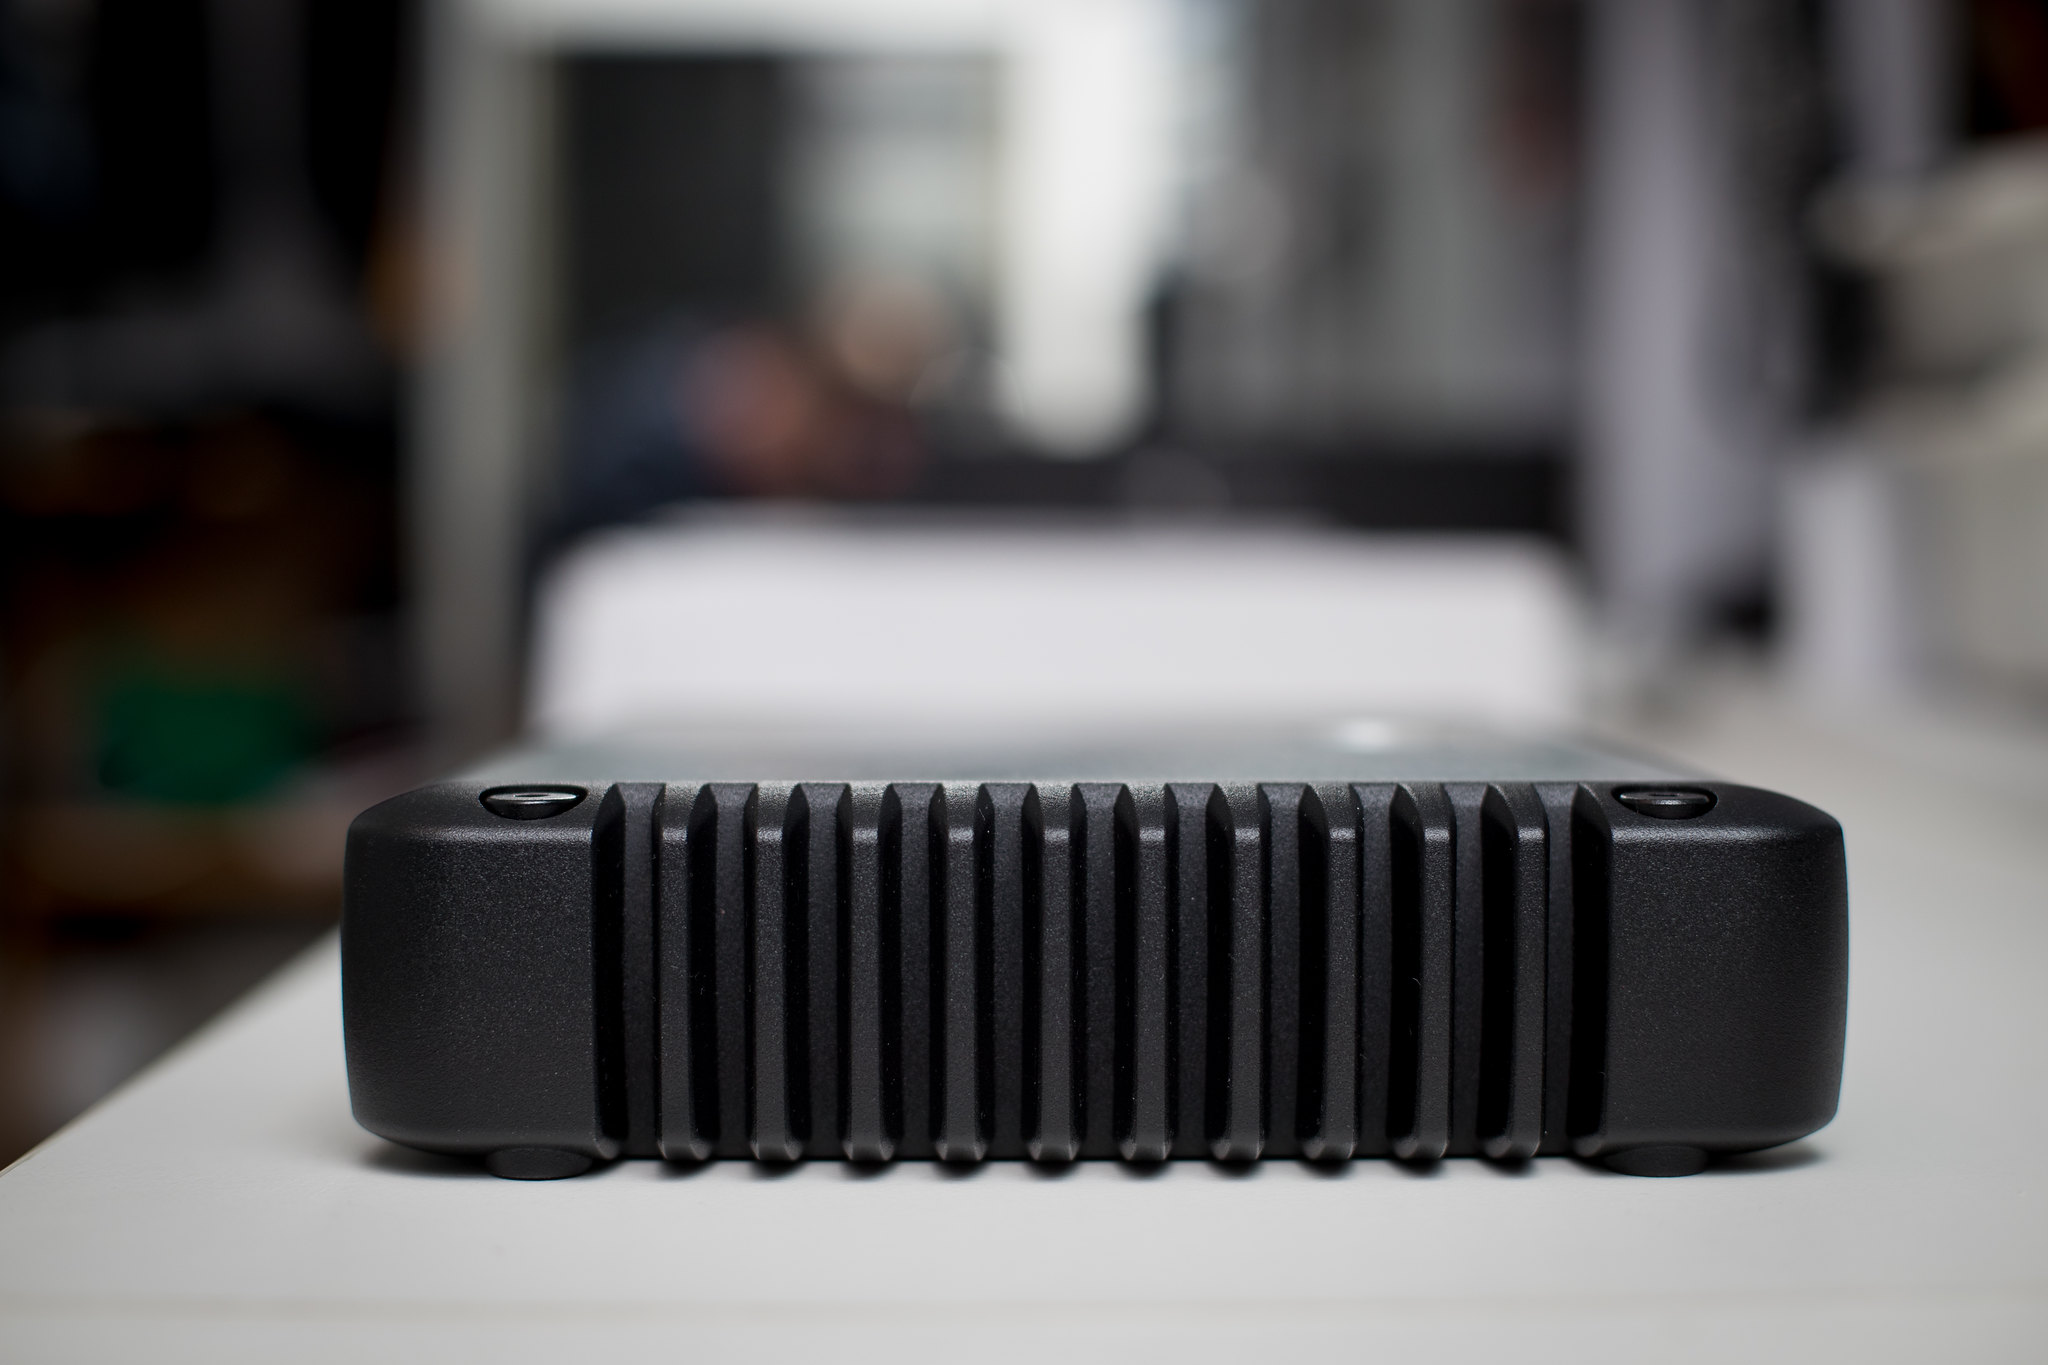
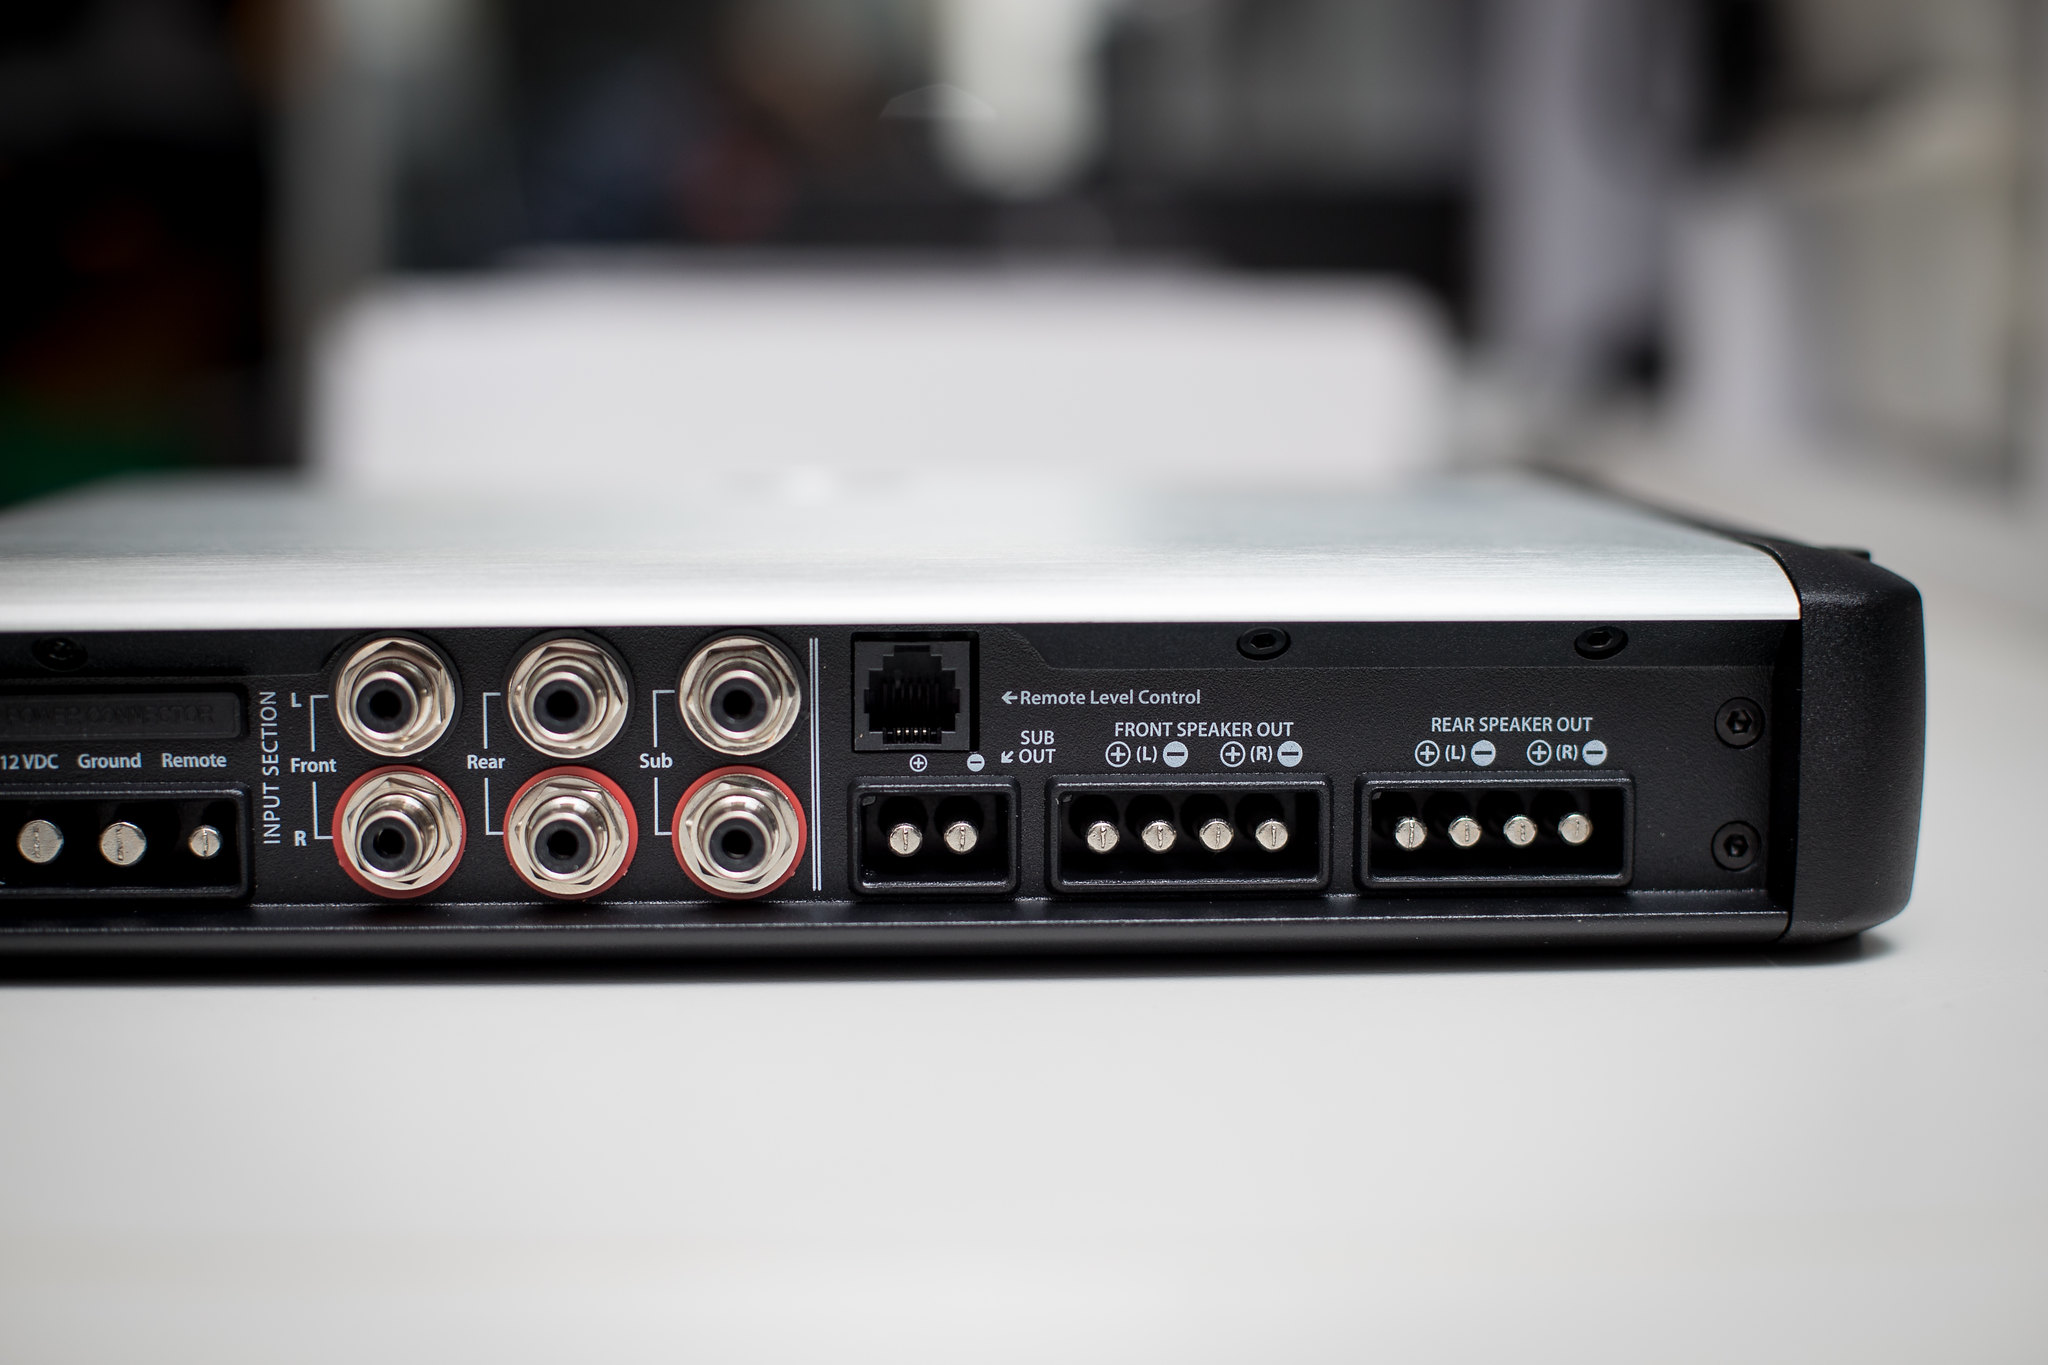
Amplifier: JL Audio HD900/5 5-Channel


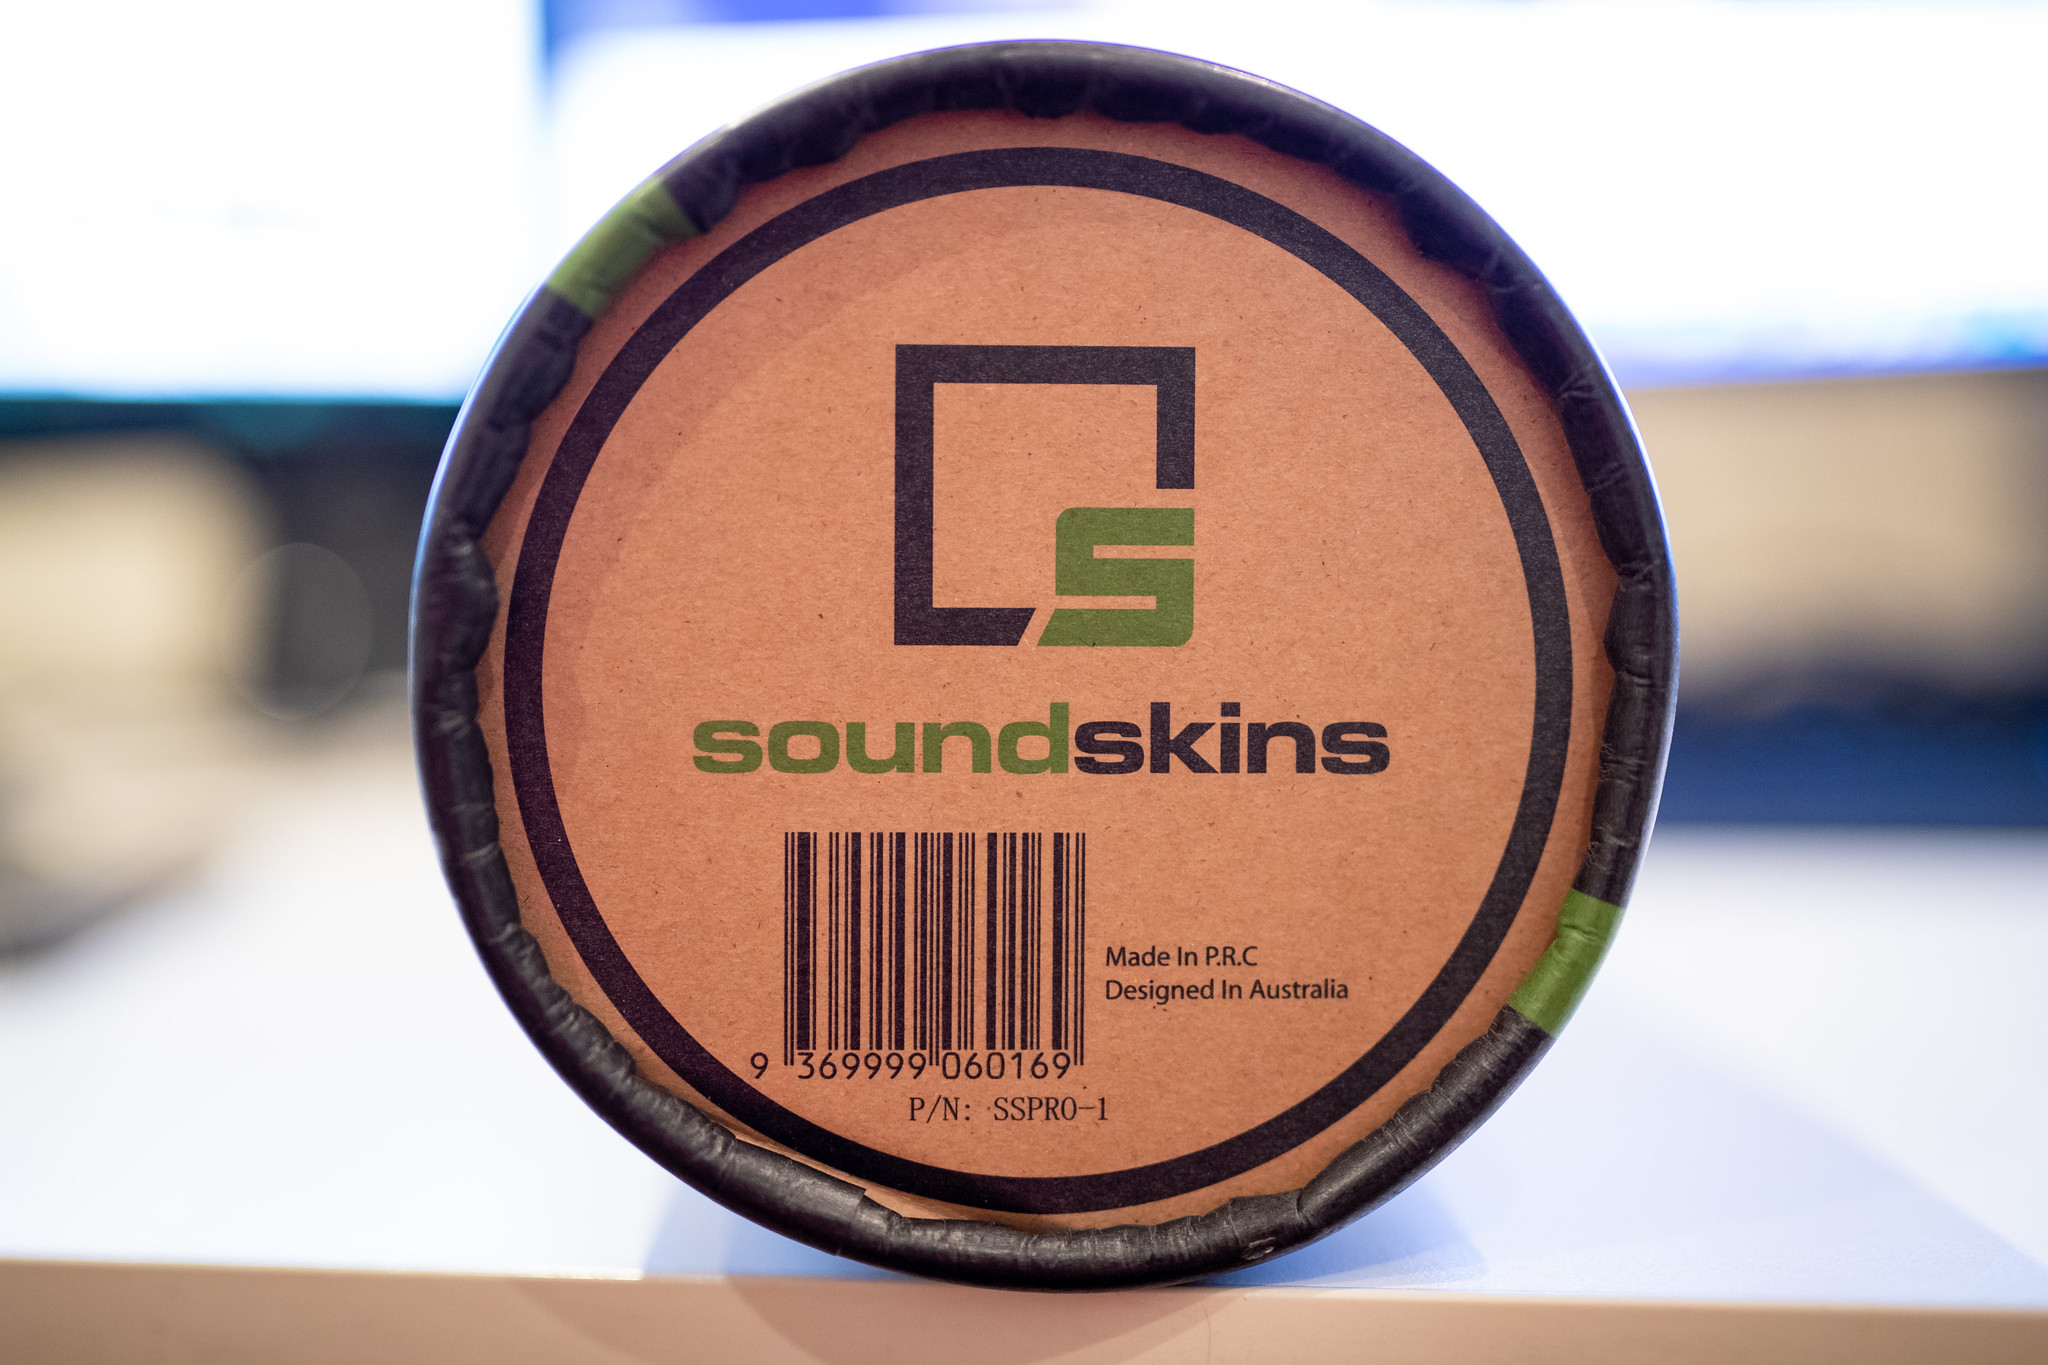
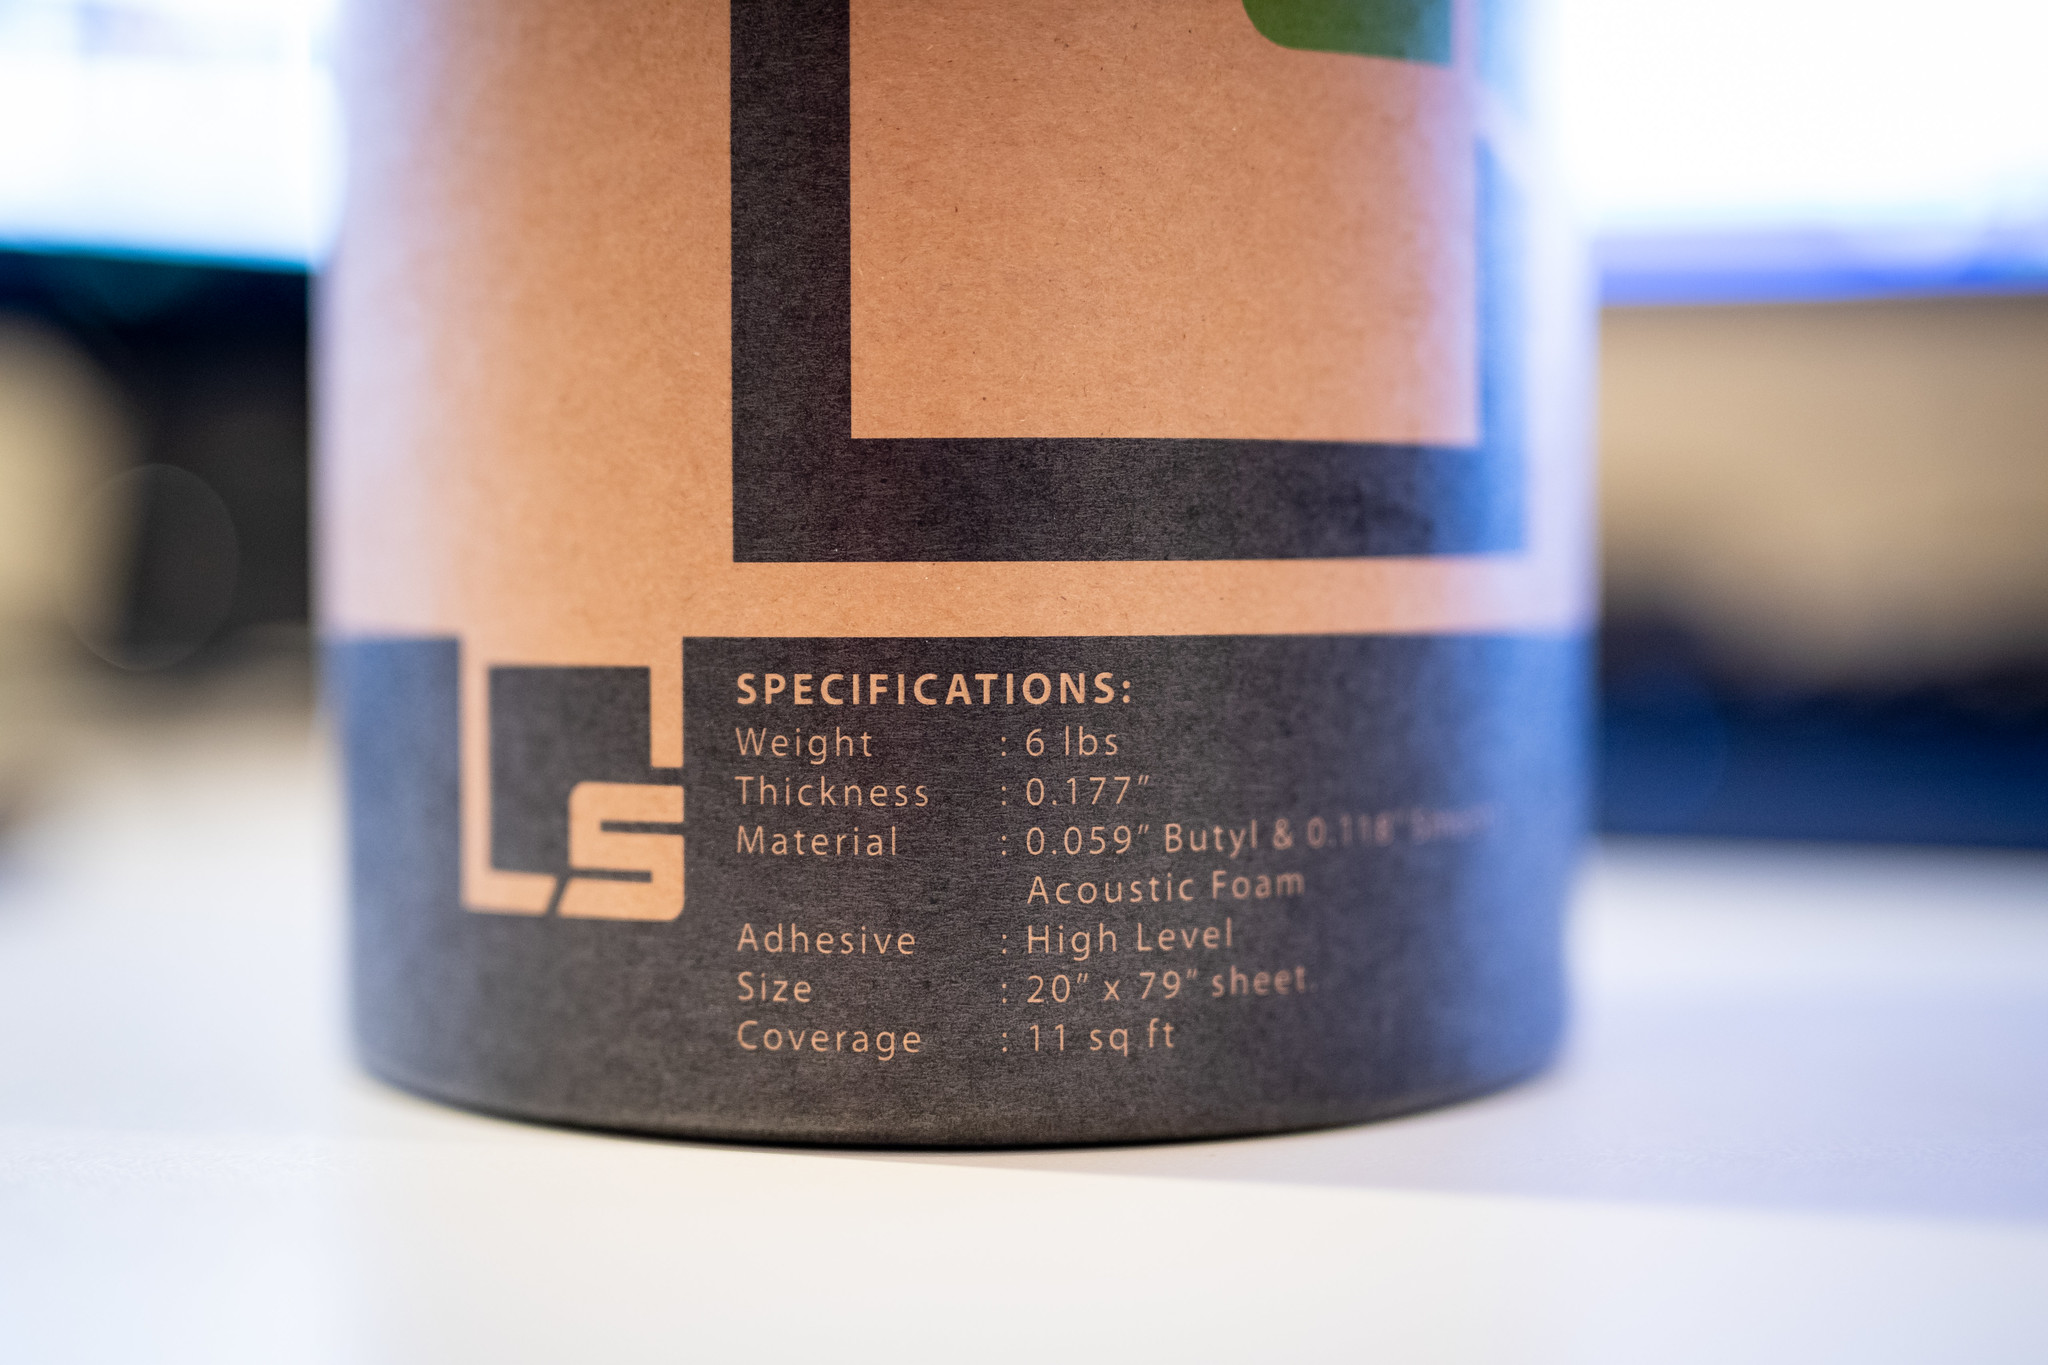
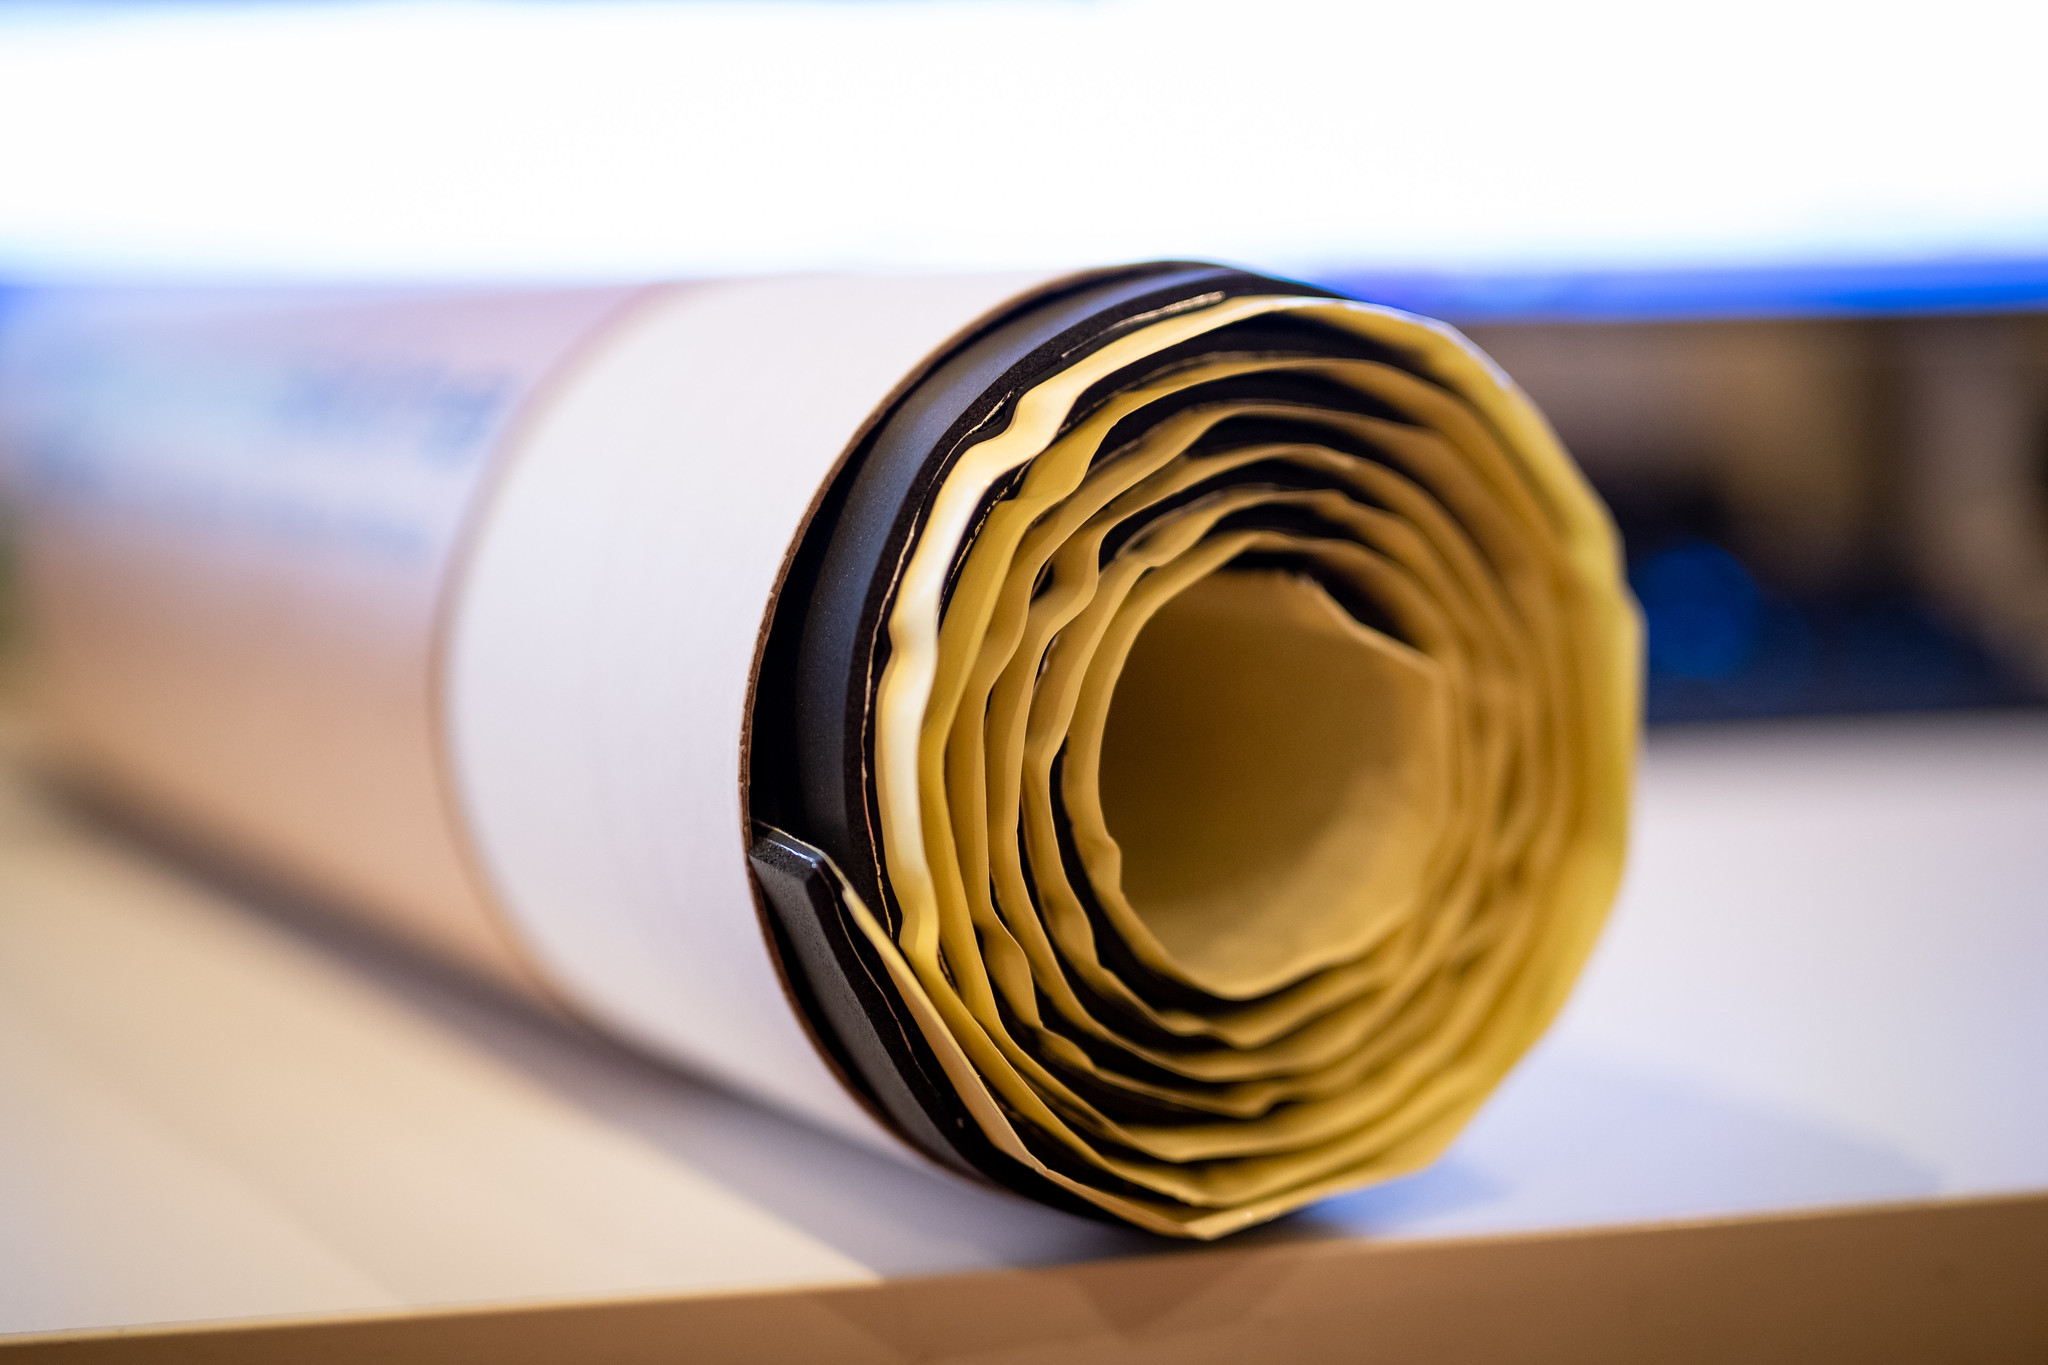
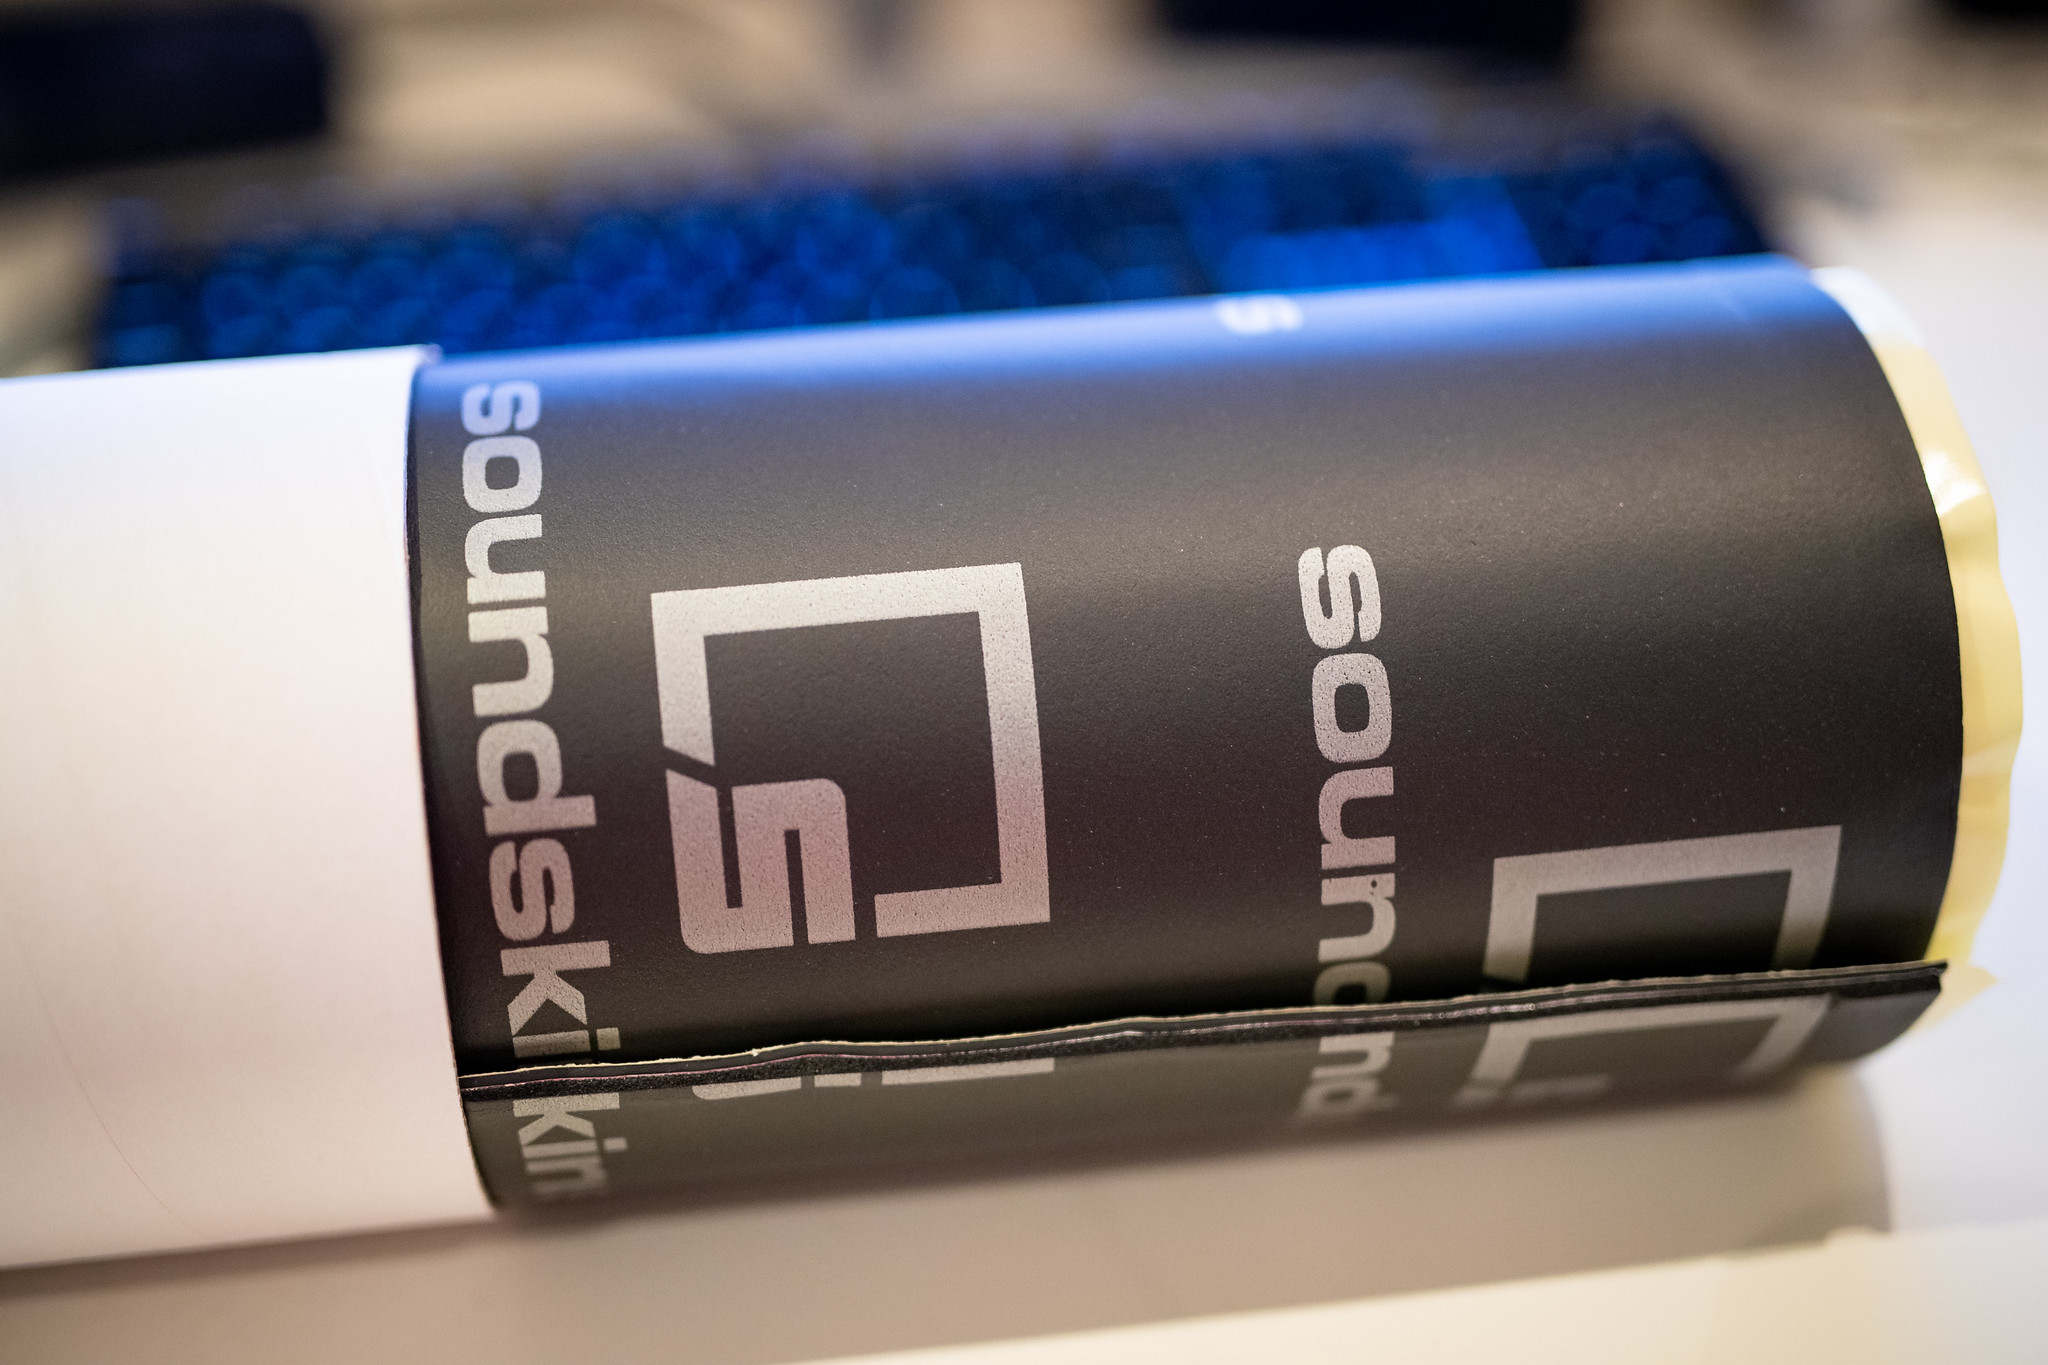
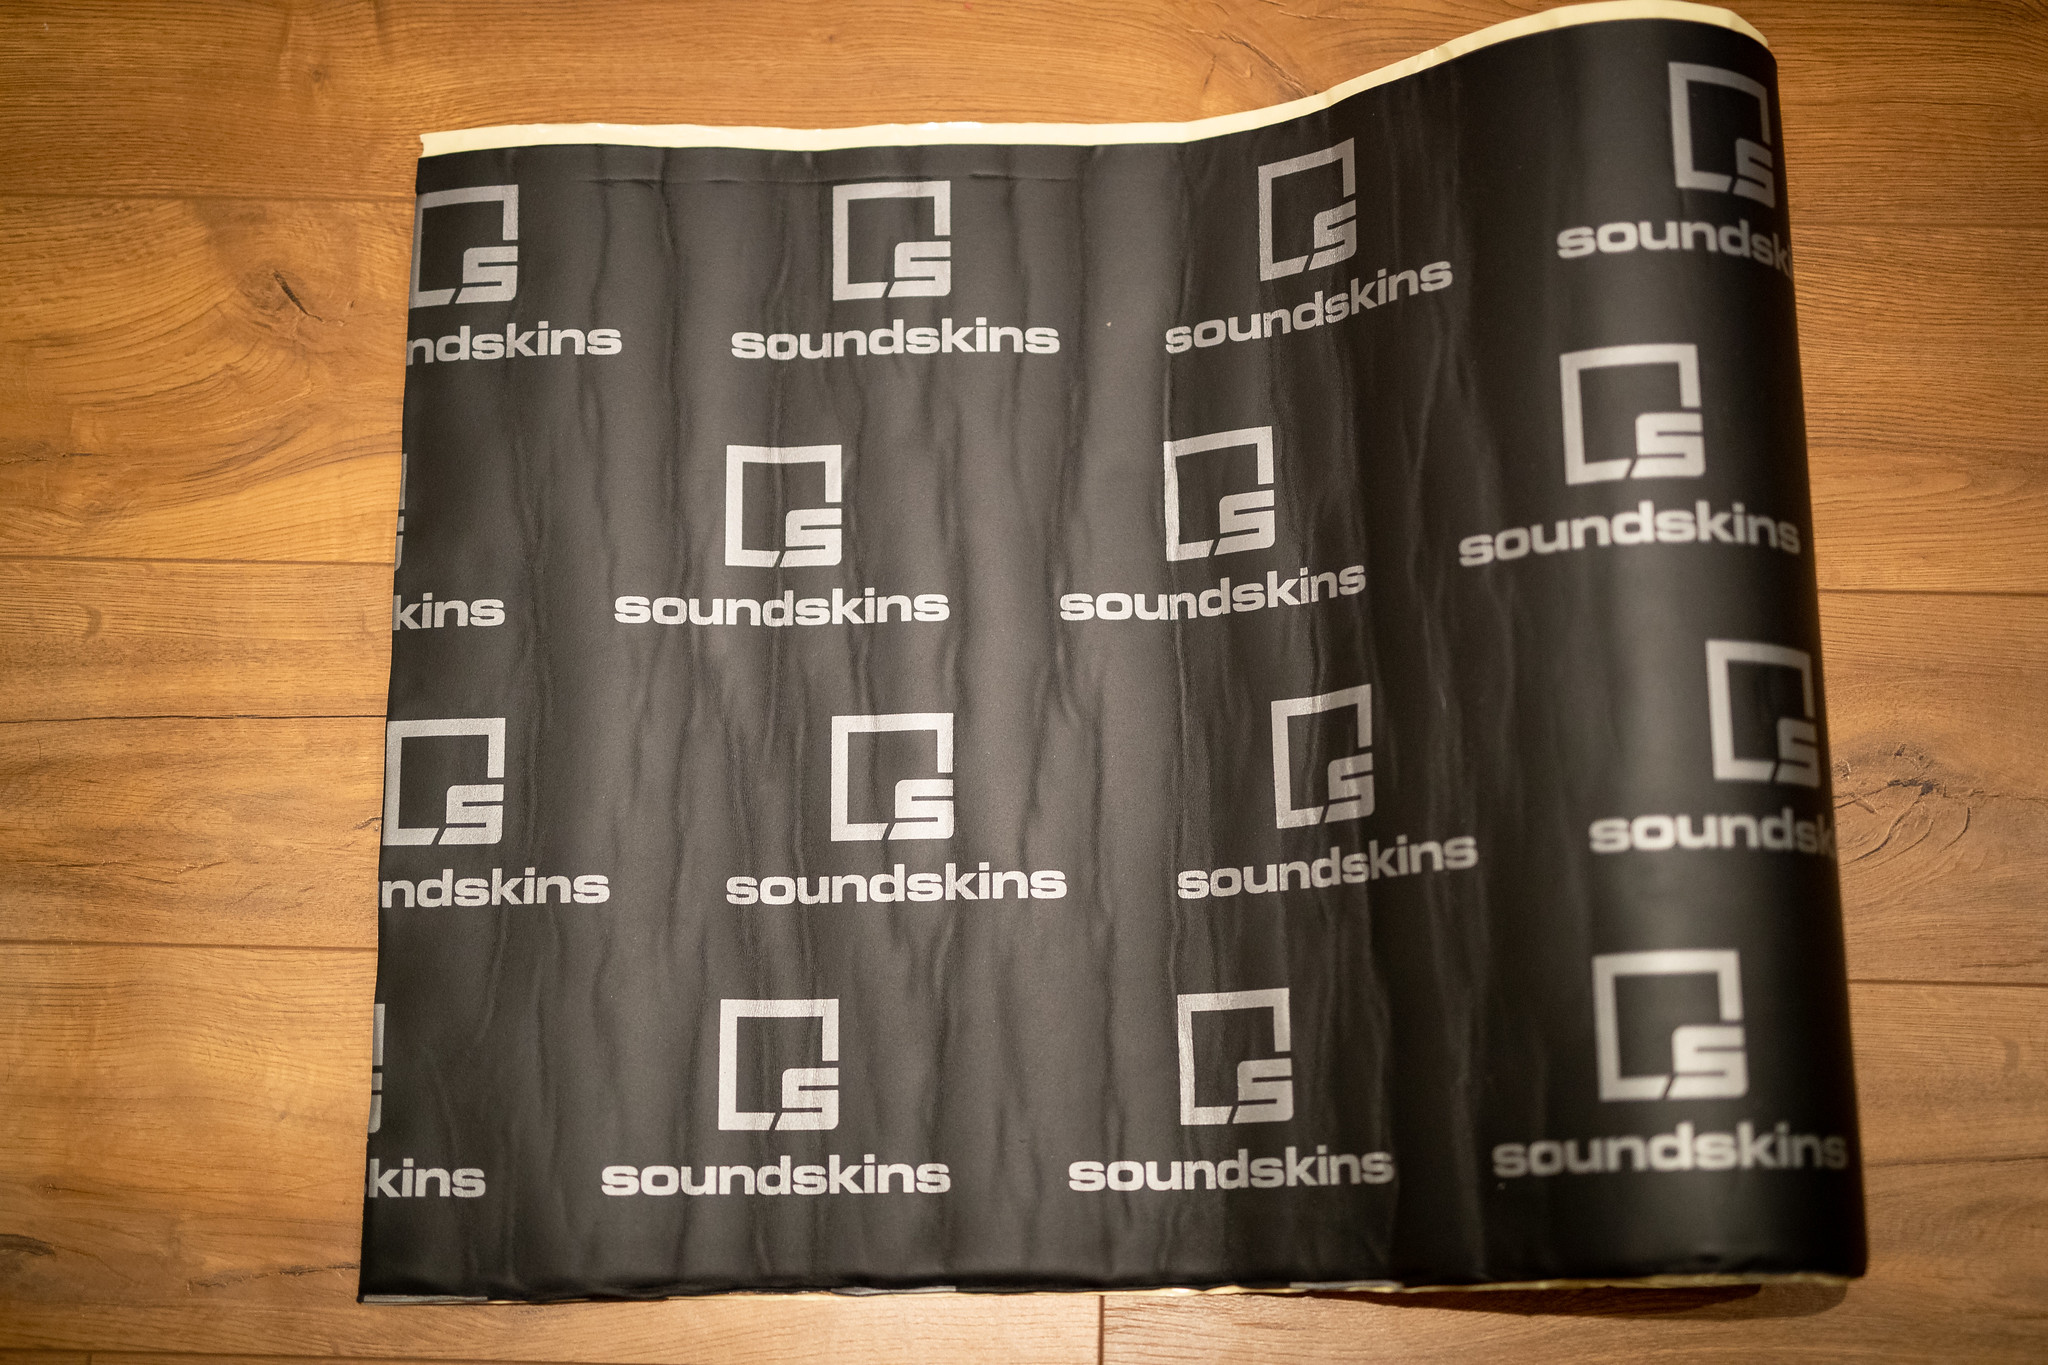
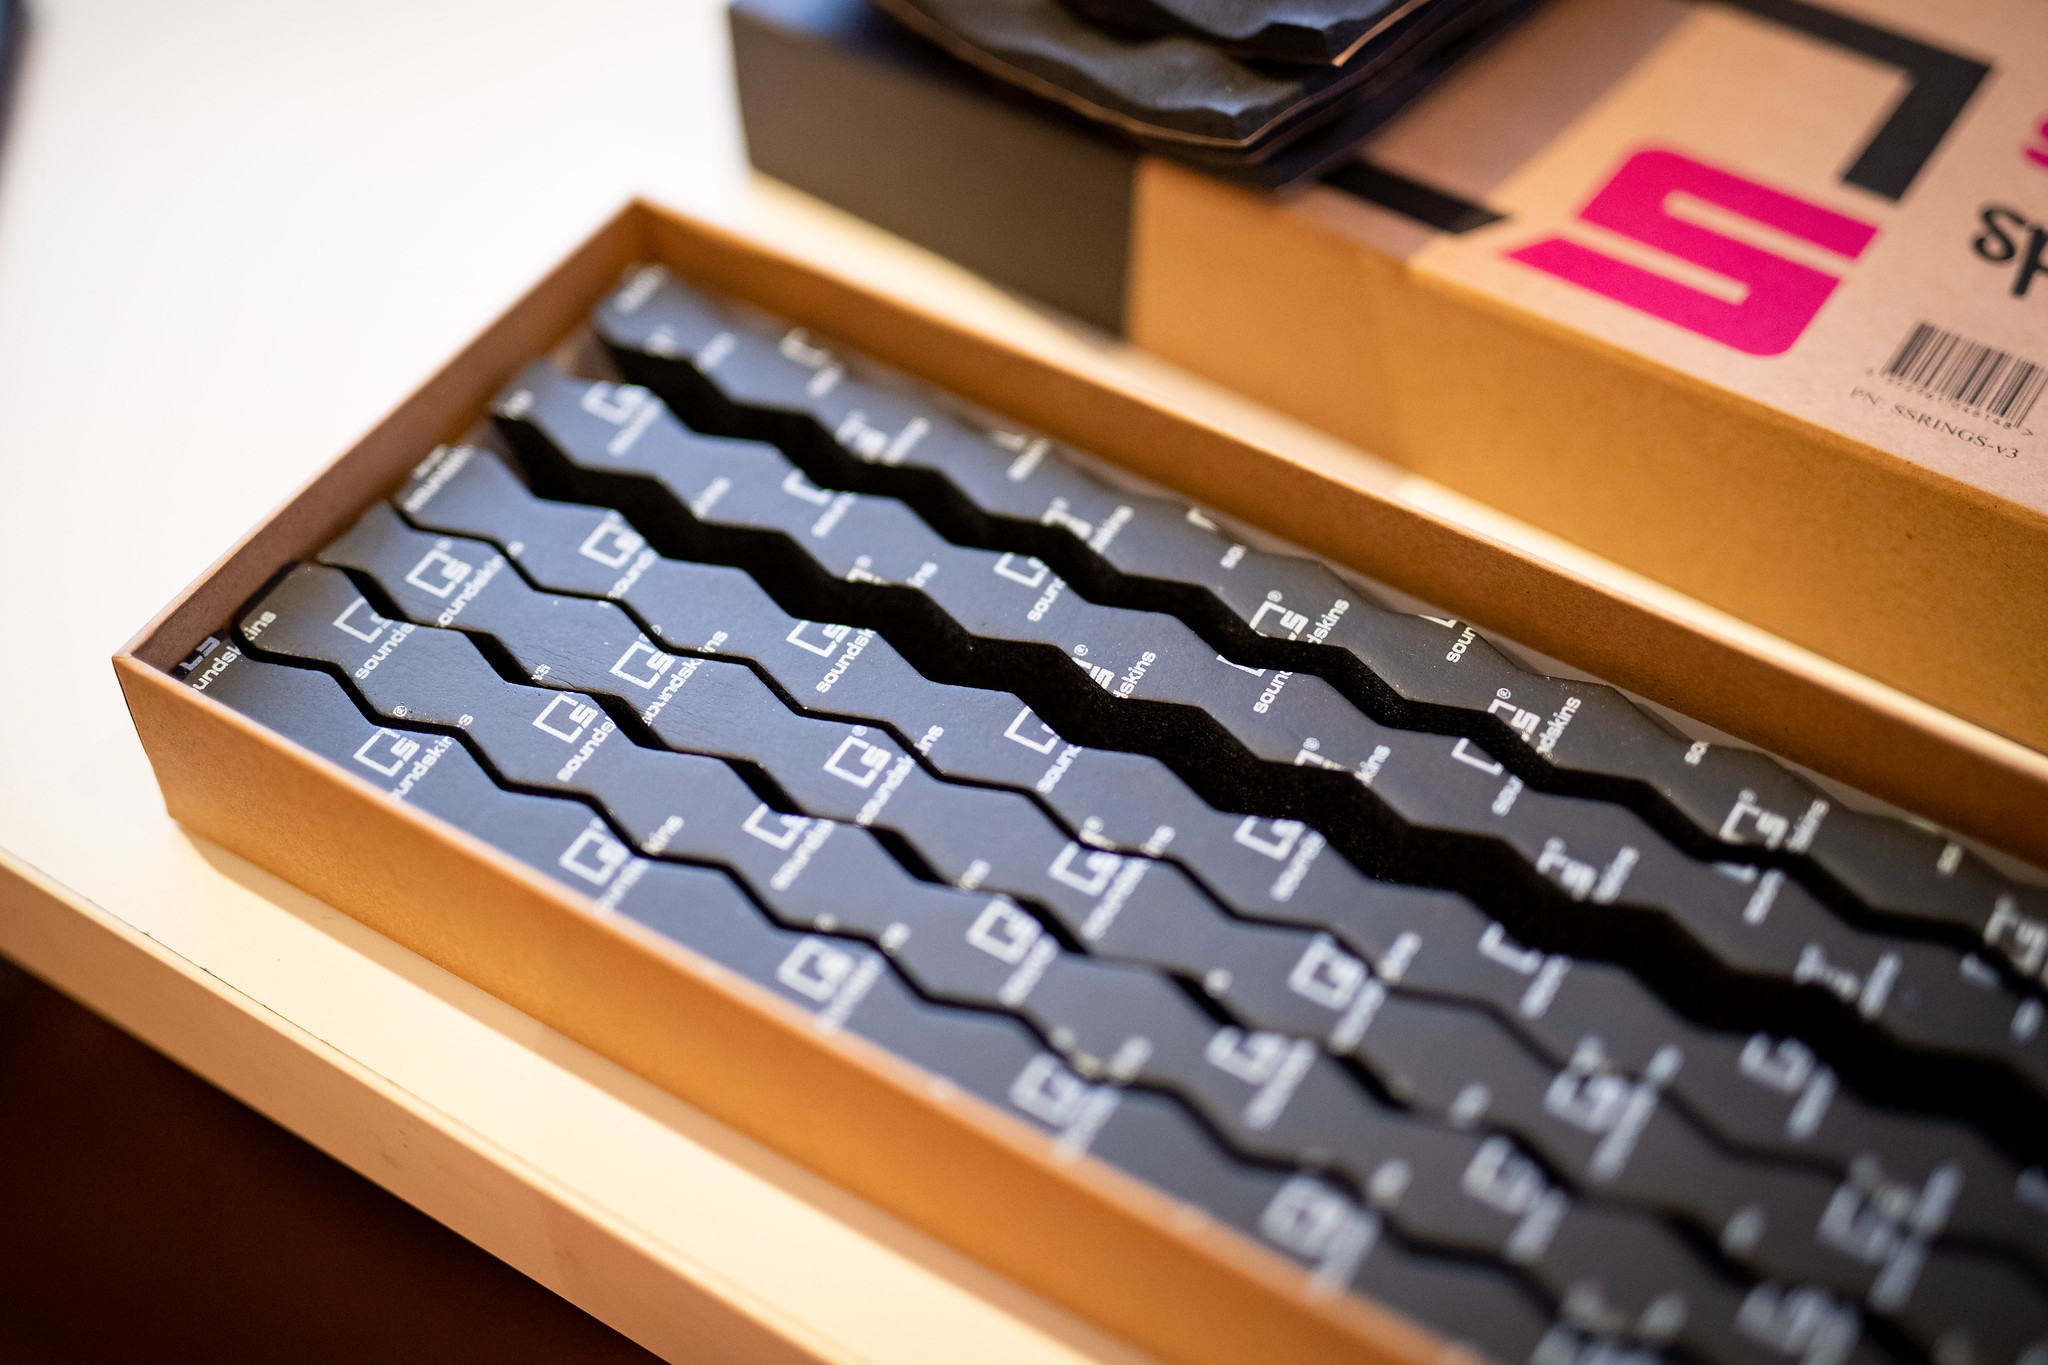
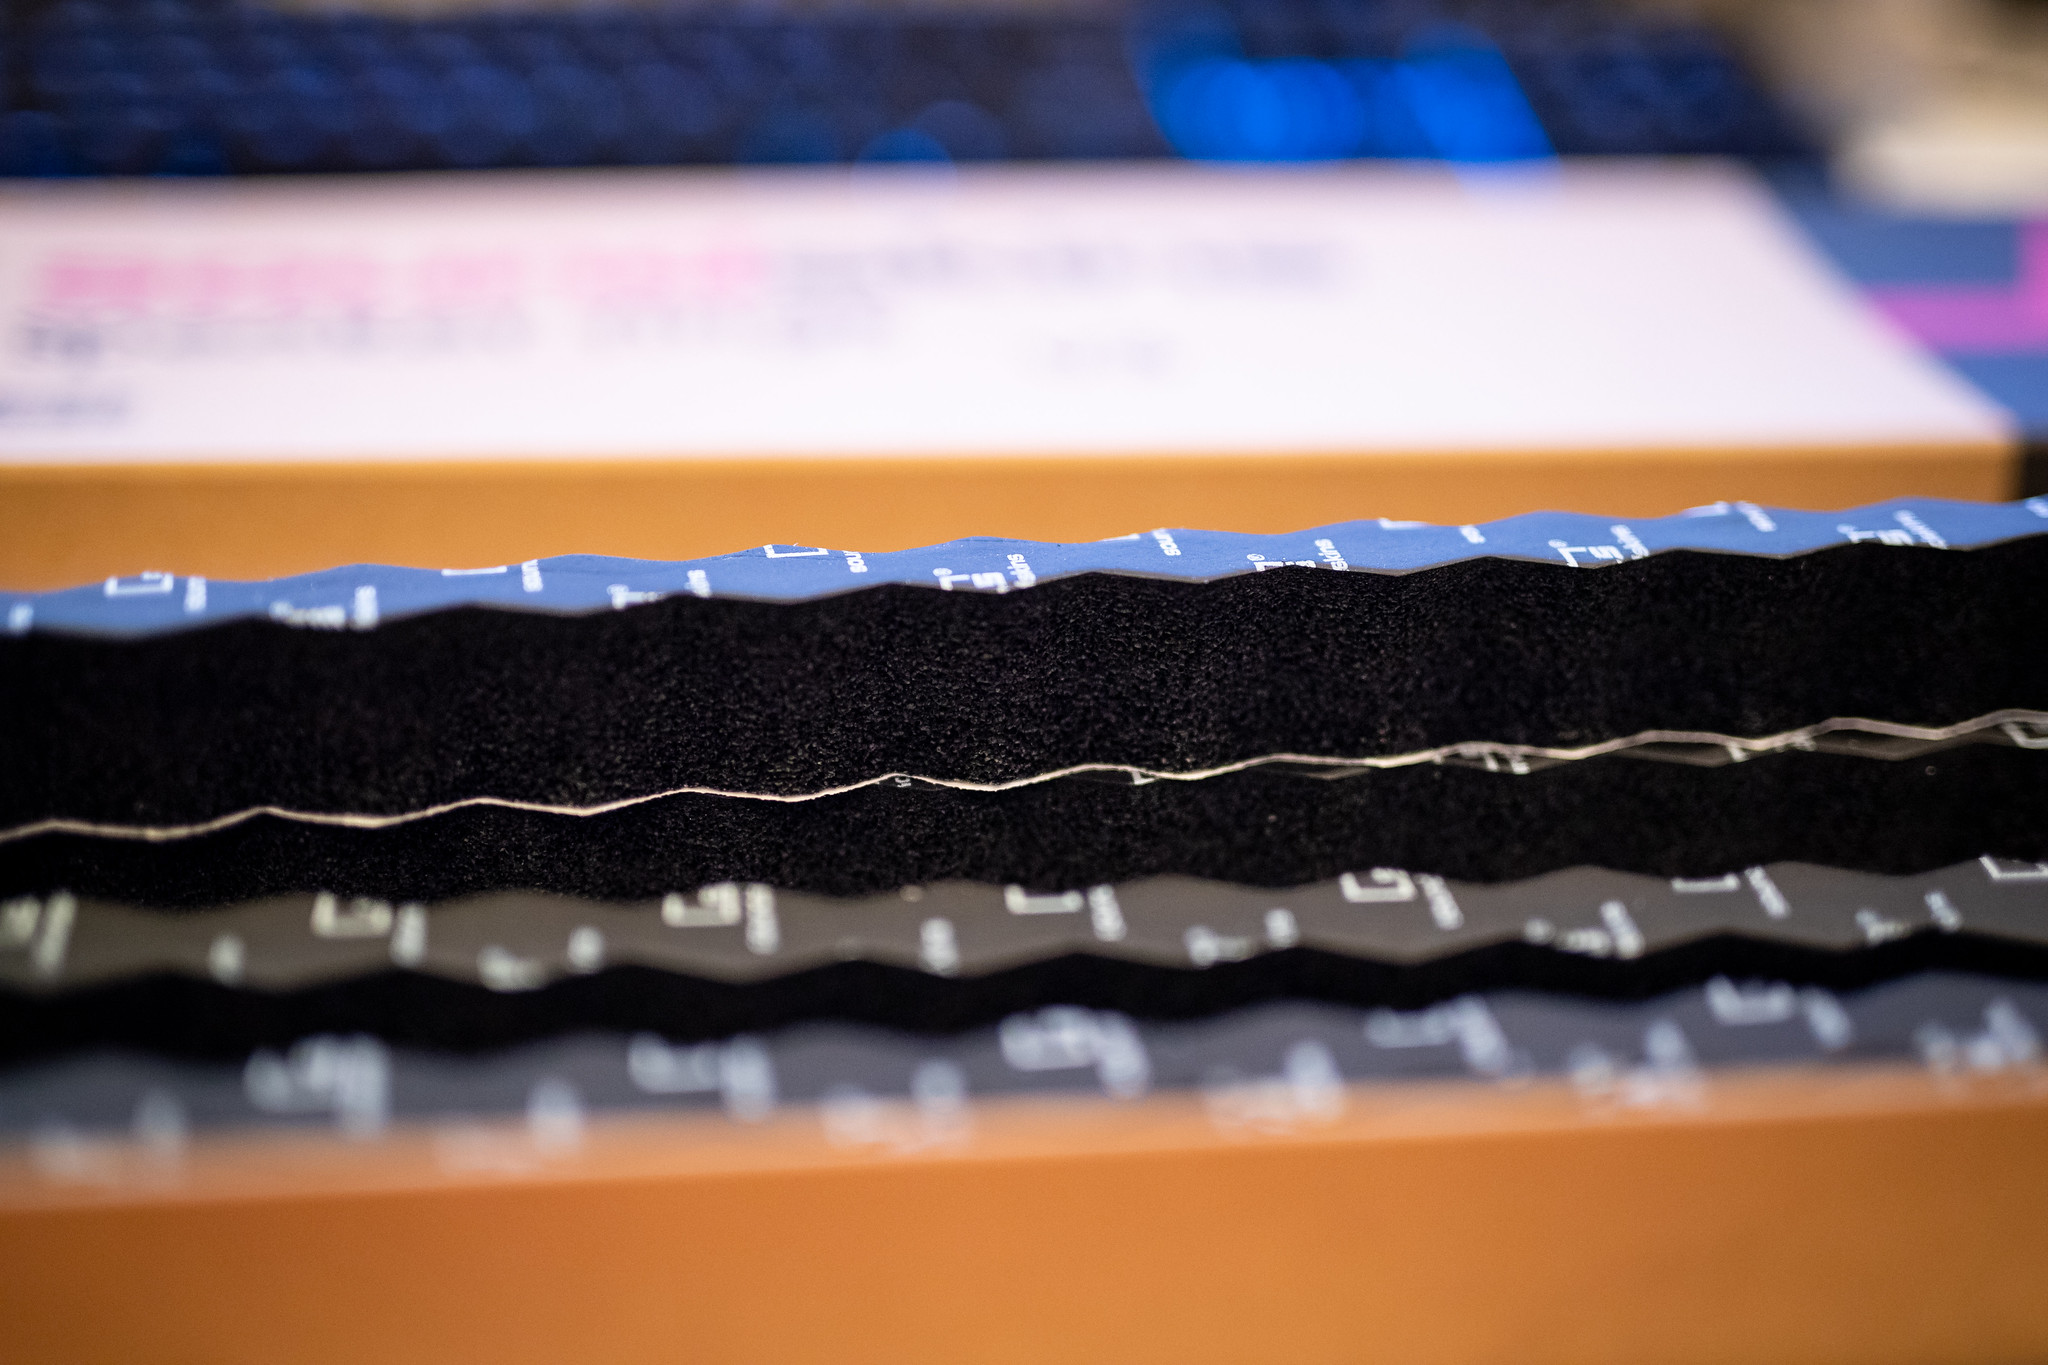
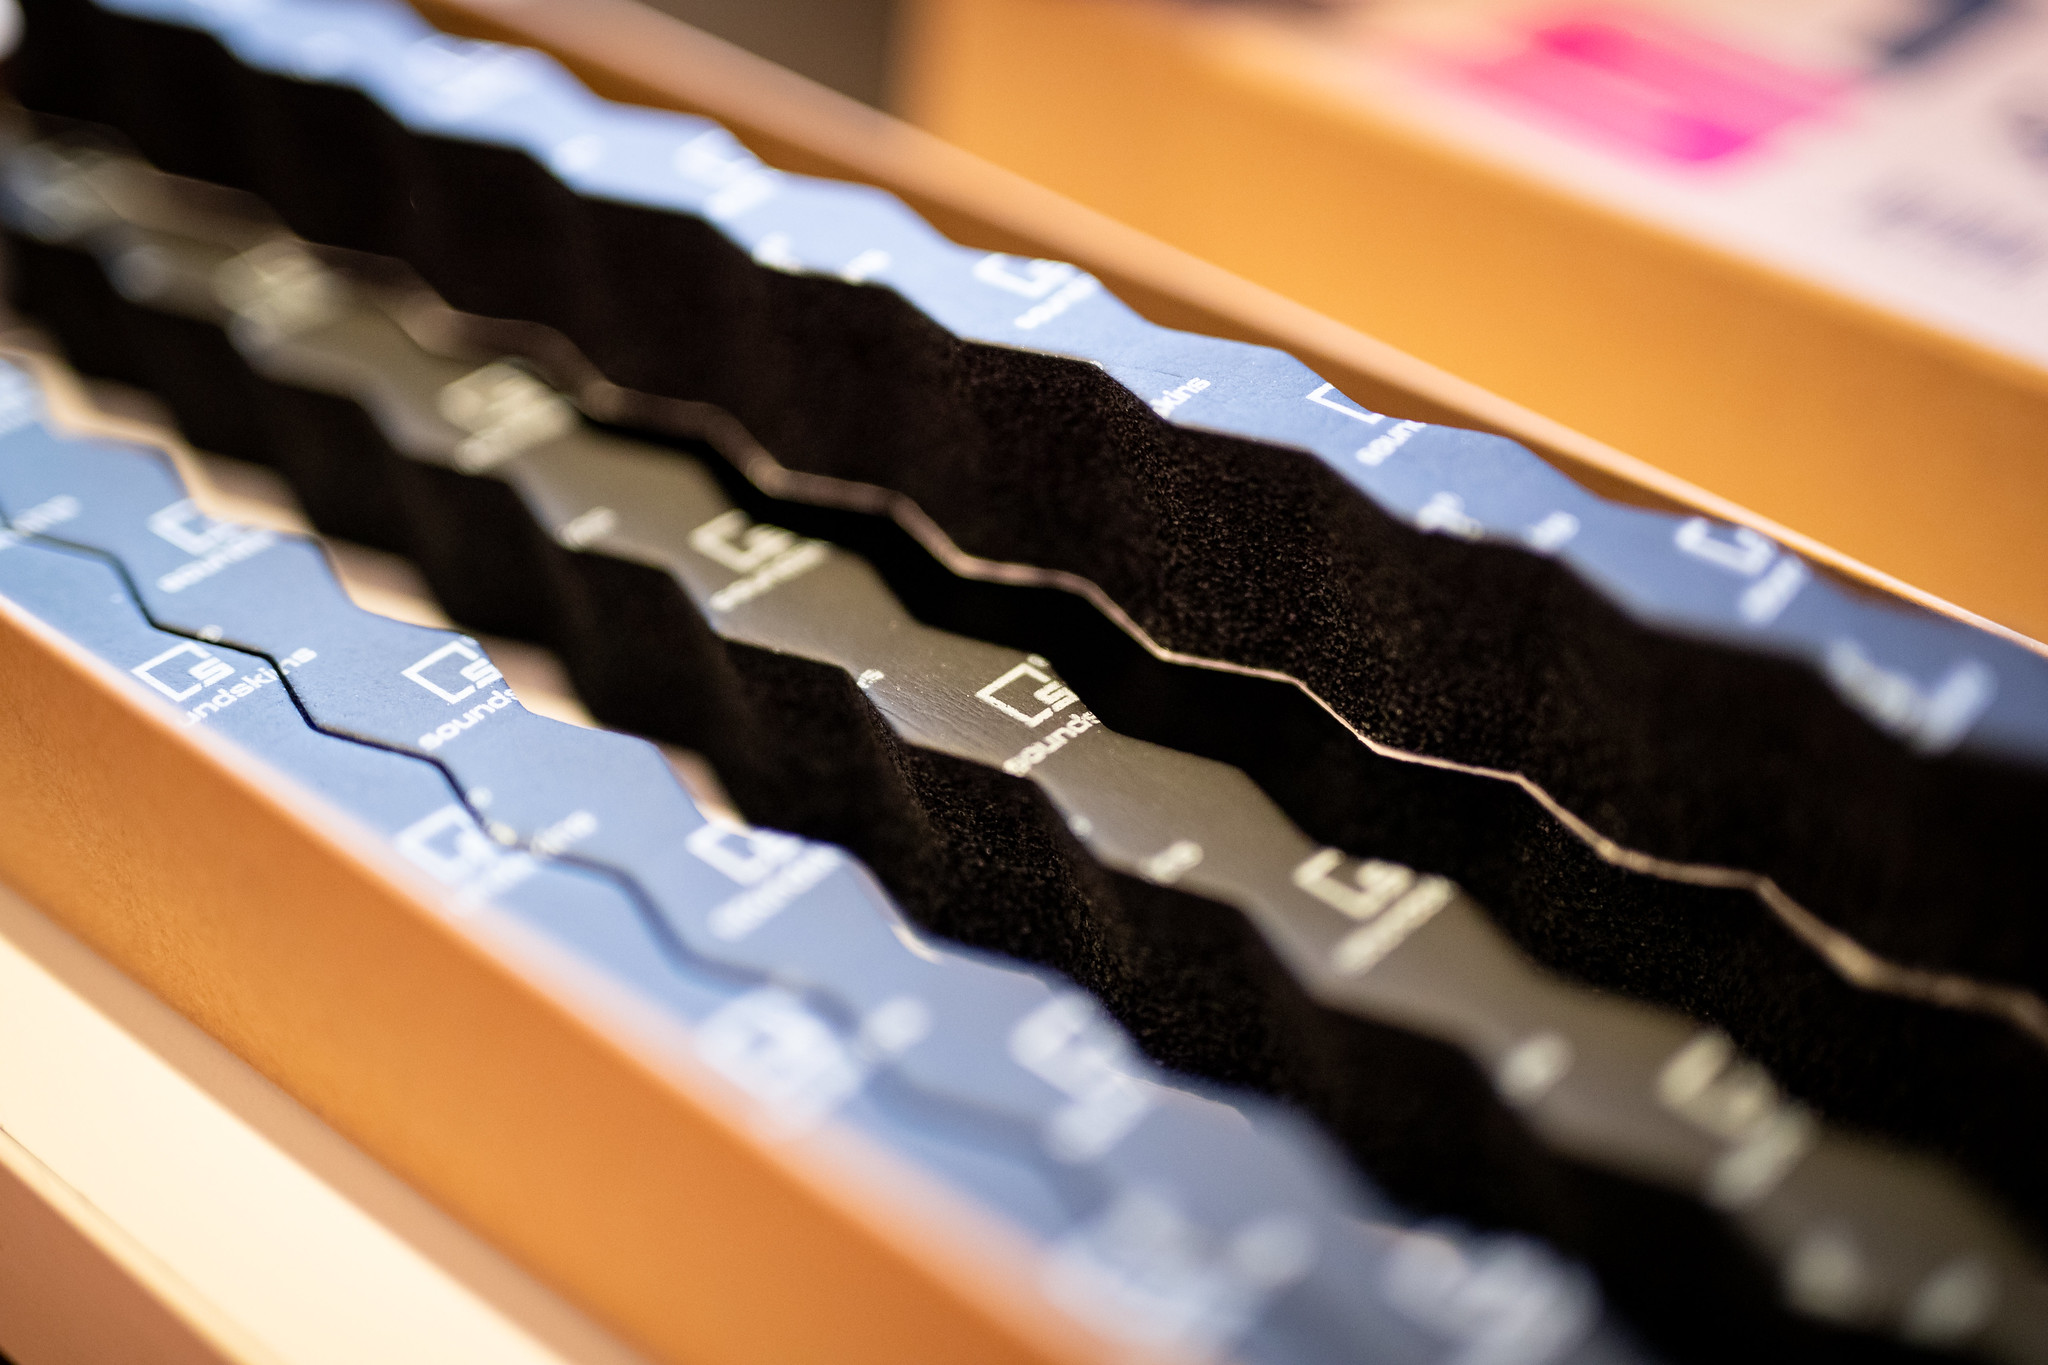
Sound Deadening: SoundSkins Pro Mega Kit
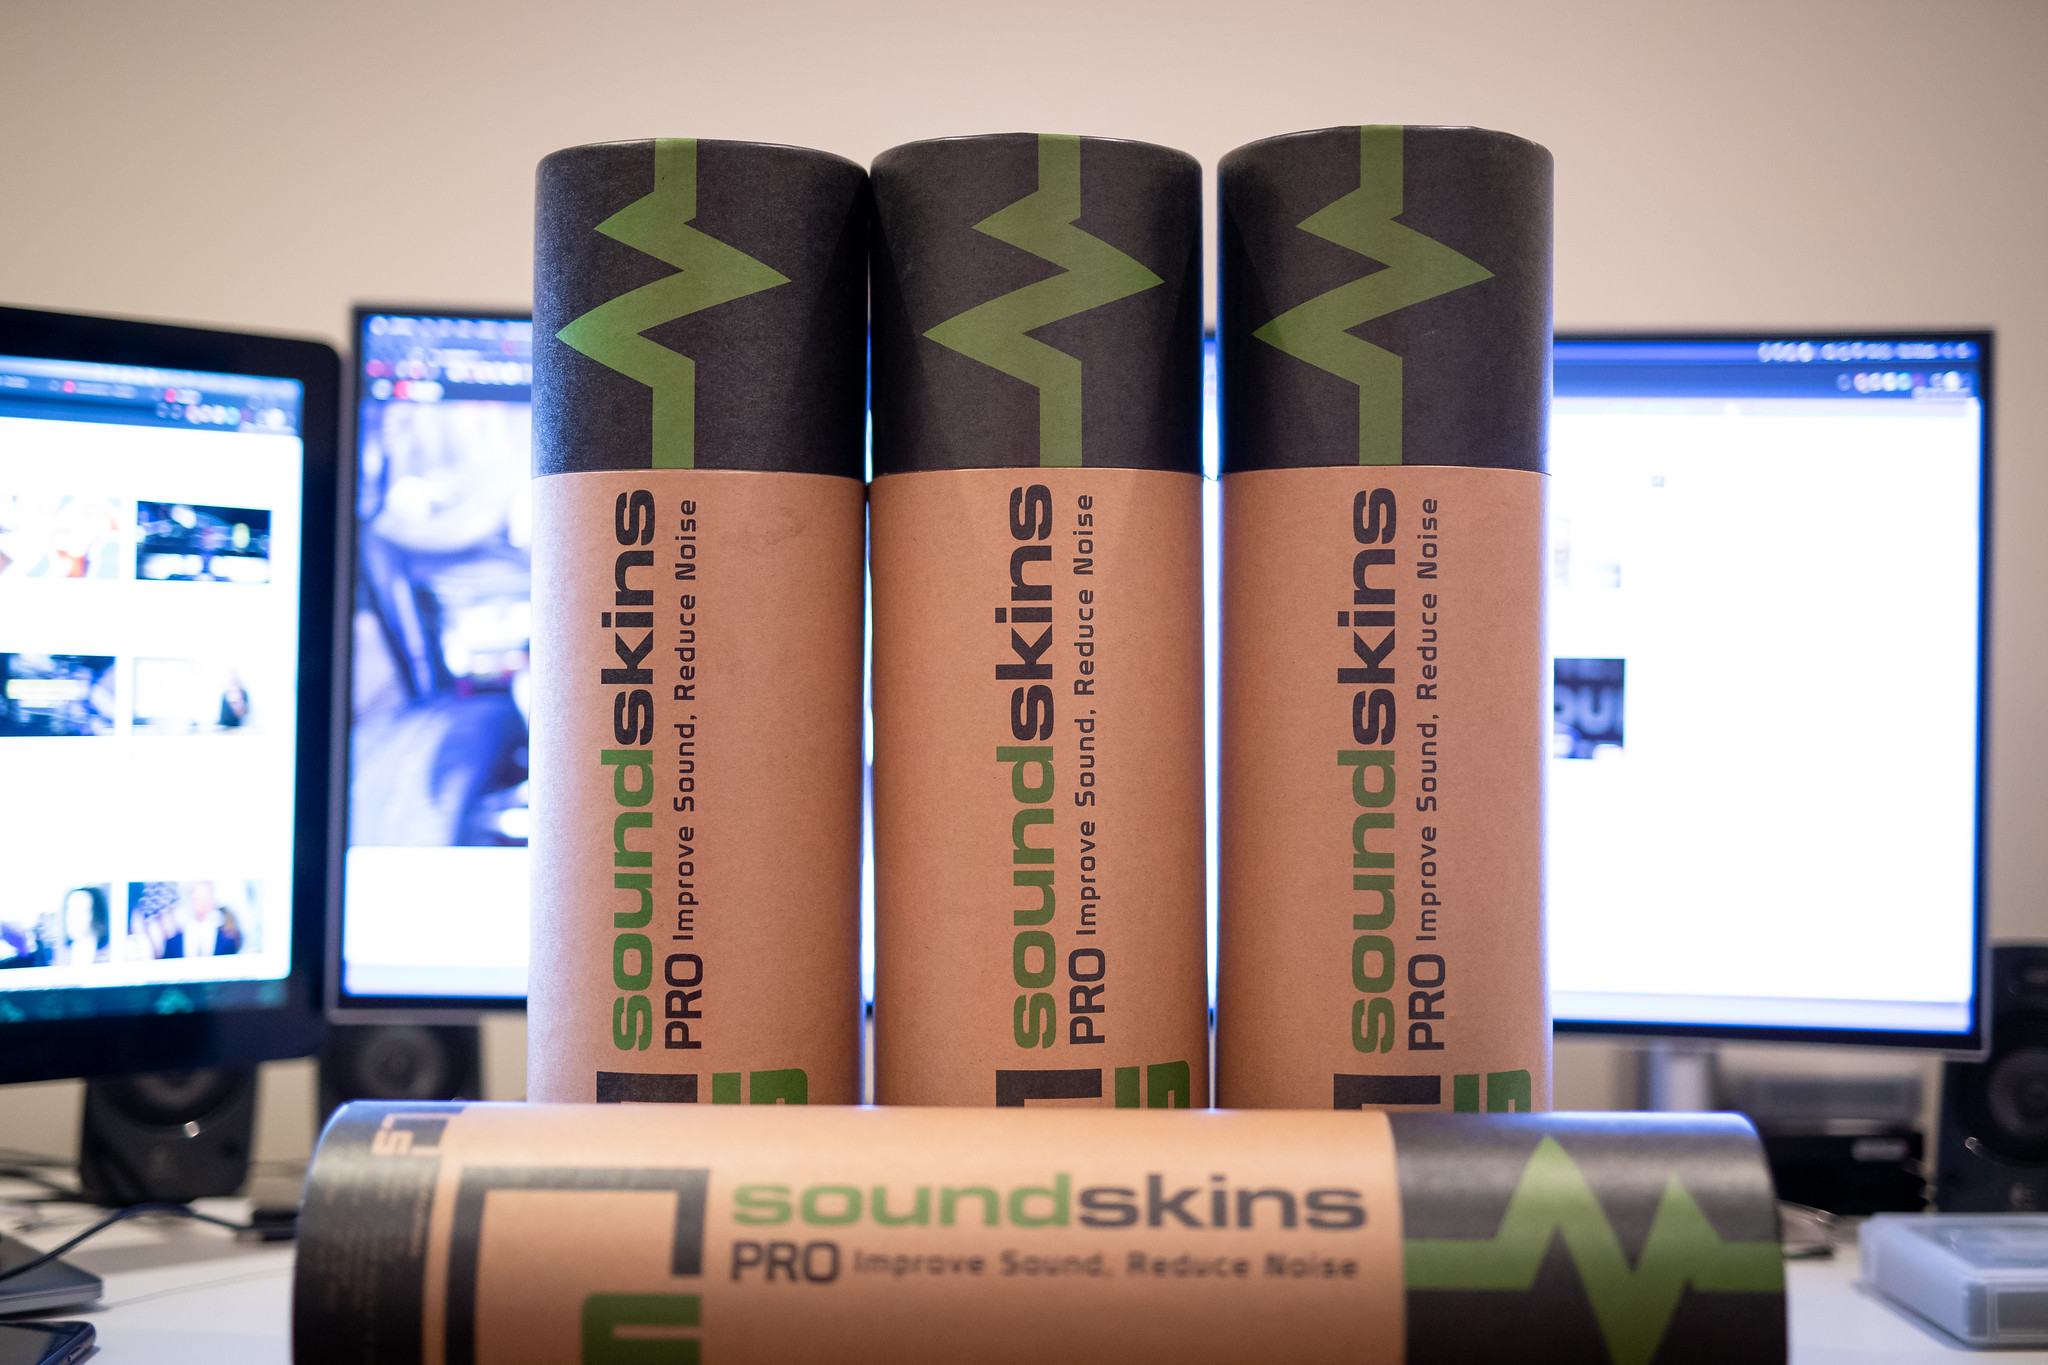


Speaker Rings: SoundSkins Rings V3


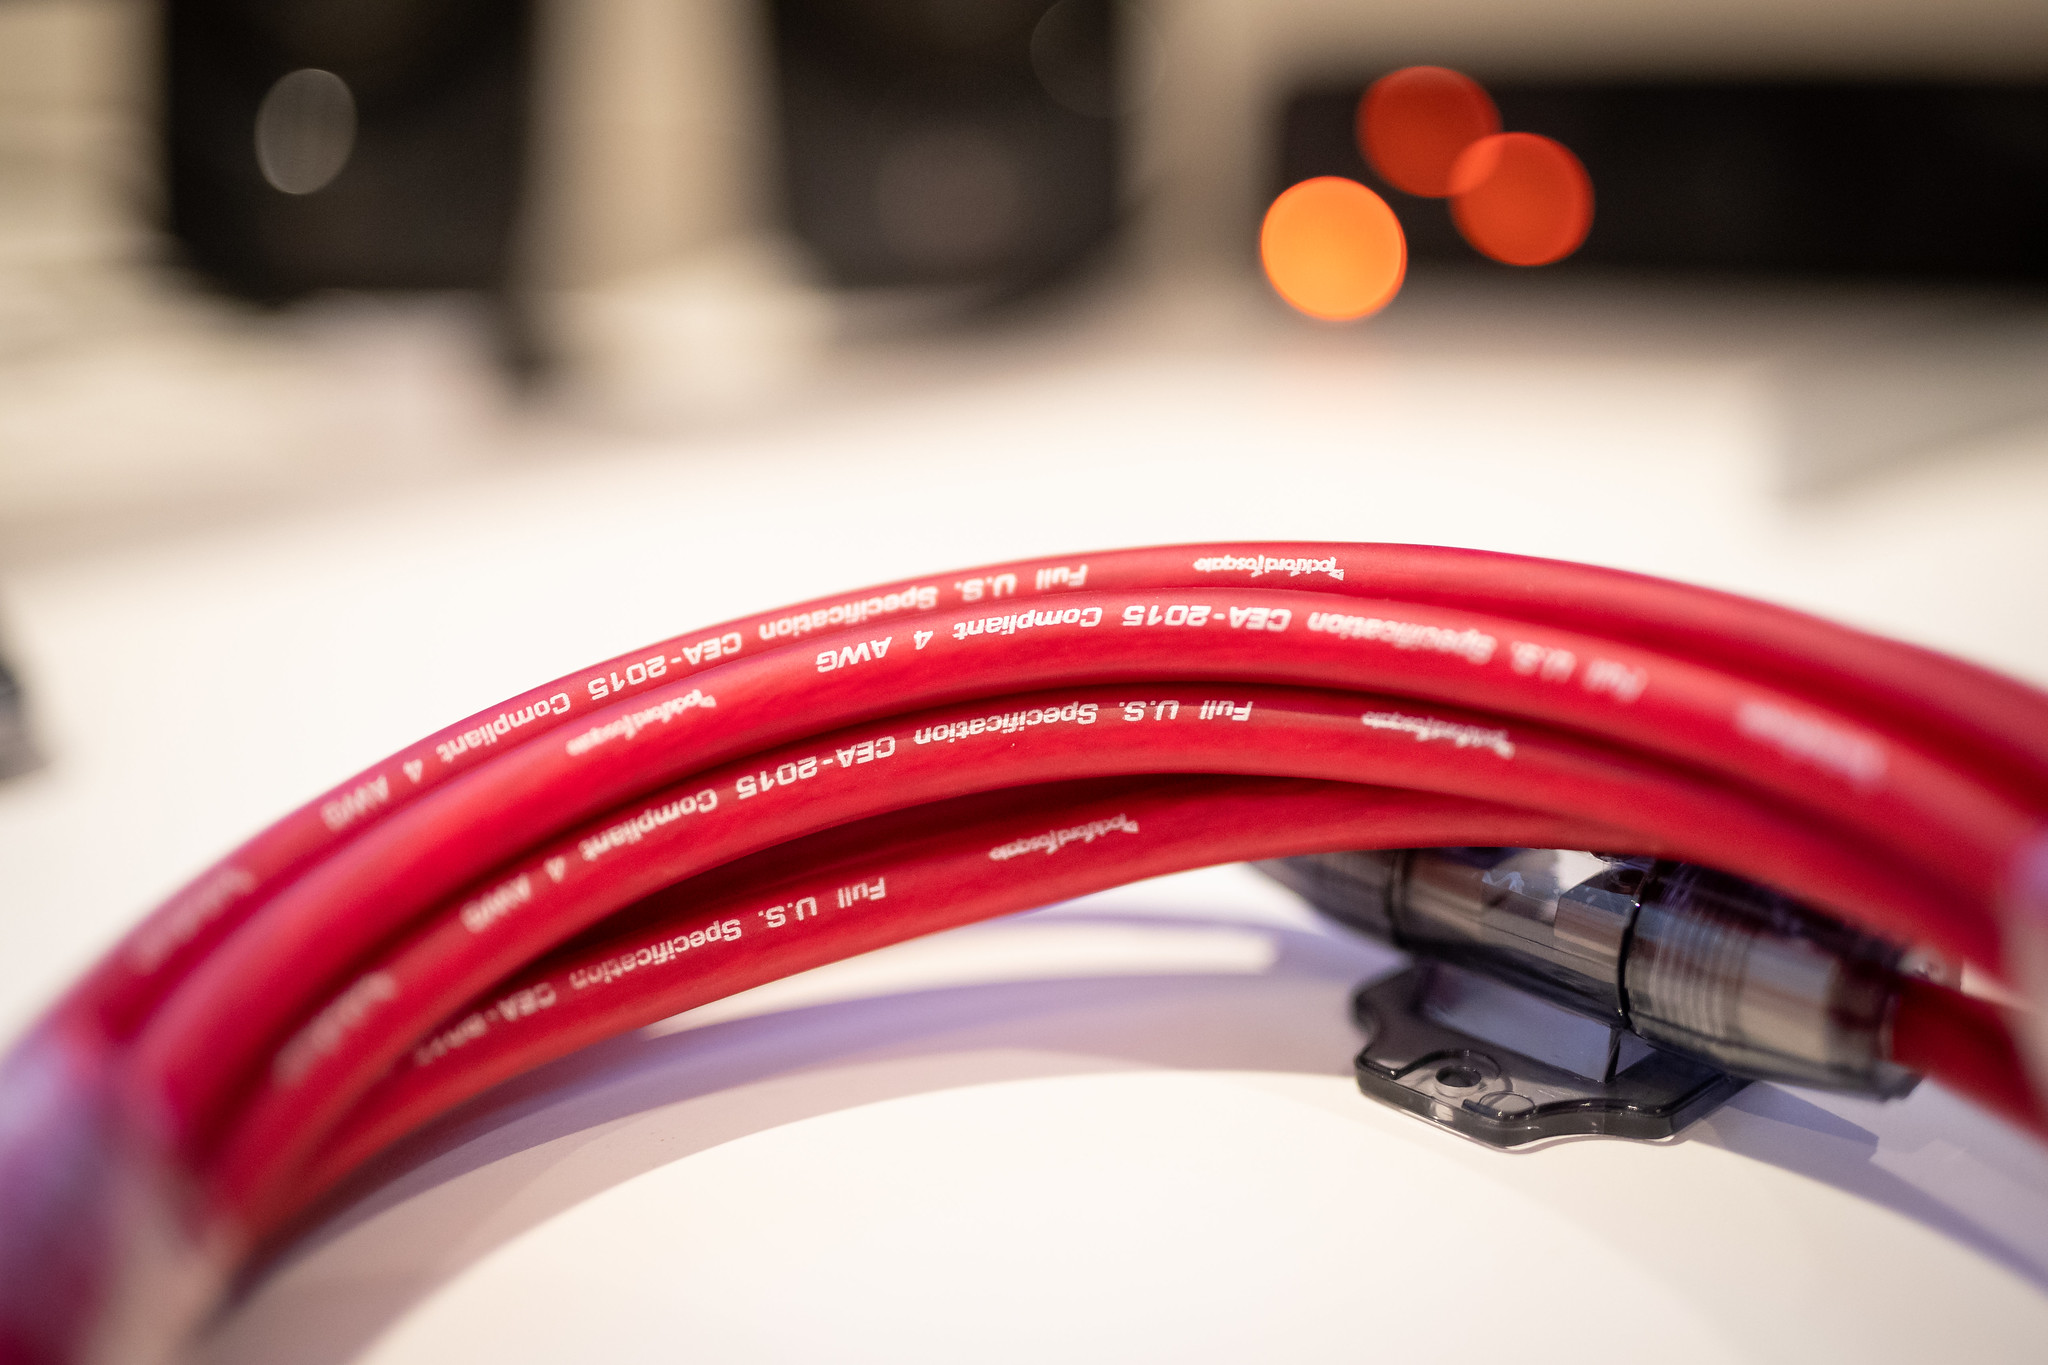
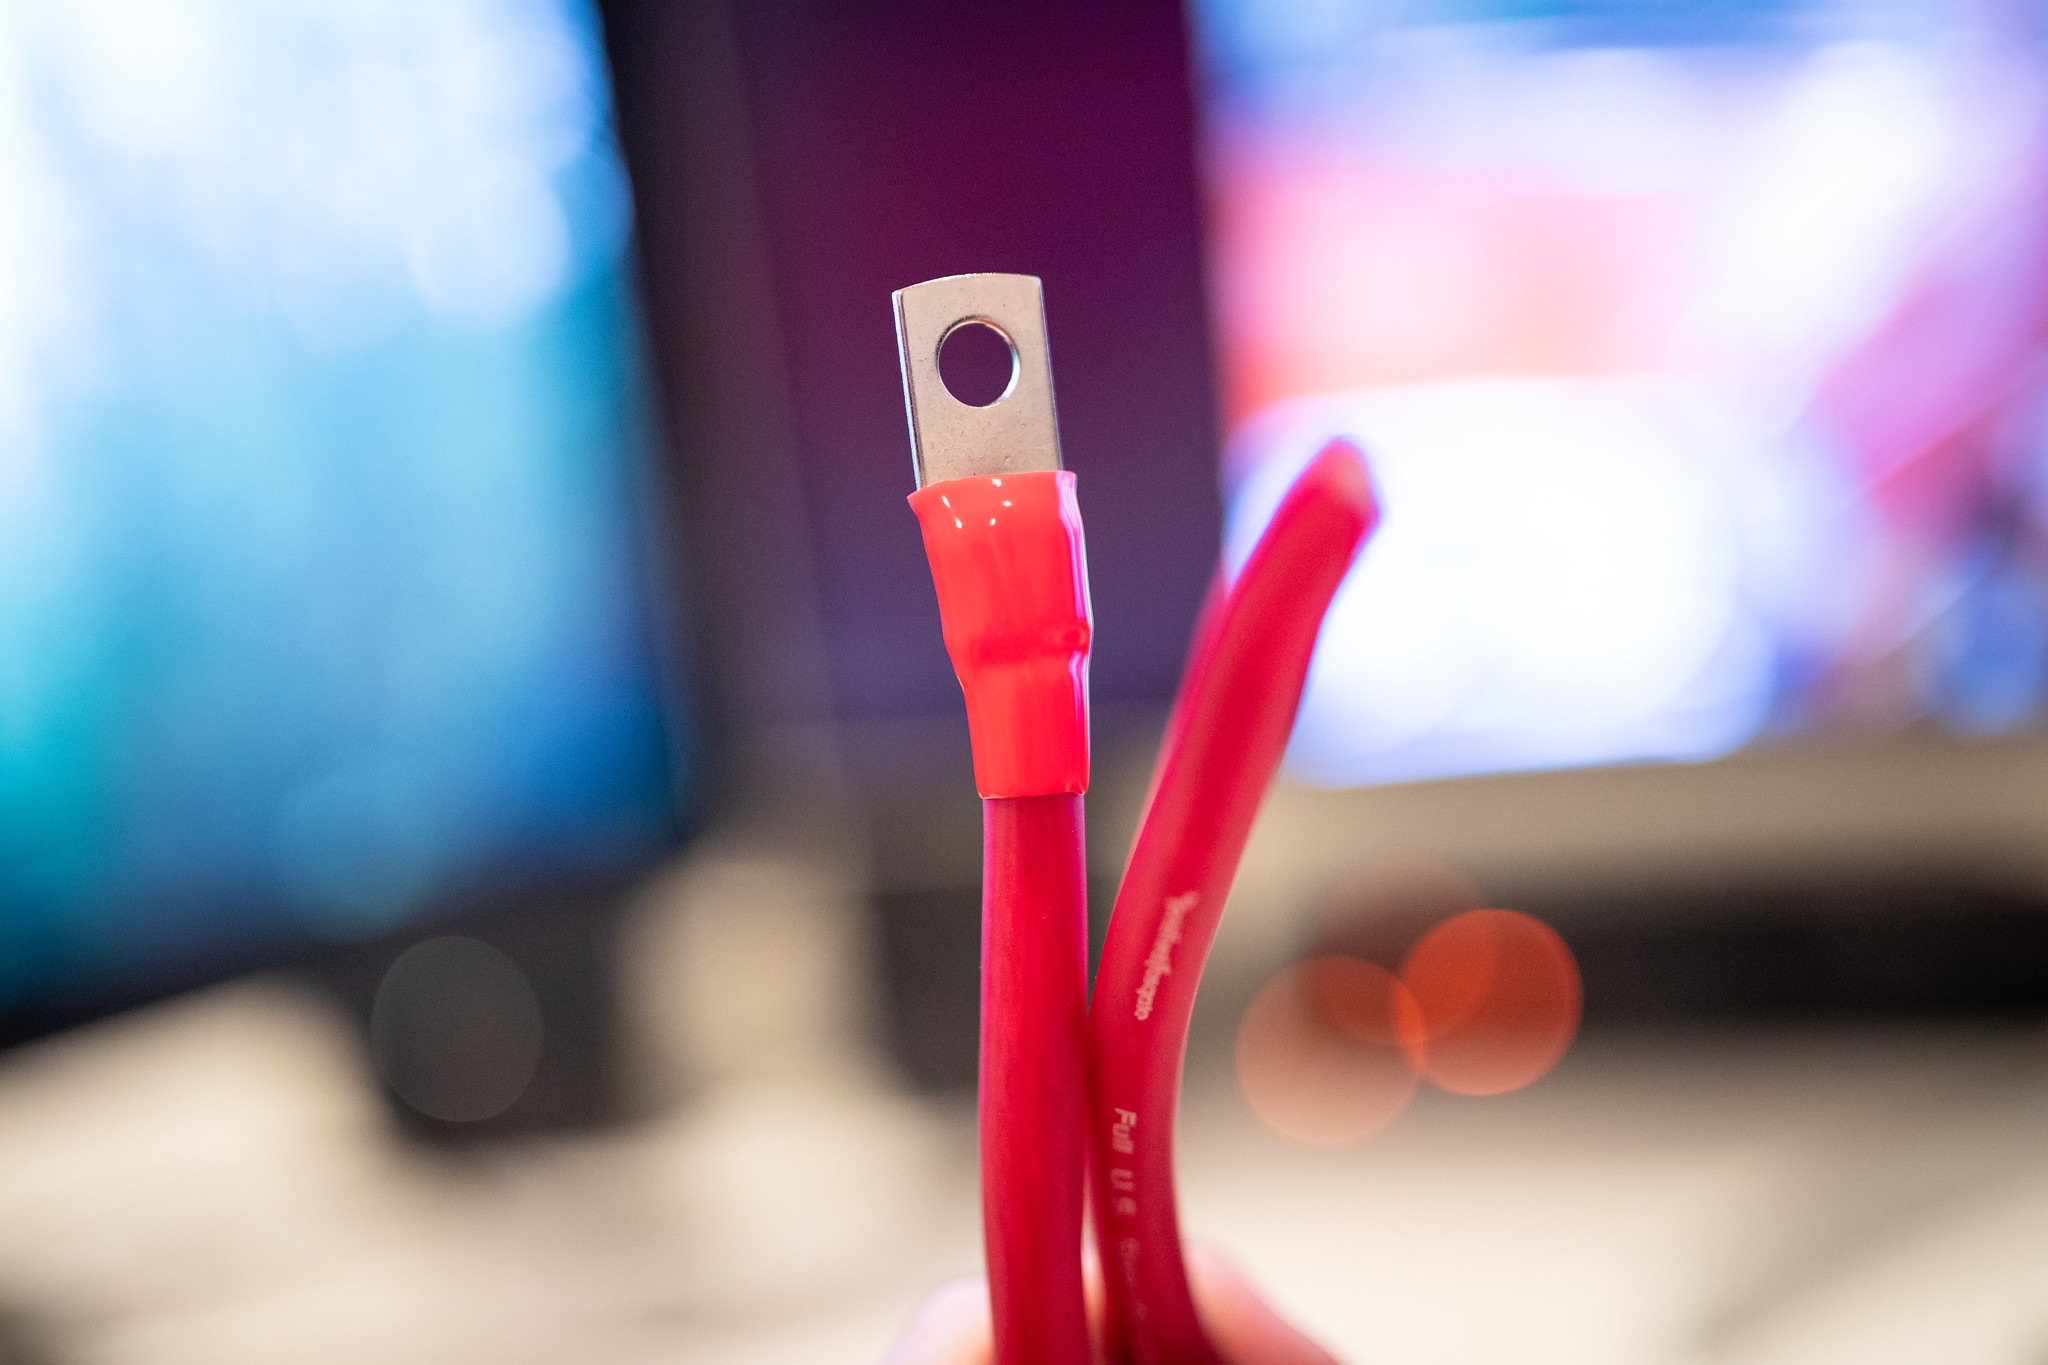
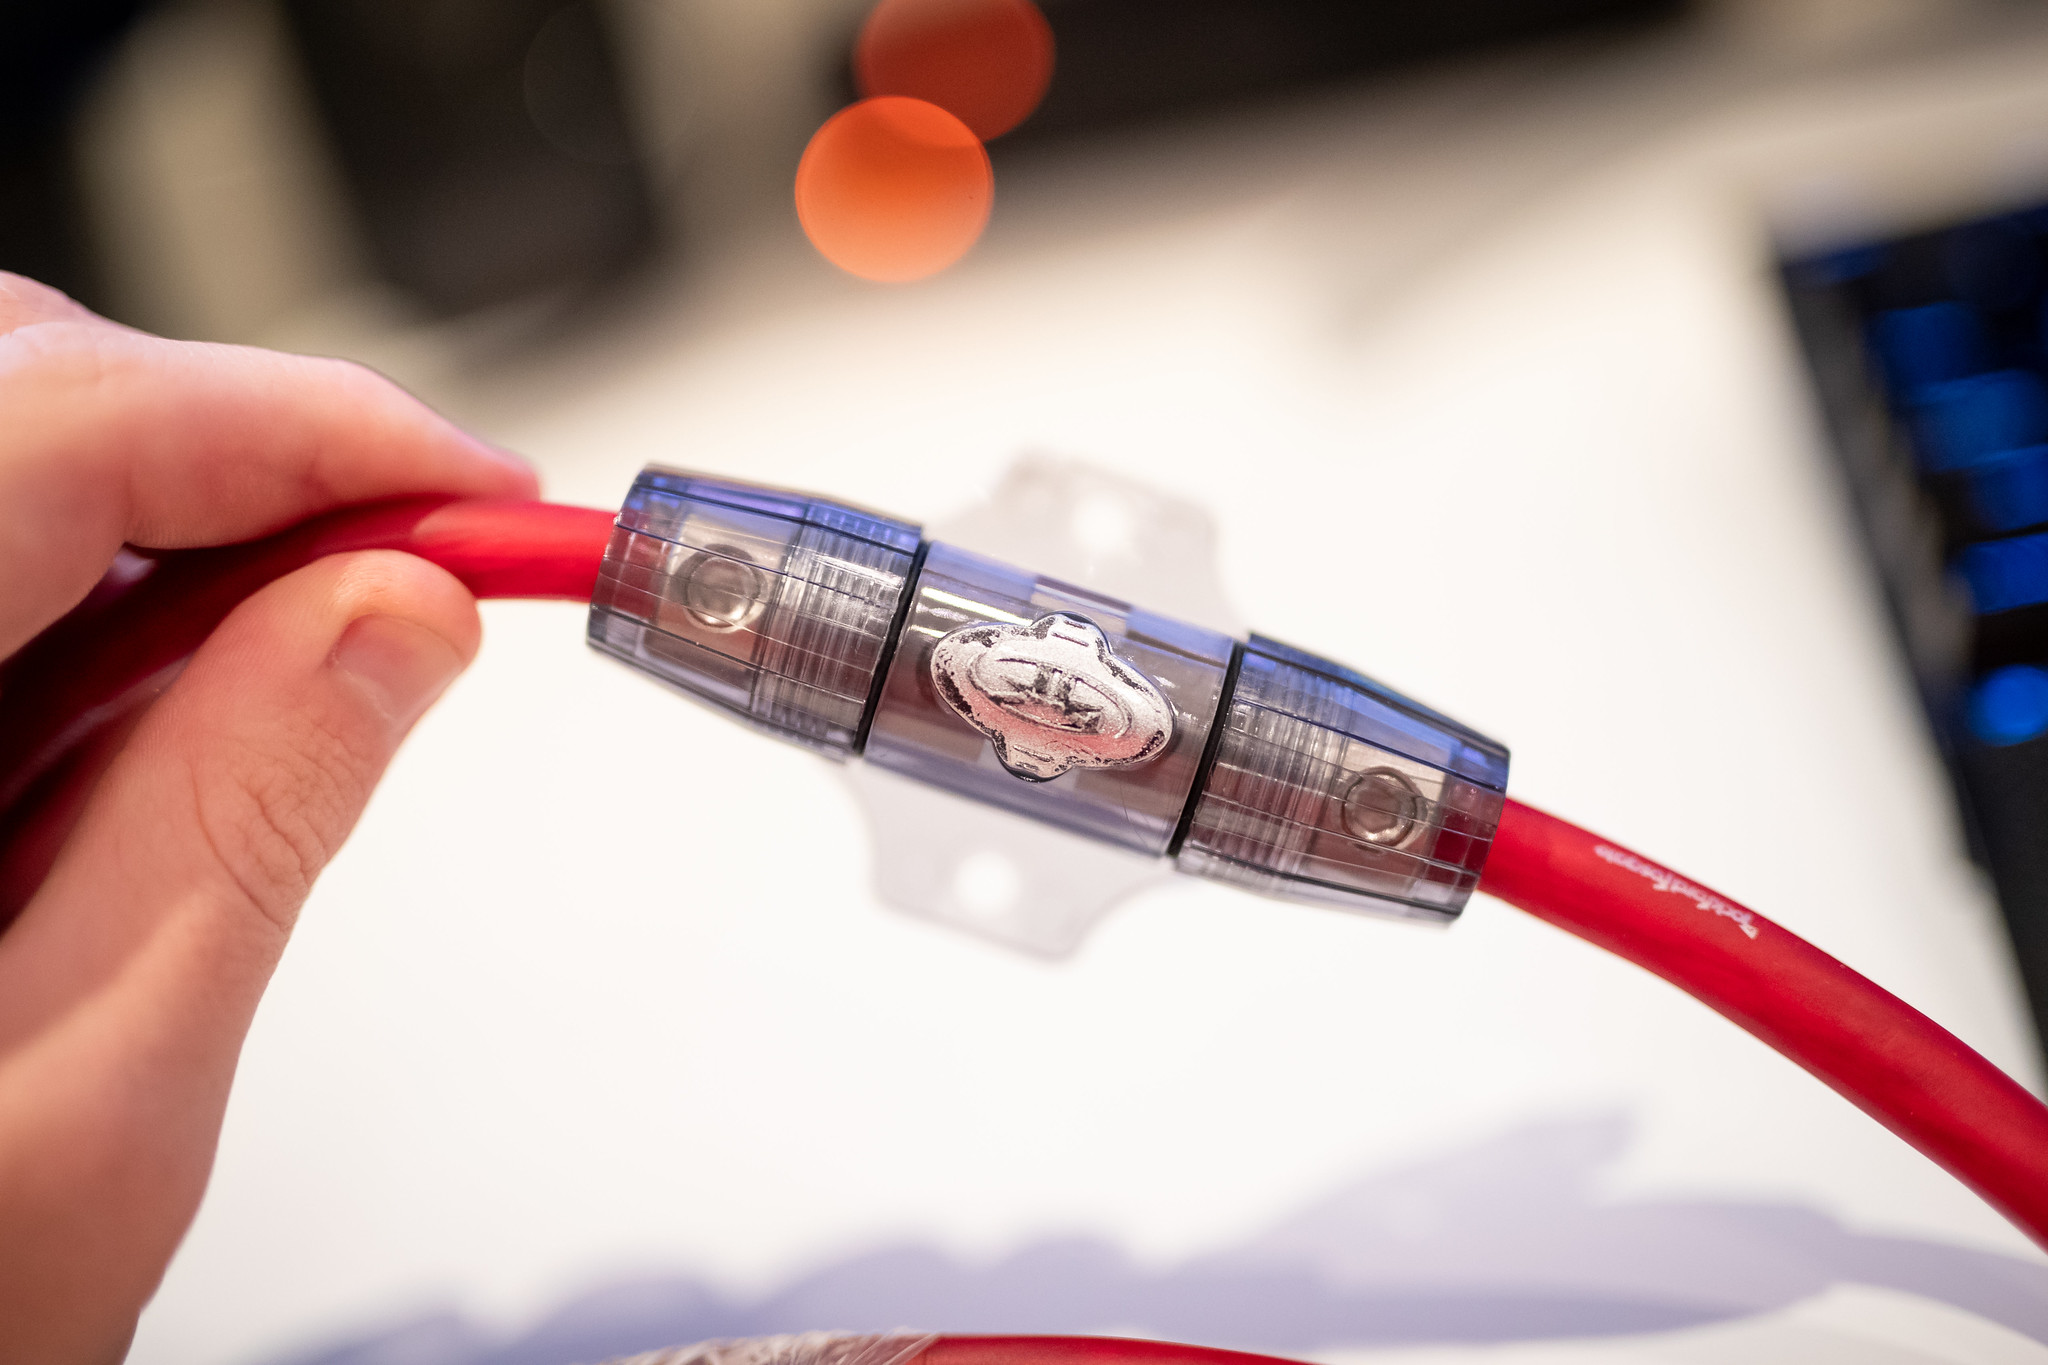
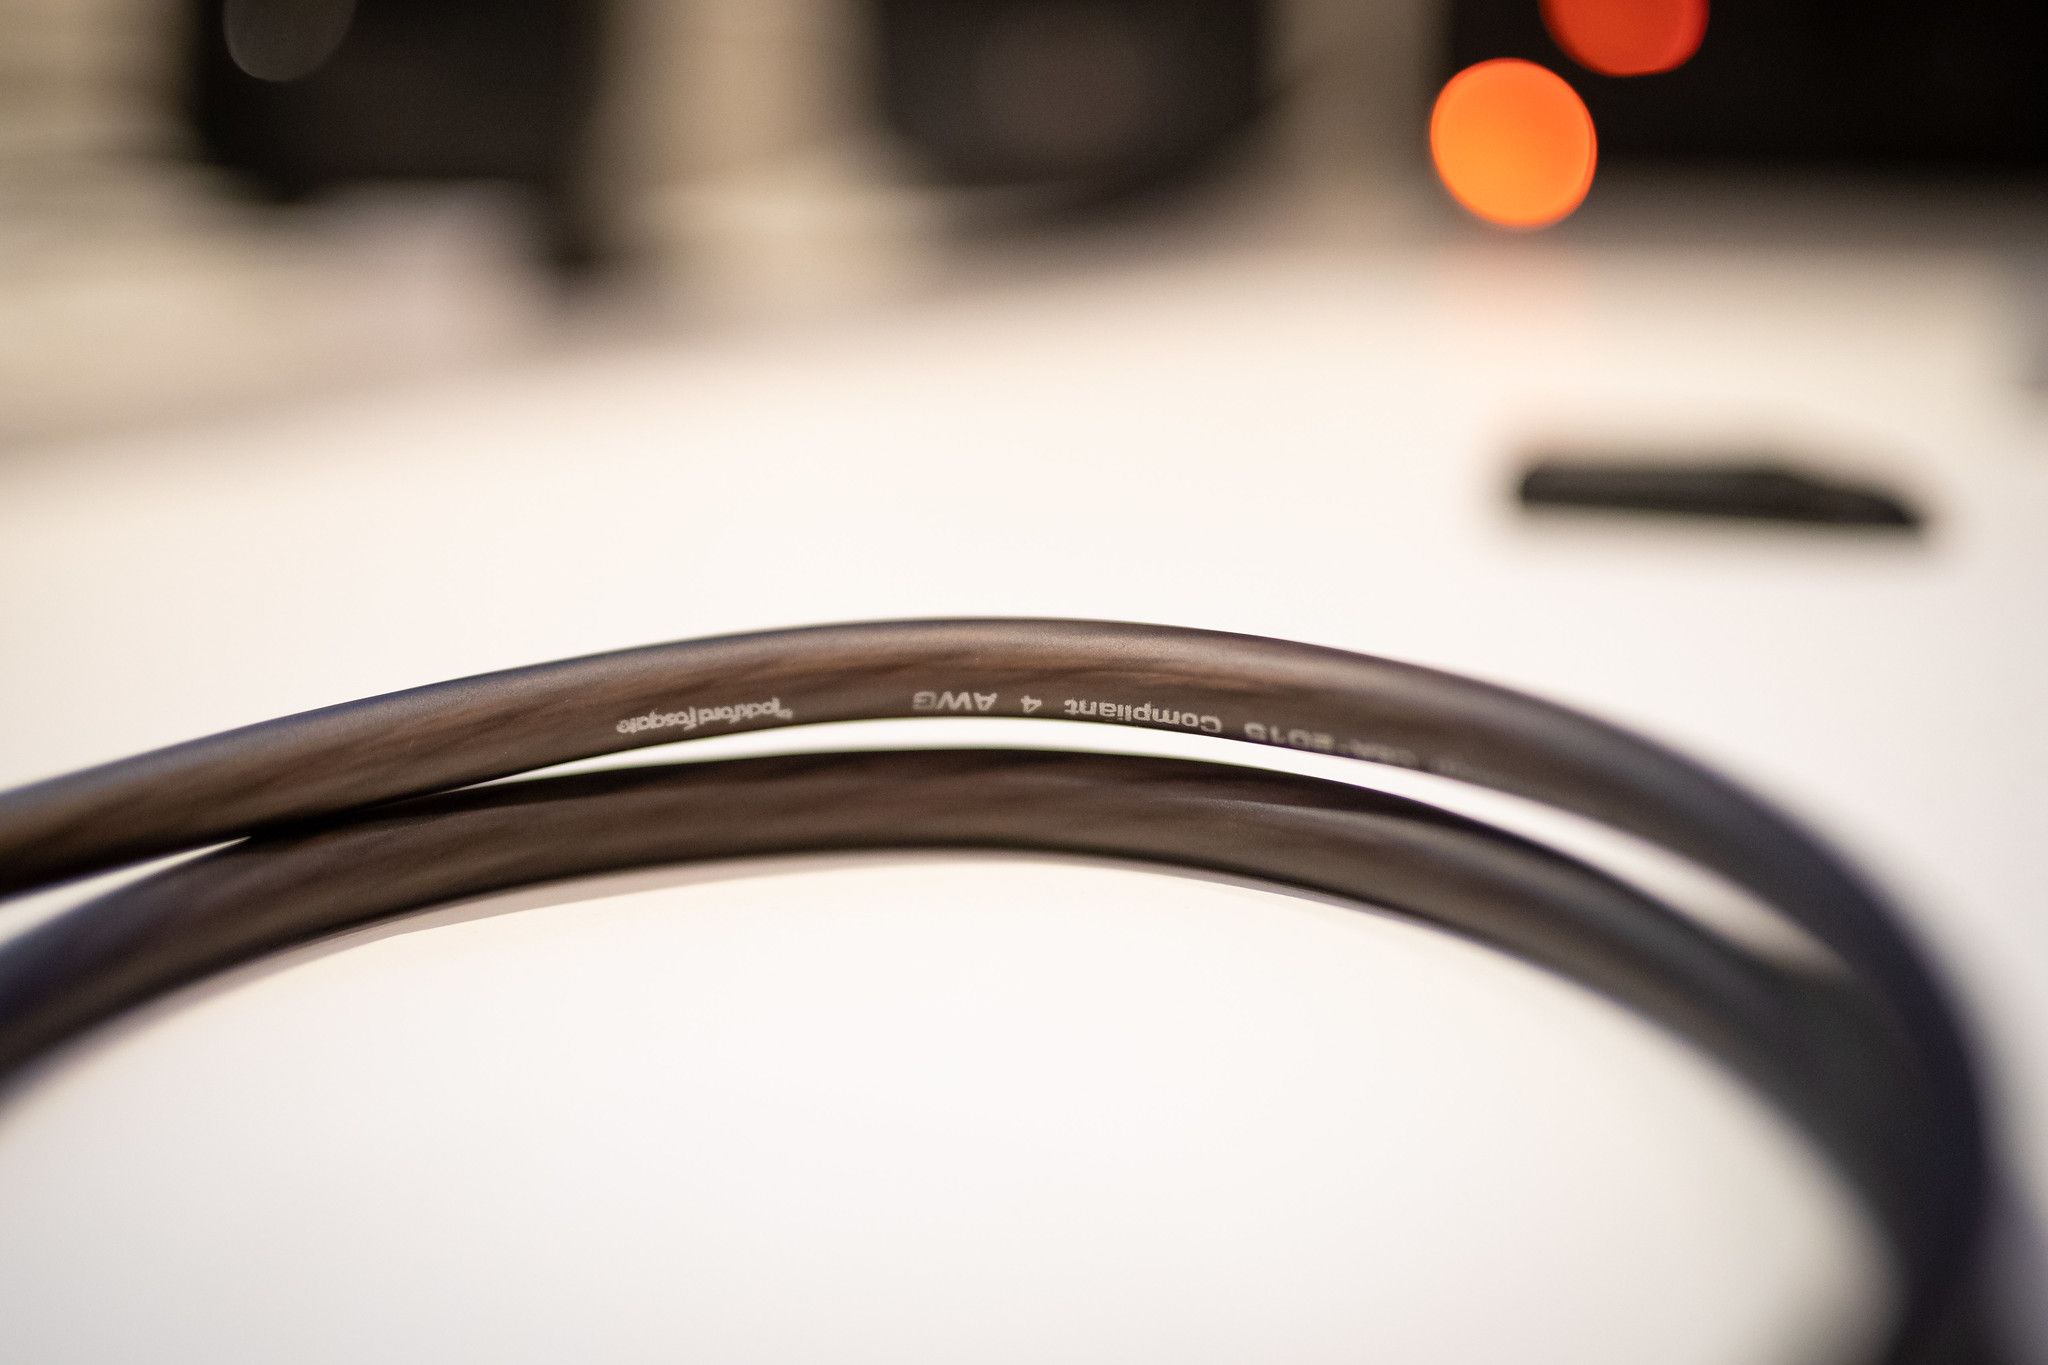
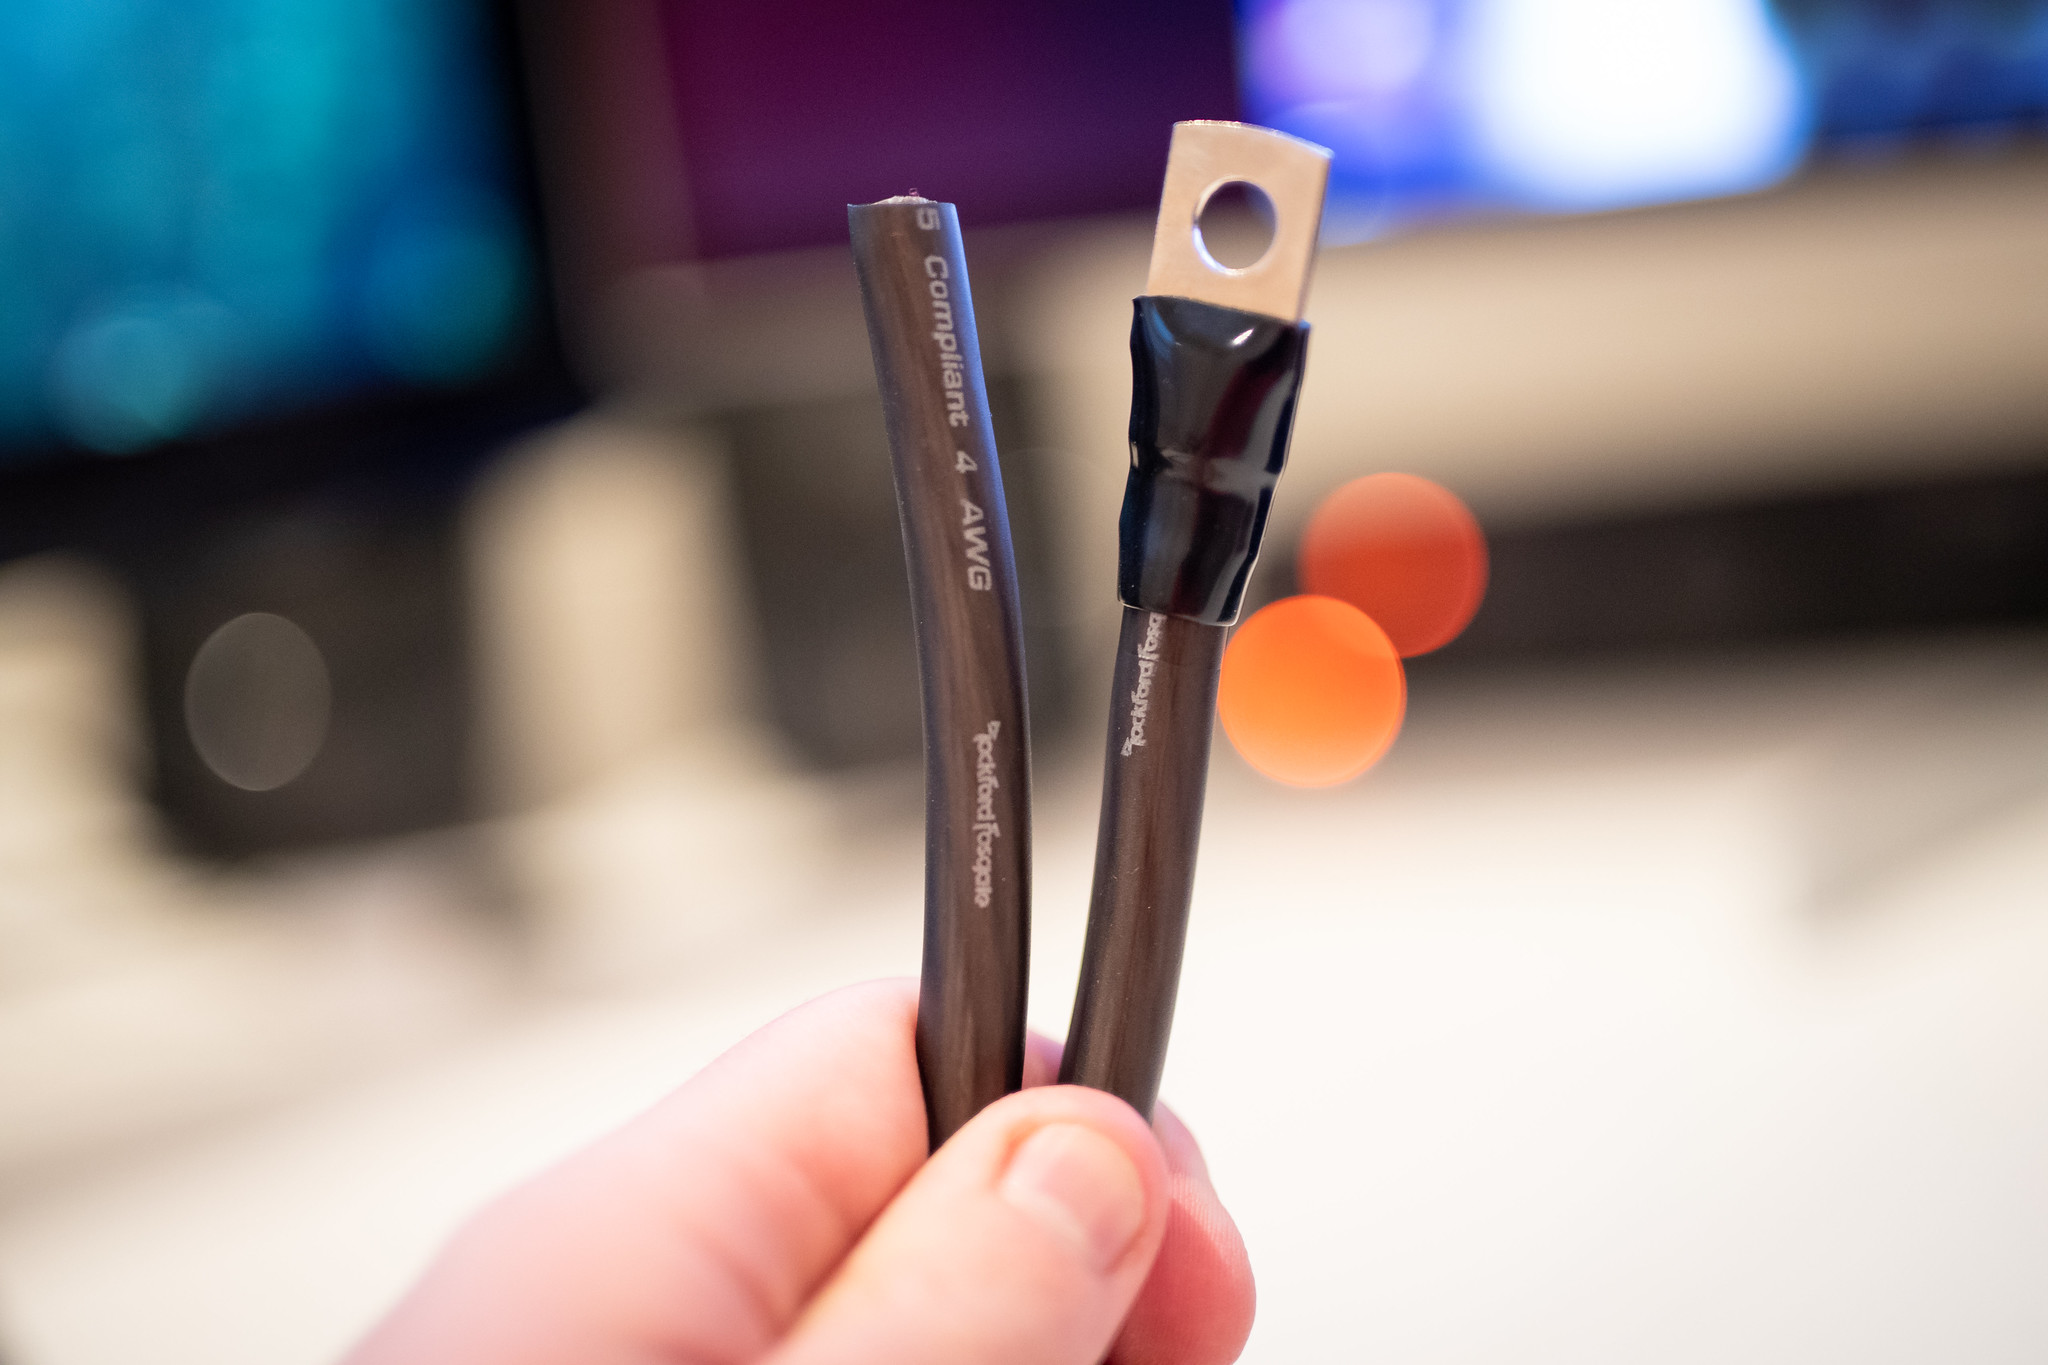
Amp Wiring: Rockford Fosgate 4 AWG RFK4 amp wiring kit


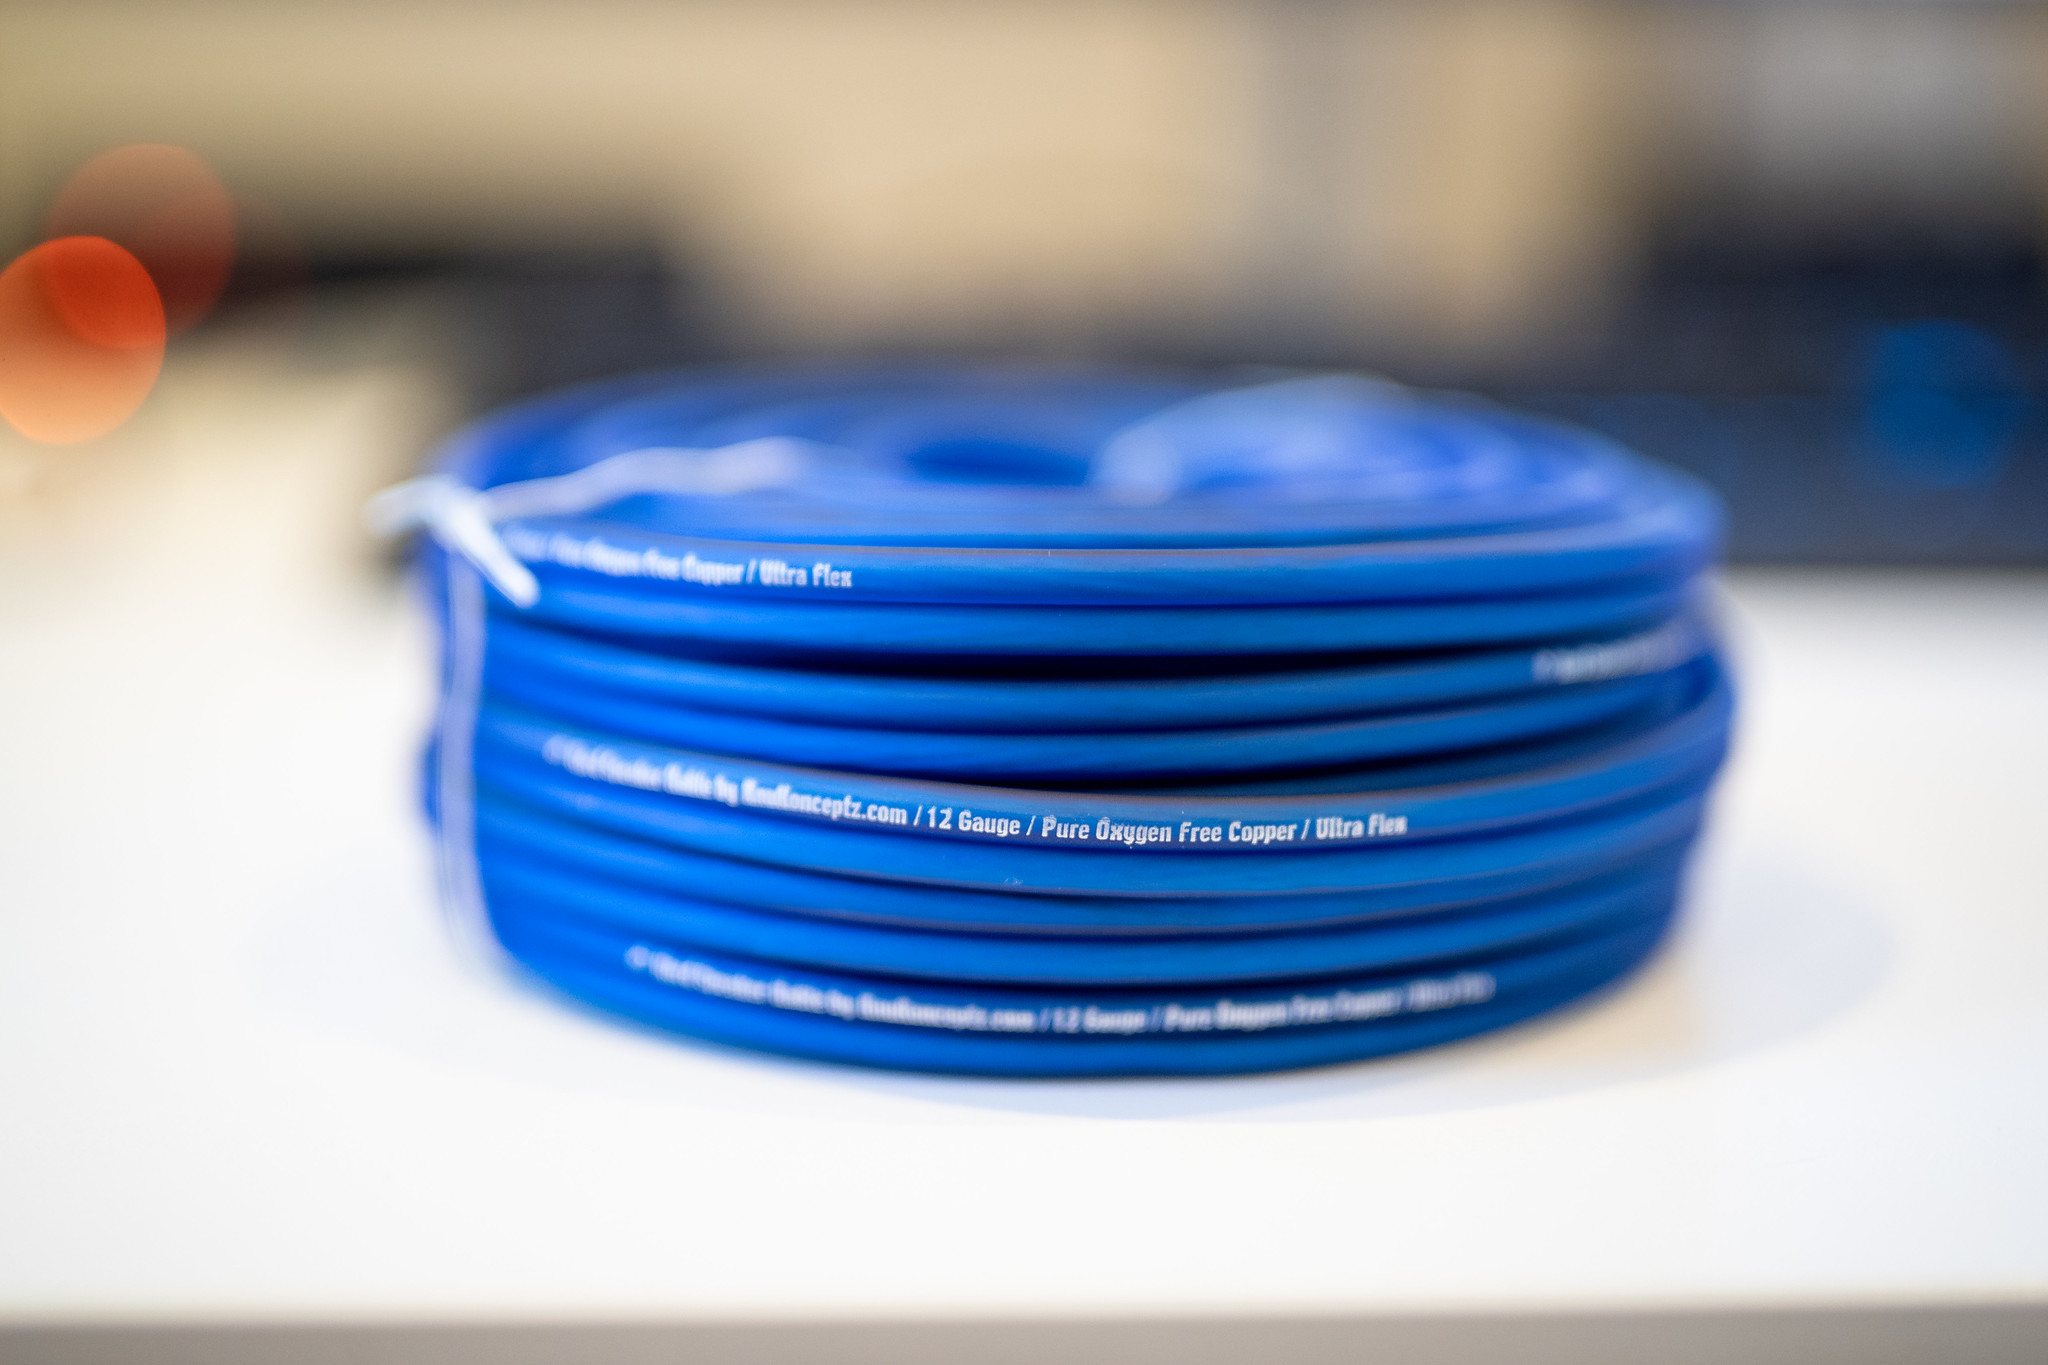
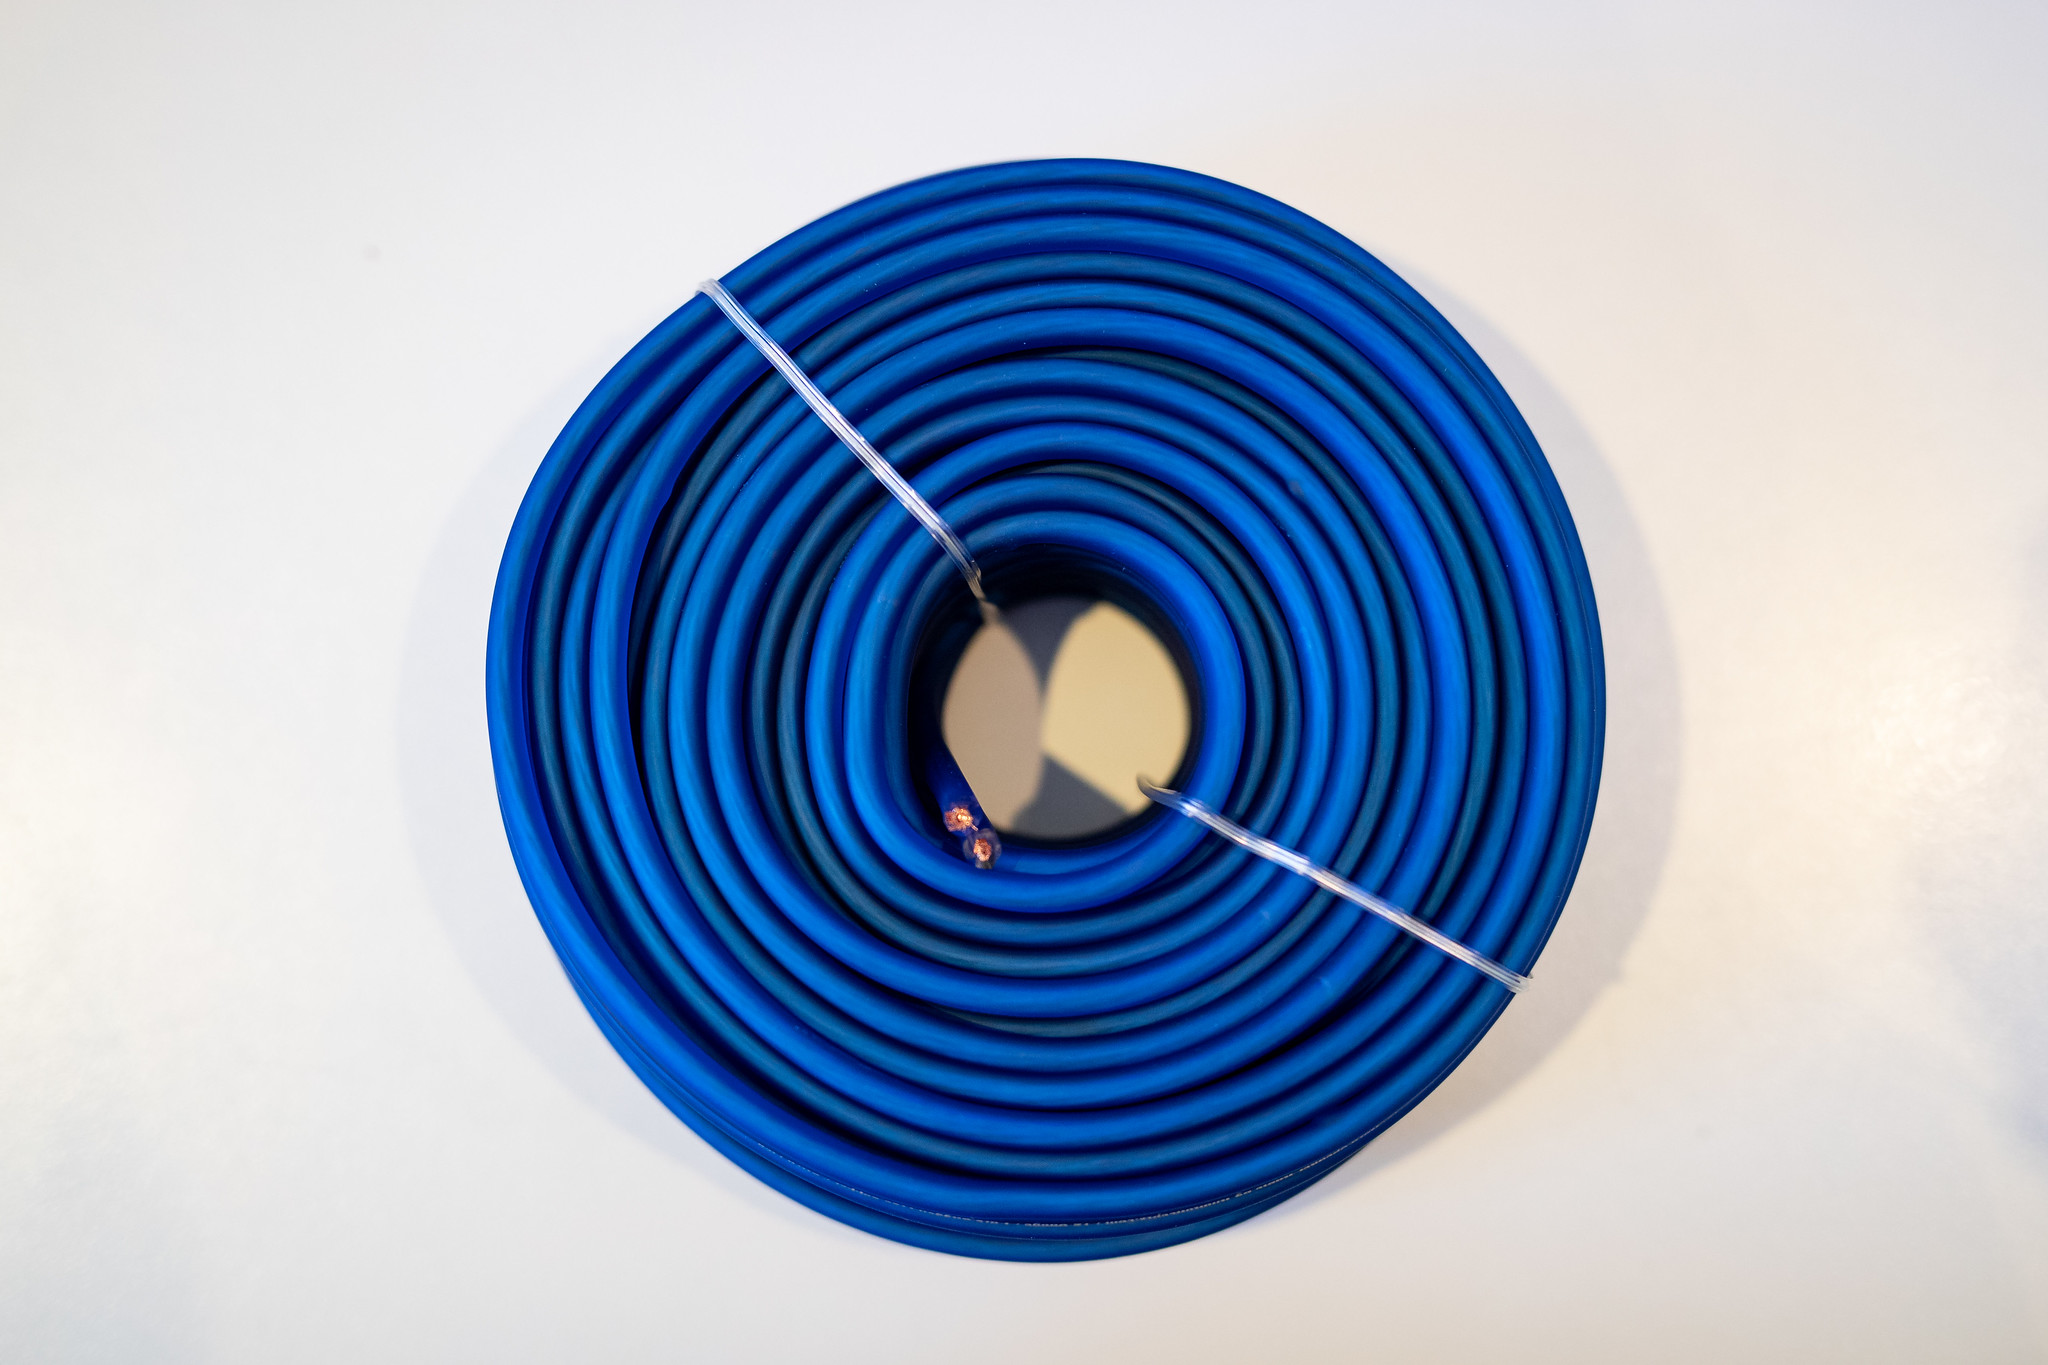
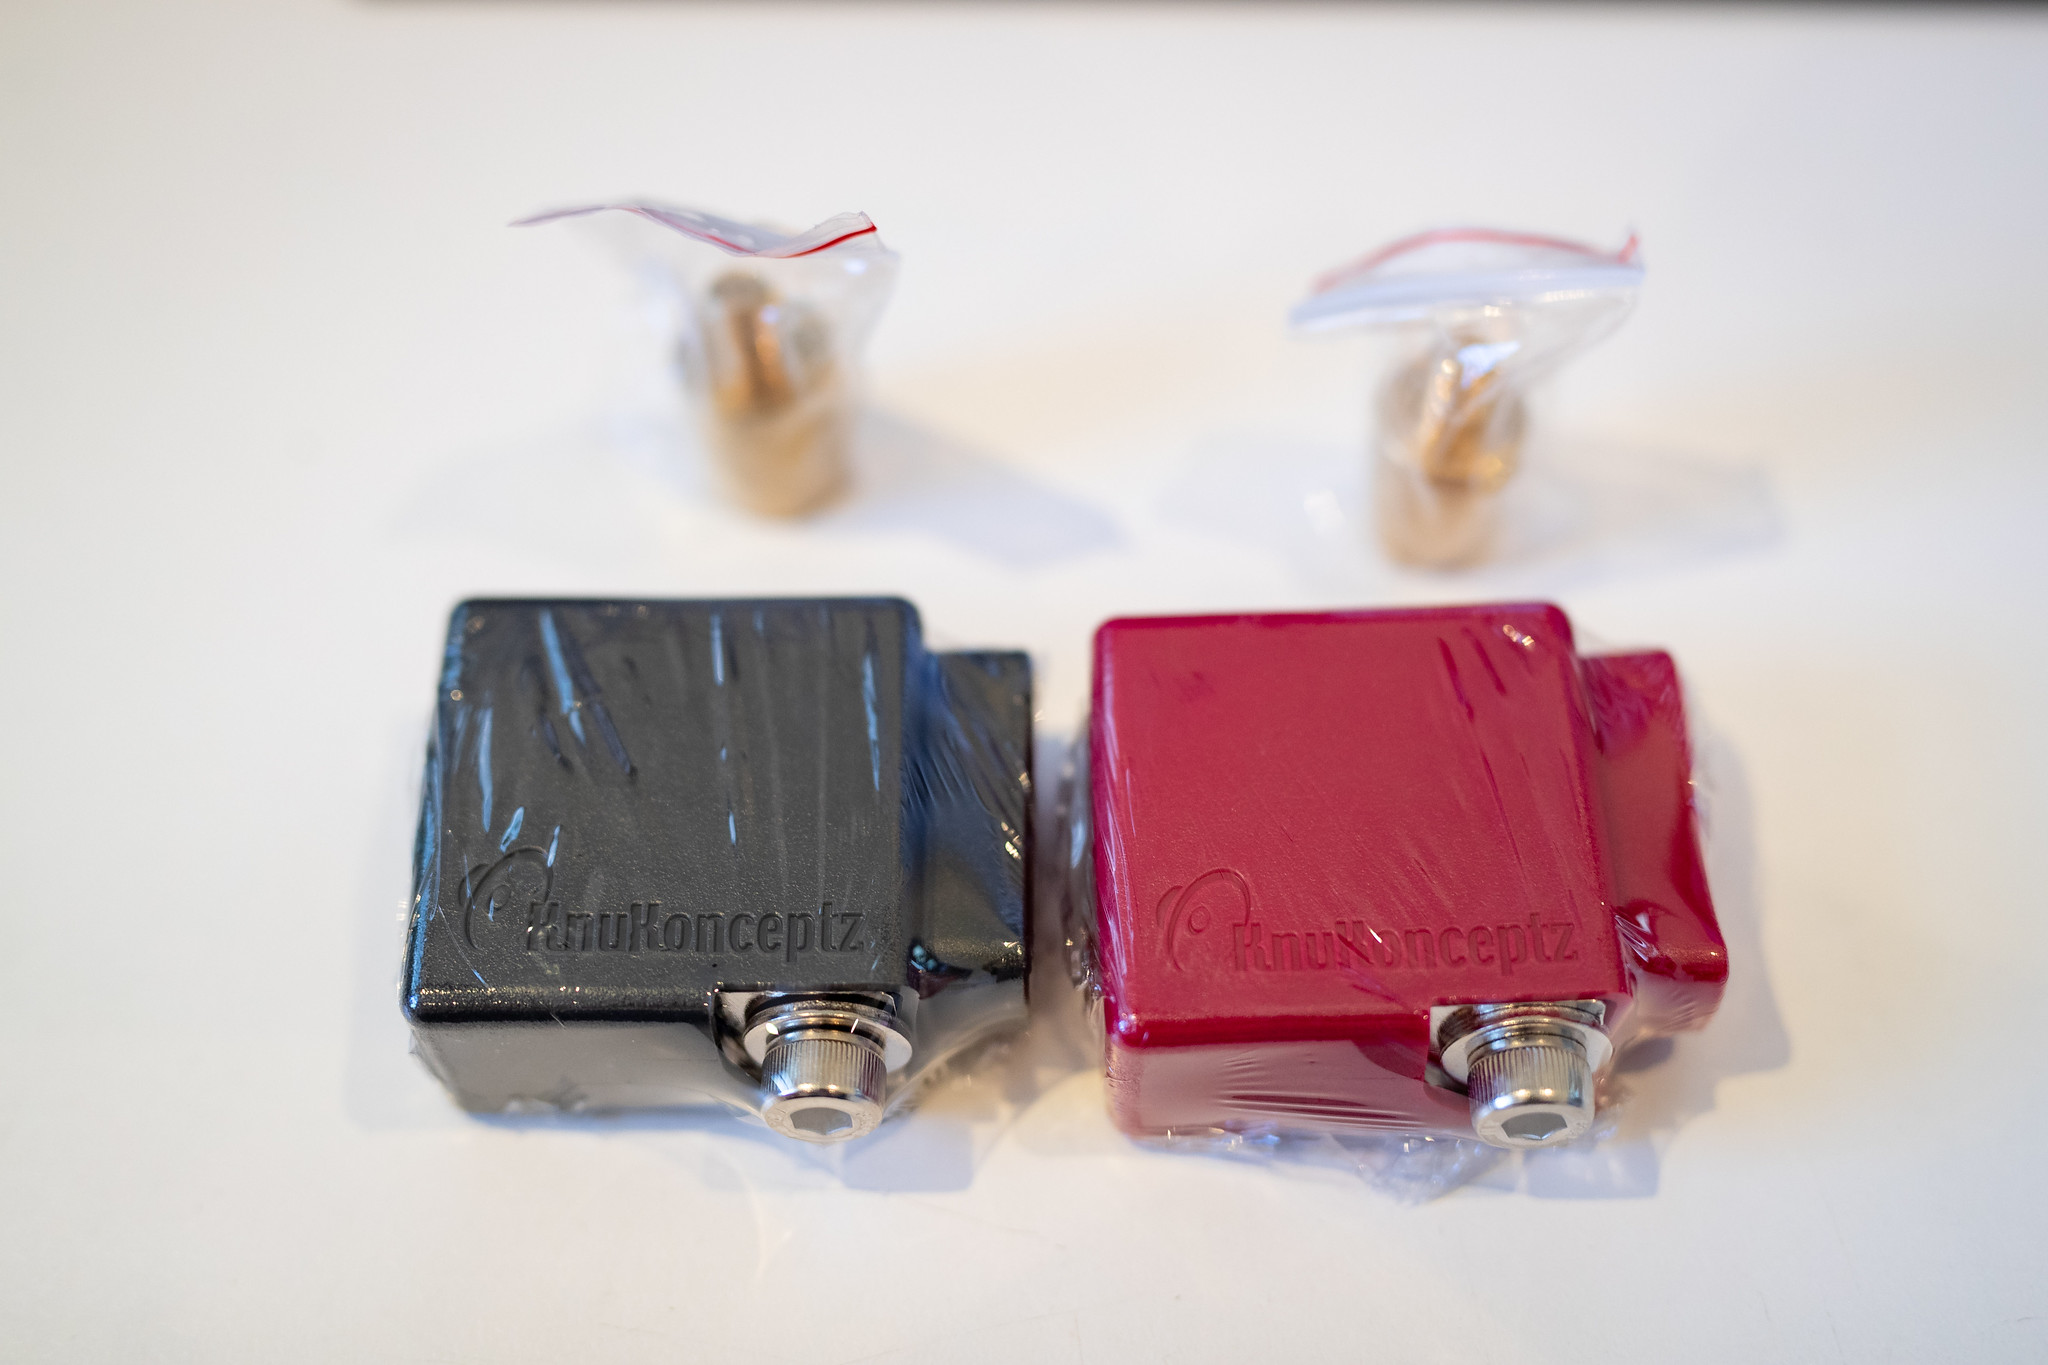
Speaker Wire: KnuKonceptz Kord 12 AWG OFC
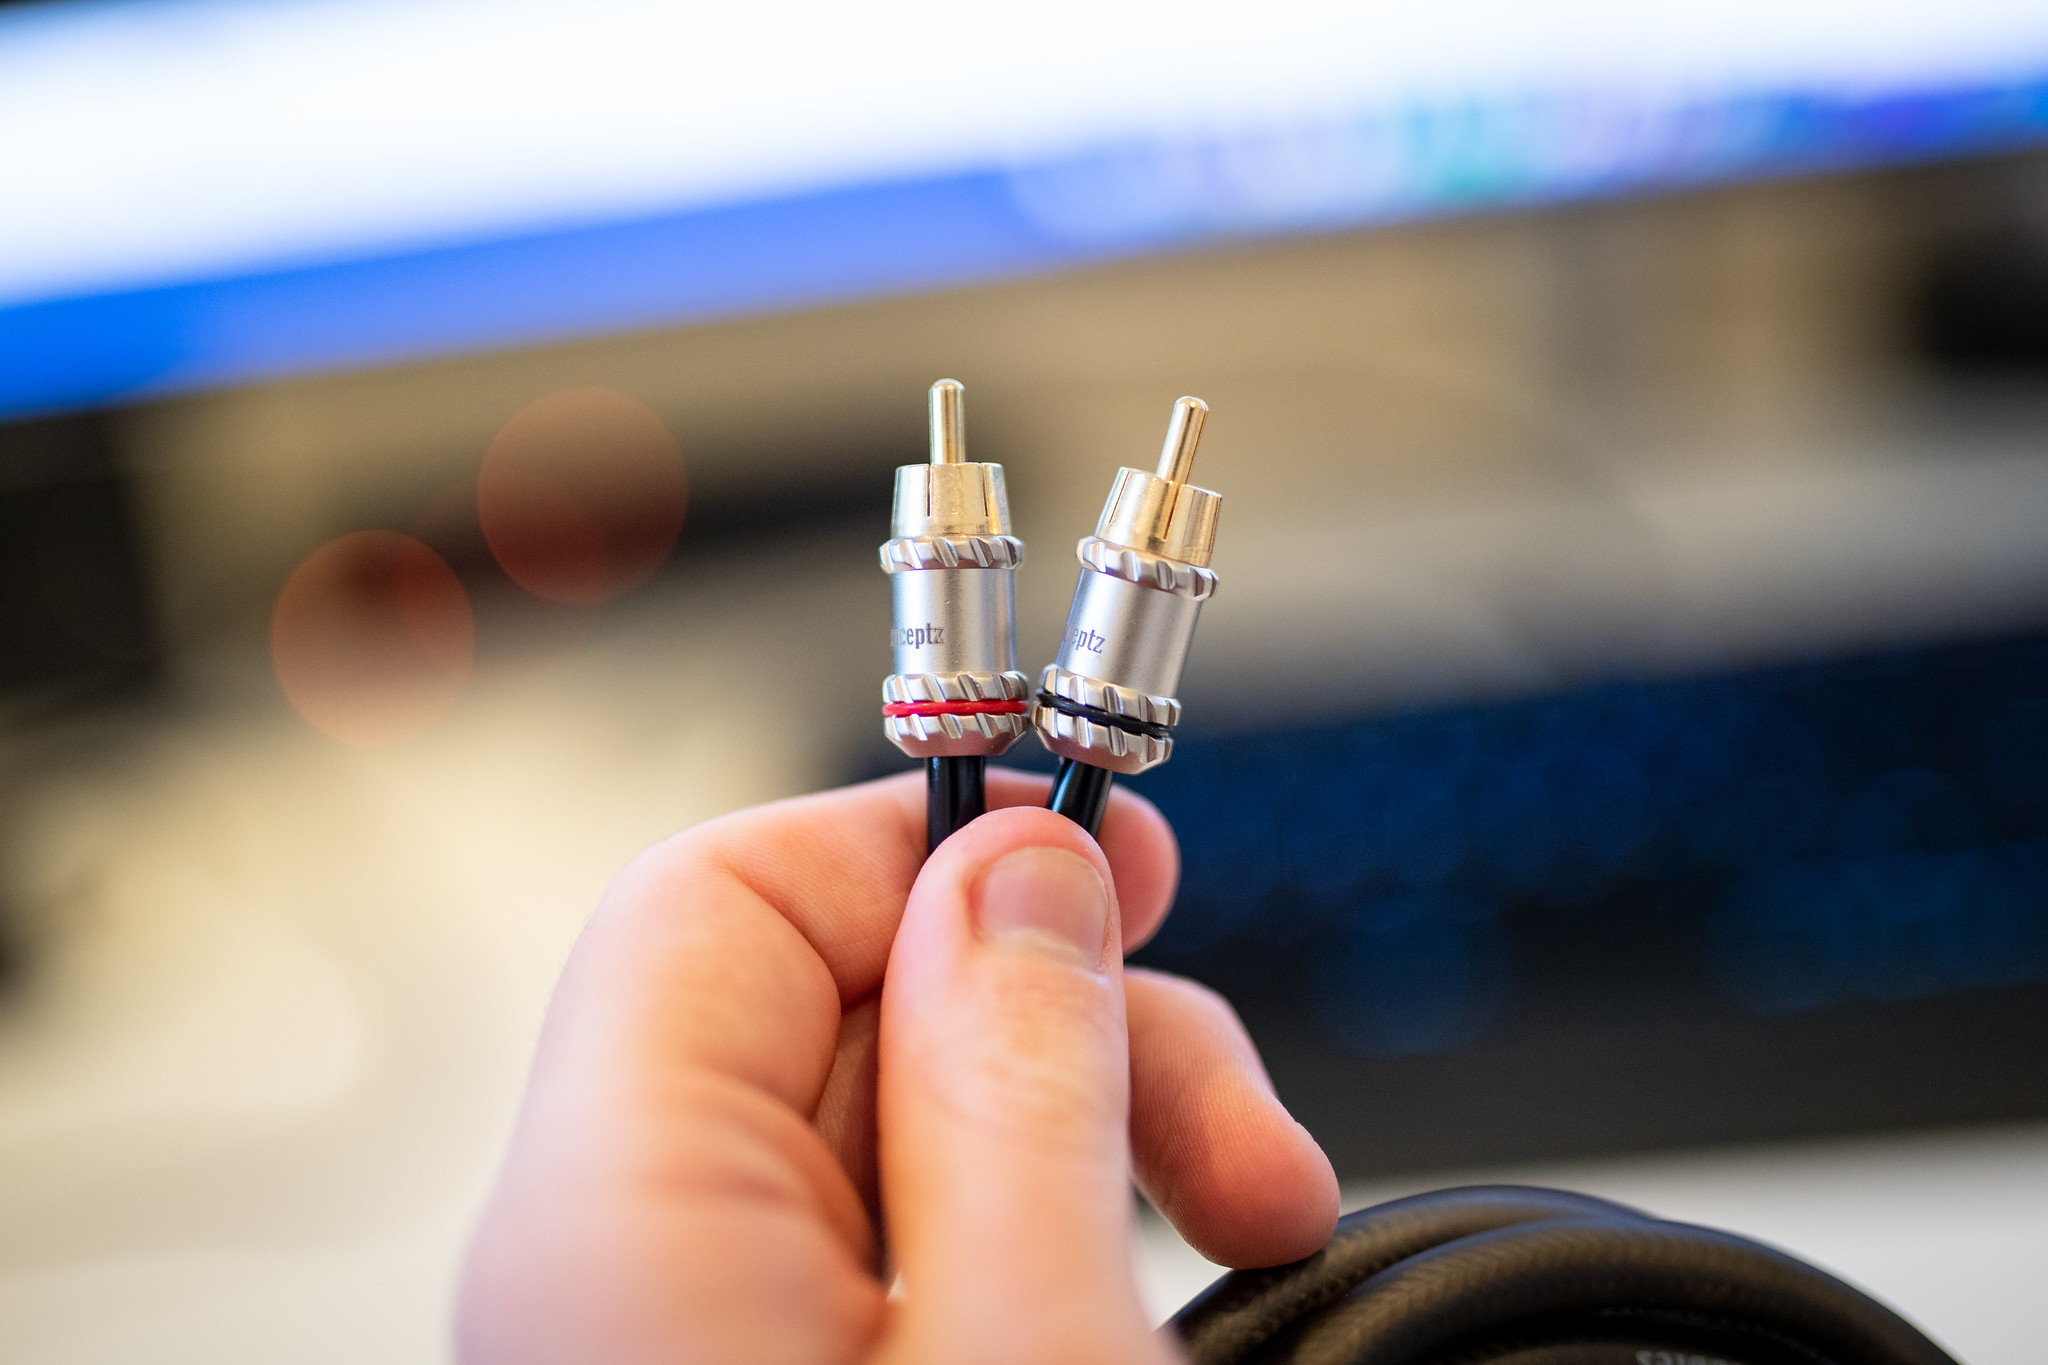
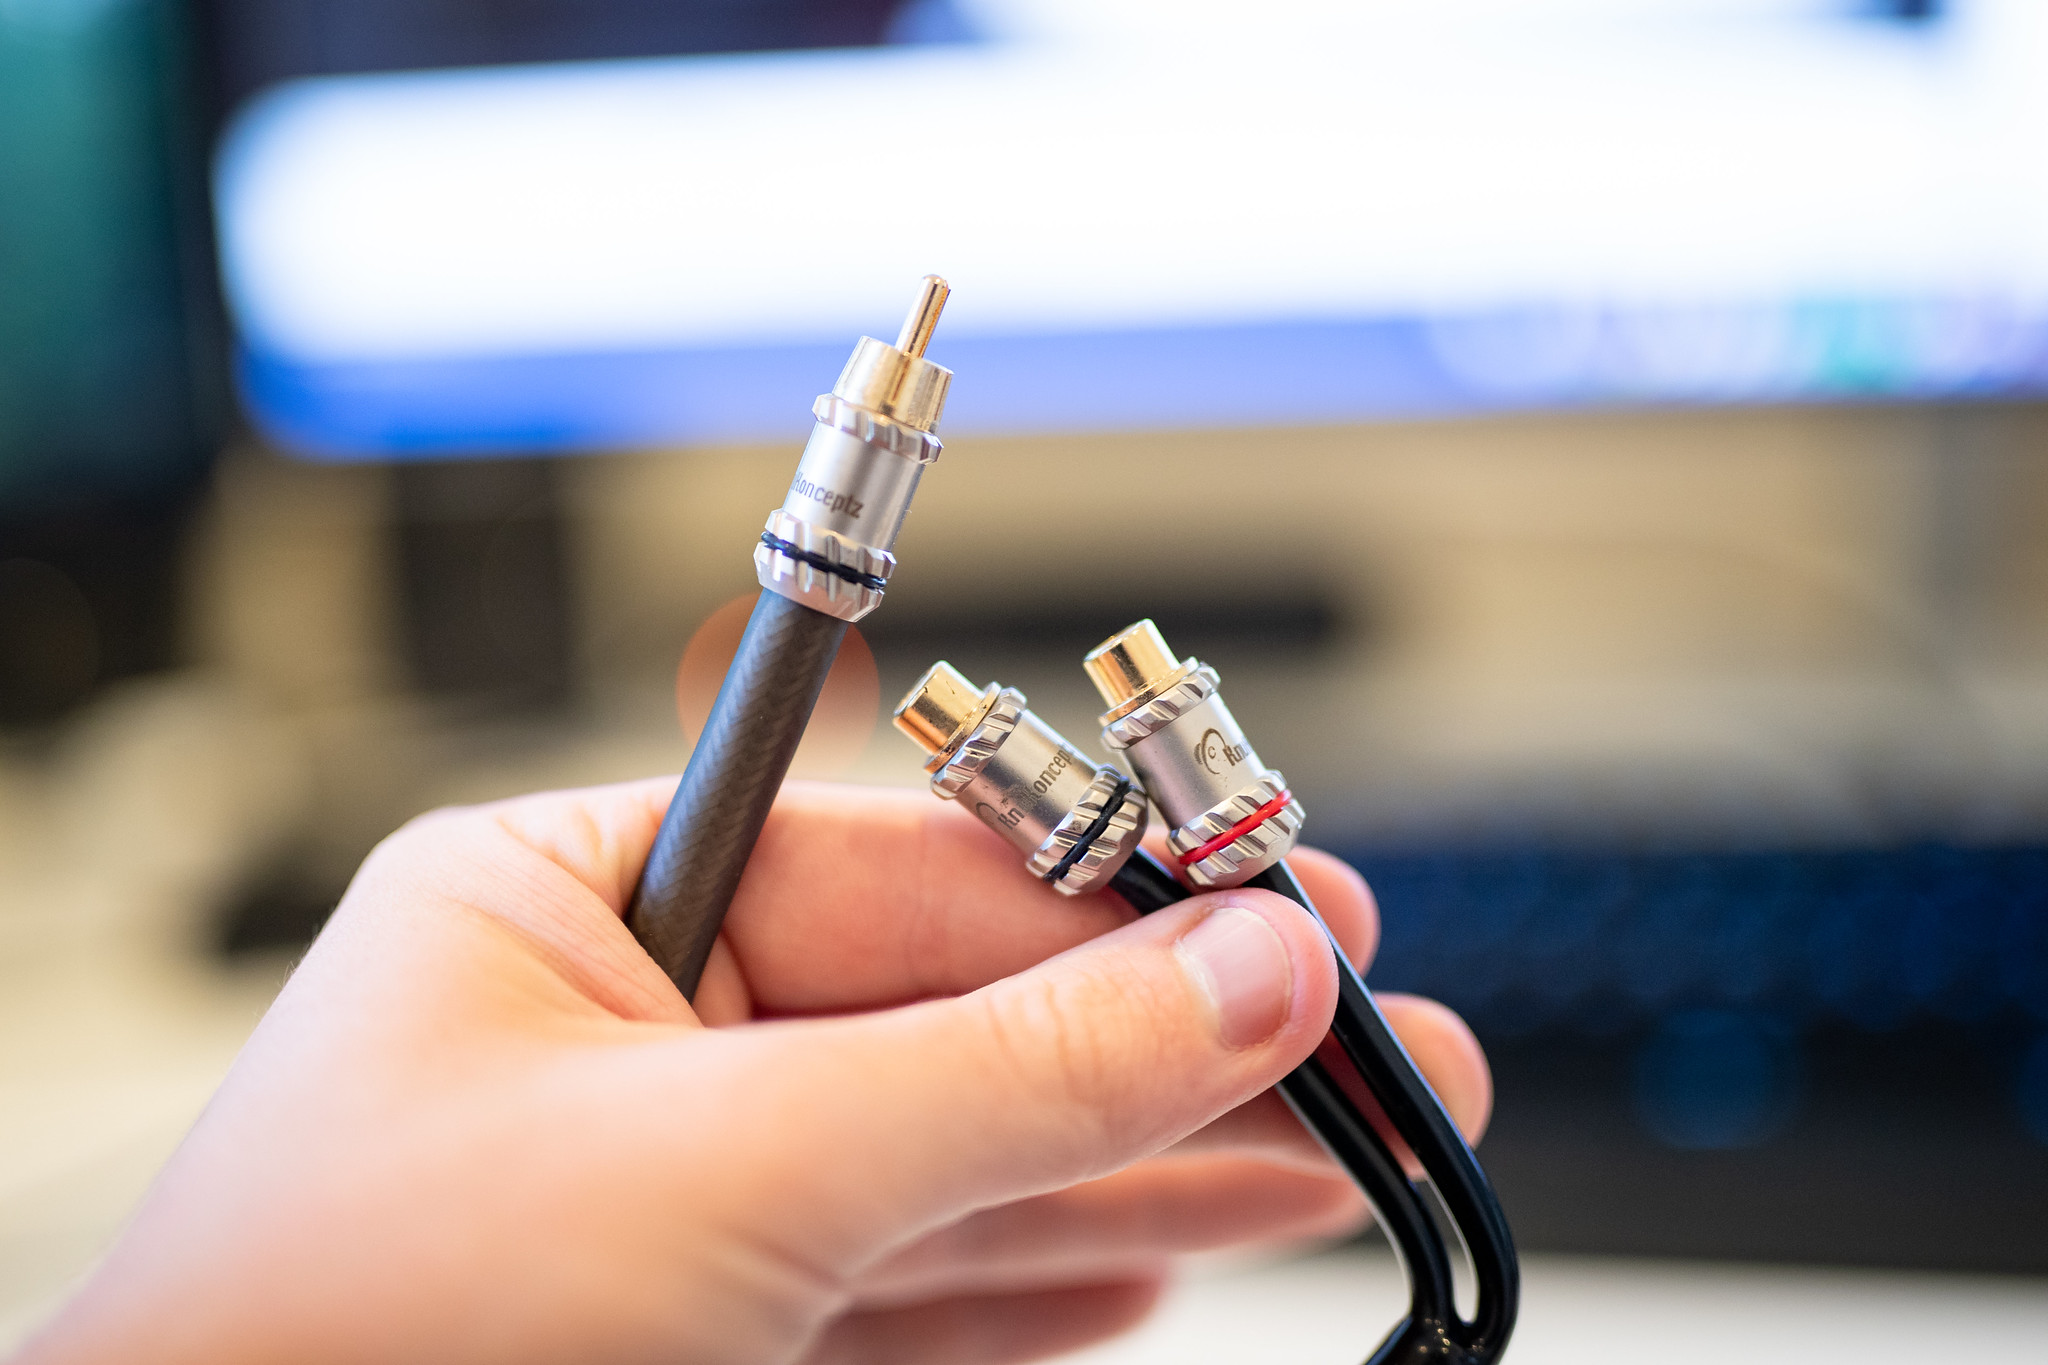
RCA’s: KnuKonceptz Krystal Twisted Pair


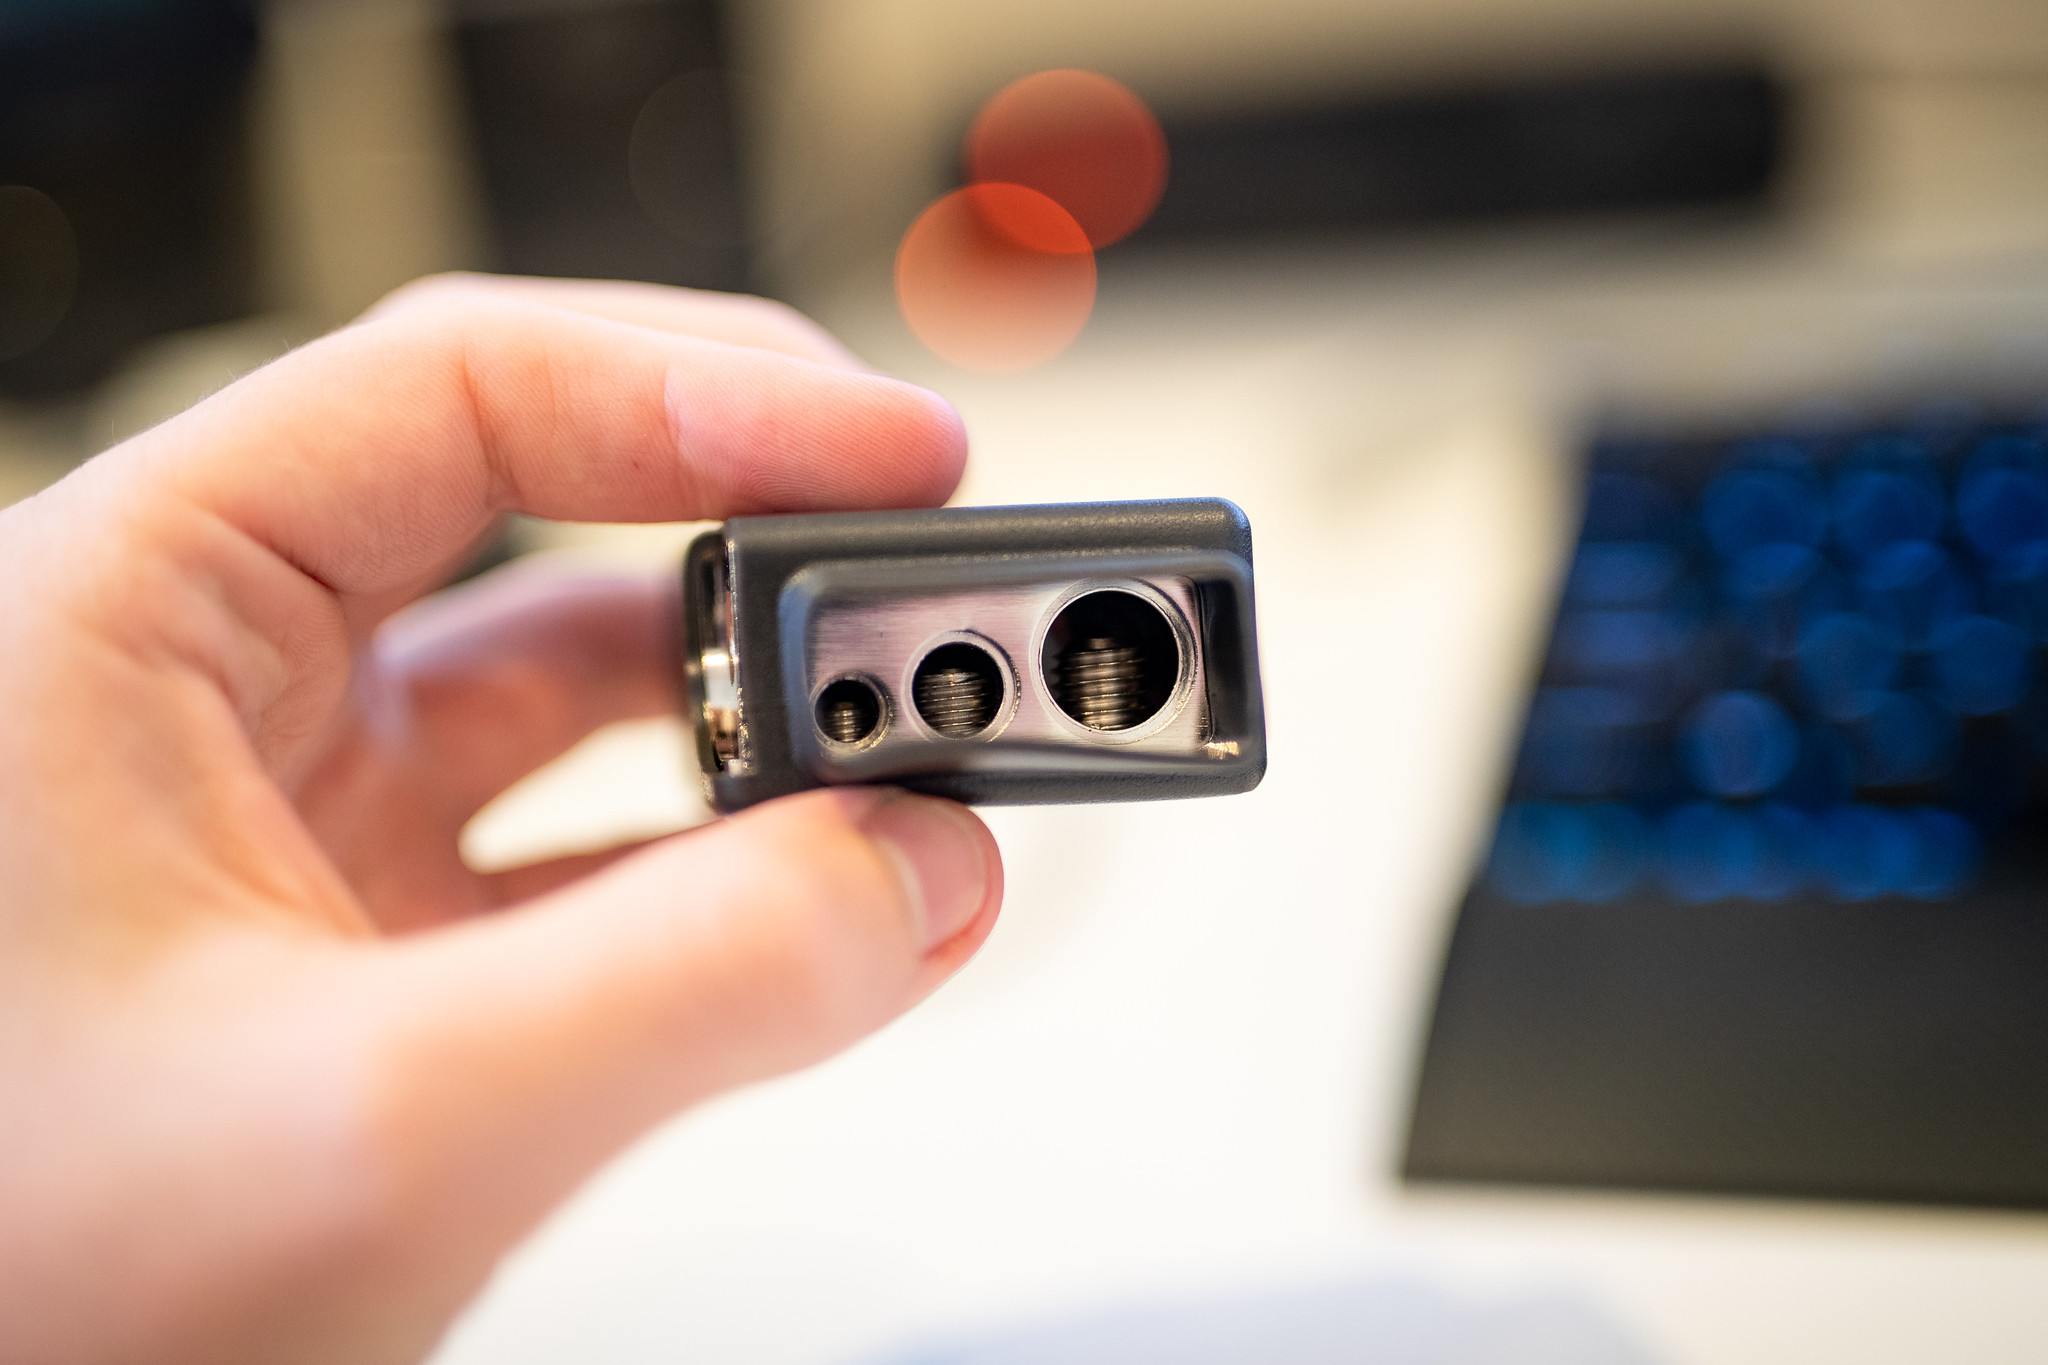
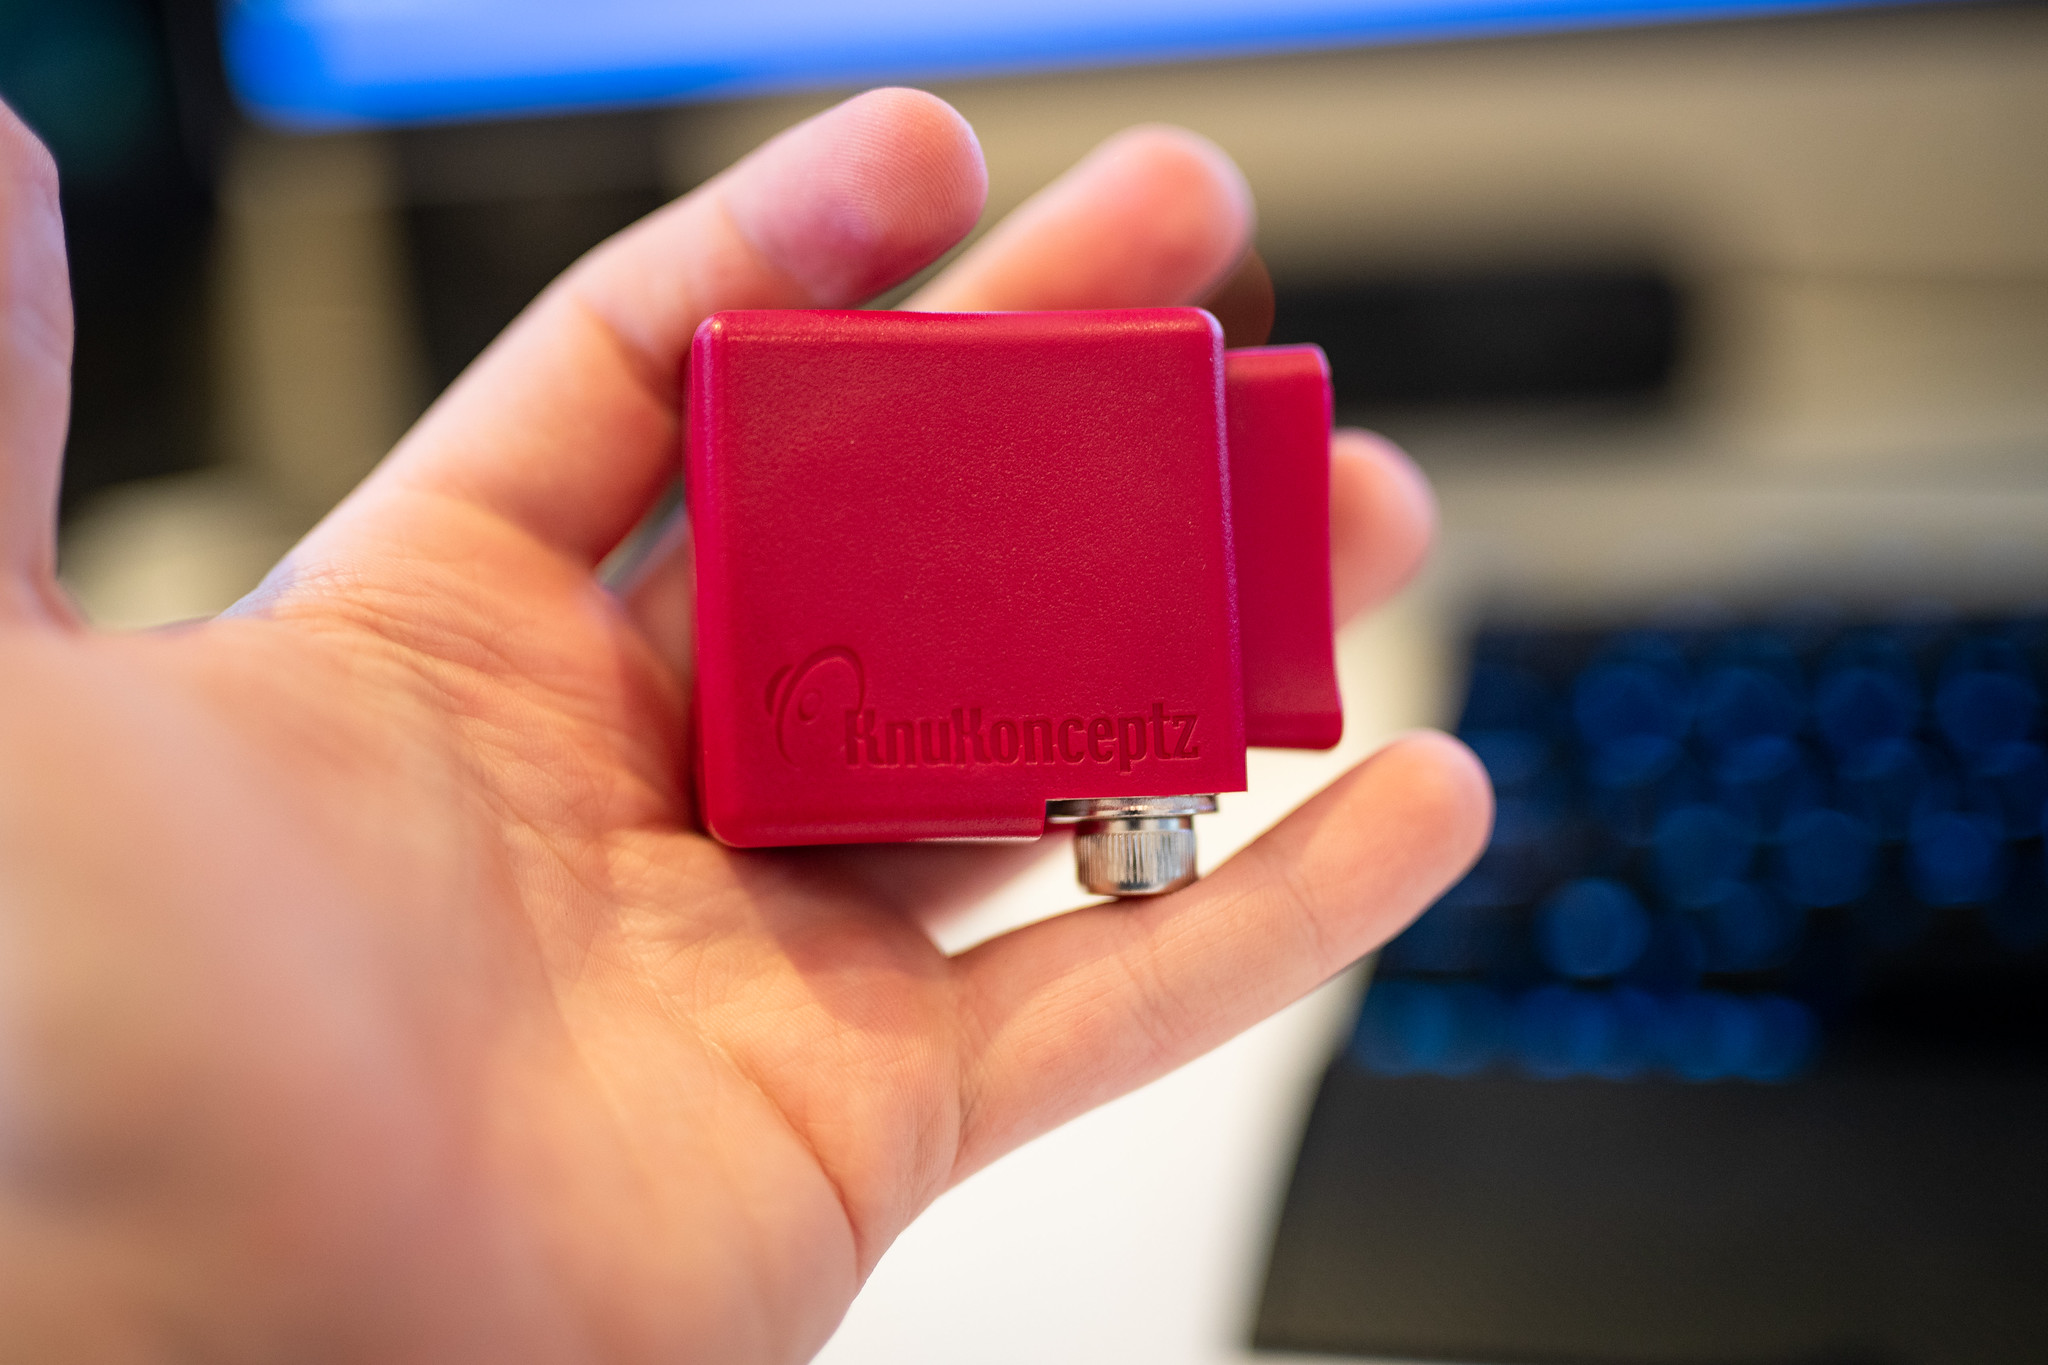
RCA Spliter: KnuKonceptz Krystal M - F

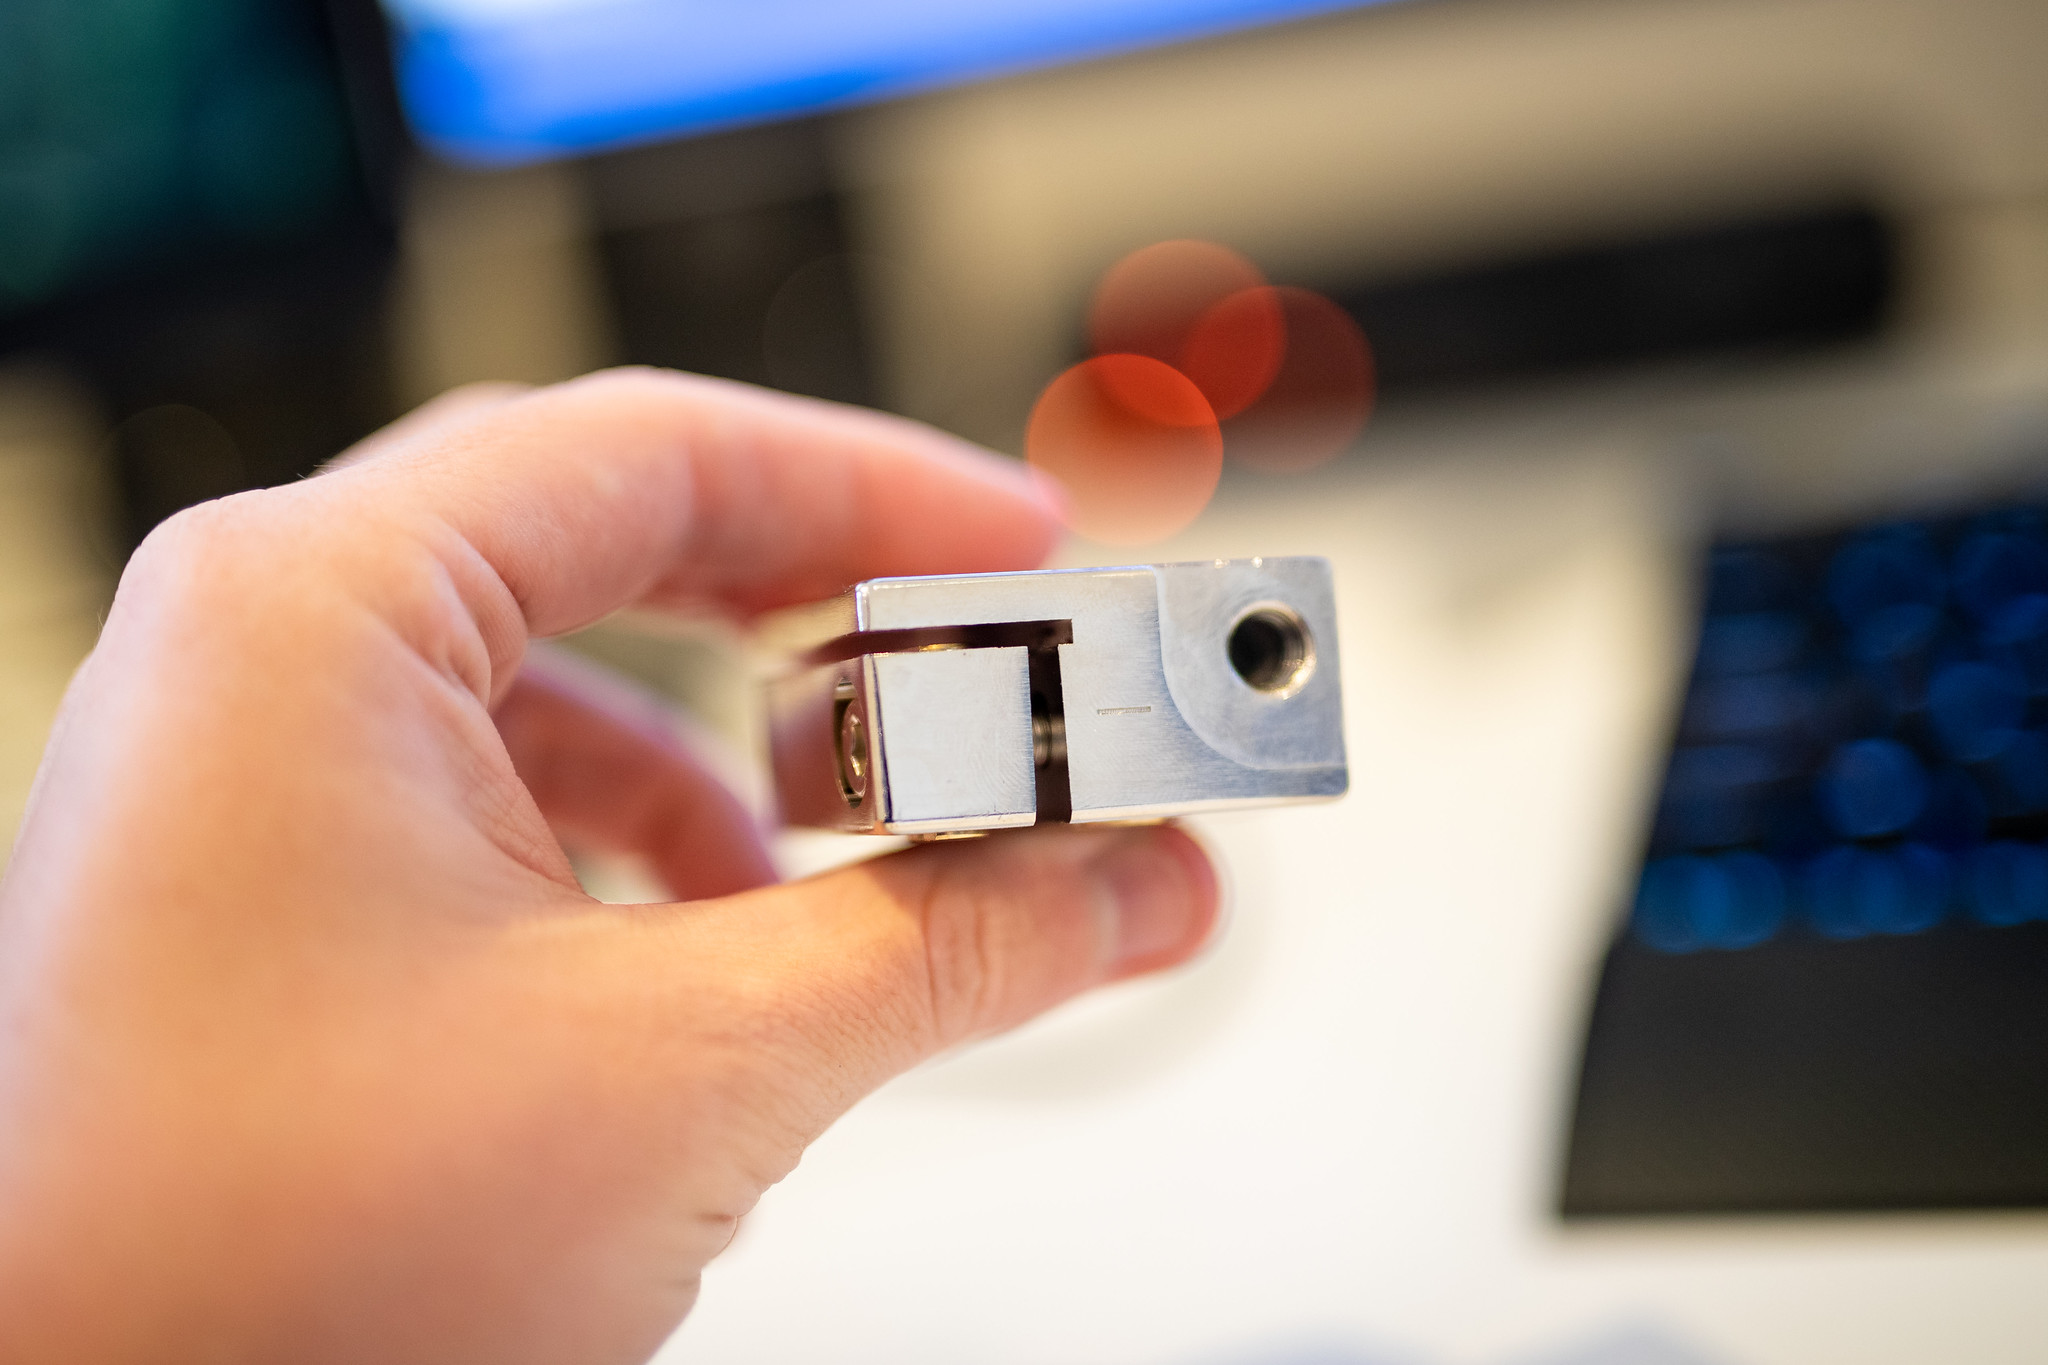
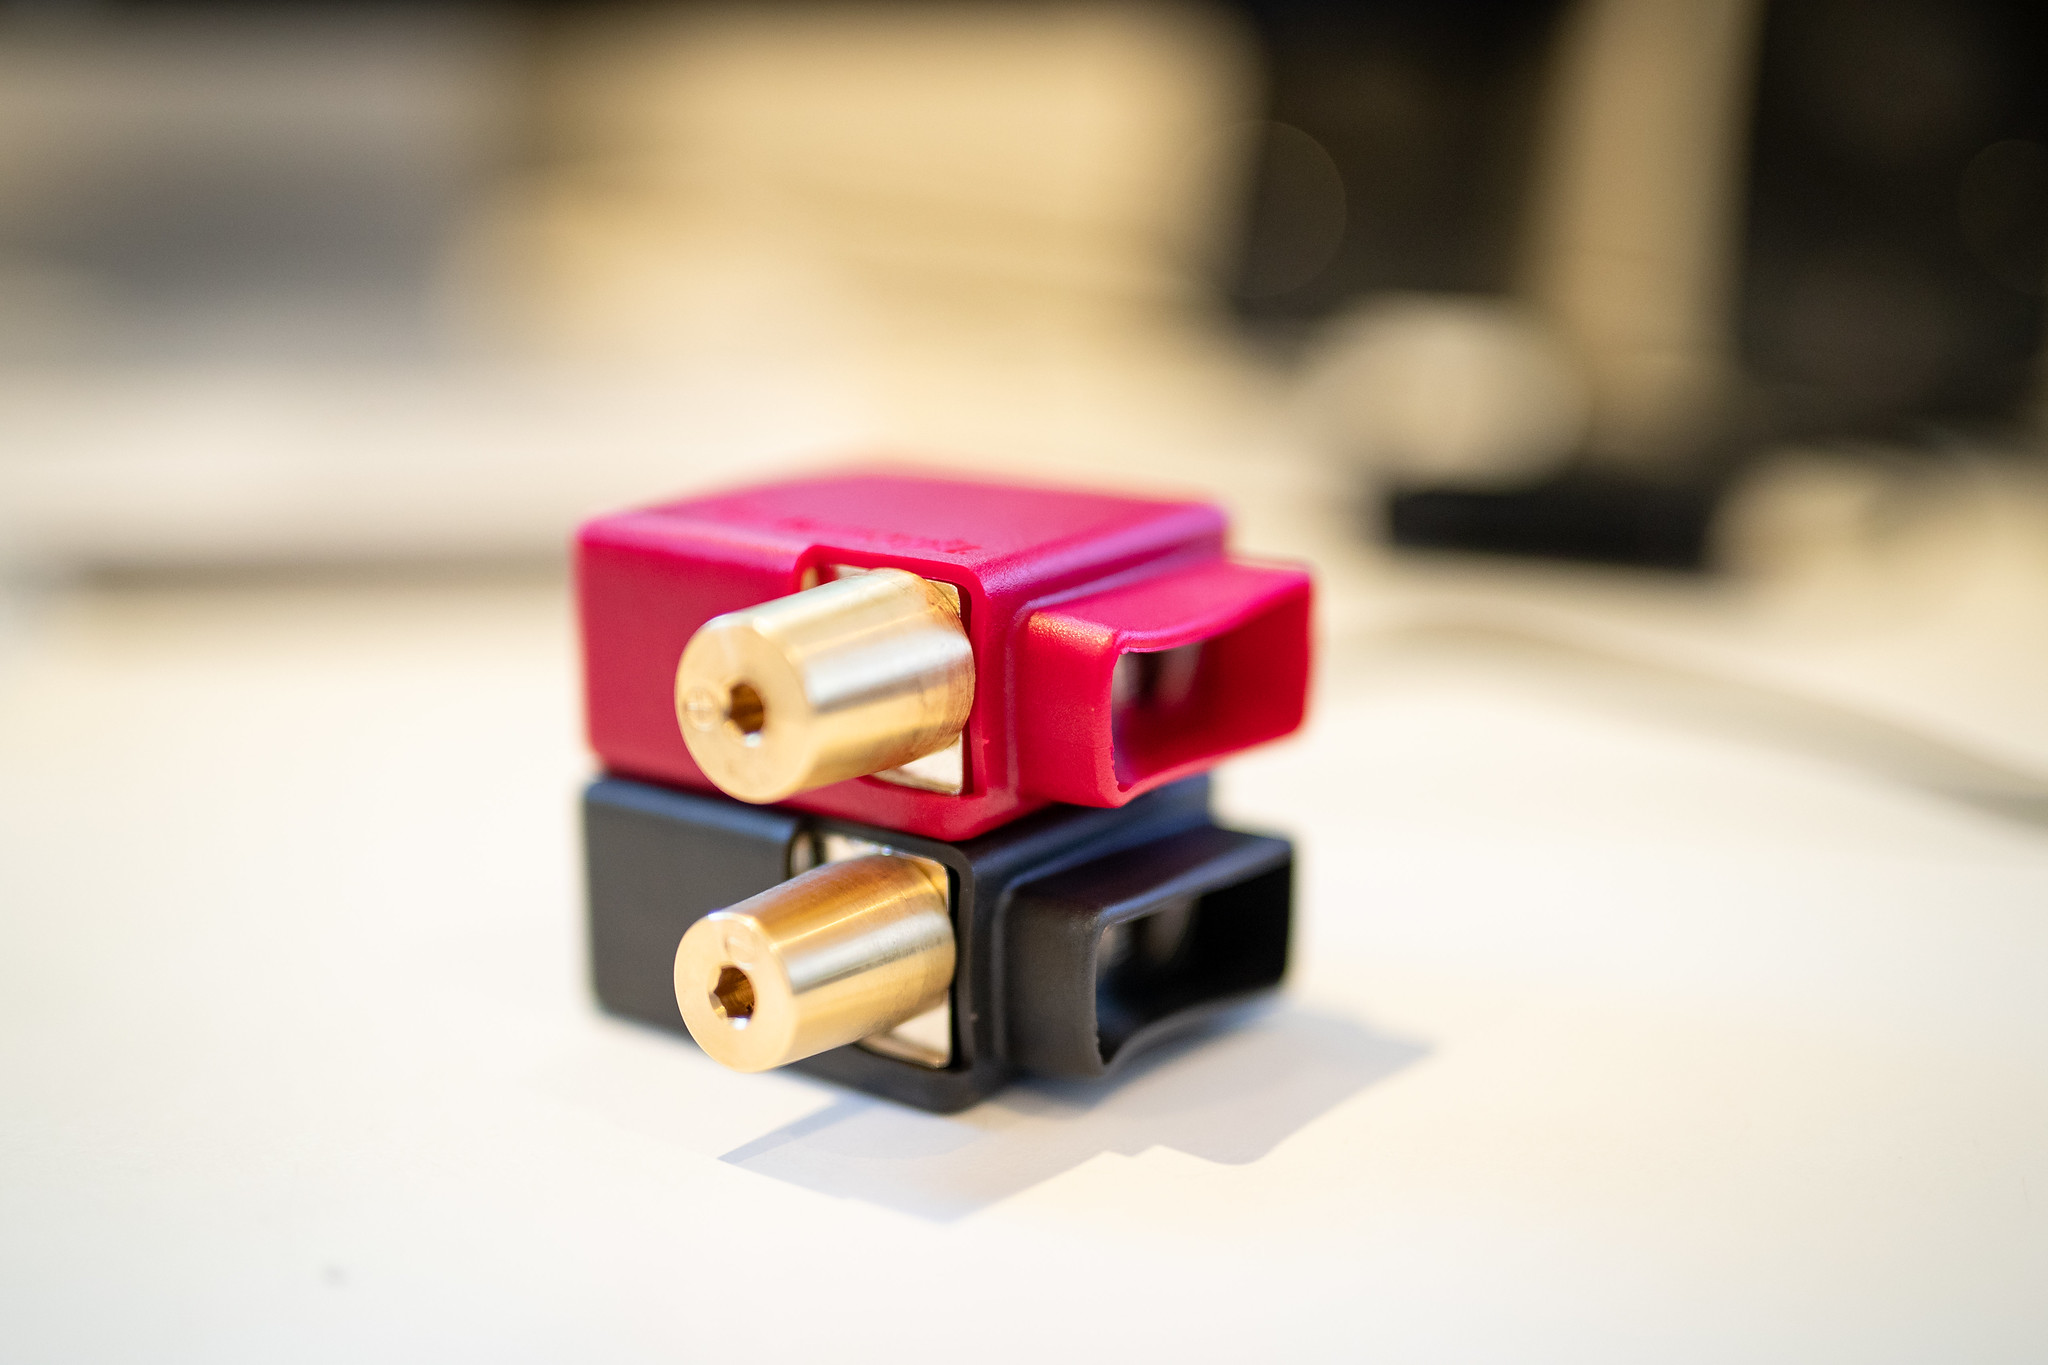
Battery Terminals: KnuKonceptz Ultimate Battery Terminal Pair
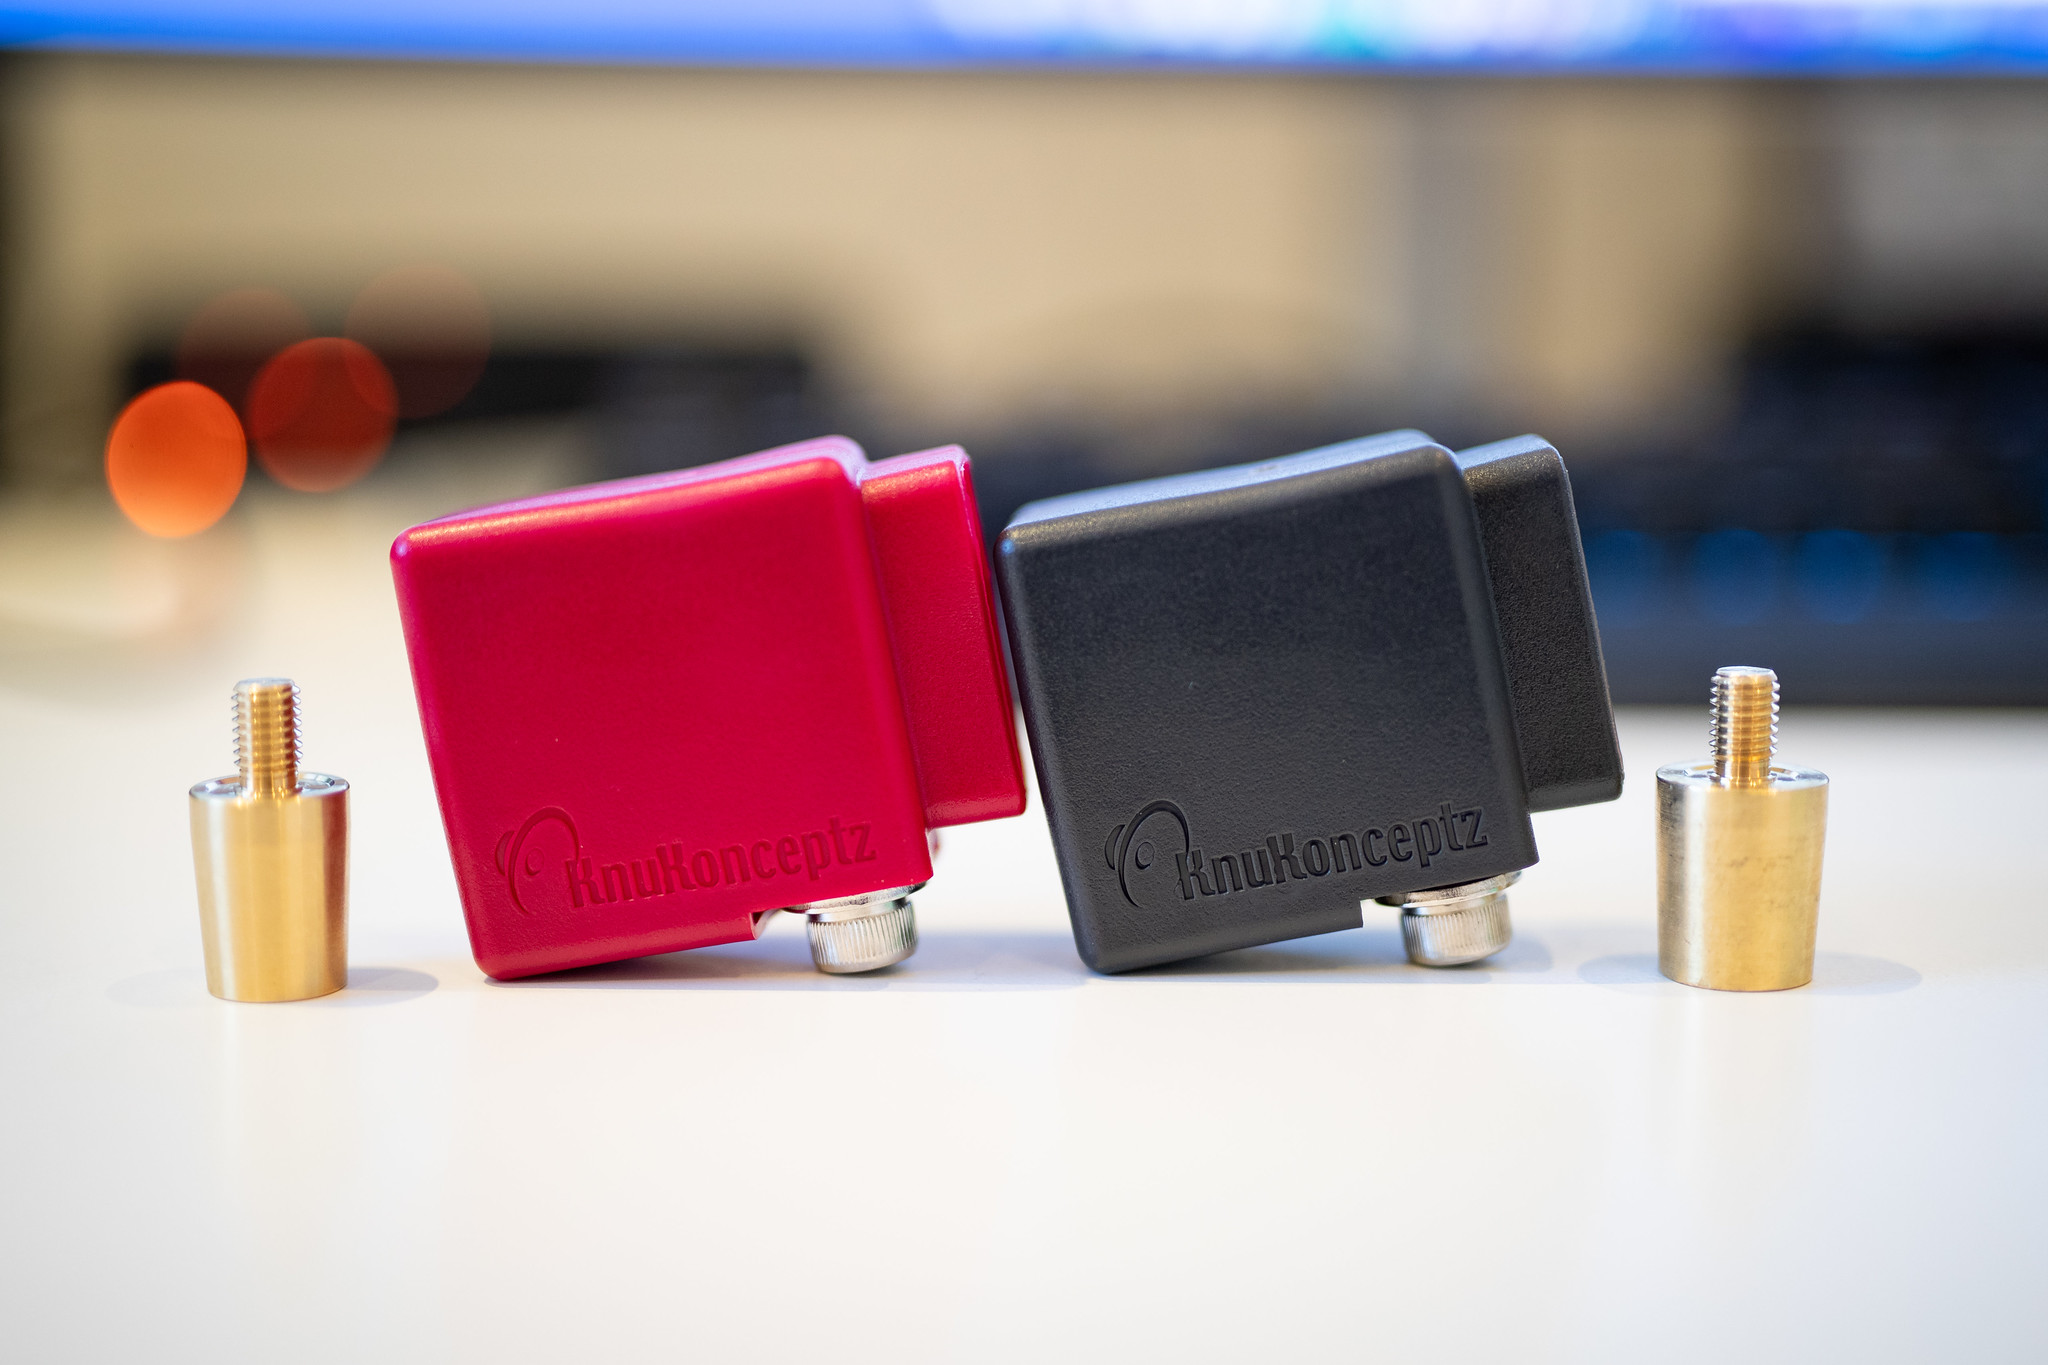


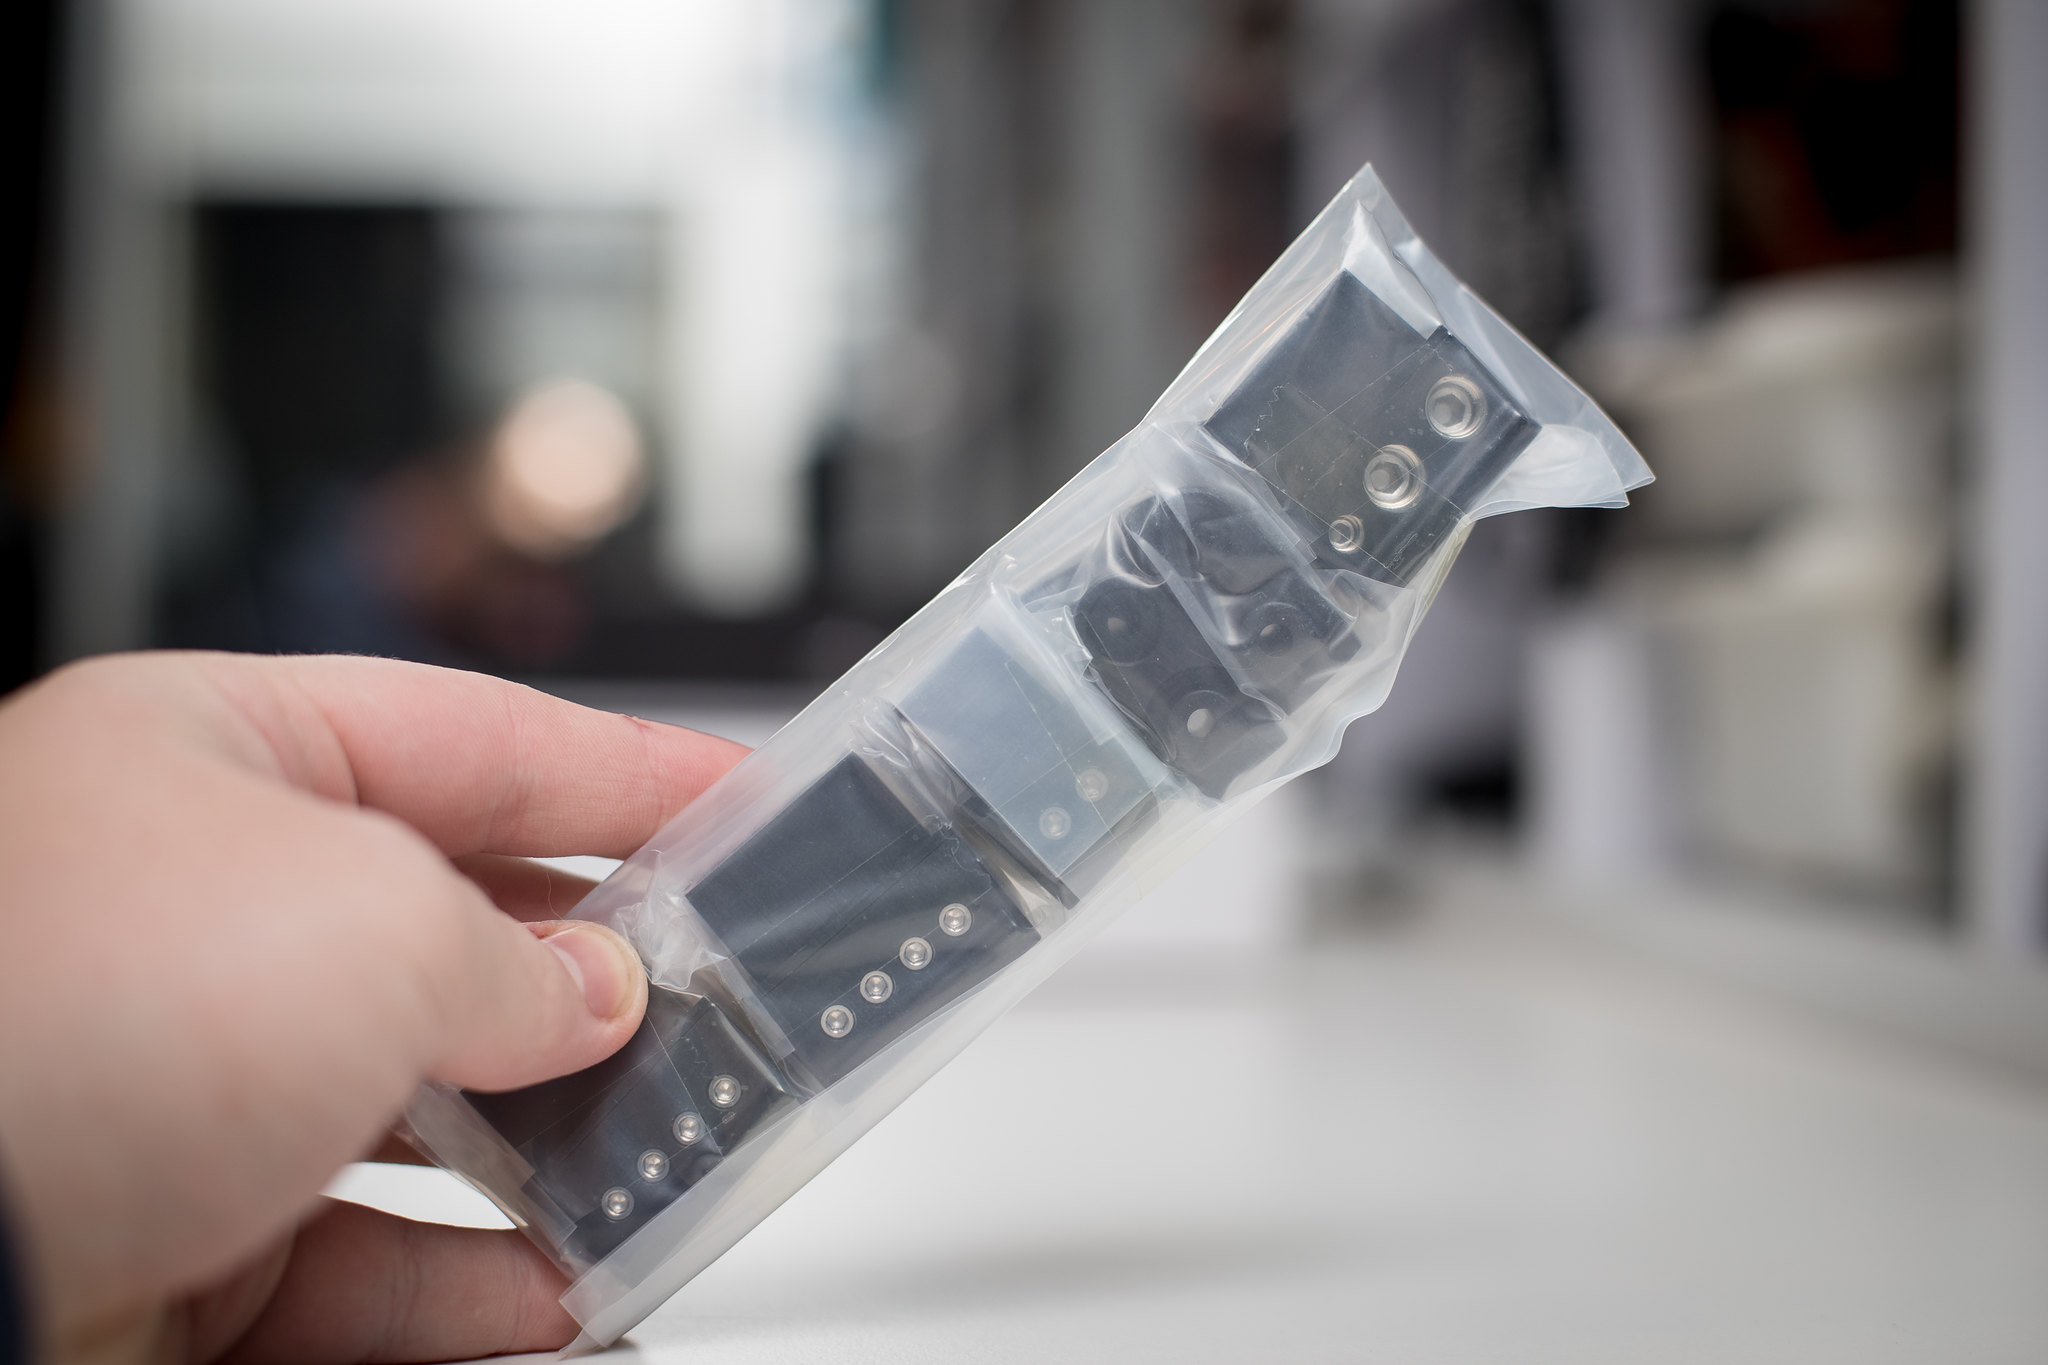
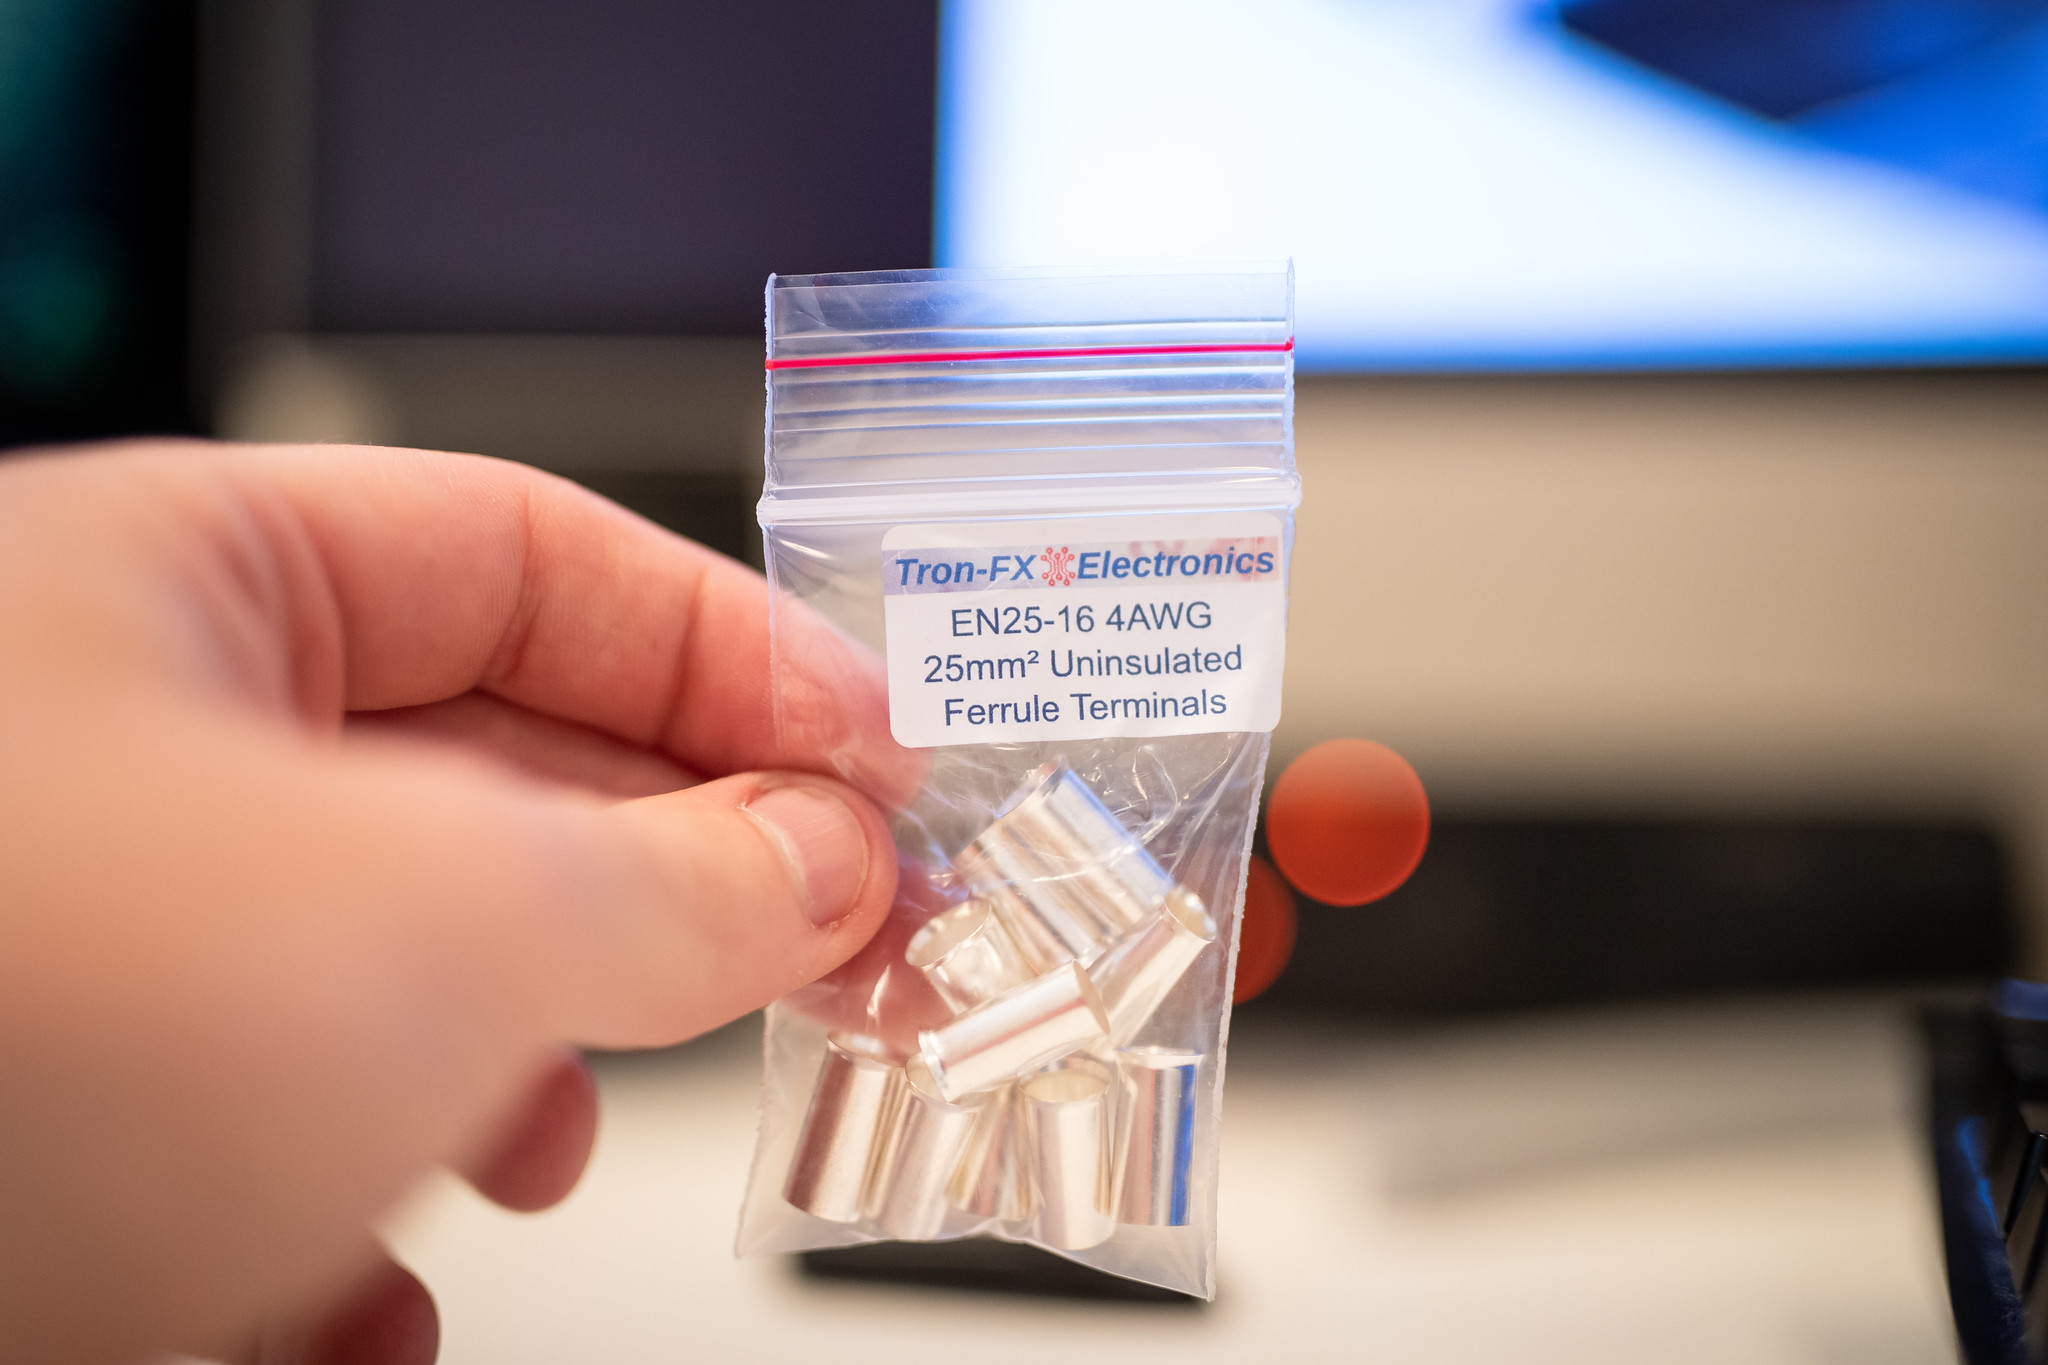
Wire Ferrules: 4 & 12 AWG wire ferrules

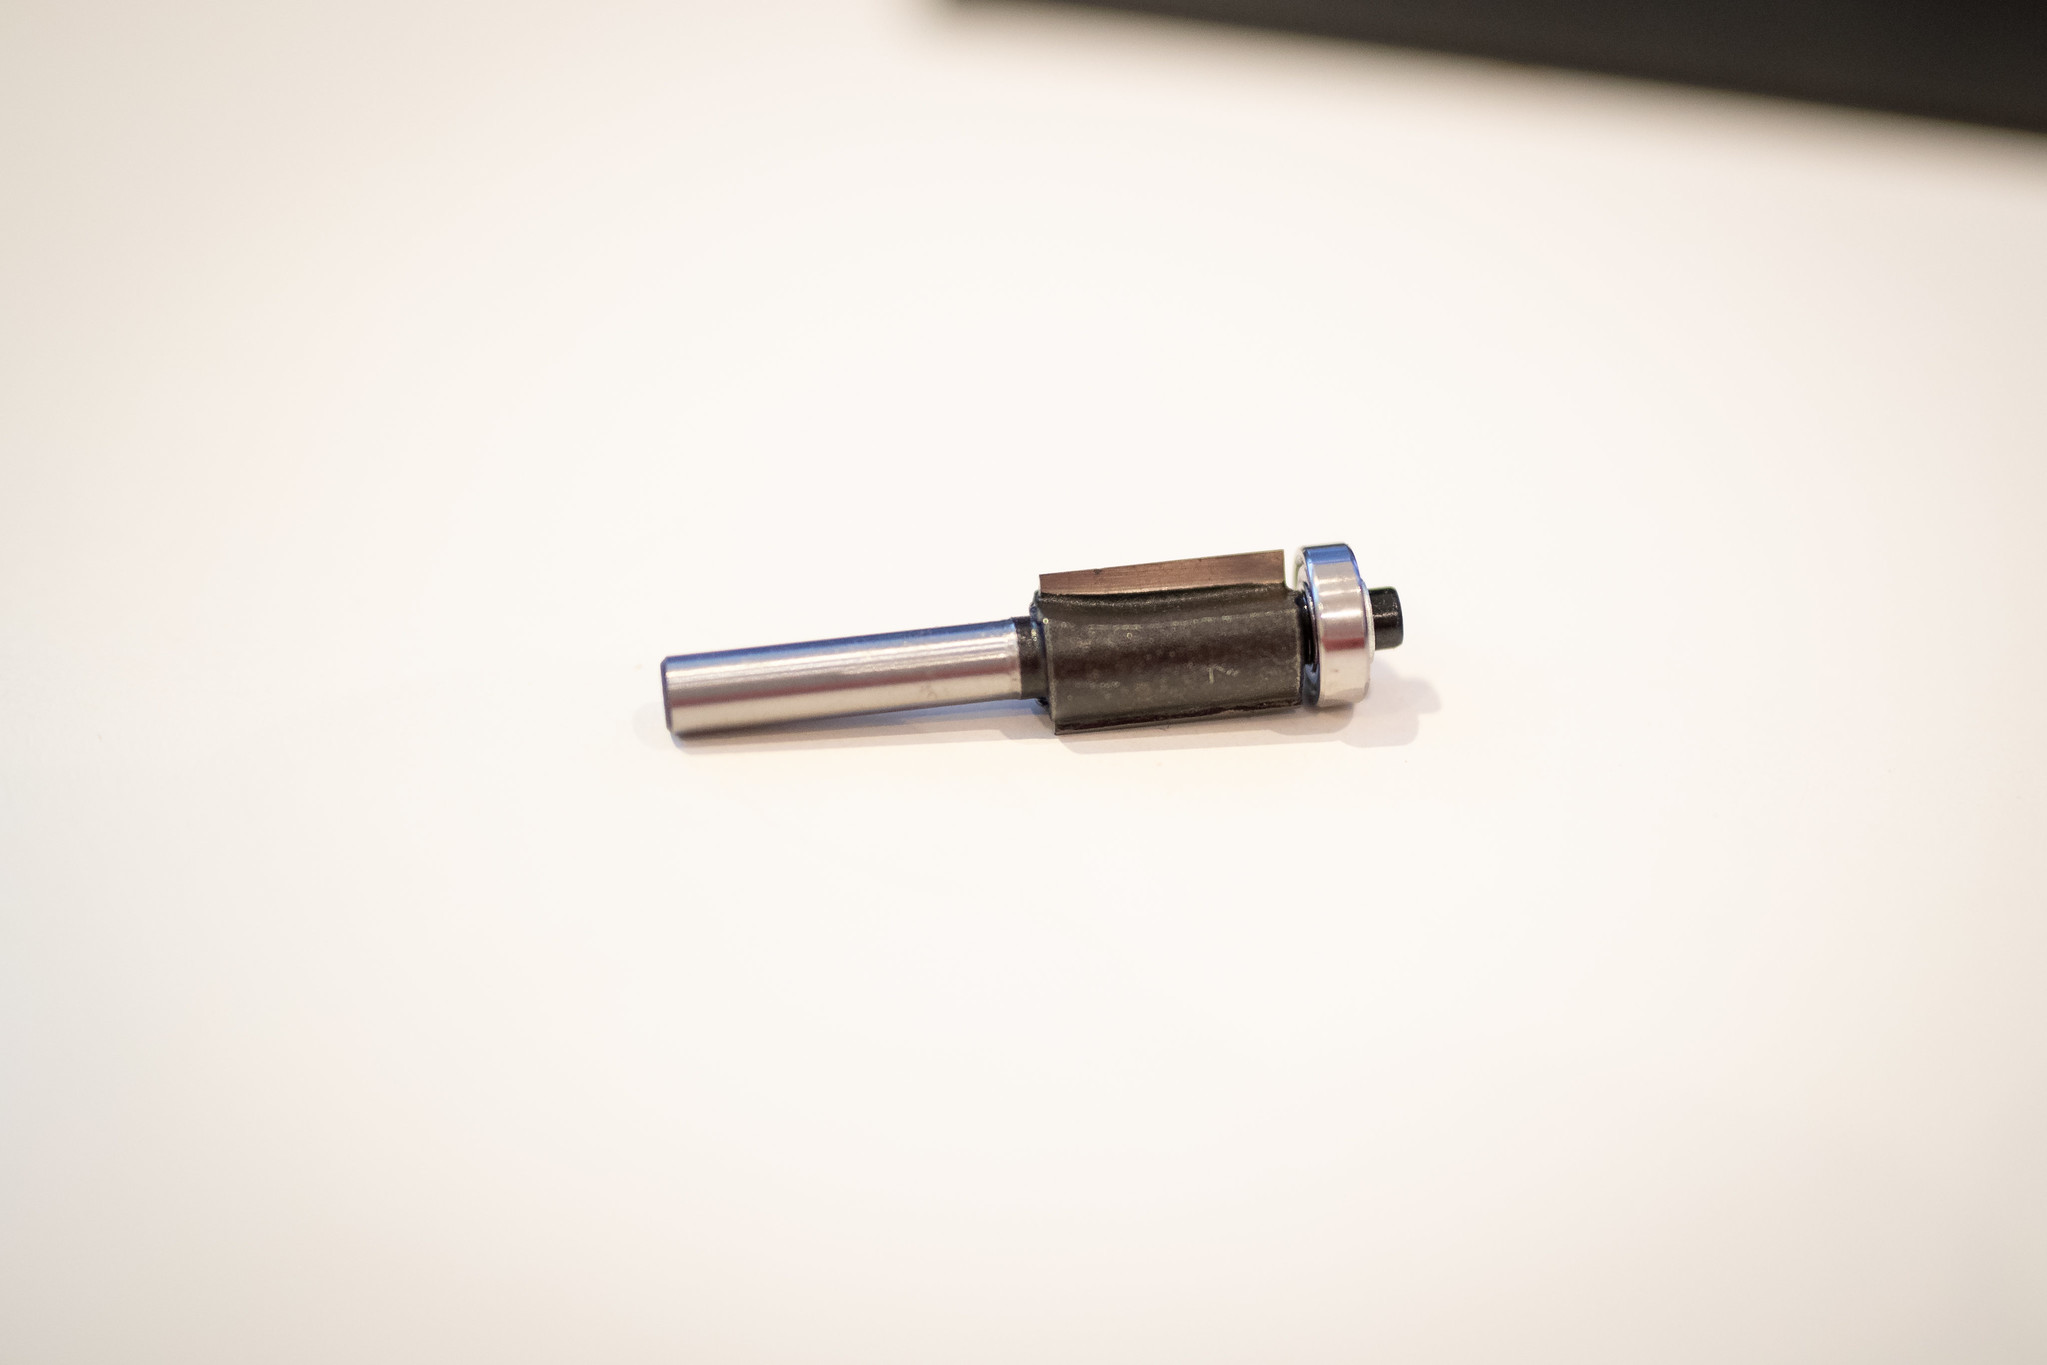
Router: Ryobi One+ portable router


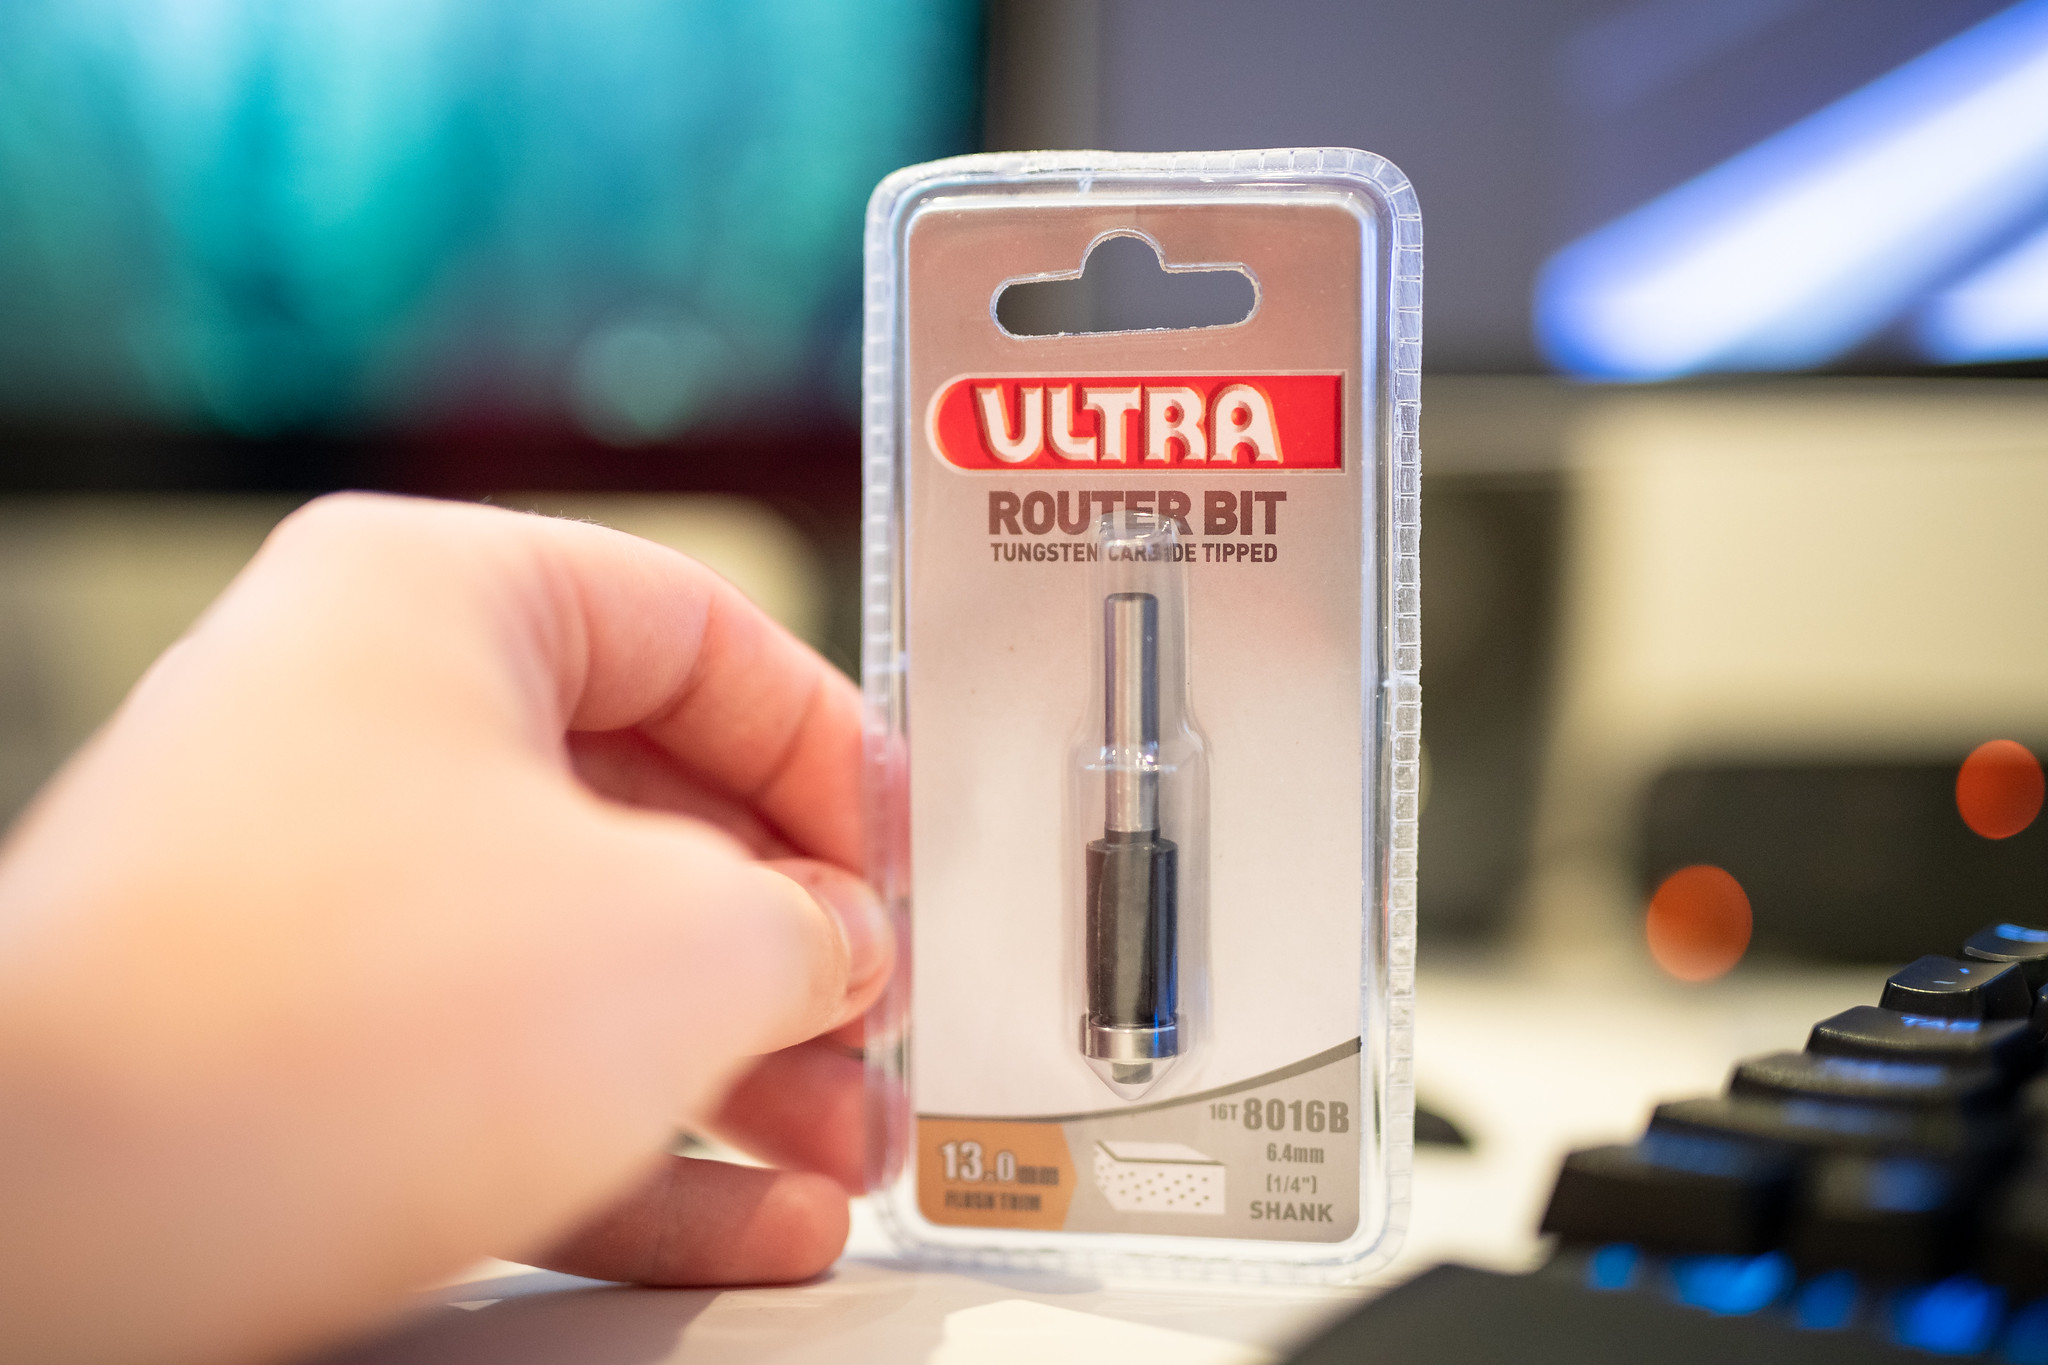
Router Bit: Ultra 13.0mm router bit
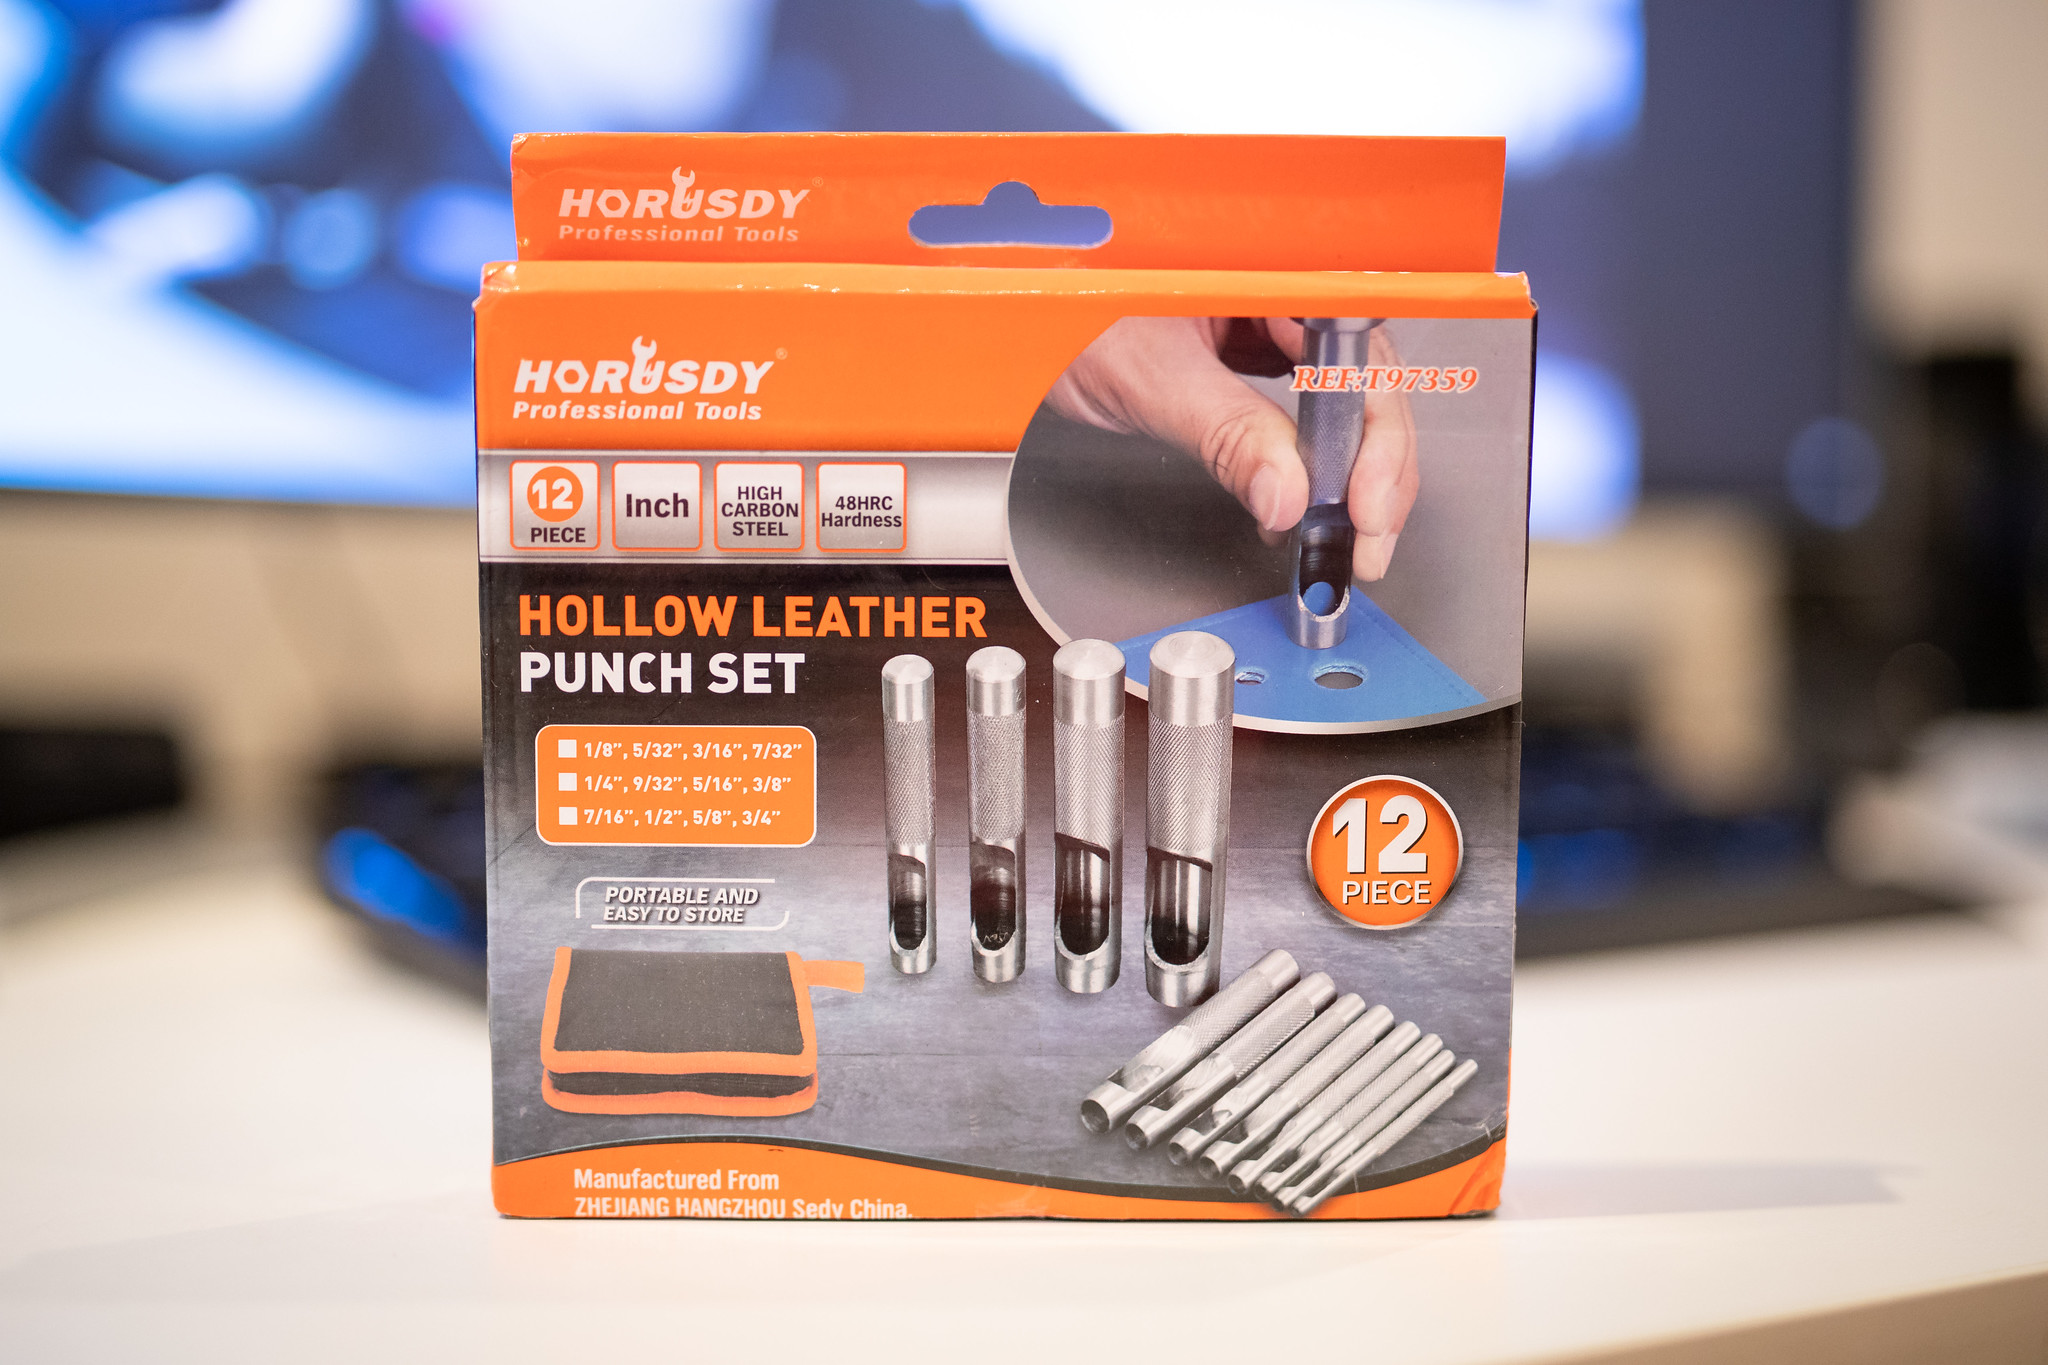
Punch: Horusdy Punch Set

I’ve got a few very small things still on order but they’ll be here any day.
6 Likes
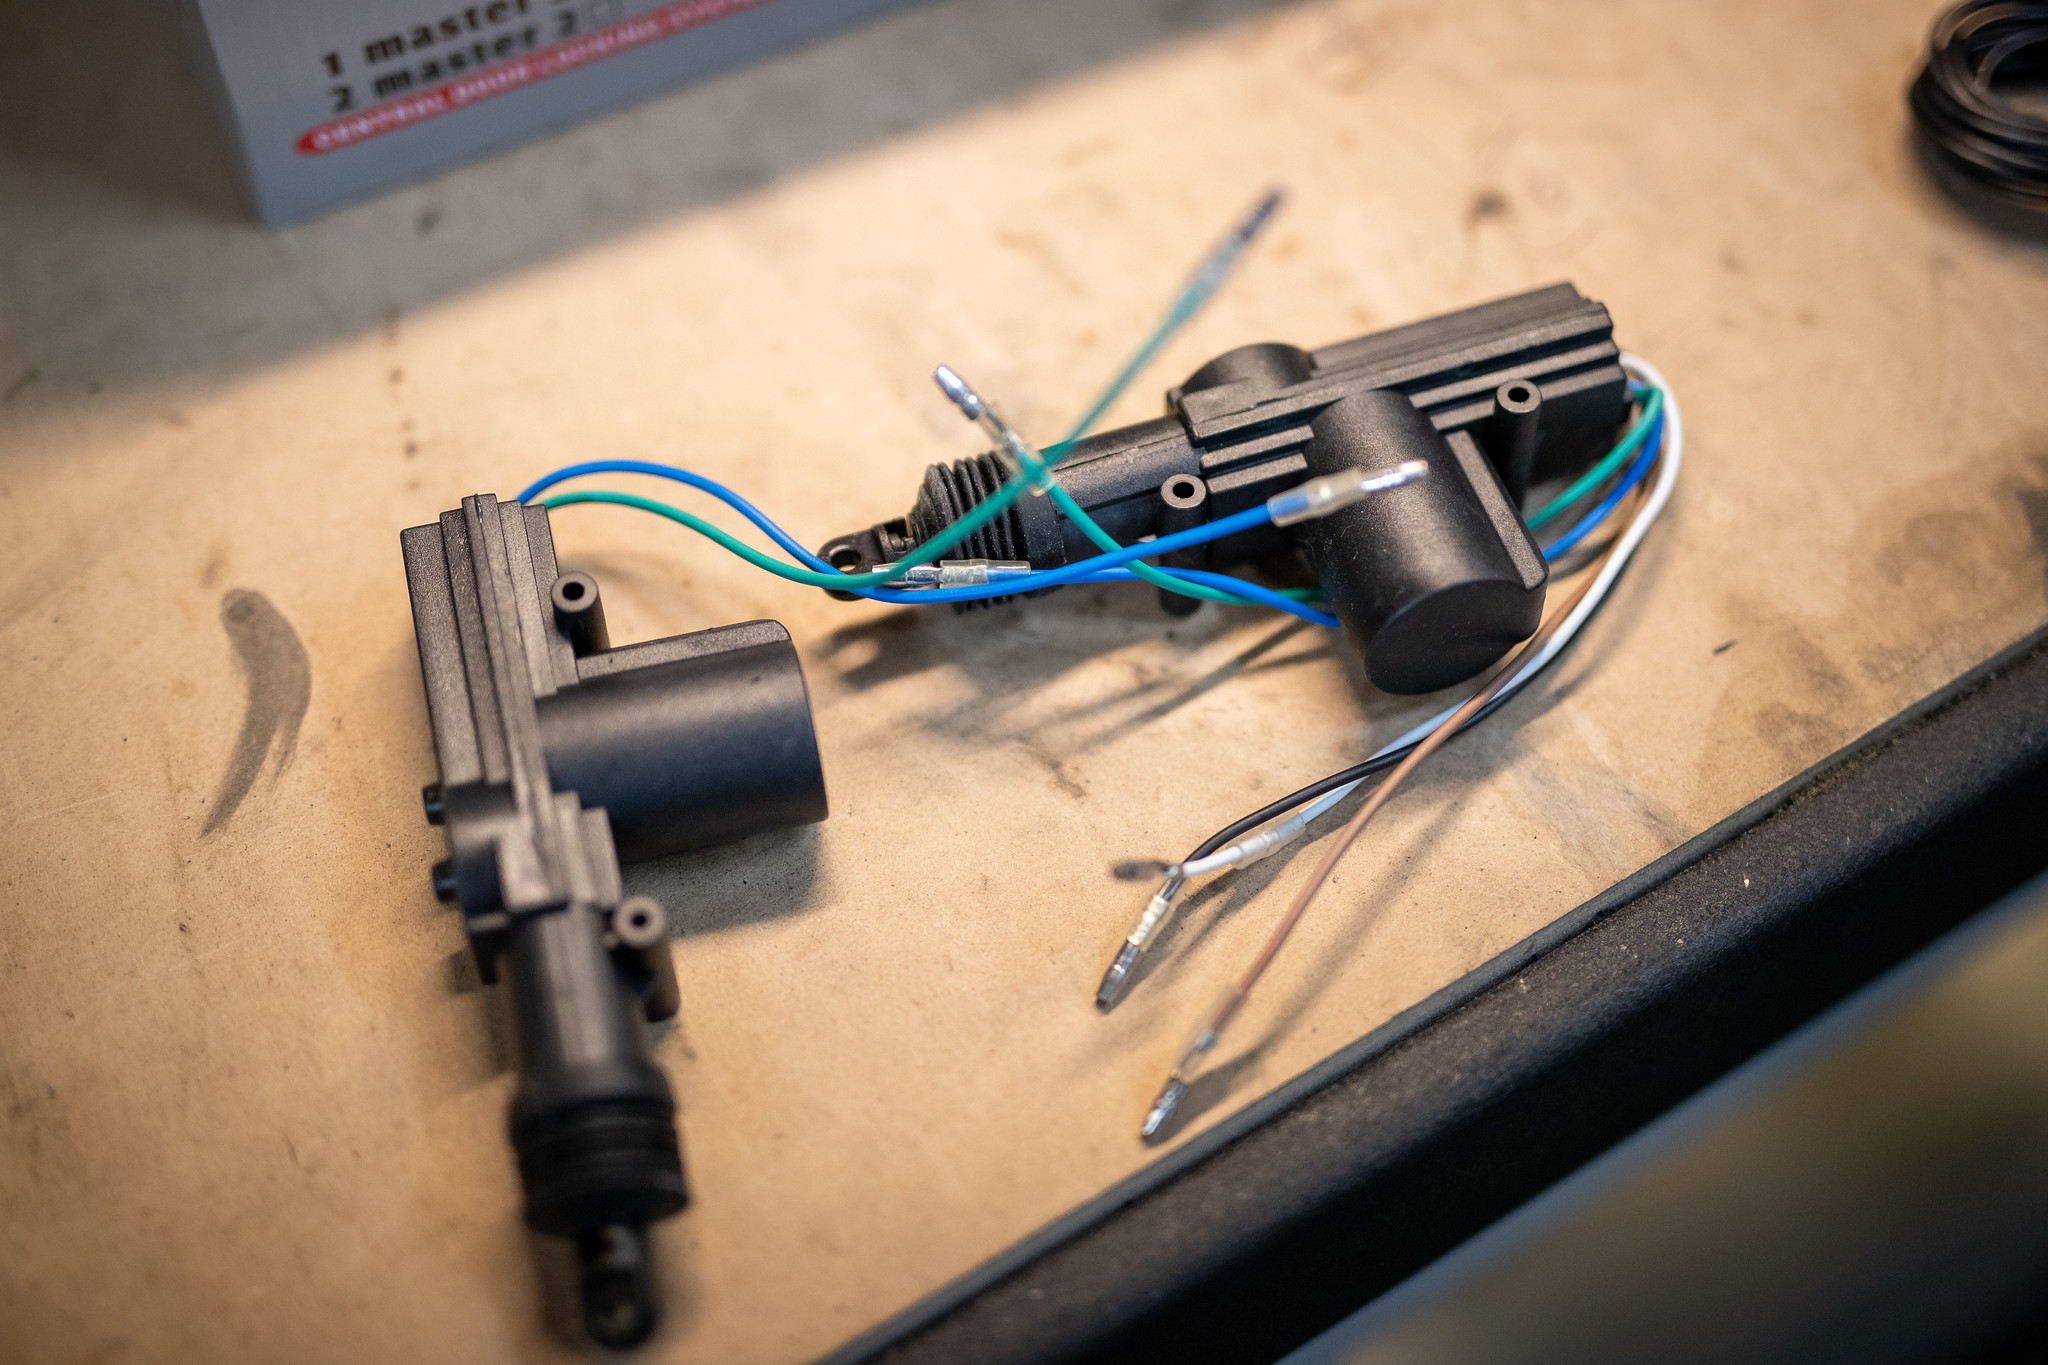
April 2020: I’m currently working on the speaker install, however a couple other exciting things have been happening. One of which was the installation of an alarm and central locking.
We just went with some basic Jaycar motors for the doors.

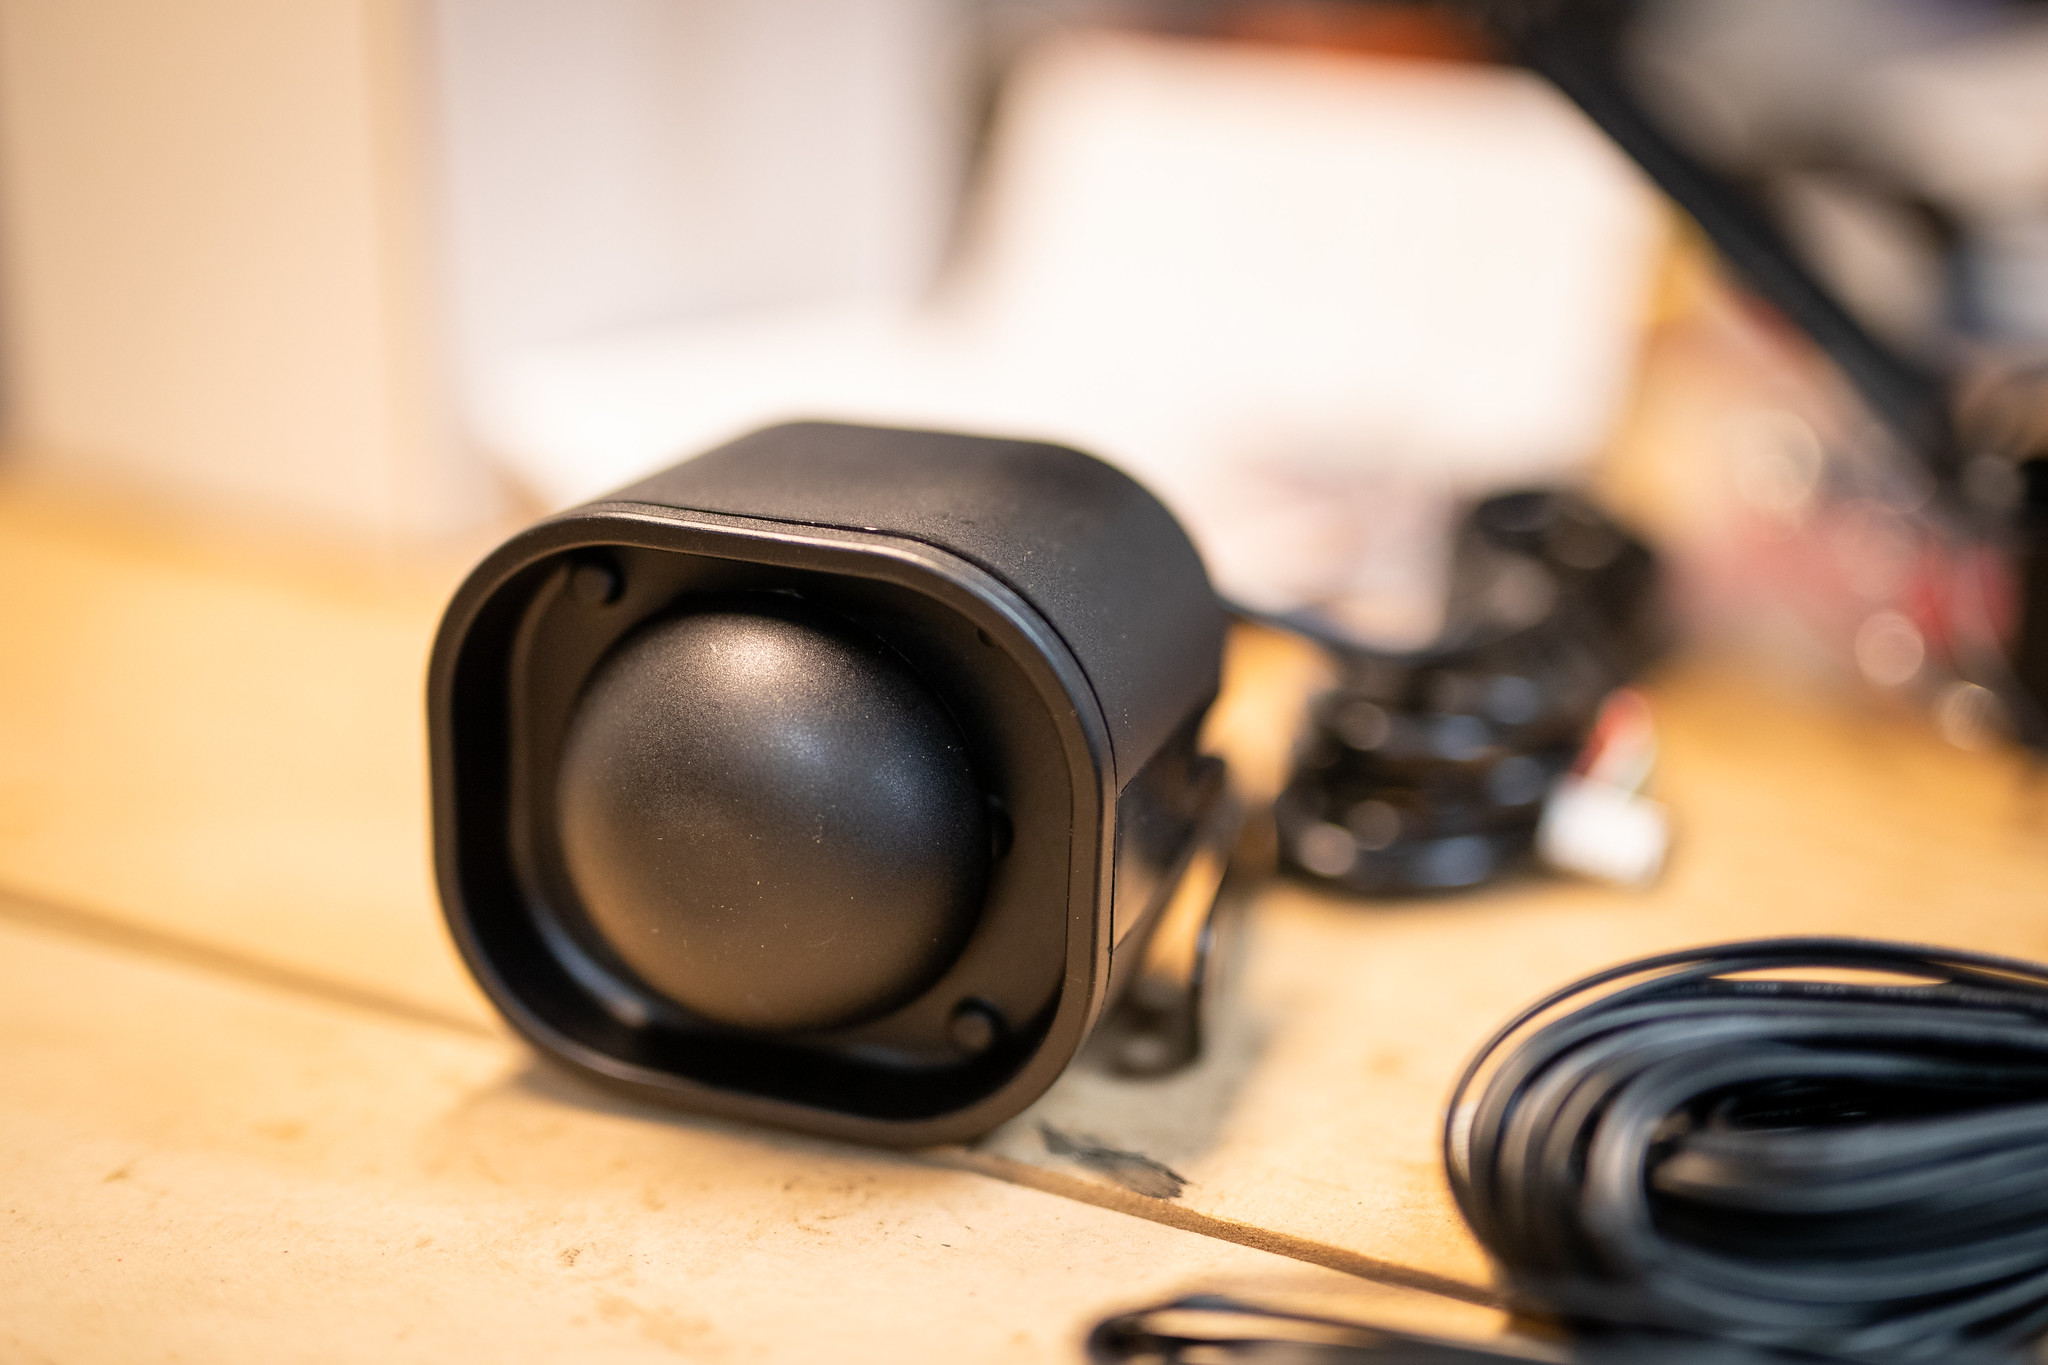
For the alarm we went with an Aussie item from a company called Antitheft.
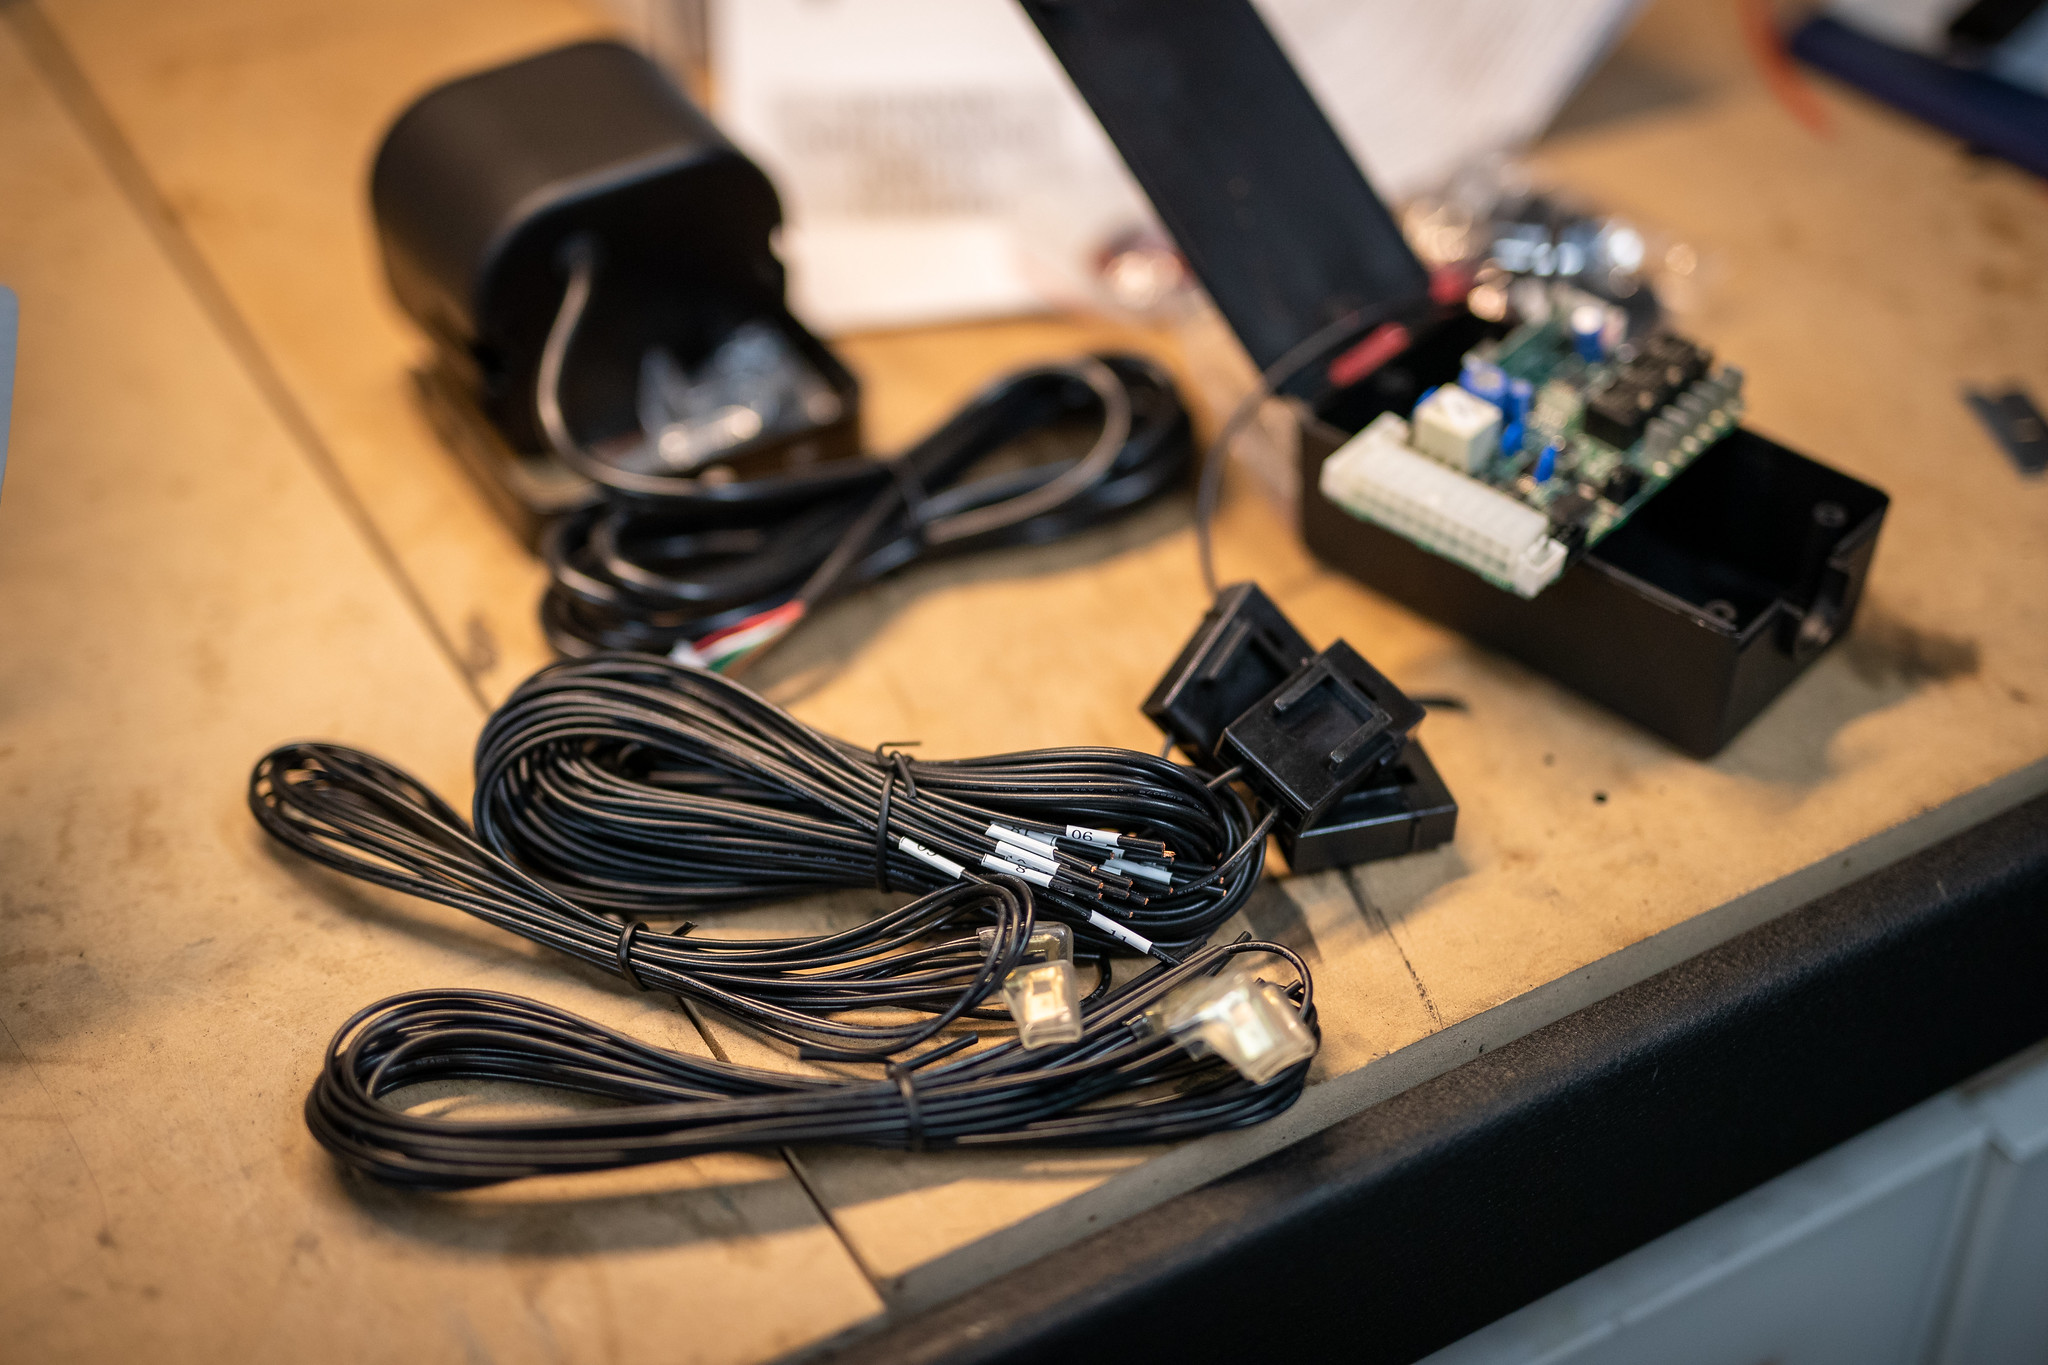
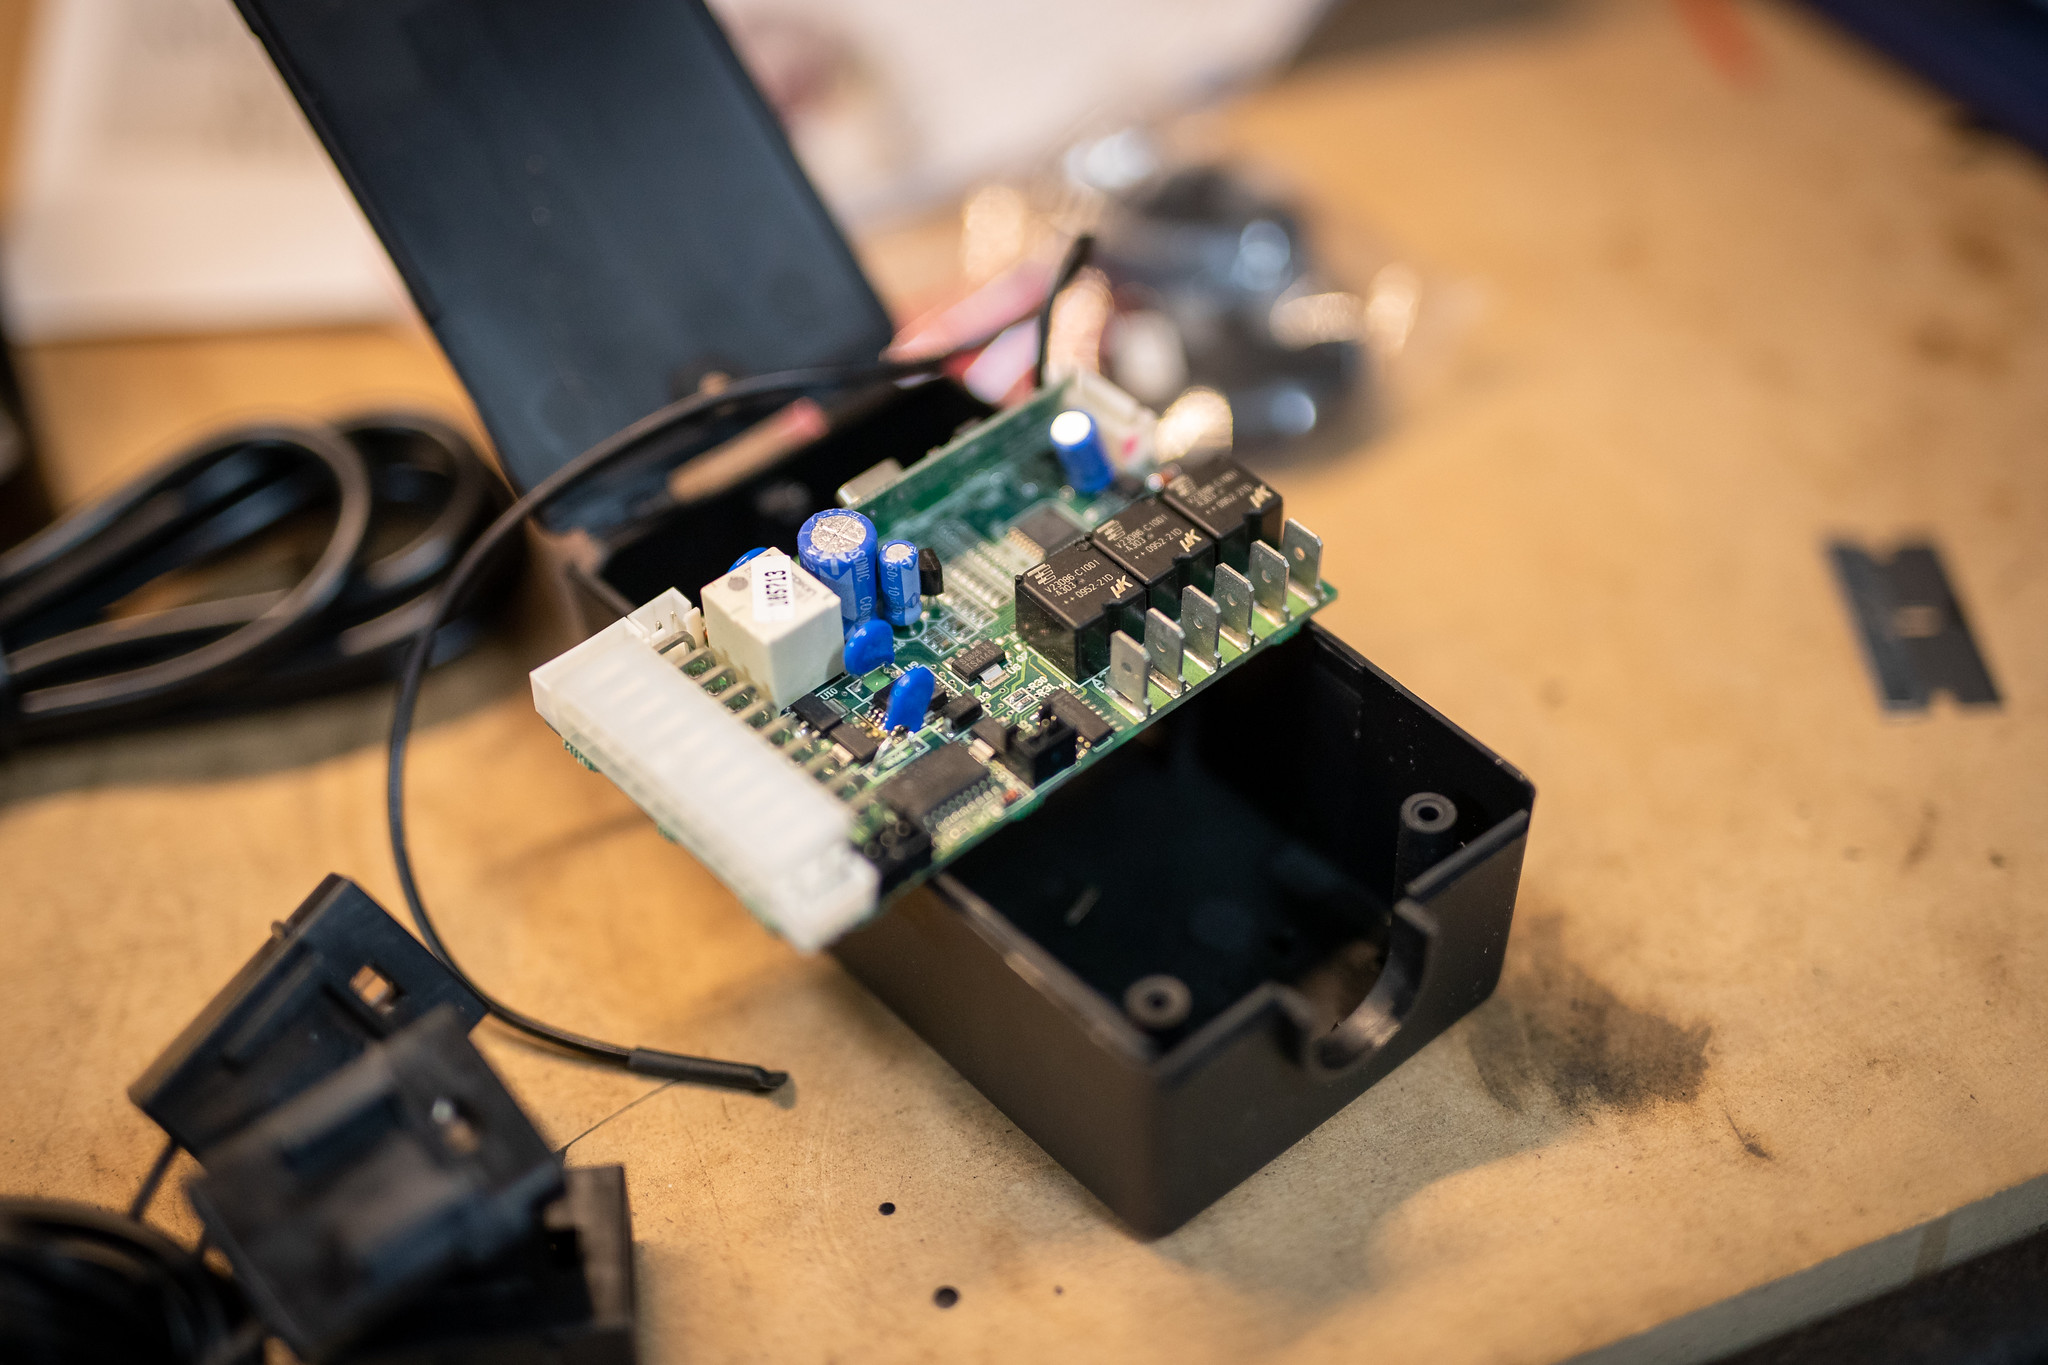
The siren and key fobs.

Getting straight into it, door cards off.
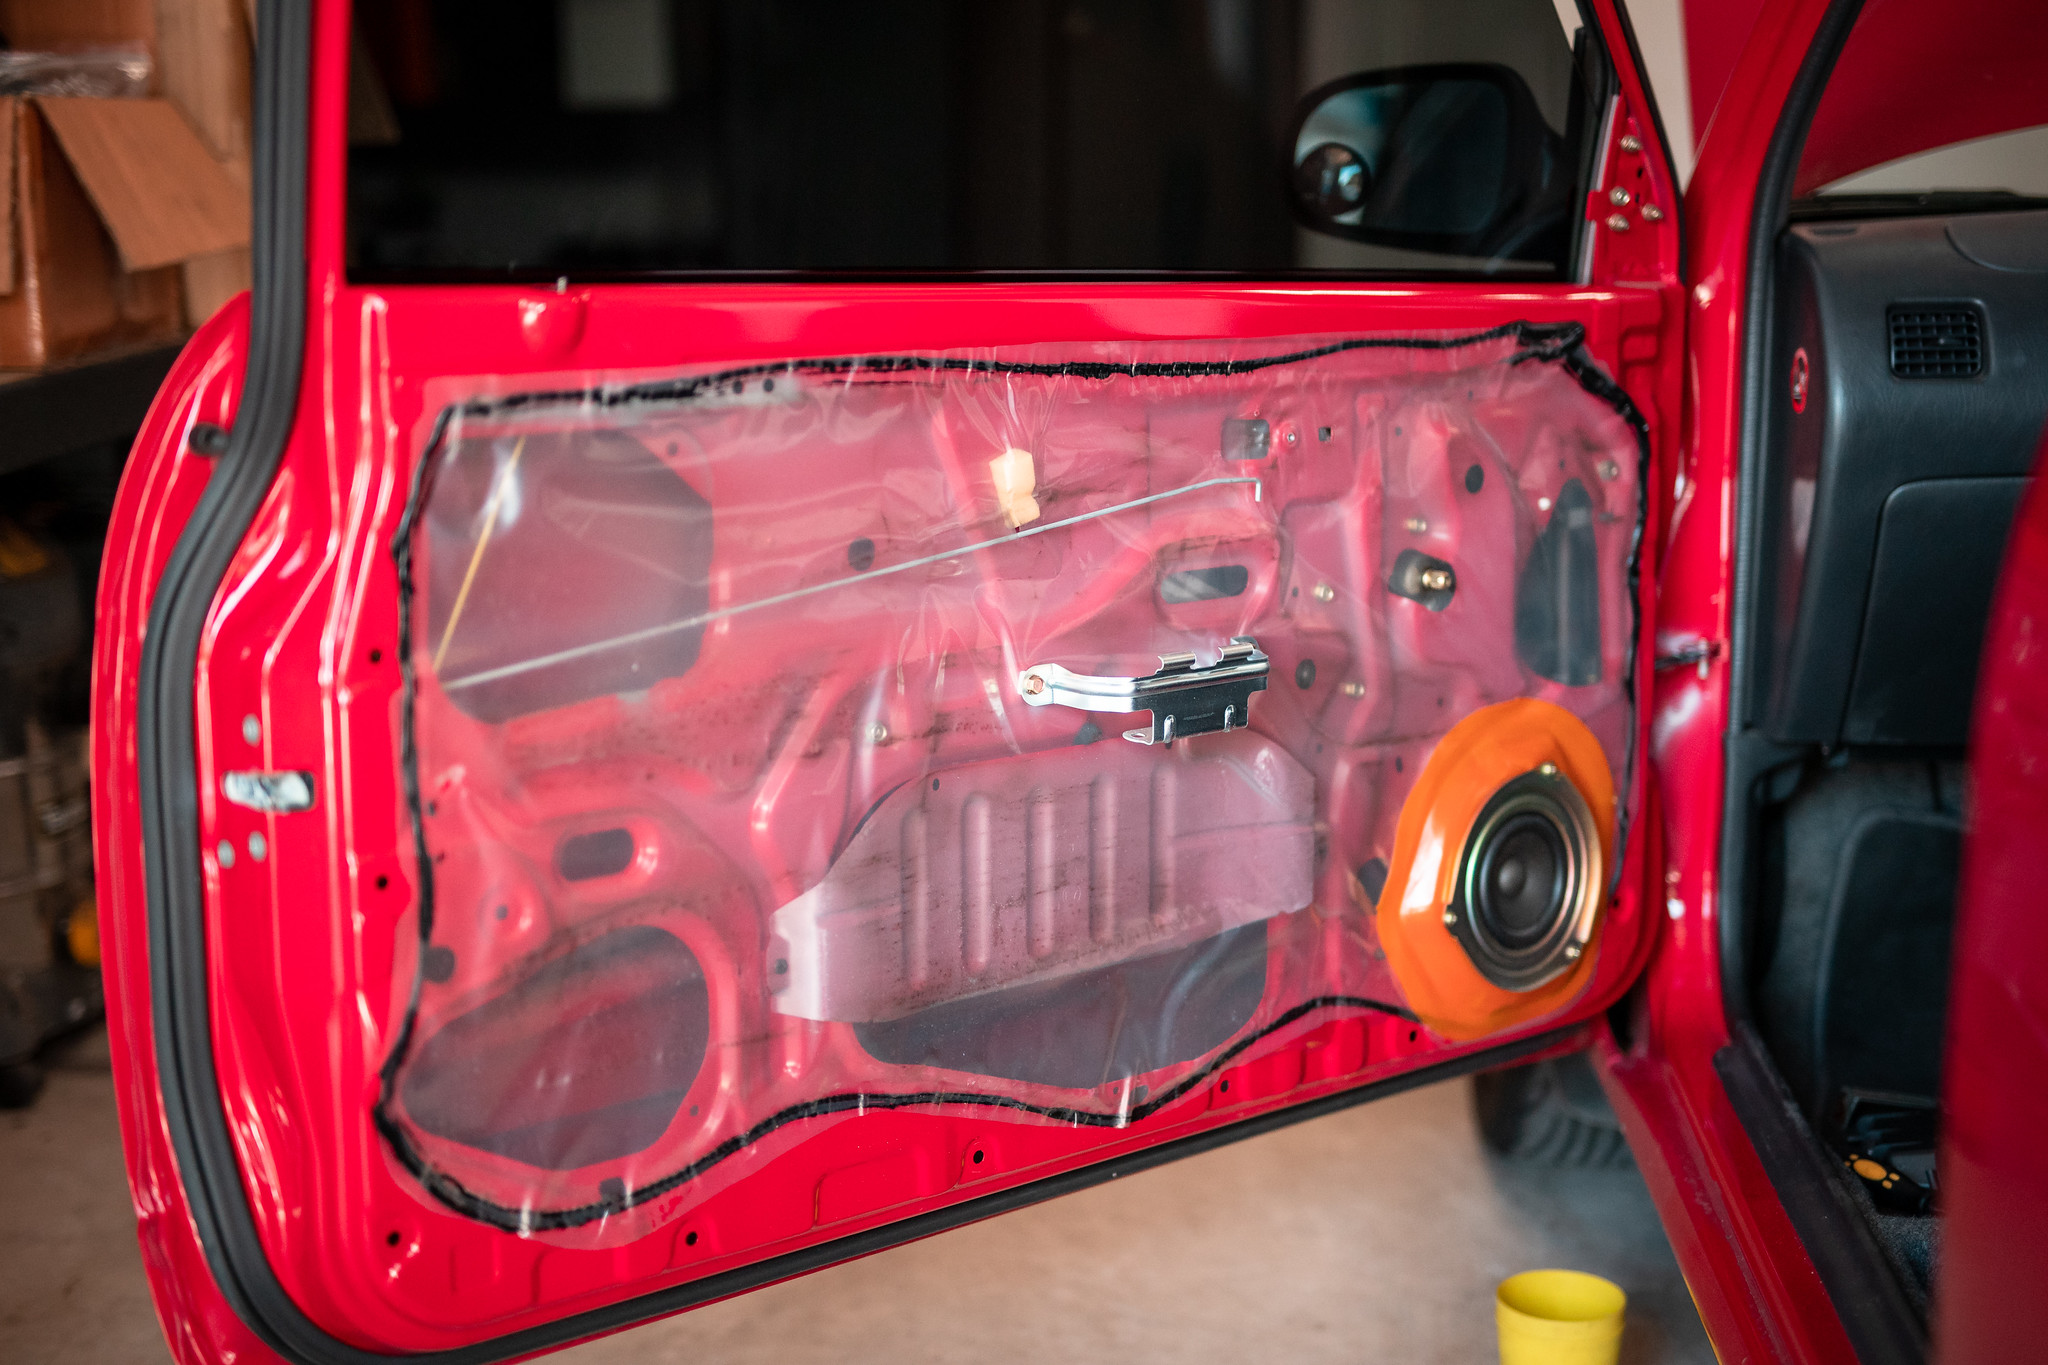

Wiring through the doors.
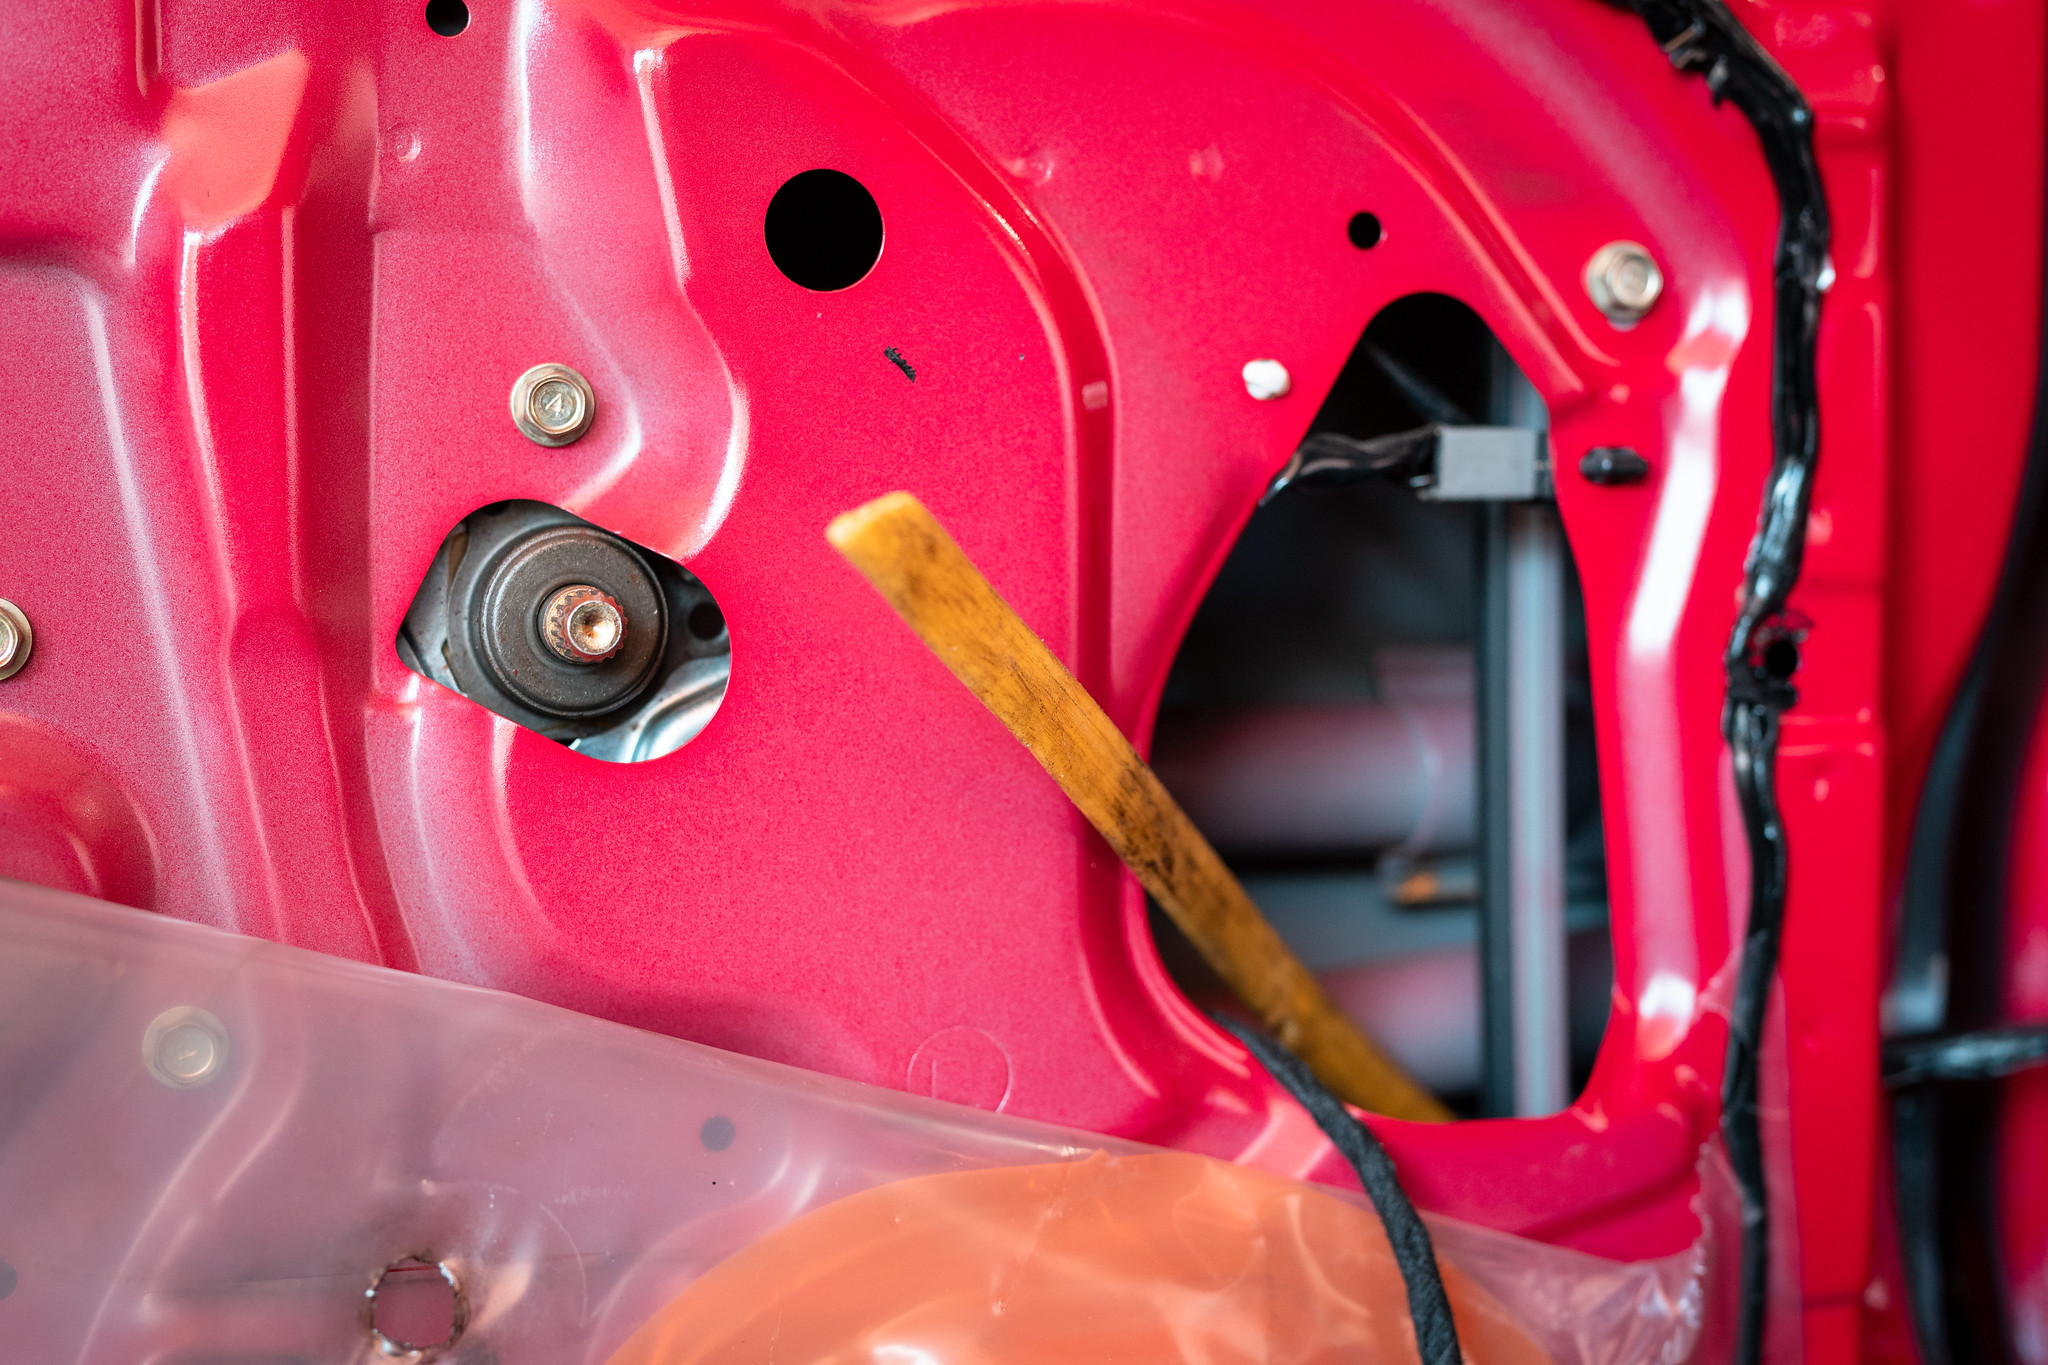
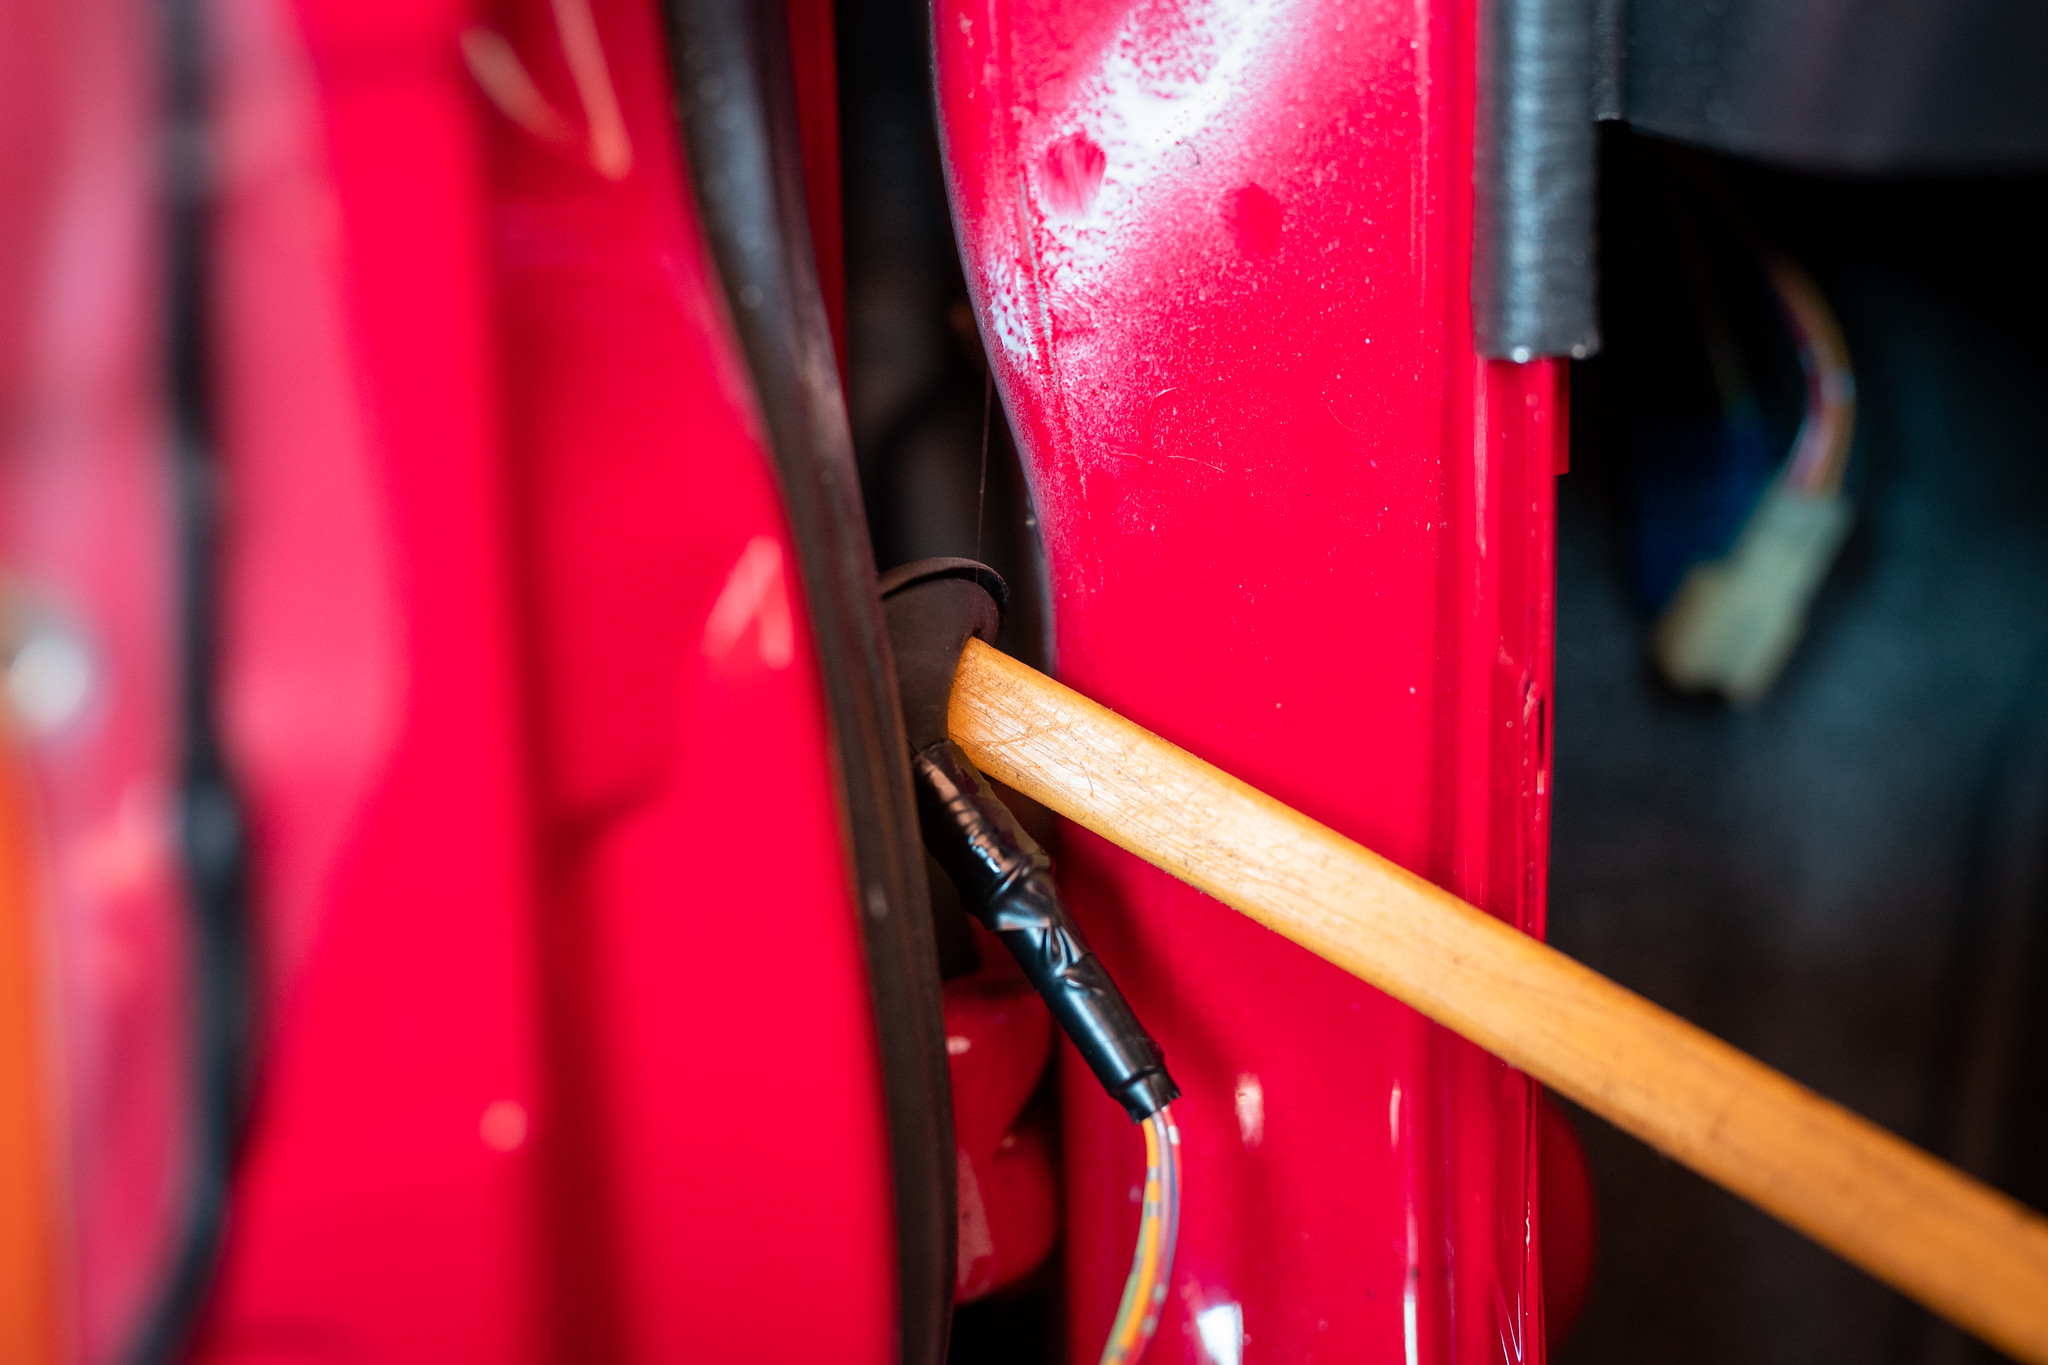
Mounting motors.
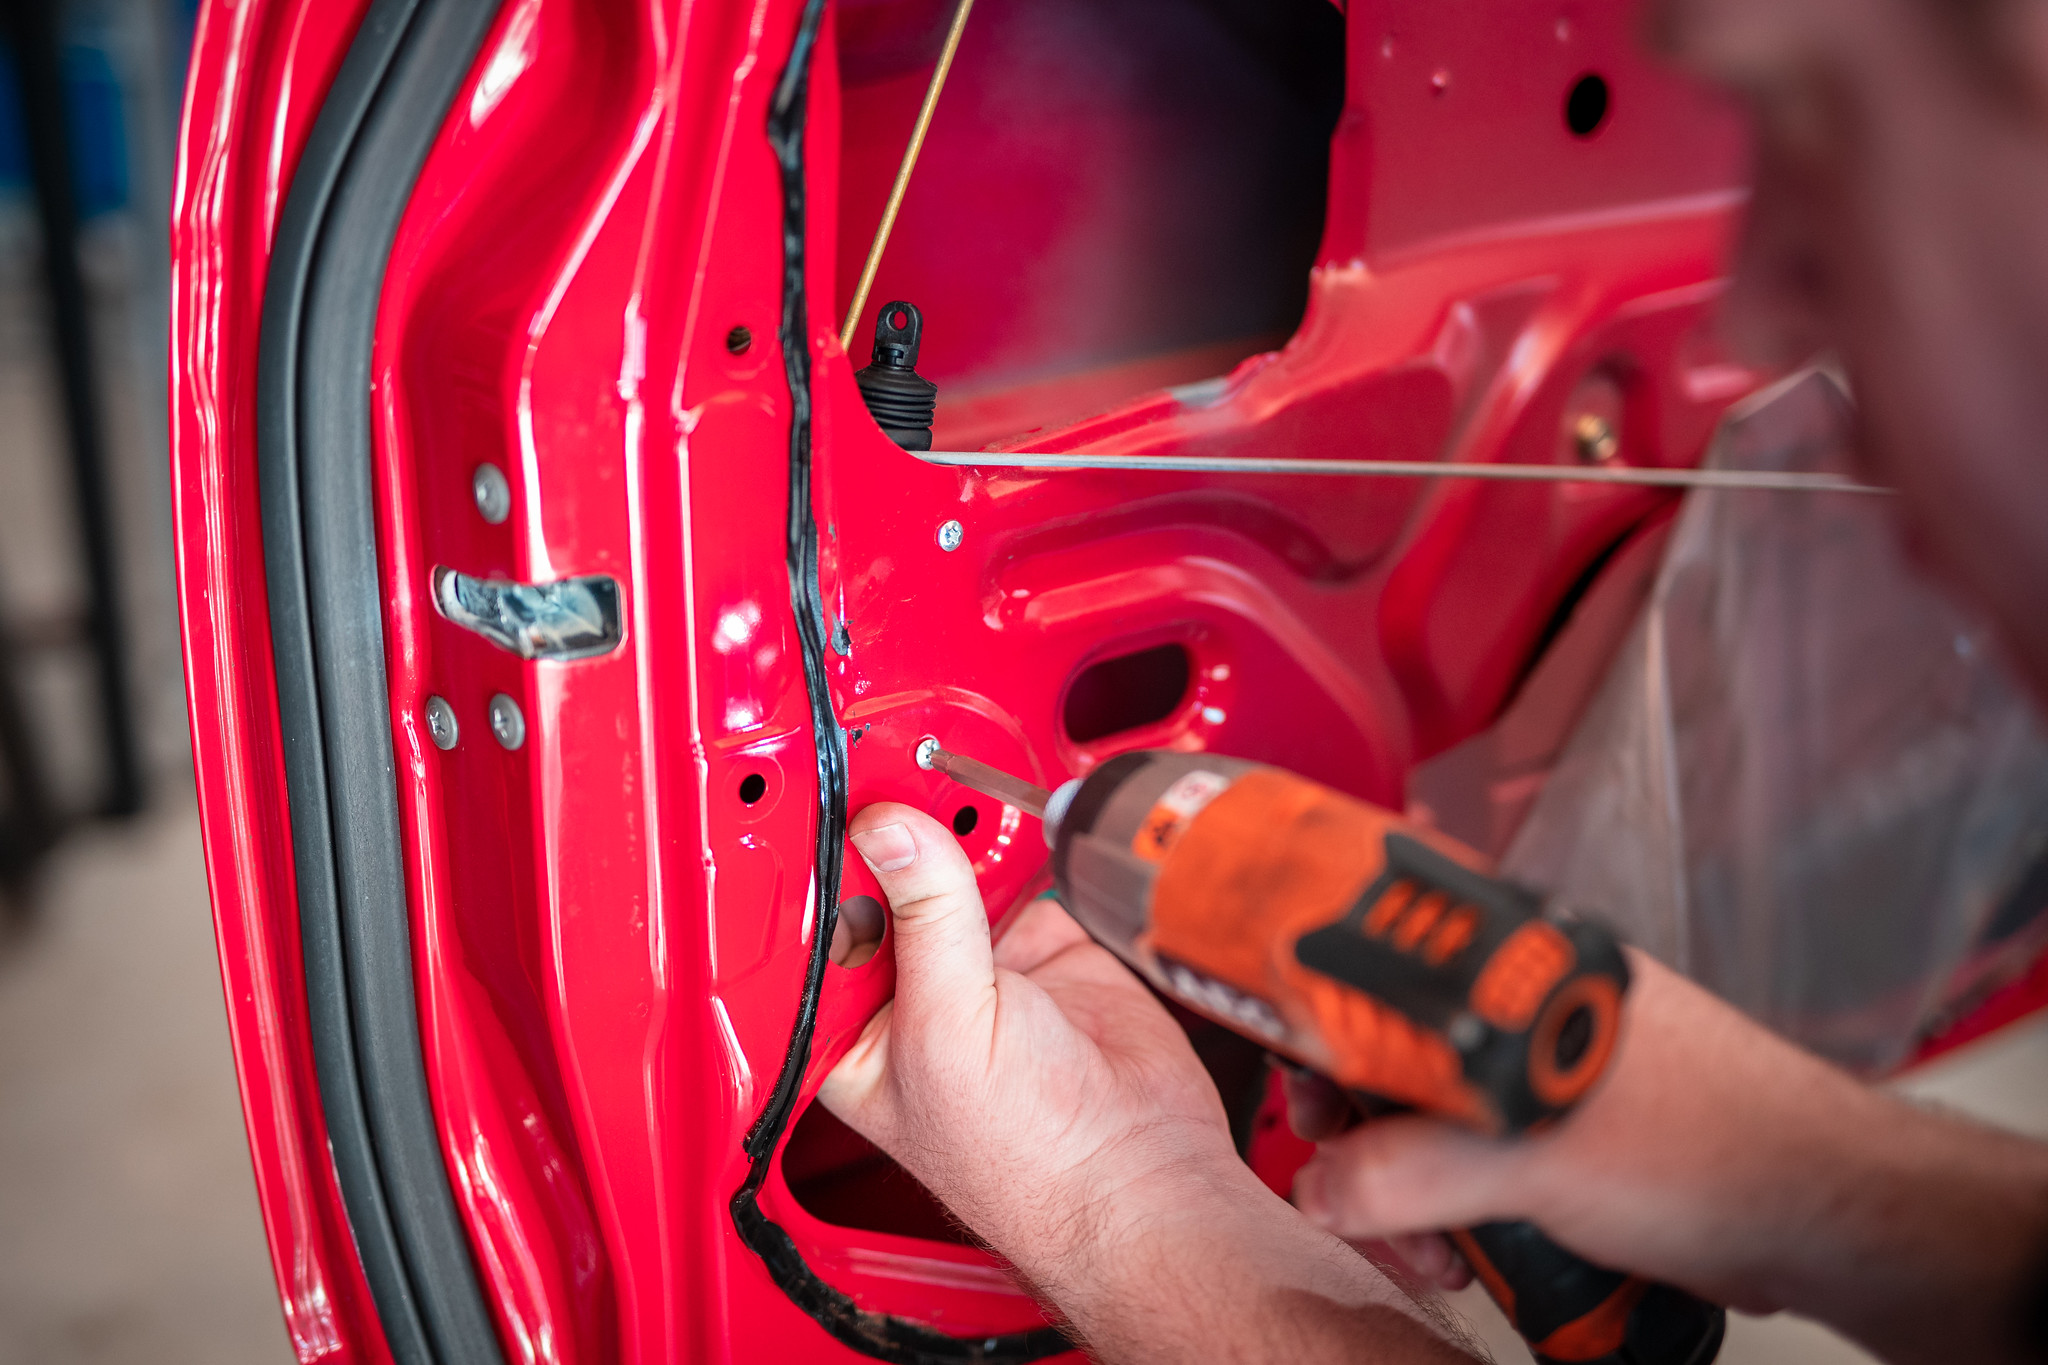

Connecting them to the lock.
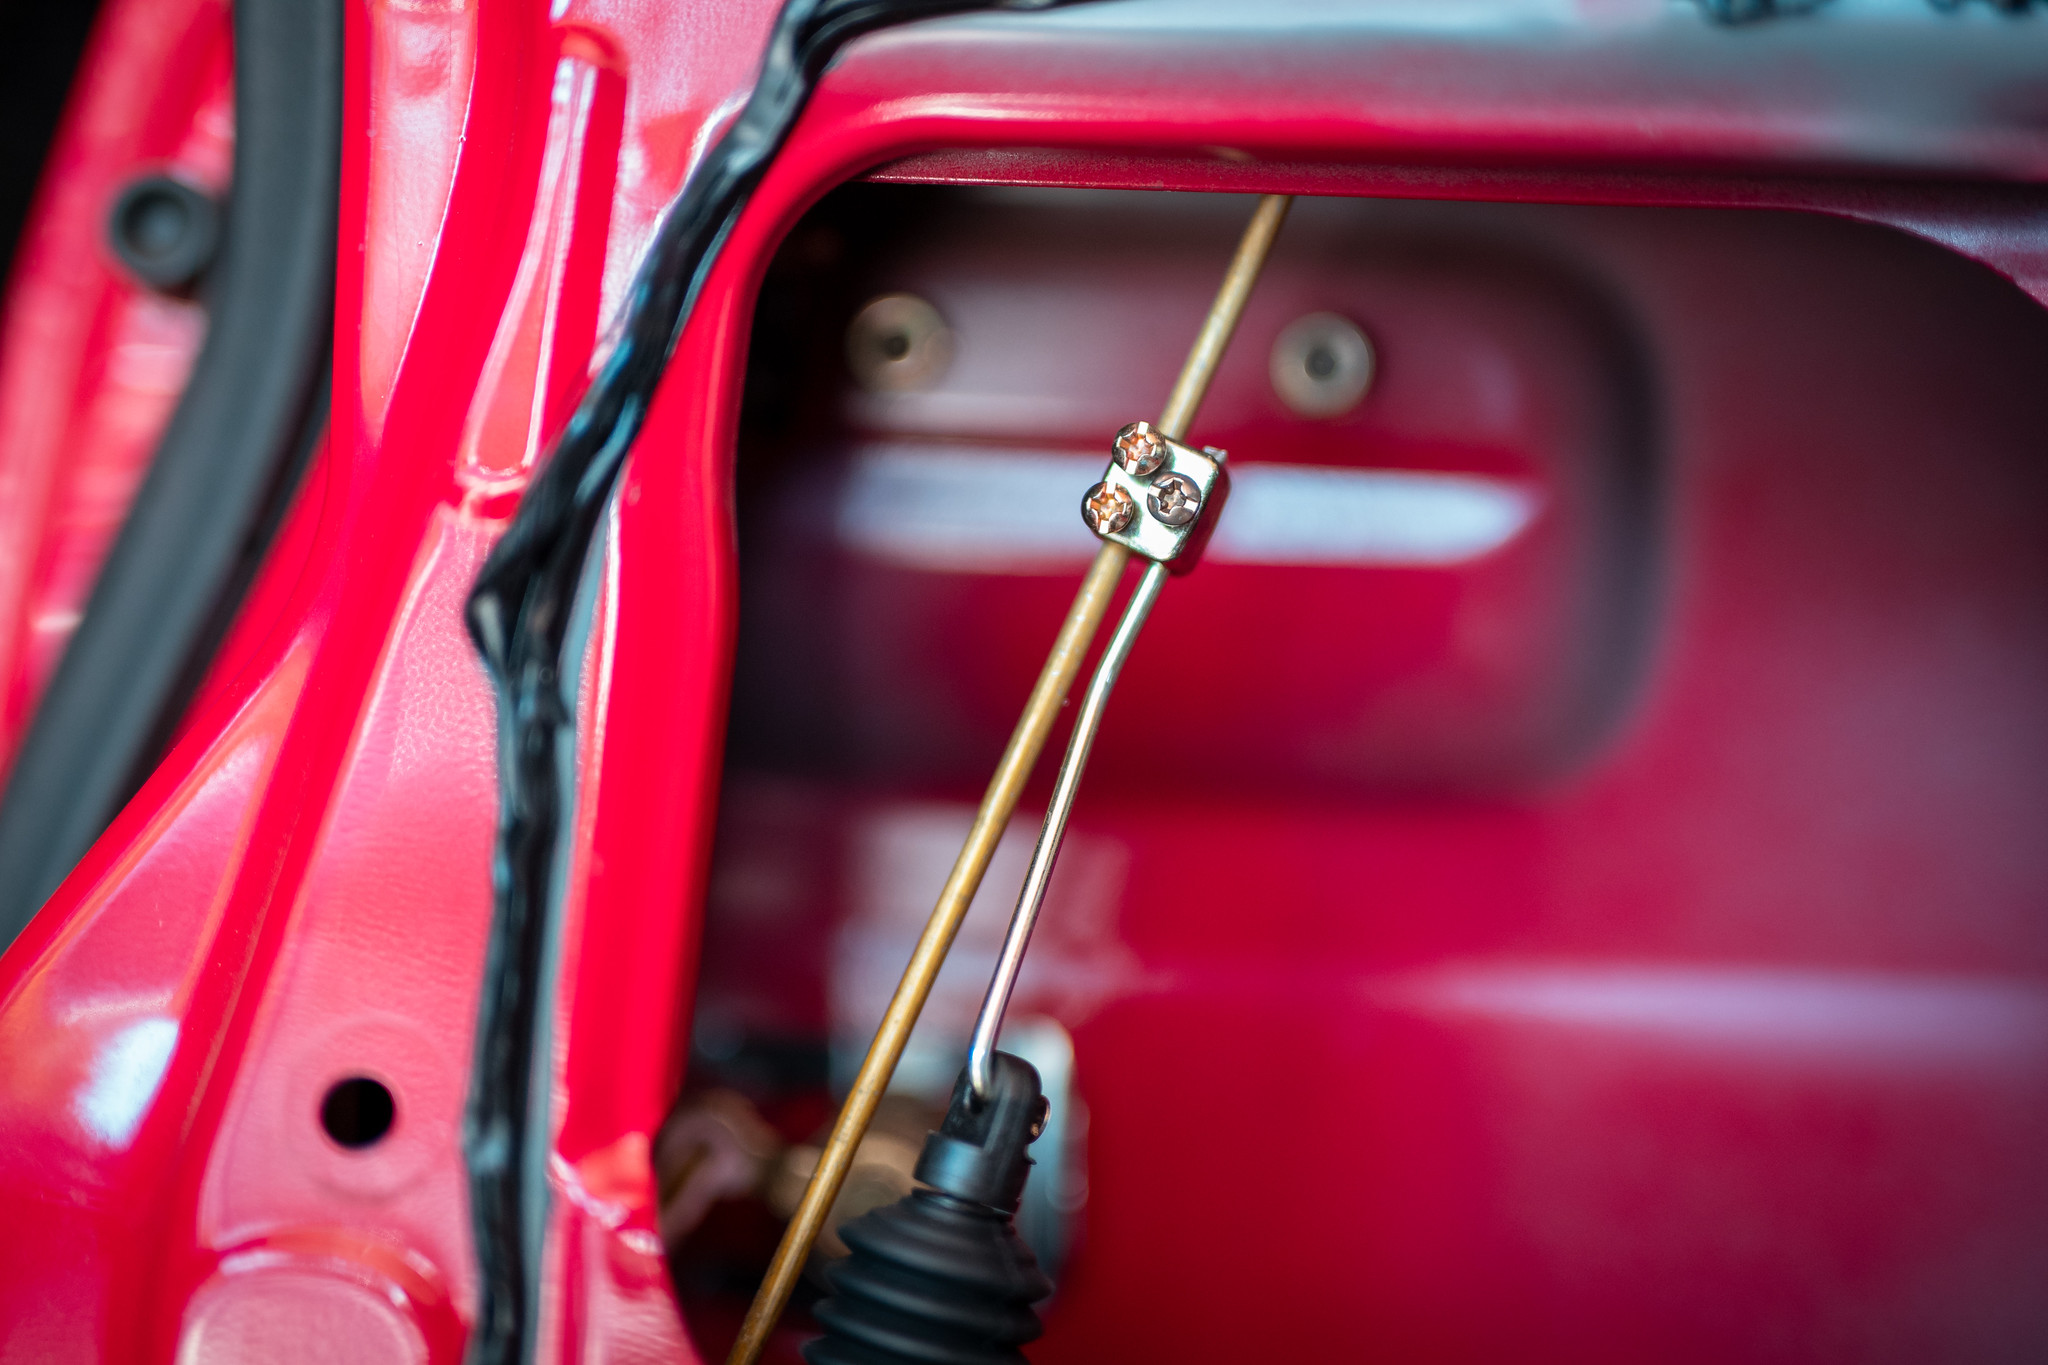
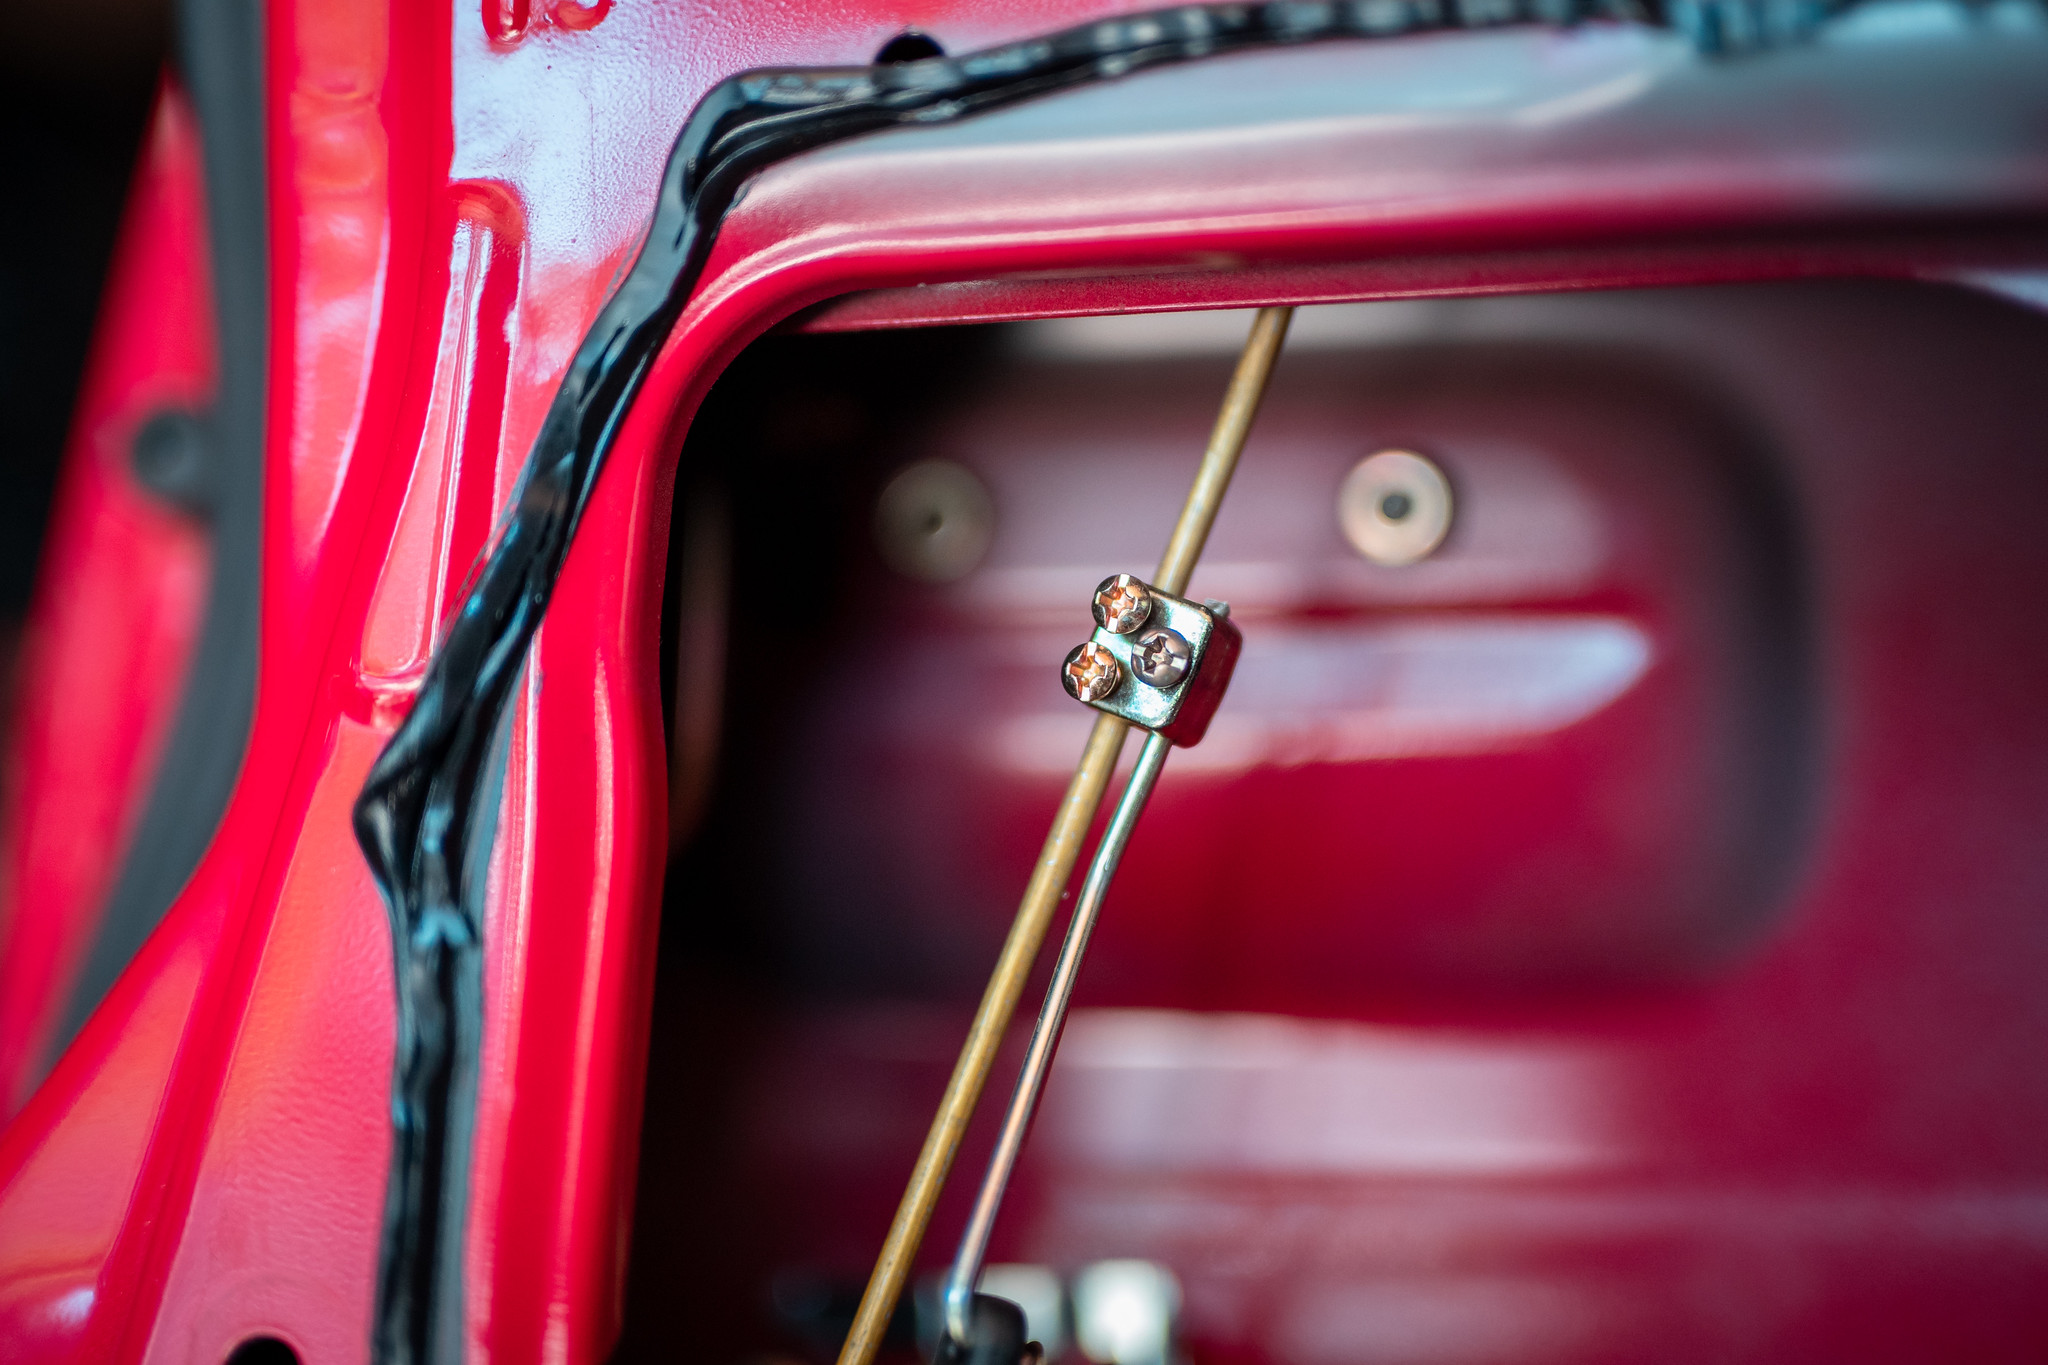
We picked up the alarm trigger from the door lights.
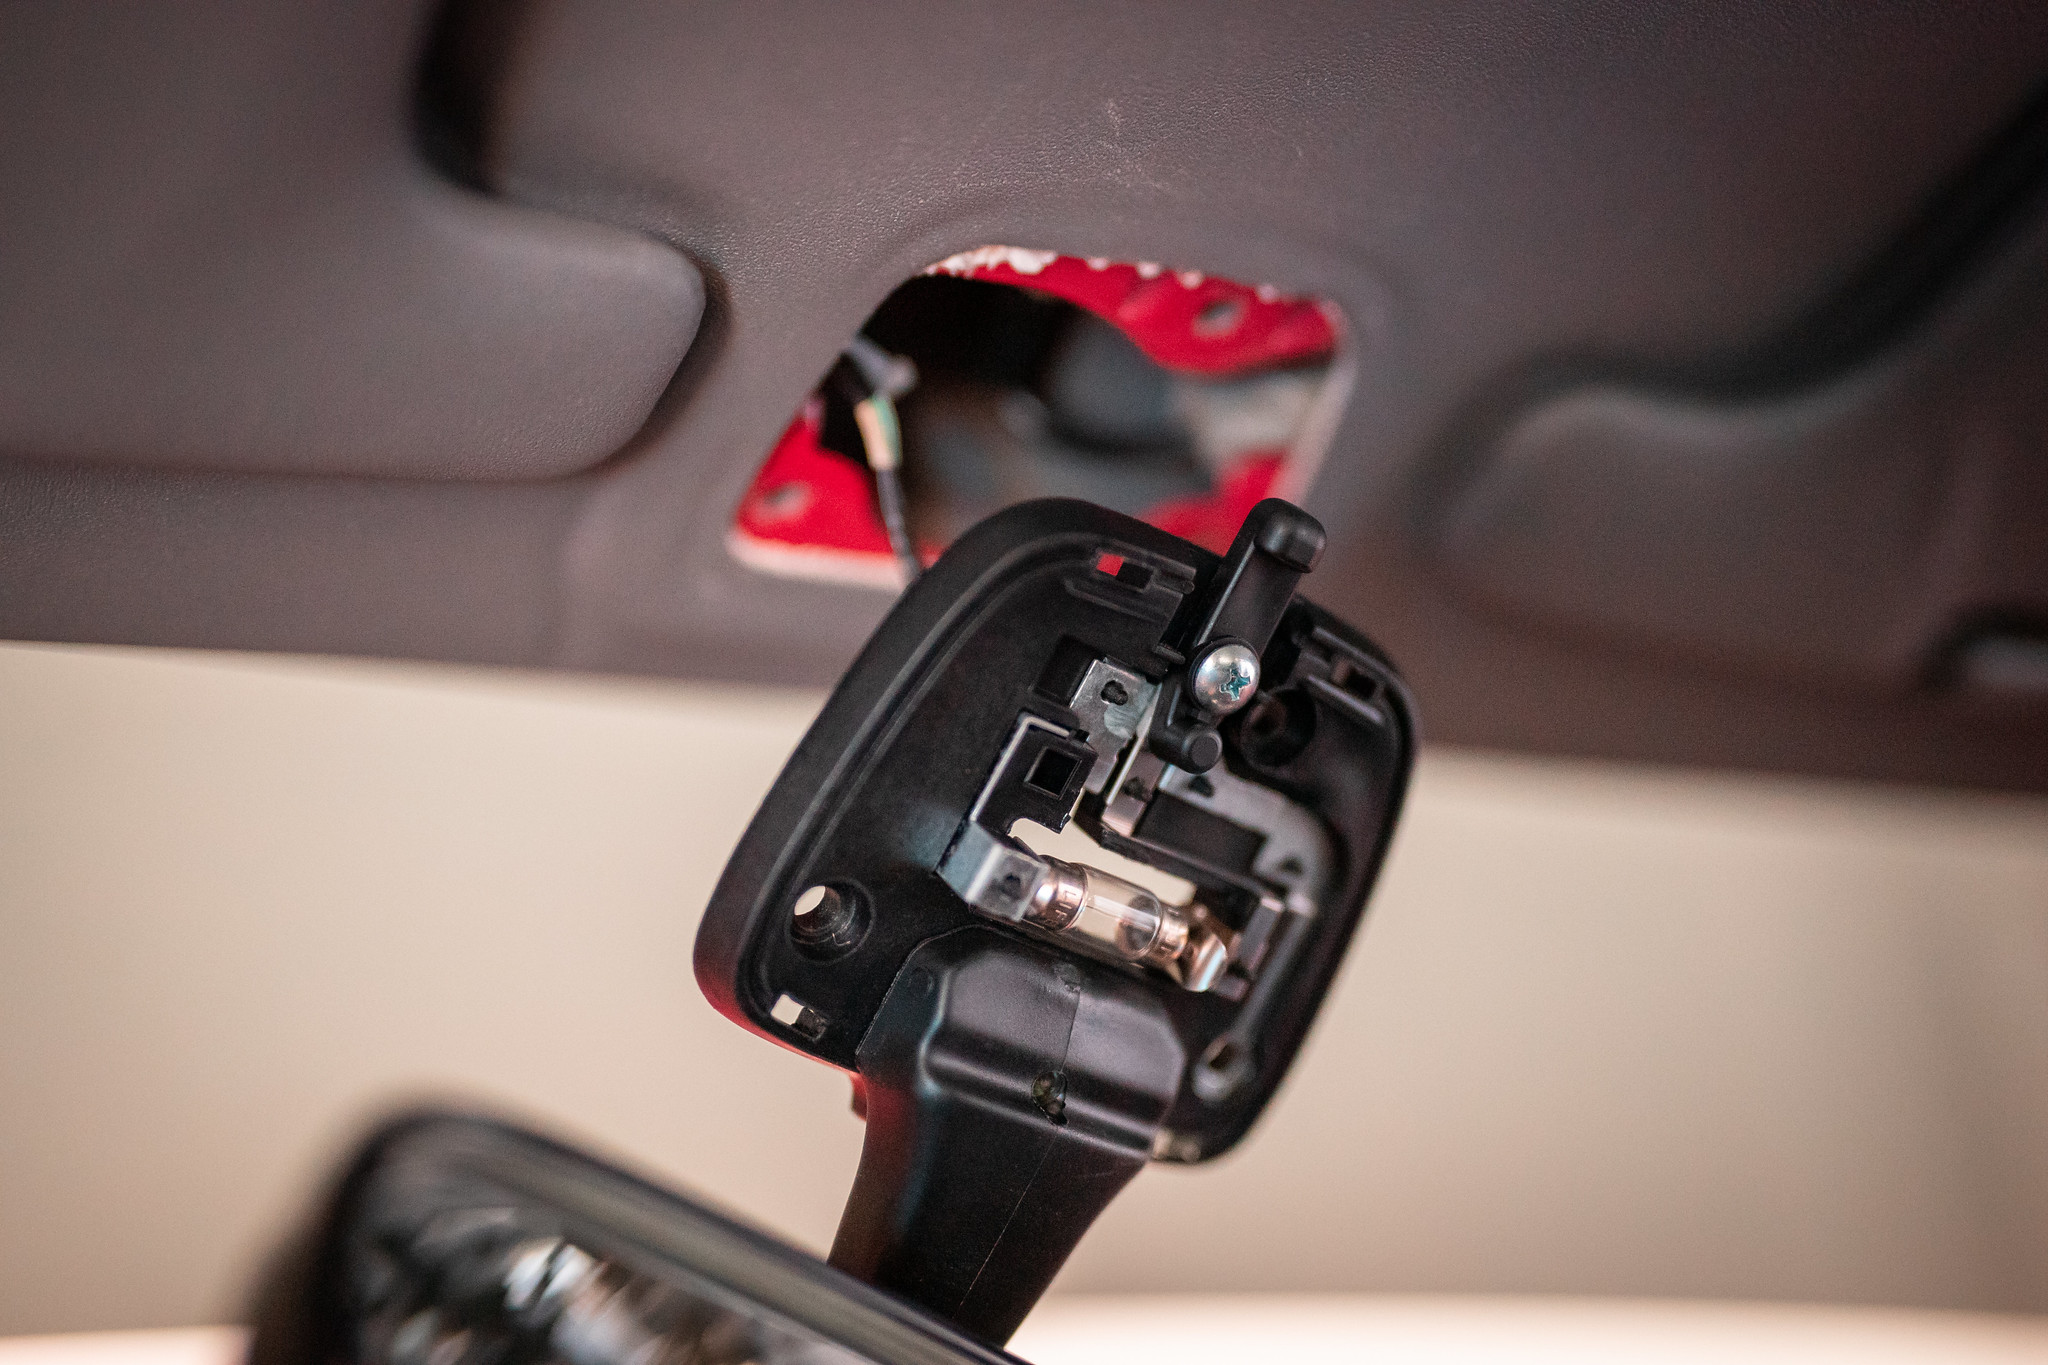

Oddly there was already a hole in the dash, with nothing in it. So we used it for the light.


Lastly we pulled through the wiring for the siren through the firewall.
On it went and done.

4 Likes
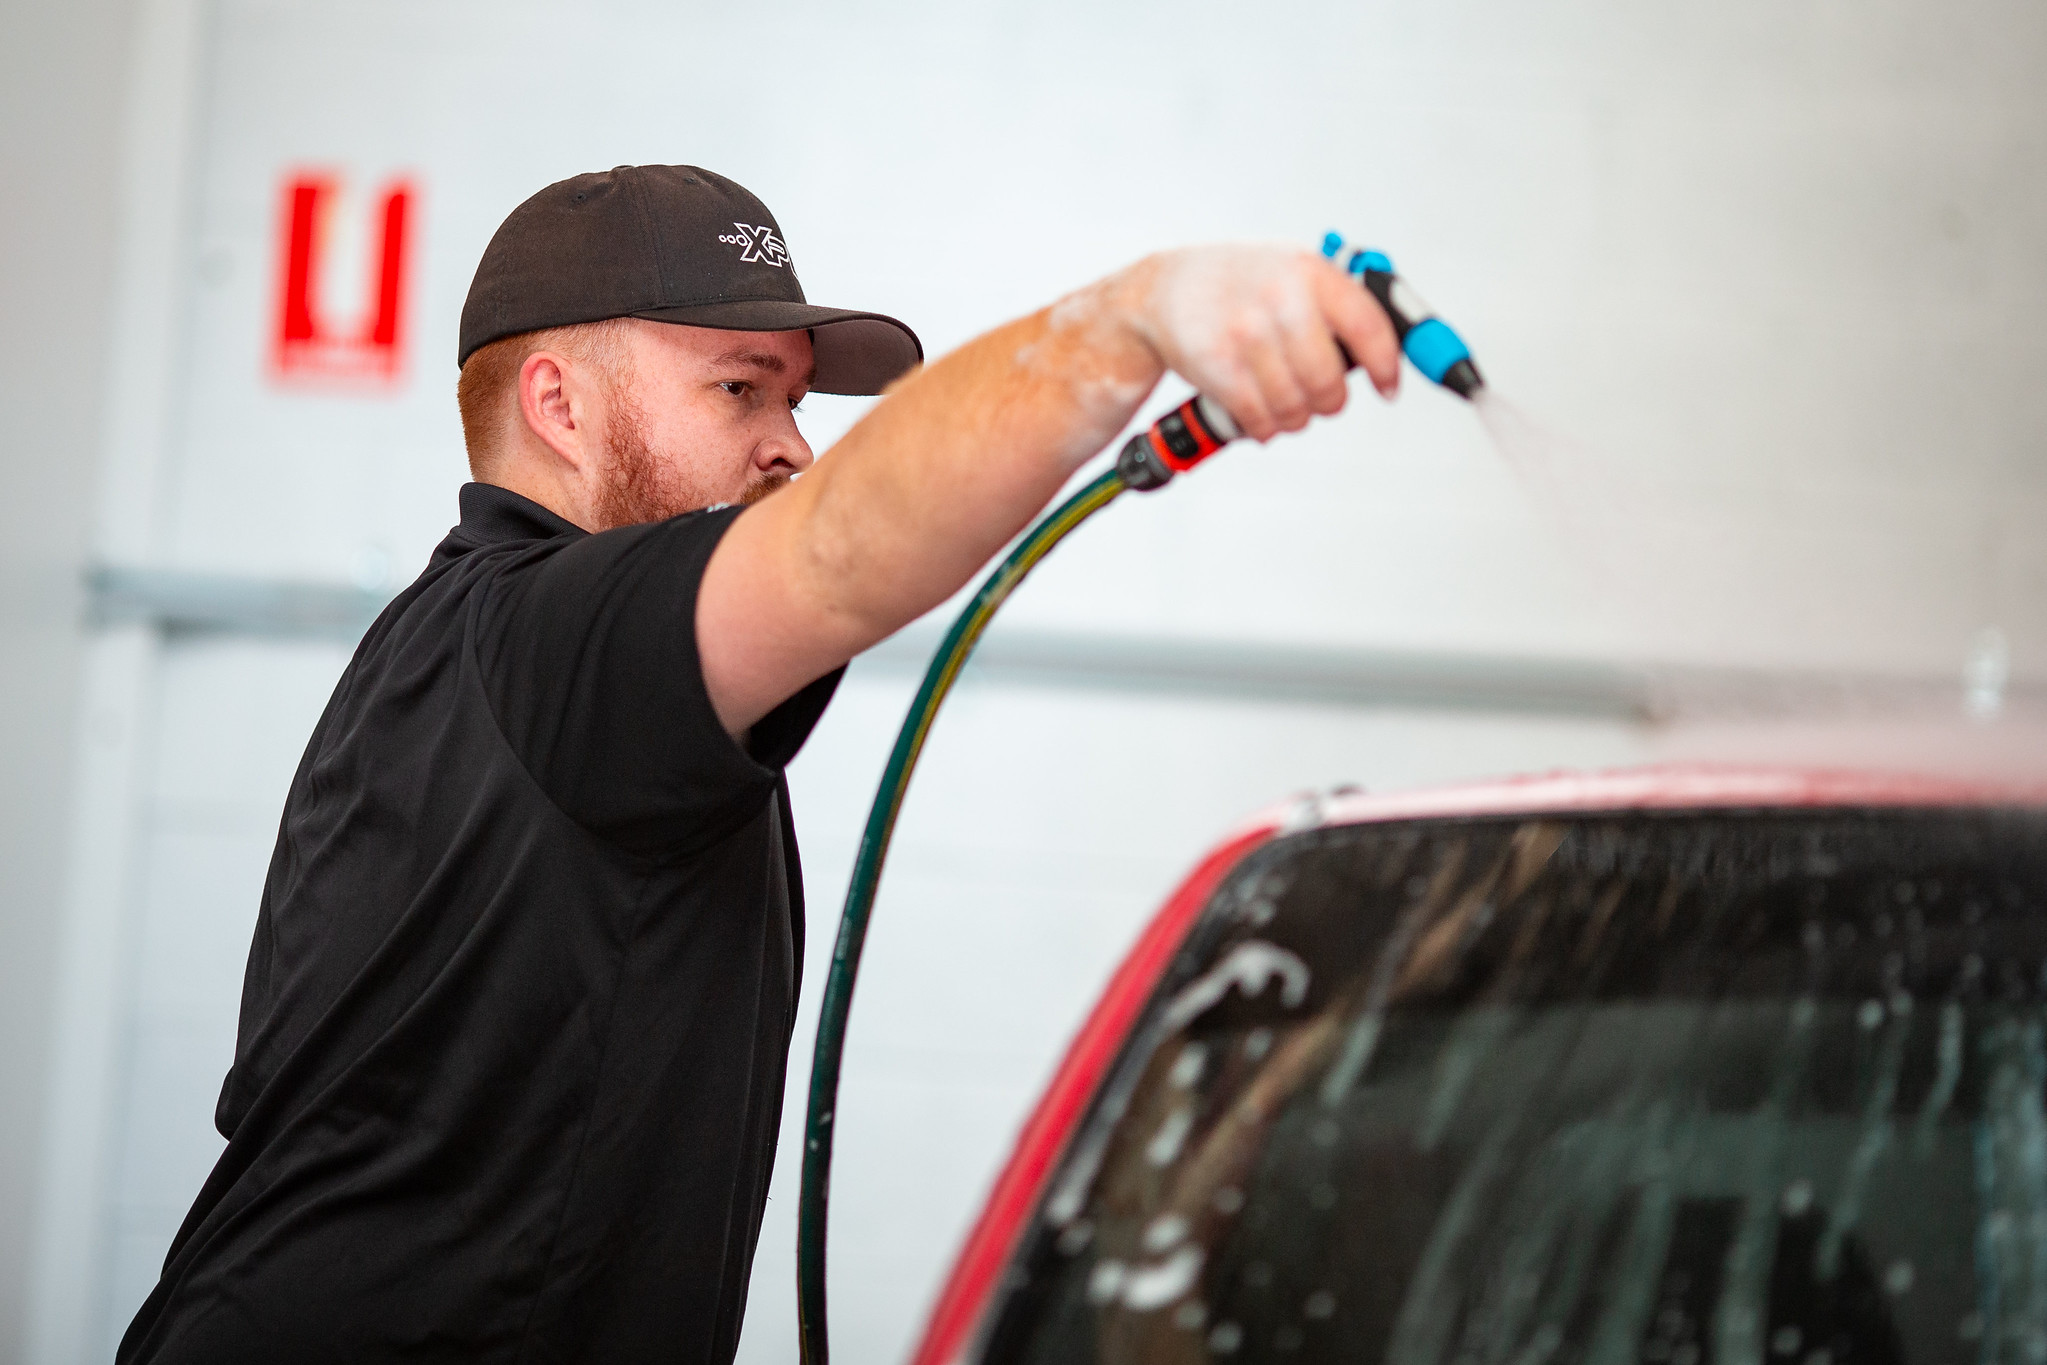
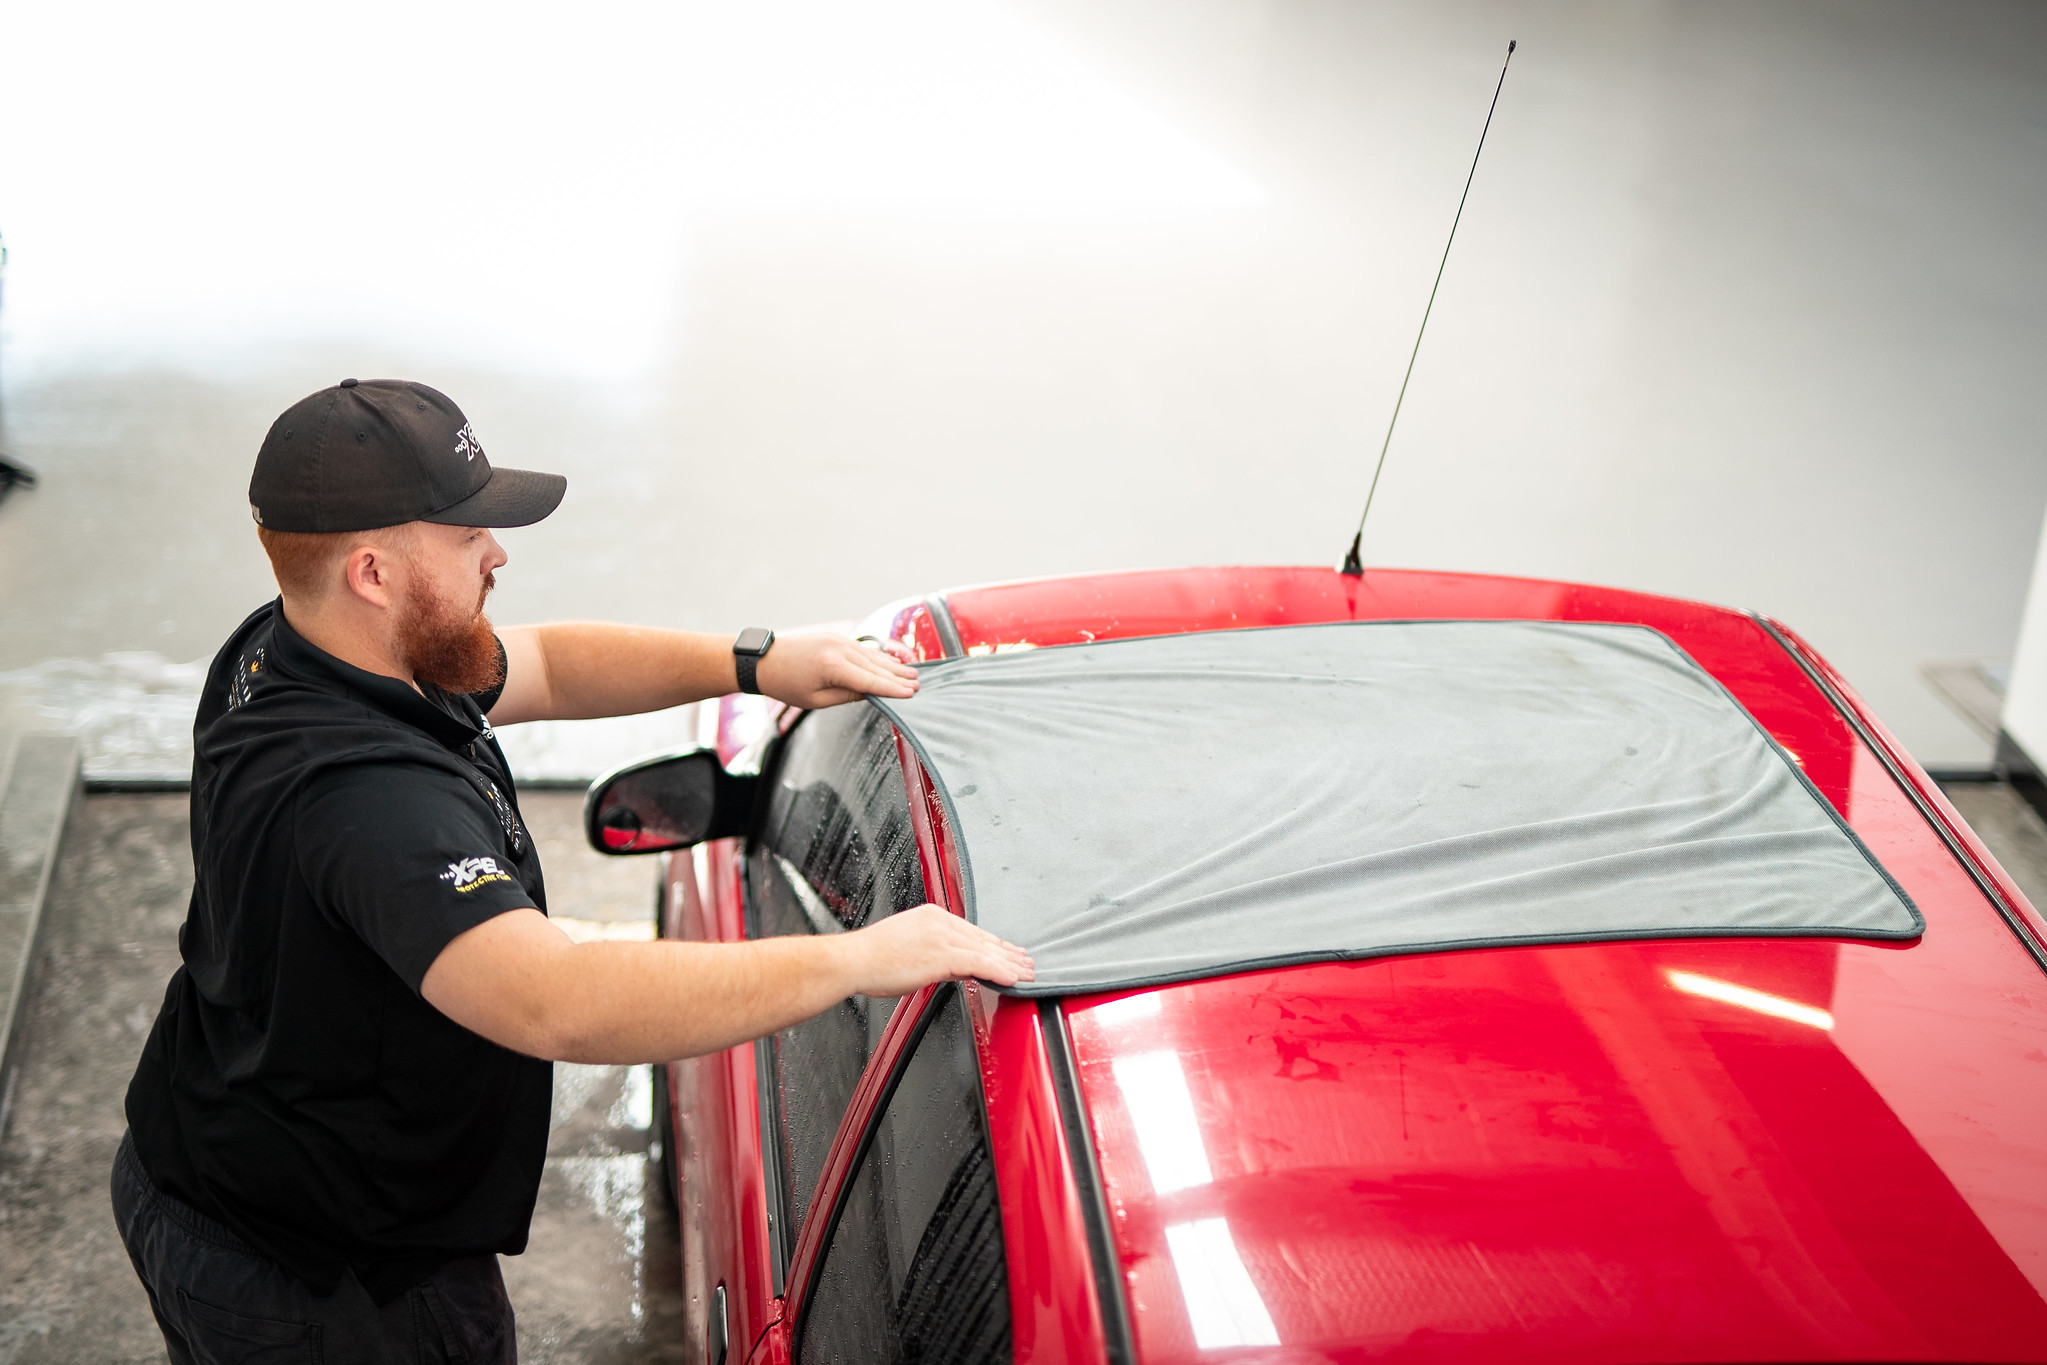
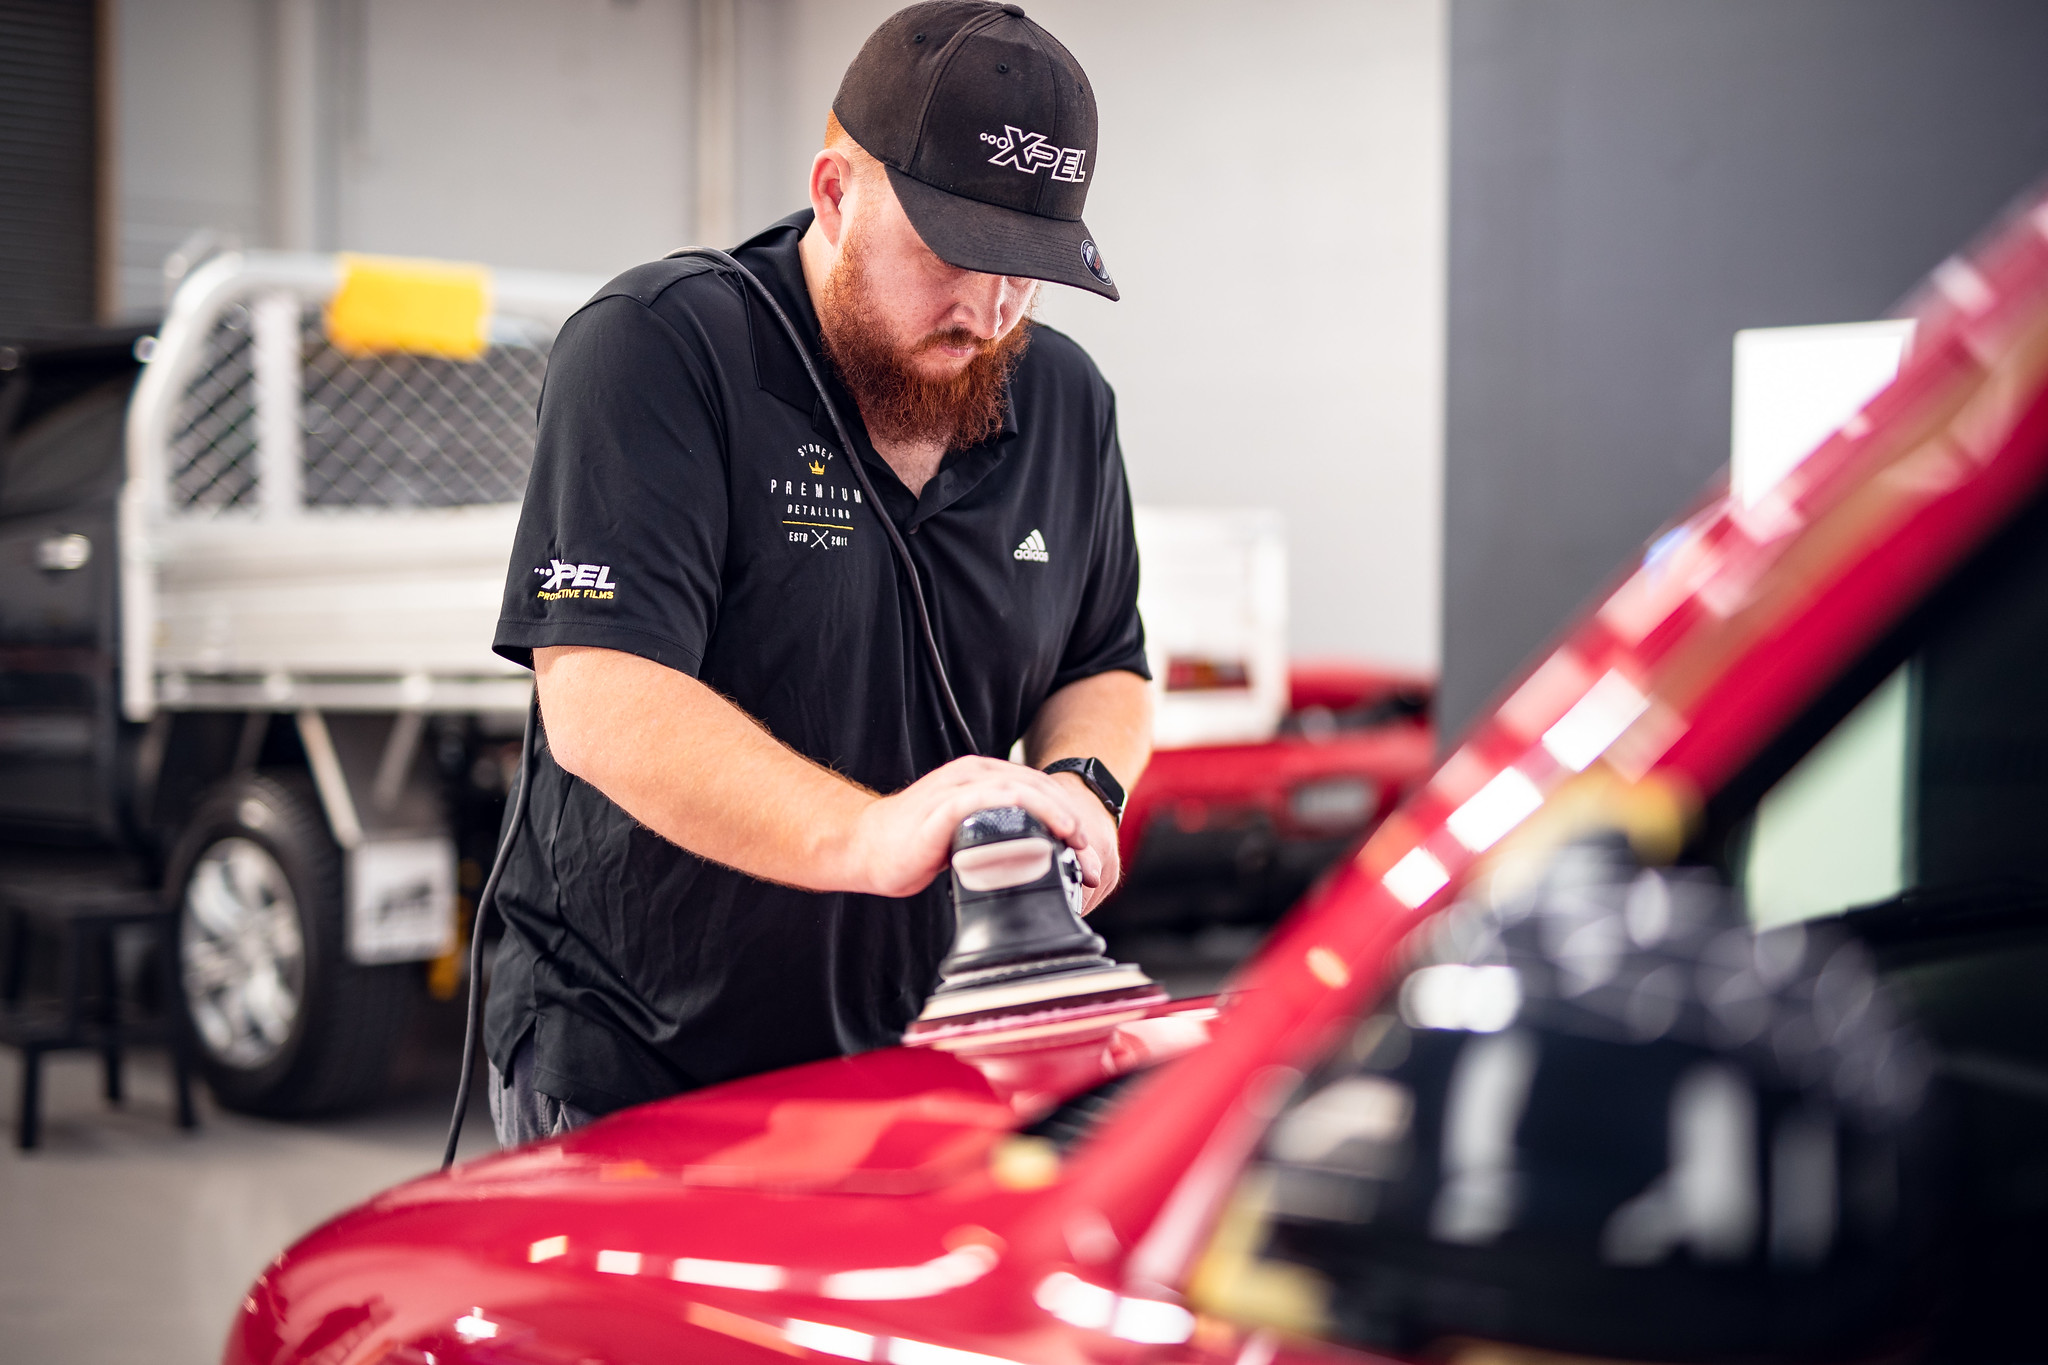
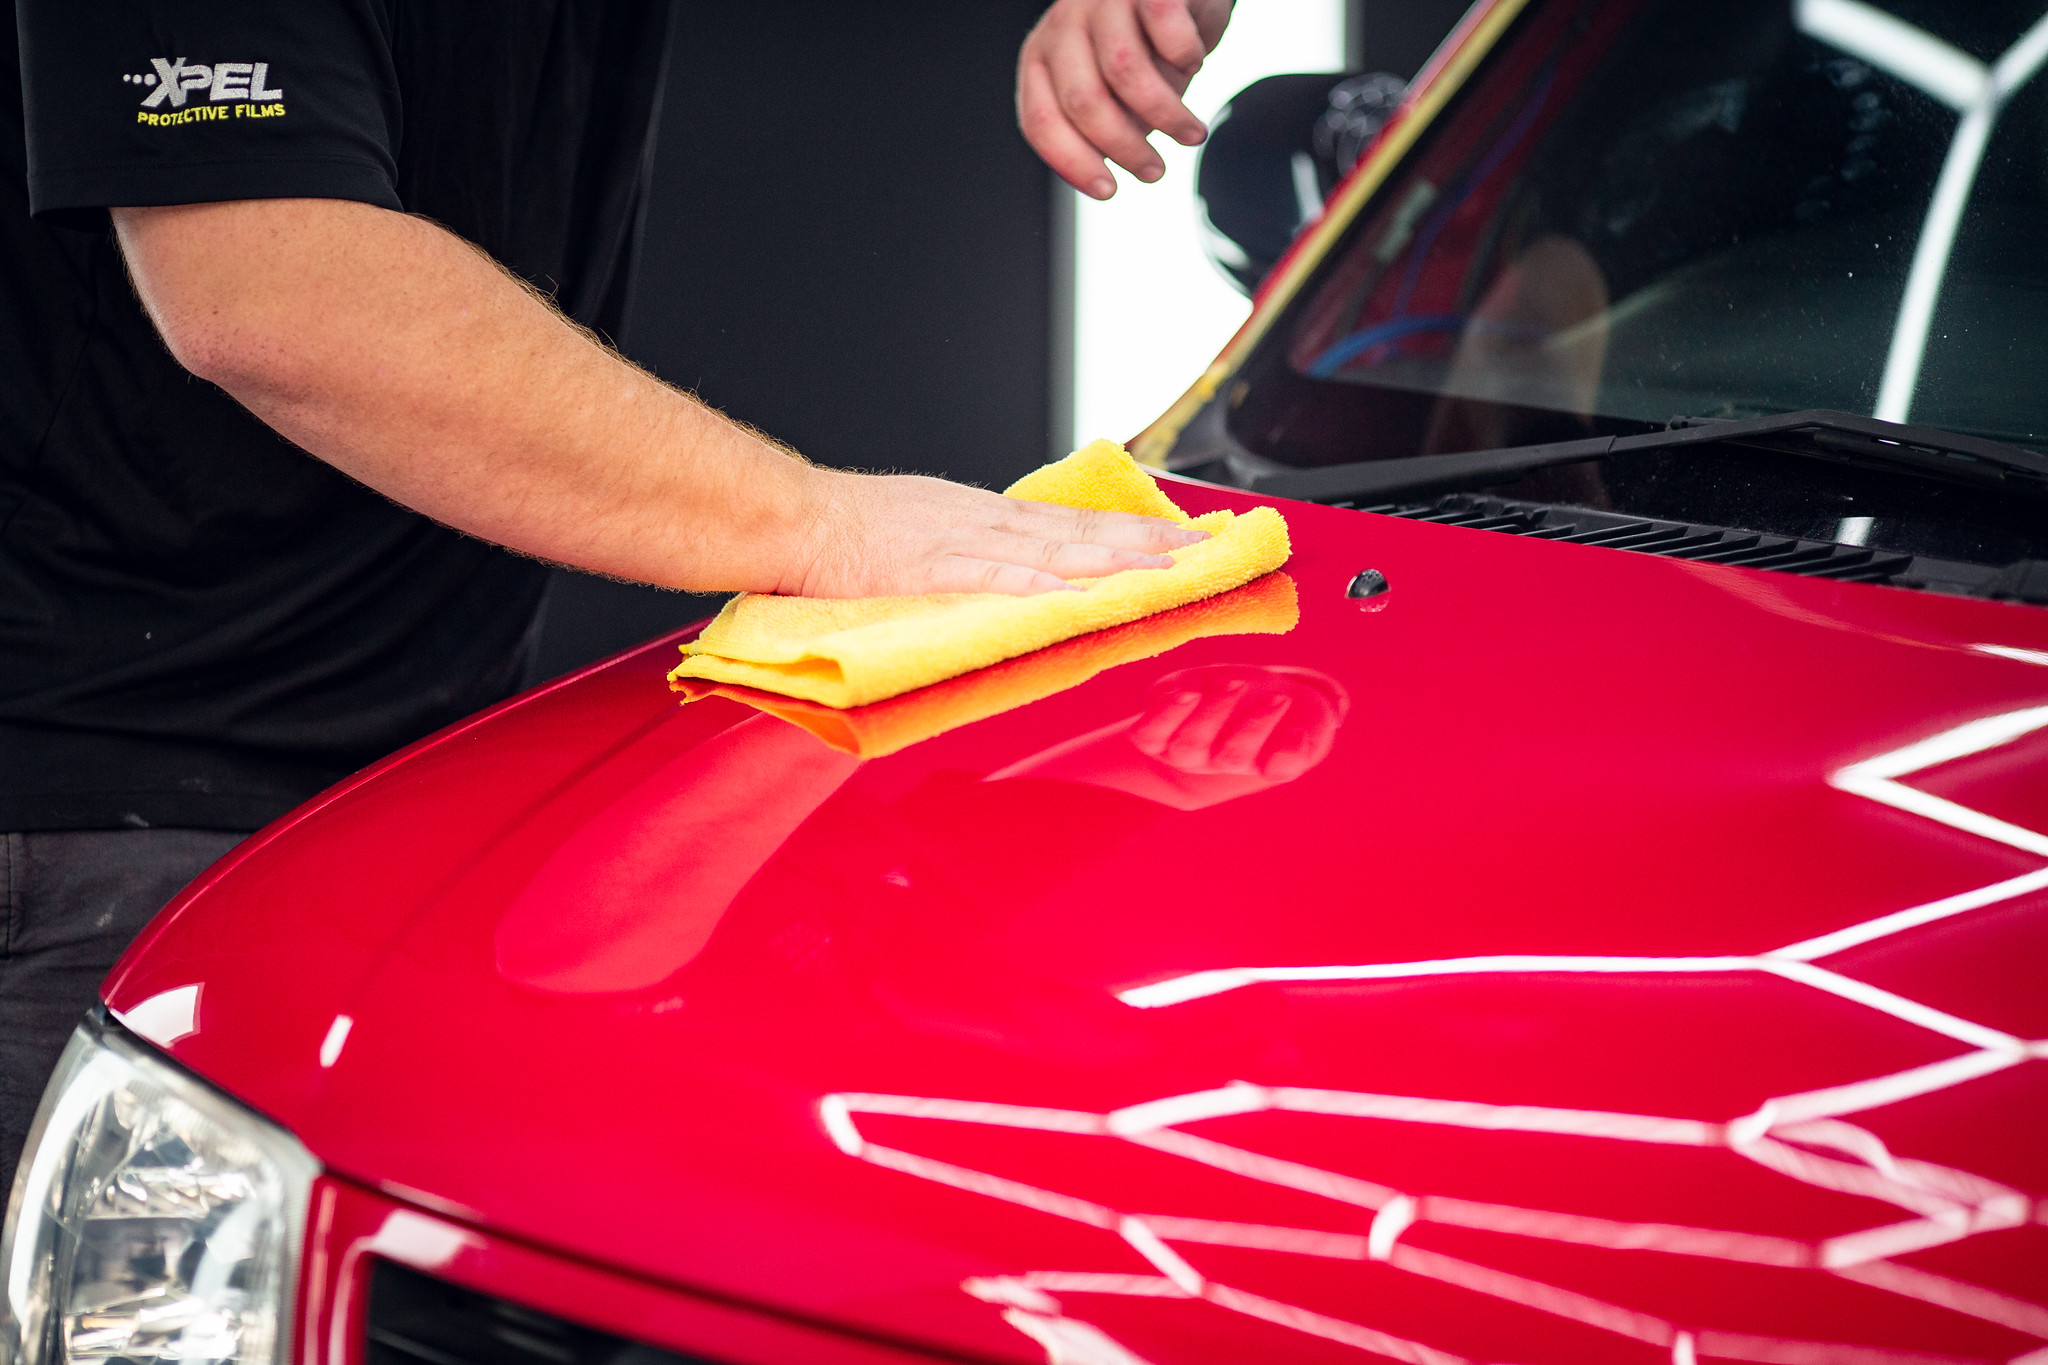
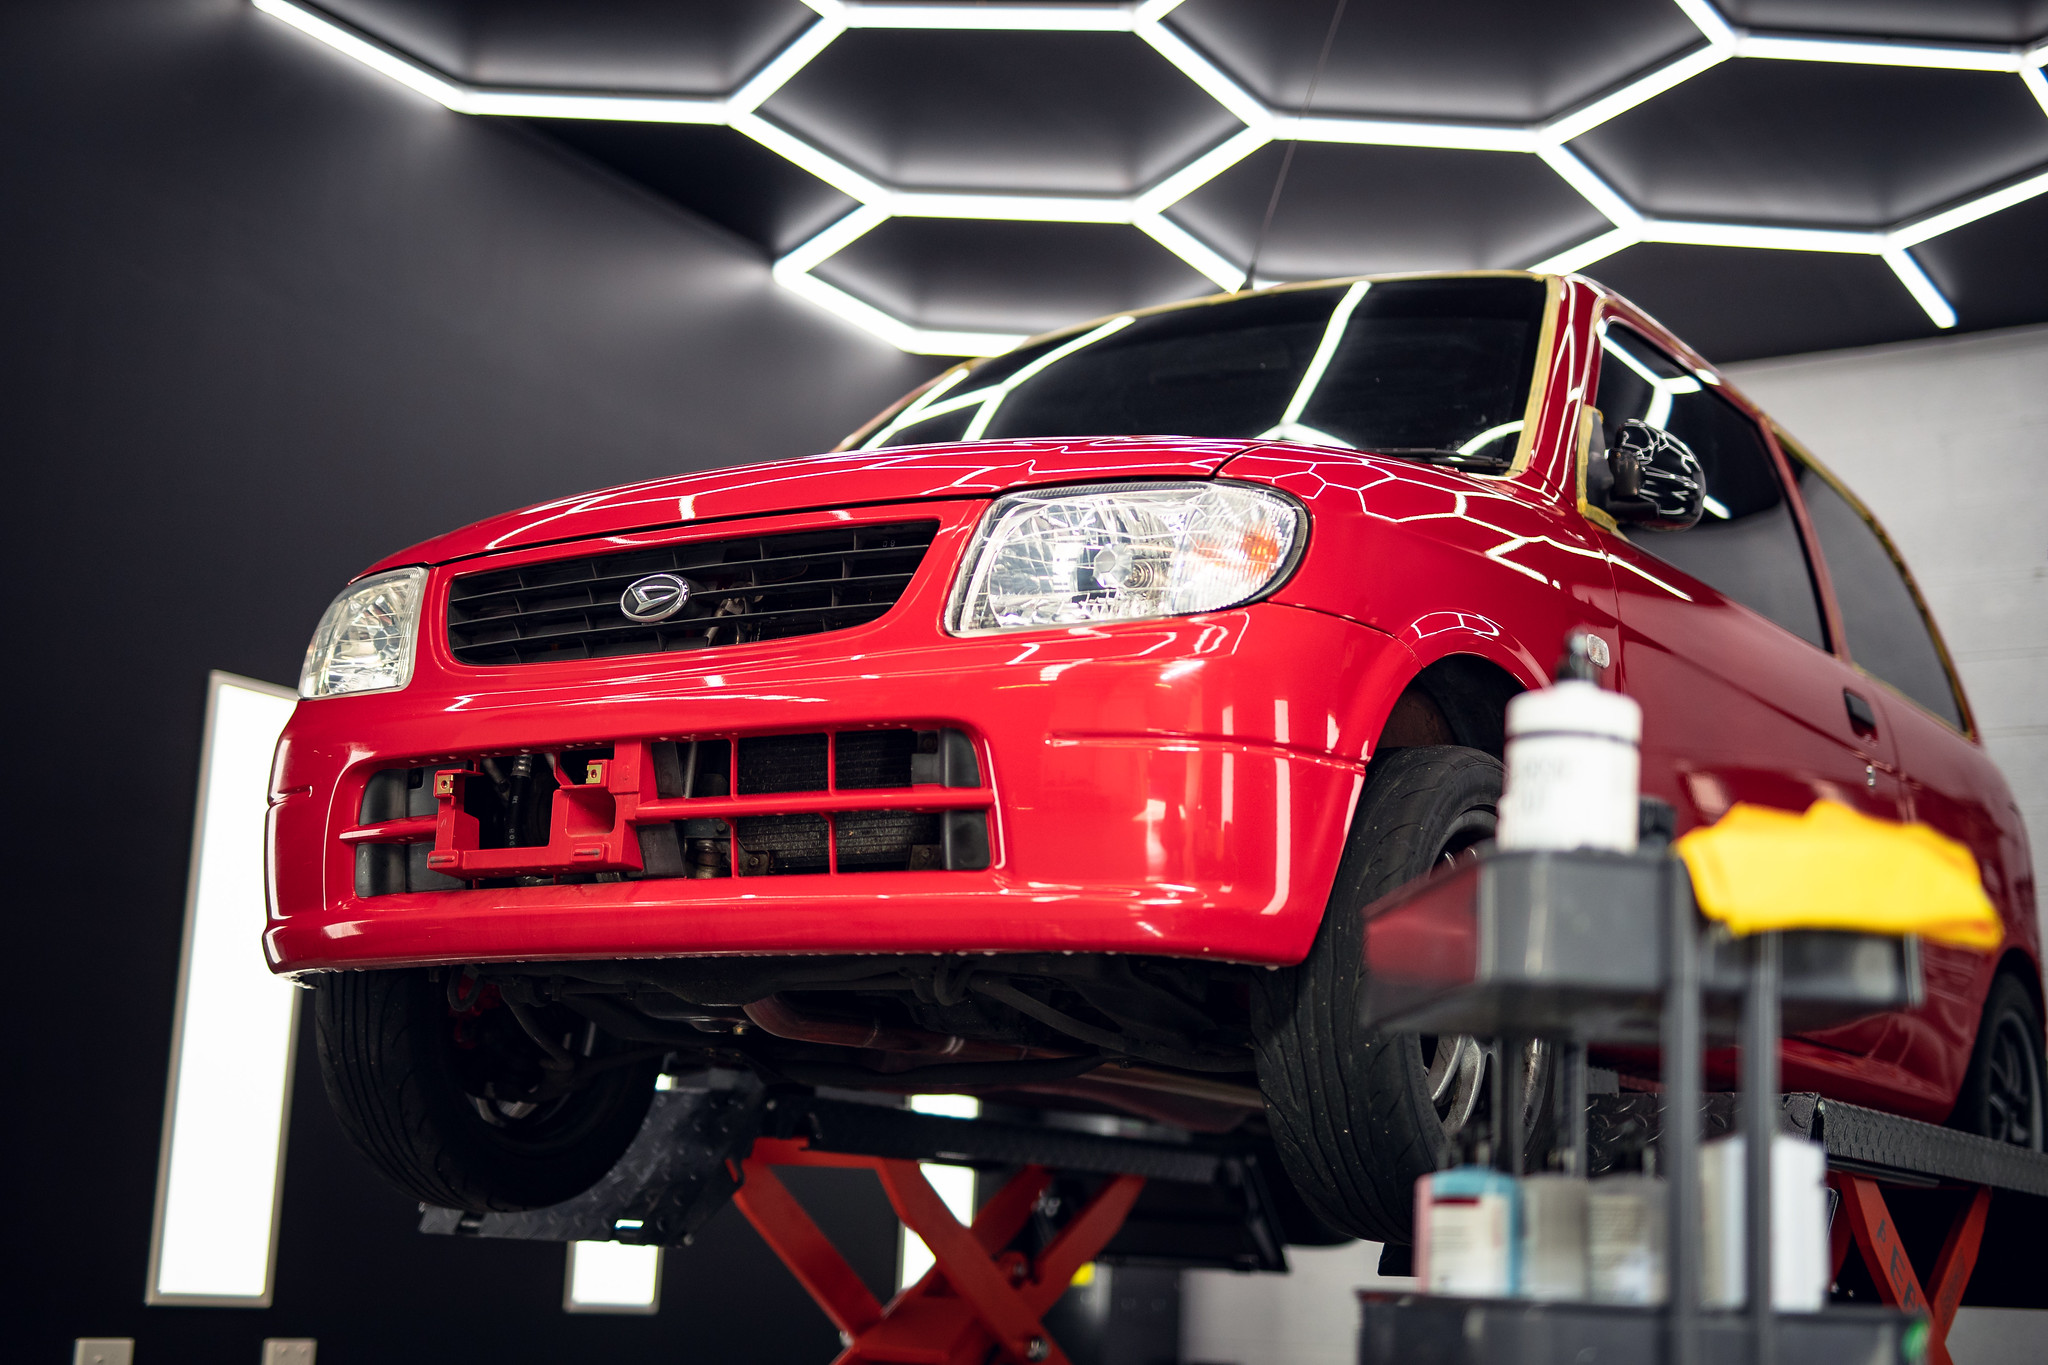
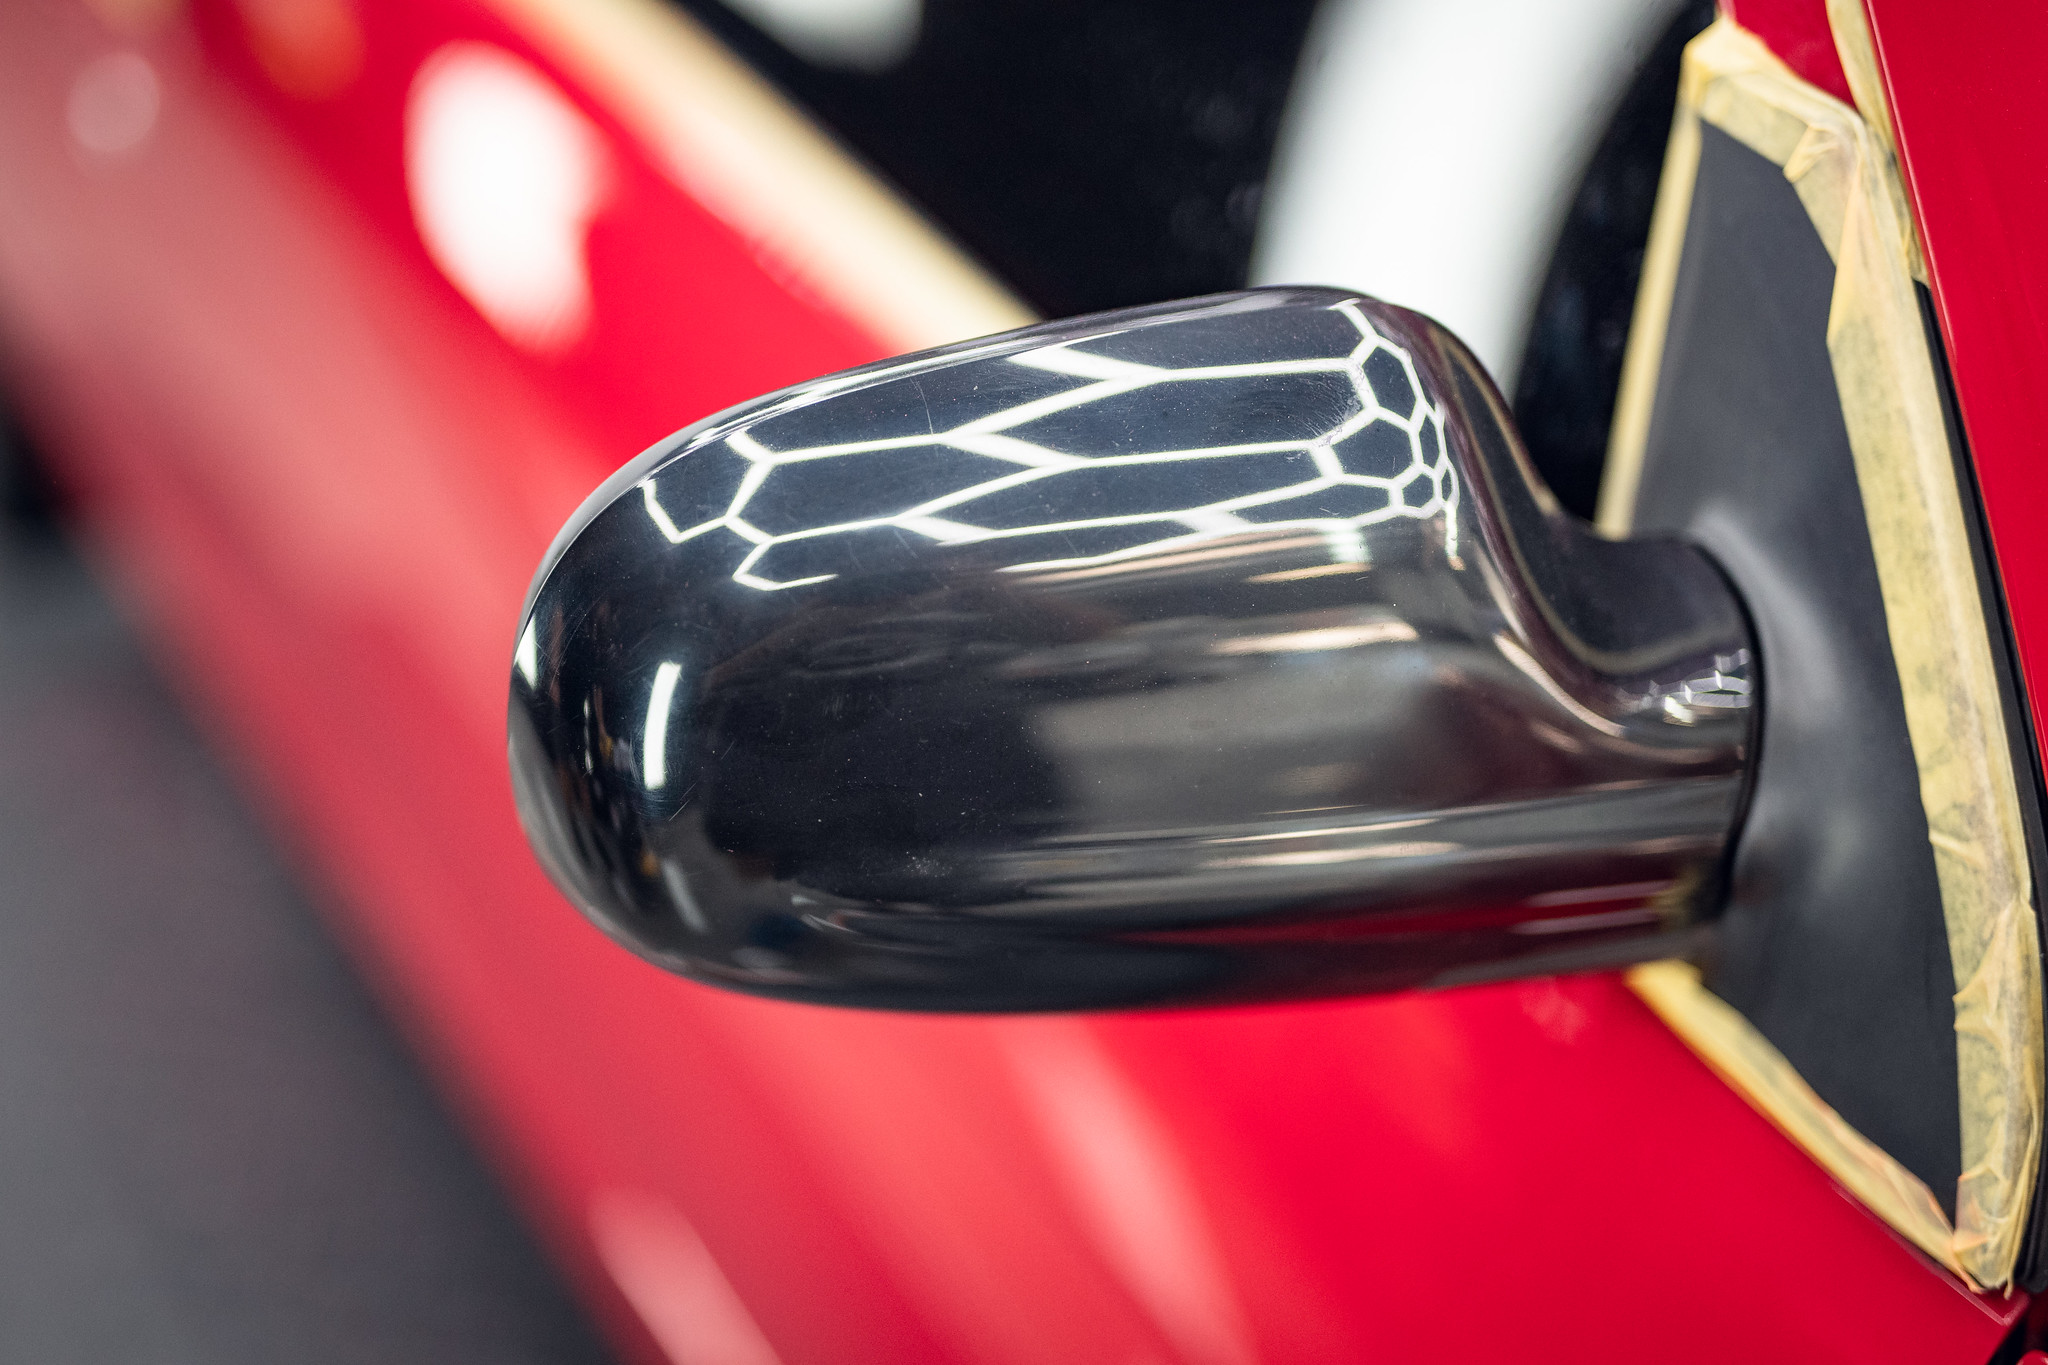
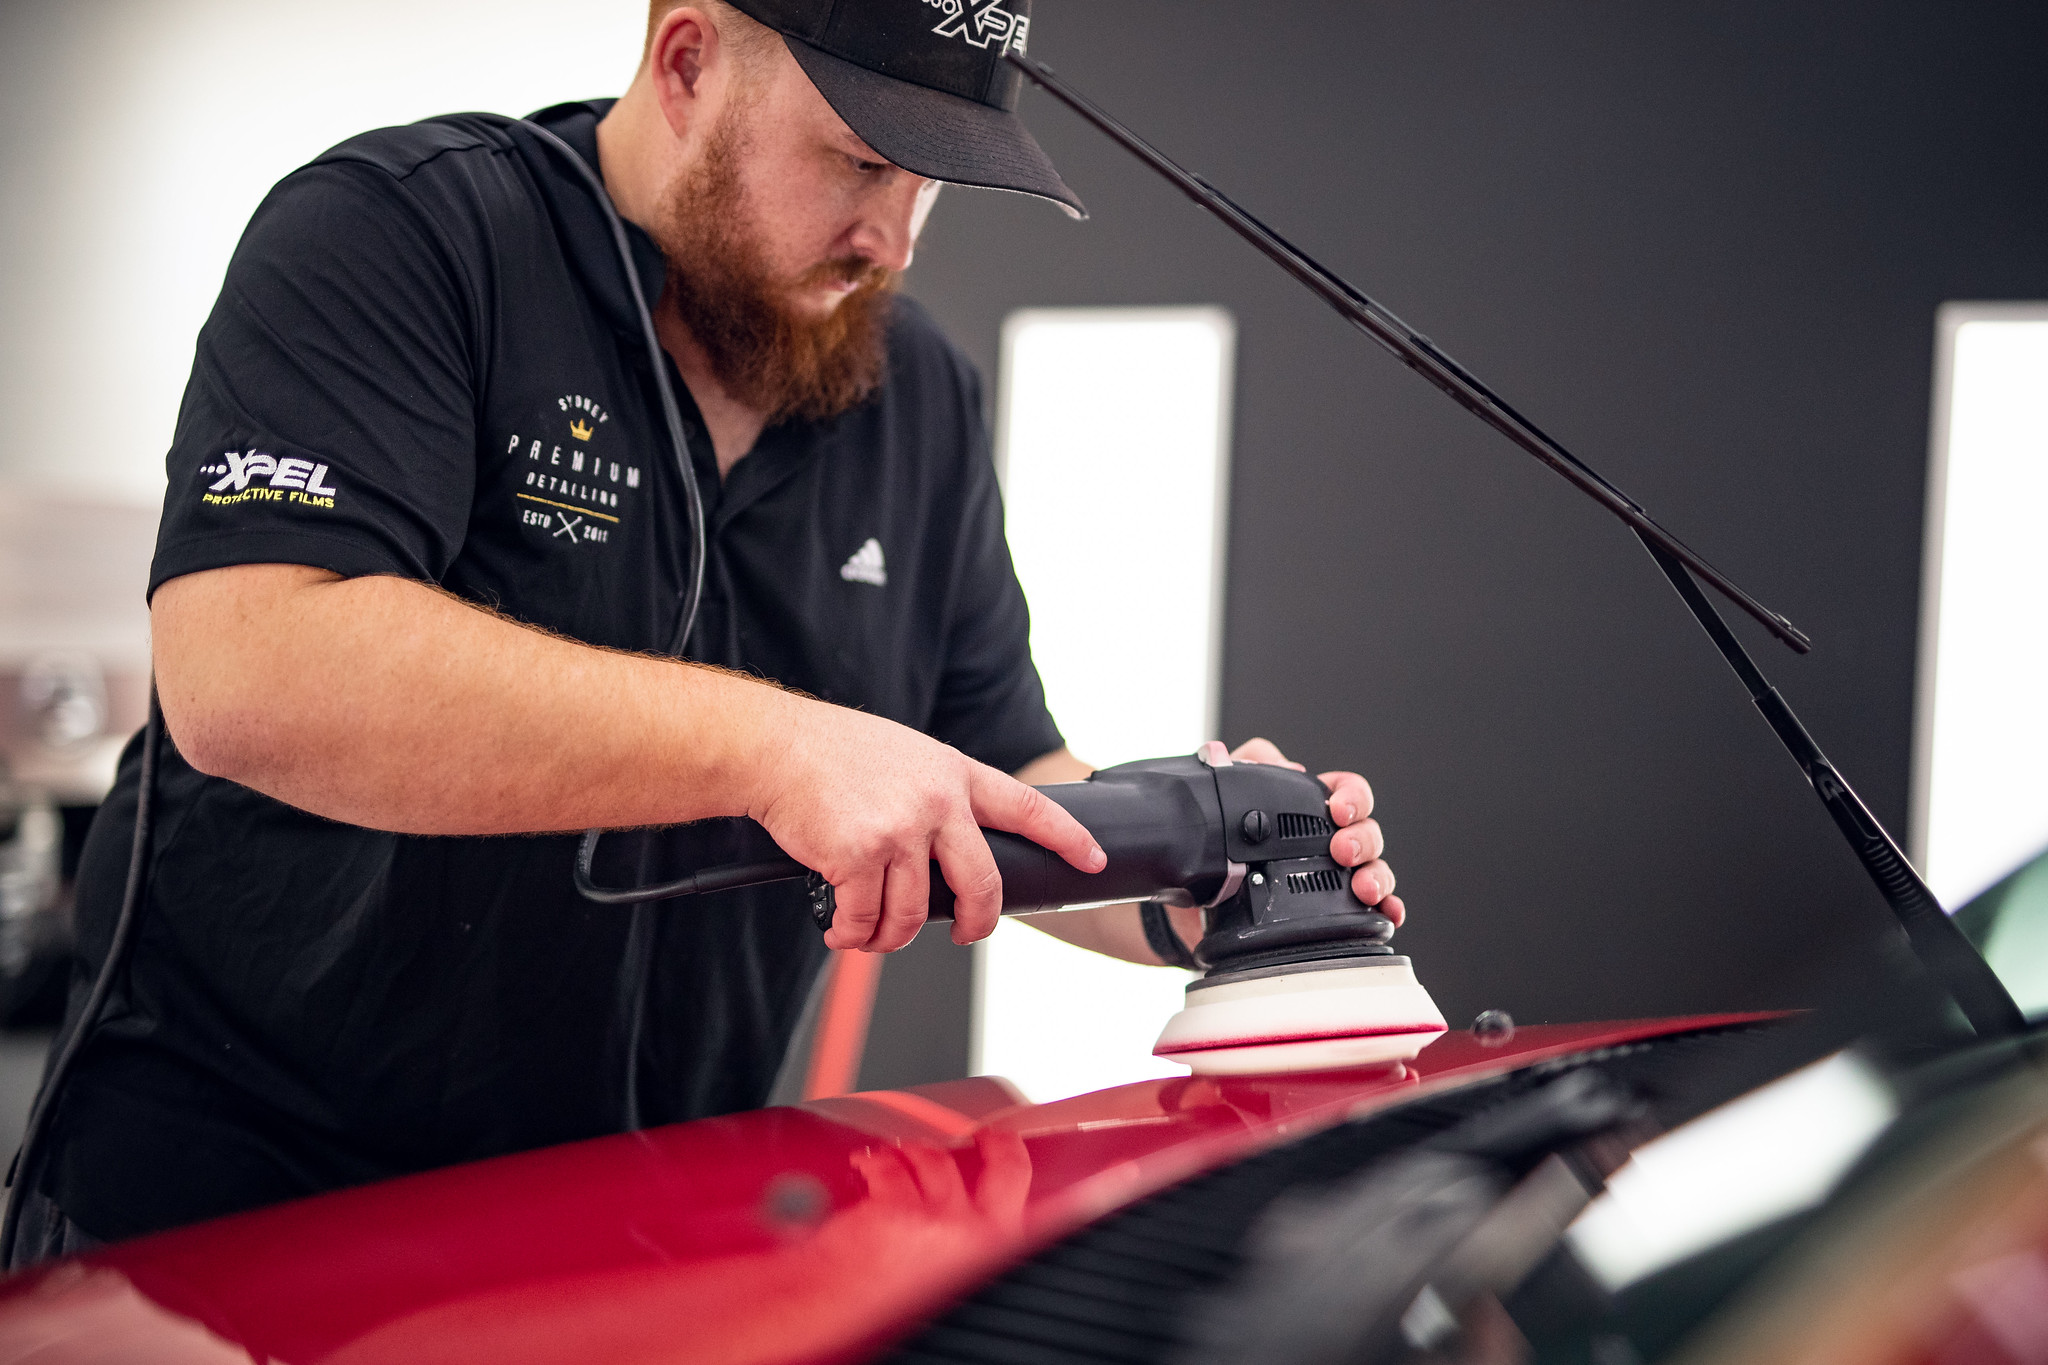
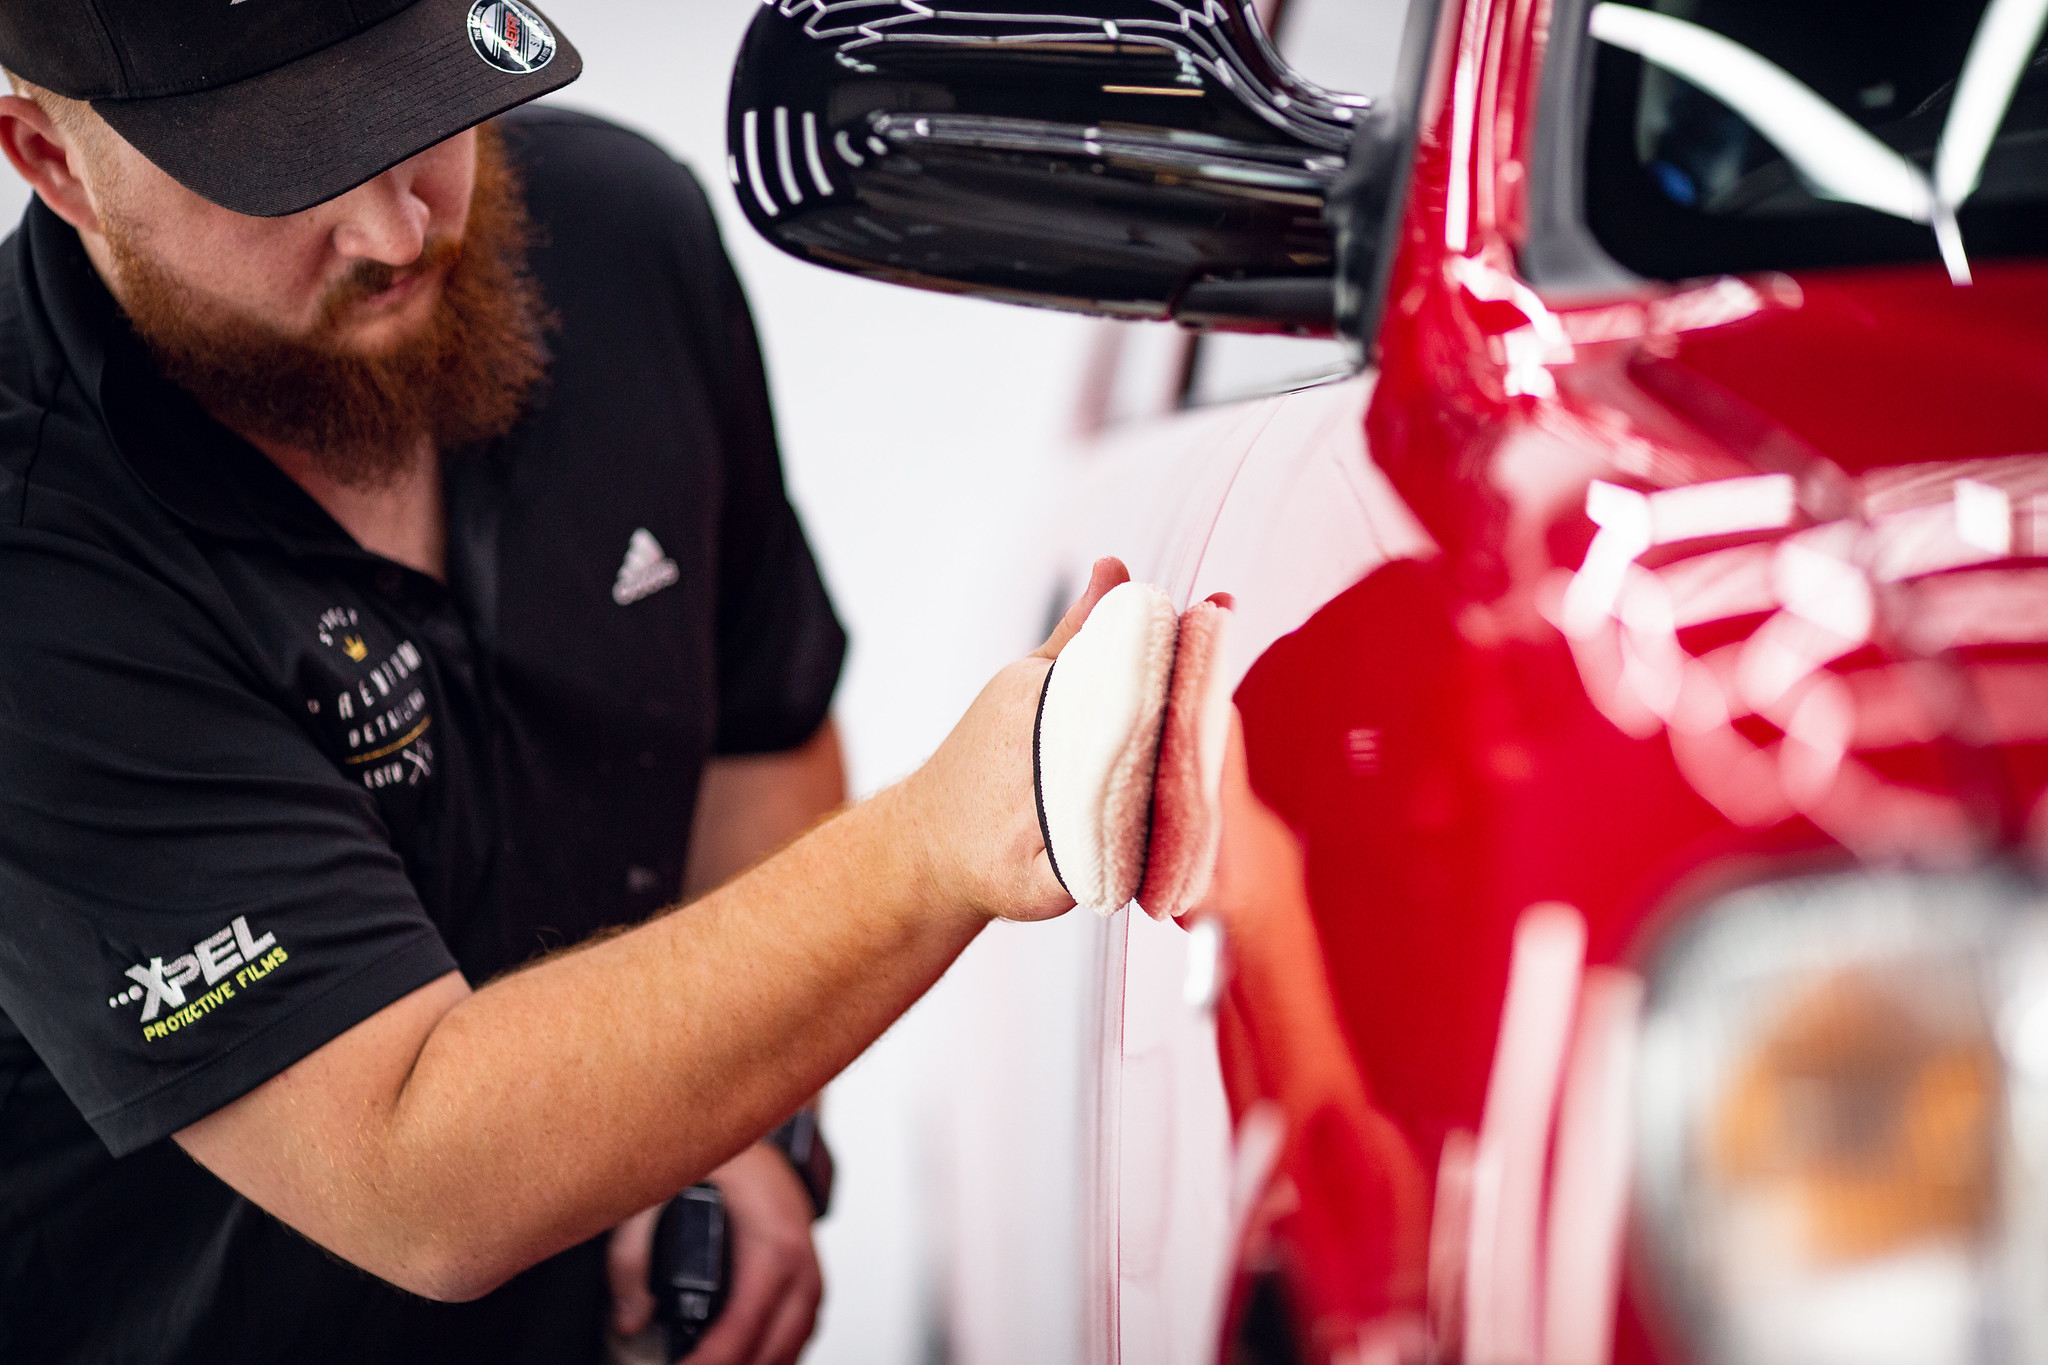
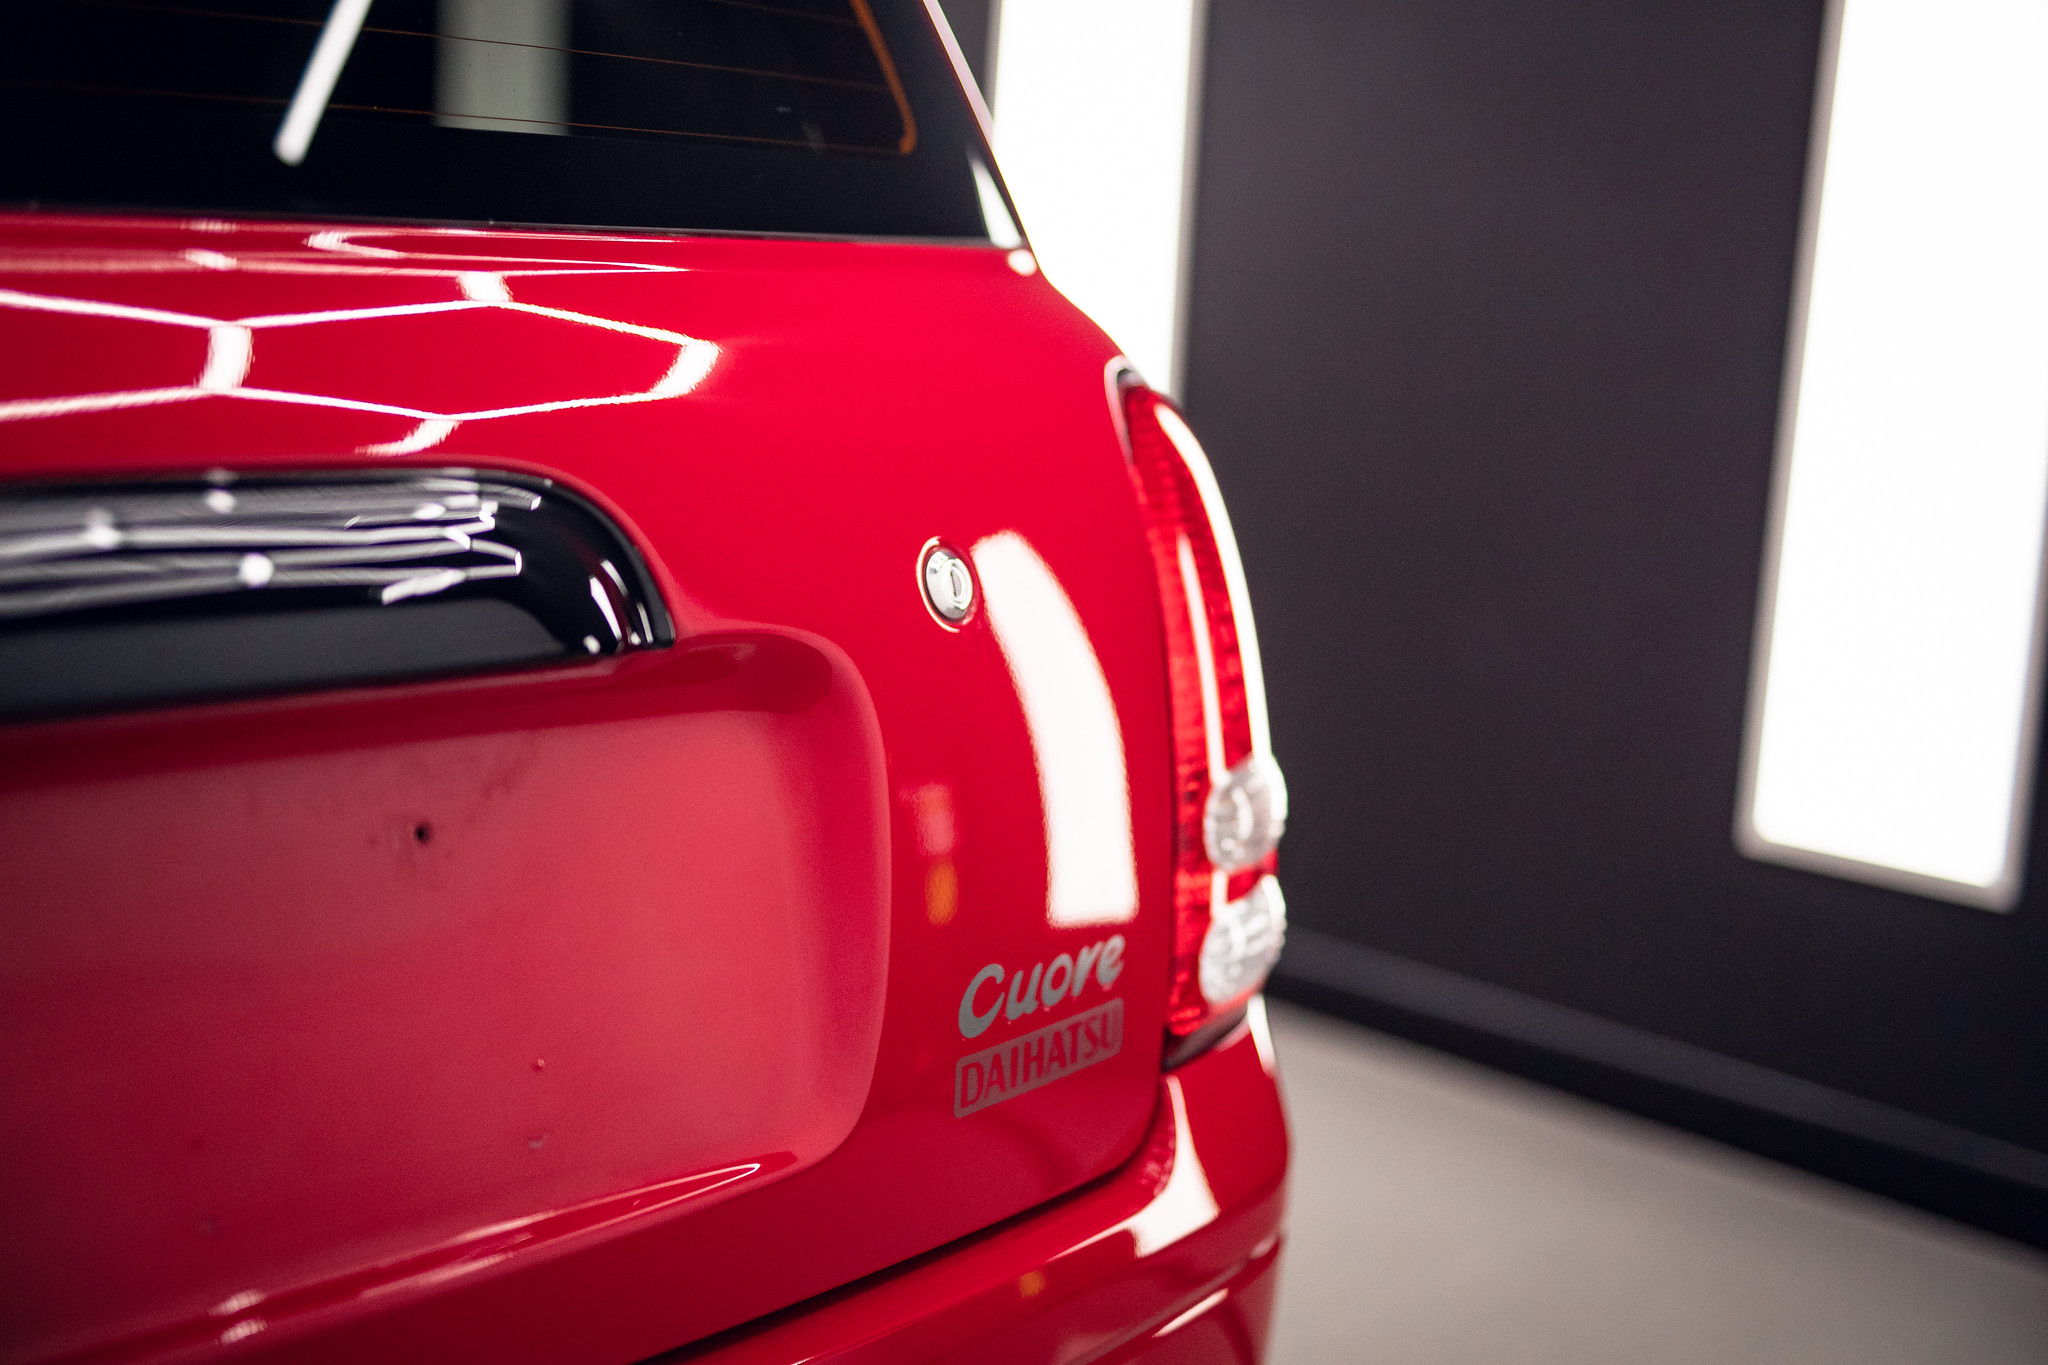
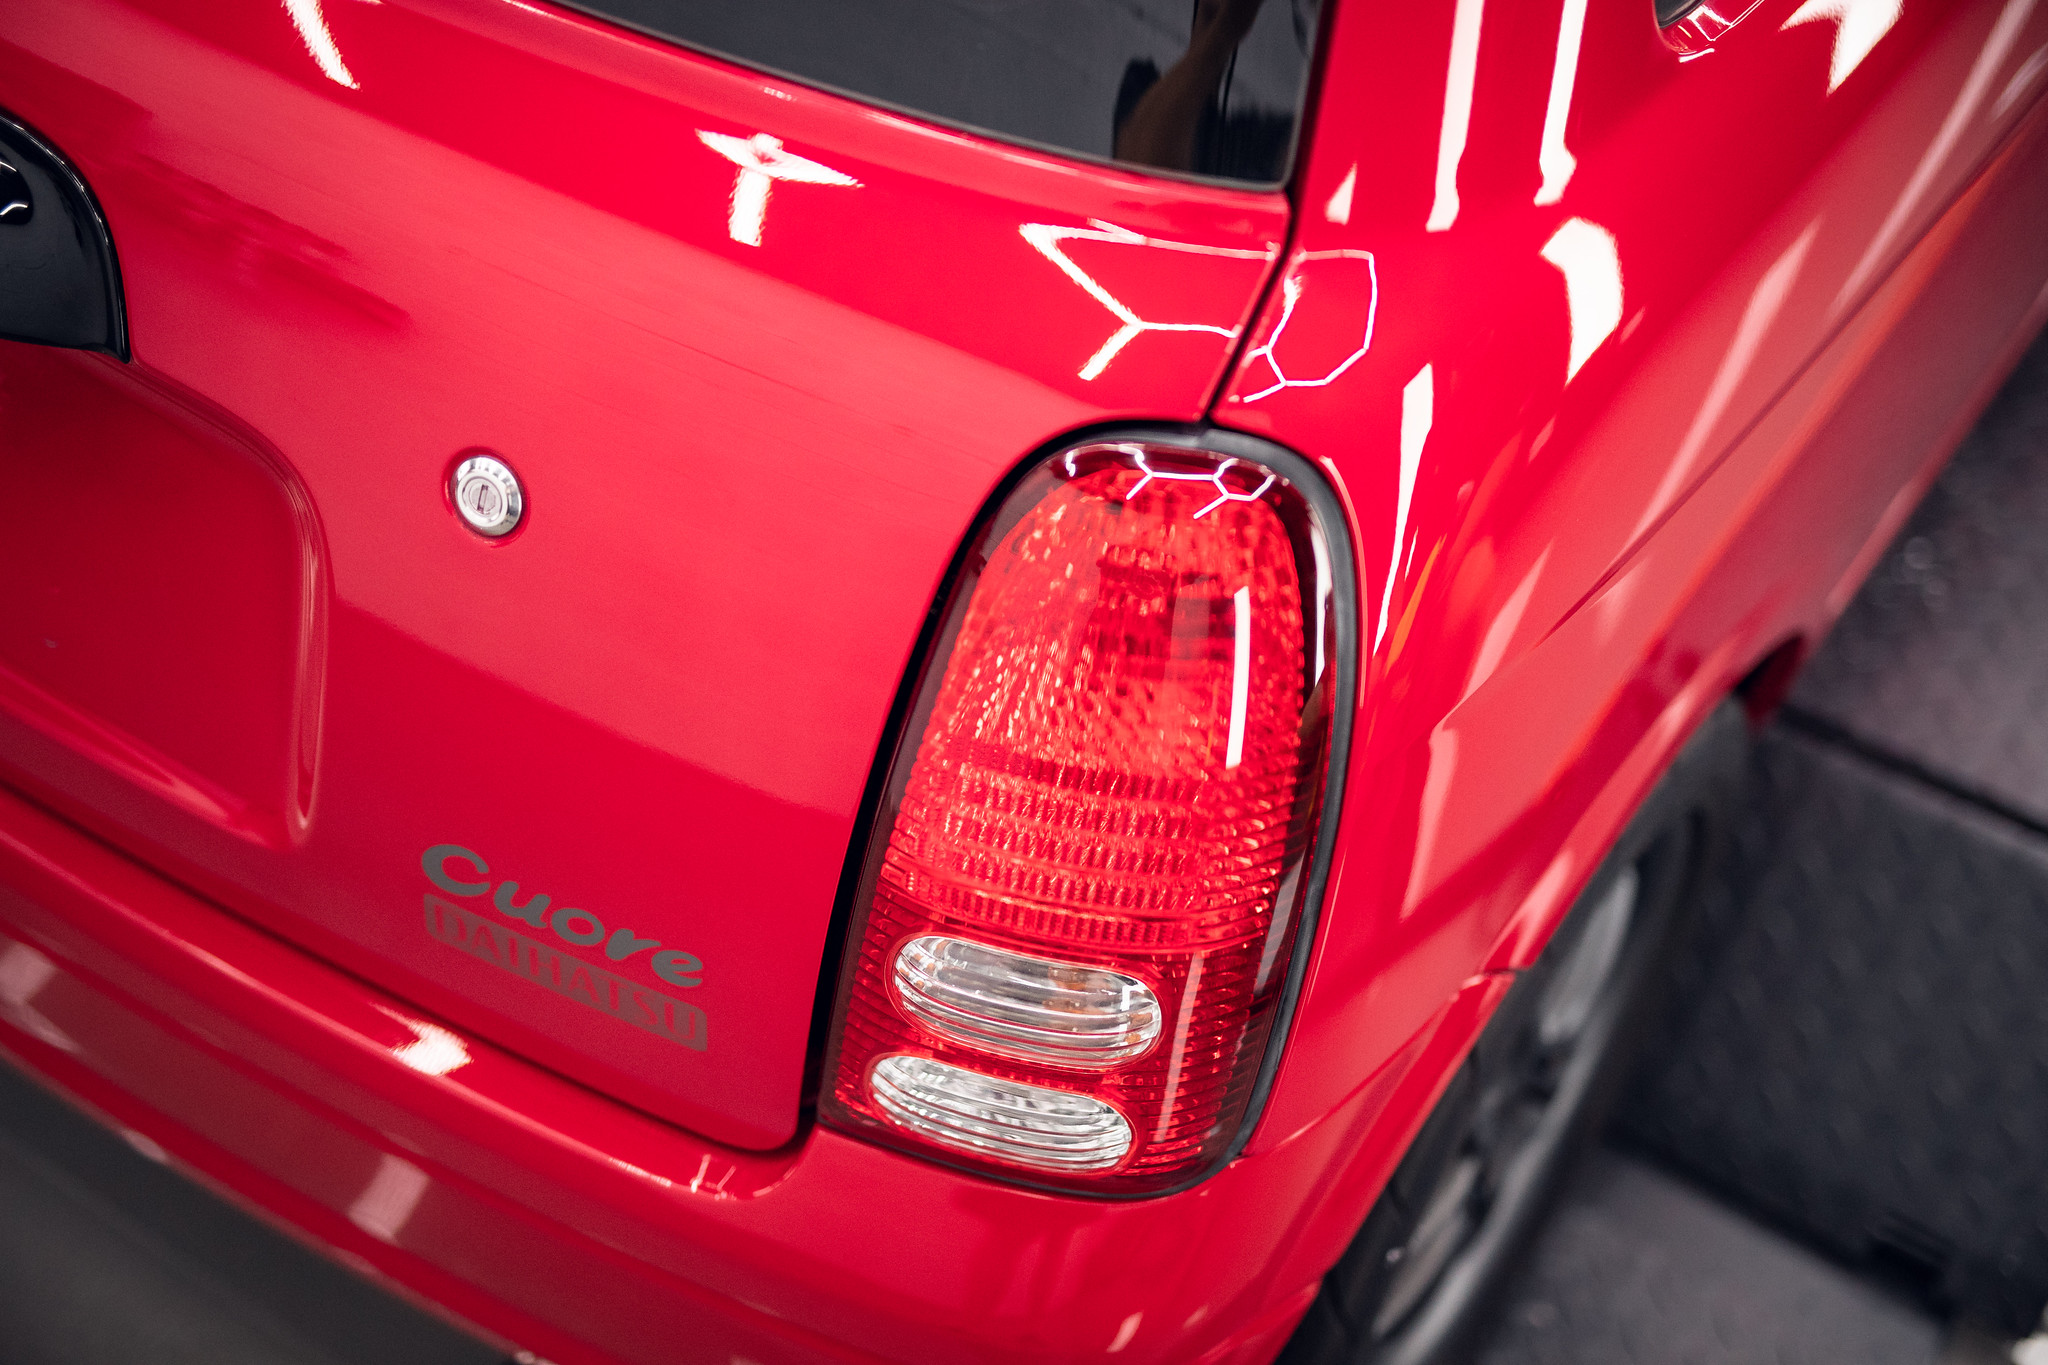
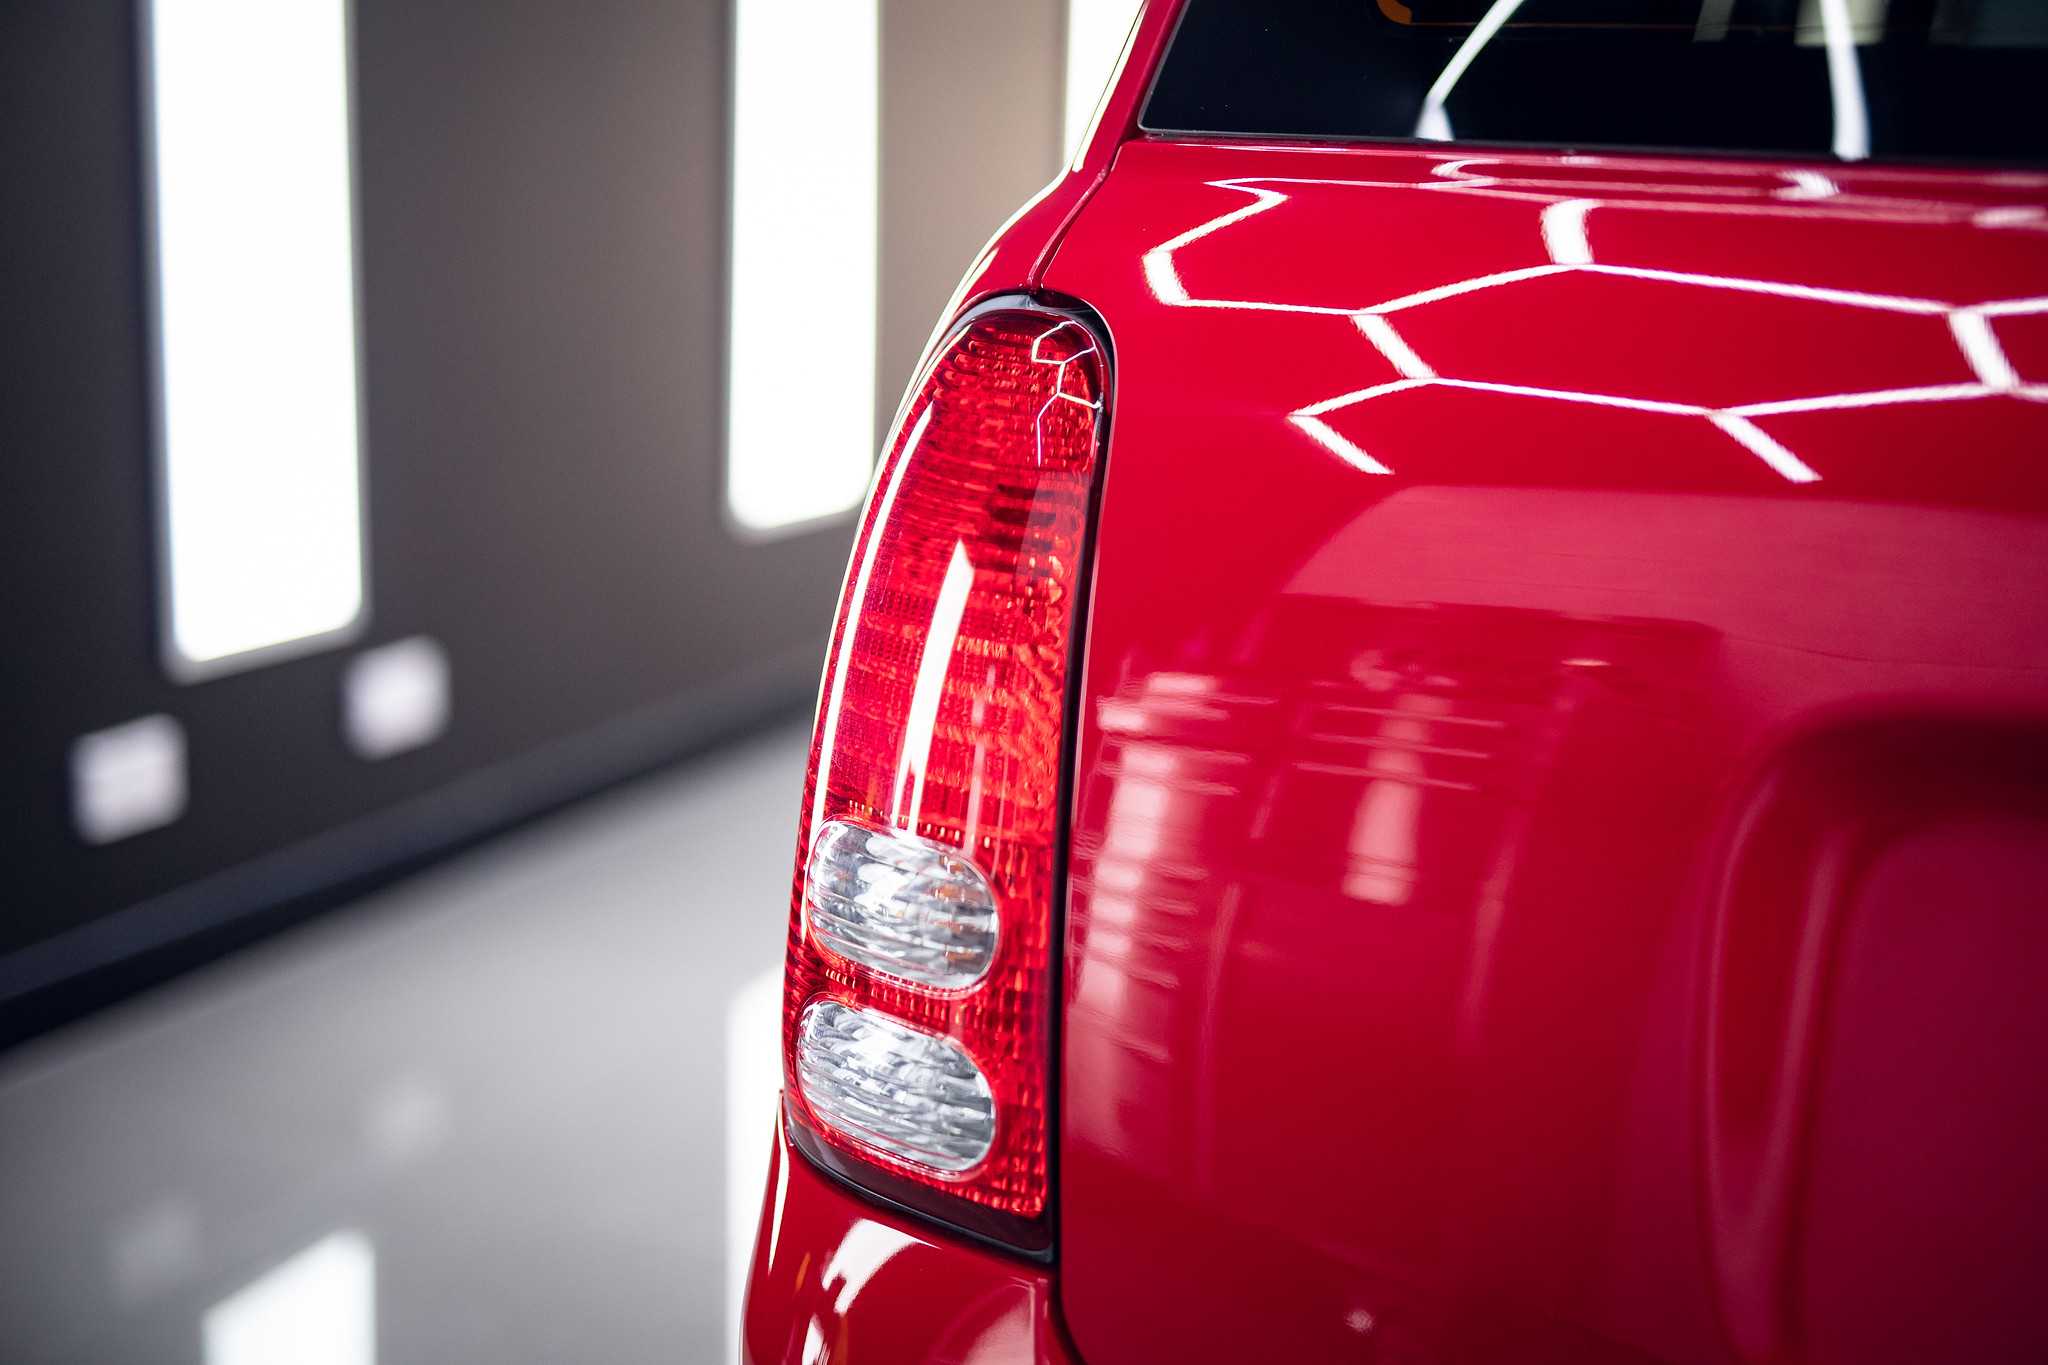
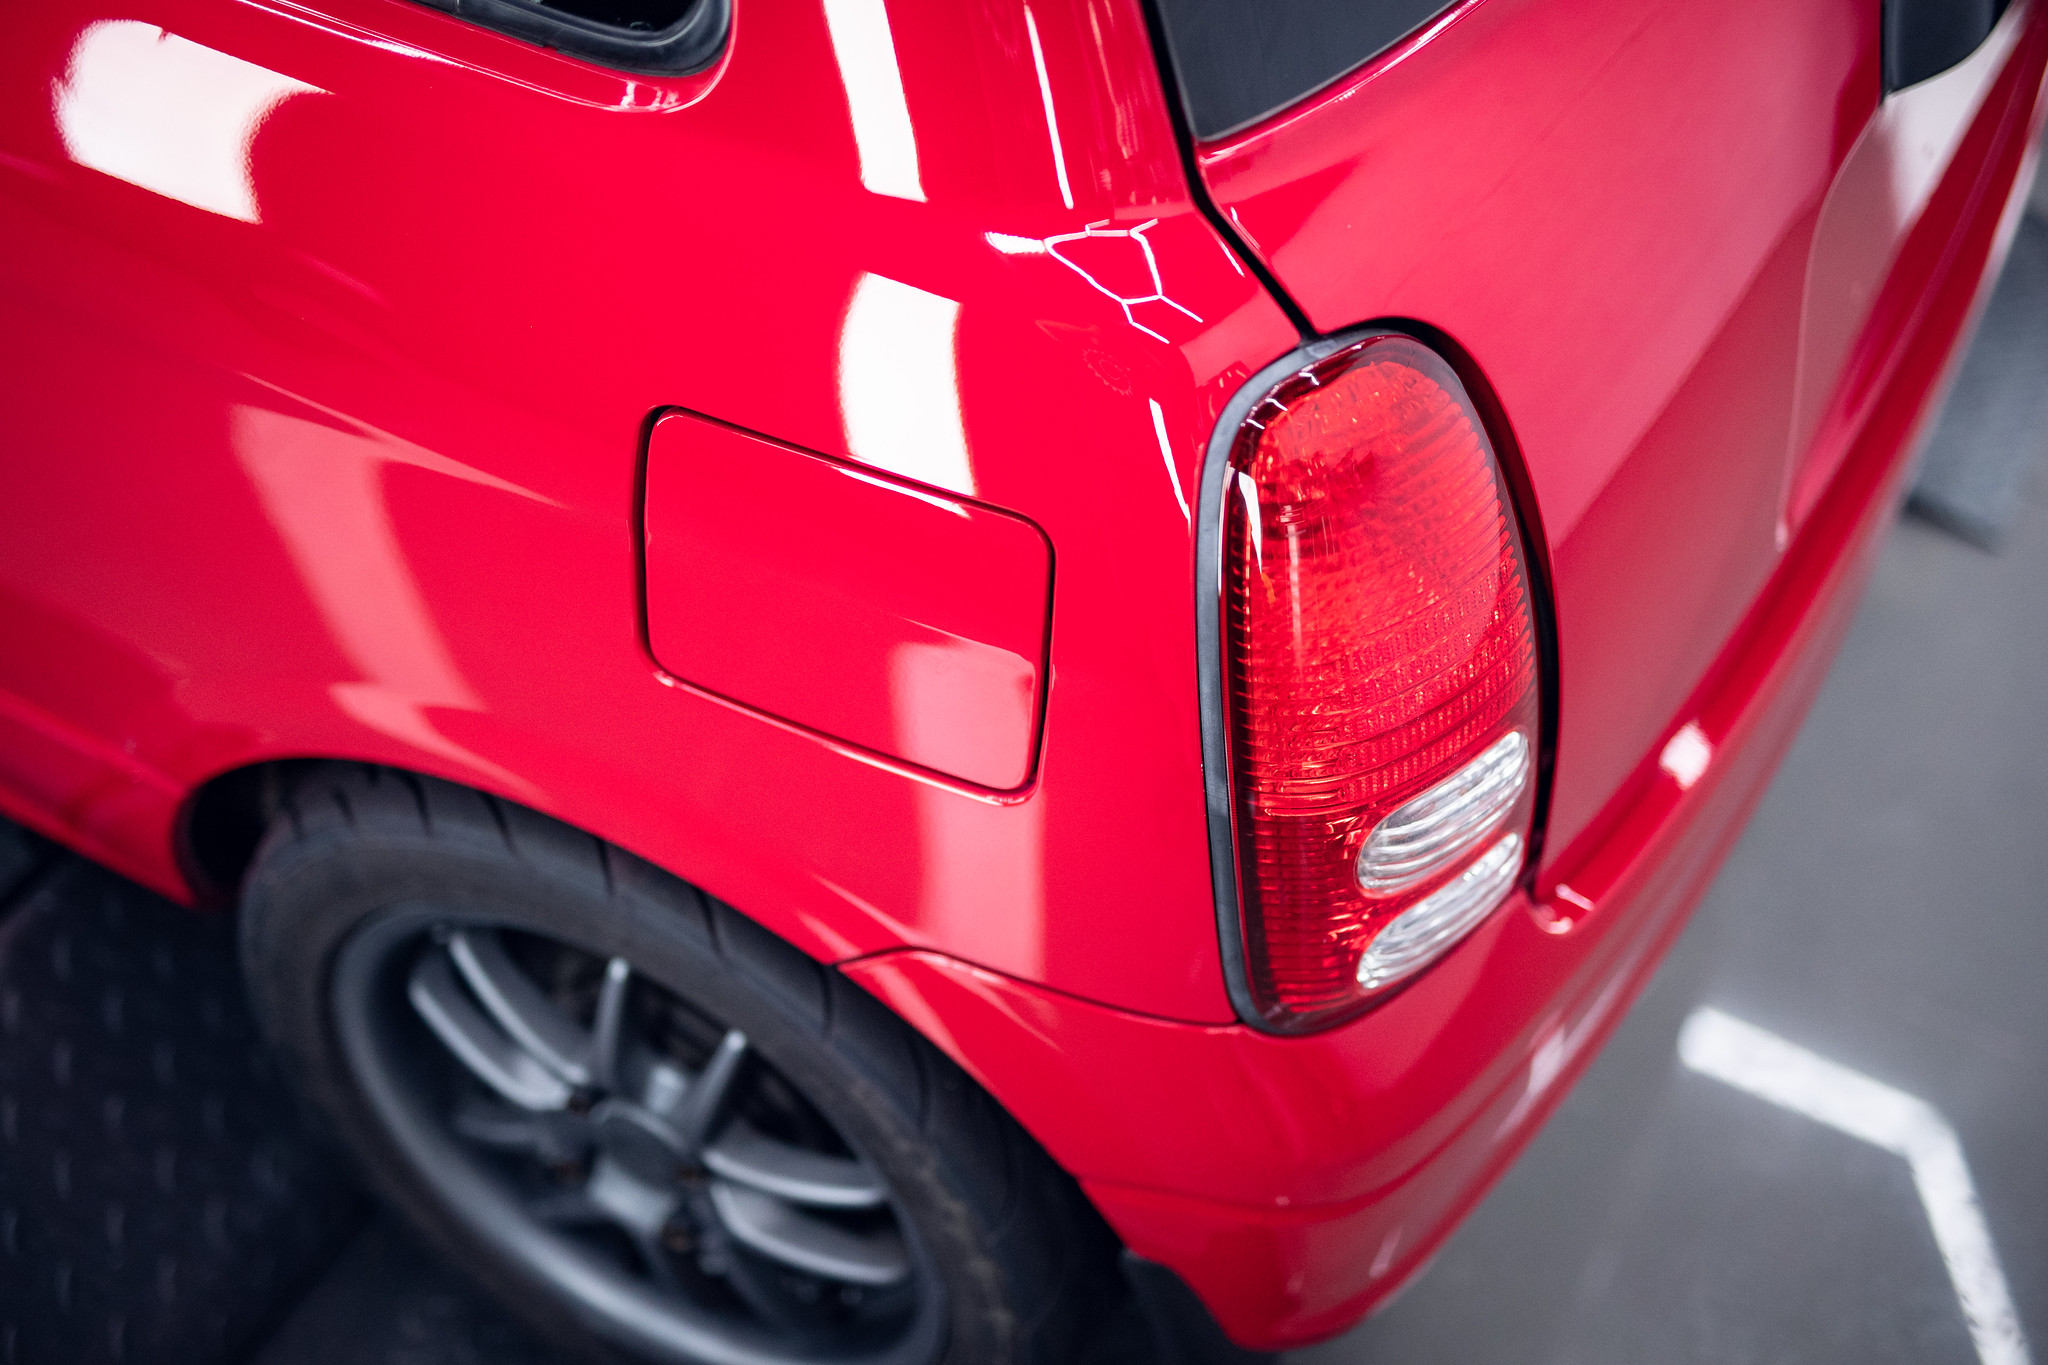
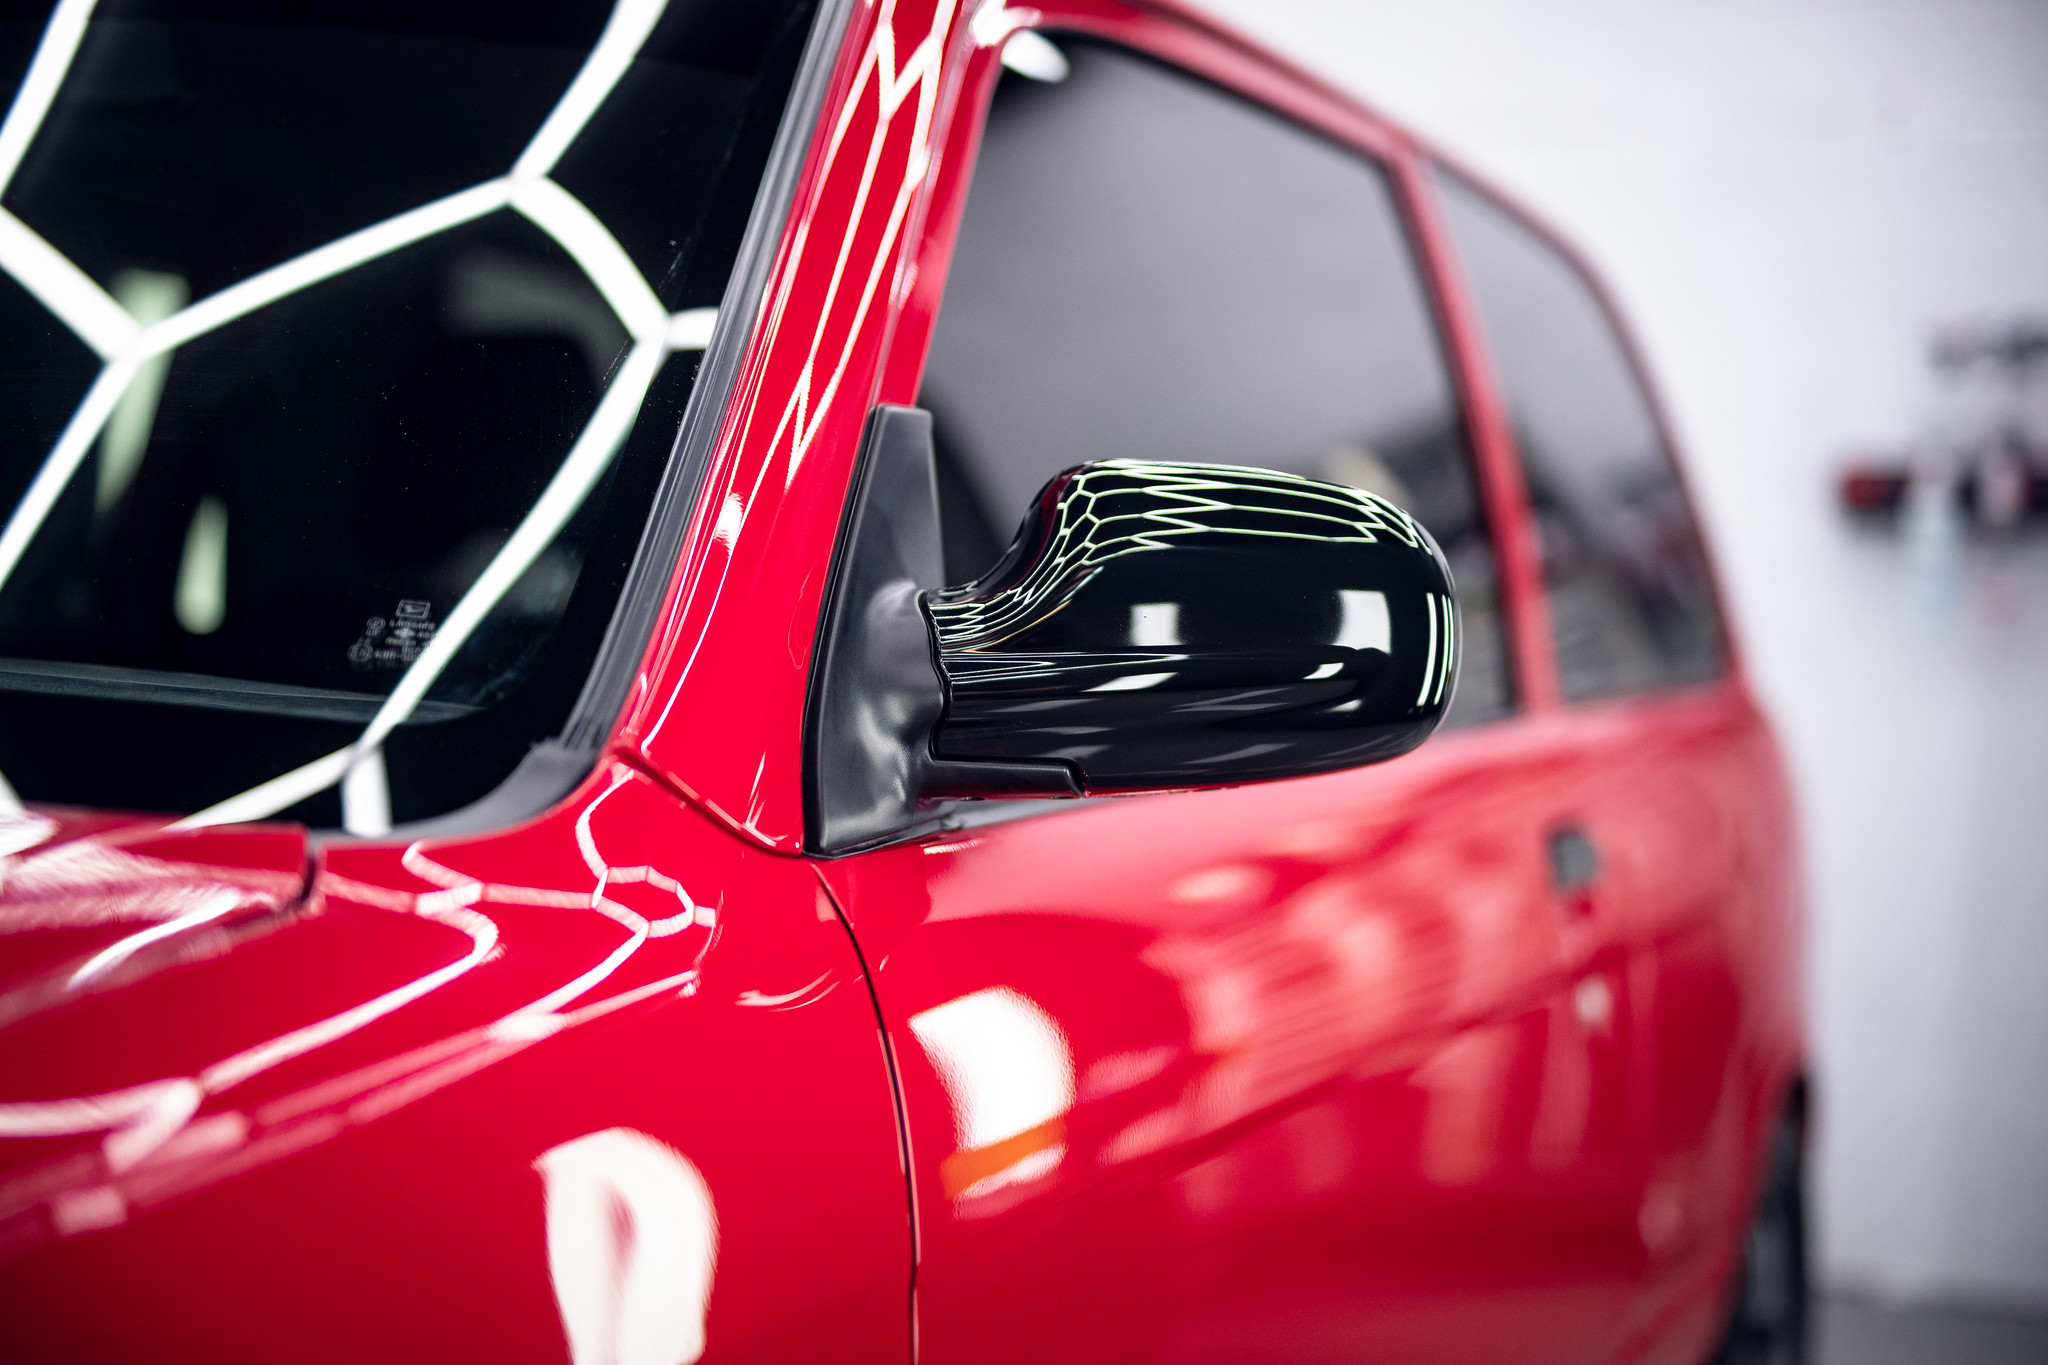
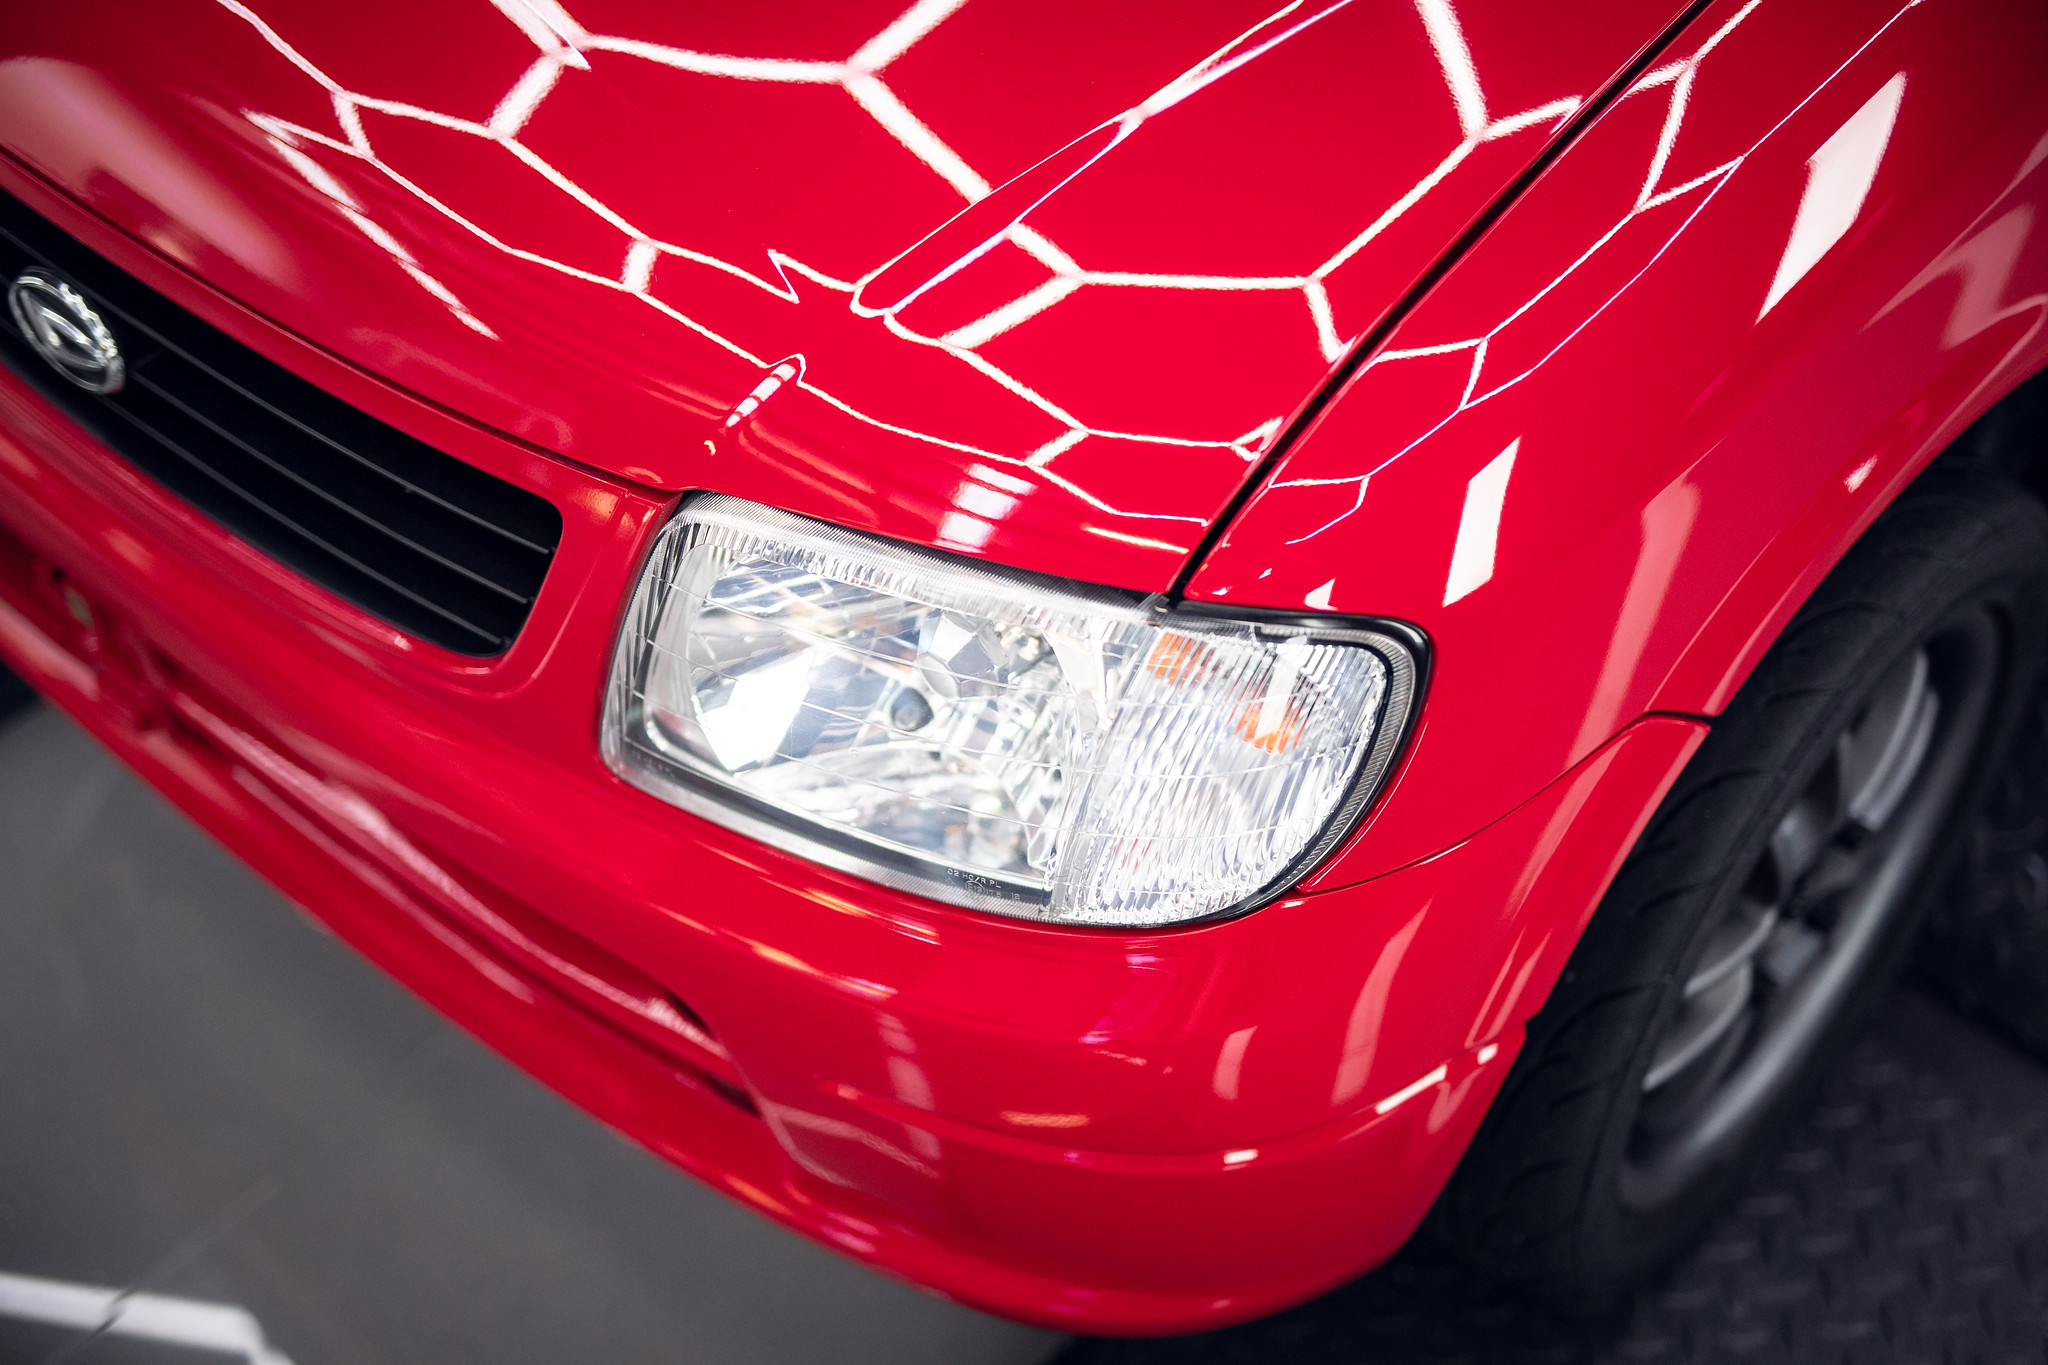
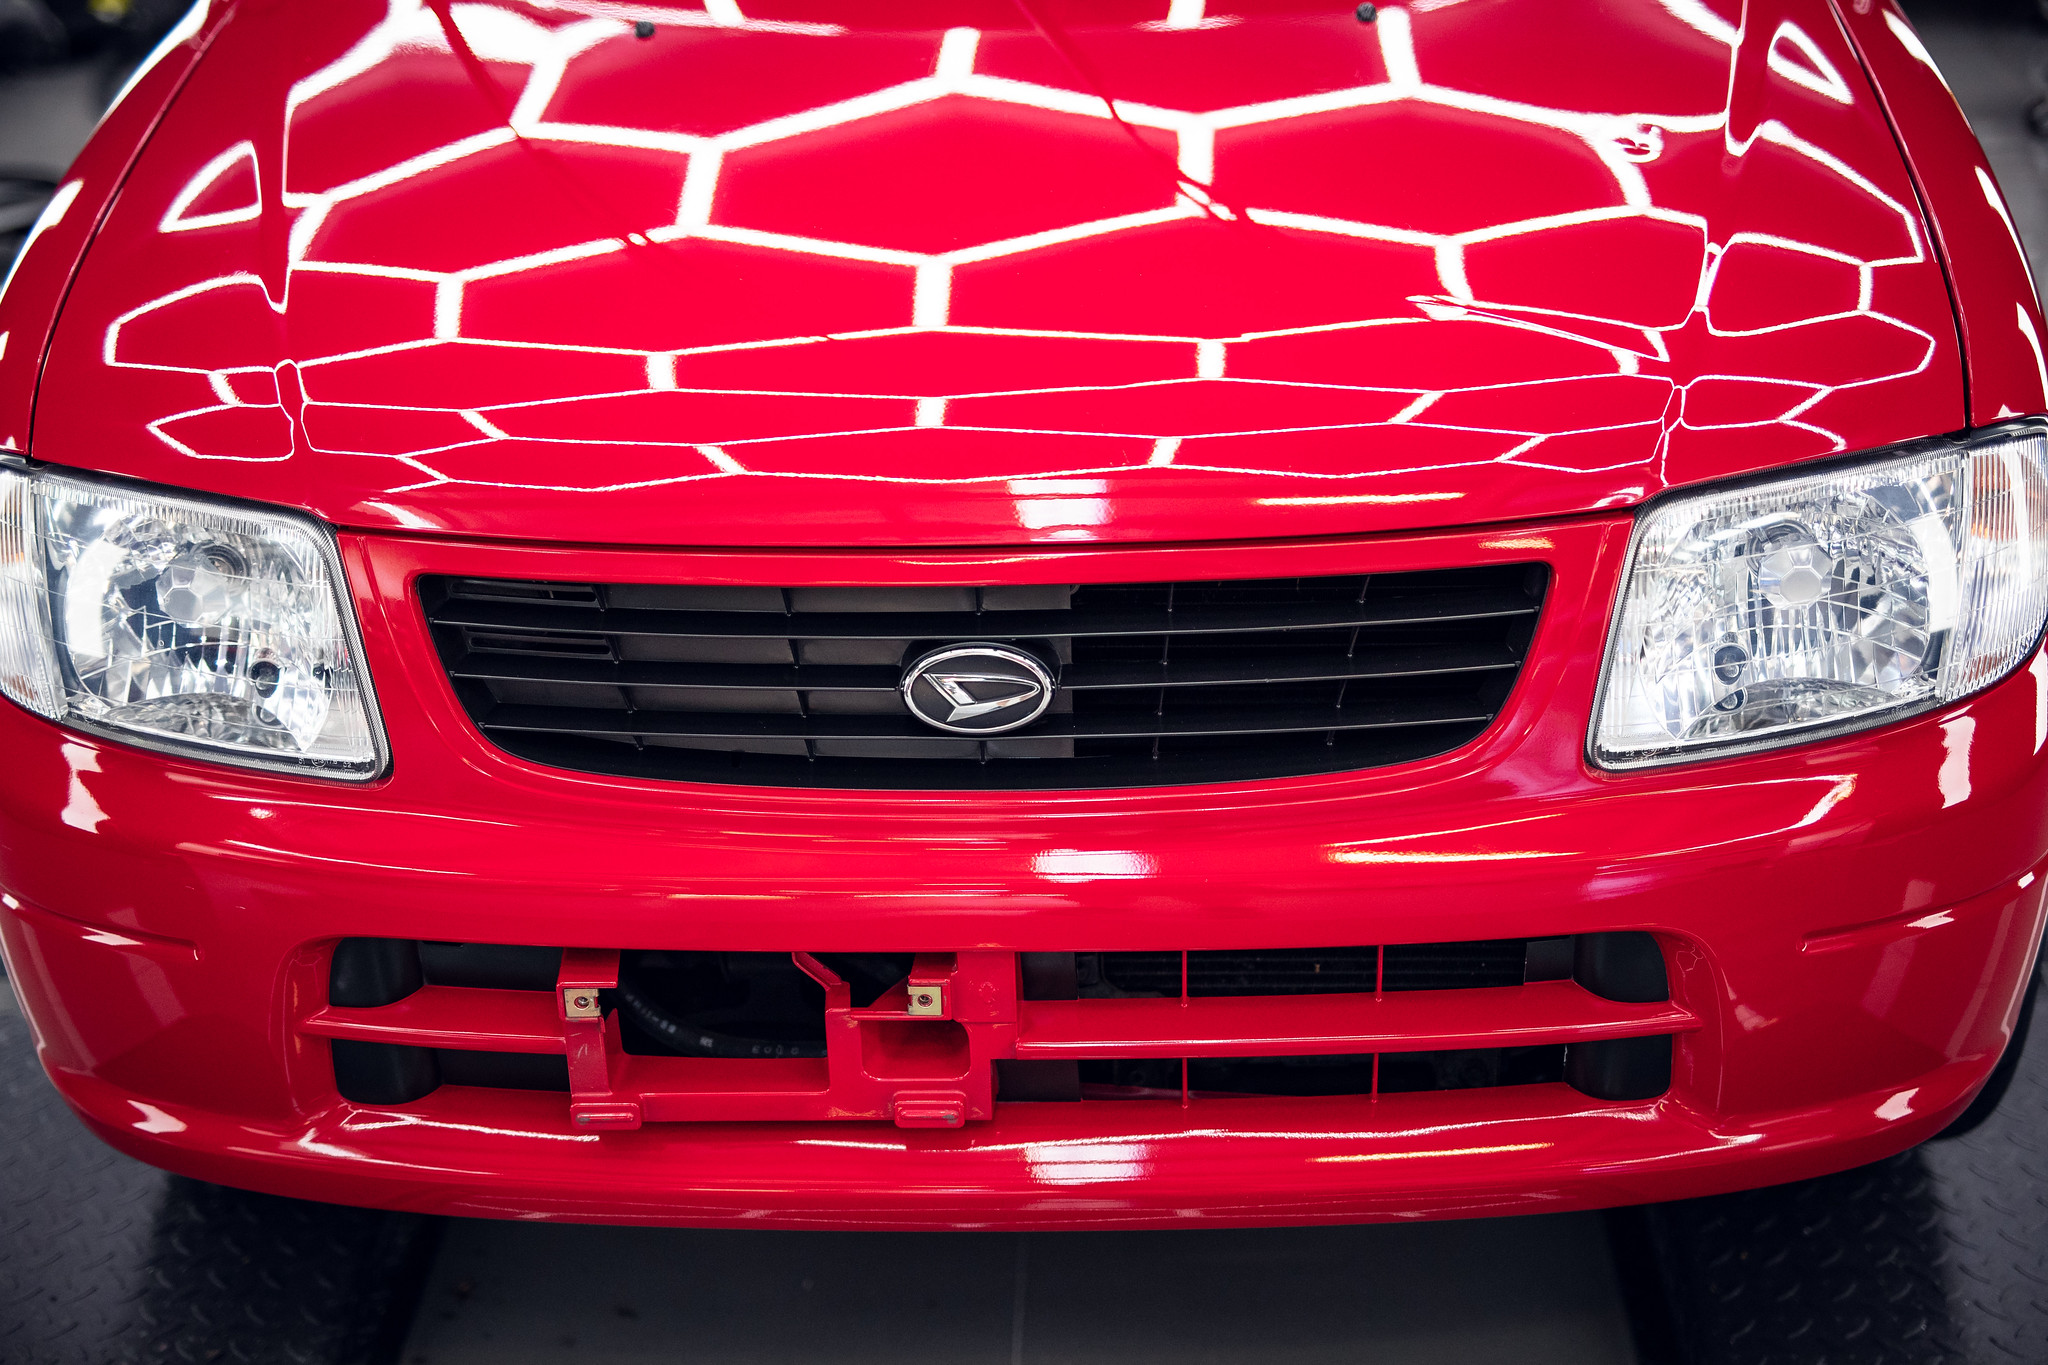
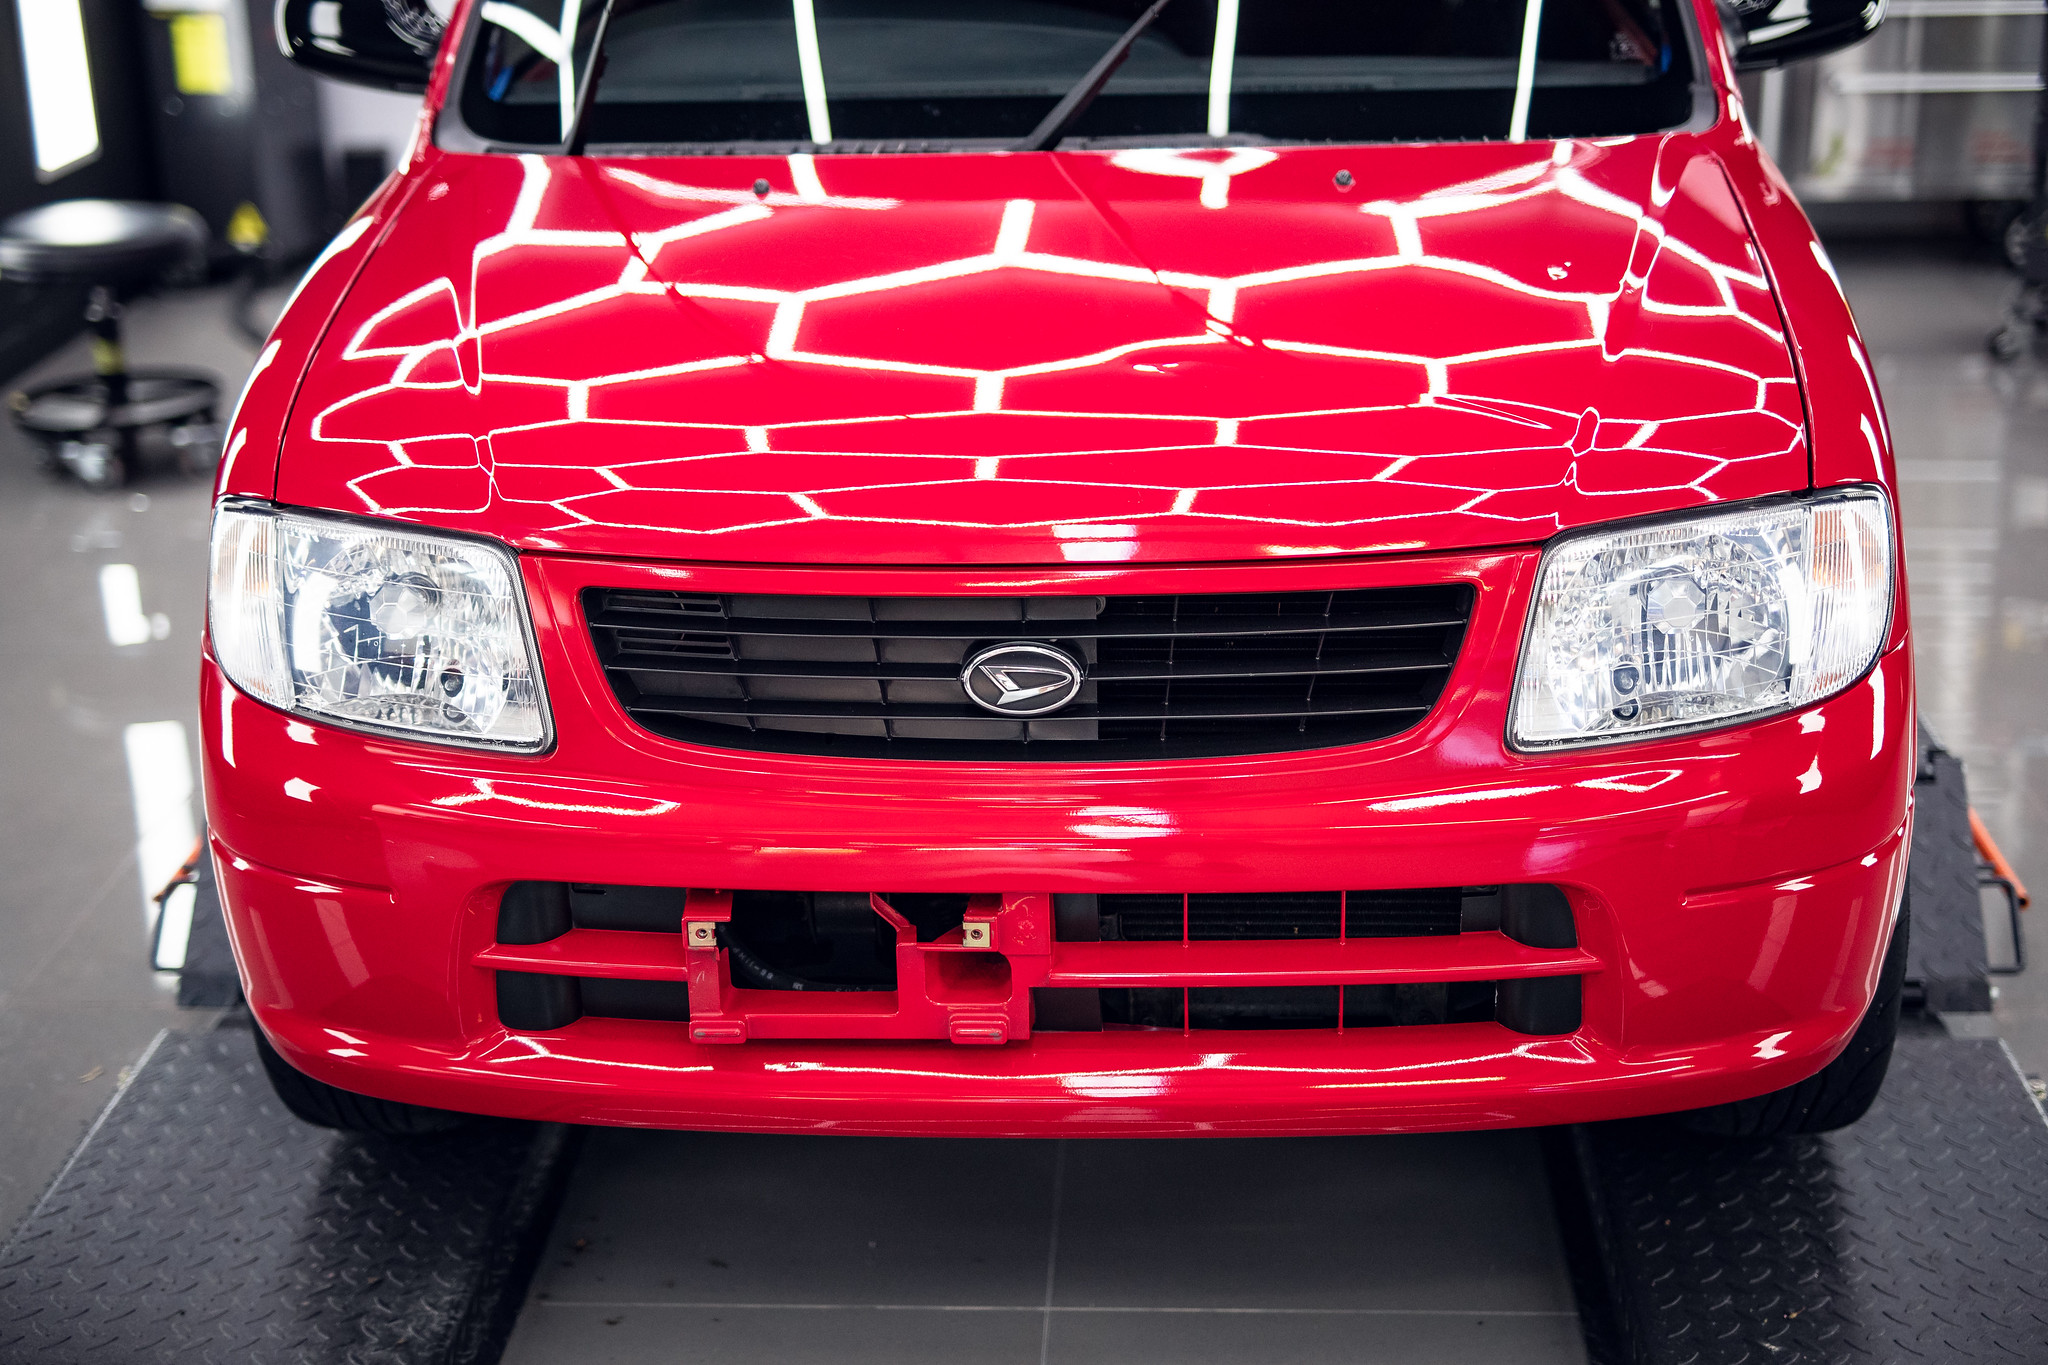
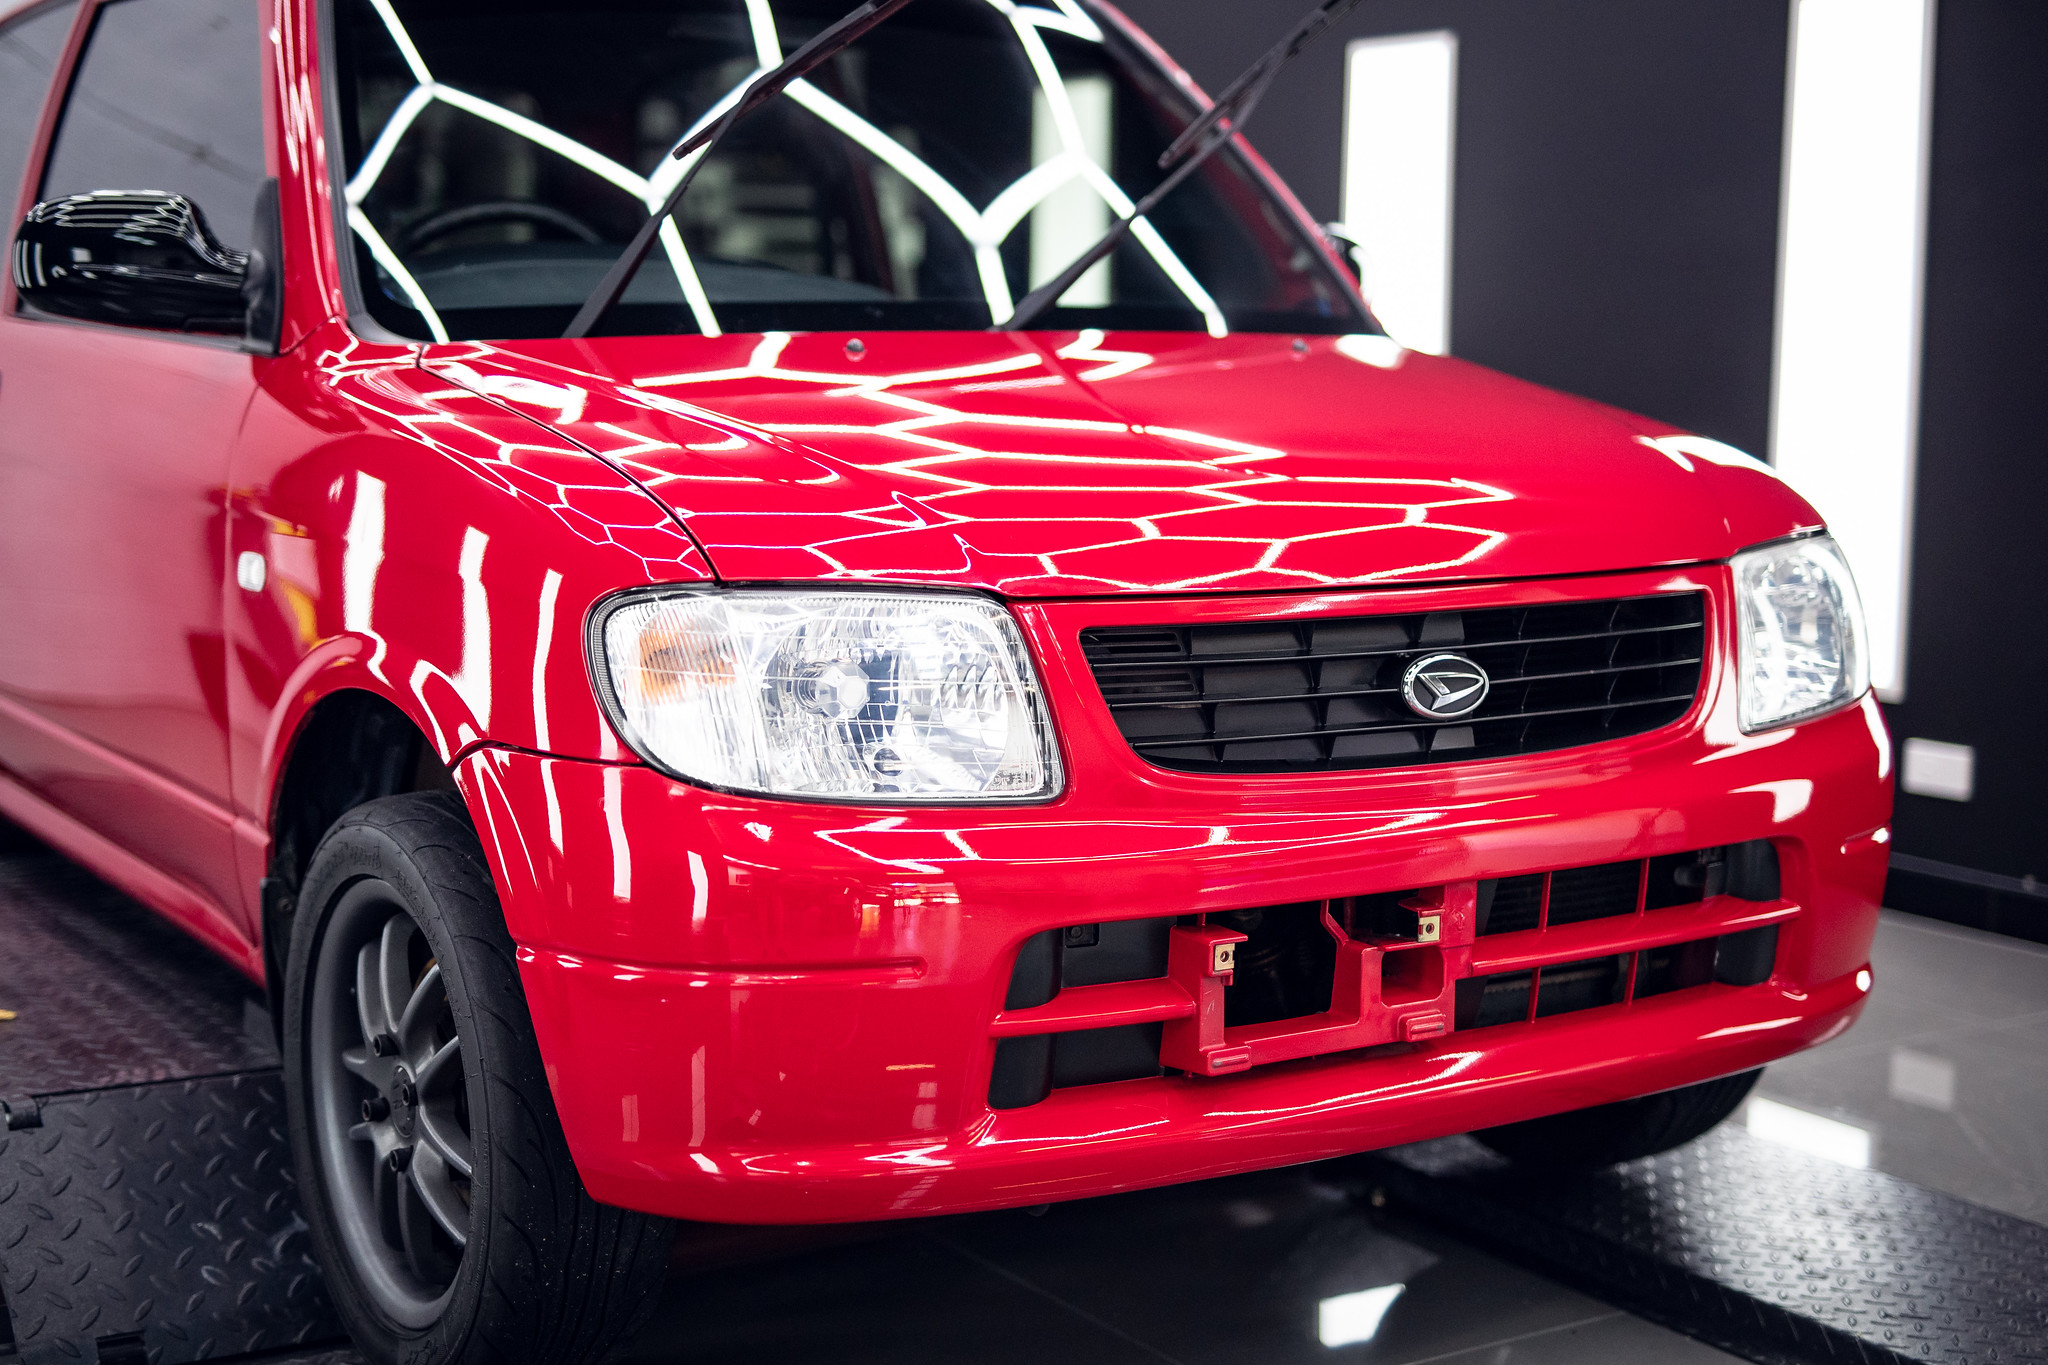
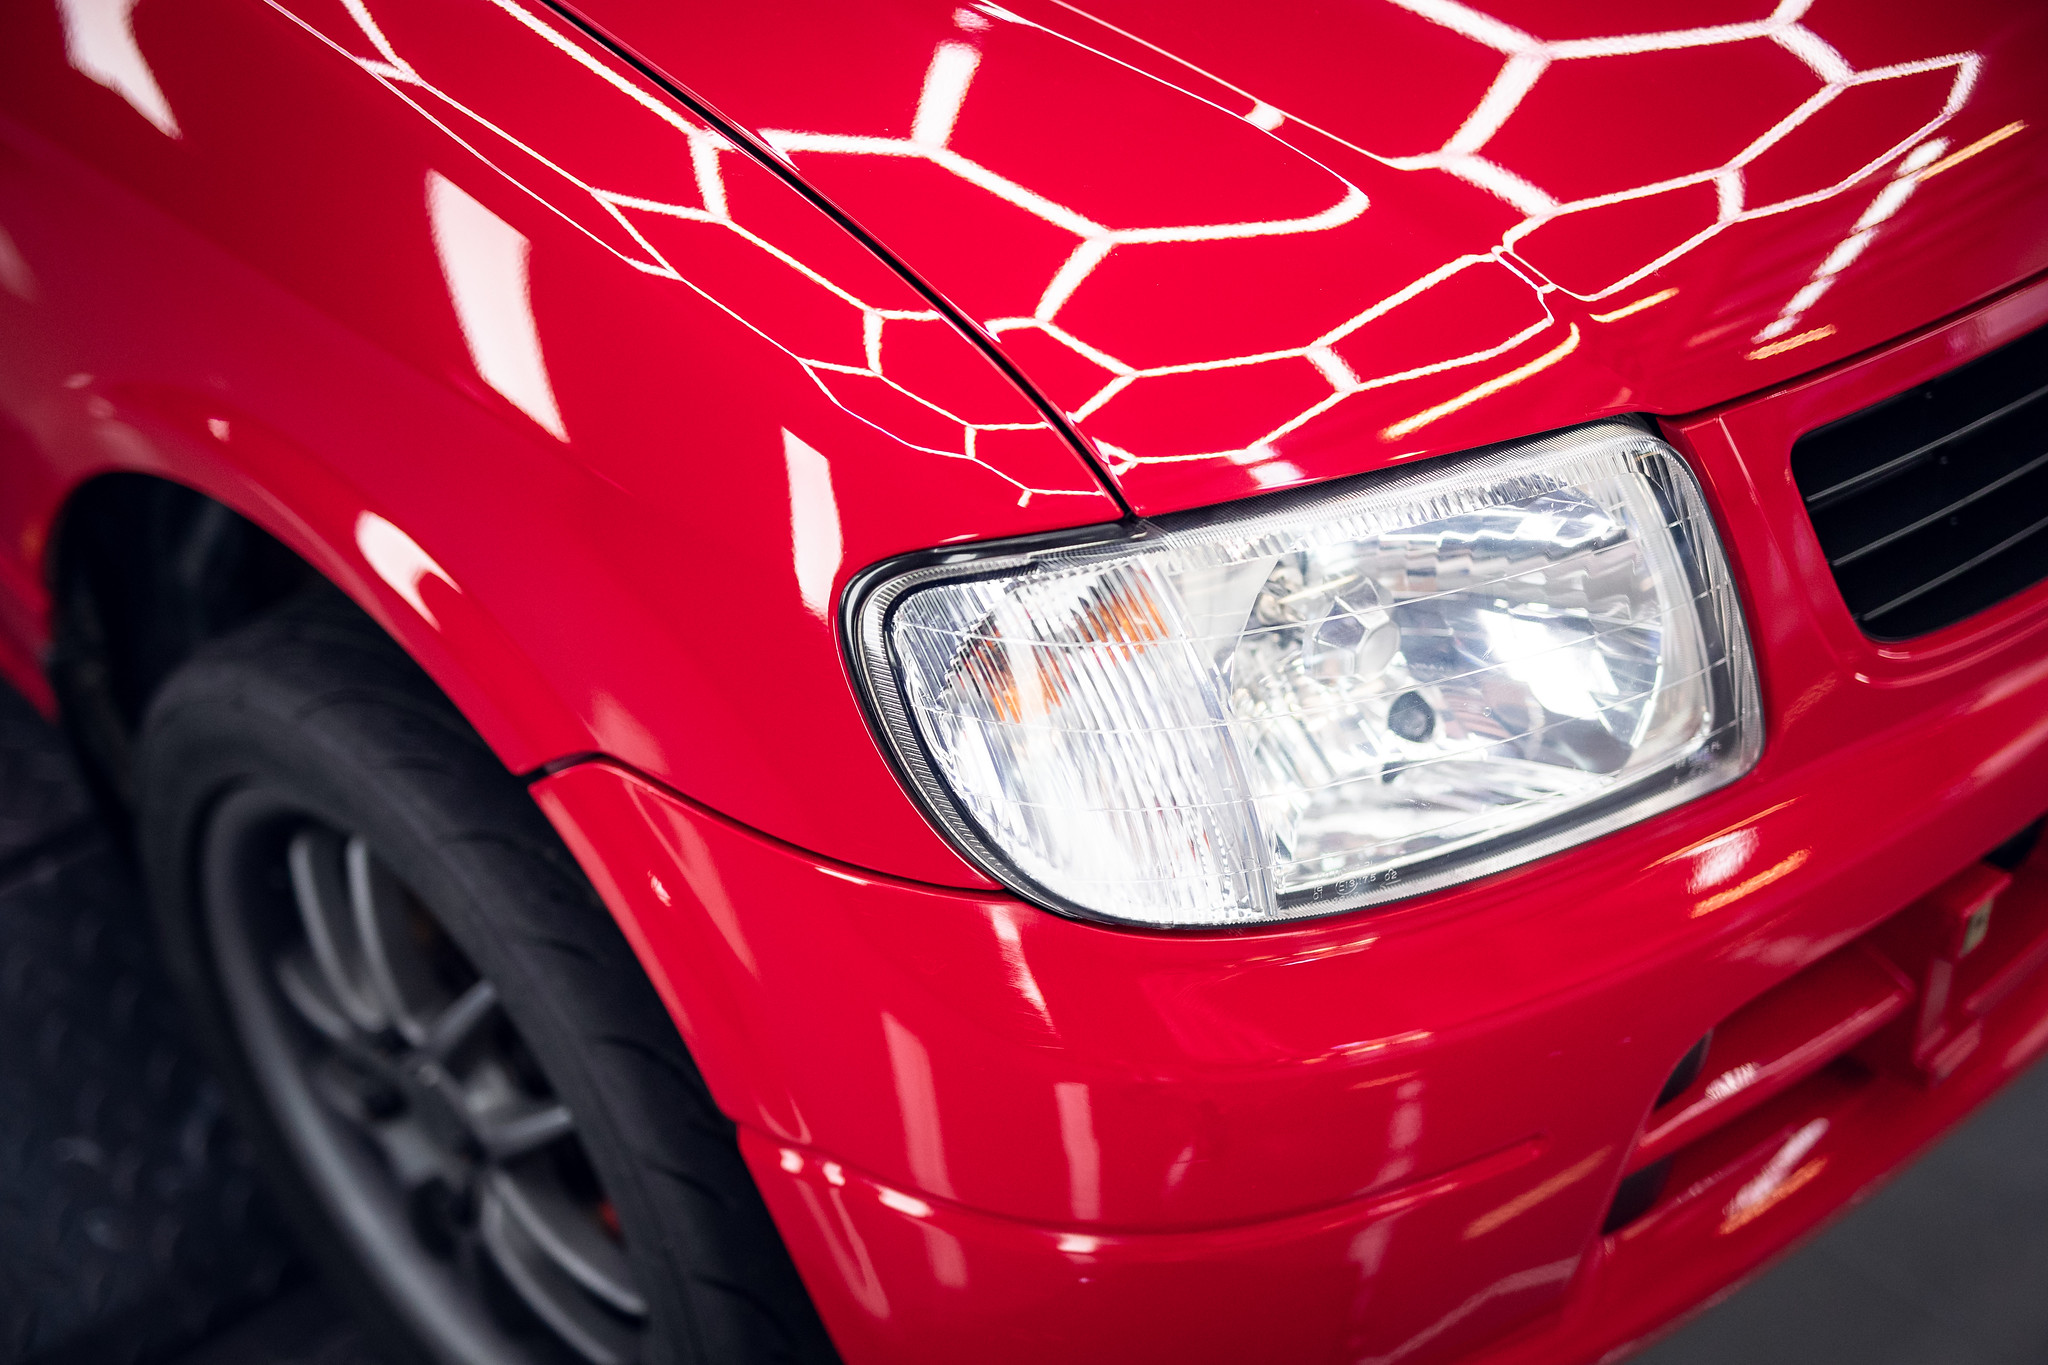
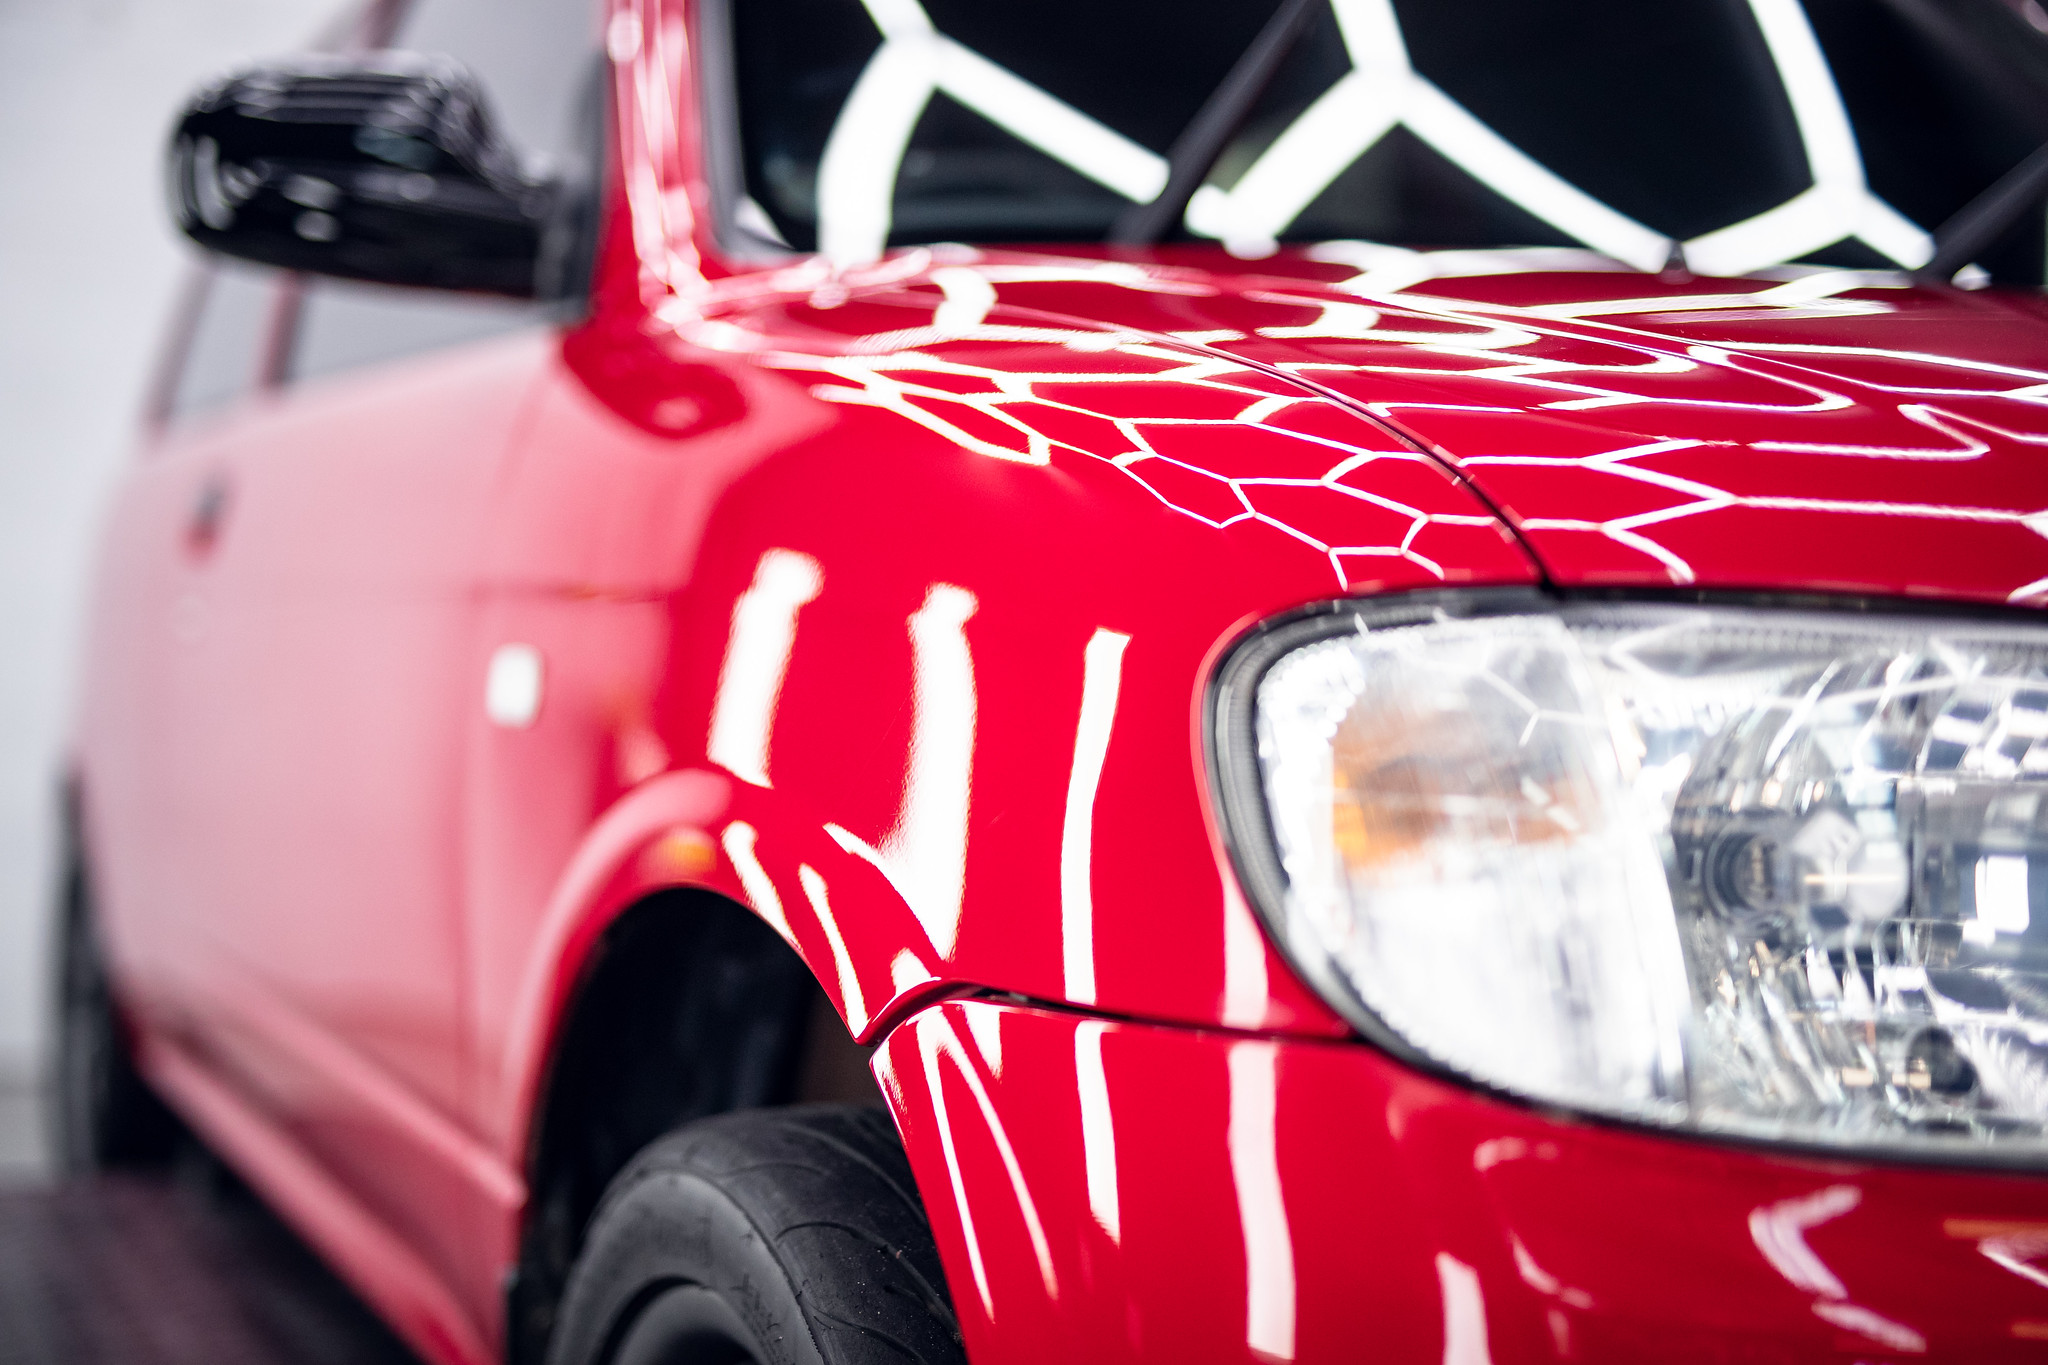
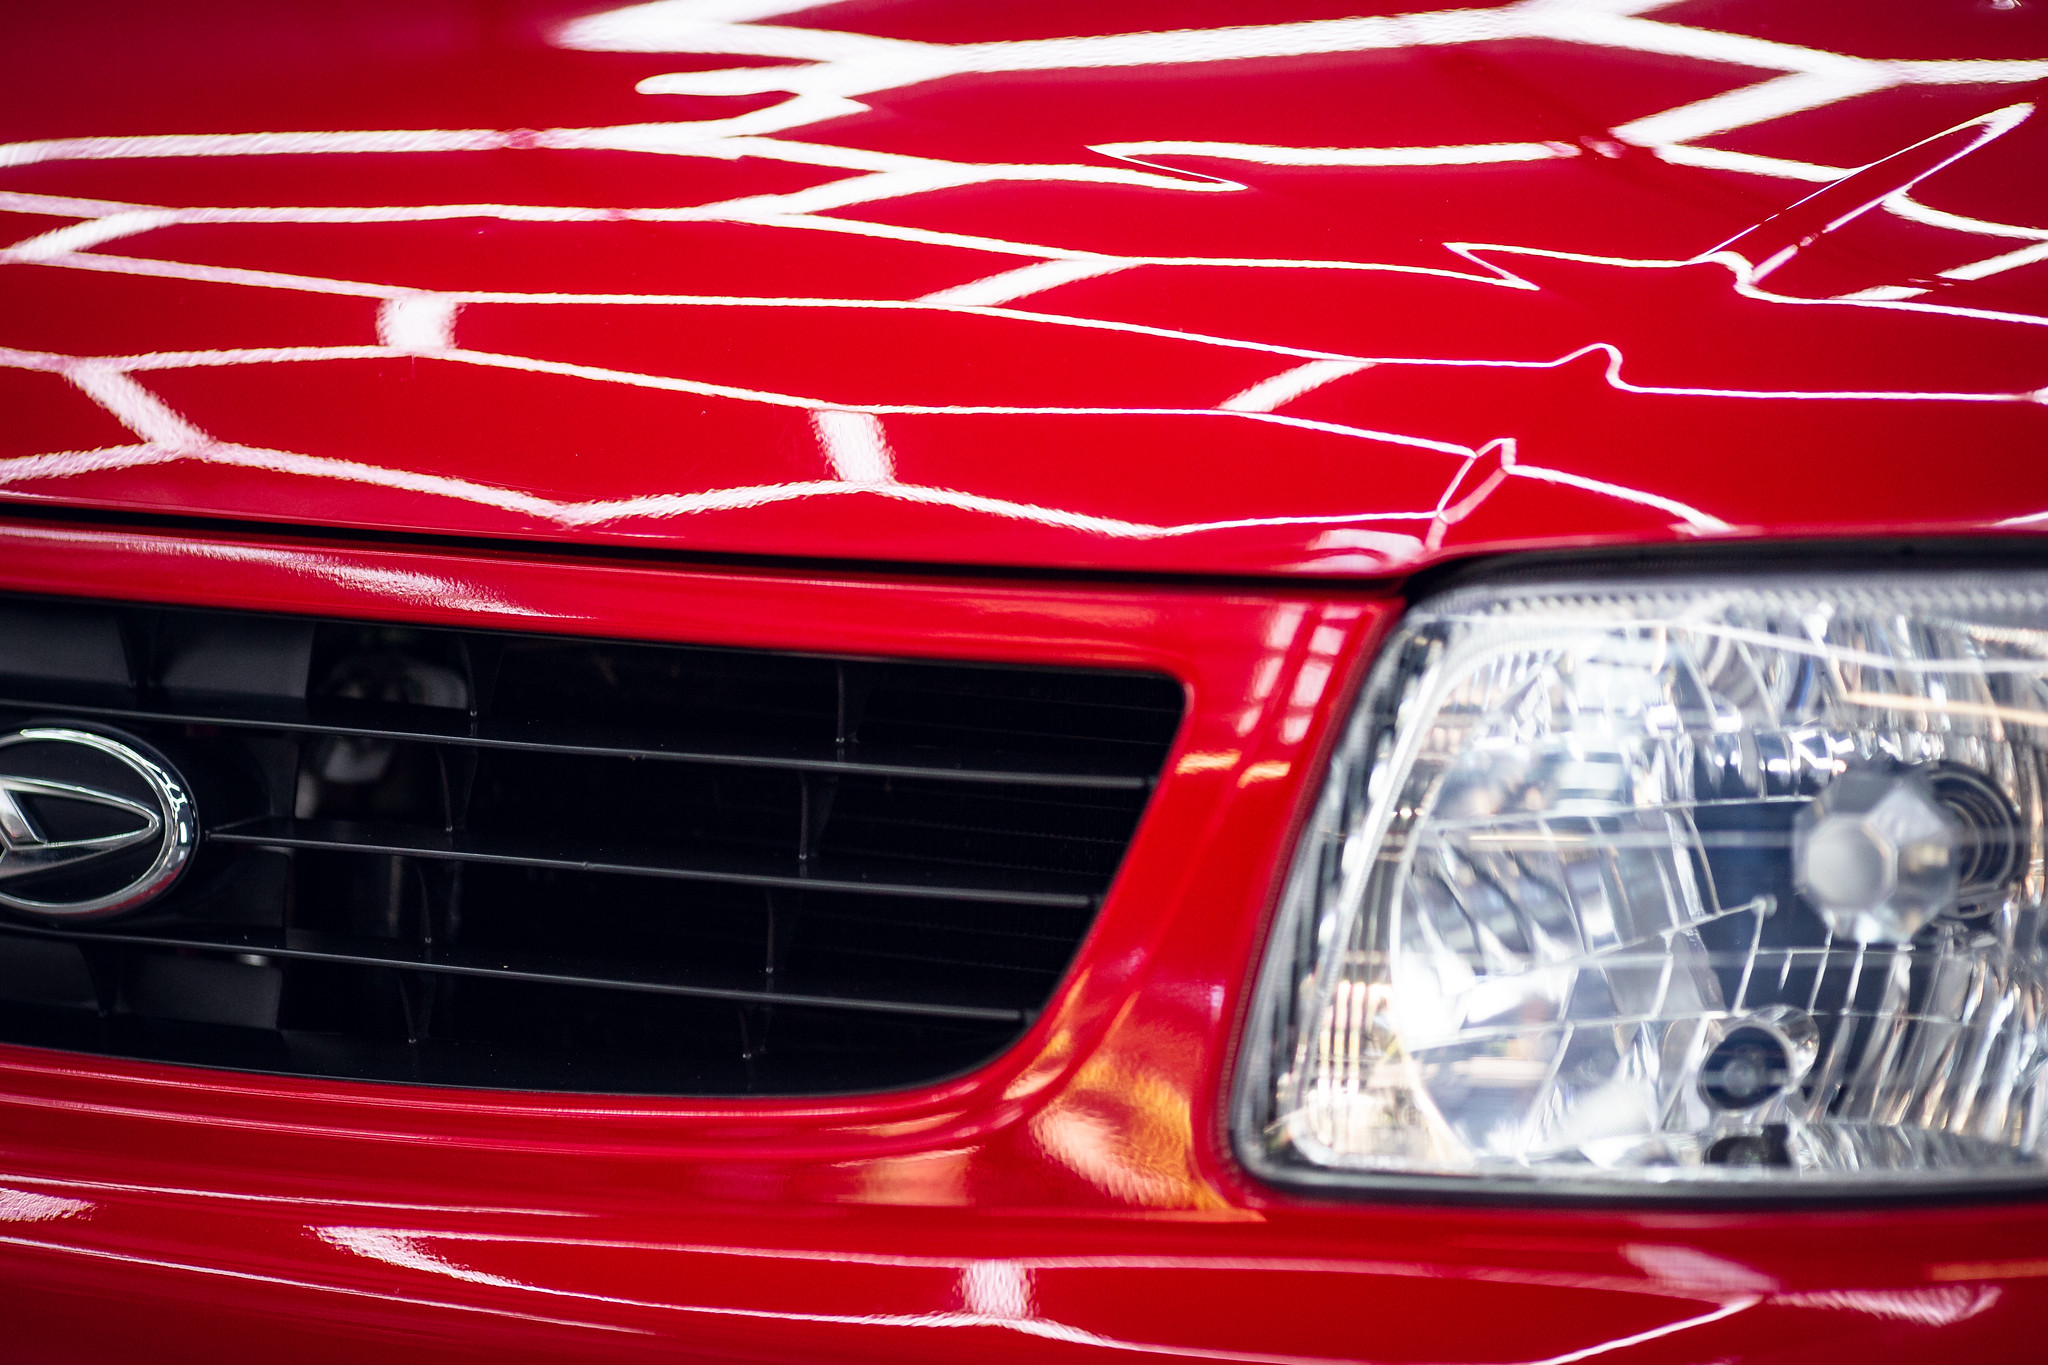
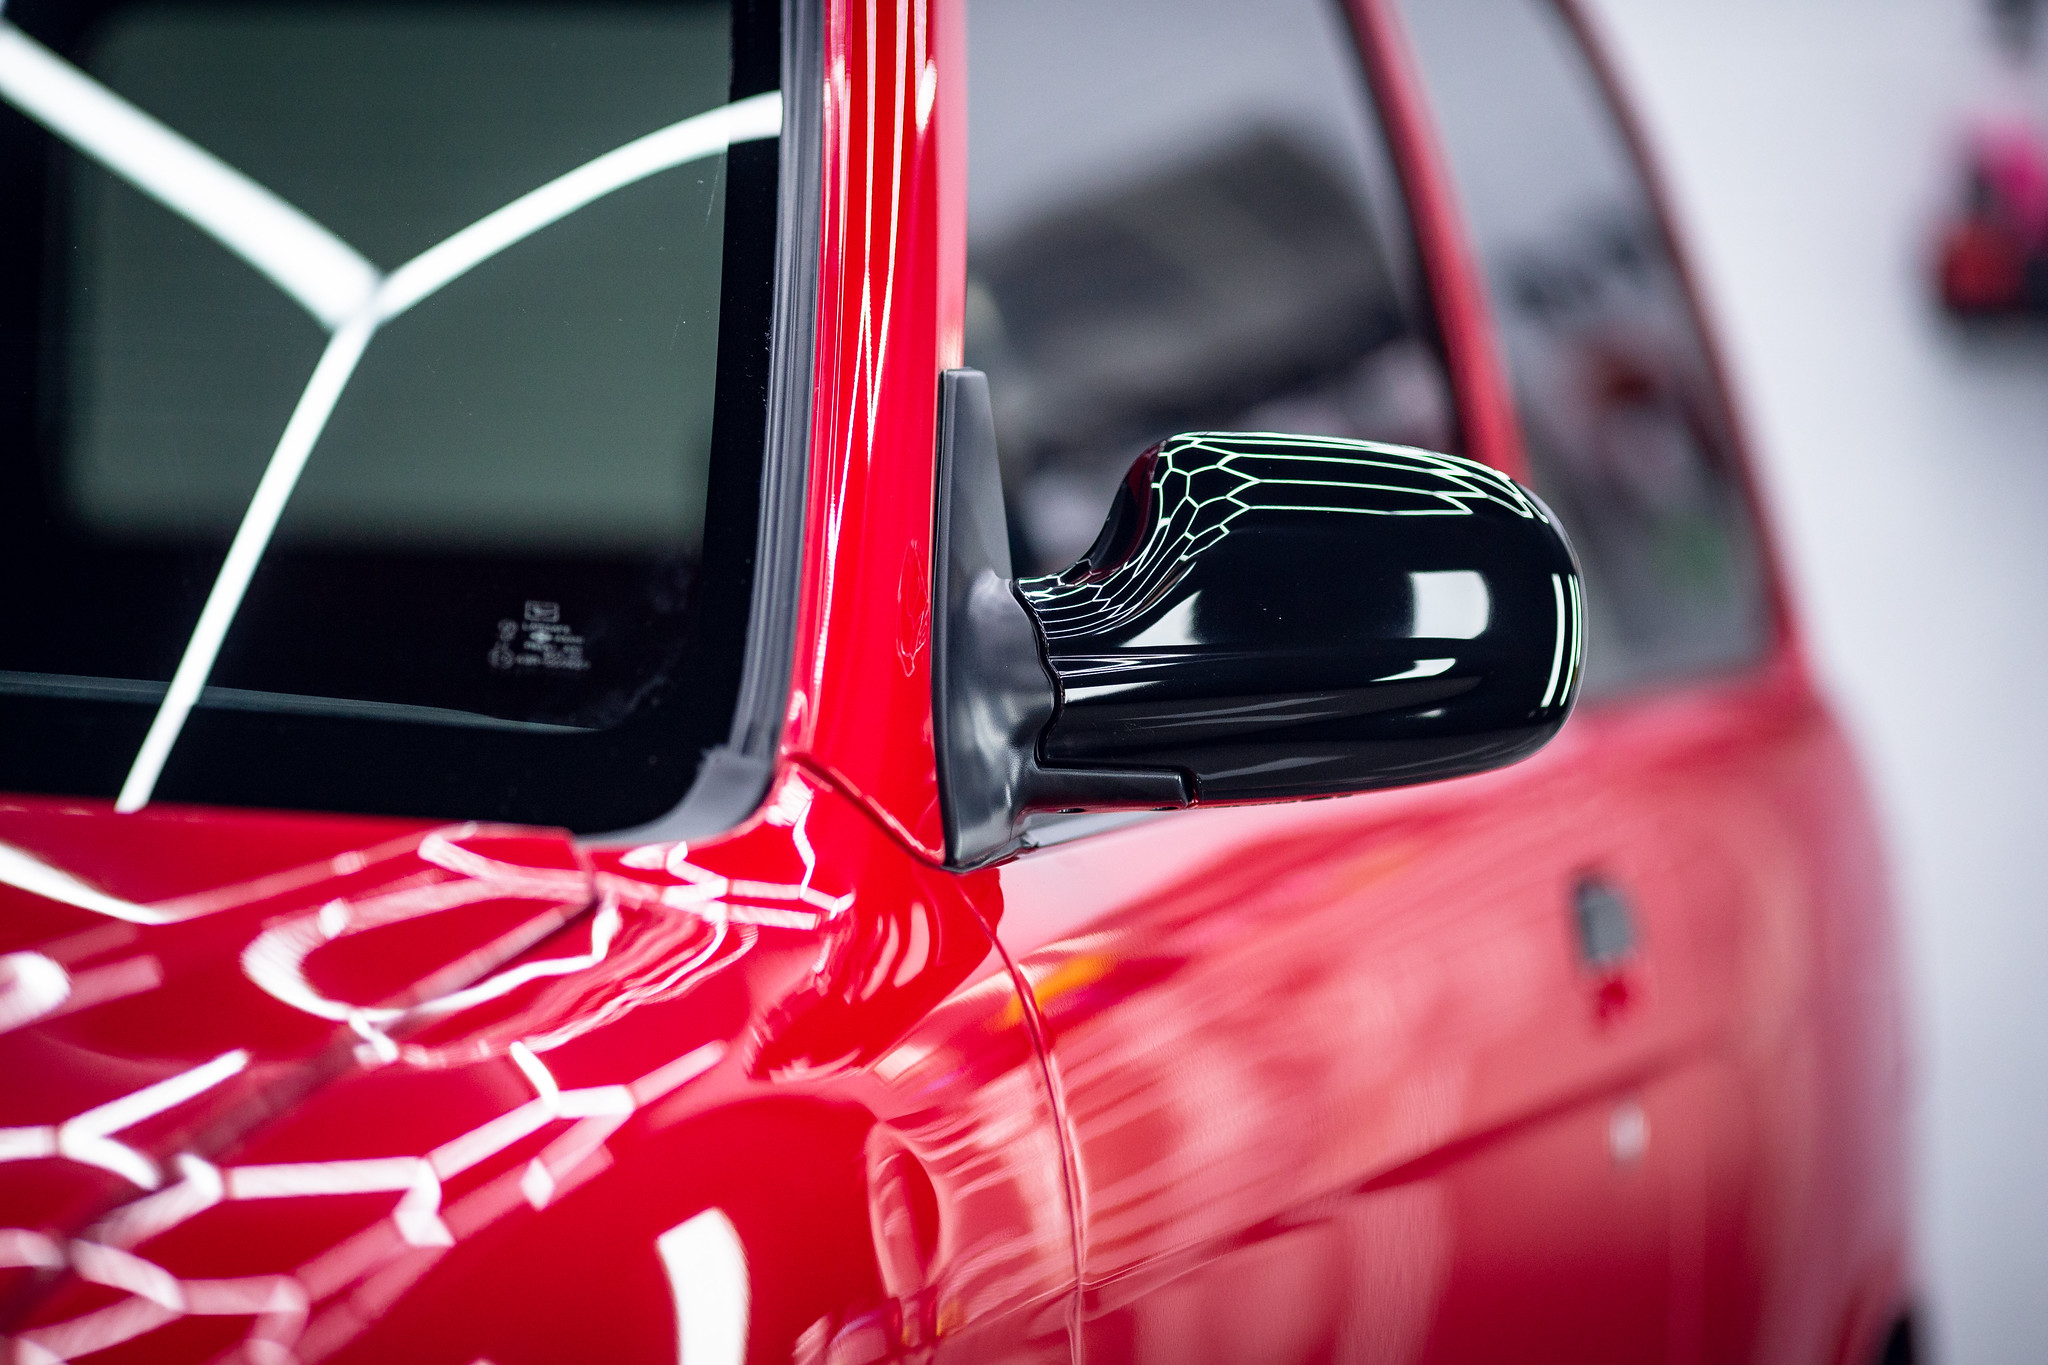
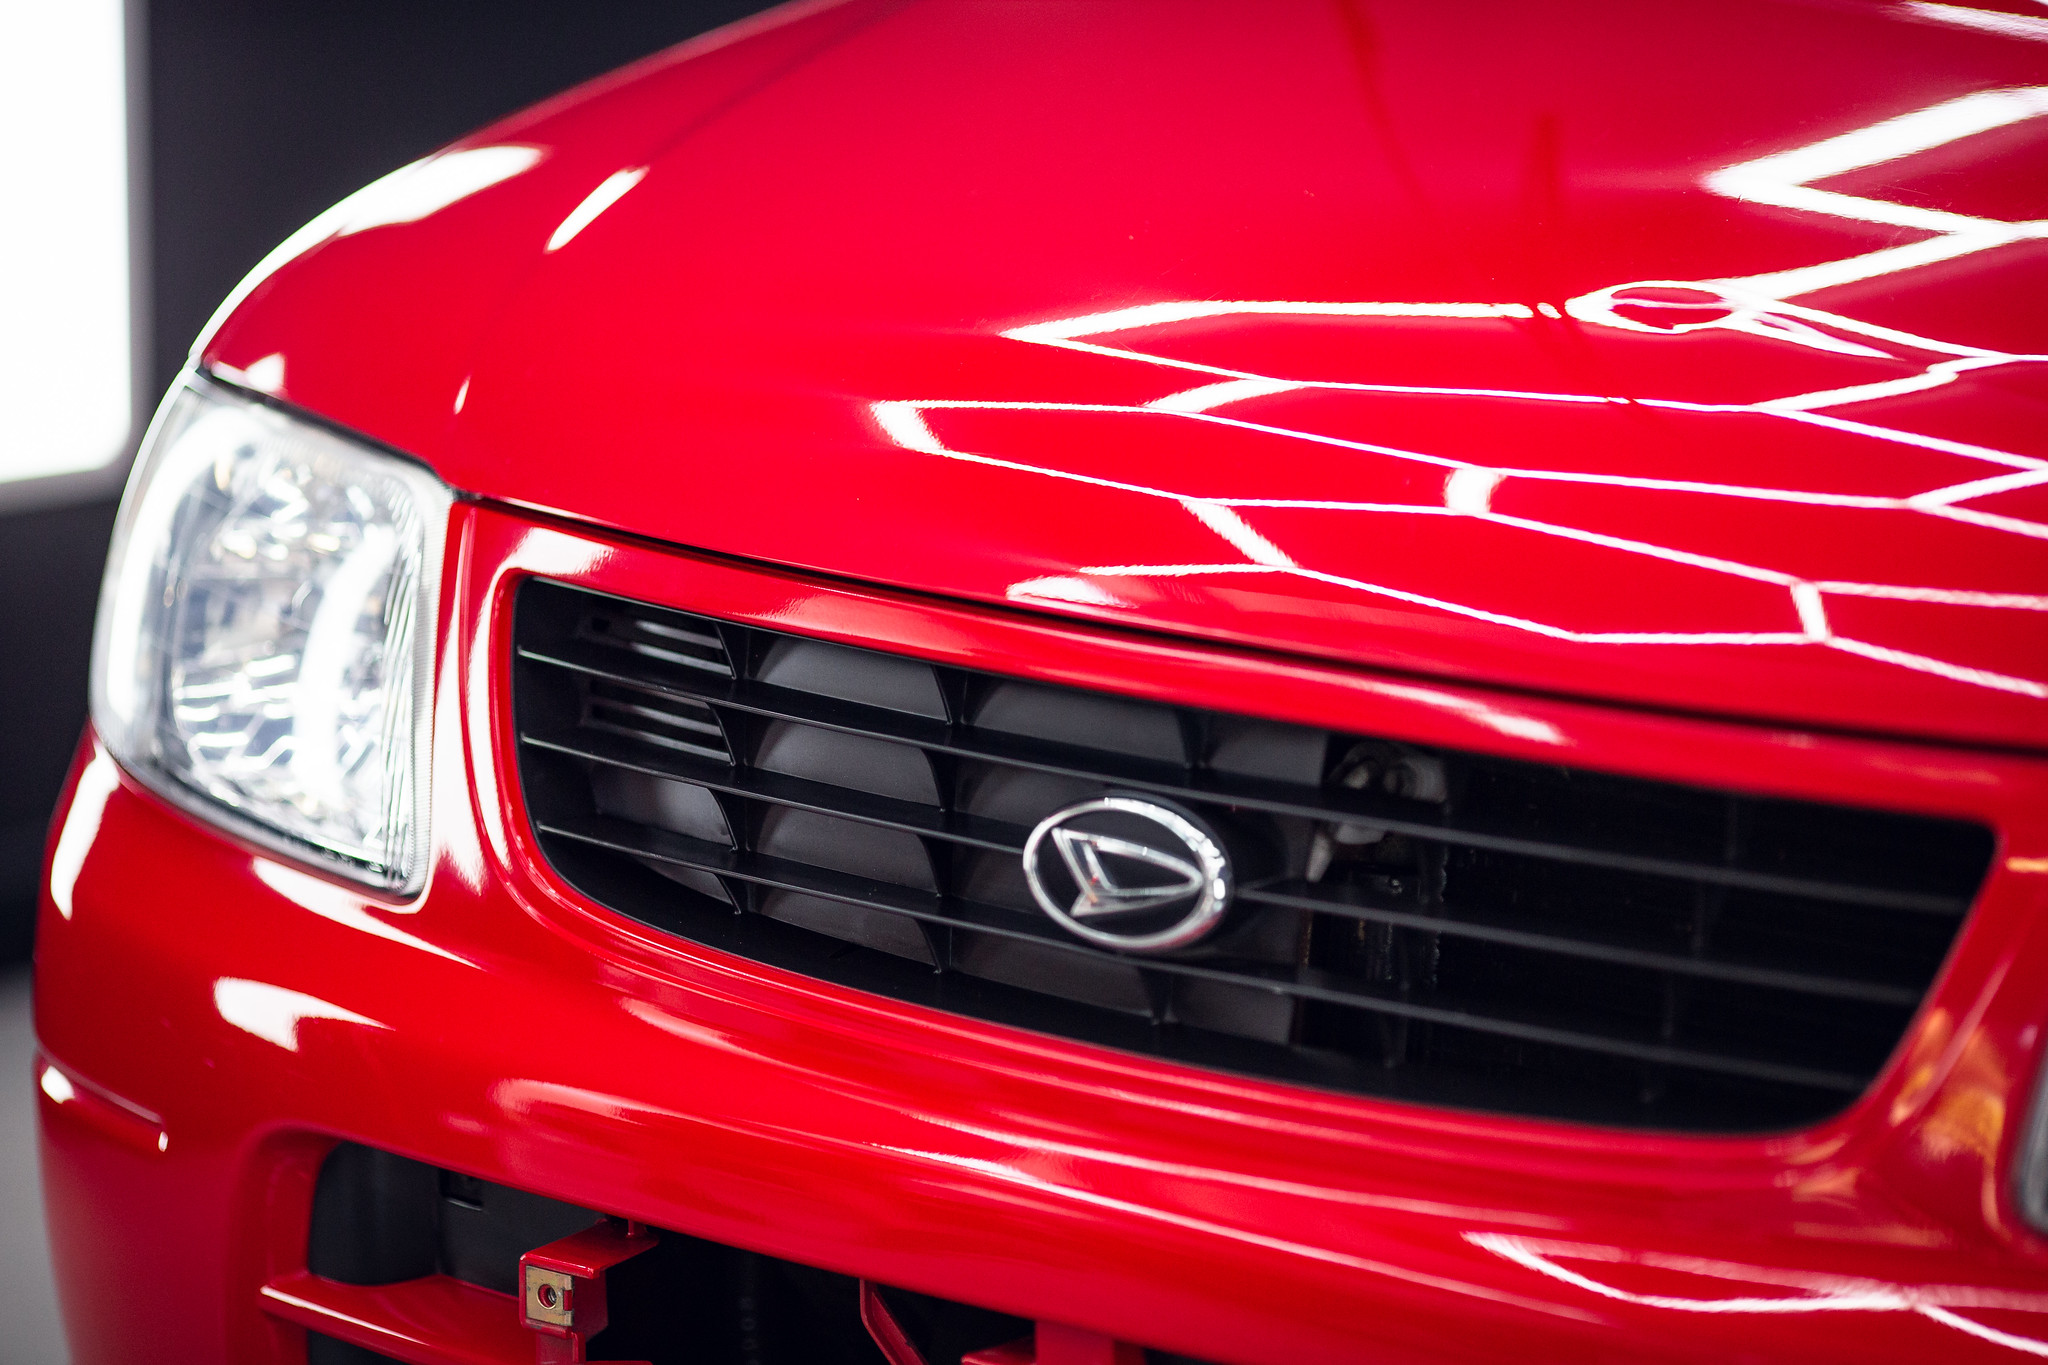
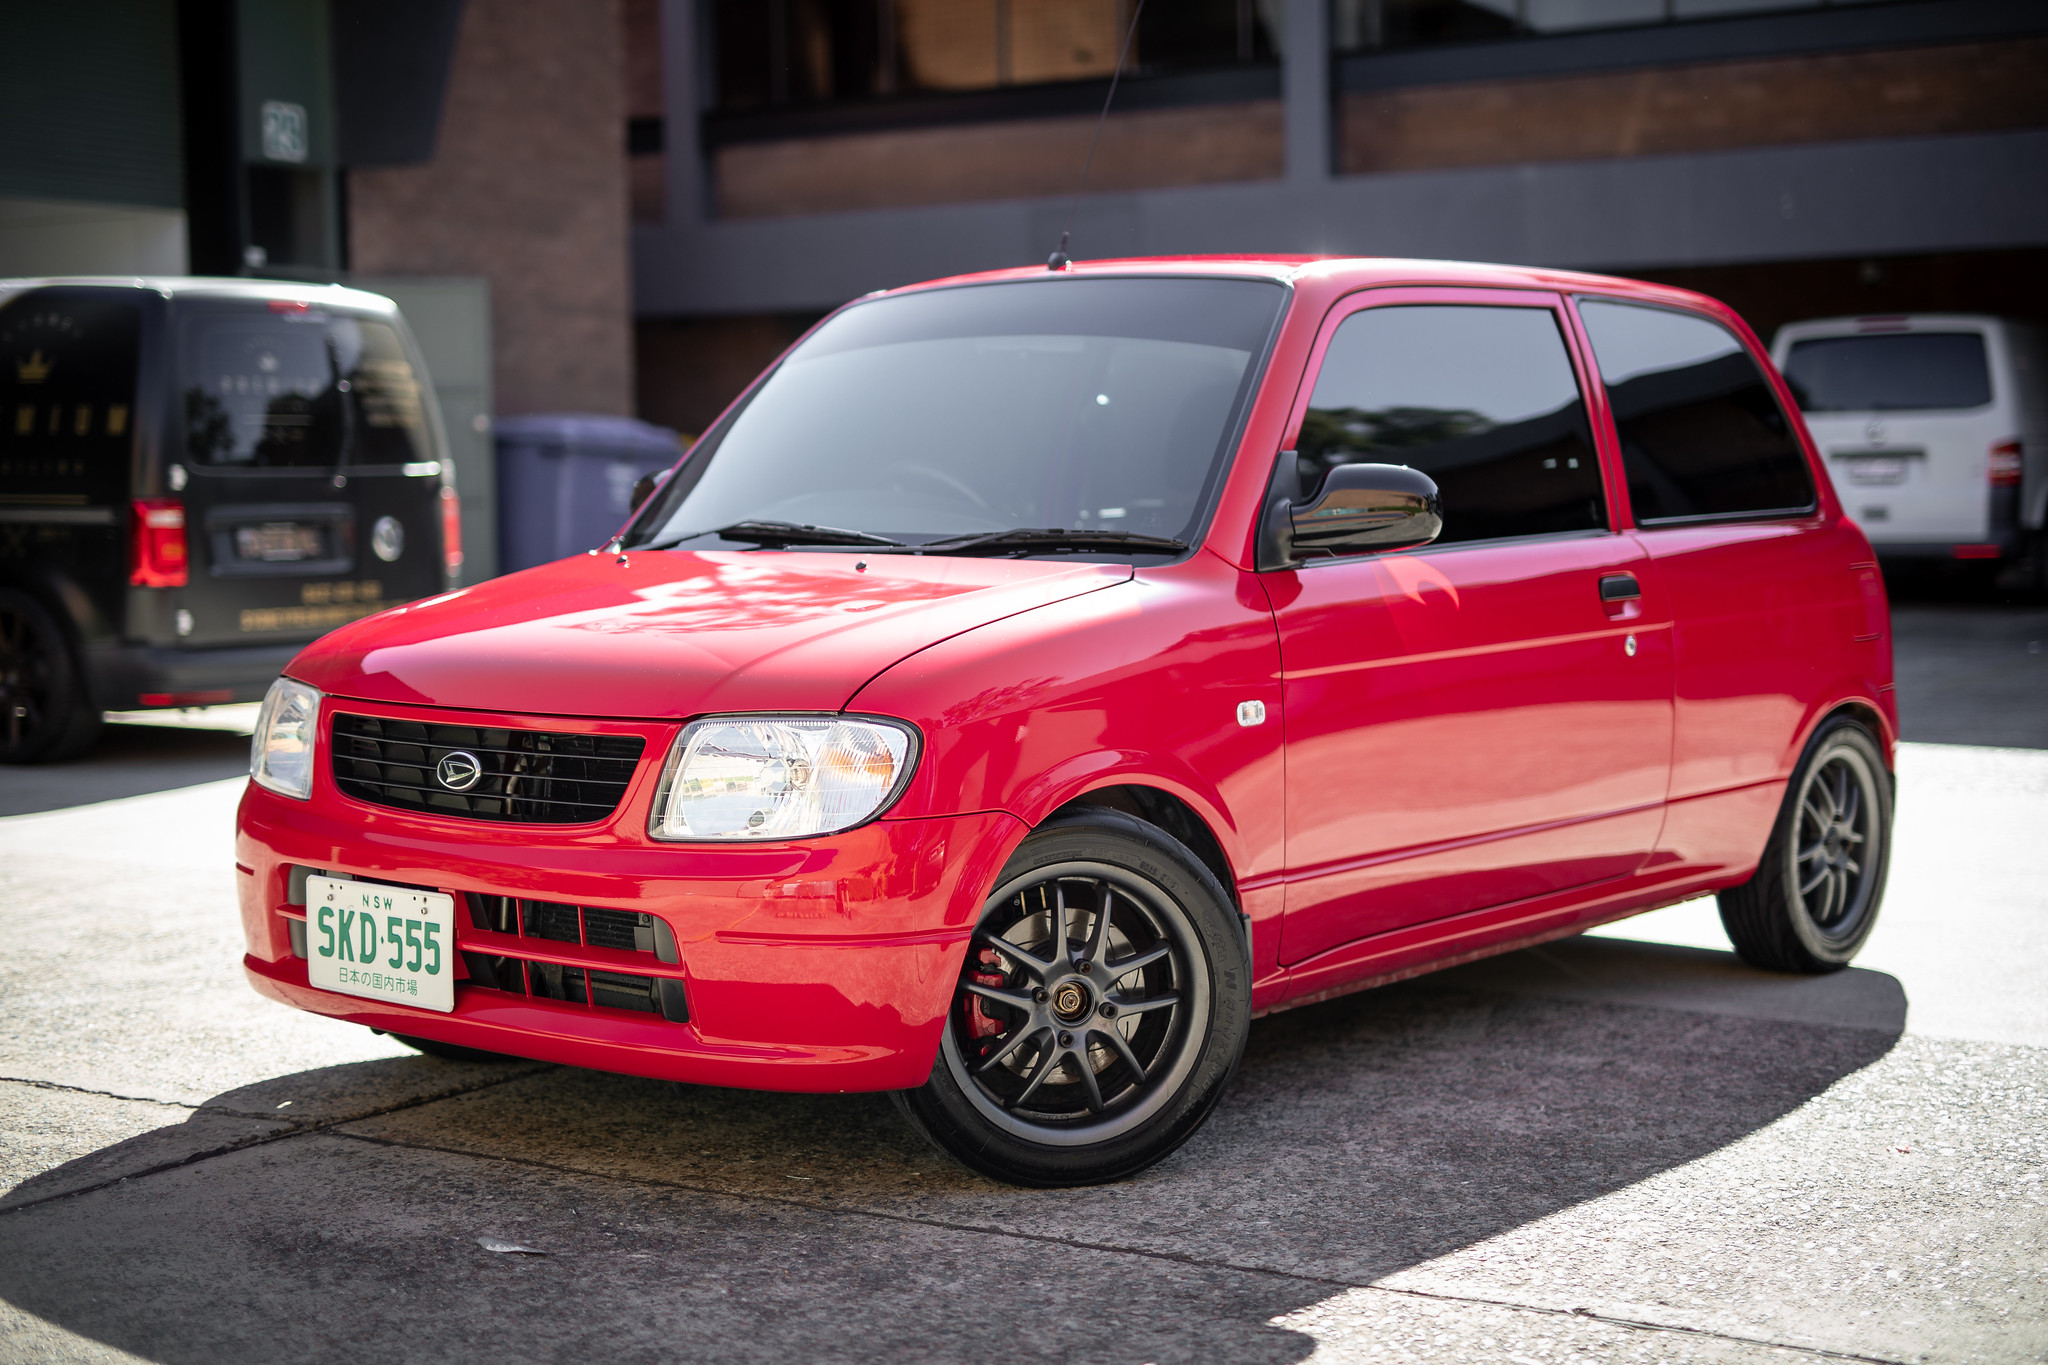
April 2020: As soon as I decided to get the car I knew I wanted to have this done. I’ve always been good with looking after paint on cars, but sadly I’ve always ended up with cars that have been trashed by their previous owners. Mid last year I have my motorbike repainted, and I fell in love with good paint again. While I will likely have the car resprayed in the future, I wanted to do what I can to bring the paint back to life. So I decided to have the car two-step paint corrected by Sydney Premiere Detailing.
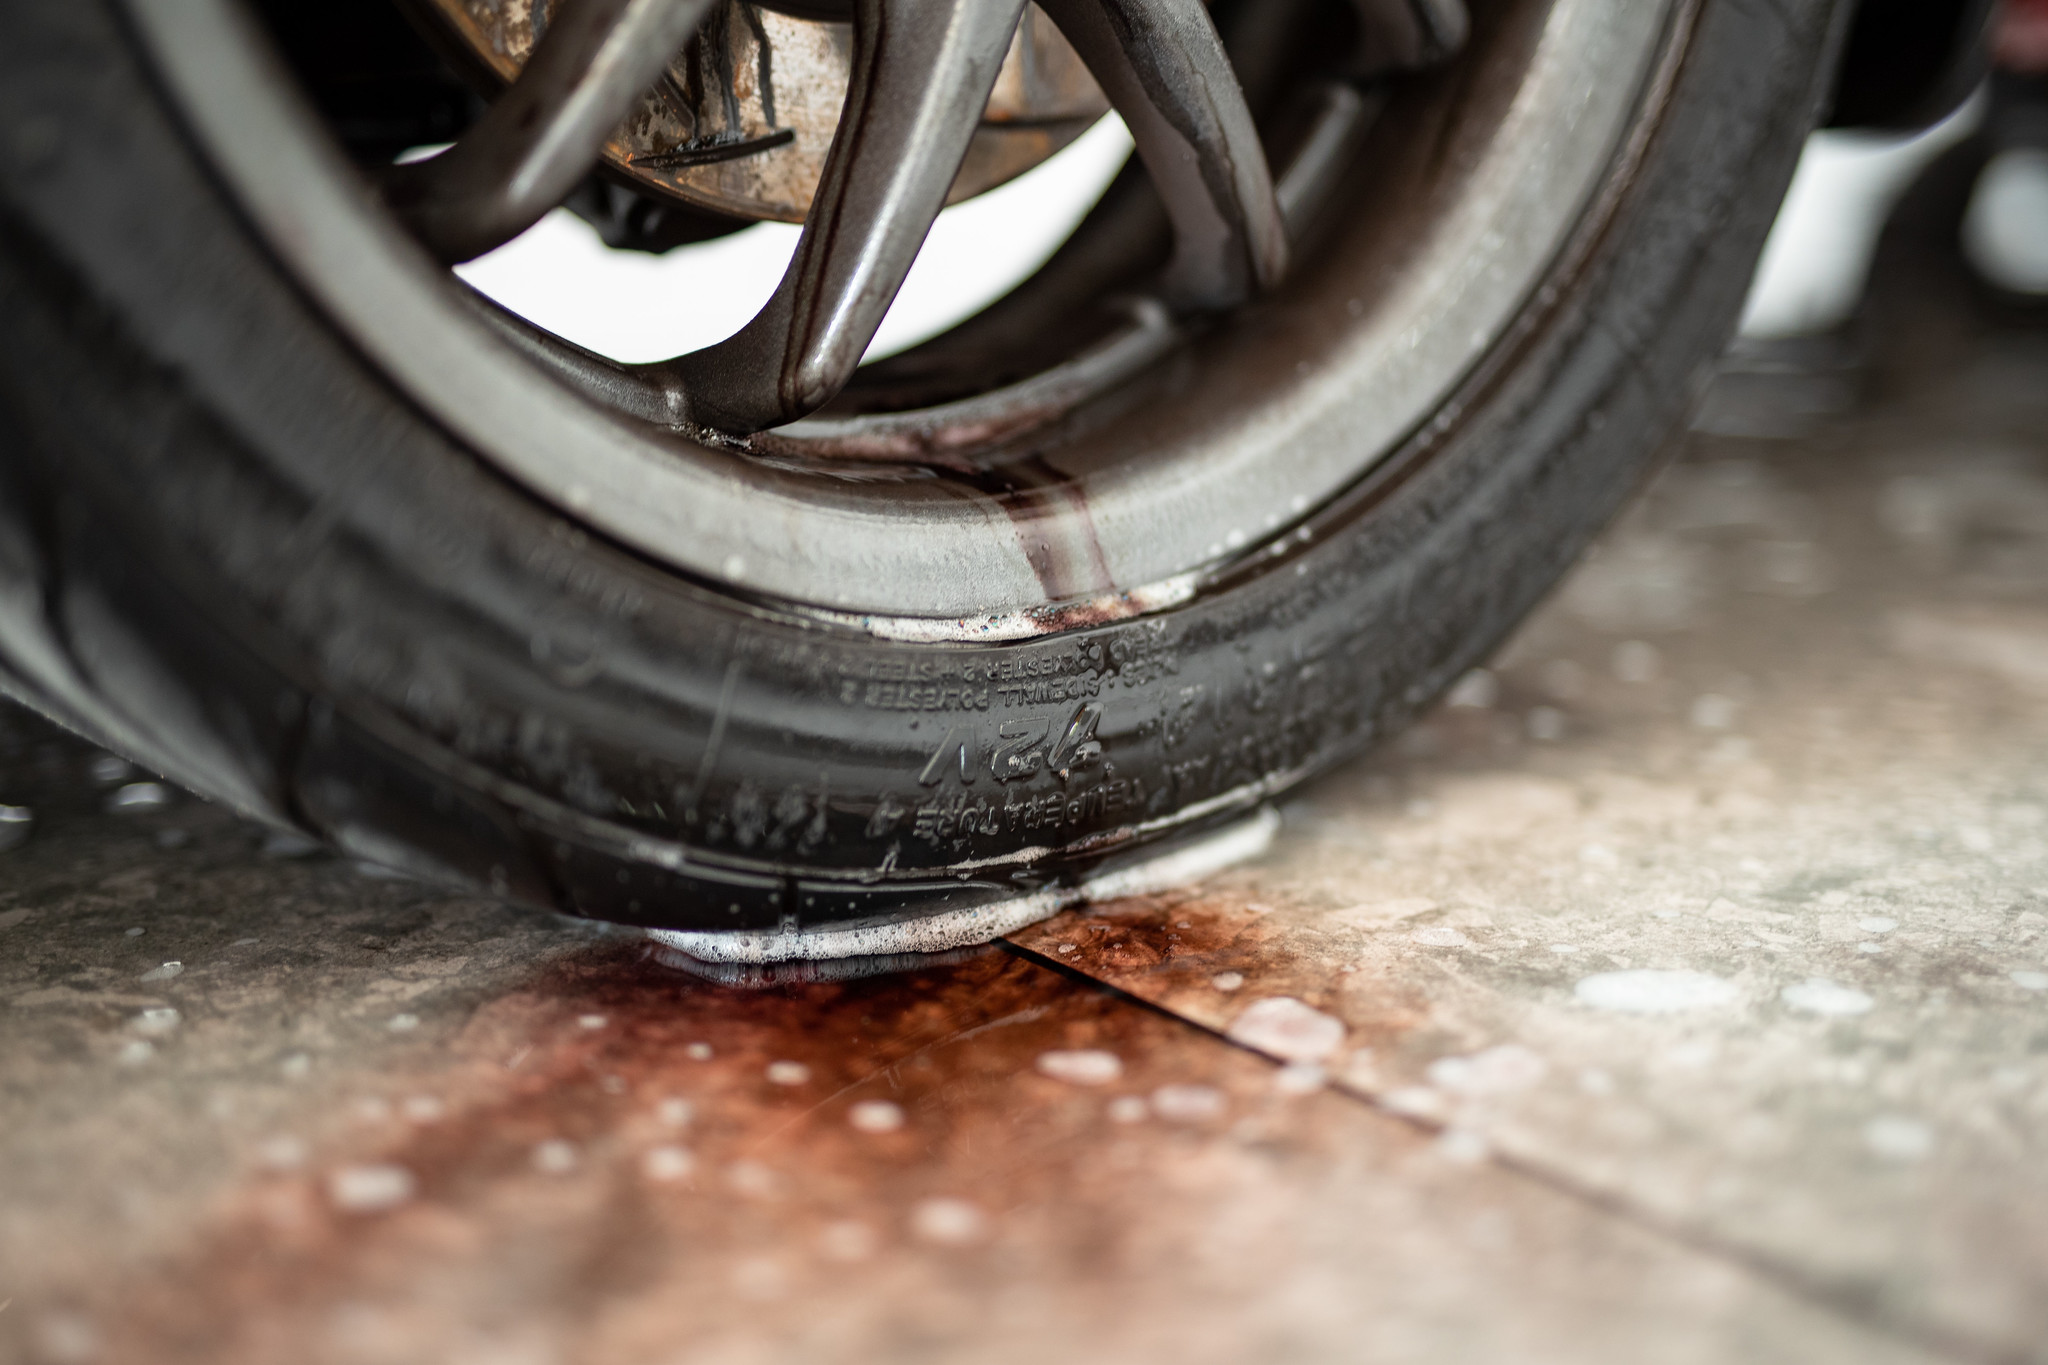
We started simply with a good wash, something I actually haven’t done yet since owning the car.


Decontamination is an important step.


Dry.
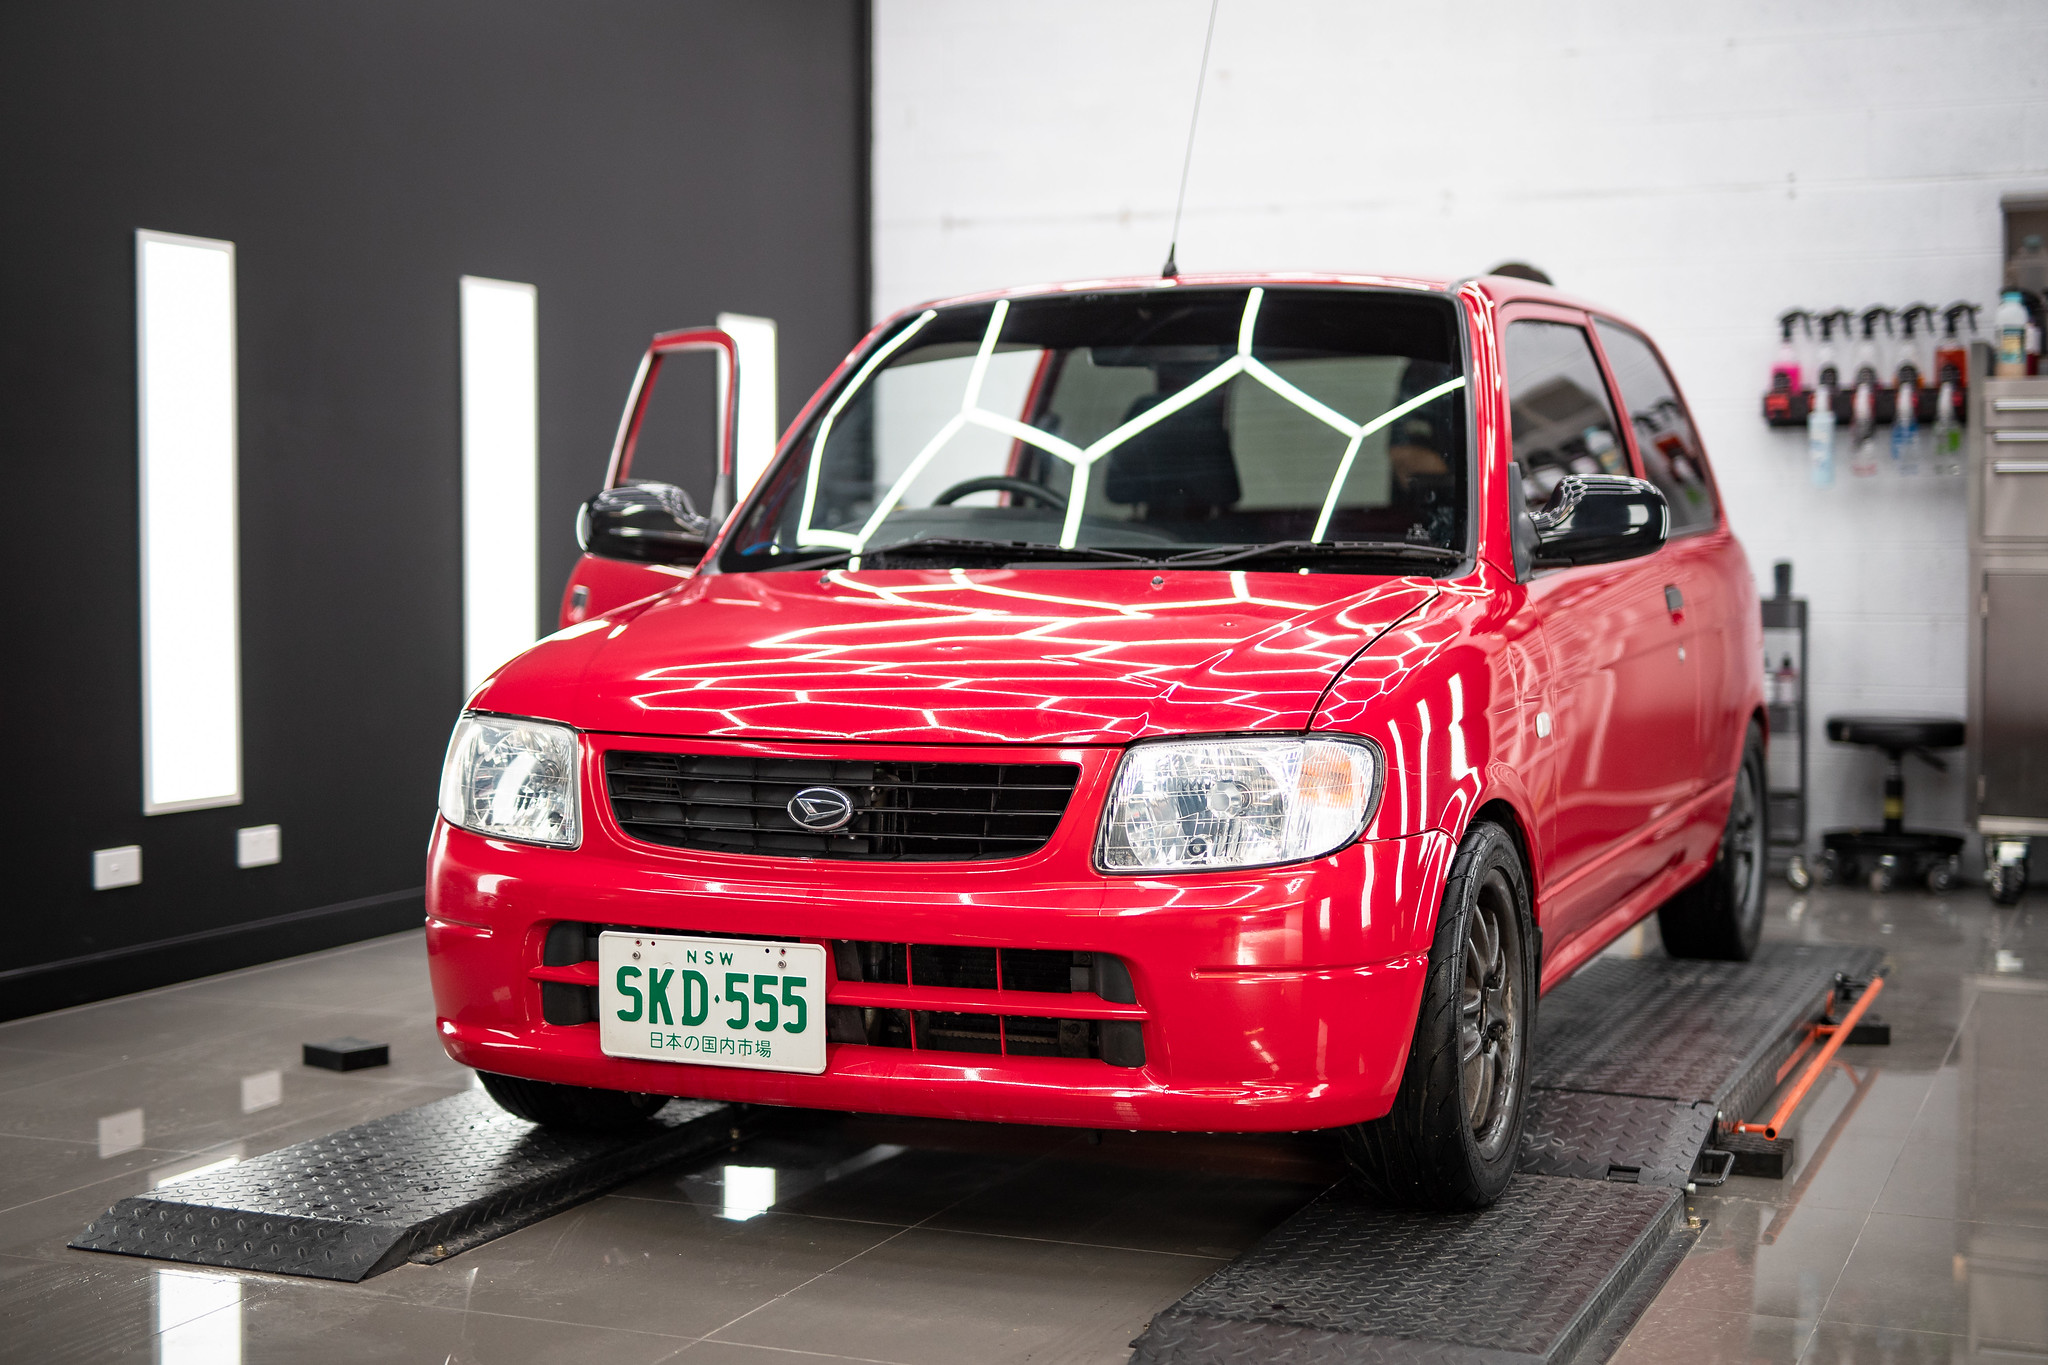
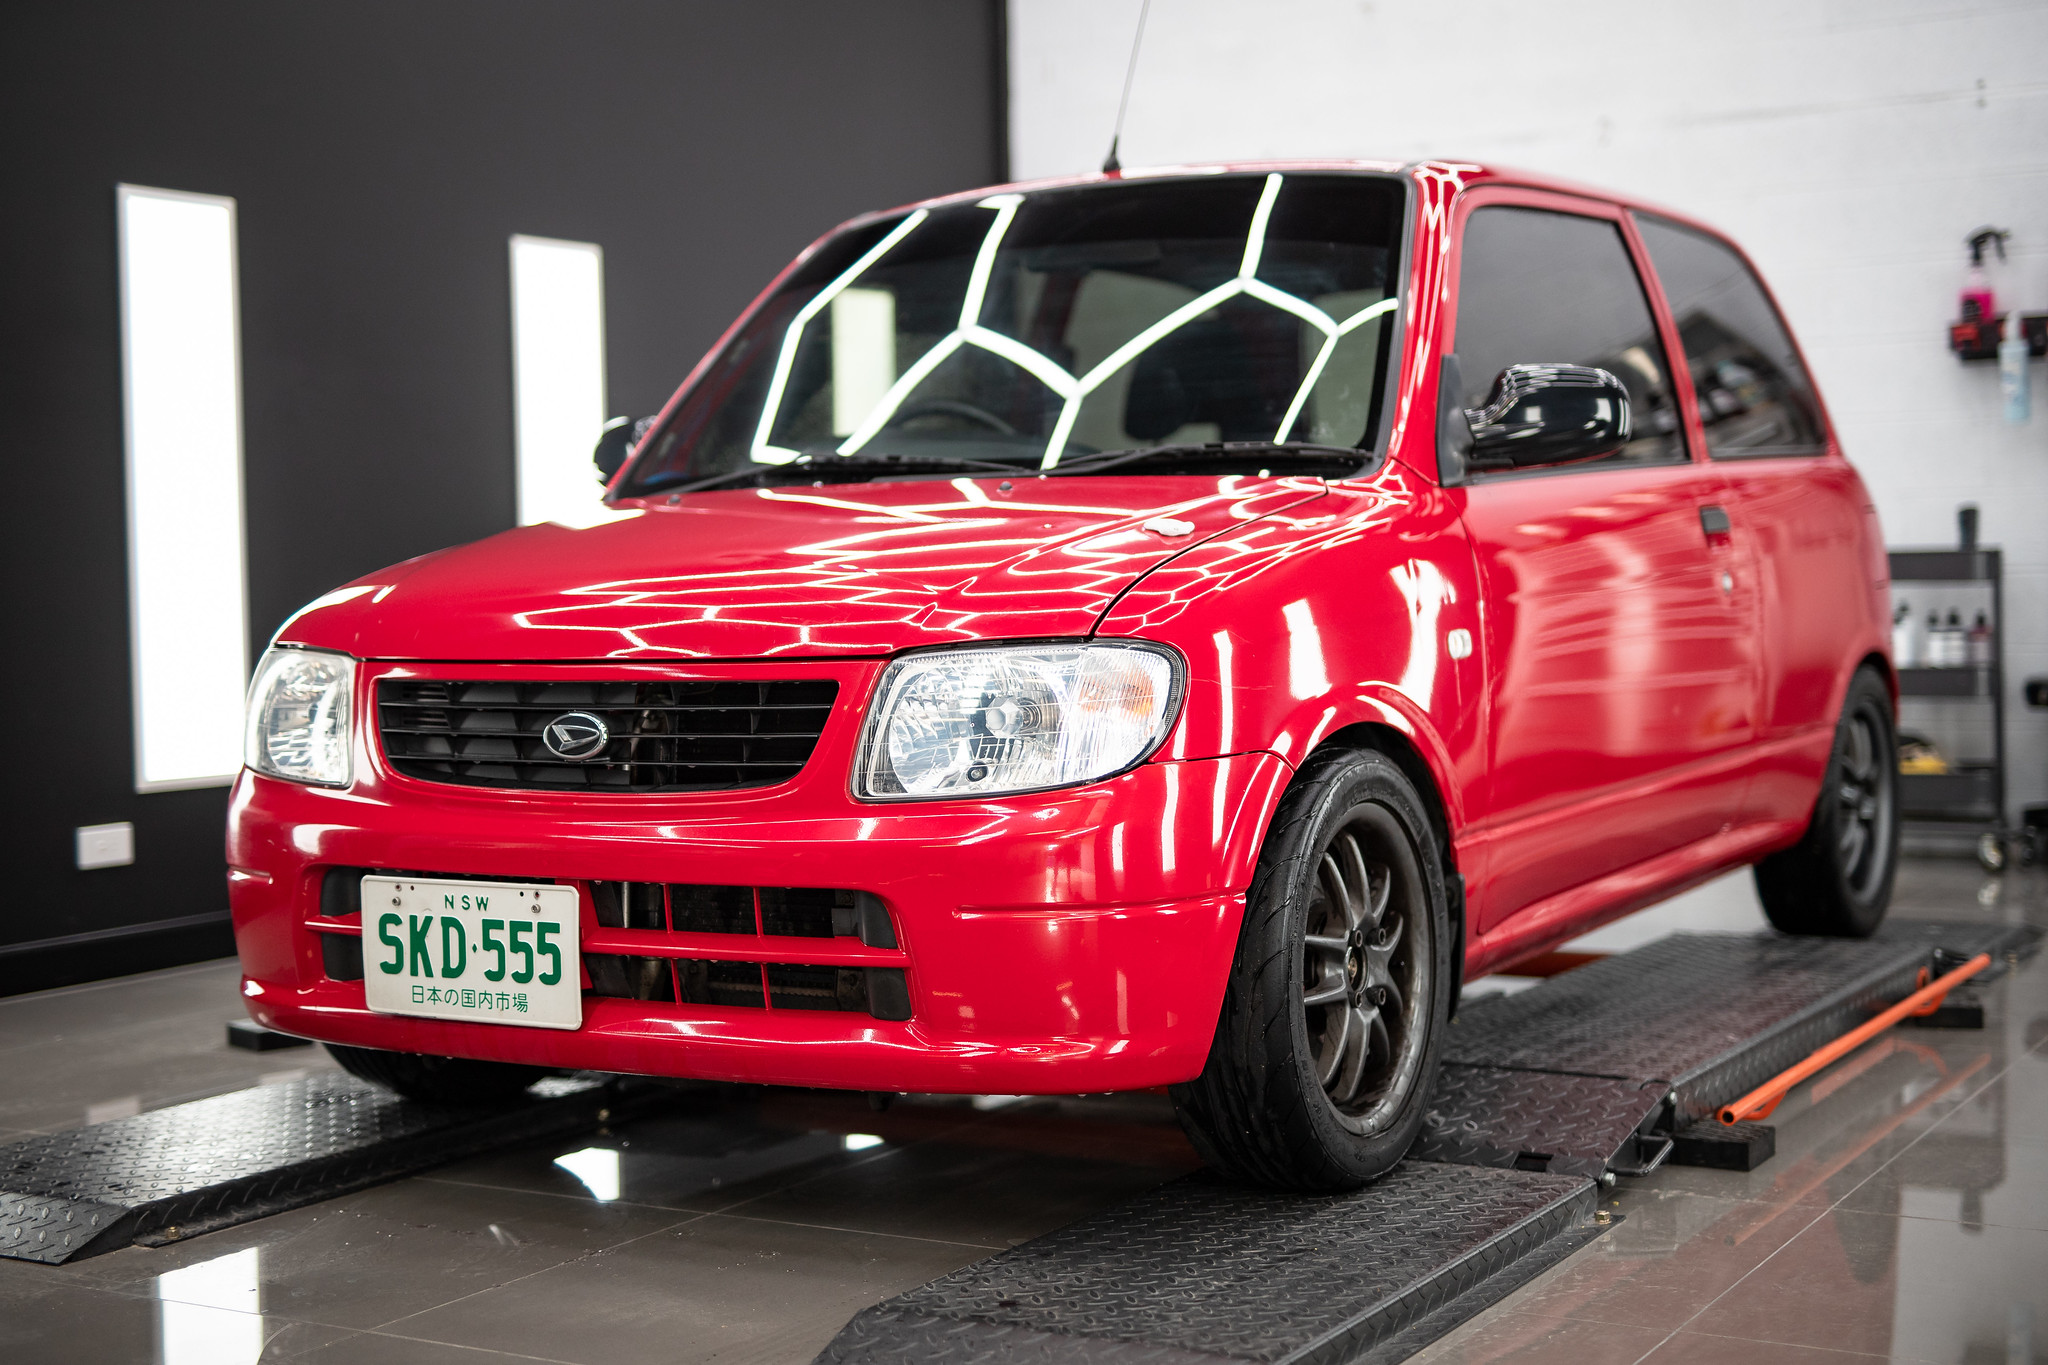
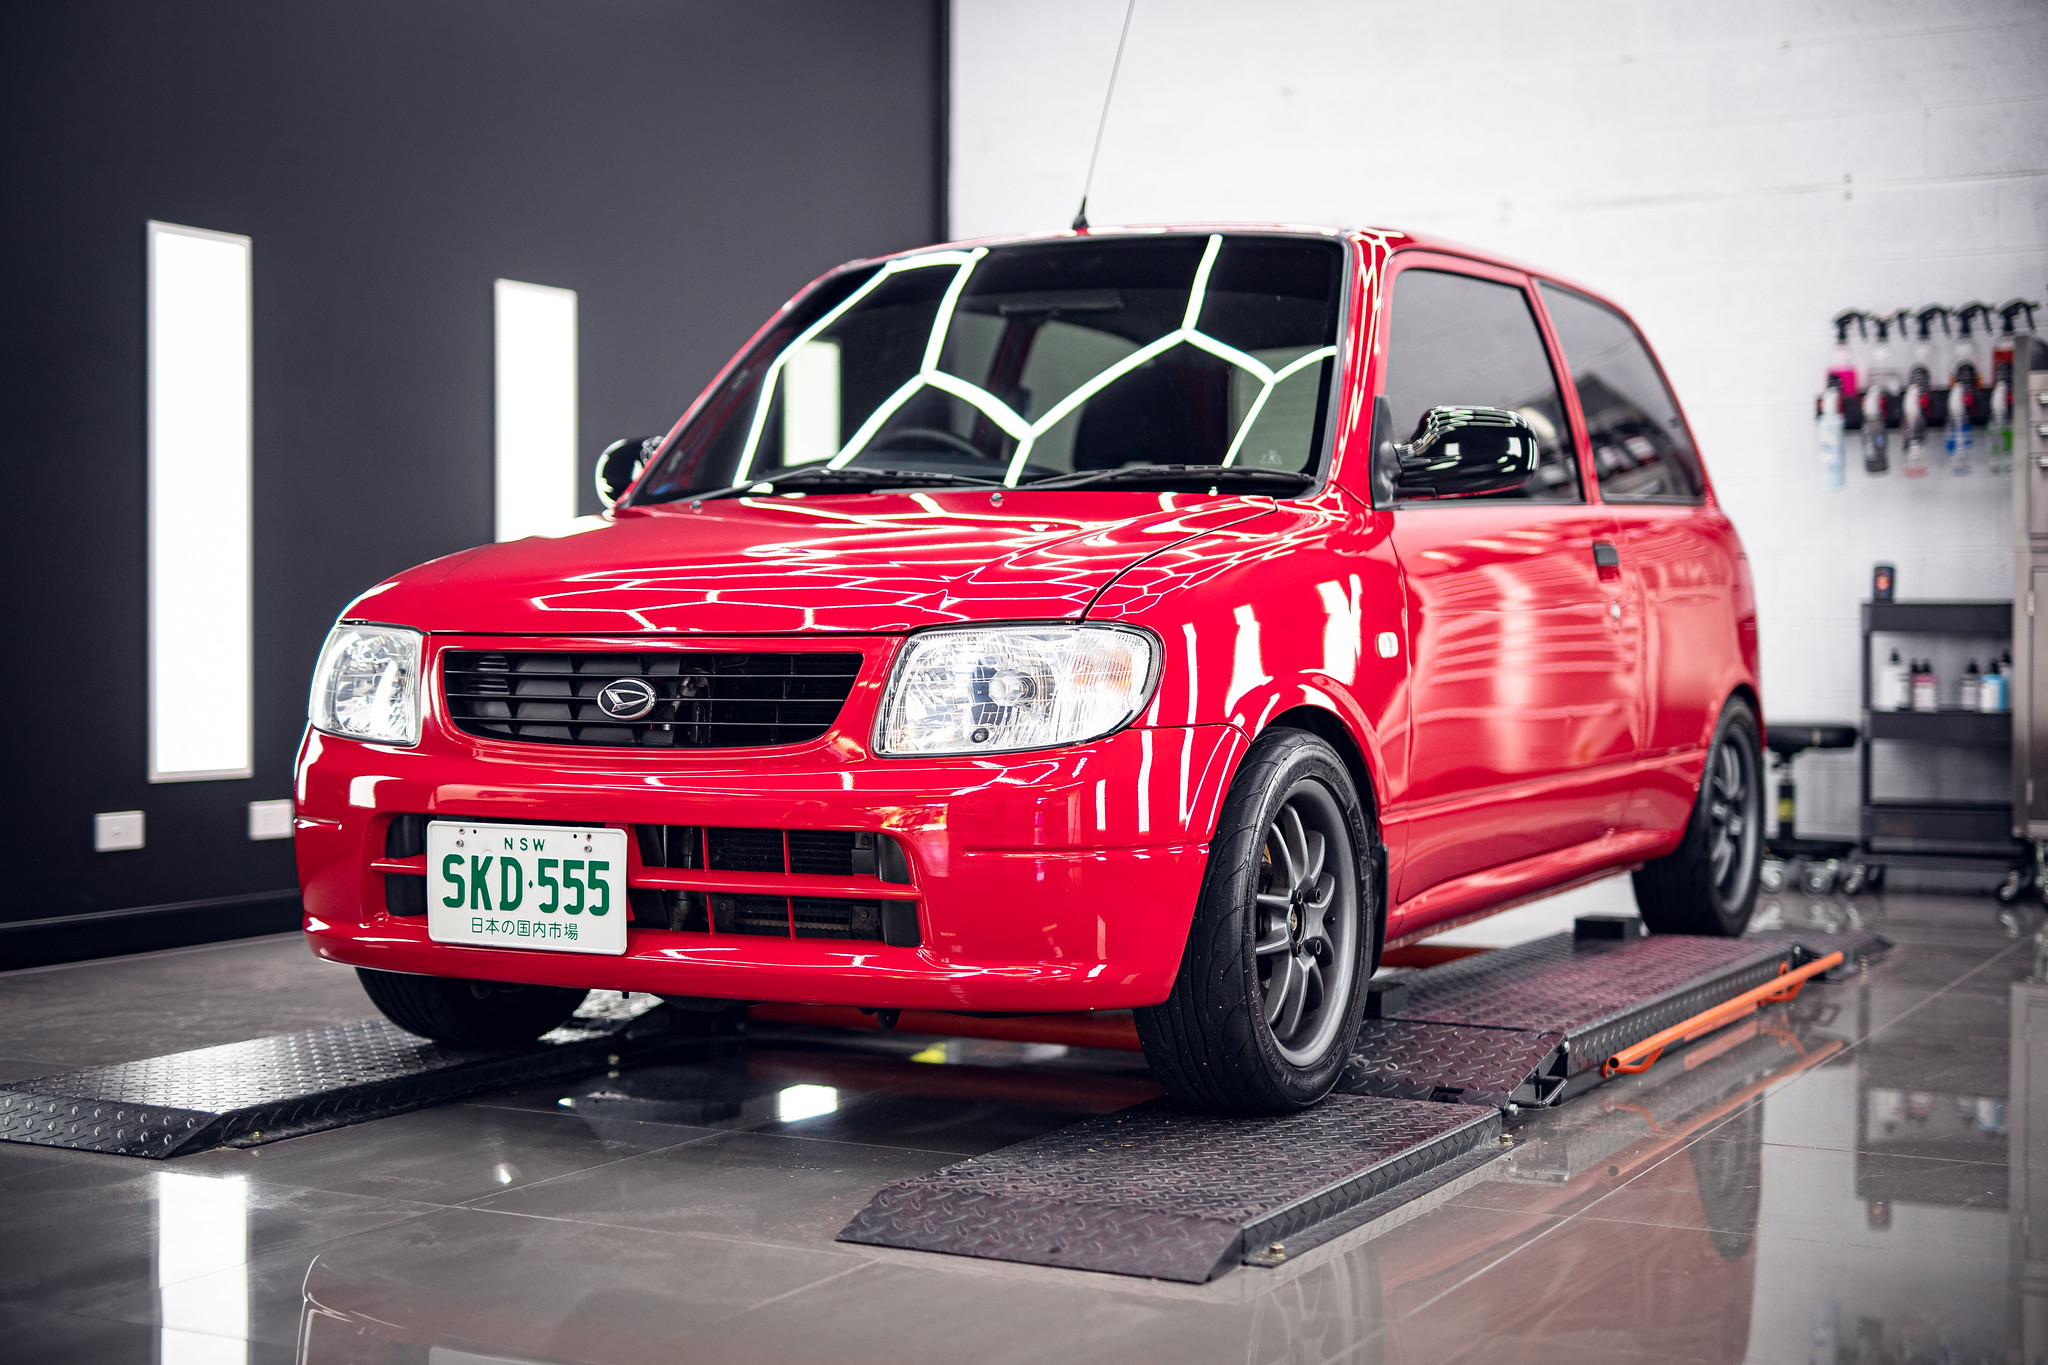
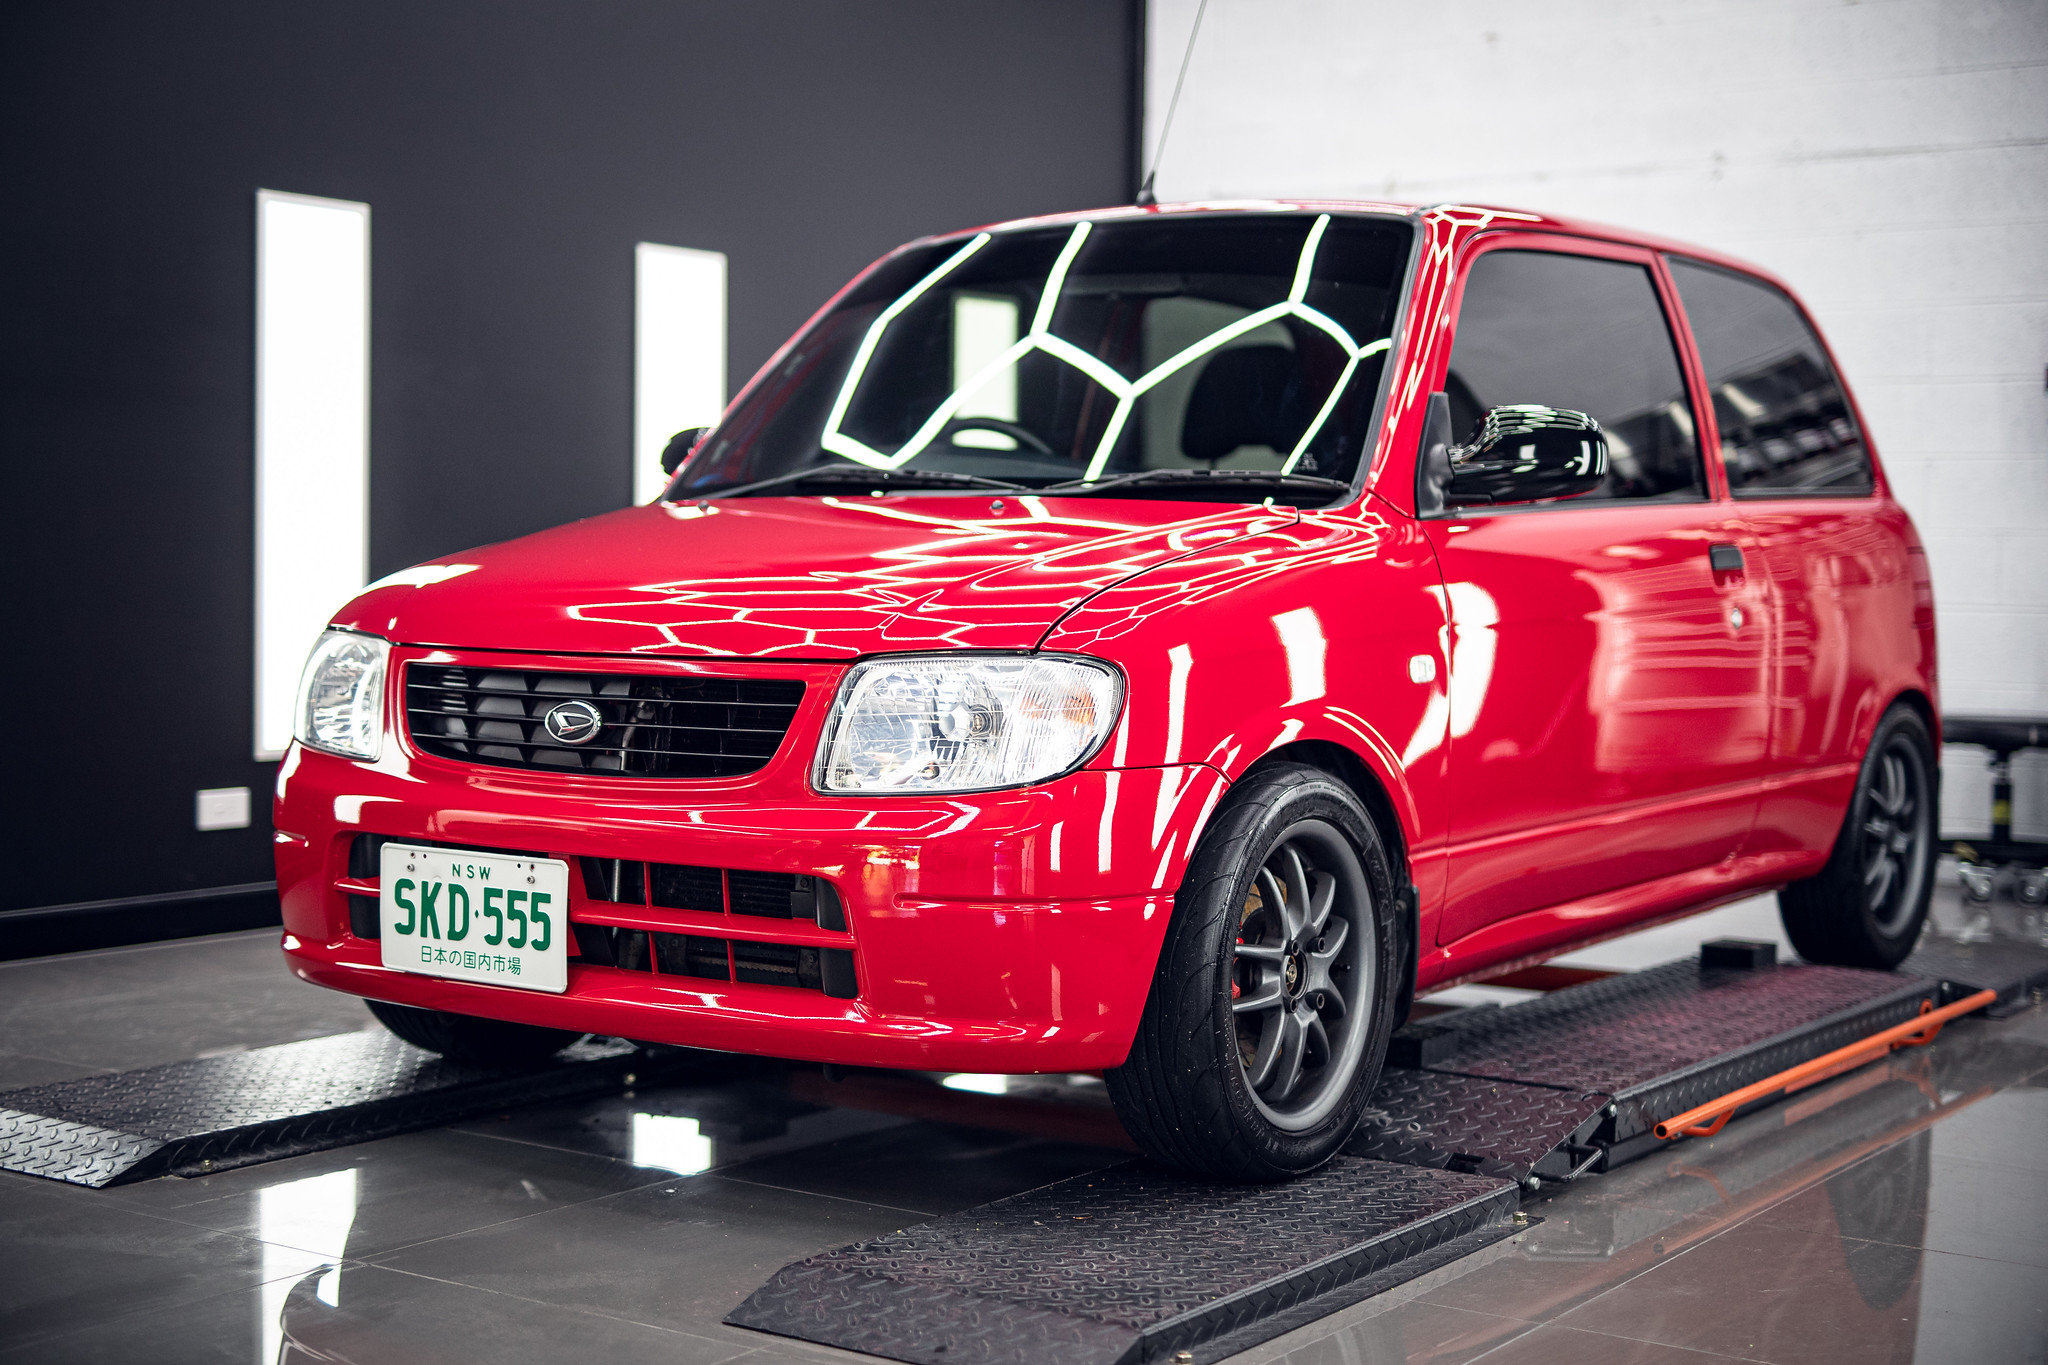
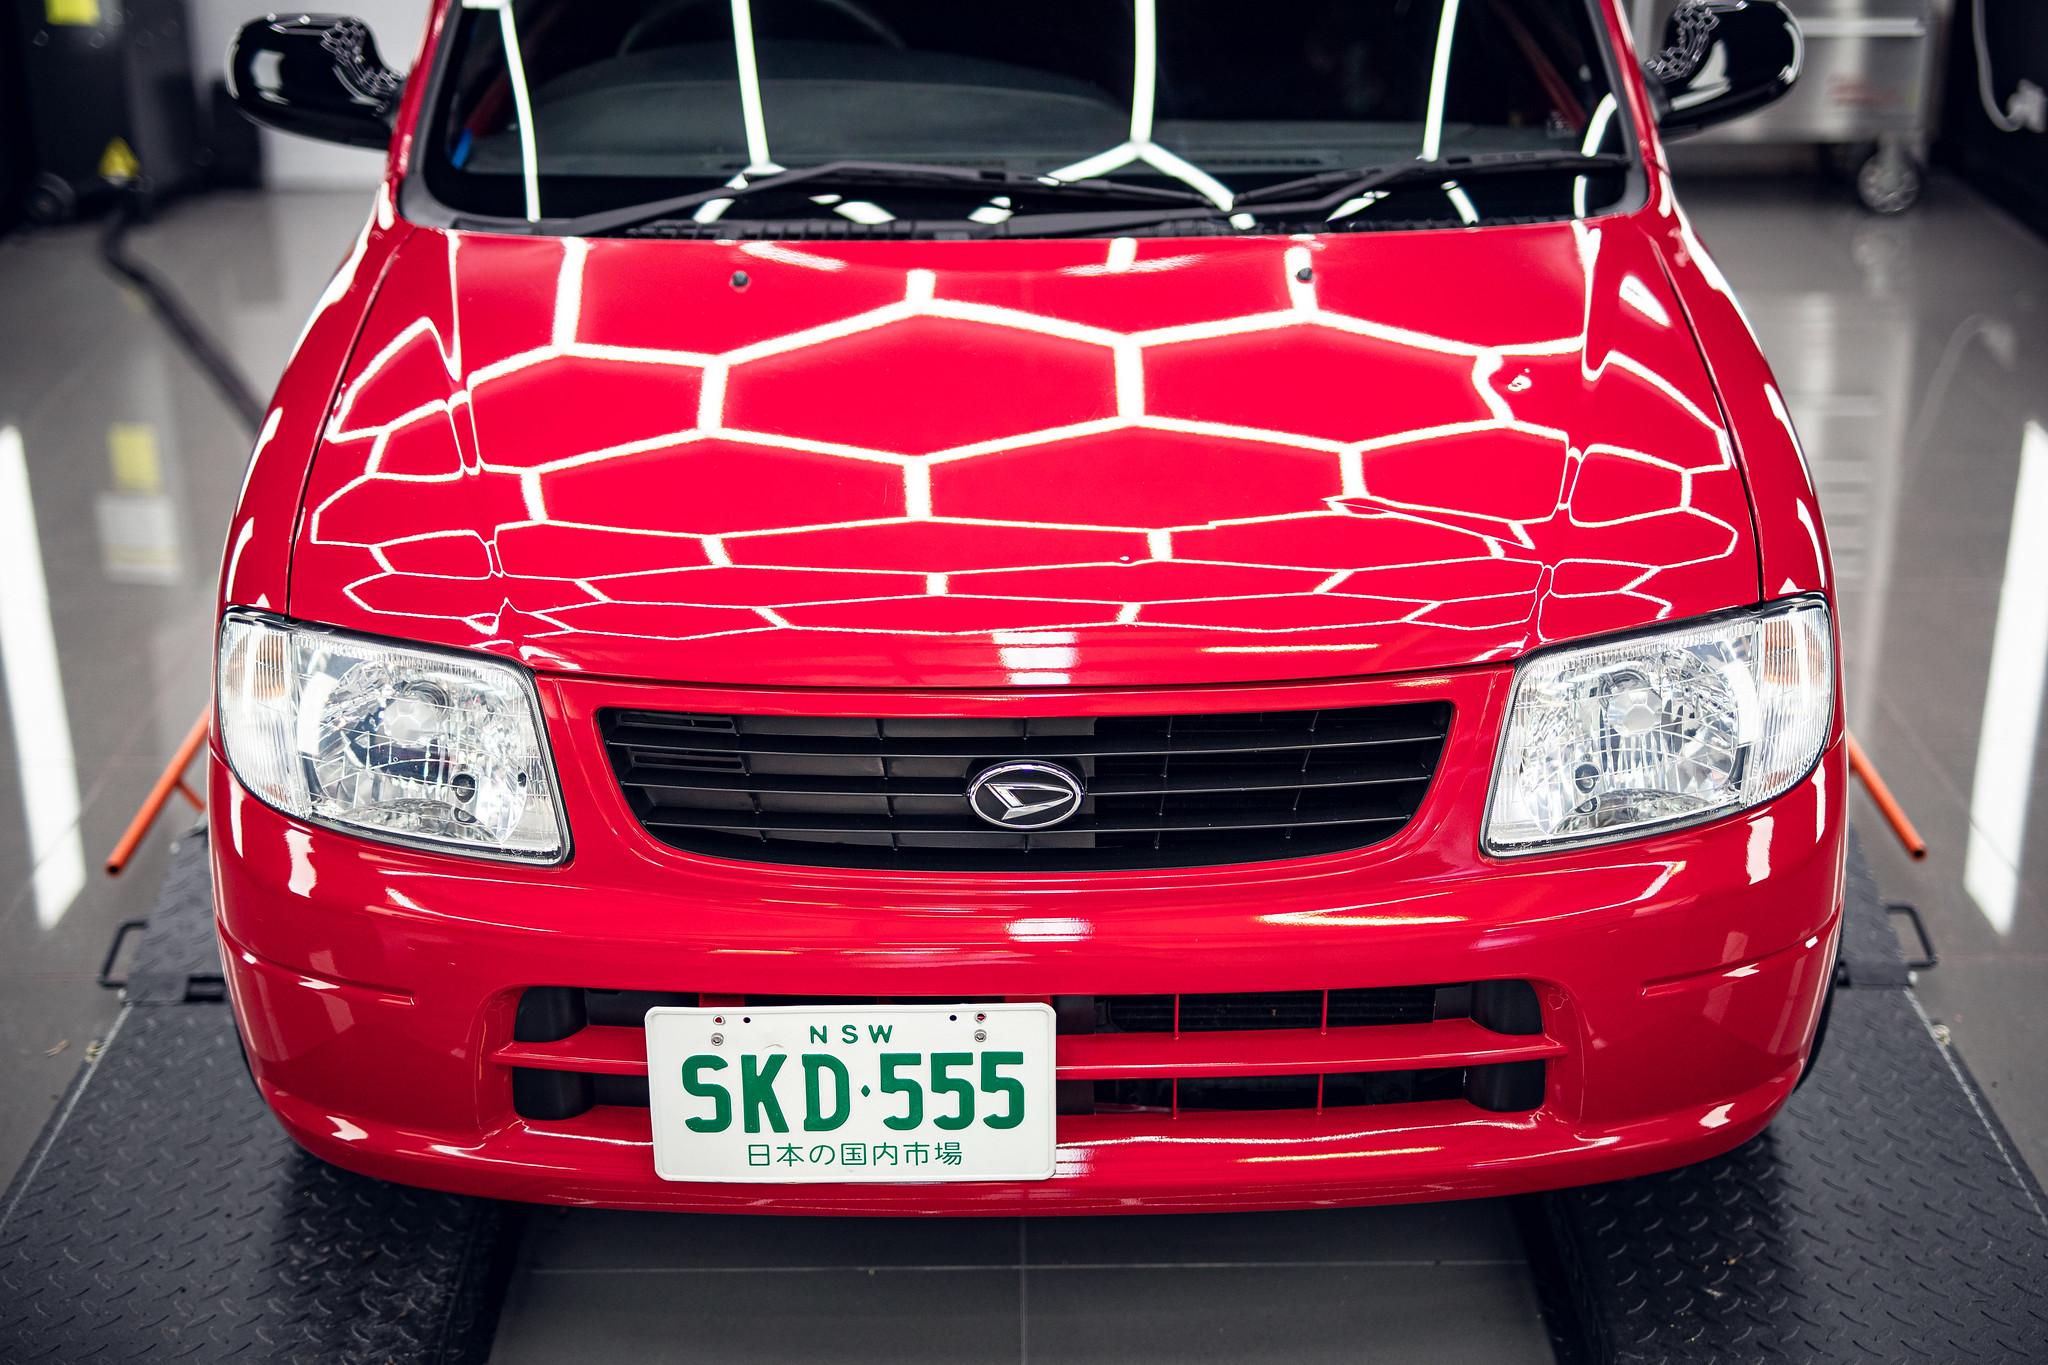
With all the boring stuff done we can get it into the detail bay. Looks good even without touching it.
Clay.

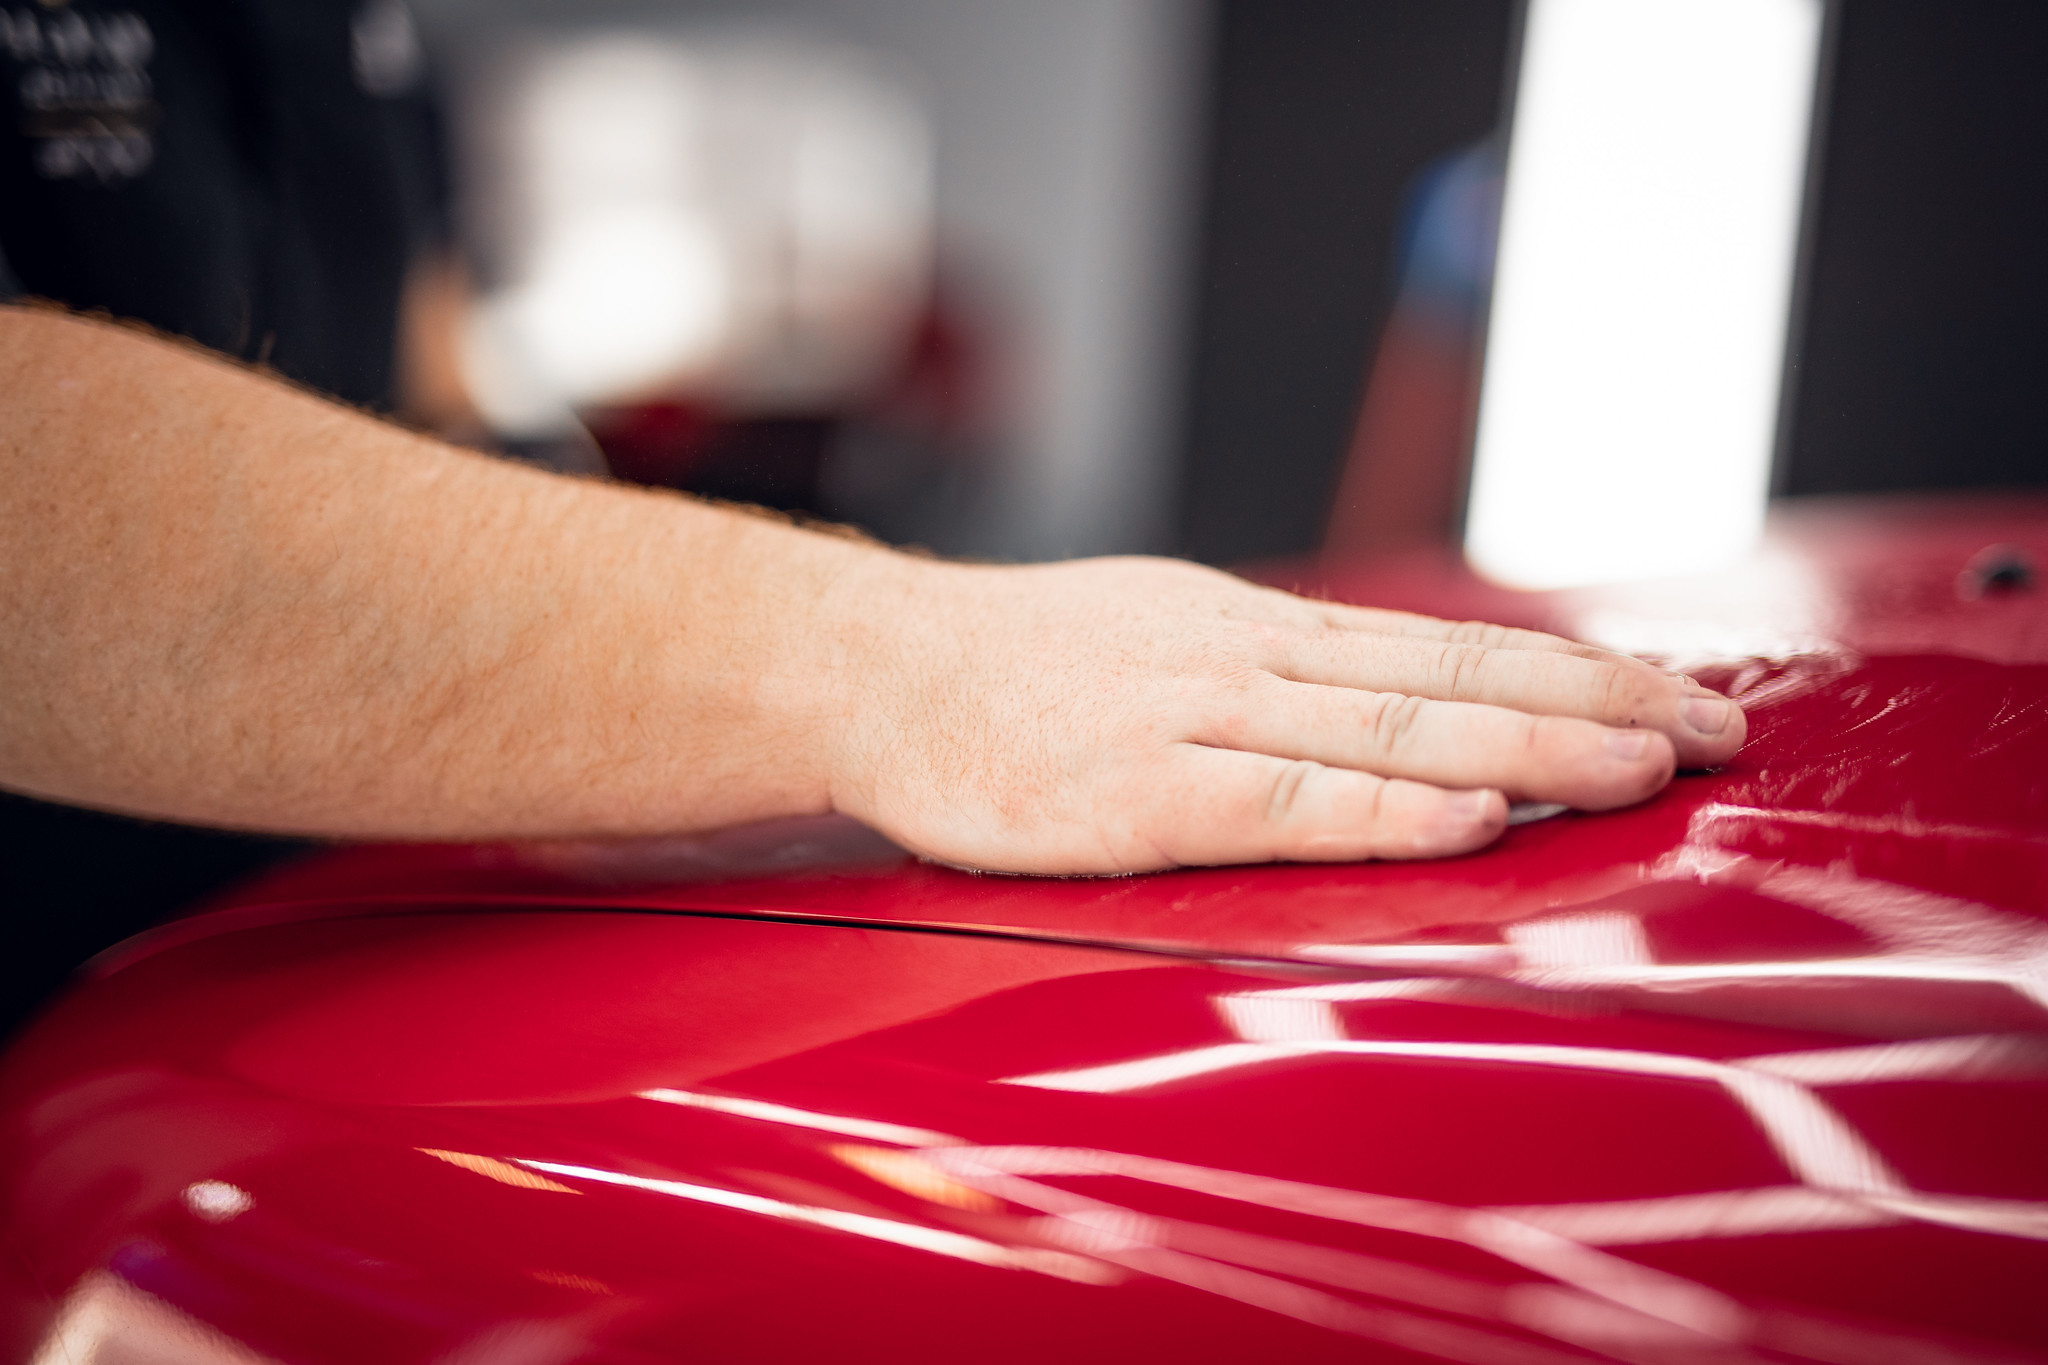

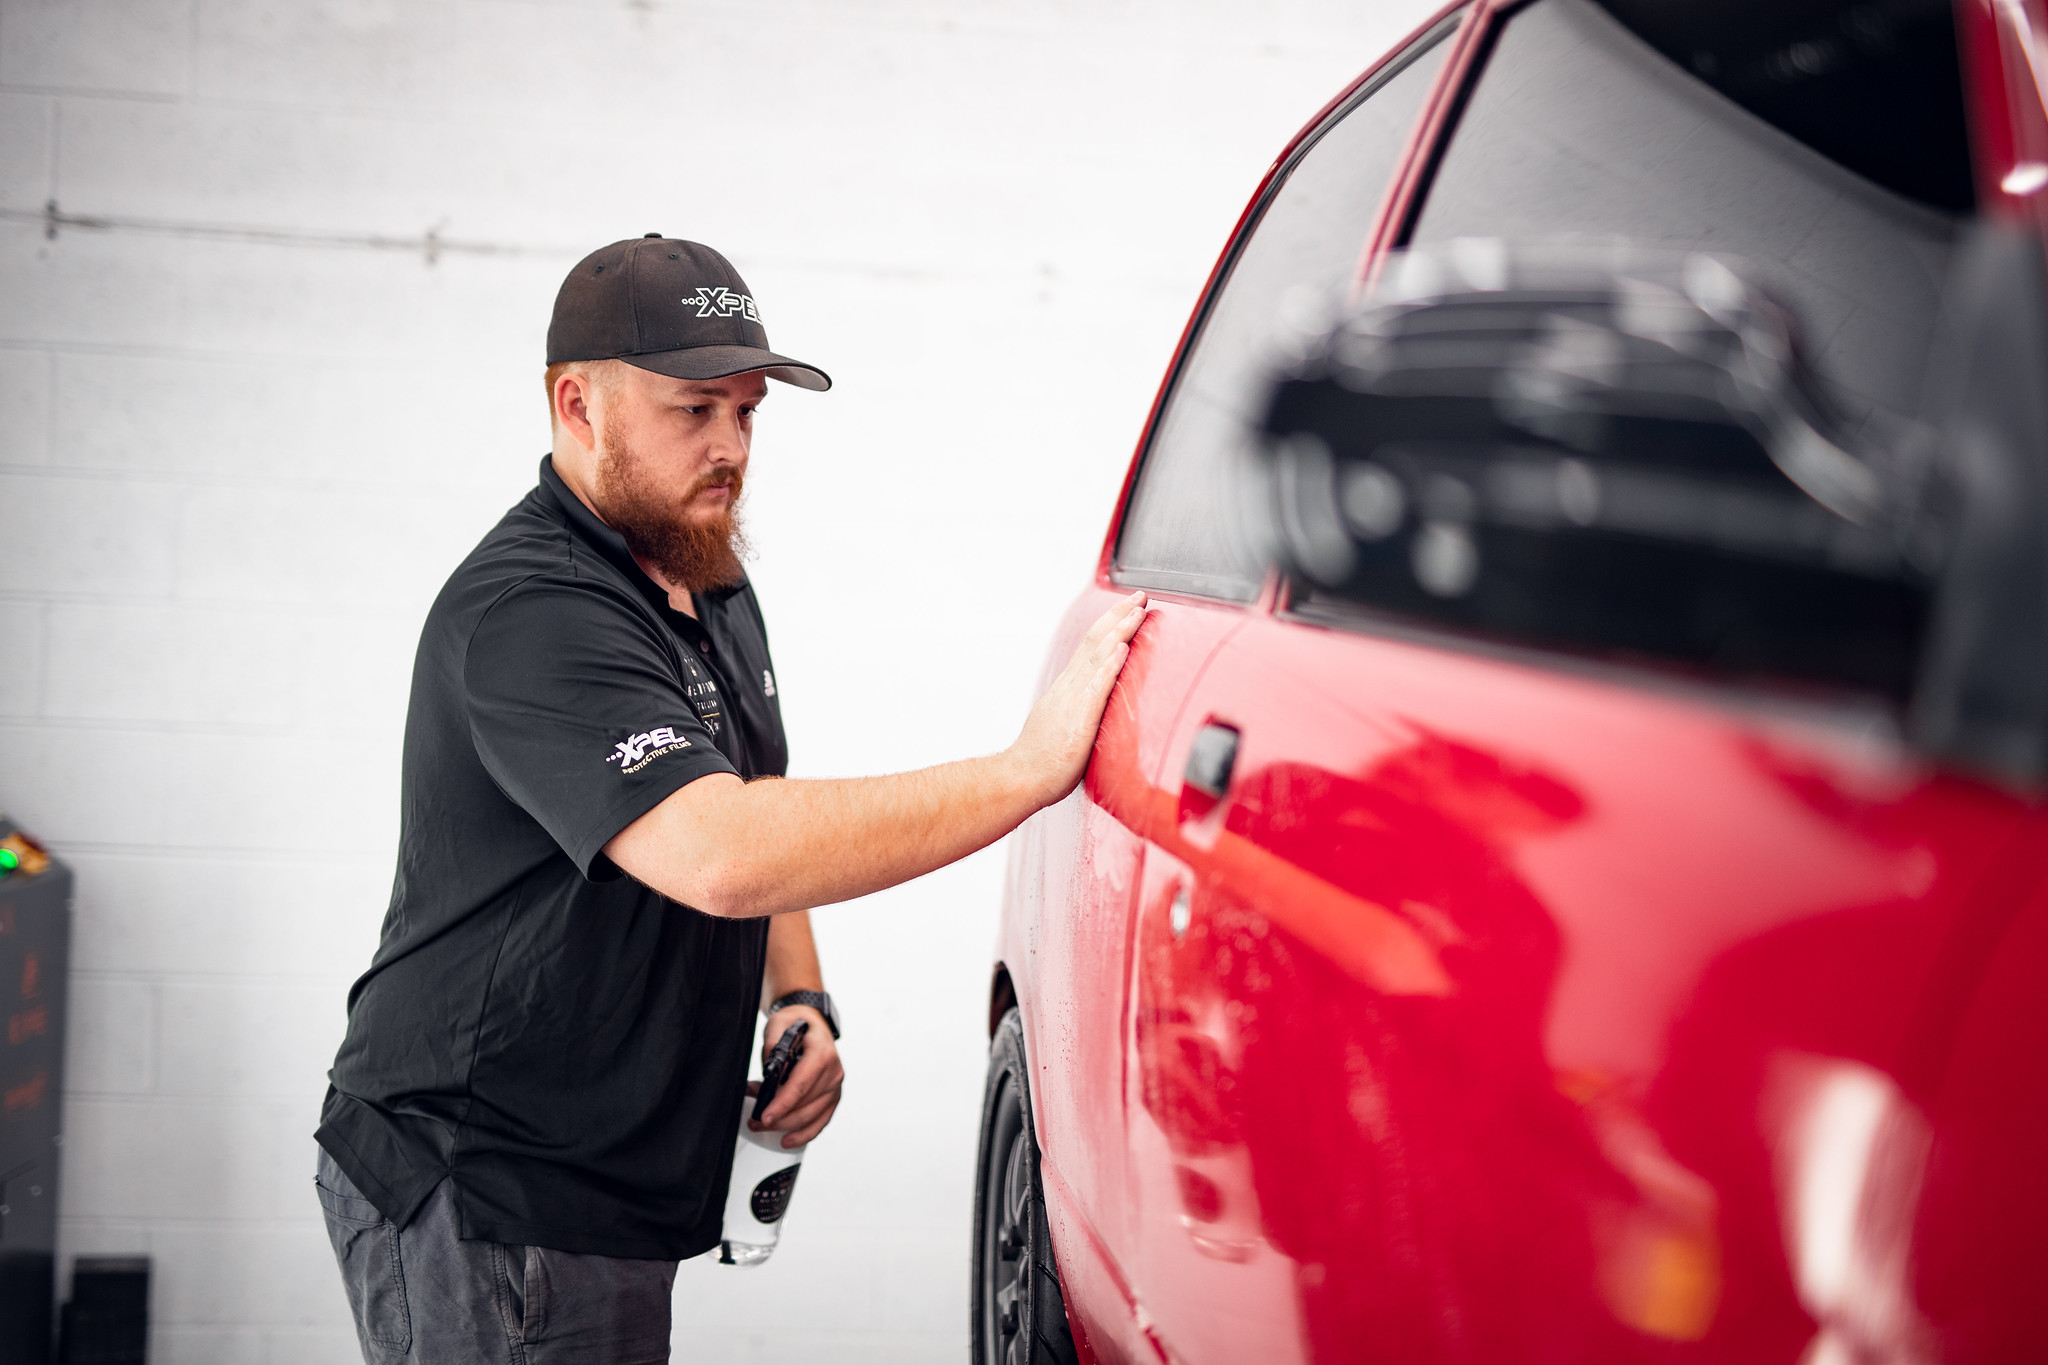
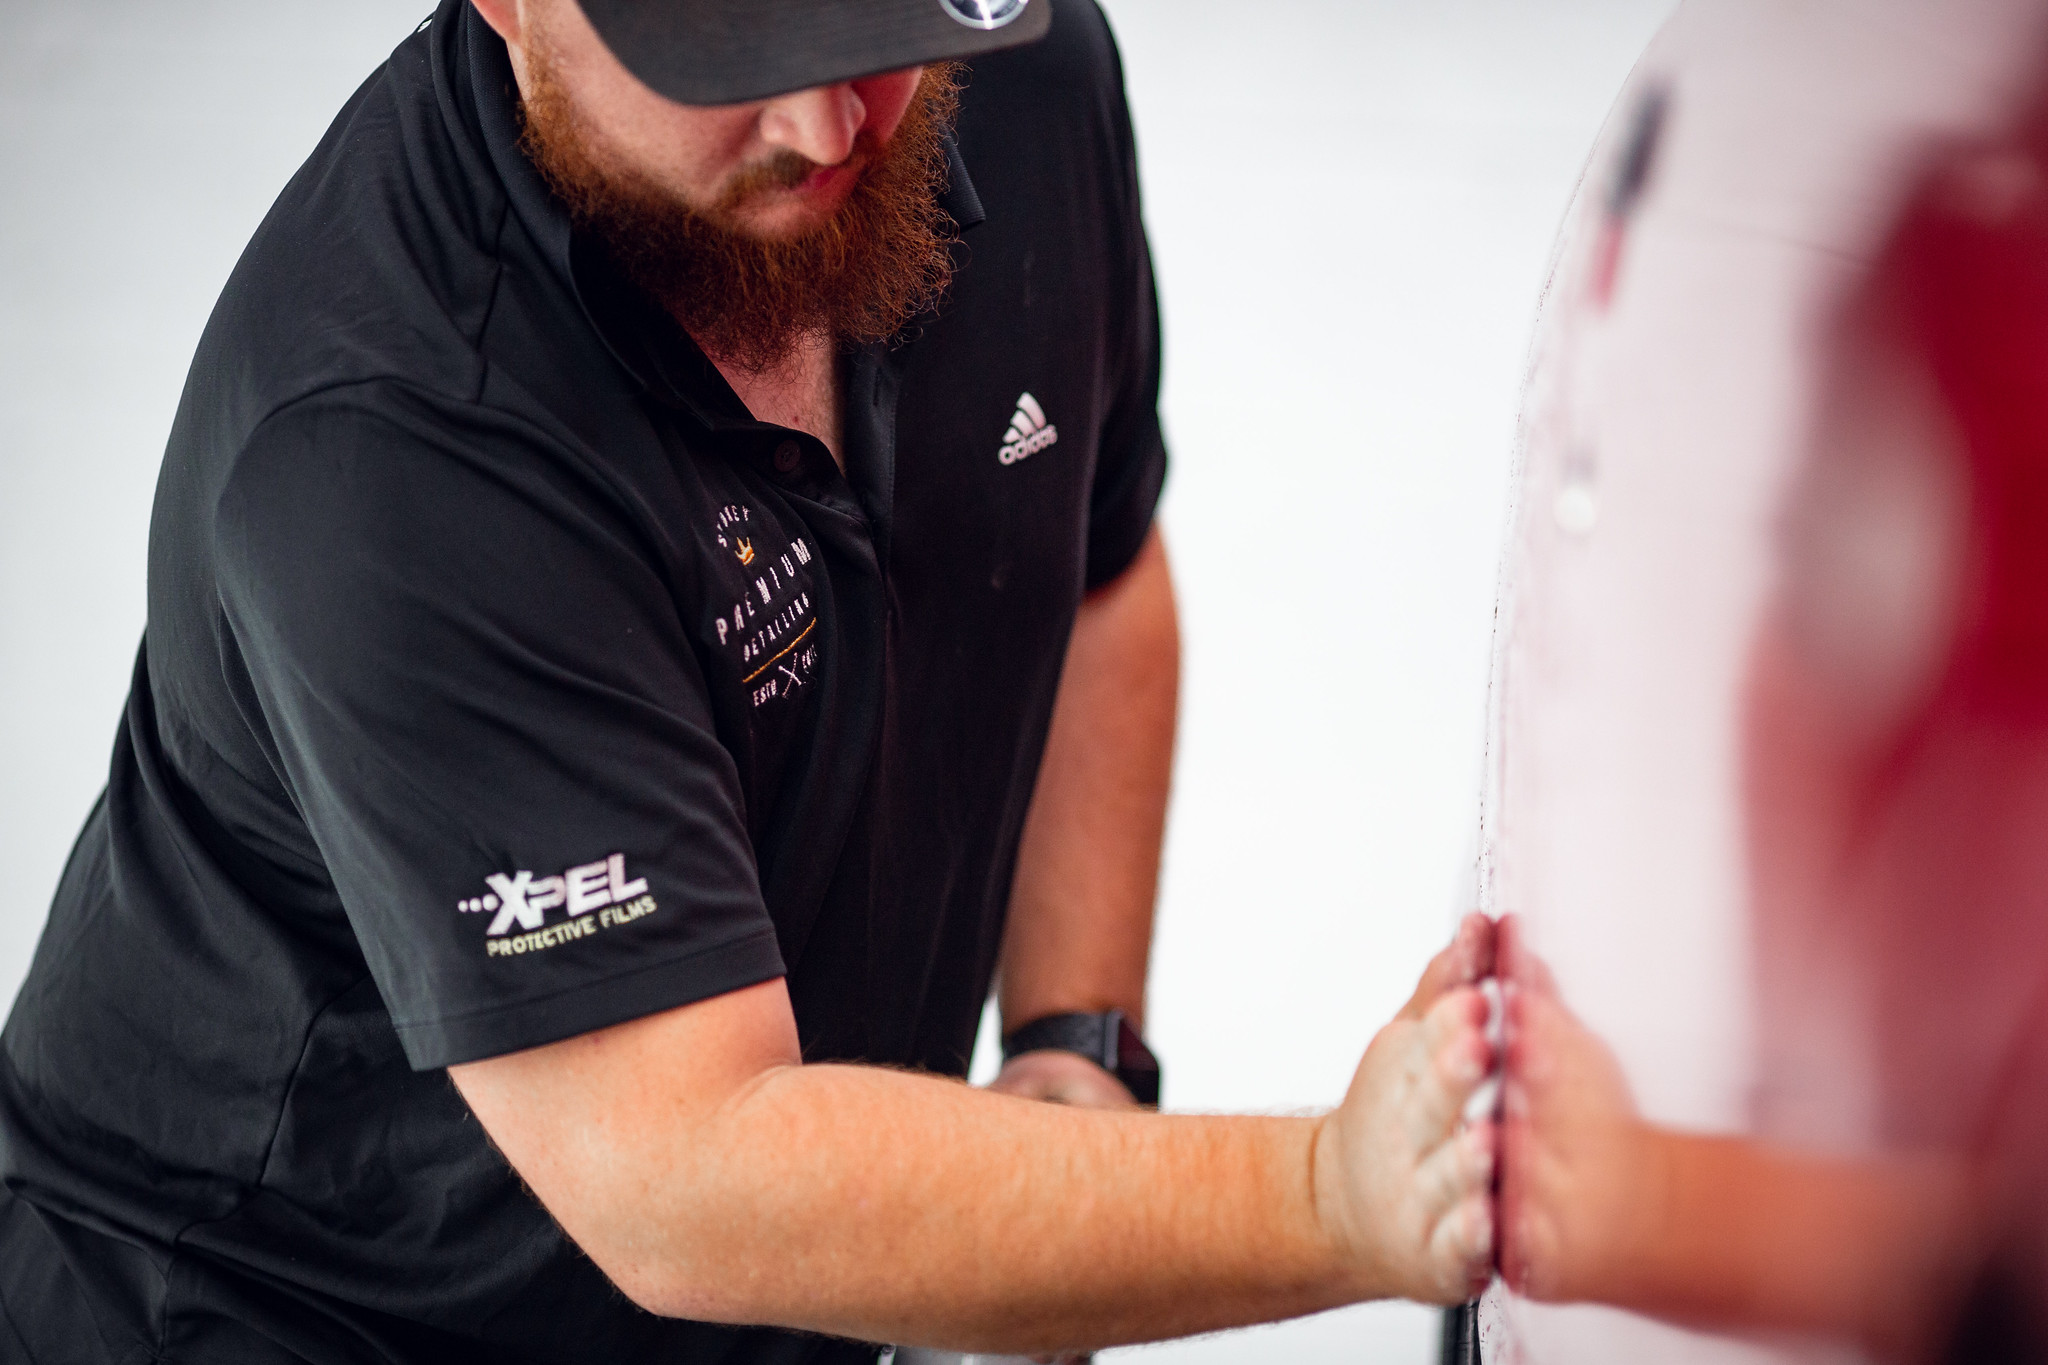
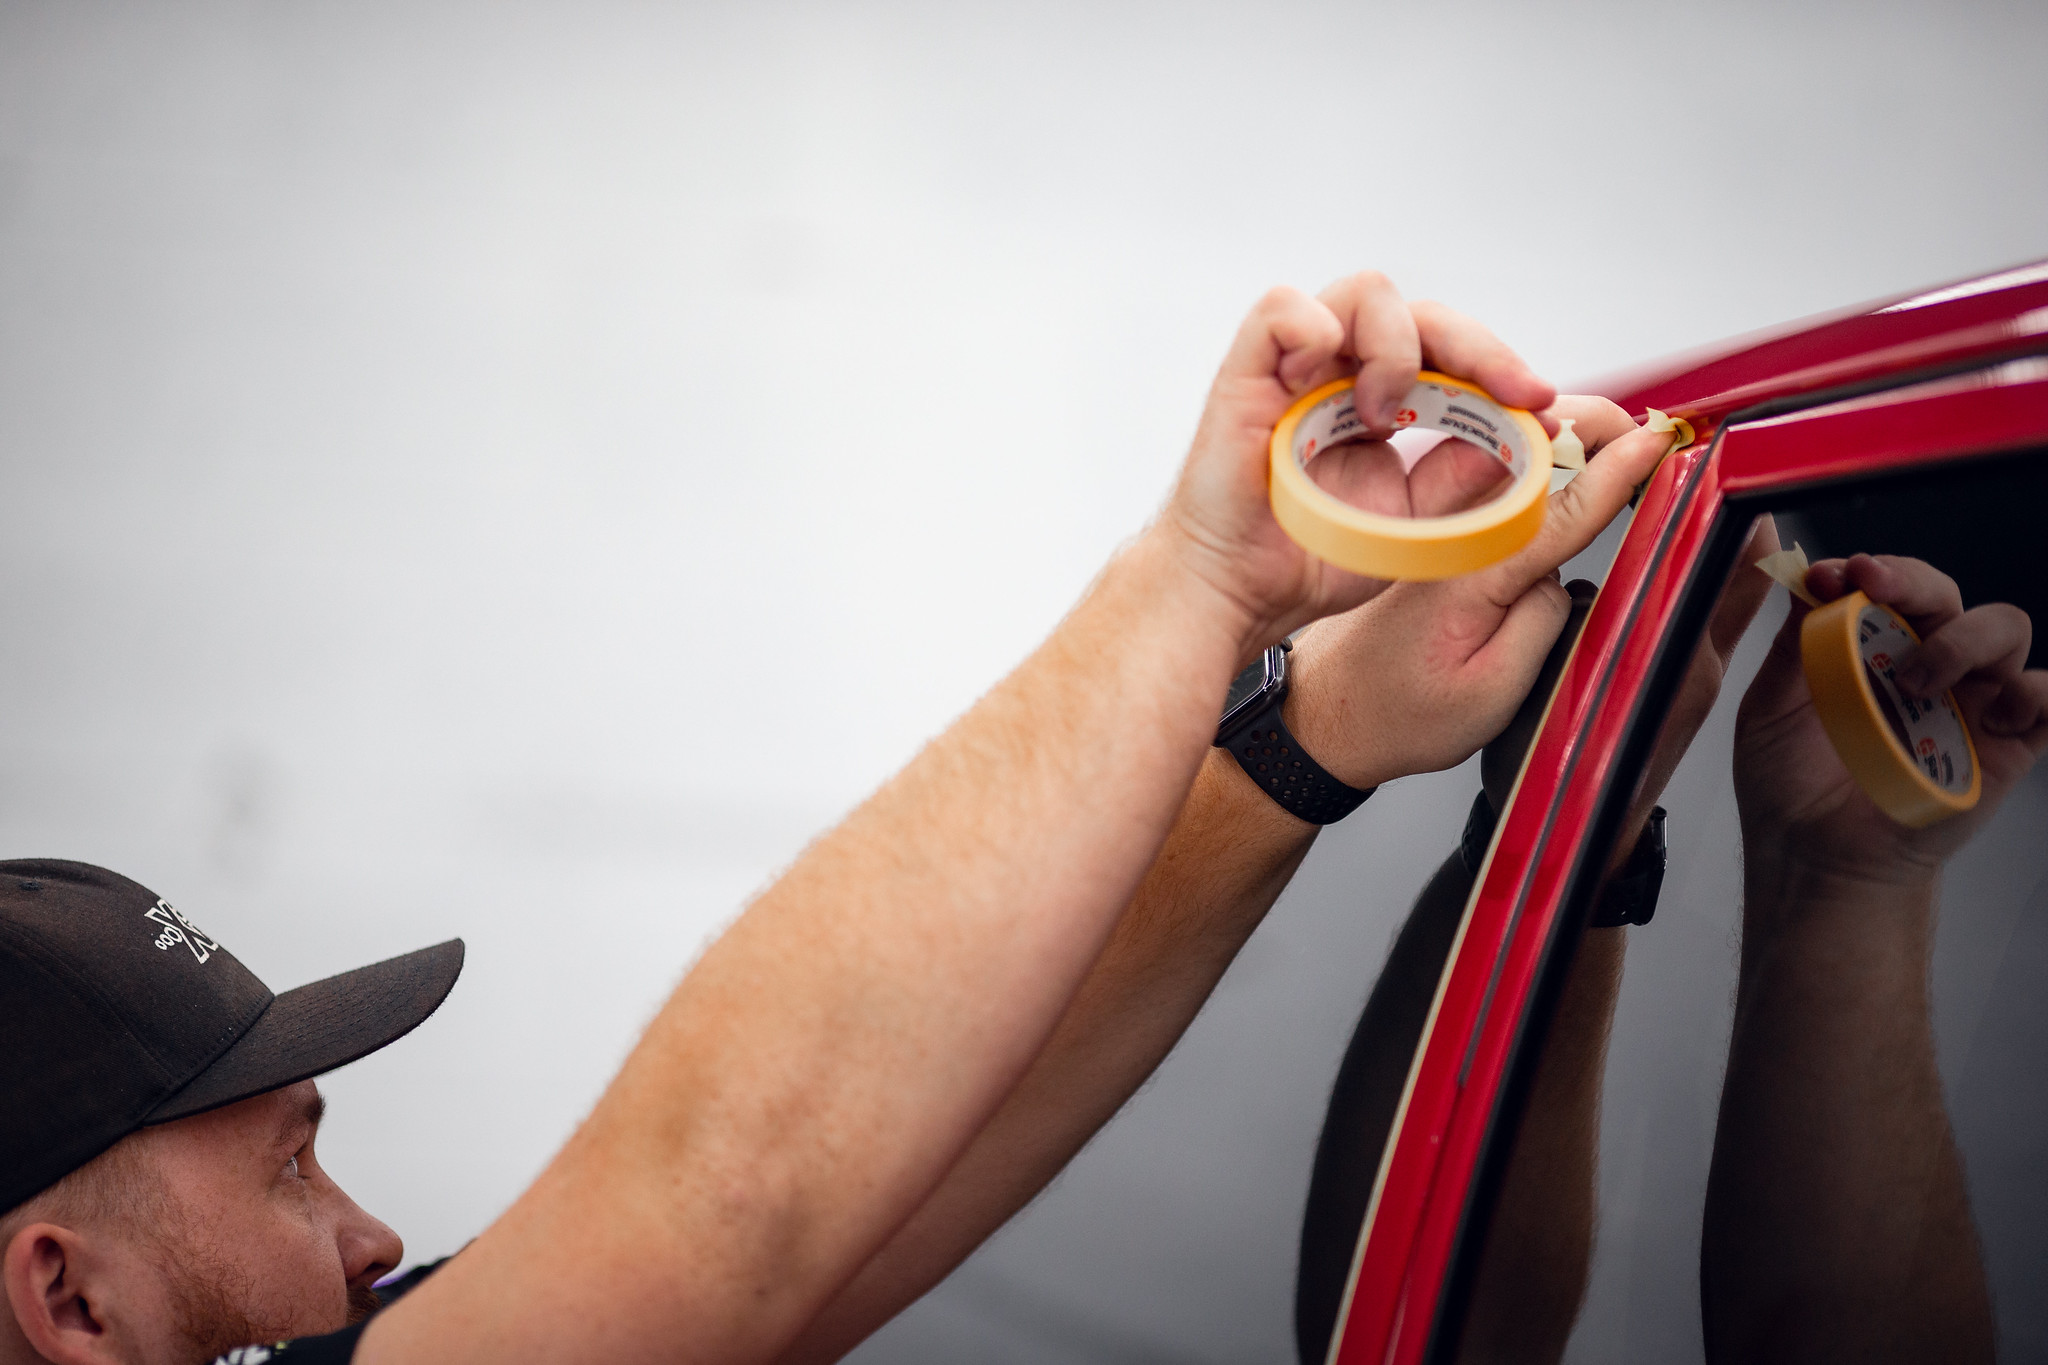
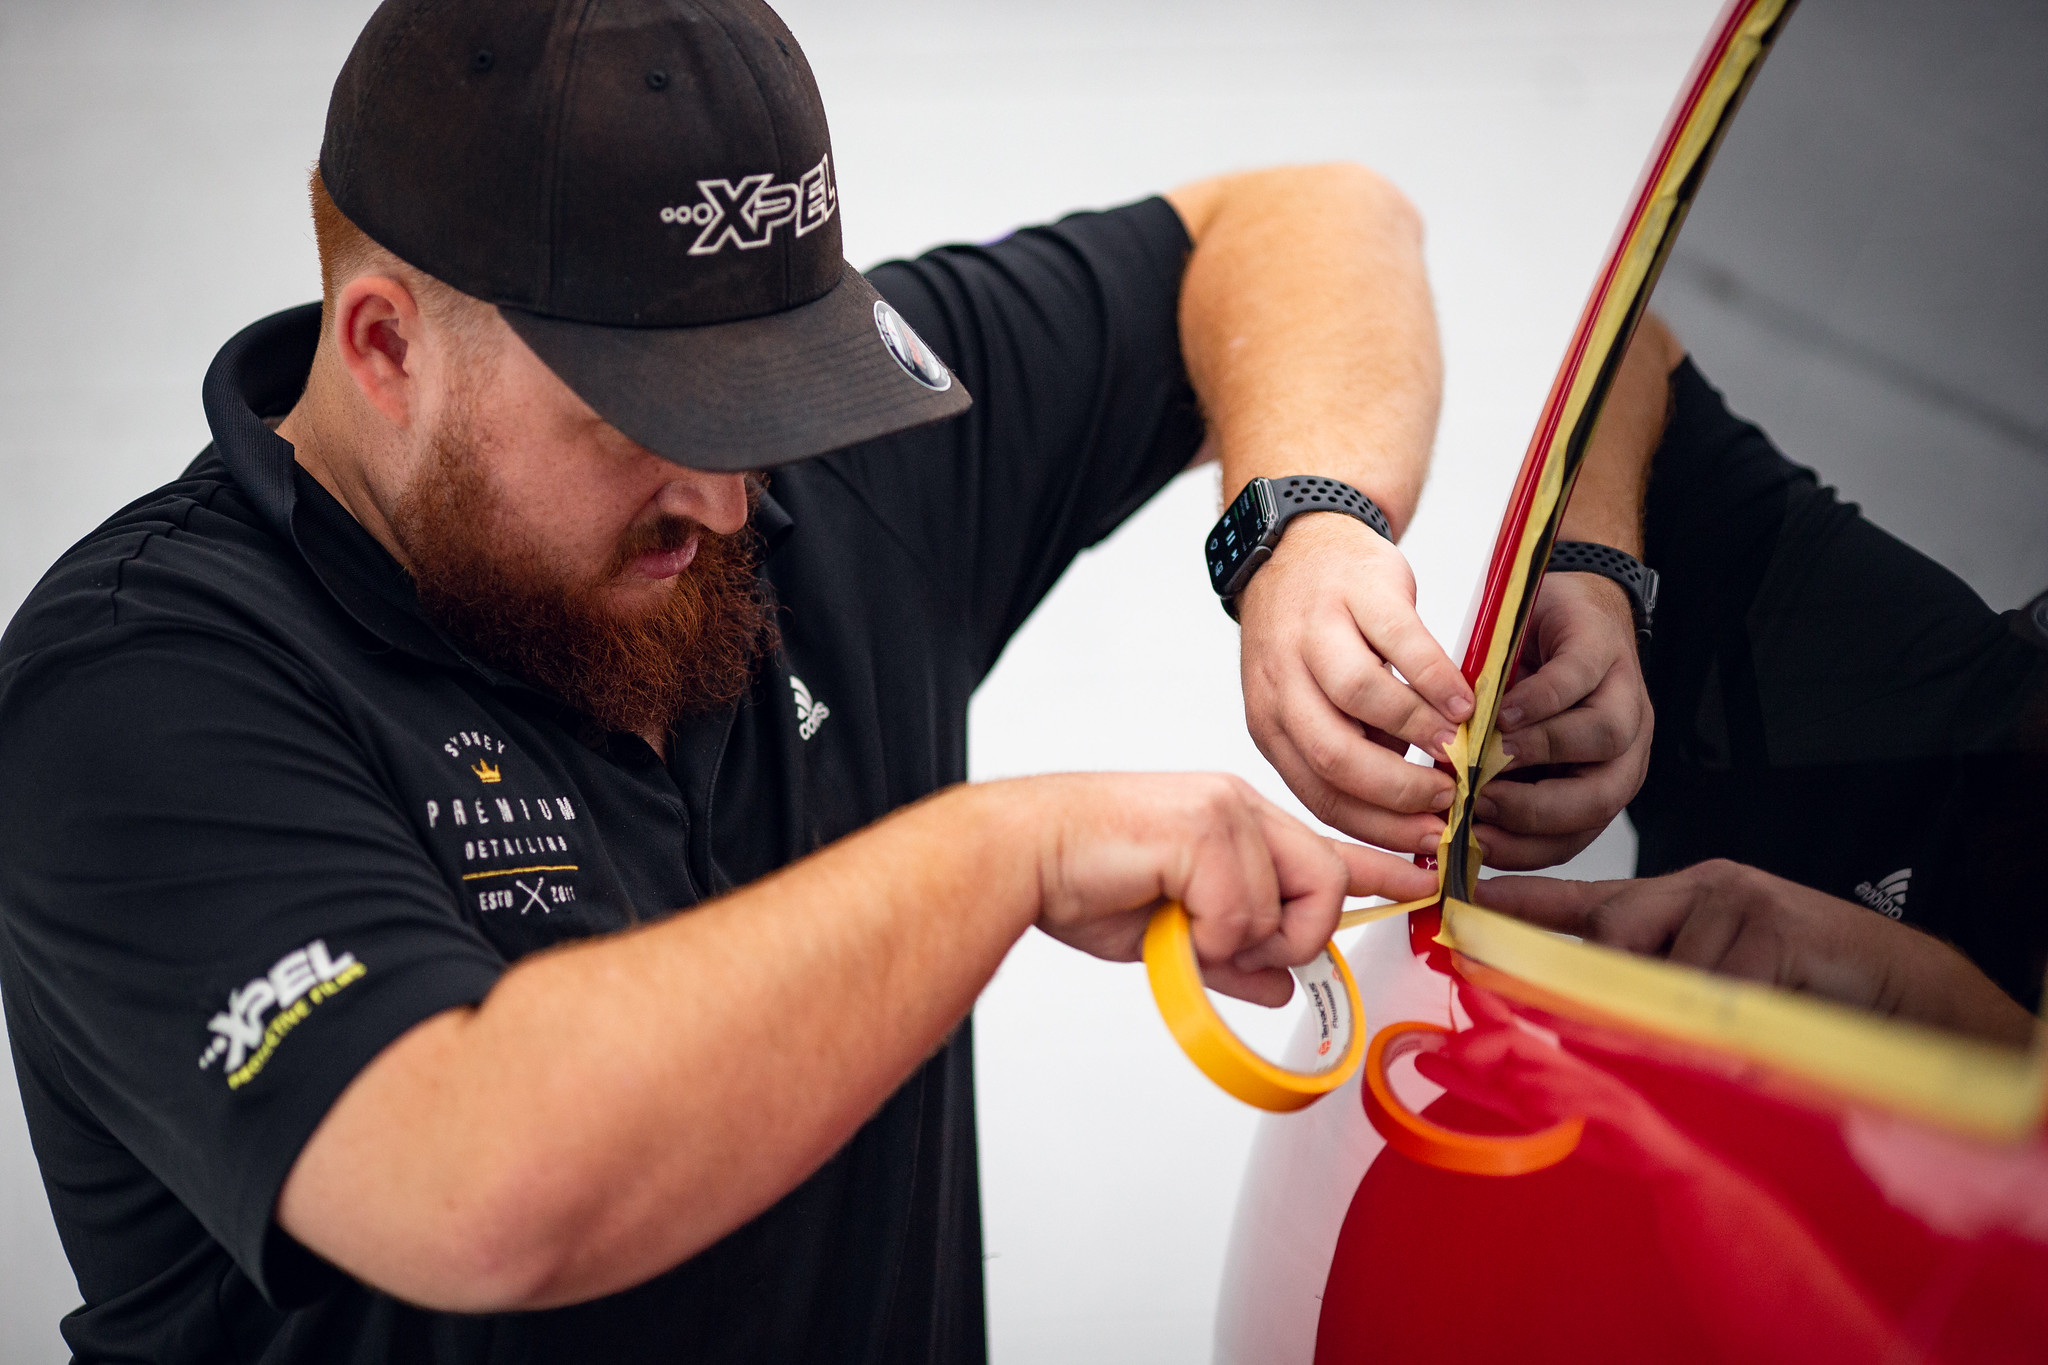
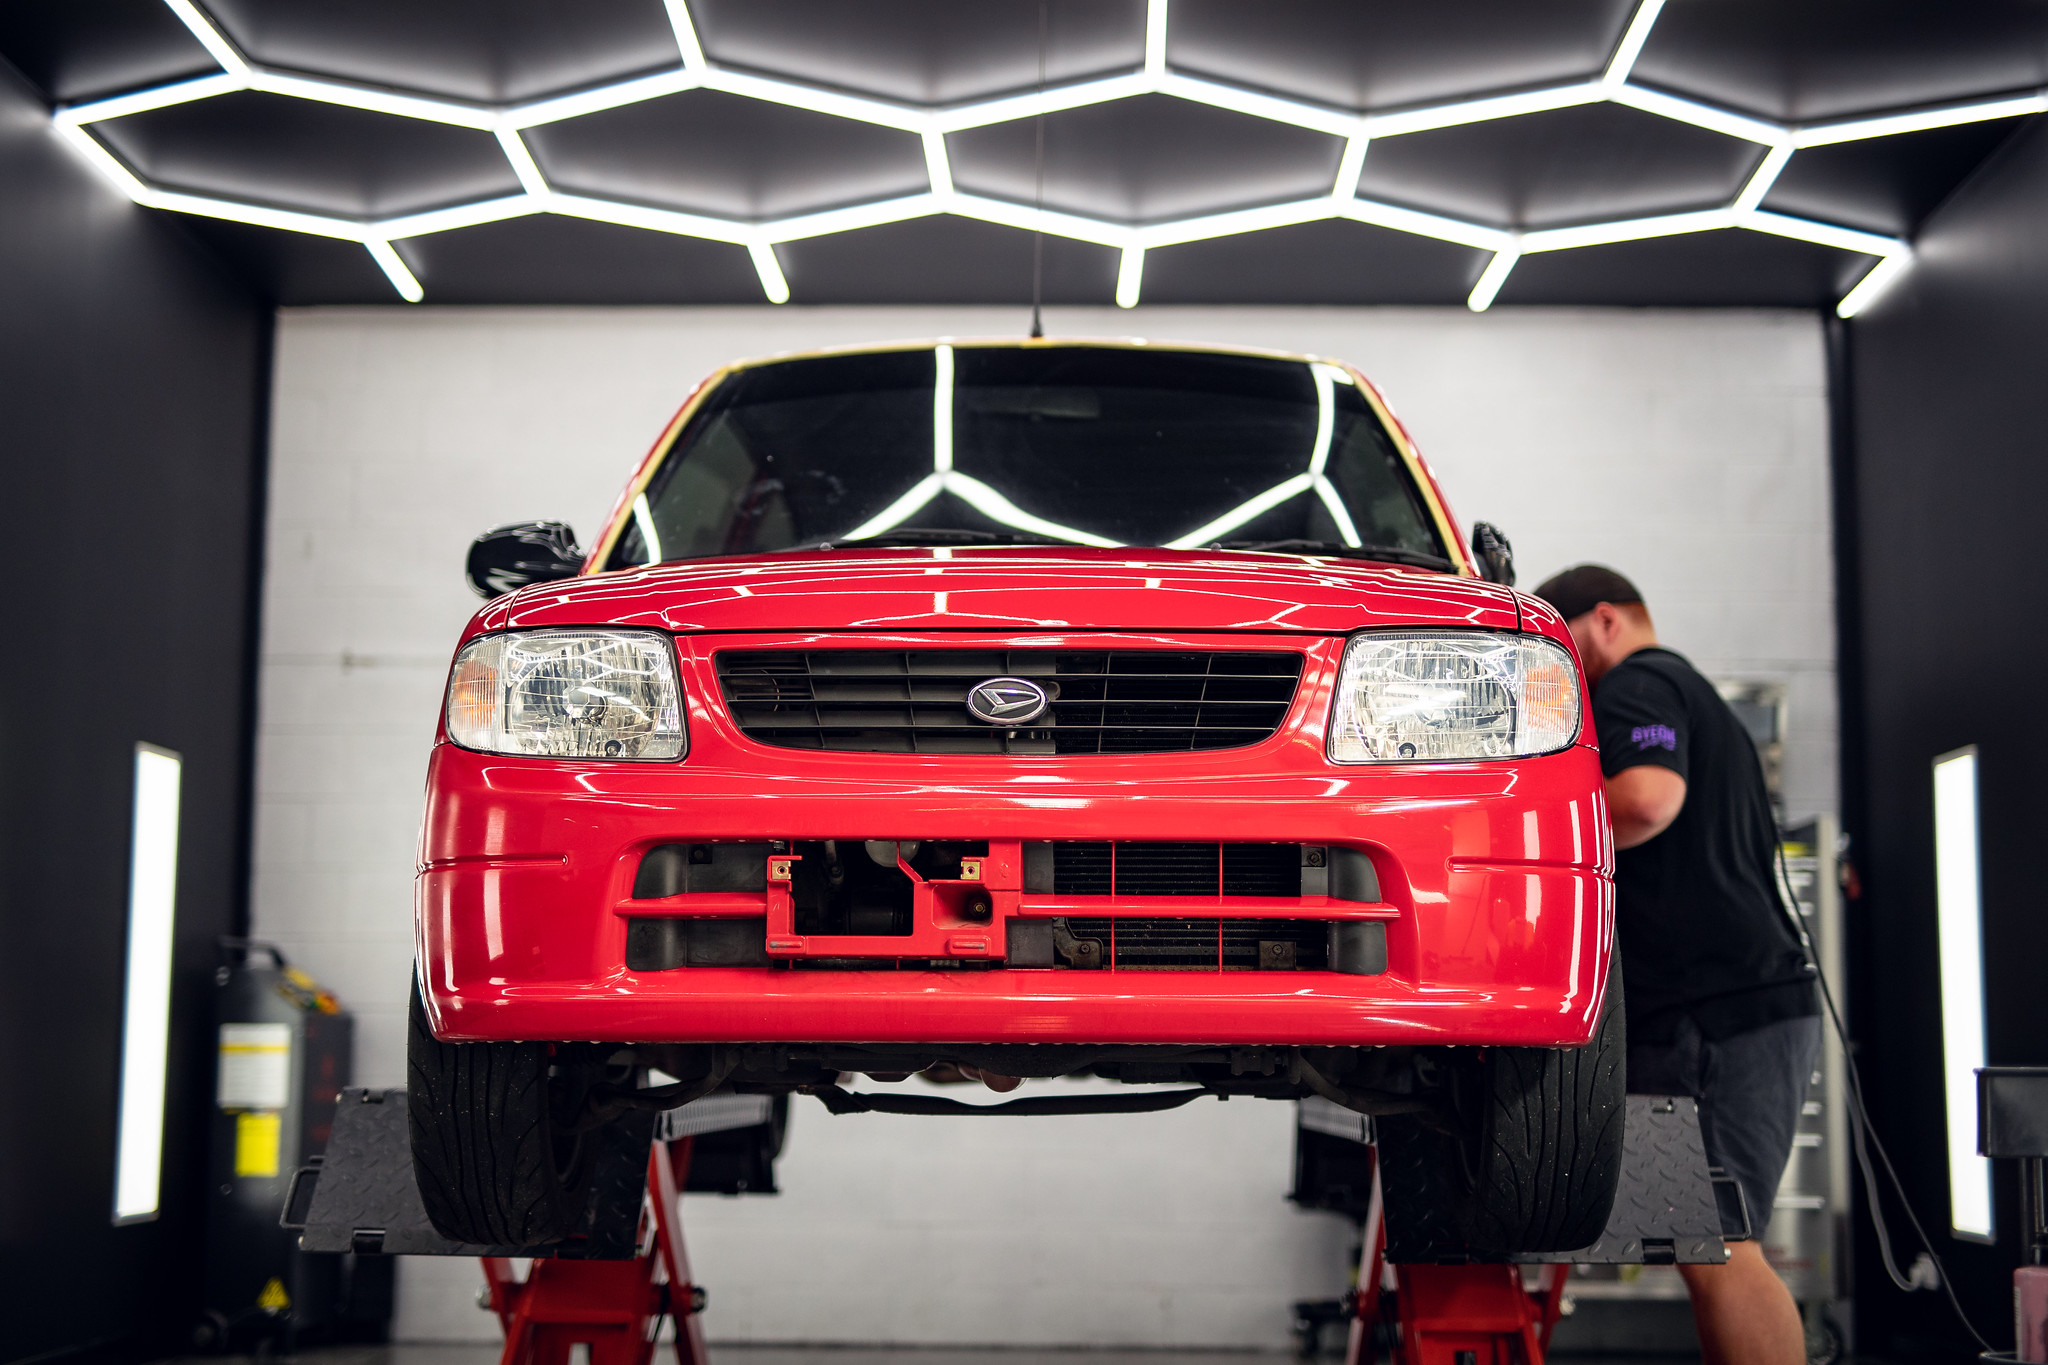
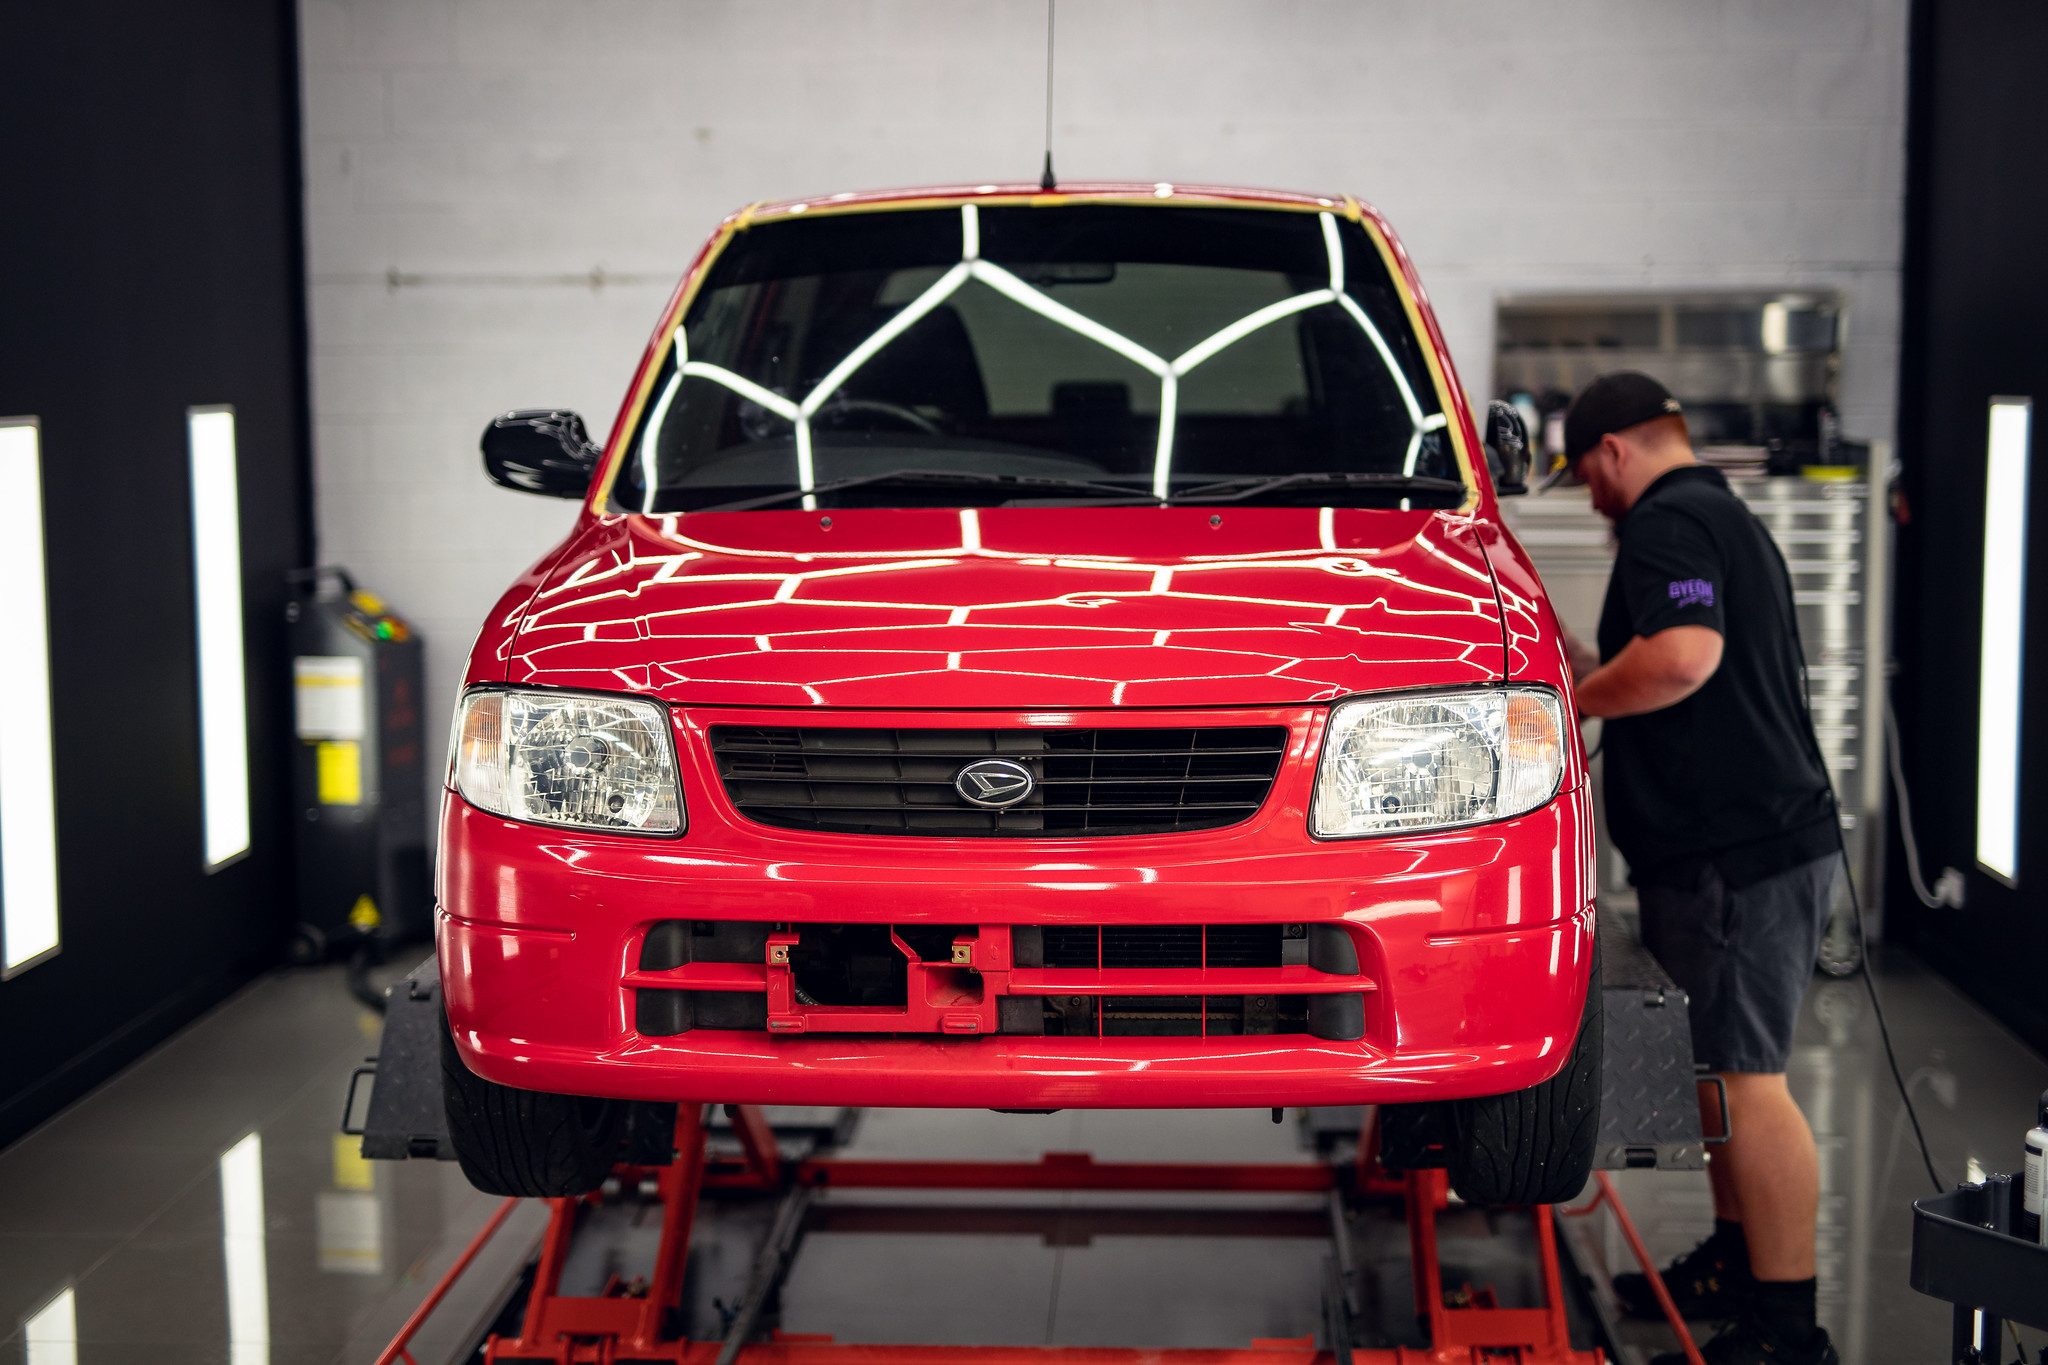
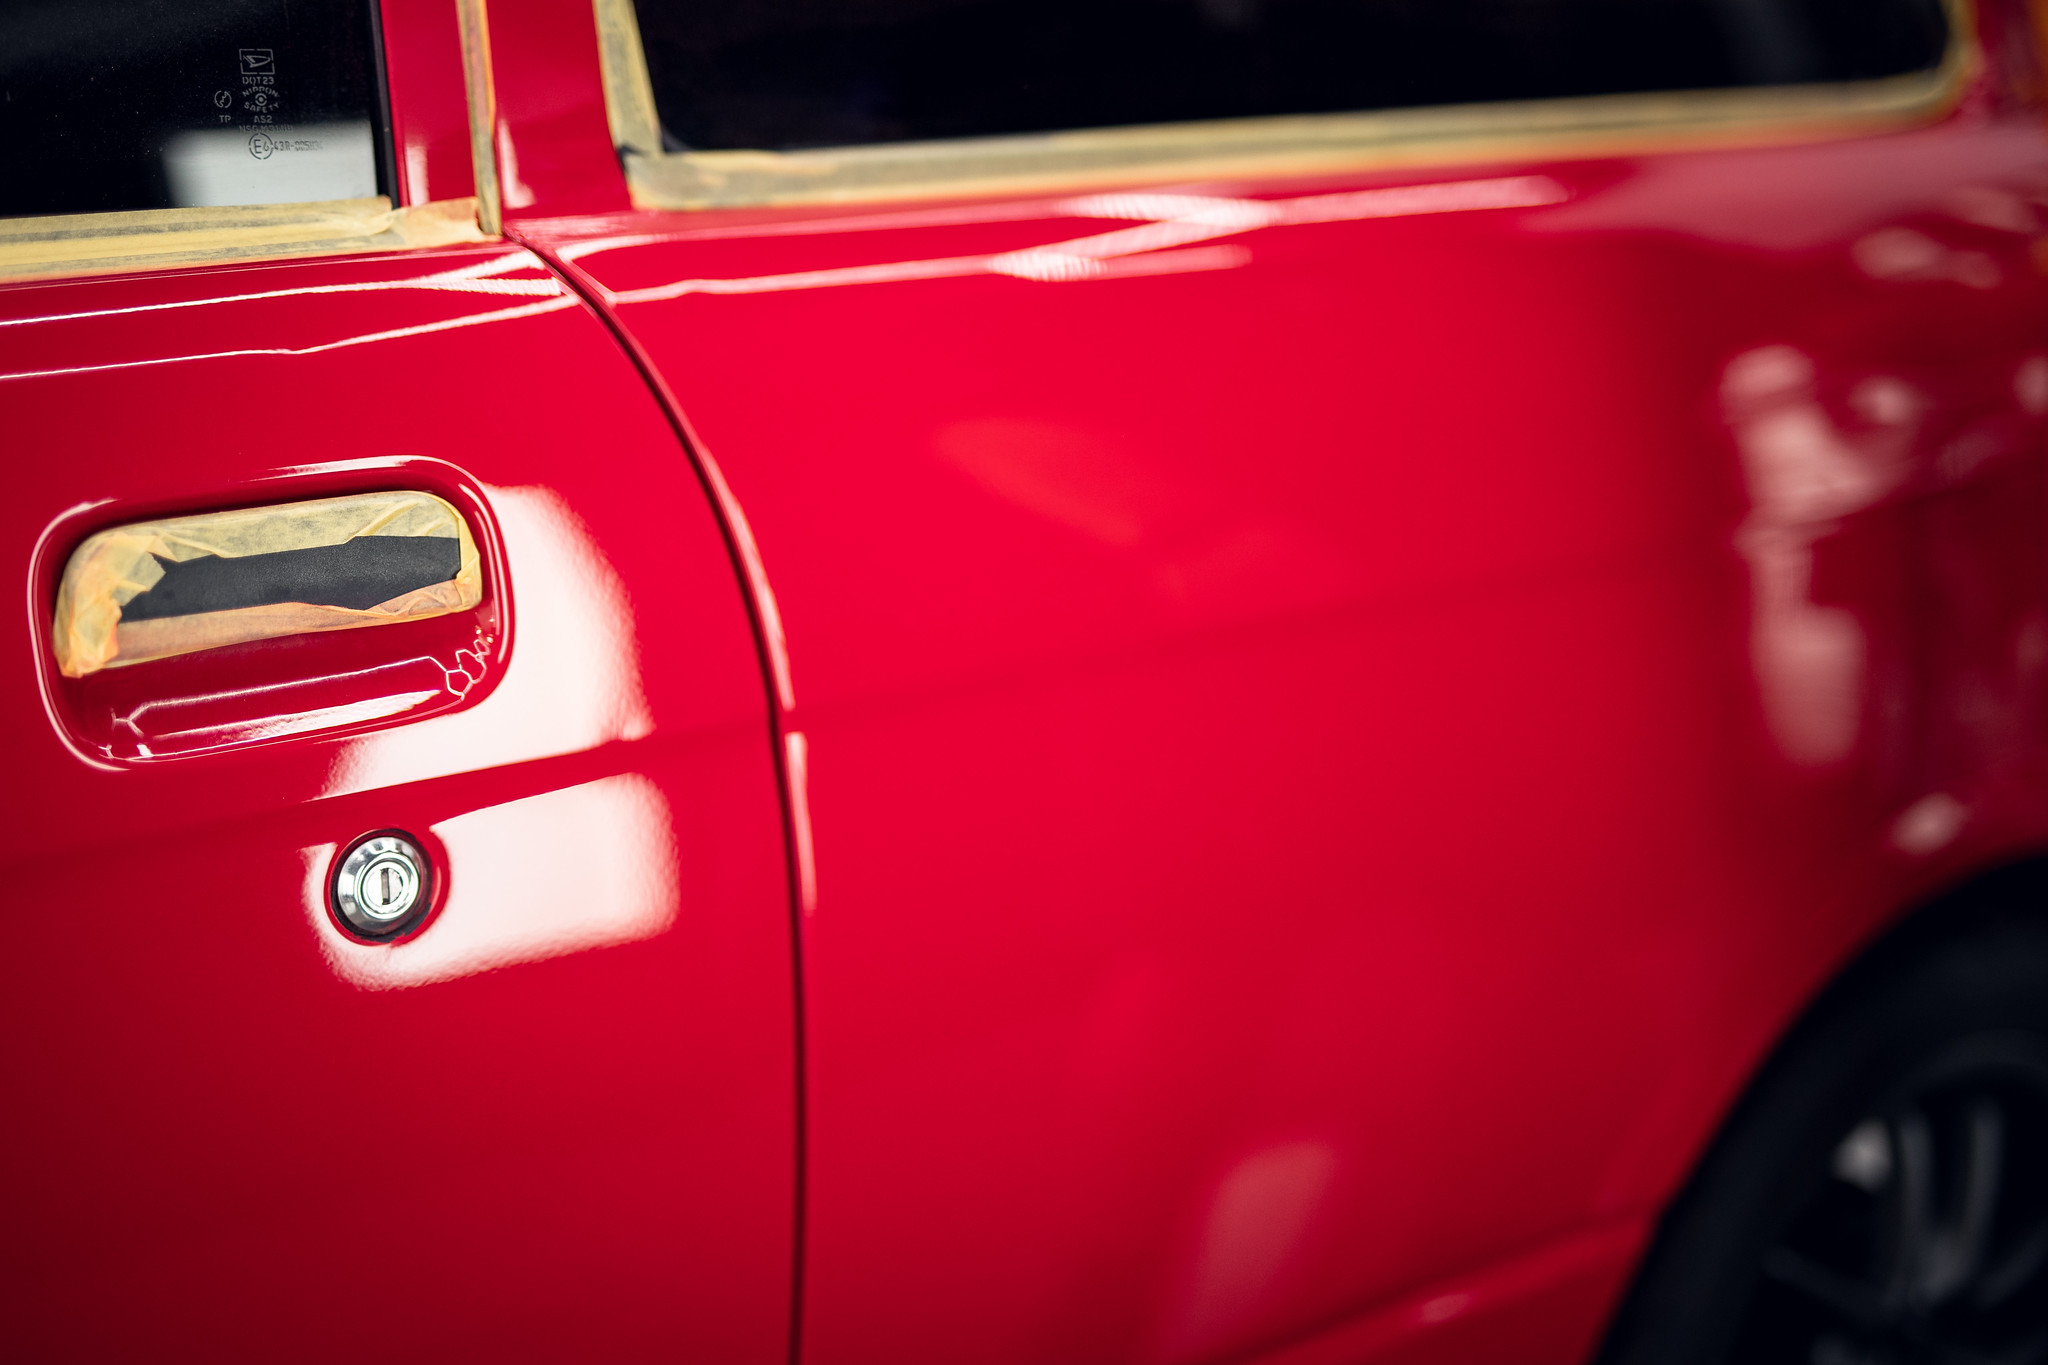
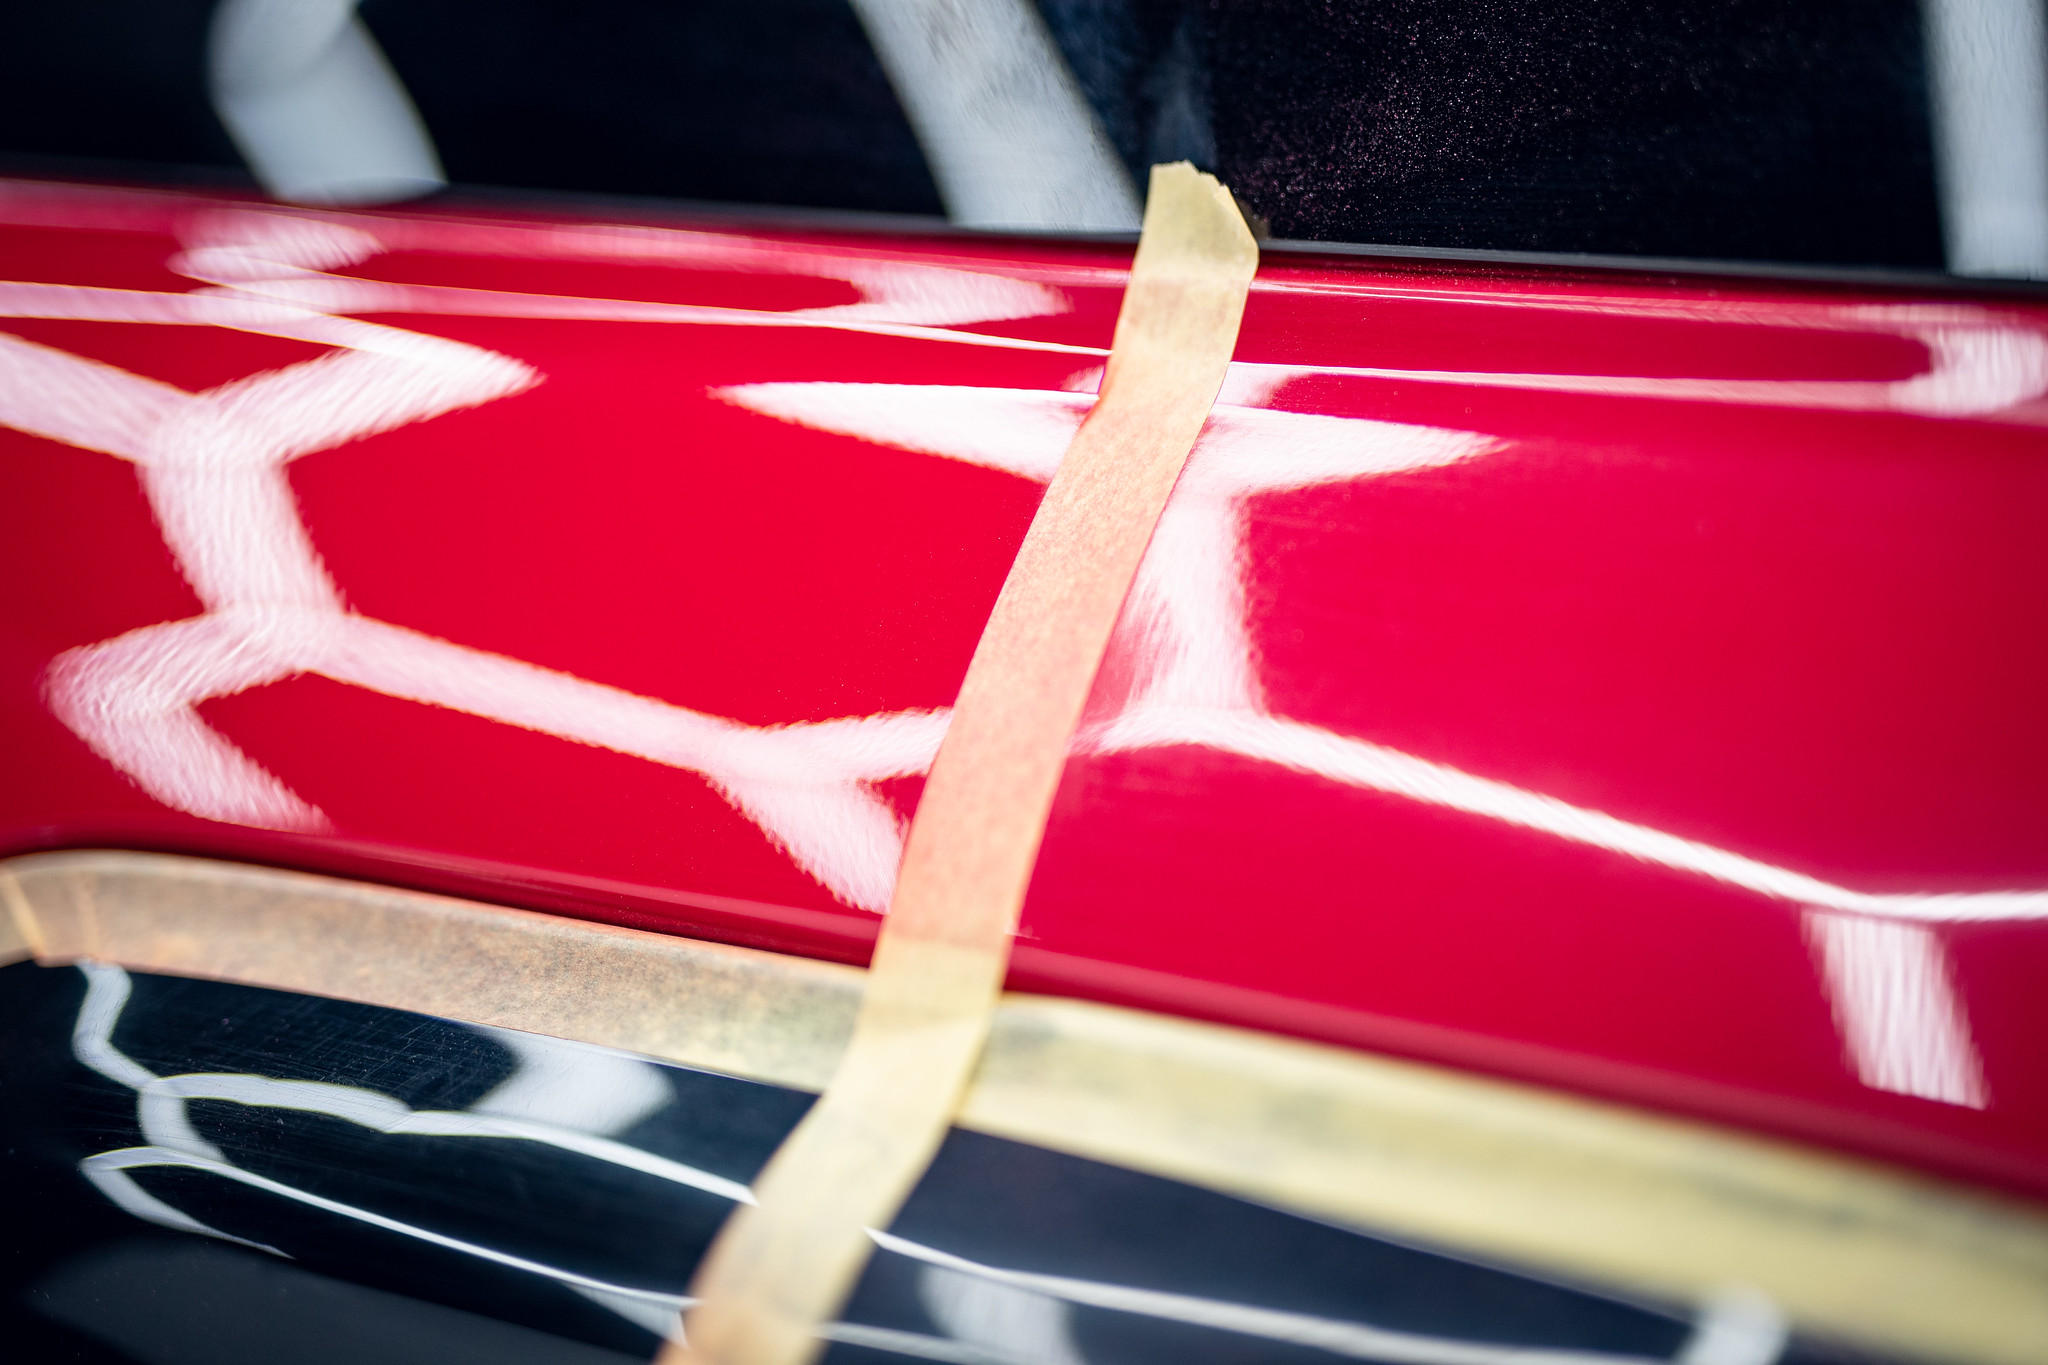
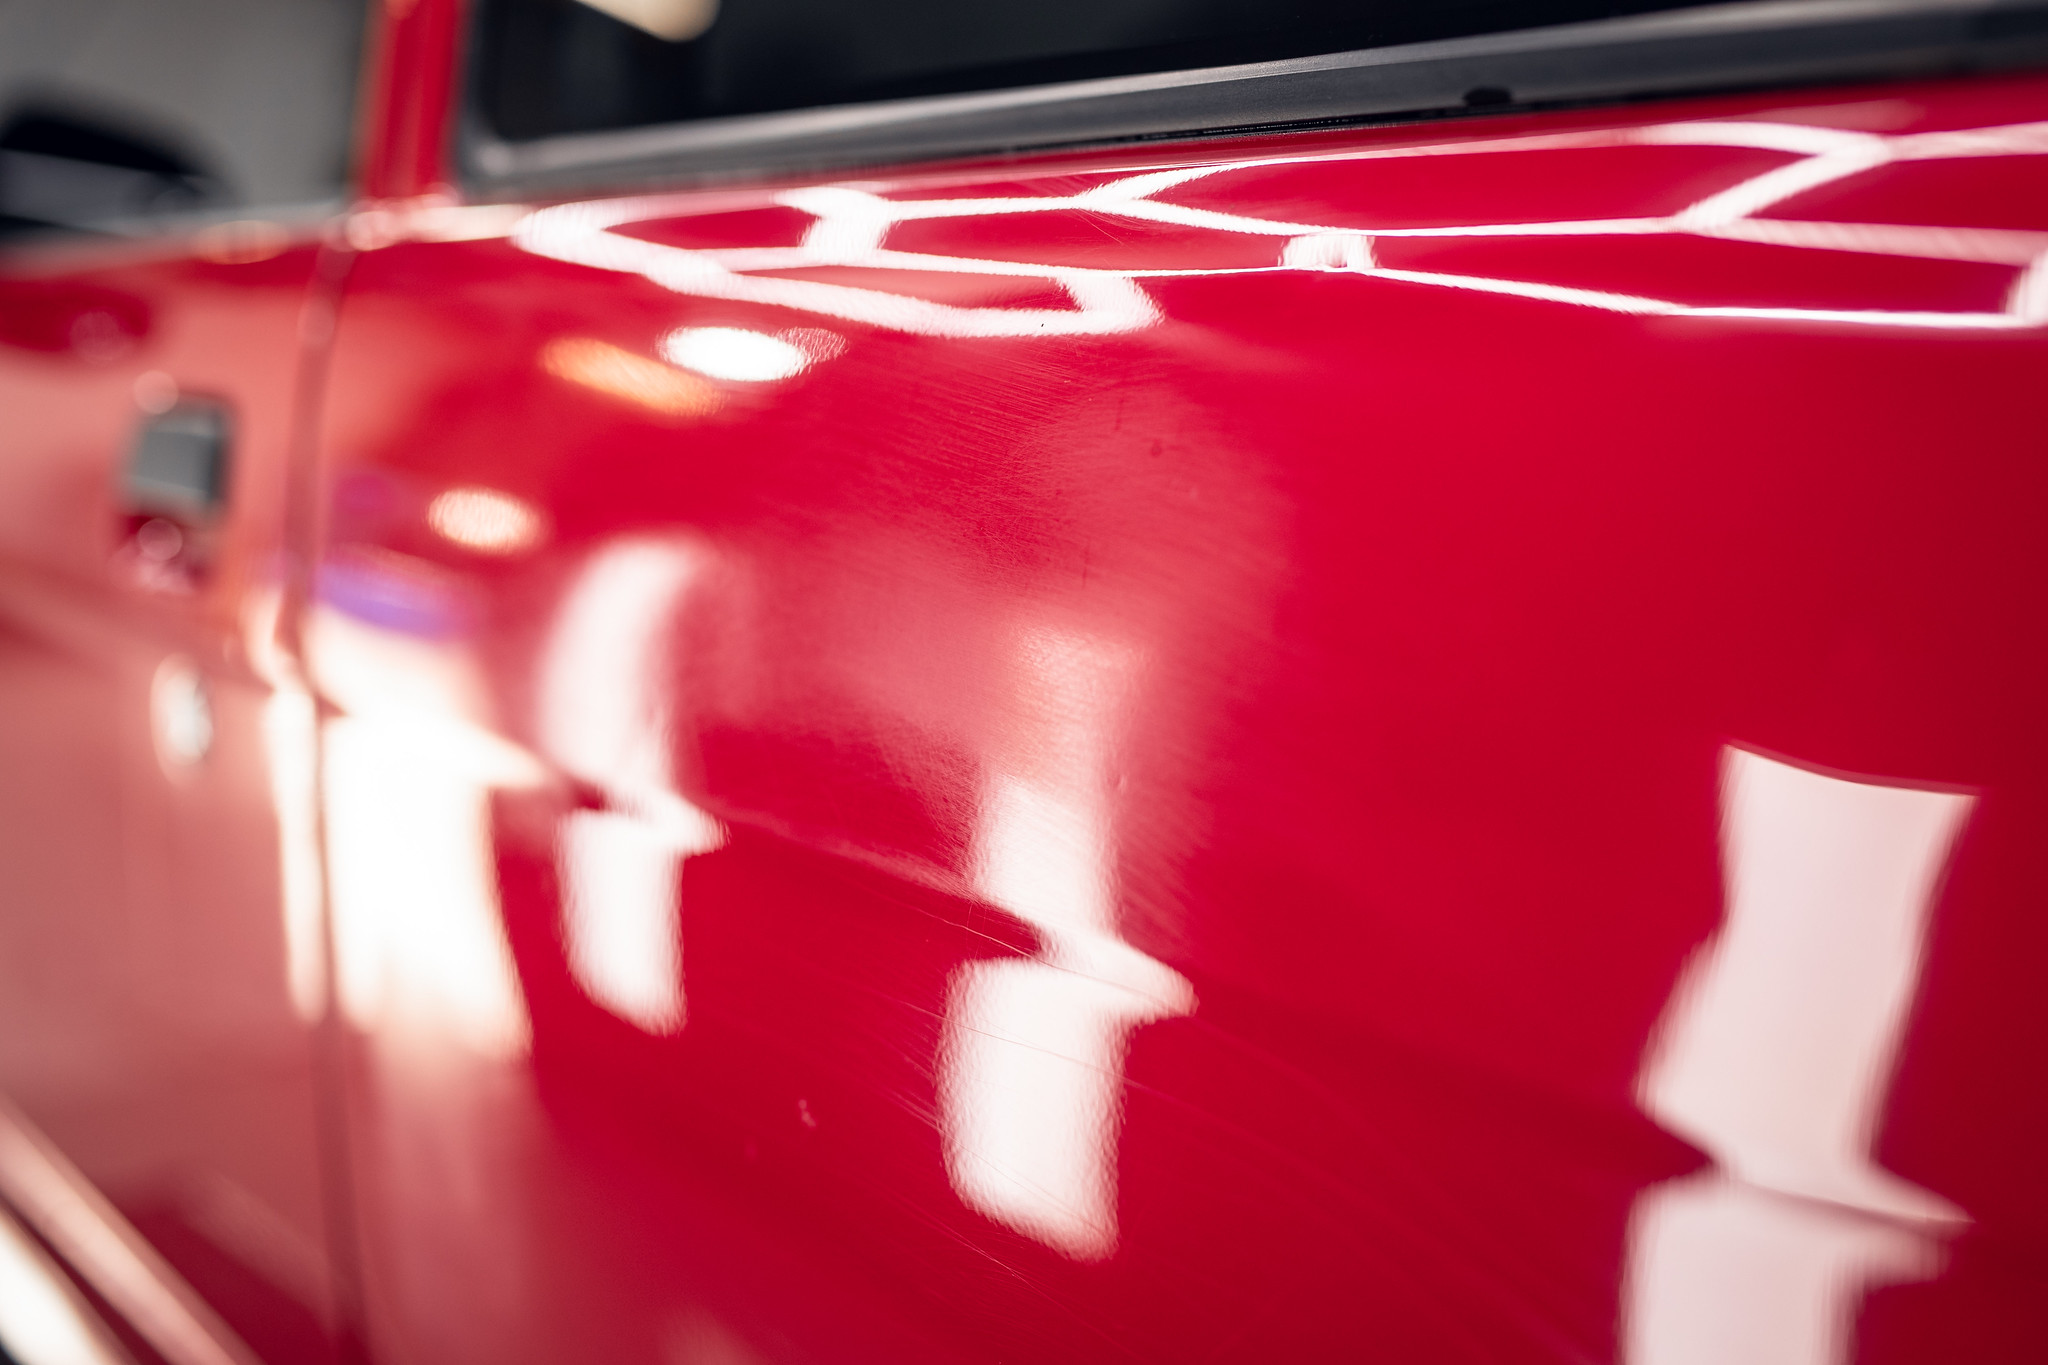
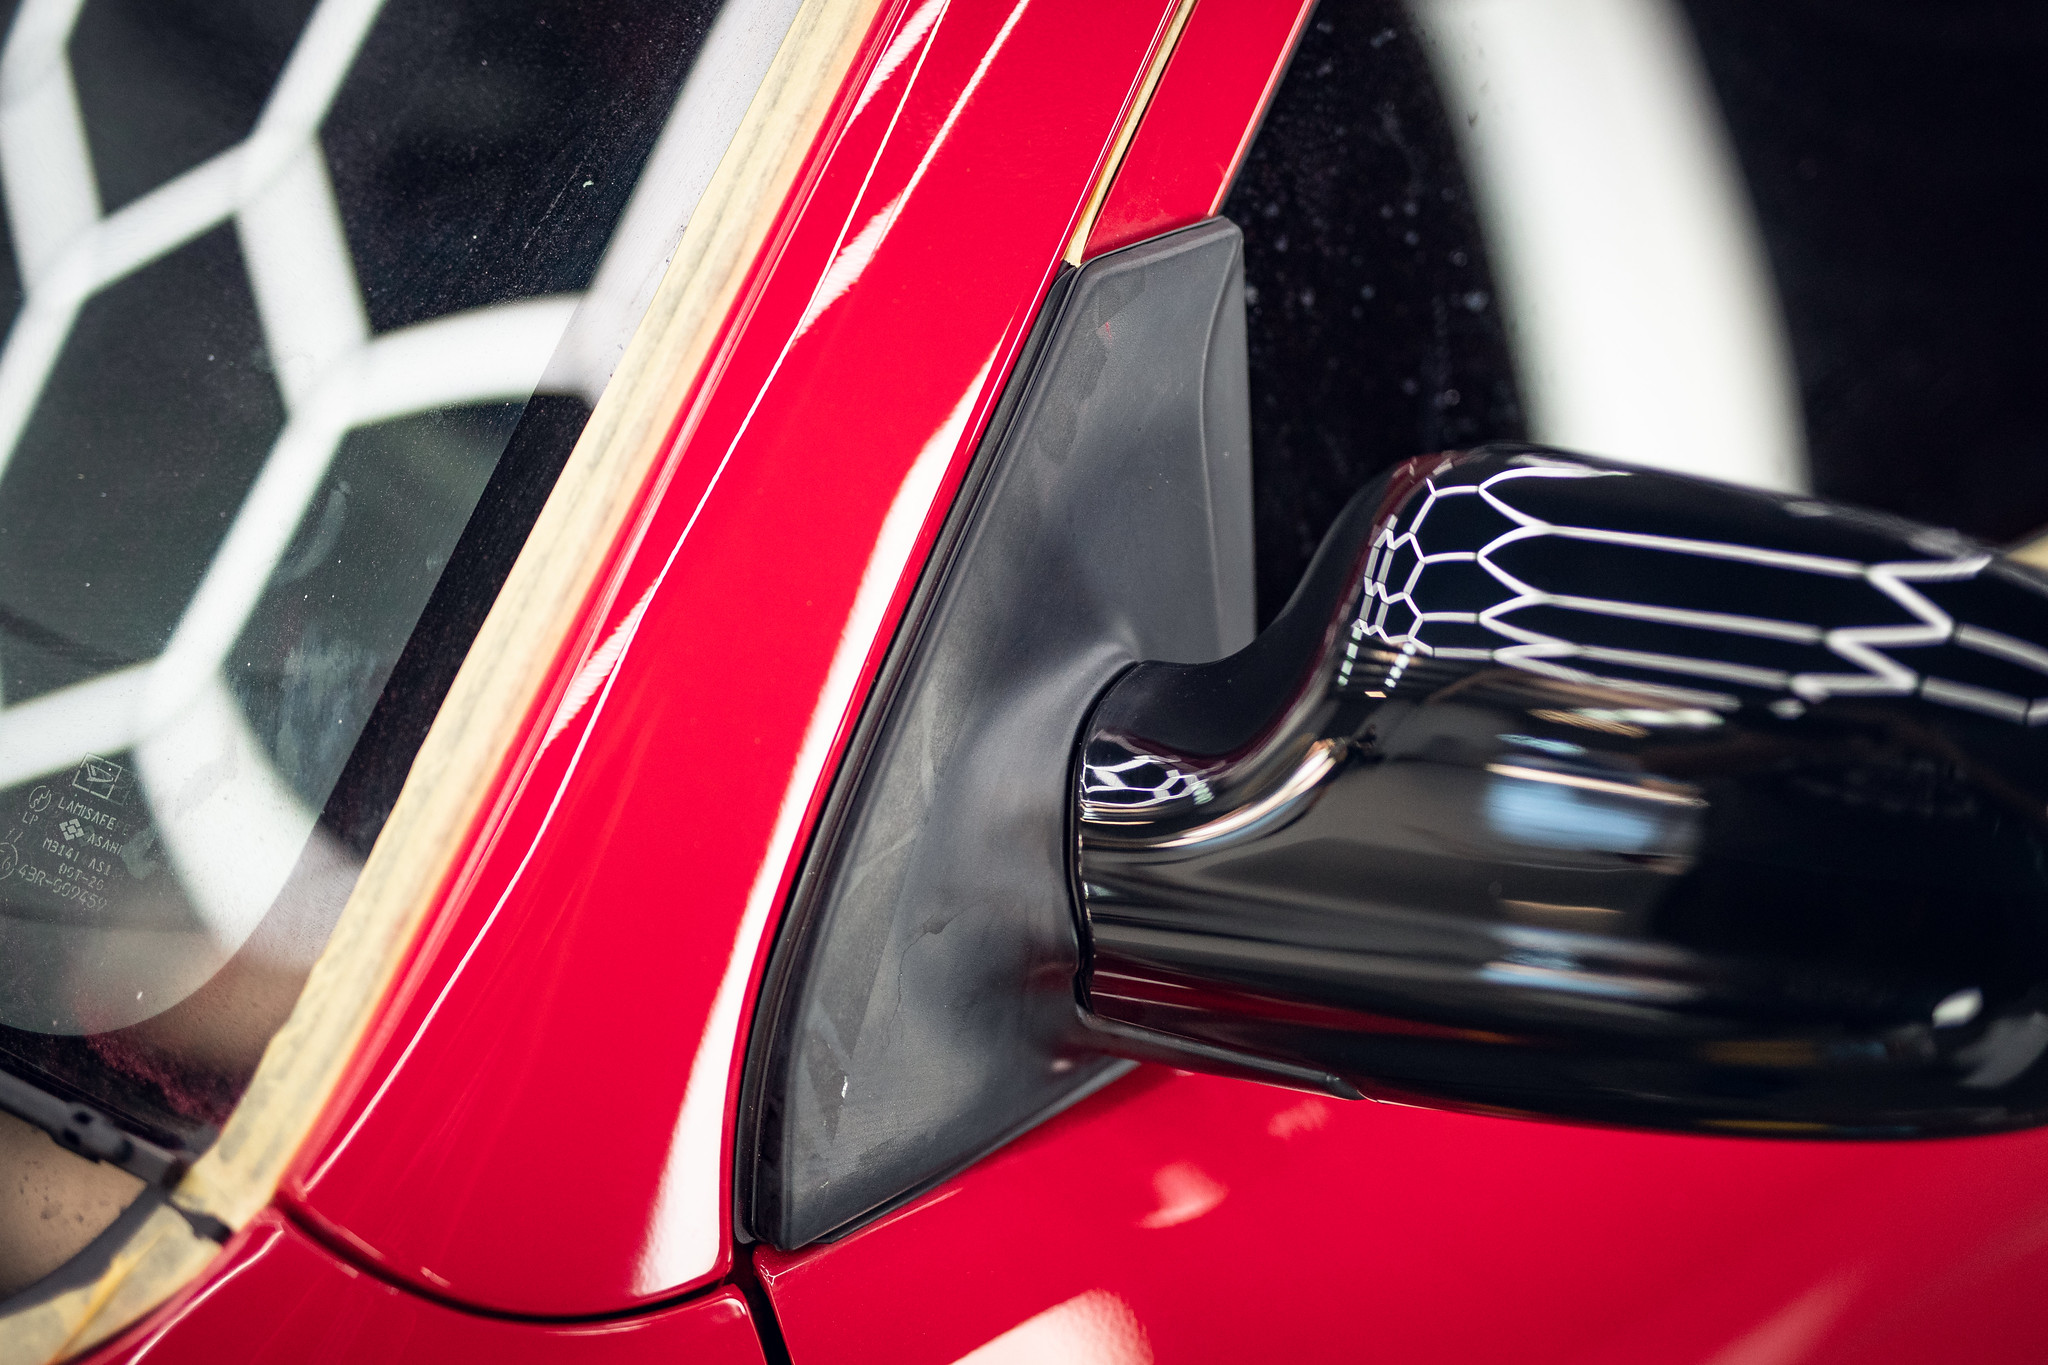
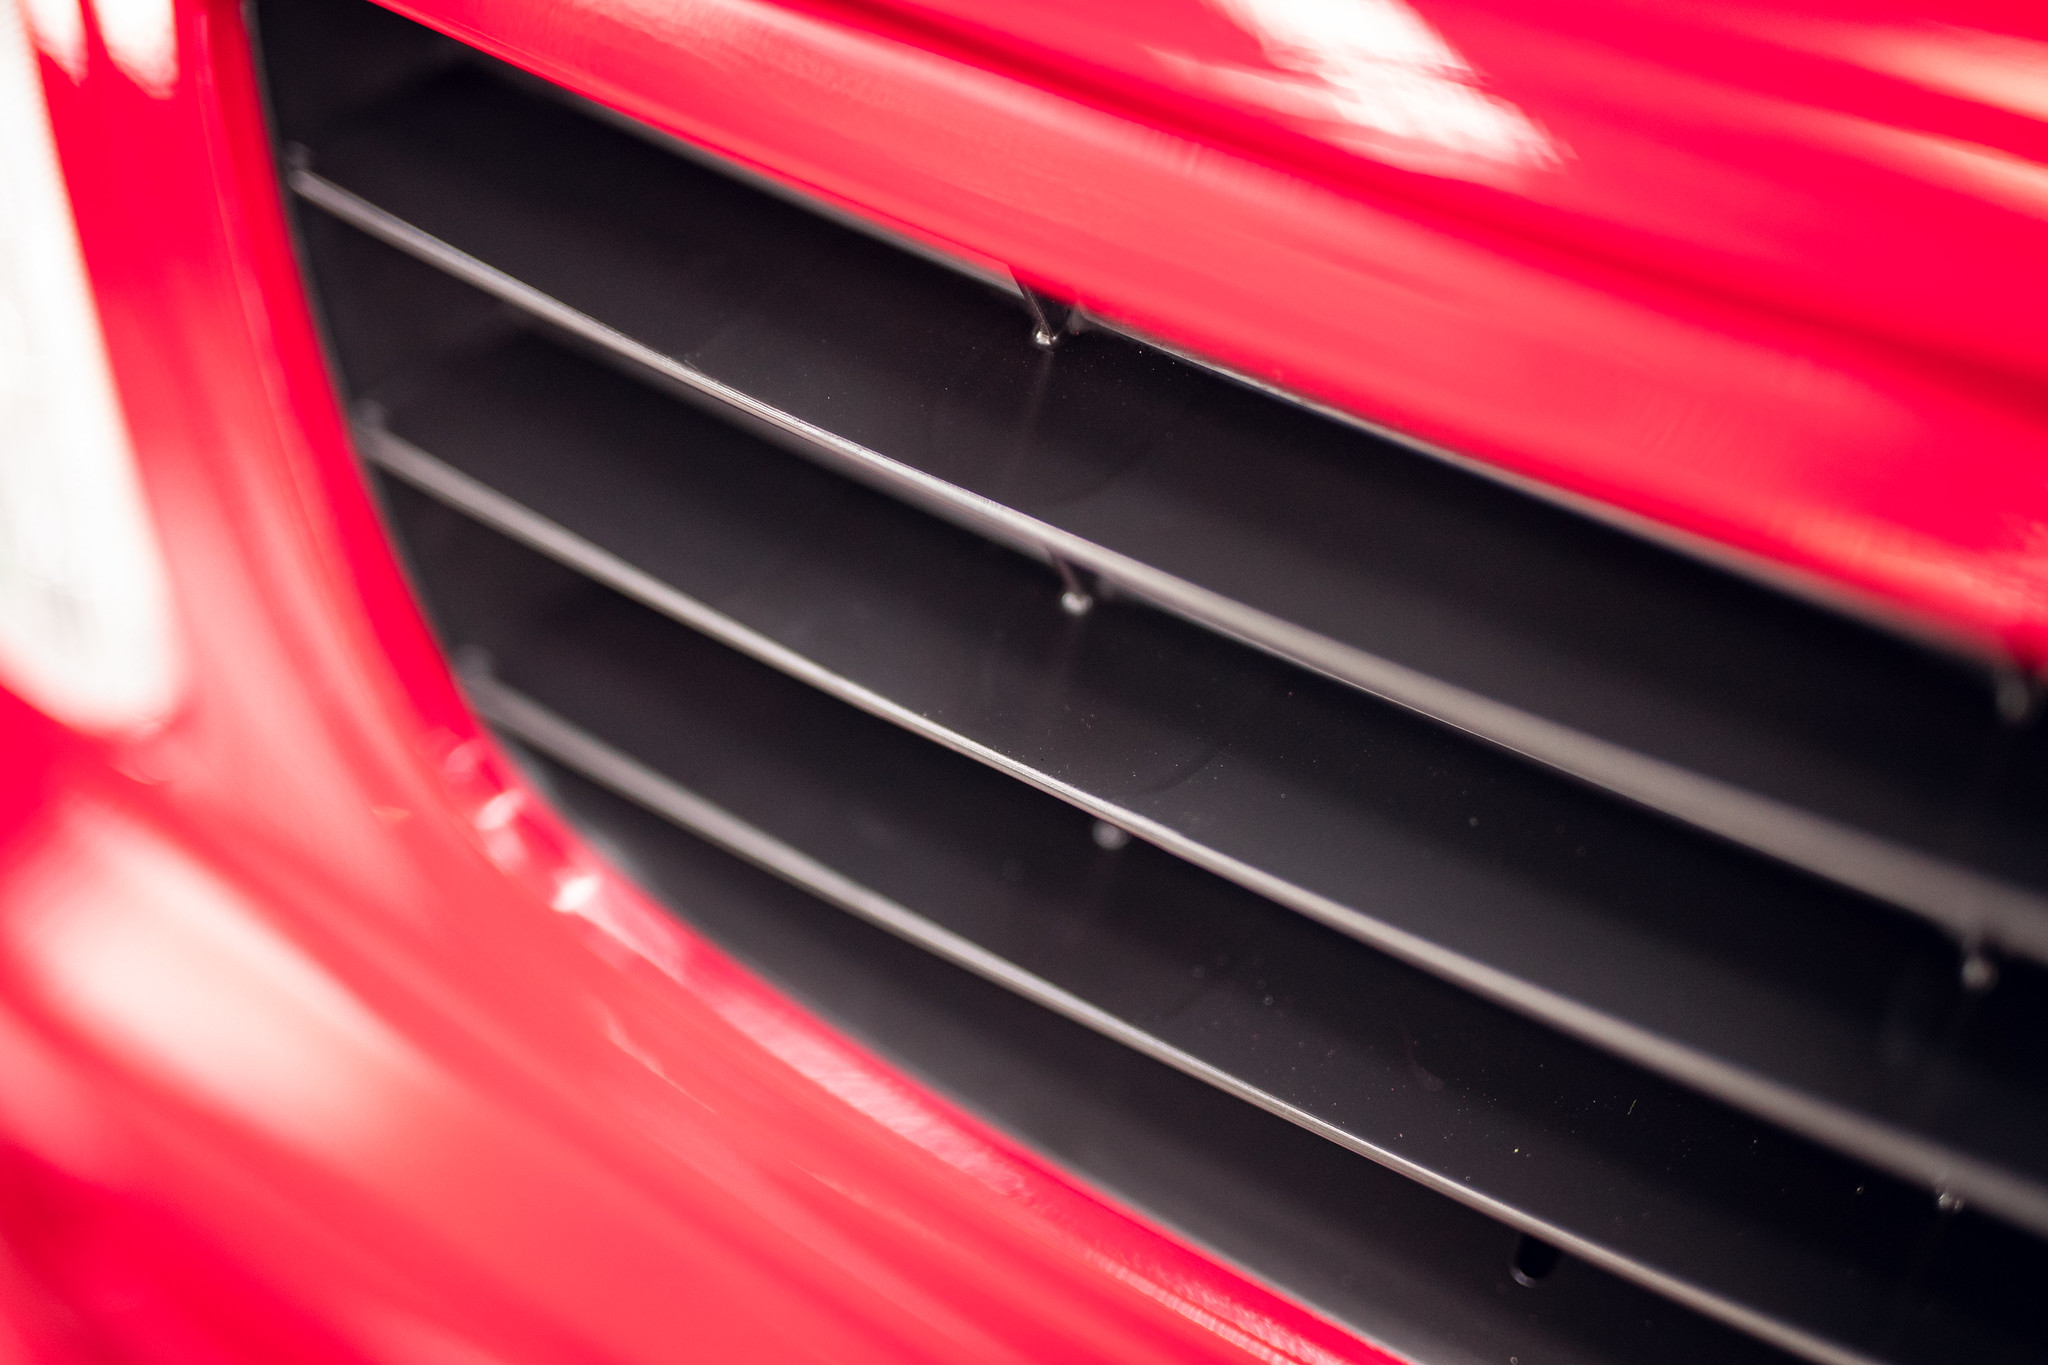
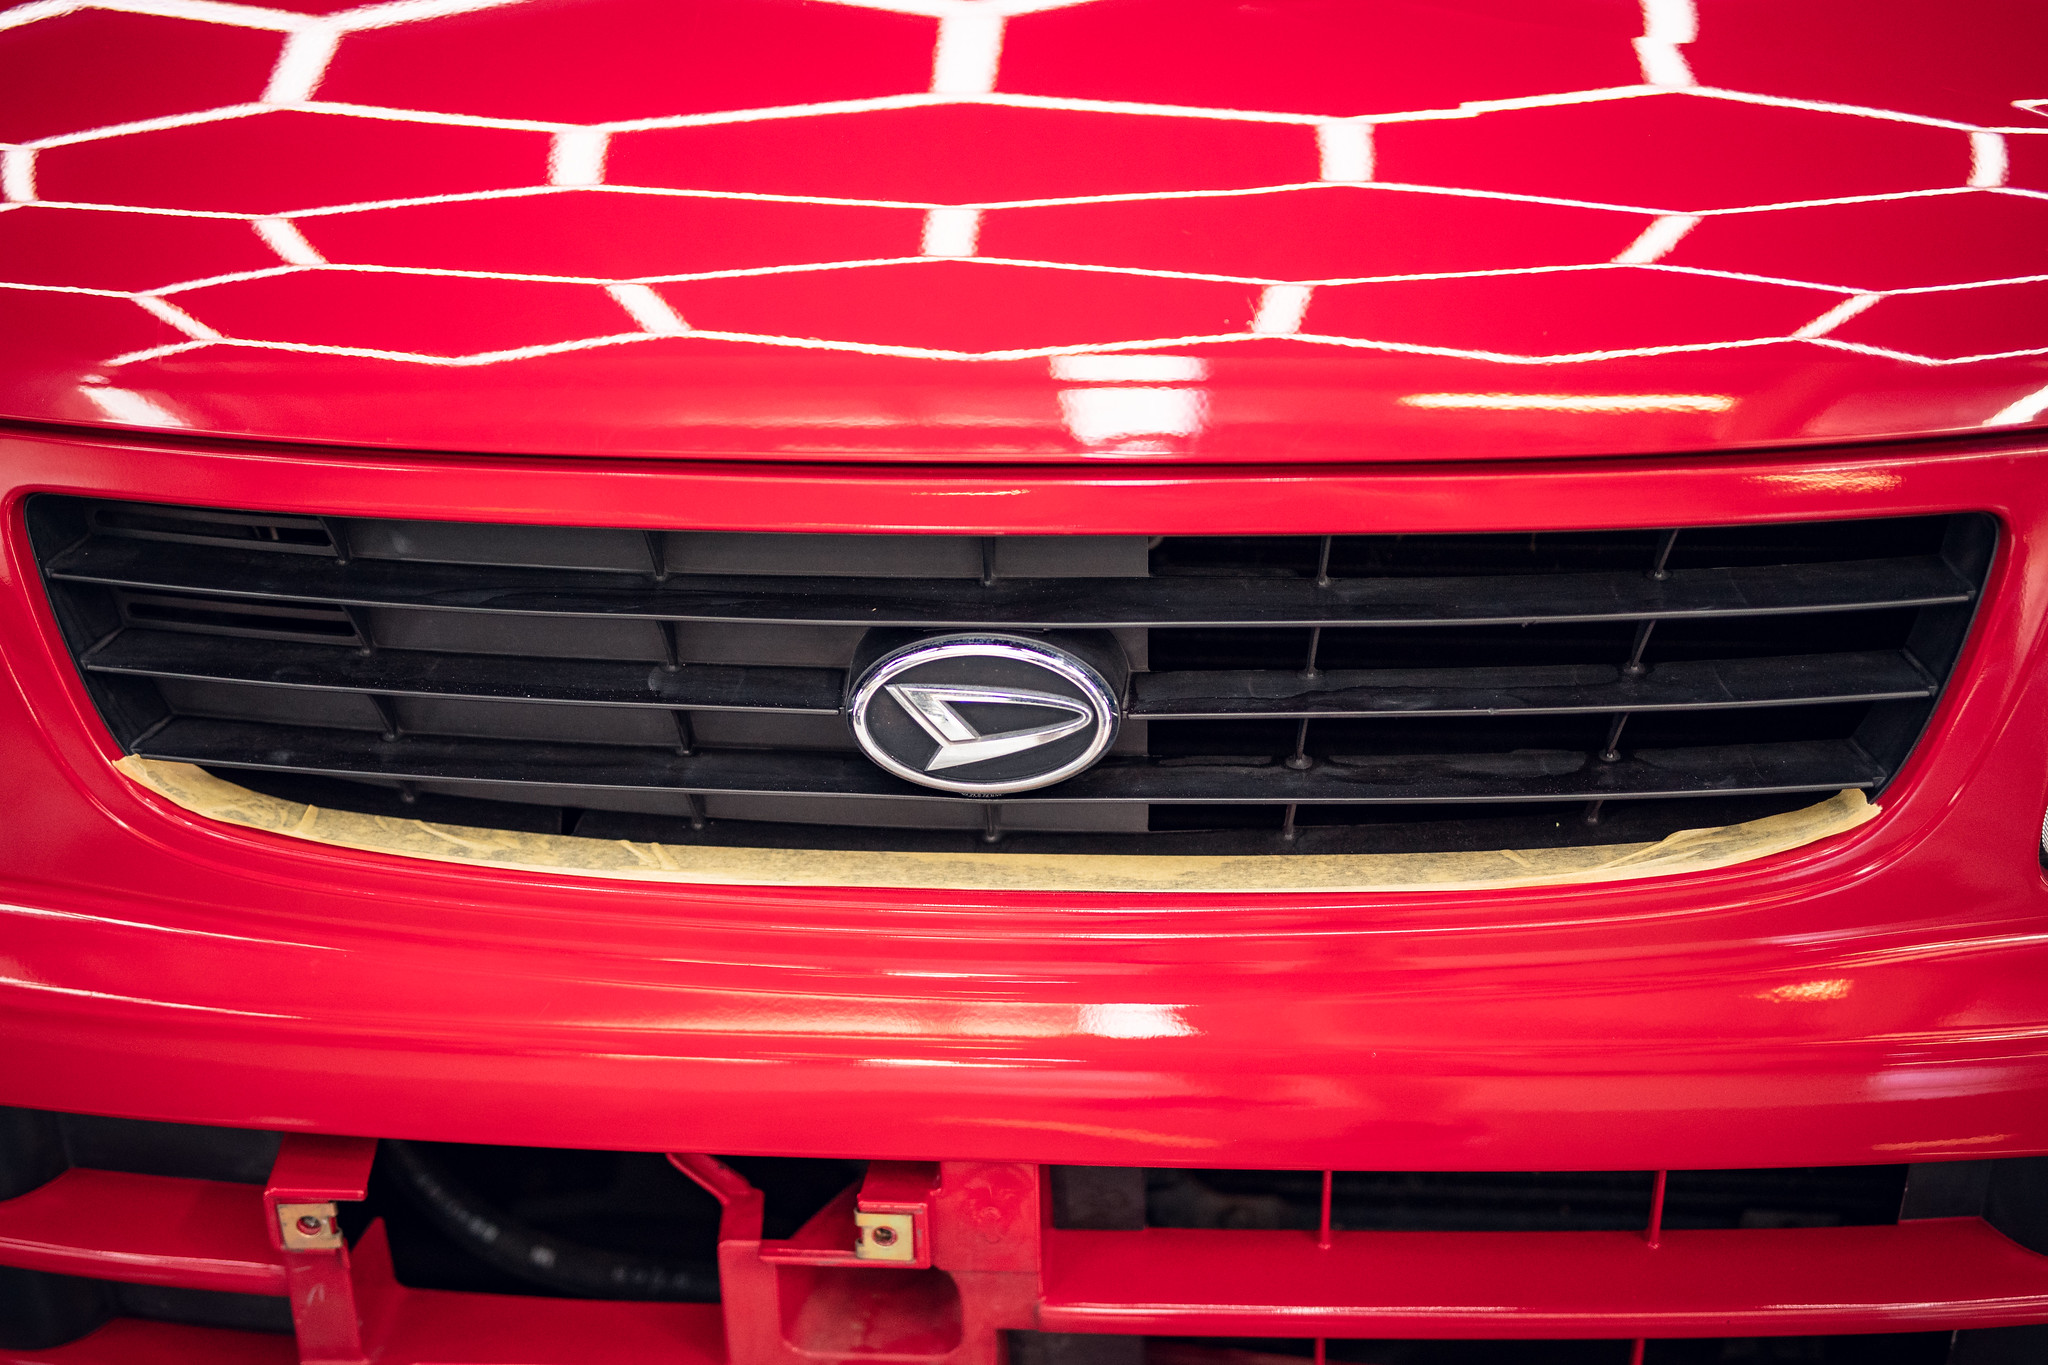
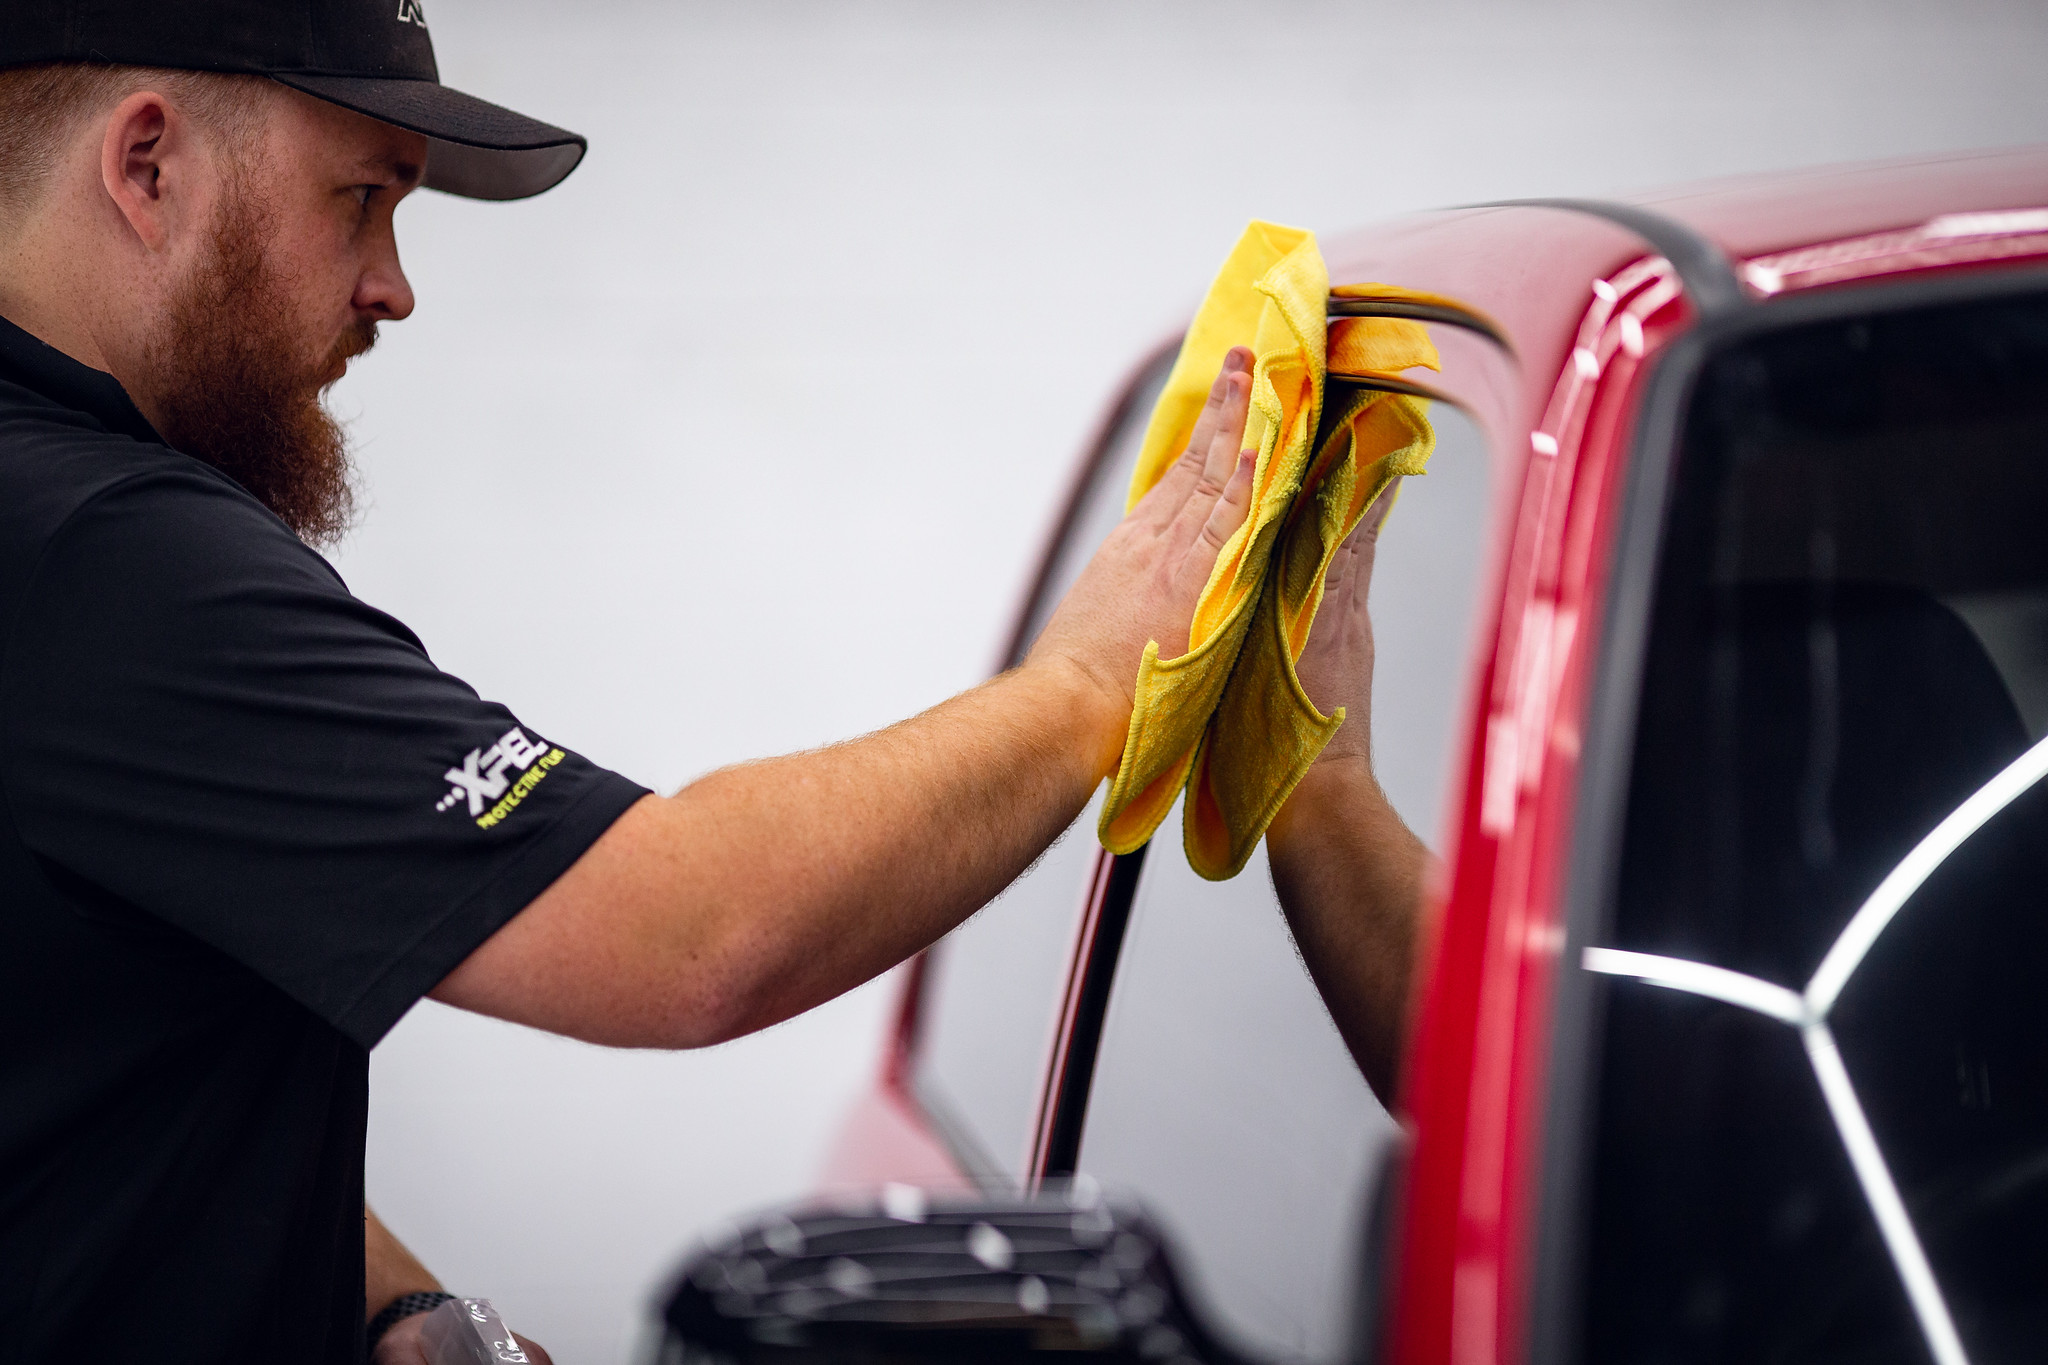
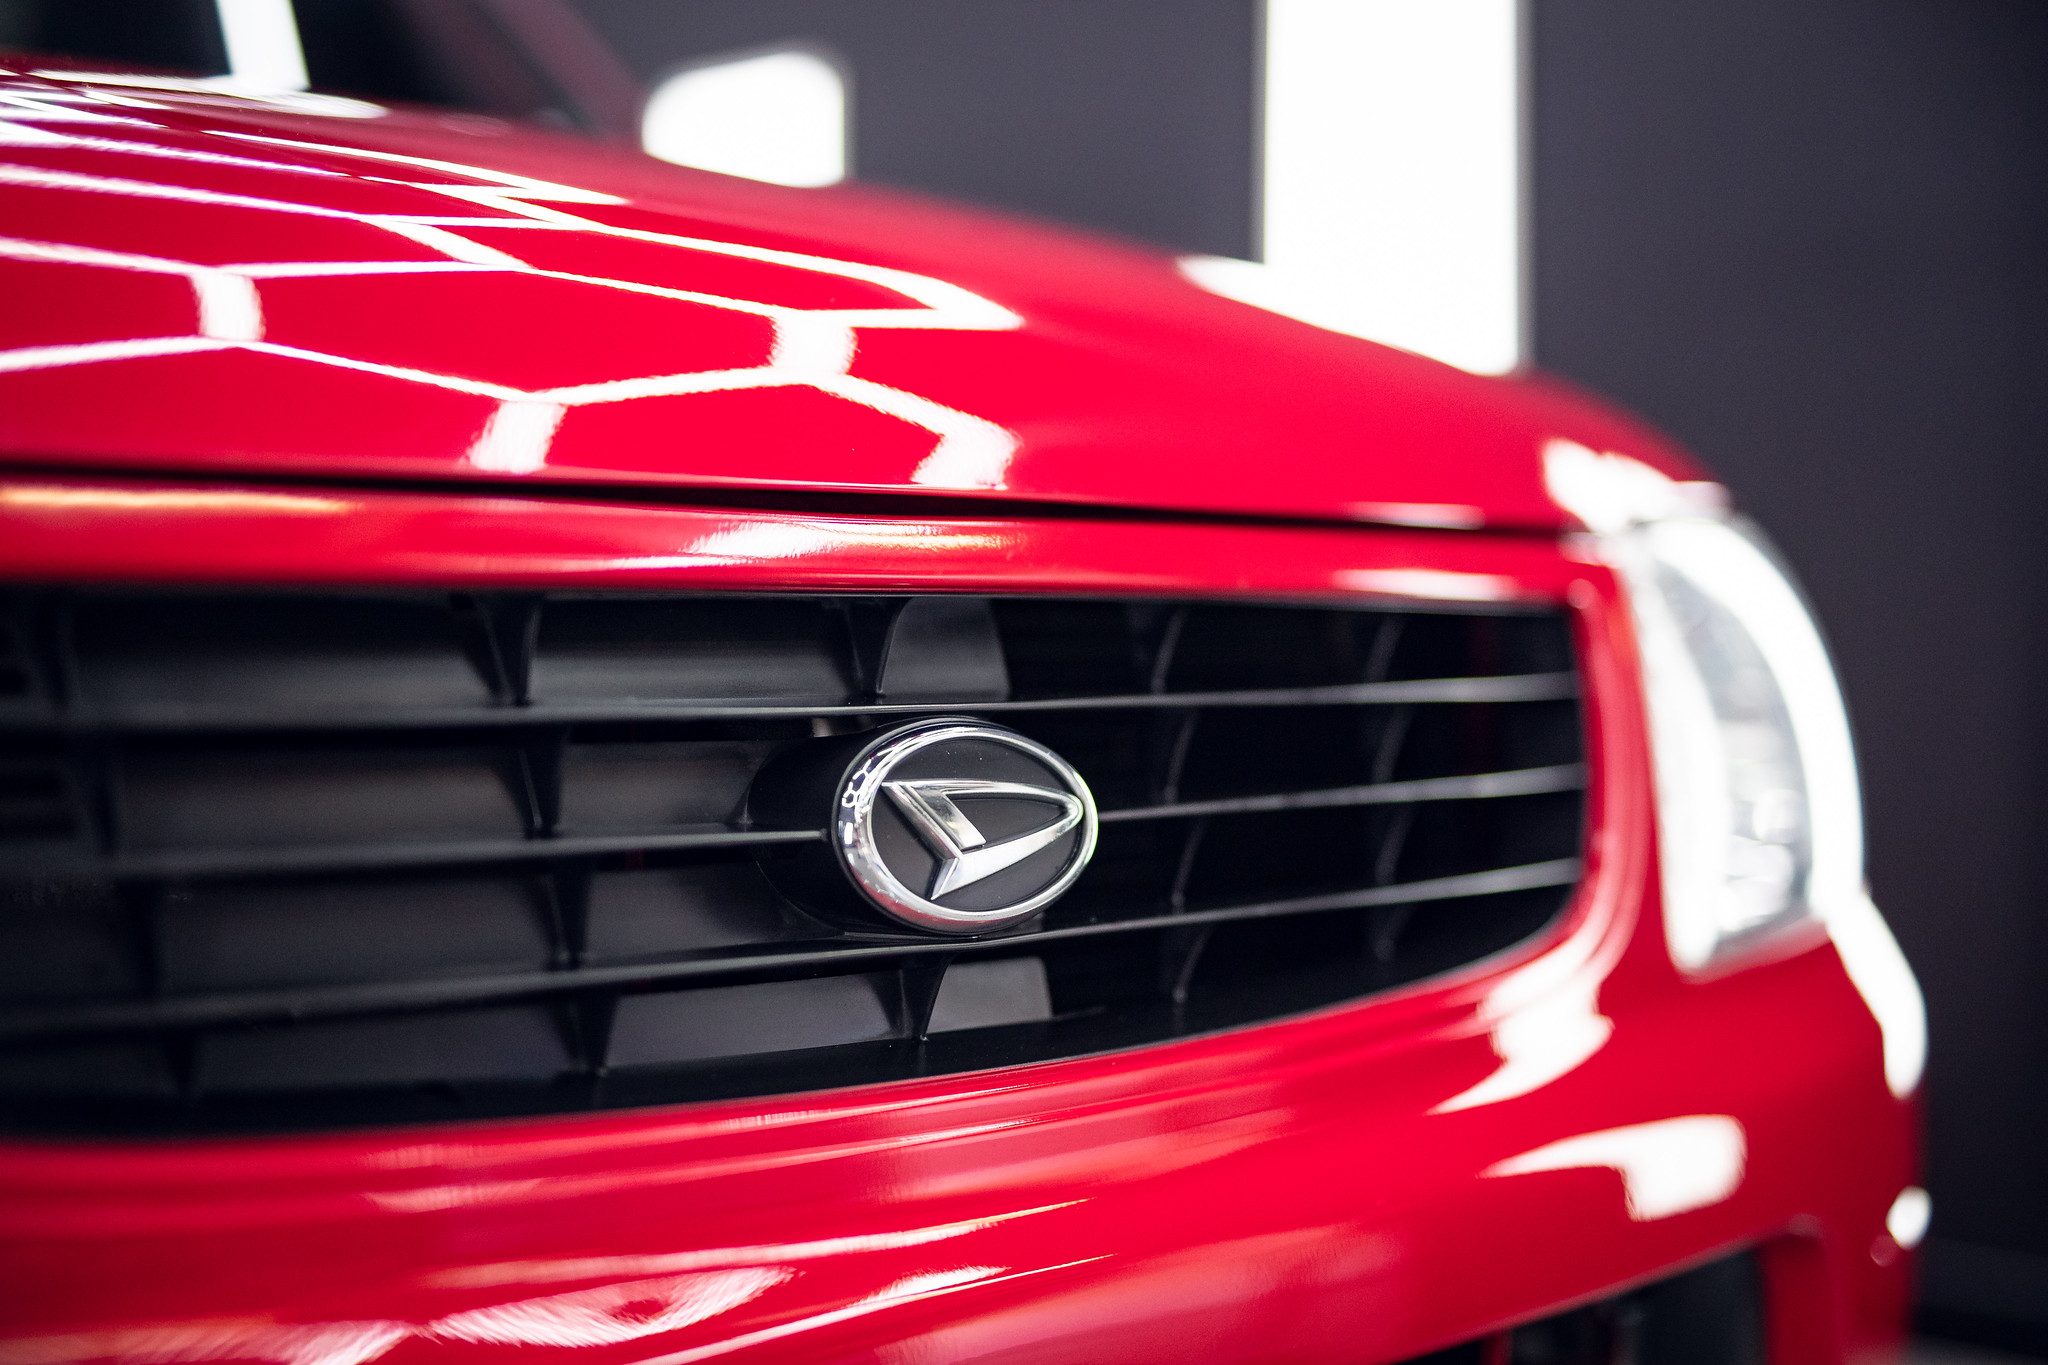
Taping up all the black trim. Also testing paint for thickness, its quite thin.


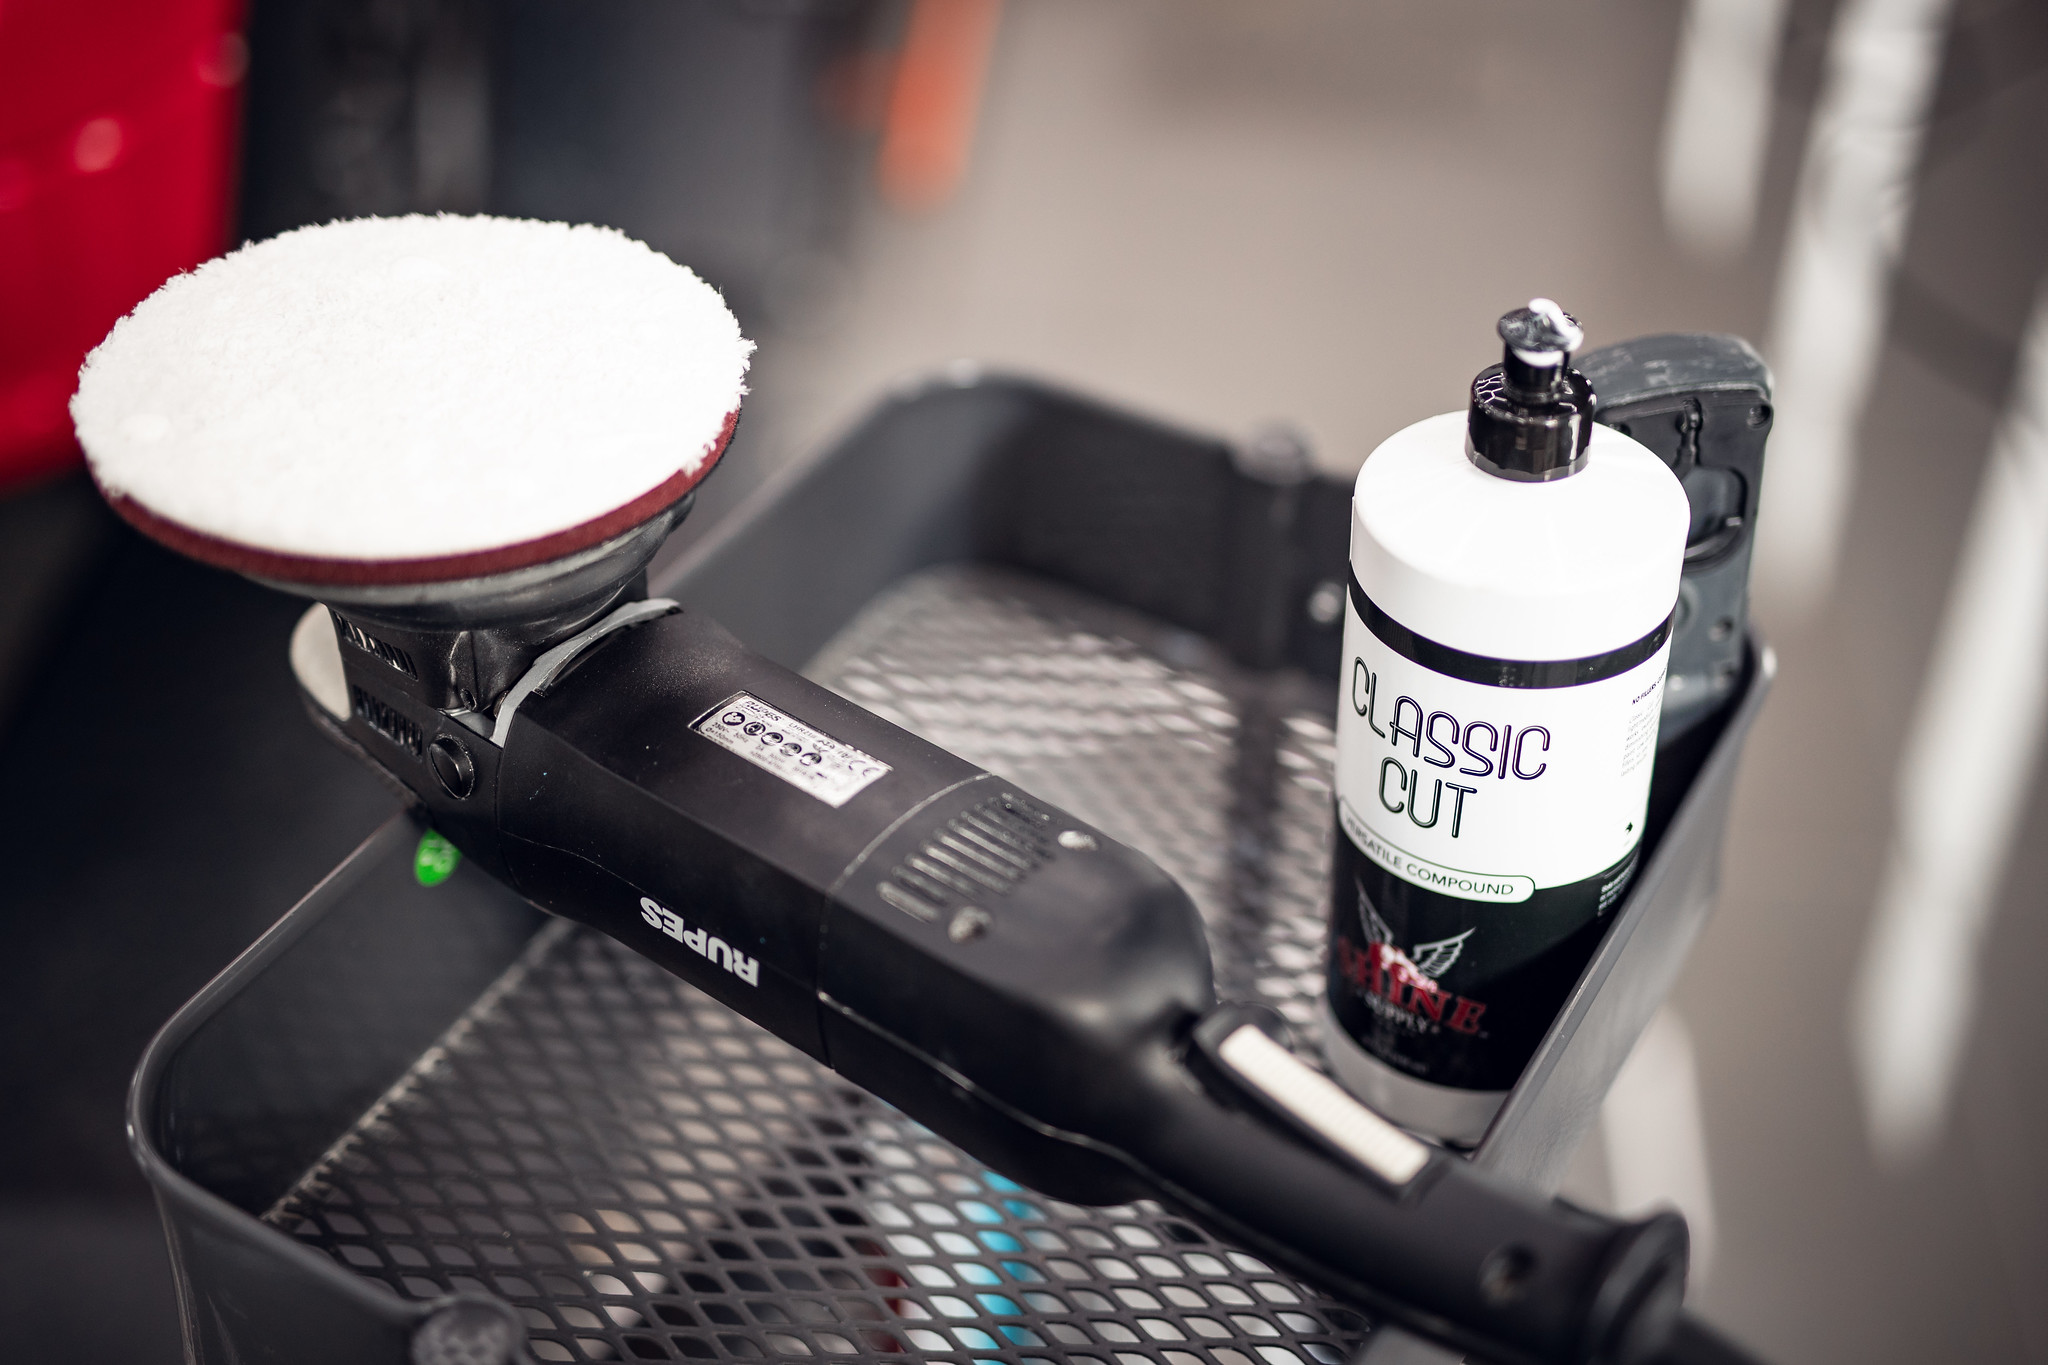
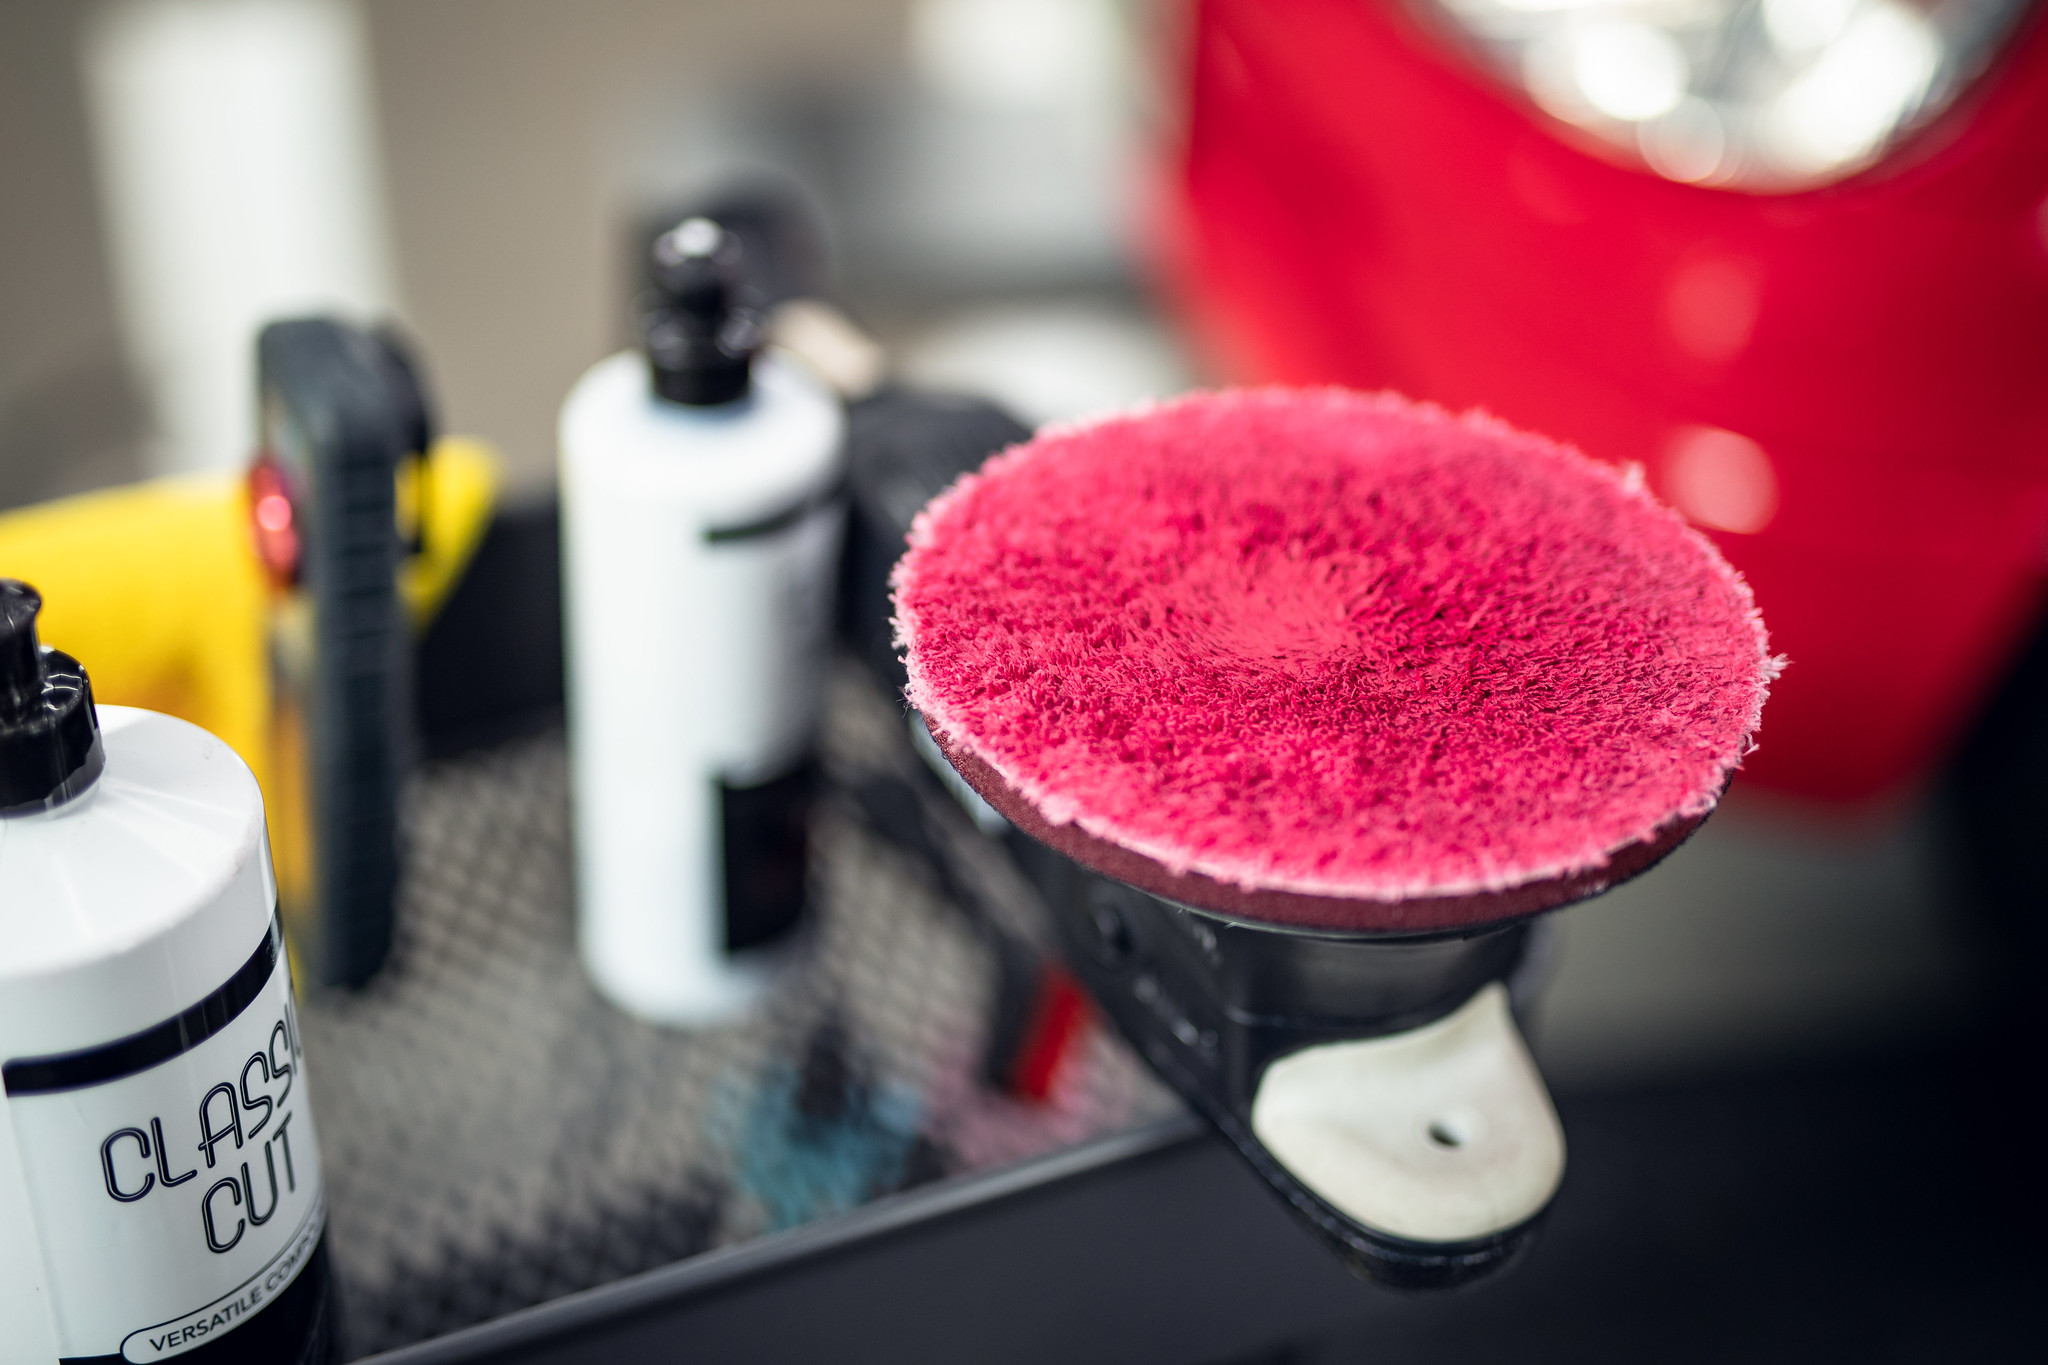
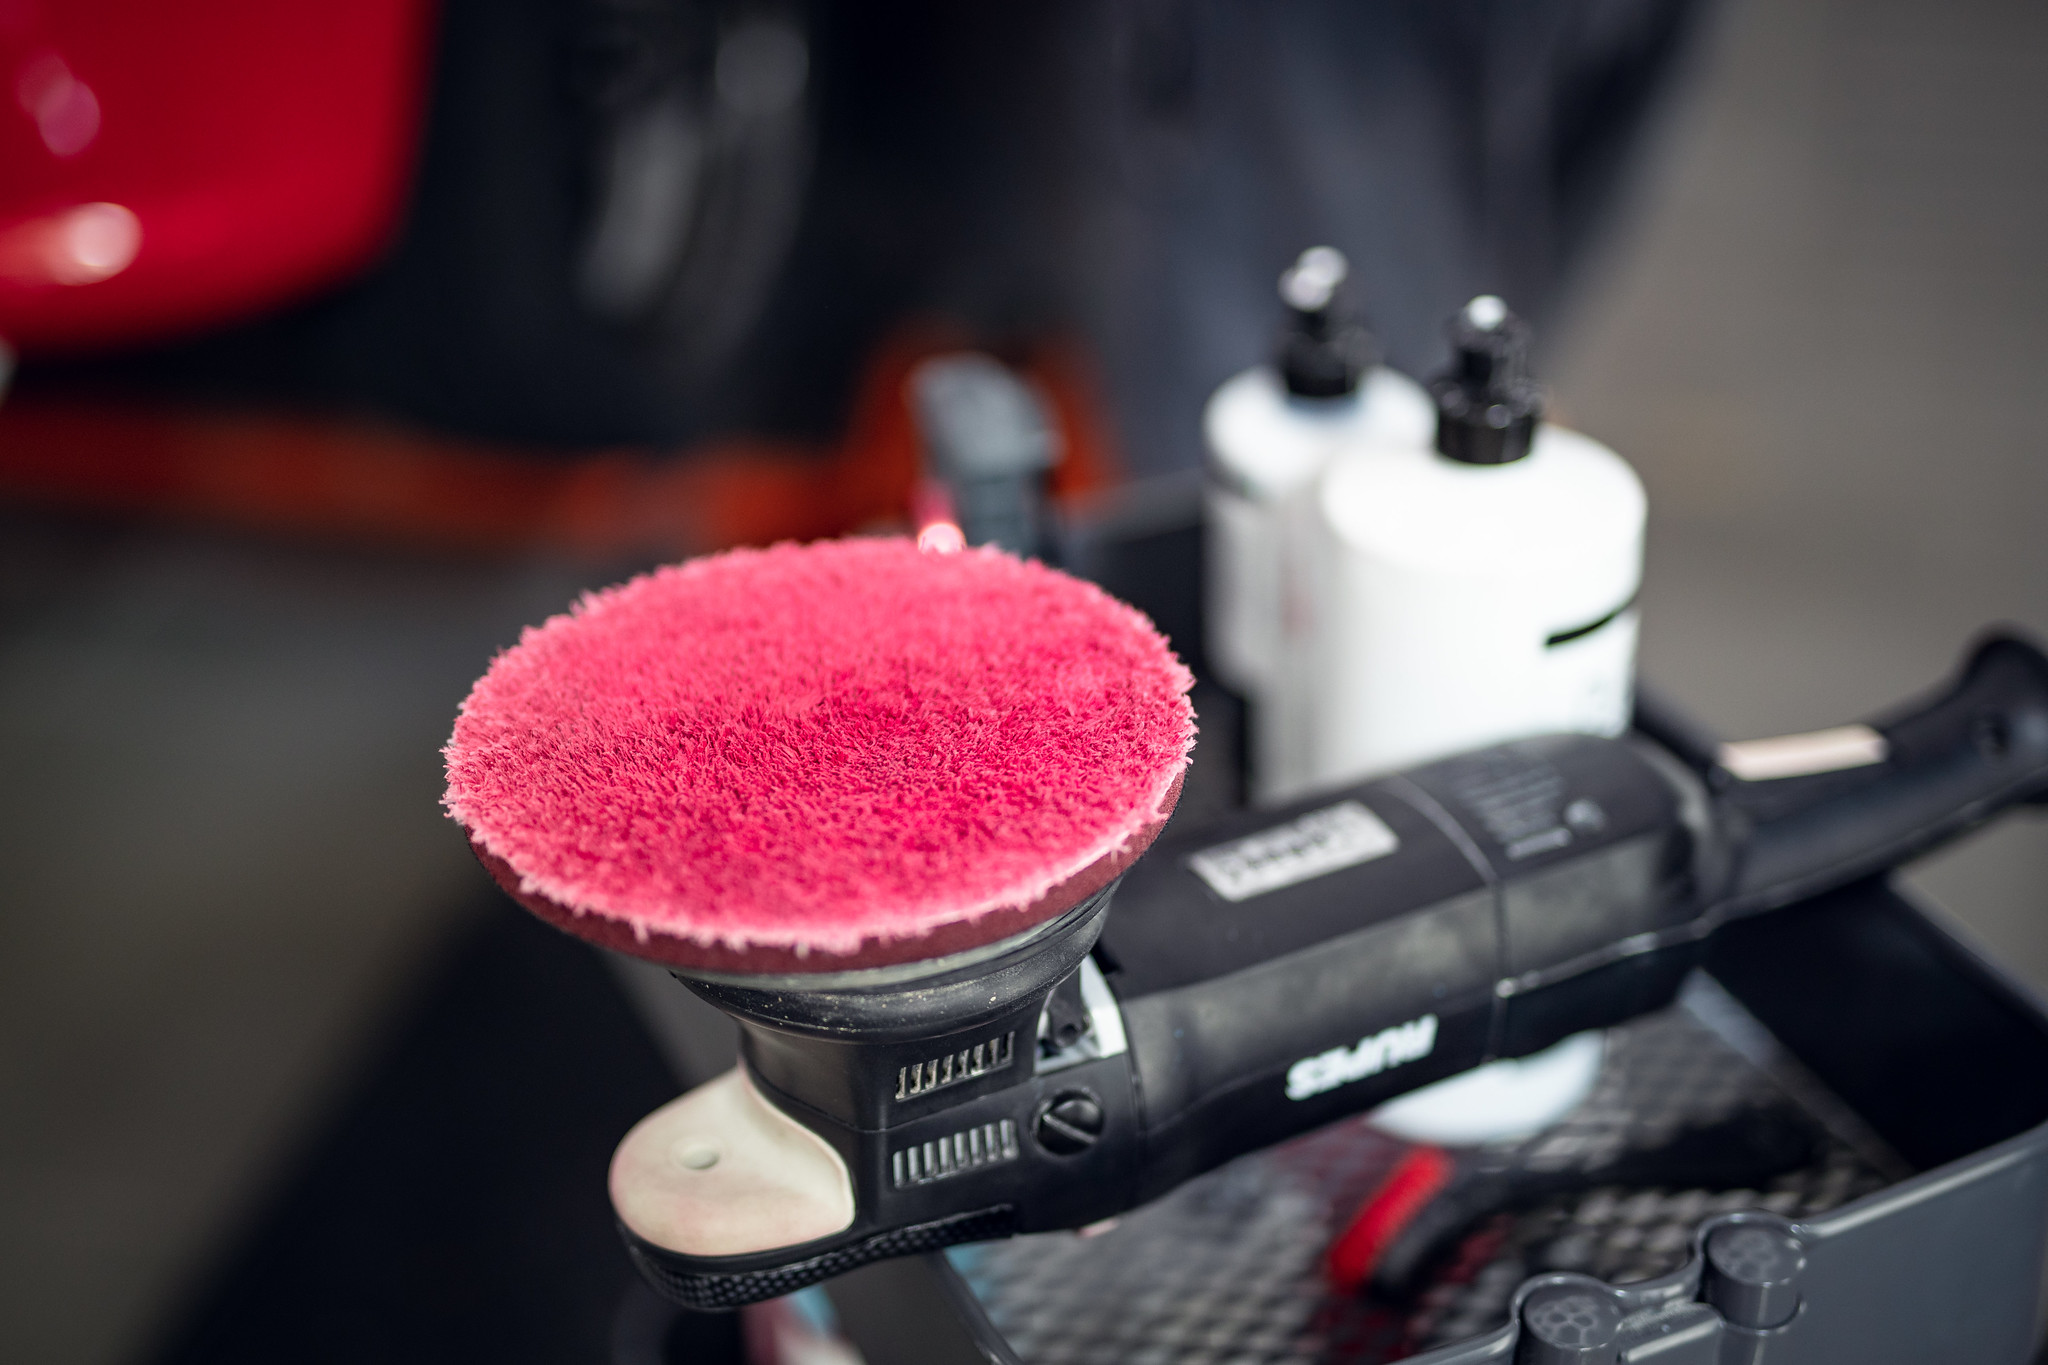
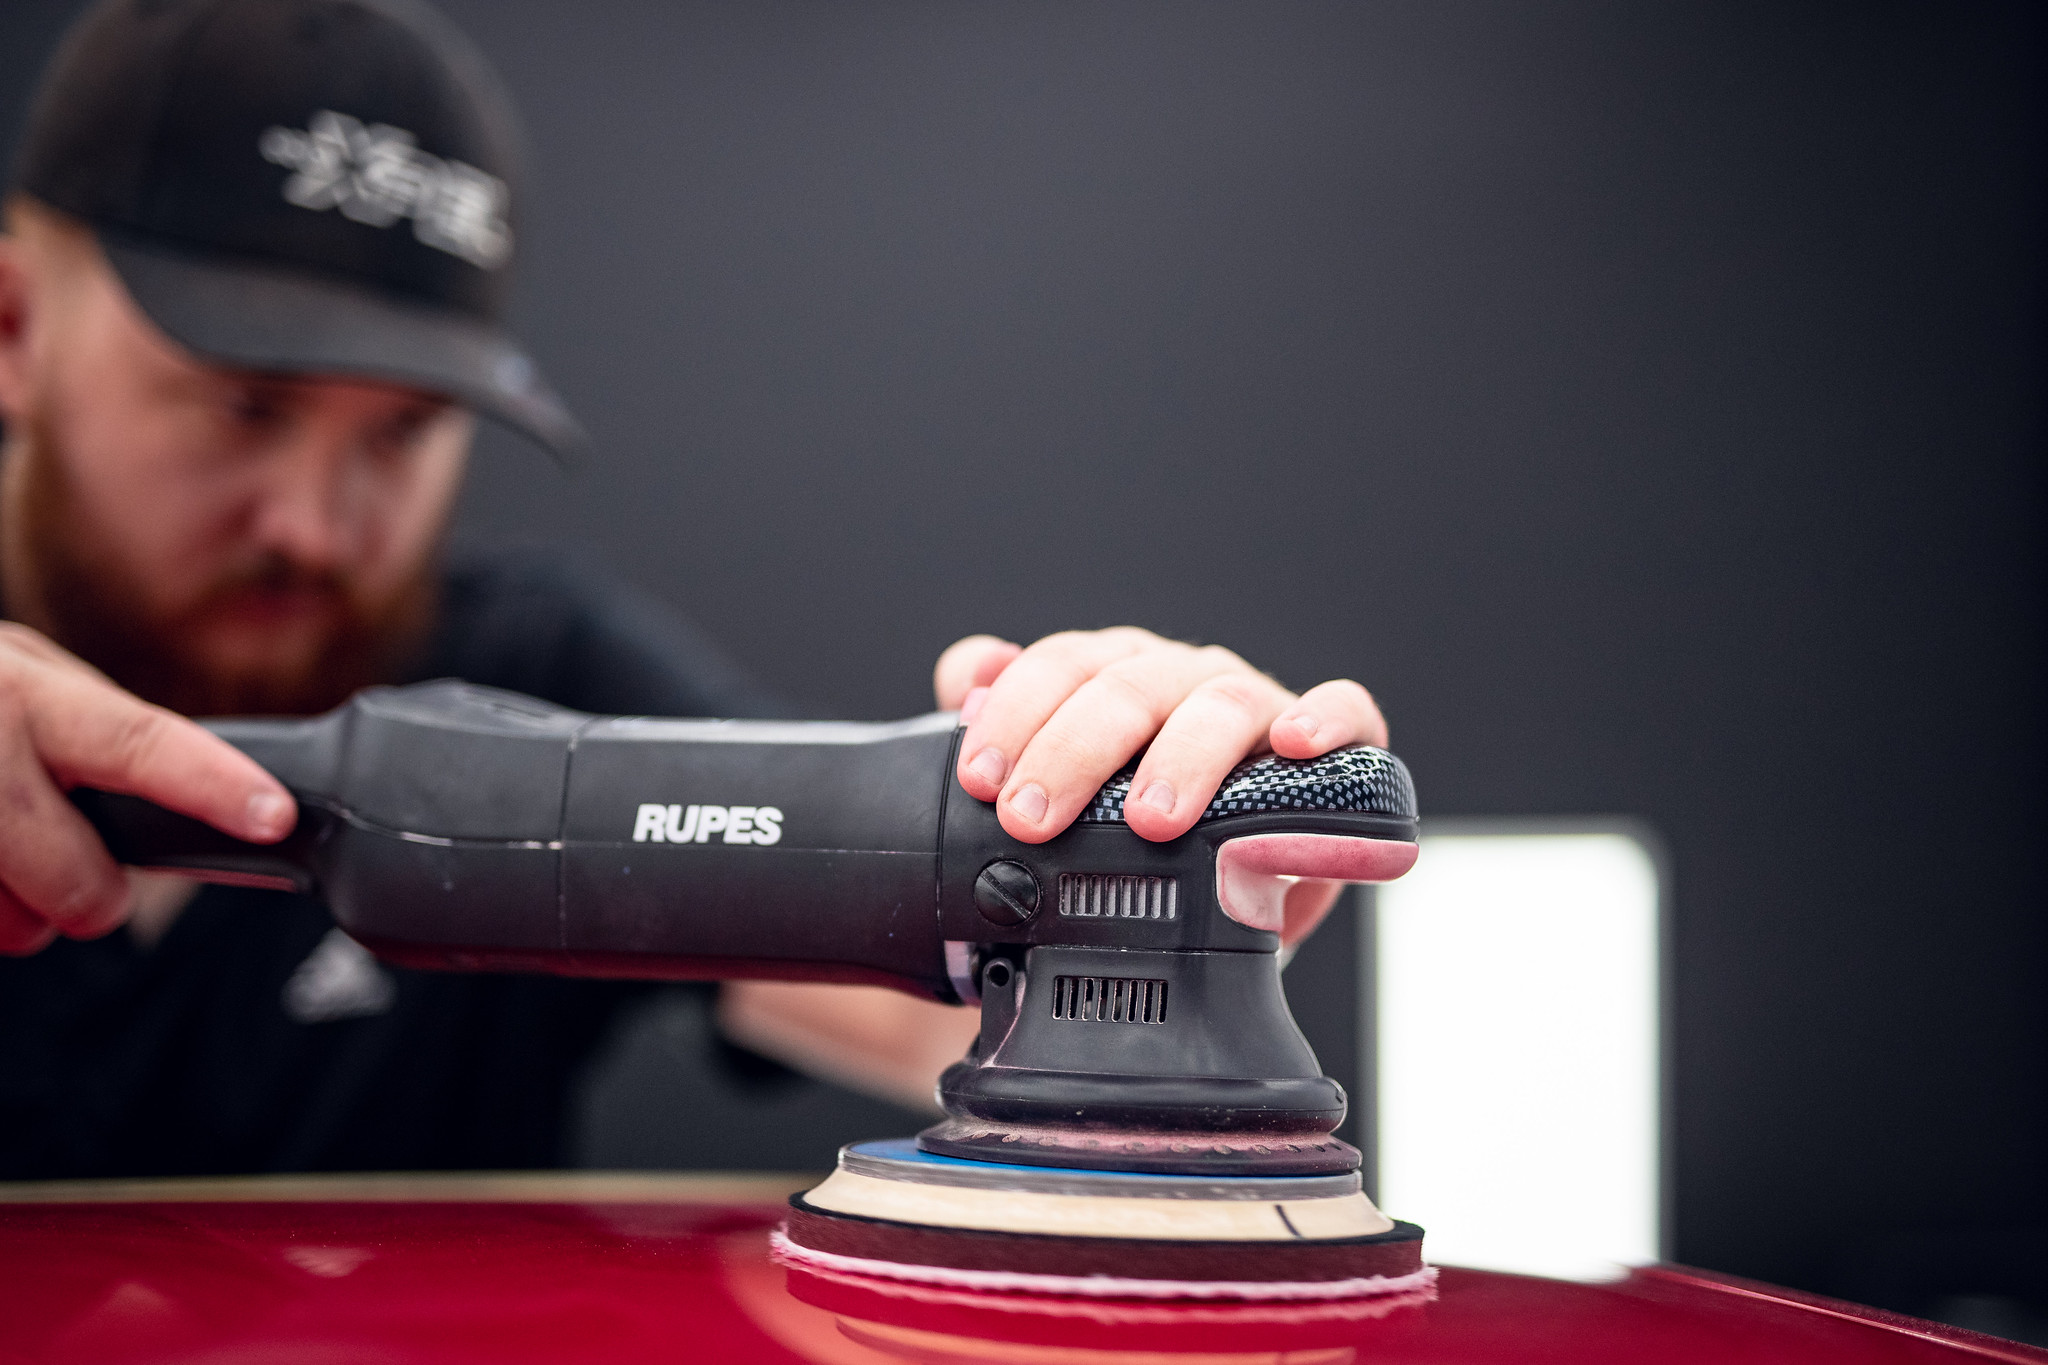
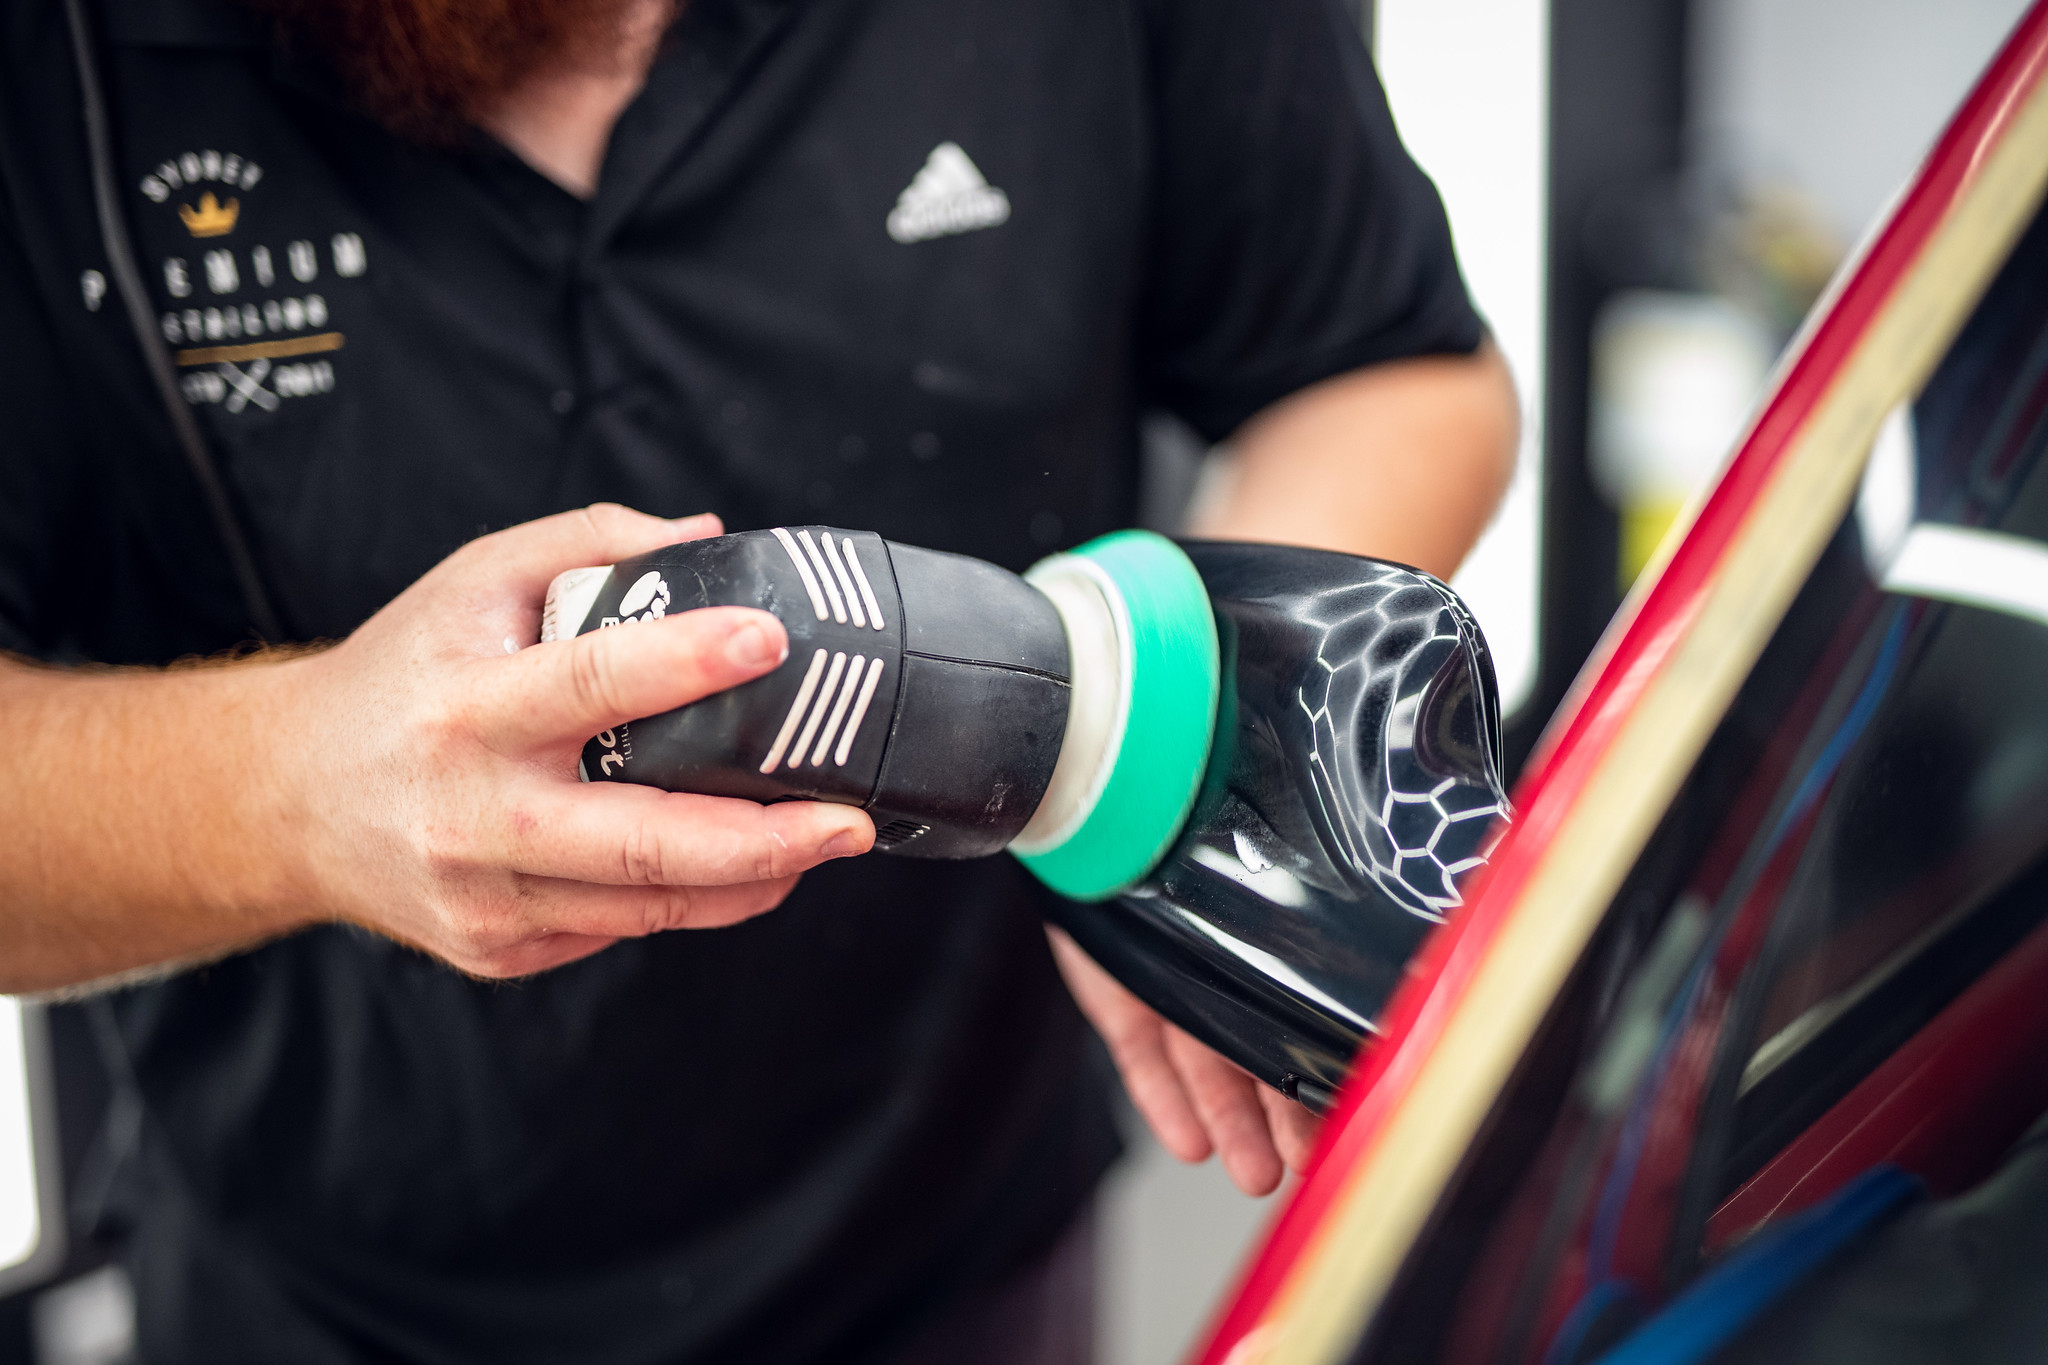
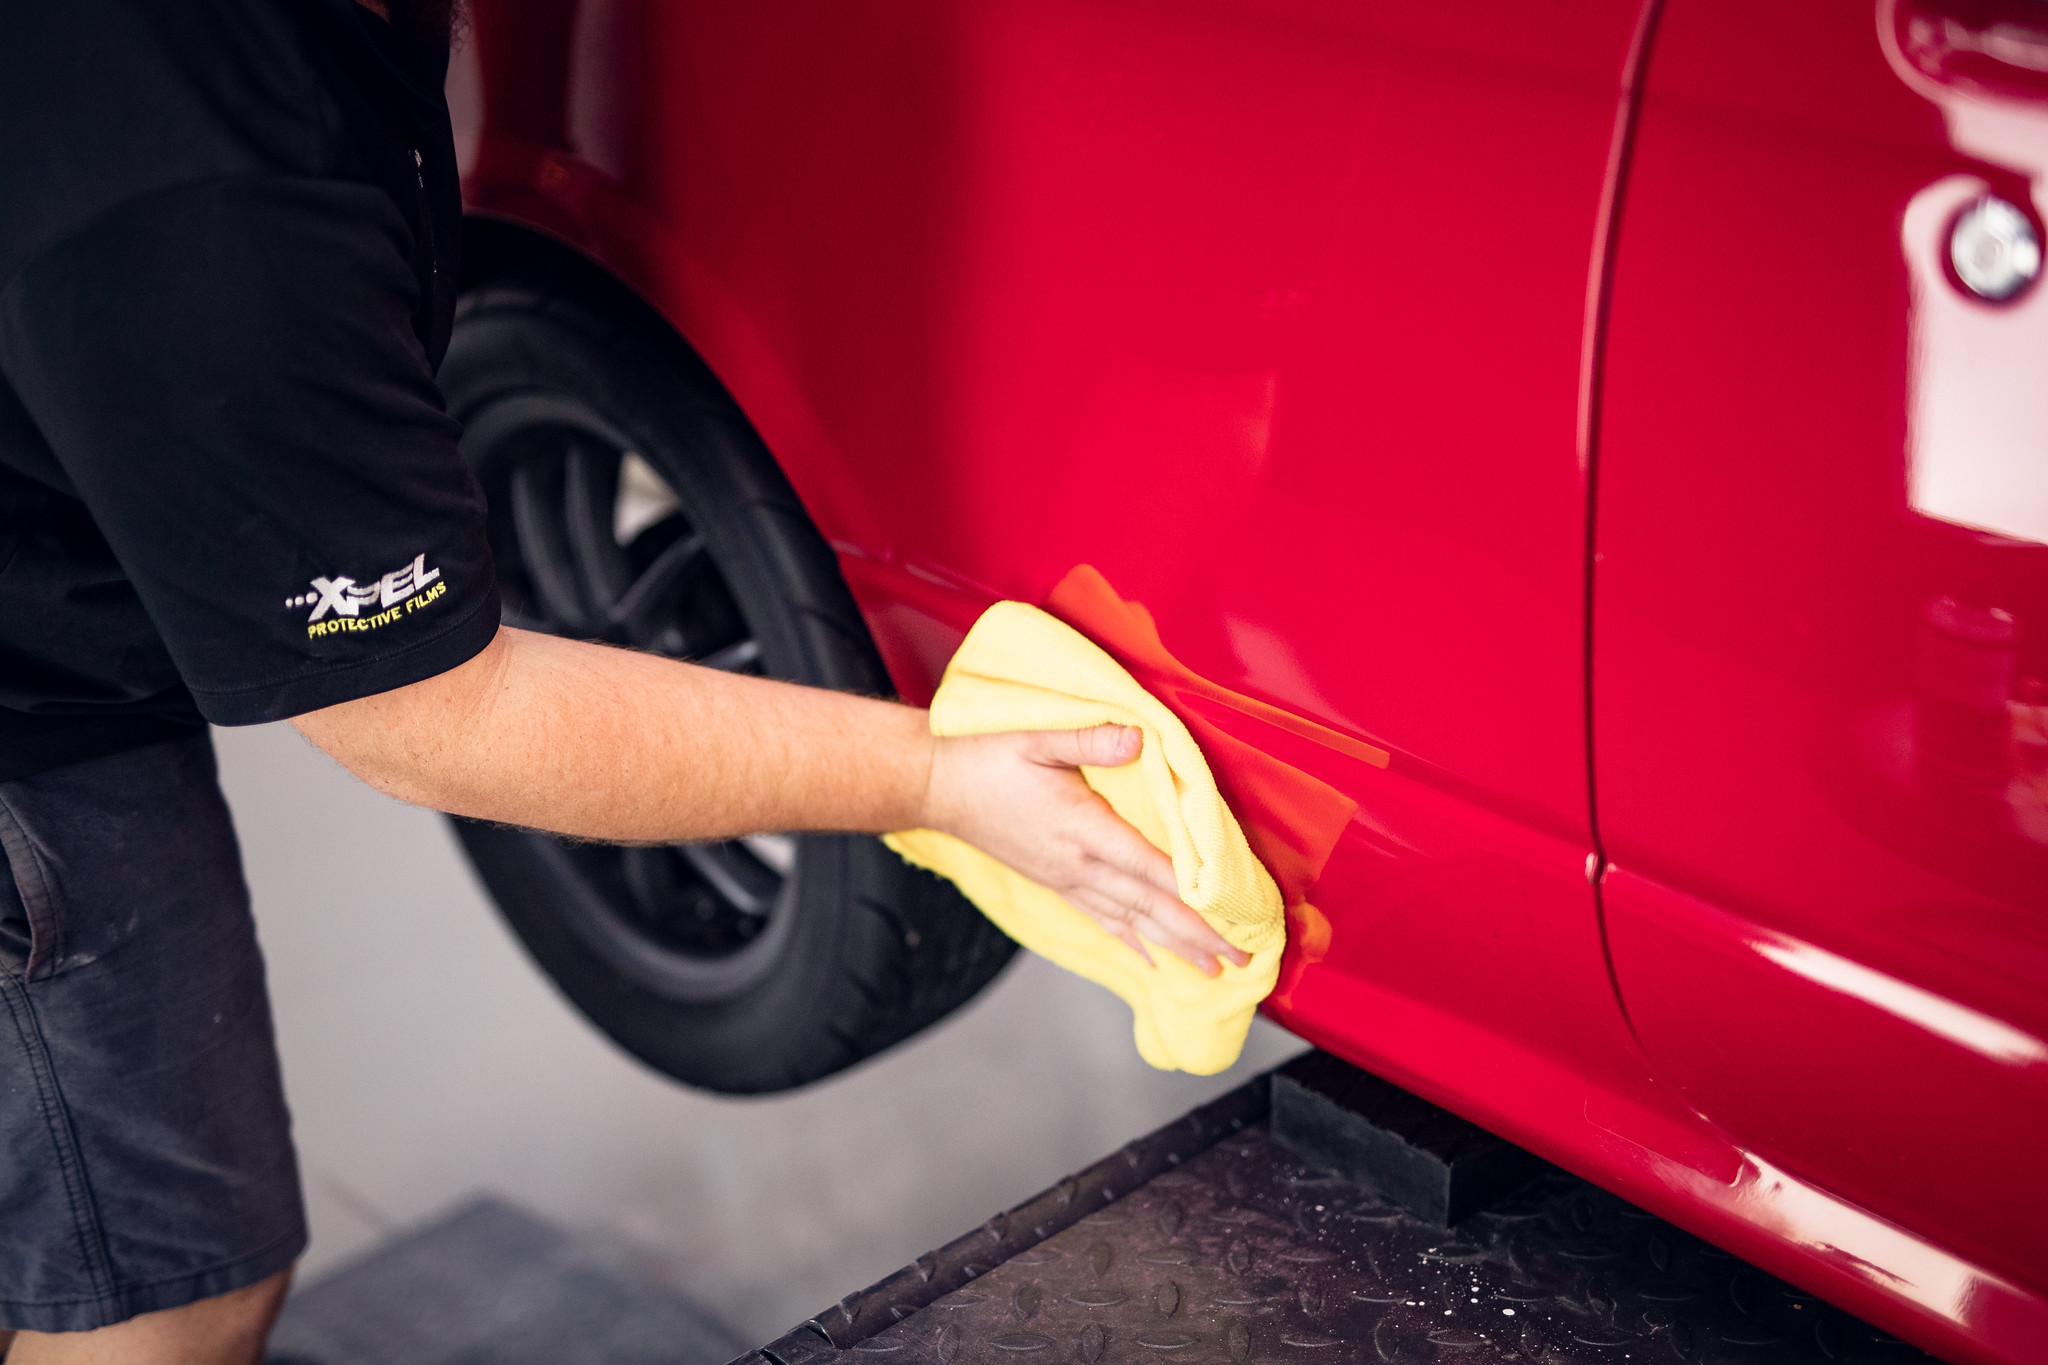
Now he could get started on compounding. Shine Supply Classic Cut with a Rupes DA.

Here we go.


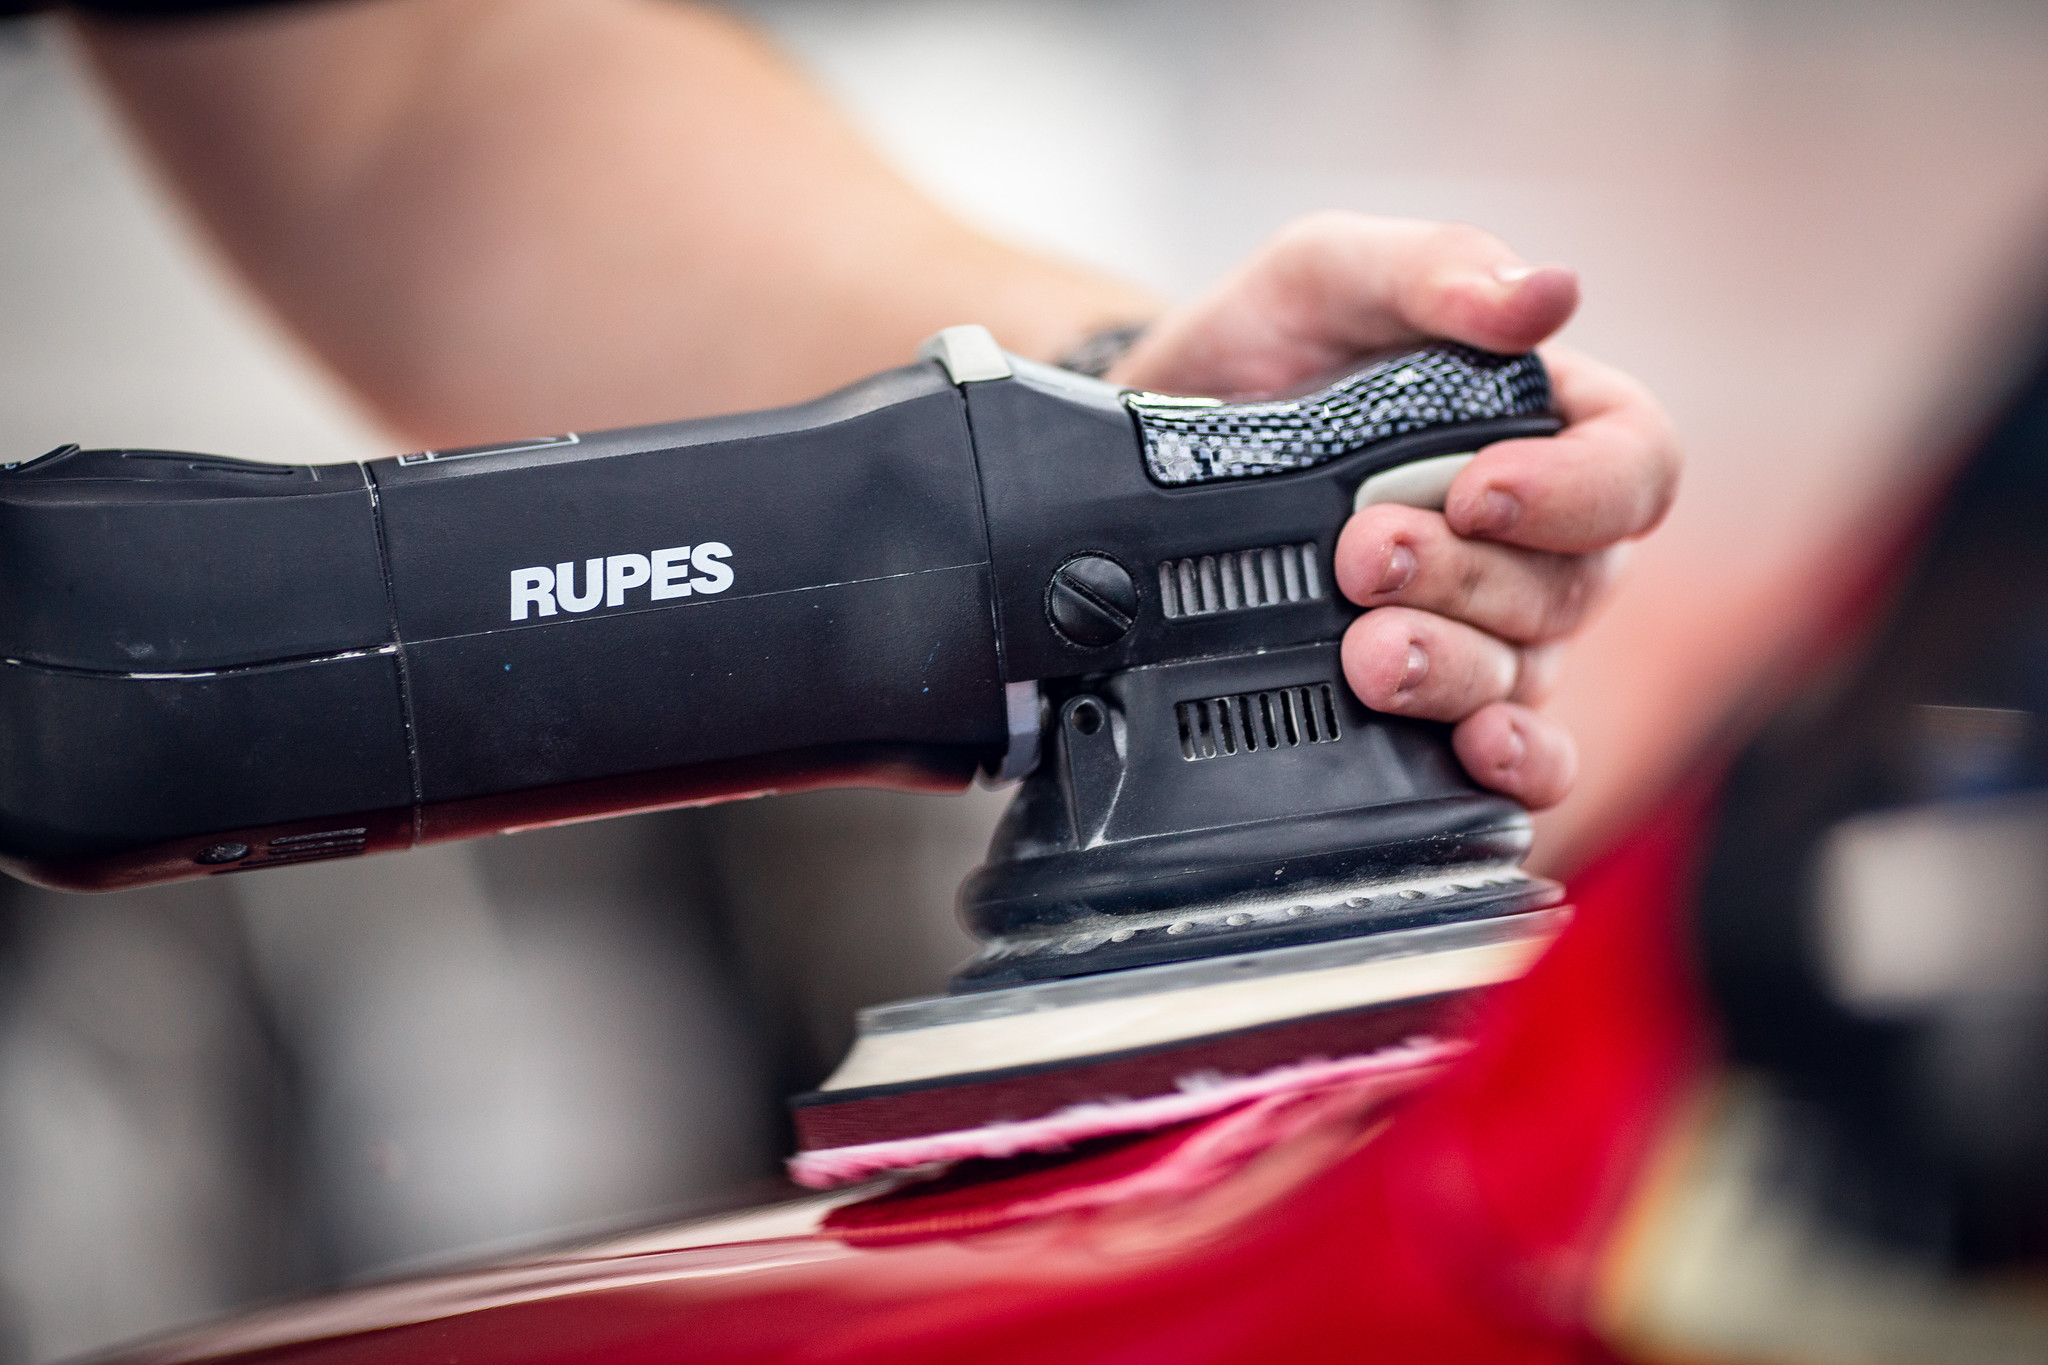
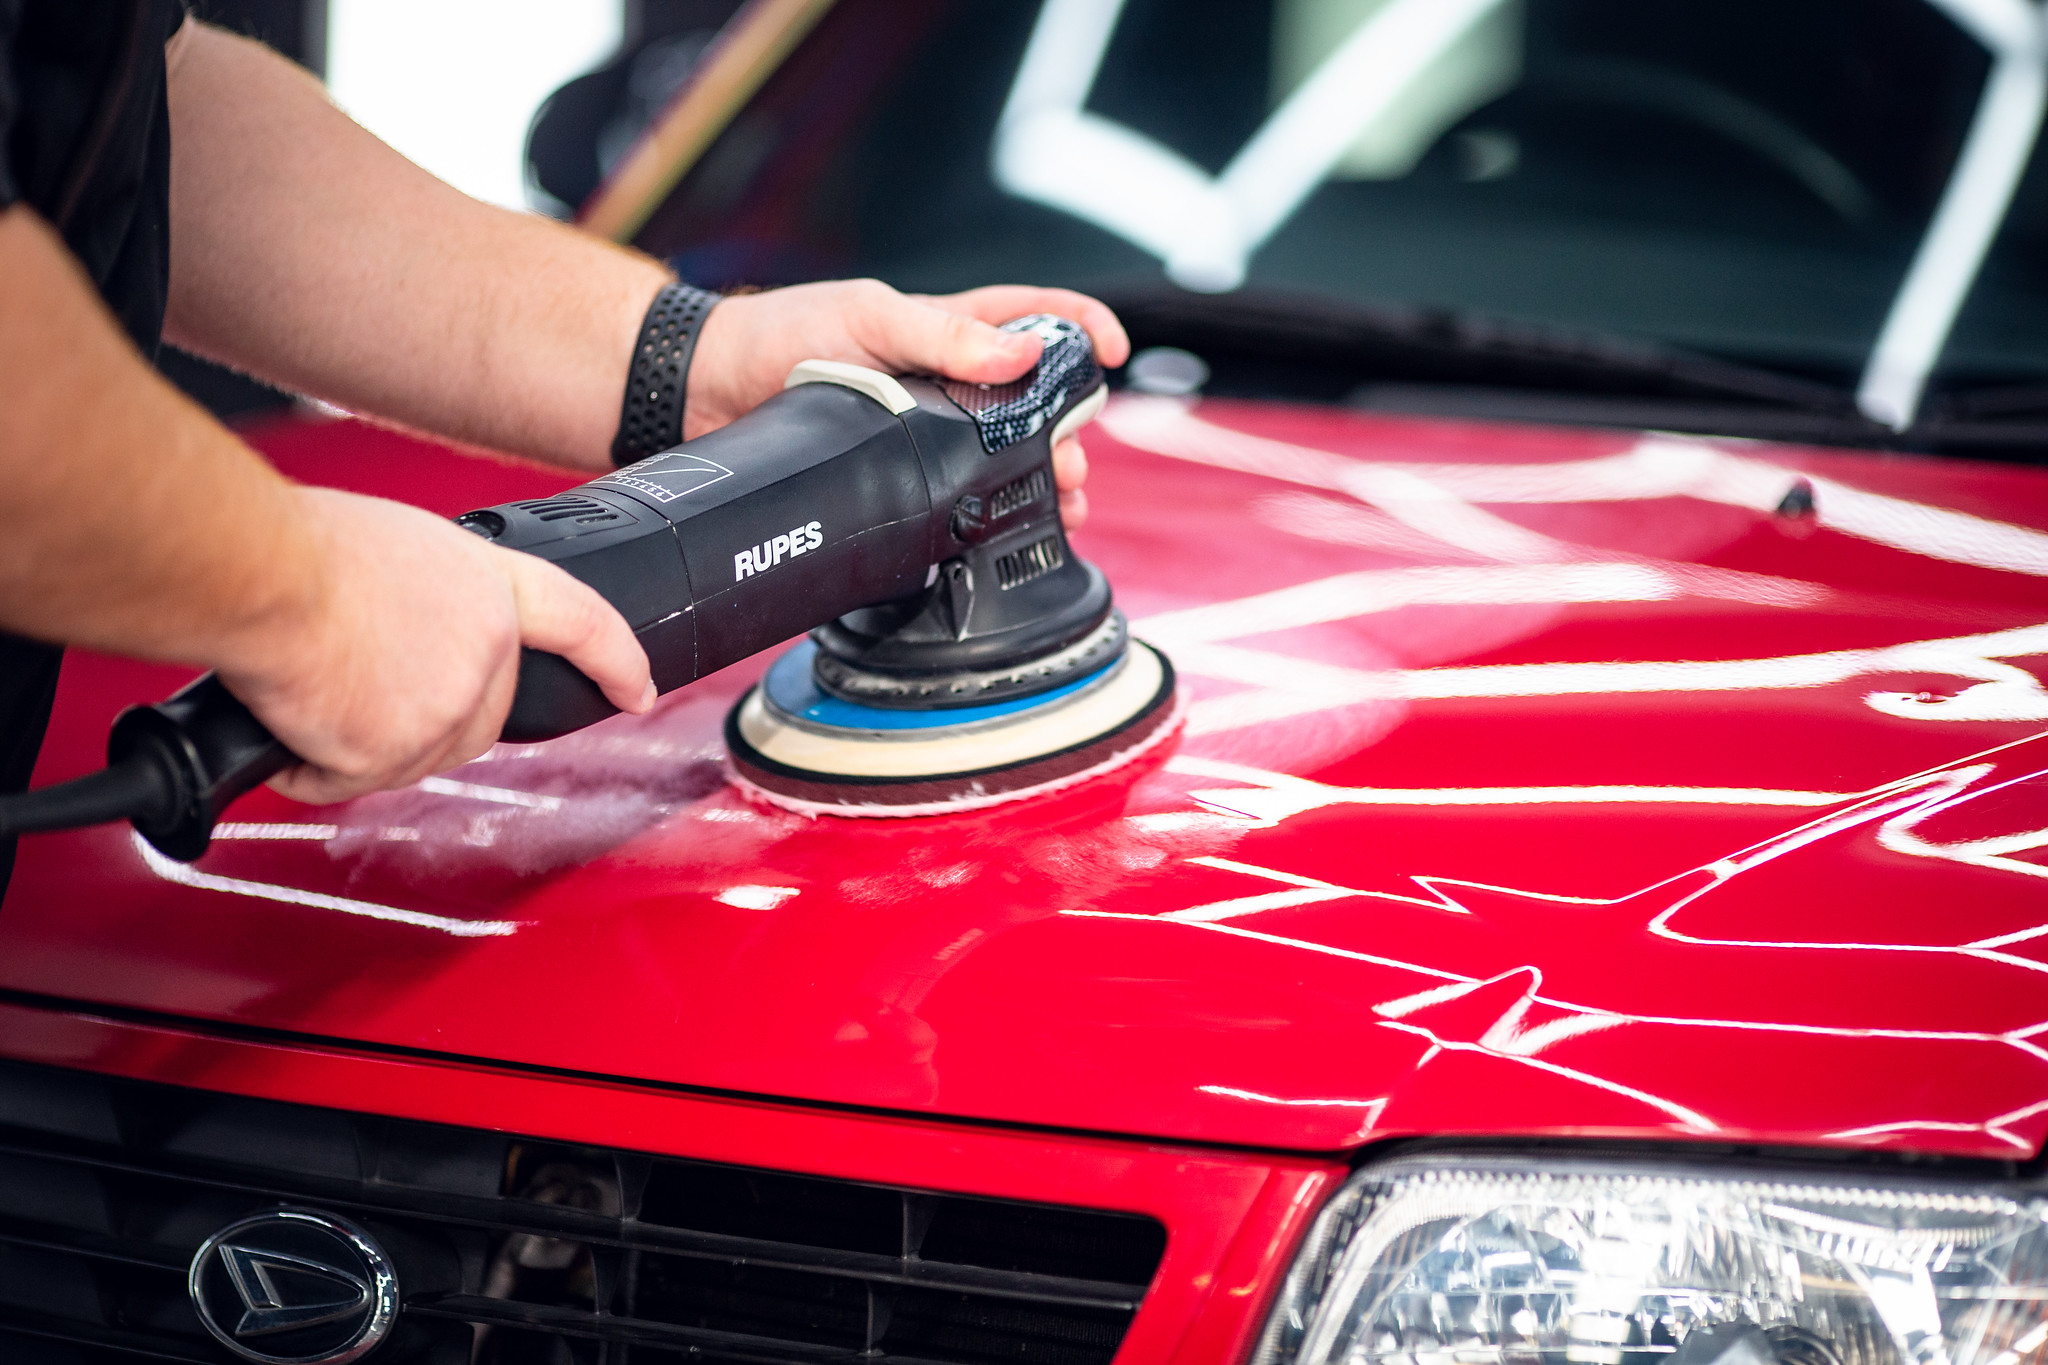
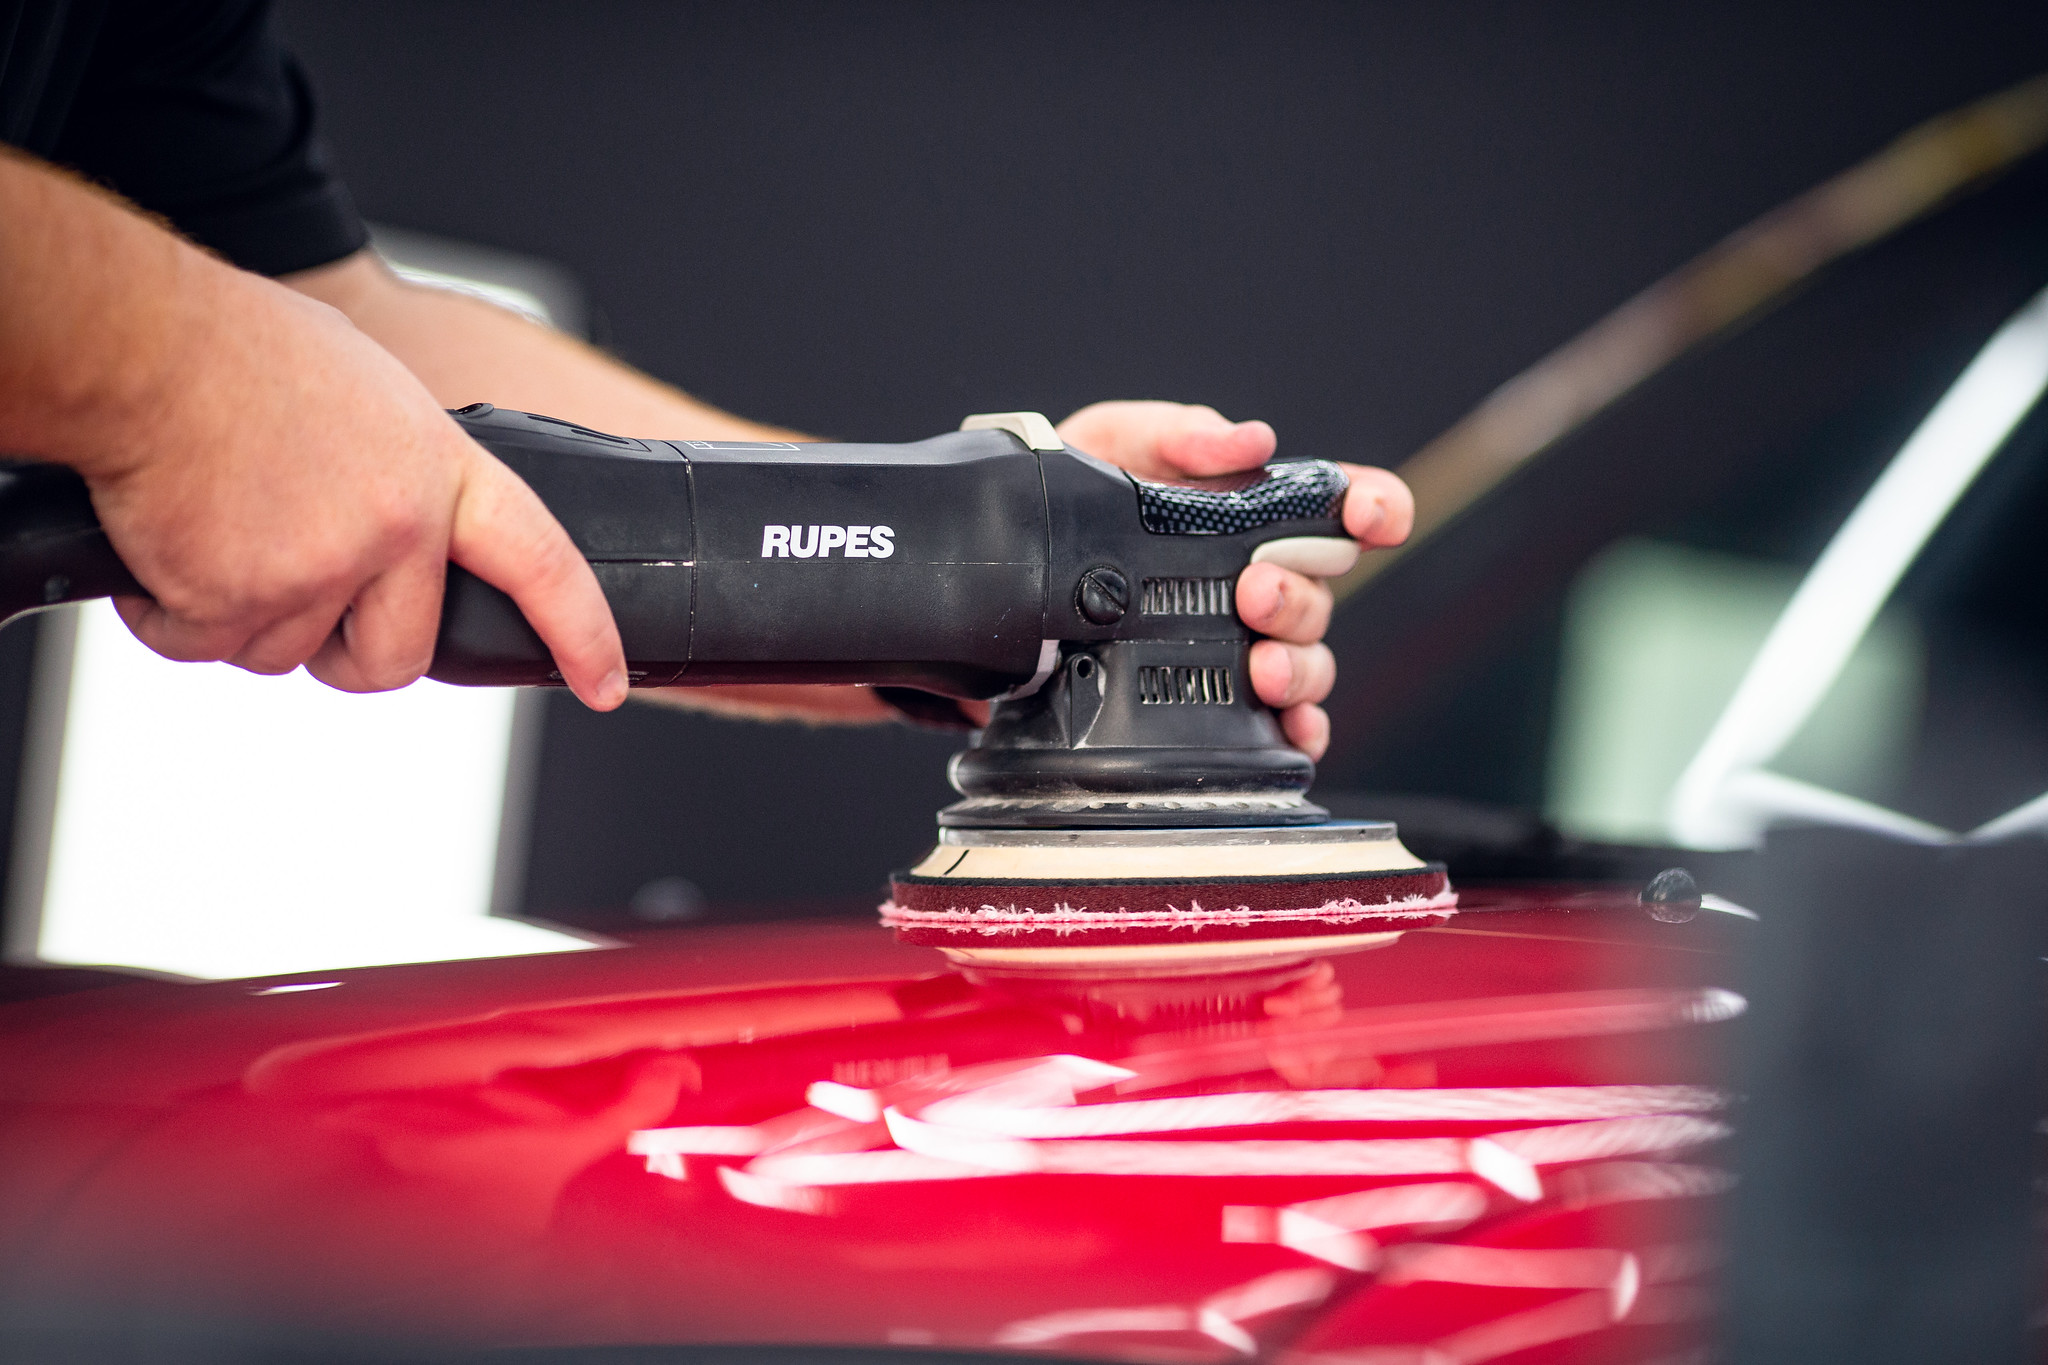


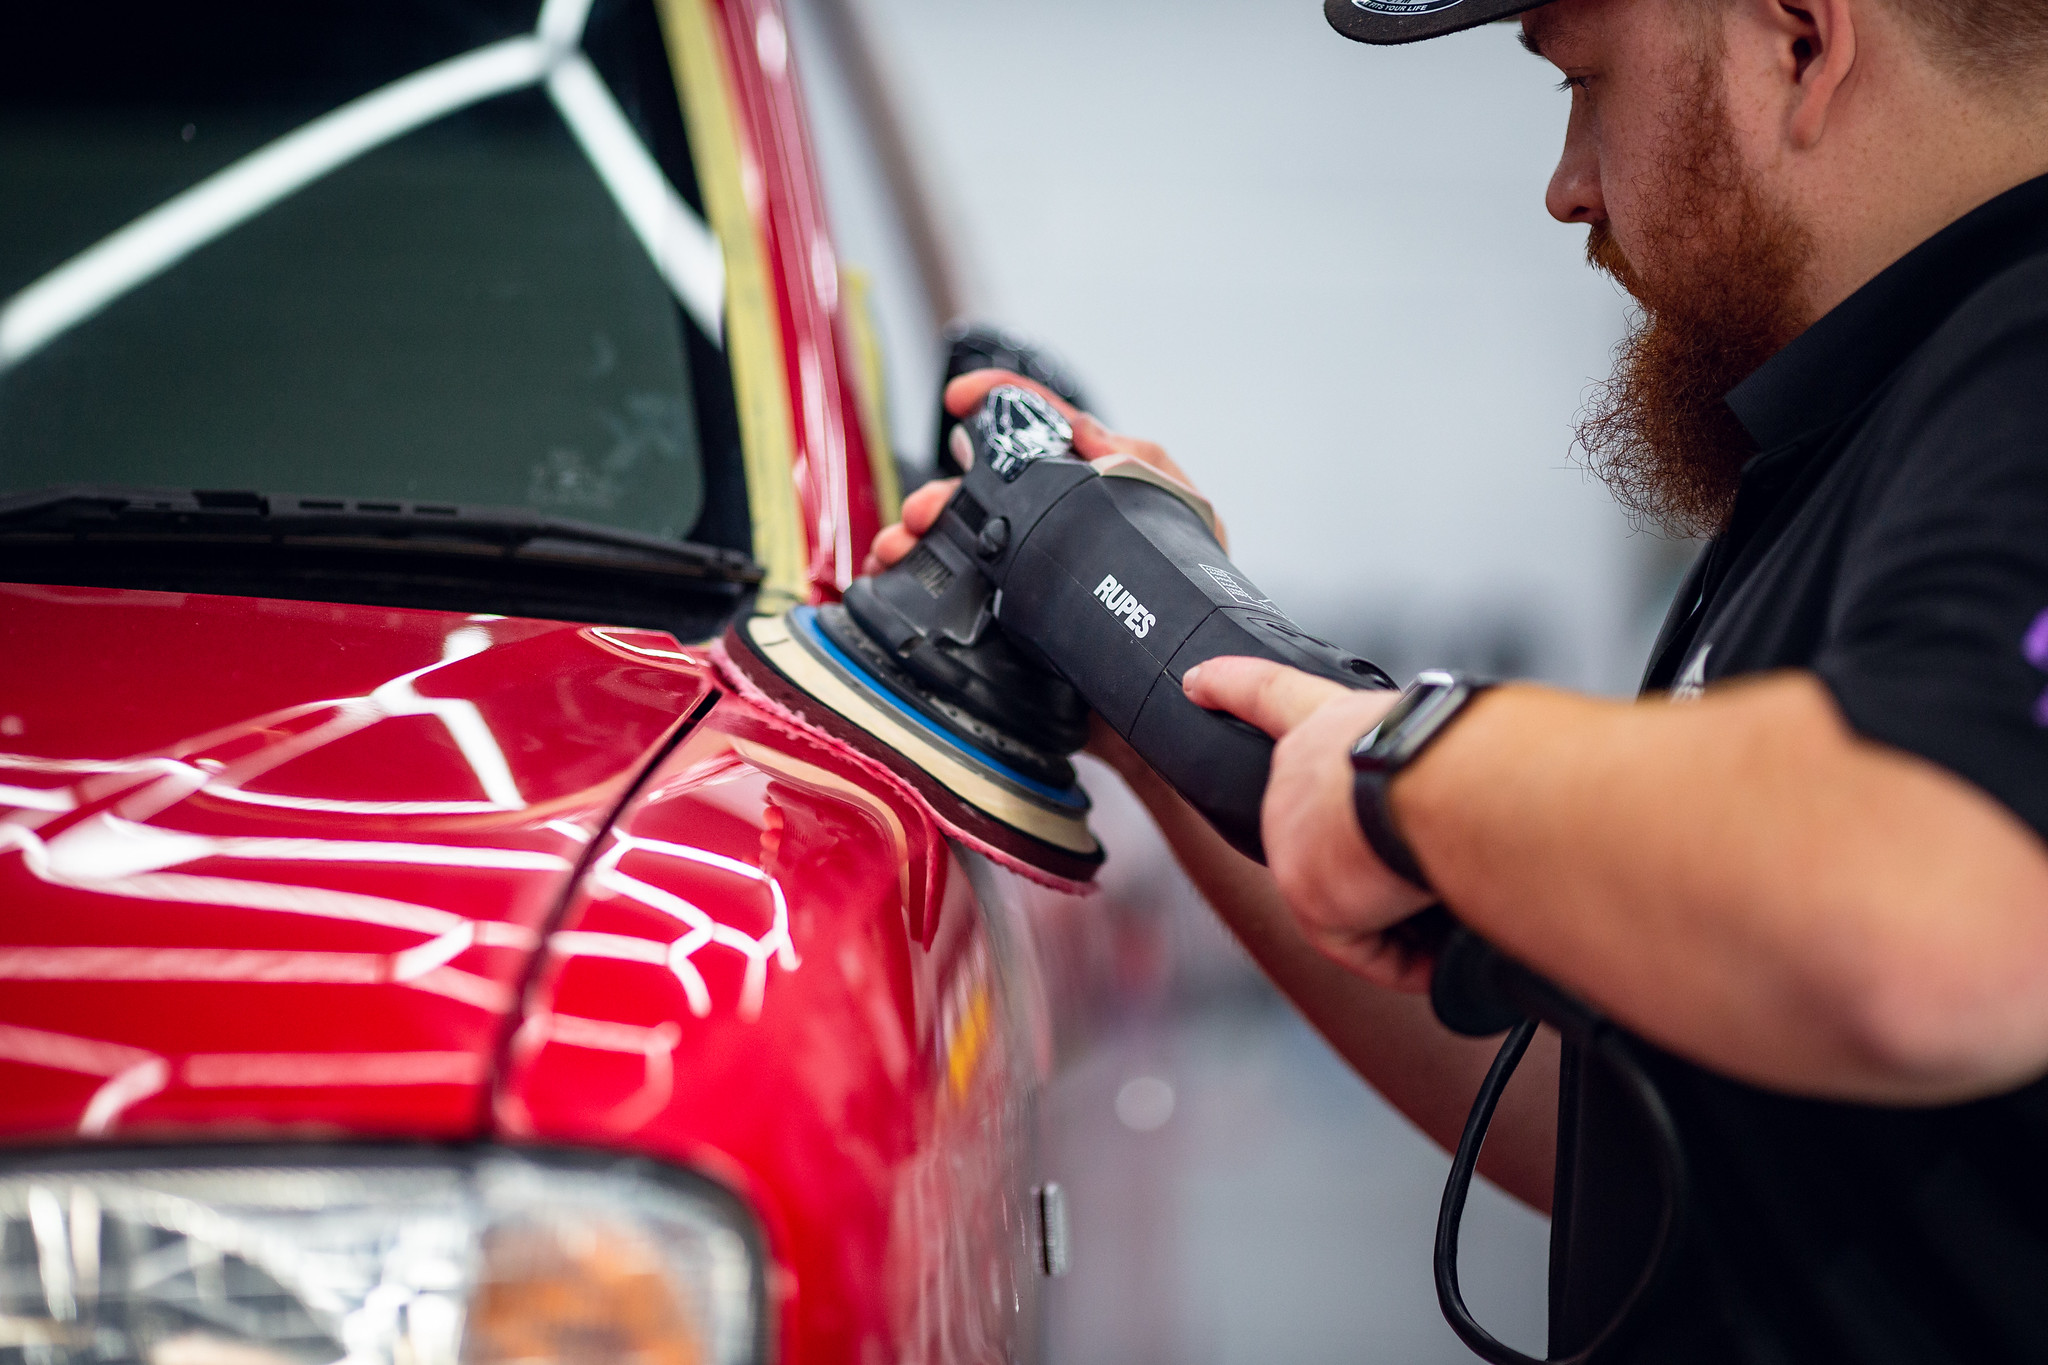
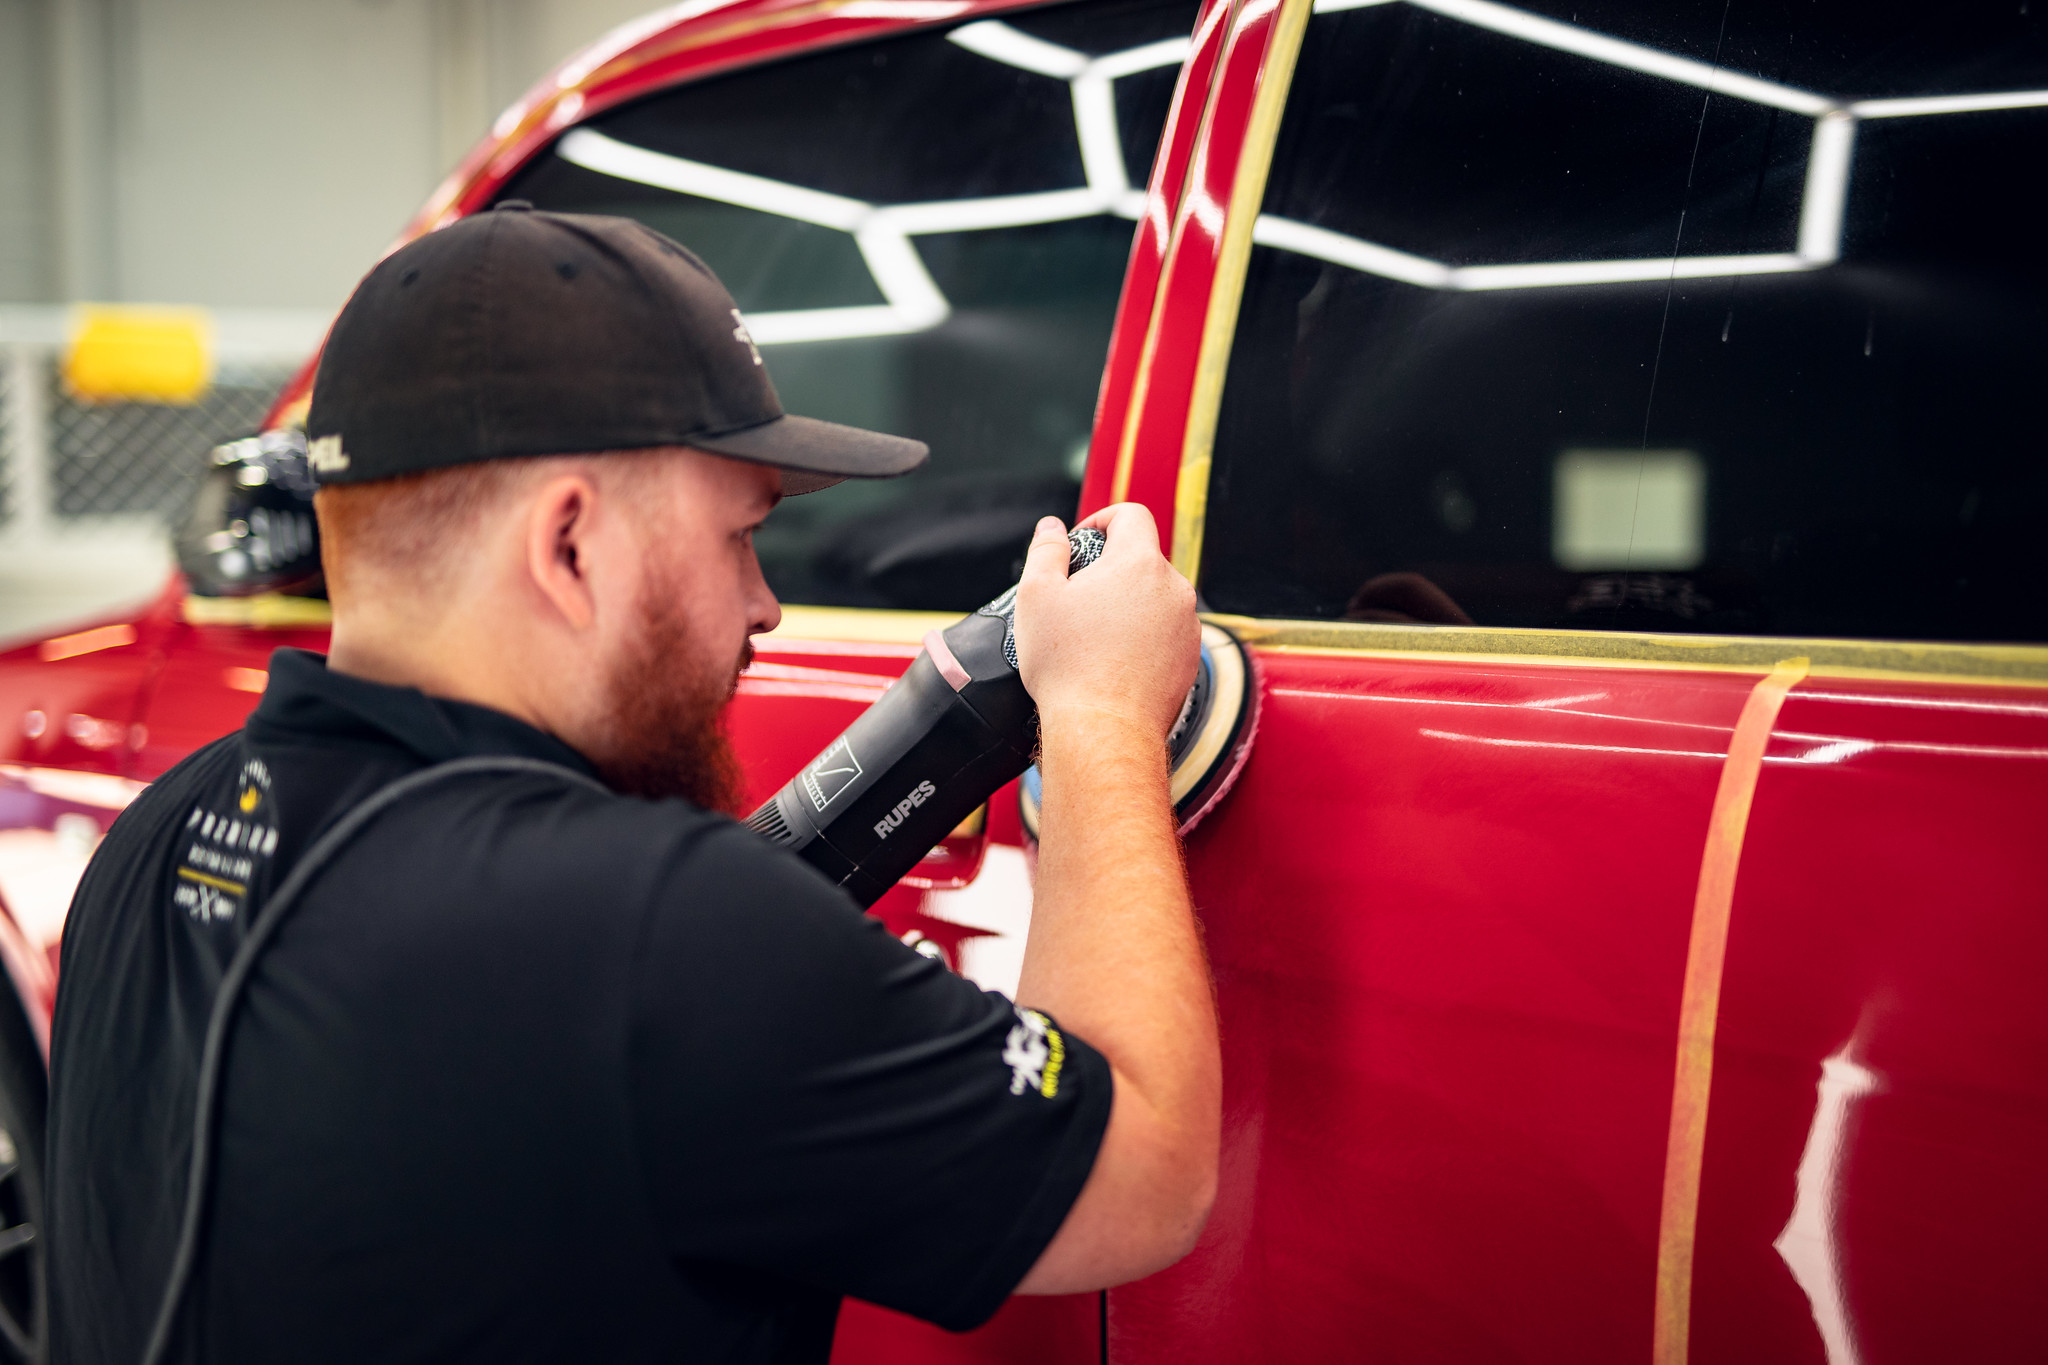
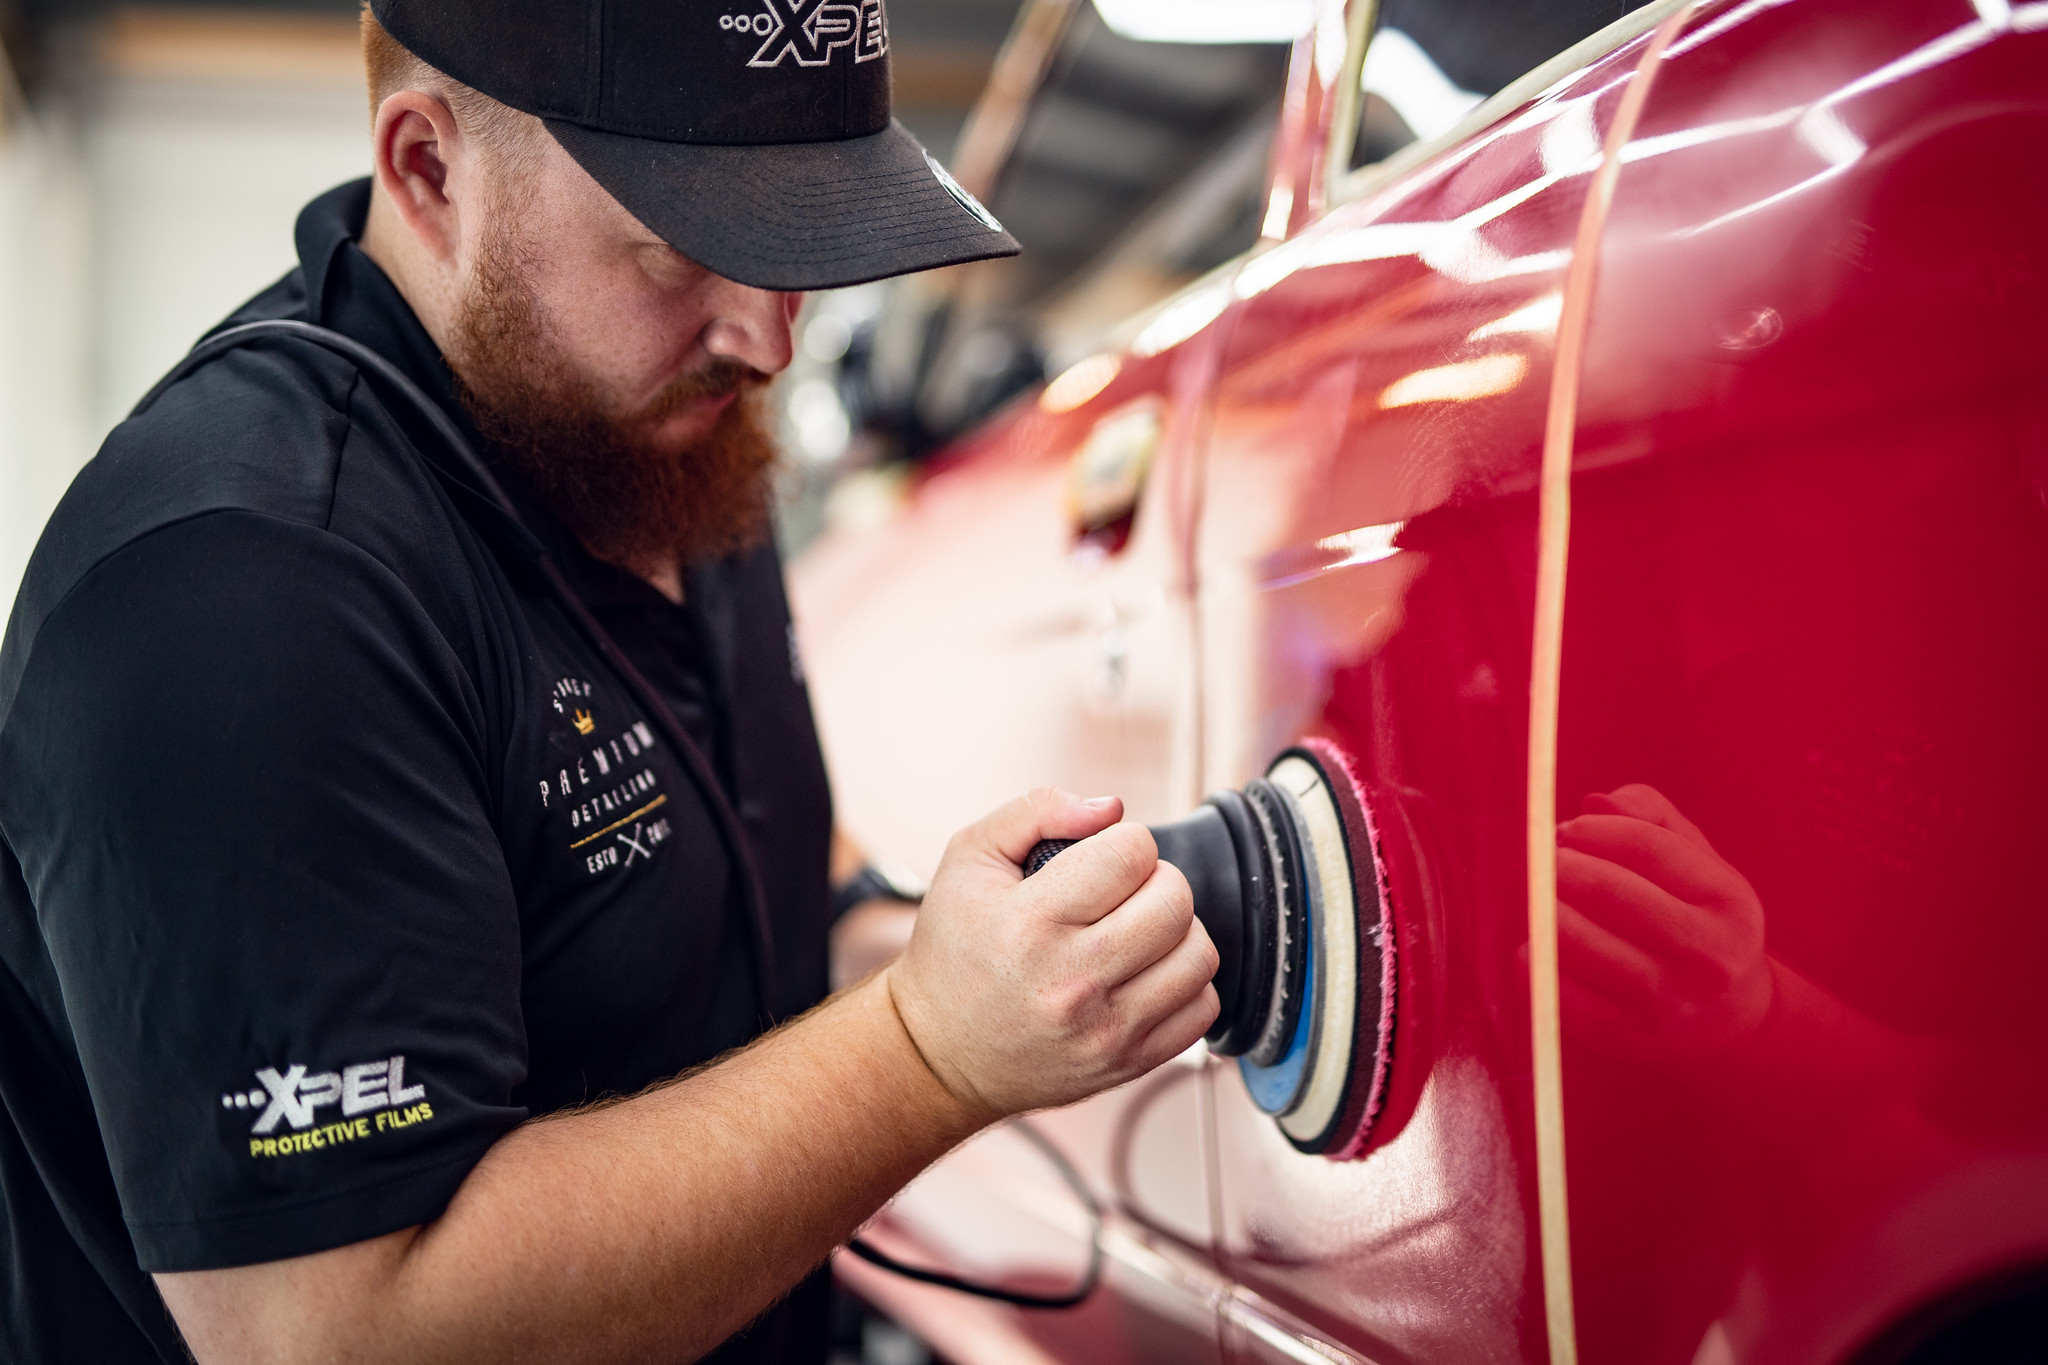
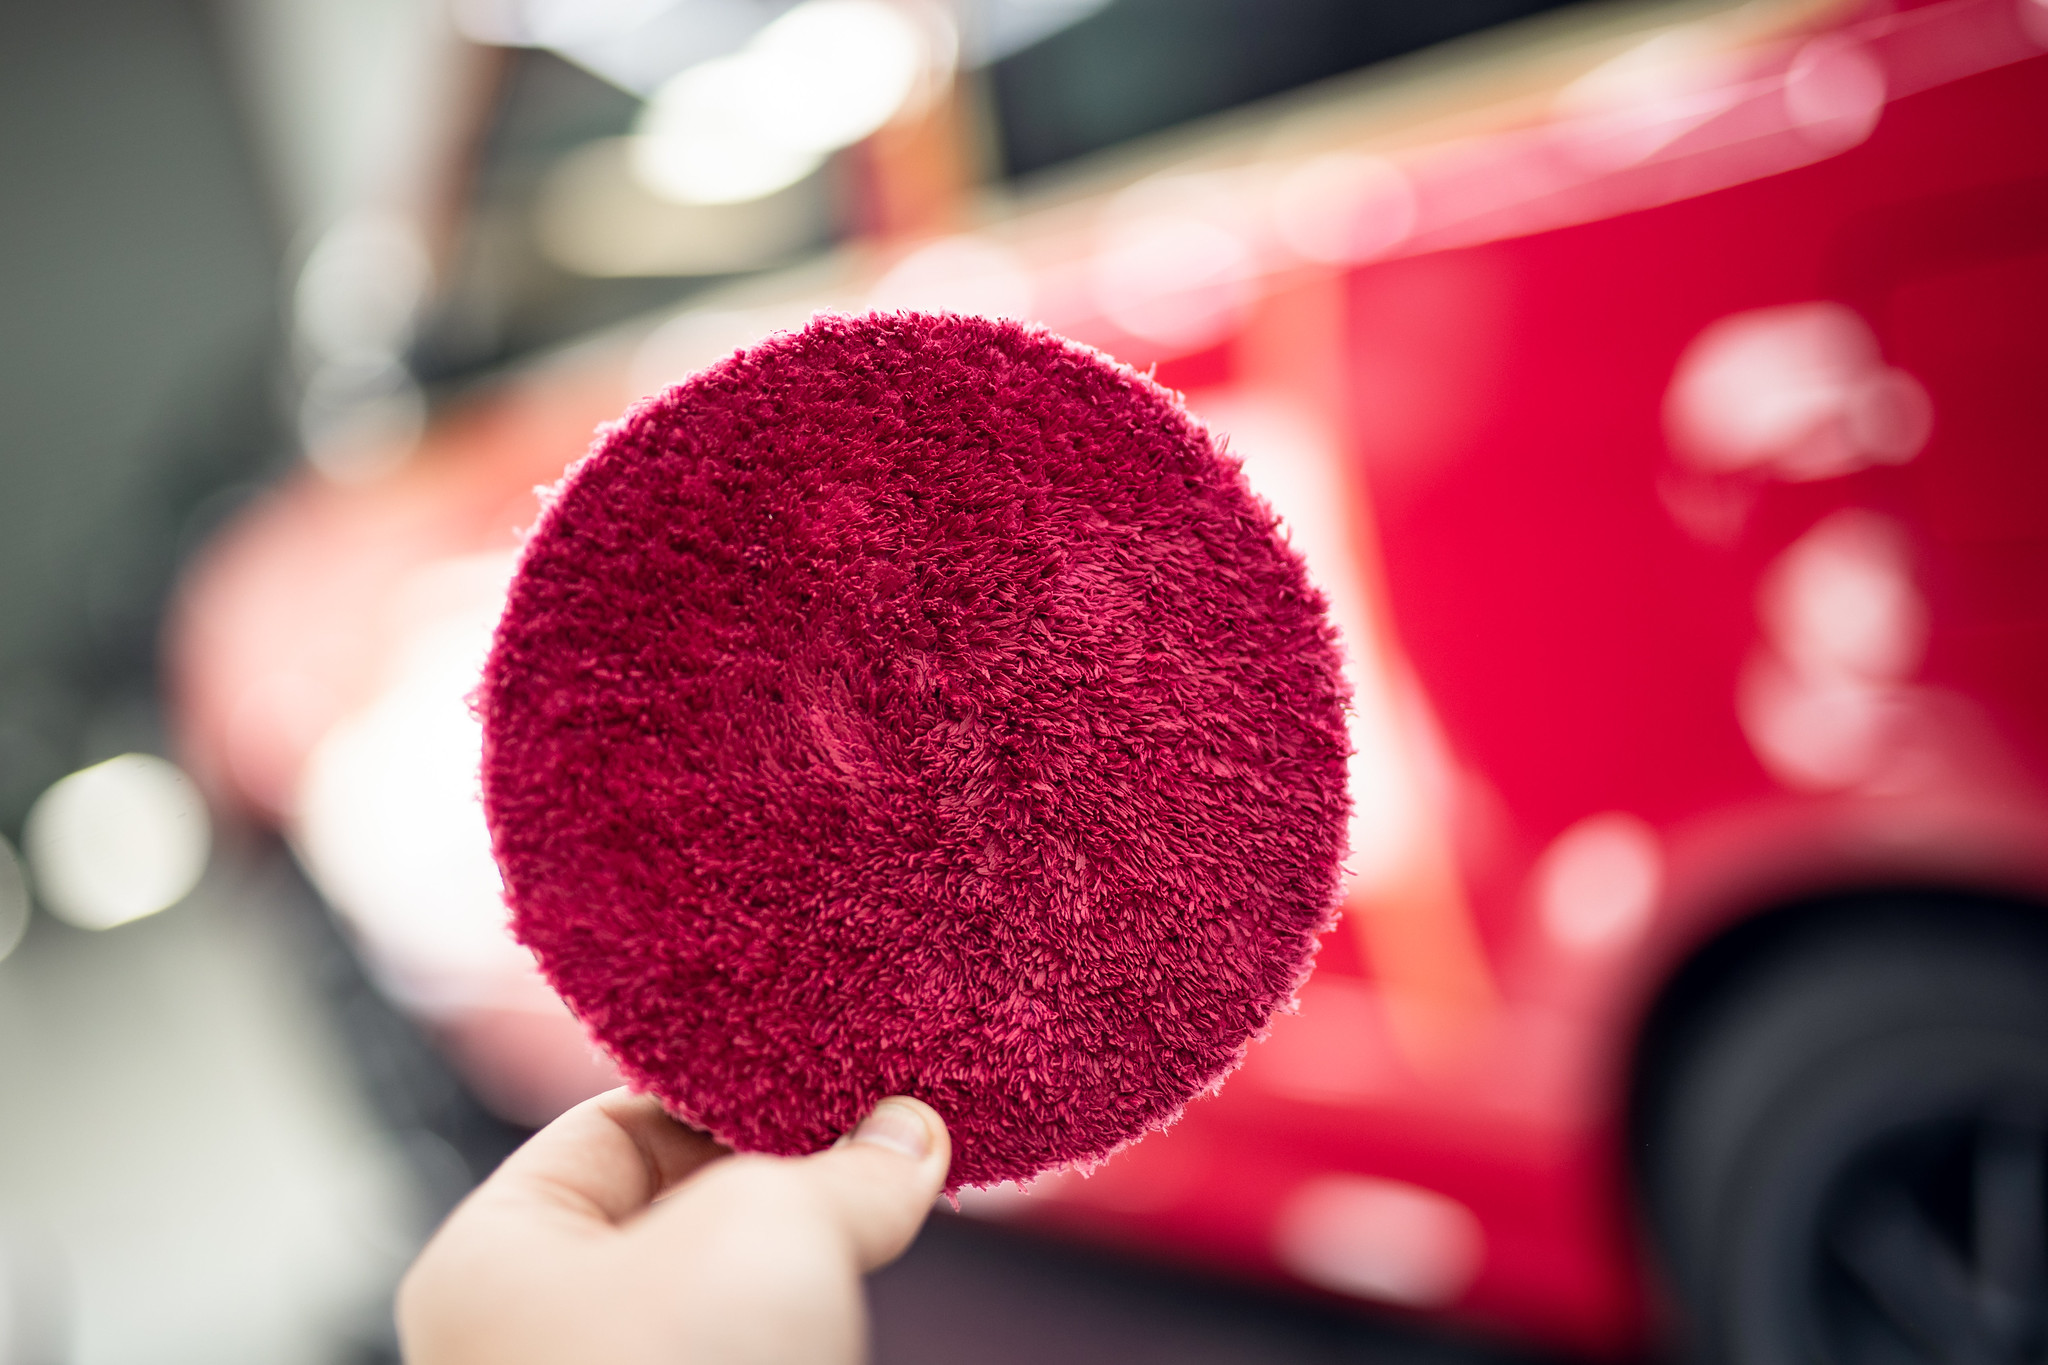
Single stage paint was killing these pads quick smart.

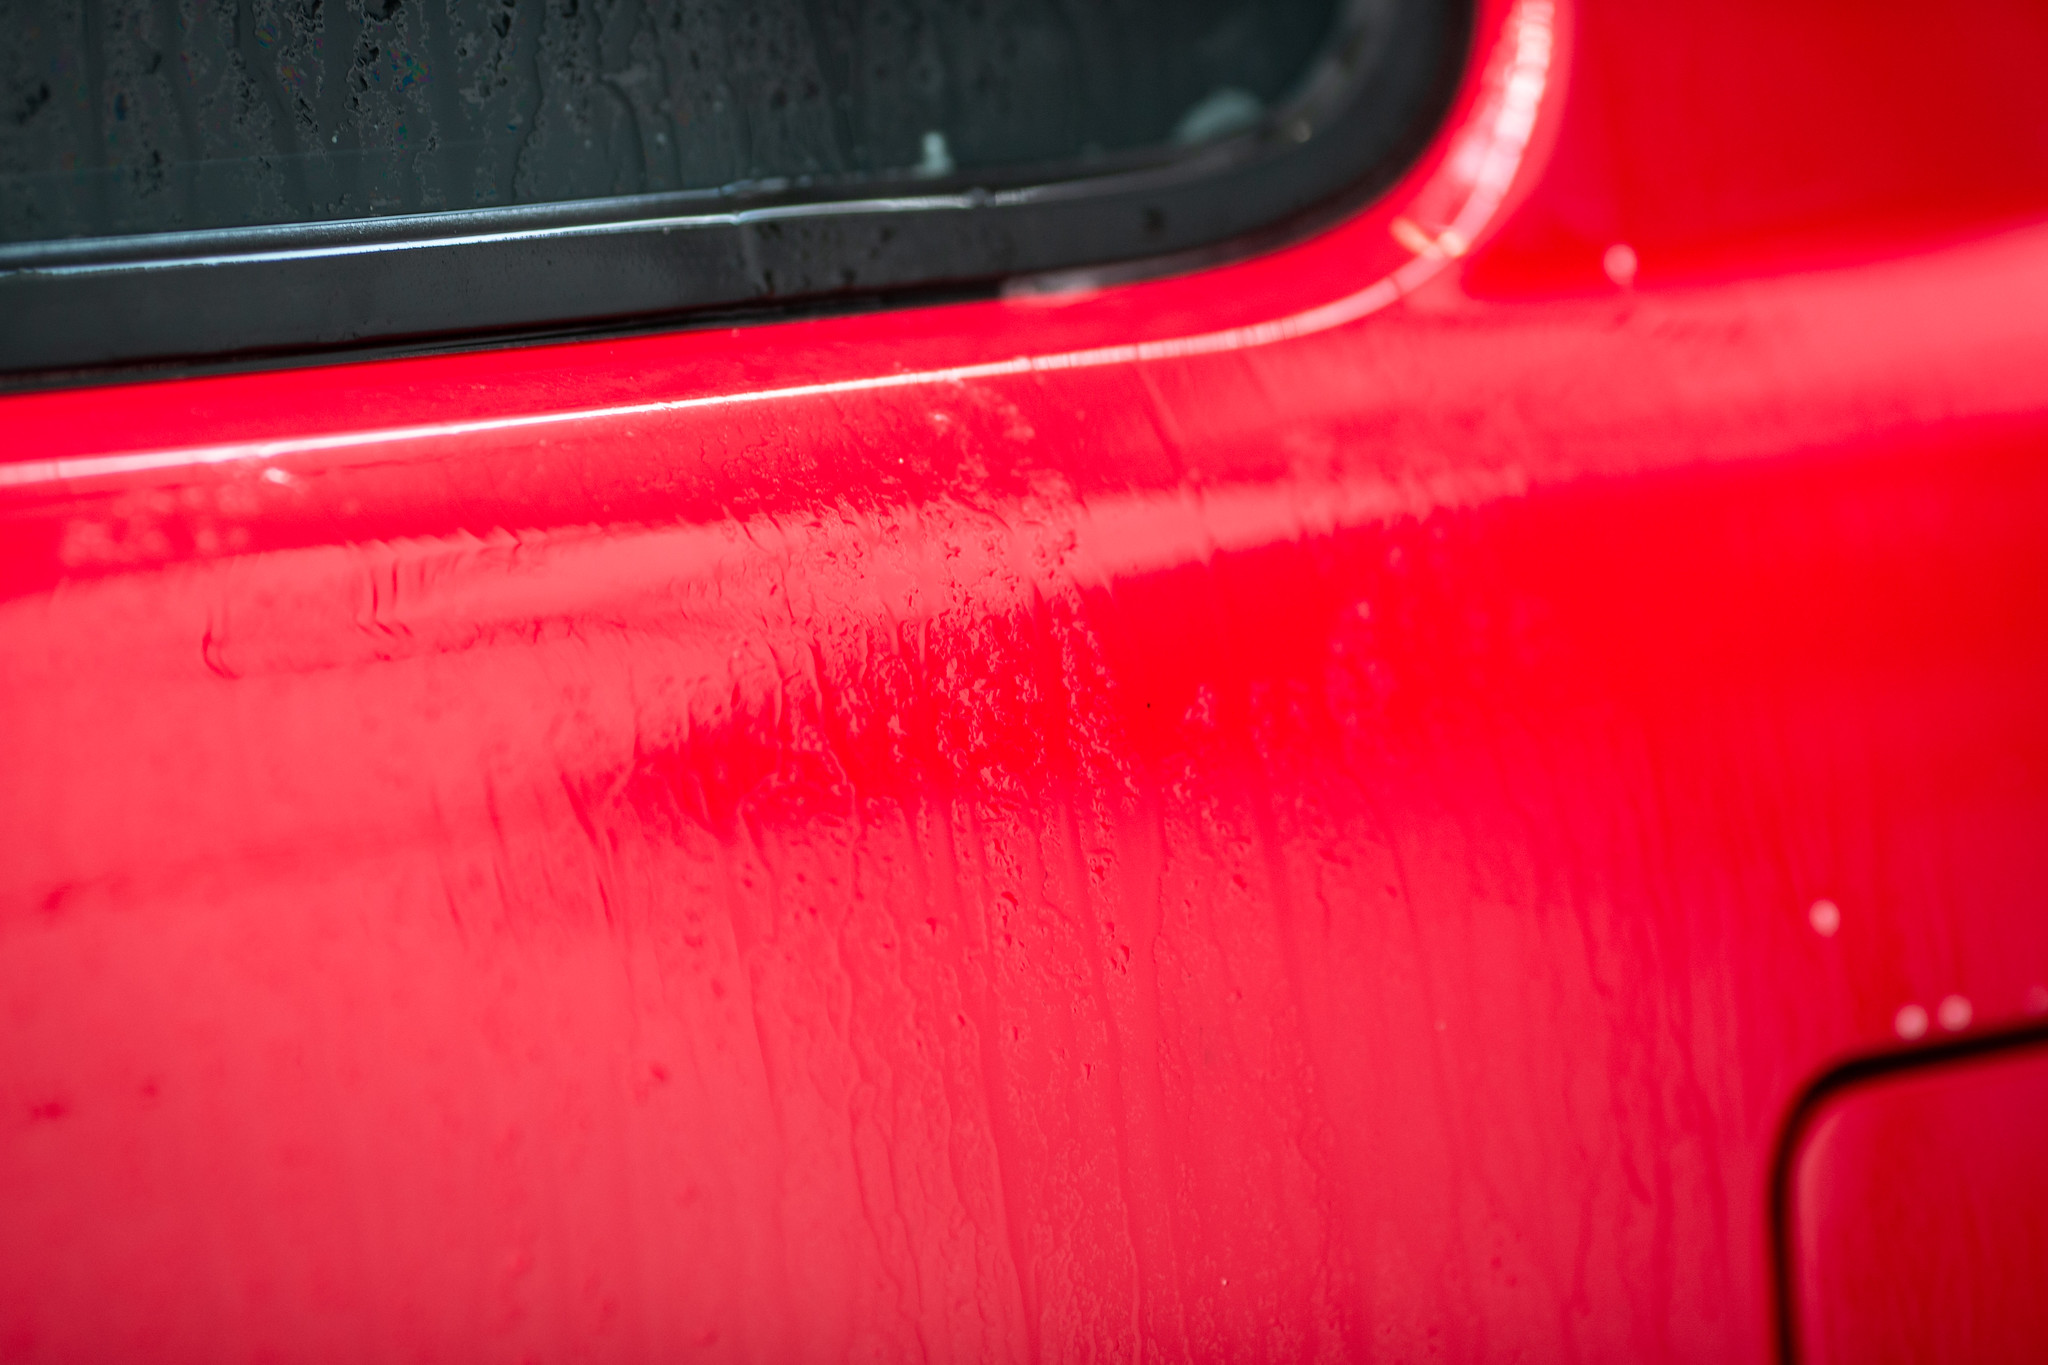
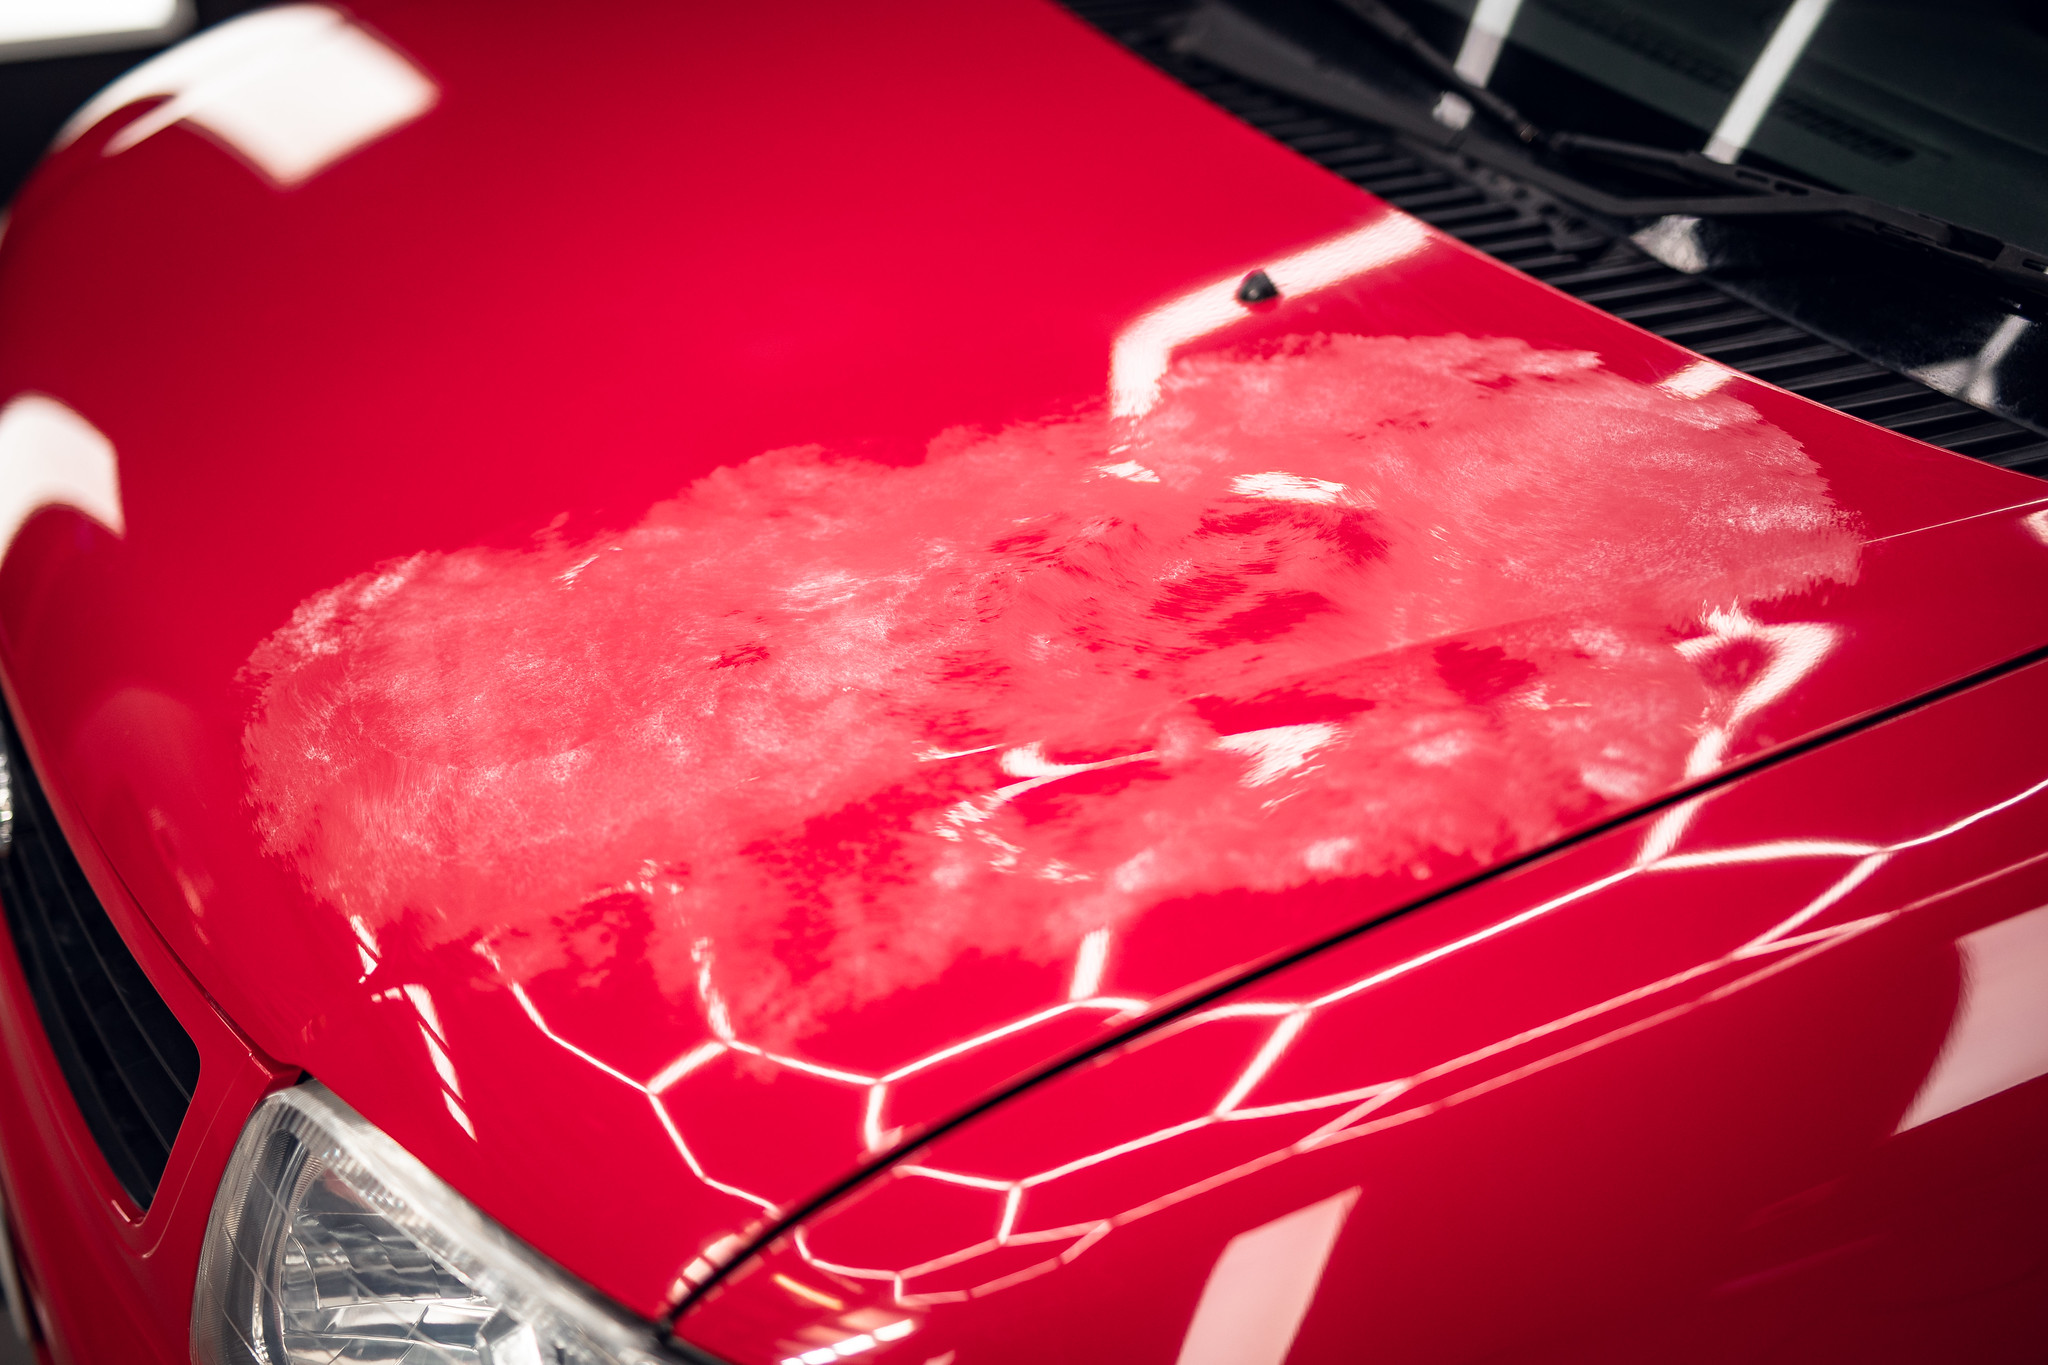
This is only the first stage, without polish and it looks insane.

Here are a few before and afters.

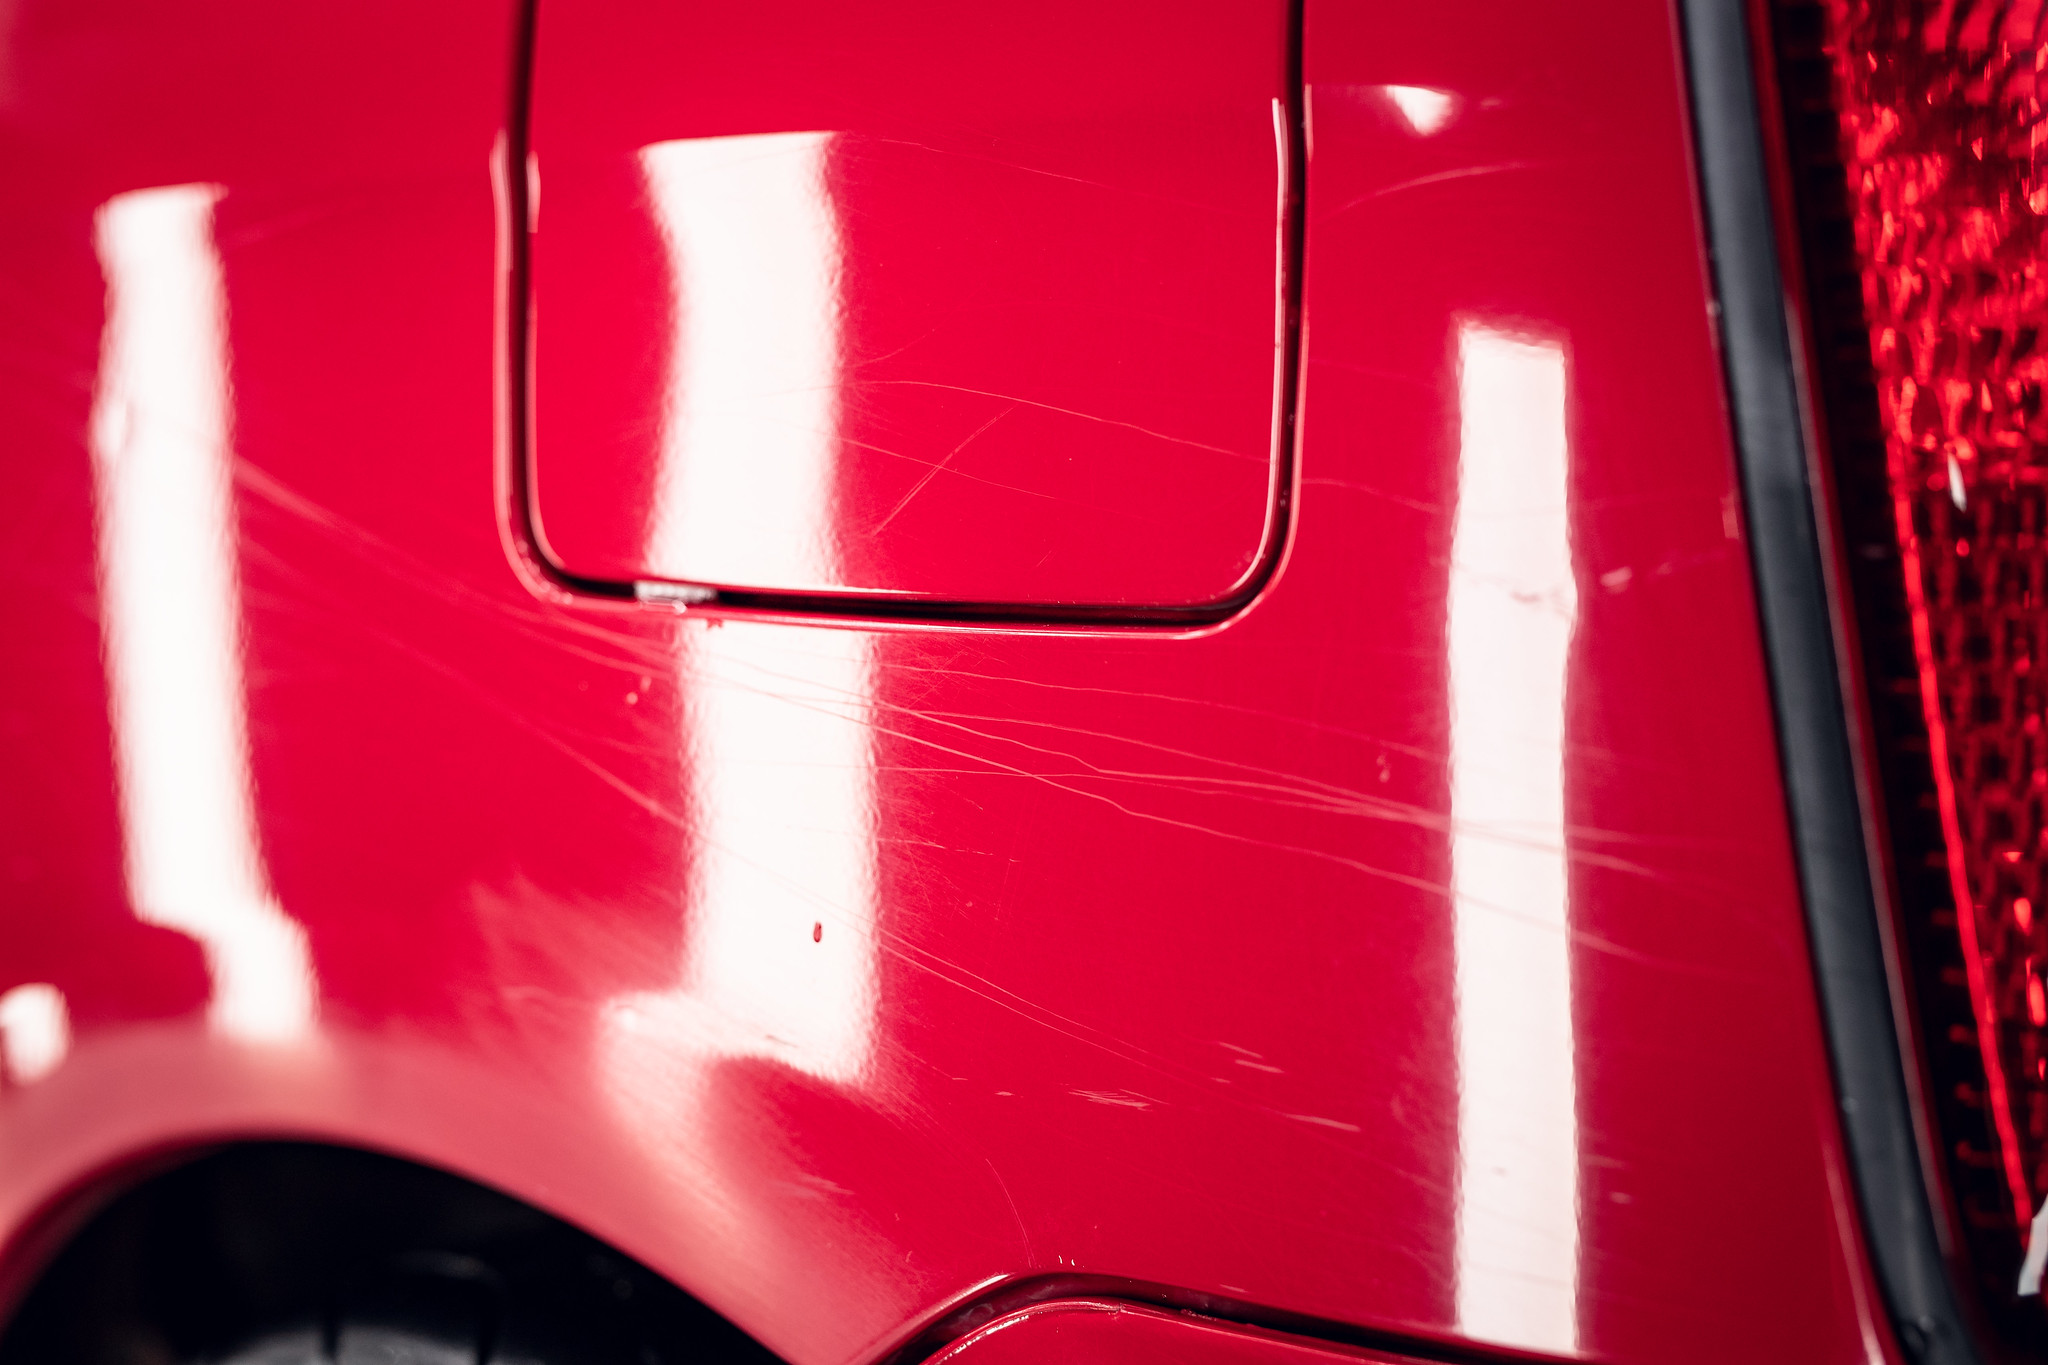
Back to the compound.

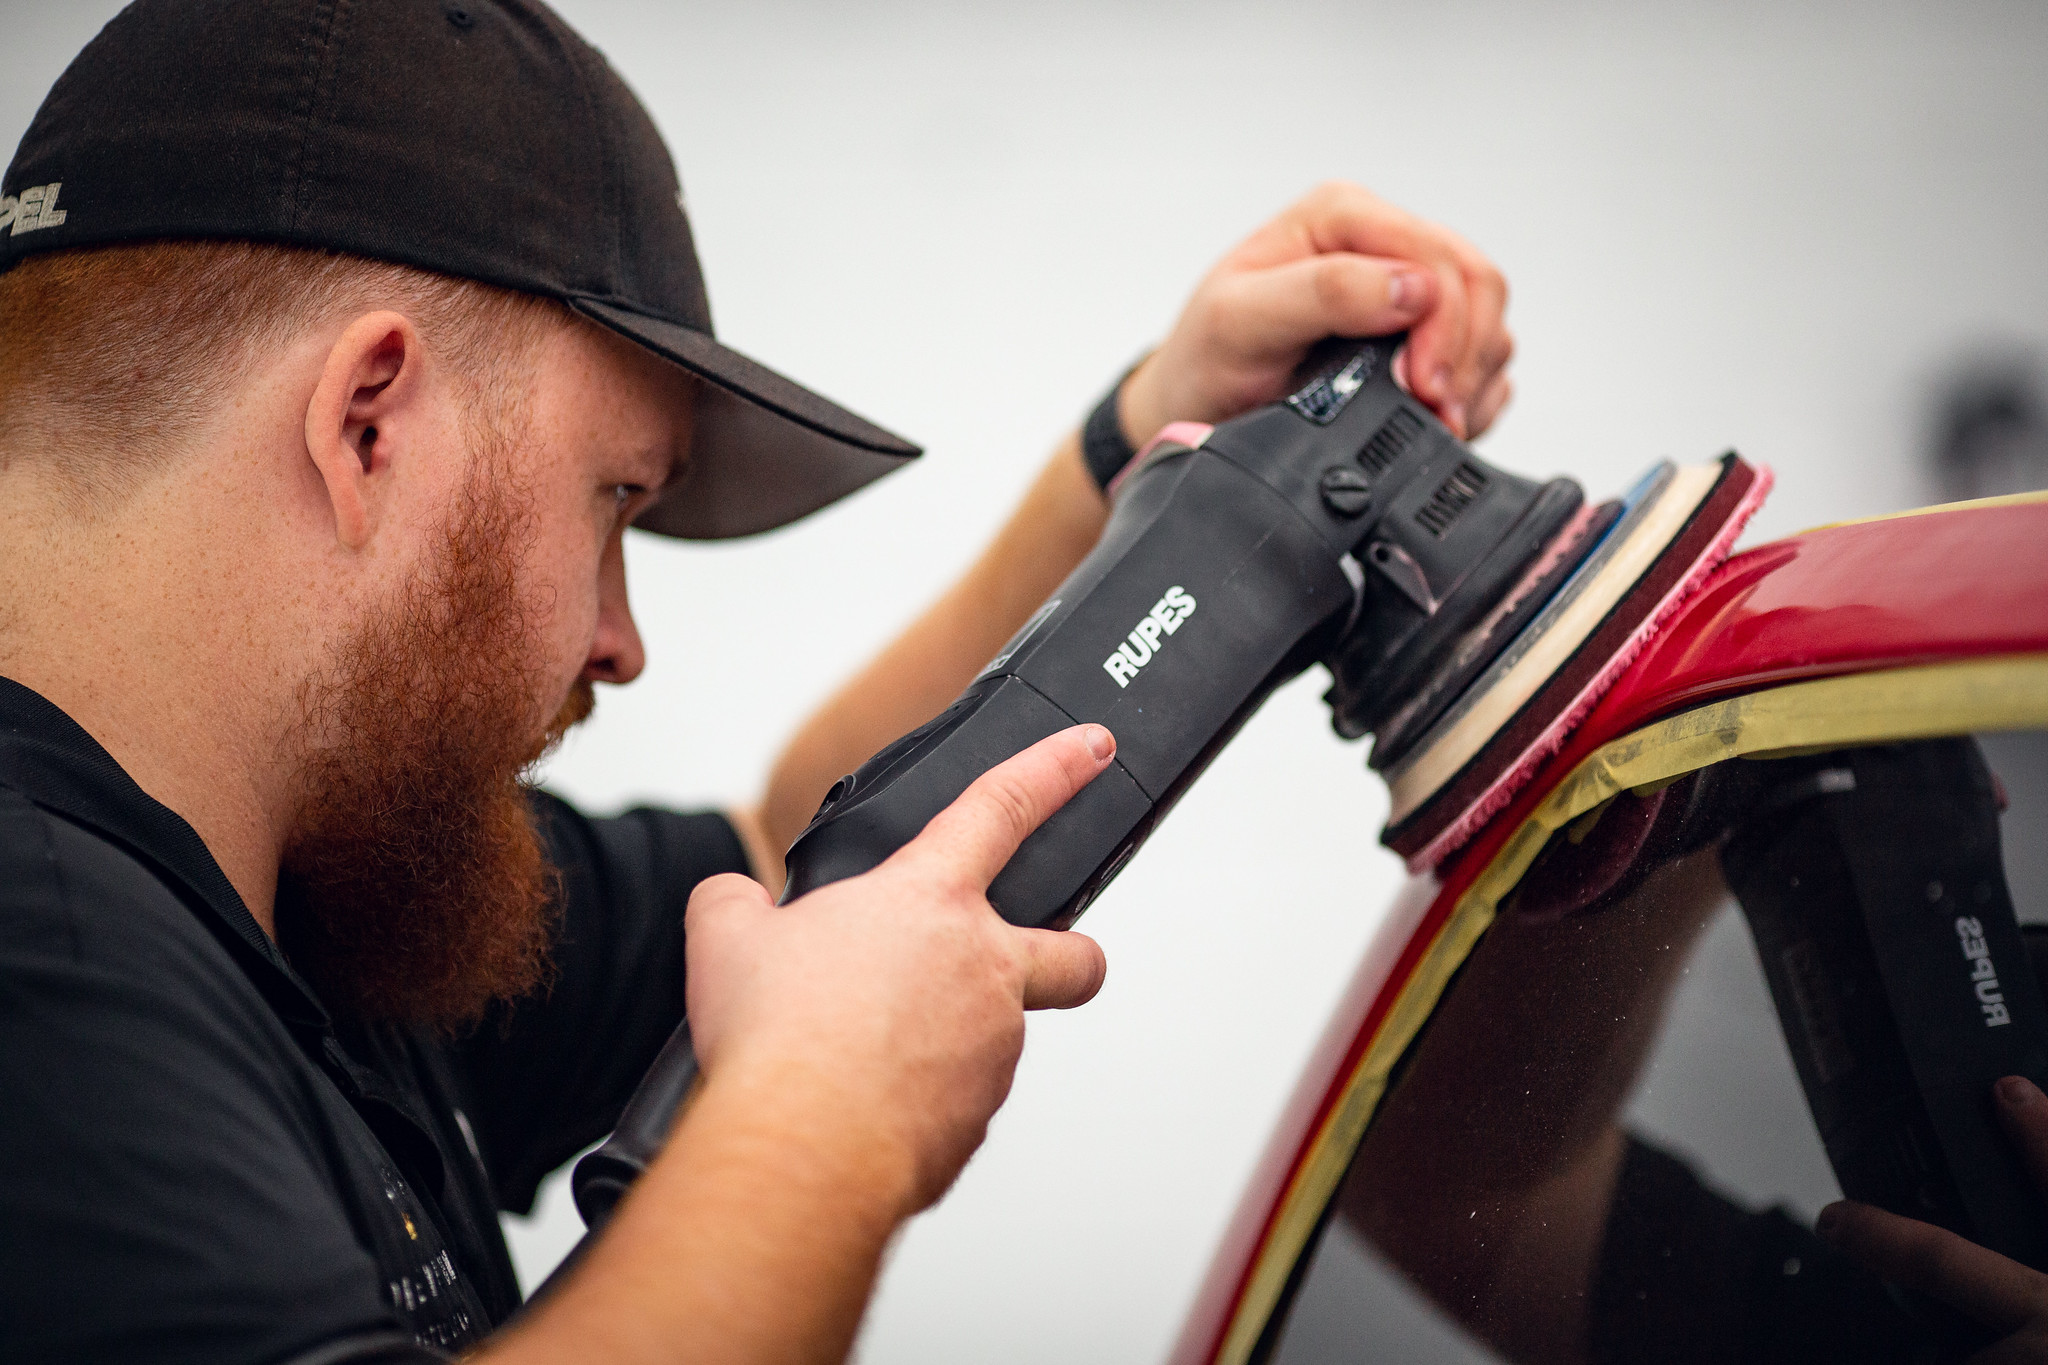


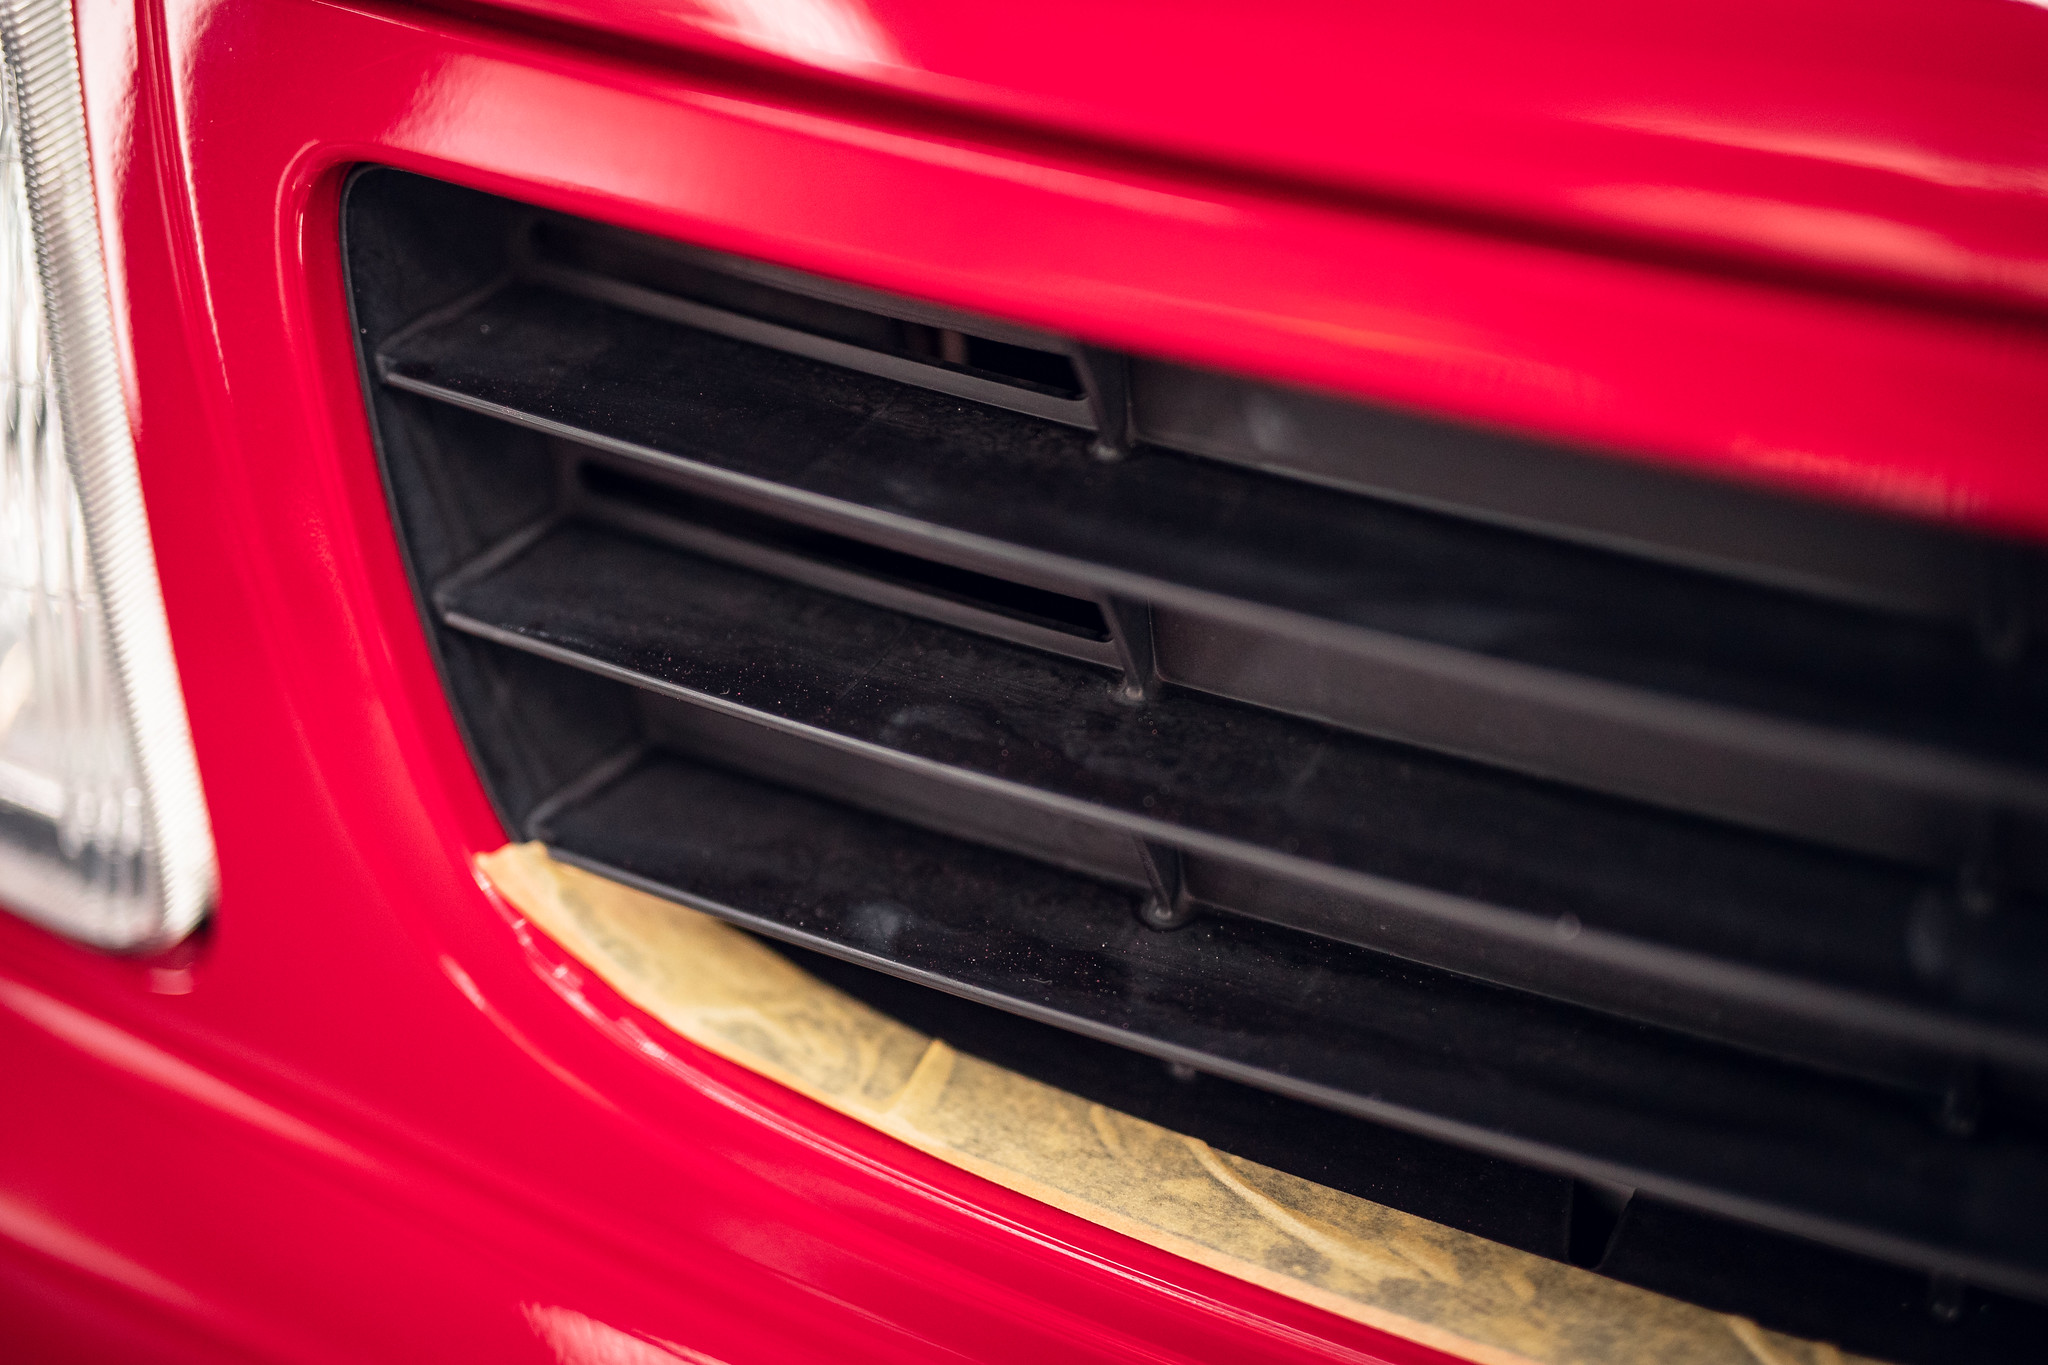
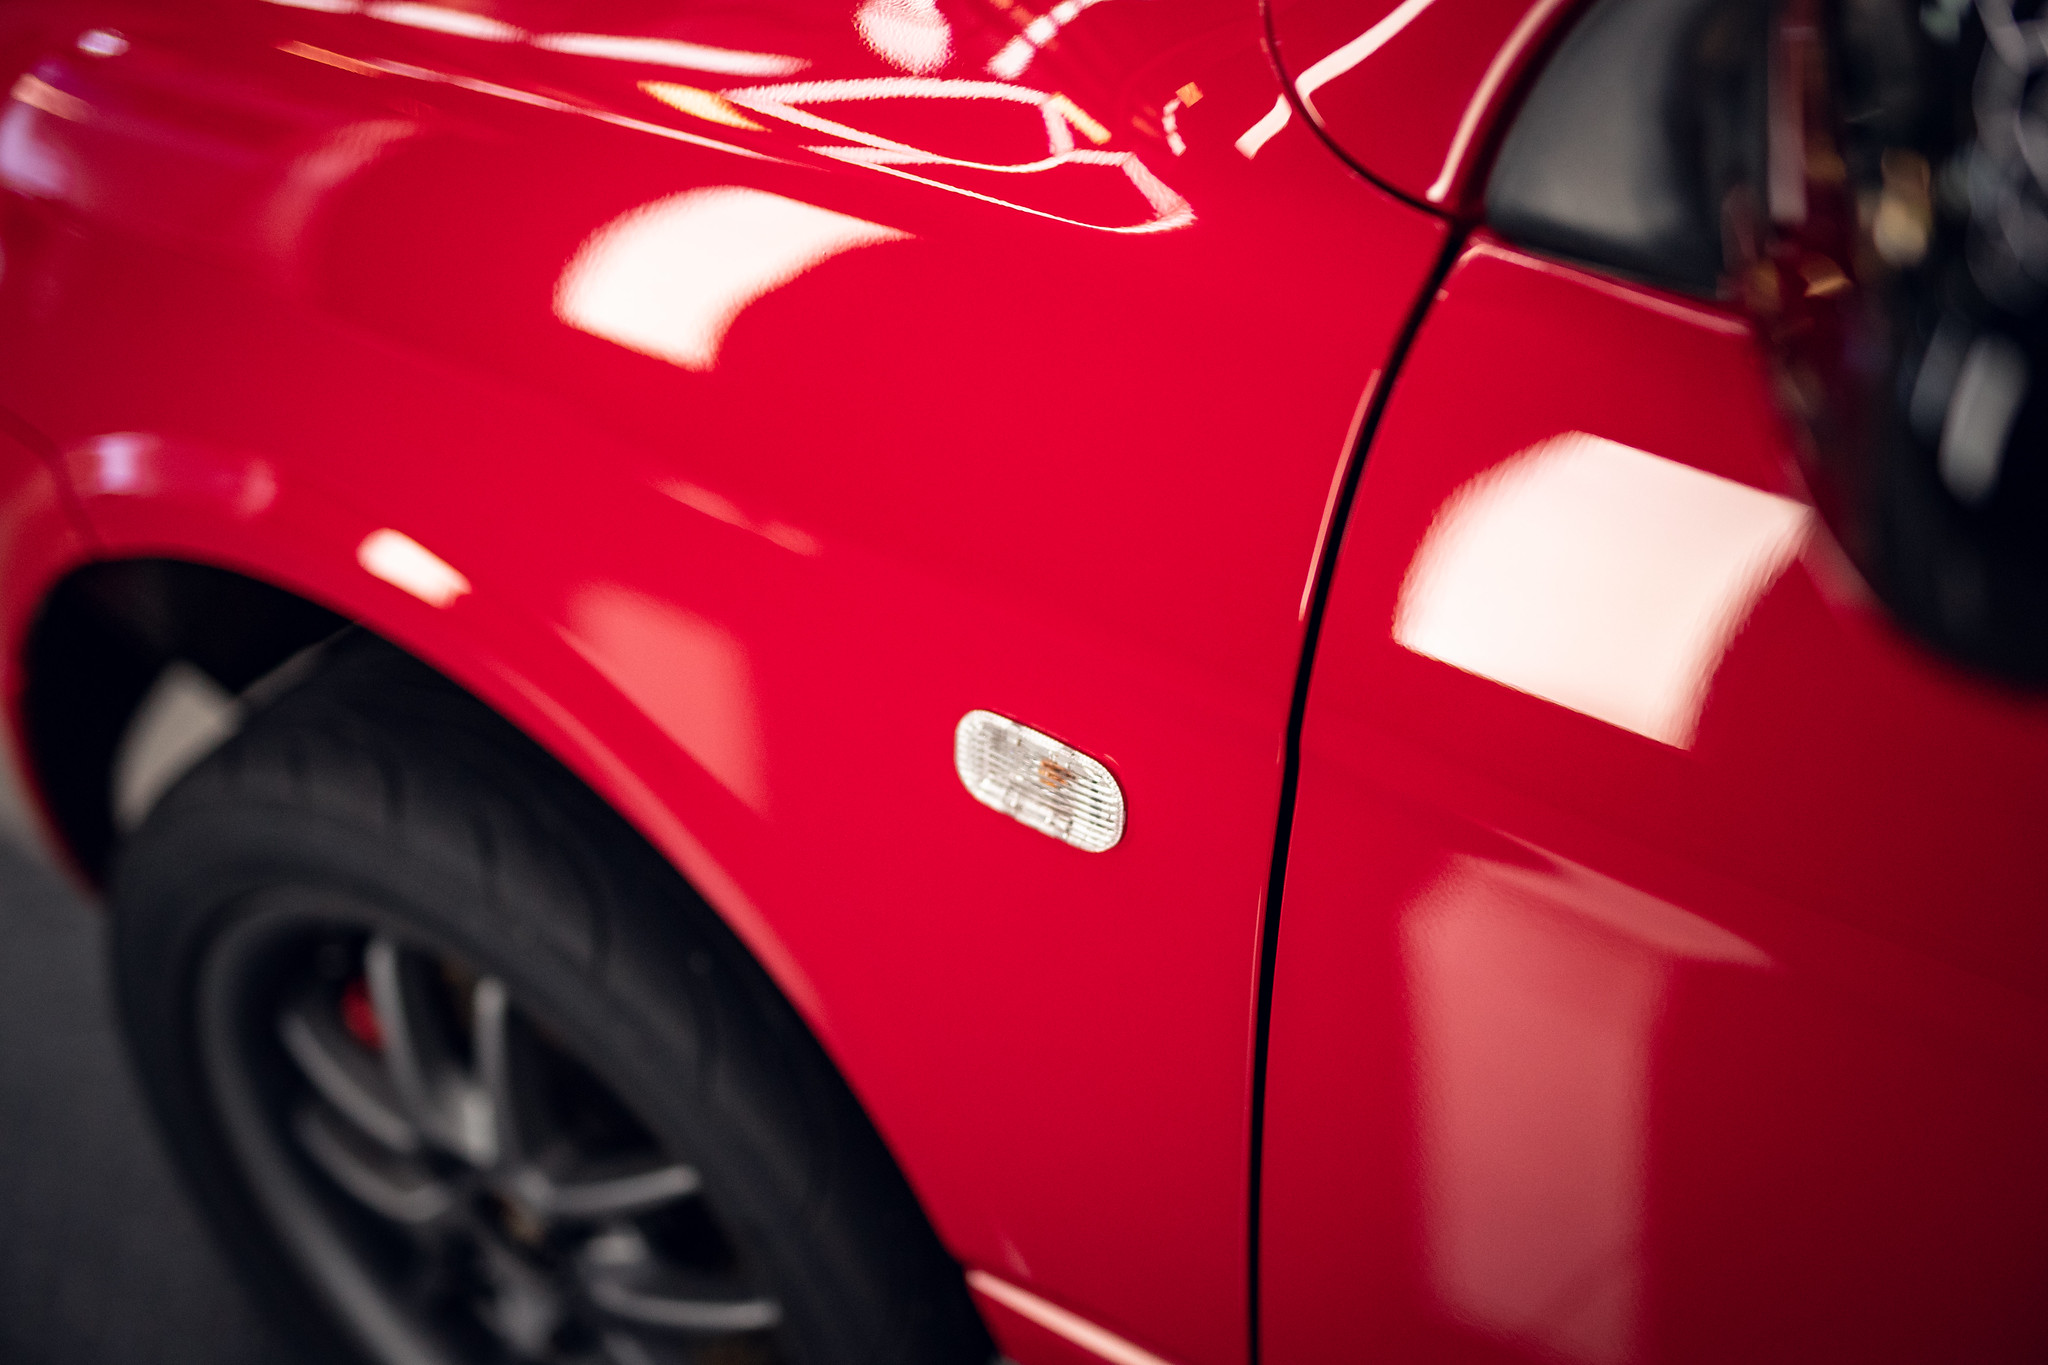
The front bar was partially bad on the passenger side.

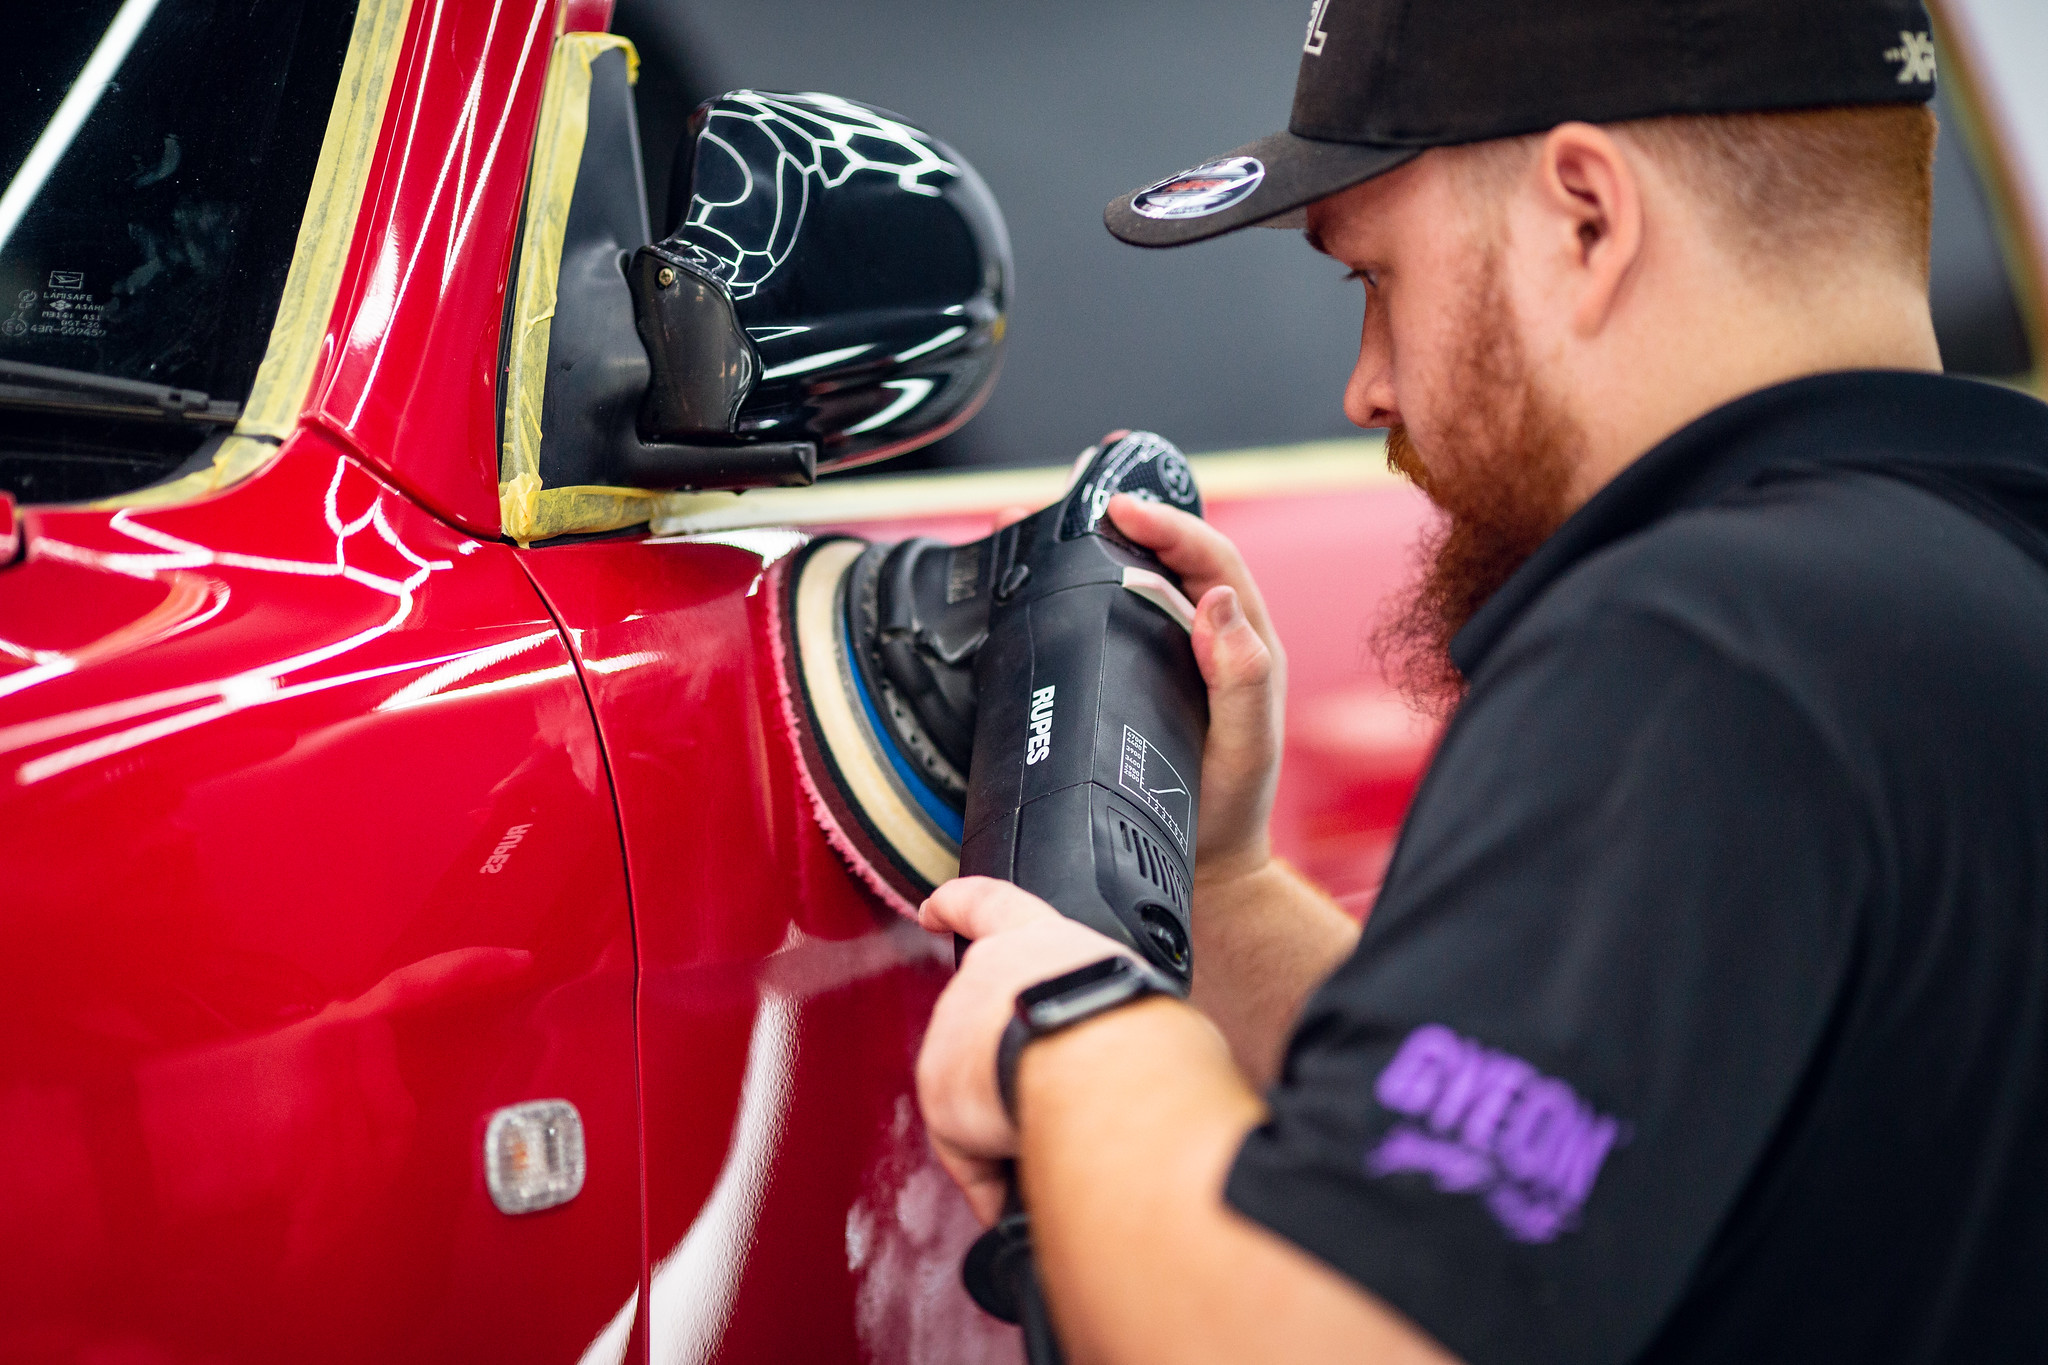
Lastly he worked on a smaller machine for the harder to reach areas.
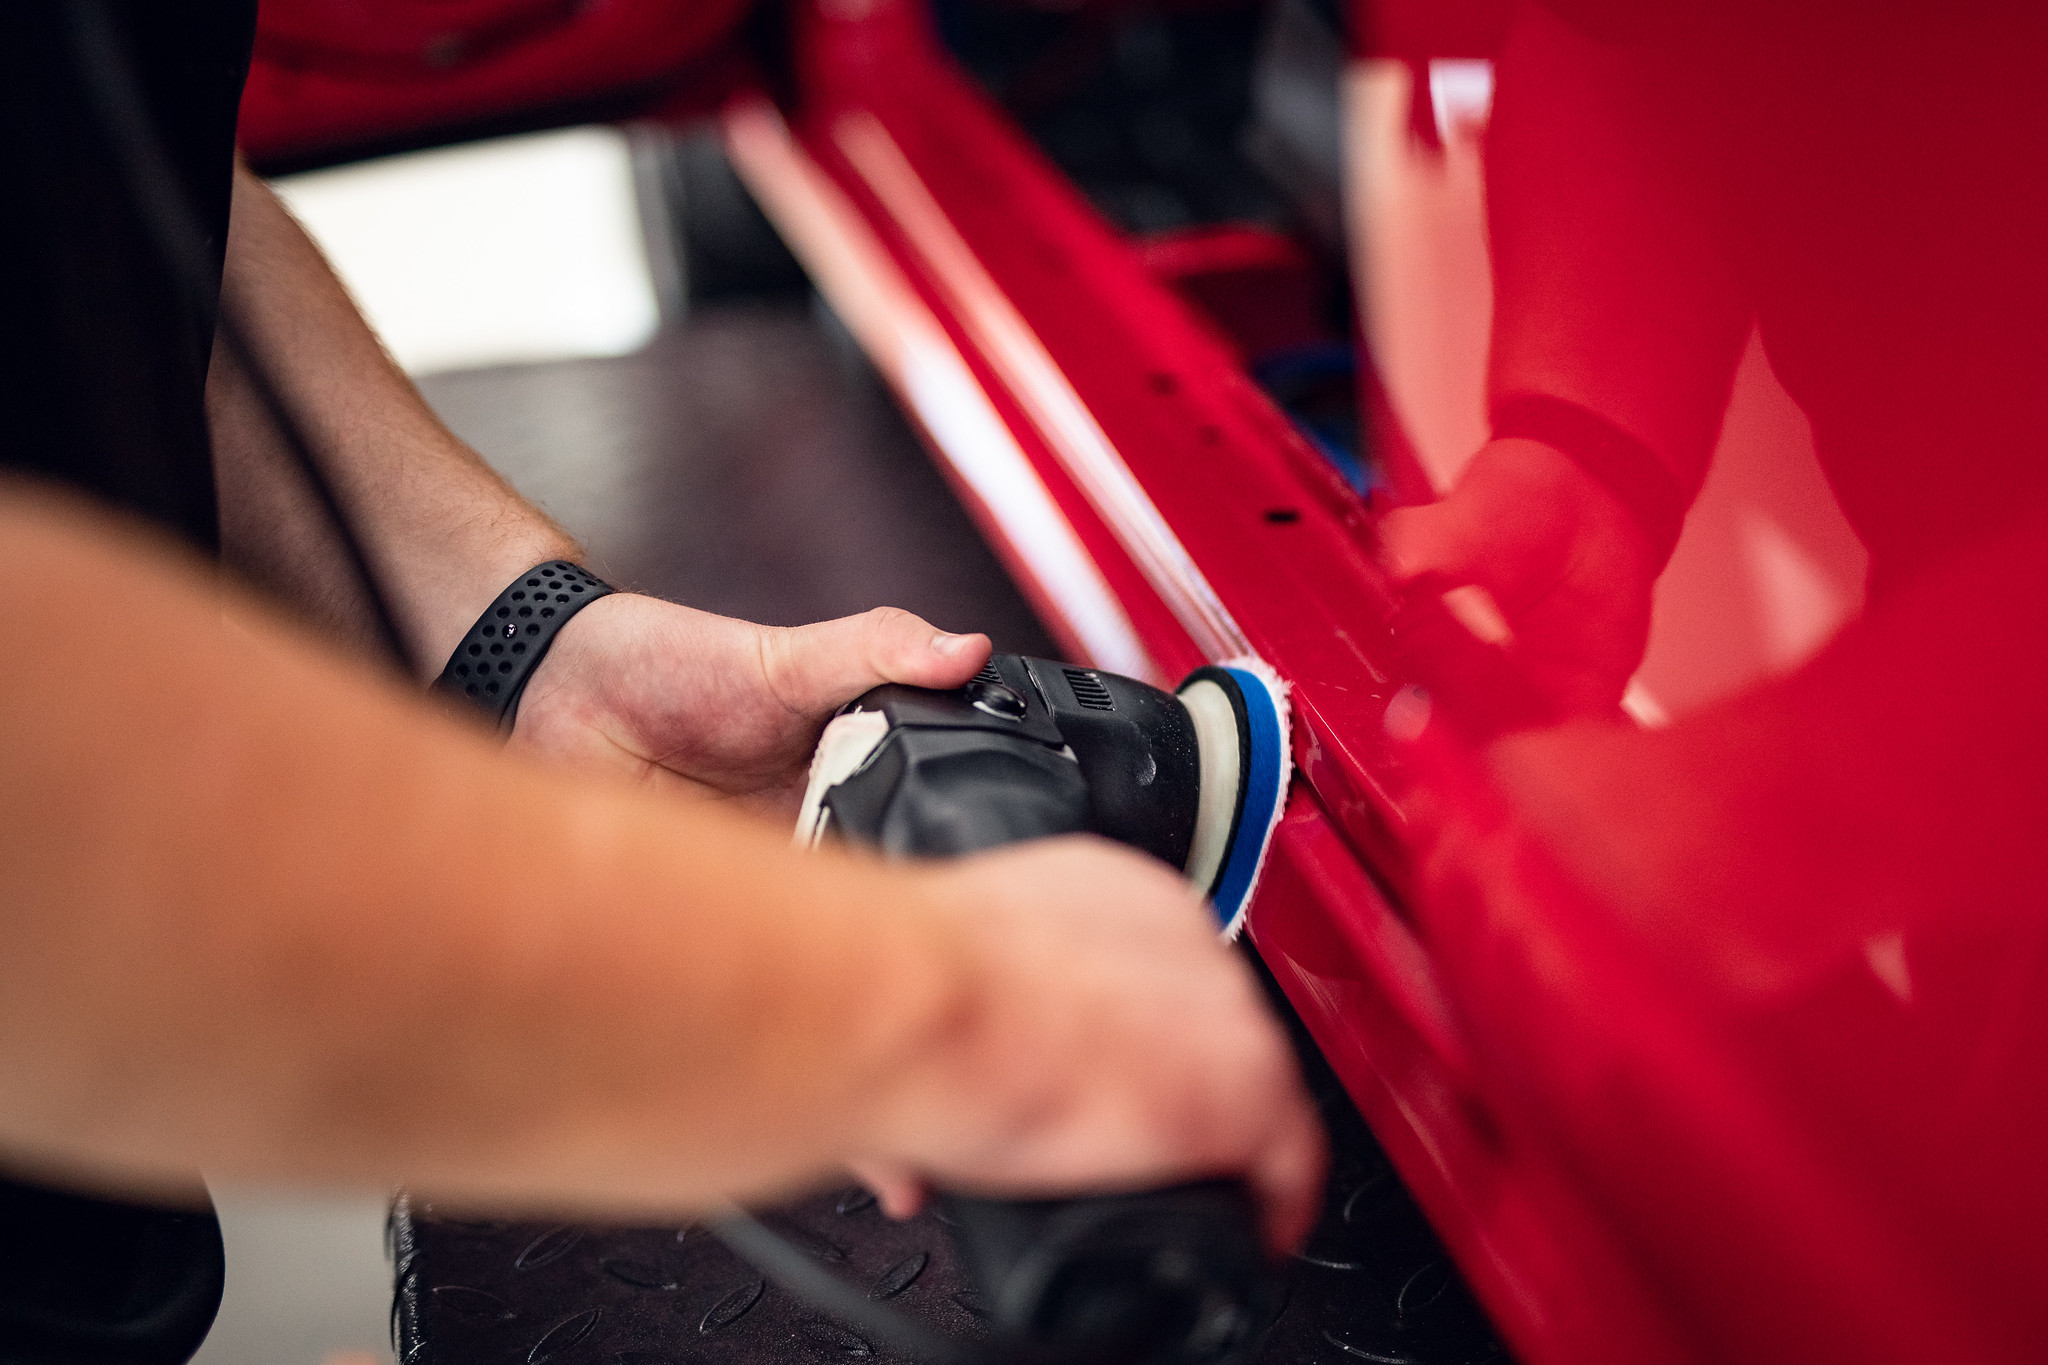

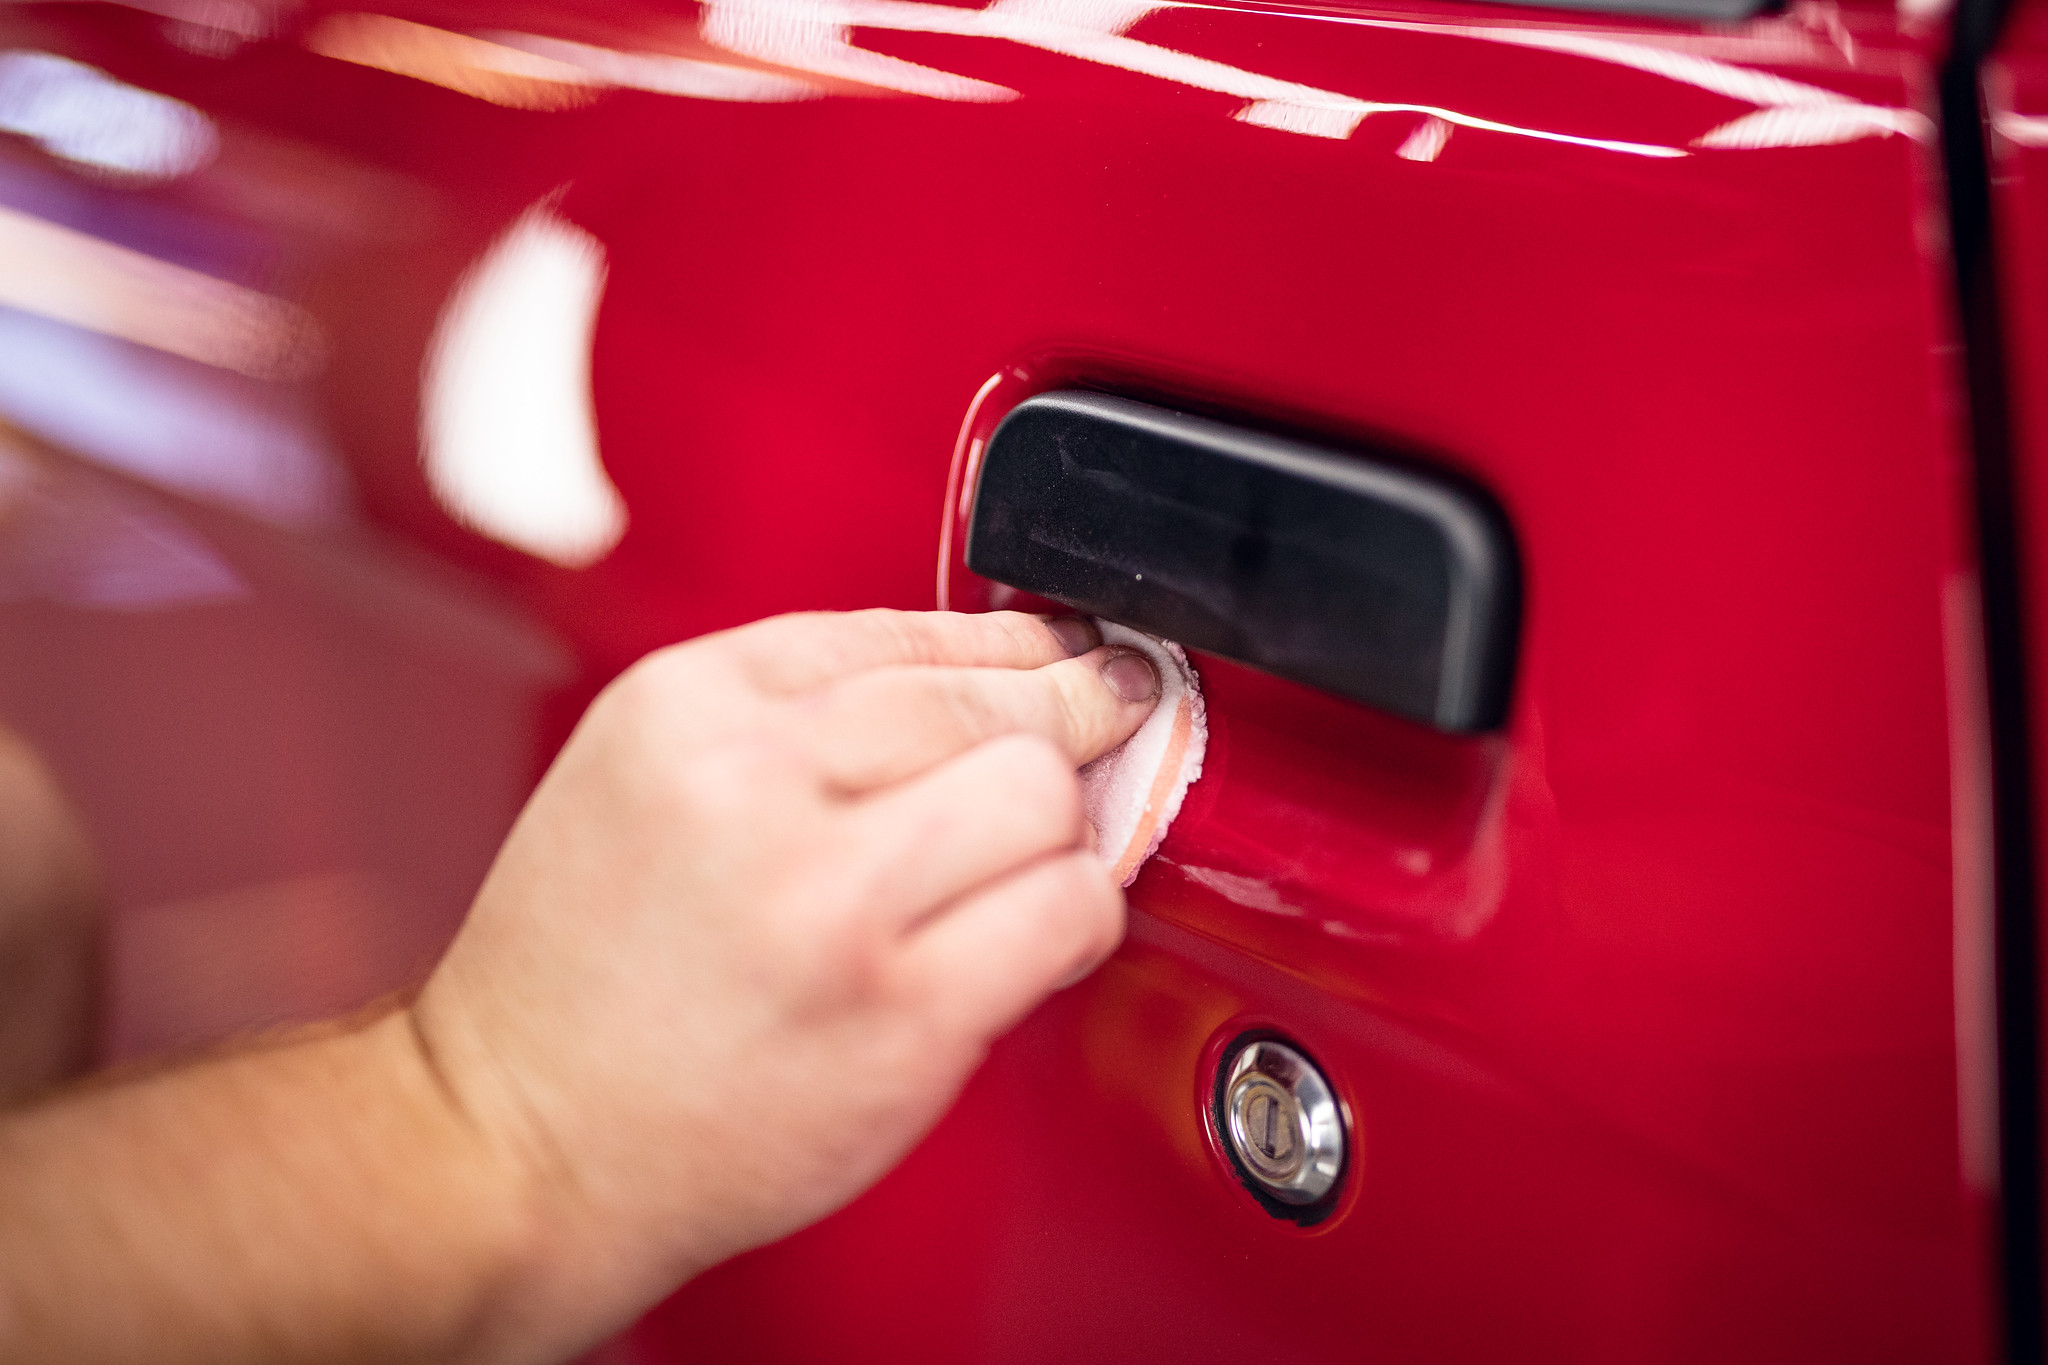
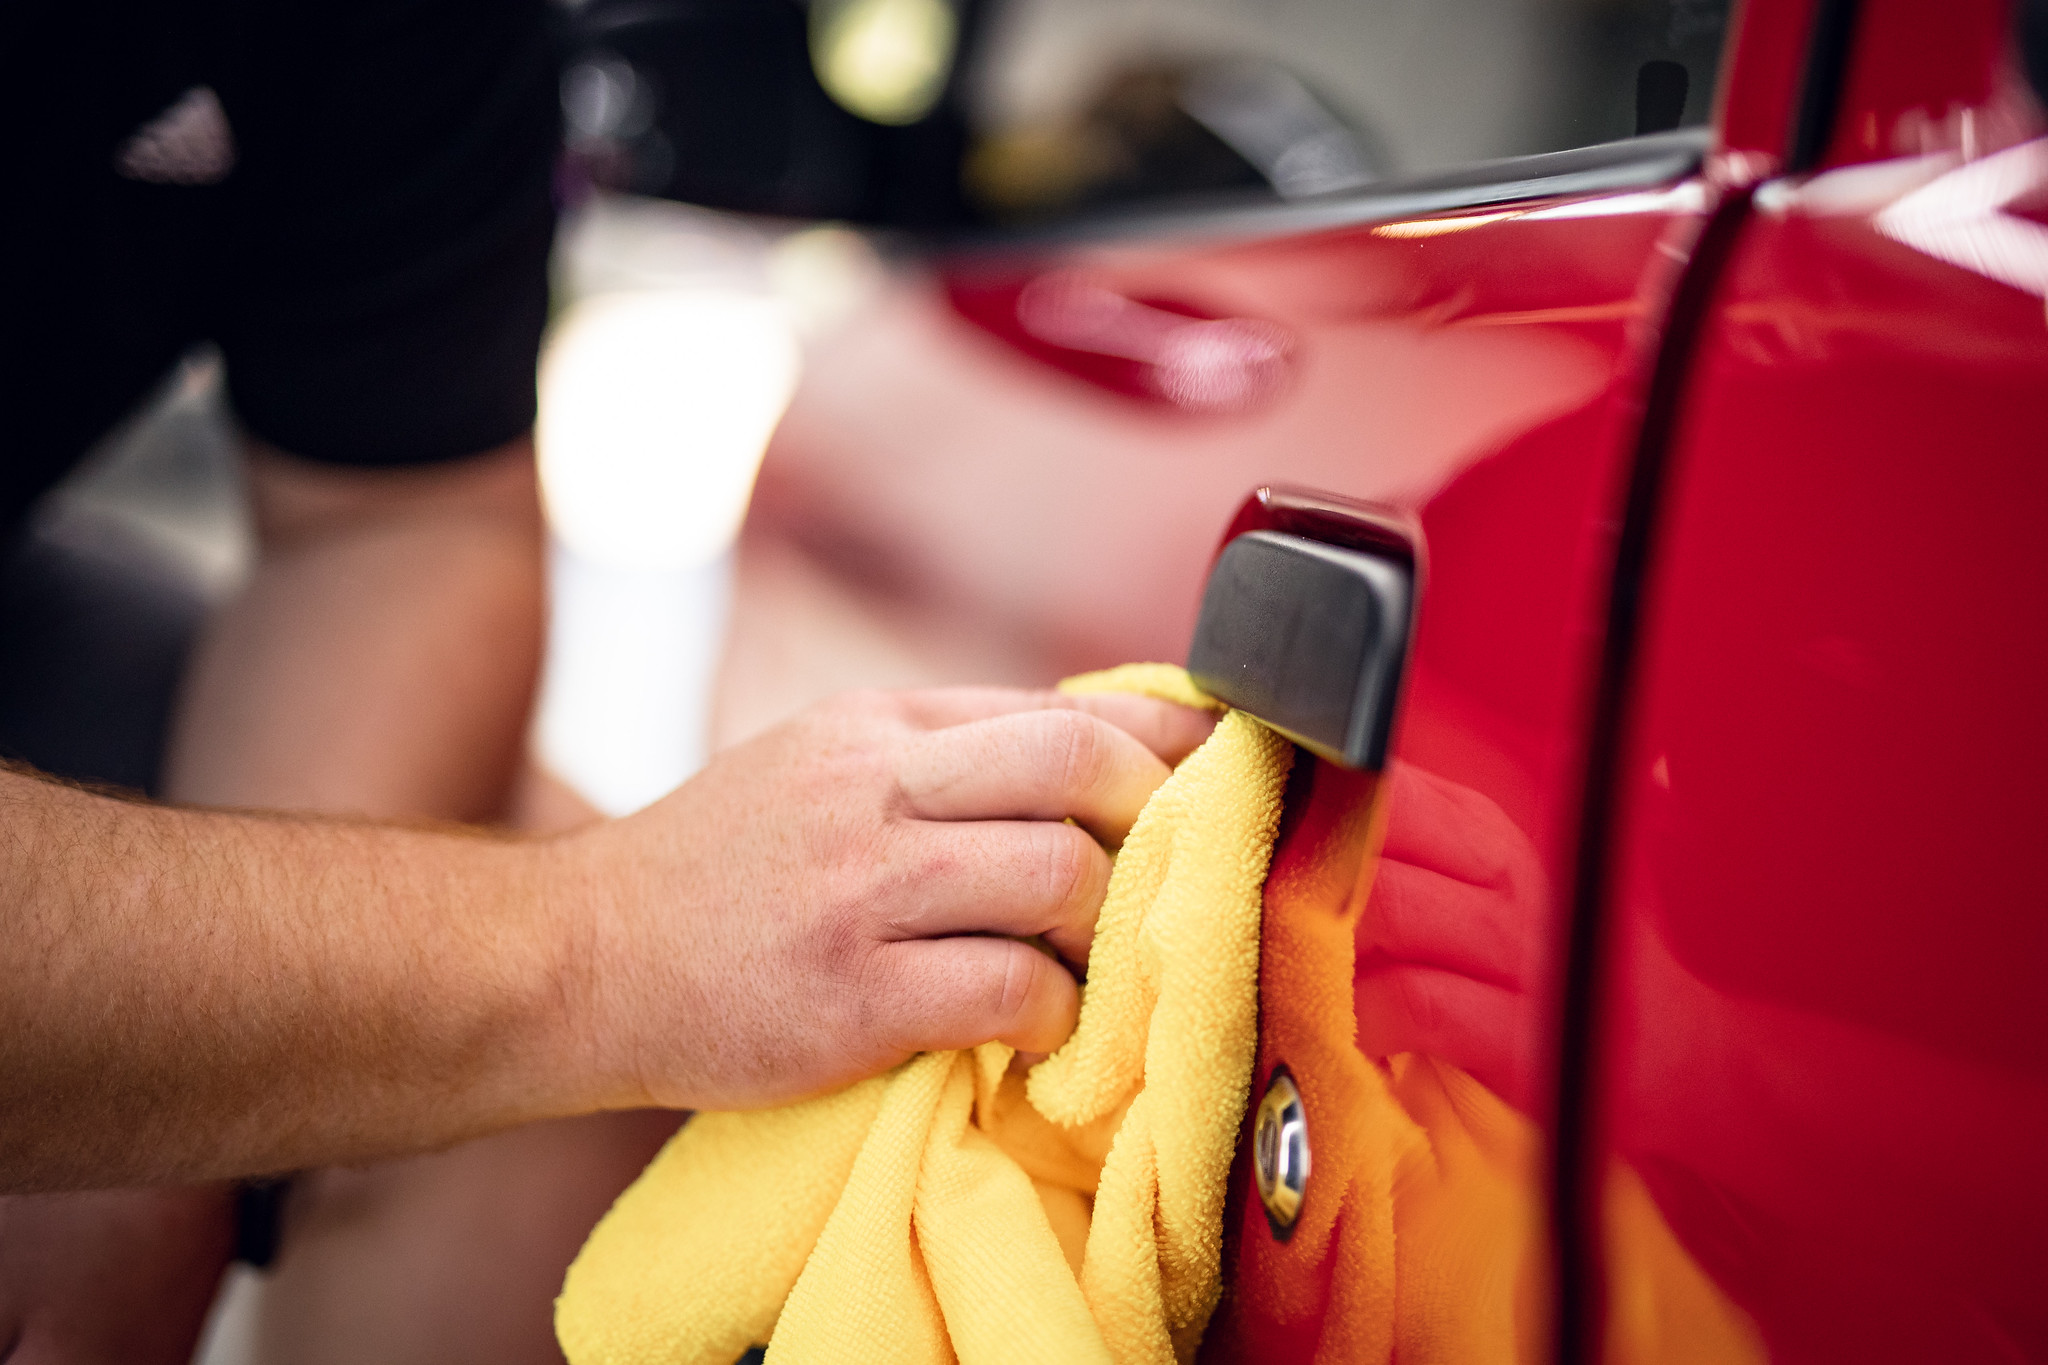
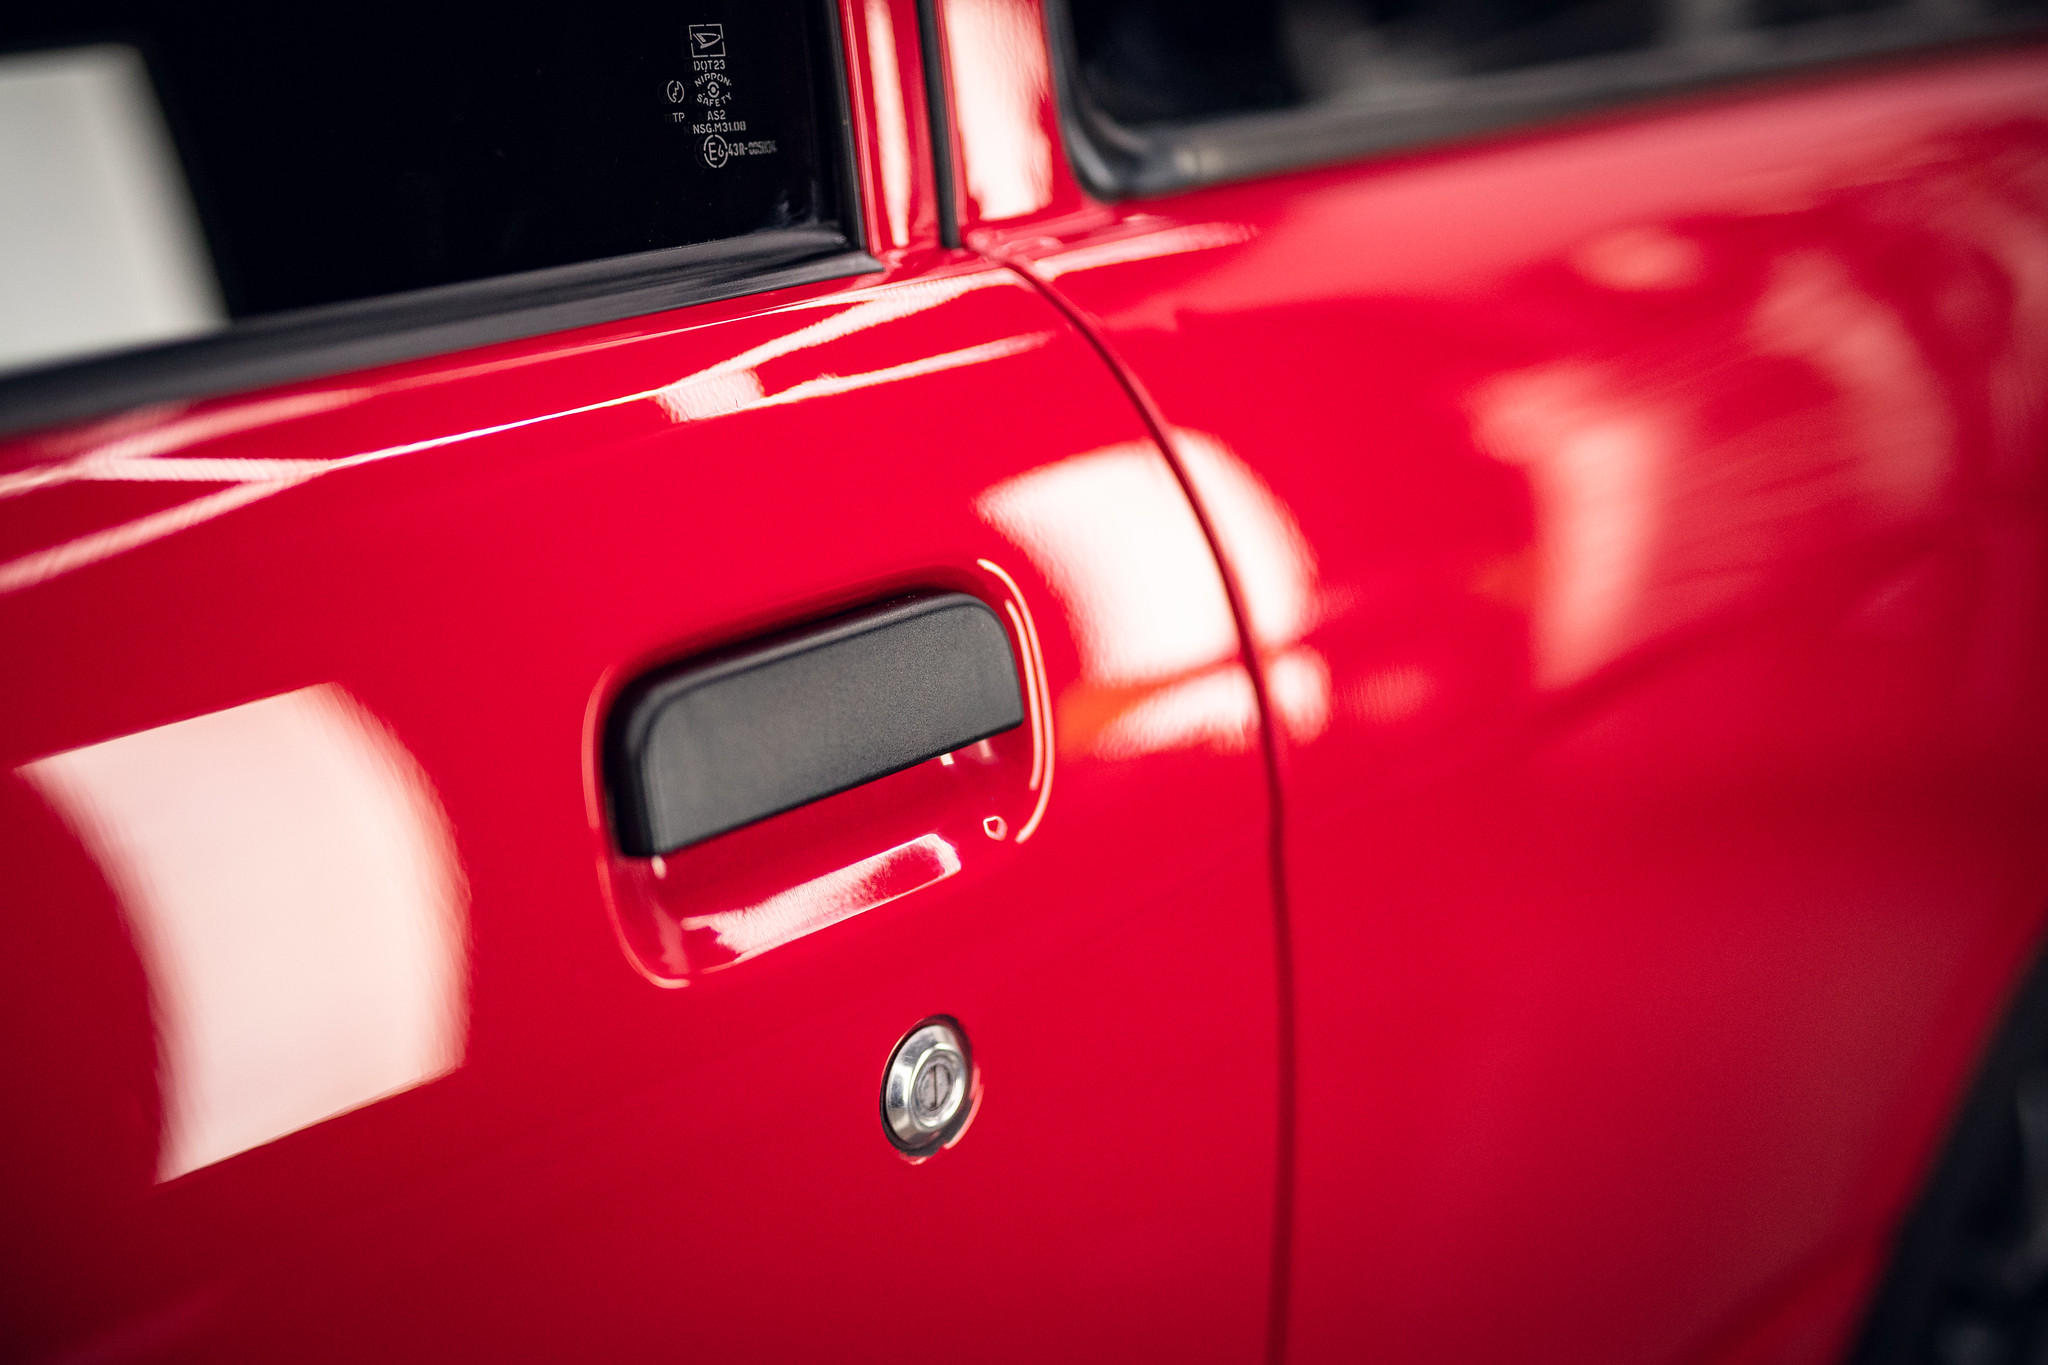
Then a tiny pad for under the door handles. The drivers side one was horrific.


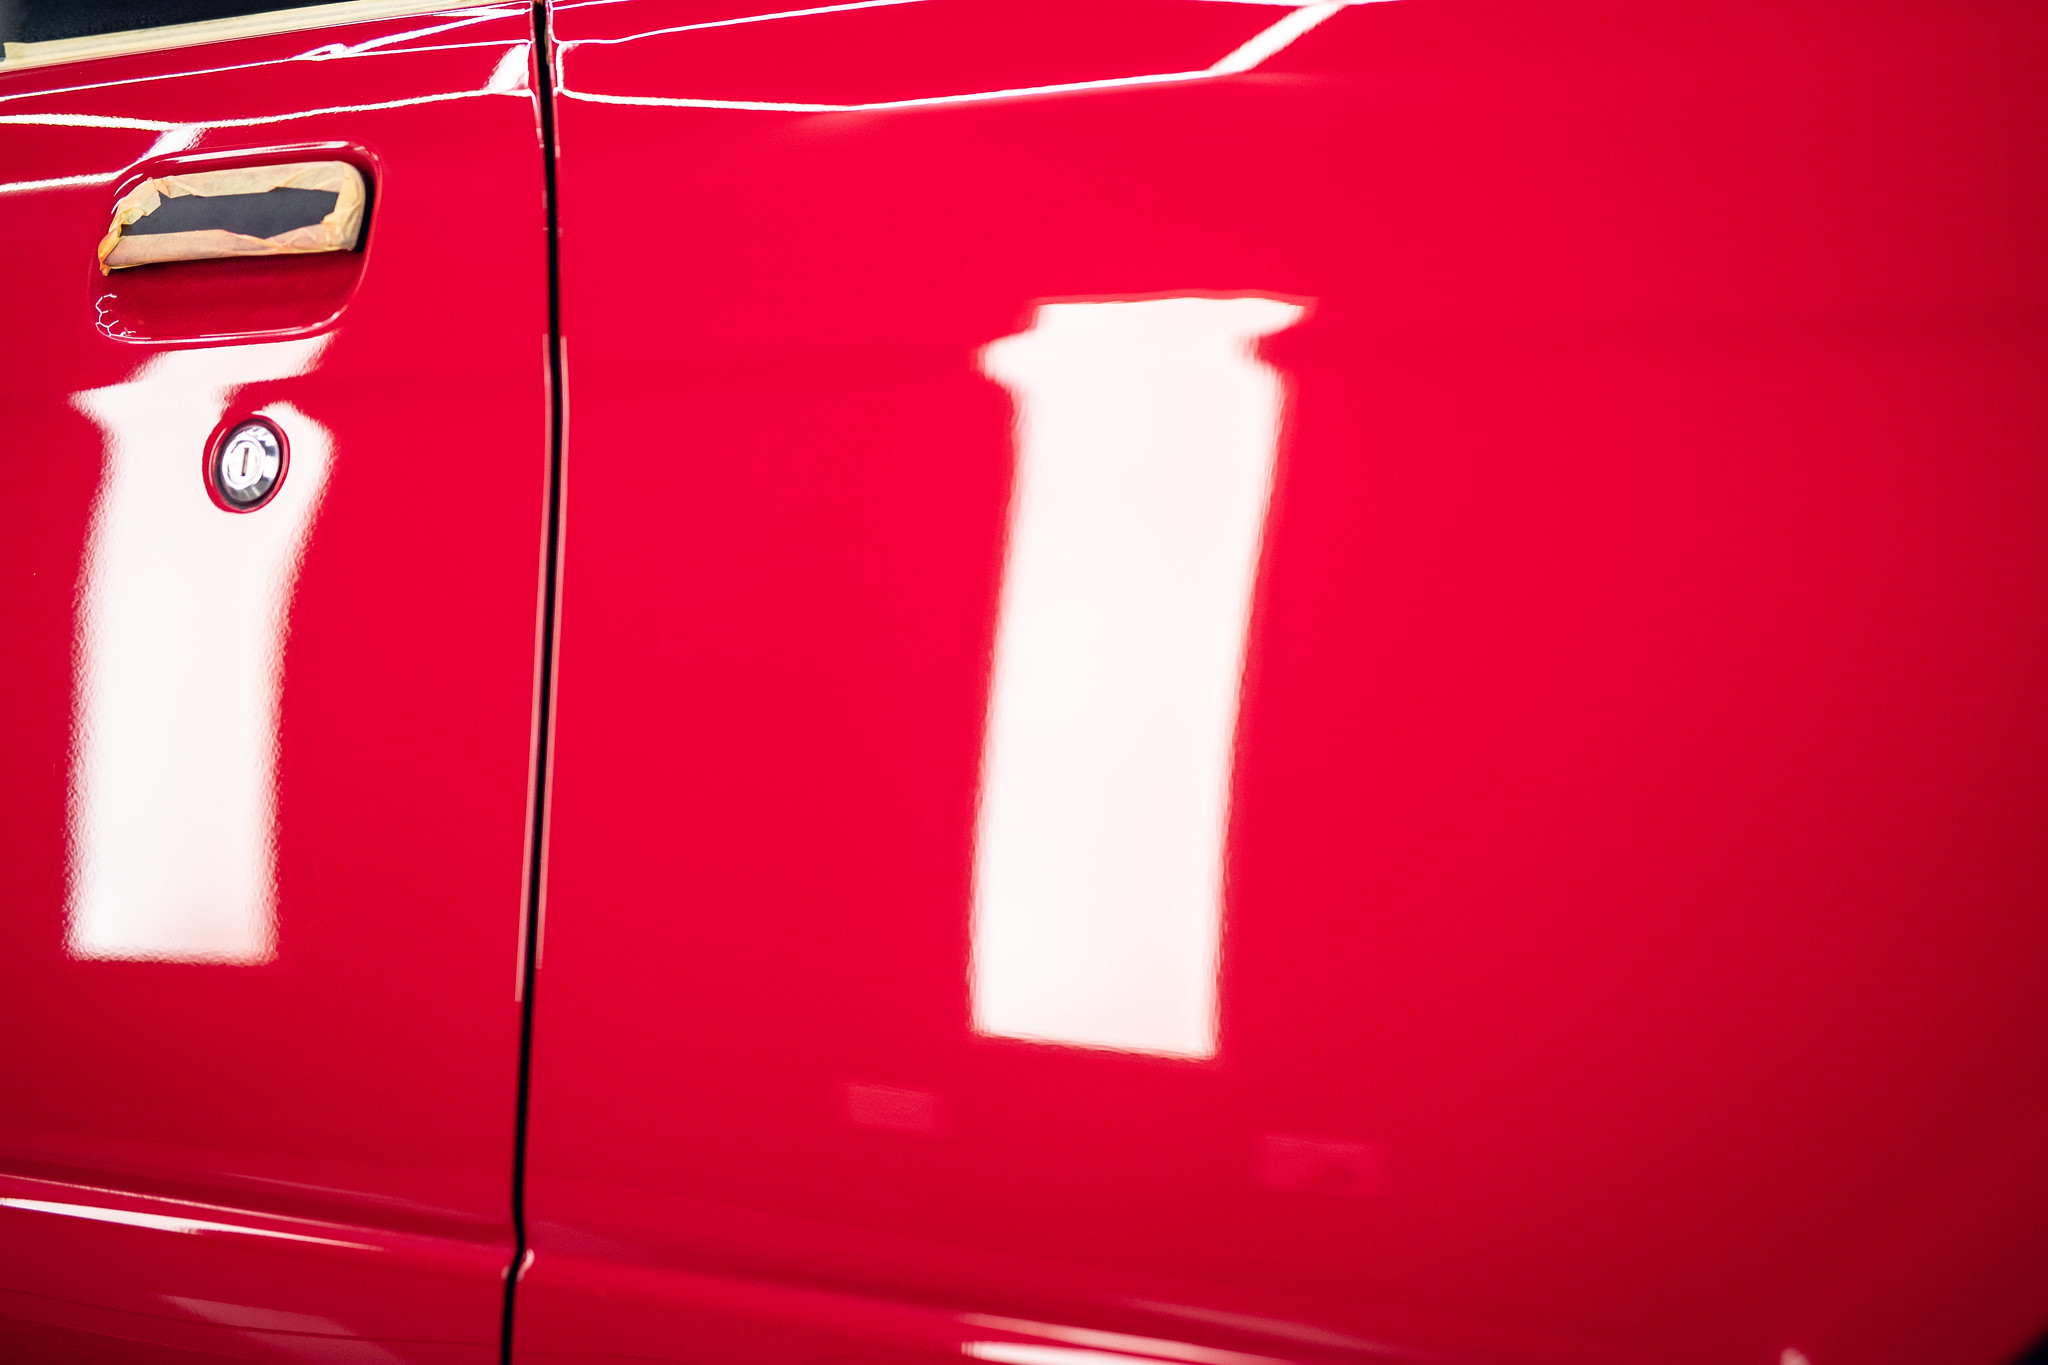
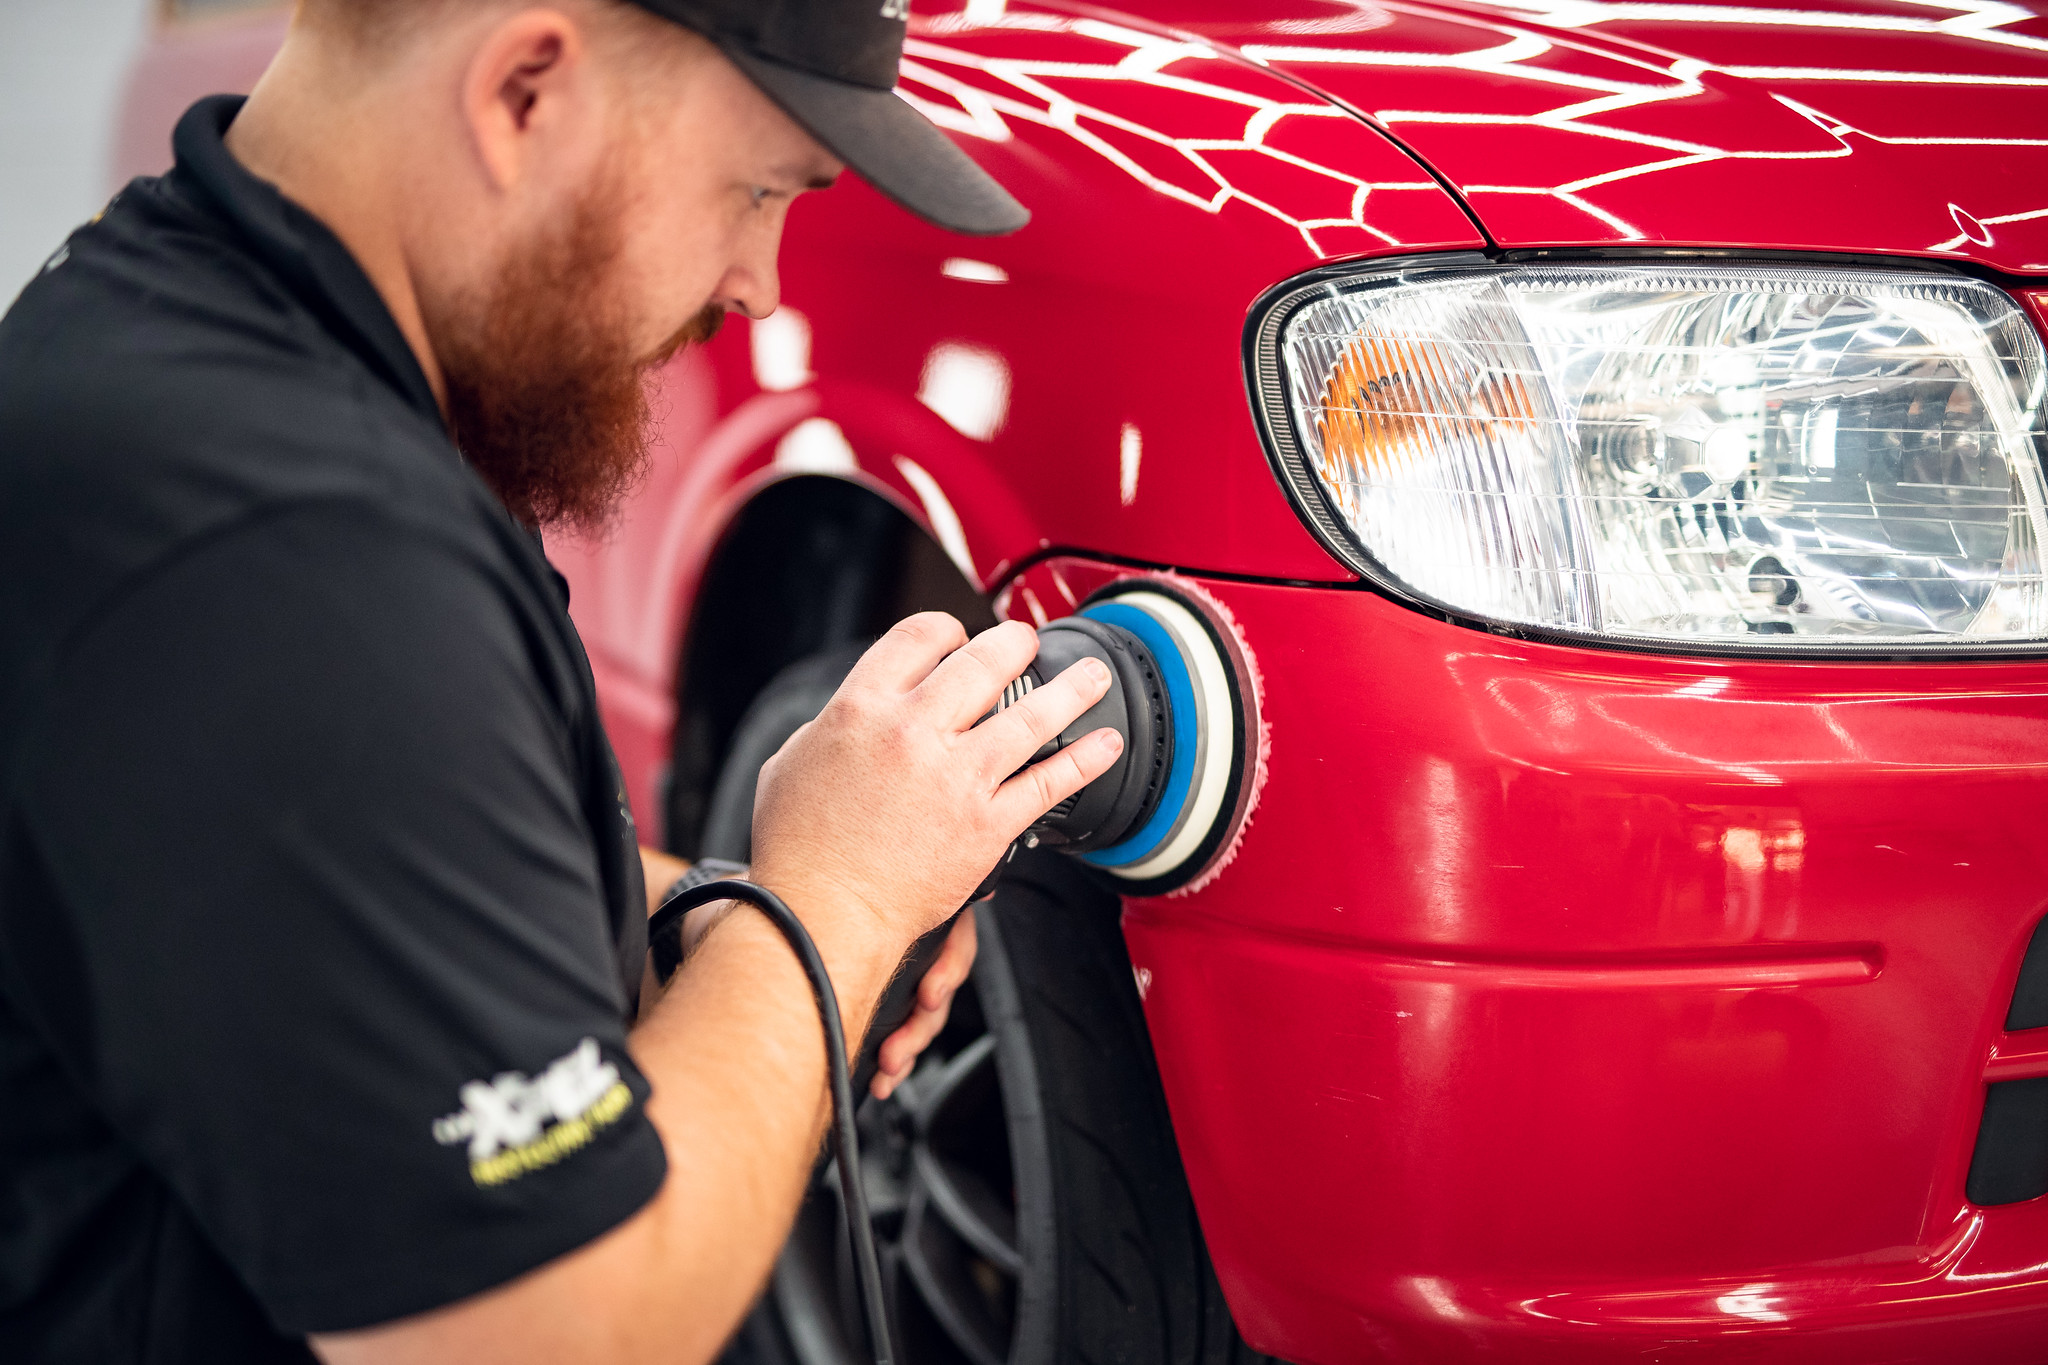
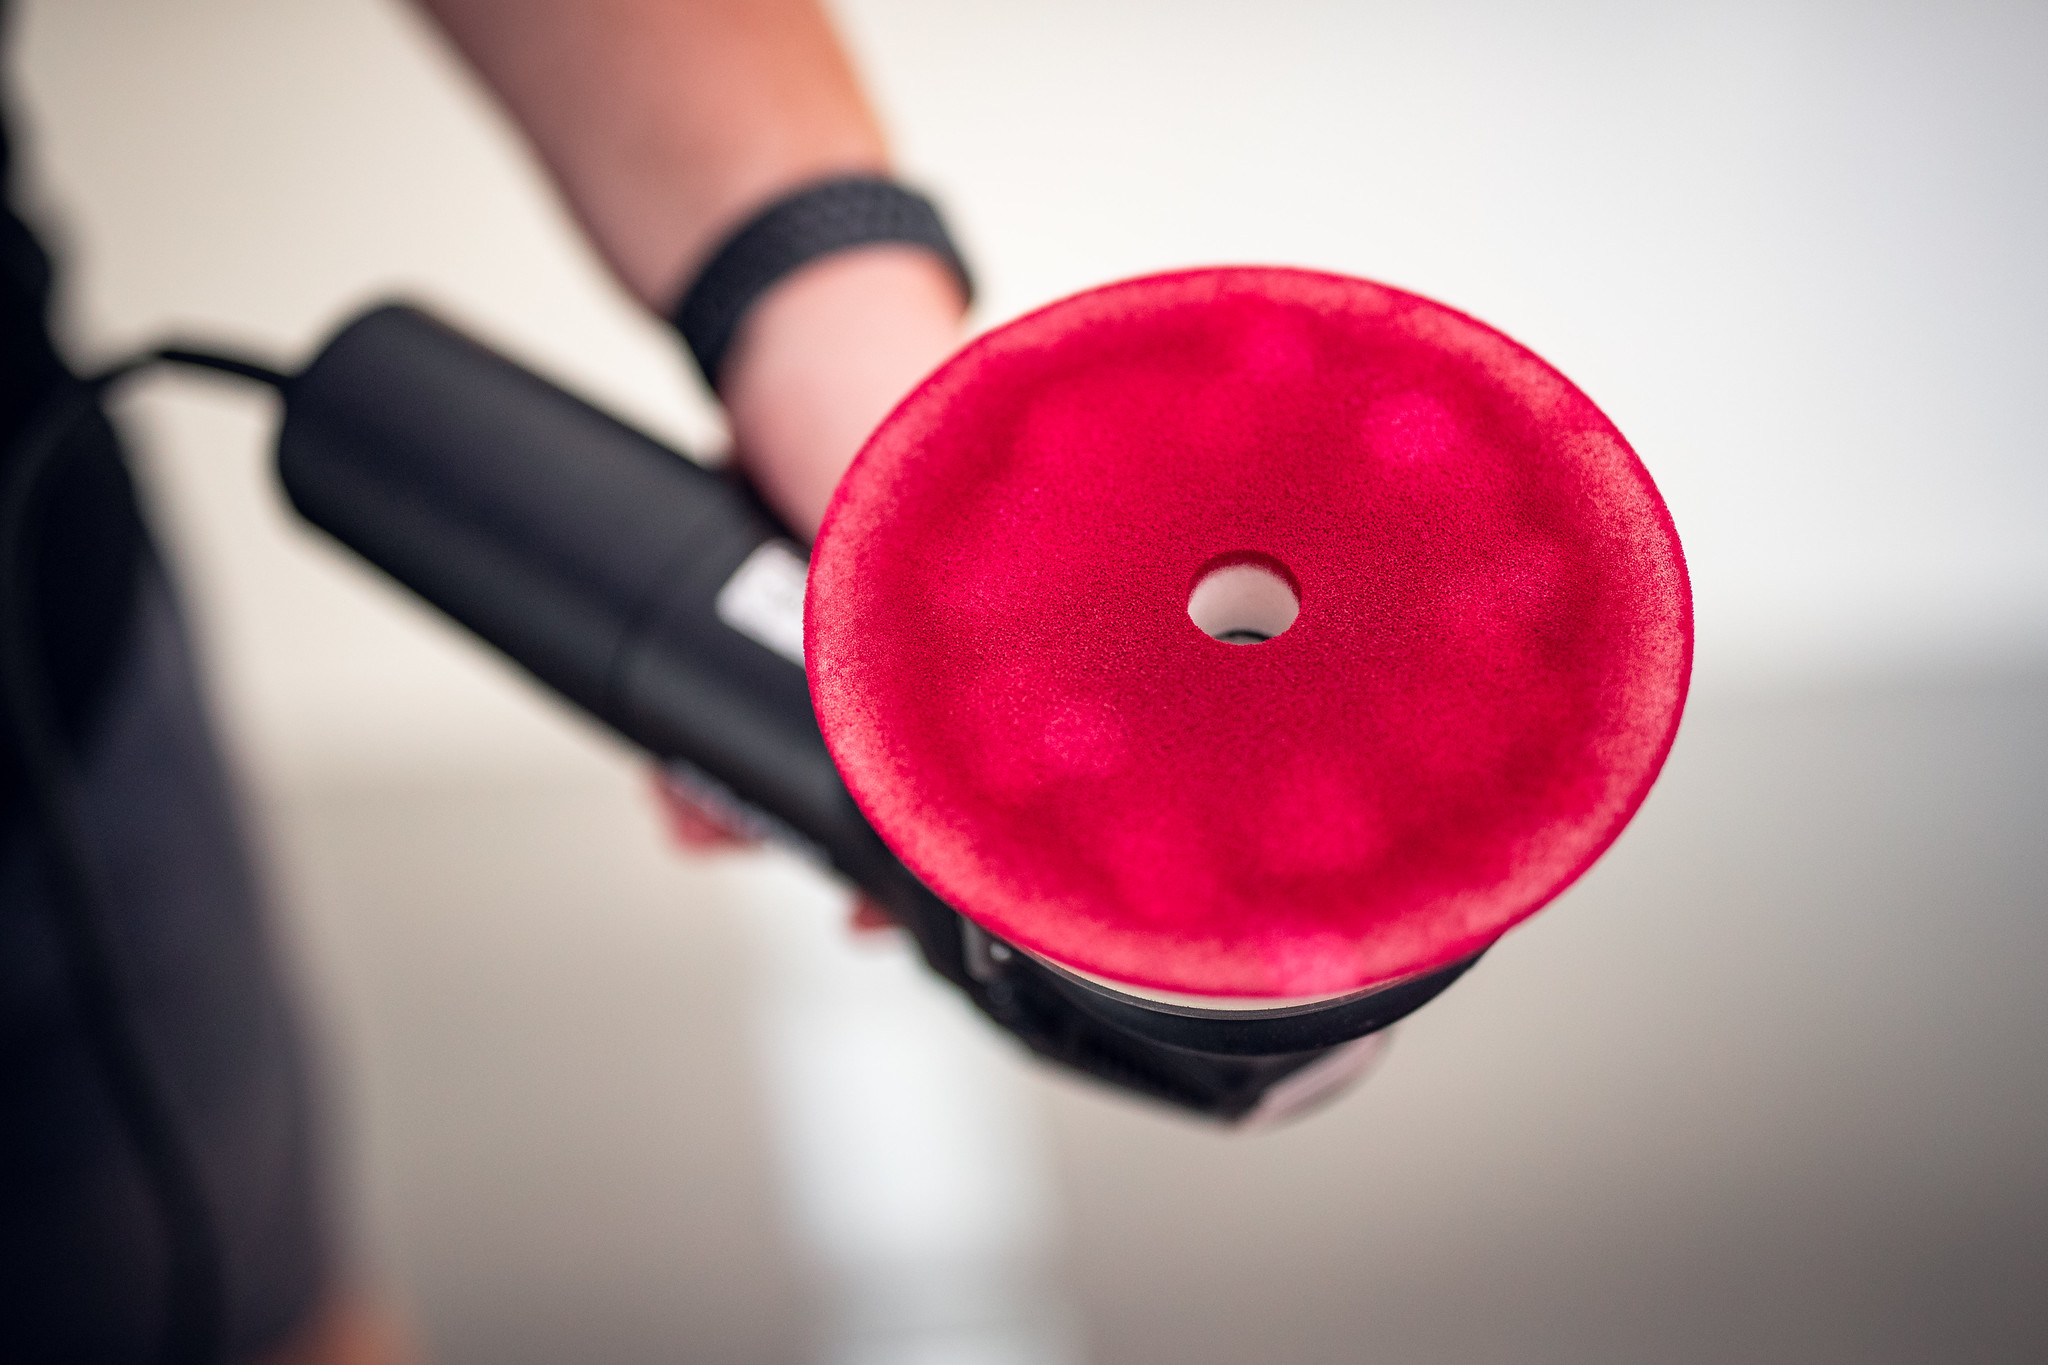
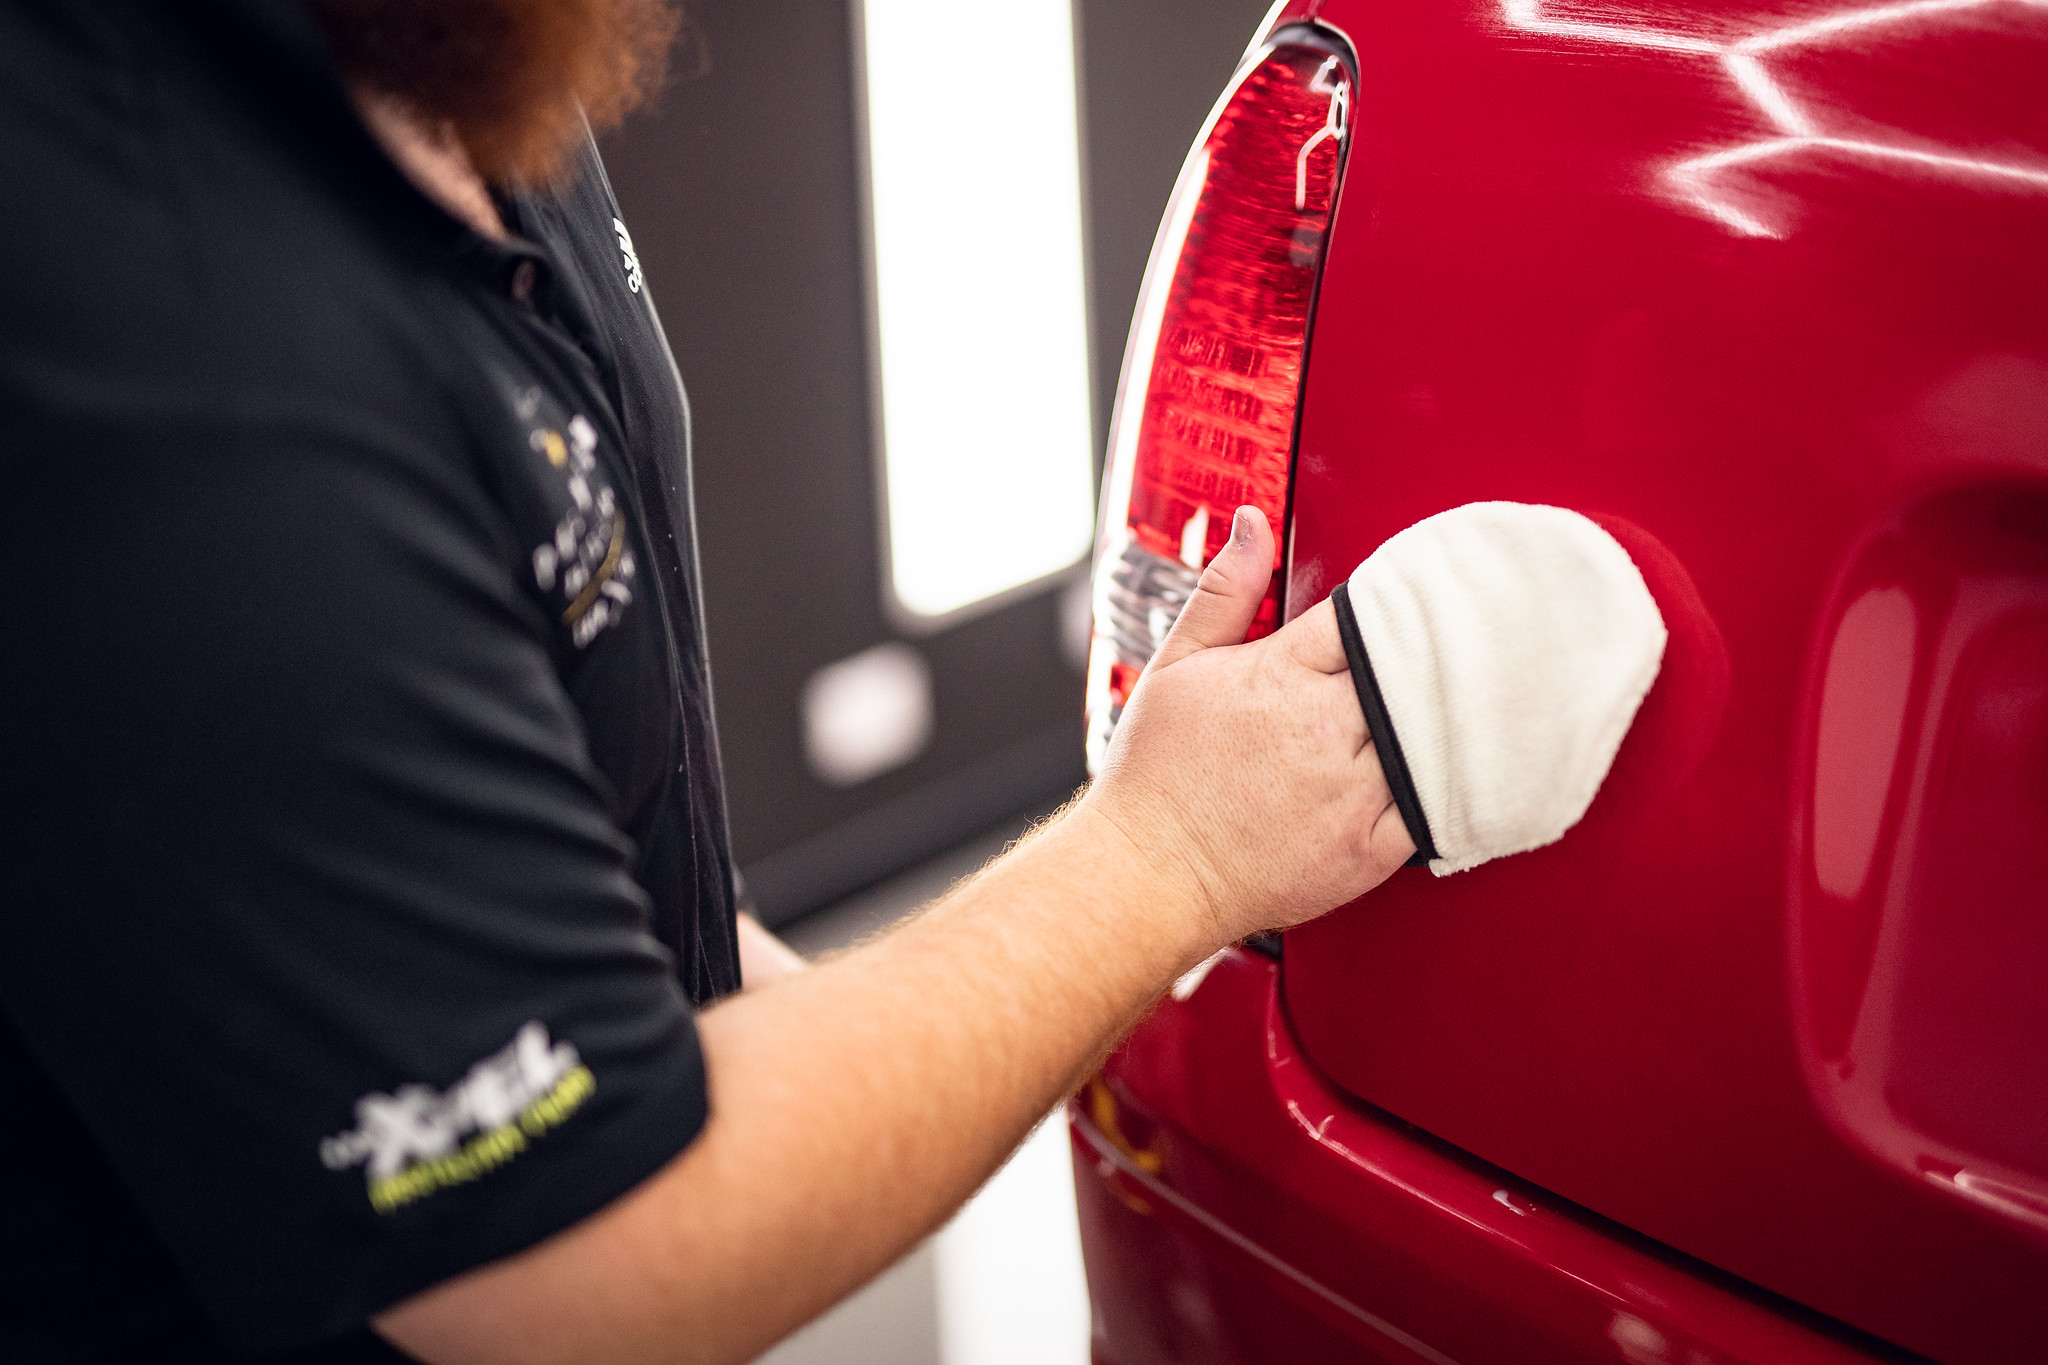
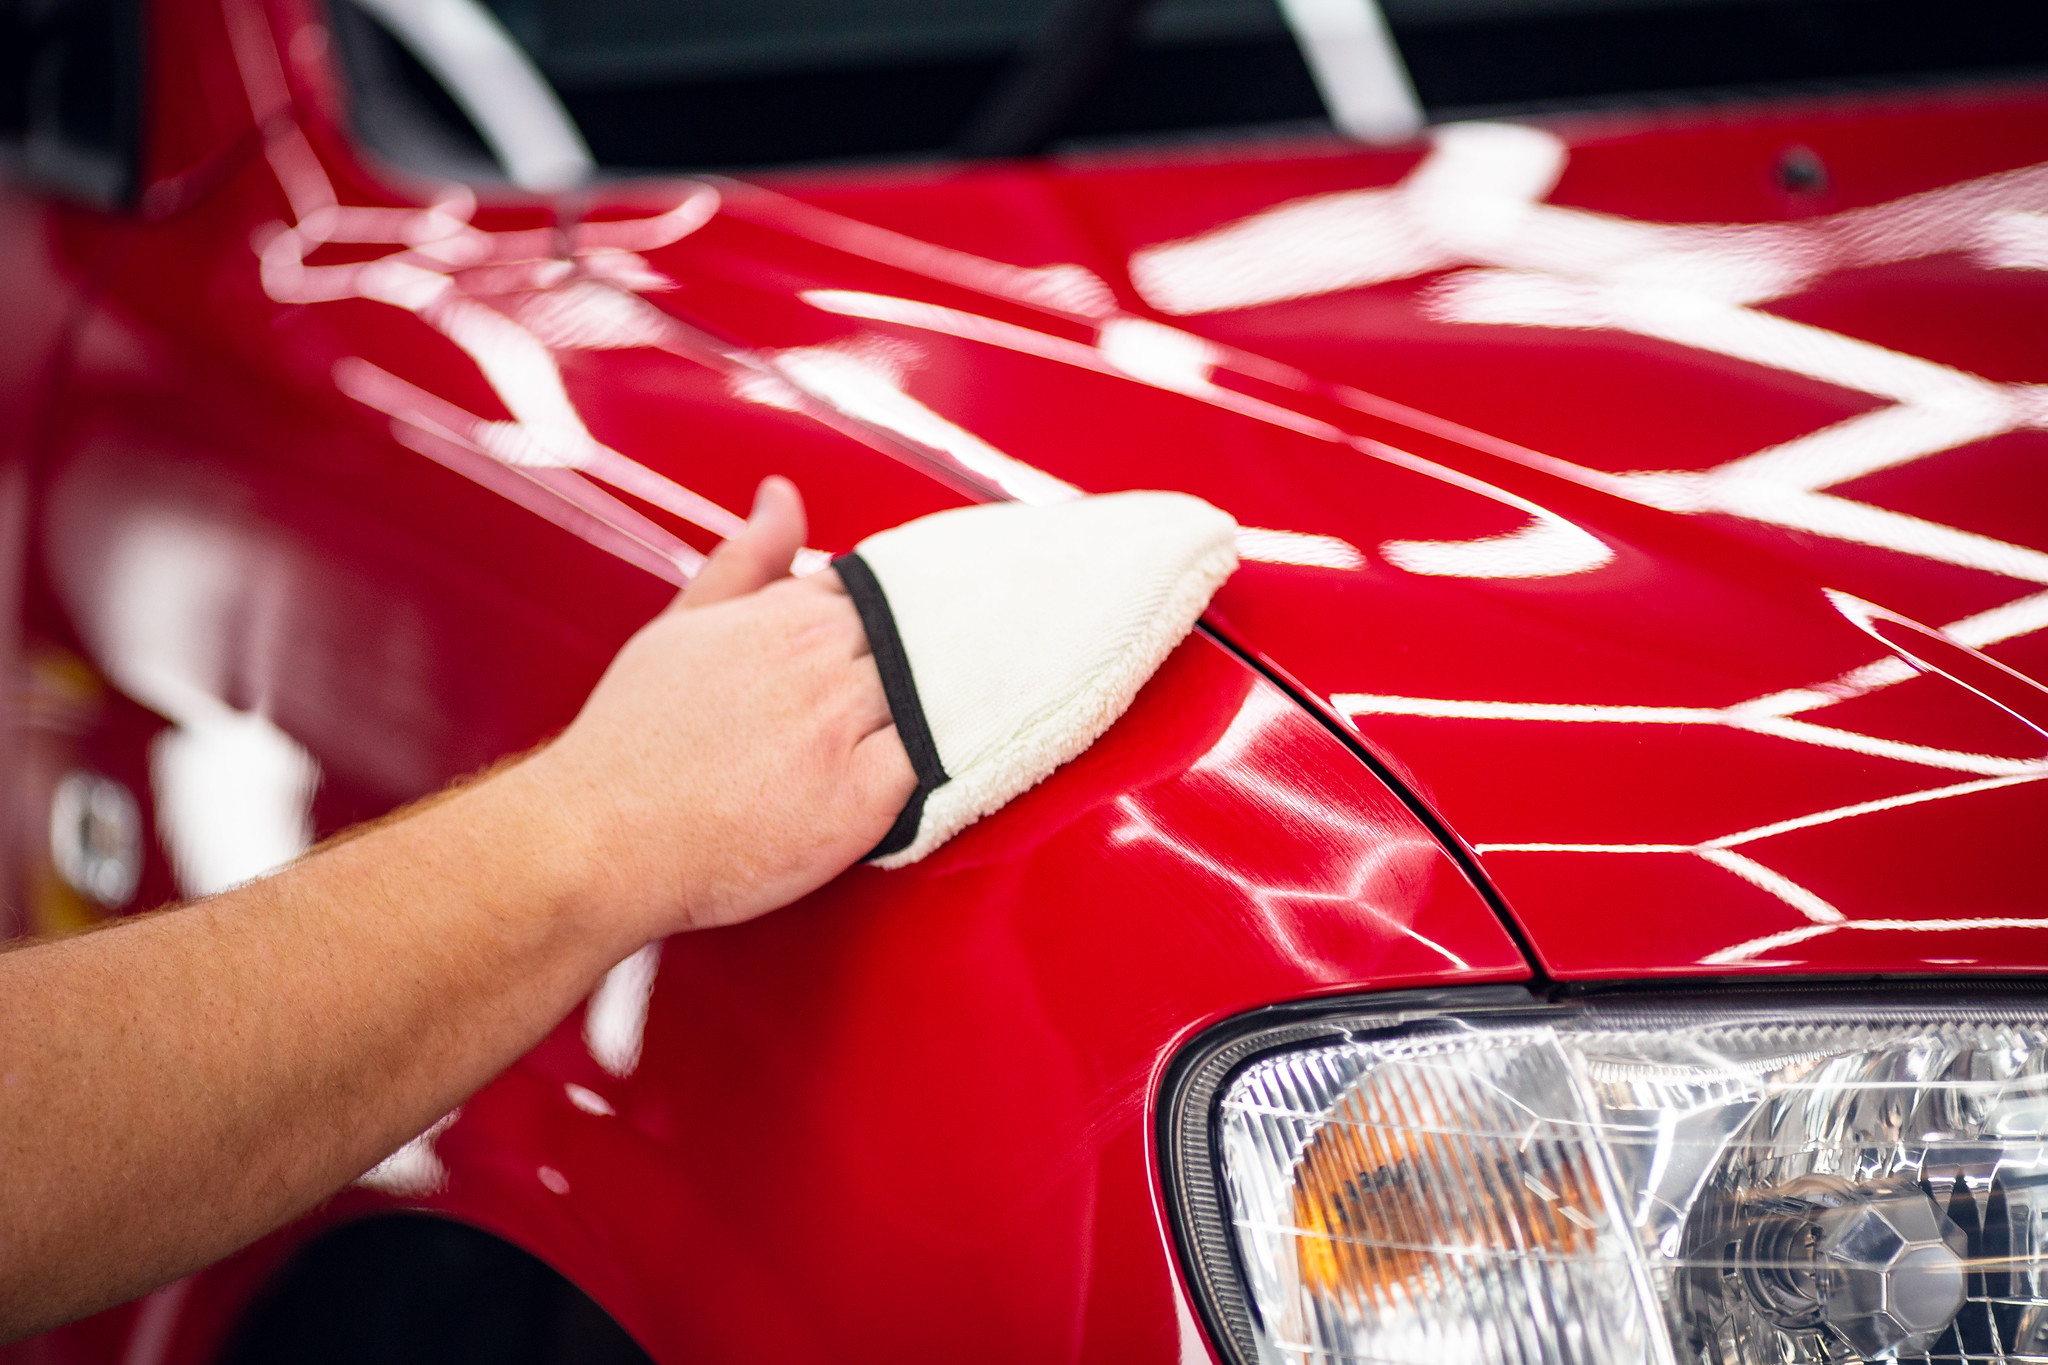
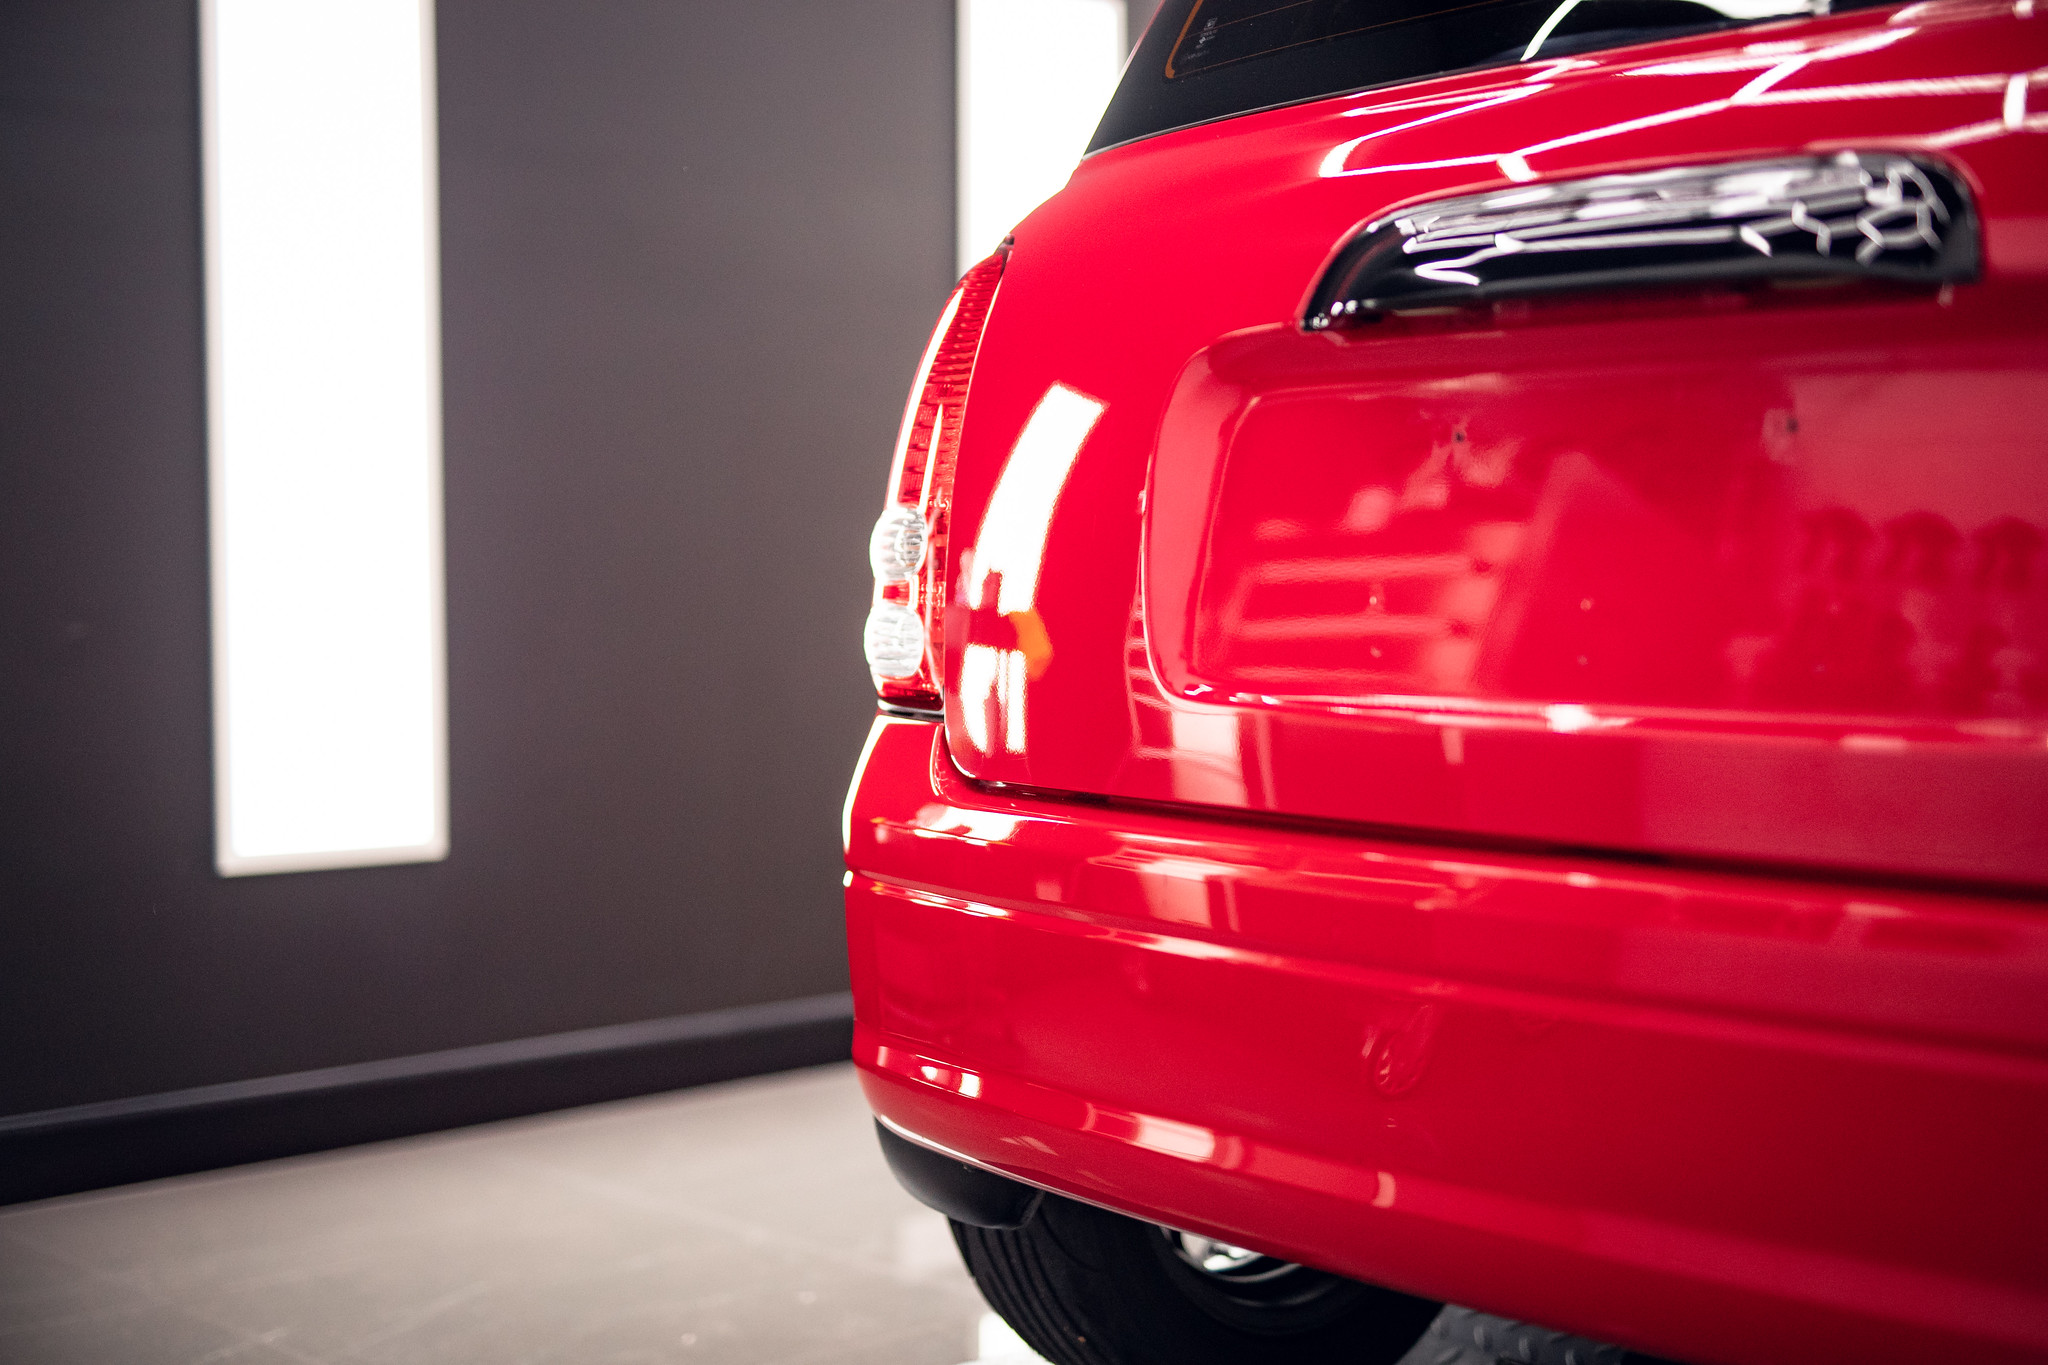
Now we can move onto polish for finishing.
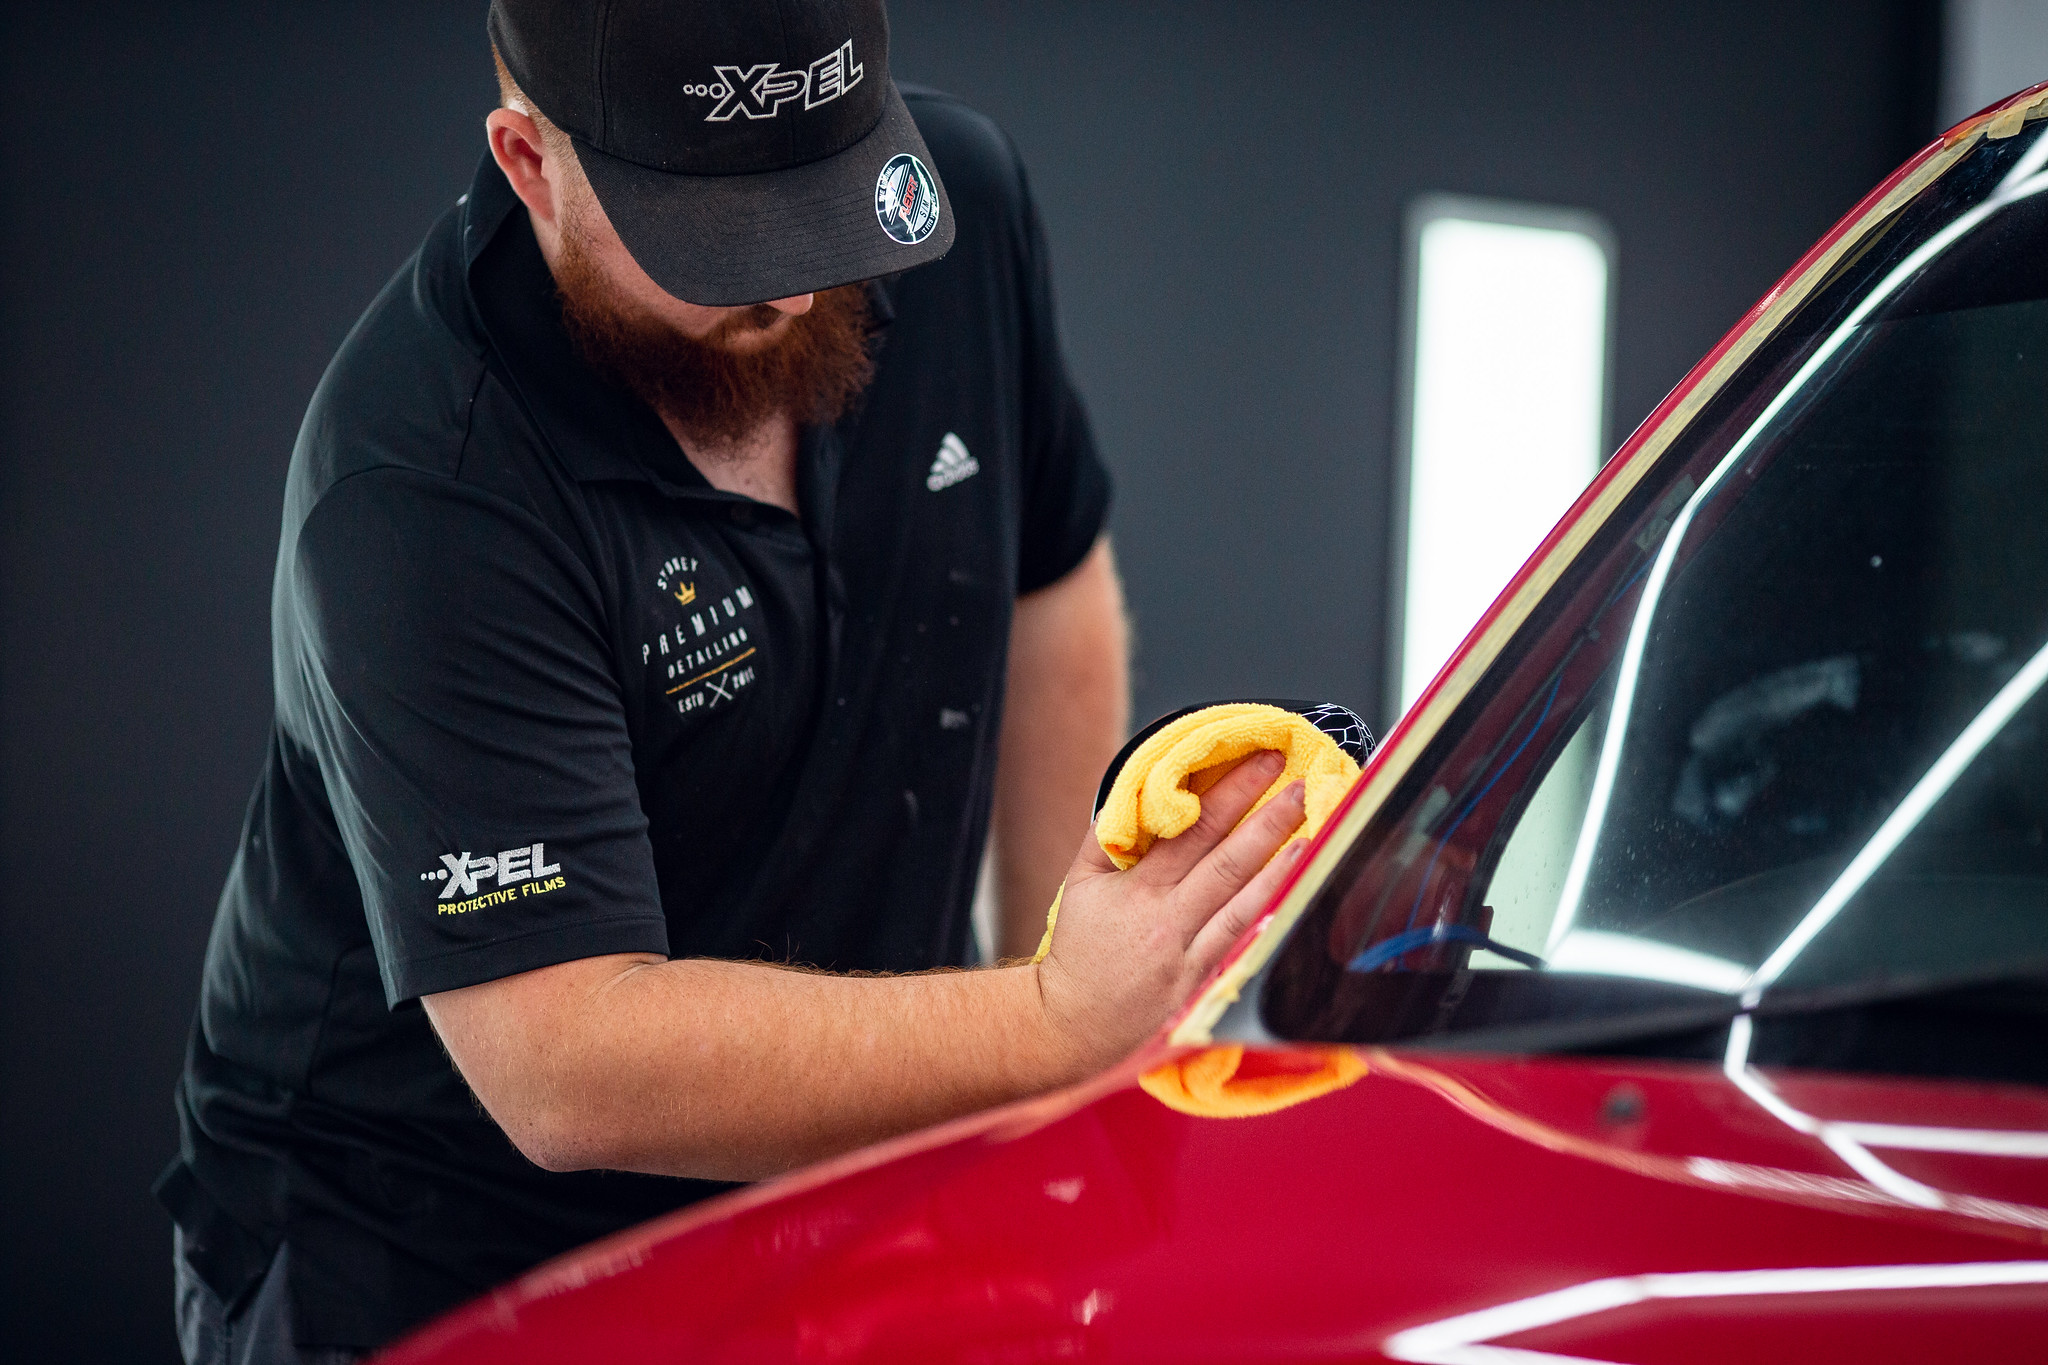
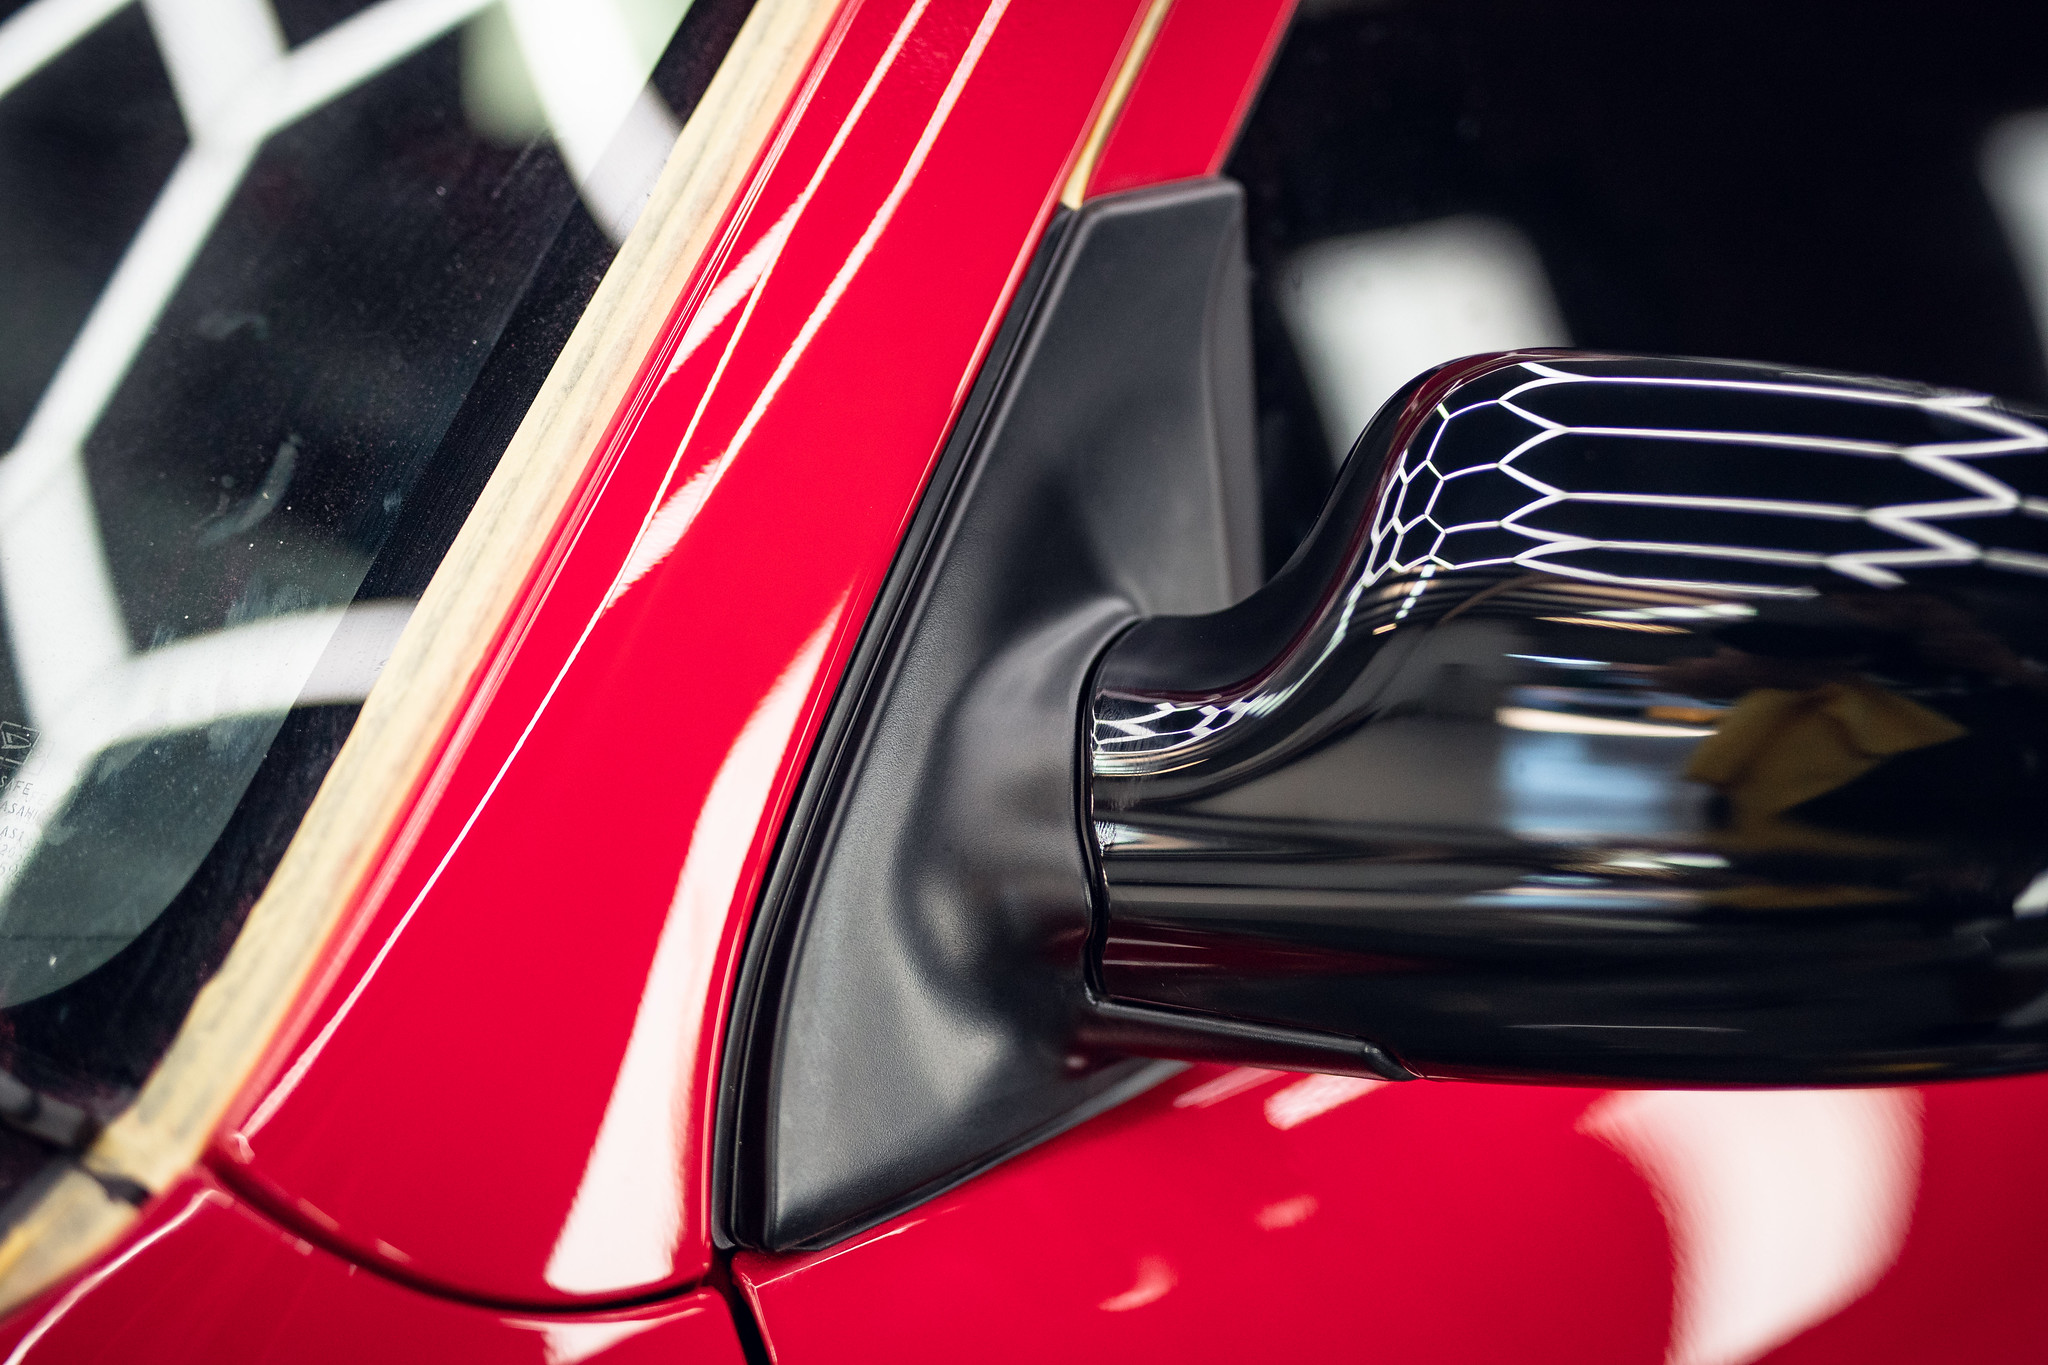
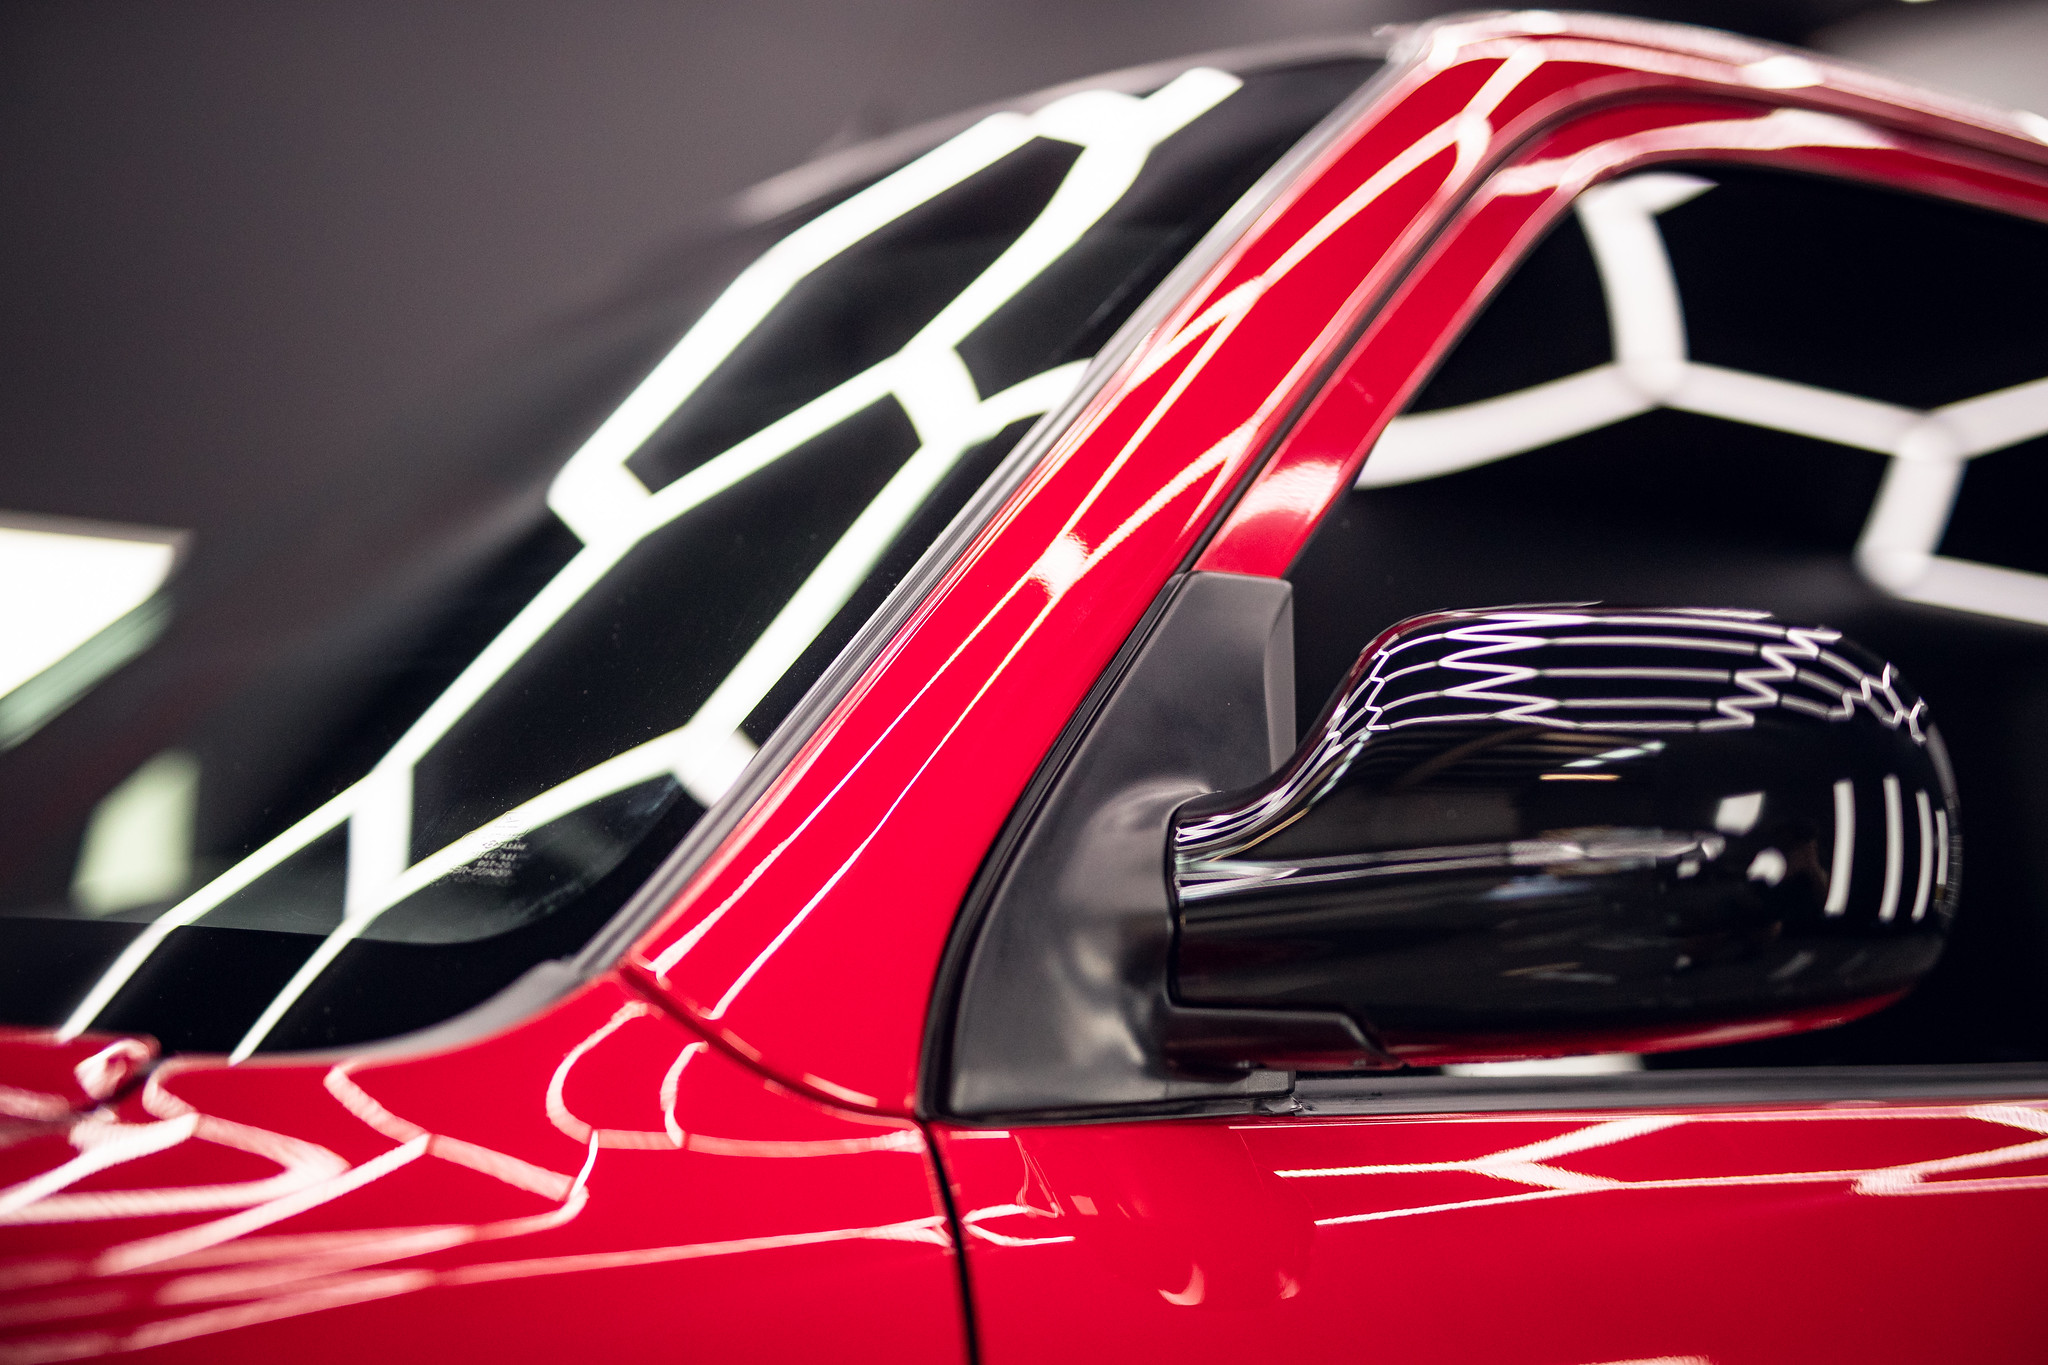
Started with the mirrors and boot handle.

While he was doing that I had a crack at restoring the trim. This stuff works incredible.


He worked on polish. Shine Supply Slick Back with a foam pad. It started white.
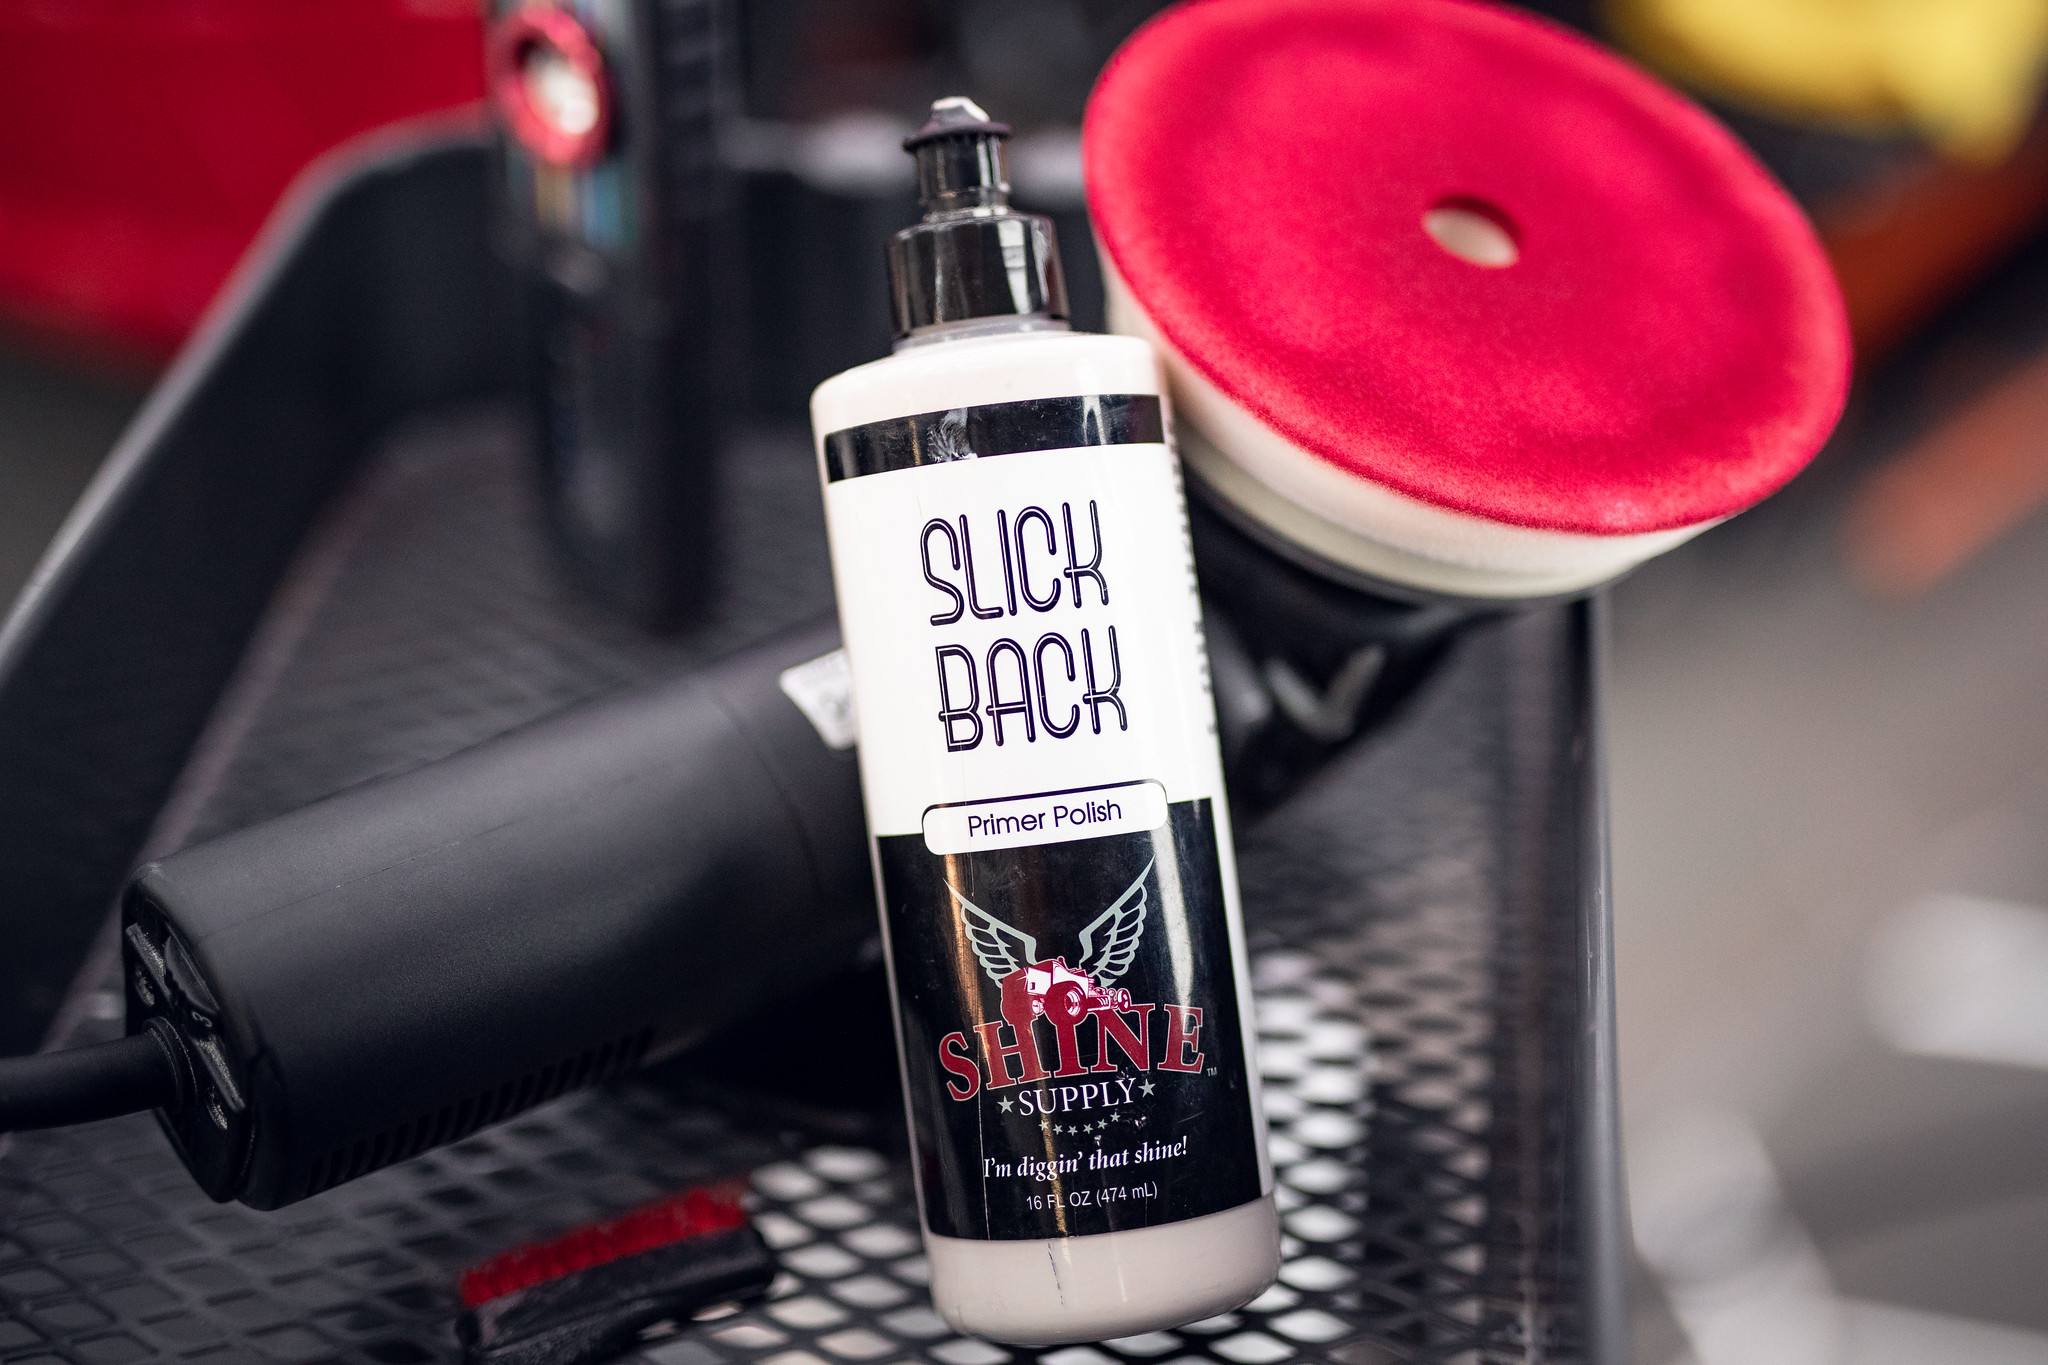

It’s looking damn good.

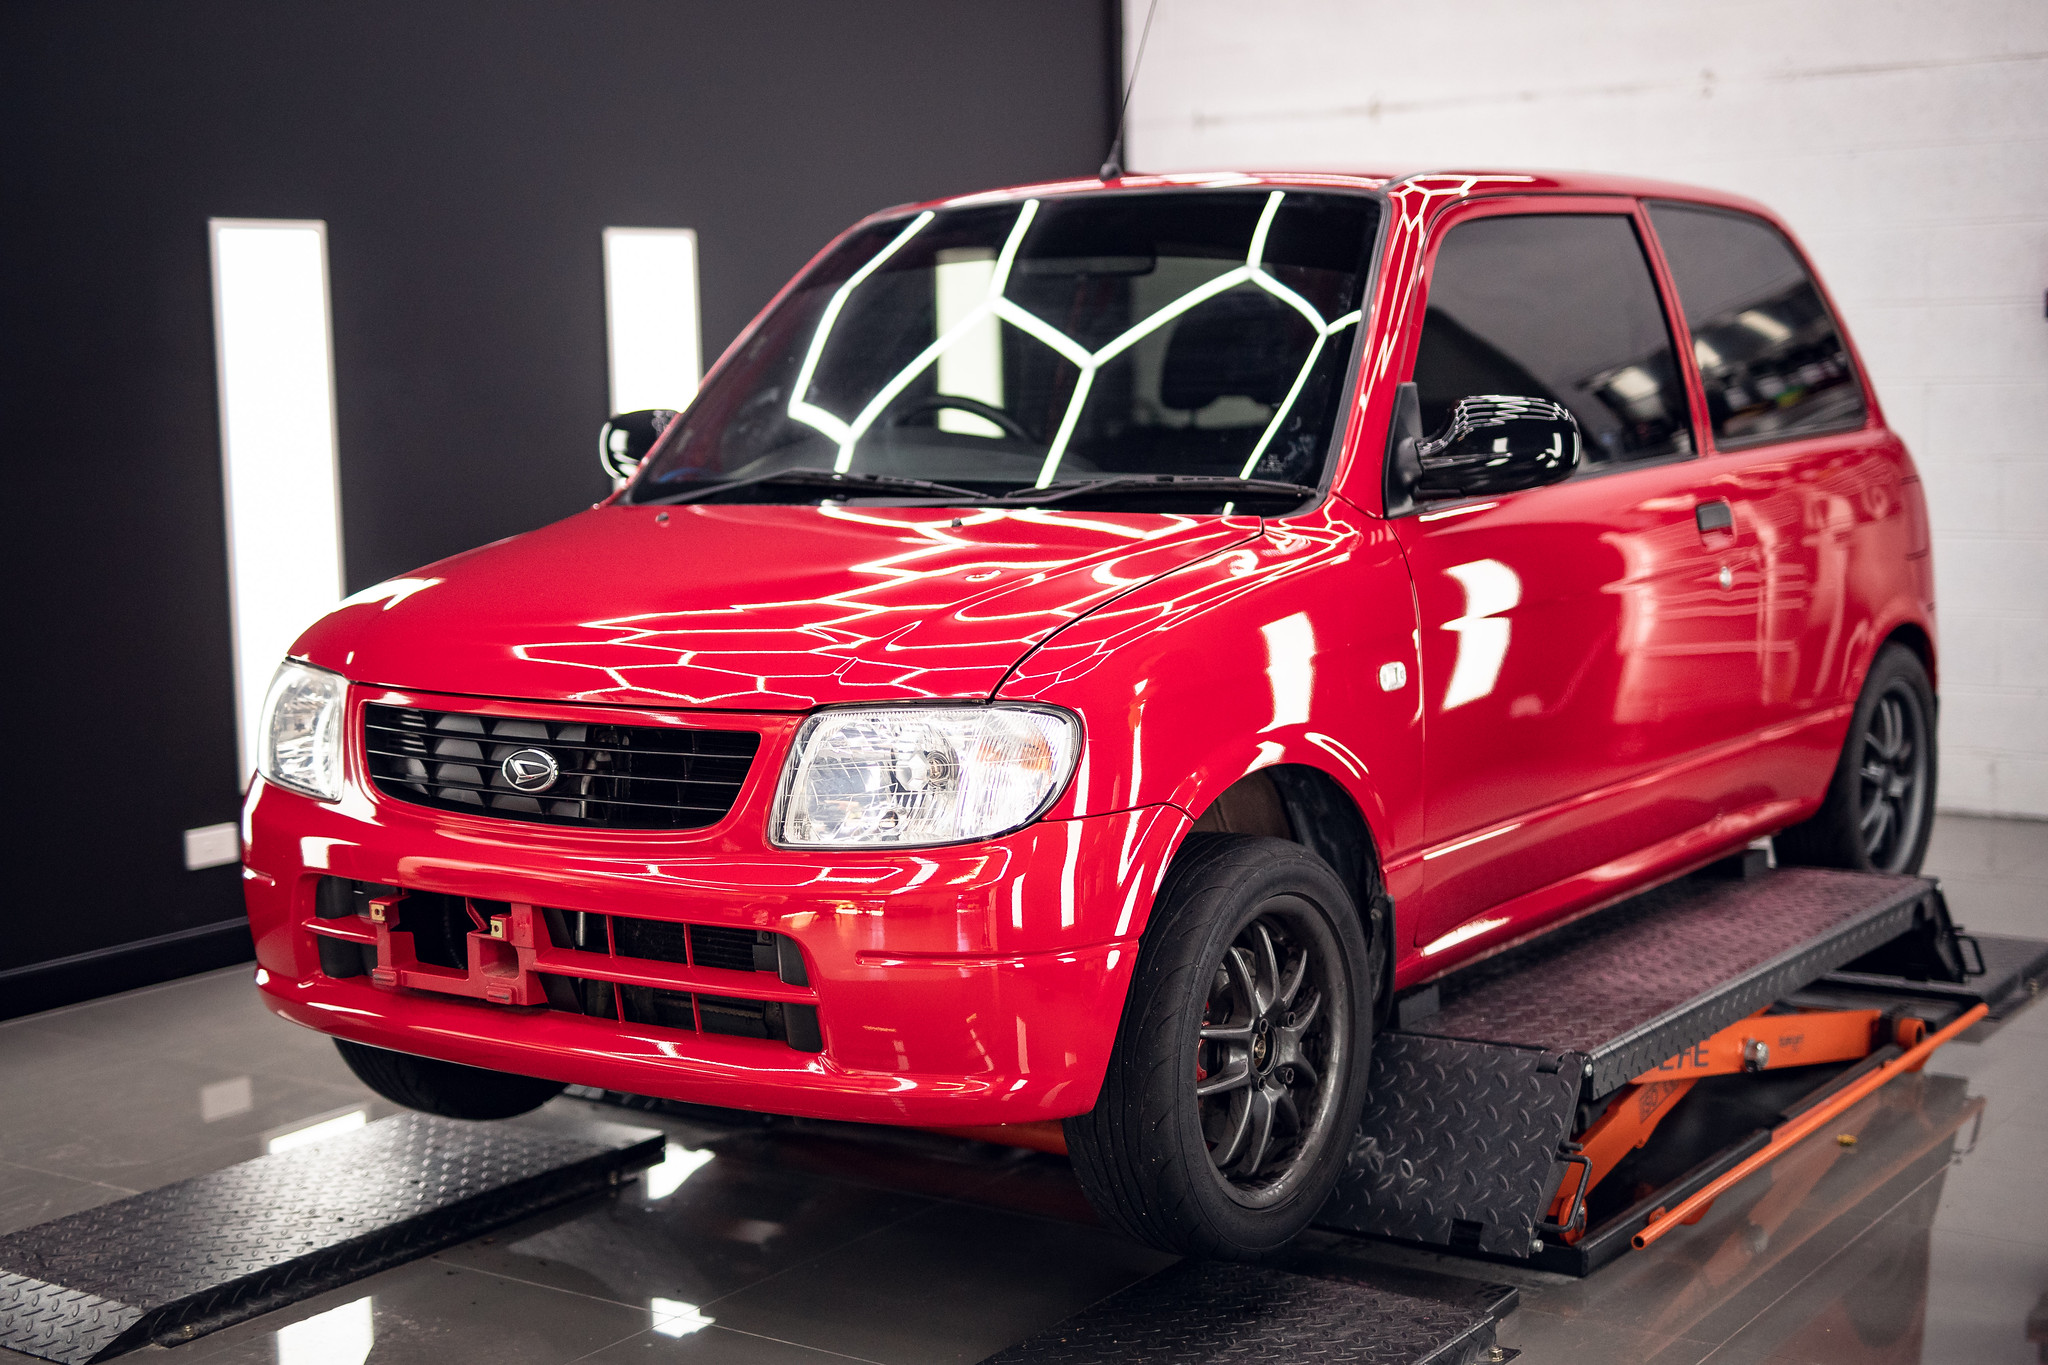
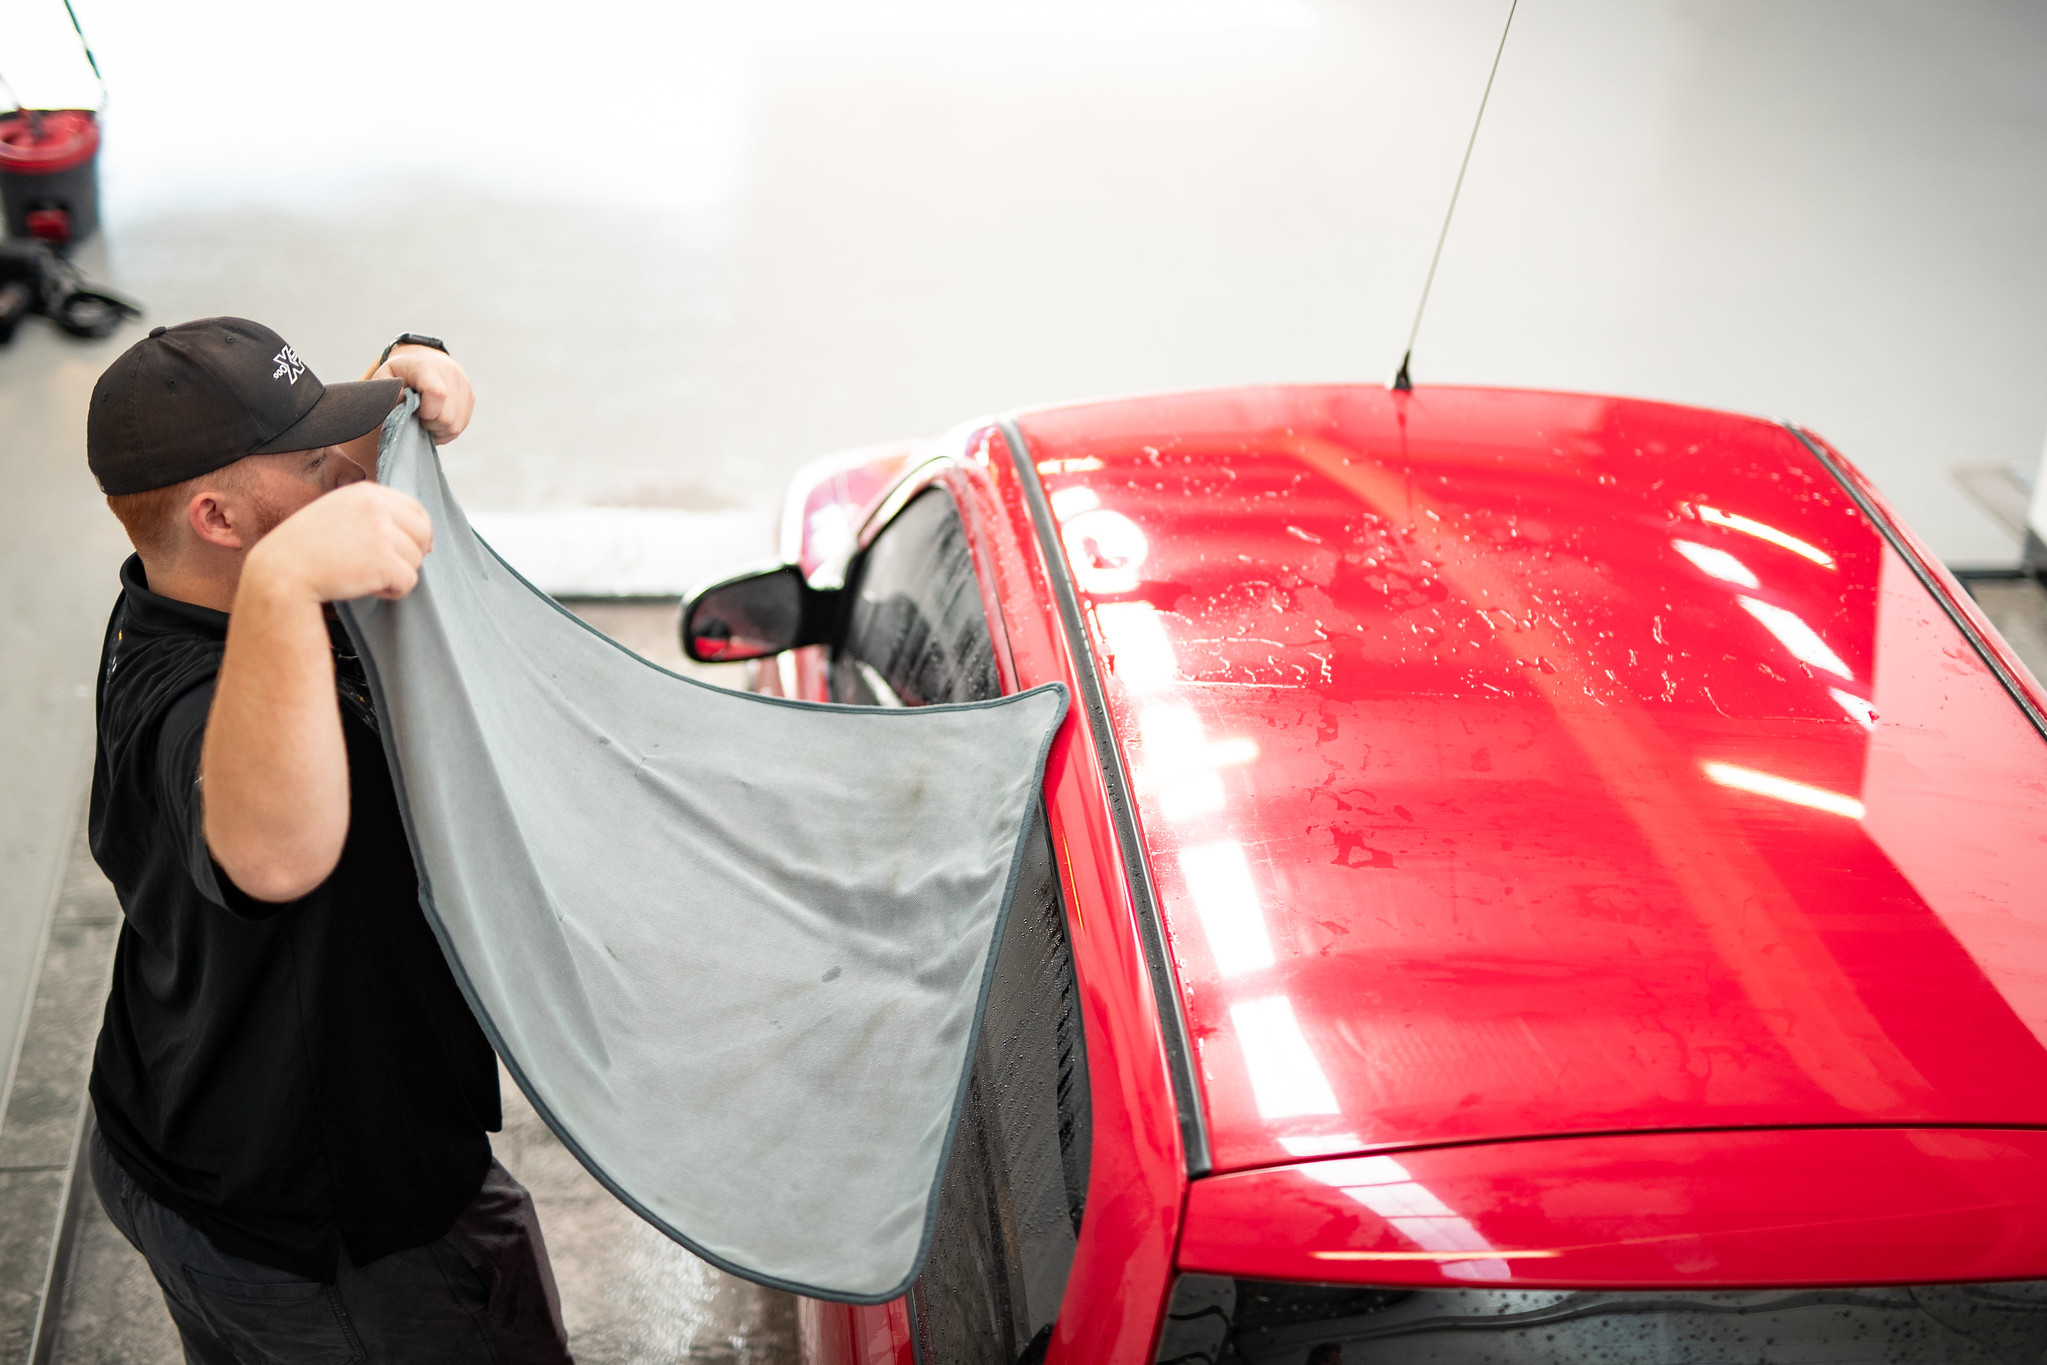
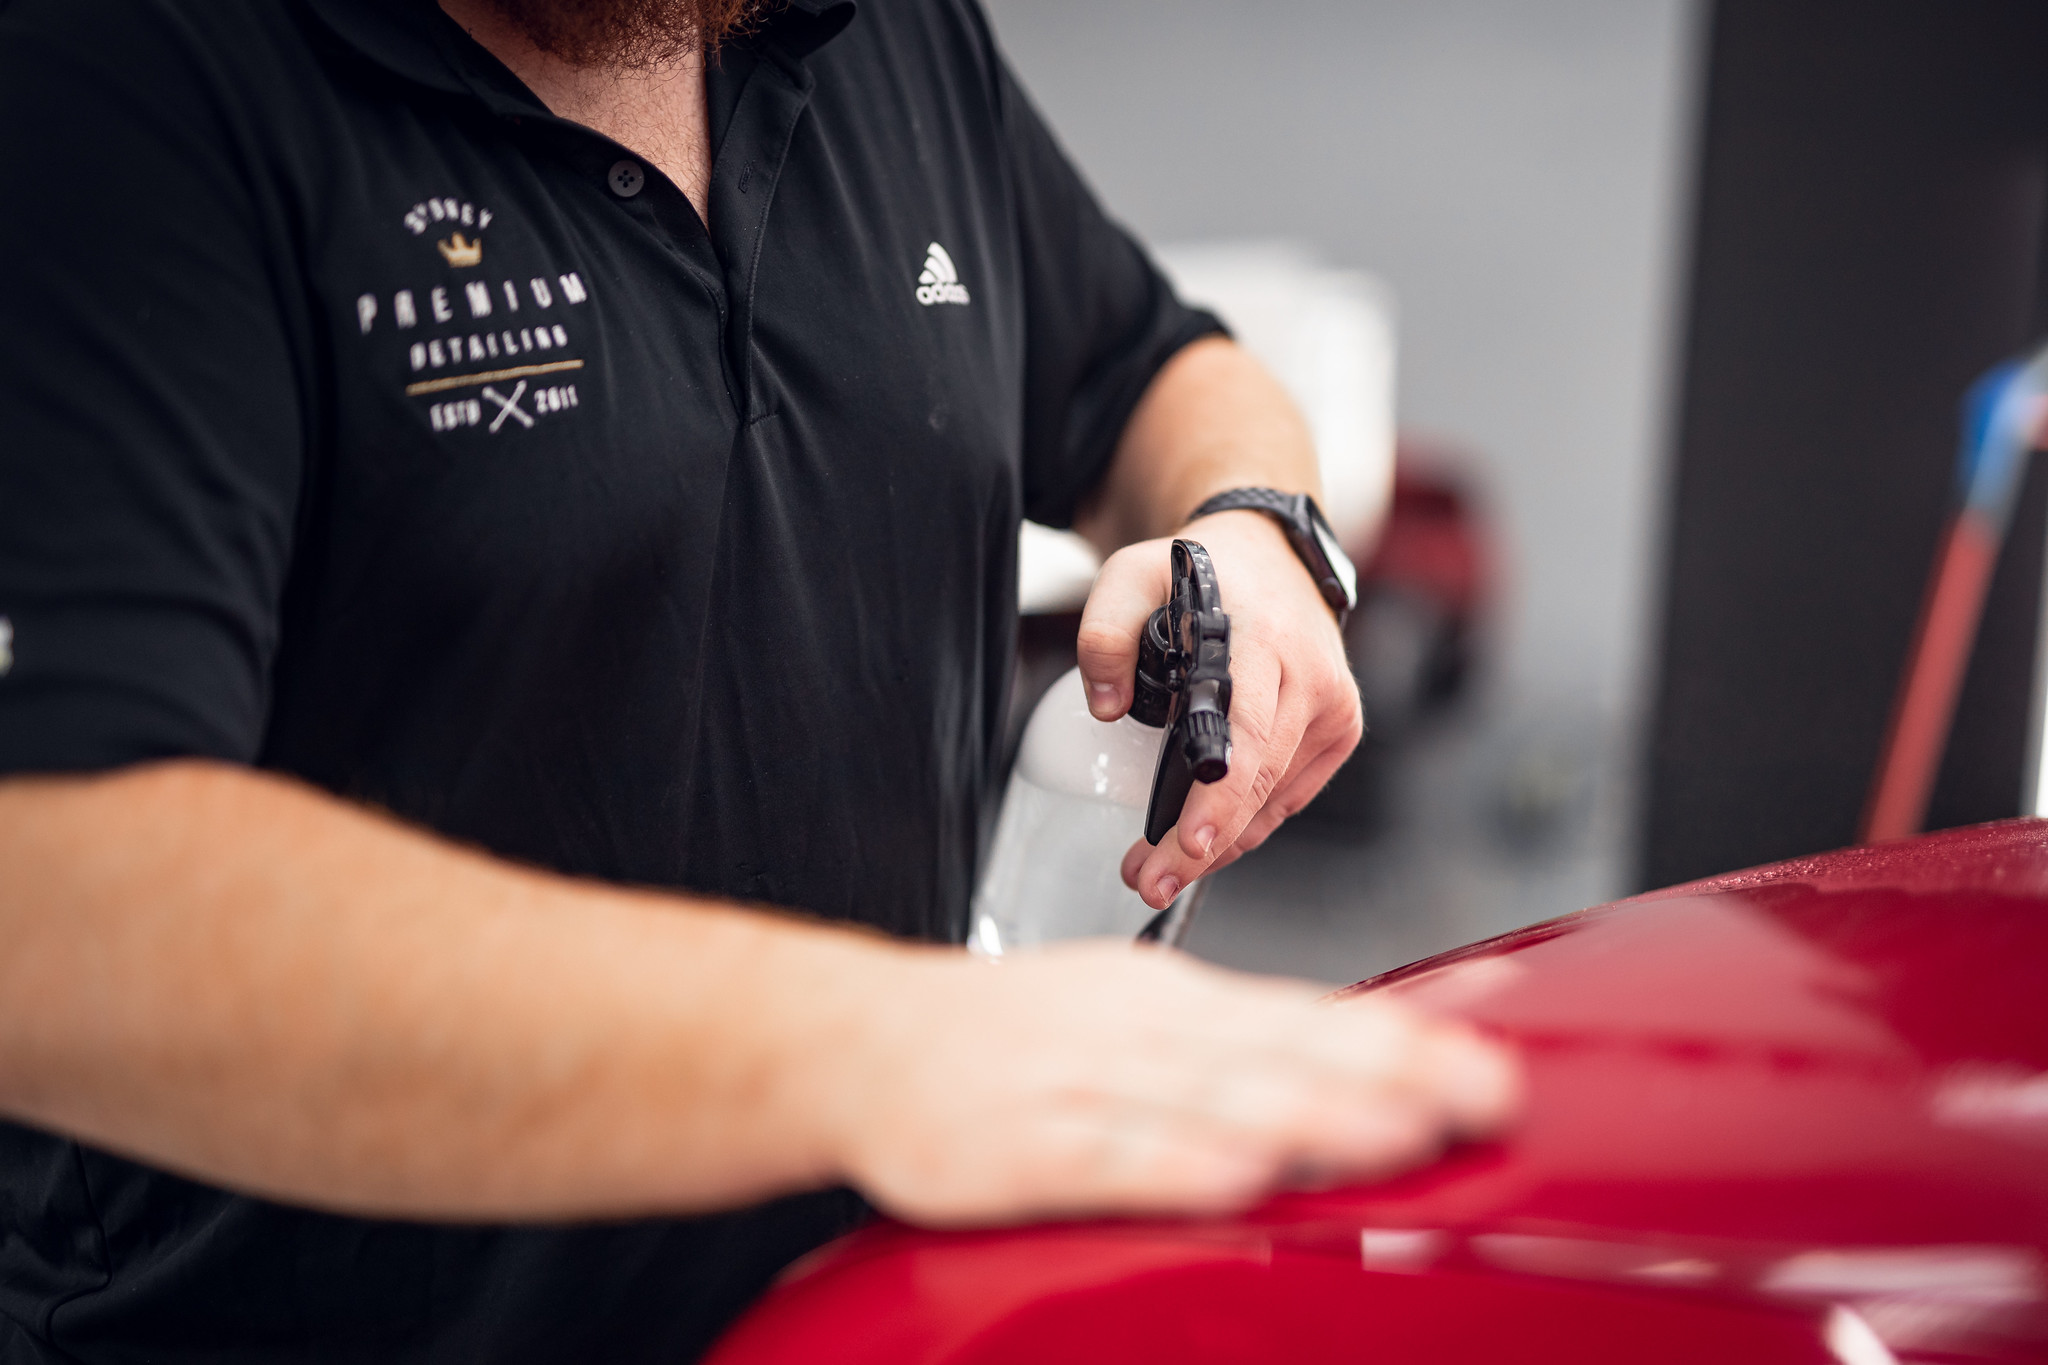
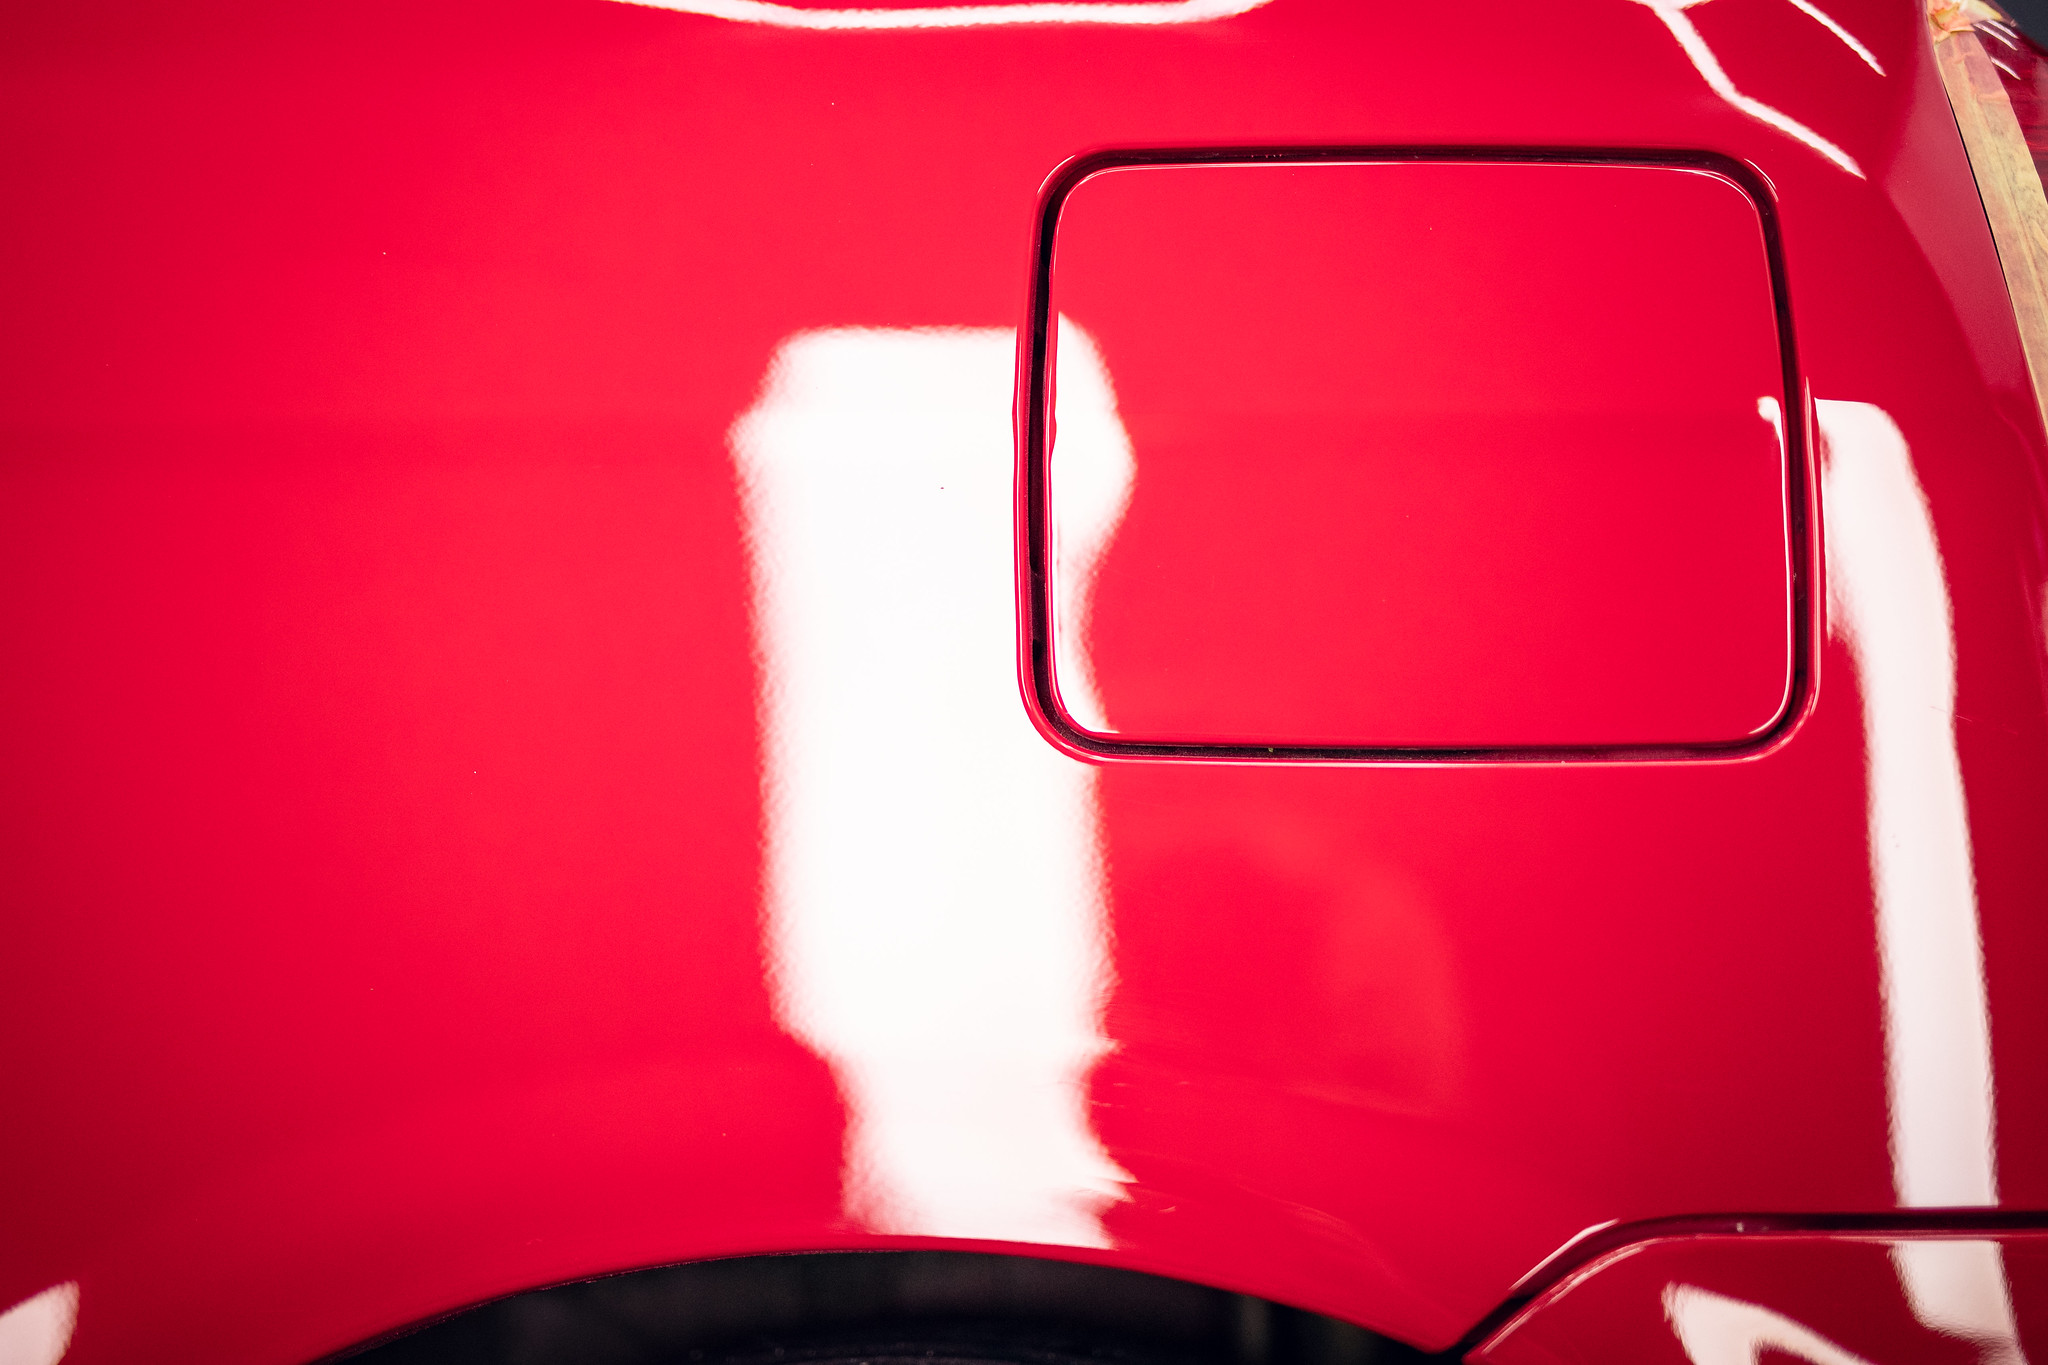
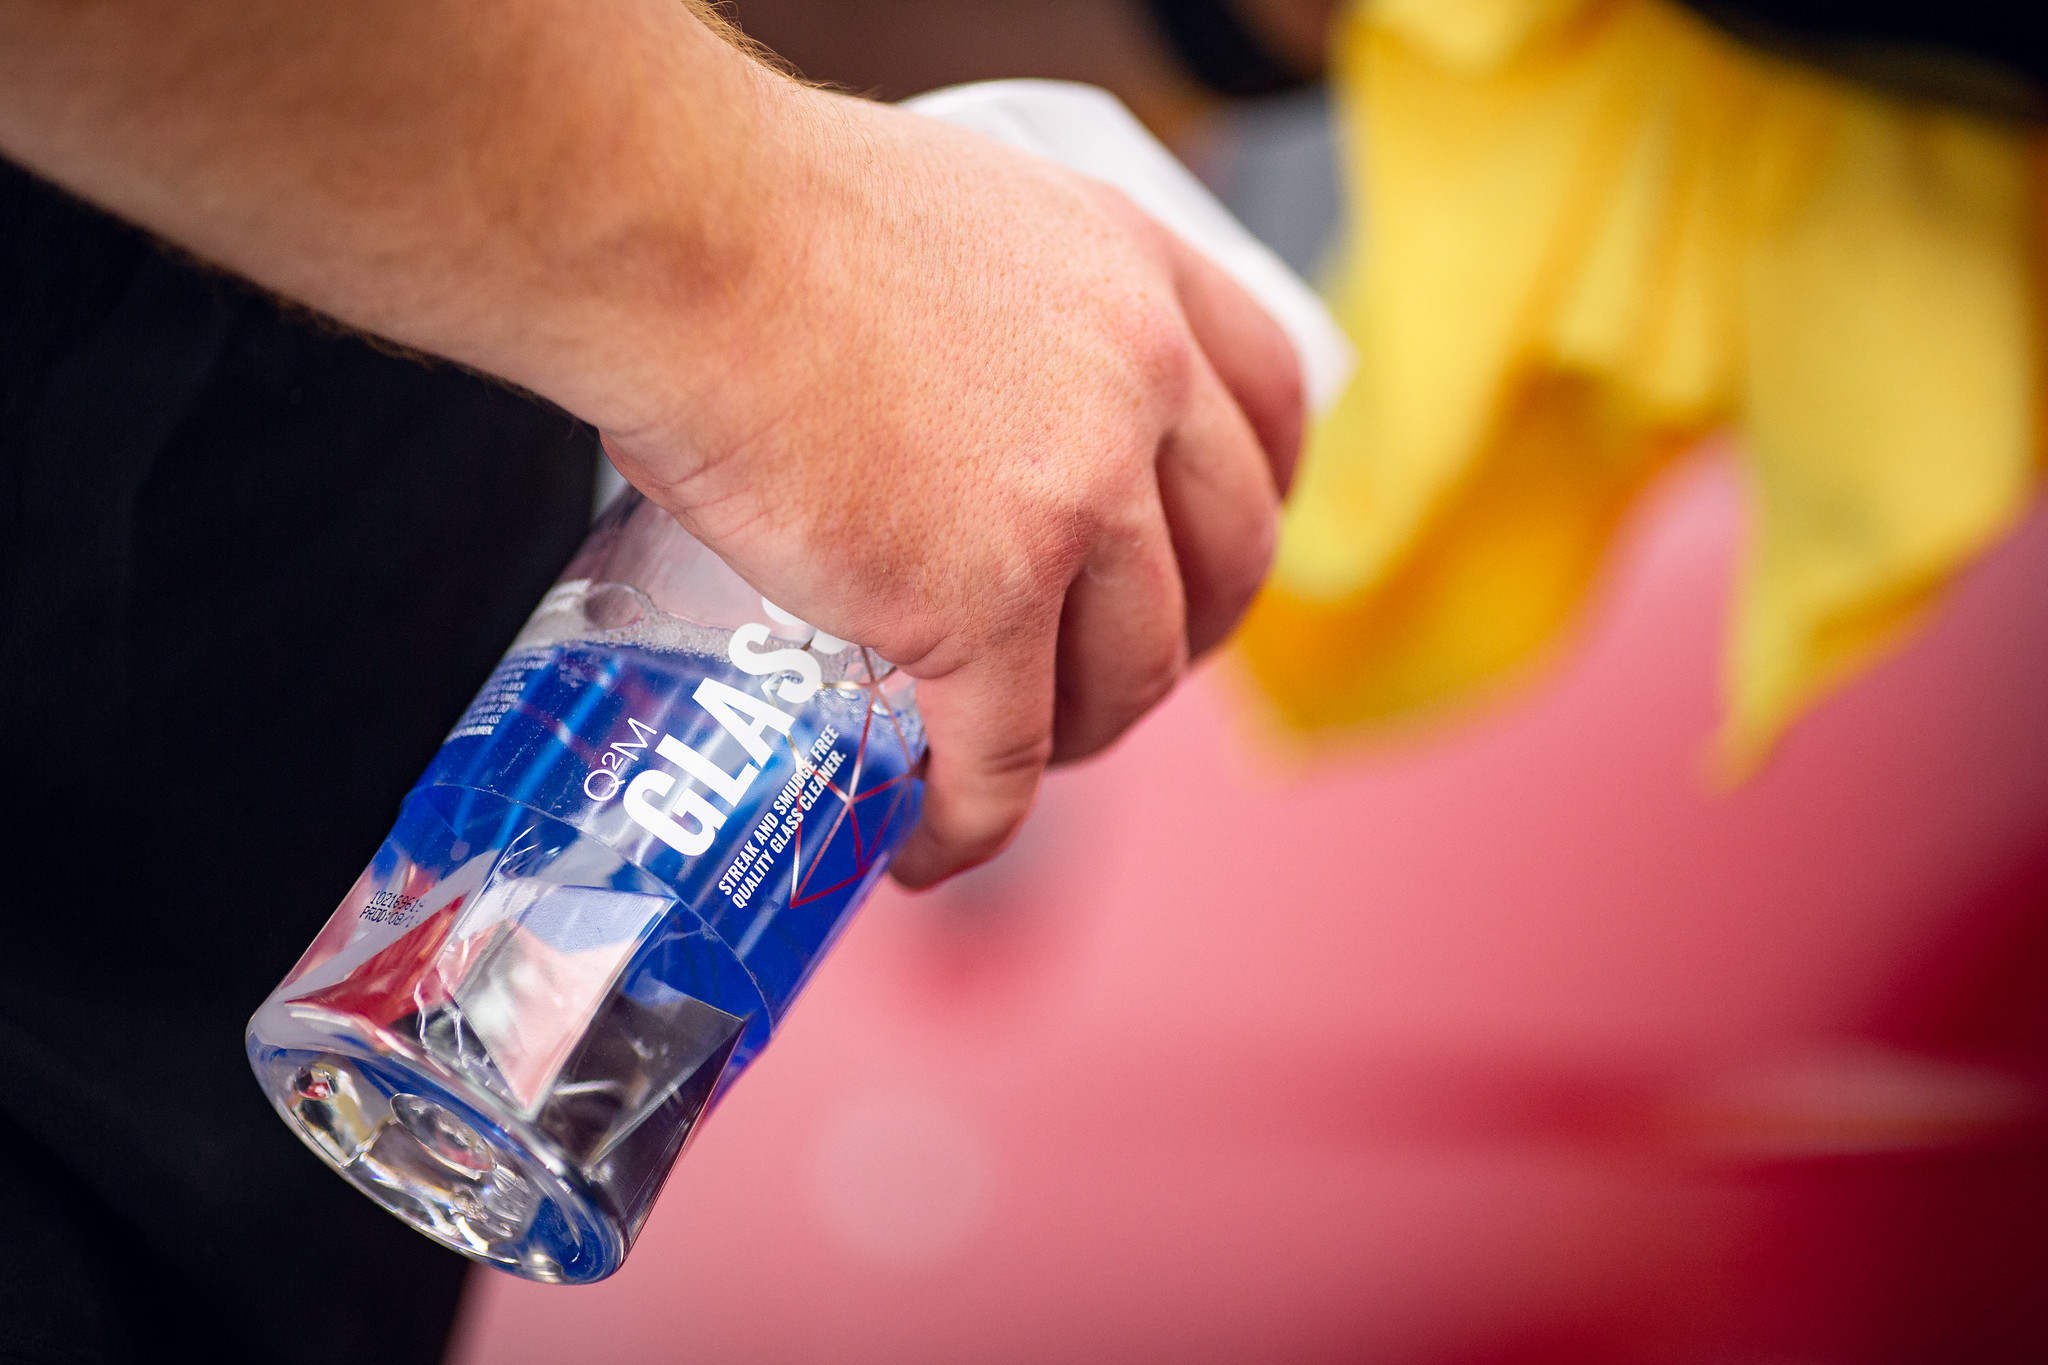
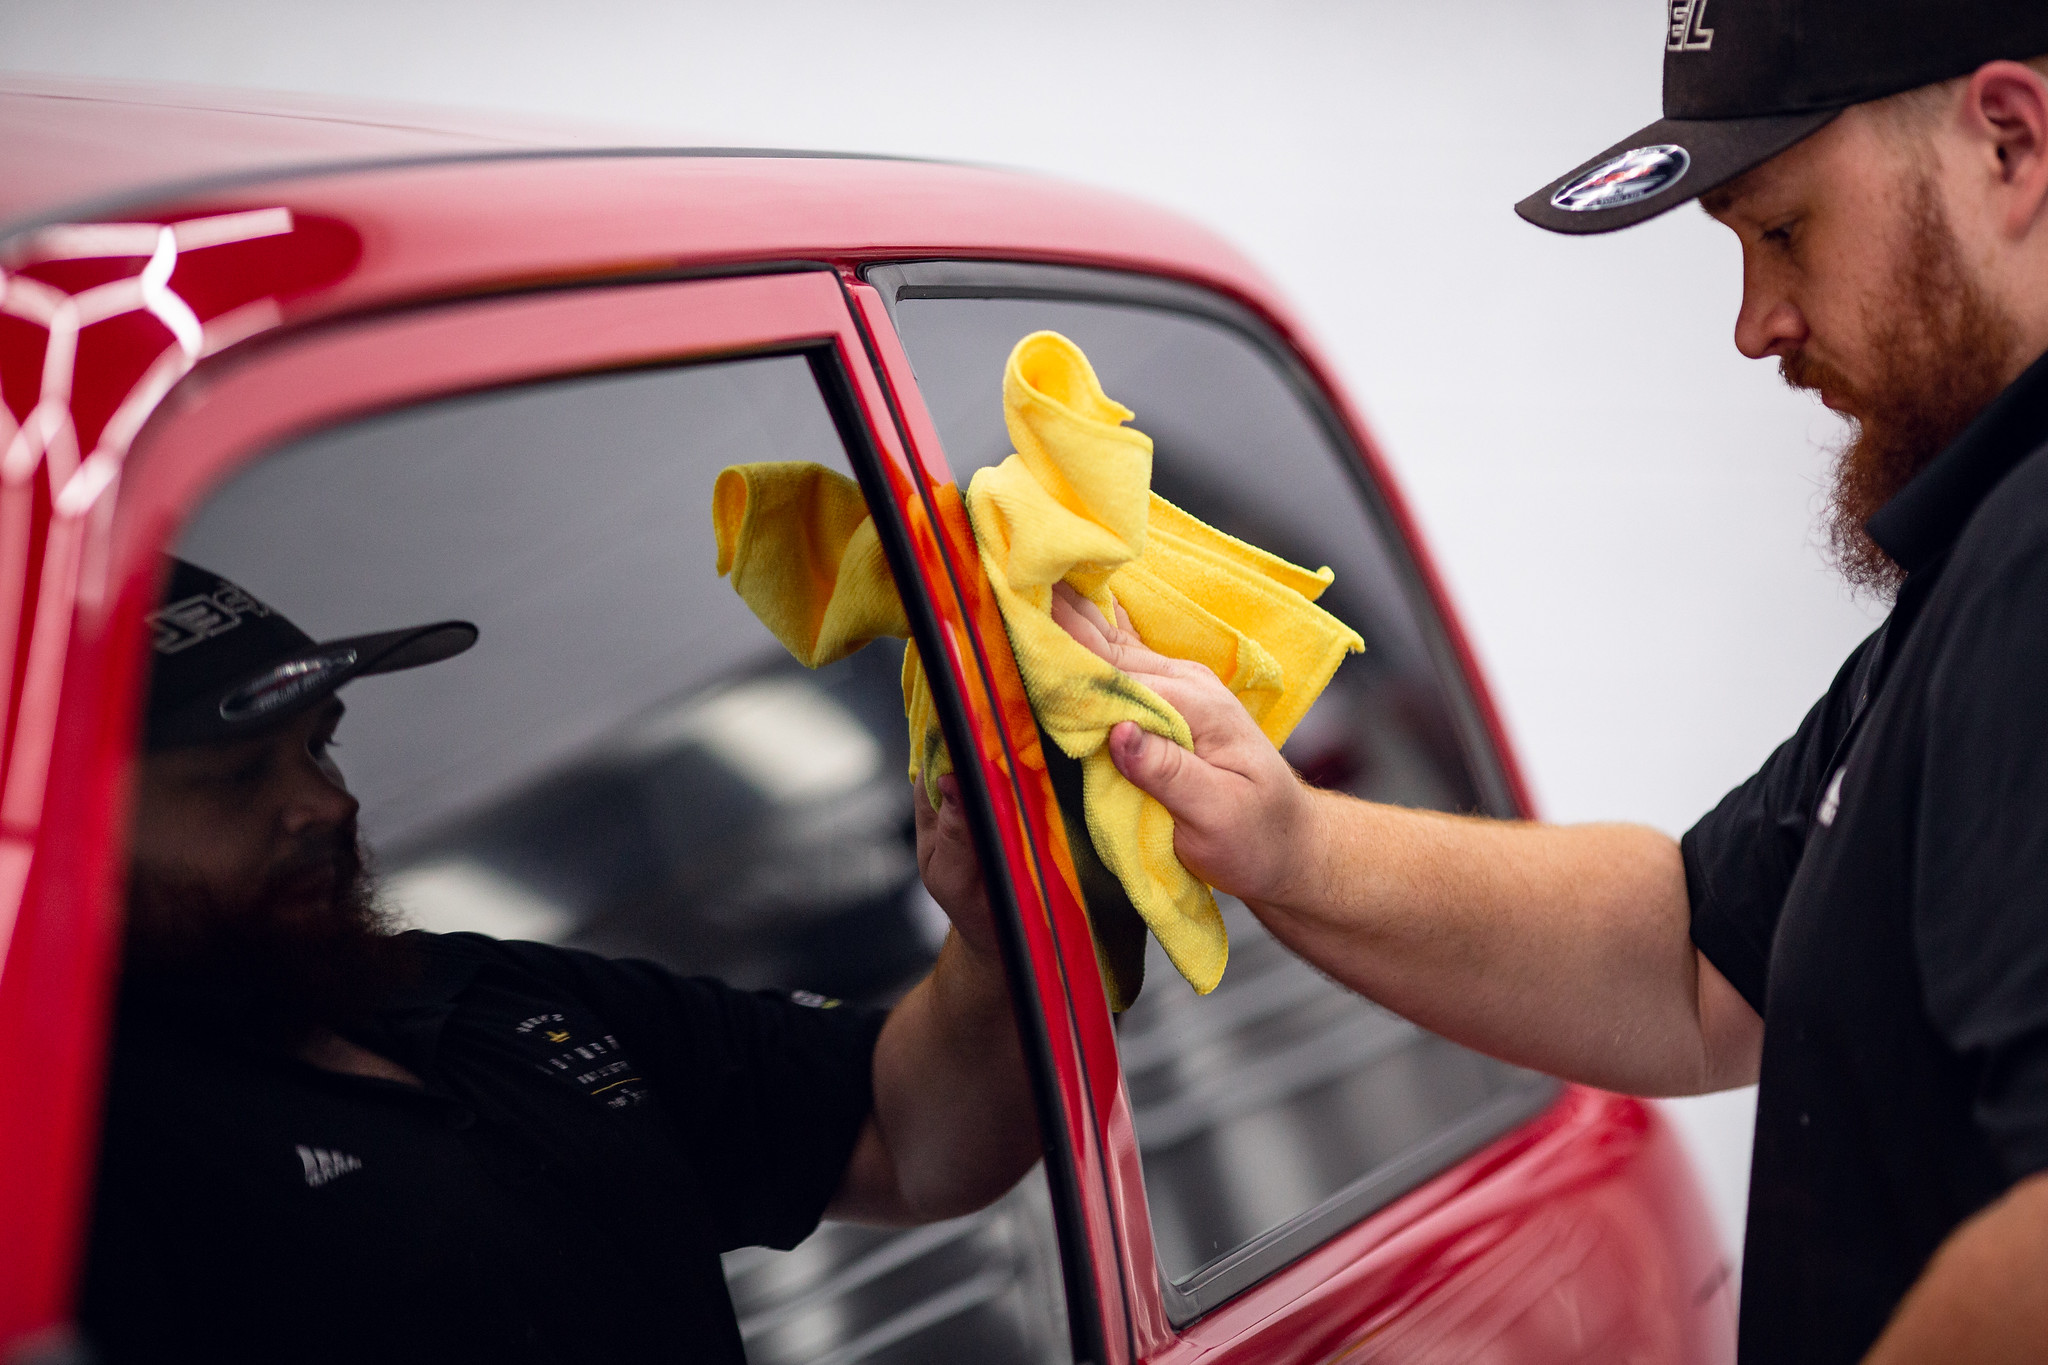
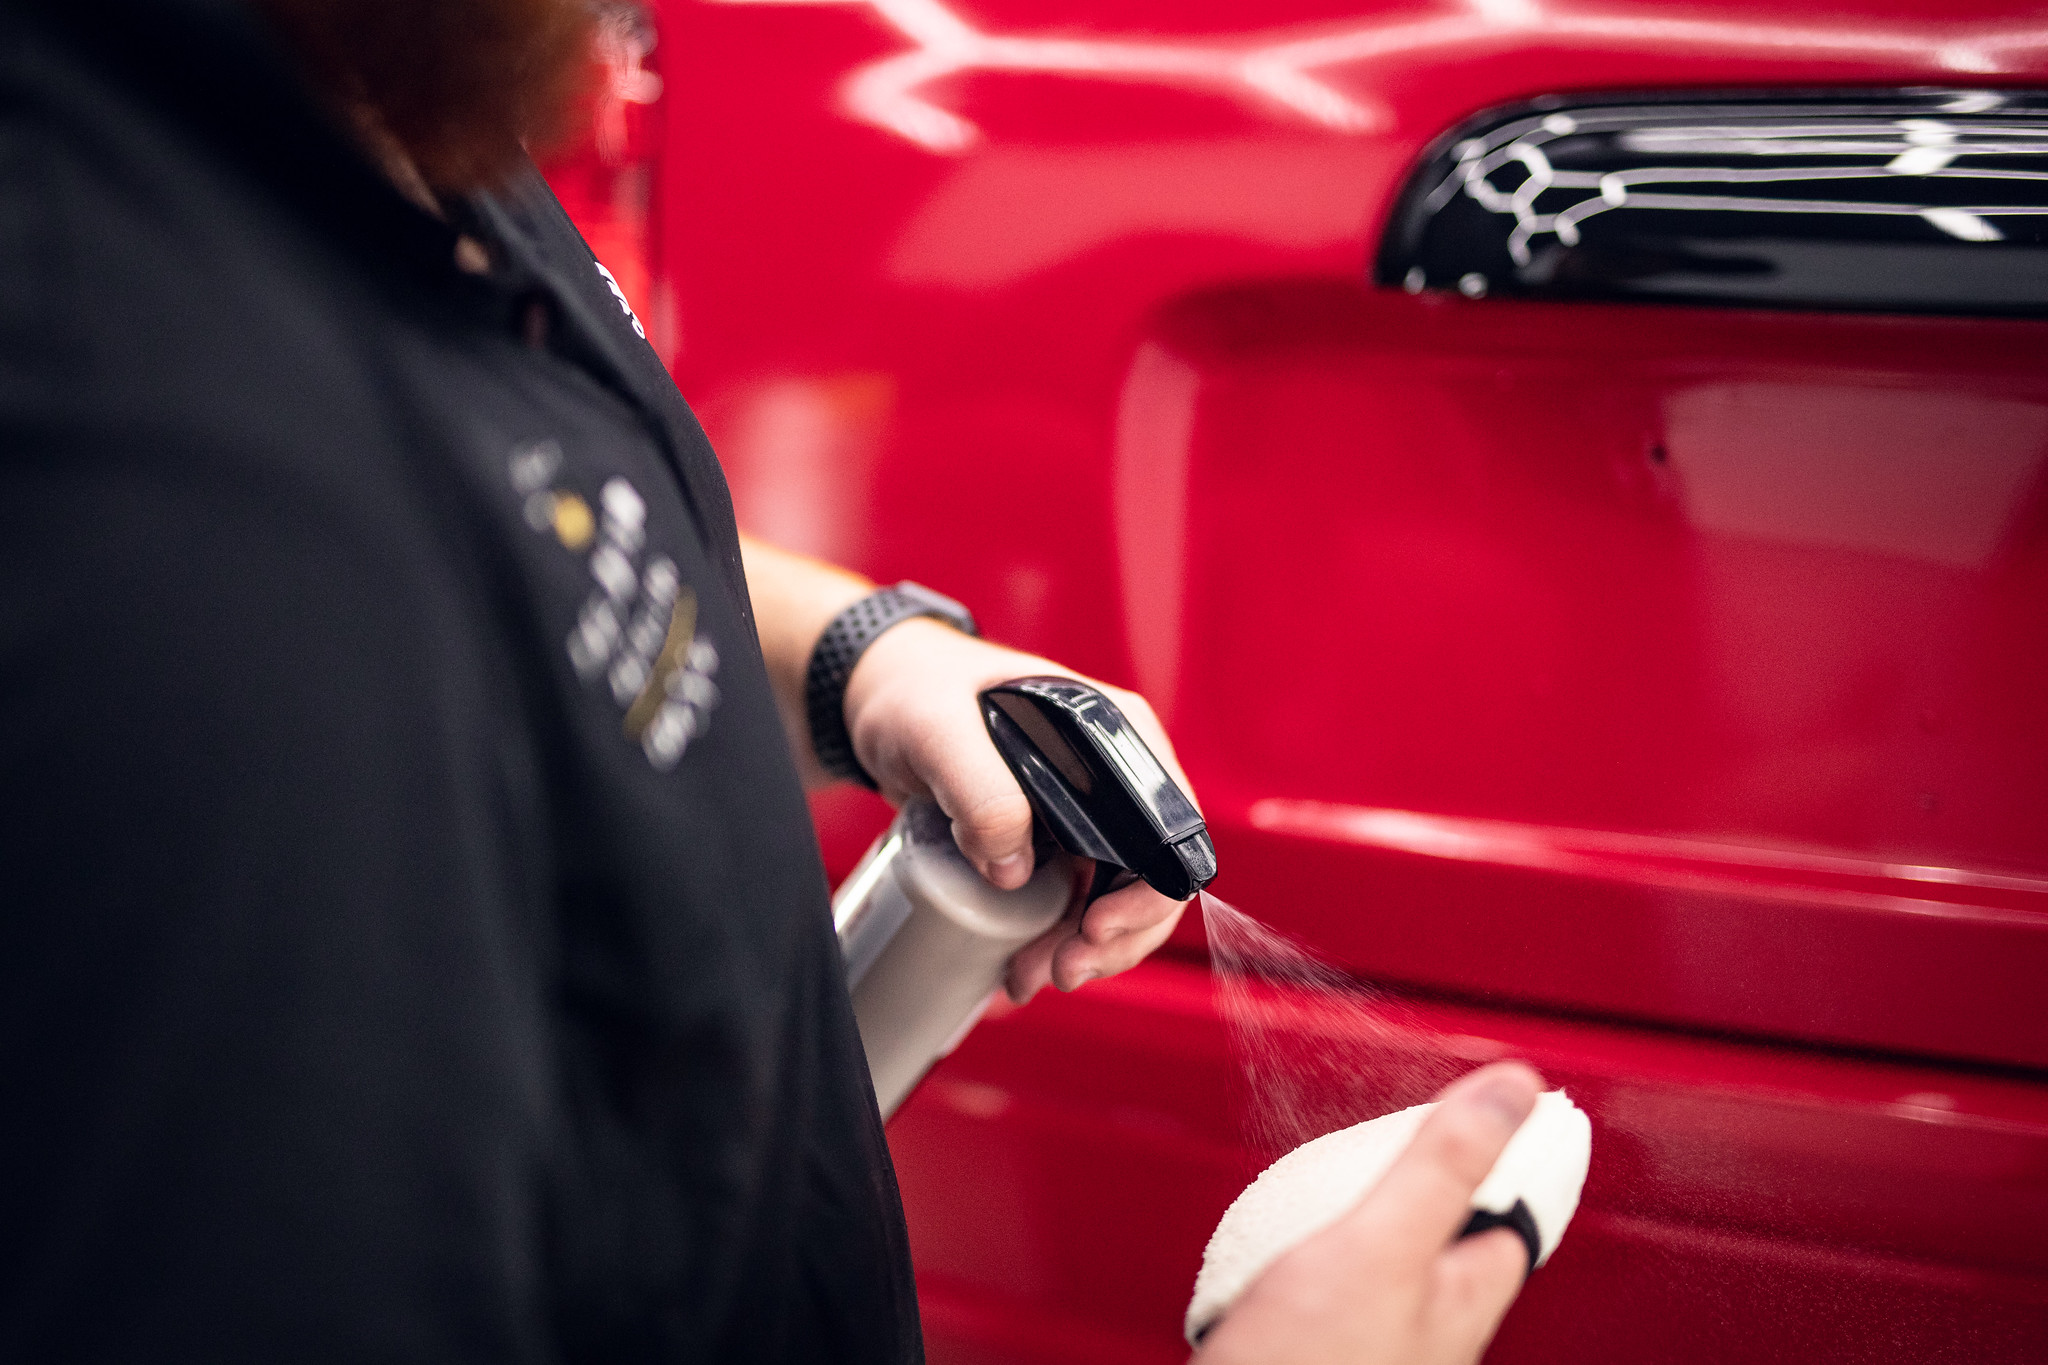
Quickly cleaned the glass before applying the sealant.

Time for sealant.


Wow.


(https://live.staticflickr.com/65535/49809429292_840bb1e19f_k.jpg[/img)]


9 Likes