K3 Gino build. (Frasertag's car)

Ok so I thought I’d start a build thread on an already built car if that makes sense.
Maybe more of a “how to” as well as a build thread.
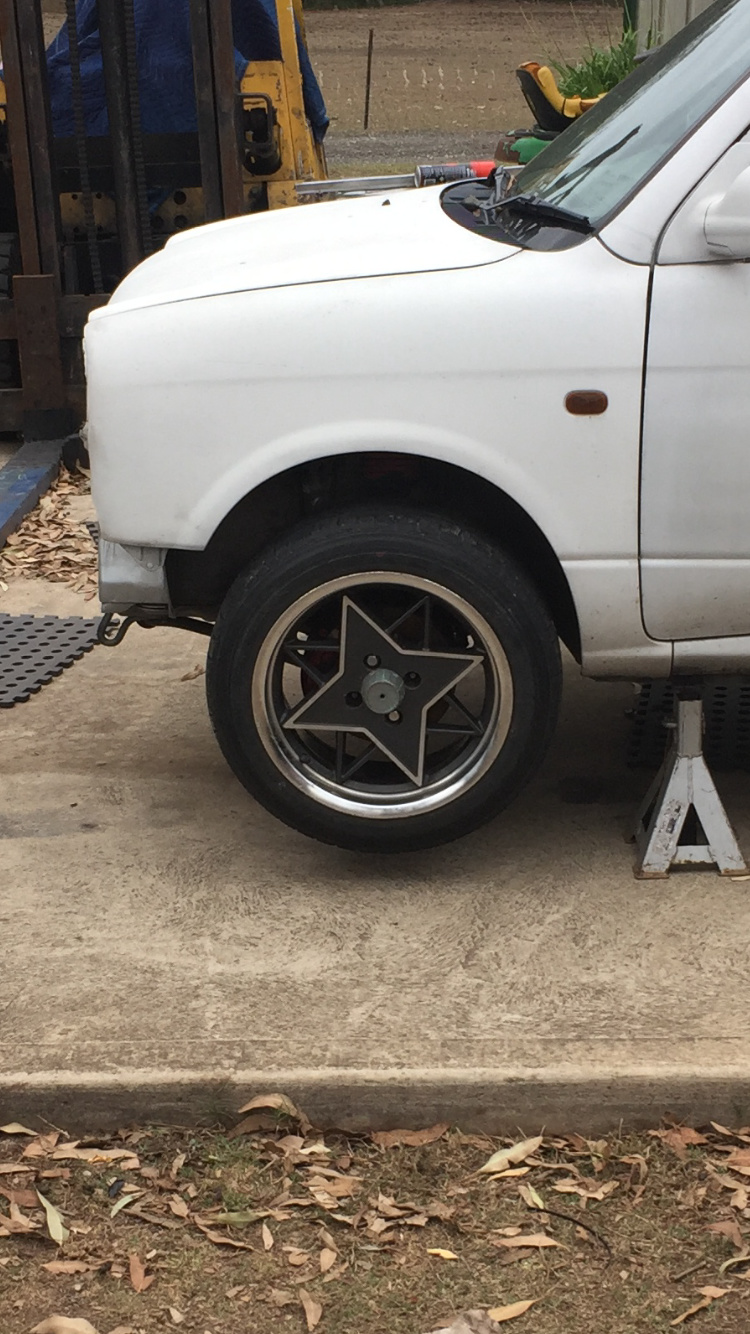
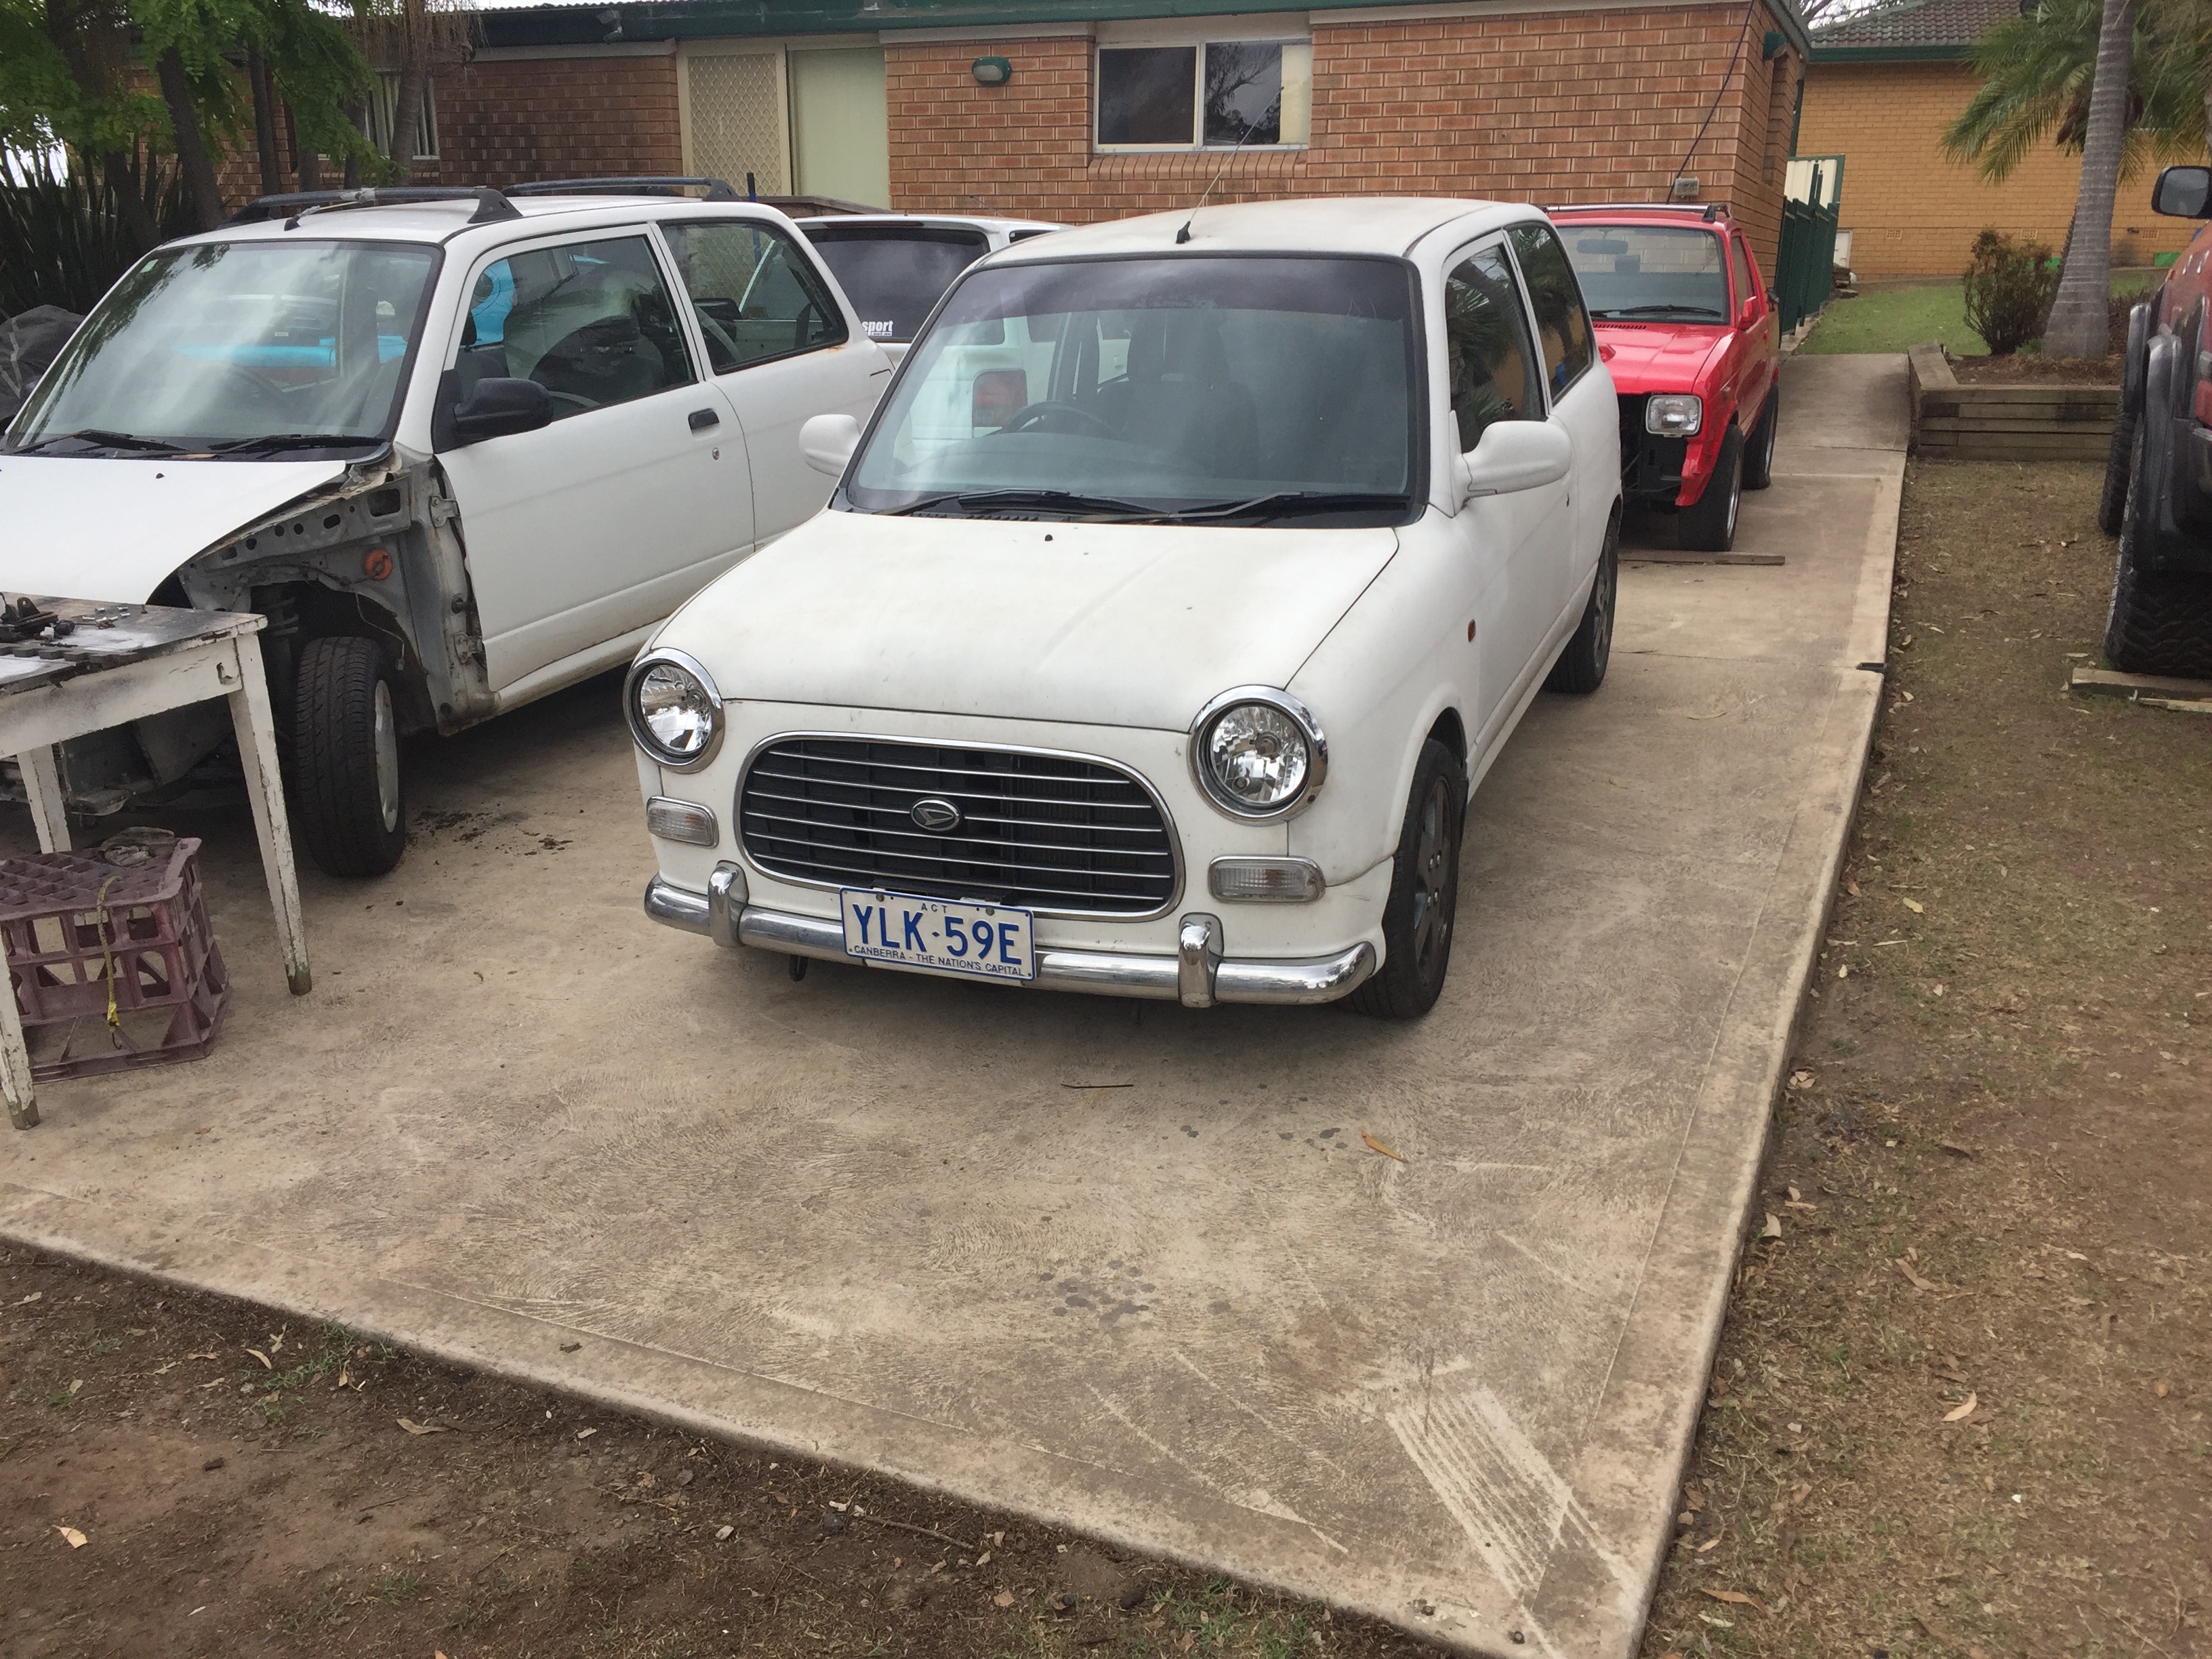
Most of you know this car as @FrAsErTaG’s car.

So I started by wanting to change the radiator support panel as it was involved in a minor bingle.

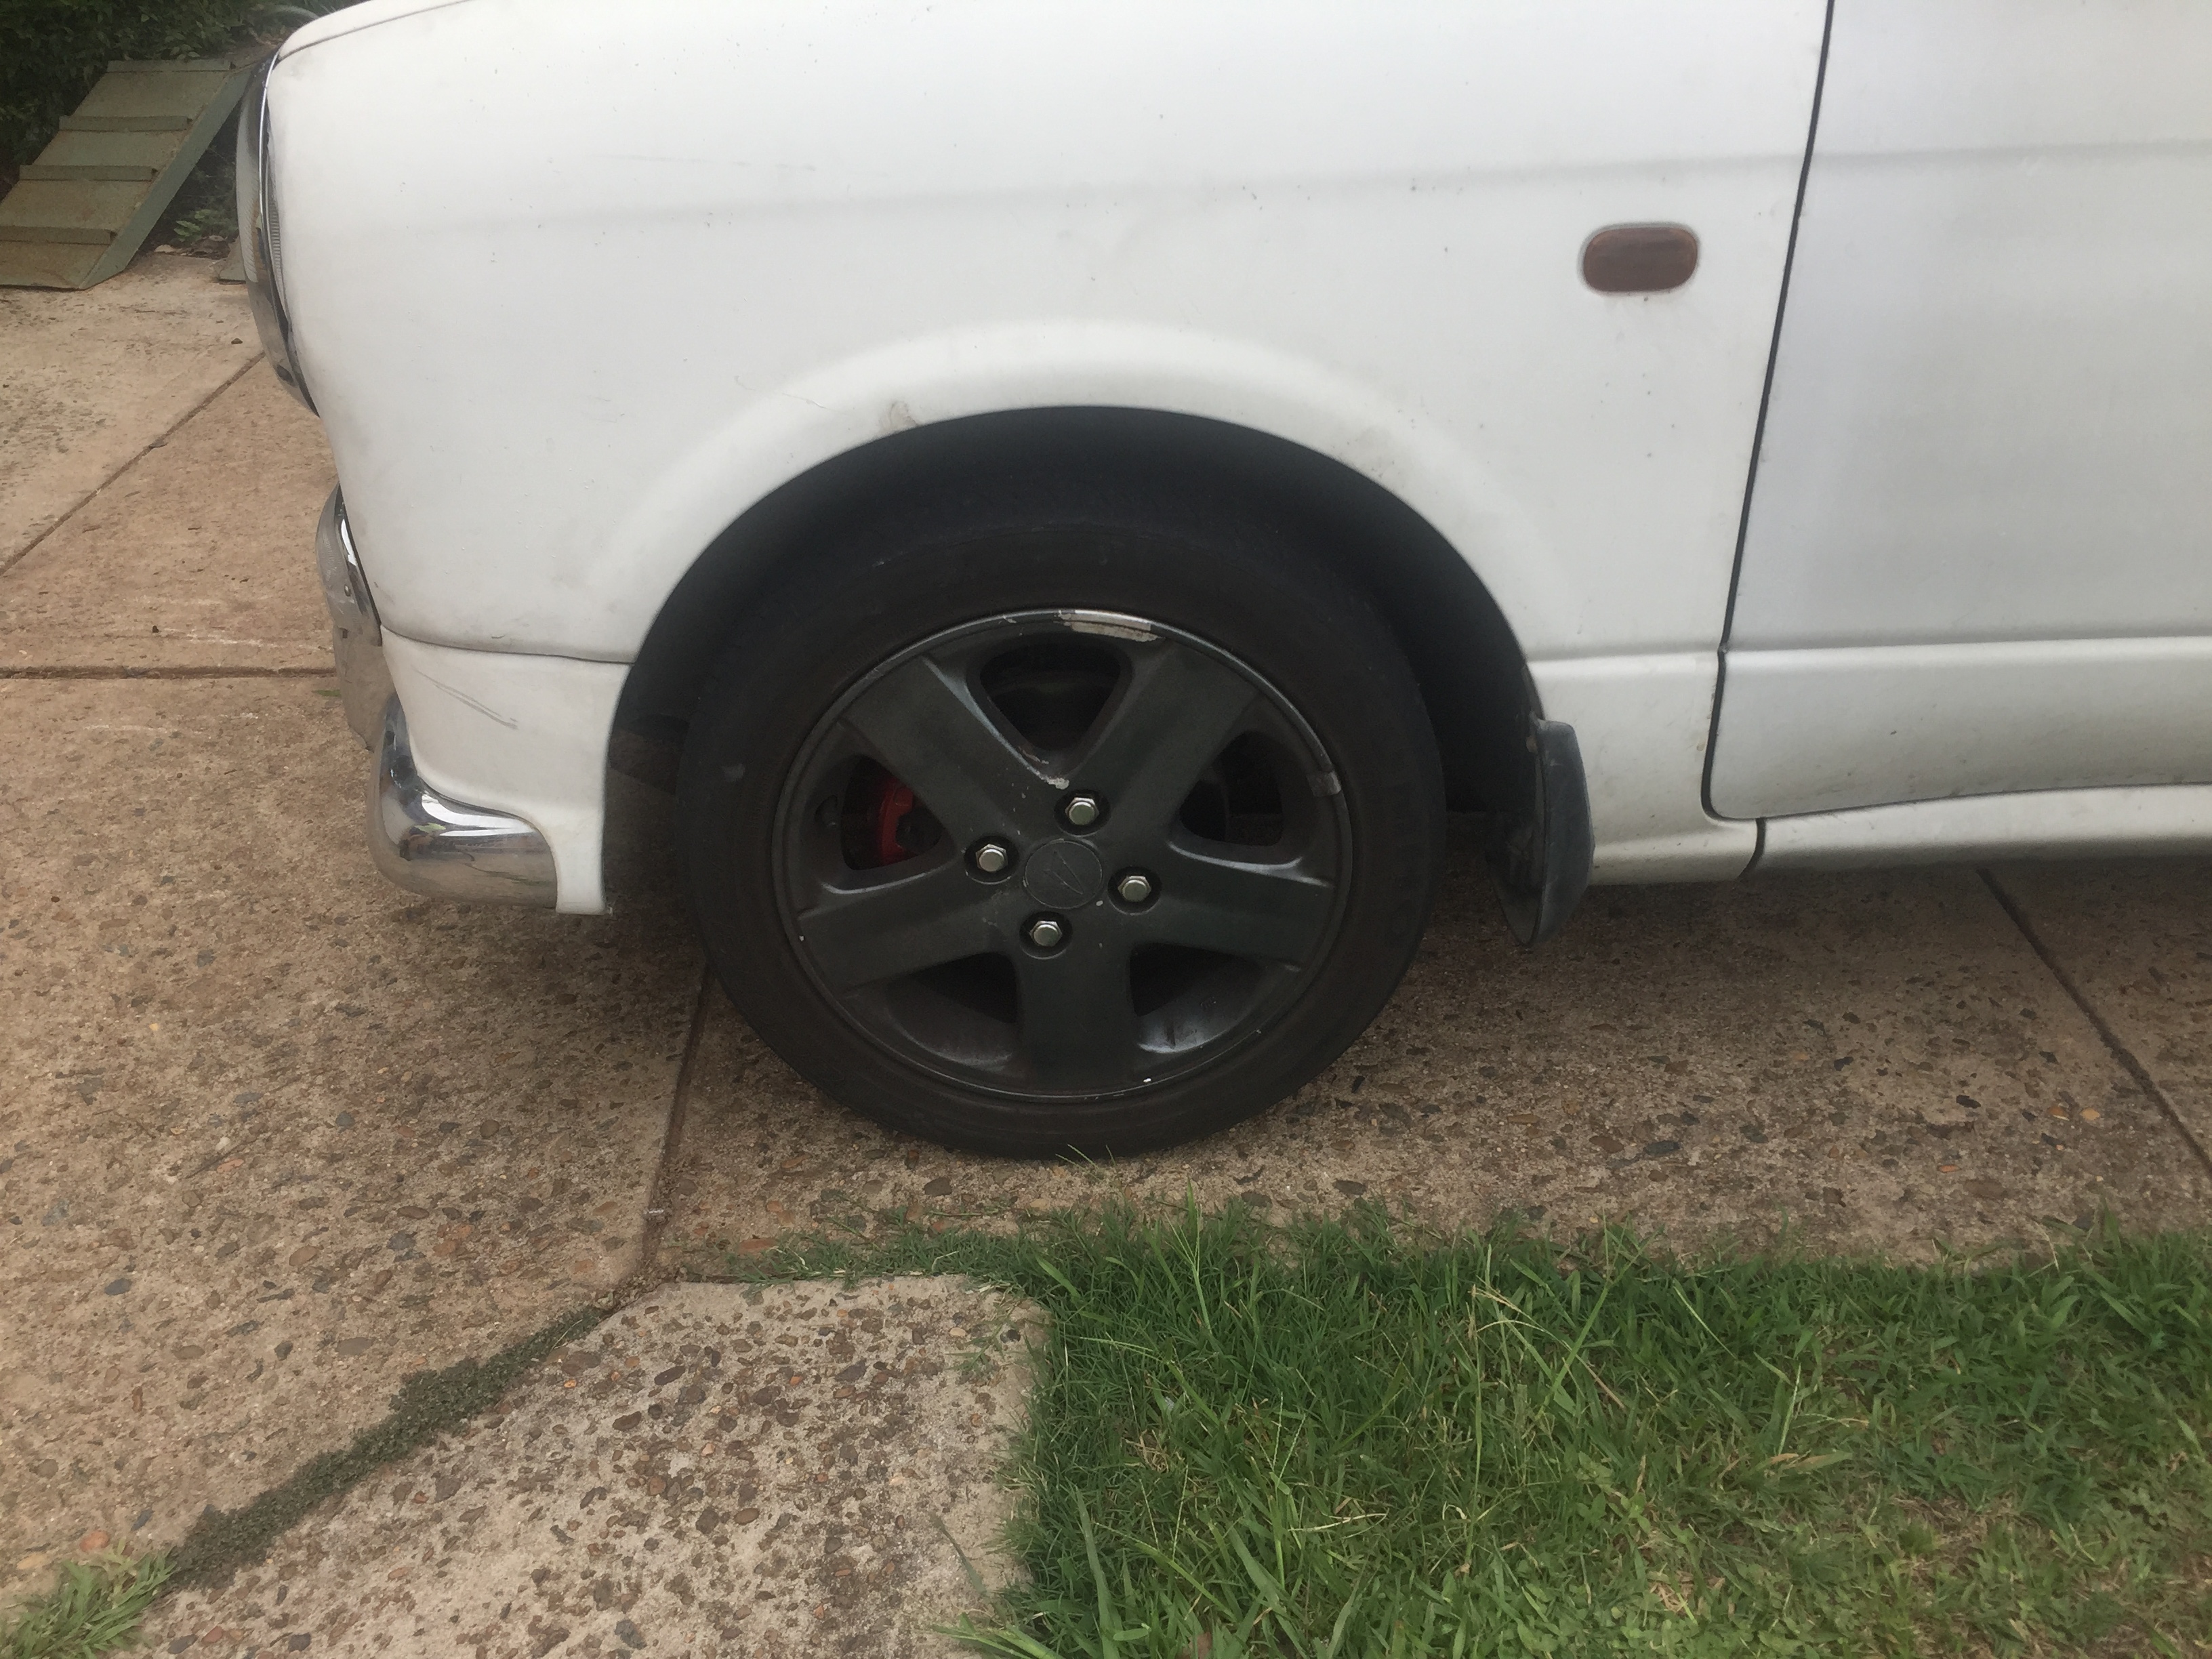
Started with the car like this (semi stripped after a clutch change)
IMG_1623IMG_1624
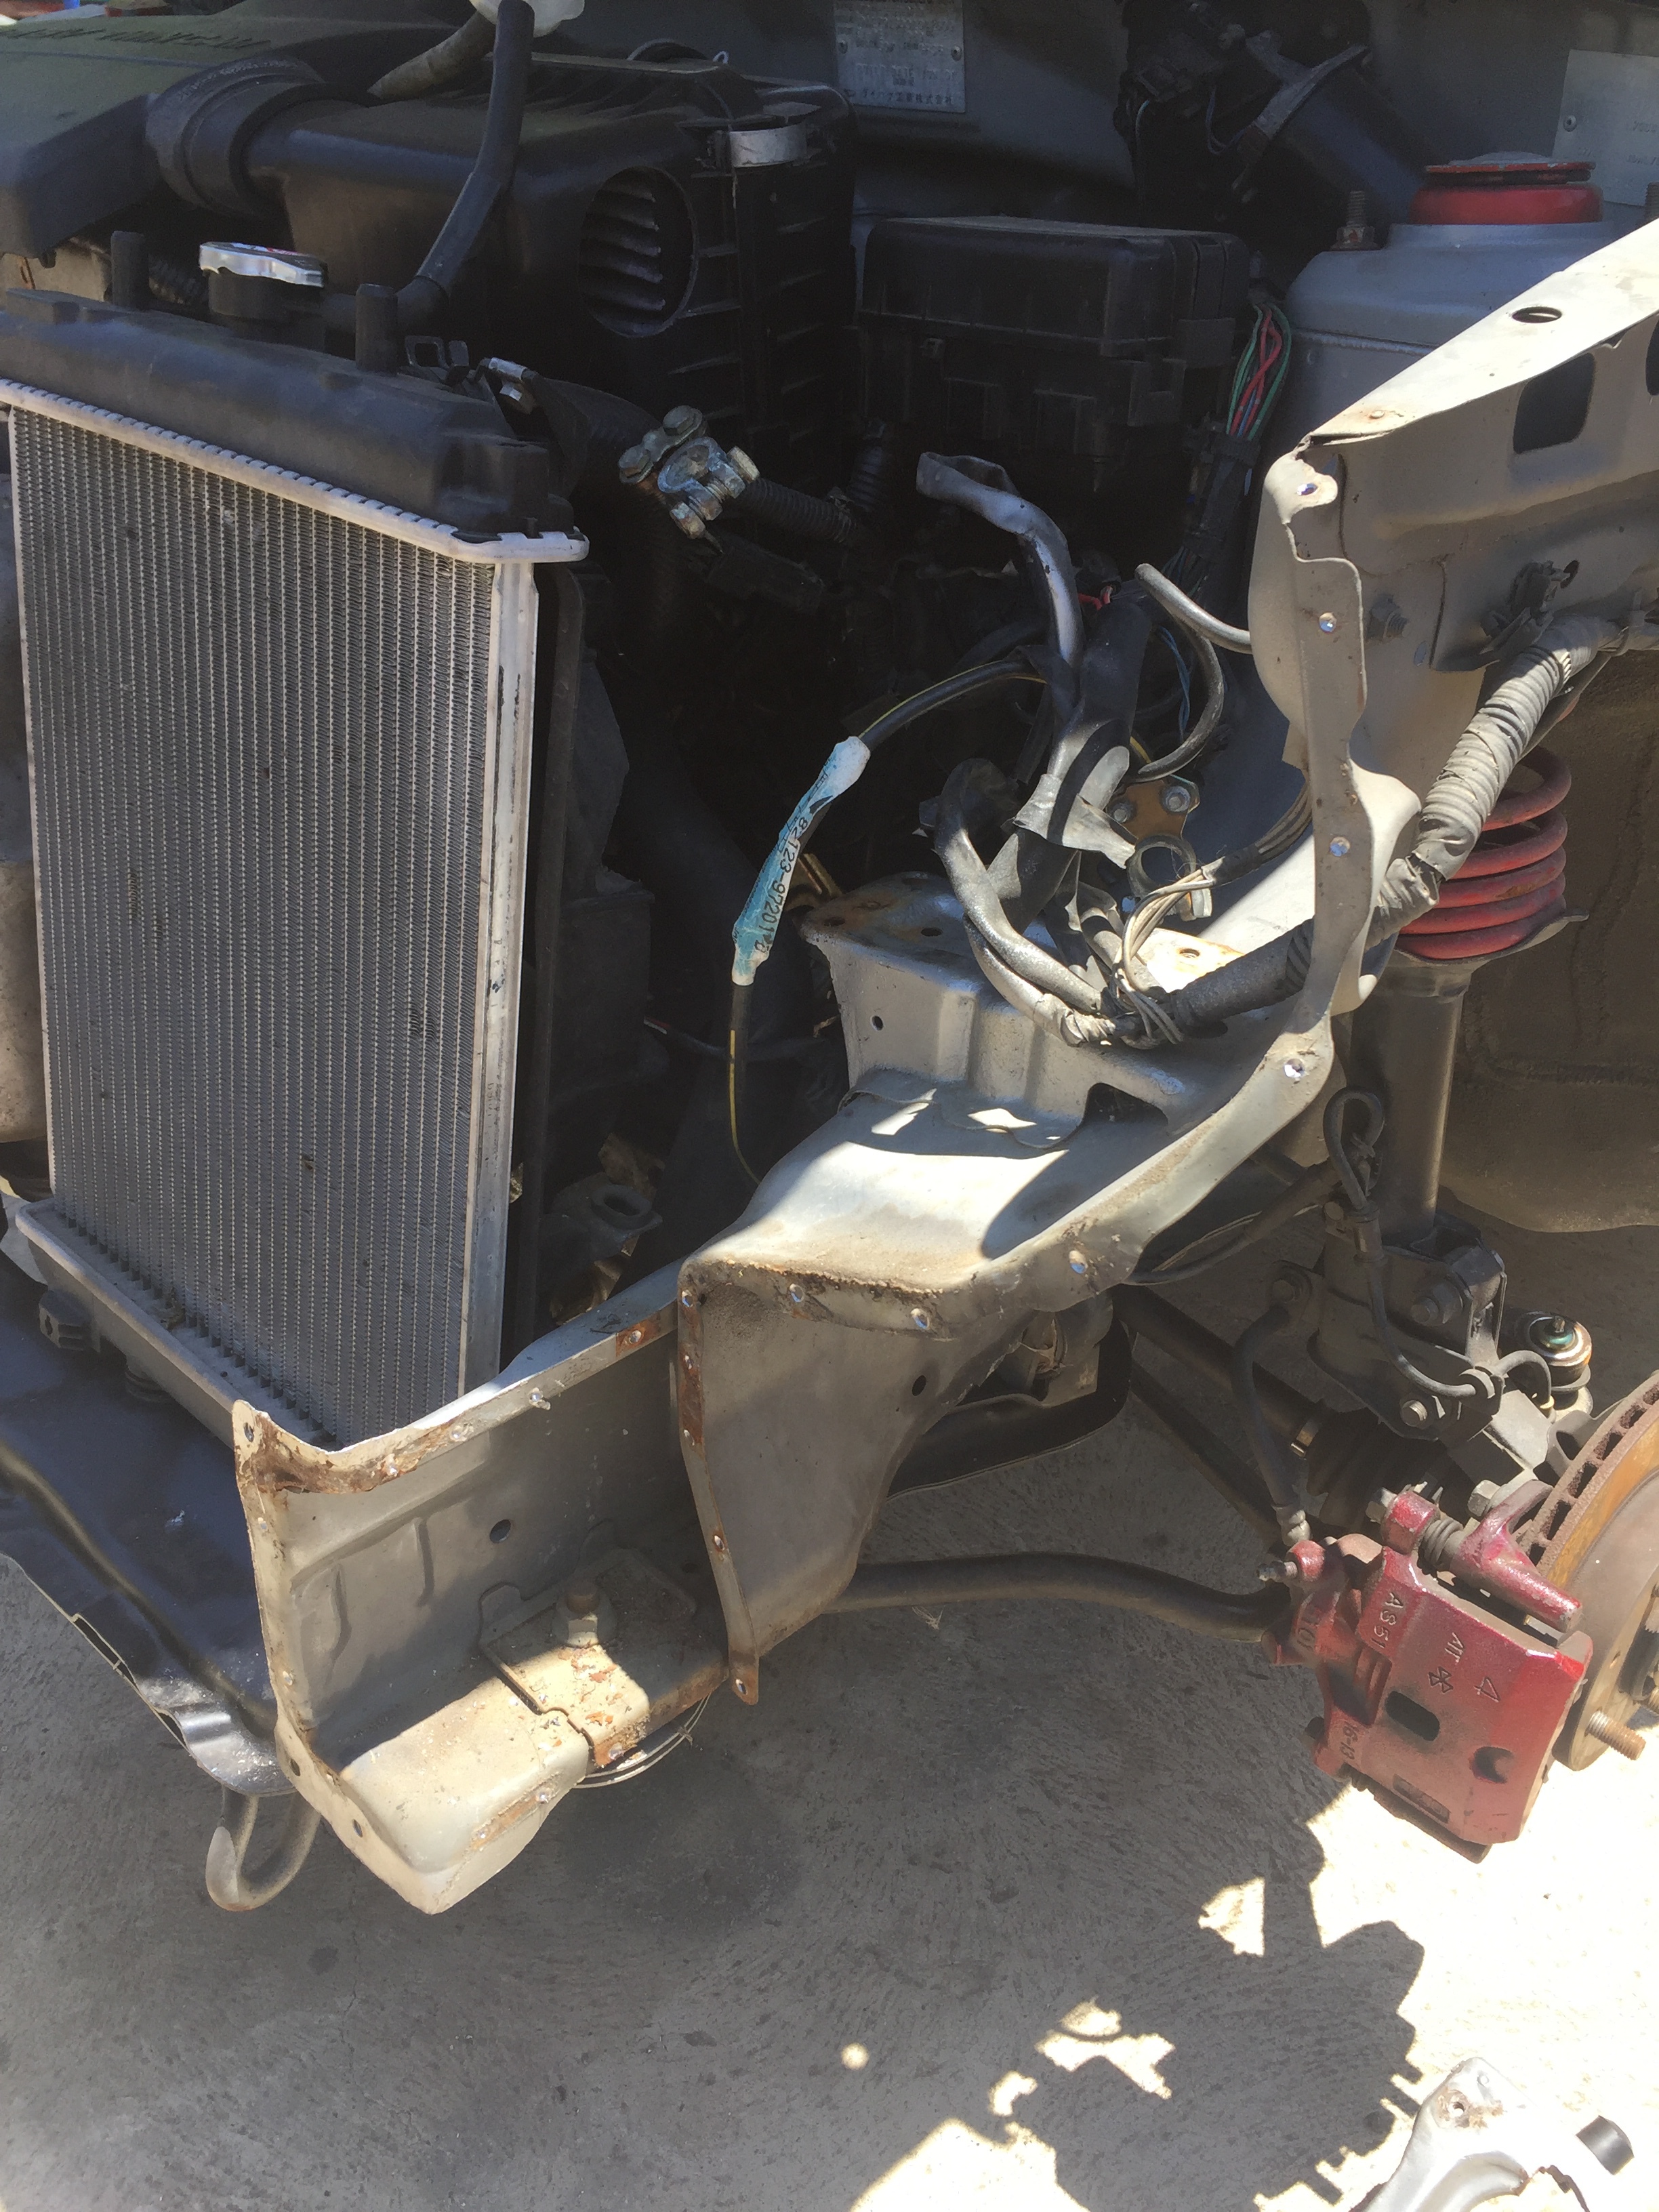
I had to drill the spot welds that are made by factory first with 1/8th drill bit as a pilot hole for my 8mm I used to completely drill through the top layer which intern frees up the panel from the body. Hopefully the pictures make this make sense.
IMG_1625
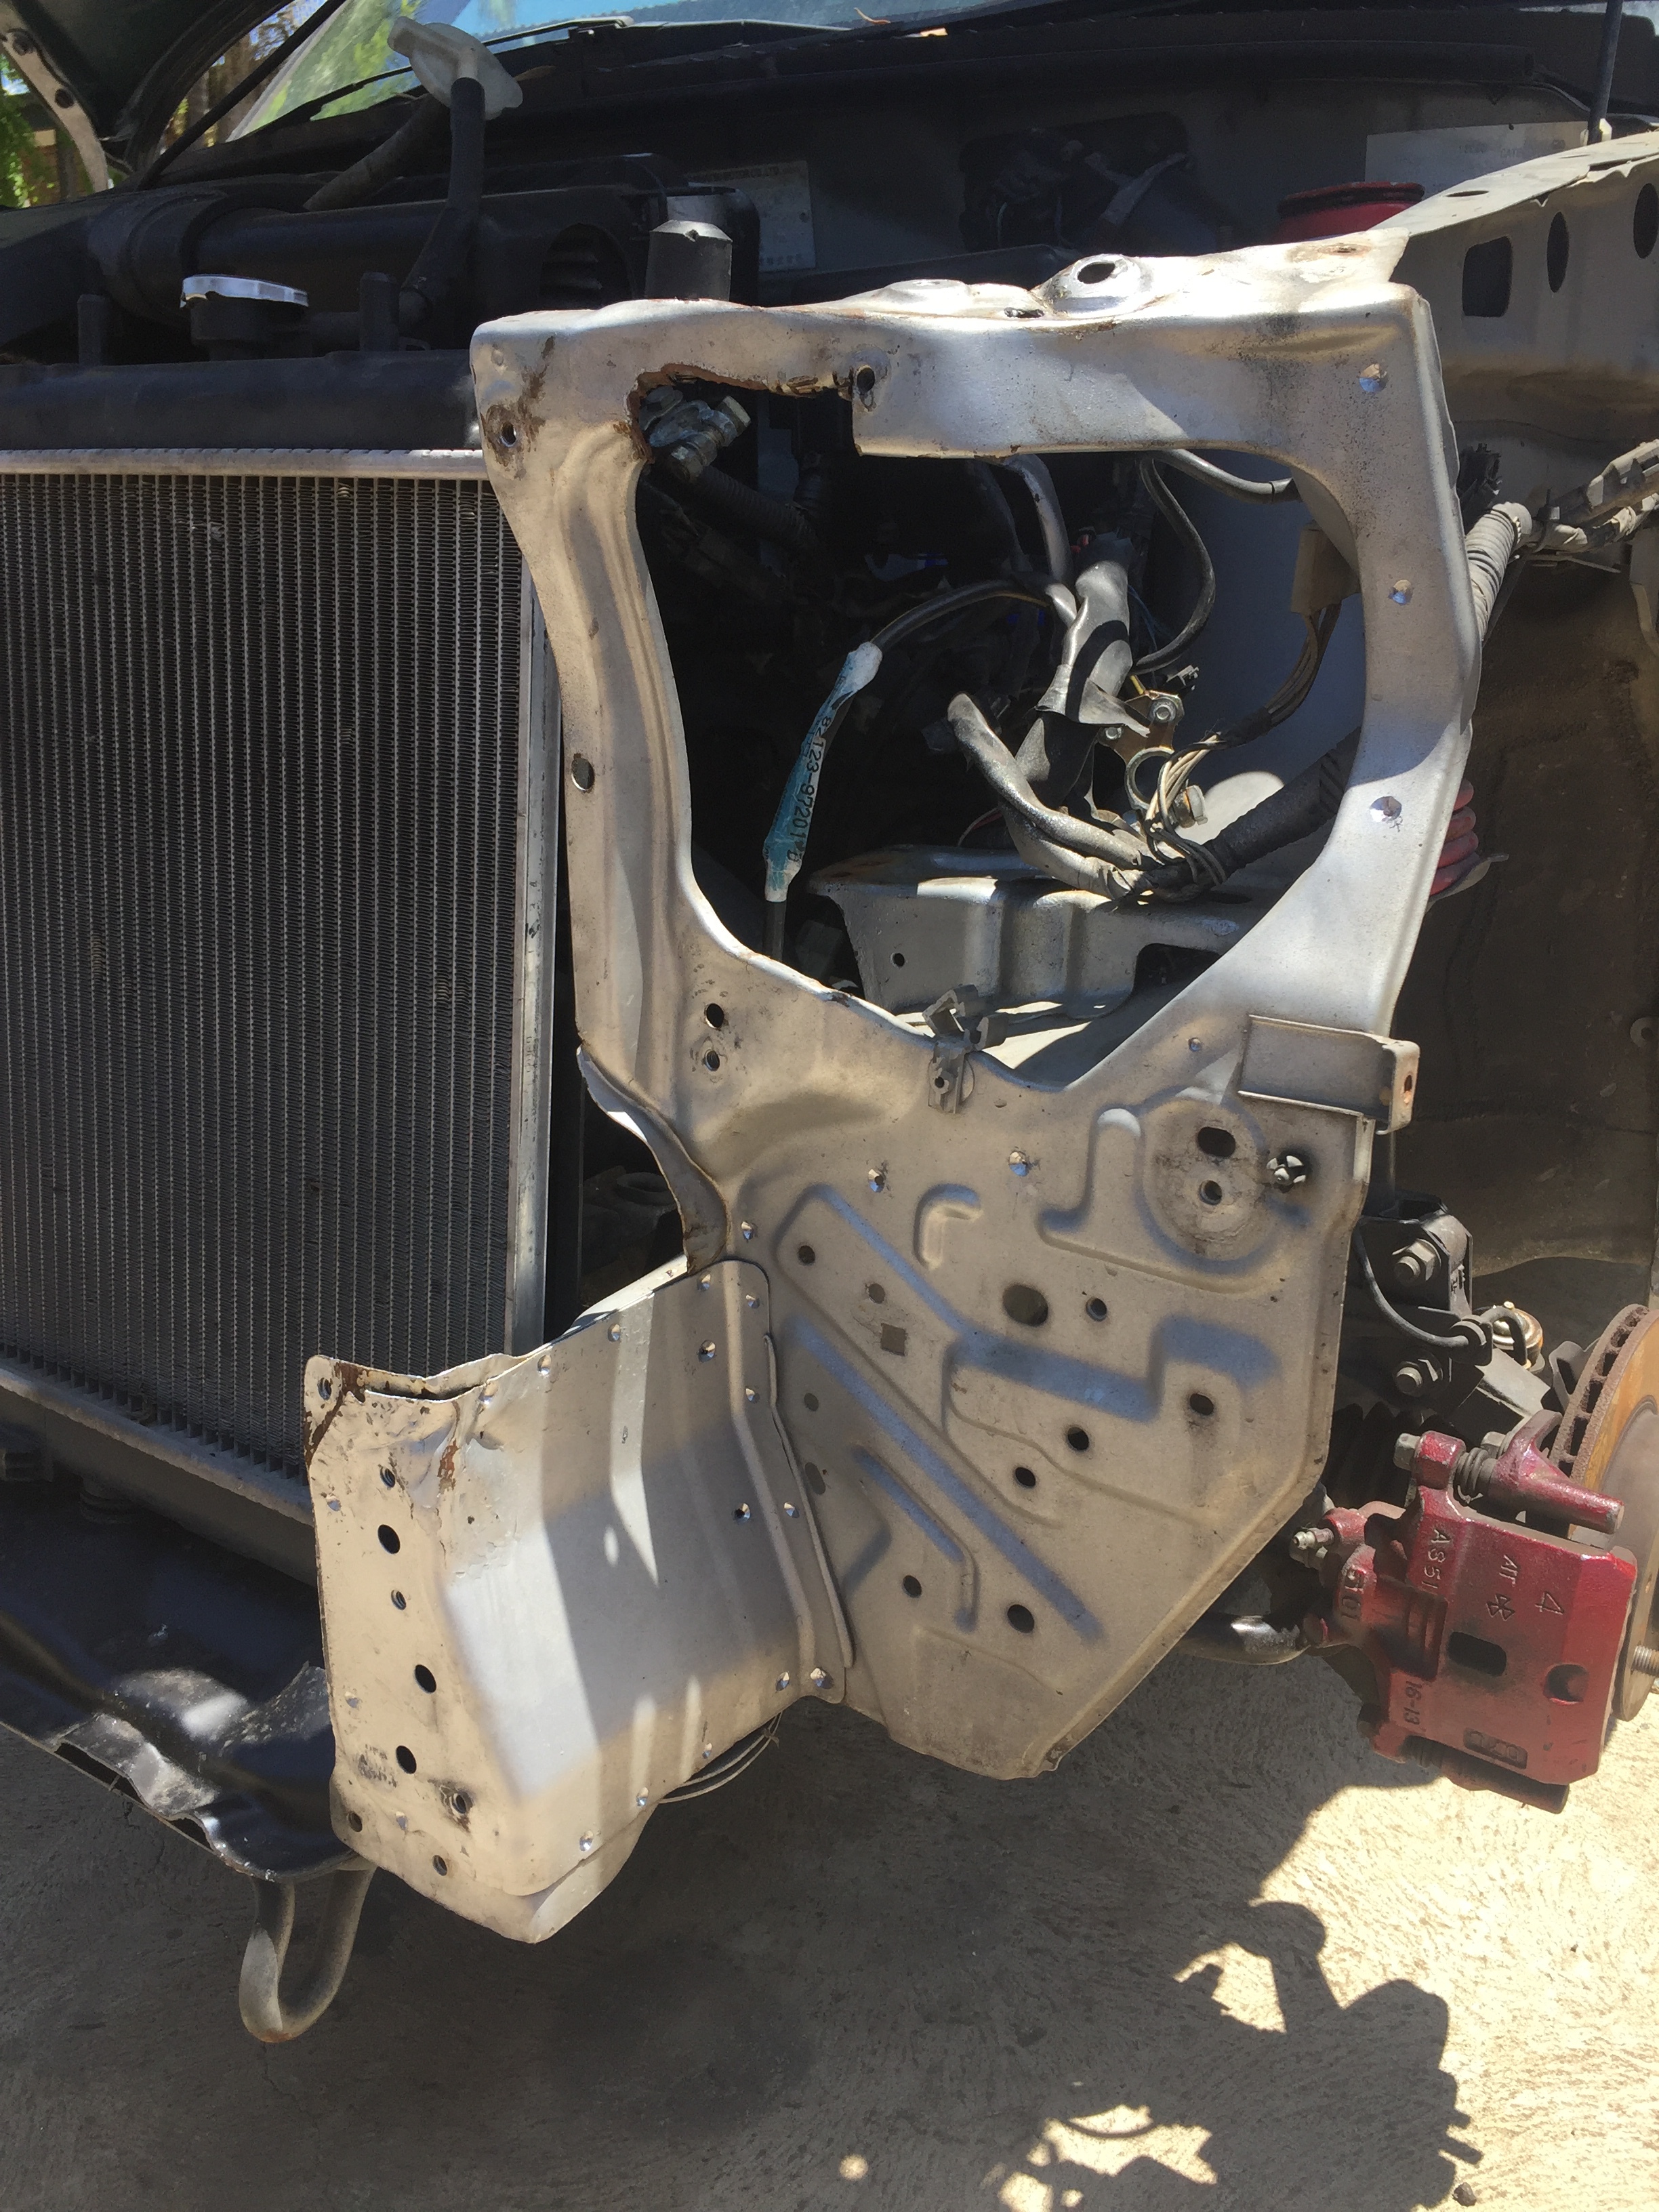
Once the small pilot holes are drilled then run the larger drill through the holes but try not to go all the way through. The best way to know your all good is to try and see thin black rings in the drill hole like cracks which is actually the separation of the 2 panels. Like this
IMG_1629
After some help from a cold chisel (plain screw driver is fine) you should end up with this
IMG_1626IMG_1627IMG_1630IMG_1628
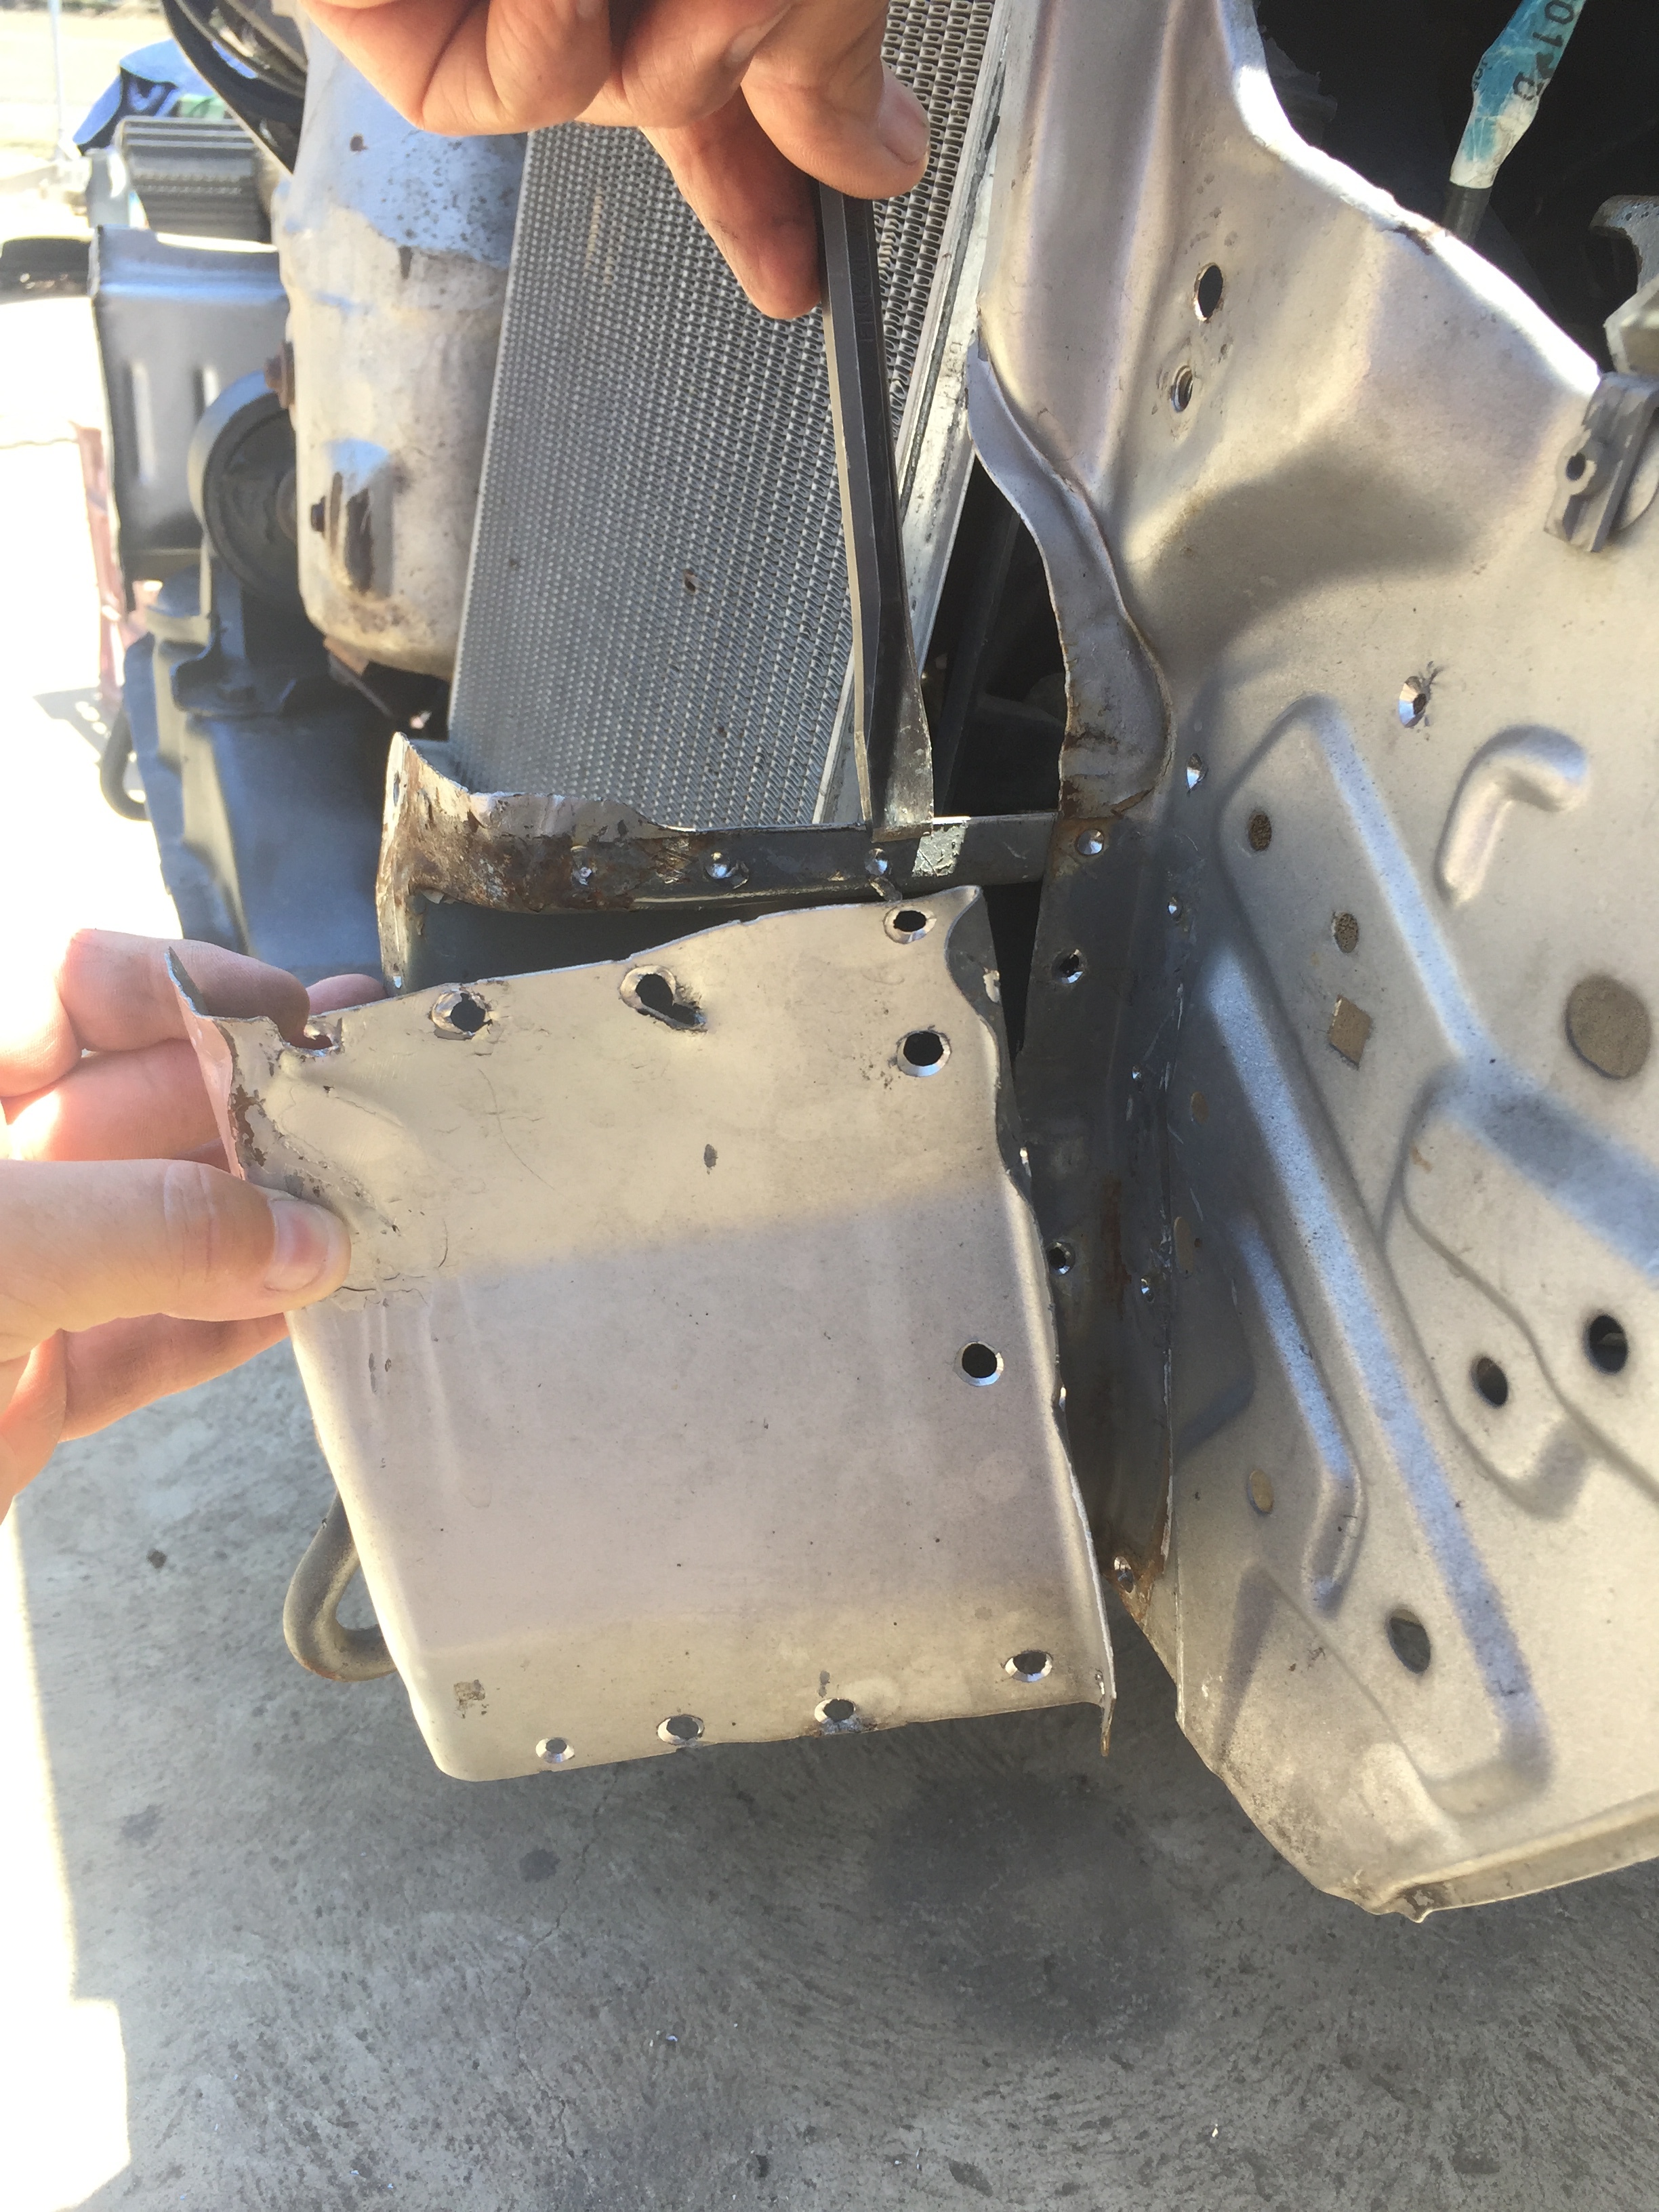
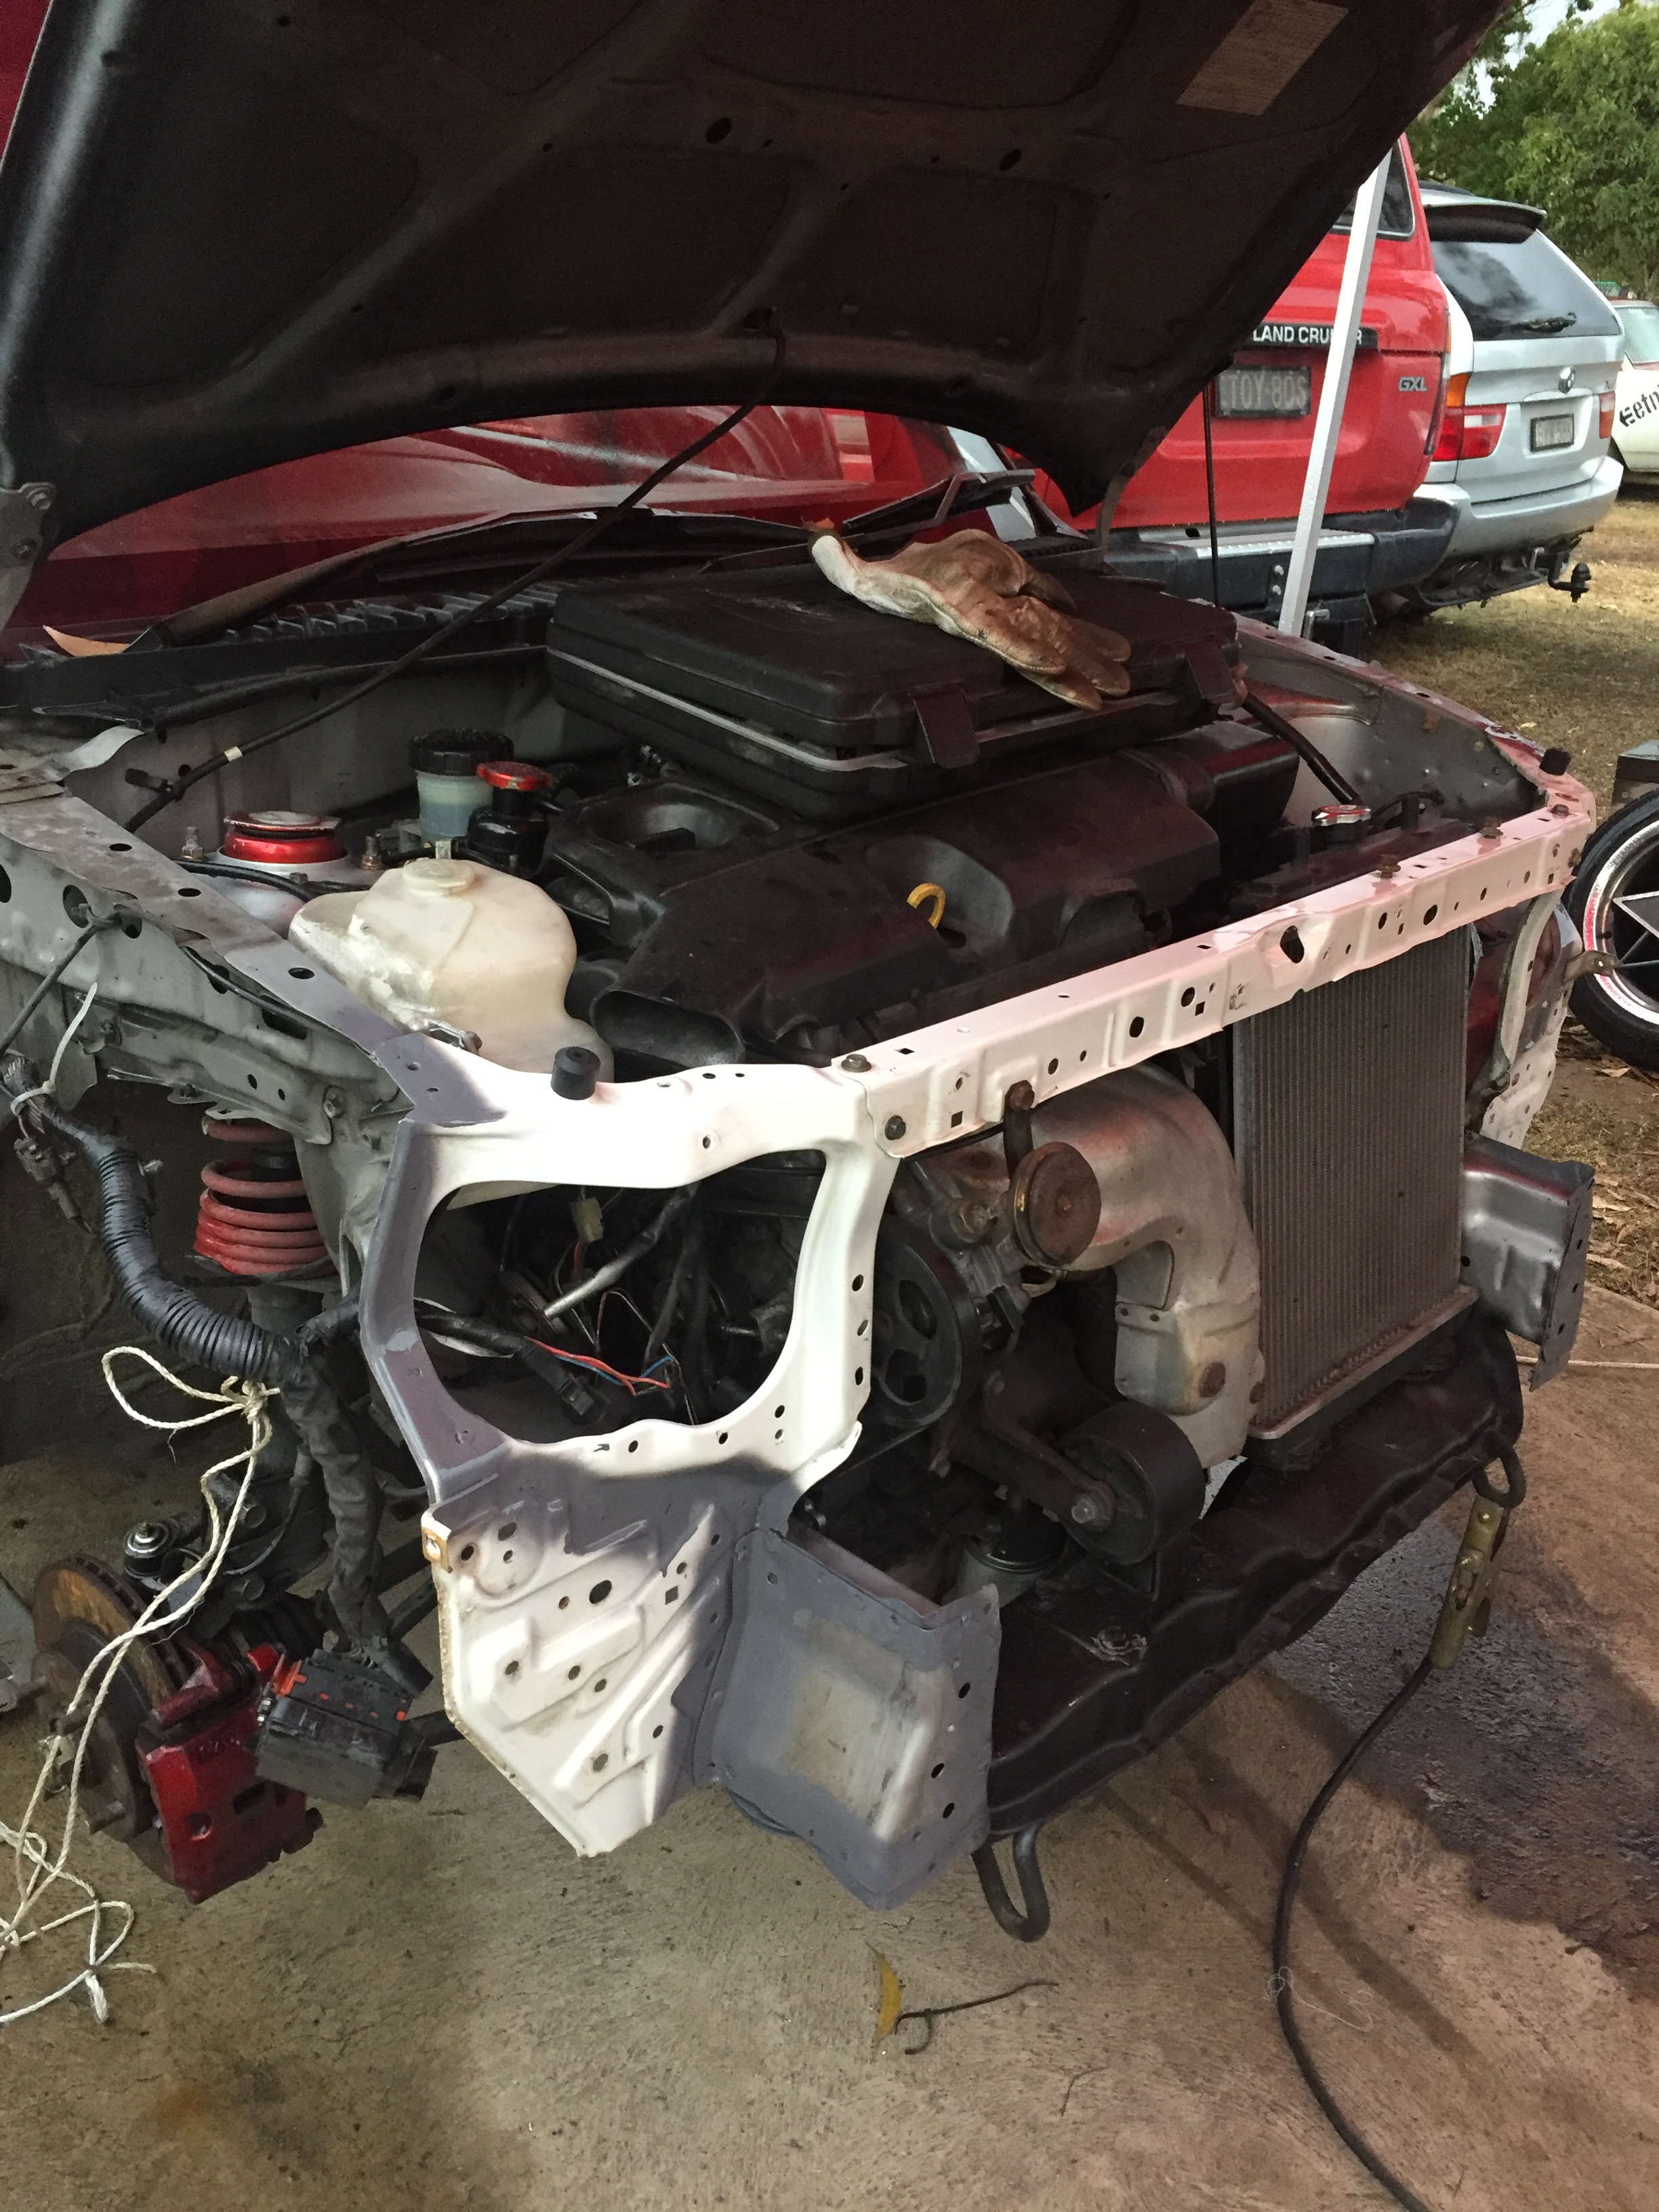
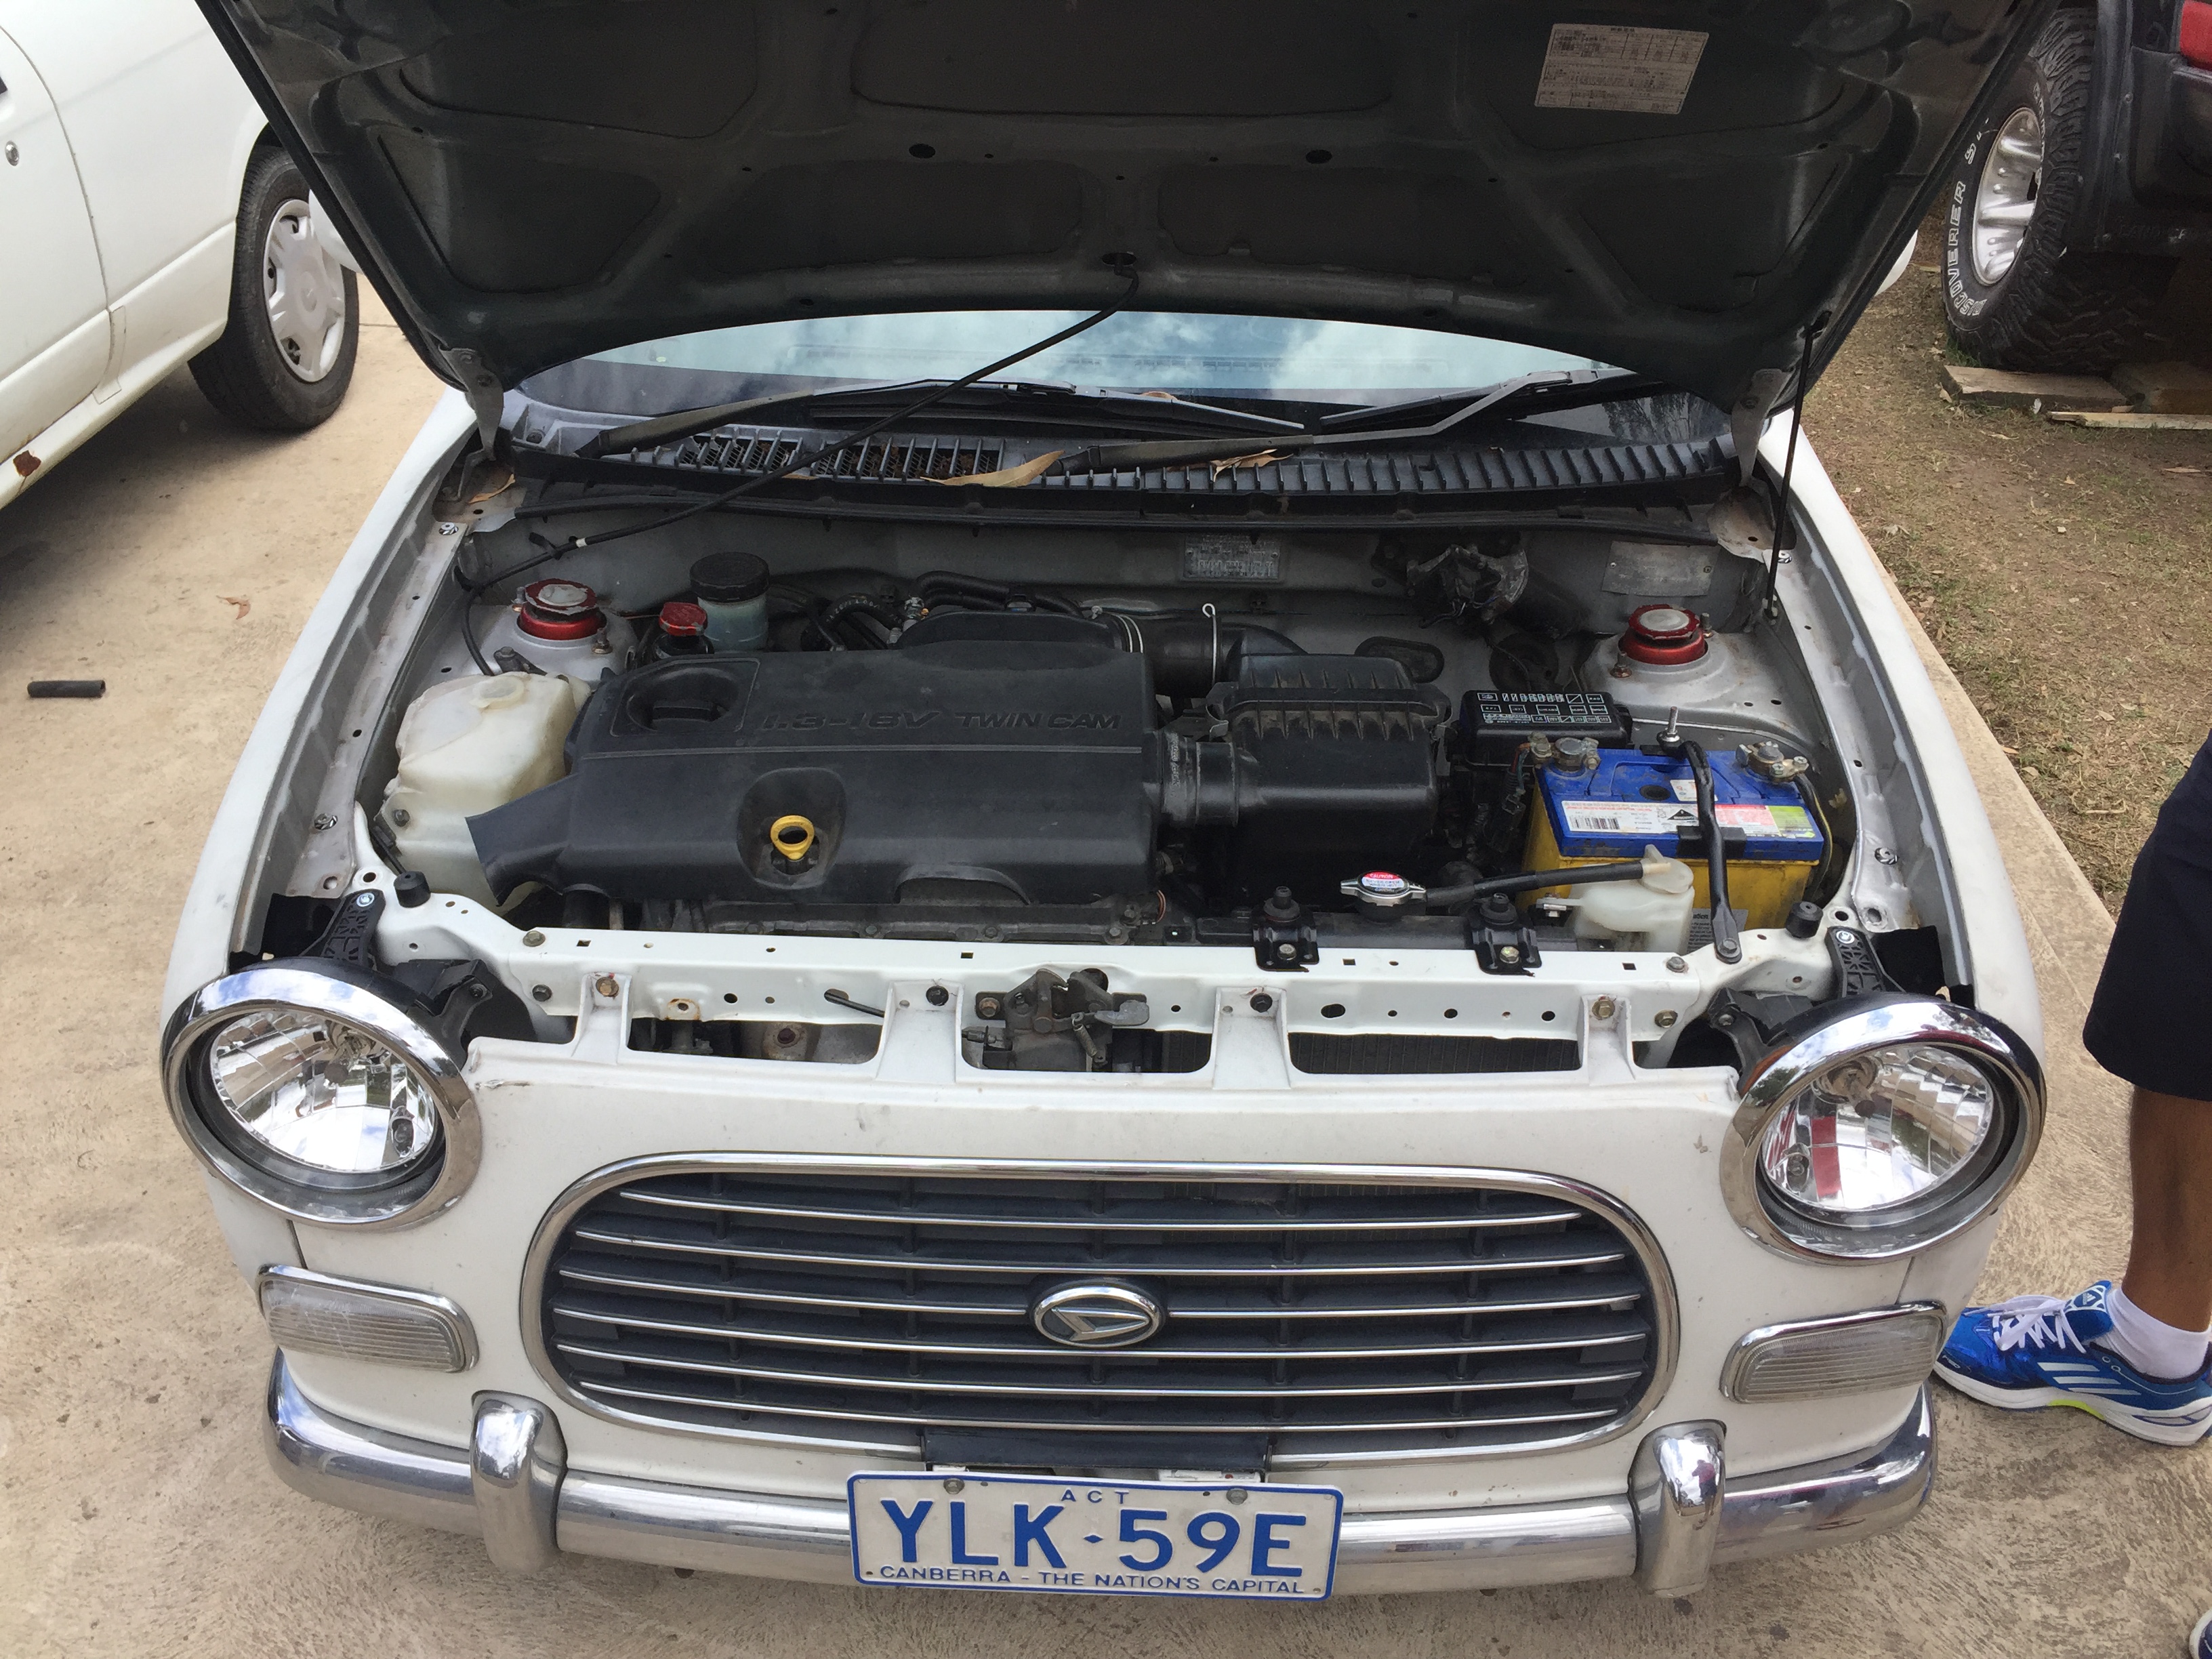
Then take a perfectly good cuore like the one below IMG_1631IMG_1632
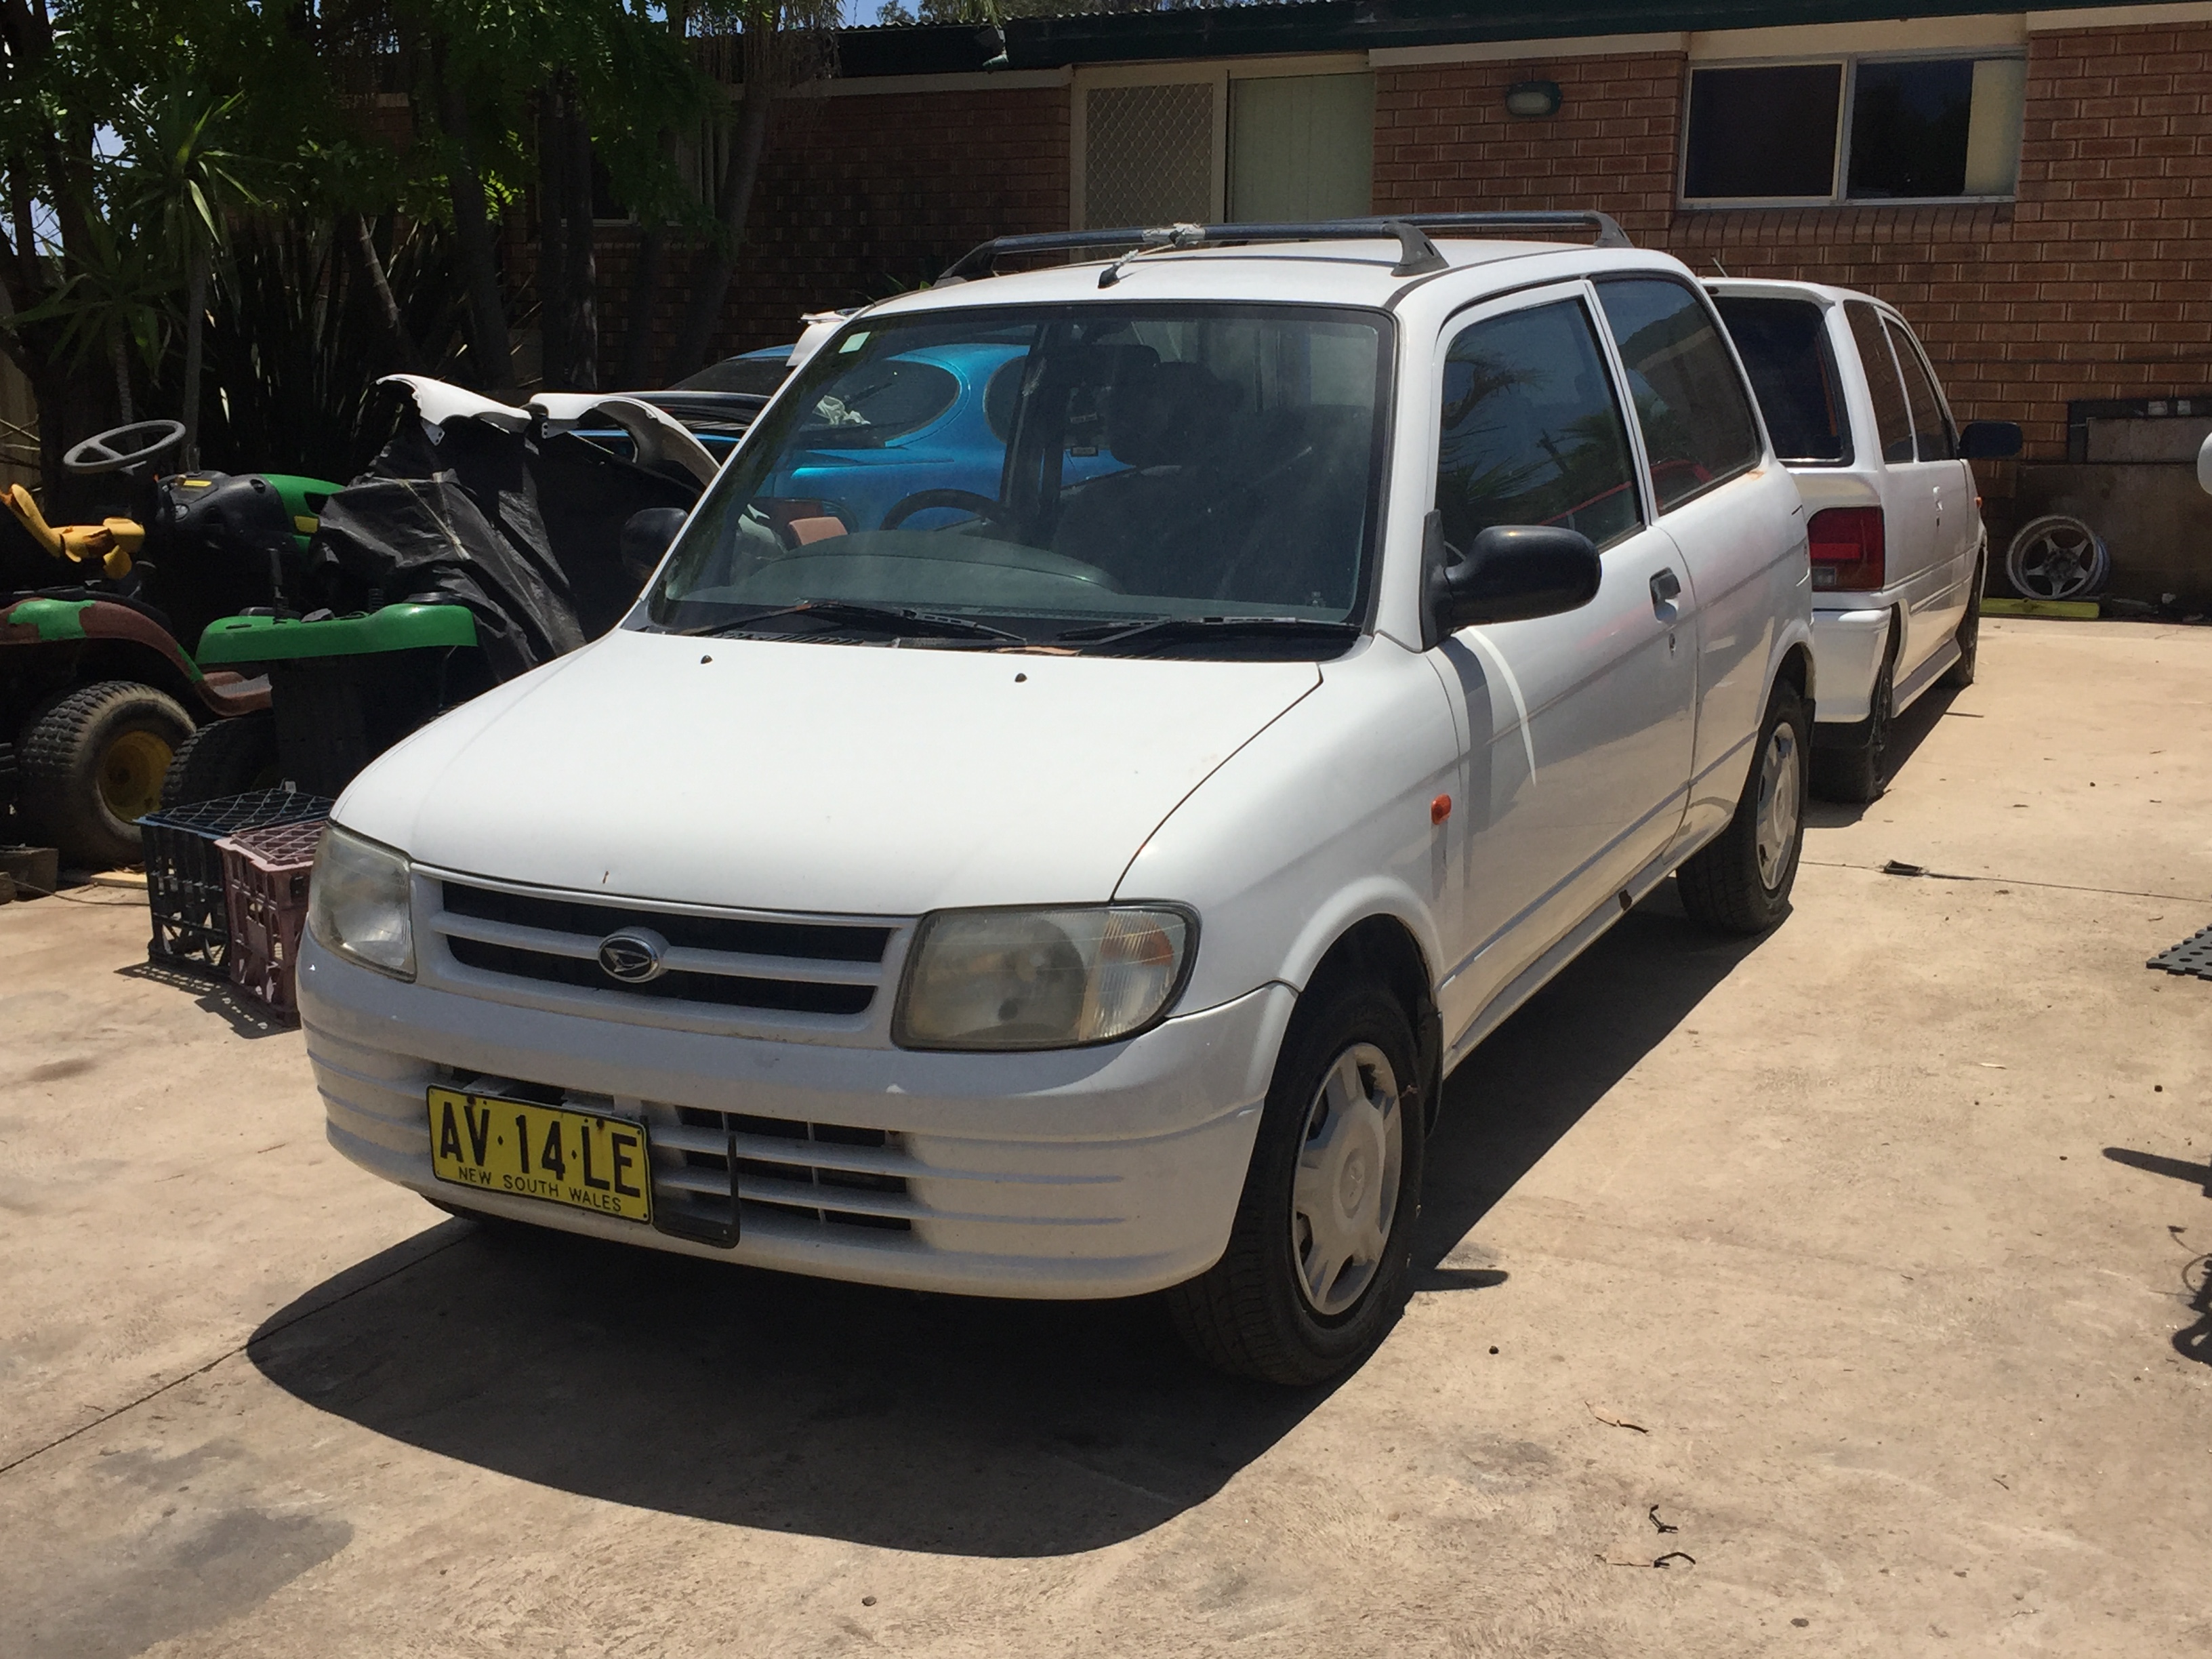
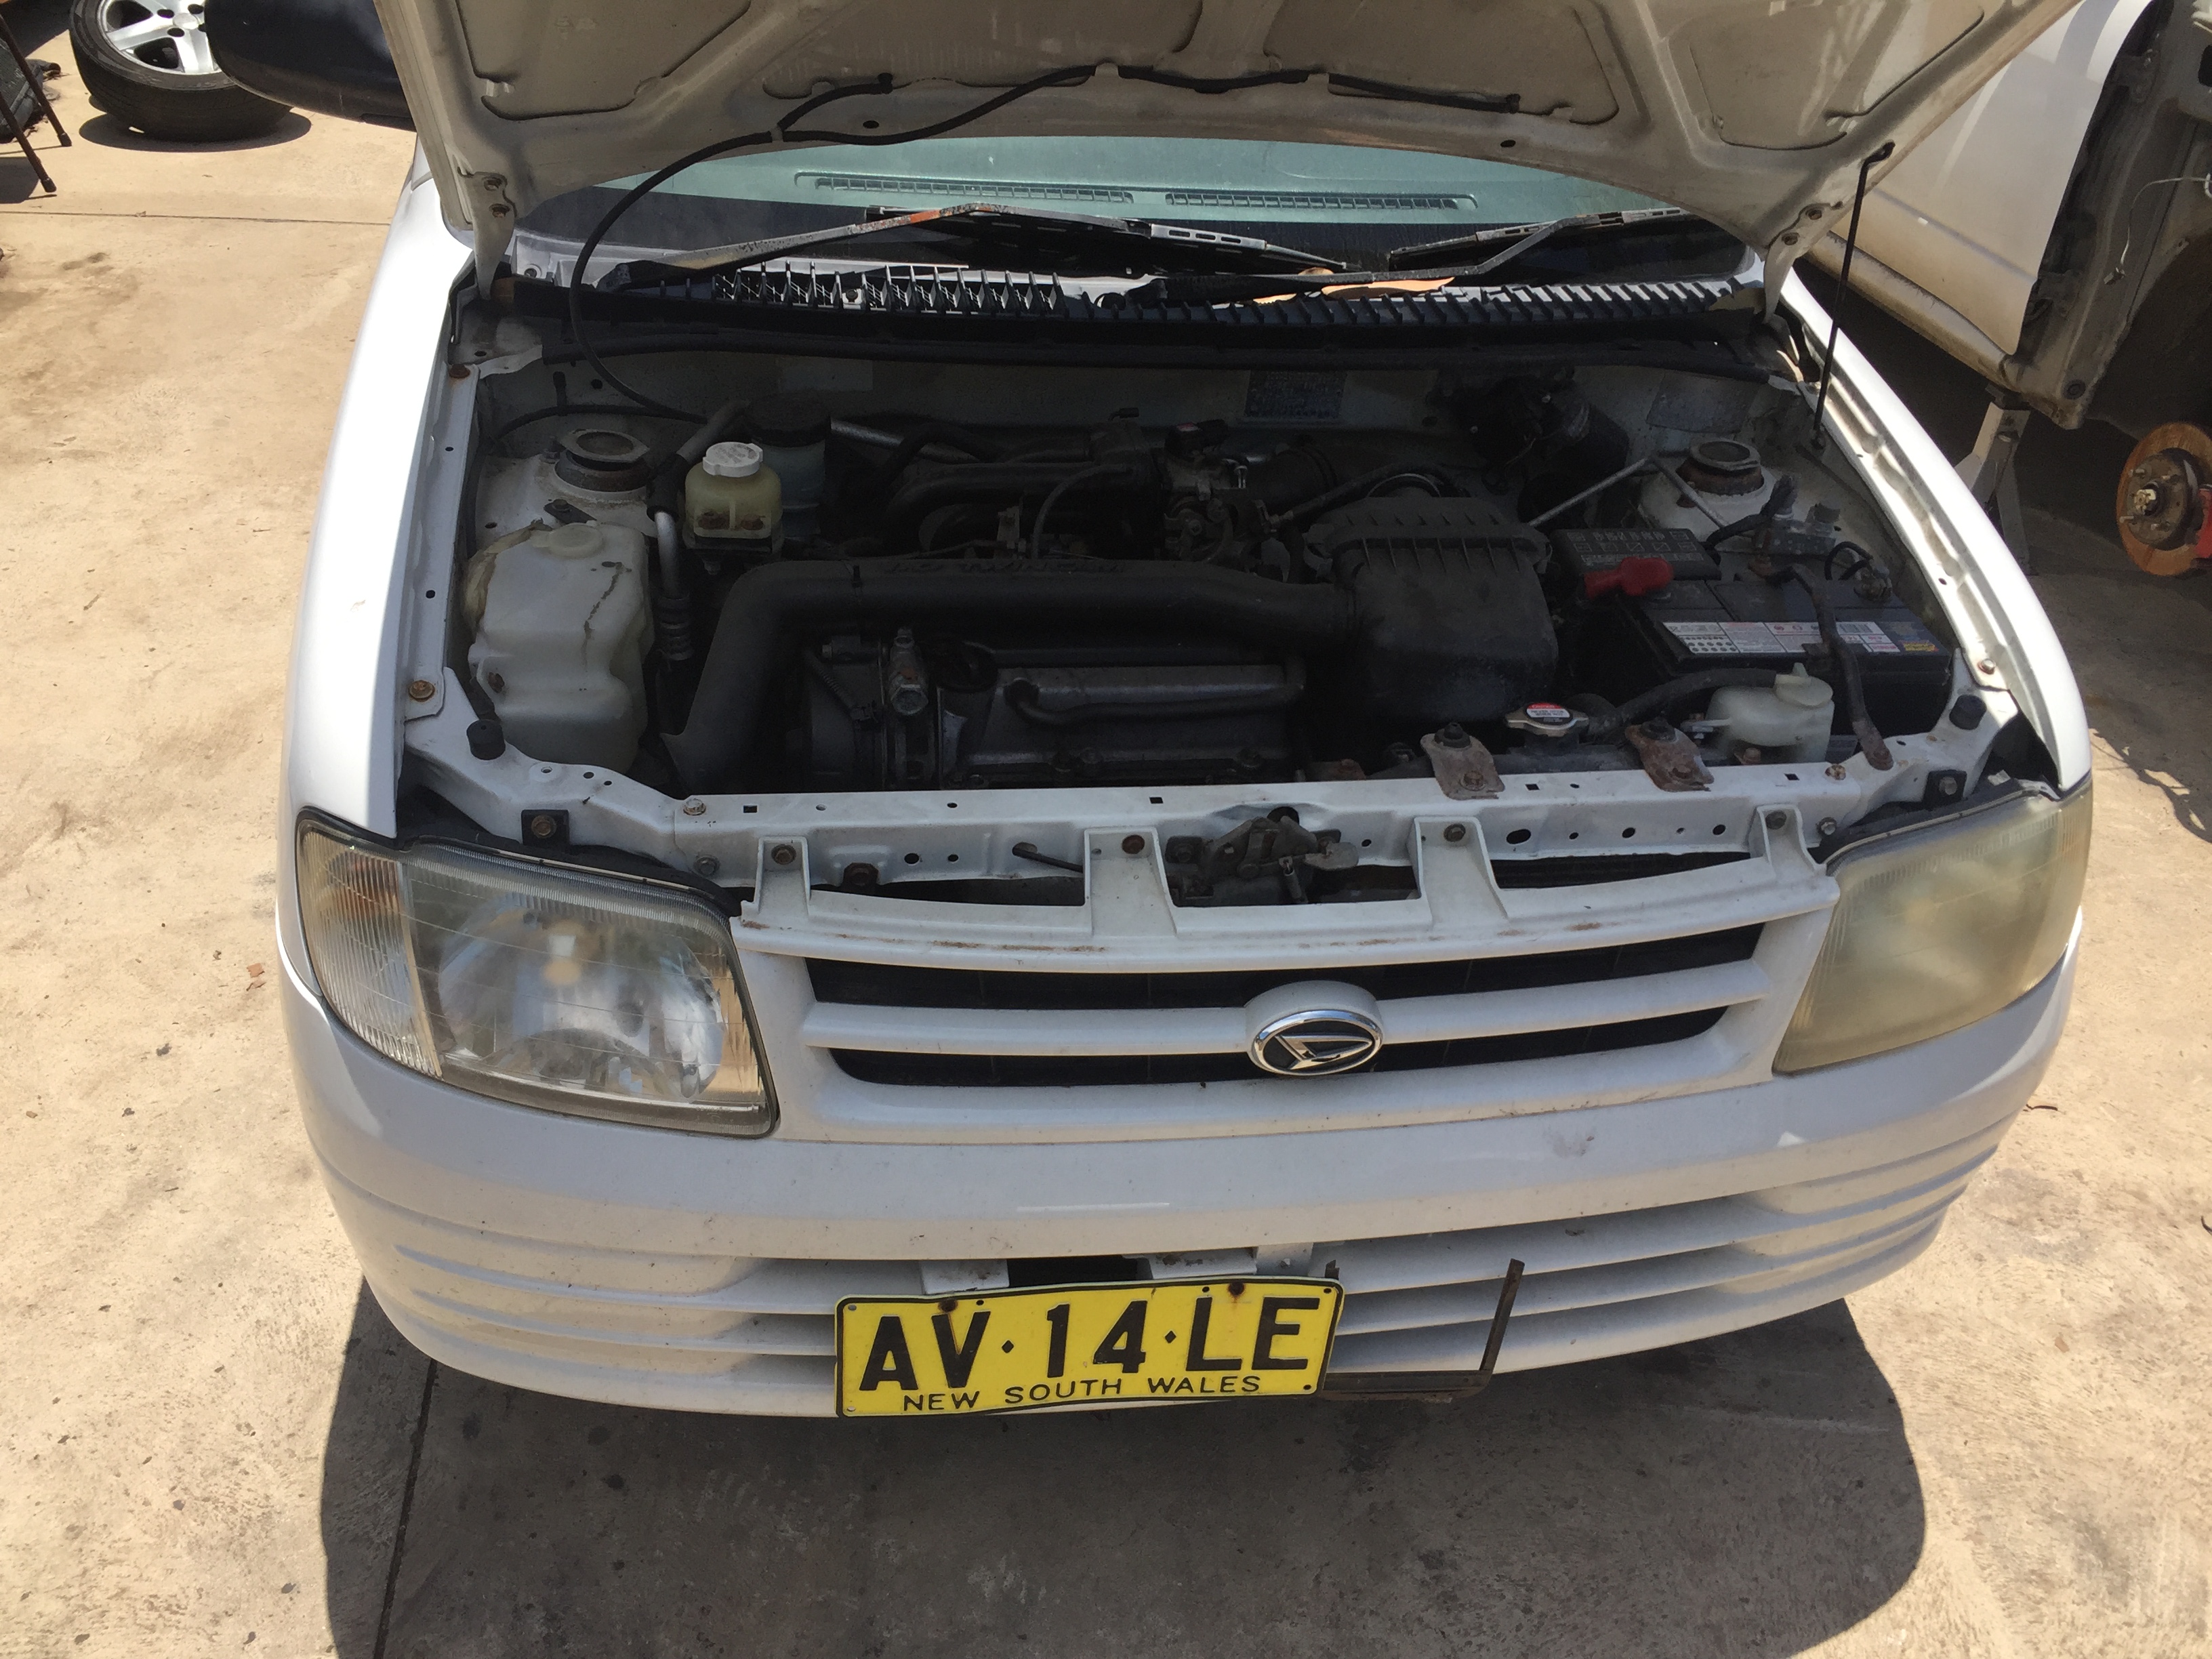
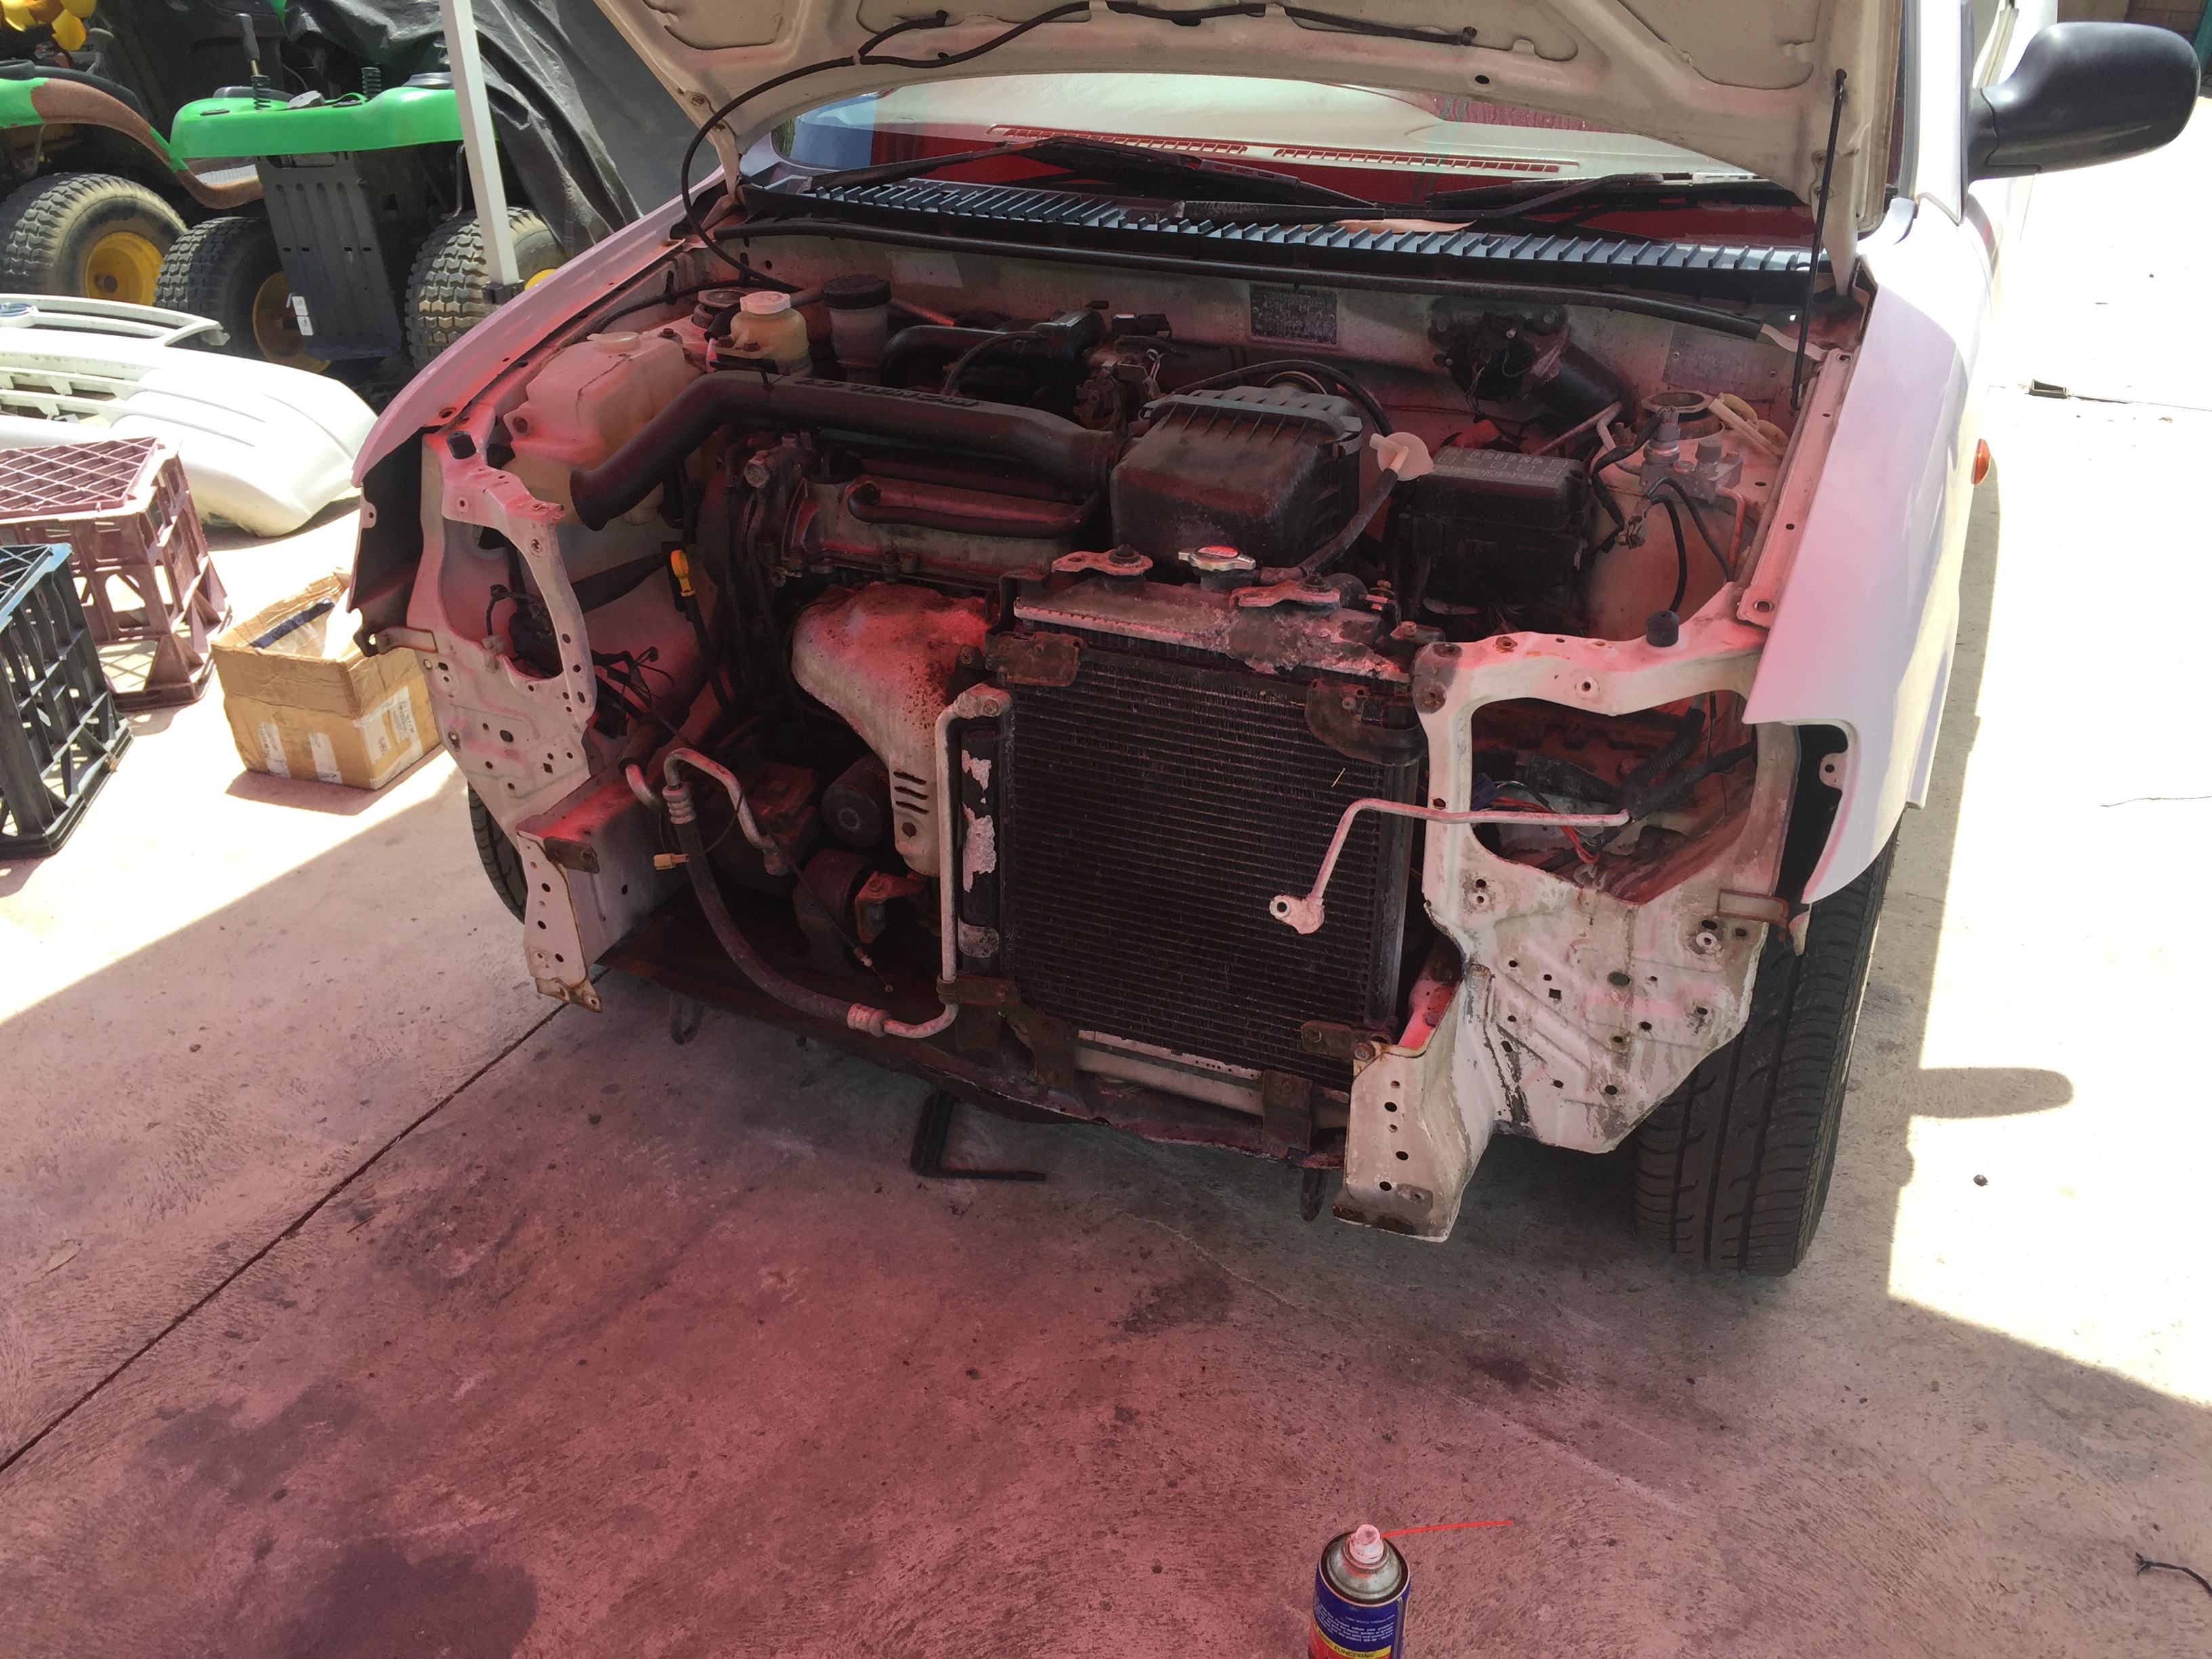
And start again but remember that you want to preserve the panels you are removing off the perfect front. Try not to drill the crap out of them or bend the shit out of them when prying them off.
IMG_1633
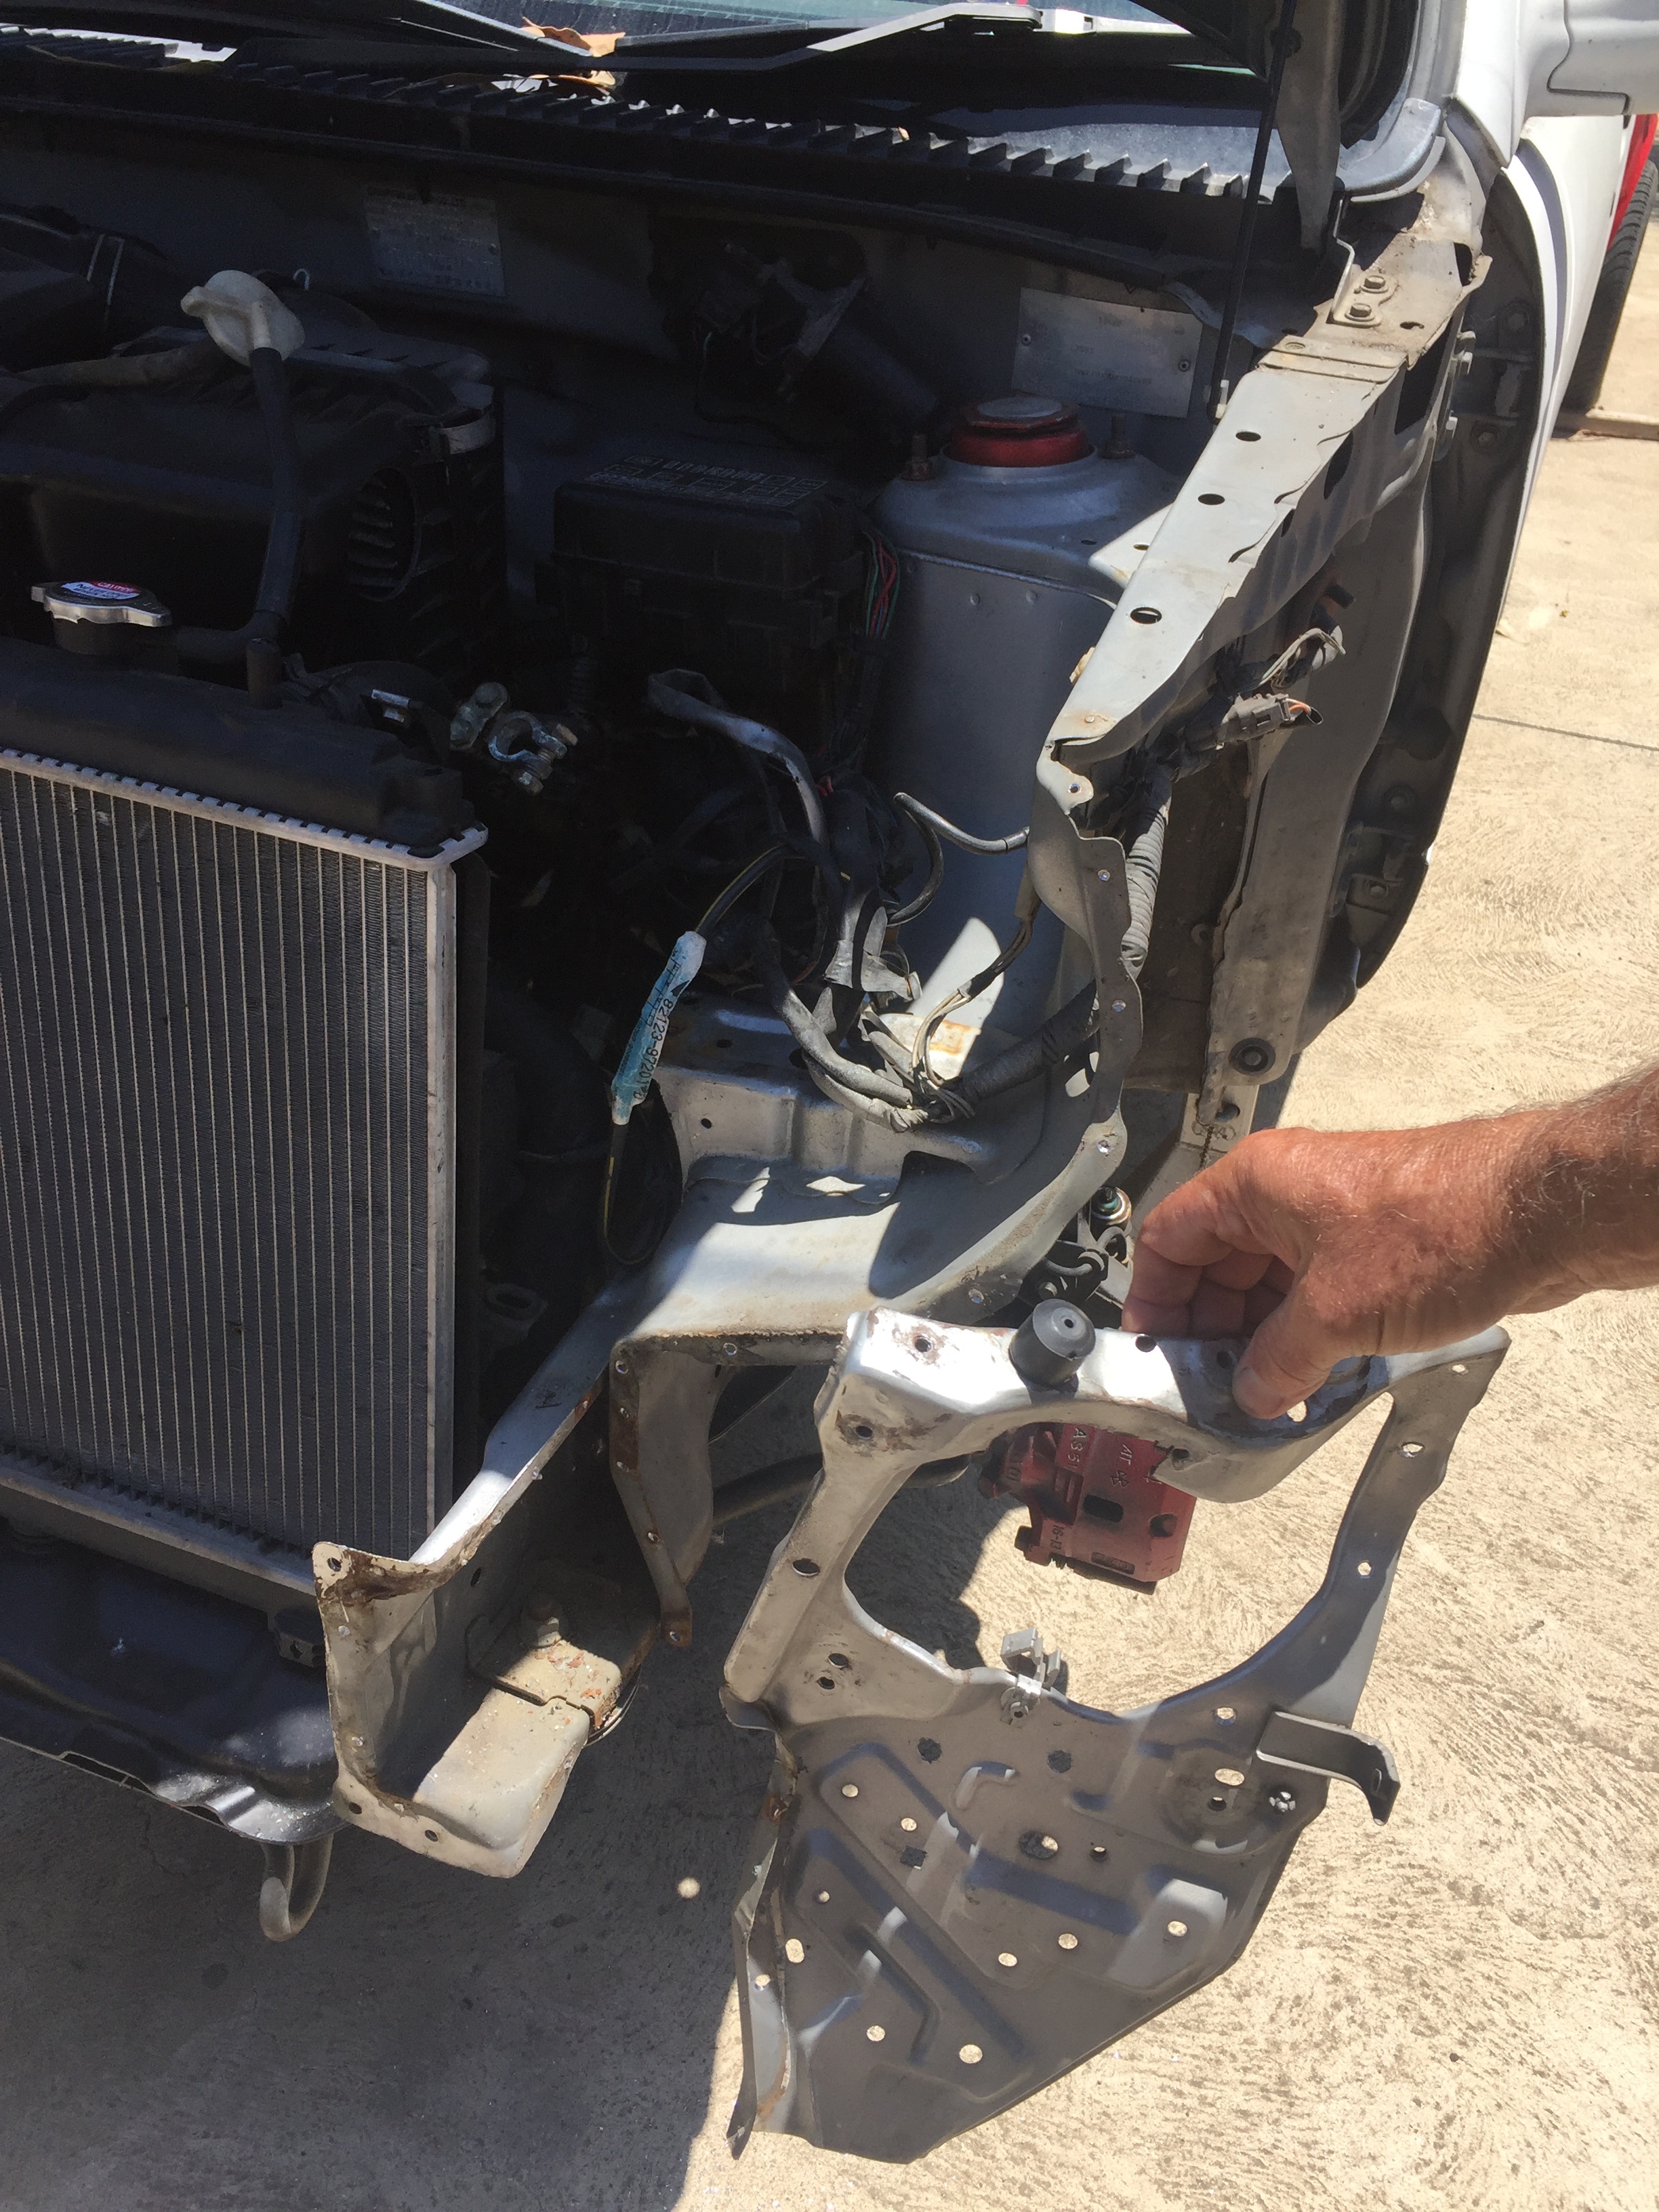
Now take the new/straighter front end pieces to the car and fit them up and try and use some reference points to line up the panels in their correct position. I like to use paint lines or the drilled spot weld marks as per the original. Clamp them onto place IMG_1634
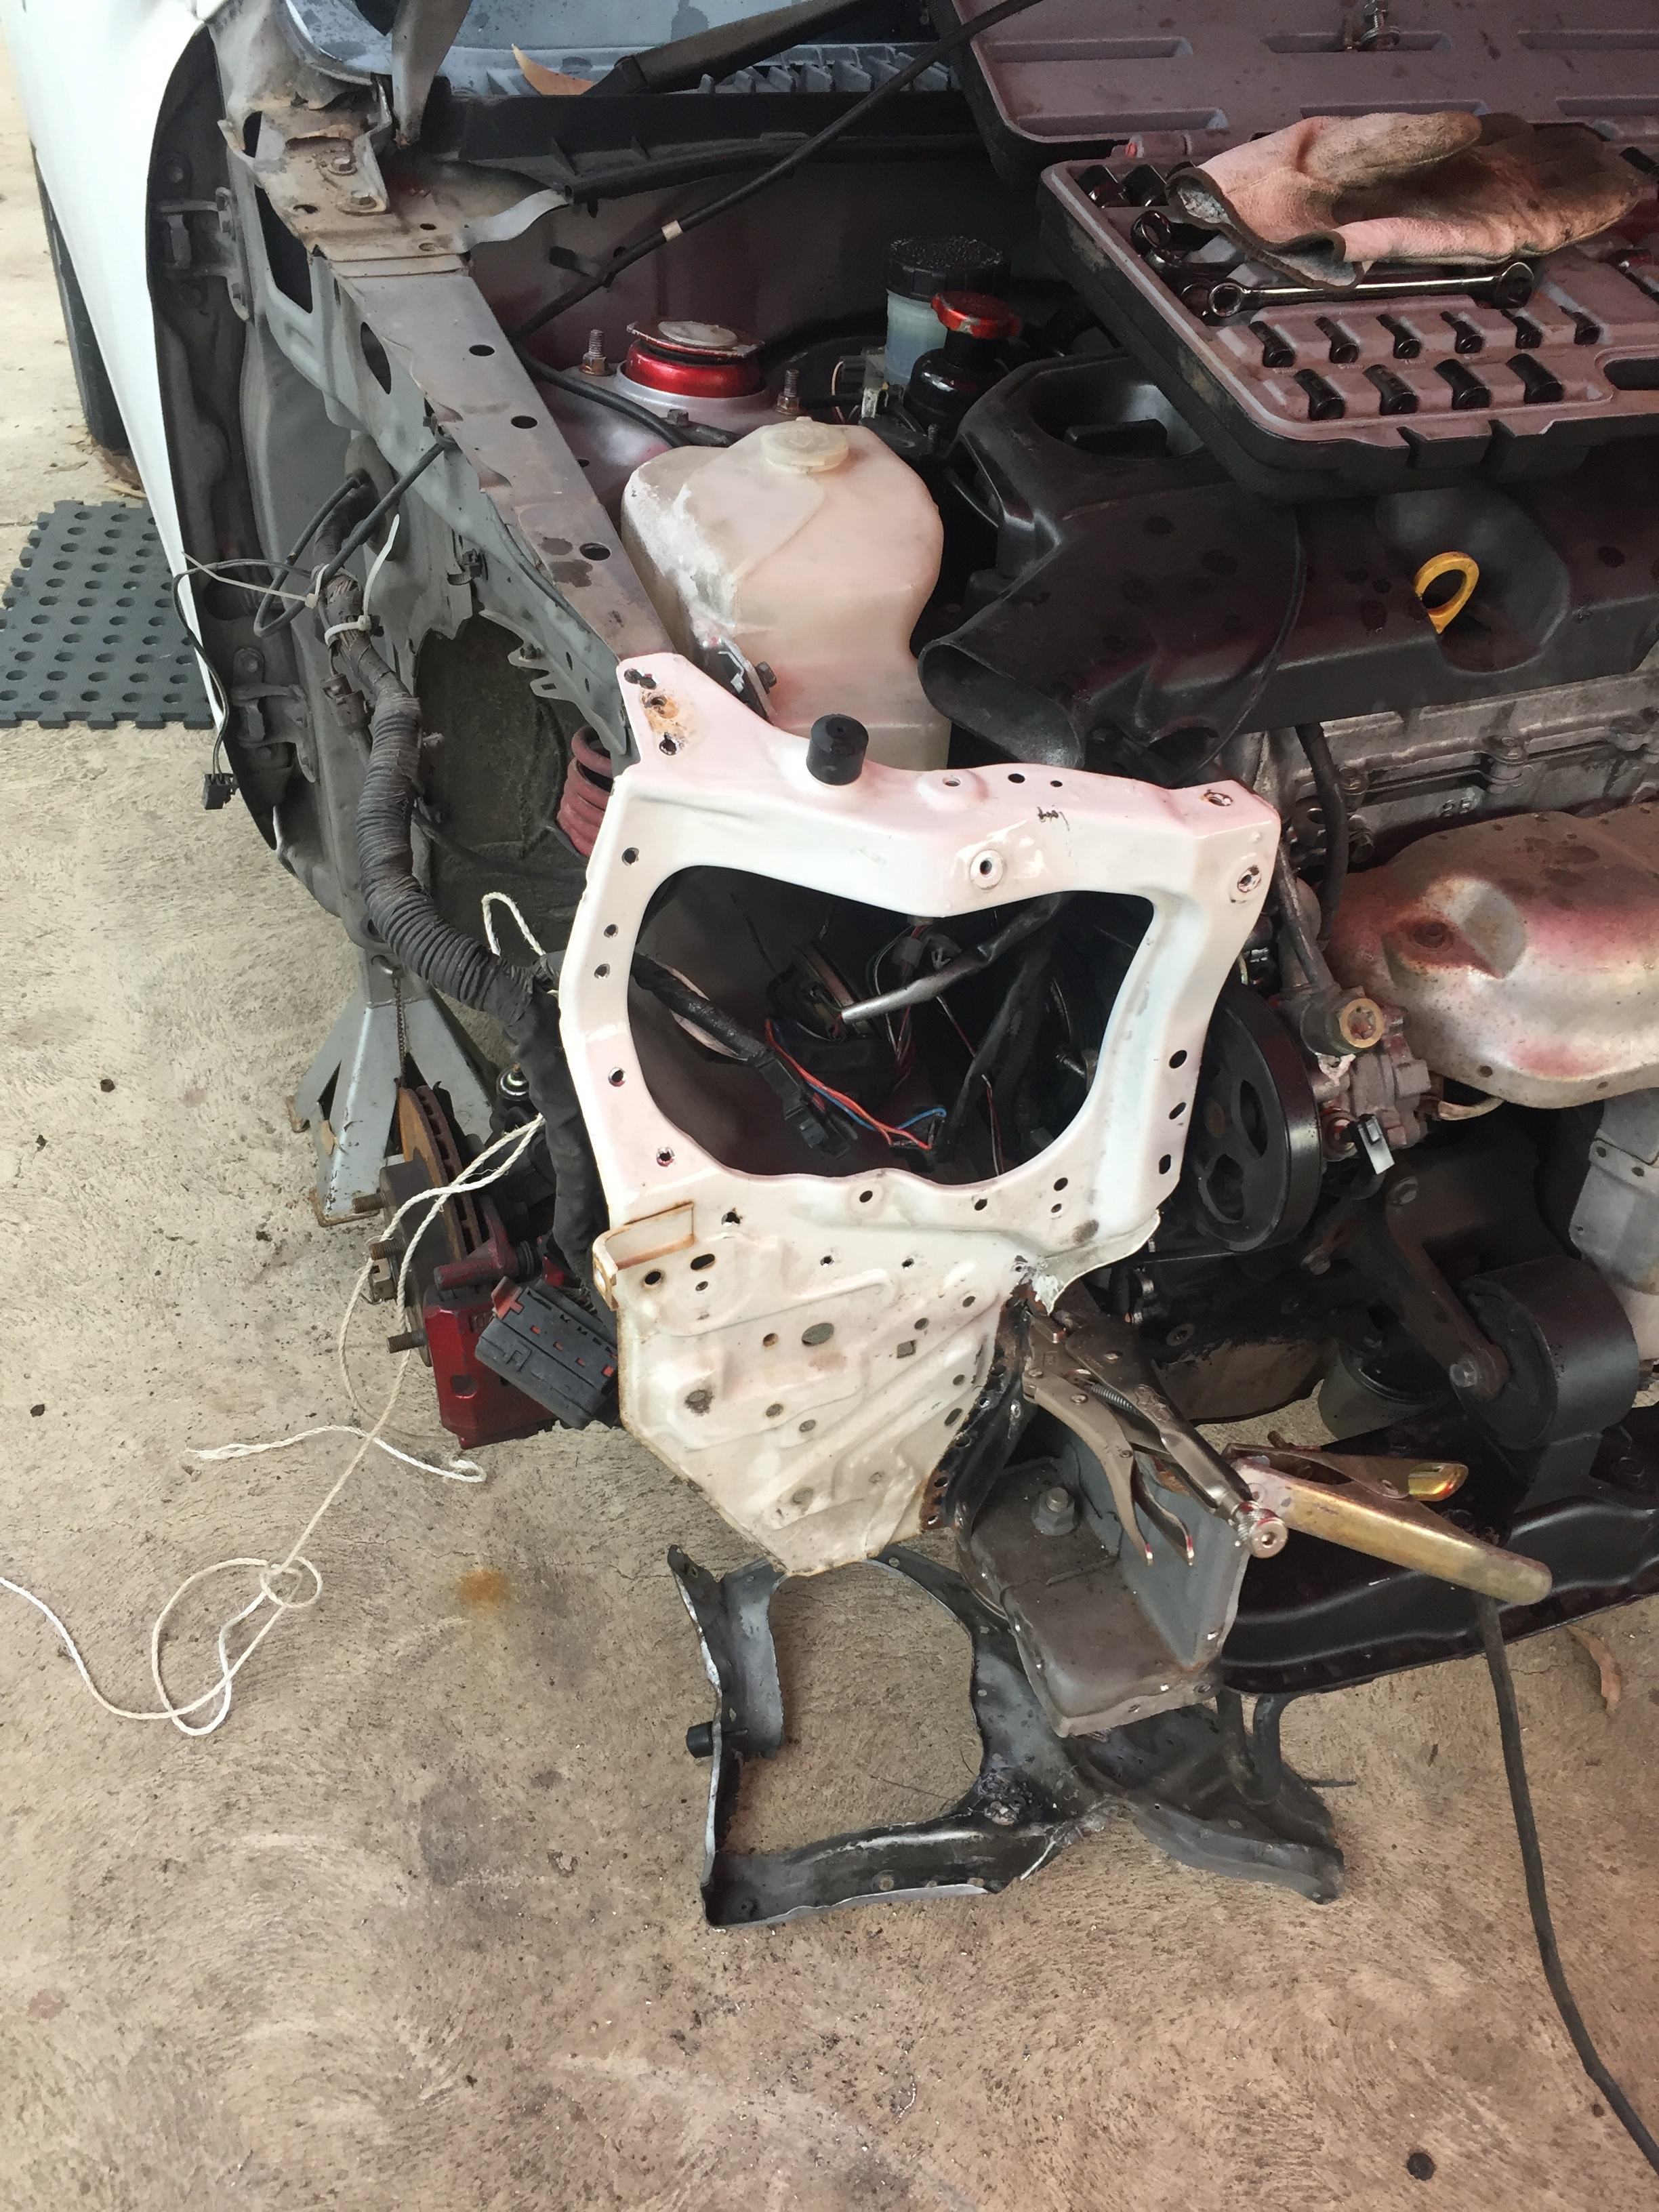
Once you have all of your mind up marks where you want them start to plug world the holes up. I use a mig welder for this. IMG_1635
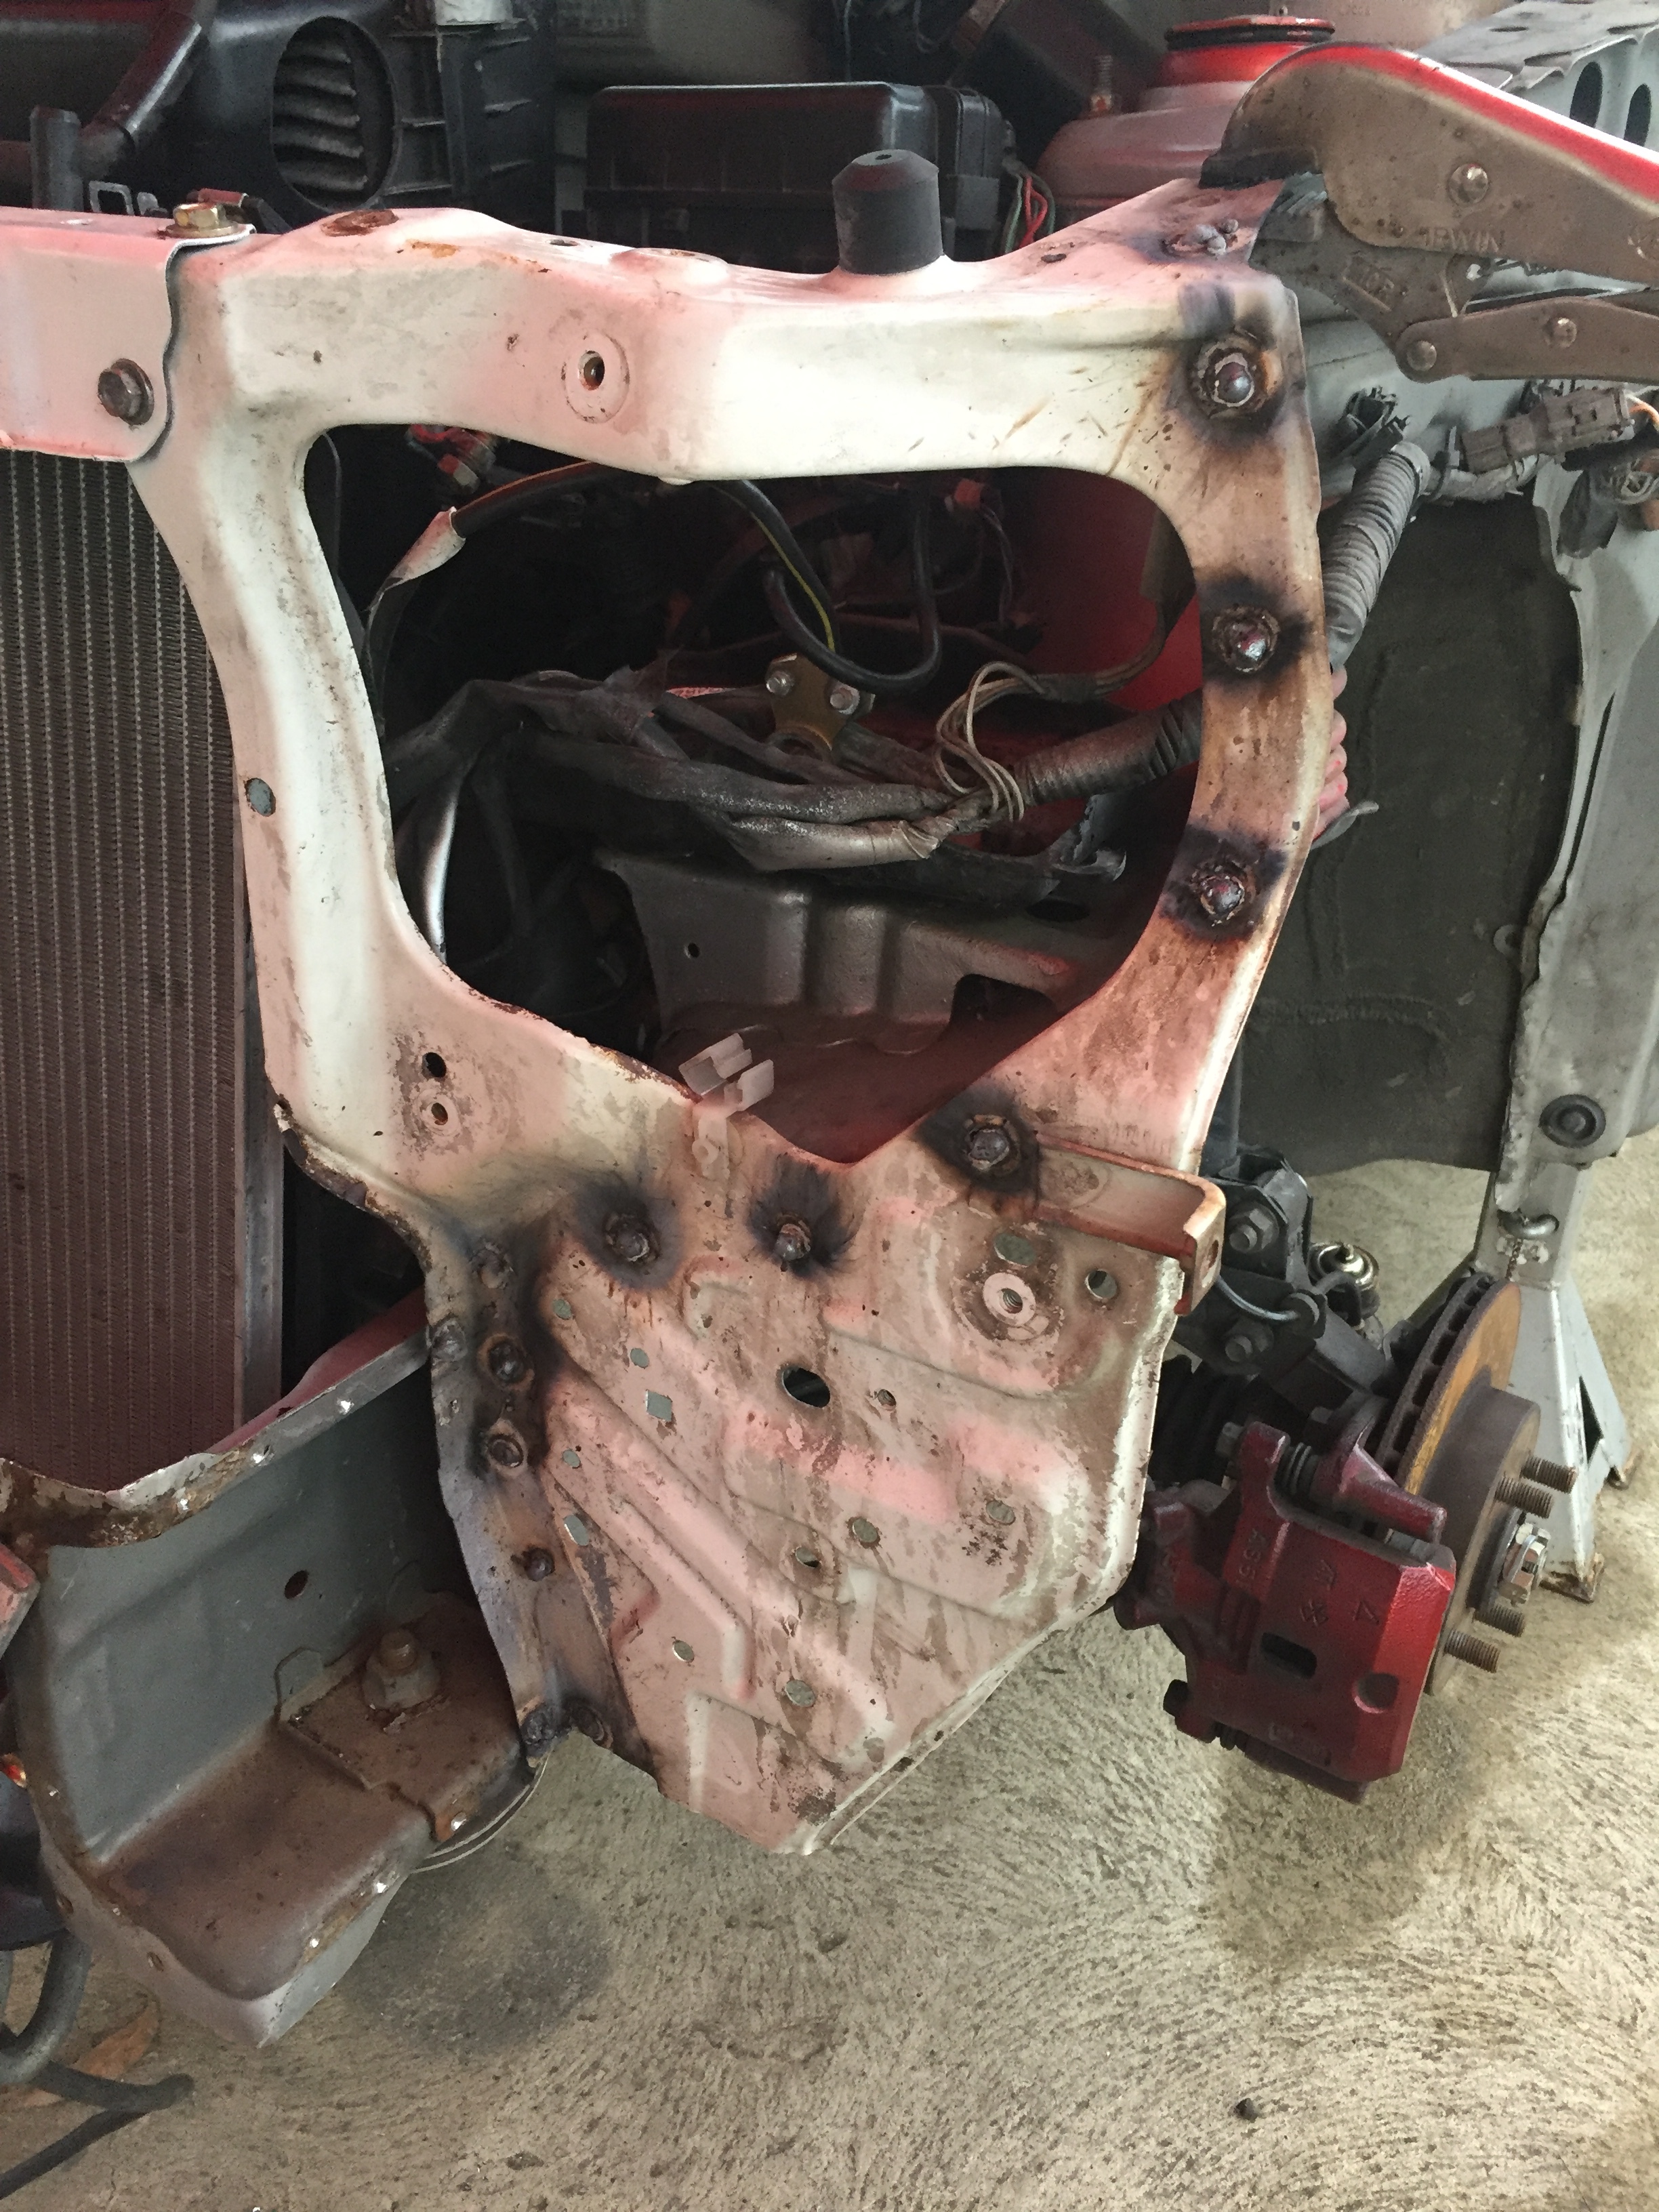
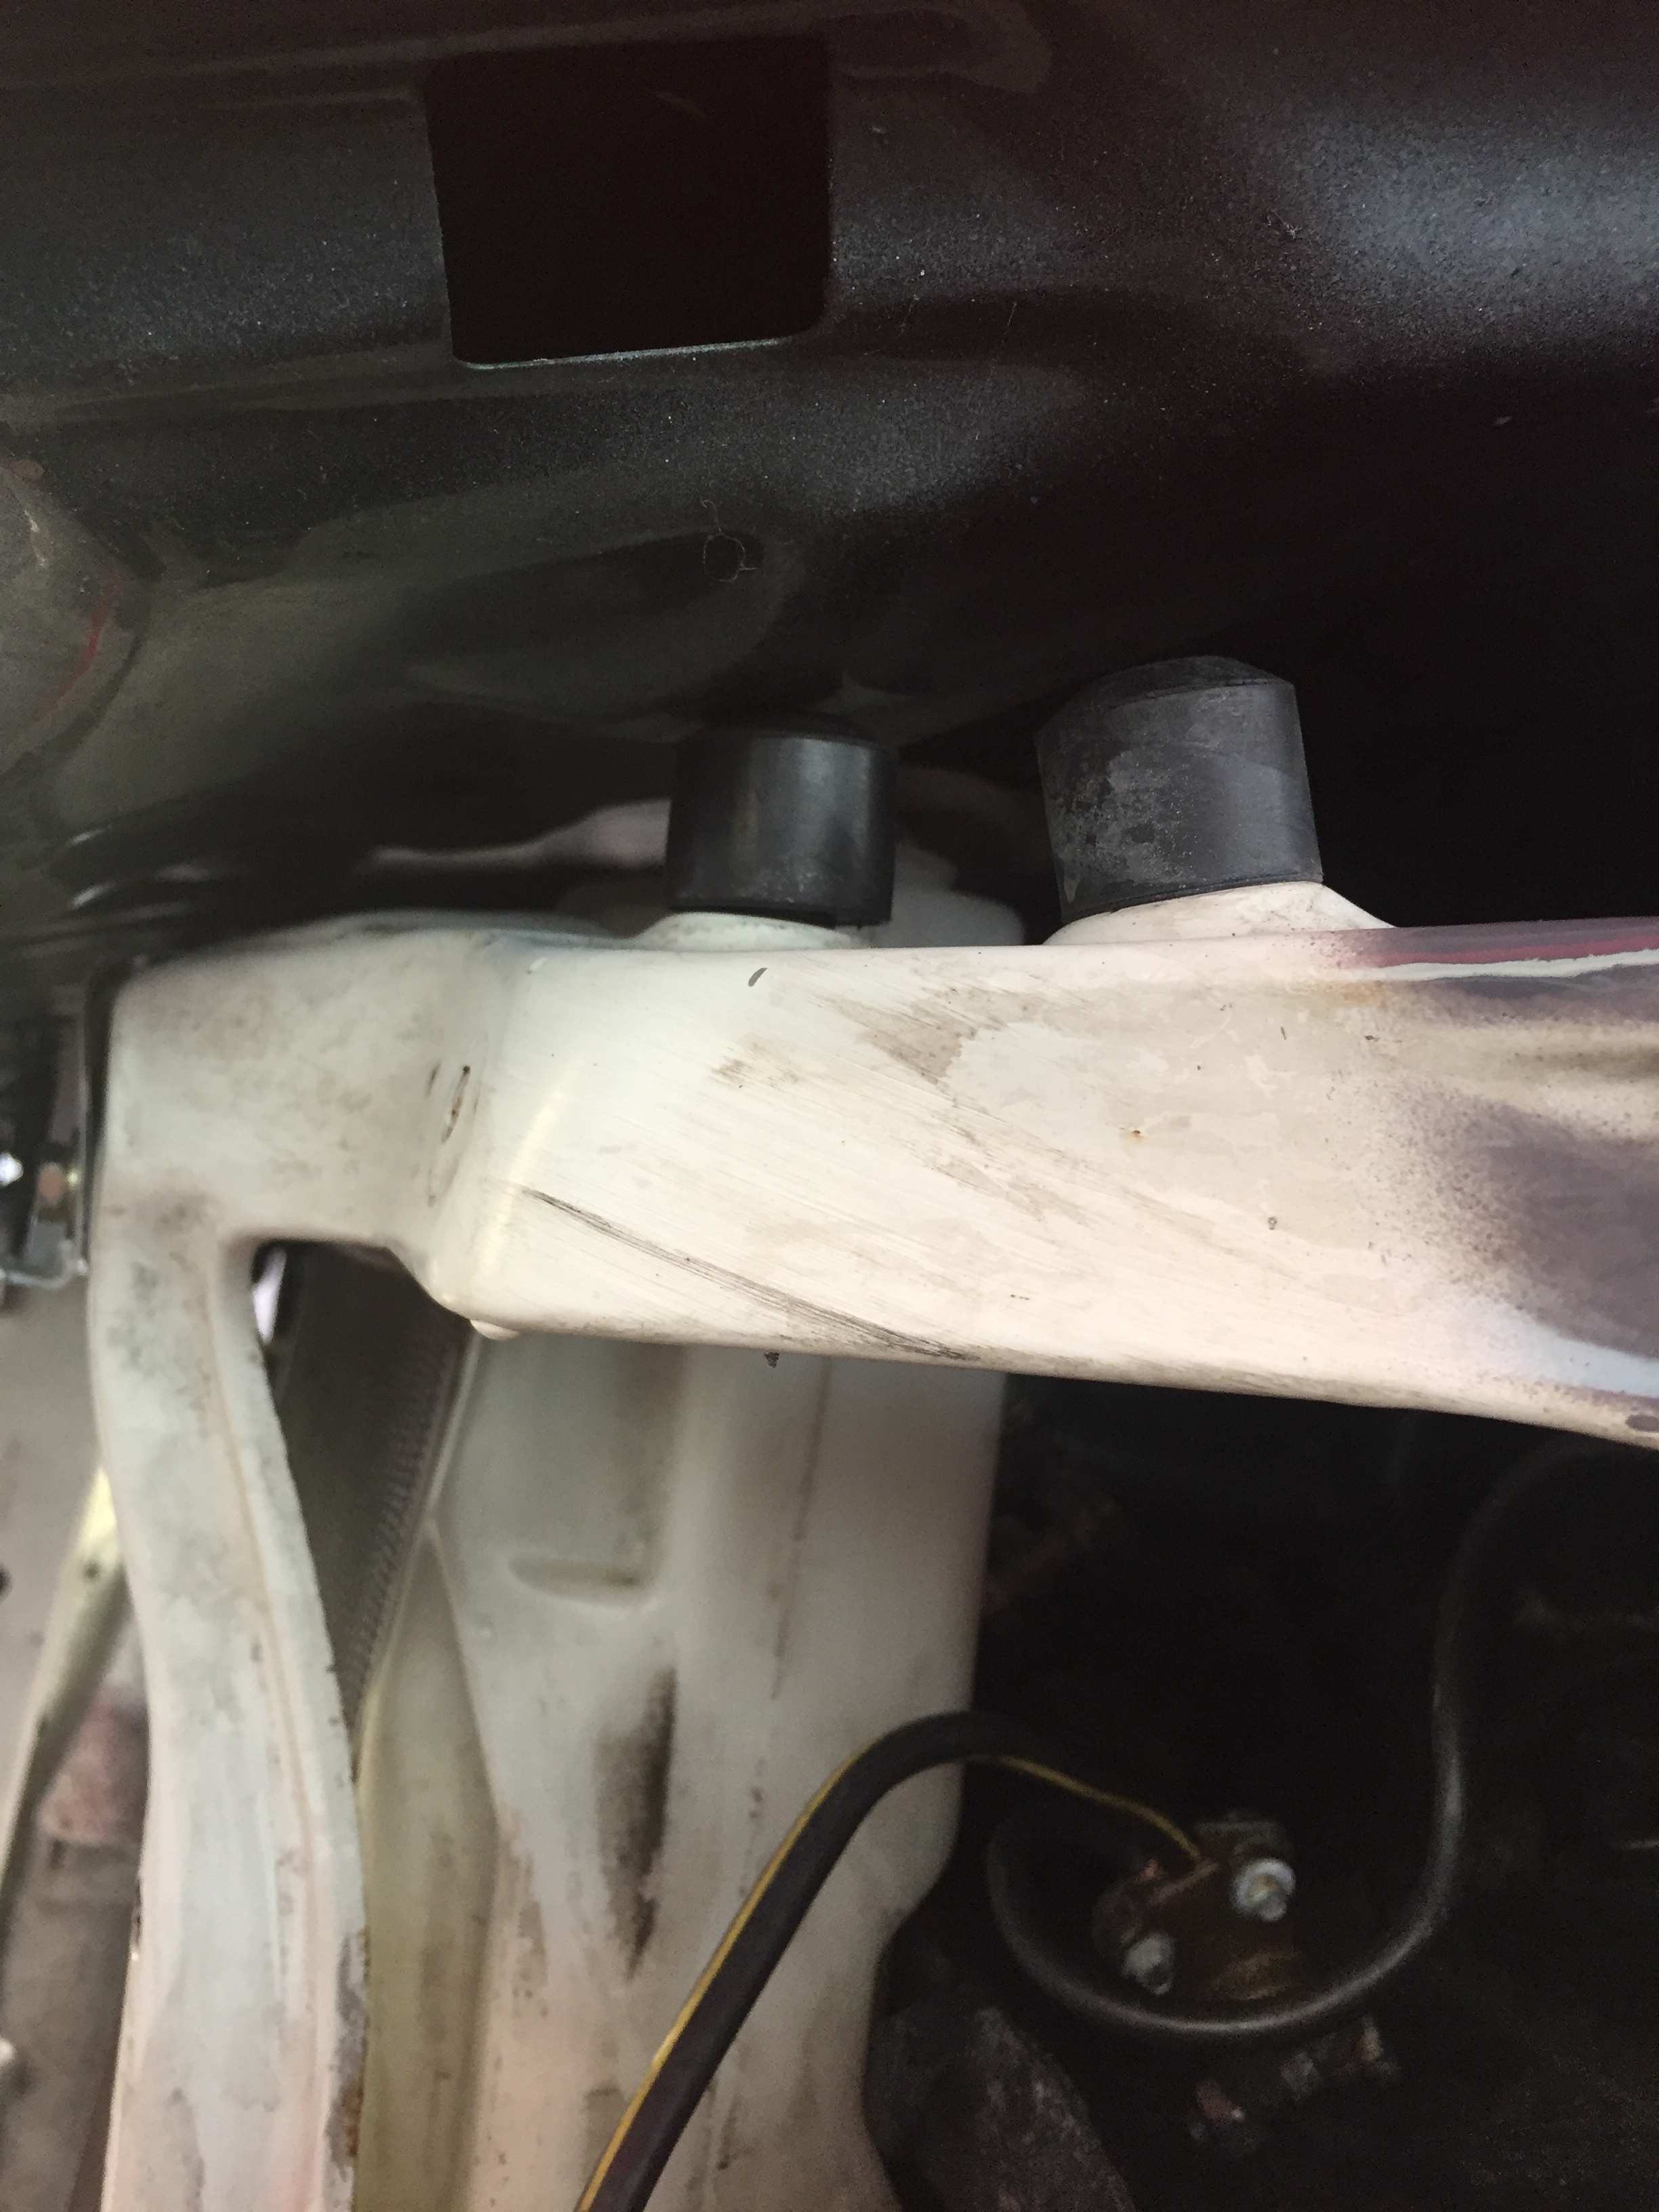
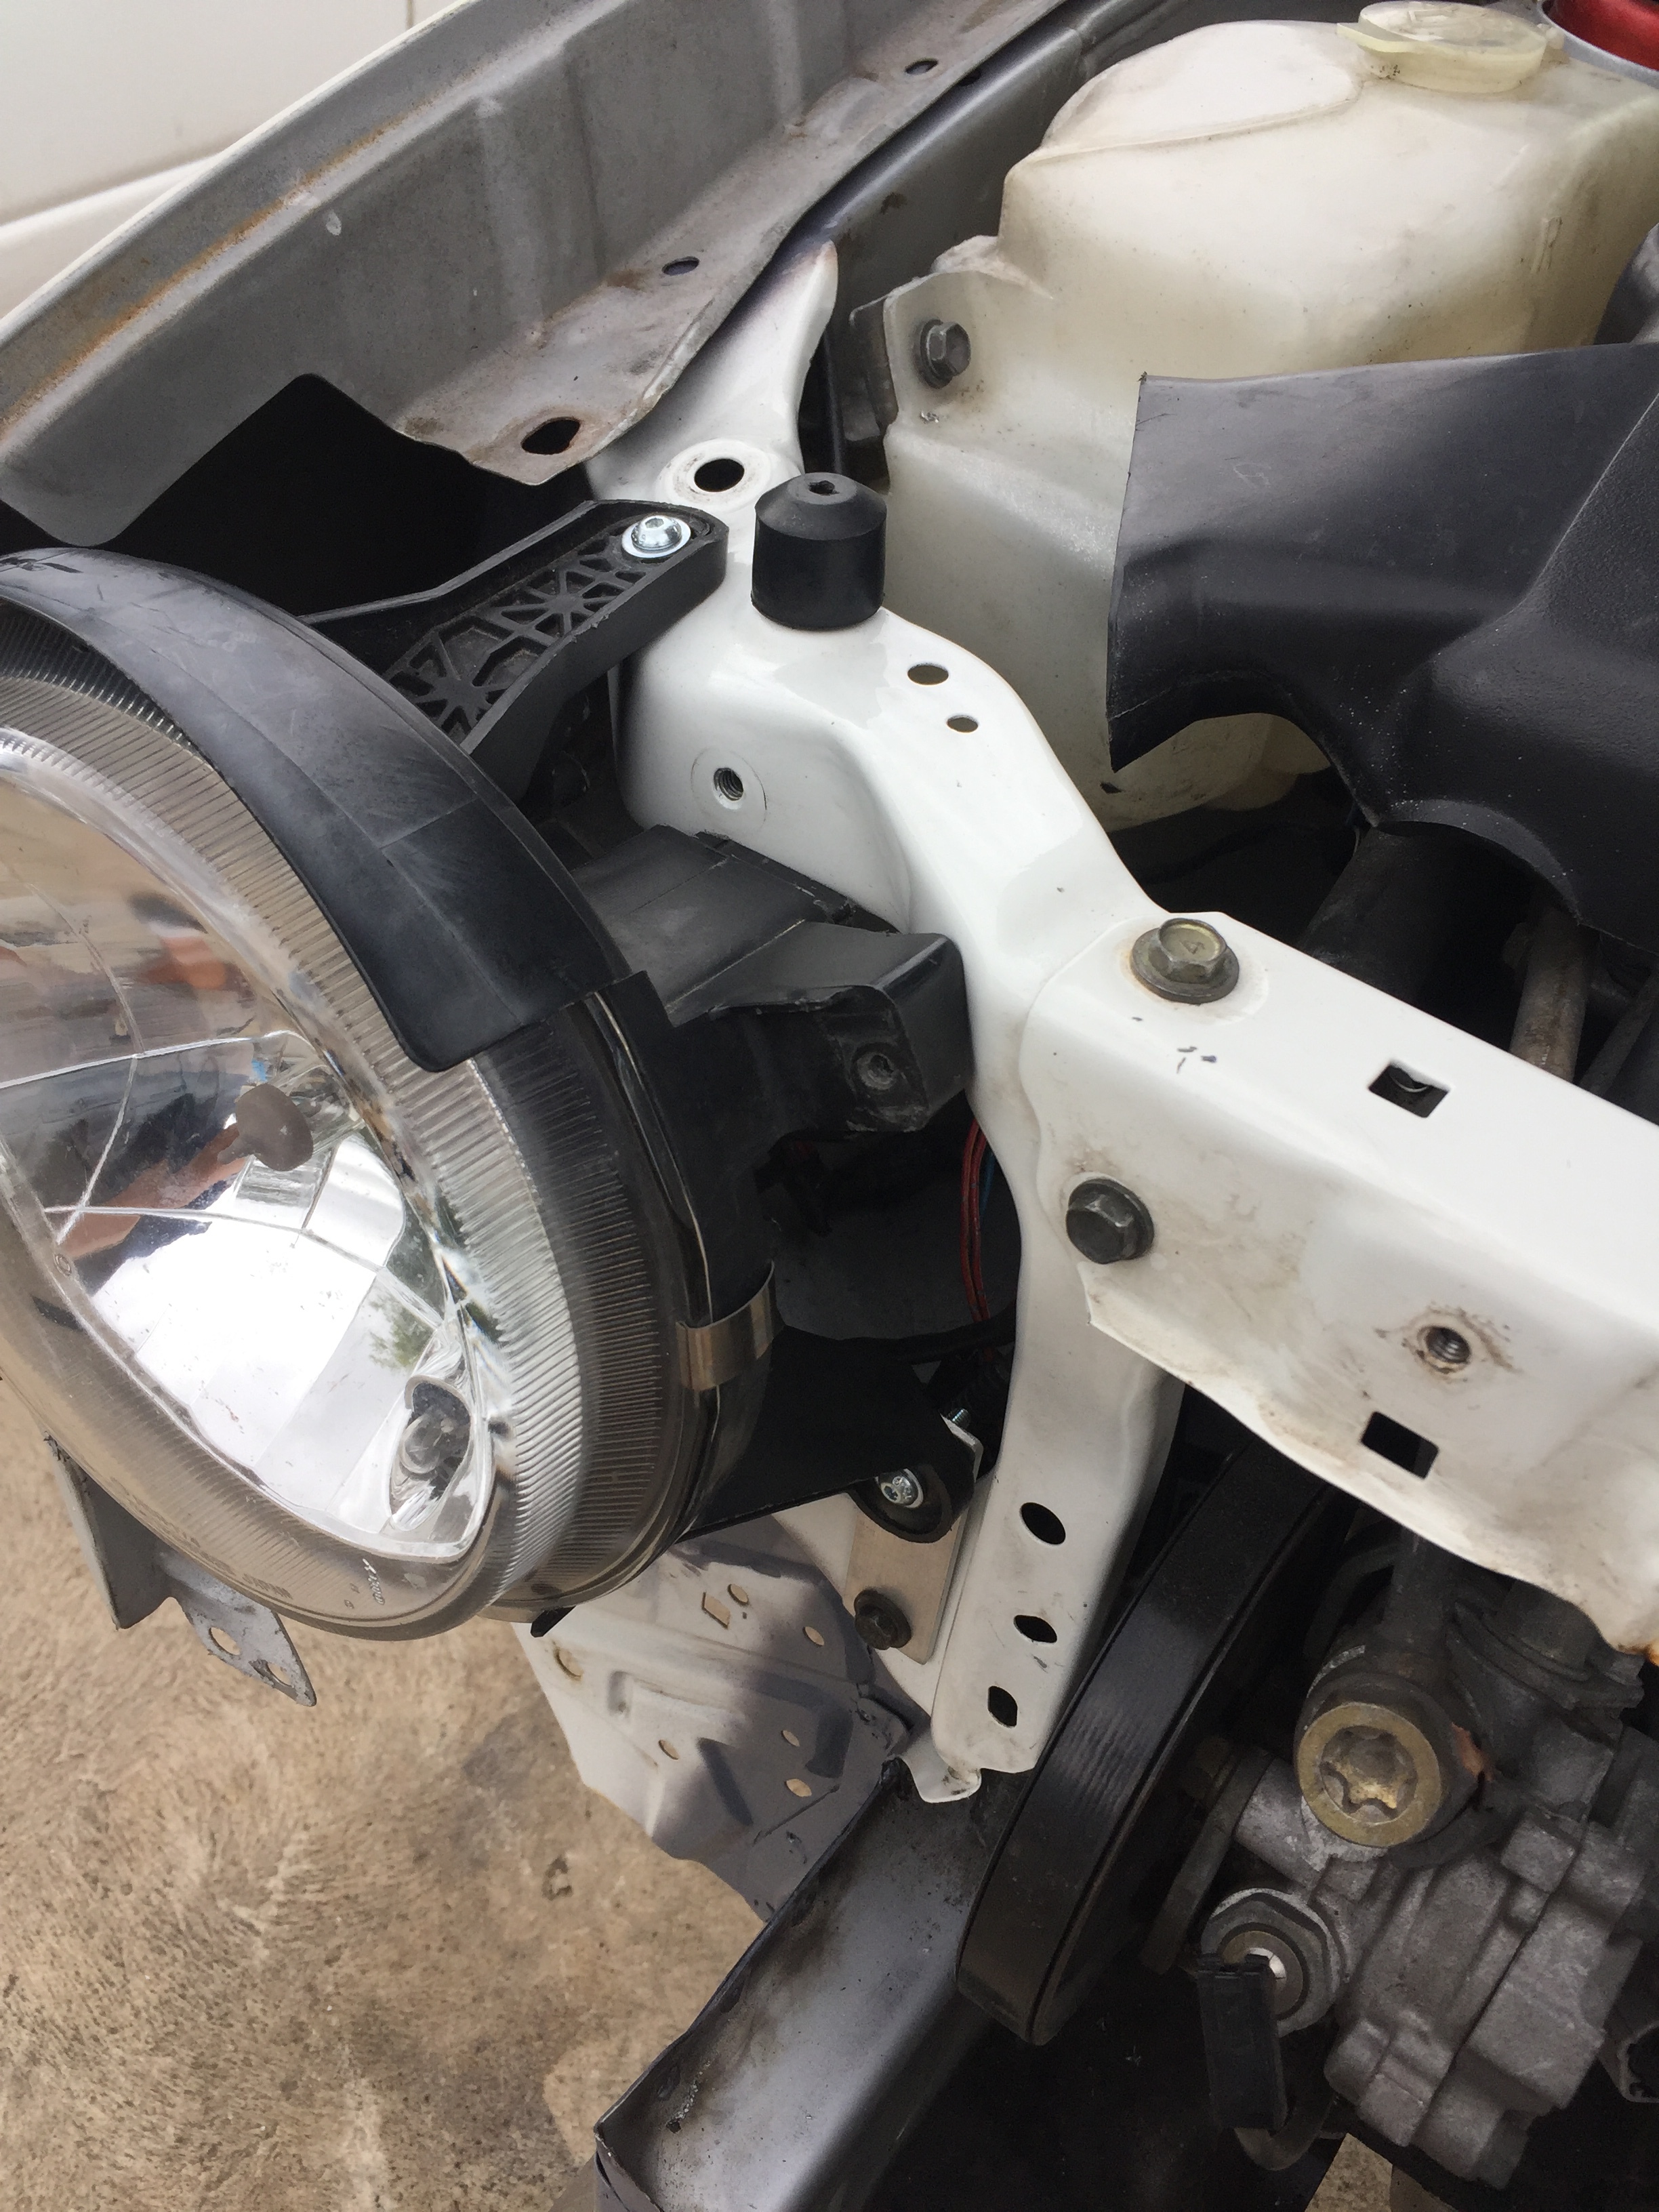
After I finished welding the headlight pocket on then put the front of the rail back together as the picture shows IMG_1636
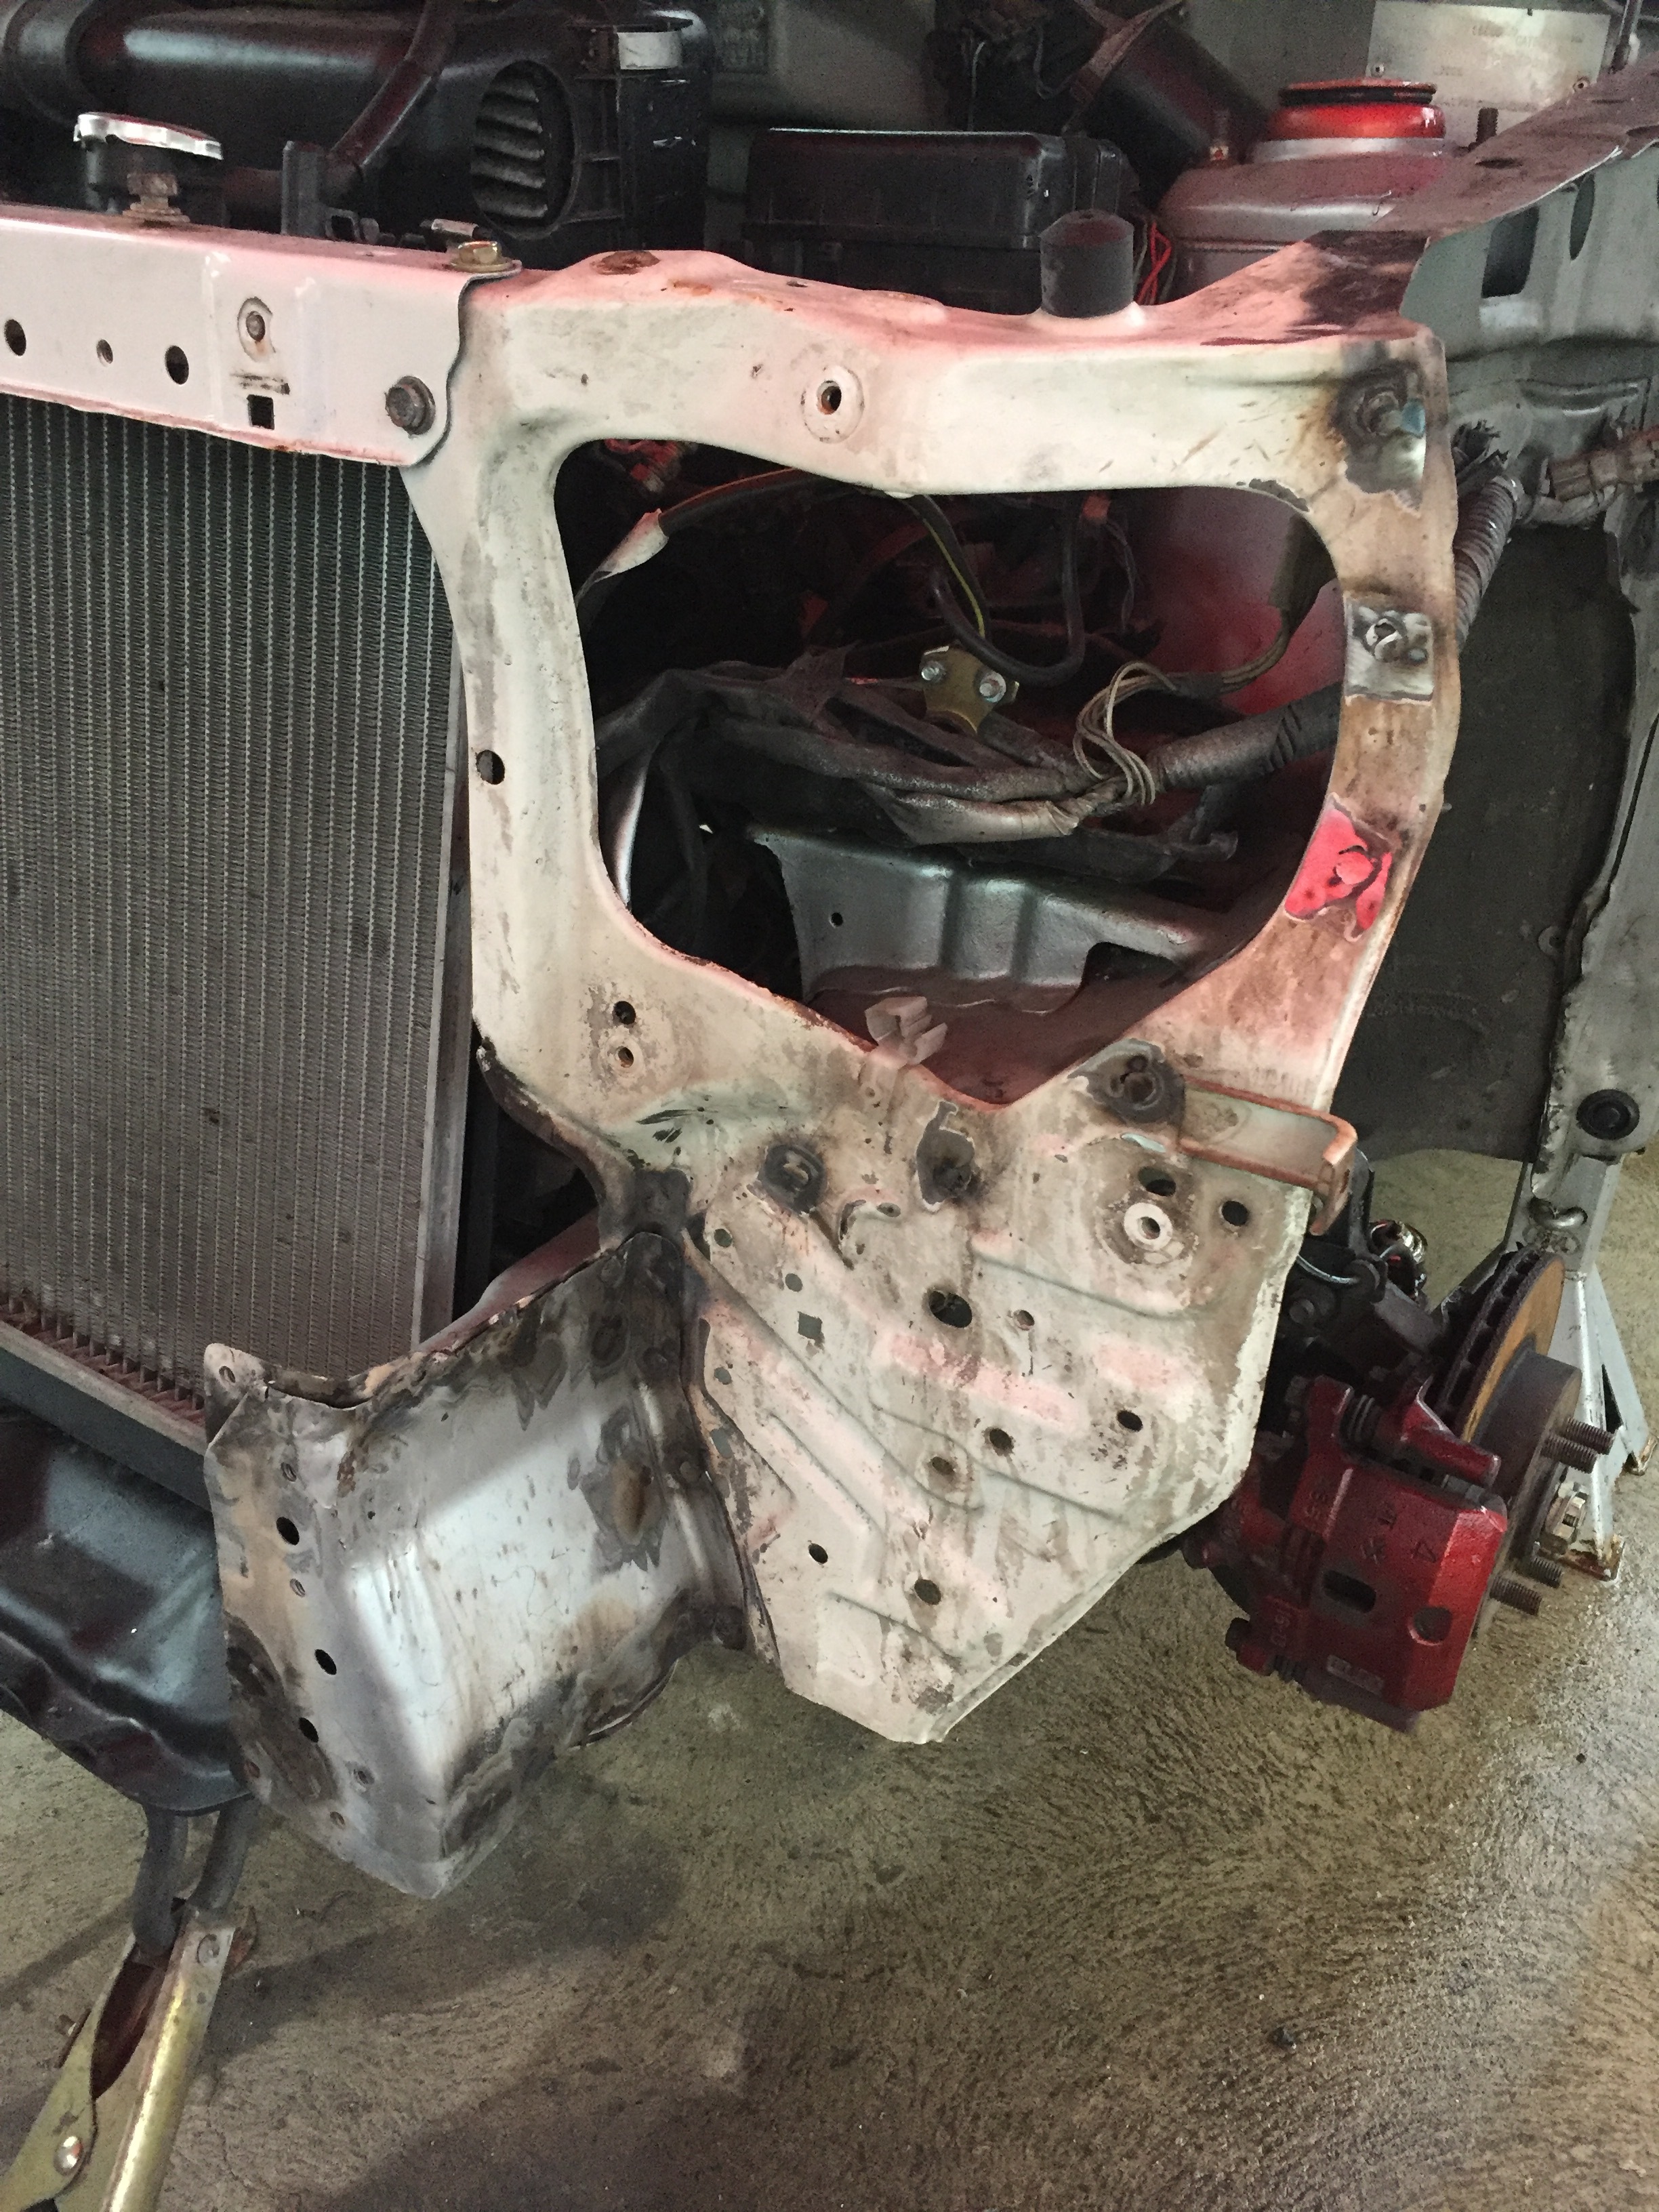
Also a good idea is to put panels on that will help you to line up your job for instance in this next photo you can see I put the radiator support panel back on to make sure my measurements were good and fitment will be good when I’m finished. It is not pictured but I also set the guard up as well to make sure the holes will locate when I put them on.IMG_1637
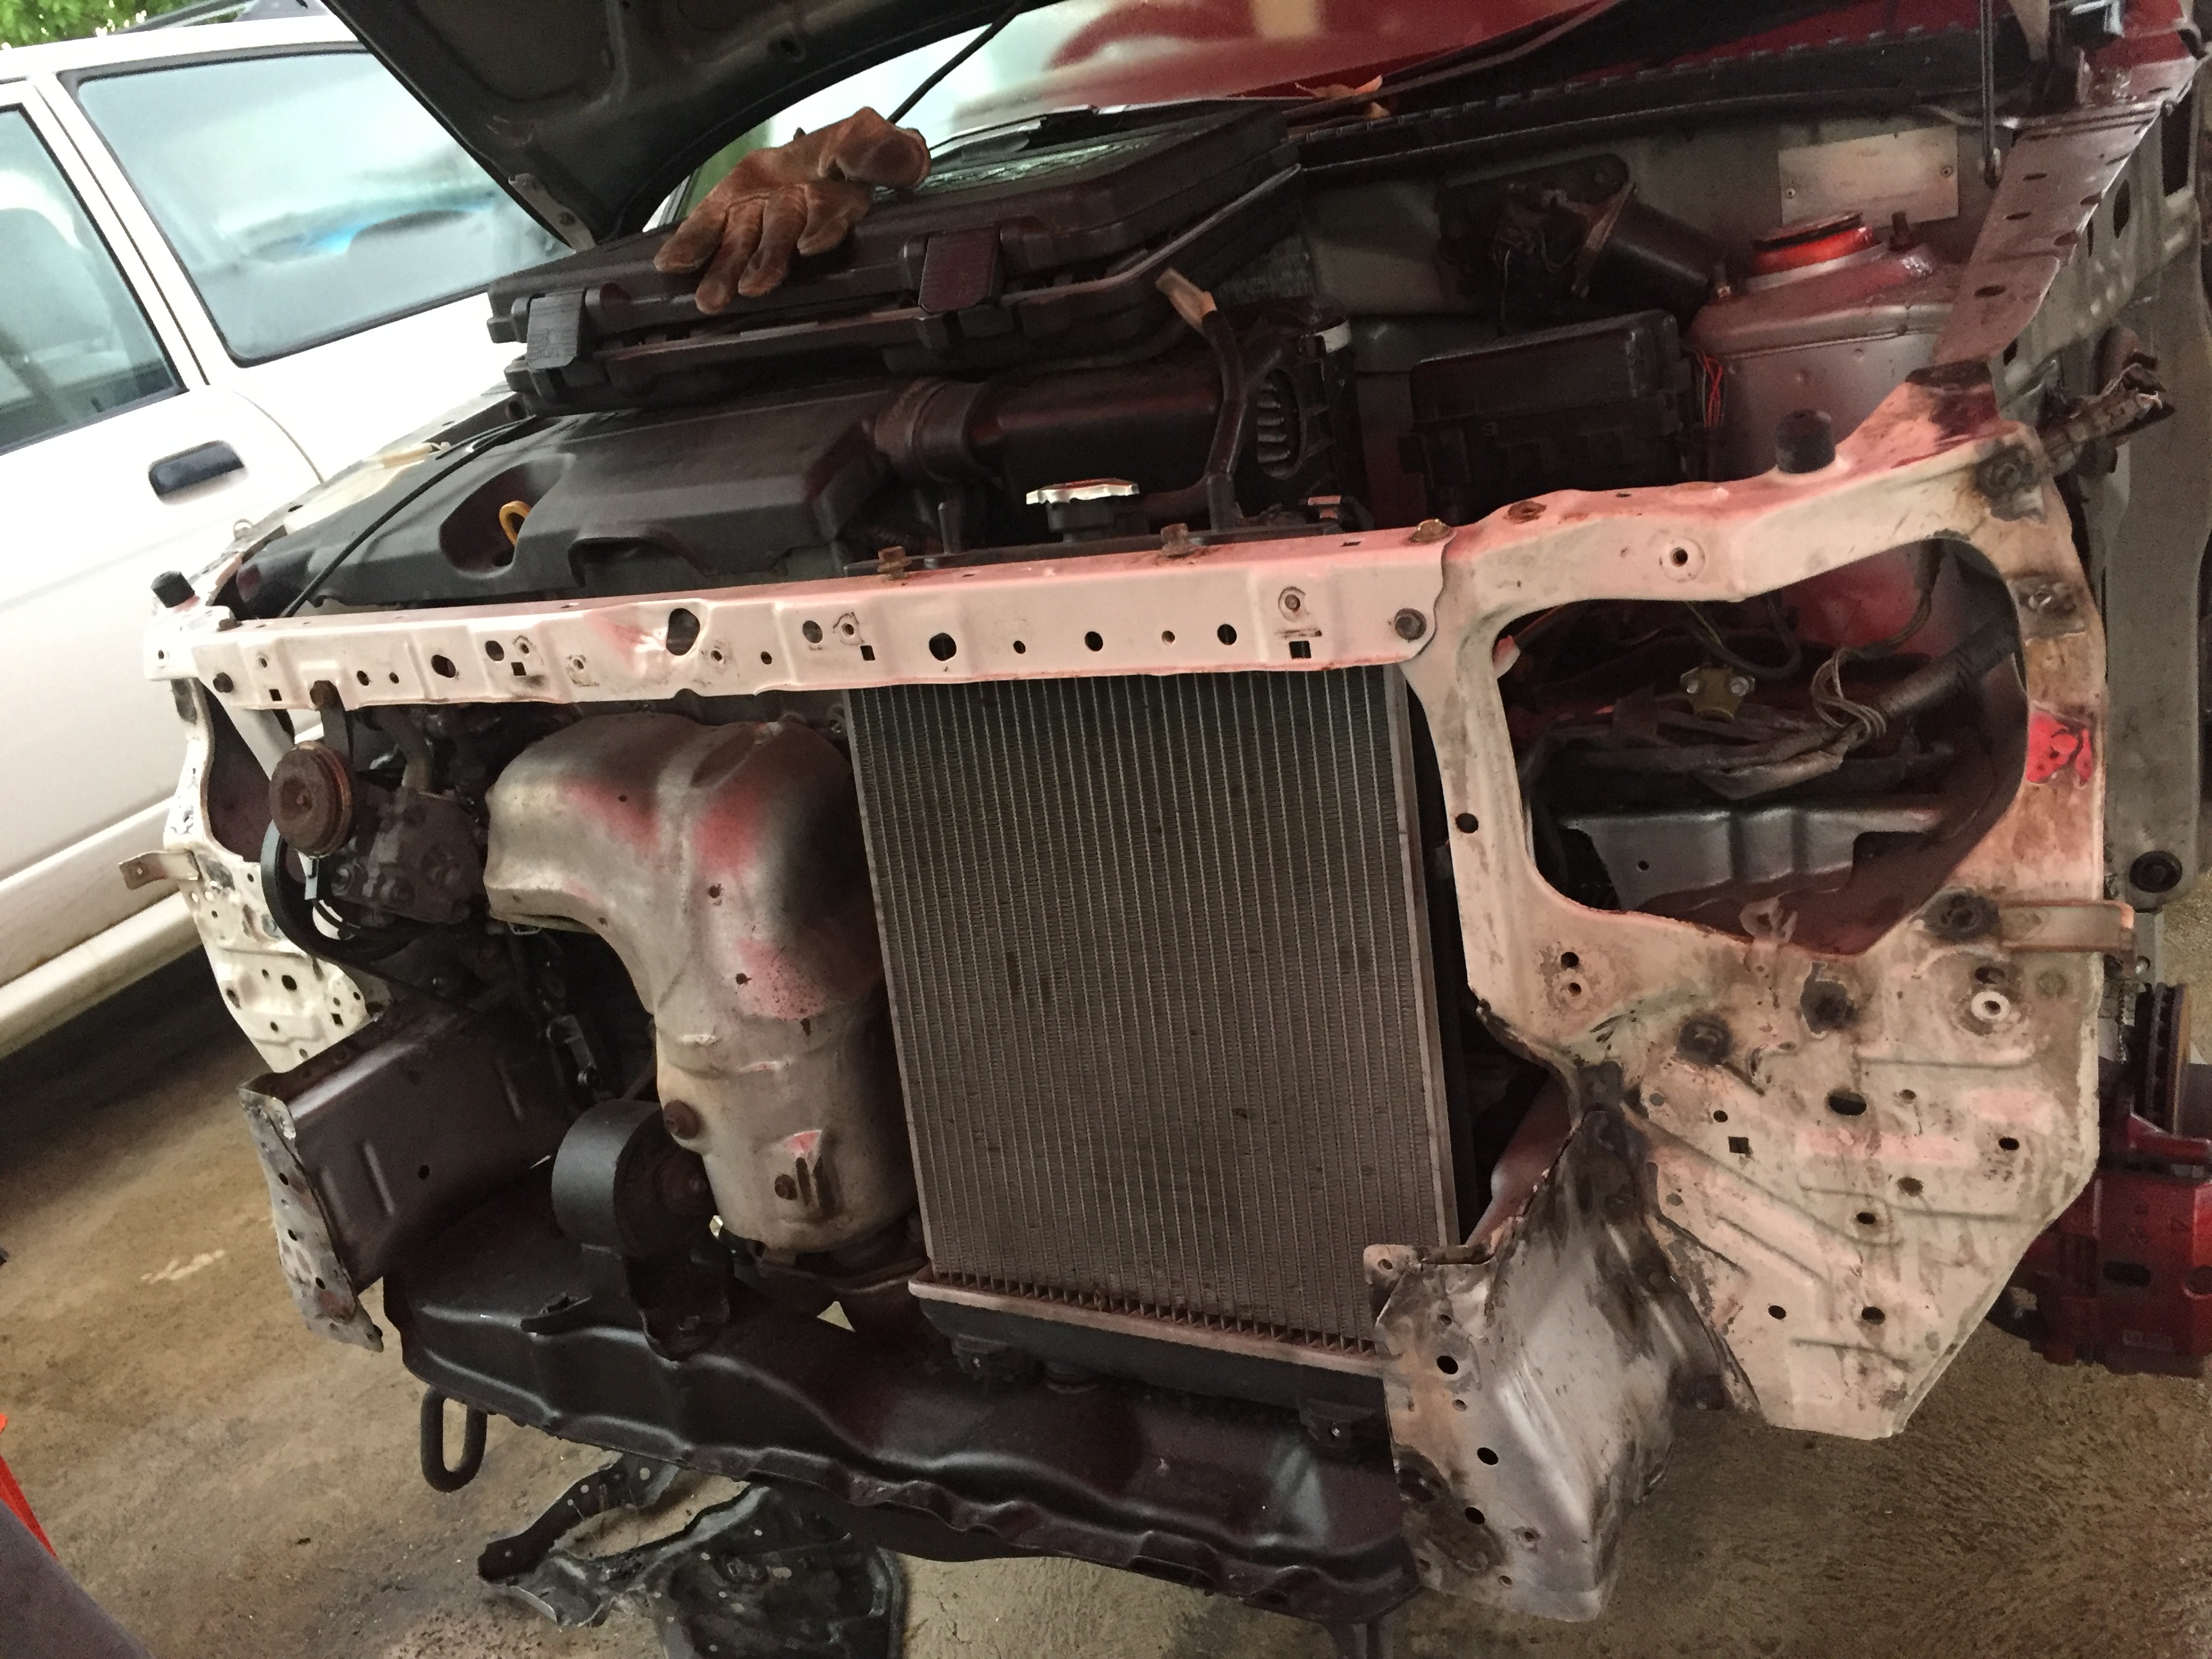
I know in most cases it is a big no no but when you have finished dress the welds up with a grinder to make sure they don’t look like lumpy ugly welds.
Also run some paint over the fresh grind and weld front and back to make sure they do not rust.IMG_1638IMG_1639
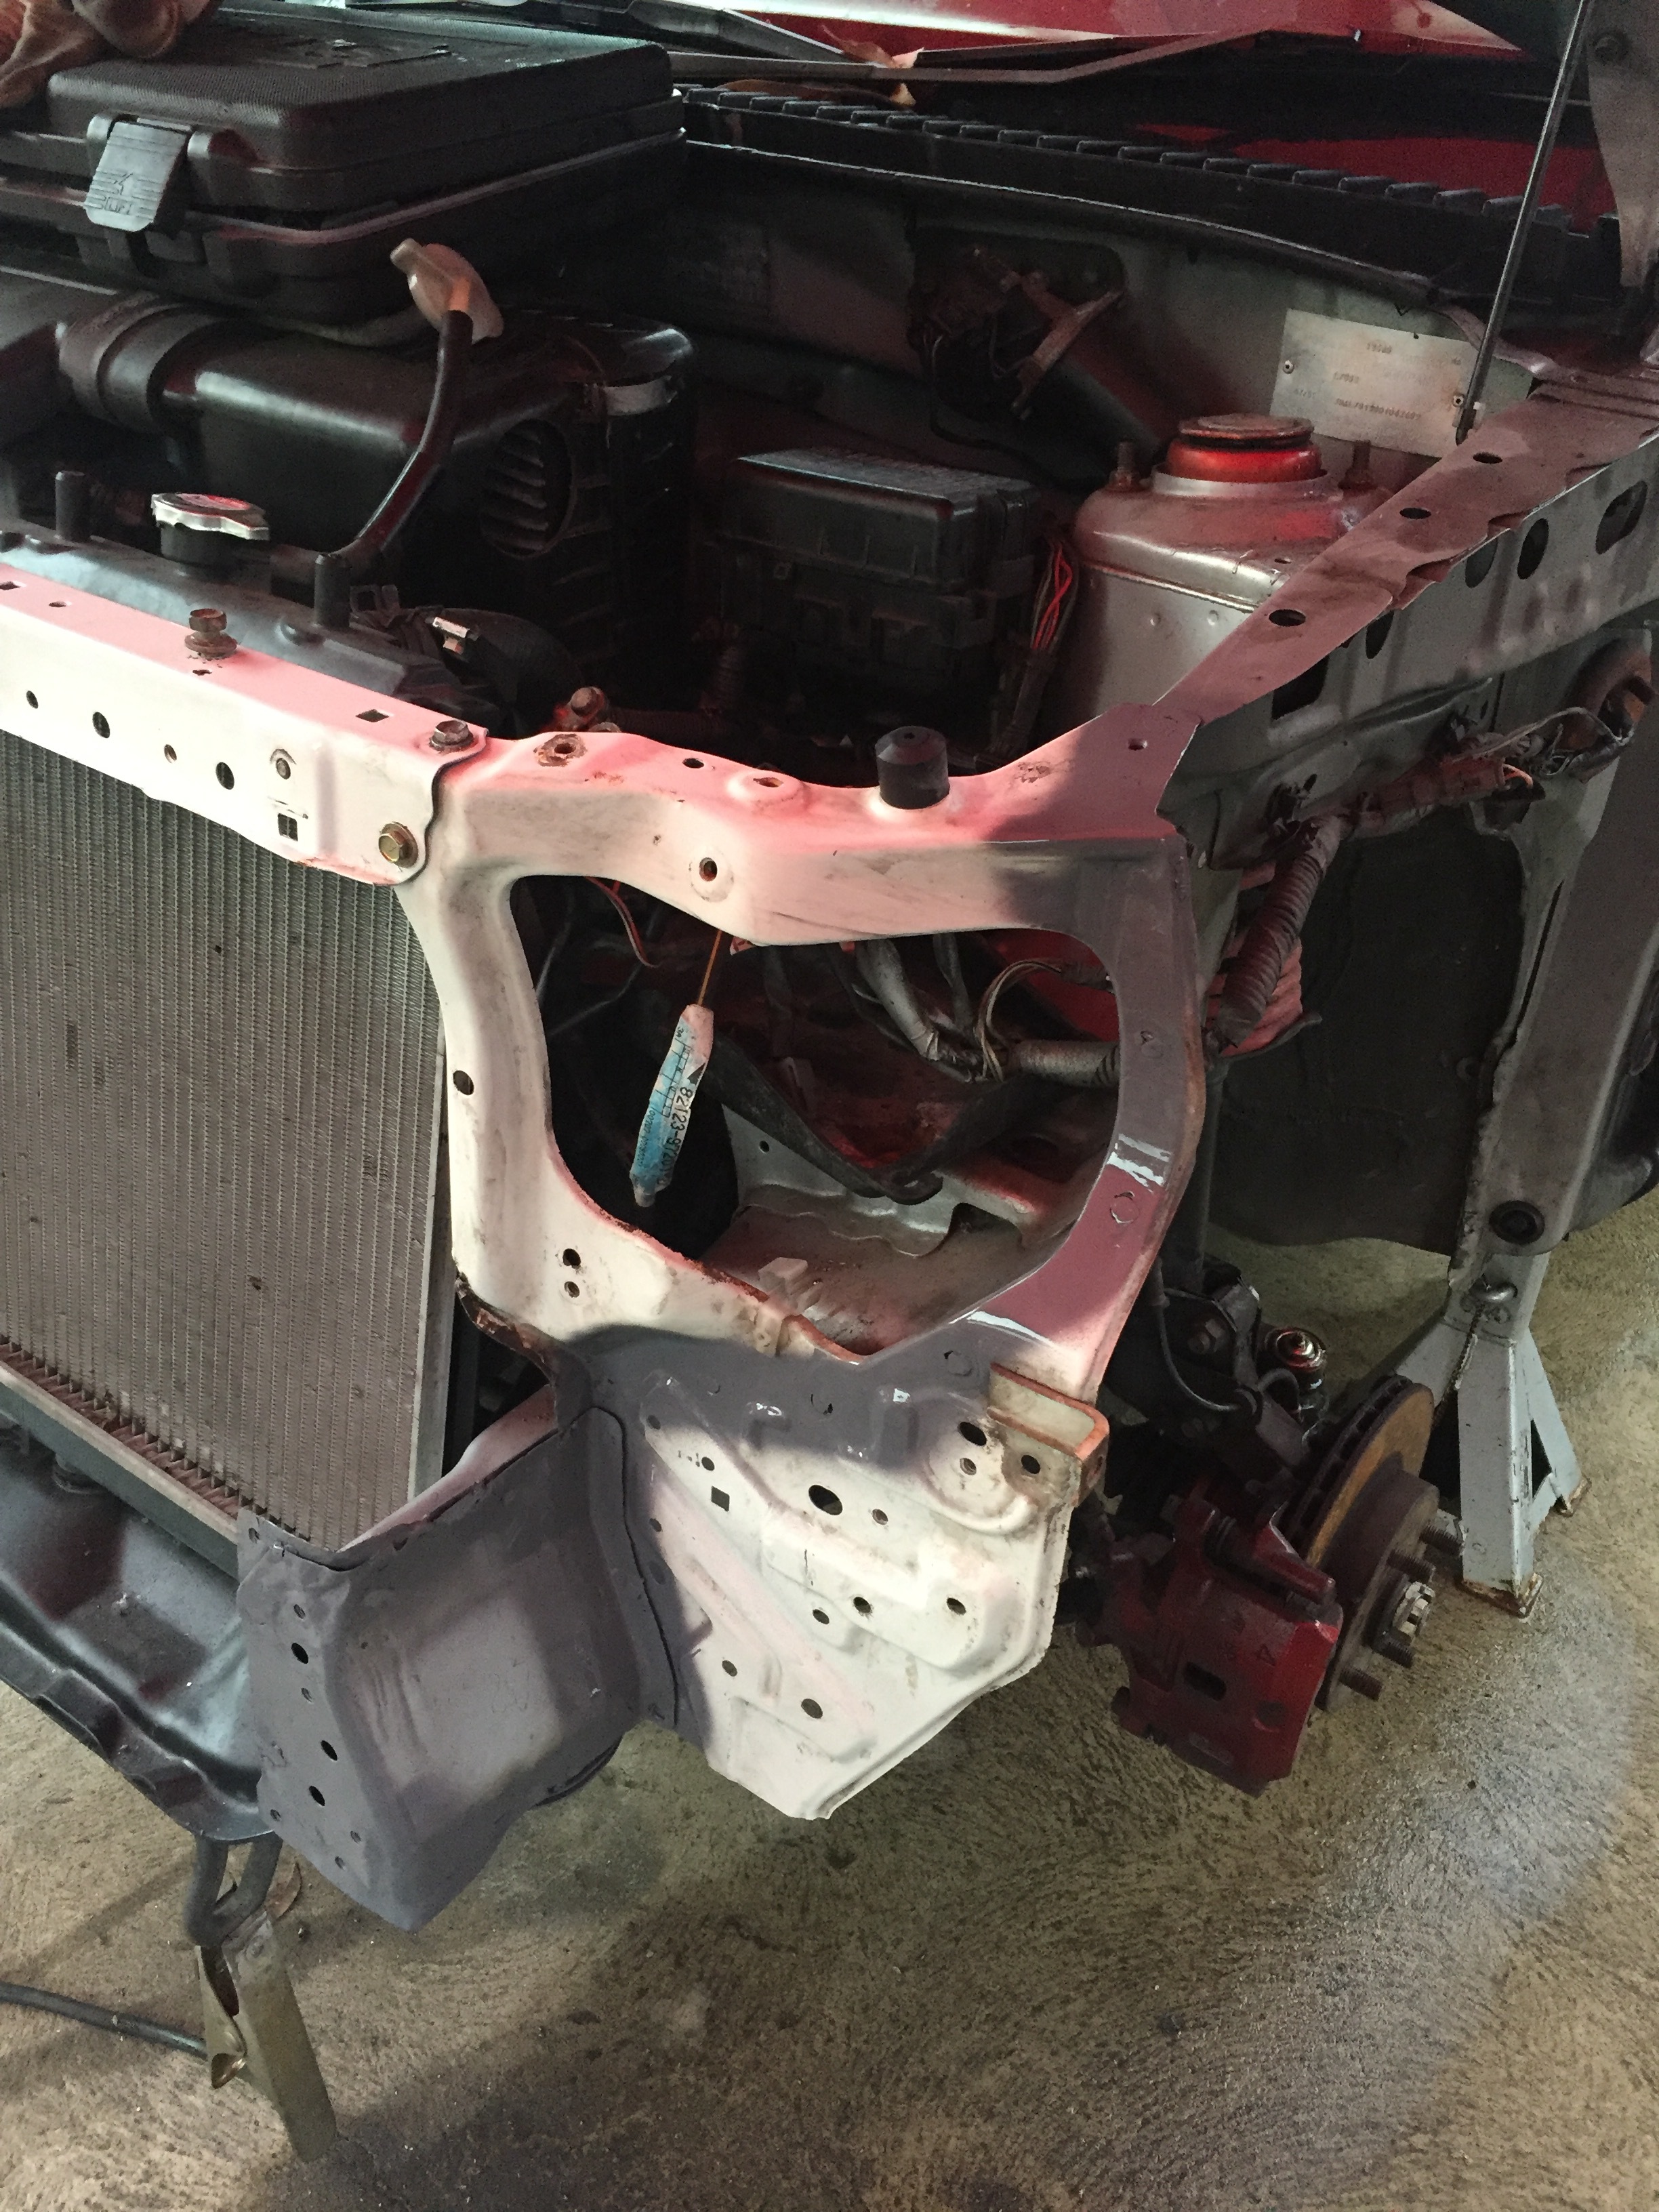
The reason why I used grey rust guard on mine is because I am going to paint the panels a different colour down the track so not too fussed for now mainly for preservation.
As you can see the bonnet latch lined up perfectly.
I also managed to get some bonnet adjusters made up that line up perfectly with the Gino bonnet. I left the old ones there for reference. IMG_1640IMG_1641
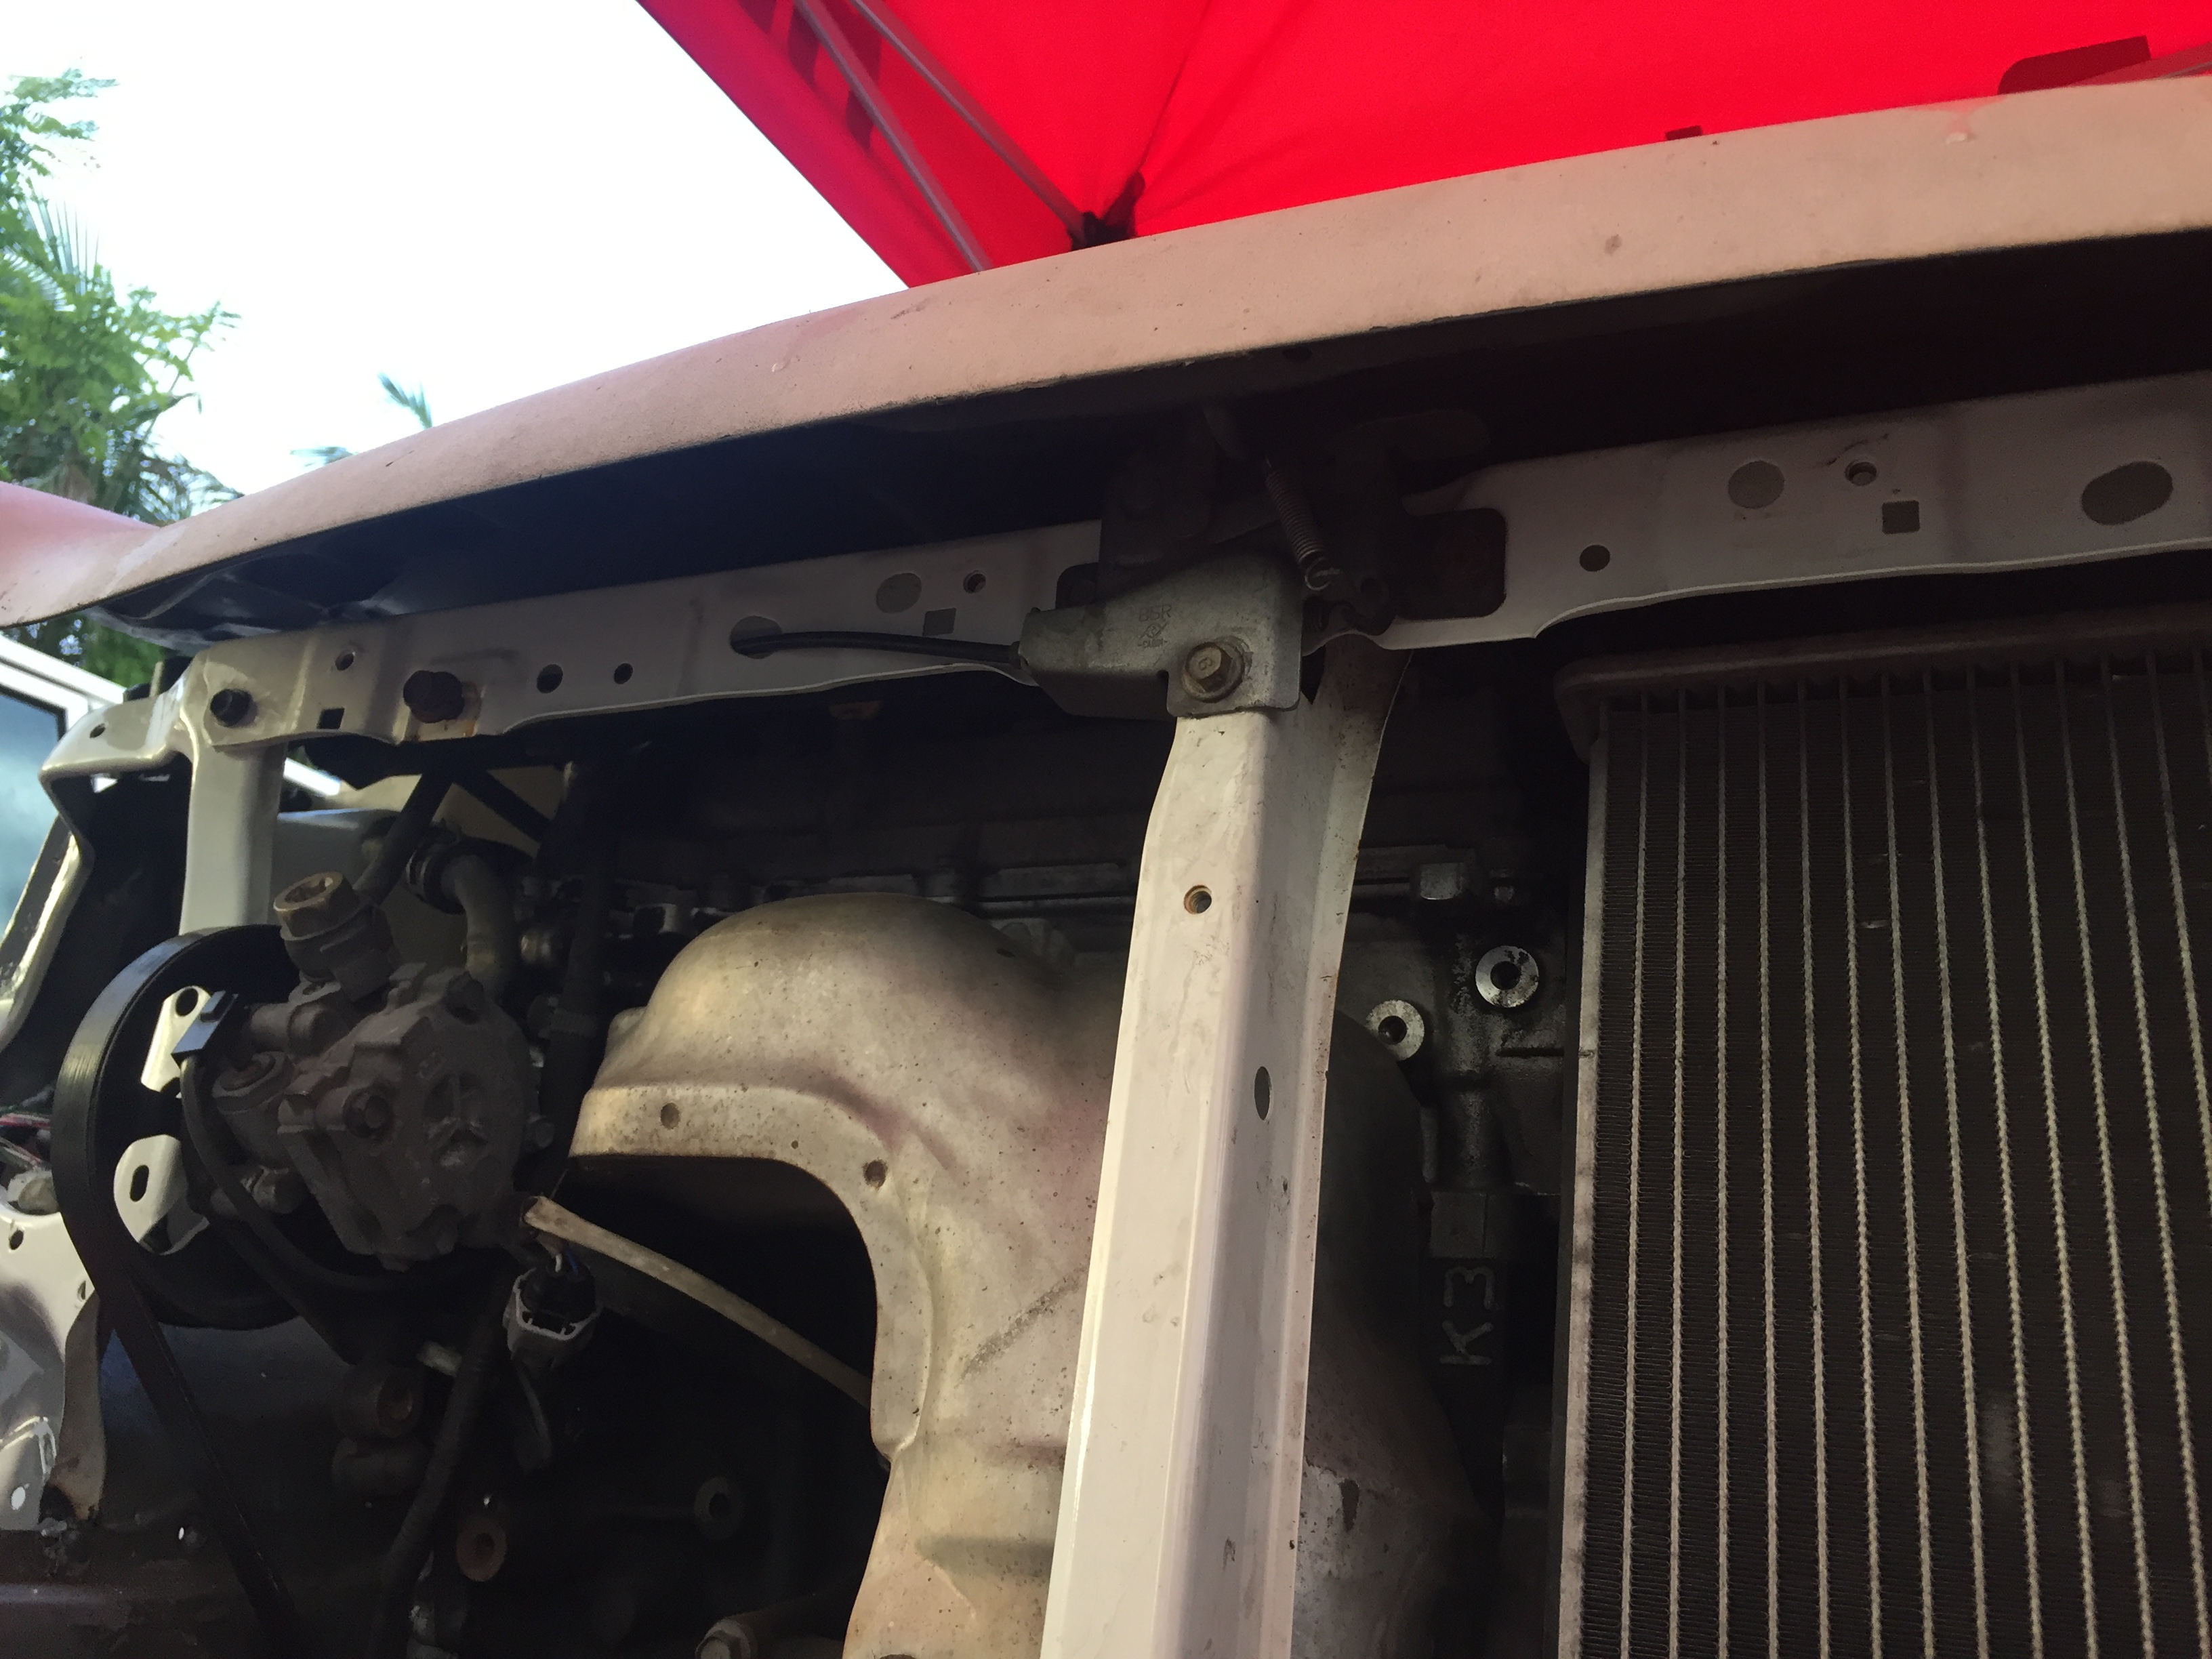
Here’s a pic of my afternoons work all done.
It took me about 2 1/2 hours but may take longer if you have never attempted this before.
It’s not a real hard job but again if you are not confident I would not try it. IMG_1642
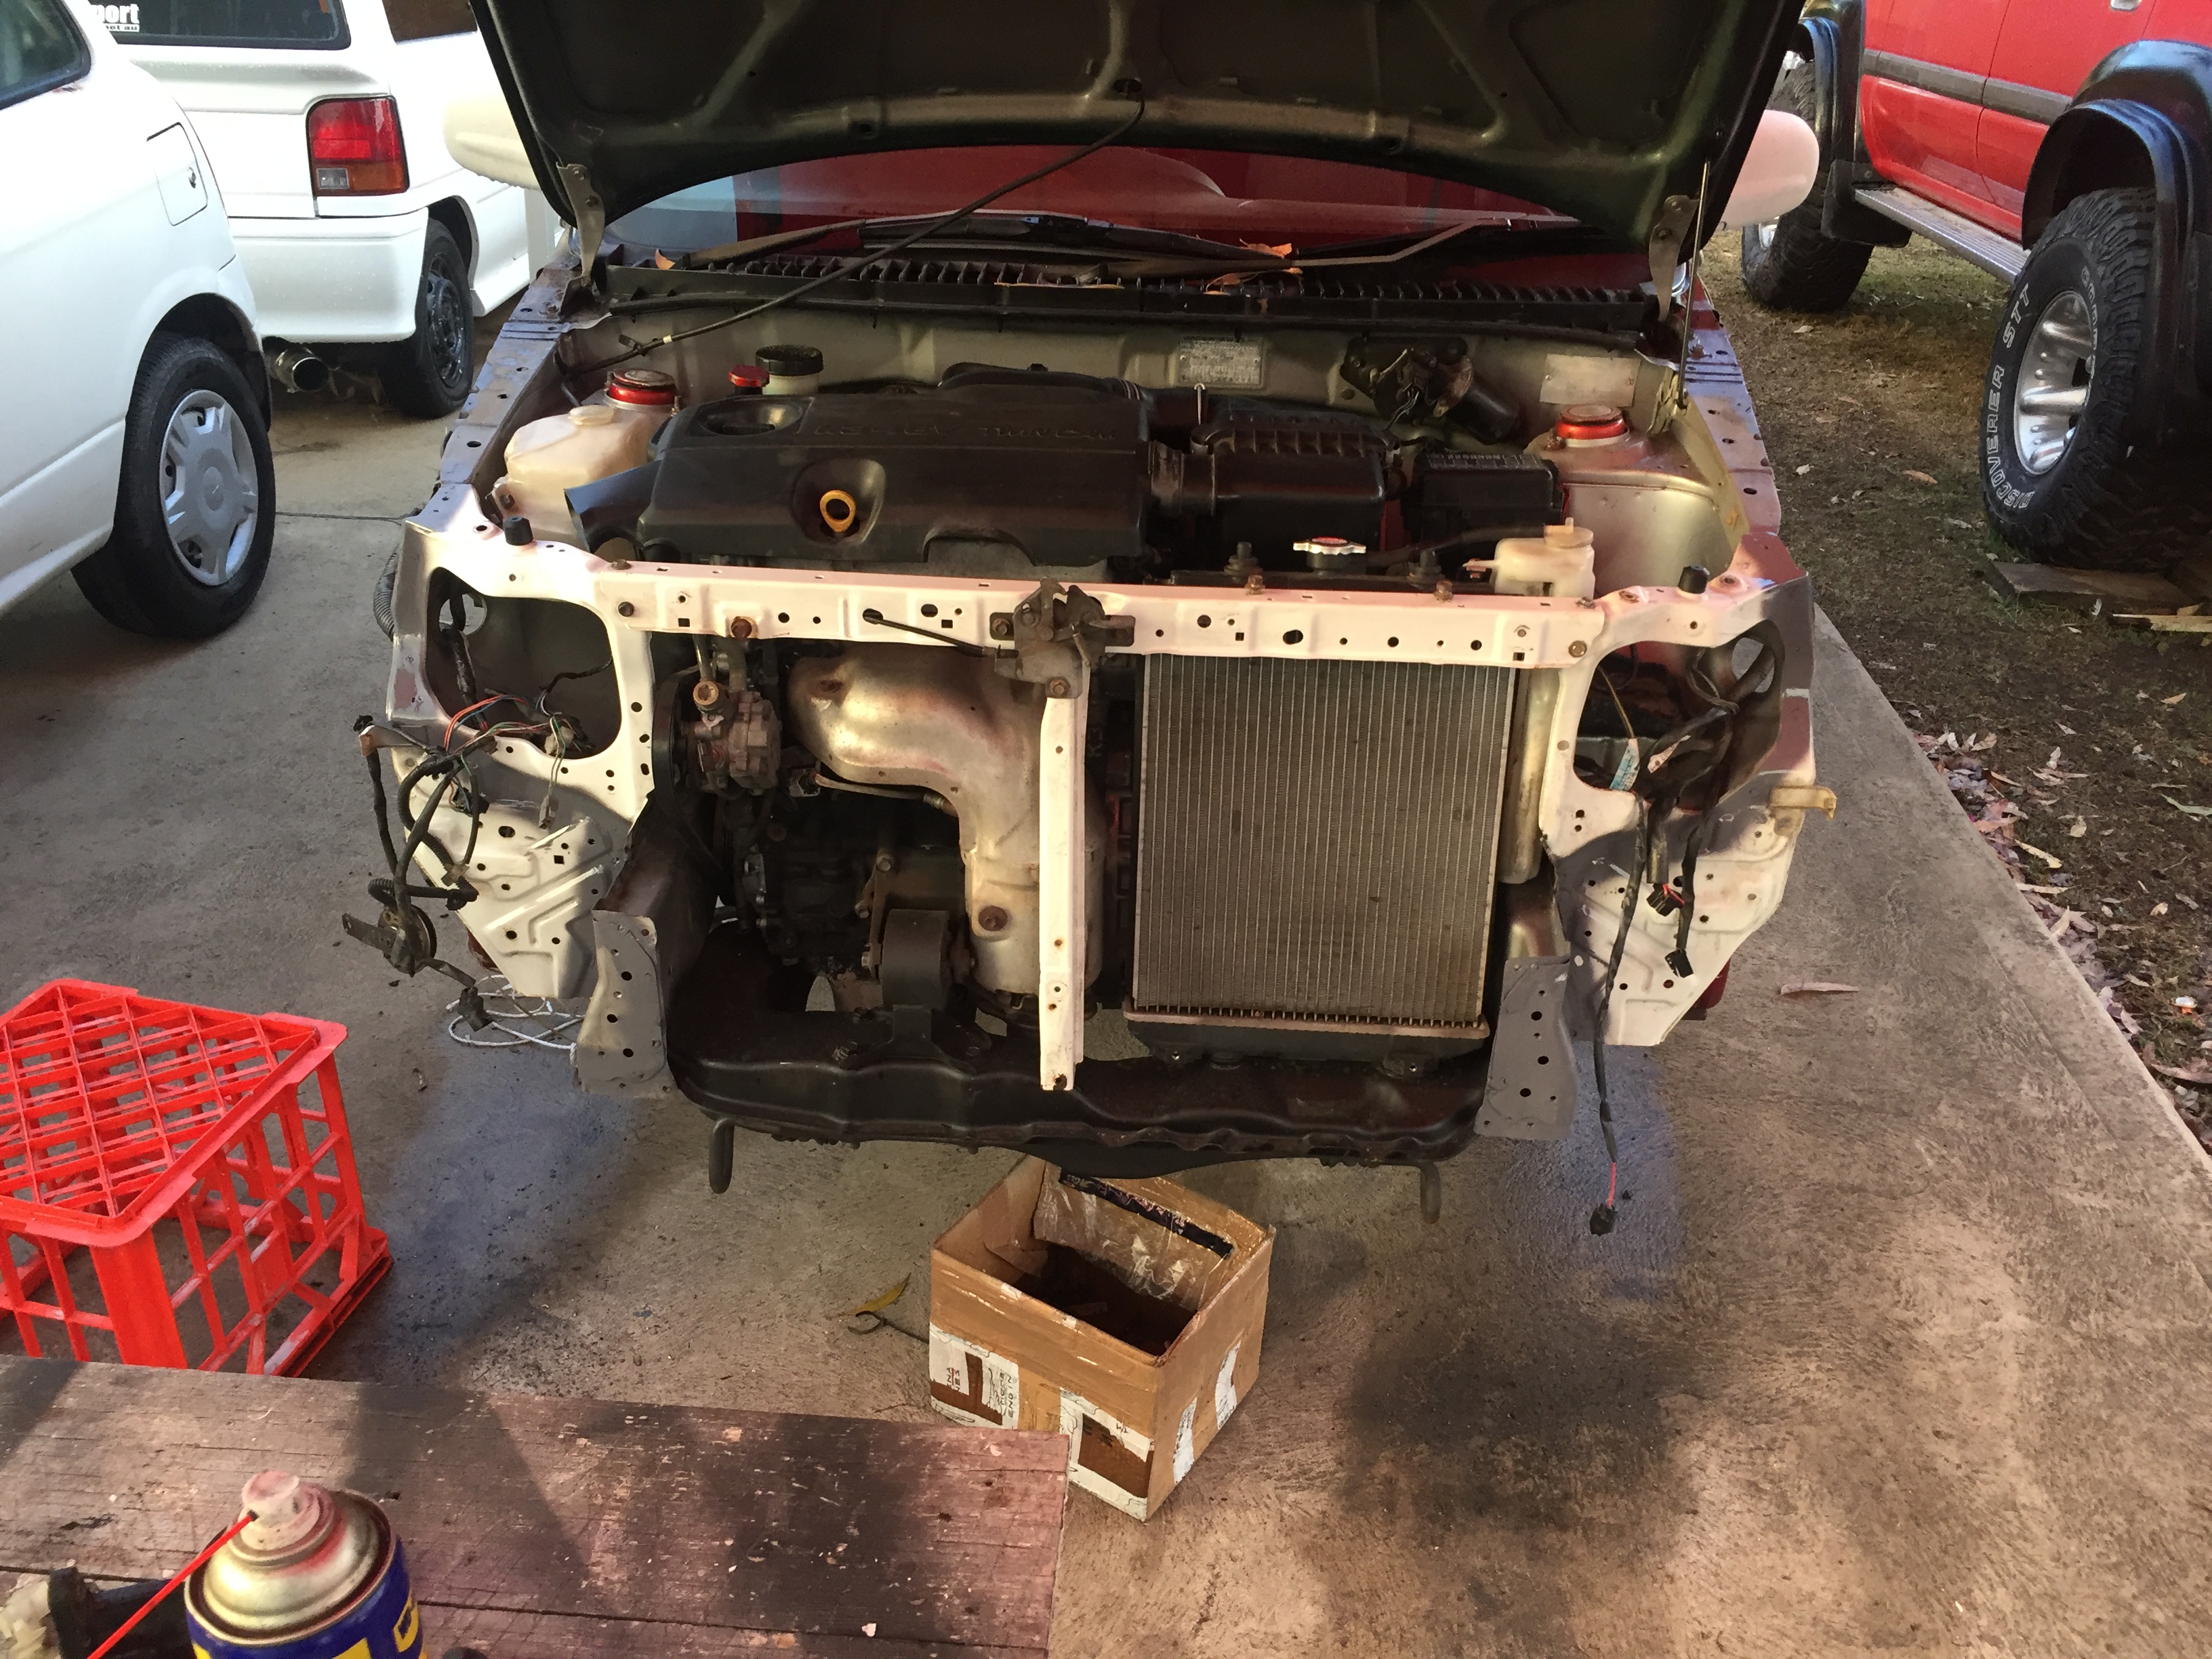
Please think about this before you attempt it without any sort of welding experience. The integrity of the welds are important even though the panels are not so structural. I would not like somebody to try this and get into an accident and become injured or set airbags off unnecessarily. Again please be careful if you have never tried this before.

hope this helps people who want to try this but we’re unsure of the procedure.
I tried to take as many photos as possible but as usual I’ve just rushed through things and forgot occasionally.
:slightly_smiling_face:

5 Likes

Thank you Paul :slight_smile:
That puts a smile on my face mate.

2 Likes

awesome write up and display of skills and advice for everyone wanting to try or at least Learn how. well done :clap: :+1:

2 Likes

Bit more progress today.
Made up headlight brackets and mounts in radiator support with nutserts. No cutting the rad support either! Front lines up perfect.
IMG_1645IMG_1646
Also fitted up some guard liners and mud flaps.
More pix tomorrow.
IMG_1647

2 Likes

All lines up.
IMG_1651IMG_1652
Then I was bored so I painted the lights as well (Tinted clear)
Maybe not a good idea…
IMG_1650

6 Likes

Quite a nice collection you have there :open_mouth:

Lol. I think there’s about 9.5 miras/cuores/sirions there. :stuck_out_tongue:

1 Like

Is that a mighty boy I see in the background? :open_mouth:

Wow, I’m at two Subaru LIberty wagons, one bugeye WRX, three Subaru Brumbys (one has to go) and three L200 Miras (non-going)

What @Mr_Gormsby you got 2 wagons’ and 2 brumy’s now last time I seen you you had the white whale and the brumby and was getting the bug eye.

I’m stuck at a mira, Move, and 2 swfits, and then the other daily xtrail and then daughter and motherinlaw cars. (need to get rid of my green swift)

2 Likes

@svp yeah it is. It was meant to be a quick rebuild.
After one year it’s now a daewoo 800cc turbo with ems ecu because of the turbo. Of corse I upgraded brakes also. I hate crap brakes.
I rebuilt it and got over it. I’ll put it together in the next few days and sell it soon.
@Mr_Gormsby I just got a council order and an environmental court letter about my cars.
I have over 40 (fluctuates) cars at my place now and 18 still at my old place being stored and 6 at my normal house. It’s crazy. The council hates me. They sent crime squad police around to check out my cars and bikes. They checked every number on everything I have! It was crazy. Even a room full of engine blocks of various crap.

5 Likes

I knew if I ended up on acreage I might very well end up with dozens of cars and trucks (I should have bought bigger land - but at least I acted and have it paid off). I do have to many for a 1/4 acre that only has half of that usable. Fortunately I have one good neighbour and she actually asked if I could put one car in her yard so when she’s out it does not look to vacant. I keep the grass cut around it, drive it back and forth or change how it’s parked and give it bath so it looks used. A couple do have to go, and one will be cut up (radiator support is good and goes into another that has a badly damaged support…) and gone Monday or Tuesday. WRX will be a gift for my mother (and father) which leaves the drivers and the spares for the drivers. At some point I’ll get back onto working on the Mira.

3 Likes

Haha I was scared my neighbours would complain about the cars so when we converted the horse track into a drift track I gave the neighbours son a car to drift too so he’s part of it. Haha. Now there cool as.

2 Likes

I don’t often go “I wish I had that”, but a “drift track”! Oh, stop you are killing me. That’s so cool. I do have a damn street twisty hill climb I get to run every time I leave my place, unfortunately it is a state road.

1 Like

I have showed your topic to my wife to show her that wanting more cars is not weird :grinning: and that with only 3 cars I’m way behind.

Gino looks great, the white suits is well.

2 Likes

Haha. Thanks mate. Always good to have the Mrs on your side. I’m lucky mine likes cars now. She even does tafe courses so she can learn a bit more.

2 Likes

Okay so today I decided to do a little more work to the car. I had noticed that the castor was a bit out in the front due to the swaybar being fitted from a GTVI and pushing the control arms back about 20mm or so because of the narrowing needed. (The front wheels back too far in the body causing the strut to be too straight up and down and making it steer like a razor scooter and also forward makes steering return quicker and also acts as like an anti lift and gives better take off grip due to the angle of the strut)

I had a mate drop over during the removal and he suggested I make it adjustable as it may not be so good the first time I change it.

As usual I forgot to take a pic of the “before” but I’ll give you an idea.


See how the wheel is too far back in the body.

This pic is of the sway bar modded and cut back 35mm.

Then I had to add specially designed adjustable spacers (5/8 washers) and my front plate to hold the rubbers back.
As per the photos I did not weld the front plate as factory does but let it hit the step in the sway bar left from the 16mm shaft to the 23mm swaybar.
I decided on this as I did not want to weld the hardened bar and effect it’s strength too much. The daewoo and old suzukis are like my design also. (Not welded)
Hope this is making sense.

Now to check how much adjustment I actually have.
I had WAY too much so I ended up only giving it a 6 spacer forward adjustment. (About 25mm)
Sorry for the over exposure. I’m no photographer.

Finished product

Took it for a wheel alignment as it’s needed after adjusting like this.
Steers like a champion and heaps better on take off.
Not as much wheelspin and has excellent feed back in the wheel. Also less scrub on the guard.

I don’t recommend you do this as usual as it’s prob not too ADR friendly but this is how I done mine with an hour of my life and less than $5 of washers.
Well worth it. Next time I won’t cut 35mm out of the bar though. :confused:

3 Likes

Did similar on the L200 with the radius rod/sway bar, but made spacers up from delrin. The other thing was to add extra front mounts on the K frame to reduce bar flex under acceleration and braking. So it has four front bushings where the sway bar mounts to the frame. A true radius rod and independent sway bar would be better (maybe one day).

1 Like

Haha. I wanted to do something like that badly but then had to think about a whole lot more involved so I dropped the idea. Lol.

2 Likes

I would not have done so except the frame was already out and I’d put a lot time into trimming back the seams and tig welding the short remaining flanges, raised the control arm inner pivot about 20mm and quite a lot of other alterations. I knew I was way in over my head already in mod’s to it, so heck, what’s another 3-4 hours.

2 Likes