Where to begin.
Last year I moved house and had to get rid of most of my car stuff and I got rid of all my daihastu’s and most of the parts I had. I was going from a 3 standard bay shed and a 6 daihatsu bay carport down to a regular double garage. At the time I put my move up for sale as well as my swift. the move sold so I kept the swift.
A couple of months went by as we were in 2020.
I got a call from a friend as he asked me if I wanted to buy his mira. I didn’t have the money so He advertised it and attempted to sell it.
He had no luck and the day came when he needed it gone. He msged me and asked me if I wanted it and to come around and grab it. How could I refuse. He needed it gone that day and it was 2 blocks away from where I live. He had an efdet he was going to put in it also. I convinced him to hold onto that and try to sell it to atleast re-coup some of his loss. I agreed to store it at my place until he got a buyer. Buyer happened and then so did covid and the buyer was interstate and the border was closed. Long story short I still have it here and no its not forsale at the time of writing this it has been sold and awaiting pick up.
Anyway onto the car. I had some bits and pieces that I never threw out like 2 engines an gearbox from a g202 and some other bits and pieces. enough to make it run. Well So I thought.
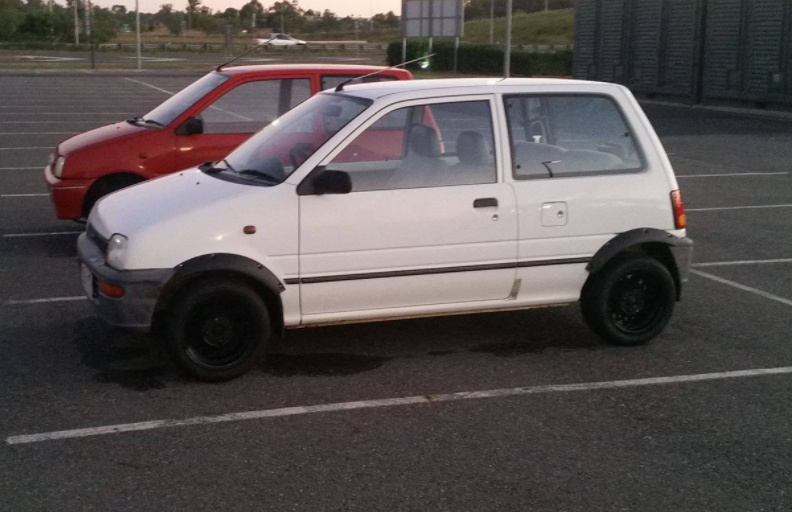
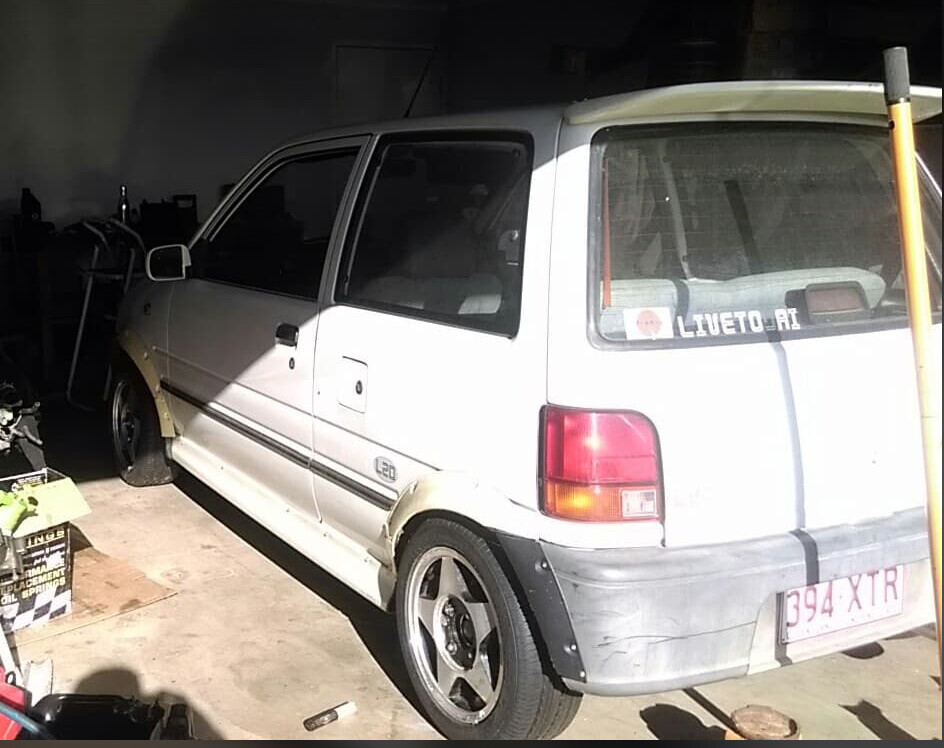
This was pretty much how it looked when I got it
I had 2x ed20’s that I kept as well as some ef/el heads.
The one I am currently using is actually an ed10 that has ejde pistons in it. I used this engine and it was boosted on our first track day at Lakeside some 4 years ago. On that day it got quite hot and it also did a big end (con-rod) bearing. I had cleaned up the crank and got new bearings and put an ed20 head etc back on it back then but went with a different engine as the oil pump leaked like a sieve. So this has just been sitting around doing nothing for the last few years. So that was my first part to use.
I fixed the leak from the oil pump cover and went about finding all the bits and pieces to make it a running engine. Like a flywheel and distributor and heaps of another stuff I had stripped off it and used elsewhere.
Gearbox
Originally I was going to use the g202 gearbox but so happens I came across an L251 that was pretty Stripped but had a gearbox So I went with that but I will share what I found with the gearbox from the g202.
The g202 gearbox bolted up to the ed20 with the top 2 bolts and one on the rear, I cant remember if the front one bolted up or not but it works enough to be able to use it on any e series engine provided you can use the right flywheel and starter combination.
After I got the L251 gearbox which comes off and ejde engine it boiled up fine but I needed a new clutch as I didn’t have one. When looking up the clutch I found that the g202 and the L251 share the same clutch so it was a good sign and good info to remember.
After I got the gearbox I went and installed it with the L251 flywheel and starter
I later changed the flywheel and will provide details further on.
I will leave it at that for today and get back to more later in the week.
Yahoo. Very exciting. I’d be keen to see two white L200s at a motokhana and or khanacross sometime in the not to distant future. Might just have to make sure you end up with a hydraulic handbrake in it.
Drives shafts , CV’s, shocks, tie rod ends and LCA’s
After getting the engine and gearbox together I put it in the car and proceeded to put in the cv’s and drive shafts etc .
What was in the car was stock L200 drive shafts with L700 inner cv’s to fit the Efdet gearbox that the previous owner was planing to use. (same gearbox as L251 pretty much)
So I got the engine in and front and mount done up as the gearbox to subframe mount I did not have so I left it about the right spot.
The cv and drive shaft on the driver side was too short as the gearbox sits in a different spot to the ef/ed gearboxes.
I was thinking this was going to cost a bit for a jack shaft a other drive shafts or a custom drive shaft. So as always I went to work seeing what I had and what may work.
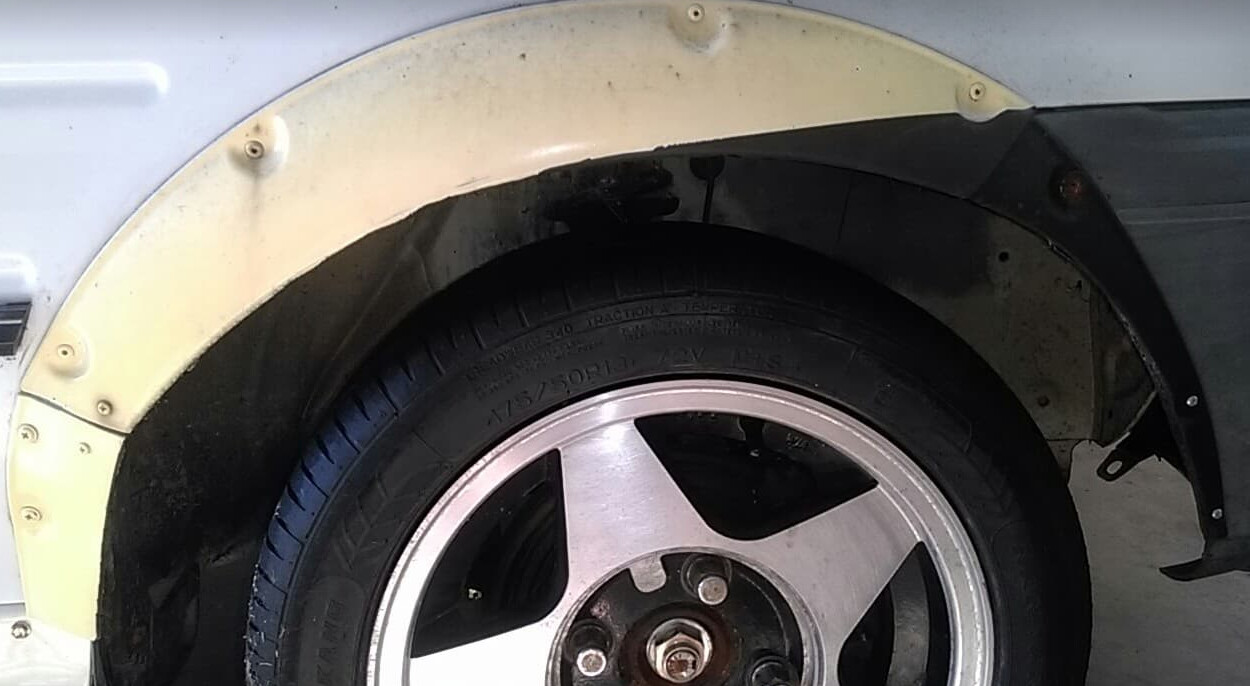
The L251 brakes and hubs were not really a good idea as one of the brakes were snapped and in poor condition as the car had broken the brake on a gutter. Also the L251 brakes were solid rotor and would rather a vented if I was going to go 4x100 but I was thinking it may be the only choice.
I went through some stuff and found I had stashed some suzuki swift cino (1997) front hubs and brakes and also had the outer cv’s for them brand new from a failed 4x114.3 pcd swap attempt.
I tried fitting the outer to the mira drive shaft and it would not fit as like before when I had the failed attempt and the L251 outer did not fit in the cino hub.
I did a little research and discovered that the spline on the drive shaft was 19 spline and the splines on the out suzuki cv’s were also 19 spline as where the mira was 20 spline.
That led me to change the outer cups on the inner cv’s as they were brand new and I put brand new outer cv’s from a 1997 suzuki swift on as I had them in storage. I fitted the cv in the gearbox and while they were longer I knew I had a good chance at making it work.
I got my swift outer hubs and brakes etc and put them on and found that the LCA was way too short but I could do them up to the shocks I had which were from a daewoo matiz with mira springs and top hat.
When it gets to this point I always get a little worried as I usually stress myself over what I can use and how to find what I need.
I needed Lca’s that were a bit longer than mira ones ( cant remember exactly how much). and I needed them to have the same bolt through hub style the mira has. I thought sirion and L7 but the L7 was different design and from memory the sirion would be too long and same design as L7 and I wanted something that wasnt hard to get either.
I once again went and started looking at what I have already and found that My 1984 swift had the same style bolt through hubs so the Lca’s had to be about right and I measured how lone the Lca’s were and found they are longer but I thought “yeh I can make these work”. So I ordered one and managed to fit it up and it worked. Sure I would have camber but that’s fine for a track car “right?” So I order the other one and got it sorted. I did have to grind down the bush on each side for the Lca’s a fair bit to fit into the mount on the subframe but they are in.
Then ofcoarse my Tie rods were way too short I tried adjusting as far out as I could and nope would not go that far. So back at it again on the search for what would work. I welded some nuts to the existing it rod ends so I could make it steer for moving around home etc and worked out I would need tie rod ends about 20 mm longer.
Now I know most people would say just change the inner rack ends. Well I did not want to do this and after last time I did change them I admitted defeated and took the whole rack to a mechanic to undo. I did not want to go about taking the whole rack out and besides the sirion racks etc were only about 5mm more so not suited.
After scratching my head going to various car shops that would not help me or even let me measure some existing tie rod ends. I went and checked the YRV’s tie rod ends and they were going to do the job.
I realised that sometimes I need to stress the crap out of myself to find the solution that is right in front of me. Not a good process for your head but somehow works for me unfortunately.
So ordered 1 of those and tested it both sides and it worked.
So now I finally got the combo to work and this is the break down.
L251 cv shafts
1997 suzuki swift cino outer cv’s joint’s, hubs, brake’s
YRV tie rod ends
Daewoo matiz shocks with mira springs and top hats, (L7, L251 and Sirion would work also) I went the matiz as the spring seat is way lower than the L251.
So now this left me with 4x114.3 on the front and next is the info for the rear.
Rear Hubs and Brakes
Let me start by saying I would really love some disc brakes again and will go this way when I have the cash and can afford to do so.
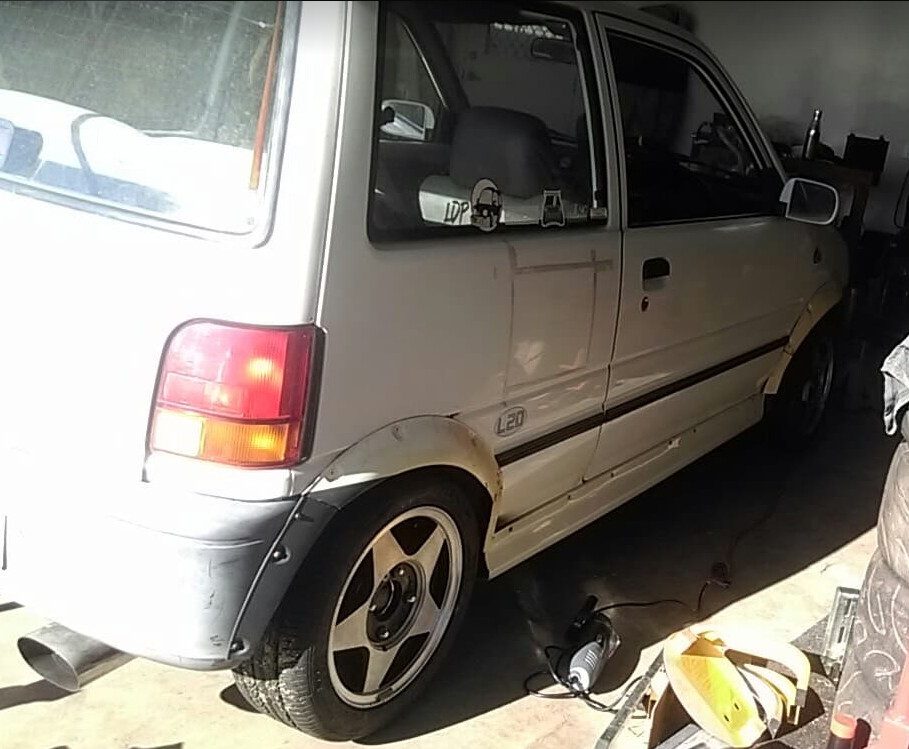
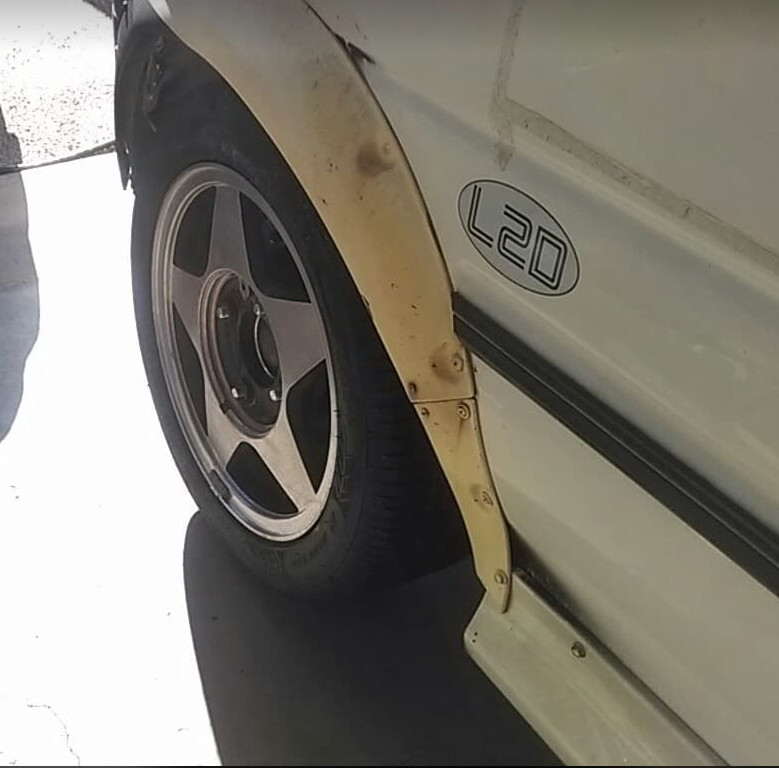
for the time being my current setup was 4x114.3 on the front and 4x110 on the rear. The wheels that came with the car were some nice hotwires with almost brand new rubber in 13’.
I really did want to have a matching set of wheels So I thought it was a good idea to put the L251 brakes and hubs in the L200 so I could atleast get a set of multi fit wheels in 4x100 and 4x114.3.
I took the brake drum off and went to start undoing the 4 bolts and going to change the whole brake assembly.
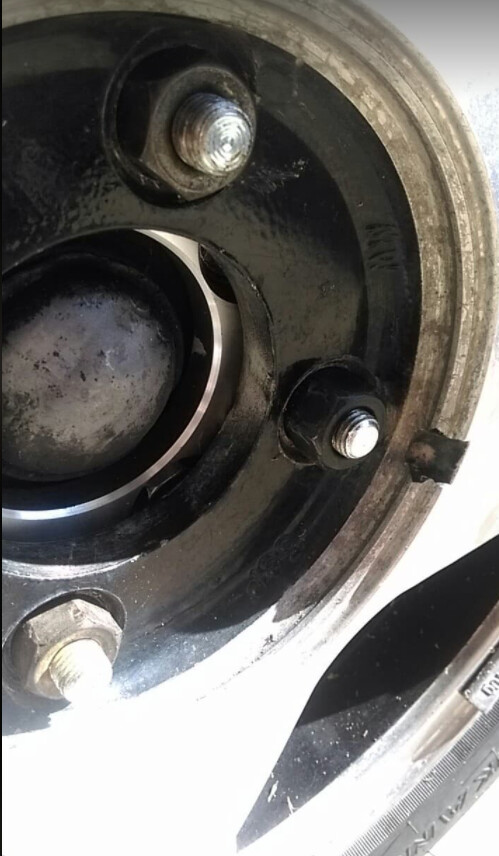
I dropped my socket and ratchet and it happen to fall where the mira and the L251 brake drums were side by side.
I had to blink a few times and then and went and got the vernier’s to measure the inner bearing sizes and they were the same. I measured all other parts of the brake shoes an found the diameter and everything else needed was exactly the same also. So it seems that L200 and L251 brake drum’s are the same and for a pcd change in the back just change the drums.
Easiest conversion ever.
I managed to find a set of rims that some one had tried to sell a long time ago and without any interest they just sat in the back yard collecting dirt and leaves. They had $75 on them the tires were rubbish and and the wheels filthy. I offered $50 and got them easy they were happy to get them out of the yard.
They are a 14x6 in multi 4x100/114.3 unknown offset but I think they came of something like a lancer maybe?
The tires are 176/65 14 and the reason for this is that they were cheap and the car already had ruined rear guards and flares on front and rear. When we got our YRV we needed some tyres as they were a bit low we got a set $75 and stupid me realised one was a 175/75 and some of the other tyres on the YRV were a mix of 175/65 and 165/65. After buying them we found some toyota prius mags for the yrv that and they had good tread all around.
That being the case I was able to mix and match all the other tyres I had and now have a good set of tires for the mira. Would love some semi slicks but for the time being these will do.
Back to the gearbox
To make the gearbox work and fit in the car was a bit challenging. To mount it Mr Gormsby kindly gave me a gearbox mount from an L200 and I made a bolt on adapter plate so it go go in the stock location. It did the trick and while fiddly to get in it works fine.
Because it is linkage and not cable like a mira then I had to work out how to make that happen. I had a linkage setup from a cino swift and one from the L251. I ended up using the cino one and part or the L251. The cino one was a bit more user friendly and serviceable as the bushes from the l251 at the gearbox end could not be replaced without grinding off a welded stopper.
Anyway got the gearbox end sorted and for in car I used the cino again as it fit in the hole for original gearbox I just cut some sheet metal and made some holes and bolted it all to that and then cut the top of the mira gear stick holder where the cables go through and put that on top and now the factory boot sits over the top and it just looks stock.
I may need to fix the bushes an bit as its a little sloppy but I have all gears.
For the clutch in the gearbox to work as stated earlier I used a spacer in between the crank and the flywheel and the clutch engages. for the cable I re-modifed a bracket from an earlier project which was when I was fitting a k3ve in a mira. I had to grind it a little and it was not long enough so the simple solution there was ground it back so clutch lever could engage and then drilled 2 bolt holes in the adapter and used an old alternator adjusting bracket cut down with the slot in it so I could lengthen or shorten the bracket and it works fine and I am able to use the original mira clutch cable with it and makes replacing easier also.
Oh also I said about the flywheel. well that is now a mira or gtvi flywheel. I cant remember which was which I just went for the lightest but all the ring gear sits in the same place for the starter and the teeth are the same I just had to use the mira pressure plate.
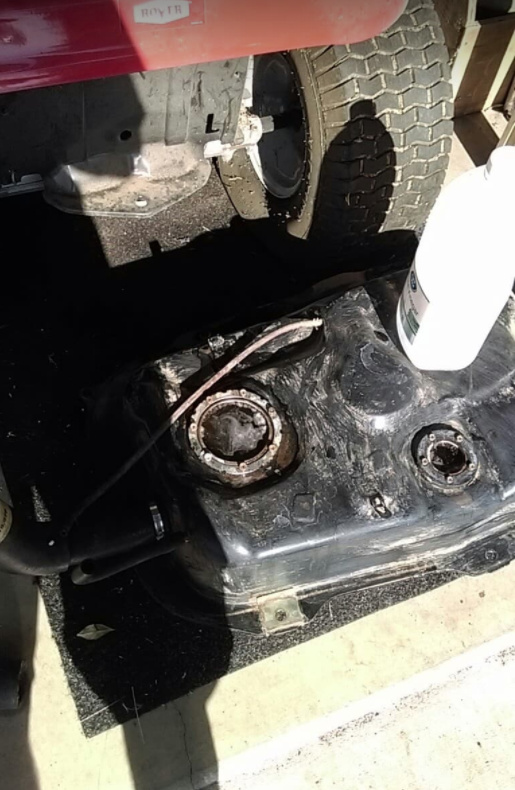
Yesterday I decided I would change the fuel pump as I had a new one laying around and I head changed the fuel filter and the car was getting really hard to start. I would have to use brake cleaner and the it would finally run but not real well.
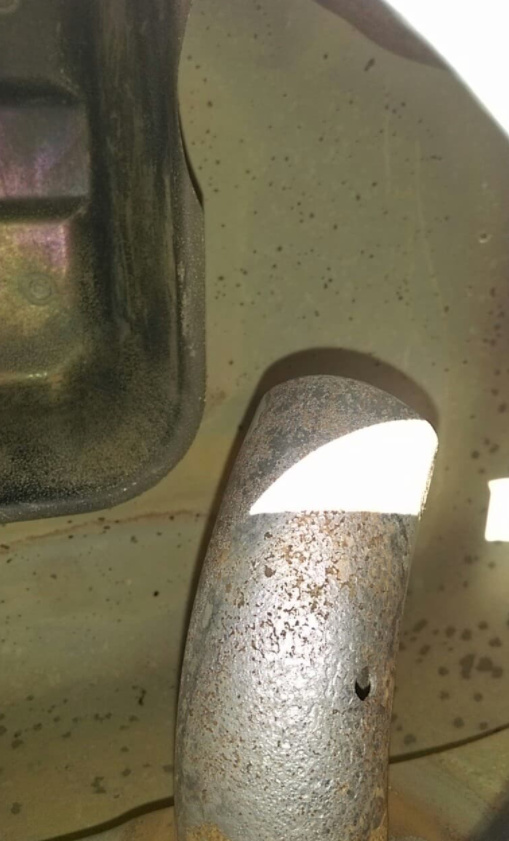
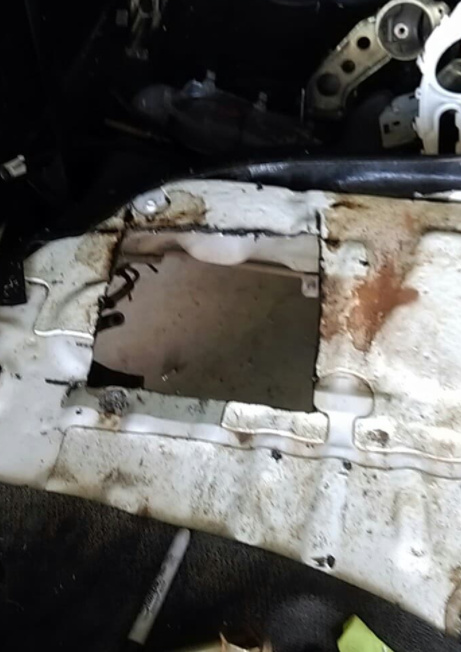
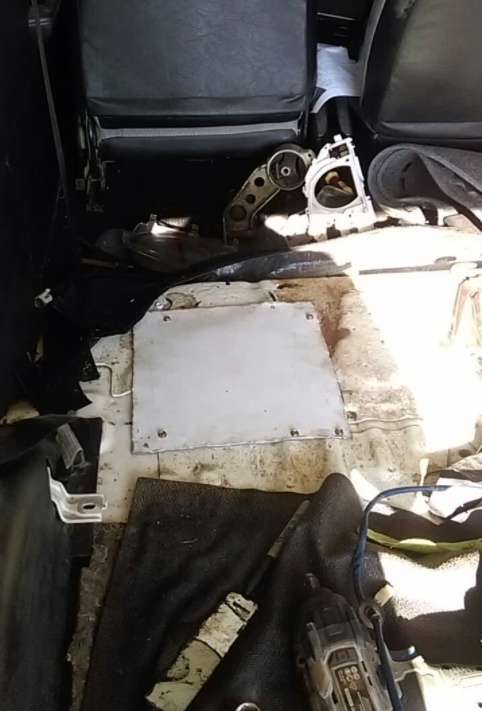
I decided I didnt really want to drop the tank so the angel grinder came into play and I cut an access hole in the floor so I could access the tank.
I undid all the hoses and couldn’t get enough clearance to get my hands in to free the wires so I could get the actual pump out. I got under the car and undid the bolts to drop it a bit to gain access. Managed to get my hand in and get the wires free.
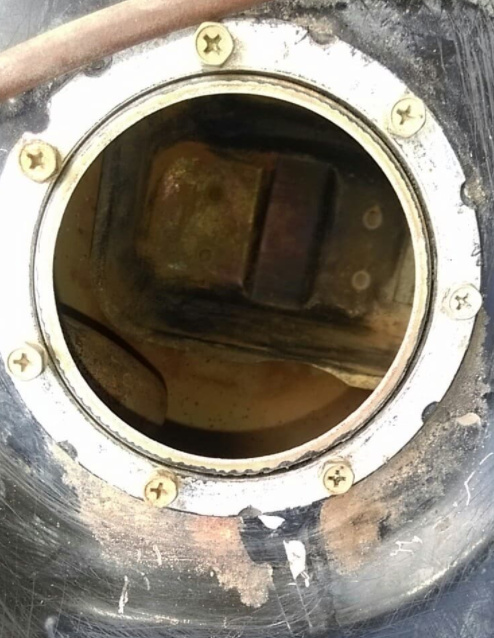
I took the pump out and “HOLY WOW” there was like an “inch” of rust and sludge on the bottom of the tank. It was disgusting.
So I drained what fuel I could and soaked up the rest with a cloth and squeezed it out each time until no visible signs of fuel in there.
I got the air compressor going and stared blowing it out and the vacuum cleaner (wet/dry vacc) also to grab any debris.
Then it was a run down to the supermarket and got some white vinegar and bicarb of soda I put in a cup of bi carb and 2 cups of white vinegar and filled it with water. I added a second helping of bicarb and vinegar again near the top ot the tank and let it sit over night.
Seems to have loosened heaps as I drained it today and it is heaps better than what it was.
I have left it out in the sun this arvo and will bring it in the shed and let dry over night and re-install it tomorrow.
Hopefully It will be running heaps better than what it was previously.
EDIT: I Just went out to see how it was drying and it was dry but crud had come loose while drying, so I hit it with compressed air and the vacuum again and got heaps more out and used a damp cloth to get some particles that built up in the corner. I will now leave it to dry over night.
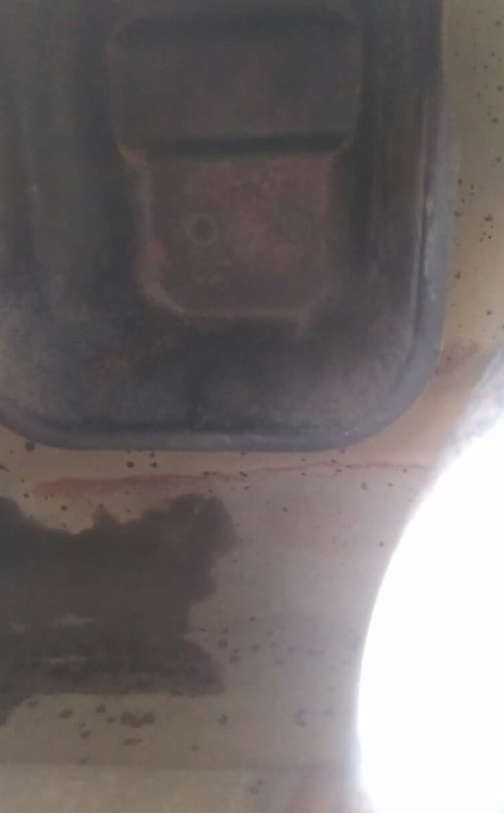
As for the hole in the floor I had an old commodore bonnet in the back yard I kept to use pieces of sheet metal from and this worked a treat. After everything is back in I wont need to drop the tank again.
I had to clean out the tank in the Valiant, used a trick I learnt from my dad. We use that Calcium Lime Rust (CLR) stuff, pour the whole bottle into an empty tank, then use fishing weights. Roll the weights around in the tank for 10-15 mins and then empty it out and rinse it out. It seemed to get all the sludge out.
yeh, I have heard people use chains also to do the same thing but not the clr. Mine seems as clean as it can get now so hopefully if all goes well. I just don’t know if I can be bothered putting it all back together today lol.
After that Motokhana you came out to a few years ago where mine played up due to sludge in the tank I hit mine with KBS Gold Std fuel tank sealer (system of cleaner, rust converter and paint). Works to prevent rust even if you use E85, and also good for pin holes.
Thanks rob I will keep that in mind. for now I did end up putting the tank back in the car yesterday so I may wait until after track day and take it back out and do this.
Cant remember where I was with everything so I will just do an update.
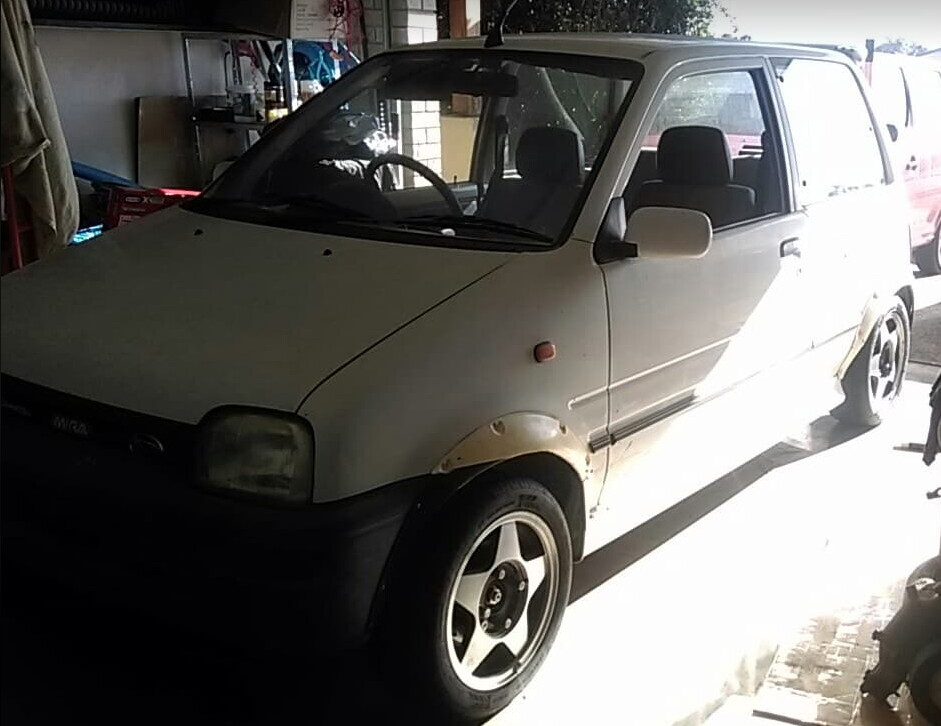
Got the mira back to my house. When I did the last dai track day last year the car went really well but struggled to get into high gears I would have to rev it right out in 3rd to then have a slow drone noise in 4th gear even though it was still gaining speed slowly. I still got the fastest 3cyl N/A on the day so i was happy about that.
Since then i hold of a 2nd hand exhaust for it which is approx 2 inch and put it on gave it a run and it has freed it up some from the stock exhaust and can rev a little better.
While the car was in storage I decided I wanted the rear to be 4x114.3 just like the front is. So I bought some bolt on adapter’s.
I got the car home 2 days ago and today i put the adpaters on,then put my wheels from my swift onto the mira and the huge 14’ 166/75 wheels and tyres onto the swift. Im pretty happy with the results as now I will not have to clearance anything for the rear wheels on the mira. Yes it has bigger gaps with guards etc but Im not really fussed about that. The front is purposely higher and softer so I have more front down motion to have more grip in the front while this extra (stock height) may help to keep the rear outer wheel from lifting as much also a little extra track in the rear was needed.
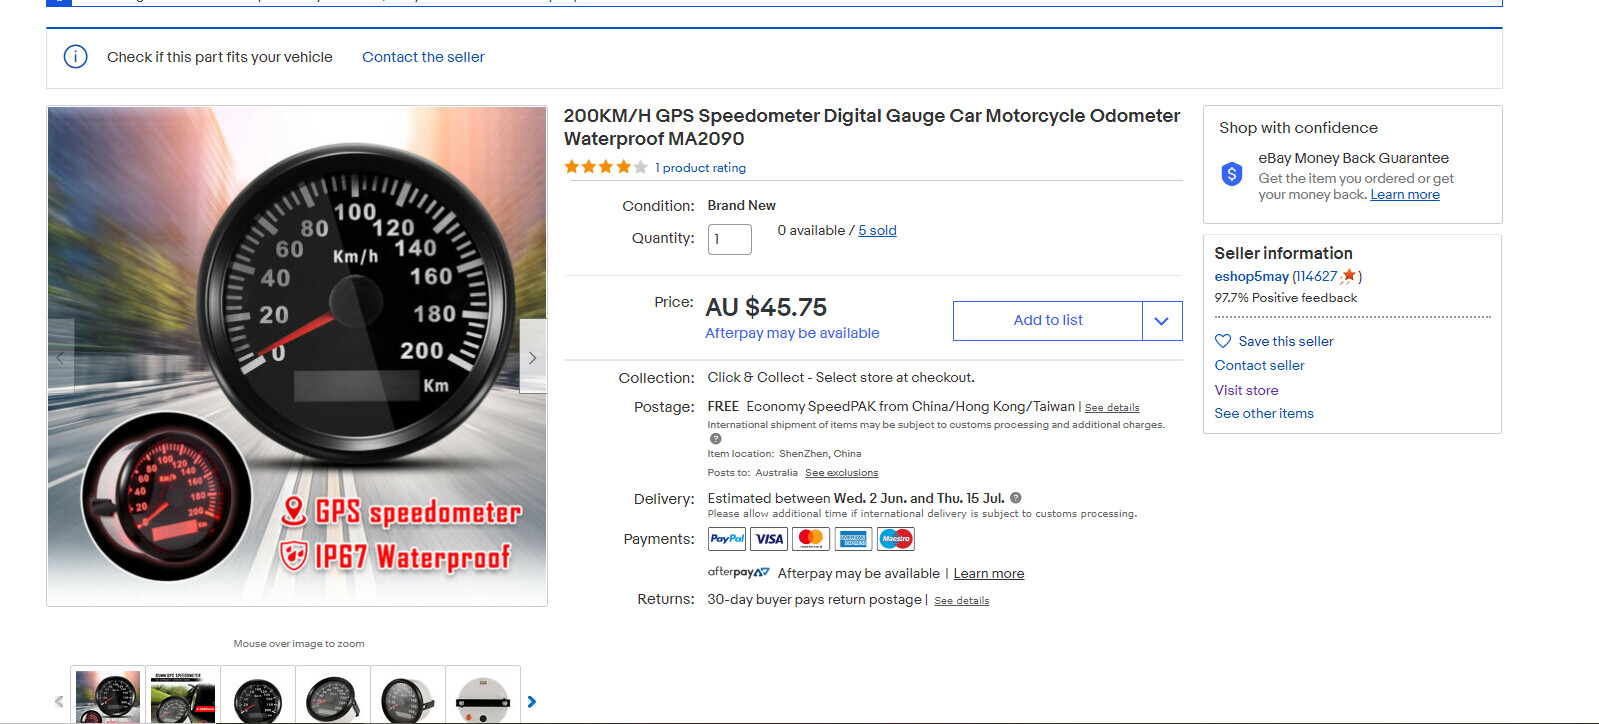
I now have a speedo in my Mira as I bought this last year and have finally got to installing it. Yes, it goes to 200k’s. It’s actually a GPS speedo.
No they don’t just bolt in or slot in, you have to take them apart, do a lot of grinding and also make a hole in the plastic circuitry in the back for the GPS plug to go through and make a hole for the wiring also.
I also could not get my oil light to work again so it is hooked up to the boost light instead but I don’t think that is working either.
One day I will get to these things but for now ita all ok and acceptable. I want to actually start more on the other Mira in my front yard.