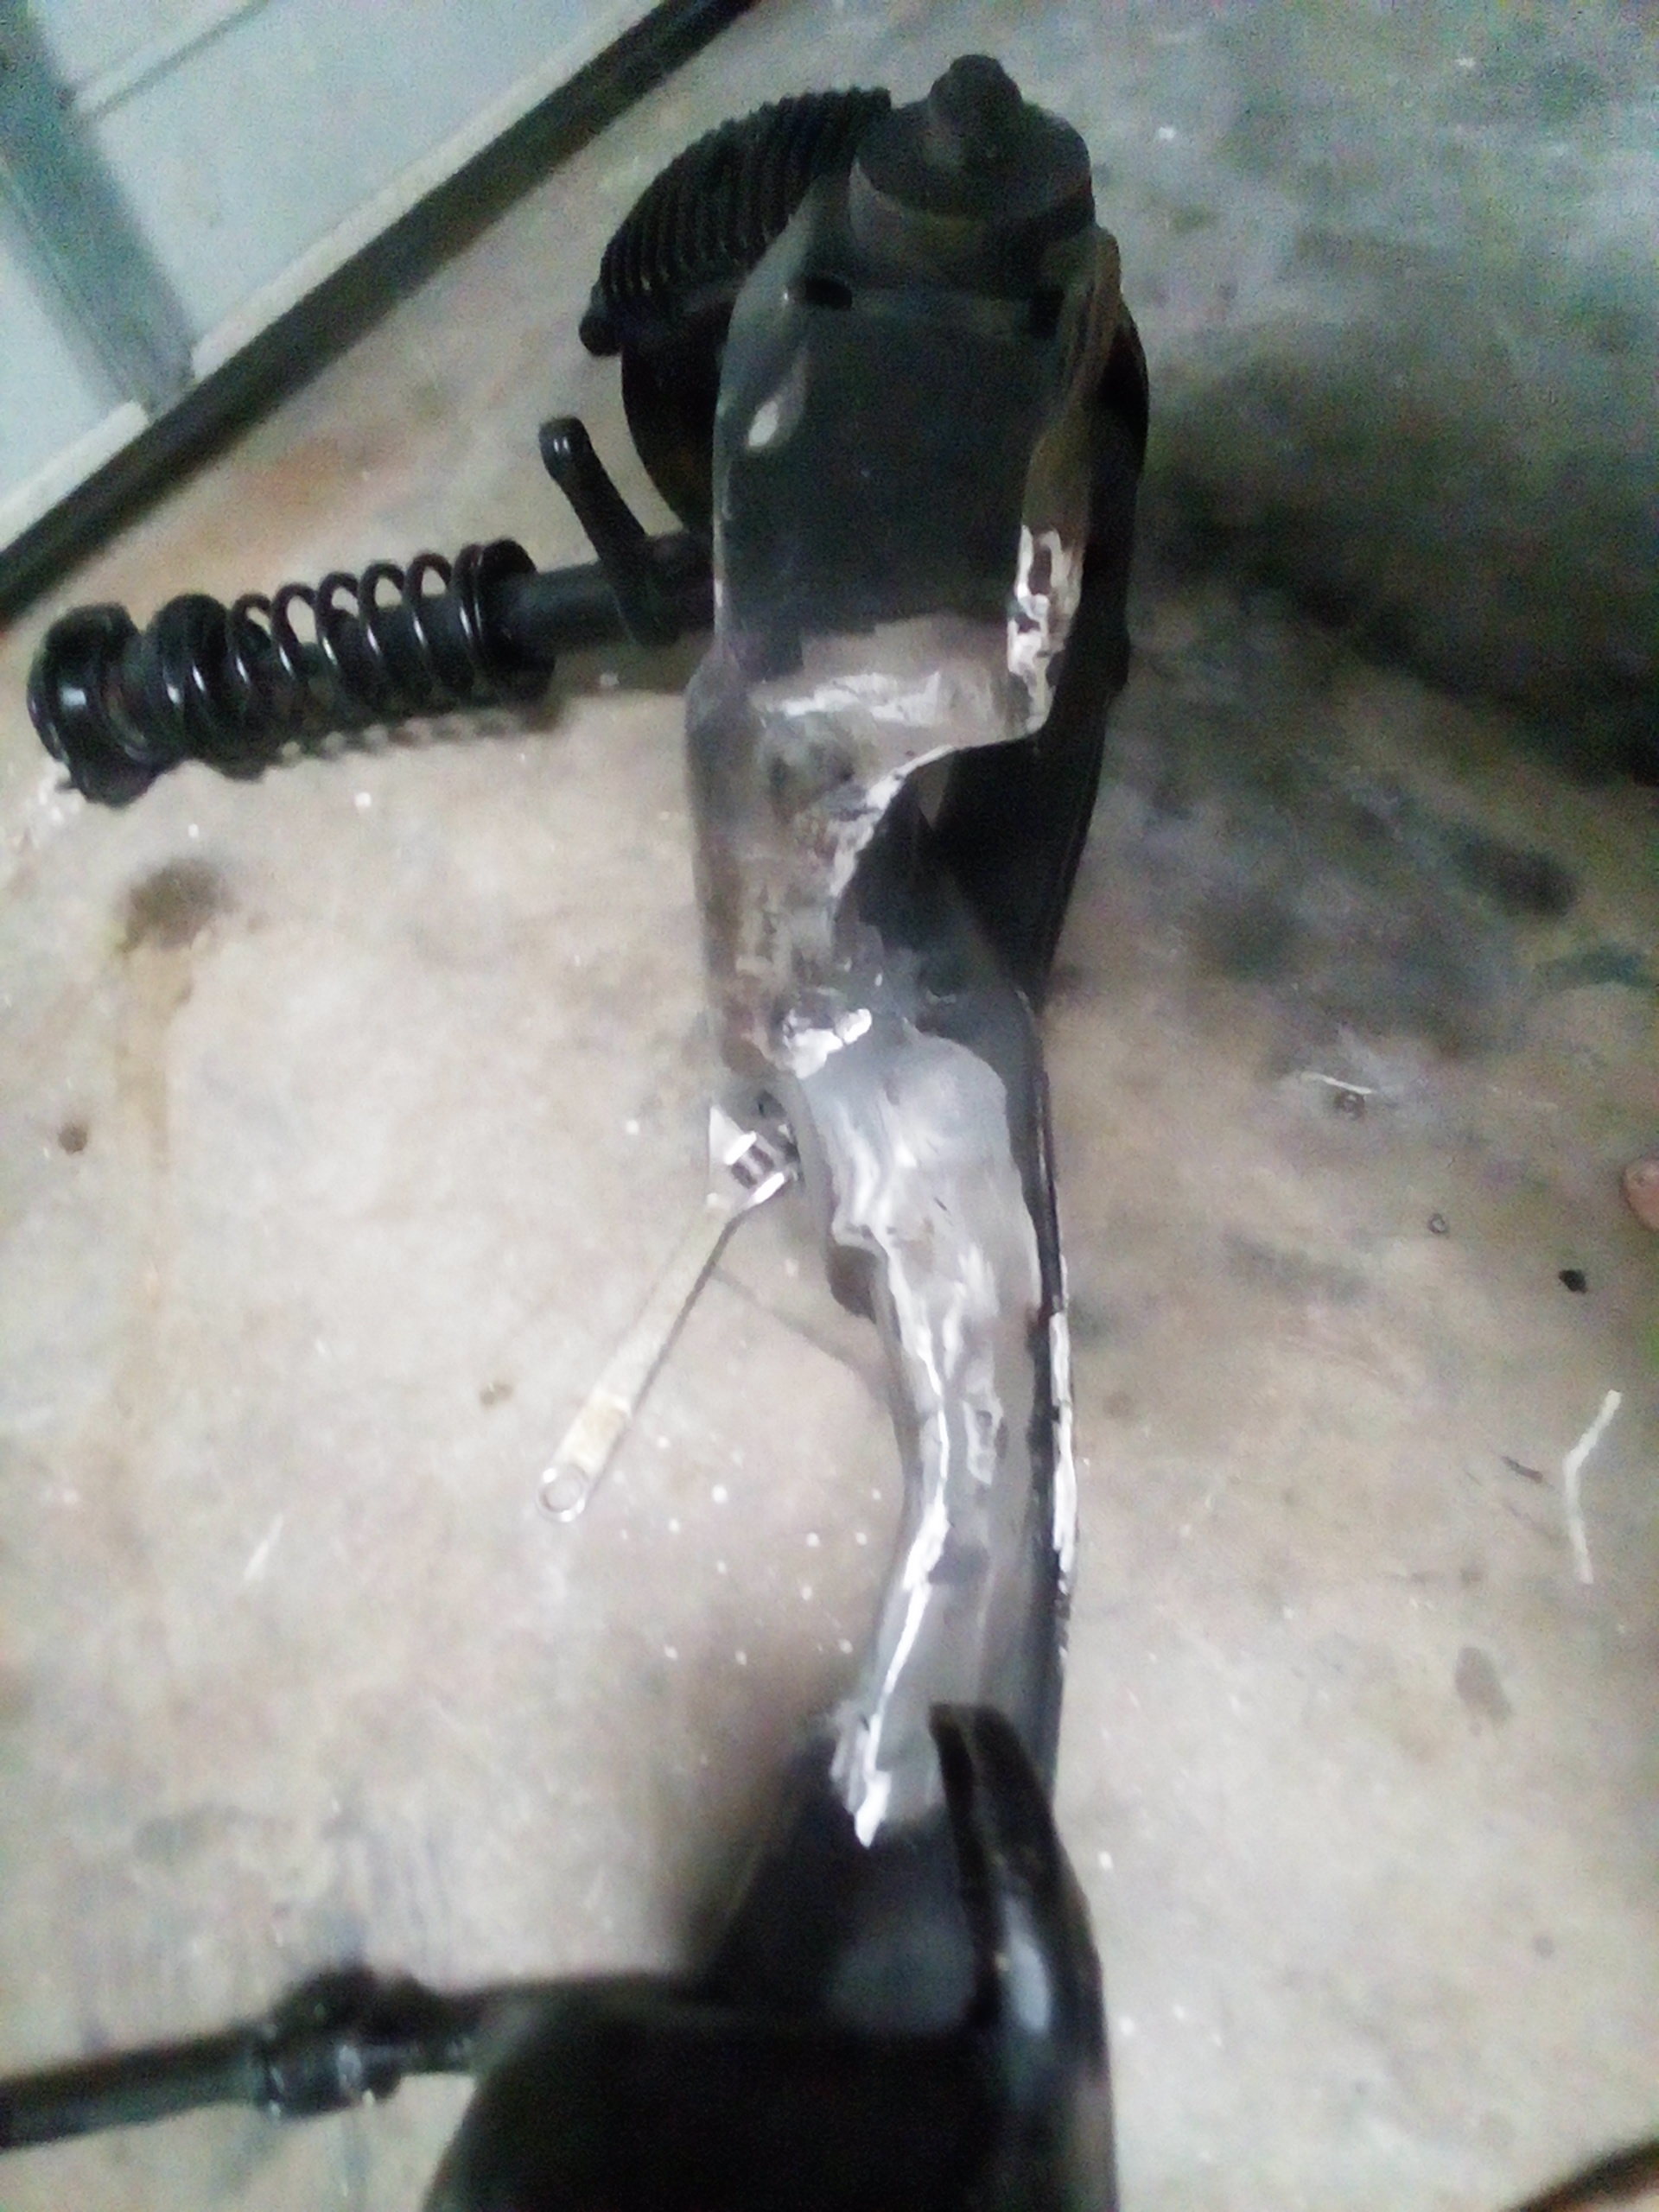
Found a few pics of the start of the rebuild after being burnt
5 Likes
So many words come to mind, this is insane. I dare you to take it to Auto Masters for a “service”, I bet they would die changing the plugs.
1 Like
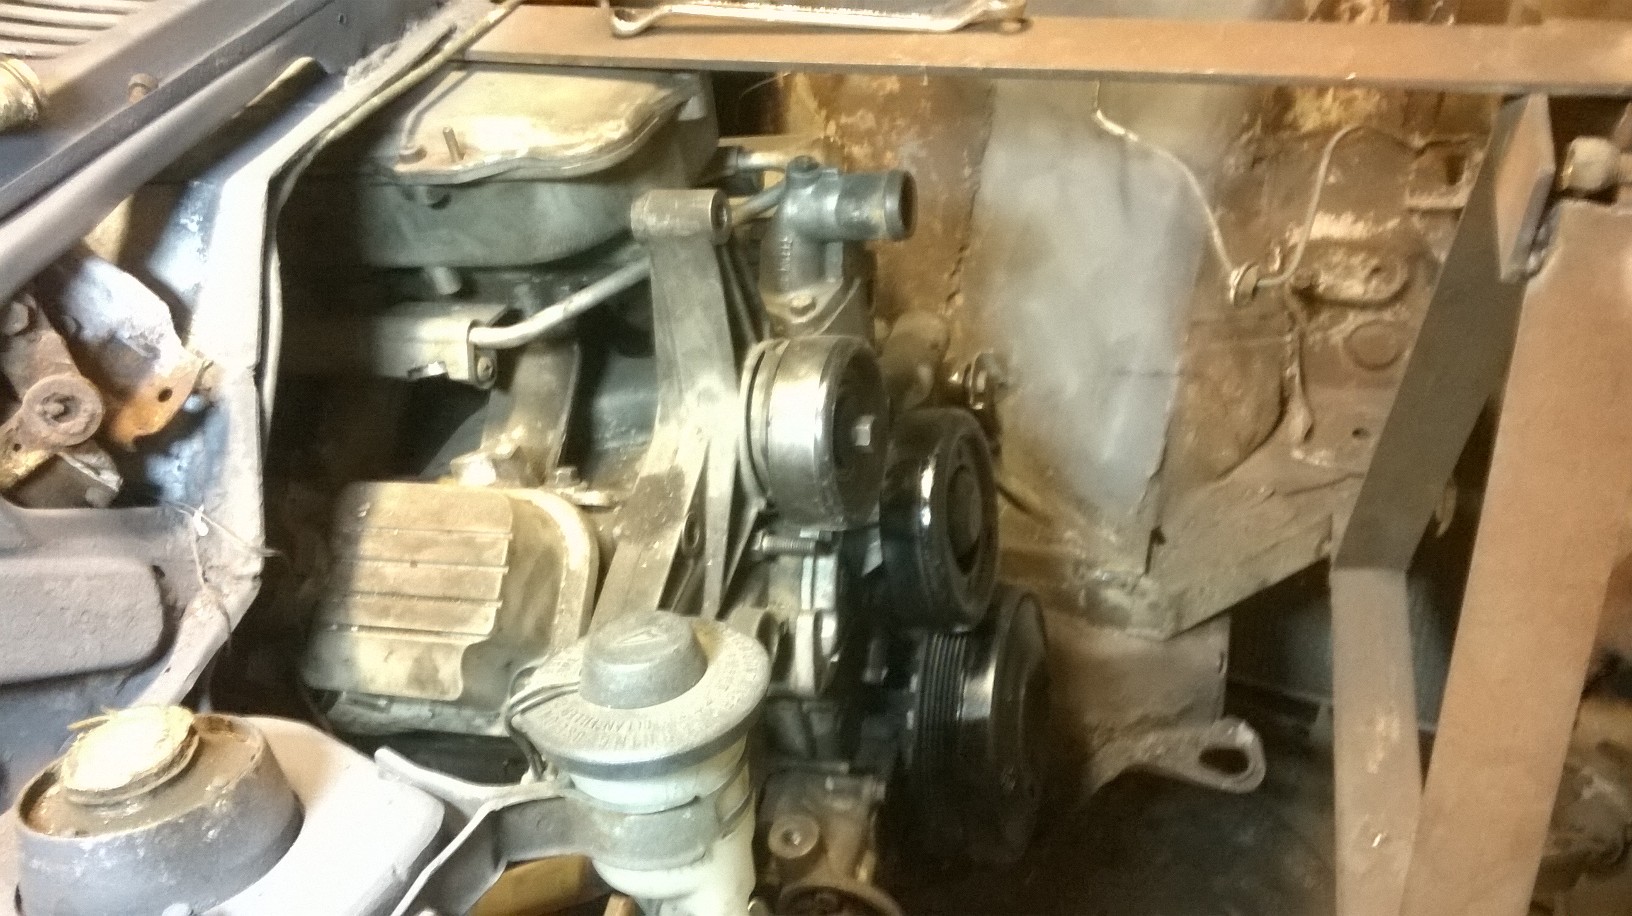
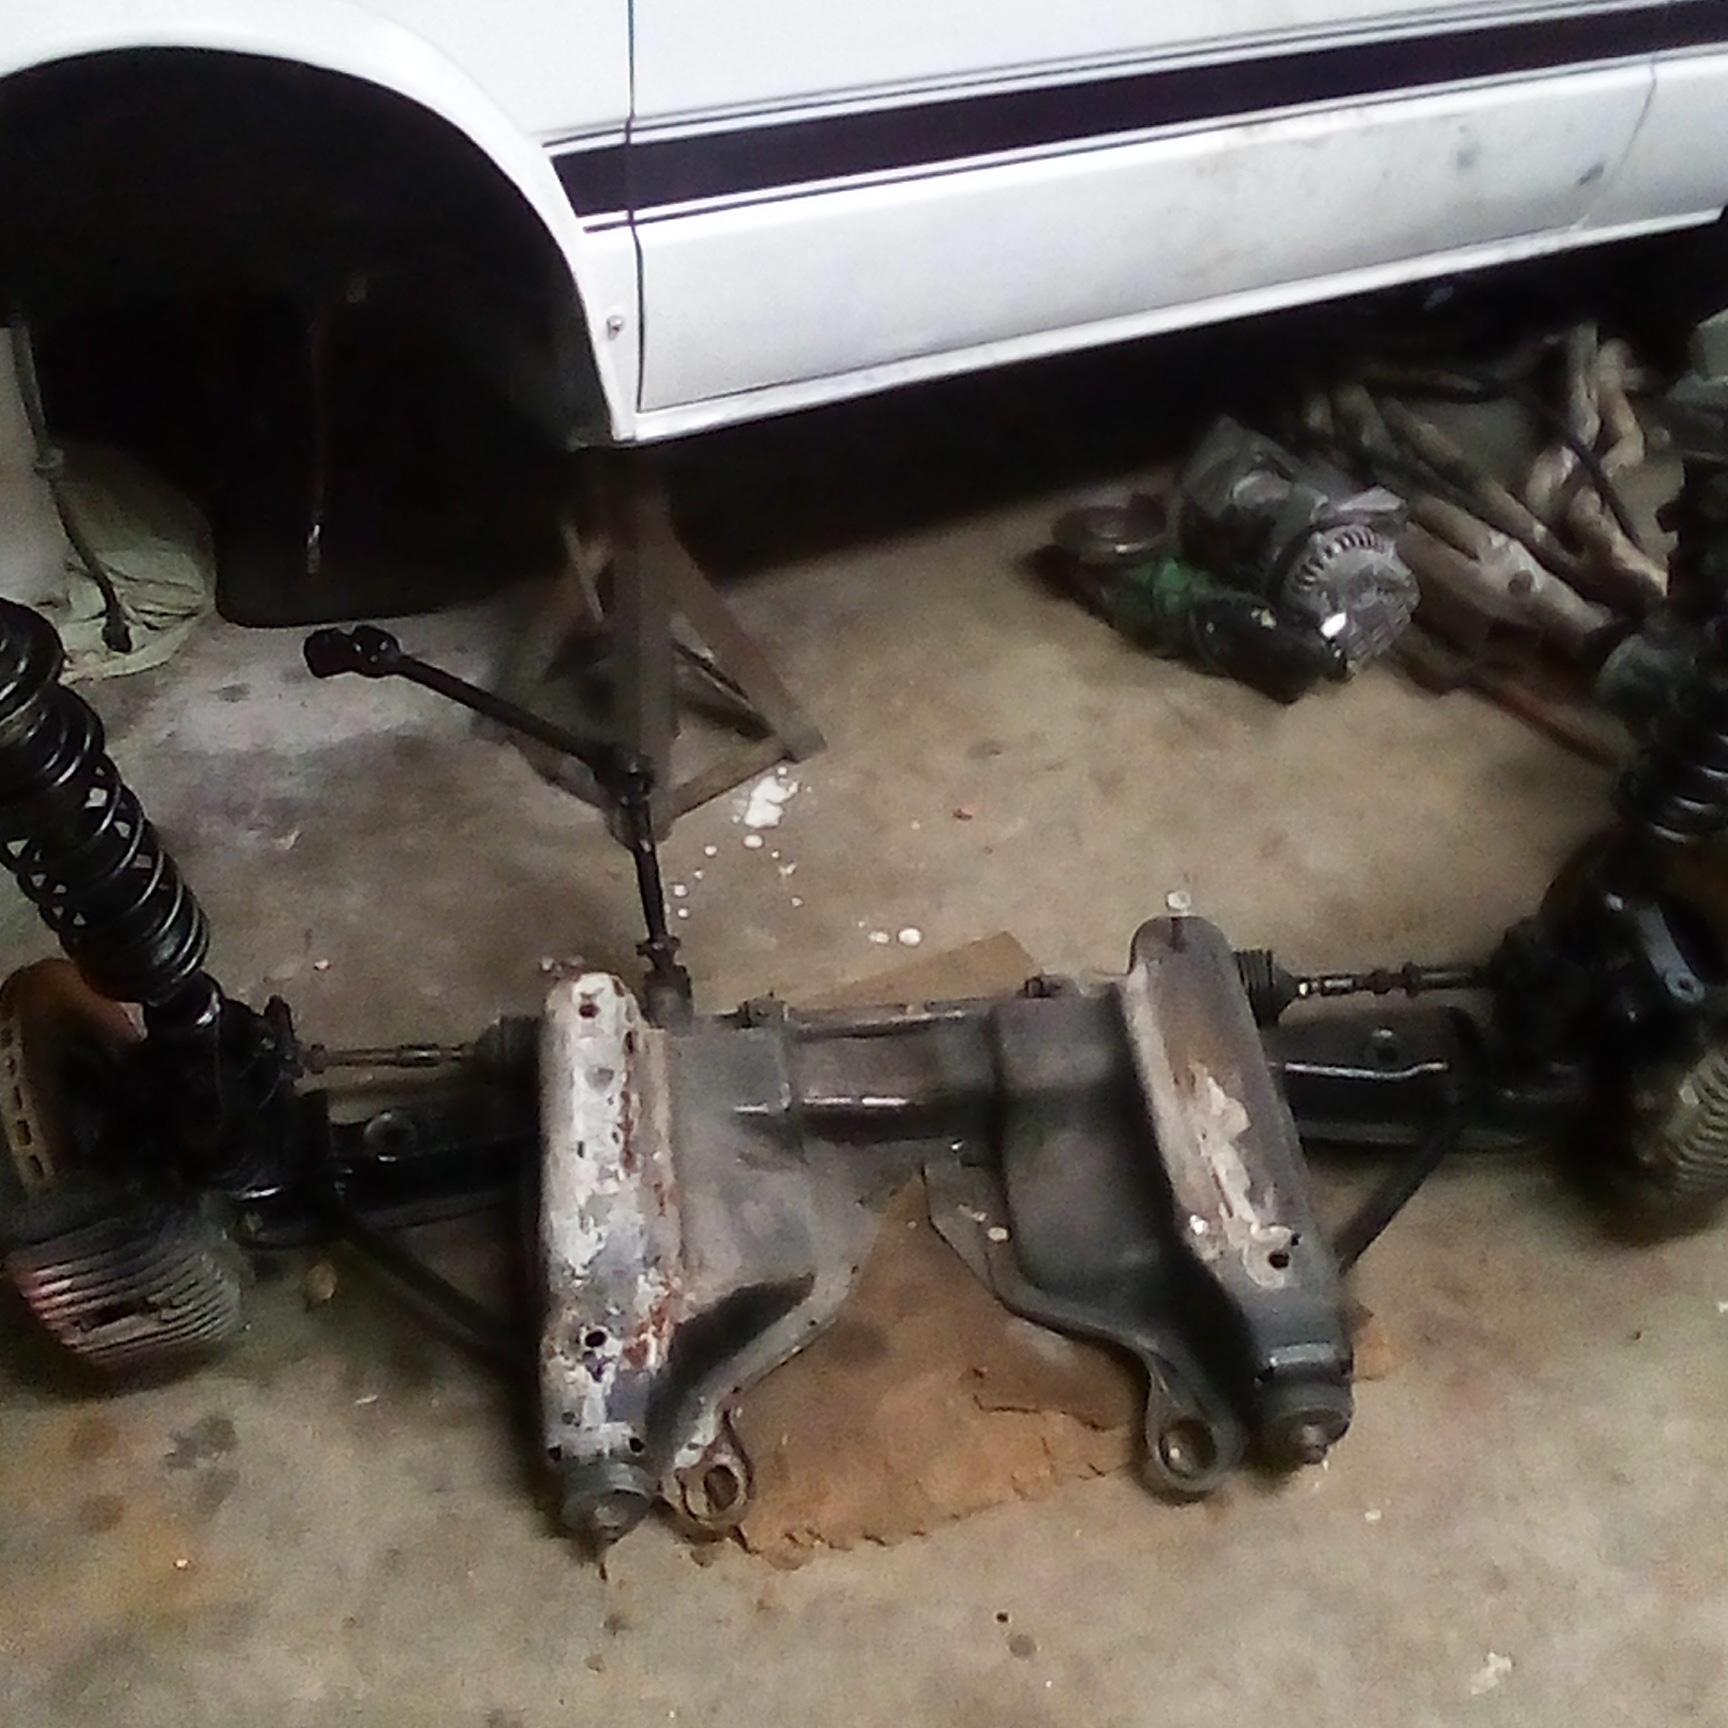
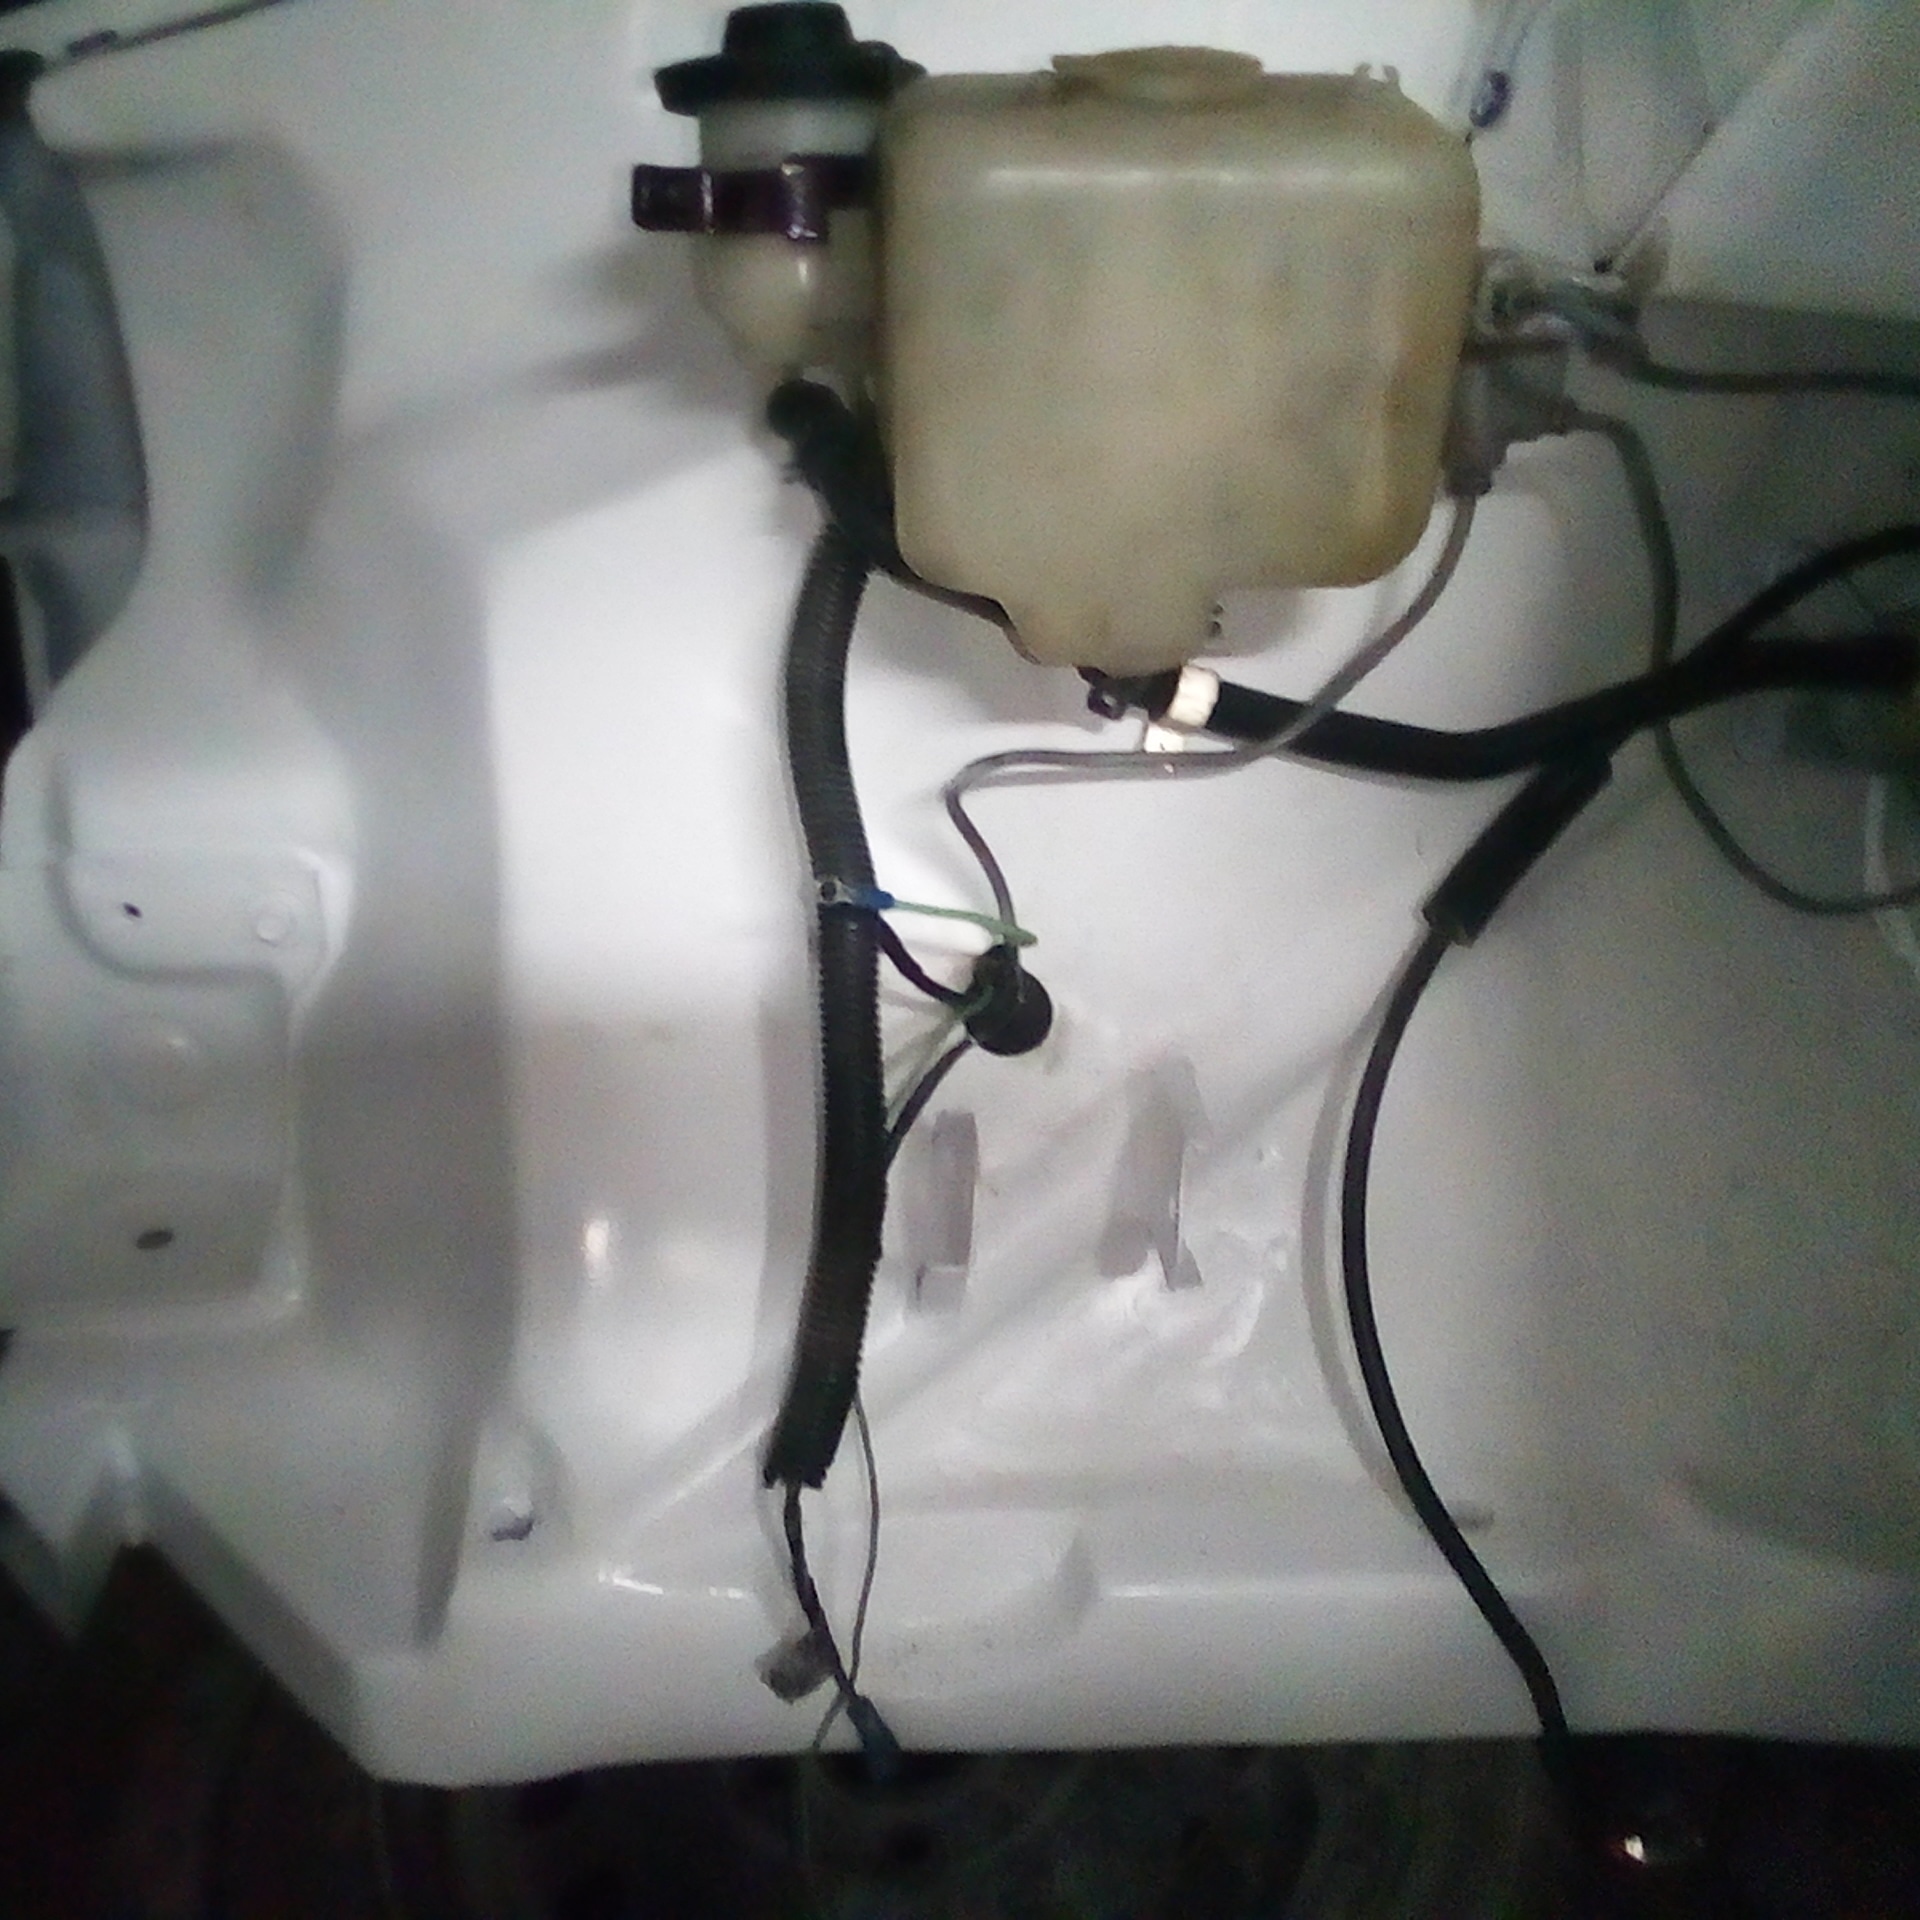
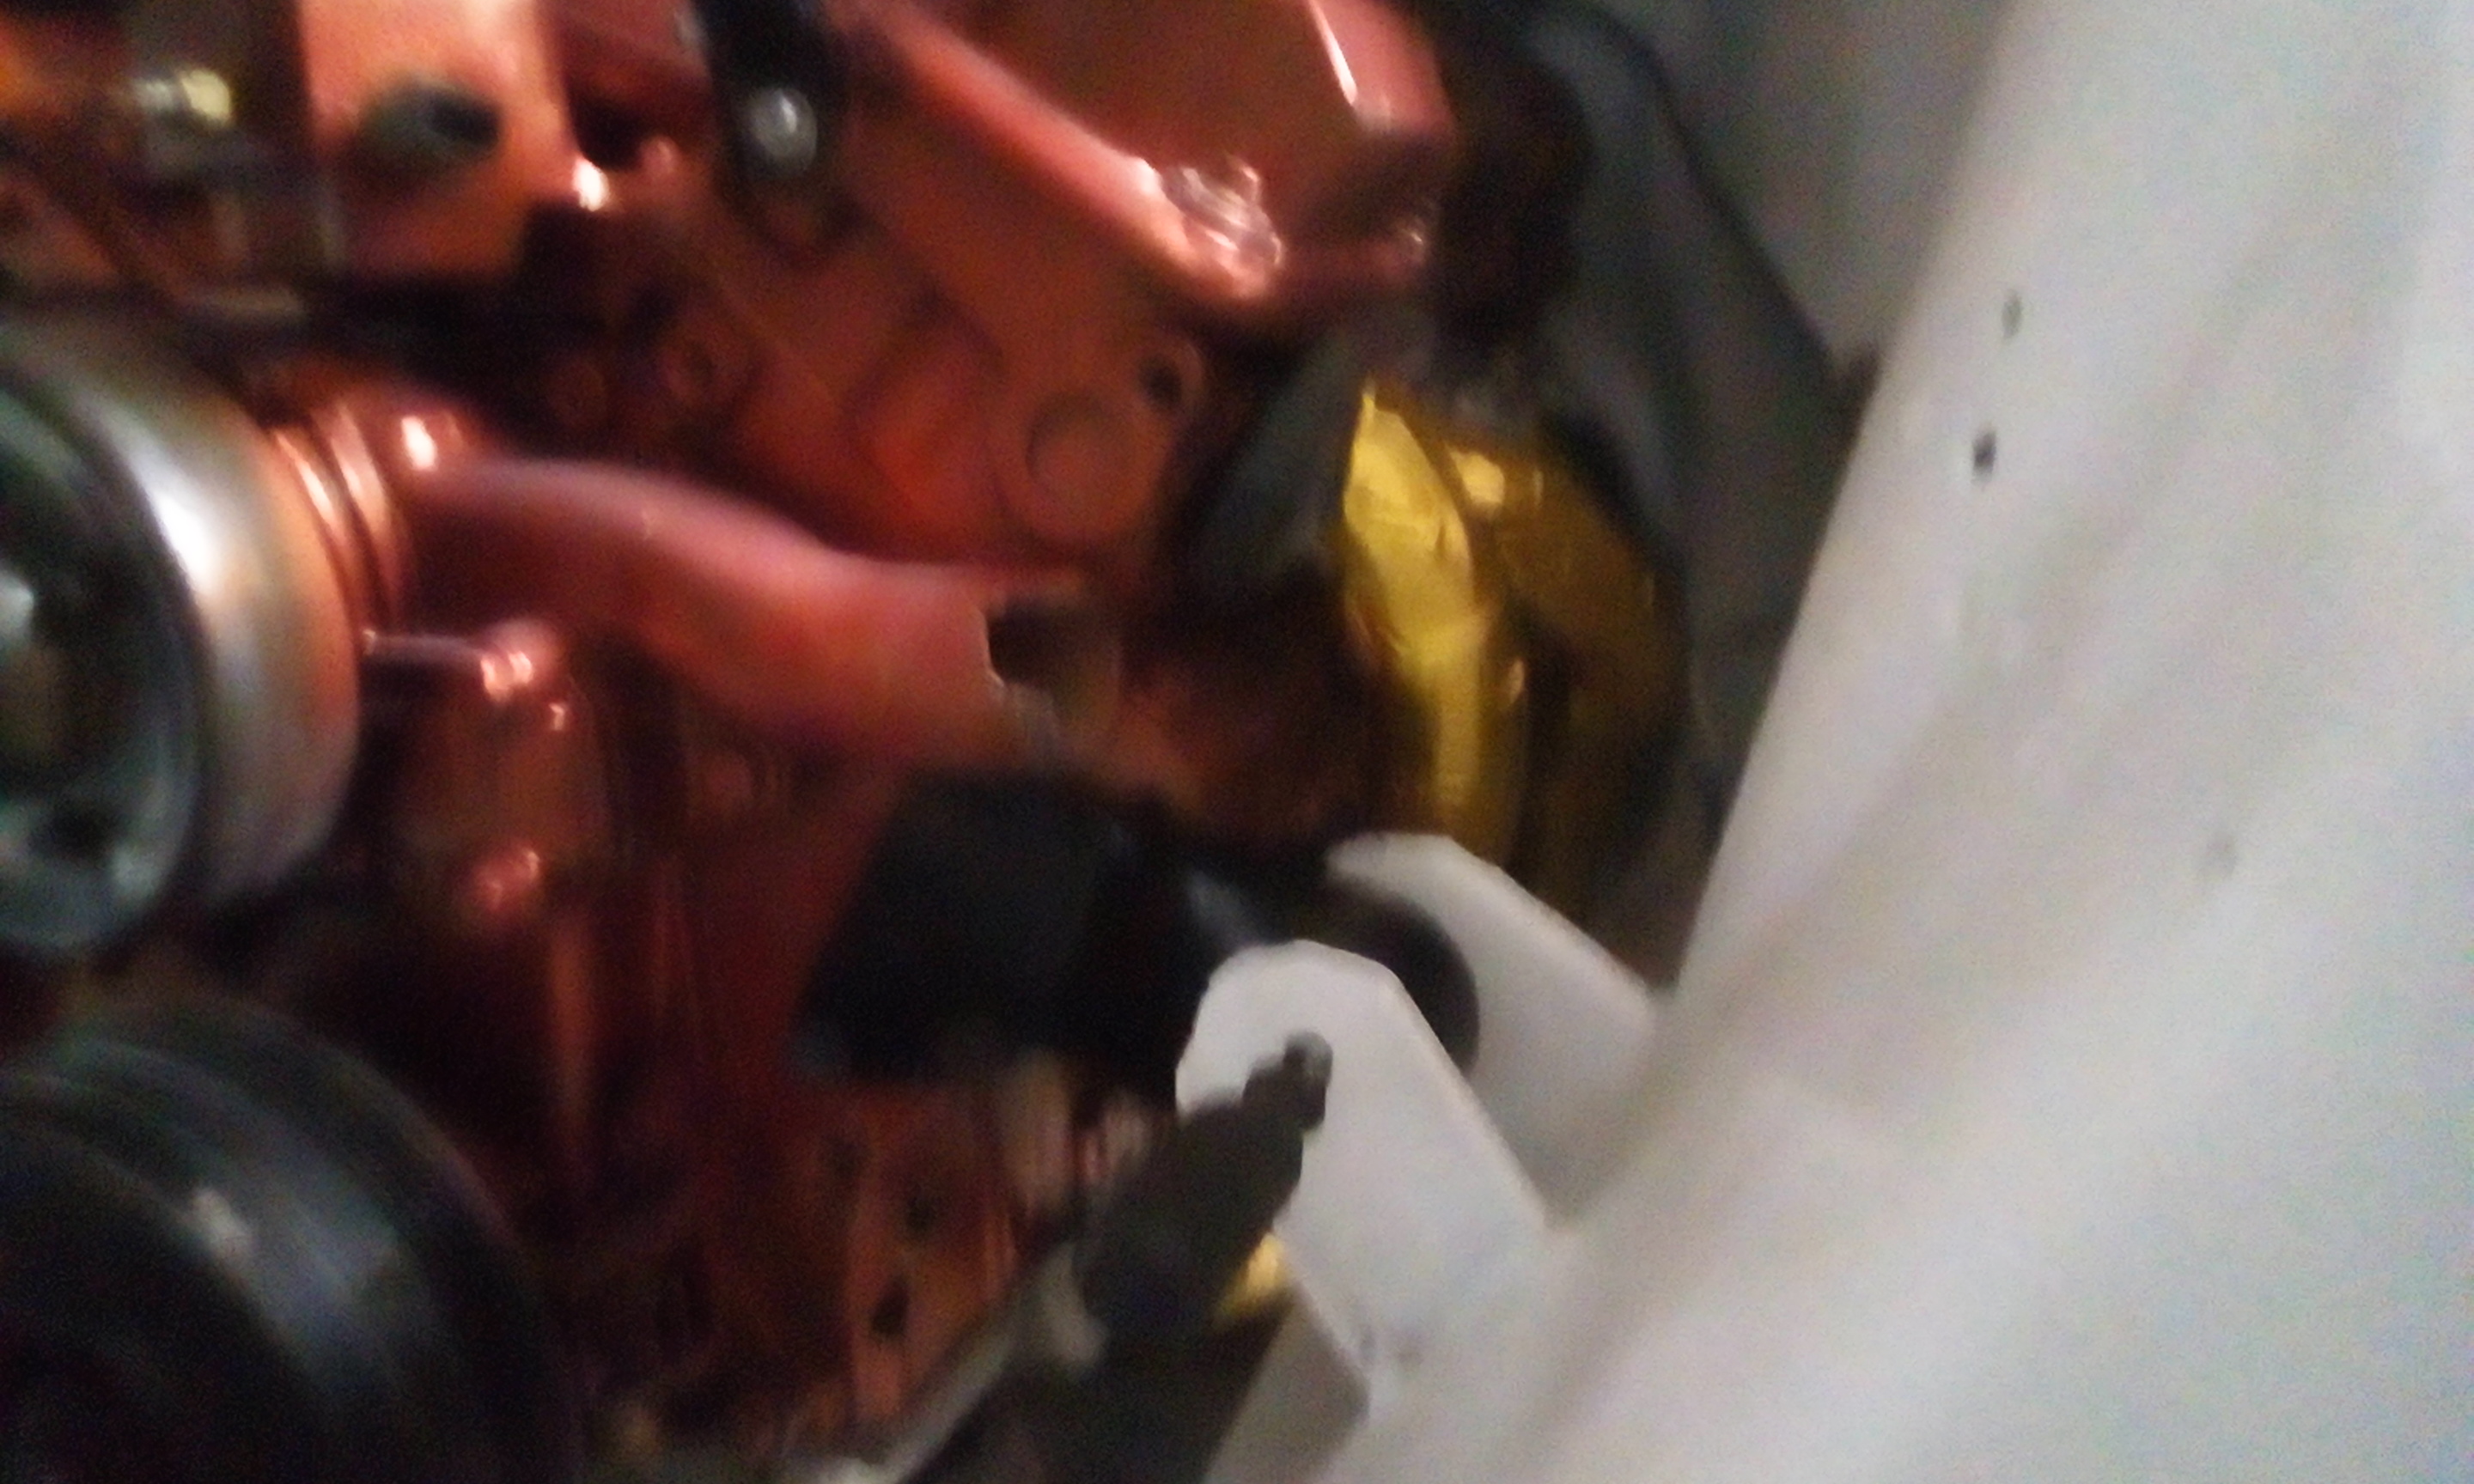
Plugs are resonably easy take about half an hour to change if you know what to do  once the washer bottle , airclearner box and cold air intake if out, you have a reasonably straight shot at them pipes clear easy and nothing else is in the way
If you know the sequence, working on it is fairly easy. Takes about an hour to take the drivetrain out in one piece with the pipes on.
4 Likes
Been slack and haven’t posted here for a bit
Still waiting on a windscreen for four months, pretty sure I’ve been ripped off.
I’ll be posting the name and number of the person very soon . I am a patient person but this is just bullshit 
Anyhow, I’ve started a instagram for the diahatsu 
4 Likes
Welcome back dude!!
Thanks for linking your instagram… It’s a pitty all them photos don’t have a story, oh wait that’s what this place is for 
1 Like
Yeah, trying to do a few and still picking away at it all.
Screen still hasn’t shown  , and I’m going to demand a refund now,
otherwise I’ll name and same the guy, and might even give a personal visit, only 20 minutes away from me
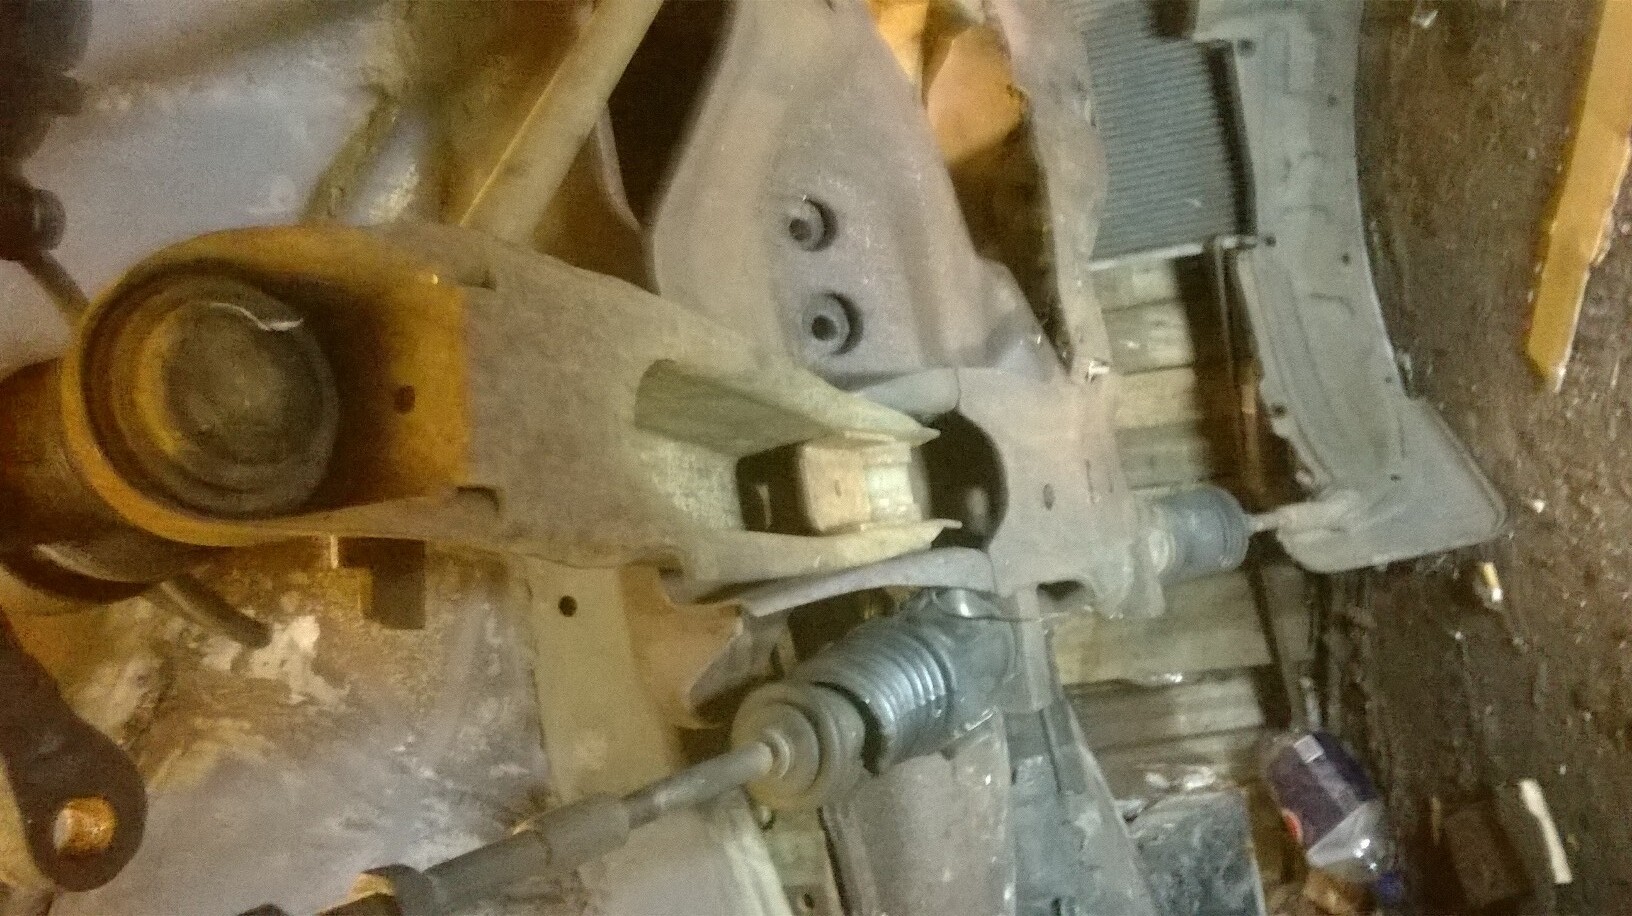
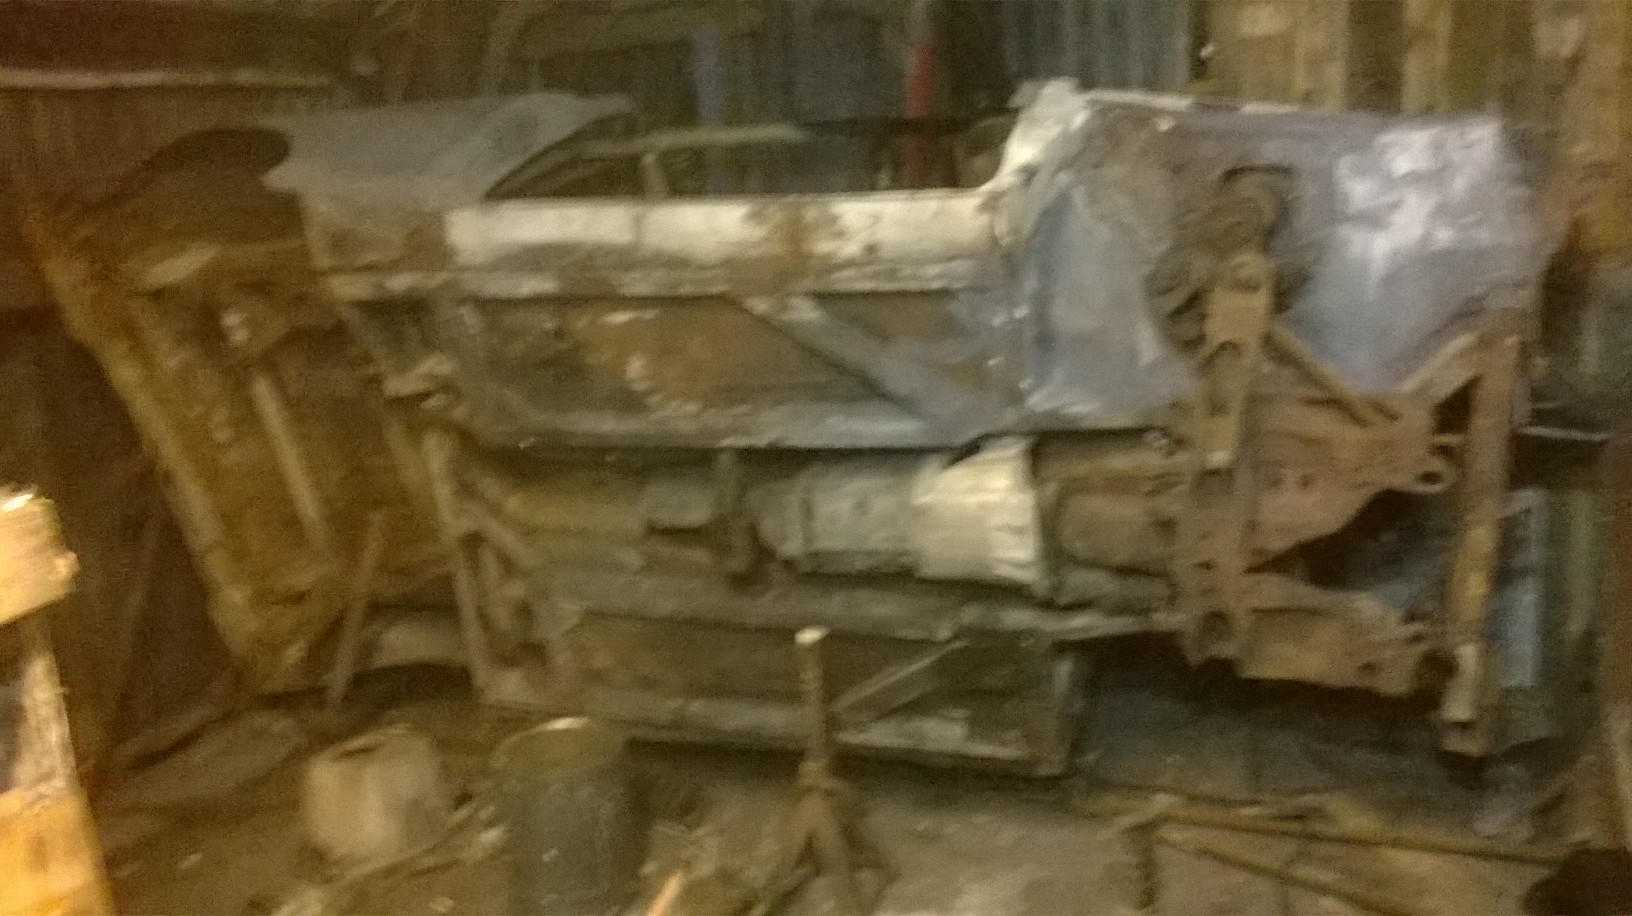
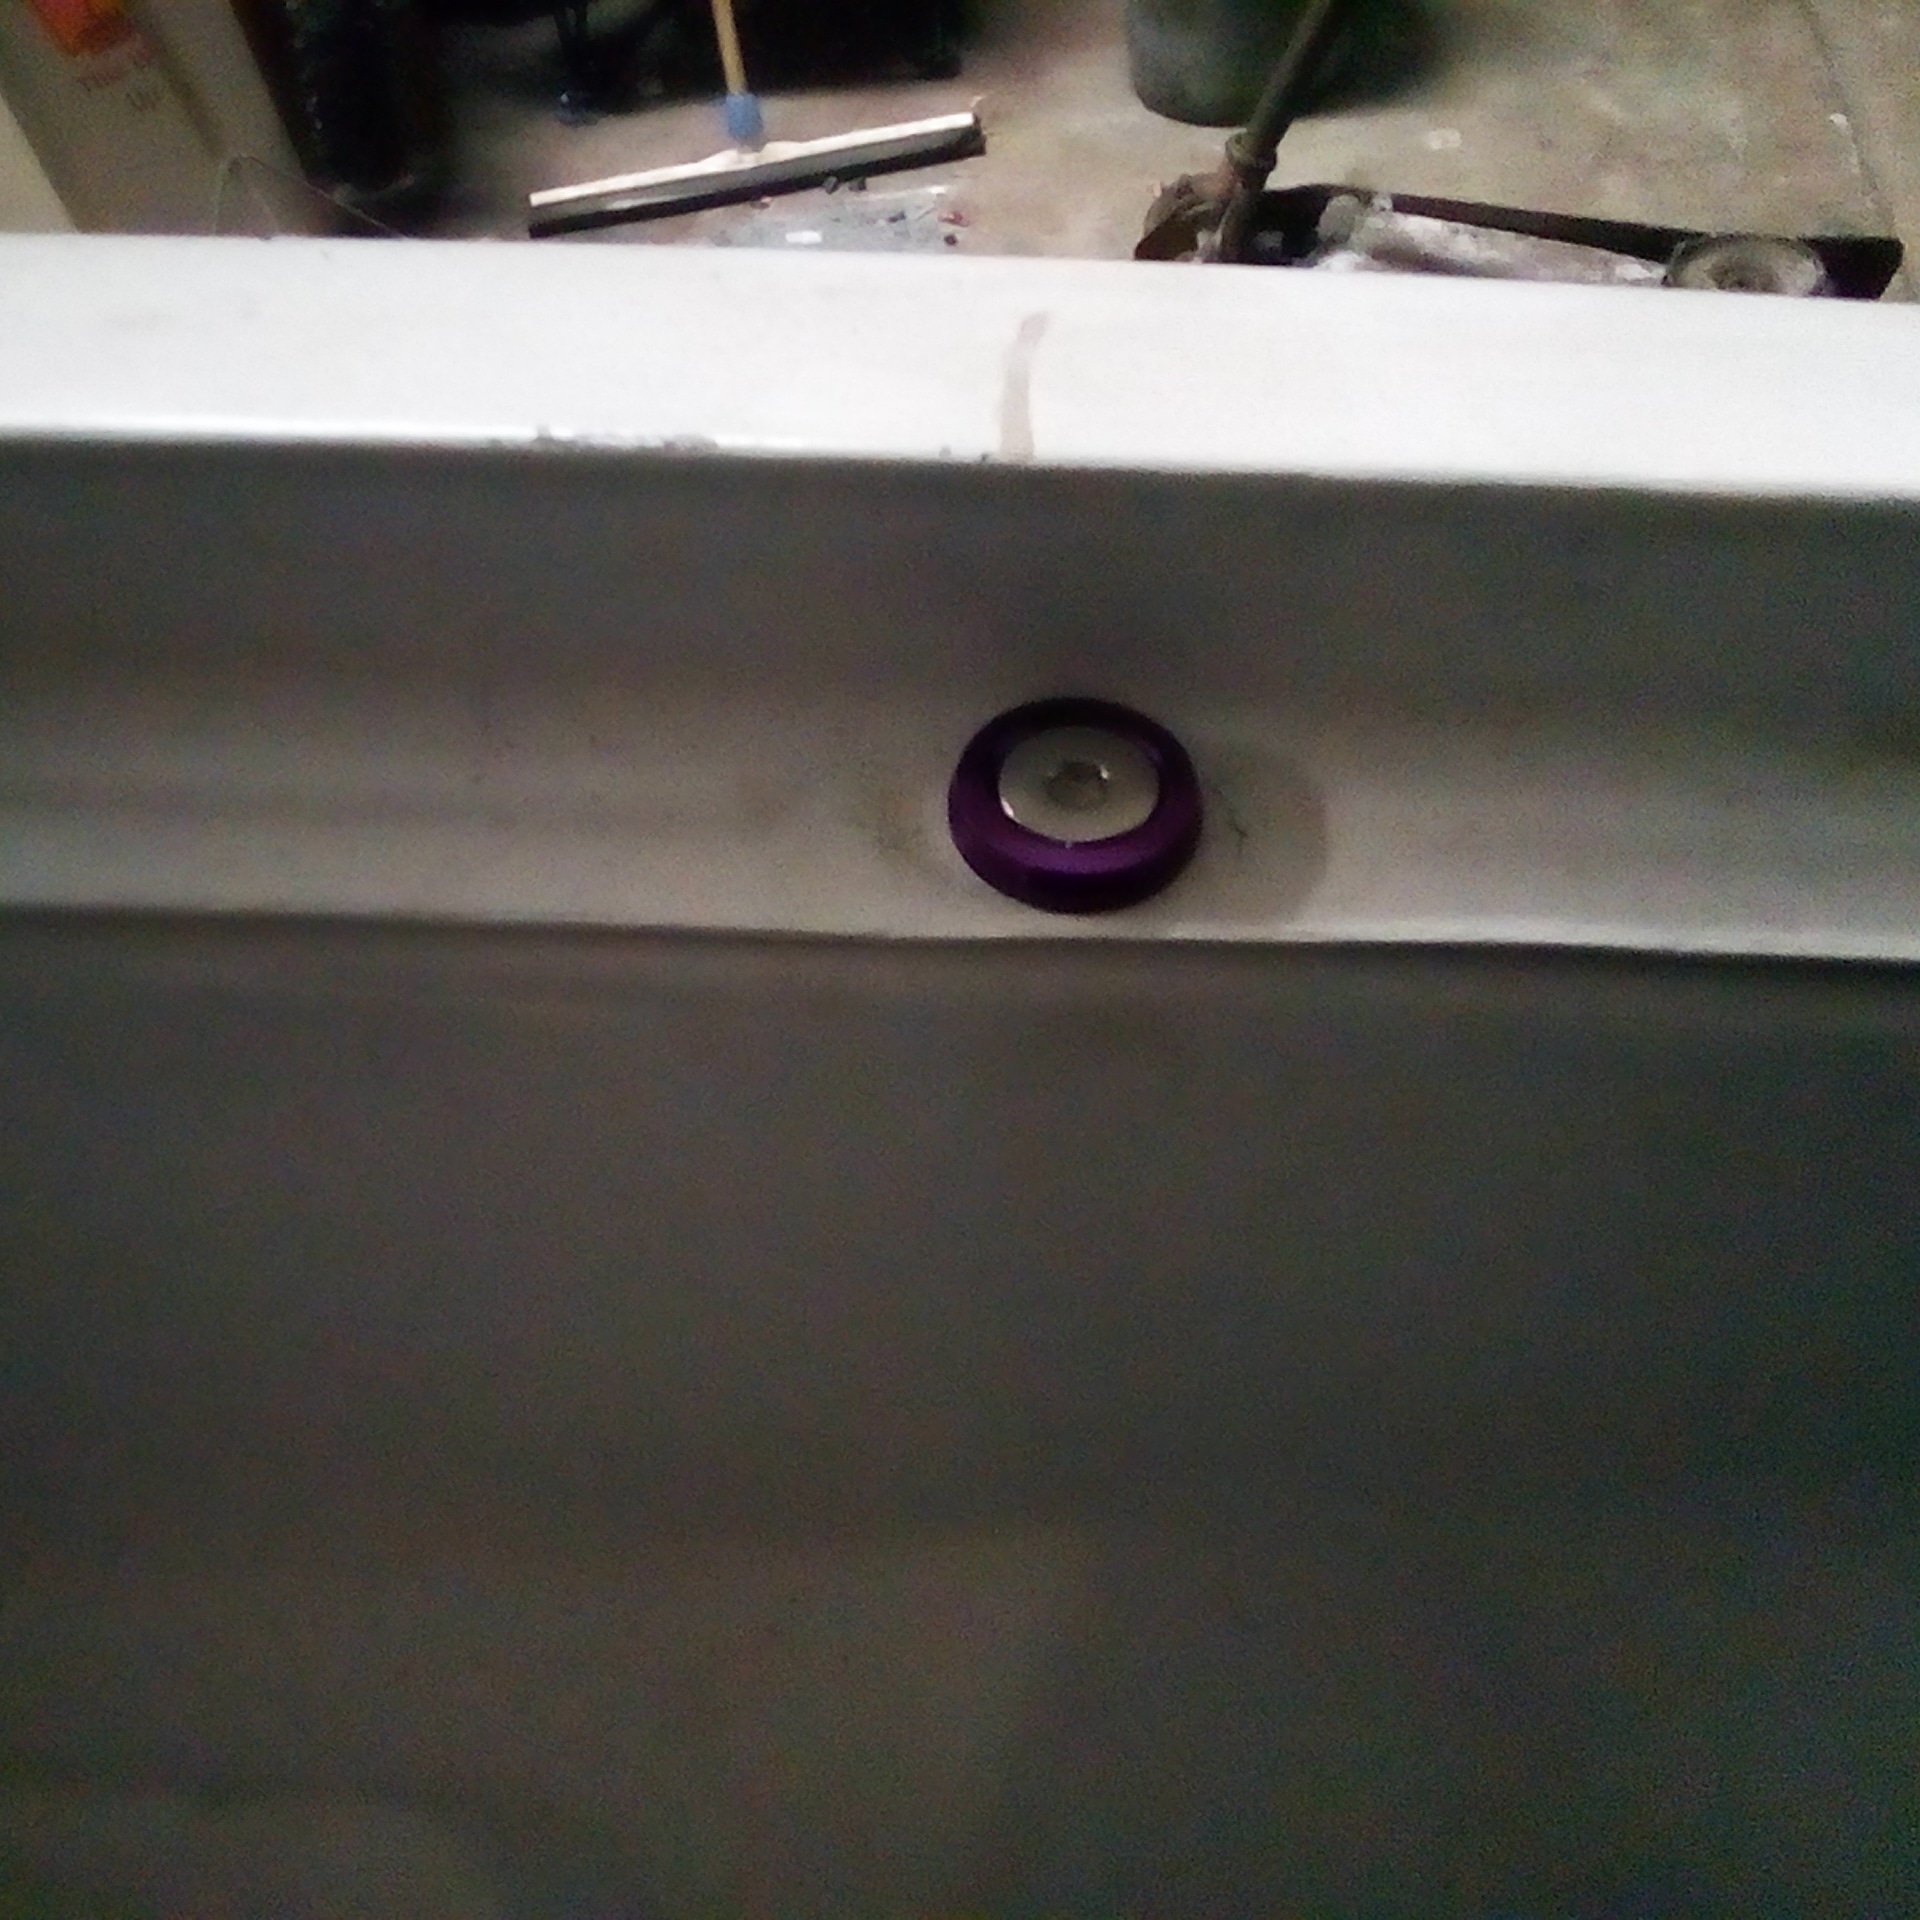
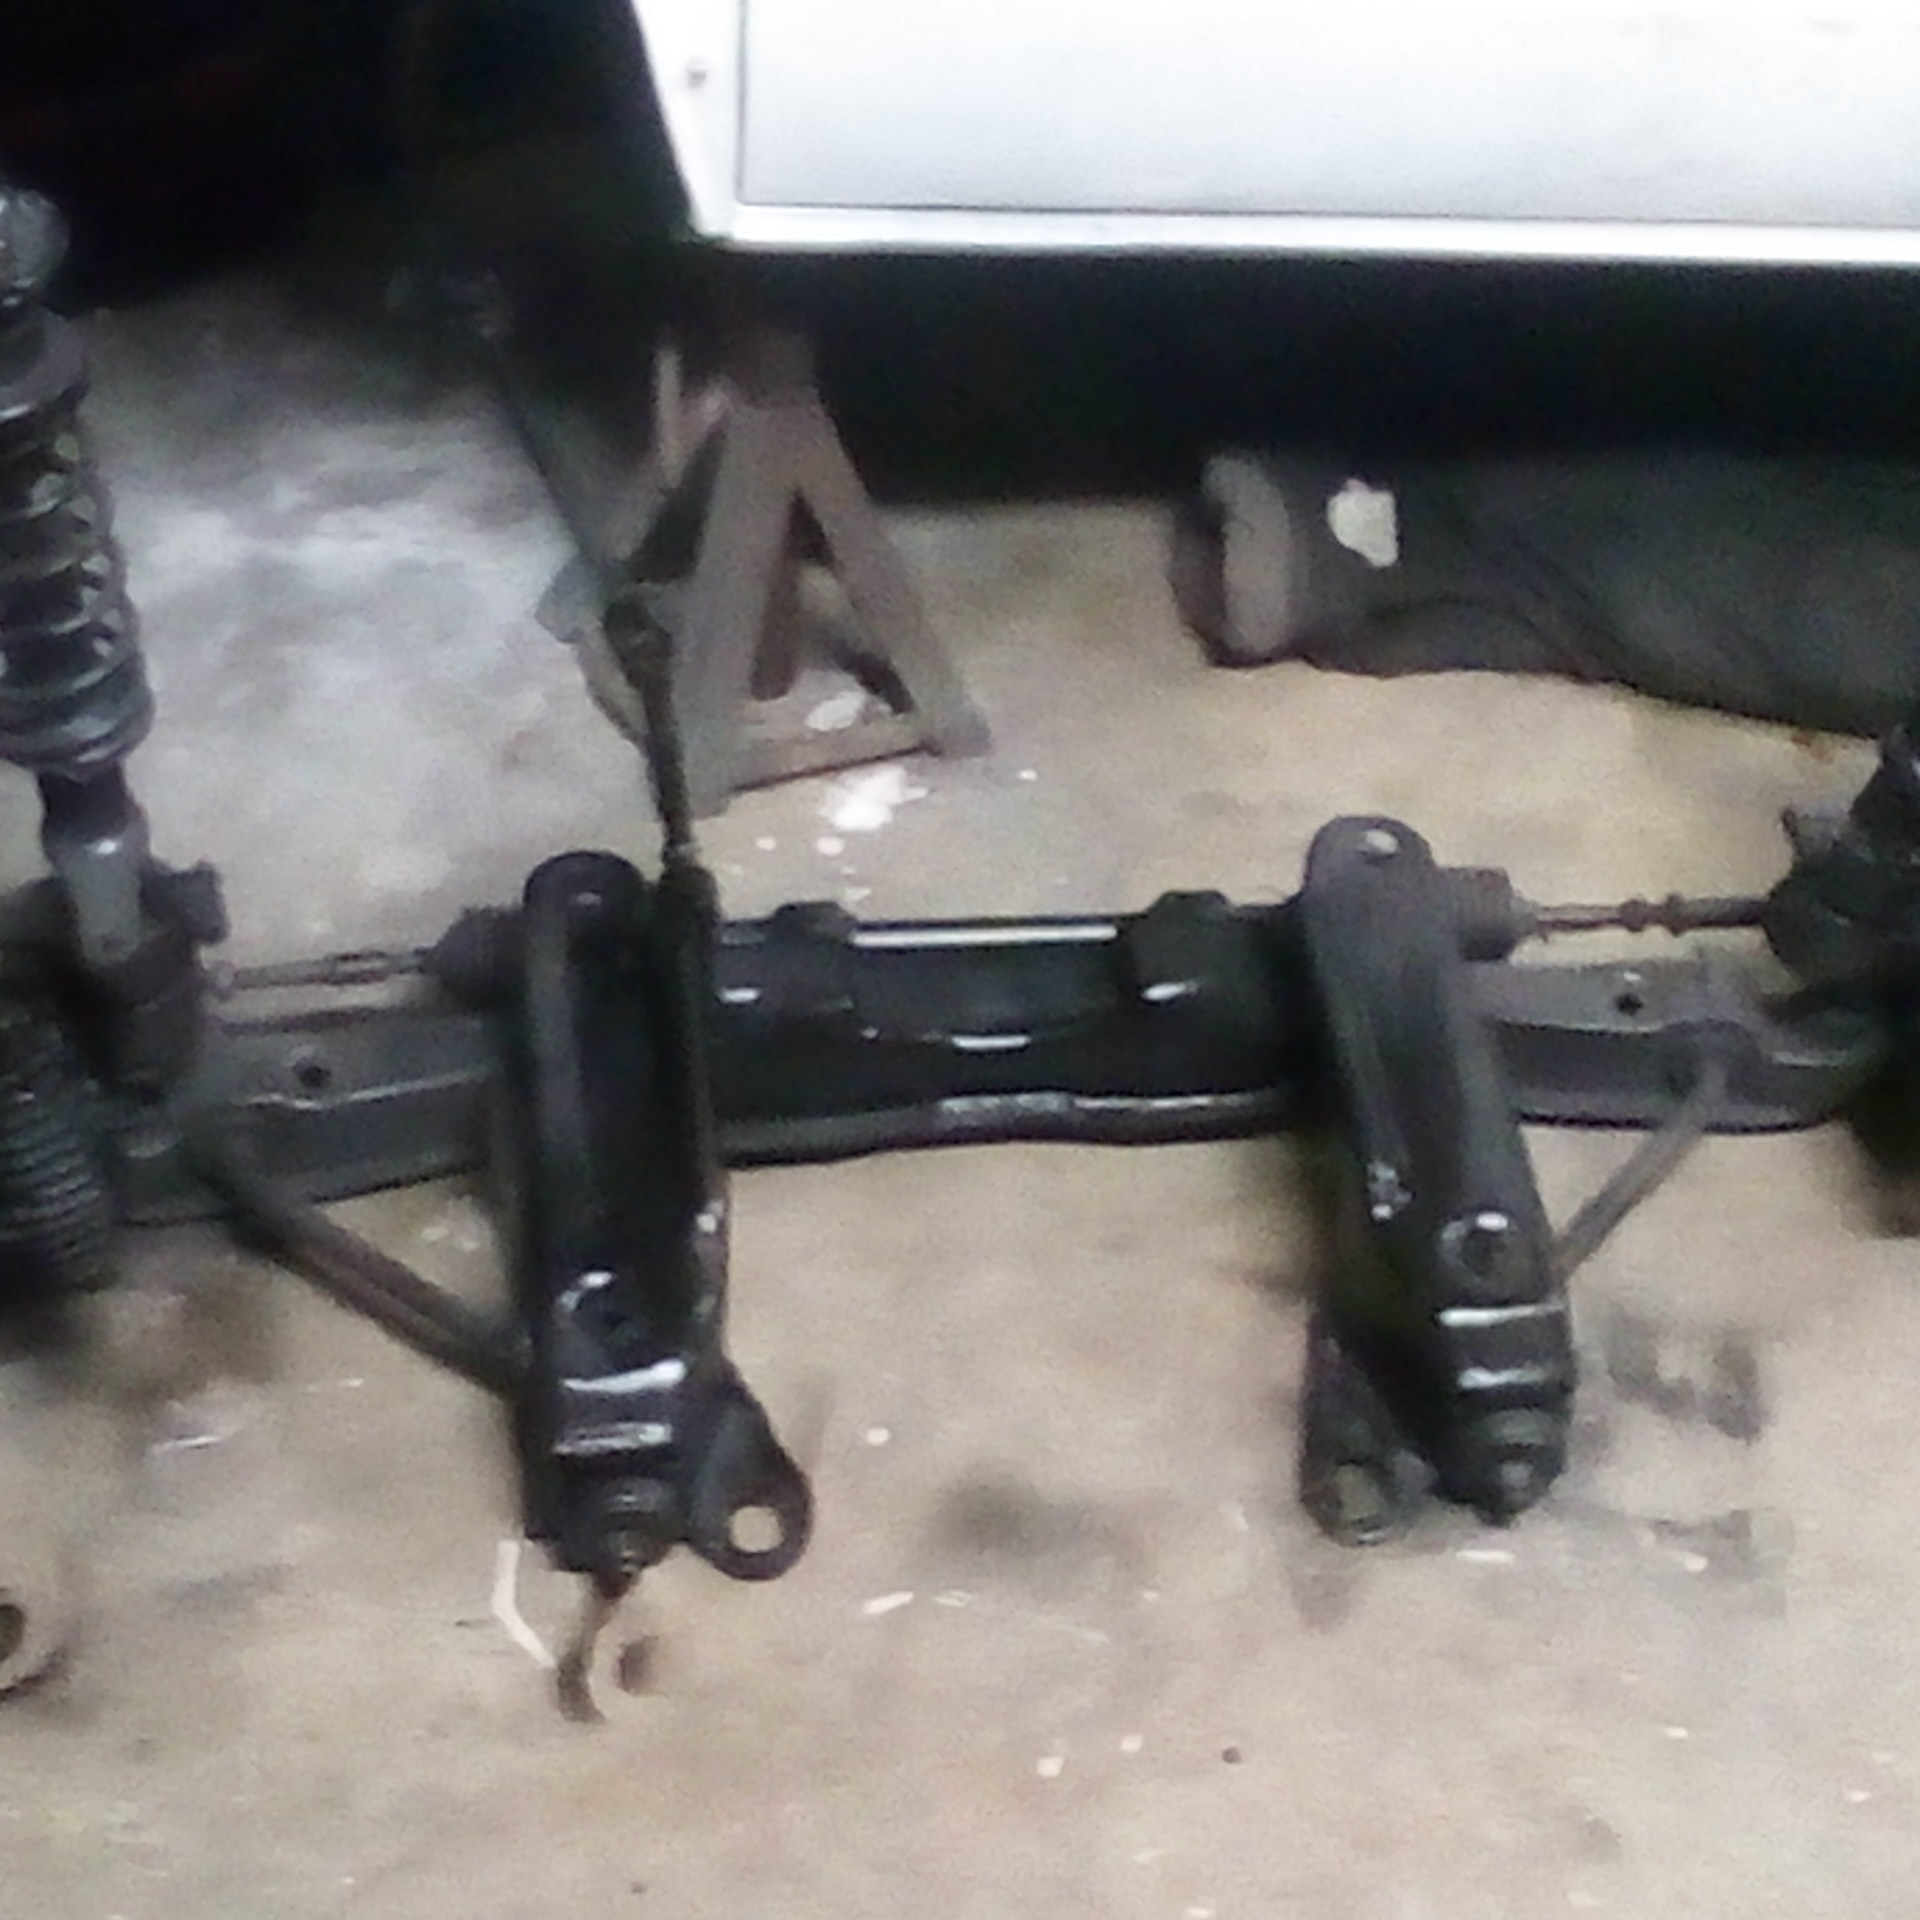
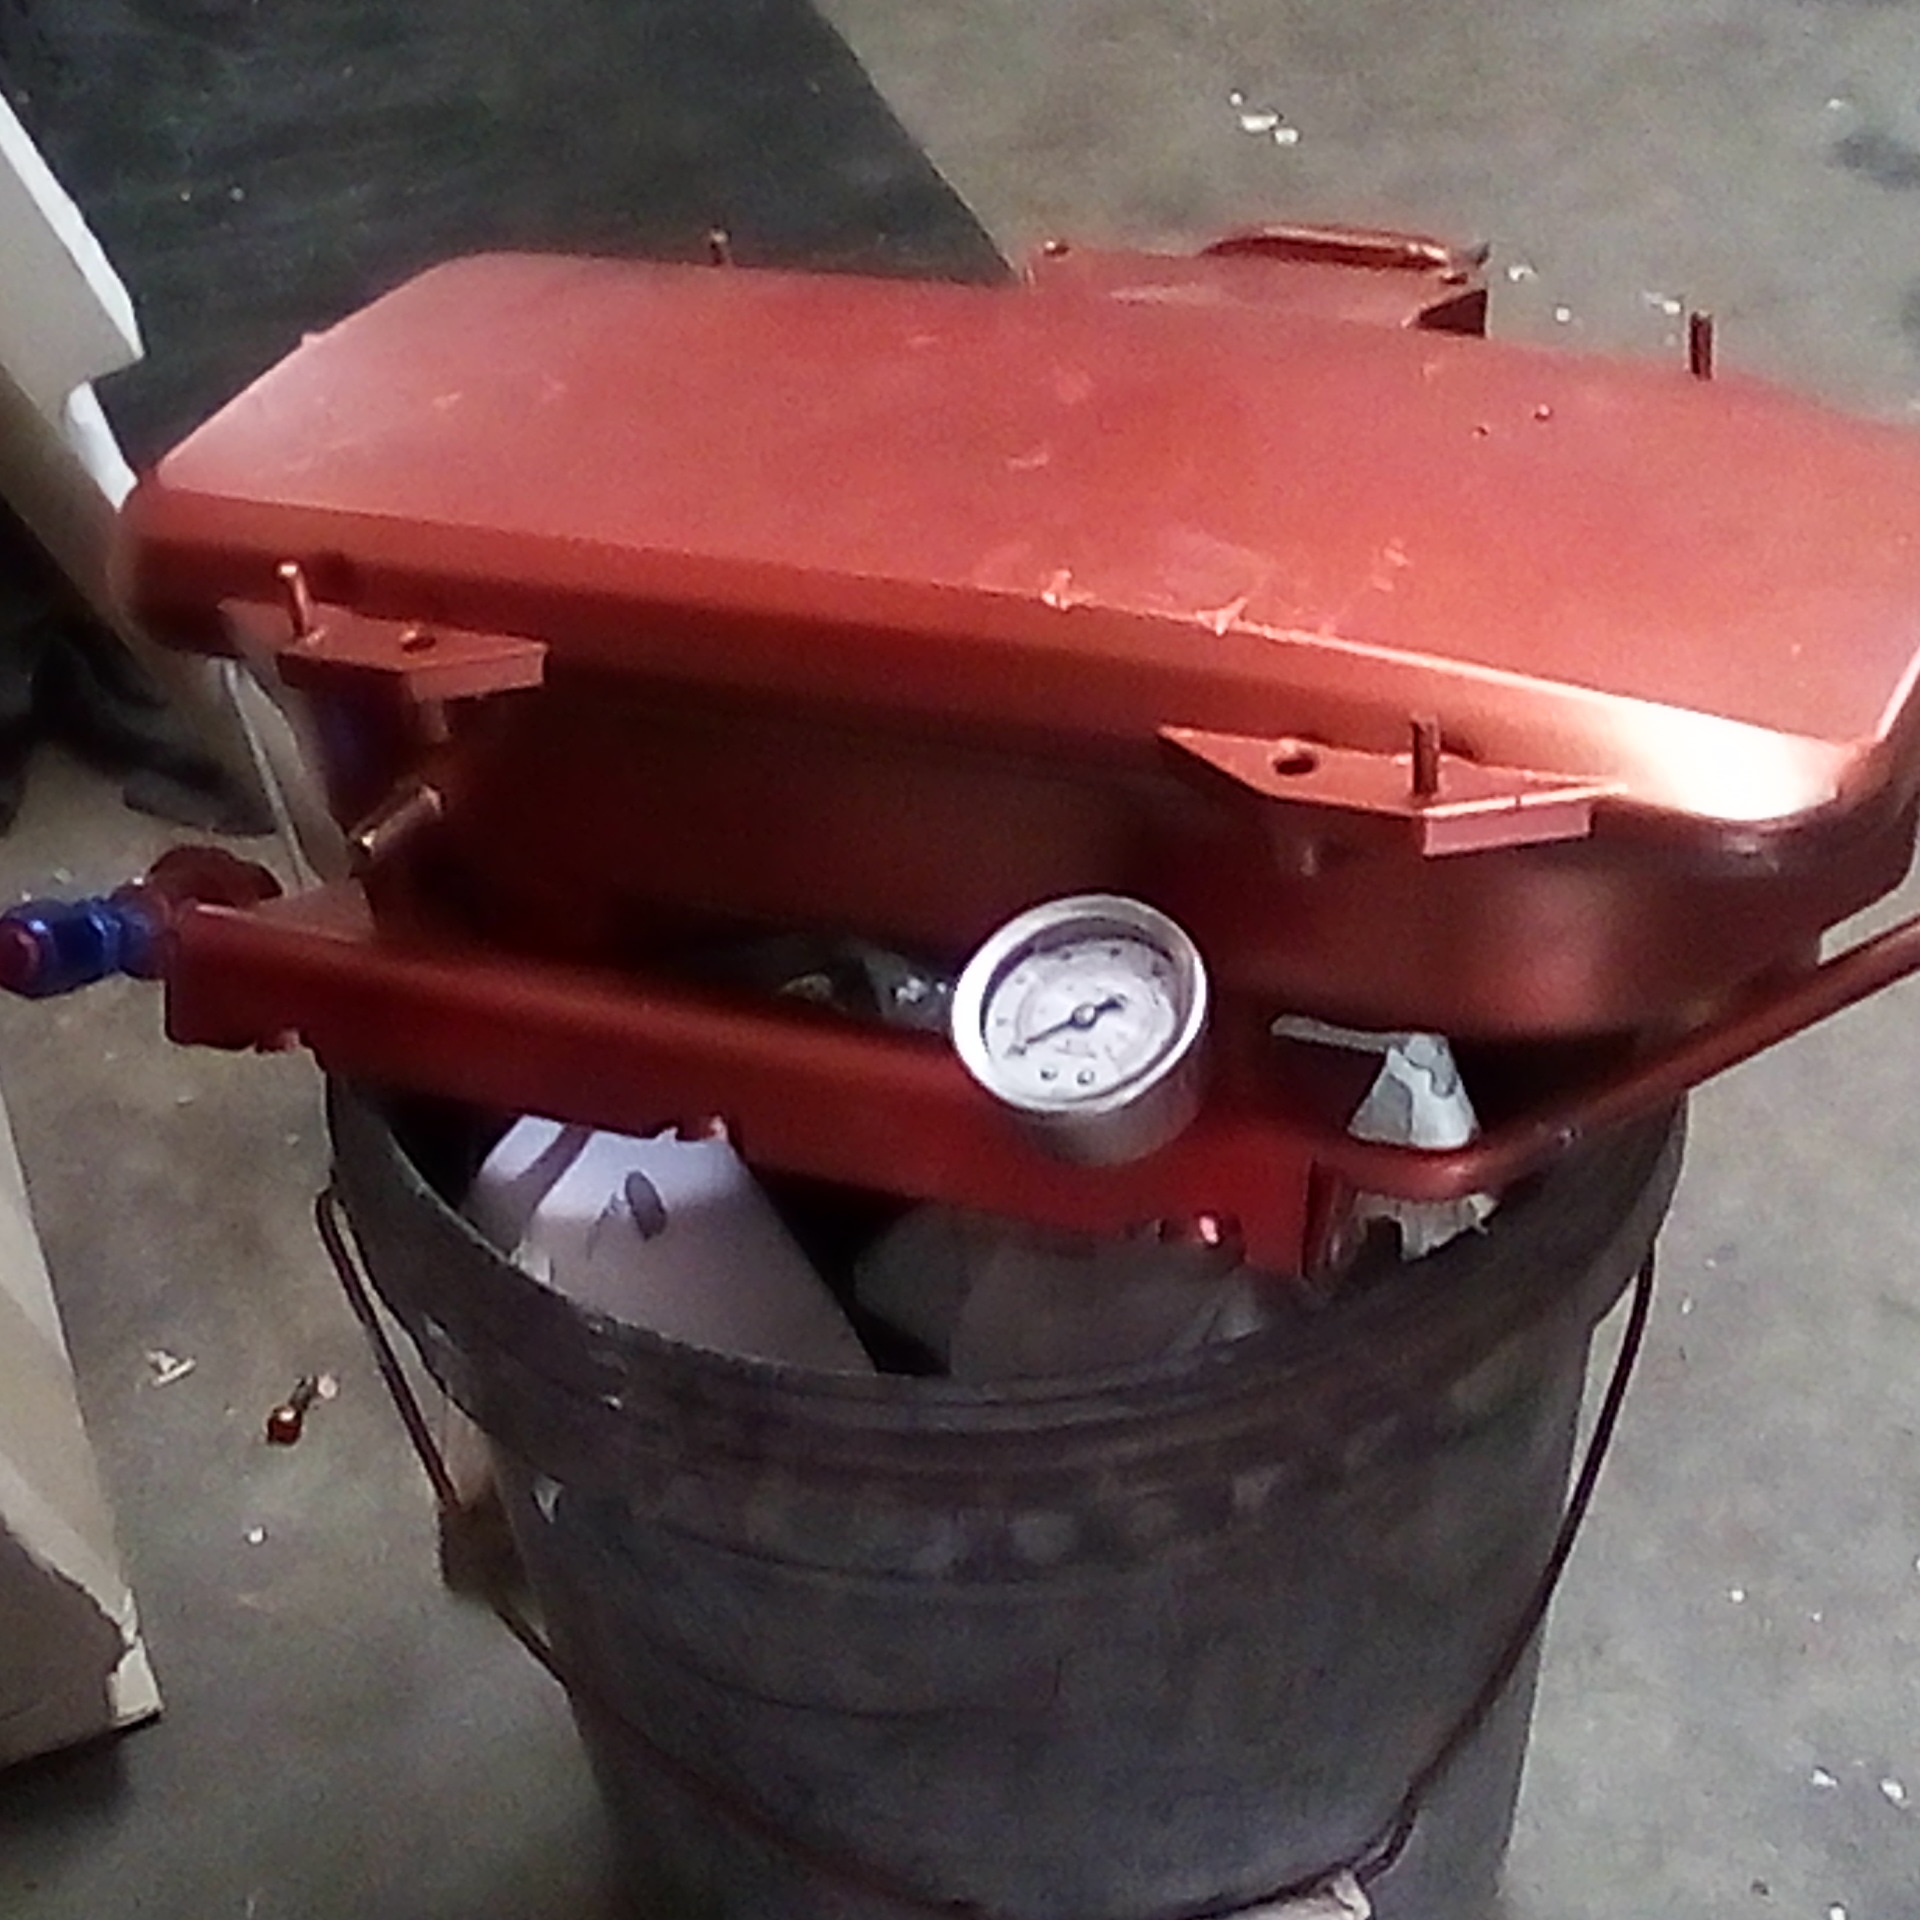
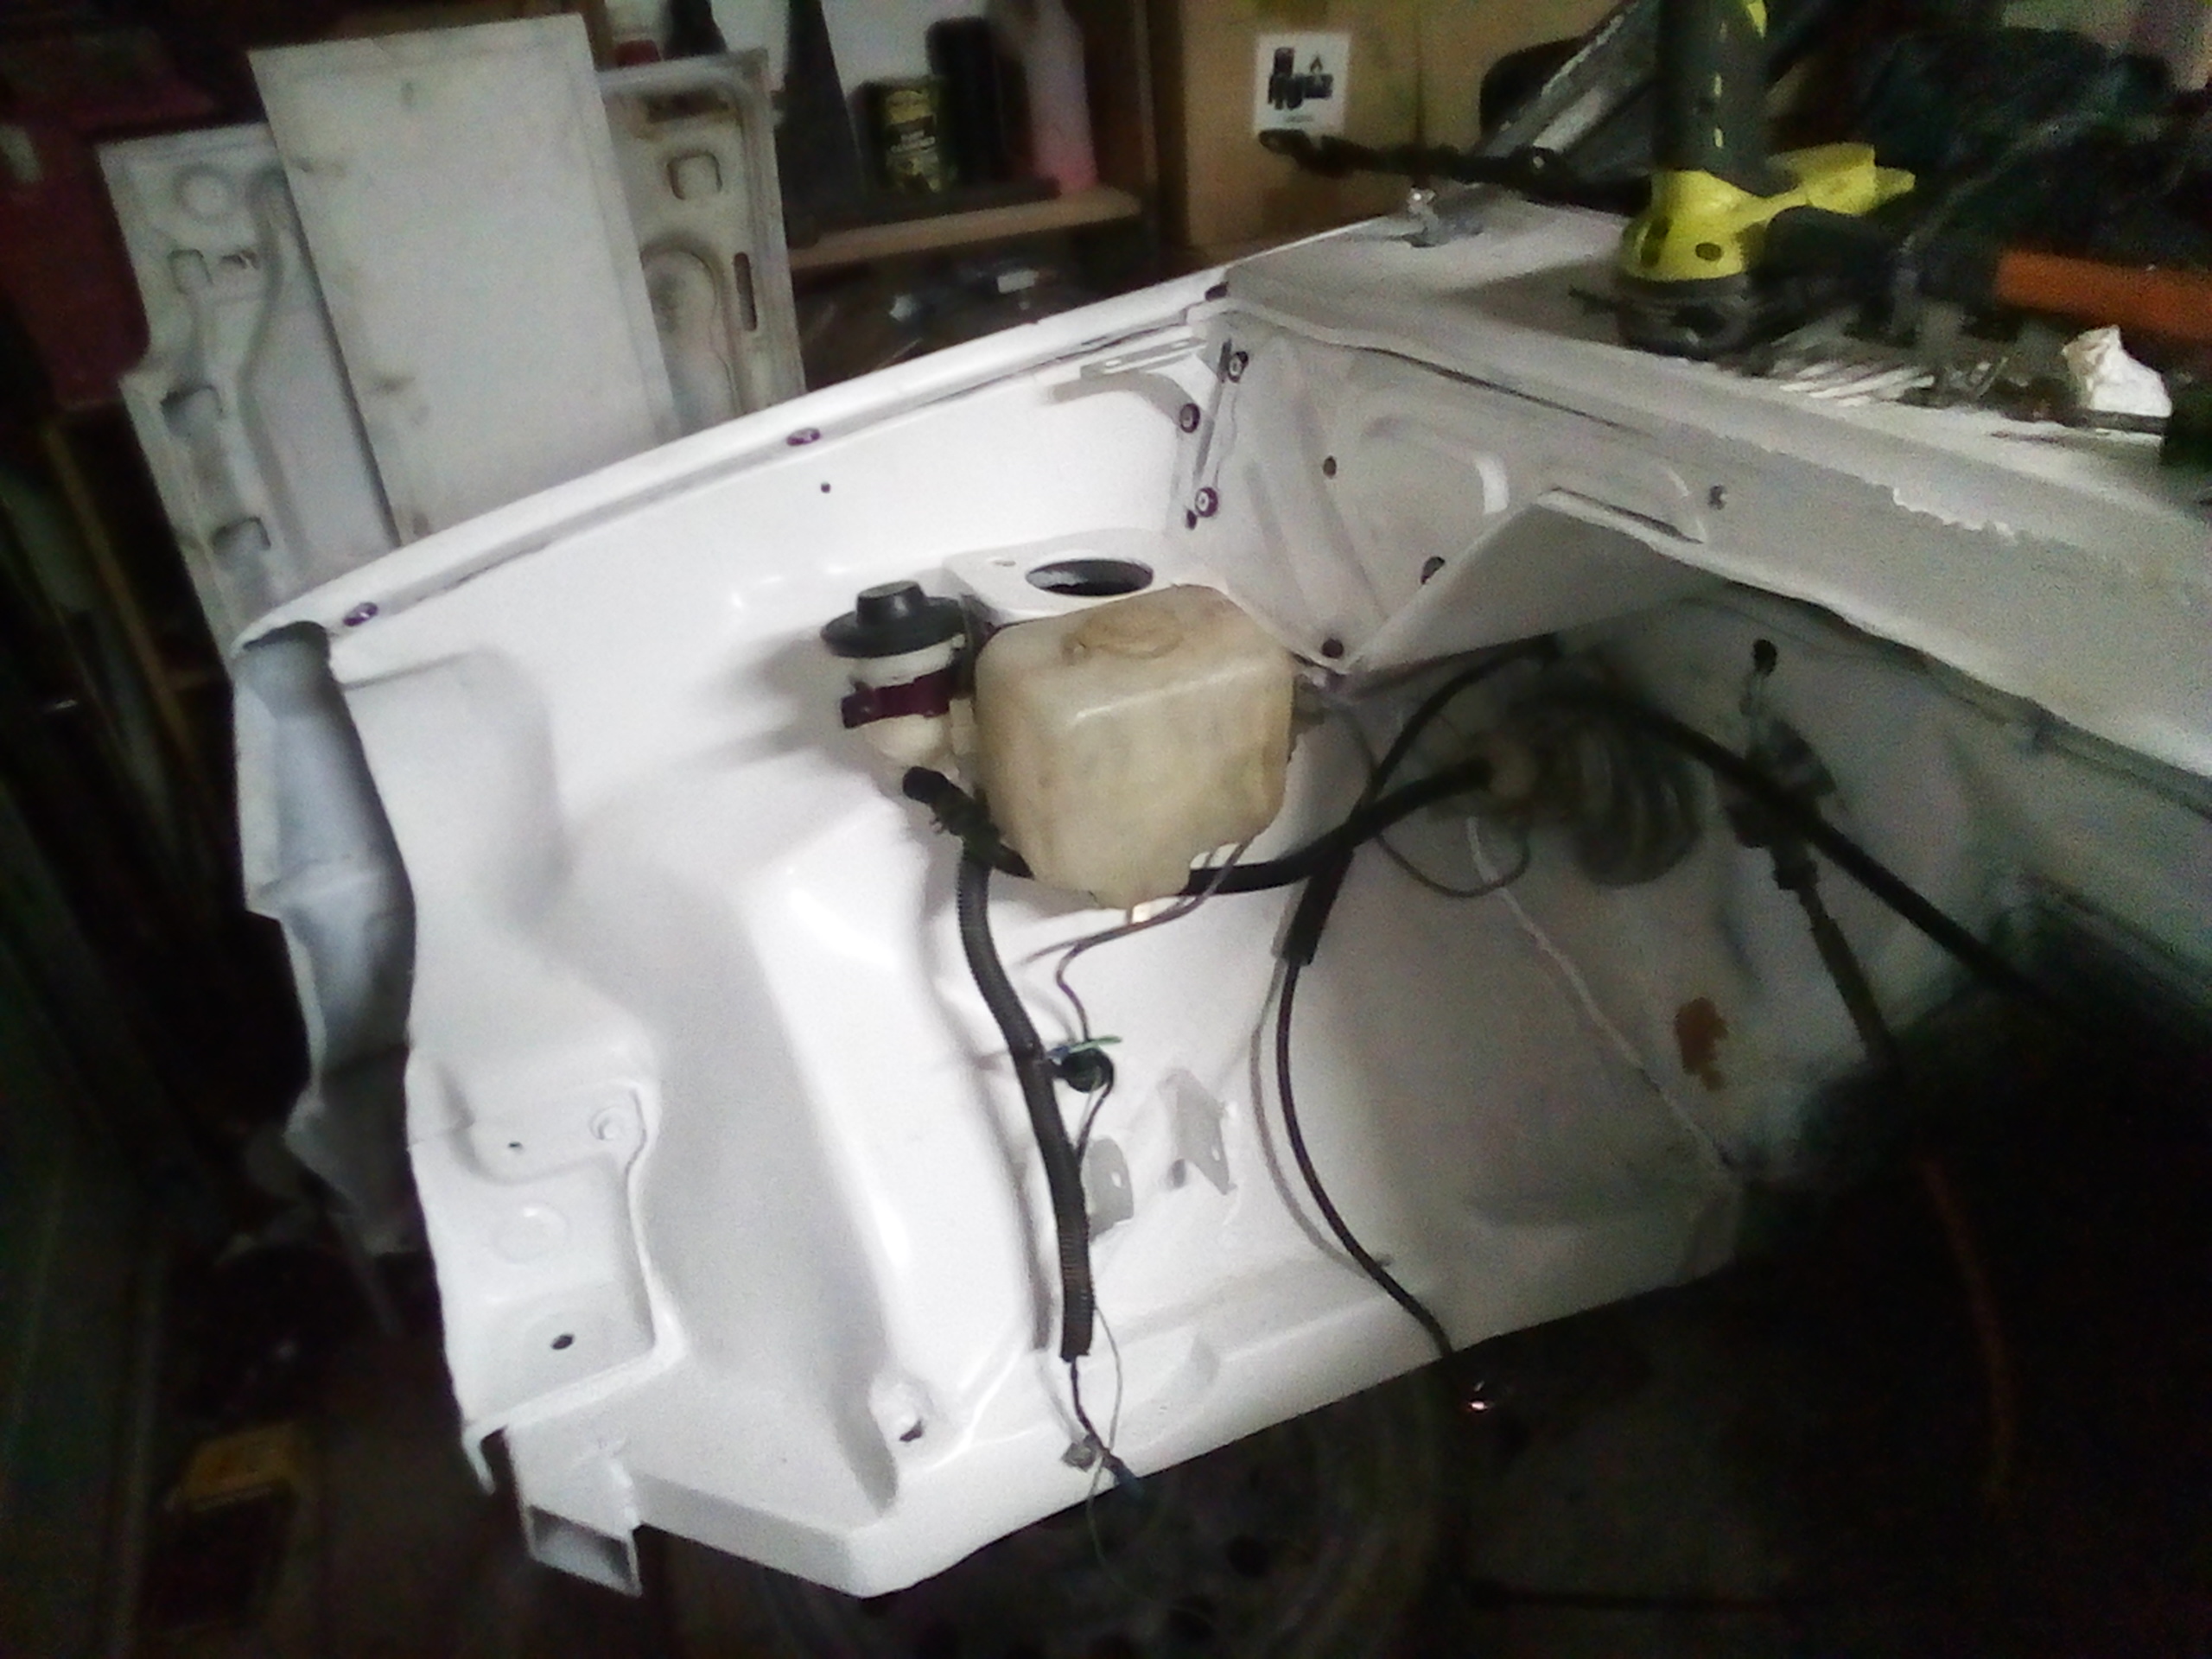
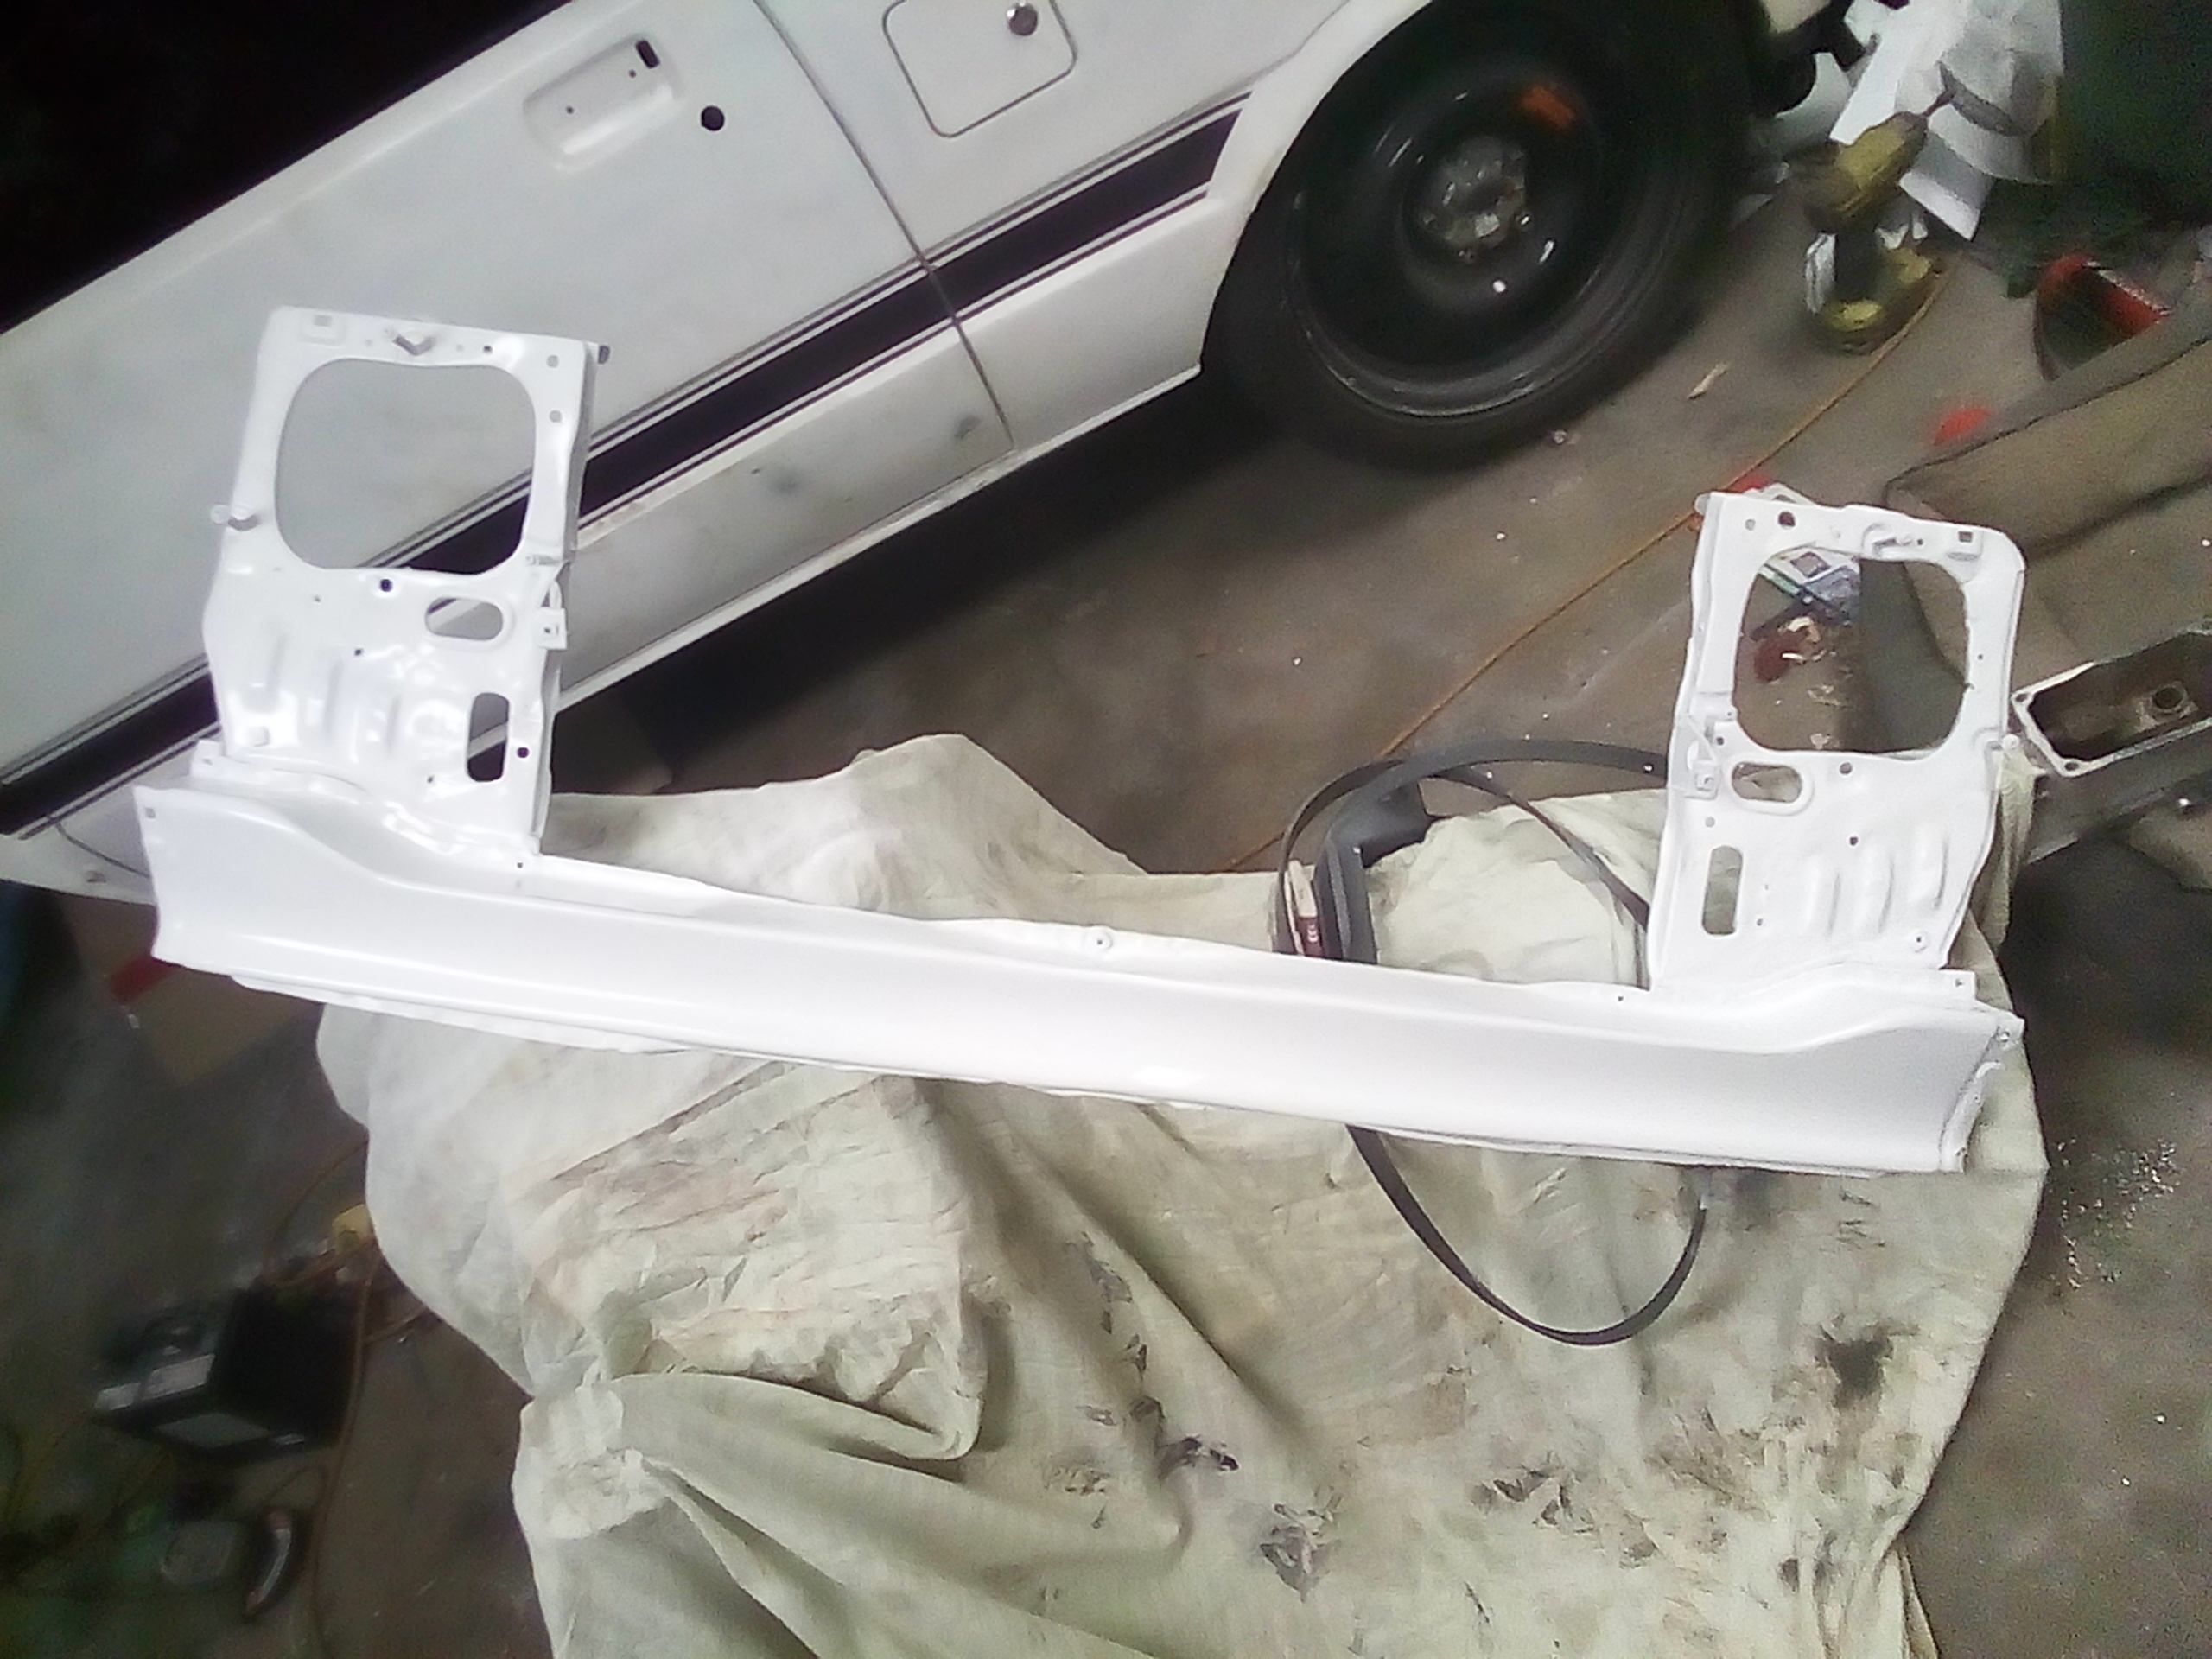
OK, small stuff done.
Shaved the k-frames redundant material, mounted a fuel pressure gauge, done the engine bay and a variety of other stuff.
7 Likes
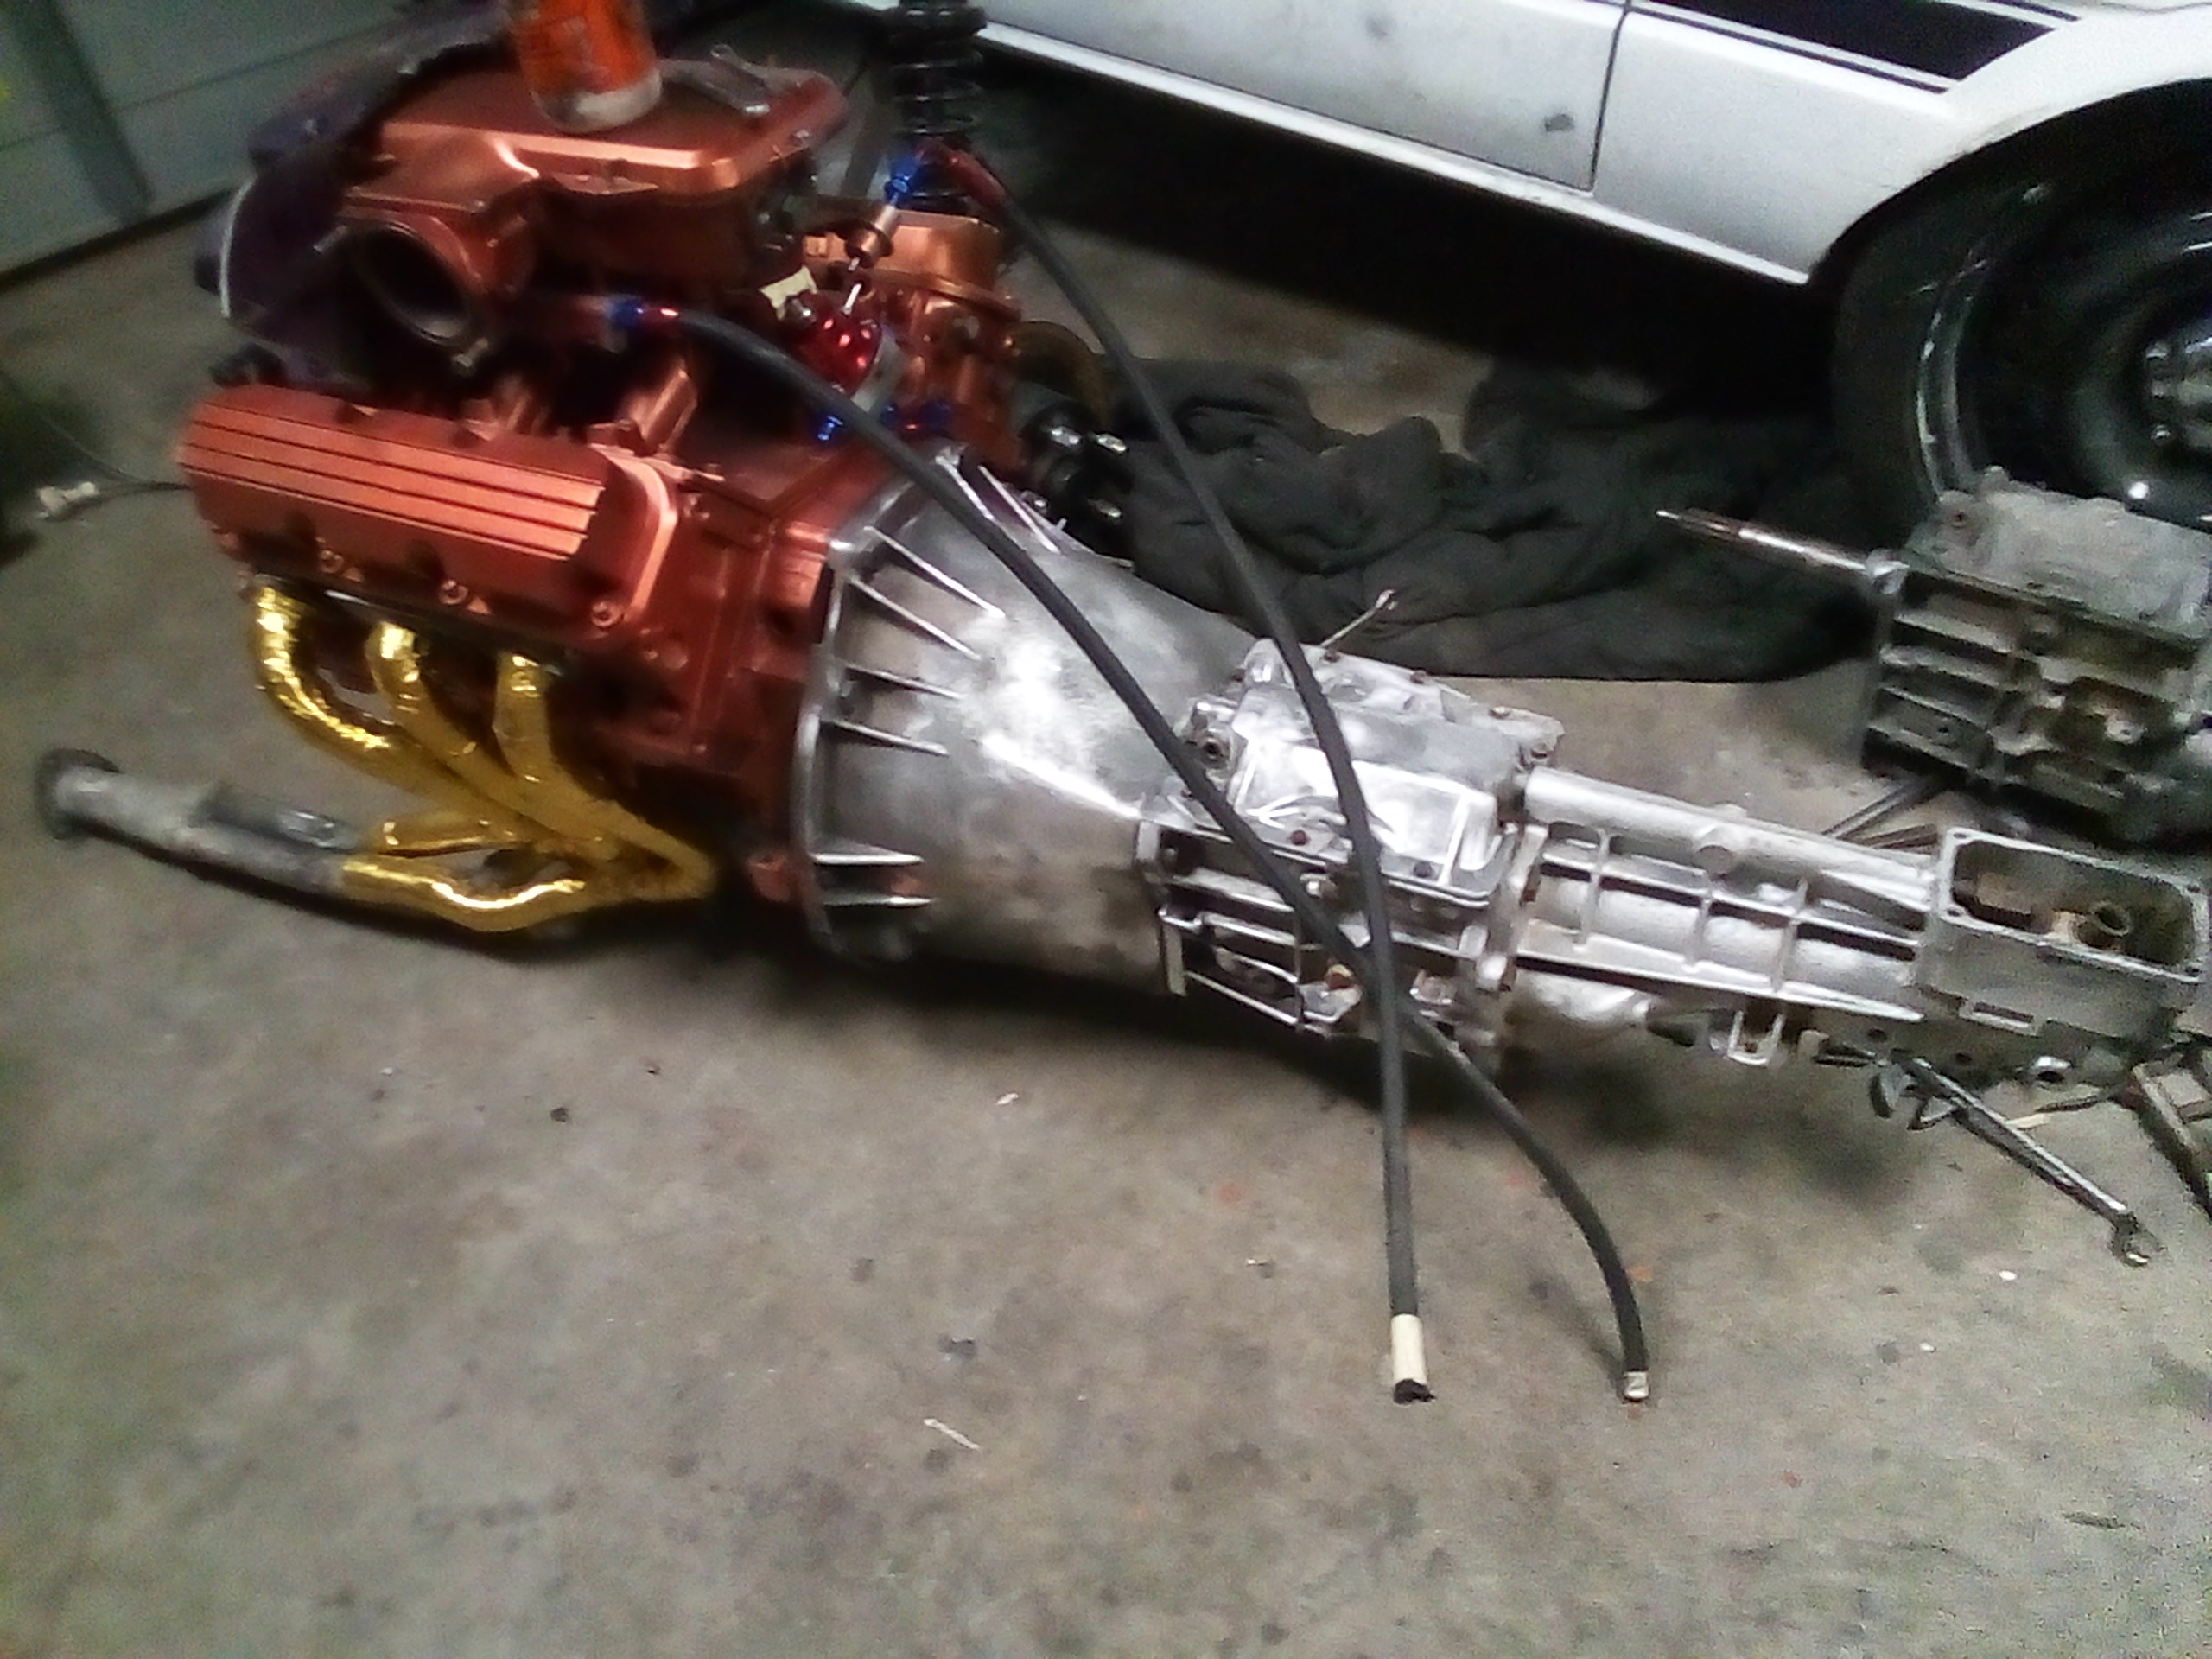
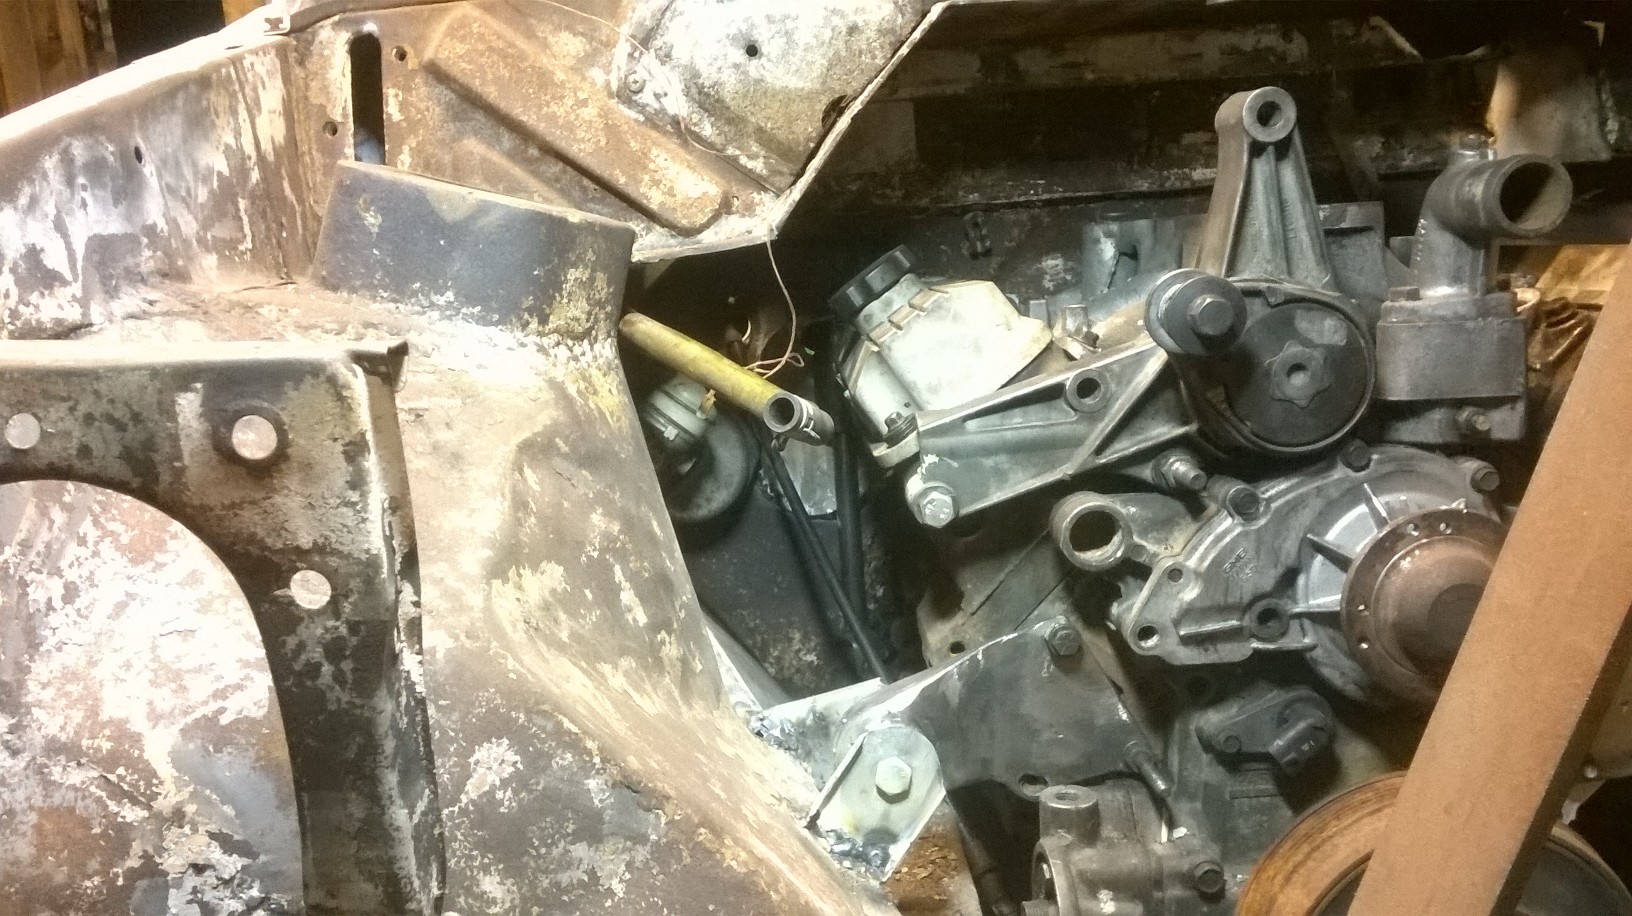
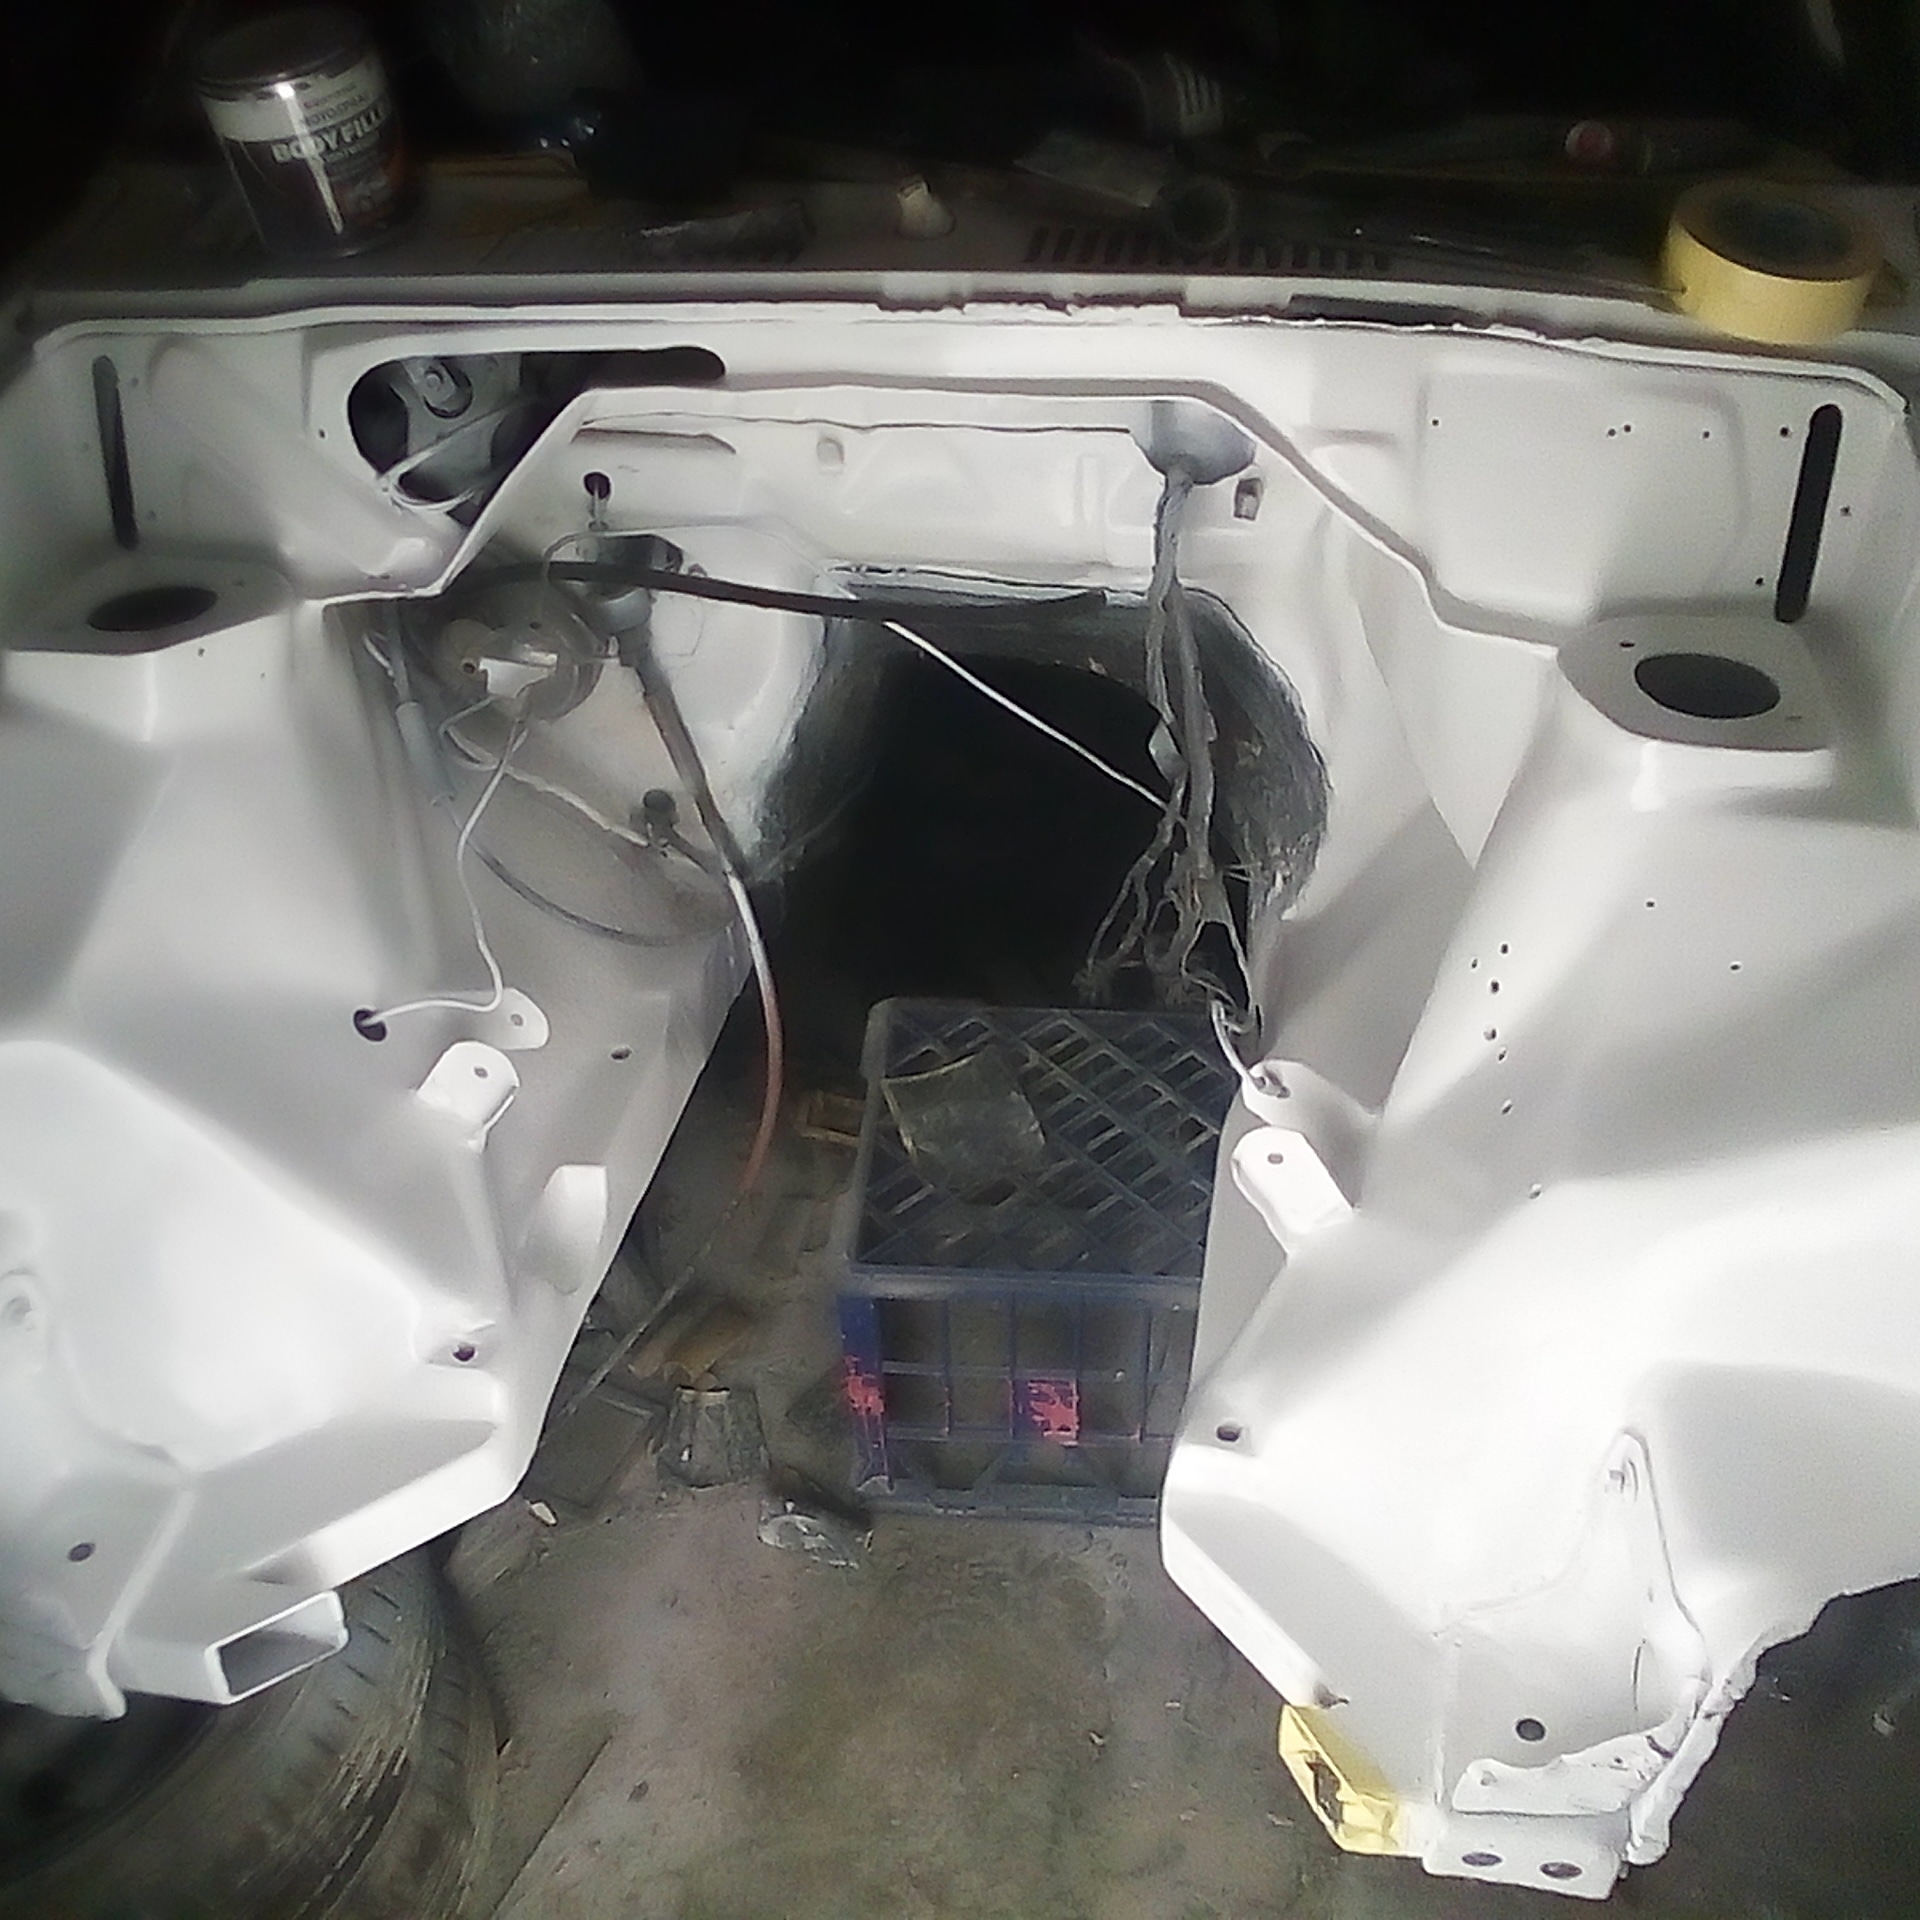
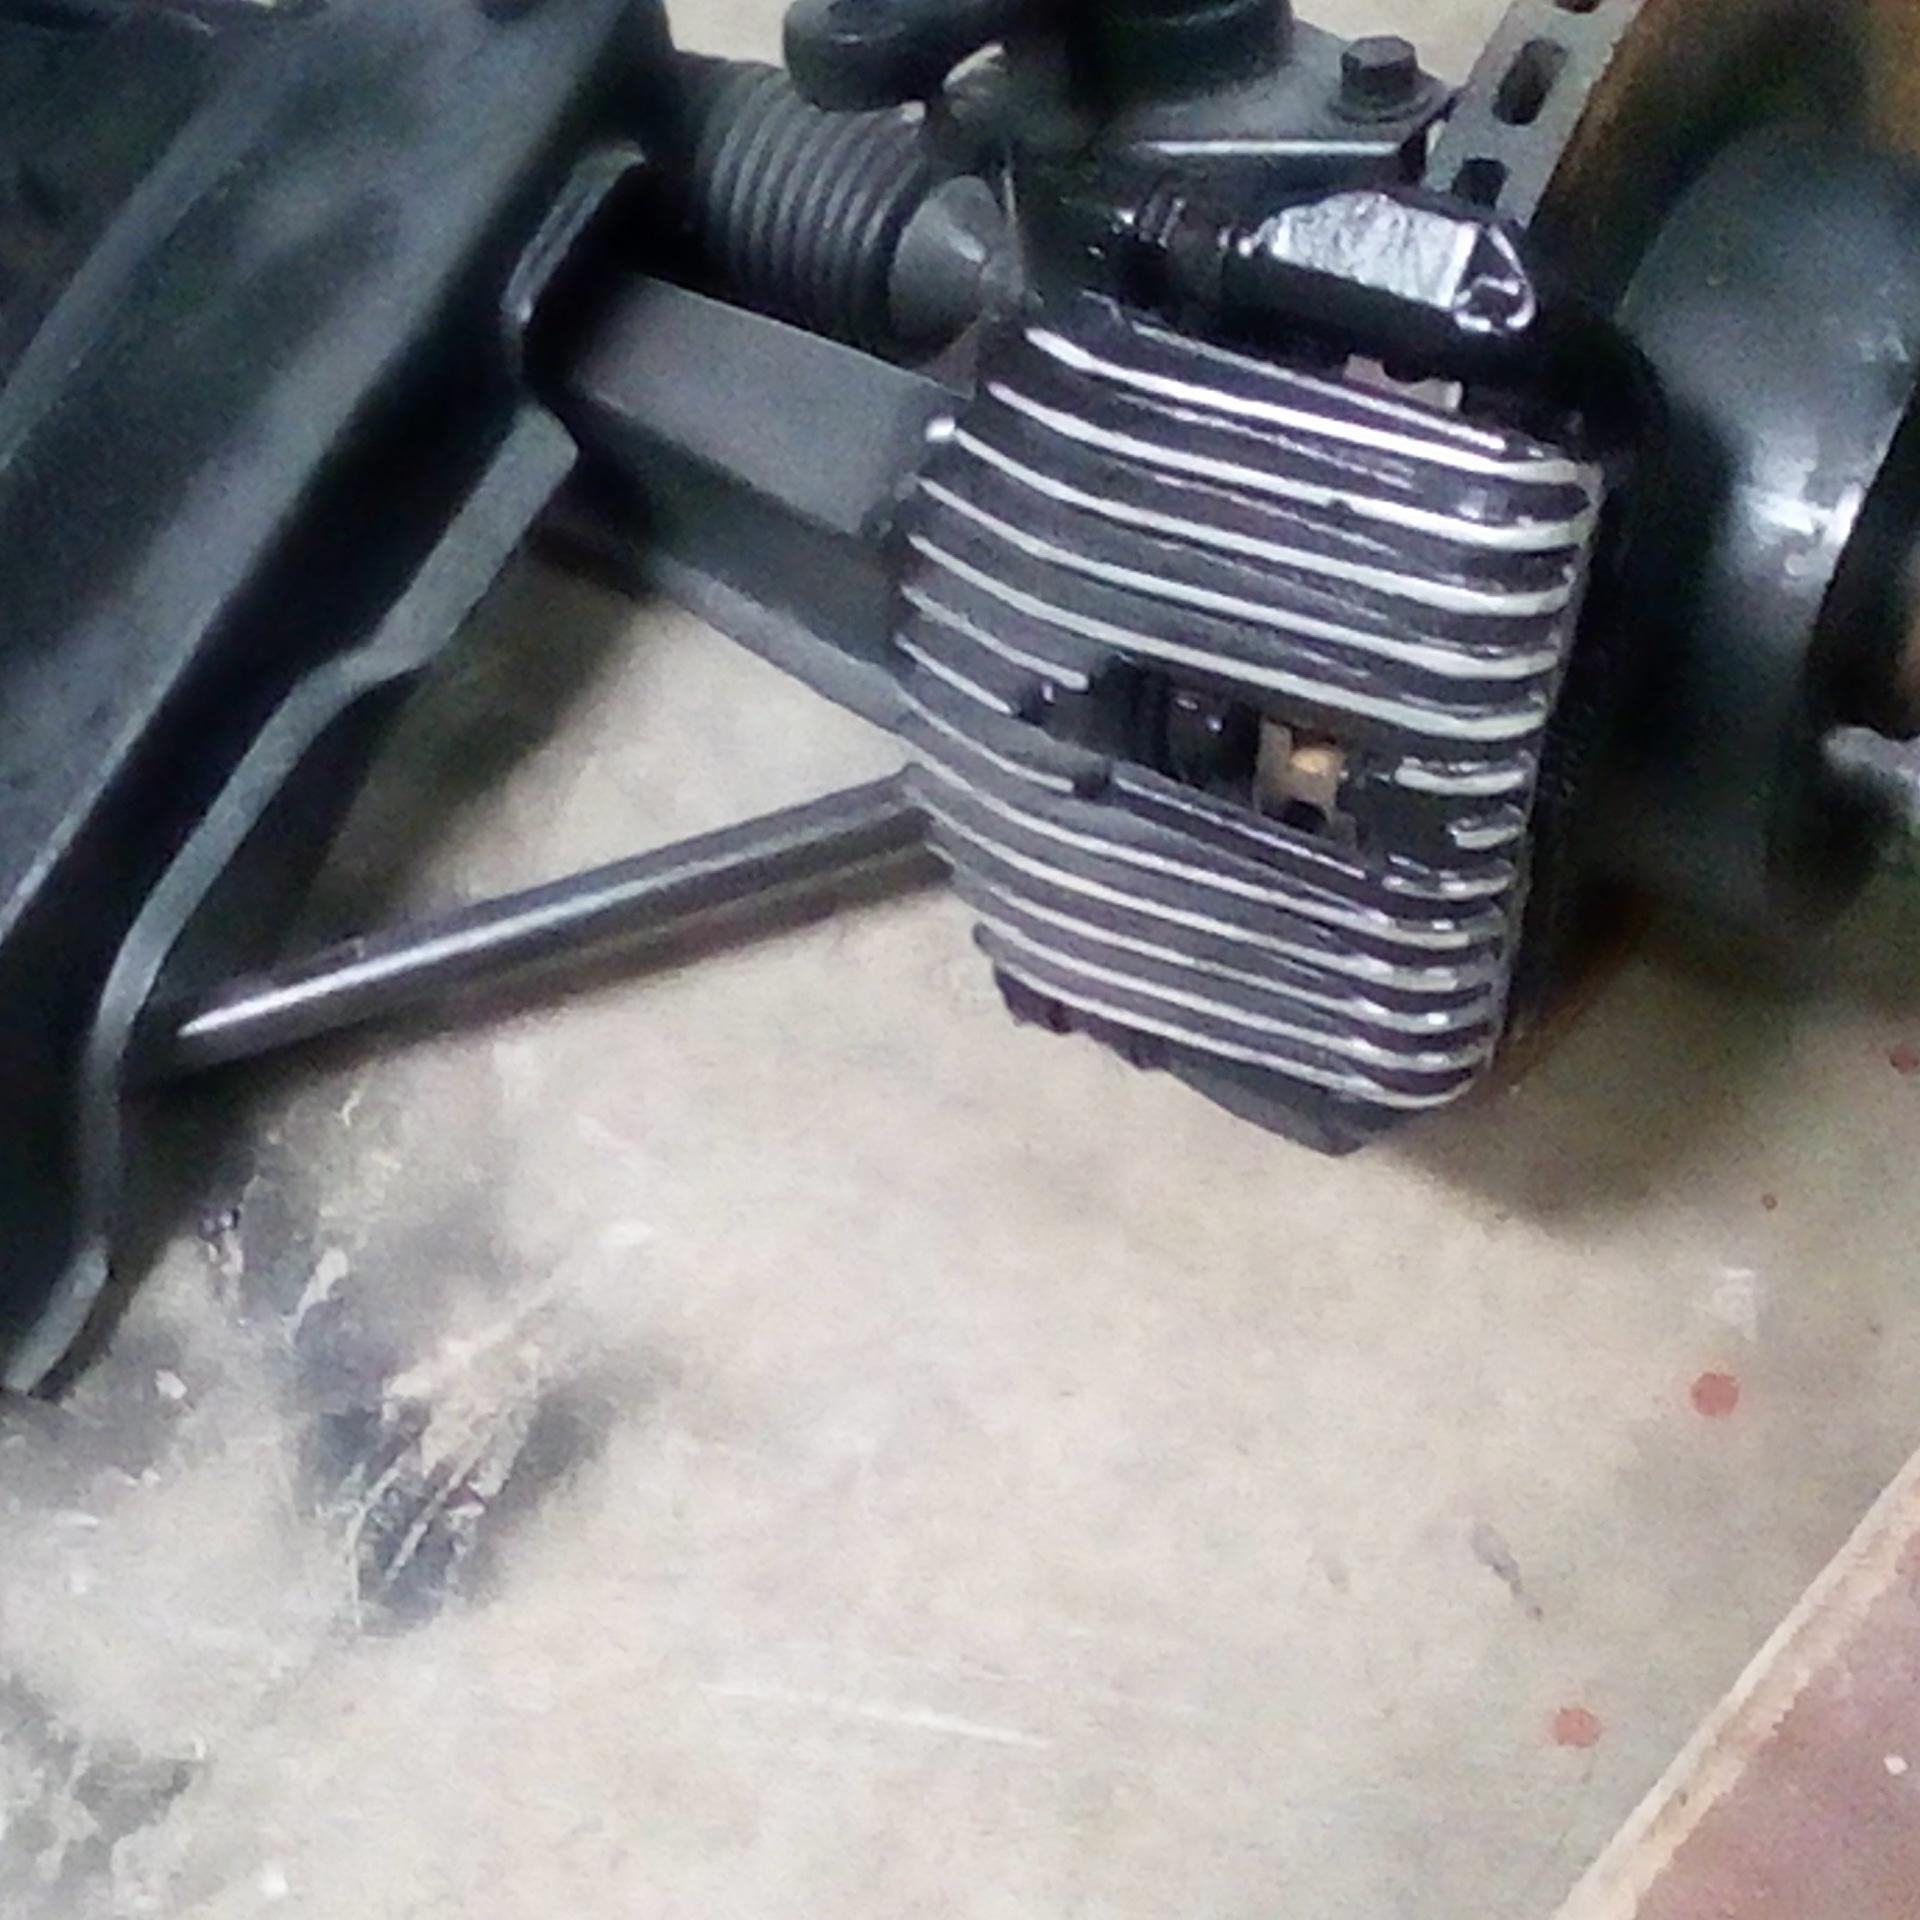
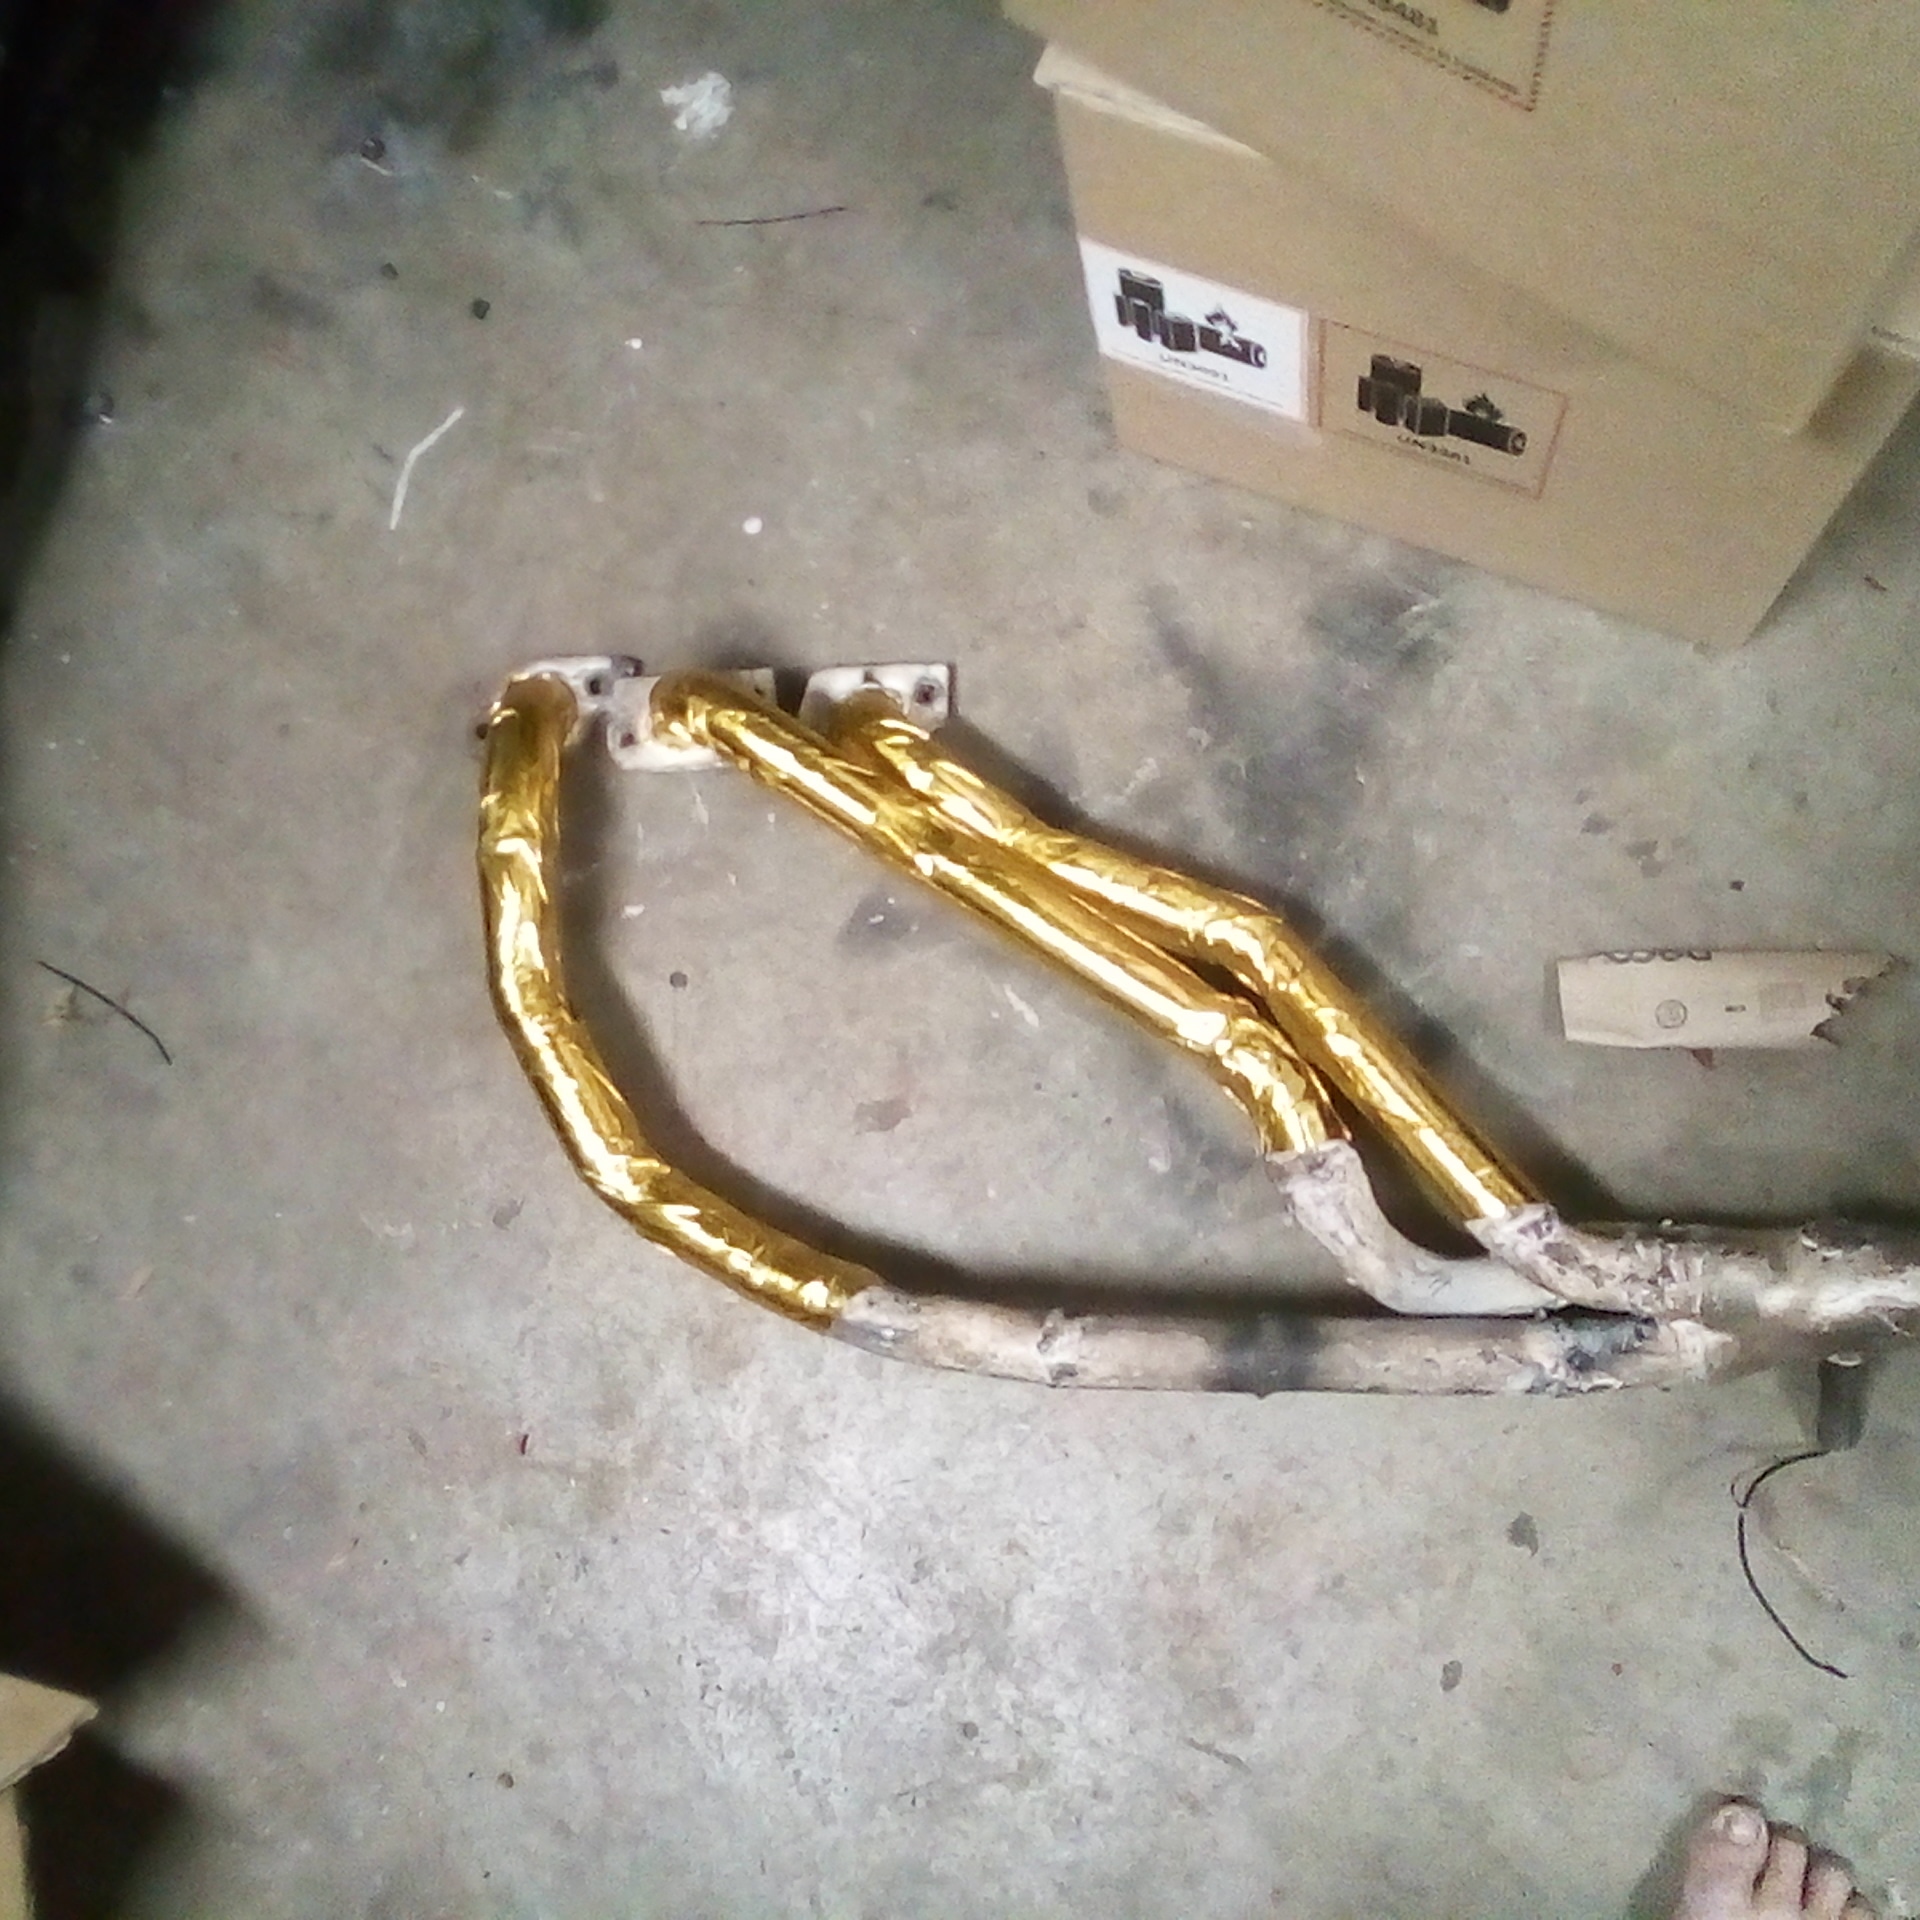
Headers on back to front
1 Like
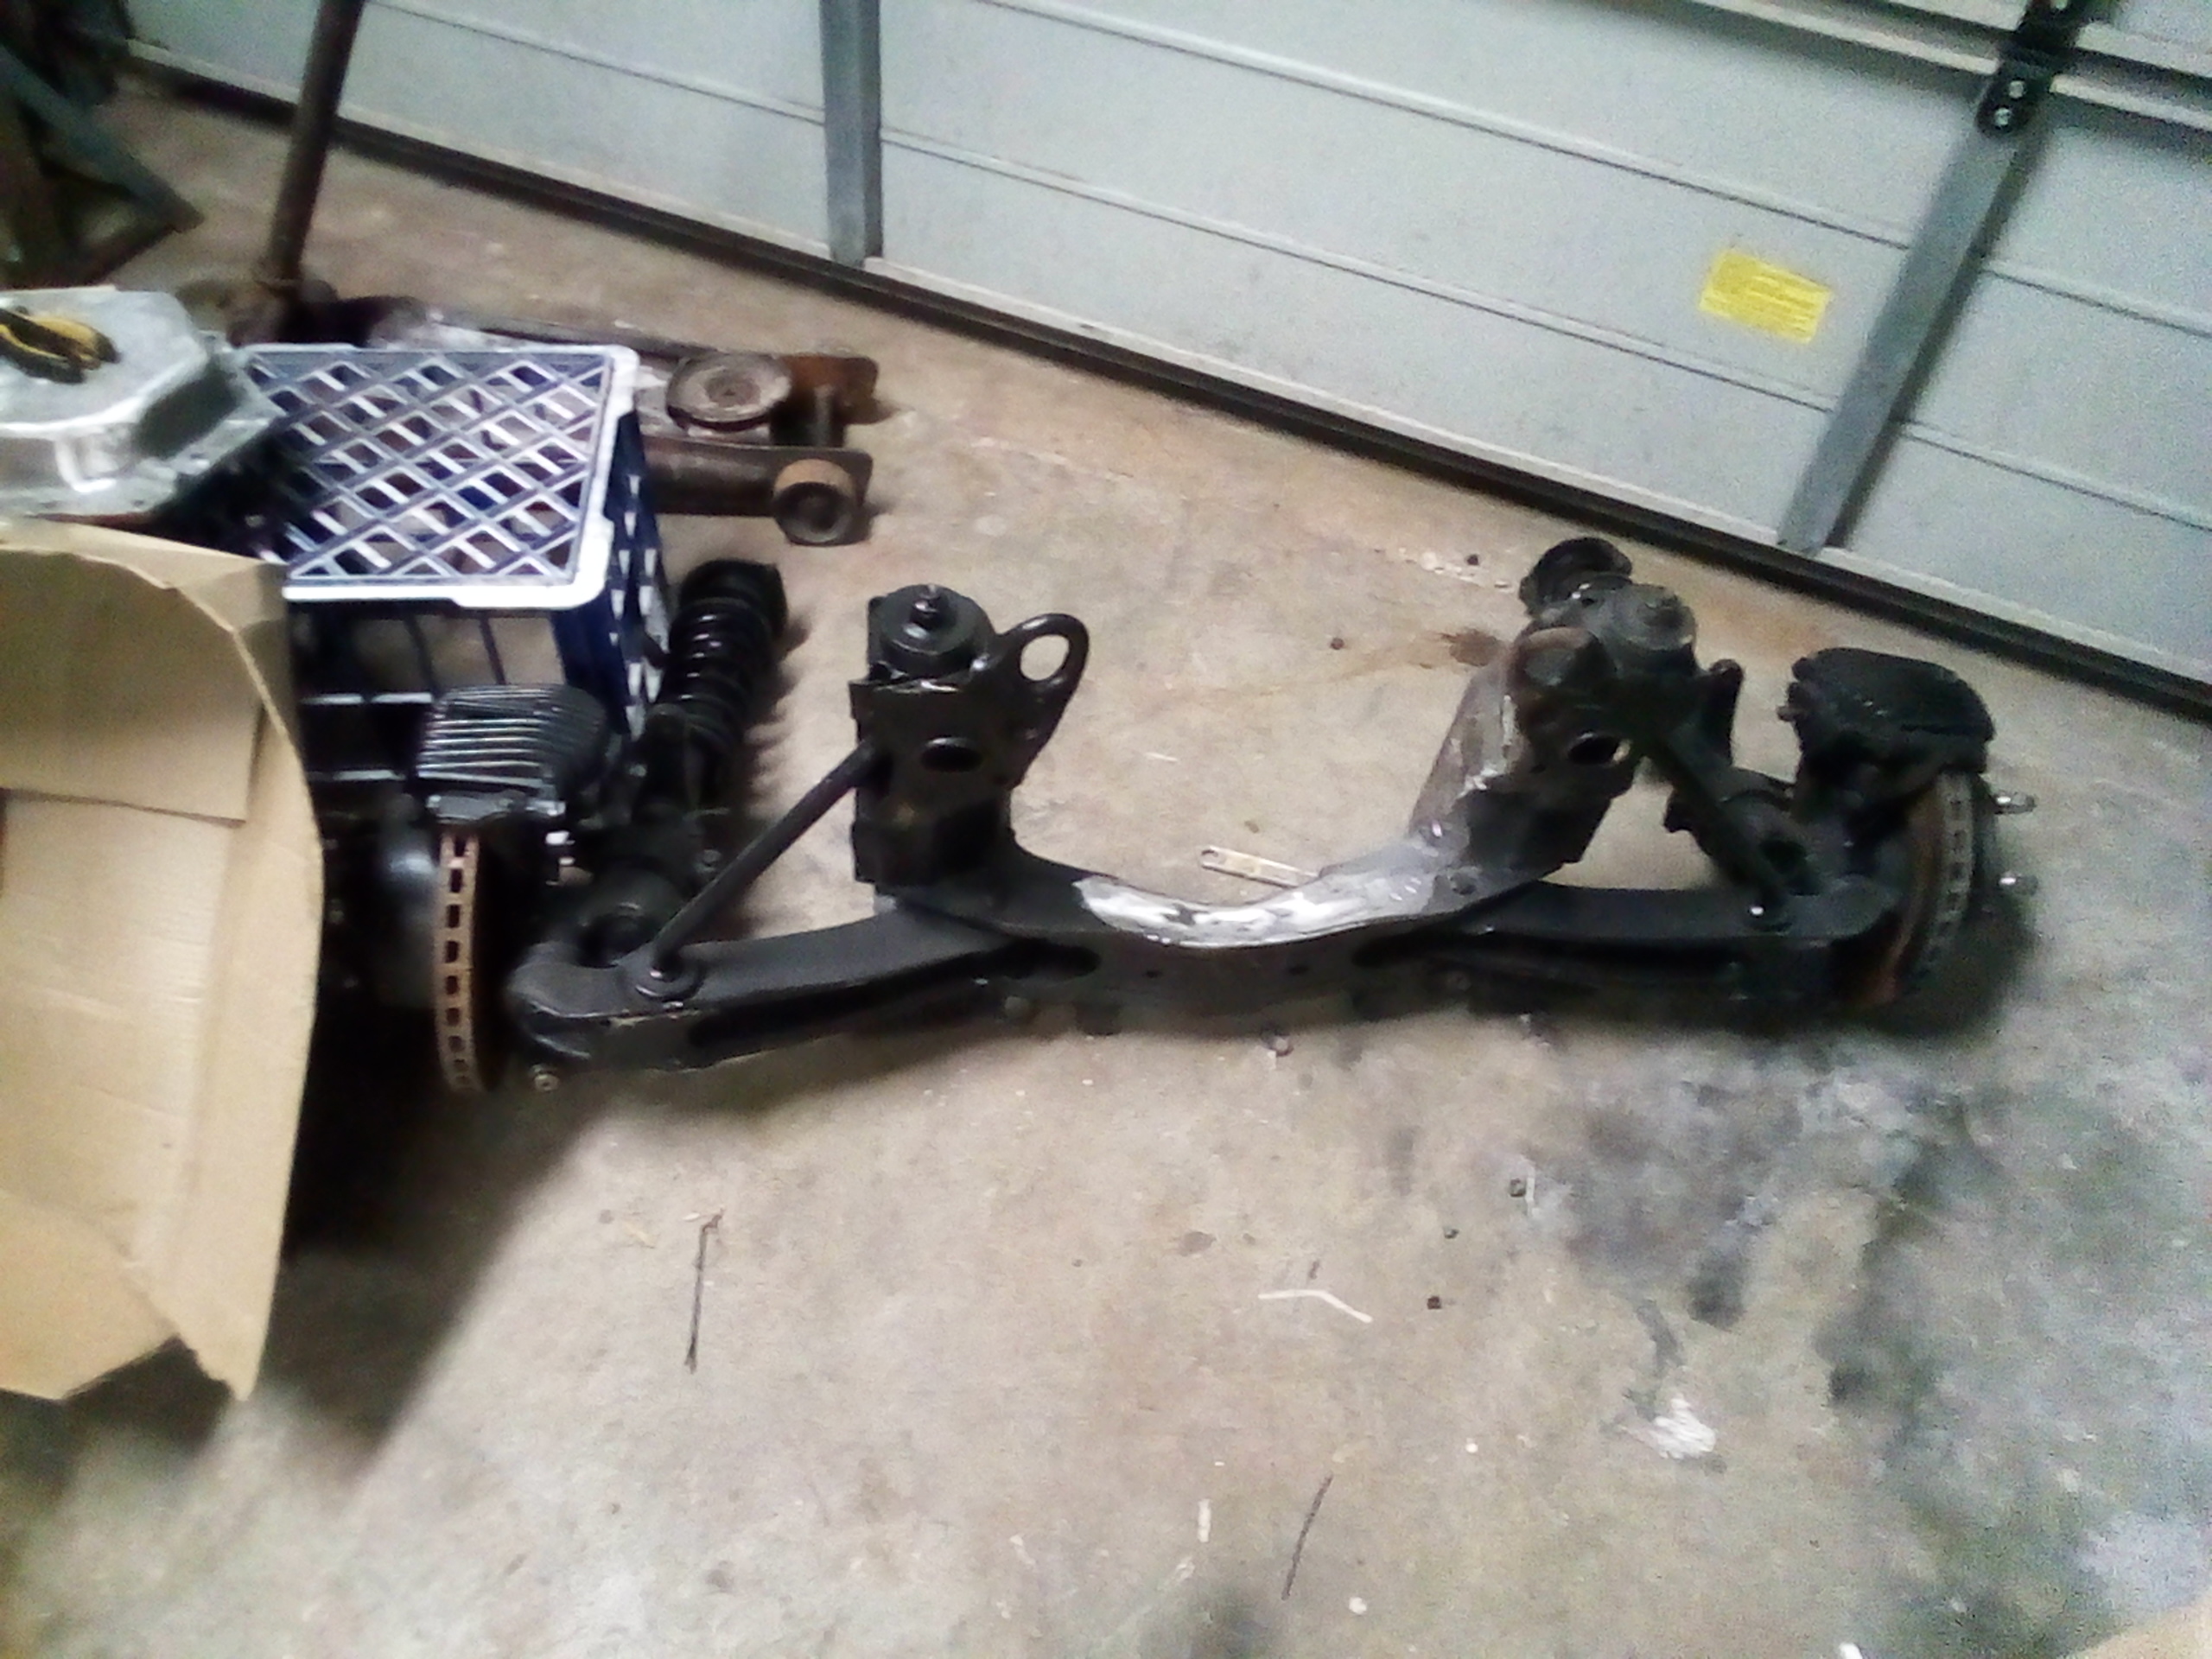
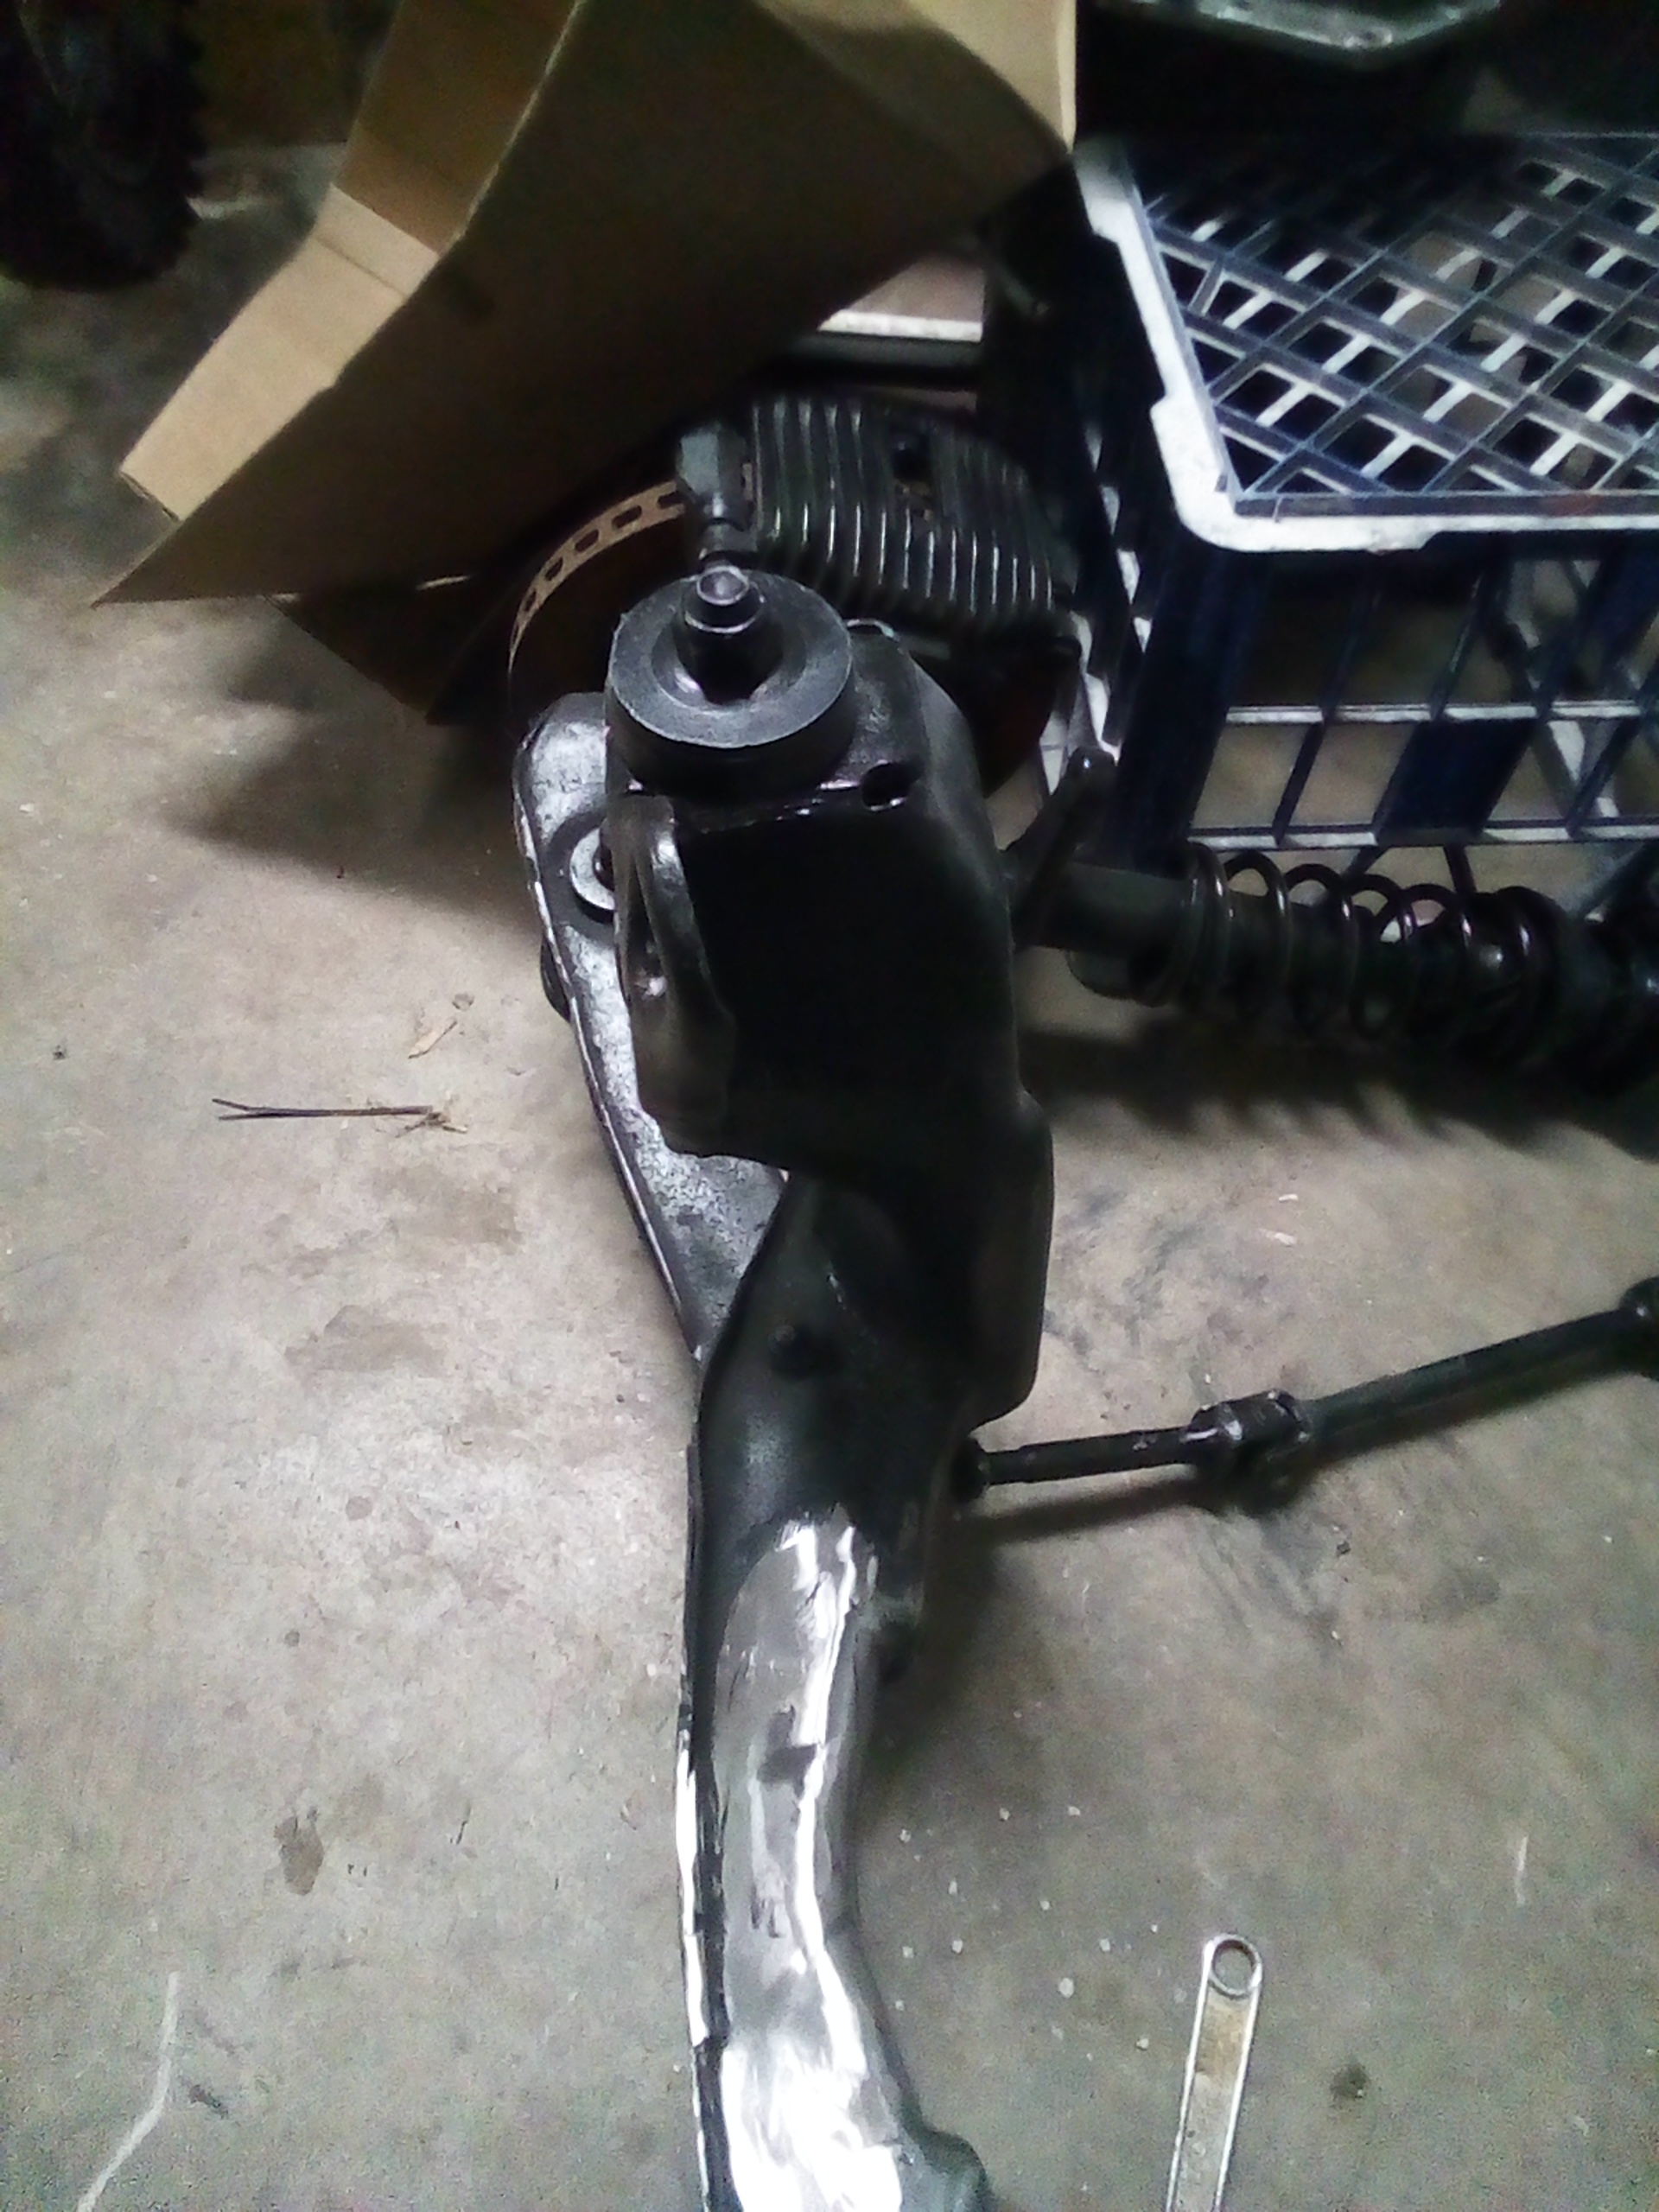
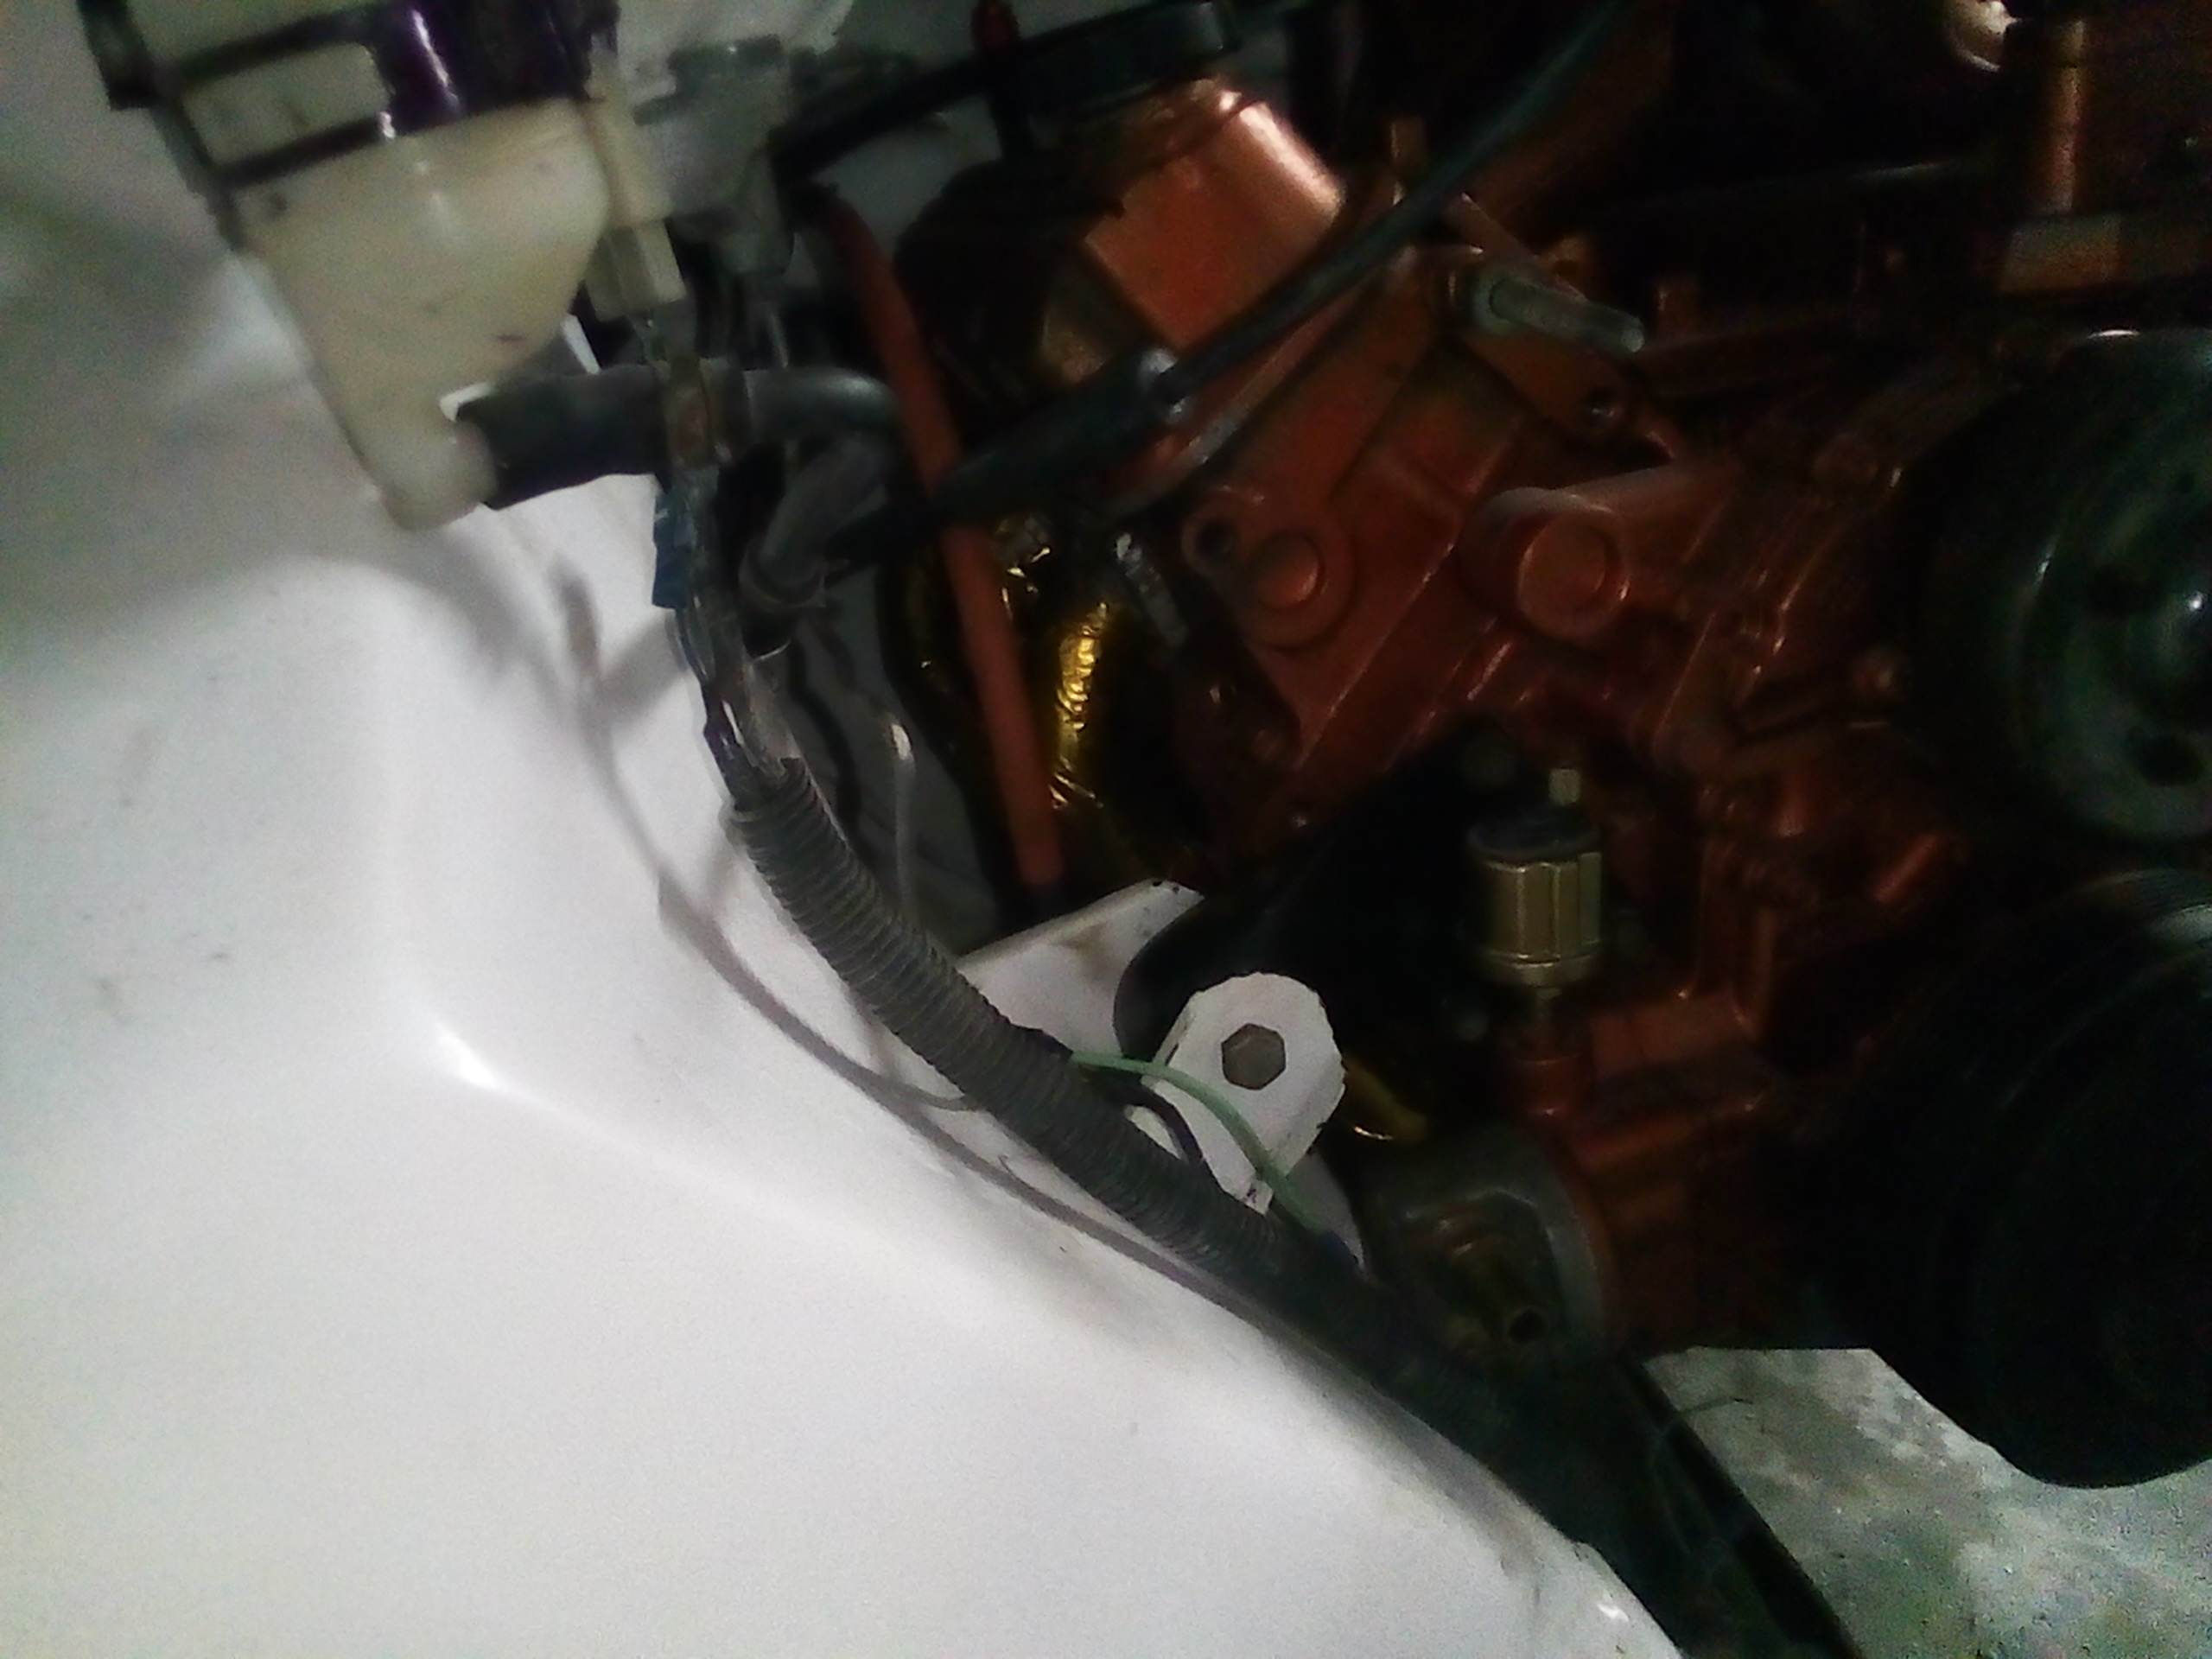
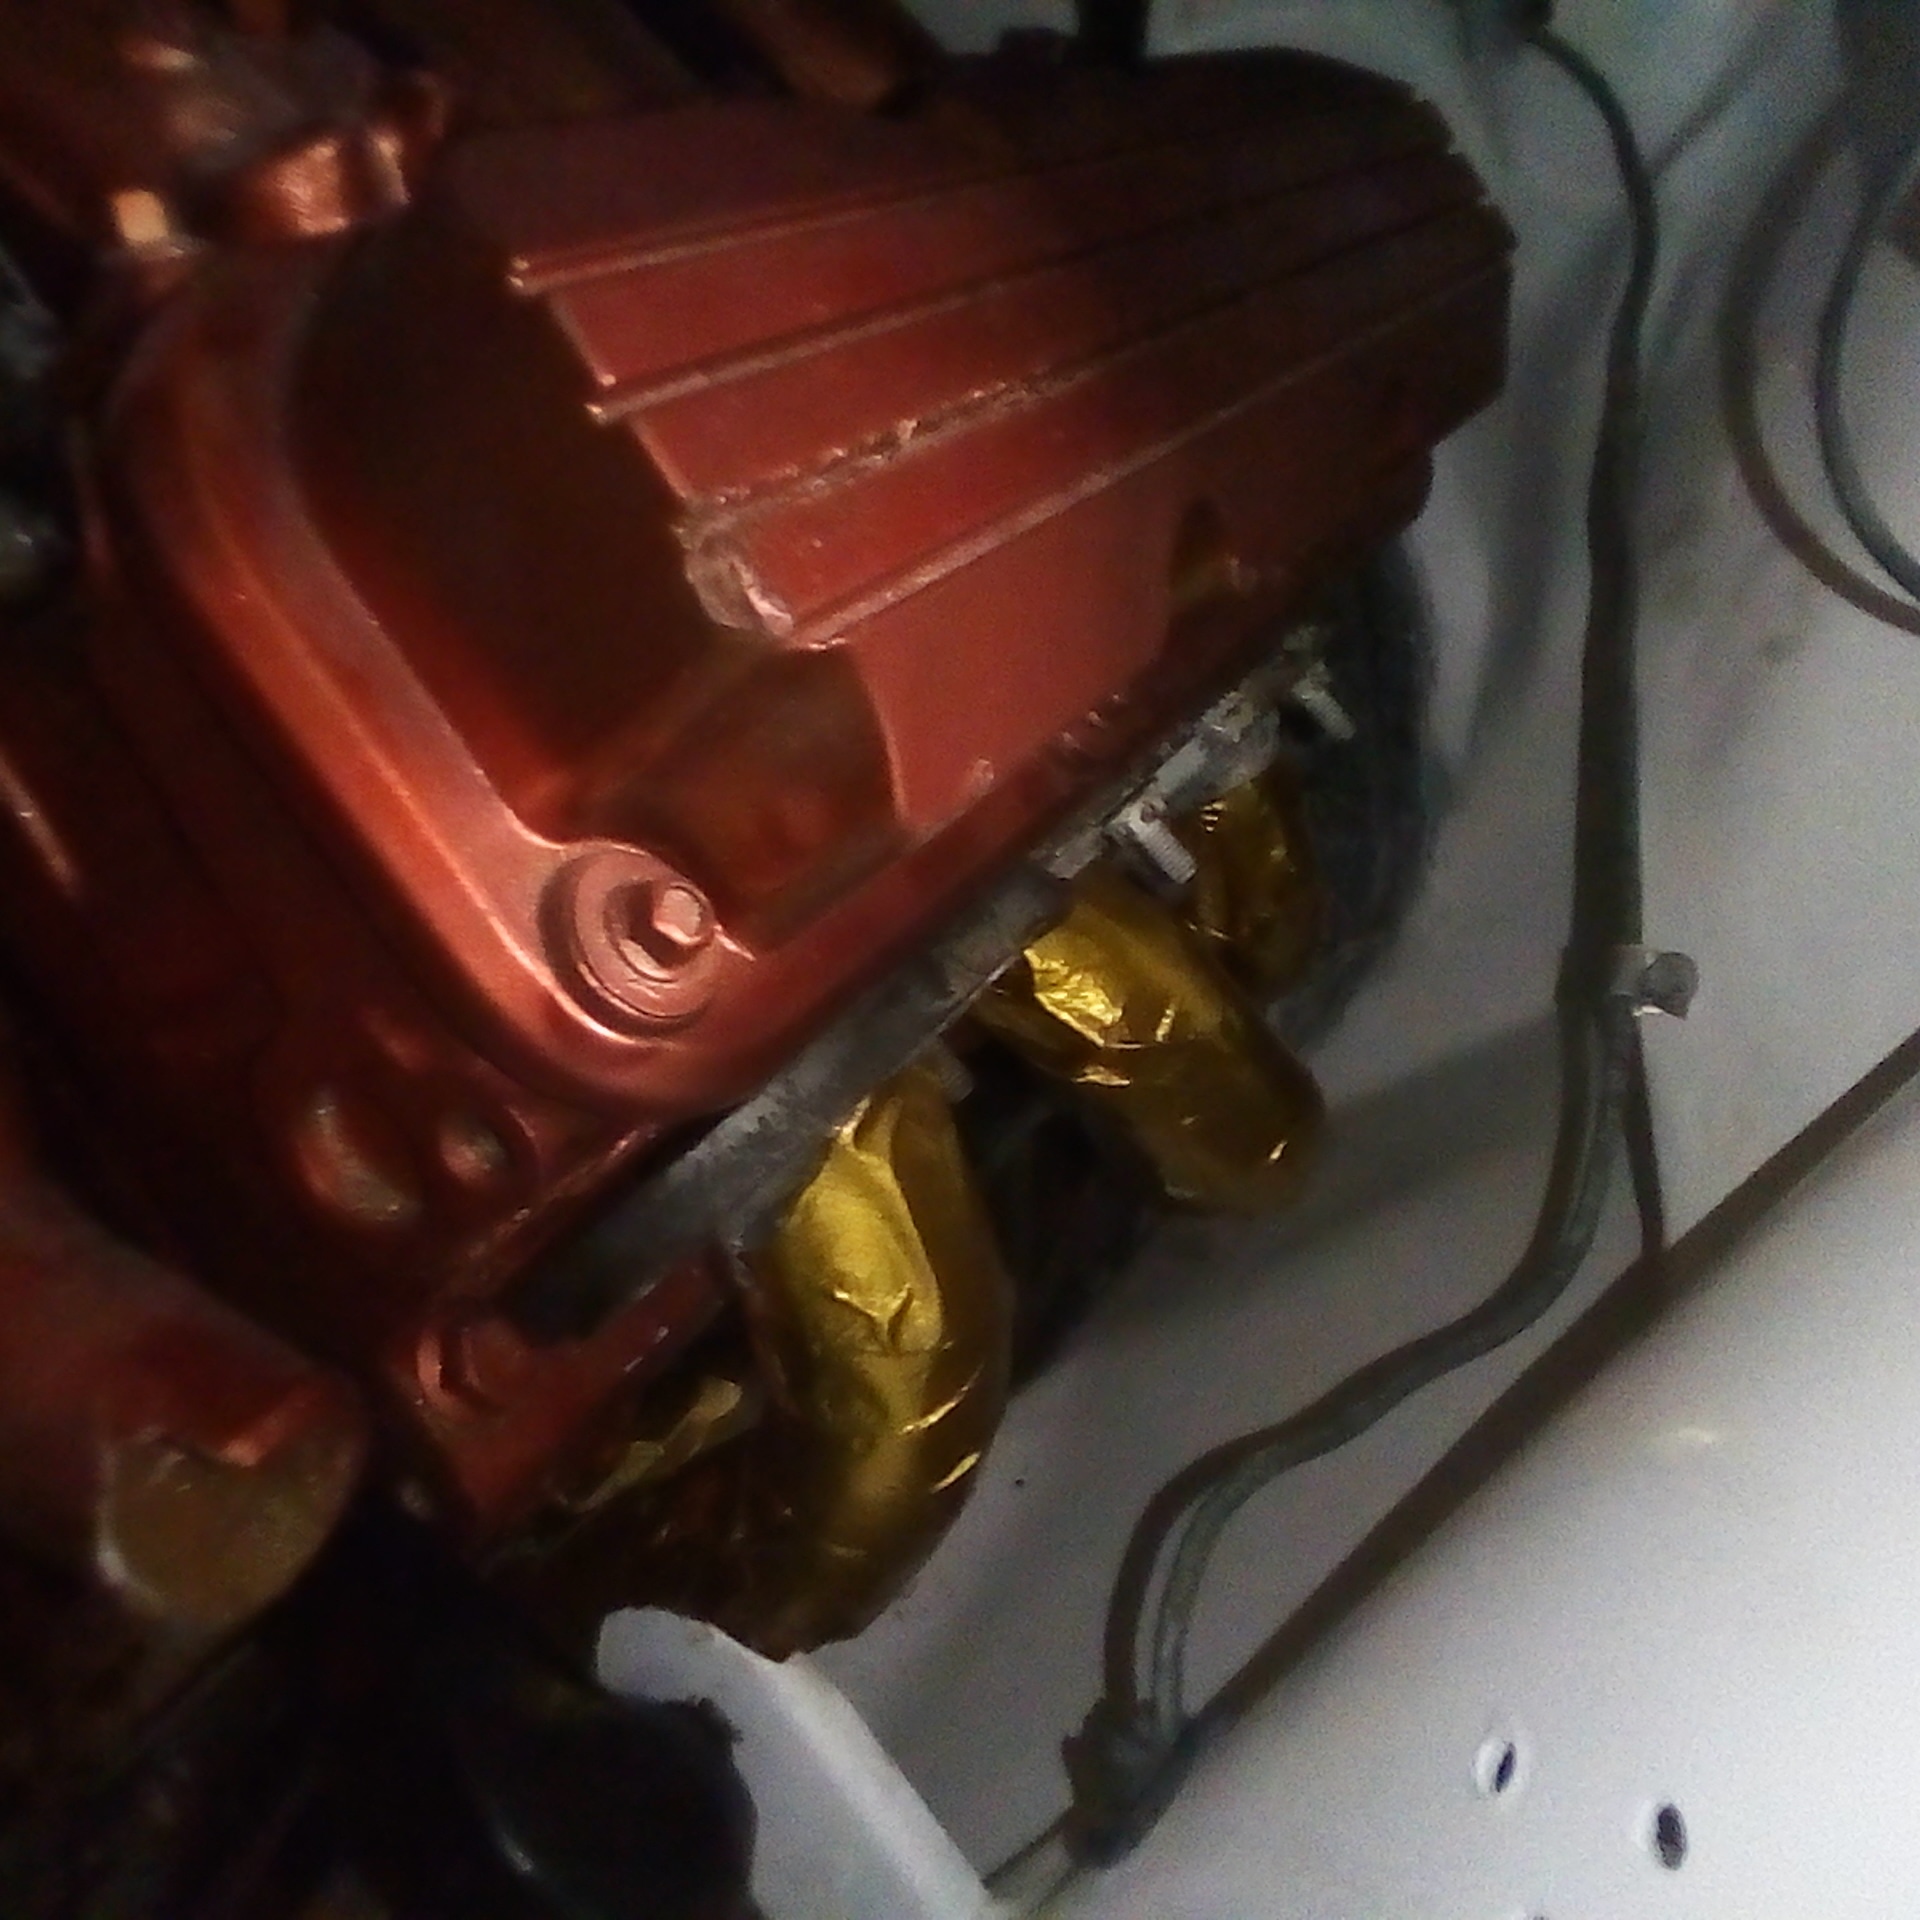
holding the engine in place 
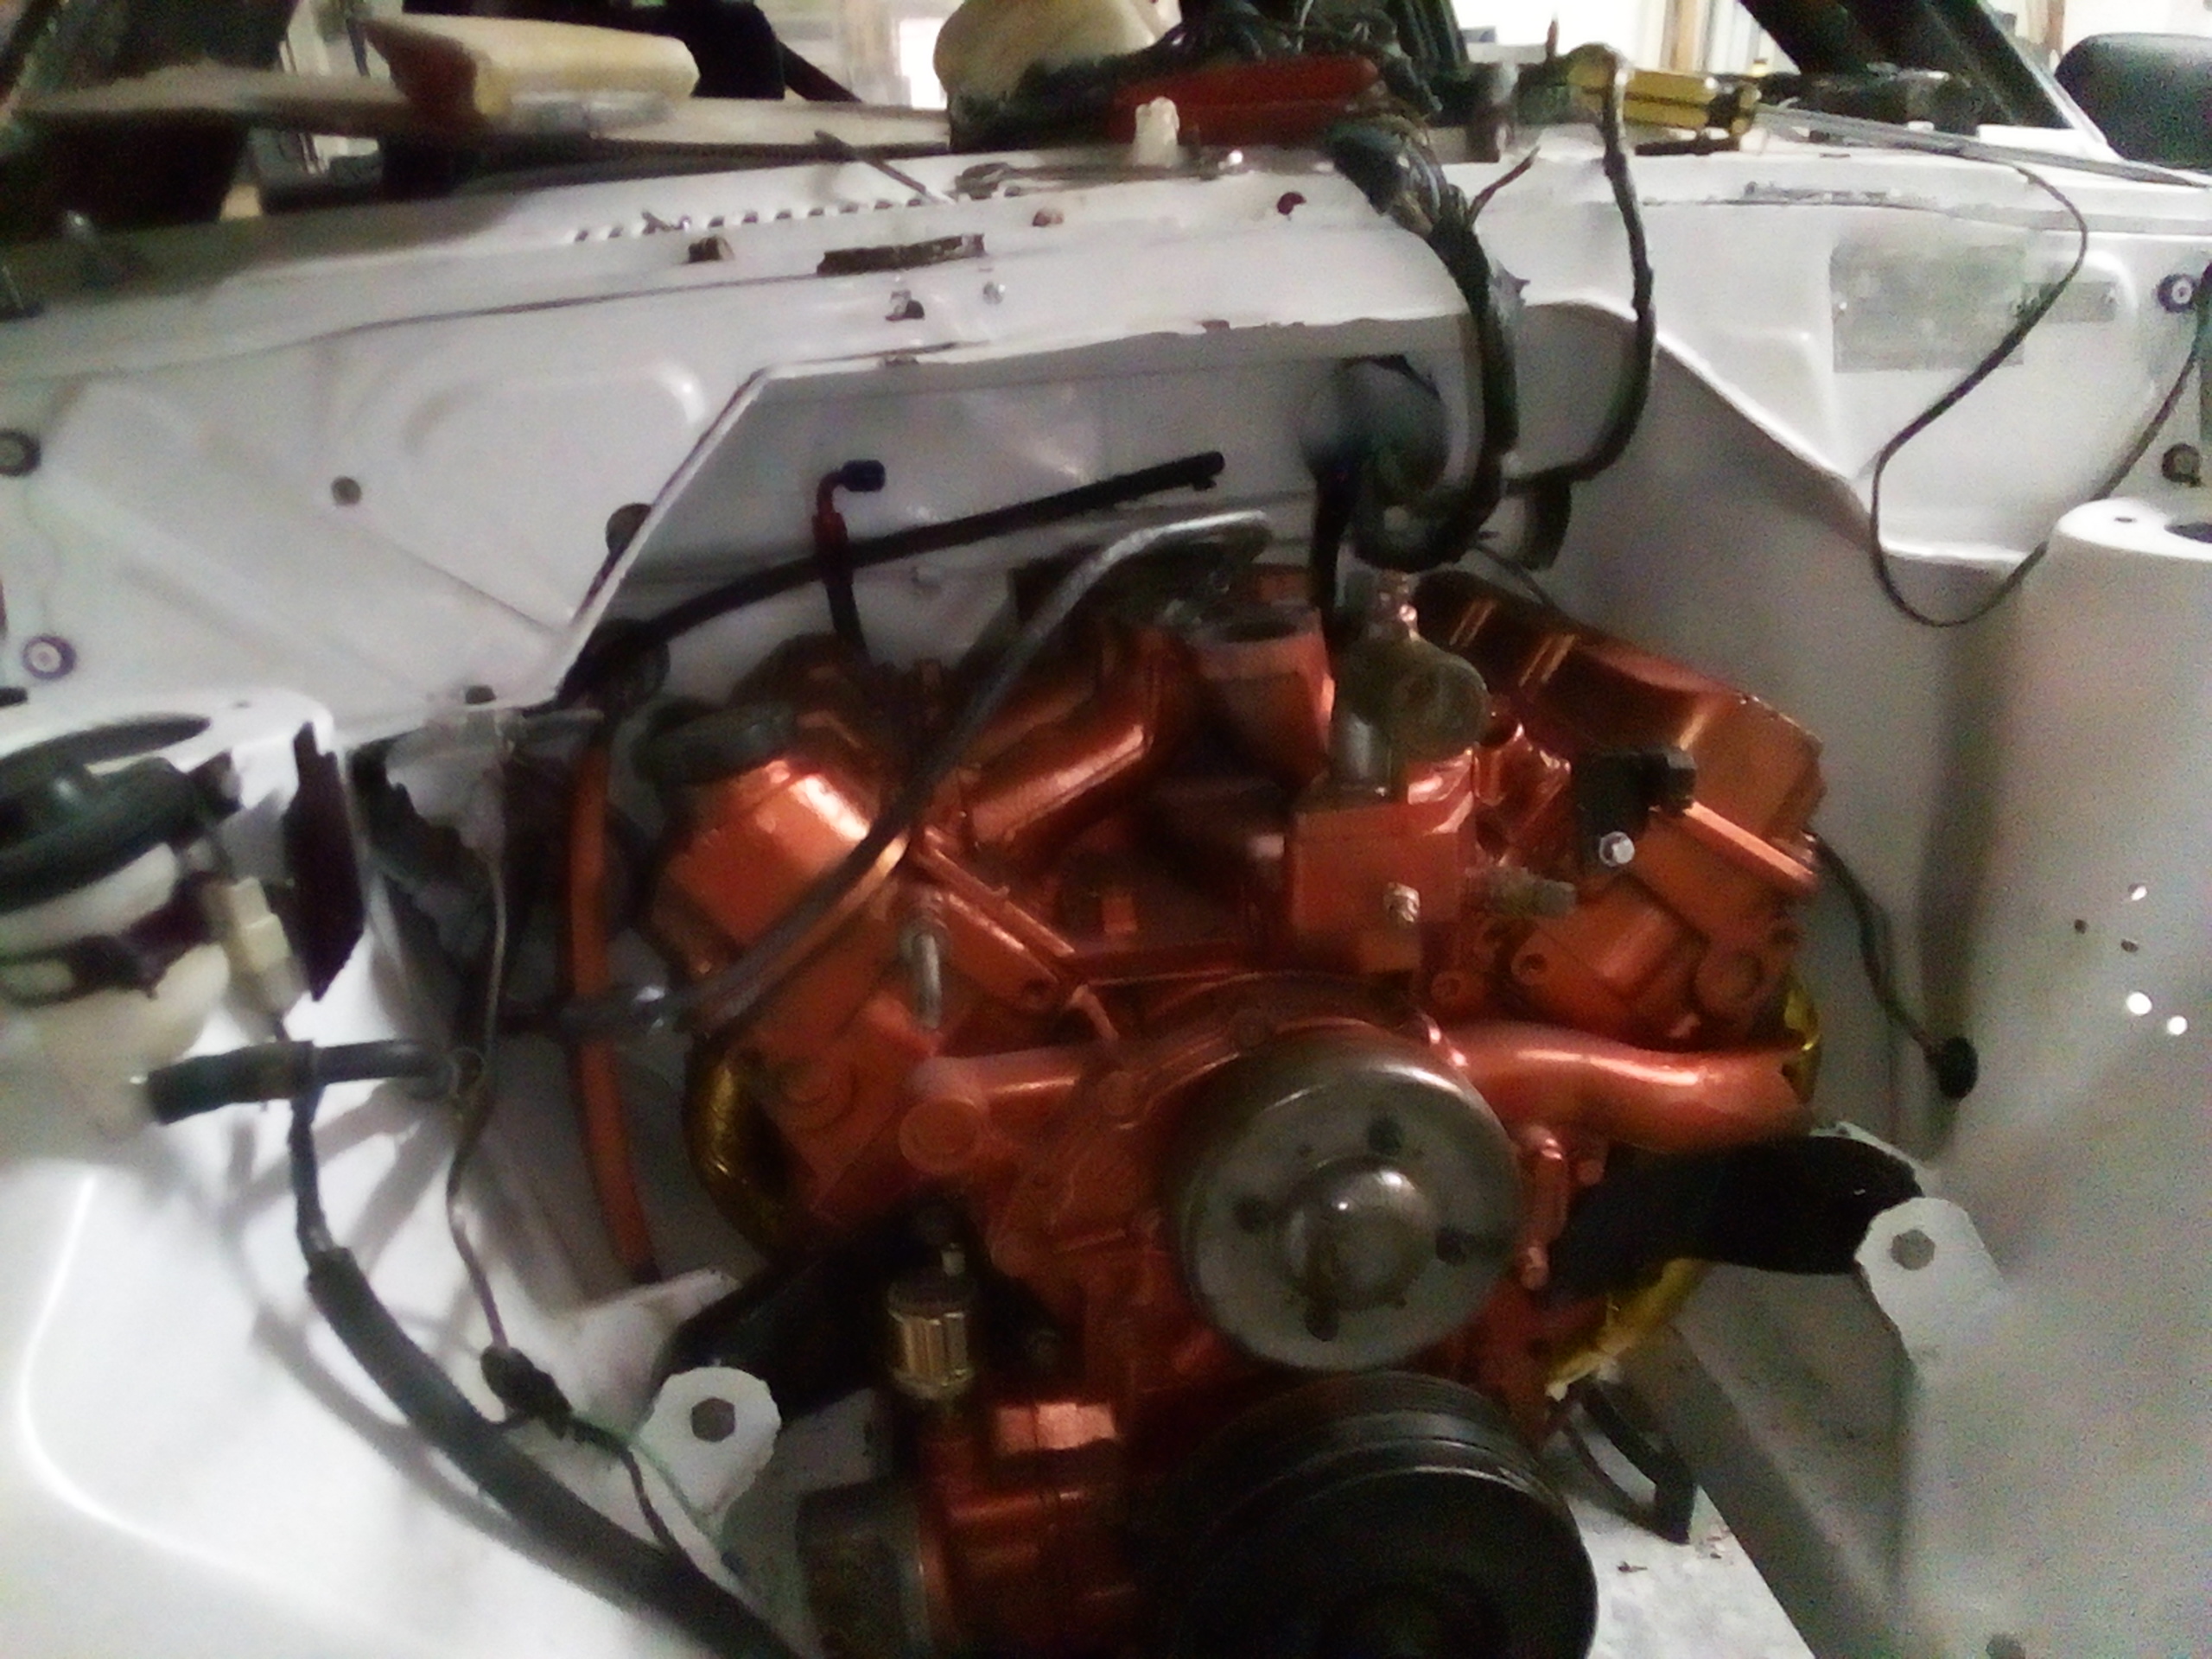
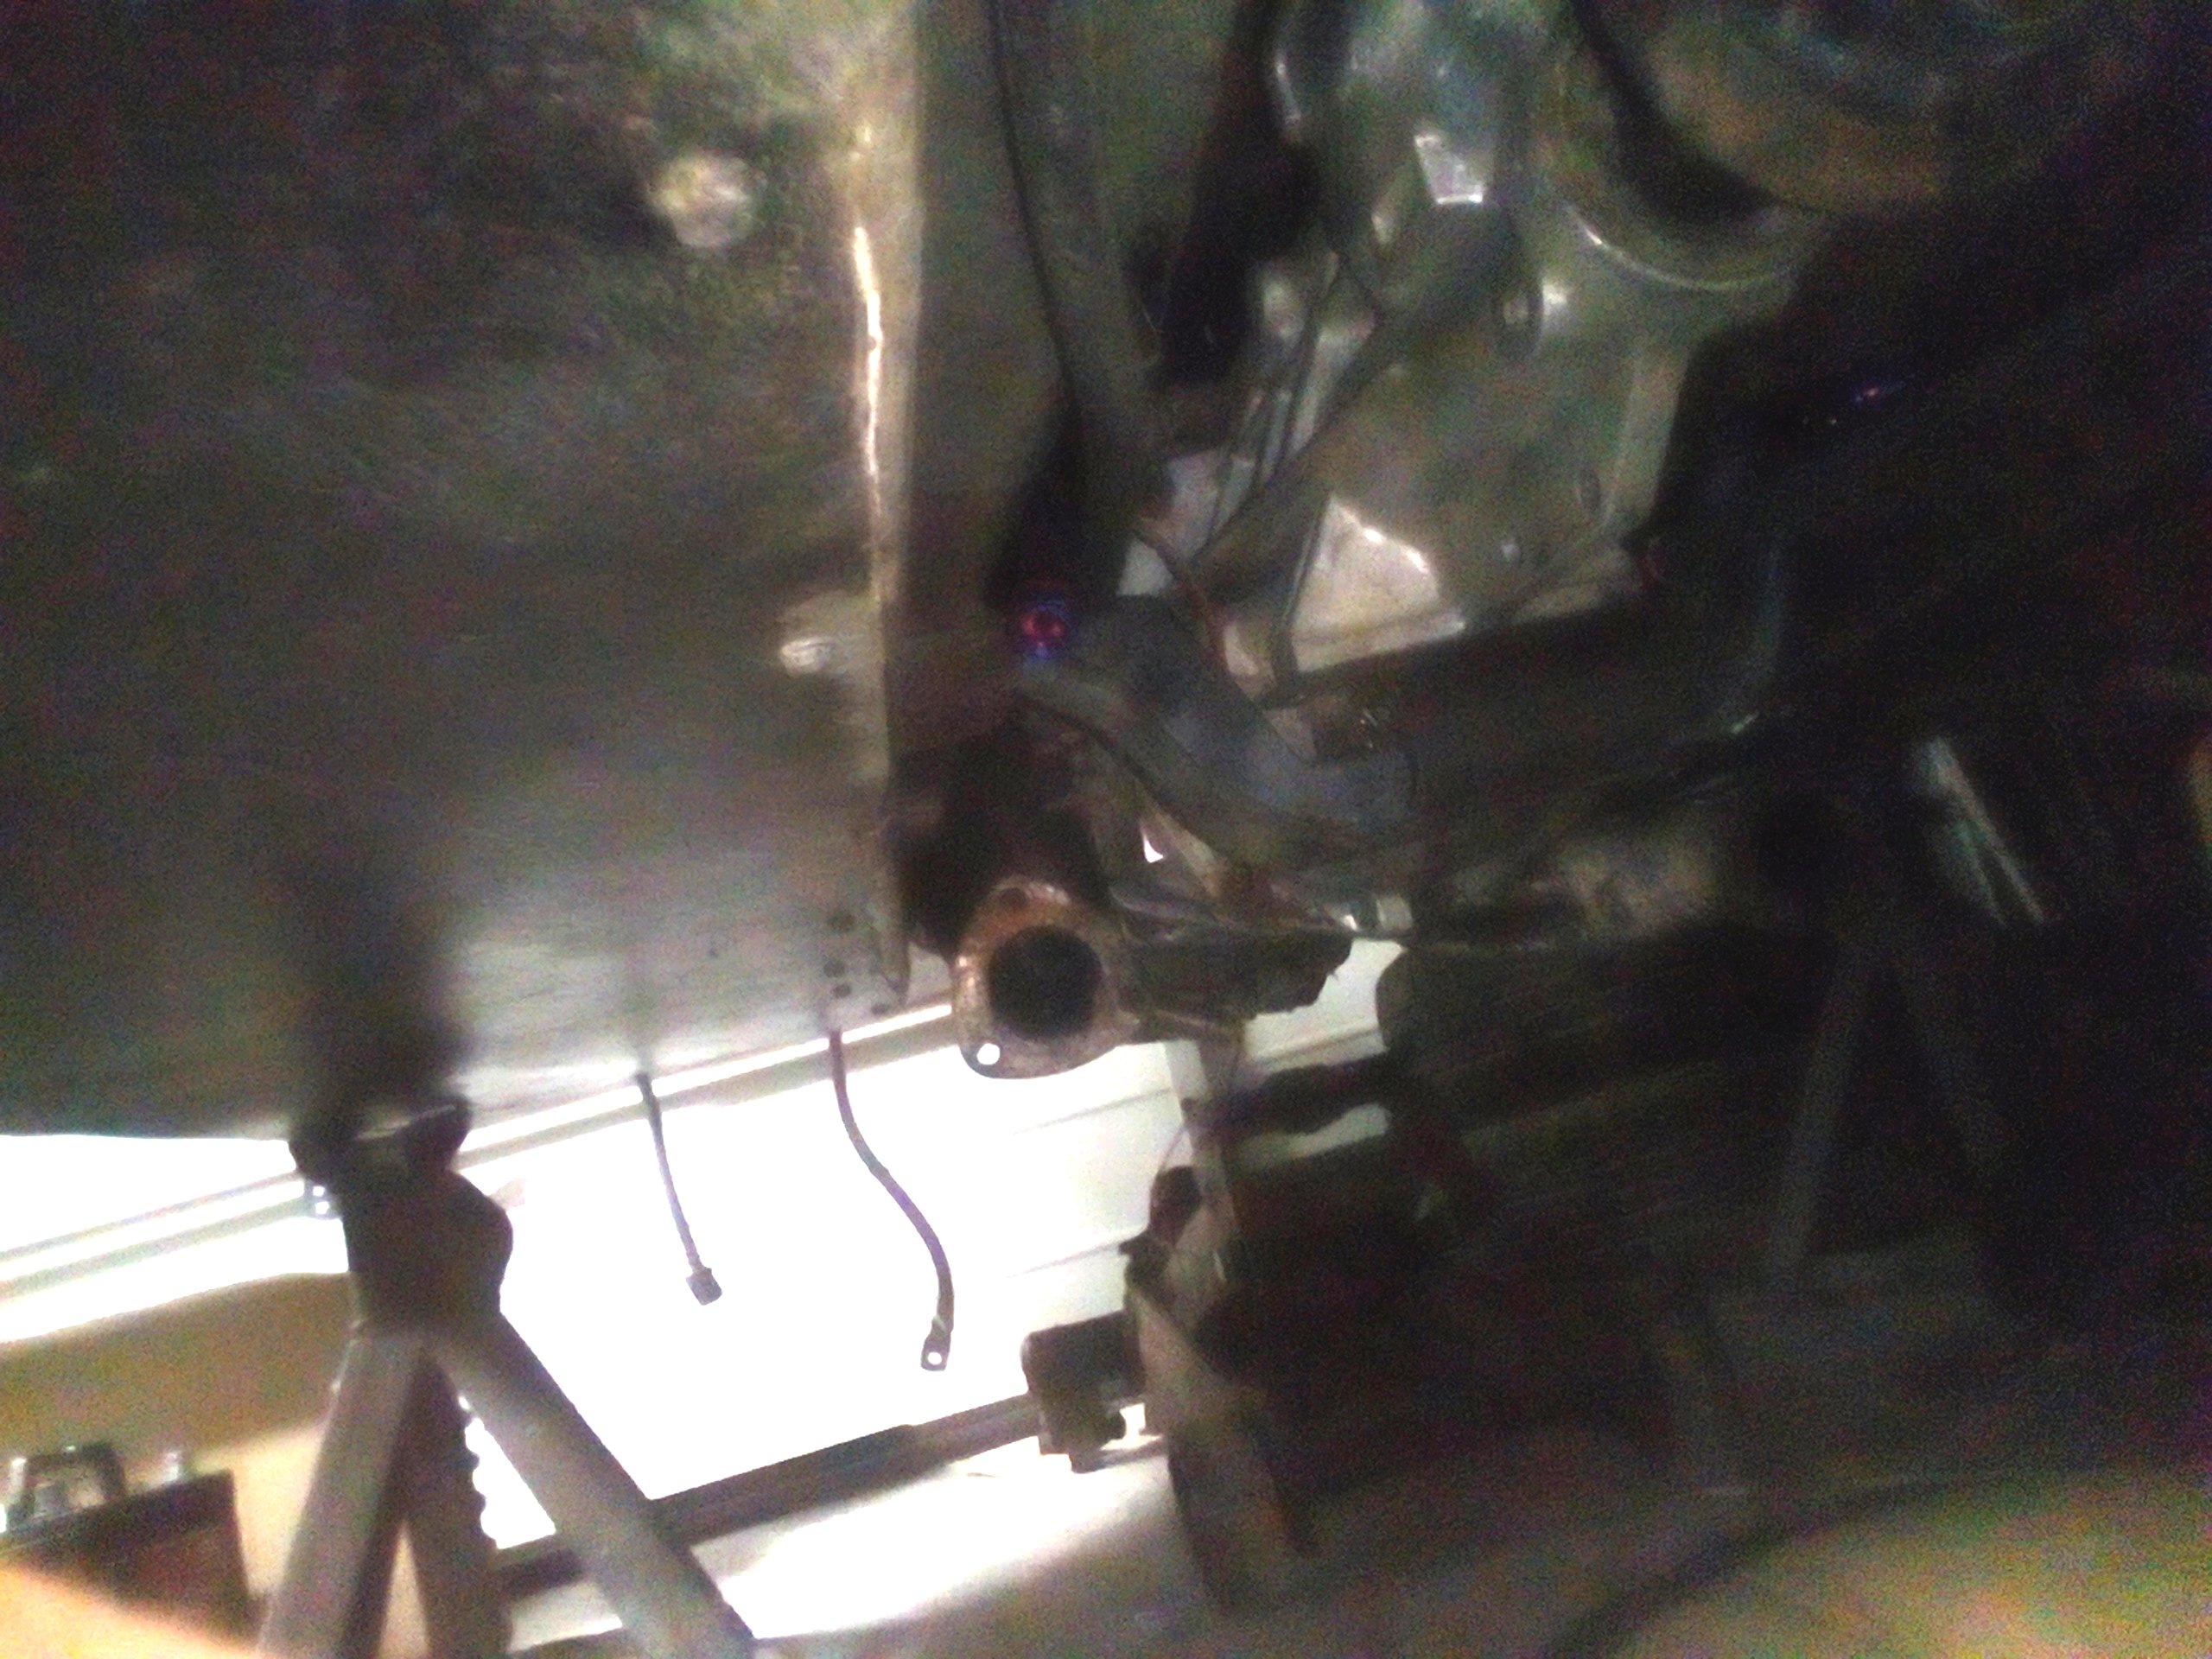
Oh, and the extractors go in with the engine in place !. With the top of the injection off I have the room to jack the engine up and take the engine mount off giving me the room to slide the pipes in !. I was amazed they went in so easily.
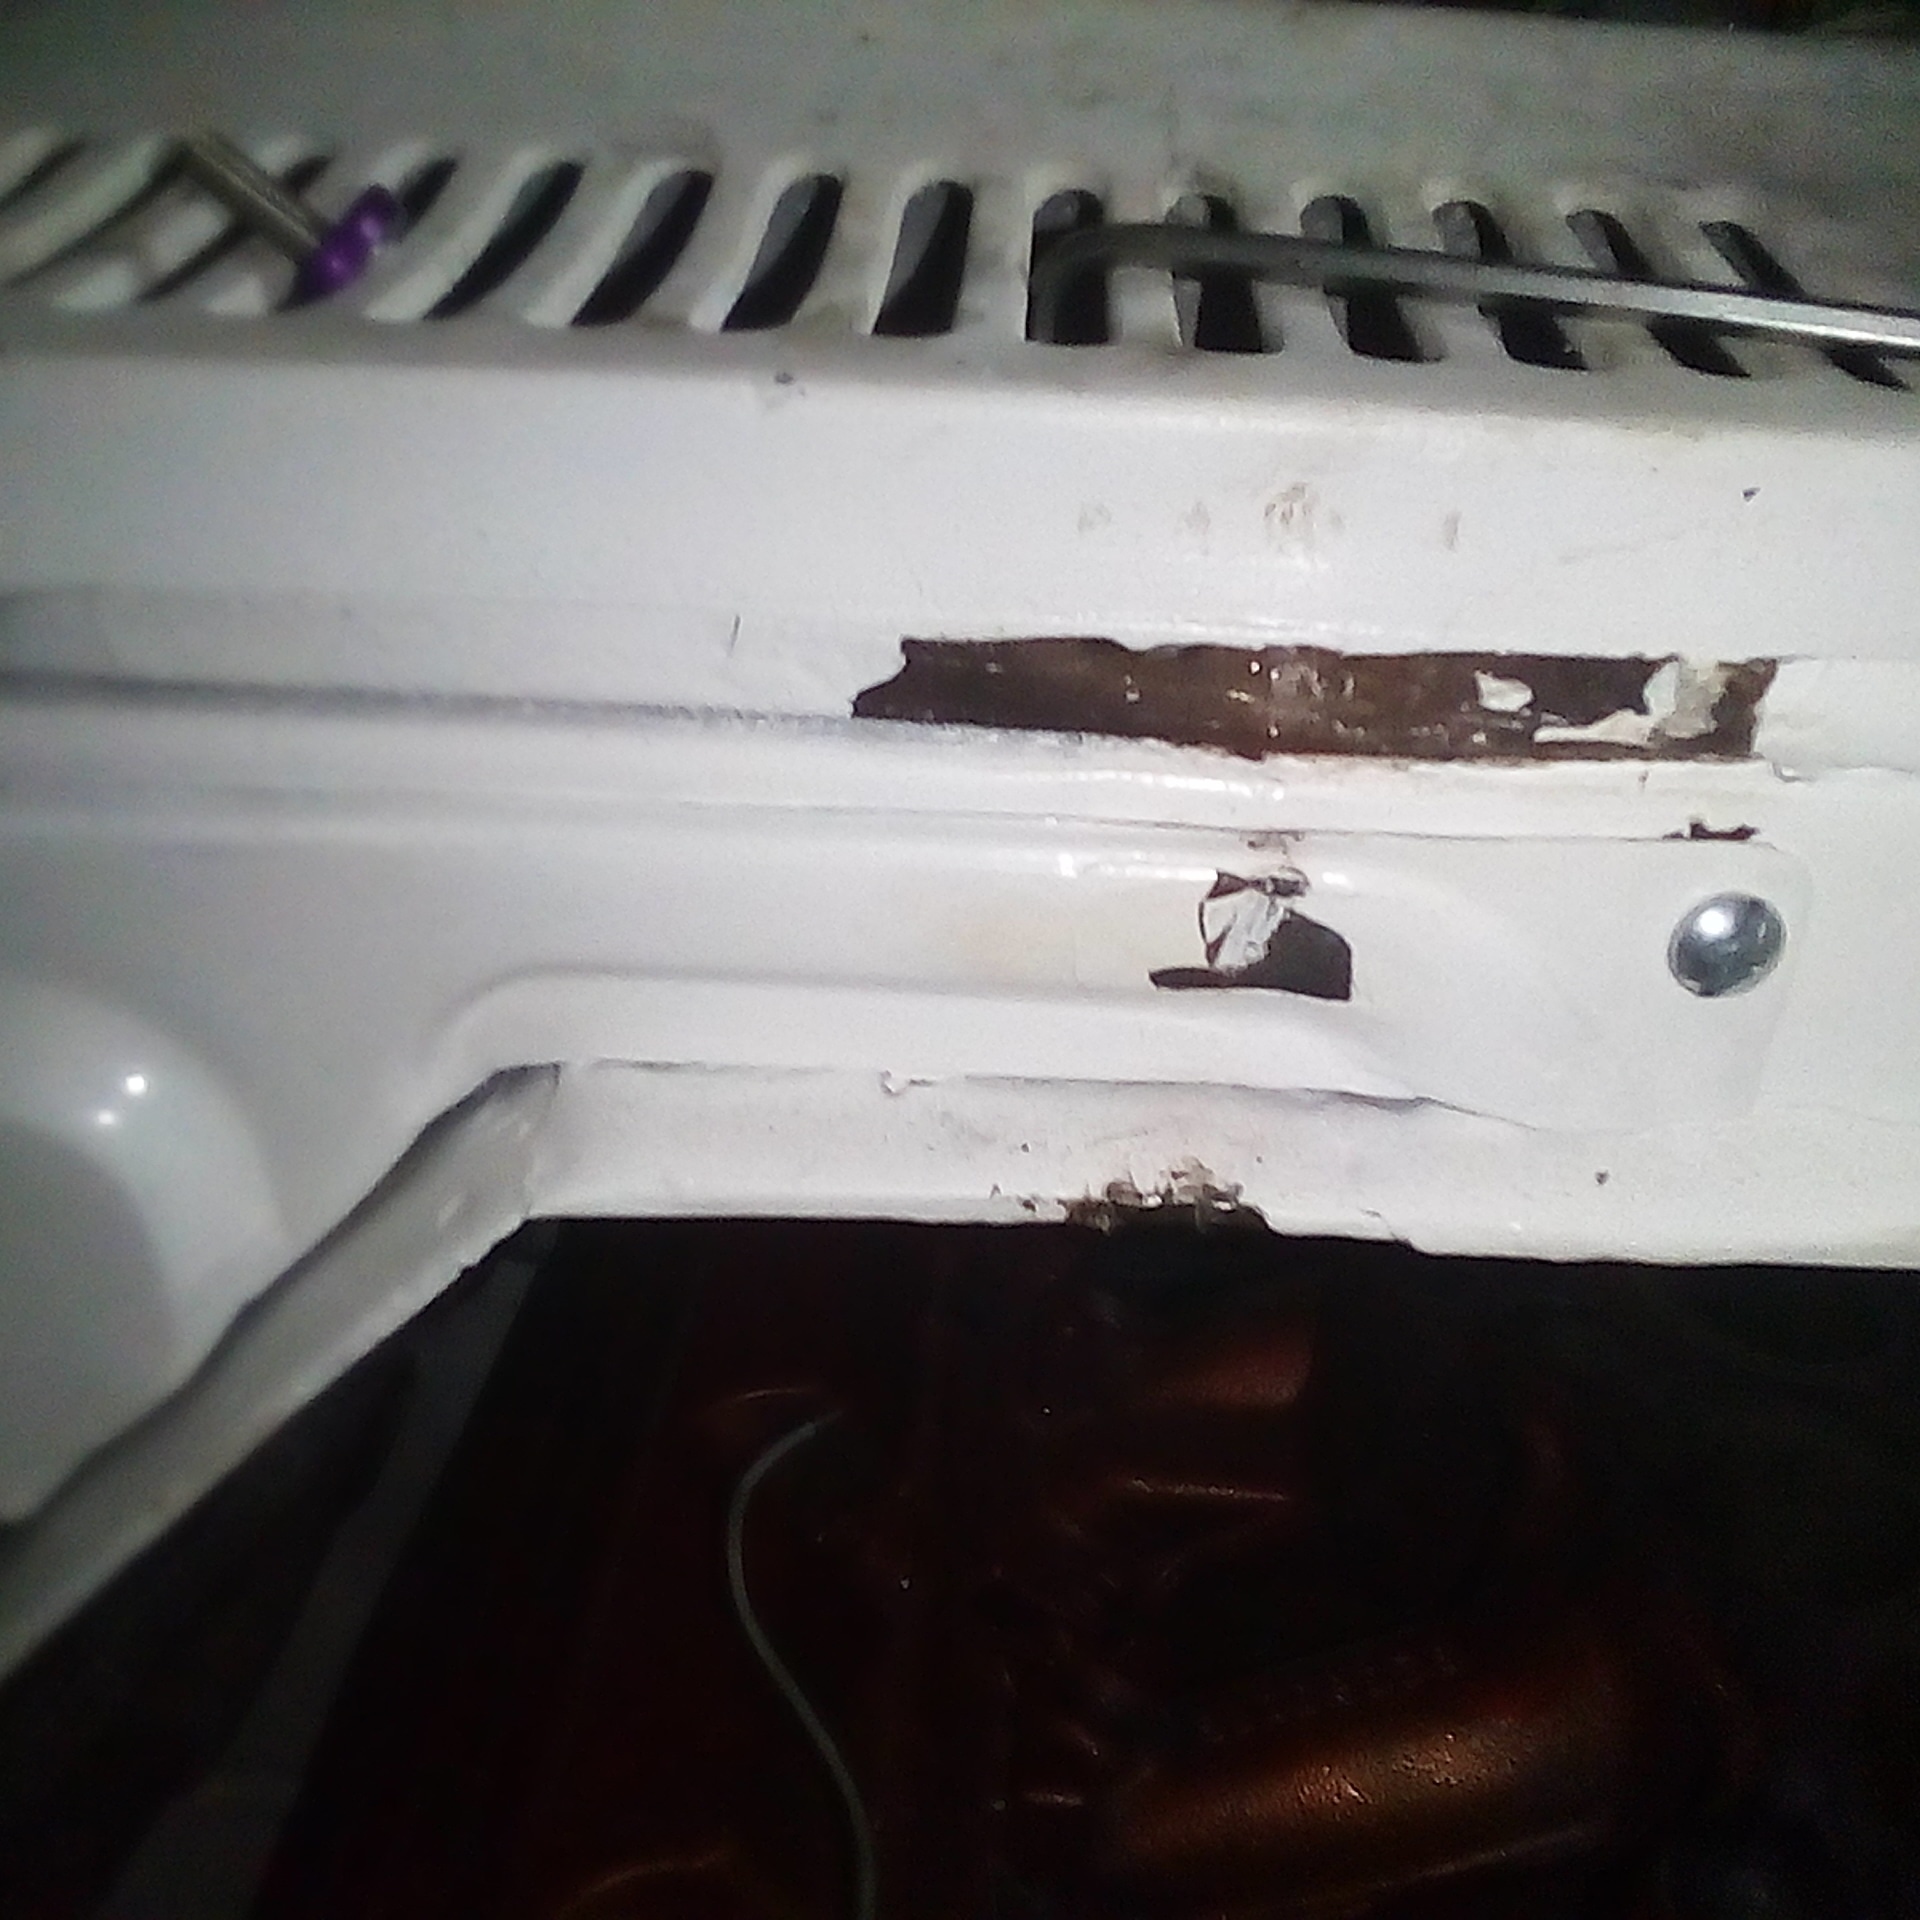
And I only scratched a couple of spots getting it in. The big one near the wiper motor cover was the alternator I had on there.
Should have taken that off before I tried to get it in
3 Likes
do you have any pics of the inside of the car as in how it has effected the trans tunnel section in regards to seating and the dash etc? Just really wondering how much more squishy it is in there.
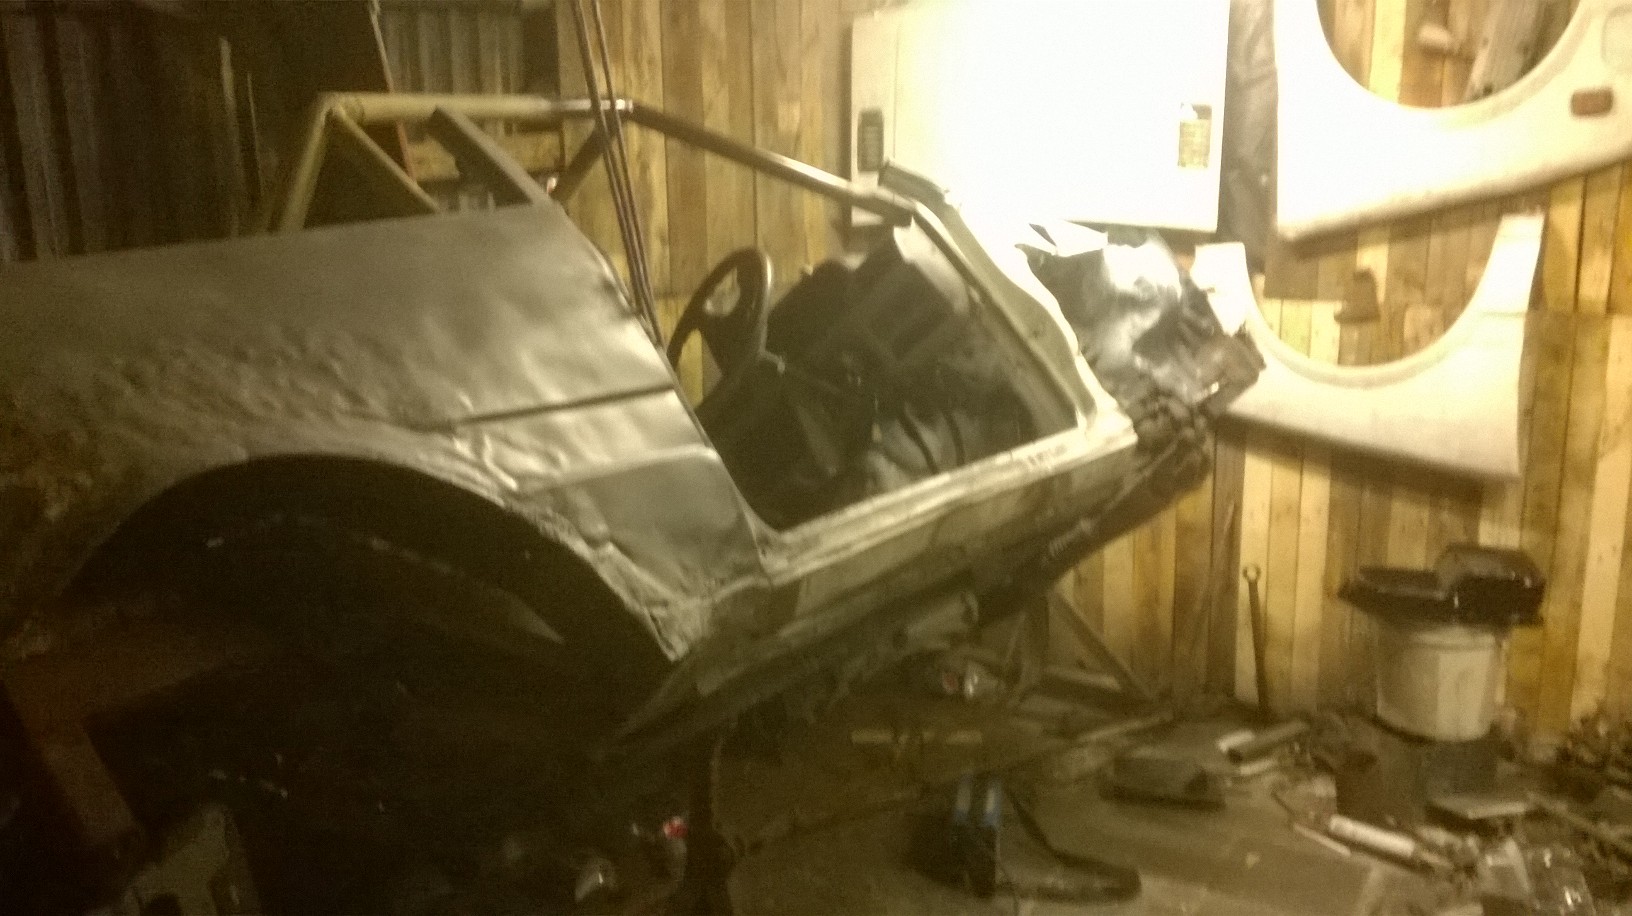
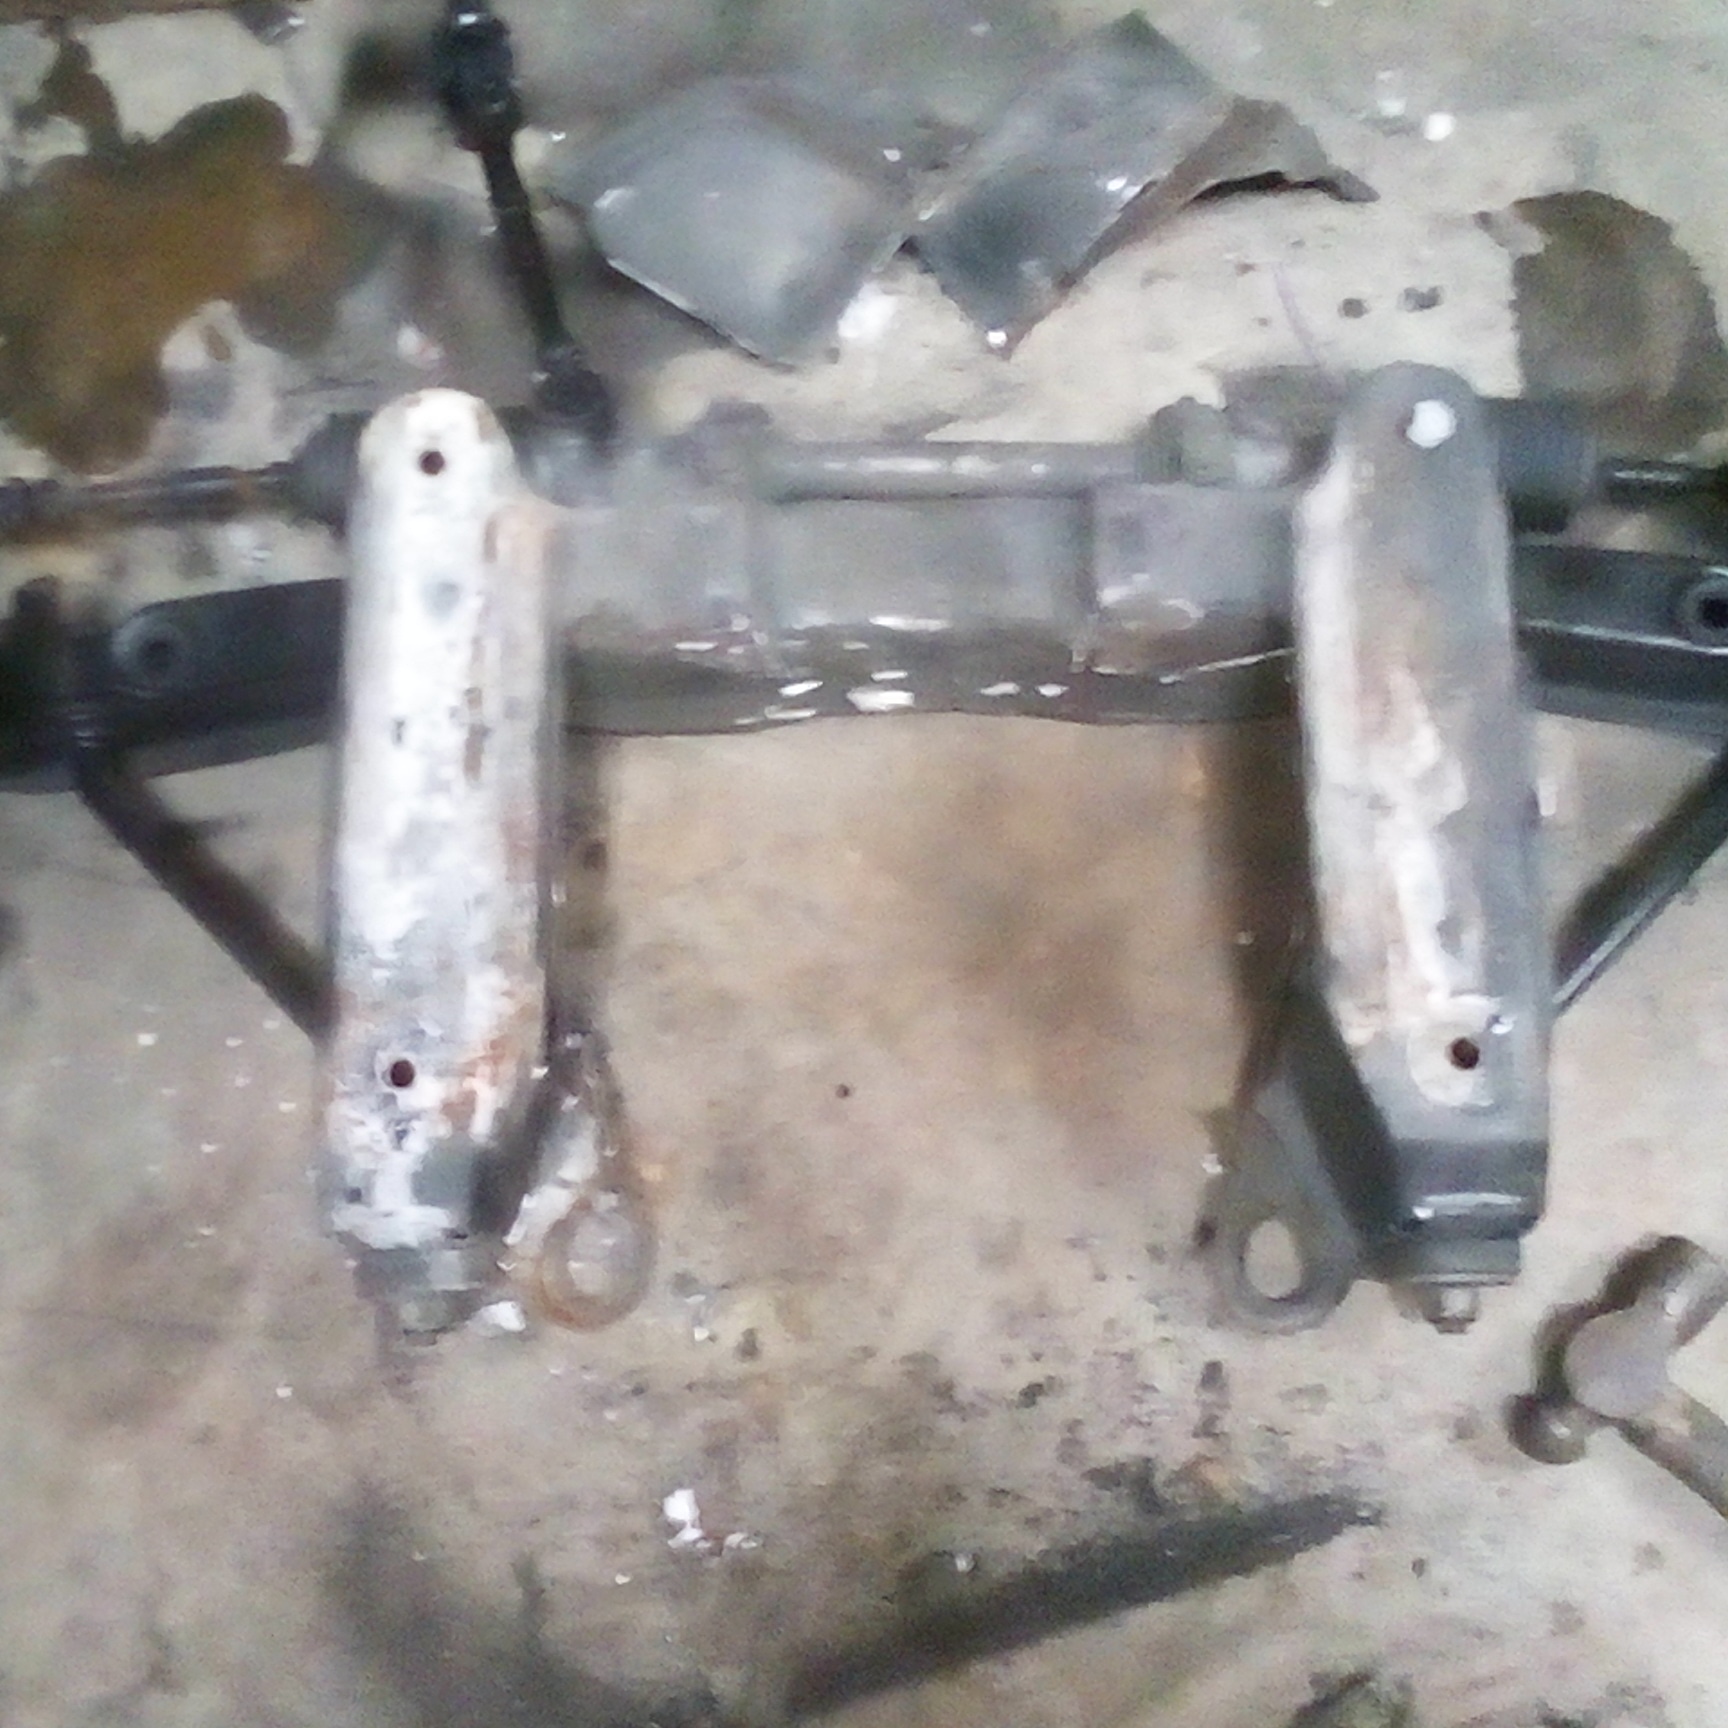
Well, it’s really a cage with the diahatsu sheet metal hung on it
Room isn’t too bad at all. Only moves the dash back about 60mm. Lost the foot area under the dash tho, but moved the seats back to compensate.
Biggest headache was the seat belts, had bugger all room to get to the original points and had to shorten the bol t considerably. Think I have pics up her of the interior, but I’ll post a heap again
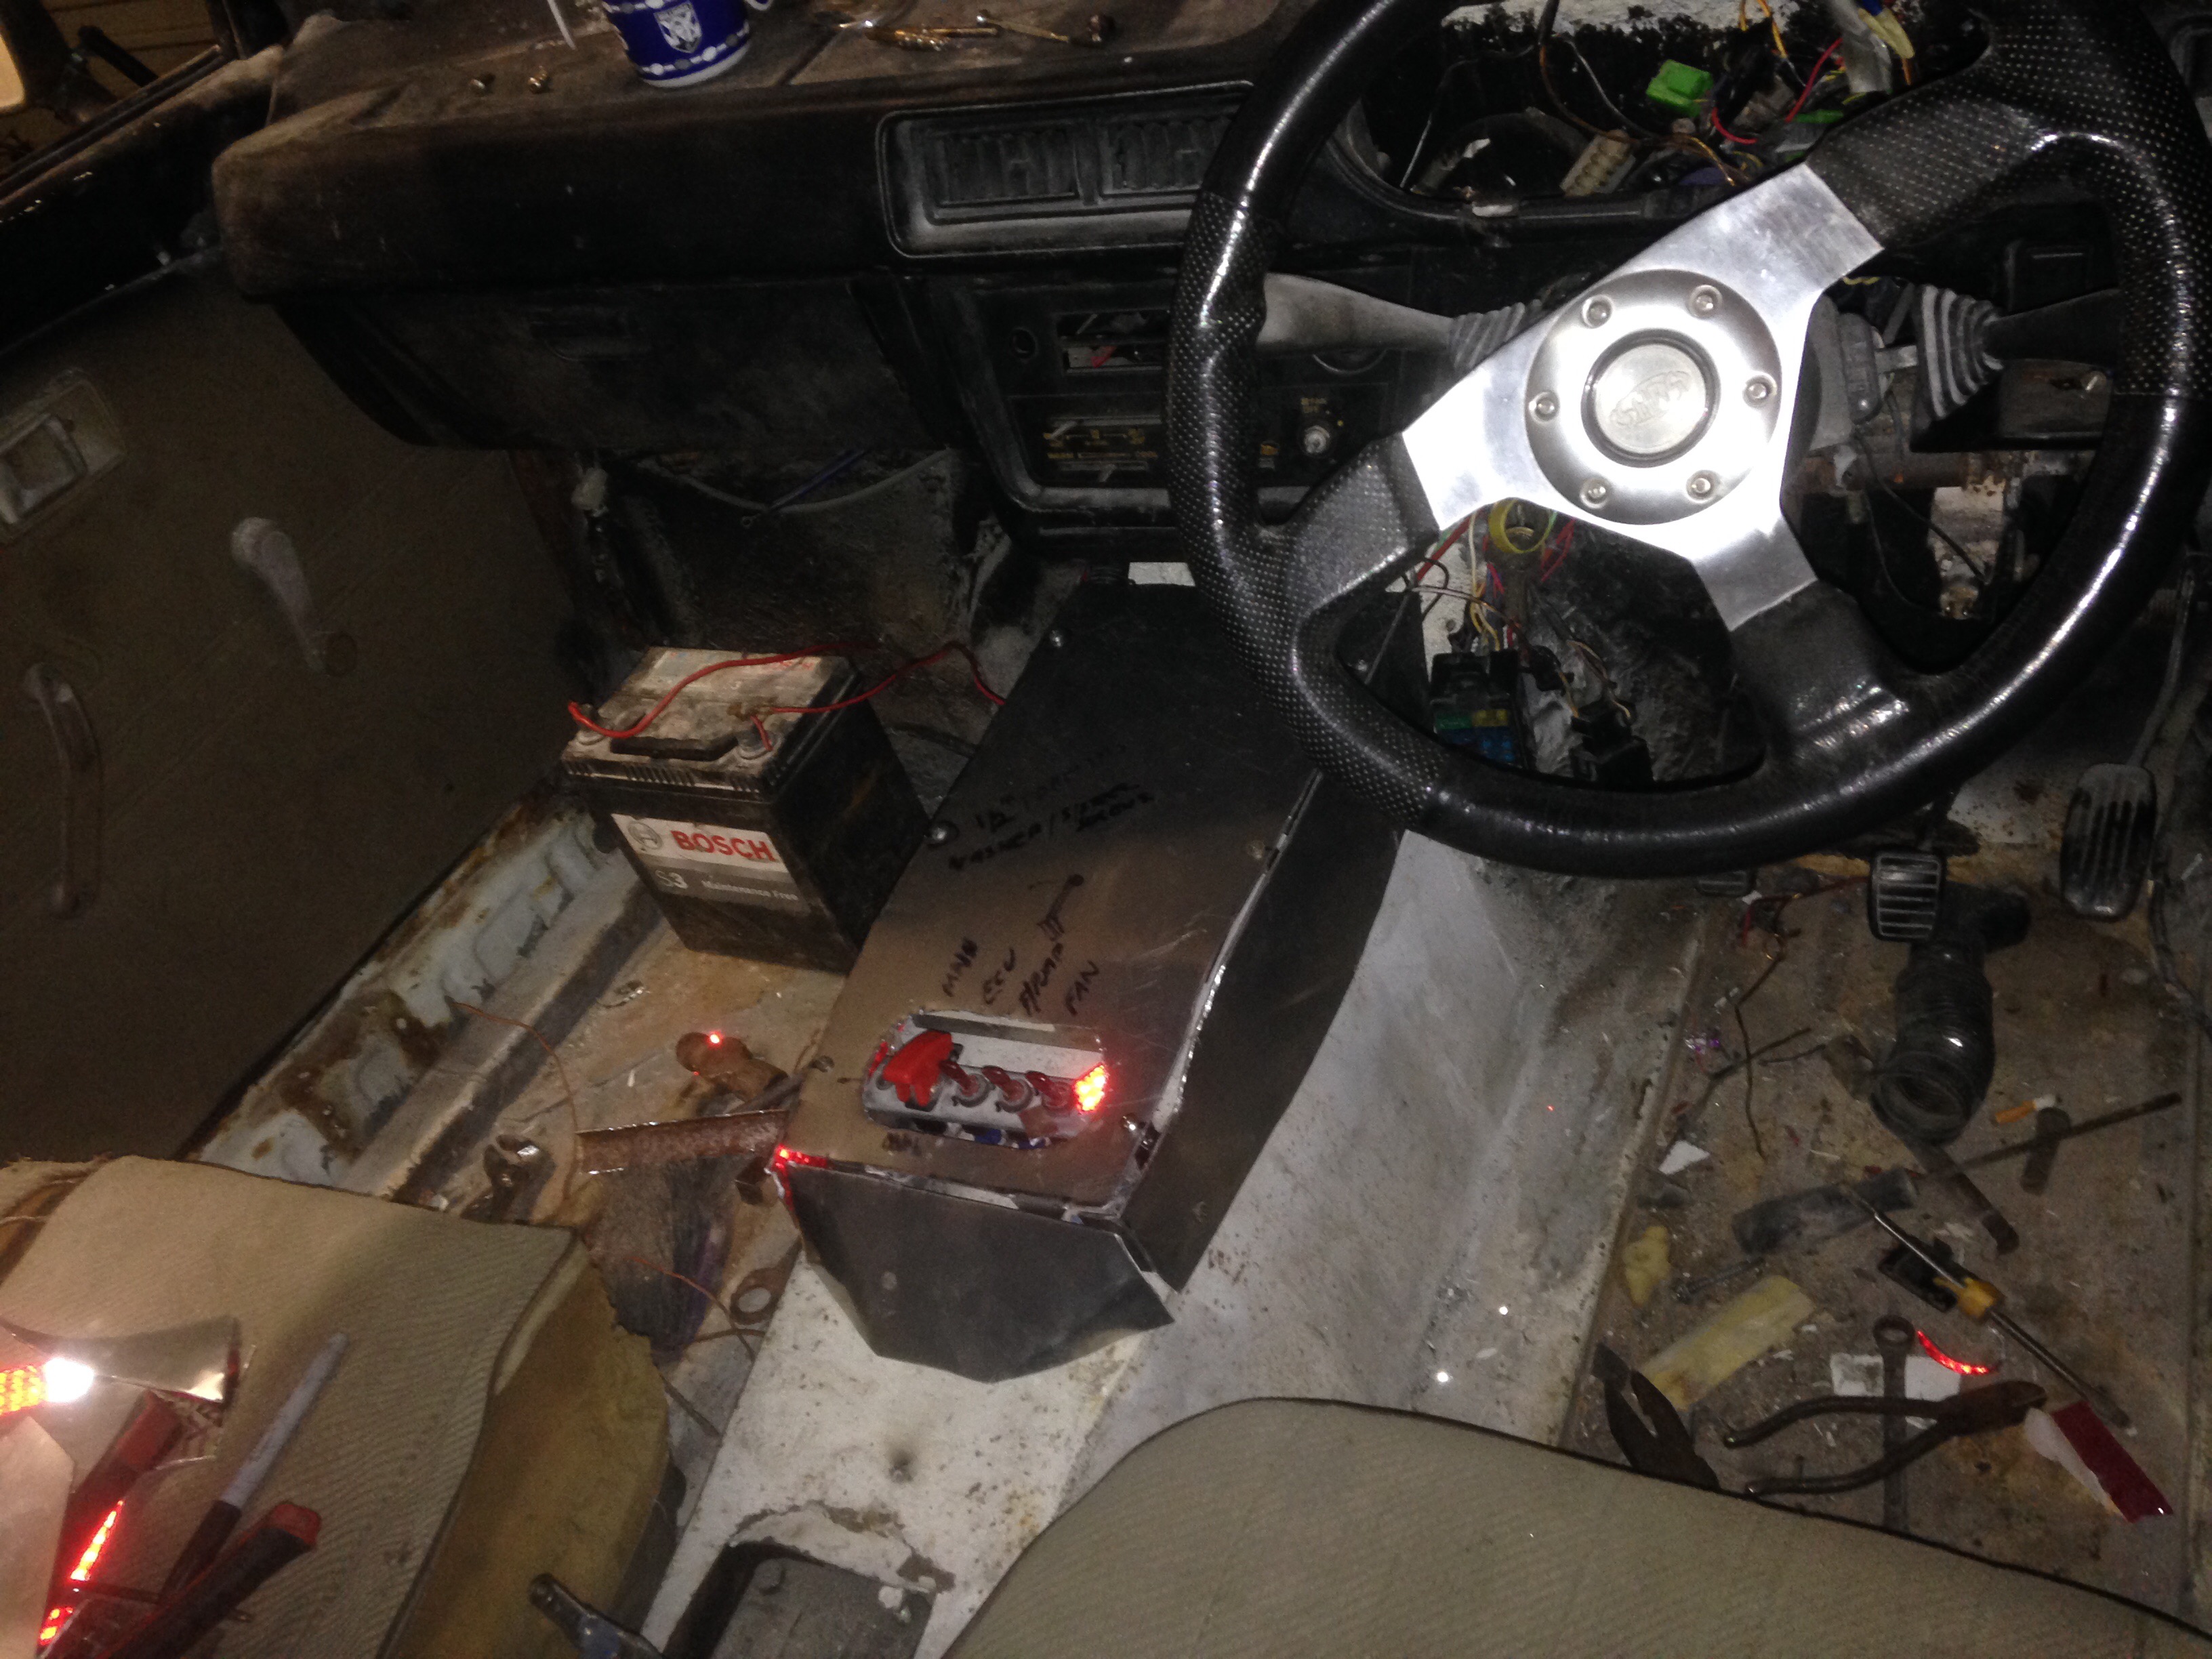
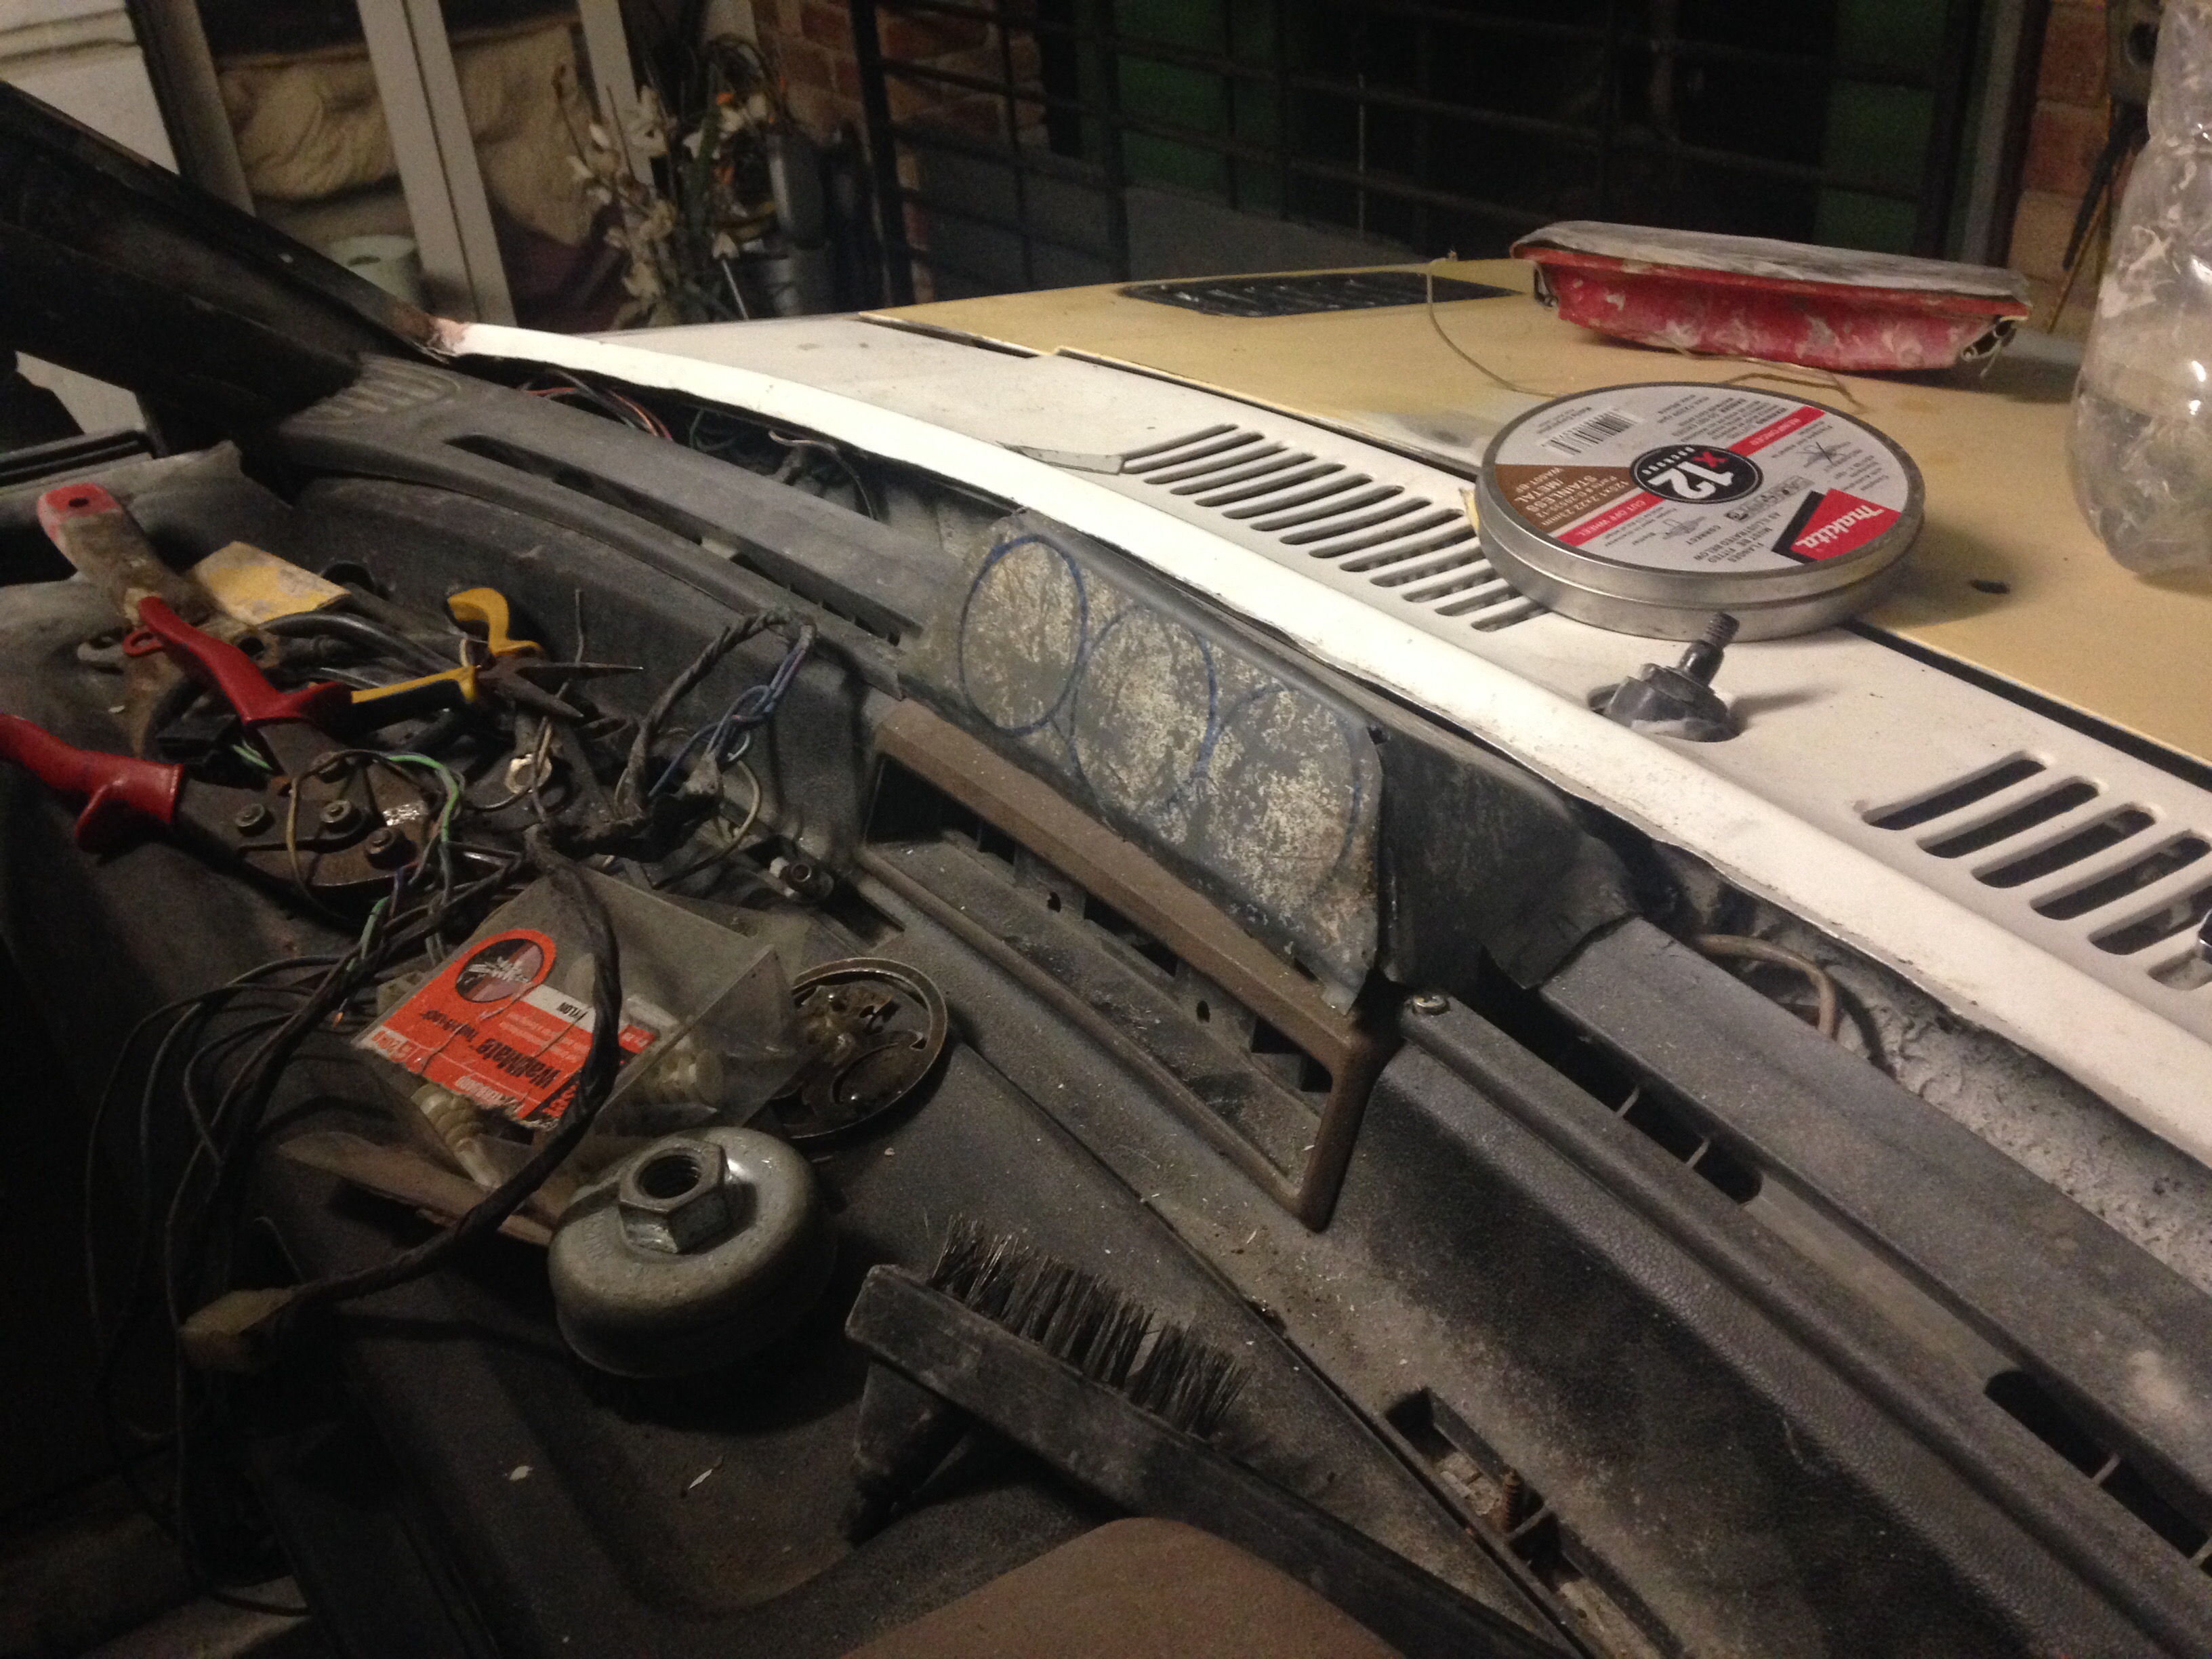
you can see how far I moved the dash back, used VR commodore vent inserts and cut to suit. The dash has the gap to allow for the windscreen rubber if I ever find a windscreen or the bastard that ripped me $400 for one ever turns up.
I’ll take some better interior shots for you when I get all the crap out
3 Likes
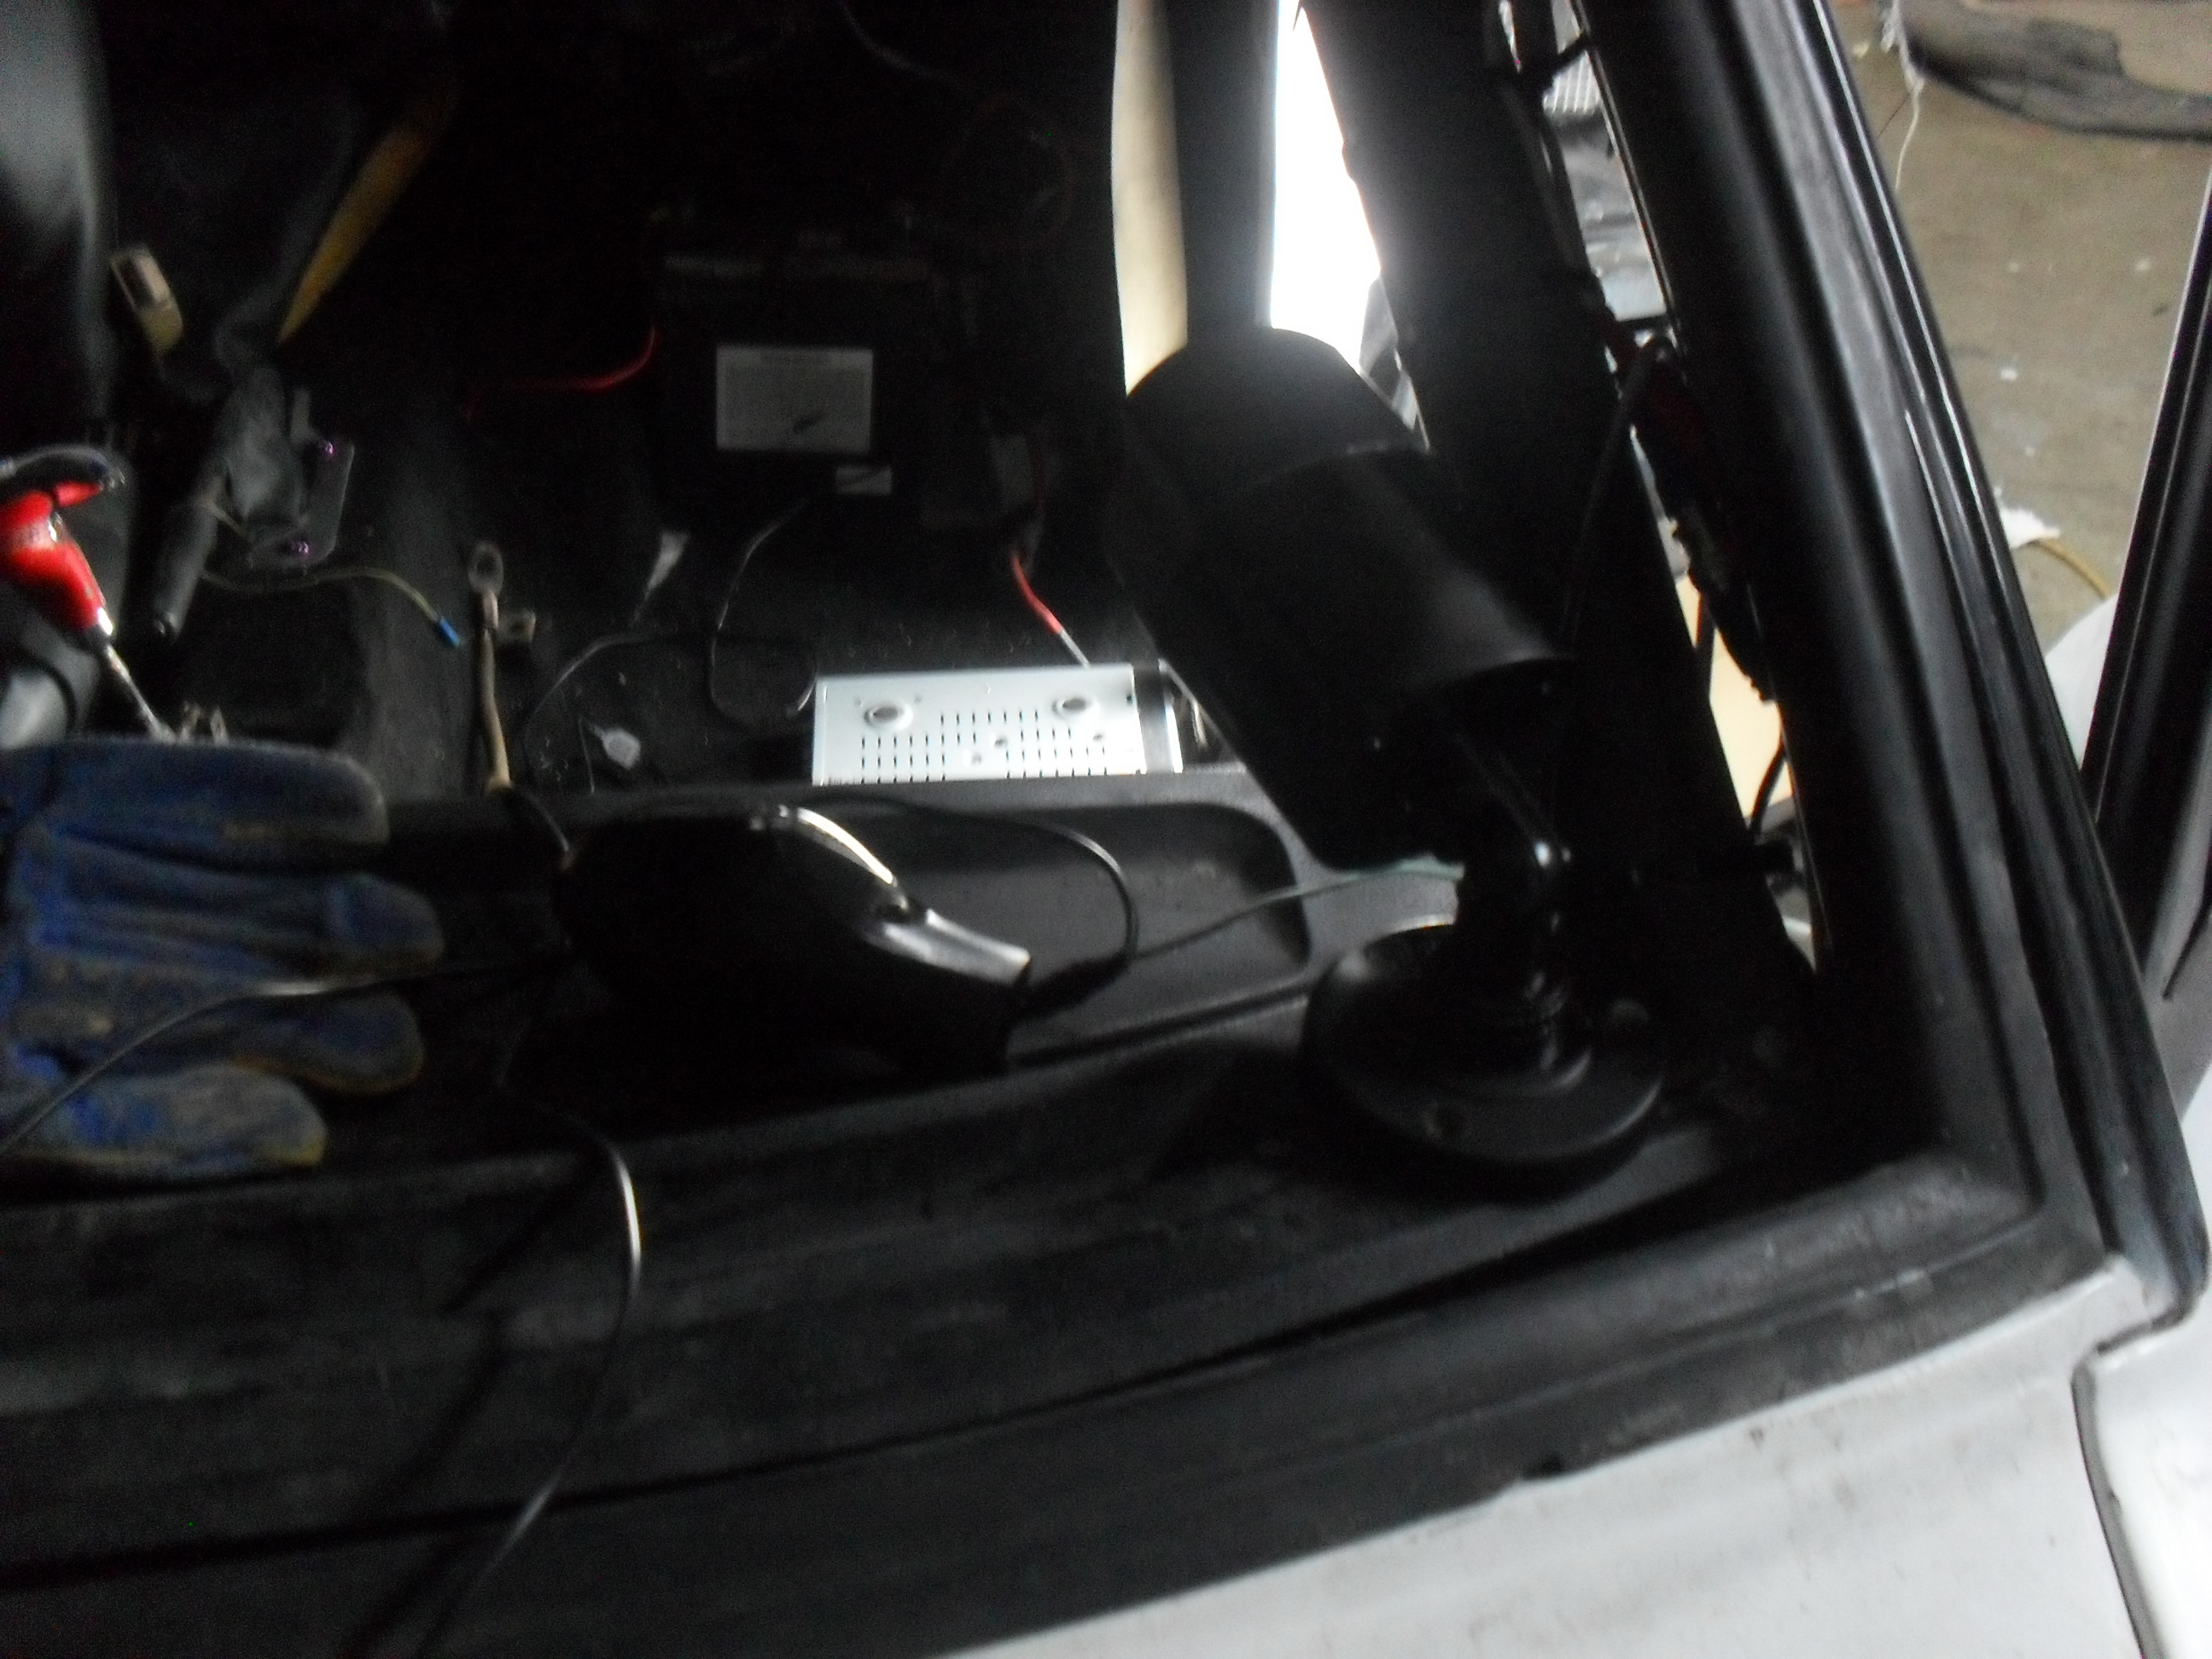
![IMG_3942|375x500]
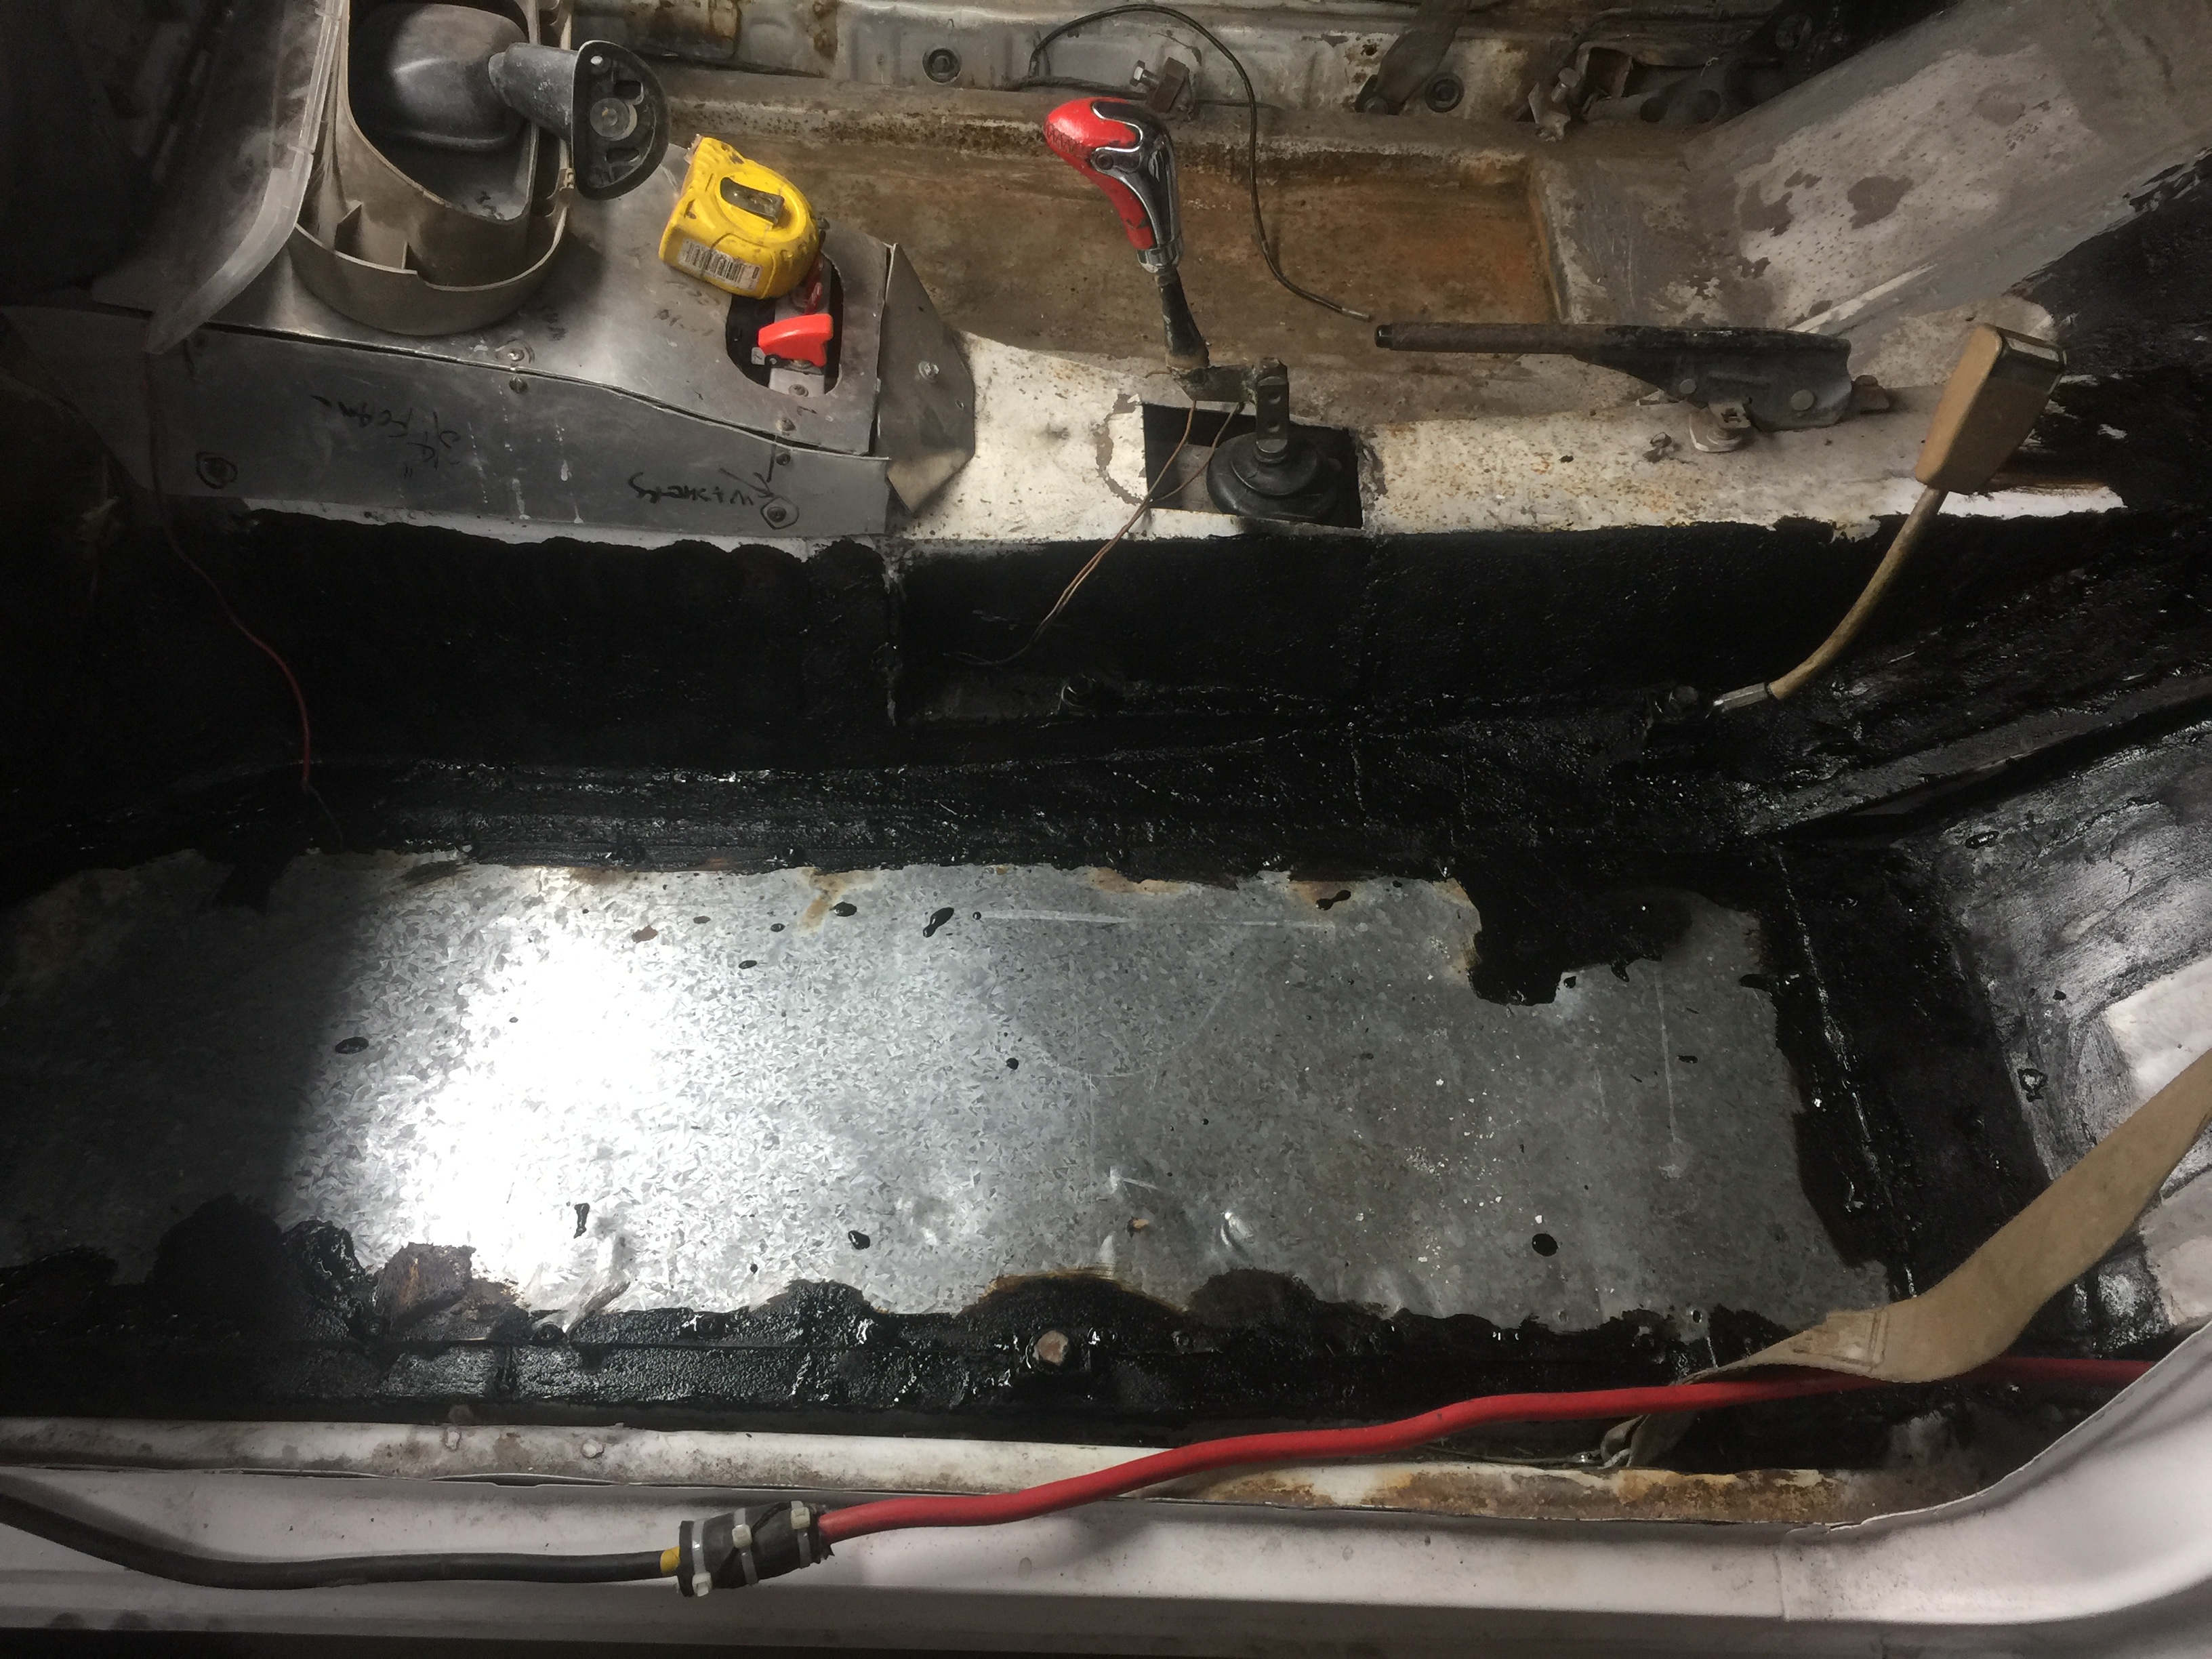
Under the gal sheet on the floor in 100mm of wool insulation squeezed into 75 mm. For keeping the heat down from the cats that are under there and should help with noise
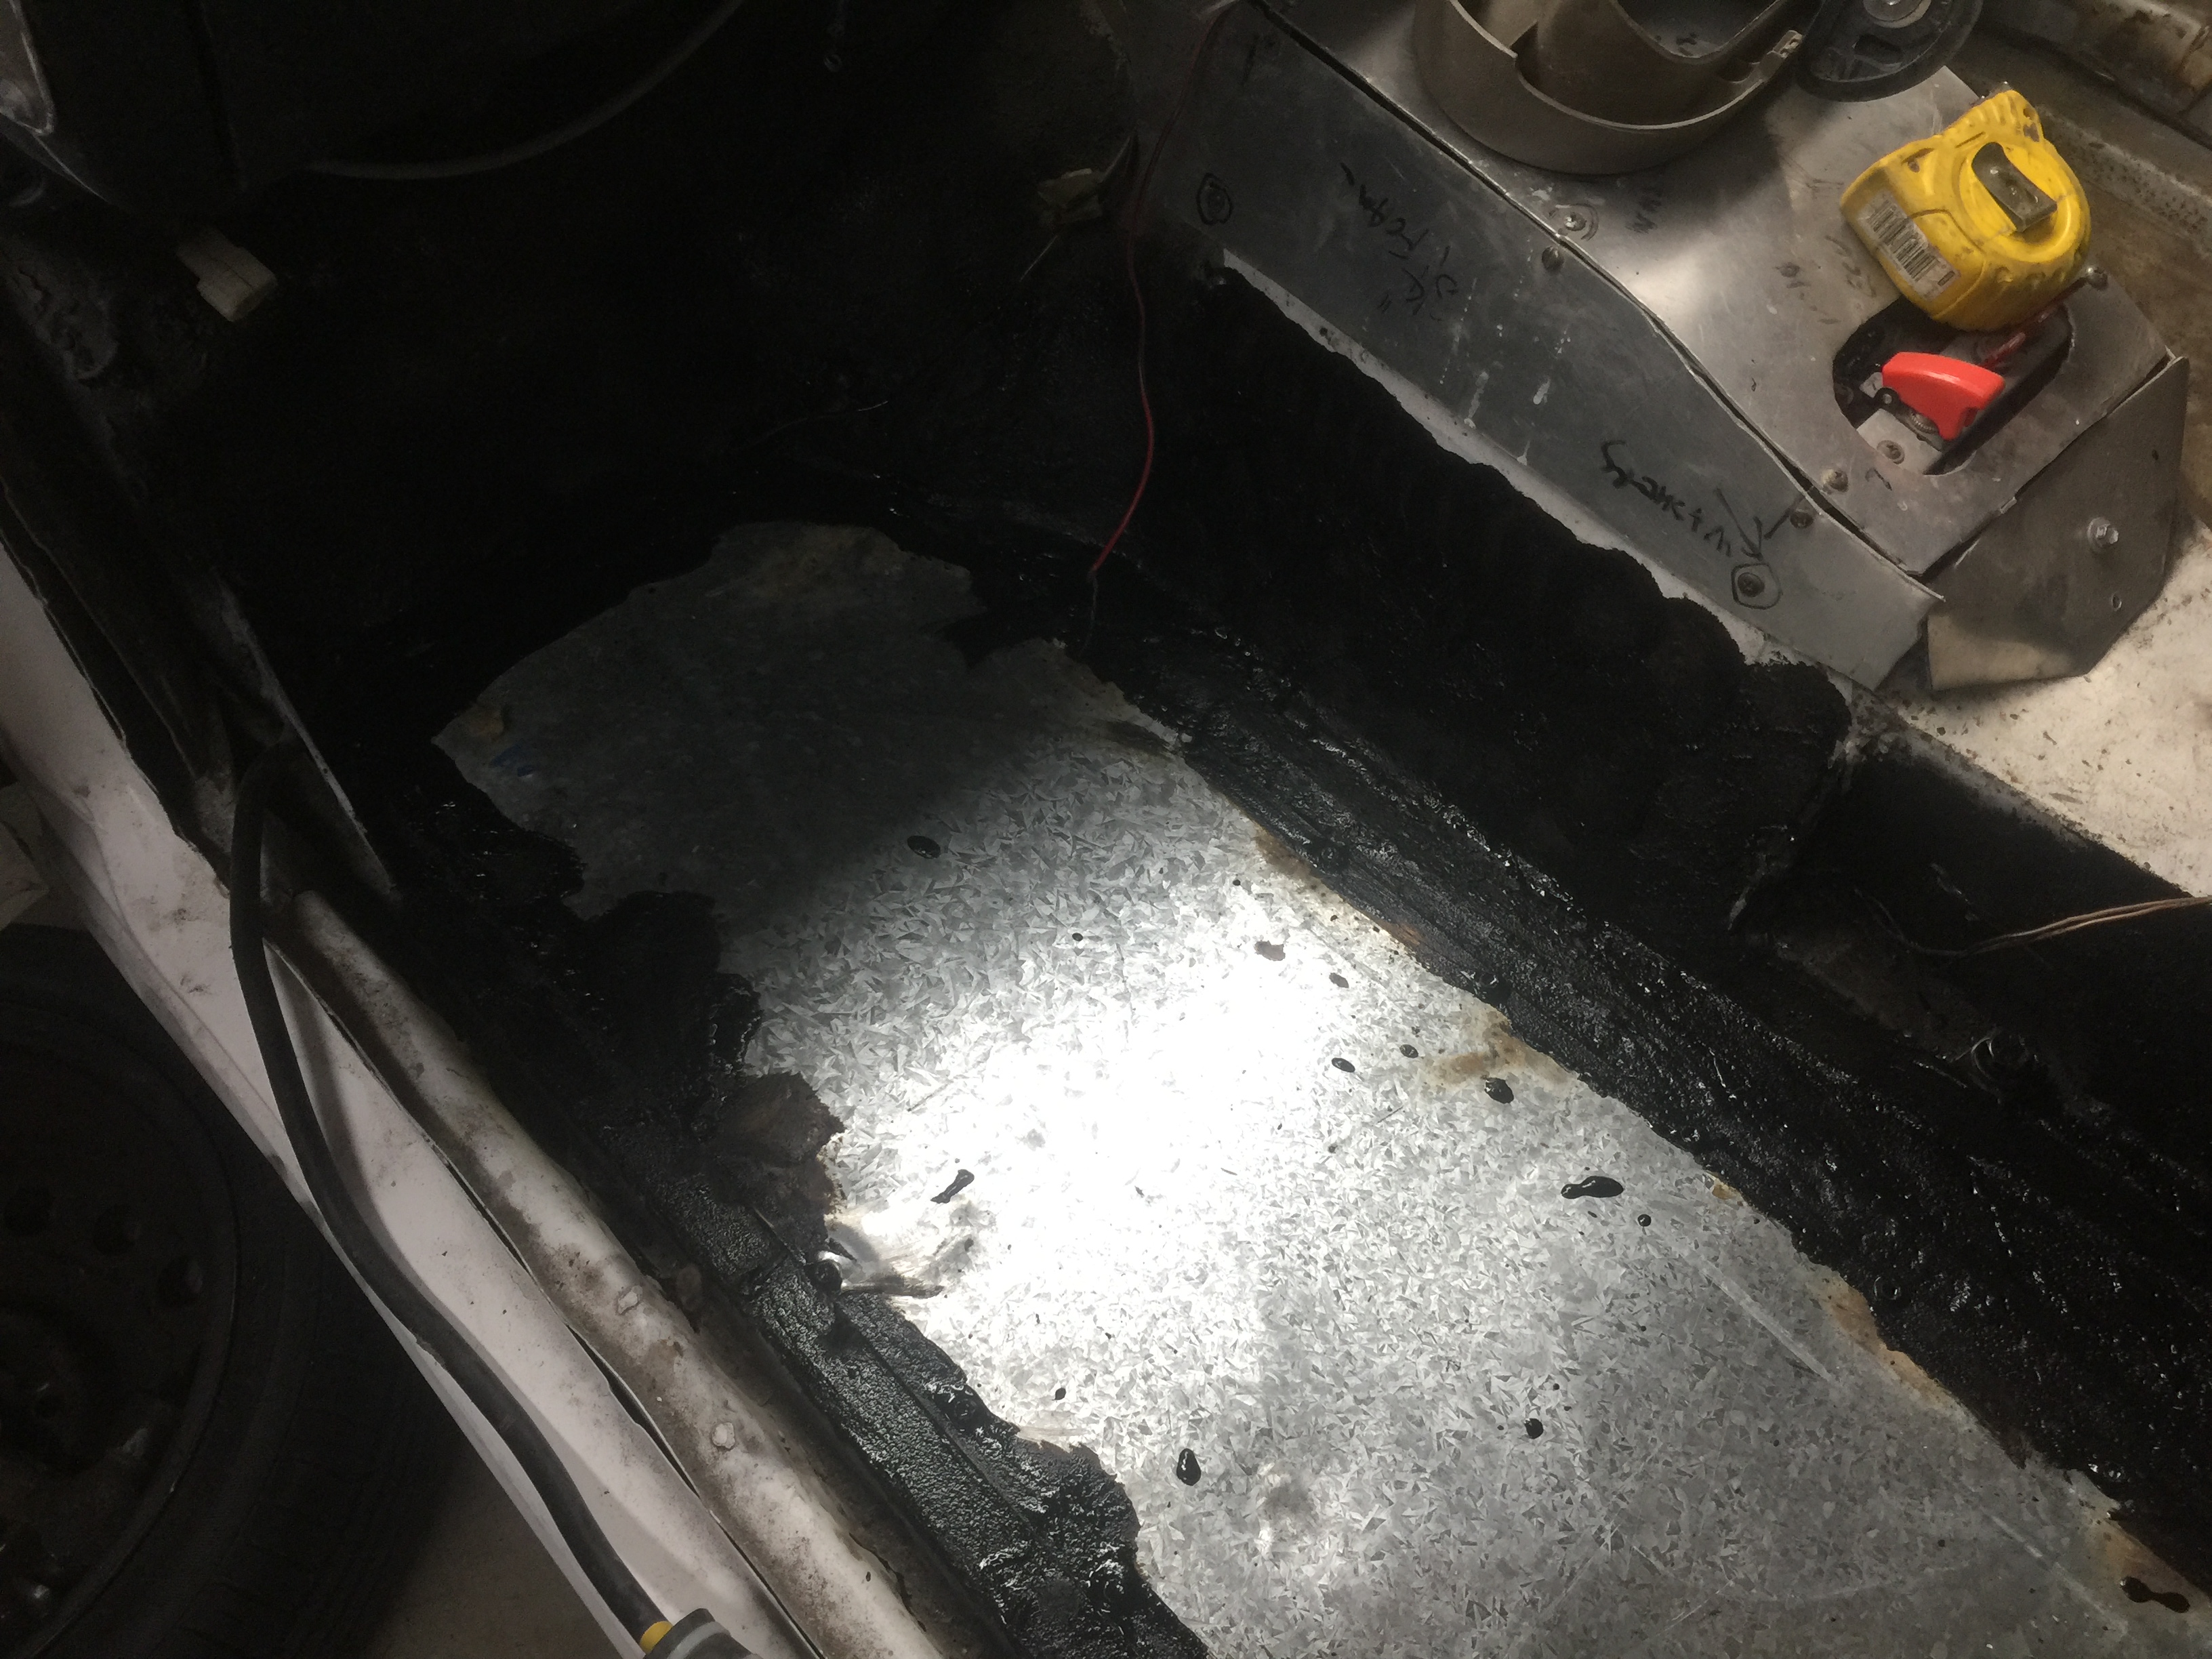
Under the gal sheet on the floor in 100mm of wool insulation squeezed into 75 mm. For keeping the heat down from the cats that are under there and should help with noise
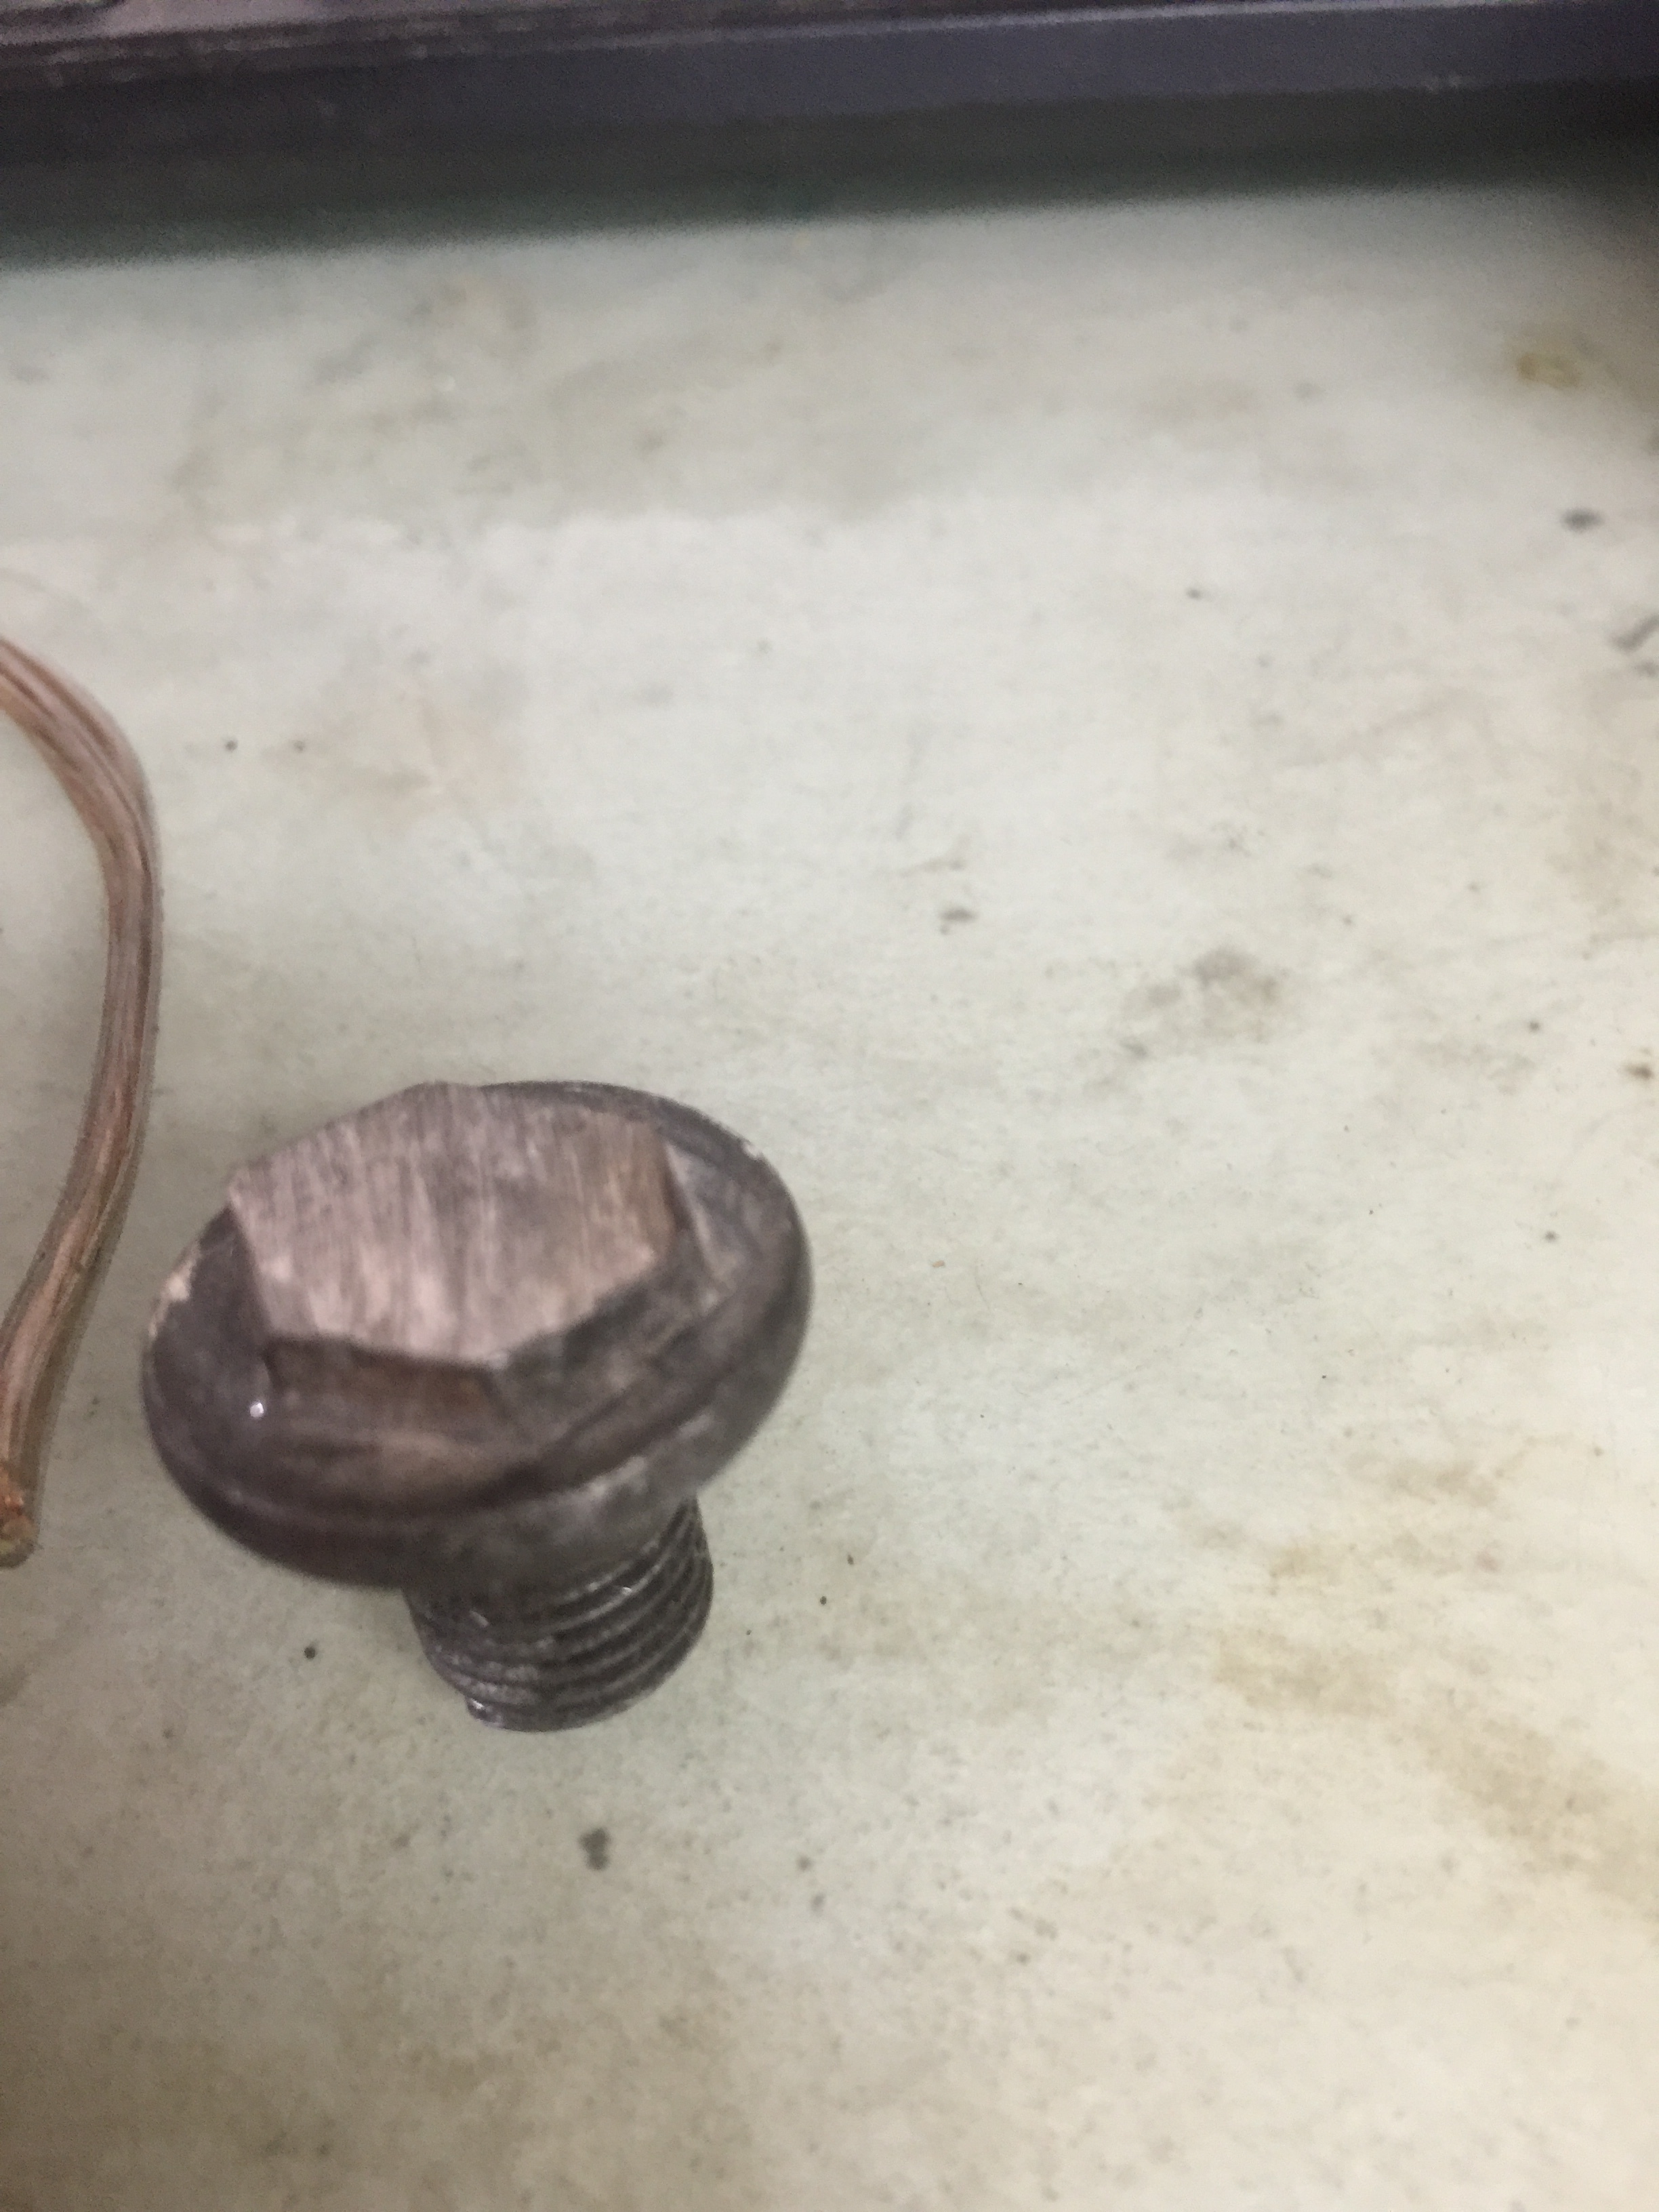
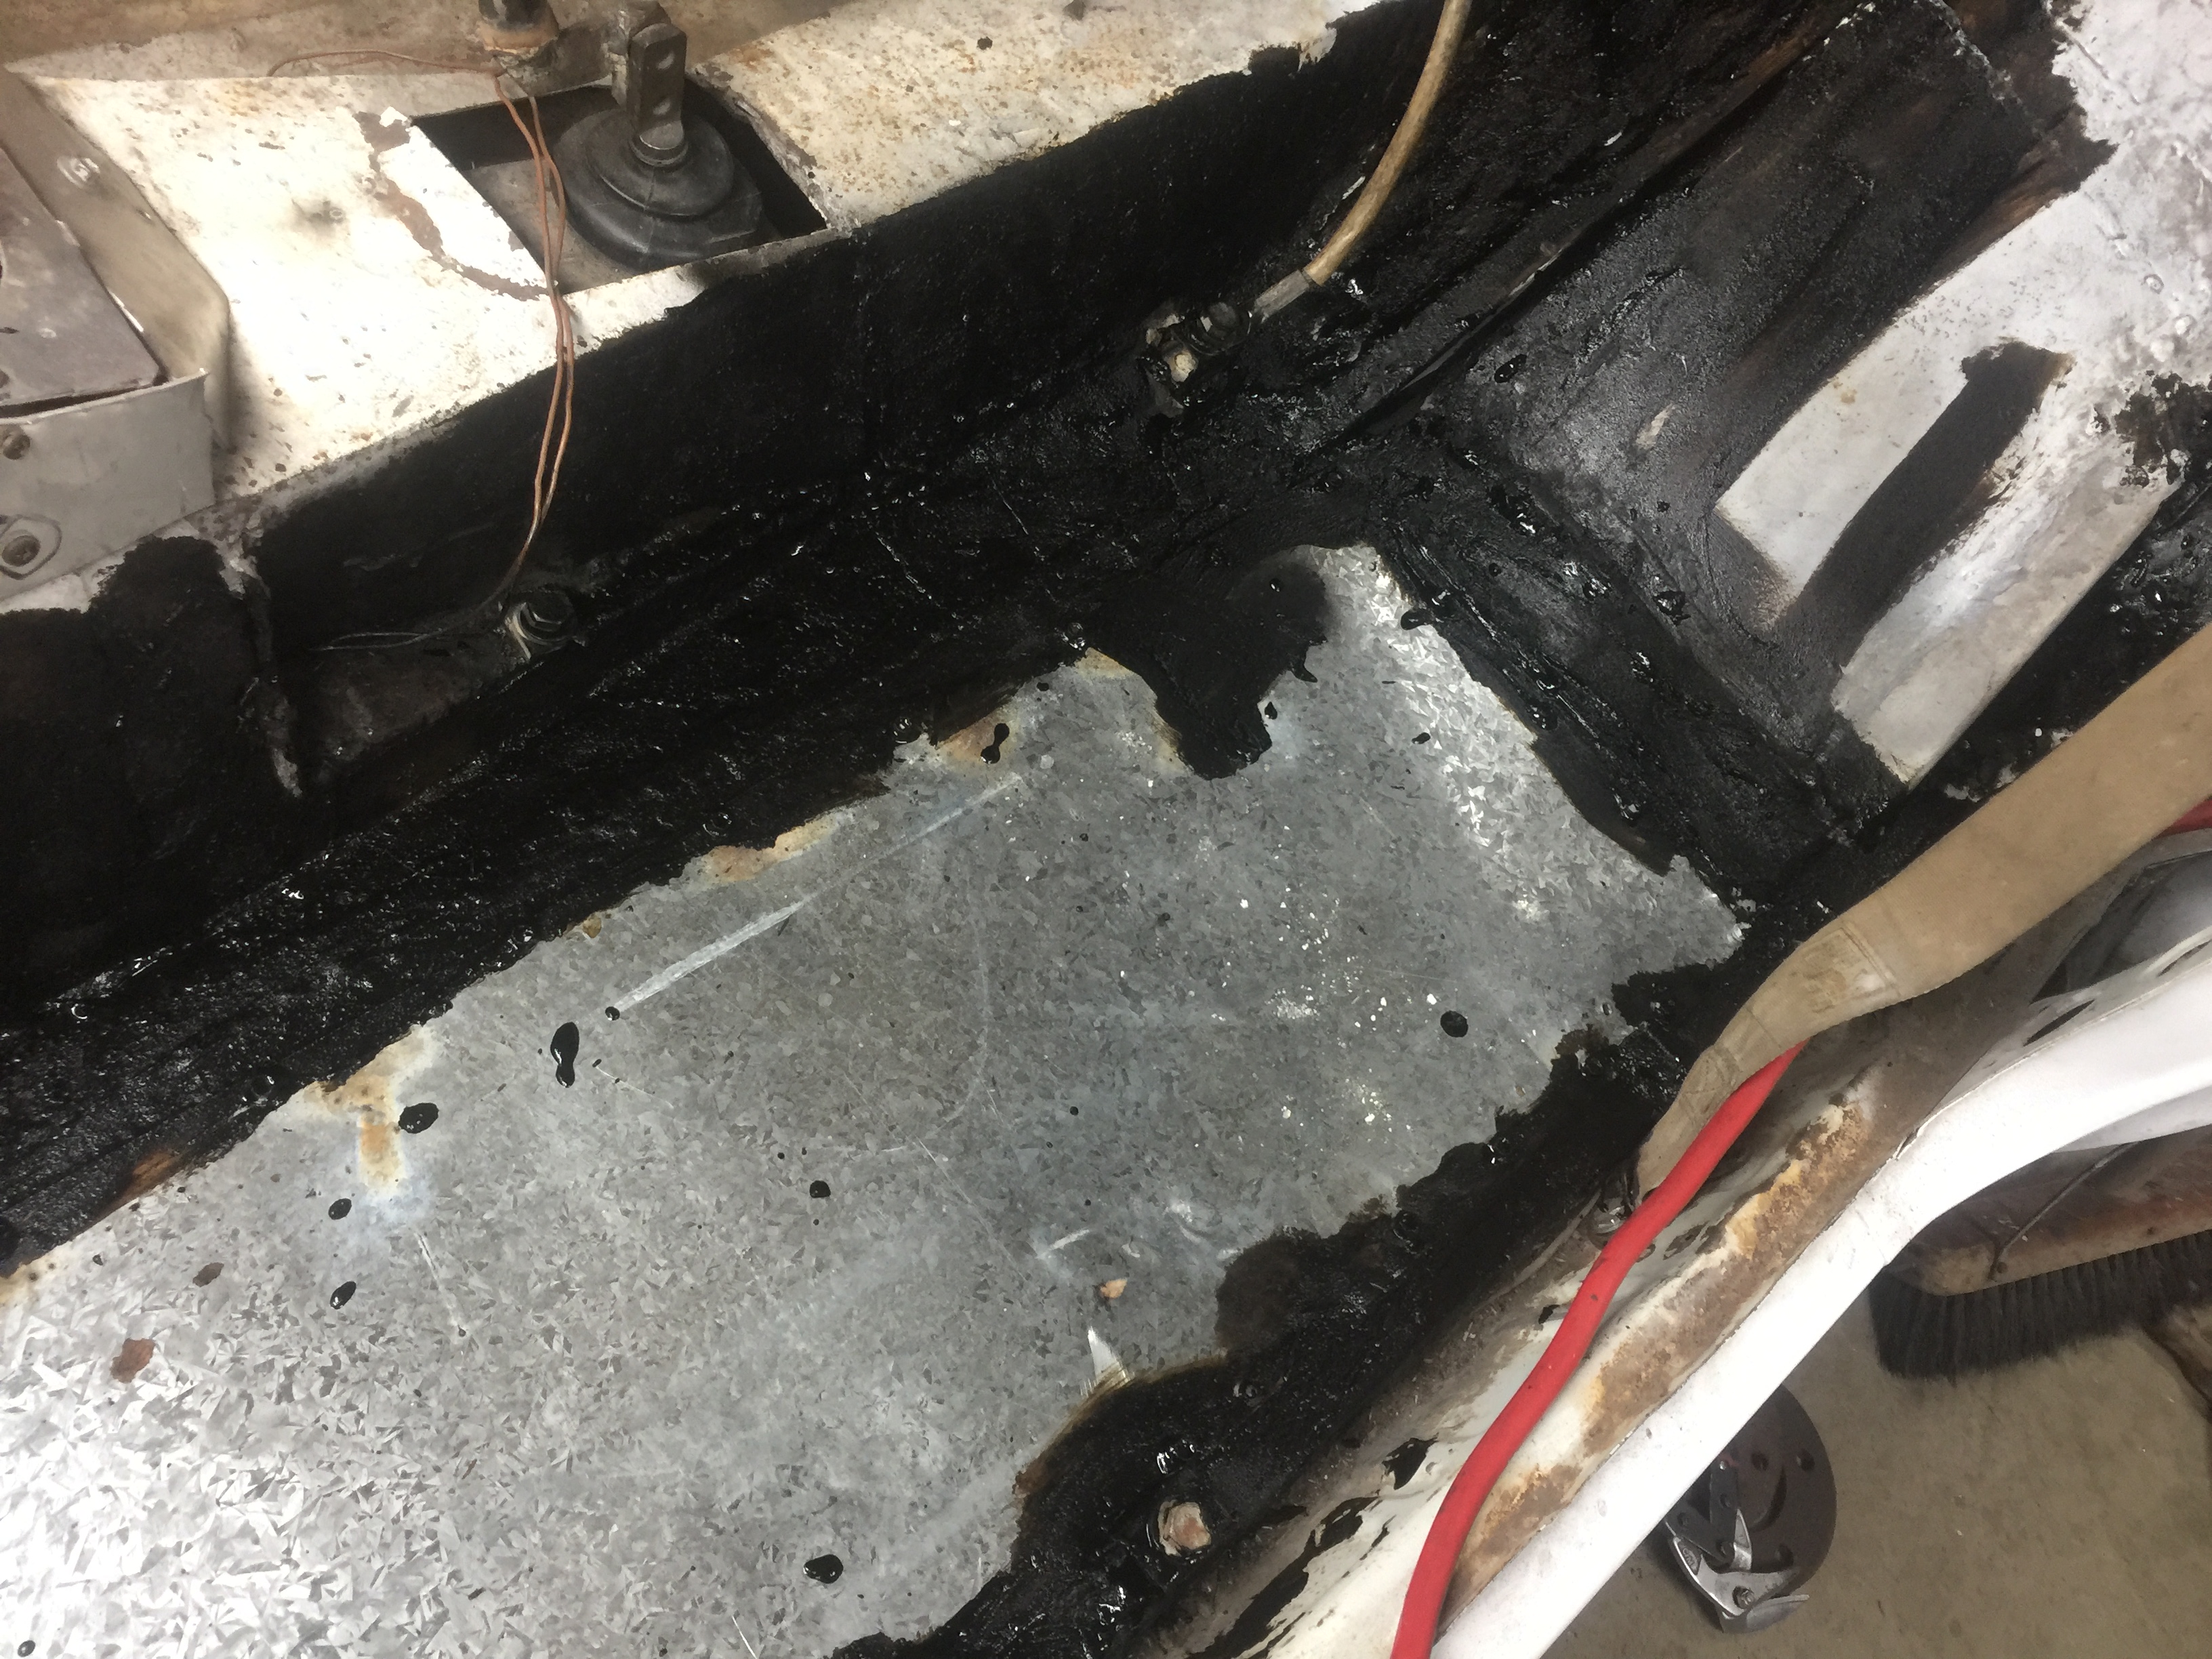
This is what I had to do to get the seat belt bolt in ends up with one thread hanging out the captive bolt so all good and a bit of 646 loctite will keep in in place
3 Likes
Sorry for the instagram link, phone cable decided to break , cant get to it , but here is the interior
3 Likes
Well, not only did my phone cable break, I managed to drop my phone and kill that so no pics for now
Left on the to-do list.
Windscreen. Argh, can get one off Dave but transport from South oz is a headache
New radiator. (Stock commodore so easy and cheap )
Finish trim (Passenger seat and rear trim bits)
Re-fit exhaust and fix muffler positions. I want to mount some aero to this area and need to add mounts. Going for a rear diffuser between the two mufflers to try and add a bit more downforce to the rear end
Wire oil temp
N/S door handle and lock.
Coils (Ordered, just awaiting delivery)
Fuel line fittings (over three weeks waiting so far)
Fit rest of cameras.
Few other little bits, but wont stop it running:)
And paint the outside
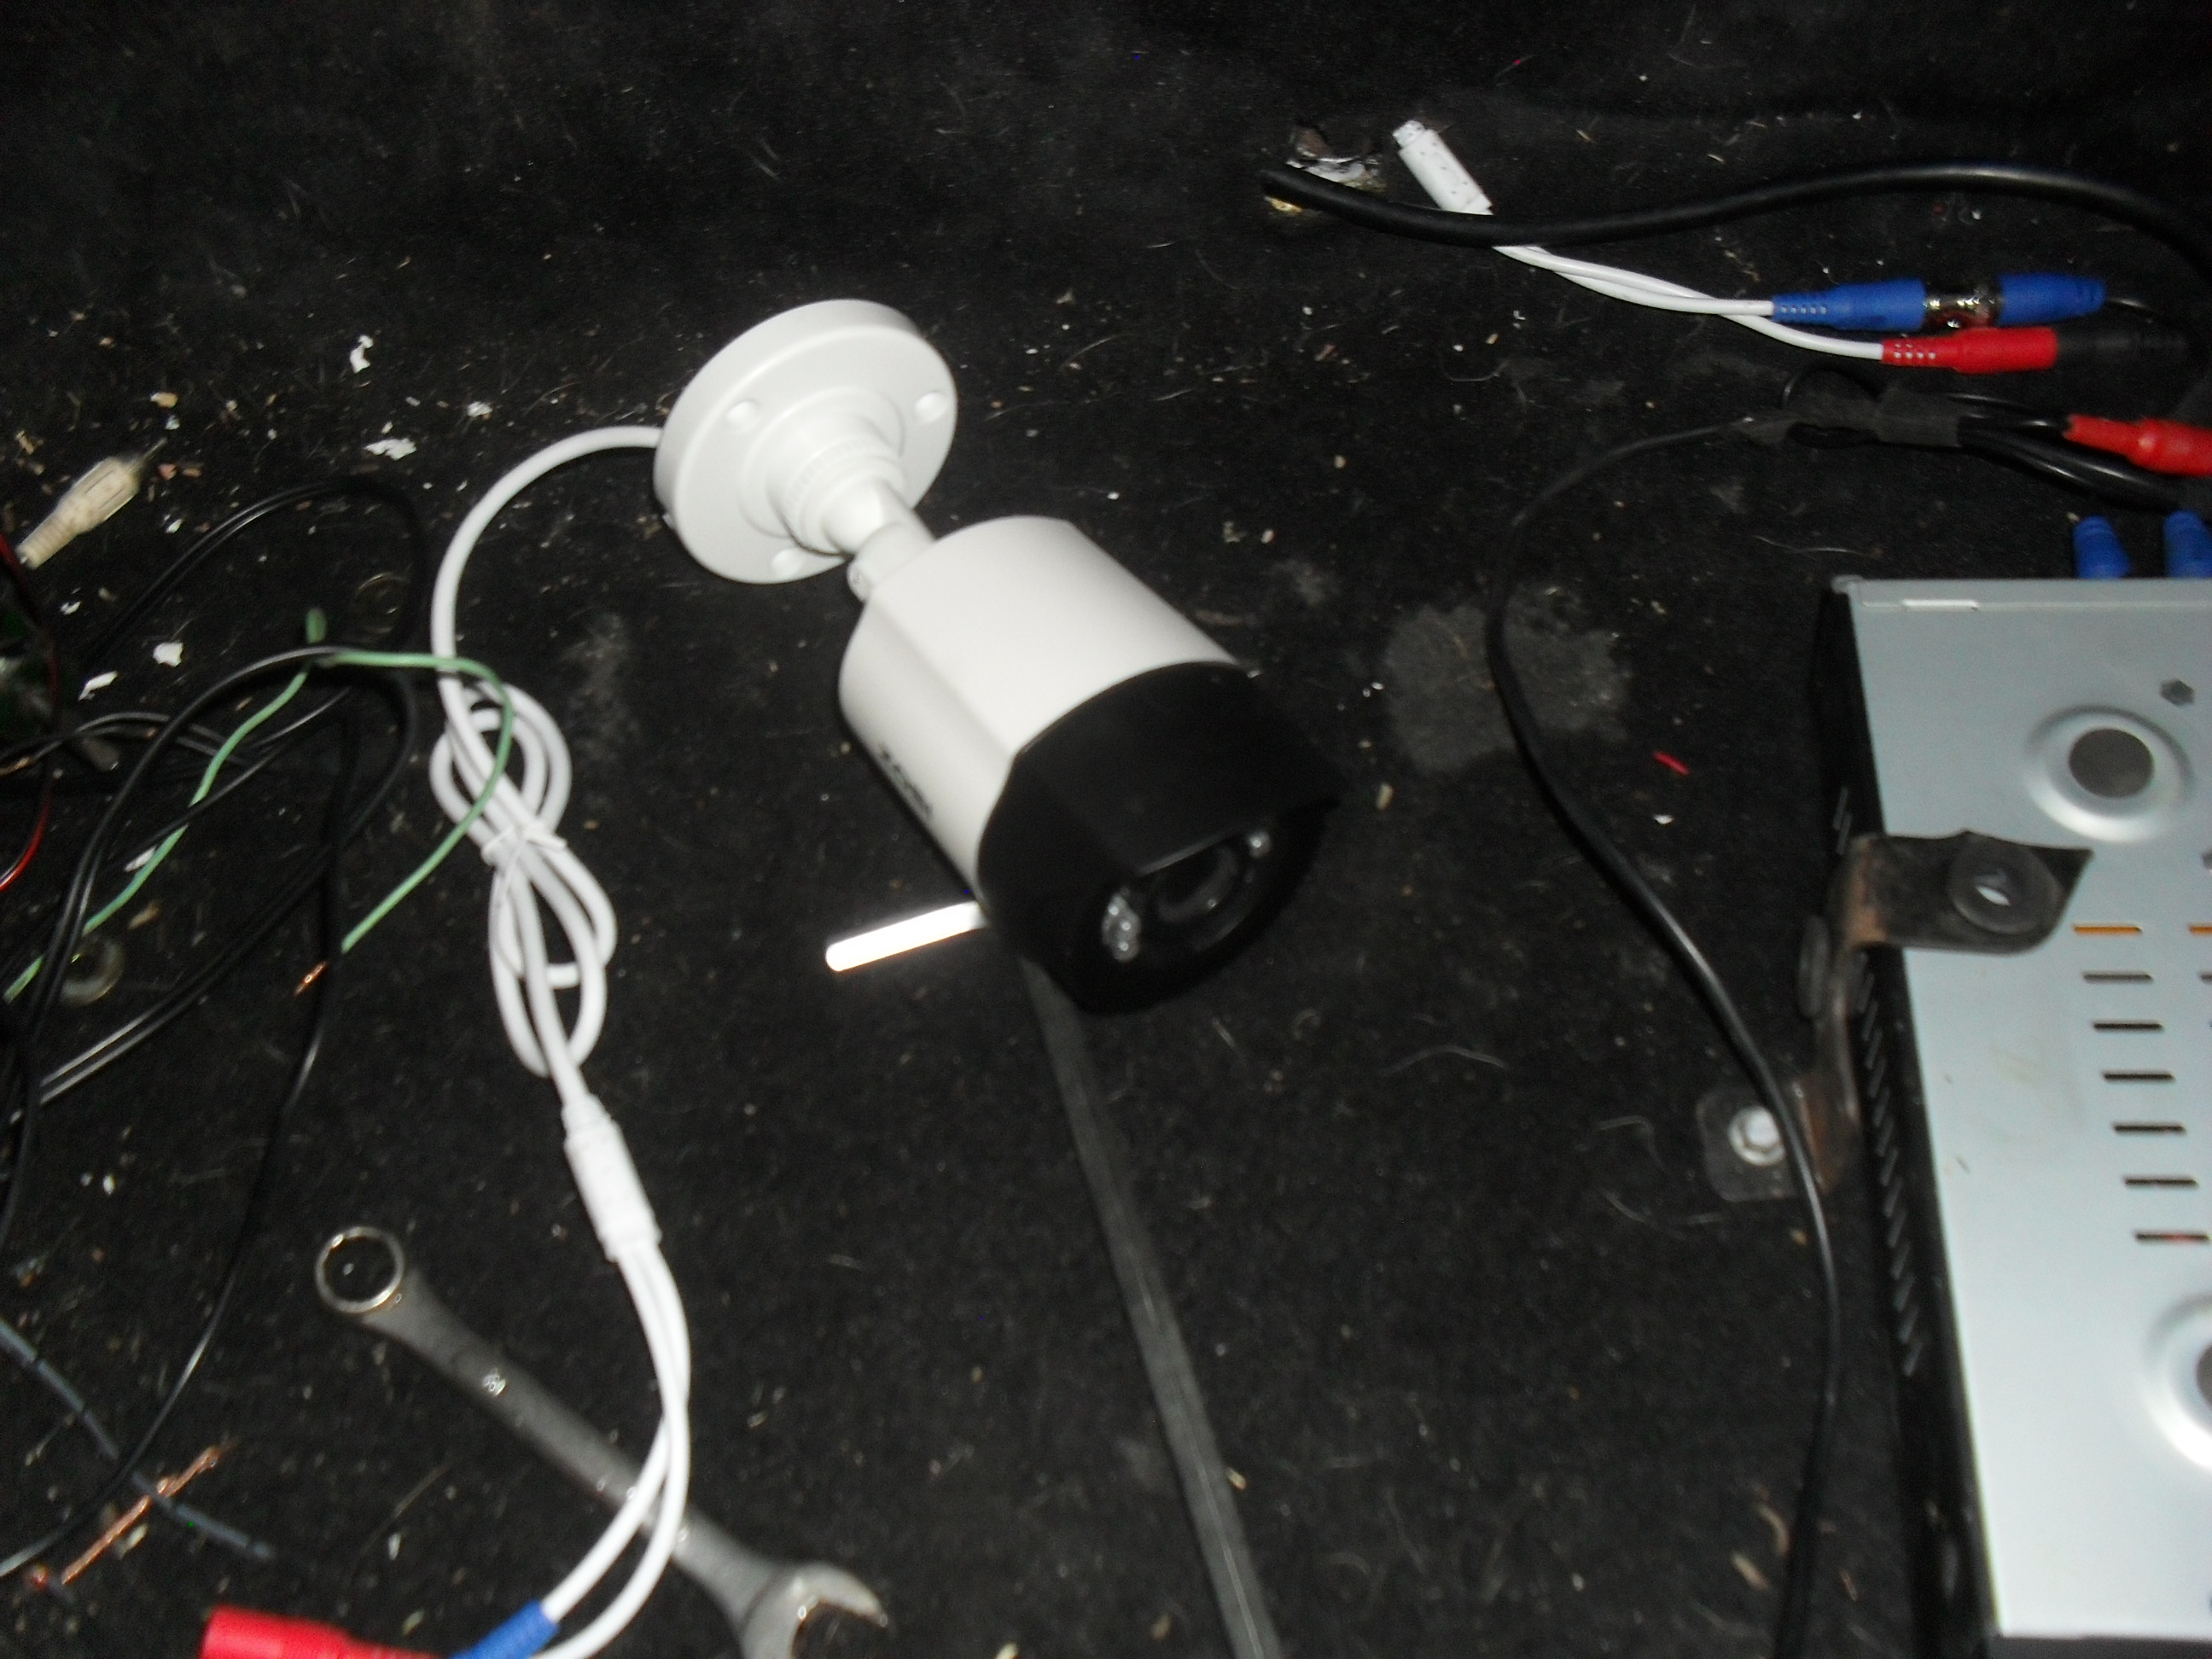
So far I have a camera facing forward from the top passenger side corner of the screen, and one mounted to the gearbox looking back at the tailshaft and diff.
These are high quality security cameras with a decent night mode and IR lighting. 1280 x 800 resolution I think or might be better??
Going to mount one looking out the rear screen, plus a reverse camera near the number plate
So still have four more camera slots on the recorder.
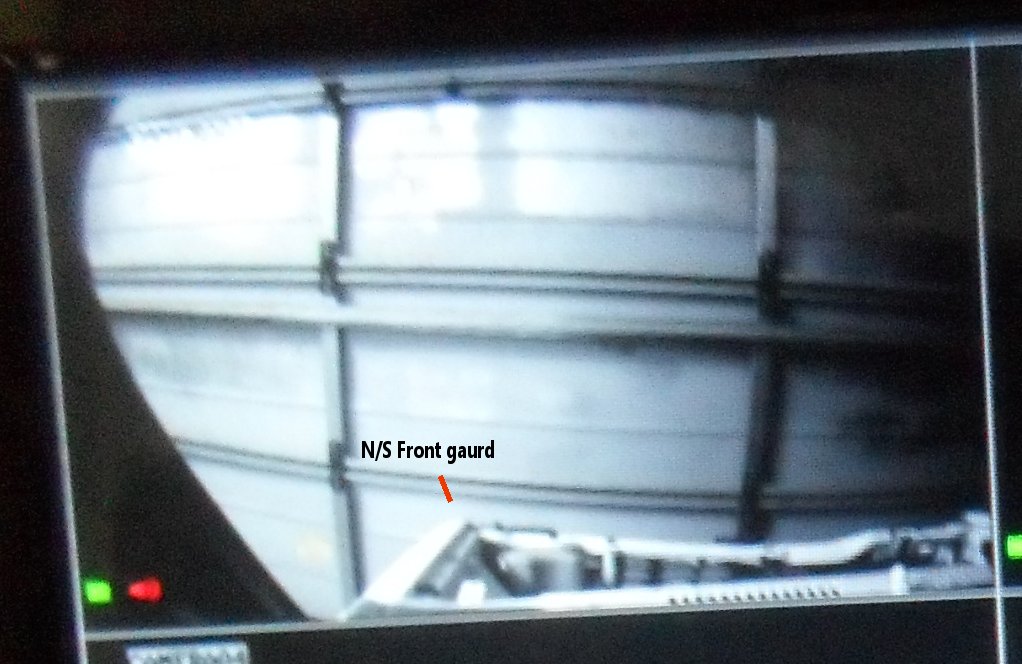
Thinking one looking at the front suspension, maybe mounted in a top corner under the guard?
Might put one near the front plate to get a good view from there.
Also thinking to have one facing the passenger for good footage
Suggestions welcome, if I use these points I would still have 1 left, or possibly just switch the reverse camera in when in reverse and record something else ?
3 Likes
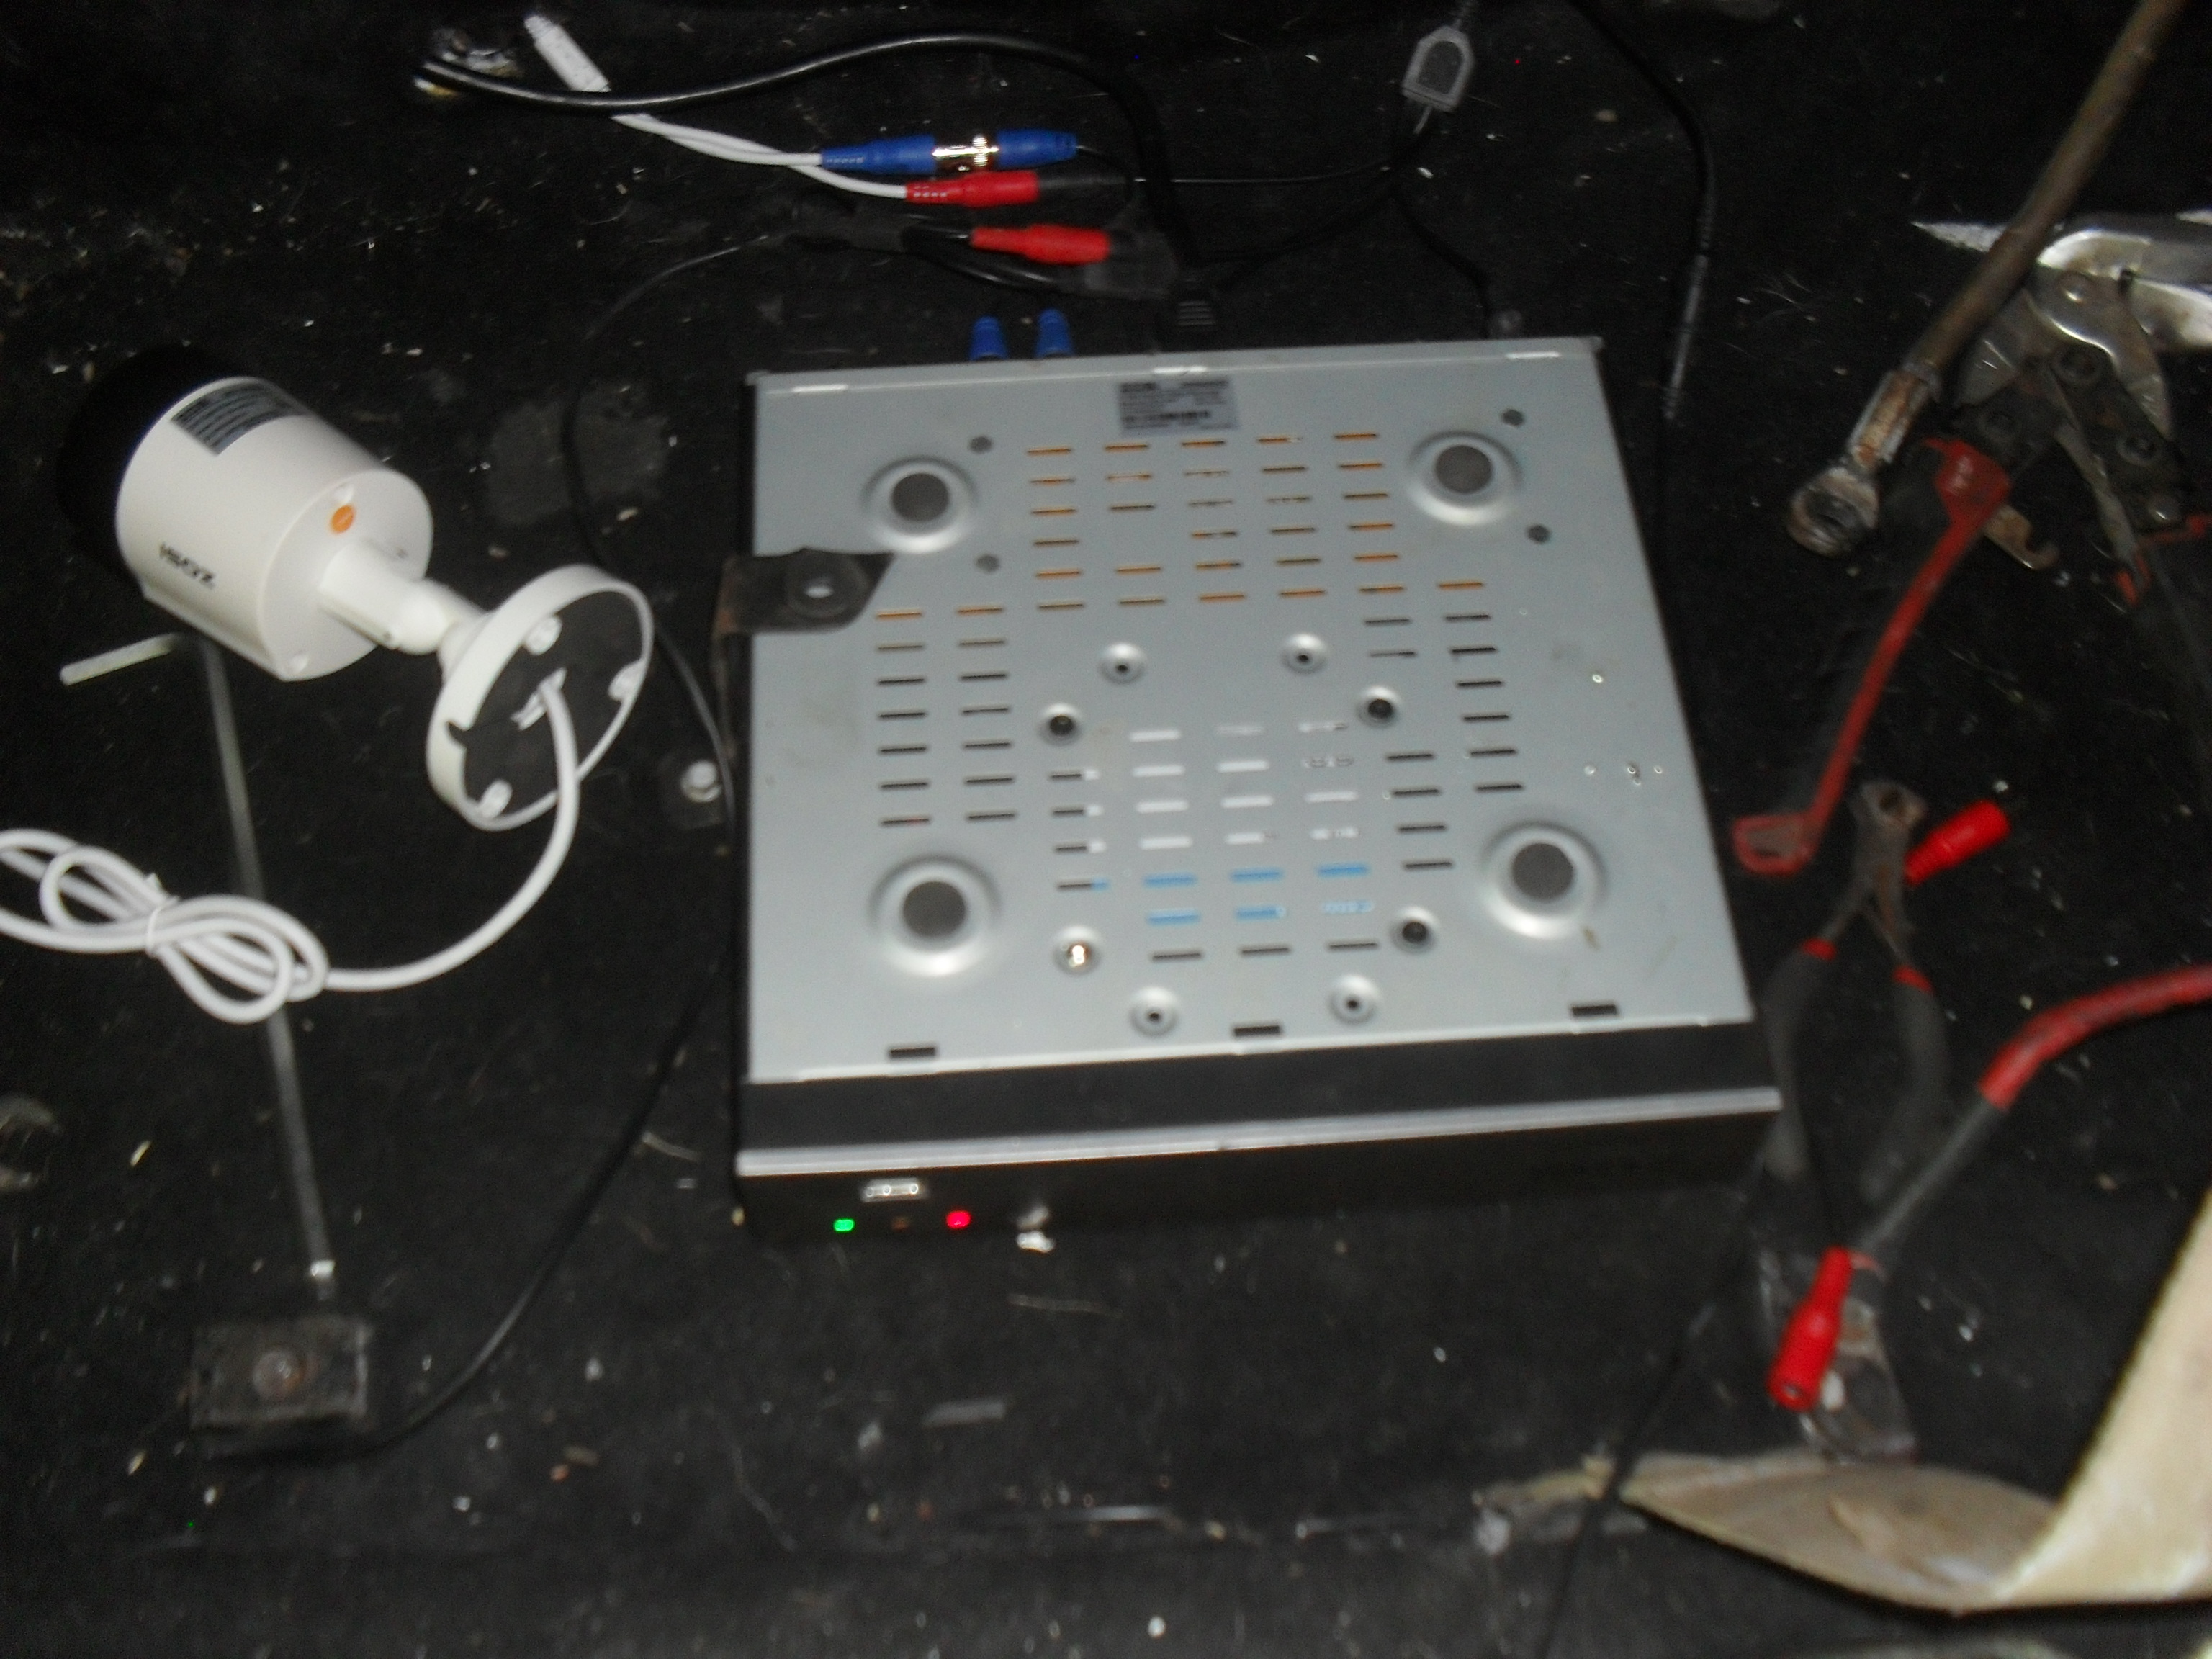


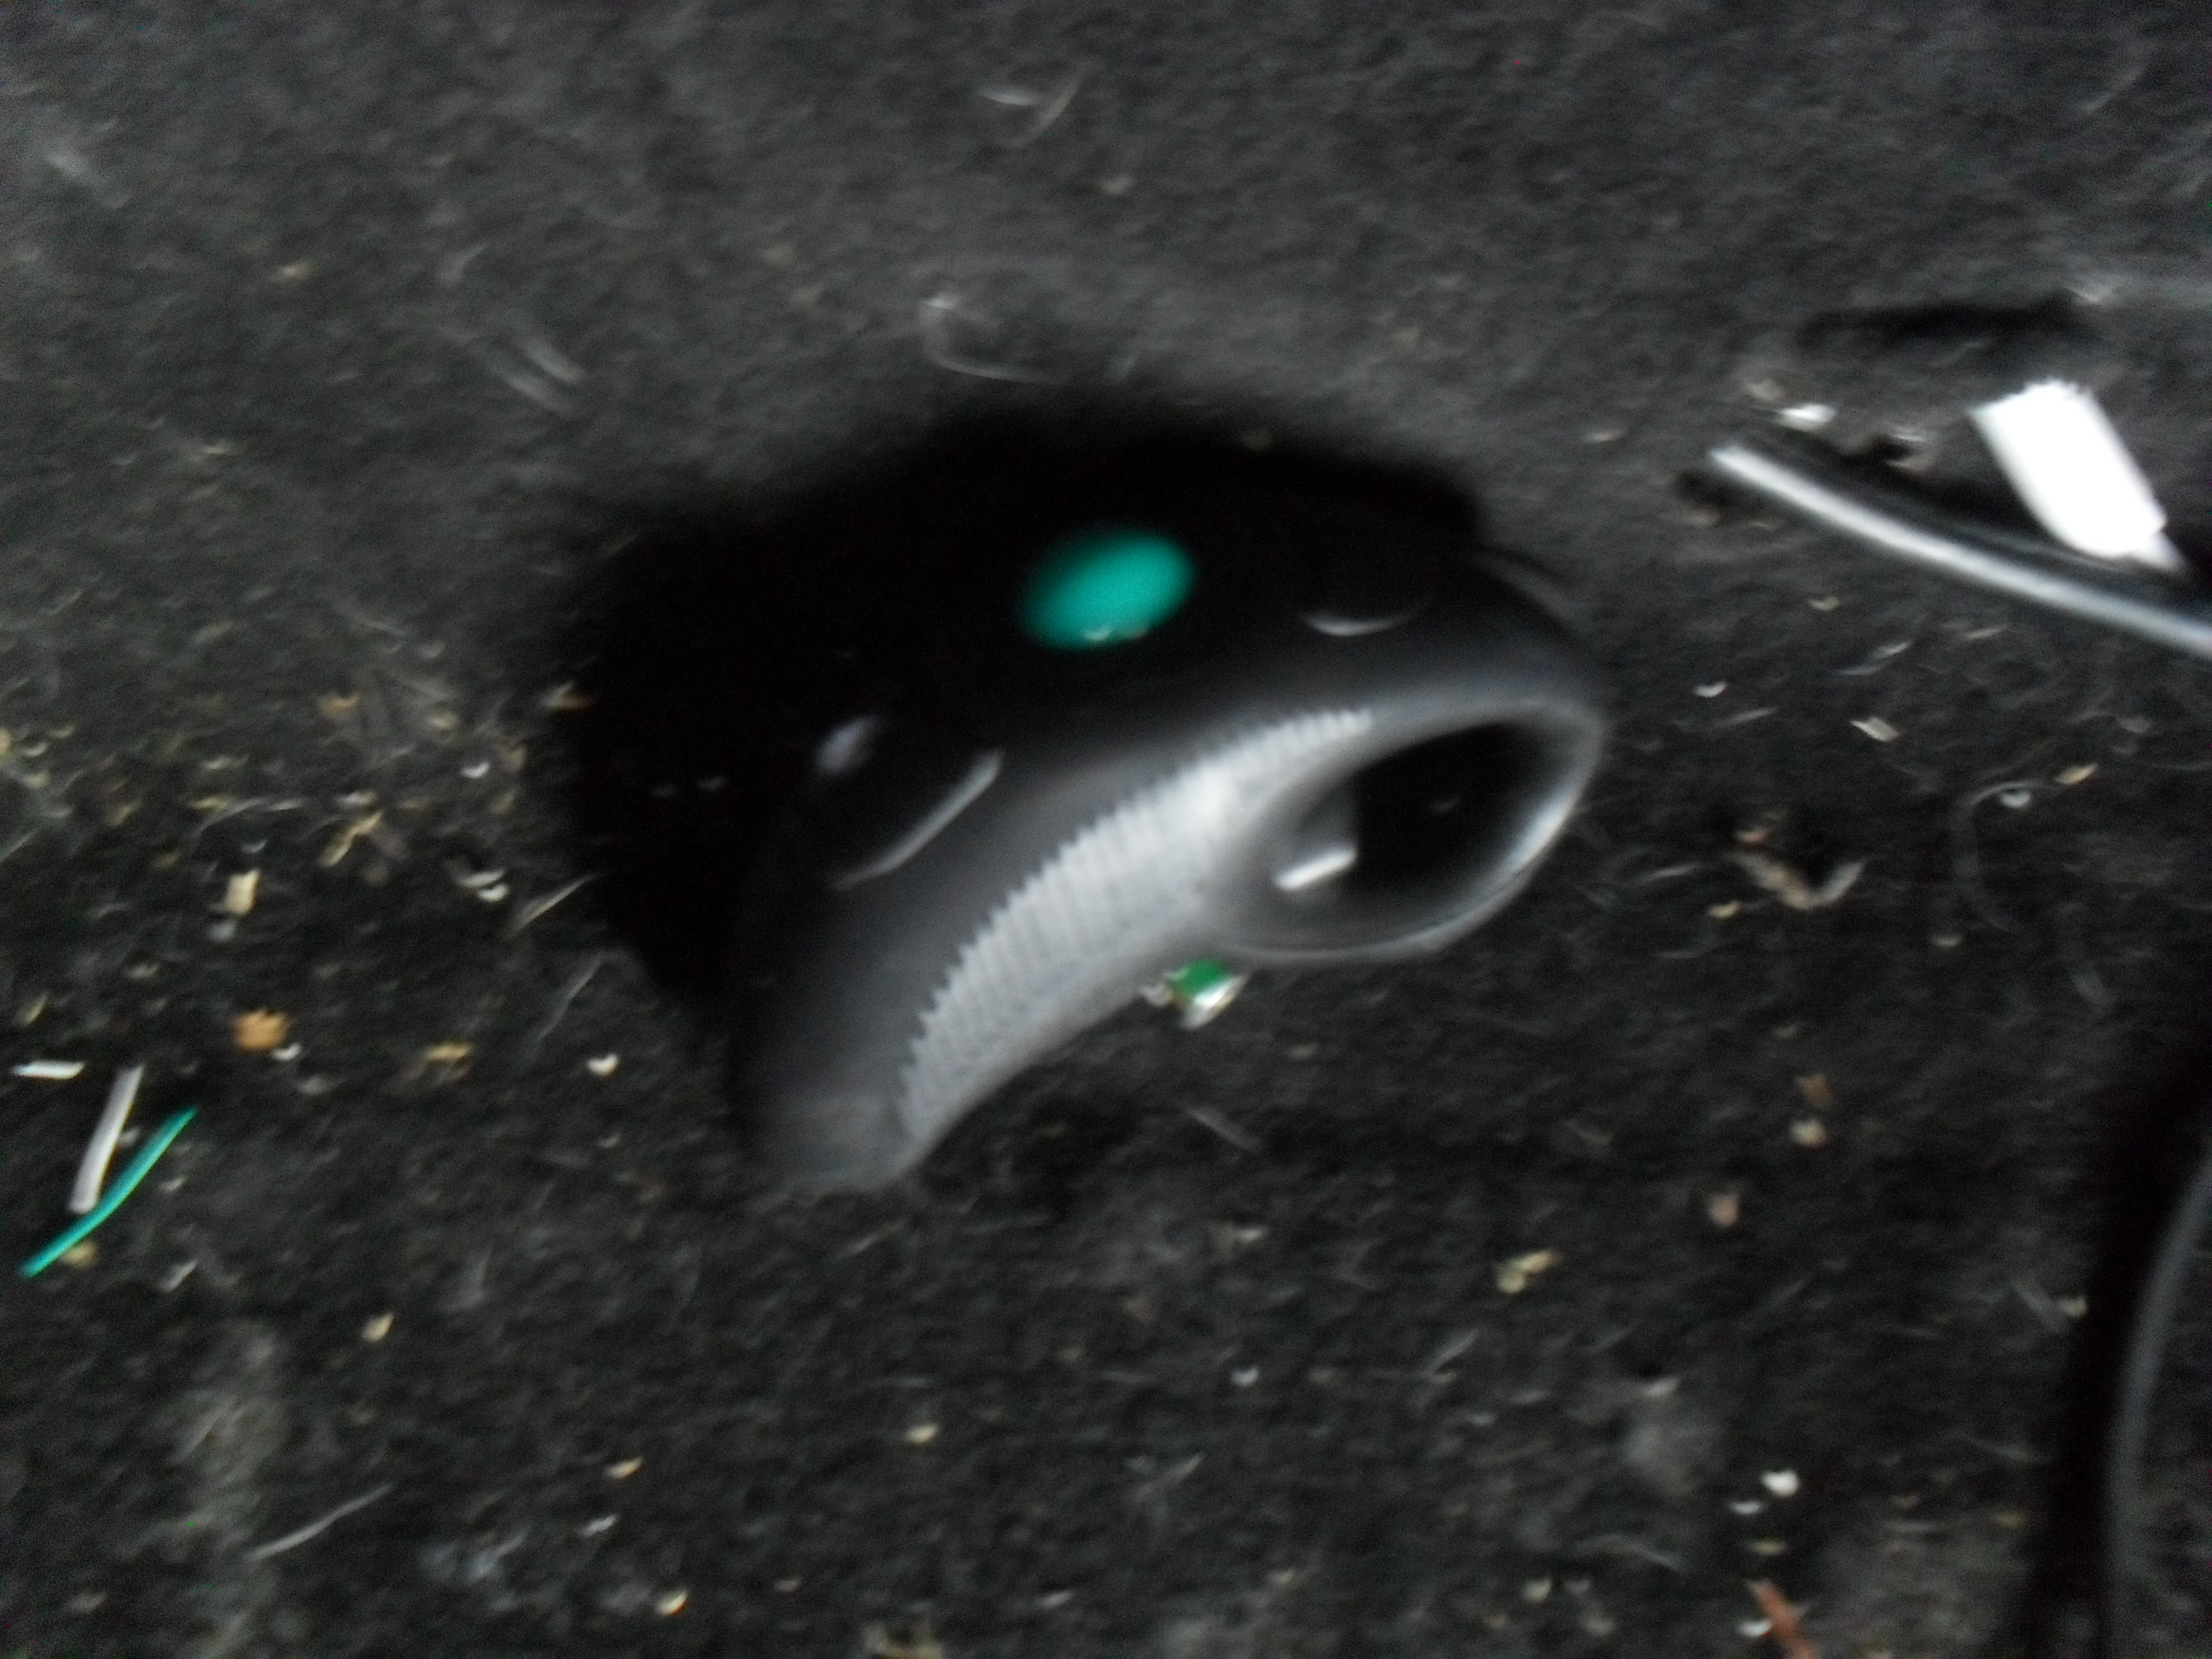
Found my cordless trackball
so now I can play with the dvr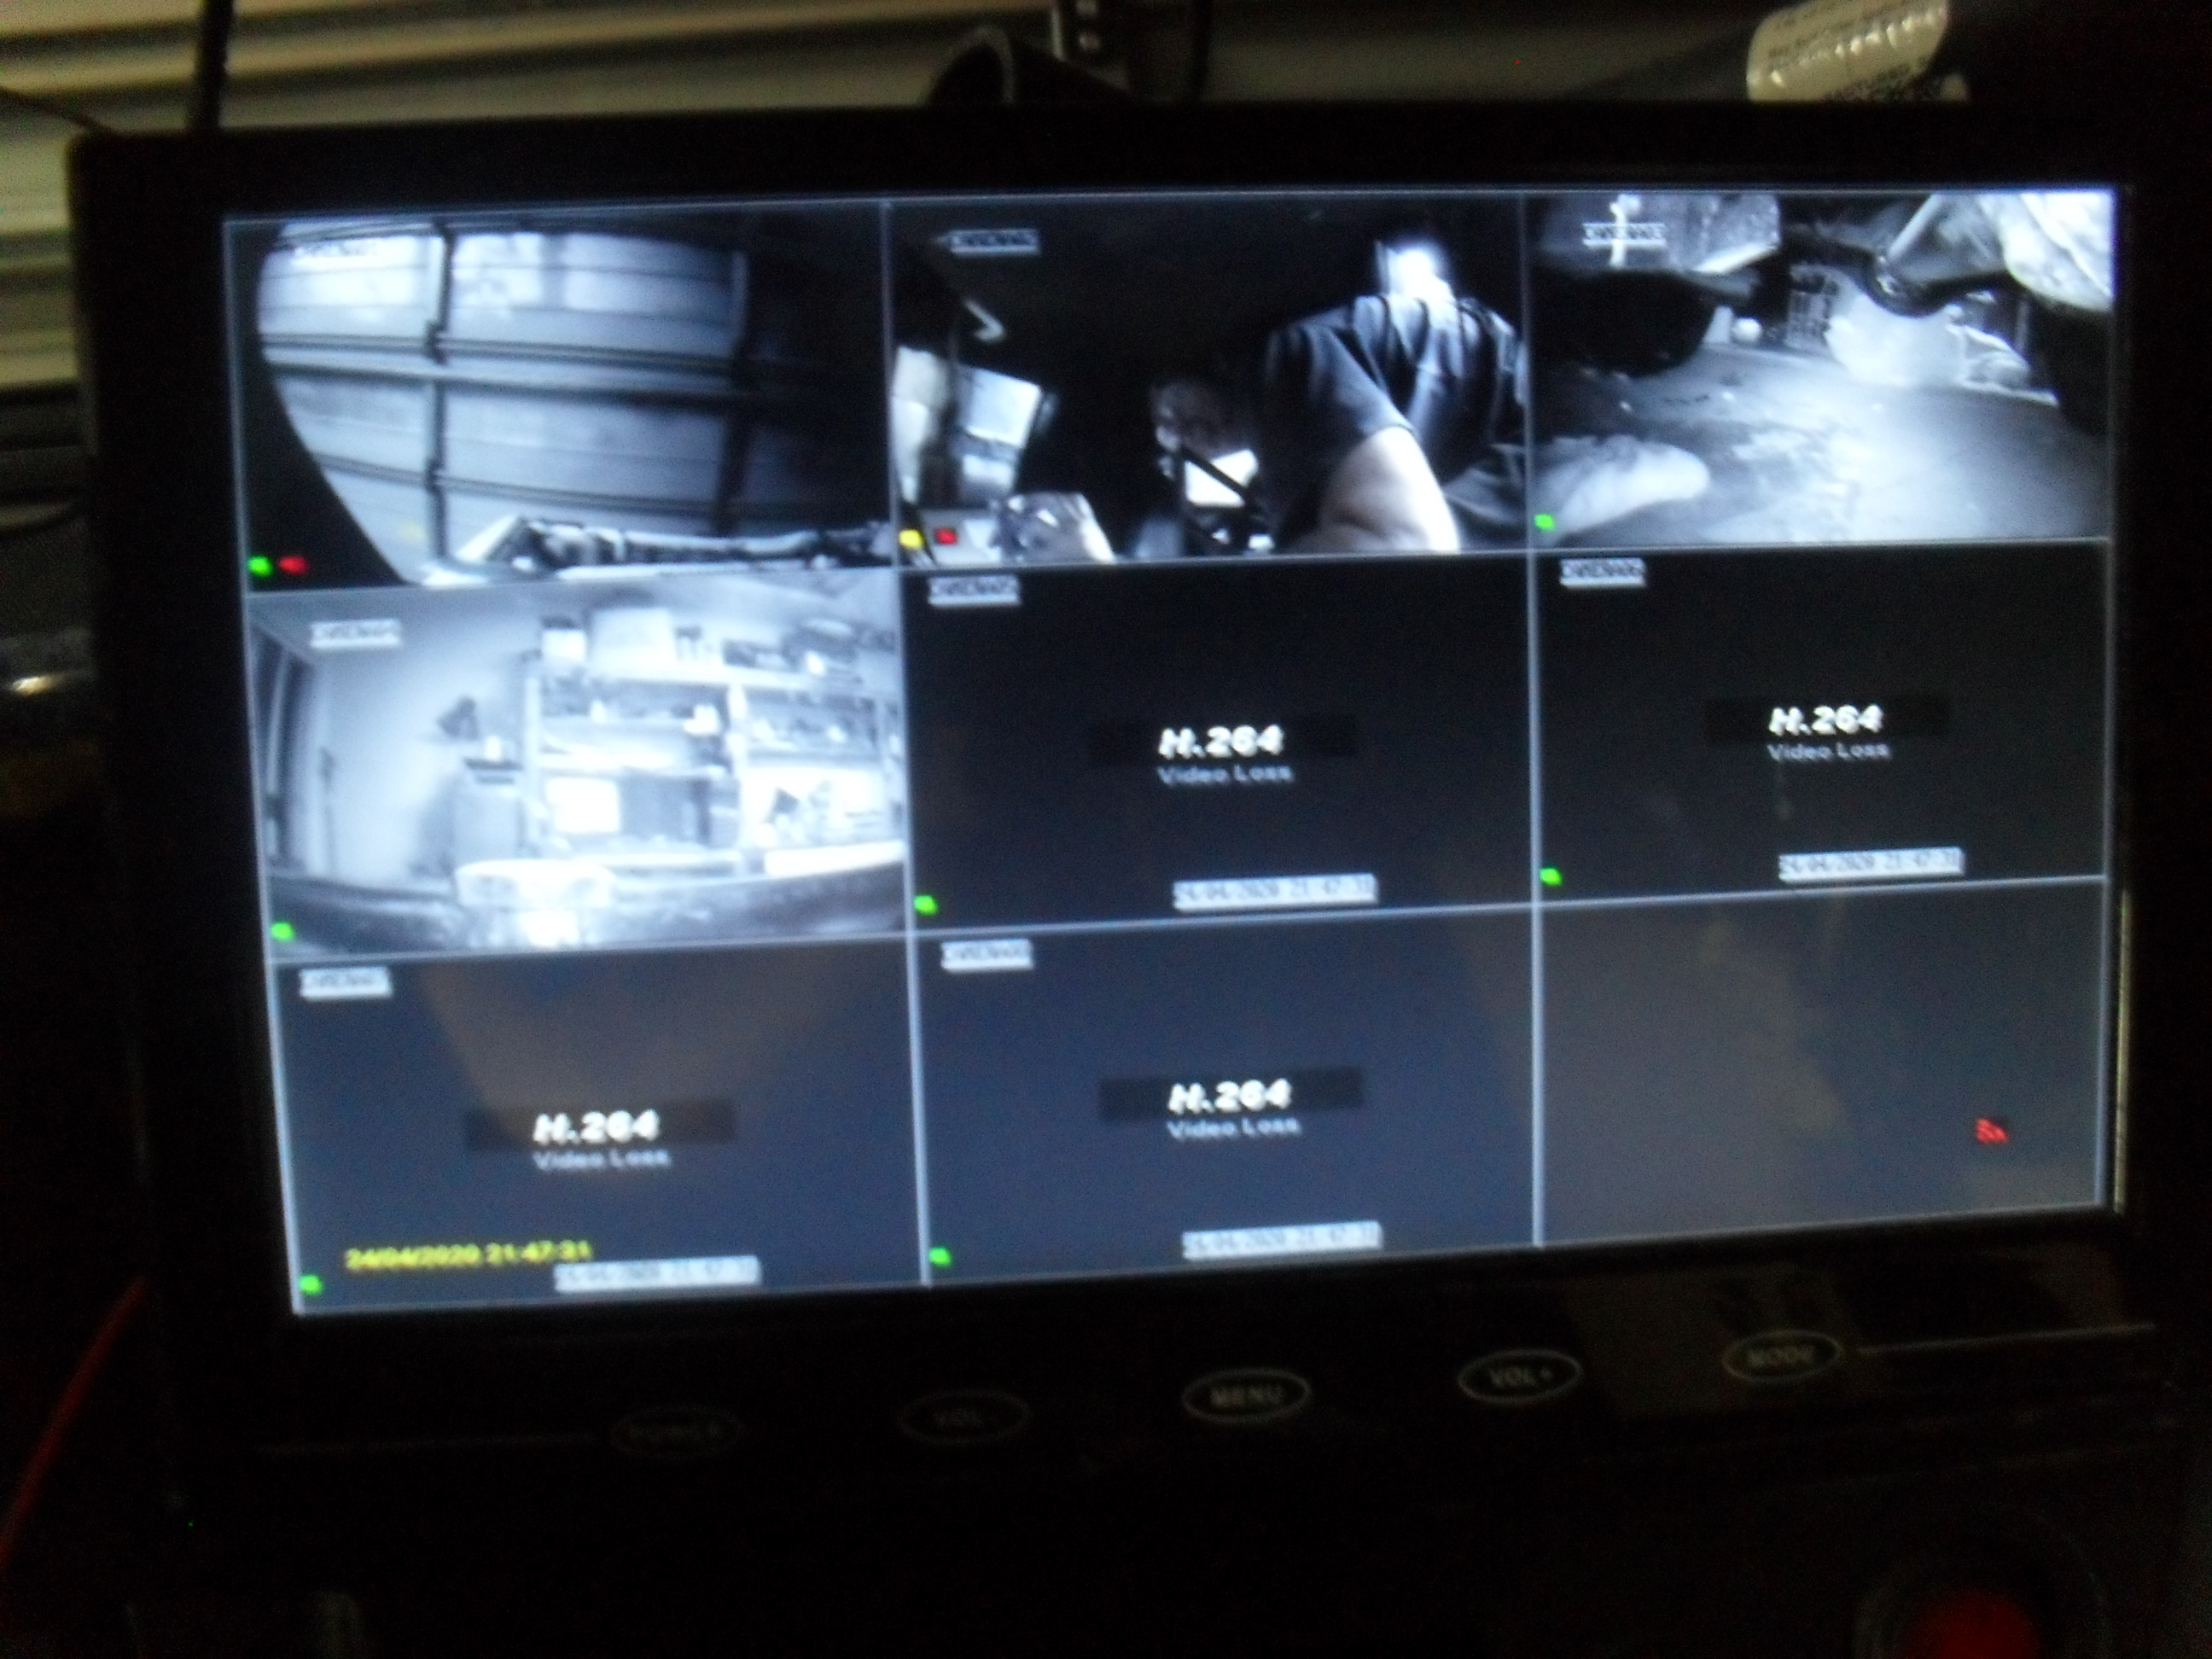
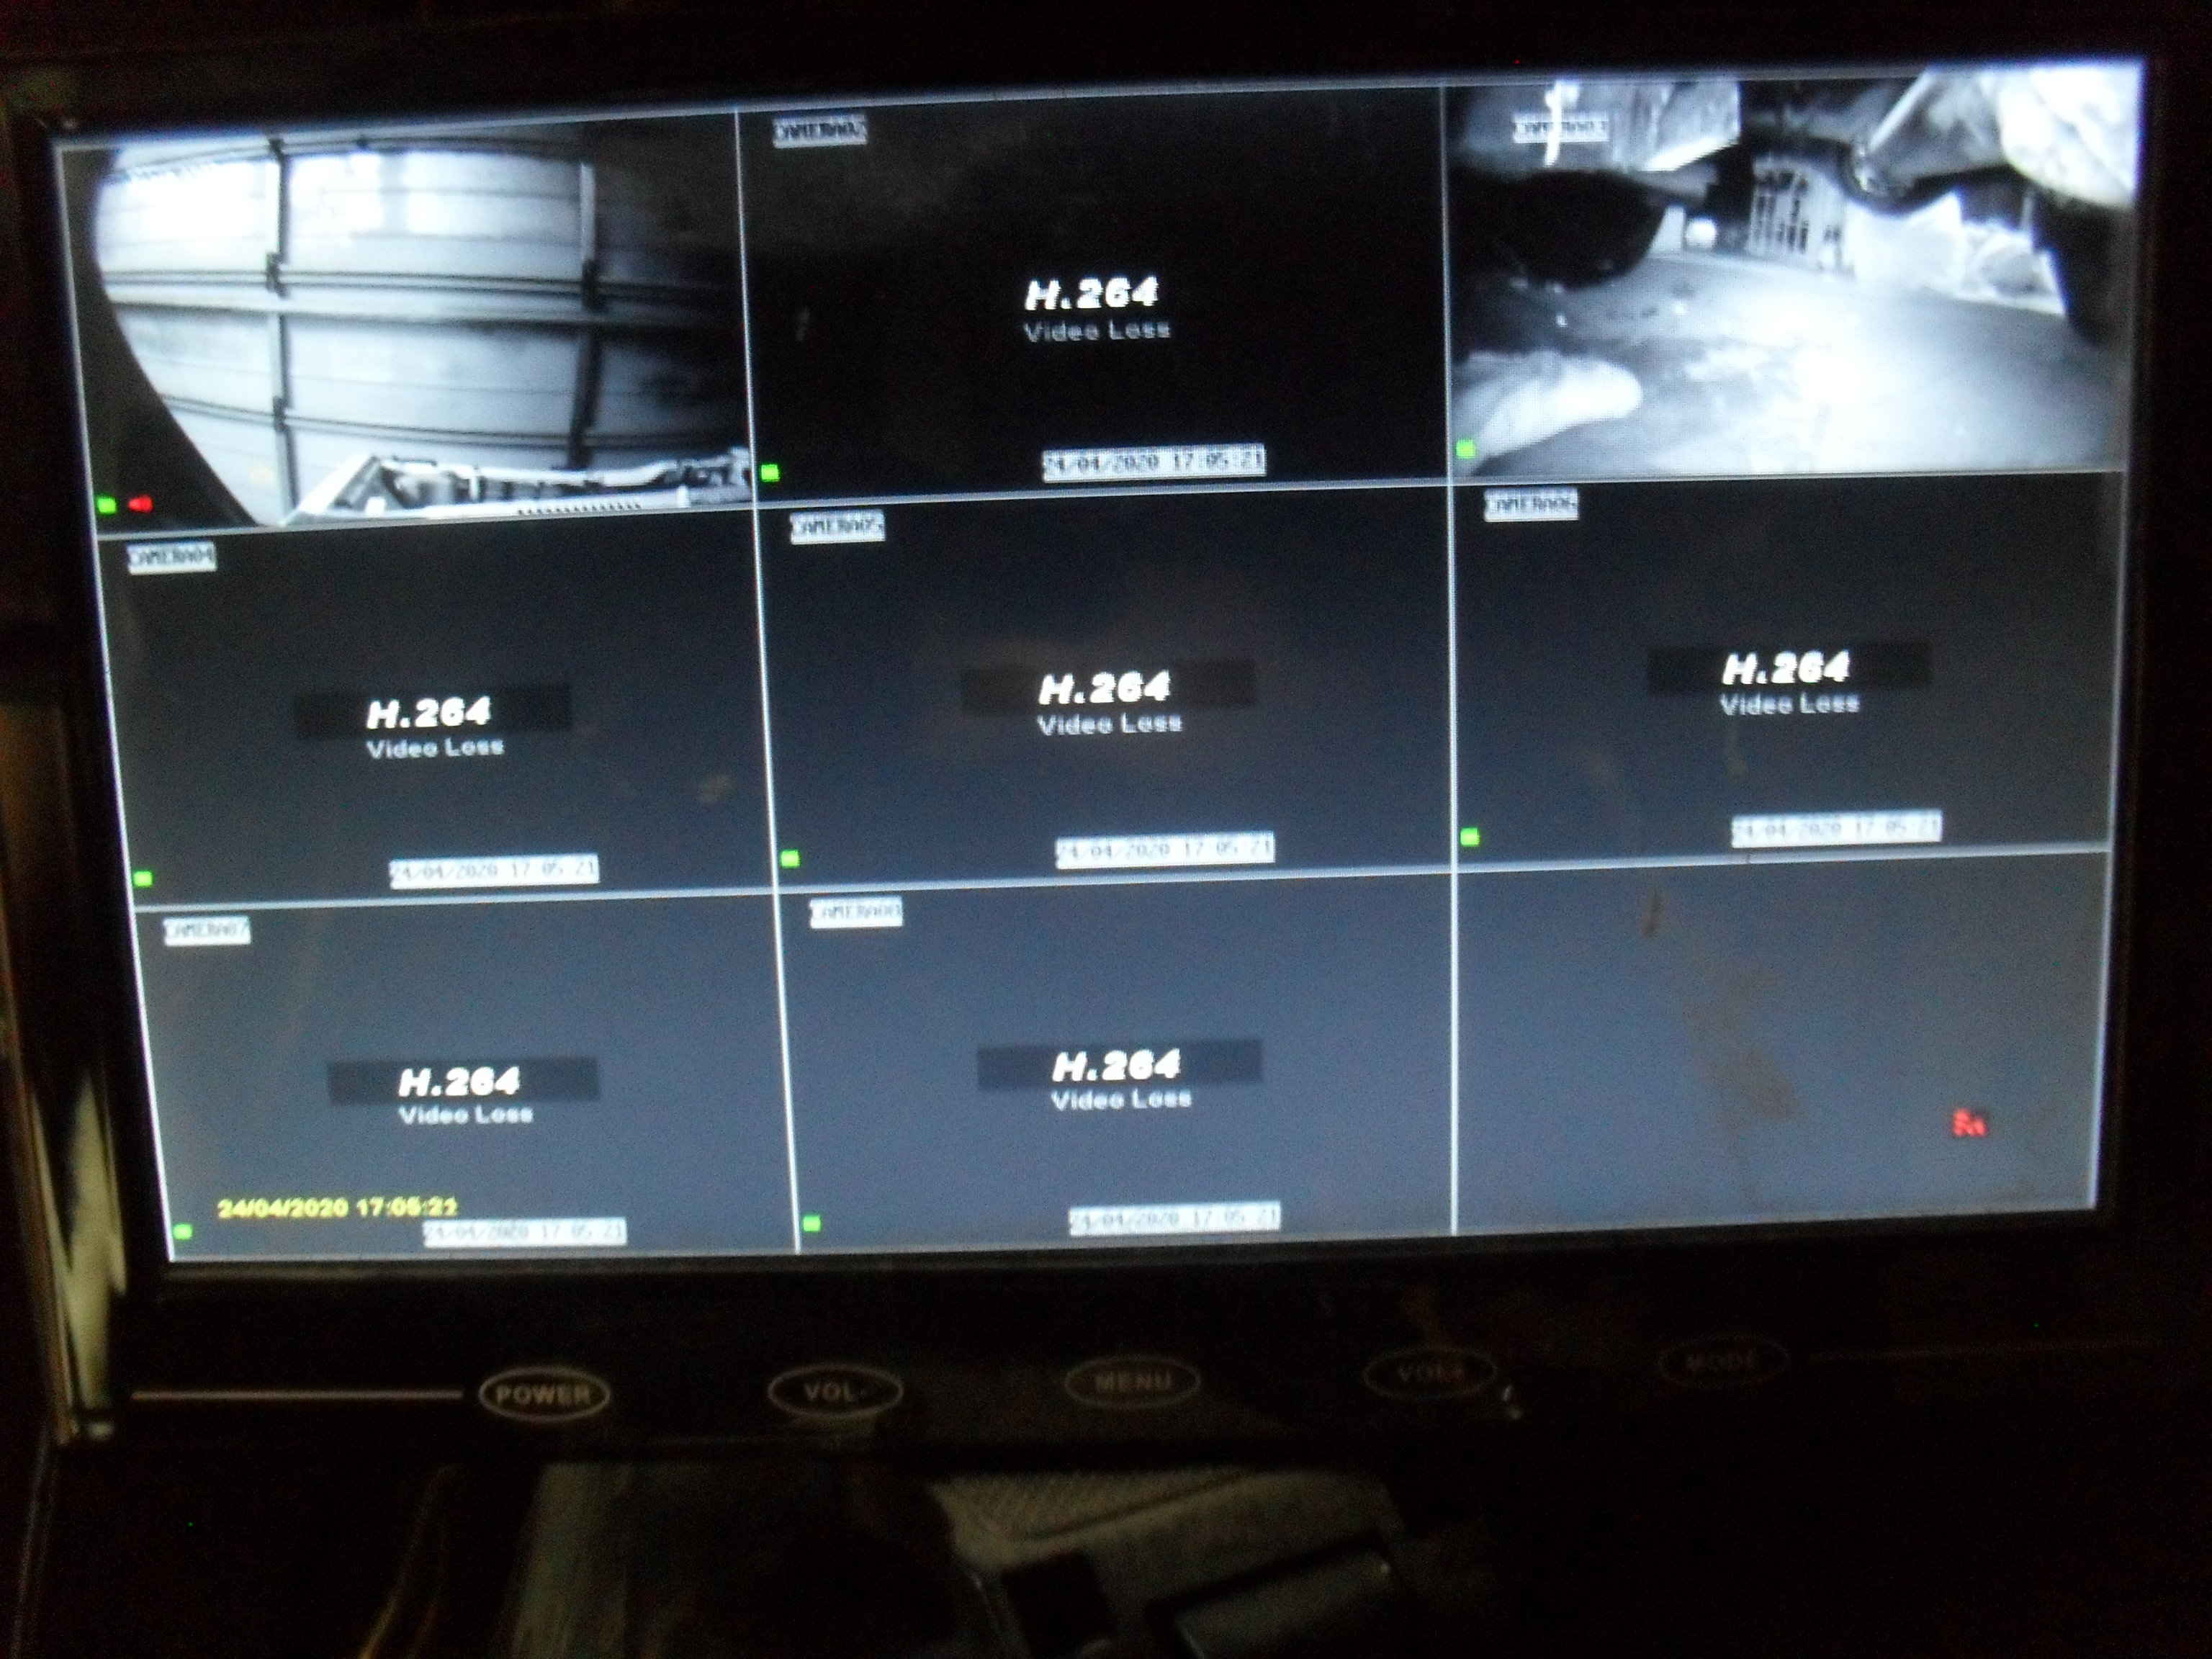
Passenger cam , you can see it in the centre top of the full display.
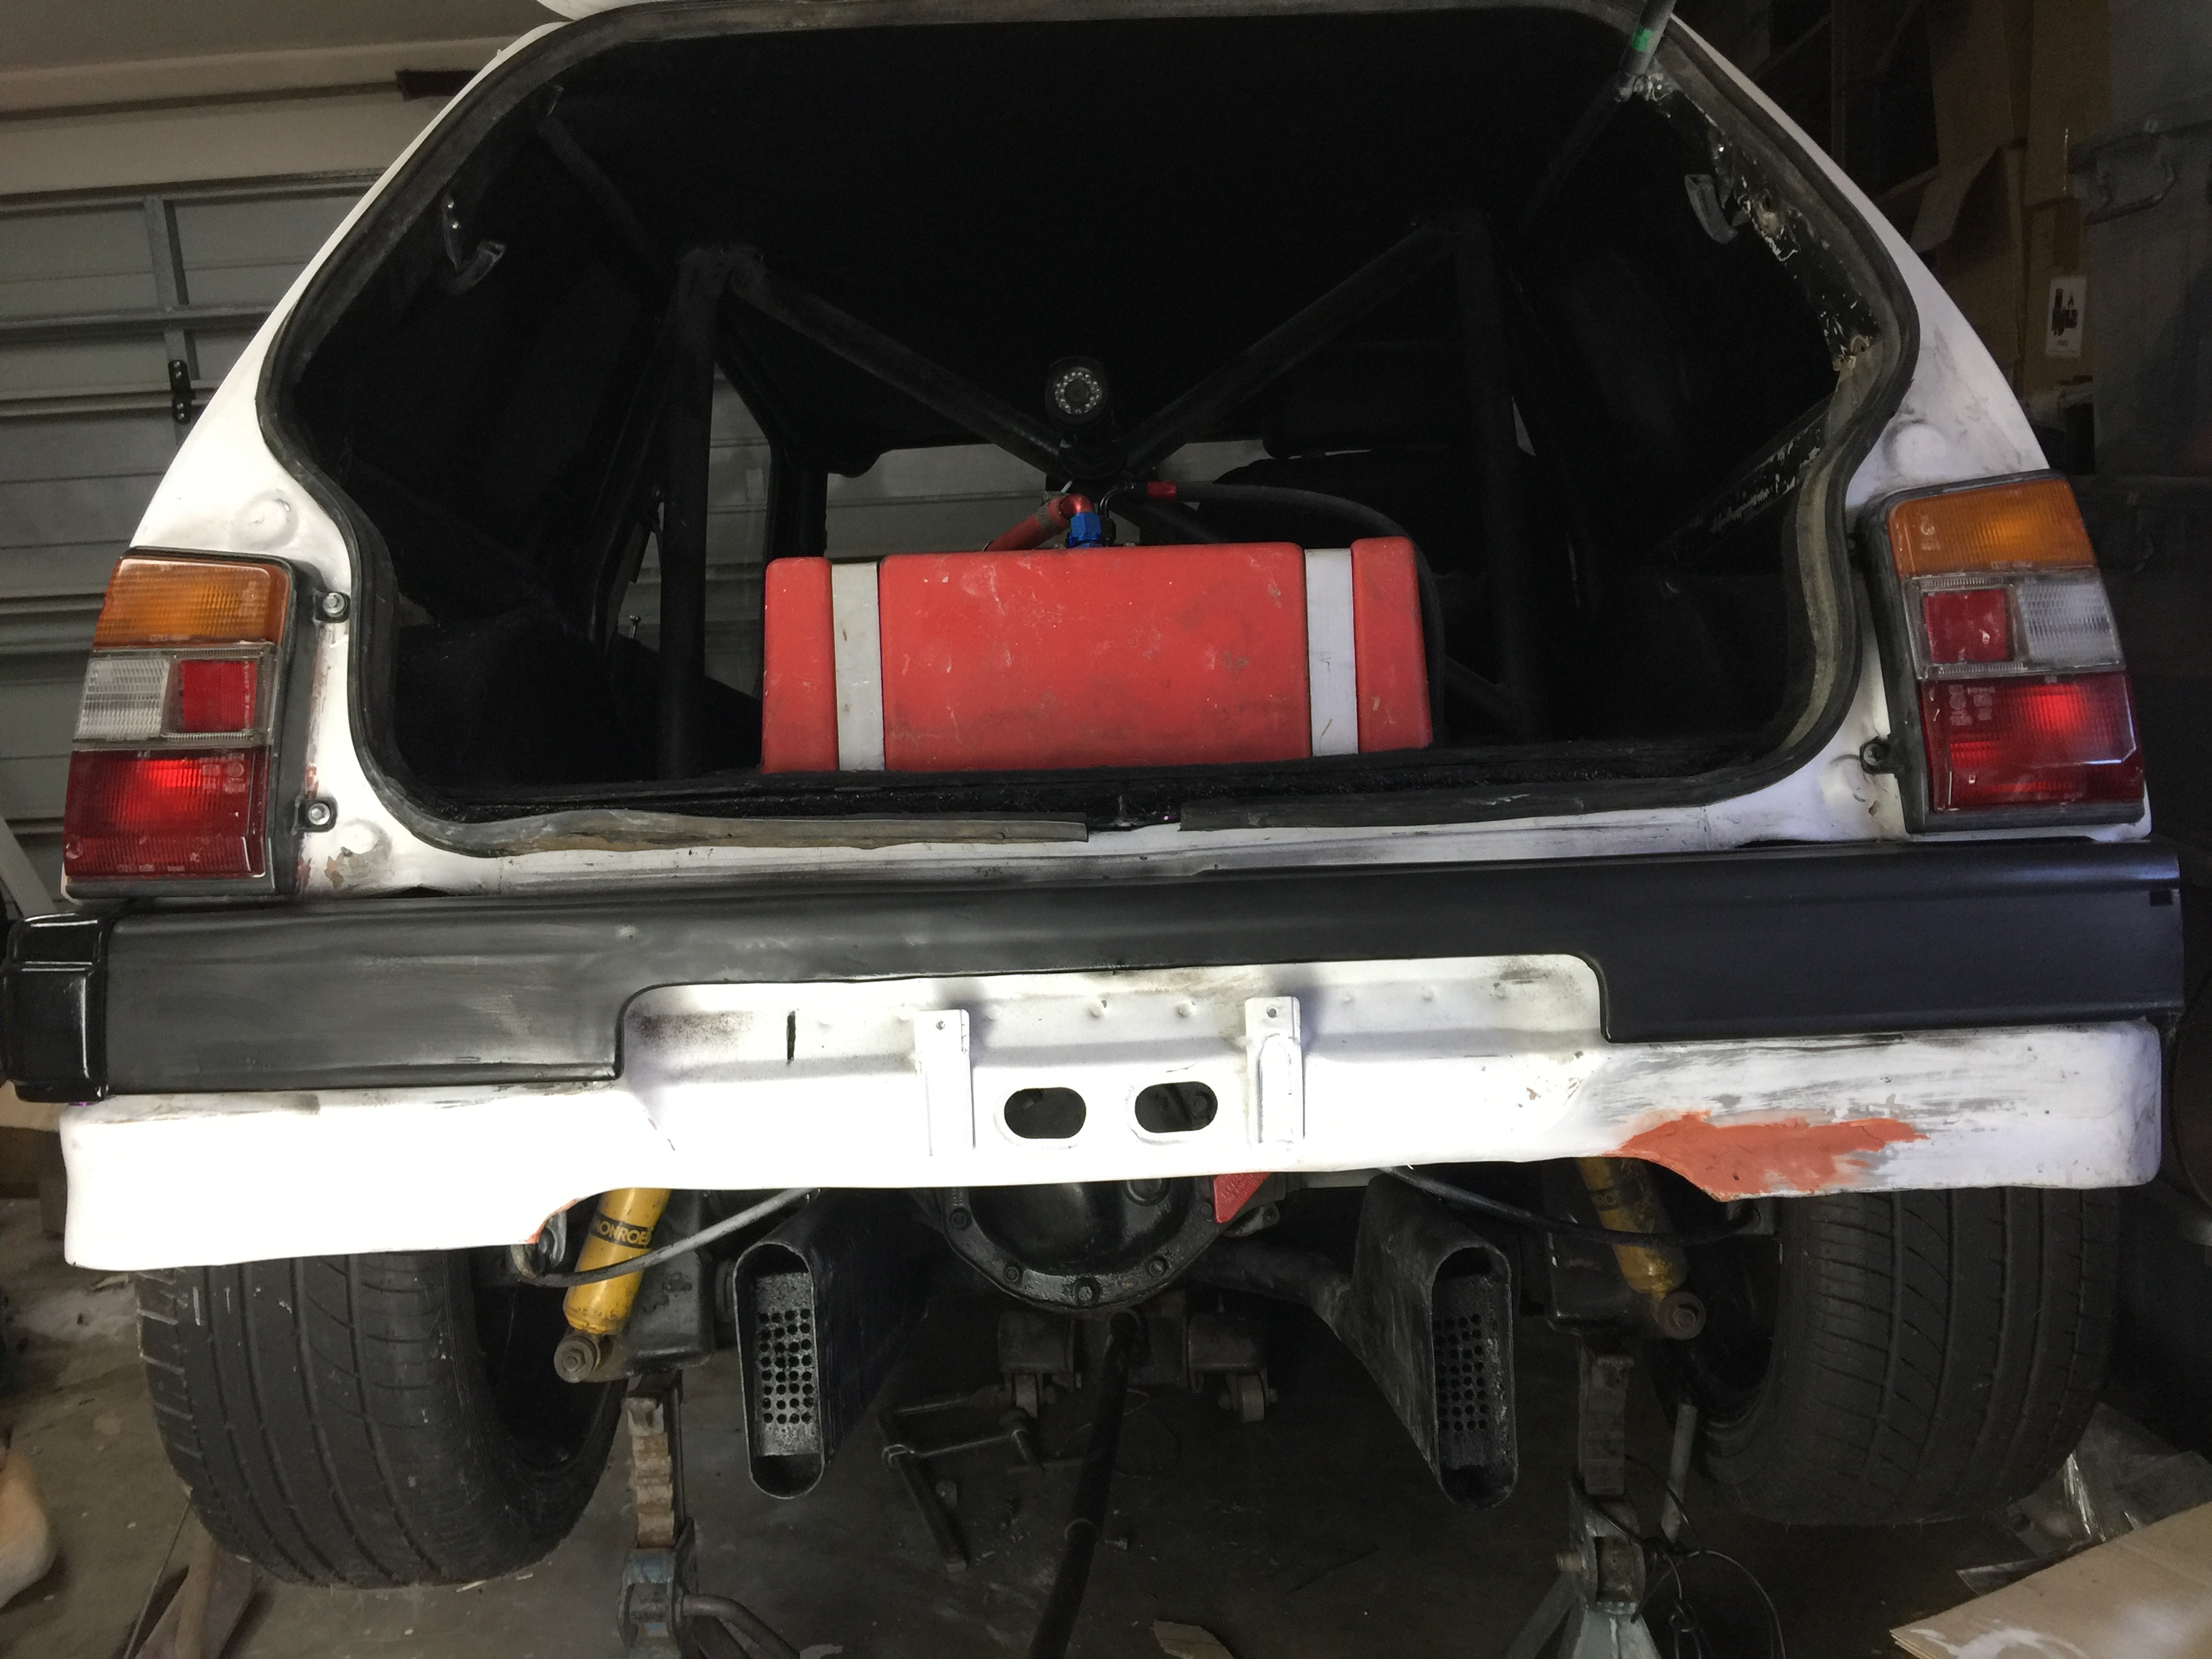
And got a rear cam mounted on the cage looking out the rear window
4 Likes
|
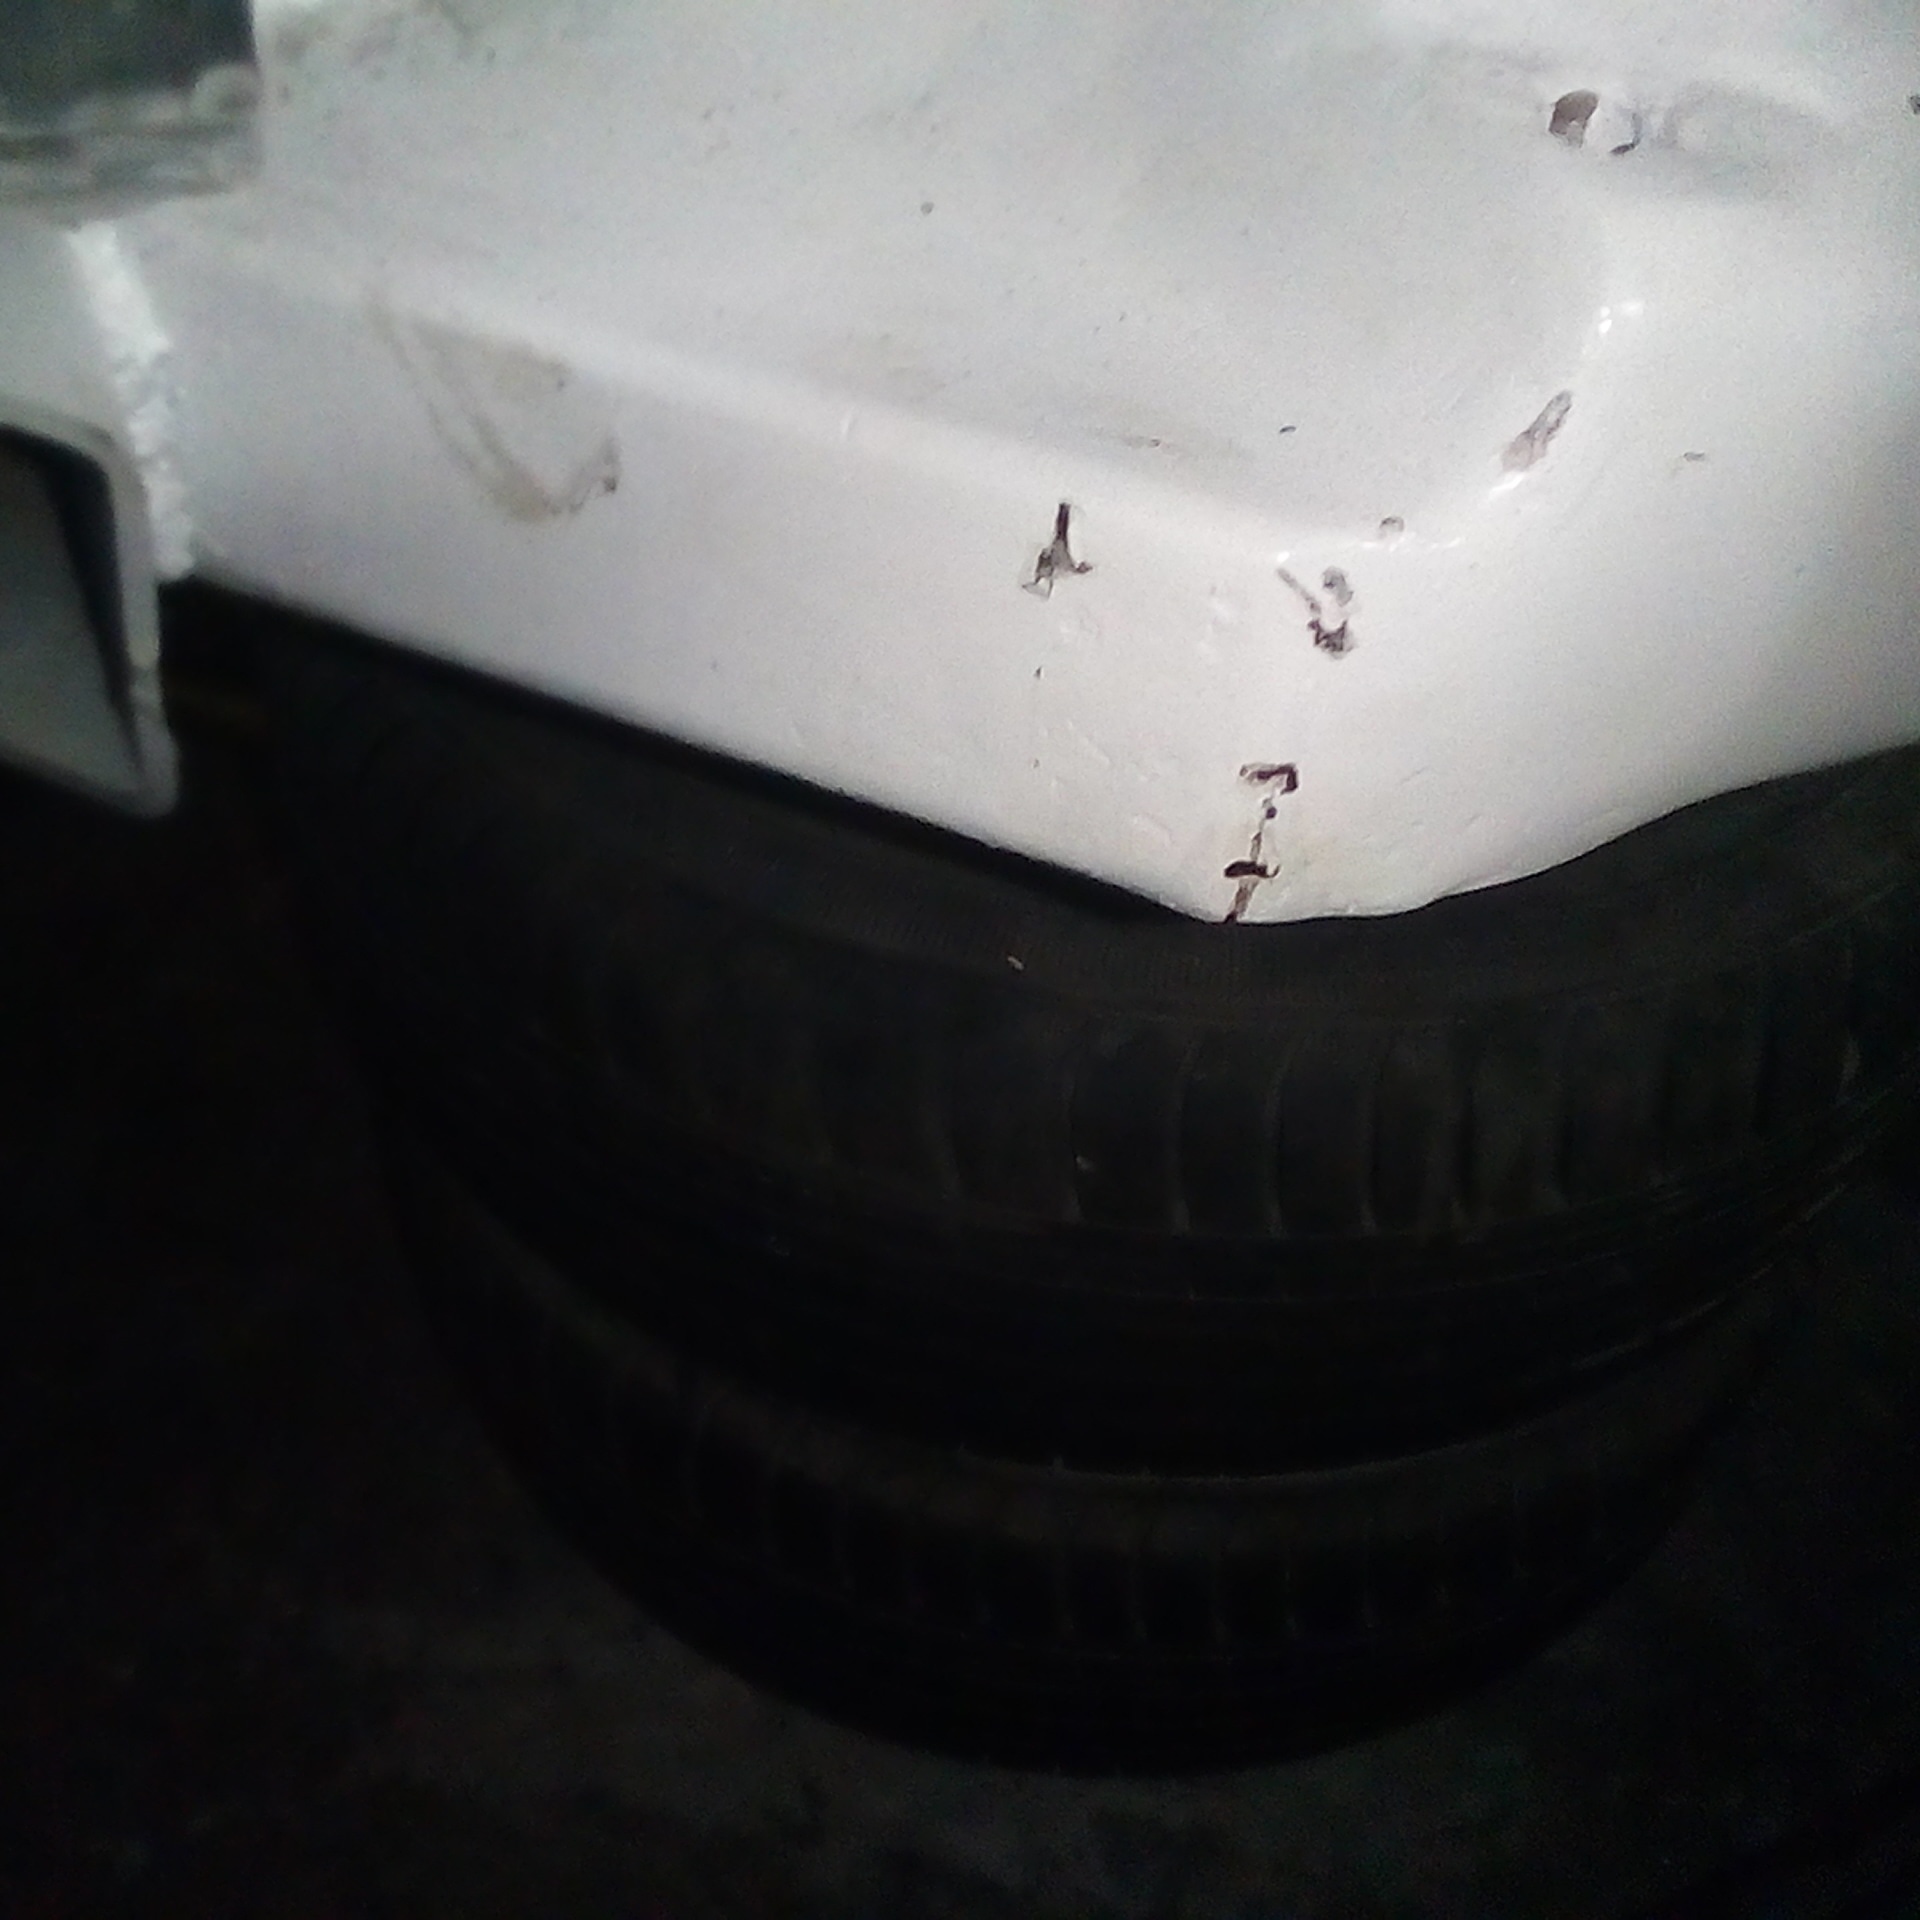
Need to do something with the rear mudflaps, either make them wider or get rid of them.
And fix the chrome strip on with white sikaflex
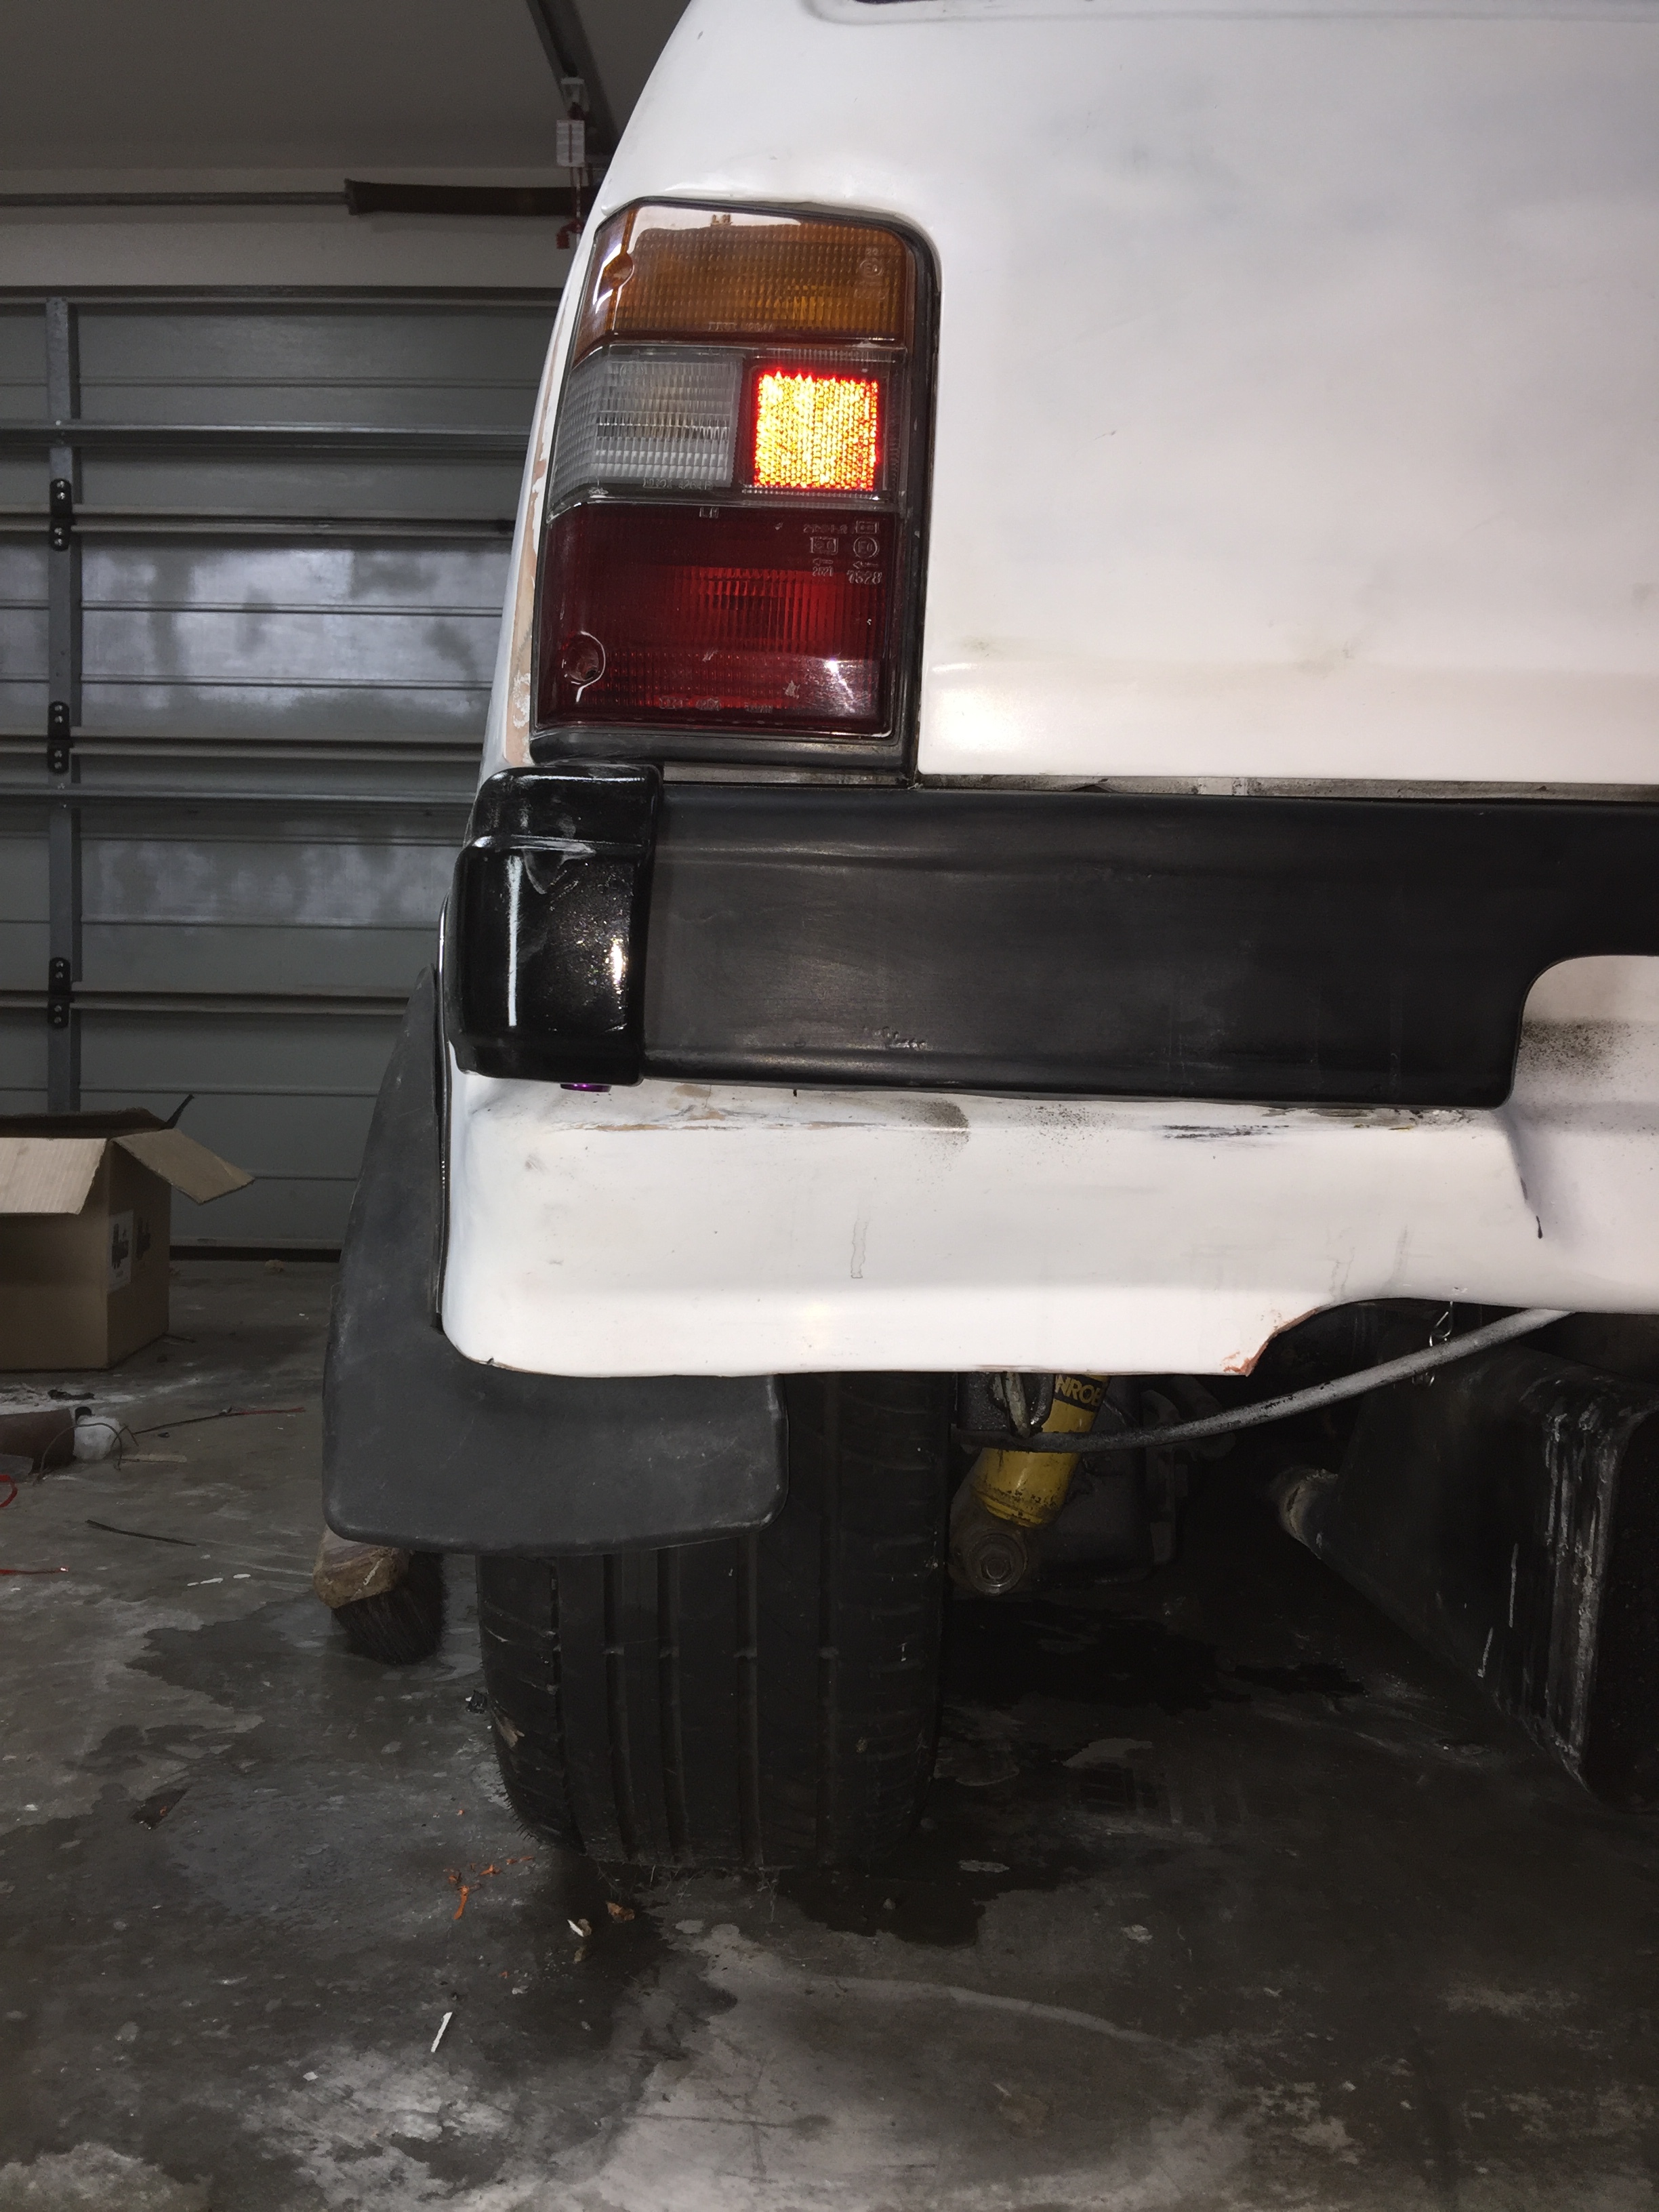
Need to do something with the rear mudflaps, either make them wider or get rid of them.
And fix the chrome strip on with white sikaflex
3 Likes
make them wider, go for the granny look 
2 Likes