Lisa's Street L701

So I’m assuming you’ve read the story about how I met girlfriend and got into Daihatsu’s. I’ve decided to keep track of her wheels here as well, allow me to fill you in;

I met her about 2 years ago, and she drove this small red little Cuore L701, didn’t really know anything about cars but I was already tinkering on my Honda Civic Aerodeck for about 1,5 years. coincidentally, her dad also owned a silver Honda Civic Aerodeck, so we flashed lights everytime we drove past eachother. (she used her dads honda as well sometimes so that’s basically how we connected.)

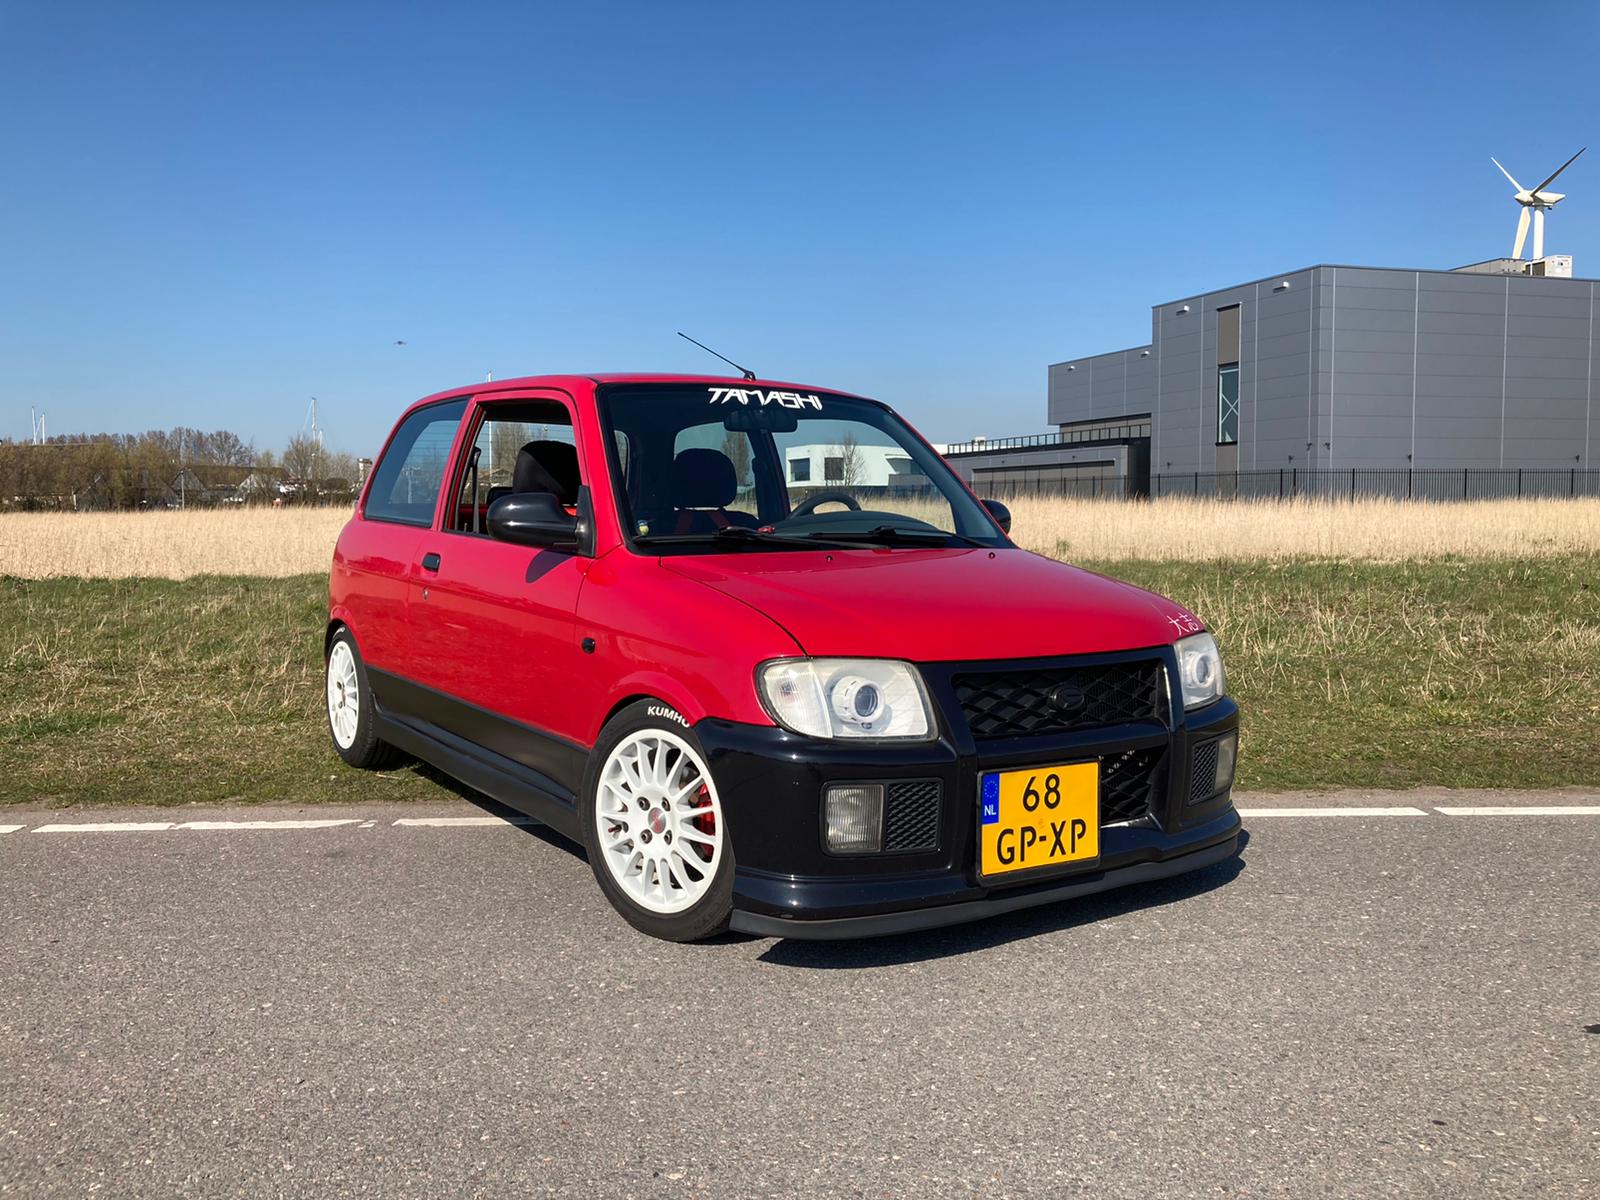
She decided she wanted to modify her own car as well, and I was super down to help out. this how we started, a bone stock 2001 Cuore


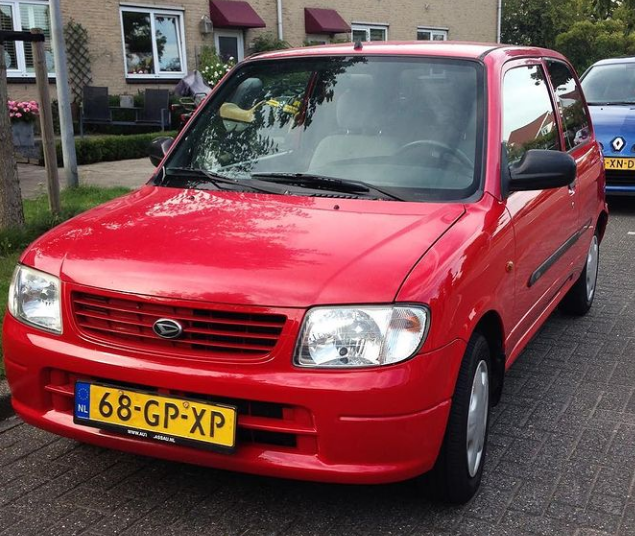
this picture was taken the day she bought it, it was still shiny and red here,

Sadly I can’t tell you about everything that happened to this little red monster, but there’s more than enough material on her instagram @daihatsu.cuore if you want to snoop around :wink: that page is basically a mega thread on it’s own and will tell you all the ins and outs of this particular car

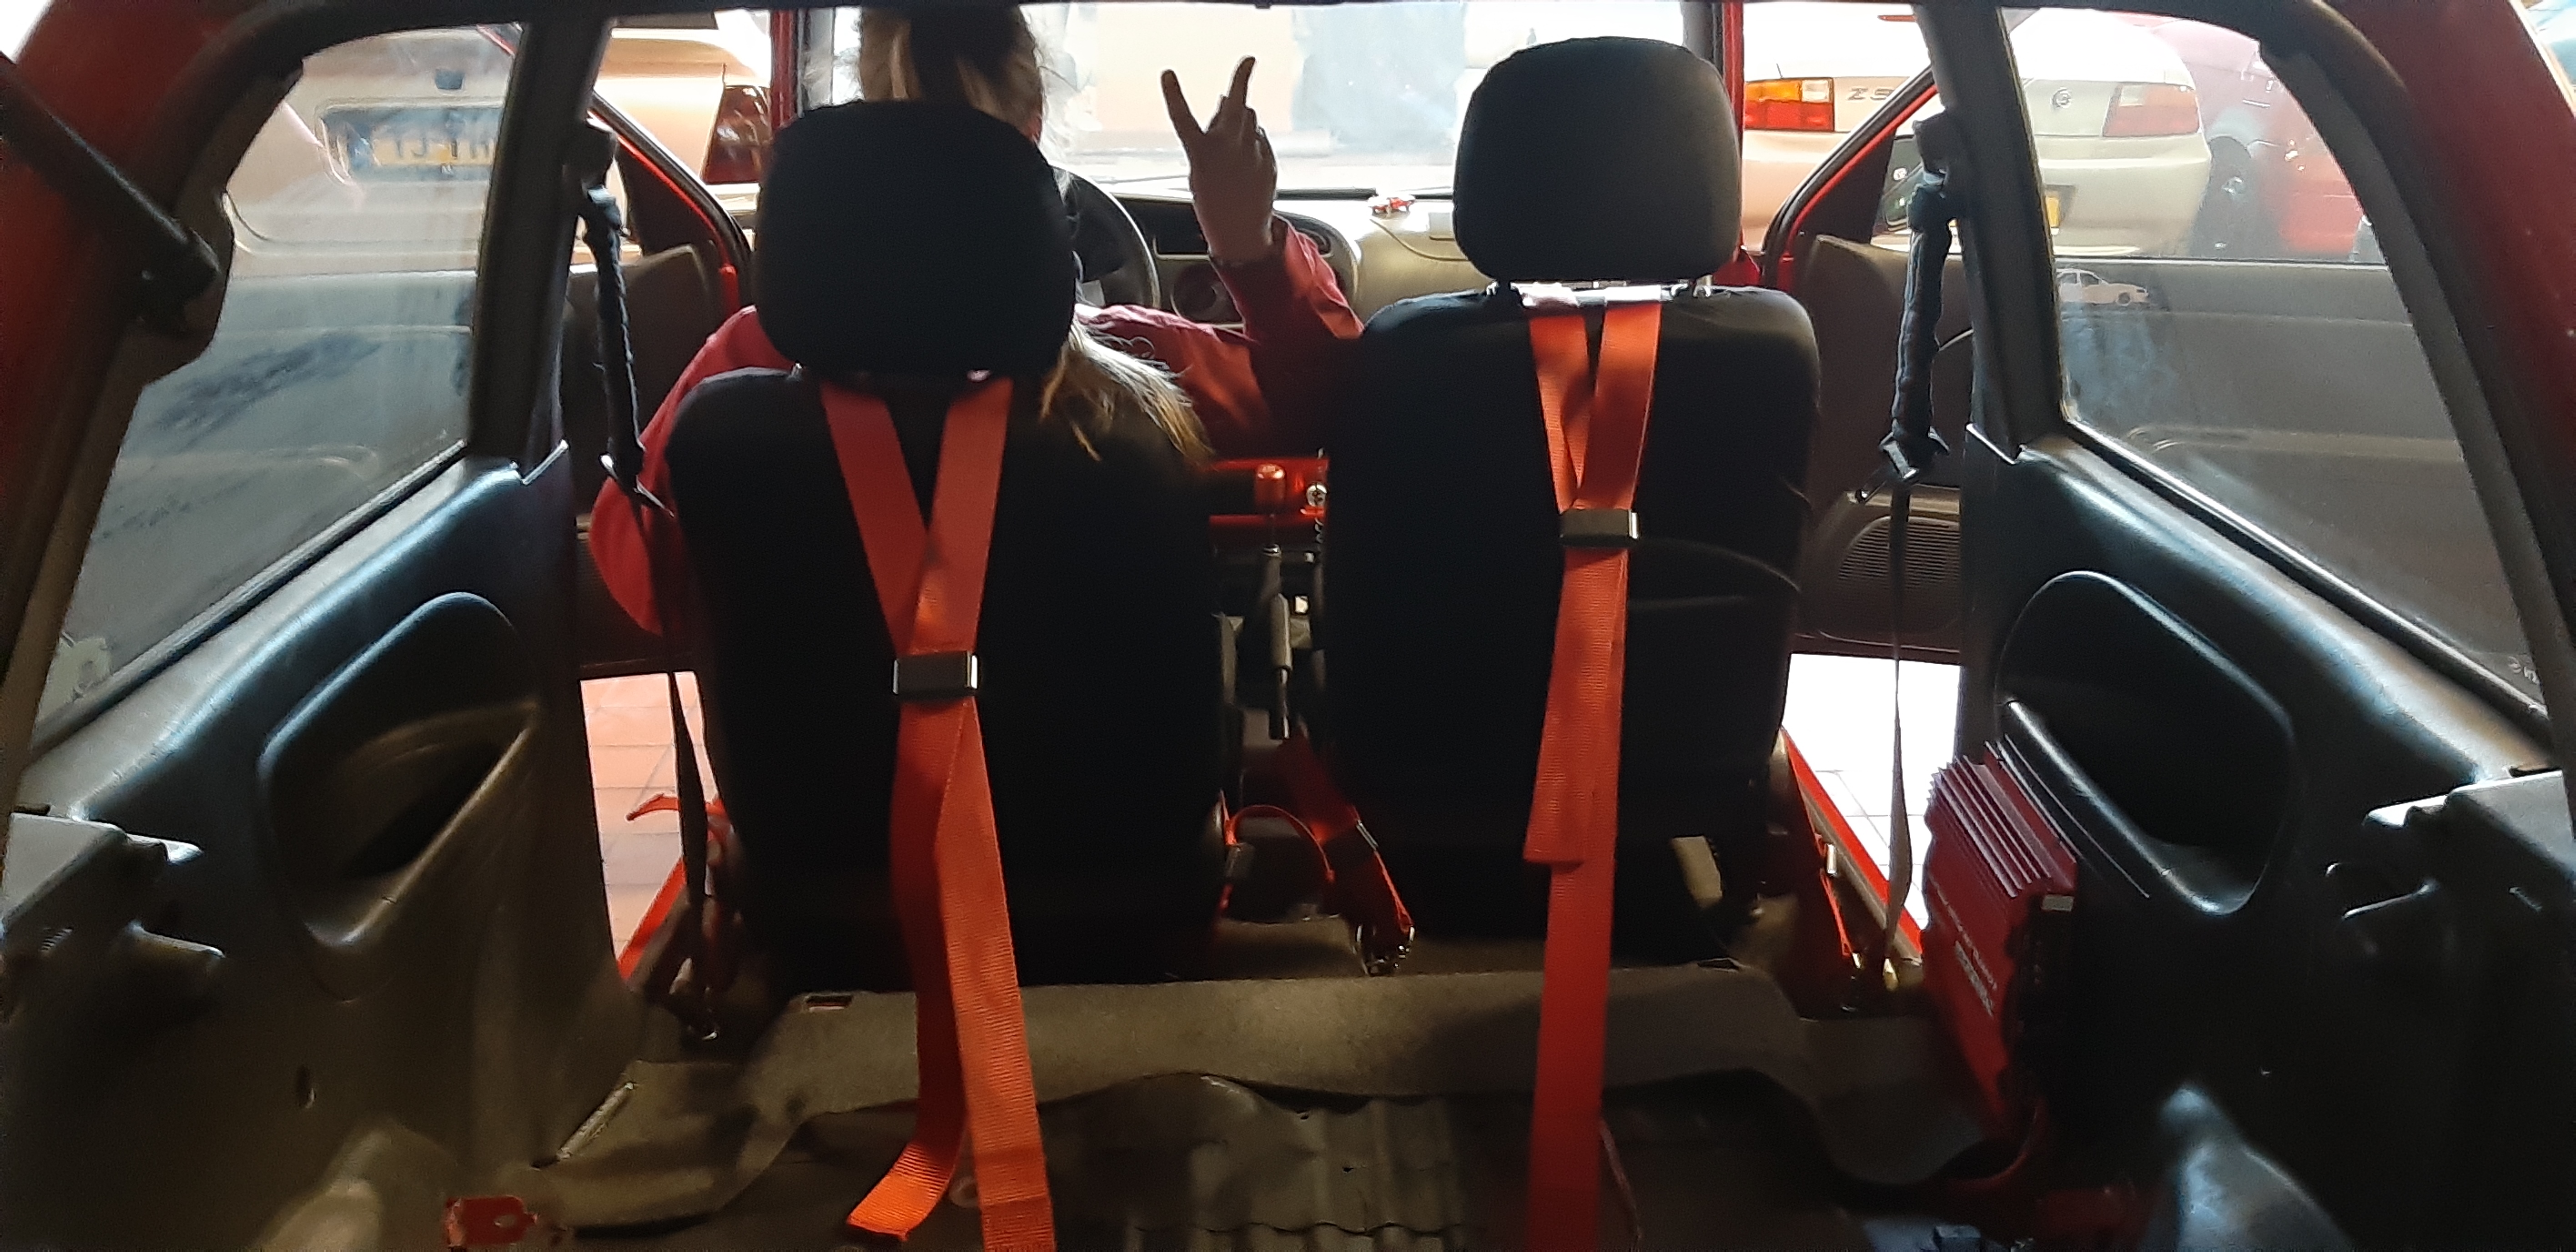
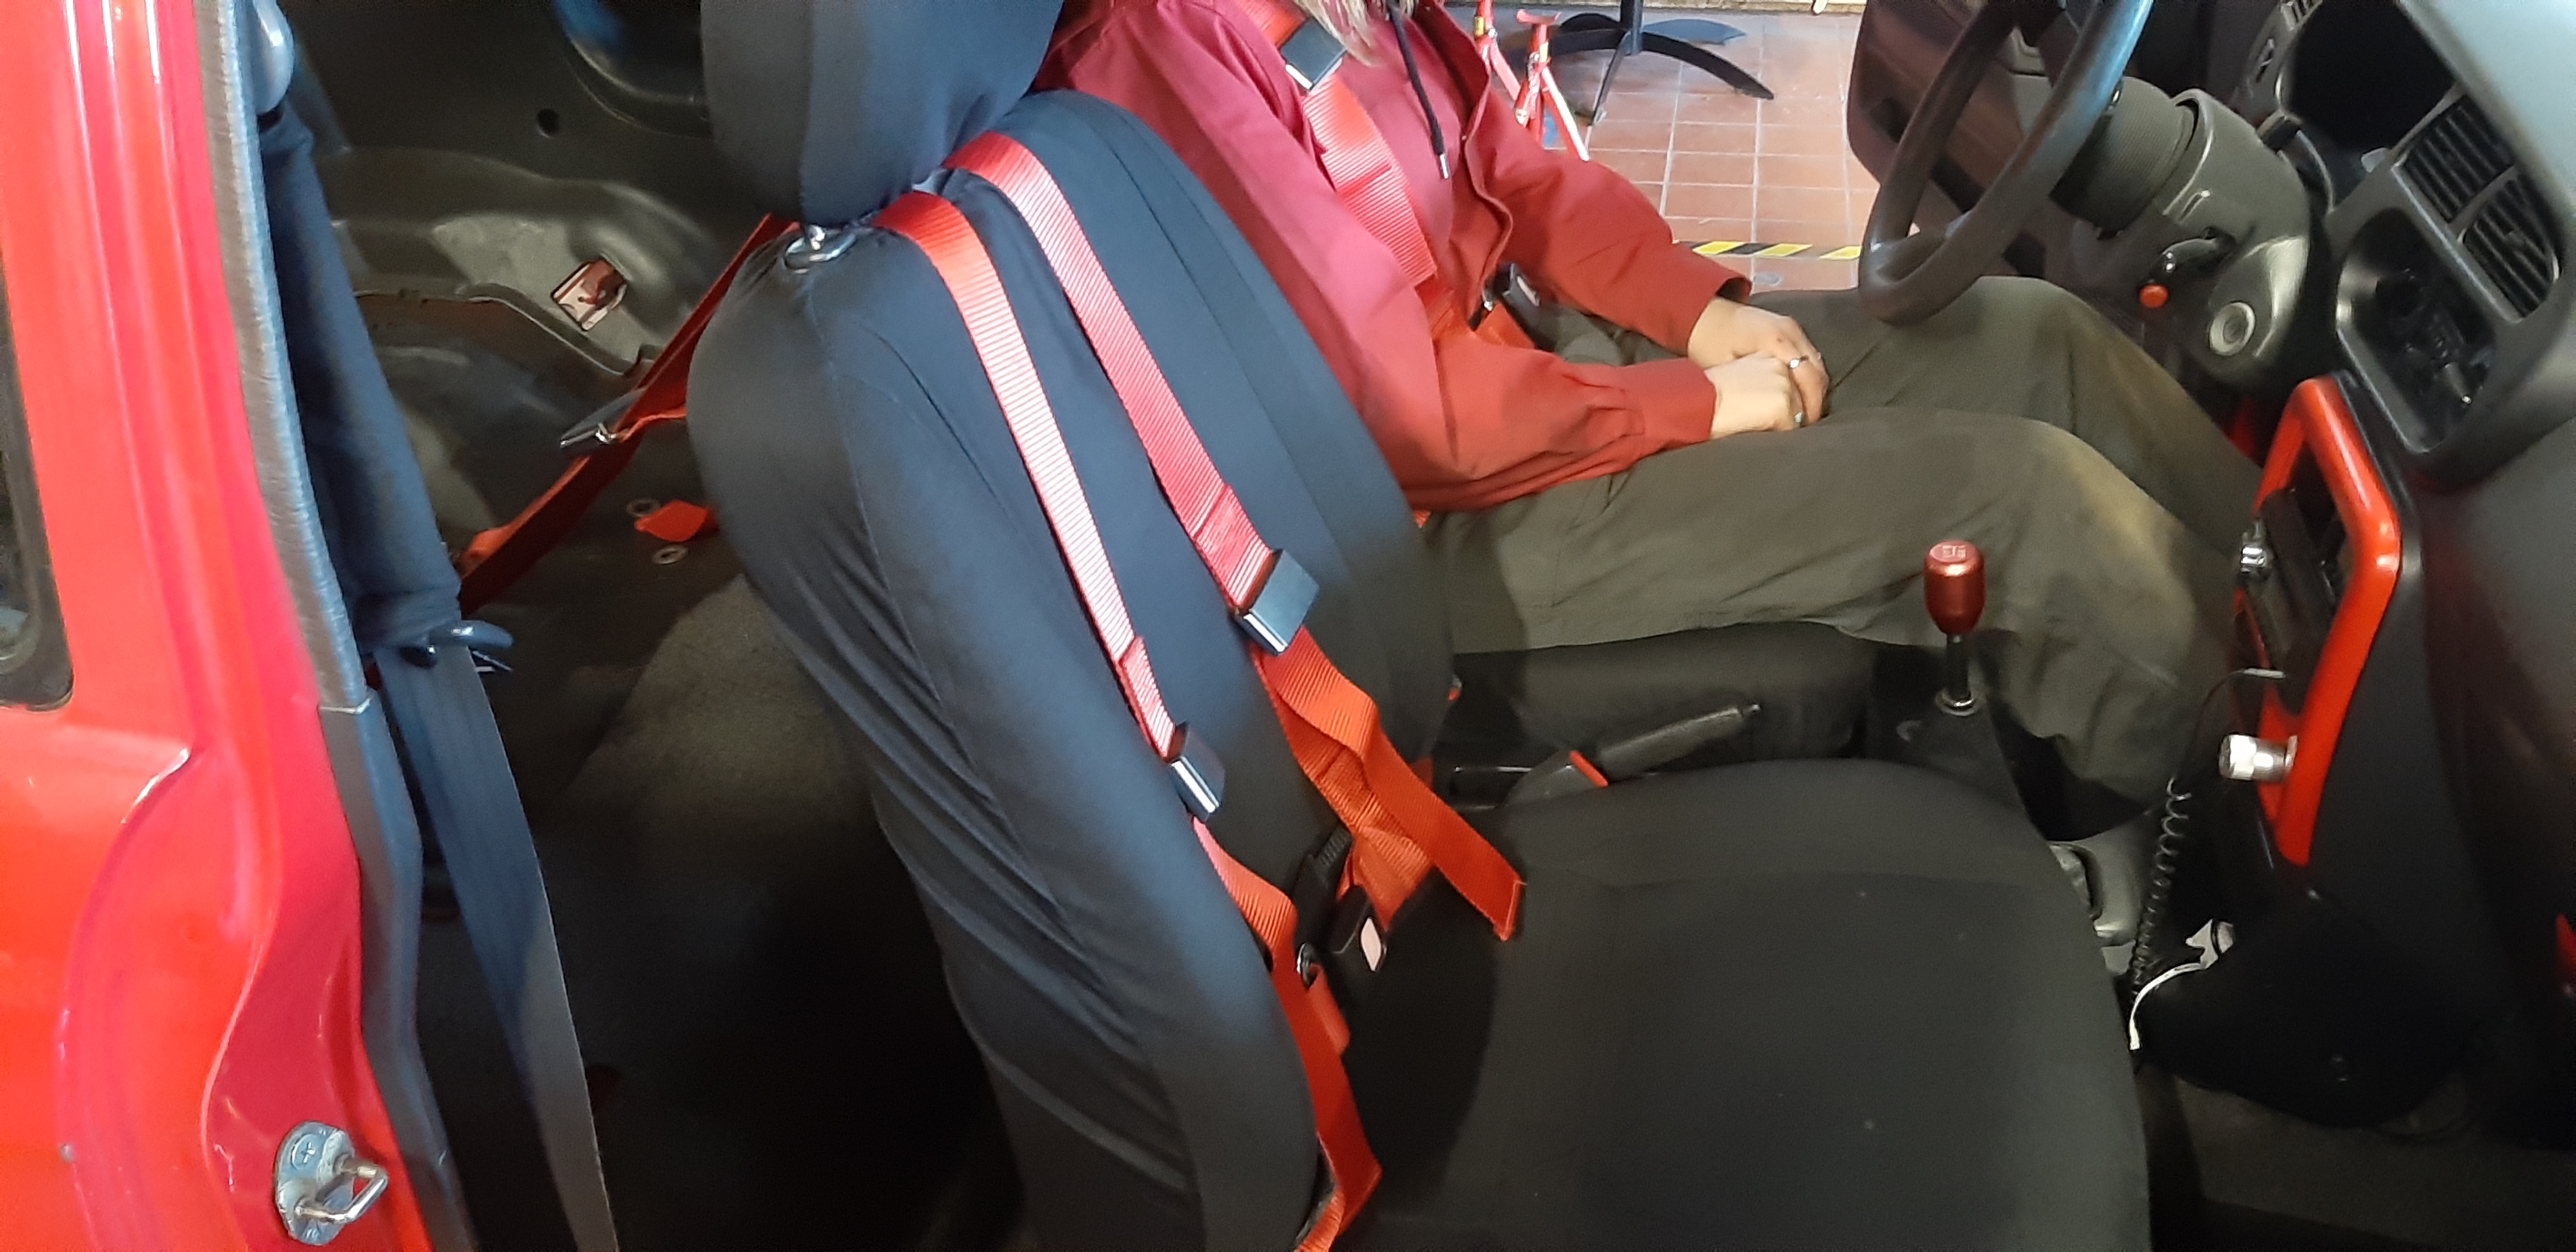
this is the current state of the car:

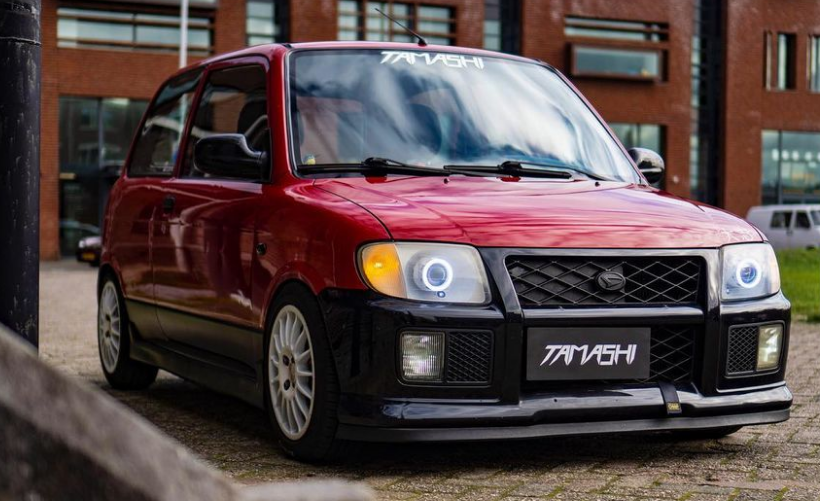
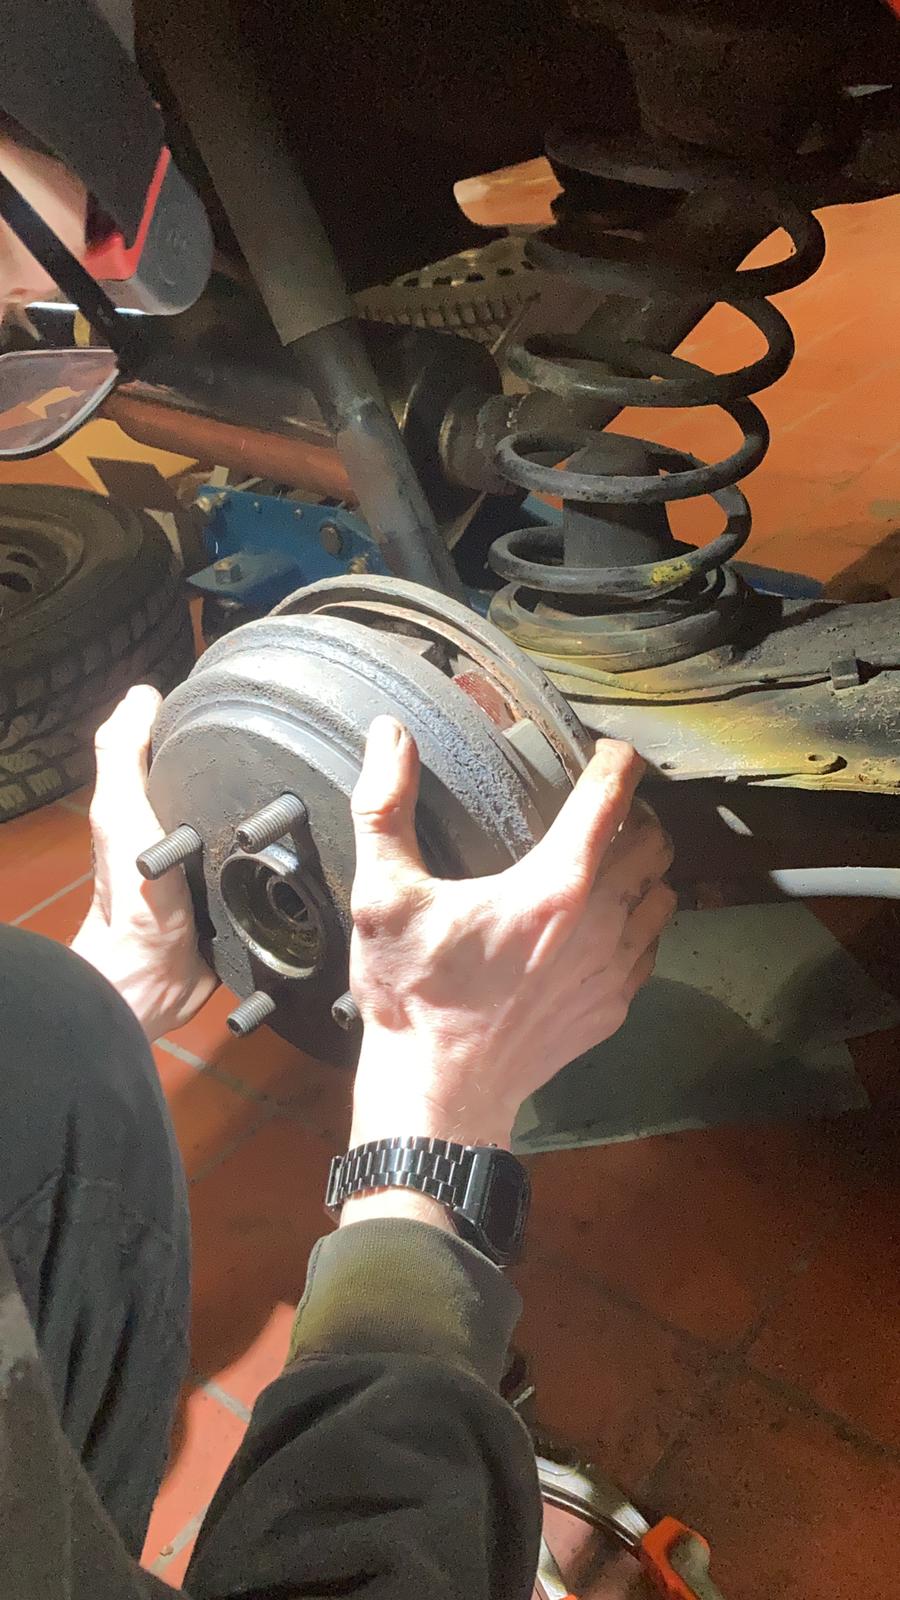
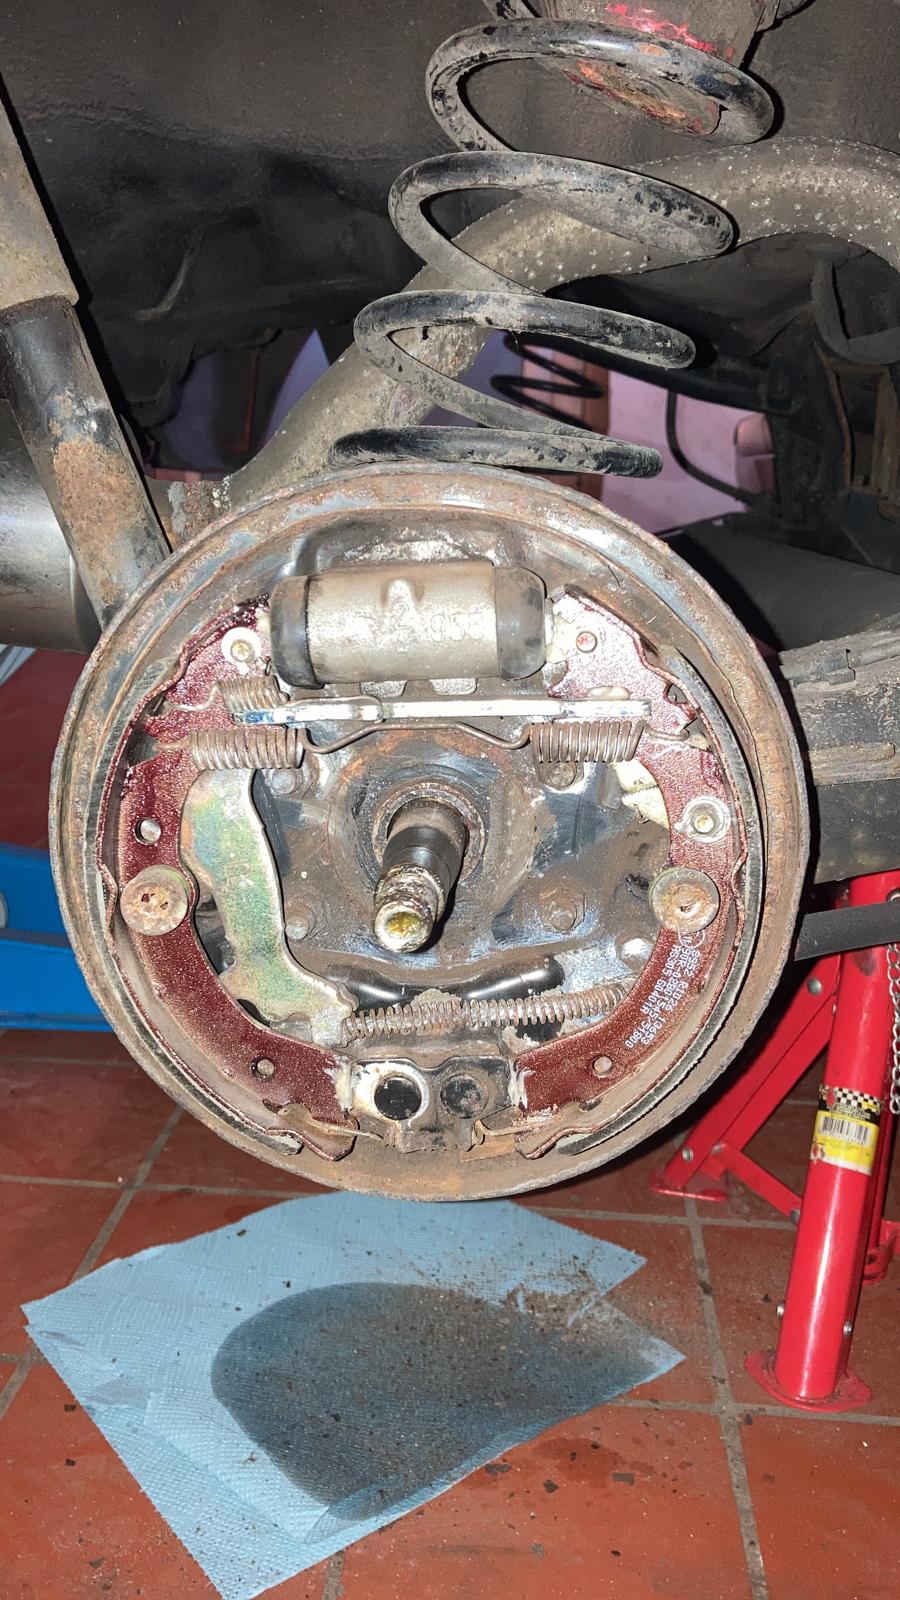
a lot of work has been done over the years, some jobs easy, some sickening and tough. altogether it has earned its stripes and is to this day still, a great car to drive and look at.

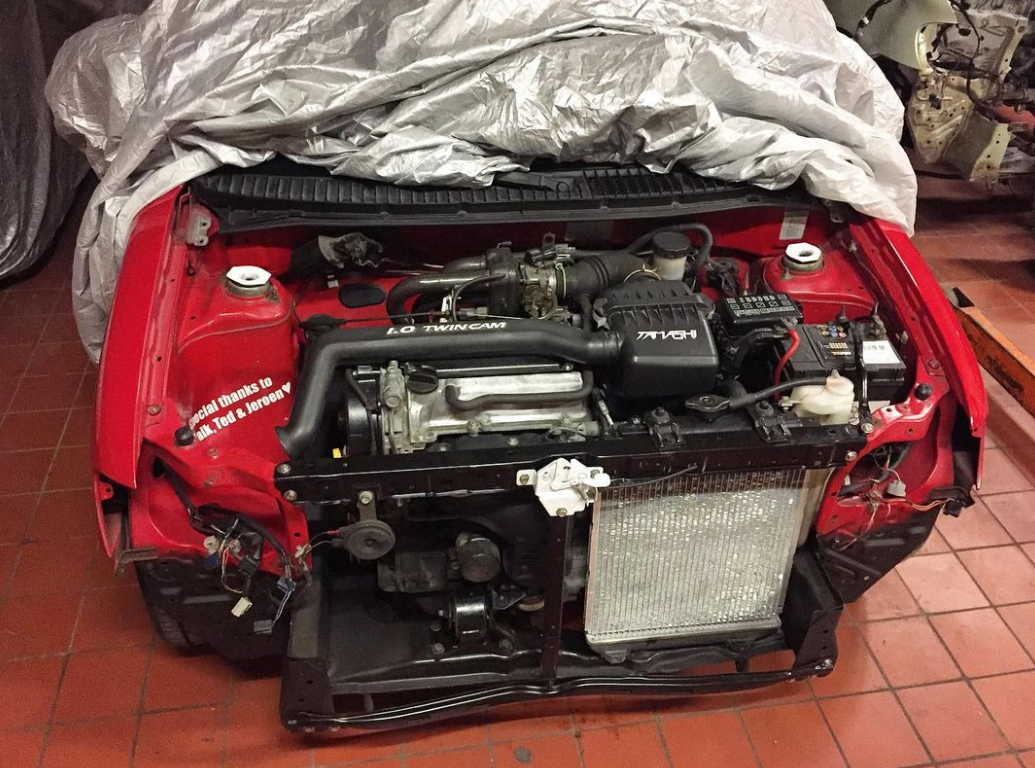
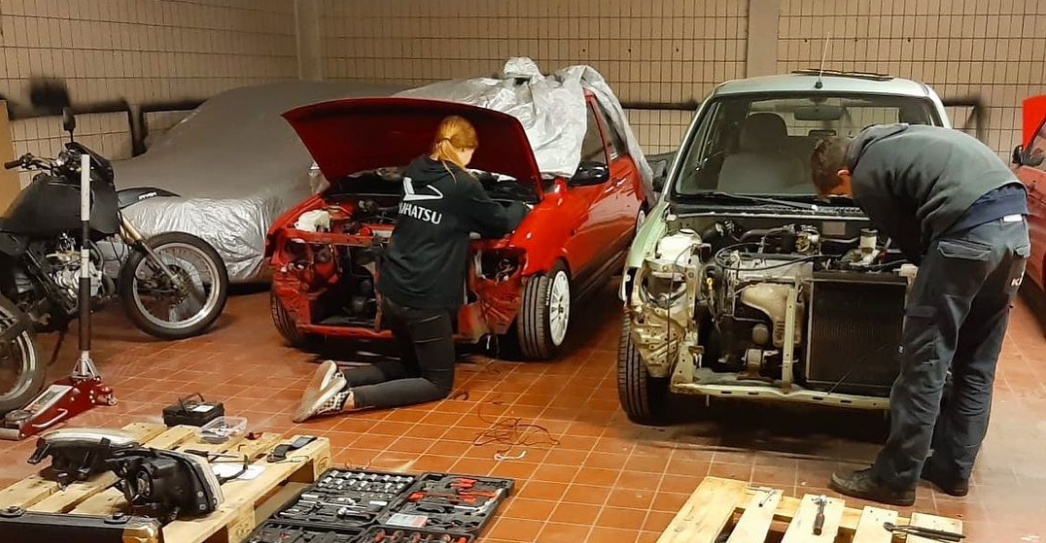
recently it had a heart transplant, definitely deserved after 222.222km, the new engine had 73.000km on it and we got the whole donor car for a steal. basically, we swapped the whole engine, and got some spare parts for only a 100 euro’s. which is great value for money.
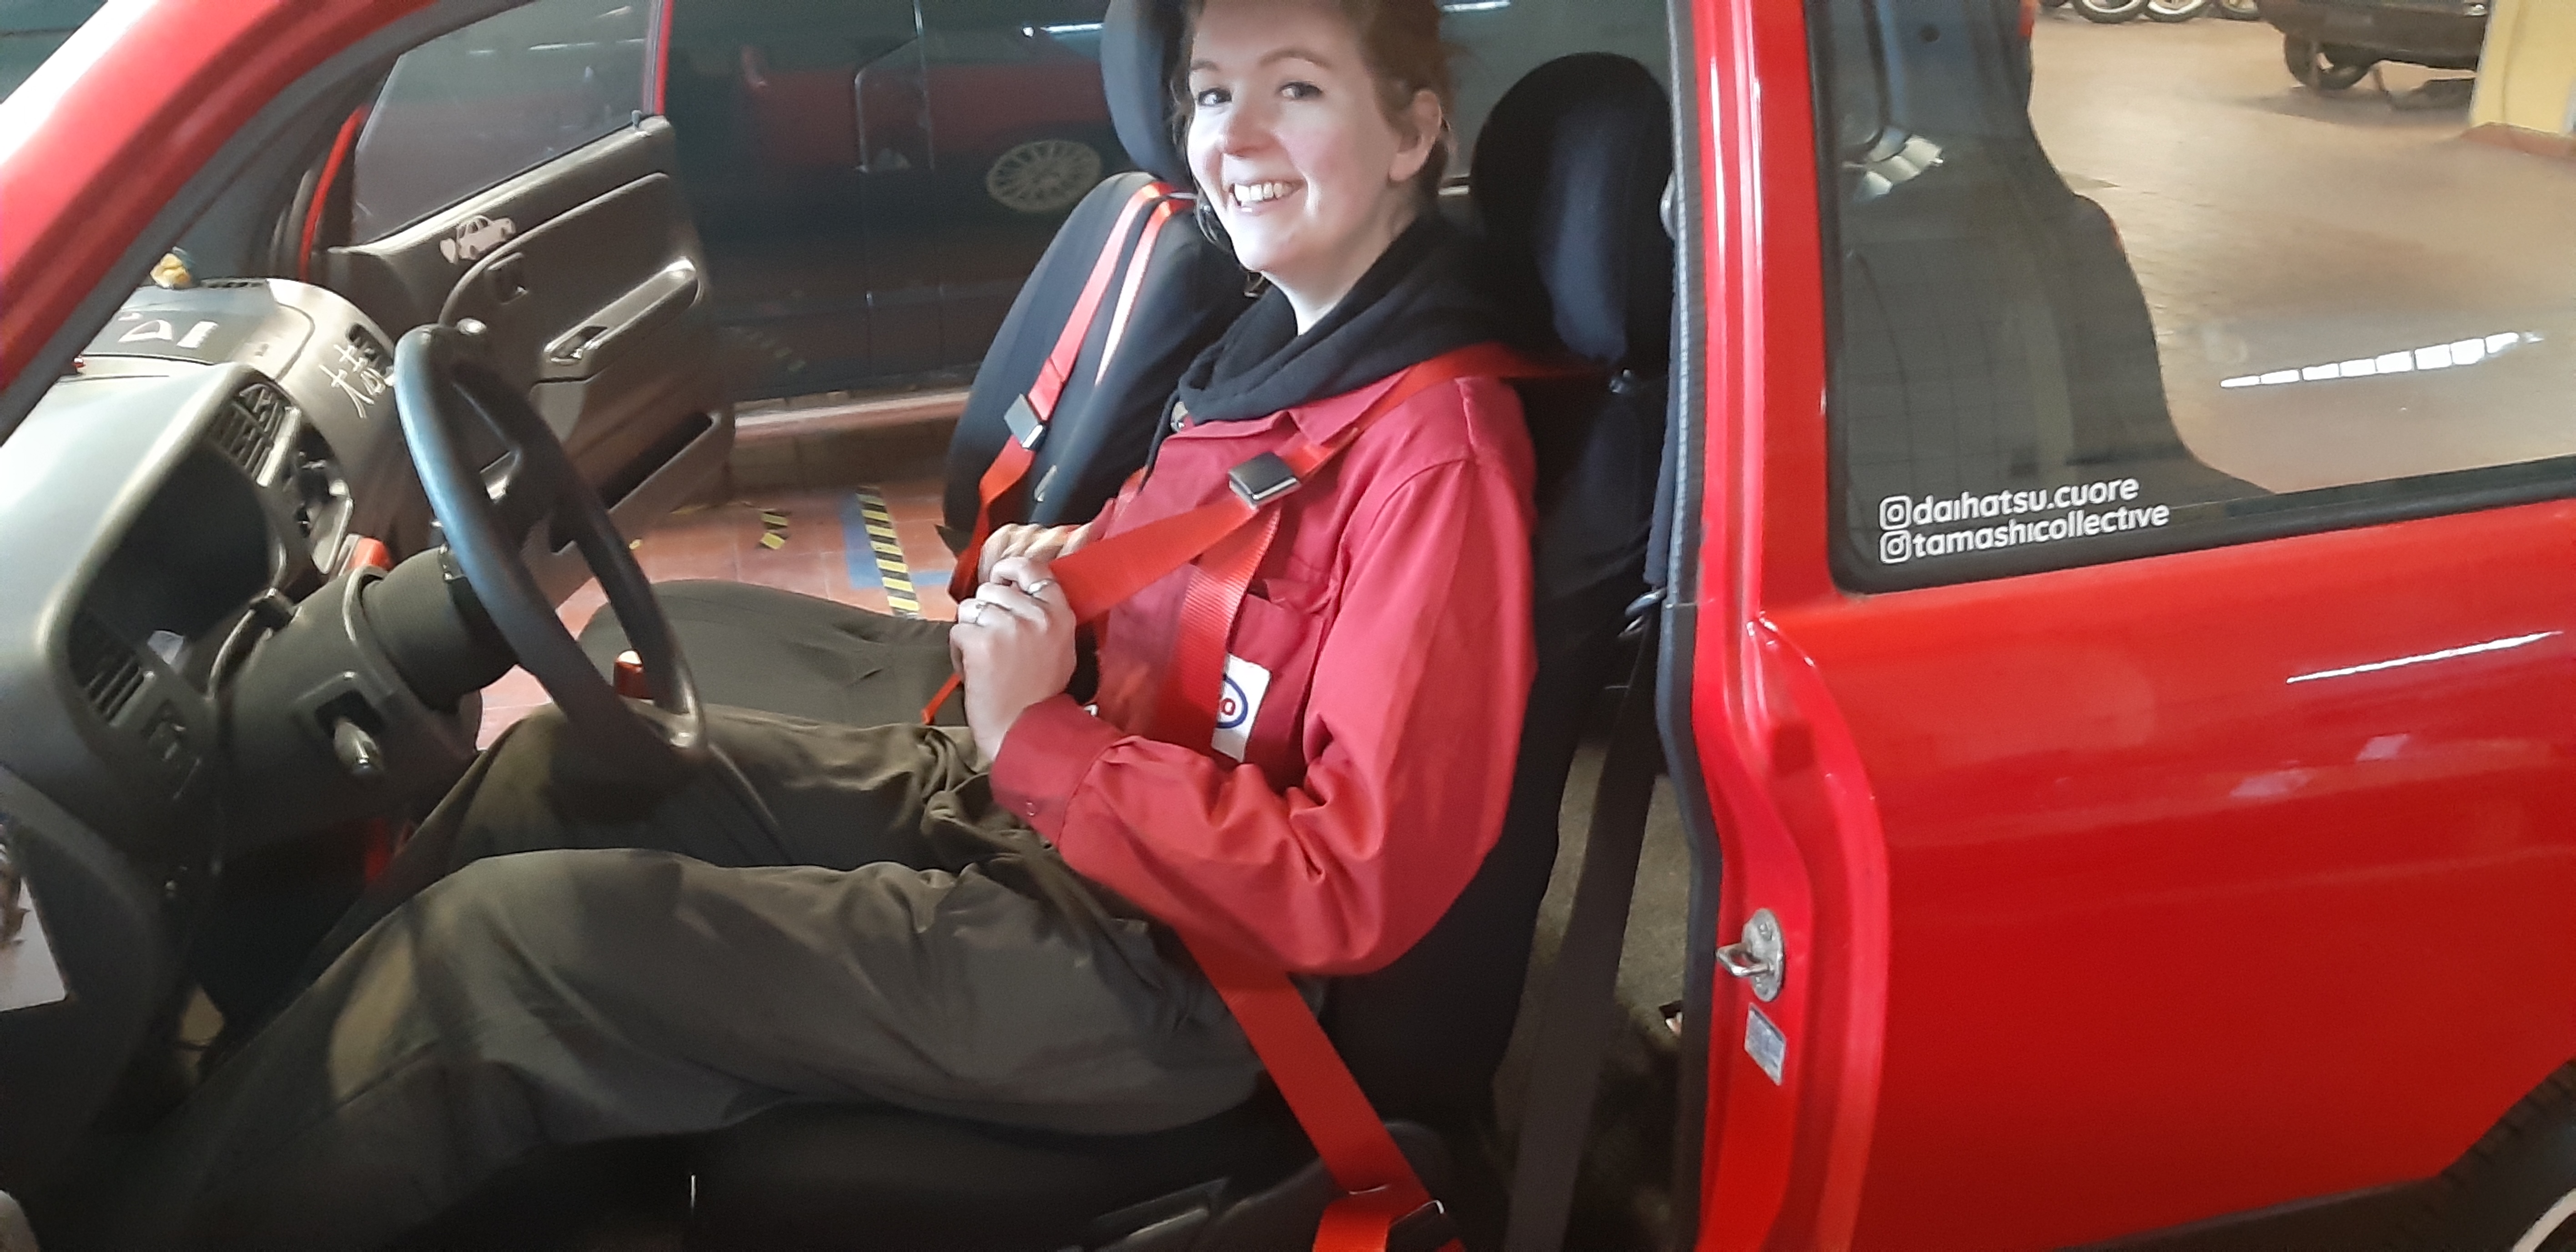
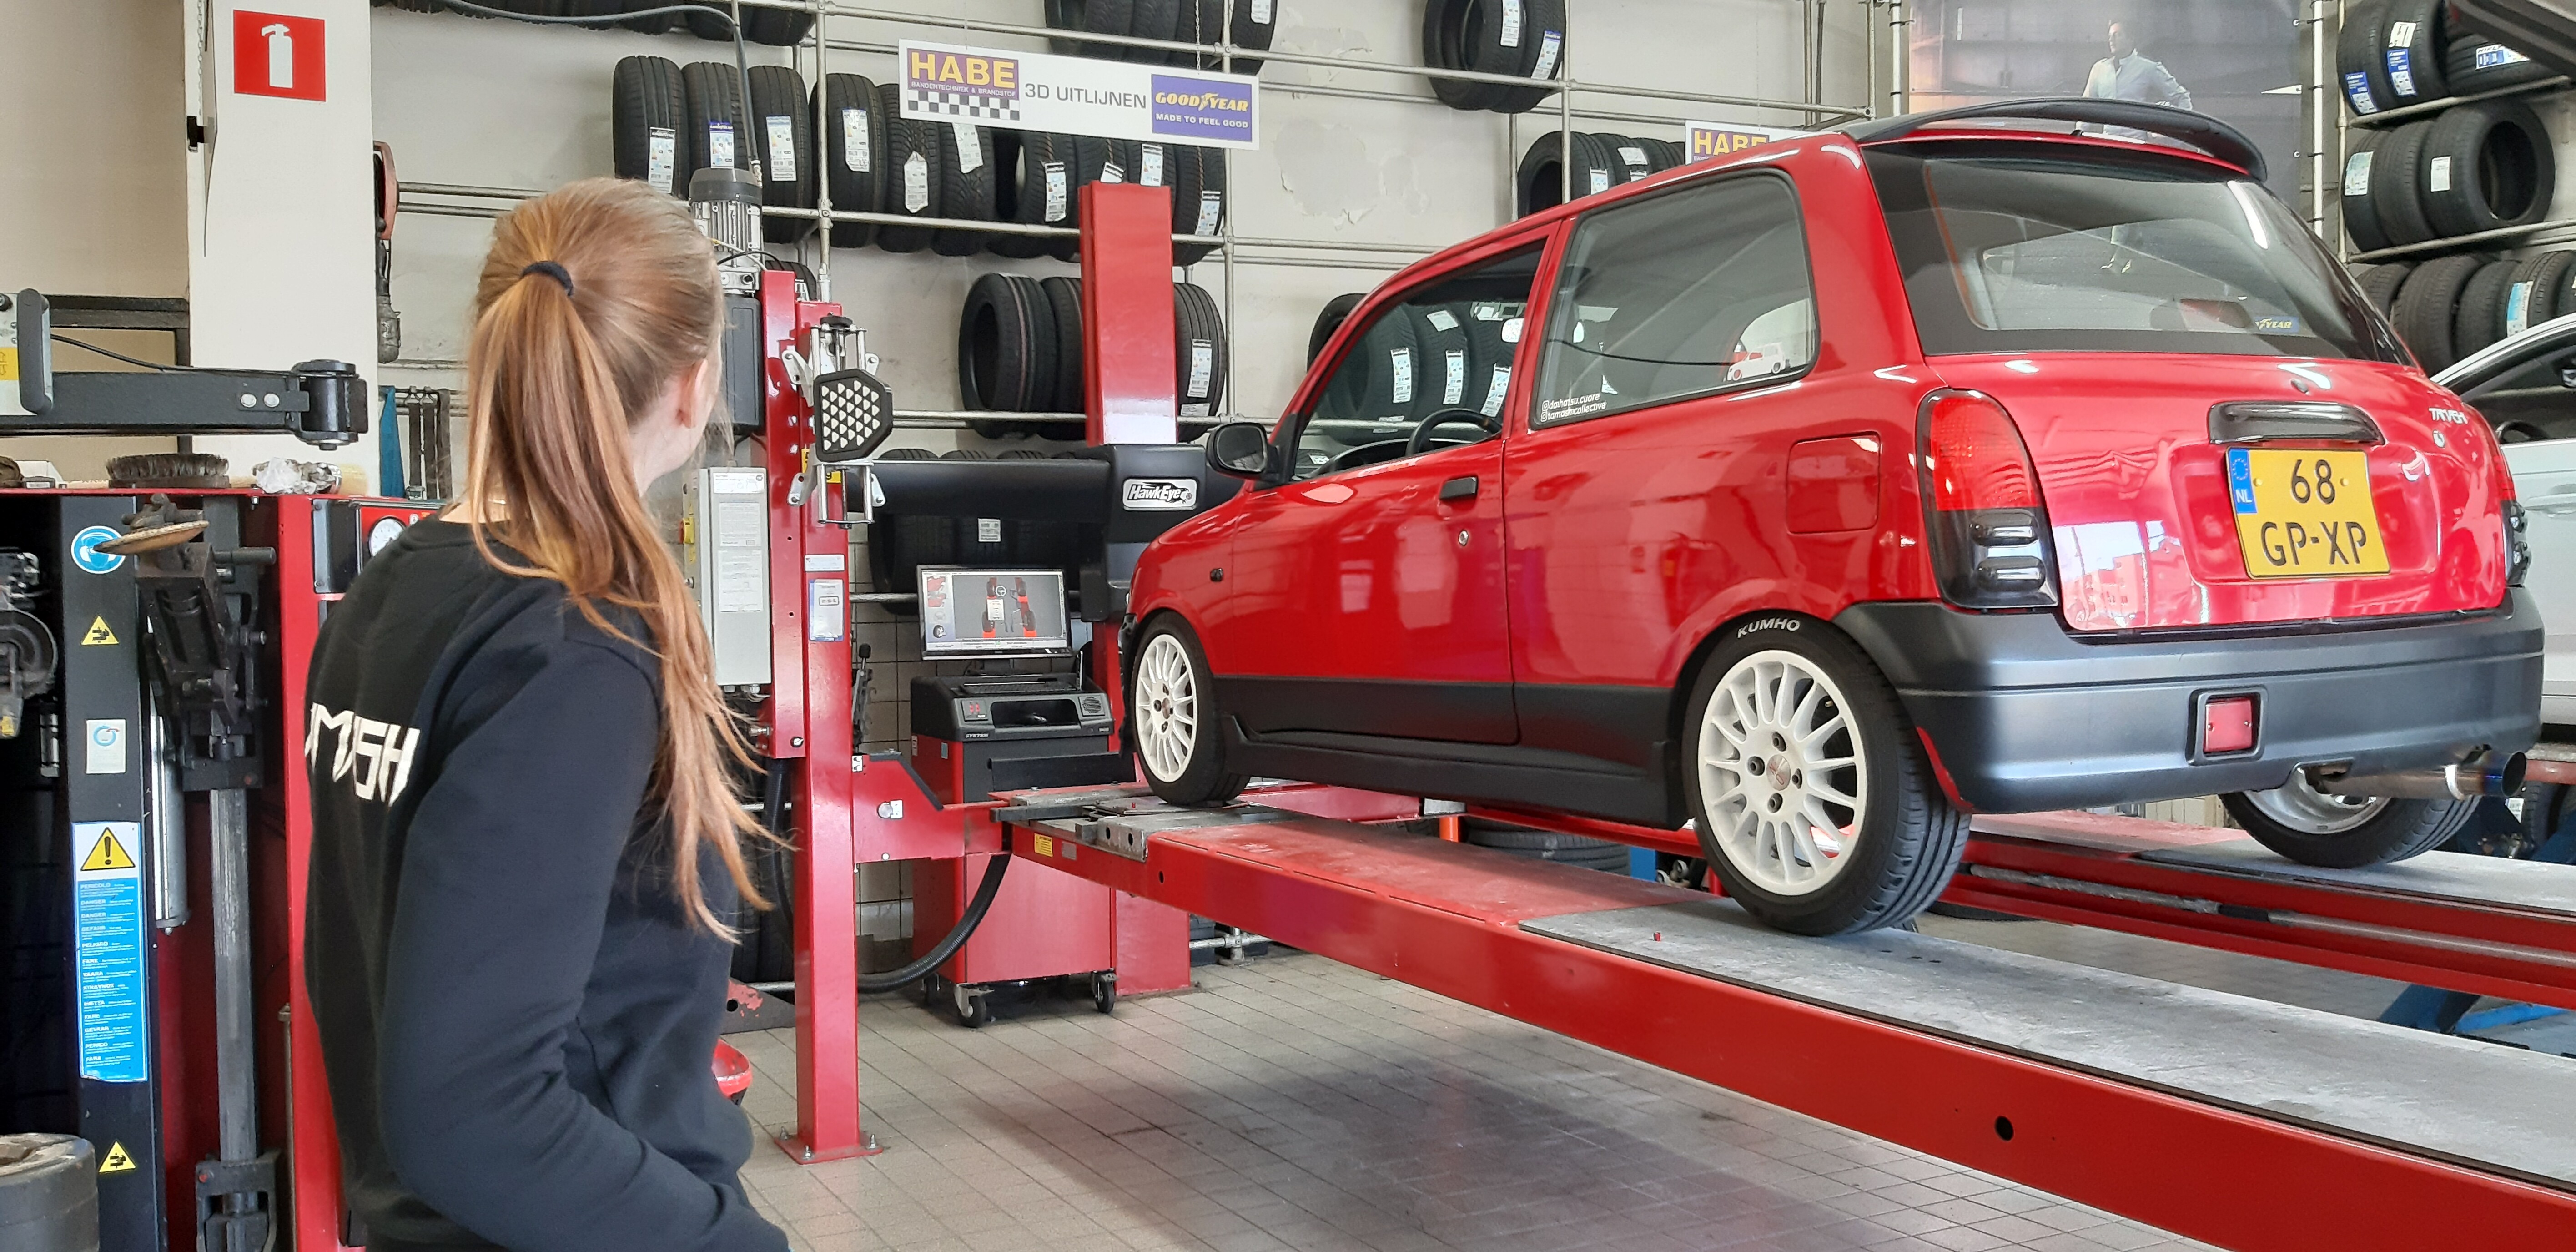
here’s Lisa and our buddy Ted working on the engines

this is what the bay looks like now

9 Likes

such an awesome looking car :smiley:

2 Likes

Had some maintenance done after winter, getting this car ready for MOT as well, so stock taillights and headlights, lift it up a bit, orange indicators etc.

Also the rear brakes were a little grindy and noisy, so we swapped some new shoes in. Ready to get through inspection!

4 Likes

We did a quick lil install today, we still had a four point hatness laying around, so since we were busy we figured we’d slap them in there. I was busy making a neat little metal plate with bolts to weld on the floor, but after almost finishing that, we discoverd here are actually to bolt holes in the floor, covered up with a black sticker. Making the metal plate obsolete.

6 Likes

Got her through MOT, everything has been build back to the way it was and she’s gotten a proper alignment. Back on the road again!

9 Likes

New upcoming mods for Lisa’s little nuggie!

Yesterday she picked up the turbo, it’s in alright shape, but I did find some oil in the intake housing, so a rebuild is probably in order. No axial play, but a small amount of radial play.

Started dissassembling and cleaning


Right now I’m looking for a rebuild kit and gaskets. If anyone has a link or something from a trustworthy seller I’d be very much interested.

RHF3 VB410088 VQ38

As said before, parts for this turbo (or generally any jdm spec bolt on) are generally very hard to find here in The Netherlands, so if anyone has helpful links or sources that would be very much appreciated!

5 Likes

Measure the bearing/bush oil groove depth of the original. Many of the aftermarket kits have a slot/groove that is not deep enough to provide proper oiling. These aliexpress ones usually need the groove filed deeper (very carefully). RHF3 kit - Buy RHF3 kit with free shipping on AliExpress

I also added a billet inducer

Measure yours and check against these.

I had mine balanced after doing the kit and inducer.

Plus ported the intake and exhaust, and then an external Turbo X coating and THLB hot stop barrier coating to the inside.

1 Like

thank you Mr Gormsby! I’ll have a look!

Small steps continueing on the turbo teardown. Finally got those pesky torx bolts off! Needed to make a slit in them with an angle grinder and then tap them loose with a screwdriver. Stressful, since i didn’t want to damage the turbo. But i did succeed in the end. Only to find more annoying torx screws, luckily with a bit more well applied, subtle violence, they came out as well.


So now with the intake side housing gone, I could acces the intake turbine wheel and remove that as well.

Up to that moment everything went well, but now i’m somewhat stuck. I need to figure out how to remove the shaft from the turbo core, I’m not sure whether I need to remove the exhaust turbine wheel first, or whether the shaft is pressed in? Sadly there is not much to be found on the internet concerning dissassembly of these RHF3 turbo’s. Same goes for balancing, all things that are filling up my head that google has no answer to.

So taking a break from thinking about how to safely disassamble the turbo further, I managed to clean some stuff up. Being a detailer by trade, this was useless, but quite satisfactory :wink:


Intake housing looking nice and shiny again!

I hope to continue next week. But first I need to gather some intel about this particular turbo. If anyone has any clues on how to take it apart some more I’d be delighted to know, since google doesnt provide much answers.

5 Likes

The turbo is slowly coming apart. Learned that the exhaust snail needed to be tapped off, so with that in mind i carefully started tapping away using some WD-40 as well. Soon enough the two sides came apart. Great succes.

What was inside did scare me a little though…

I thought this would be the end of the turbo adventure.i was afraid the washer was somehow molten to the core. After chipping away the charred black stuff, i figured it wasn’t going to move and I could never get the shaft out. For some reason I tried blowing air on the exhaust turbine and what do you know, everything popped right out!


So most of the turbo is taken apart right now, the only thing left is this:


I’m not sure how to remove this yet, I think it should just pop out as well, but I can’t seem to pull it out. Any advice on this would be well appreciated.

Excited to continue on! Now that everything is freed up i cant wait to rebuild the whole thing, get everything balanced and installed on the Cuore!

Also managed to find an Emanage Blue by Greddy for cheap, so we have something to tune our injection with. I’ve heard another cuore turbo’ist used this as well and it seemed to work. The next issues are compression ratios and spark timing.

I’m not sure if the Emanage will allow for the tuning of sparktiming so that’s still on the list.

Also compression, the standard EF-DET ran a comp. ratio of 8.5 : 1 the stock EJ runs 9.5 : 1

I’ve read about people boring out the head around the valves to lower compression and using a thicker headgasket. I want to avoid pulling the engine apart for different rods and pistons, but if it’s necessary I might.

4 Likes

not sure about the Emanage, think they are really only for fuelling, but in this day and age alot of turbo motors are up as high as 12:1 compression as timing is controlled by the ecu

1 Like

yes @Mokeman is right the greddy emanage is only for control.

1 Like

Opening the head up for lower compression will rob you of low-down performance. Are you building a drag racing engine? You know that opening up the combustion chamber and reducing squish shape will mean more spark advance is needed, and more advance reduces engine efficiency. Sell the Emanage and get an ecu that handles fuel and spark and has closed-loop O2. You can then get a safer tune and far more power than the route you are going even by leaving the pistons and combustion chambers std. If you have to touch the combustion chambers just radius all small sharp edges.

Earlier you mentioned turbo balancing. Pay someone to do it who has the right special machinery is required. No point doing lots of work and having a dodgy turbo that can ruin all your work. I just had one done, $800 with a new bush kit. Worth every cent as they spotted other issues I’d not seen. The result was being able to run more boost safely. Ended up being good value for money power.

1 Like

haven’t actually bought the Emanage itself, but considering it. I don’t know of any other ECU’s that support 3cil ignition timing and I just don’t know enough yet to program something like that myself, I’m just trying to learn as much as I can from people with prior experience.

of course the turbo will be balanced by a legitimate company after it’s been rebuilt. still need to get that circle off though. seems to be quite stuck somehow, I’ve tried tapping it out from the other side but it doesn’t seem to be going anywhere.

I wonder what ECU’s are viable for this kind of setup and don’t require a lot of programming or specialized stuff. I’m no good with that yet and still need to read up a lot before even sticking the turbo on the car.

these days just about any standalone ecu will run a 3 cyl, depending on how much you actually want to learn, you could try a Speeduino but will need a different trigger wheel, or go to a Maxxecu which uses the original dai setup. they will all need programming as it’s the car’s brain and if not done right mechanical things will either go bang or melt.

2 Likes

Like Mokeman said, just about any standalone ecu will do 3cyl. You get what you pay for, so don’t cheap out too much. Someone might argue this with me but on a dollar for hp value you won’t go past cash spent on a good ecu. As to what you should buy I have no idea. If I was starting over with a new item I’d go Motec all the way. But I am using Autronic in two of my cars. They are old tech but have wideband O2 and one runs a knock sensor. I persist with these as my dyno tuning guy knows them intimately (and he knows Motec too). Find out what you local preferred dyno can tune in ecus. If they do a brand with an autotune option that may reduce dyno time costs. I’ve ruined engines by not spending on a good tune and thrown money down the drain. Short cuts are like gambling with poor odds.

5 Likes

Parts came in and we managed to rebuild the turbo. Still need to get it balanced, fortunately I found some relatively good options not to far away. Also found an FPR in a bag of old rubbish. Hope it still works, its also missing the pressure gauge but finding one shouldnt be too hard.

Concerning the comp ratio, we’re going the thicker headgasket route. The 660 EF DET has a comp. Ratio of 8.5:1, the stock L700 engine has 9.5:1 I hope this is enough to bring it down that bit. Also we only use premium fuel here in the Netherlands (98 octane) so I’m hoping with the right tune and thicker headgasket there shouldnt be any issues. I need to find someone capable of making a thicker headgasket for the l700 though, thats going to be tough cookie since theres just almost no specialists here in The Netherlands. Wish me luck!!

4 Likes

A lot of standstill again on the turbo project. both of Lisa’s cars are in winter hibernation right now, so this season there is progress to be made. the turbo has been completely rebuilt now. just needs balancing. I’ve been trying the hardest to find gaskets for the turbo to manifold etc, but they are only sold with a completely new turbo. no single gaskets. I’m looking for material to just make my own gaskets for the turbo. so far my findings have been scarce. the thicker headgasket plan also isn’t working since there just isn’t anyone around here that does that kind of custom work. we are planning to leave the engine on stock internals, but again I feel like I’m taking a lot of risk there.

I’m thinking of just starting to build the turbo onto the block, have it set up and then sniff out any issues along the way. the point is that this project has been stagnating for far to long, even when we have so many parts laying around to start working with and it’s starting to piss me off. I want to start doing this.

the things I need most to actually get the (eventually) turbo charged engine to run is an ECU. I’m still on the fence on a few brands and right now money wise we’re not doing great. cost of living has been becoming increasingly expensive here in the netherlands and I’m trying my hardest to get customers, do extra work on the side etc but rent, gasoline, groceries and heating costs are just killing this project right now.

2 Likes

Considering costs, what do you think of Speeduino? It’s far fromplug 'n play, but building the ECU and understanding the software to install it will make you understand the way things work like they do better (which might come in handy with troubleshooting). Also (and this is not me making fun of you), it could kill some time when you’re not able to get anywhere, without spending any more money. I’m pretty sure the basic version of the software (I forgot the name) is for free, and I think a DIY kit is around €150. Hope you can find the motivation to get started again!

1 Like

Have you tried looking for motorcycle gaskets? Especially the oldtimer markets have allot of stuff to make your own gaskets. I don’t know what kind of material you’ll need for a turbo gasket (I’m guessing its going to be hot hot hot :wink: ) but it’s worth a try.

1 Like