Molly the 4door <3

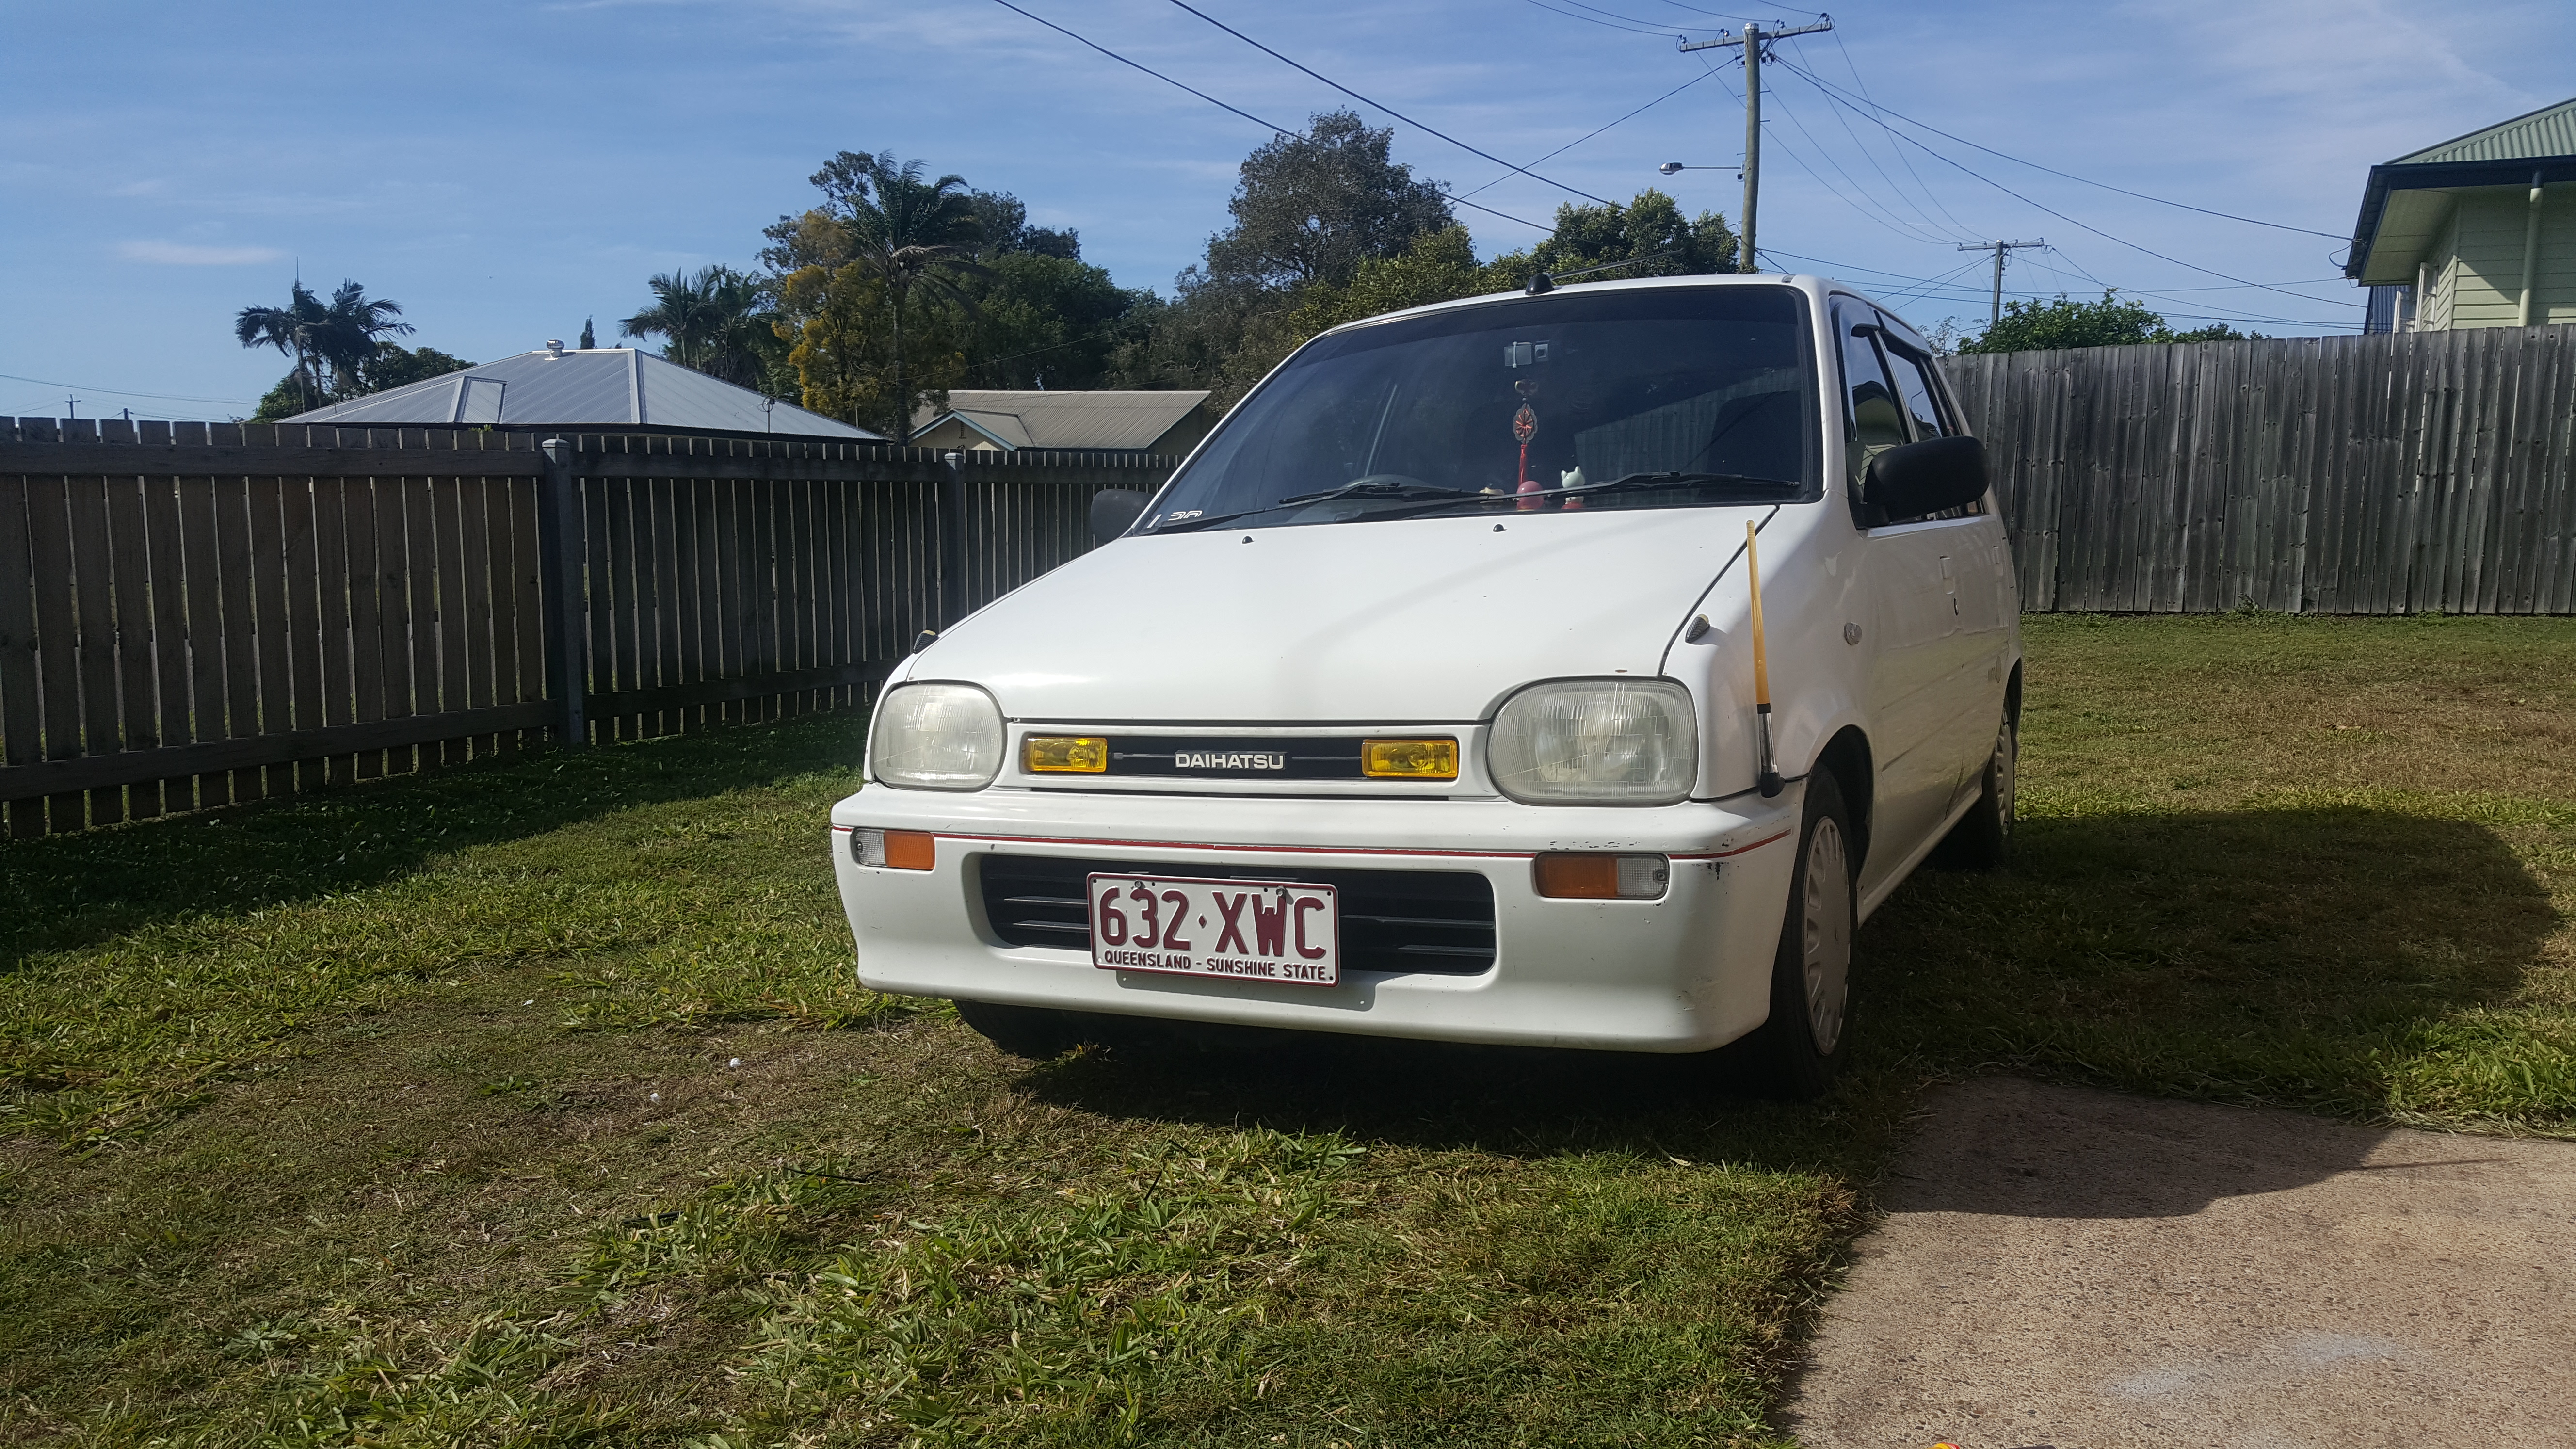
Hey all. Thought id start a forum “build” log for the stuff i’ve done to my daily so far. I’ve had her for awhile now.

What she looked like when i first saw her


The first to go was the ugly bonnet and headlight plasti dip that was a pain to remove. Replaced rear door passo door and put the rear seats back in and put door handles on, the drivers rear and front drivers were broken.

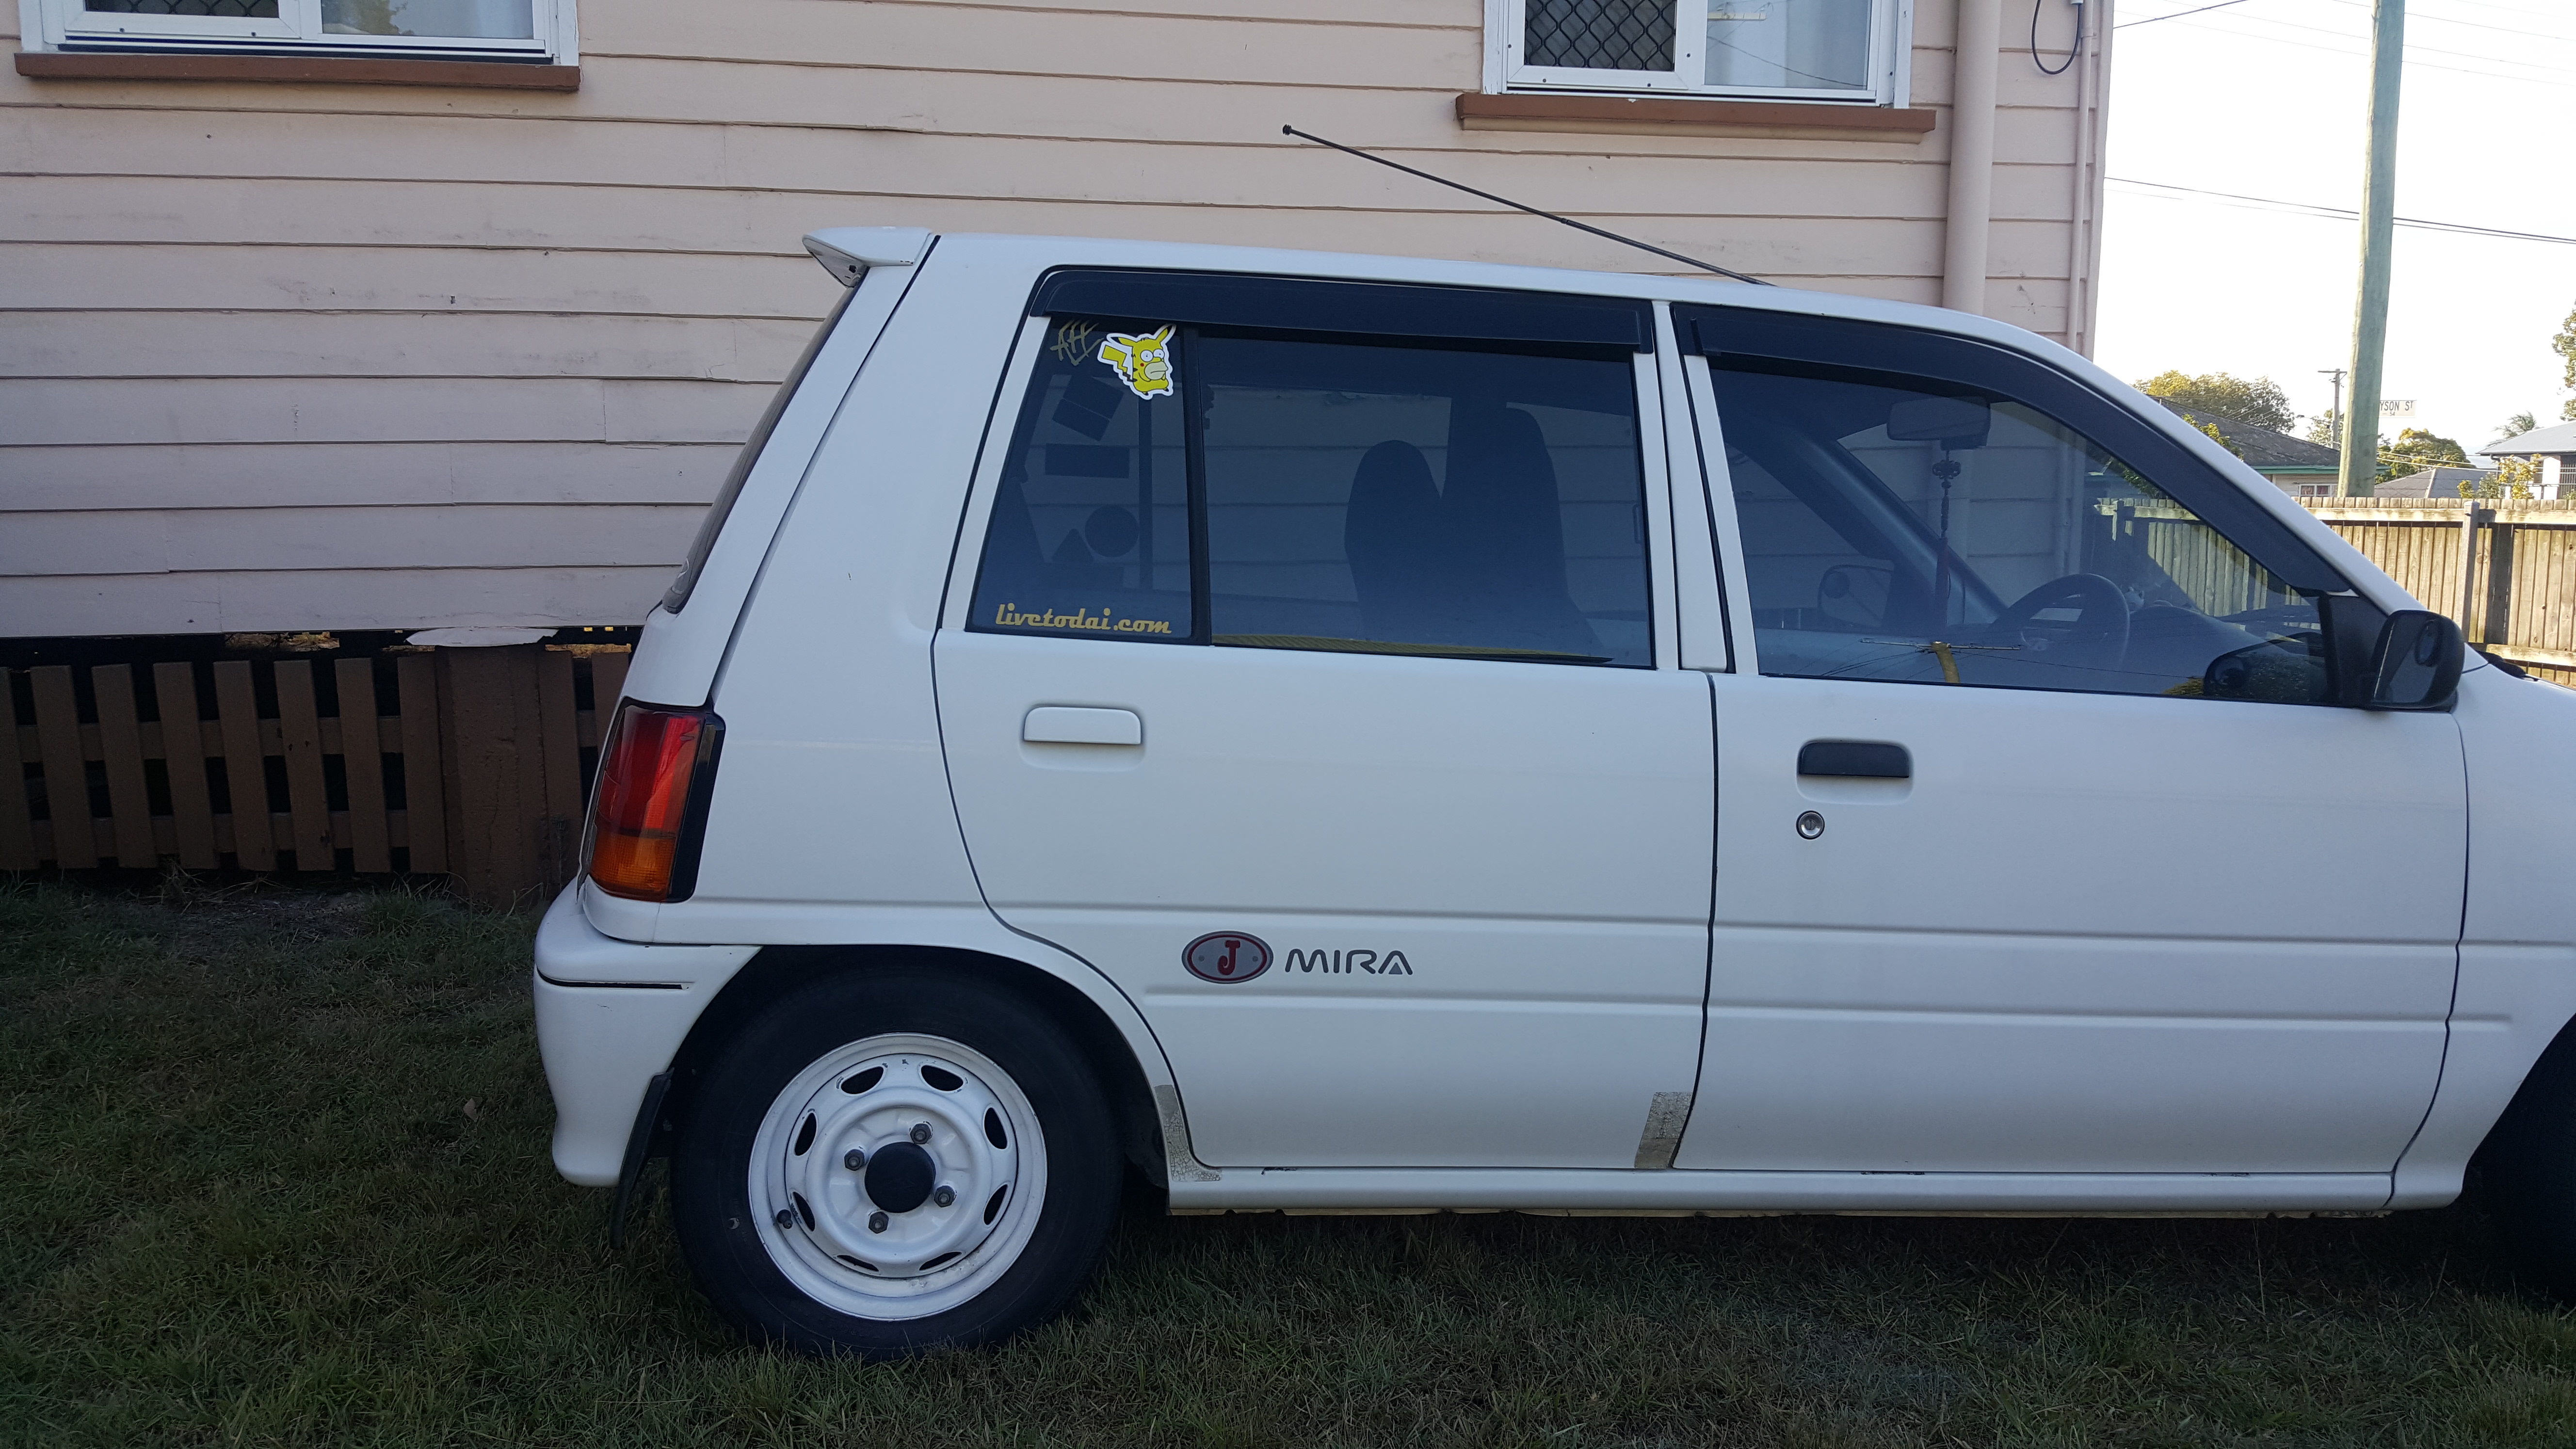
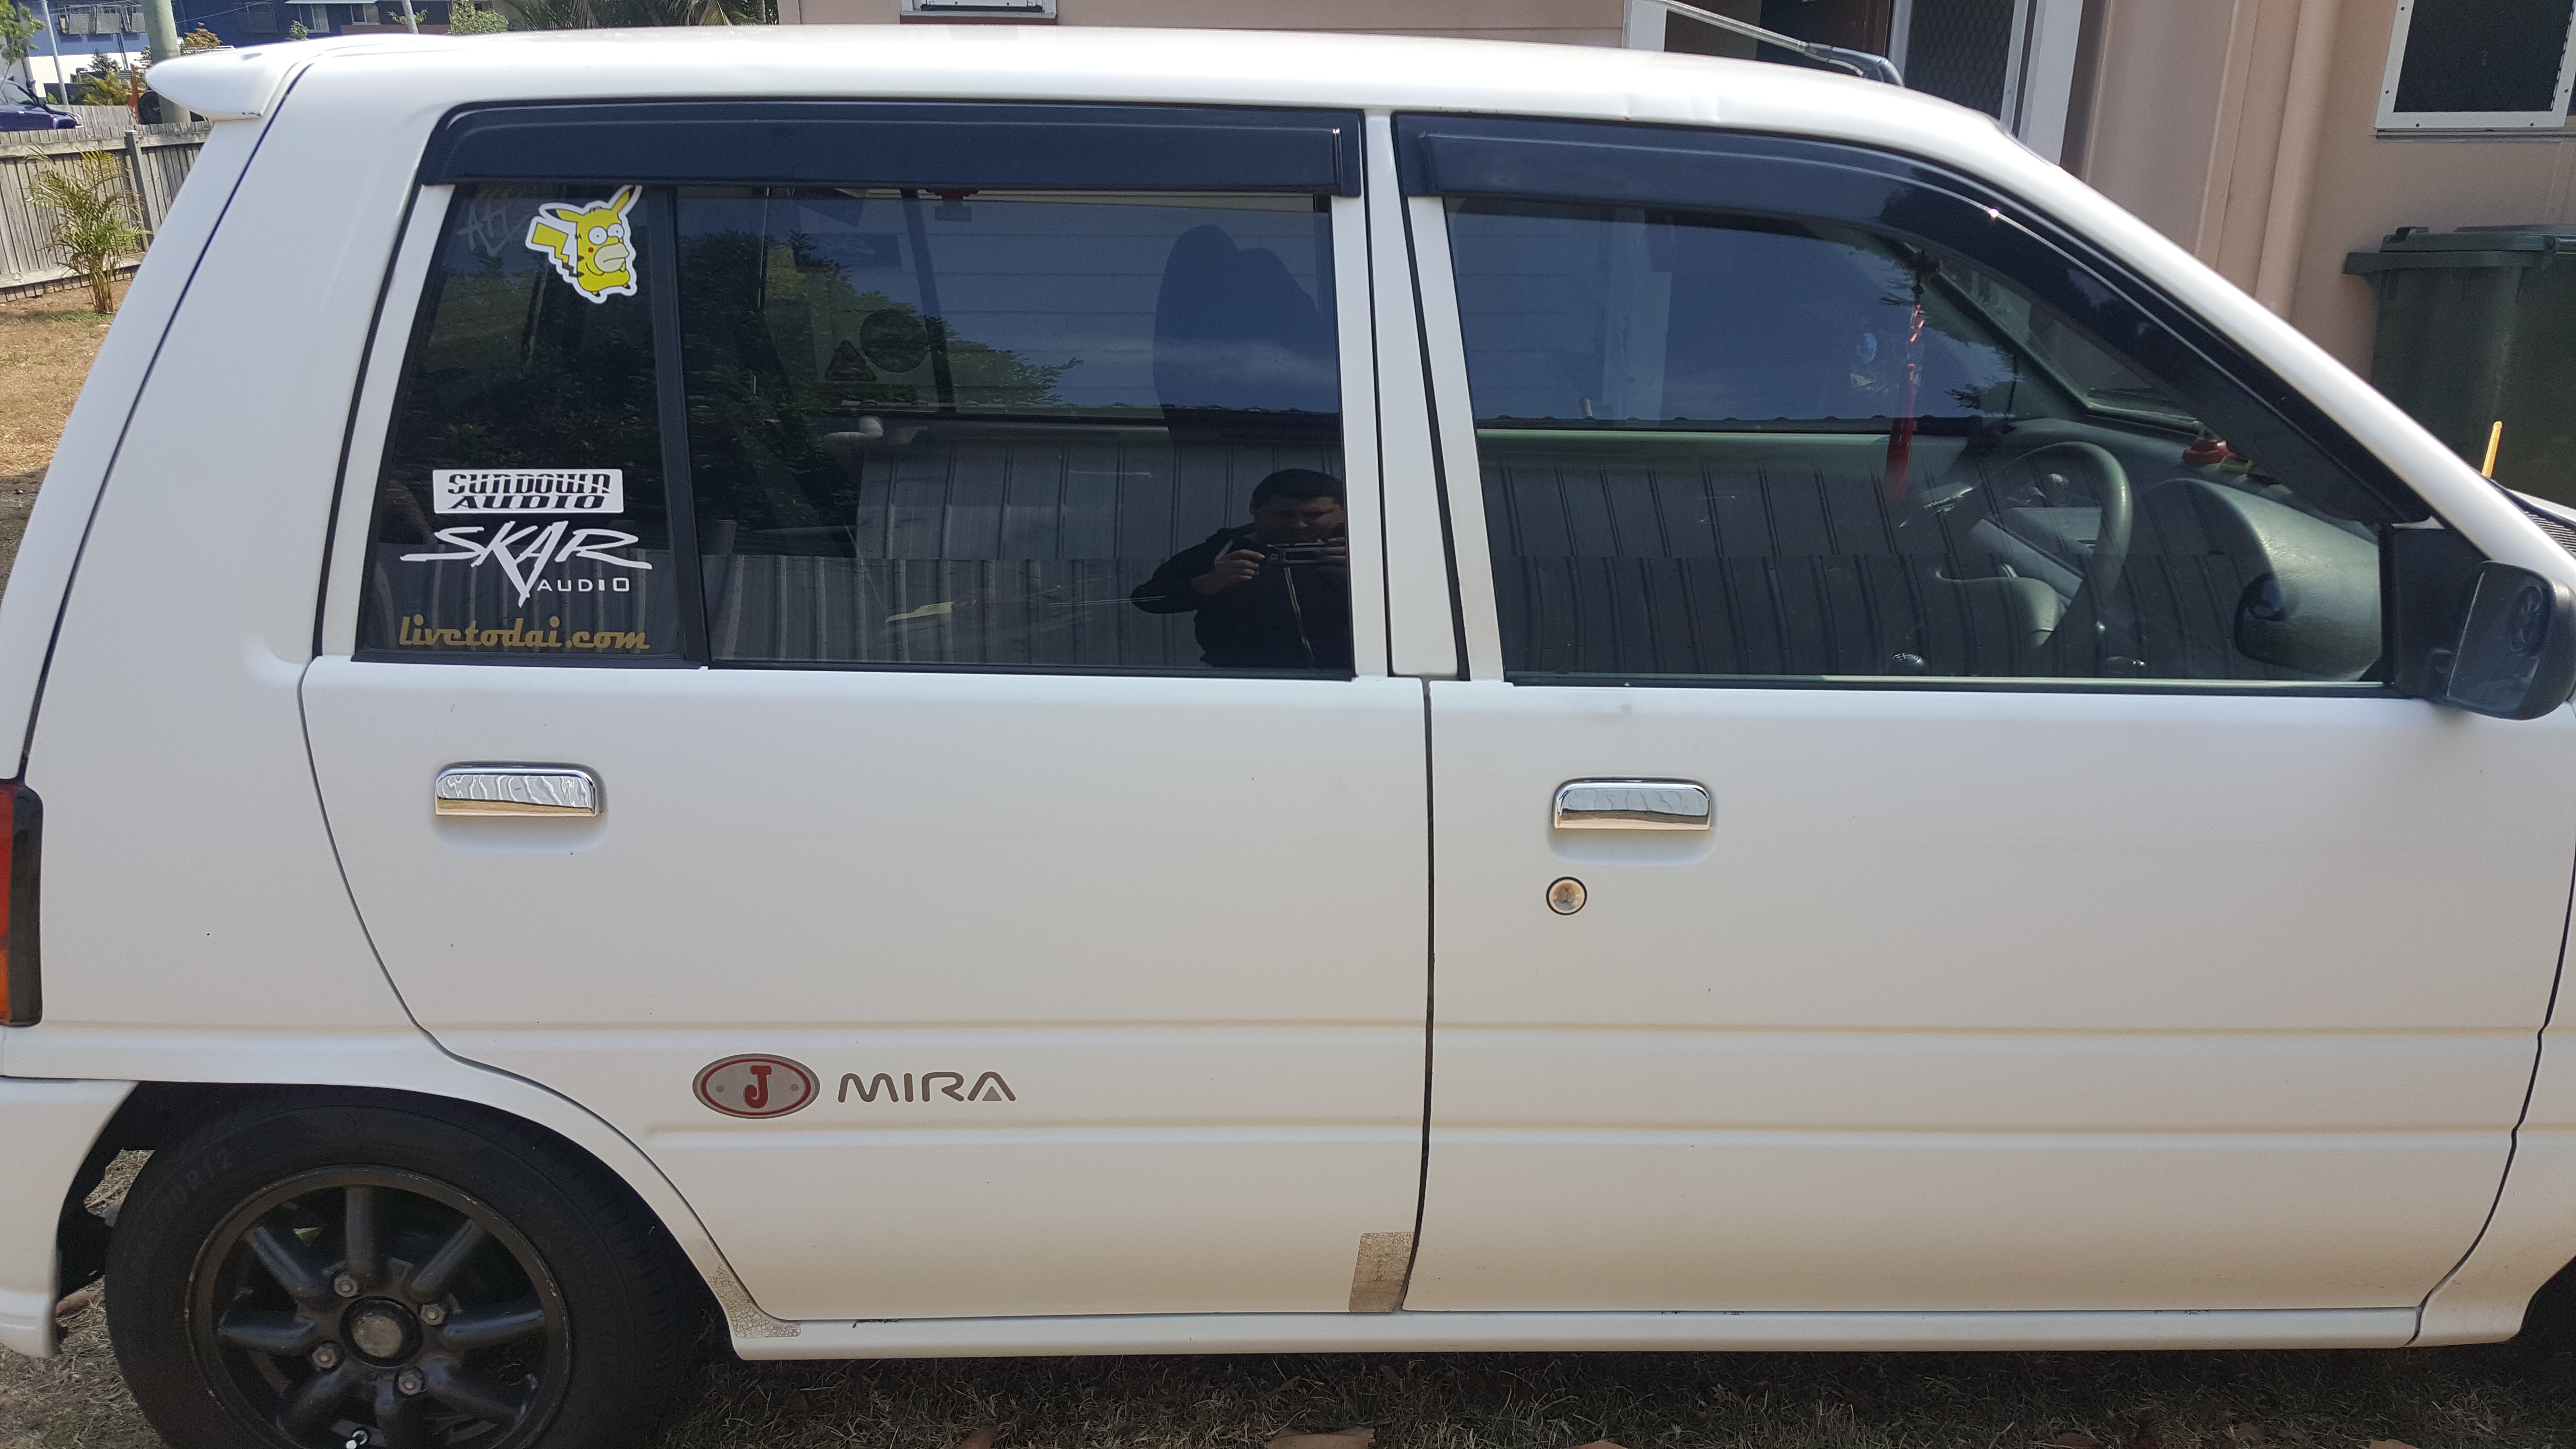
Let mods start. some Kancil window visors and window tint with front window tint banner and lowering springs


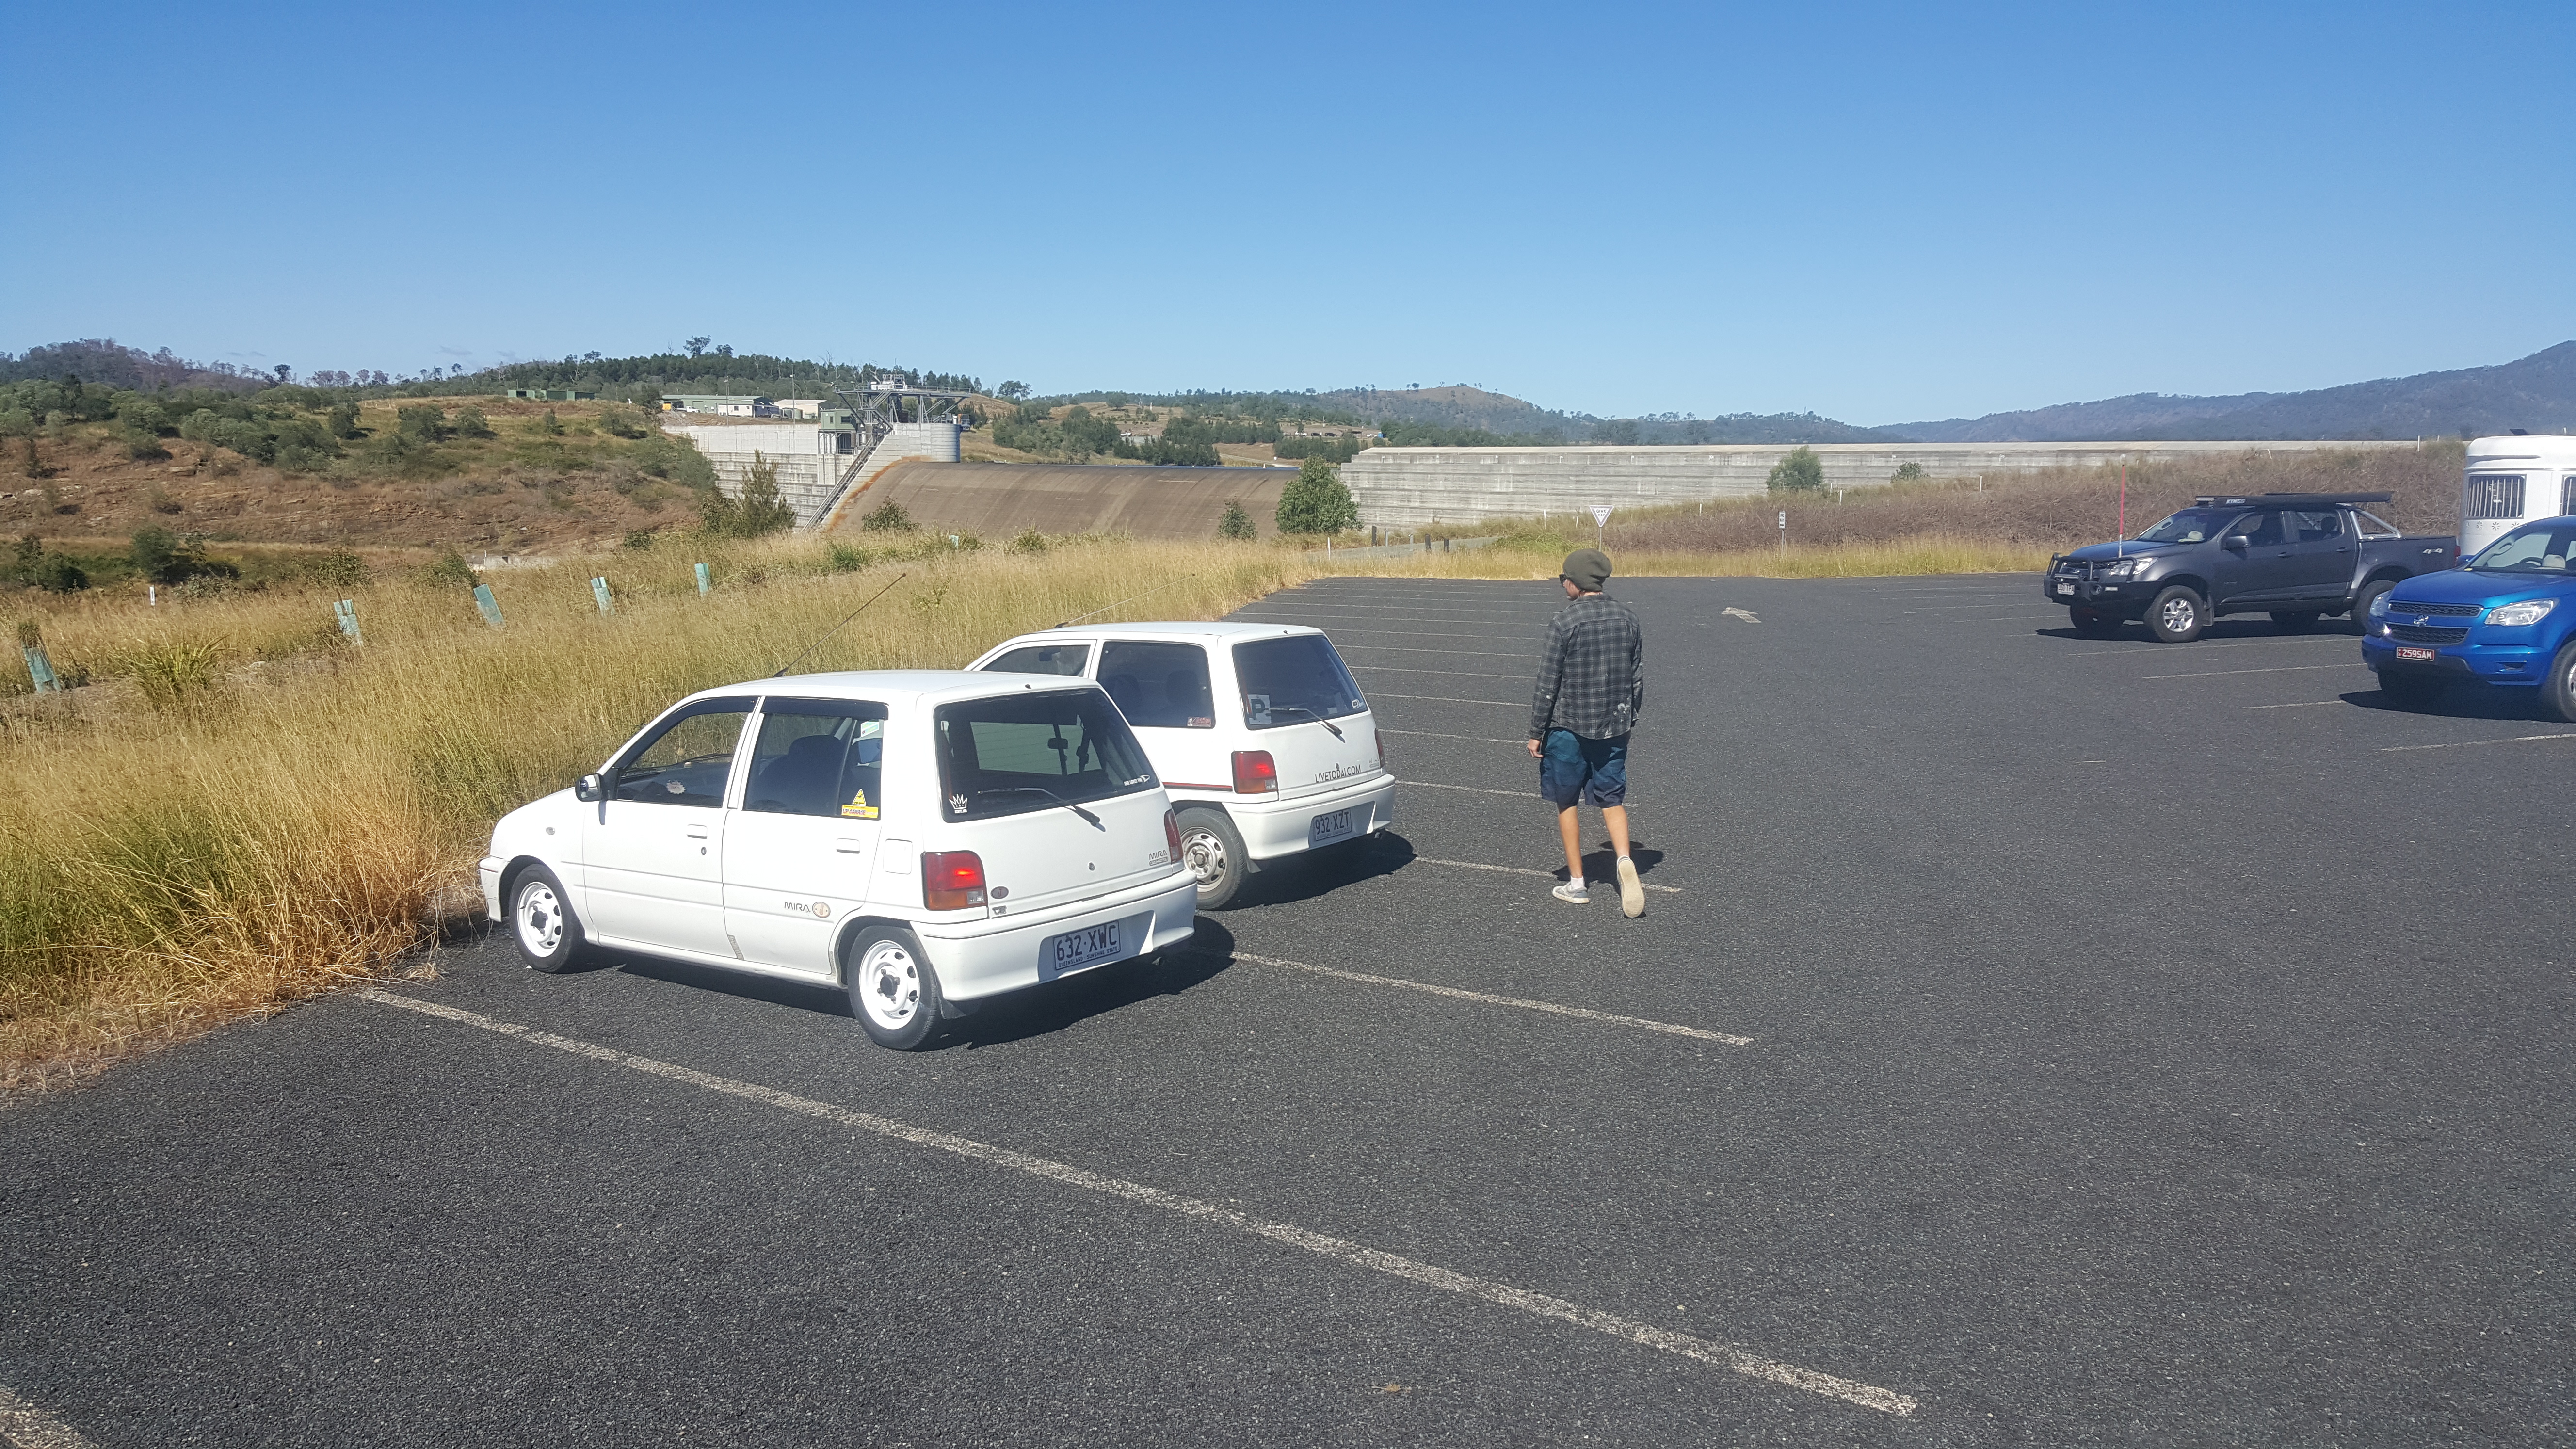
A little date with a friends mira out and about :slight_smile:

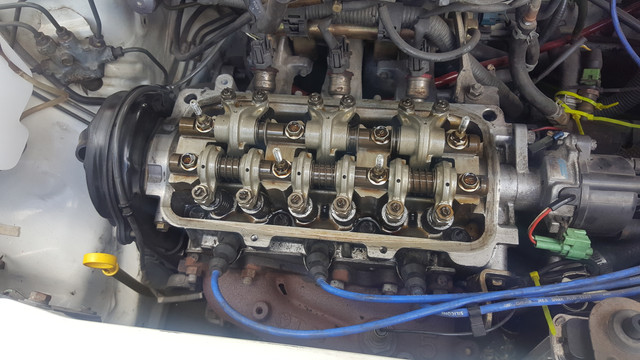
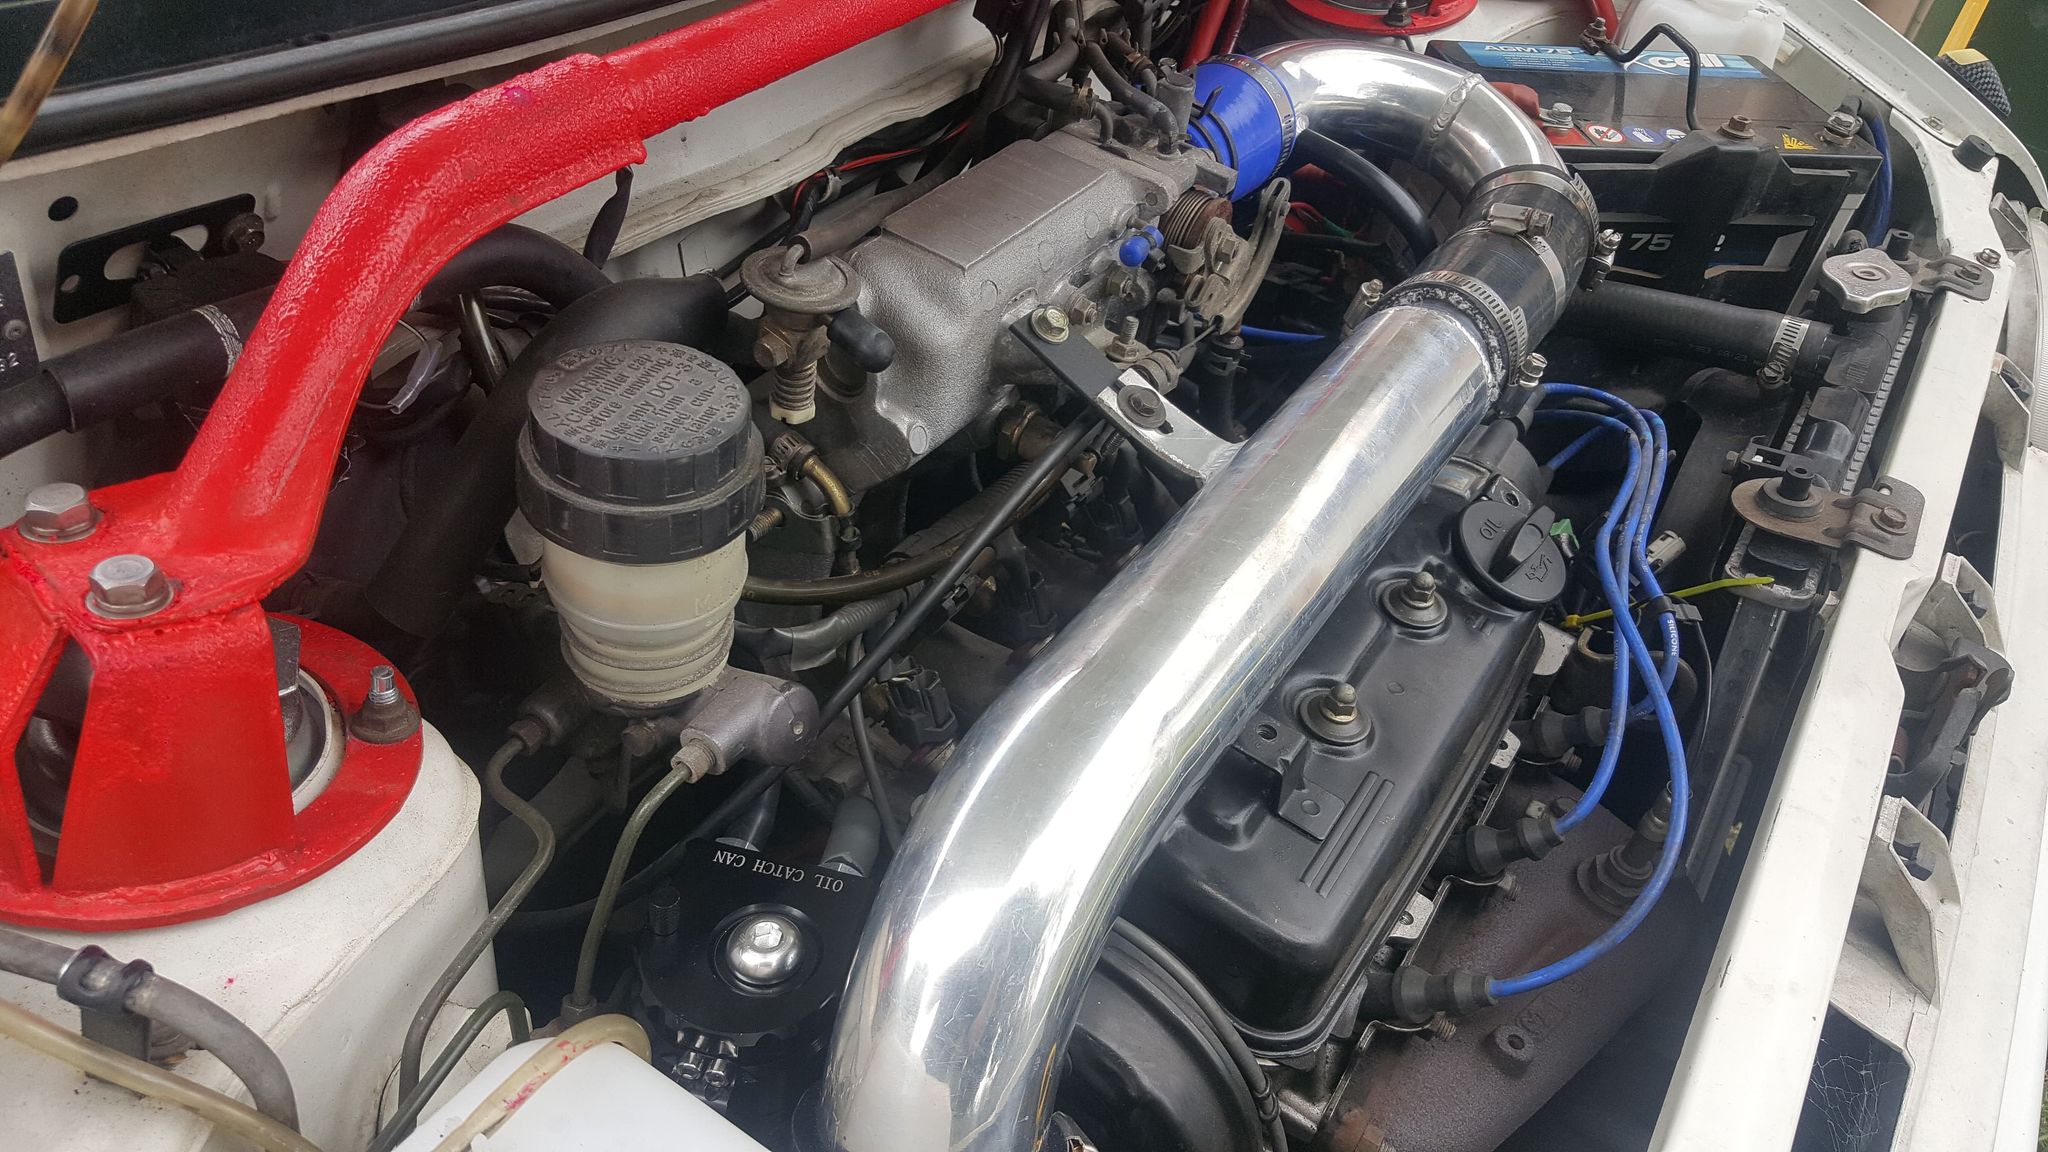
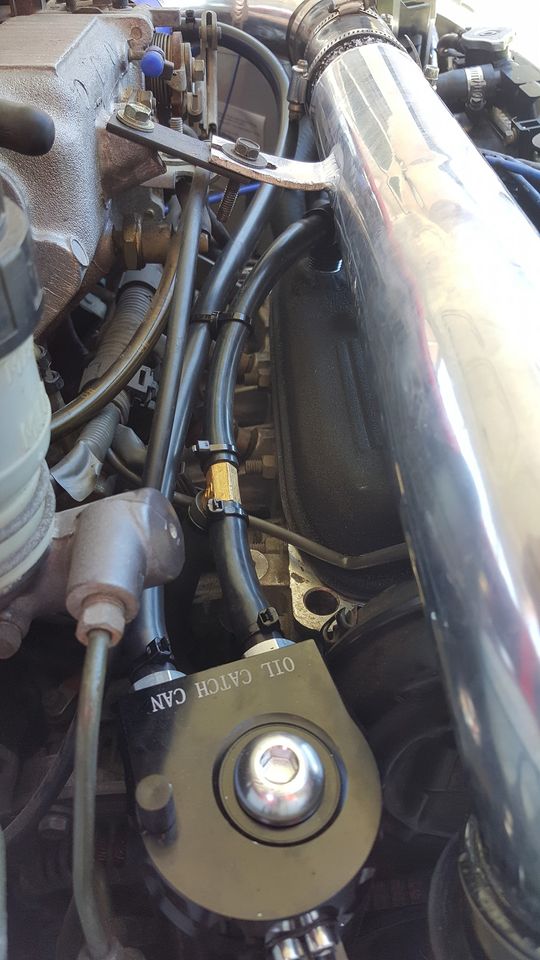
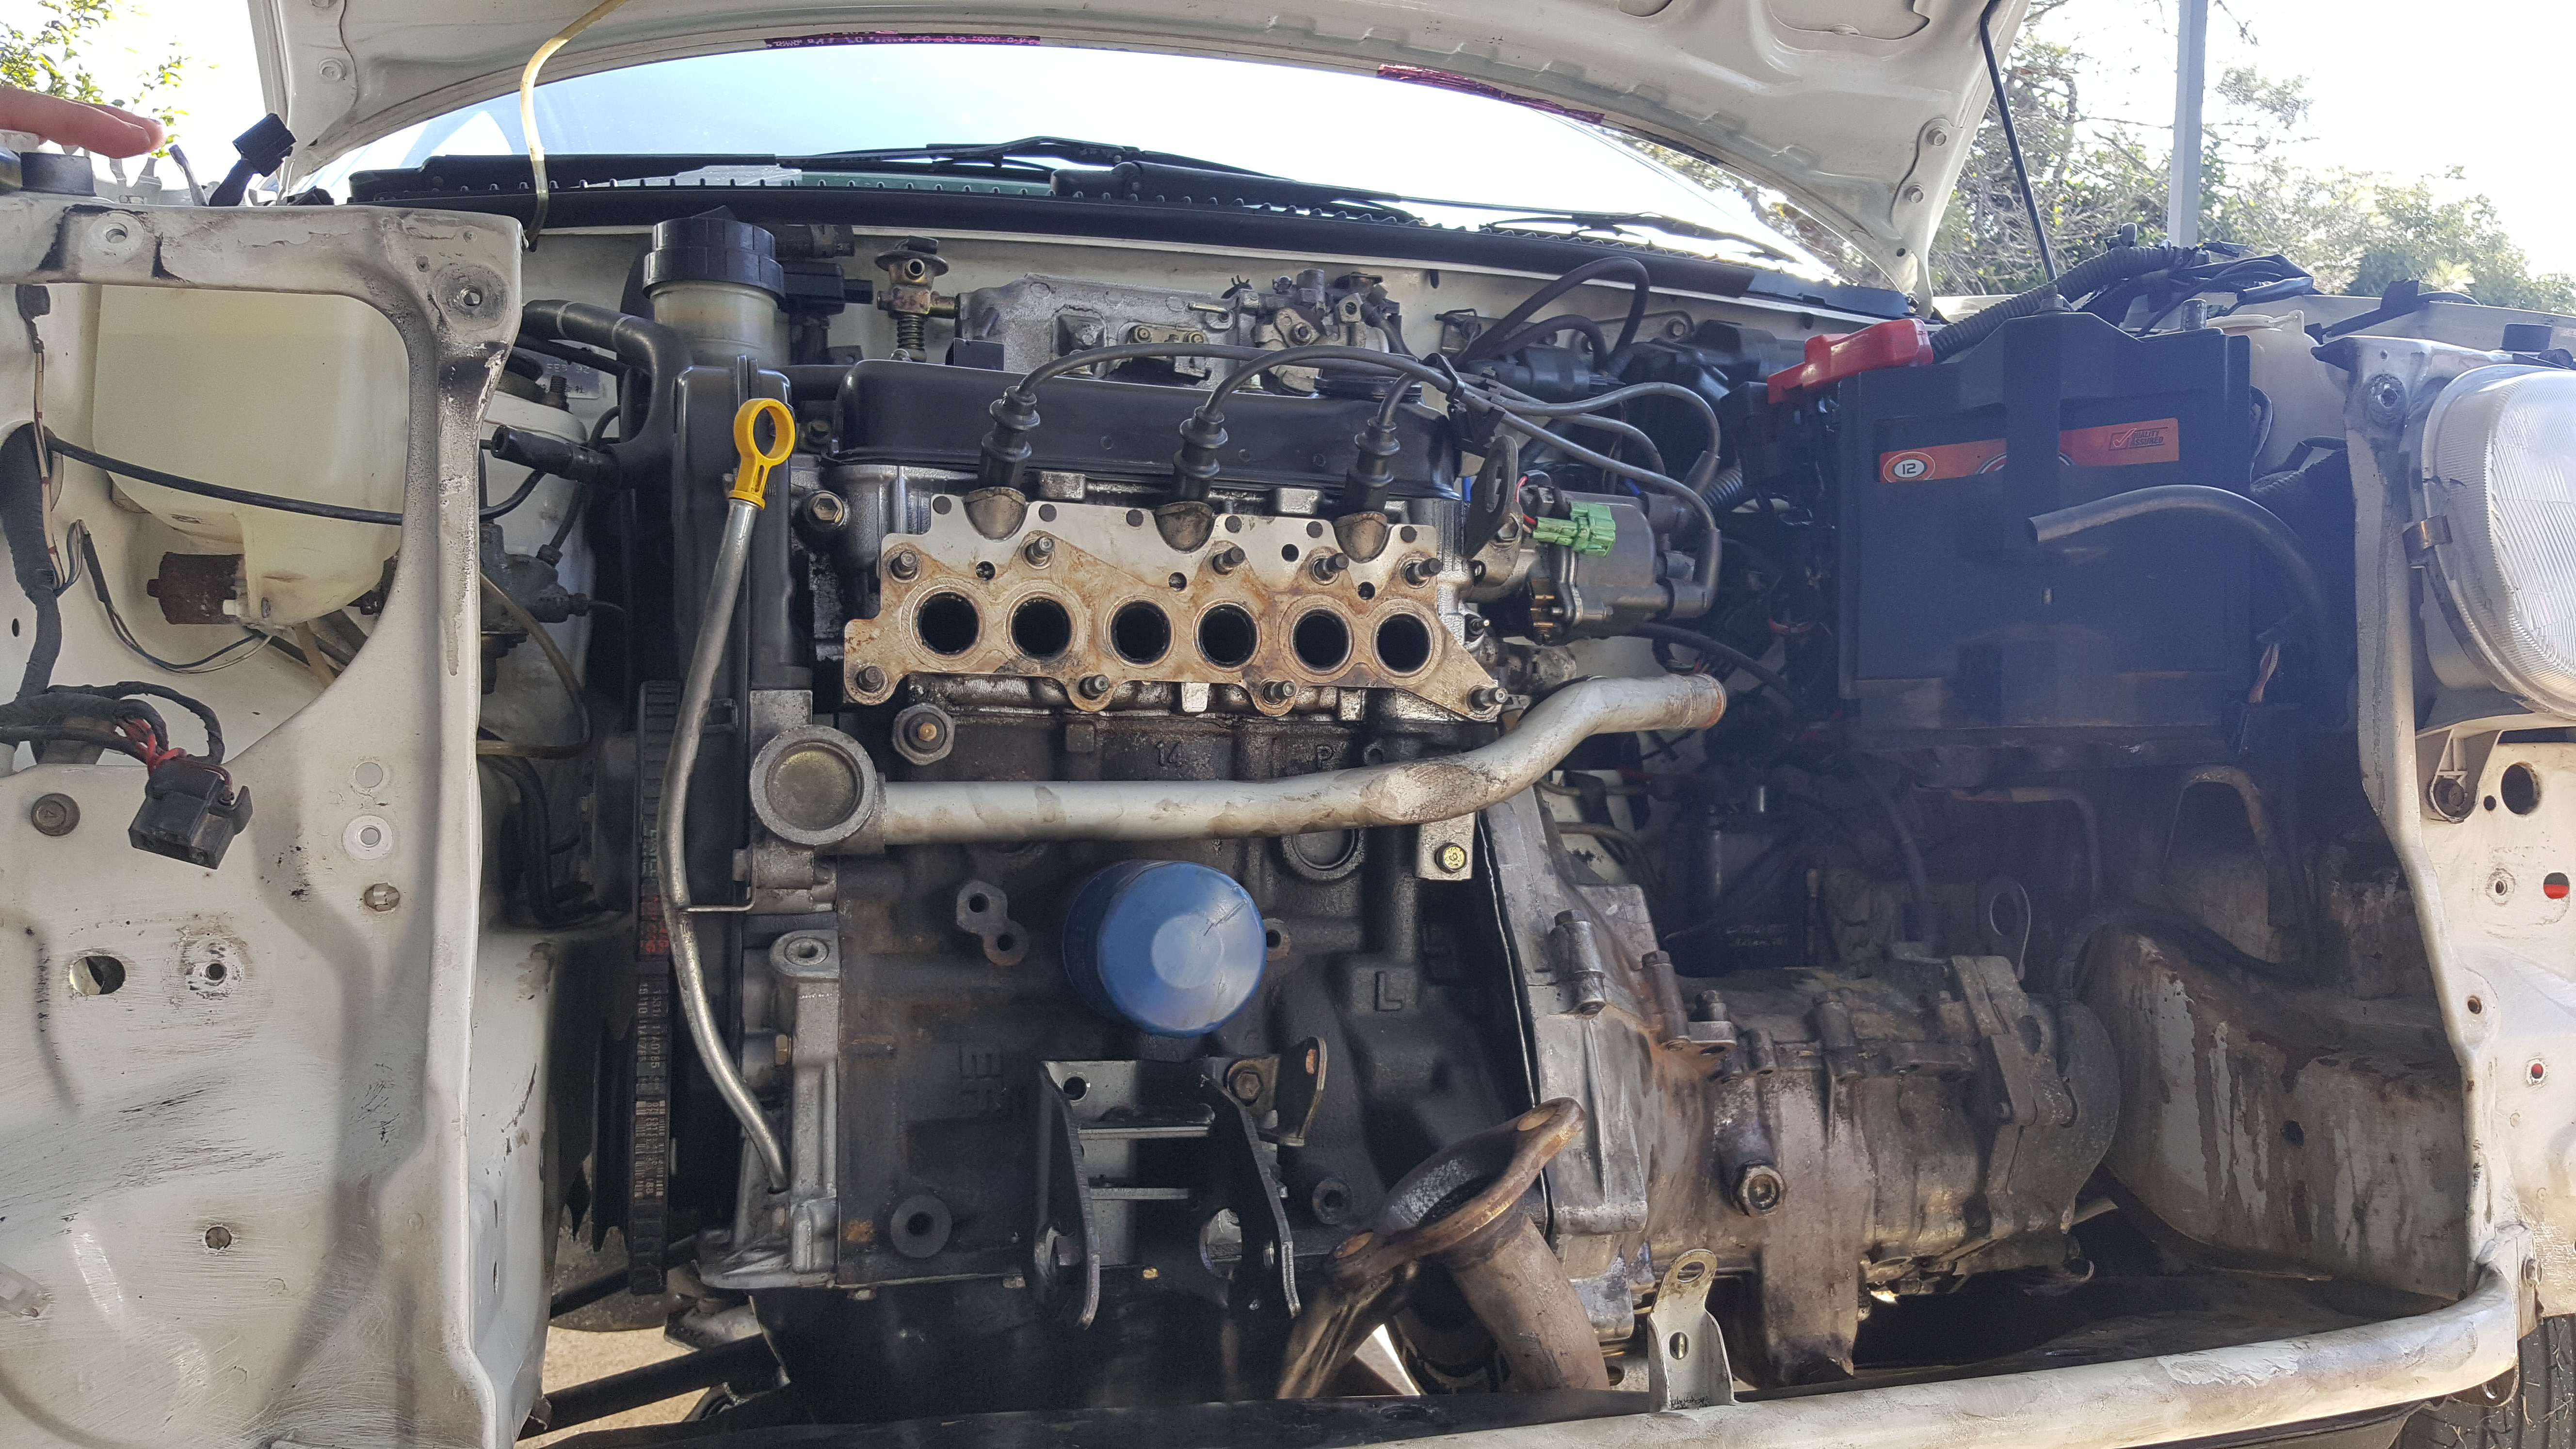
While the engine was fine it was just worn and old with over 200,000 on it over 25 ish years so out it came and that went to a fellow L2D member

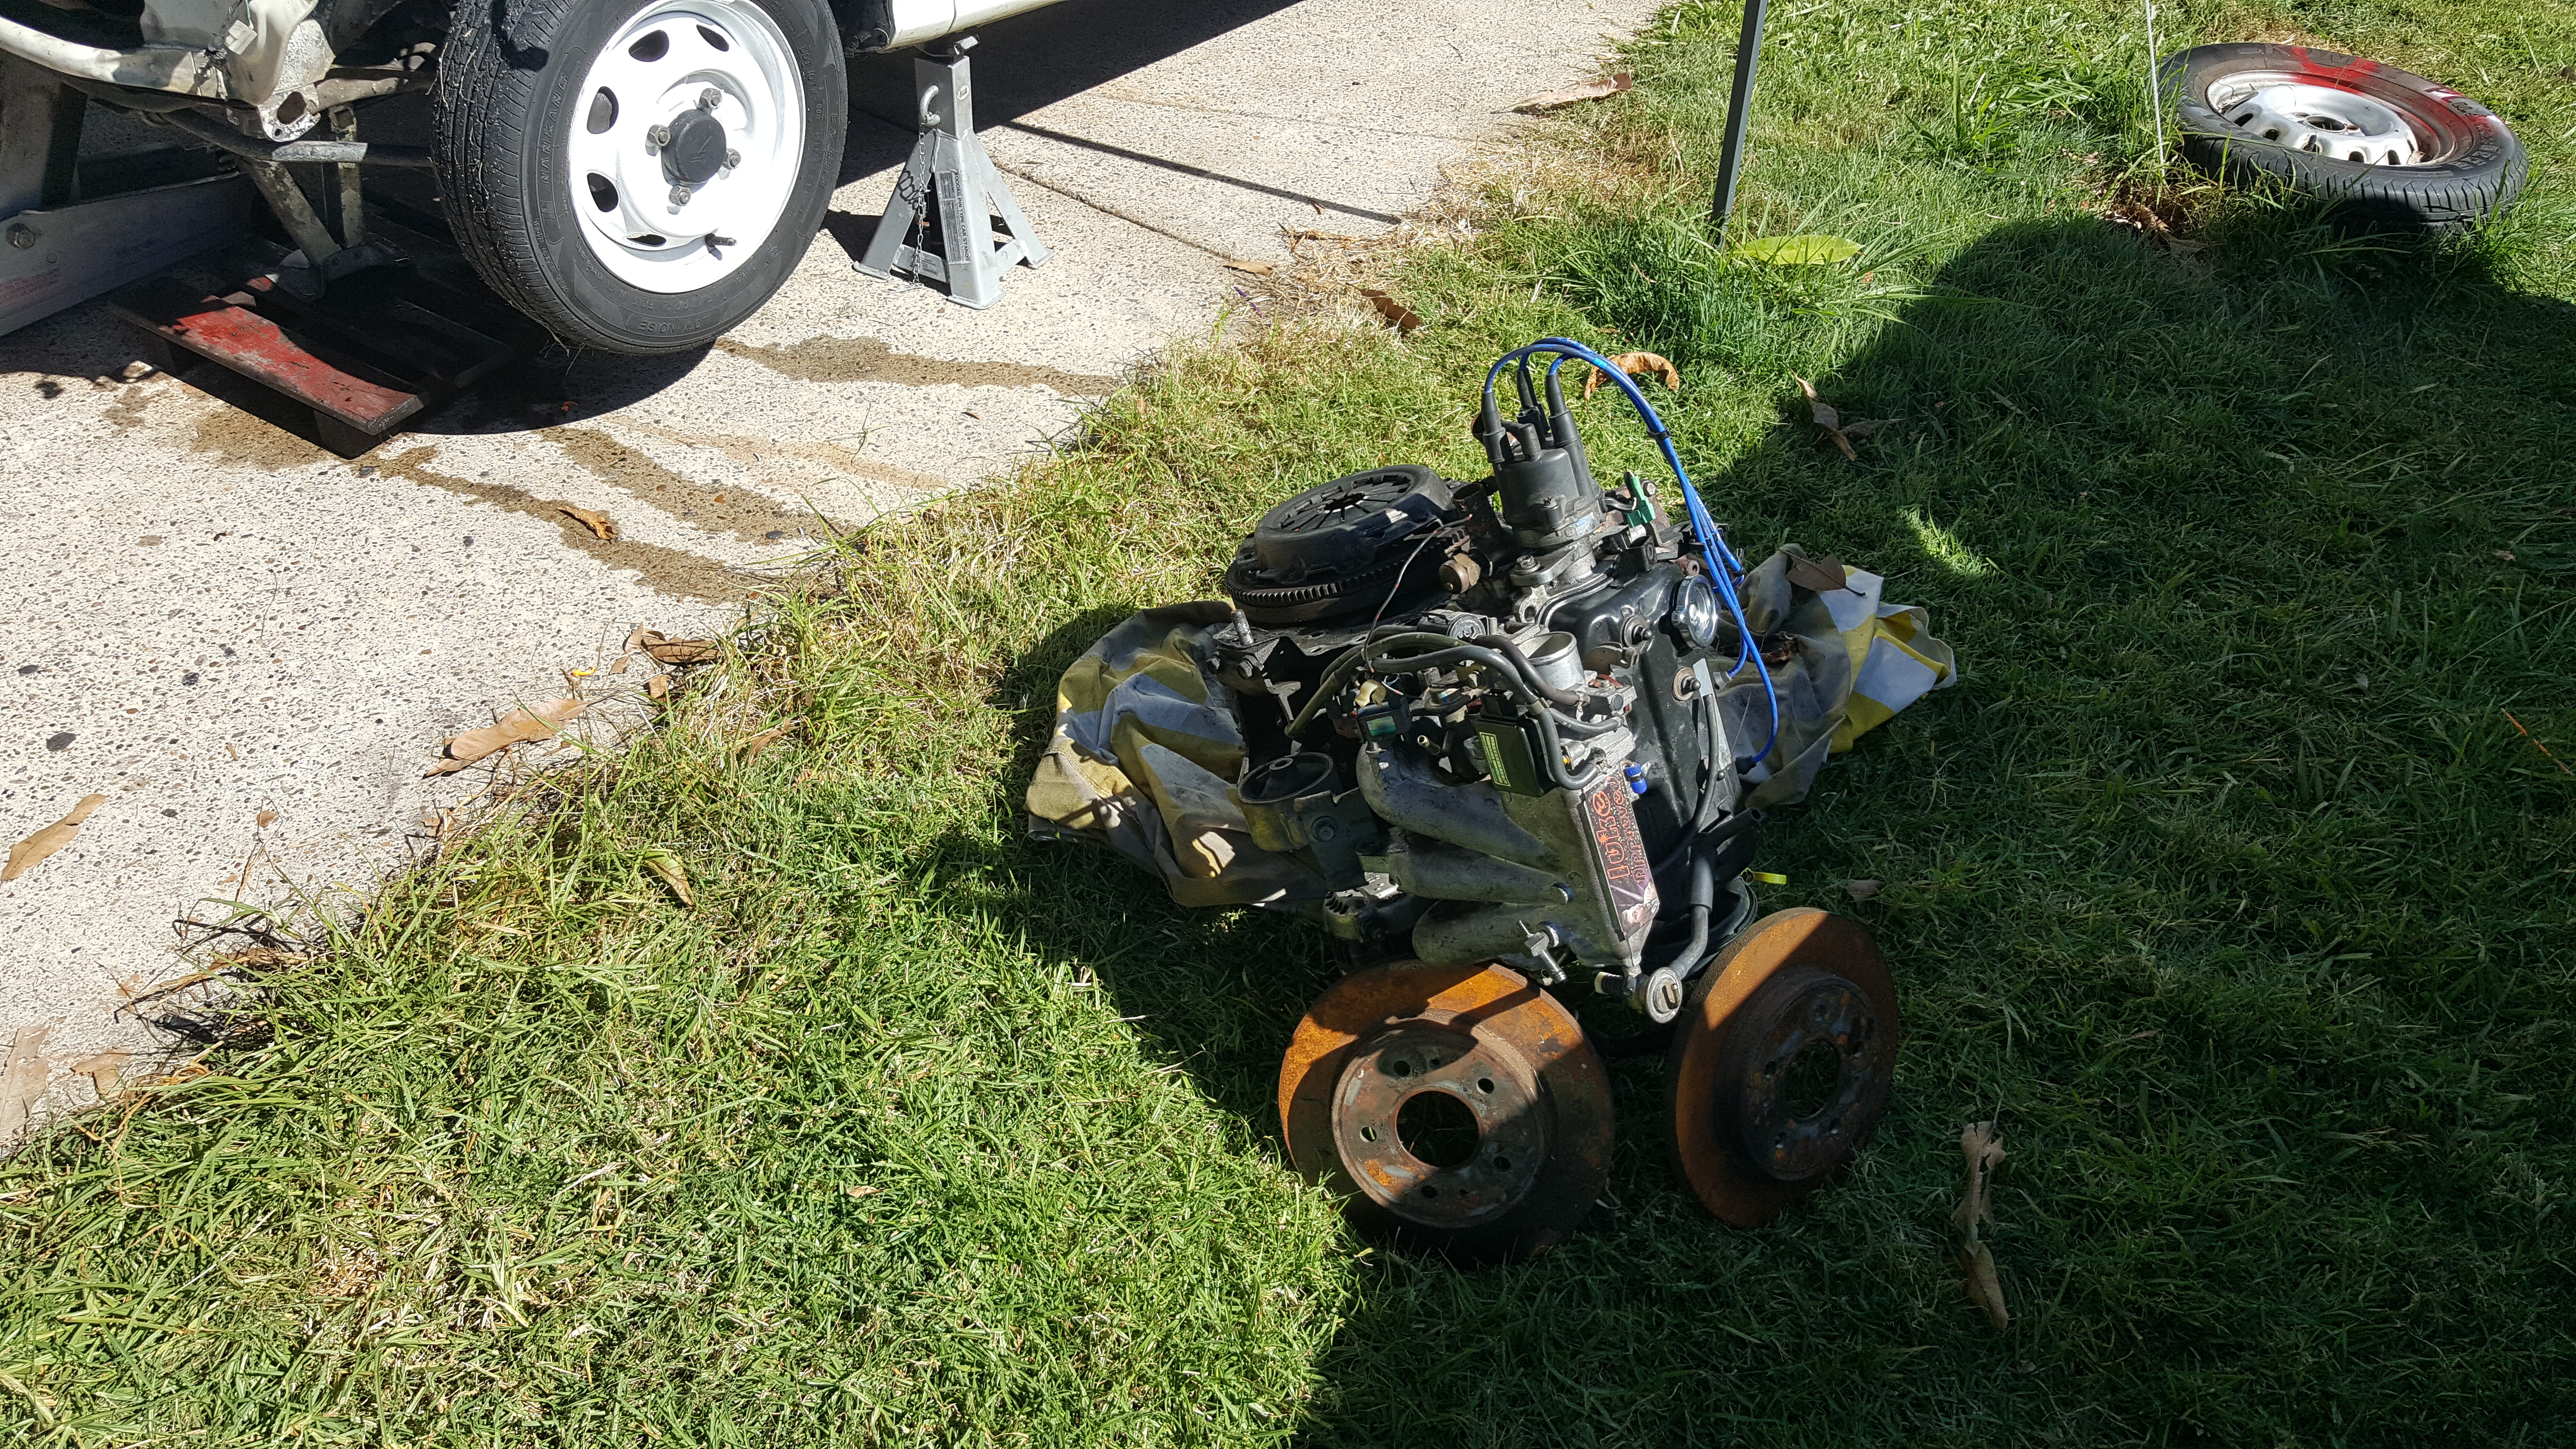
I replaced it with another EF-EL but this one had just touched 70,000ks and was abit younger and very very healthy

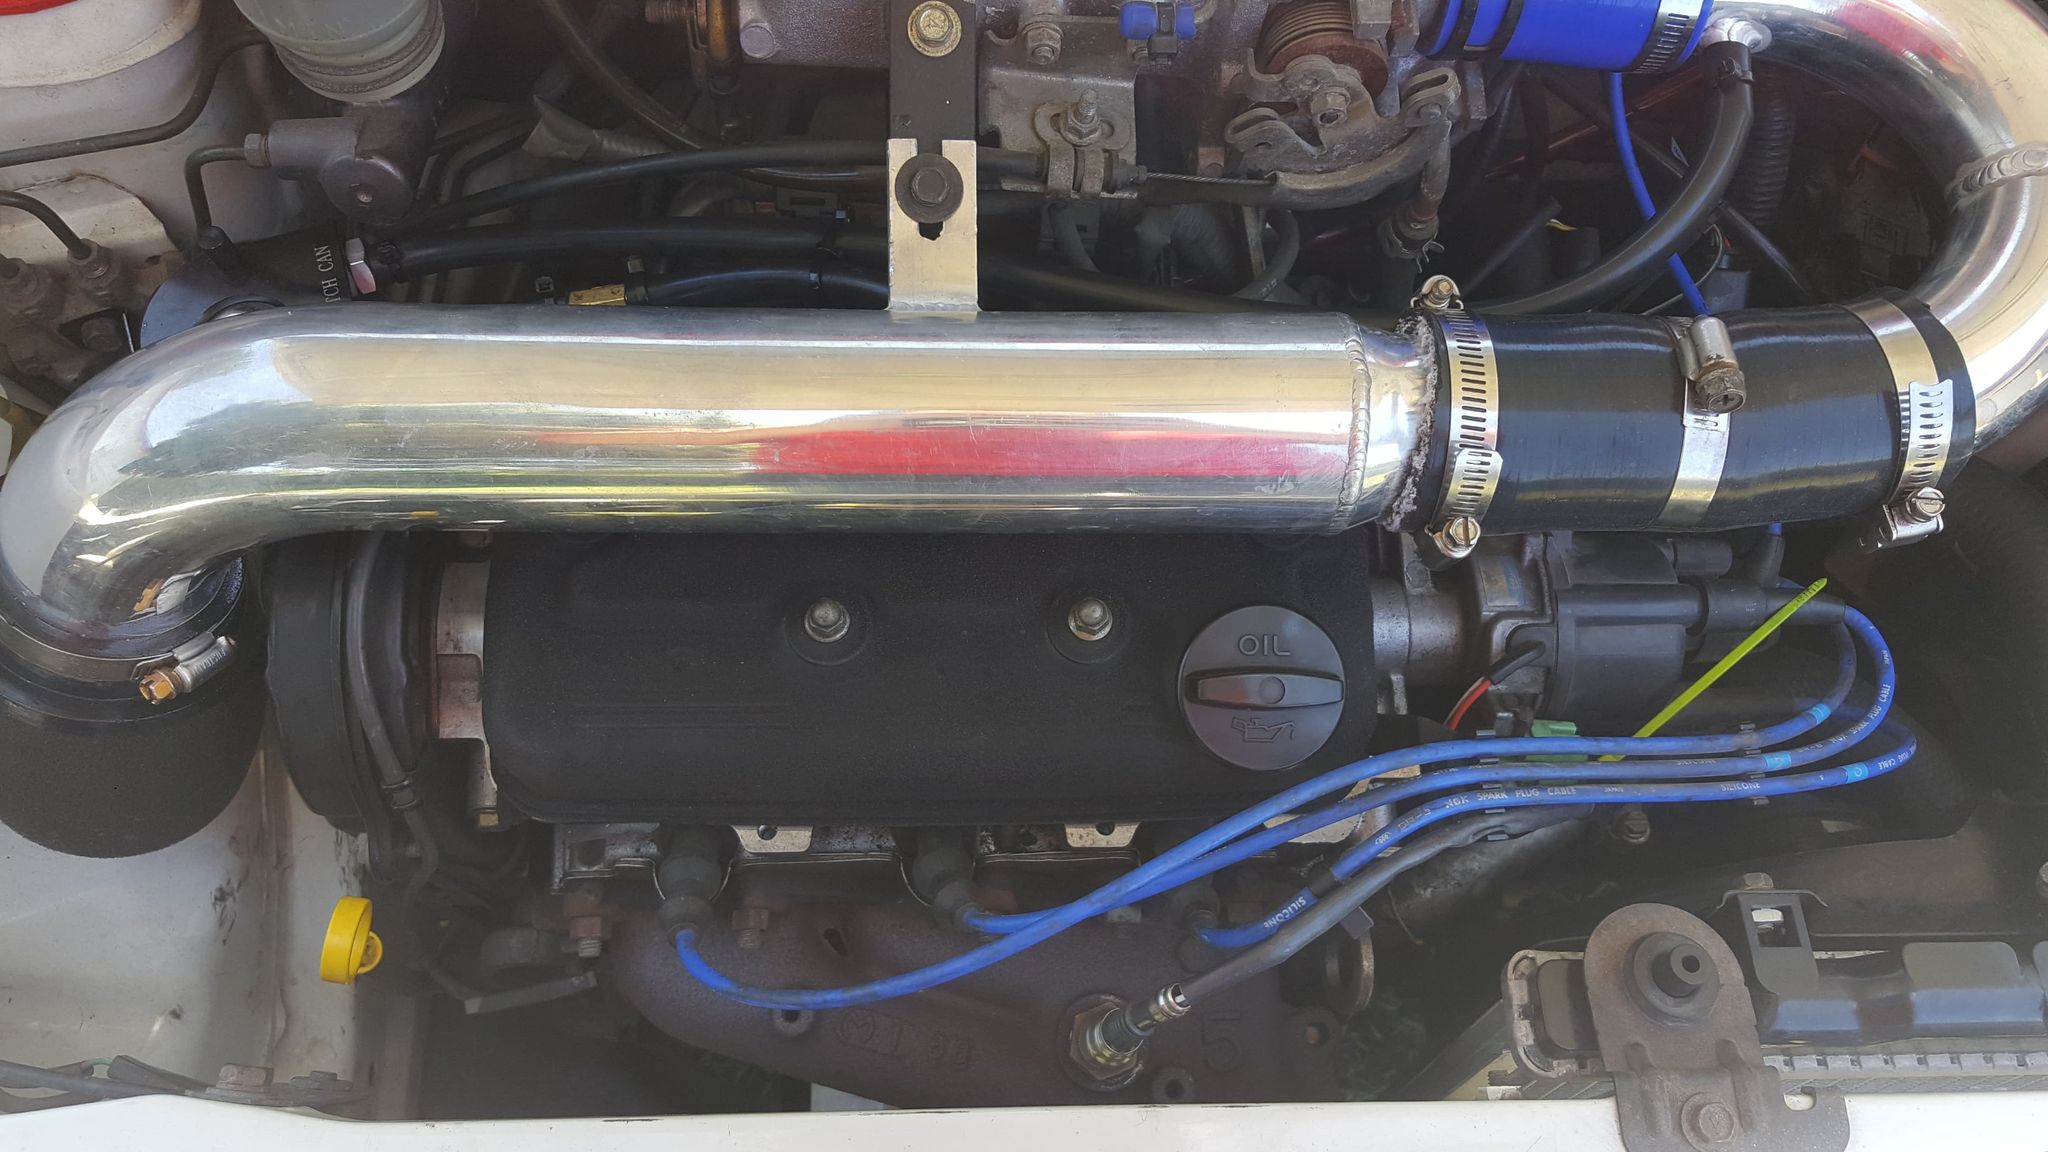
So after all that i kept her the same for awhile and used her to get to work everyday and was very very reliable and smooth I decided to see what the little girl will do on the dyno


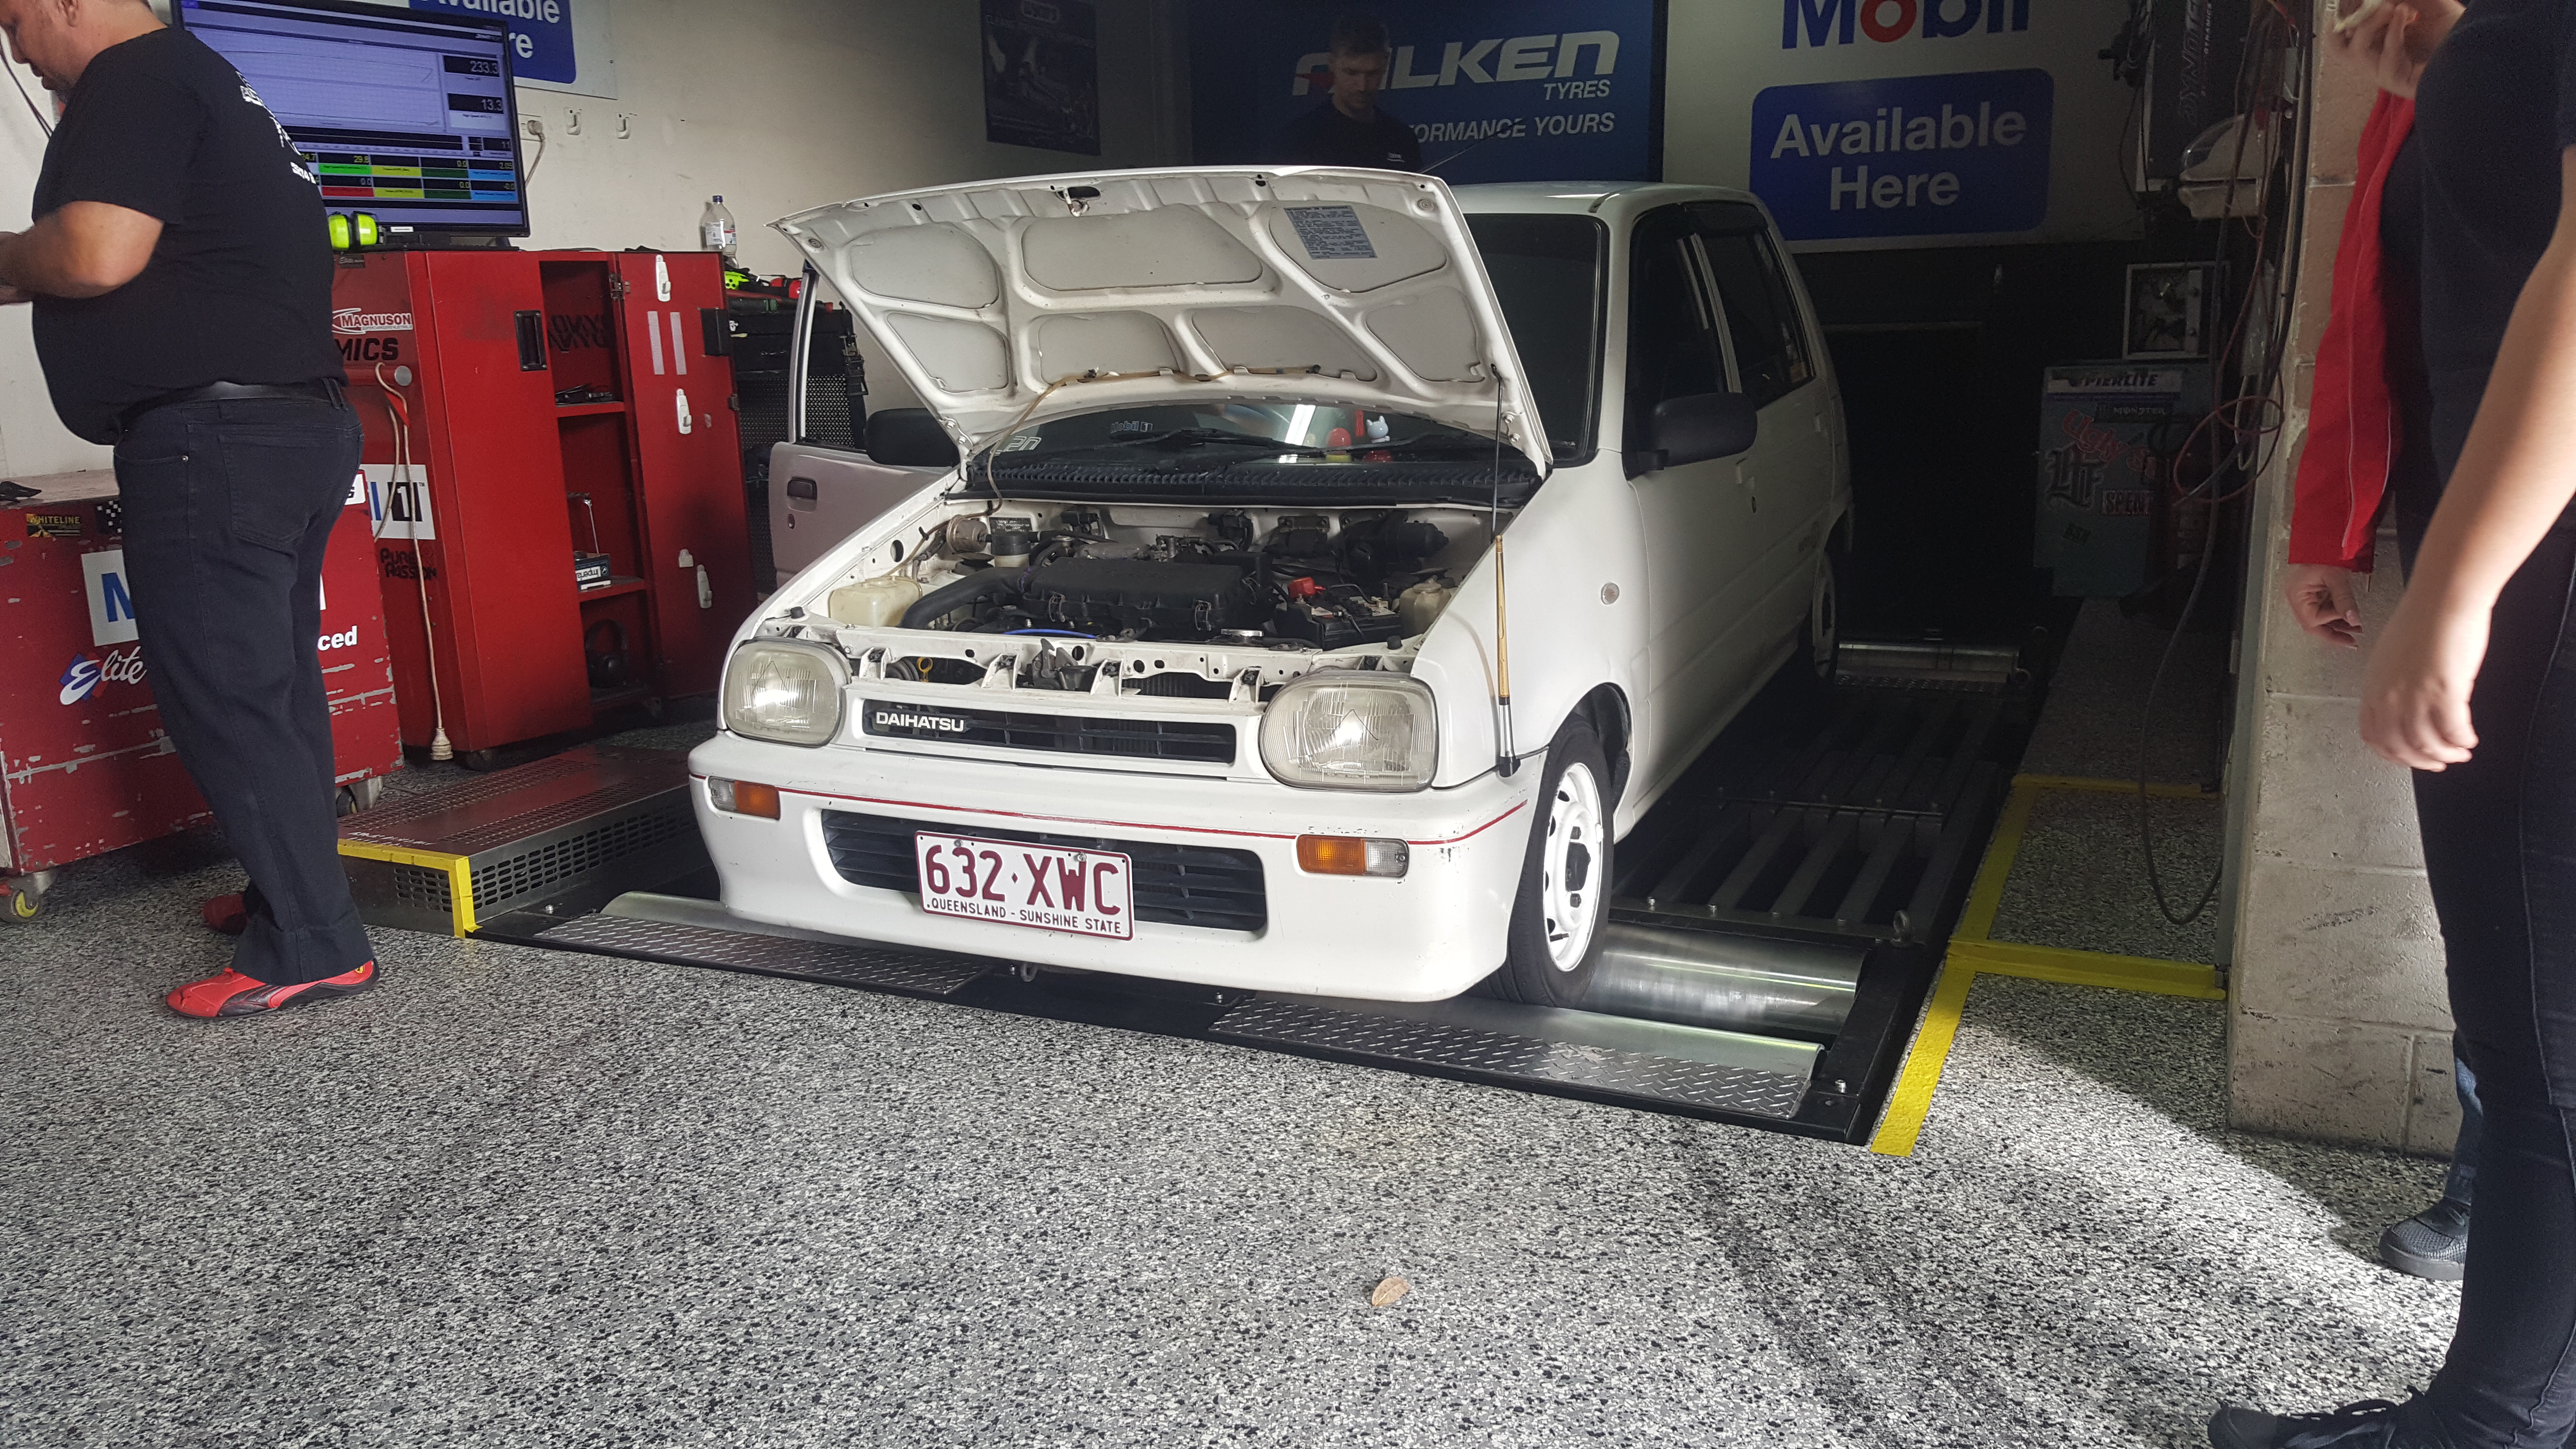
She got back to back numbers of 33.3 and 33.2hp I was very happy with these numbers

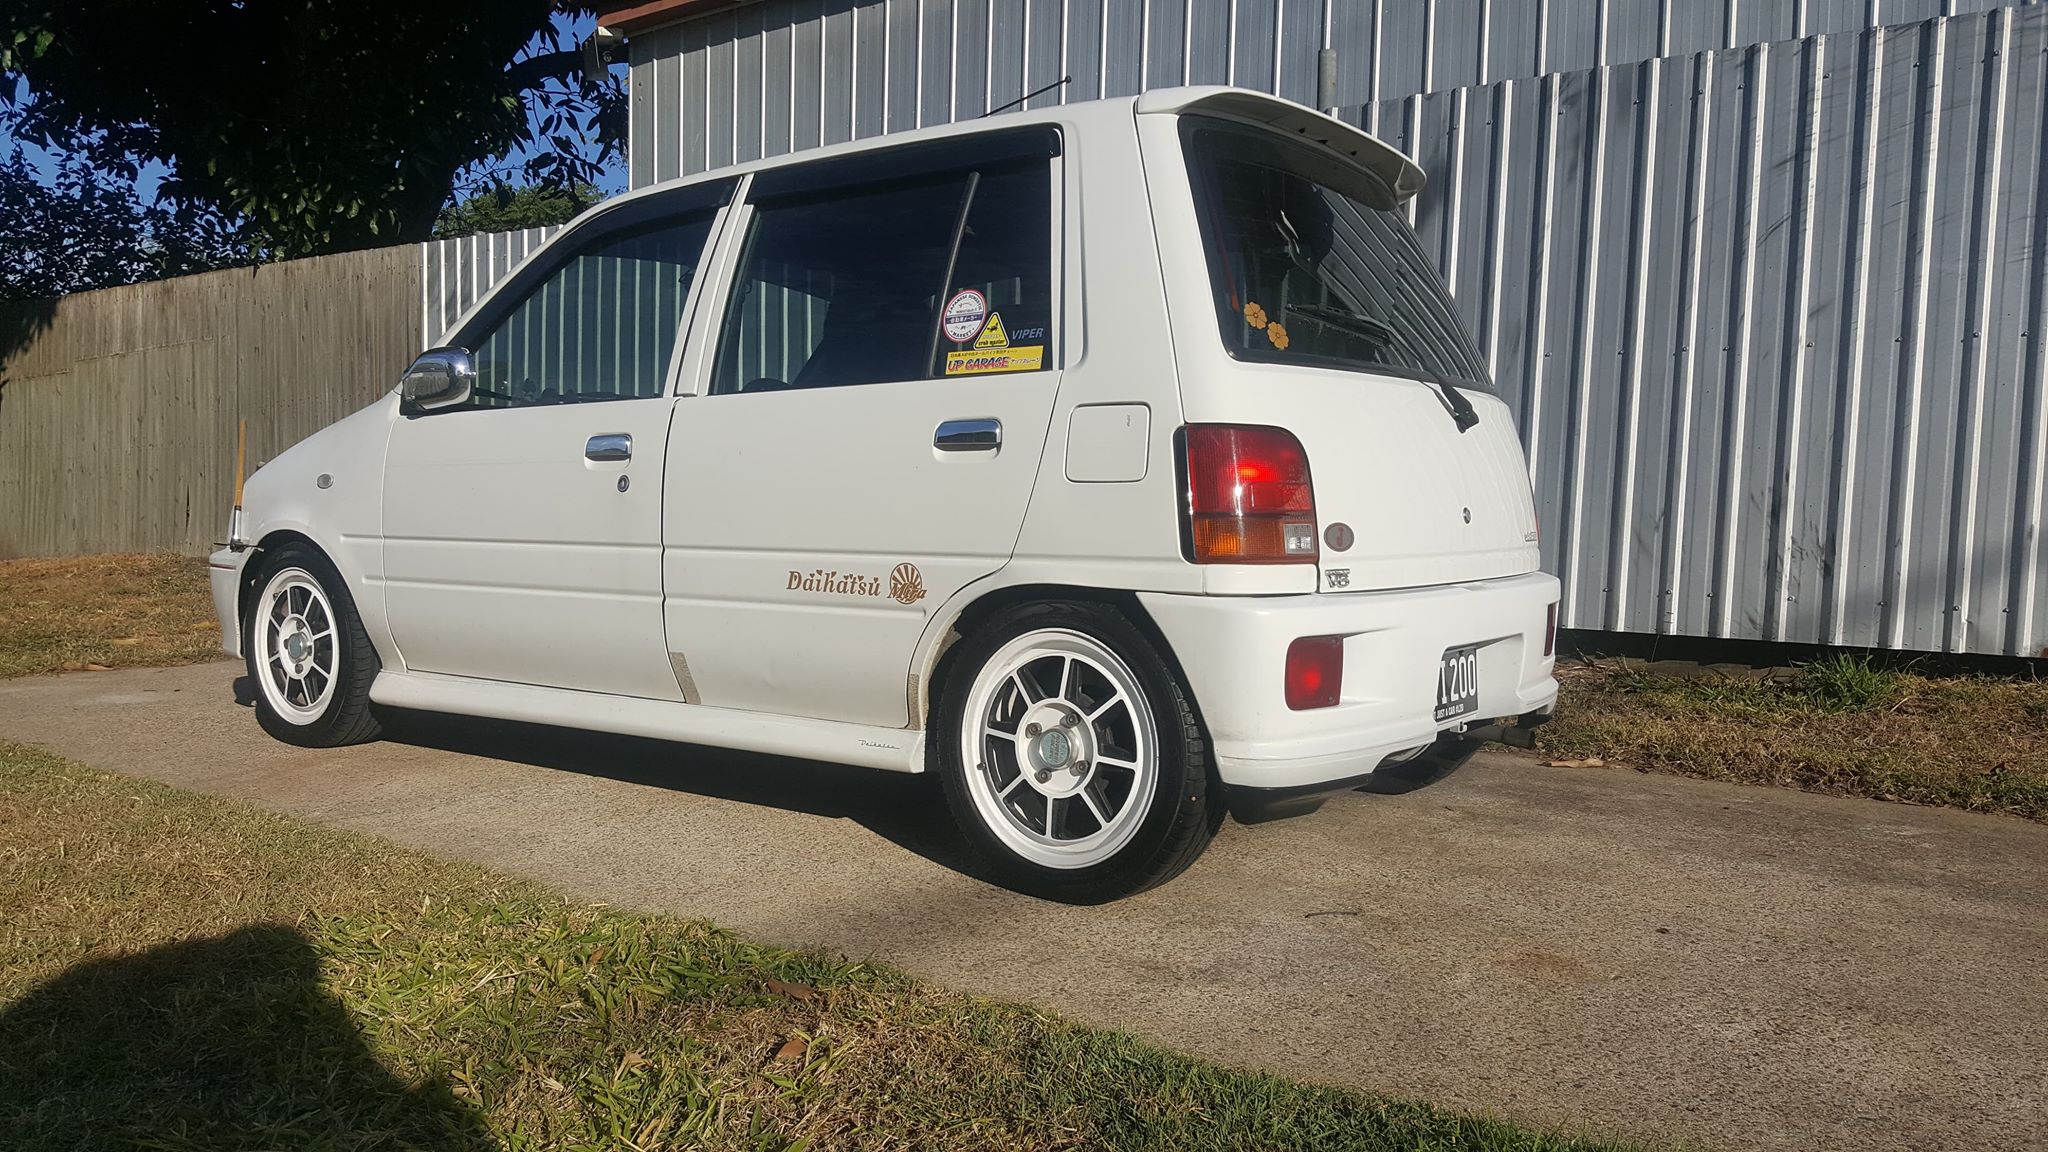
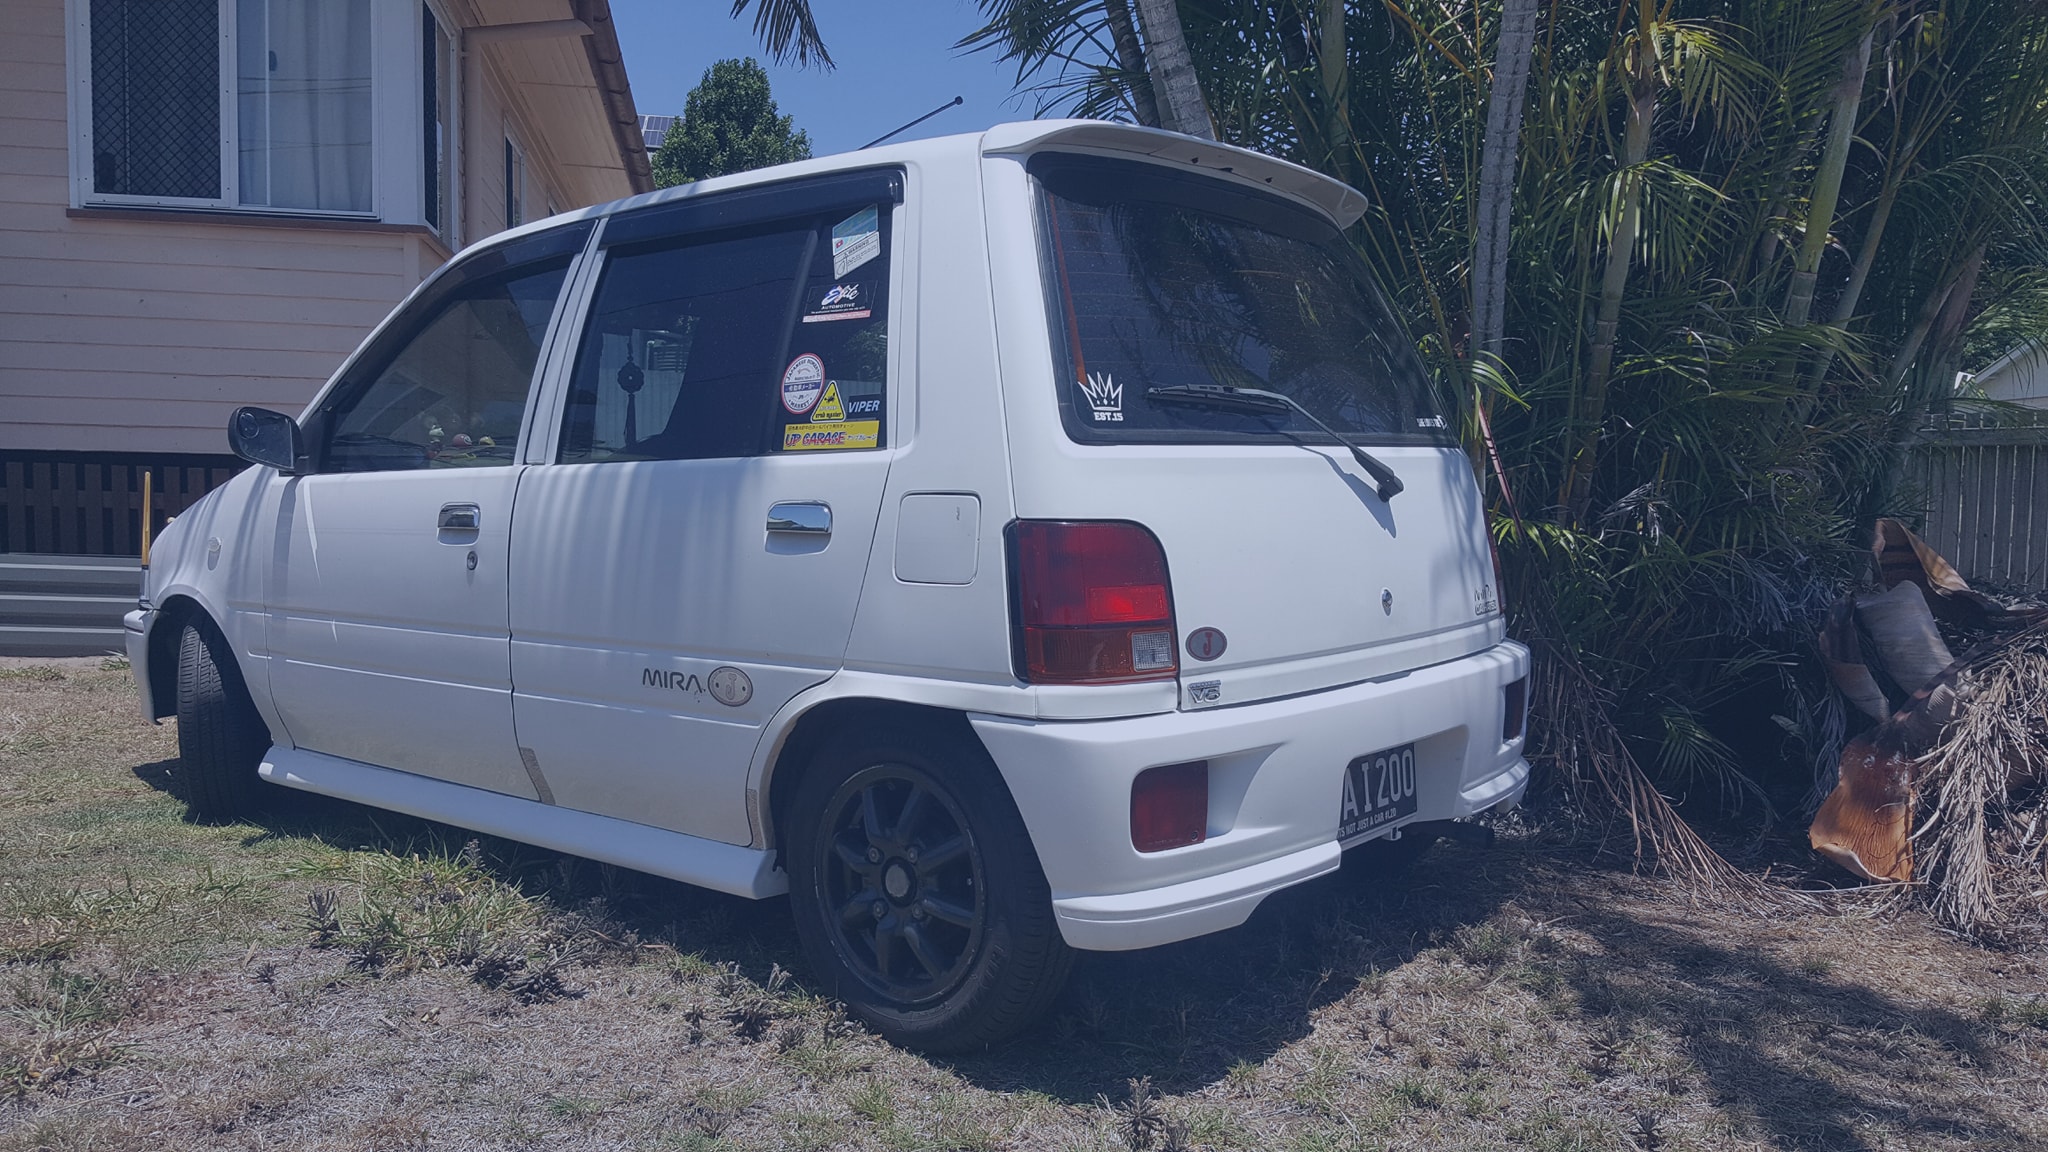
So since she has been a good little girl I gave her a little treat as i started to fall hard inlove with her and installed a TRxx rear top wing. Installed with nutserts with bolts with silicone around the bolt holes so it wont leak.

As weeks go by she remains very reliable so i can’t help it but i give her another little special item. I S2 rear TRxx bar


The rear lights on the bar are connected on the same circuit so they light up with little to no wiring needed.

Months go by and she does her job, countless hang outs and fun little times in her i am well and truly inlove

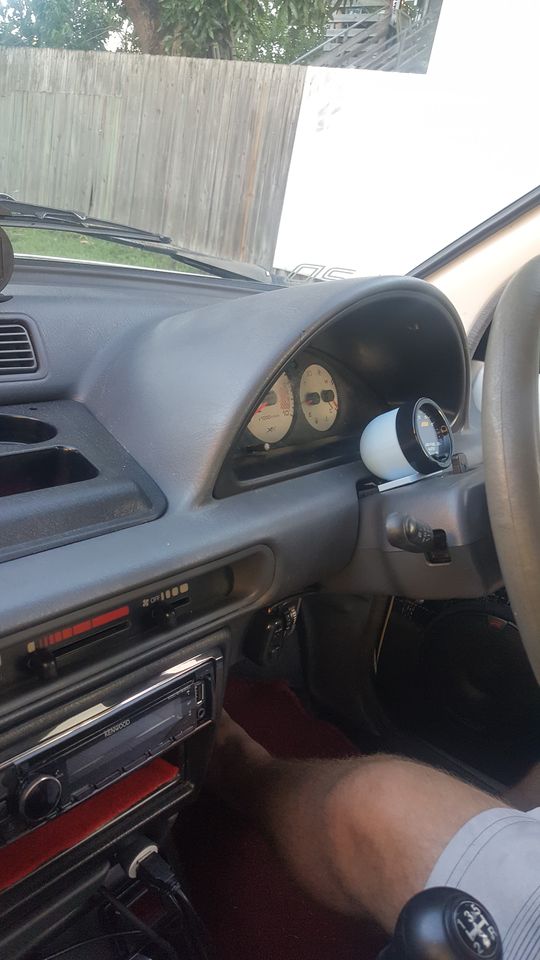
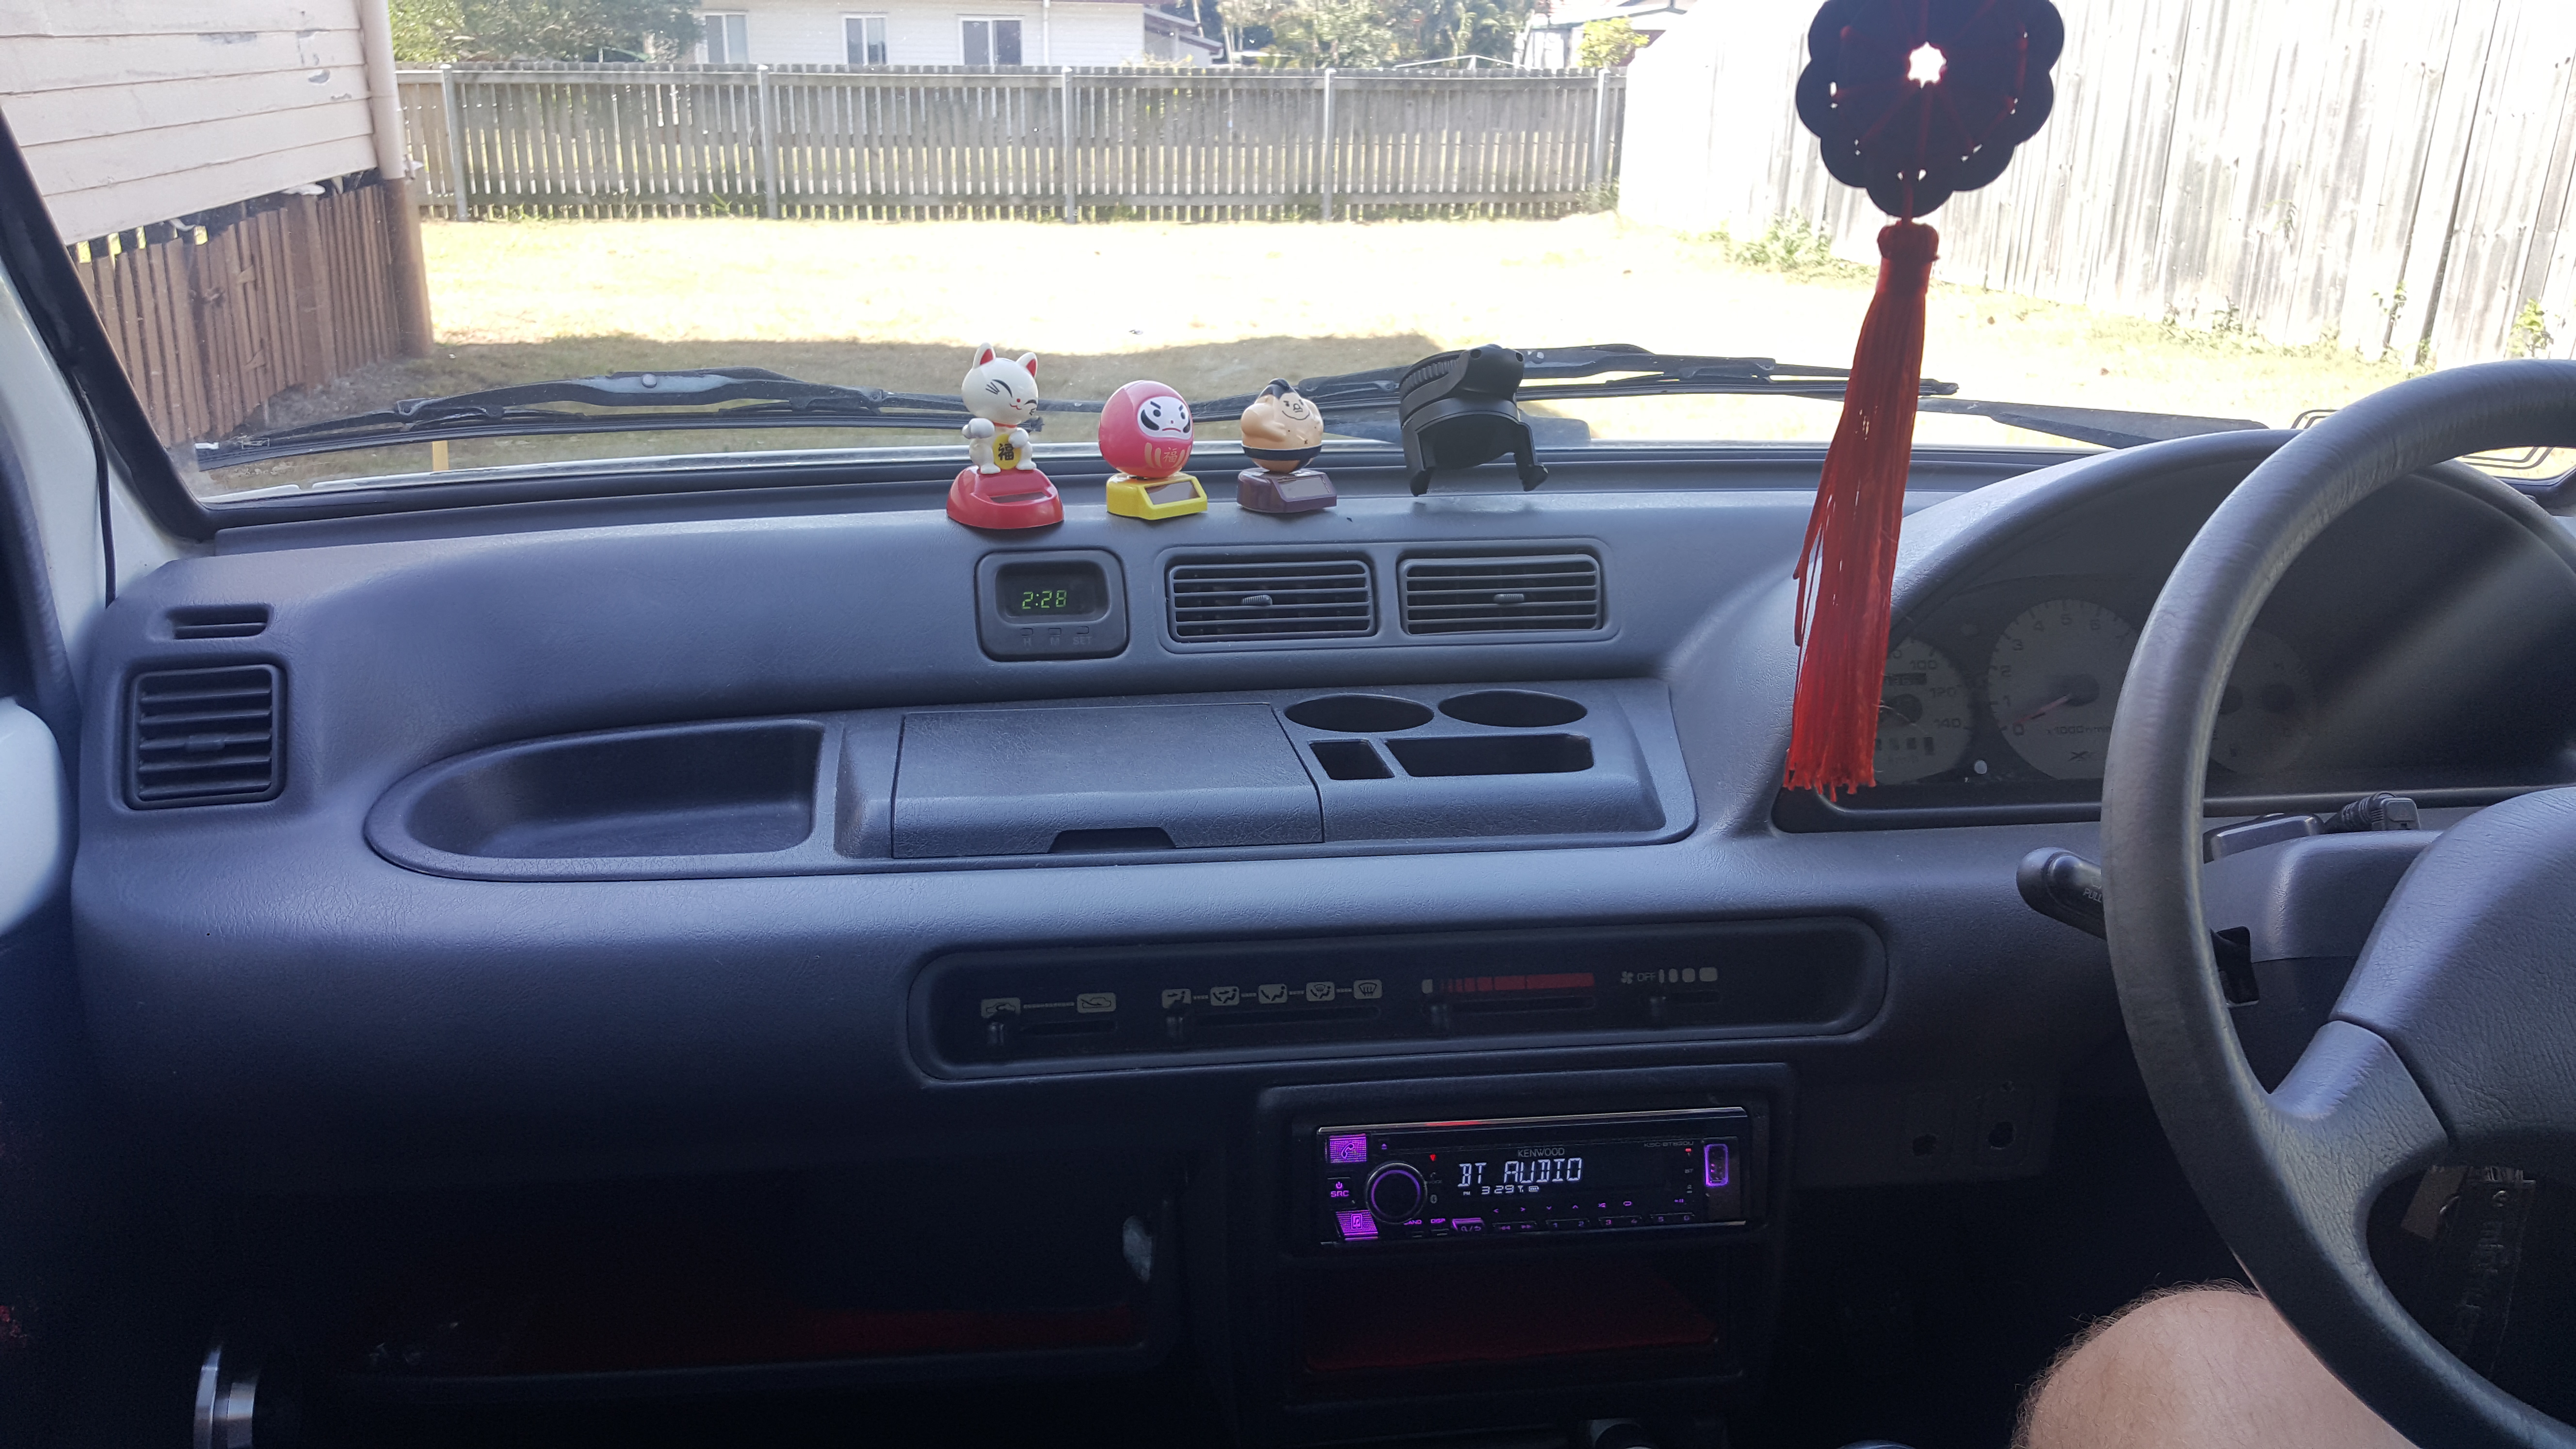
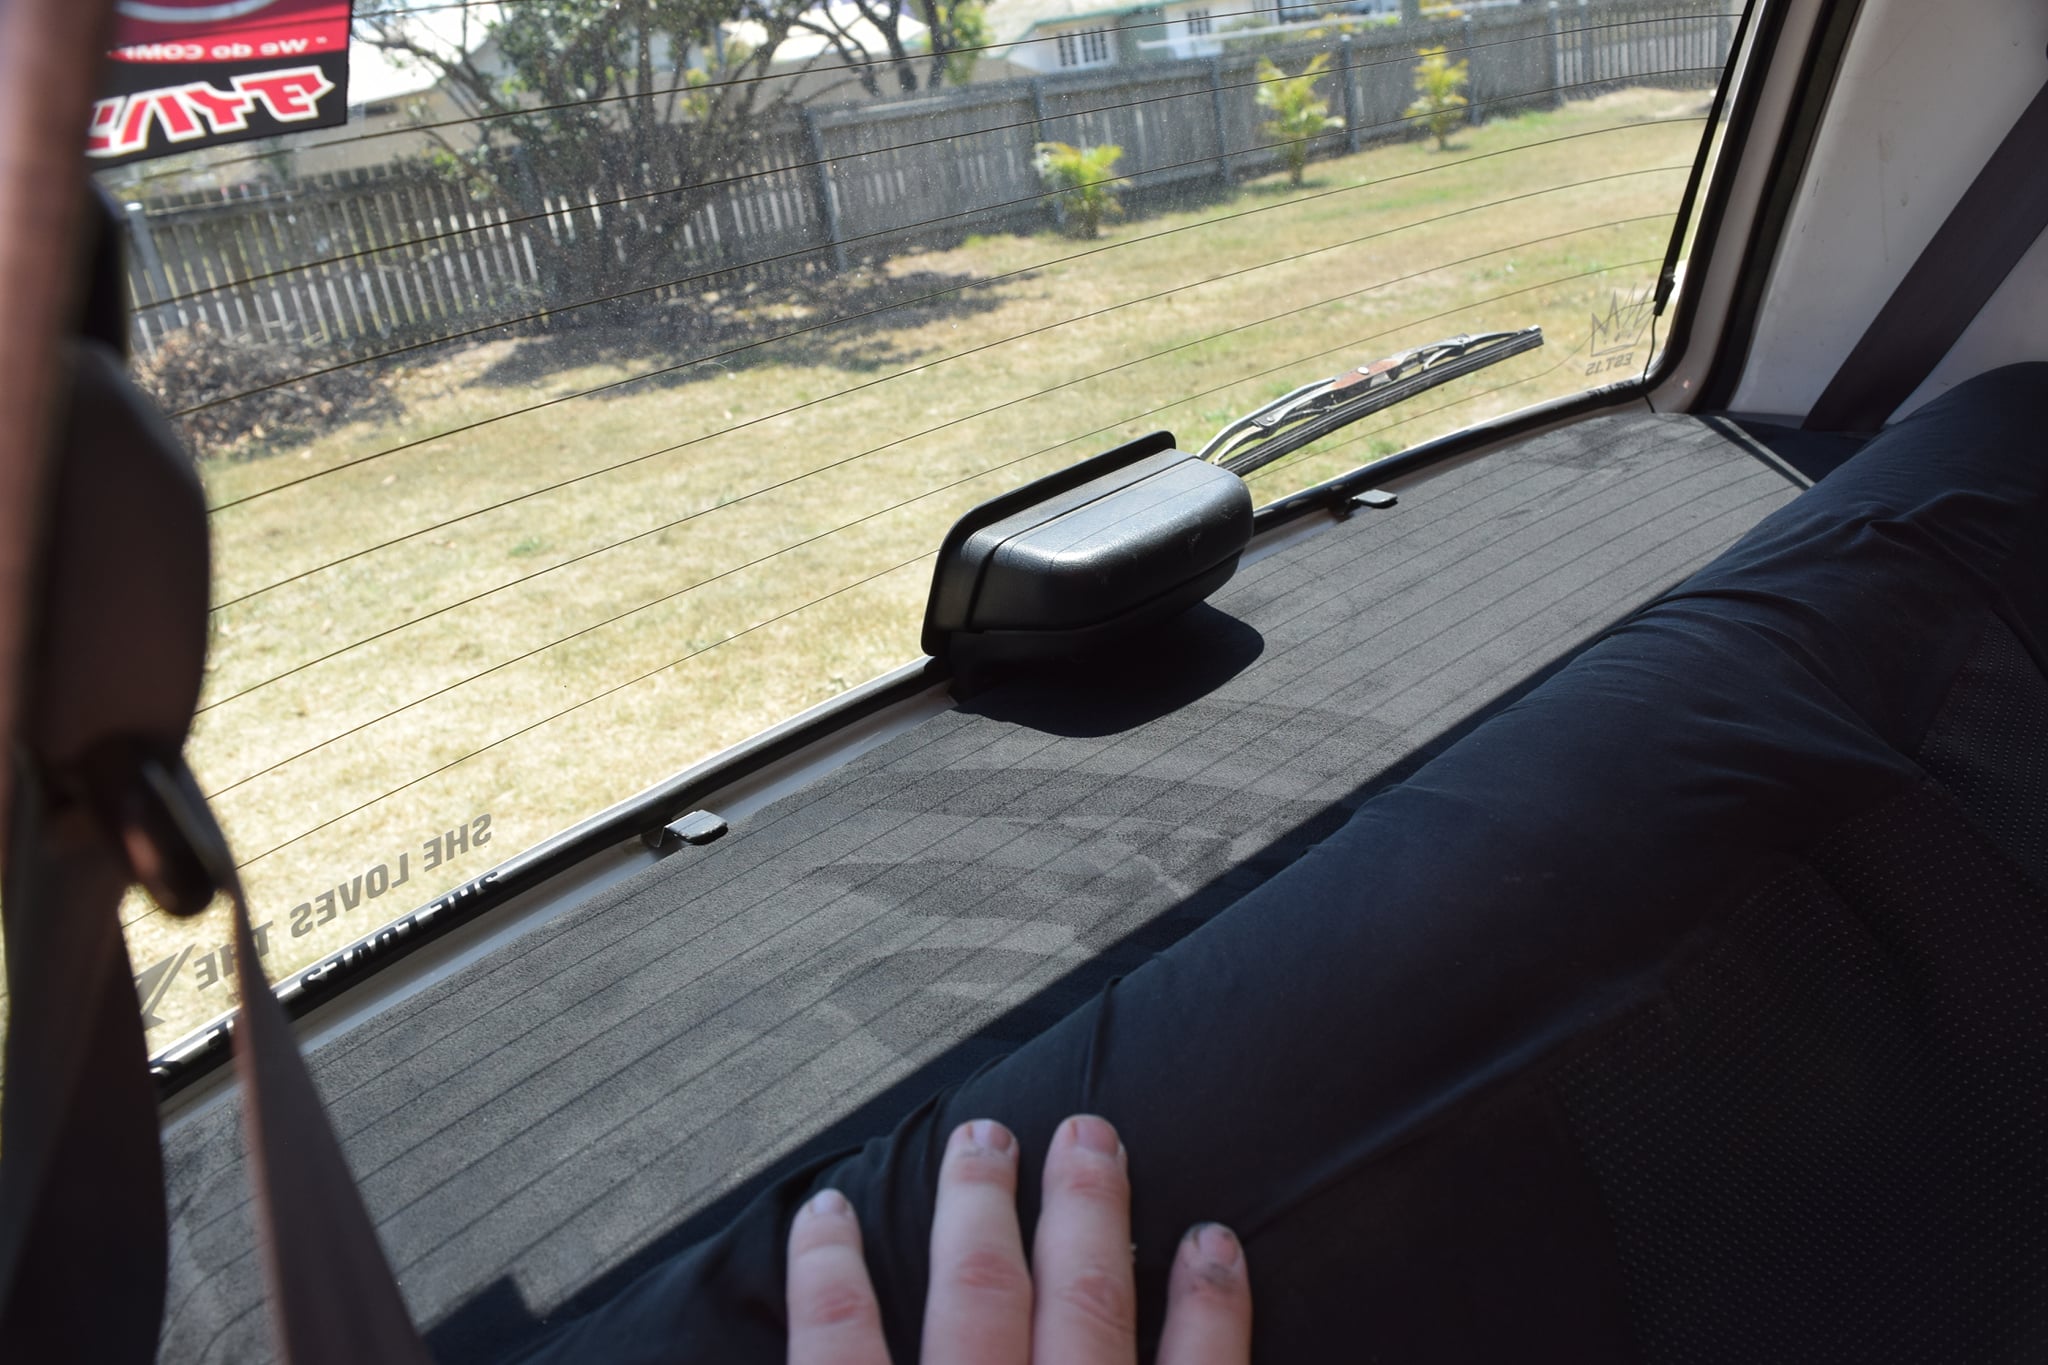
The interior has had little updates the main one being the trxx cluster that makes life alot better and its great to see the little needle go well into the rev as the ef/el red lines at 9.2k, some little dash toys and a random clock in the air vent.

Now back to exterior mods. I found small “spot lights” that are perfect fix to fit into the grille and i love the yellow grille light style from the 80s 90s
HEHE now isn’t that cute.

Now for a change up, i’ve been abit of a bass head over the years but this time i wanted a crystal clear but super loud system So i started collecting and drawing up plans


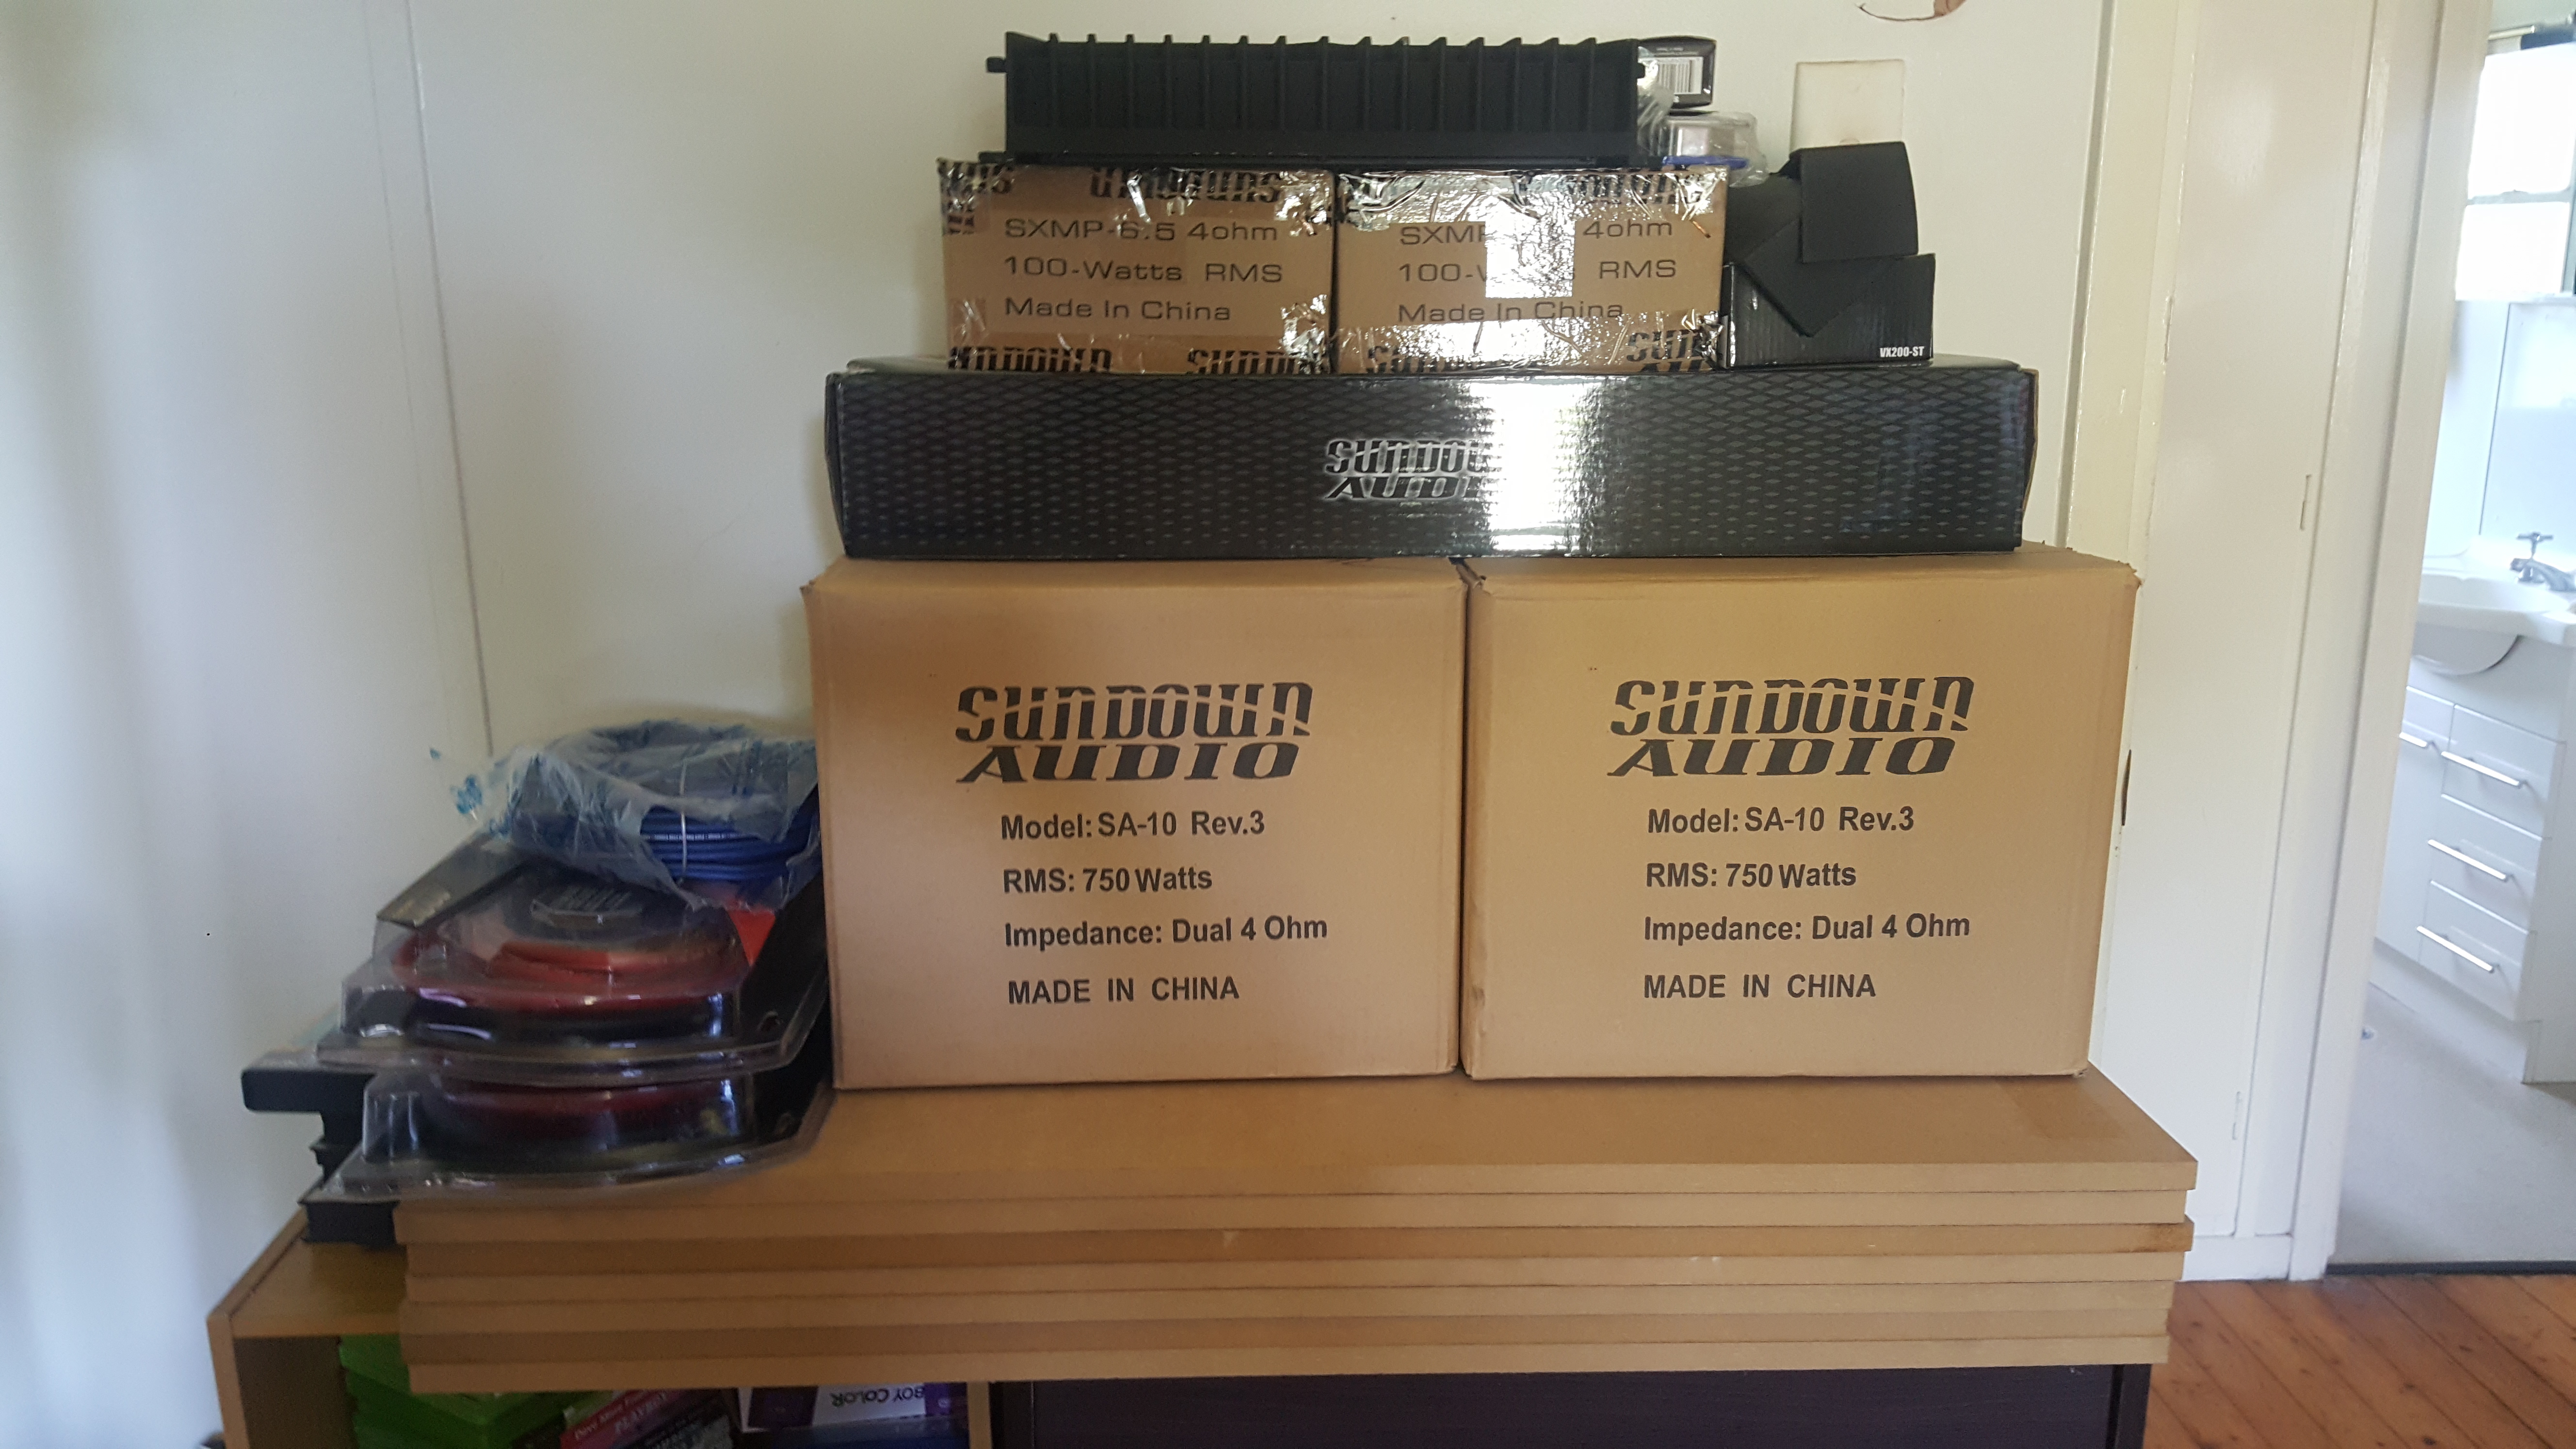
At this point i’ve got most of want i need so i start building

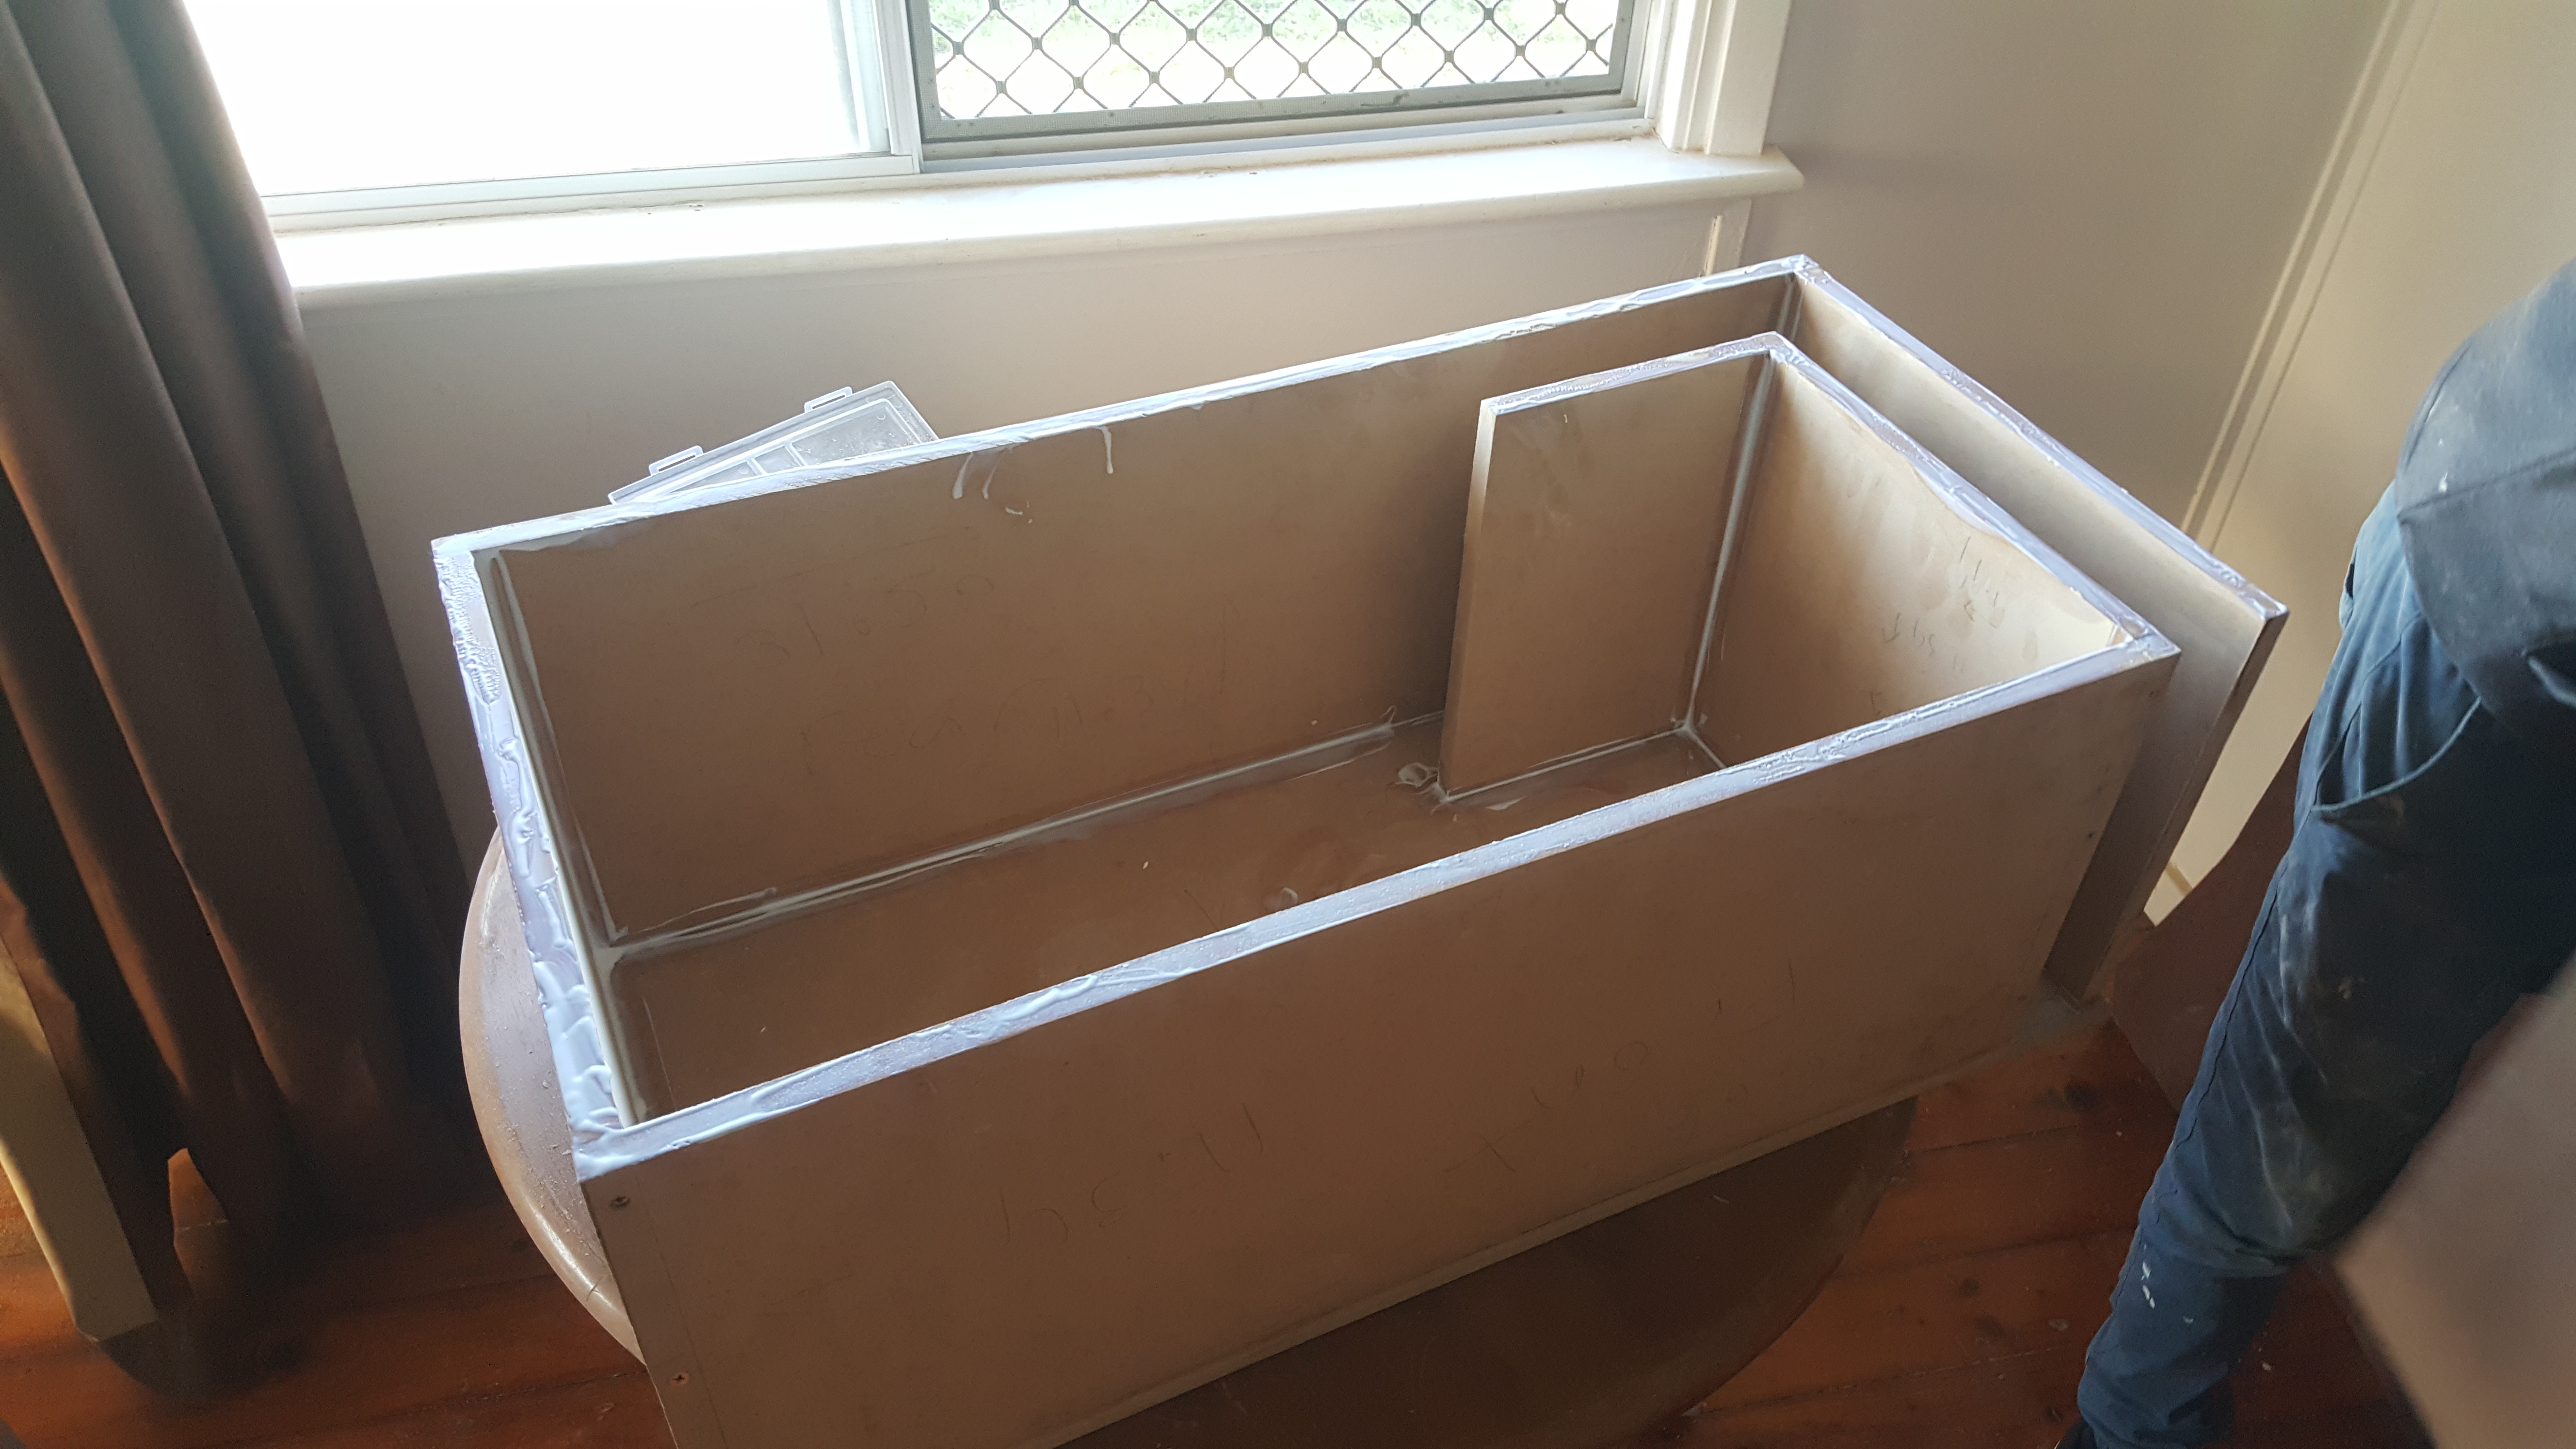
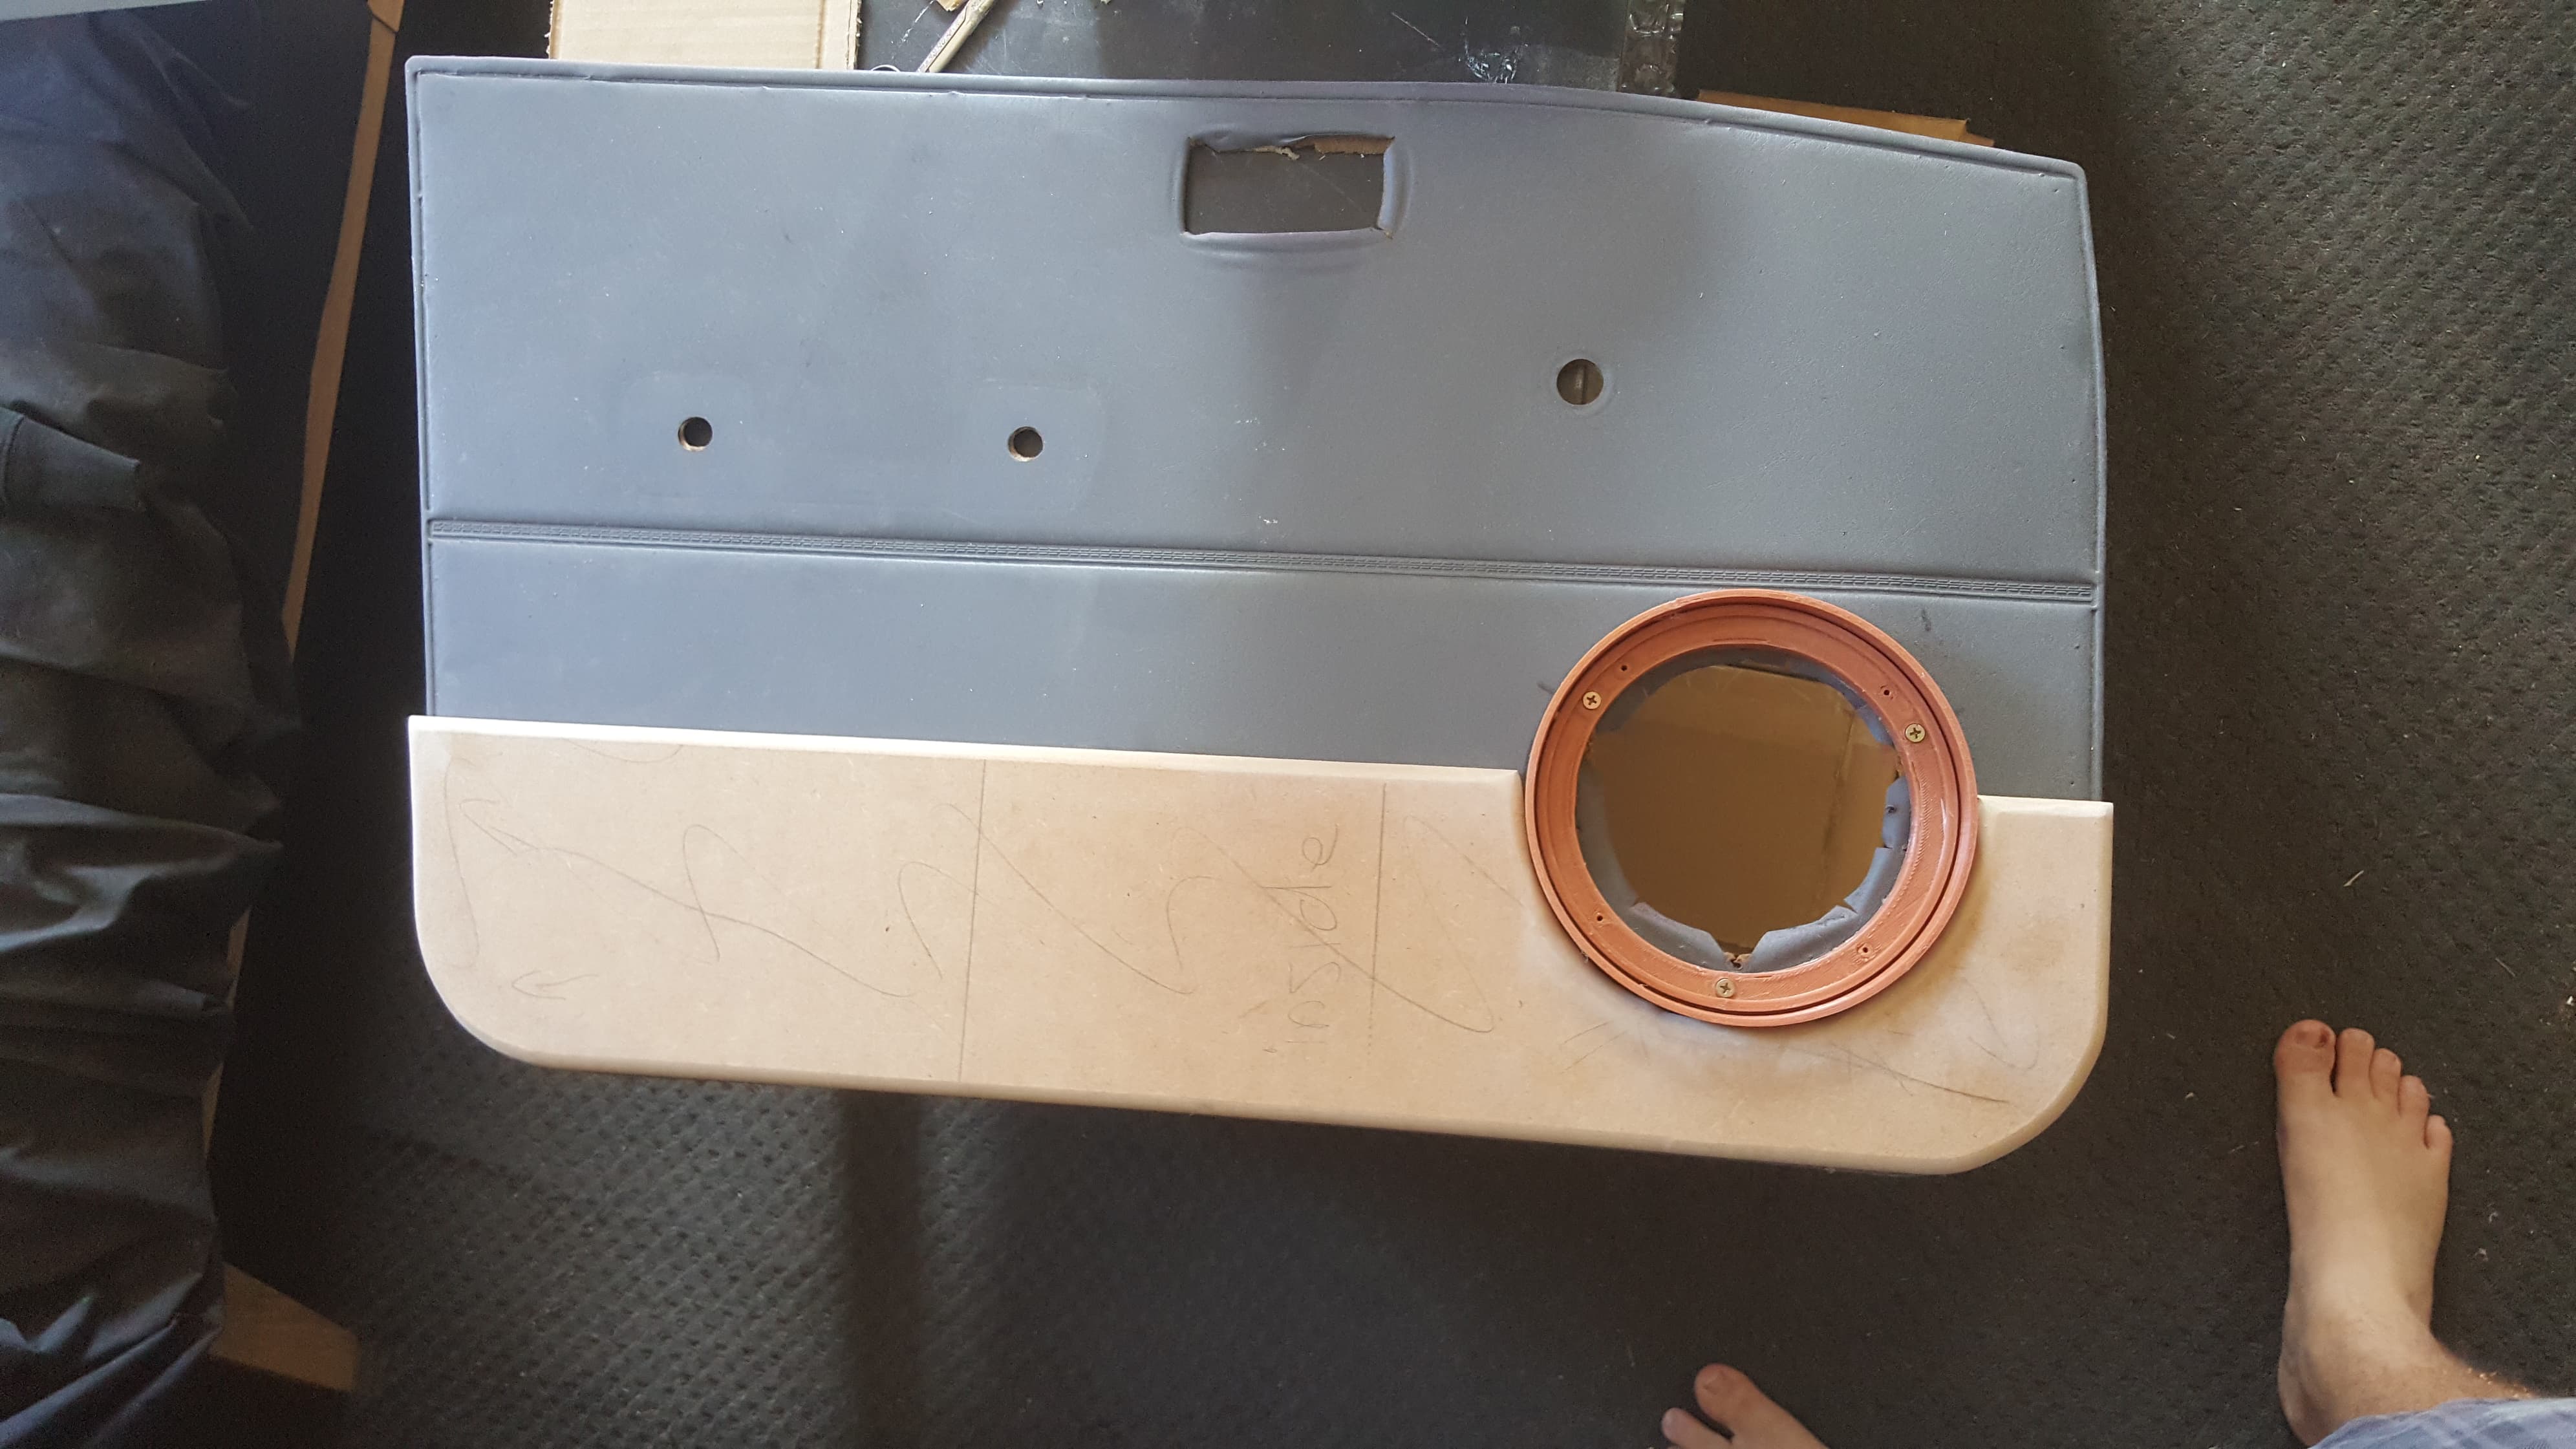
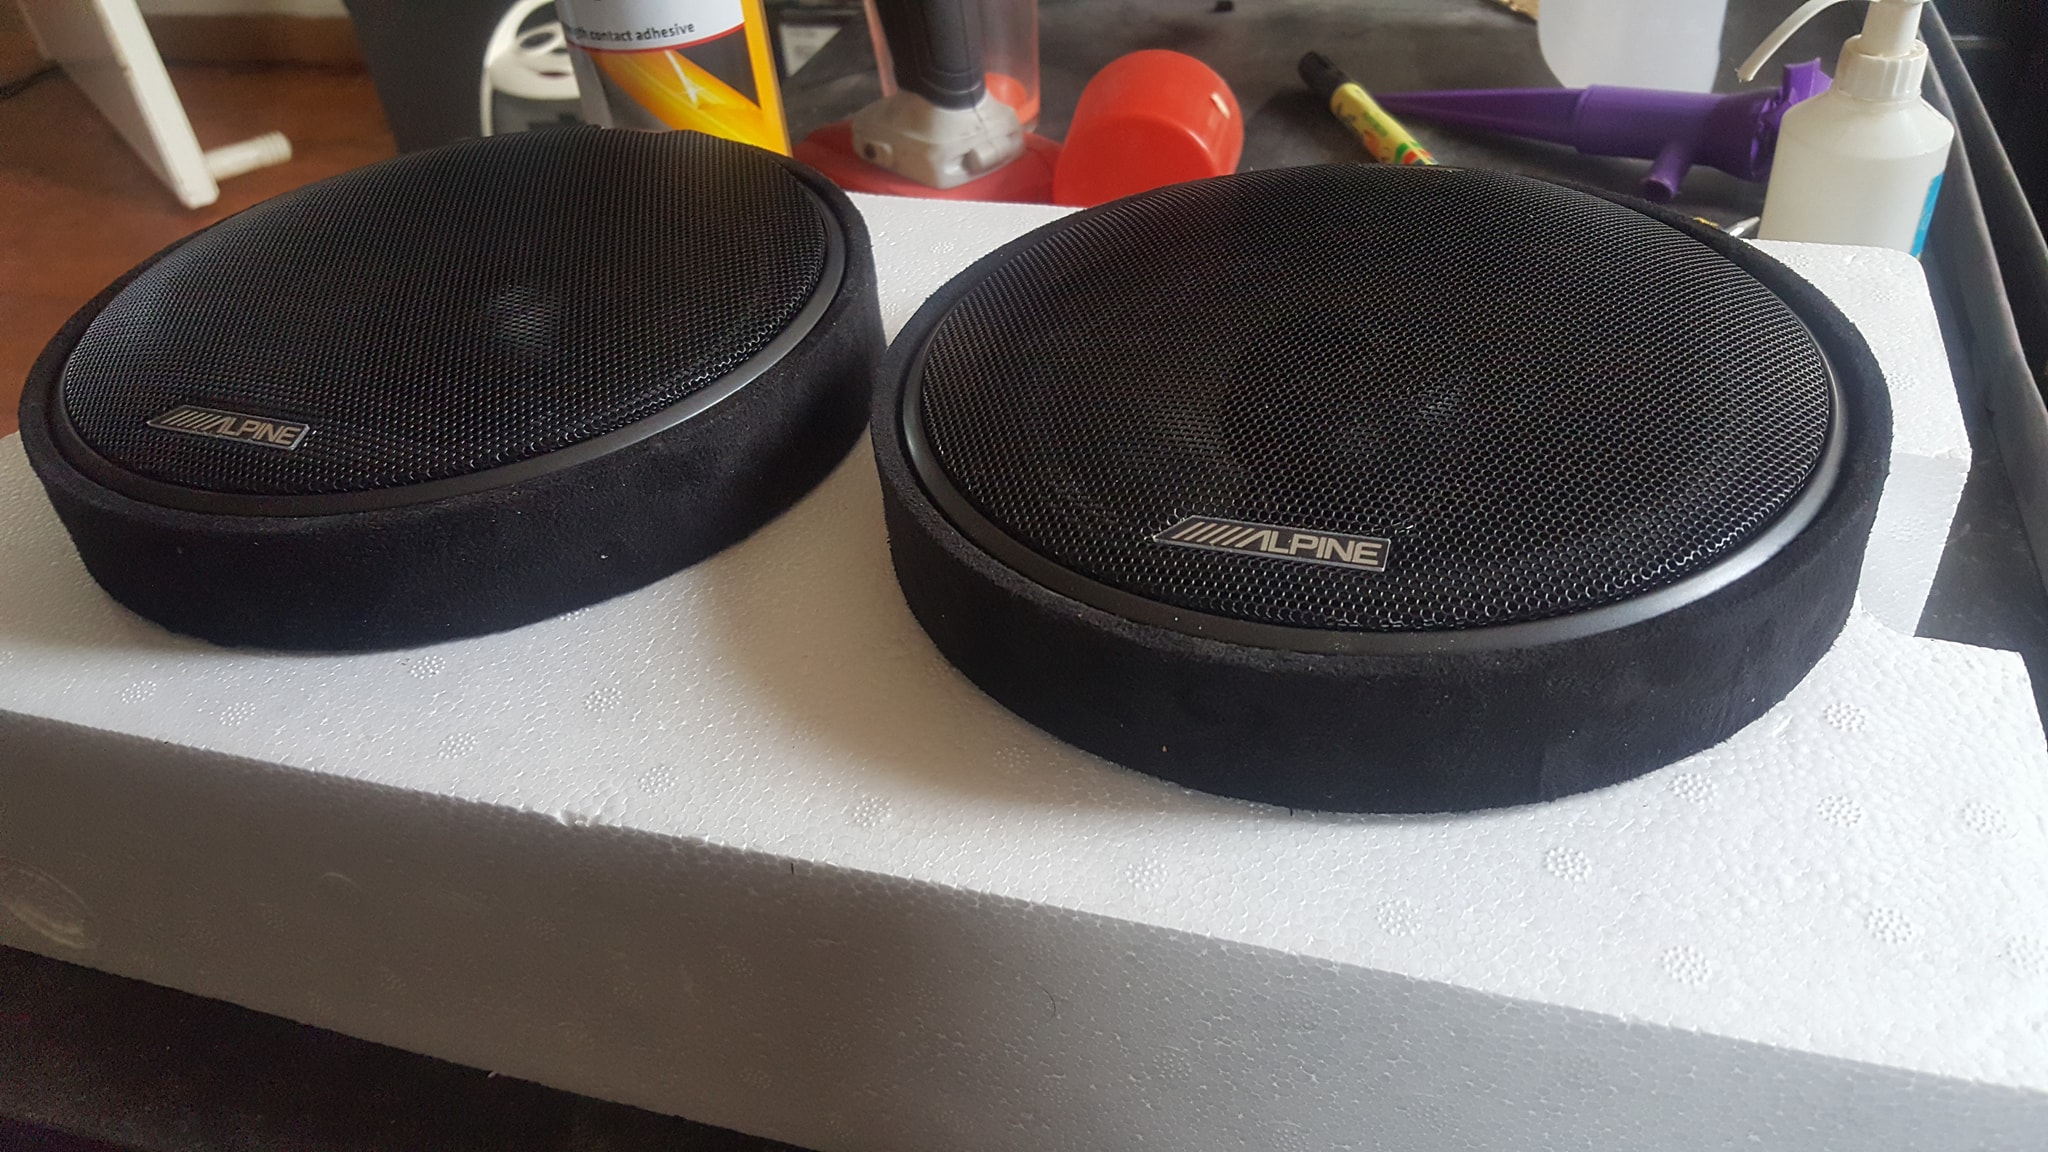
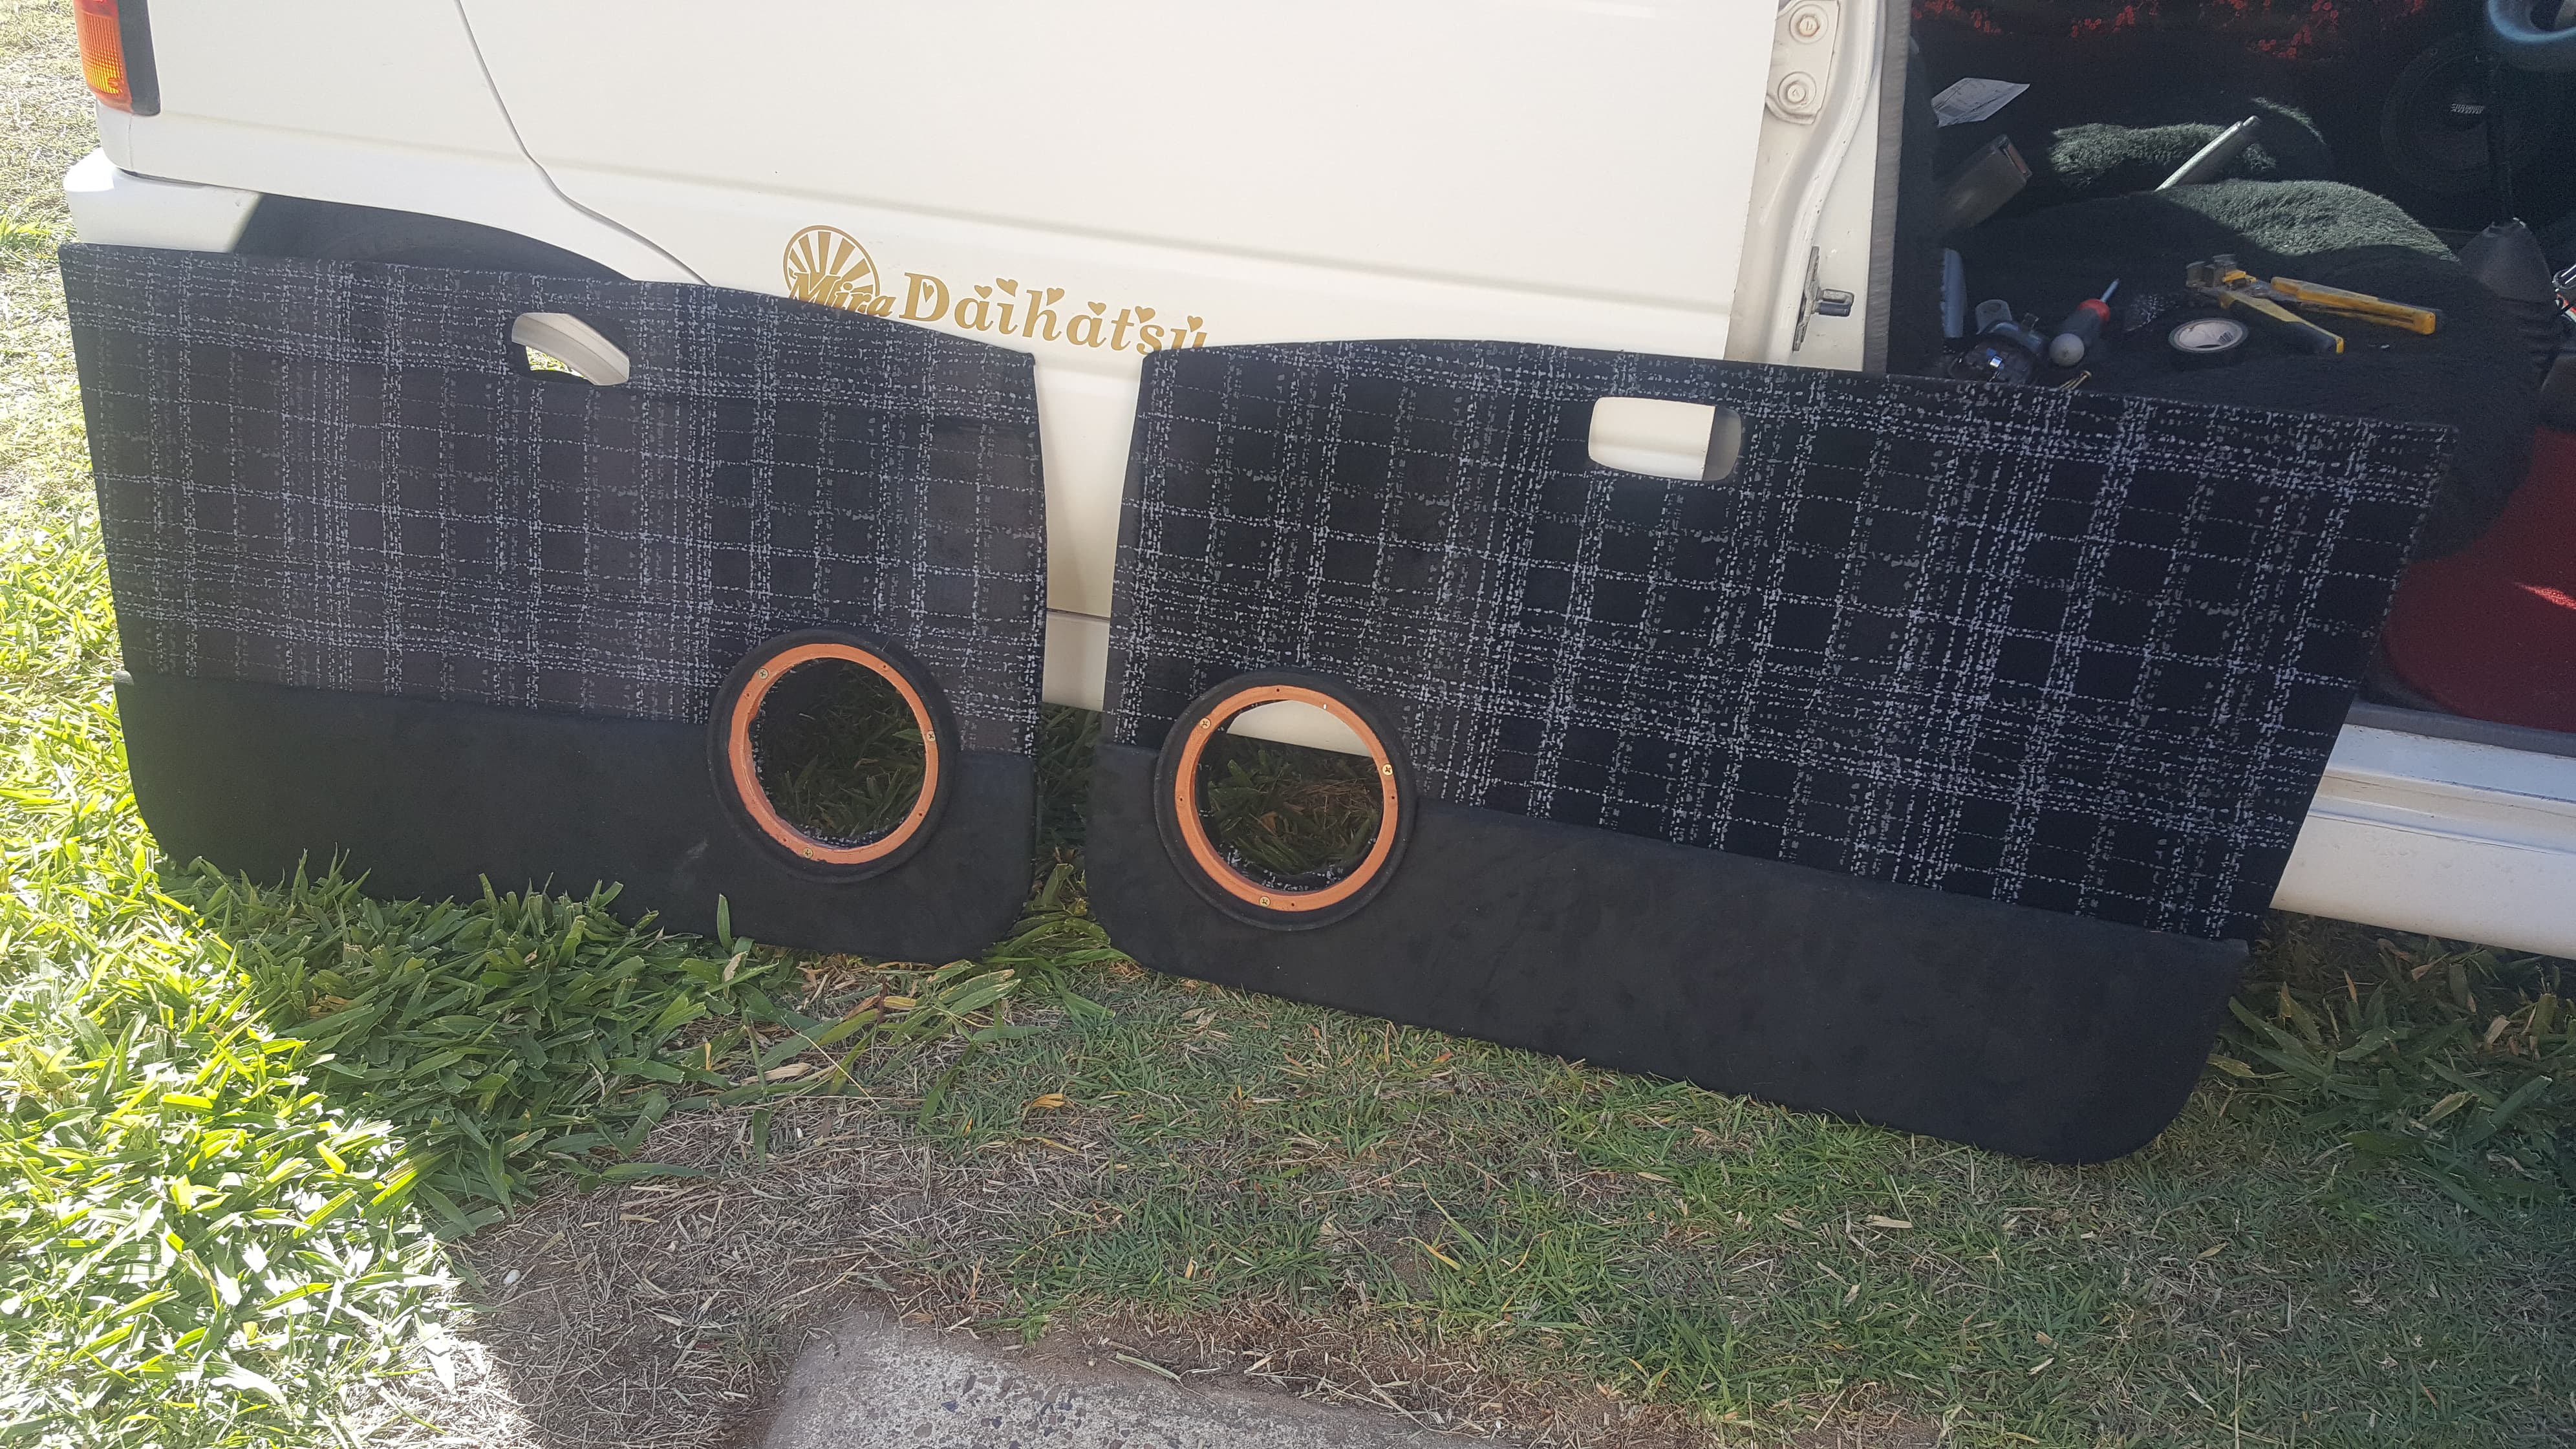
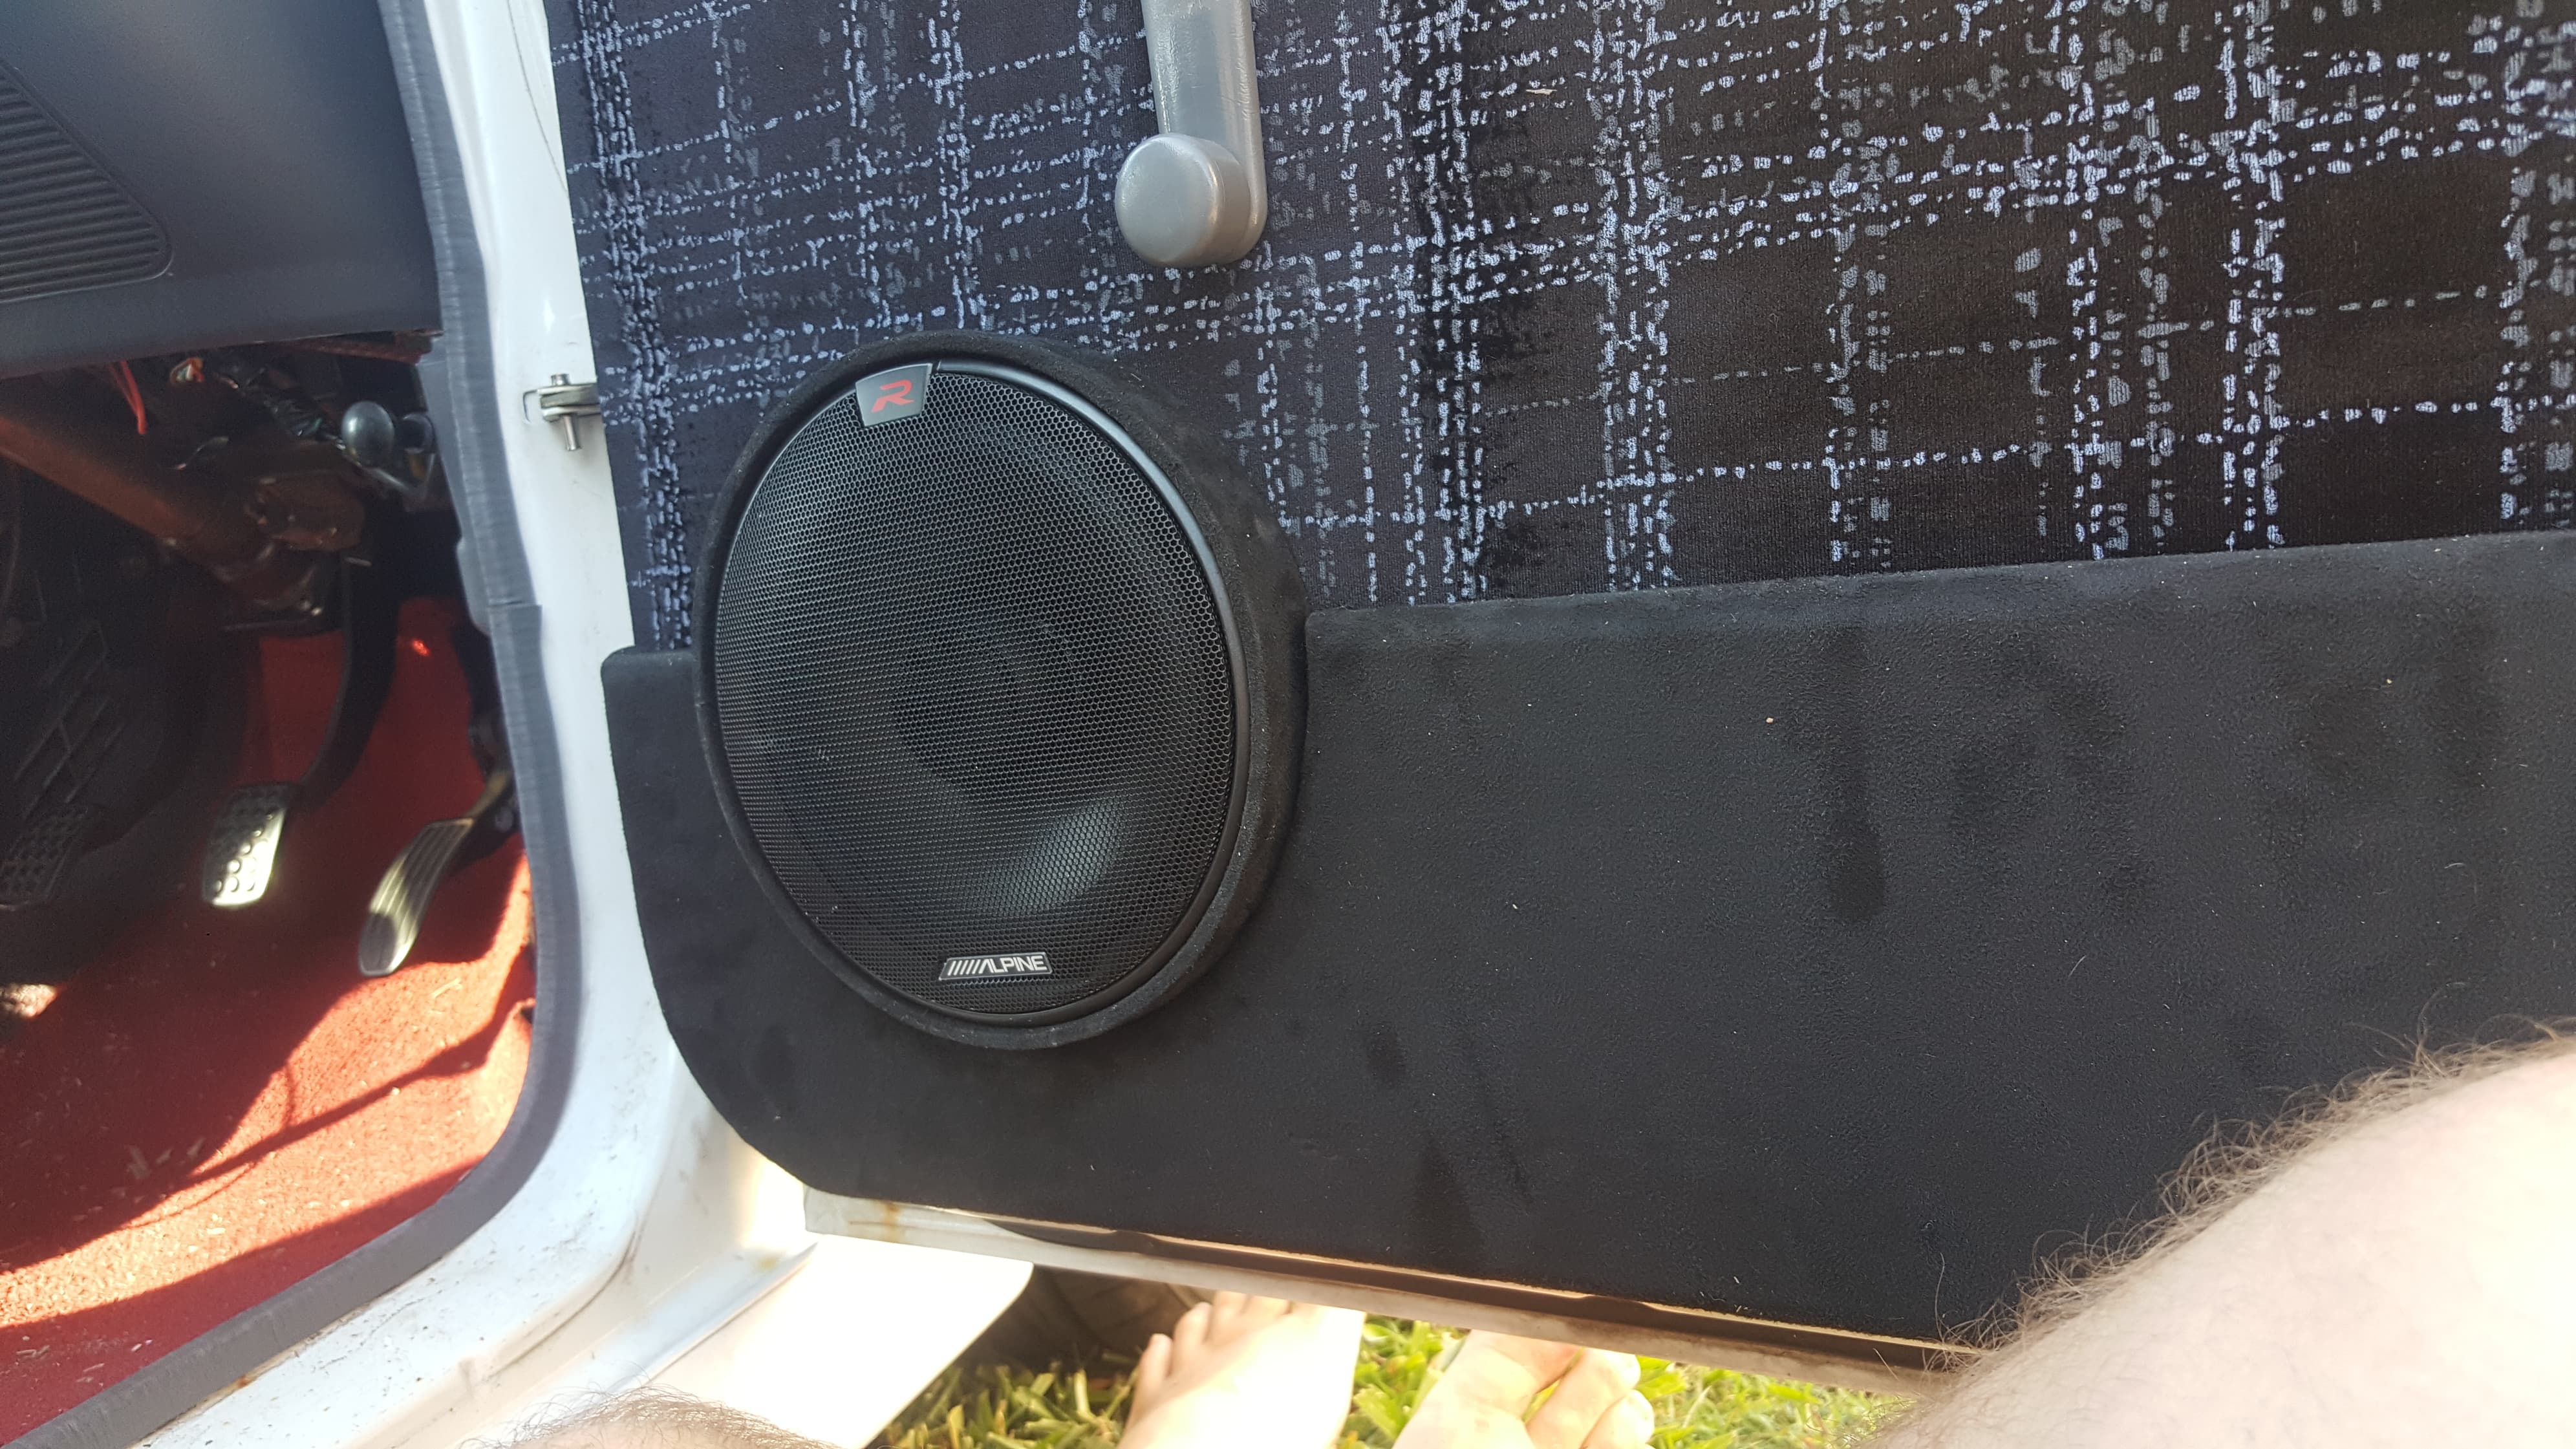
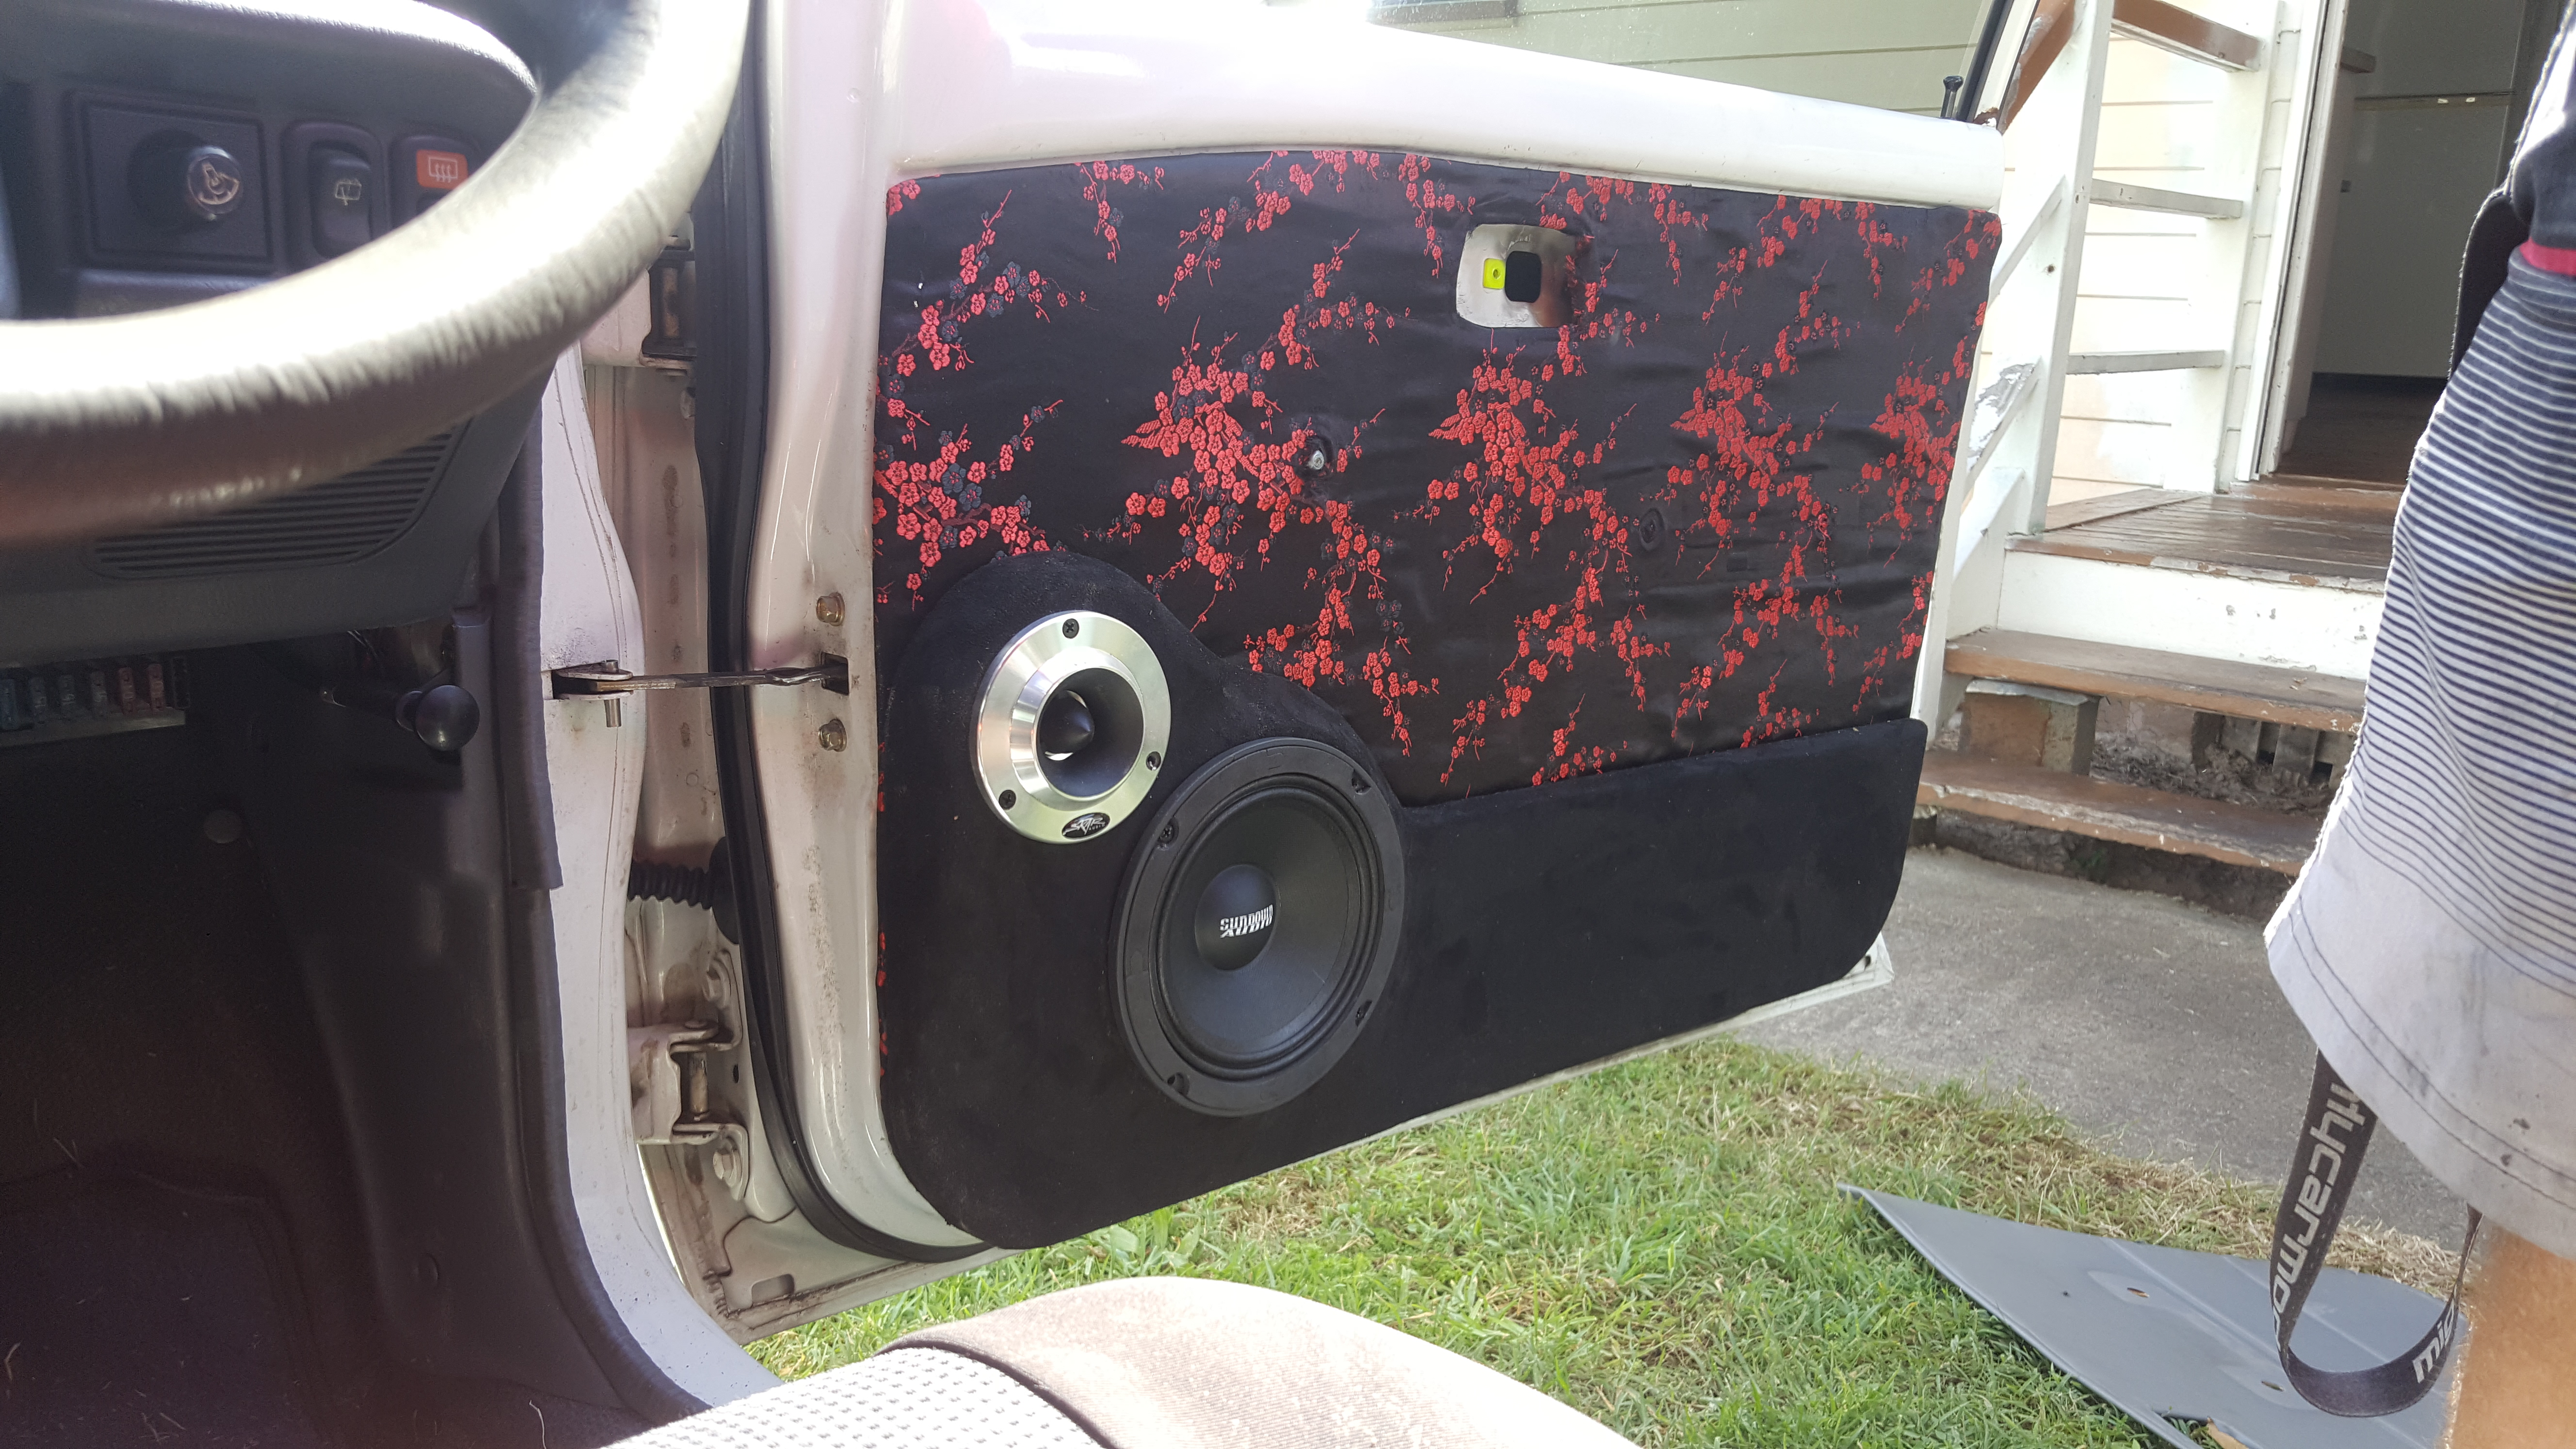
box tuned at 32hz a test fit in the car shows how much of a tight fit it’s going to be. With the main shape built i turn to the doors and build some pods as the 6.5inch speakers are very large and deep. I measure out roughly the placement and the window winder placement


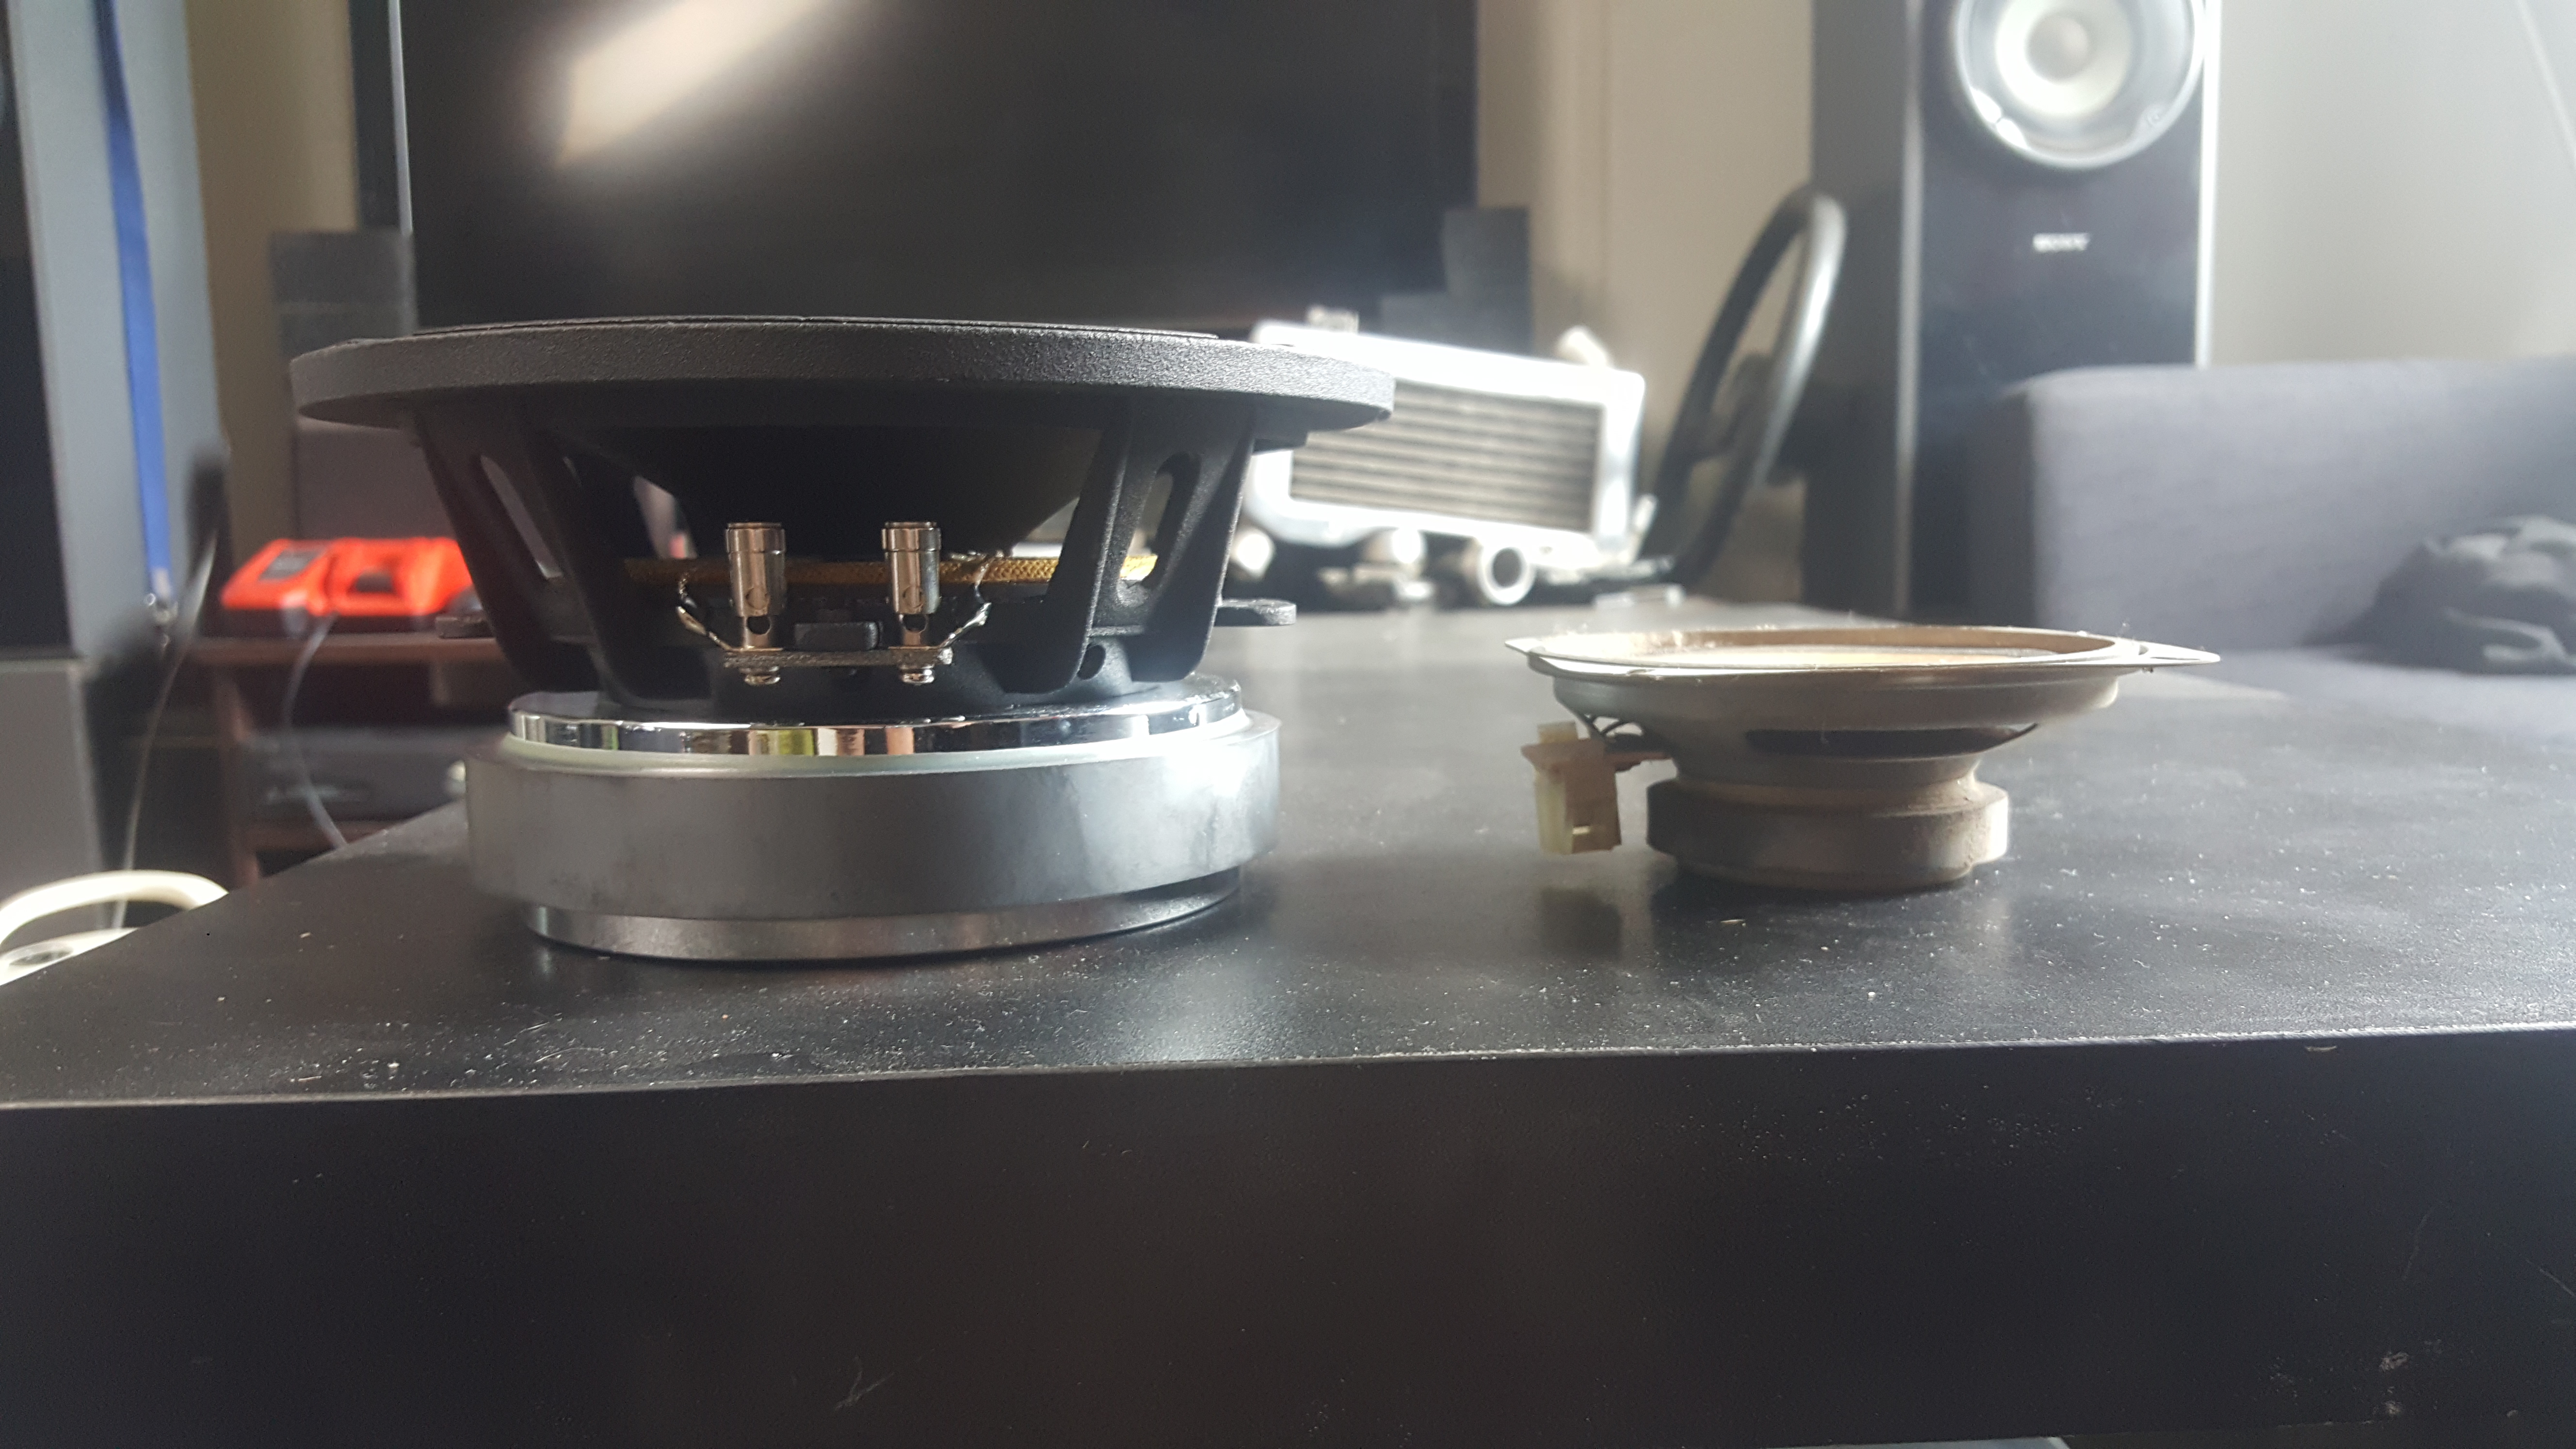
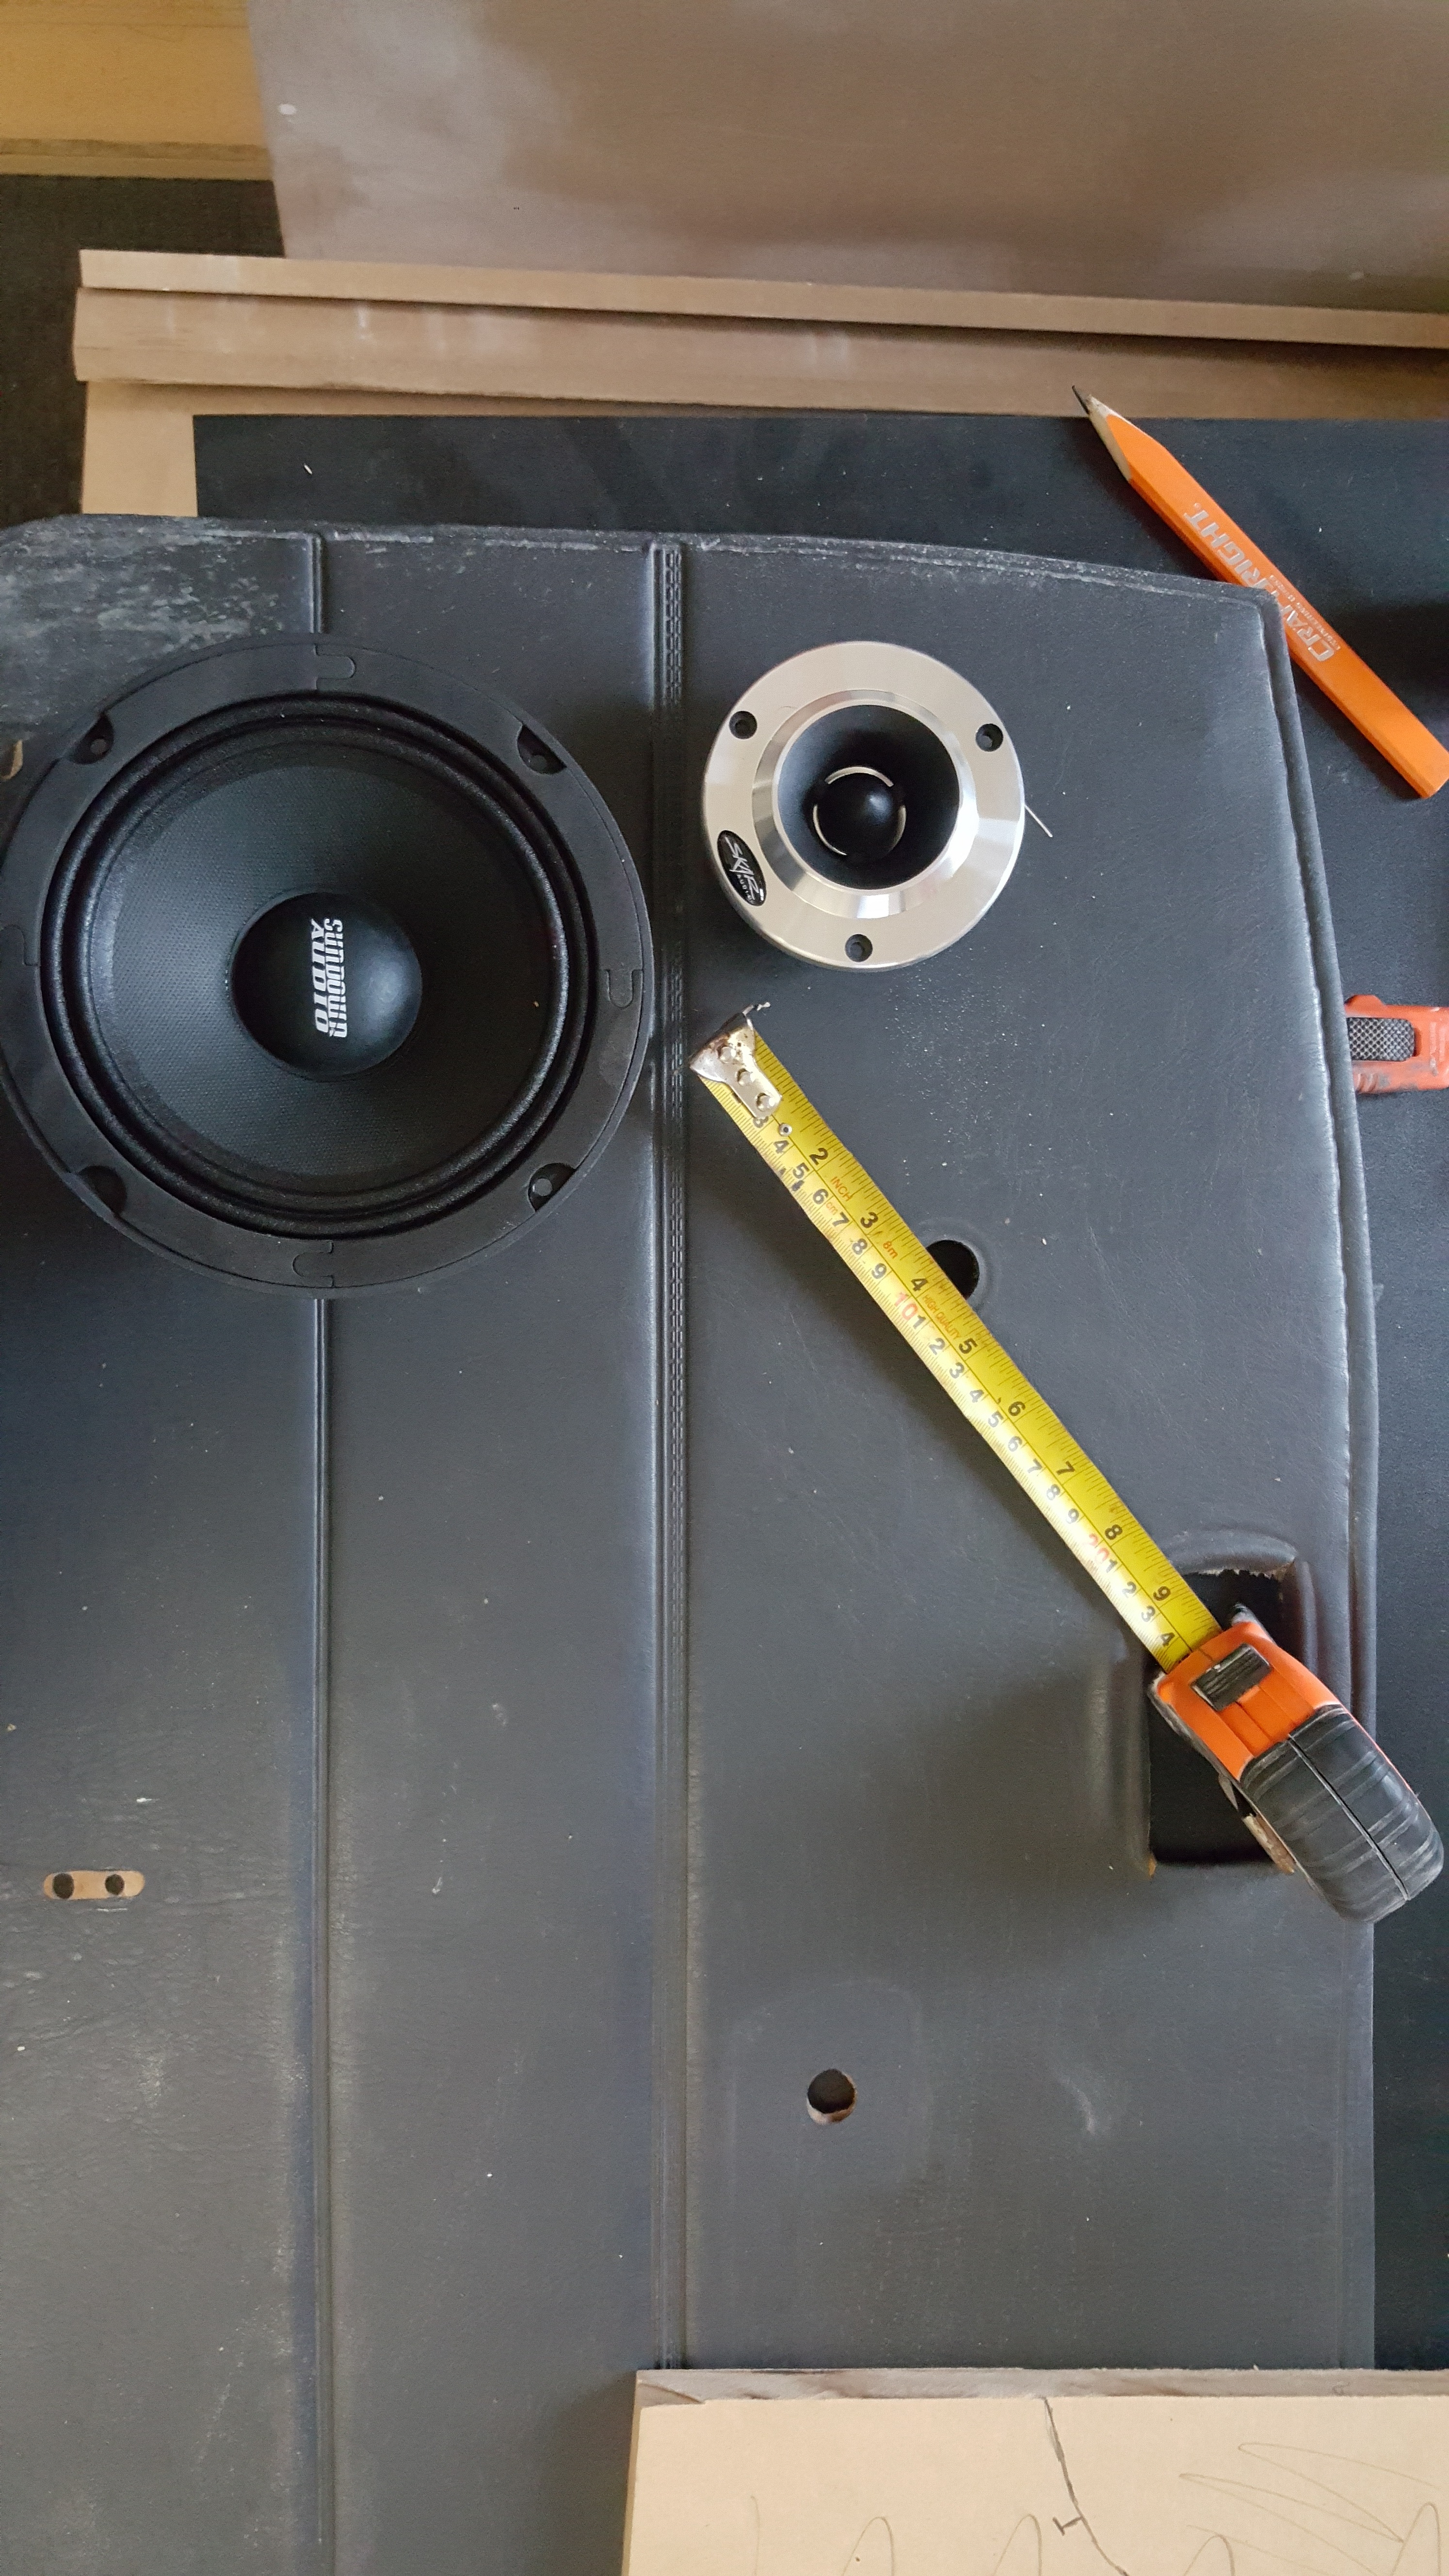
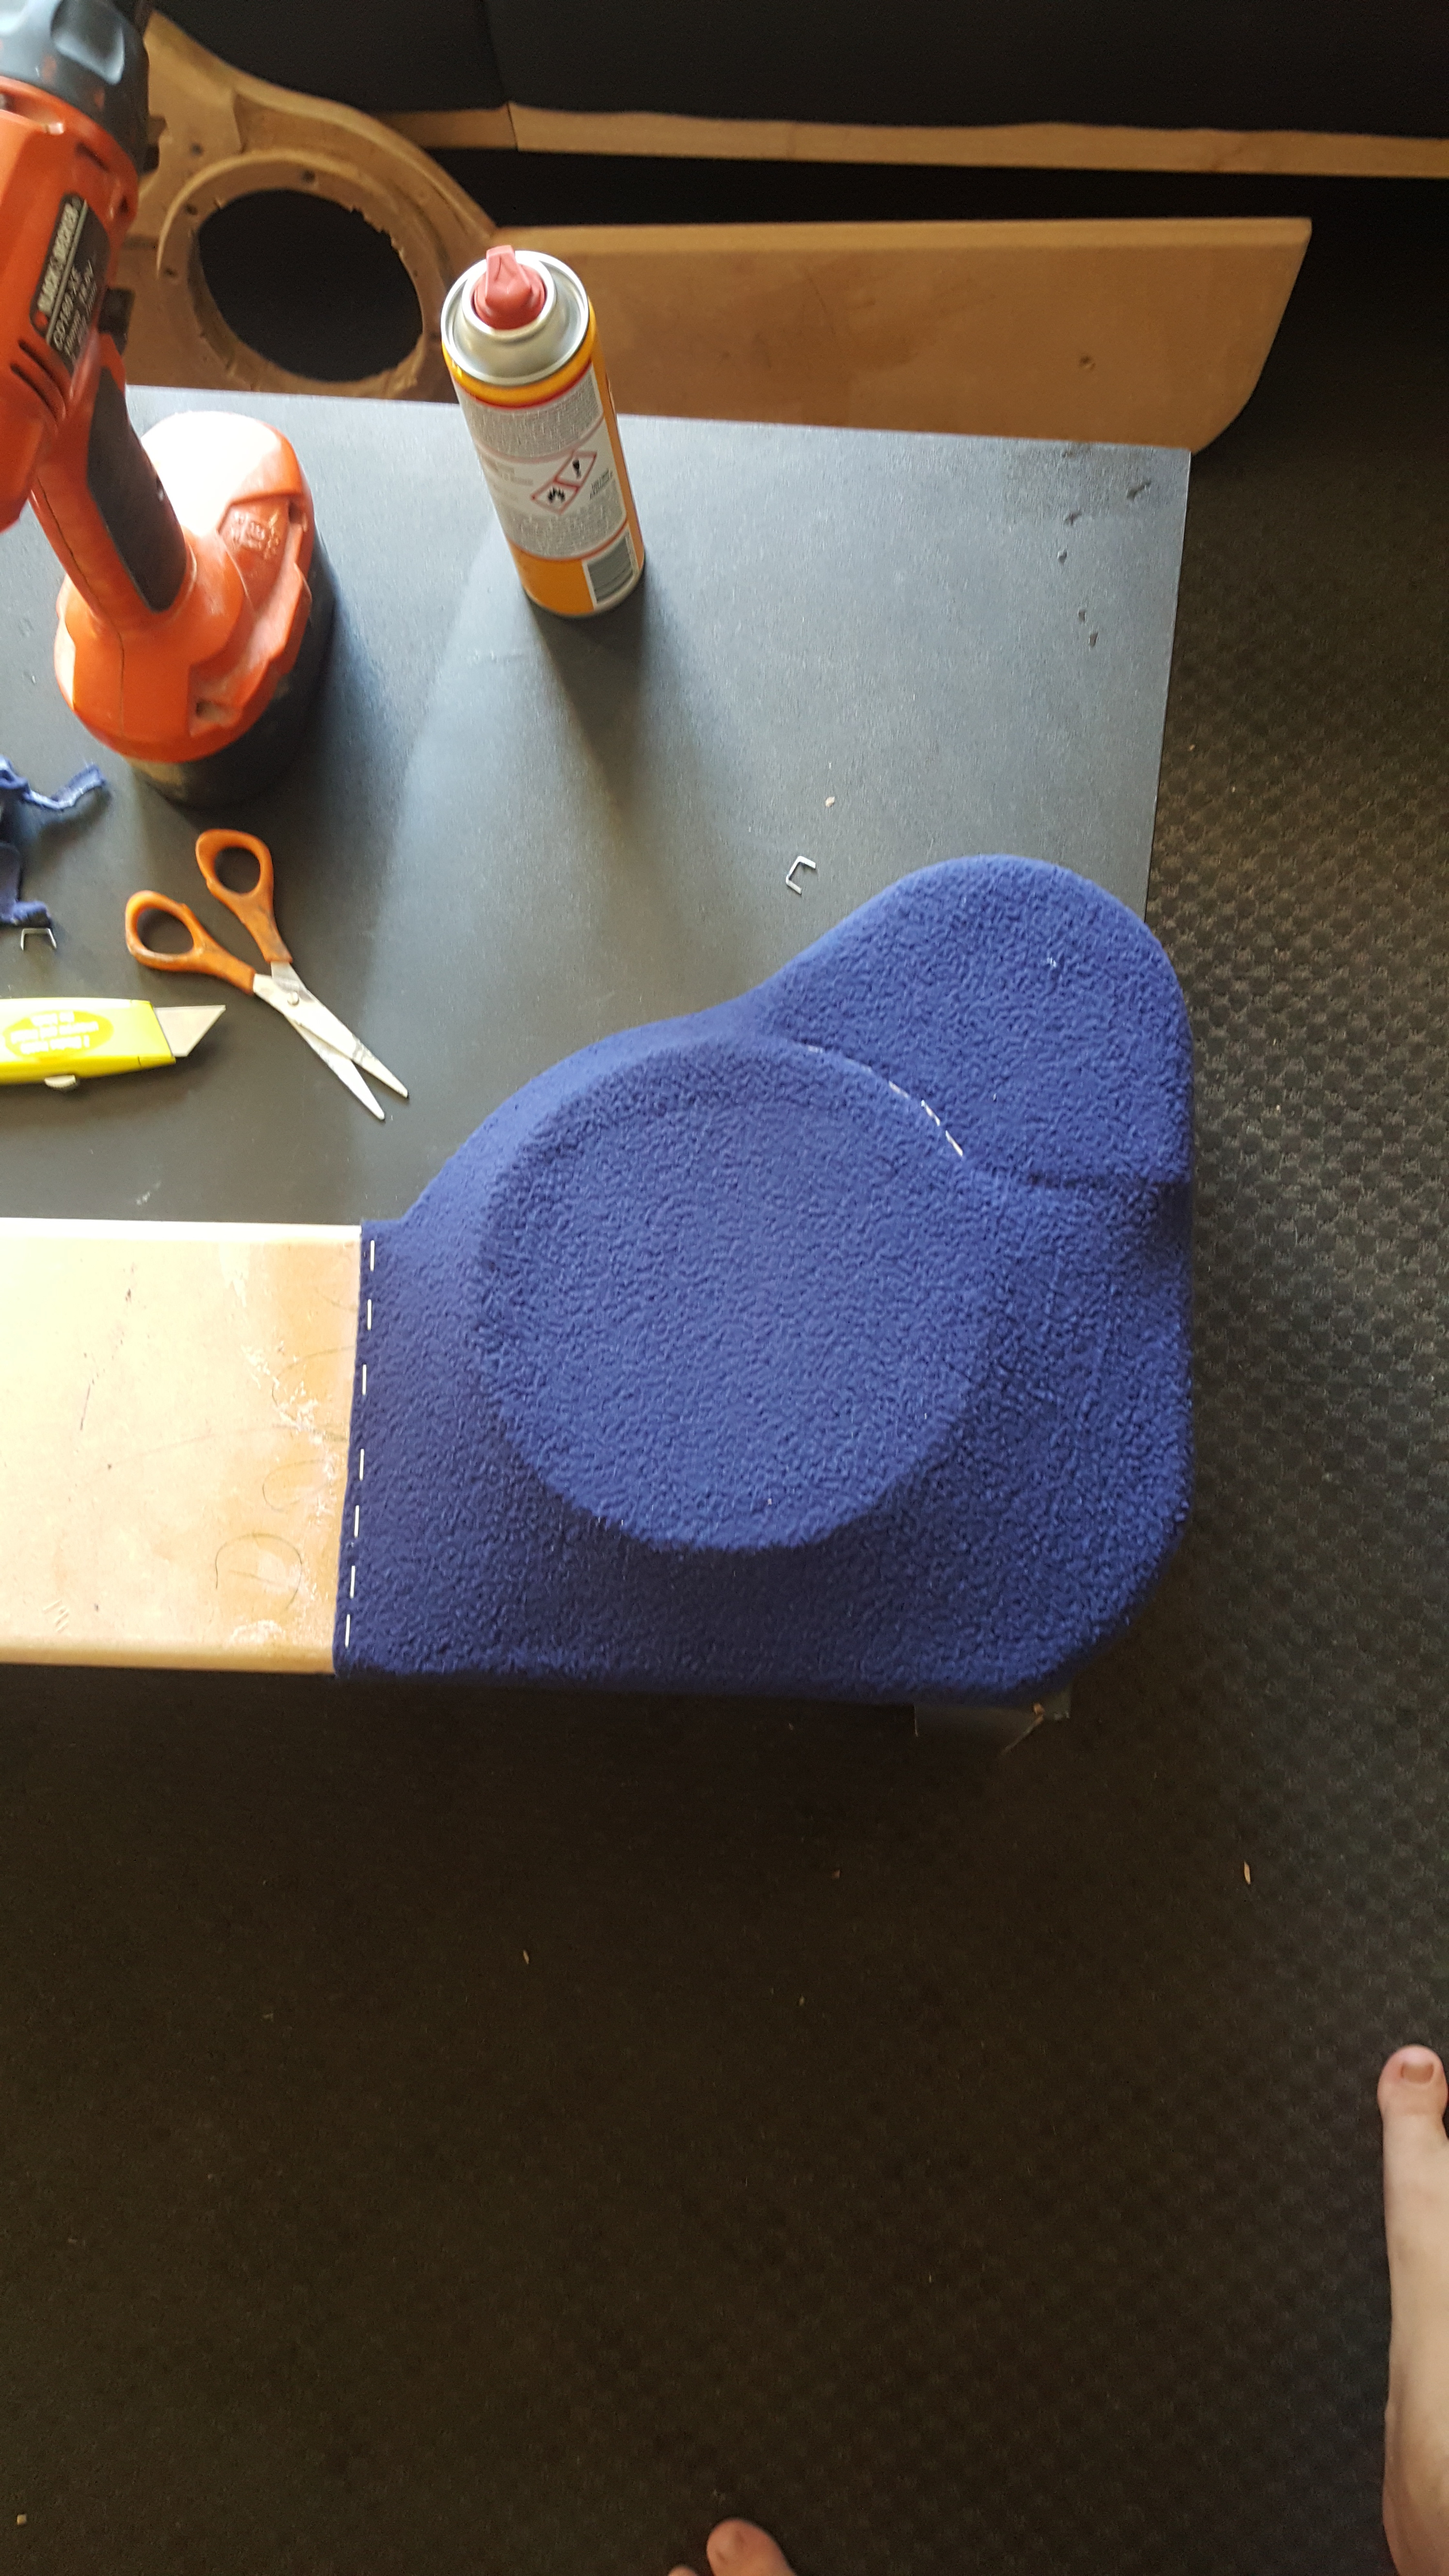
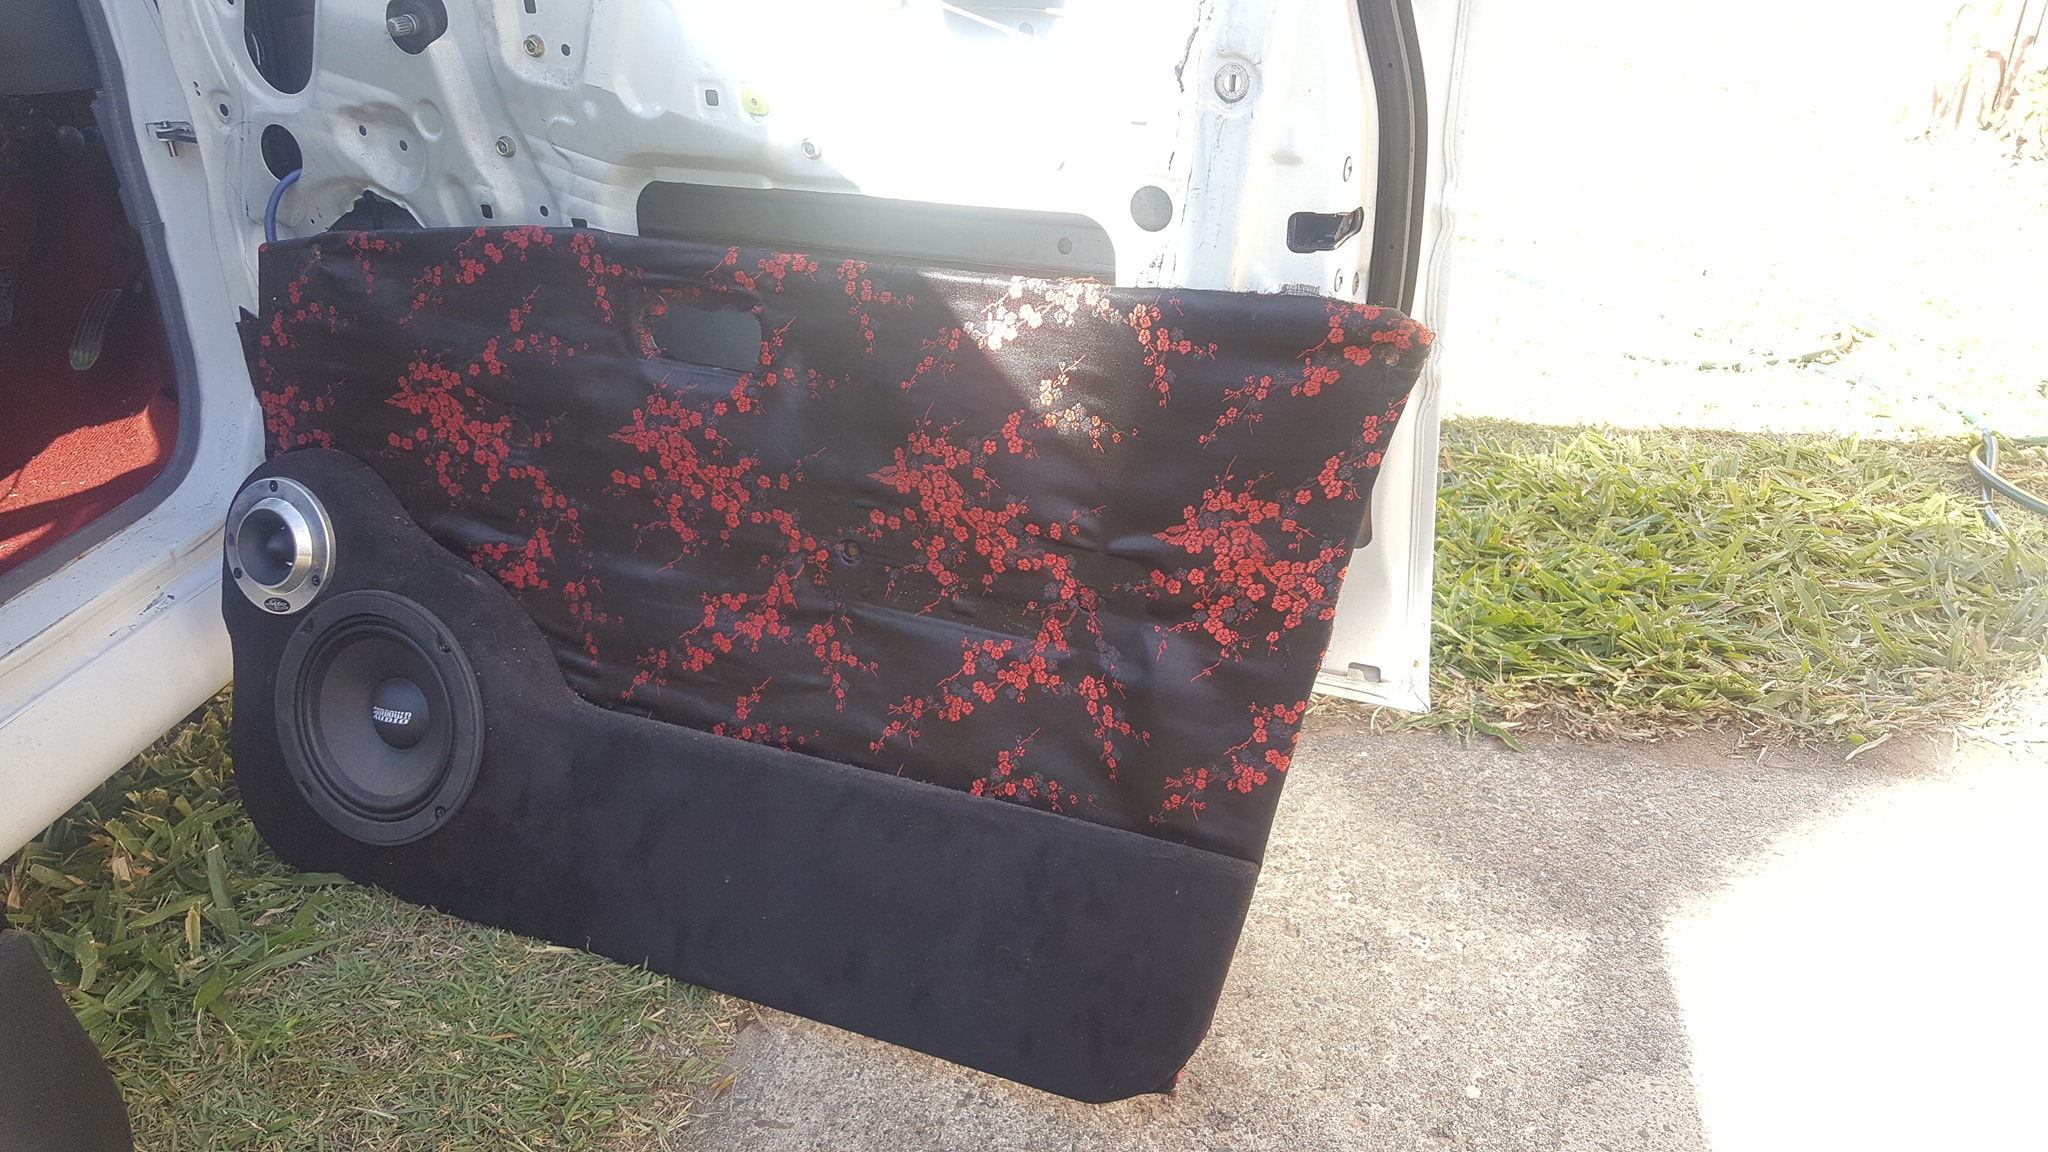
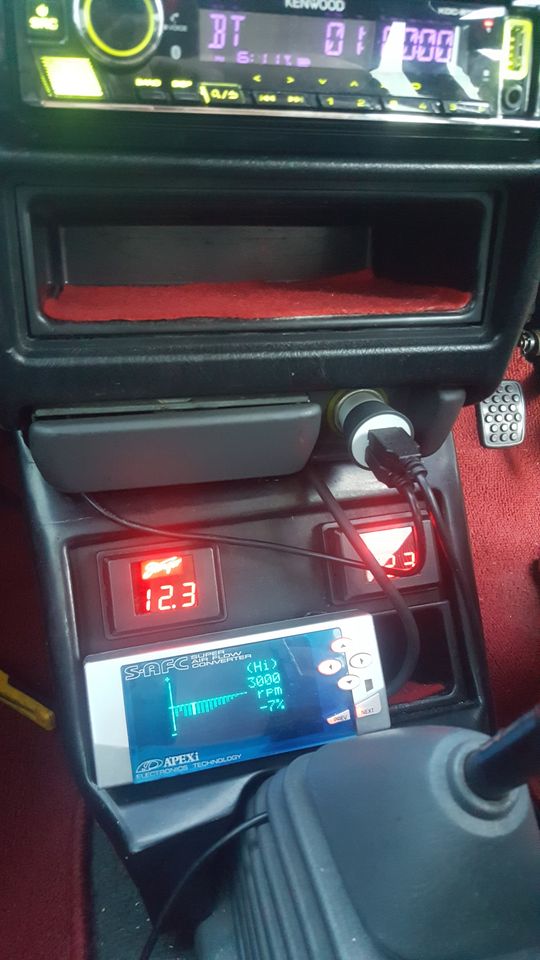
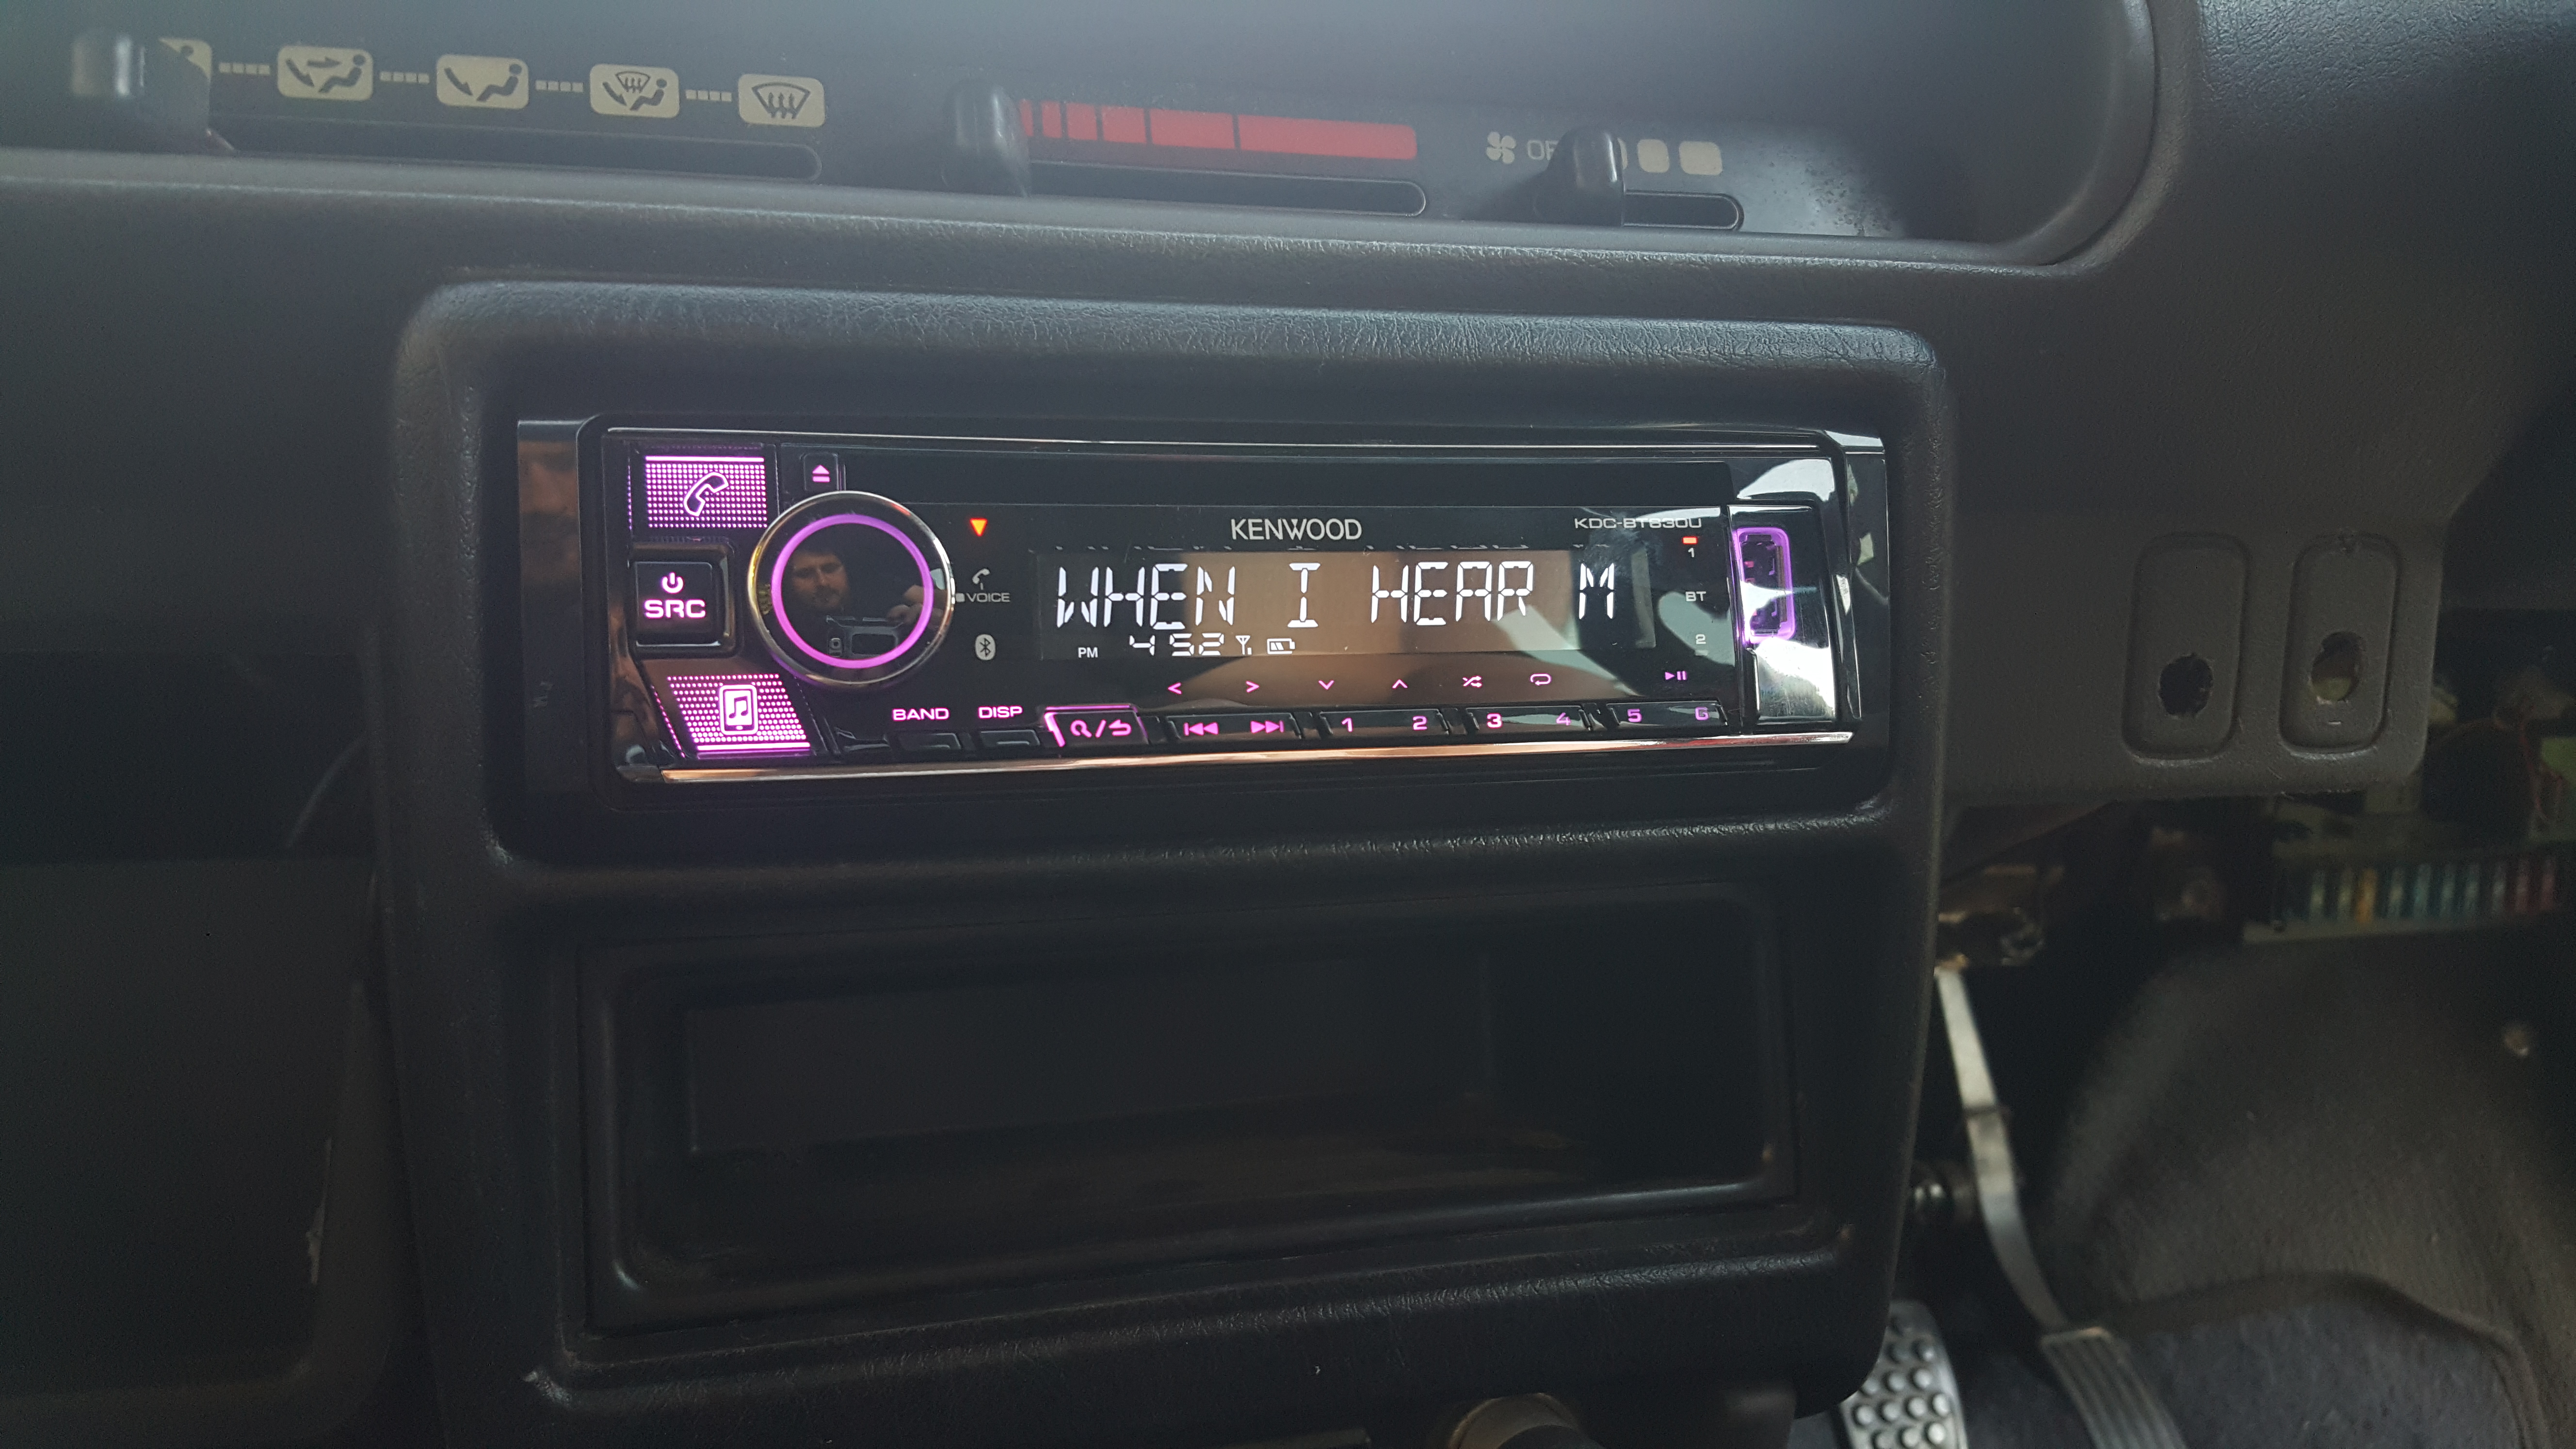
Finally wrapped in suede and thats the door pods complete. Look mighty neat installed. What you can’t see is the over sized 10 gauge runs of wire. The tweeter is on a whole separate channel on the amp allowing me to control how loud it all is. Powered by a 1999 Rockford fosgate 800a4 amp and with that i needed a near radio that has 3 rca outs but are also higher rated. I ended up buying this kenwood that sports 3x 4v pre amps that sound amazing
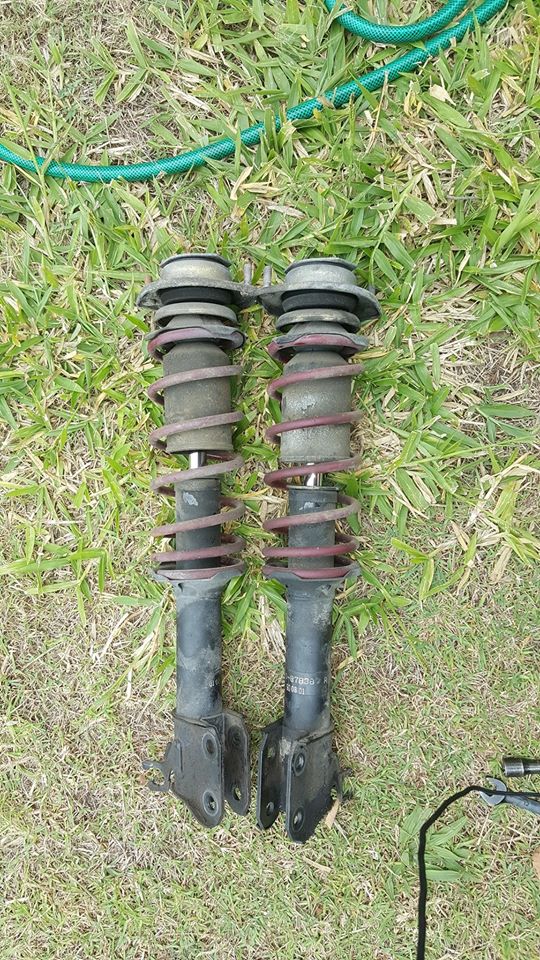
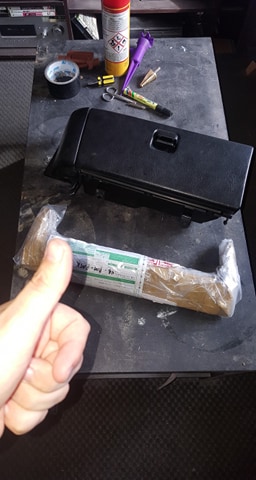
Sadly the project comes to a stand still for almost 2 months as bad health takes over and i can’t walk 90% of the time. I was going nuts and just wanted to tinker with molly so i start looking online in japan and on facebook for items i can buy and fingers crossed i’m better when they arrive. I jumped on facebook and i saw a bargain deal! check them out.

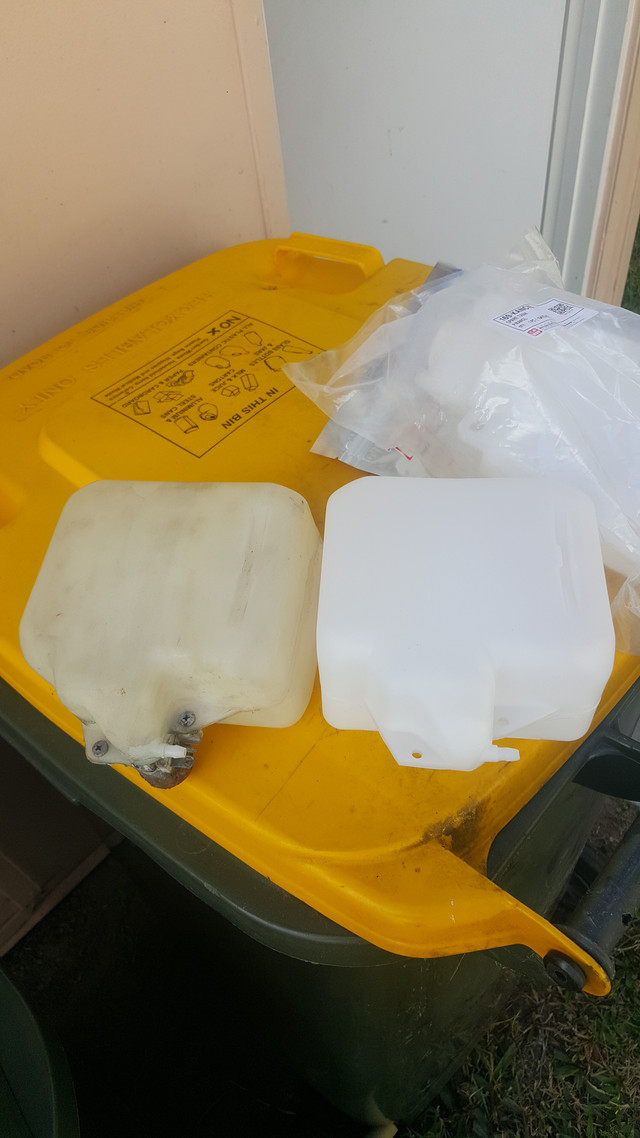
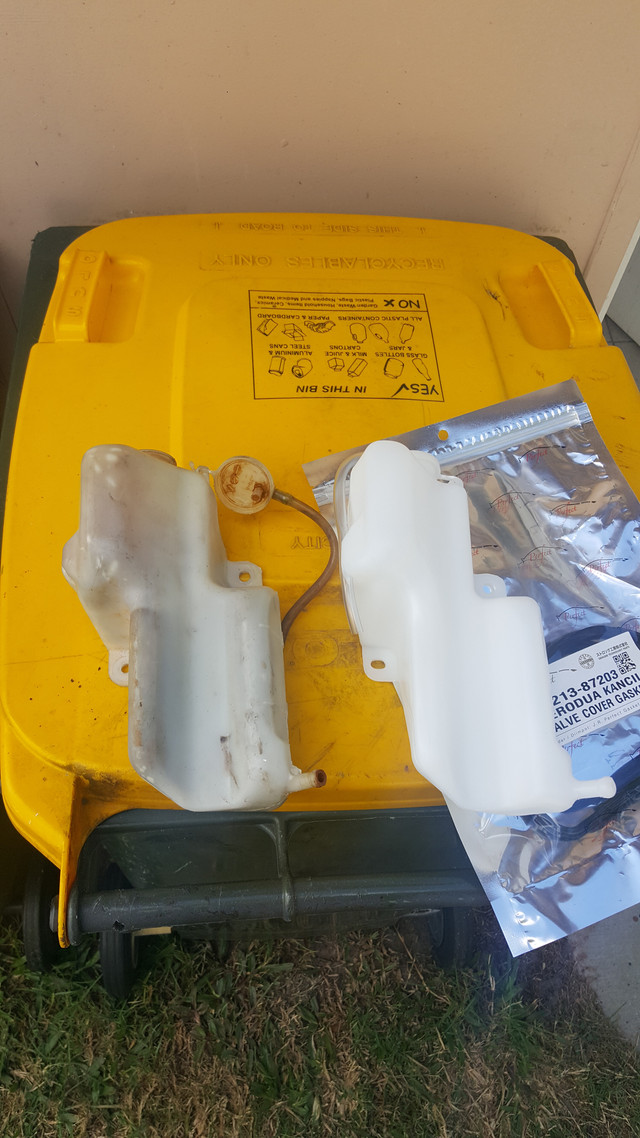
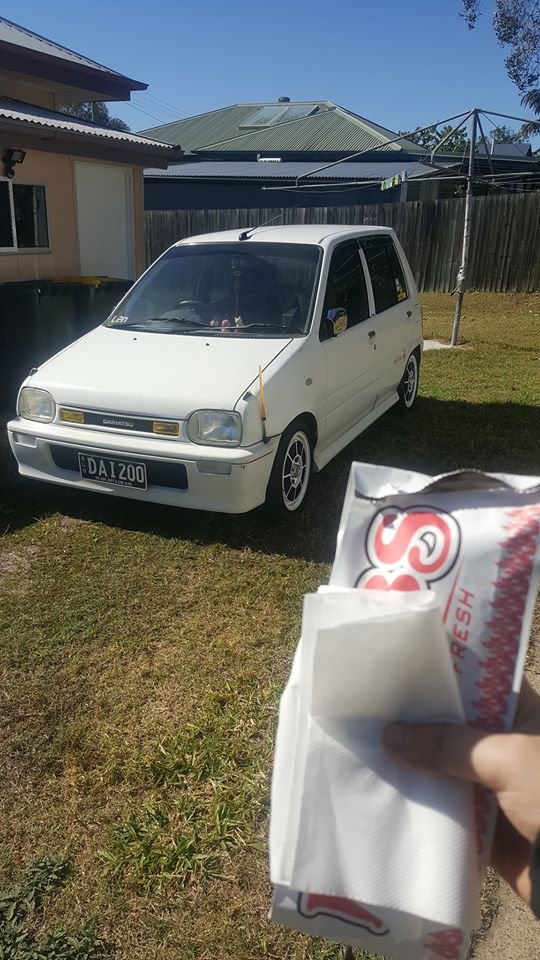
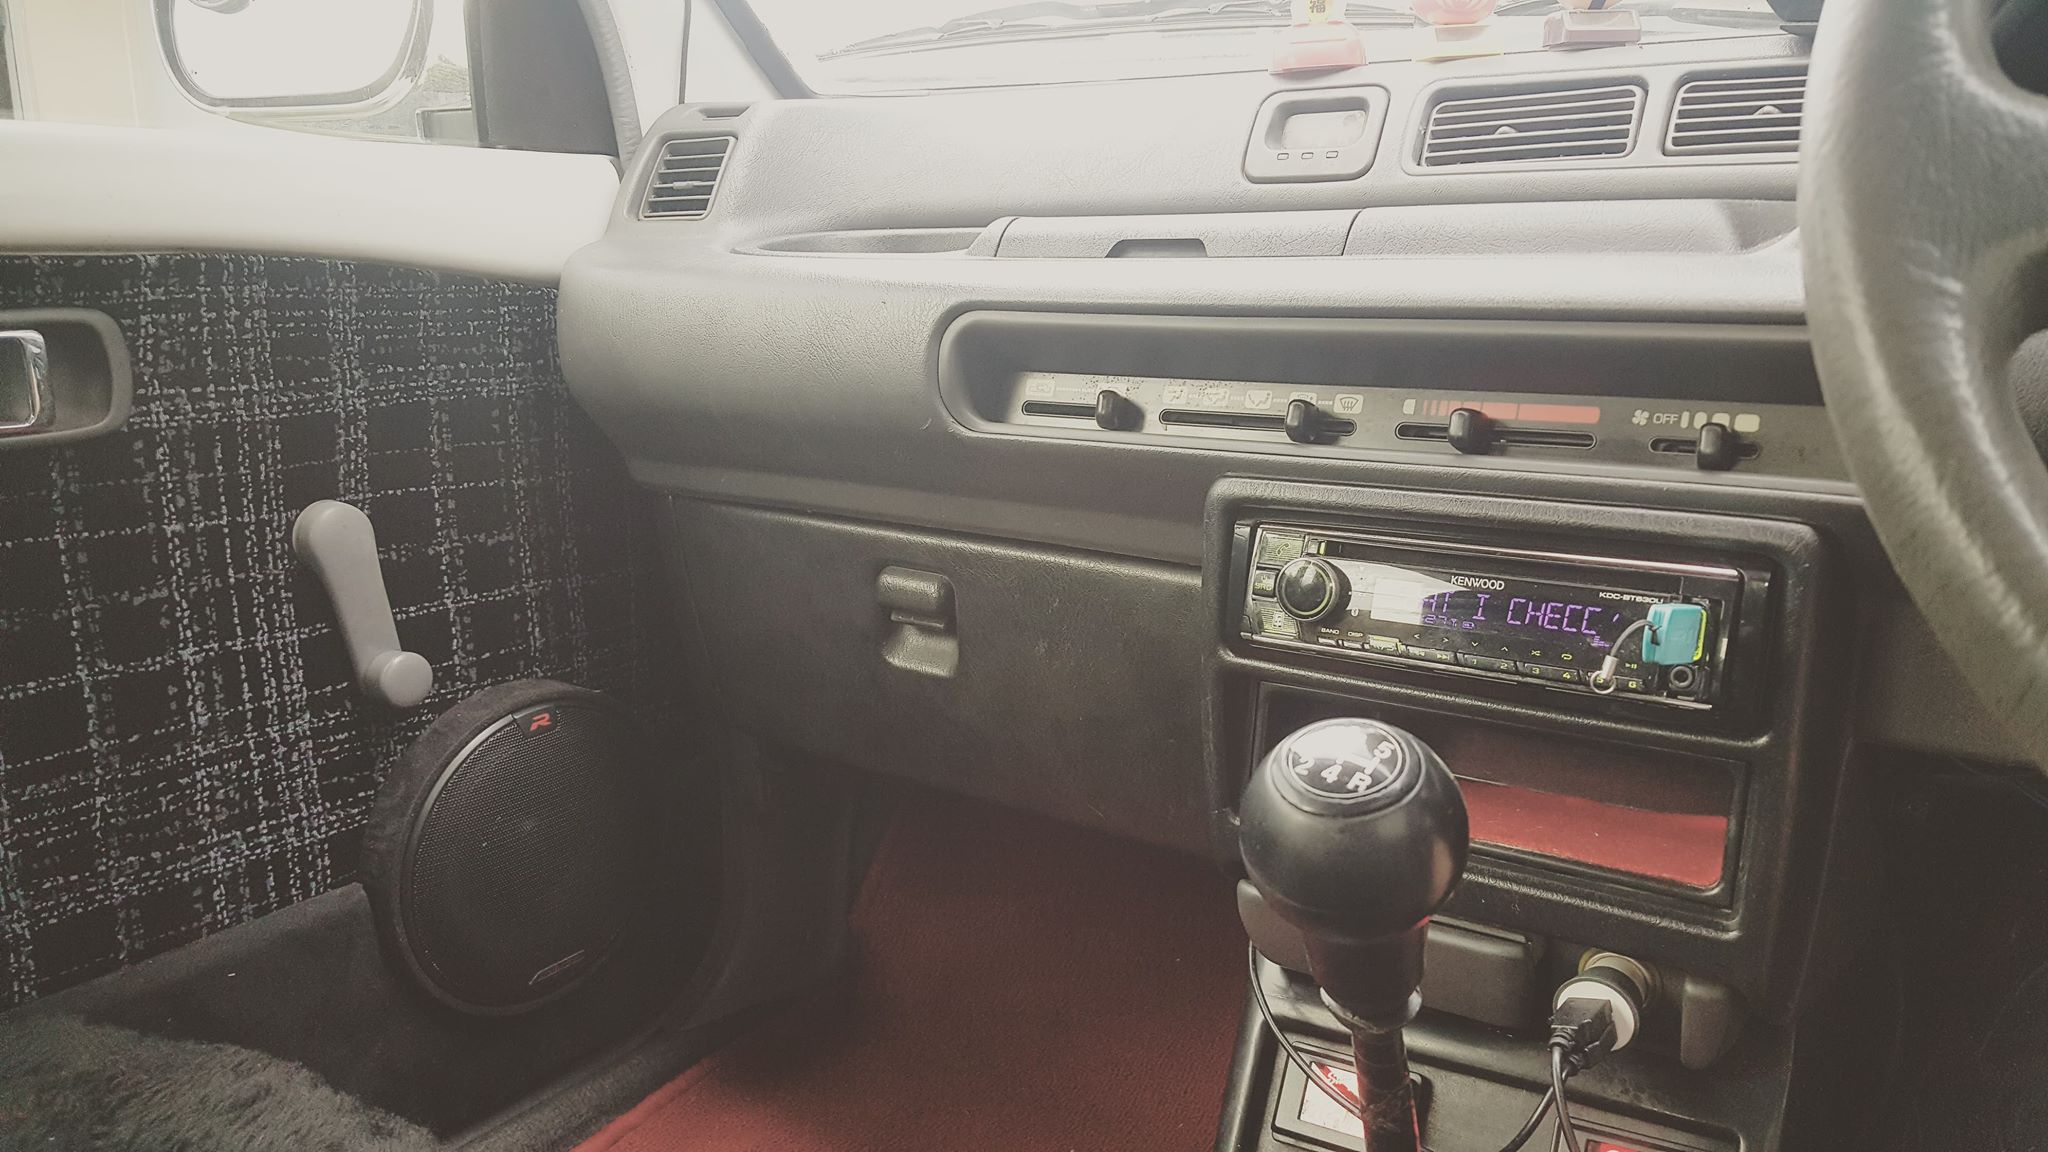
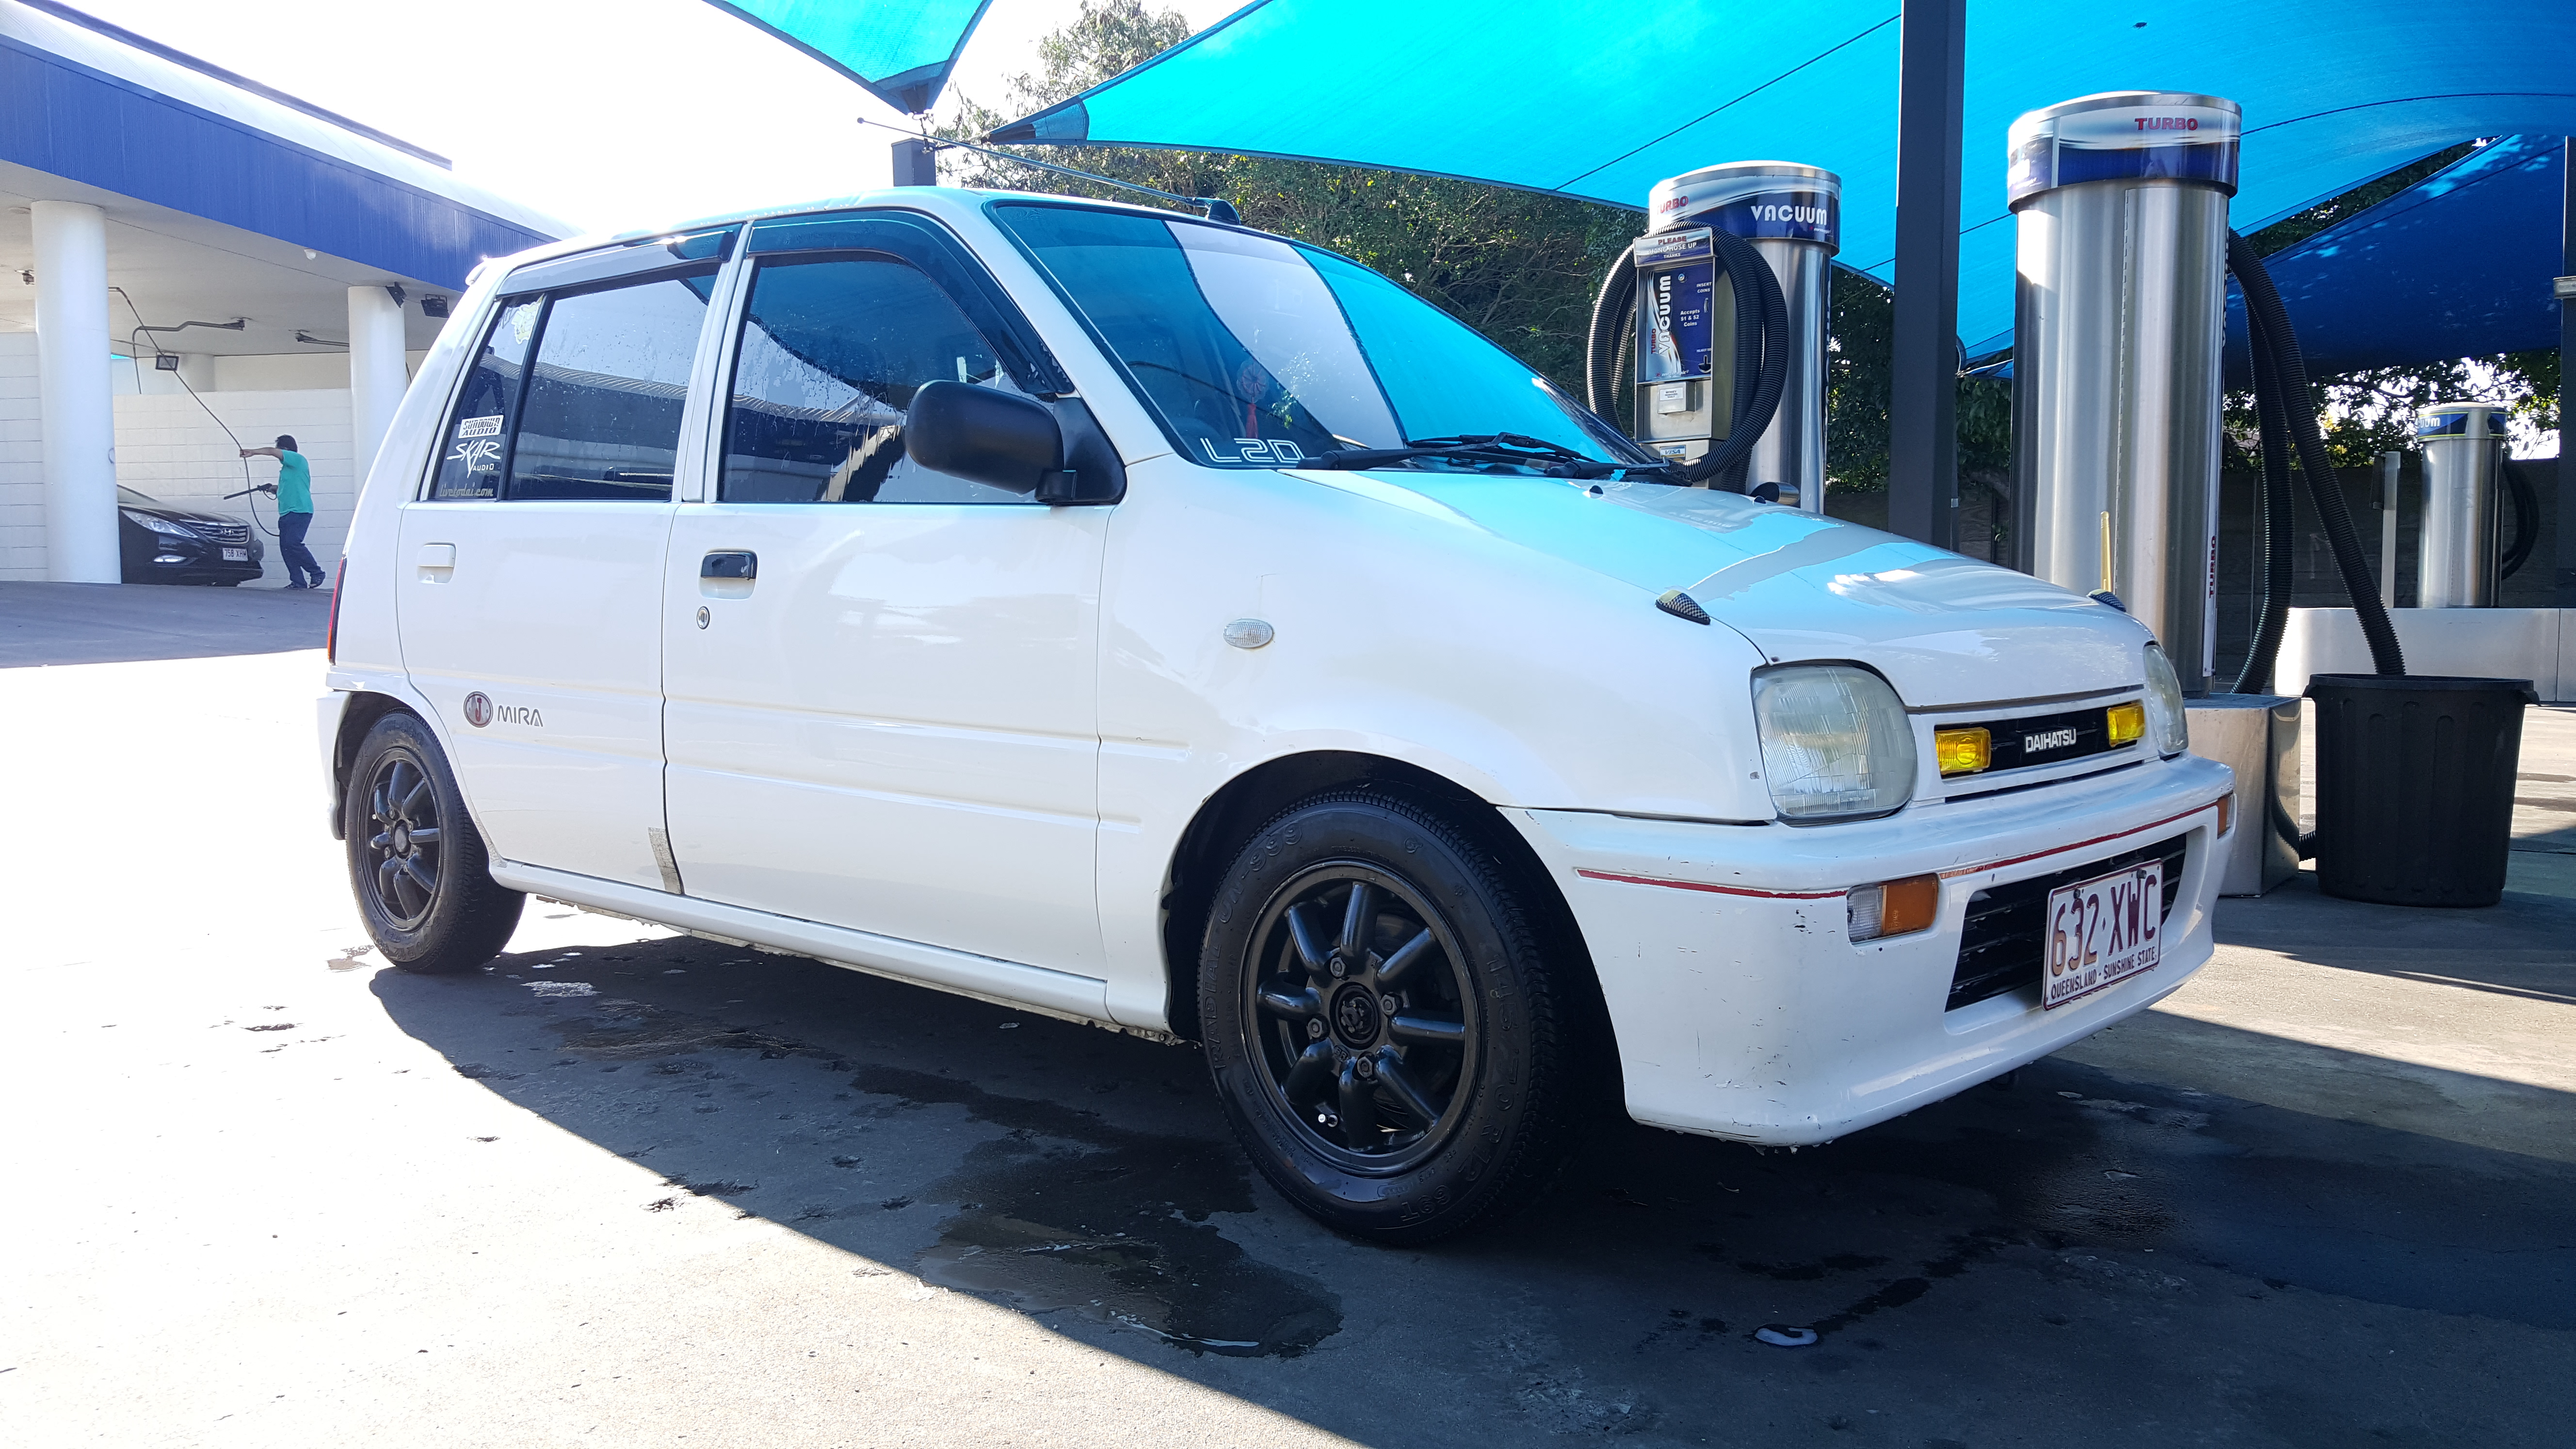
A total of $169 with postage from perth! WHAT A BARGAIN. I put them on but soon noticed the tyres were abit rough but lucky me as i happened to have 4 brand new tyres so i had them installed at my local tyre shop and oh boy isn’t she a cutie with her new shoes. As i’m getting better i start to get the mod bug again so i went to lincraft and spent $2.50 on some felt and did the din and shelf


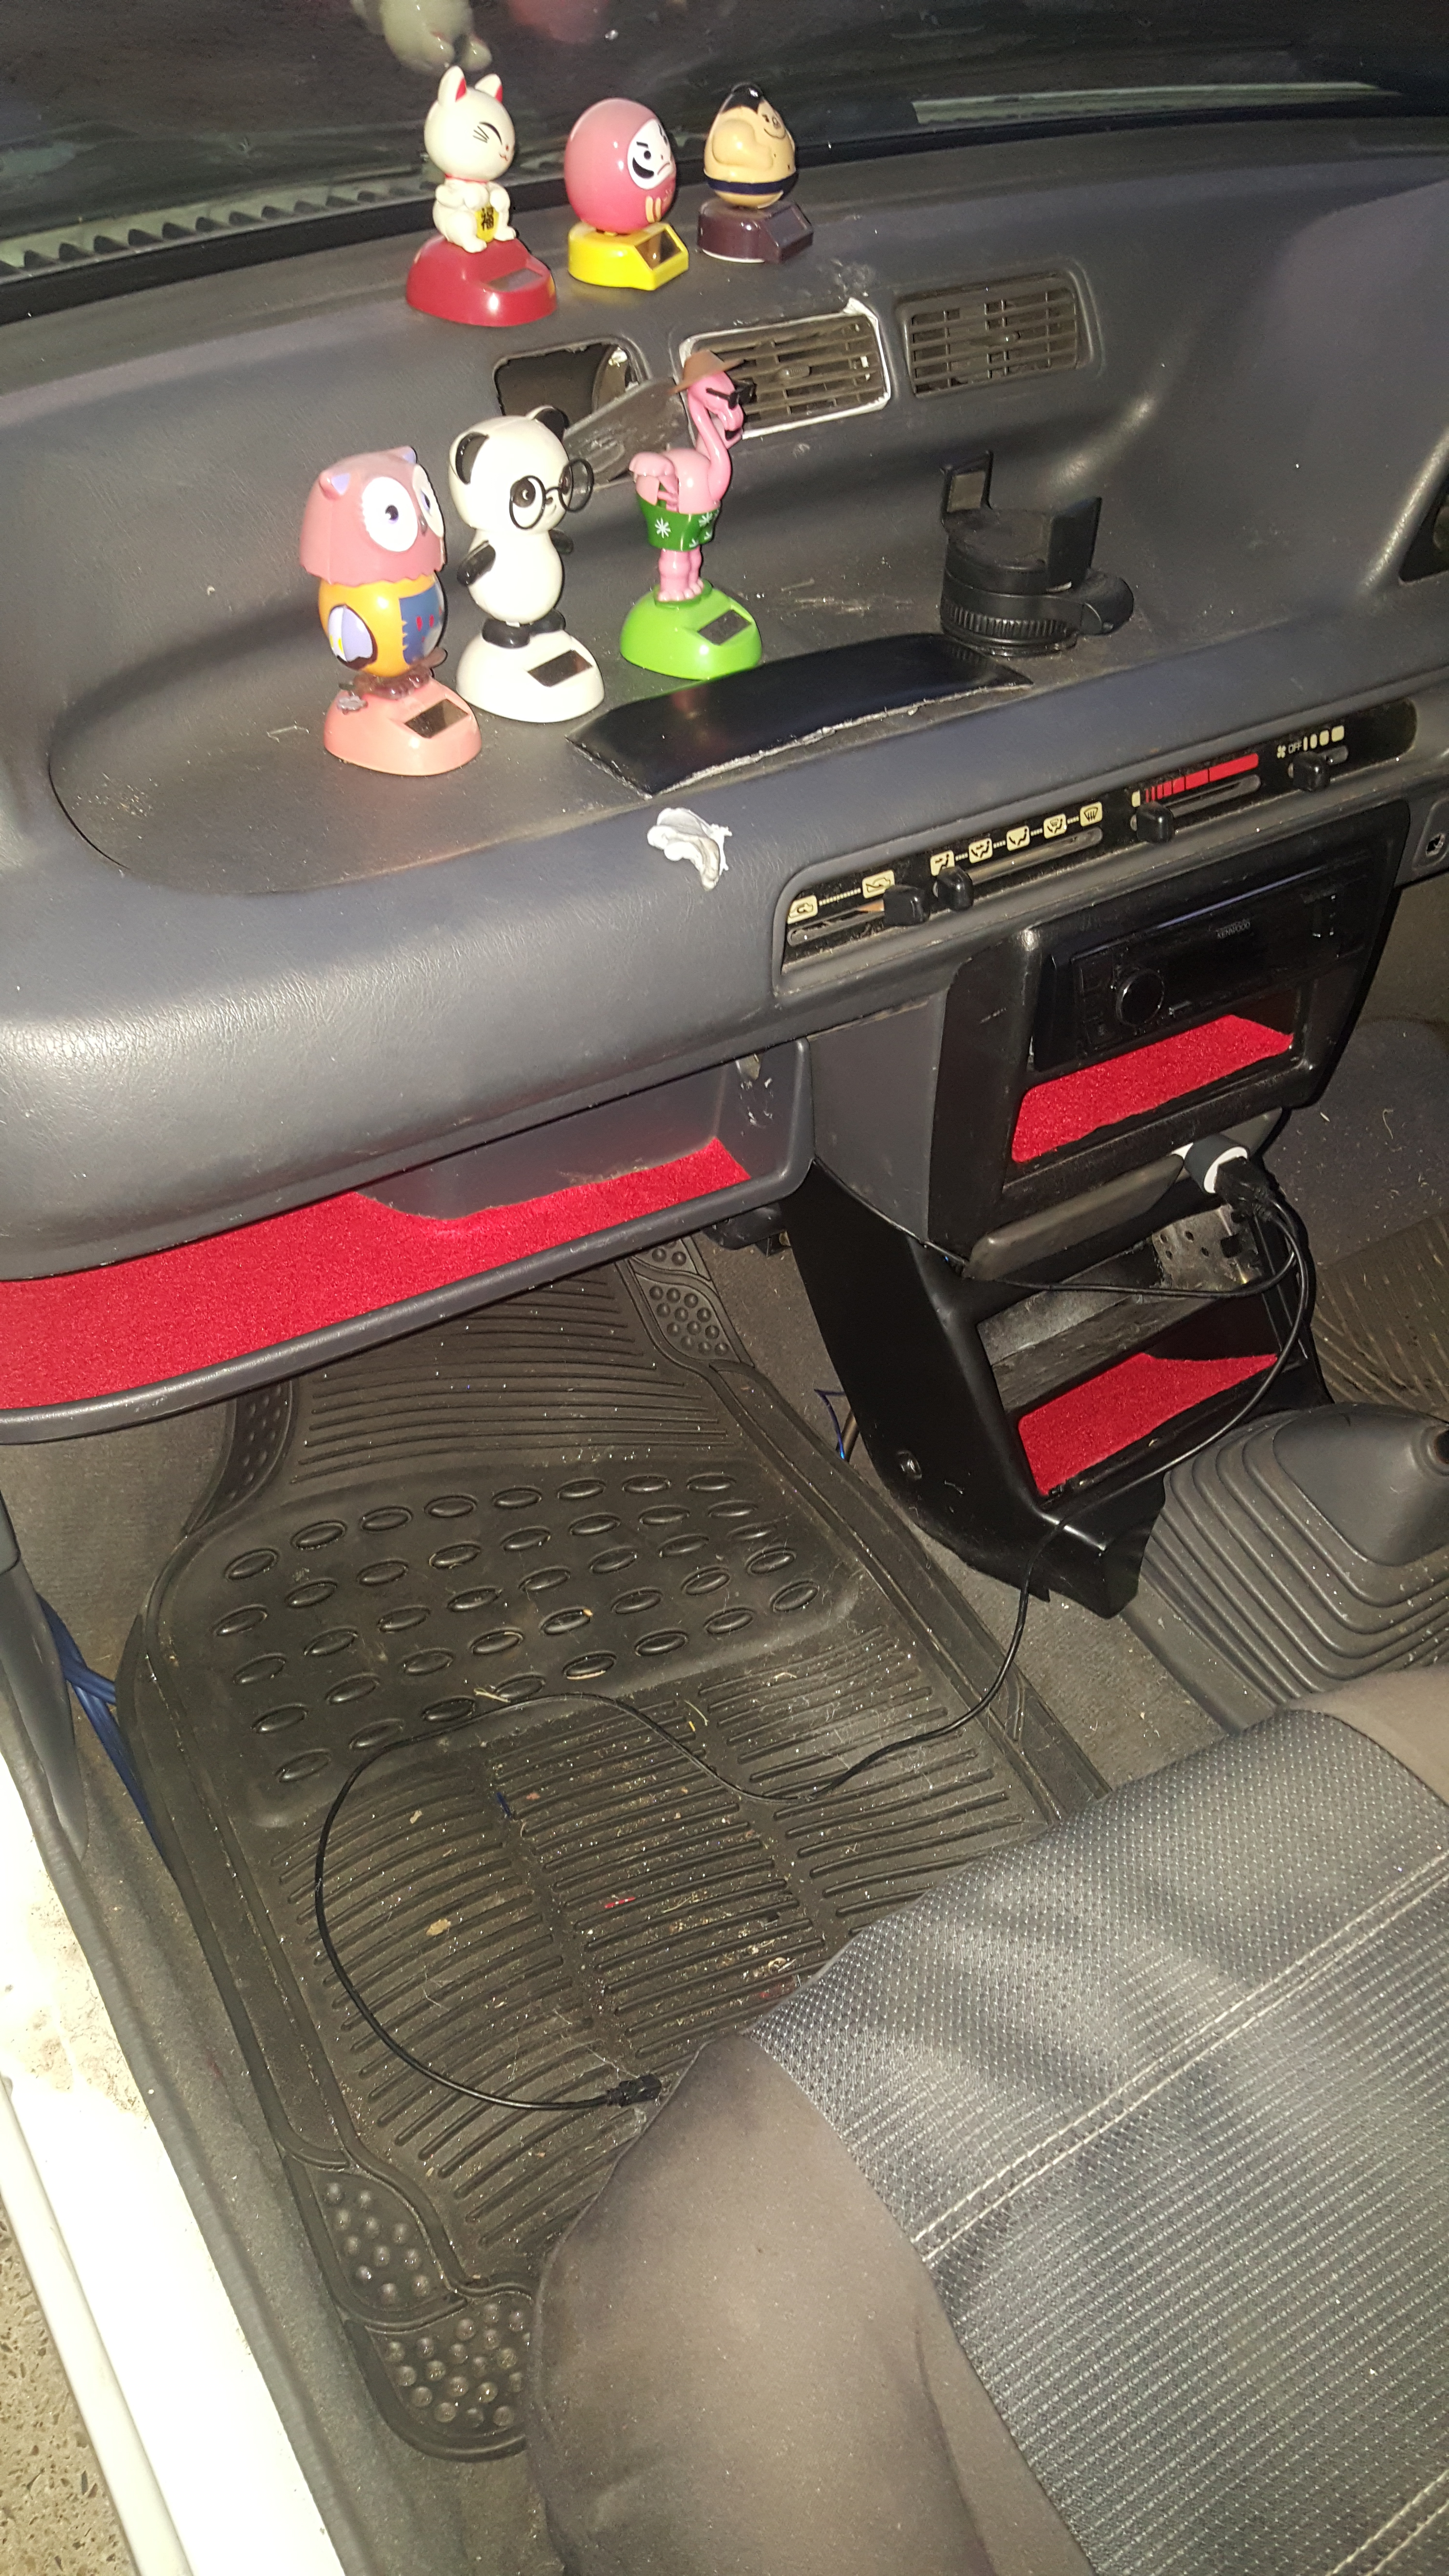
If you’ve got a keen eye you would notice the clock is gone and there is a center console of some sorts. I made that out of a sirion piece and heavily modified it to fit as a factory bit. but don’t worry the dash won’t stay that ugly for long, as i was unable to go out for a long time i spent a long time on yahoo japan auctions and found some gems

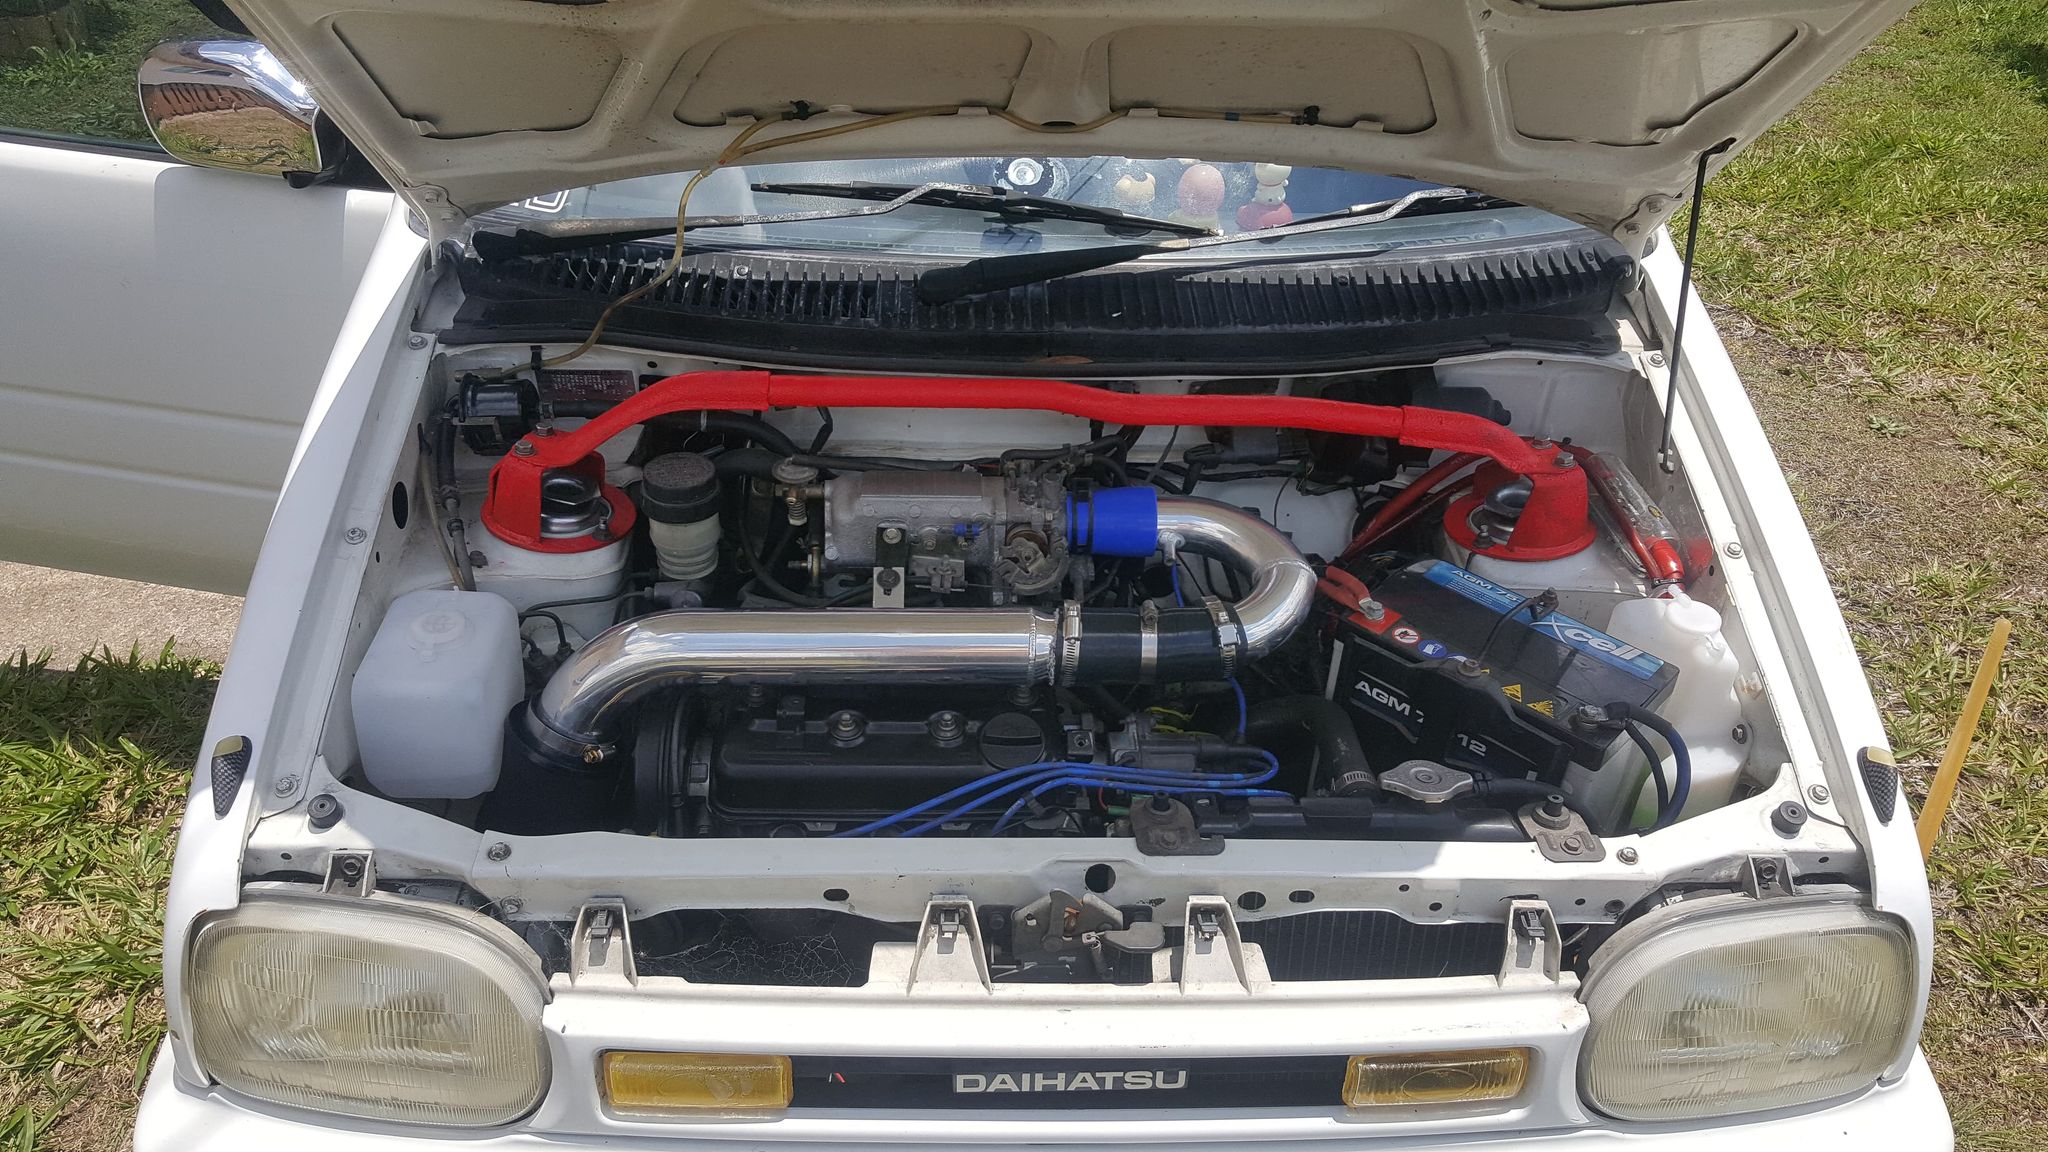
First item i received is a factory strut brace that made a massive amount of differences! i no longer float into corners.

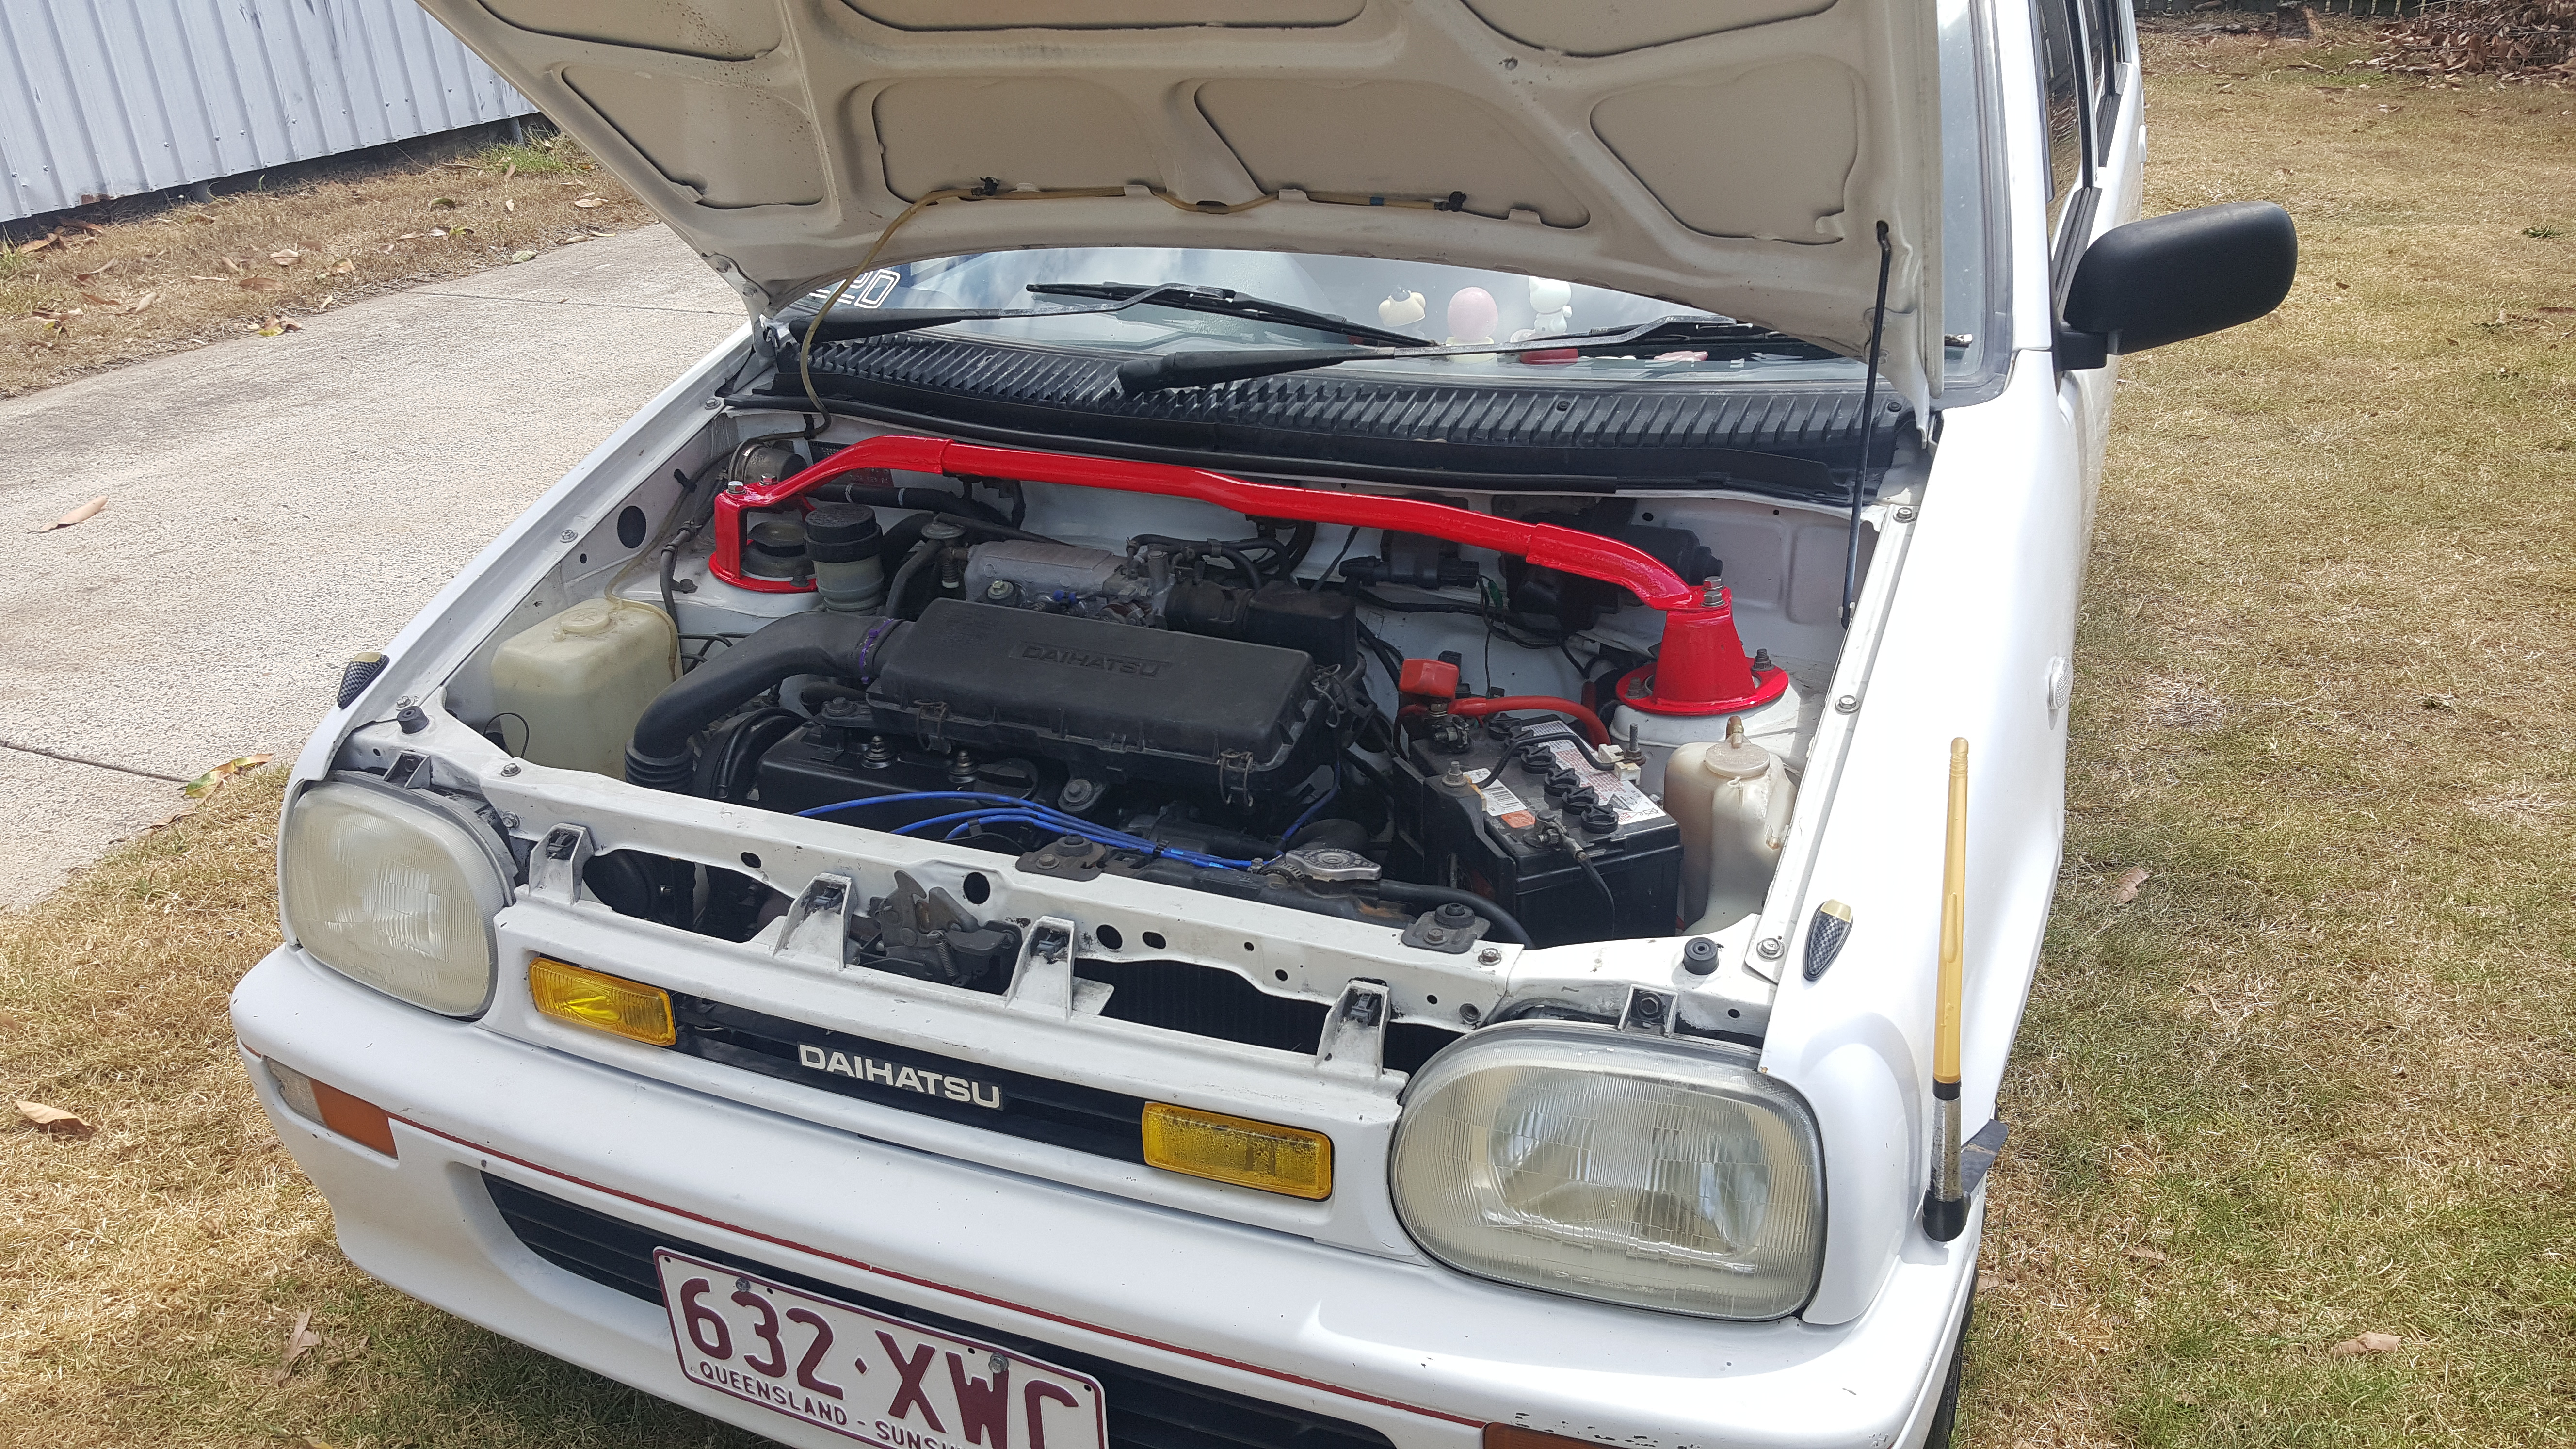
Chrome door handles. From non matching ugly doors to pretty handles all matching.


She is getting fancy now! We have a burger tray and a digital clock in the dash now with fixed air vents. <3 looks so nice now.

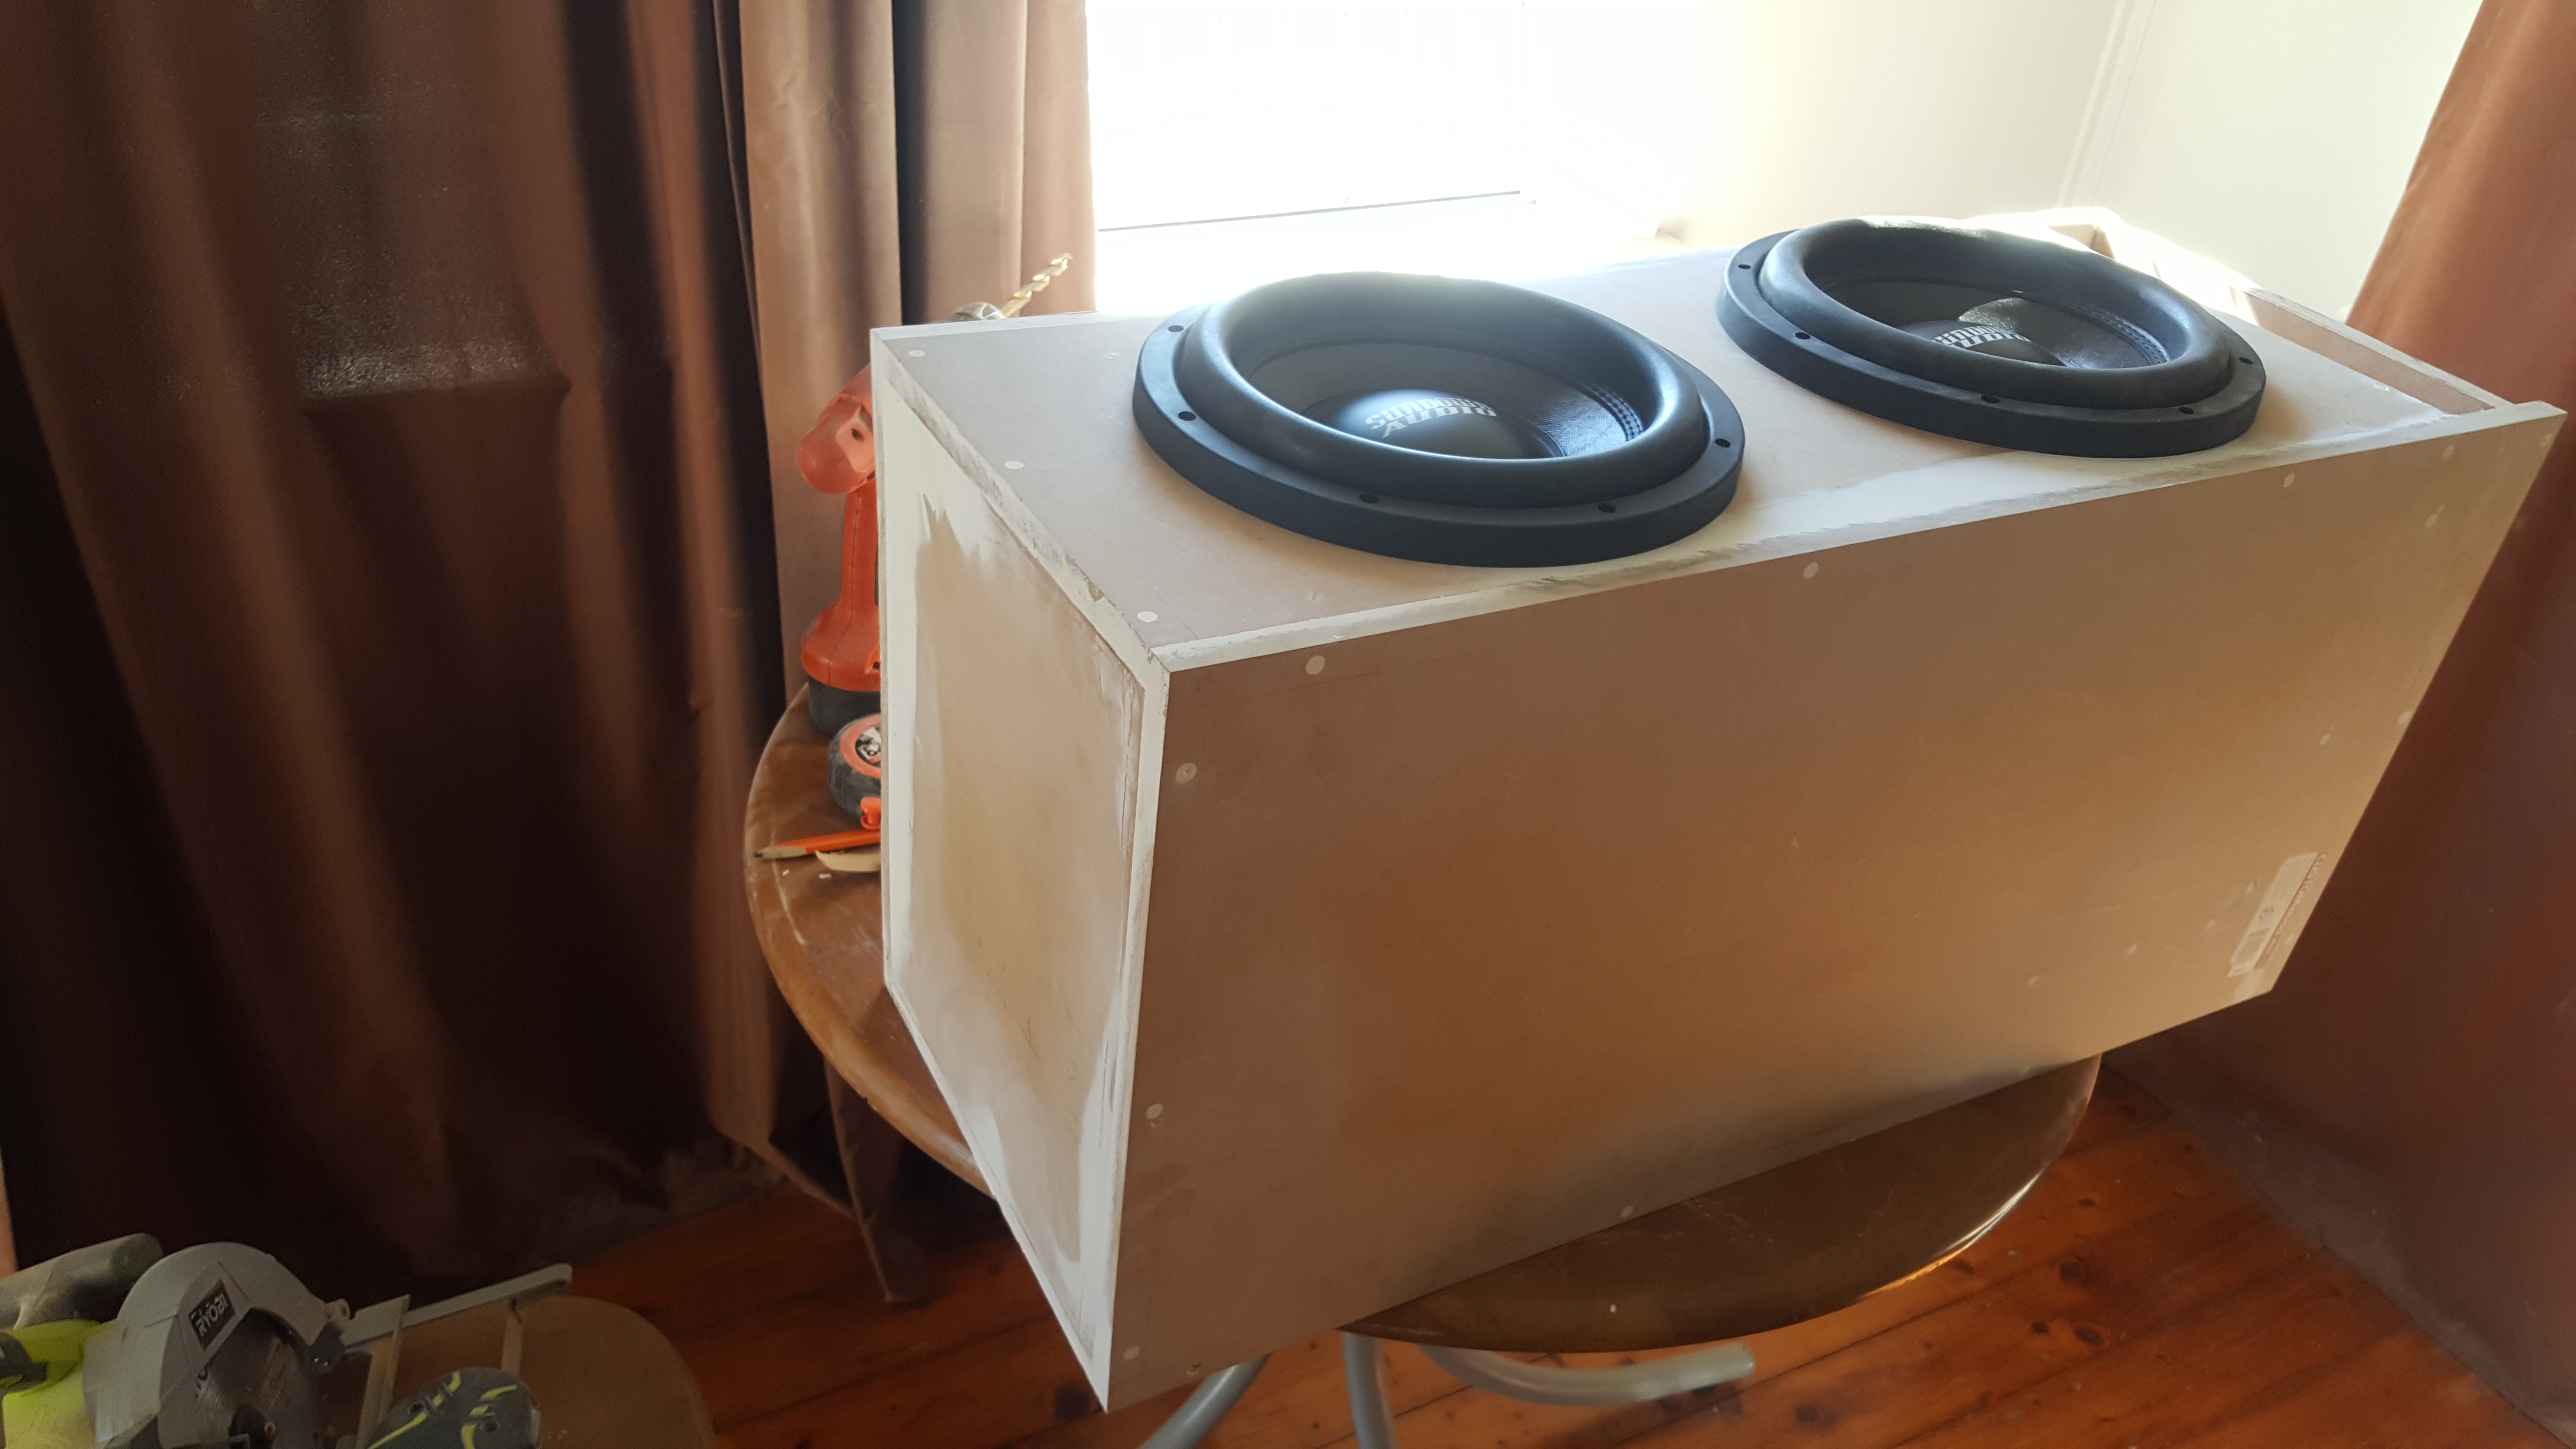
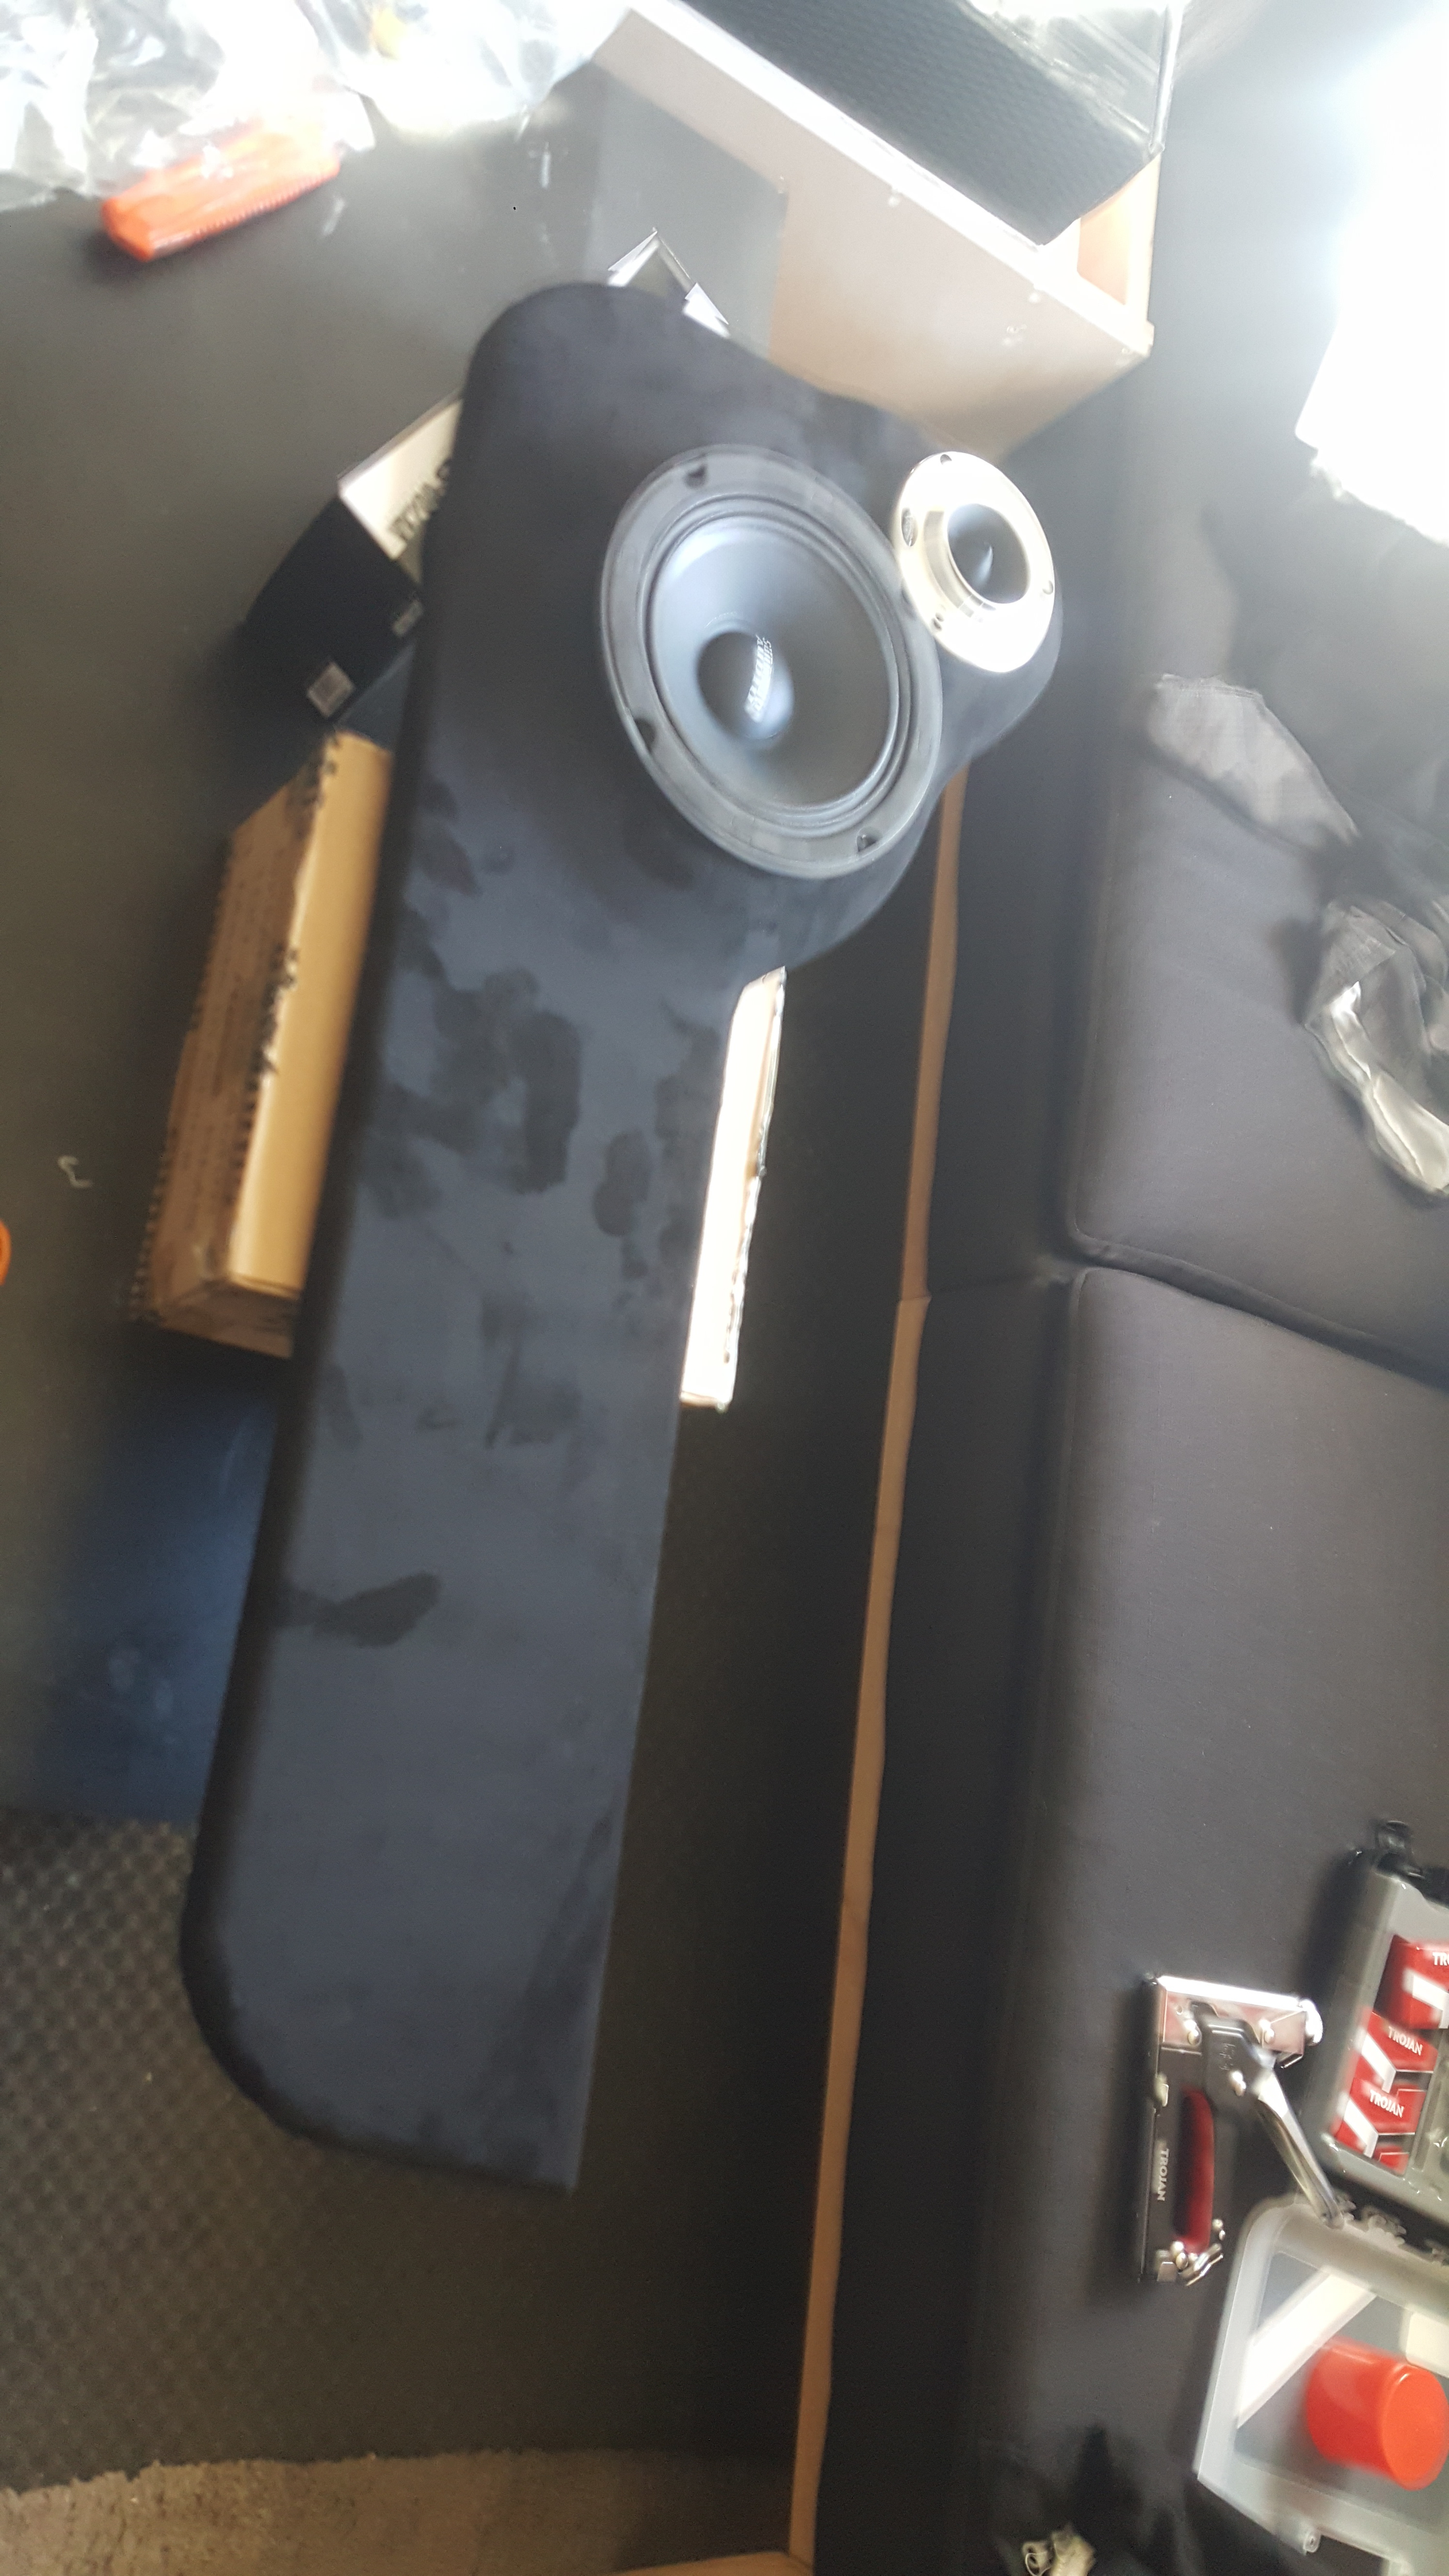
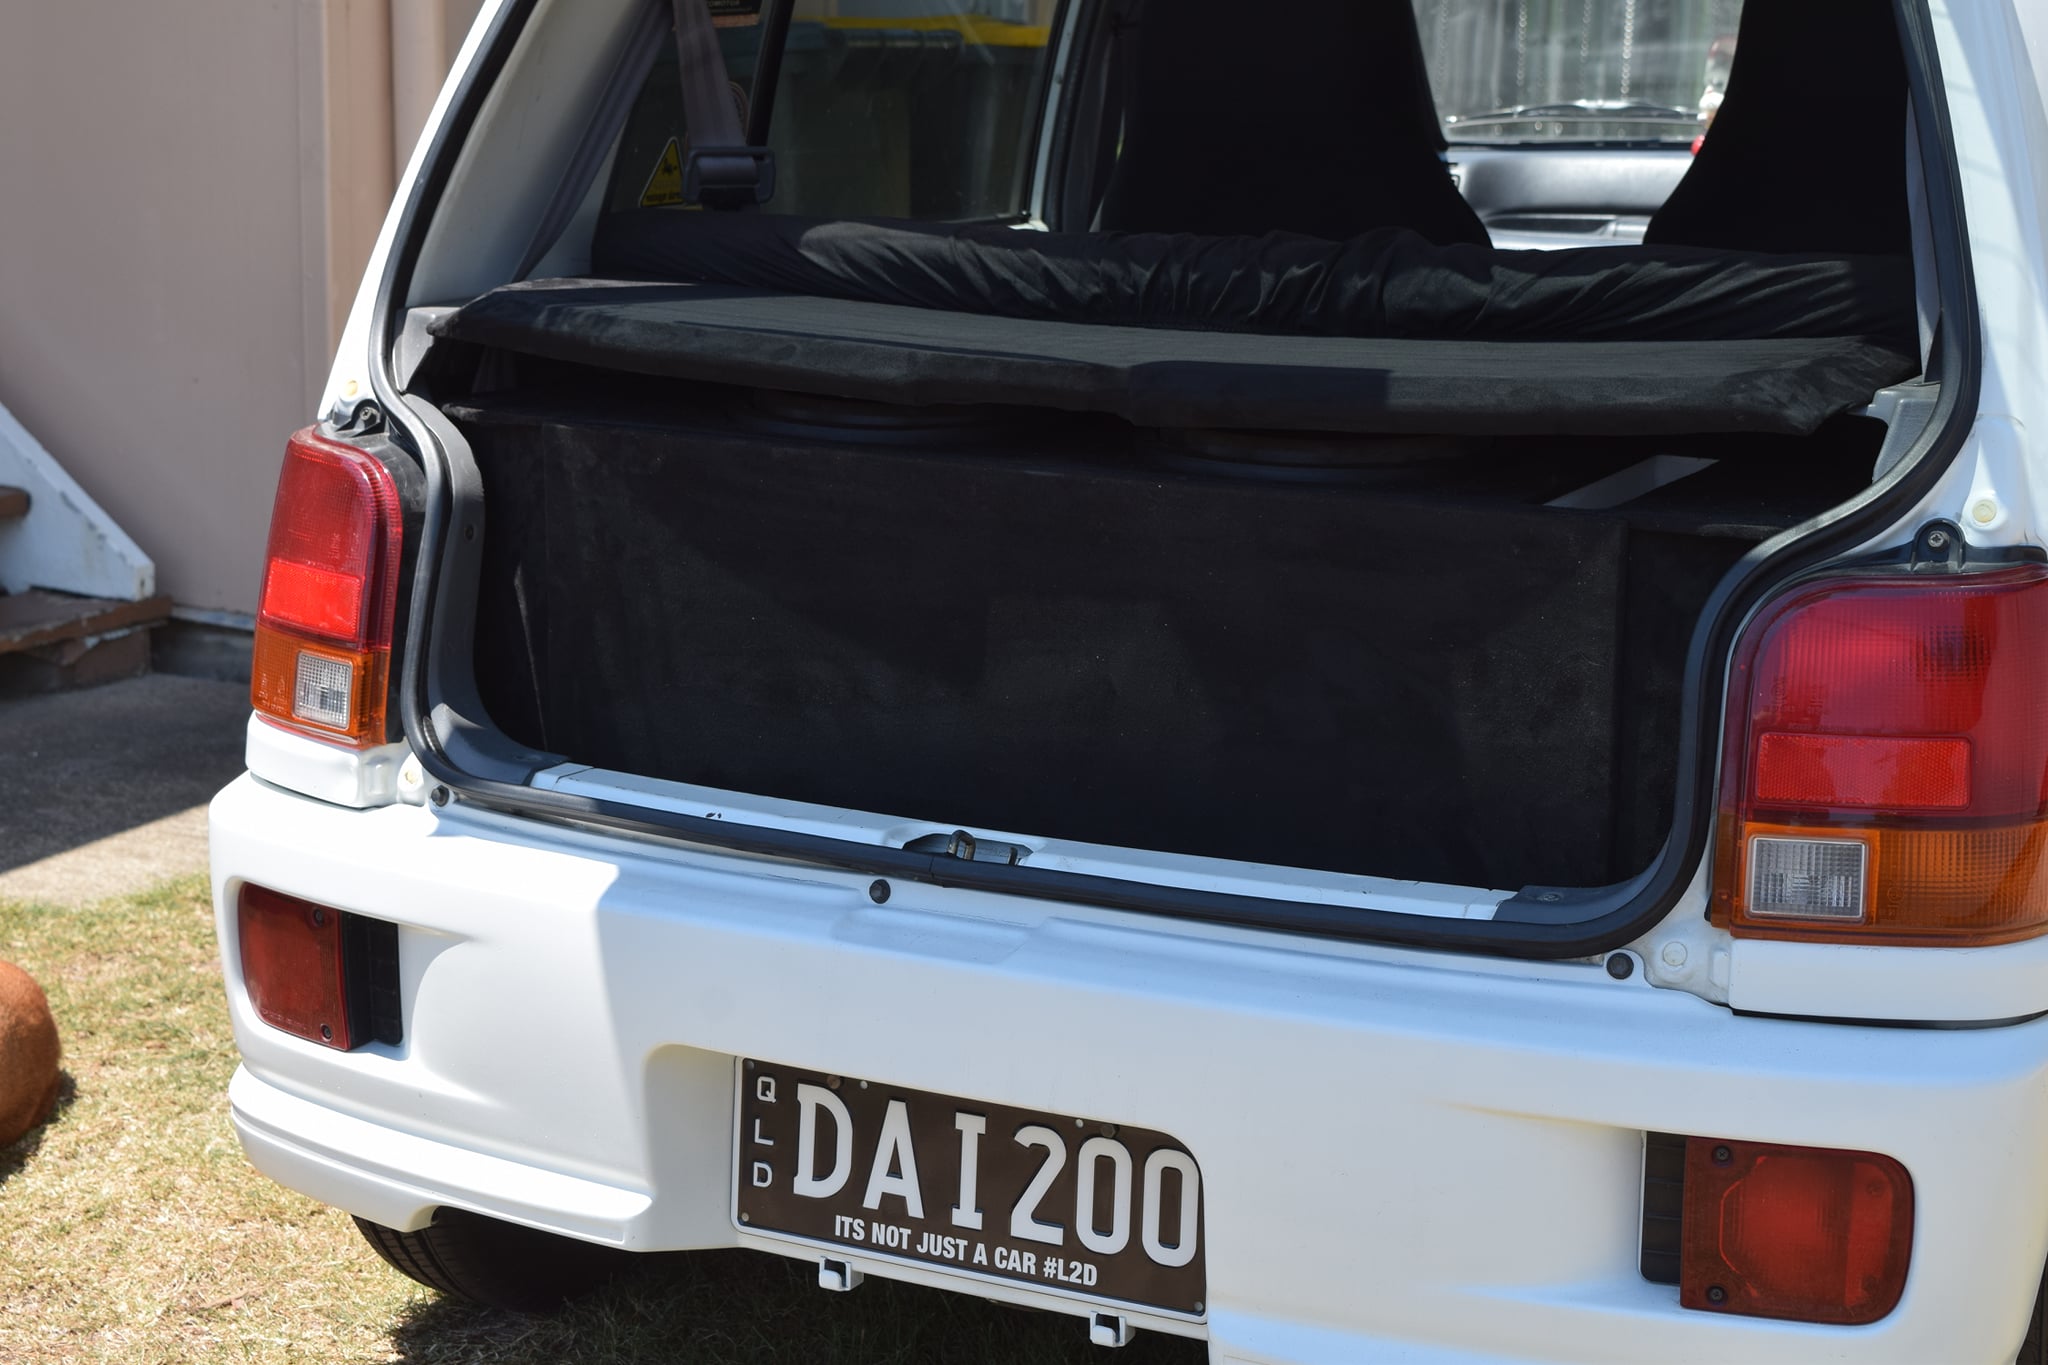
Now that i’m feeling better lets finish off that custom sub install. Bulk photo dump incoming :slight_smile:

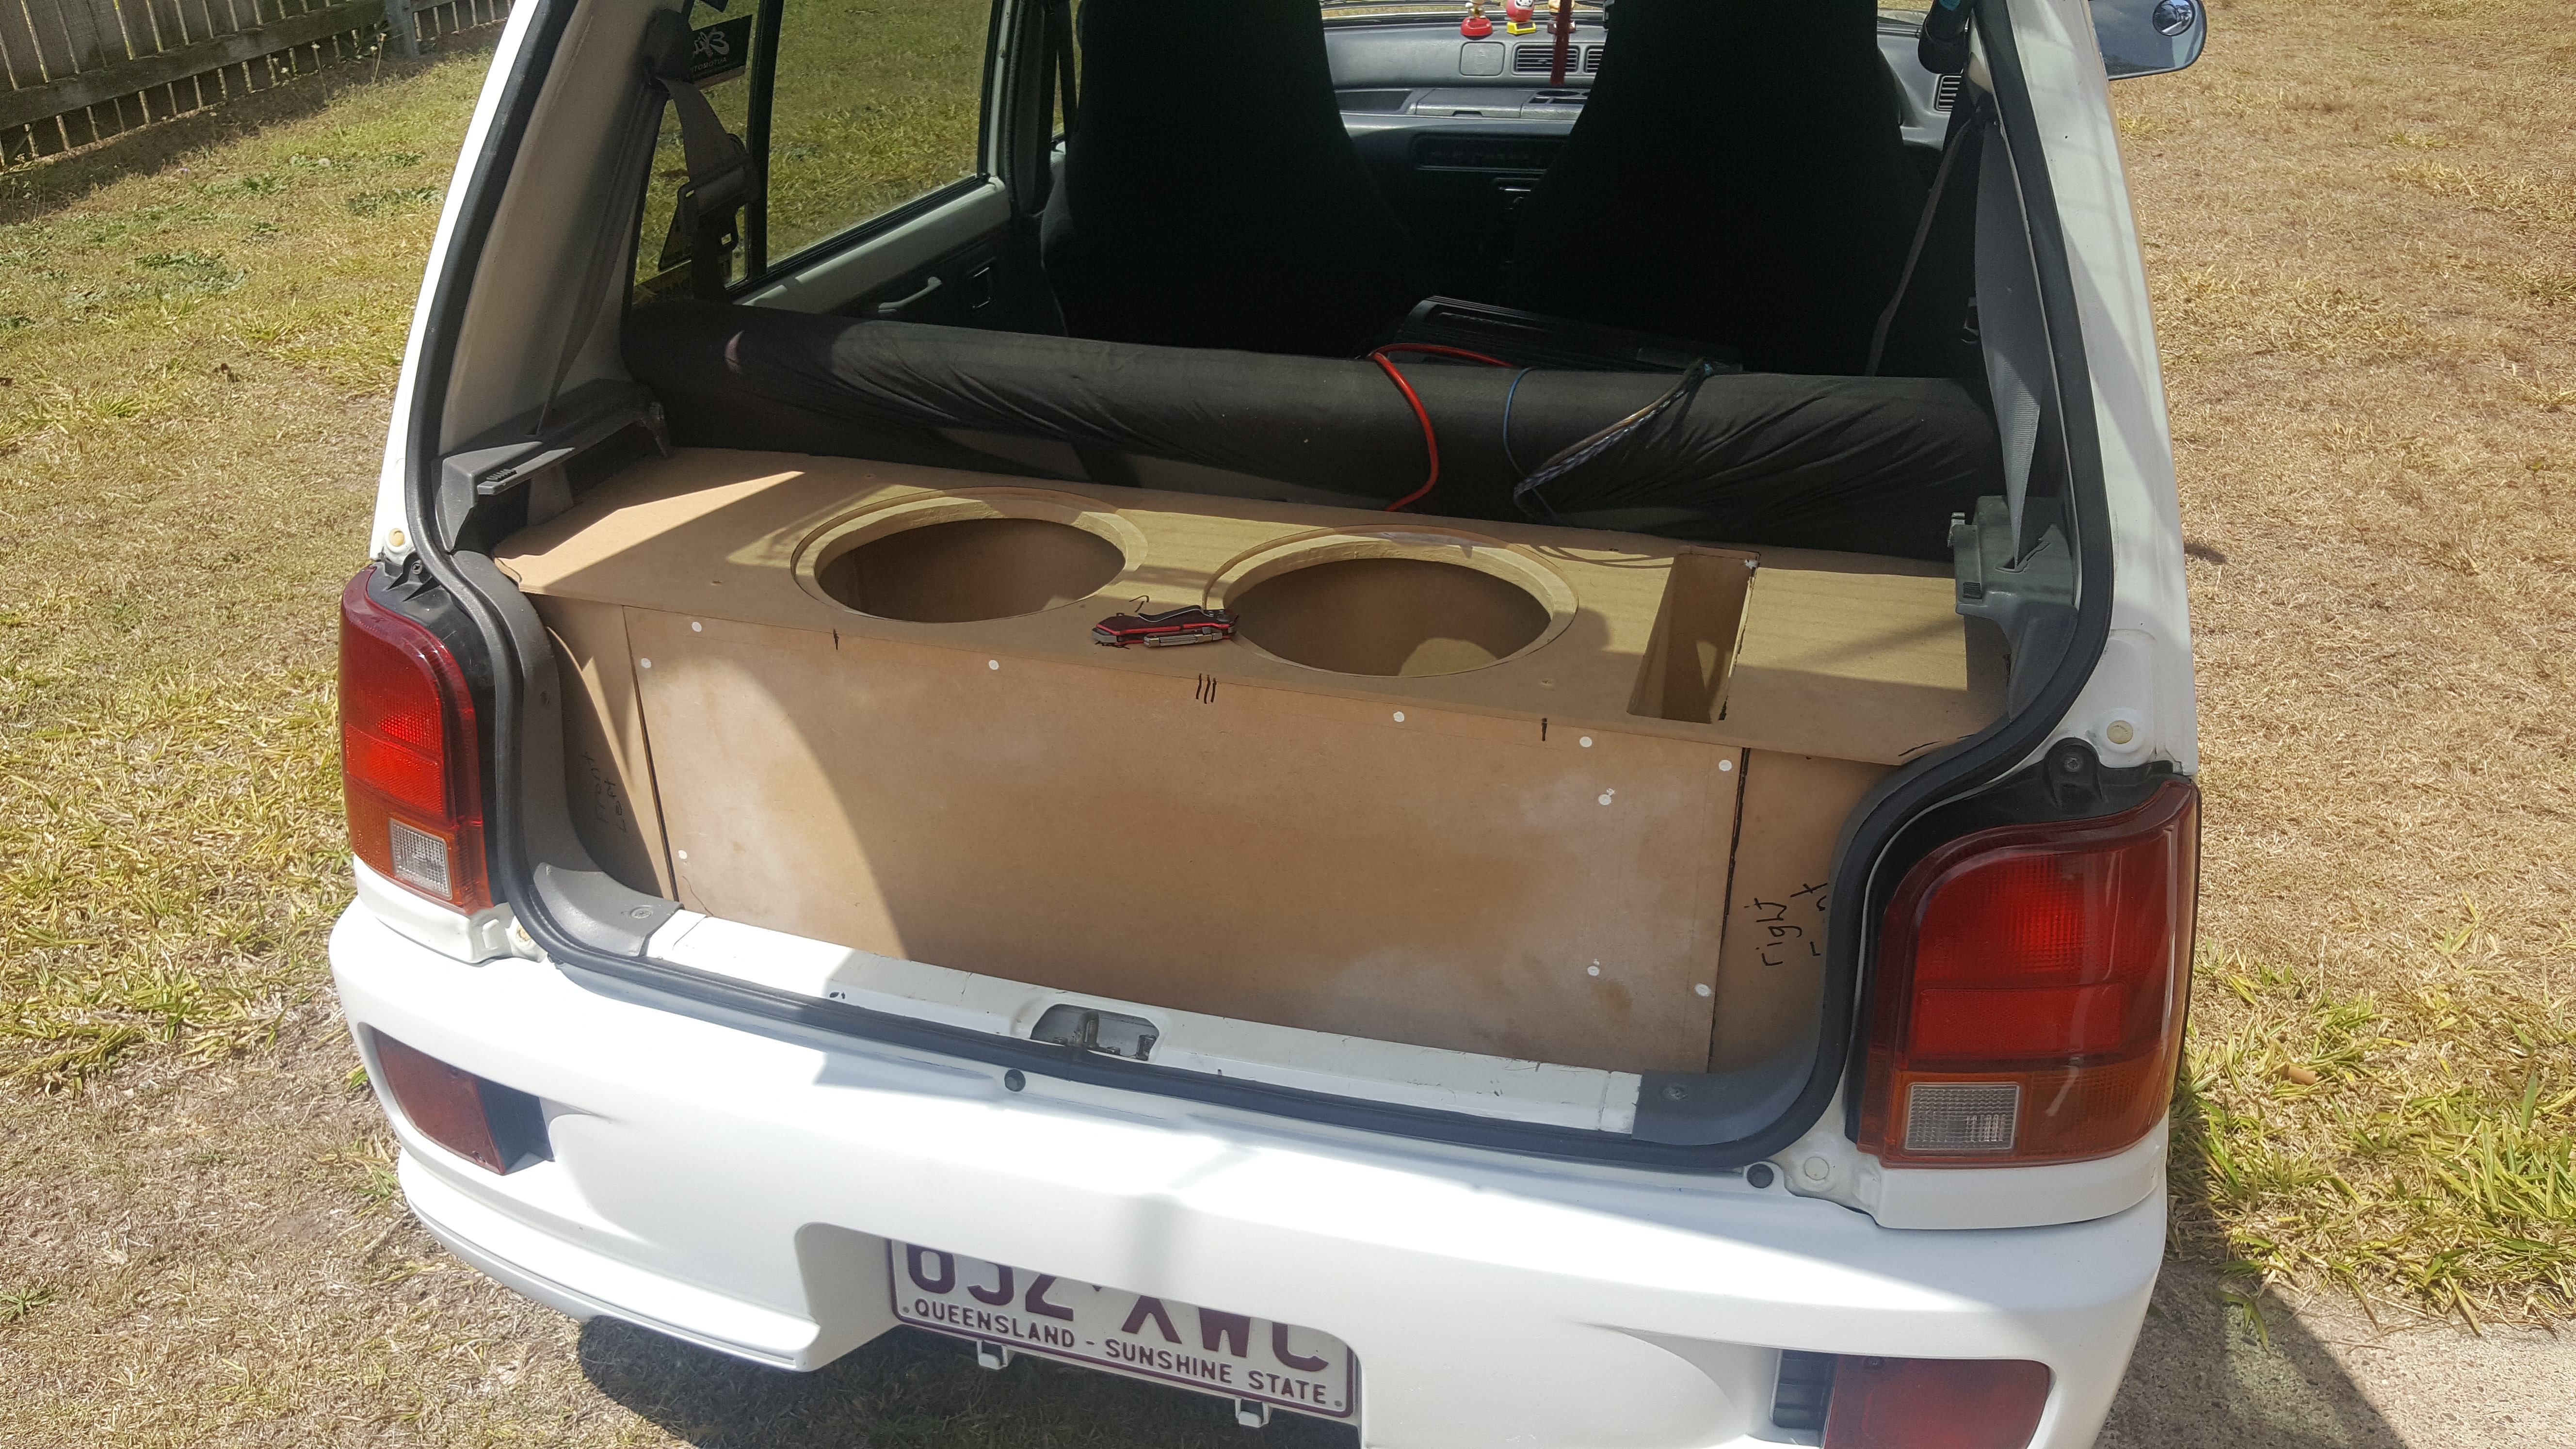
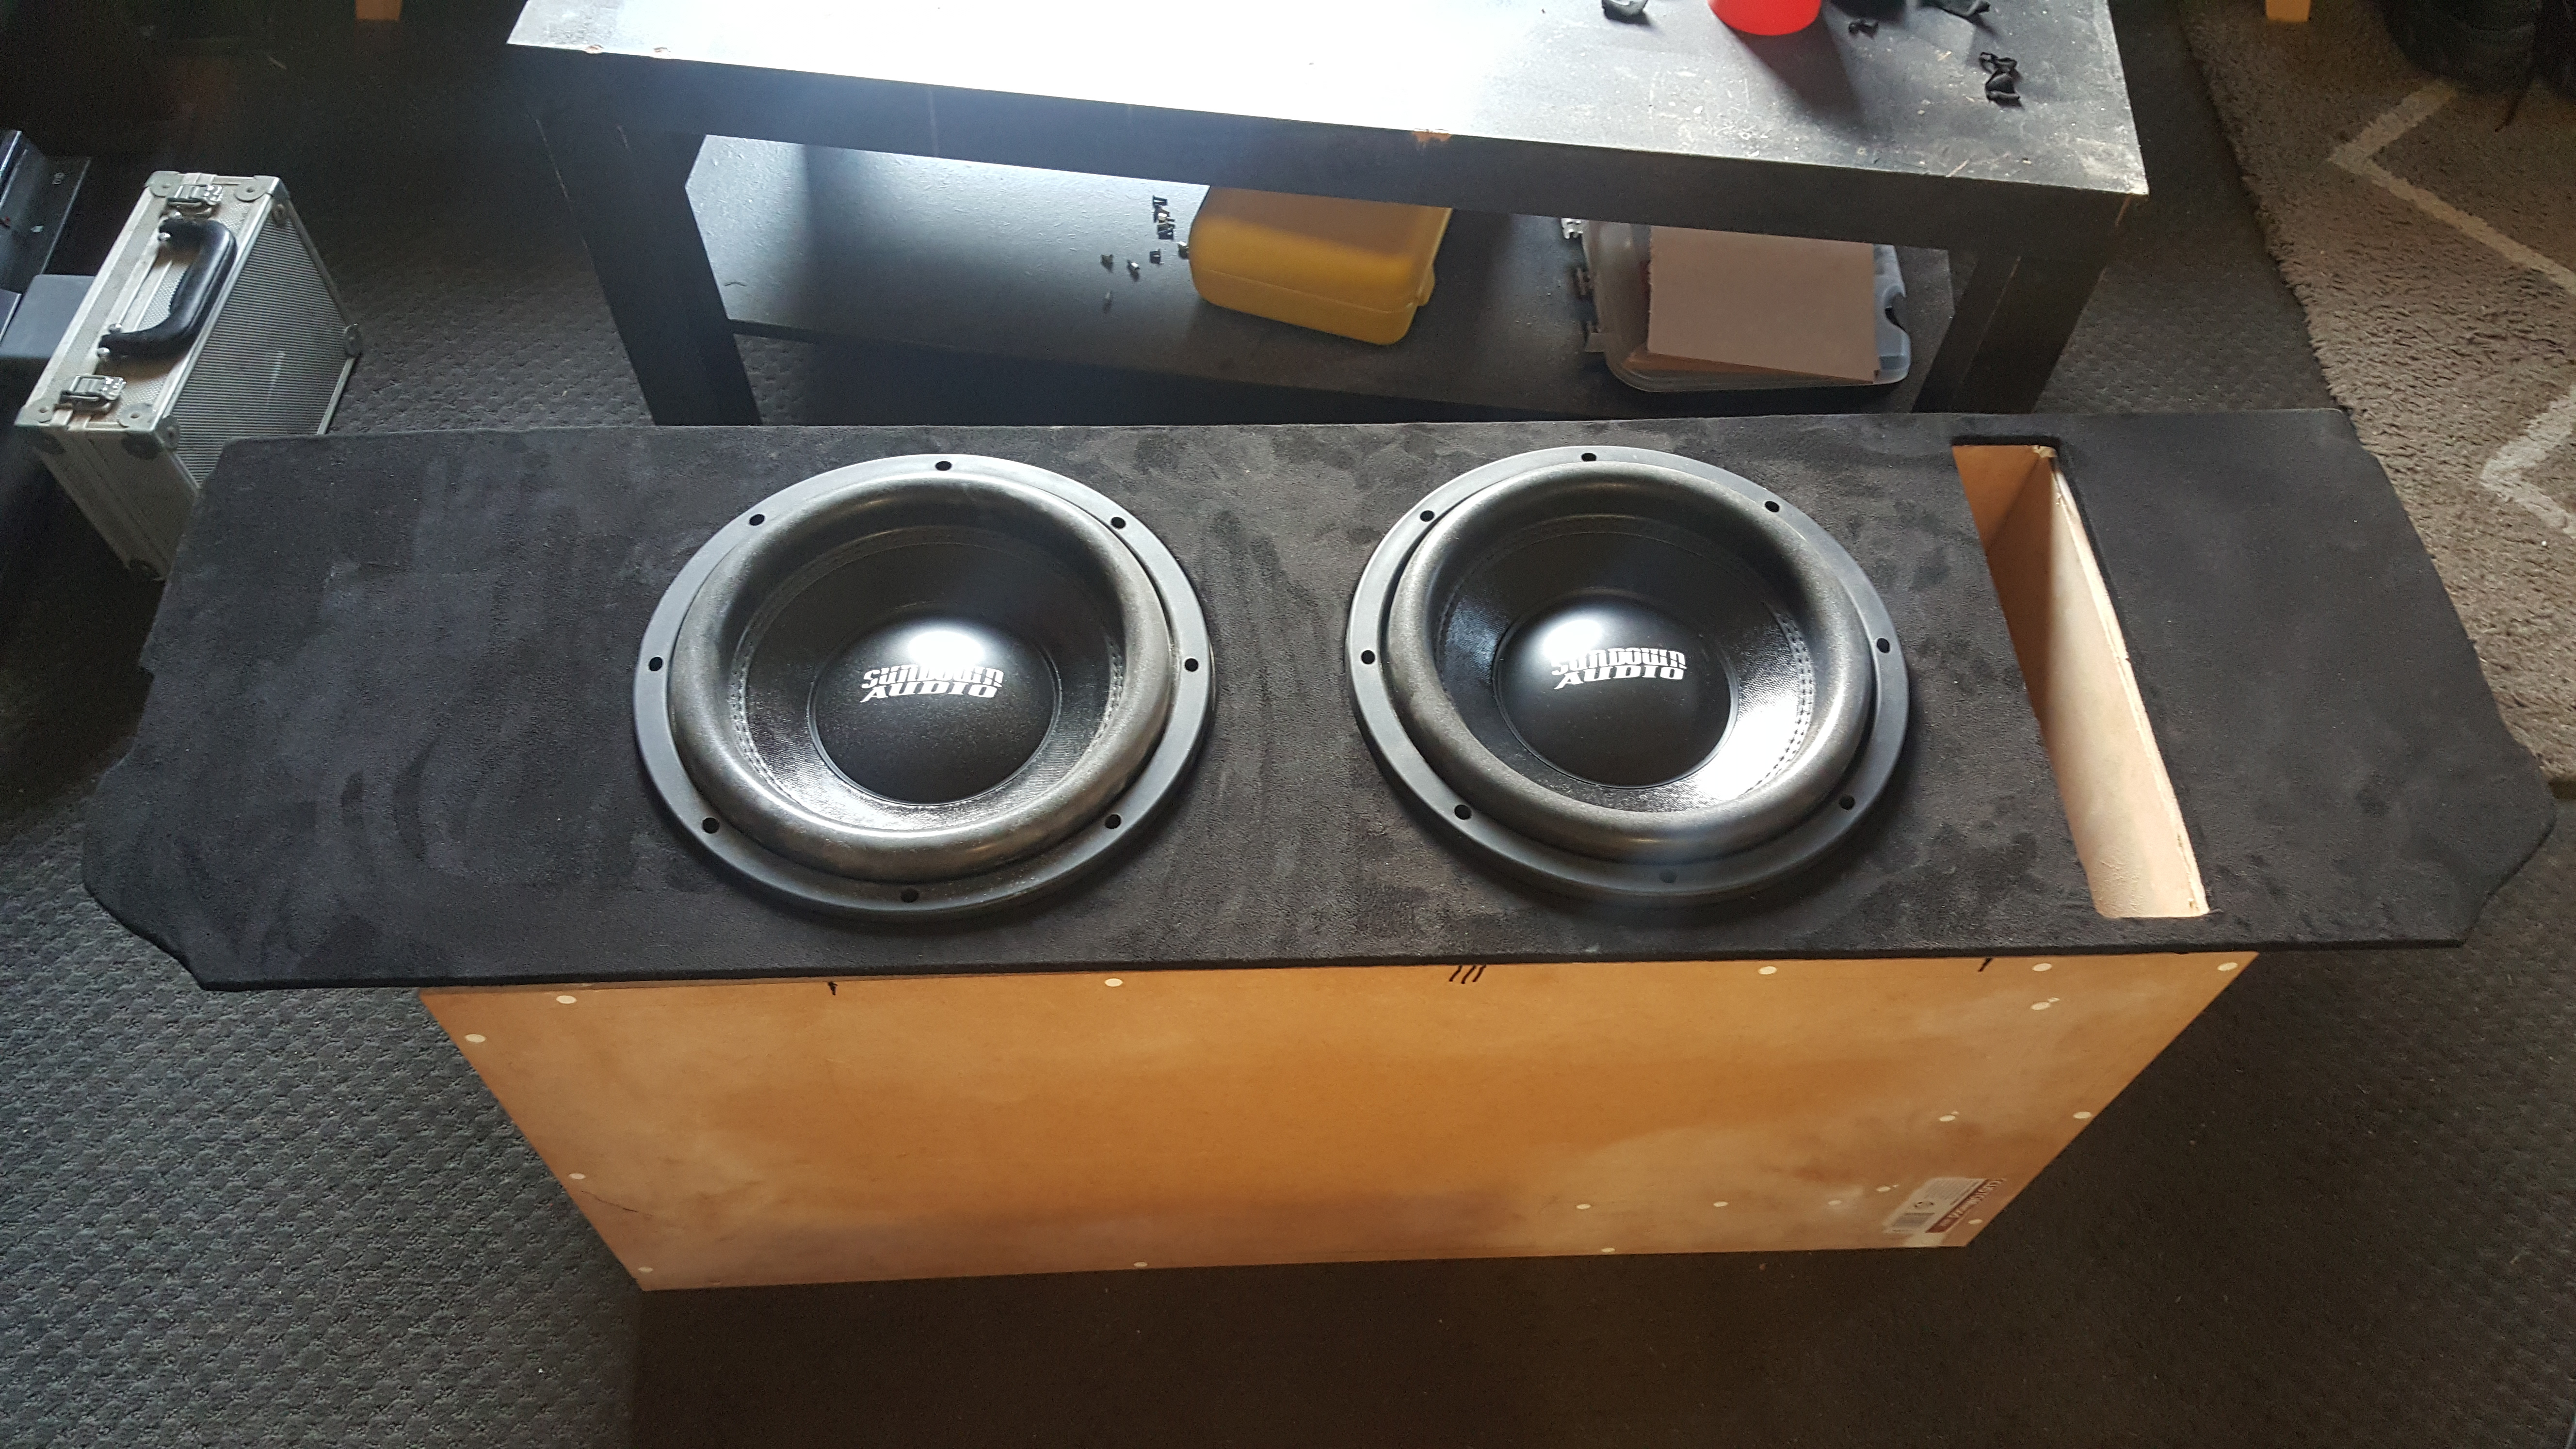
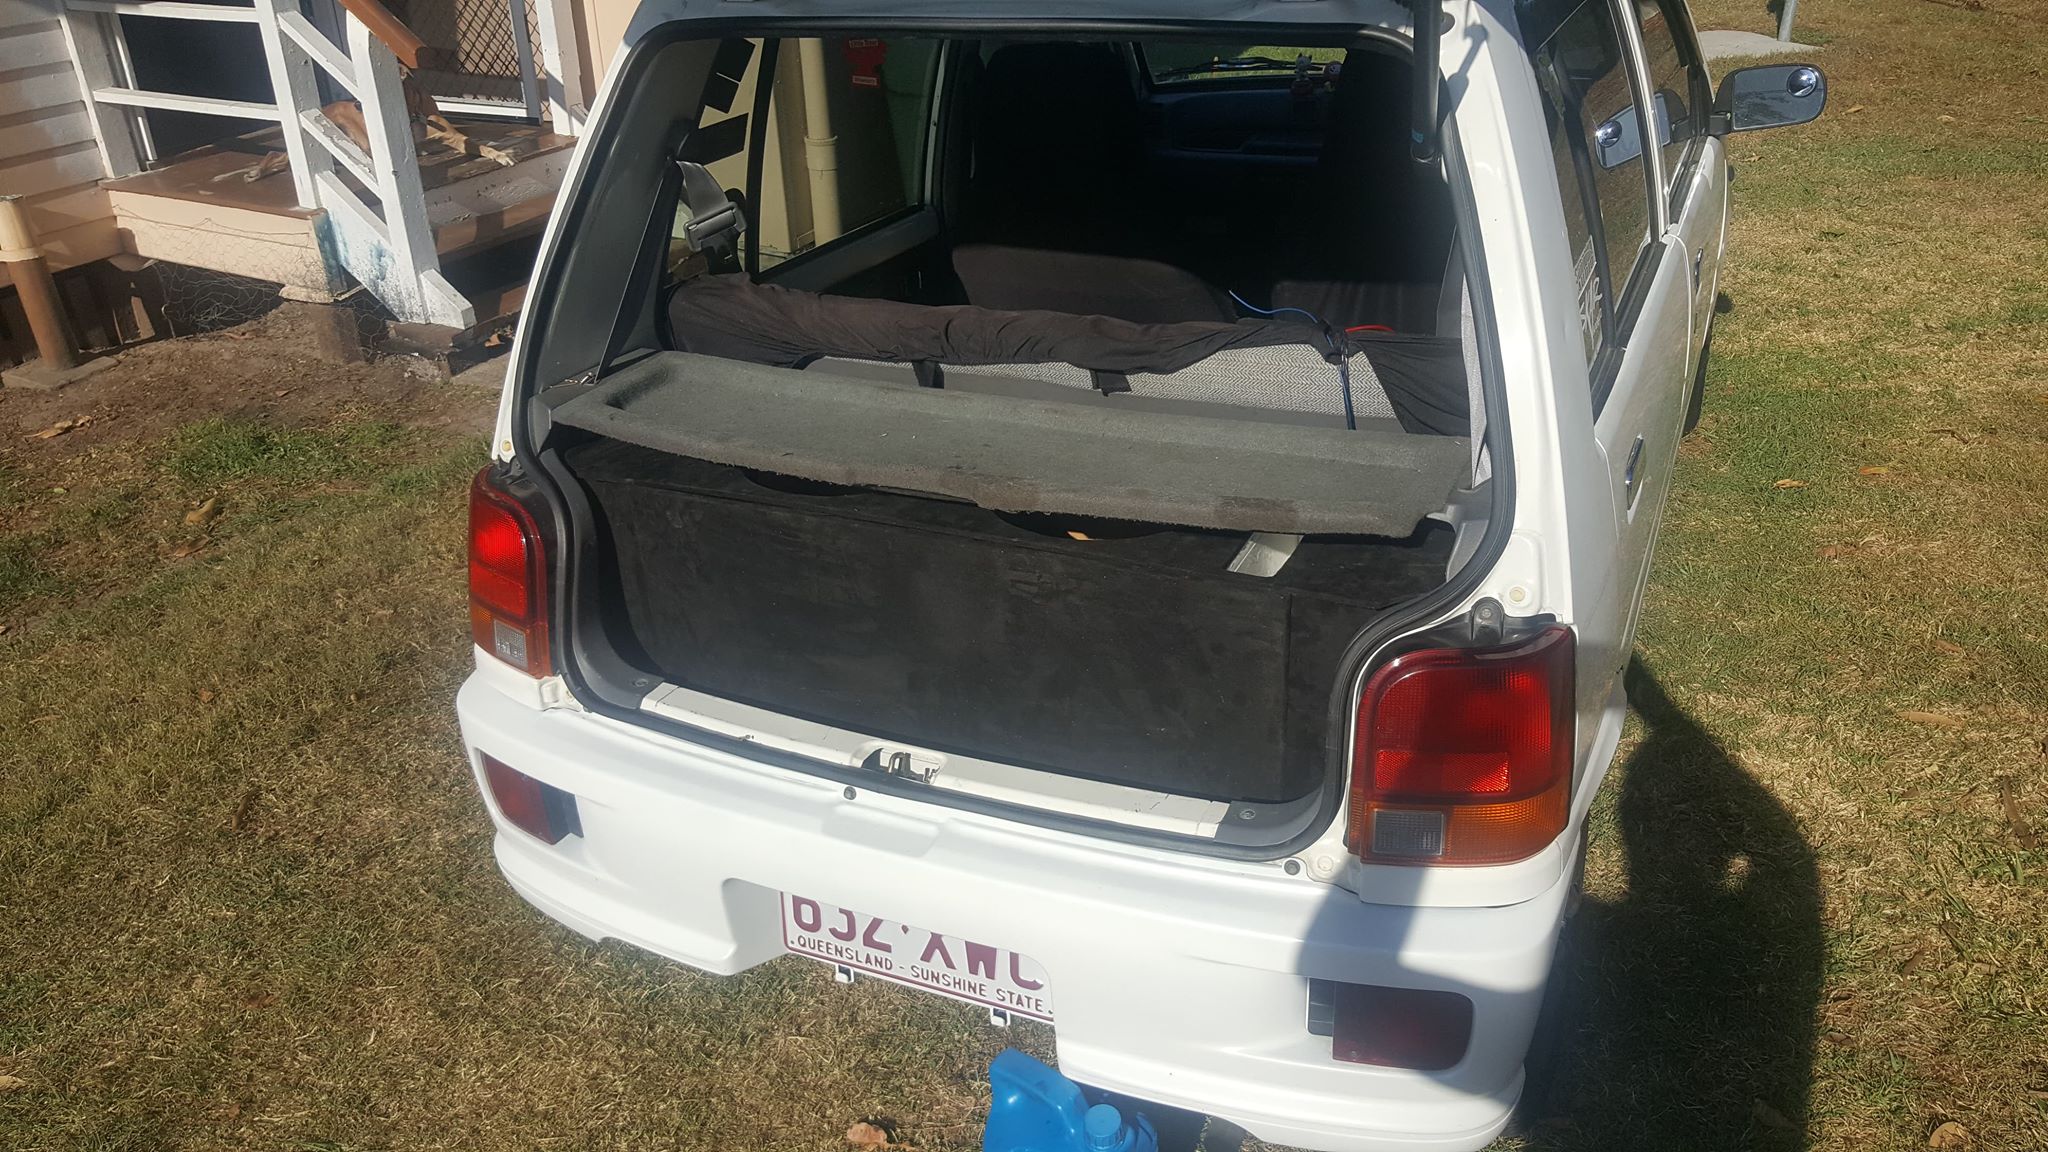
So now the sub box is fully finished with fabric covering it all and fixed into place TIME TO INSTALL THE WOOFERS :wink:

As you can see above the factory parcel shelf sits low and looks ugly. Lets fix that :wink:

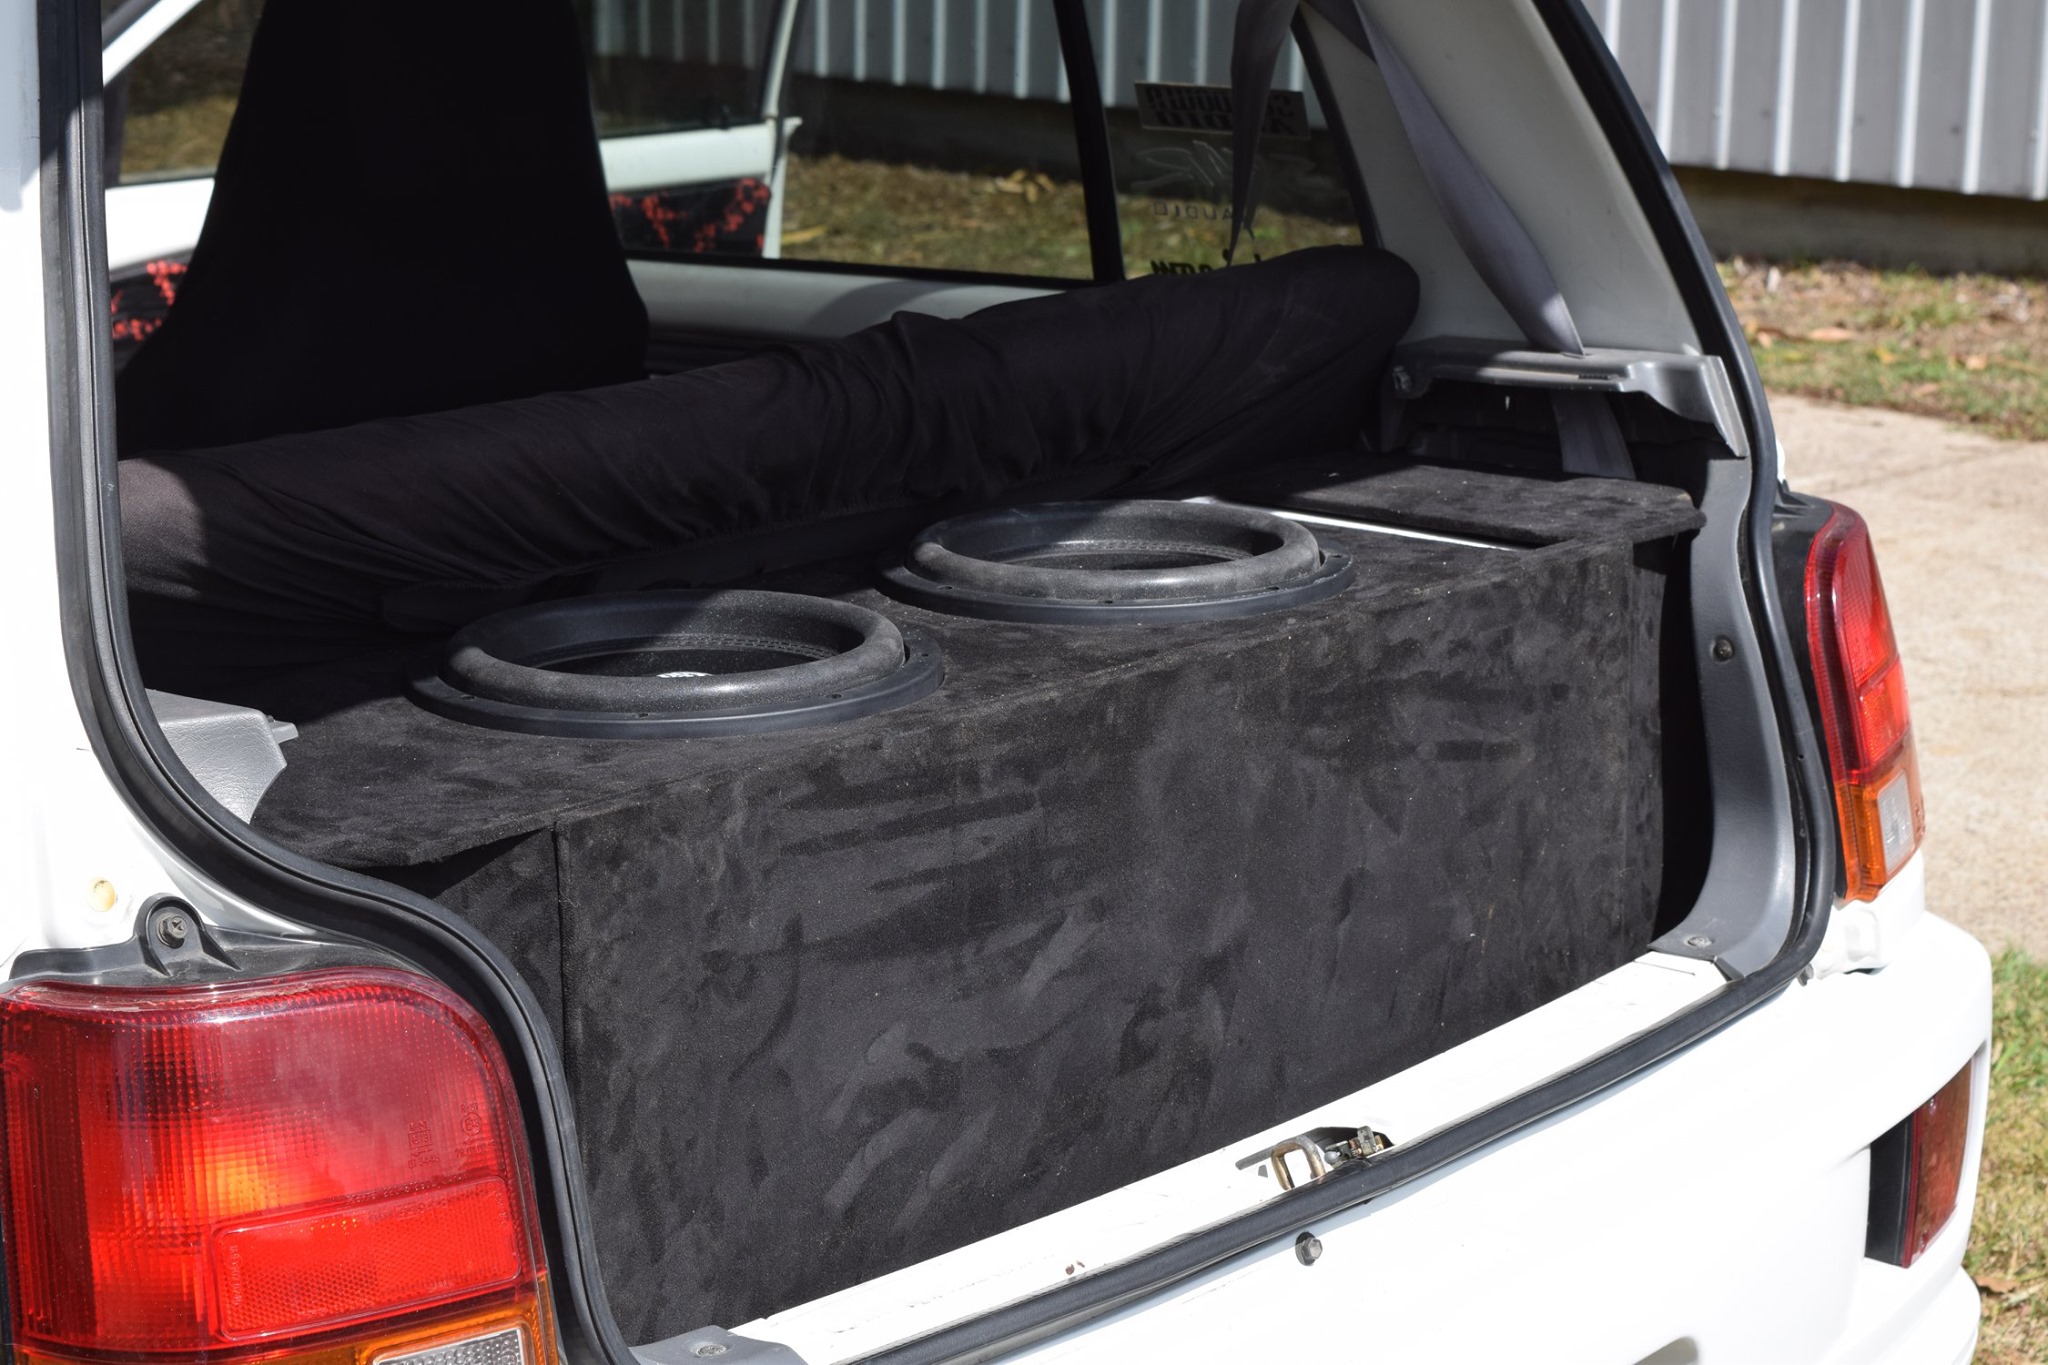
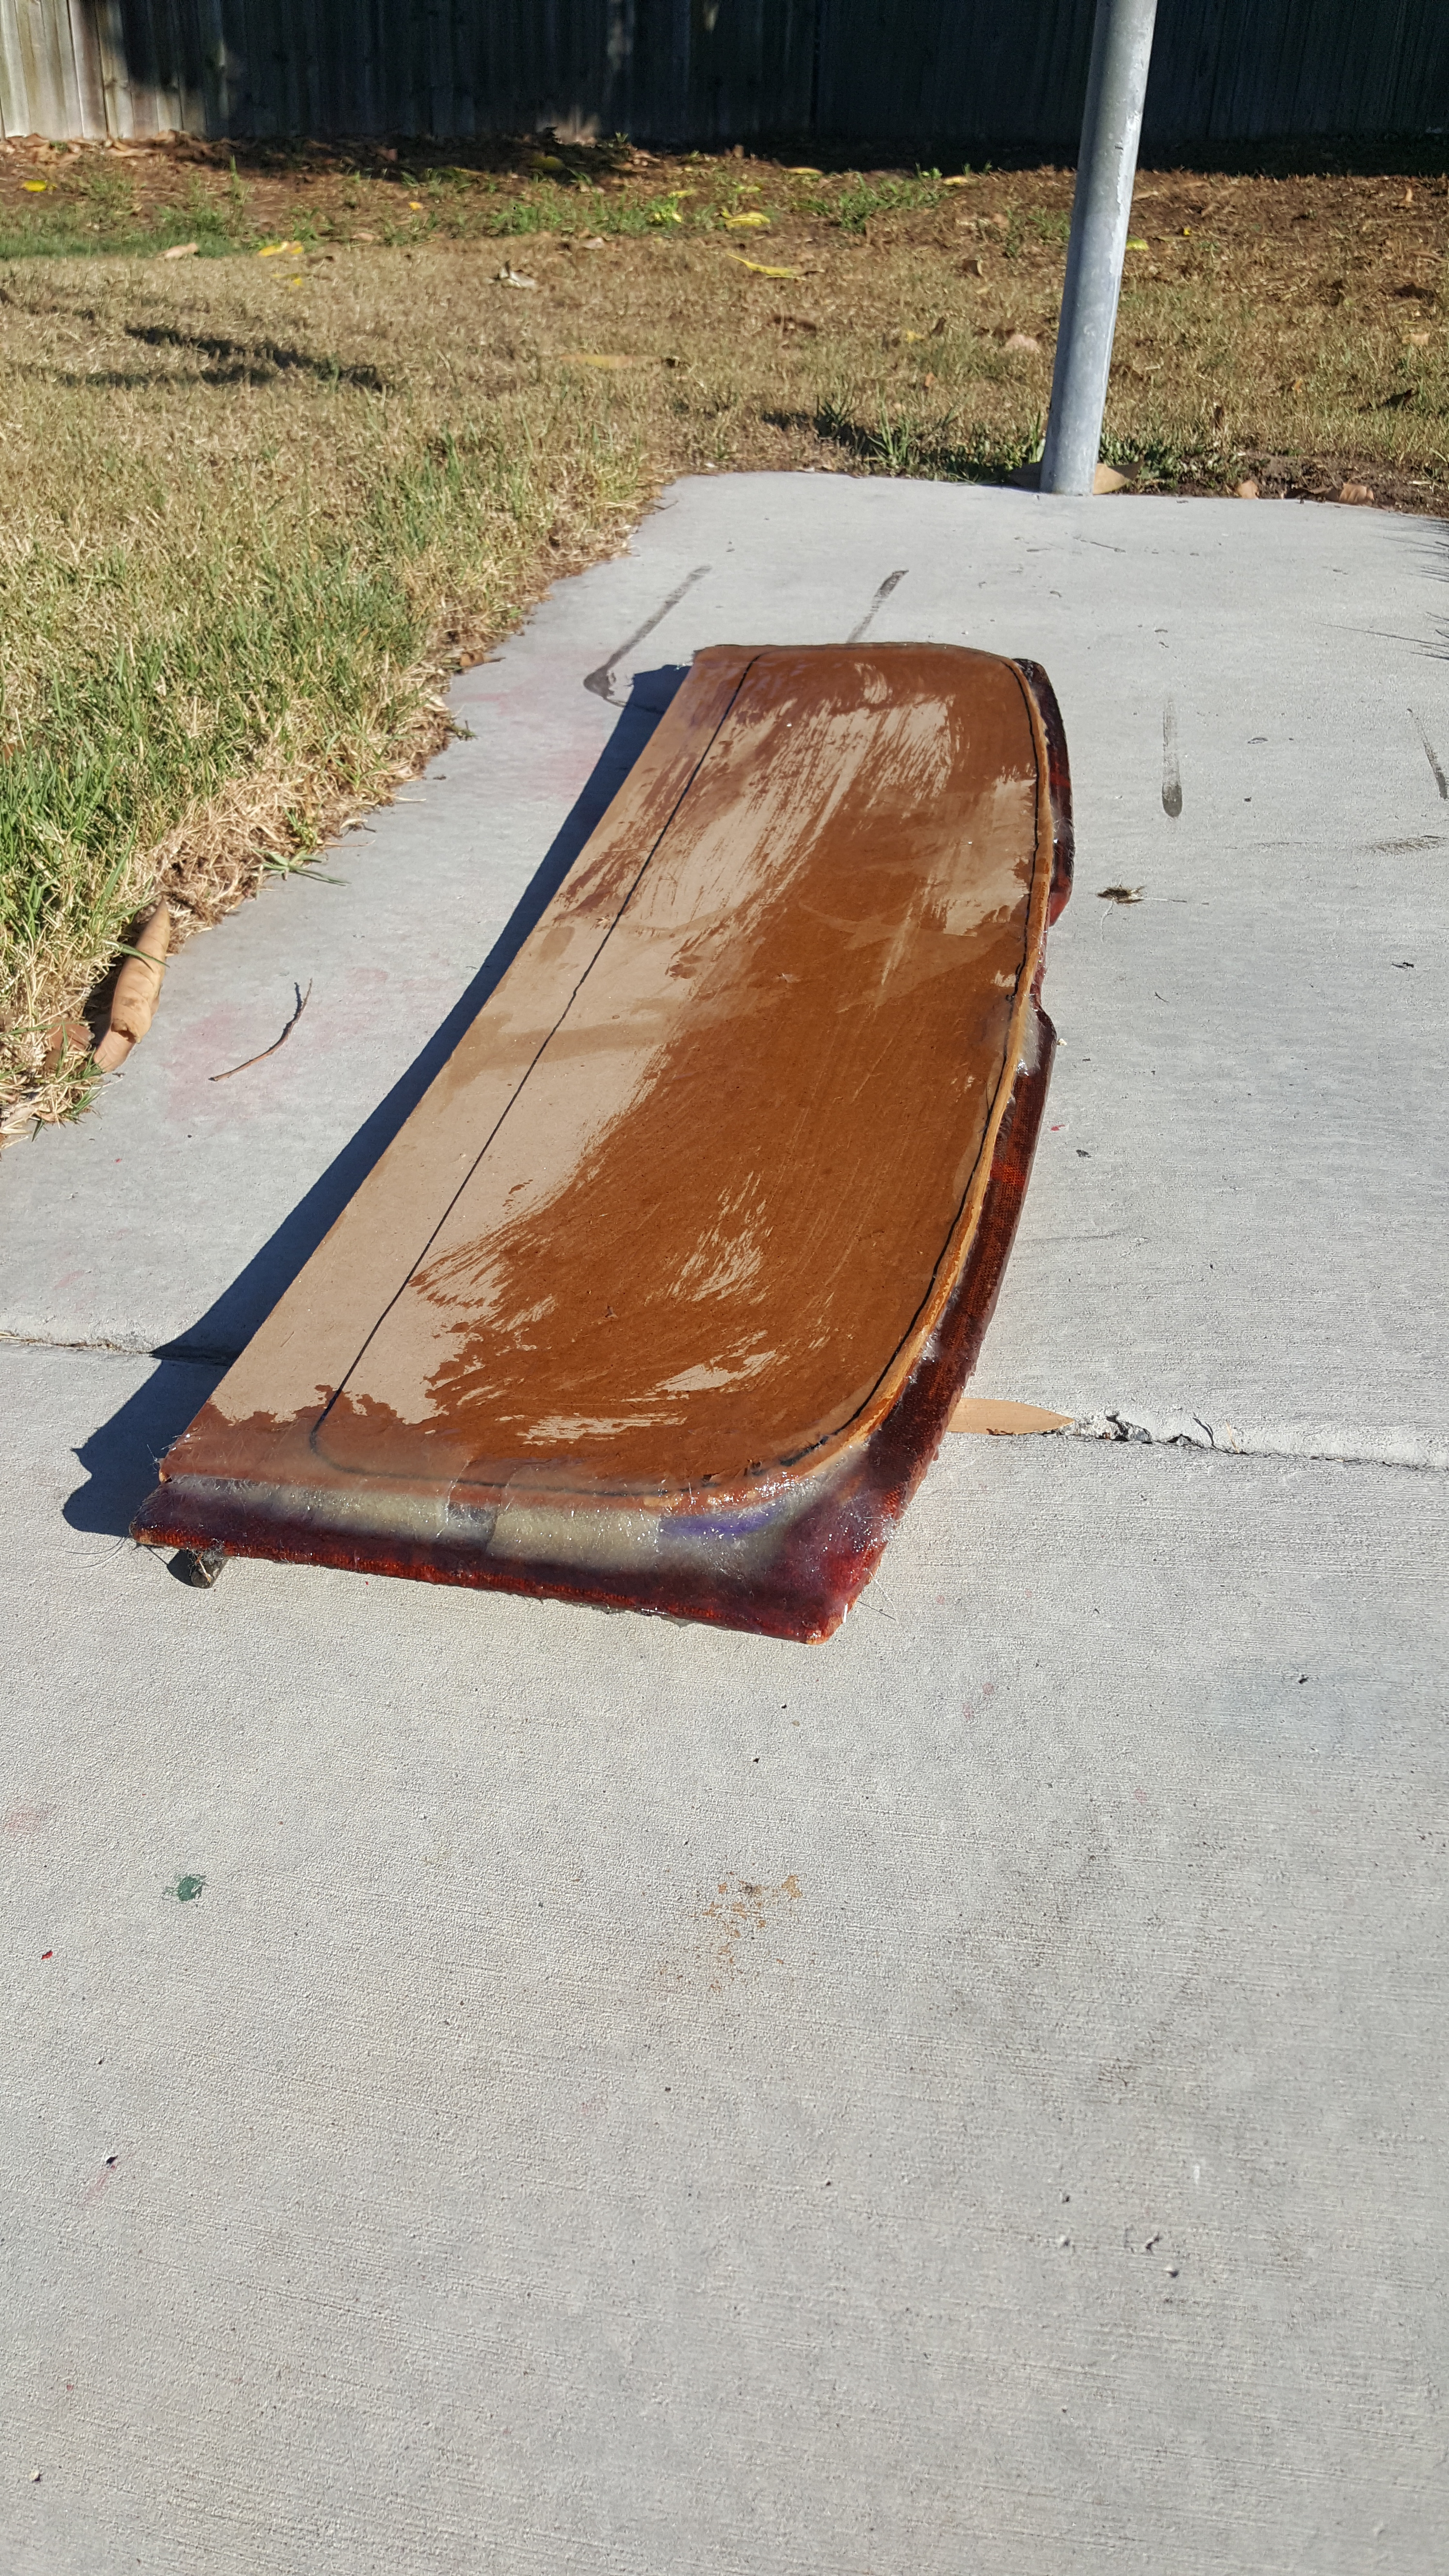
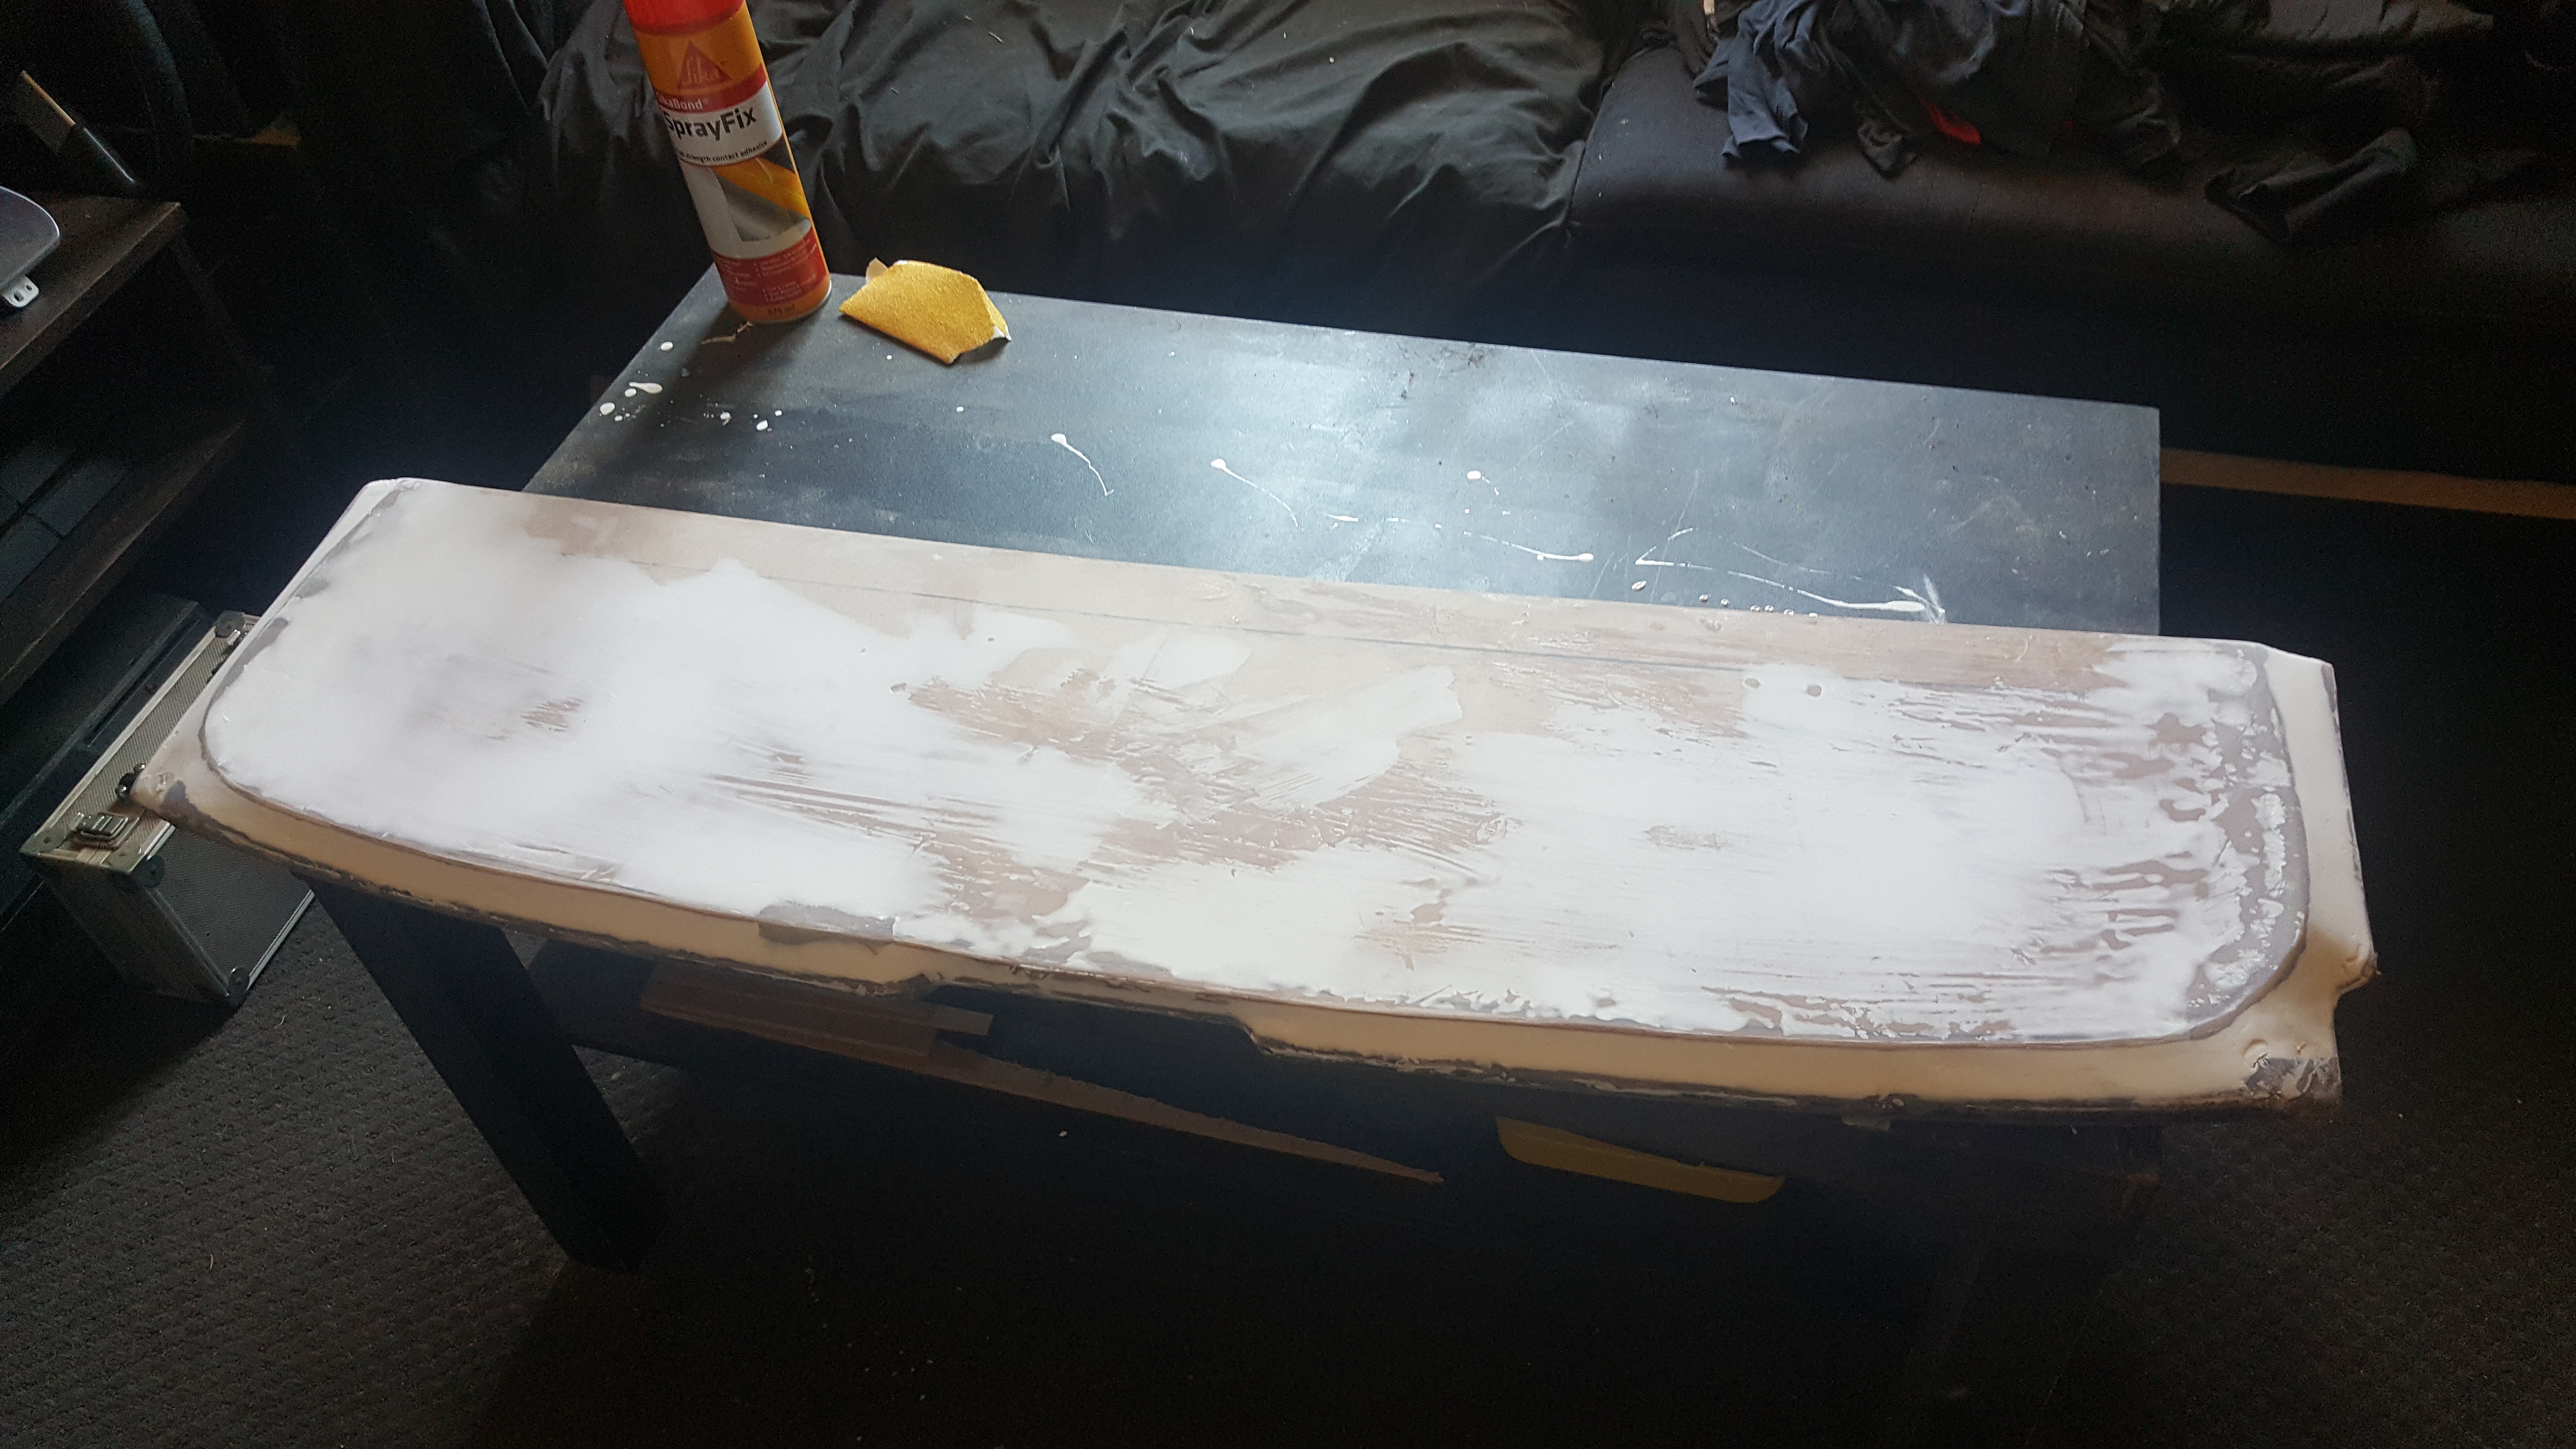
Factory shelf with middle cut out and bottom shortened, used the frame for the overall size and shape! 6mm mdf cut to shape and glued/fiberglassed on and sanded and covered in same fabric. MUCH BETTER!
The curve looks worse in photos but in person you can’t notice. Maybe down the track i will try and stiffen it up but need all the clearance for the movement of the subs


Awesome! so we’re pretty much upto date now !

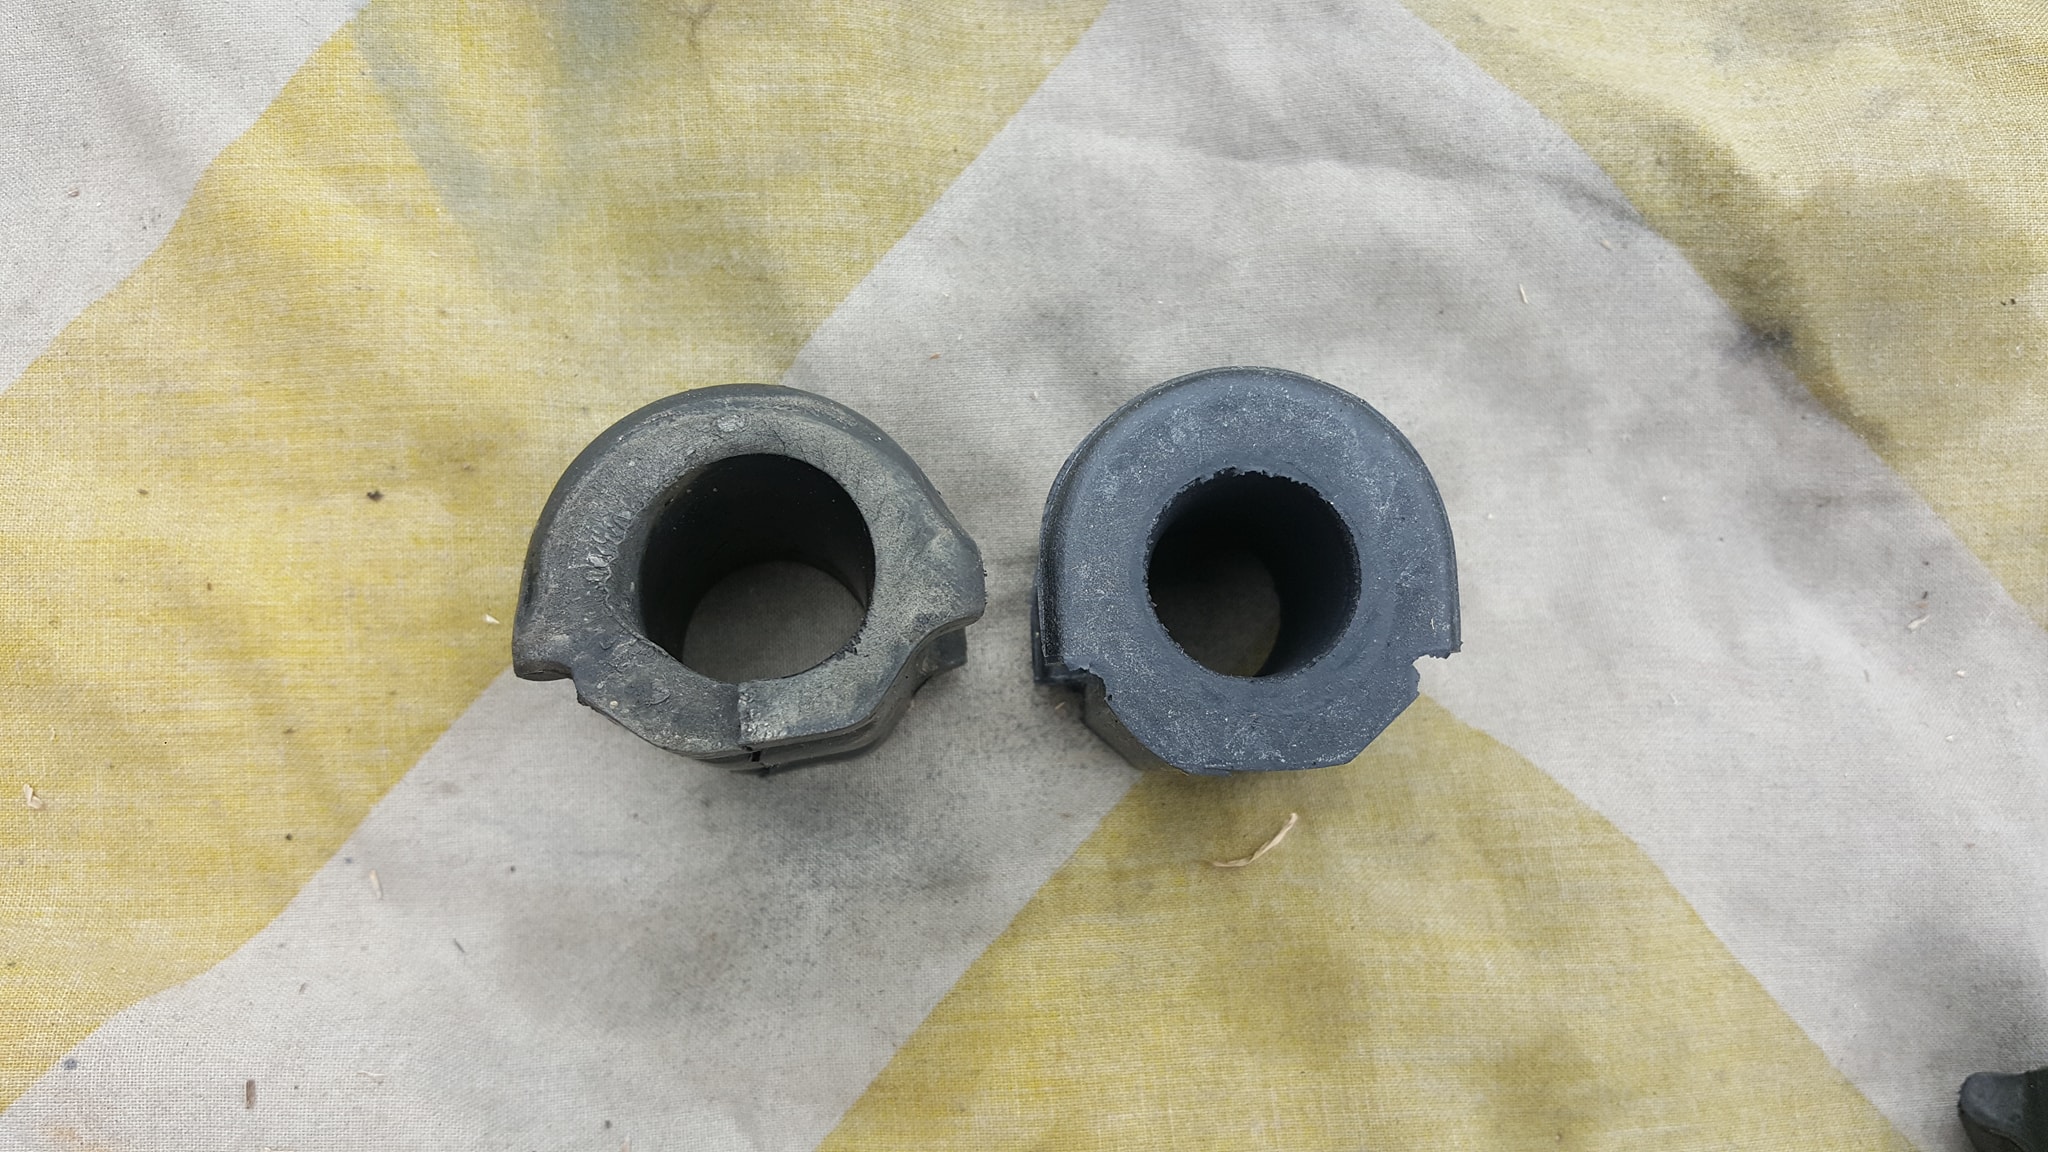
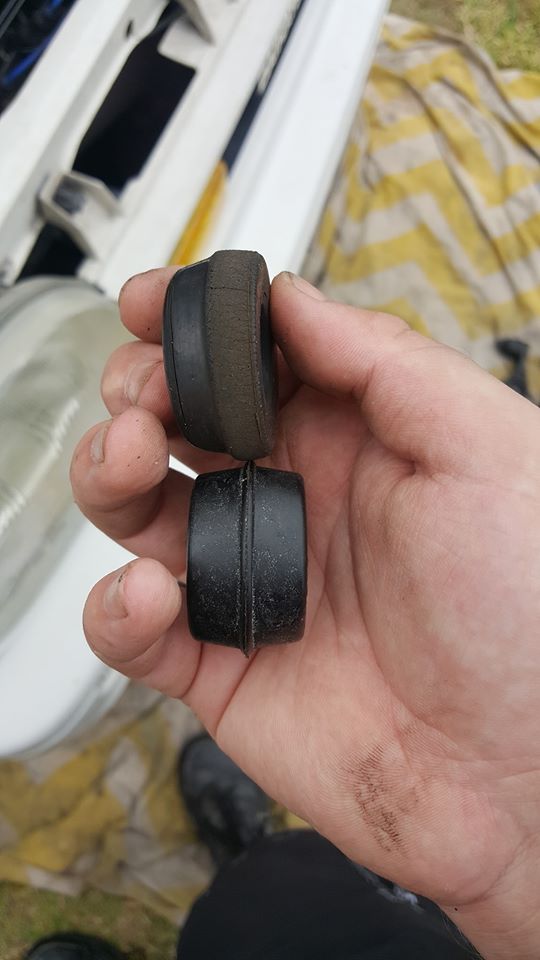
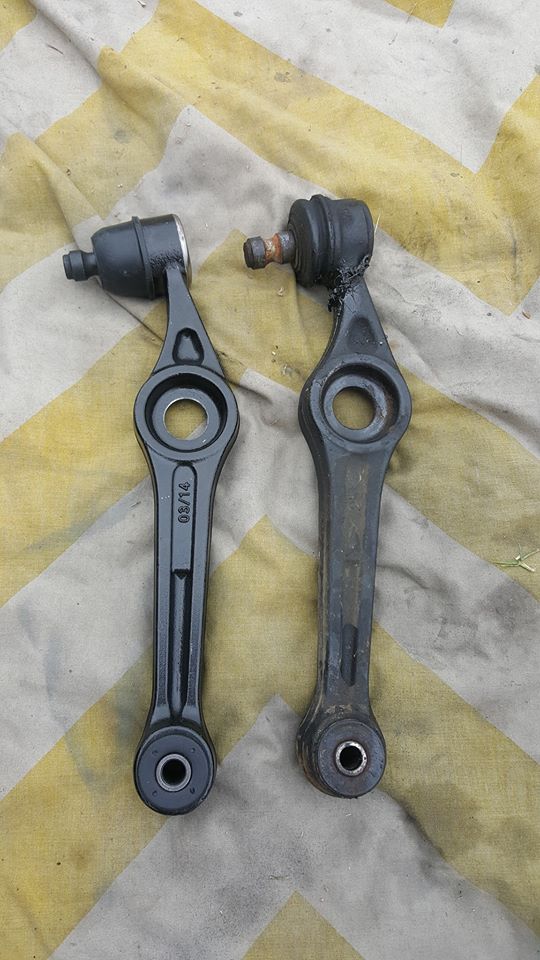
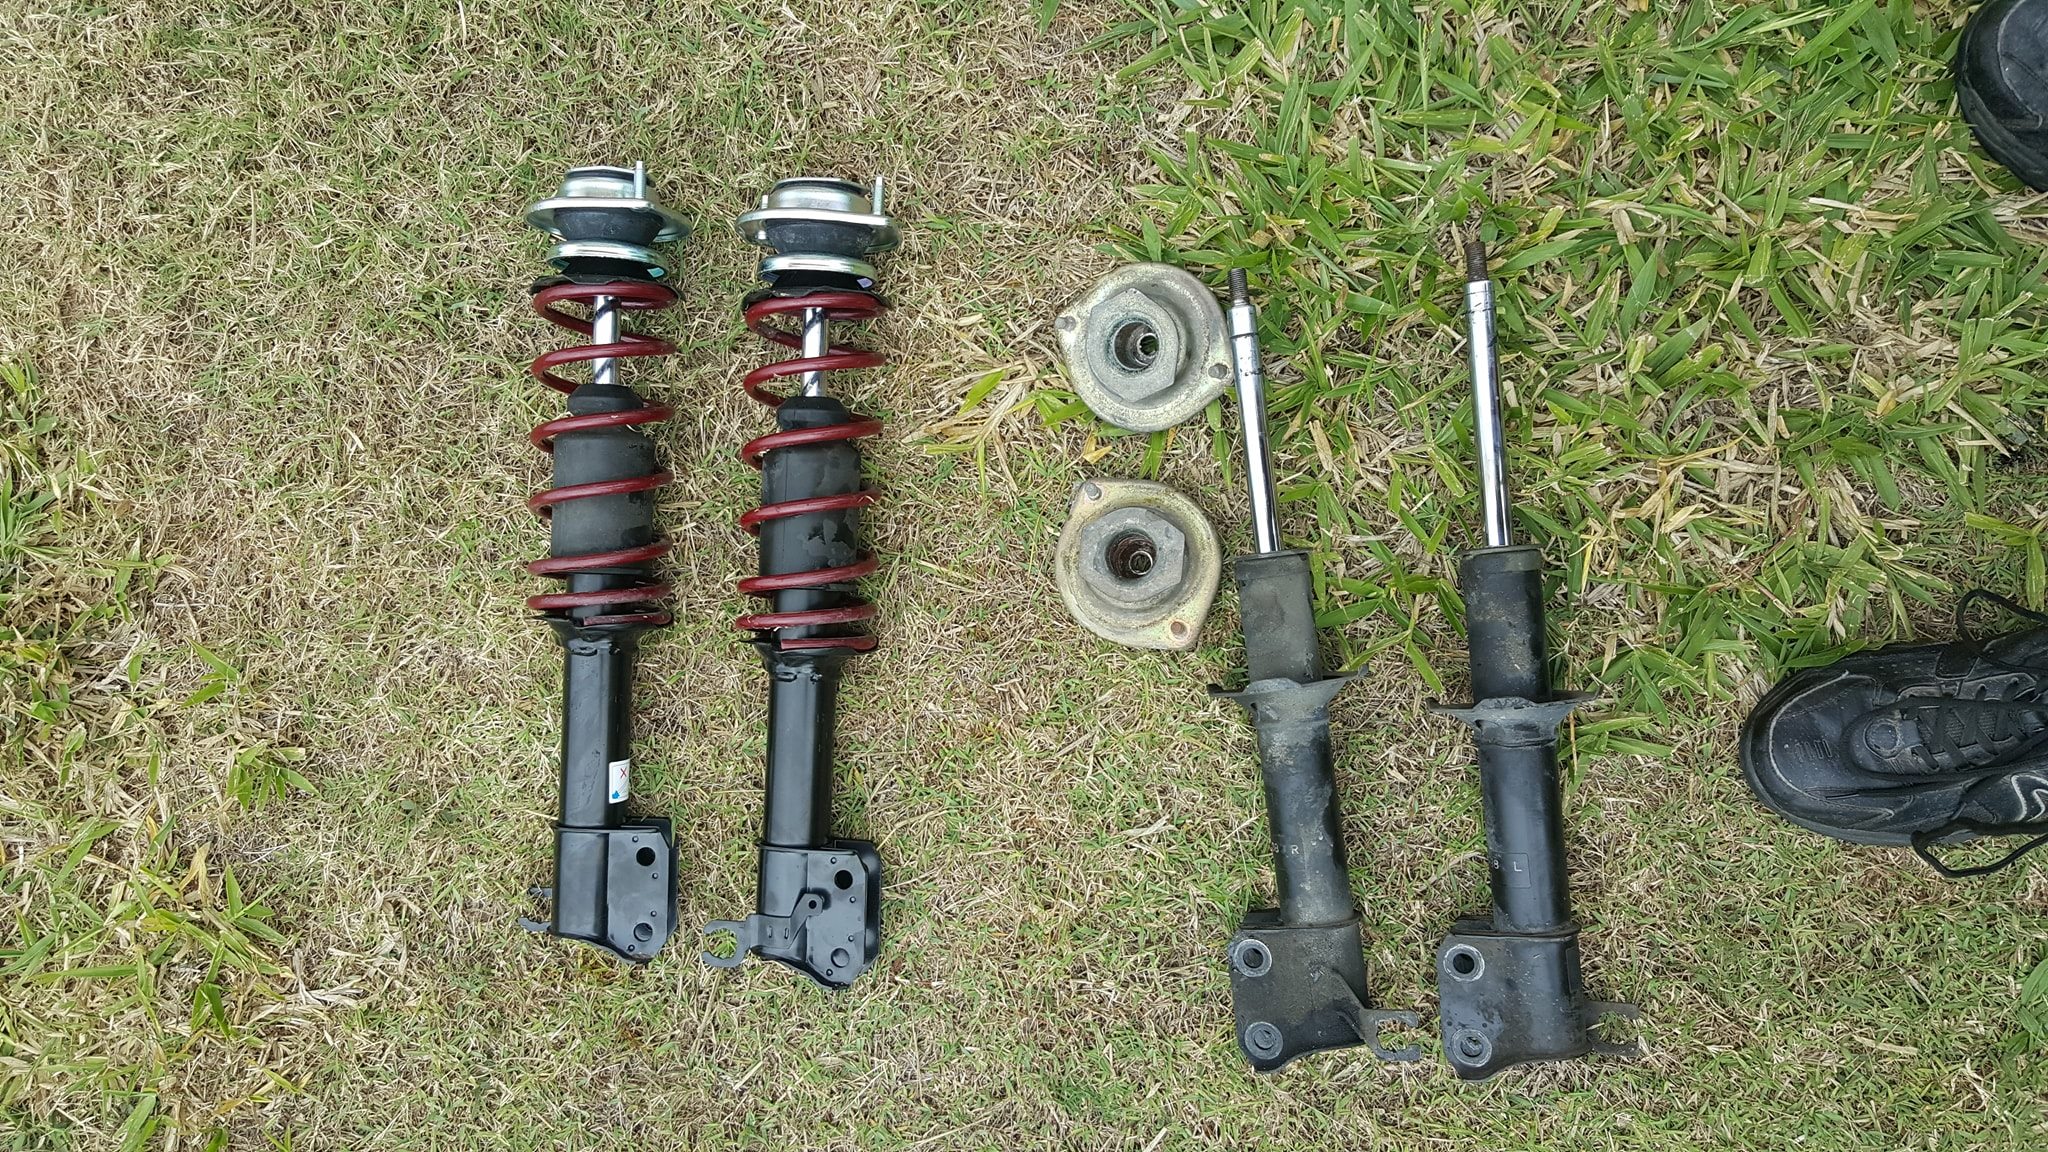
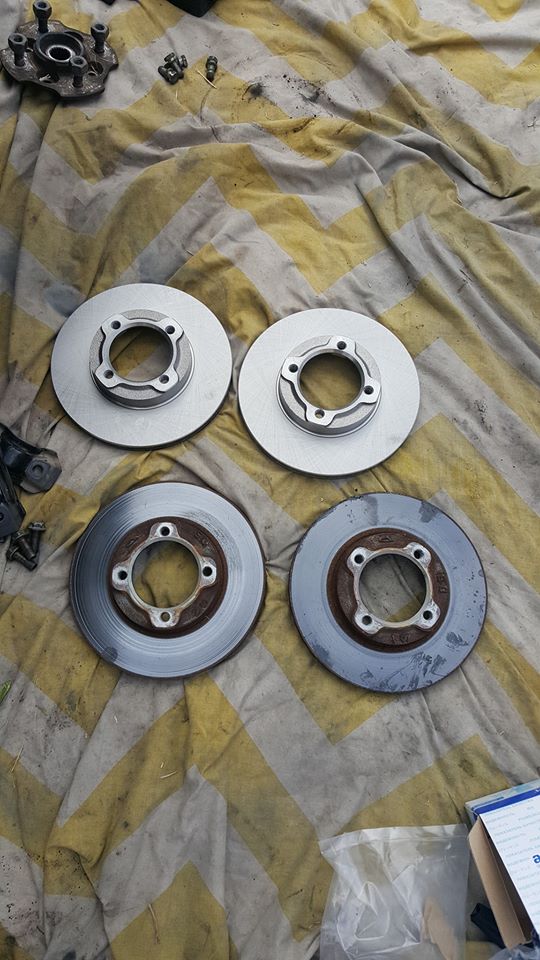
The interiors latest photo, some things have been added like twin stringer volt meters on the blank panel and i have multiple parts still coming in the mail and i have a full front end refresh waiting to be installed. I’ll try and keep the build thread updated.

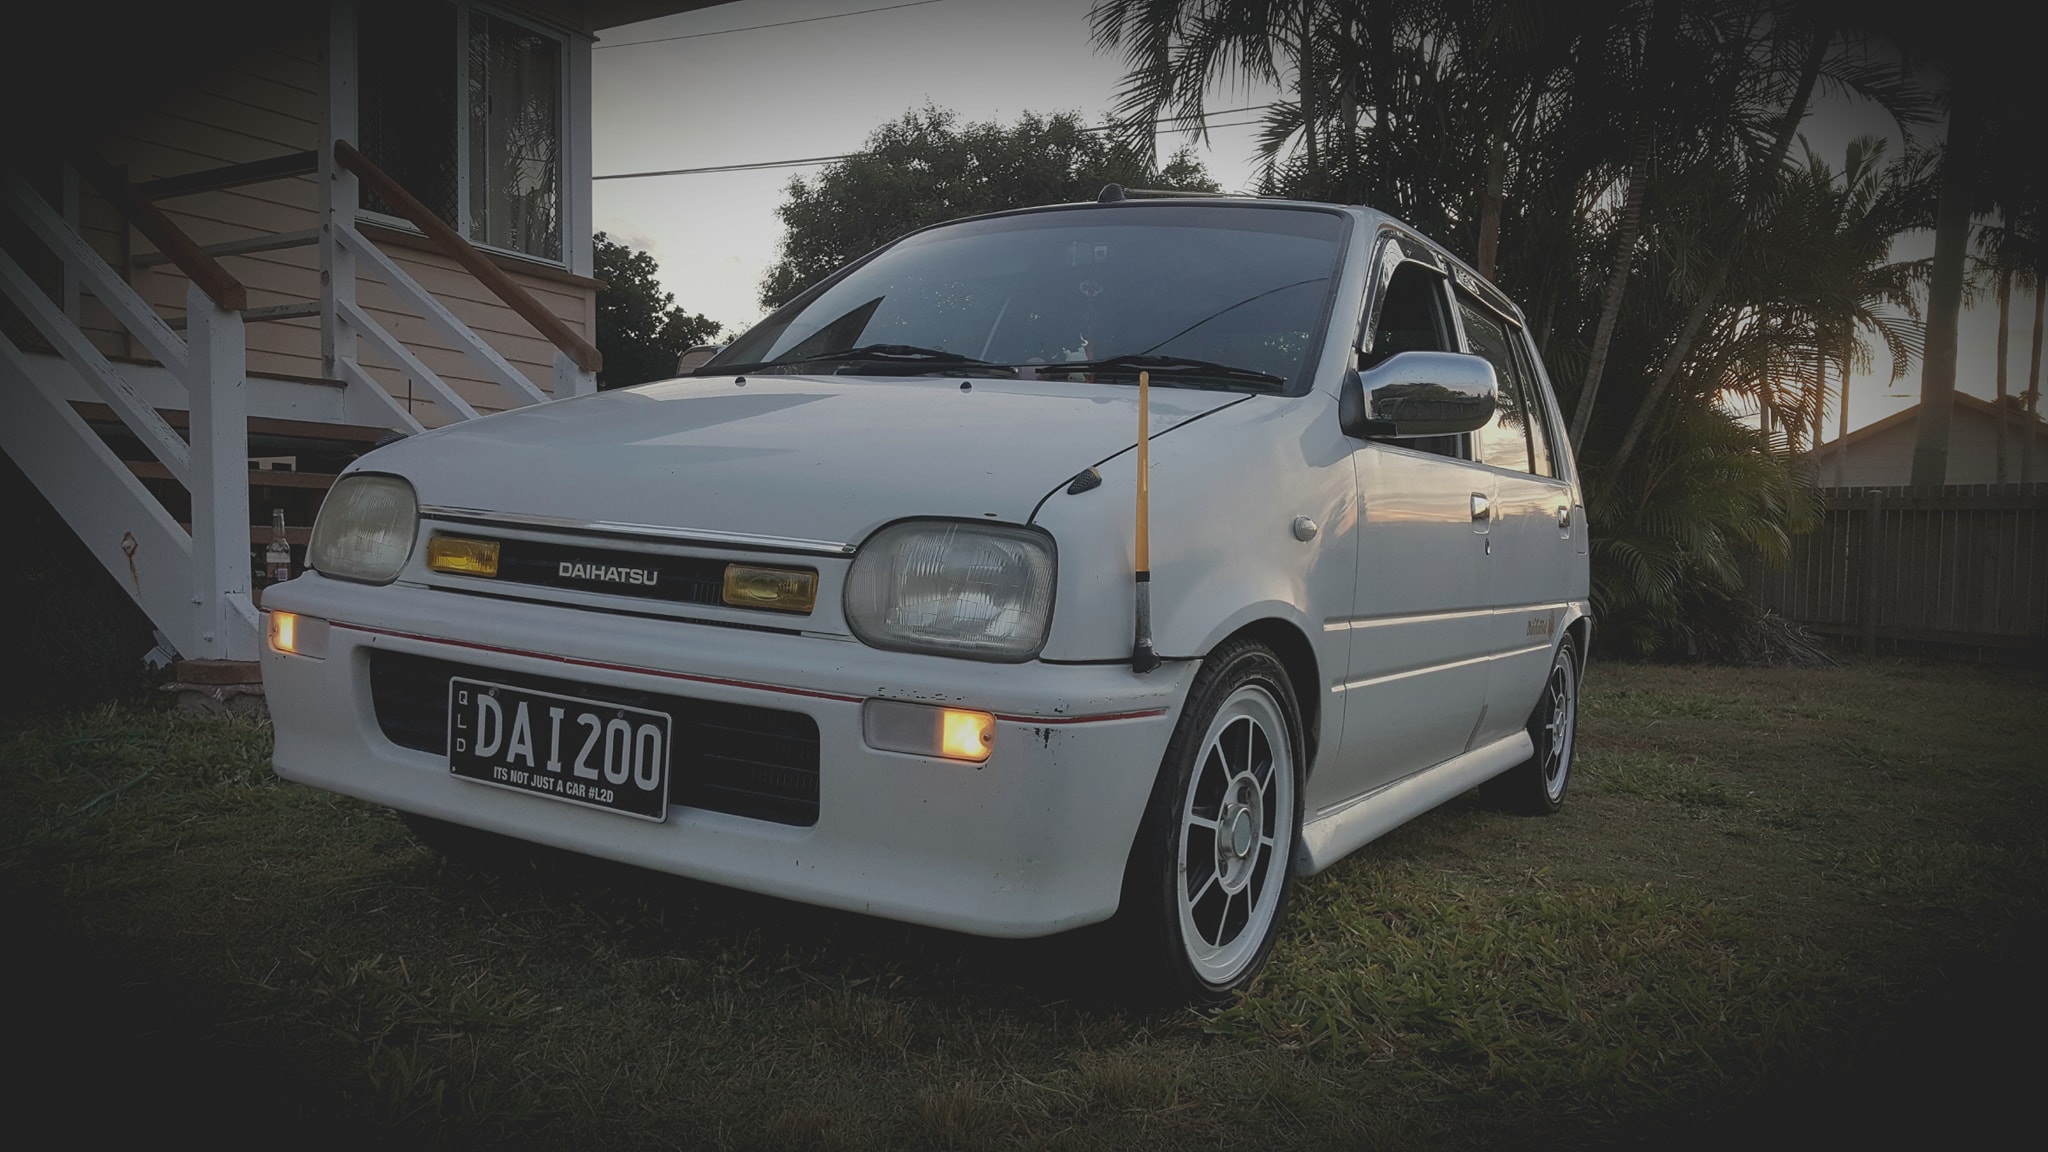
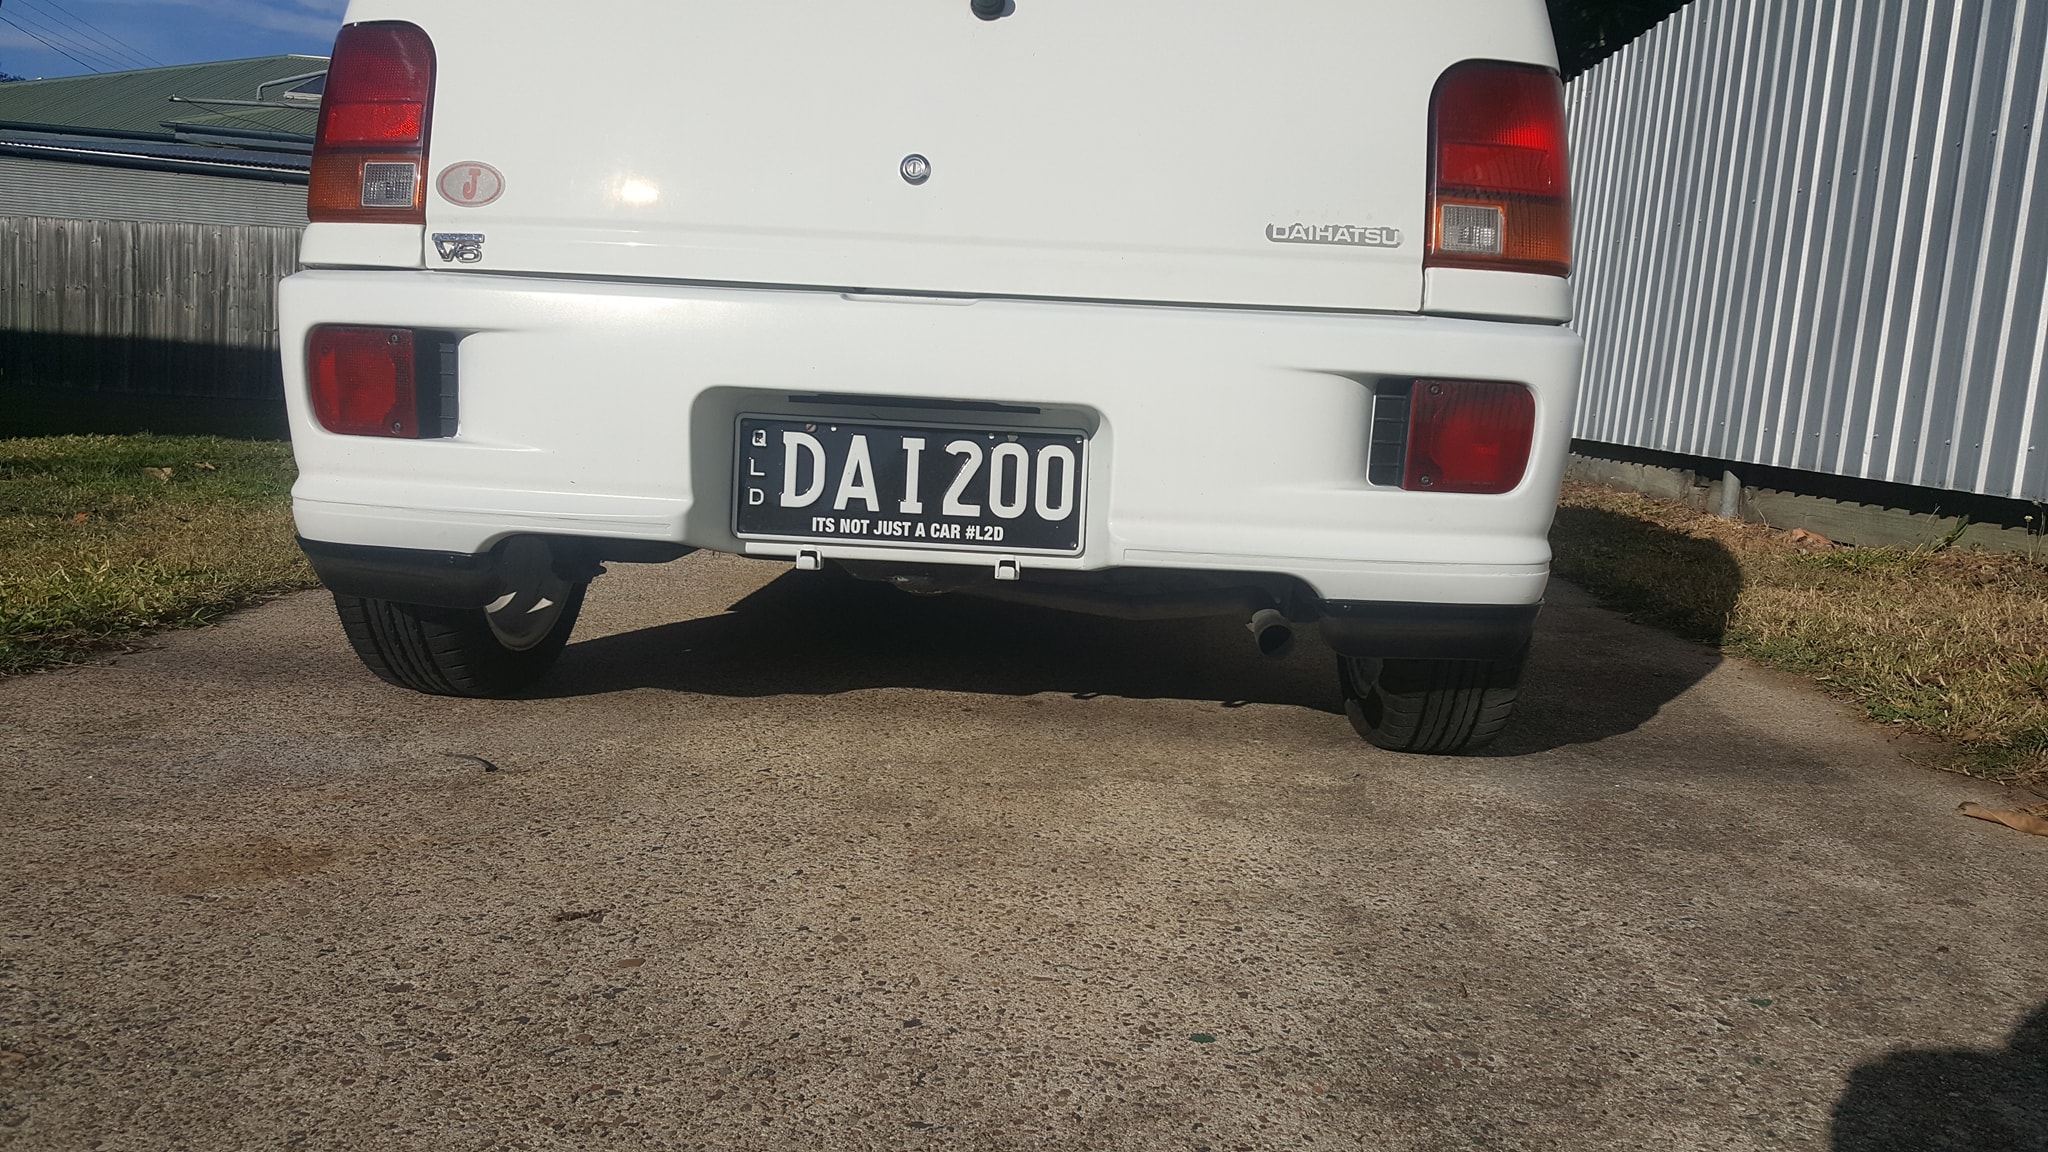
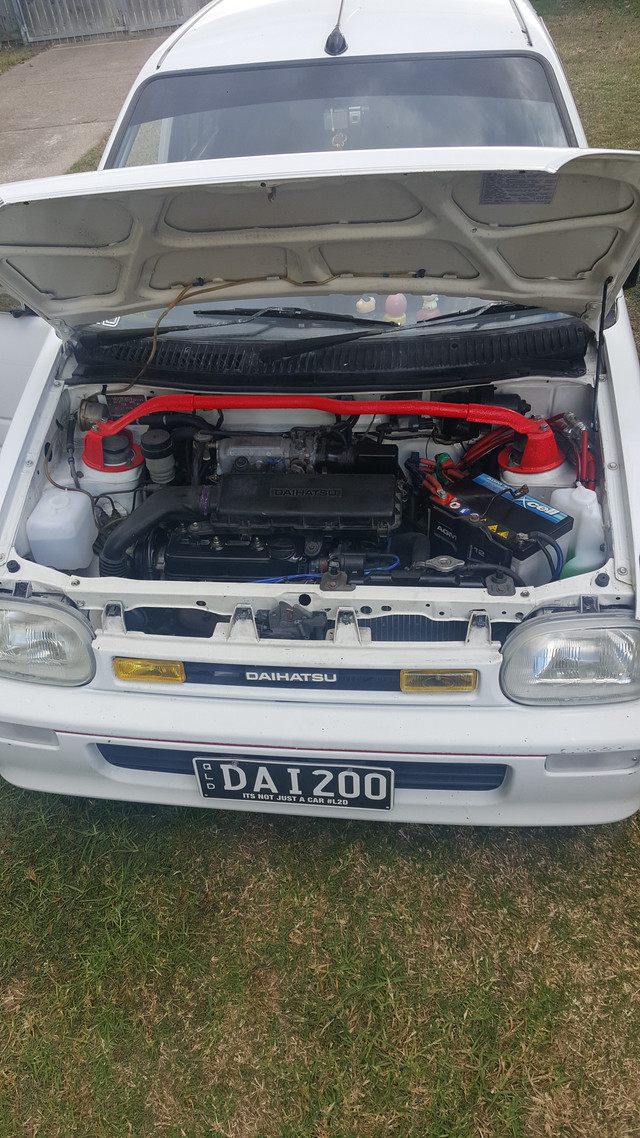
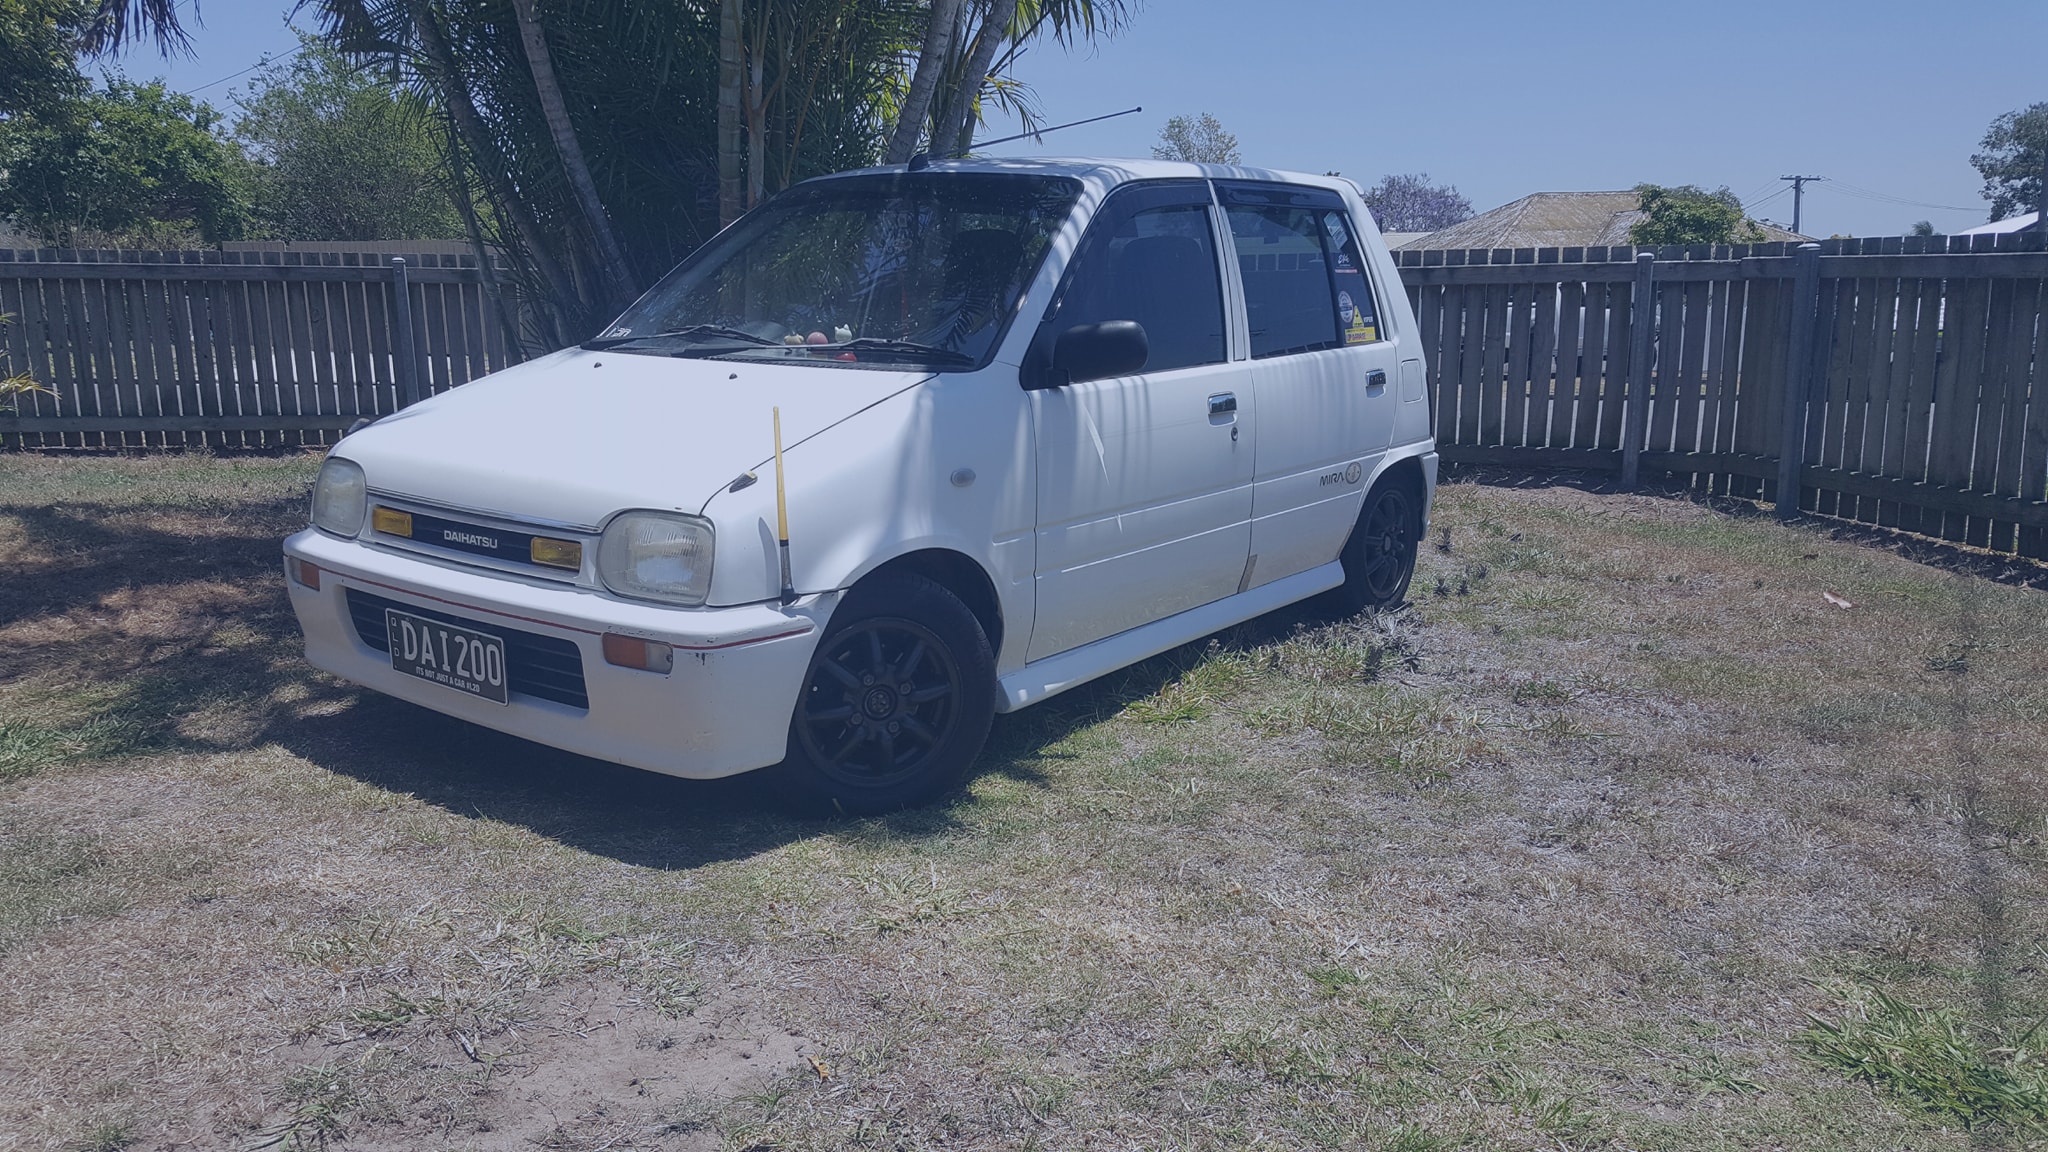
Oh almost forgot. The plates to rep LiveToDai #L2D

Peace out guys :slight_smile:

Update 8/11/2019
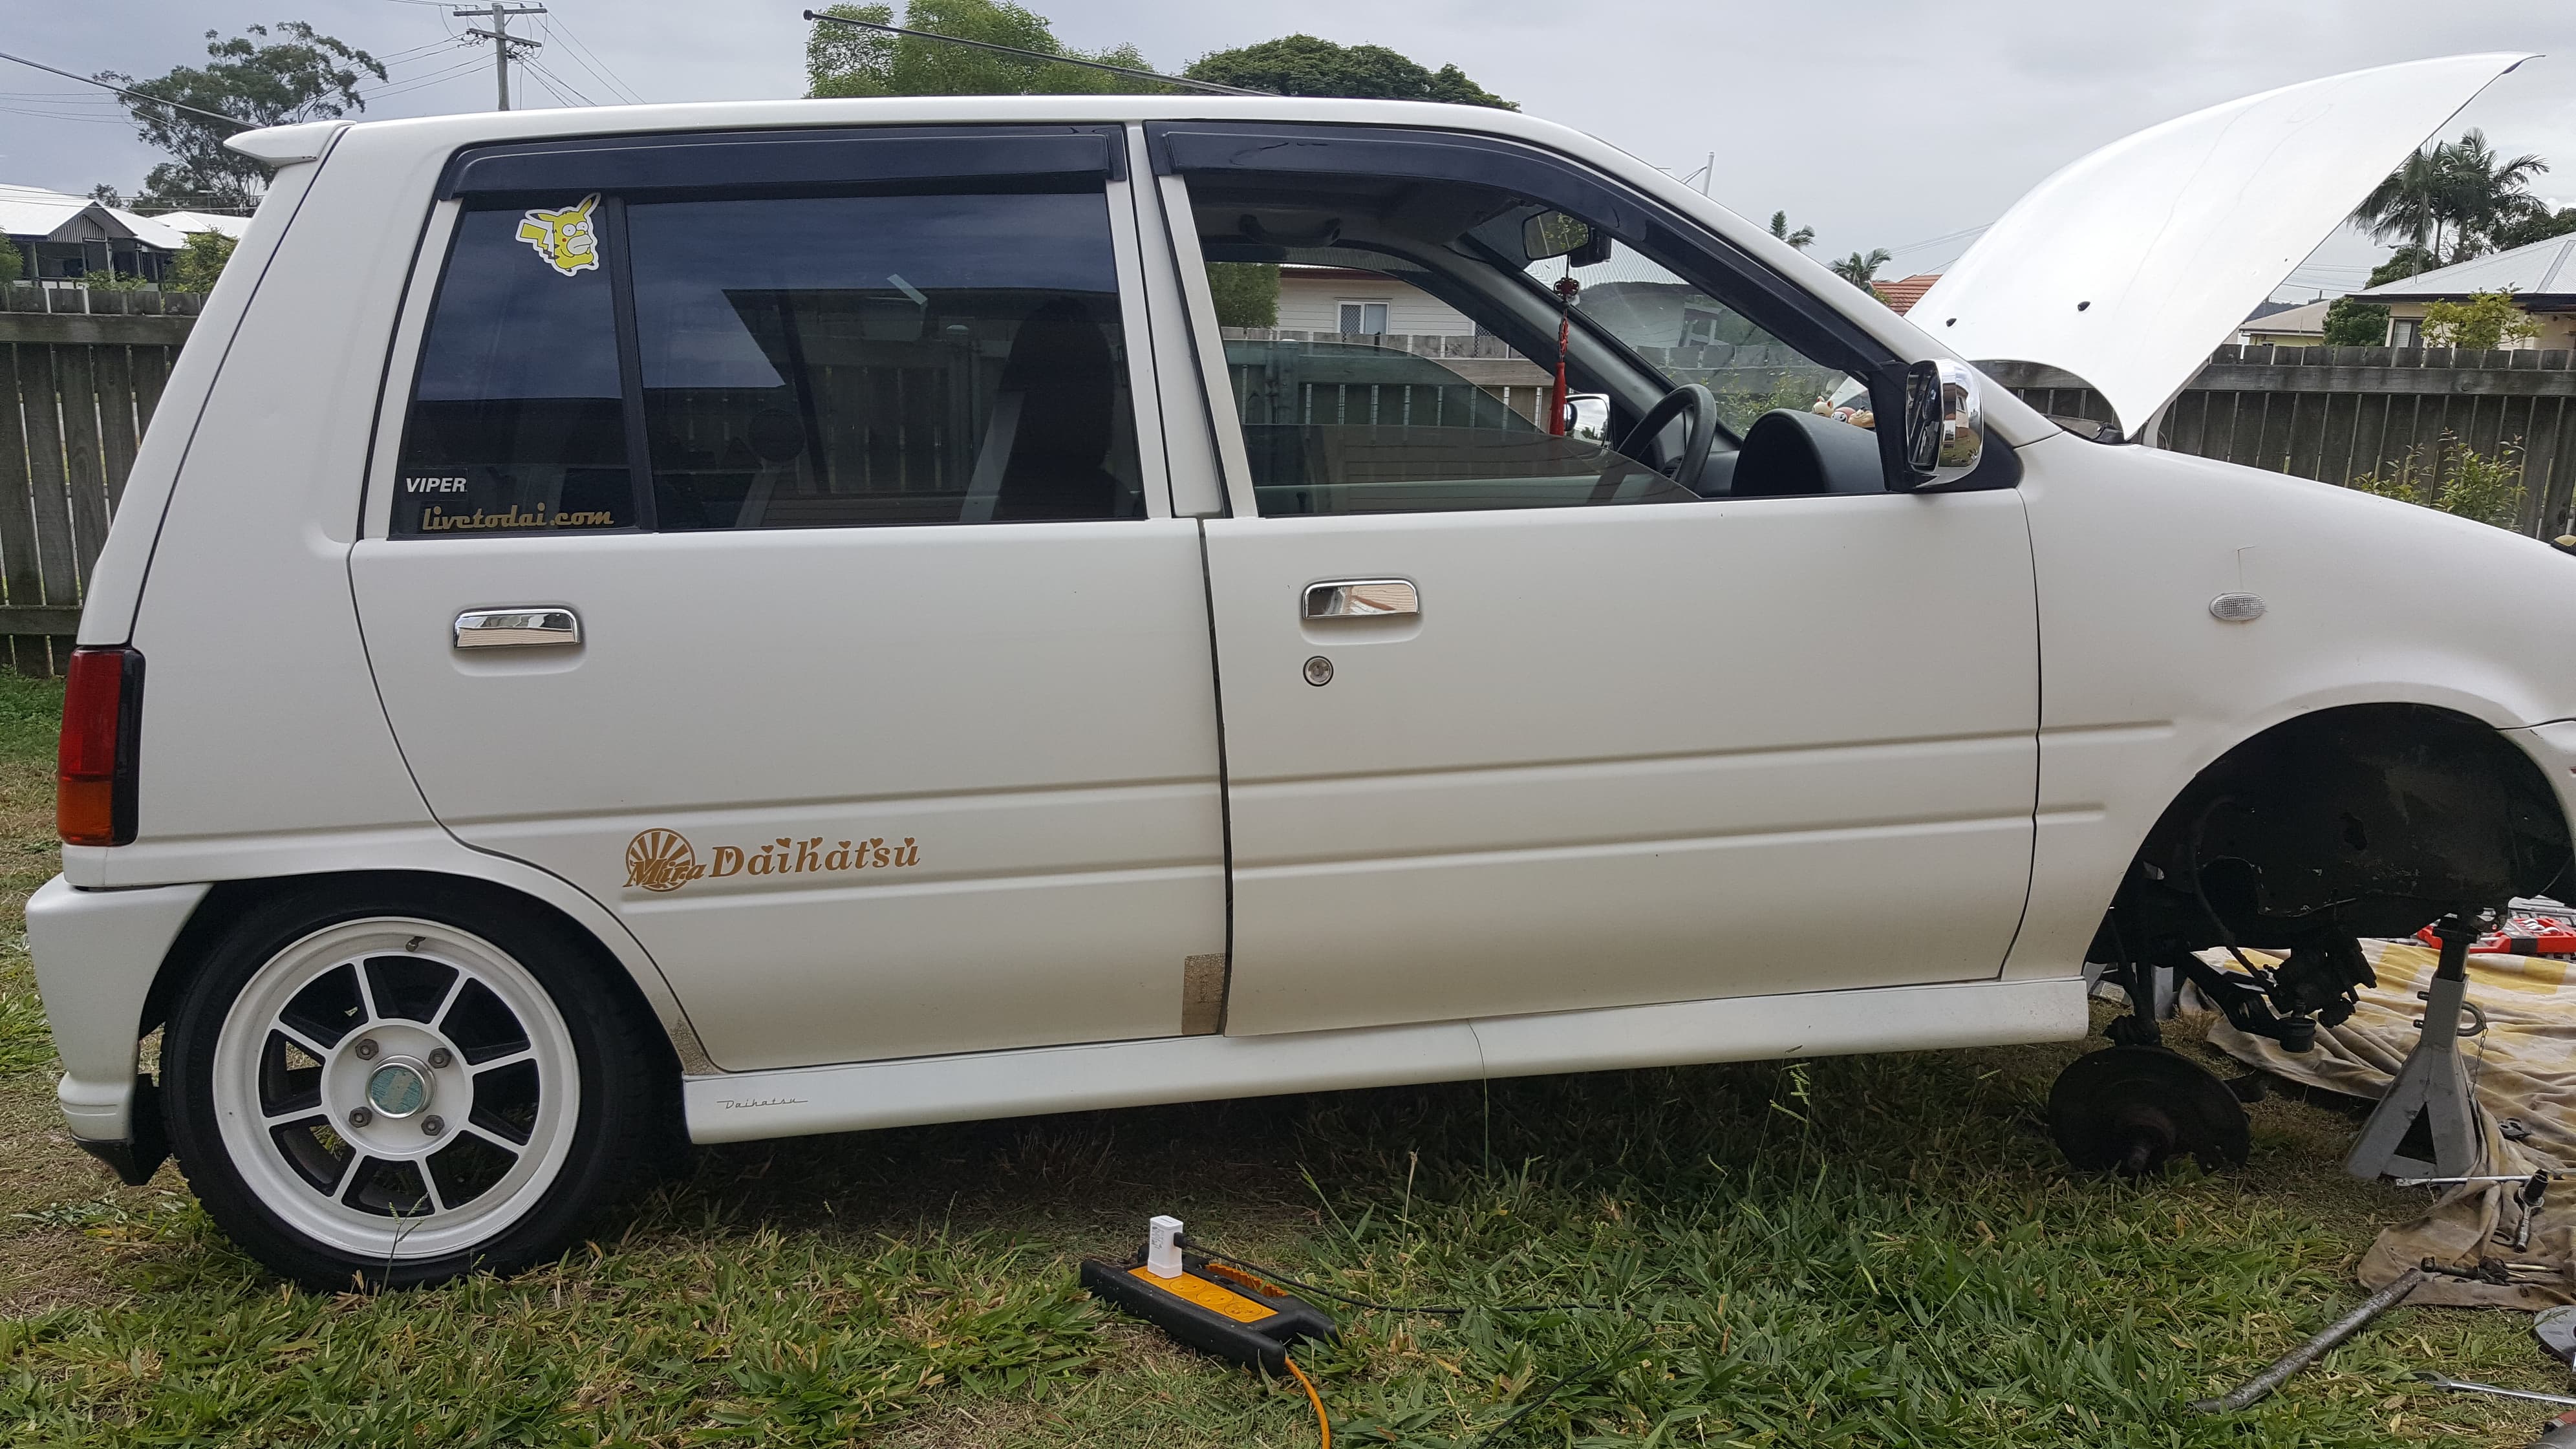
Factory side skirts repaired and color matched and installed. I’m inlove


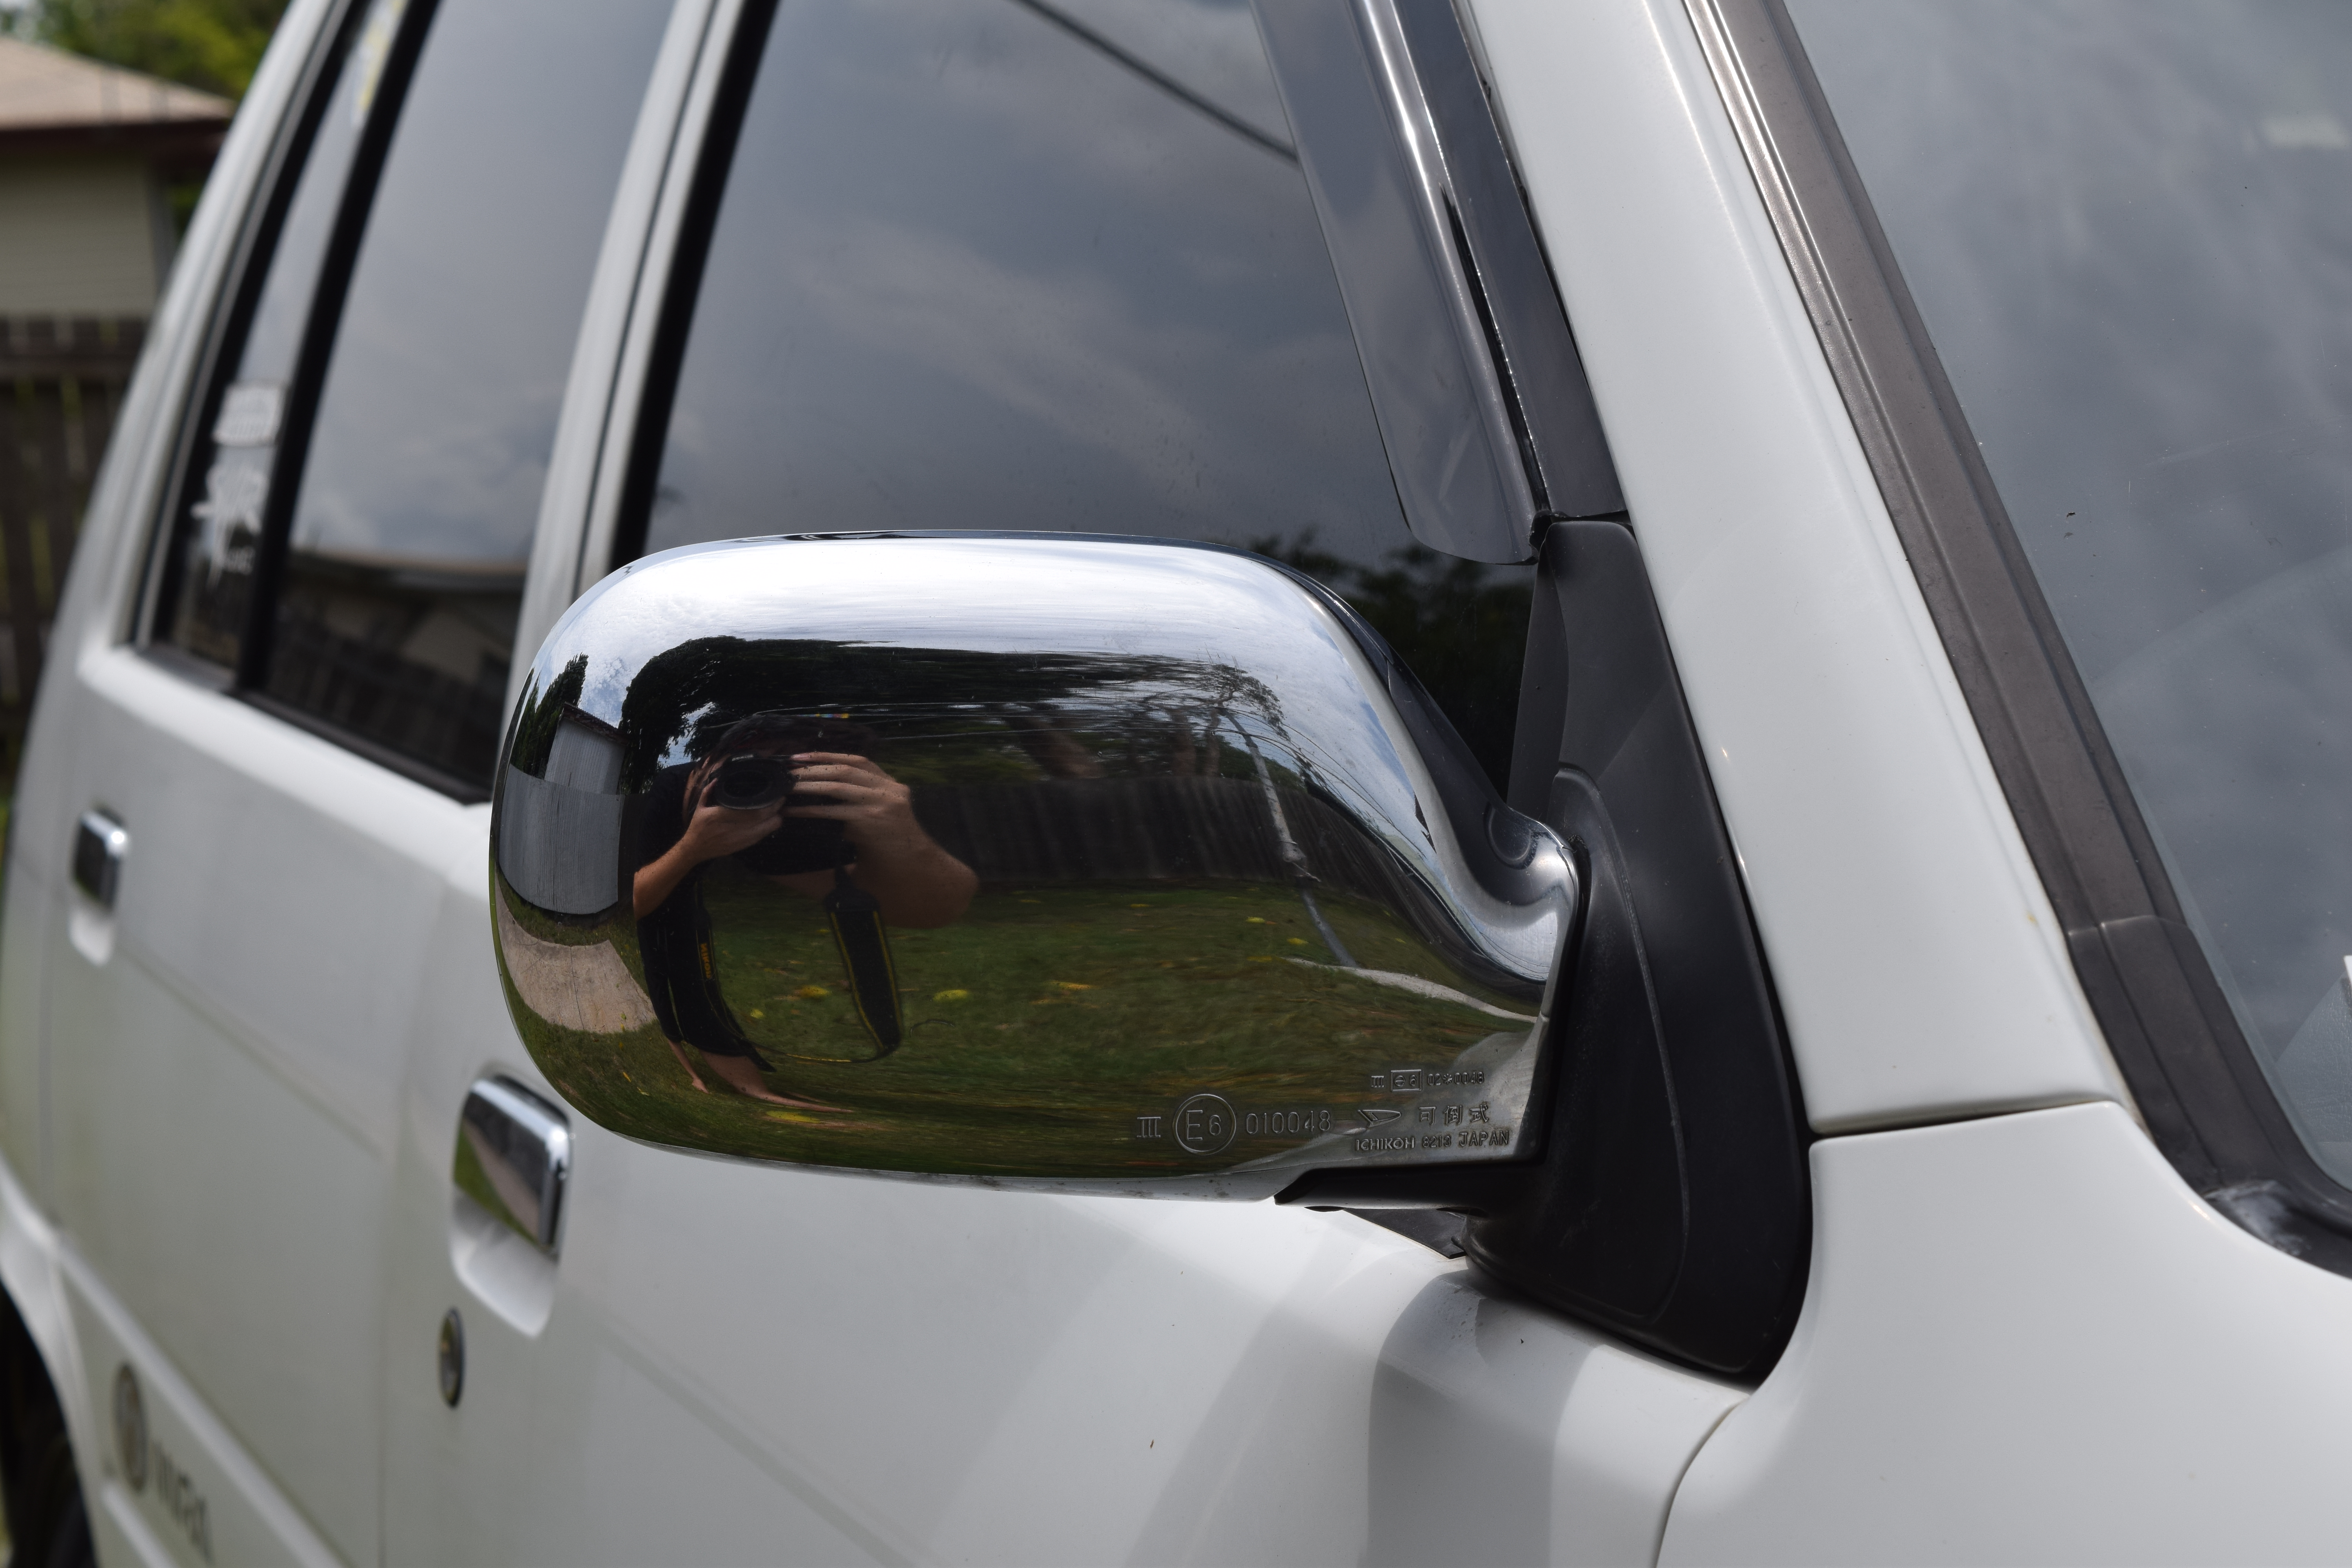
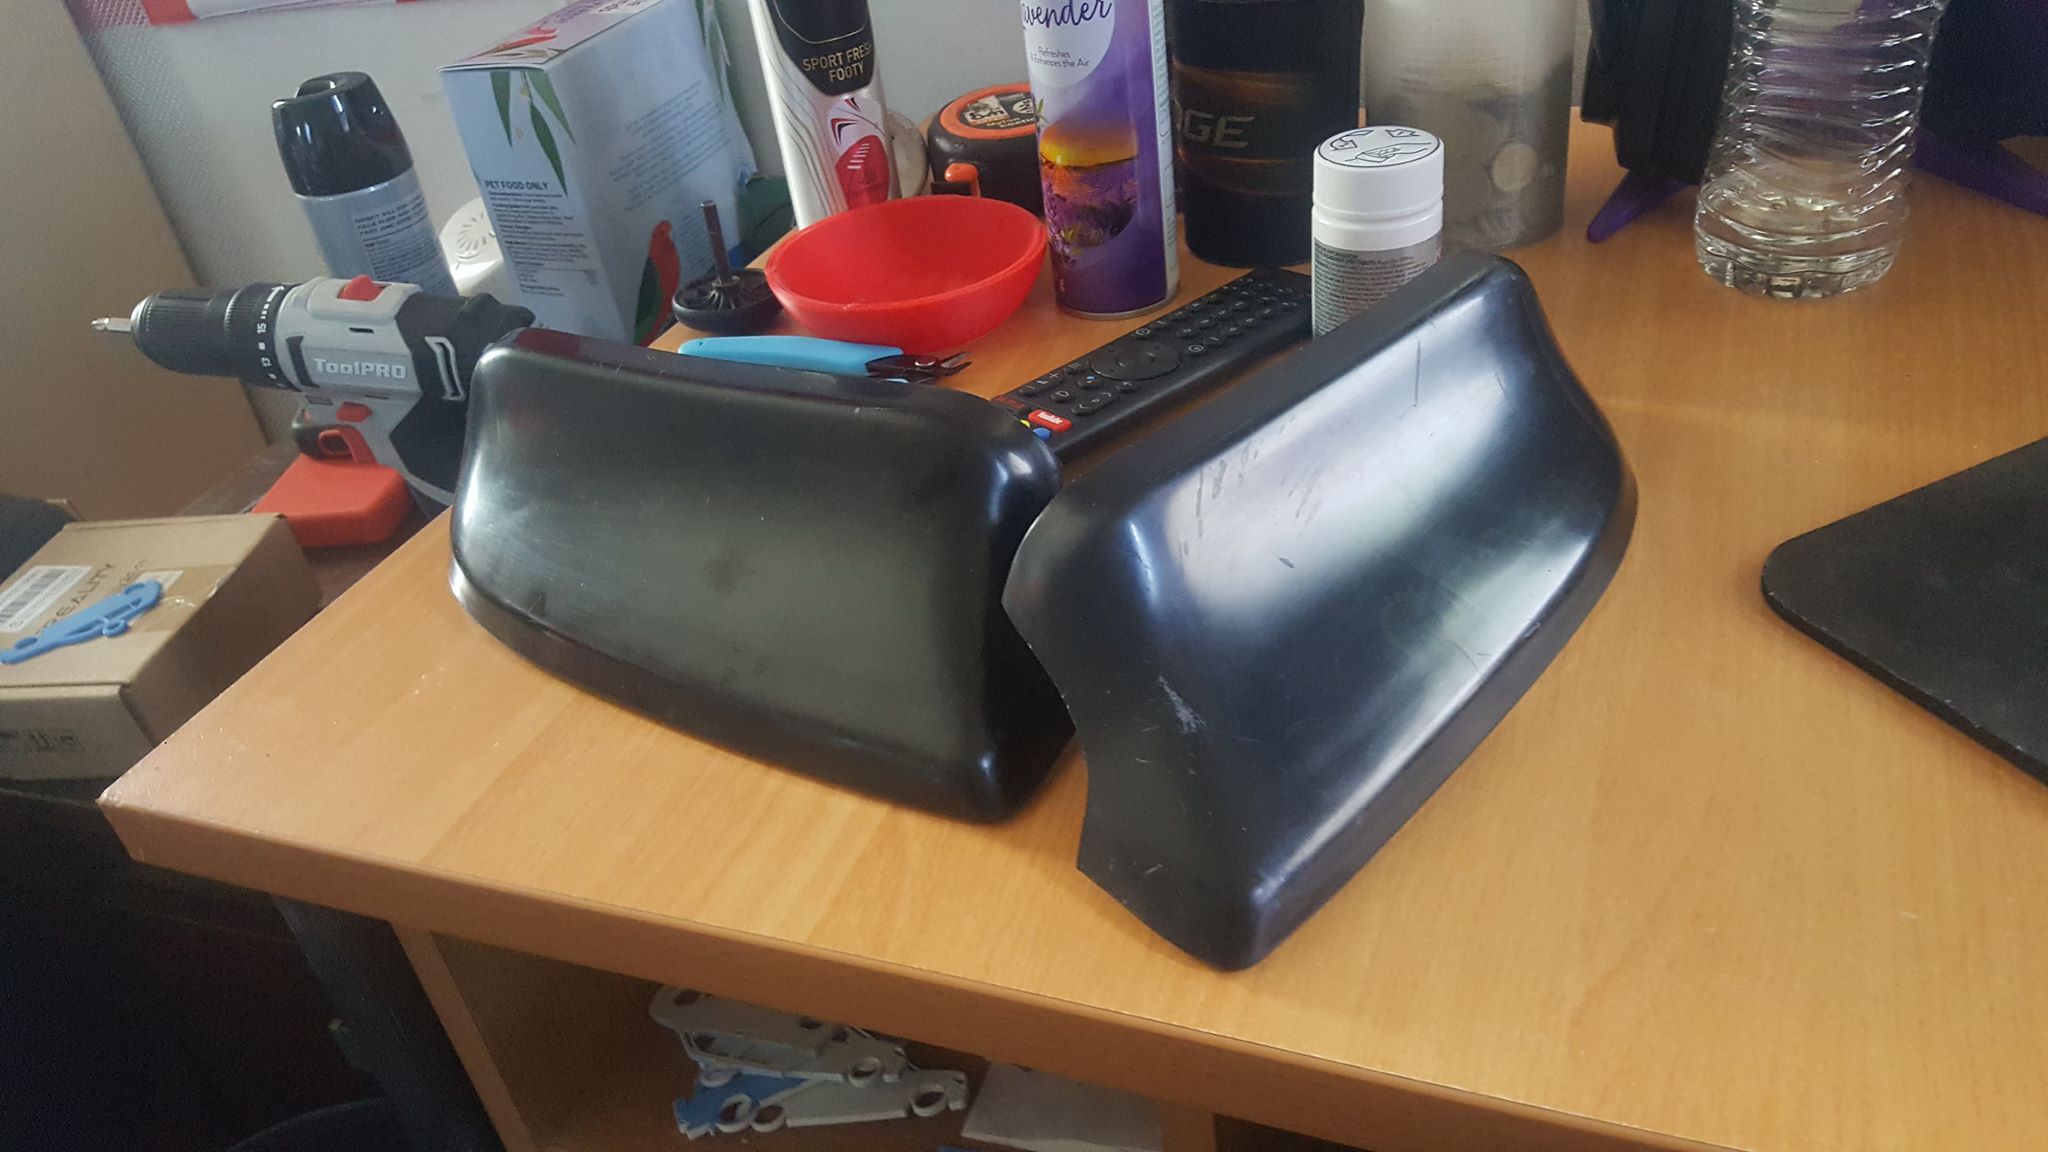
Update 17/01/2020 I’ve installed some L500 chrome mirrors


8 Likes

about time you did this hahaha!

3 Likes

Update 29/04/2020

So things are amazing with me and molly <3 the relationship is perfect at this current time.

I spoiled her and installed Electric L500 auto folding mirrors seen in video below. These are amazing and such a good upgrade

Another addition is my own home made 3d printed front bumper light covers in video below

latest mod/item are a set of wheels i’ve wanted for a long time since seeing them for the first time years ago.
an amazing pair of Hayashi street rims in 14 inches with perfect offset

Suits the car perfect in my eyes.

Until next time guys
Stay awesome

9 Likes

Small update.

I have always wanted red carpet or mats in the mira. So i hunted down cheap rug shops and i found
one that stocked what seem to be bathroom floor mats and are almost the perfect size for very very cheap $10 for 3

Right side did didn’t need cutting but i cut the drivers slightly but they look awesome. Photo below:

Another small item that helps complete the overall look of the car are the TR rear bar pods that are pretty much “mudflaps” but help with the problem TR bars have by being short. Photos below:

All that has changed so until next time :slight_smile:

7 Likes

Another small update.

We all know how the plastic bottle go after 28ish years of heat in the engine bay and like most mine were kinda crusty so i ordered fresh Coolant bottle and windscreen washer bottle. See photos below:

20200529-124254

20200529-130155

20200529-130207
So thats done i got to doing the rocker cover gasket, Very simple job on the Ef-EL engine.

20200529-131140
20200529-132014
Mmmmm nice and clean inside.
20200529-140220
All back together and looking abit cleaner.

Until next time.
Peace.

8 Likes

Where did you get those bottles?

Looks at the ‘Perodua Kancil’ on the package I would say Malaysia?

2 Likes

Hey all, Abit of a big update this time.

So we know how old our cars are and mines 28 years old and coming with that age is worn out bushings,suspension and brakes.

So i Ordered a bulk load of parts from Australia and Malaysia

Below you can see photos of Old VS New


The swaybar bushings were very sad as you can see and being that worn it was causing the Swaybar to hit the kframe. Kancil 850 is the model you want for bushing as 660 model has smaller swaybar

Swaybar to LCA bushings also very very worn

Along with new LCA

New shocks to replace the old and blown out factory ones and Nice new discs to replace the old warped ones

All was going great. Until i ran into an issue with the passo cv thread. It didn’t feel like playing ball so i Had to weld the nut on so i could place back onto the ground and order a new shaft.

The new shaft arrived in 2 days and i got it all done fast in the morning and she is back together with all new everything in the front end. I didn’t take any photos of new cv or new brake pads sorry but you get the idea :slight_smile:

Until the next thing needs doing.
Signing off.
Peace

12 Likes

Hi again, Another small change, I was having space issues with my door design you can see in an old post in the log So i had to come up with another design and this is where it gets cool.

Some know i have a 3d printer setup for ABS and thats perfect for in car stuff because of the temperature resistance so i decided to make some flush mount 2 piece speaker spacers

STL. Files here if you wish to have a play

I needed something else to fill in the ugly flat door card so i used some cardboard and just made up a panel

i was happy with the look so i got some offcuts of MDF i had laying around and traced the simple design onto it and got cutting

All cut and edges finished with the router i went to work on wrapping the speaker rings

As you can see the Alpine Type R speakers sit perfect in the spacers with the grille on and that’s what i wanted.

I went to spotlight and picked out some fabric, I didn’t capture any images of this process just because i wanted to get it done, I also did both front and back door cards so now it was time to remove the old ones that were slowly falling apart due to the fabric not sticking to the back and were cut very badly so i couldn’t reuse

New ones go in without fuss


and here you can see there is loads of space now unlike before with the door closed

And all honestly the type R speakers are a better option, The weight i’ve now saved is huge, id say roughly 5kg per side and tbh the sound is on par

That is all for now until more items arrive
Peace

7 Likes

nice work @Luke I really like what you have gone for and I think the fabric is on point :slight_smile:

1 Like

109670645_725931161525668_6148422748749936061_n

Not a very big update this time but i got my hands on a L200 glovebox and bracket.
Big shoutout to my man Fong at nsmotorsport in Malaysia for the bracket

10 Likes

15th nov update.

I’ve been tinkering with the fact the ef-el has a high compression ratio and i’m waiting on a few other bits so i’m able to tune it and use a variable tps so i’m able to correct the fuel table. But so far the changes i’ve made has helped a lot with the down low power delivery.

The photos below are of the intake pipe i have on now with a uni filter on the end. The pipe goes from 1.75" to 2" and the length alone has improved it a fair bit and the noise it makes is out of this world! Along with trying to improve the low end i’ve advanced the timing a far bit and running strictly 98 pump now with zero DET under all loads.

This next photo is showing a sealed catch can for the crank case vent tube on the back of the block, I’m waiting for a weld in 1/8" bung coming for the rocker cover so i can let the valve cover breath freely and vent to the catch can also.

for now that is all and you’re upto date :slight_smile:

6 Likes

21 oct update.

So this one is pretty exciting for me and molly.

I’ve been struggling to get a wideband working fine for over a month maybe even two, first two units from america were faulty and so i just said screw it and got an AEM X wideband kit, This one is ultra slim so it fits nicely in tighter spaces. See photos


So now that i’ve got one that just works without any issues it is time i 3d print a housing for it because ****** online parts store have screwed me around and the mount still isn’t dispatched
See a short youtube video of it almost finished https://youtu.be/dehMujFI2uA

Thats awesome huh, So now i need a way to control the horrid fuel map that the miras have from factory. My mira at 100% throttle would dip into the 10s below 5000 rpm and even with advanced timing i could feel it was struggling to burn all that fuel so i installed a Apexi SAFC i got for $50 See photo

As you can see i’ve pulled a fair amount of fuel when Wide open down low and now i’m mid 12s and it feels like the little ef-el can now breath and i don’t smell just fuel when i floor it now, Such a great little mod and the pick up is much much better now, the power delivery has changed a lot. And the fuel efficiency is much better now as i’m cruising at 14 low 15 afr as before it was high 12s just cruising at 60.

Next on the list is Port my spare head and have it skimmed to raise the ratio a tad bit along with a free flowing 2" exhaust system, 2"inch because i still want it to be quite but free flowing so i feel the mufflers will still retain the needed back pressure.

So until next update
Have a great dai xo

3 Likes

great results luke Looking forward to seeing more progress

1 Like

I am going to suggest that the notion of back pressure is a fallacy. There is no pulse tuning or any scavenging effect on a 3cly with combustion events 120deg apart. I will predict that your increased compression will want a retarded ignition. The extensive porting, cams and increased comp in mine helped it to rev harder but it never made the power expected and torque was dismal. This seemed to be due to needing heaps of ignition advance. I believe the limiting factor is piston shape. The combustion event takes to long to reach full pressure before it can push the piston down. A flat top piston with more squish at tdc would make for a smaller space that the ignited flame has less distance to travel before pushing down.

Just my 2cents. Will be interesting to see or hear what you learn.

1 Like

Hey, I’ve driven this car with a straight pipe and the stock exhaust. The straight pipe seemed to feel like the car lacked something, while it was free flowing and allowing limiter very easy it didn’t feel better over a stock 1.5" restricted system, the stock system still allowed me to keep a steady 100 on the highway up hills and the straight pipe i had to drop into 4th to retain the speed. Now with the changes i’ve made on the last two posts it’s made it far more enjoyable to drive and it feels like i’ve shifted where the torque comes into peak power (stock about 7000 rpm) I produced a massive 33hp 100% stock with mild timing and 91 fuel in 2018. From the bum dyno it feels it now comes on around 4000 rpm and has gained about 5-8hp from just advancing,intake and fuel trim.

I’ve driven a fair few EJ swapped miras in my time and it feels similar to their lower end torque but with the ability to rev out to 9000 rpm considering they make the same over all HP.

I’m enjoying pushing and refining the little engine.

3 Likes

23 November update

Valve cover breather upgrade.

This one has been on the list for some time and with the recent intake and catch can mods it was needed so i fired up the welder and grinder.

The stock breather commonly gets blocked and it can’t vent due to its small size about 1mm ID with a 3mm OD See photo below

Now this is annoying and what most people would do is just find a 3mm to 10mm T piece and join into the catch can system but i enjoy tinkering and finishing stuff on my want to do list… Photos below show the process:


A simple hole cut with a Hole saw and a hand drill gives me a spot to weld in a steel bung

Clean up the surface with a wire wheel ready for welding Weld is now applied, Not fancy looking but gets the job done Etch primer on the bare metal to stop any rust Finished off in a Black wrinkle paint

I forgot to mention i also removed a factory air box mount on the top and the mount near oil cap to give it a simple look without unused brackets


This is the finished result, A nice clean simple but great mod with function.

Until next update guys, stay awesome :smiley:

6 Likes

Is this just a plain EF-EL?

Yeah it is. Low k healthy happy ef-el. These have a 10.0 compression ratio so are pretty happy as an n/a but hope to bump that slightly in the future .

1 Like

Your standard manifold with catalytic converter is the bottle neck in your exhaust.
Either extrude hone the manifold or make some headers