Yeah, all in time. I’m still running all factory 1.5" pipe also. The factory manifolds aint that bad honestly,
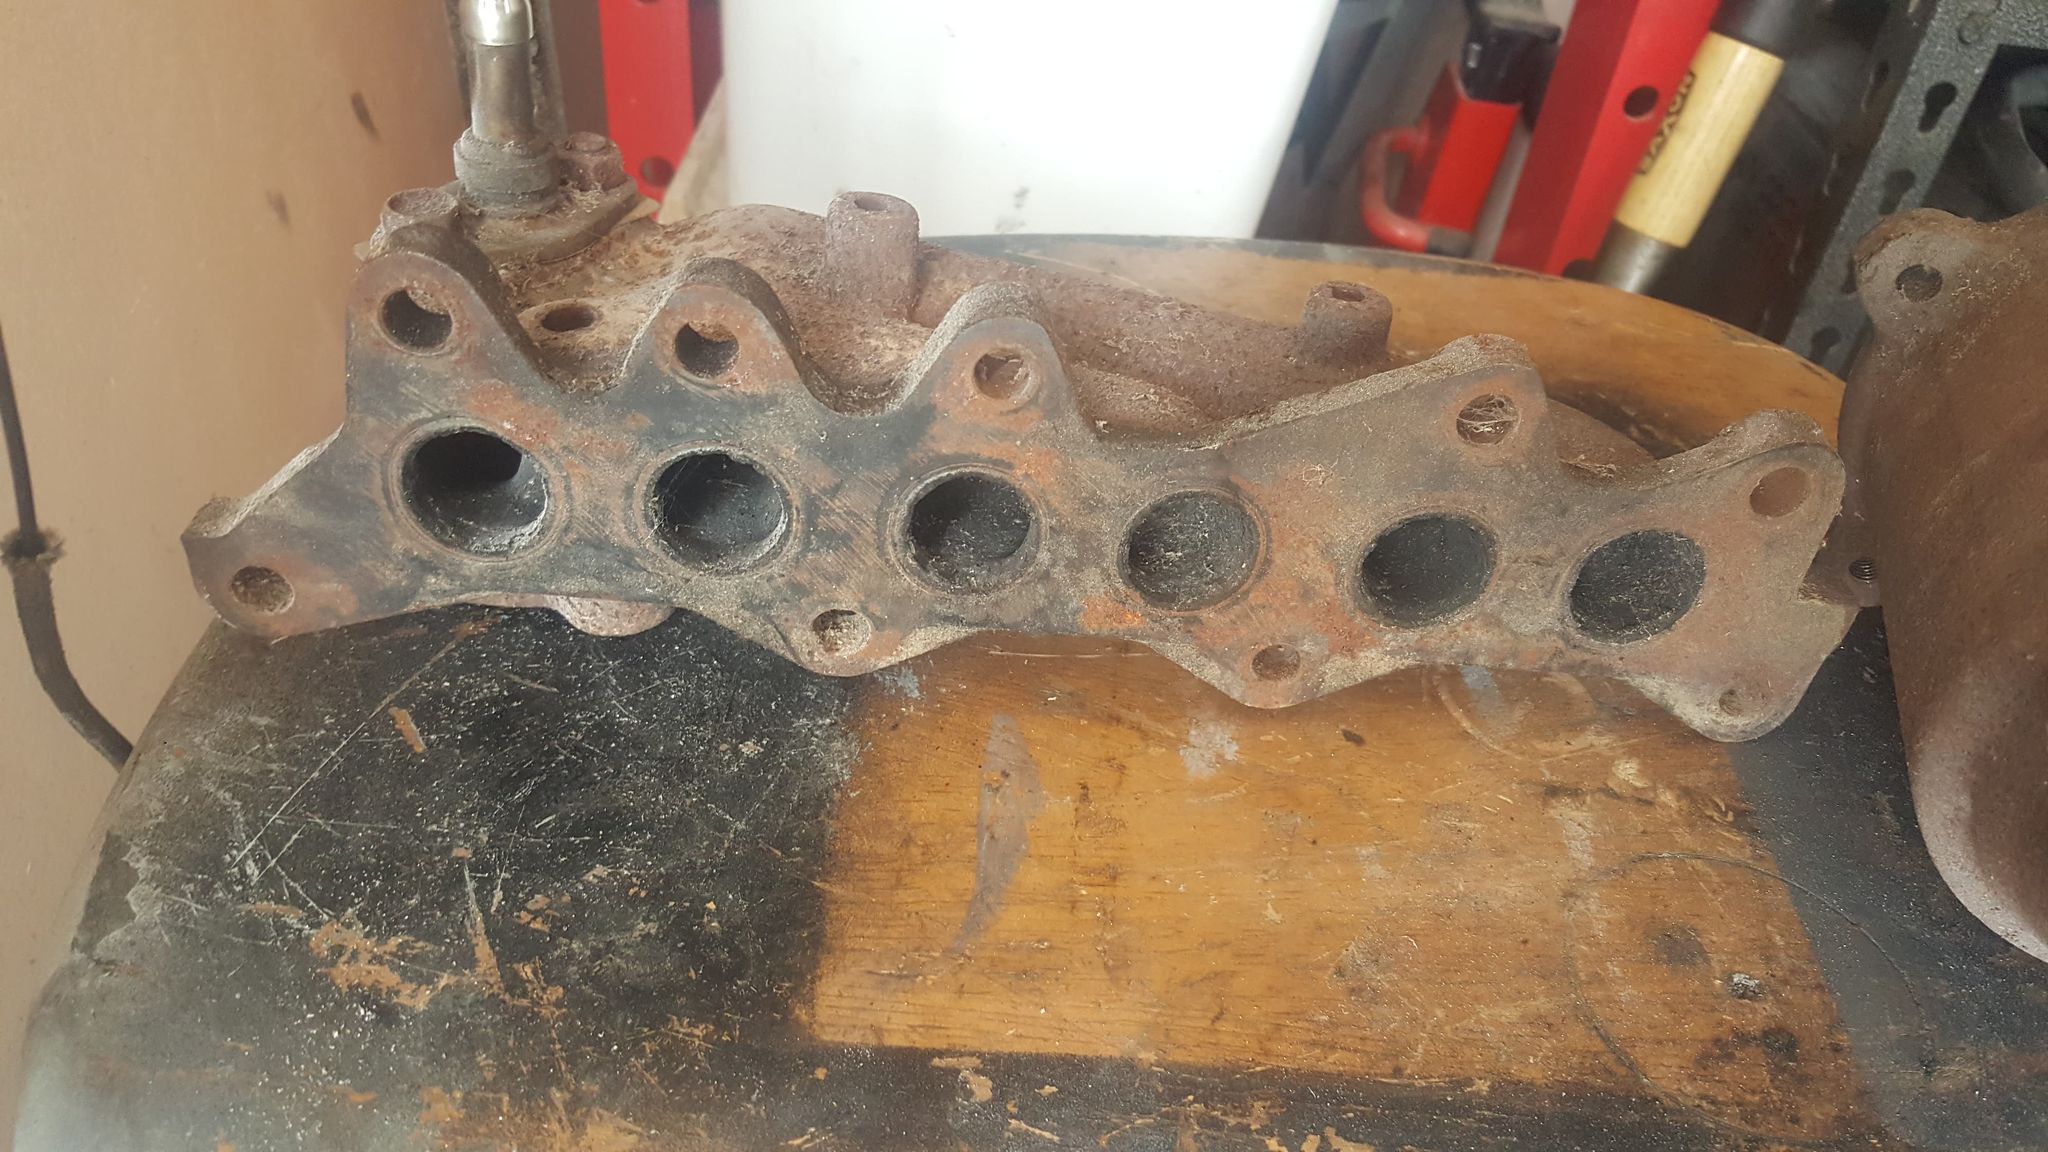
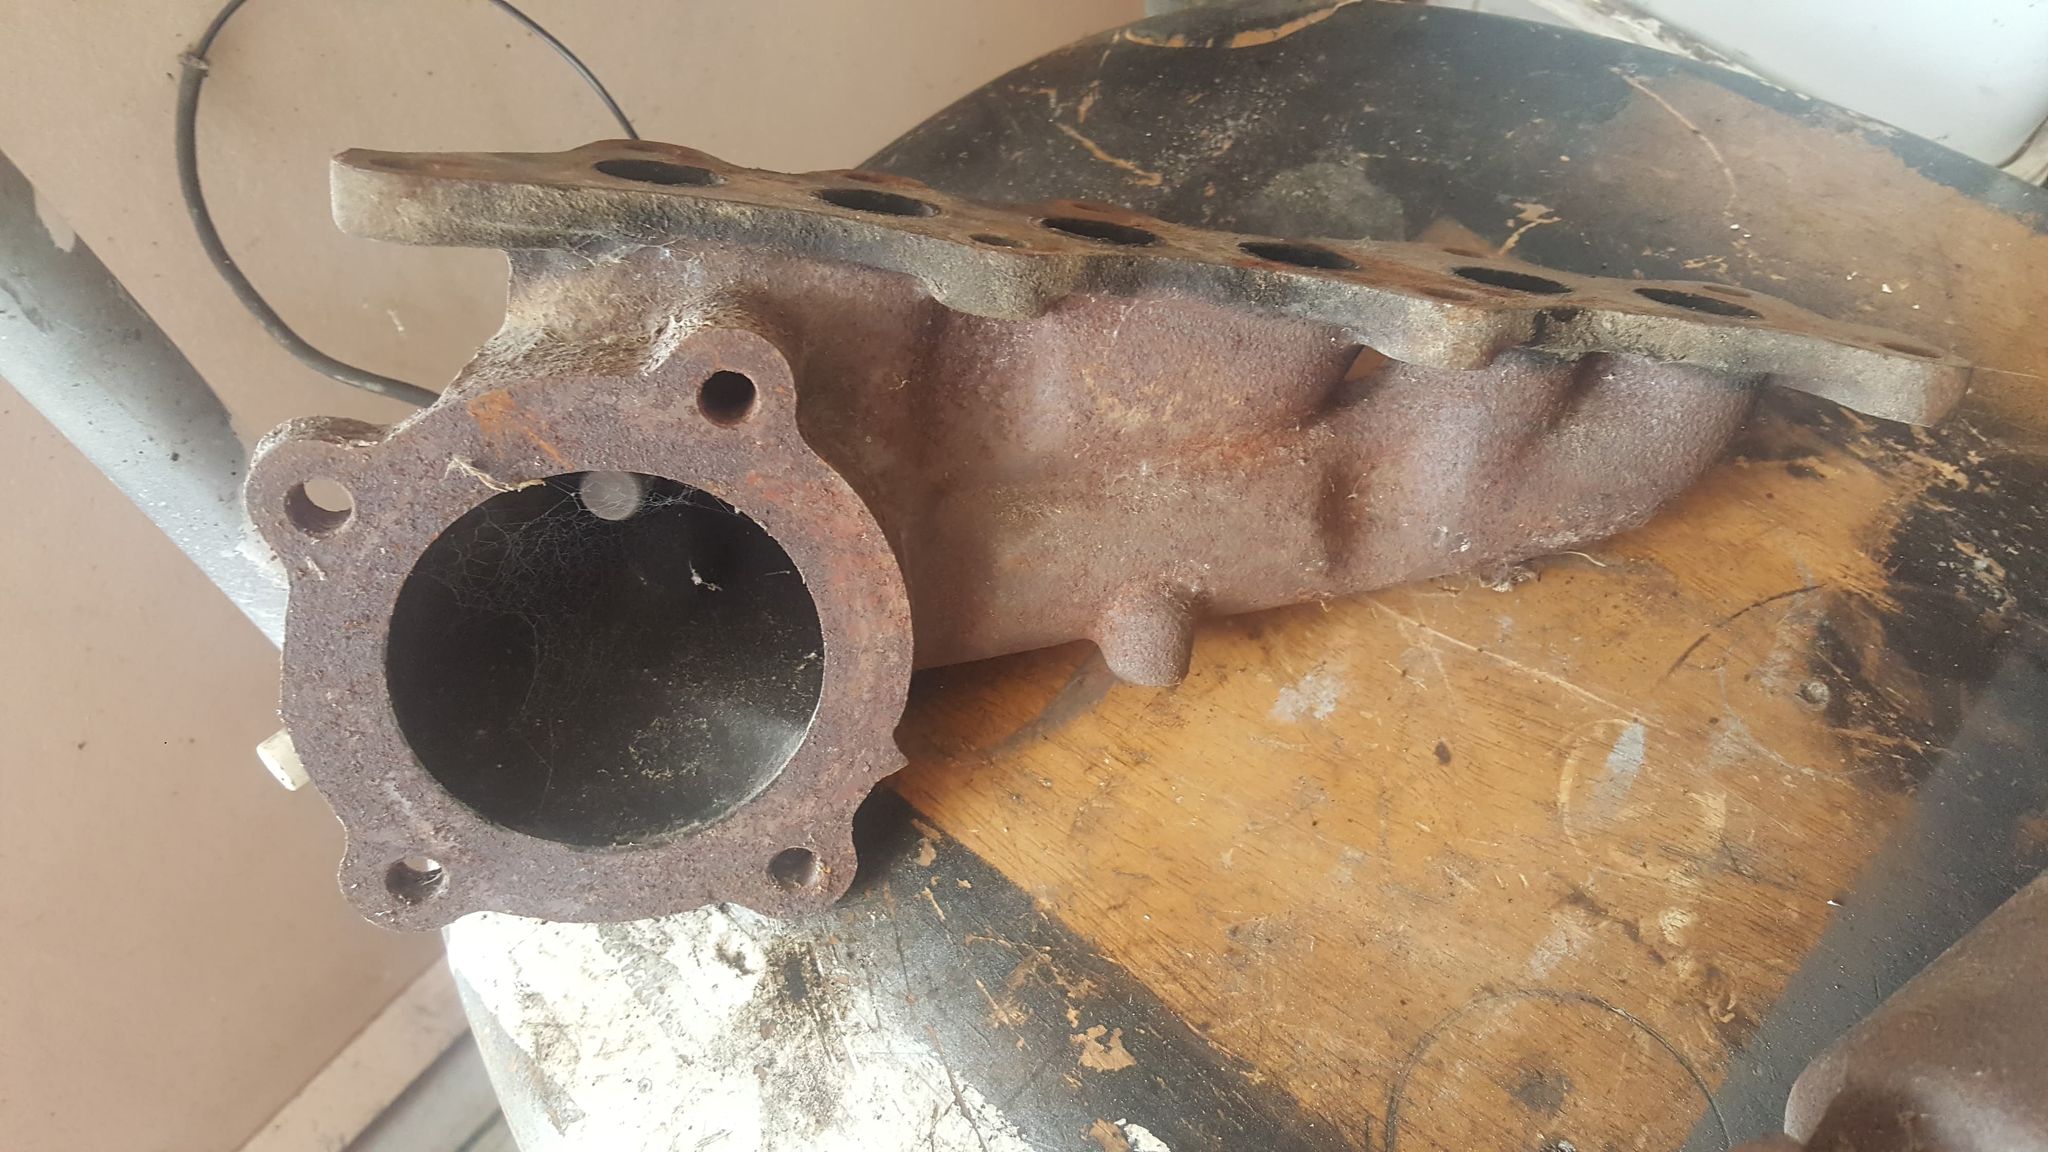
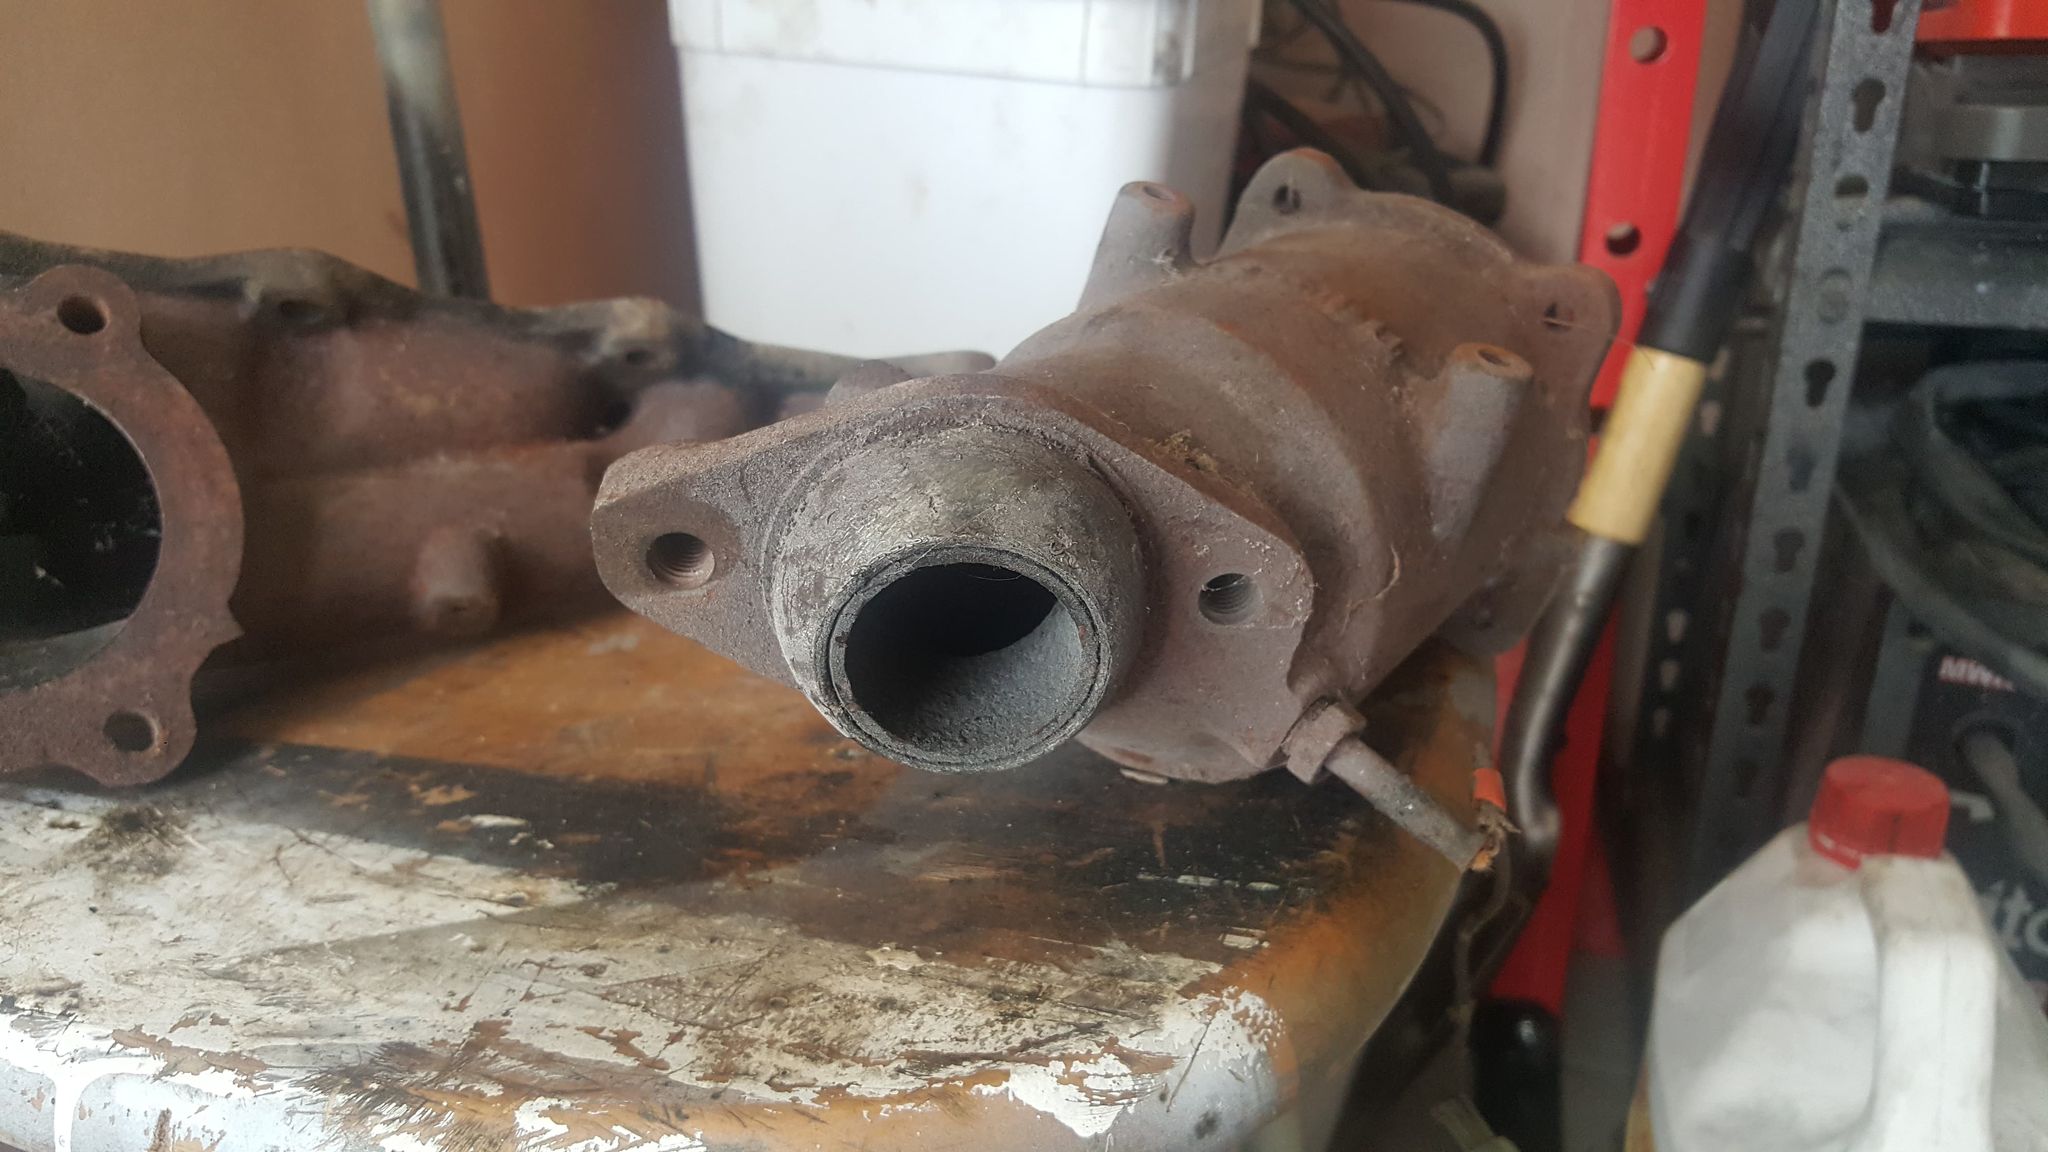
See these photos i just took of a spare one  I have no cat inside mine atm so that helps flow a fair bit but as you can see it’s not all that bad, some nice long runners would for sure look better and may help the very end ports but it isn’t as bad as it looks.
2 Likes
17/12/2020 update
This is a small update.
My carpet was very destroyed and i was getting fed up with car mats riding up under the pedals. So i made a trade with @evilhighway for carpet with his track car.
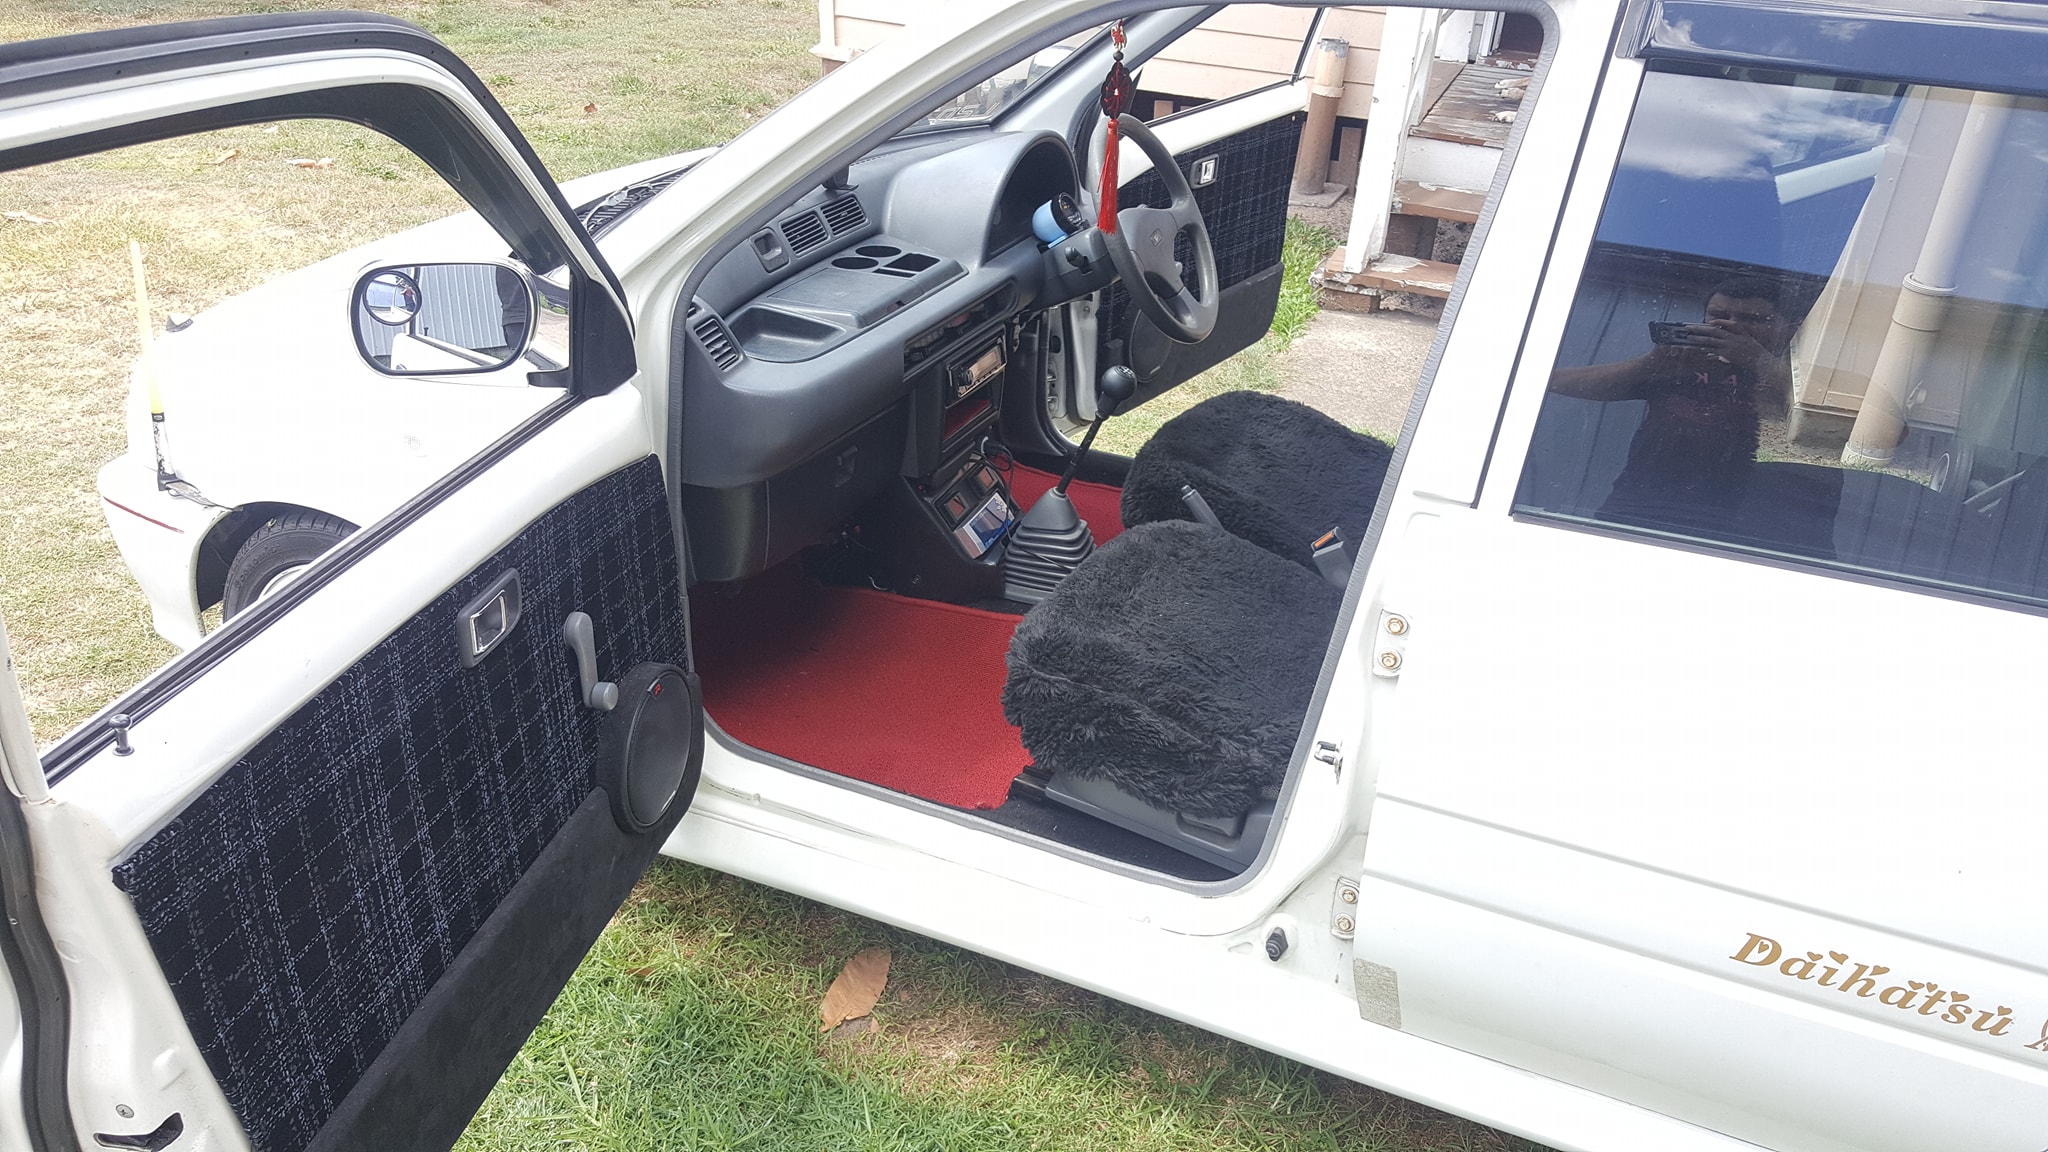
It cleaned it up, I’ve got a Black dash lined up to complete the look on the inside.
2nd part of this update is, I got my hands on a J mode copy front lip so now the outside is pretty much complete
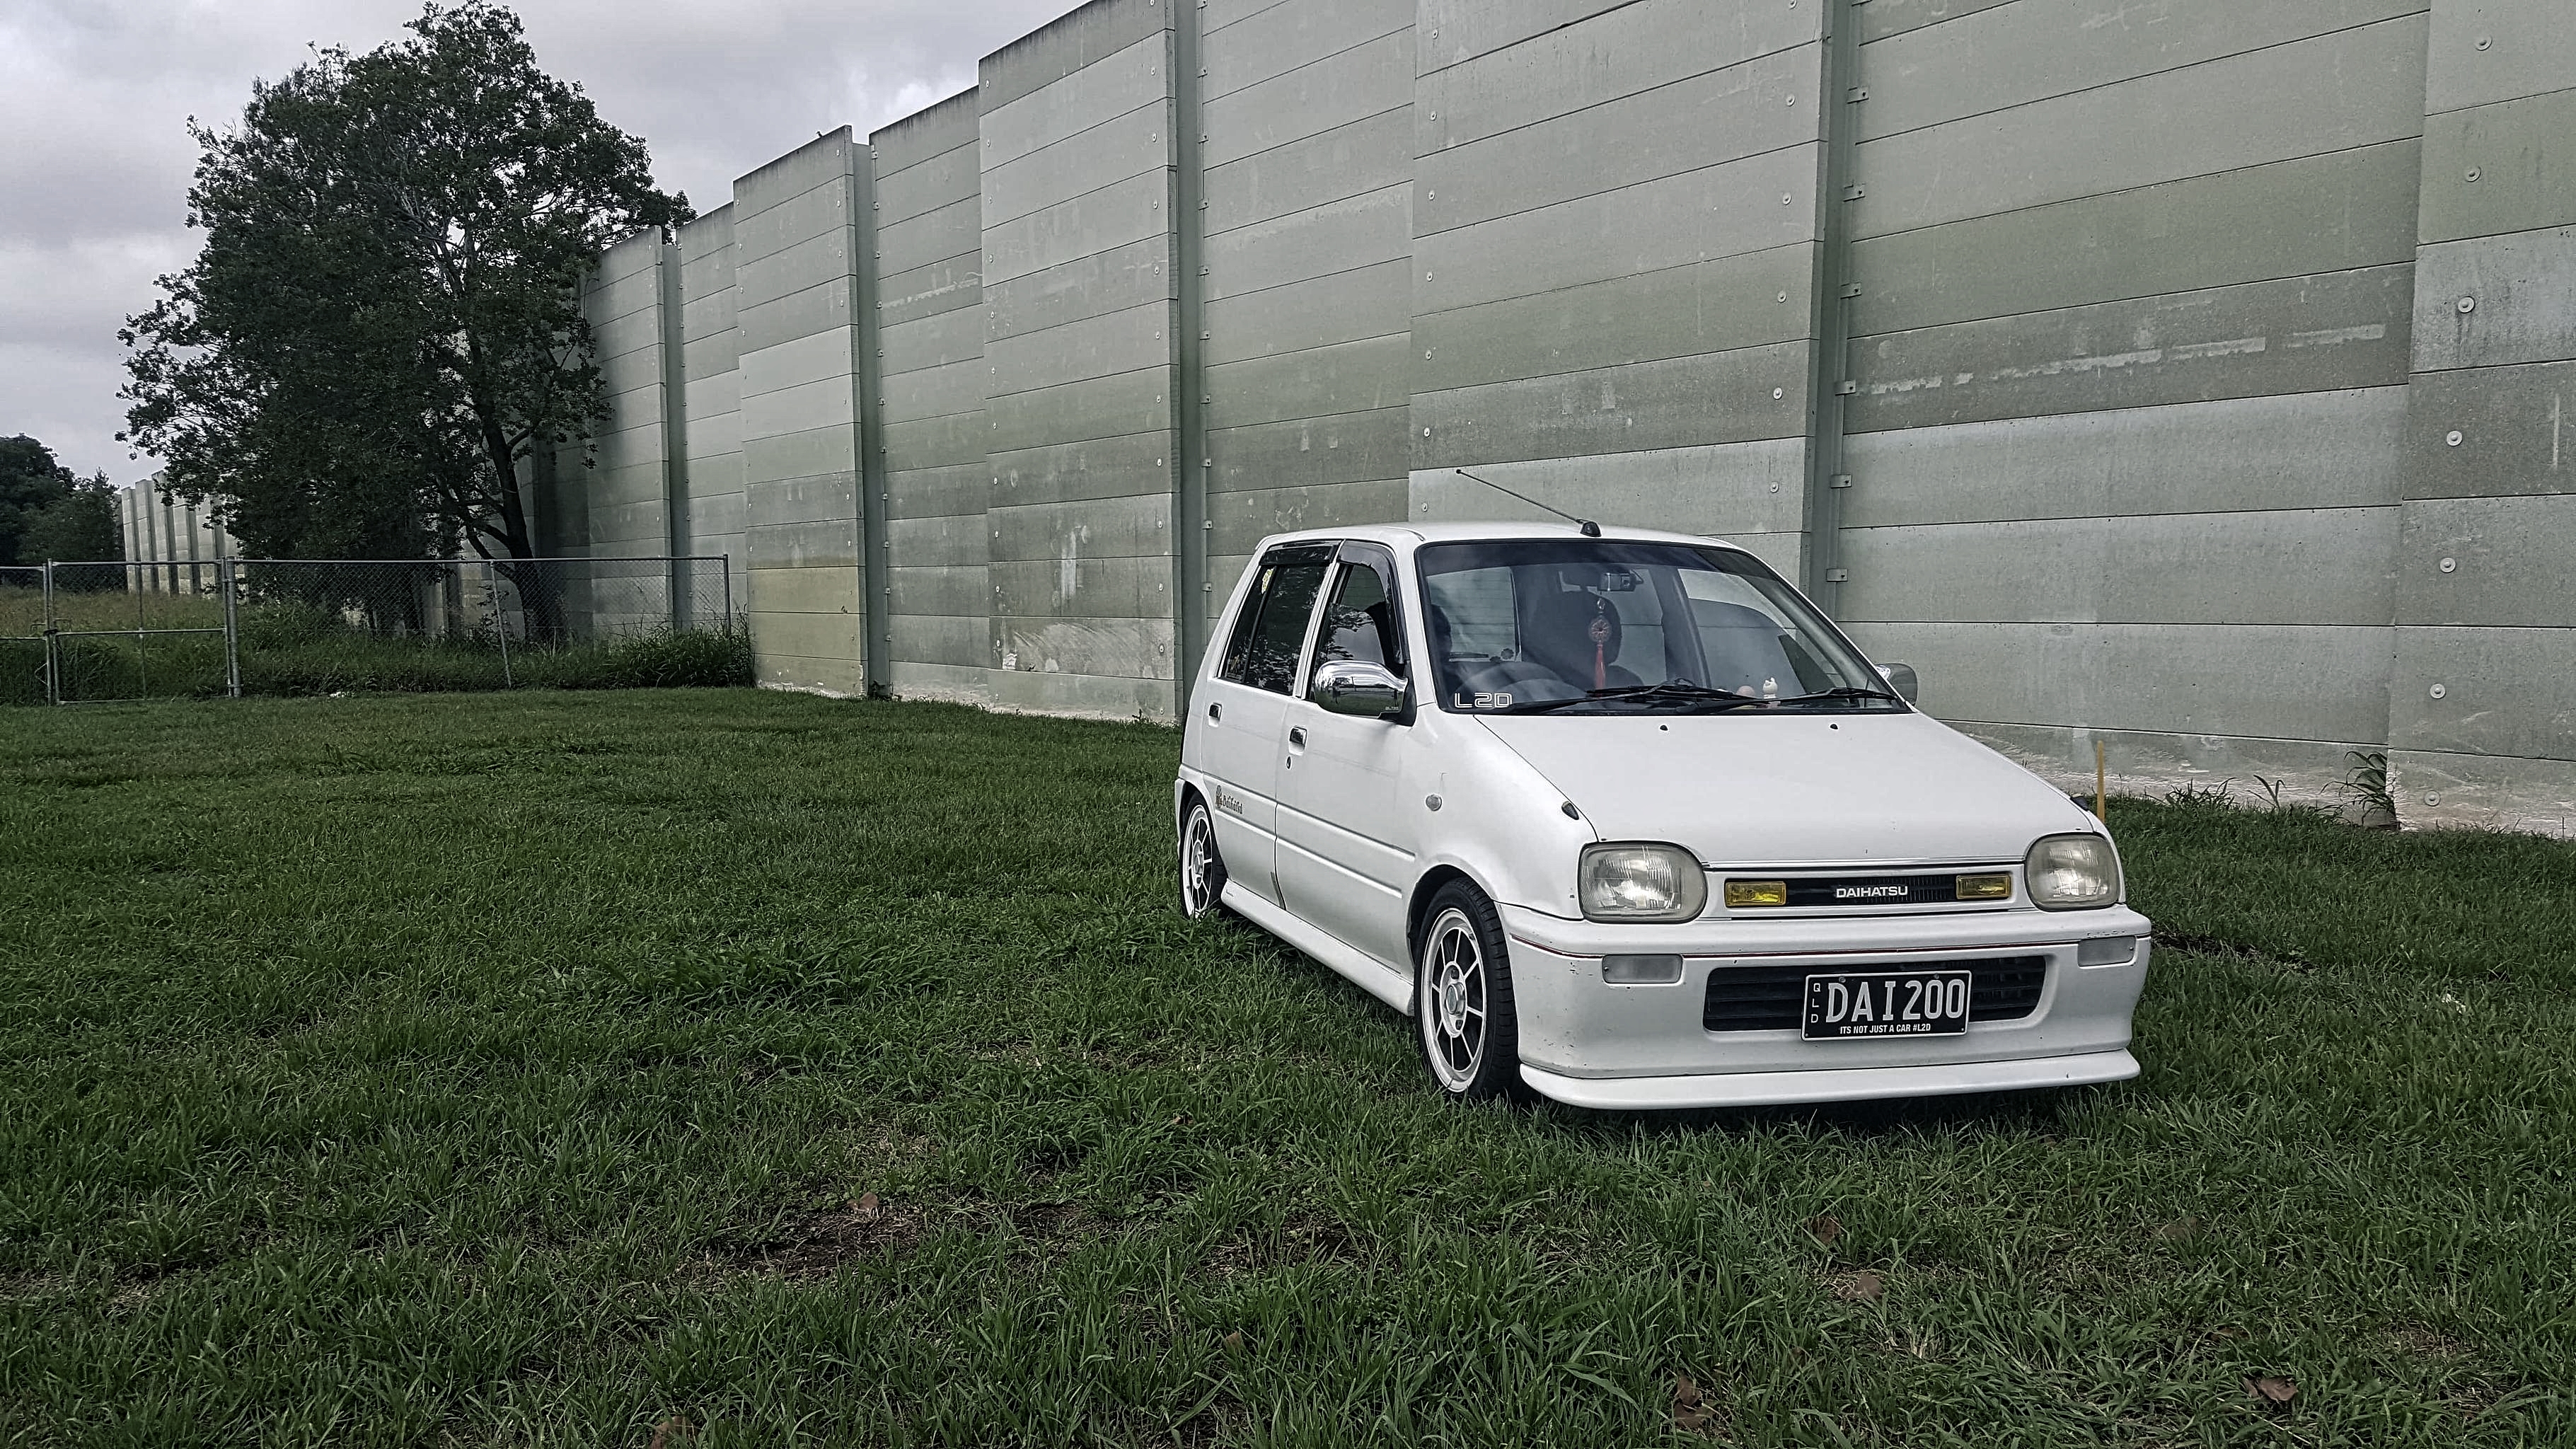
I’ll keep this updated as more gets done. Thanks guys.
7 Likes
That lip looks amazing
1 Like
24/12/2020 update
Small but one of the bigger mods that changes the inside feel.
I got myself a black dash to go along with the black options from japan. (clock,burgertray,glovebox)
As you can see in the last update the colors didn’t match but now it all works, Will be taking some other trim out and painting but it isn’t high on the list to complete. See photos below of finished product of dash swap.
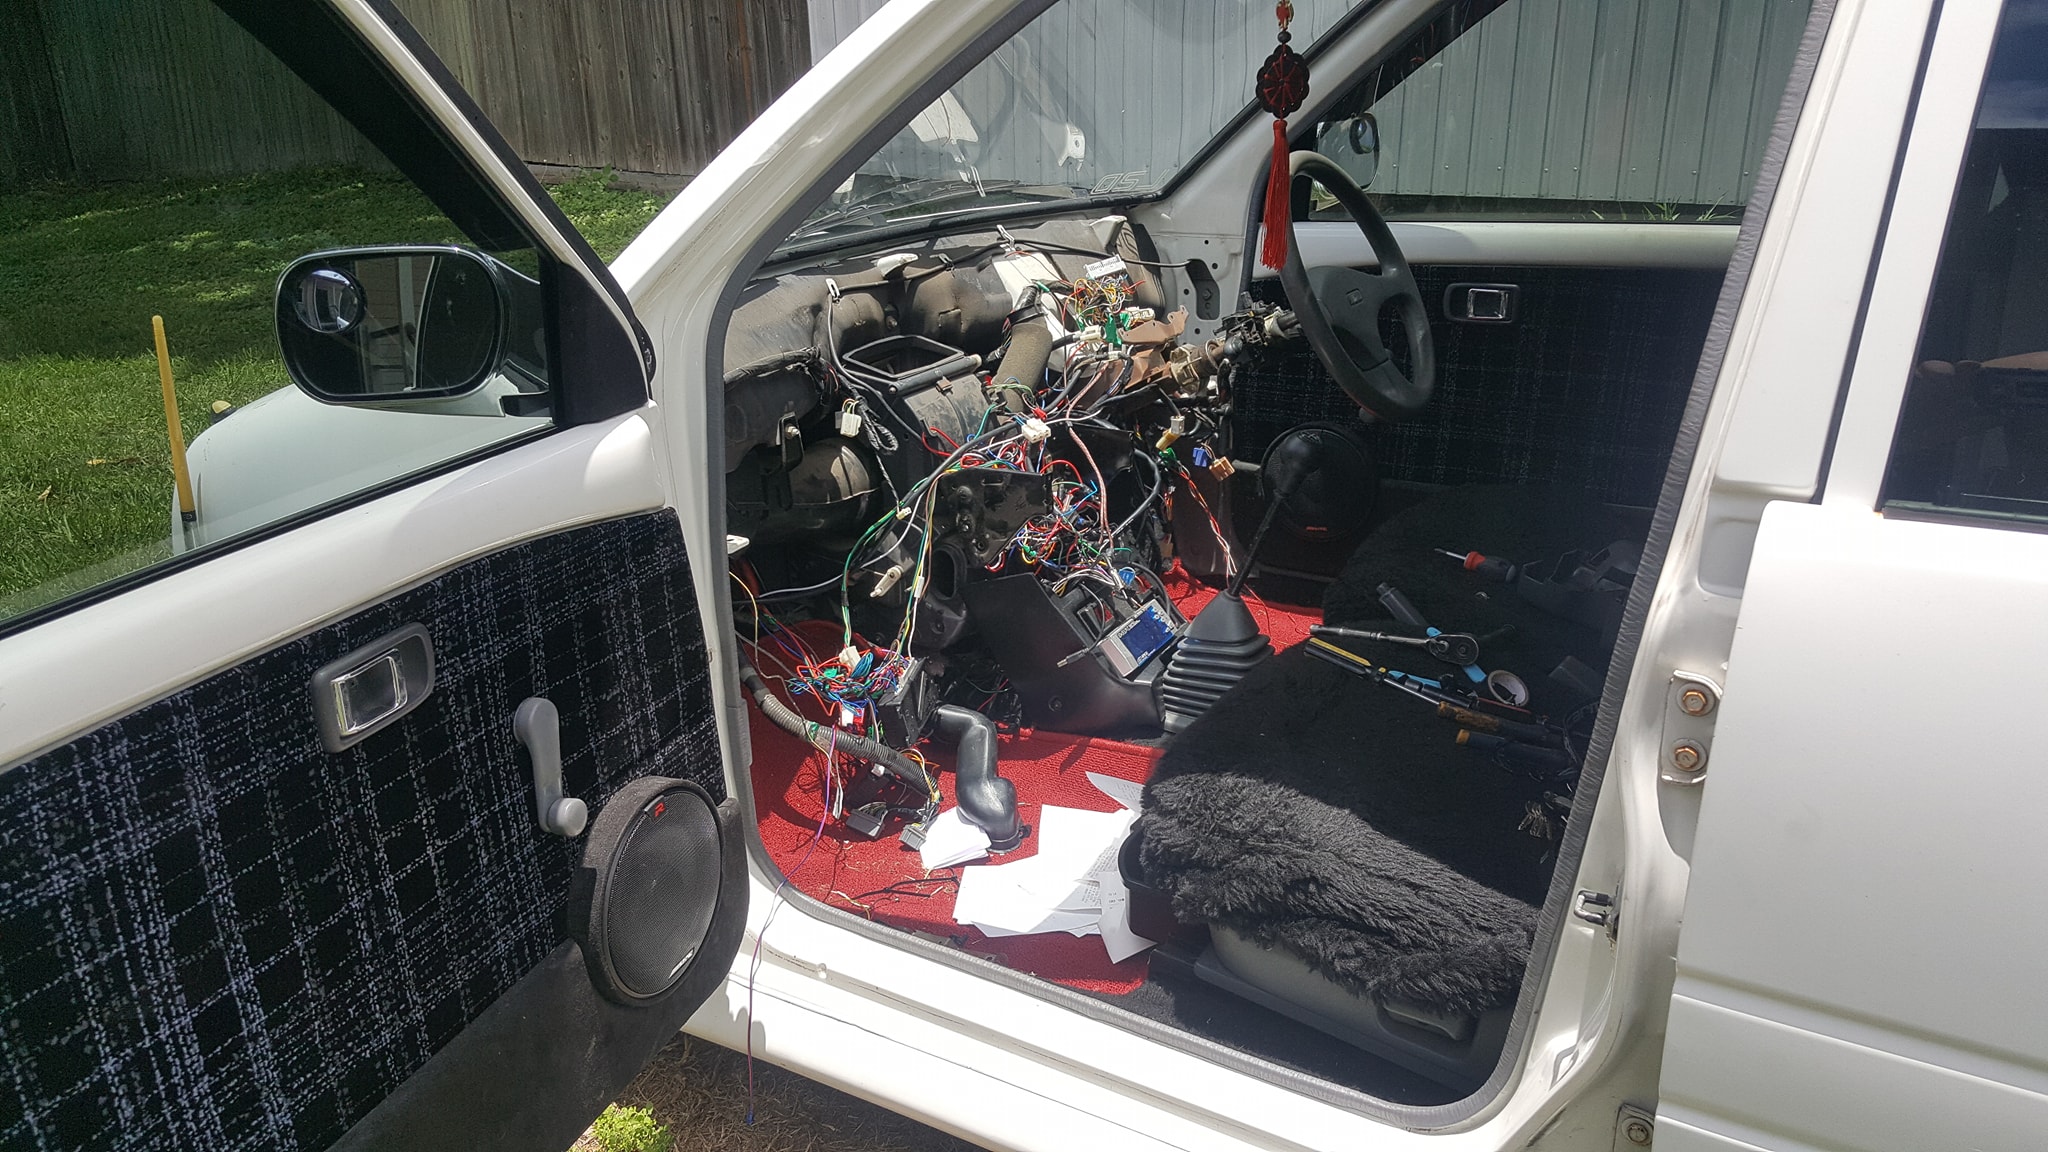
I’m now on the hunt for a tr-xx black wheel but it’s not hurry, i’ve got a tr-xx wheel but i want a spare as i don’t want the sun to ruin it.
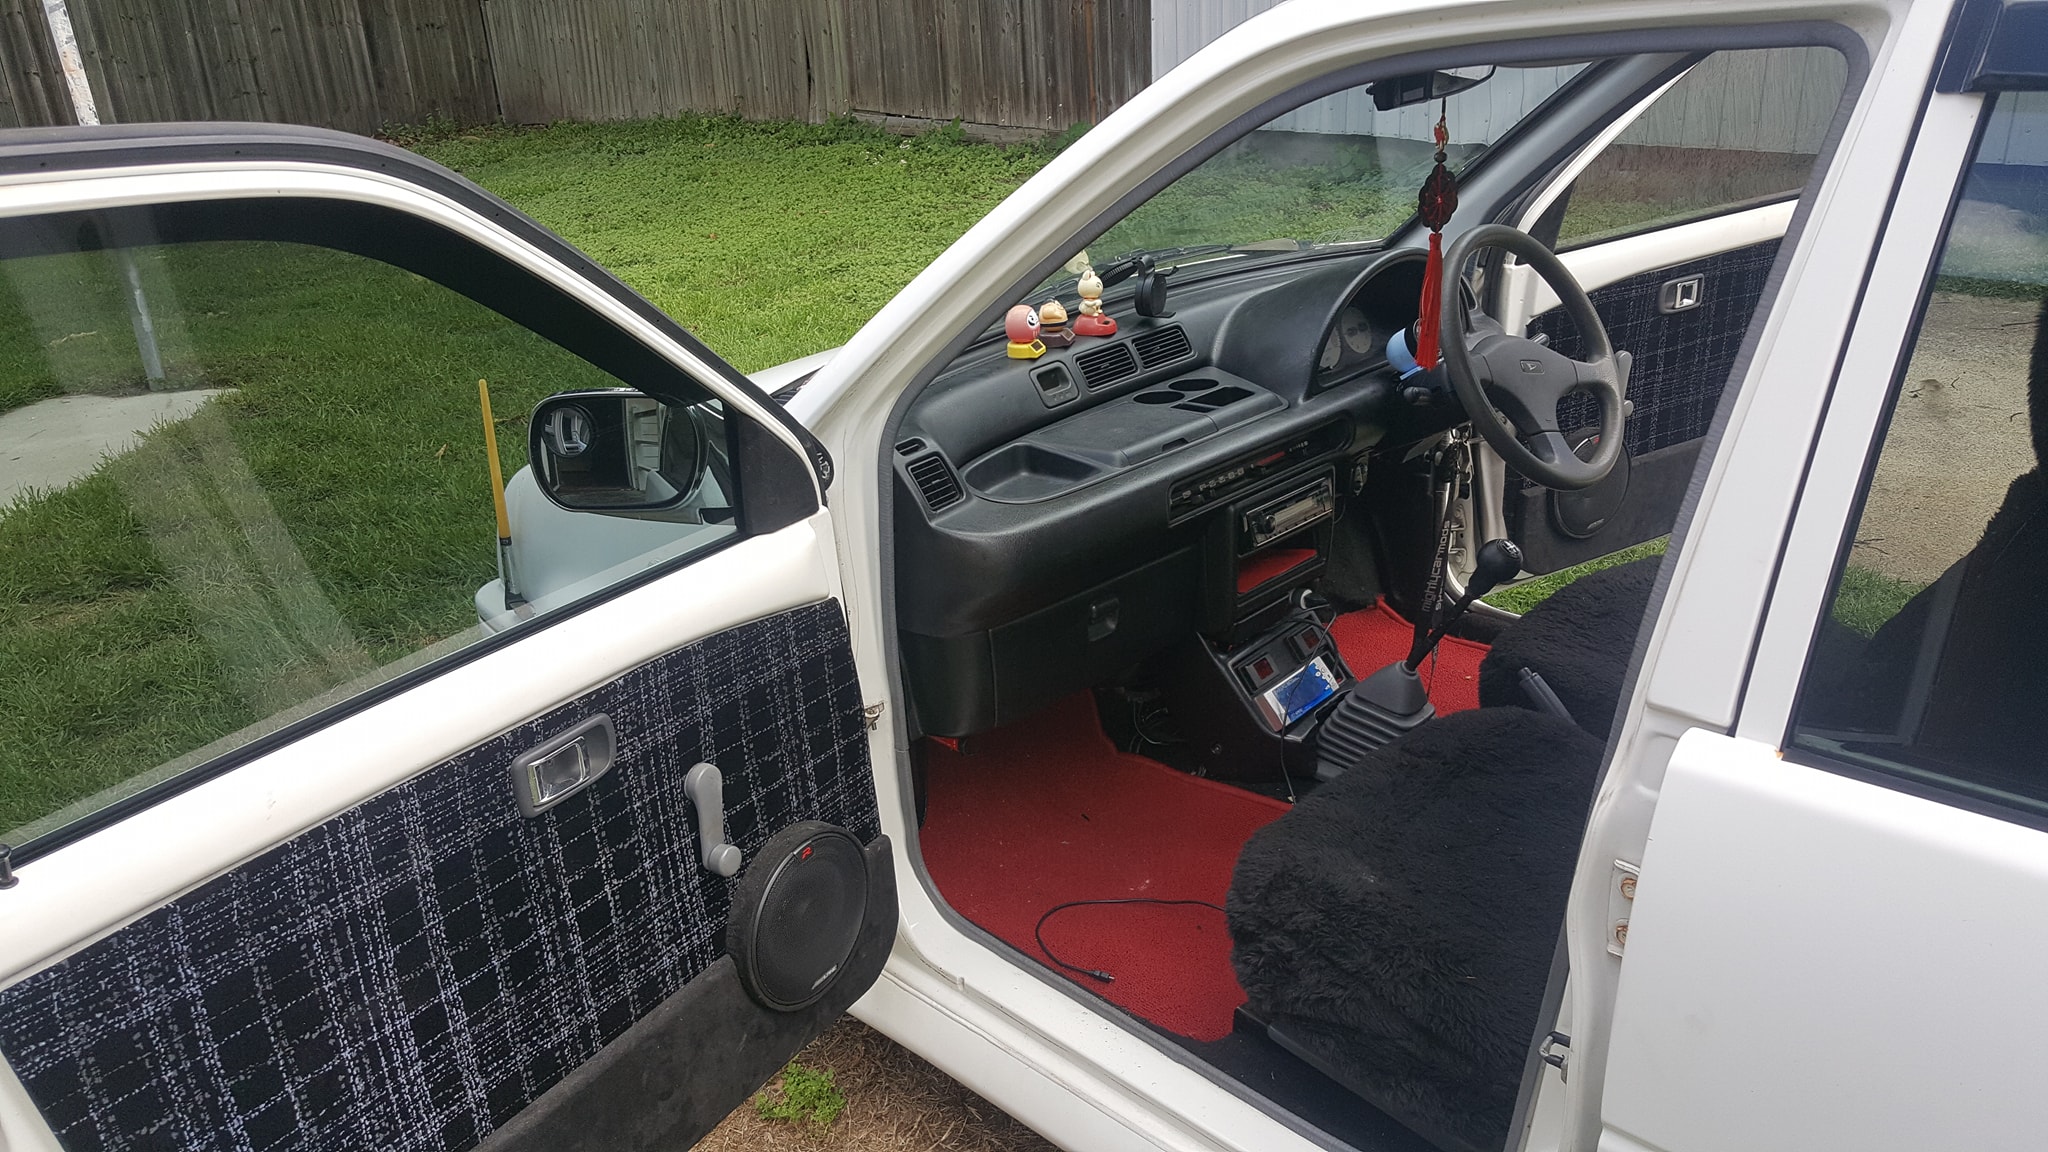
6 Likes
Holy “Molly” Guacamole! 
 NIce! Nice!


I haven’t really done much recently worth of an update but I thought id do a semi detailed video of my mira how it sits now of 20/01/2021
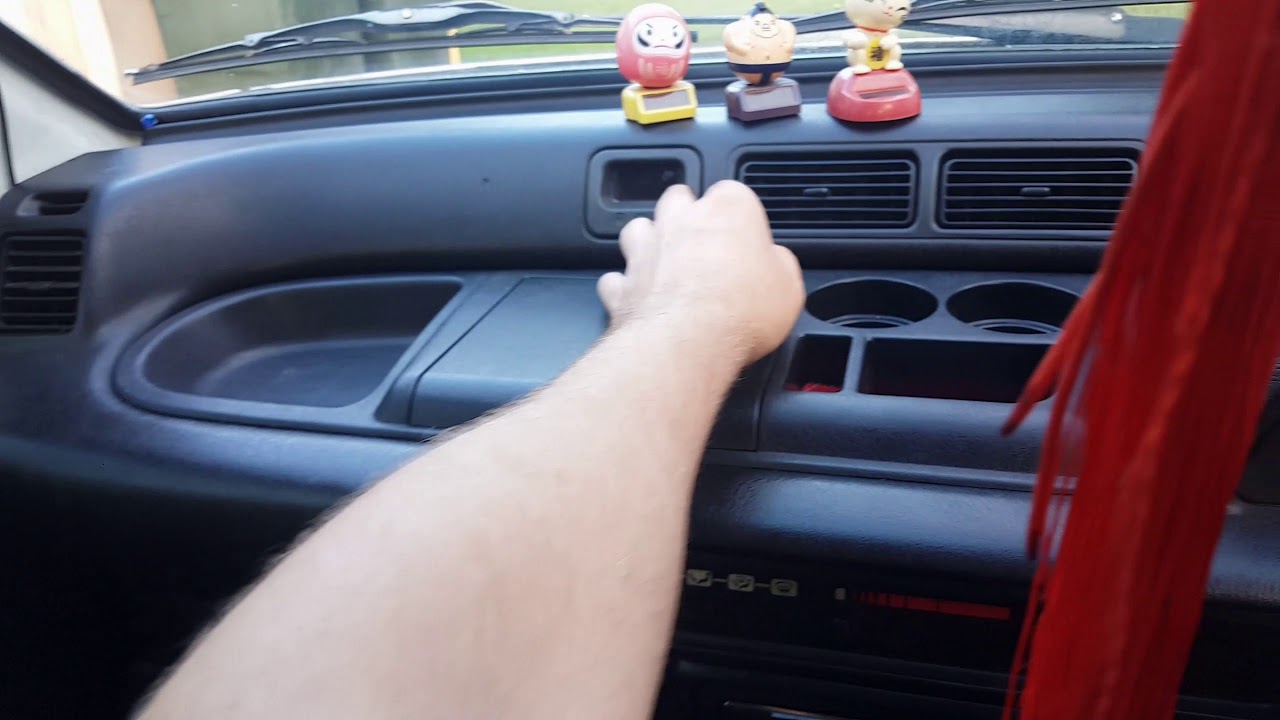
5 Likes
nice updated. This is a very nice car with what you have done since owning it and it shows the fact you don’t have to do everything overnight and taking time is great as you get to enjoy your daily at the same time.
1 Like
Everything takes time Rushing into things just makes you annoyed.
2 Likes
Update 31/03/2021
So not much has really changed but i’m slowly finding things i want
I installed my flat bottom tr-xx steering wheel that finishes the interior look See photo.
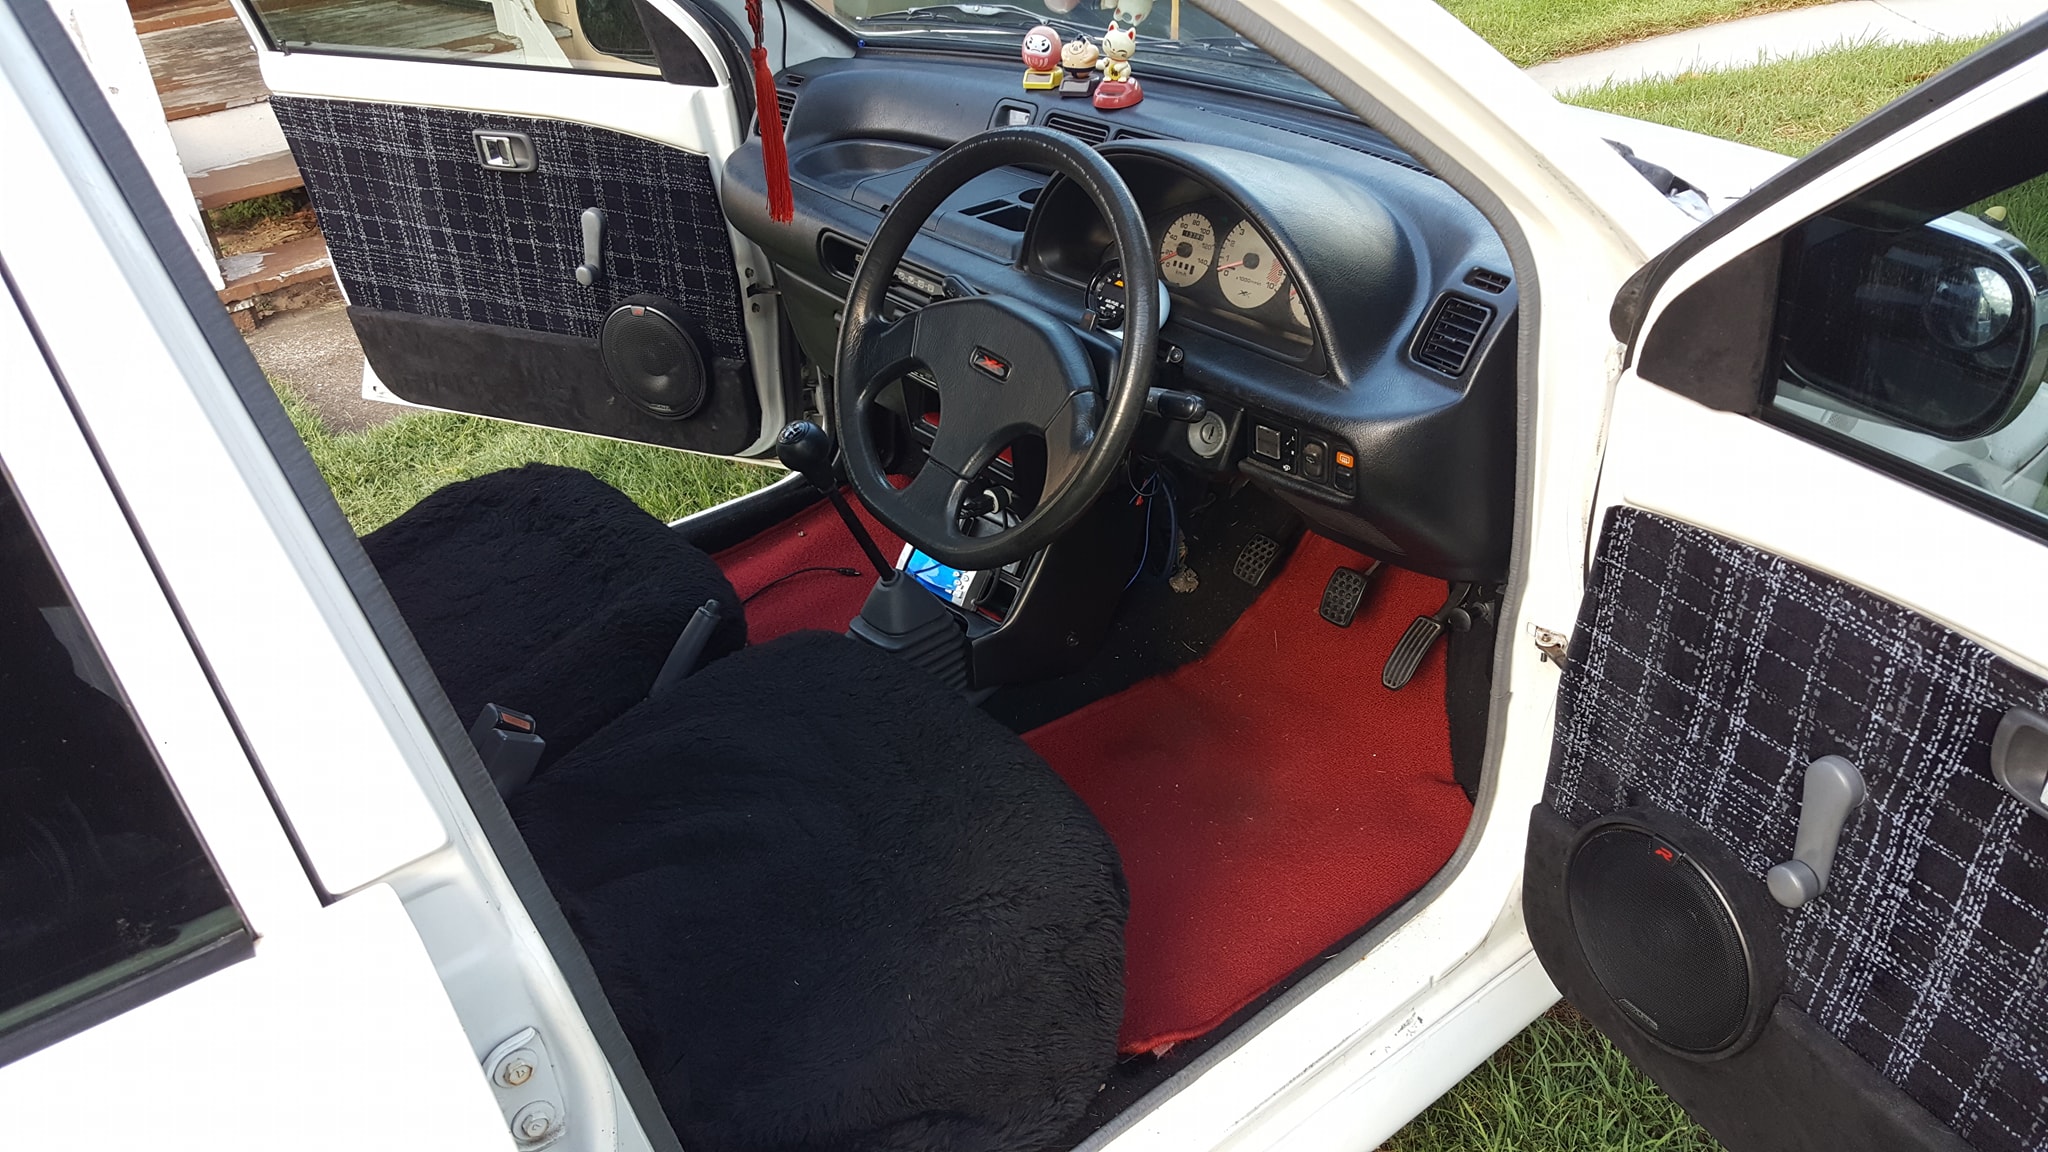
And i overspent on a matching pair of glass tr-xx headlights because i was sick of having to polish my plastic ADM ones as we all are.
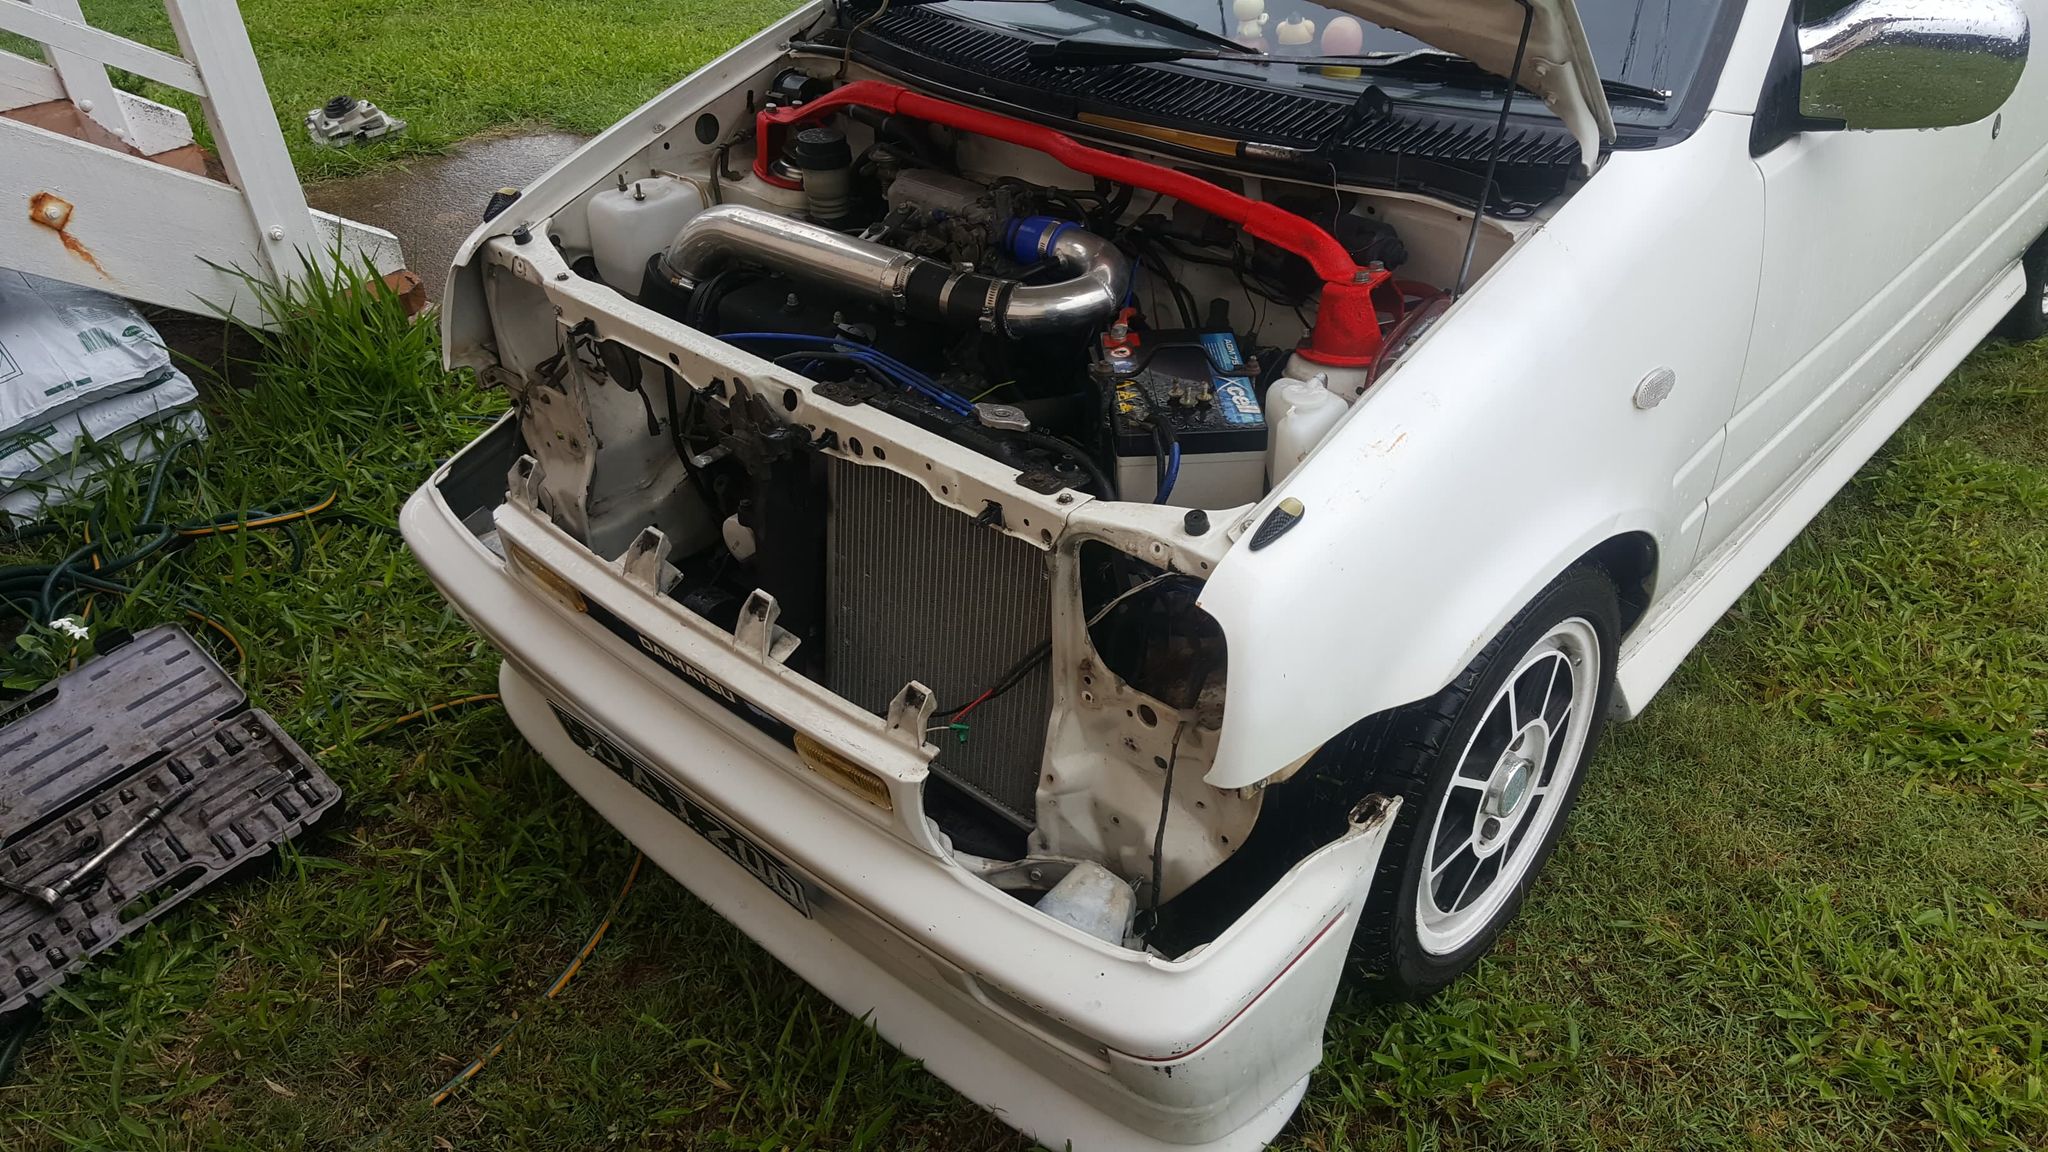
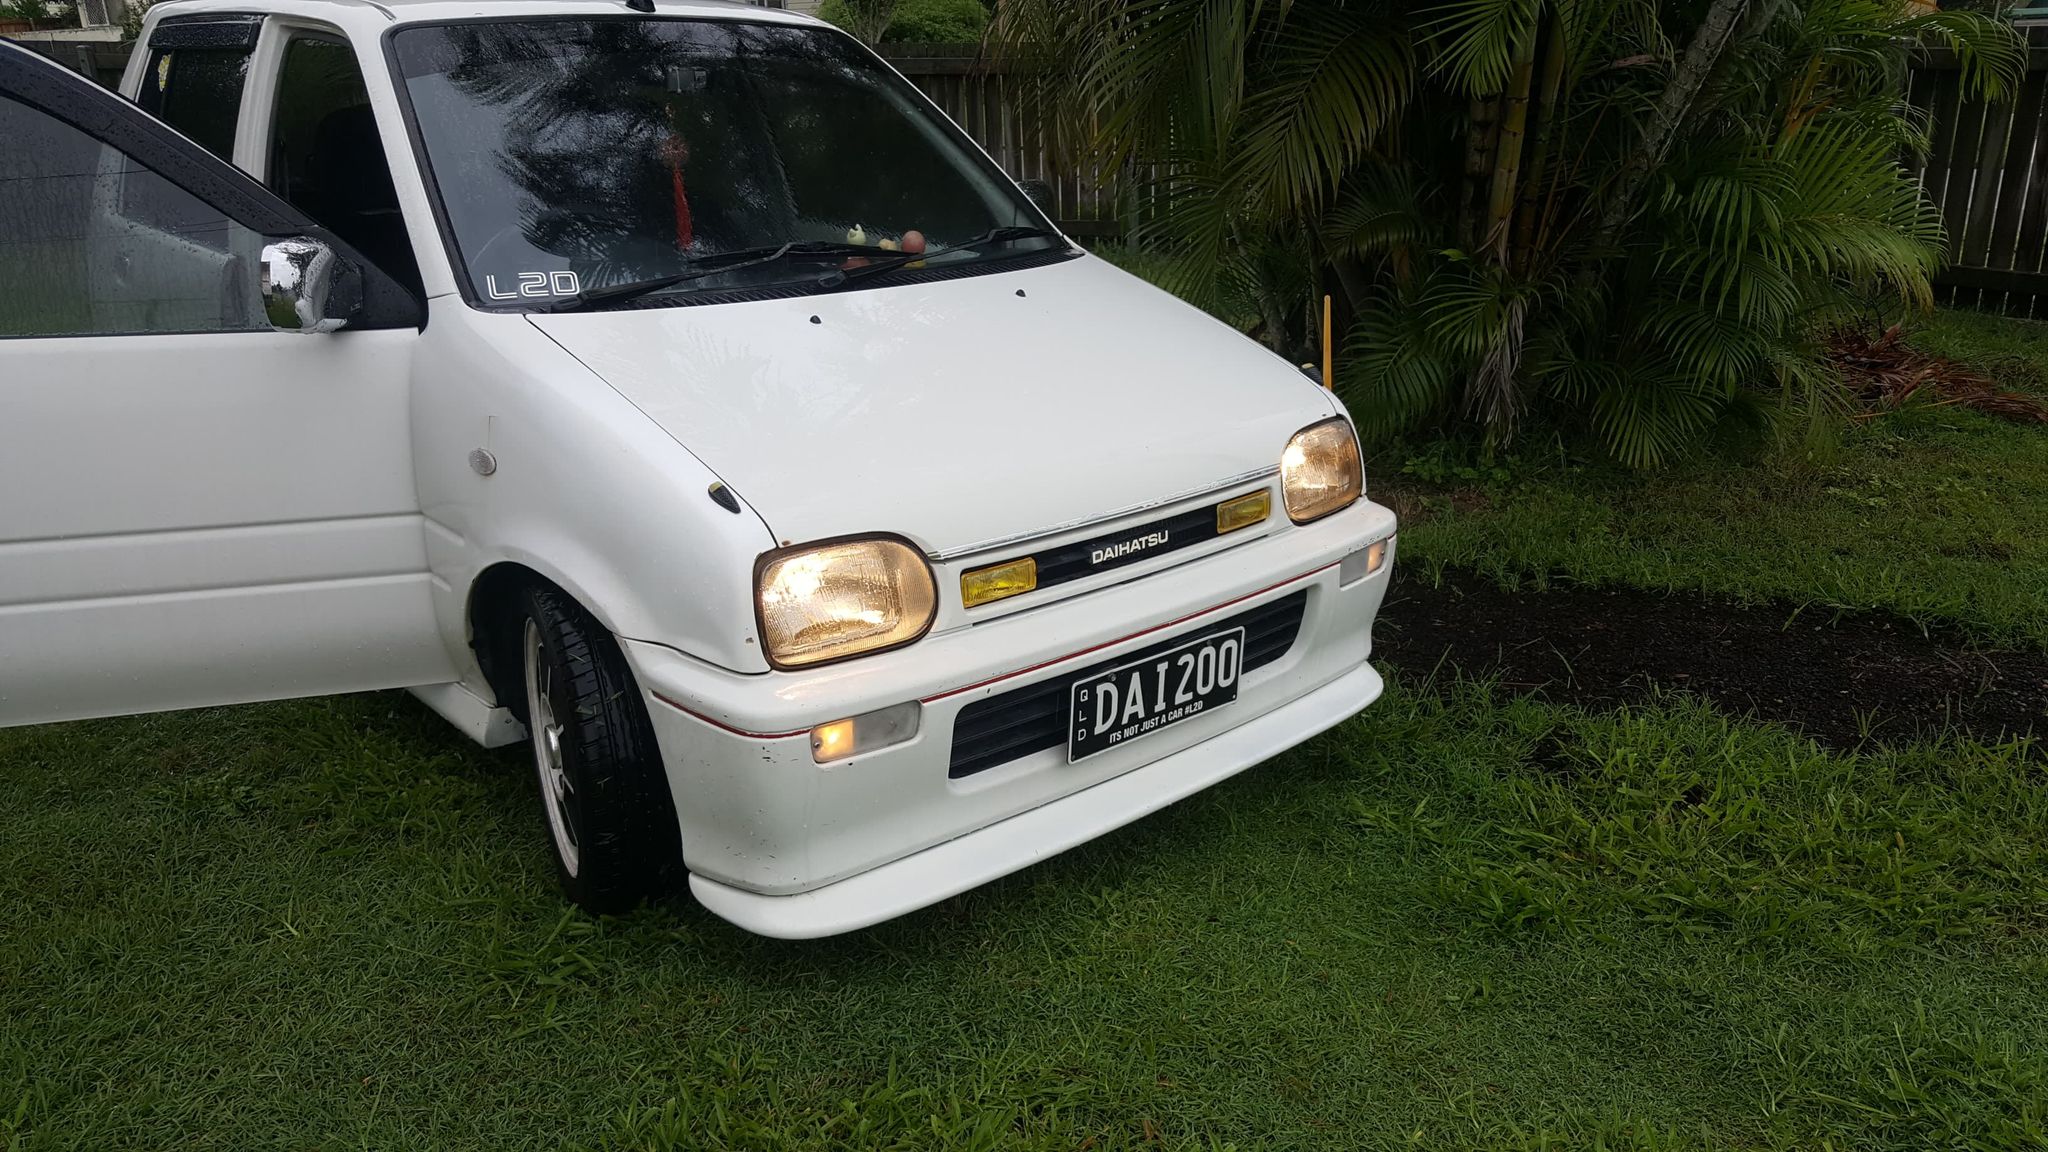
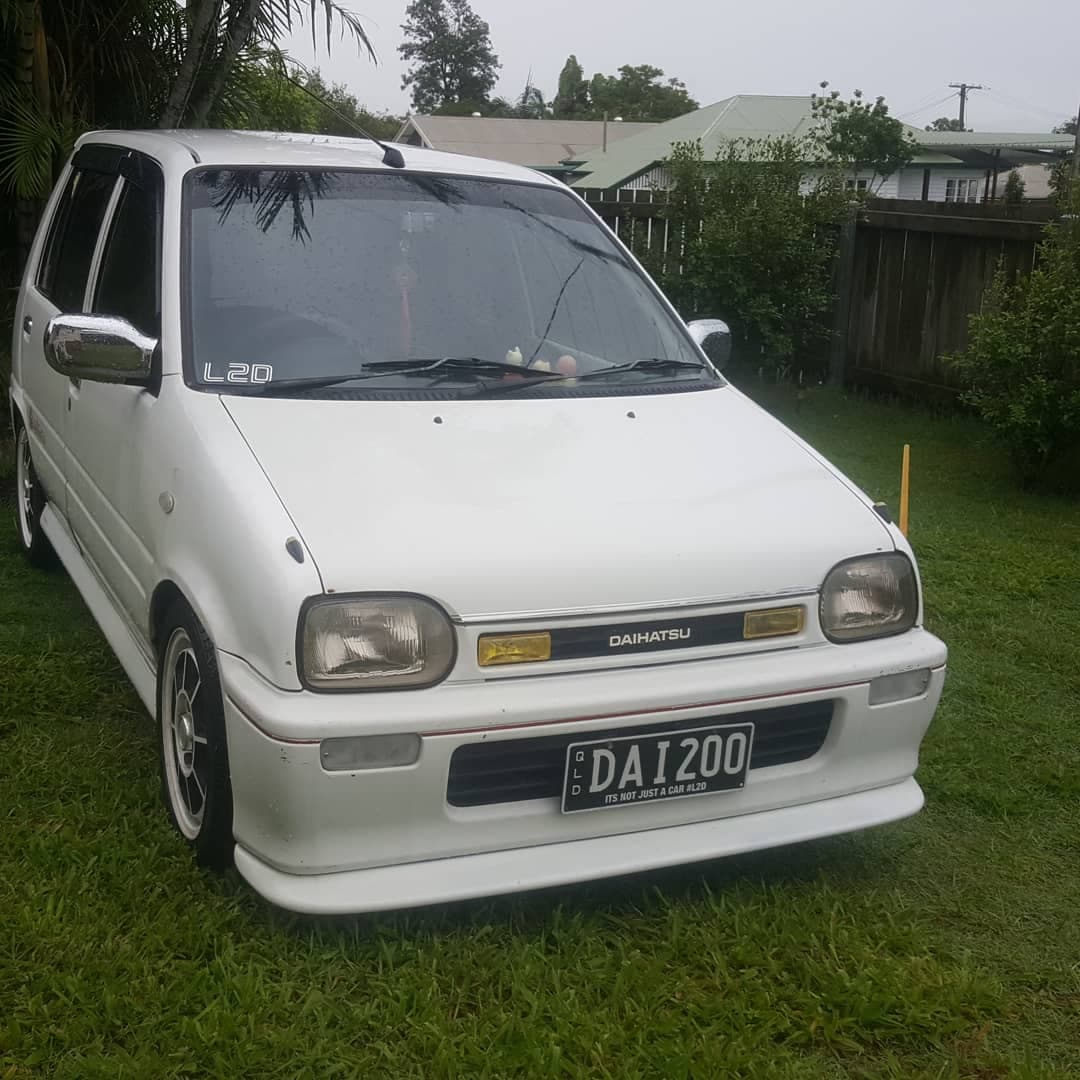
They’ve got a factory tint within the glass. I wish they were 100% clear but its something different and no more yellow!
Until next update
Stay safe.
6 Likes
02/08/21 Update
Its been some time so i thought id catch up on this, I have been collecting random rare collectible items you will see in this update
Starting with a rare factory MOMO option steering wheel
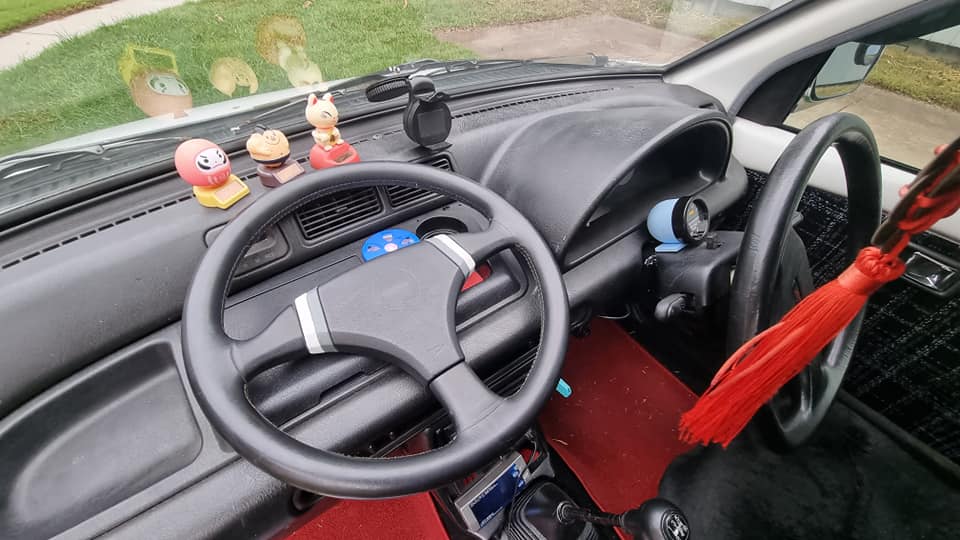
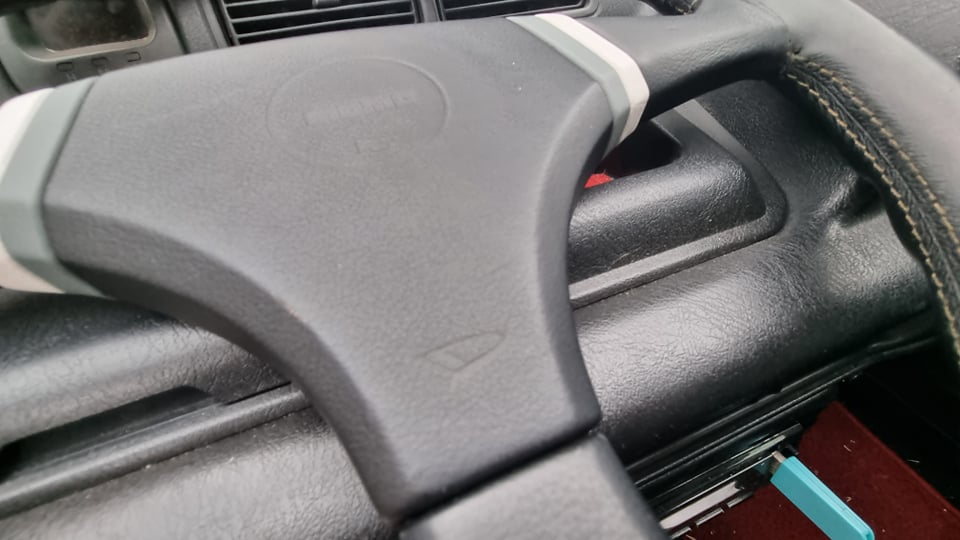
Pretty neat huh, It won’t be installed but kept as a collector item and out of harsh aussie sun.
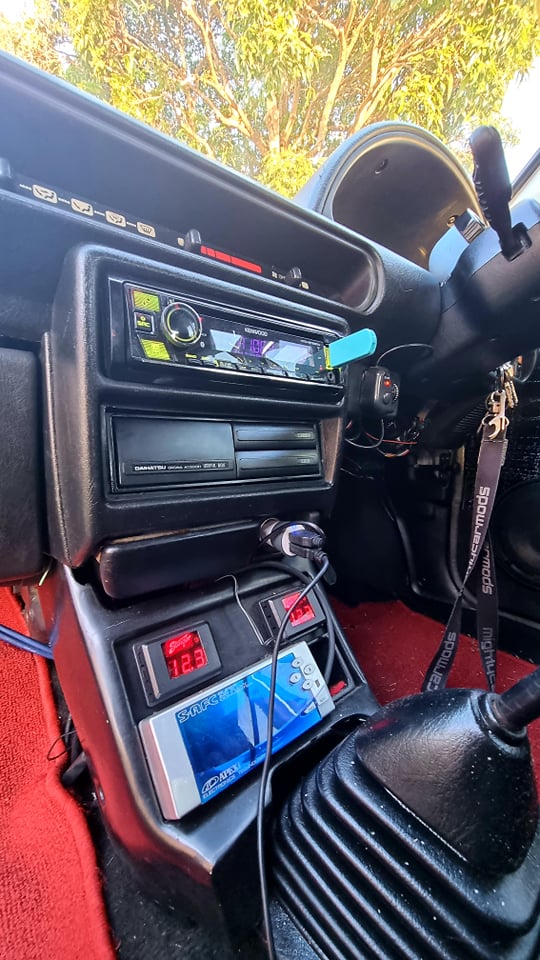
Now is just a weird odd Din pocket called a “useful box” the larger section when open the lid flips down for unknown reasons and all spring open when pressed.
Now the holy grail of rare items. Factory OEM smoked clear bumper lens.
I haven’t seen any of these come up for sale for a very long time and others have been copies
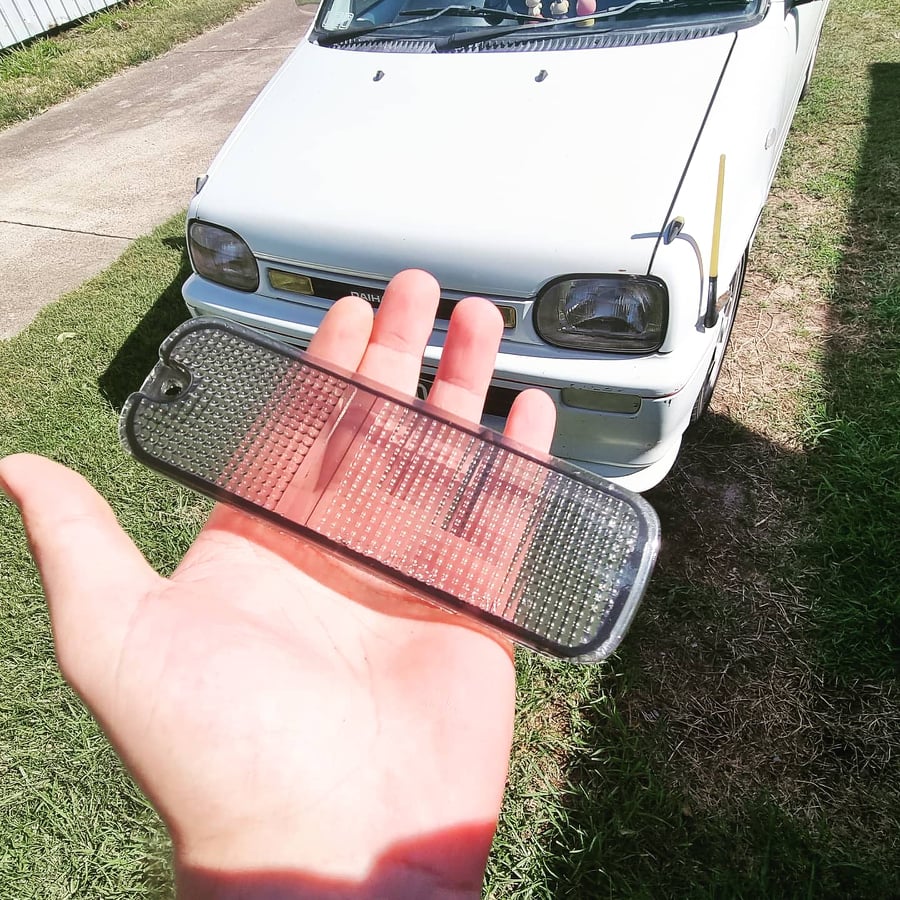
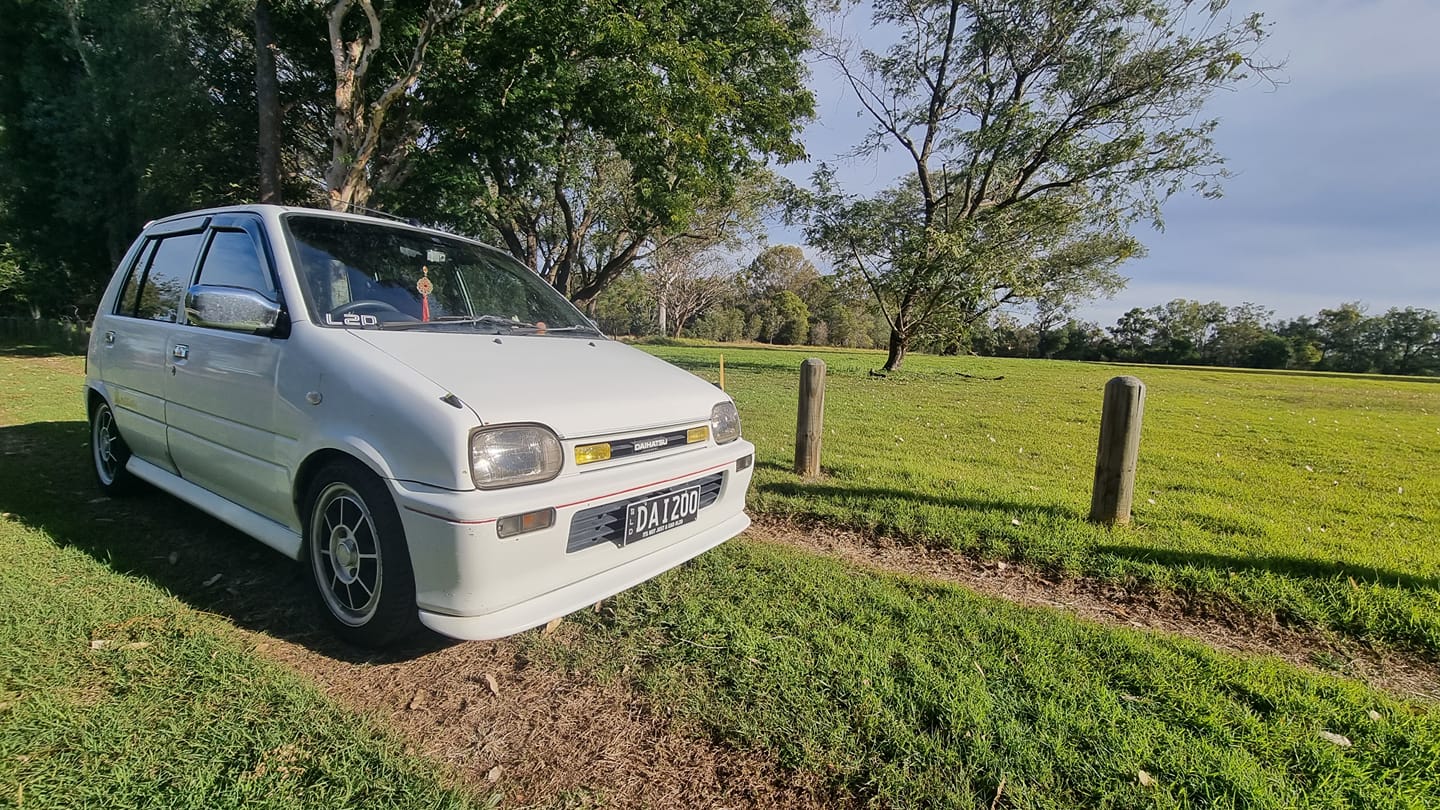
Pretty col huh.
I have just been daily driving it and doing little small fixes etc but she is kicking along nicely.
Until next time 
8 Likes
A short video under the hood of my healthy ef-el in molly
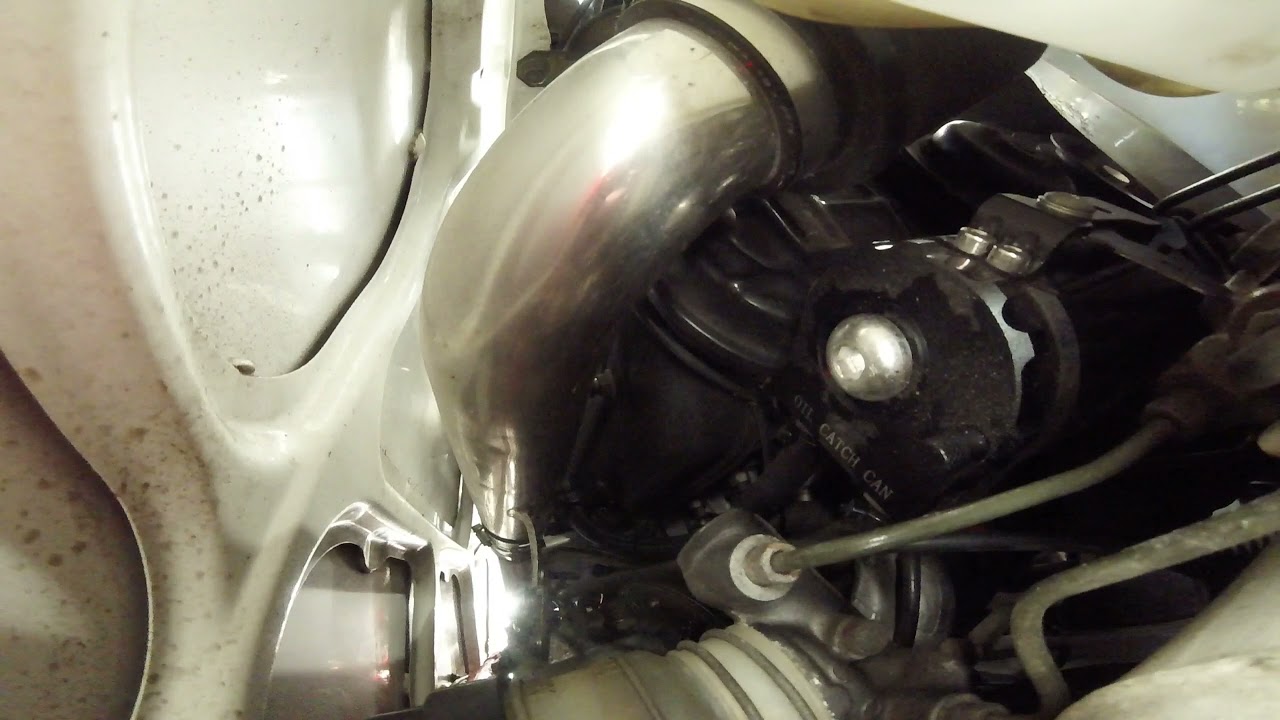
6 Likes
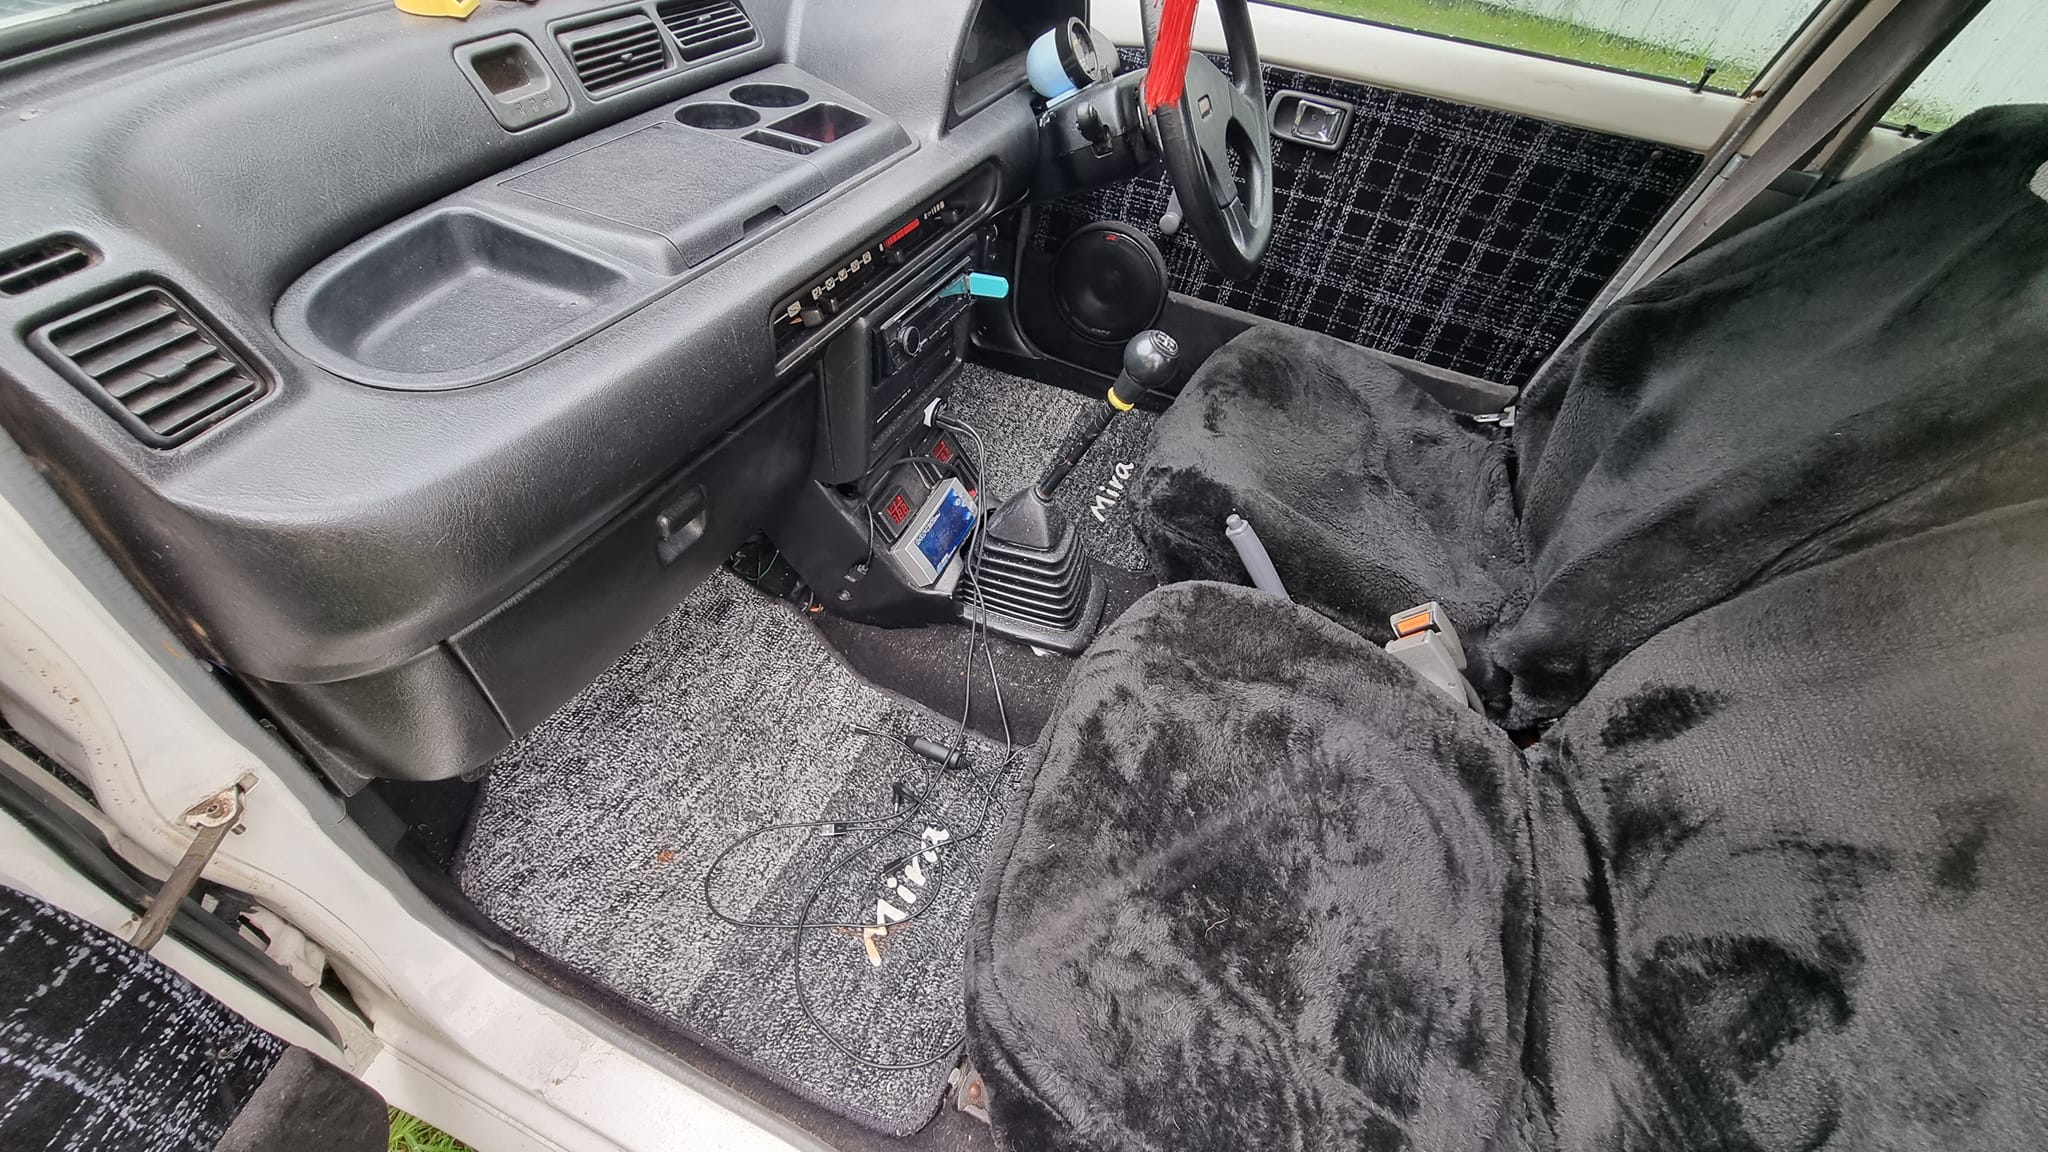
Few little goodies added 
OEM floor mats from japan that match the doors
OEM chrome antenna to go with all my other chrome bits
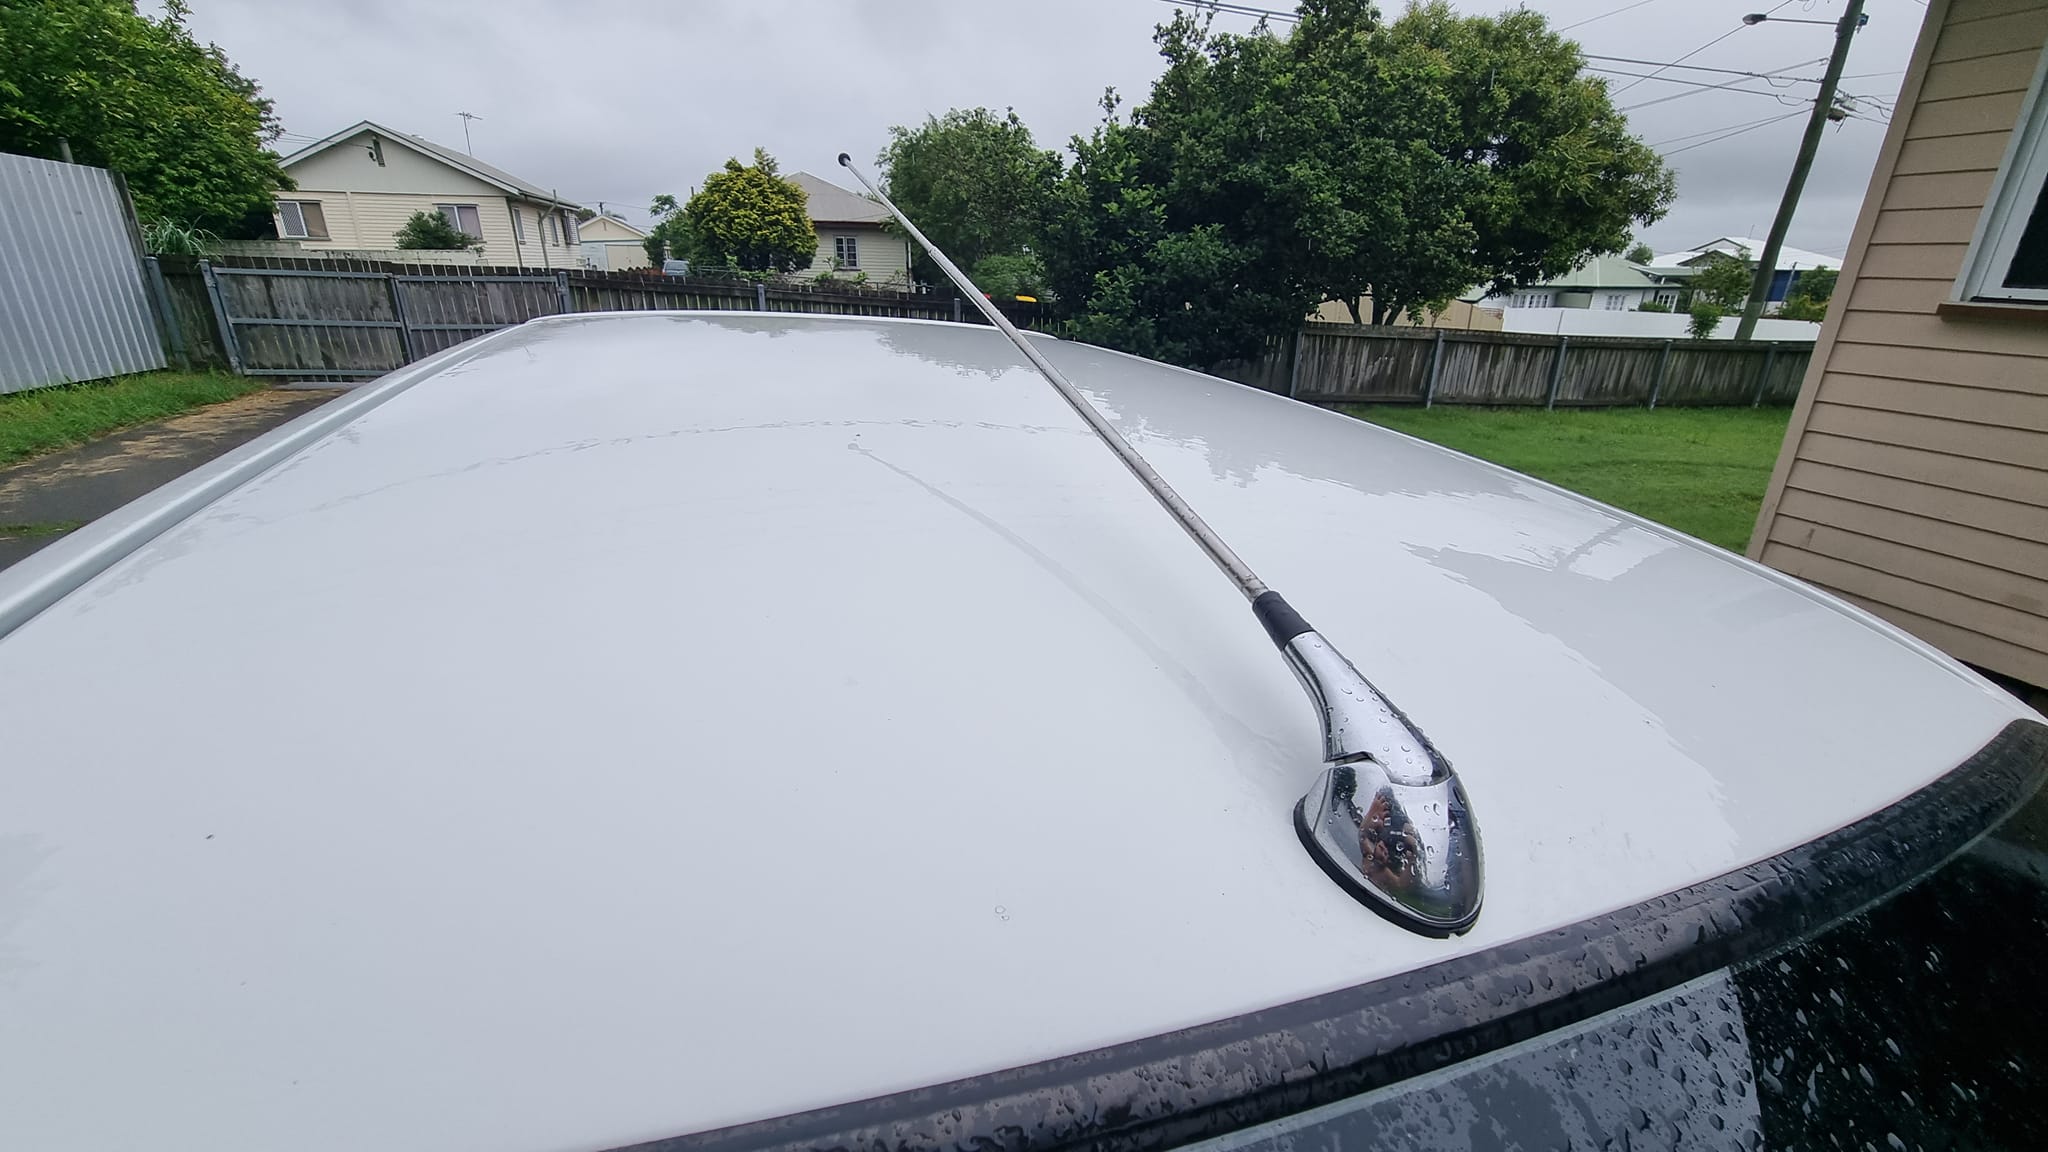
4 Likes
A bit of a service update… As i’ve swapped in a low k engine years with smack on 80thou ks from a 1992 mira i couldn’t stop thinking about the fact it hasn’t hit 100 thou and the timing belt had never been replaced in 30 years.
I had the timing belt for roughly a year and just never got around to it. about 2 months ago i noticed my front main seal was leaking also so i thought this was the perfect time to replace some seals.
Starting off with the leaky Dizzy o-ring.
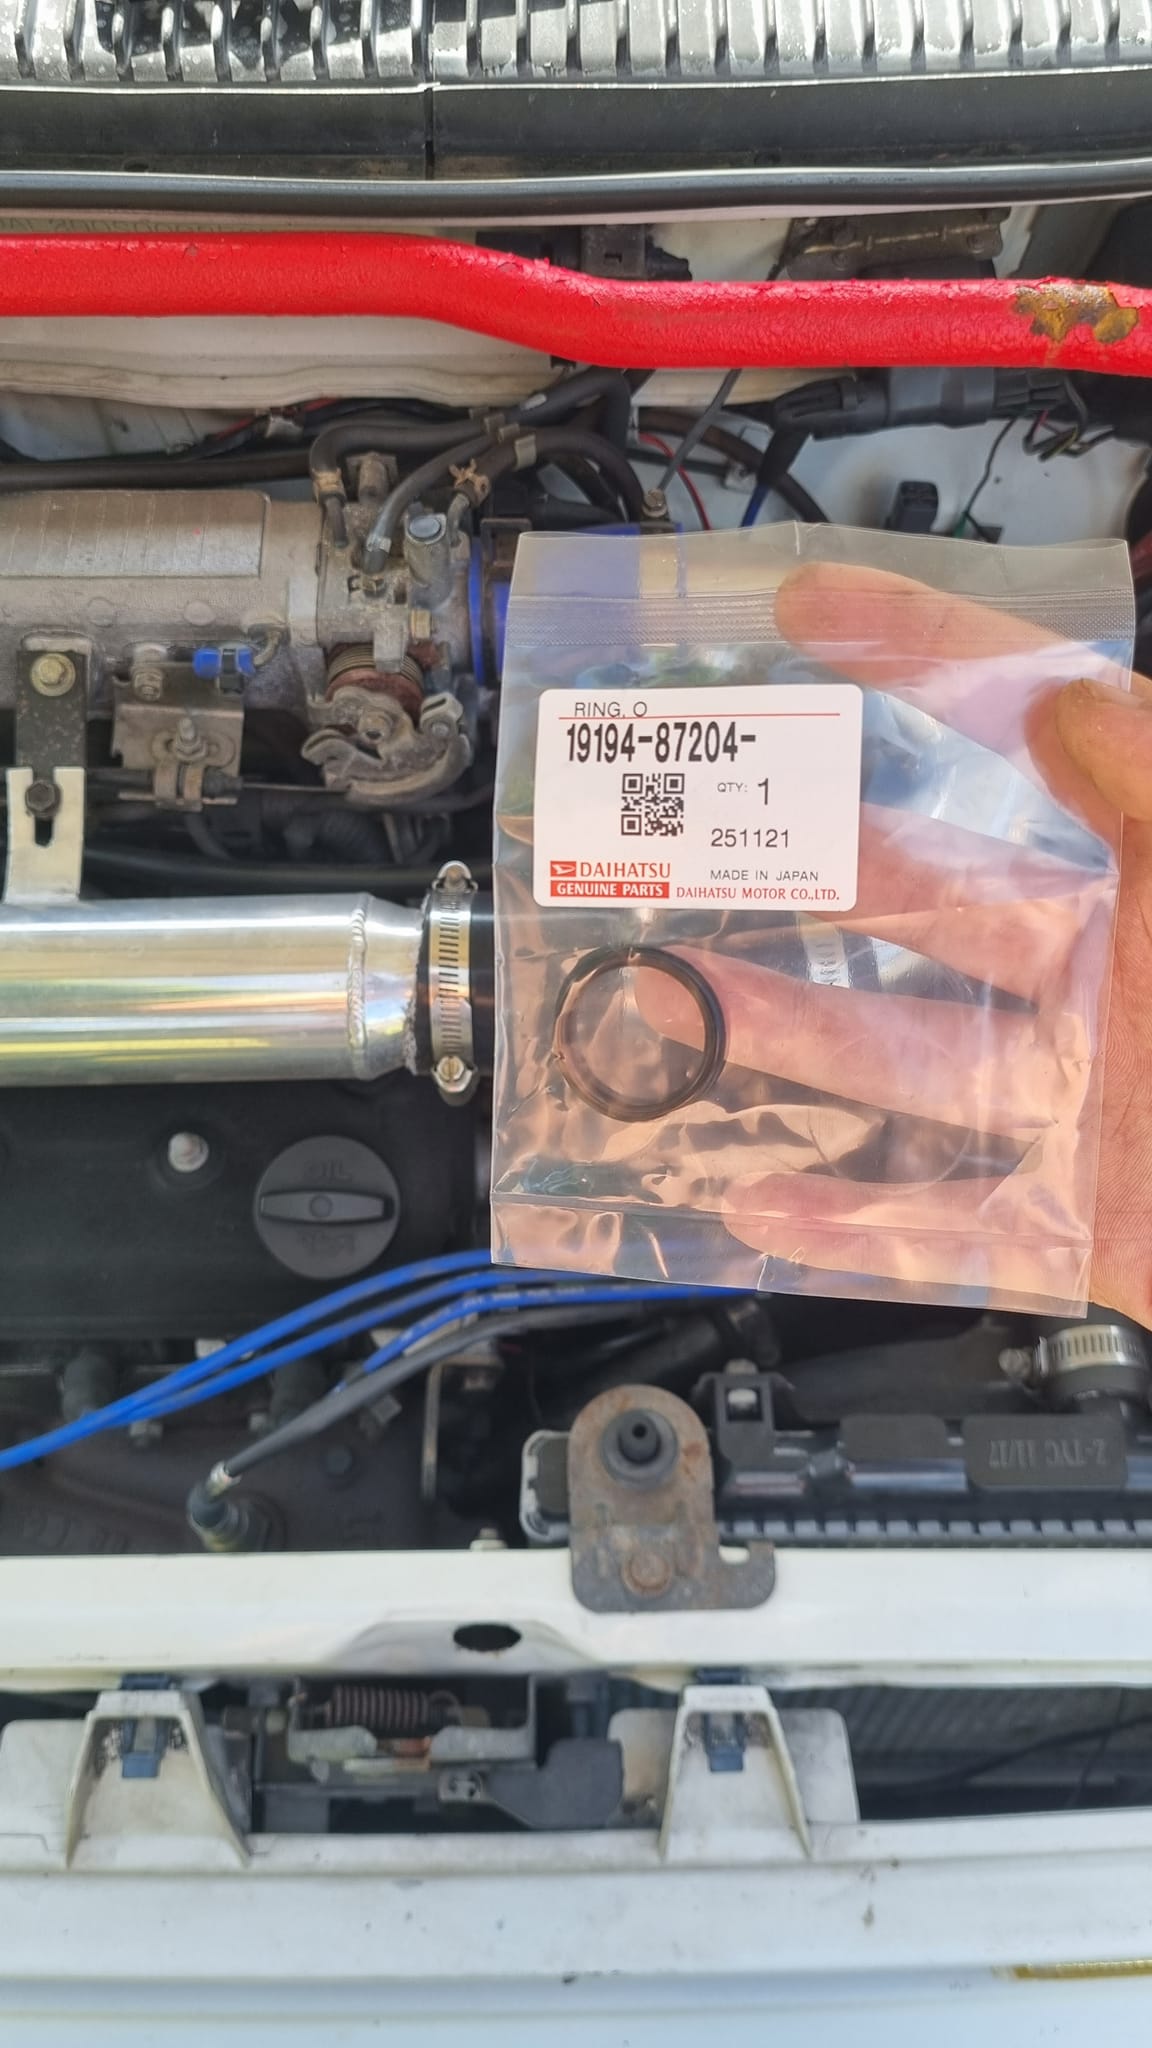
Yes i know it is just an o-ring but i was getting a package in from japan so i thought i would just throw a genuine o-ring in the package.
Pre inspection on the job ahead of the timing belt i noticed my acc belt was worn and falling apart 0-0 OMG
but lucky i had multiple spares
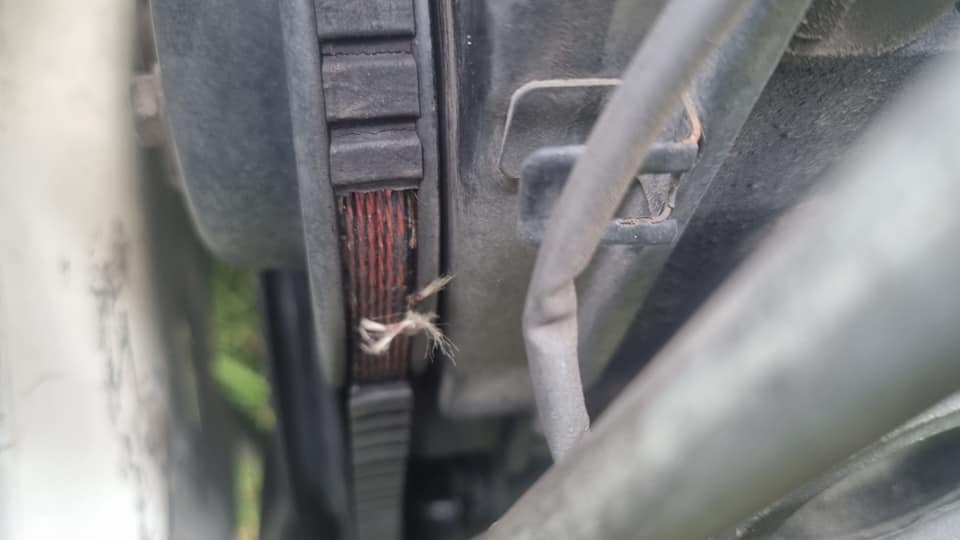
Now time to get into it, It all went smoothly and fast, I had noticed my water pump is weeping but that is a headache for another day as i haven’t noticed any coolant leaking yet so might have been build up from being 30 years old. ( 100% going to regret not doing it)
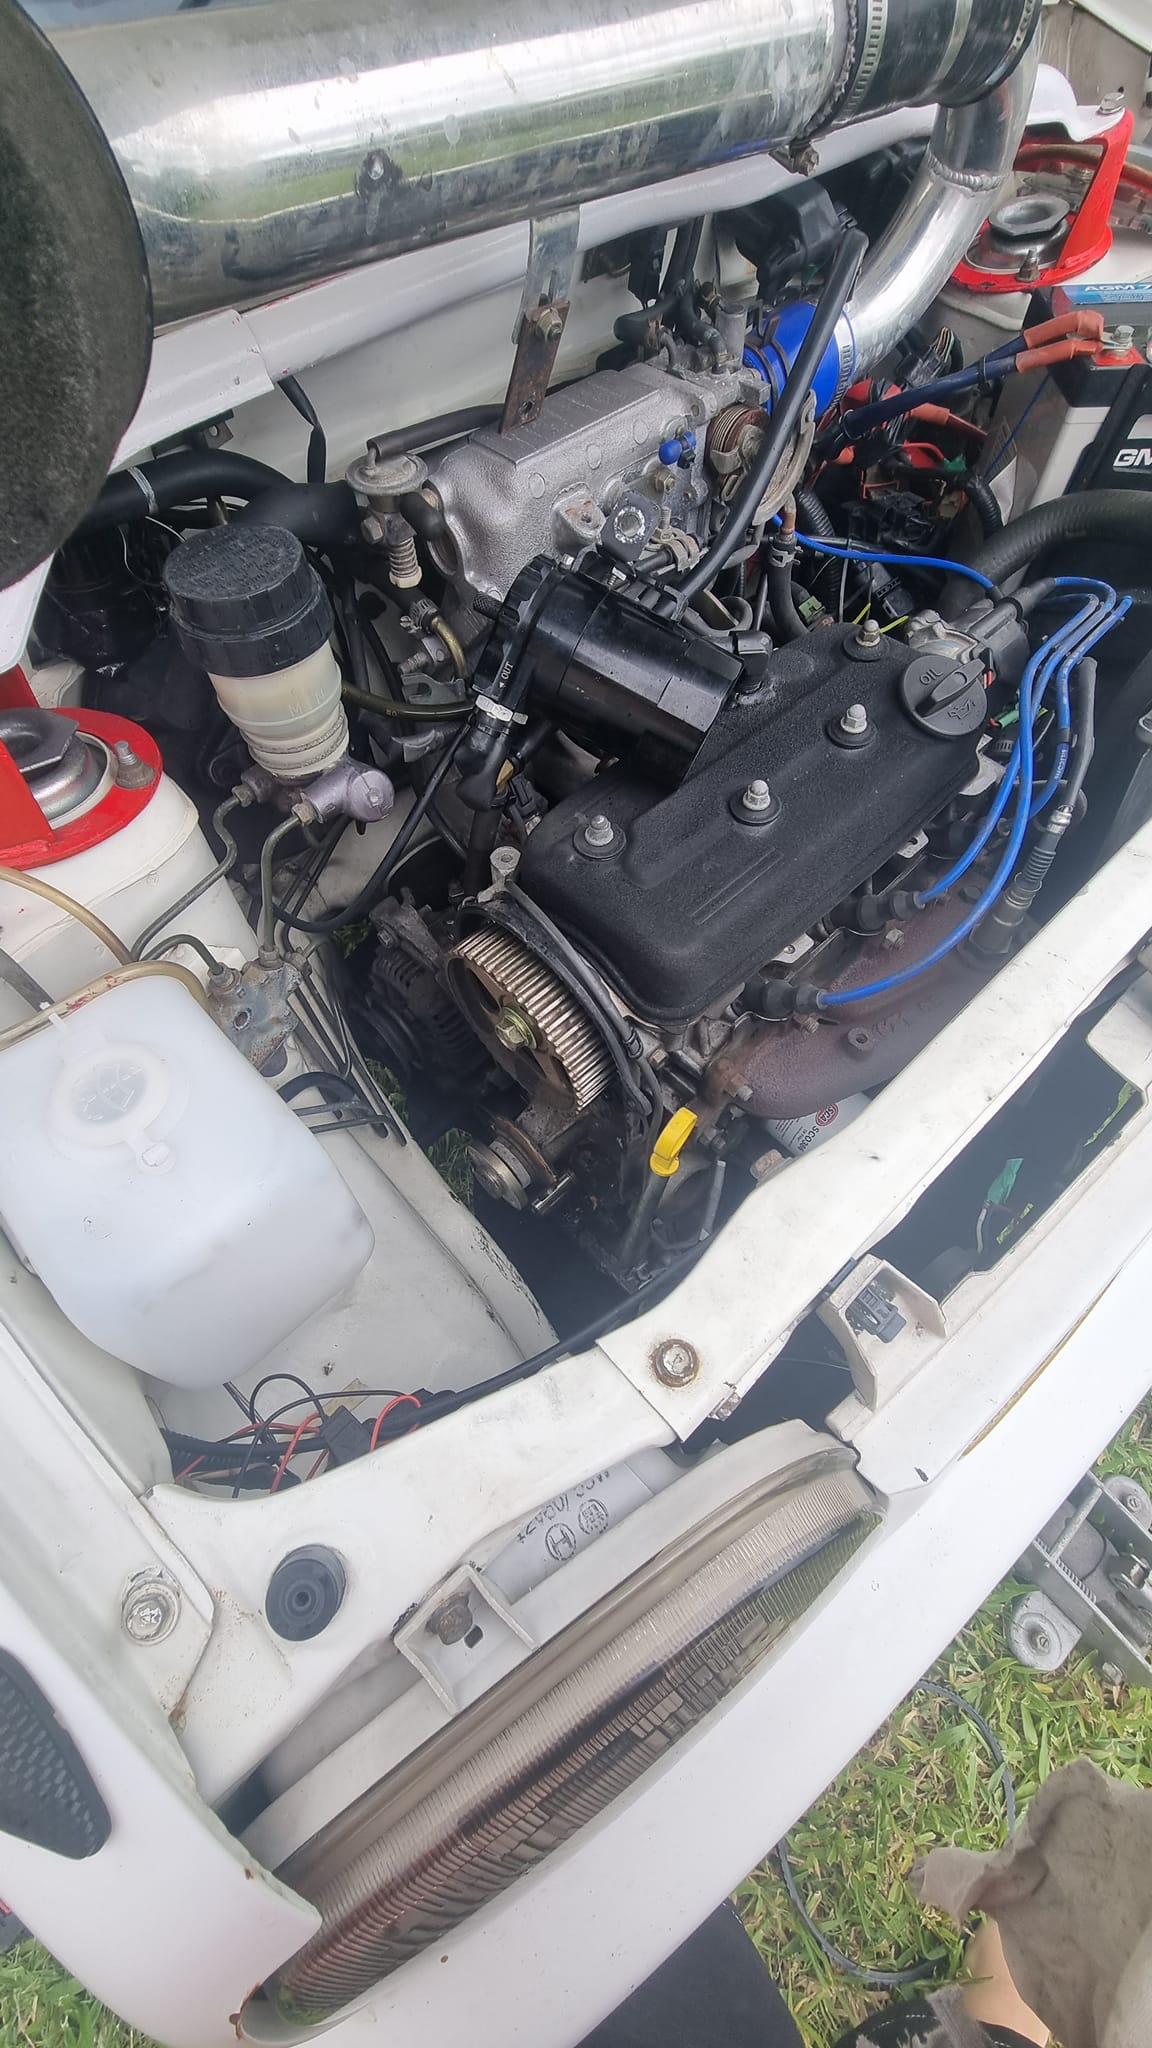
Yep the original timing belt from 1992 but looked shockingly good for the age but i did notice some splitting on the layers and what looks to be my timing belt tensioner to be spinning on the surface ( must of been that rattle )
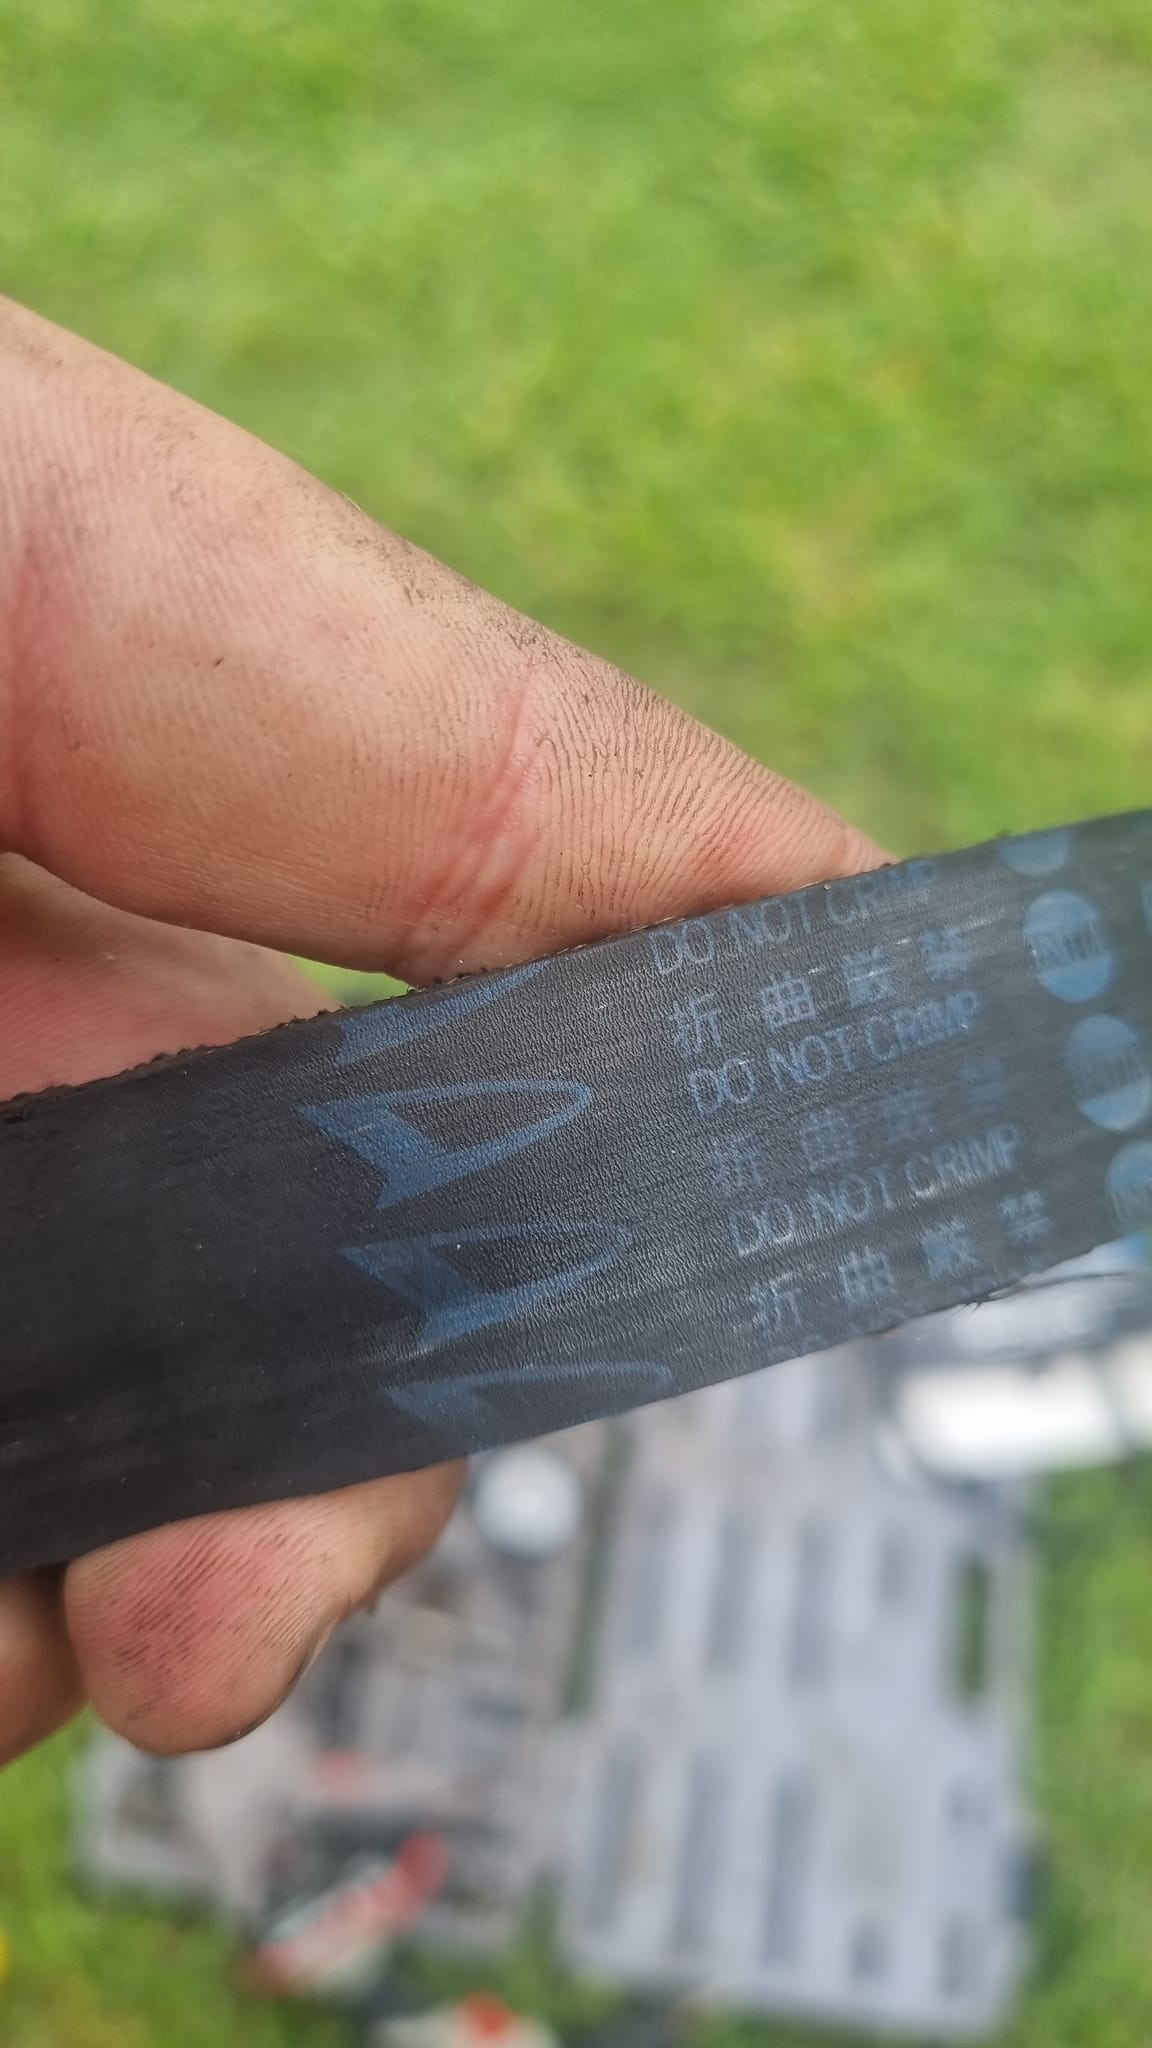
Front main seal out also, was very hard and caused a nice leak so i am happy that is fixed
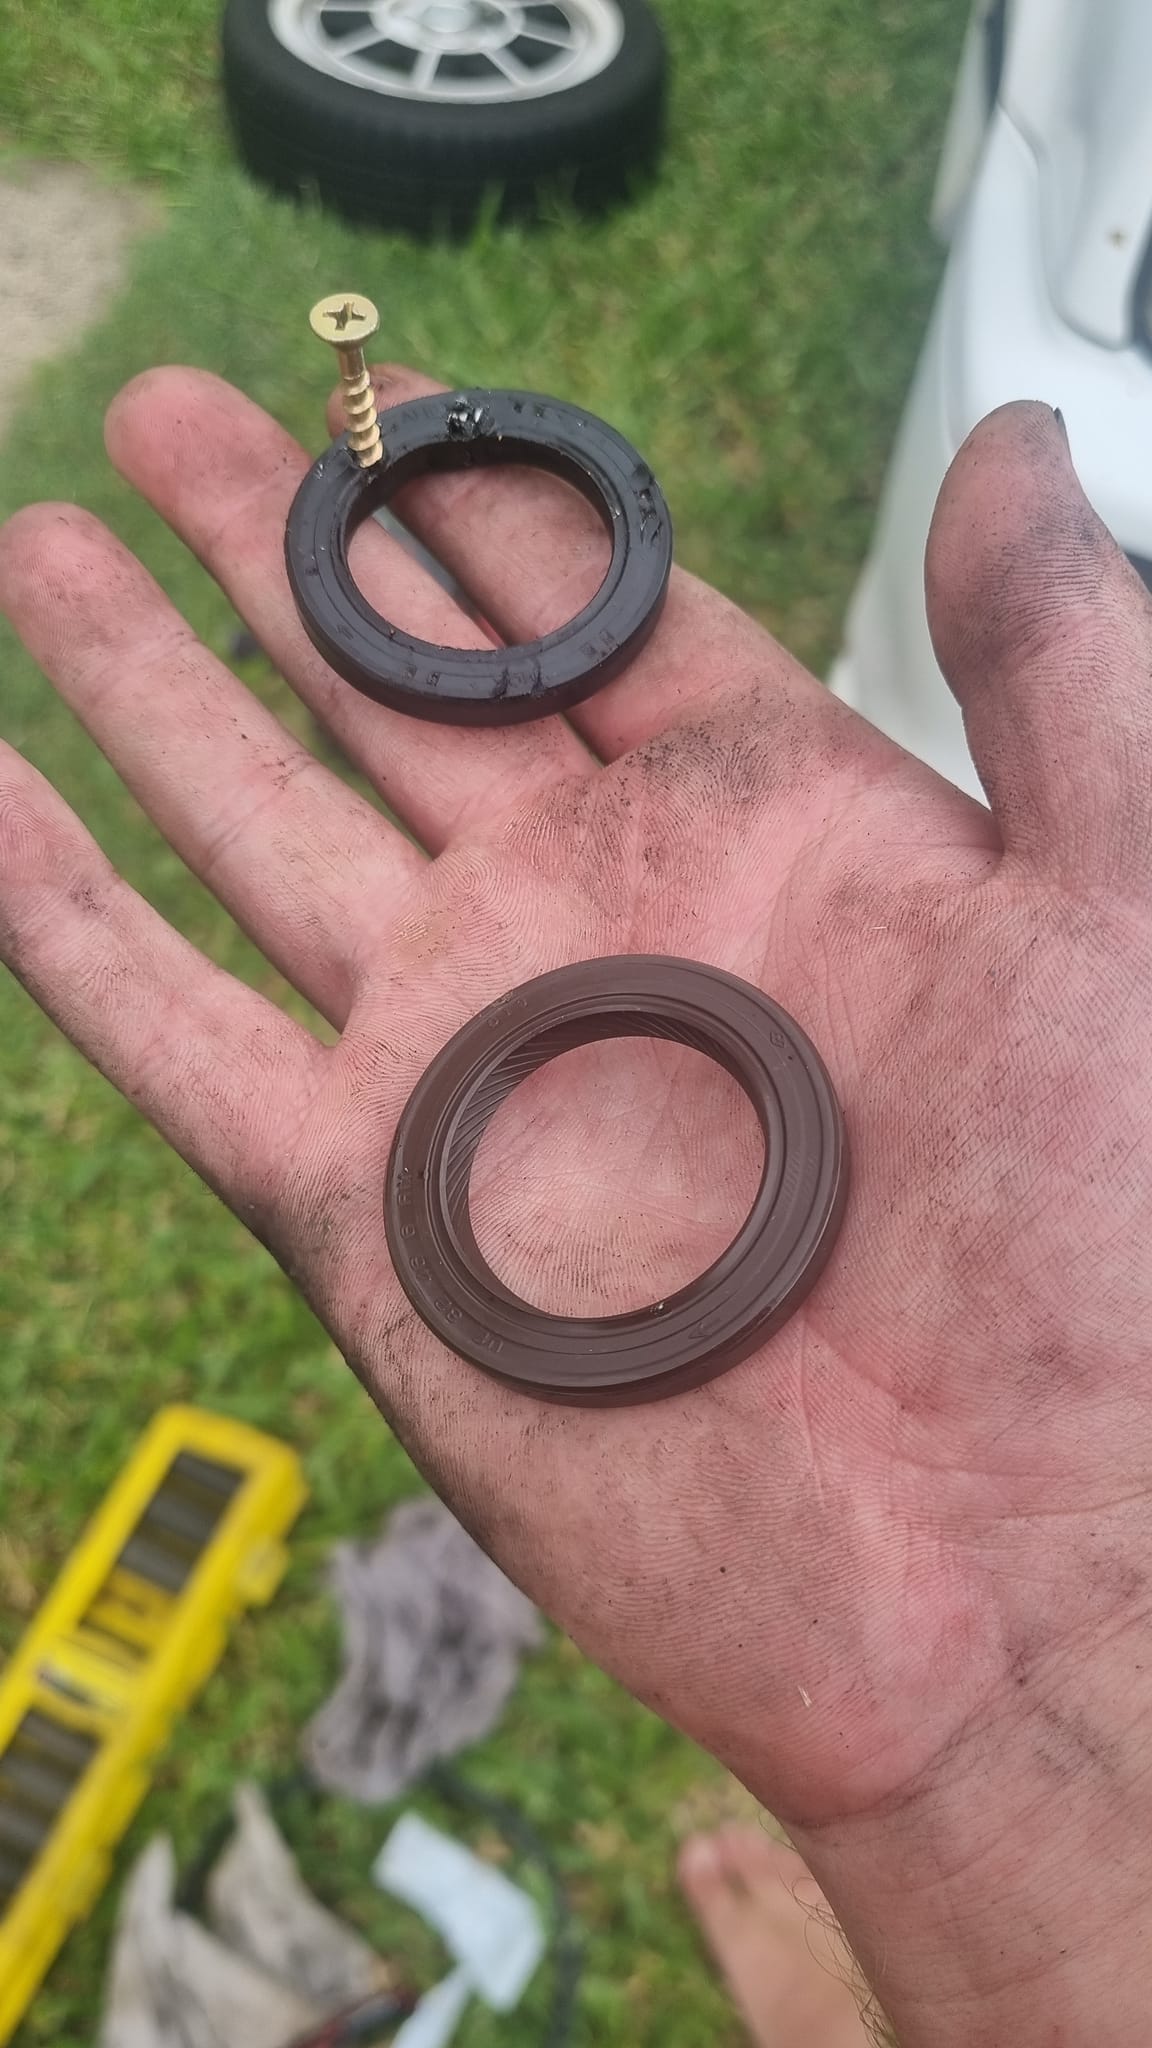
All back together and running without any issues

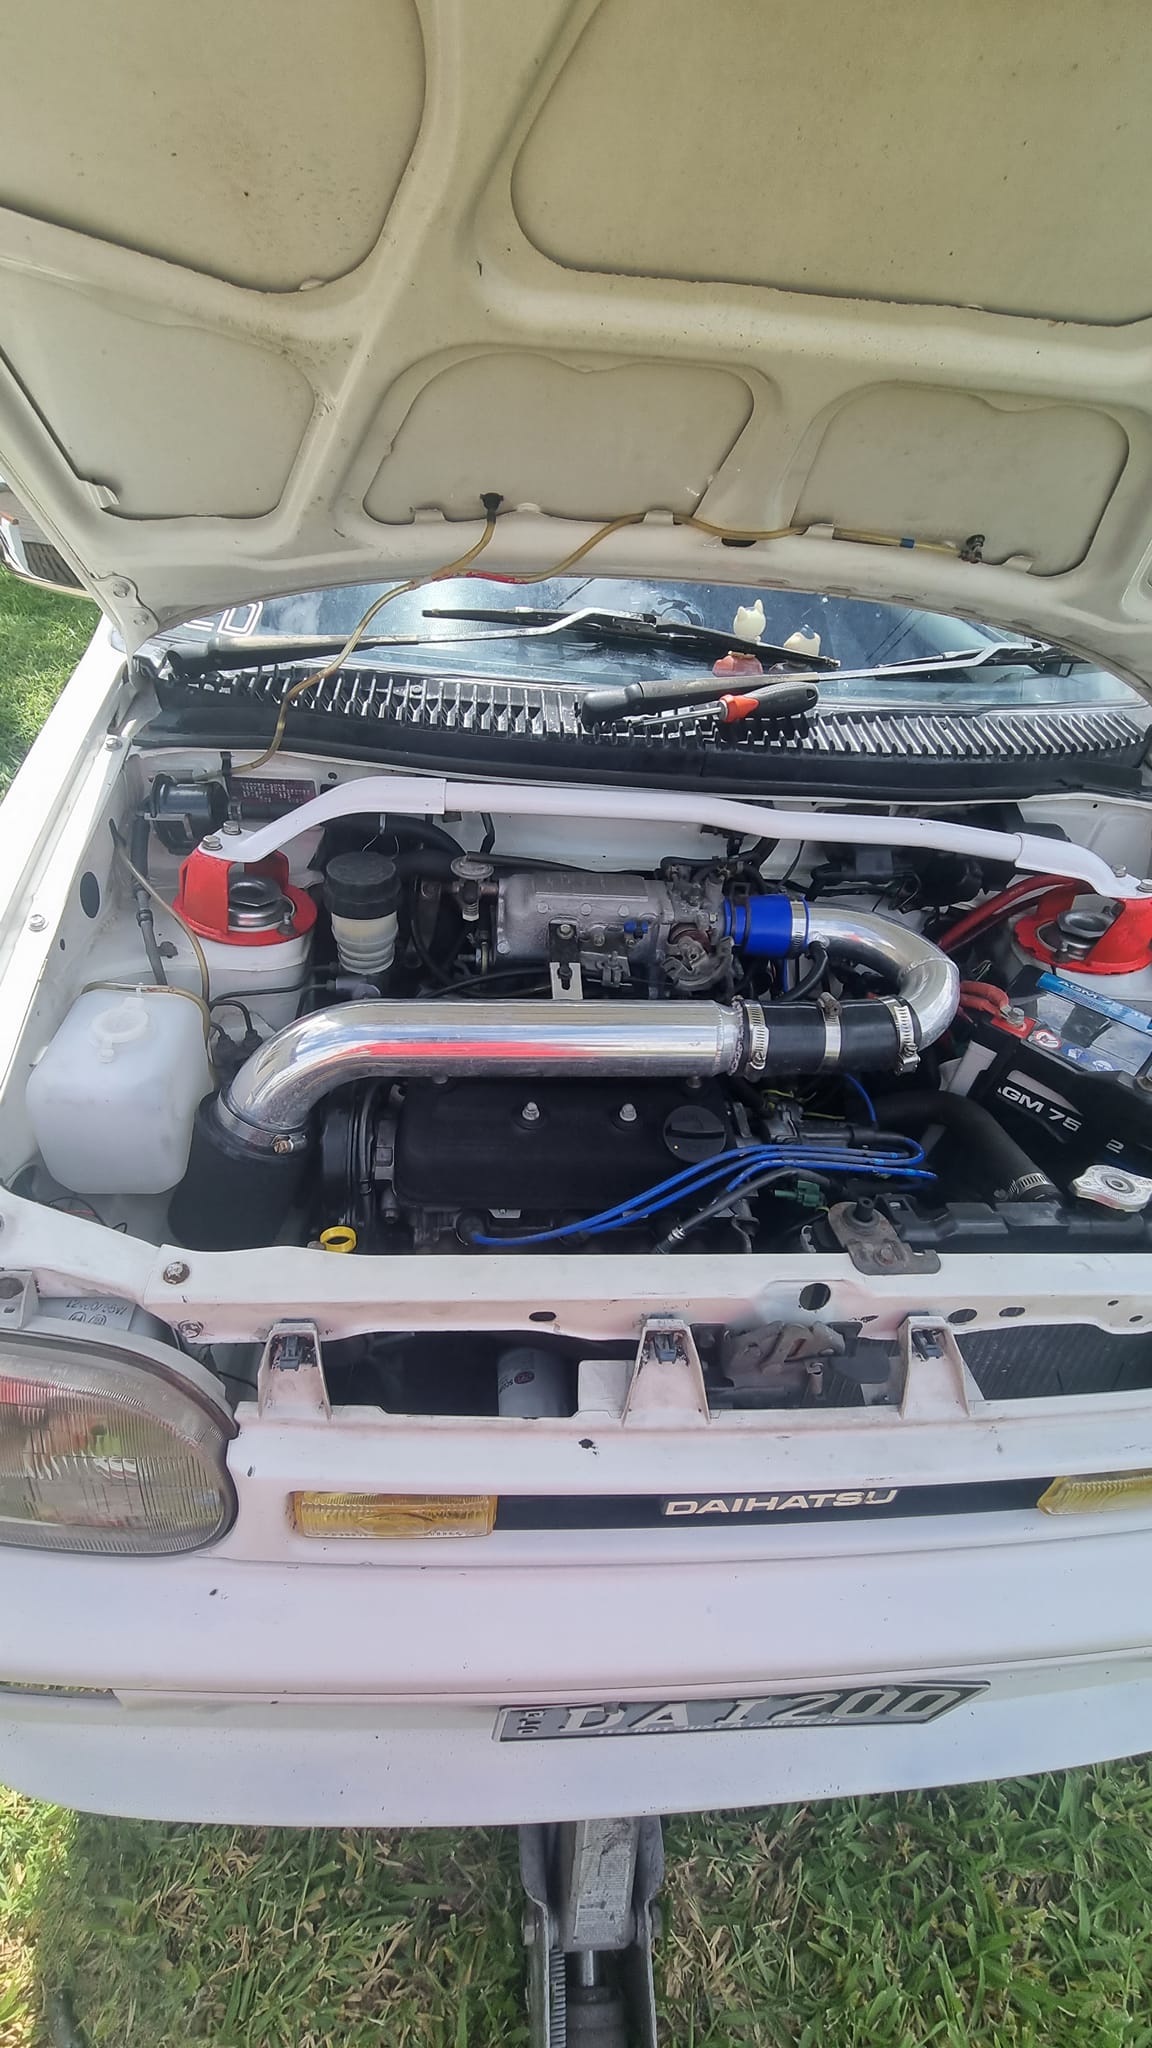
Until next update, Stay awesome.
4 Likes
[quote=“Luke, post:8, topic:2242”]…New shocks to replace the old and blown out factory ones…[/quote]Did you mean the front struts? The rear shocks weren’t pictured is why I ask. If they don’t leak, Japanese struts and shock absorbers are robust enough for performing near eternal service [quote=“Luke, post:21, topic:2242”]…I have no cat inside mine atm so that helps flow a fair bit but as you can see it’s not all that bad, some nice long runners would for sure look better and may help the very end ports…[/quote]The way these catylists are mounted within the manifold doesen’t seem thermally efficient, to me. Ideally, catylists belong beneath the floorboard. Placing them there has, of course, its disadvantages for the passengers during summer, especially for those sitting directly above them. An equal-length tube extractor wrapped up in tape should increase low-end torque
Sweet little car, man Any videos of it ripping through the gears from a dig to 120+kph? Keen to watch if so.
So lil molly is still going strong and has been my daily since owning her.
in the time gone by she has been reliable.
Only thing that has failed me was the gearbox casing cracked and i had to replace it.
I finally after all the years of hunting for a tr-xx bar i got my grubby hands on one.
Let the fun begin!
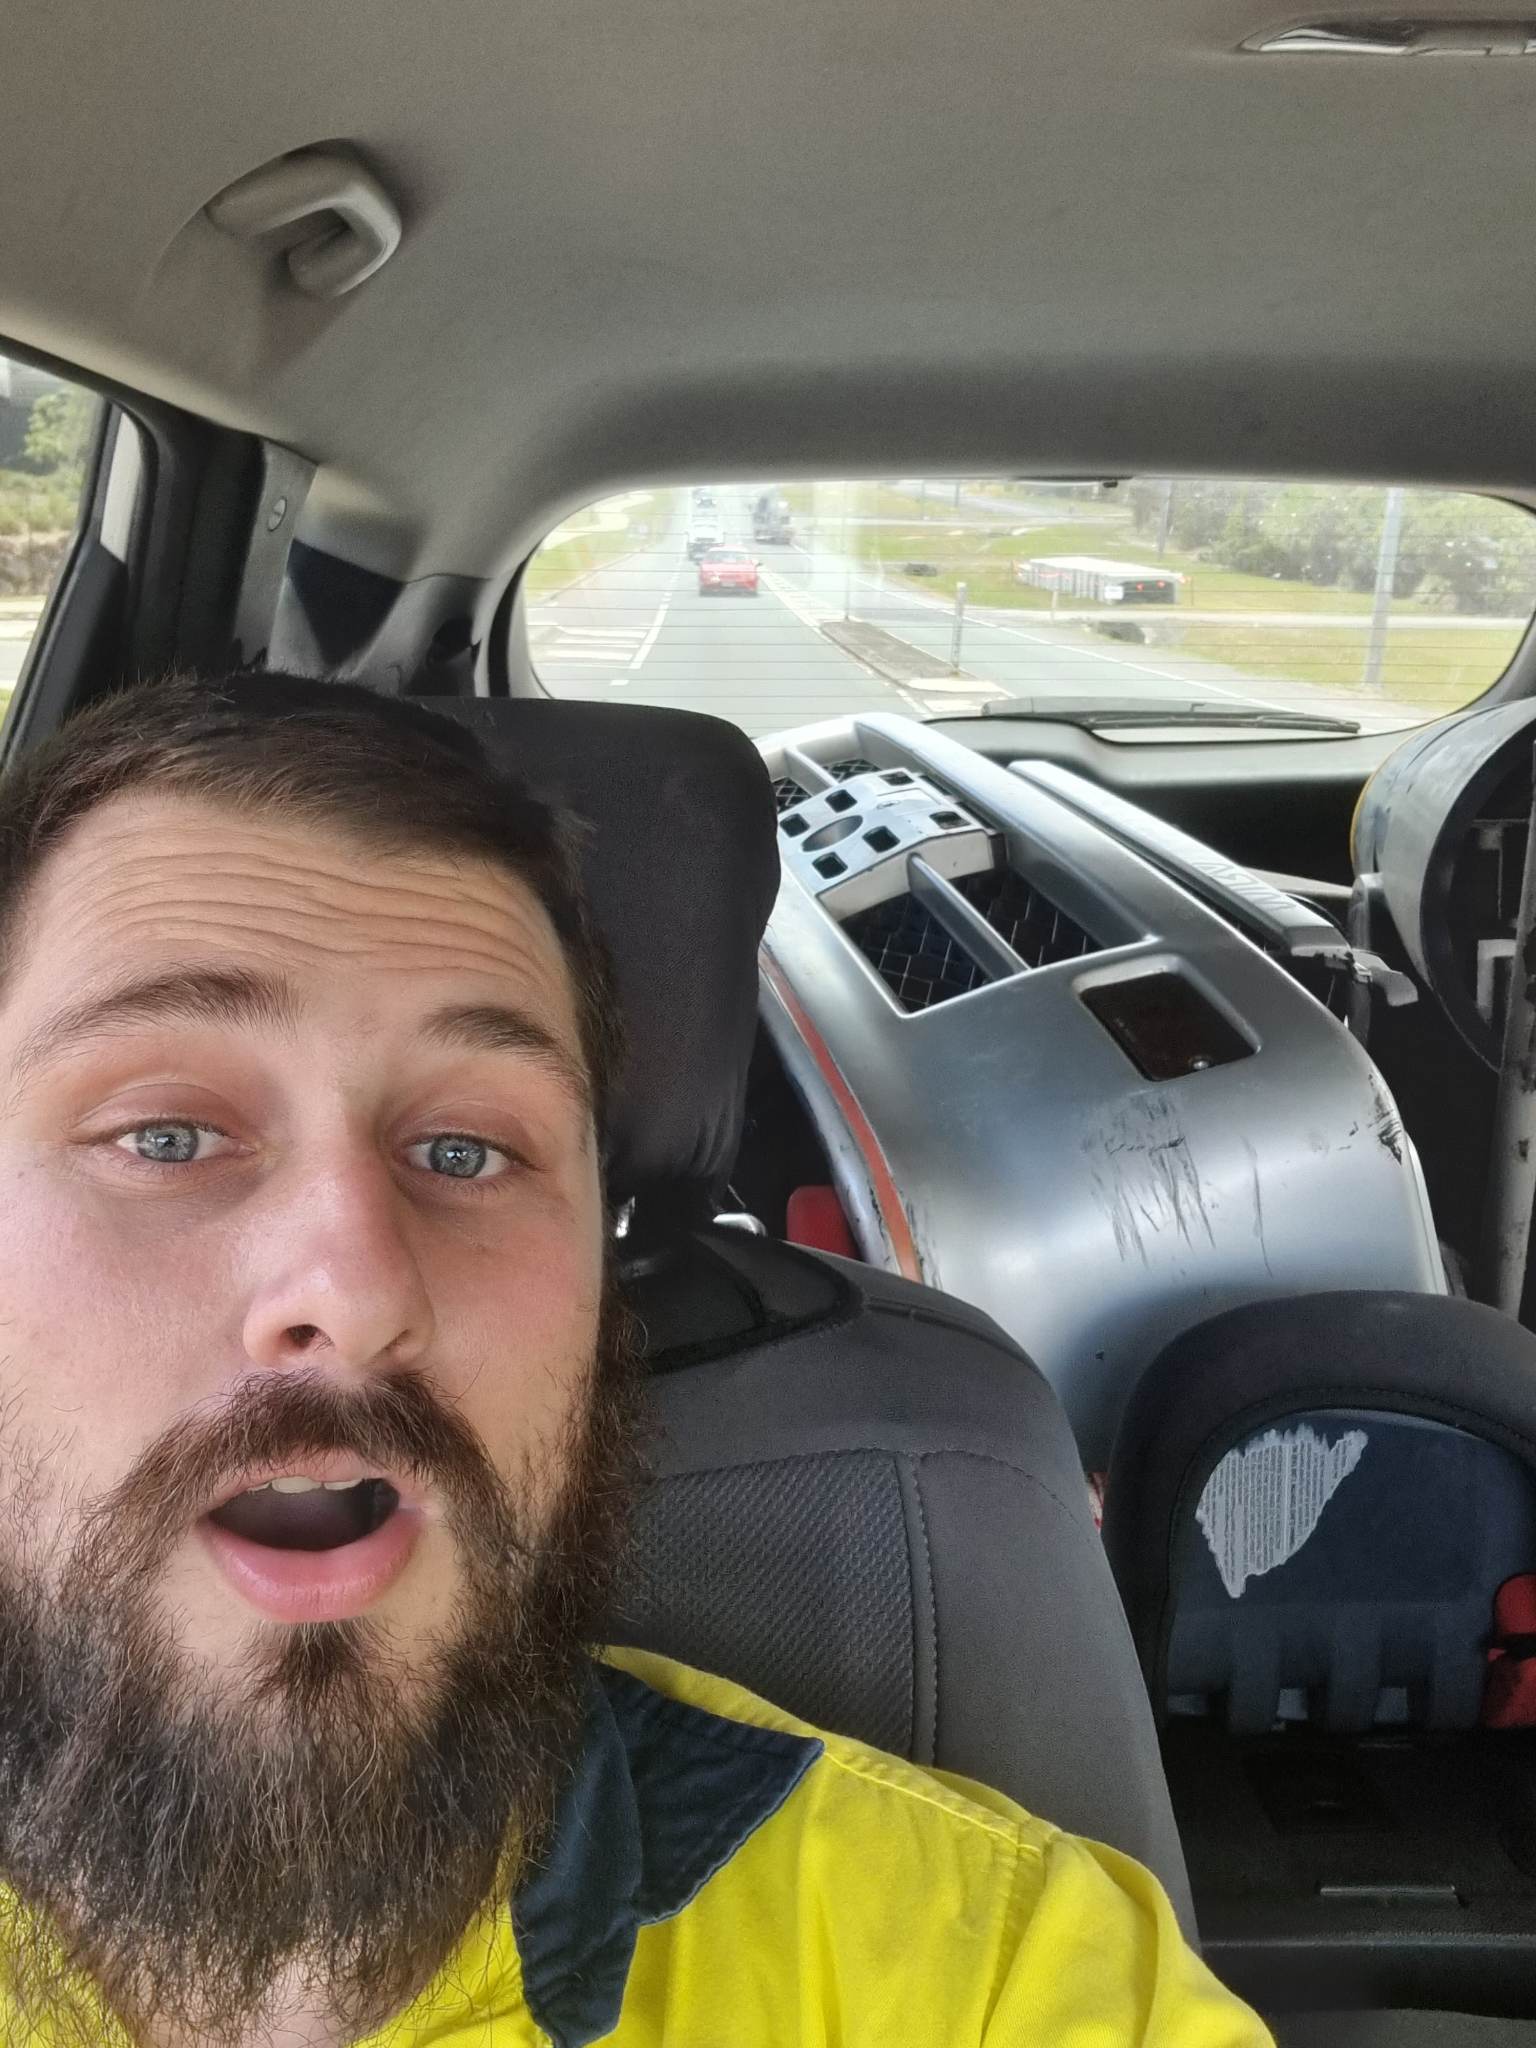
I was so excited! we picked it up an hours drive away after finishing a grave yard shift at work.
The next day i finished early so i got stuck into it
Here it is sanded and masked up
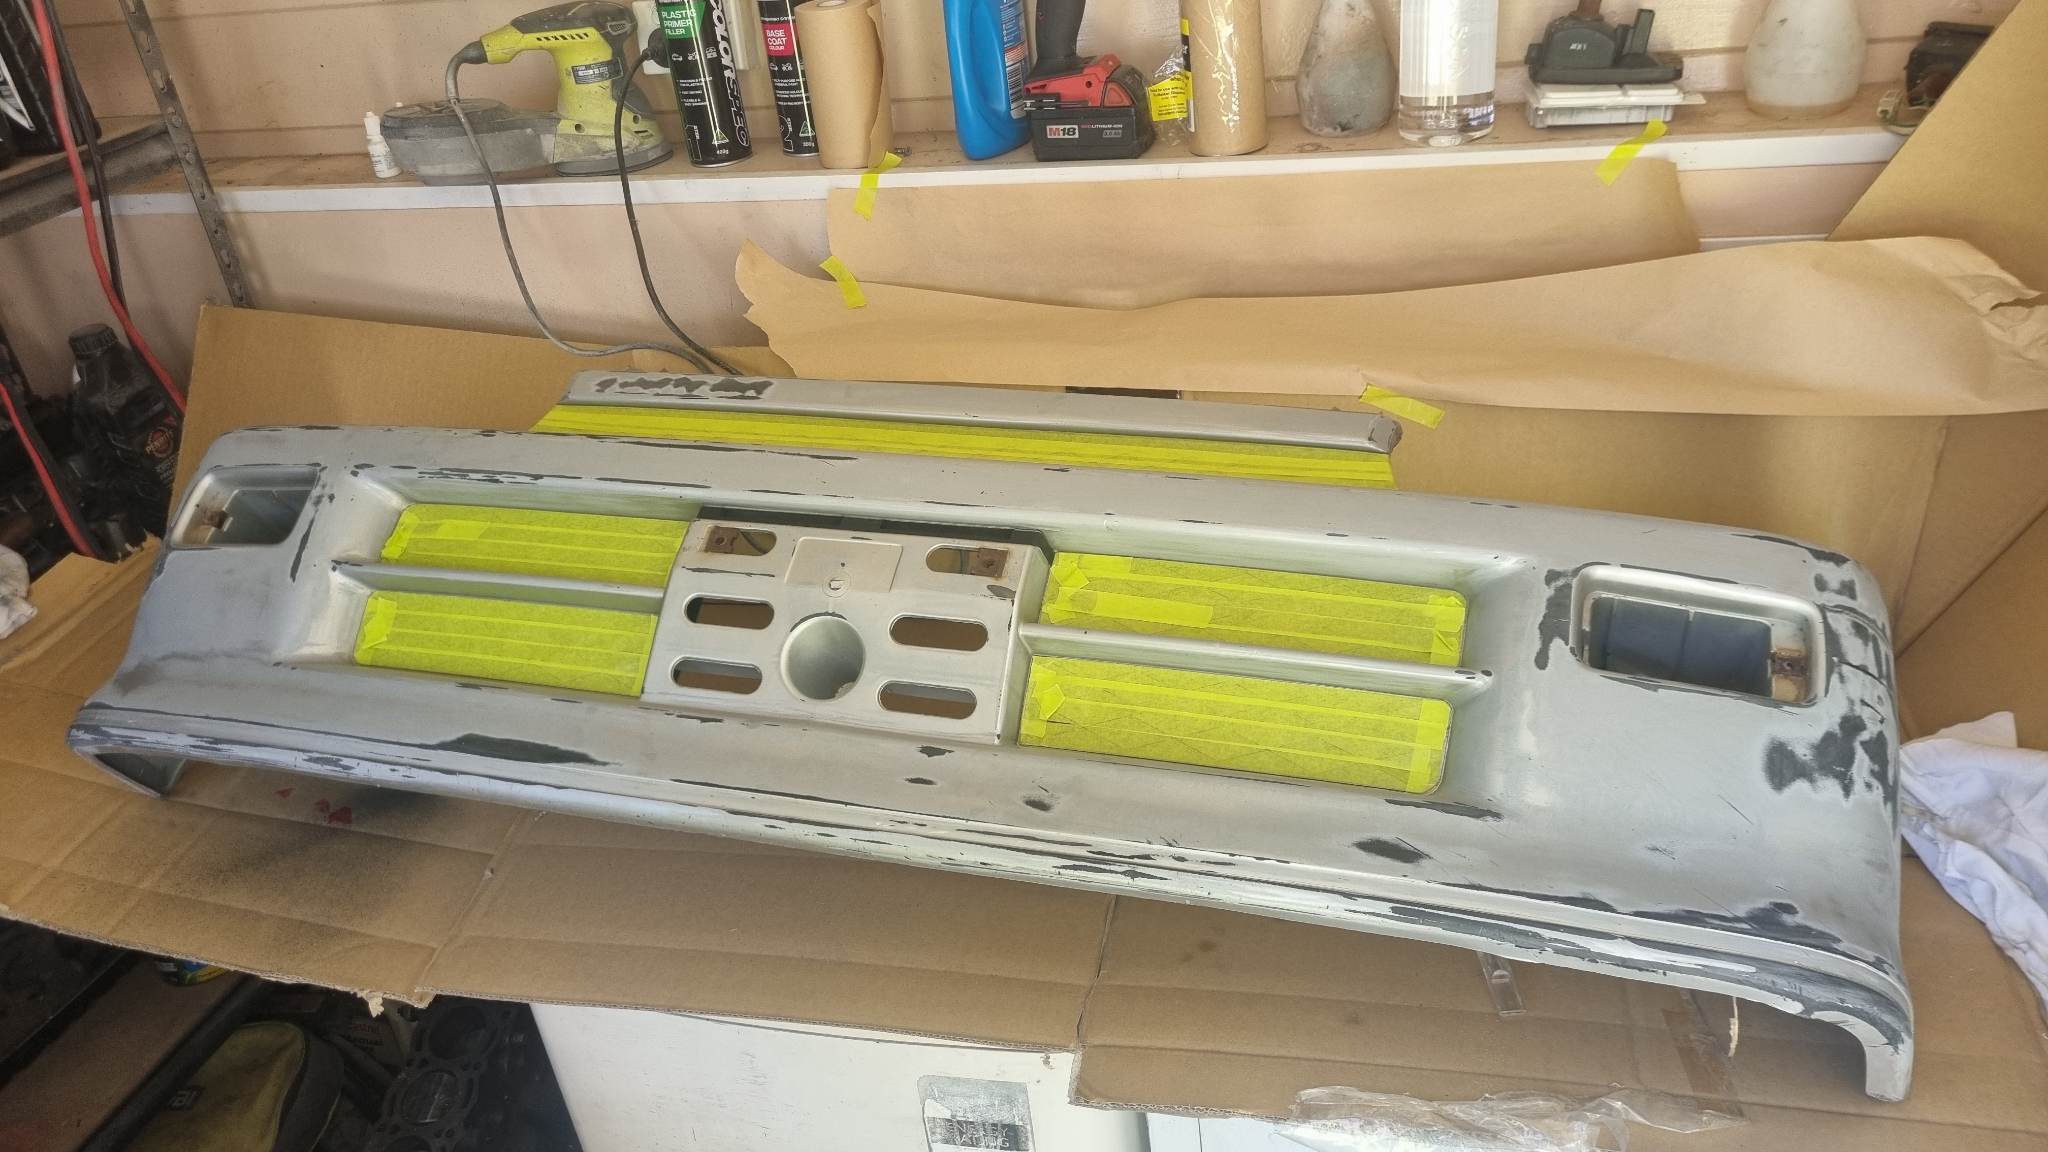
Ready for primer! so on it goes
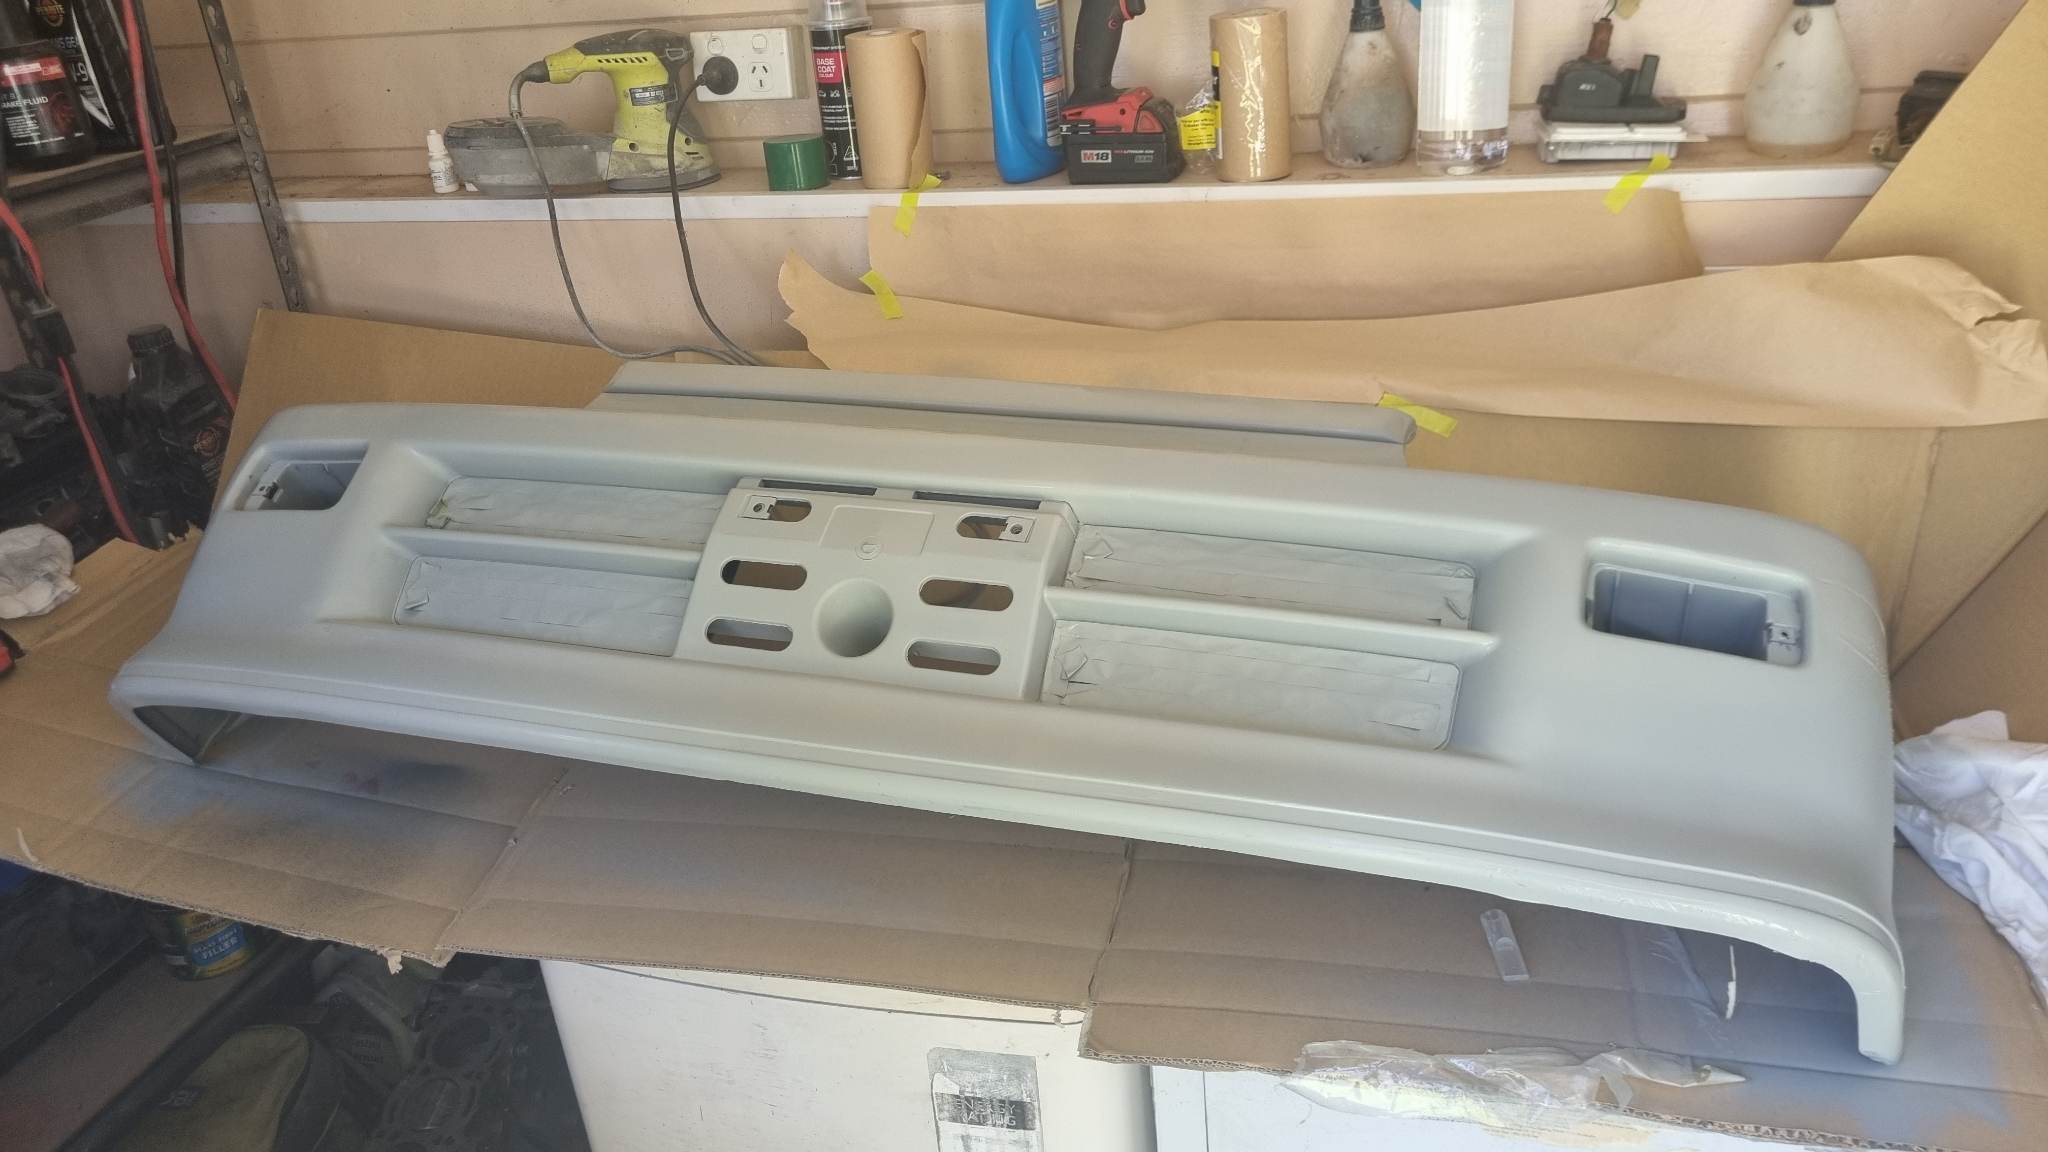
Soon after i put on the base coat and repainted the Jmode lip.
Here it is all painted up with lip installed
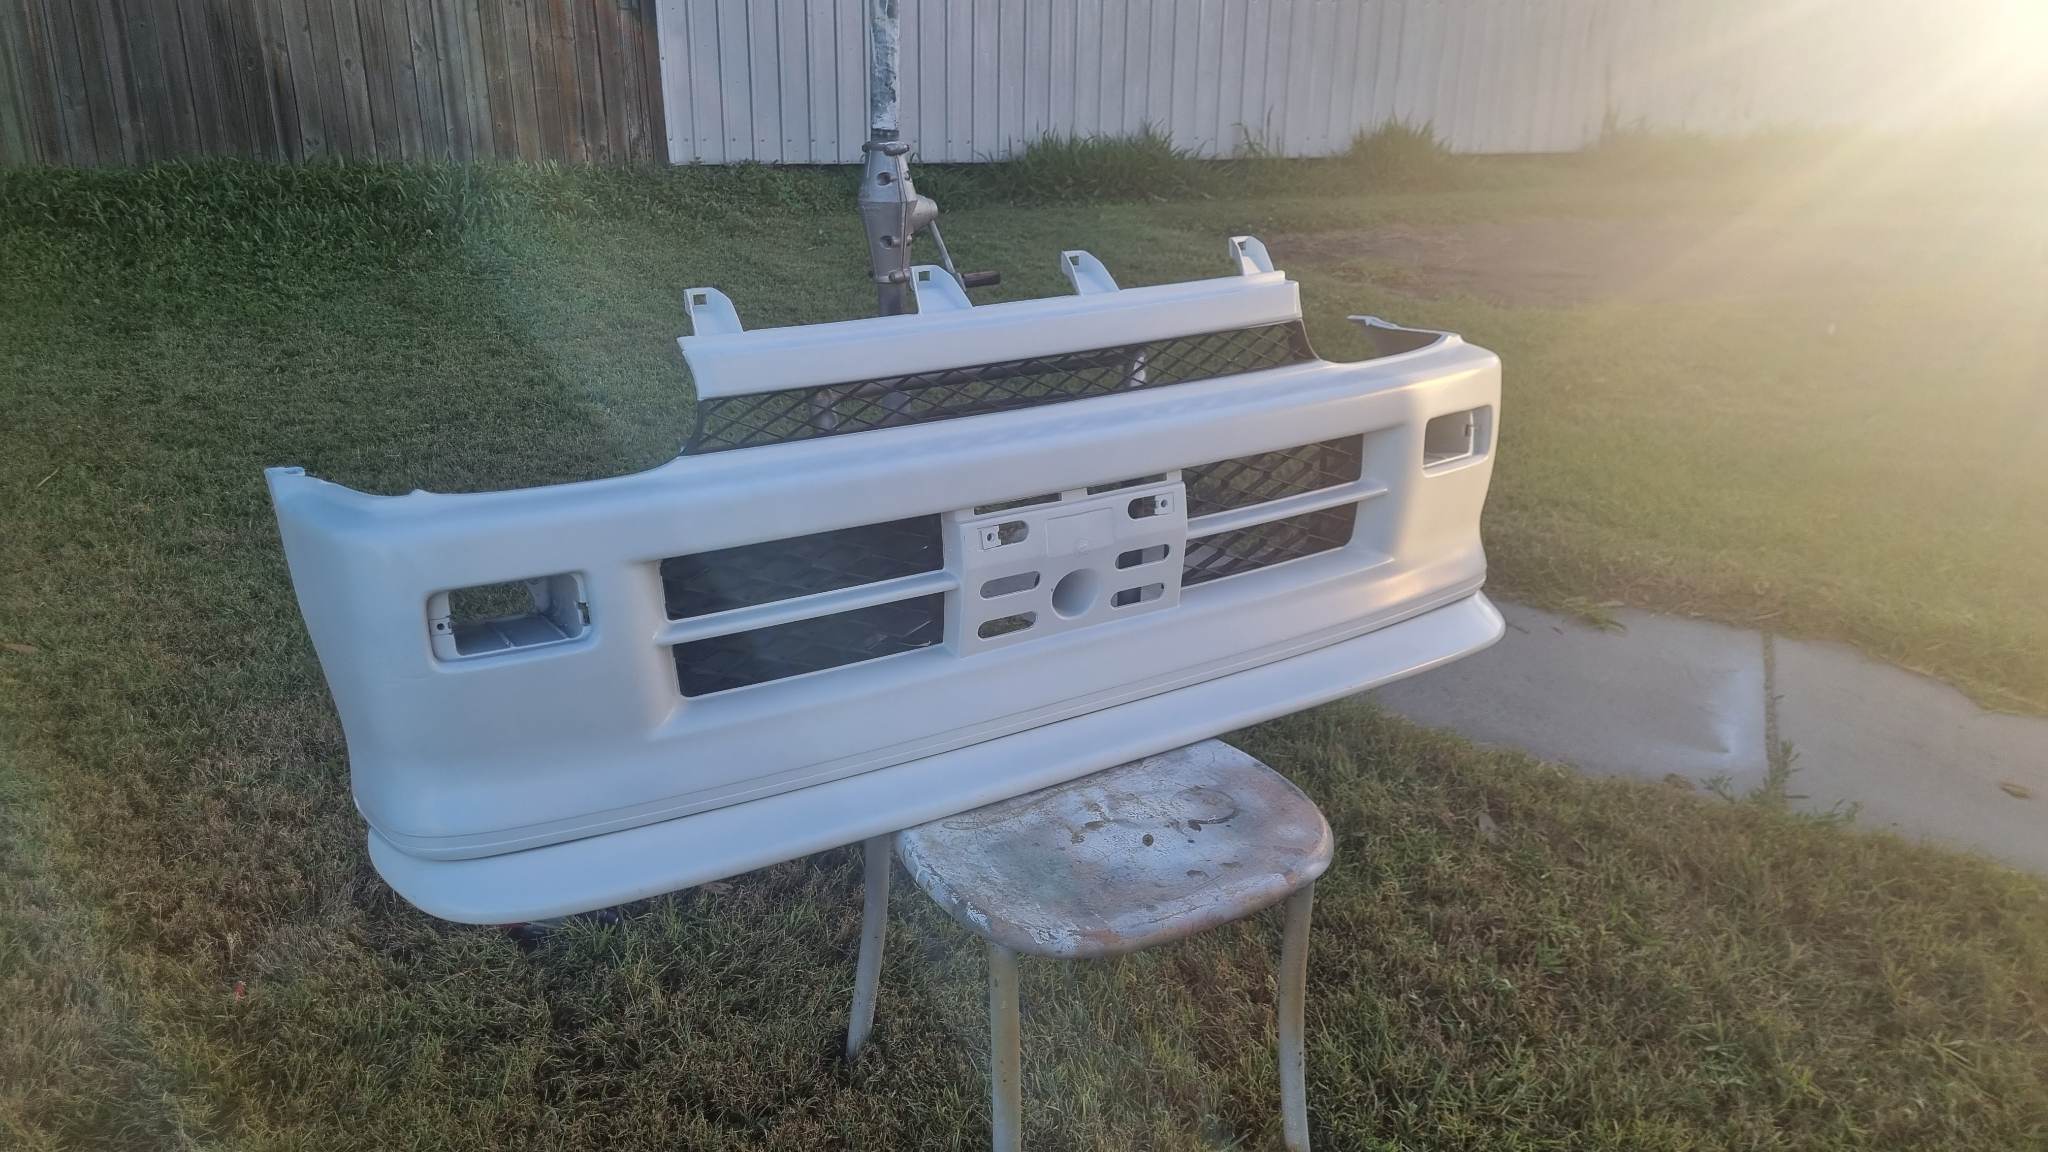
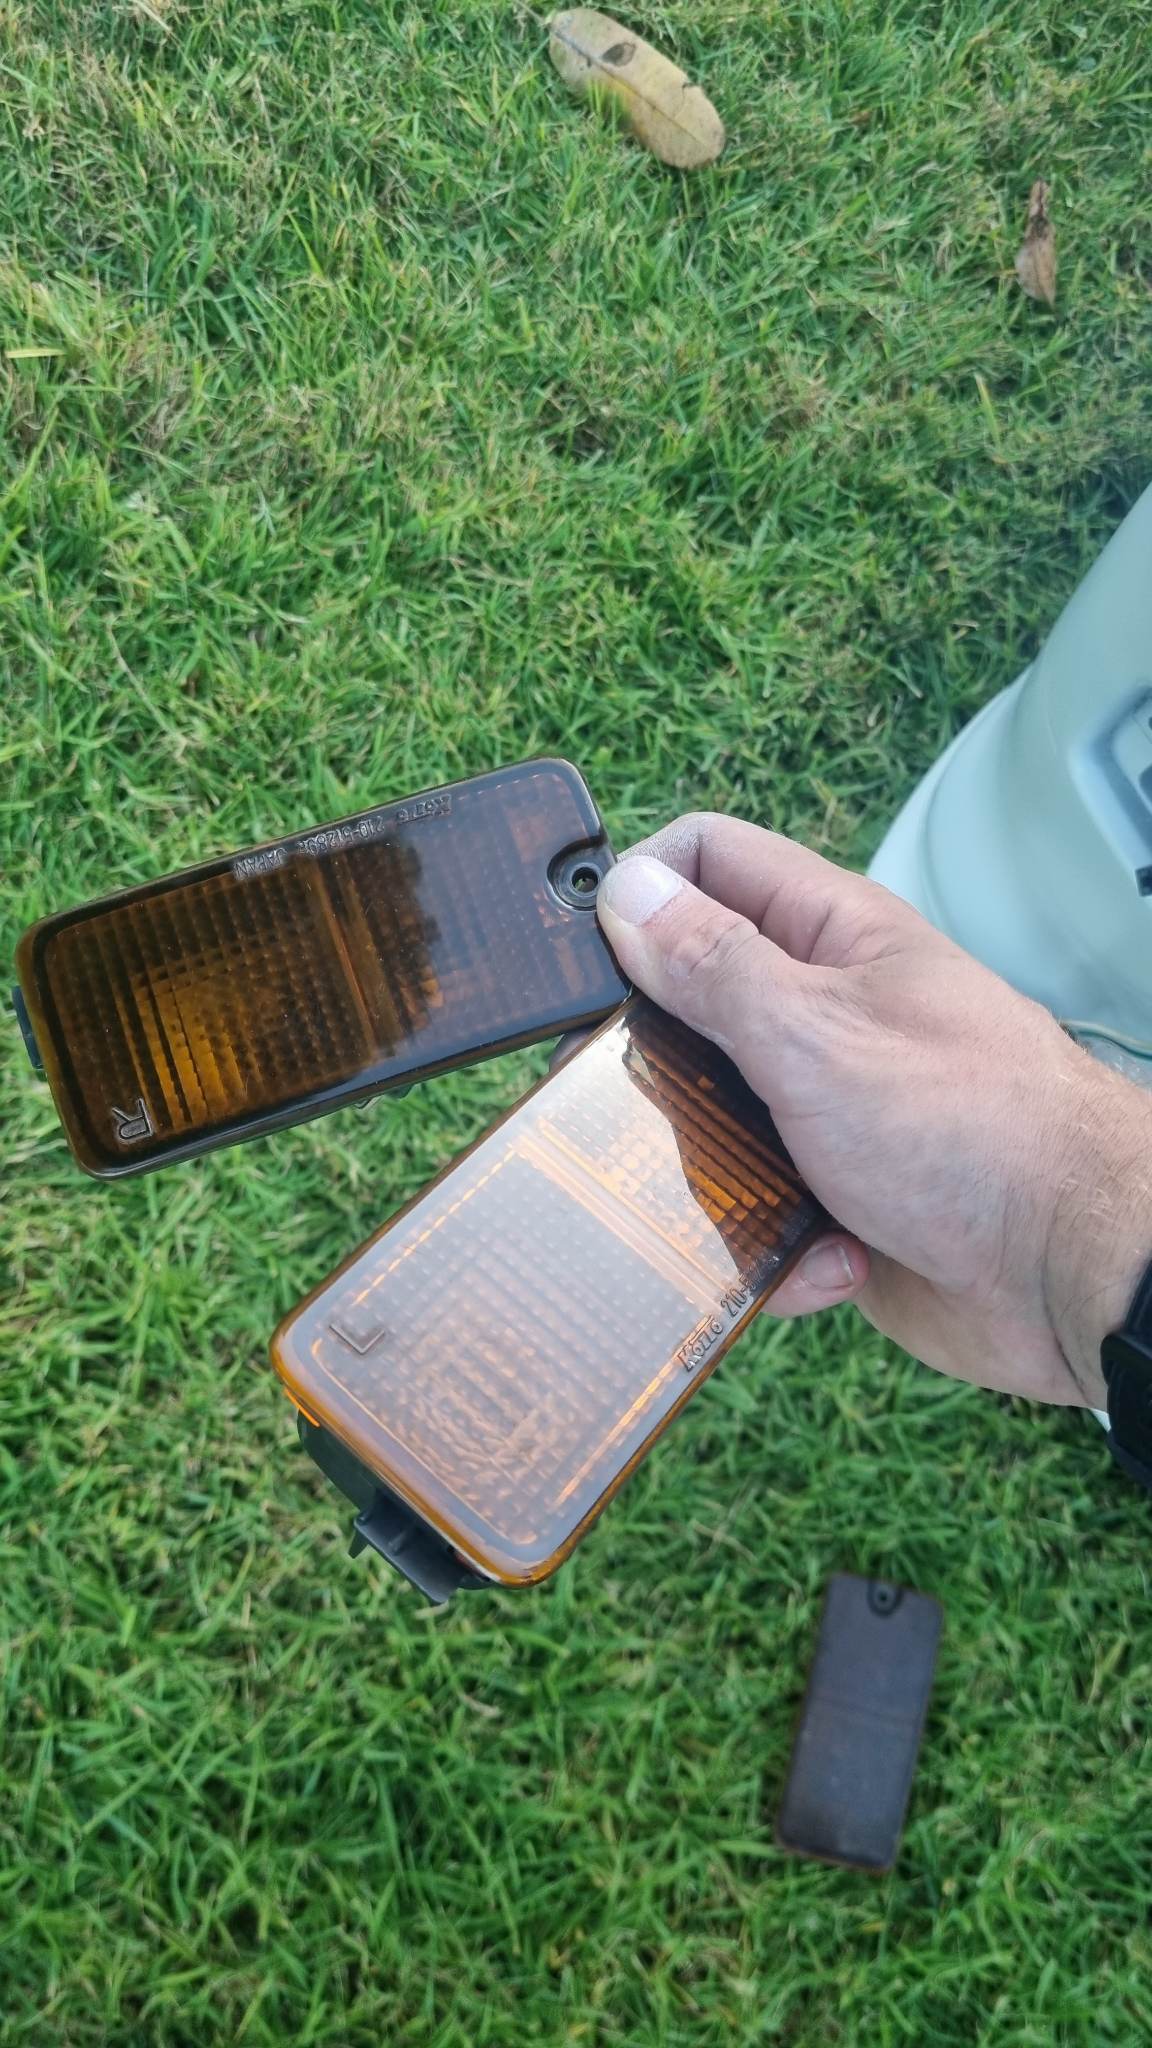
I installed it and put it all on and noticed a blinker wasn’t working and i found the 30 year old light housings were all rusted with stuck in bulbs
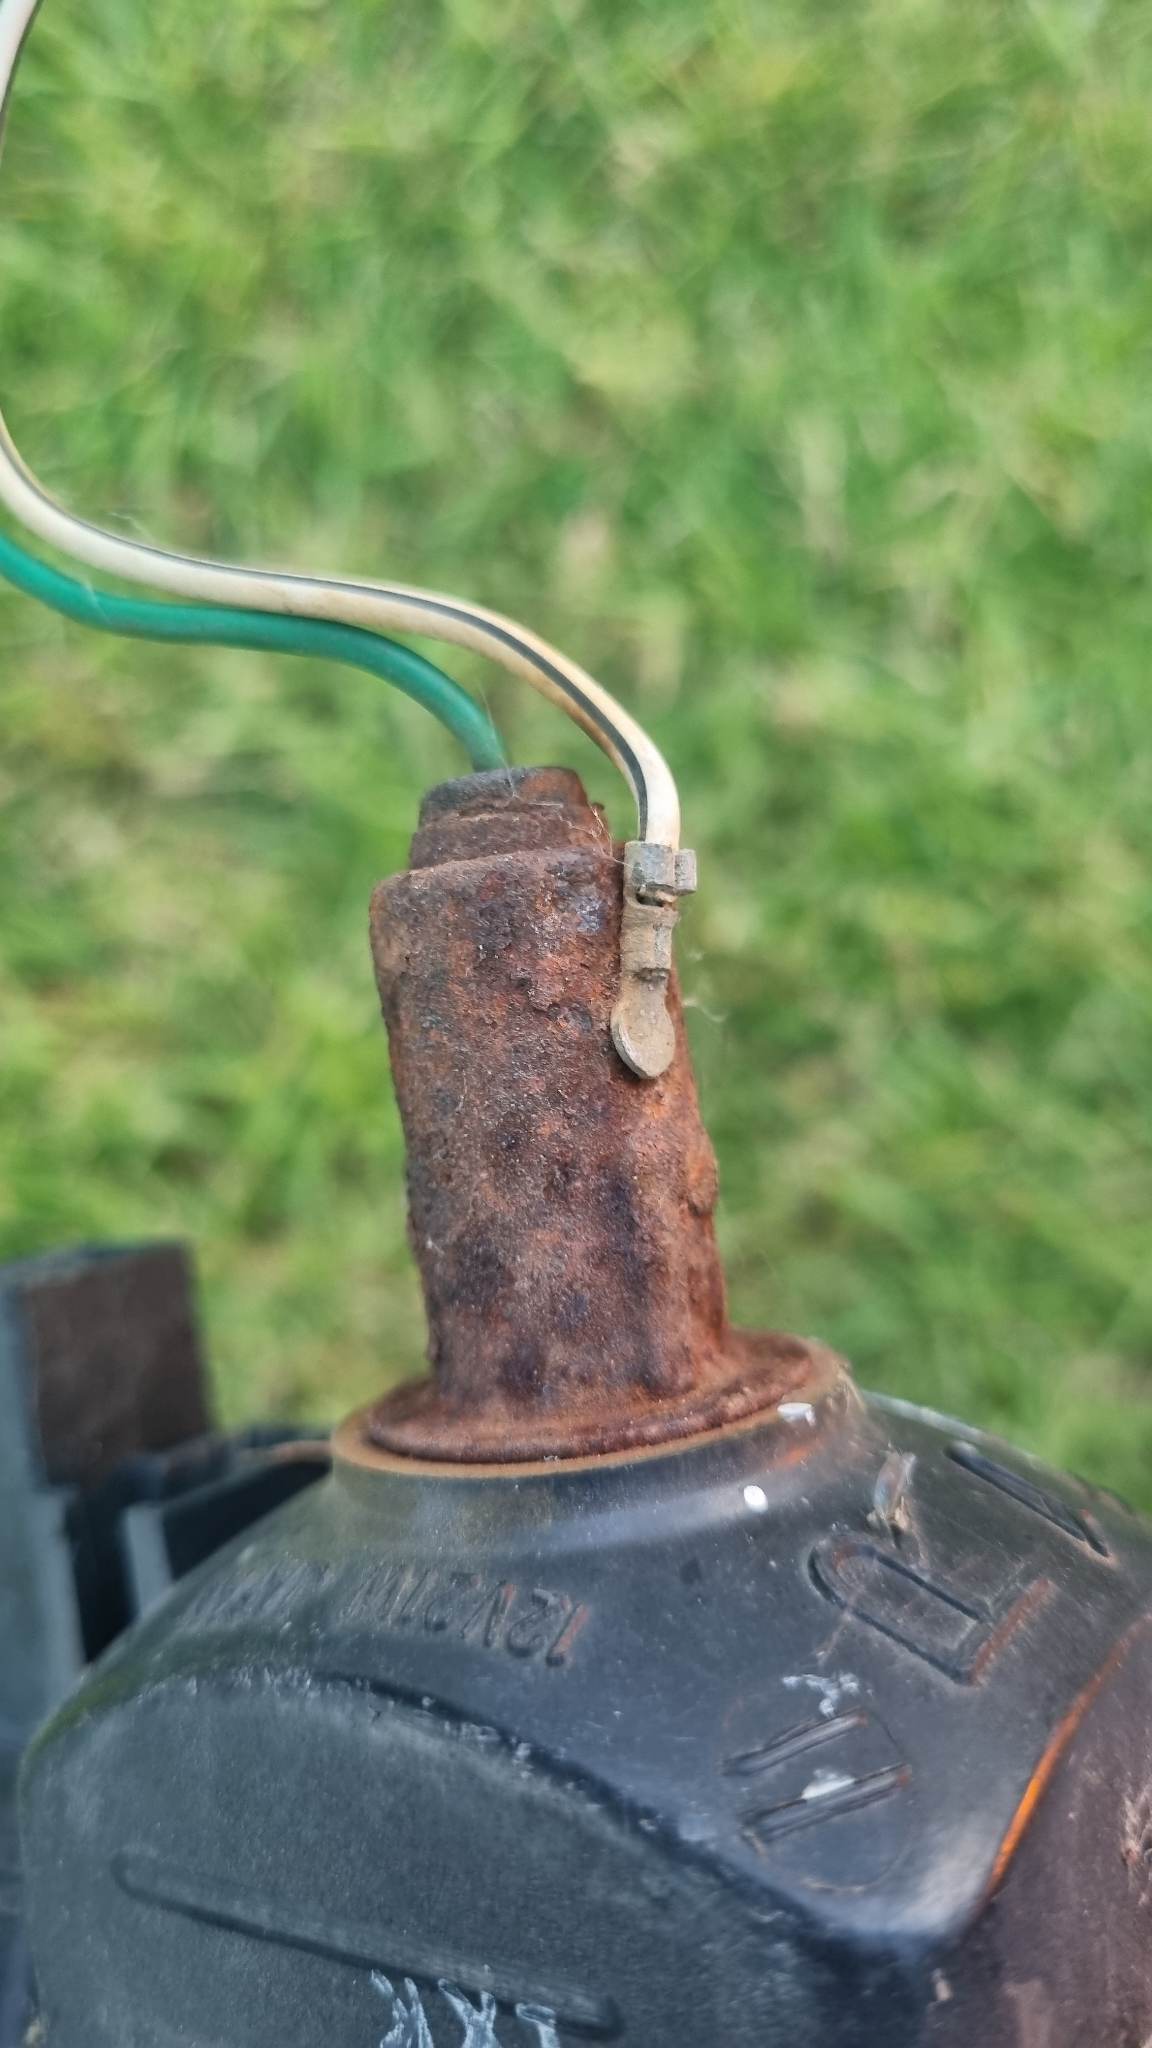
But i had left over NOS lens and housings from running LDP! how lucky is that so on they go
Here is some photos of it installed.
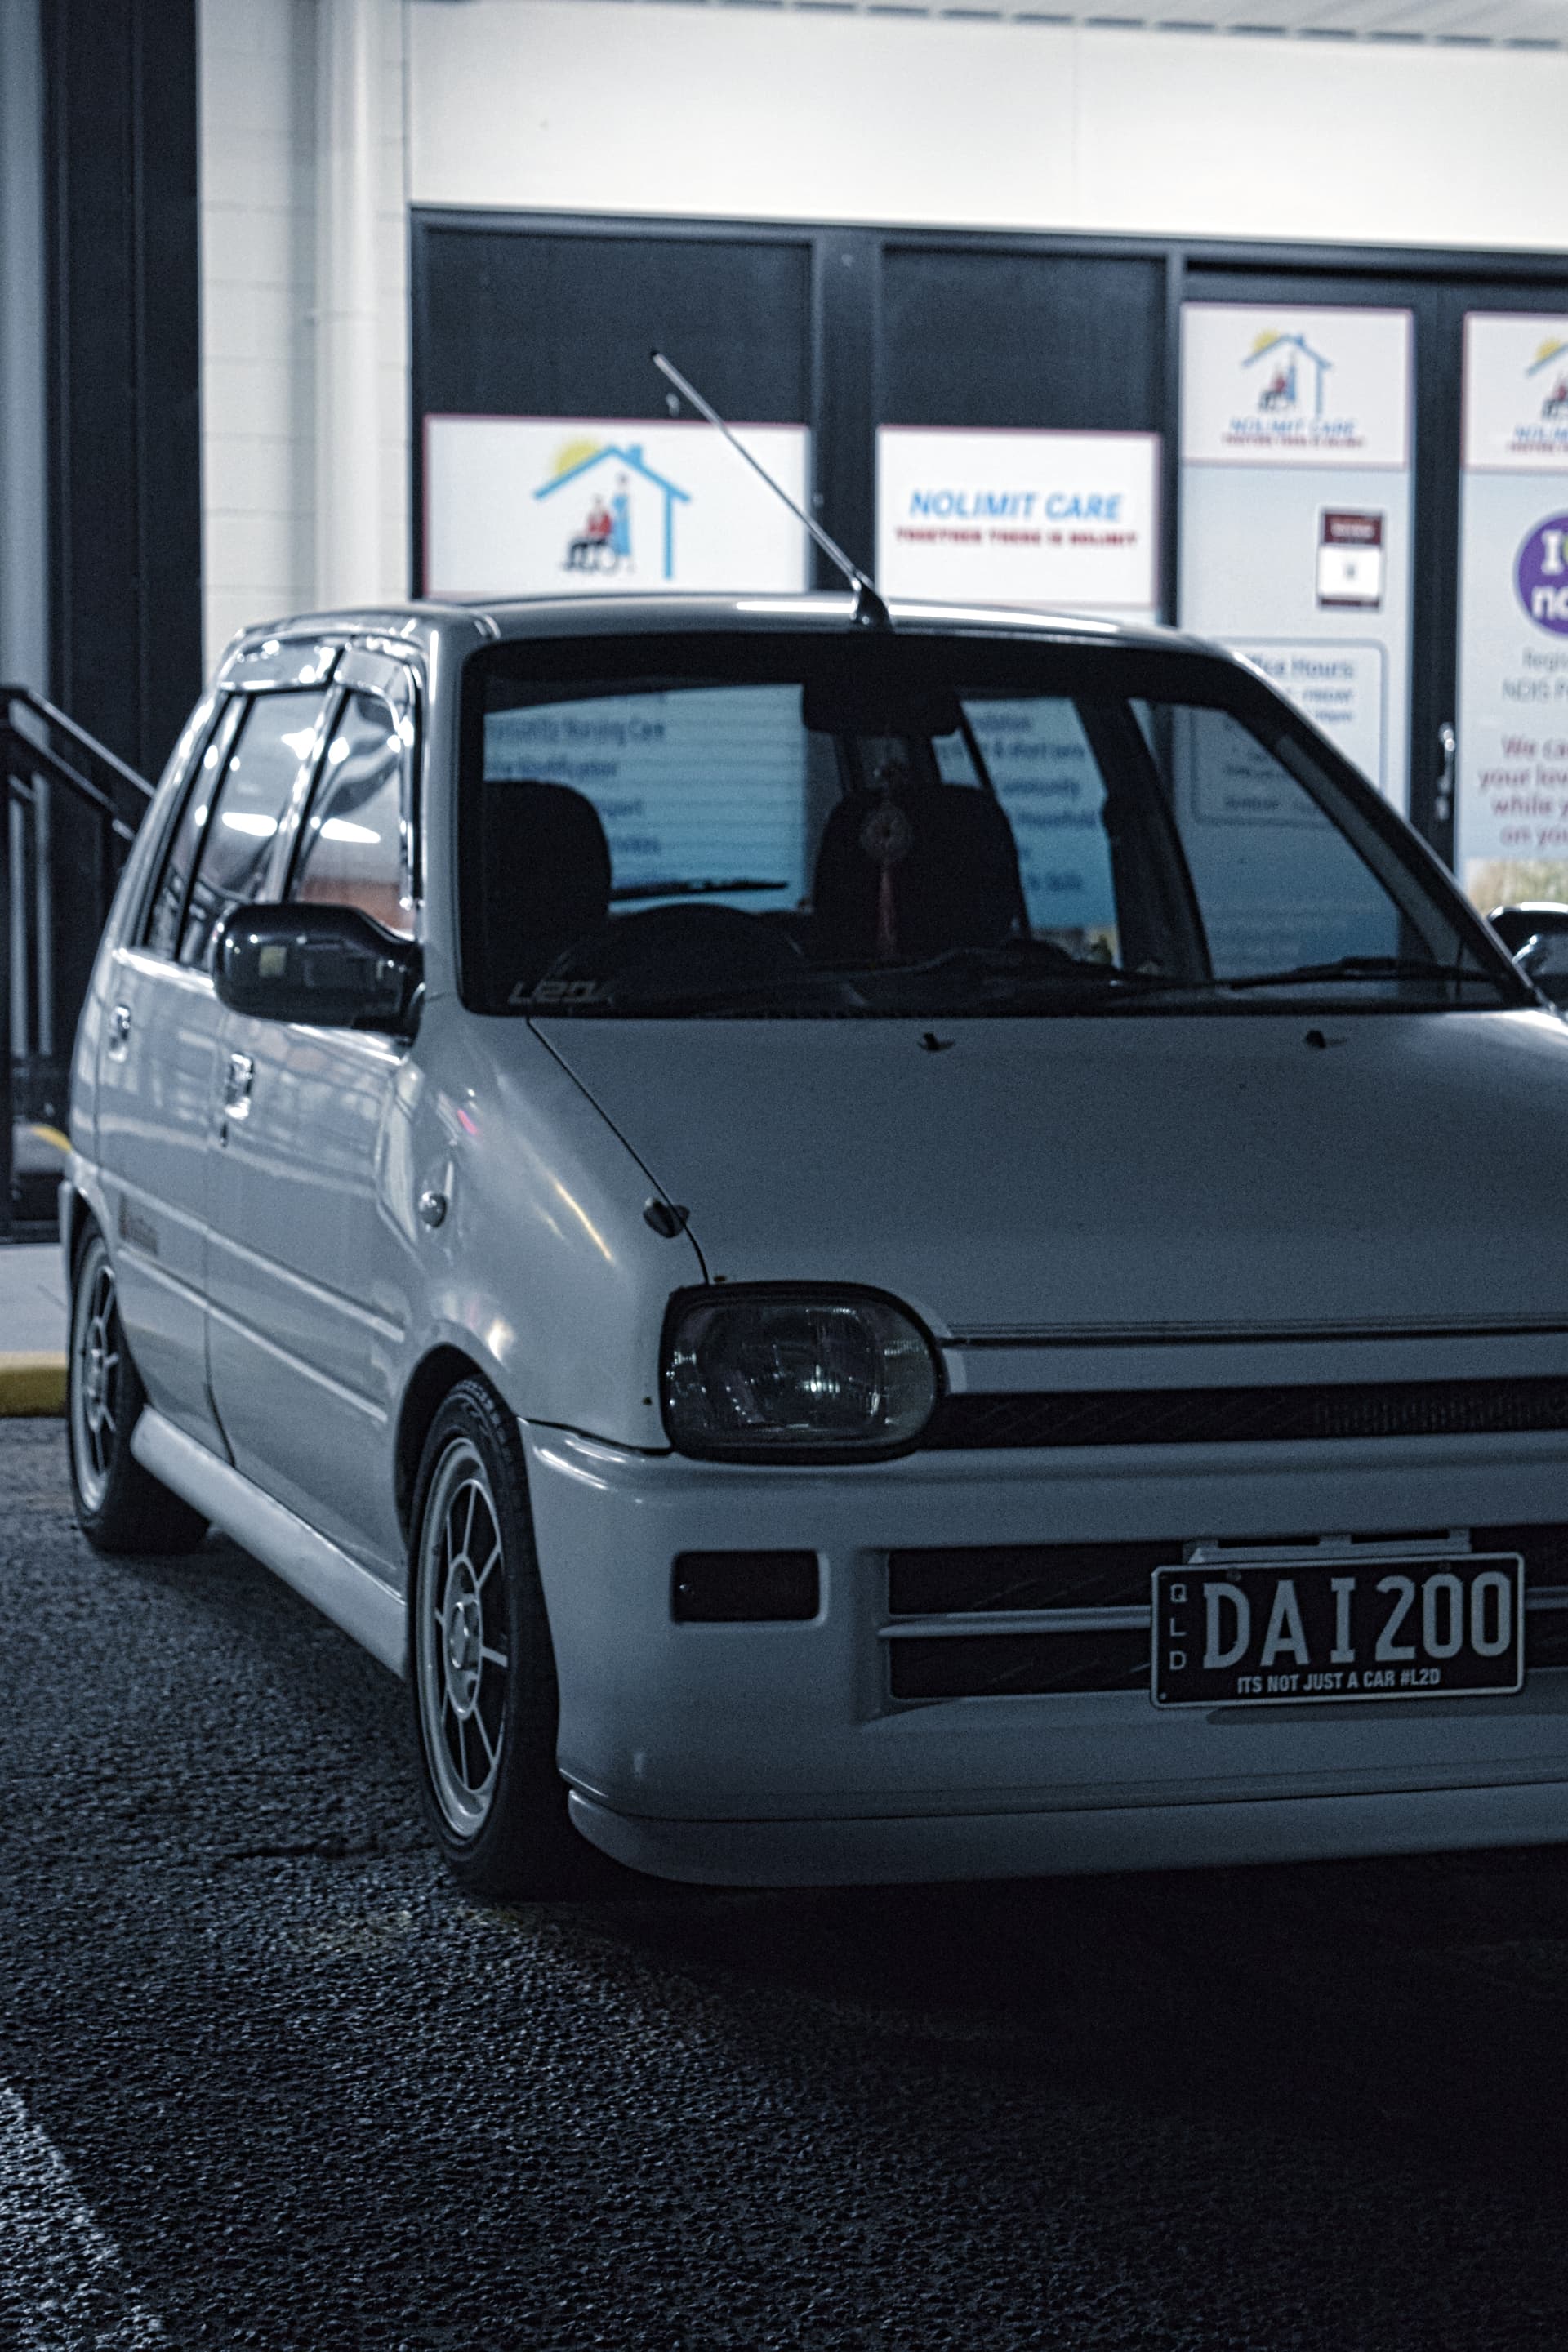
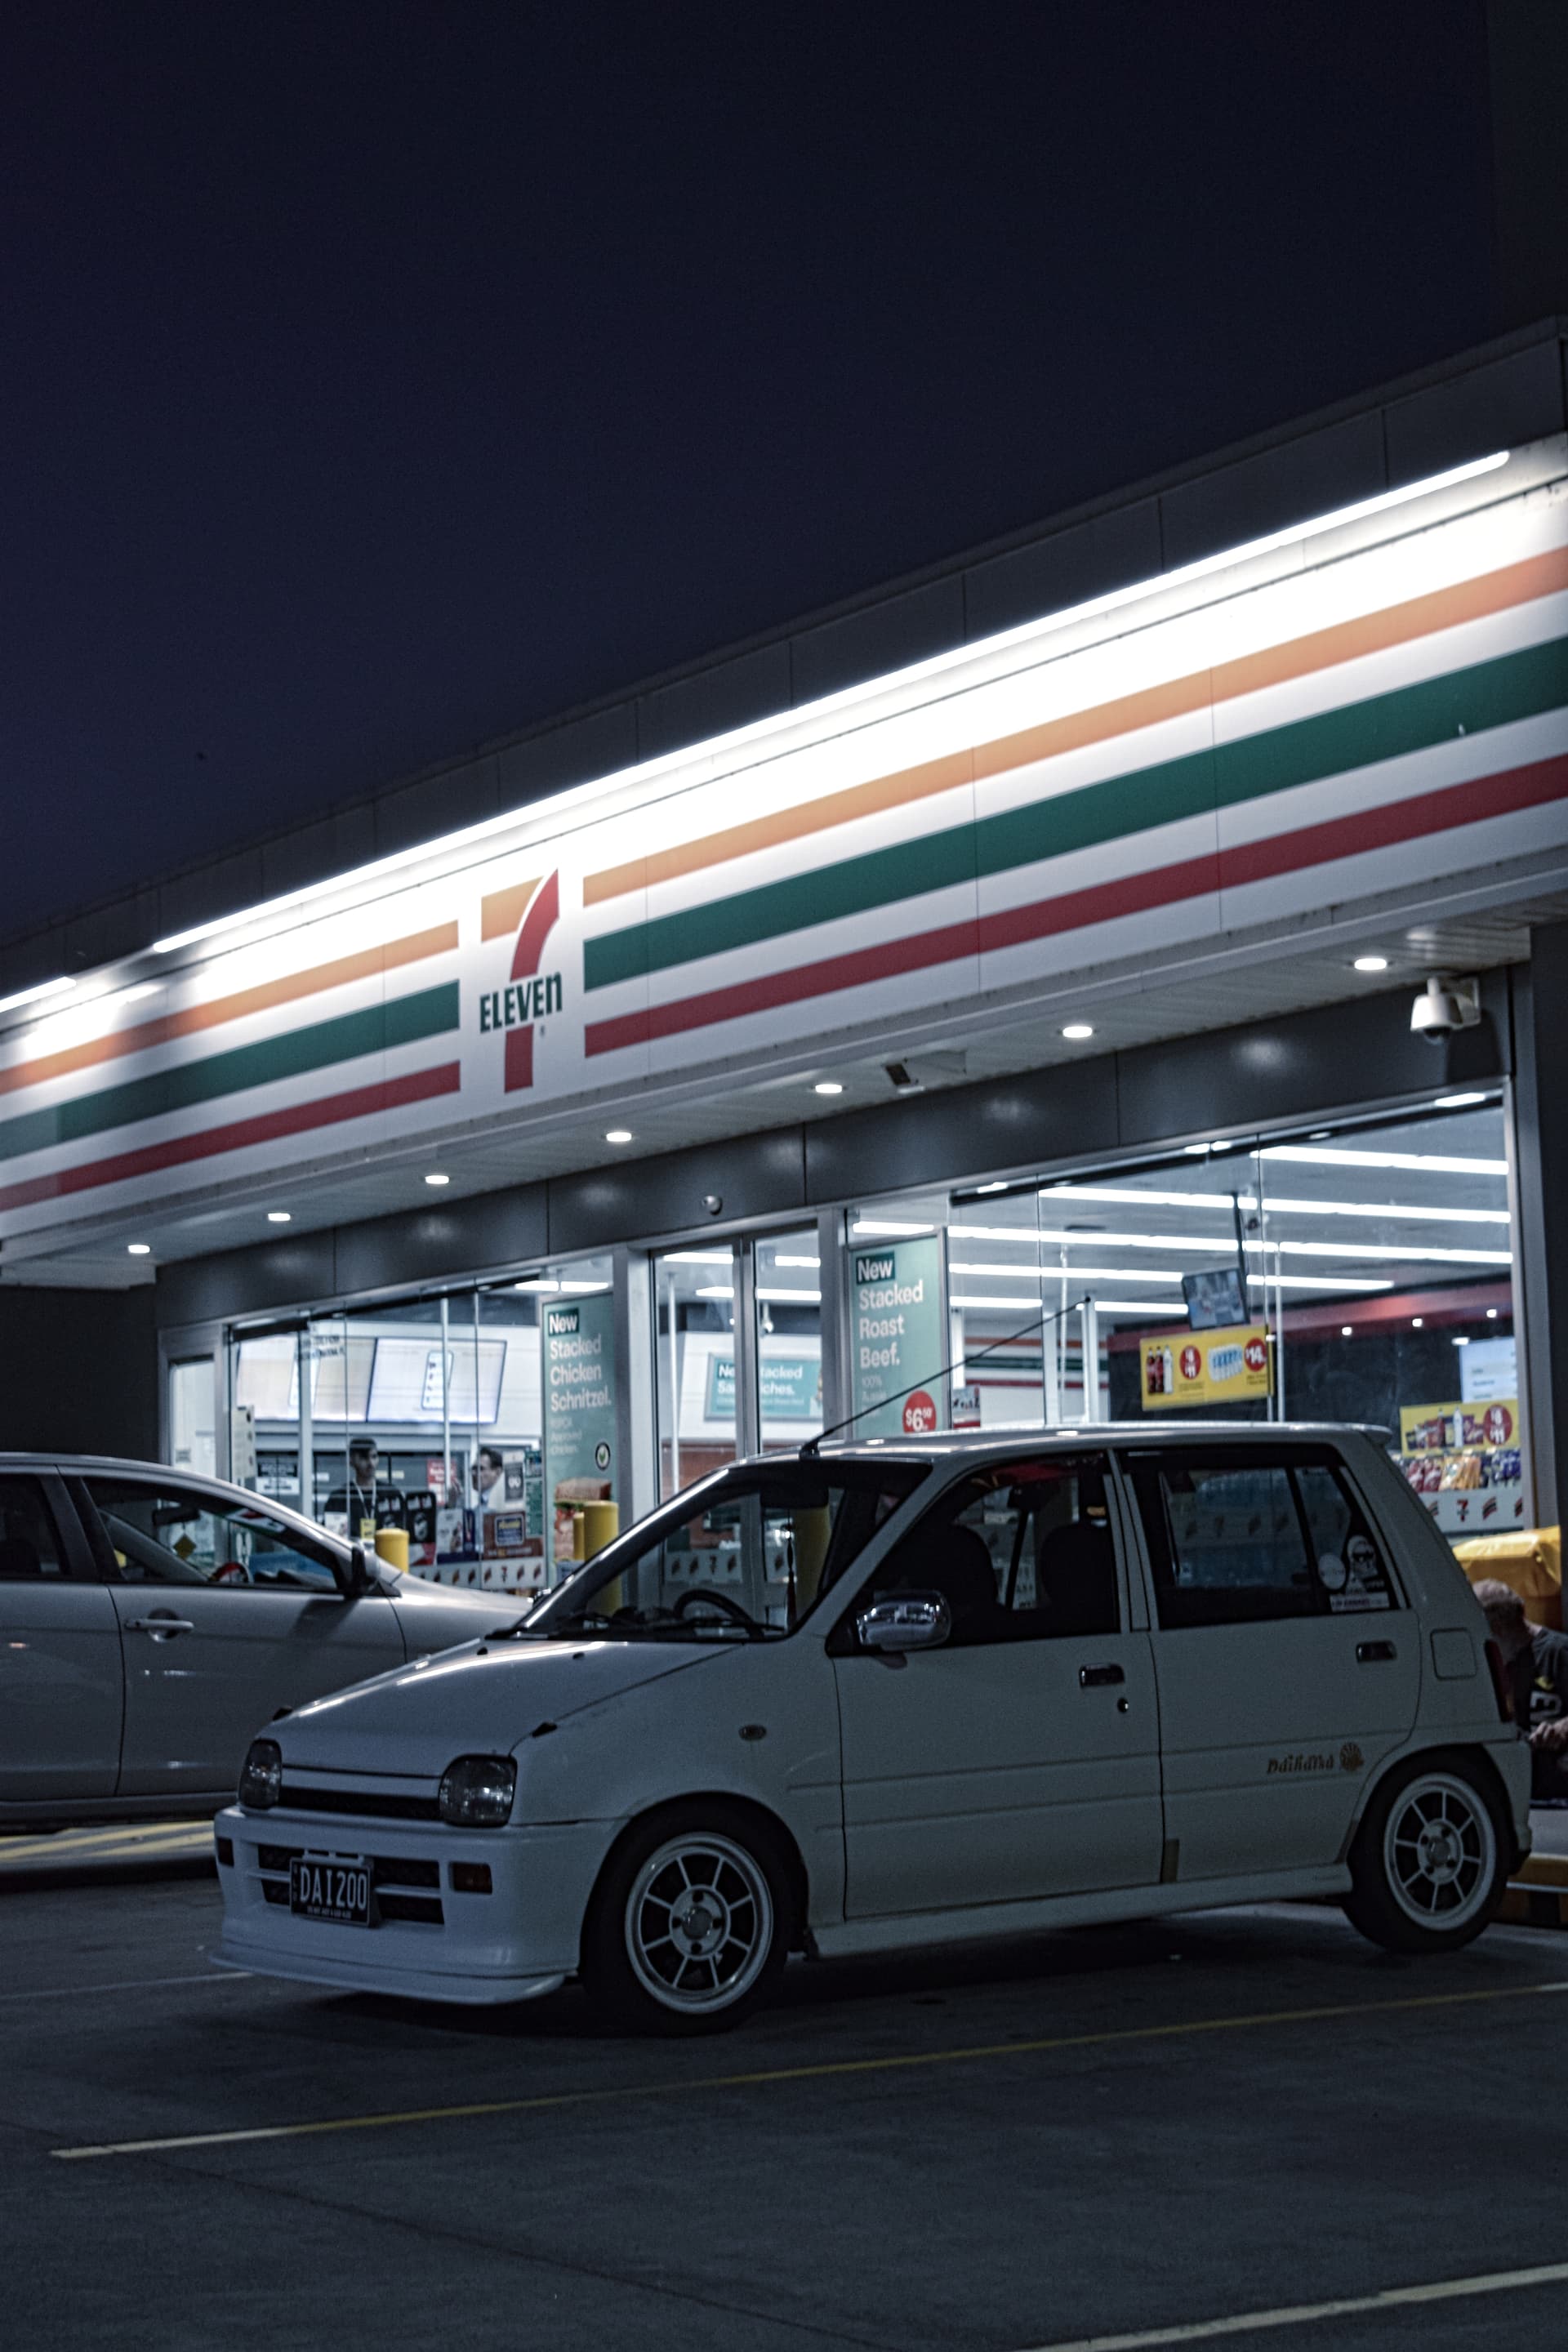
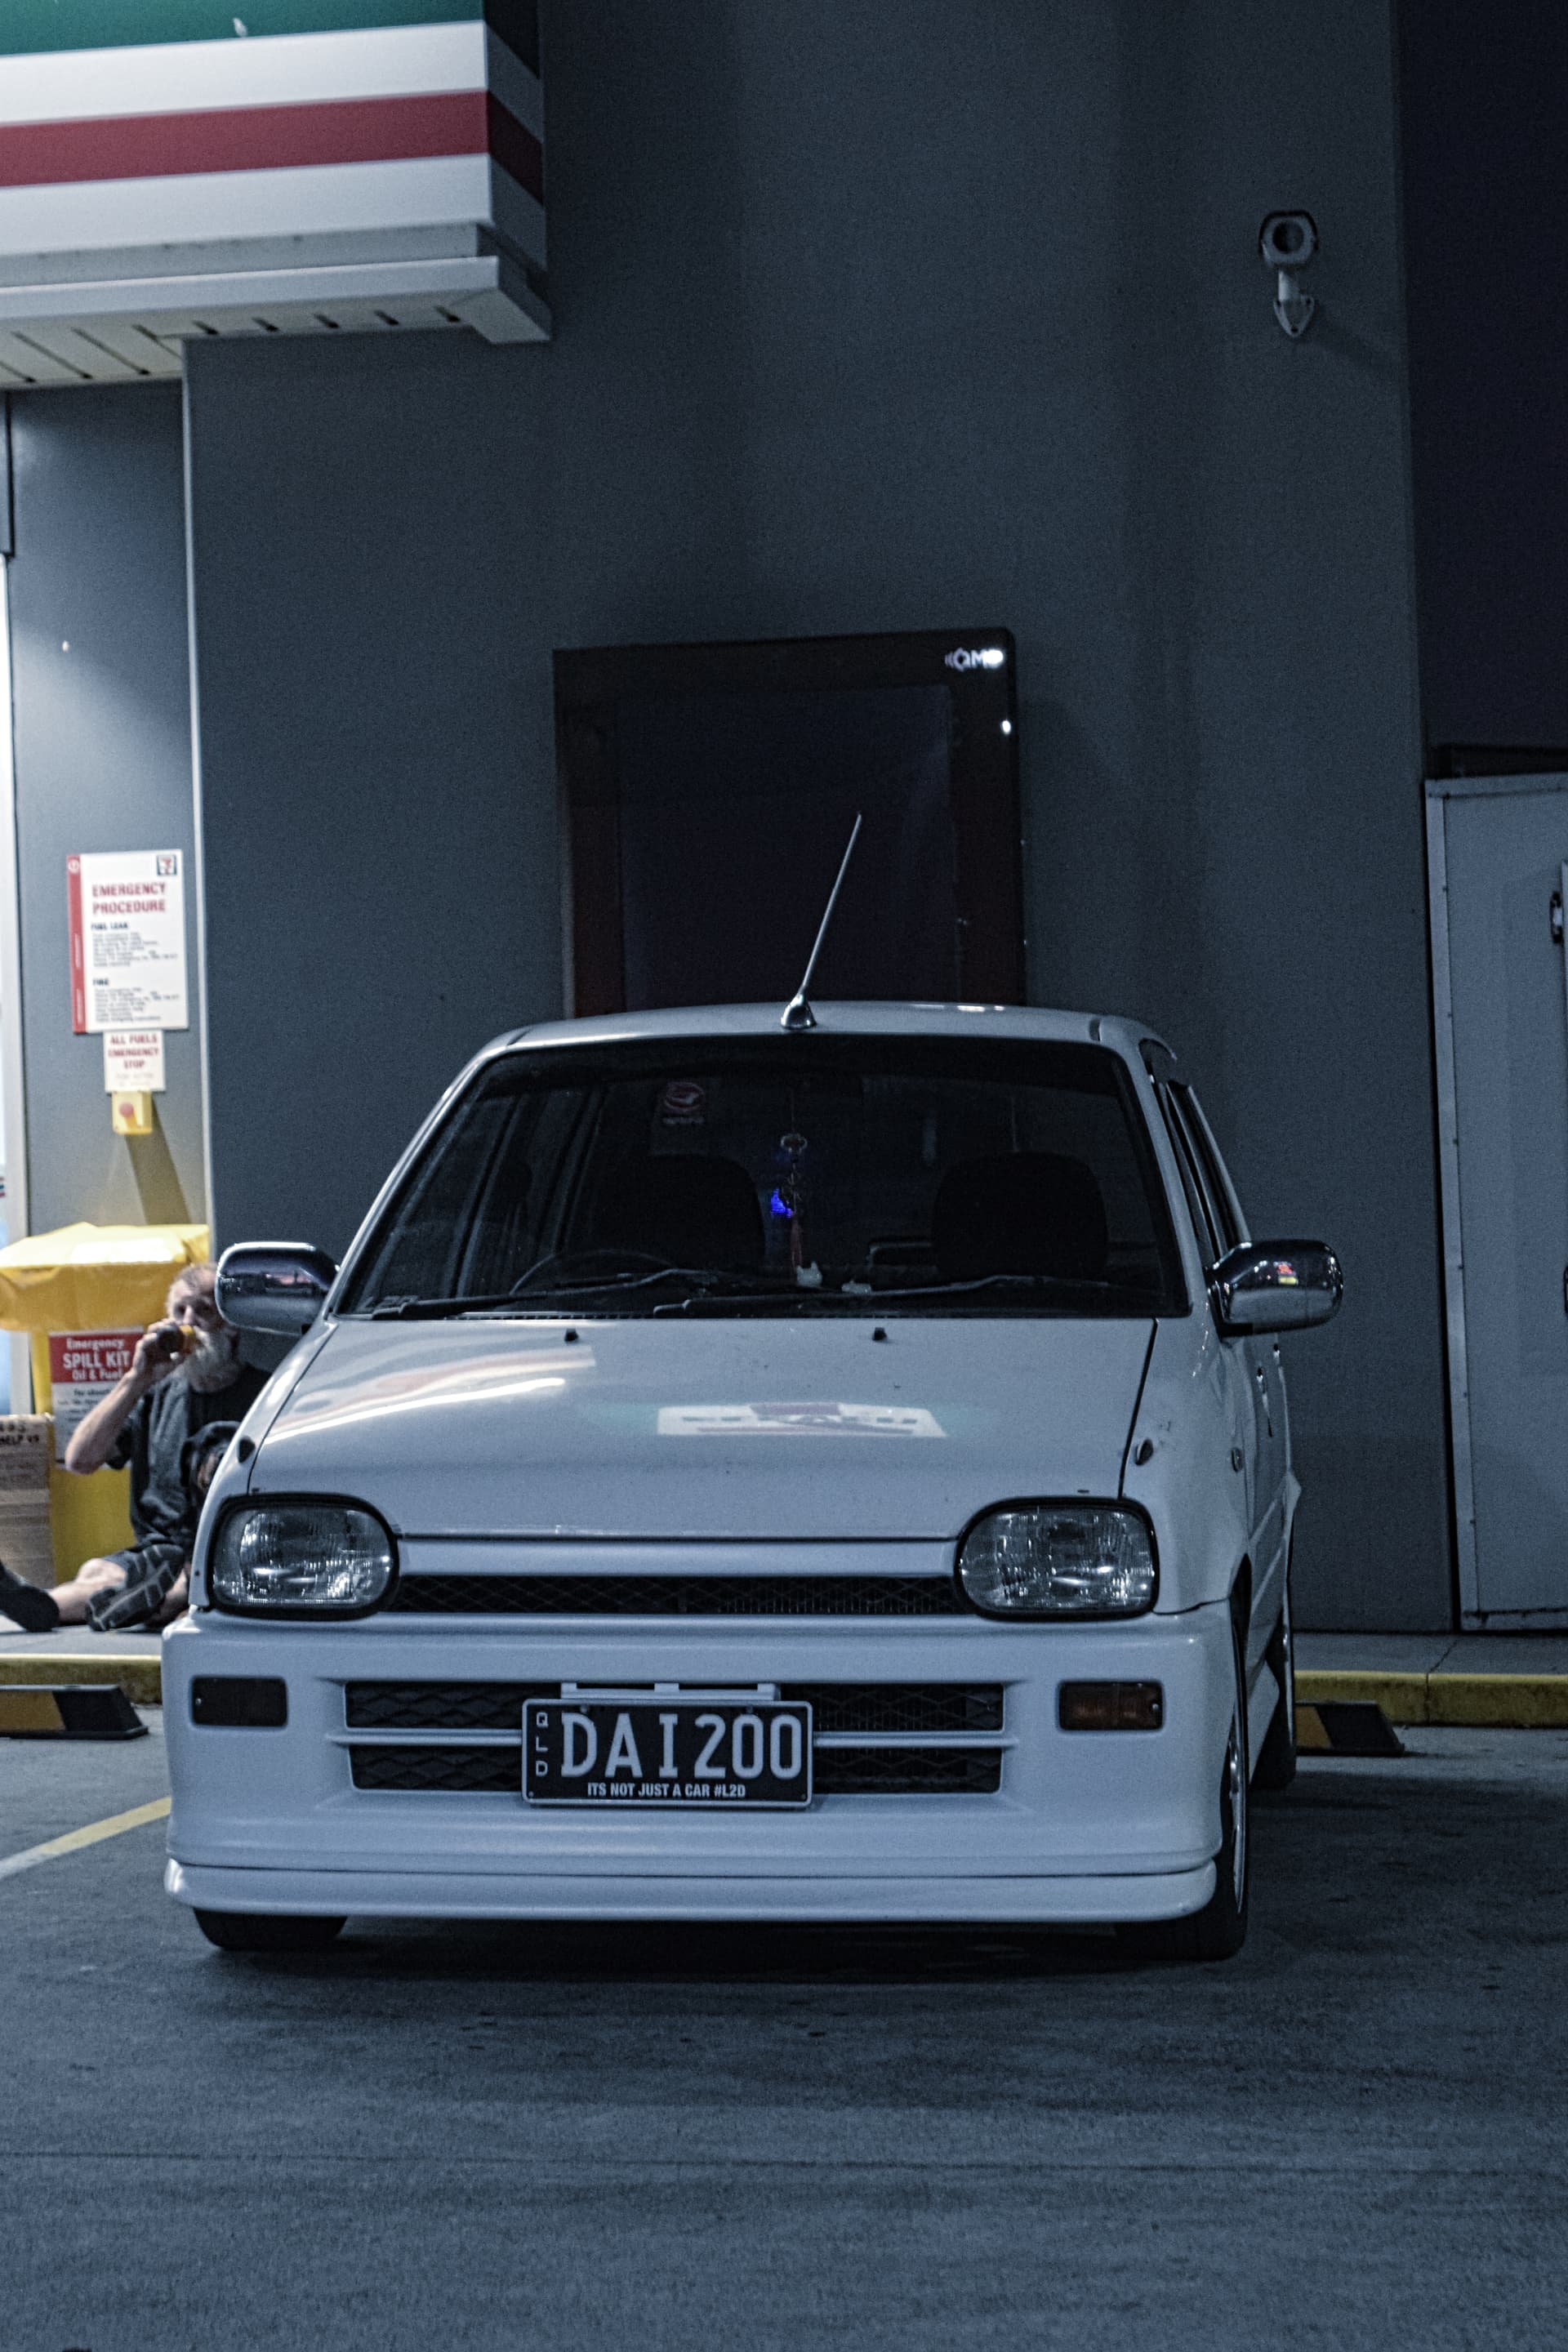
I think it looks dam amazing!
Hope you’ve enjoyed this read.
see you all soon.
10 Likes
Hey Luke,
just bought a L200 today and ended up reading this whole thread. Thanks for keeping us updated, little molly is a gem!
3 Likes
@yuzi92 Please go here
1 Like
Wow, Long time no update here. Well here is the current change.
So i removed and sold the sundown install and for ages didn’t have any bass in the rear but this had to change so about 3 months ago i started planning a build but i needed it to be light weight and different, not just your avg 12 inch woofer.
Lets get into it.
This is my starting point.
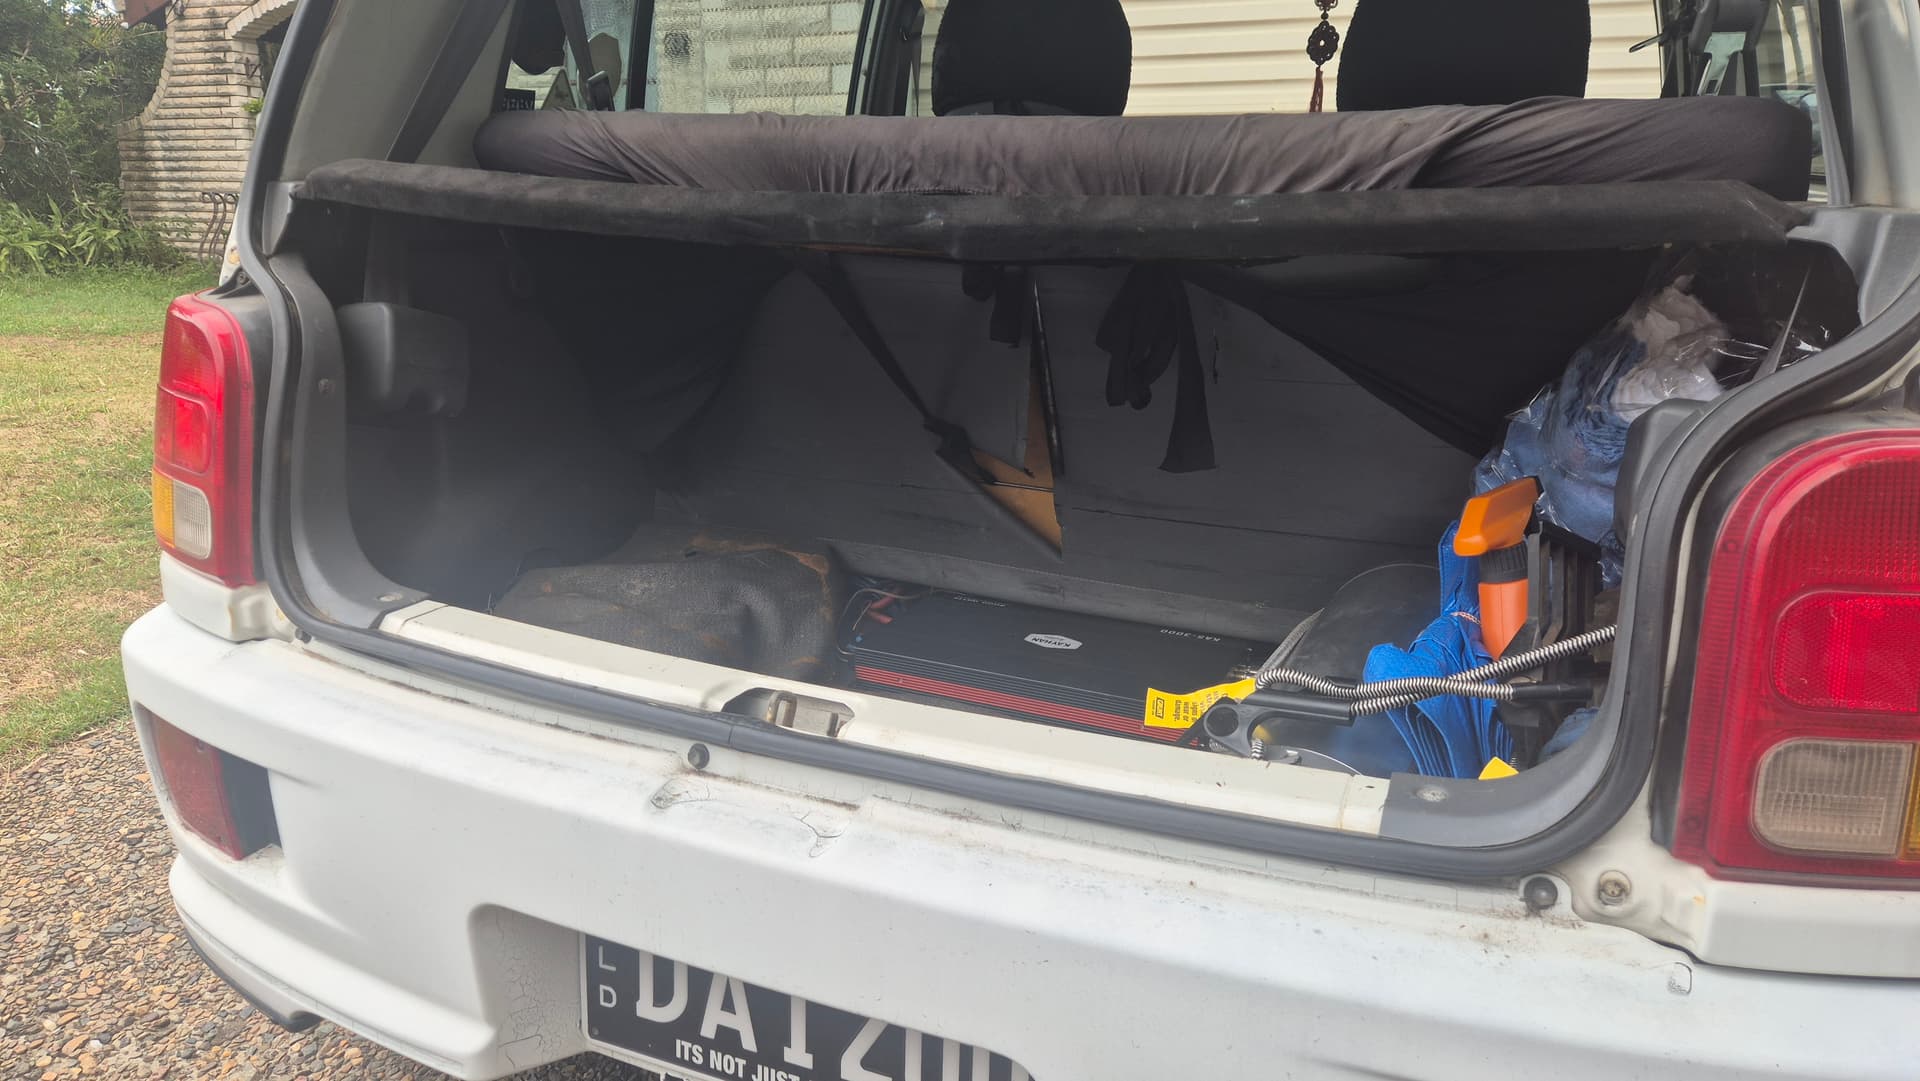
Yeah i know, gross. But lets change that.
So i started thinking of ideas for sizes and amp types, one day i opened facebook marketplace and i found a mini sundown mono amp
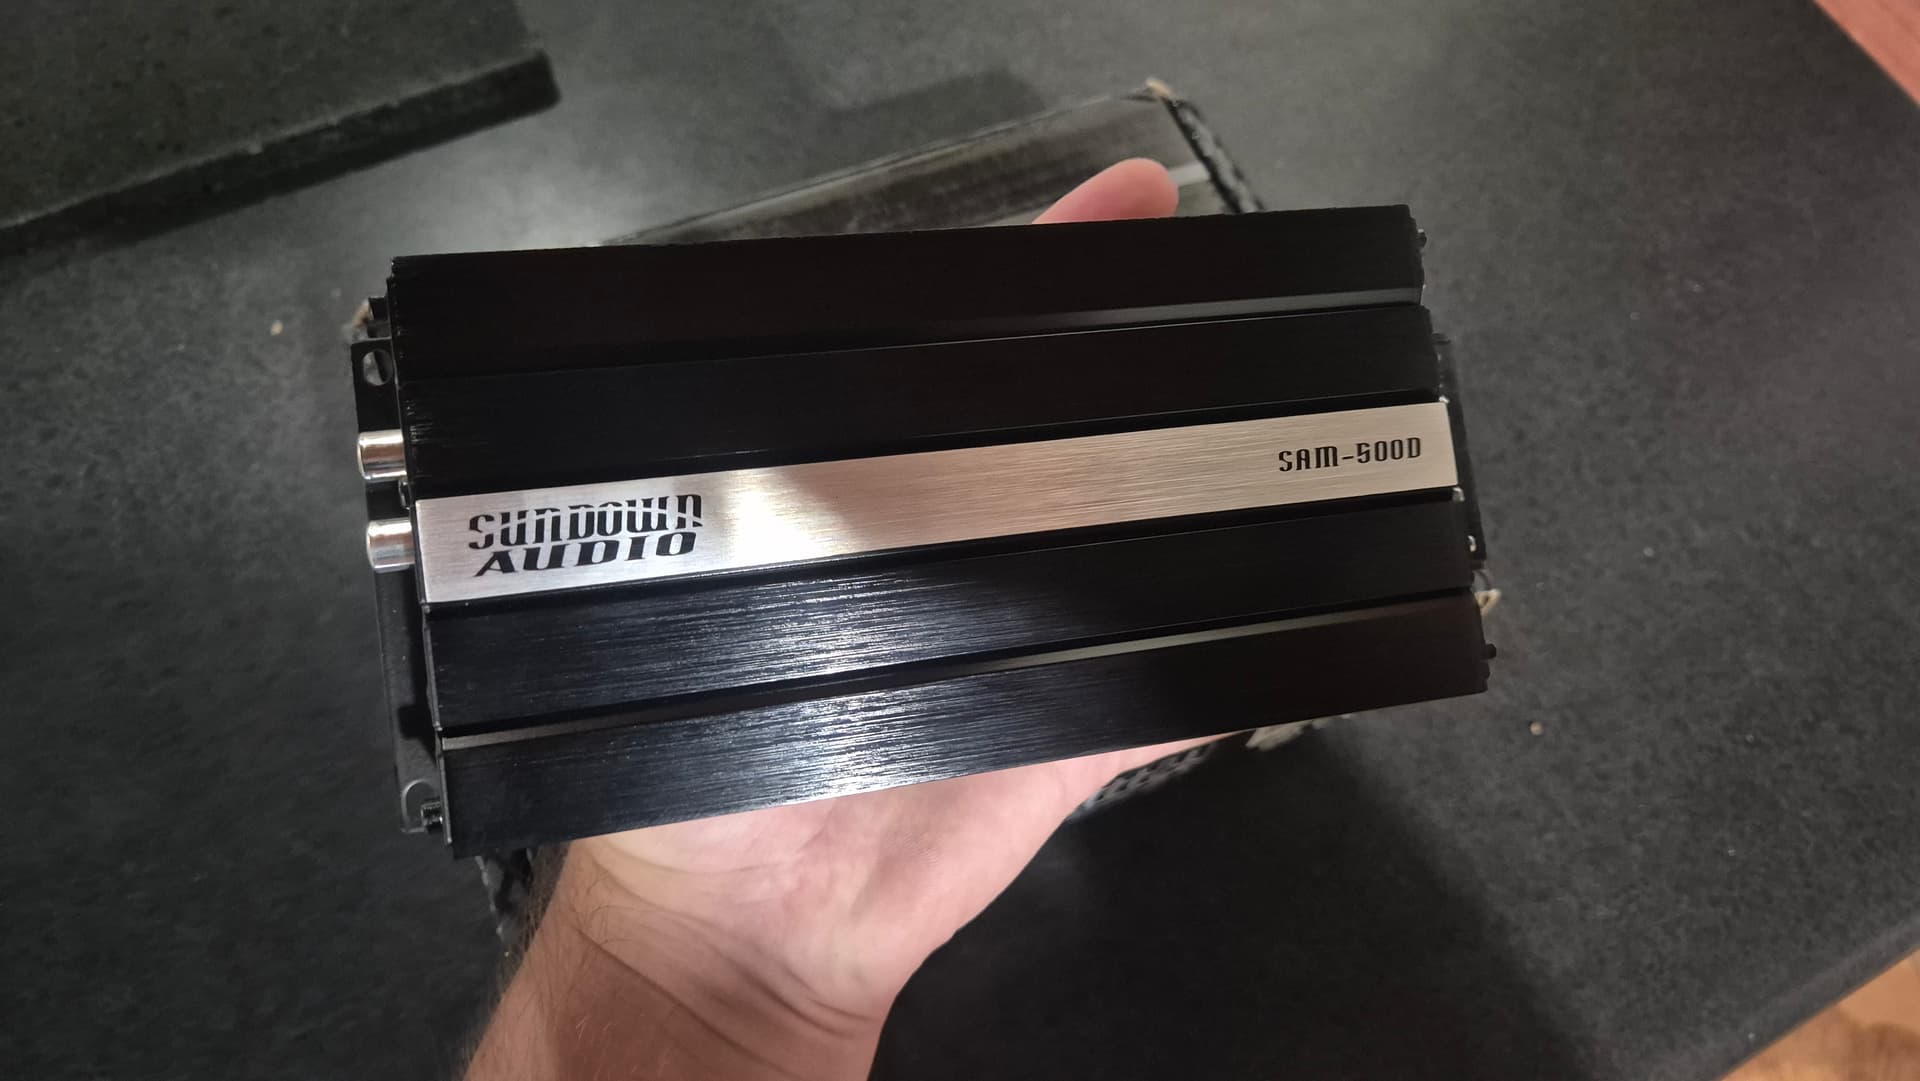
This amp puts out solid power for its tiny footprint, So thats it! i was set on a small build.
Small car and small system, i did more looking into the mini class of amps and i found a just released fosi ca30 (fosis first car amp) this is small but big power for the mini size, we’re talking 100x4 @4ohm and 160@ 2ohm WOW!
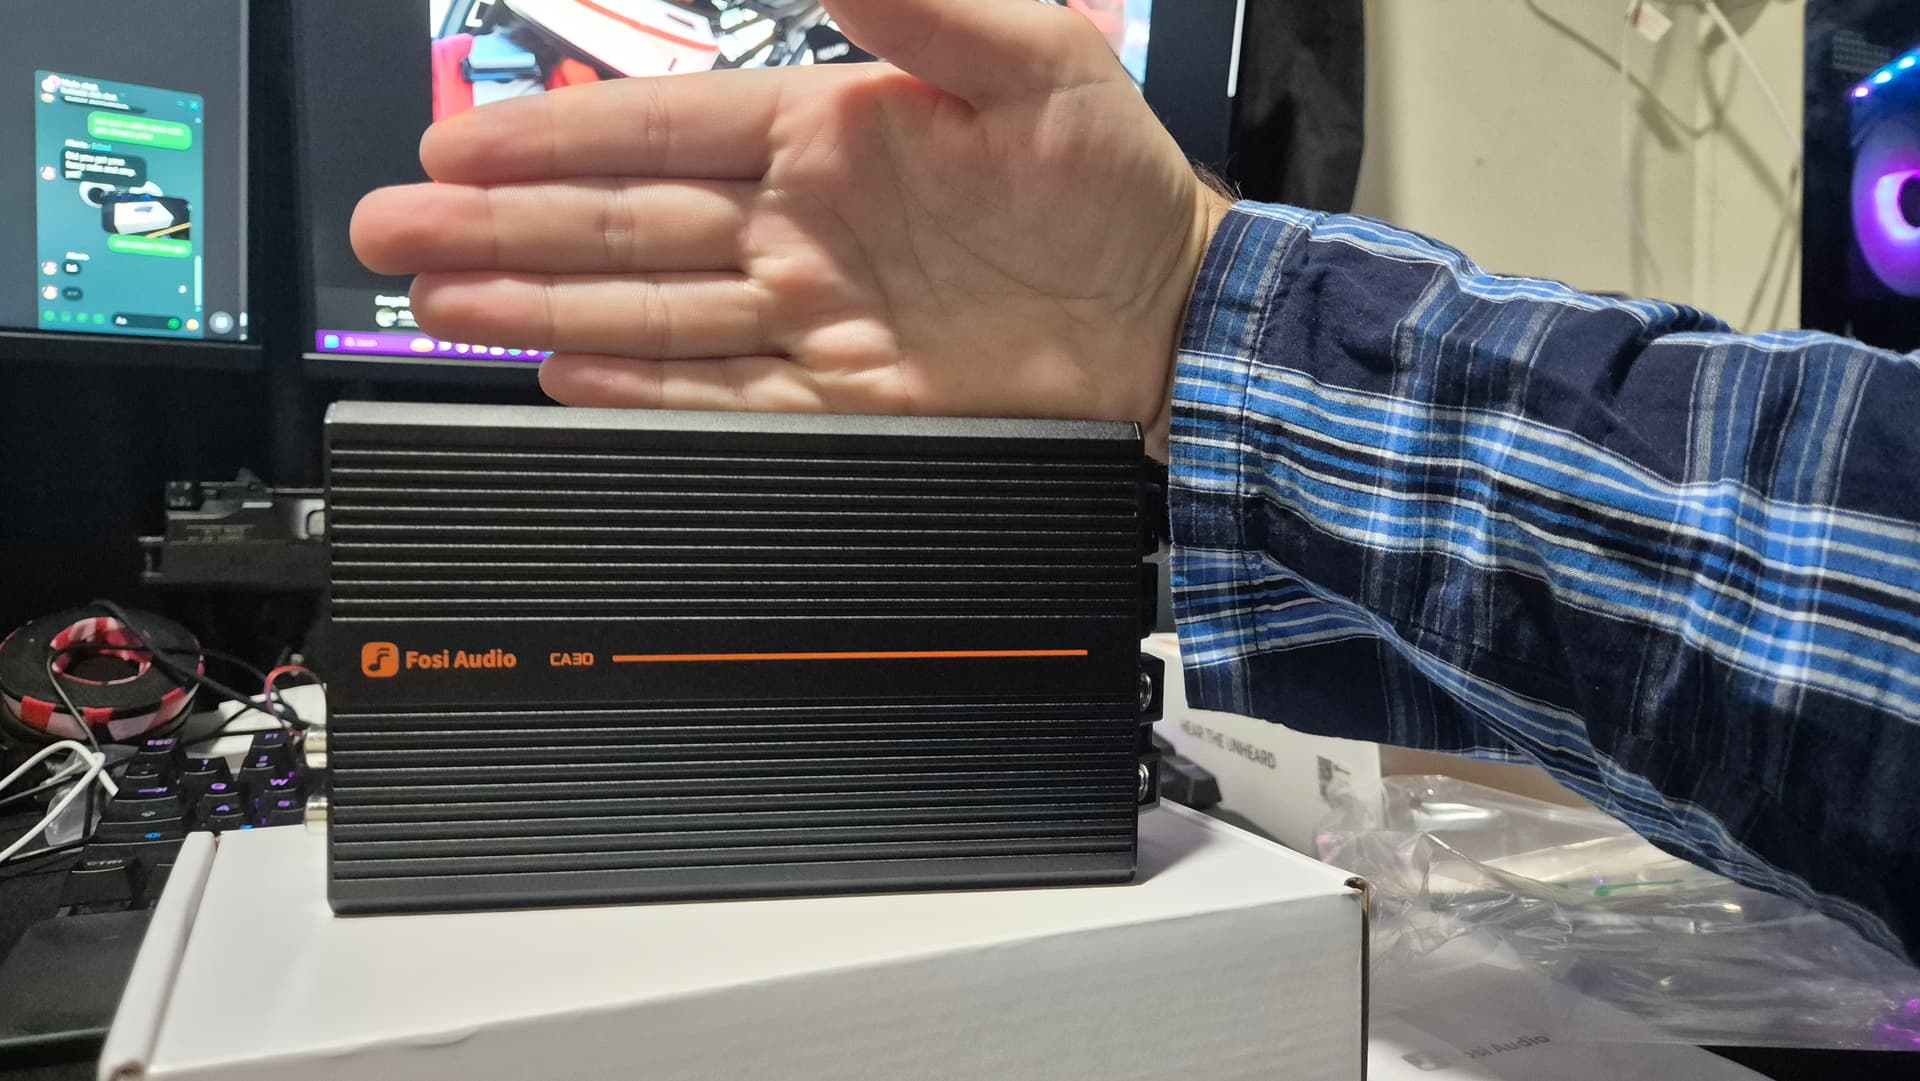
Not only is it a tiny amp it uses a high end Amp chip that is meant to make your stuff sound better and honestly it is crystal clear! So this is pushing my type r neo front speakers and my pioneer satelite speakers in the rear, to full power with 0 clip.
Next we needed a subwoofer. and this had me thinking, 8 inch is cool but what about 6.5 inch subwoofers, can they really be useful and make good sound?
So i found a few good options but were fairly expensive and then i decided to check out chinas offerings for car audio and i went down a rabbit hole!
I stumbled on a “brand” Tanbx, they were very cheap and i think it was actually a price listing error because now they’re $150 more expensive on top of what i paid.. Yes! That is right i paid only $65.99 each for those bad boys!
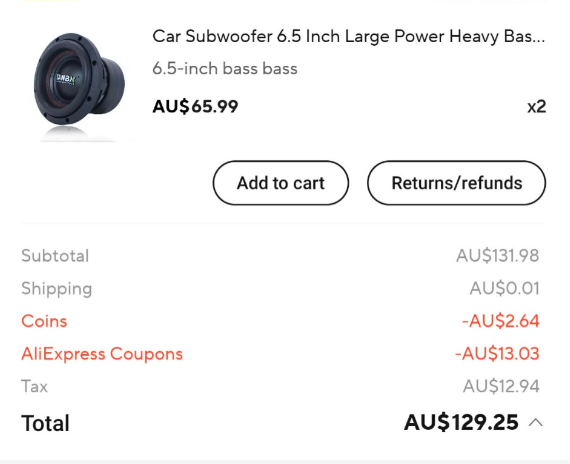
Now you’re prob thinking, no way they can actually be good huh, for that price.
Well i was shocked! they arrived in 14 days and this is what i got.
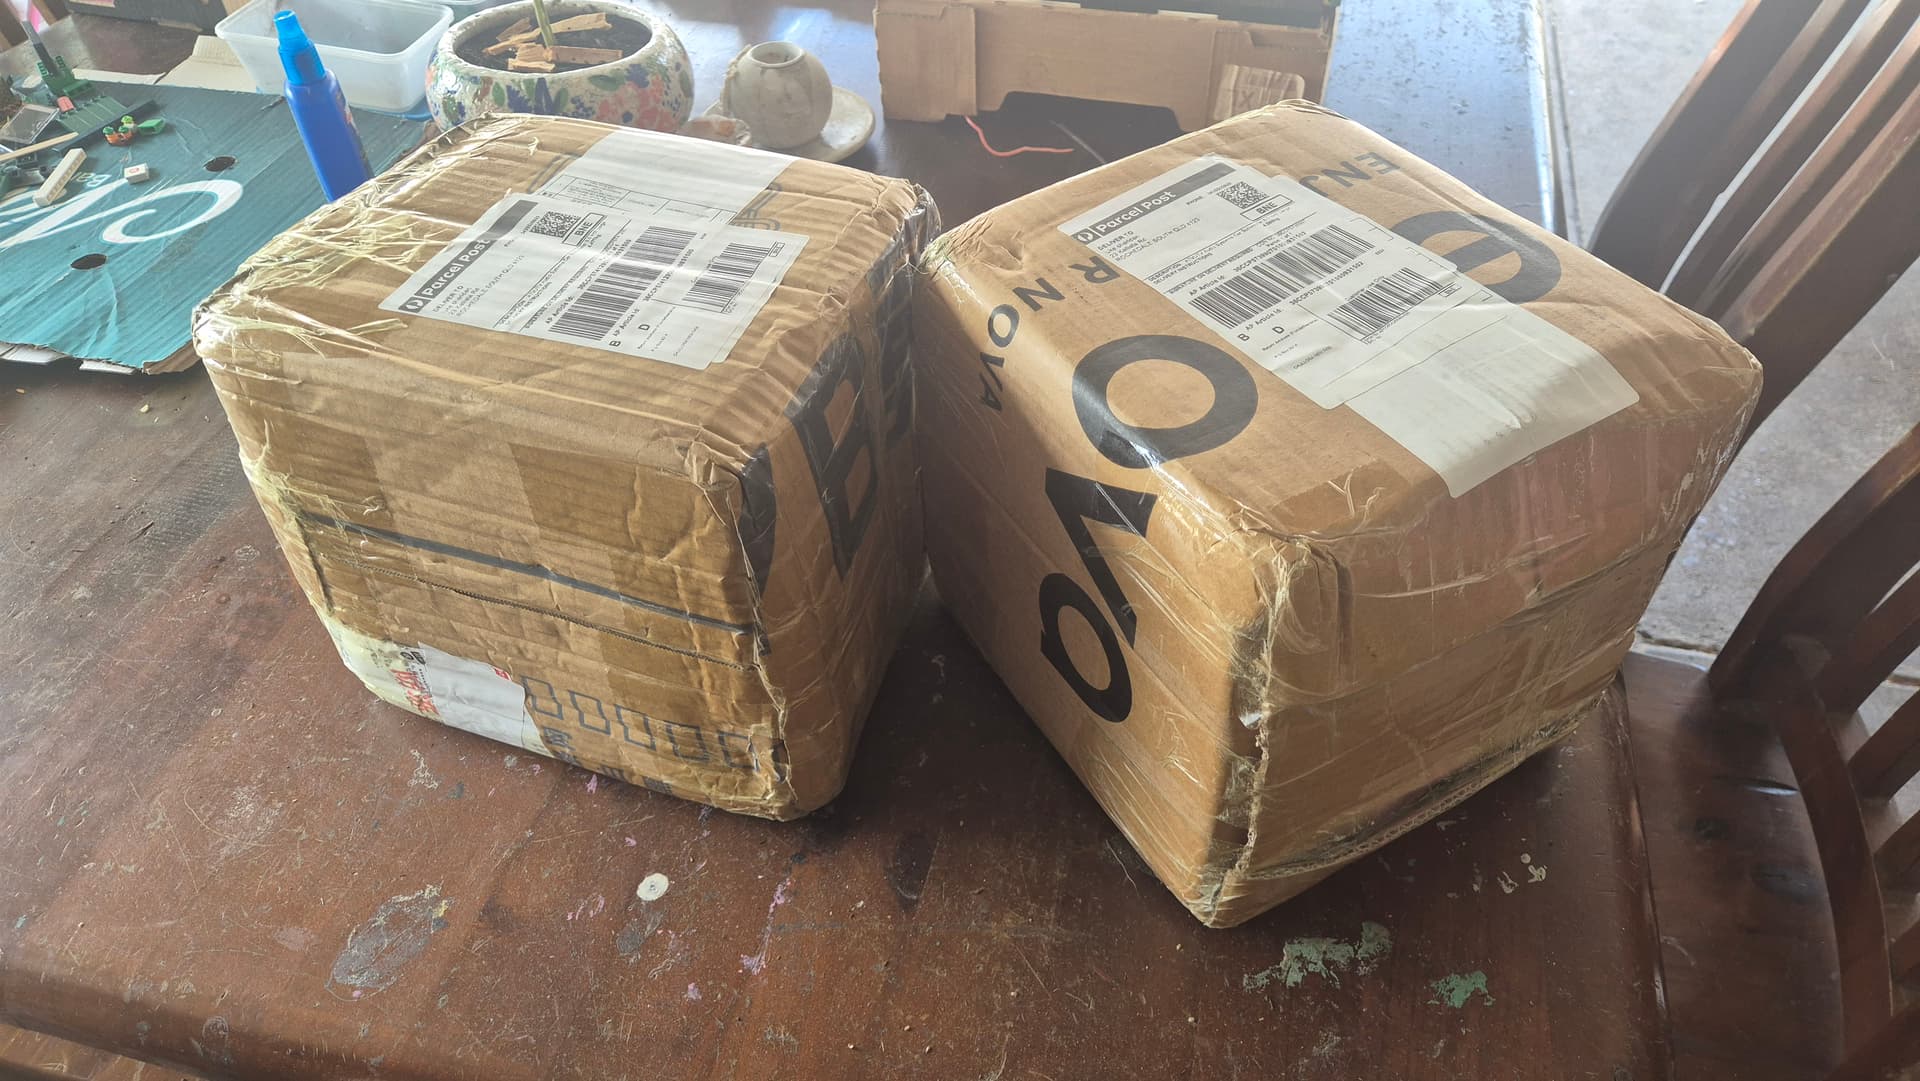
HAHA big brown boxes
Lets see inside
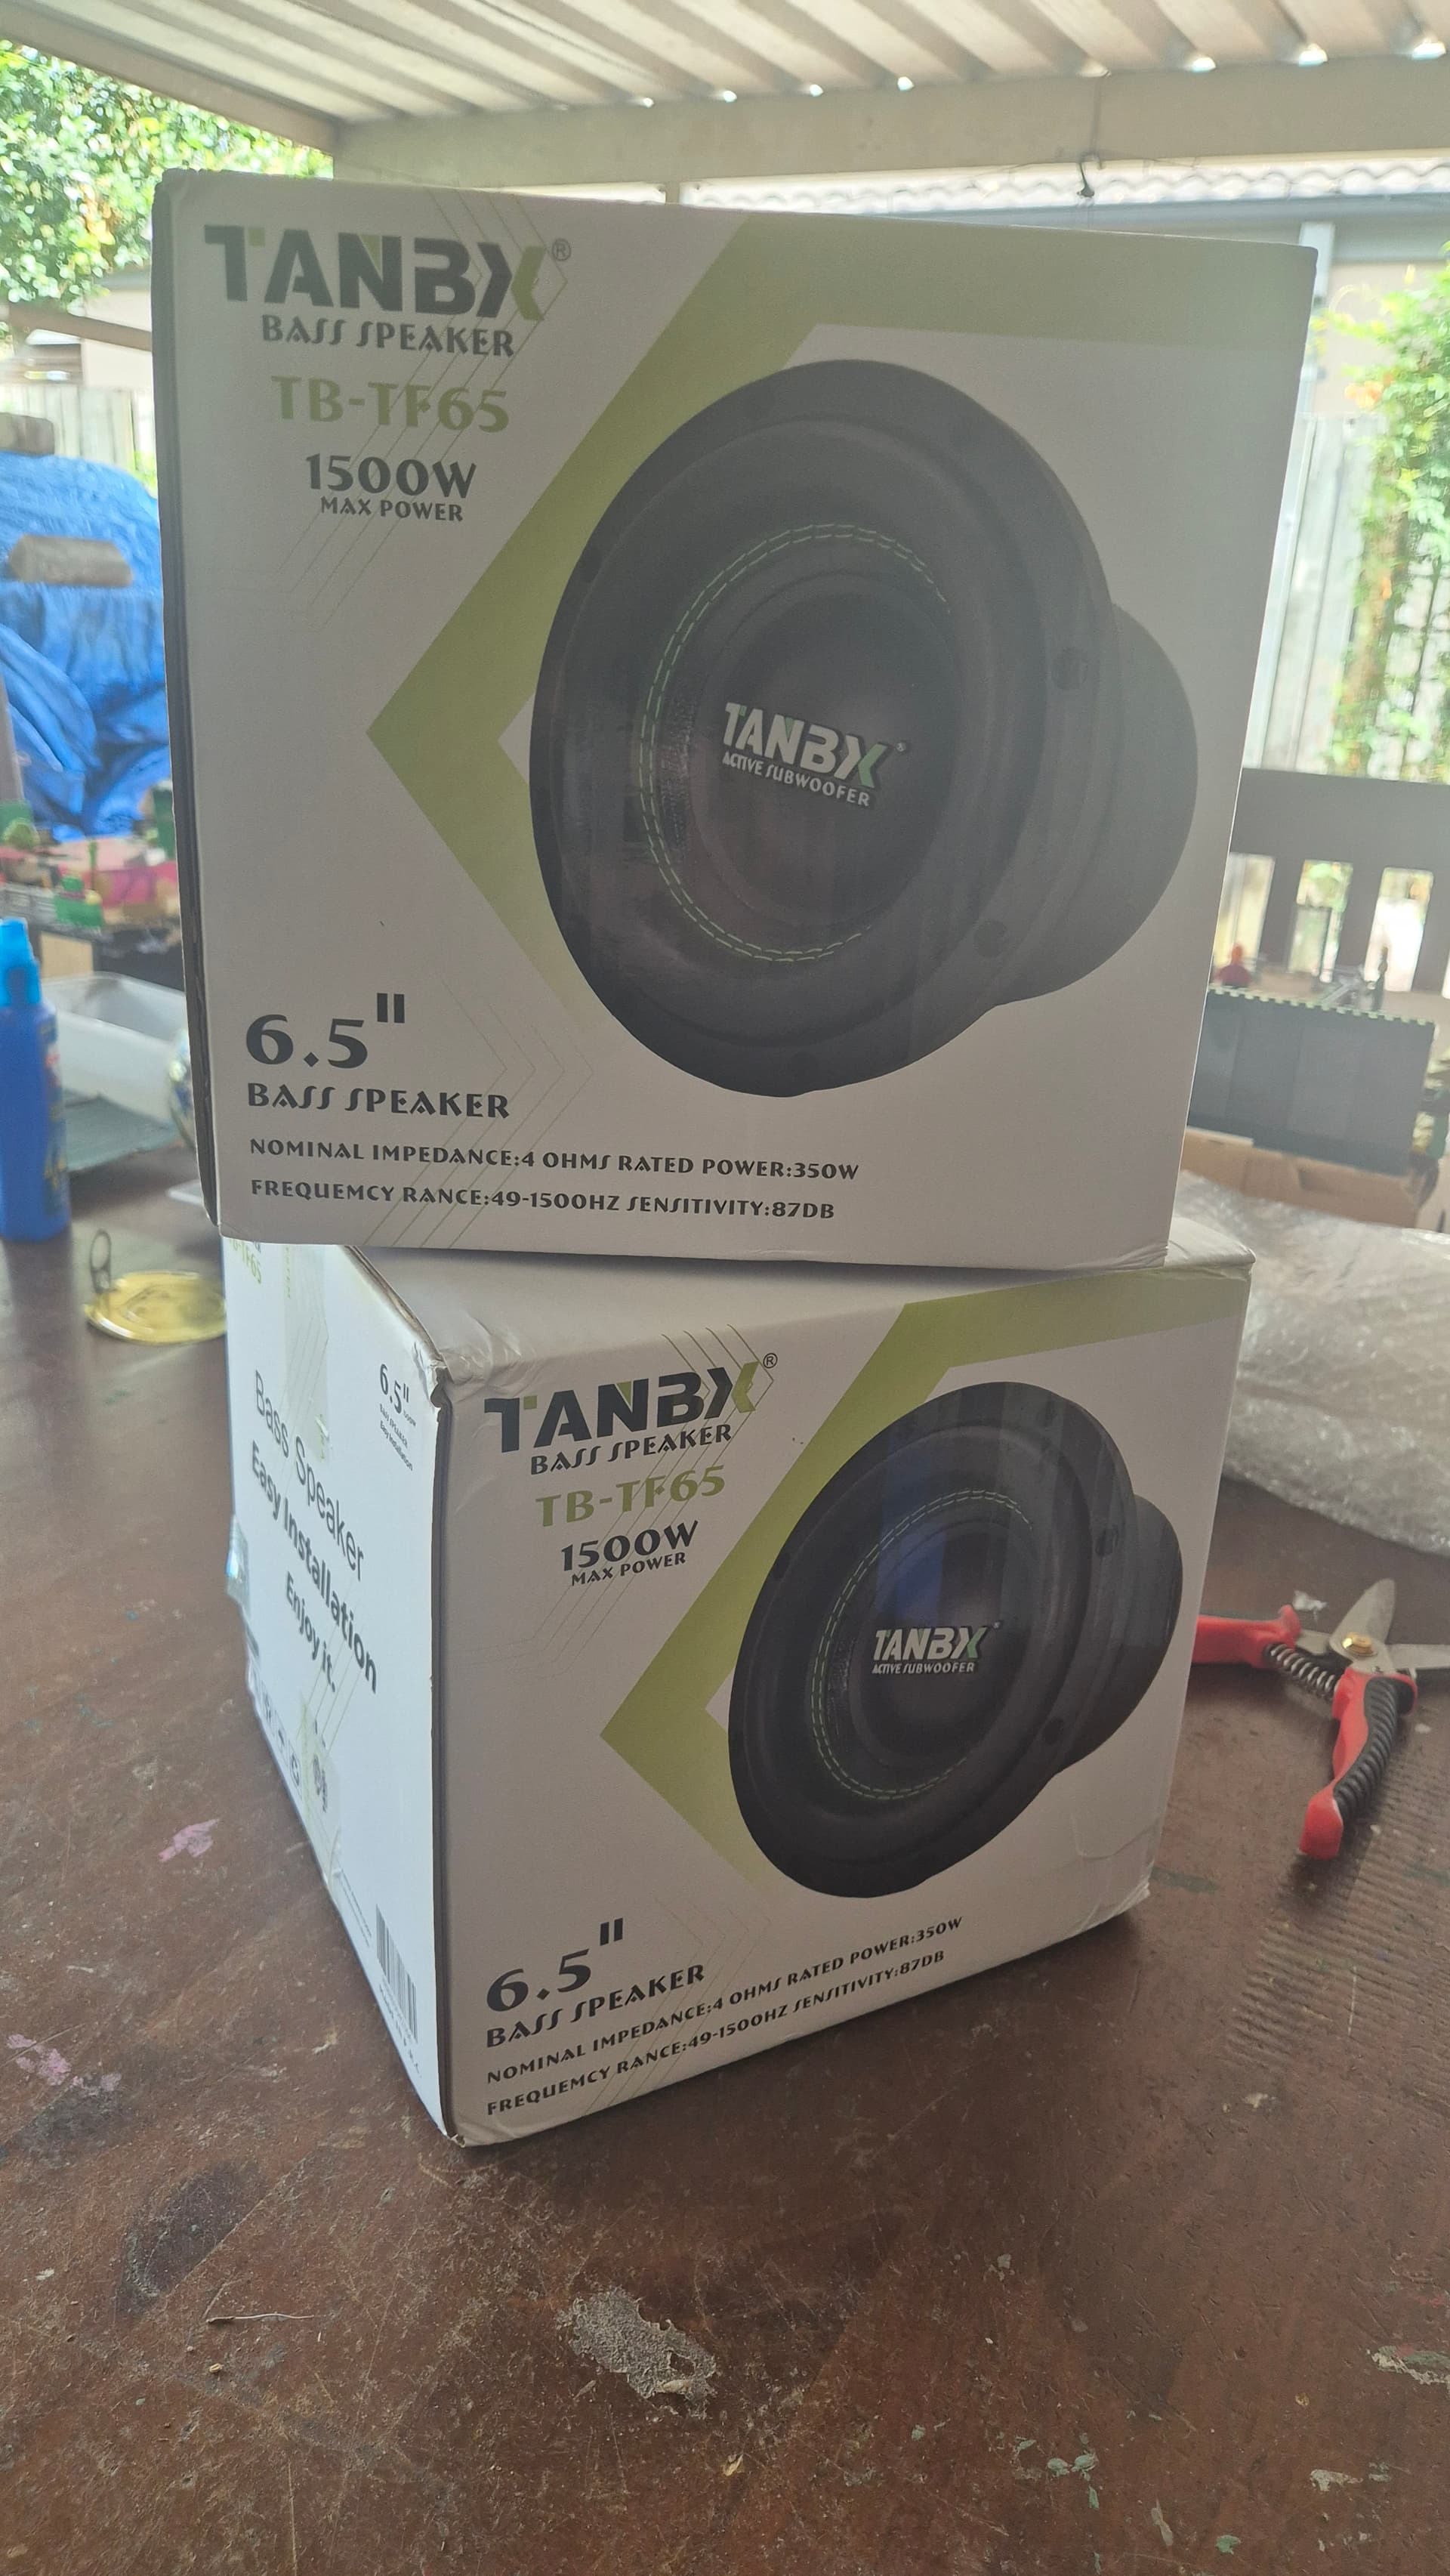
WOW branding, this is seeming pretty legit now! Lets open them!
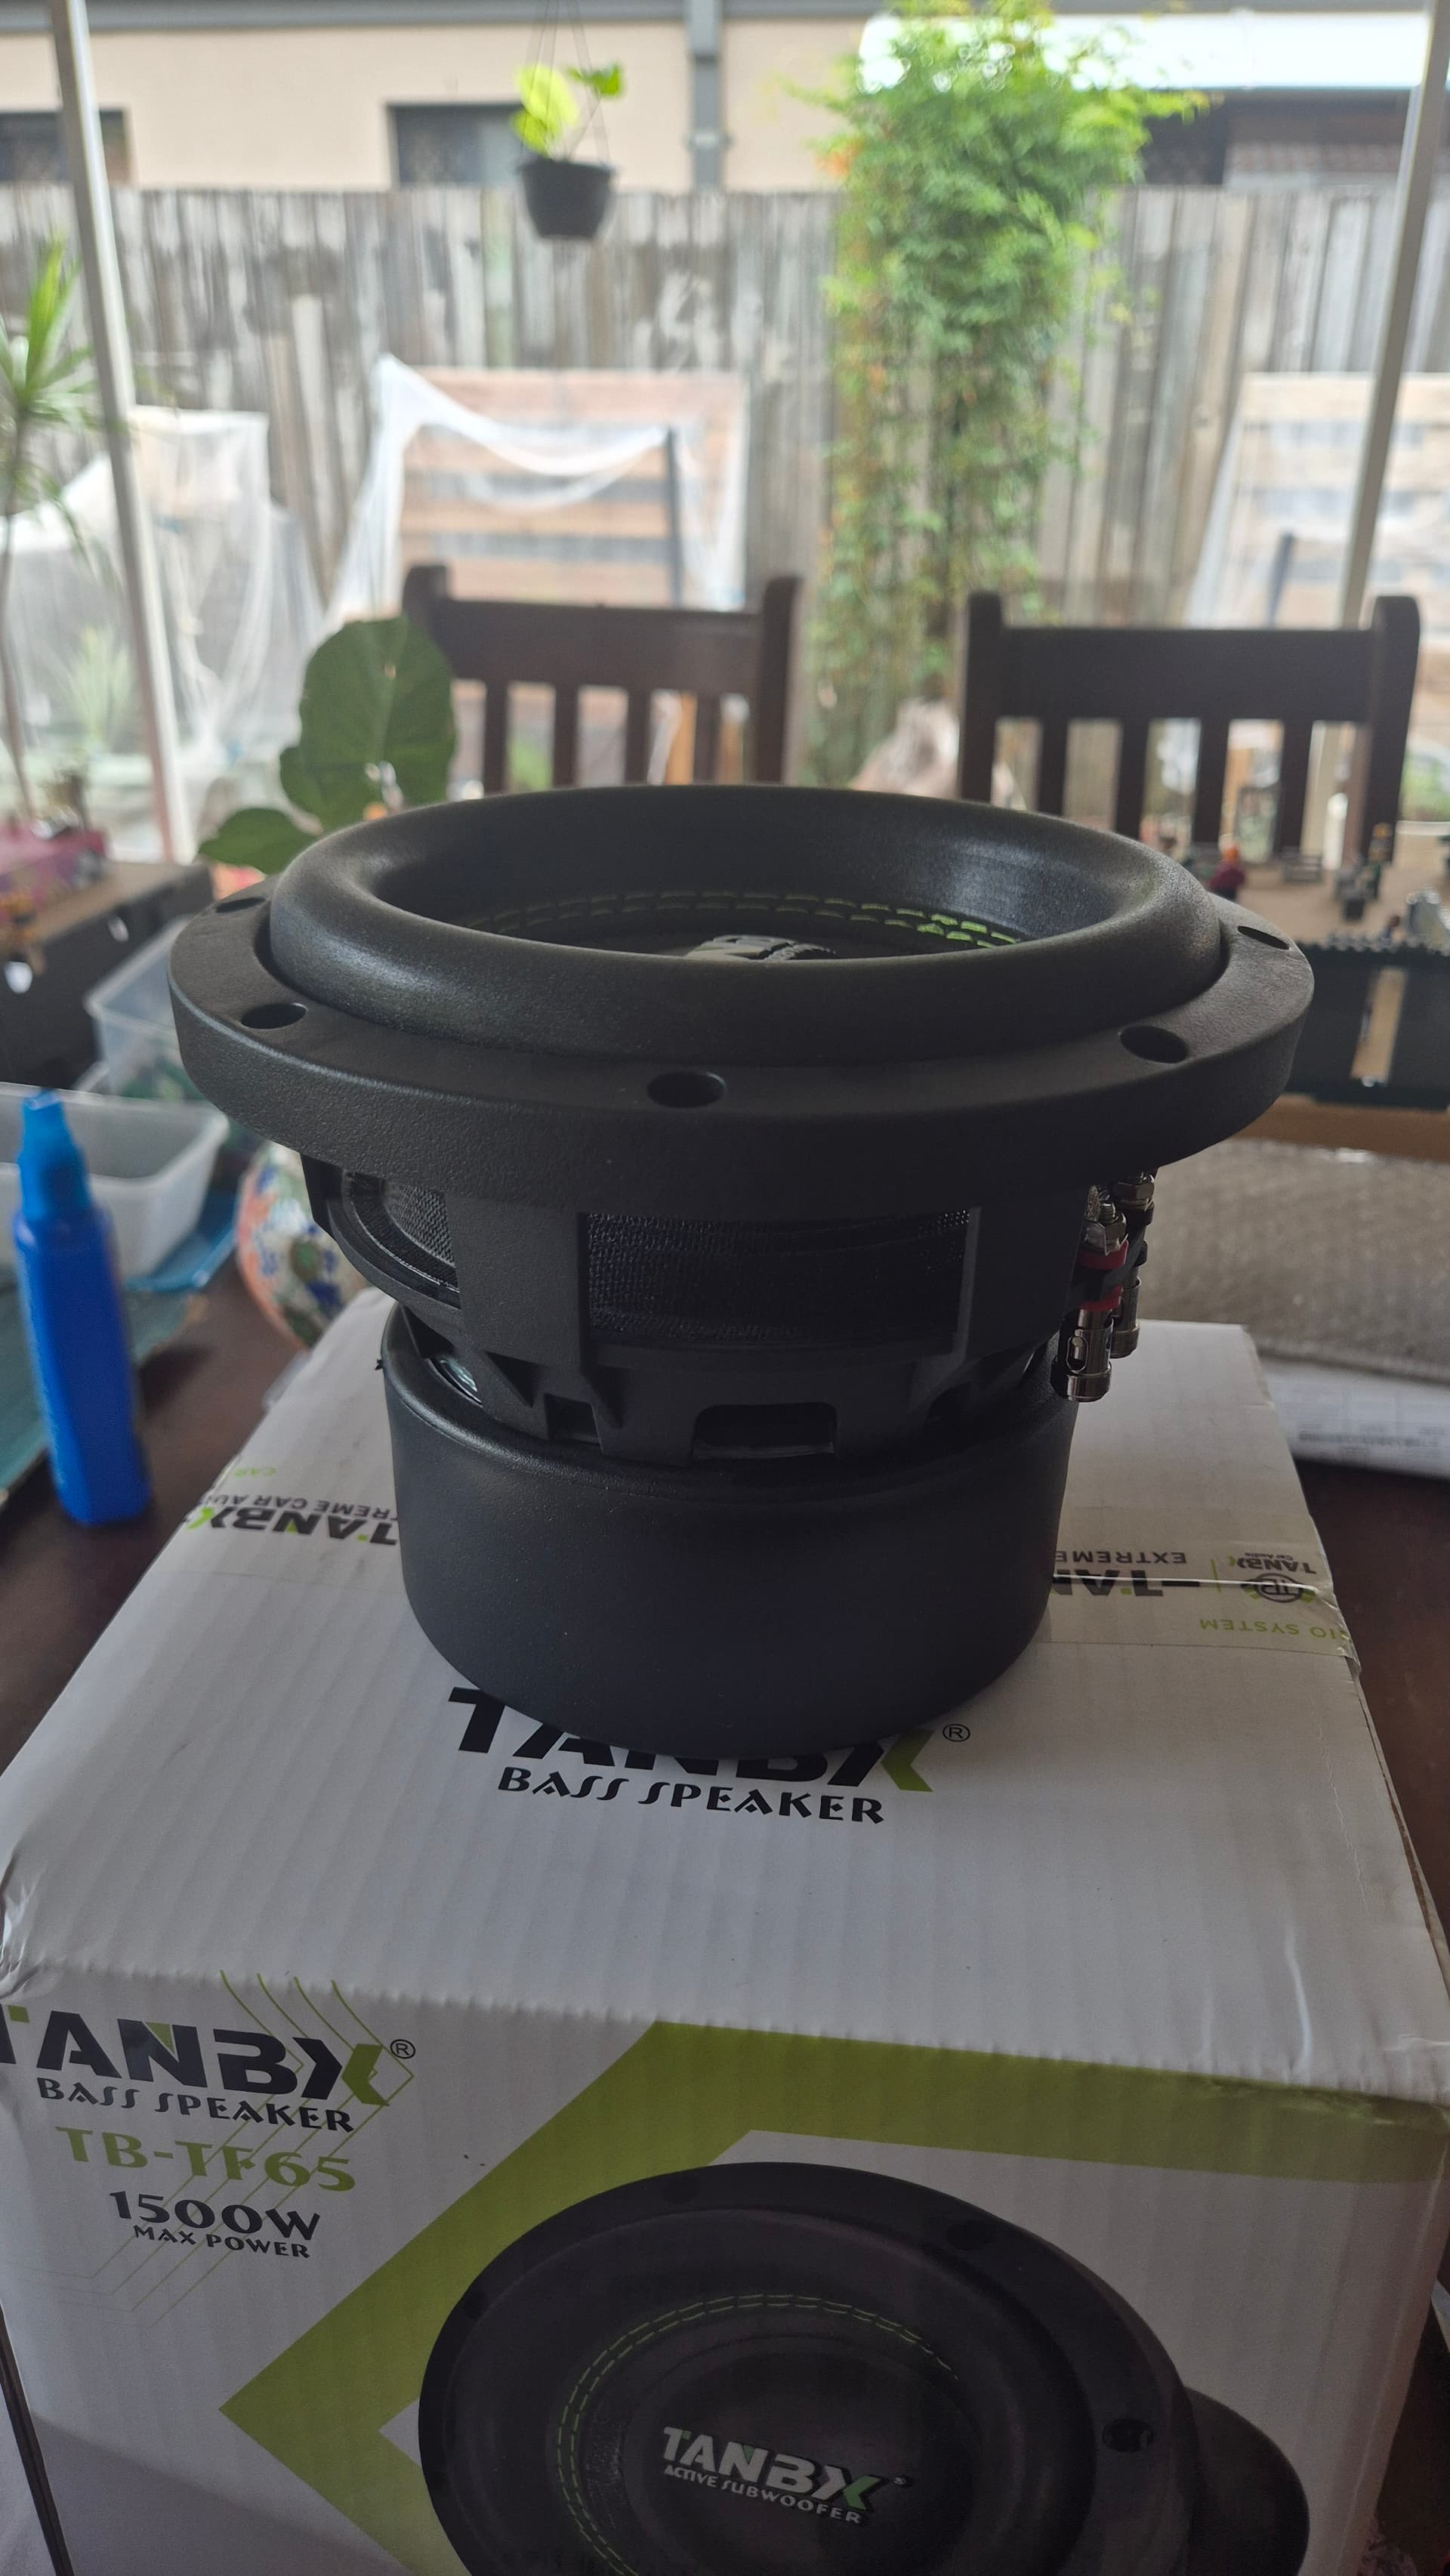
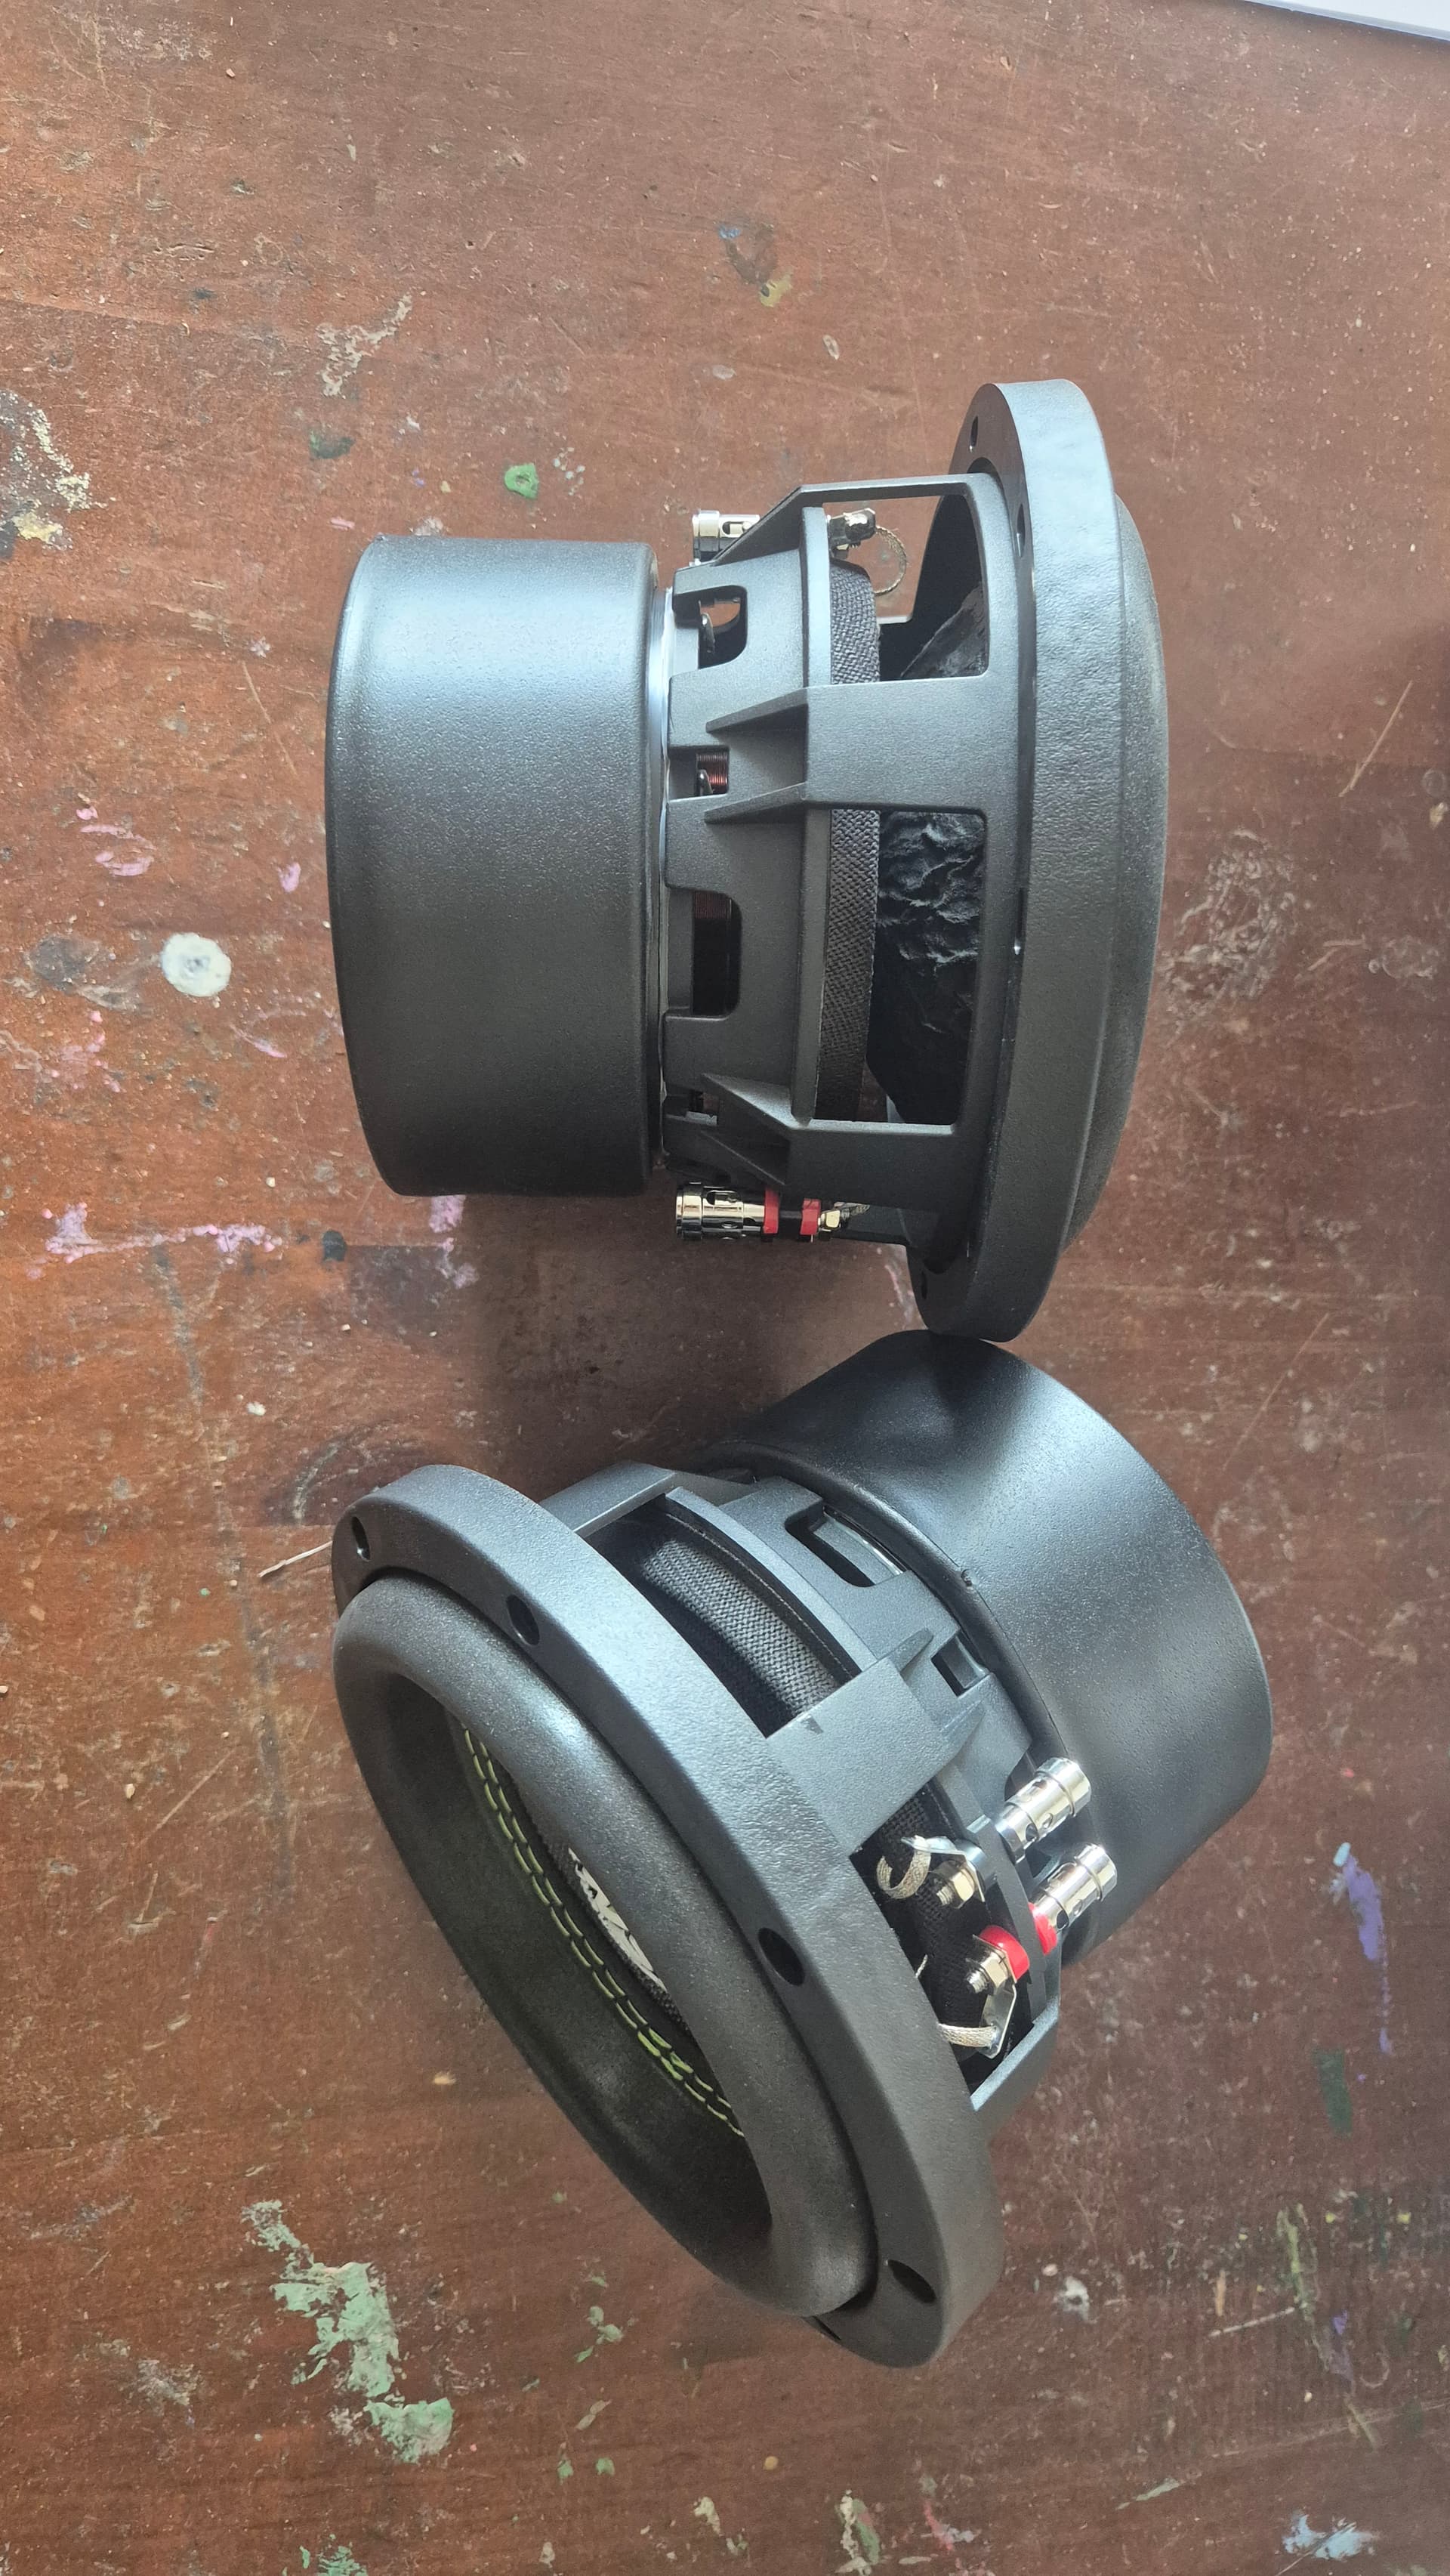
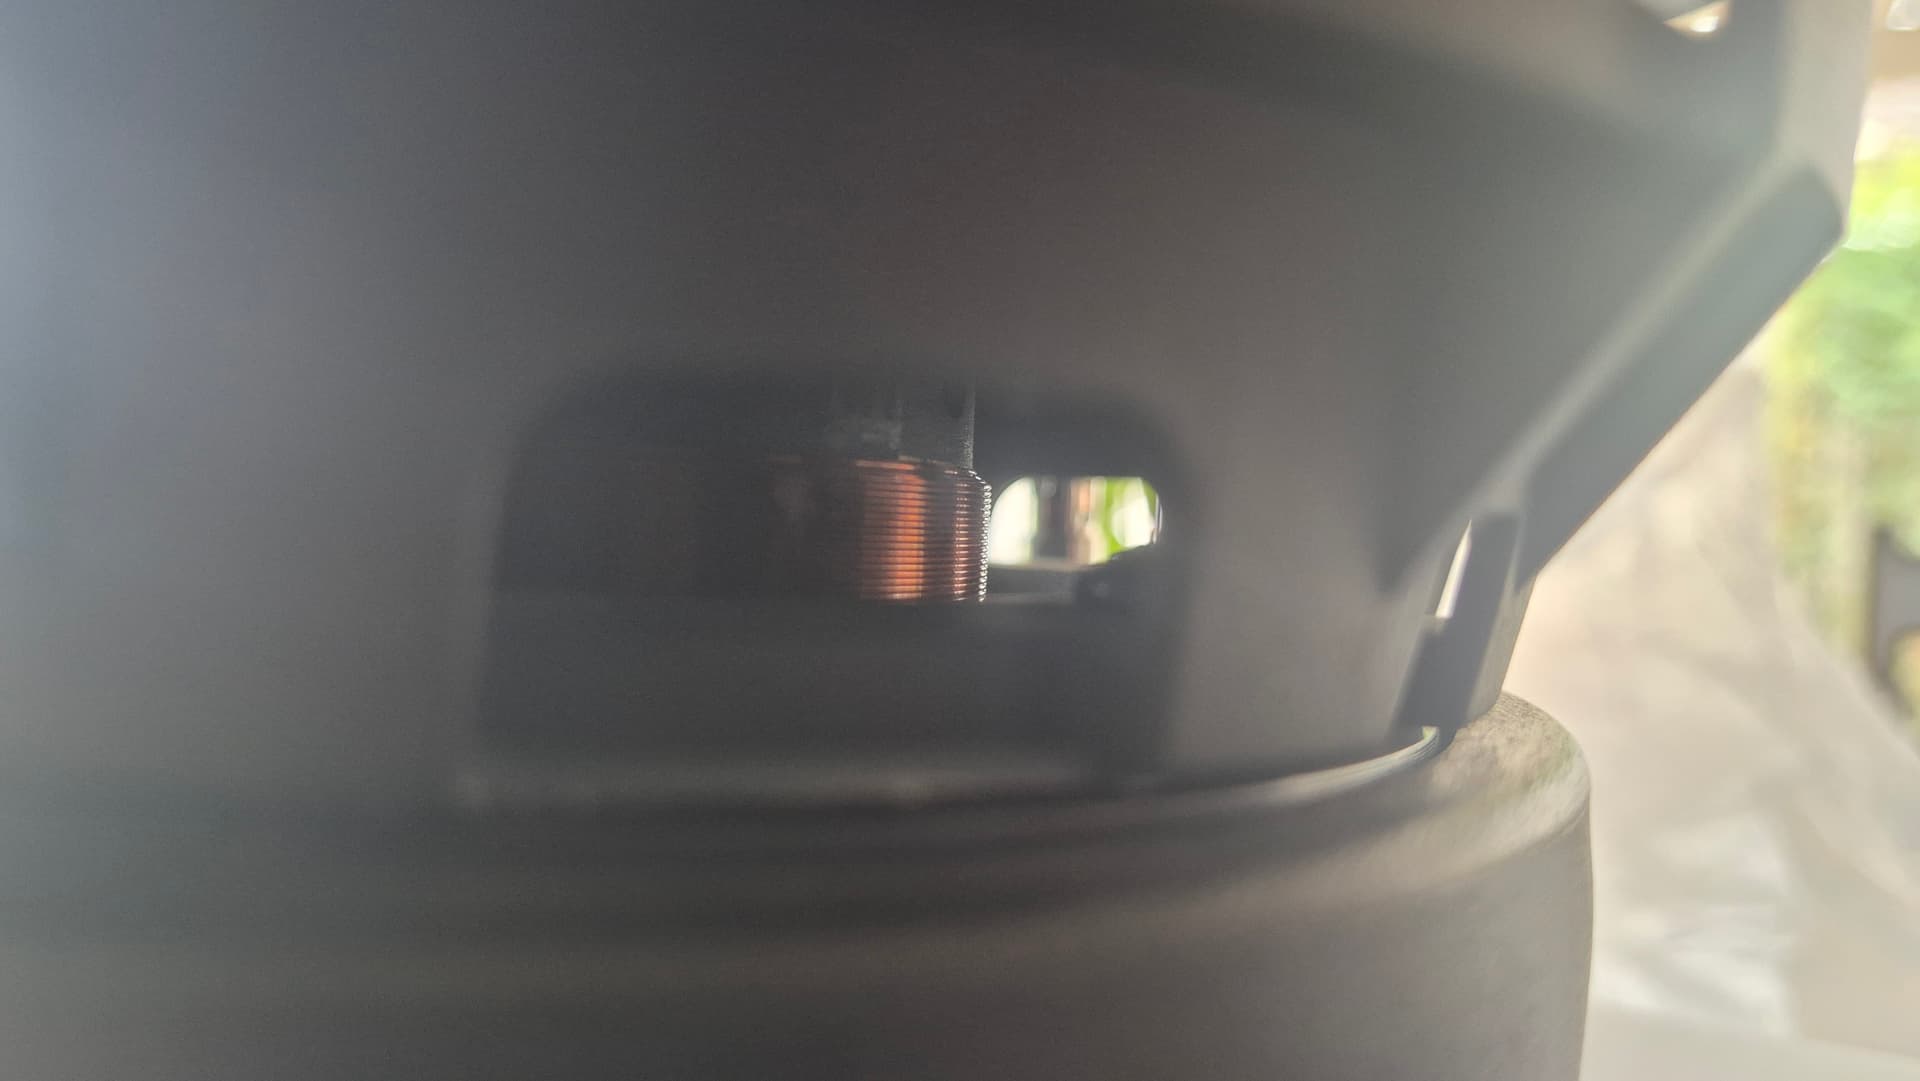
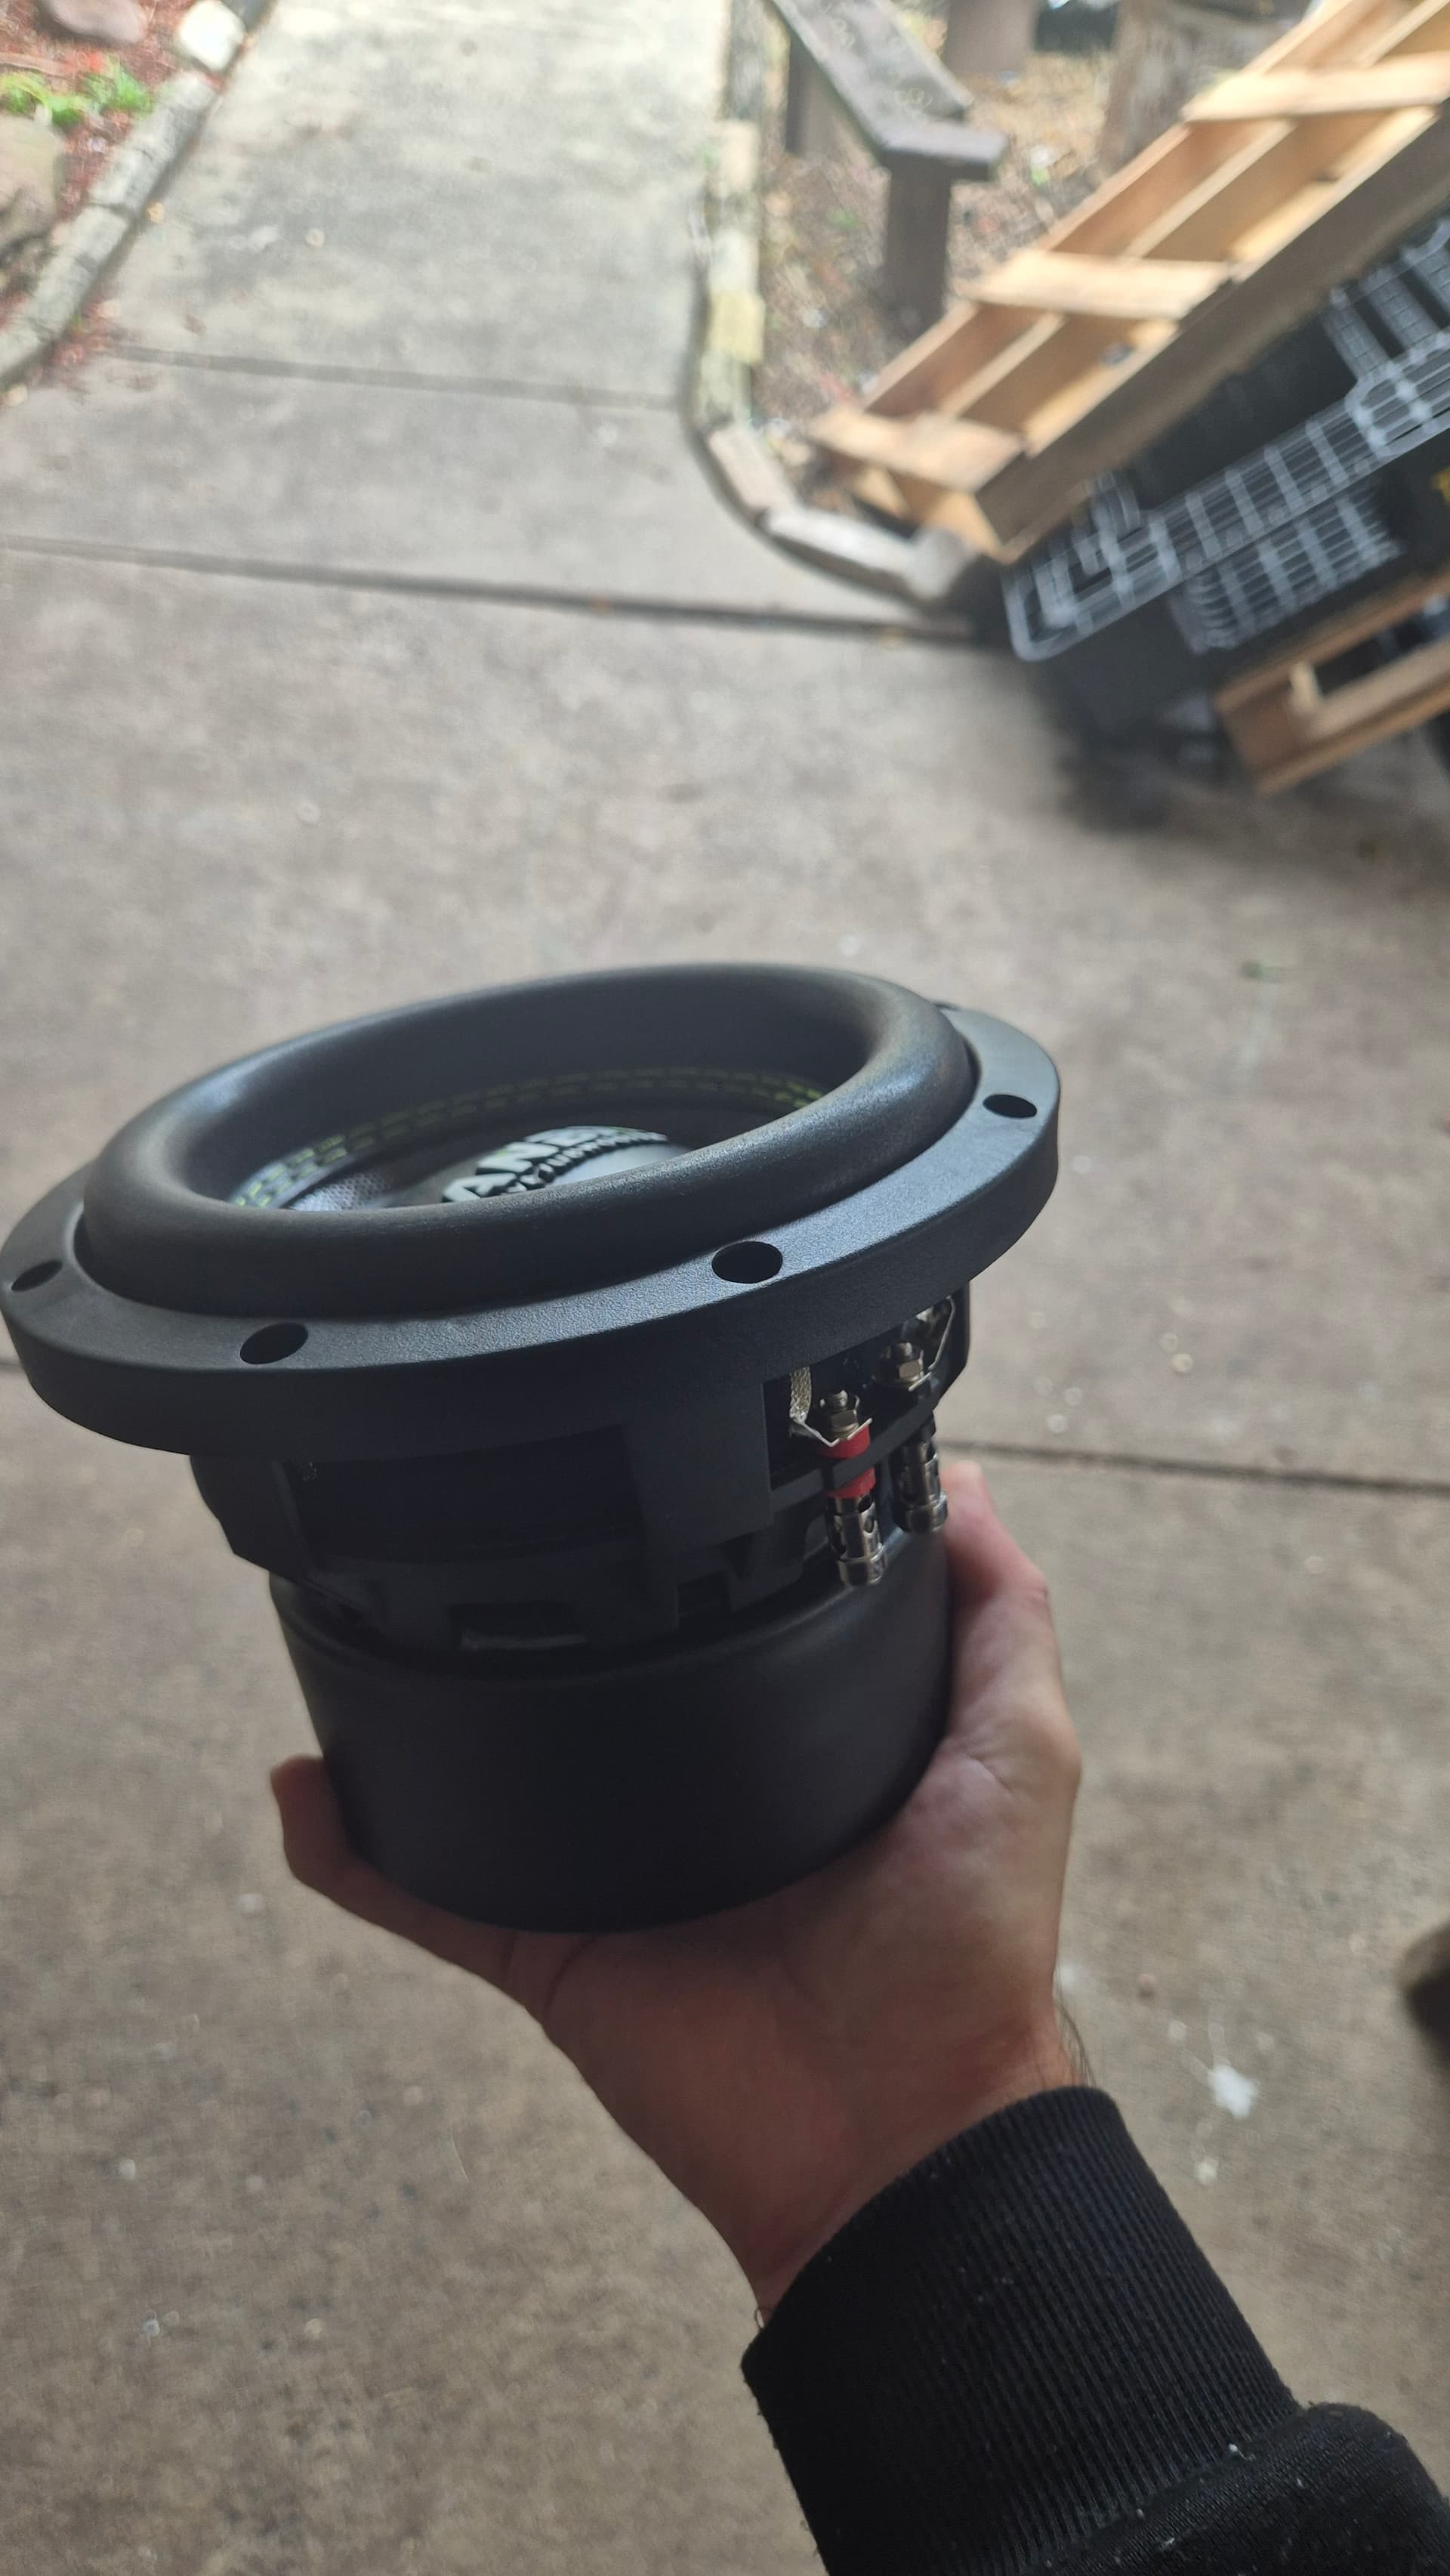
Holy smokes batman! they’re chunky little guys!
A high roll surround, a cast basket and a 2 inch dual voice coil!
From what i have read the RMS is from 120 to like 800 depending on the seller and “brand”
Pretty excited if i am honest! we have Amps and now speakers! LETS START BUILDING!
So i am doing a full fiberglass box build this time! light weight is the goal.
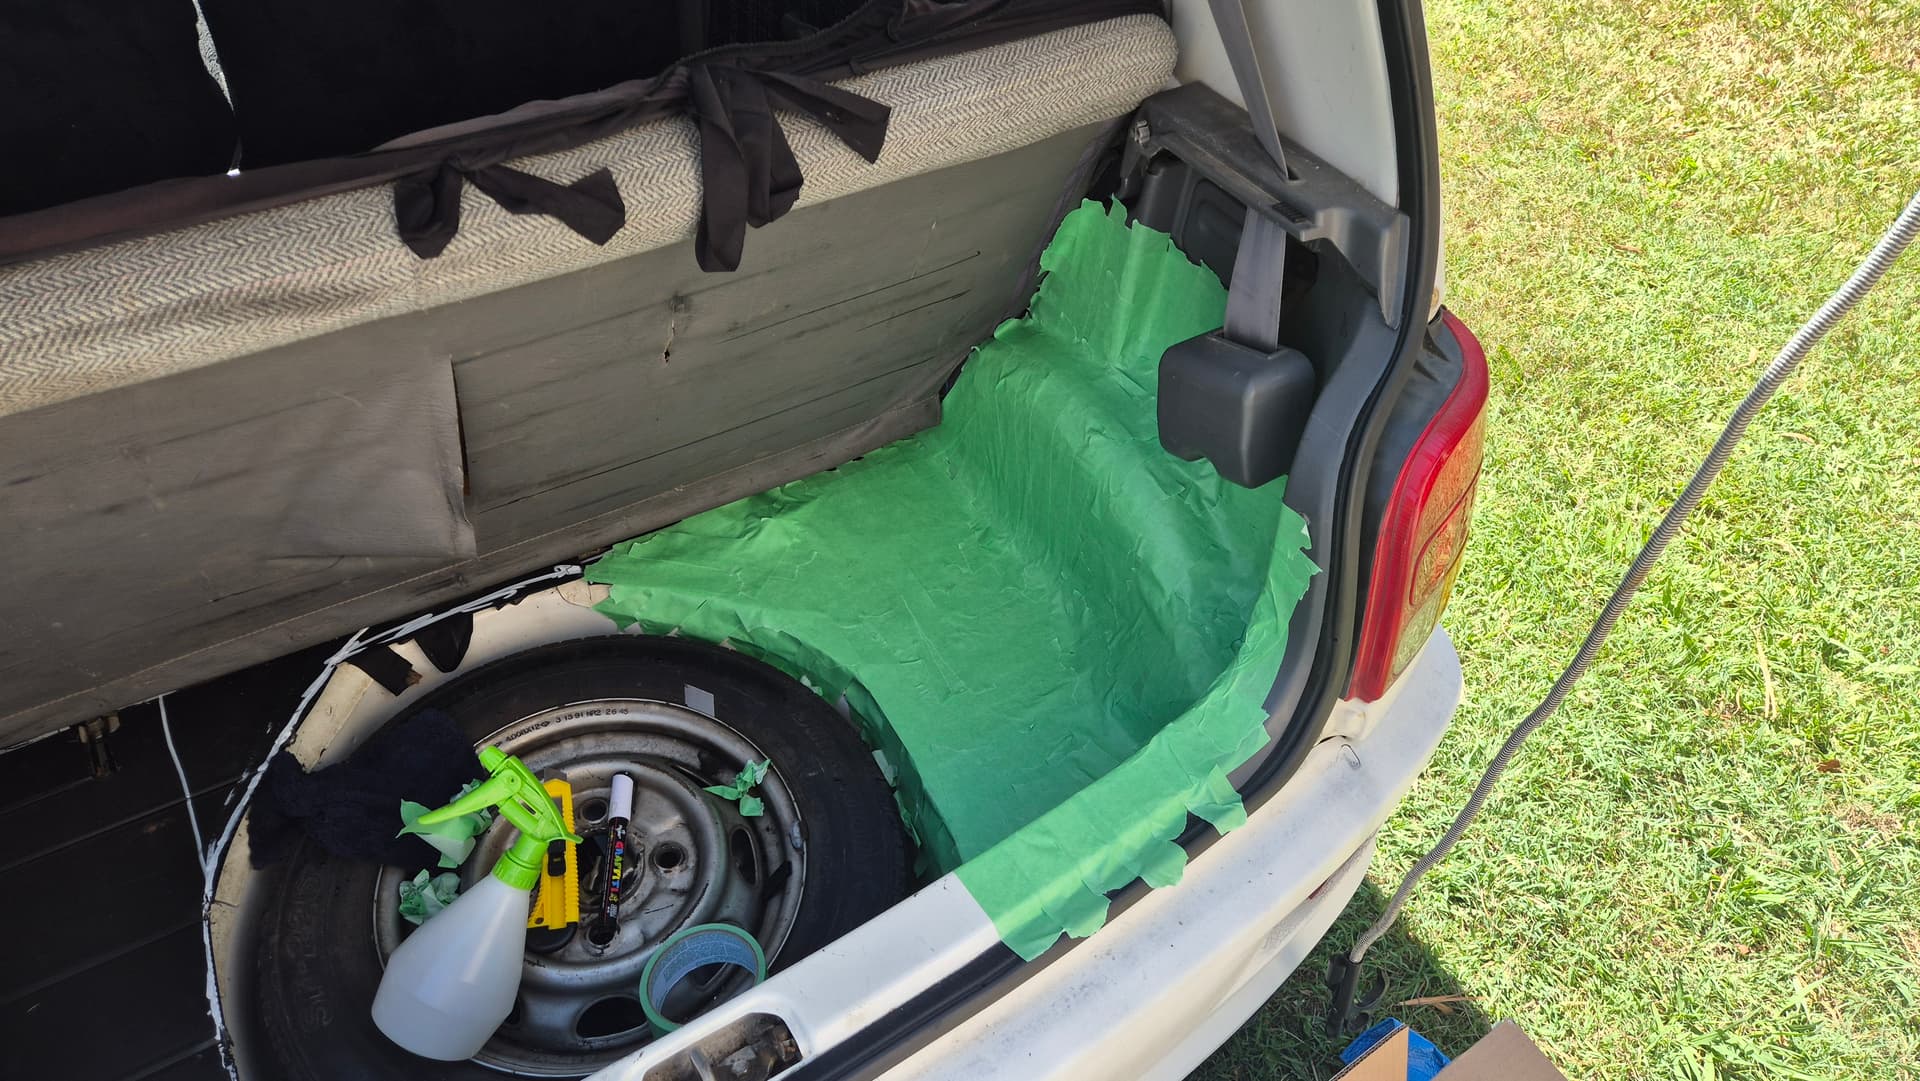
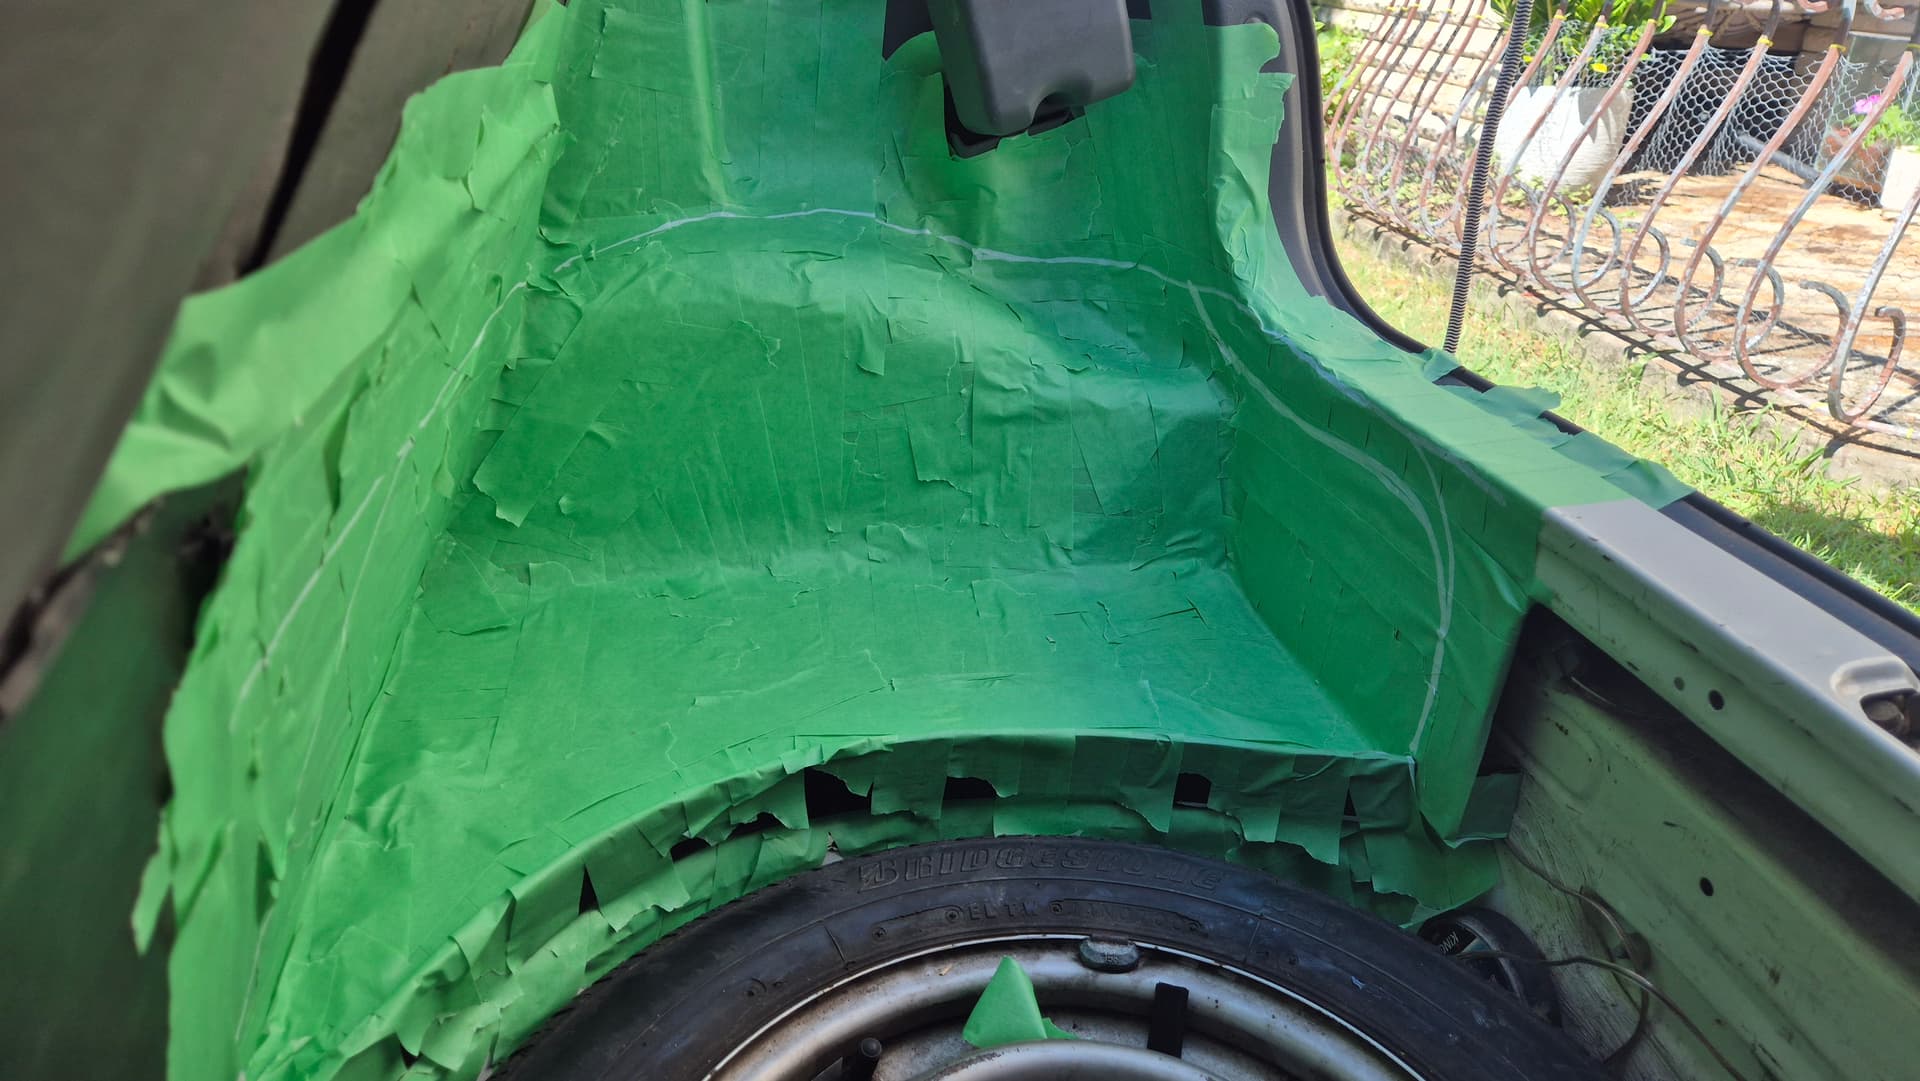
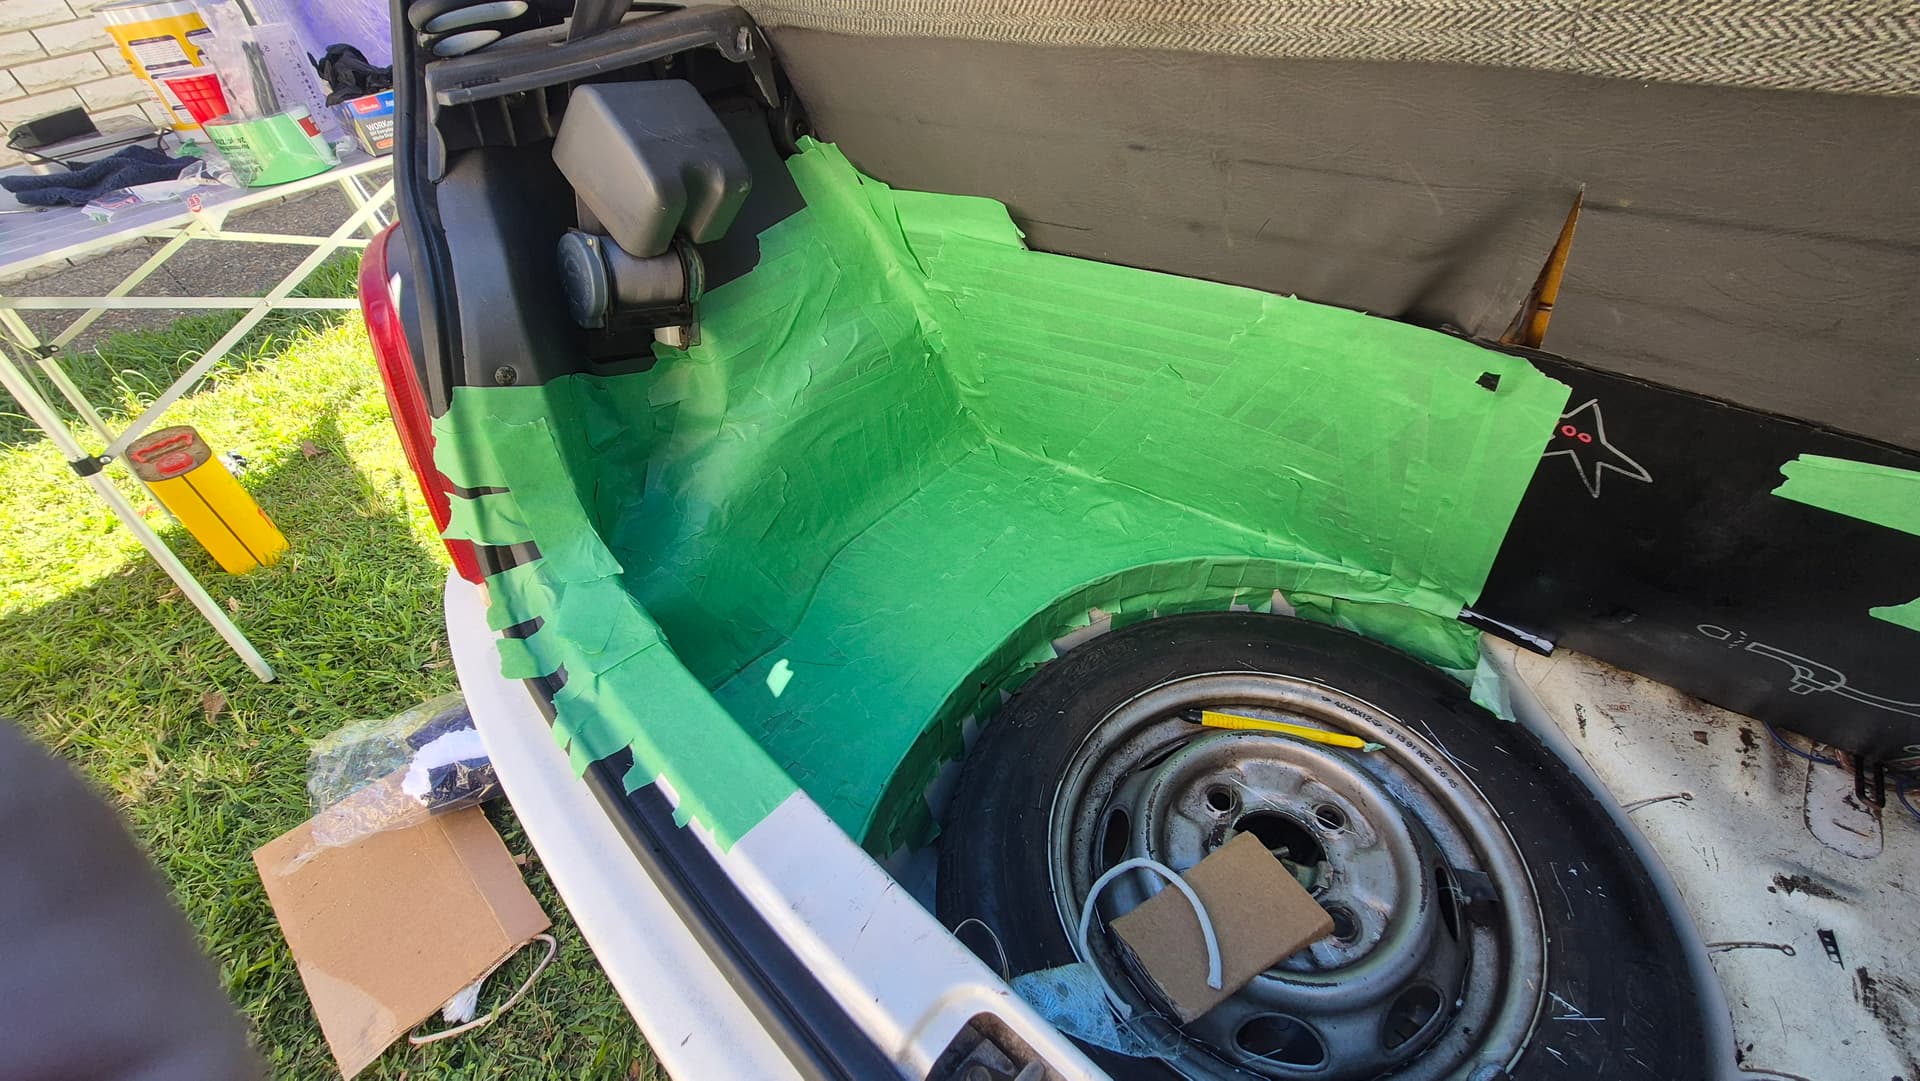
i started laying painters tape to give me a surface to glass onto so i can remove the shape later, as you can see i am using all the space but staying level with the opening, this will make sense later.
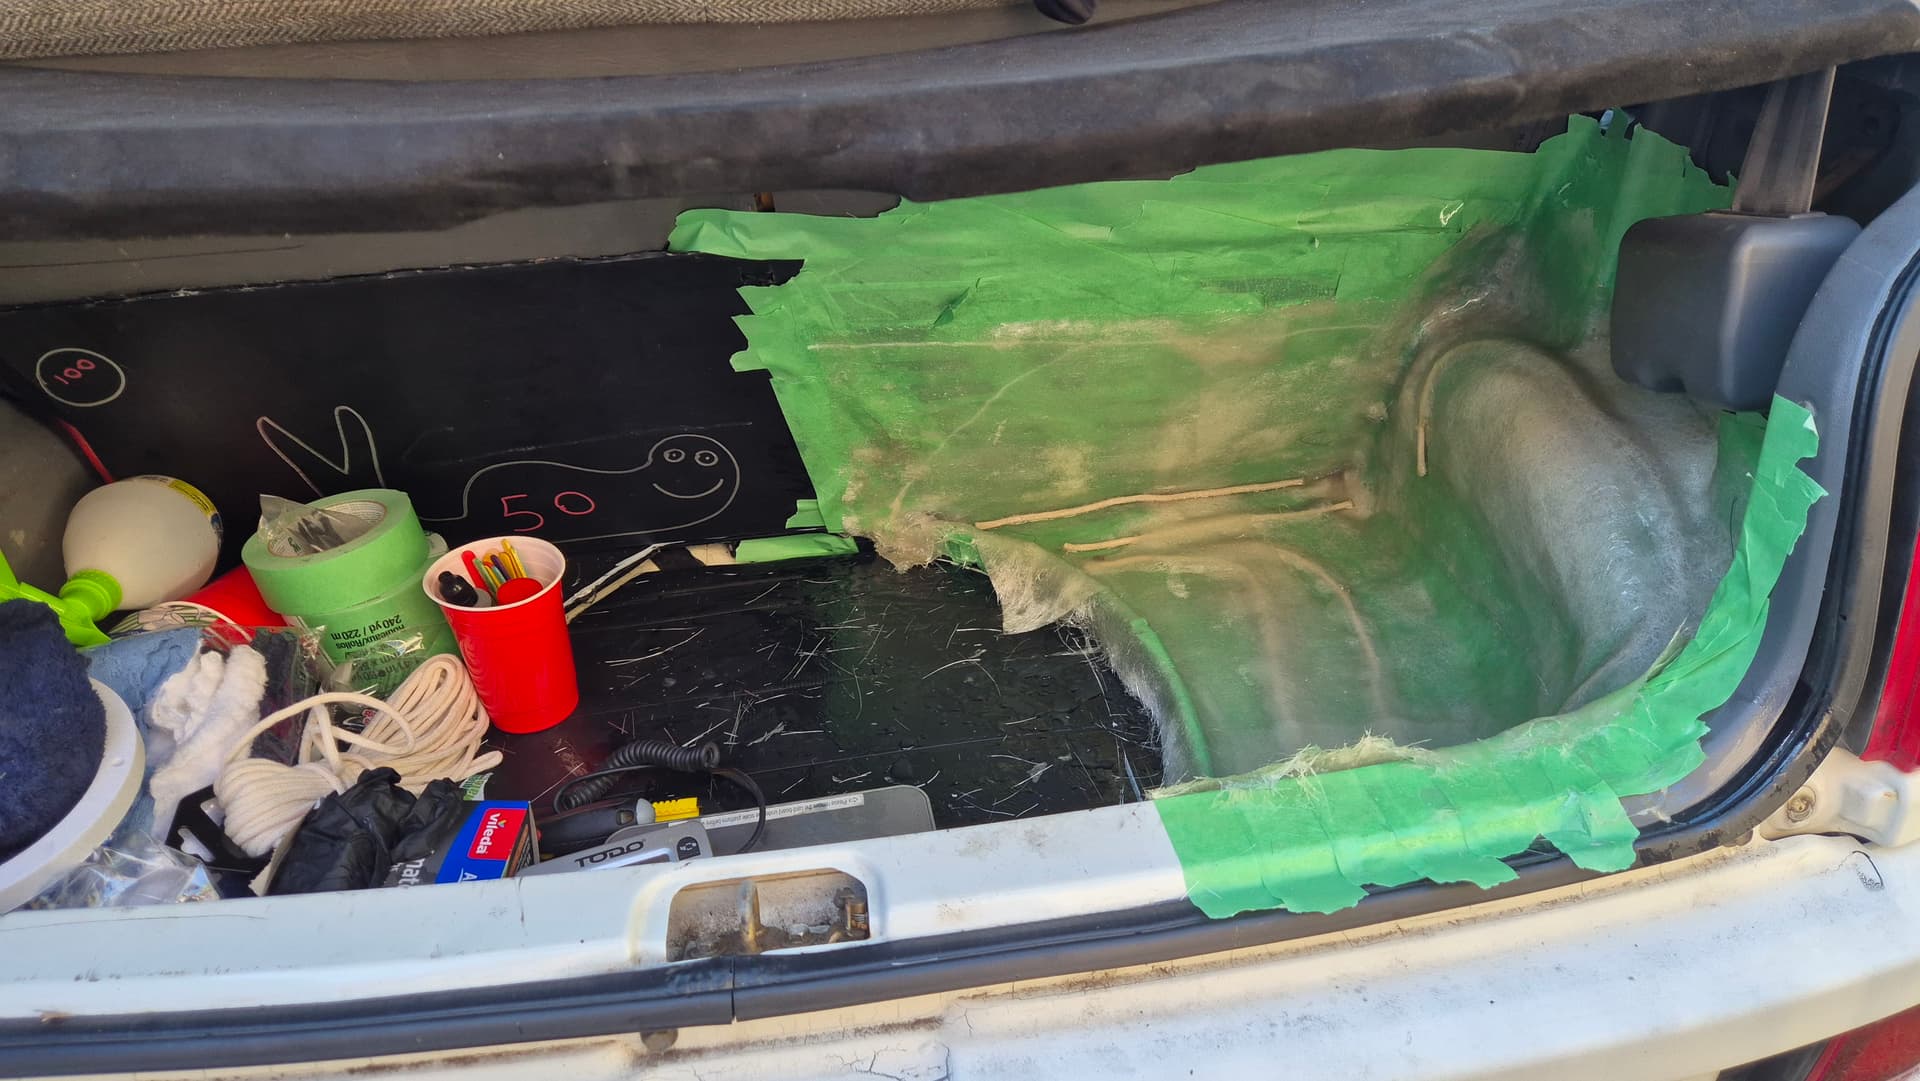
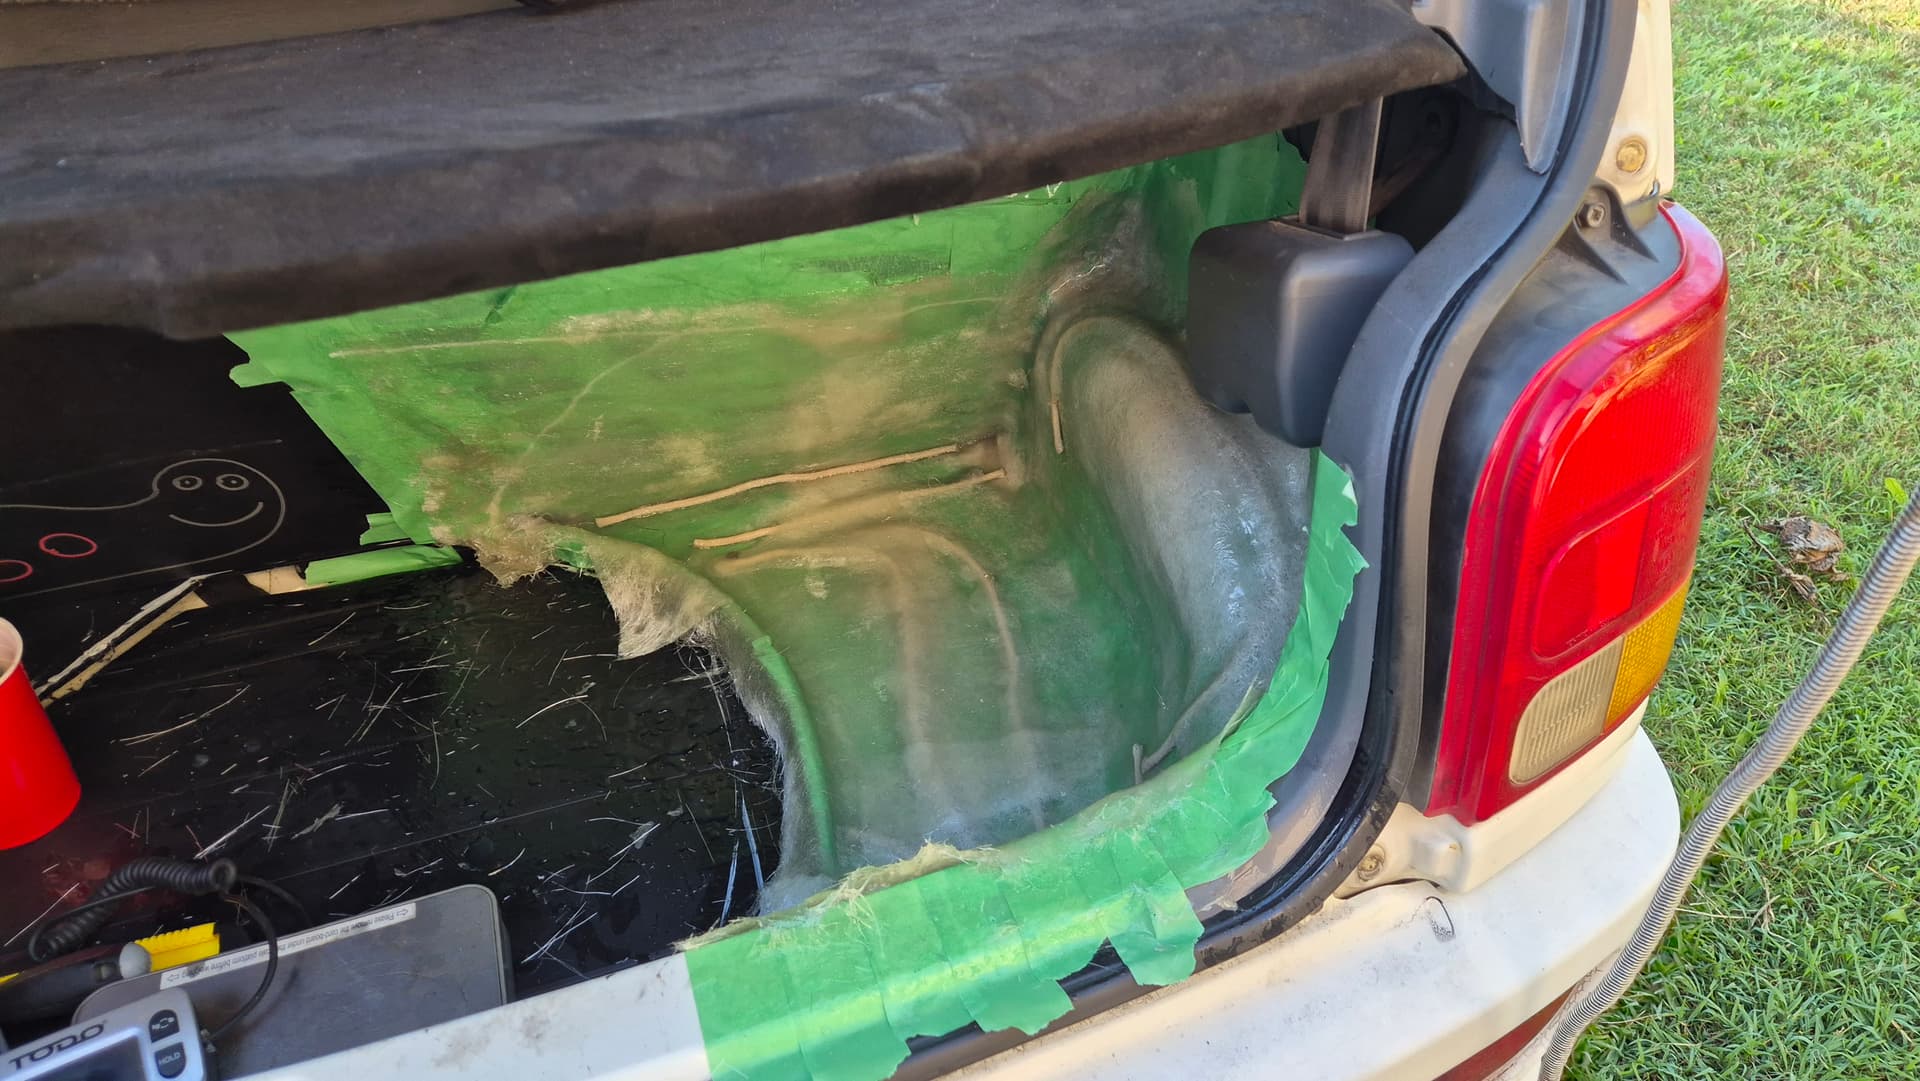
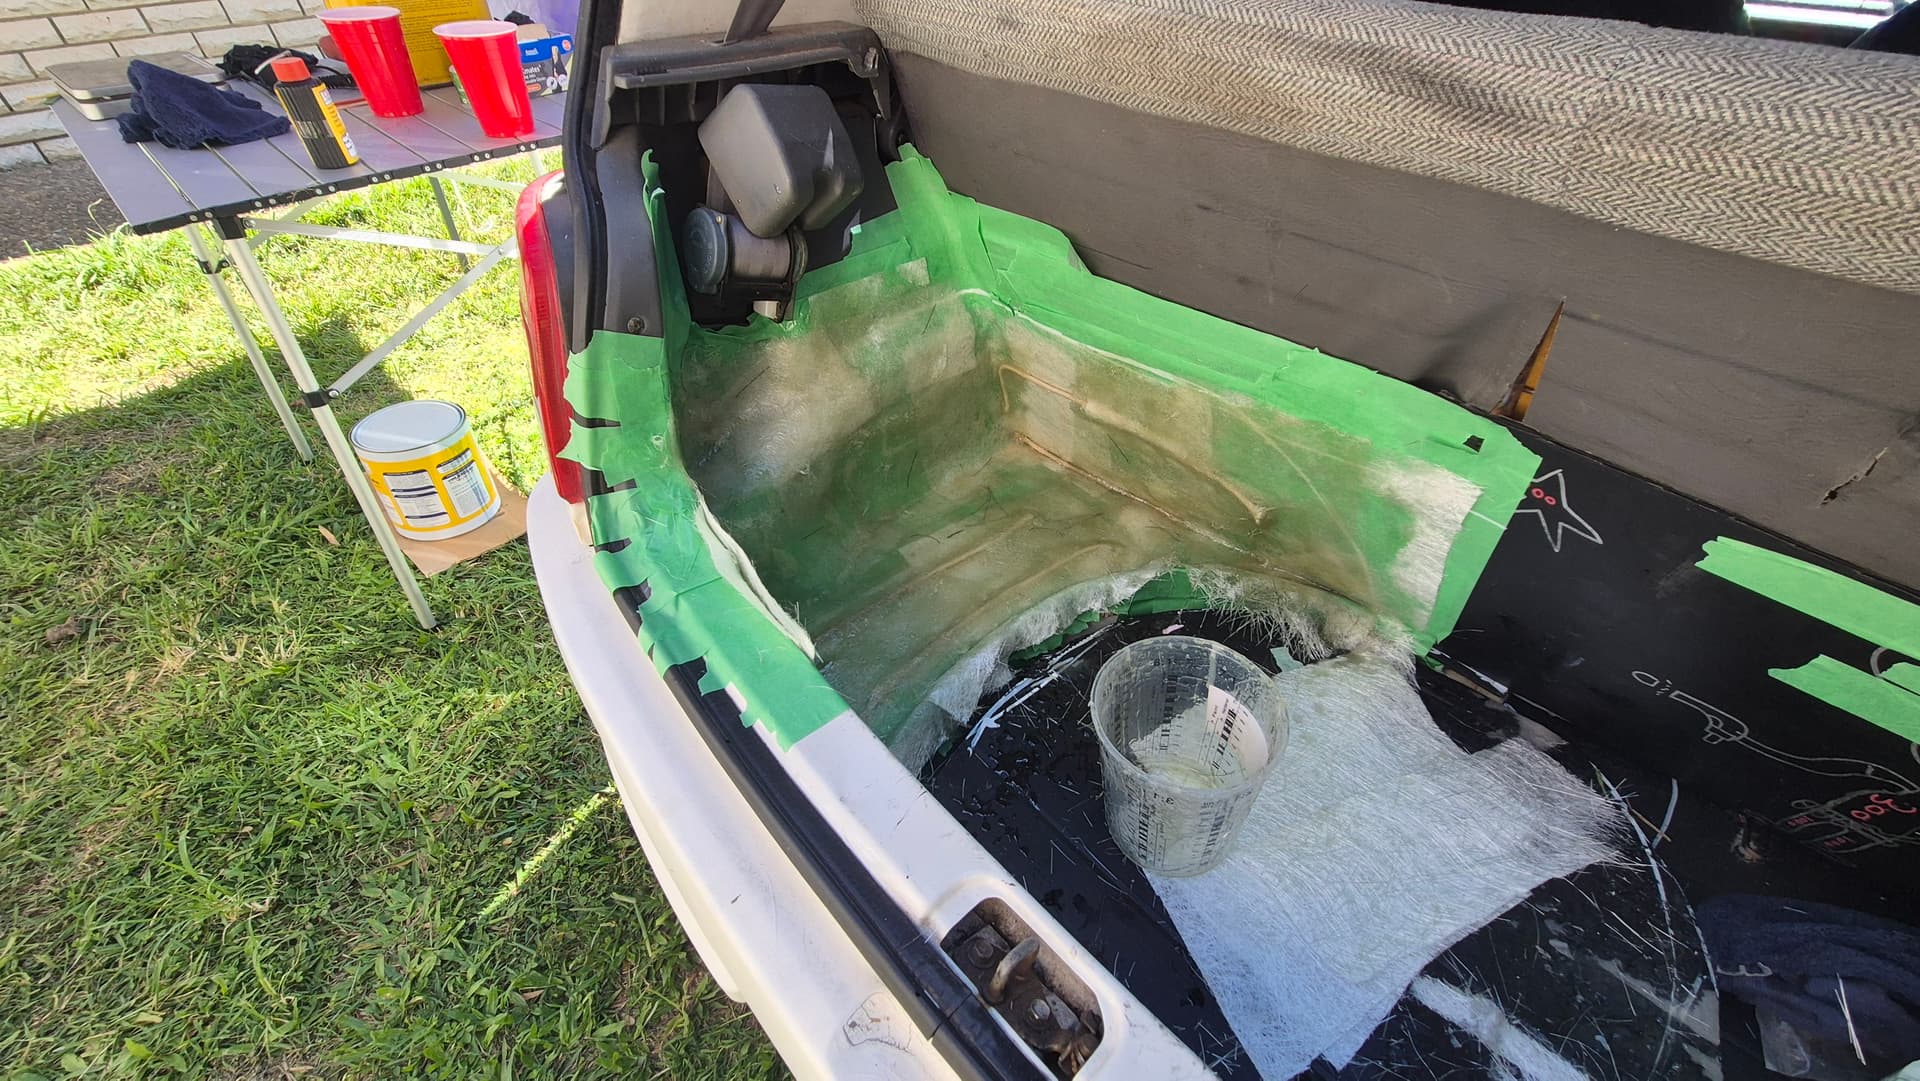
first couple of layers down with rope between layers to help keep stiffness on the large flat surface. I finished off the layers needed and popped them out
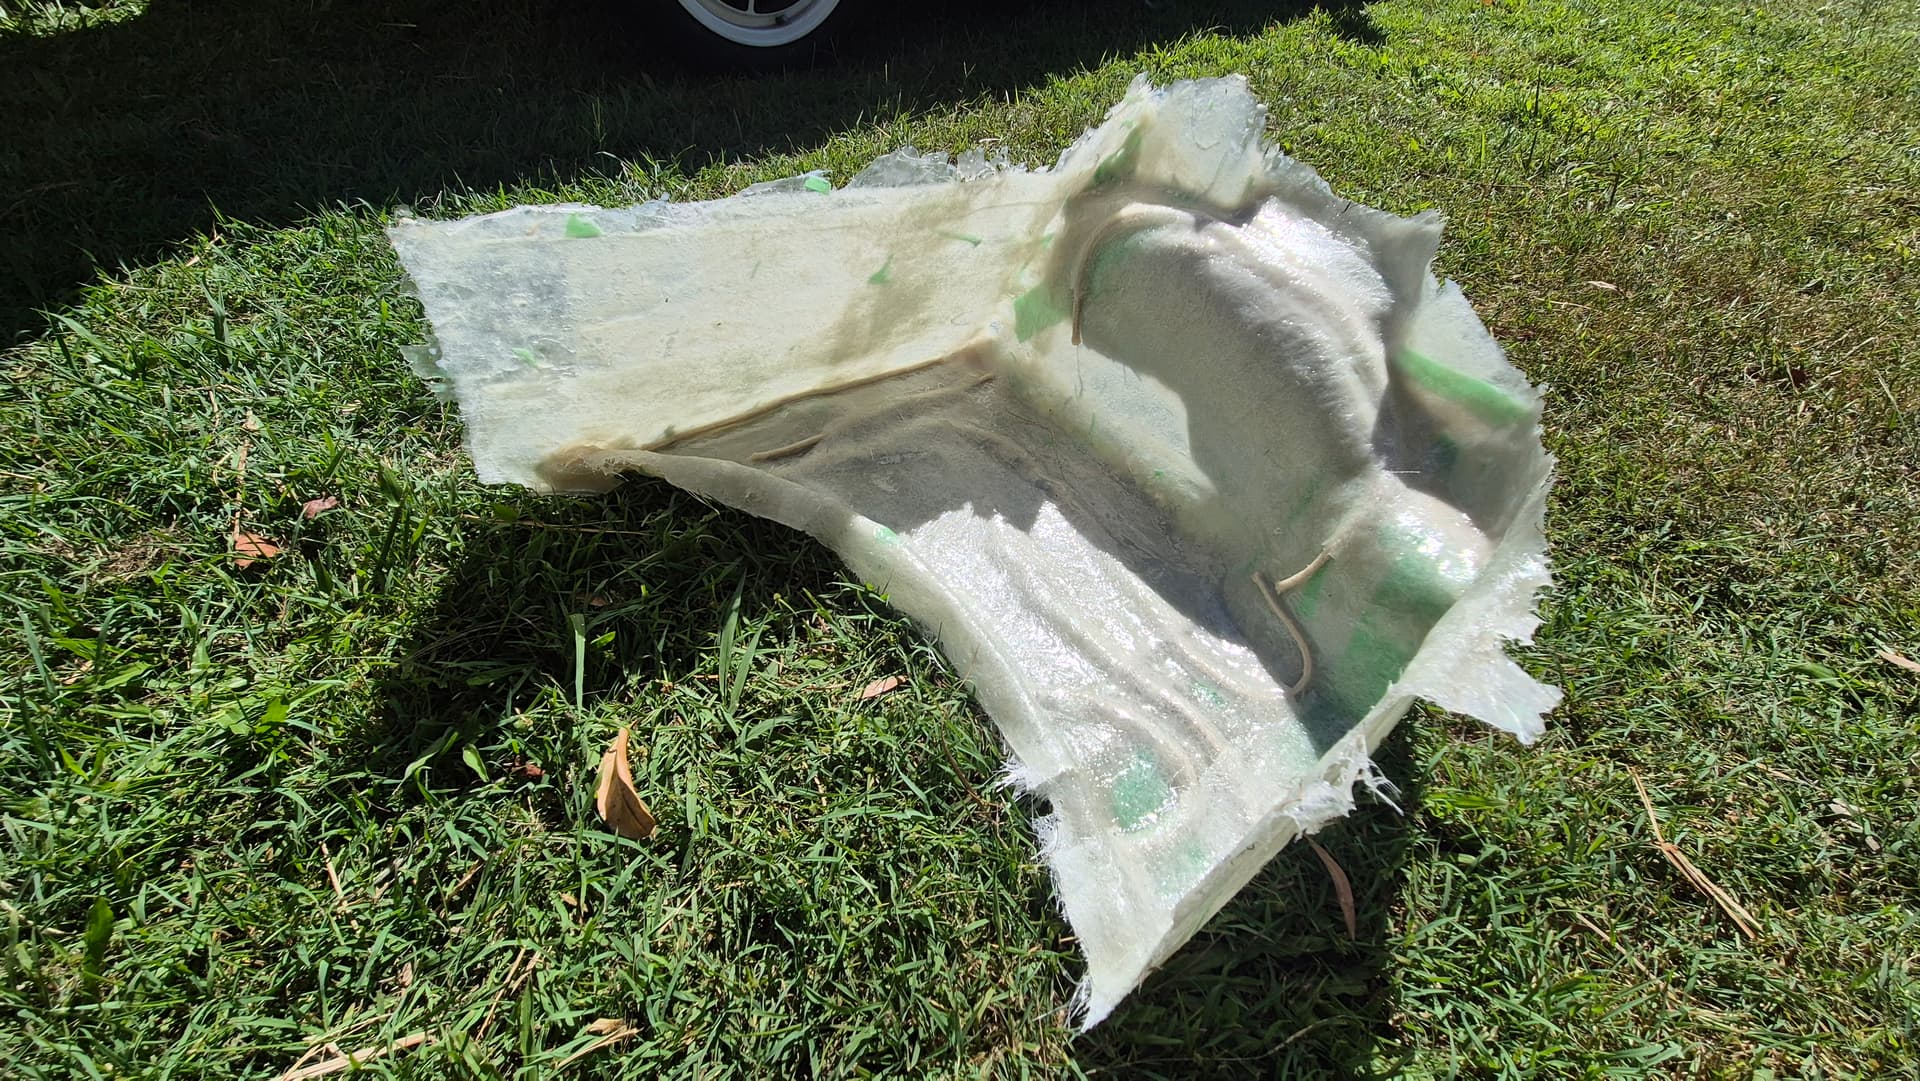
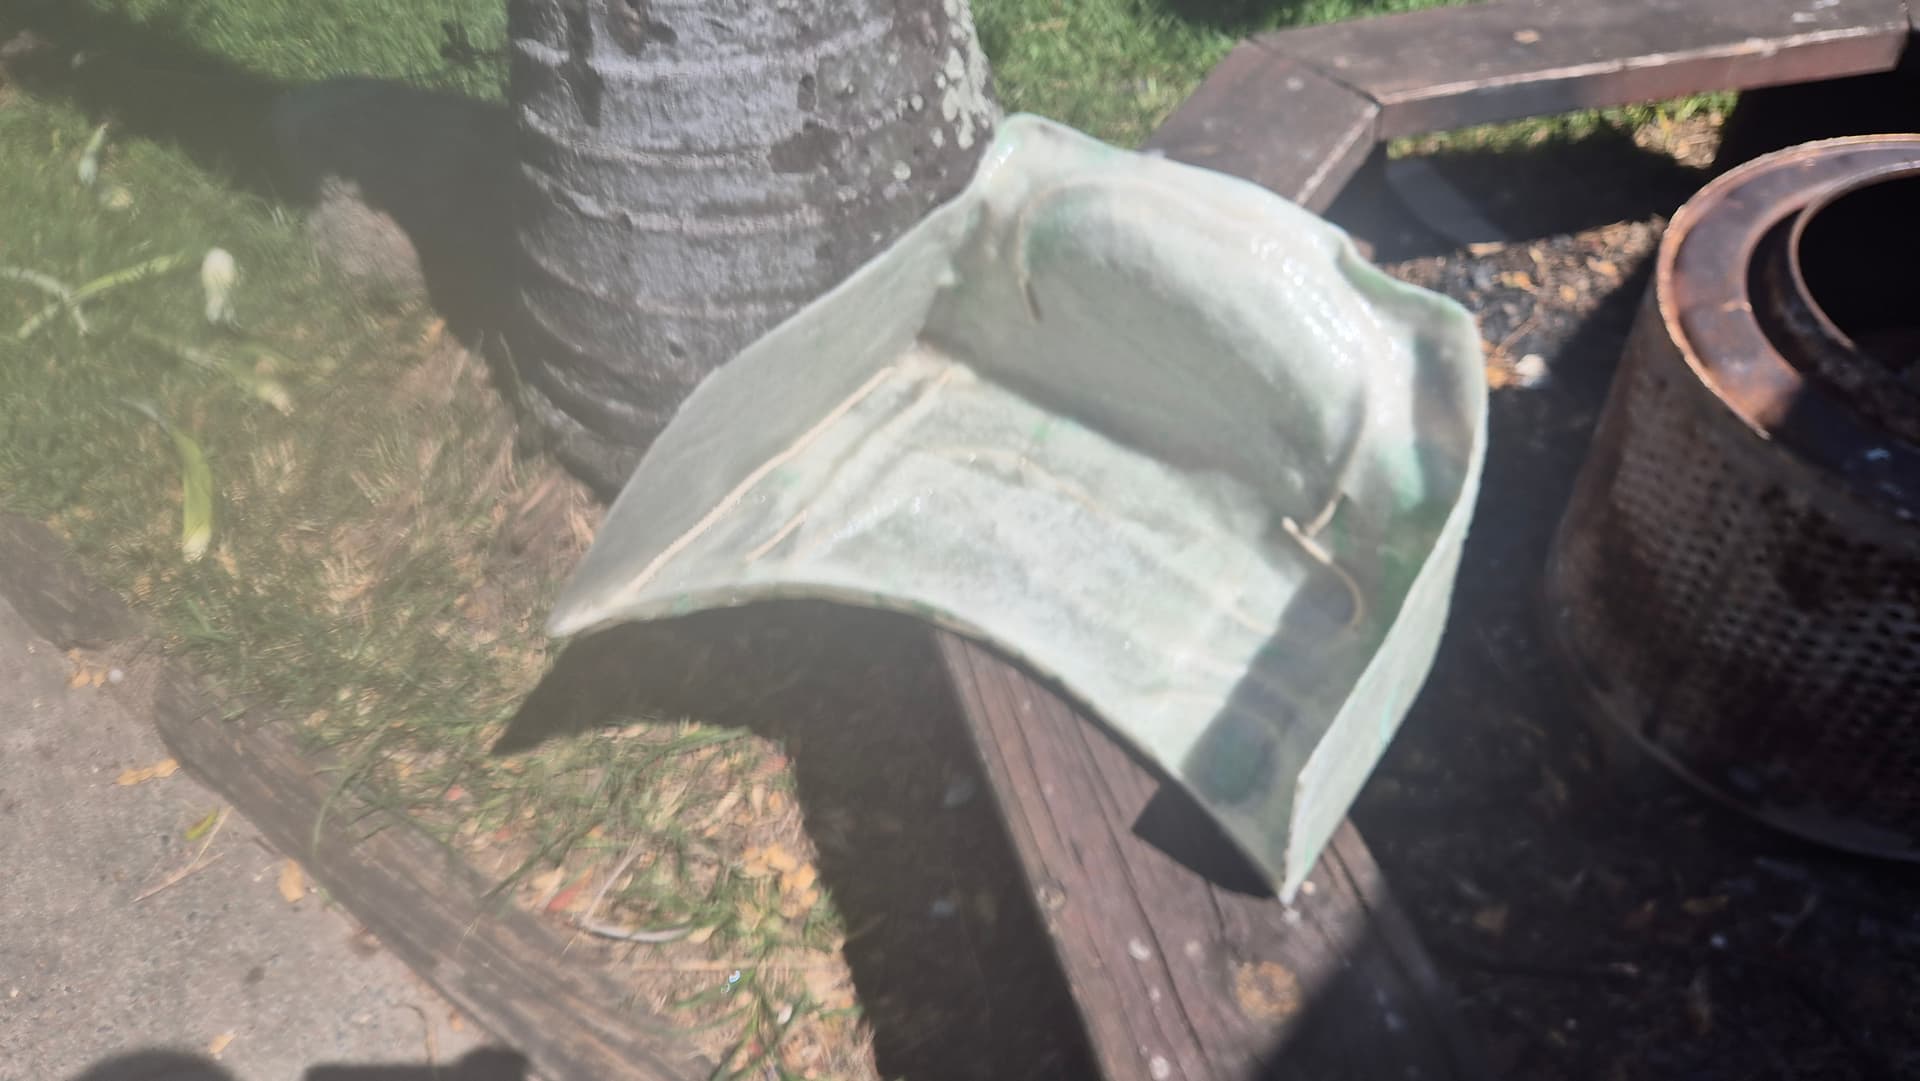
All trimmed up, Lets get to the fleecing part of this!
First we build cut out the speaker rings with mdf and glue them in place
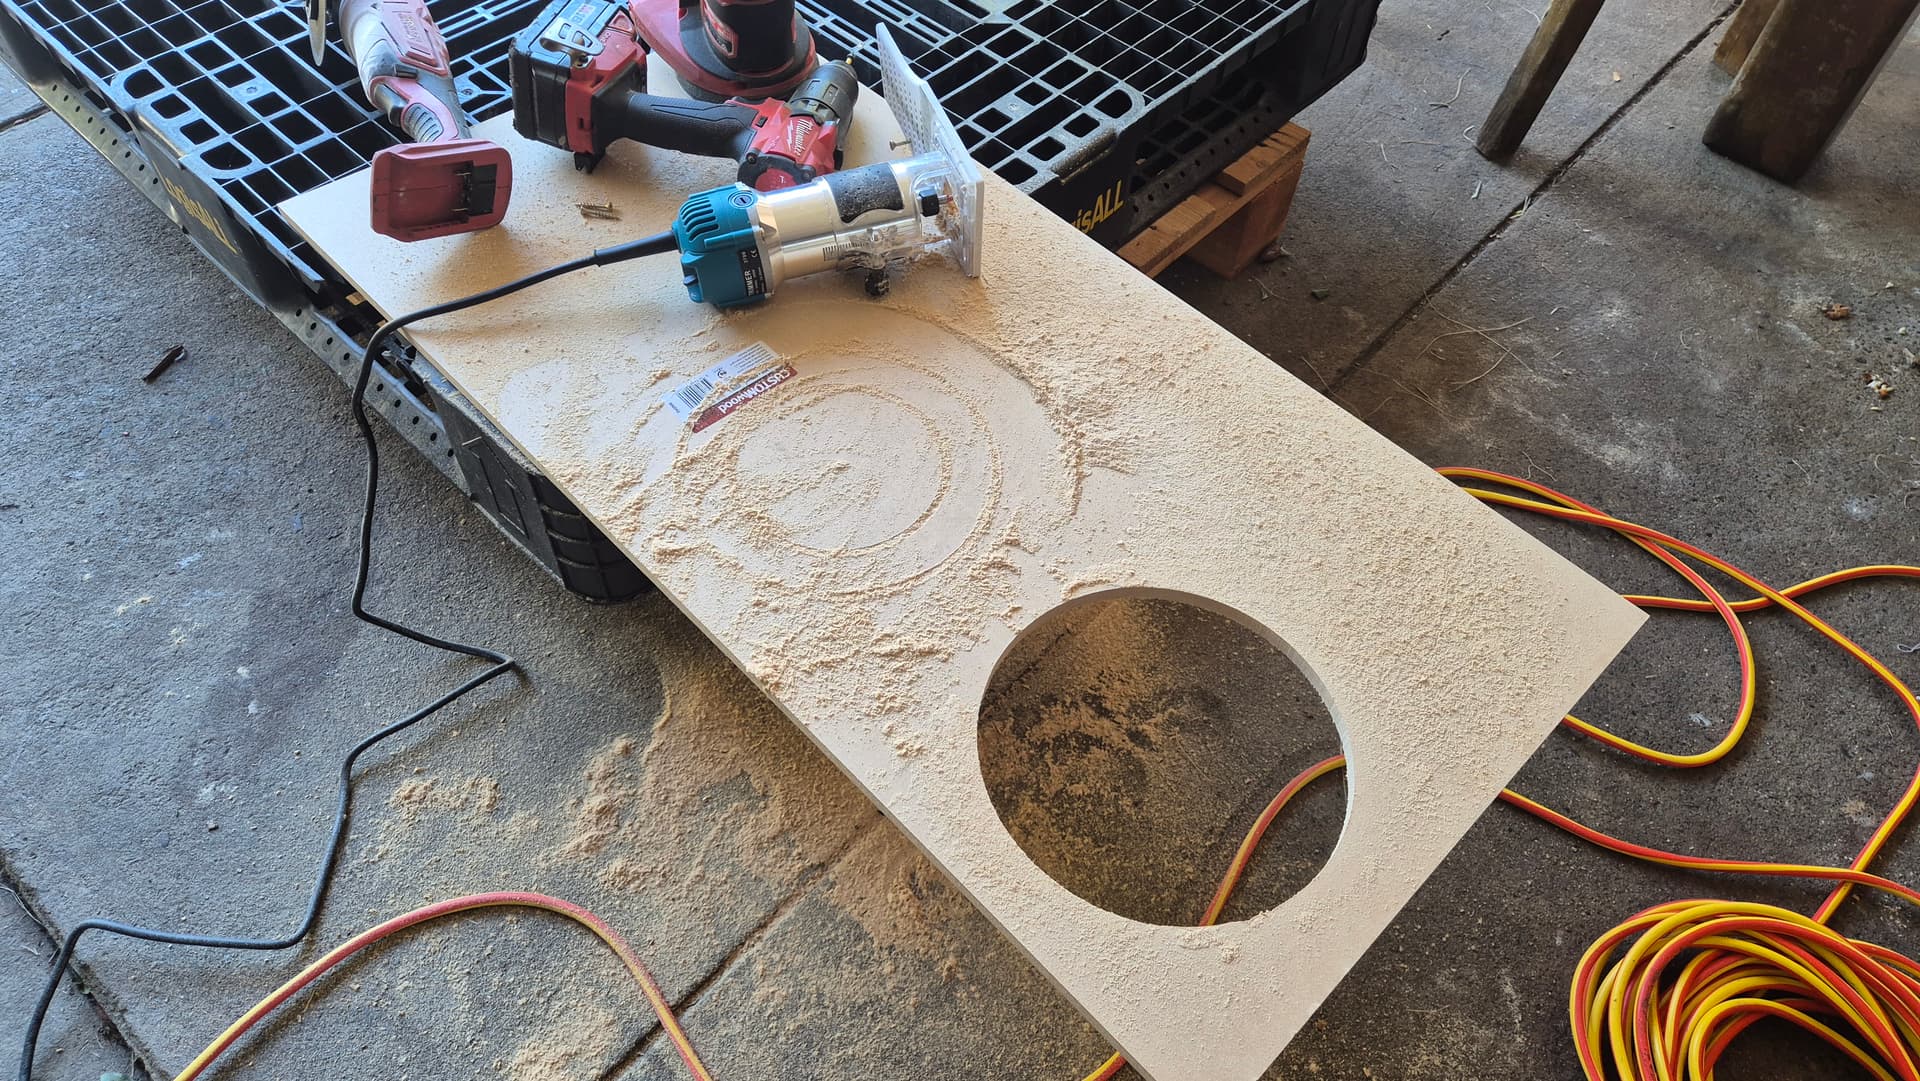
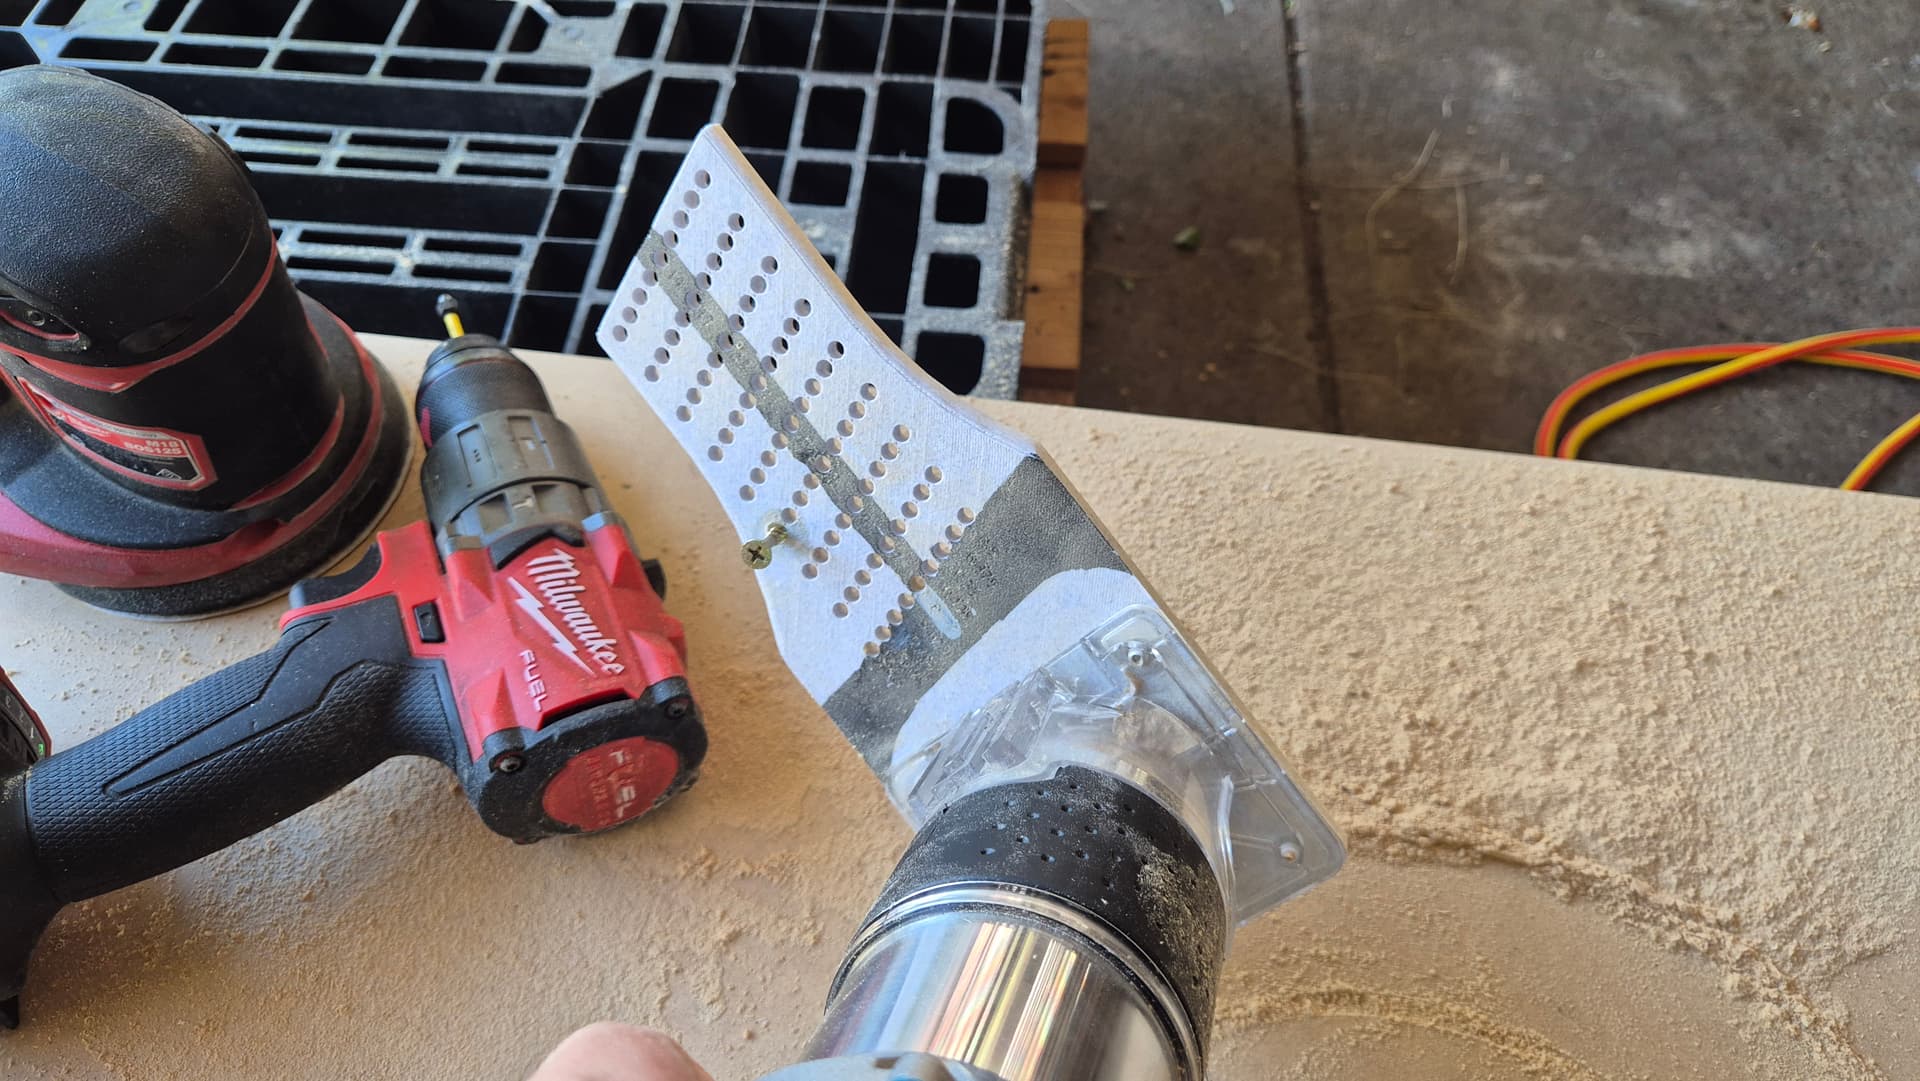
Since i suck at current round things i 3d printed a jig and it worked mint
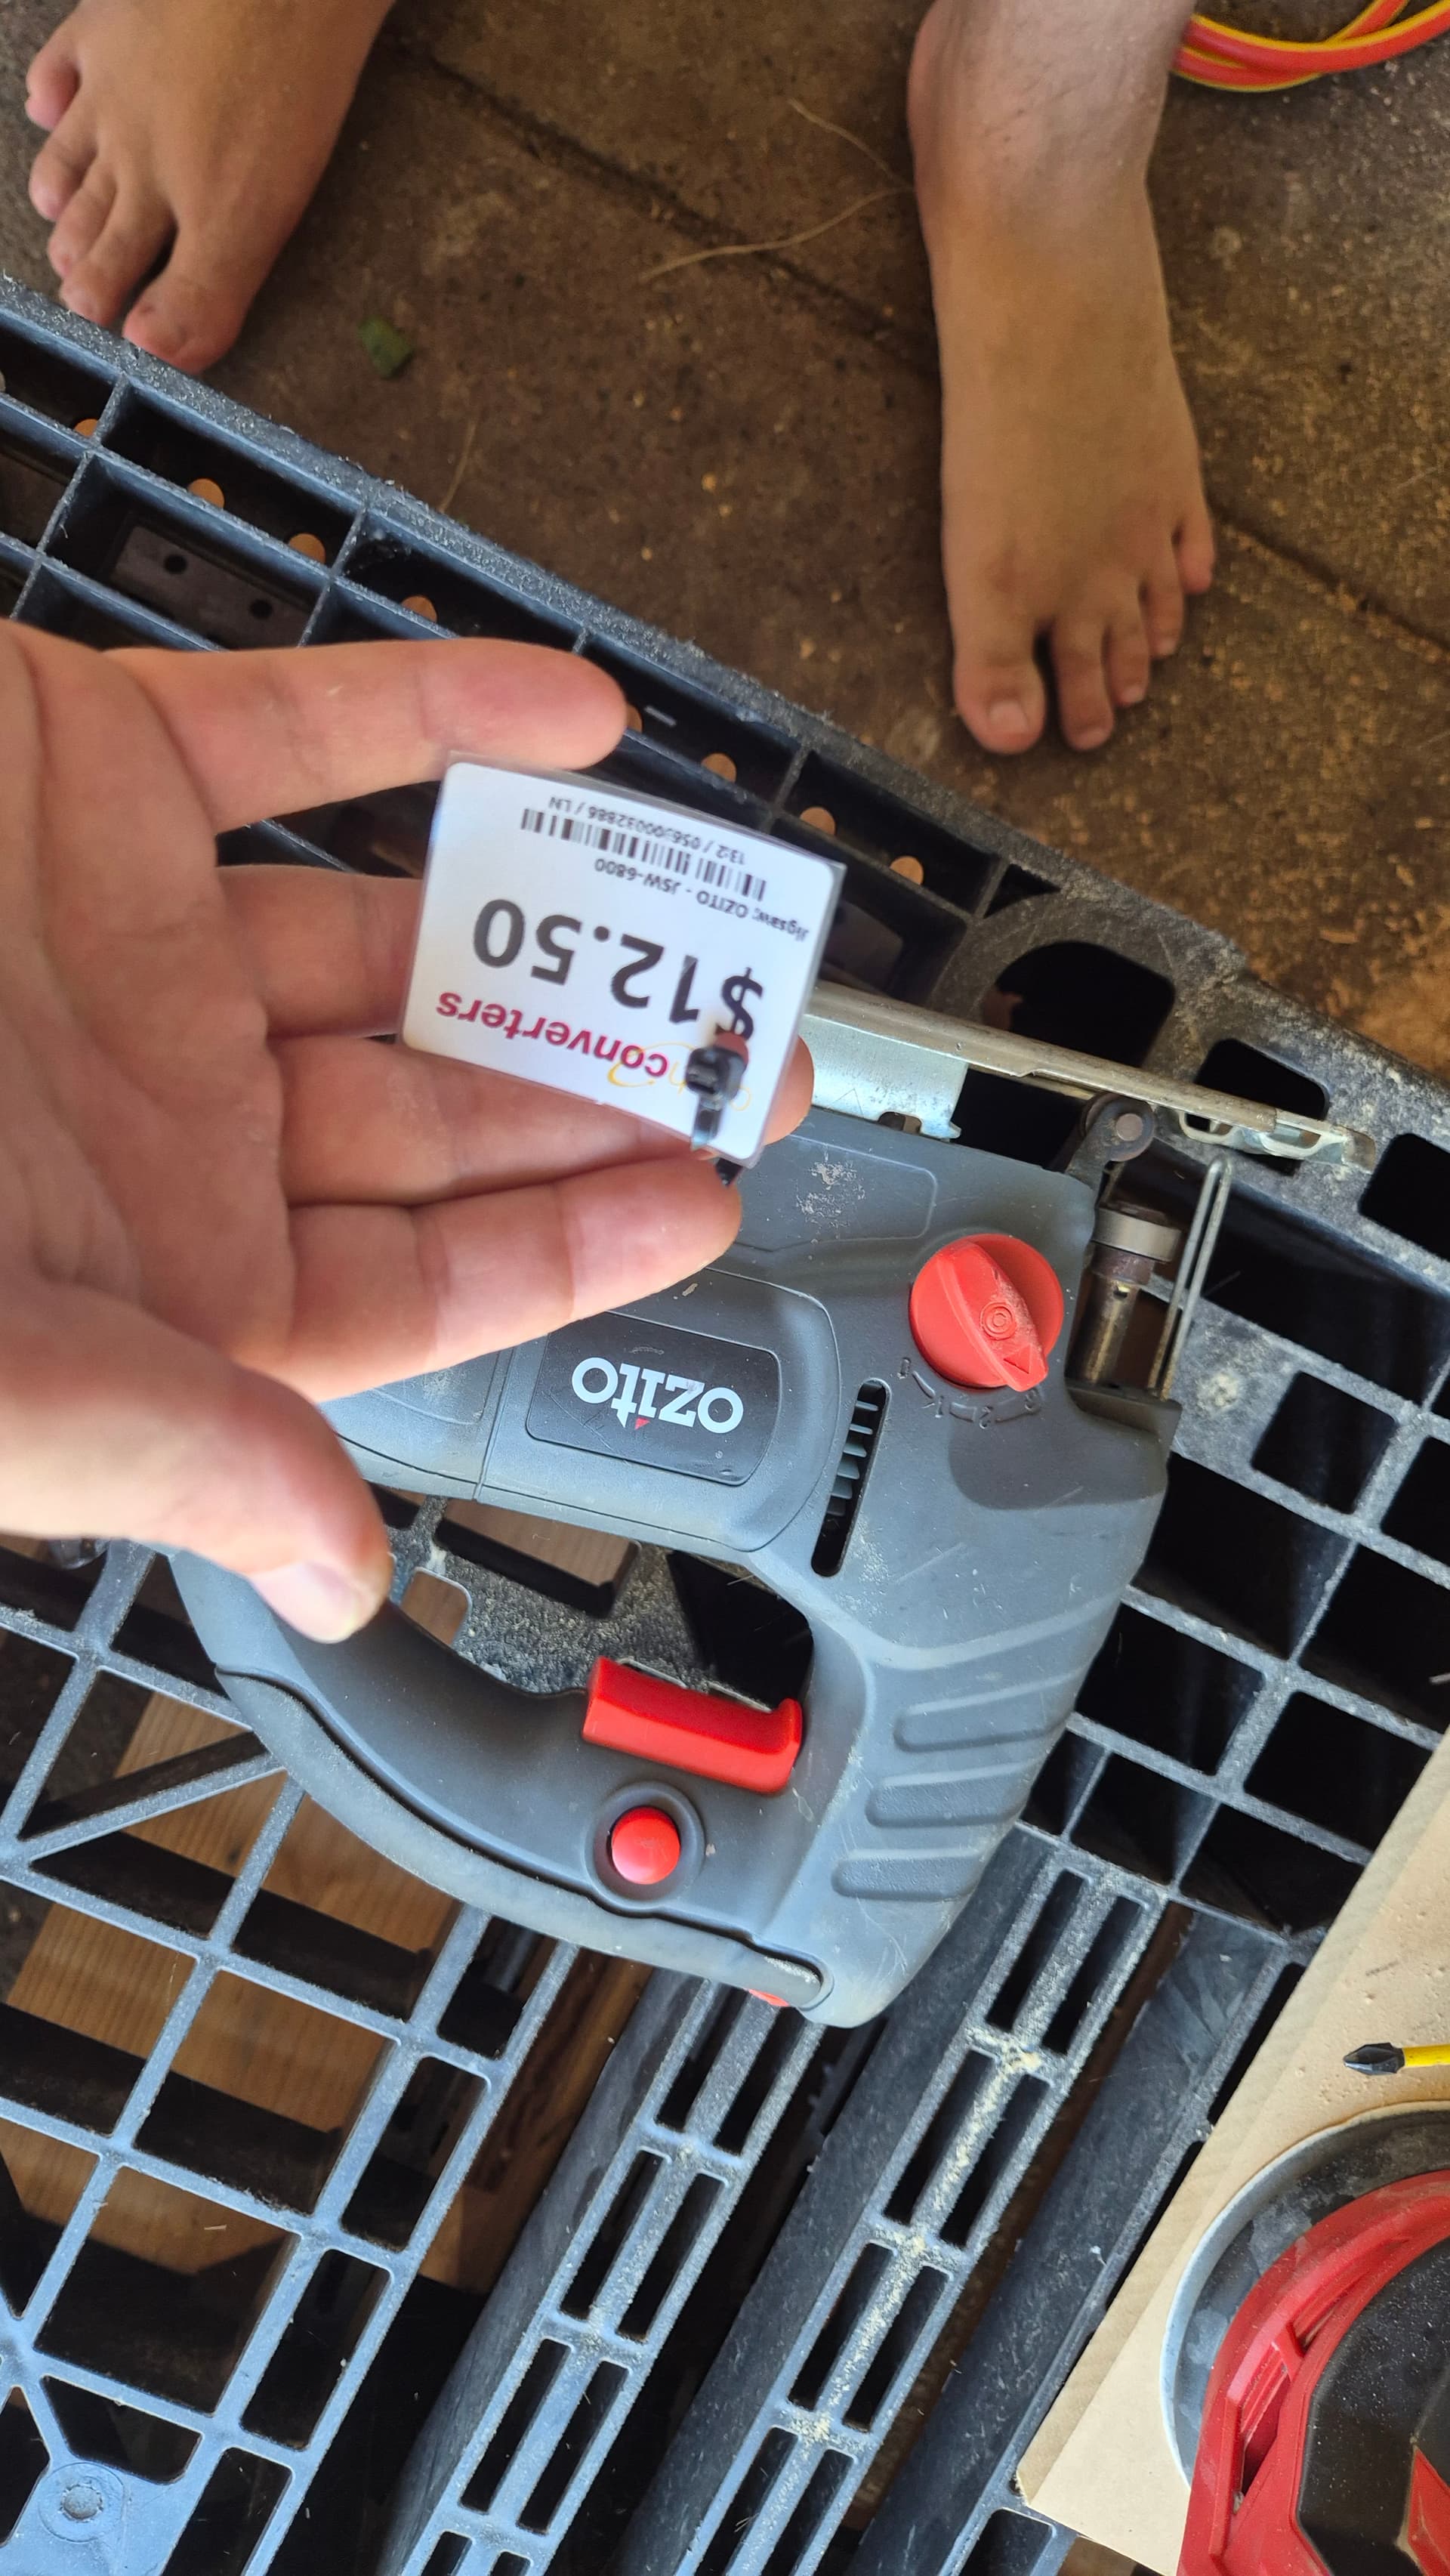
Needed a jigsaw also so i just went to cashies and picked one up for $10 bucks (Yes i offered them 10 bucks)
Anyway, here is the rings.
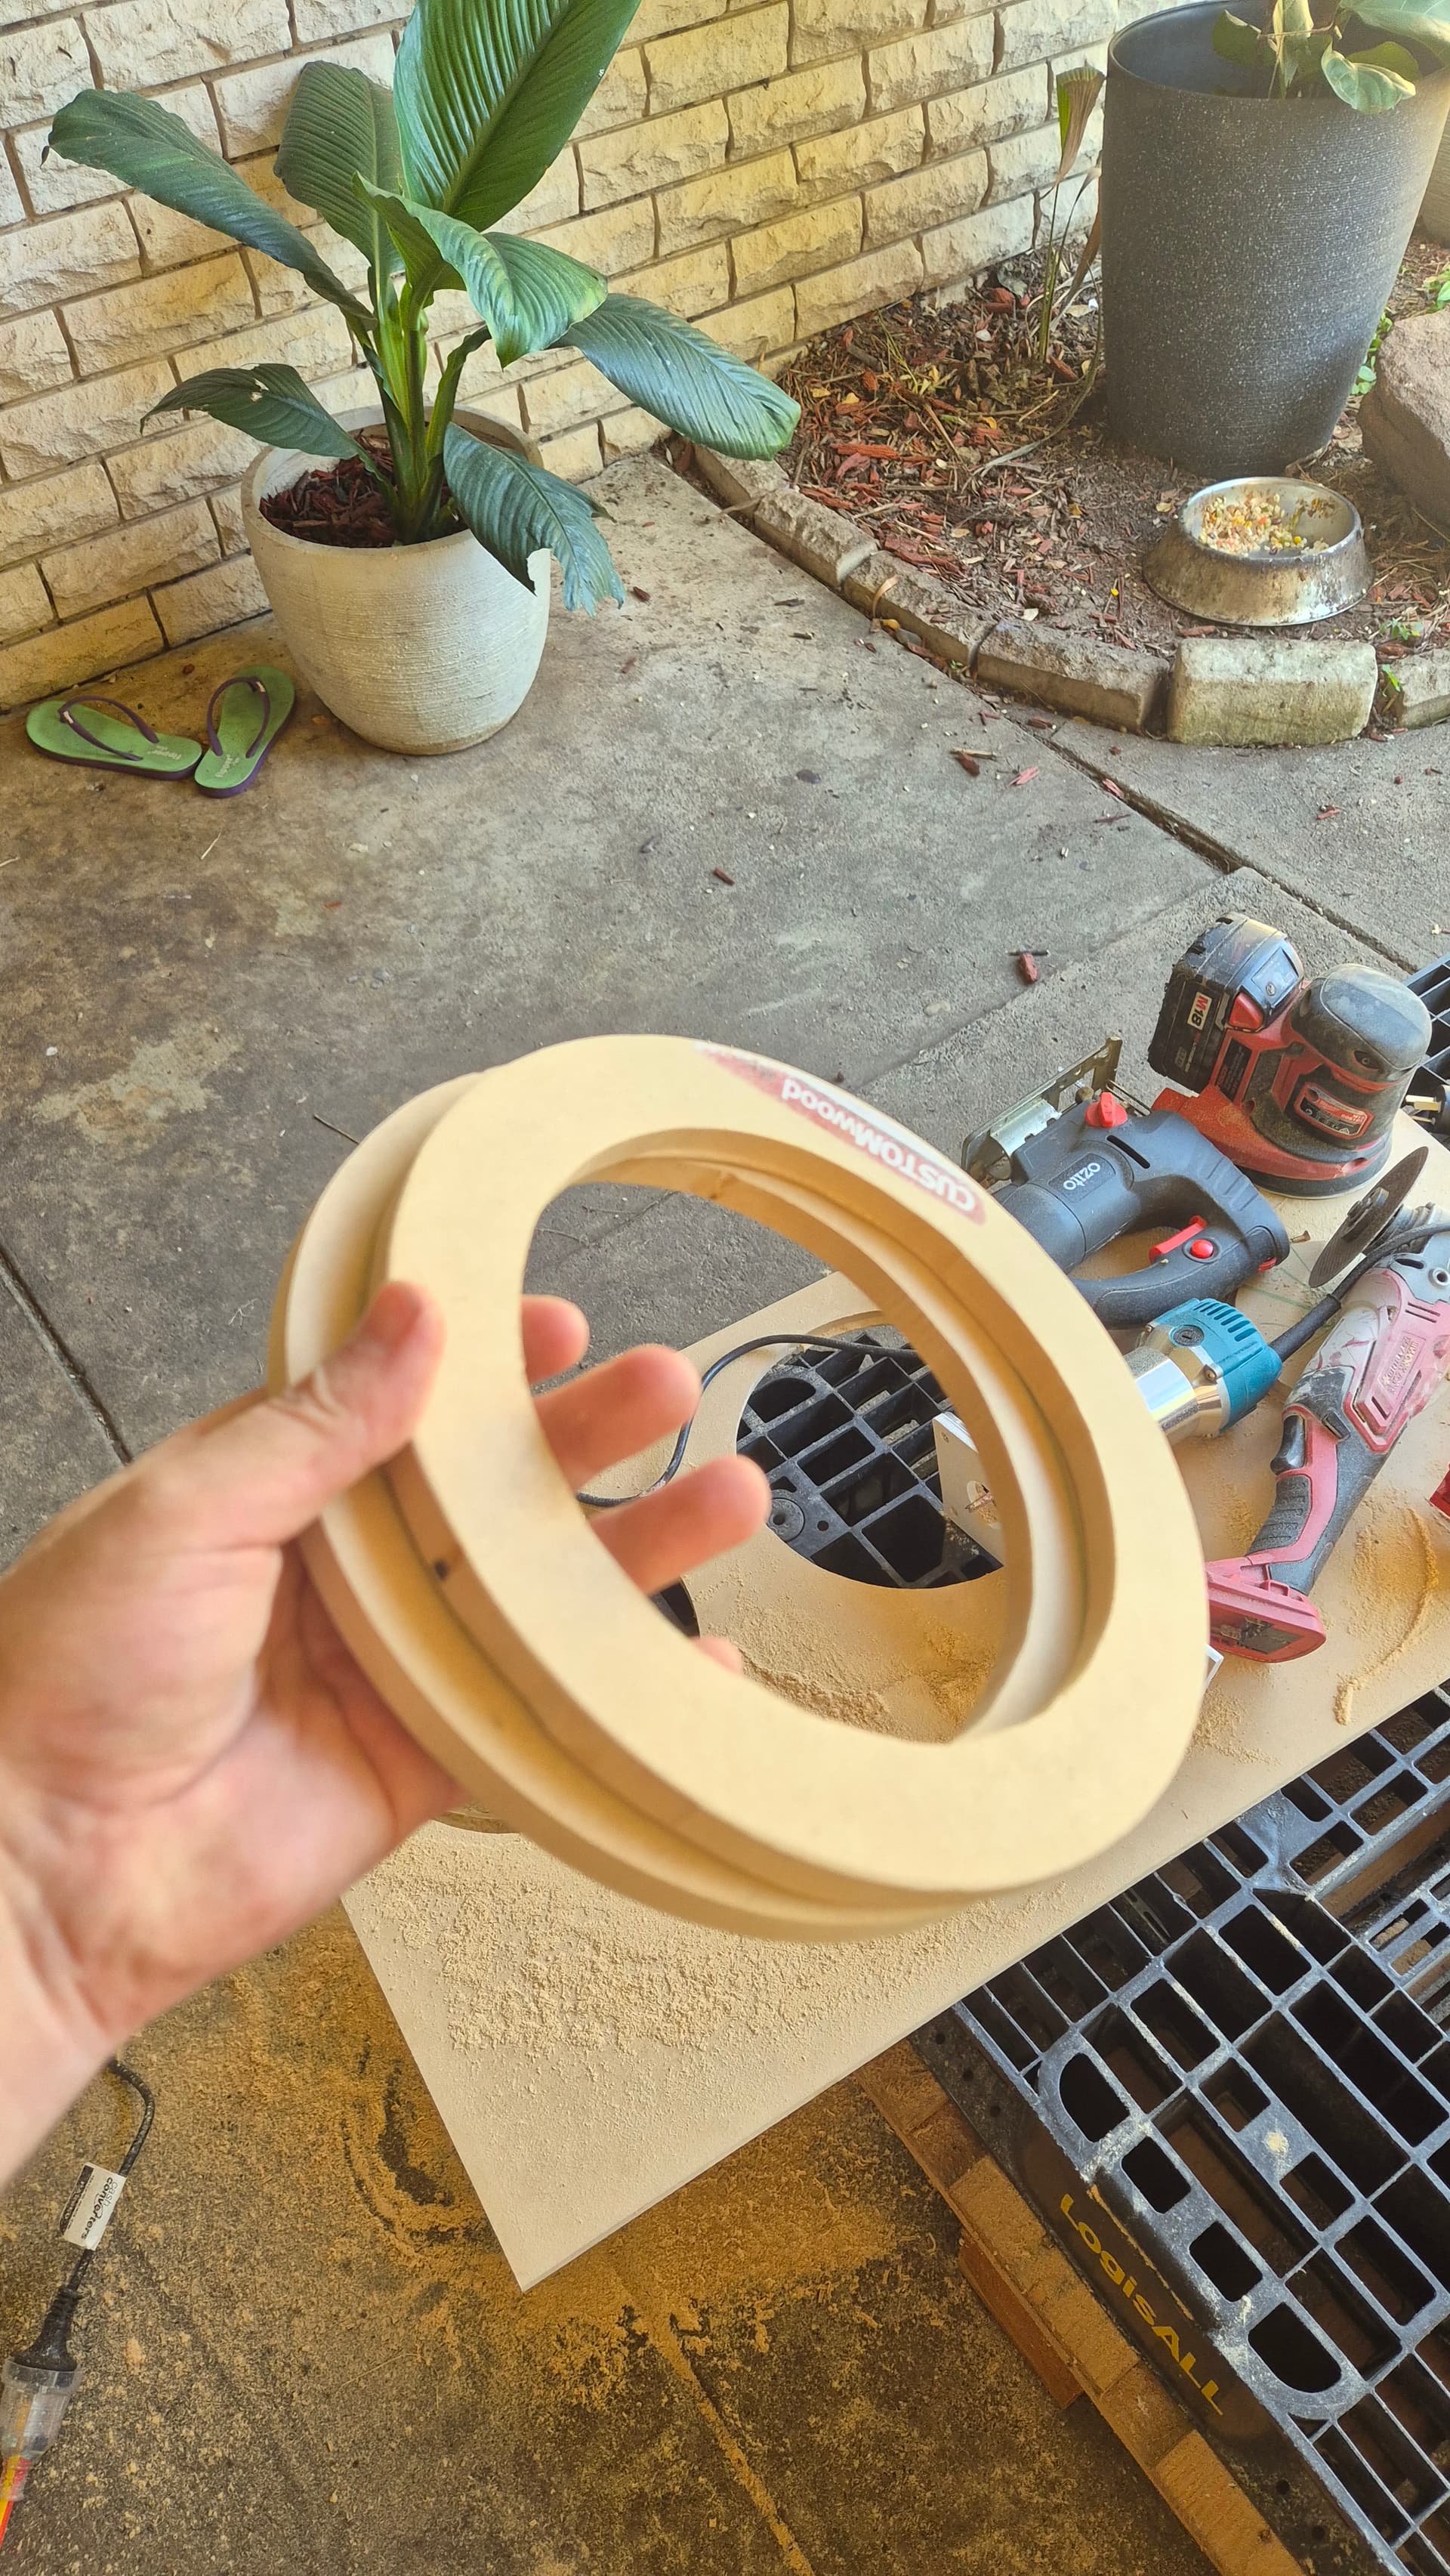
and them glued in.
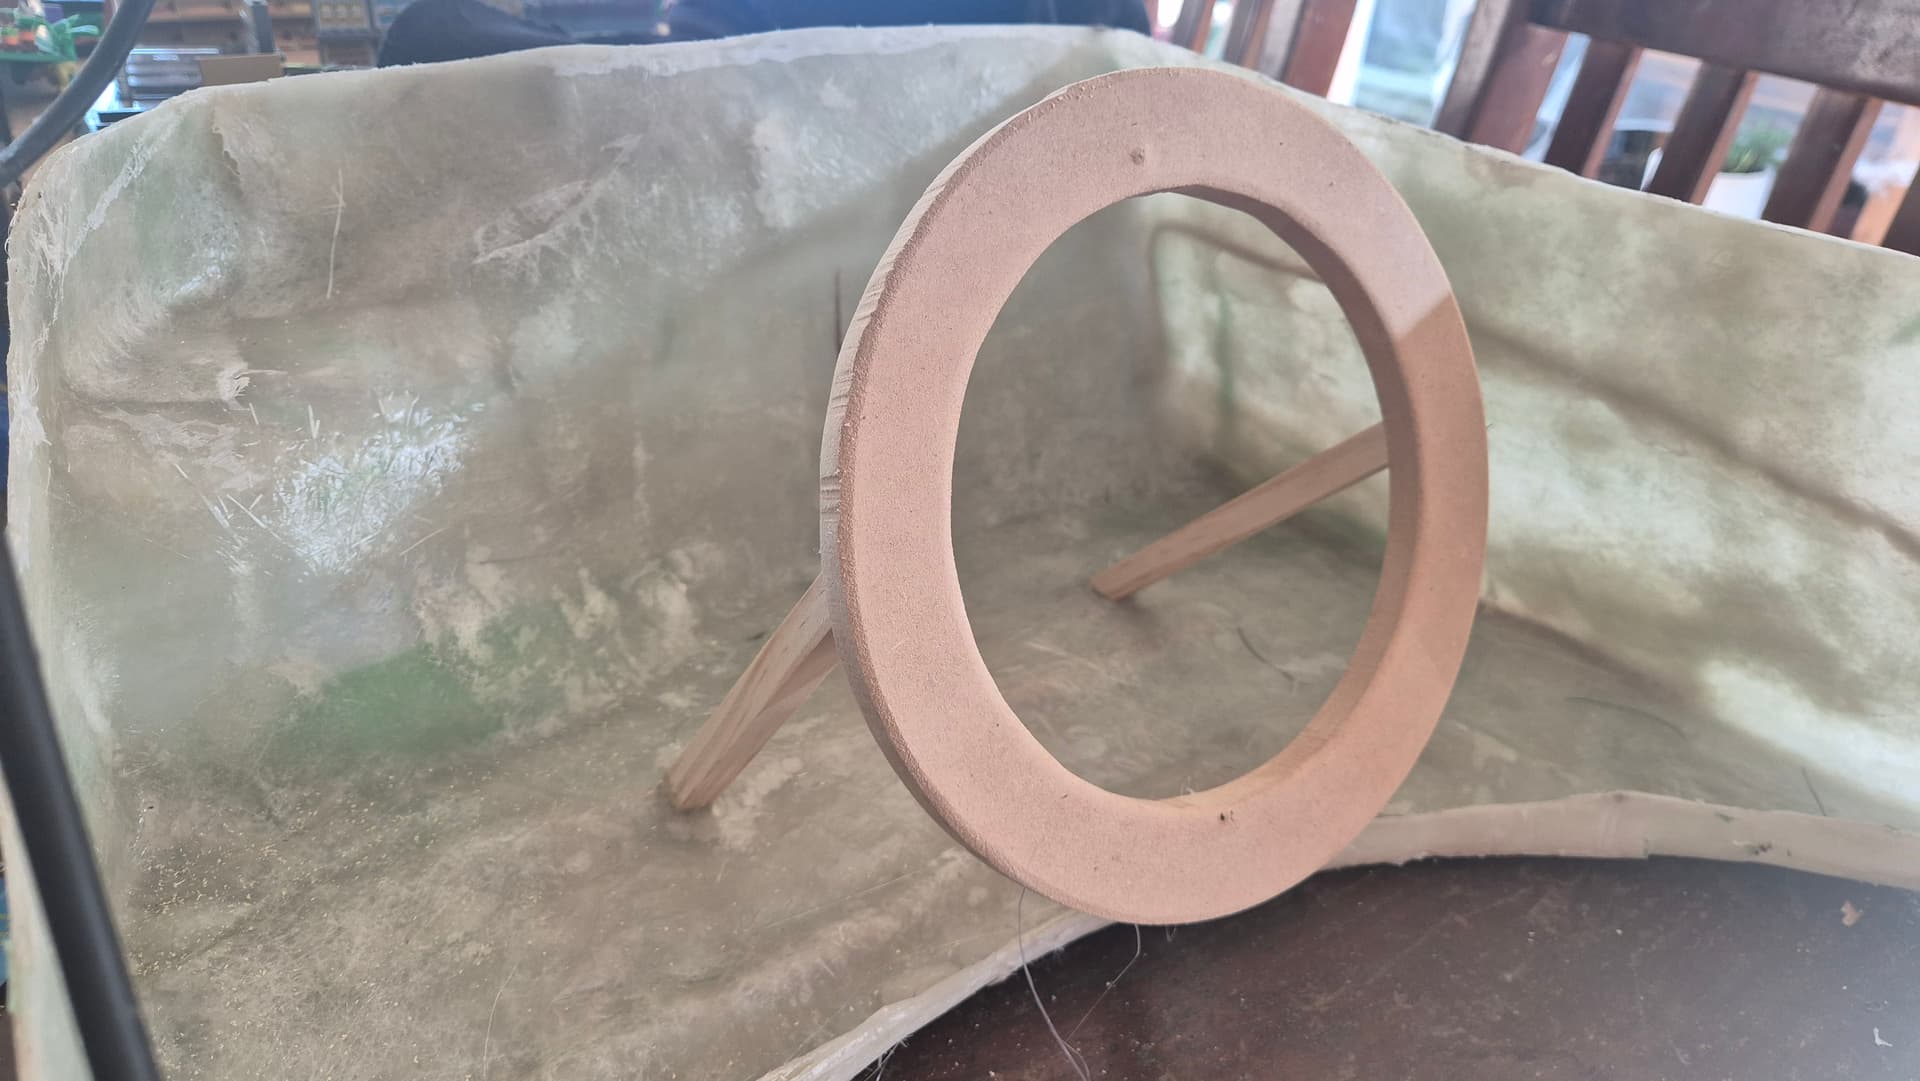
SWEET! lets fleece!
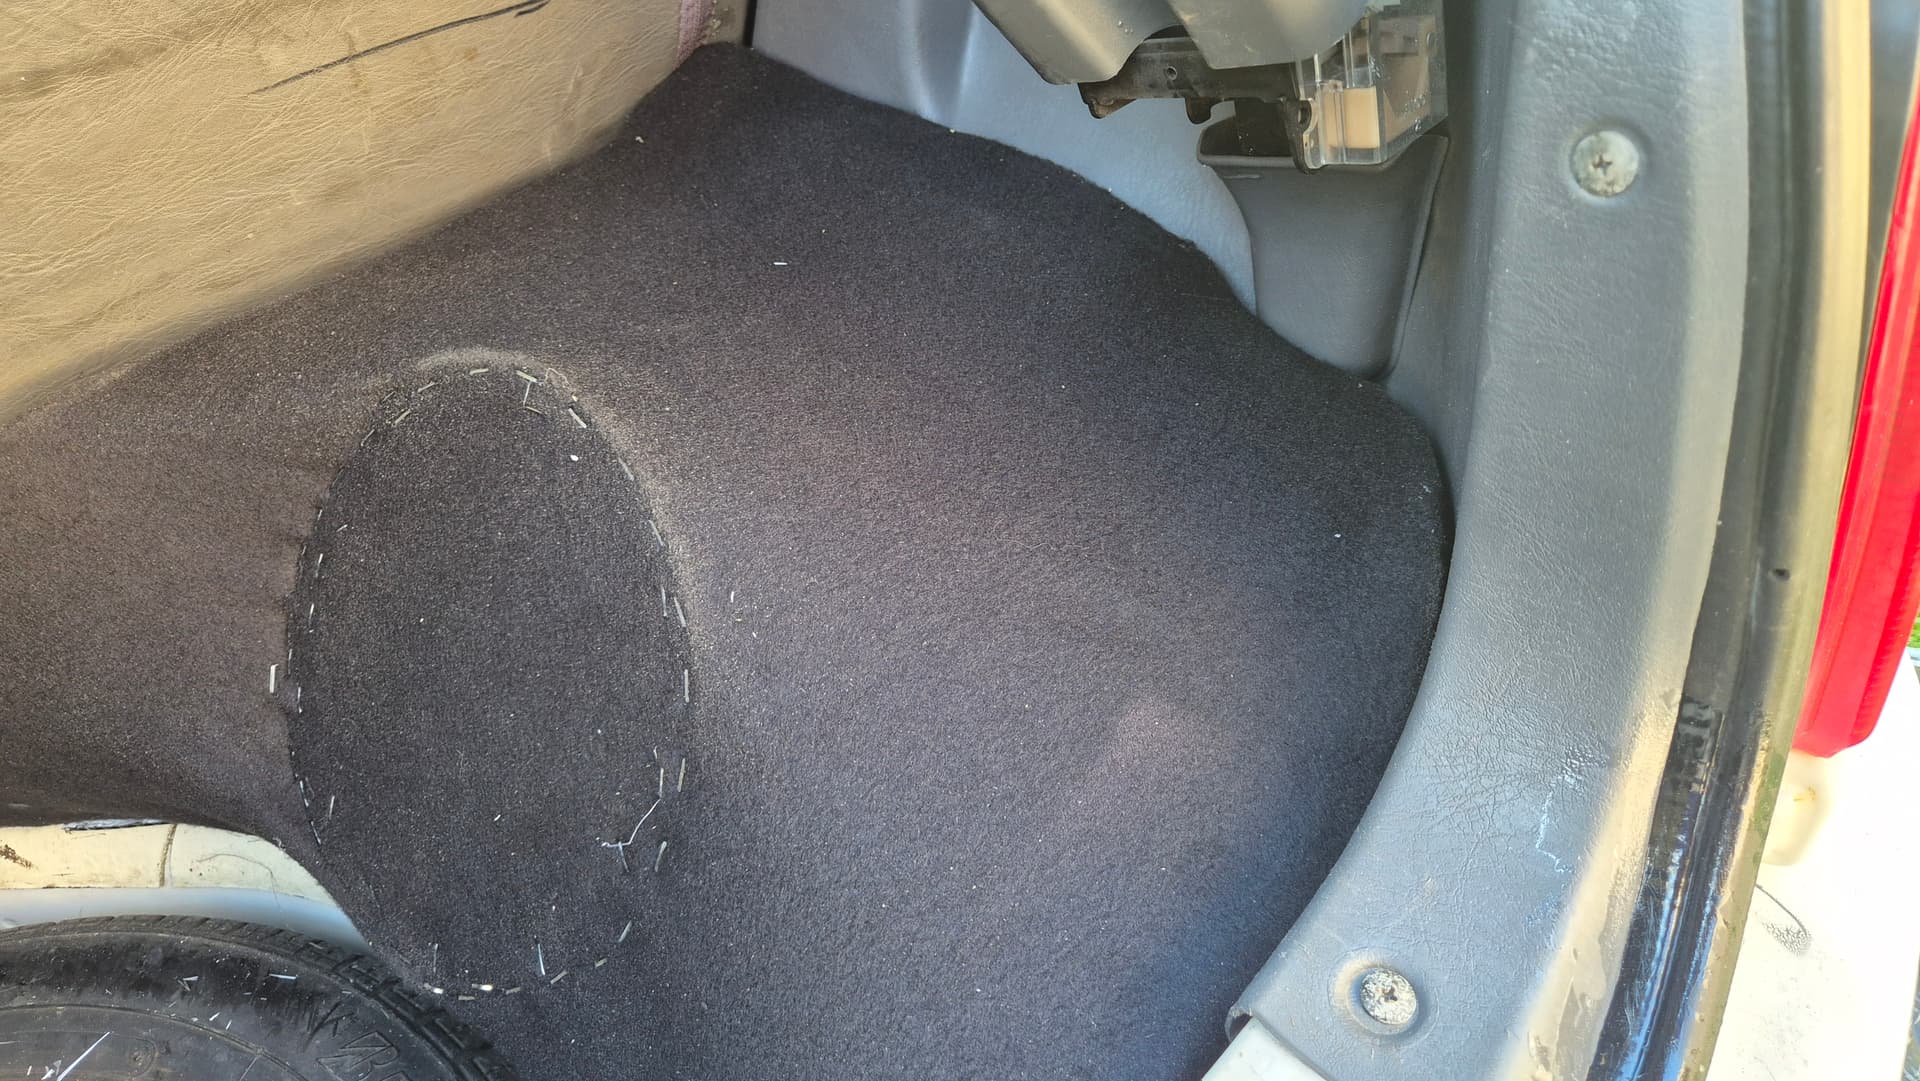
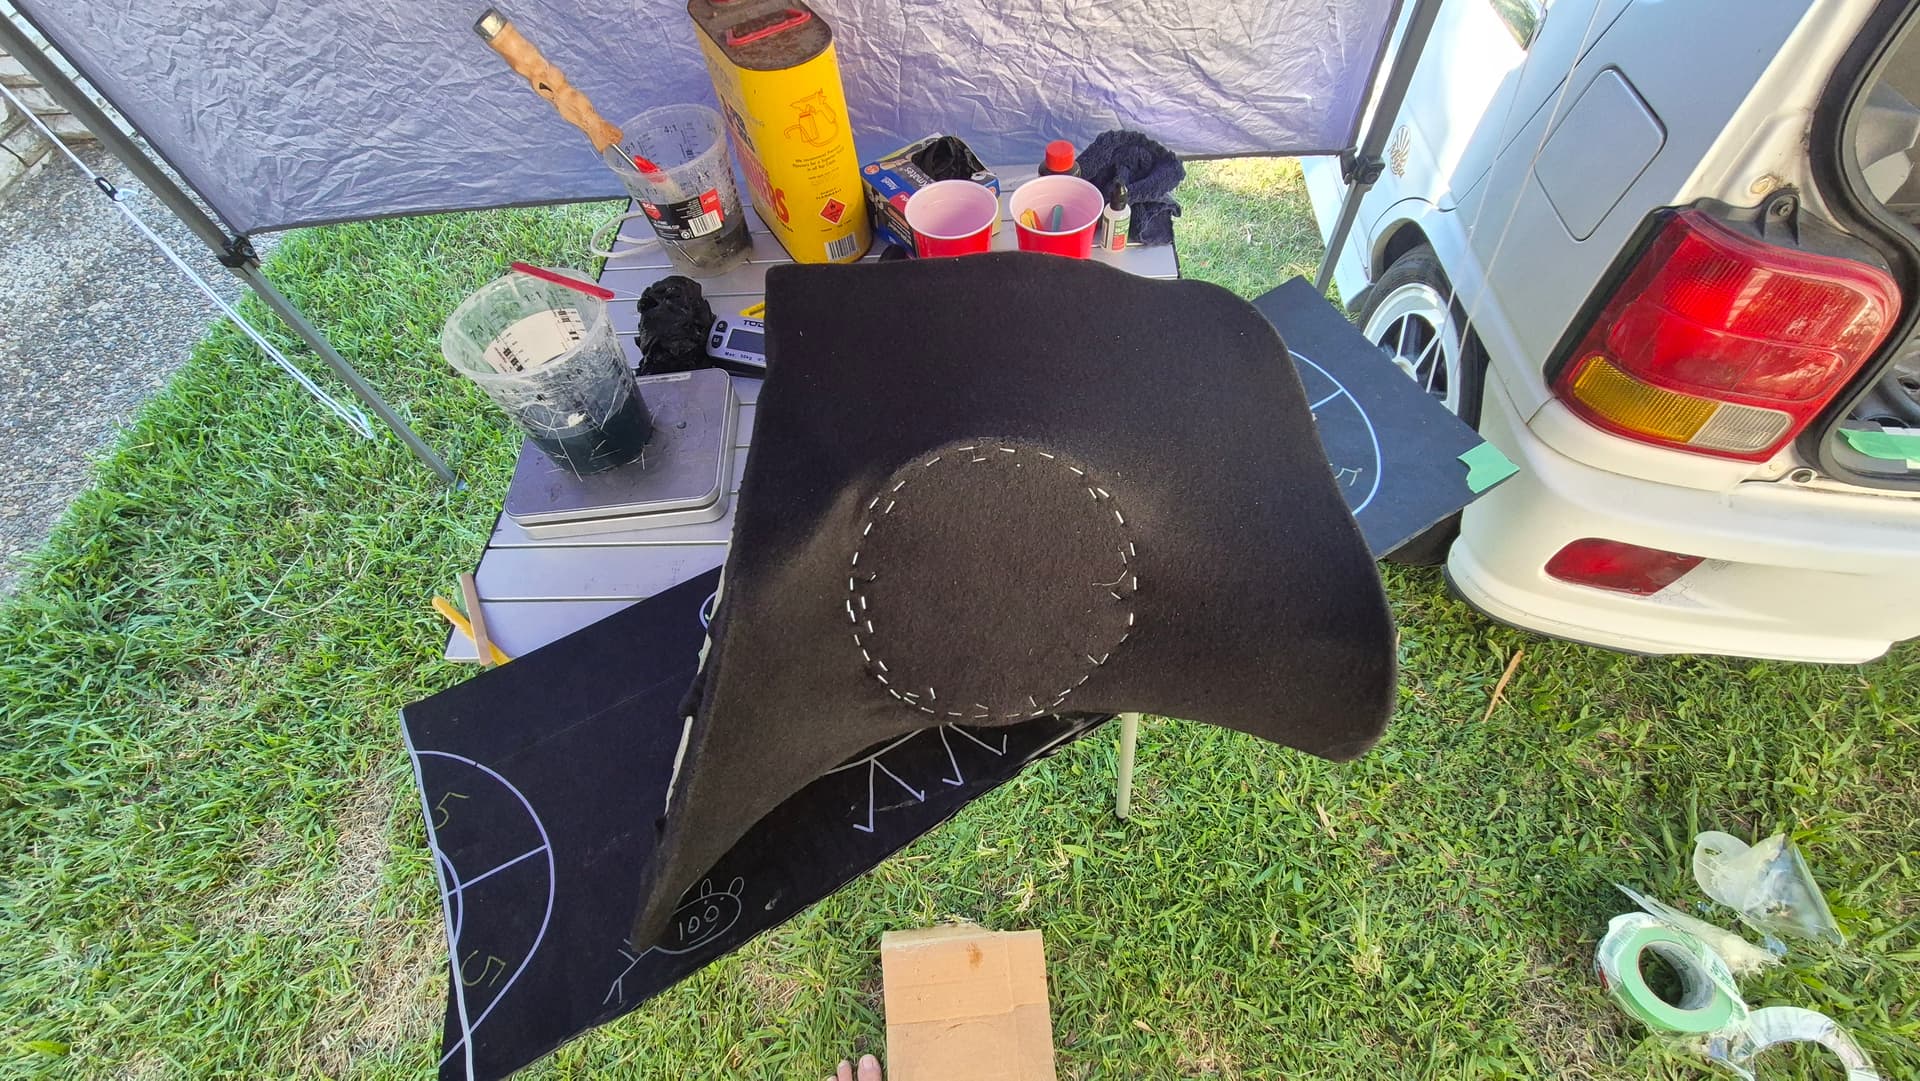
that is the whole base for the box done! Now we make it strong, first we soak it in fiberglass resin and you end up with a solid but not very solid result, you need many layers of fiberglass to make it a usable box. Lets do it
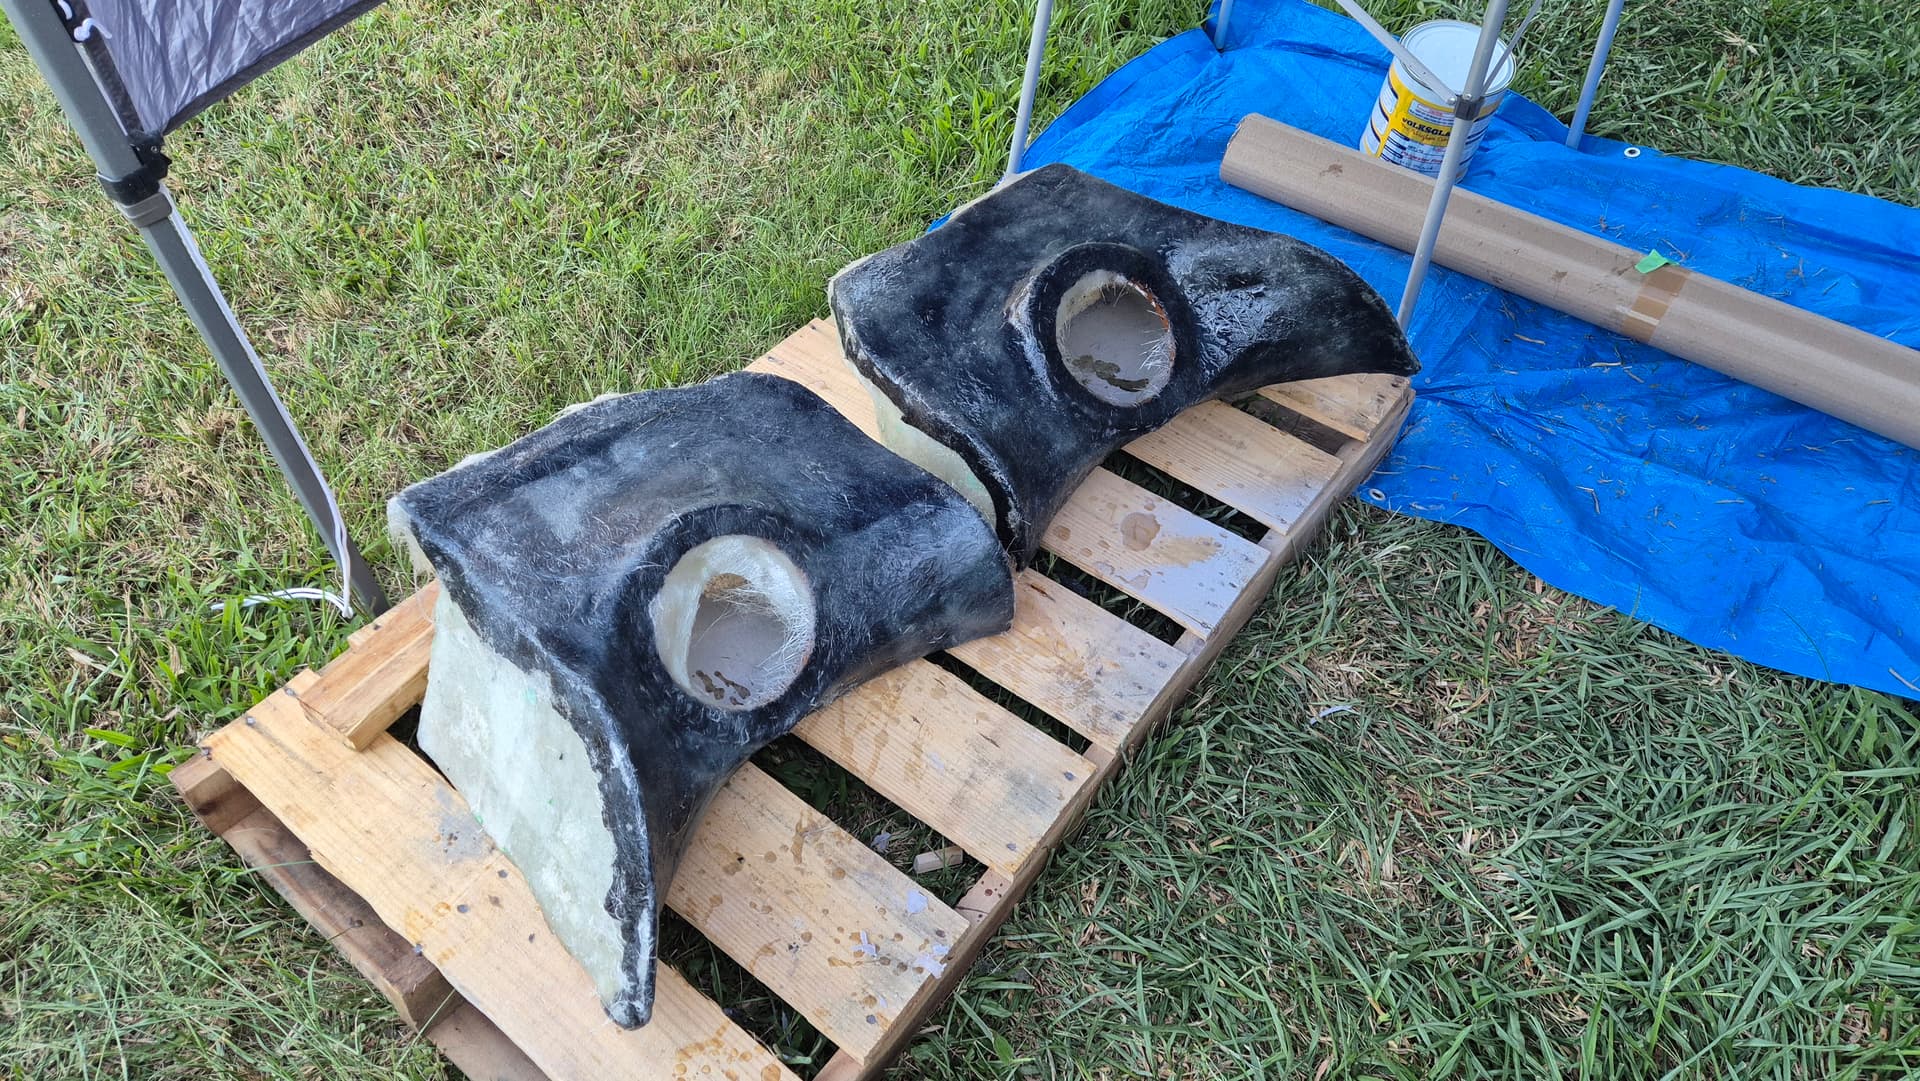
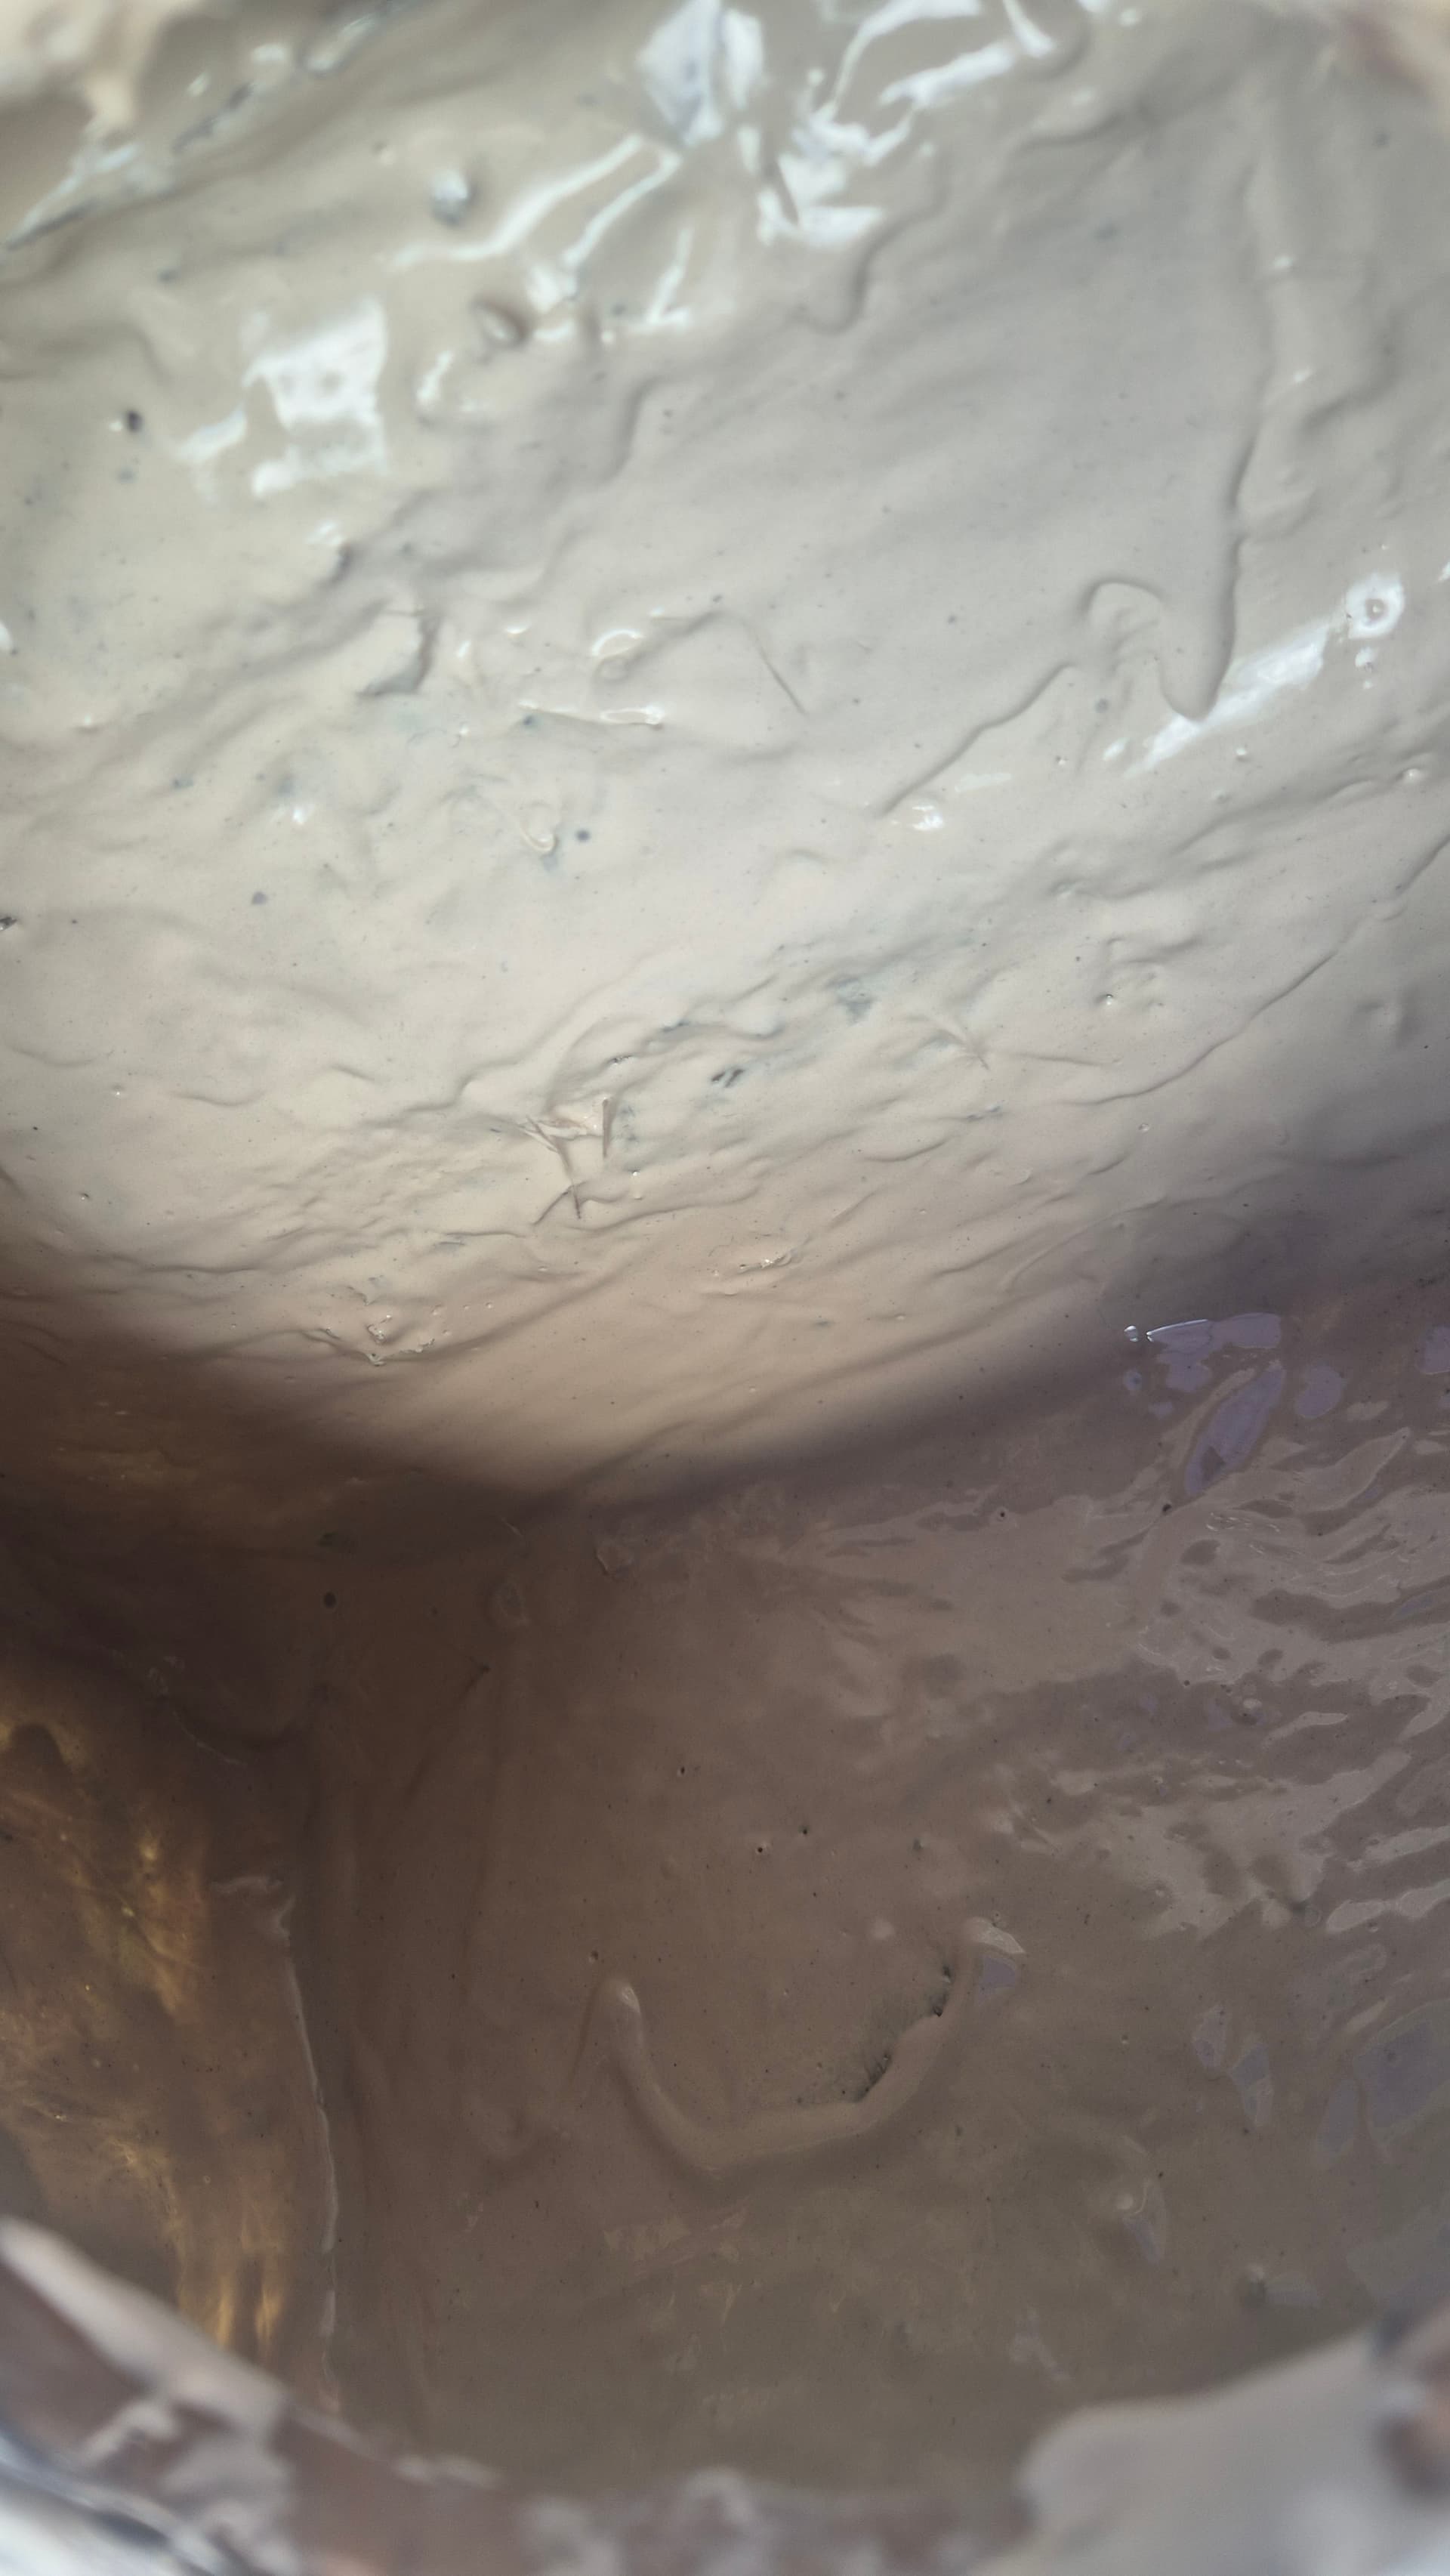
Many hours and a couple of days later i have boxes with many layers of glass on top, so a trim and sand is needed, we get that out of the way and now this is the magic time. RONDO! fiberglass resin mixed with bodyfiller! this makes a solid and hard oh and thick slush that is self leveling.
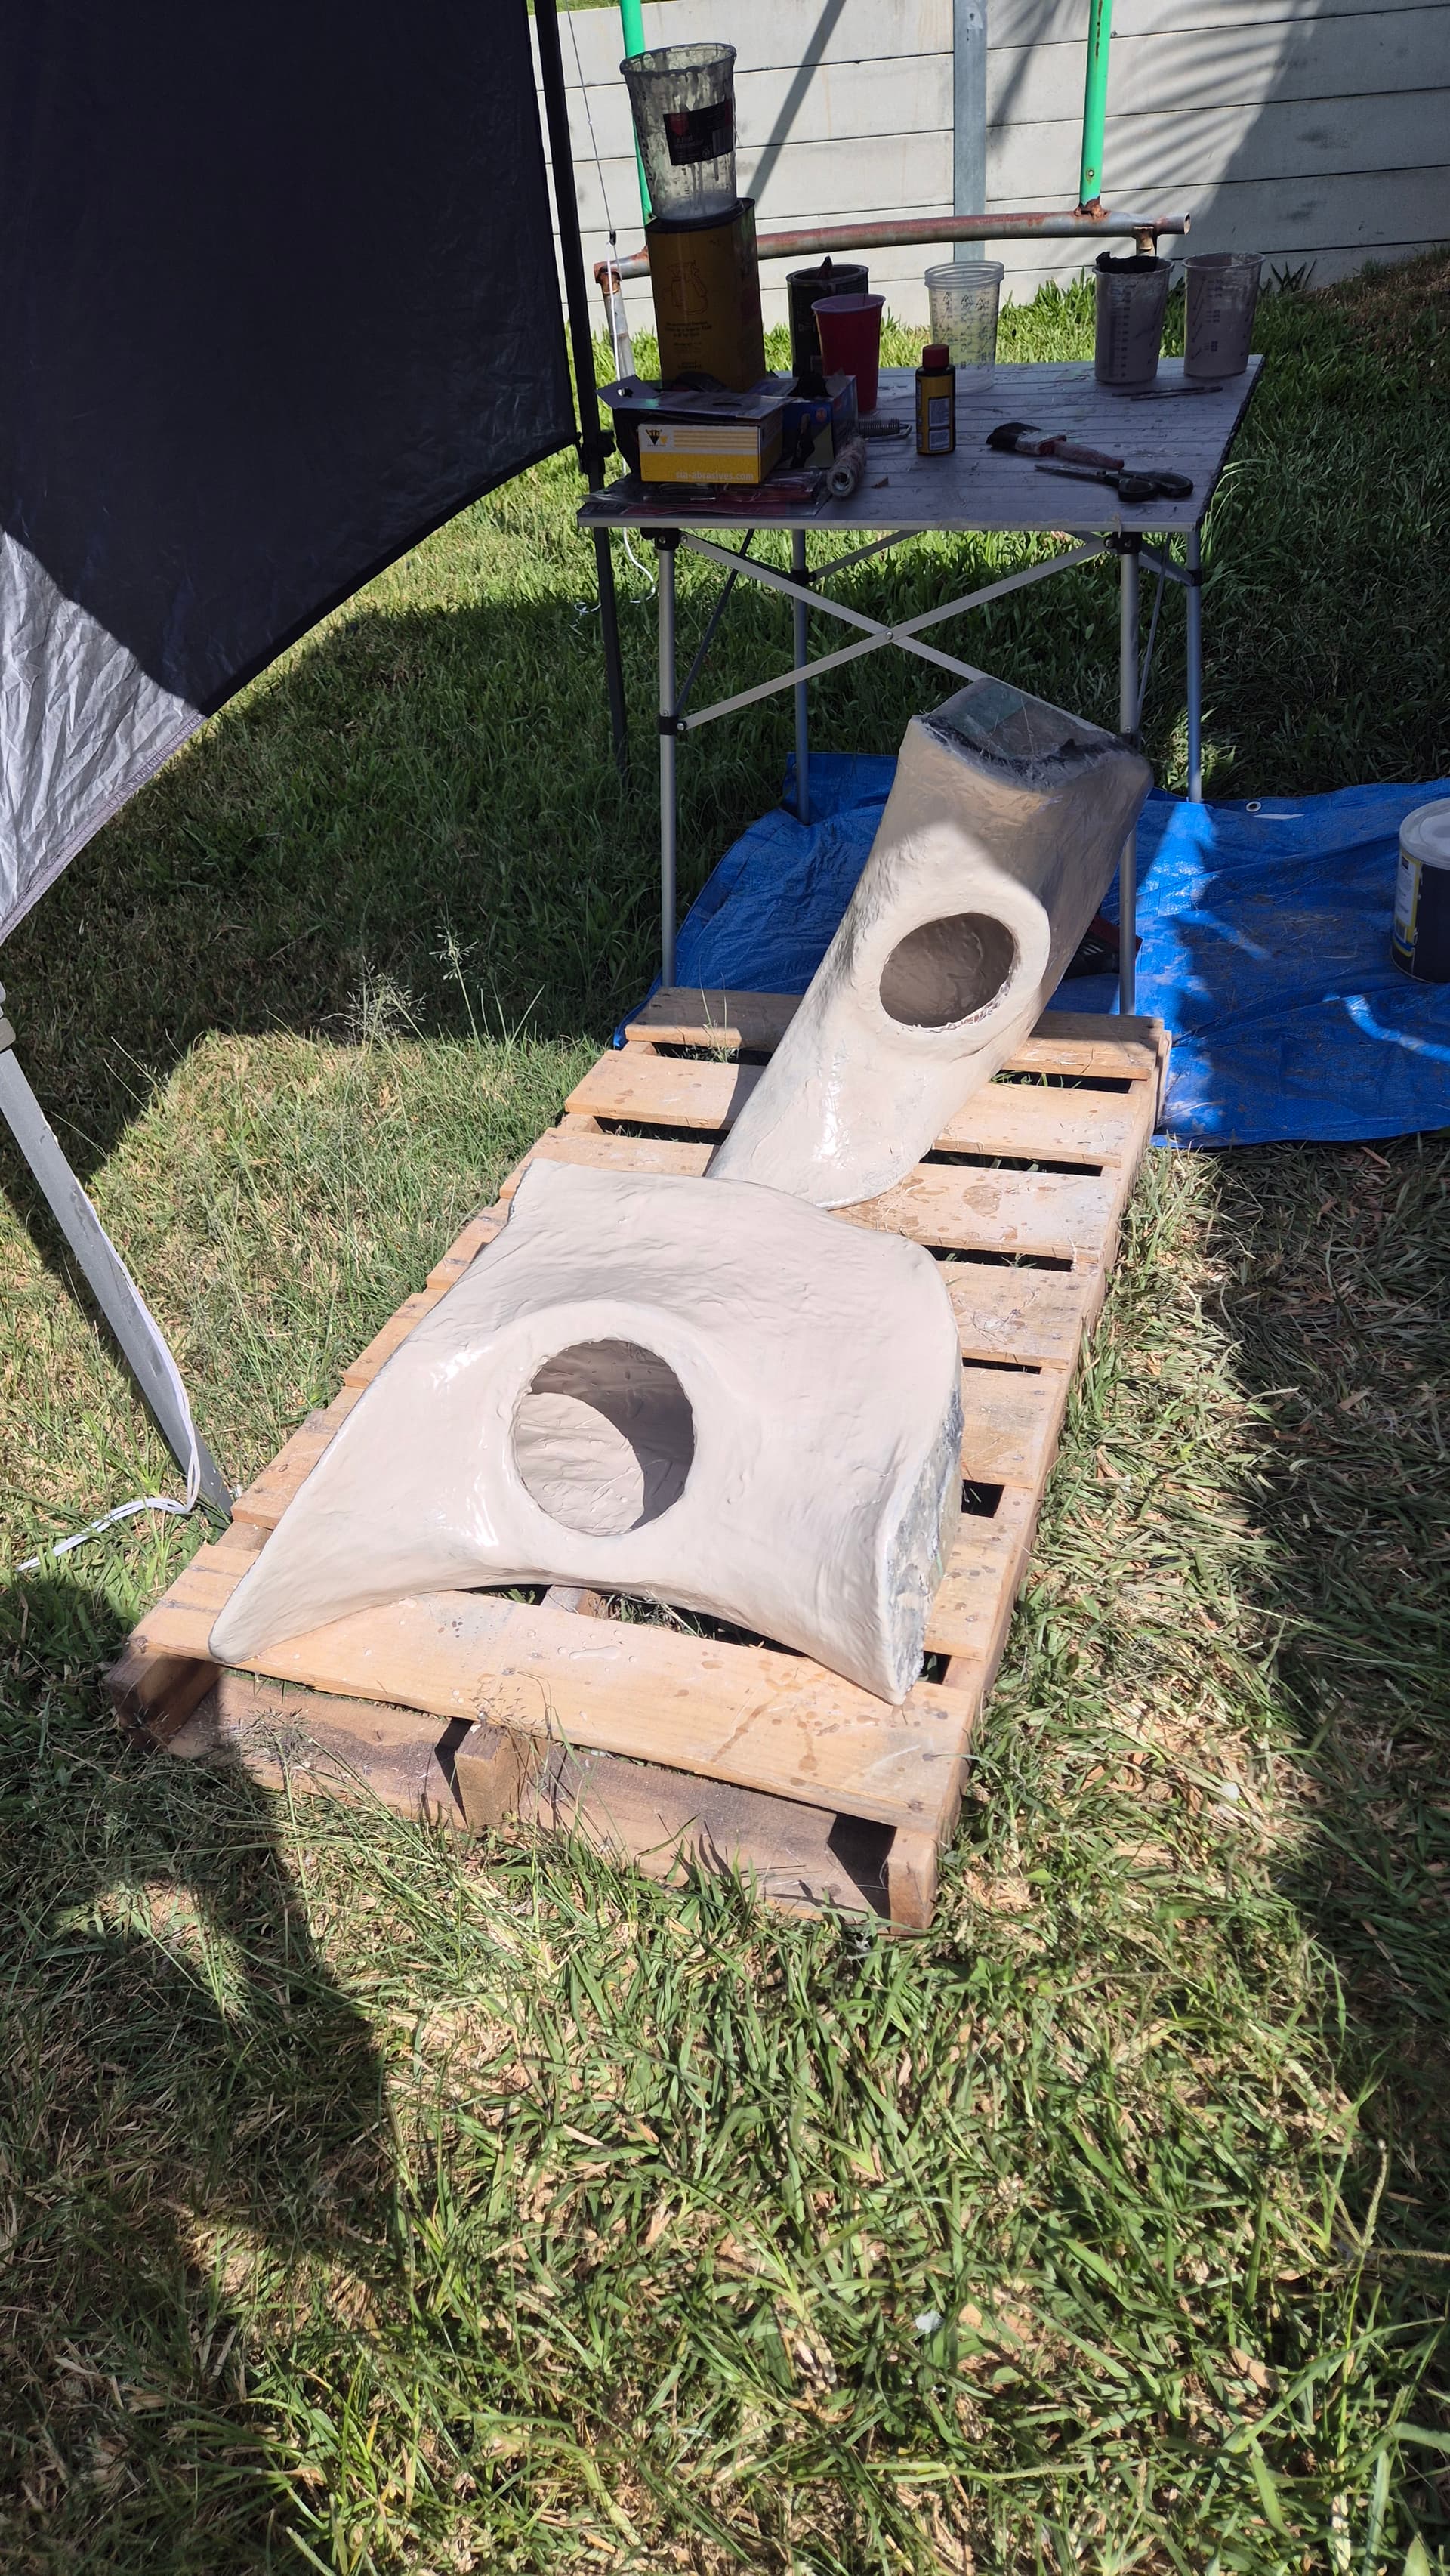
i coat the outside and inside
We got it done! the boxes are pretty much done! lets start to make them pretty hehe, yeah more sanding i guess.
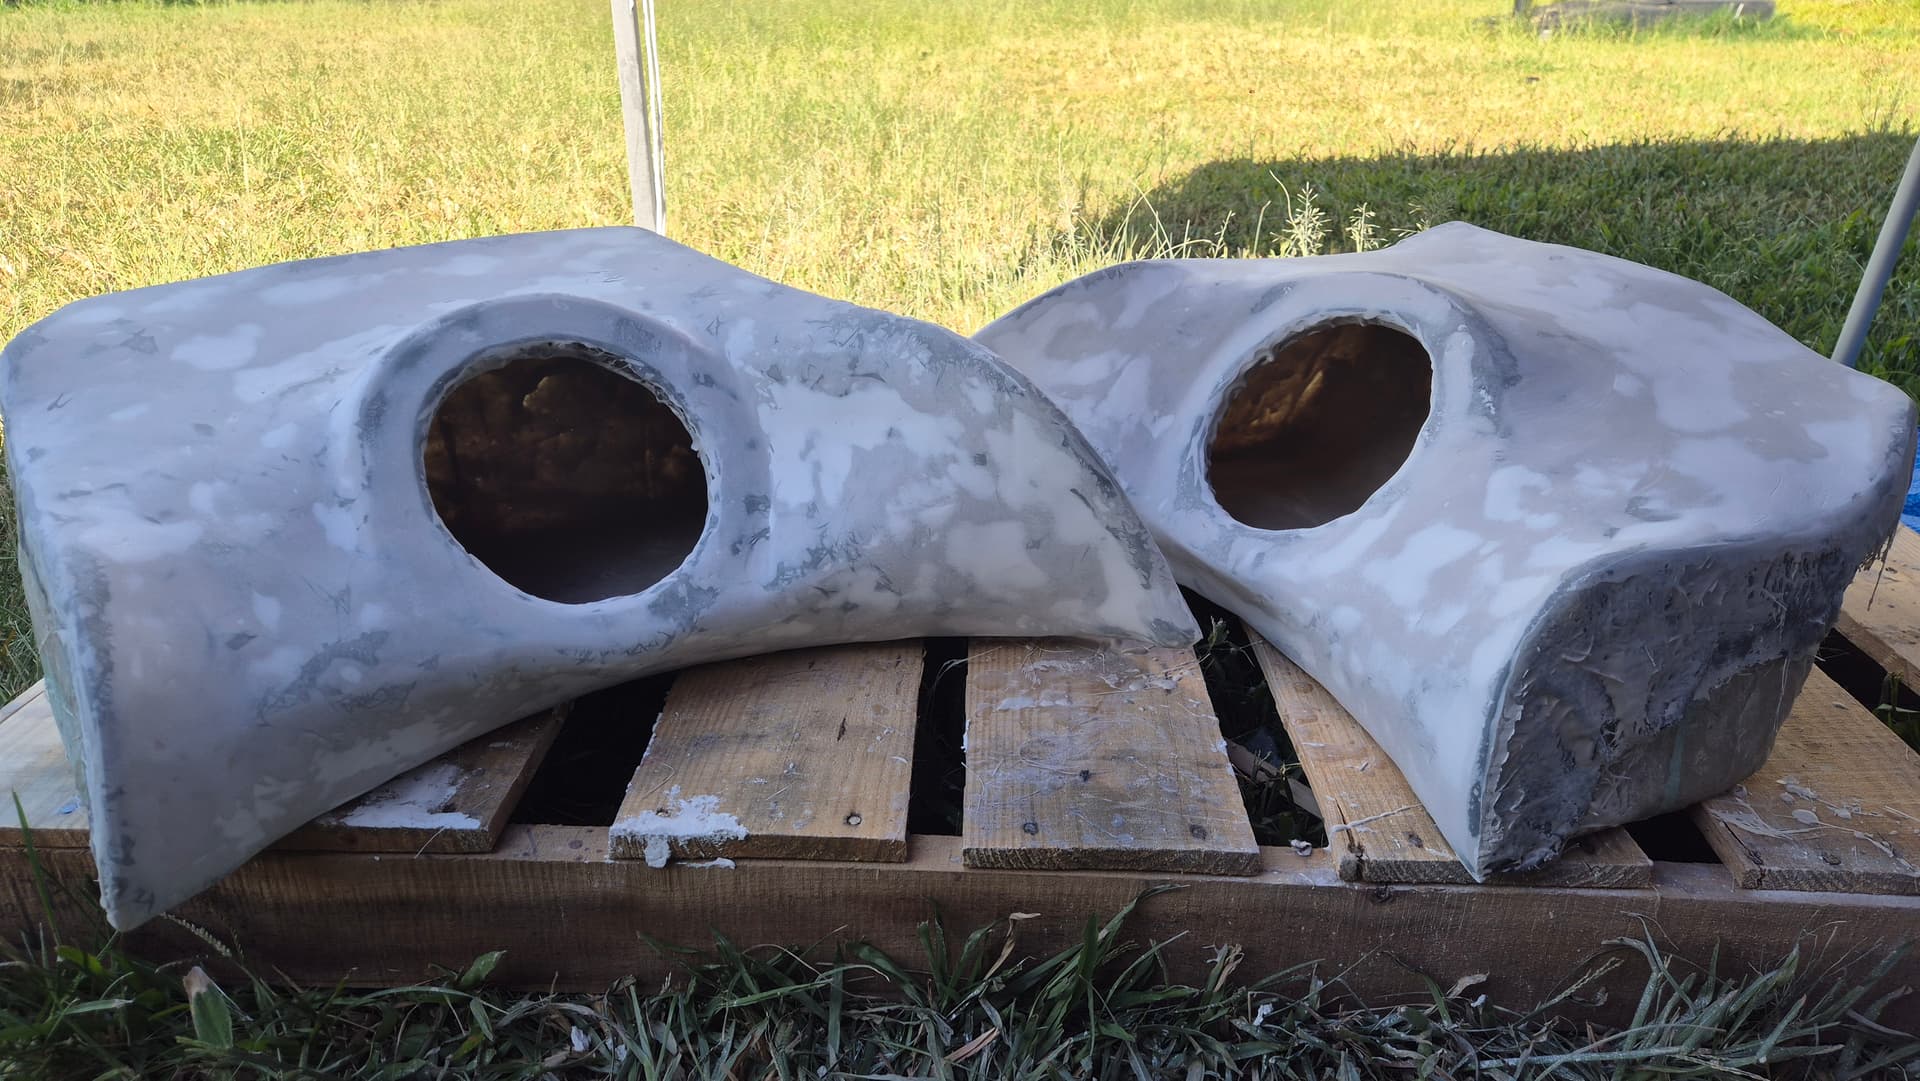
Boxes are sanded and good enough! since we’re not painting them! we’re wrapping them in a suede fabric. Yada yada we there! the next day i finished off the boxes with the covering
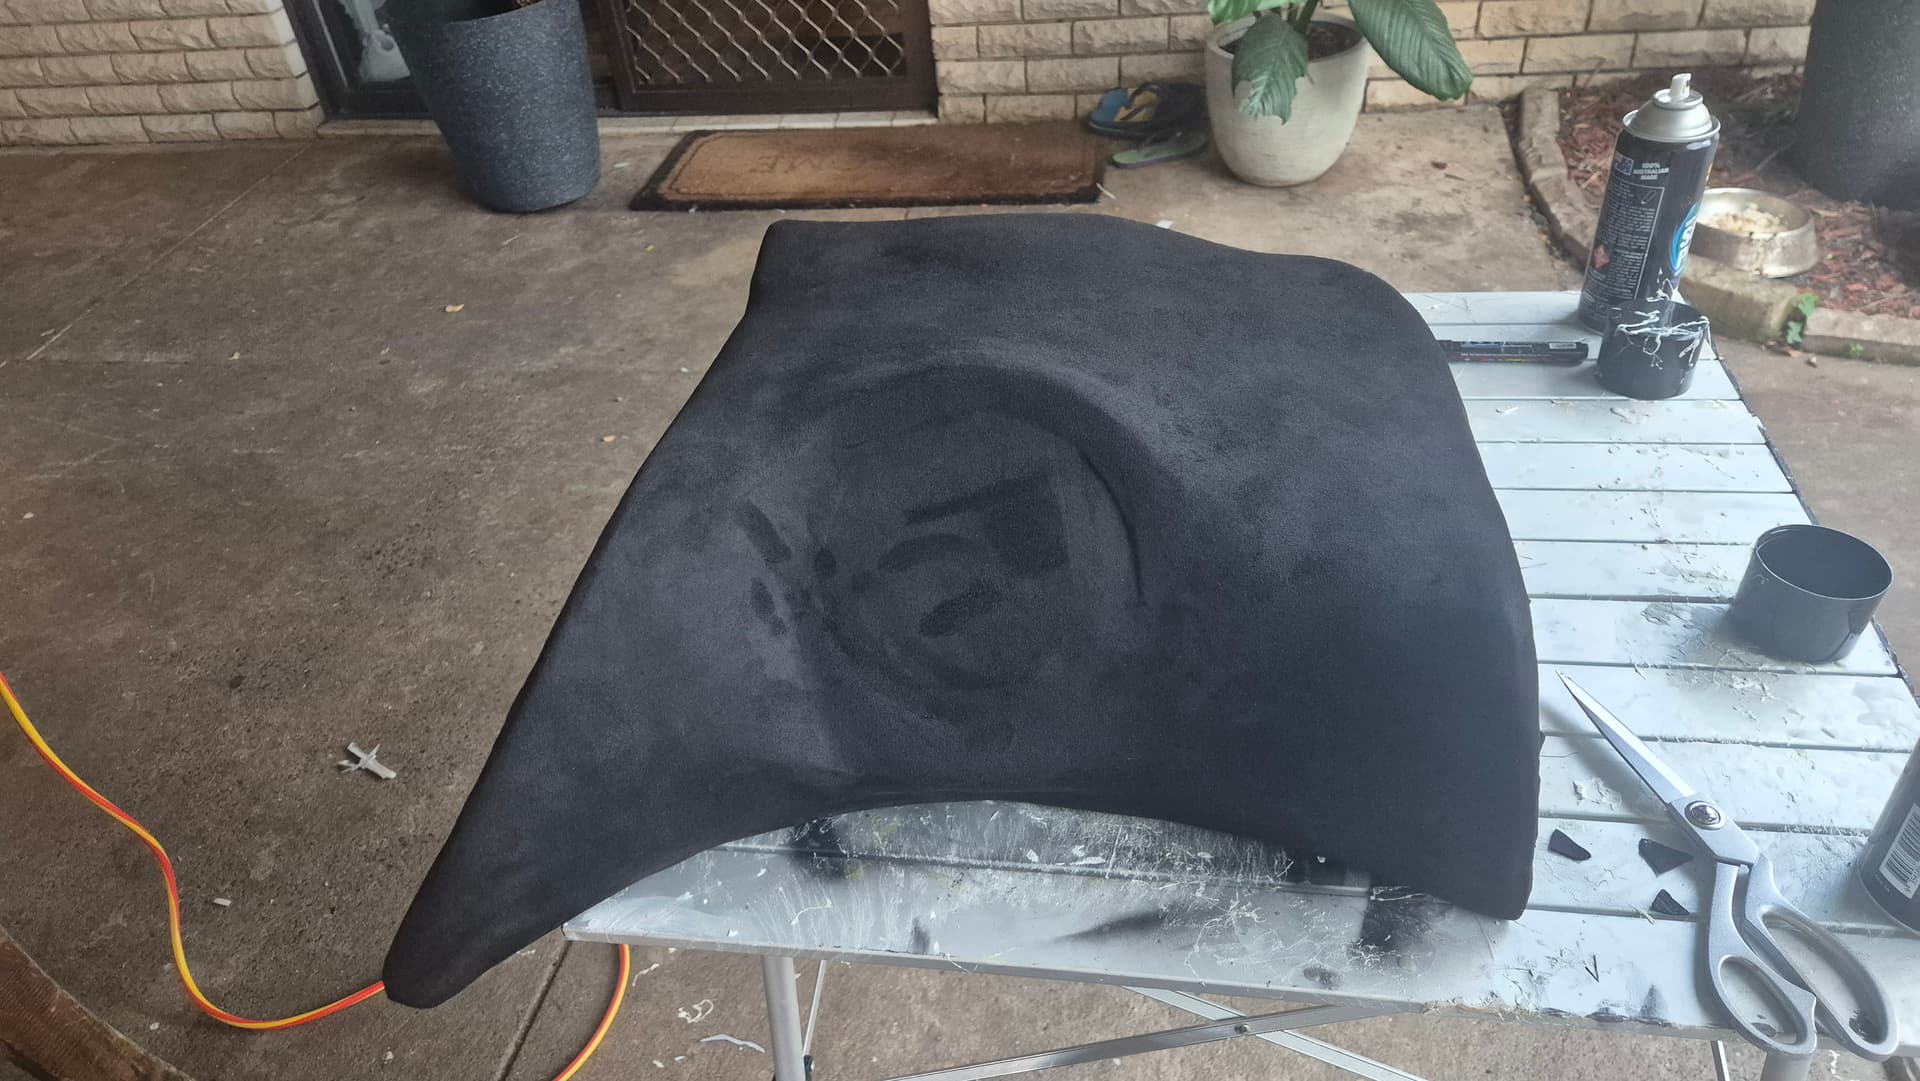
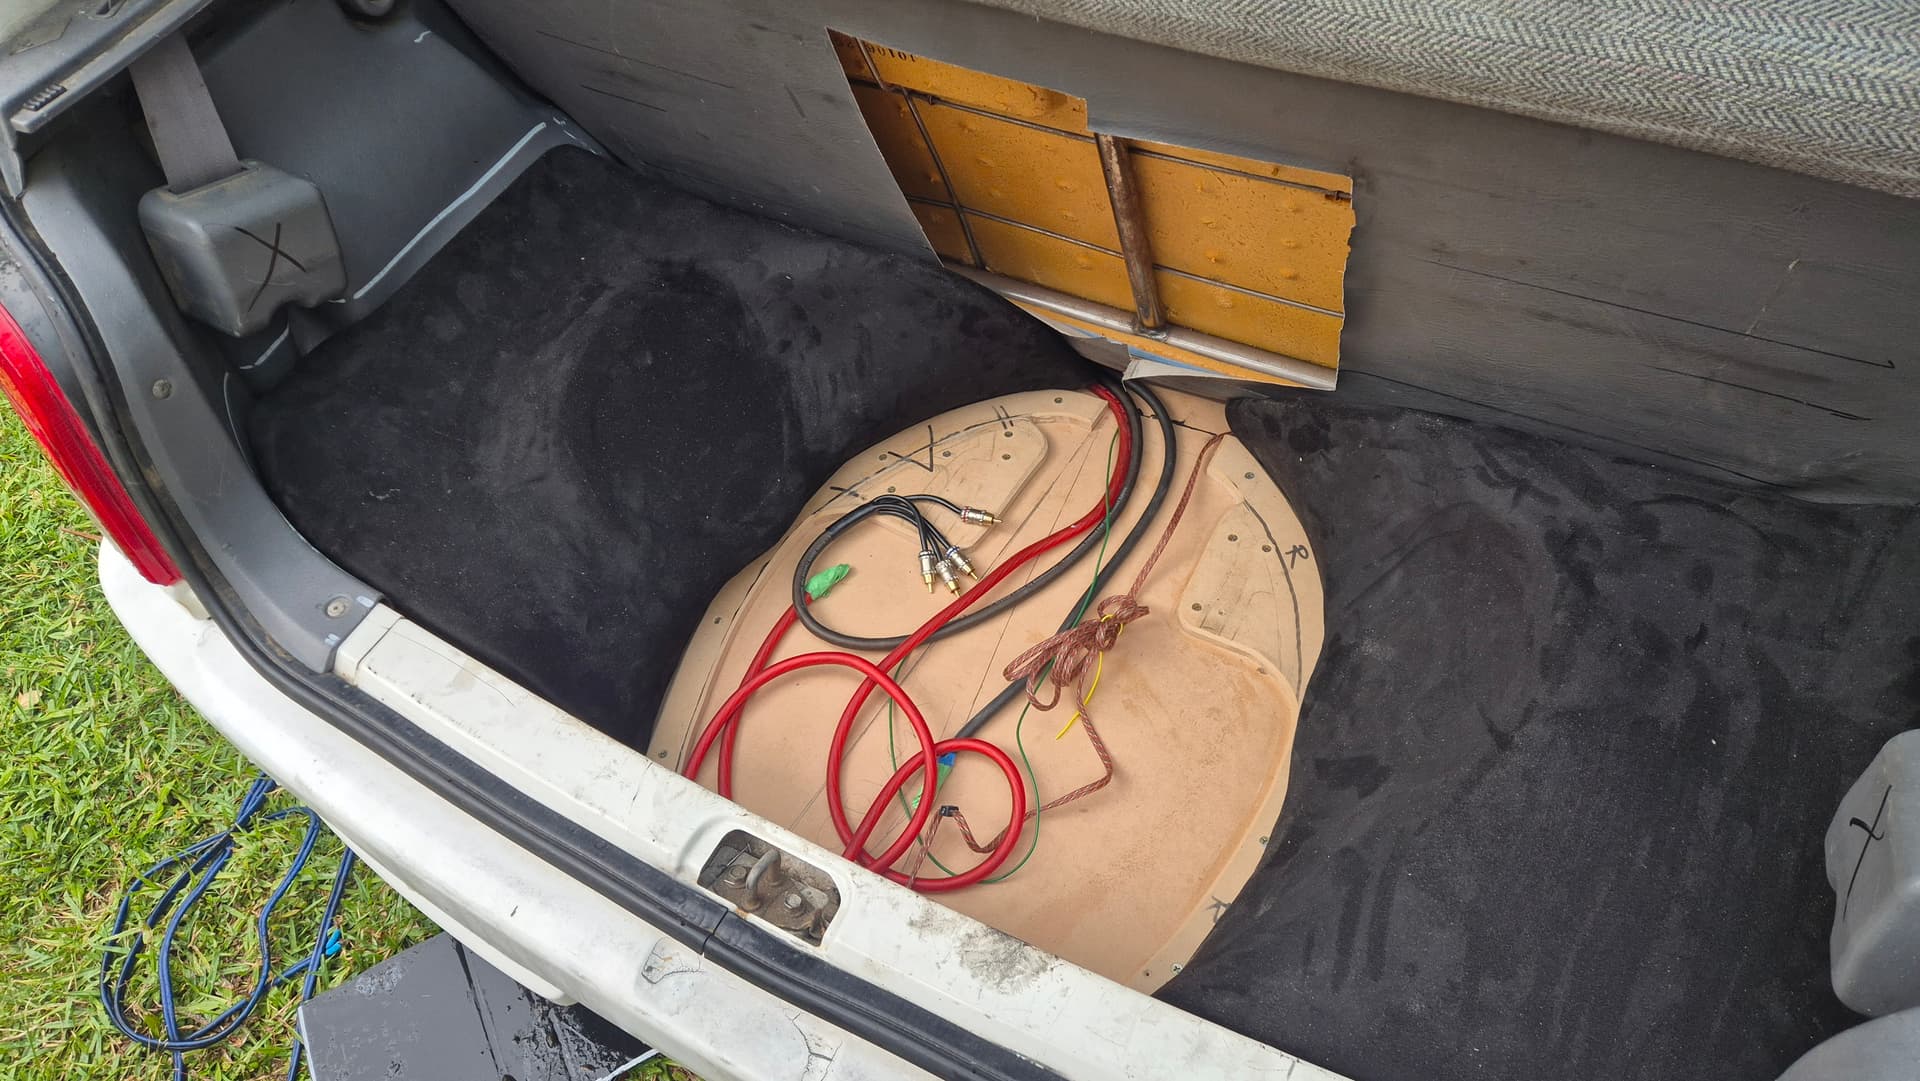
Oh sneak peak at the floor design eh.
Anyway with that looking good i needed to fix the ugly bare metal you see
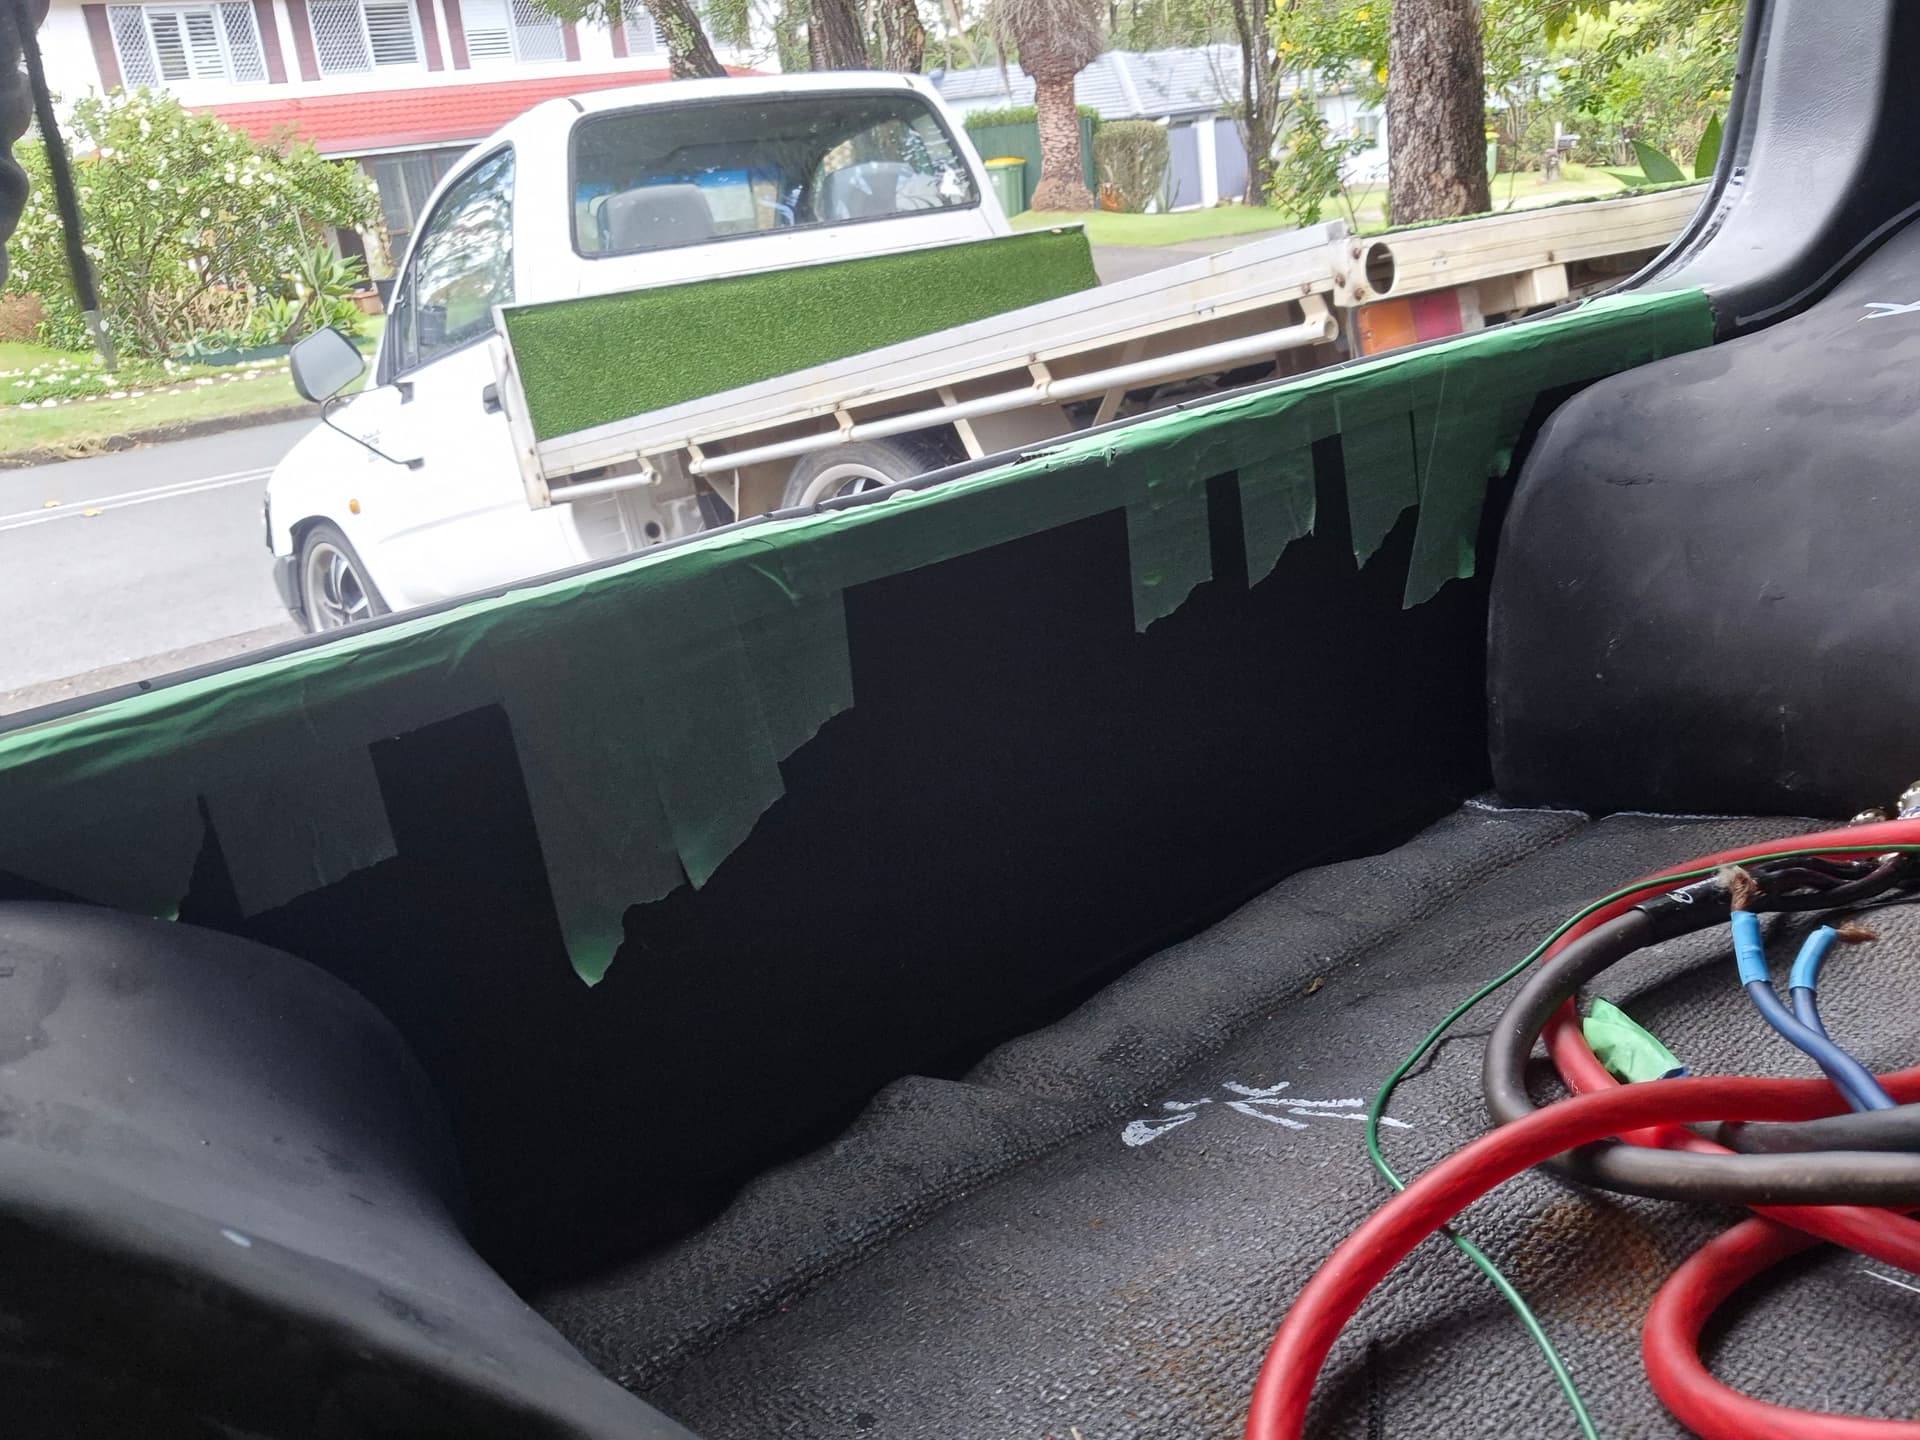
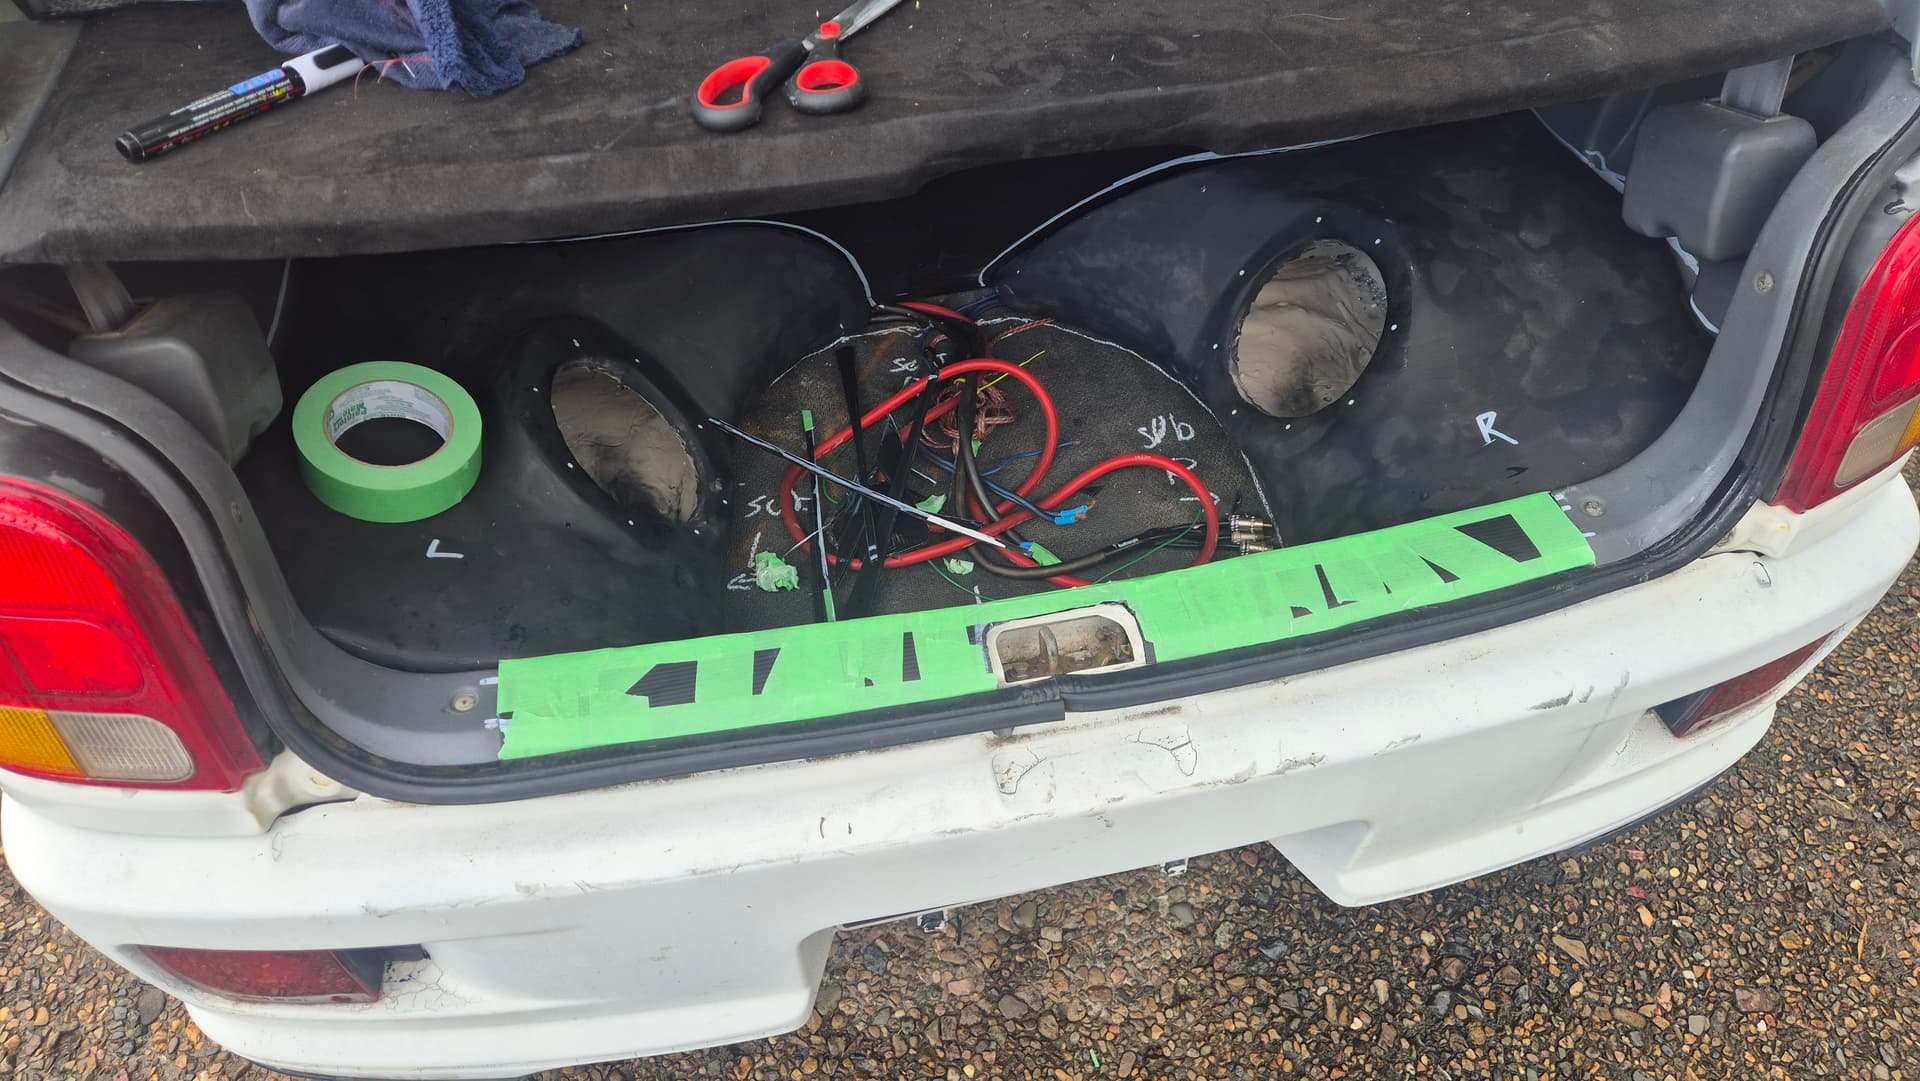
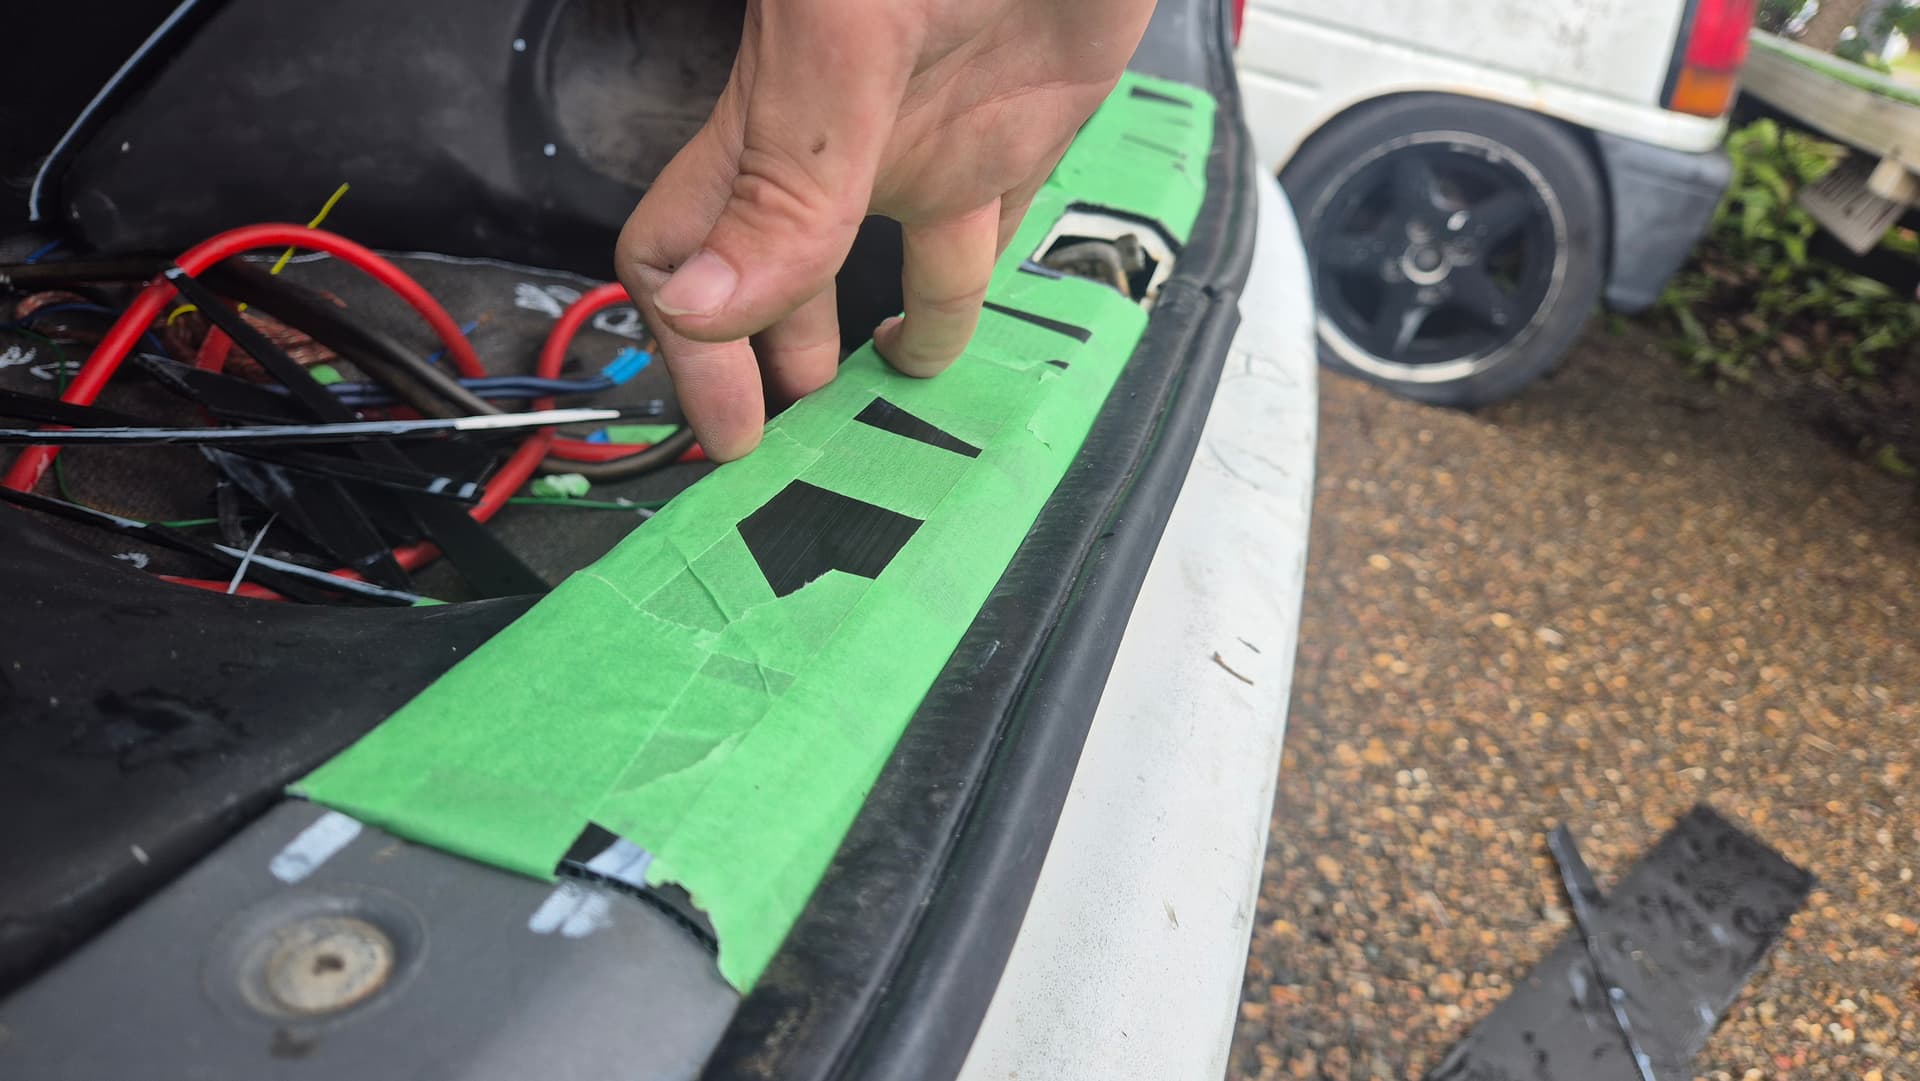

We that fixes that little issue, Clean and simple to install. The slight curve you never noticed.
Next i started making the back board for the seat. to fill it in and make it look less uhh sheit. LETS GO!
First cut the template out of coreflute like i use for all the templates then cut onto 3mm mdf as below
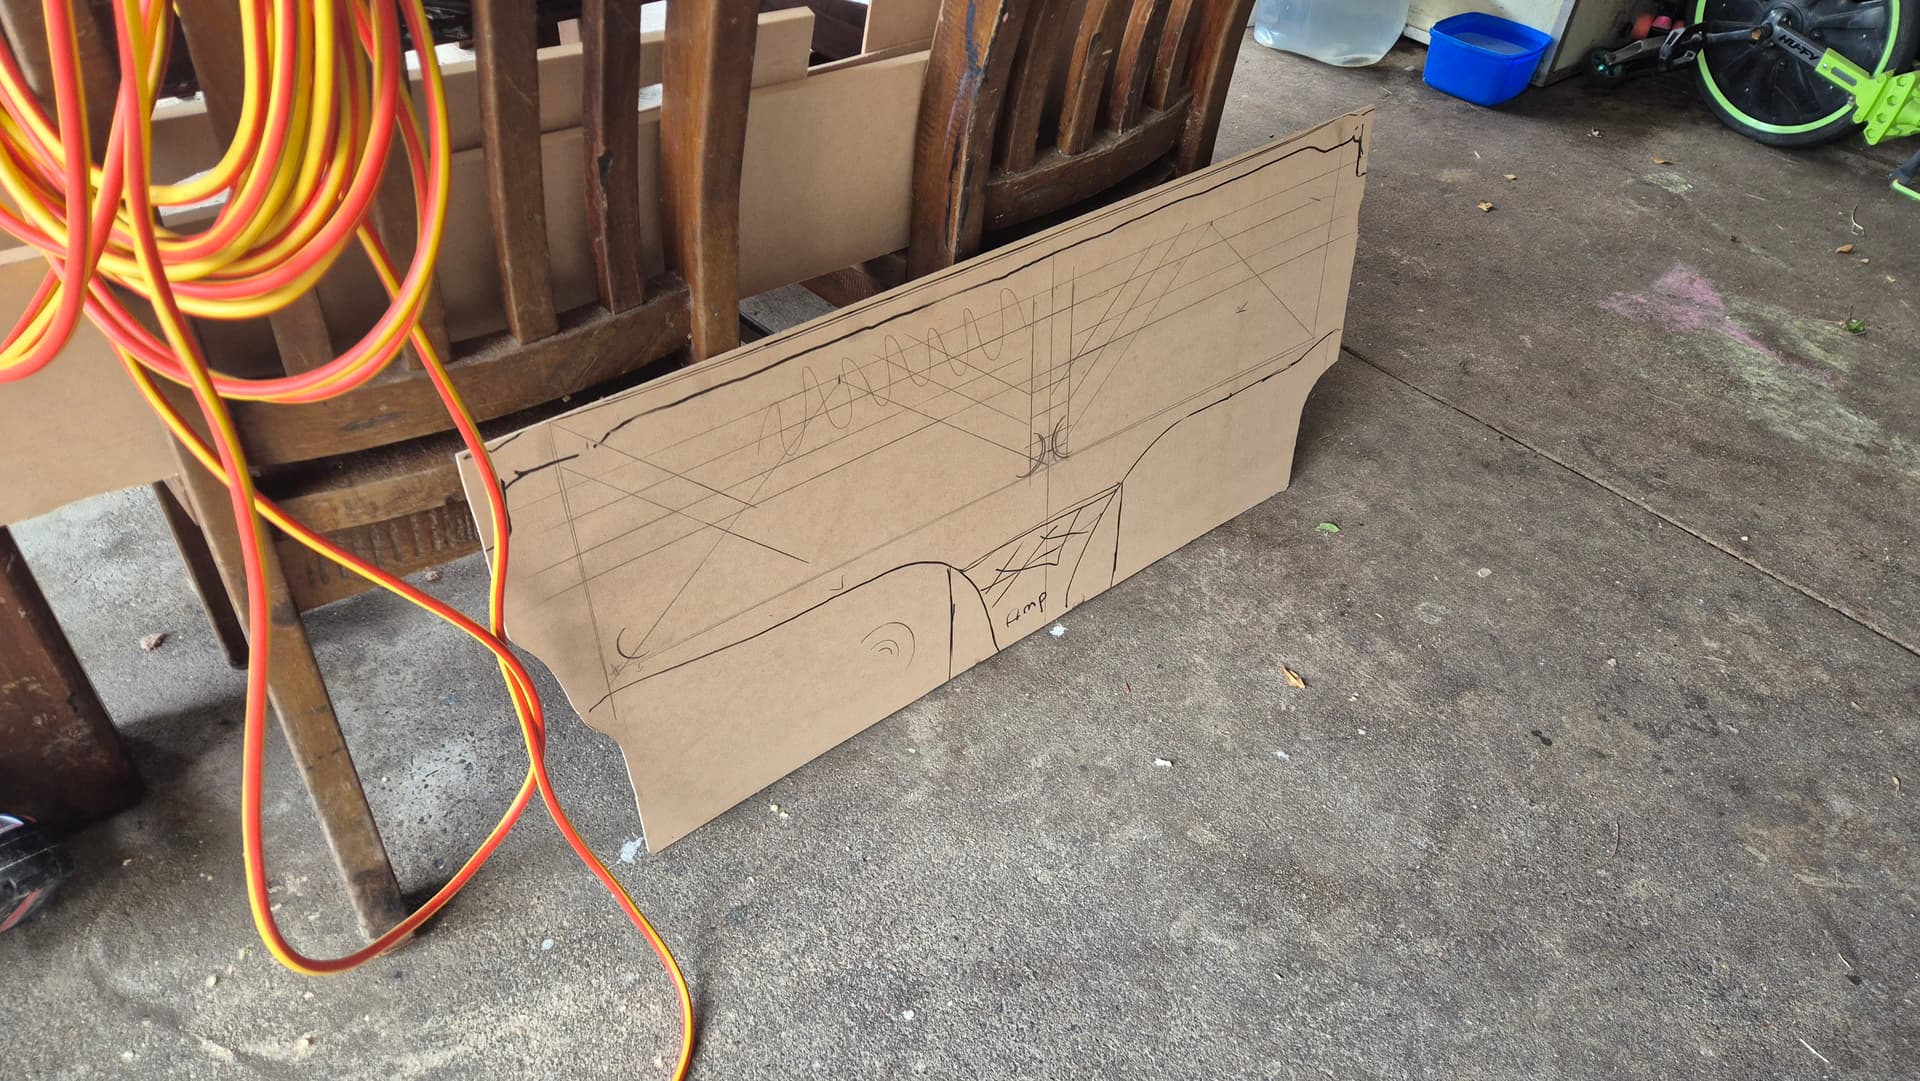
Sweet shape bro! but its missing something. WAIT i got it!
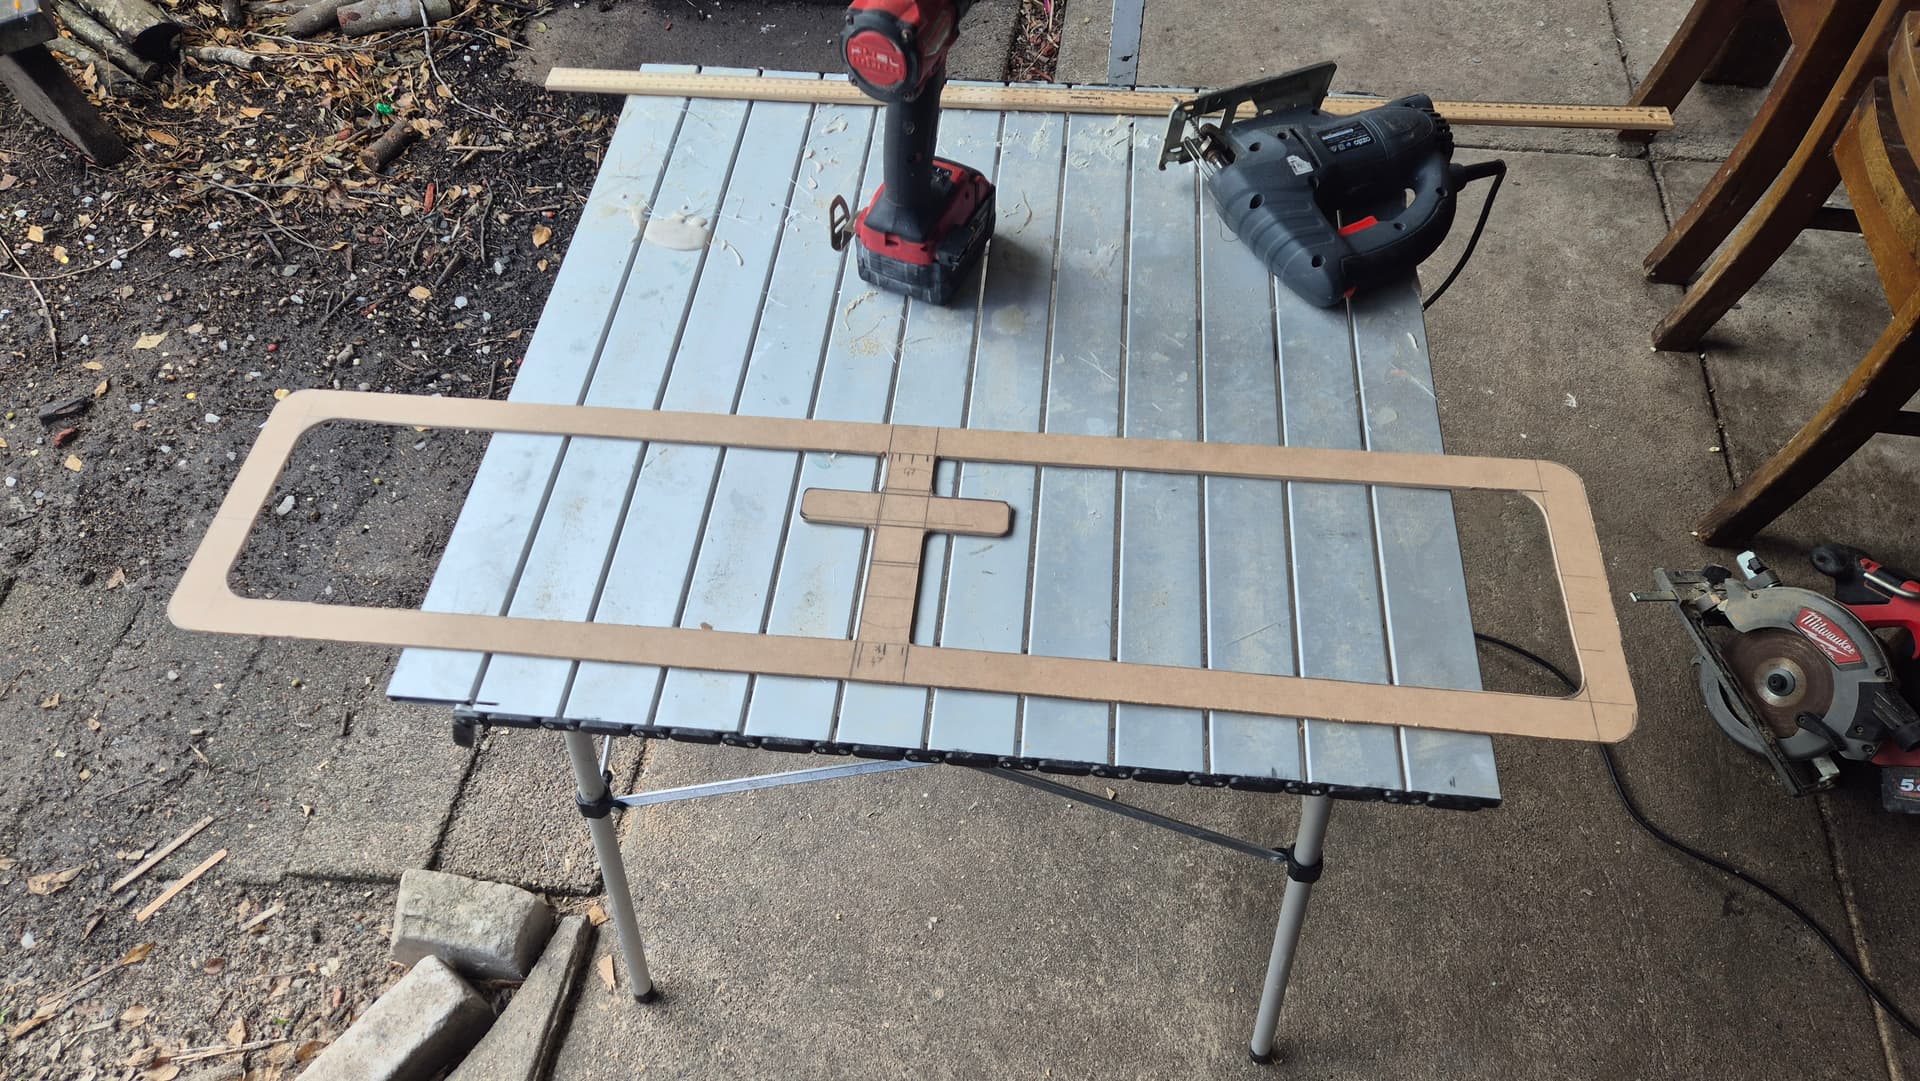
Yeah awesome!
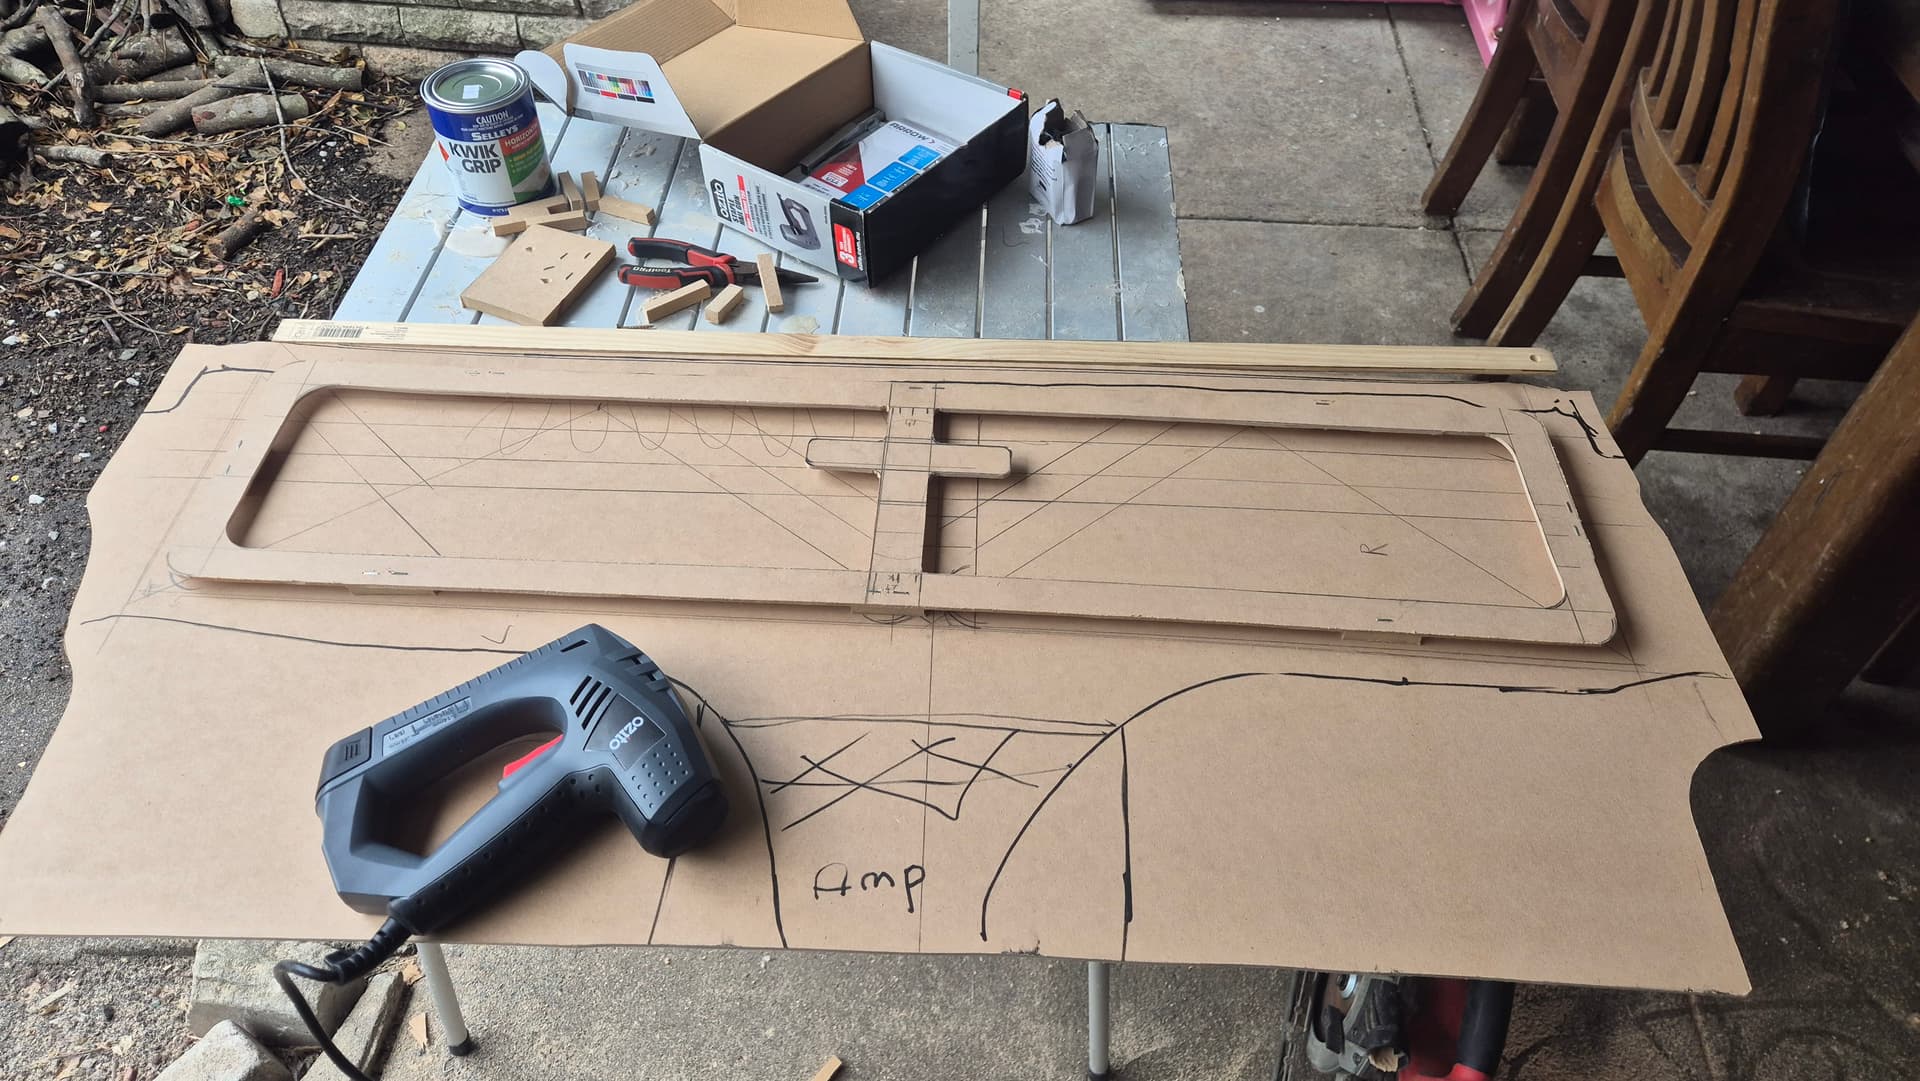
That added onto the backing plate with 6mm stand offs looks awesome! lets make it pretty now
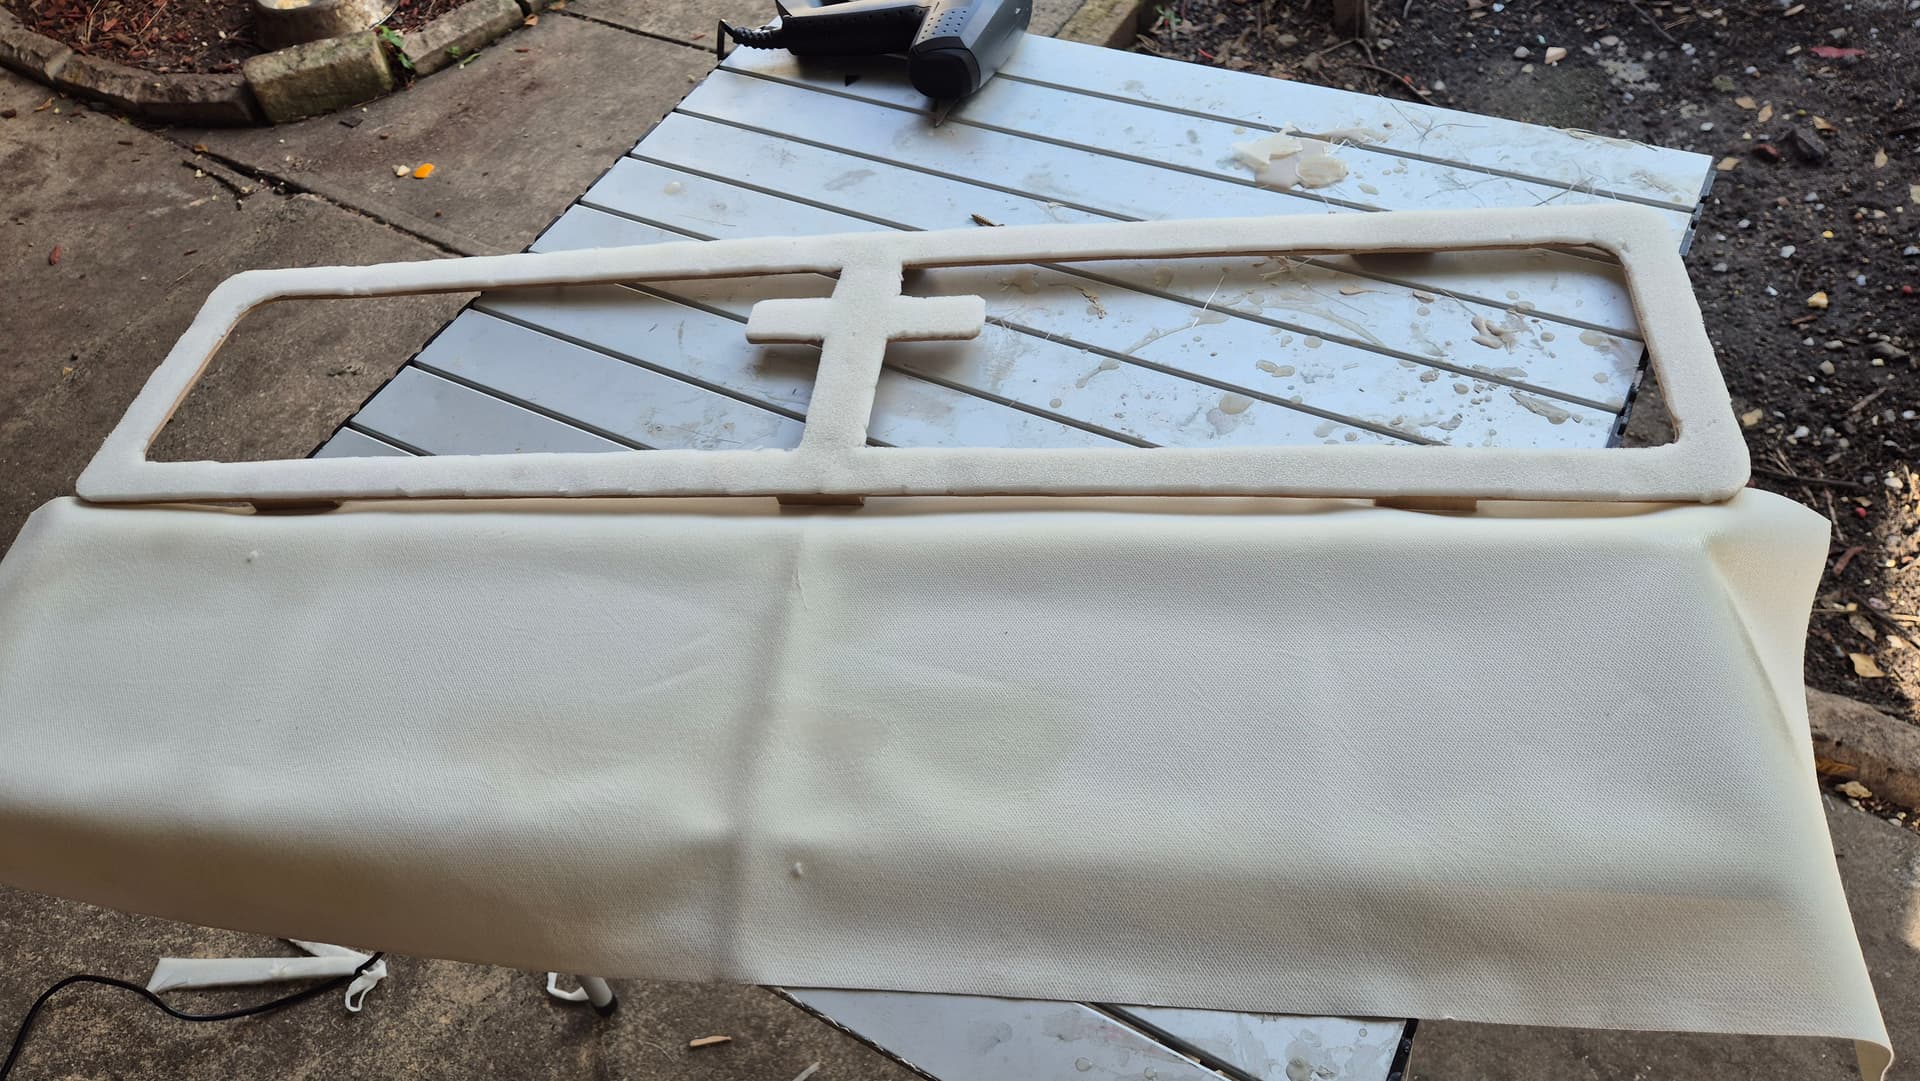
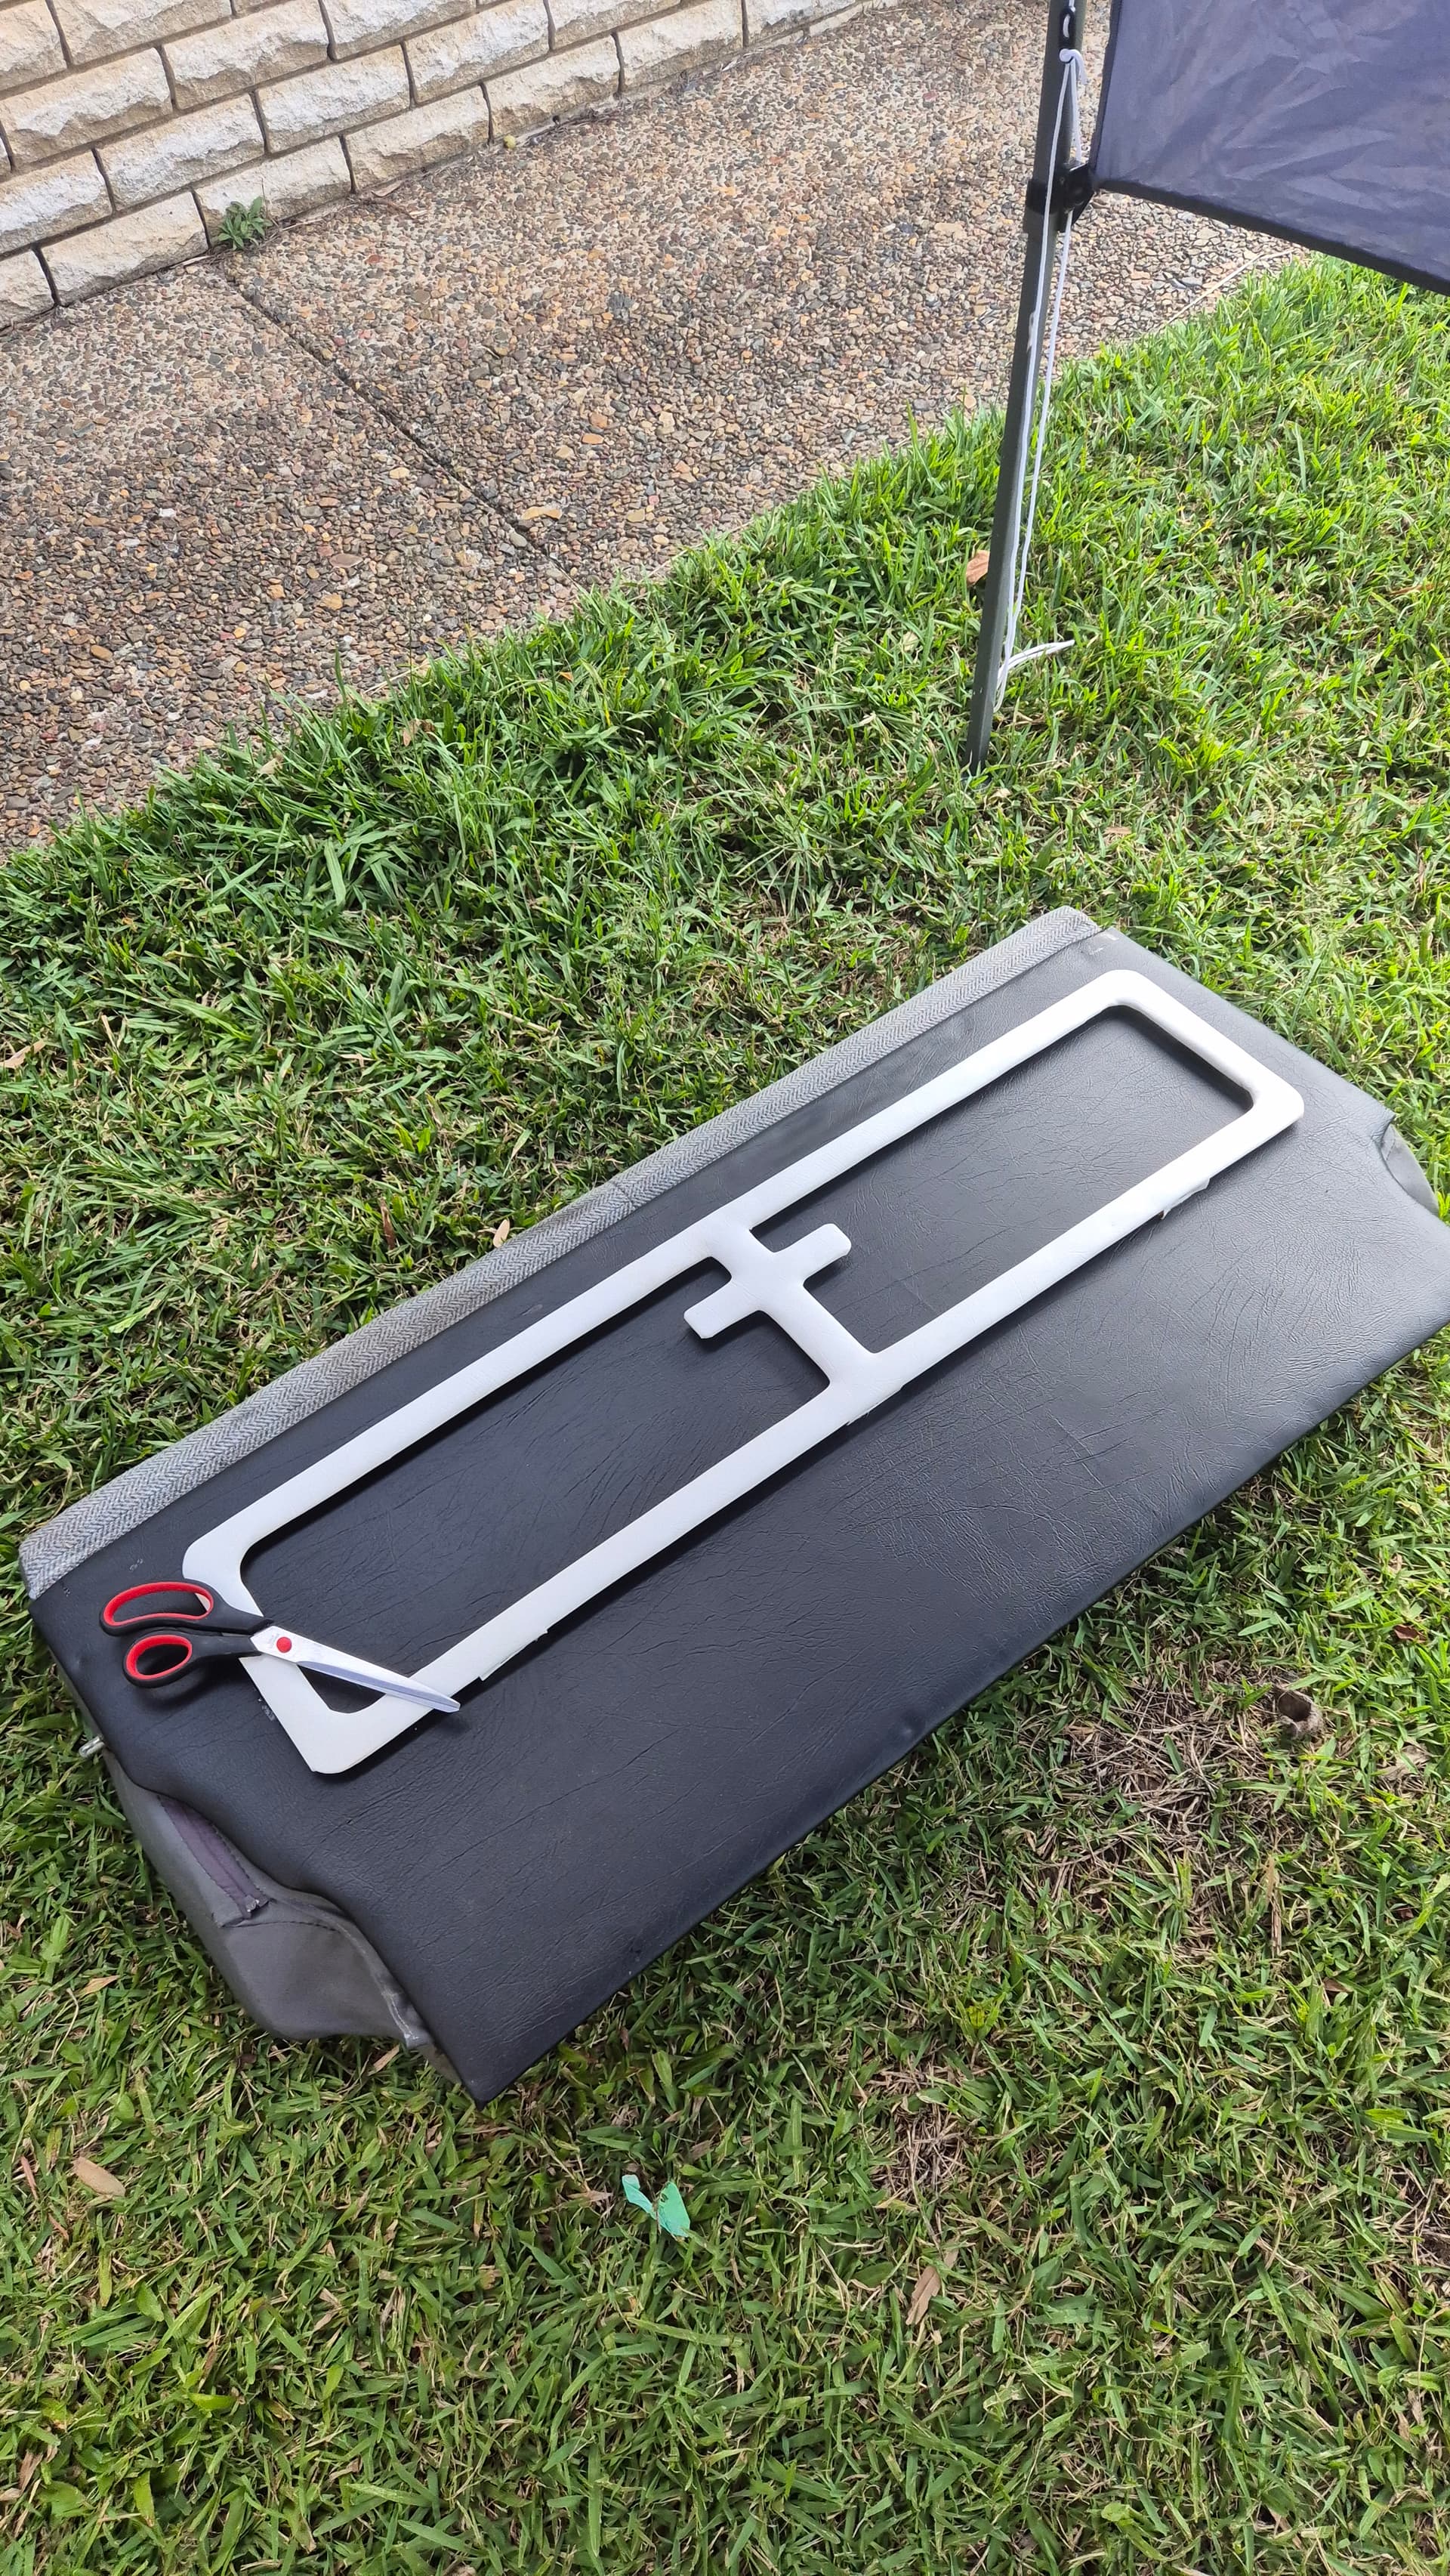
Both the backing and little design done in leather! white and black is super simple but looks sick!
See a theme yet? Well lets do the floor next.
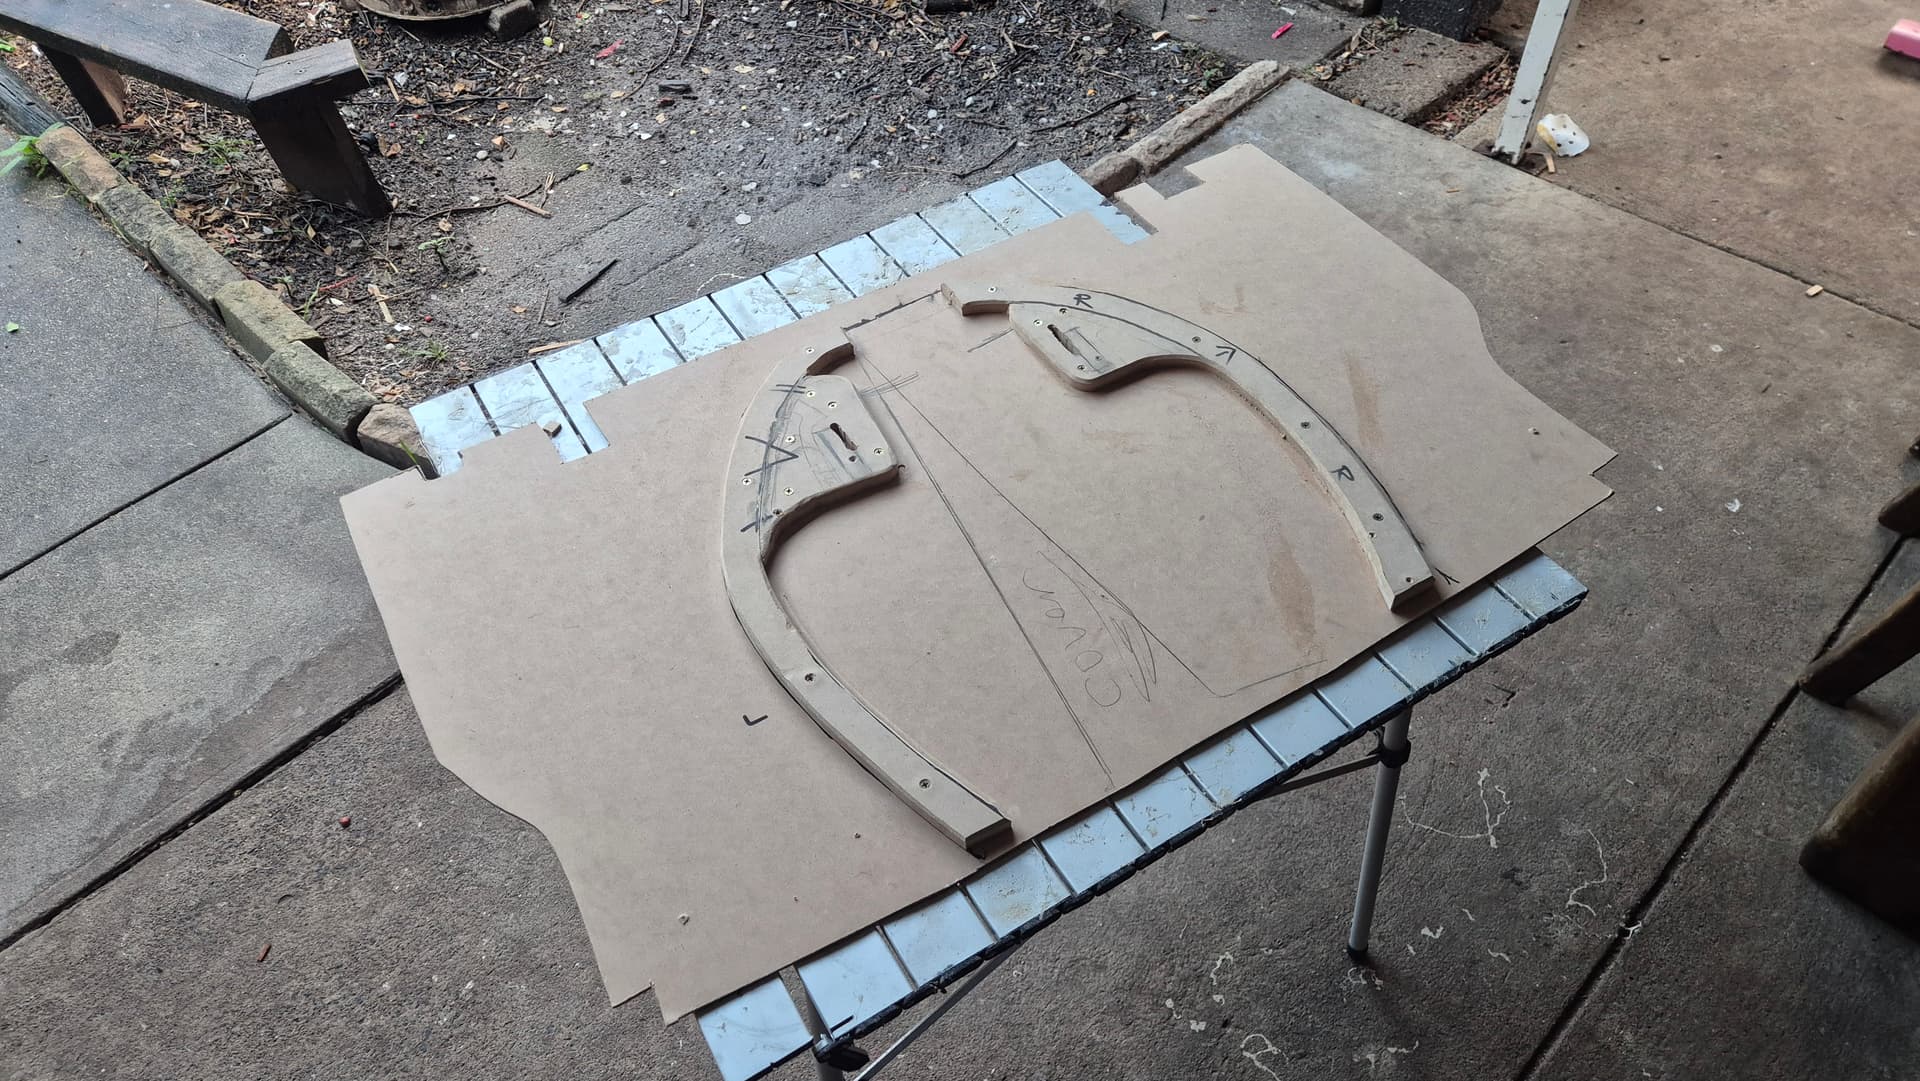
The floor cut out to shape i needed a way to lock in the subs and stop them from floating around so i used the design you see above to push on the boxes and help lock them down! kinda cool tbh, The horse shoe! haha. Lets wrap it!
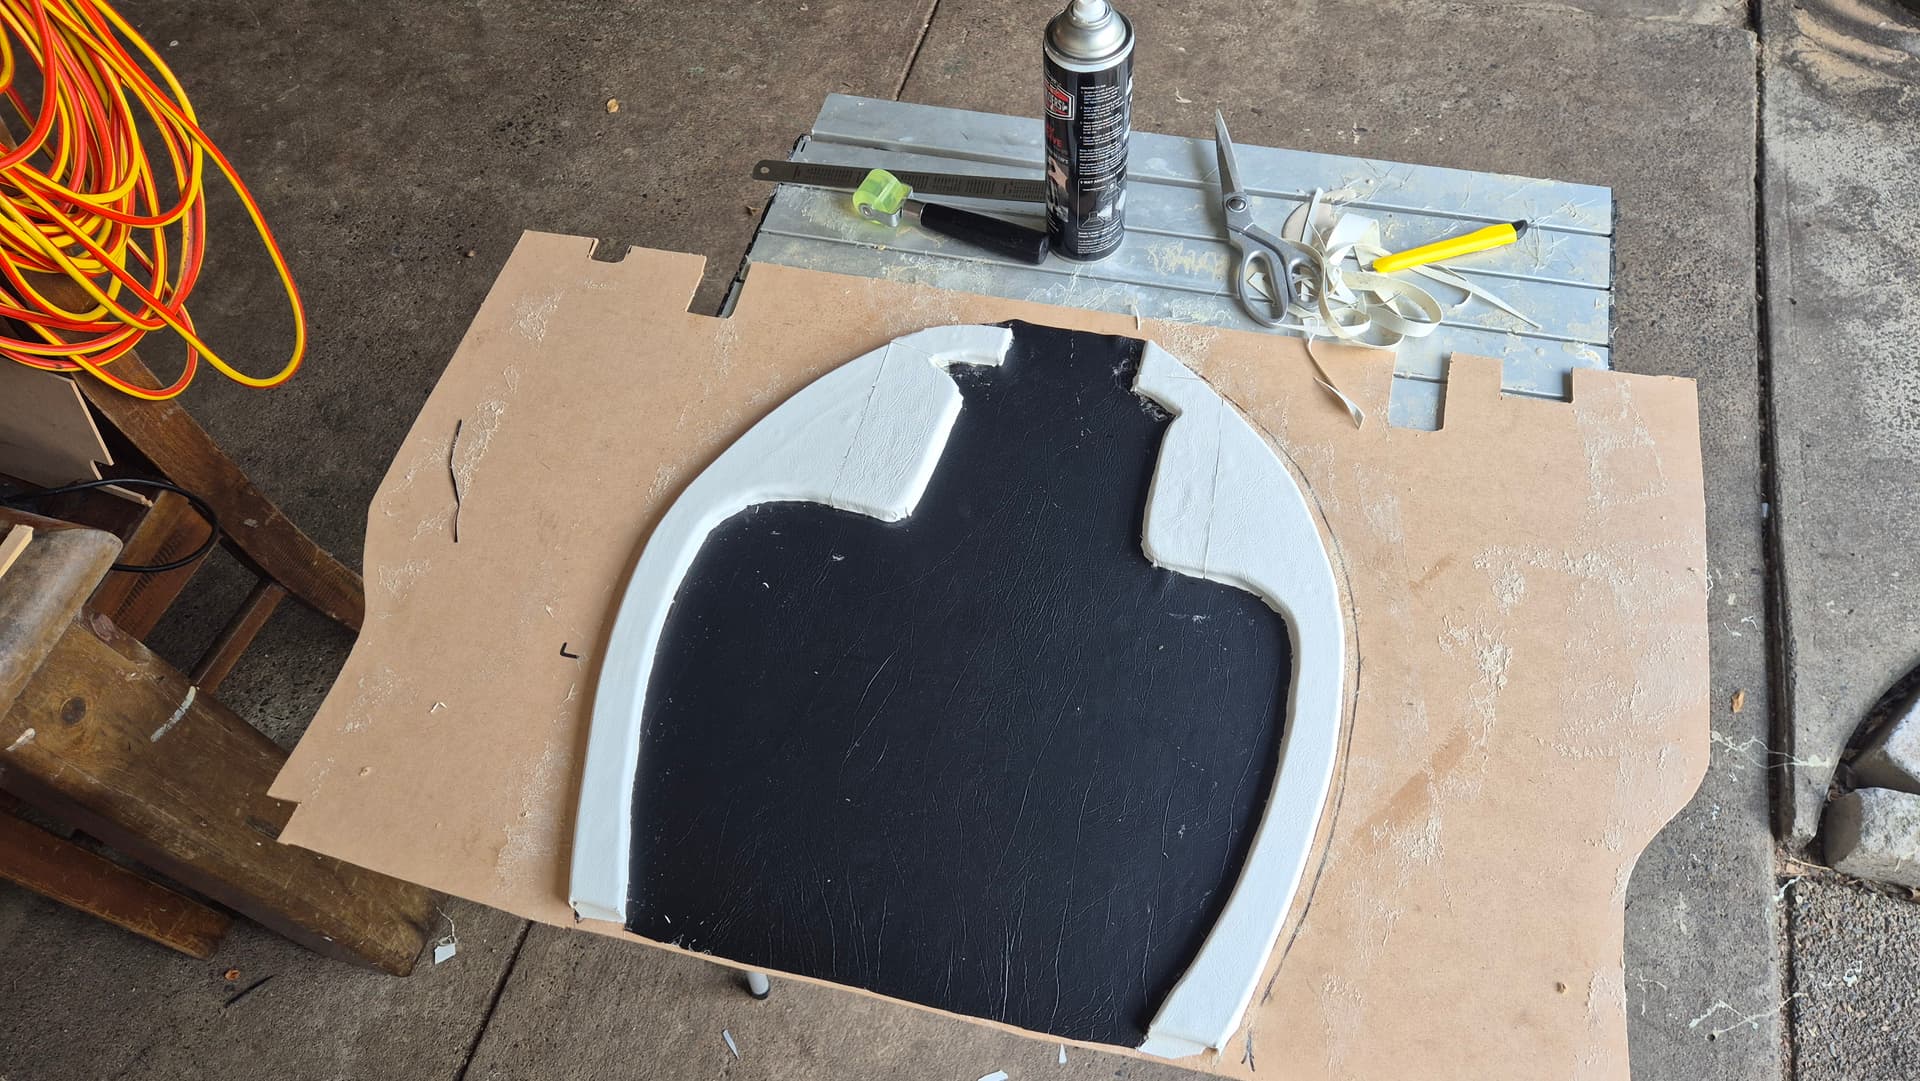
Mint! Days go by and work happens but we get to dry install it all
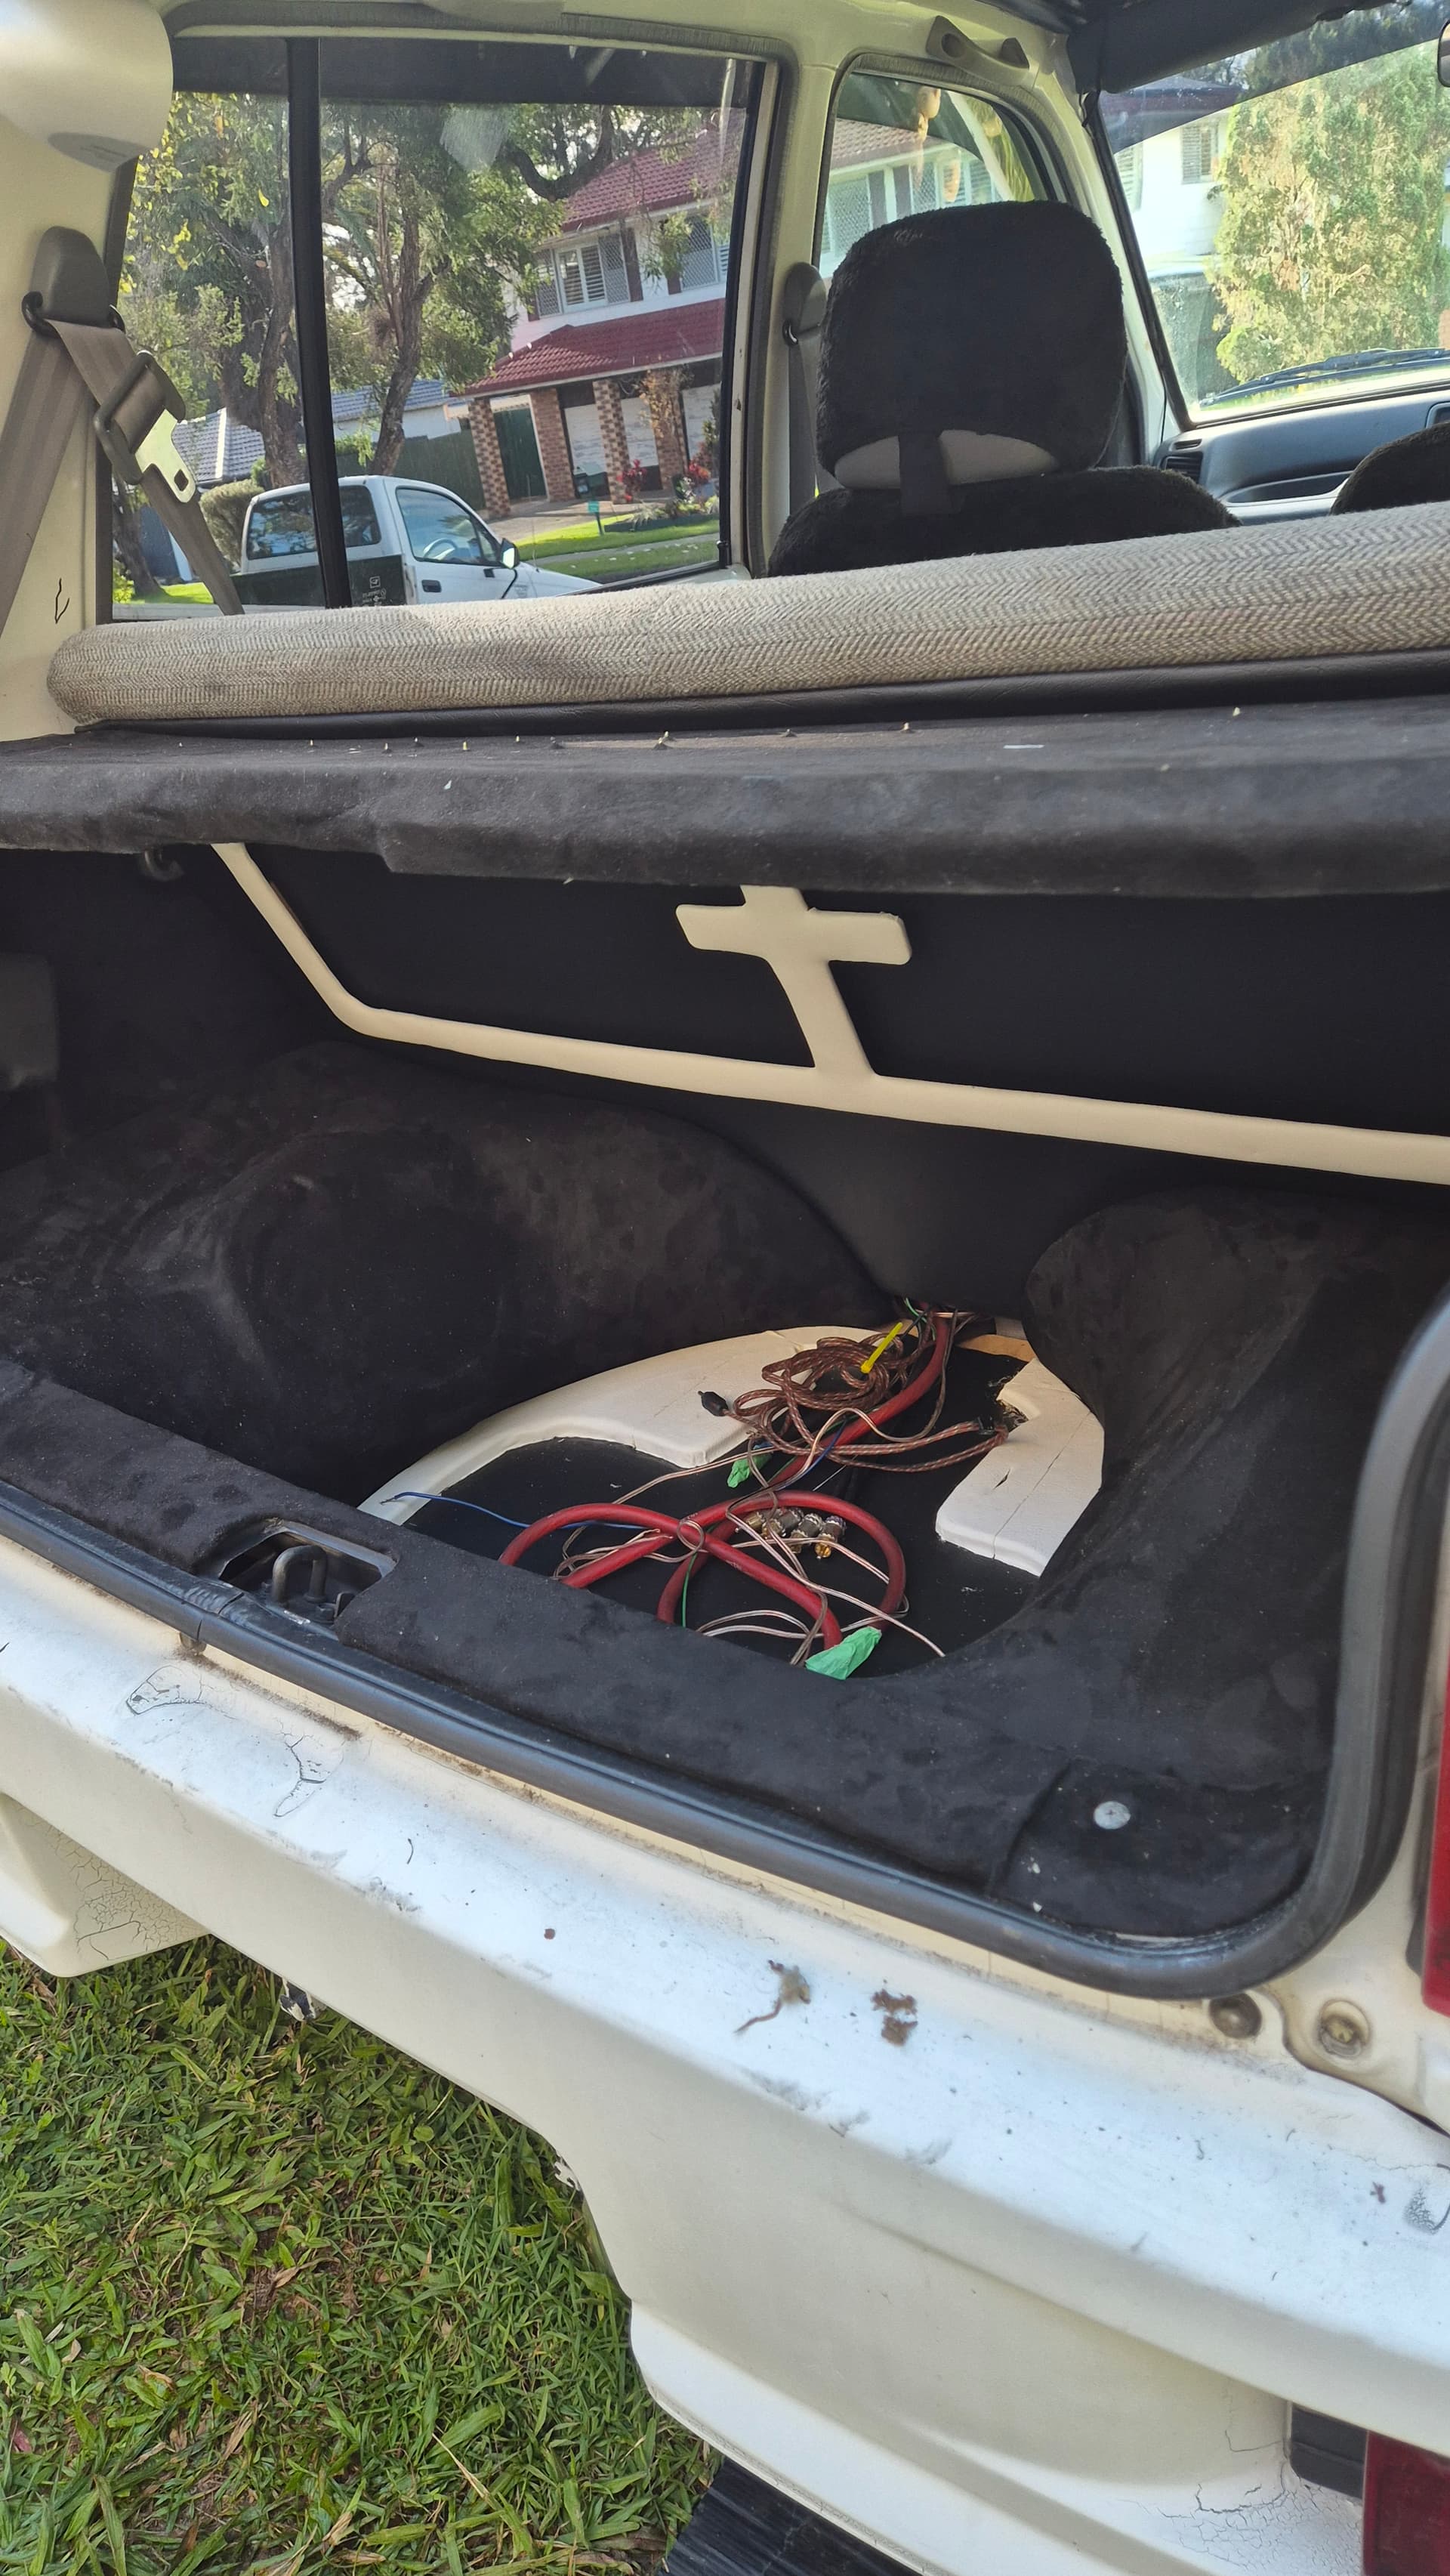
Rad, i am excited. the next few things i didn’t take photos off but i sound deadened the front doors and the rear hatch, it transformed the sound greatly!
Time to install the subs! and amps!
Wired each sub down to 2 ohm so final result is 1 ohm at the amp.
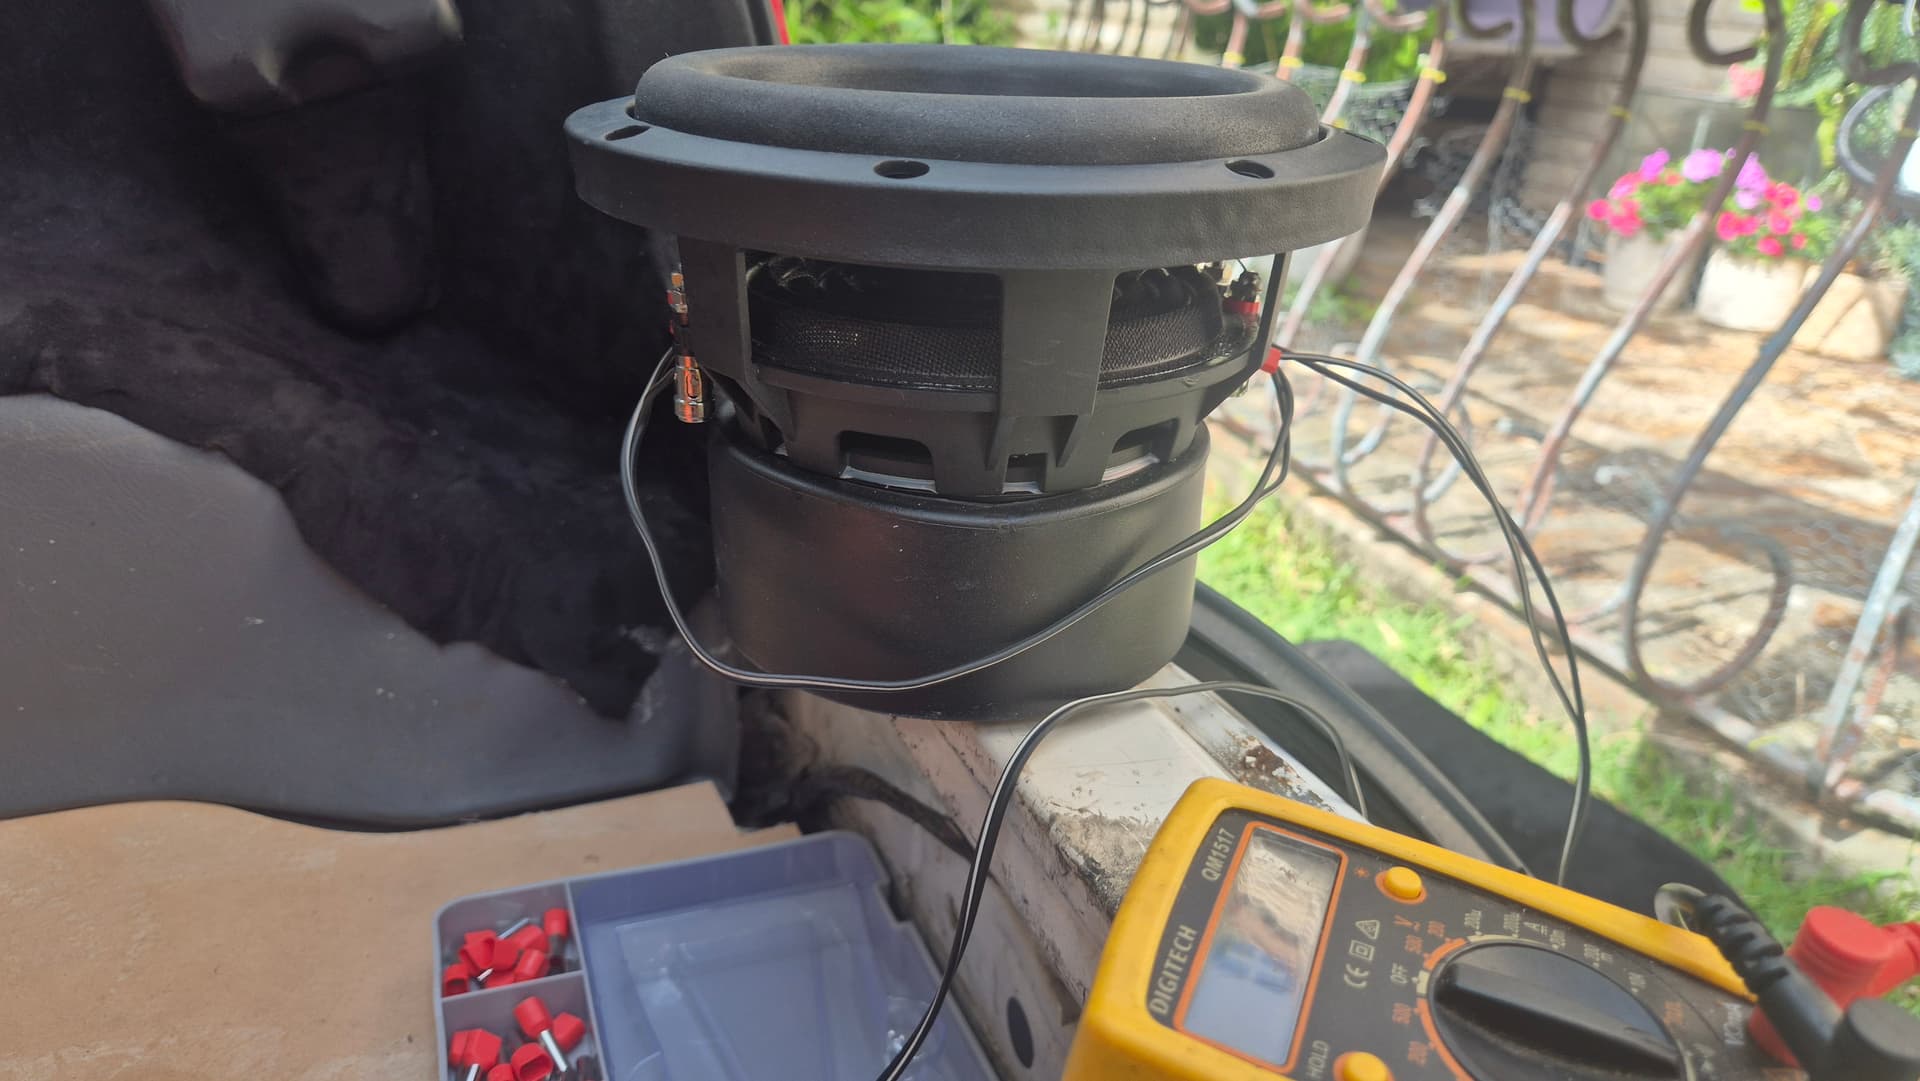
So lets SEE!
This is the end result and it sounds amazing. The wiring needs a few zipties but really not high on my list of todos.
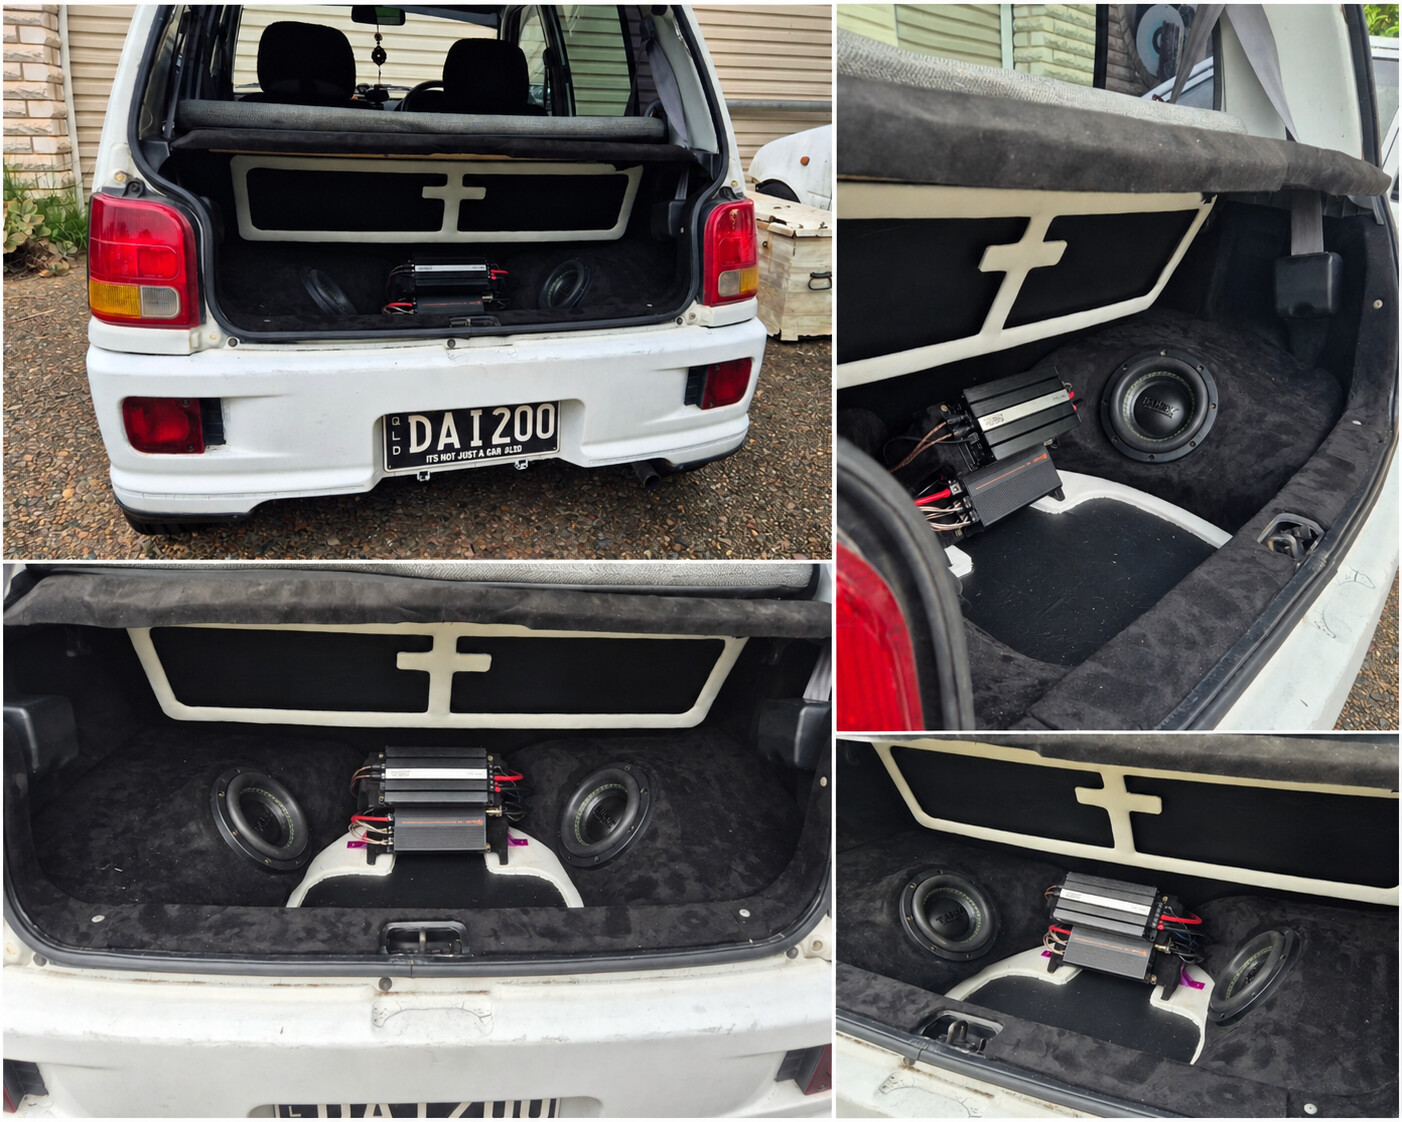
So am i finished? Nah
My next adventure is to redo the interior.
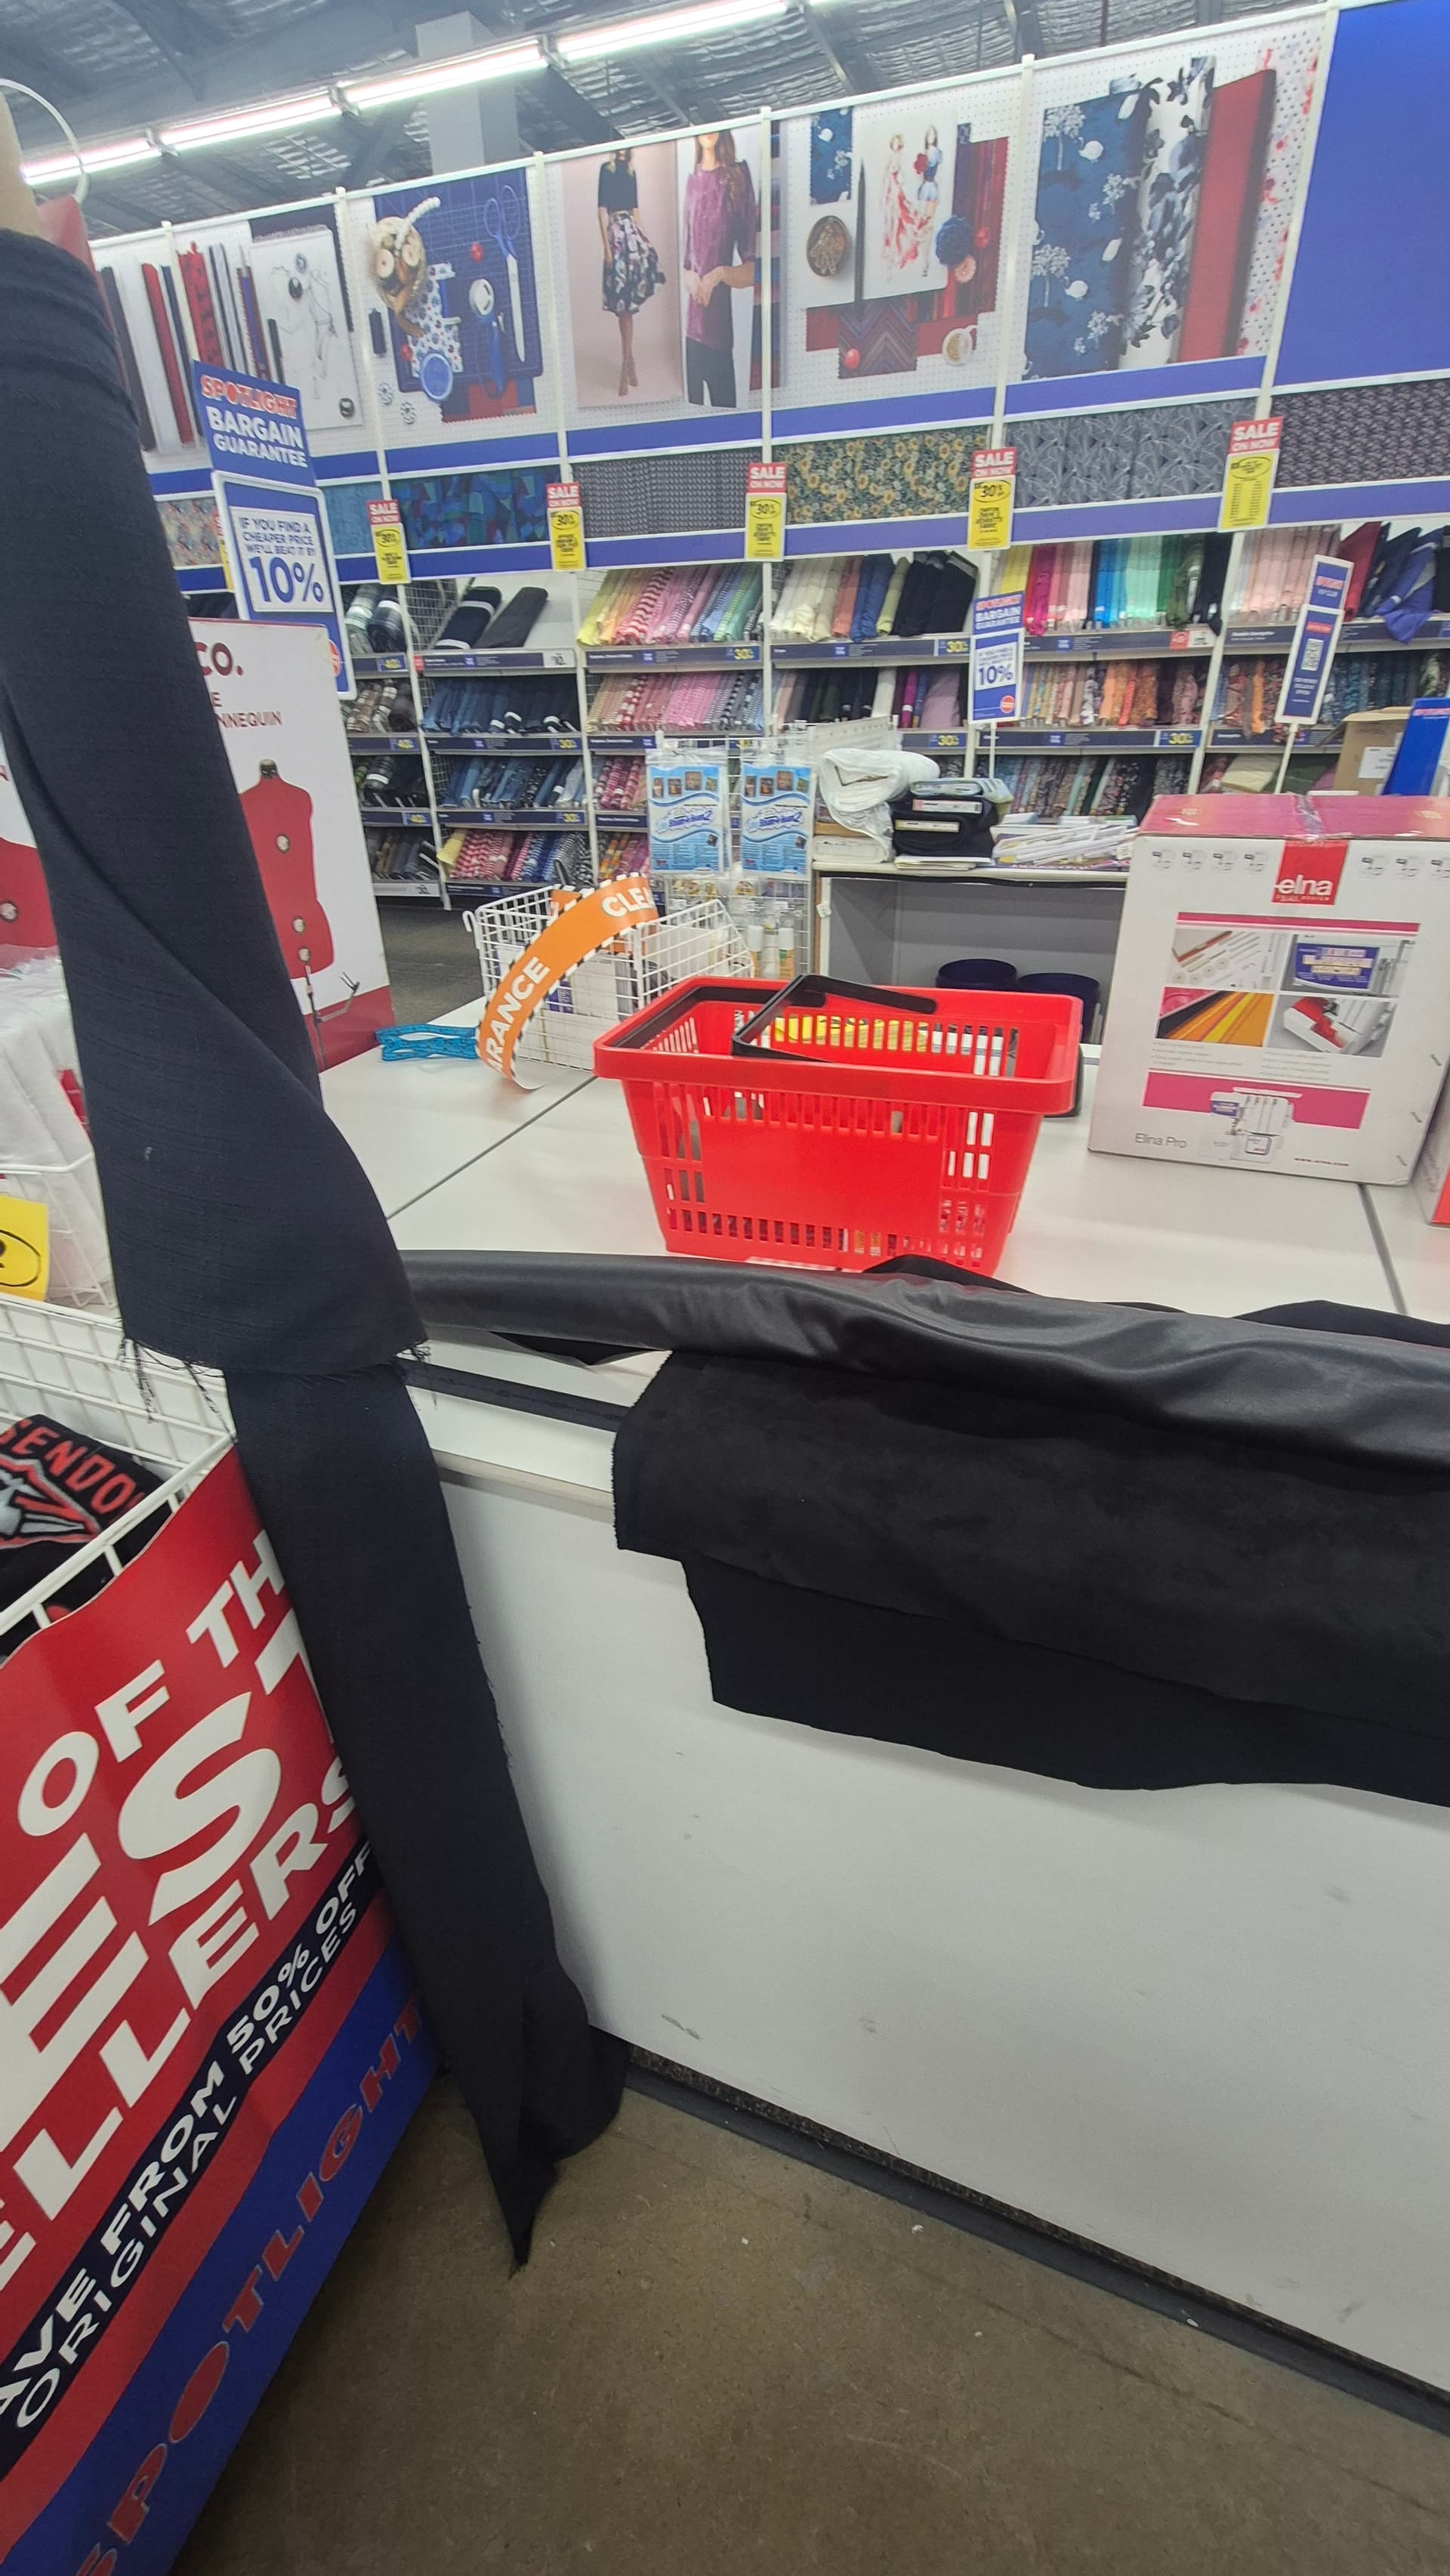
Stay tuned 
6 Likes
well done. Looks good especially the right size for the mira boot.
2 Likes