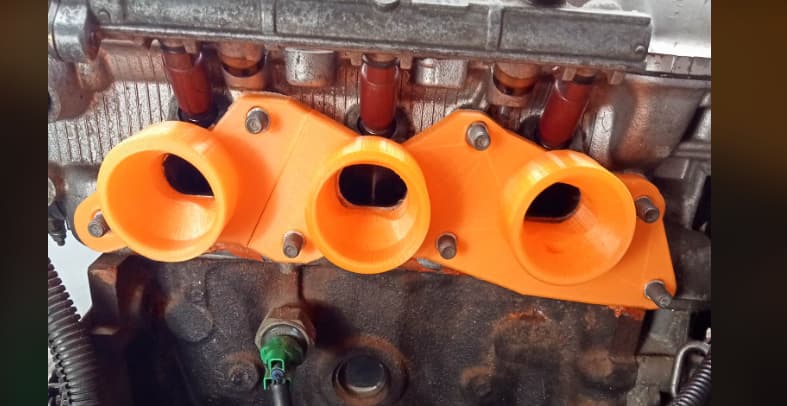
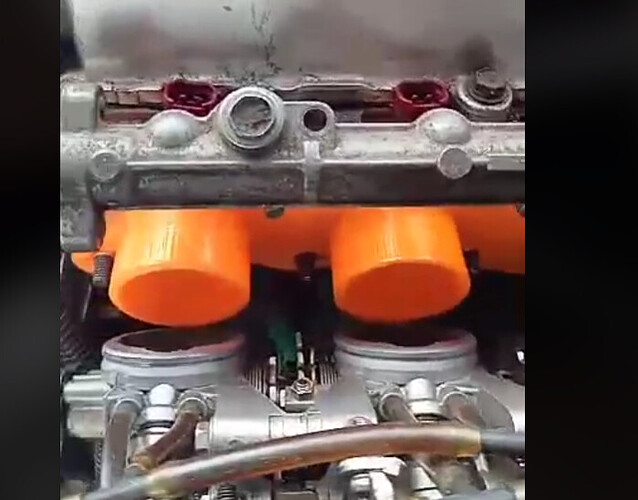
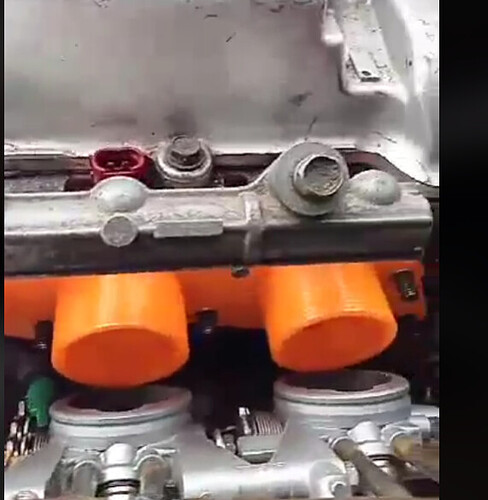
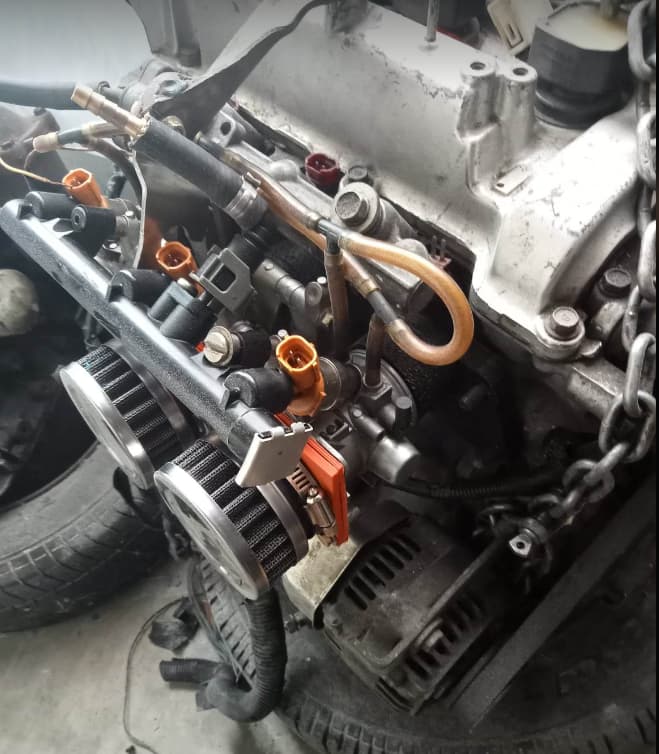
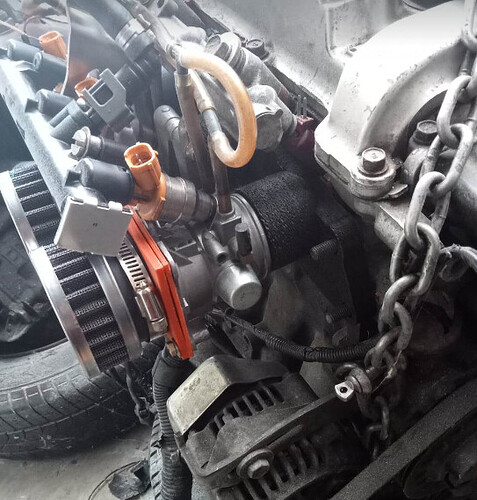
Yes they are and I have been designing and redsigning a manifold for ages now every time I get close to what I like I stuff up or find improvements I want to do. I will be 3d printing it in CF Nylon when I am done, It will be in 2 parts as My printer is just a fraction too small for one piece. It’s not gonna be a perfect design in the end but will work better than what I had.
Oh wow, reckon the 3D print could hold the throttles up? Ive never messed with printing so no idea about the strength but that’s way cooler than my ghetto ass ideas haha
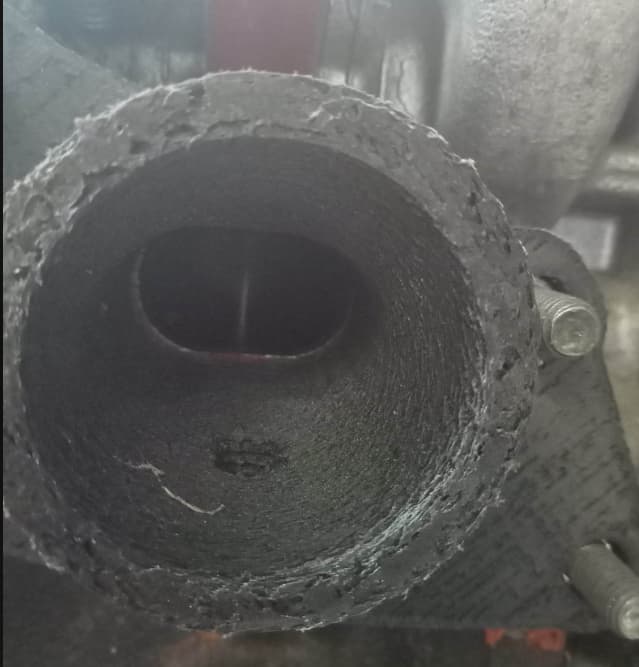
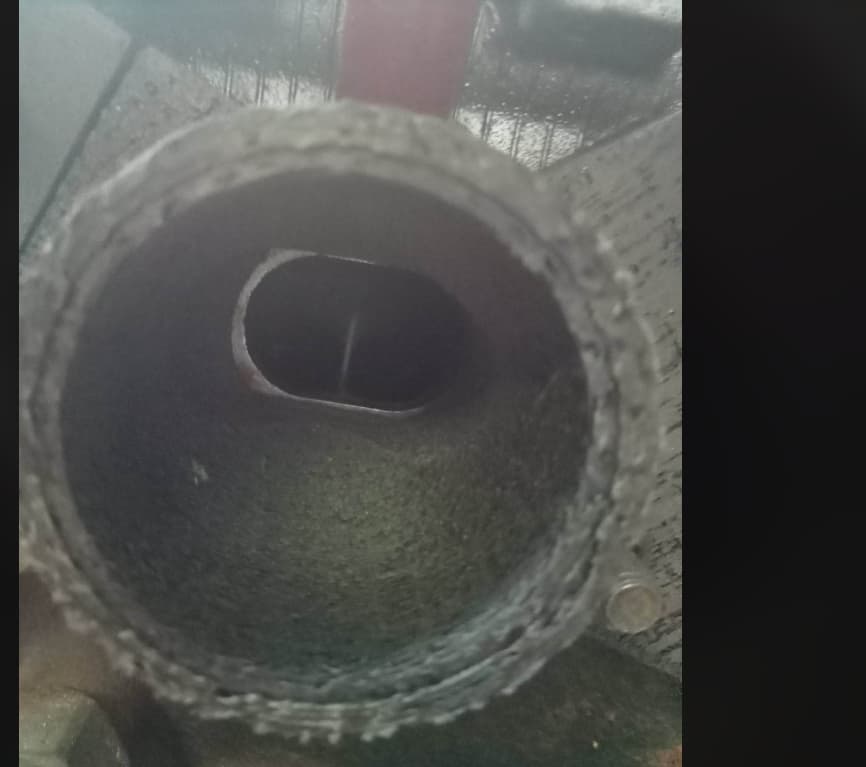
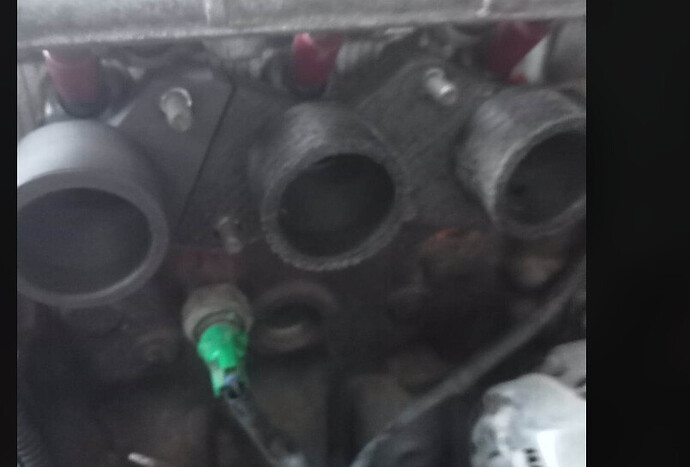
I have many ghetto ass ideas and I got one working wth the itb’s, It was cut the ej manifols then used meatl putty to make the edges wider and used silicone reducer’s to hook it up and get it running but it was far from ideal so atleast this way it will be a little better.
I wouldnt make a whole tb. I am a beginner andway too much out of my league yet. I need to learn more programs as i have said further up in the thread. It seems I am lazy and just keep sticking to the same shitty program lol.
Got a start on the other side today until it got to about 45+ Celcius in the shed then packed it in.
still a bit to do yet
Far from perfect but finally happy with my prototype and now to learn how to yell, scream and cry at a 3d printer with trying to get it to print this carbon fibre nylon. (CF25 nylon)
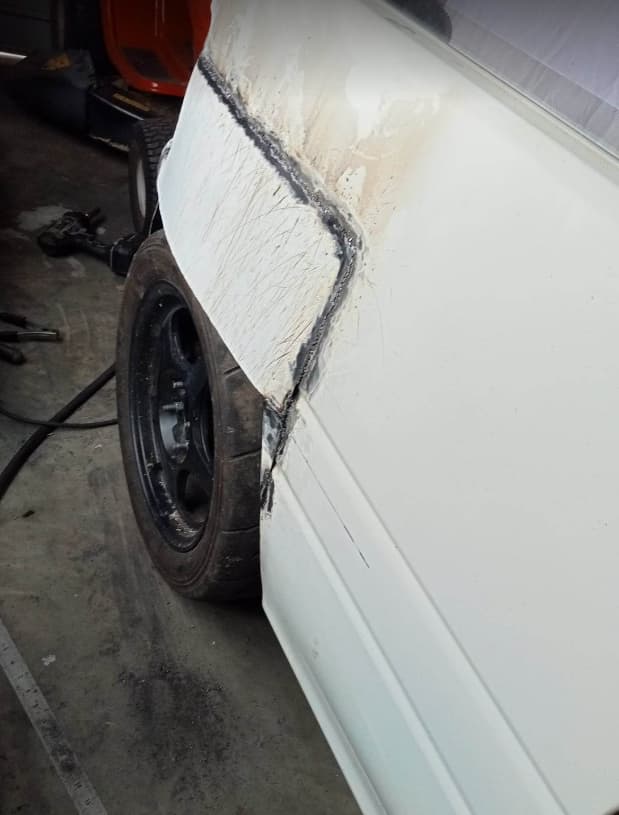
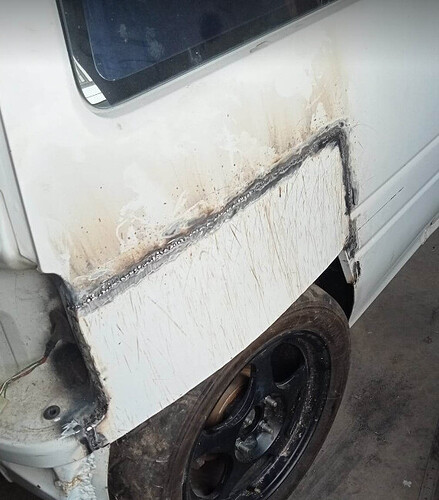
Also I got some fibreglass bog for the rear panels too I slapped some of that on and waiting for it to dry then I will sand it back and start with some light body filler and gradually bring it to where it needs to be.
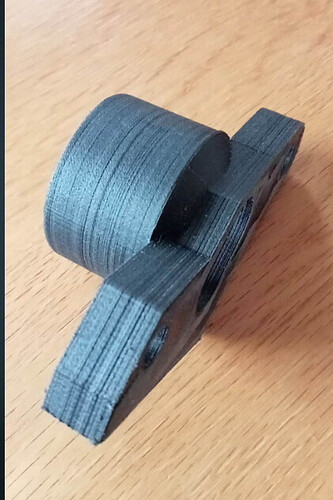
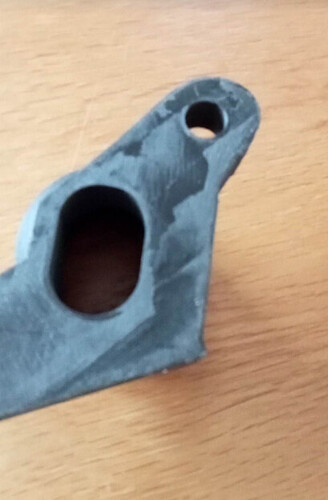
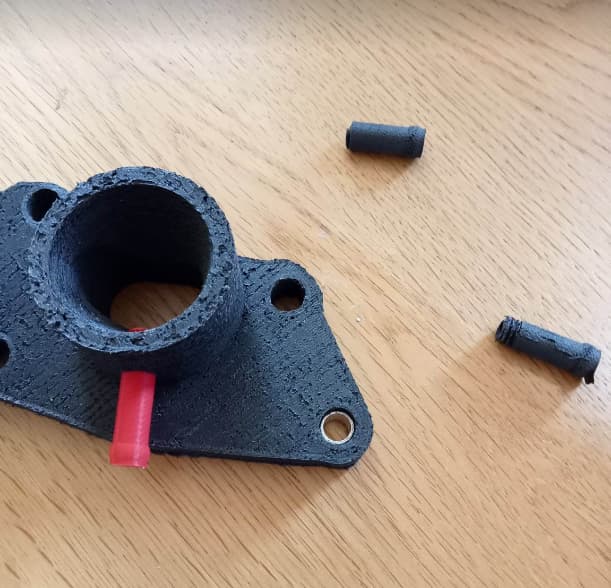
did my first ever carbon fibre nylon print and it came out pretty good. It did stick to the bed quite well and a little bit of material came off as you can see. Definitely going to have to use sealant when putting it on the engine. damn it is strong too. This only too 6 hrs to print now the 15+ hour wait for the other bit. I just hope it goes as well.
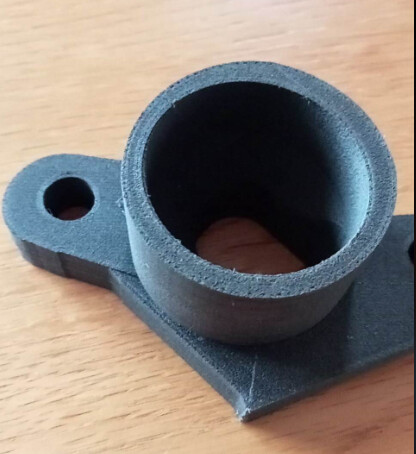
The next one failed about half way through. I think I know why so I will try again and see how I go.
The pains of 3d printing haha!
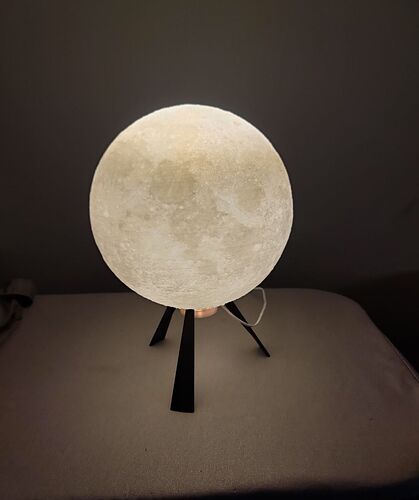
I once did a moon lamp, glow in the dark, 85 hour print, it worked.
Then everyone that sees lamp wants one, I’ve tried multiple times now and fails around 60 hours so I gave up.
Love watching your work on this, excellent stuff as always.
yeh 3d printing can be a friggin nightmare sometimes. Then when something works its like YESSSSS! Just enough to make you stick at it when you fail the next 10 times lol.
Thankyou for your nice compliment also ![]()
So I got the other side done. I had to do it in a draft mode and with a brass nozzle, so while it worked it is not as clean as the small side. I did have to get the angle grinder out to sand a little bit of the small edge to get them to fit. So I need to go back and Modify the slice between them so it is a better fit.
There is aluminum crush tubes and I have not made them a snug fit in all holes they are mainly there so they are a couple of mm thinner than the manifold so if the manifold does crush down then that is as far as they will go.
I did make a barb to go in the first cylinder hole with a thread but due to the draft print the thread did not come out great and I haven’t yet printed the barb as by the time this finished the brass nozzle was pretty much toast and just blobbing everywhere.
As I have said they are not perfect as you can see but definitely enough to get the job done much better than what I previously had. I want to work on getting the print right and print a few more till I get them down pat in CF Nylon and then I will go back and try to perfect the design again.
Let’s be honest I really doubt these would make any sort of performance improvement on what Mr G had already done but who doesn’t love the sound and the wank factor hahaha!.
This gave me something to really try to do with my limited skills to work on and so far I am happy with how it is going.
A Thankyou to @Mick for the stl On thingyverse this came out great with just a couple of small boogers to clean up and will fit perfectly in the bottom Din in the L200
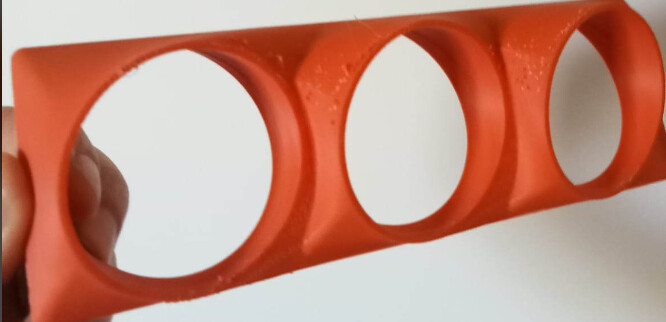
after printing 4 barbs in cf nylon and they all broke I have decided the abs ones are better cheaper and stronger…
Been ages since I did anything to the car and thought I would get in and get some more random things.
I have been looking at the front guards which are the old blue ones that came from efi mira’s old car. They are jdm ones but they are pretty bent and stuff so they are worth playing with and keeping the original white ones on good nic.
I put them on as was going to be lazy and chick on a pair of ebay flares that I have laying around from the old track hack. Funny thing is I just don’t want to use them.
So what is the natural solution when your broke have but have welding wire, grinding and cutting discs and some other extra mounted guards laying around.
Yep you guessed it work out where the L200 guards bend when you roll them too much and cut, weld in more metal and make it work.
I have seen some guards pumped right out in the past and hate how crap it looks just in front of the door. or having the bottom bit cut off.
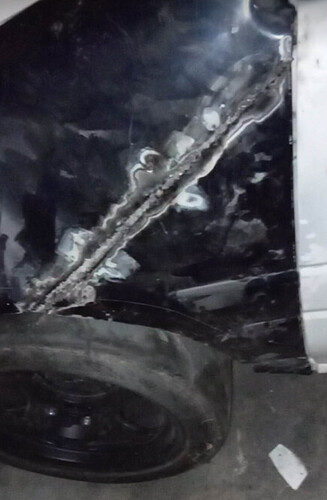
As usual please excuse my crappy welding but what I did was:
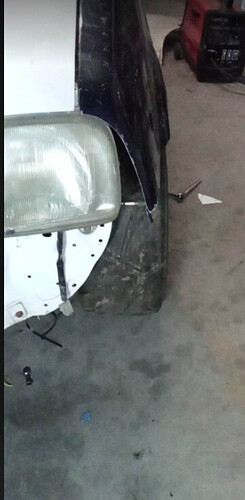
Cut the guard in half then cut a long small piece to tack weld at the back so I could put the guard back on.
Once the guard was on I used some scrap tin and pop riveted it to each side so I could get more of the angle I wanted the guard to be welded in and then I went about and sprayed weld everywhere to hold it.
Took off the pop riveted scrap bits and sprayed some more weld.
I then ground it back so it wasn’t lumpy everywhere.
I left a small bit at the bottom open so I could weld in a small cut from another guard to get a better line for the wheel arch as they did not match up at all.
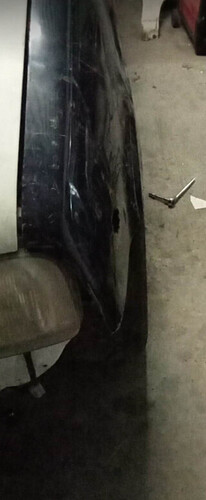
I welded that bit on then took off the guard and hammered the wheel arch into the better shape. I also did some more welds on the long piece at the back just to make sure its “in there”.
Seems to have worked well and now I will just need to work out a mount for the guard at the front as I used a long bolt to hold it where I want it to be. That should not be too hard to do I will either print one or make a bracket. I think I will be making a bracket to be honest.
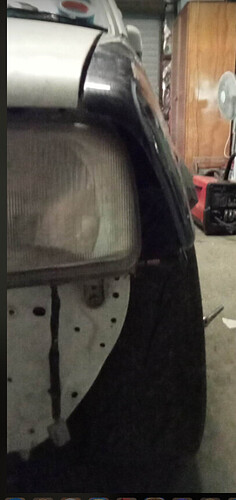
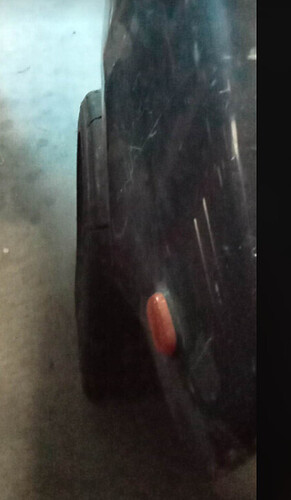
I will then have more challenges such as hot to make the bumper wider. Will I cut and plastic weld in some other bumper plastic or something else? Not sure yet. so here is the pics it is still very very rough atm but will eventually get there.
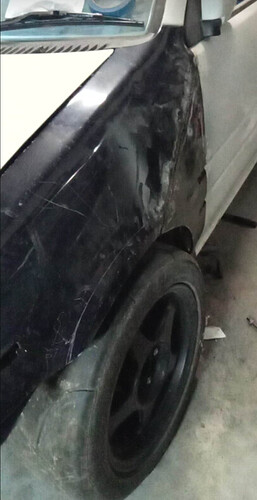
this one below is the one that hasn’t been done . You can see how much the wheels stick out.
The below is the side that has been done.
You can see the difference.
My thinking was that even though I am not as skilled as Mr G I still wanted to not use ebay flares and try to mak it look more stock style.
I will probably move the car over now so i can get started on the other side and then l once that is done try to tackle the bumper and other challenges.
Build not bought ![]() It might not look perfect now but im sure it will be when you’re finished with it. I agree with you that this way will look better than those fender flares (although those do have their place and time). It looks like quite the difference in width
It might not look perfect now but im sure it will be when you’re finished with it. I agree with you that this way will look better than those fender flares (although those do have their place and time). It looks like quite the difference in width
Nice work - are you going to make and weld in some fillets to infill the space to the sides of the headlights? I think the revised wings will make it look more muscular - well as much as an L200 can!
yeh I will weld in some fillets to go around the headlight. I will work out the mounting for it first near there and then use CAD (cardboard assisted design) to get a pattern and cut and shape with some metal. I will probably do the same with plastic with the bumper.
I will make it pretty later. I want to get it where it should be first.
Looks like it will blend into the overall look of the rear. Well done.
Brilliant, this is mint.

