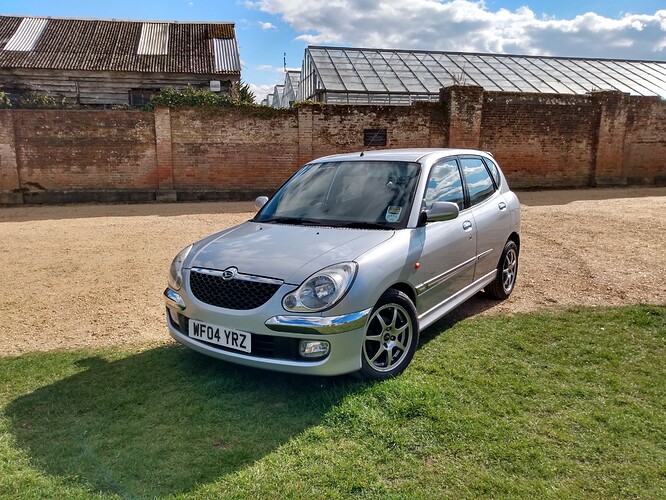
Ongoing project thread of Sirion Rally 2 M101

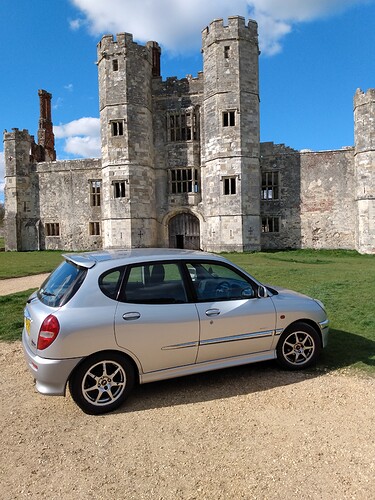
Took the Sirion out for a run up in the hills north of here on Friday, it’s a lot of fun to drive!

Today I reduced the tyre pressures from 33 psi to 30 psi all round as I think it was a bit too firm on the run. I’ll hope to drive it again tomorrow and see if it’s a bit less skittish on rubbish UK A and B roads and report back

3 Likes

The tyre pressure reduction from 33 to 30psi all round has helped no end - its still bouncy as its a stiffly-sprung, lightweight car but is less inclined to follow the ruts in the road as much as it did before. It also seems to grip more and scrabble less.

Using the revs will put the EML on, but this is just the bad 2nd O2 sensor (post-cat) which I have on order already. Otherwise it all seems to be in good order!

Here are a couple of pics from while I was out this afternoon

As you can see, my house is being renovated currently :rofl: :rofl: :rofl:

I was pondering as I drove about earlier whether the ride would be improved with softer springs but more heavily damped? As the car is very light, stiffer springs on crap road surfaces make it jiggle about a lot. More compliant springs but tighter damping might help in this respect, and still keep excellent roadholding. What do the suspension gurus have to say? I doubt I will get round to changing the suspension for anything other than stock parts but was a thought…

6 Likes

yeh I have very bouncy roads where I am and if I got stiffer rear springs or shock’s it is just horrible. I tested this last week. It makes the car handle great but with a bad back already I feel like I will lose more discs than I have already lol and my kidneys start to feel like I have been riding motor cross. I went back to stock. I needed new rear shock’s but found an old pair of oil shocks I had for a mira so instead I re-oiled those ones and they are heaps better than my dead gas shock’s. Link below on how if interested

3 Likes

This is the way a build thread should start. Love the whiteboard and ‘project outline’ with all aspects noted!

3 Likes

Thanks - I find it helps to have a list of issues so you feel you are making progress, even if its small things like replacing tyres or dampers which are simple bolt-on thing.

You can always add to it as you go along, but it helps you feel that you’re drowning in work or it will never finish.

I’ve got a can of Dynax S50 cavity wax which I’ll be applying to the chassis rails and inside of the sills to keep the rust at bay for the forseeable future. I have pulled lots of the interior trim out to get access to the factory holes and use the lance thing to coat it all nice and thoroughly.

I’ll get pics up later on.

3 Likes

Since applying the dynax wax I’ve really just driven the car and not much else! one 750ml aerosol can was just enough to give all the box sections a good coating, I will probably get another can just to be extra sure though.

The new o2 sensor fitted in the post-cat position arrived and was fitted and I’ve not been troubled by the EML again, so I am happy that that seems to be fixed.

Something that I have noticed (and so did the MOT man!) is that the joint between the manifold downpipe and the middle exhaust section is a bit mangled and not sealing quite right. Its fine while driving along, but you do get some fumes drawn in when sitting in traffic. I got the car up on the lift and had a look at it, and it seems that the flange of the exhaust mid section is partially broken, so the sprung bolts don’t grip correctly. I tried tightening the bolts but one side just seems to spin. I didn’t want to wreck it so decided to leave it alone for now.

This got me thinking about replacing the exhaust for a stainless one with slightly bigger bore. If I’m correct then the cat lives inside the manifold (based on the lambda sensors being at the top and bottom of the manifold), and the exhaust pipe is really just that, a long pipe with one silencer box in it? This would be good, as it would mean that replacement is pretty easy, and cheaper as it would be a cat-back system

Does anyone know if:
a. The K3-VE2 engine does indeed have a mani-cat
b. What the diameter in inches the standard exhaust system is? I think that its 1.75"

I’d like to go up in bore slightly, and go with a 2" system to give a bit more noise without looking/sounding ridiculous, I saw that @Mr_Gormsby is running a 1 7/8" system on his, does anyone else have any guidance?

3 Likes

The 1 7/8" was on a EJDE in the L200. I think the K3VE we did in the L700 was 2".

1 Like

Thanks!

Looking back over previous ebay purchases, the crush gasket I got for the new (standard) backbox had a 58mm inner diameter and that that fitted perfectly, so its a 2" system as standard. I’ll see what the stainless exhaust places I have contacted suggest in terms of bore options.

2 Likes

I’d go 2 1/4".

1 Like

image

Yes the have a cat that is part of the manifold.
I had a bit of a k3ve-2 system in my back yard and it is 43mm OD straight across so approximately 1.7 inch

1 Like

Thanks for the info!

1 Like

Possibly a longshot, but can anyone tell me the part number for an auxilliary belt tensioner for a K3-VE2 engine? Or, is it shared with the similar 2SZ-FE Toyota engine?

I’m not sure if this is what you’re looking for, but it’s worth a shot:
1663097401

Here you can order one as well:

https://www.autodoc.co.uk/spares-search?keyword=1663097401

2 Likes

Brilliant, thank you!

2 Likes

More work planned to sort out a few of the remaining issues. I’ve put 1000 miles on the Daihatsu now, which has shown up that the torsion beam bushes are very tired, the clutch hasn’t got much life left and the exhaust really wants replacing as the joint between manifold and centre section is blowing.

I have a LuK clutch kit, full set of Siberian polyurethane bushes and a new auxilliary belt tensioner pulley on order now, and 2 weeks booked off work at the end of this month.

I think the engine will need to come out for the clutch and aux belt tensioner jobs so thats going to be quite a job, I’ll document how I get on for your mockery/enjoyment (delete as appropriate)

Thanks very much to @Blyatsu for the info on the bushes and also the tensioner.

4 Likes

Easiest is to pull the engine and gearbox together, and then separate.

The rubber bushes twist in themselves to get rotation motion. Urethane spins on the/a shaft. Sometimes the provided shafts in kits are rough. Polishing them up helps, or I make new bushes from chrome-plated steel sourced from hydraulic suspensions struts (many size shafts kept on hand). They need to be greased and should be serviced periodically (I can’t say how often as there are many variables) by regreaseing. To make this easier, where I have used urethane I add a grease nipple. For road cars I prefer rubber these days as I get older as “service free”. The car I race has just spherical joints just about every where and urethane only for the rear sway bar (some time this will get the rose type joints).

2 Likes

A small bit of progress last night, I got the car up on my lift and the front wheels off to have a good look at the front ARB.

I expected it to be corroded beyond belief but was very pleased that after some cleaning up of the threads using a wire brush, and a dousing of penetrating oil I was able to undo the nuts on the threaded sections at the ends of the ARB and the 4 bolts holding the u-clamps to the subframe cradle several turns.

I’ll give them another soaking tonight and get some pics for reference but I’m optimistic this should be OK.

I need to take some tension off the ARB before undoing the u-clamps on the leading edge of the subframe cradle, then undo the bolts on the threaded end sections and I should be able to pull the ARB free from where it locates through the lower suspension arms and have it fully removed from the car.

I’ll then sand down, vactan and enamel paint the ARB off the car while I wait for the new PU bushes to arrive from Russia then fit them all in a week or two. I’ll make sure I use plenty of silicone grease to lubricate them.

4 Likes

Following my success earlier this week with undoing the bolts, tonight I went out and had another go at removing the ARB.

My main concern was the tension on the ARB - it wasn’t obvious to me whether the bar was under tension with the wheels on the floor, or with the front off the ground and suspension at full extension, or somewhere in between. I decided that the bar wanted to be horizontal with where it locates through the lower suspension arm bushes, and that this roughly equated to the front lifted up, but not as far as to lift the tyres off the ground. I left the nuts on the threaded ends of the ARB and carefully undid the u-clamp bolts on the leading edge of the subframe cradle. I watched to see if the bolts undid and exposed the threads, or if the tension of the ARB was pushing the metal u-clamp off the subframe, luckily I had guessed about right and the bolts undid and u-clamps dropped off without the ARB smashing my teeth out.

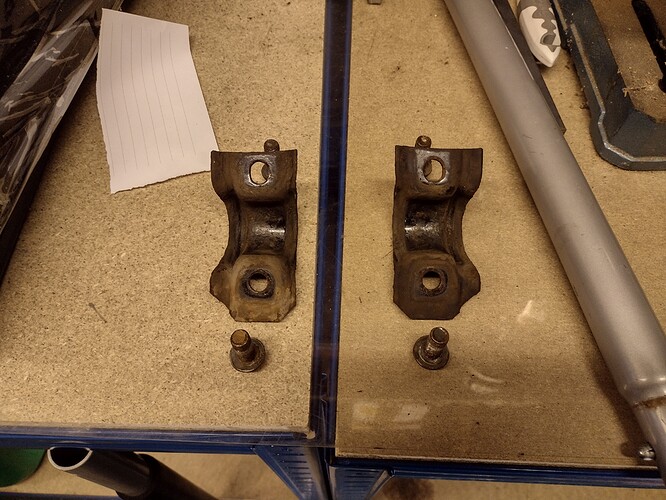
I dropped the u-clamps off and cleaned up the threads of the bolts with a wire brush and the bolts in a vice. They are ‘handed’ so I set them to one side for safe keeping.

I then lifted the car up, took both front wheels off and undid the nuts on the end of the threaded sections, took off the large washers and wiggled the rear top-hat bushes out. Then bashed the ends of the threaded section through the voids with a rubber mallet so I didn’t mushroom the ends.

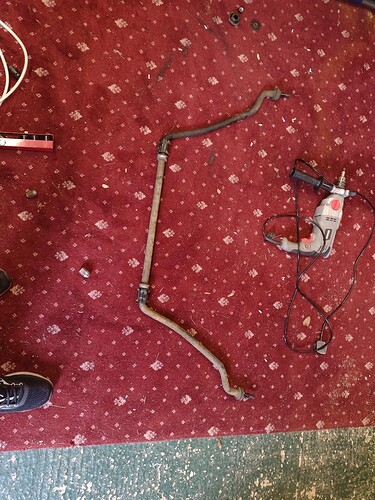
I was then able to pull the ARB out from the front of the car, hooray!

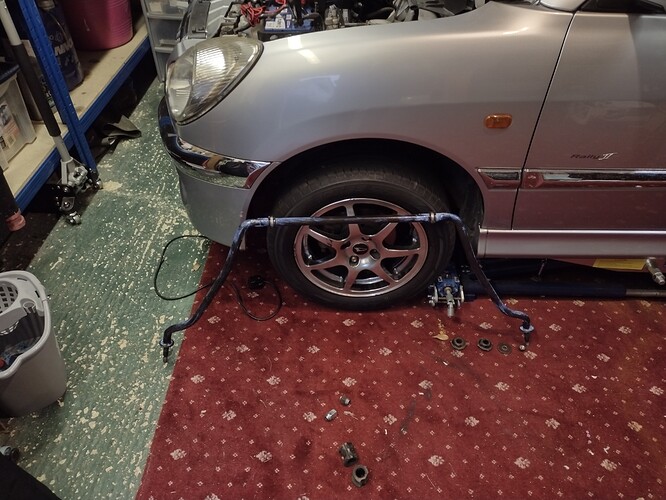
As you can see its got quite a bit of surface rust on, so after unpeeling the split (intentionally) front bushes from the ARB I sanded it down, wiped the rust/dust off with a wet sponge and painted it with vactan, and left it propped up against the front wheel to dry

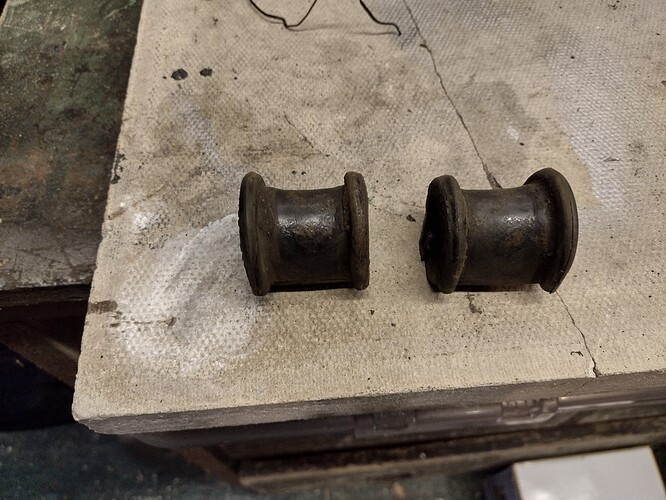
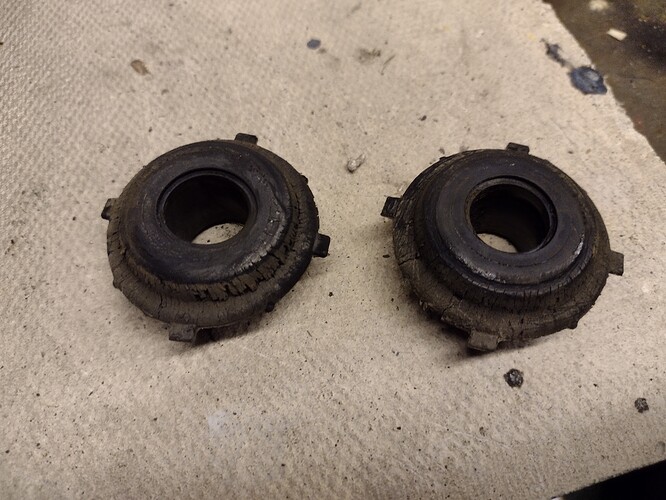
The bushes look to be original and are a bit crusty

These are the ones under the u-clamps on the leading part/straight bit of the ARB. I had to guess which u-clamp bushes to get as they come in 23mm inner diameter and 23.5mm, I went for the 23.5mm ones on the basis my car likely has a thicker ARB because its the SPROTS VERSHUN - a test with my calipers measured 23.37mm so with a lick of paint that will be 23.5mm I’m sure. I suspect the 23mm ones would have been fine in reality.

And these are the much crustier top-hat bushes that allow the ends of the ARB to locate through the lower arms - these were super easy to remove which bodes well for when I replace them with the PU ones that are on their way to me from Vladivostok right now.

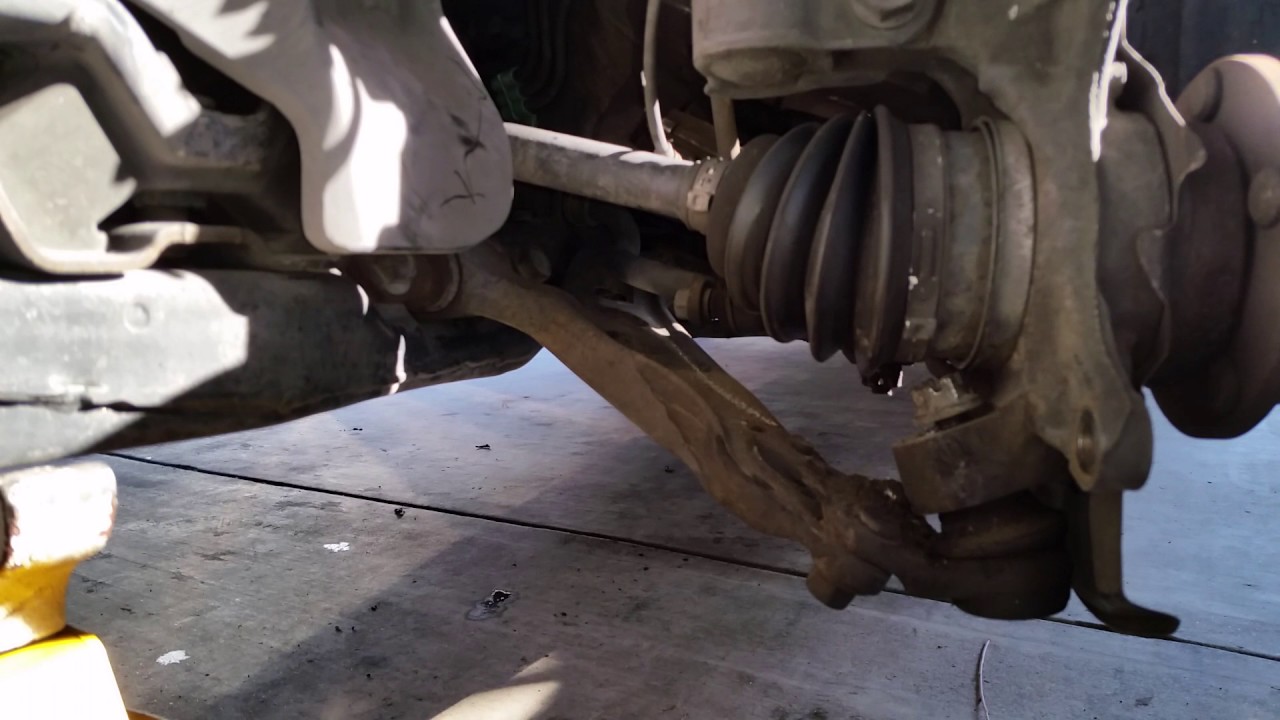
The only ones I’ve not yet touched are the bushes that go on the inner end of the lower suspension arm because they look like they’ll be a right old war to remove from where they sit, and I really need a balljoint separator to get the lower arm off the car entirely to remove the old ones and replace with the new ones on order. I might look at this tomorrow night if I fancy it, or leave until its next MOT and ask the garage to do it with a press and whatnot.

I’ve left the ARB overnight for the vactan to dry properly and then paint it with aerosol black enamel this evening in prep for the bushes arriving hopefully next week.
4 Likes

Best ball joint separator is a big hammer (not on the thread) on the flat edge of the casting.

1 Like

Thanks, I’ll give that a go - I assume to refit you use a jack to push the lower suspension arm directly upwards to ‘pop’ it back in?

The ball joint dust covers were an advisory at the last MOT so I can have a look at replacing them anyway if I can get the lower arms off the car.