Ongoing project thread of Sirion Rally 2 M101

To put back together just push all back together and do the nut up. Shouldn’t need the jack for force just to lift up.

With the hammer, follow through on the strike. Don’t just hit but drive with force after hitting. It’s akin to not just punching someone in the nose but seeking to drive the nose out the back of the head (sorry to move from being family-friendly but that’s the analogy that I first heard to describe such).

1 Like

Ha, good analogy!

Is the idea of the hammer blow to shock it free, or physically move it? I’m applying downwards pressure with the breaker bar anyway, is this just to shock it free?

I had some more time tonight so had a go at removing the drivers side lower suspension arm. The balljoint dust covers were an advisory at the last MOT anyway and I needed to get the arms off to be able to remove the old inner bushes and press the new PU ones in when they pitch up.

Access isn’t too bad with the wheel removed and the ARB detached

I had undone the 17mm nut on the threaded section of the balljoint end - as you can see, the dust cover is split at least halfway around here. I used a crowbar and hammer to lever the arm off the bottom of the hub as suggested by @Mr_Gormsby

On the left you can see the cylindrical bit that the bush goes into, this is held onto the subframe with a stout 17mm bolt which was easy to remove with no tension on the arm

This is the arm itself which came out without too much struggle. the balljoint dust cover was wrecked by being removed so that will get replaced. The arm itself has some surface rust but is otherwise fine. The next task was getting the bush on the left end of this arm out. Dear god, what a pig of a job!

In the end I used a pillar drill to drill holes through the rubber until it was weakened enough that I could hammer the bush out with a drift, but not before I’d lost three drill bits to snapping, tried 2 g-clamps with sockets in to try and push the bush out, a hole saw and a LOT of hammering. Safe to say they are a ‘snug fit’ in the void!

This is it with the bush removed

I cleaned up the void with a wire brush attachment in the pillar drill, and also cleaned up the other hole that the ARB mounts through while I was at it. Its not super-clear in this pic but I have managed to do a bit of damage to the inner edge of the void that the new bush will go into with the drill. I hope this doesn’t matter too much, as the bushes don’t rotate at all in the arm - they are pushed in and grip like limpets - with the PU bush, there is a chromed metal tube that the bolt goes through which is what moves, when the bushes arrive I will slide the tube out, silicone grease the inside and outside and slide it back into the PU bit.

I utterly destroyed the old bush getting it out, and don’t particularly fancy wrecking the new one trying to get it in. I shall take the arms and bushes over the road to the mechanics there and see if they’ll press them in to the arms for me for a contribution to the tea and biscuits* fund using their proper press.

I was also able to paint the ARB with black enamel and thats drying in the corner for now.

I’ll have a go at doing the same to the passenger side tomorrow, I may wuss out of removing the old bush and potentially damaging the inner edge of the void again, if I’m getting a pro to put the new bushes in with a press then its not likely to be much more effort (cost) to press the old one out first before putting the new one in.

Oh, and the clutch kit arrived today too.

1 Like

It does sort of shock it free. Because it is a cone you are dealing with some of the energy from the side hit transfers down at 90deg to the hit.

While at the press to put the new one in, press the old one out. To get them out when you have not press I use an air chisel. Can’t remember what these ones look like but small ones like these can be hard to get the chisel on.

I’m going to have a crack at the other one tonight, I realised I have a hub puller in the garage so I’m going to have a go at using that to push the old bush out of the passenger side arm.

Some more progress. As I now know what I’m doing* the other side came out in 20 minutes, I had a go with the hub puller I got in a jumble sale for £2 two years ago to press the bush out

Which was an amazing success - the only fiddly bit was lining the three legs of the puller up on the rim of the void that the bush locates into, then just pushed it out by tightening the spindle of the puller up. The job took all of 2 minutes to do and I managed to not damage the inner face of the void at all.

However, what I DID manage to damage was the thread on the balljoint extrusion. Now there is more resistance in the nut tightening on the threaded section than there is for the balljoint to spin in its socket, and with no visible means to lock the balljoint the arm is scrap - I’ll not be able to tighten the nut back up after I have pressed in the new bush on the car, and even if I did manage to tighten it up, there is zero change of it coming off again without a session with the angle grinder in a very tight space.

So I’ve bitten the bullet and ordered a pair of new lower arms as these come with new nuts, new clevis pins, new prefitted balljoint dust covers and I know its going to be easy to press the rubber bushes out and fit the new PU bushes using the hub puller anyway. They were only £28 each - ‘Firstline’ brand? Apparently they make loads of aftermarket stuff and are generally pretty good. Can’t say I’ve heard of them, but then I’ve also never heard of the other options including KAVA, Febest, Japanparts, Ashika, Oyodo, NTY or various others.

I also put another coat of black enamel on the ARB itself.

I can’t do any more until the bushes arrive really so hopefully that’ll be early next week and then it can start going back together. I might try and rock the car forward and see if I can use the hub puller to press out the rear bushes in situ which would make life a lot easier in prep for the new ones arriving

3 Likes

It’s a shame you were kind of forced to buy new arms, but on the other hand, new parts are never a bad thing! Especially for that price, I think it was a good decision.

Also, did you mean KAVO instead of KAVA? KAVO is a dutch company that makes replacement parts voor Japanese/Korean cars. As far as I know, they make some pretty decent stuff. At least, I hope so, because most of the parts I ordered for my swap are KAVO parts :sweat_smile:. I guess we’ll find out!

1 Like

Ha, sorry yes you are right - KAVO, not KAVA. Its not a brand I am familiar with, and it was quite a bit more expensive than the firstline stuff. I did wonder whether there really were that many different companies making control arms for fairly obscure cars, or if there is more chance that actually they all get/got made in the same factory and just put in different branded boxes, but maybe thats me being overly cynical (moi?)

Sometimes yes, somtimes no. This ^ is one of the cases in which the answer is probably ‘yes’ :joy:. The kit from ‘ert’ looks quite similar to the ‘autofren’ kit, don’t you think? :thinking: :sweat_smile:. I always Google the manufacturer and check if it’s any good. If it’s good, and people are satisfied with their products, I don’t see any reason to buy the same parts for more money. I like to stick to 1 brand, which is why I chose to stick with KAVO, but I don’t think there’s a huge difference.

1 Like

I usually go for nipparts. They are cheap and I’m happy with the quality. I don’t really think that there is a difference in quality of control arms, metal is metal and if it sits it fits xD Of course there could be difference in the quality but i don’t think that these types of cars can really find the limit of that quality.

Anyway, new parts are (almost) always better! Keep the updates coming :slight_smile:

2 Likes

I have pushed rubber out to fit spherical joints. Not actually legal on the road in Australia. My race car has nearly all such links. Noticeable diff in handling response and holding a line, however, with that comes an increase in NHV (noise, harmonics and vibration).

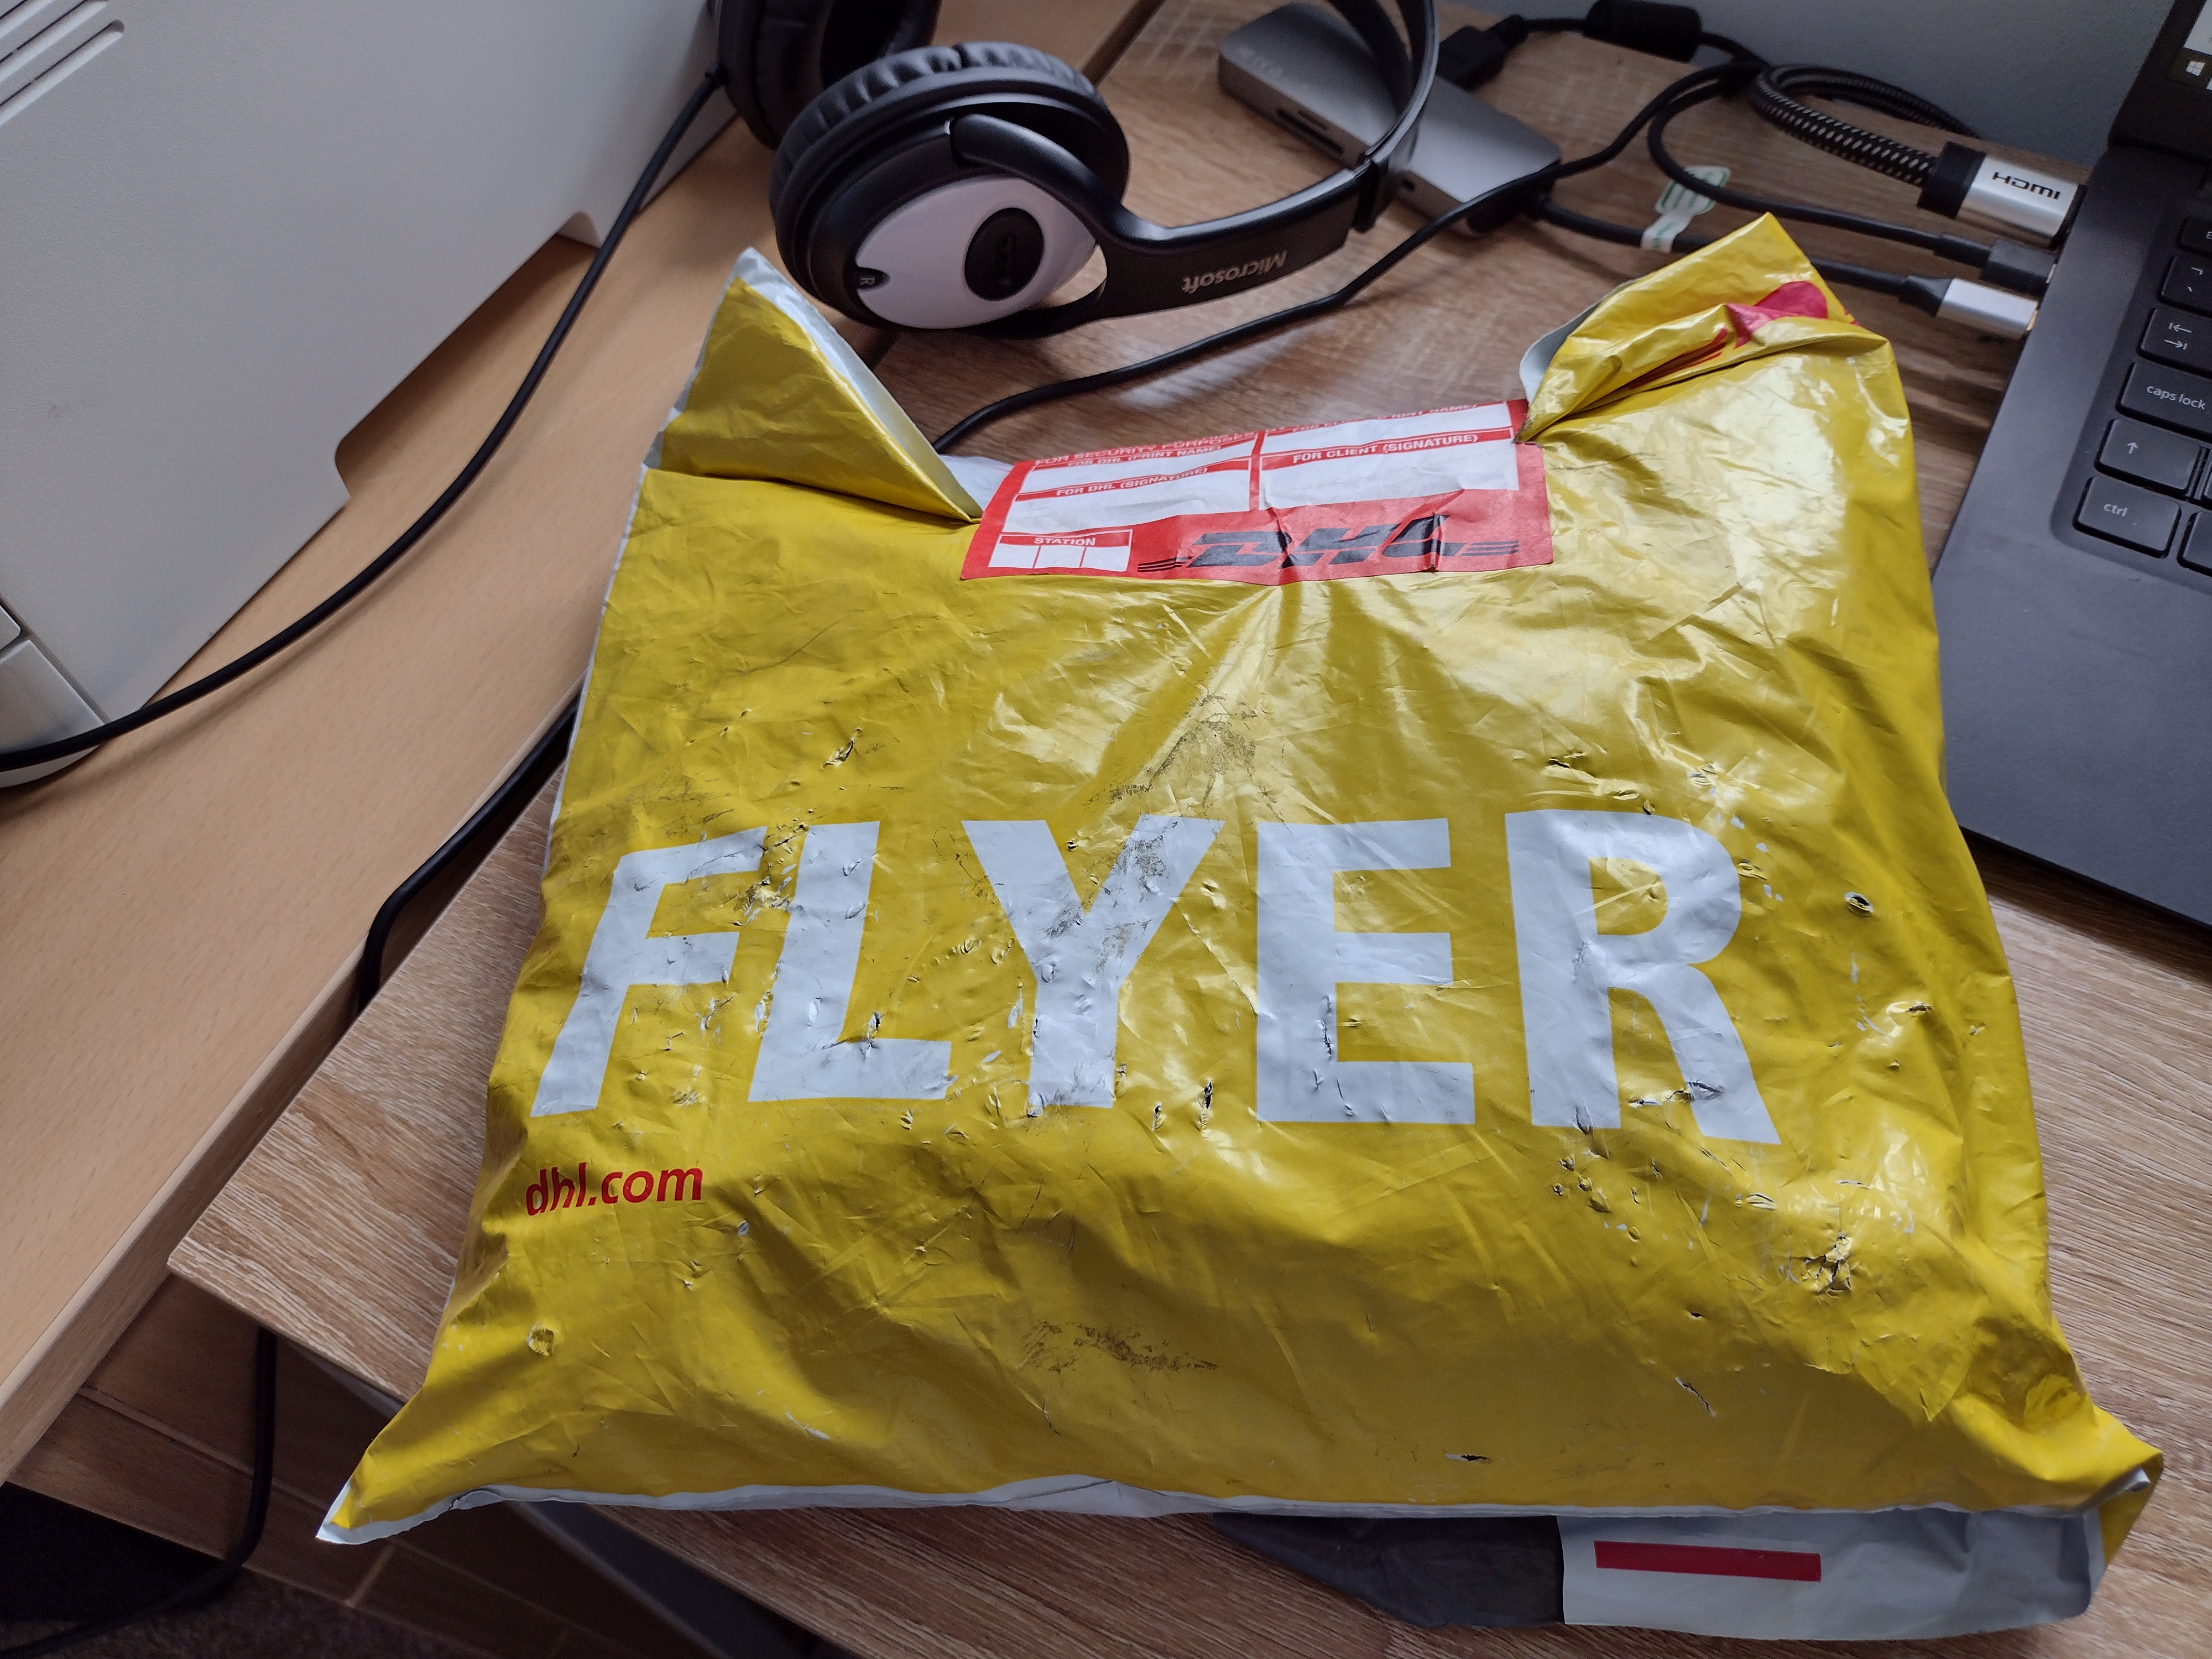
From Russia, with love DHL

Check out my new bush(es)

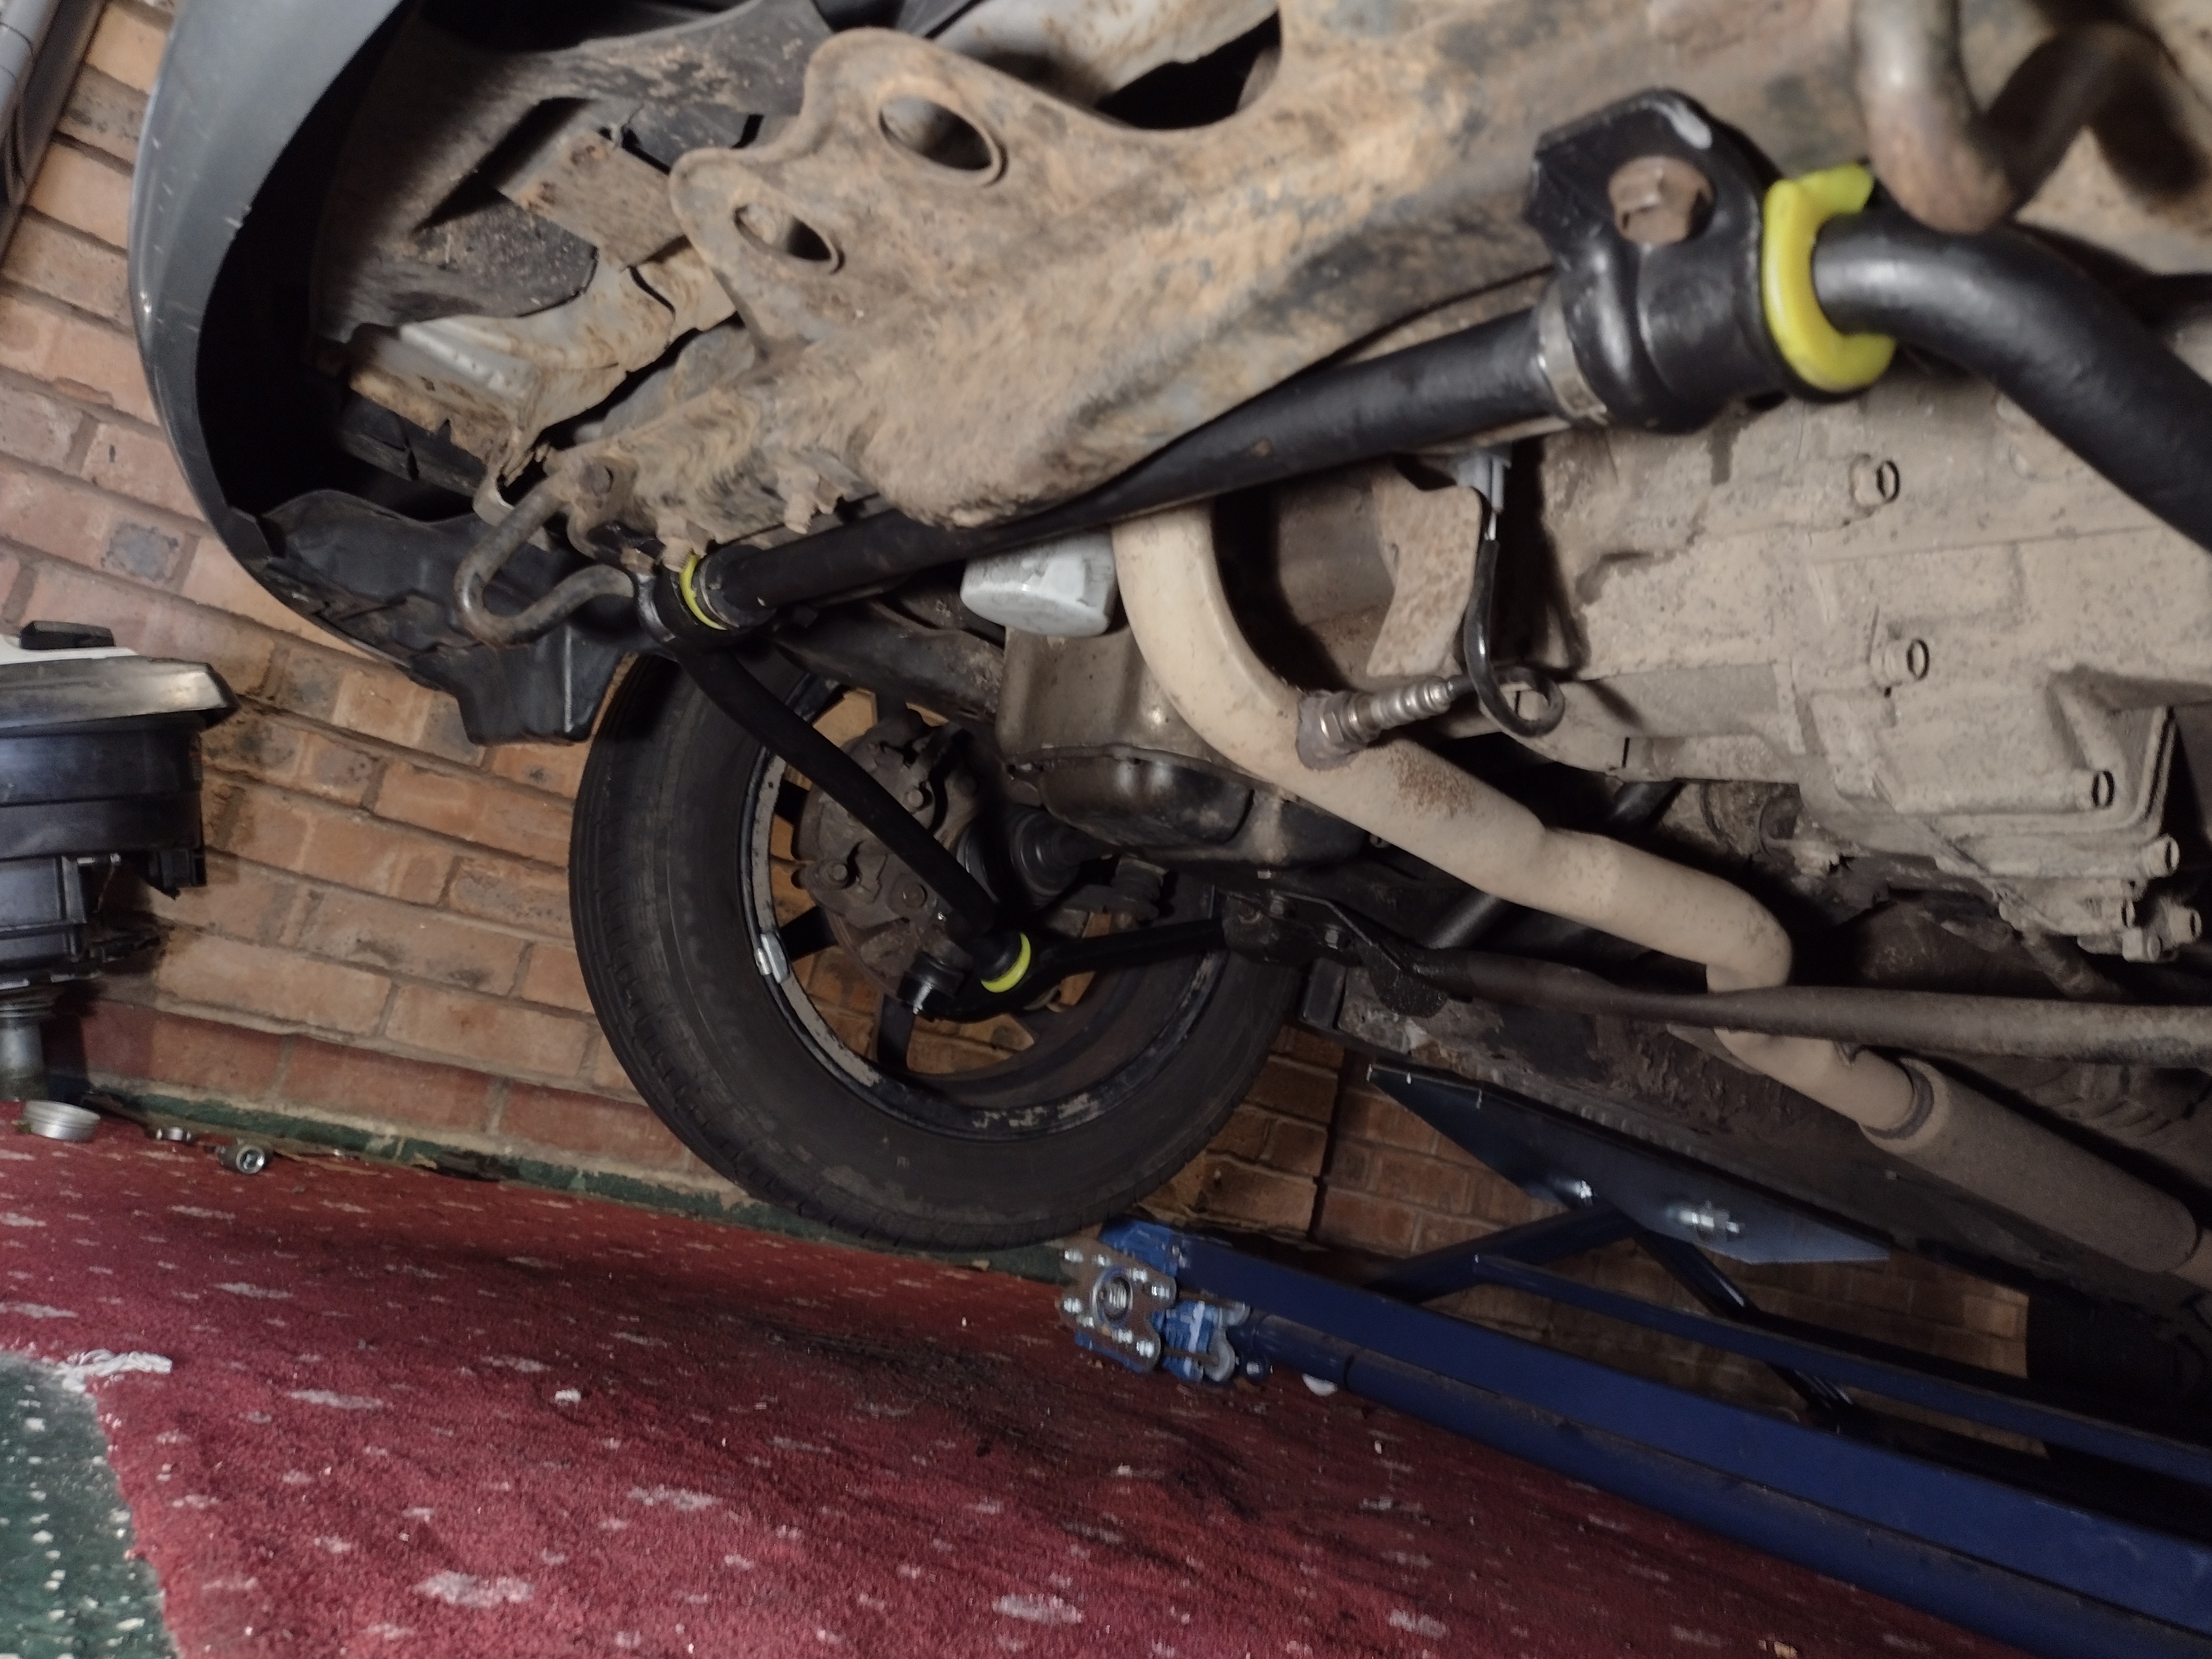
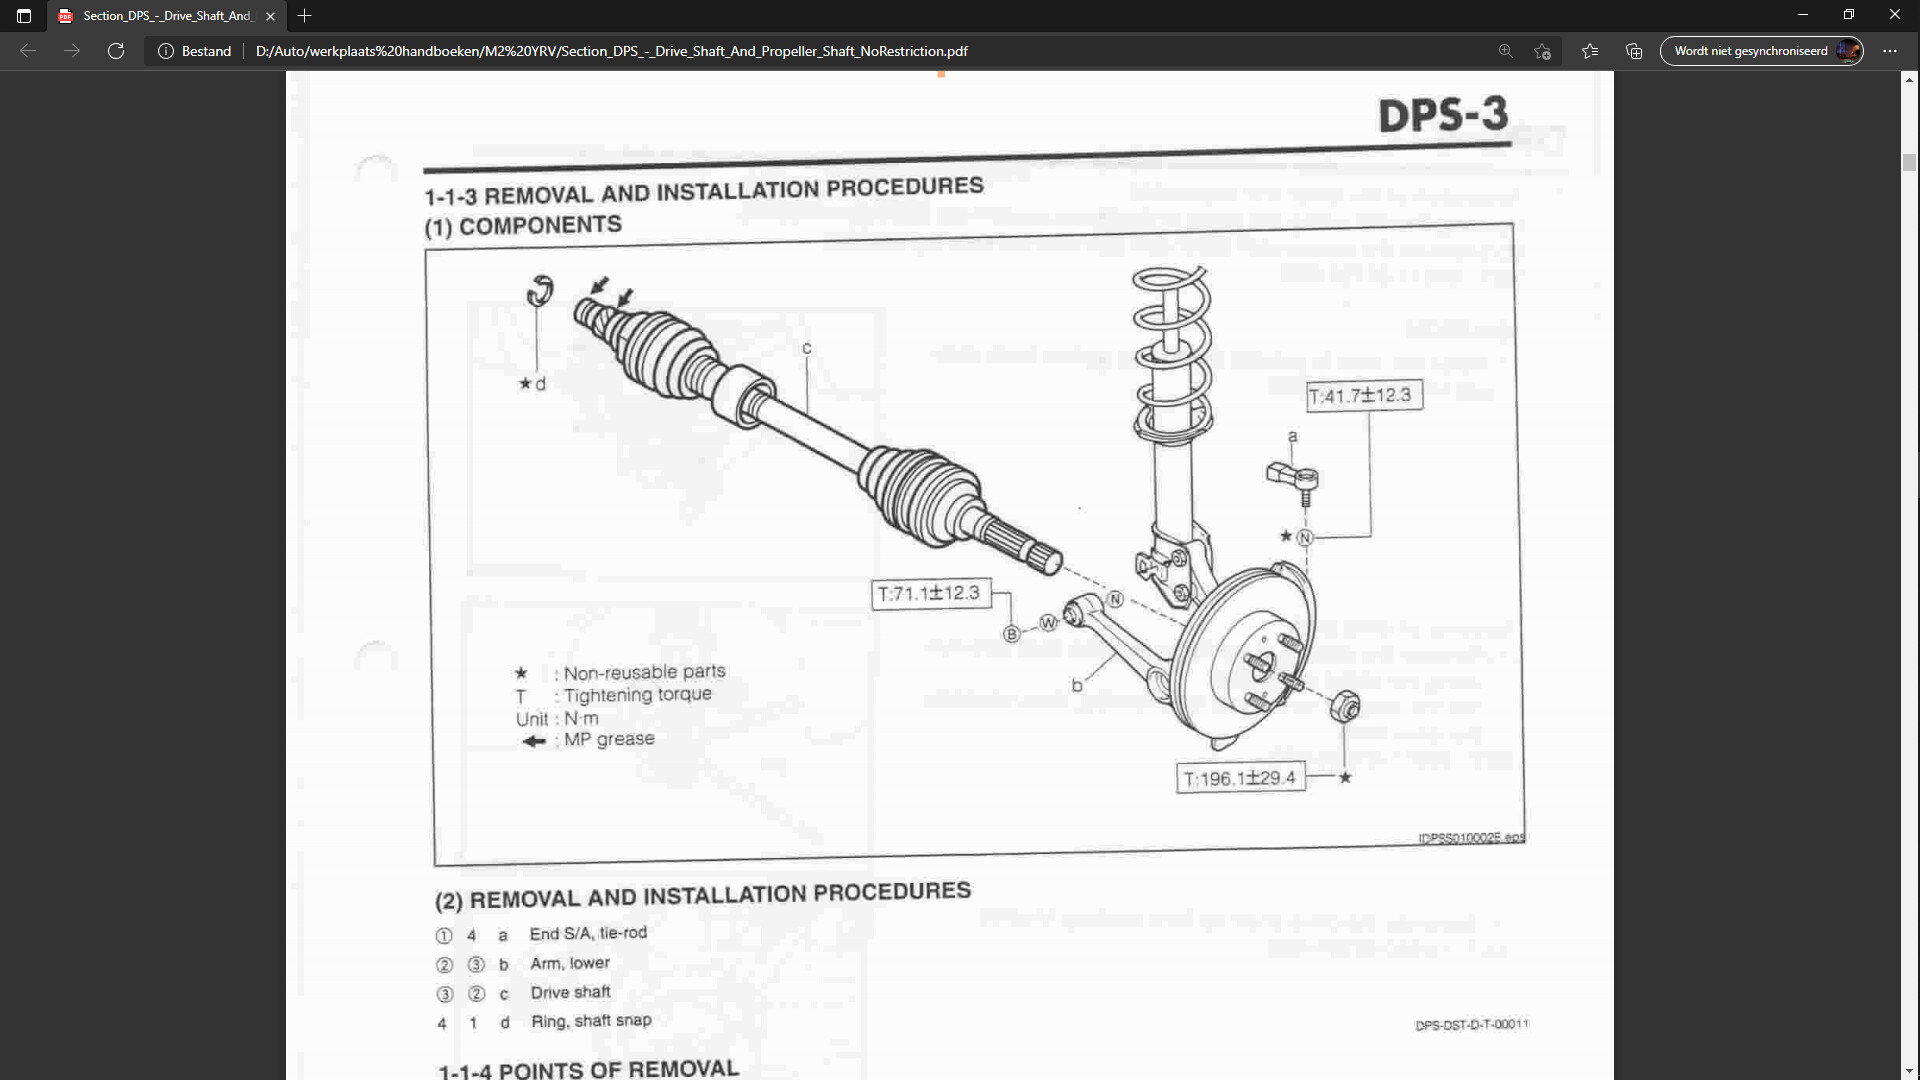
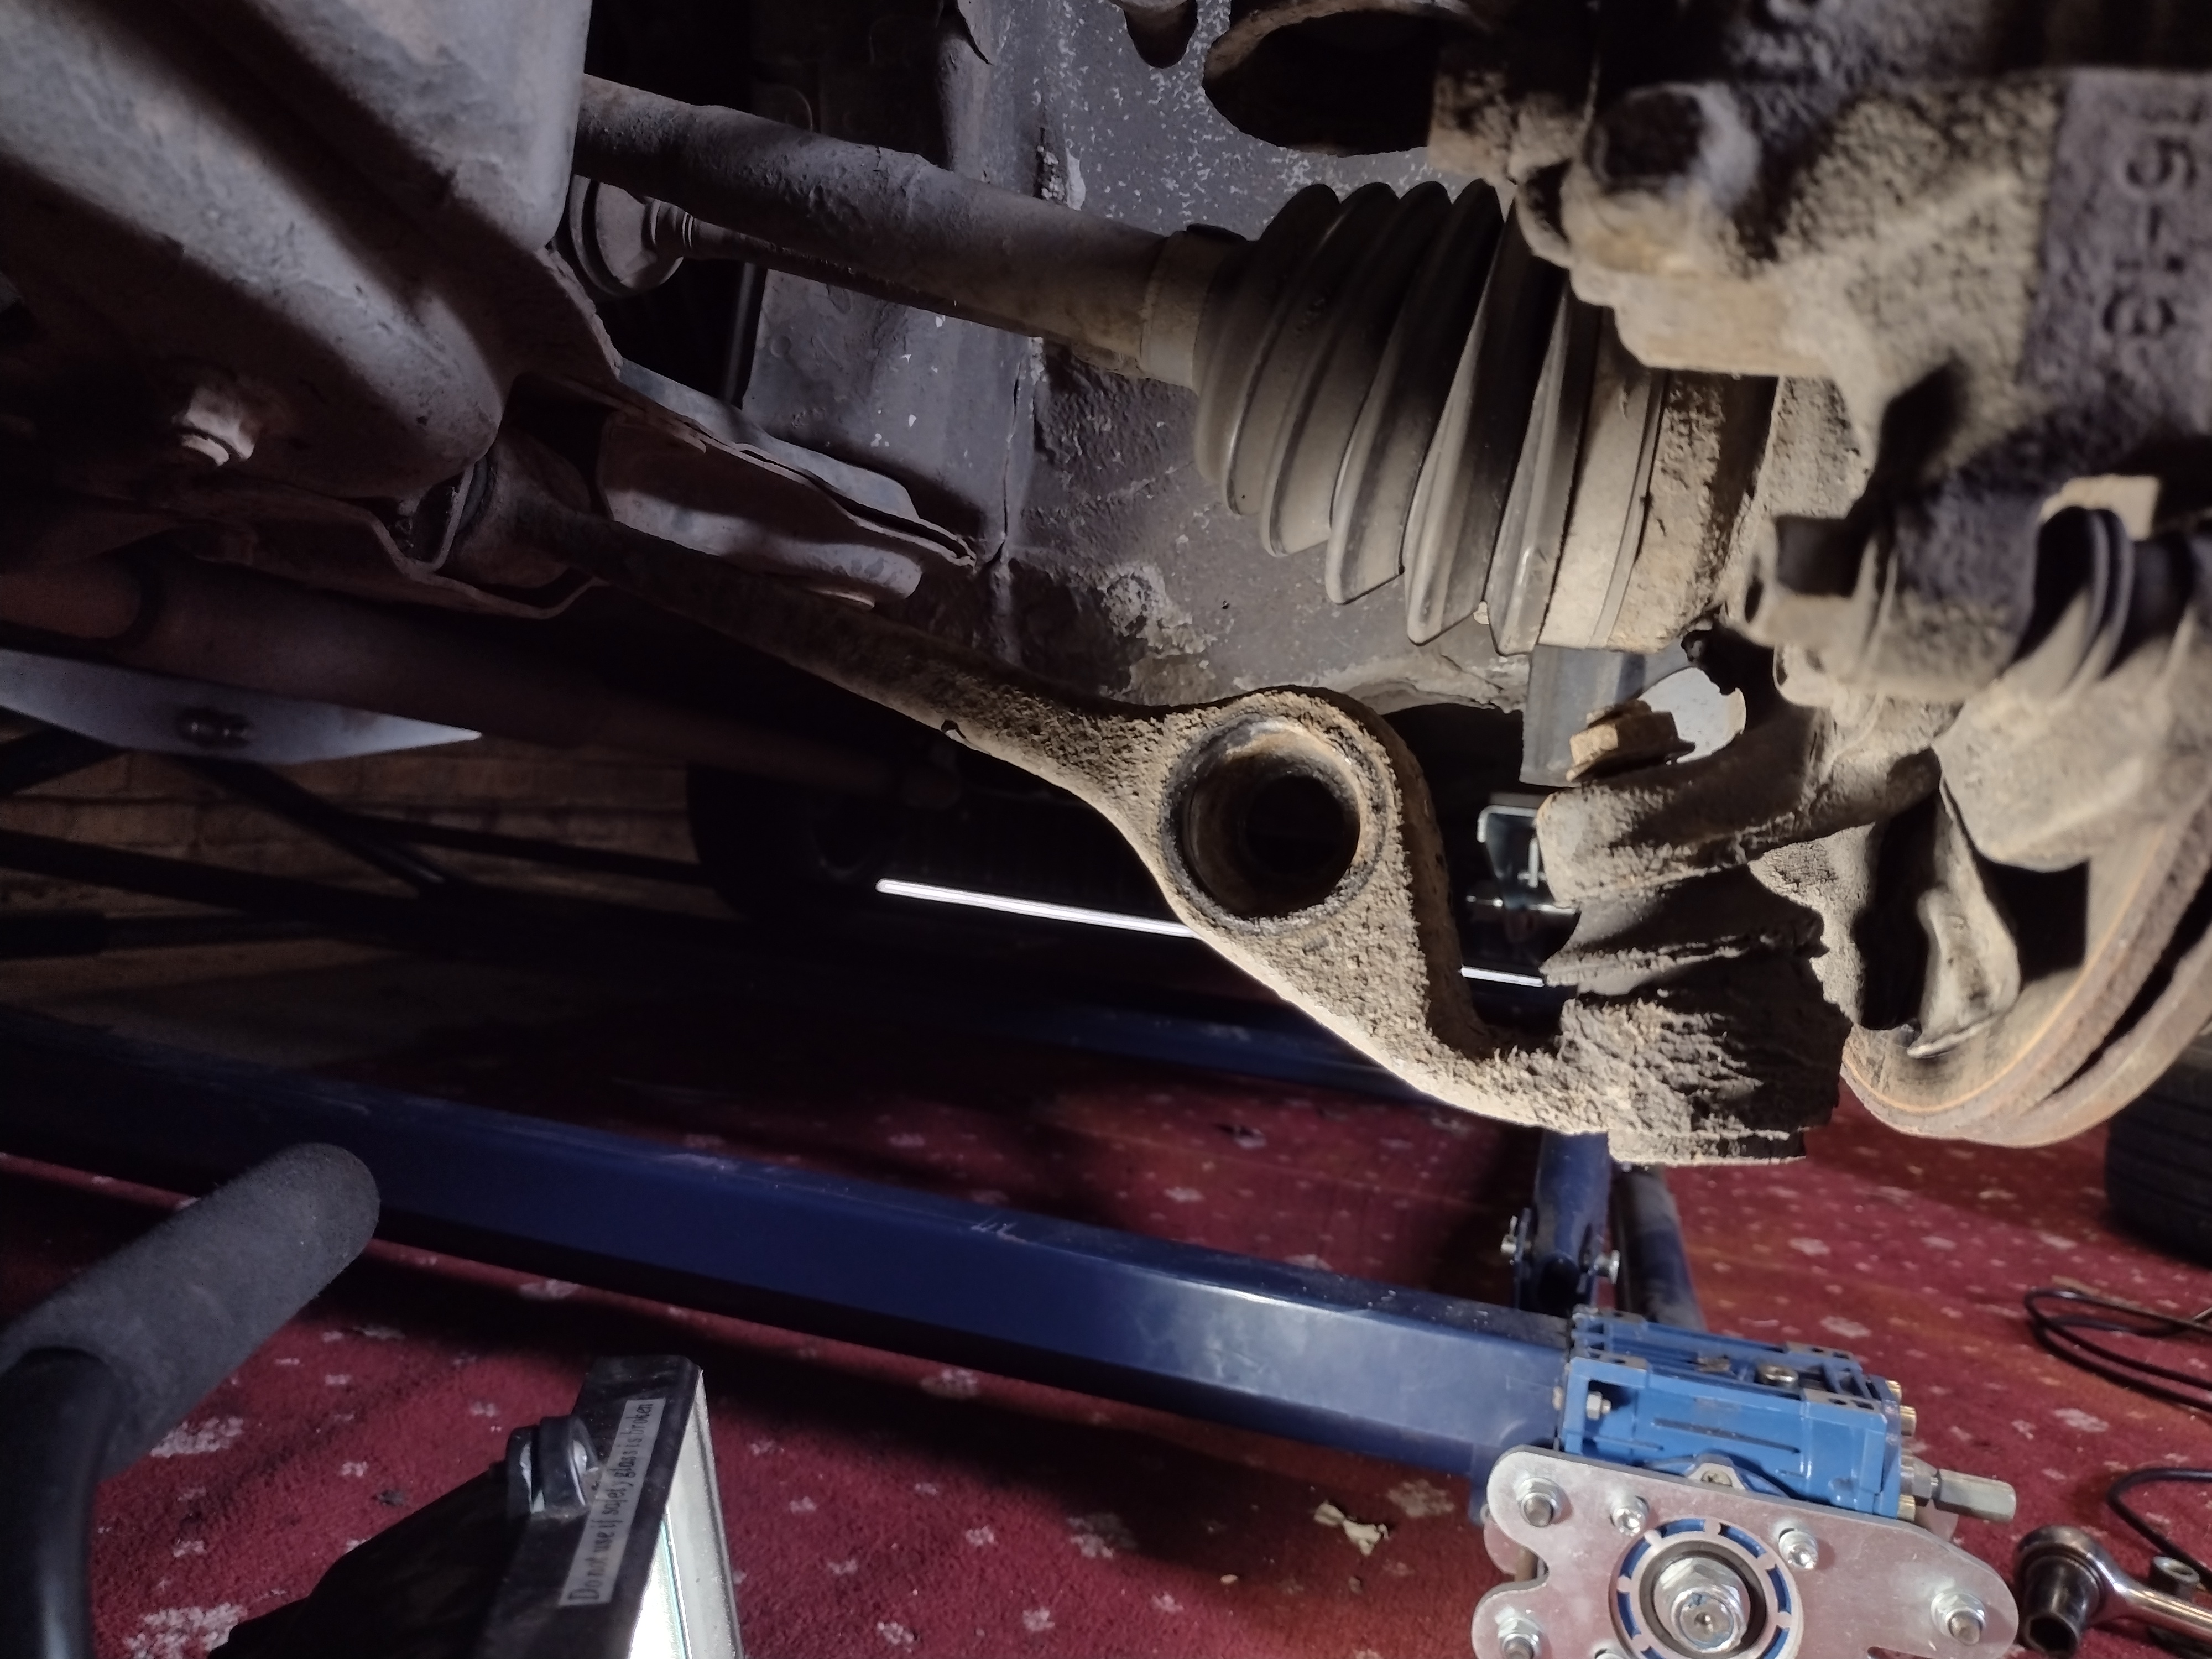
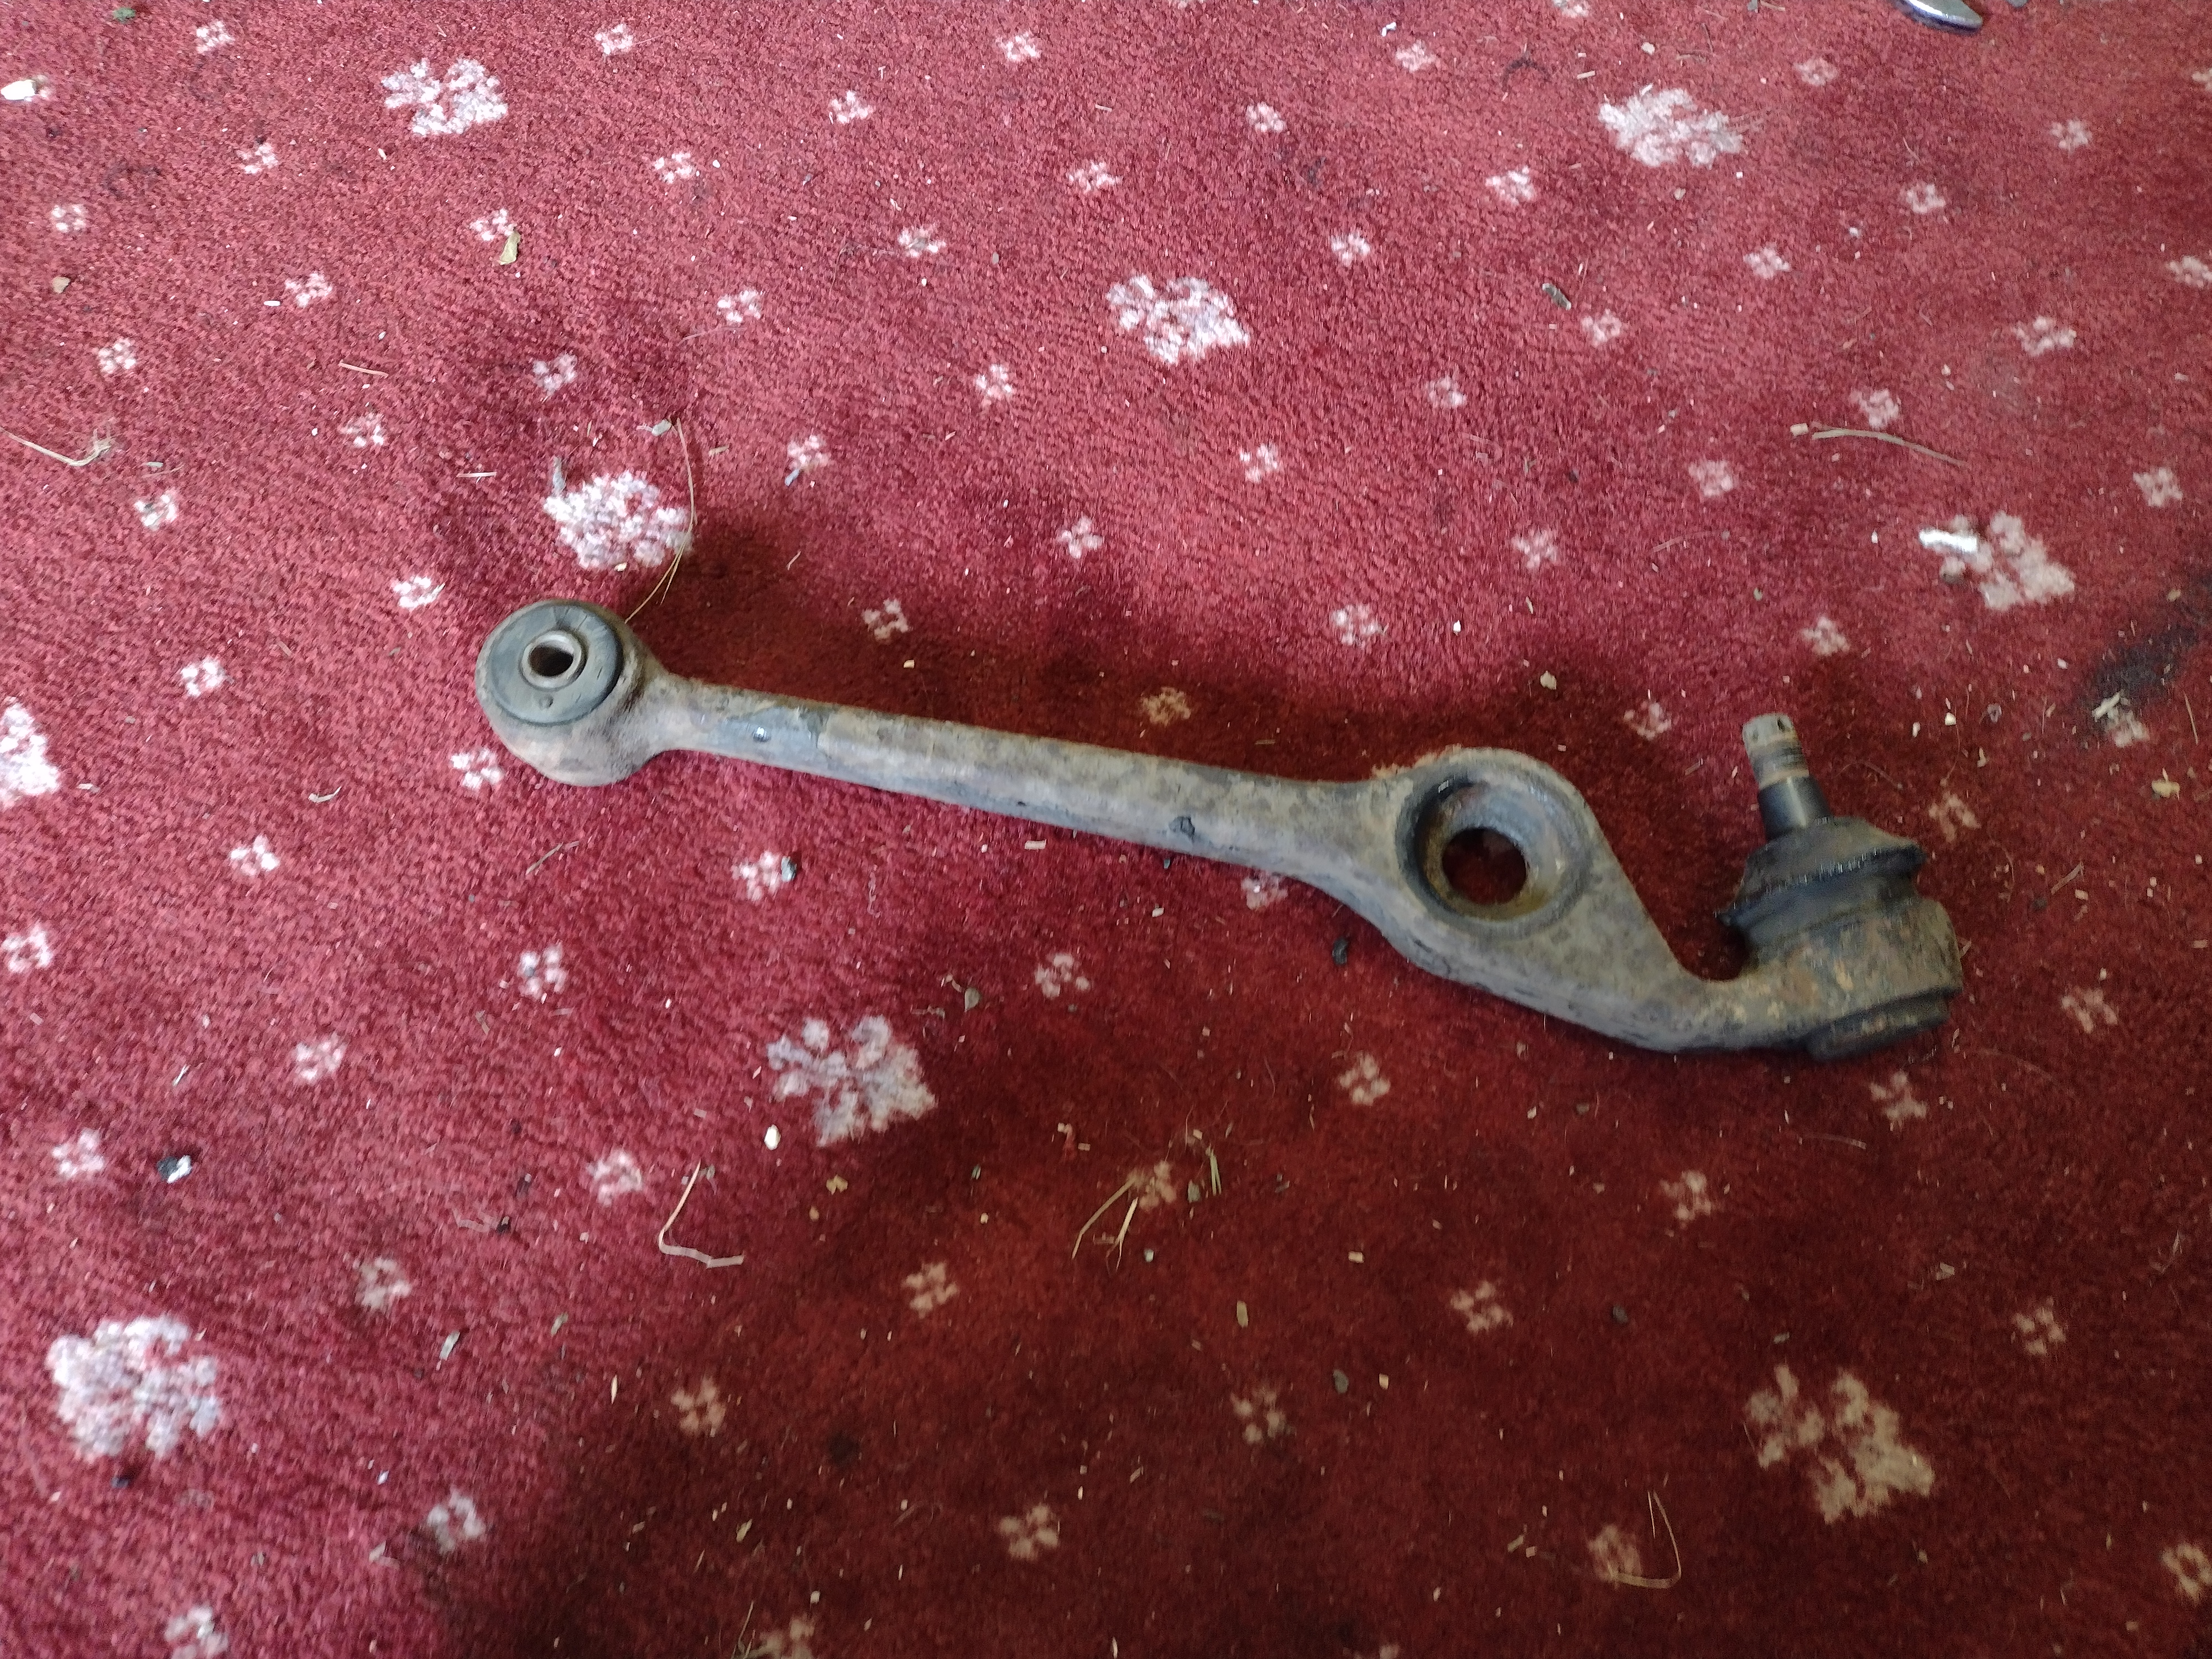
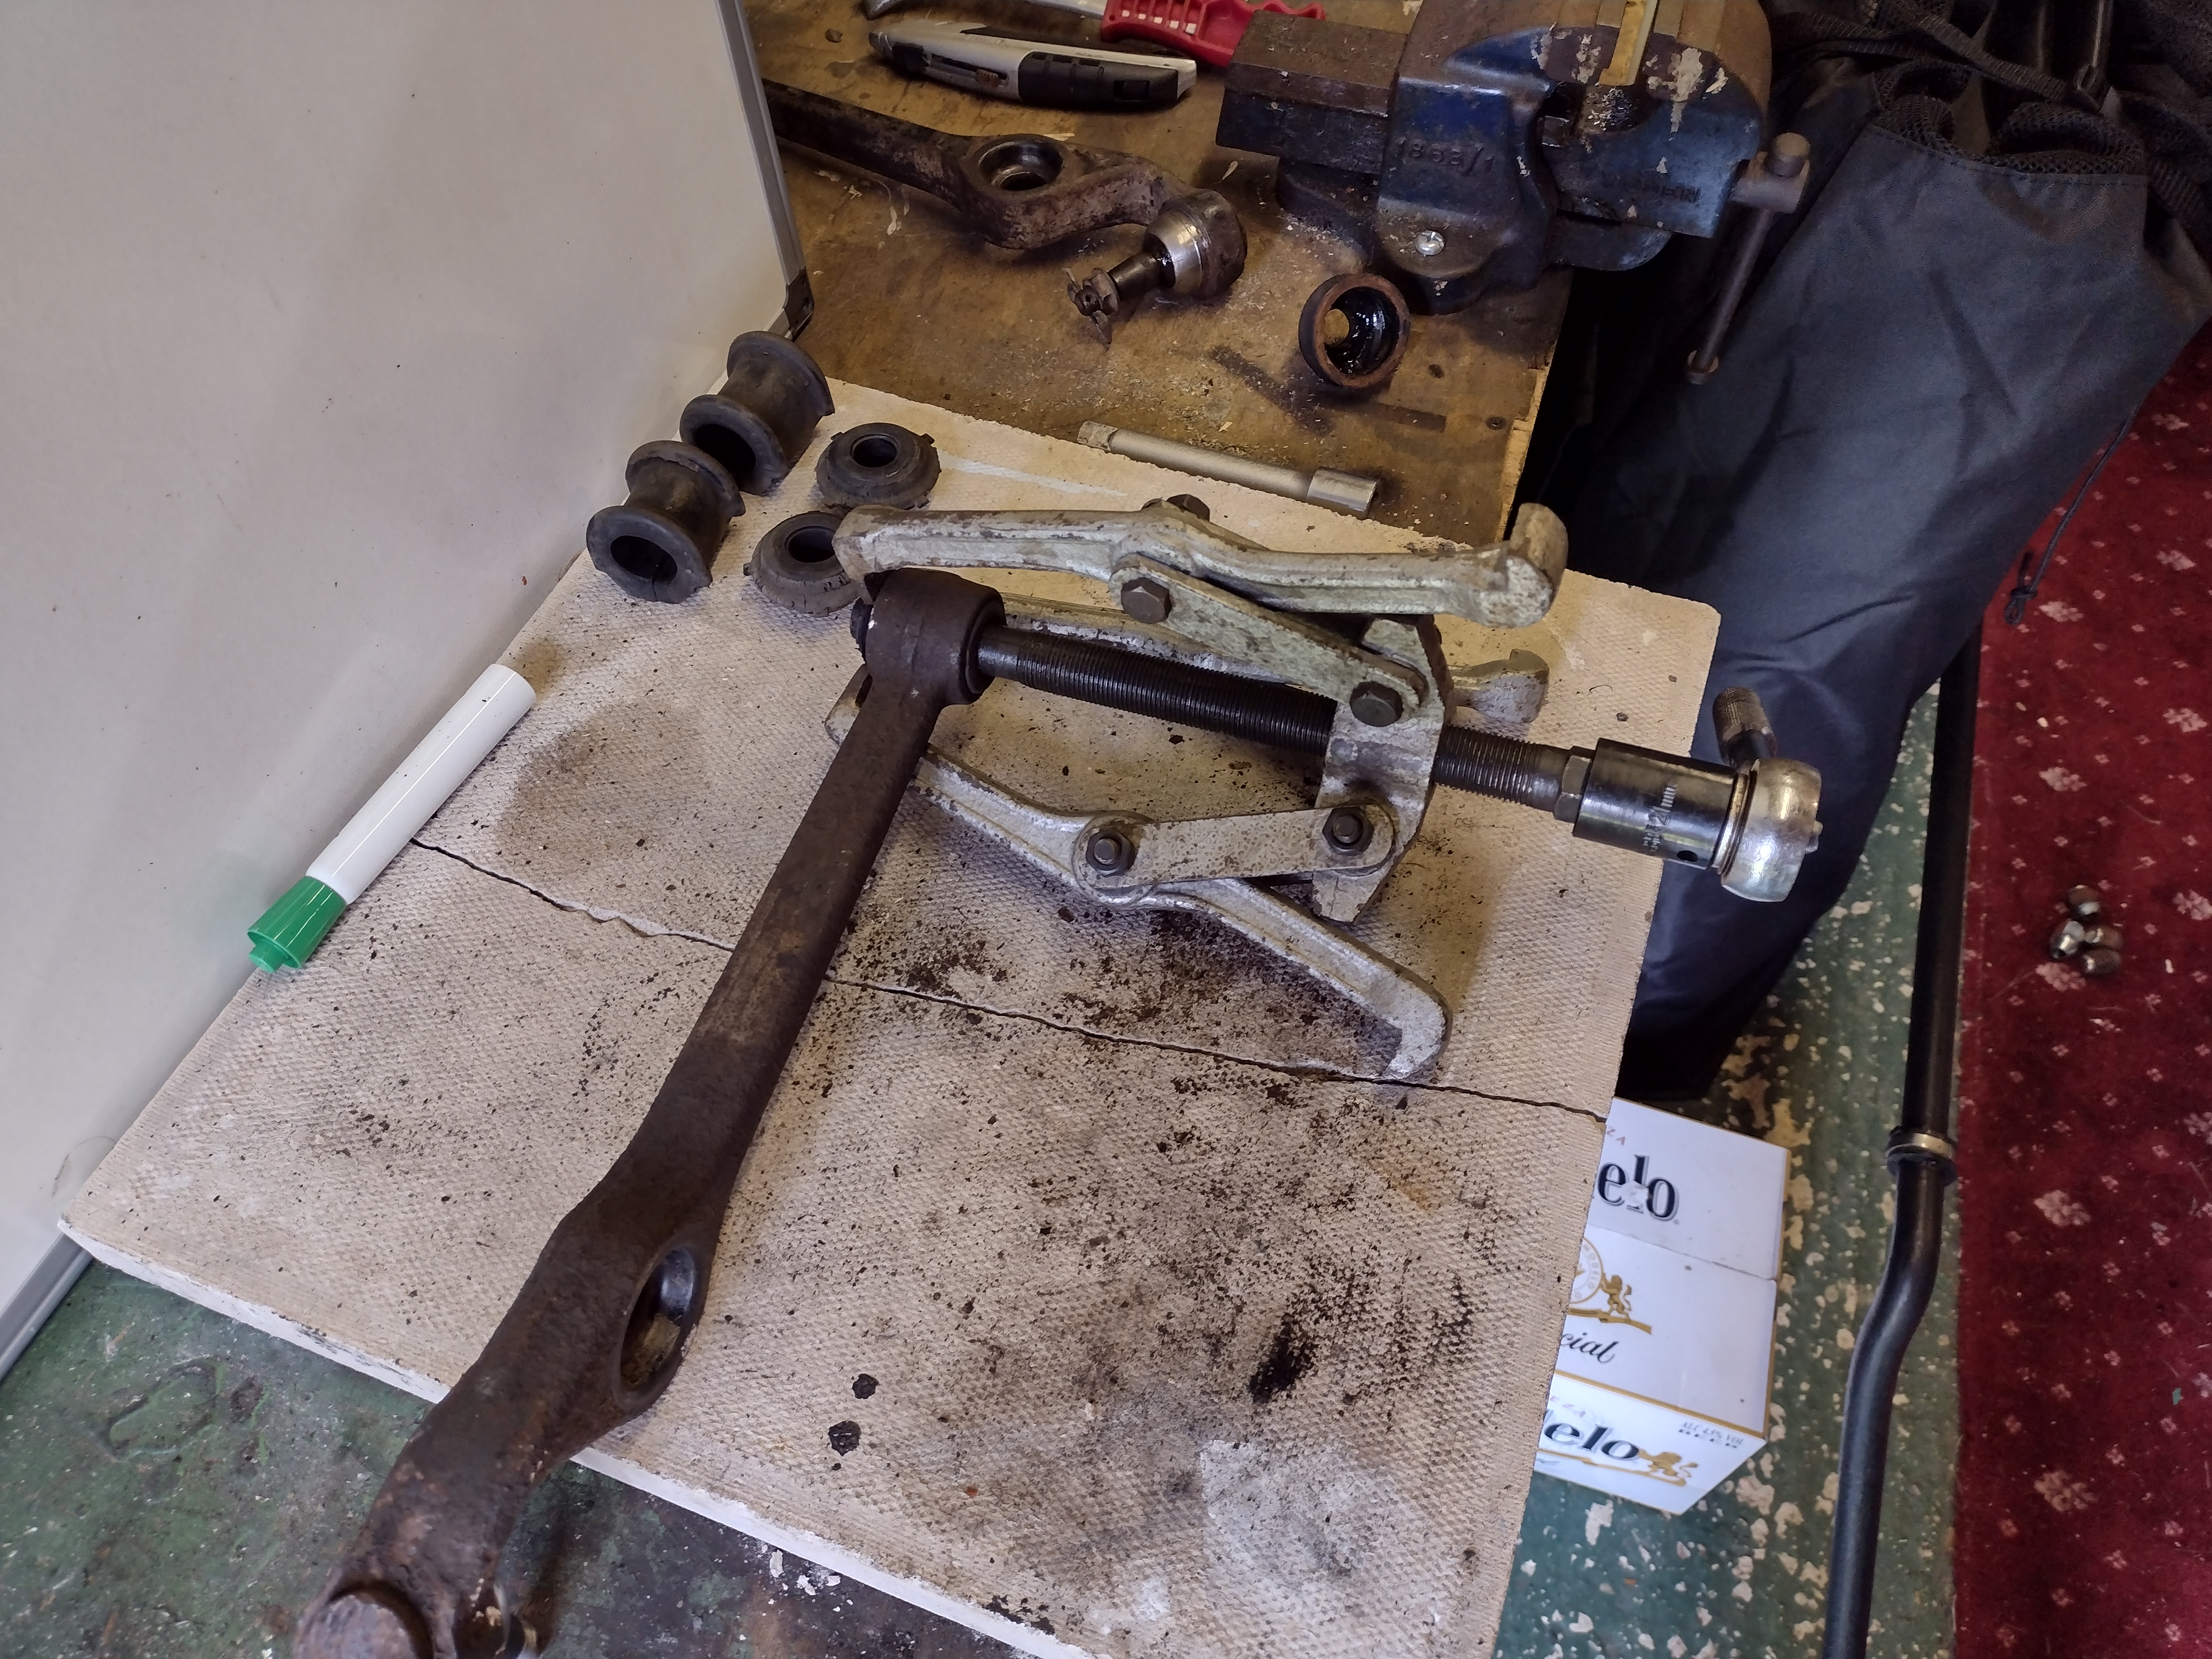
Front end completely rebuilt, the arms arrived about 25 minutes after the PU bushes, I called my pet garage about pressing in the new bushes and they said they were stacked and it’d be 2 weeks time at the earliest so I had a stab at doing them myself with the hub puller. I was purple with rage due to a dire morning of work issues, but was able to press the rubber bushes out of the lower arms with the press, lubed up the voids (fnarr) with silicone grease and pressed the new PU bushes in with minimal fuss. I then loosely bolted the arms into the subframe, tapped the locating rod bit of the balljoint into the bottoms of the hubs and did up the castellated nuts to tighten them into position, then fitted the split pins to keep them in place.

Then I fitted the ARB bushes, put the ARB ends through the new lower arms and did the nuts up a bit to keep it in place. Then I sliced the u-clamp bushes, wrapped them around the leading edge of the freshly painted ARB, and clamped them down with the metal clamps.

I then went and did the nuts on the ends of the ARB up tight to pull the ARB > lower arm top hat bushes into position properly.

It all went together fine which was a big relief. So thats the front end refurbed with all new bushes and arms which should help a lot.

I tilted the nose of the car down and took one back wheel off, the rear beam bushes are a bit trickier as I don’t really want to drop the rear beam entirely, and the bolts that hold the leading edge of the rear beam to the body mounts are super tight. I’ll go out in a bit and see if I can get the ugga dugga on them to see if that will tempt them out. Then I need to carefully support it all on the trolley jack and try to press out the existing bush in situ, then put the new ones in one at a time.

Here are some ‘this man has just run me over’ style photos of the finished job

As you can see, I sanded down, vactan’d and enamel painted the ARB itself and the u-clamps in matte black, the new bushes are bright yellow which gives a nice contrast

Its quite a simple setup, but entirely effective.

I took it out for a very quick run and initial impressions are good, the ride is no more firm, but there is less clonking over poor road surfaces than before - at least from the front end. It’s also helpfully dealt with the advisory for perished lower balljoint dust covers as I’ve replaced the entire arms.

I had a go at the rears which was an abject failure - I can’t get the nut to release from the through bolt that holds the rear beam on, even with the ugga dugga. Its an awkward spot on the passenger side (access is better for the drivers side actually) due to the location of the fuel tank so I’ll have a think about what to do with that. It might be a job for a proper garage potentially? I’ll call my pet garage up tomorrow and ask them when they might be able to have a look and quote for the work. I don’t imagine it’ll be particularly cheap to do if they want to drop the whole rear beam off for access

We’re nearly there though

7 Likes

I took the Sirion over to my local garage for them to have a look at the rear beam bushes. They reckoned it’d be a couple of hours for them to do, and they would not need to drop out the entire rear beam to do it, so I’ll get them to change them at the next MOT I think. I mentioned to them about the knocking noise over poor road surfaces, and the mechanic said casually “oh yeah, thats because your dampers aren’t done up tight” then proceeded to show me that the bottom bolt had loads of play in it

<Facepalm.gif>

Yep, guilty as charged! I’d not done the bottom nut & bolt up tight enough, letting the damper rattle about. Whoops! Took it home, whipped the rear wheel off and tightened up the nut & bolt a couple of turns and took the car out for a quick spin, and the knocking is gone. Thats a result.

I’m taking the car up to a local custom exhaust place in 2 weeks time to talk to them about getting a manifold-back stainless exhaust made up and fitted, as the current one leaks around the manifold > Centre pipe joint. I could get a pattern one in mild steel for £100 or so, but they’re a bit crap and rust out really fast. I’ll see how much the stainless one comes in at, especially as it will allow me to go up from 1.75" to 2.25" for a slightly ‘throatier’ exhaust note I hope. 4" fart cannon here we come! (no, just no)

5 Likes

My Daihatsu is going to be featured in a magazine here in the UK, its a new mag called ‘Classic. Retro. Modern’ and they seem quite interested in the story of my Sirion Rally. I got some pics earlier this evening for them to use so thought I’d share a few

I’ll get a copy of the article when it comes out in the September edition

7 Likes

That’s really cool! Congrats!

1 Like

Awesome! Really cool to see your own car in a magazine

I’ve spent the last 2 days (on and off) stripping down the front passenger side hub as I have managed to nick the CV joint boot and its vomited grease everywhere. Mercifully I do very few miles in the car so there does not appear to be any damage to the CV joint itself.

The new boot and fitting kit will be here tomorrow, so I aim to have it back together by the weekend ideally.

Does anyone know the torque rating for the hub nut of a Sirion Rally 2? I’m retiscent to do it up ‘very tight’ using my mains impact driver for fear of overtightening the hub nut on the bearings and b0rking them.

3 Likes

I’m not entirely sure which nut you mean, but I’m guessing it’s one of these

2 Likes

Thank you, perfect!

Do you happen to have the part number for the hub nut (the rightmost part in the exploded diagram with the tightening torque figure of T: 196.1 +/- 29.4)

It might be 95631210

This appears to be the right one :slight_smile:

1 Like