Sirion AWD conversion/ autocross build

Hi guys, so I actually started on the build today, didn’t get as much done as I had hoped for because I ran into some problems.

Im sure you all know I already have another thread going but I would like to keep it for random questions and general discussion, and use this thread to document the build as it progresses.

Once I have finished I will make a detailed “how to” thread in the Daihatsu wiki listing all the parts required ect.

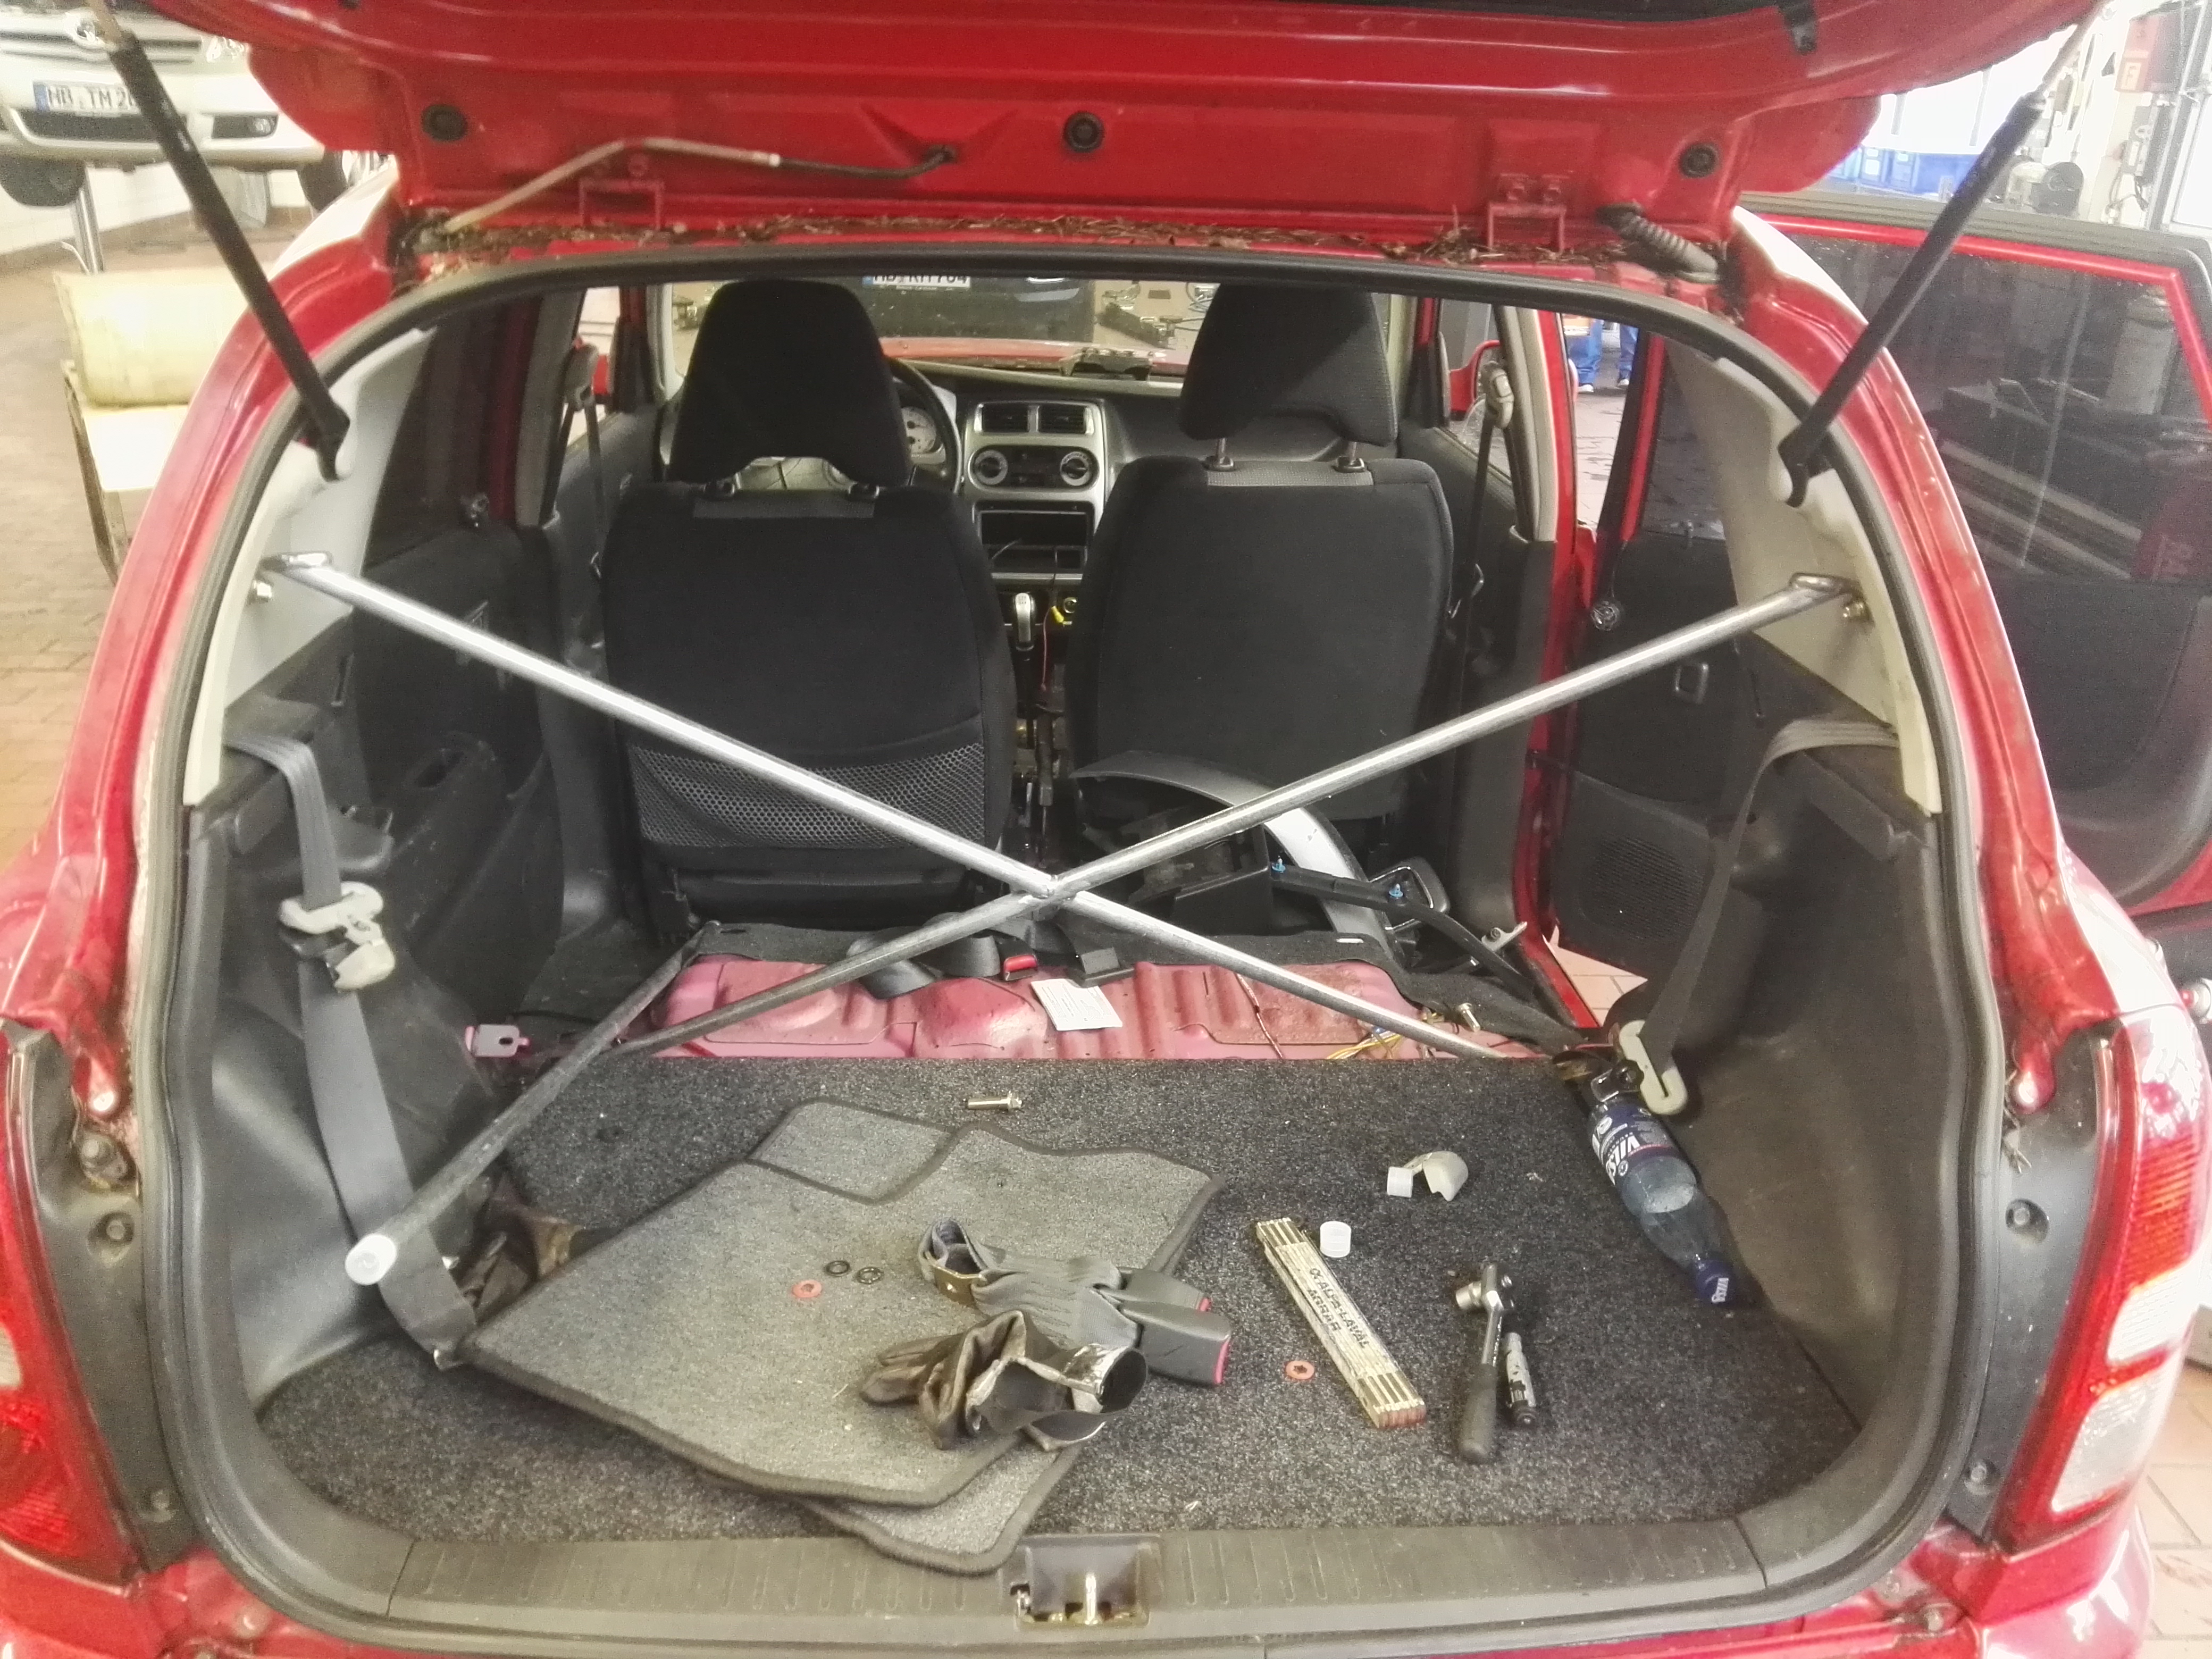
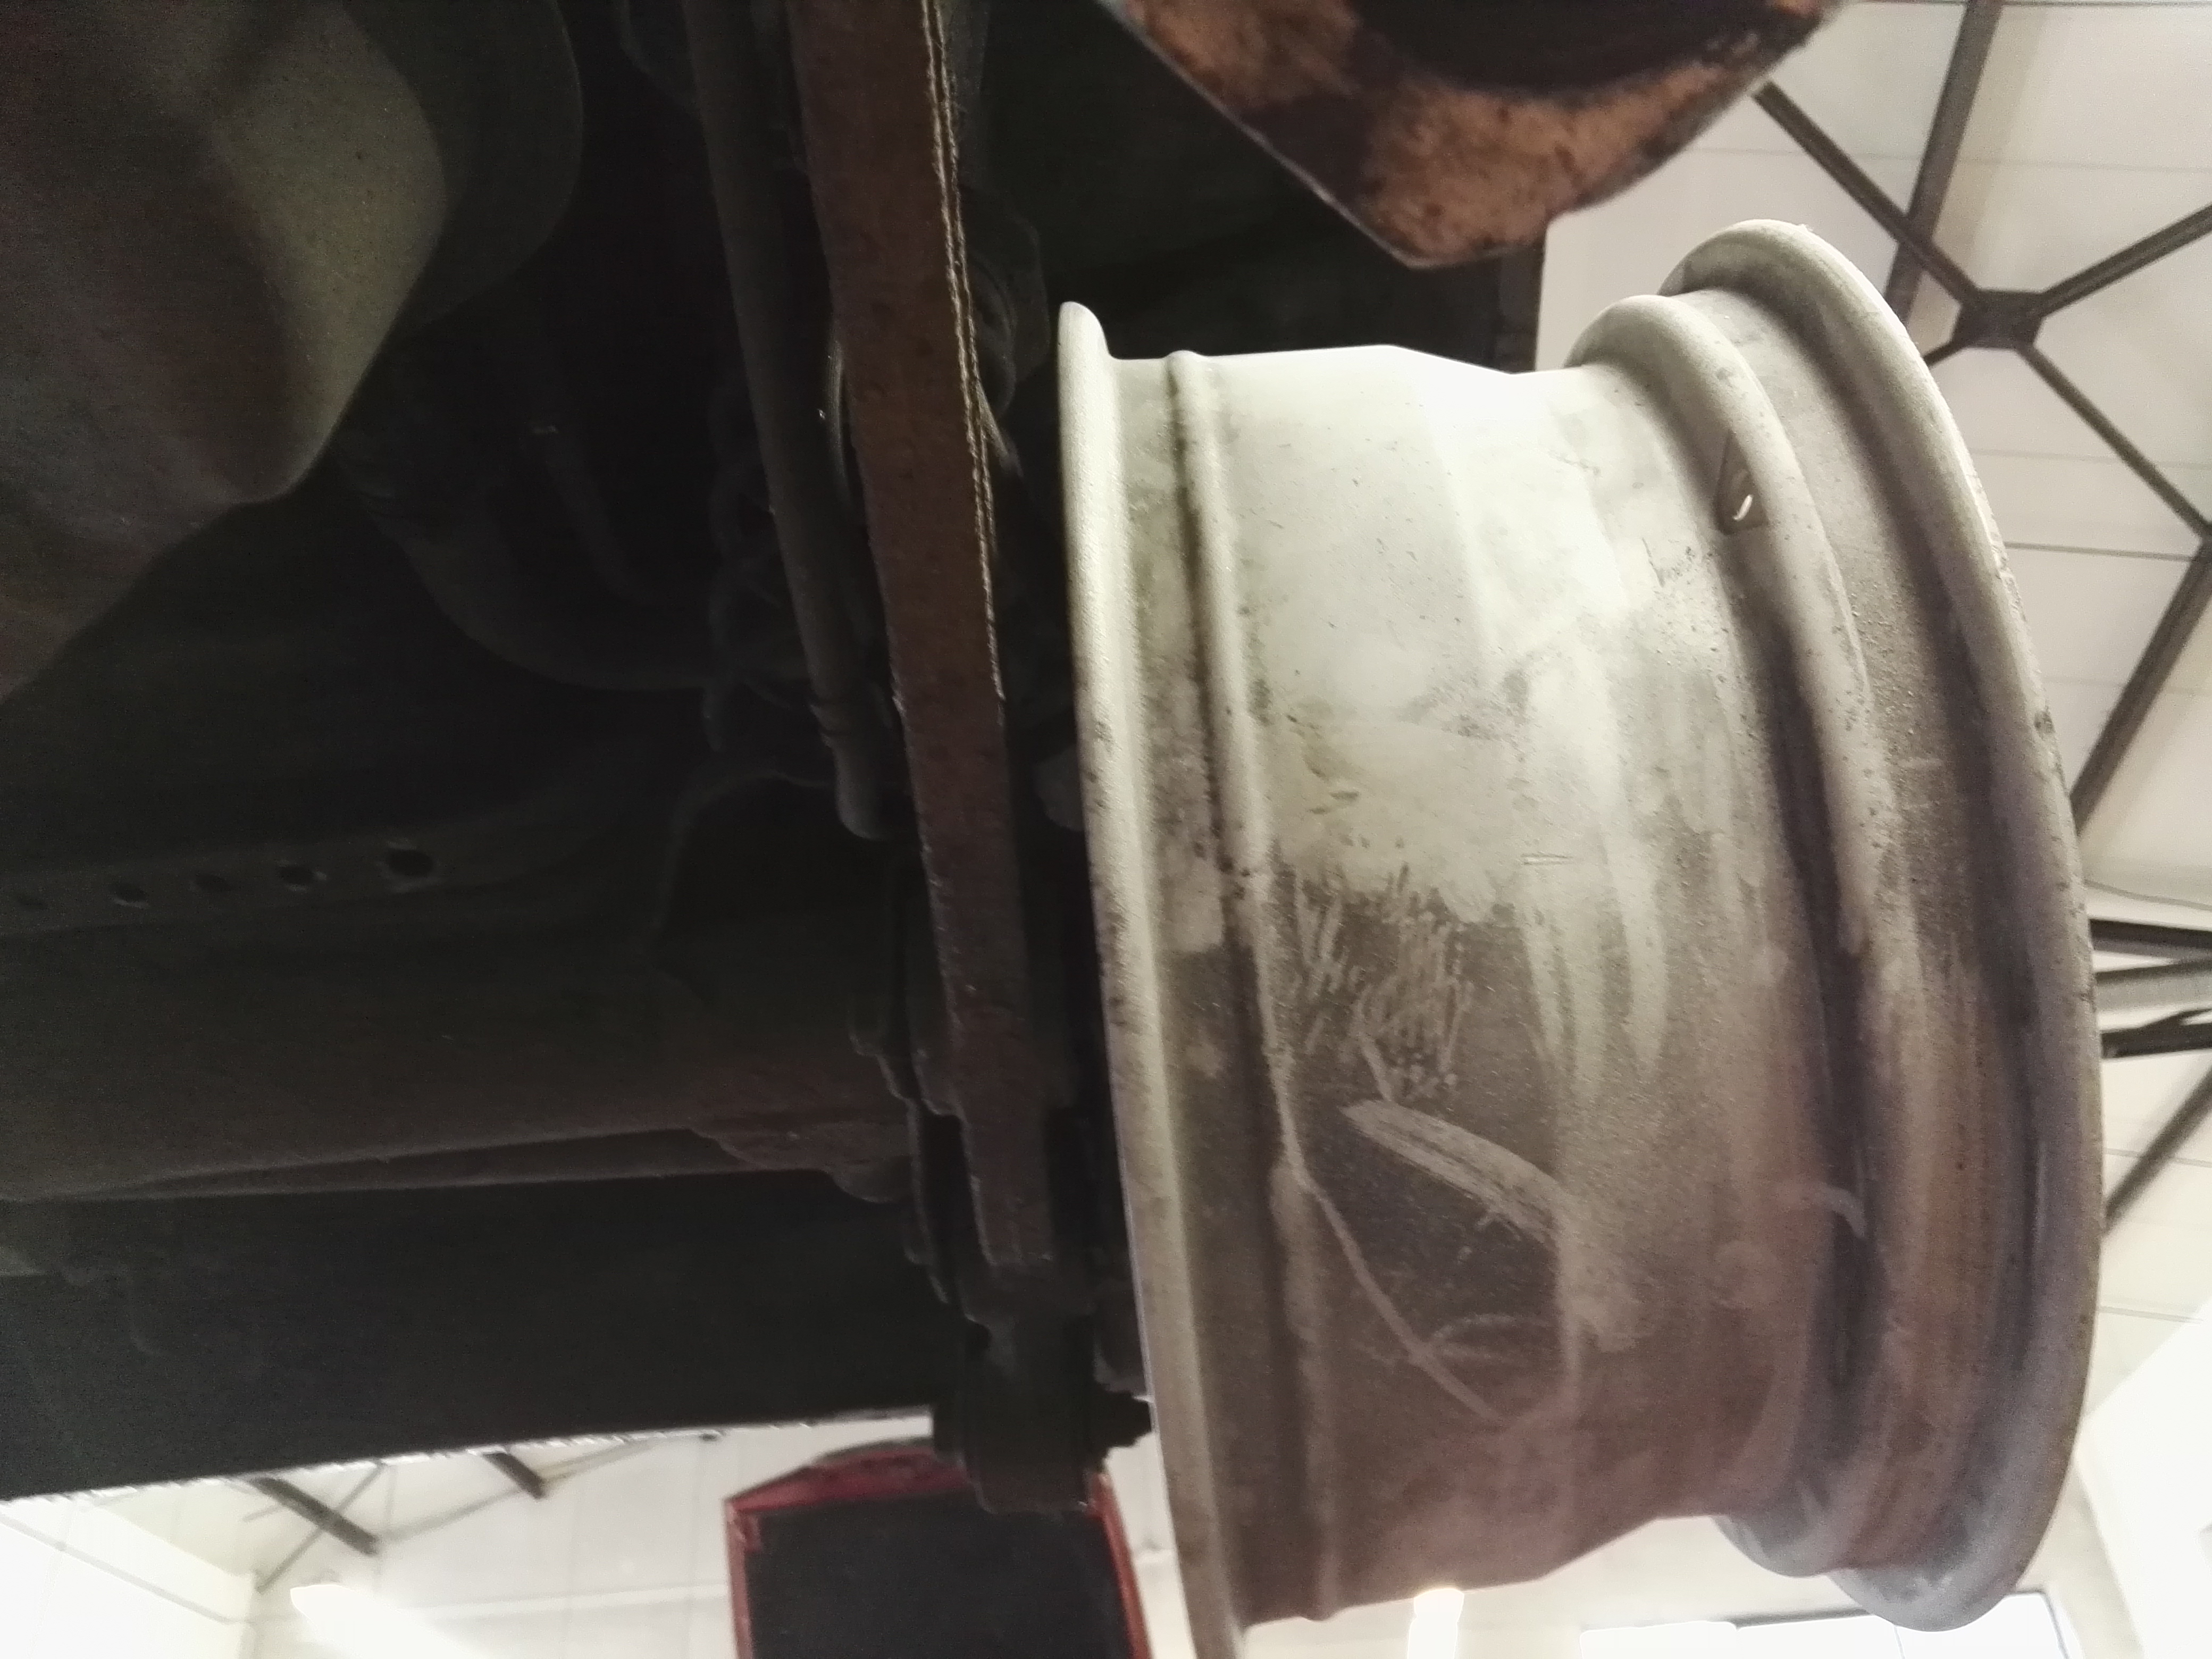
First up I did a quick test fit of the 15x7 +38 rims, @b_hoves told me on the 2WD wheels this wide would have fitment issues on the rear, but luckily the AWD trailing arms sit inward a bit more than the 2WD. The wheels fit well, almost flush with the guards and there is about 1 to 2 cm clearance for the trailing arms.

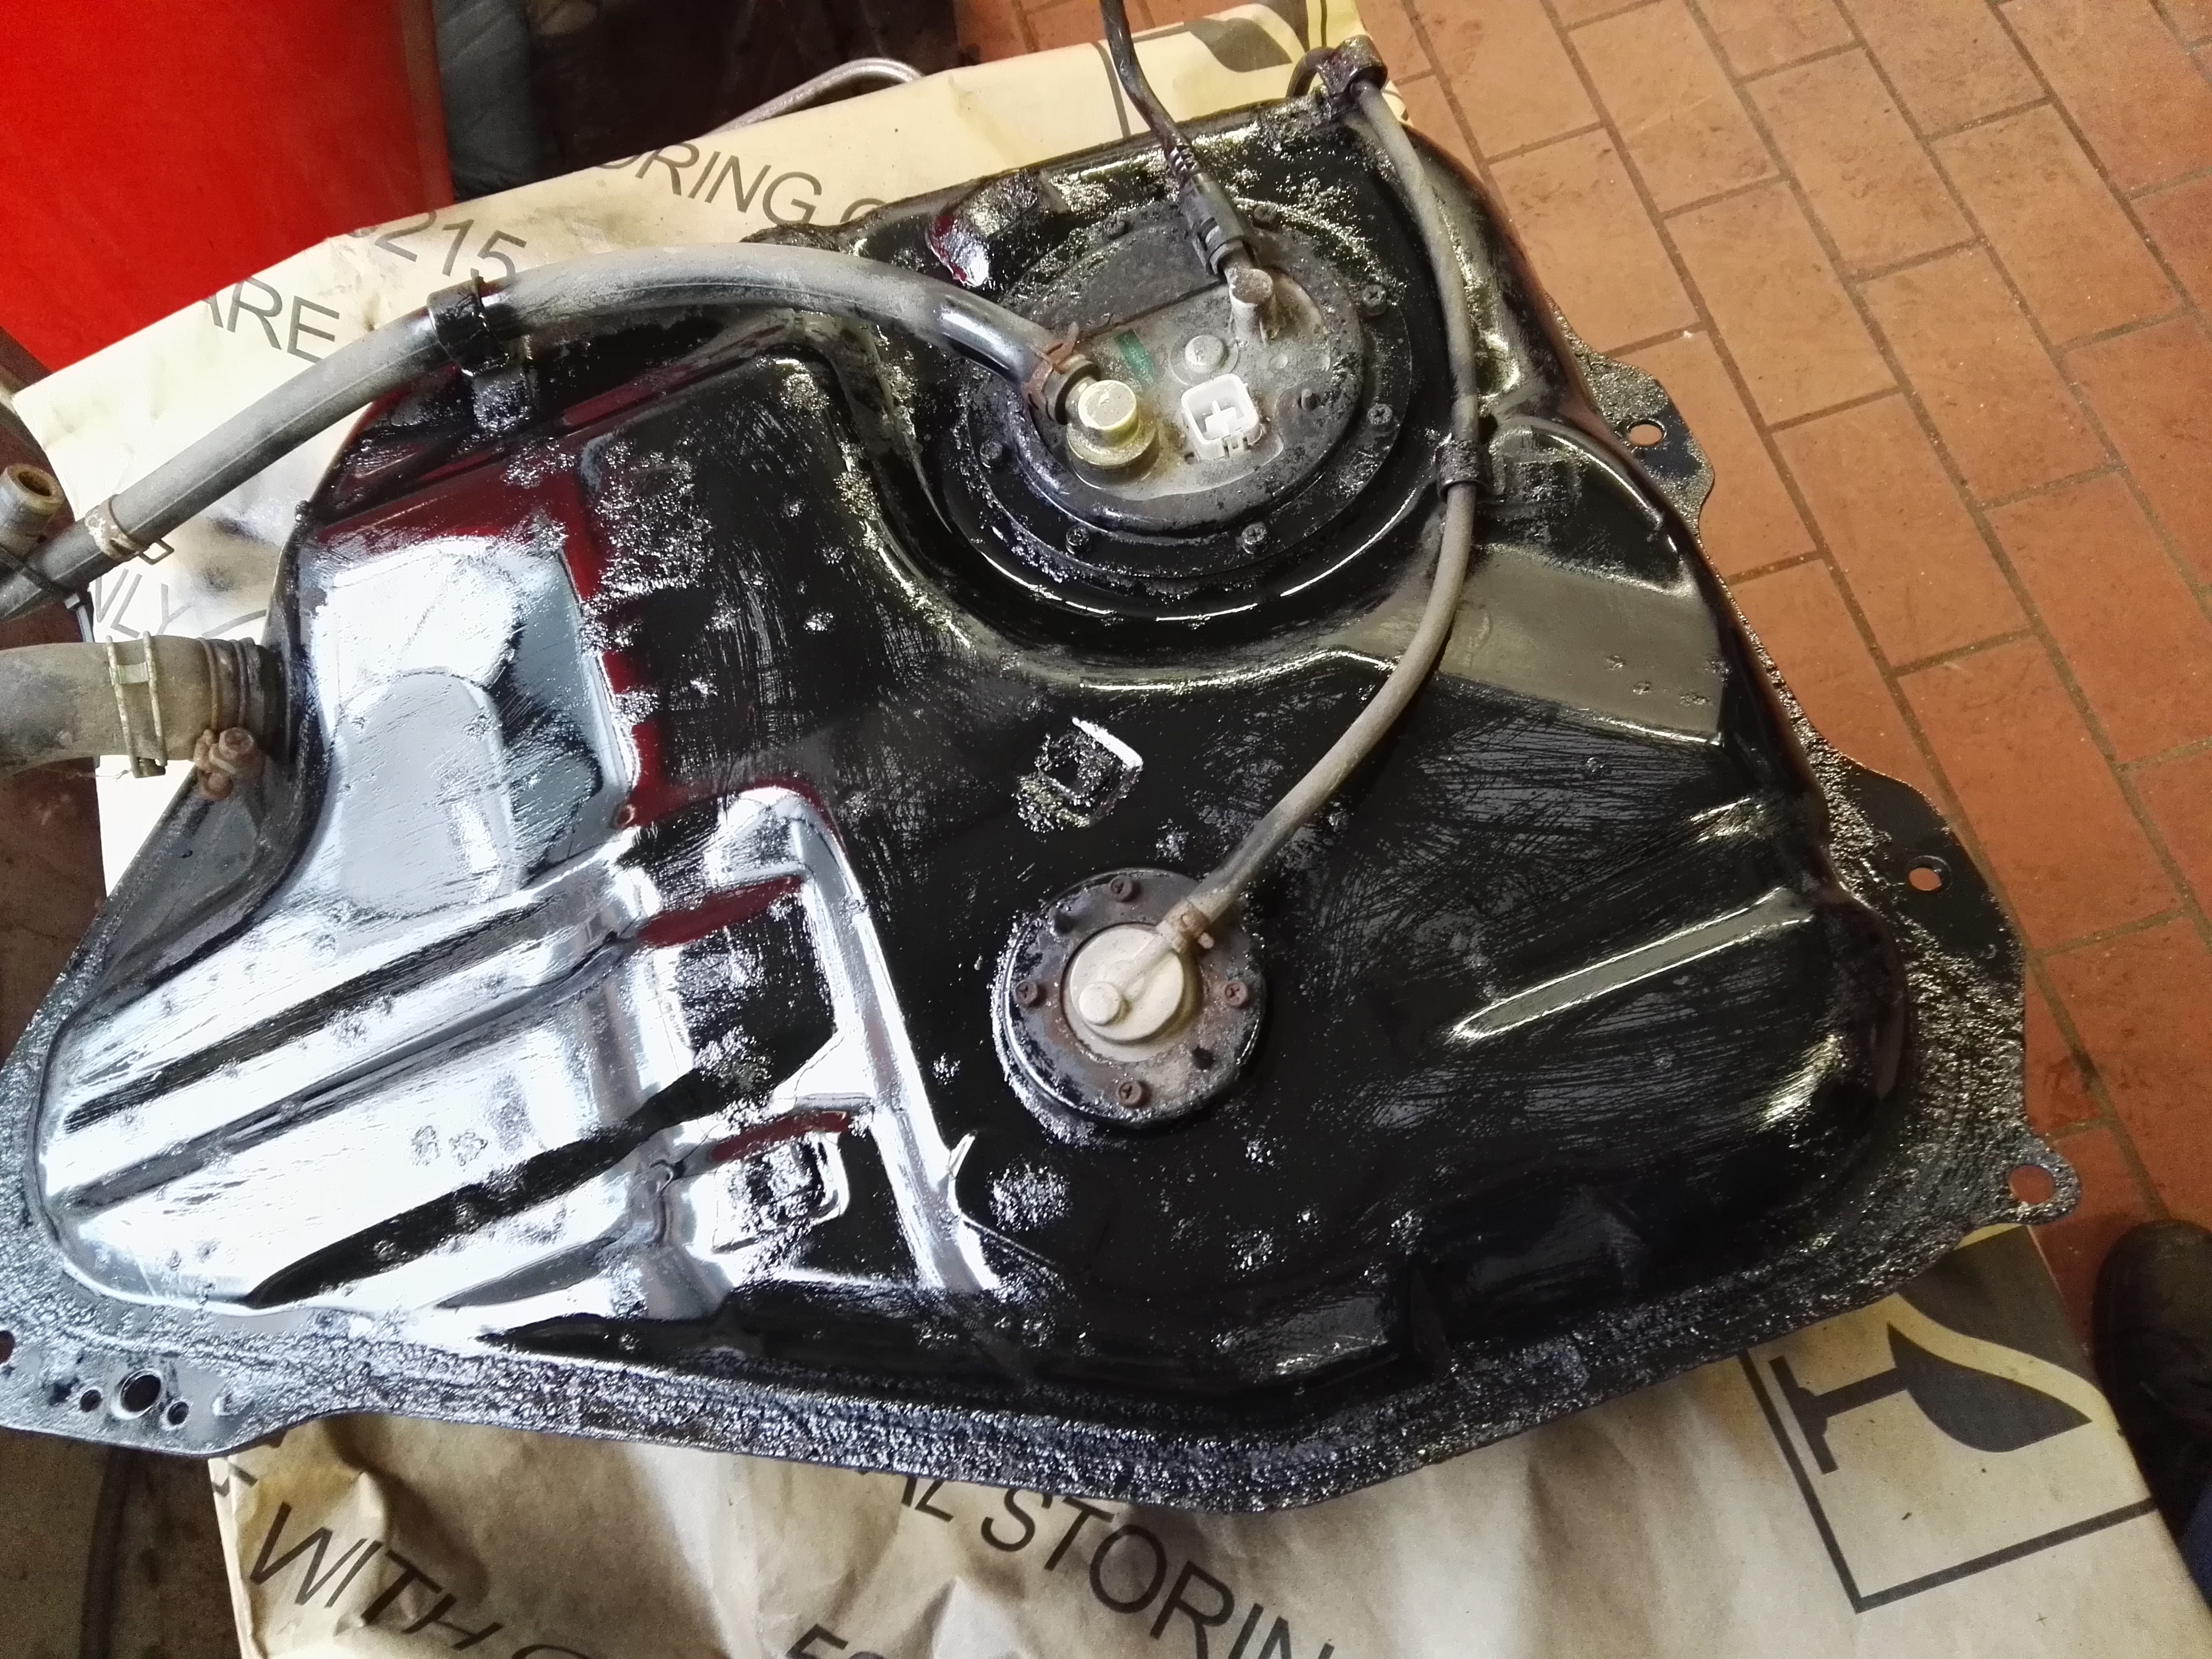
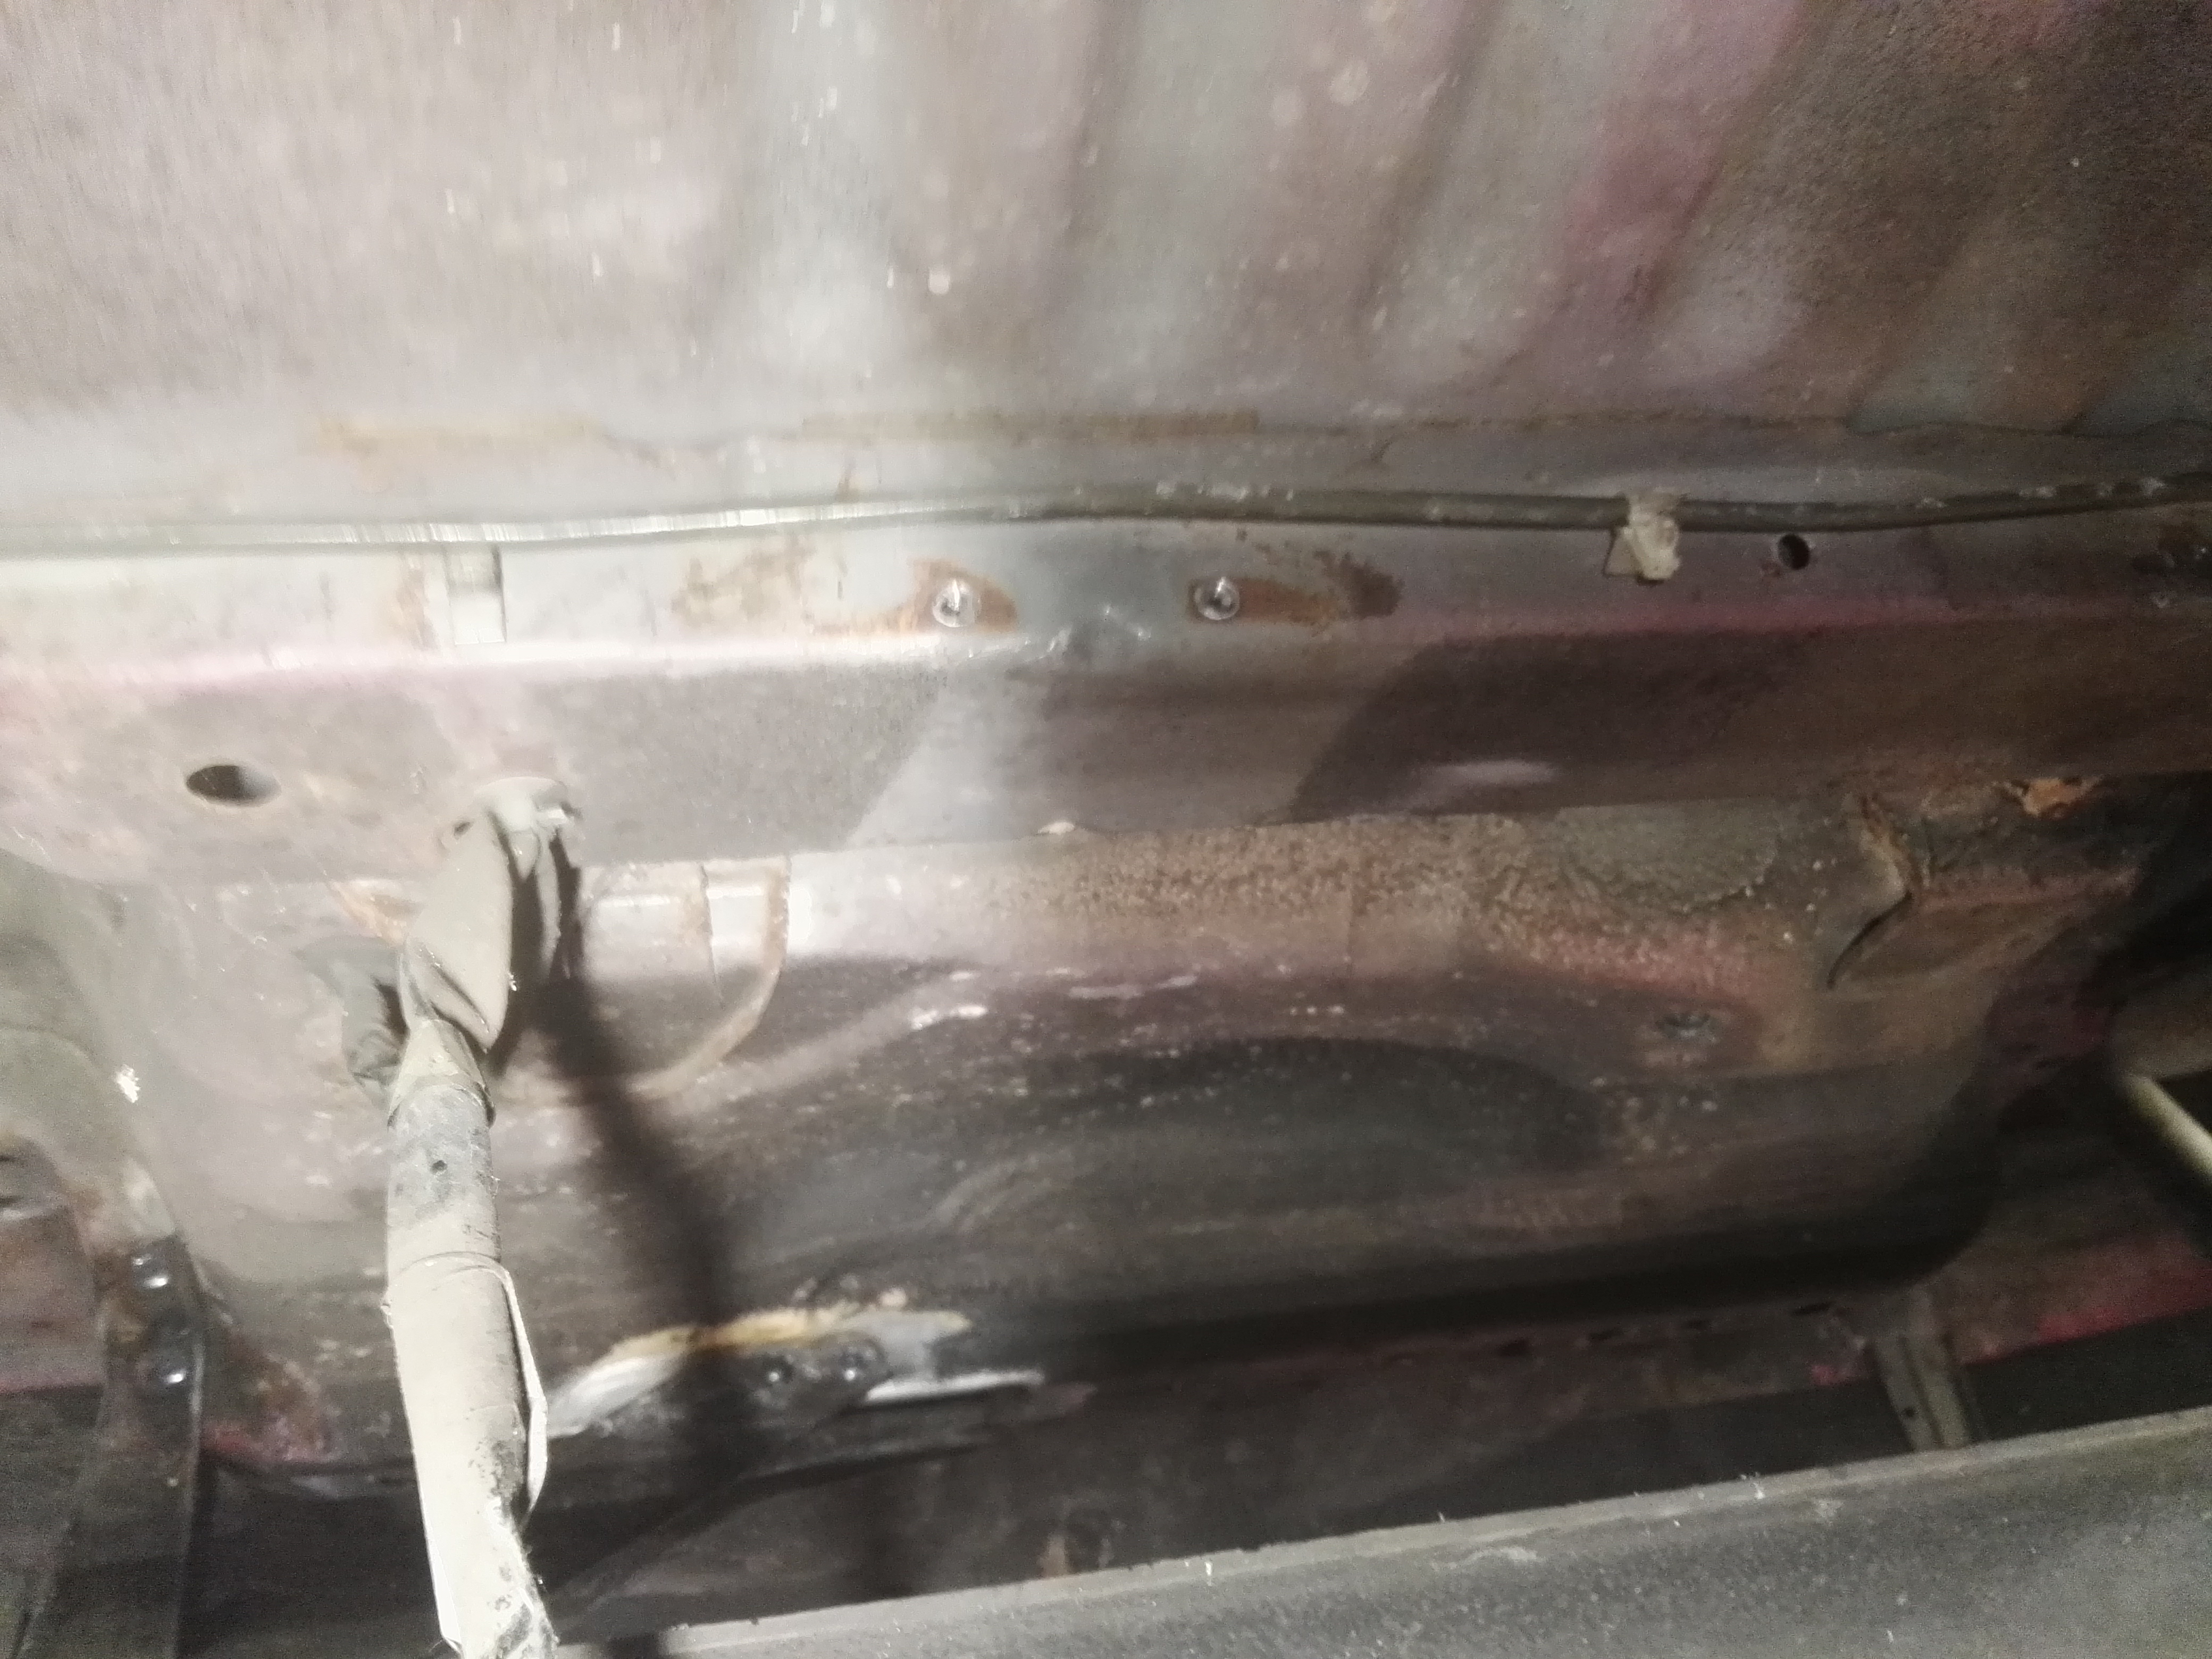
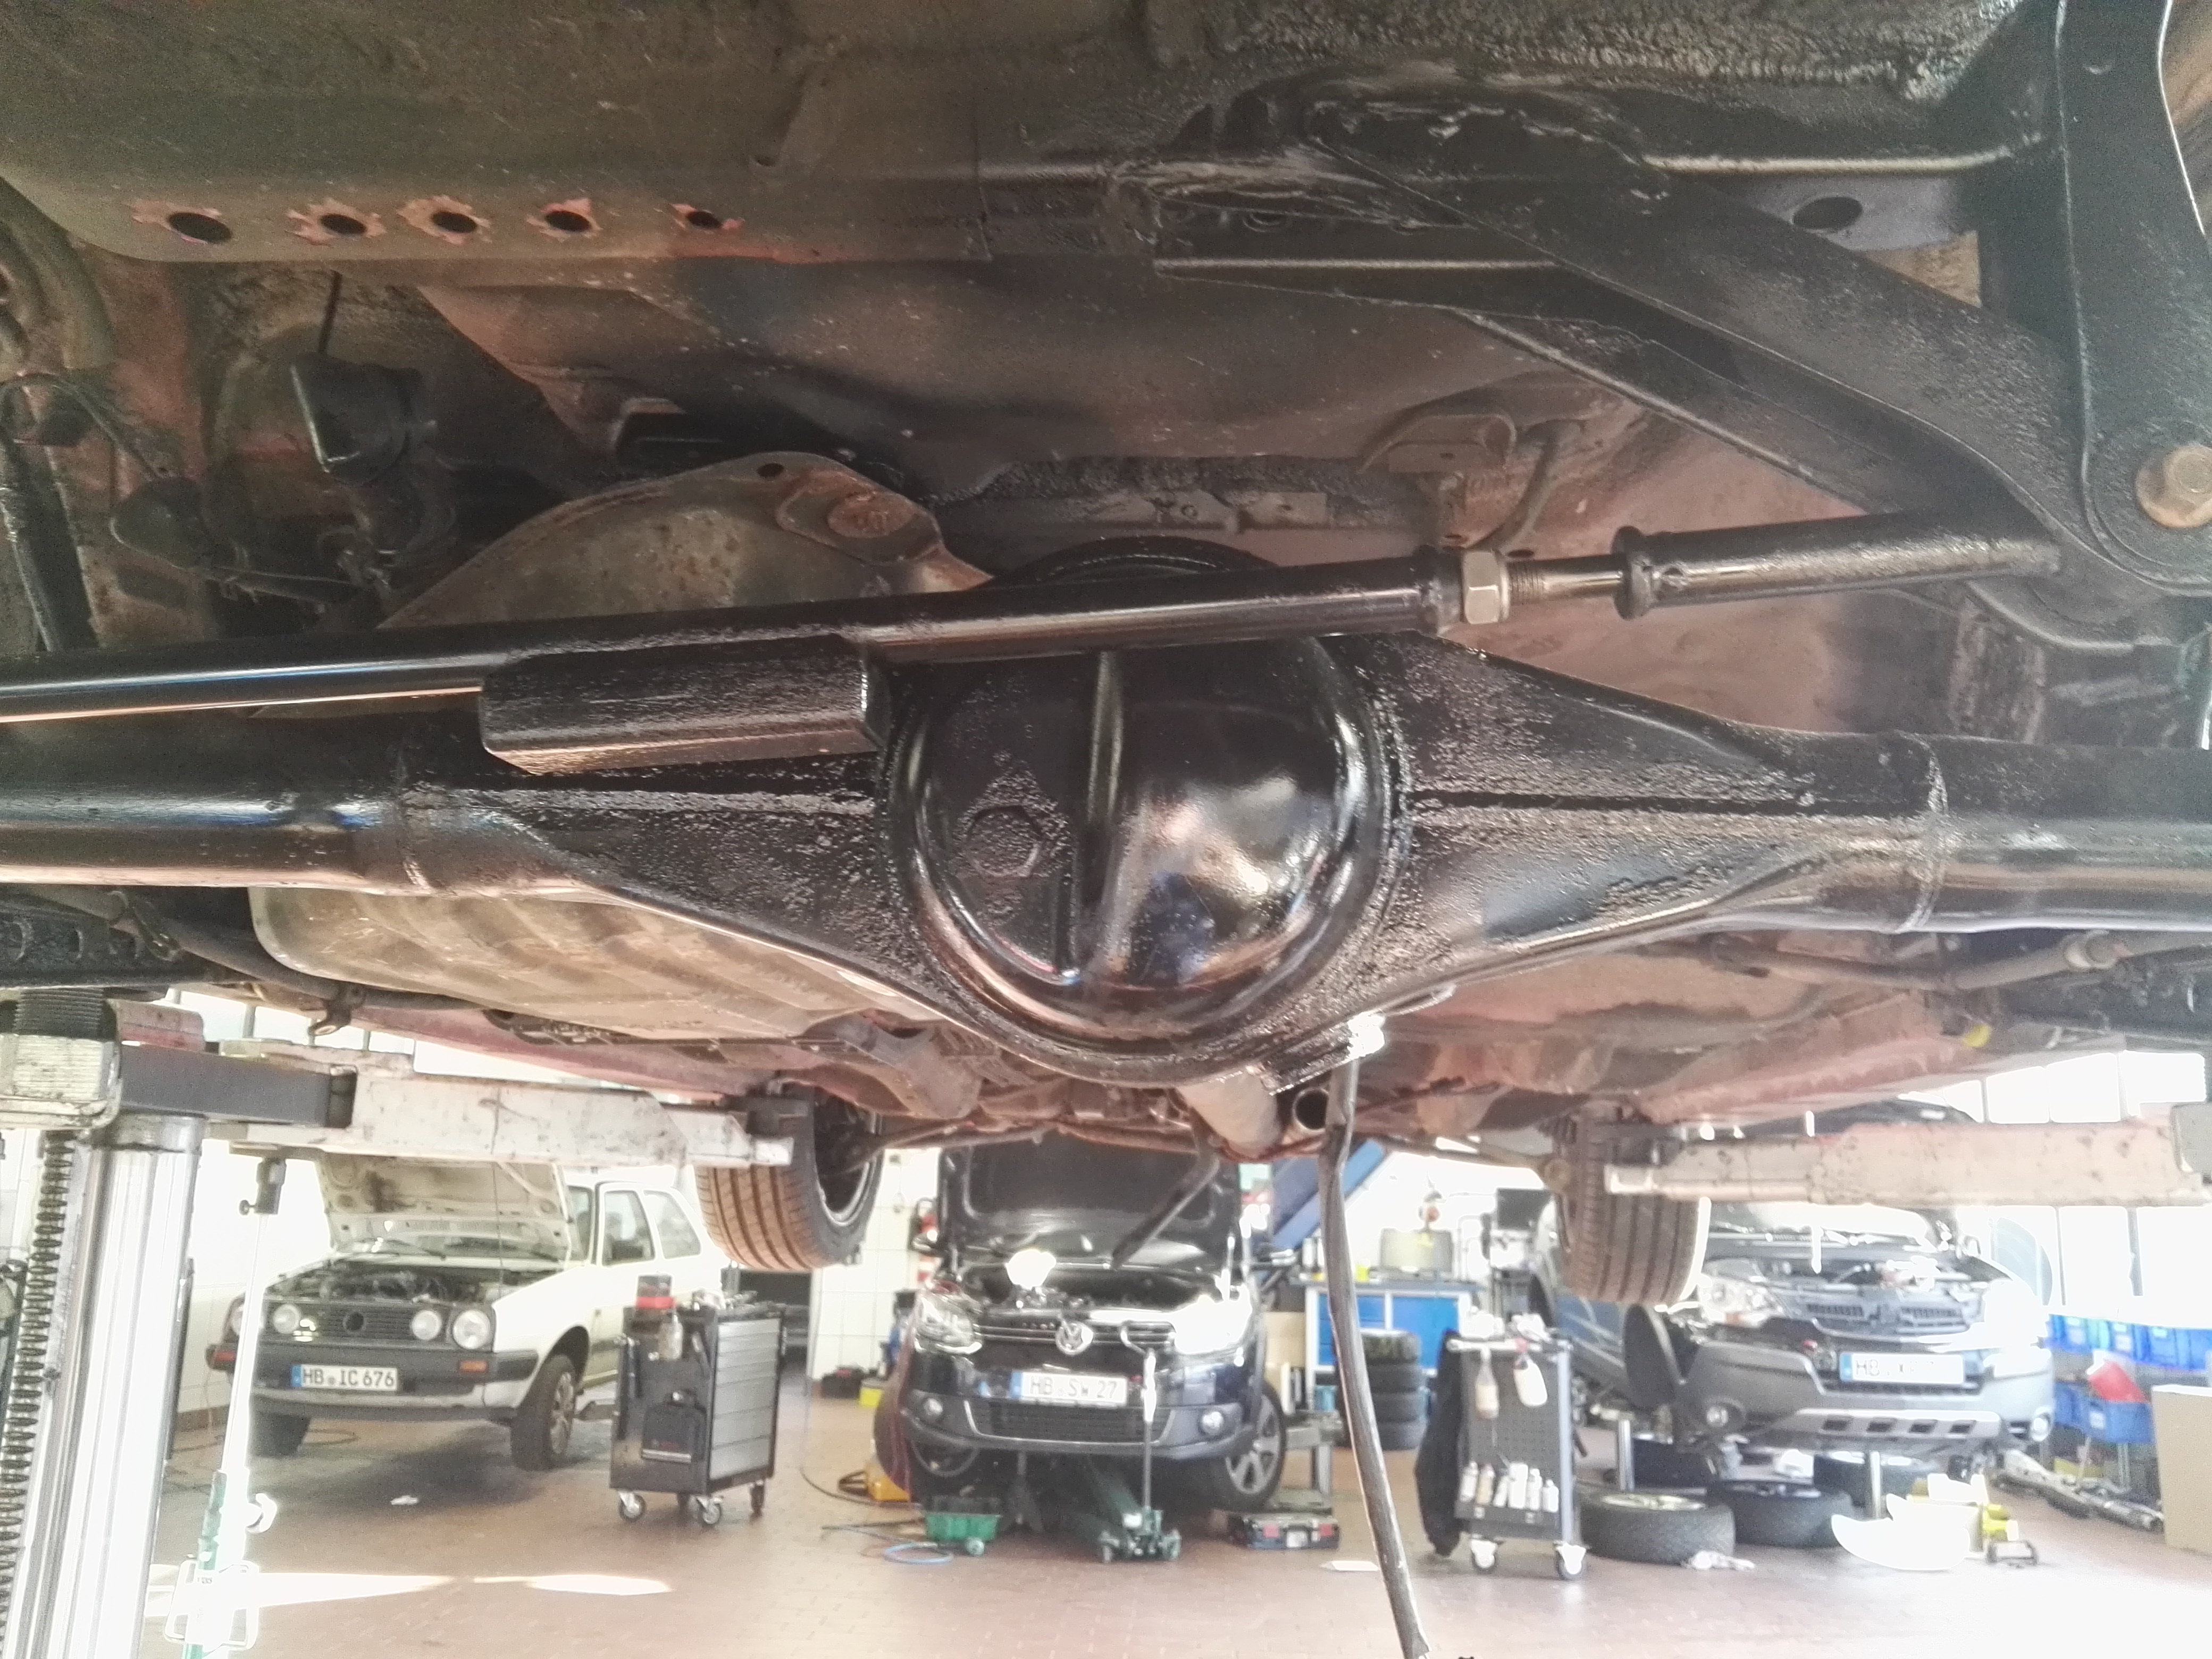
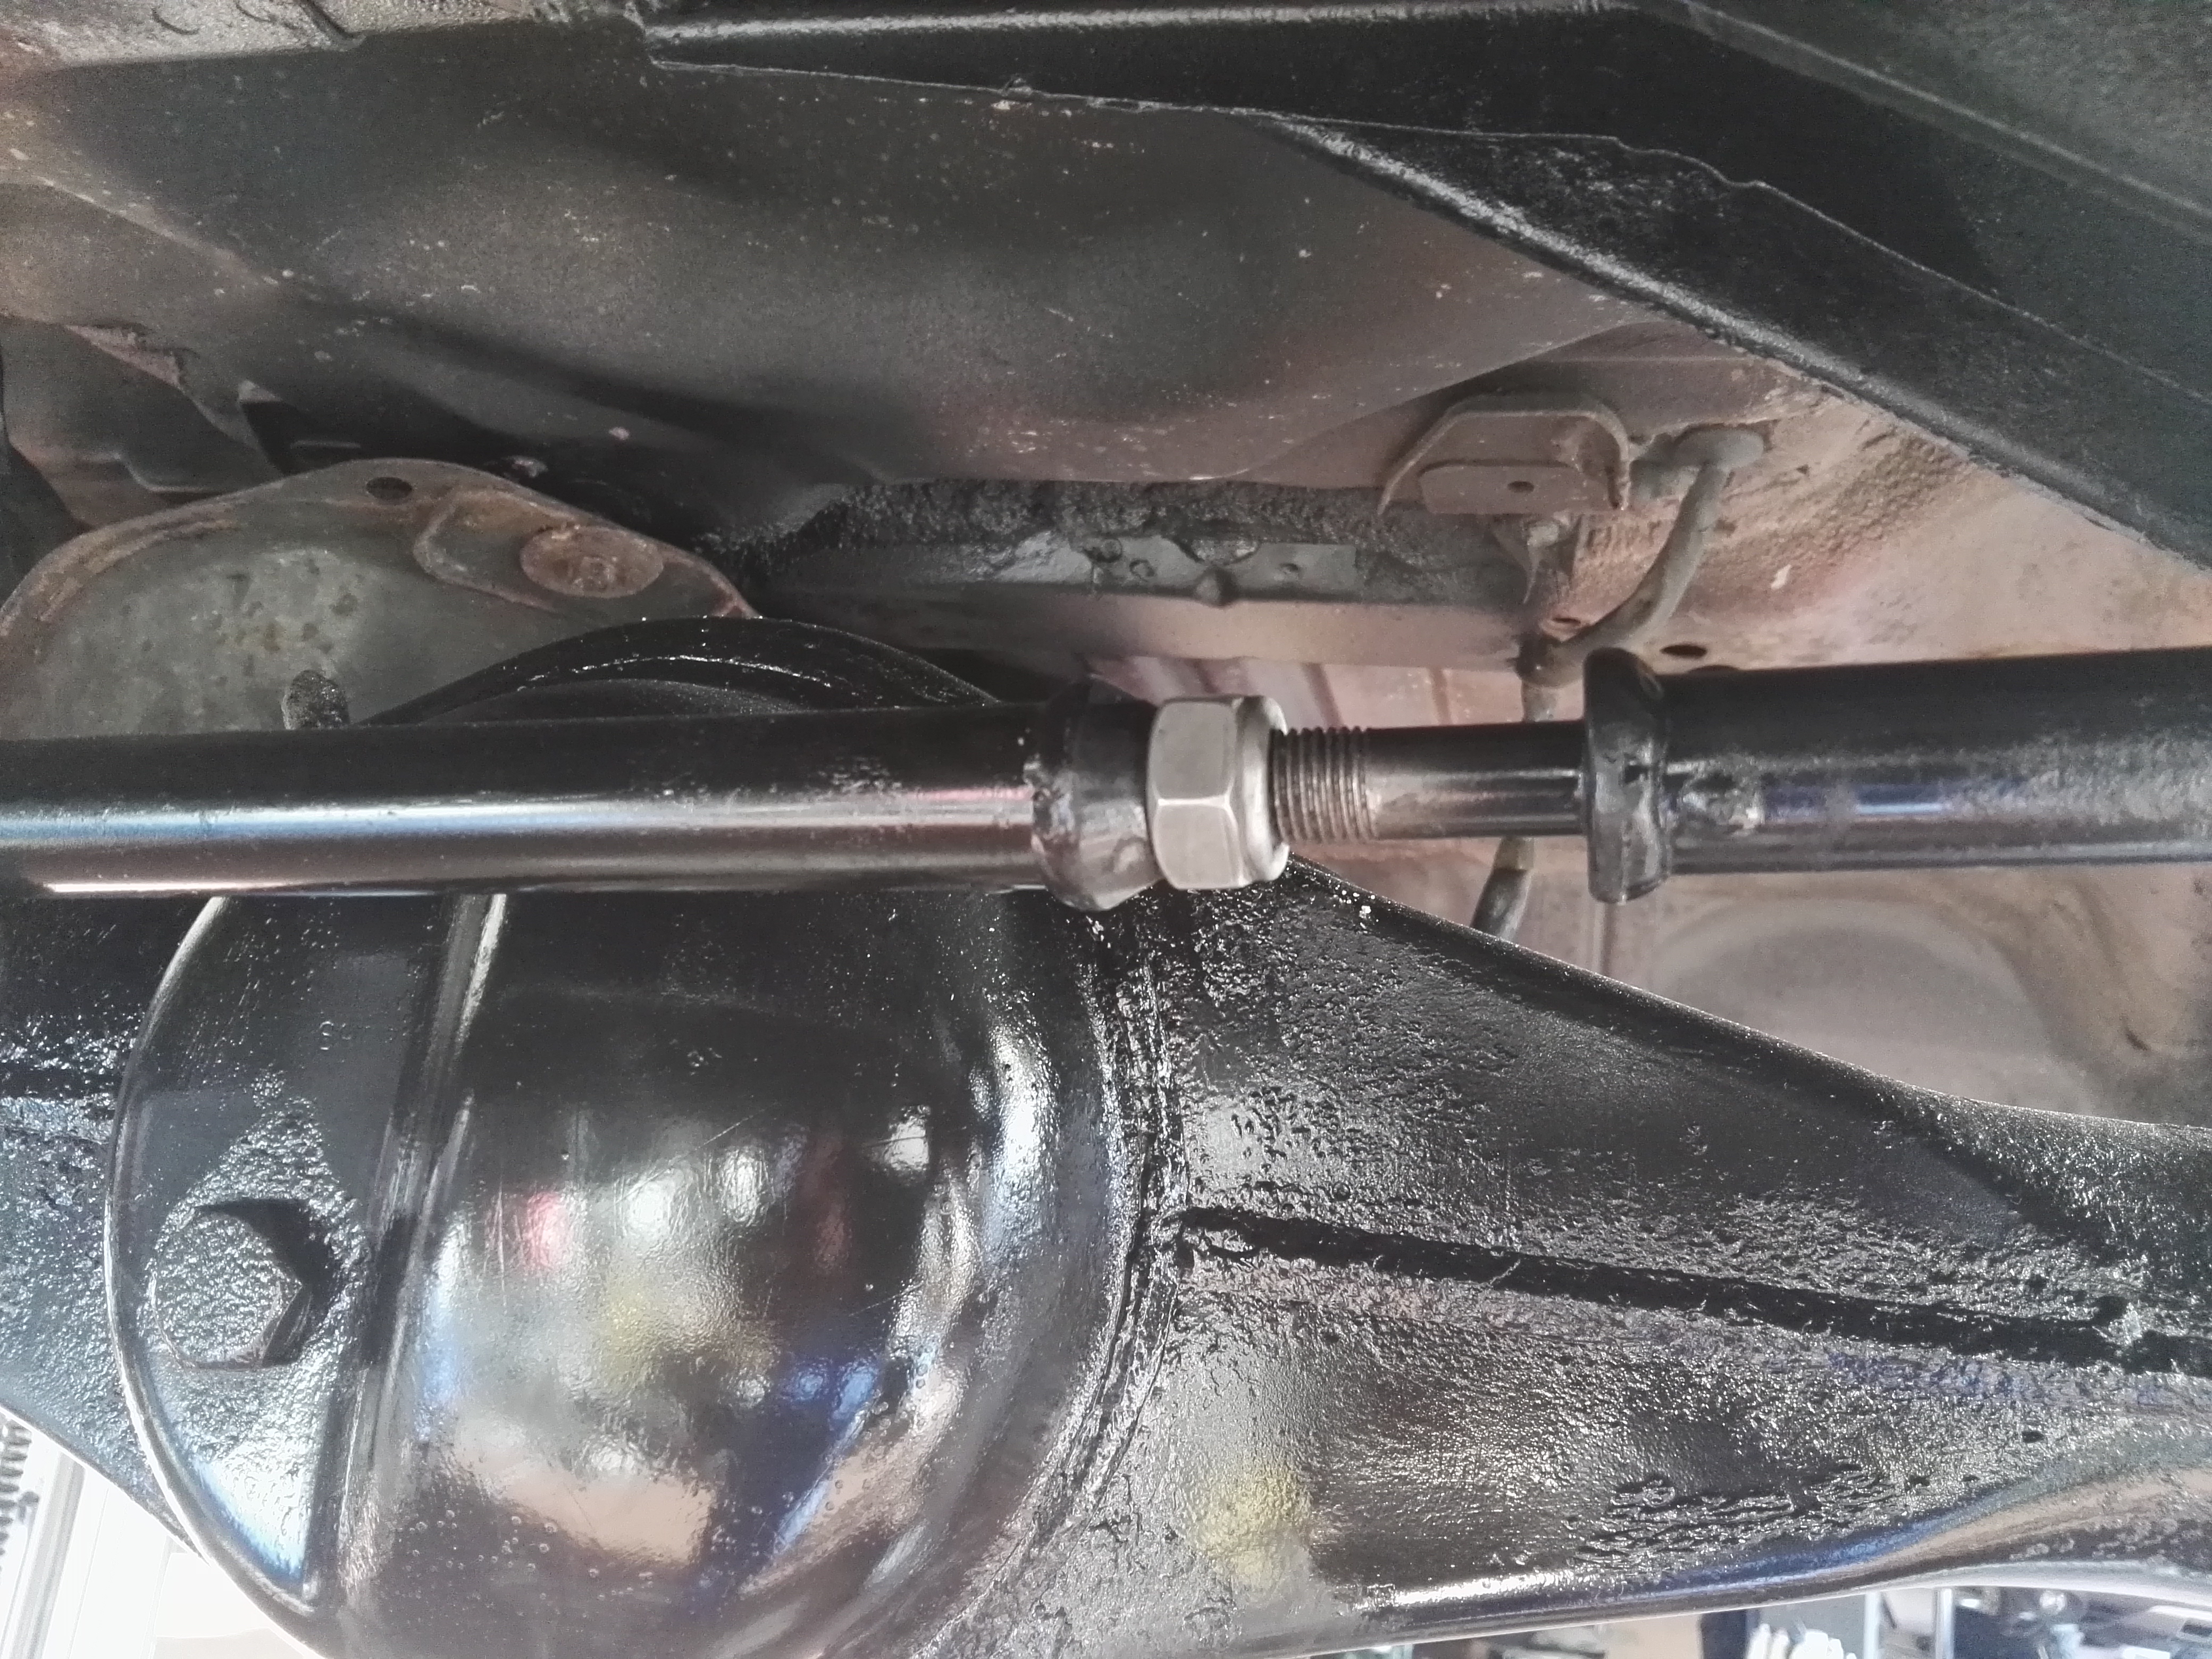
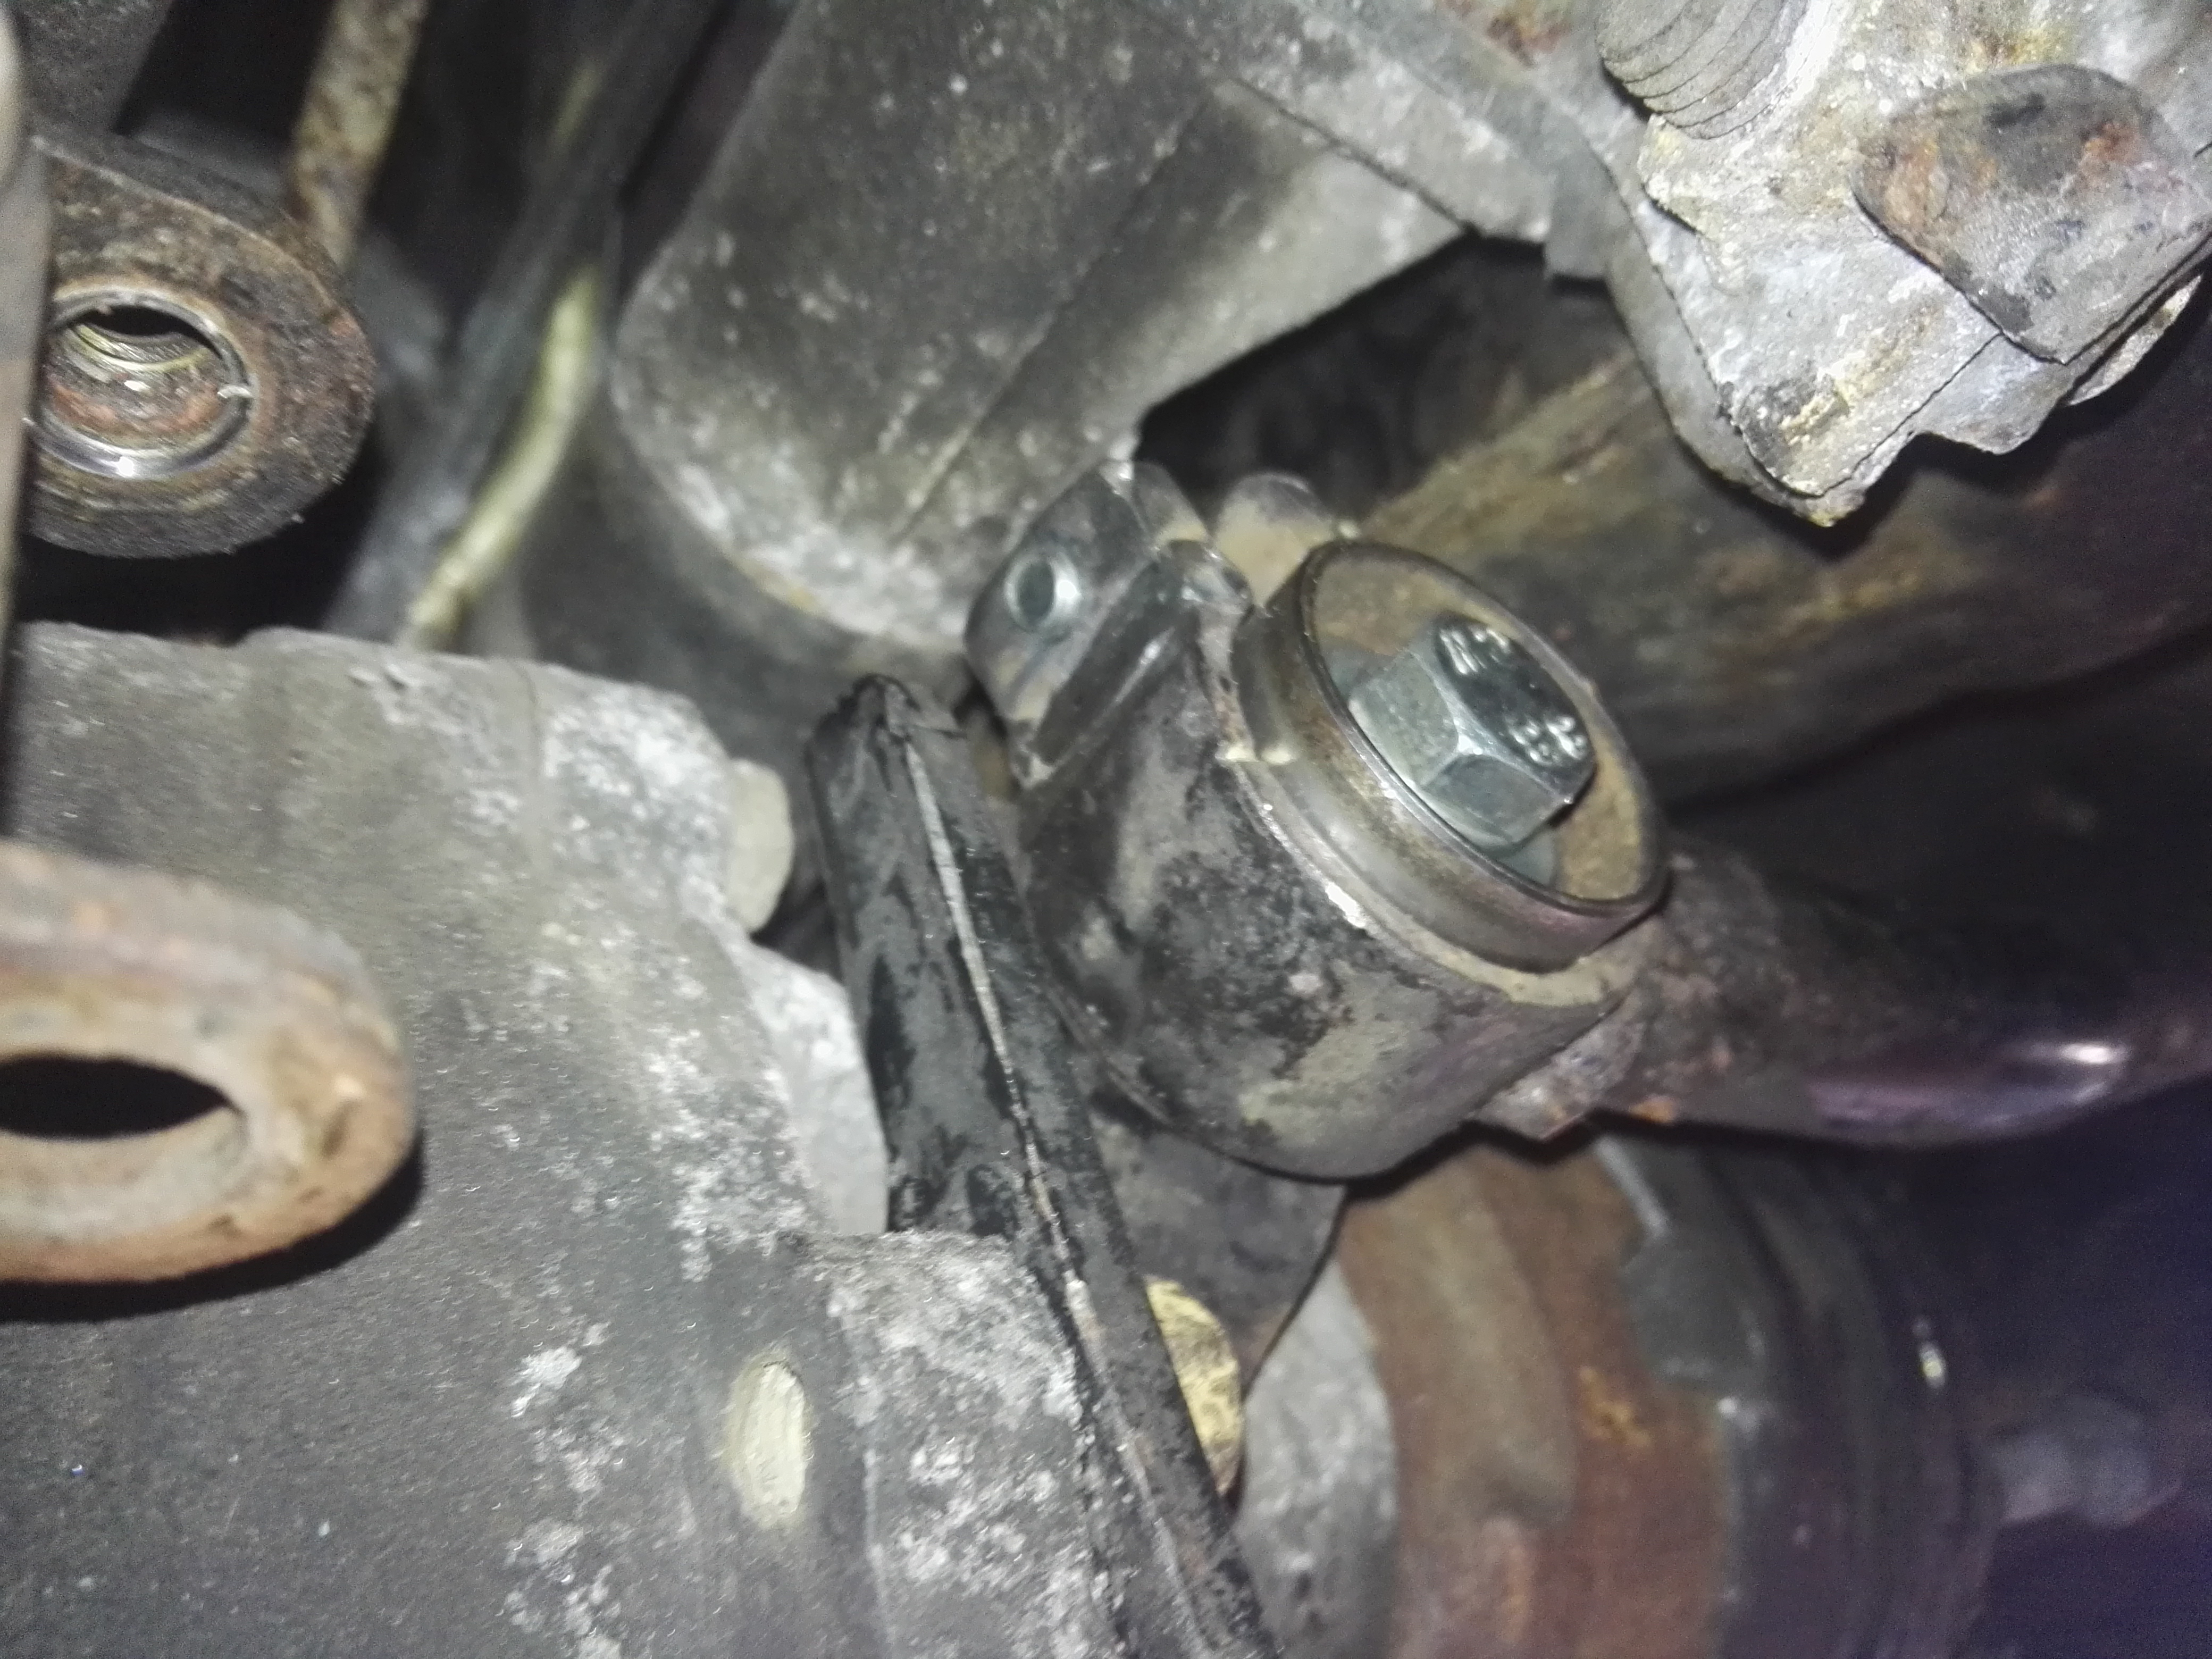
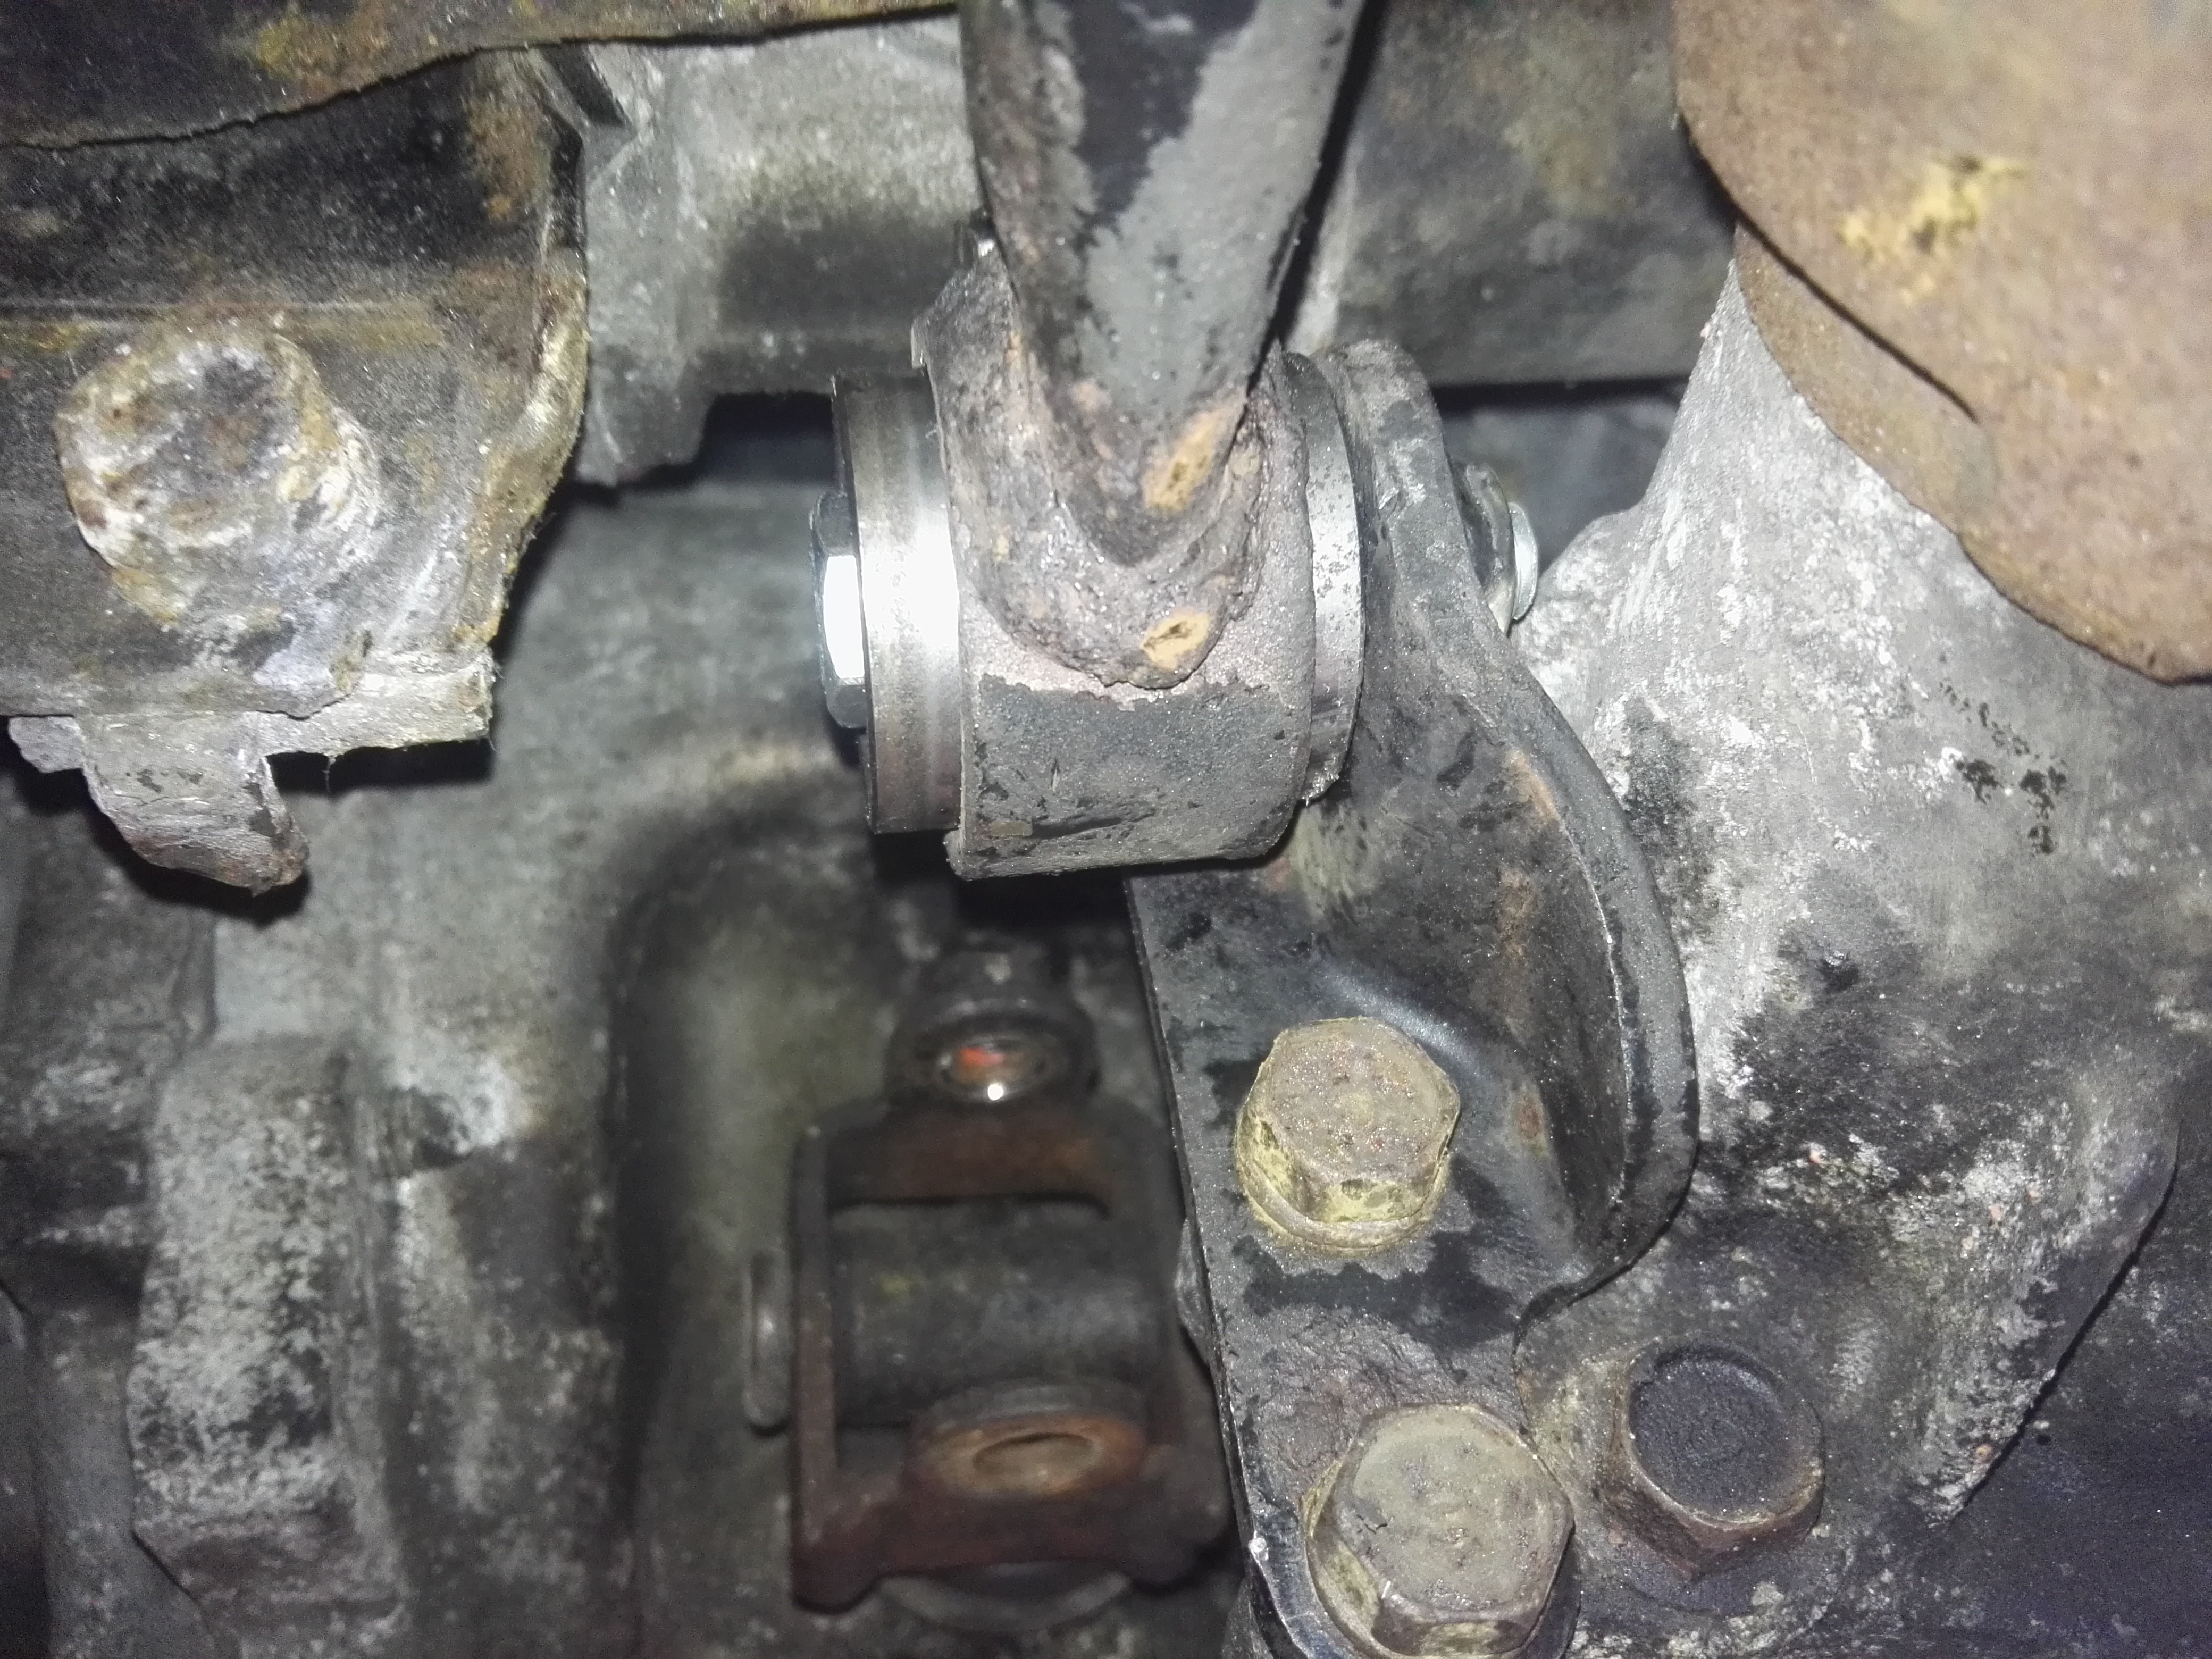
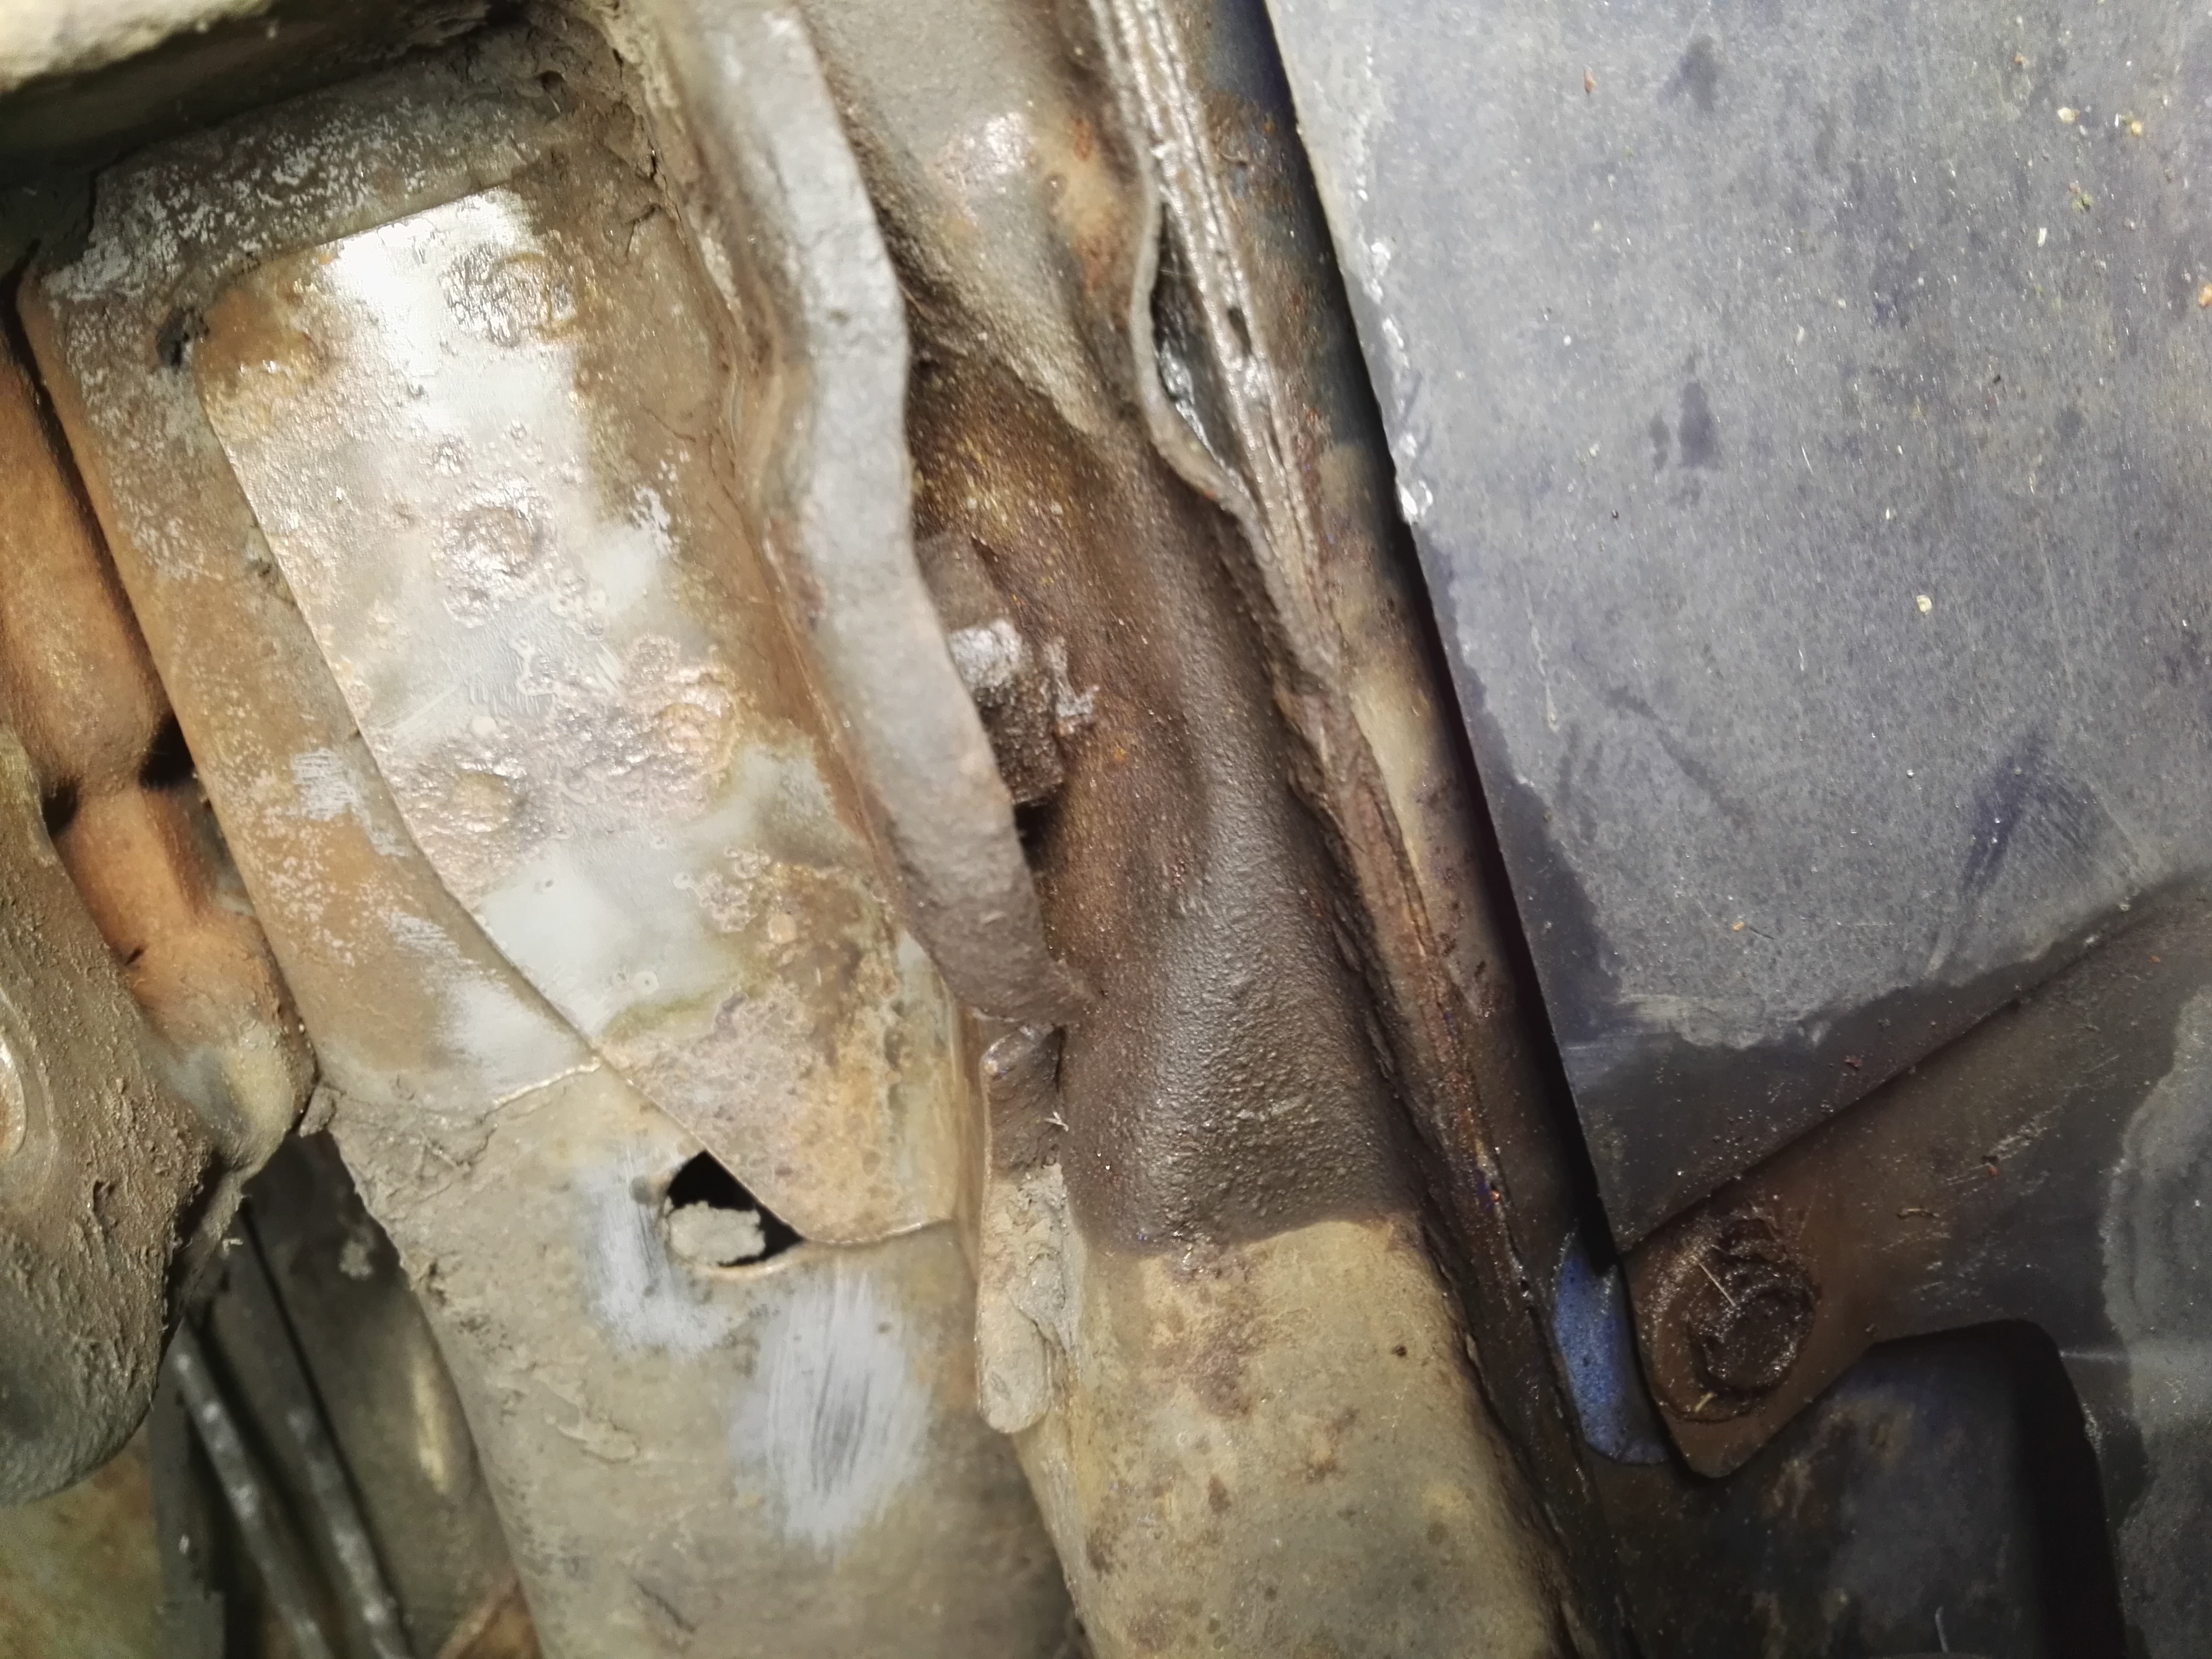
Next I dropped the tank, tailshaft and the rear diff. This is where I ran into my first problem.
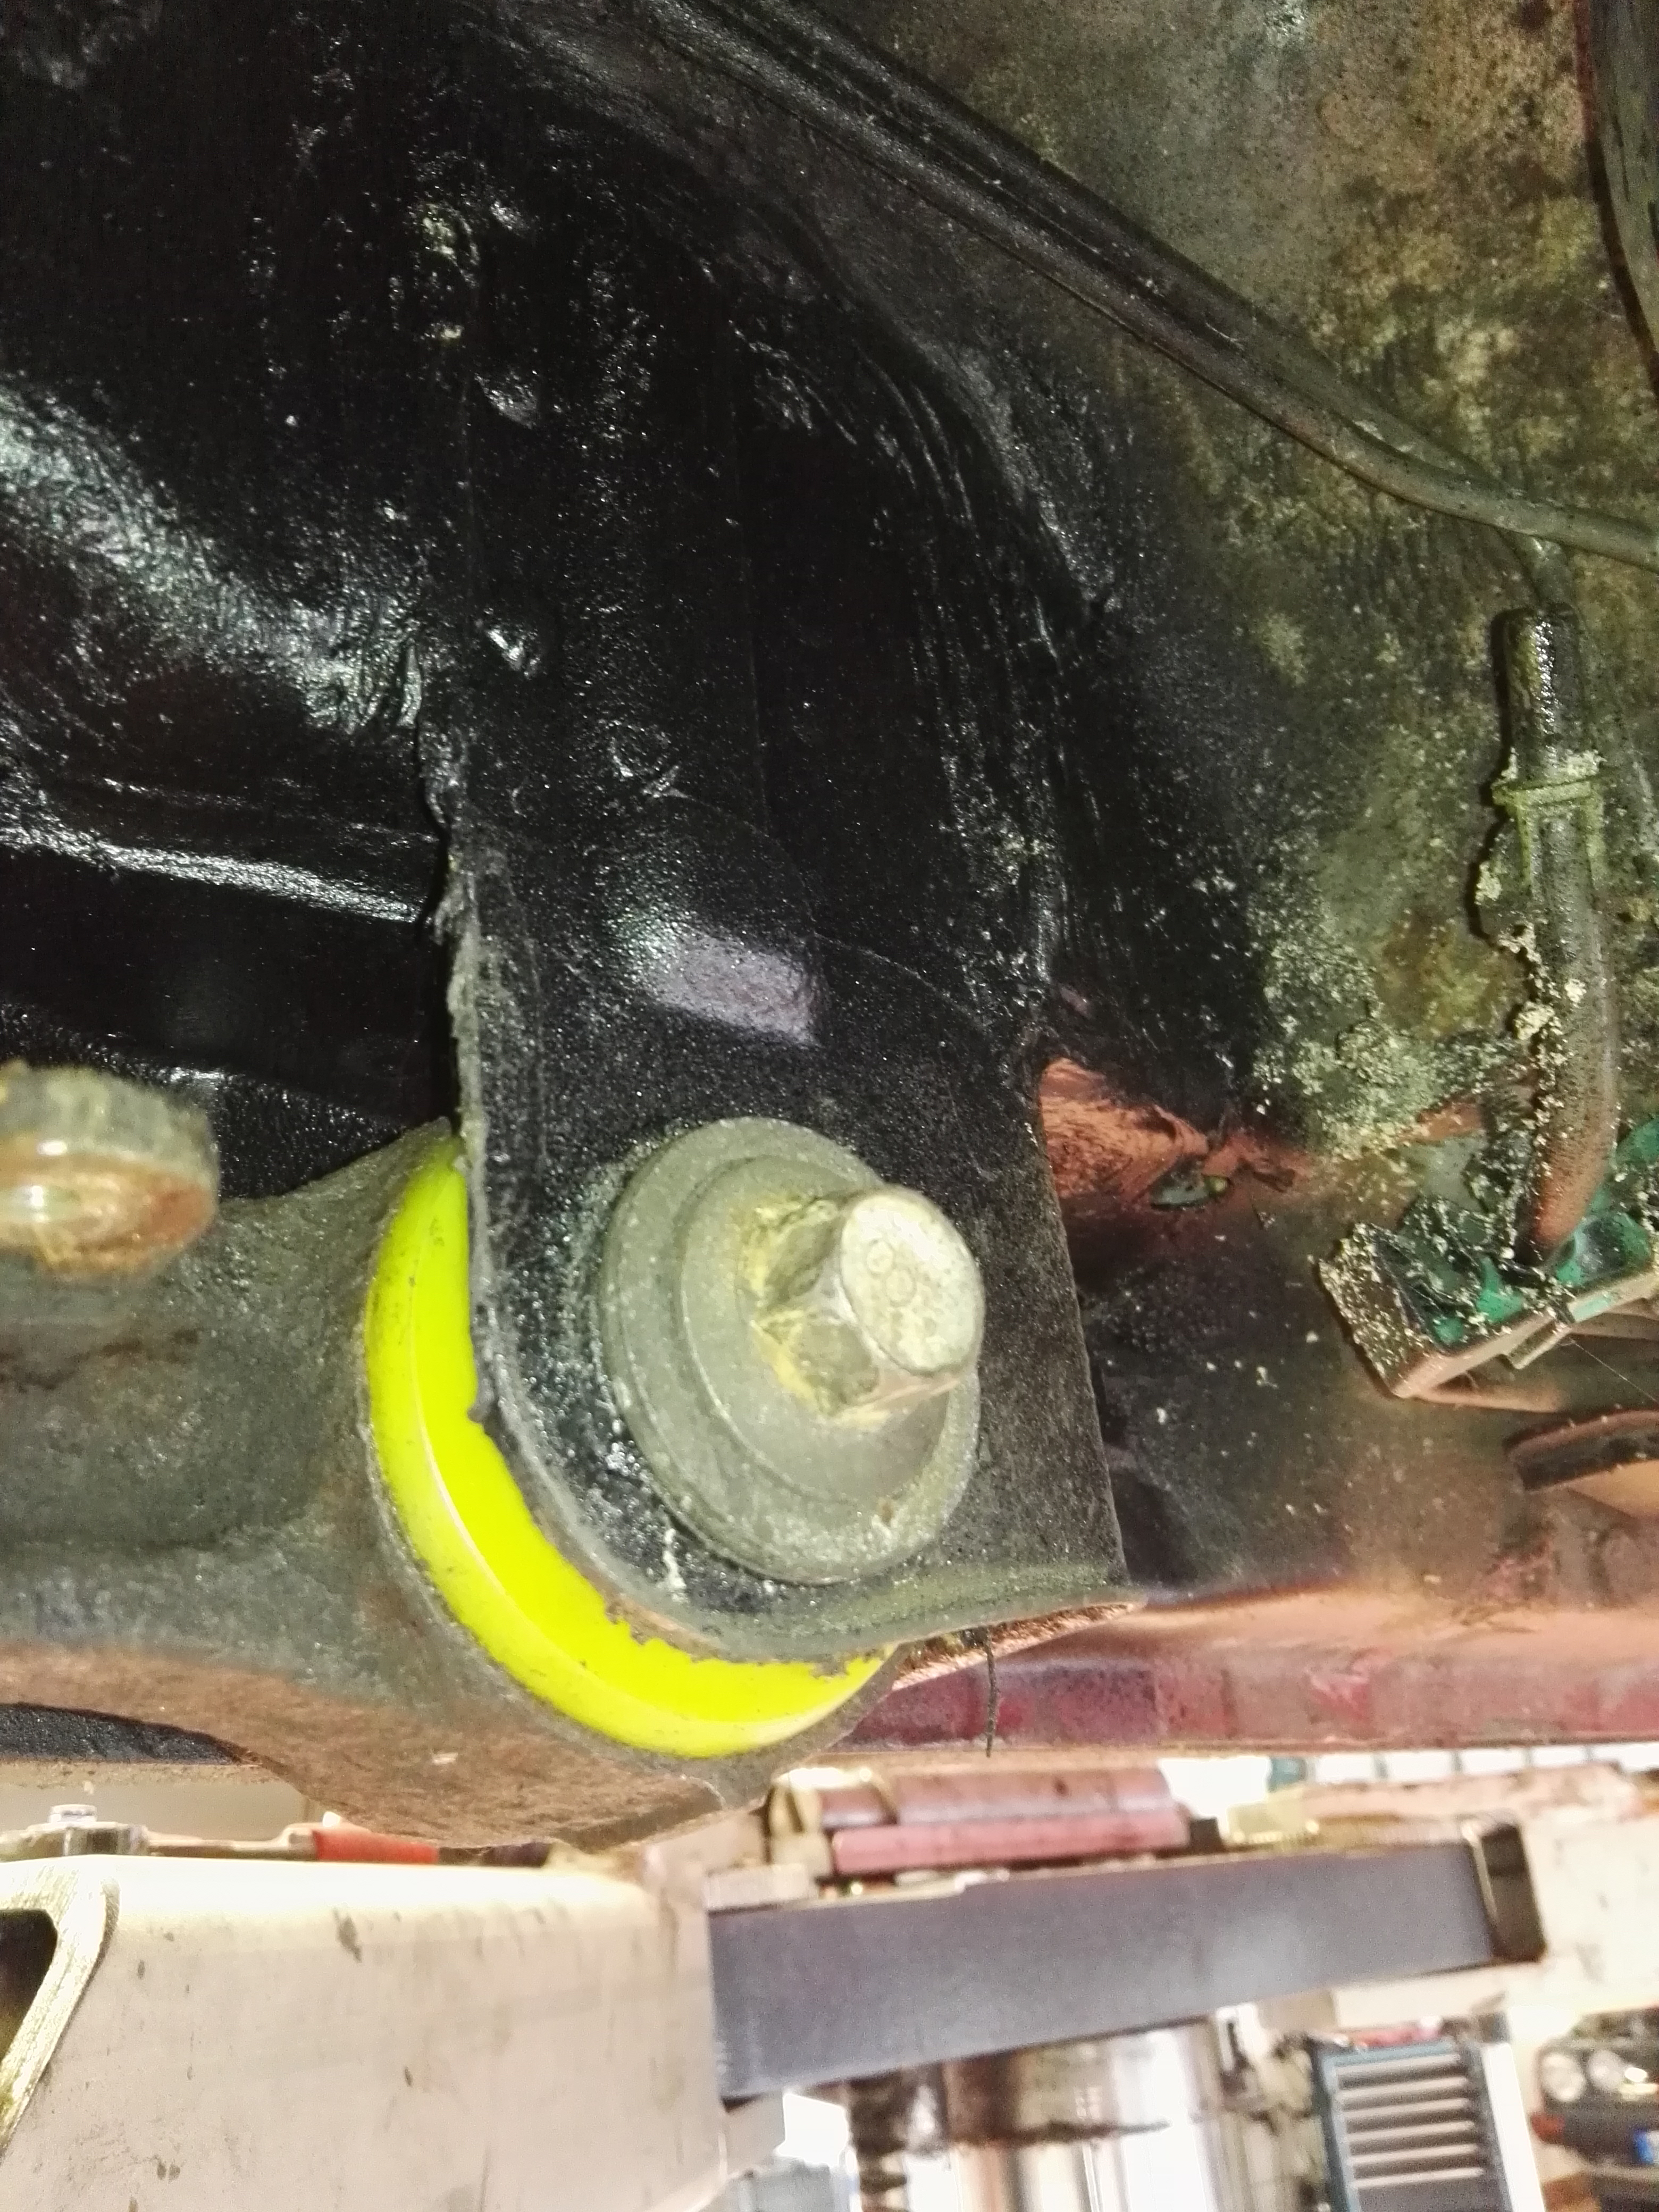
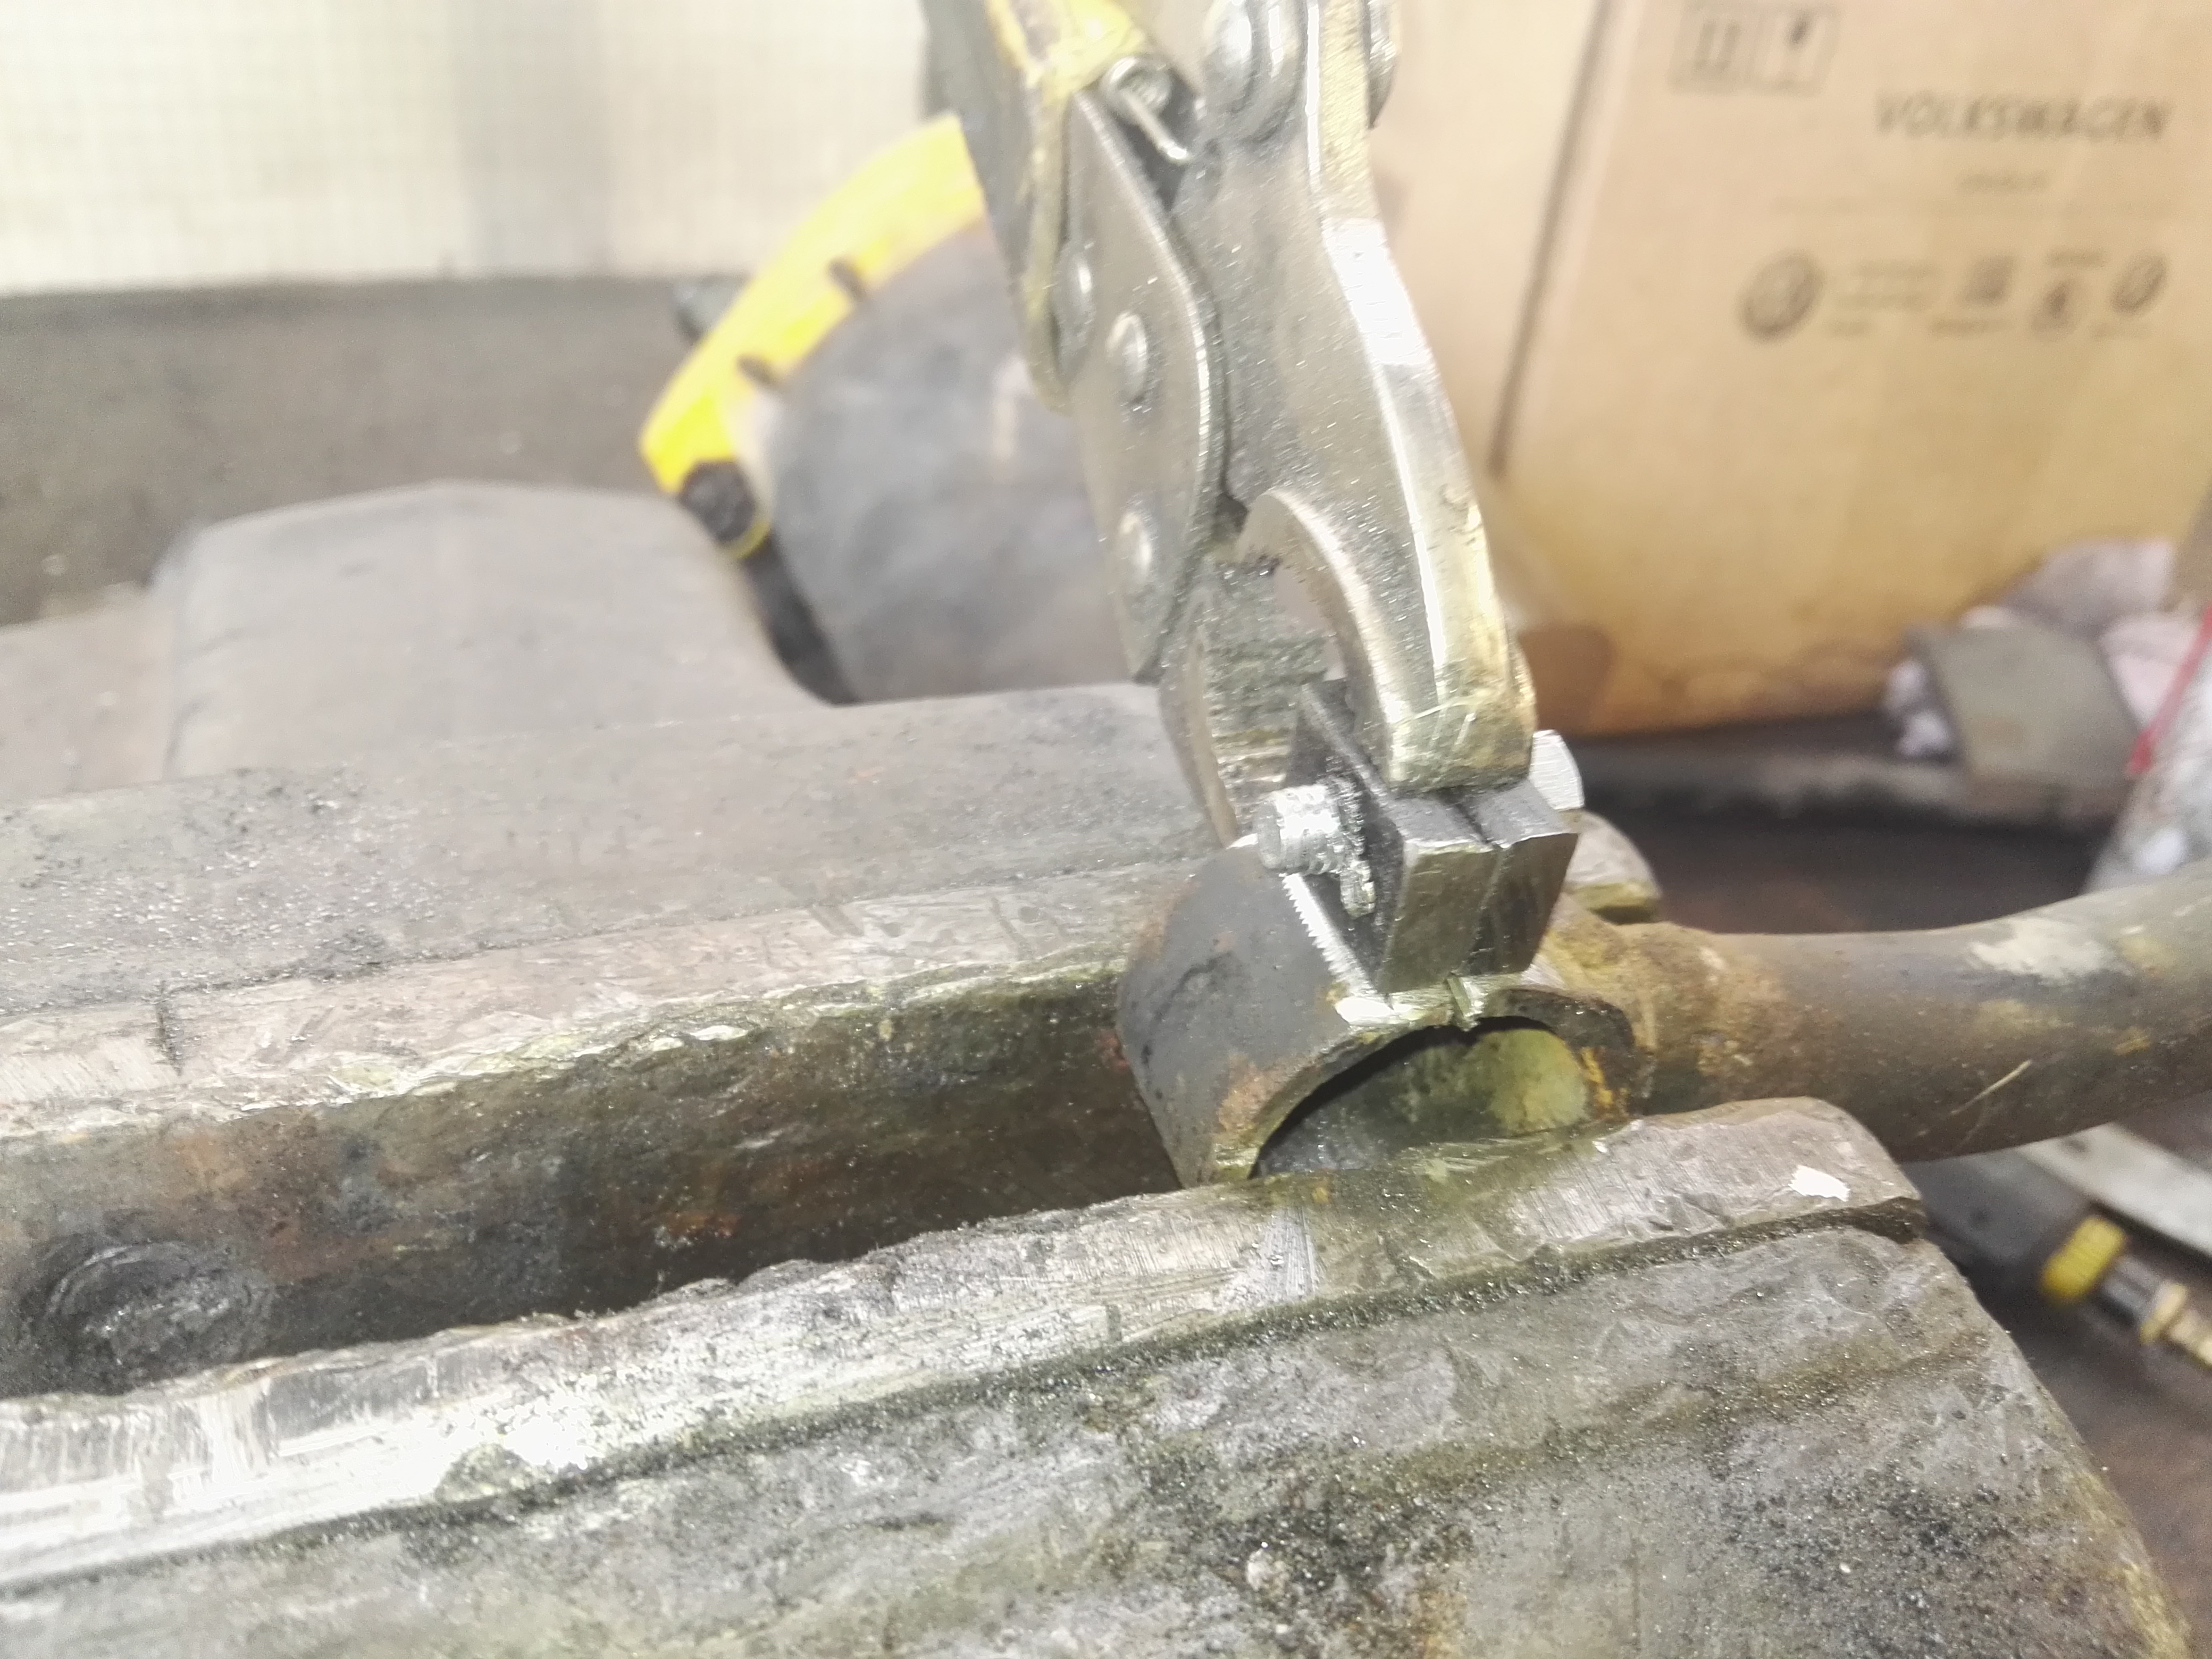
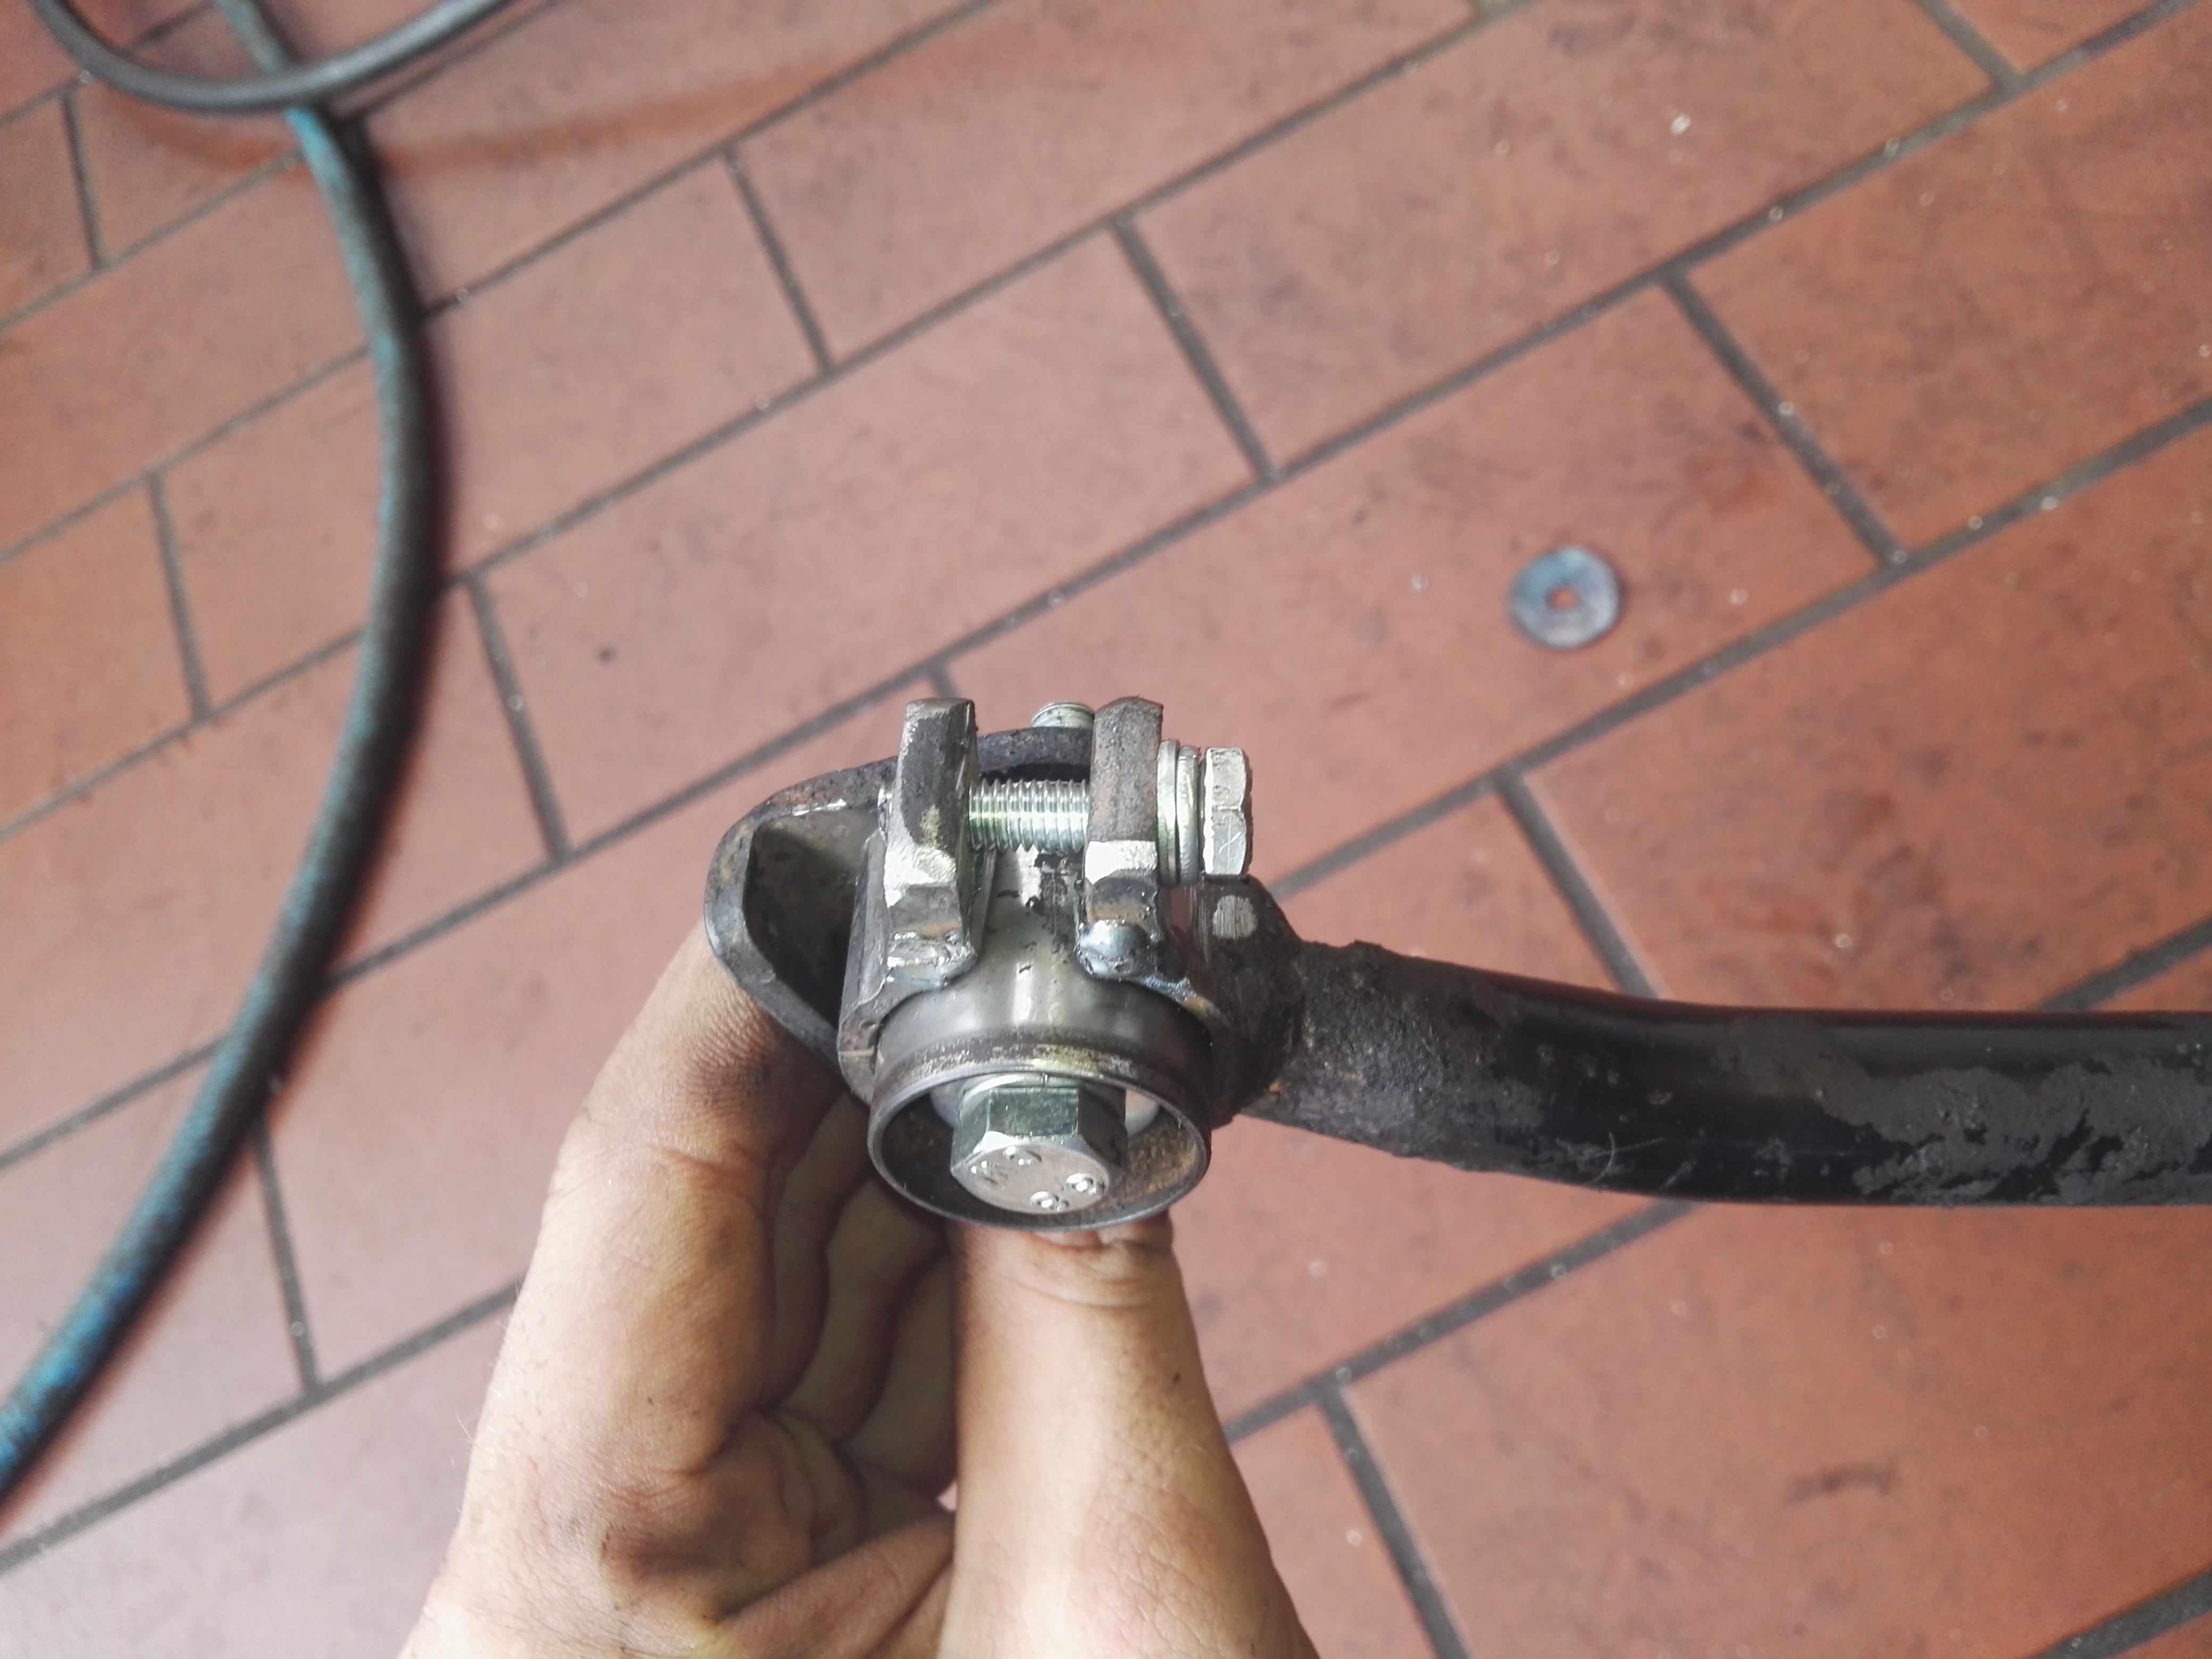
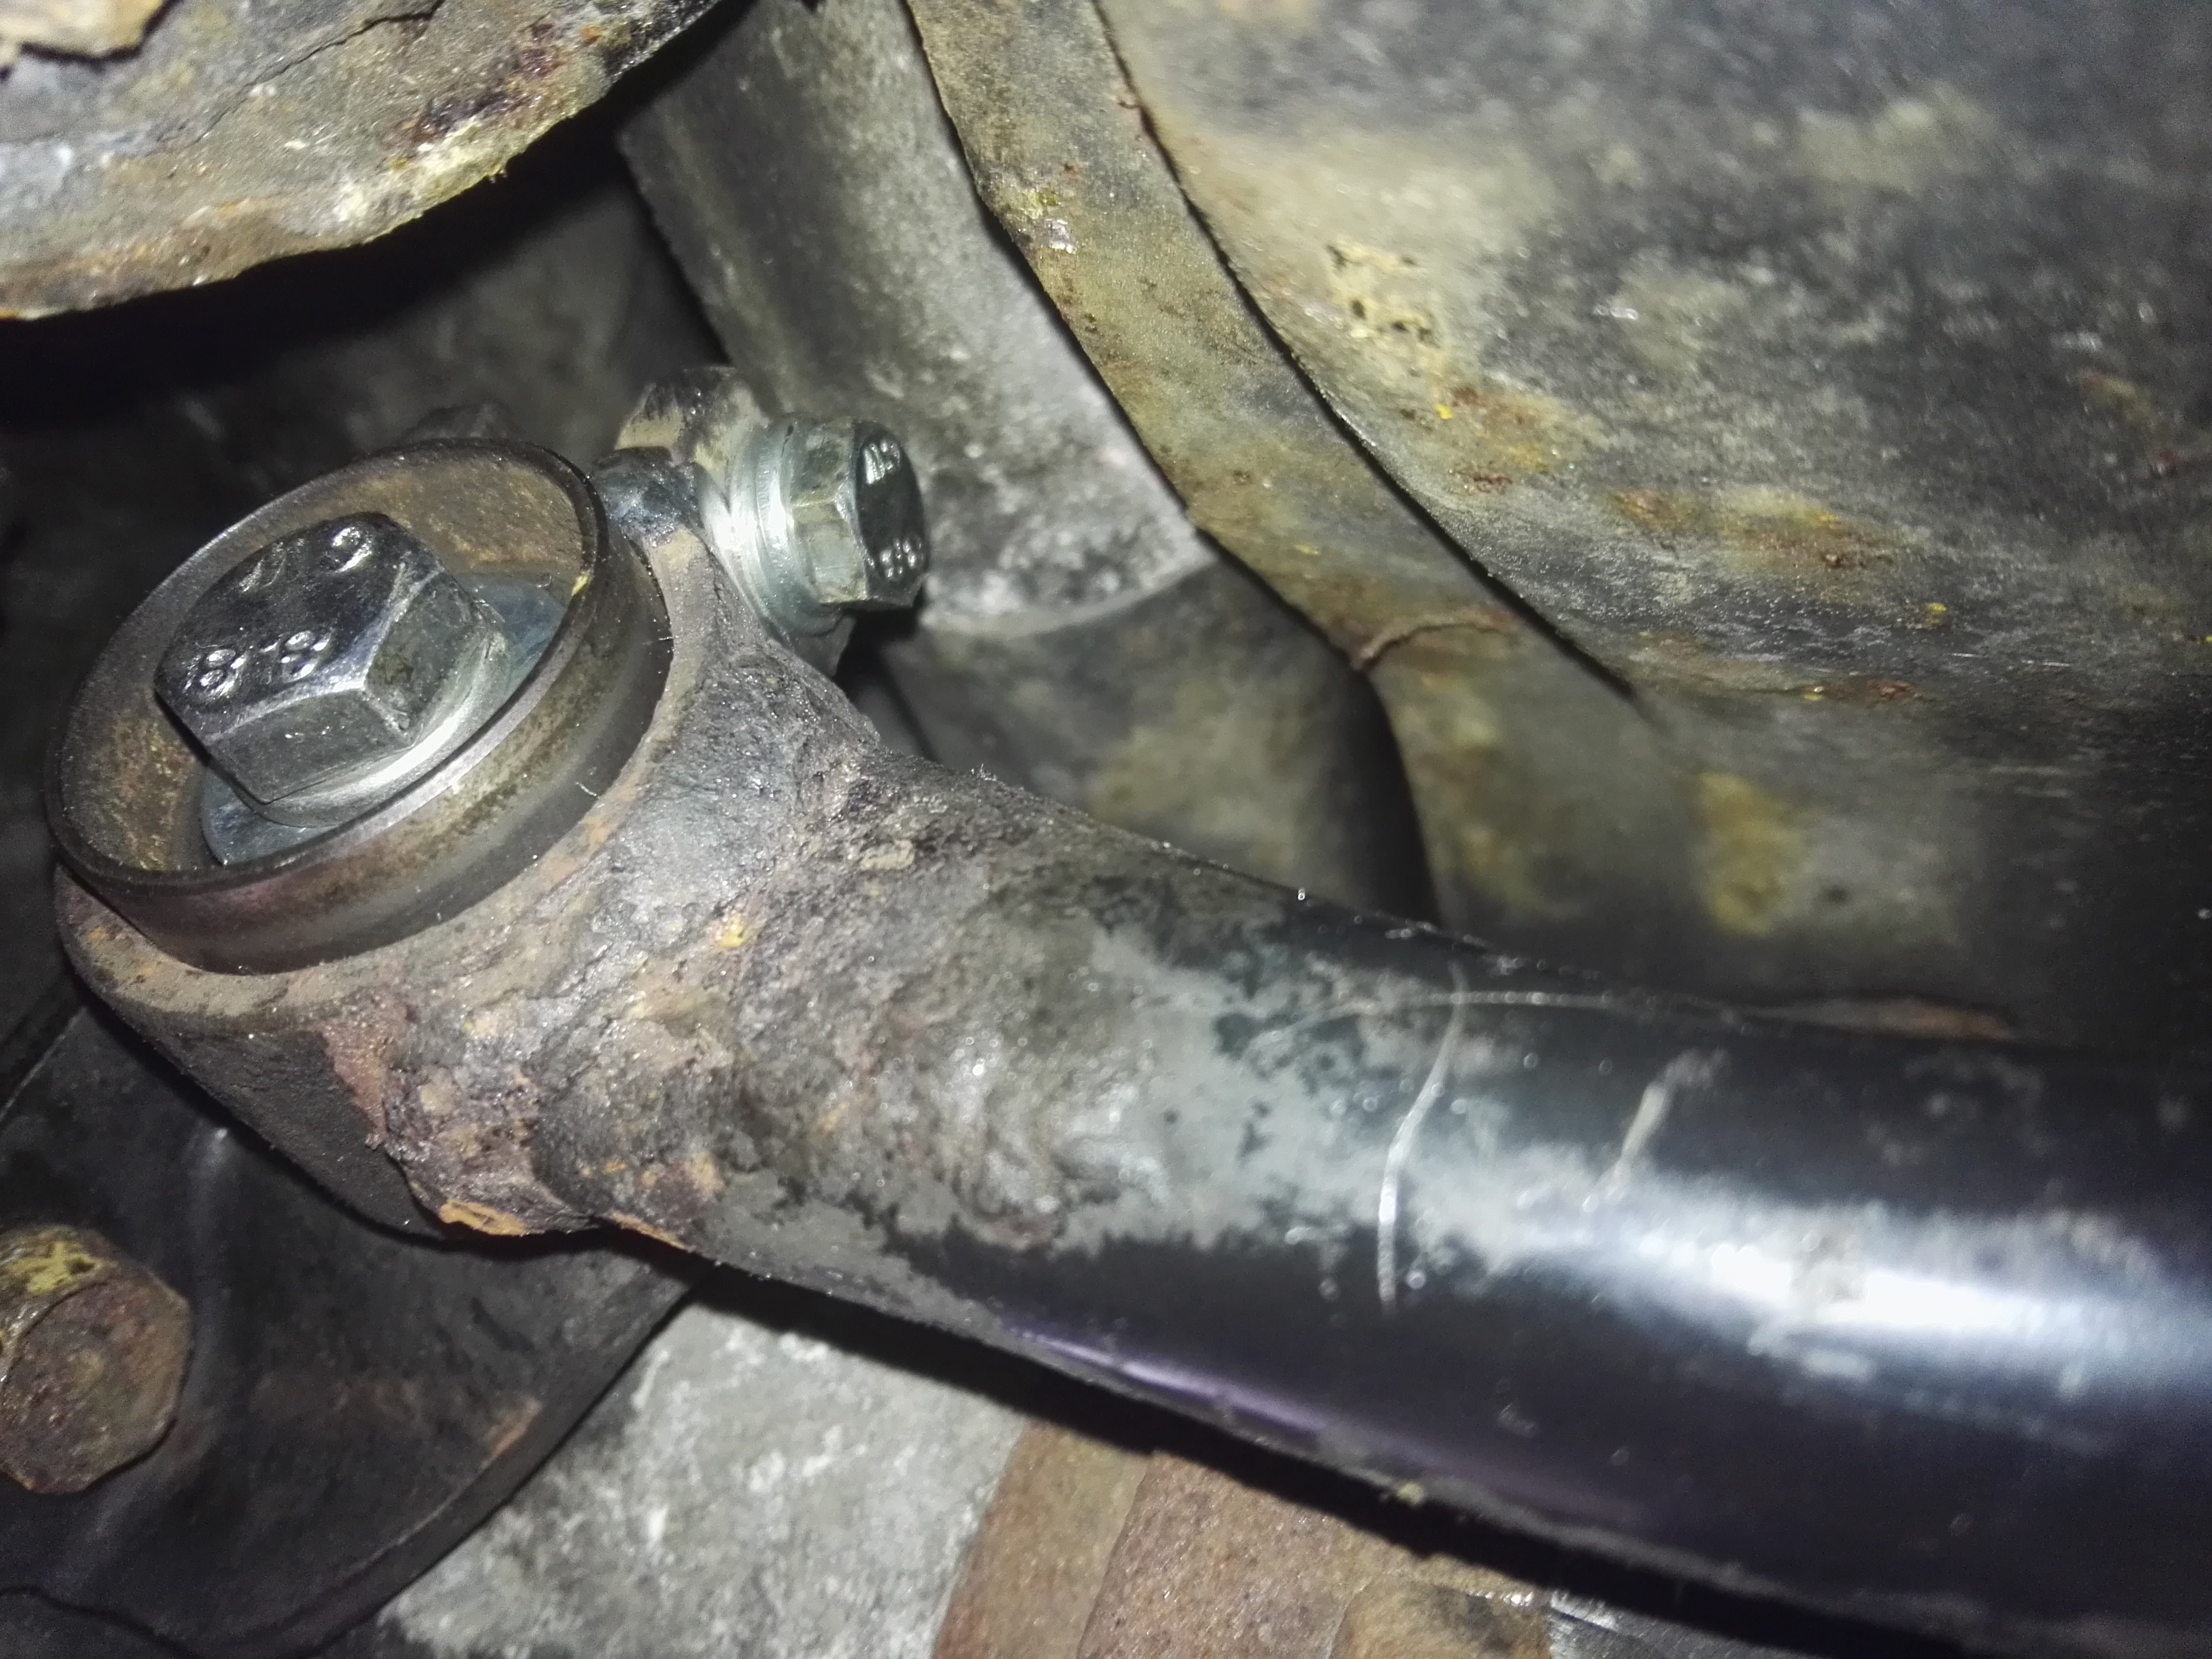
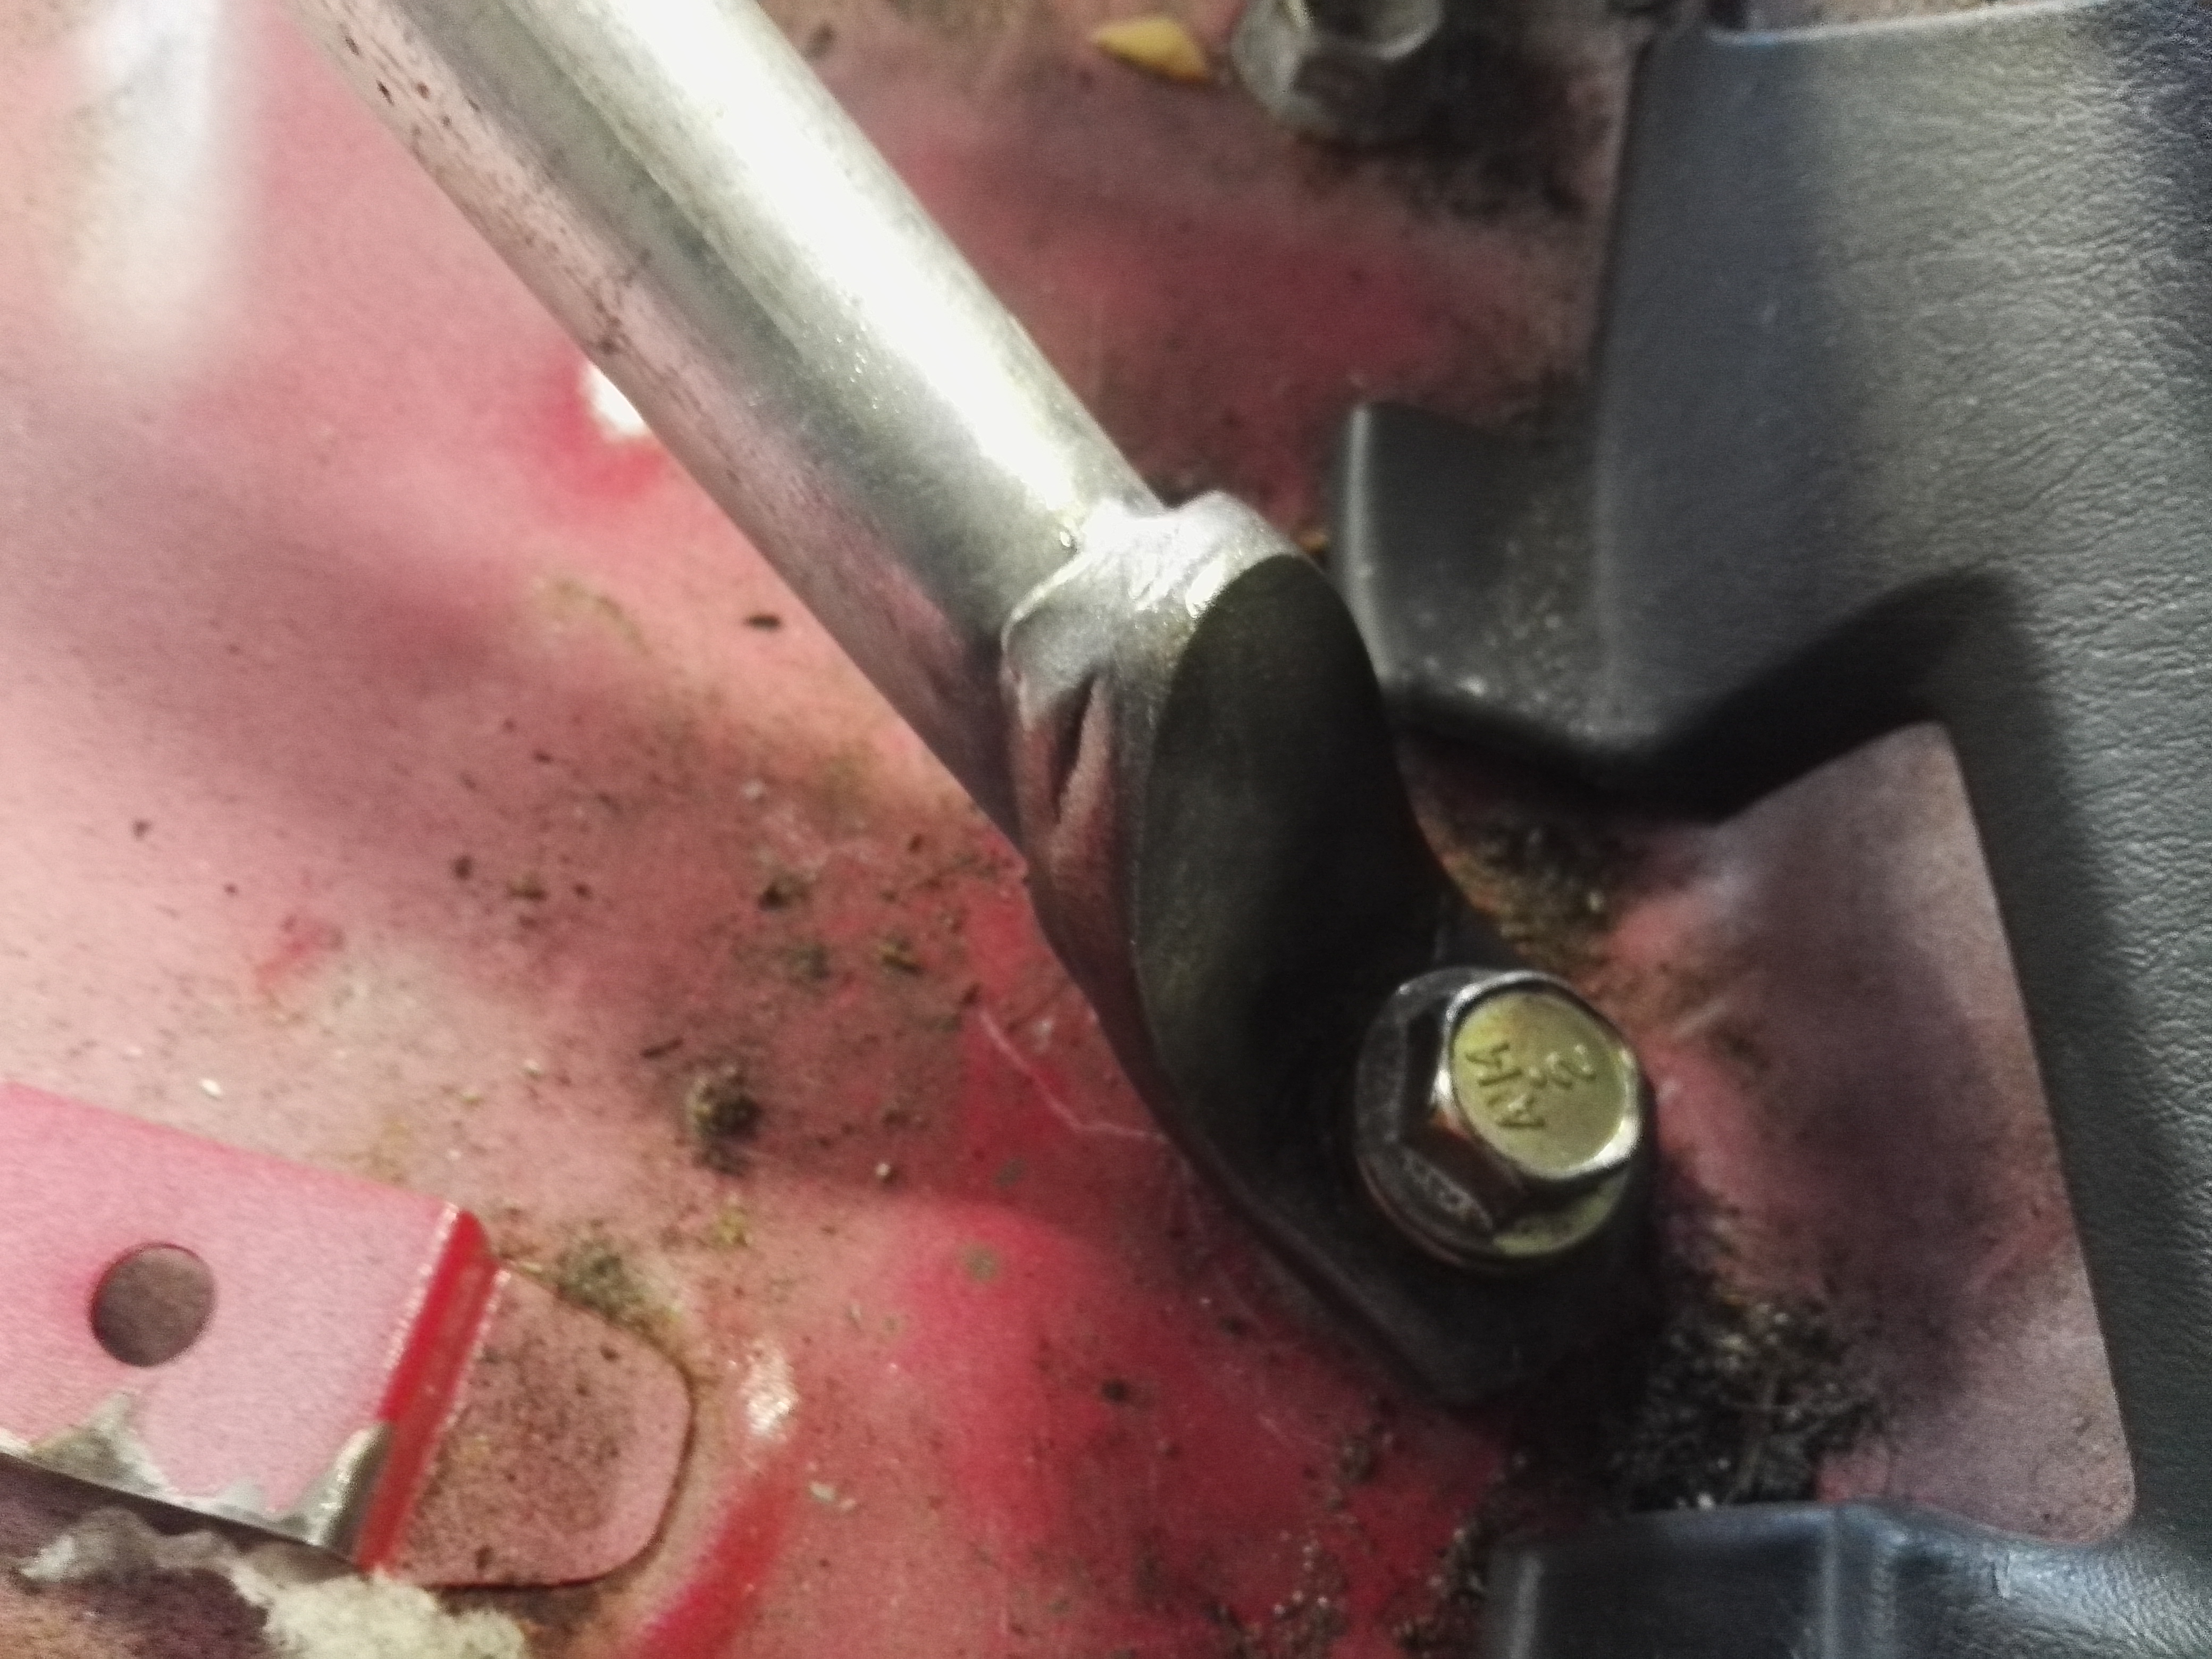
The bold was rusted in the trailing arm bush on the right side and I had no choice but to cut the bolt as it was just turning the bush and spreading the mount as I unscrewed it.

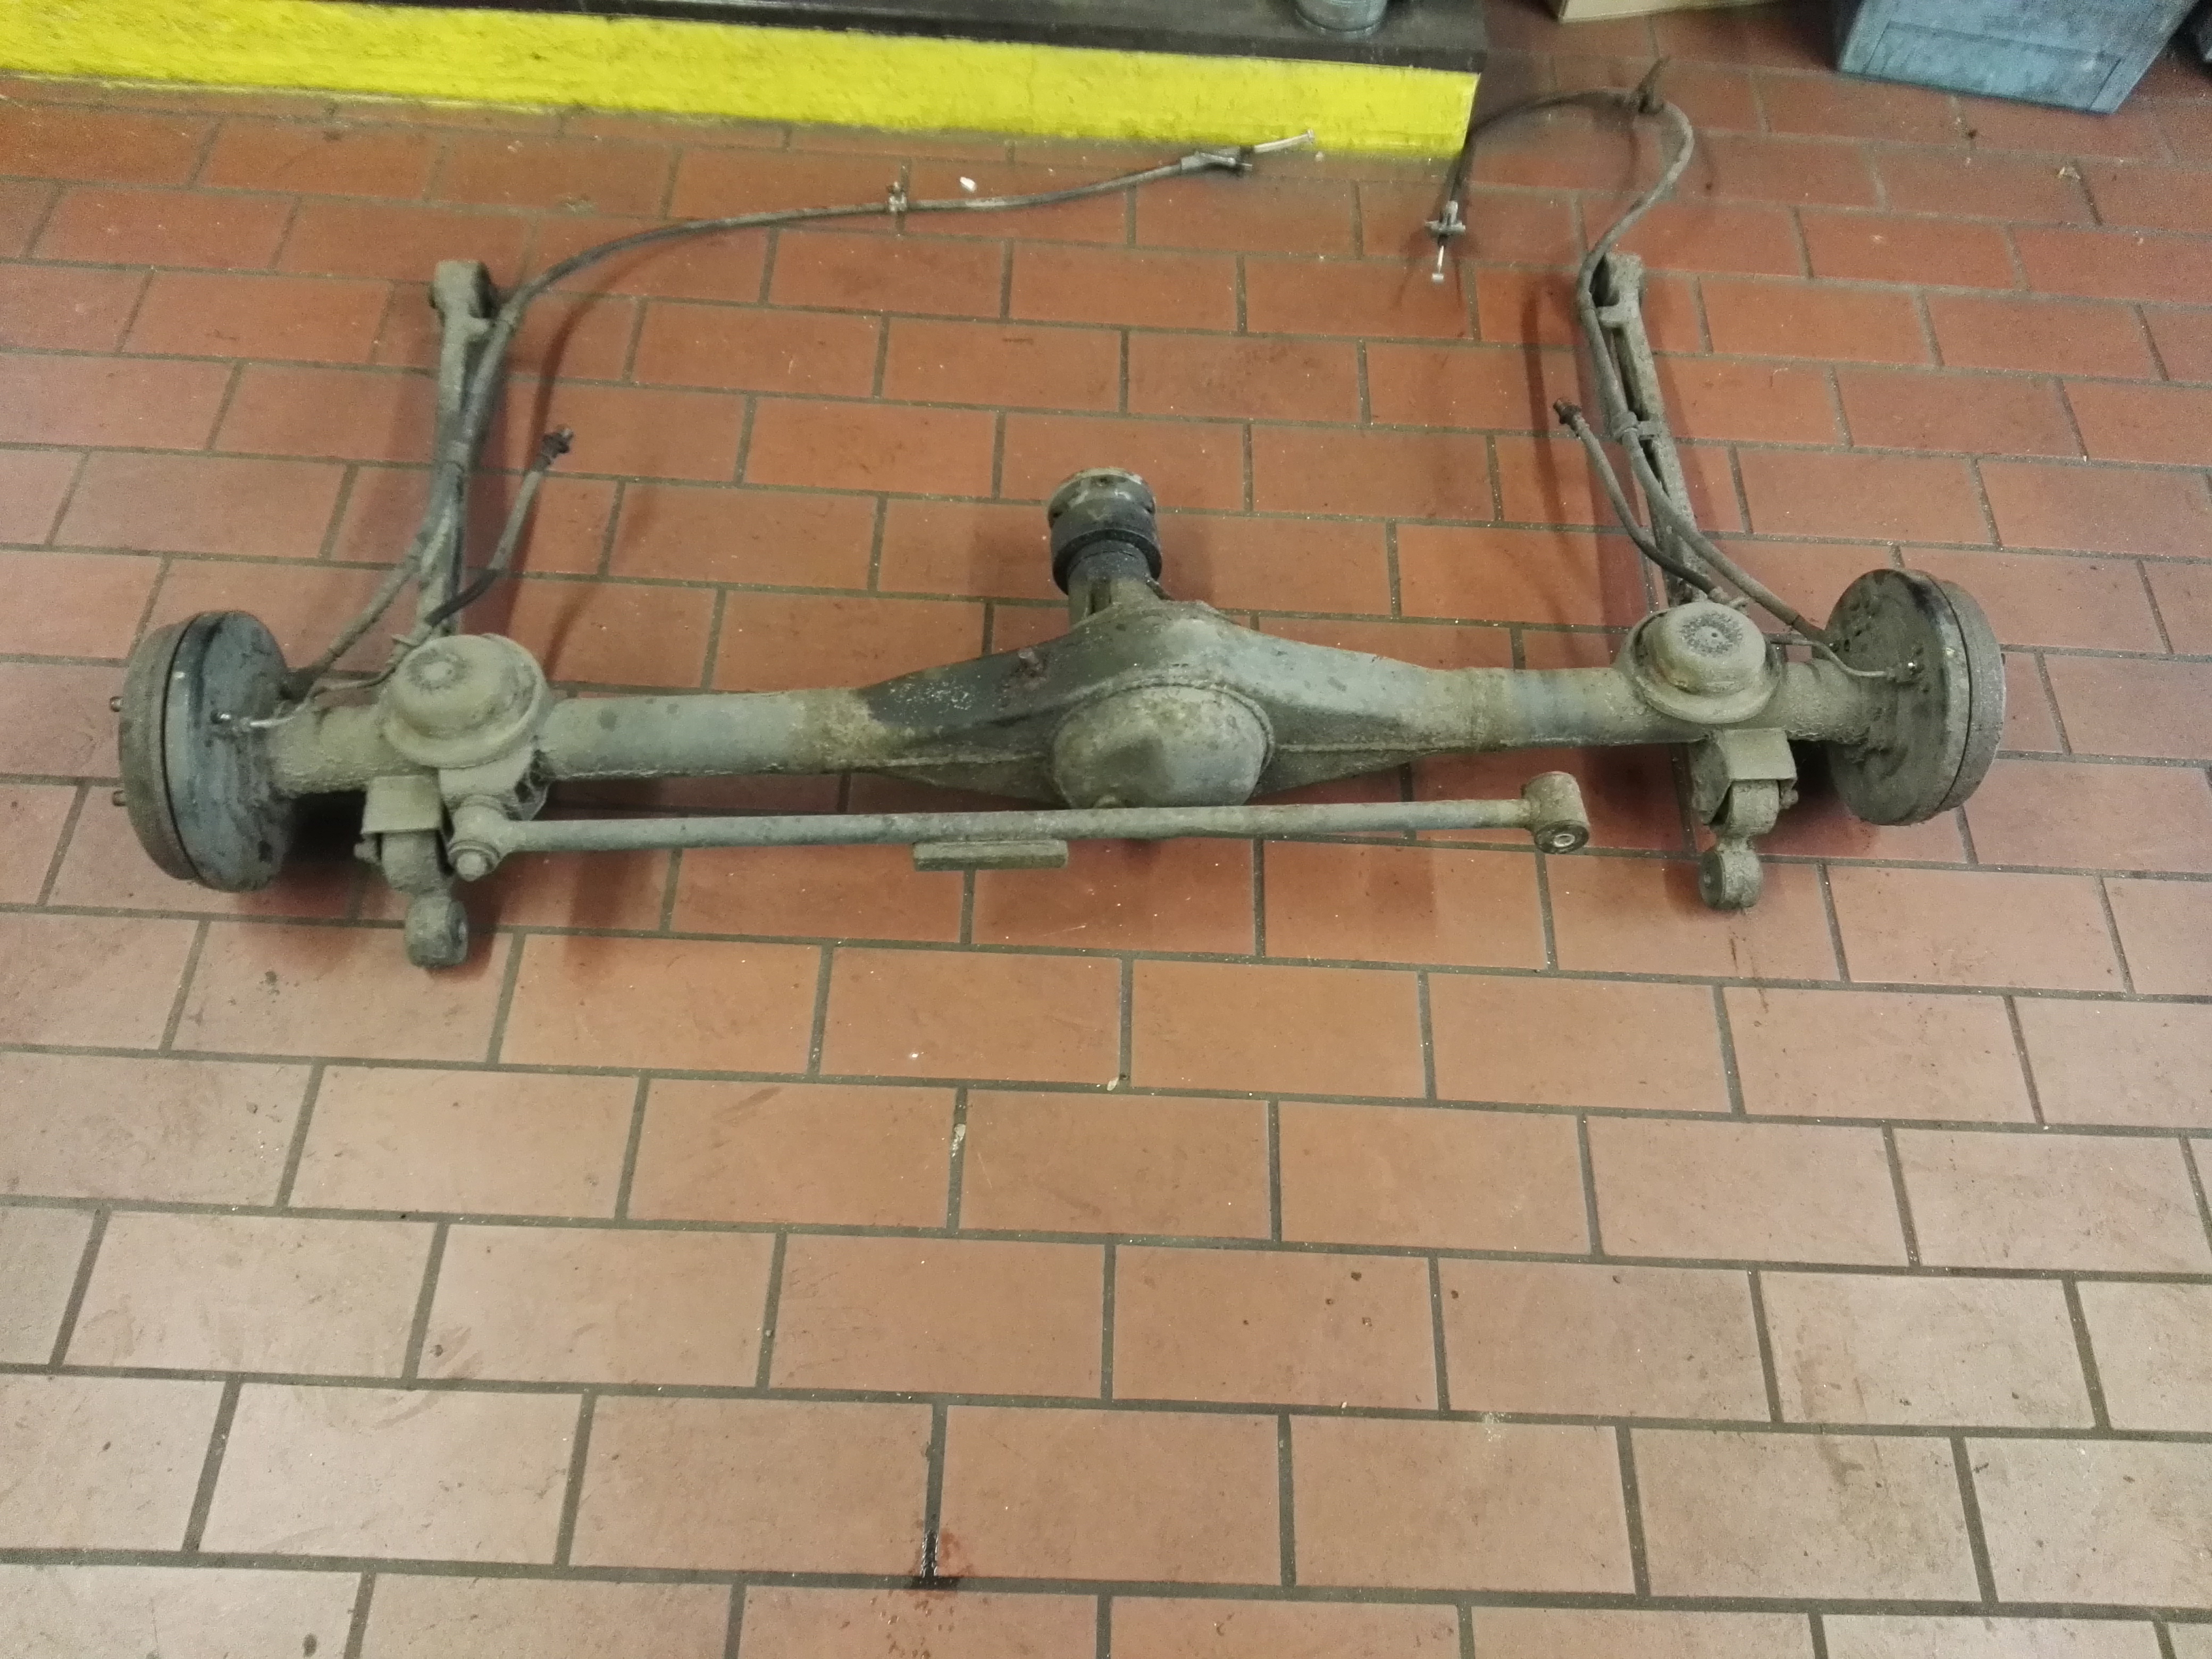
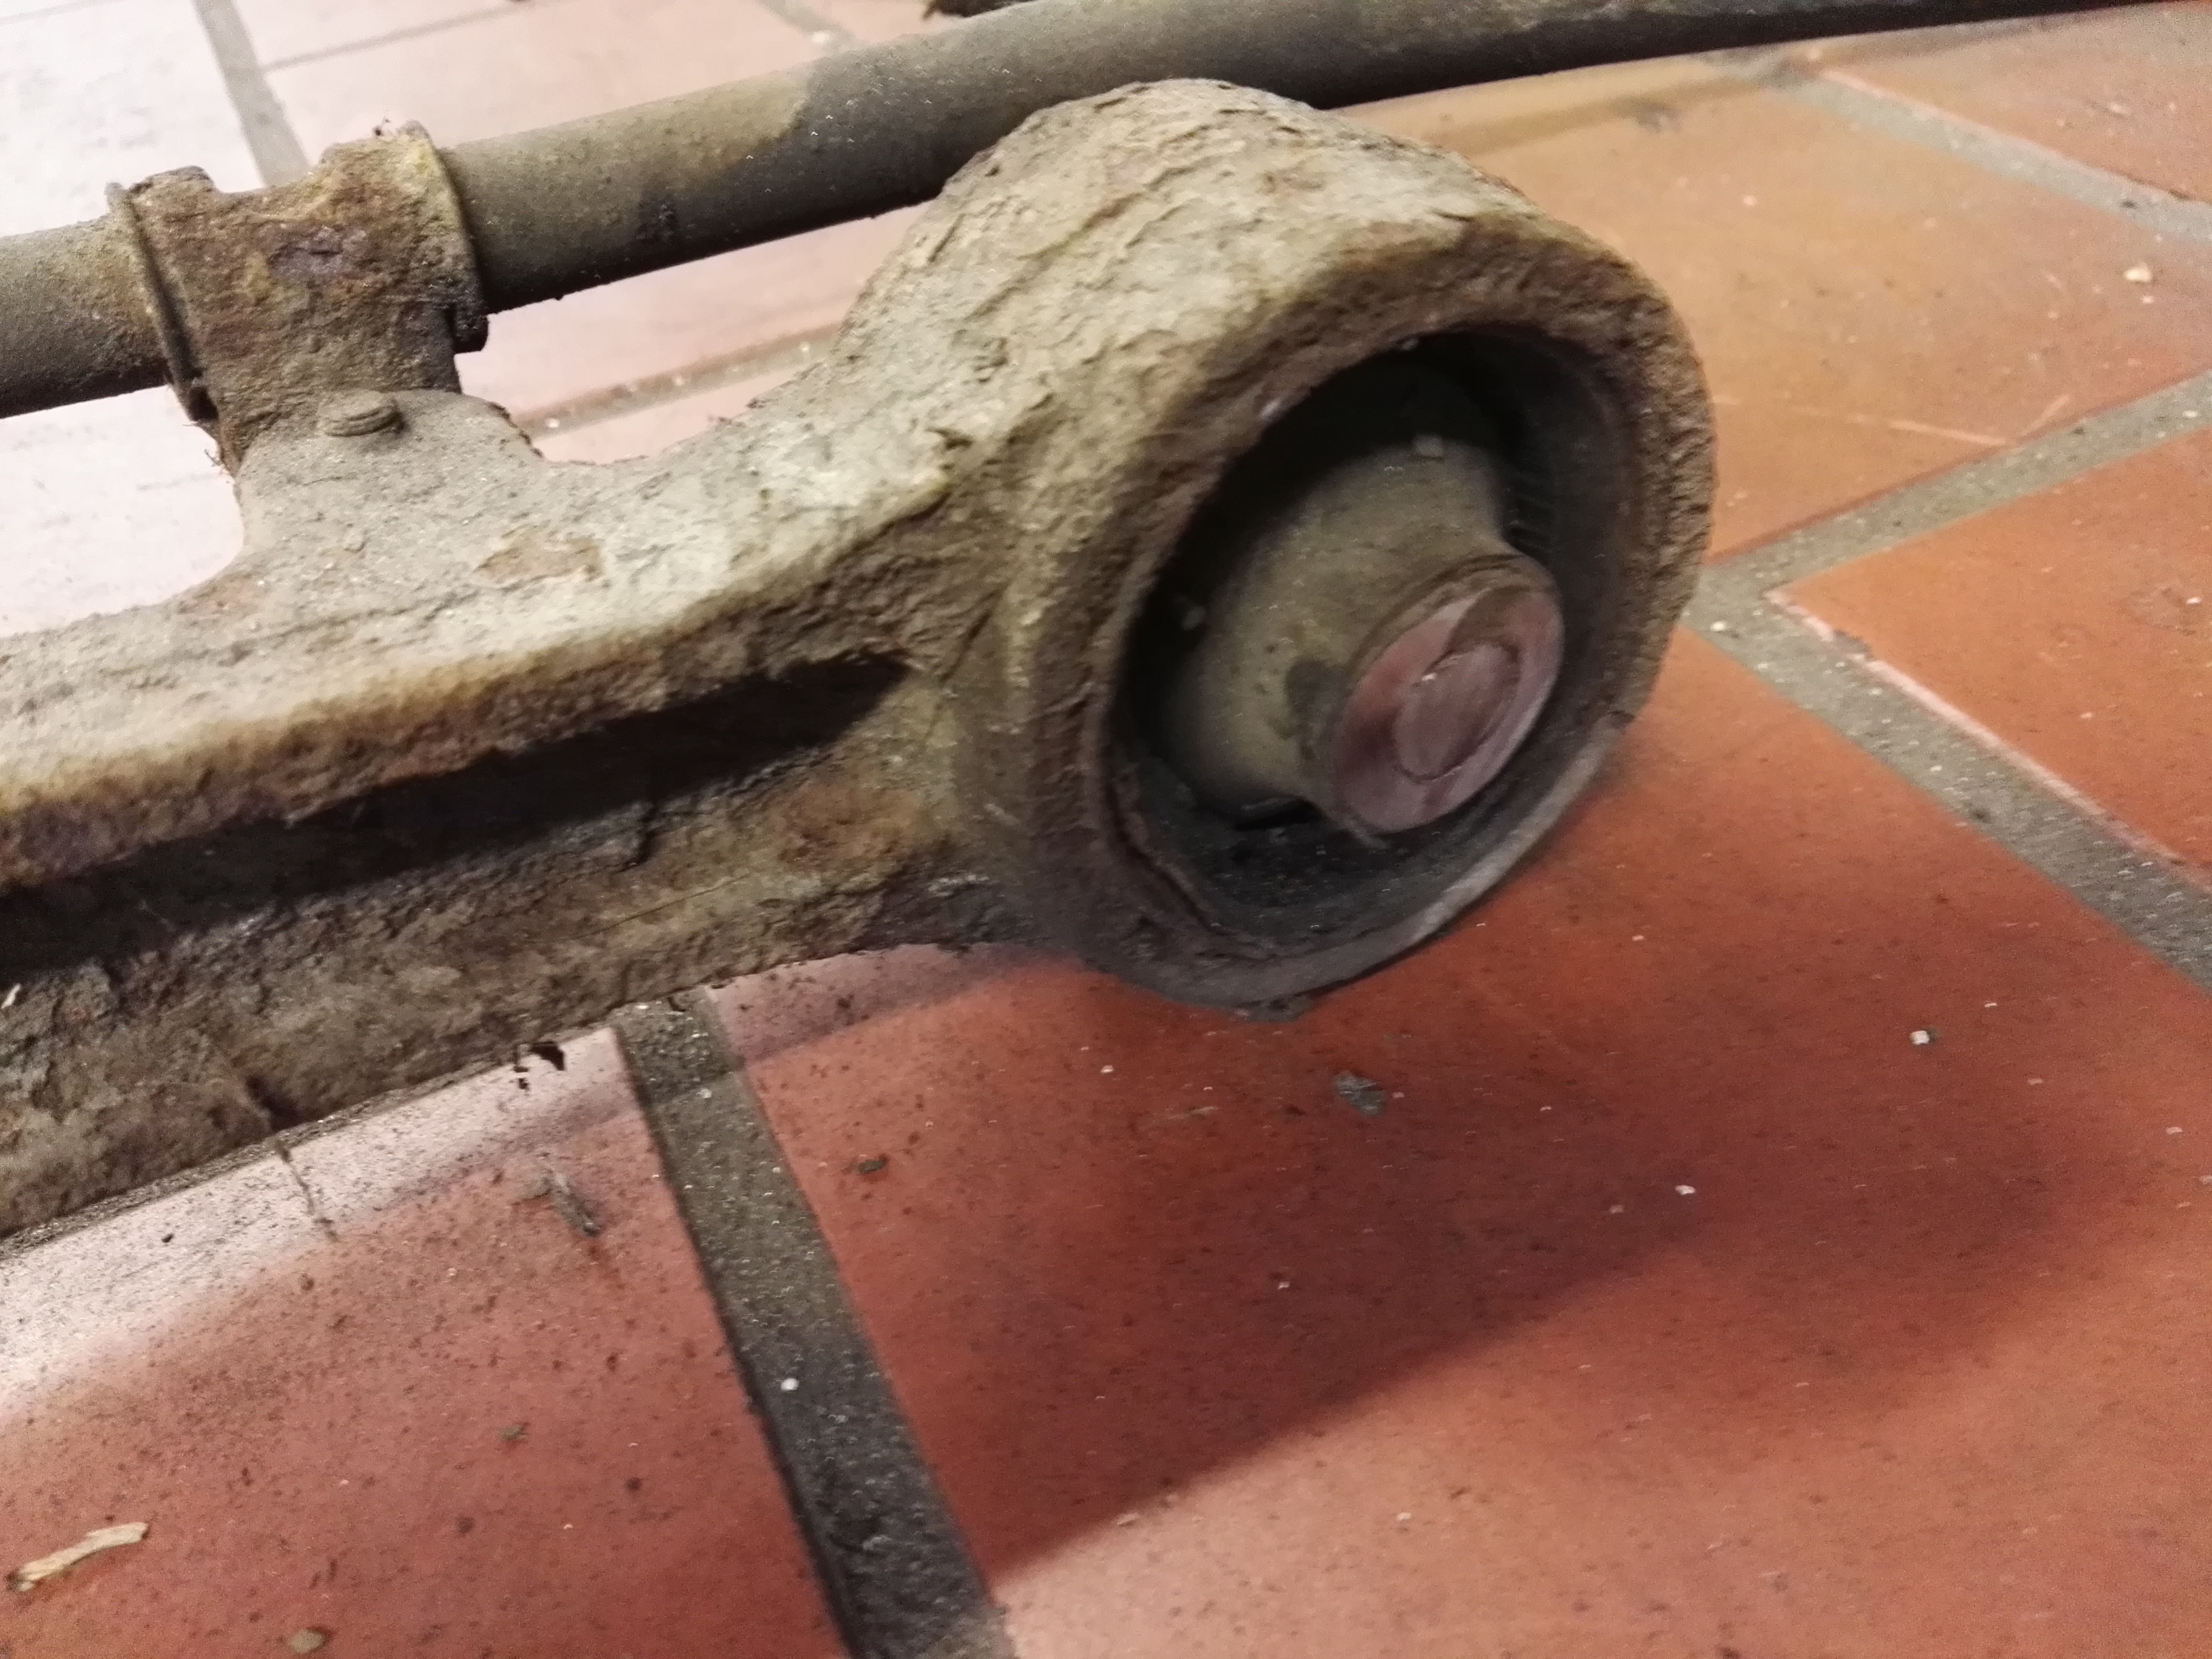
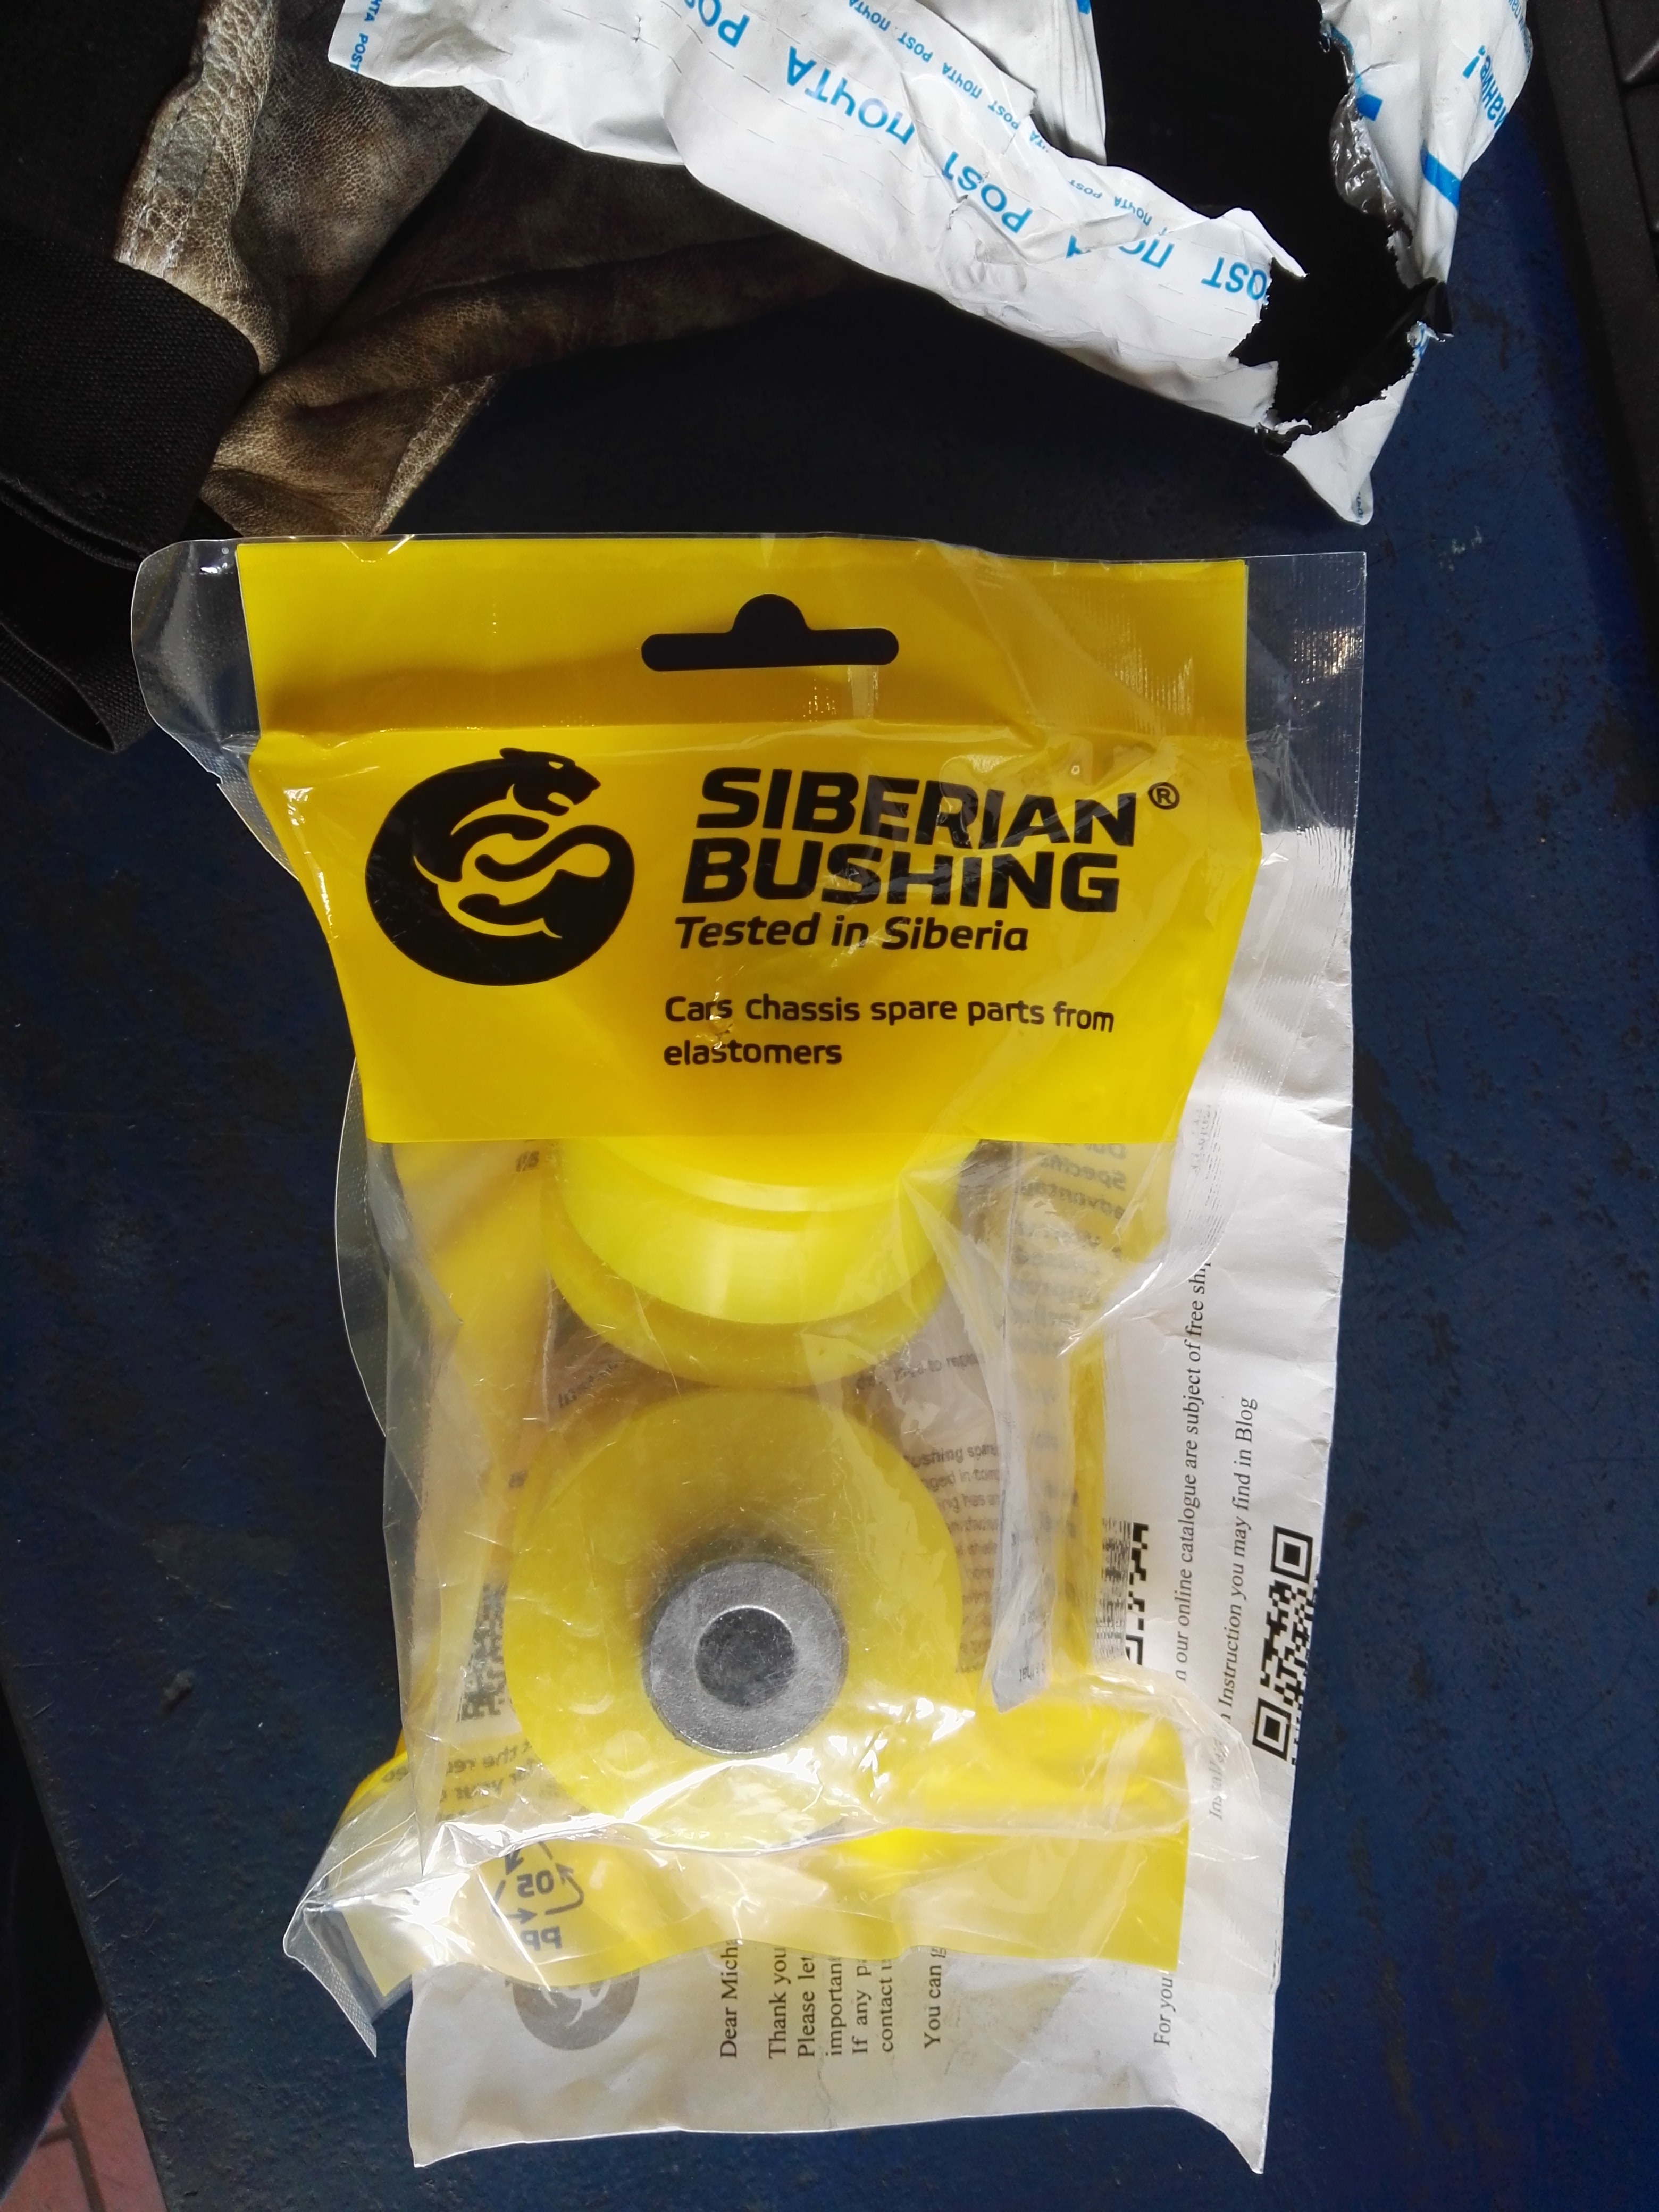
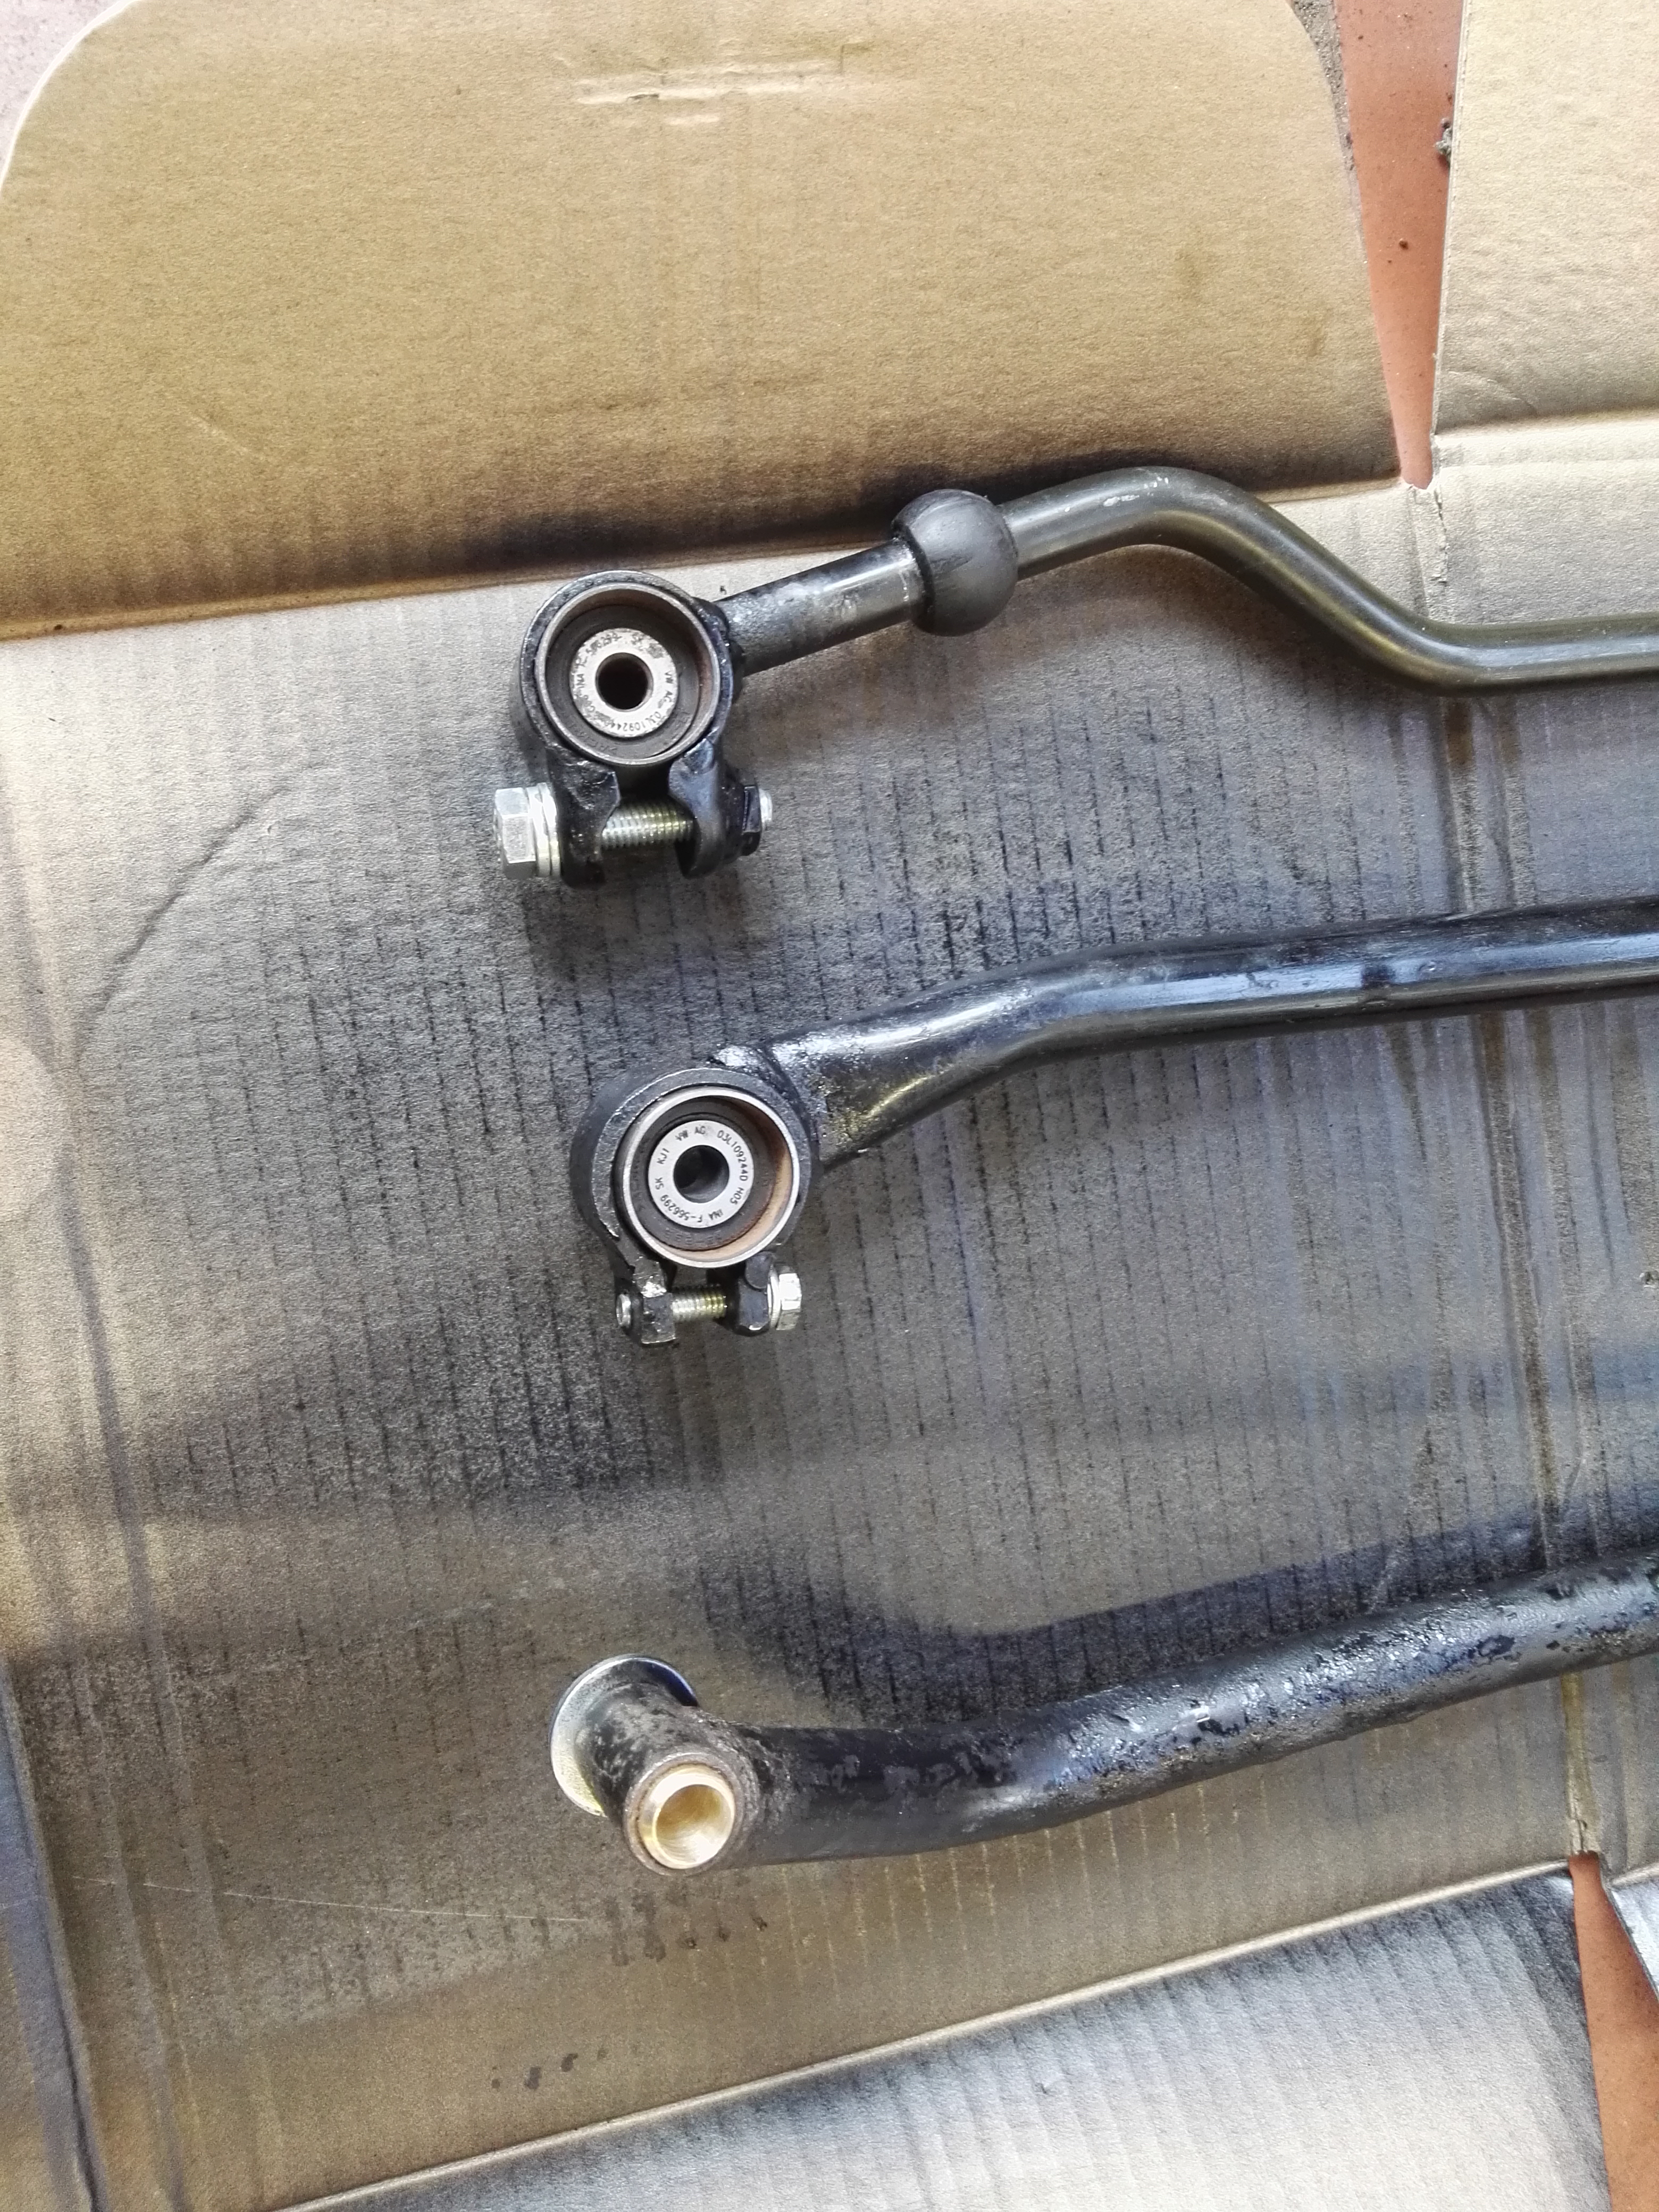
Now I am on the hunt for some trailing arm bushes or complete trailing arms :unamused:

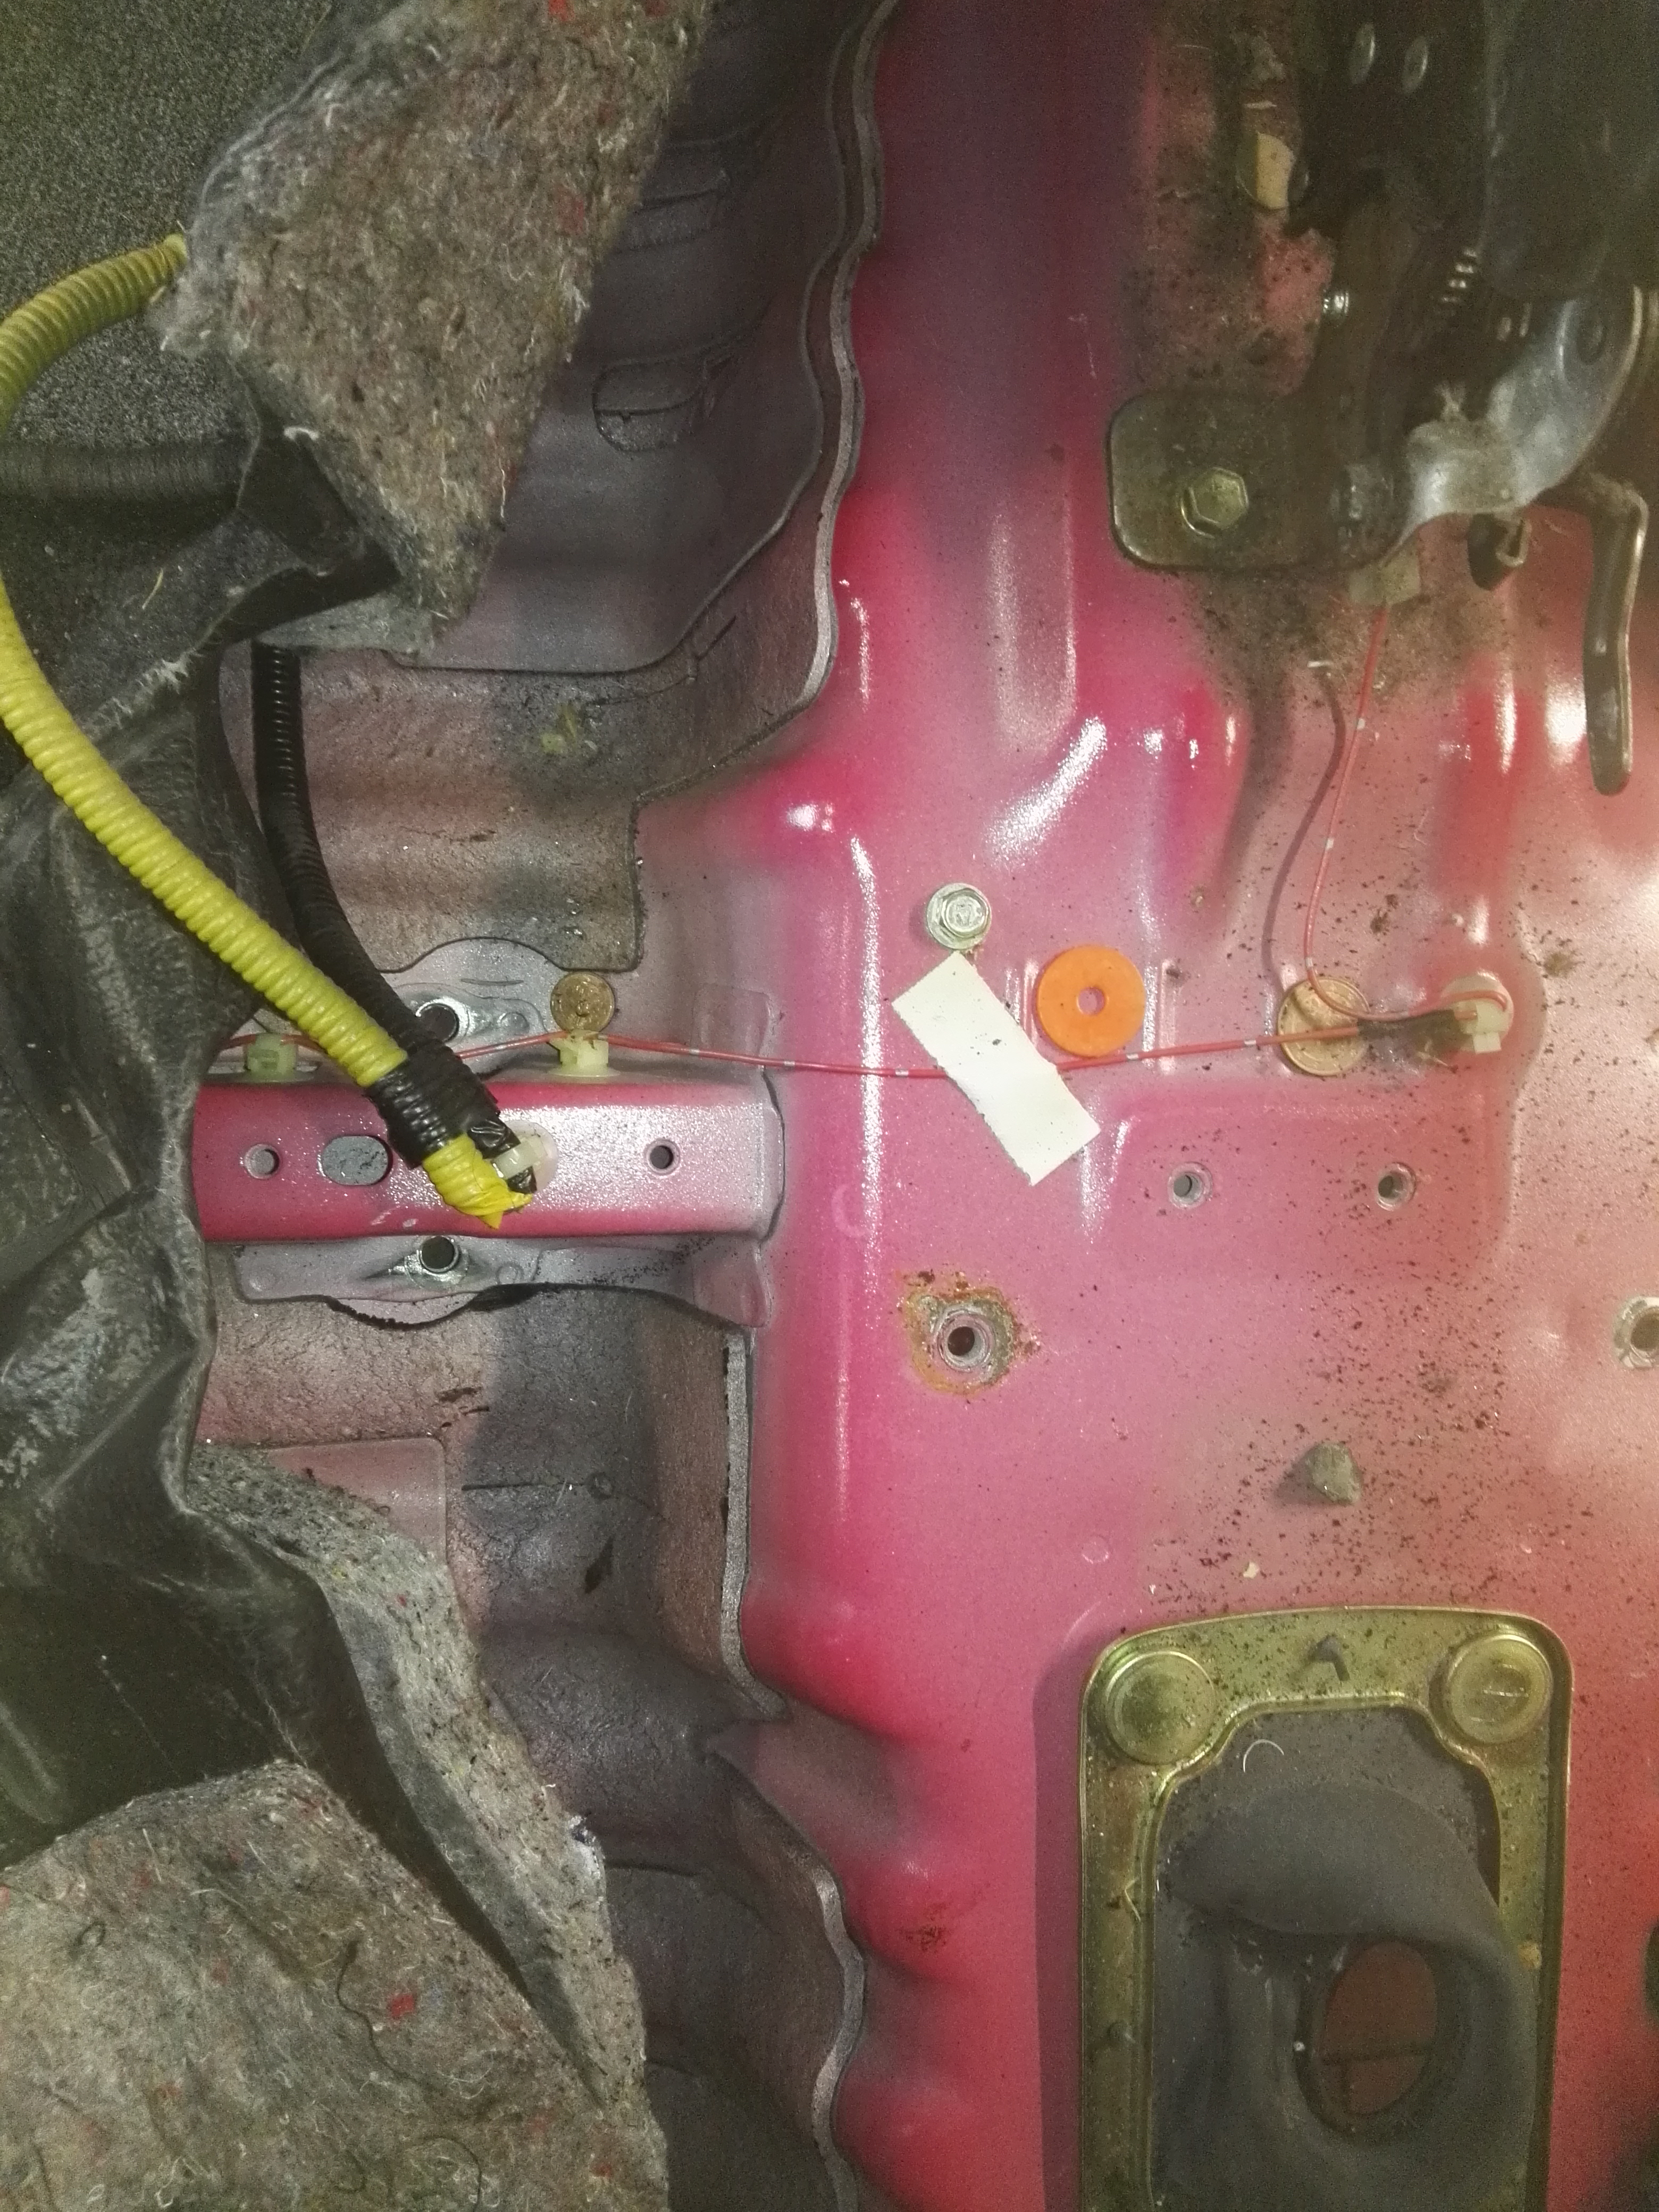
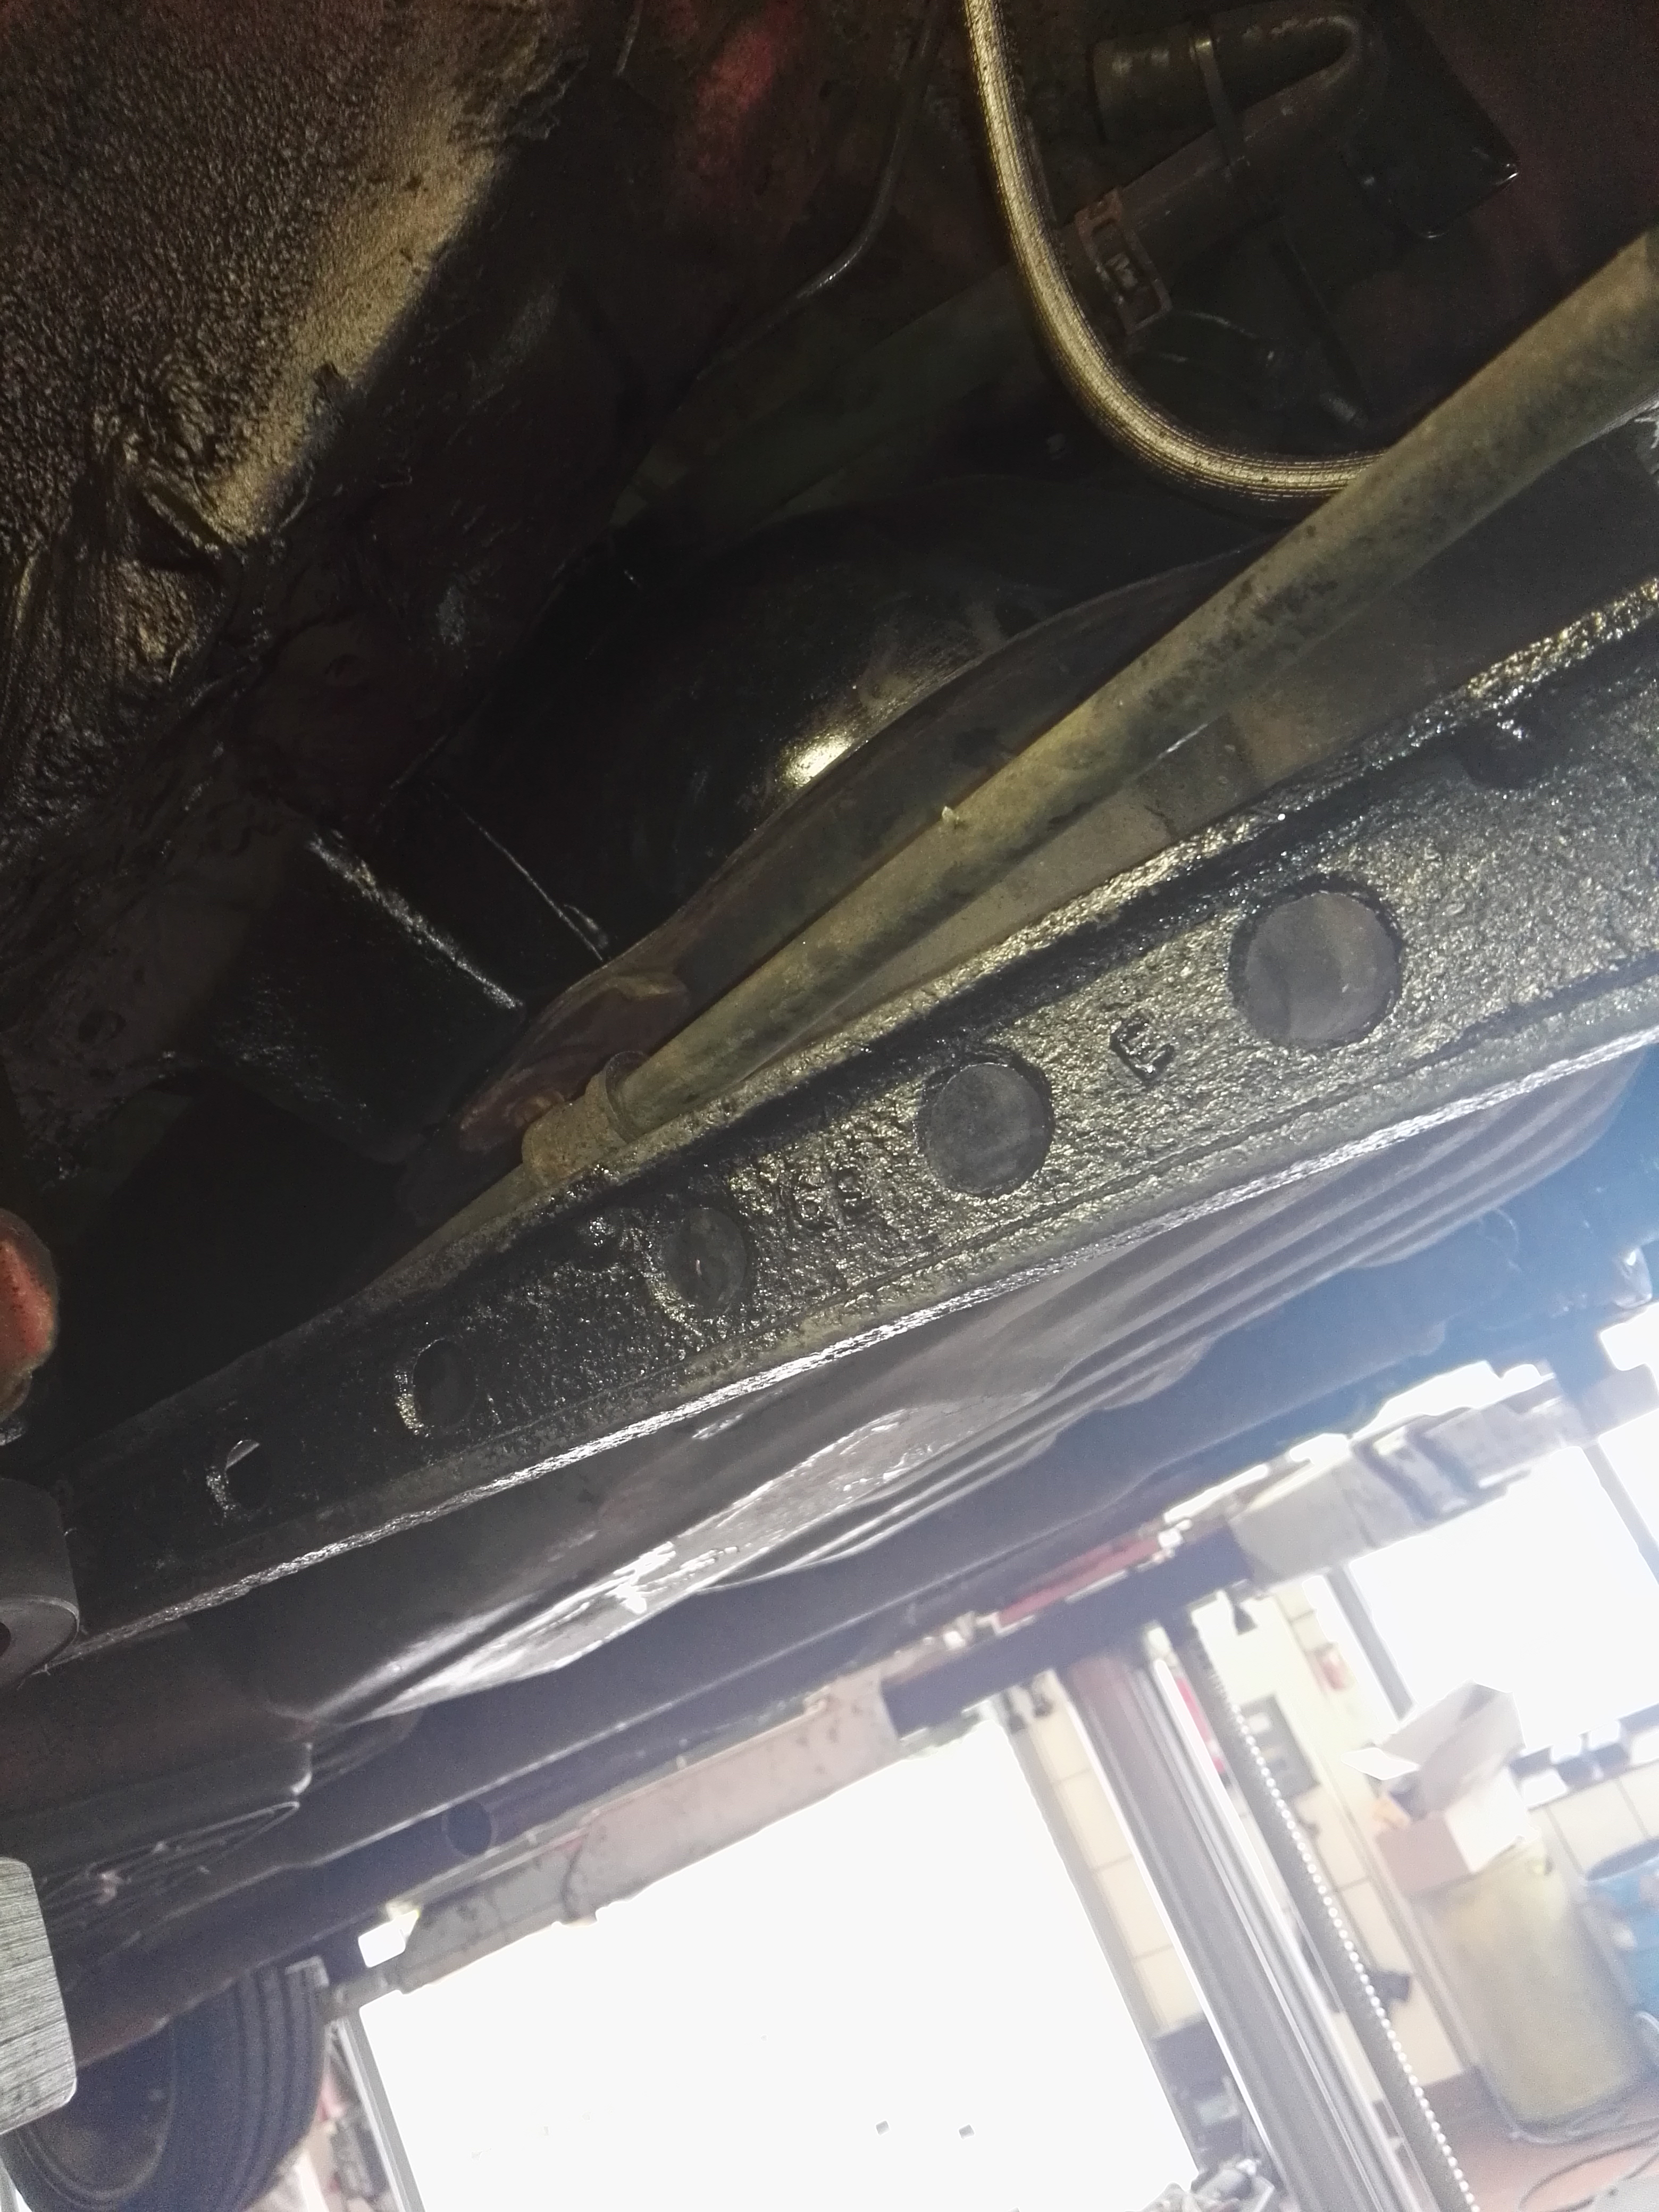
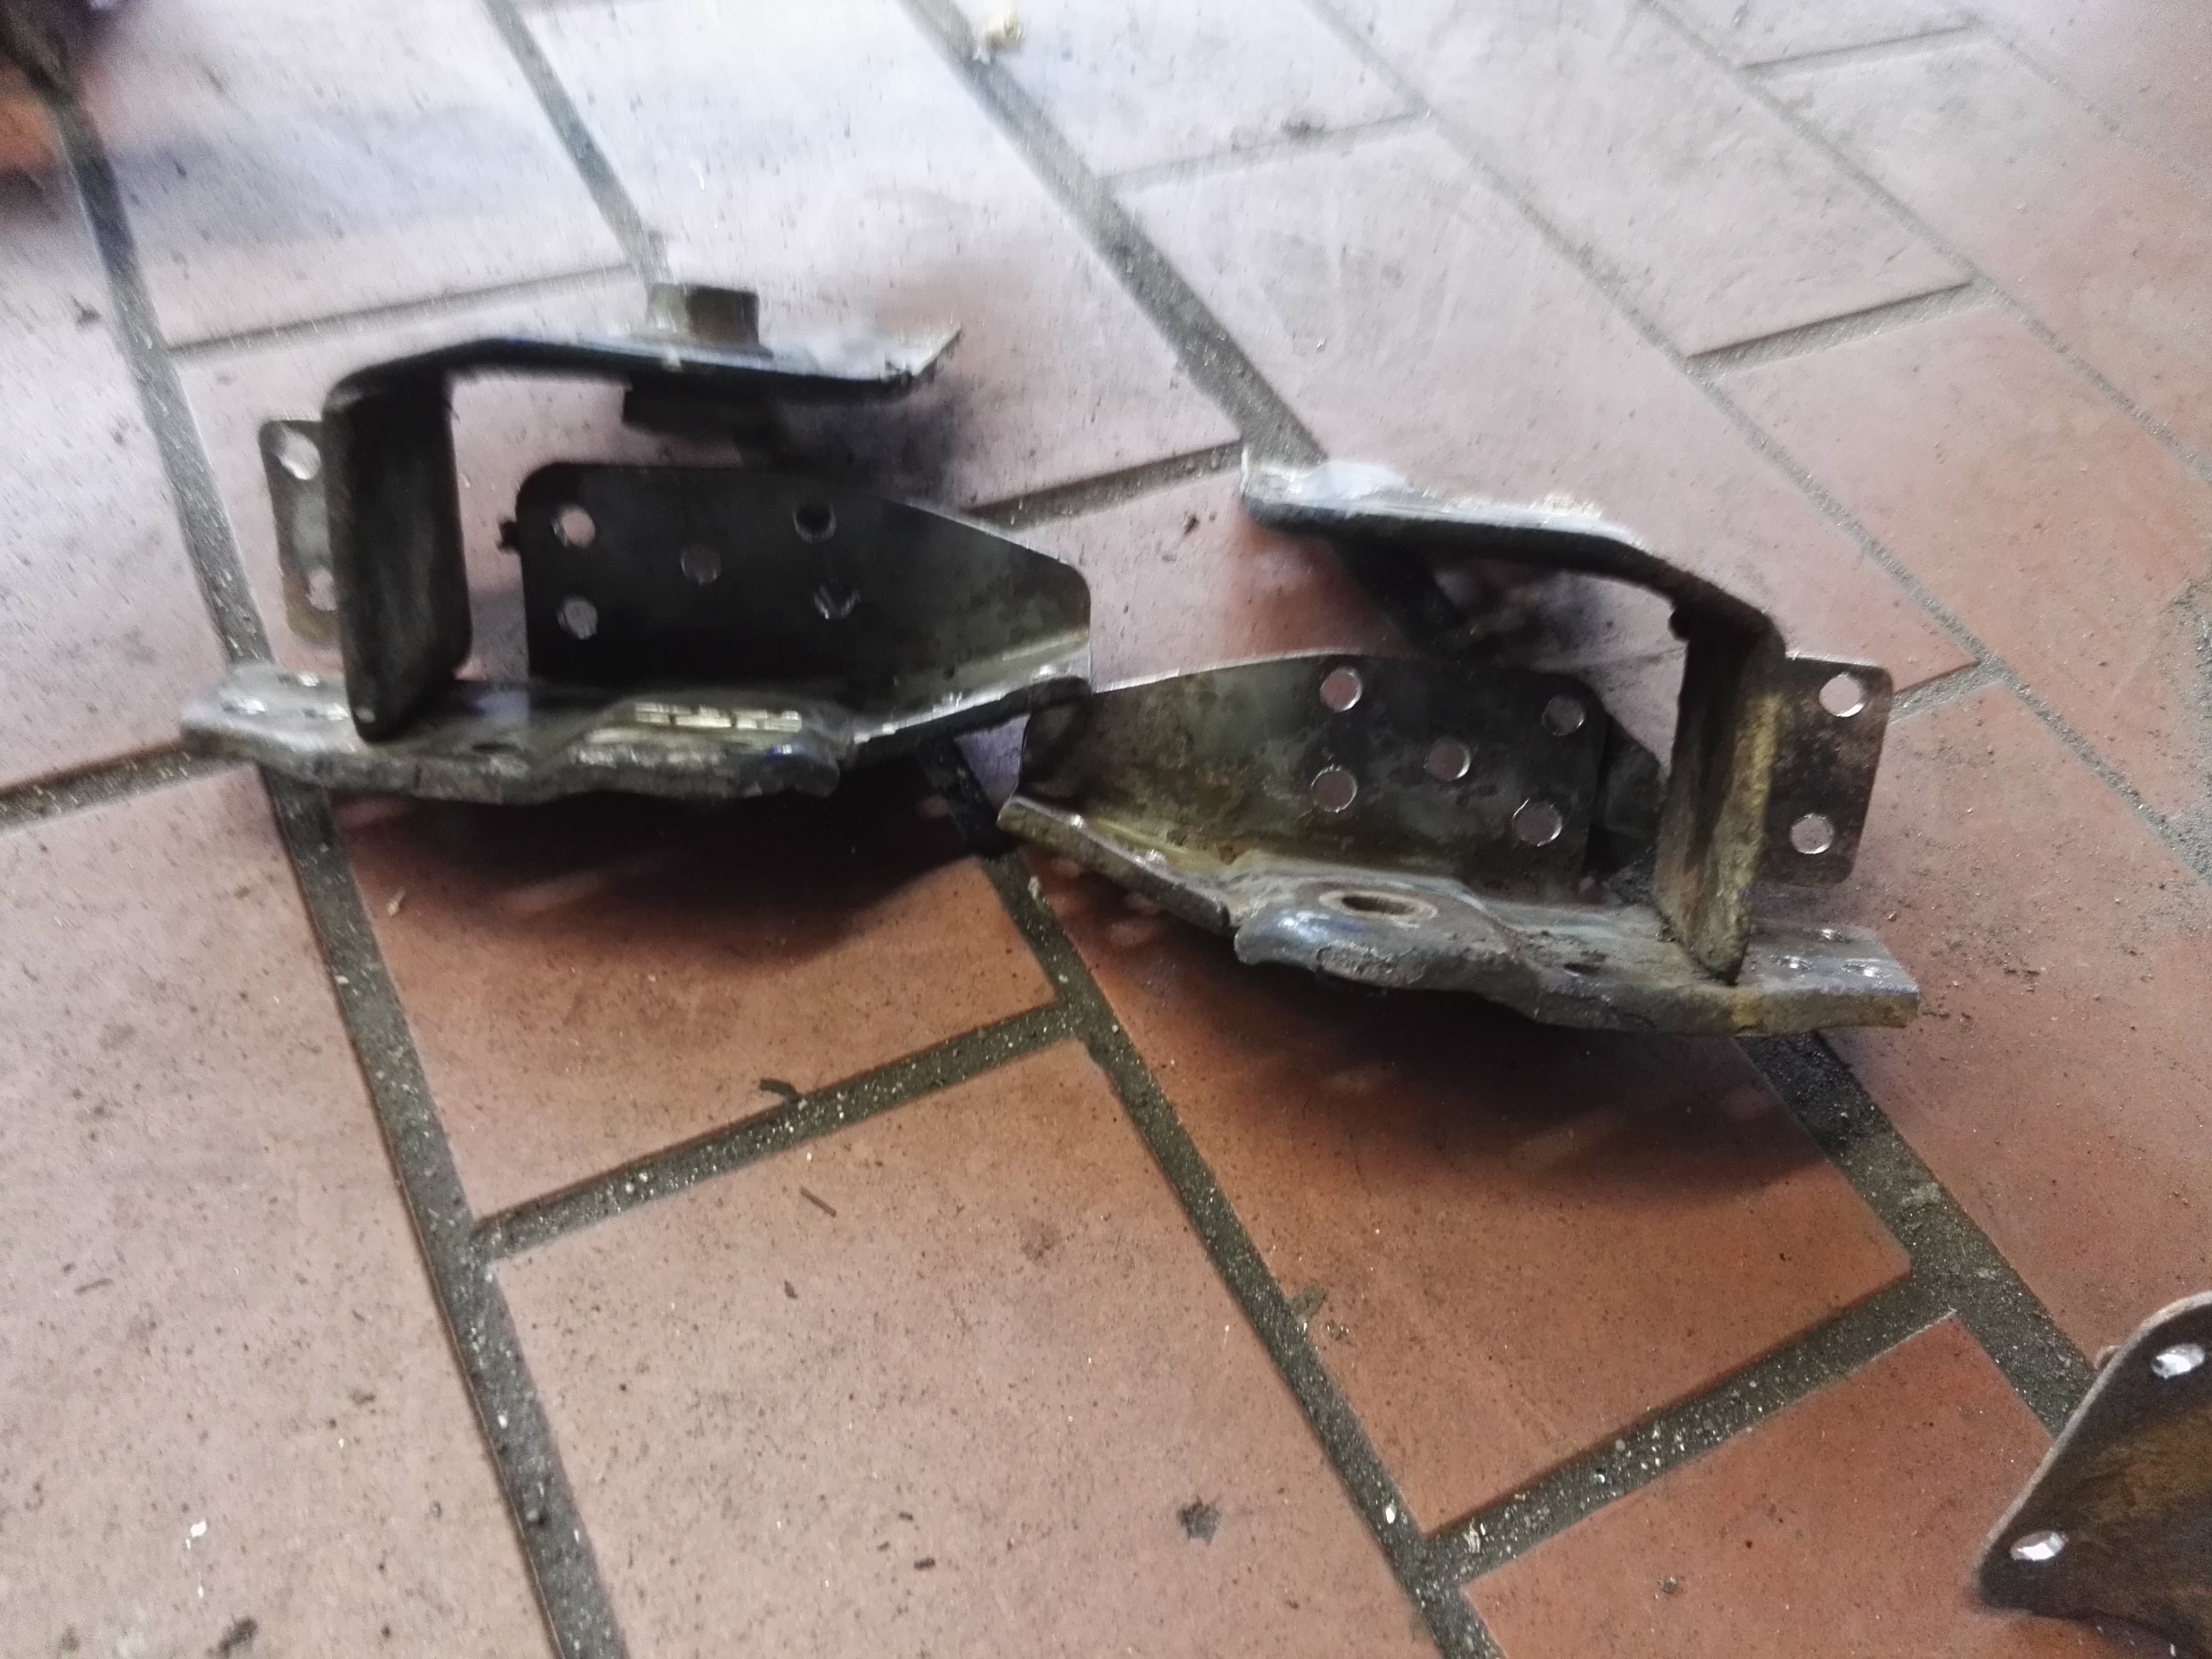
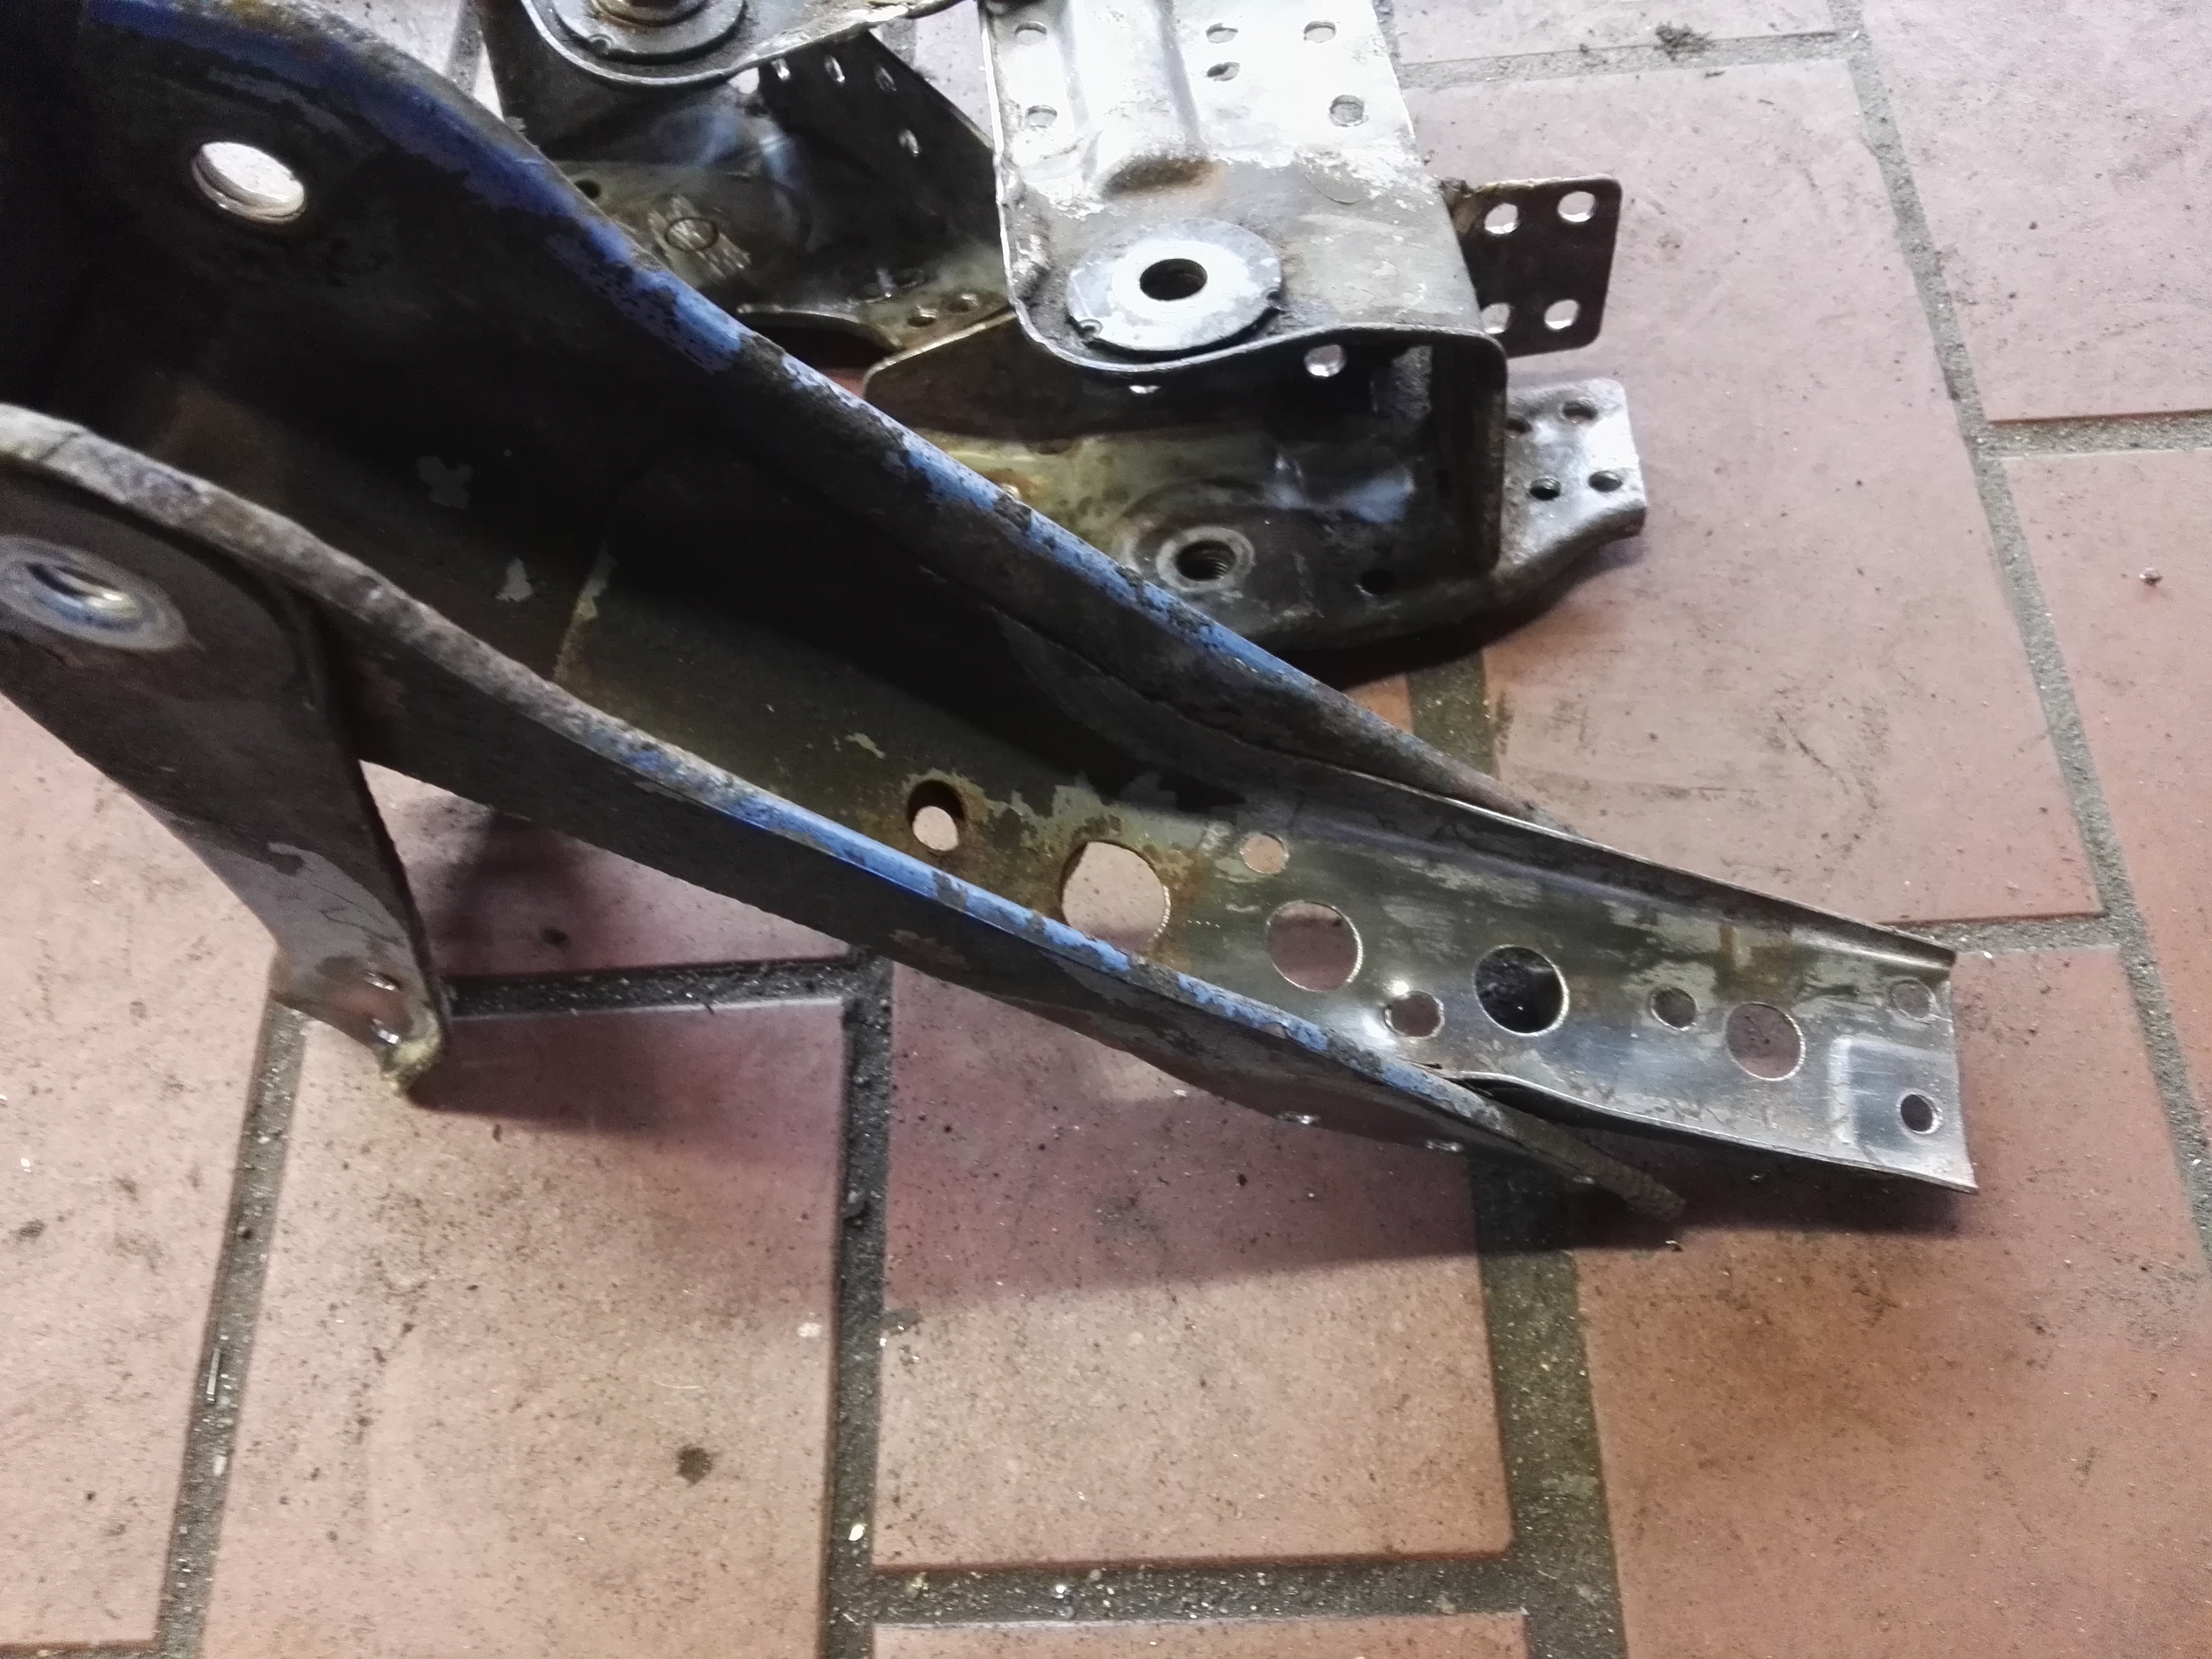
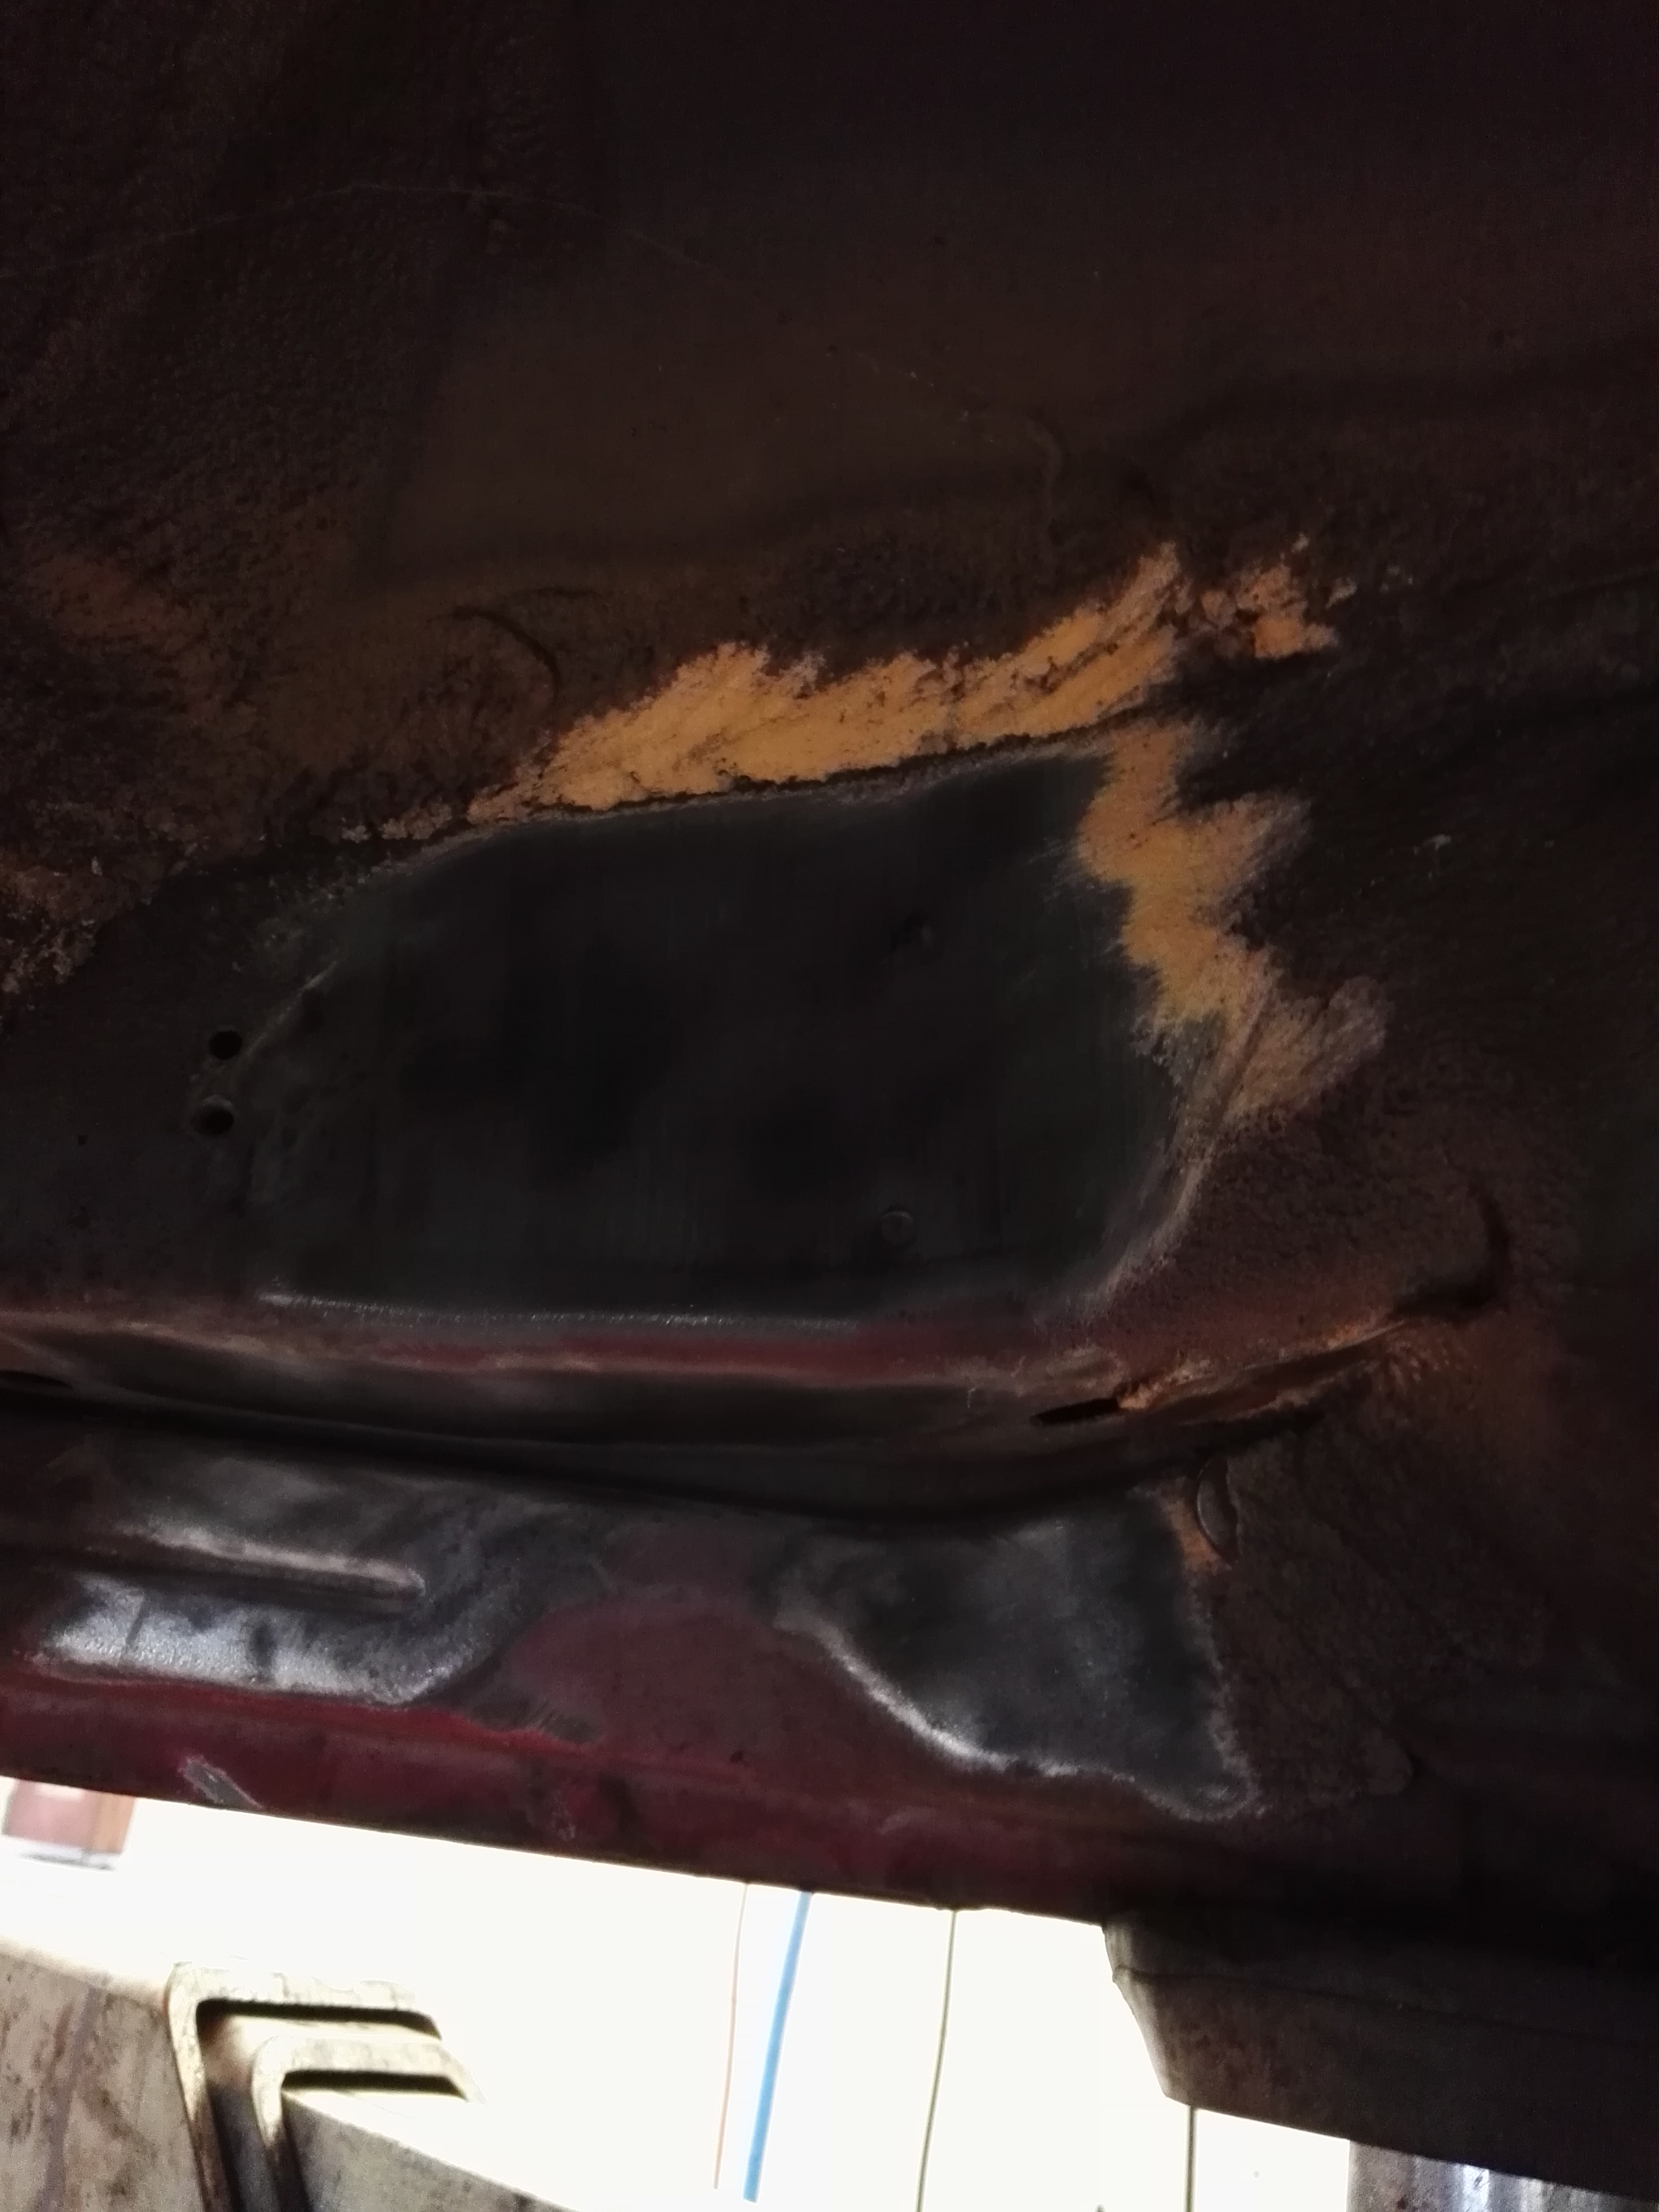
Then I went ahead and started cleaning the mounts with the old wire wheel on the angle grinder, then started centre punching and drilling all the factory butwelds (not before taking about a bazillion measurements of course :wink:)

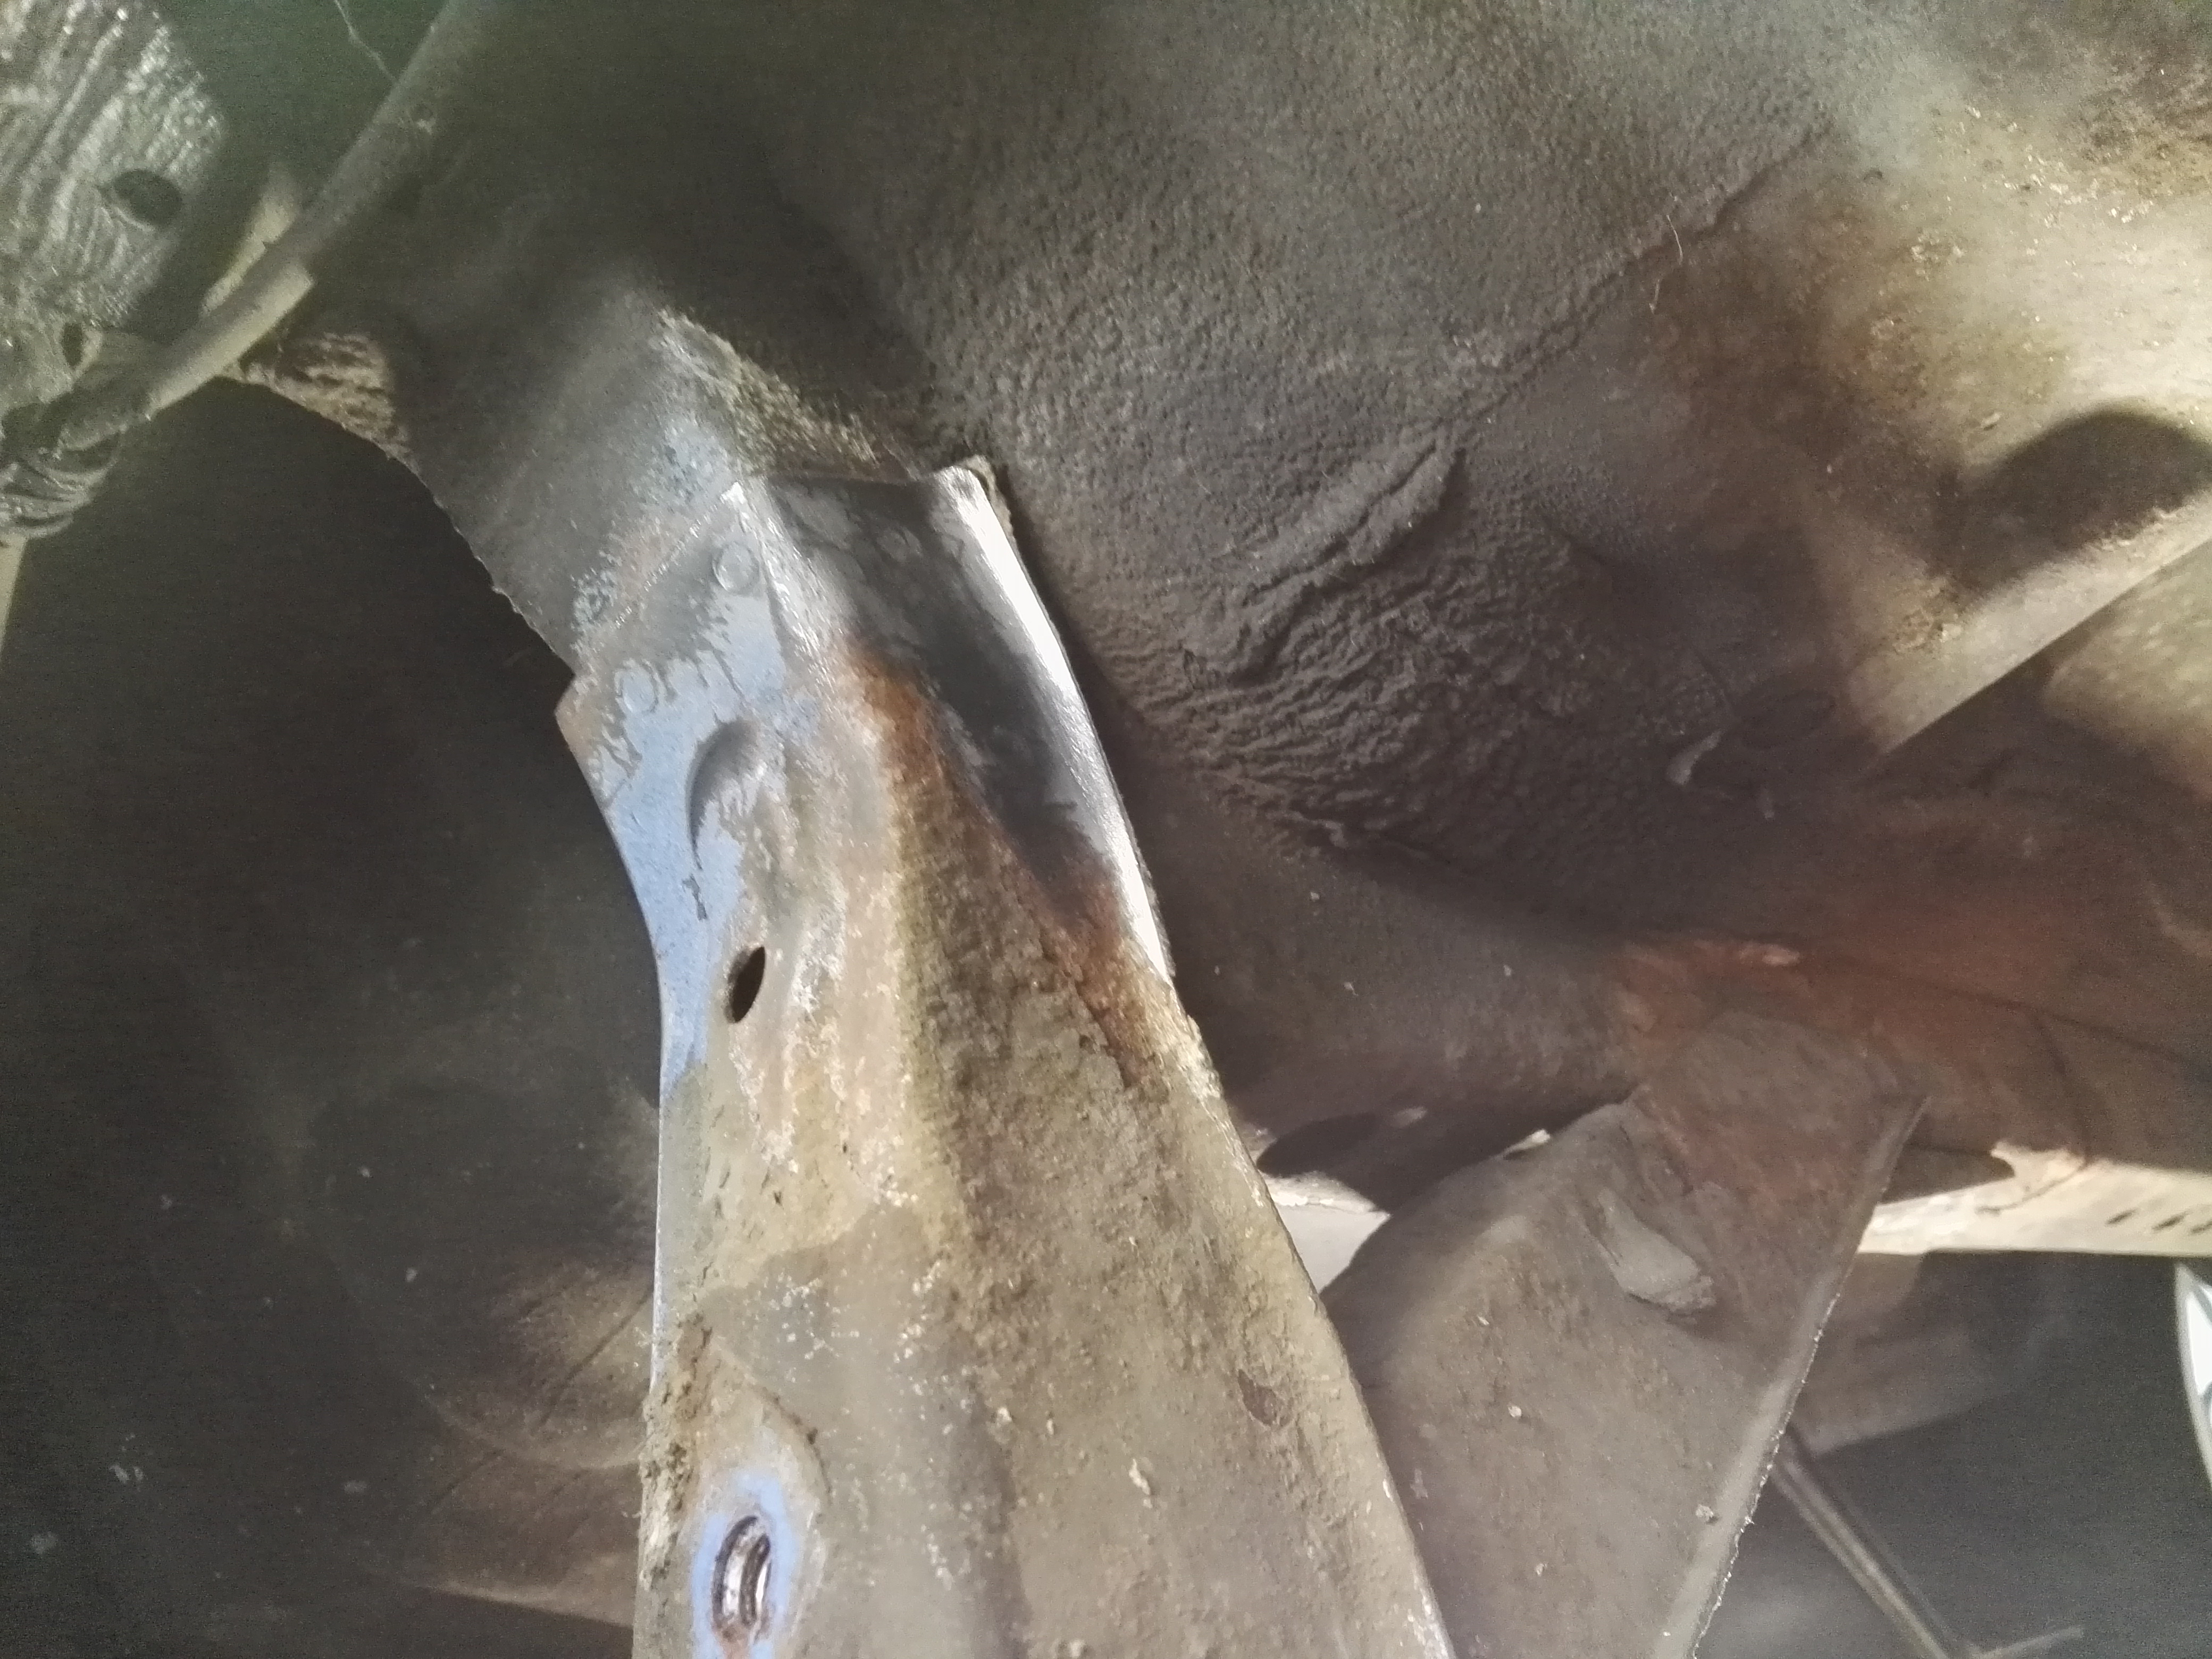
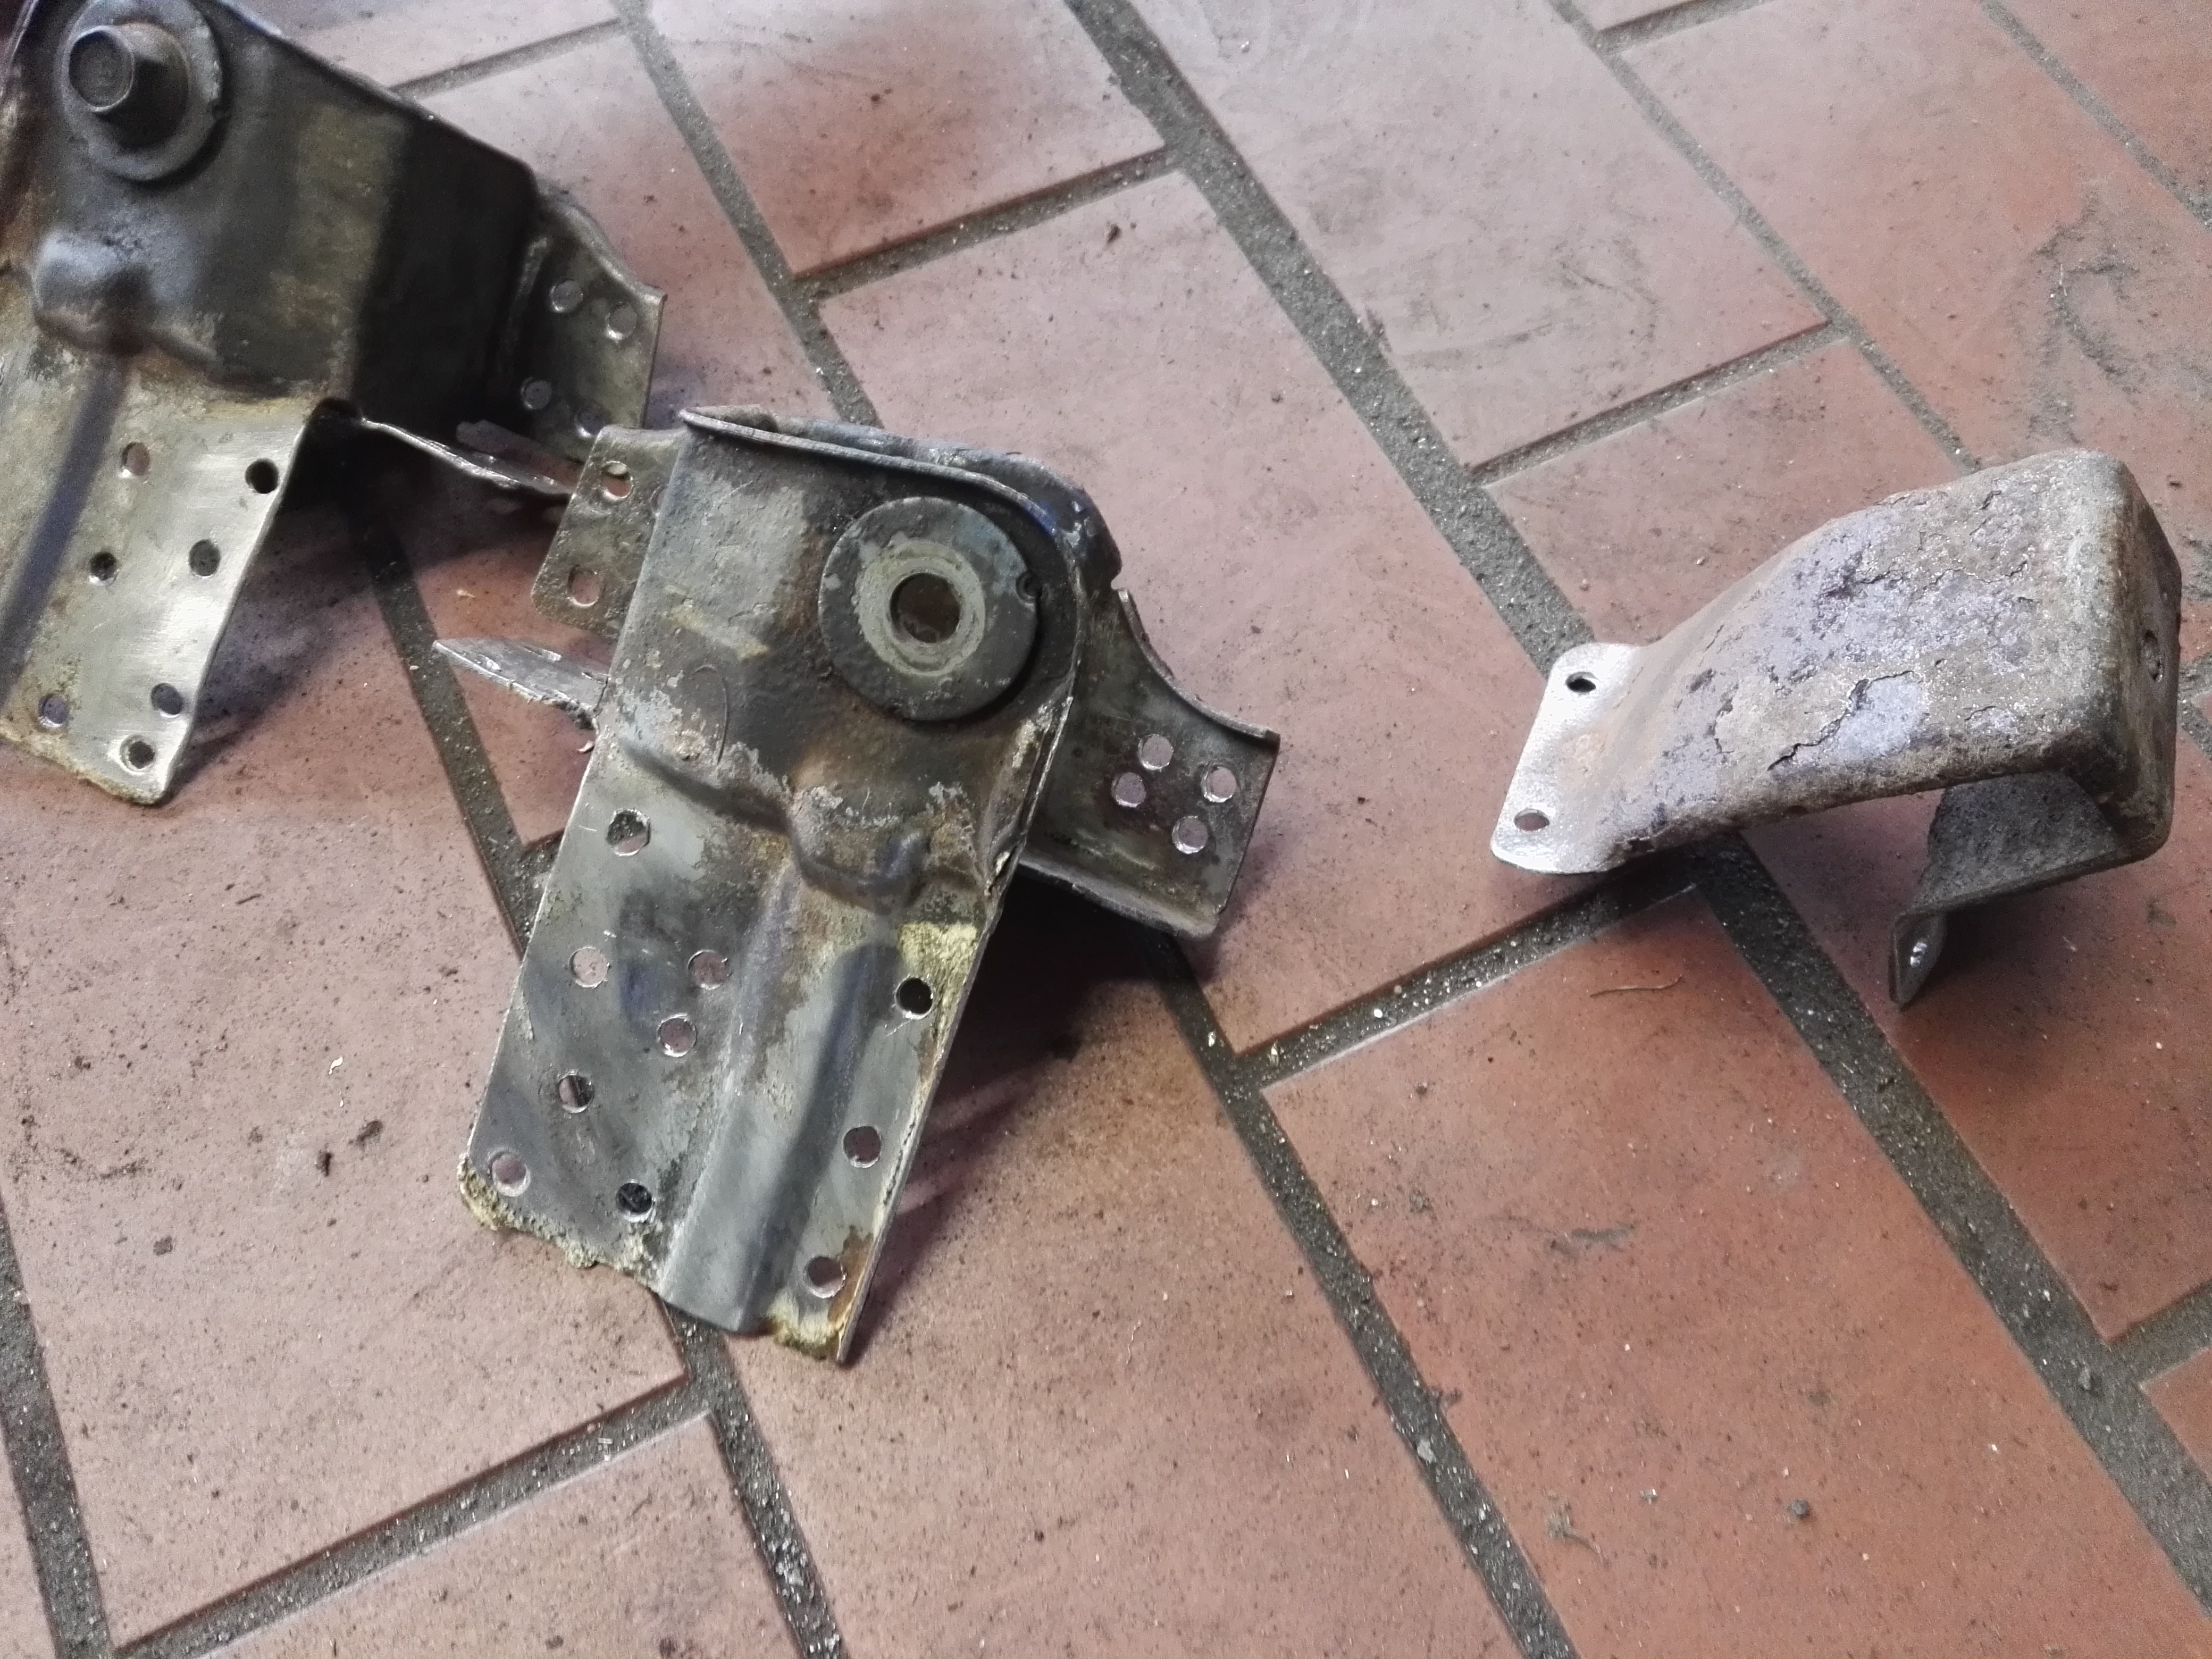
It was definitely not fun drilling out approx. 50 butwelds above your head getting sprayed with swarf for over an hour :neutral_face:

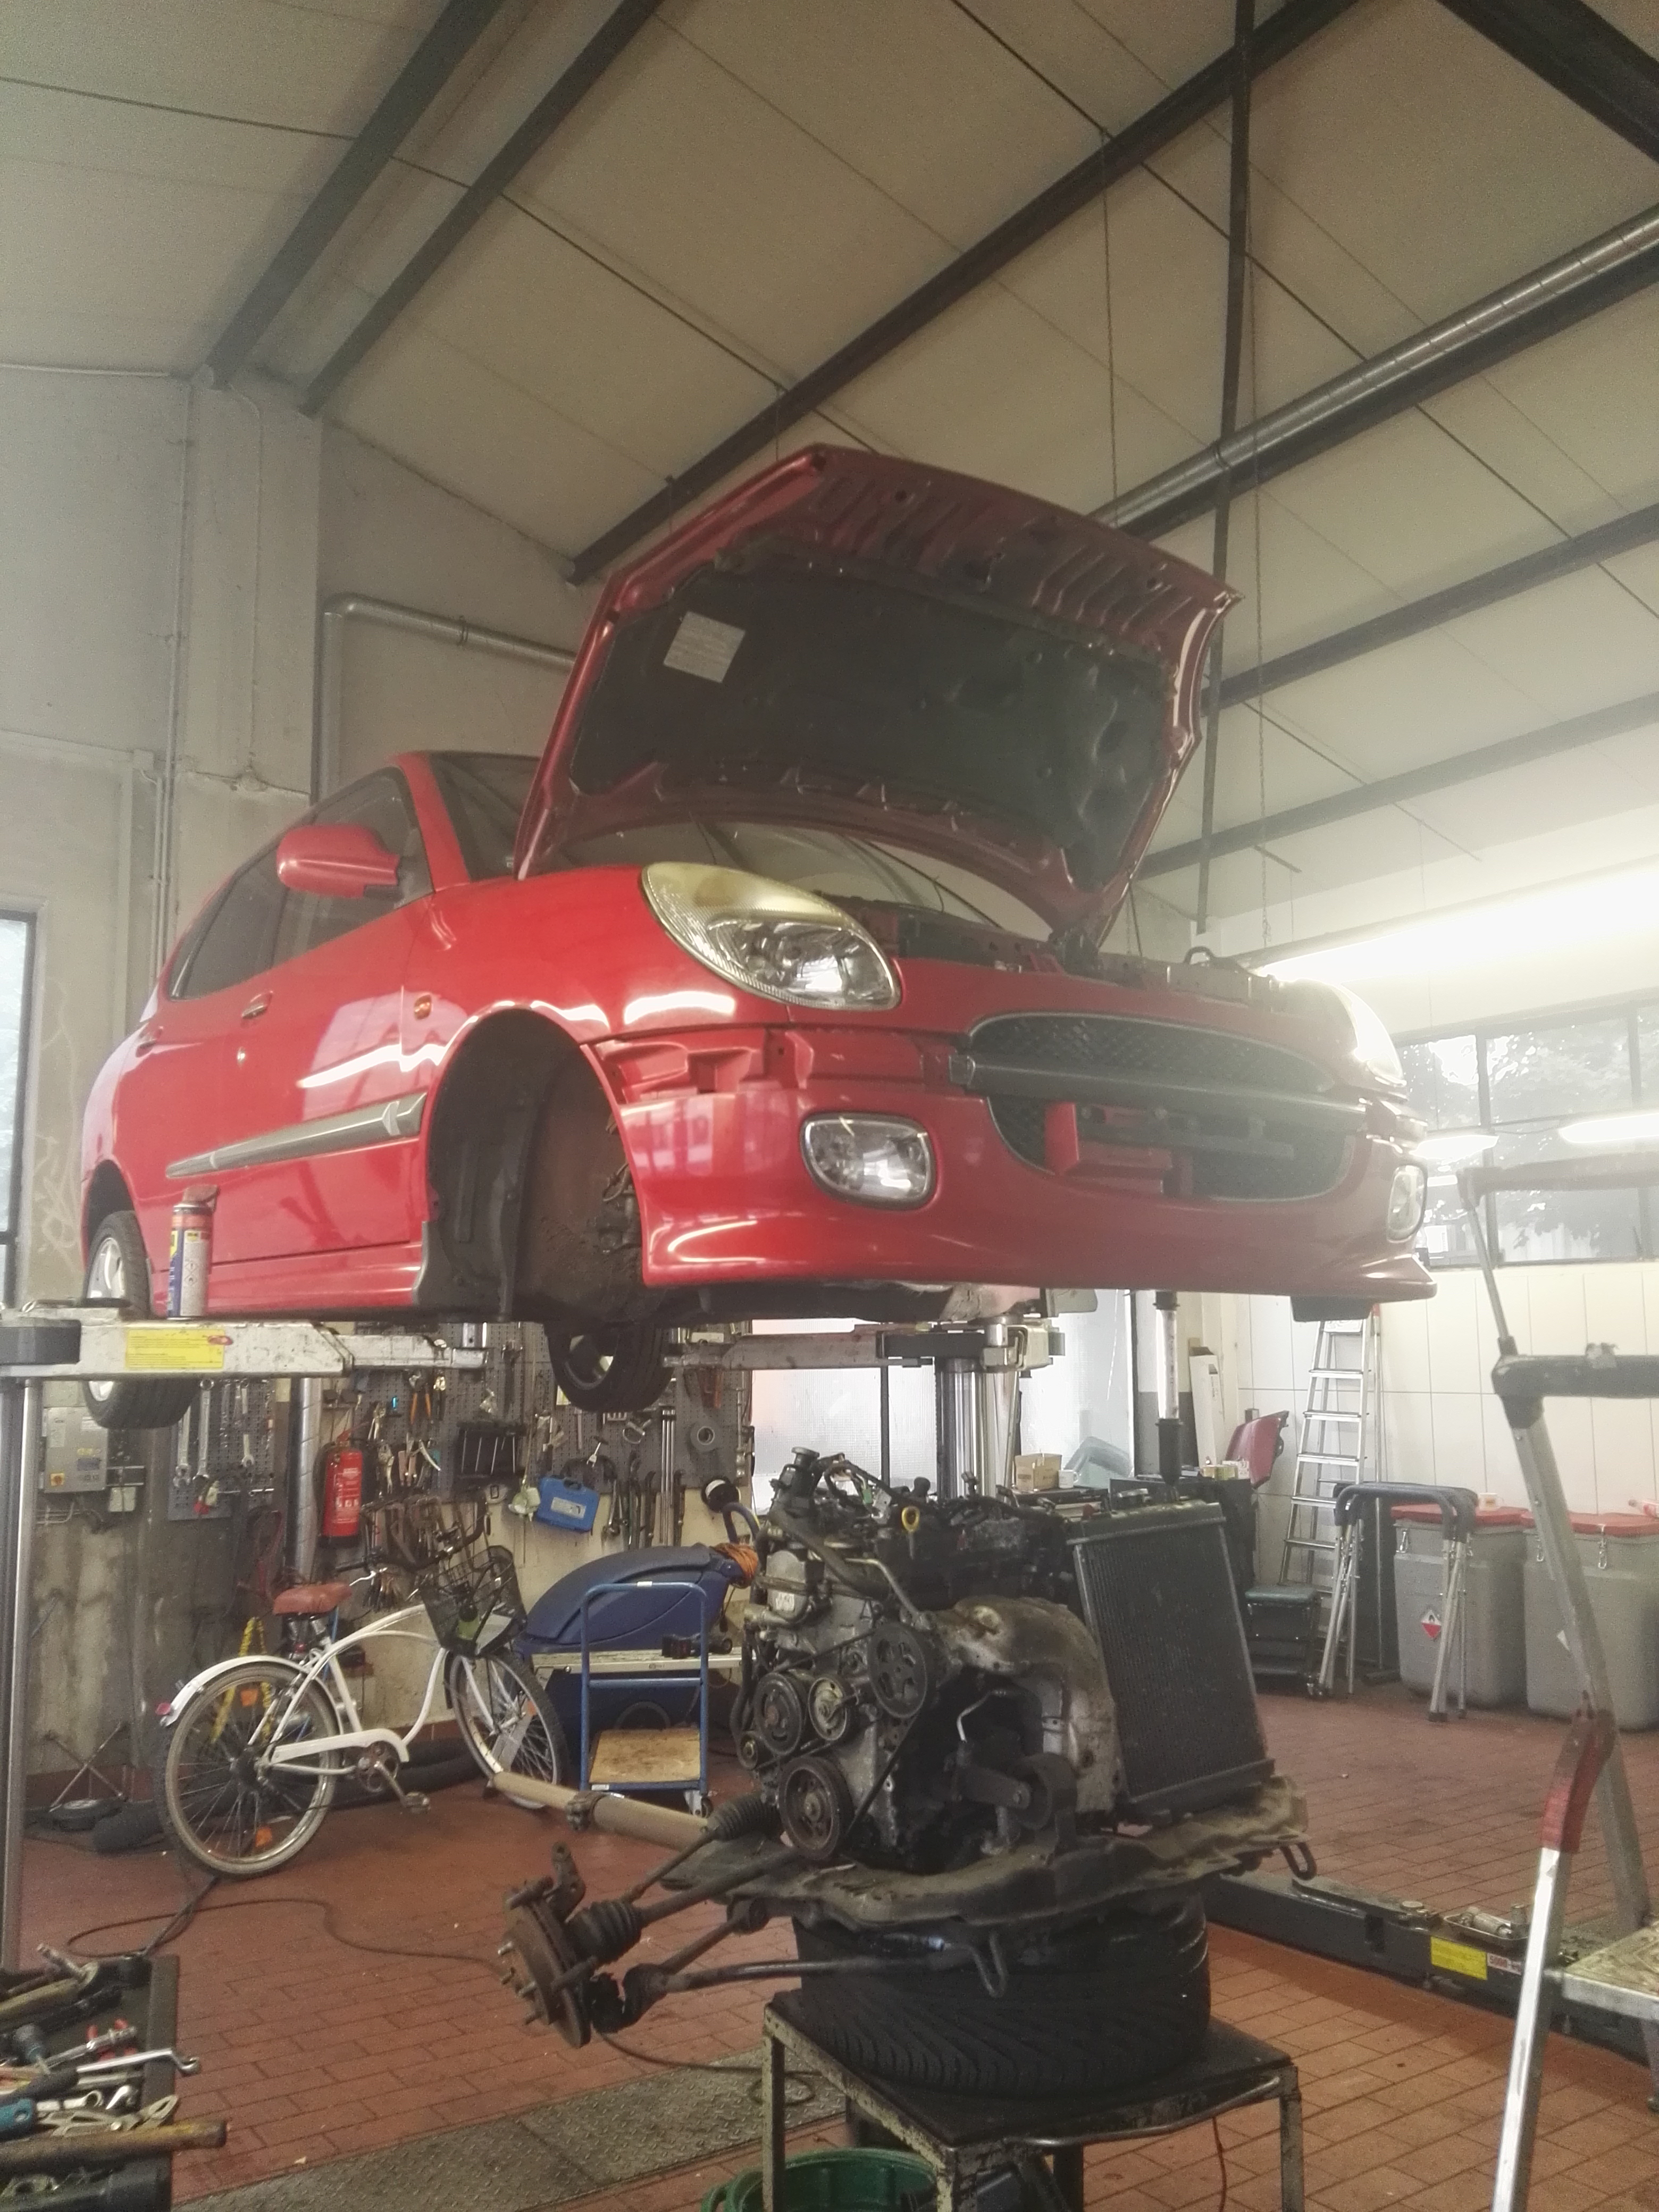
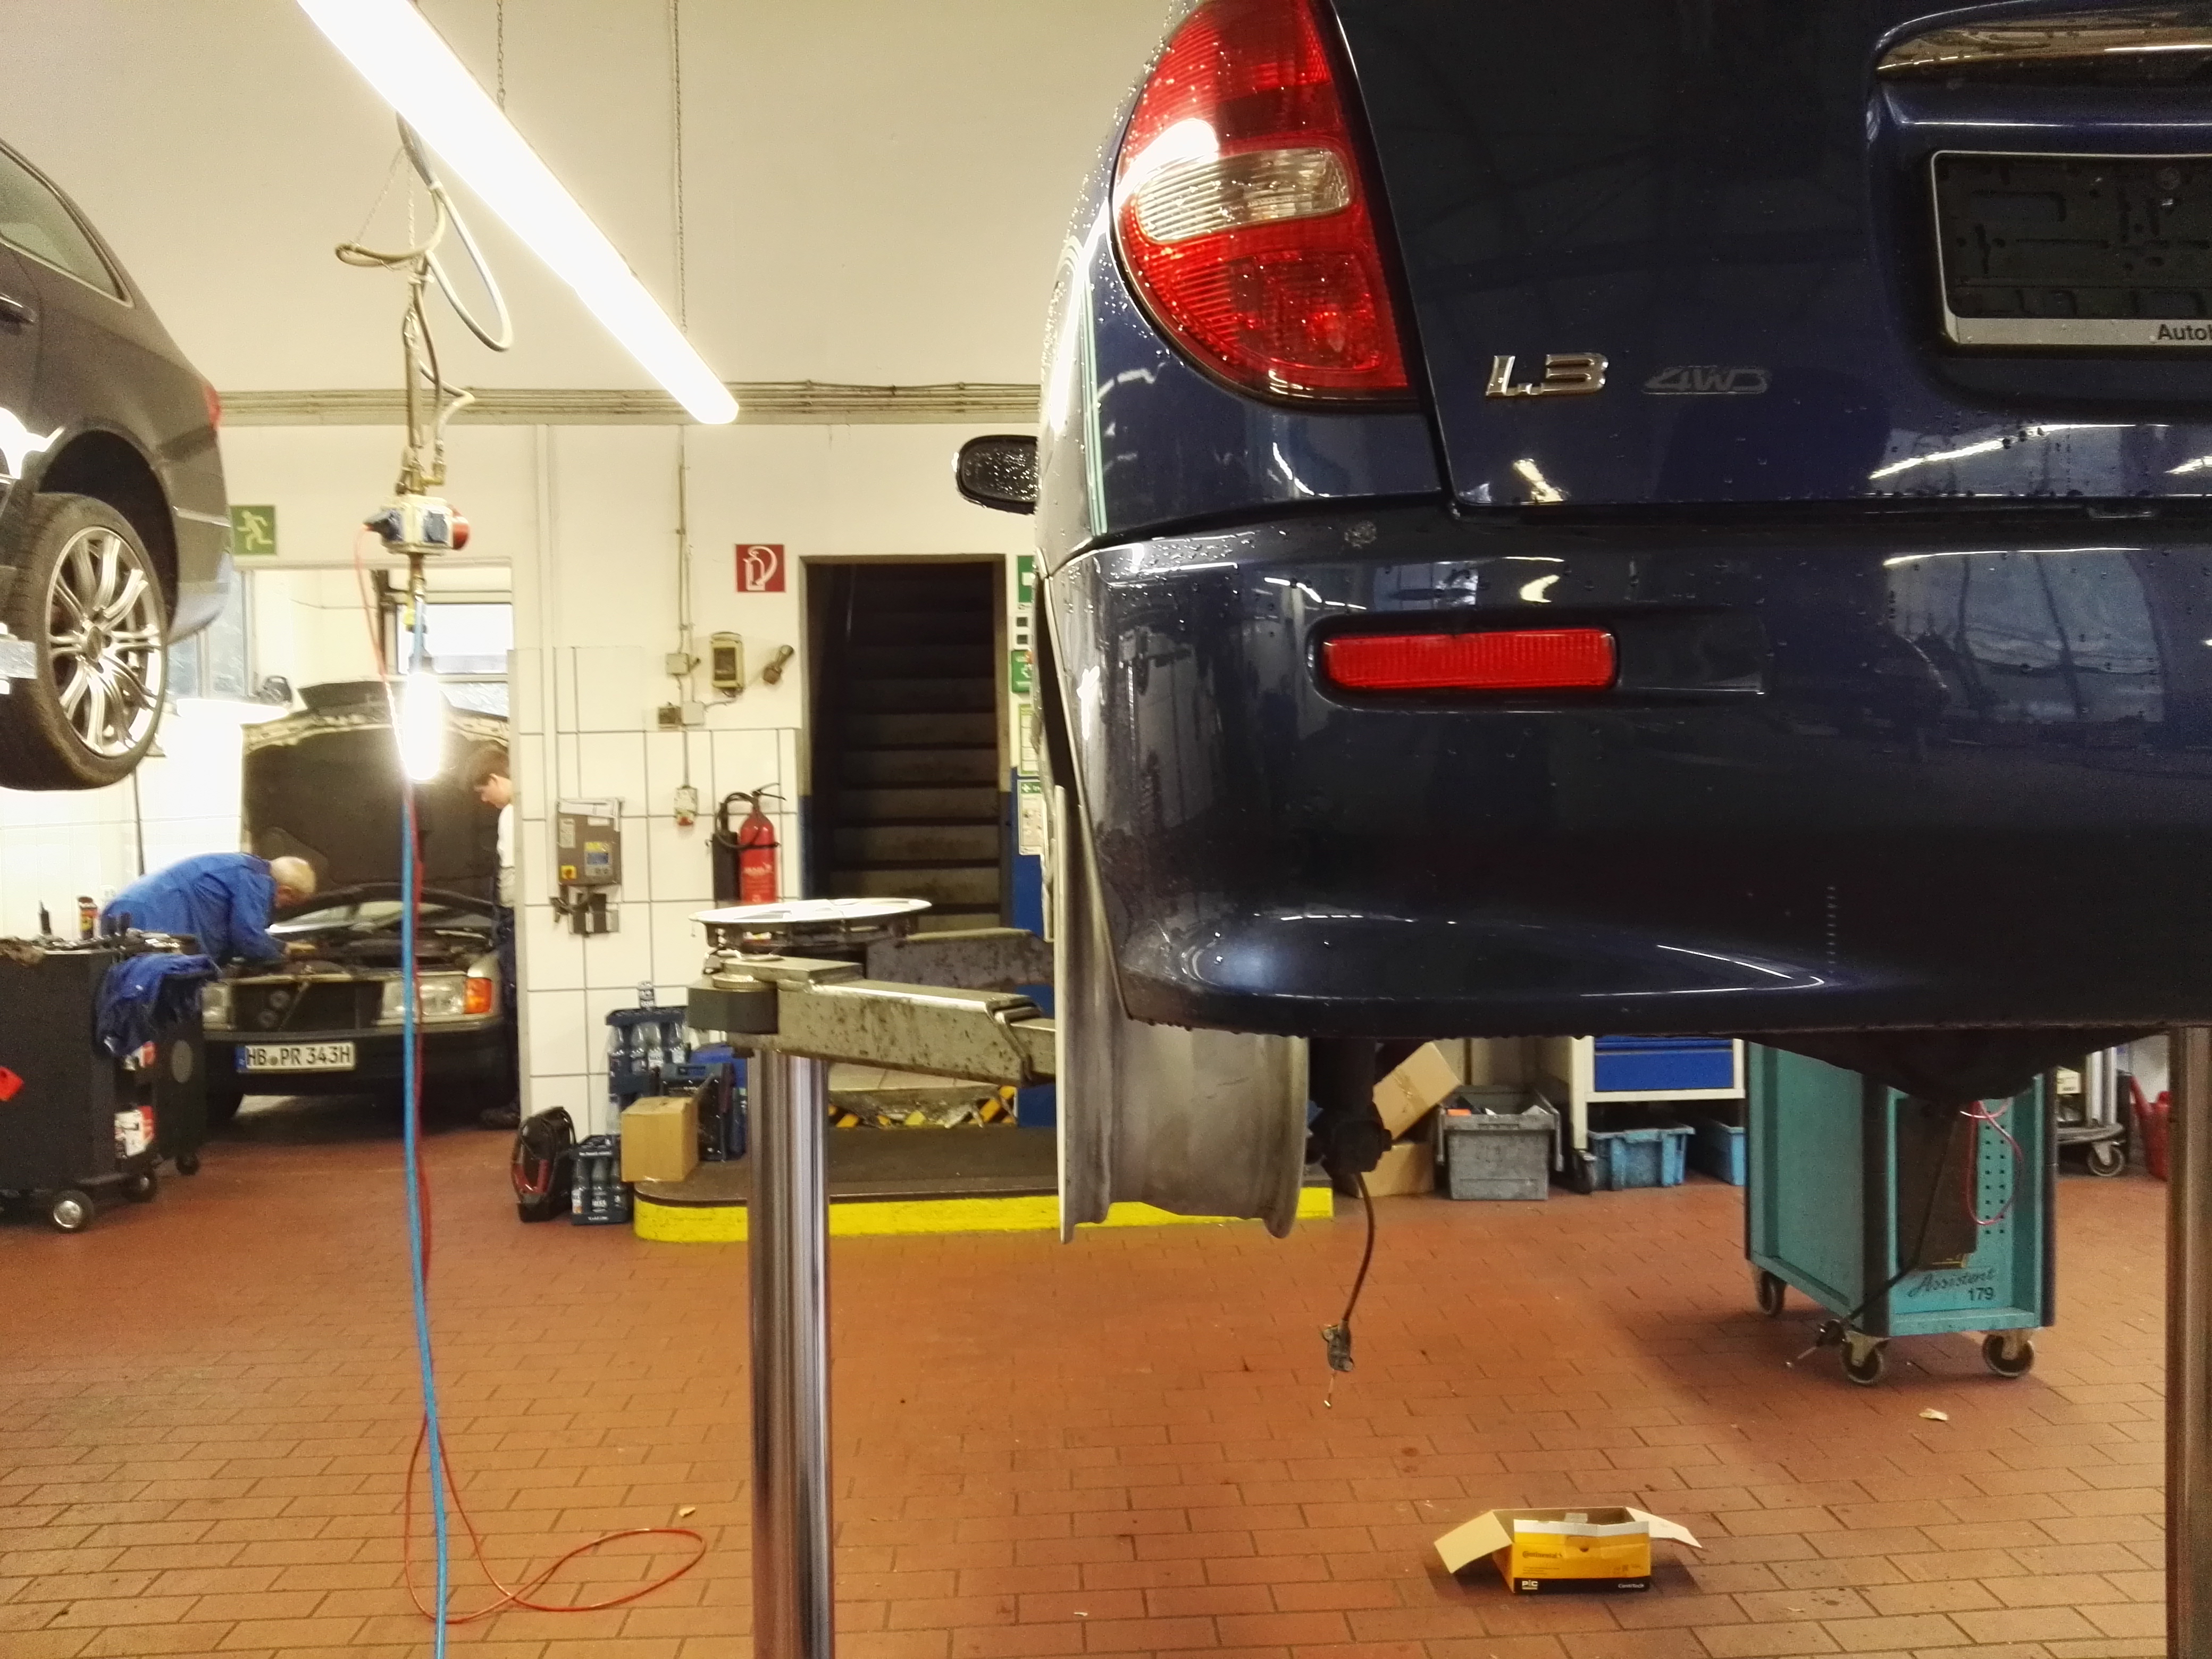
Here is a photo of the dolly I made yesterday sitting underneath the rear

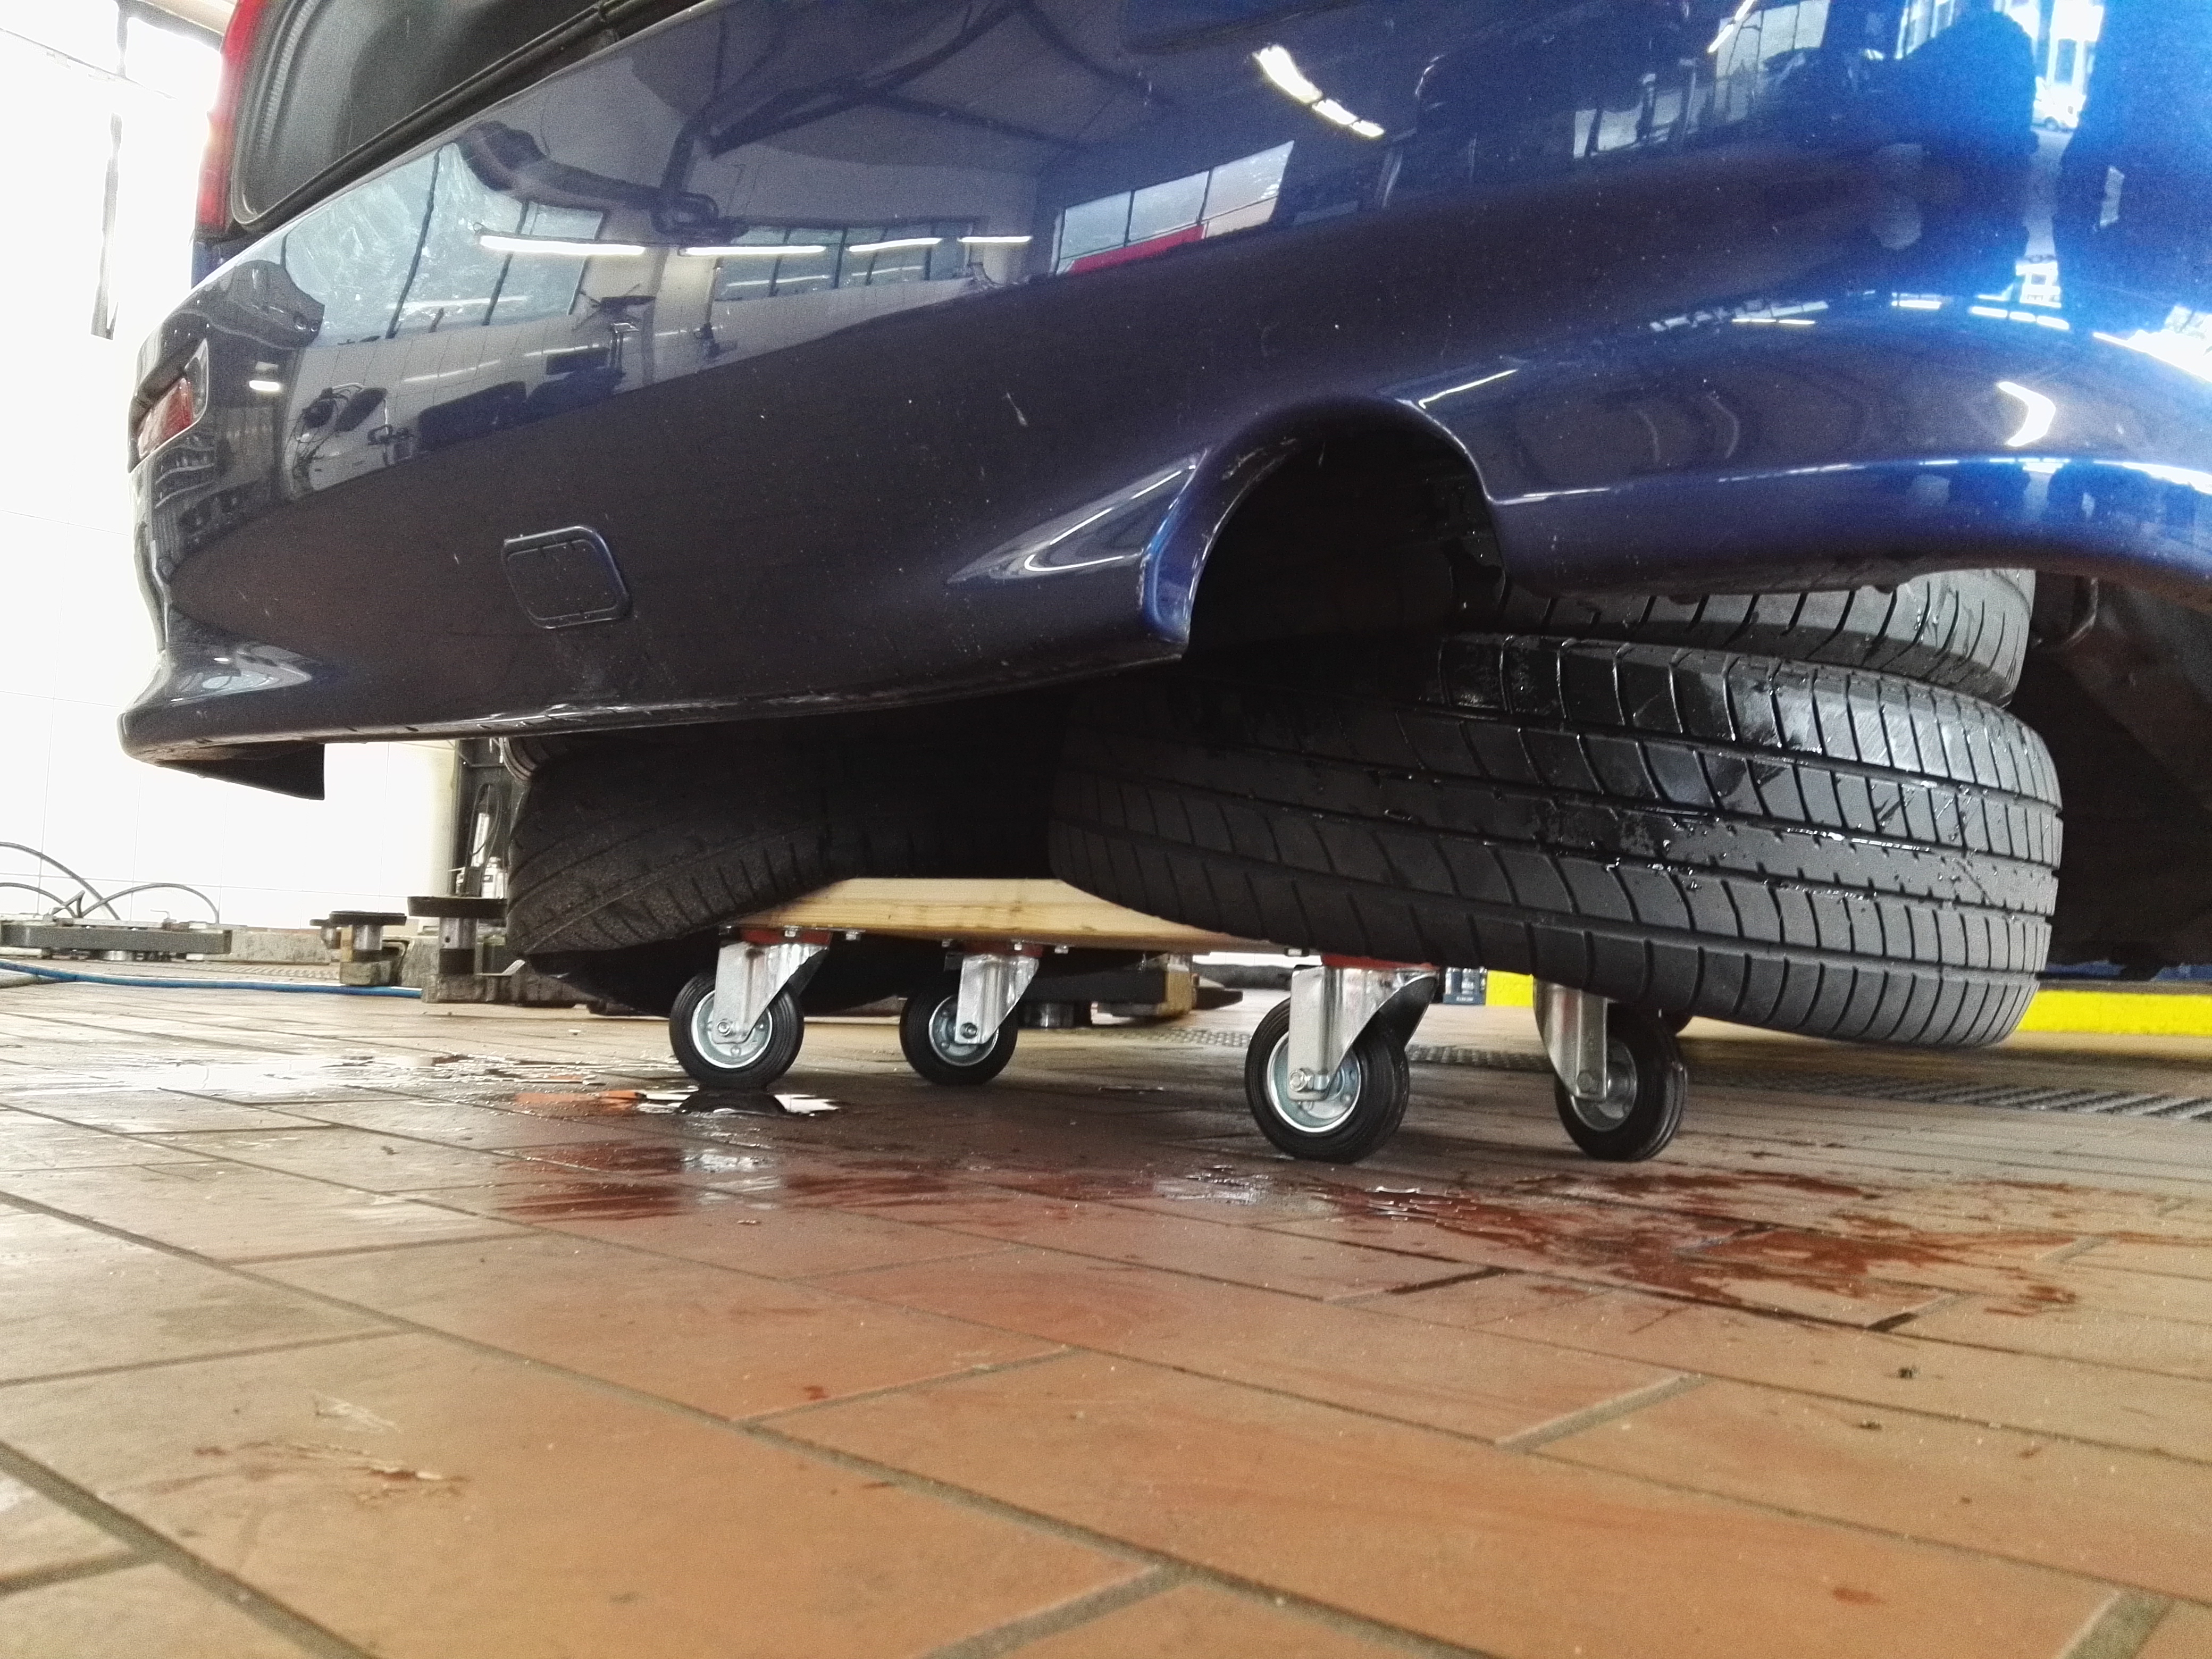
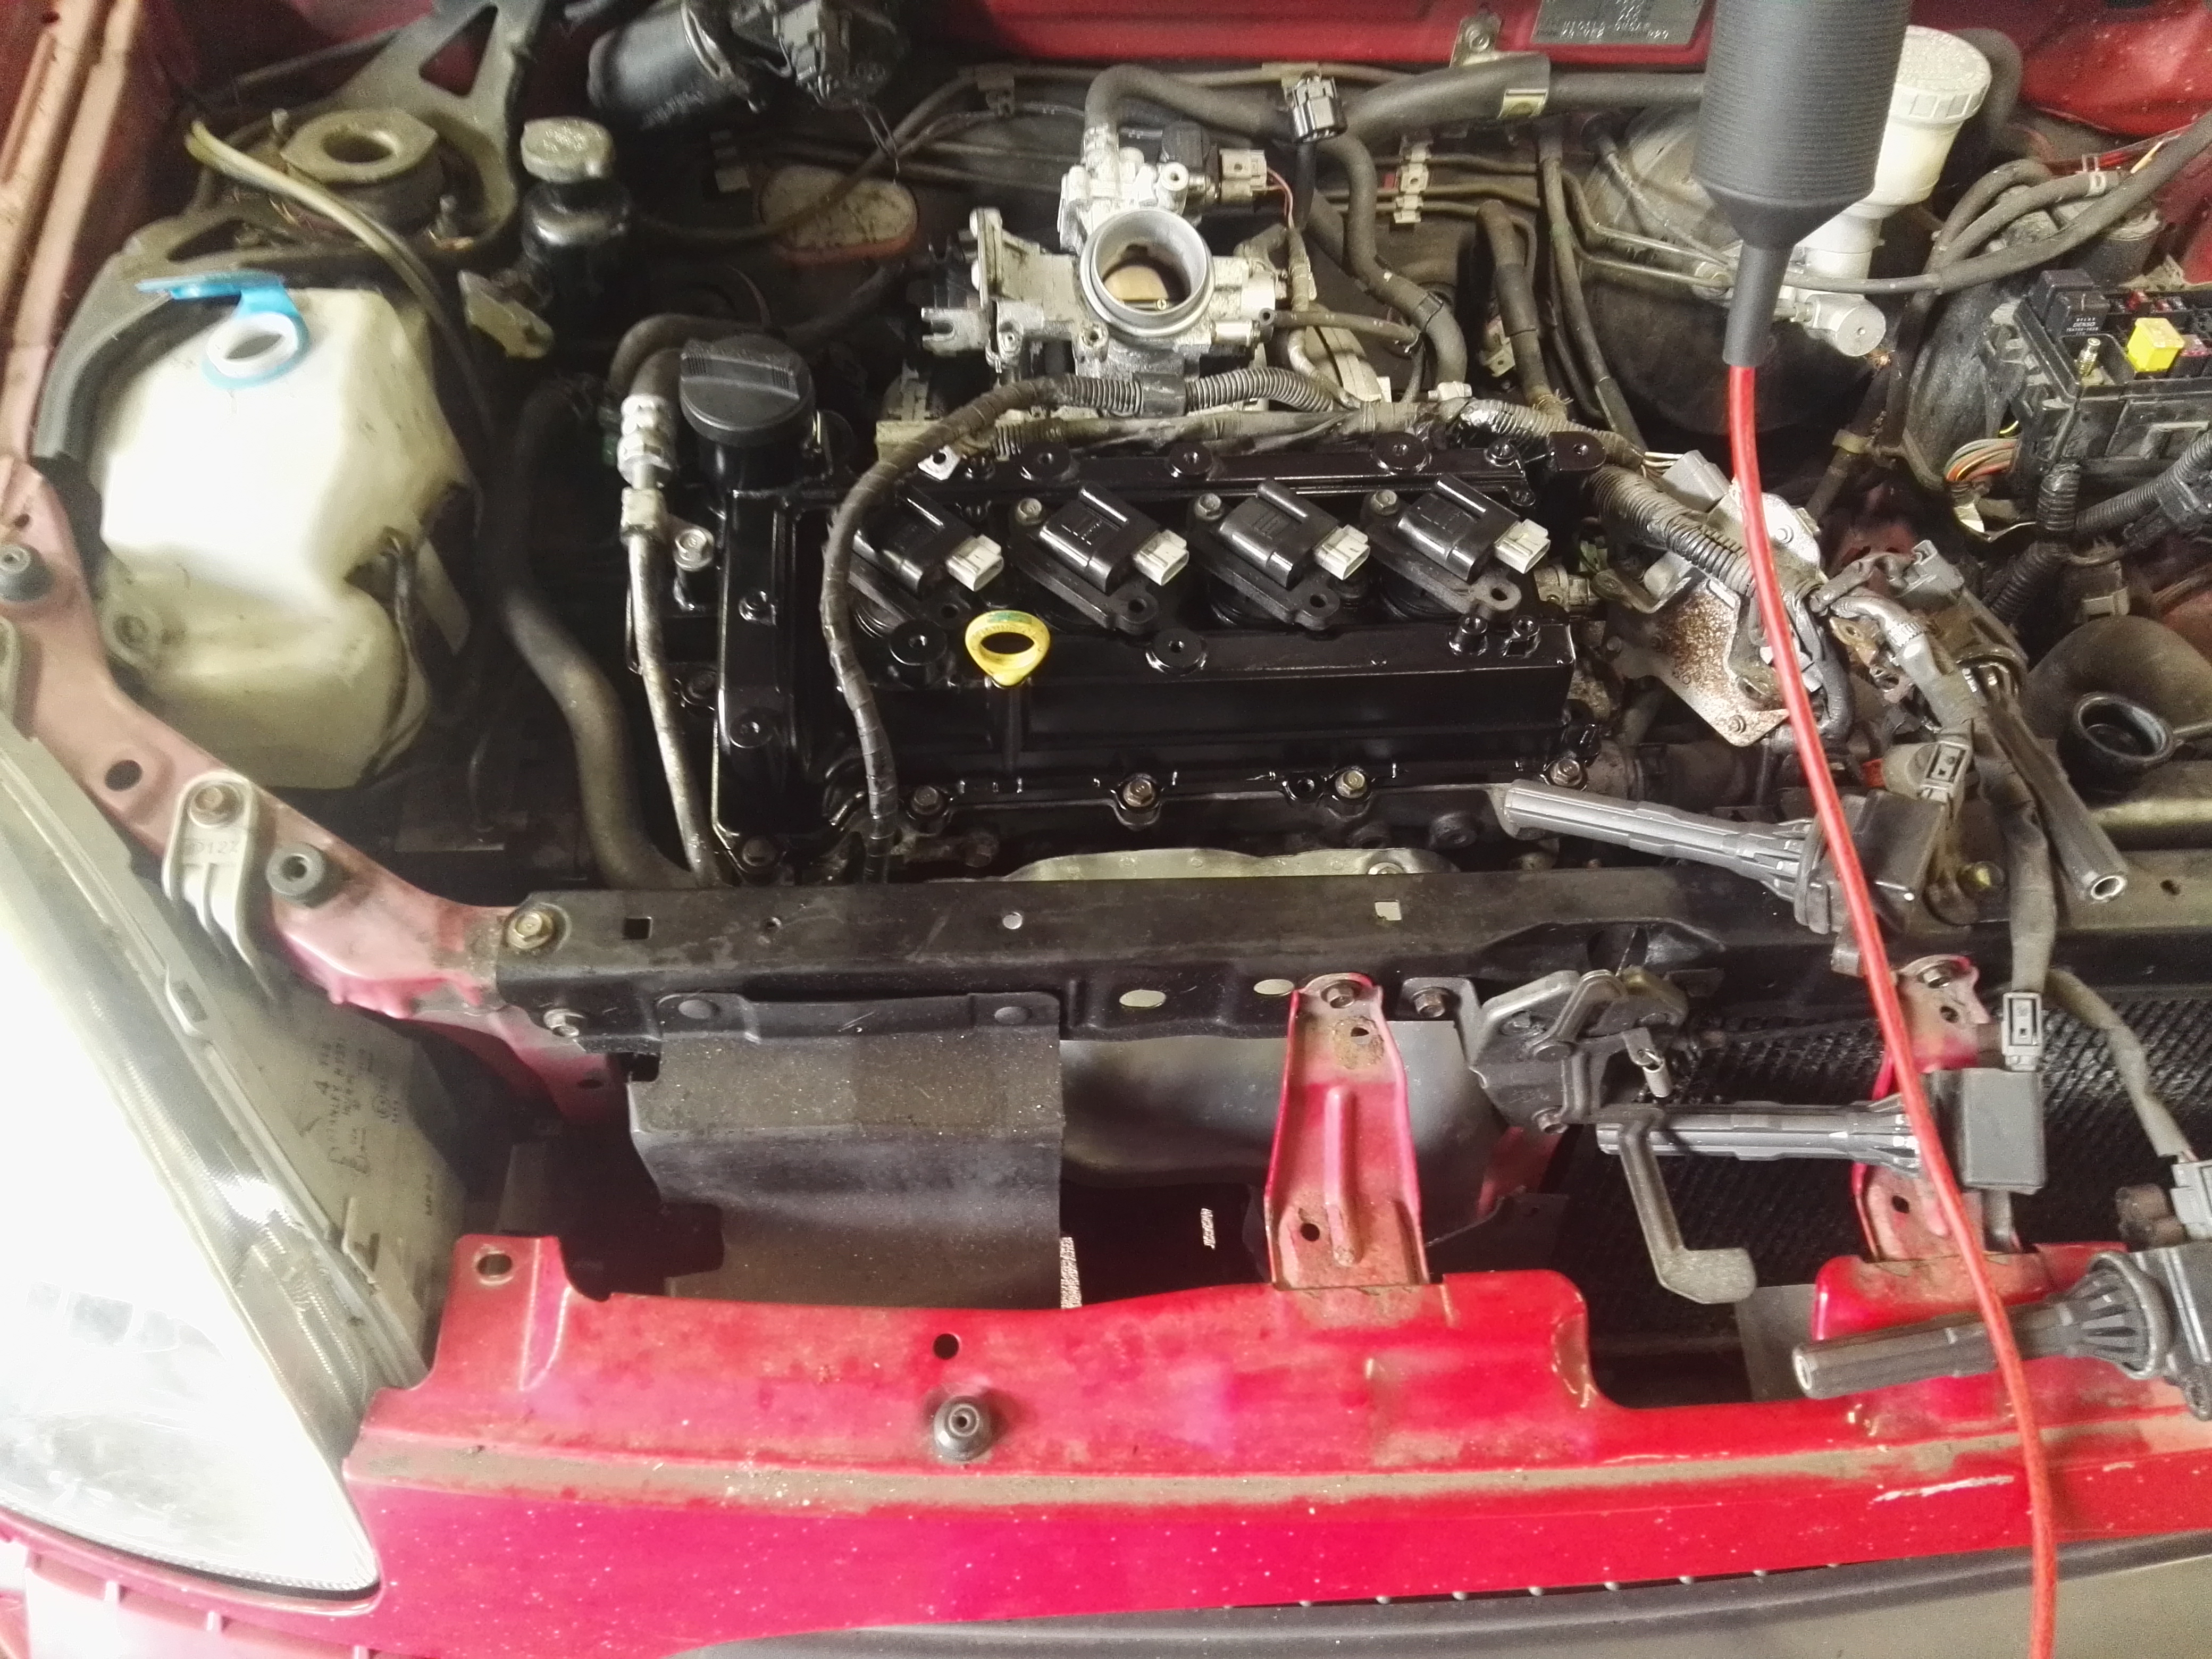
Pushed out the blue car and pushed in the red car.
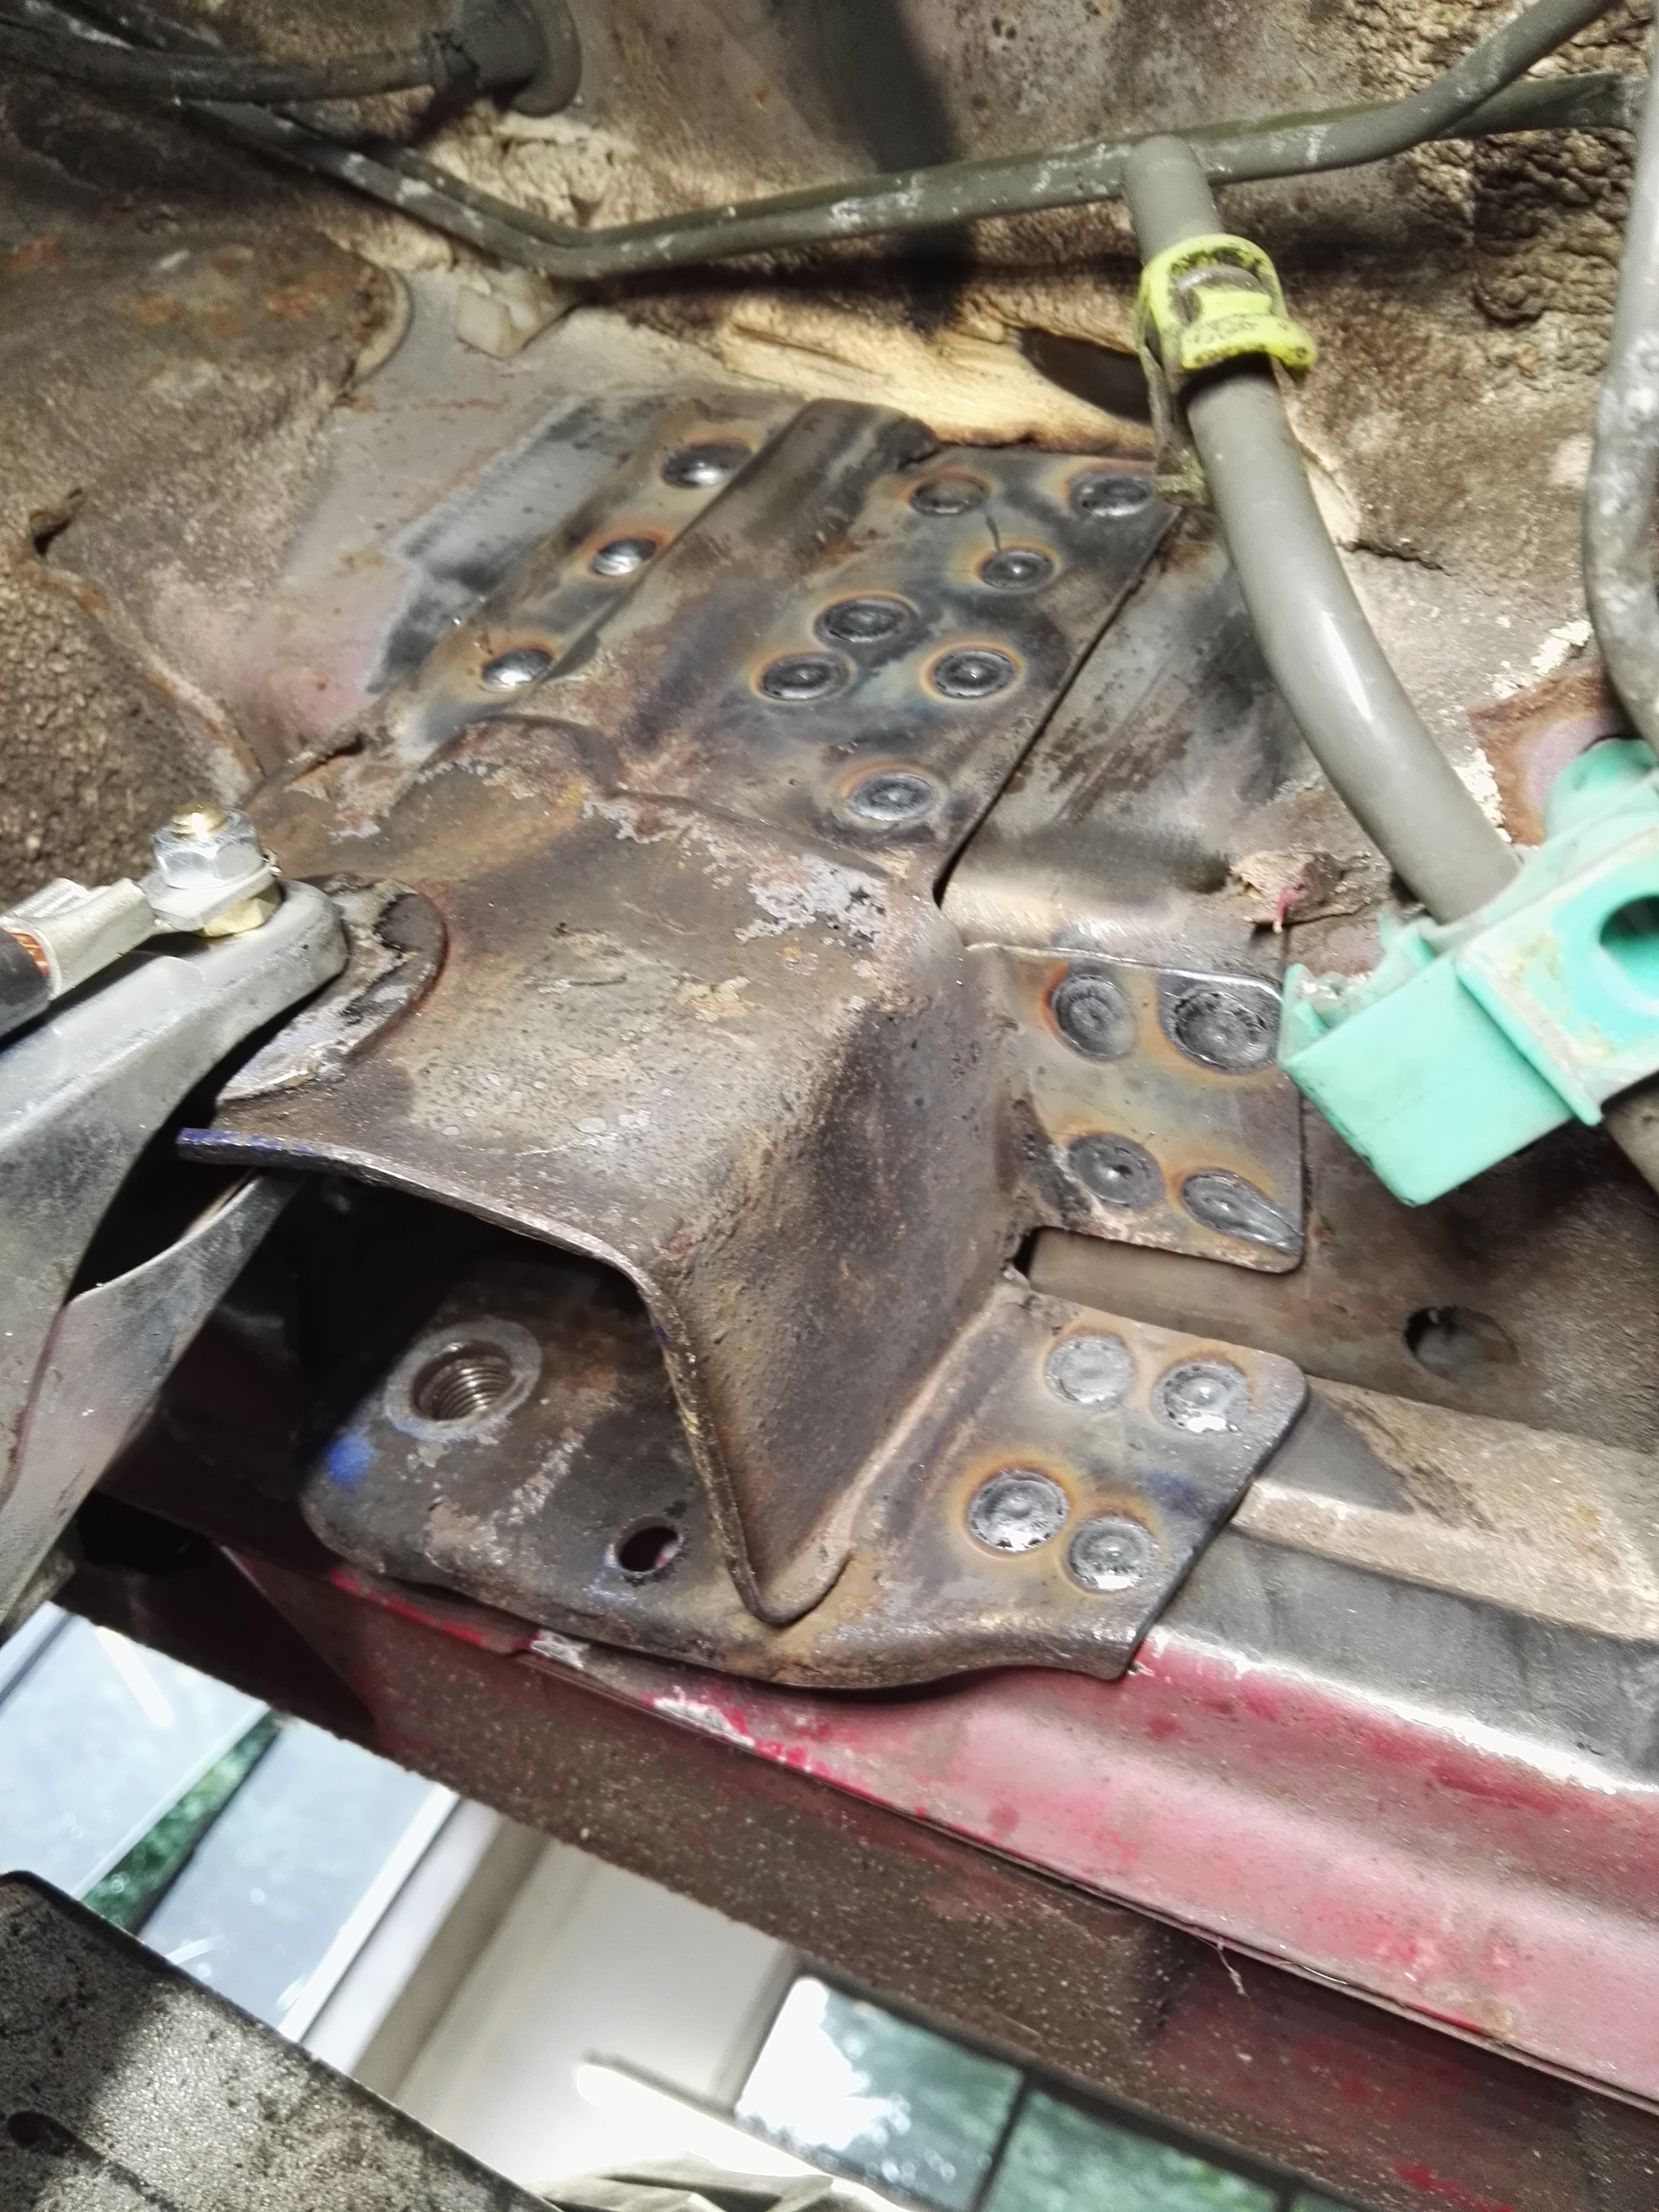
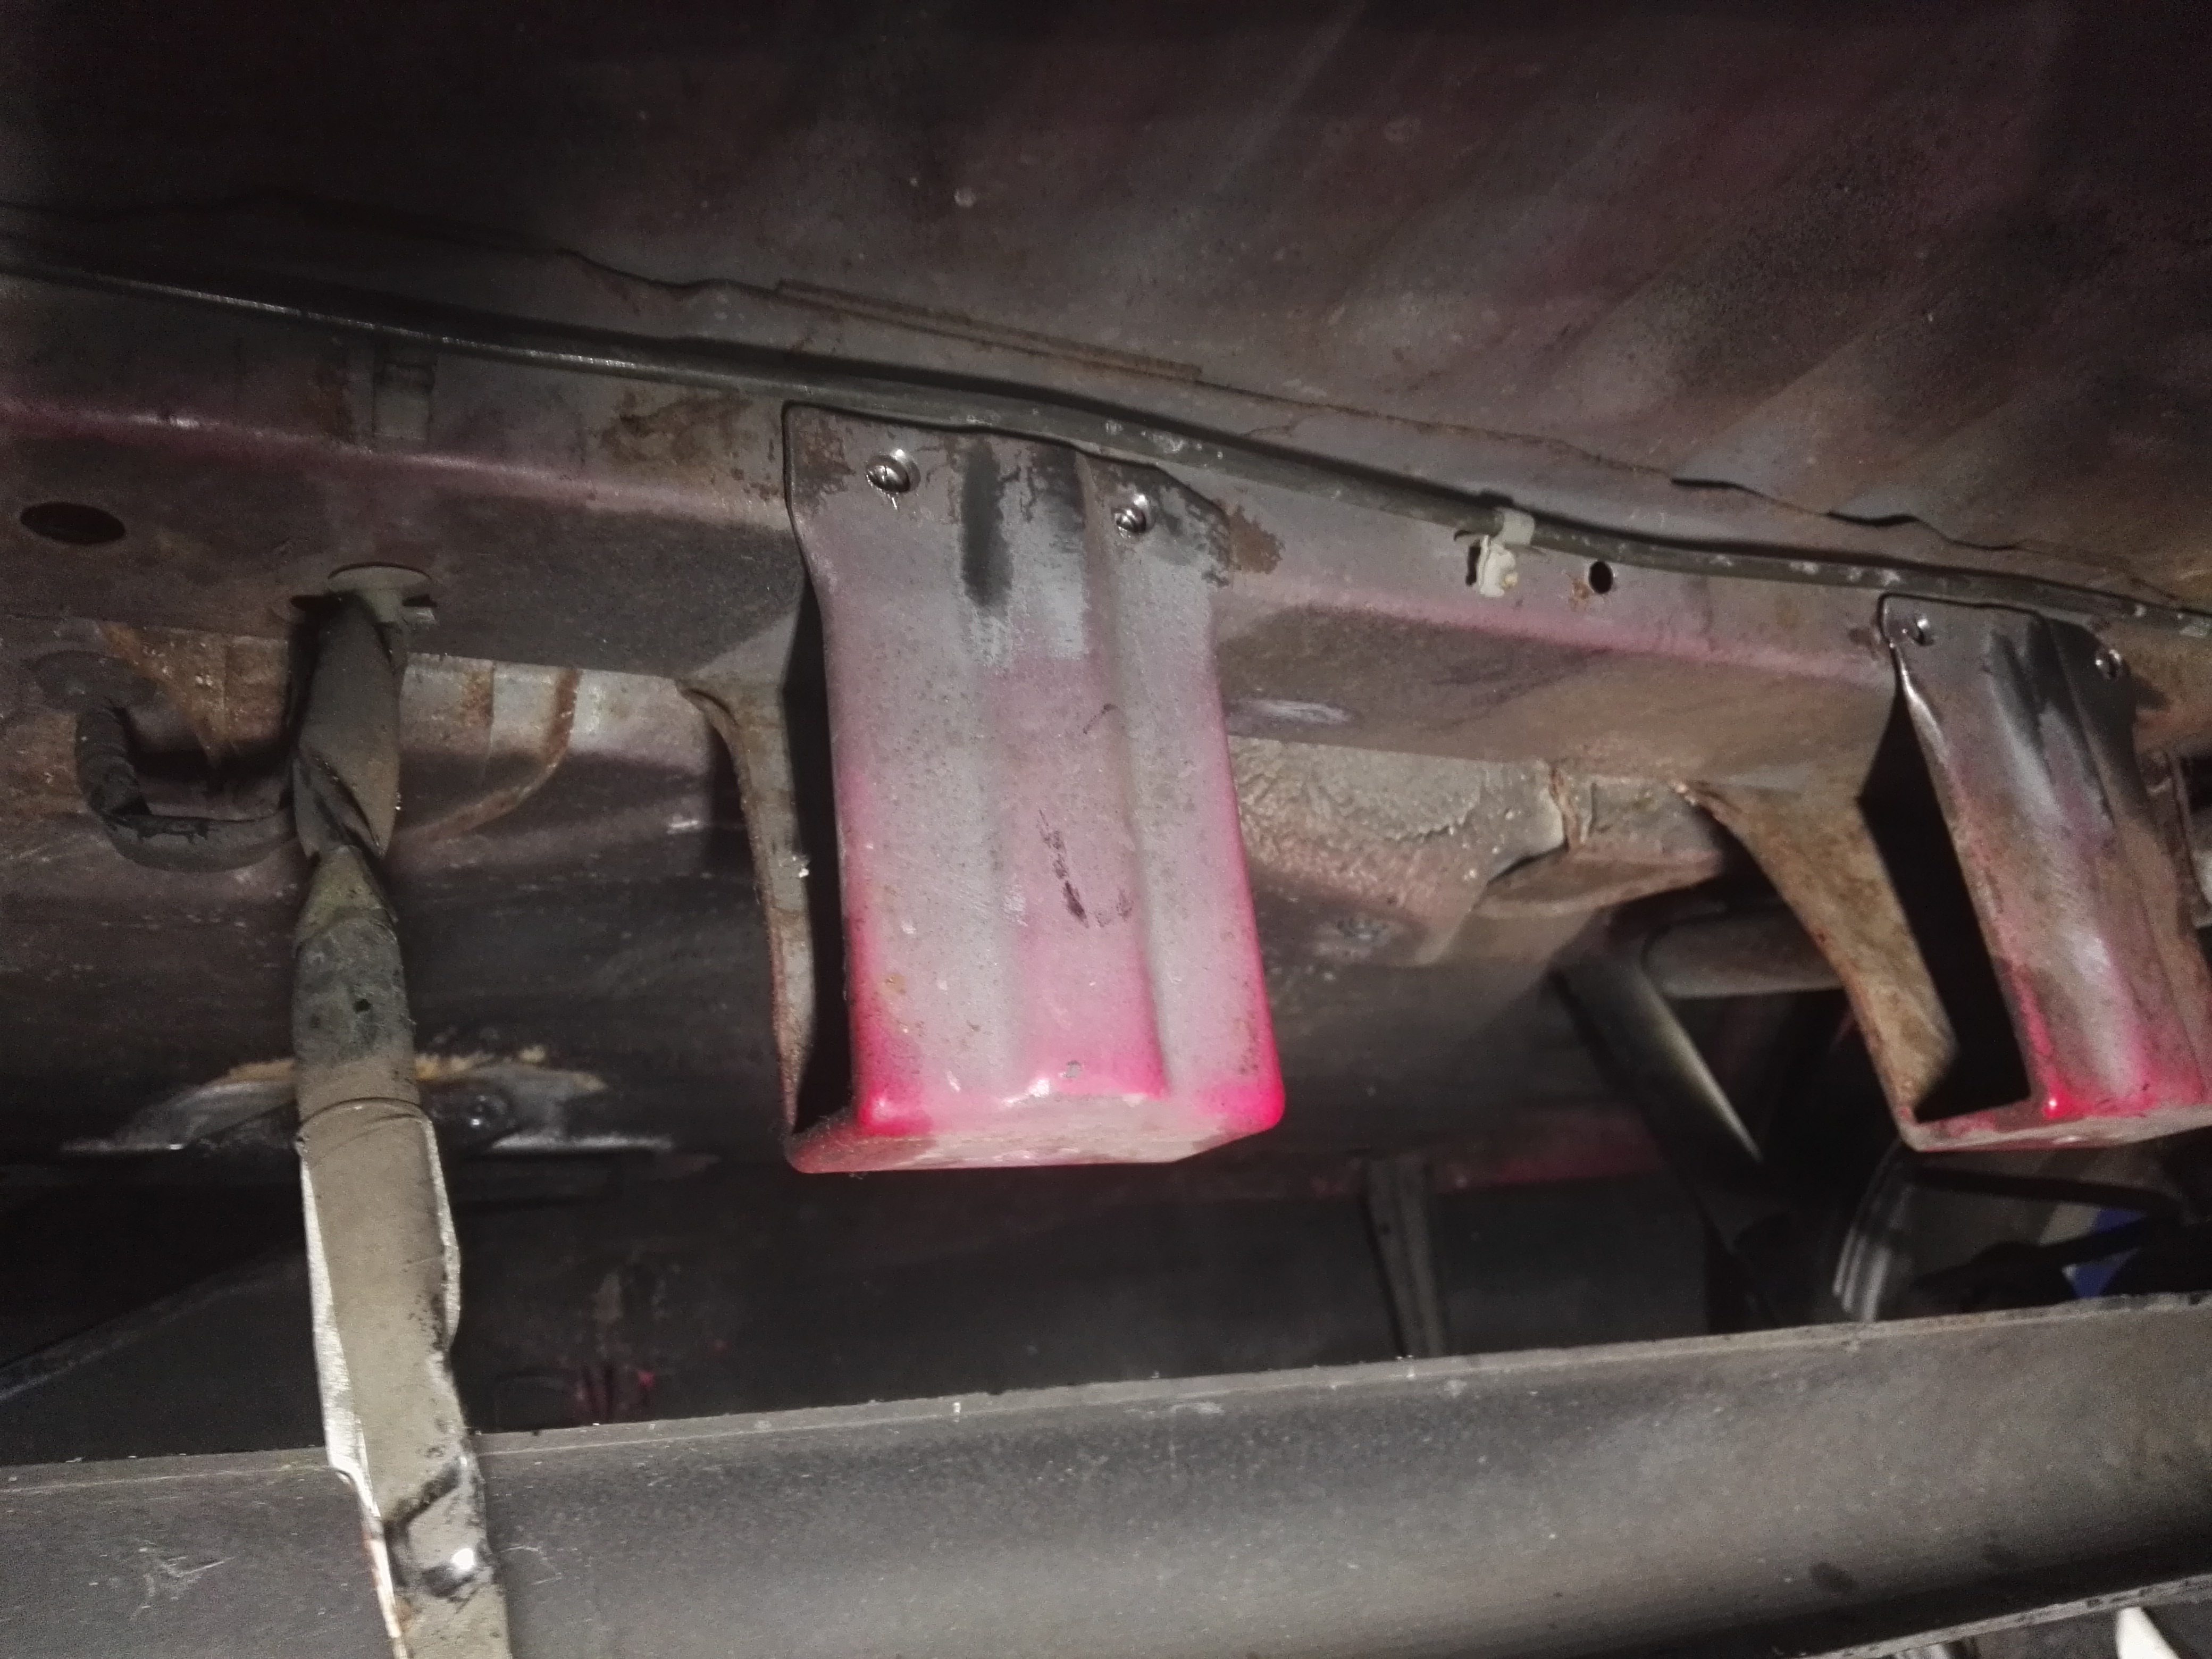
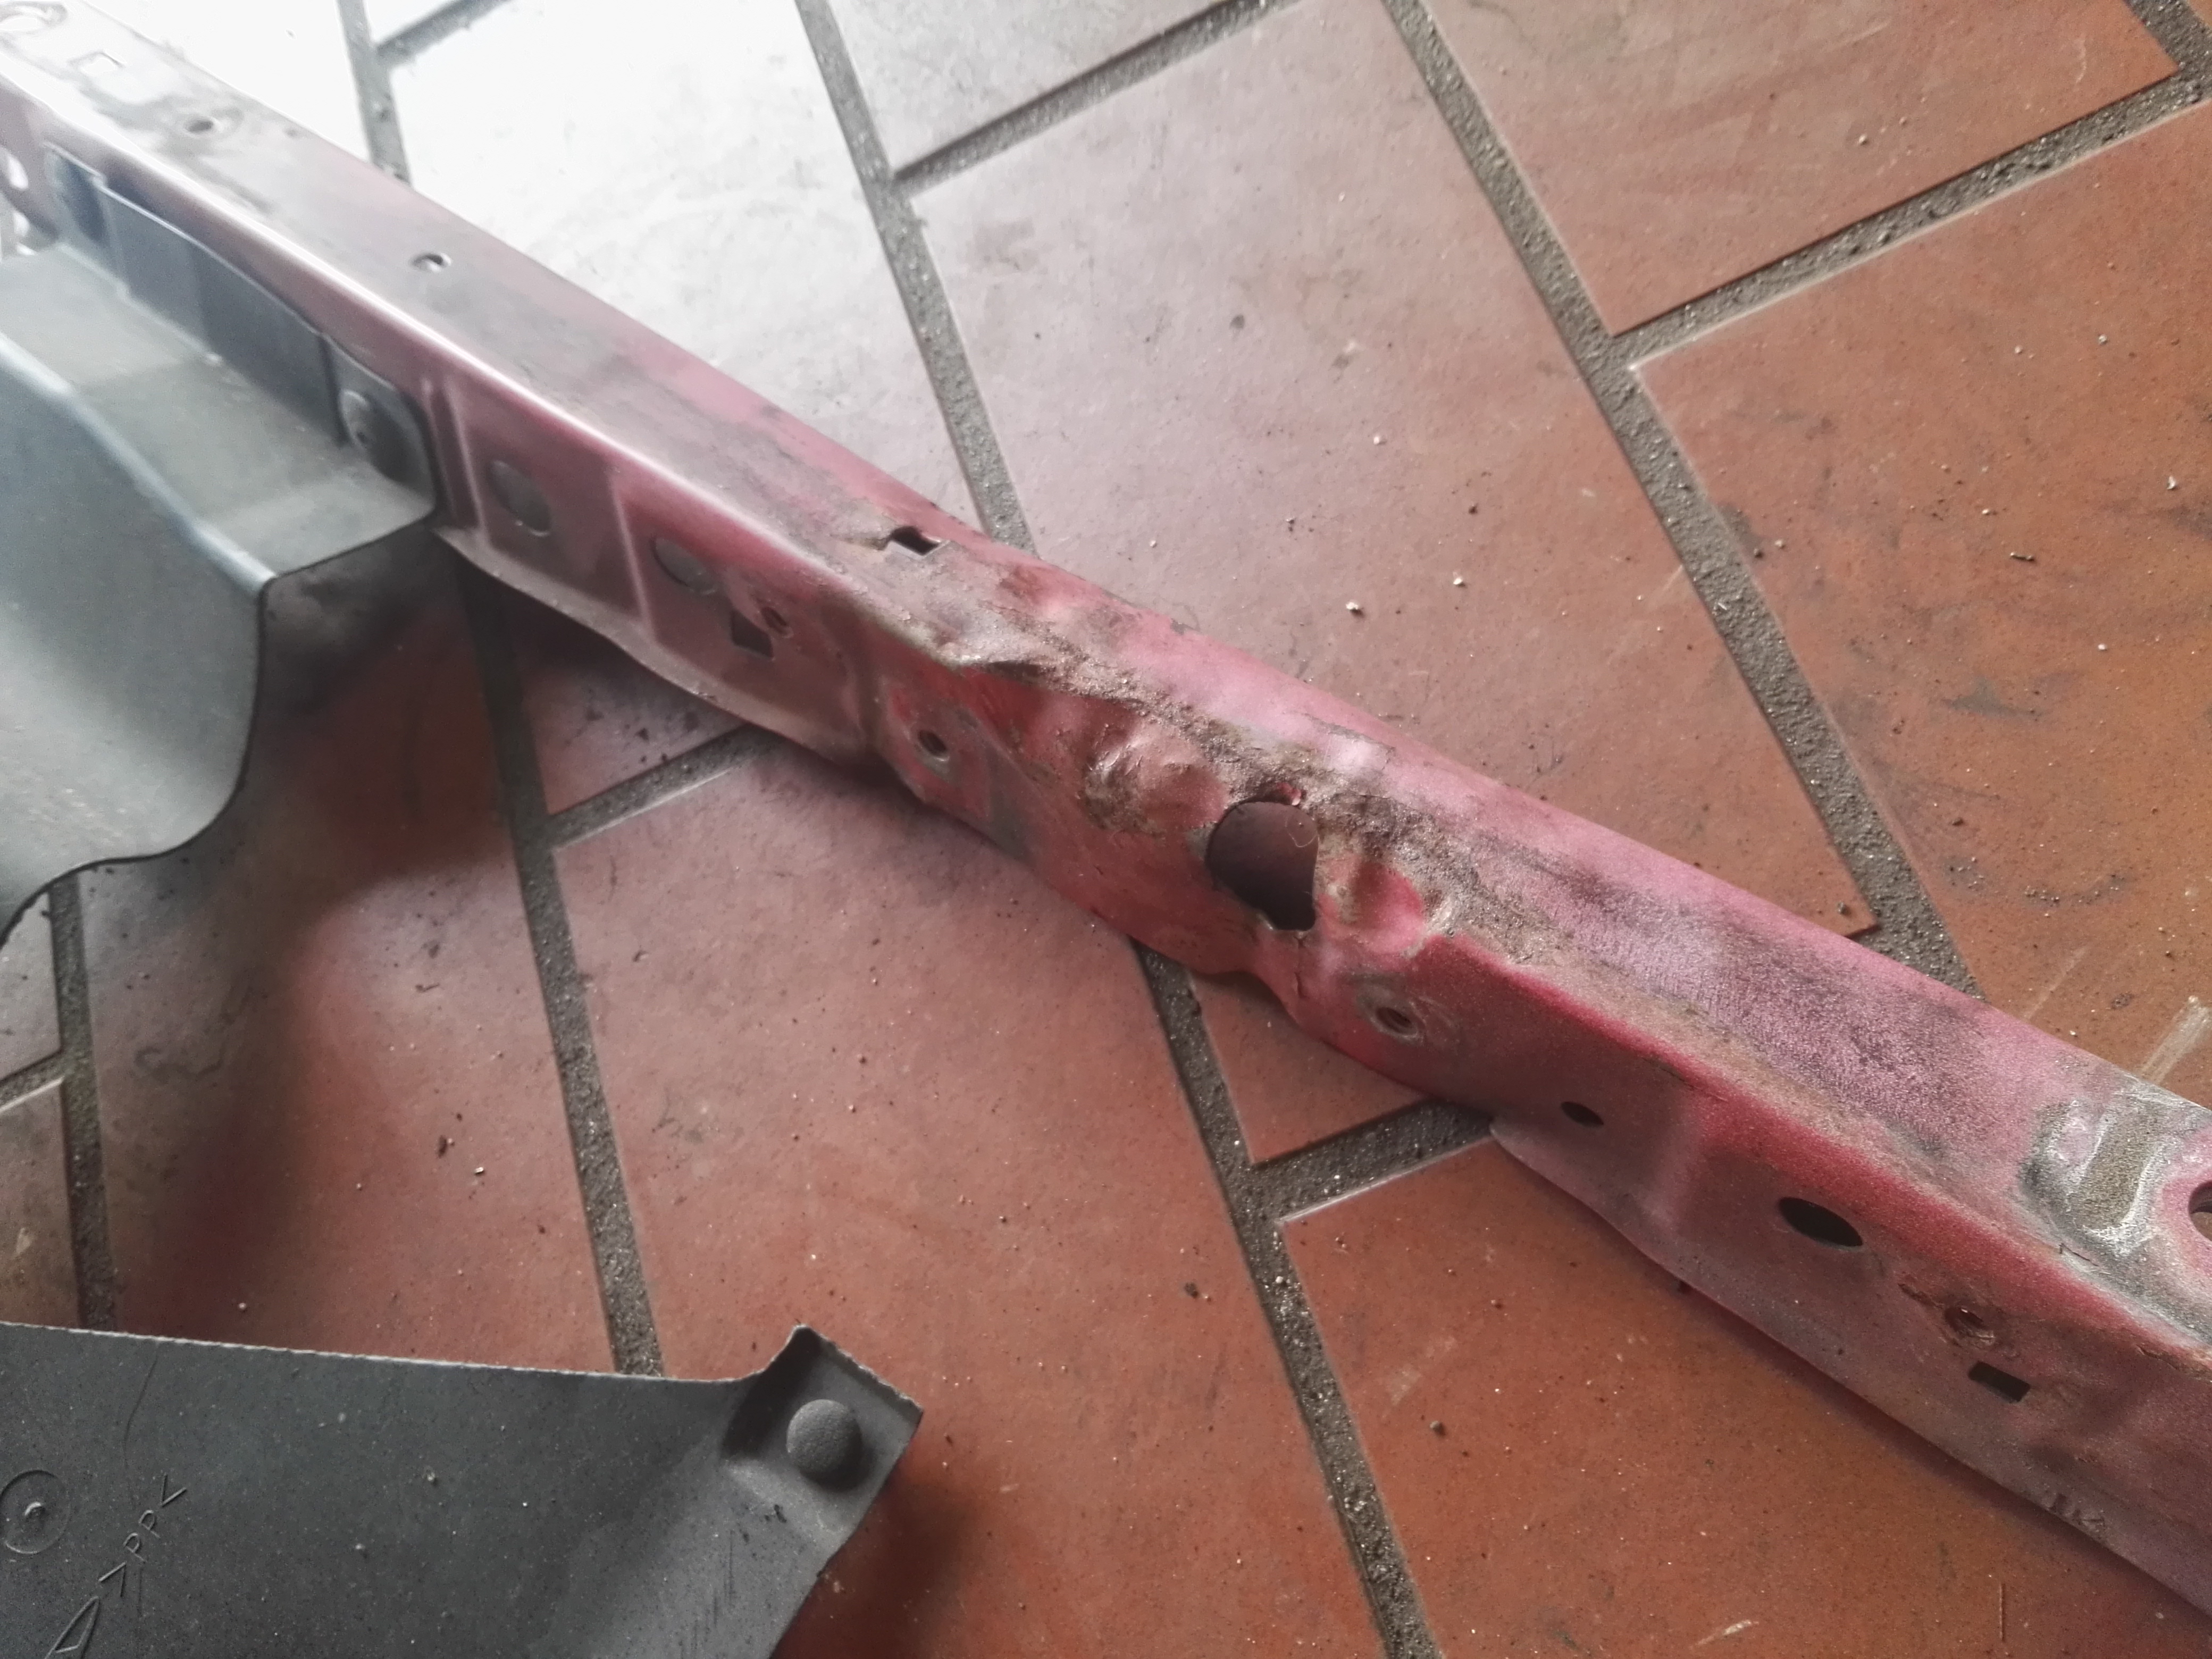
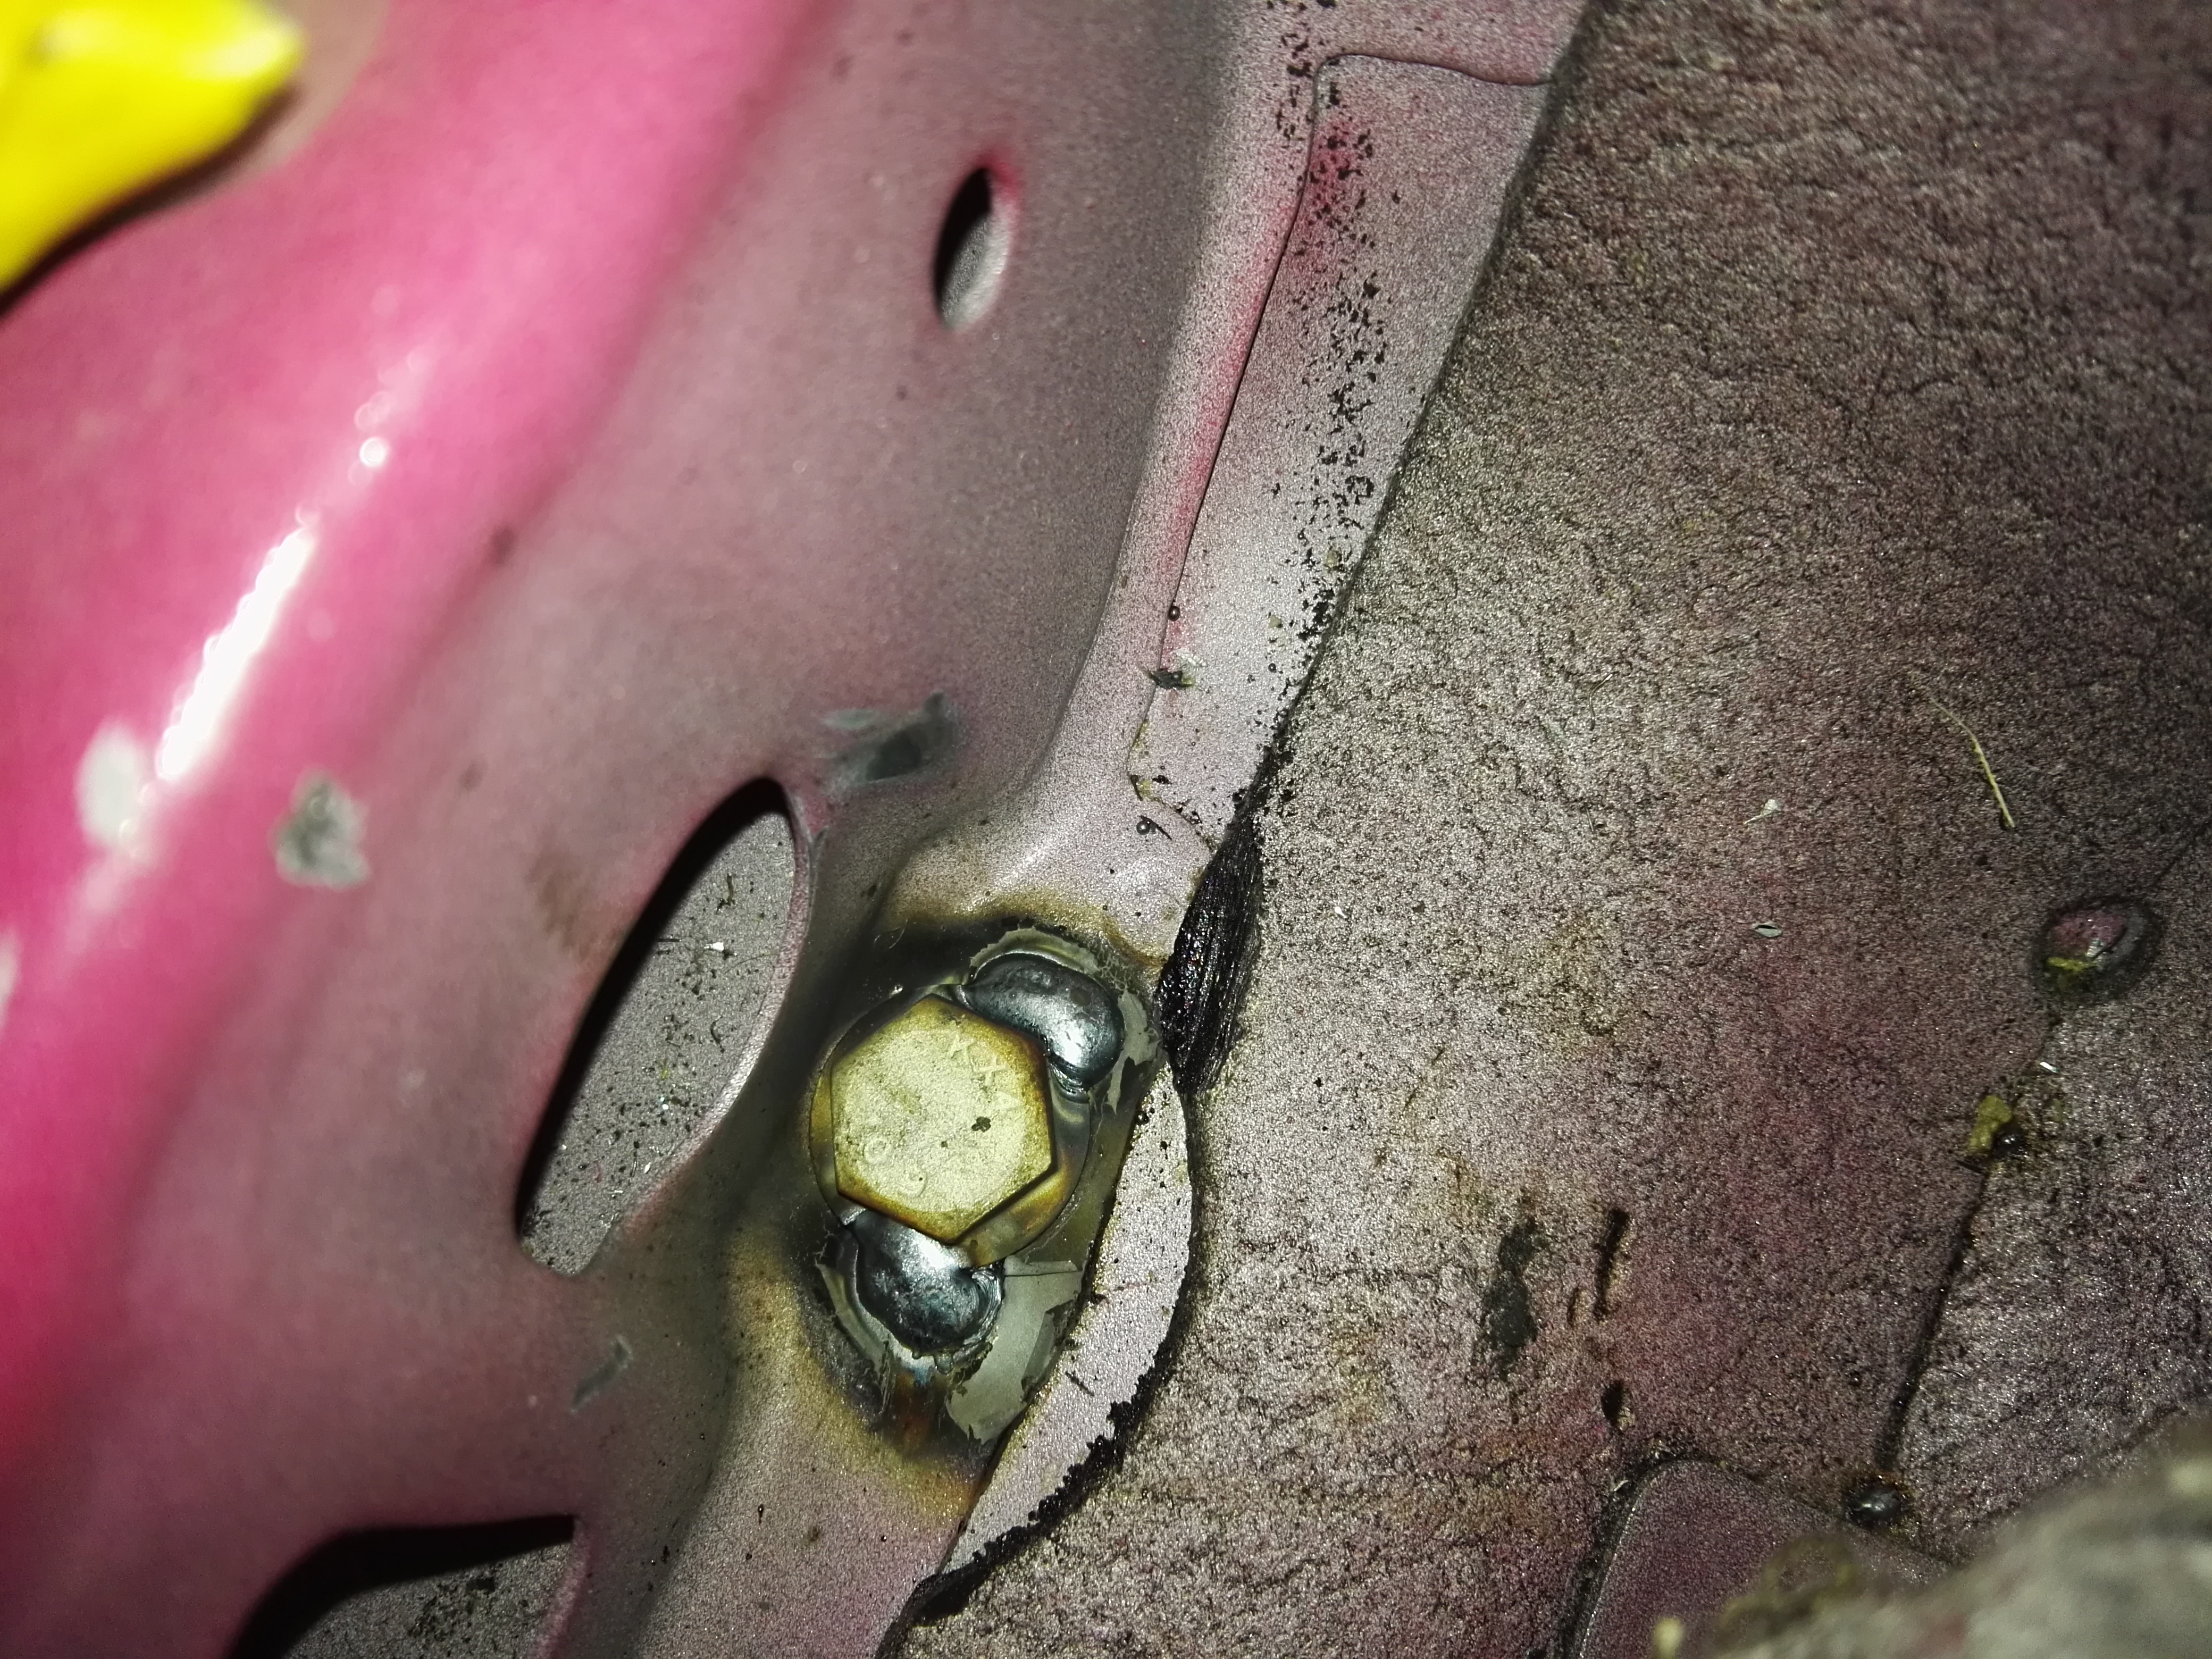
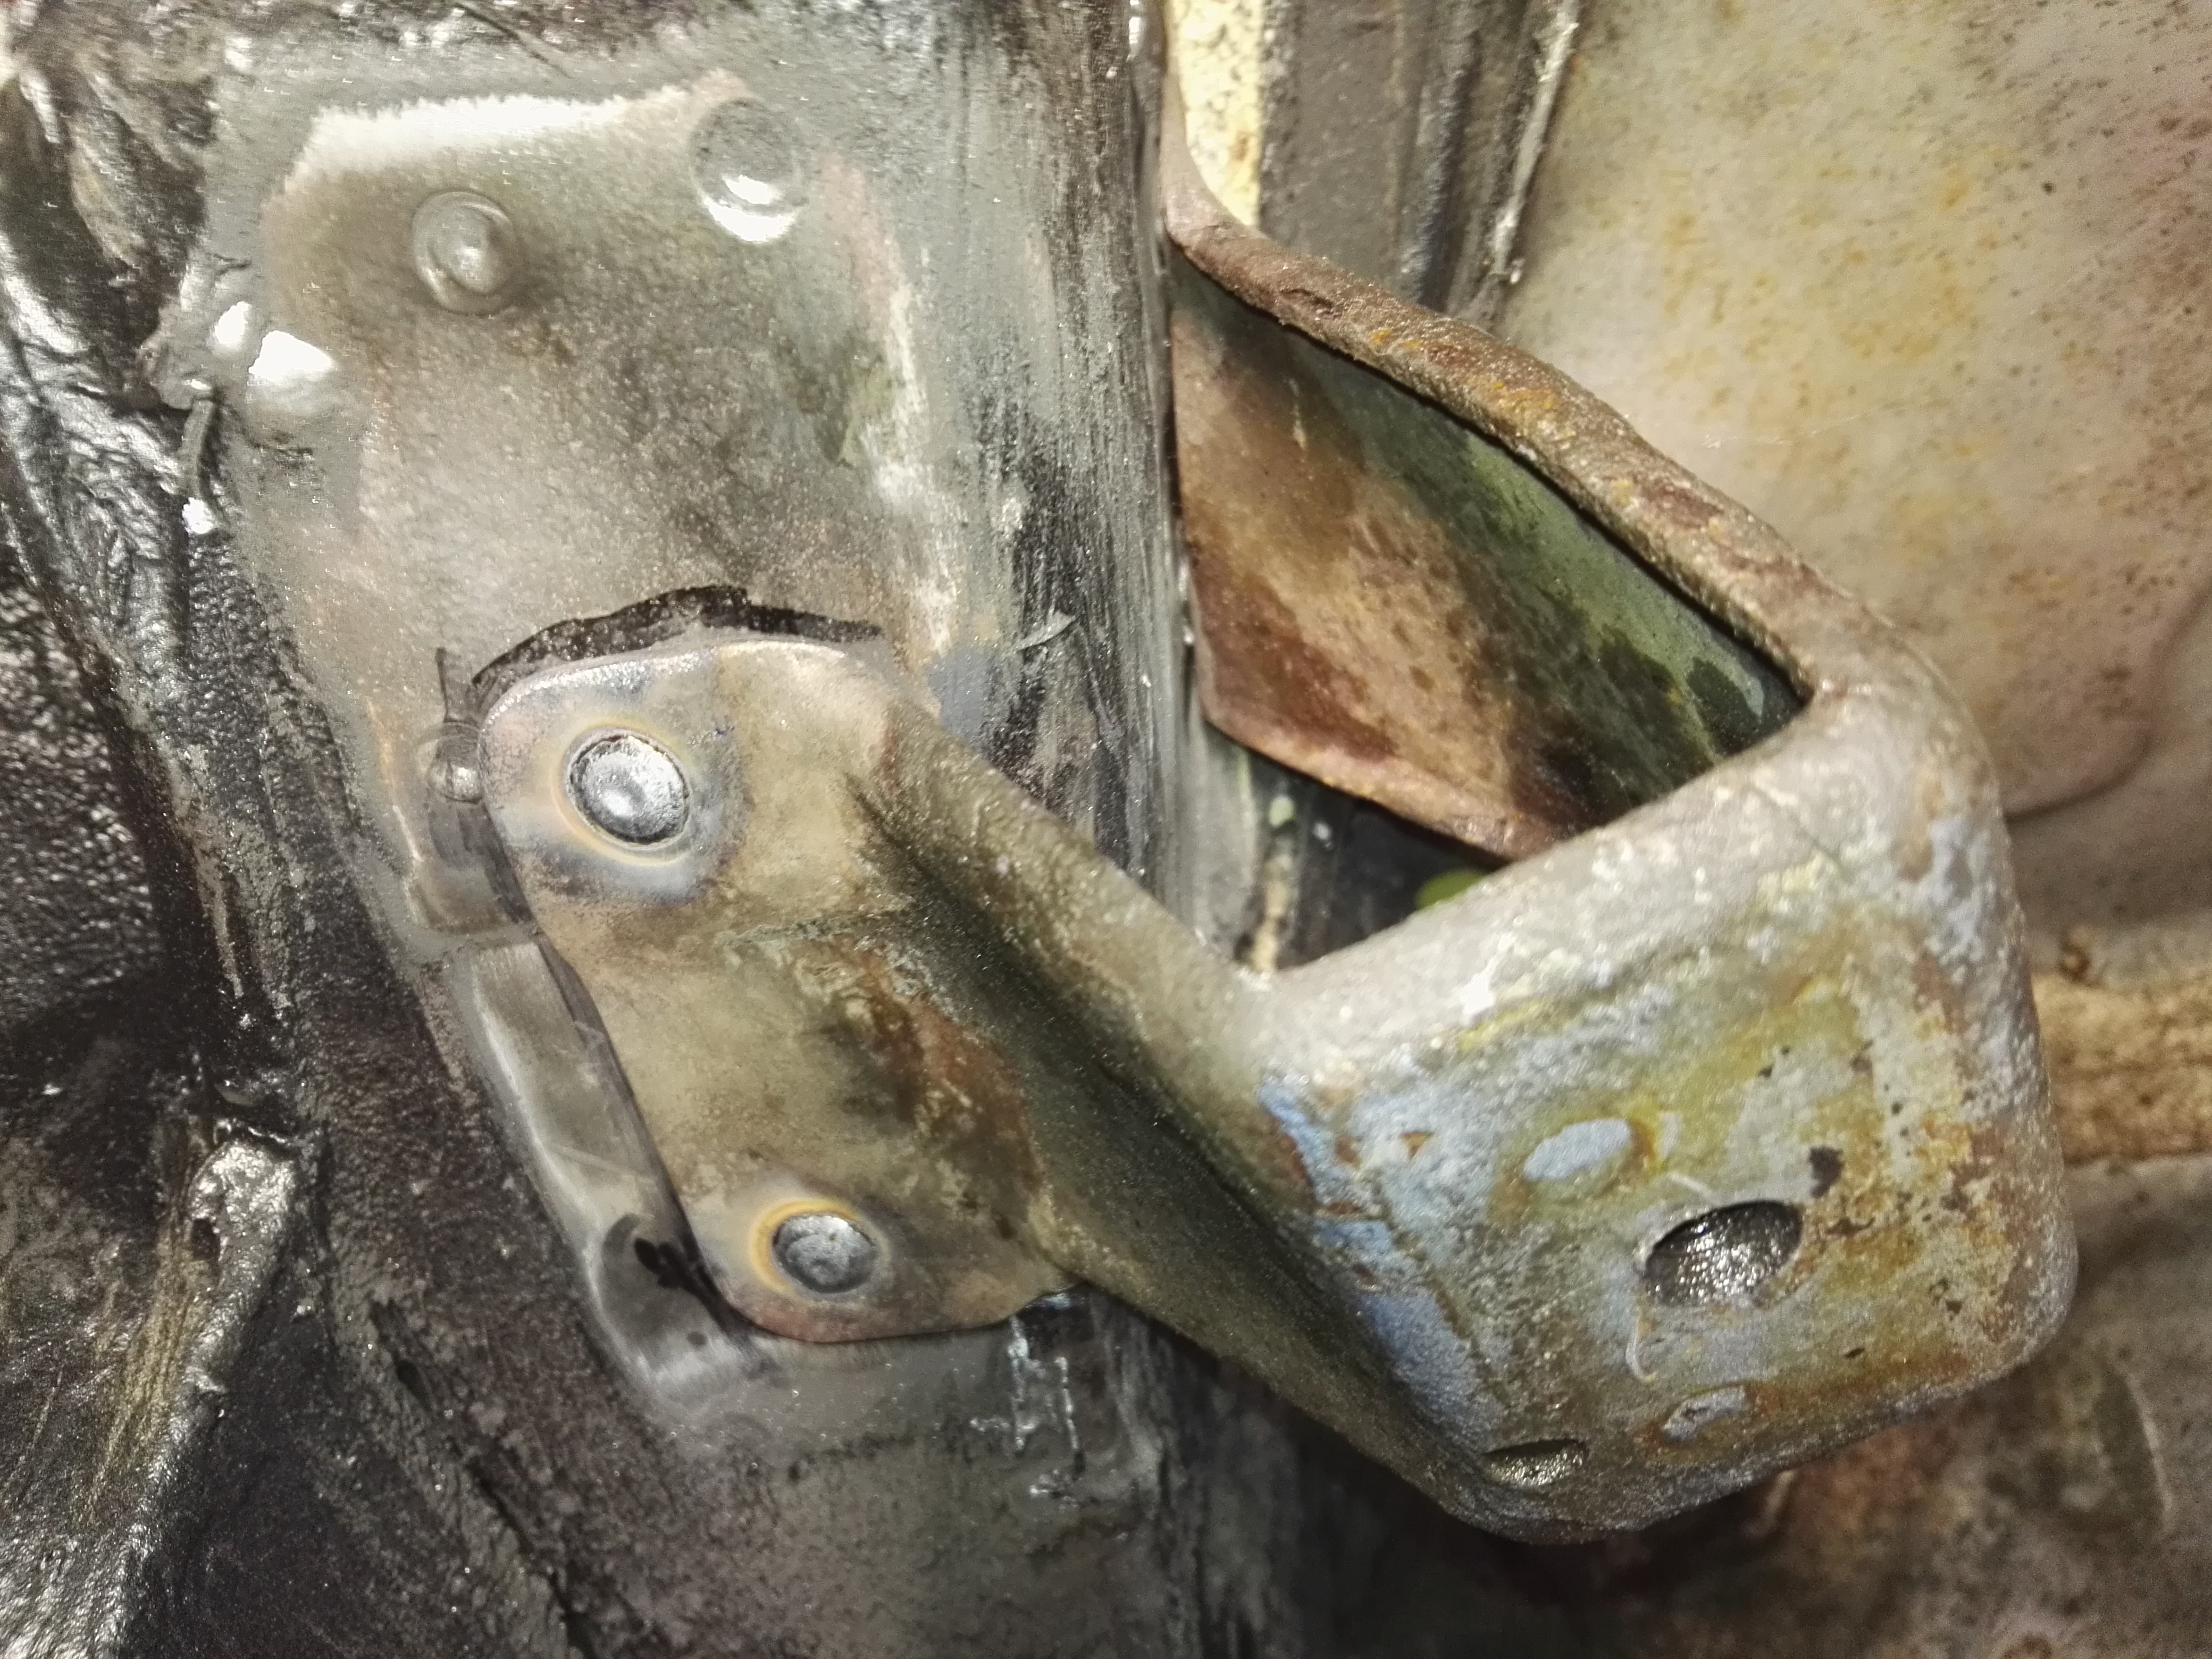
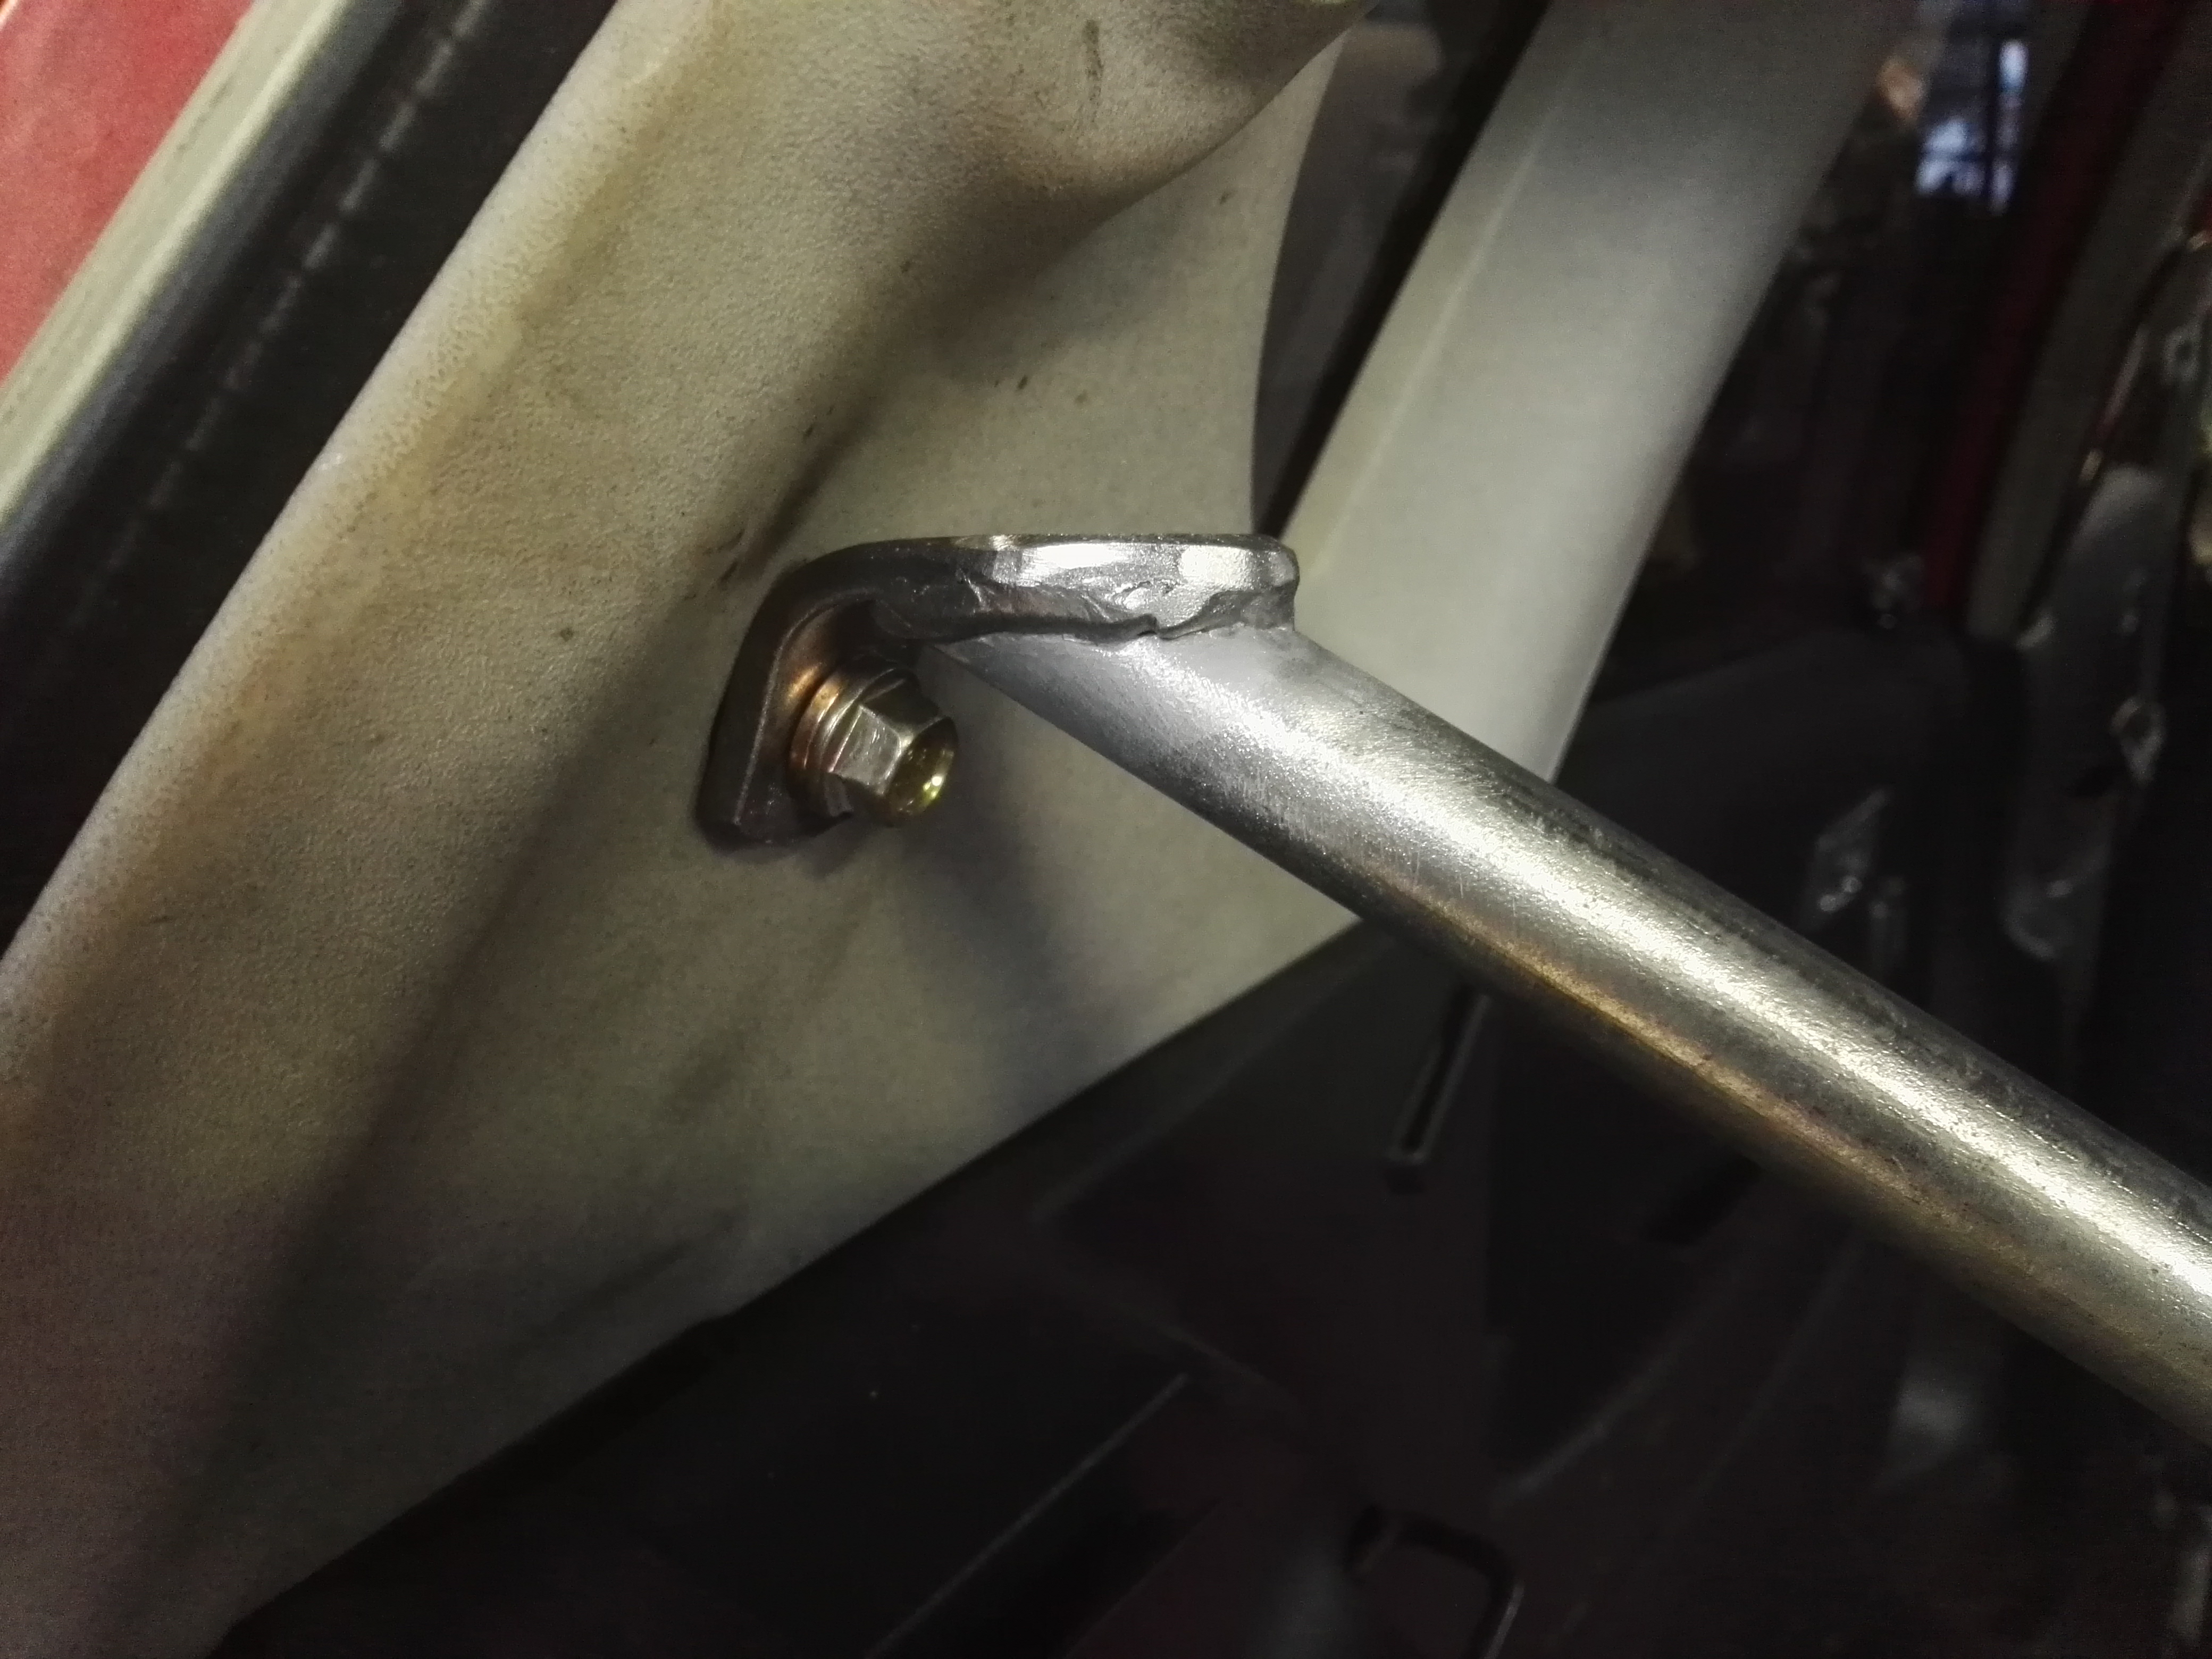
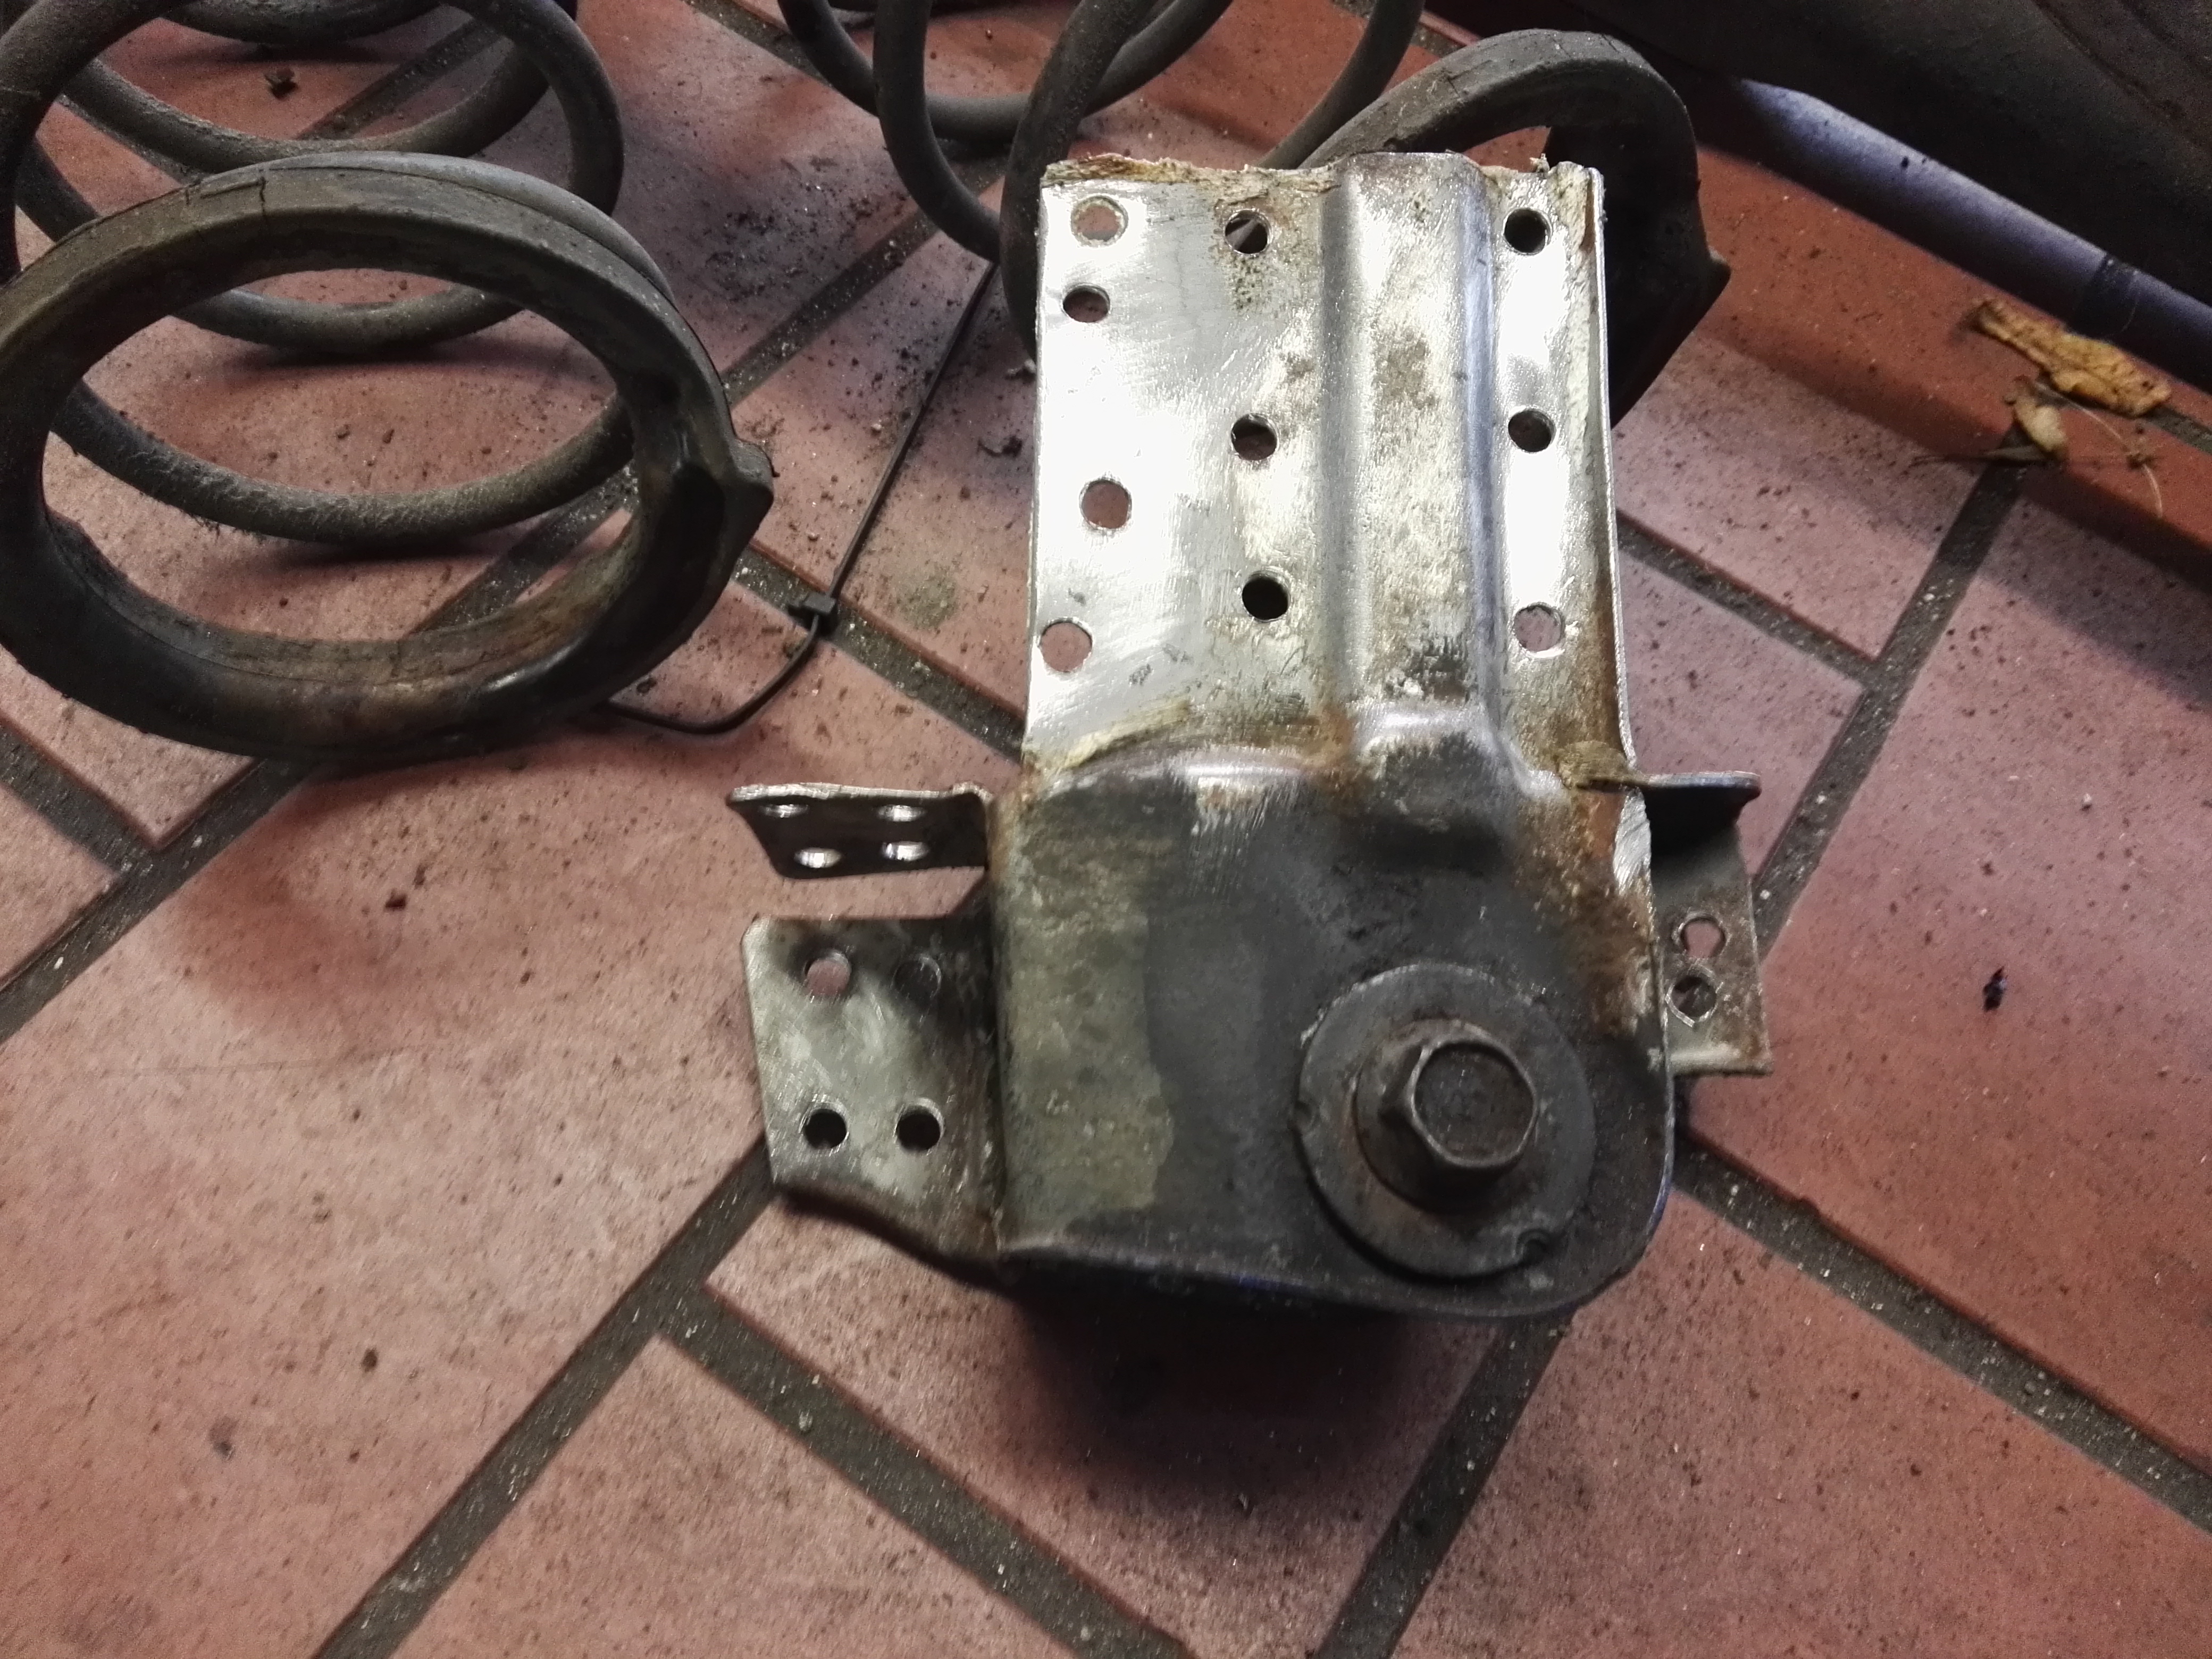
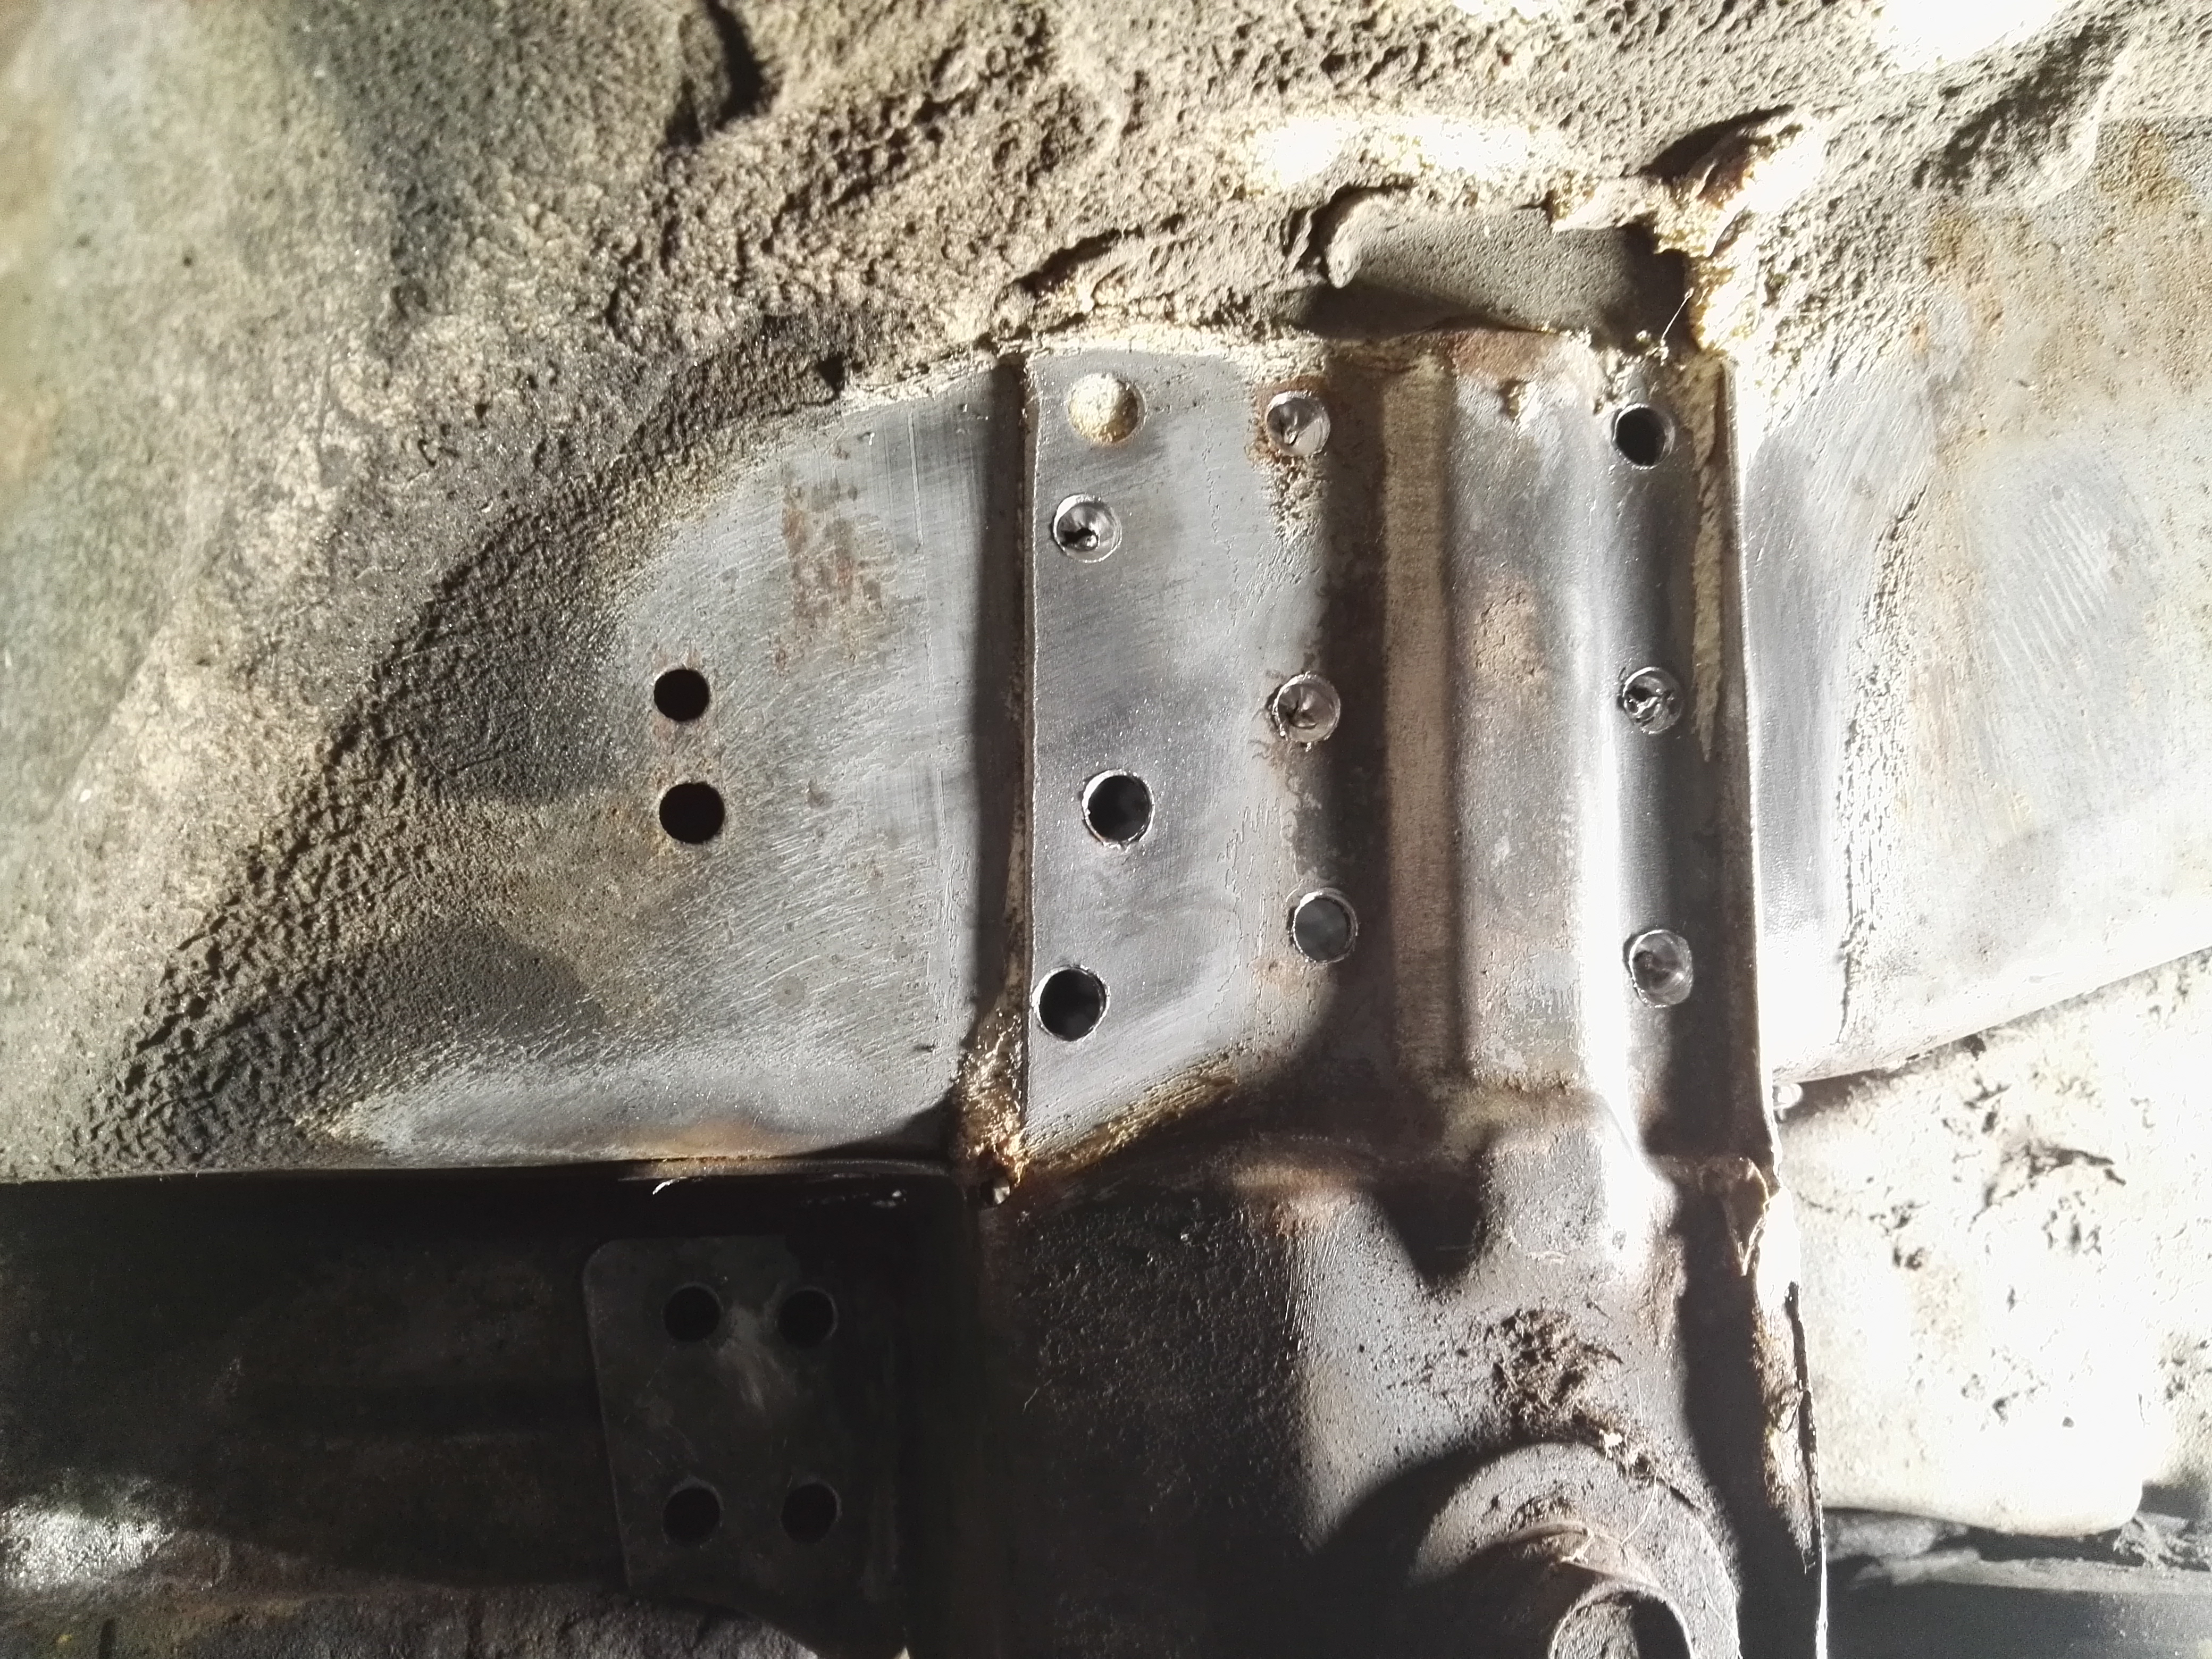
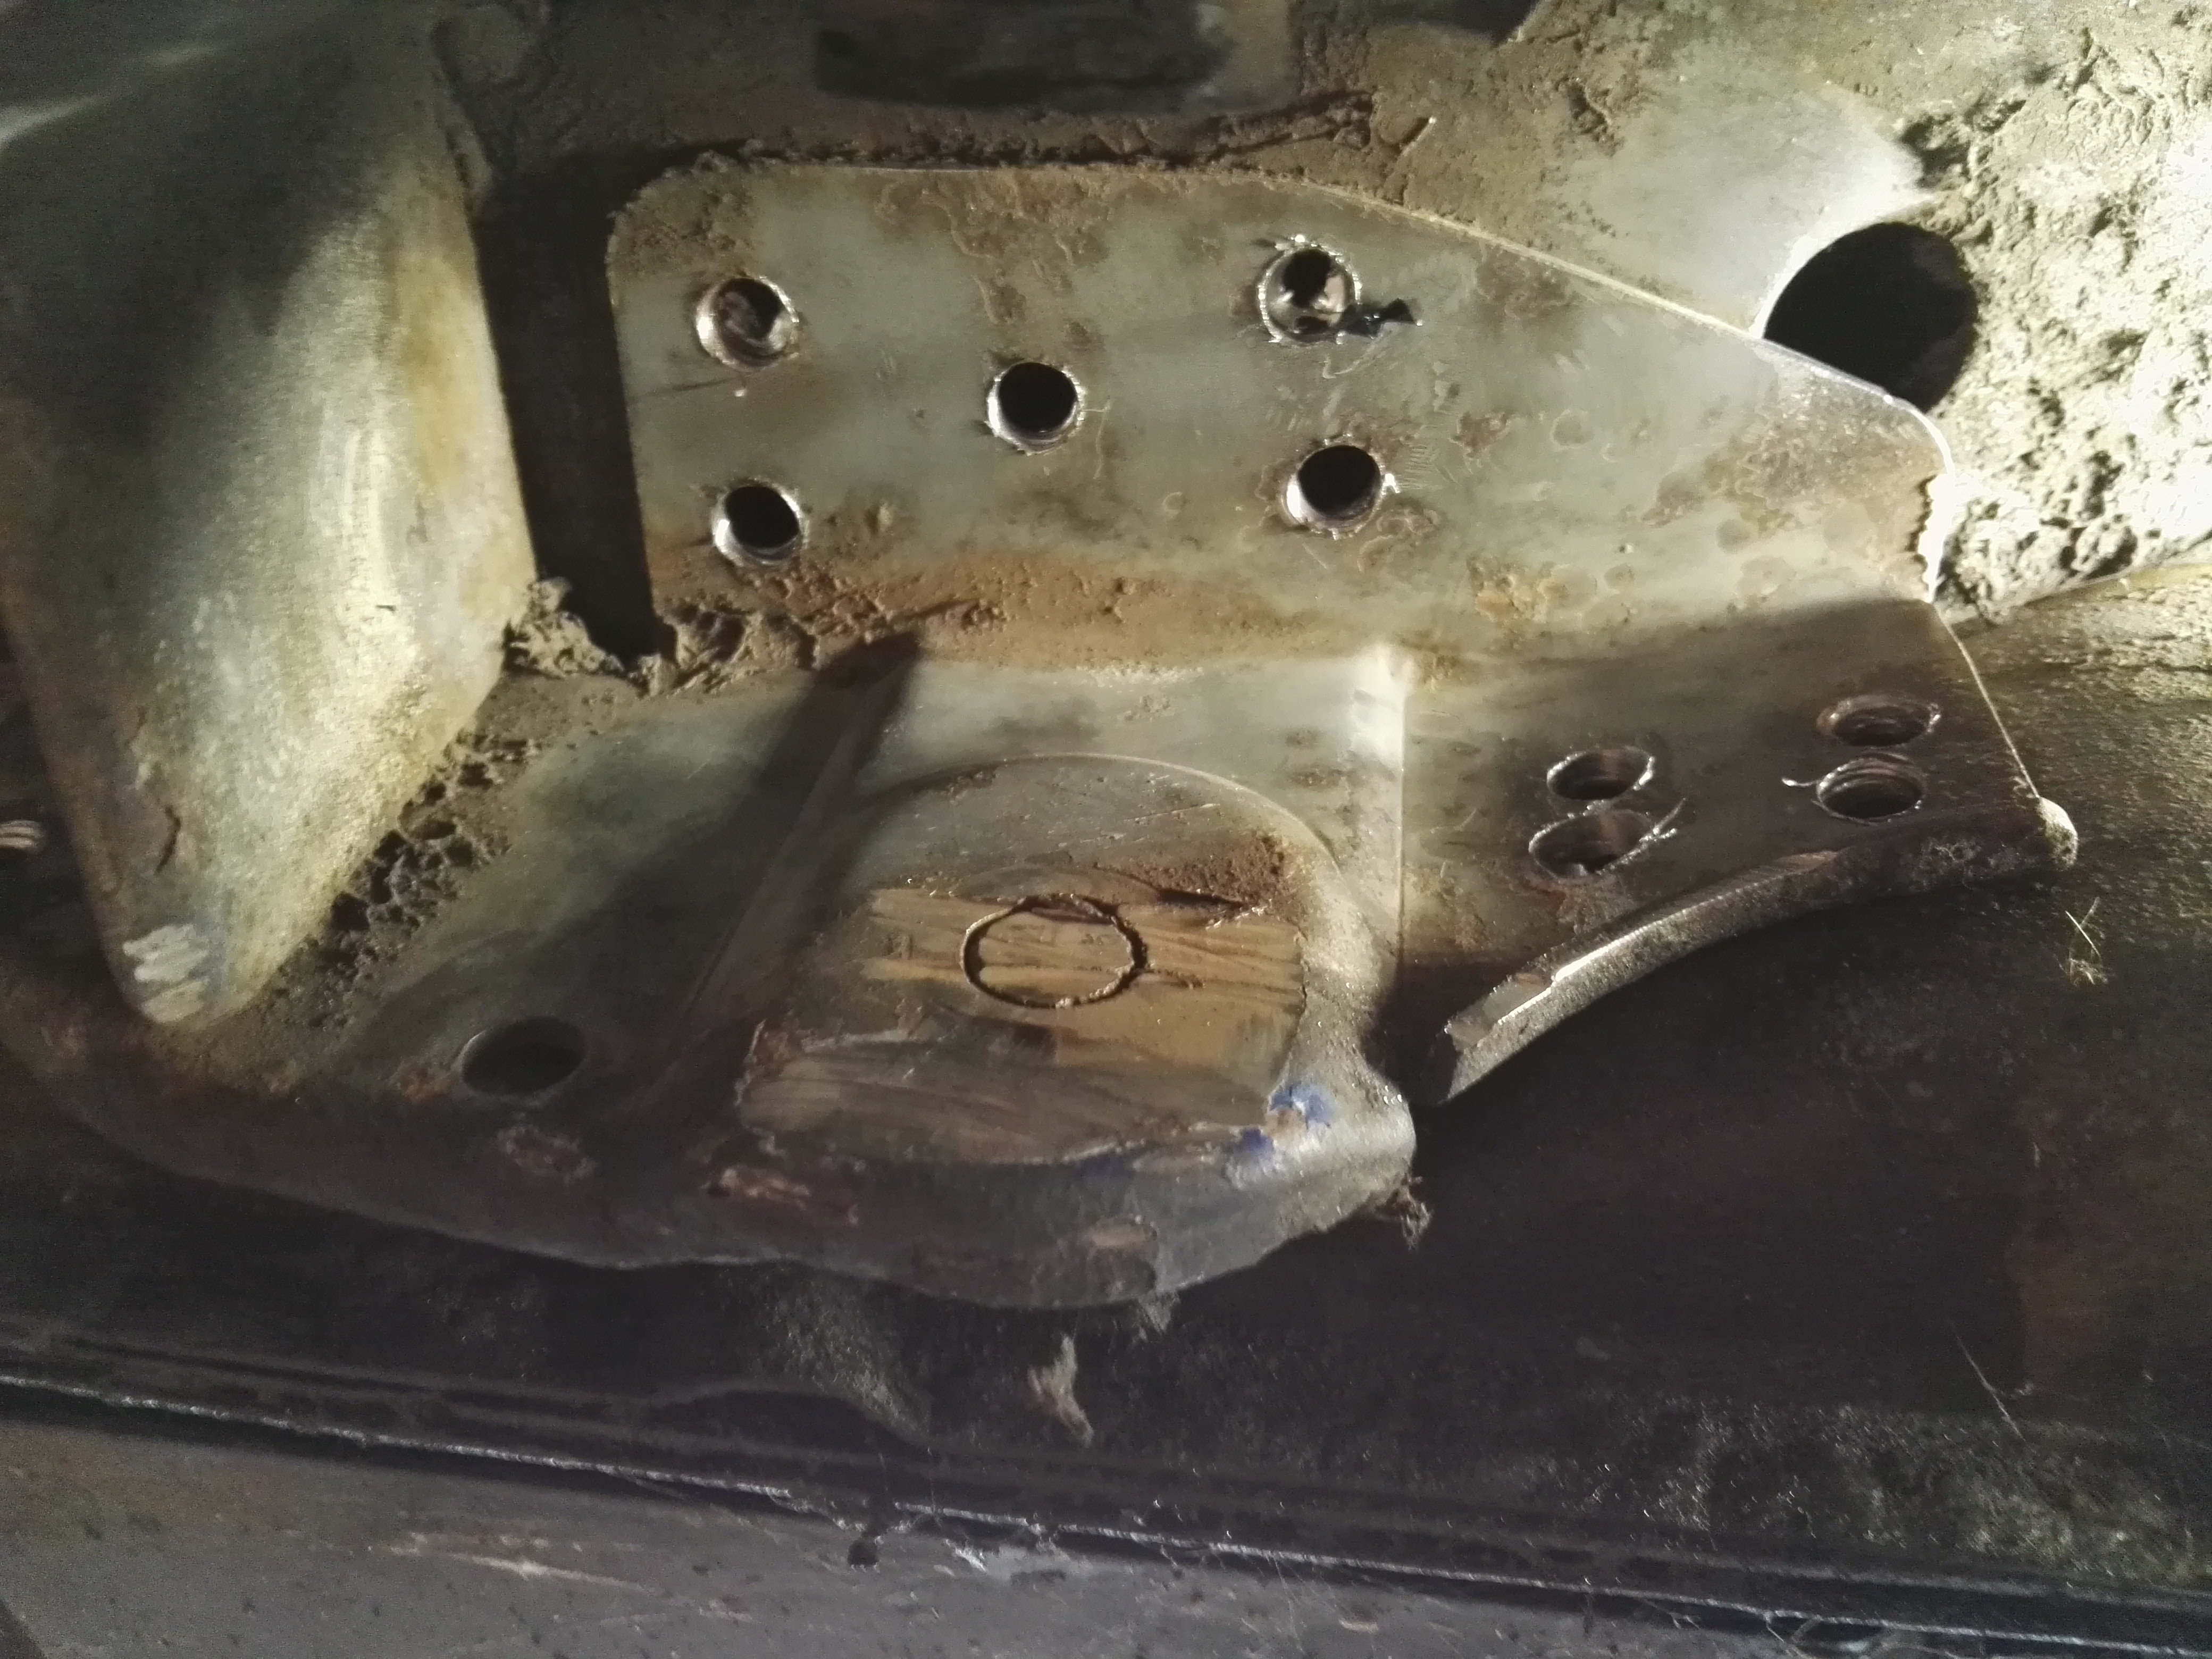
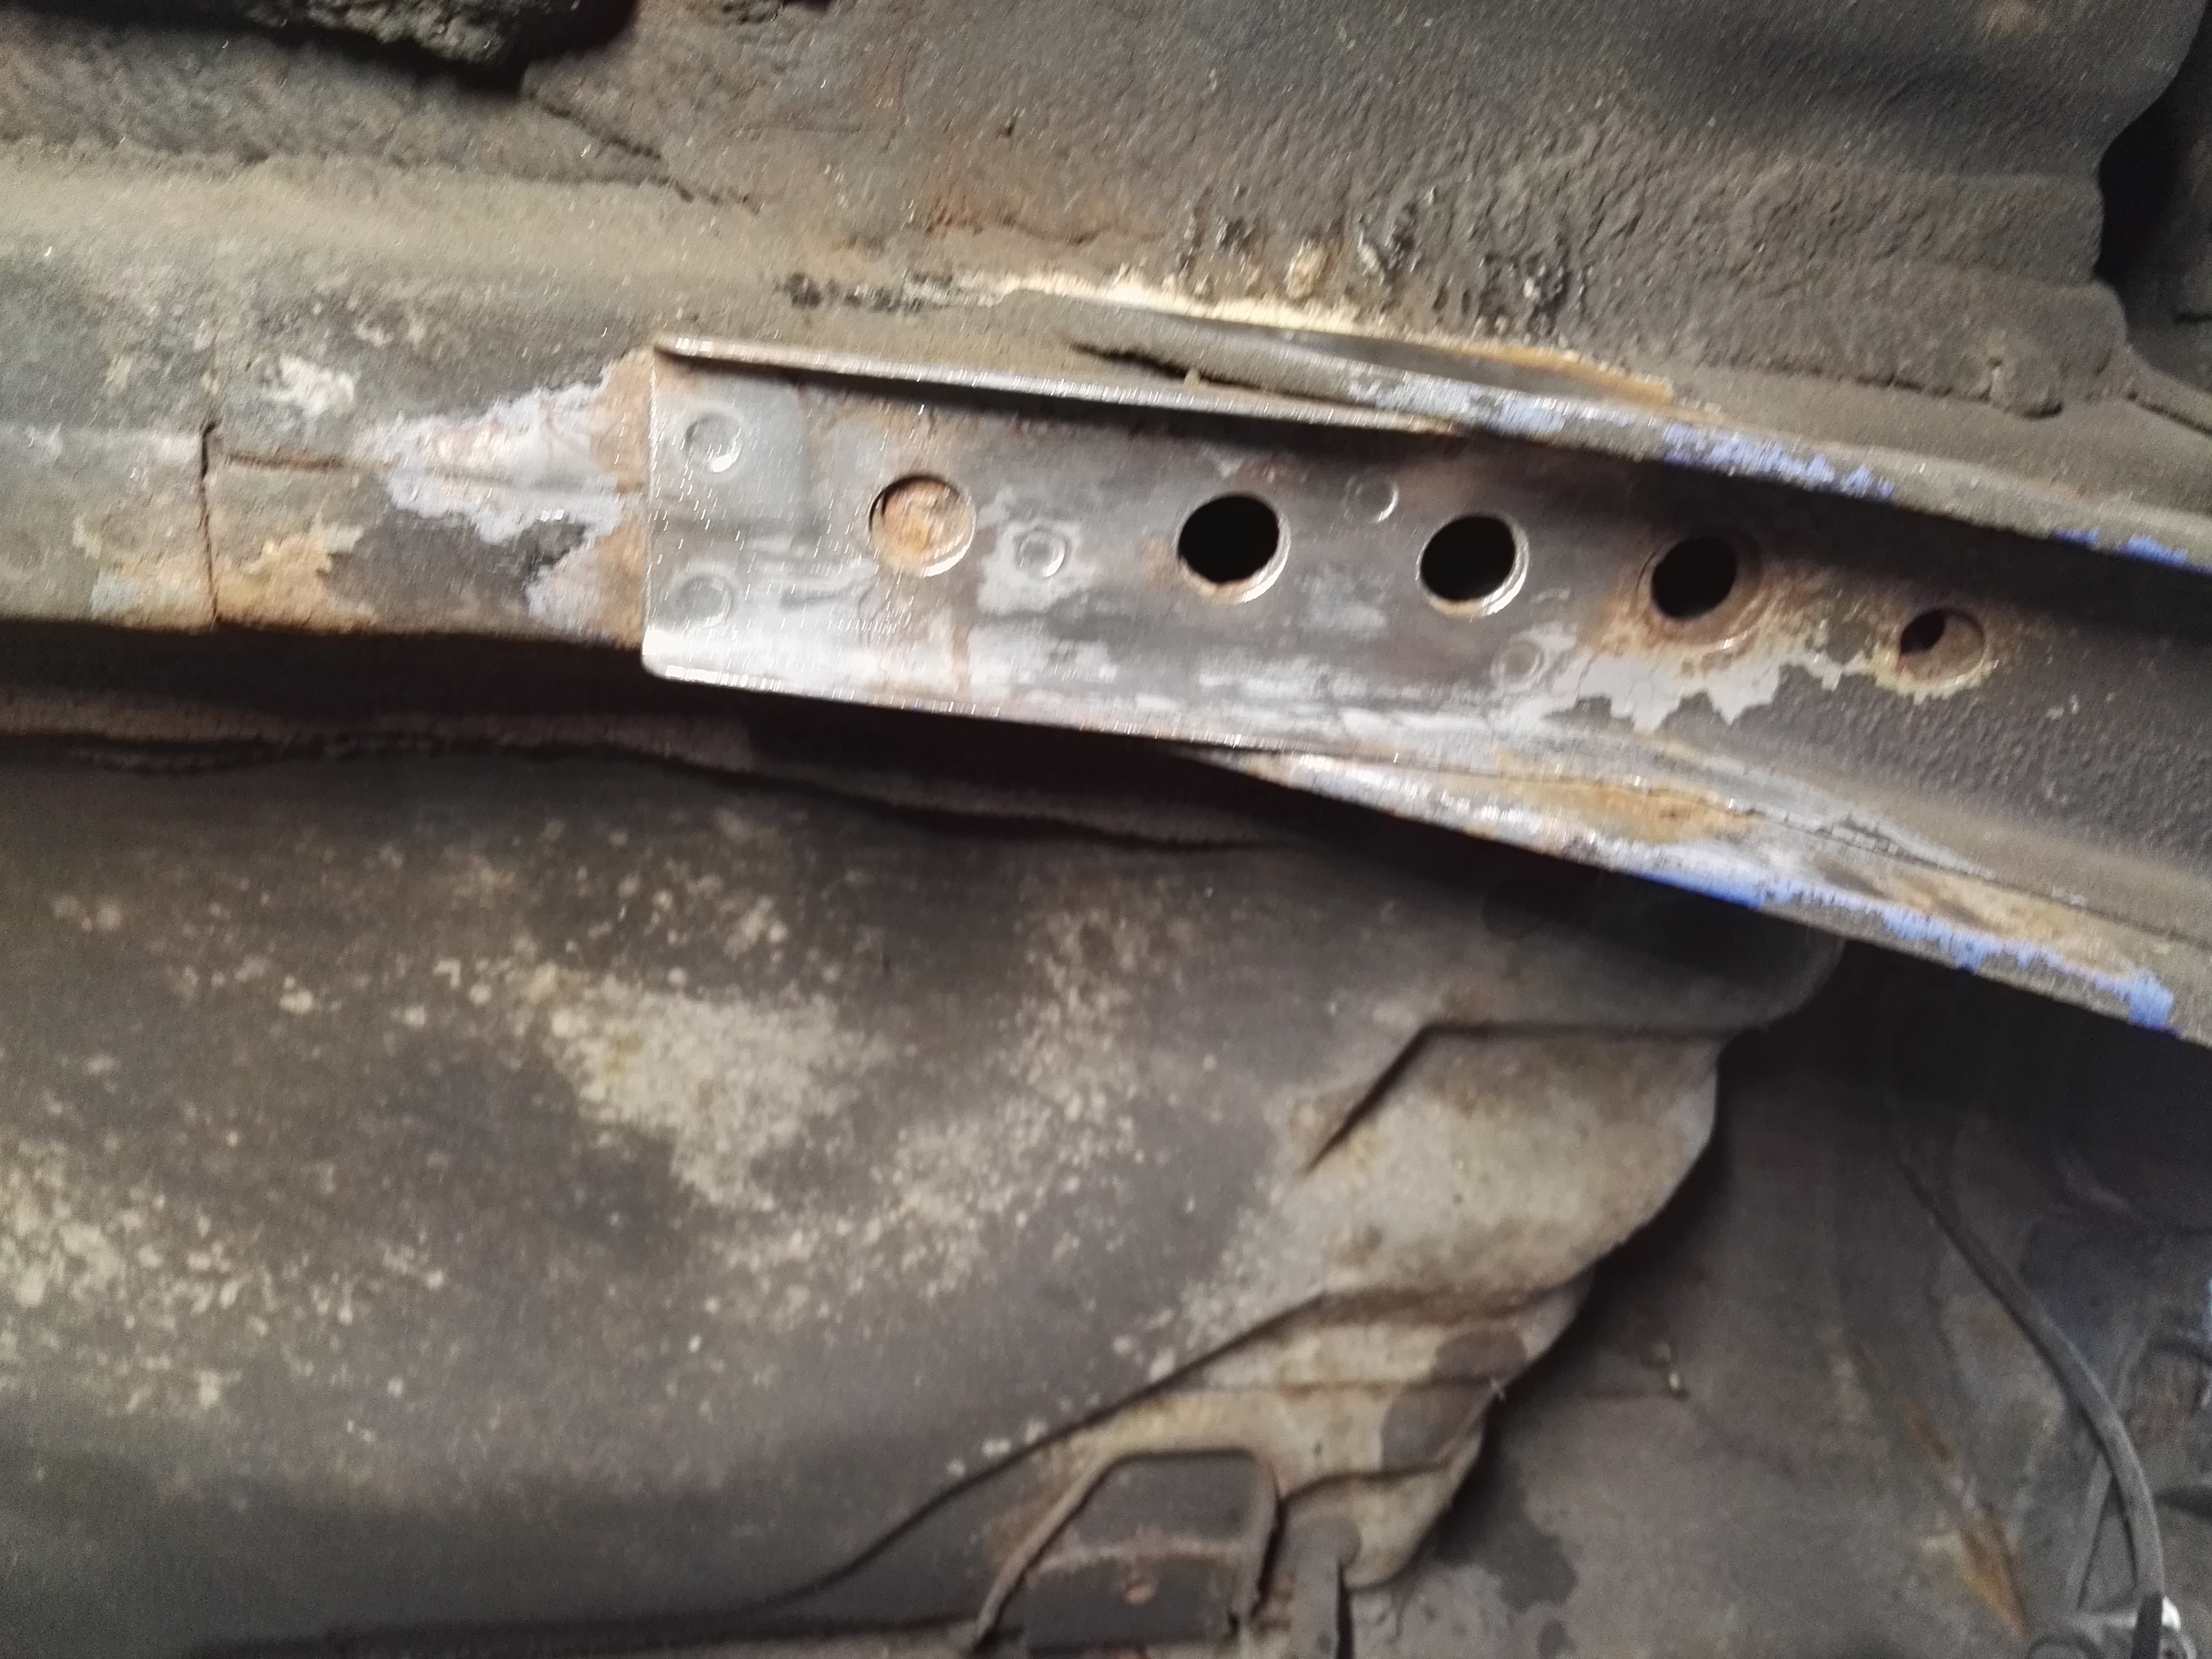
I had enough room to weld in the right mount and the mount for the panhard bar without removing anything in the rear end other than the muffler.


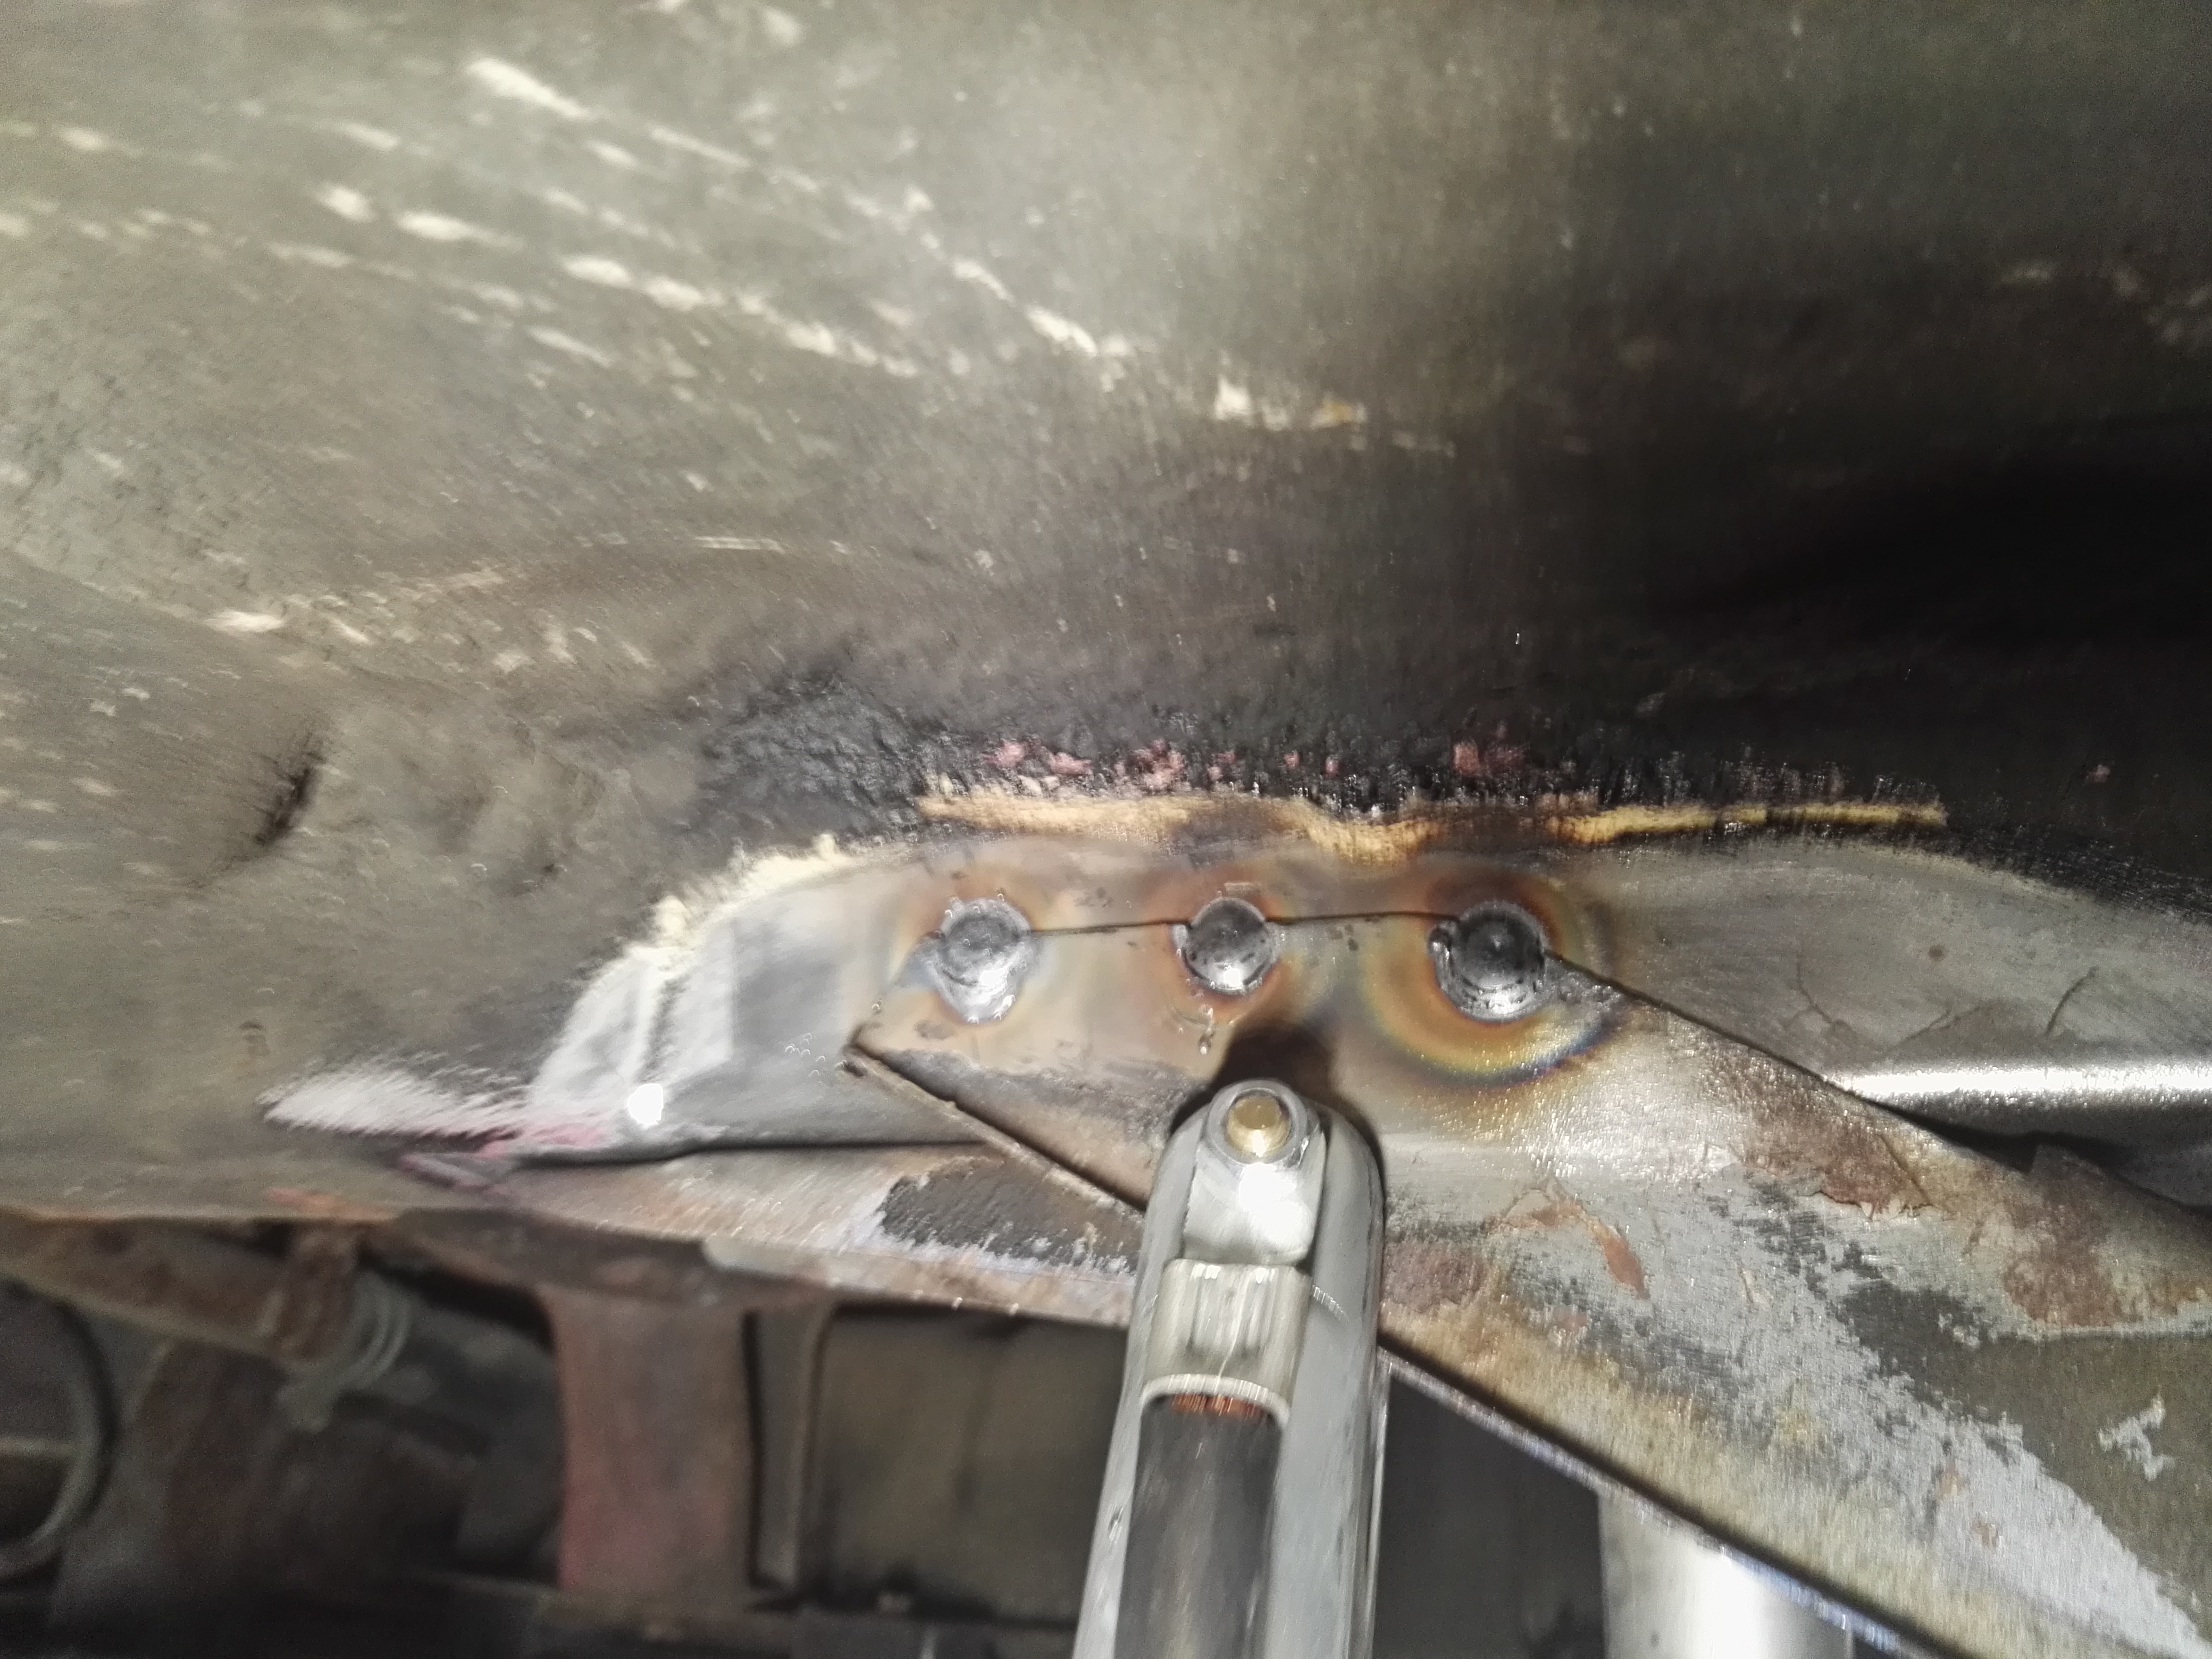
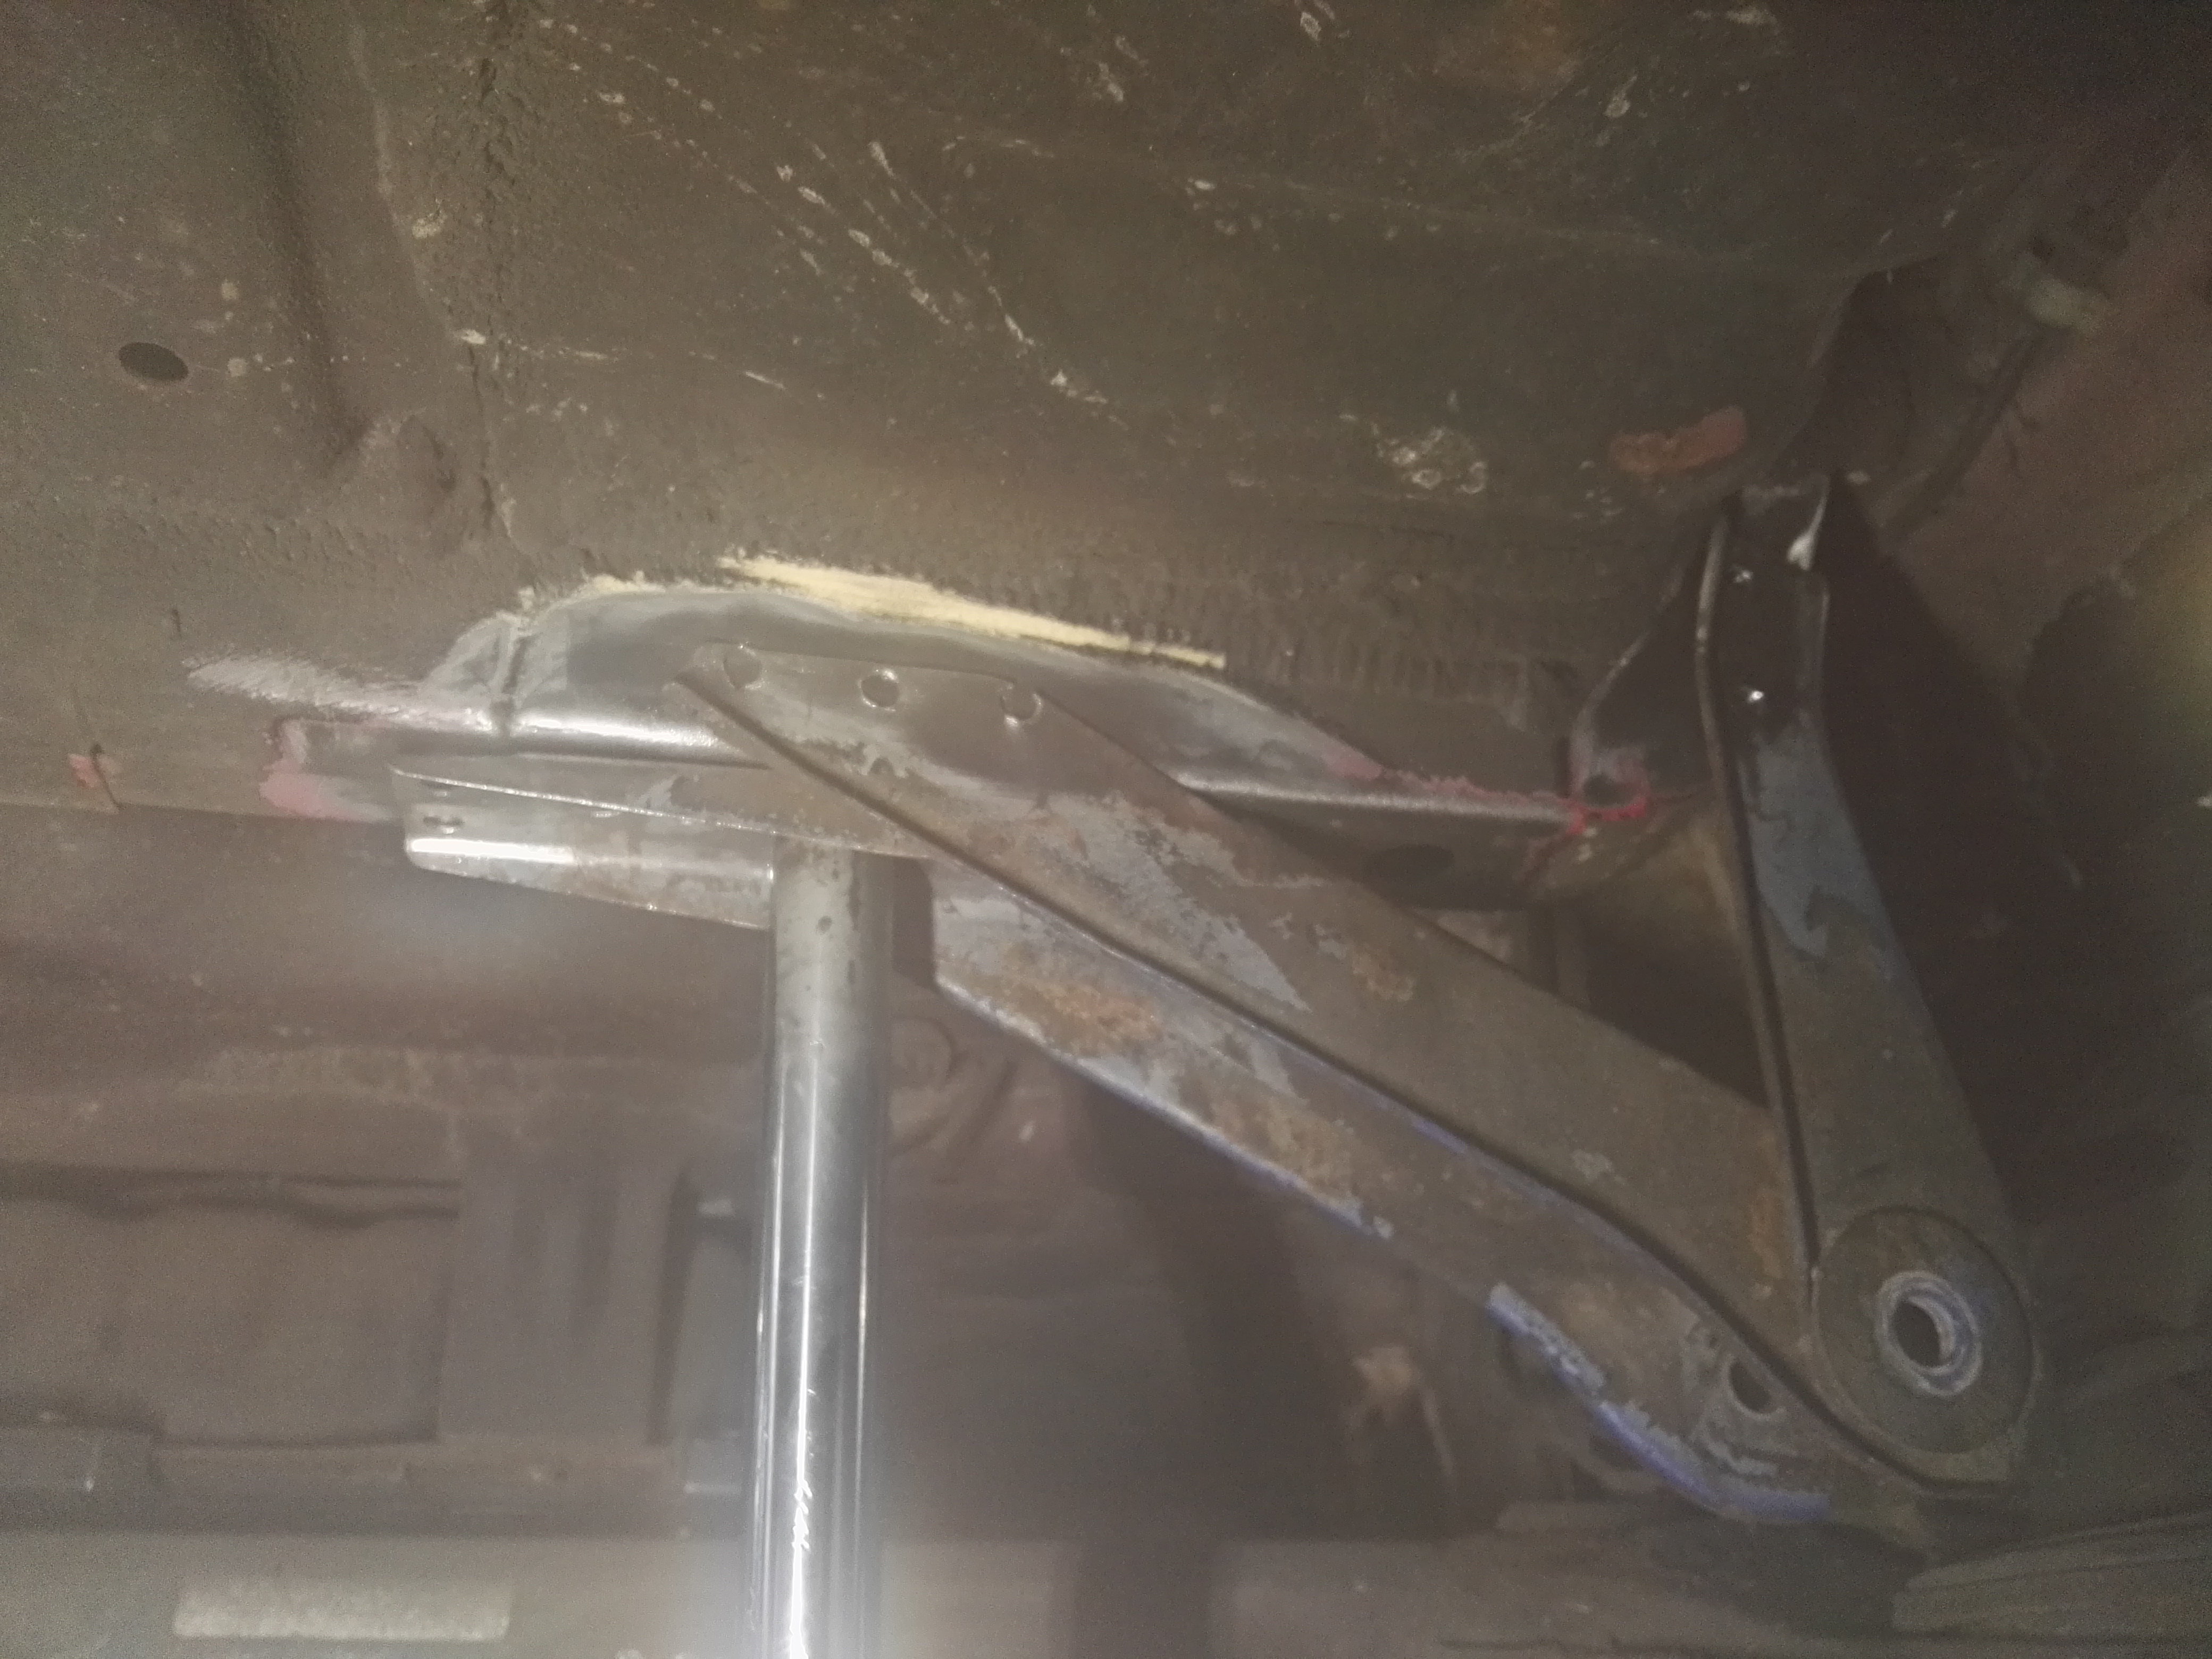
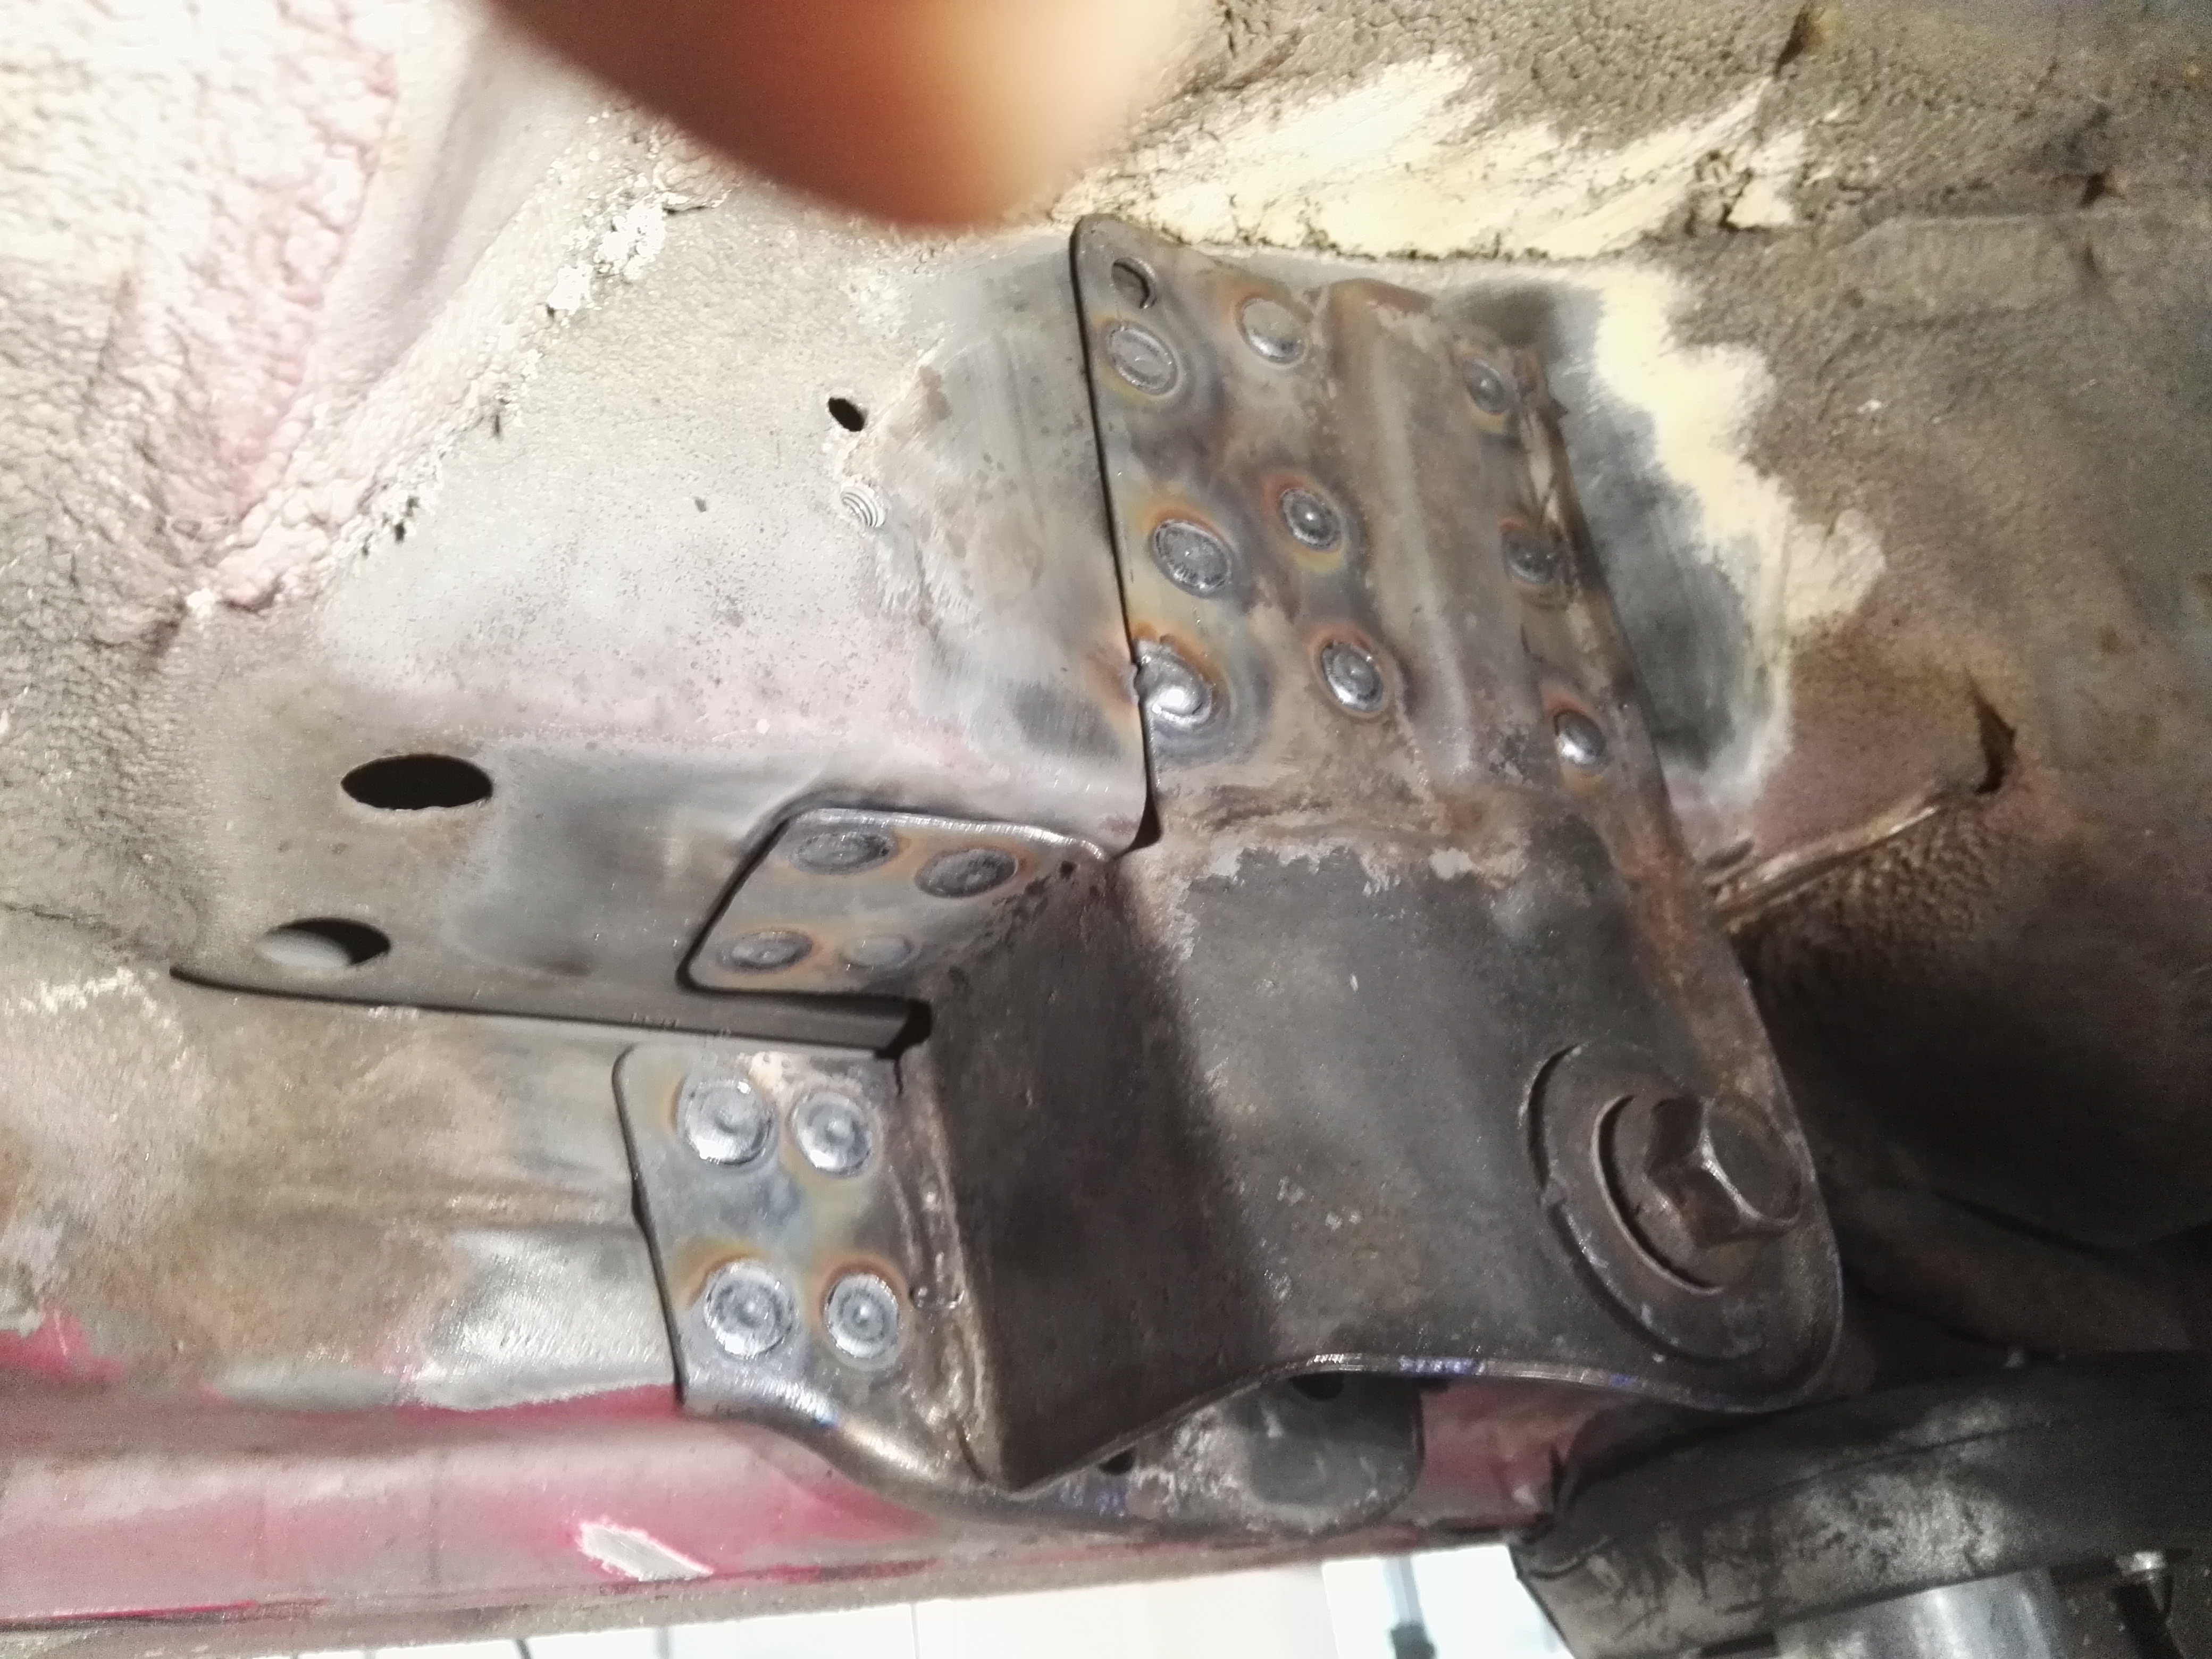
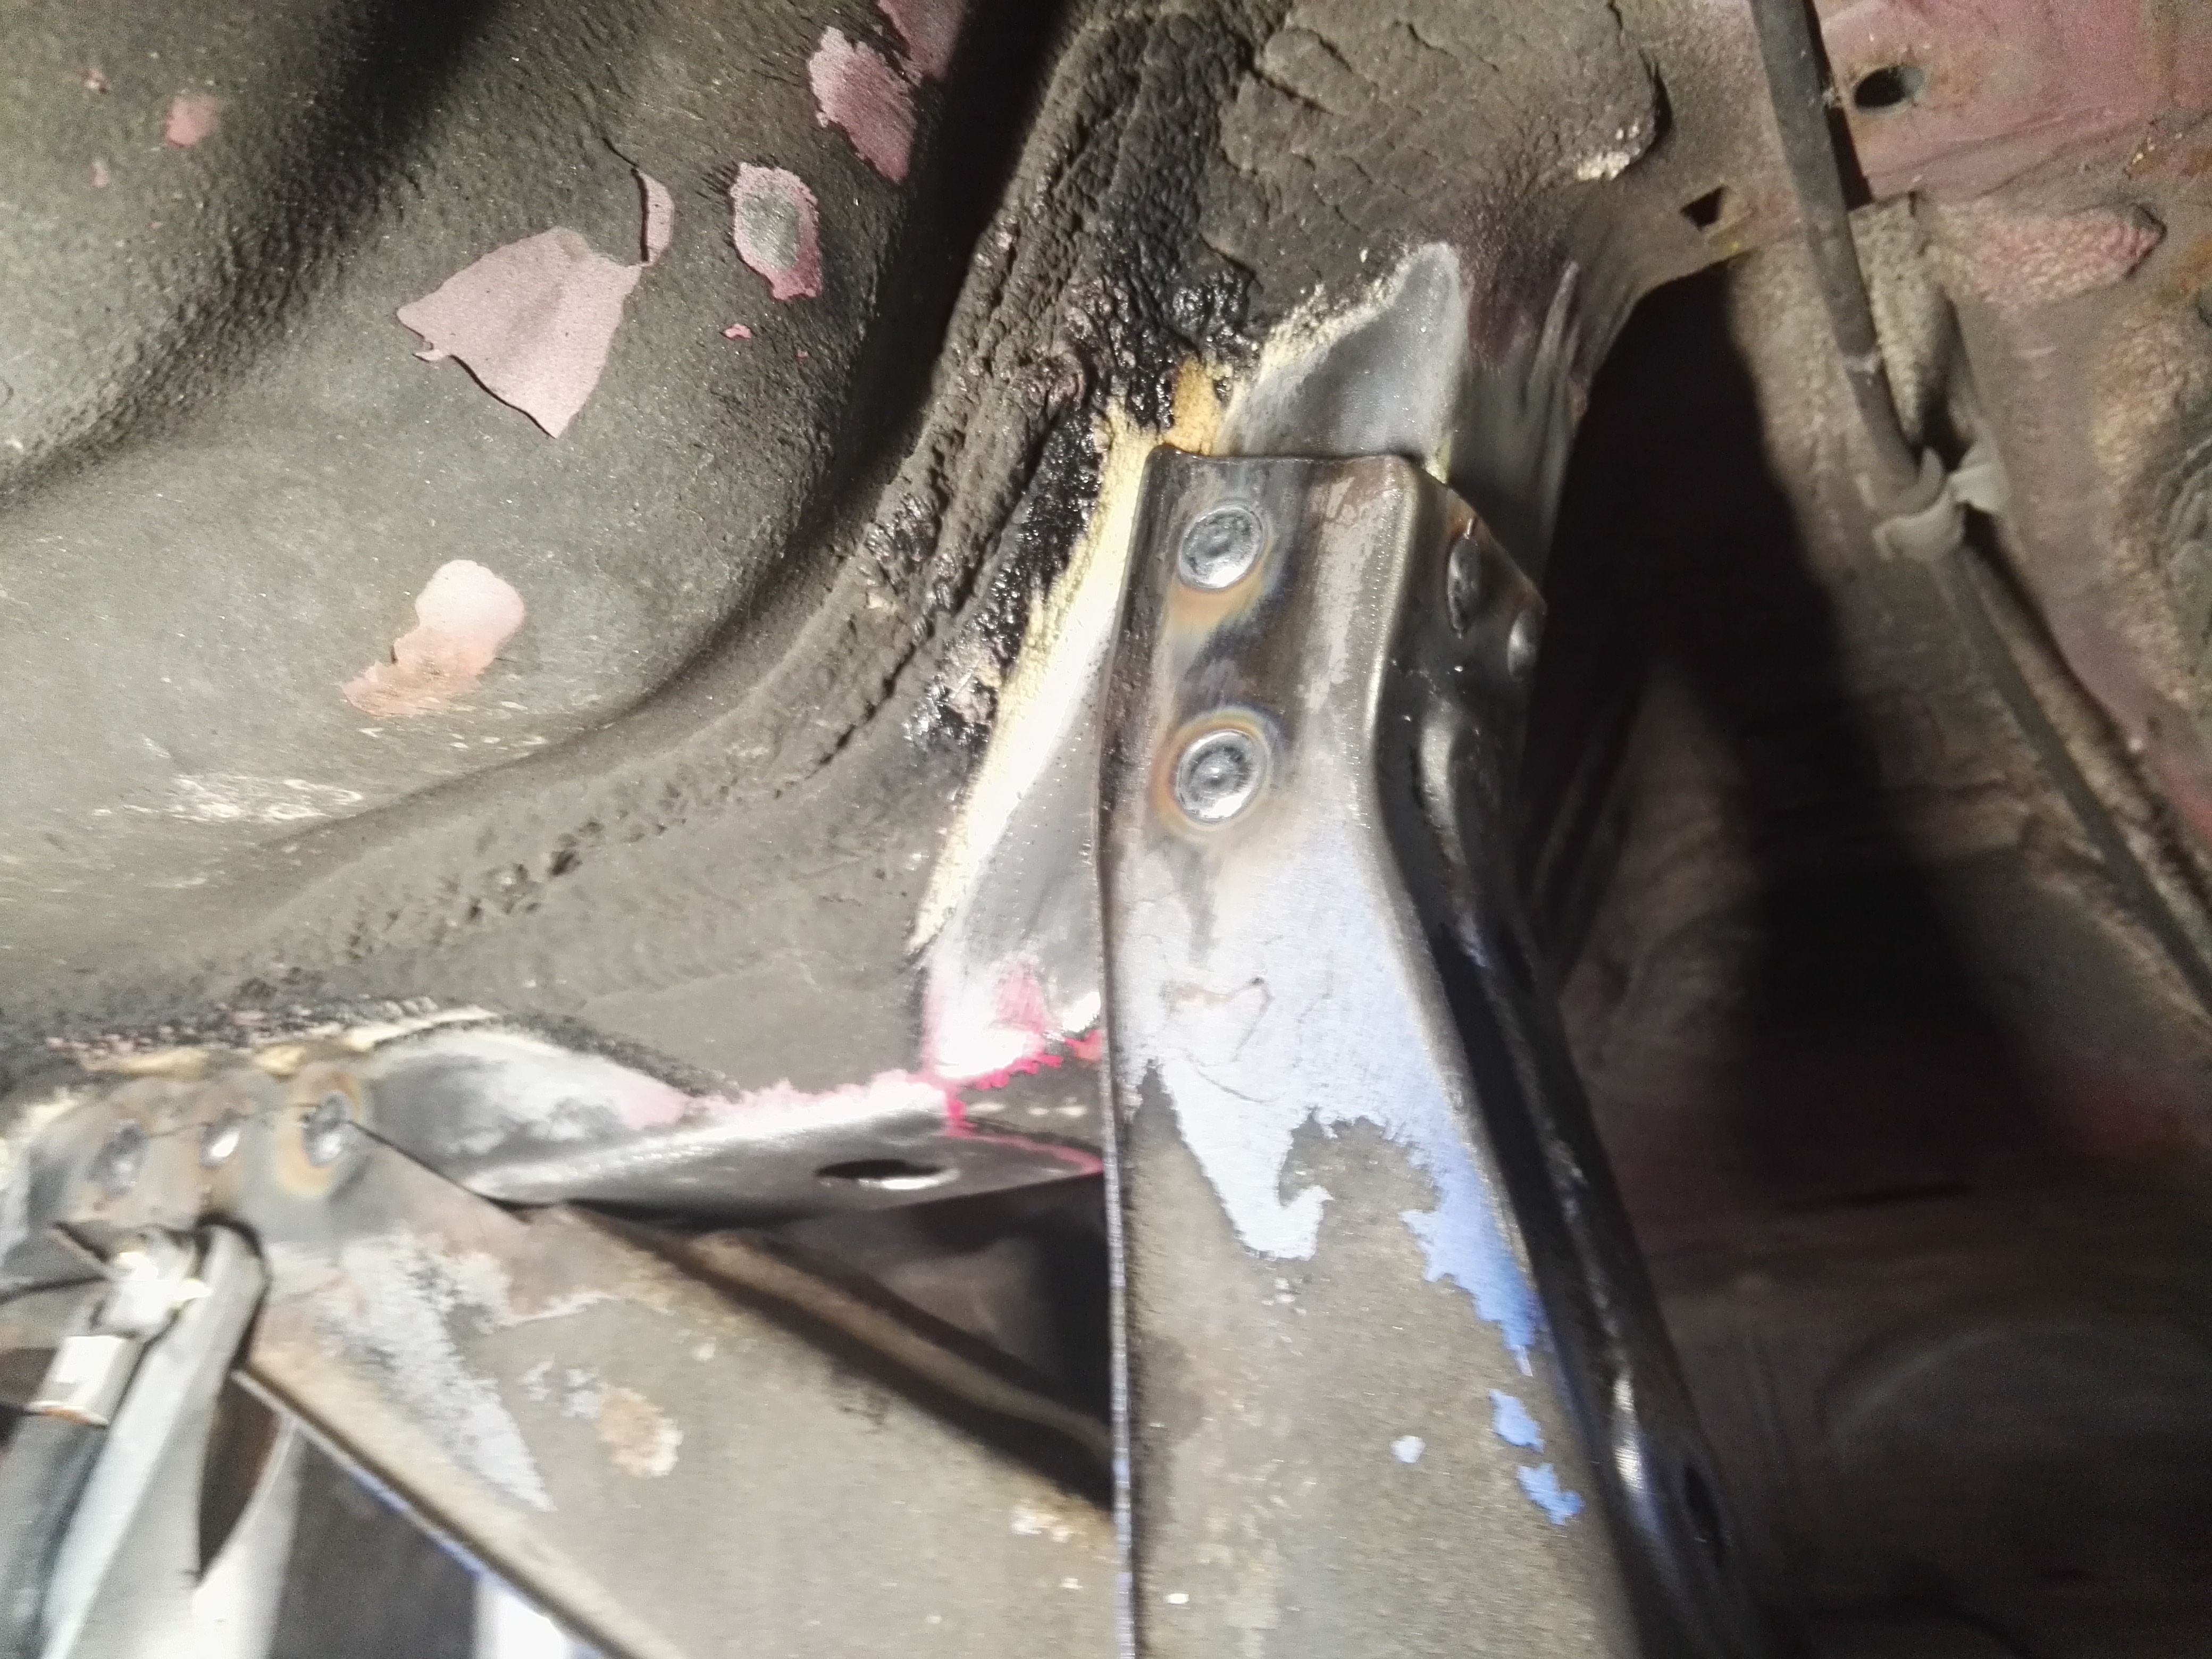
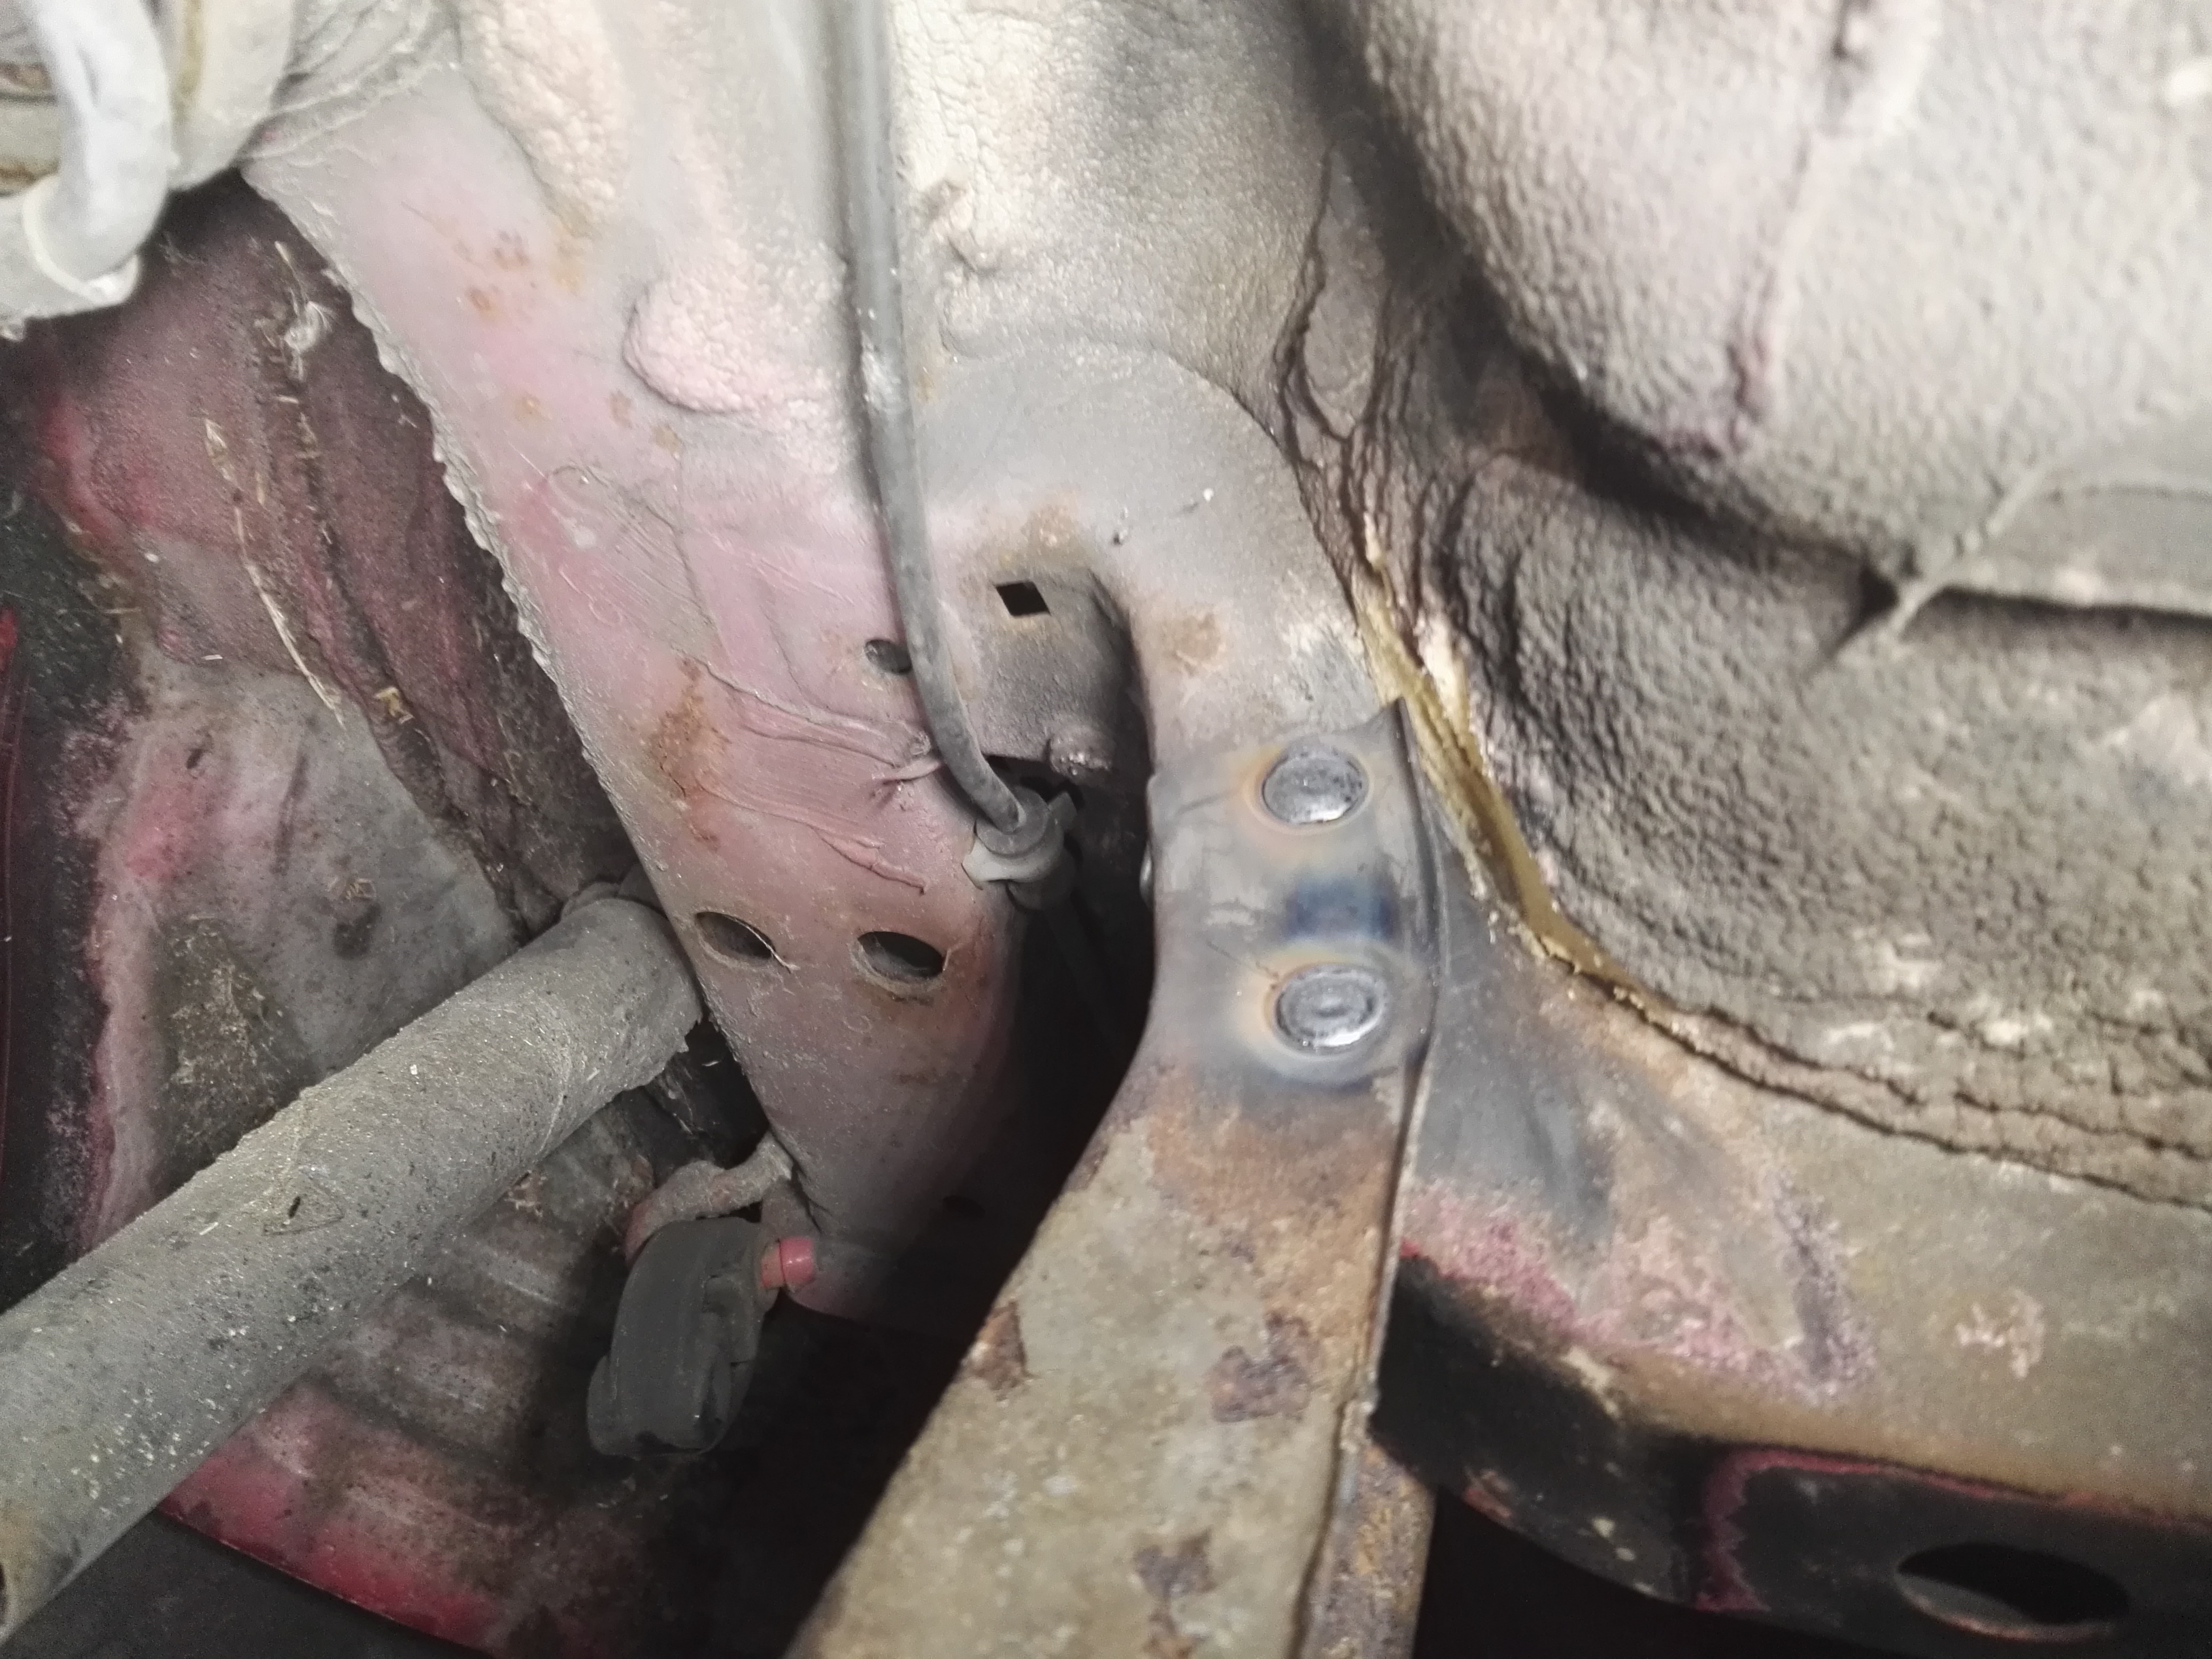
Im not completely satisfied with some of the welds on the panhard bar mount, some of the holes were too close to the edge and burnt through a little bit as you can see, but unfortunately it couldn’t be helped and will have to do :expressionless:

Anyway, that’s as far as I got today before running out of time. In order to do the mount on the left I will need to drop the tank, but even if I did get it done I wouldn’t have been able to bolt up the diff because of that shitty bolt rusted in the bush :angry:

11 Likes

Awesome to see the random questions turn in to a build. I would love this conversion for mine

2 Likes

Such awesome work man it good to see it started and coming together well. one bolt pfft there is always at least one that causes grief.

2 Likes

Great write up mate, looking forward to seeing it done :wink:

1 Like

There are some universal bushings on the market. Check out energy suspension website they should have a chart that you could look at and match a bushing which you could press fit into that arm.

If you wanna get daring go teflon :smiling_imp::smiling_imp:; machine it into two pieces and press fit.
Last resort that, but there should be a bushing on the market to fit

1 Like

bushes are ordered, coming from Russia lol should be here in about 2 weeks.

Got a bit more done today.
First up the AWD fuel tank had a few rust spots on the top half so I hit it real quick with a wire brush and painted it with some gloss black rust converter type paint


I know its a shitty paint job and that killrust type paint isn’t all that but 1. you cant see the top of the tank when its in the car. 2. the whole idea was to try and slow down the rust so I don’t end up with a leaky tank anytime soon and 3. there is no way in hell im going to attack a tank that still has fuel in it with any kind of power tools to clean it up properly because I cherish life and don’t want to die :sweat_smile:

and next thing was dropping the tank on the red car and welding in the left side mount

so now all 3 mounts are welded in the rear.
so this weekend will be the motor/gearbox/k-frame swap.
Then unfortunately I will have to wait on the bushes to come for the trailing arms so I can swap the axles so I have room to mount the tank and tailshaft.

5 Likes

a little more progress today, removed the old tank mounts and filler neck to make some room for the new tank.

this time I used a different drill bit to drill out the buttwelds, its a special one designed to be able to drill out the weld without drilling all the way through the car body. Im not sure what the correct name for it is but in german its called a schweißpoinktborer

you can see the tip in not tapered but instead its square with a small point in the middle as a pilot.
I have still cut into to body a little bit with it but its much better than having a bunch of 8mm holes everywhere.

and that’s all I got done today, unfortunately this Saturday I have to work and in the afternoon I have to go to a friends wedding, the motor swap will have to wait another week :unamused:

6 Likes

Today after work I dropped the motor on the red car. It was super easy, took me just over an hour and a half. Could’ve done it quicker but I spent half hour removing the loom from the motor before I realised I could just unplug it from the ecu and disconnect the starter cable :sweat_smile:

Tomorrow I’ll drop the motor from the blue car and swap them over, but not before pulling all the bolt ons and sensors from the dead motor. If I have time I might even pull the gearboxes off and check out the clutches, I think I can remember the old owners of the red car saying something about the clutch being new, I would like to suss them out and use whichever is best for now.
I wish I had a timing chain kit to go in, would be such an easy job with the motor out, but I’ll get around to it sometime soon. I wish I could do a lot of things while the motor is out but it’s a matter of time and money, both of which I don’t have a great deal of at the moment :pensive:
Anyway, will keep you all updated :grin:

5 Likes

Today I dropped the motor from the blue car, painted to kframe with black killrust, swapped the o2 sensors and got it in the red car.

Completely stripped the motor from the red car, got all bolt ons, sensors, vvti solenoid, throttle body, injectors ect ect. Also dropped the gearbox from the motor so I can take the clutch out, didn’t get a chance to pull the awd gearbox and check the condition of the clutch because I was running low on time, but if it ever dies I have a spare for if I cant afford an exedy or dport if/when that happens, plus ill have a spare flywheel to get lightened sometime.

Bolted the kframe with the stripped motor into the blue car to get it rolling again and that’s as far as I got today.

Sorry no photos, I was in a hurry to get it all done and have both cars rolling again before the workshop closed, unfortunately I wasn’t really thinking about it at the time.

3 Likes

Christmas came early!!!

On another note, got a few little things done yesterday, just connecting everything in the engine bay, pulled the valve cover of the good motor and had a look, not perfect but considering its a high kilometre engine its in really good shape. Also gave the valve cover a quick clean and hit it with some metallic black. Just light work connecting everything and cleaning things up a bit.
Also swapped out a few parts that weren’t real good like the radiator support.

6 Likes

Last weekend I got the rear end bolted in and knocked up an adjustable panhard bar, I’ve been a bit slack and didn’t get any photos until today.

IMG_20170804_191227

Also pressed in the bushes from Russia, I think they’ll go all right

IMG_20170804_191315

Now I’m in the process of fitting the tail shaft which requires pulling out the front seats and lifting the carpet to drill holes for the centre bearing and mounting the fuel tank. I don’t think I’ll get much done this weekend because I have a lot of other things to do, but I’ll post some more photos soon :slightly_smiling_face:

2 Likes

IMG_20170804_191231

2 Likes

I’m liking this build mate. Gives me inspiration to make one here in Aus. Can’t wait to hear more.

Thanks man, I will keep on it. The fitting of the AWD system is almost finished but the car still has a long way to go to be ready for the ADAC Autoslalom Championship next year. I will do a full “how to” write up soon listing all the parts needed and a step by step guide with hopes to encourage others to have a go at it. Here in Europe we got the 1 litre variant with AWD too so it could be something for you to do to yours in the future :slight_smile:

2 Likes

Got the tail shaft and tank fitted, connected everything and started the engine…
Purrs like a kitten haha

IMG_20170805_082042

IMG_20170805_082316

IMG_20170805_084907

IMG_20170805_094005

1501928021367-2019597000

AWD install is now more or less finished, next will be getting it race ready. Not soo much to do just brakes, suspension, intake, exhaust and short shifter.

Actually thinking about it now it’s still quite a lot to do but now the hard stuff is done and the fun stuff begins :grin:
Might not get too far with it this year because now all the stuff I need to do will cost money but I will keep everyone up to date and the step by step guide for AWD is coming soon!!

3 Likes

Started on the short shifter/ roller bearing linkages today :grin:

IMG_20170805_132616

IMG_20170805_140437

IMG_20170805_142034

IMG_20170805_142053

IMG_20170805_142040

3 Likes

Shifter is finished :grinning:

IMG_20170807_180602

IMG_20170807_180610

Two bushes replaced with bearings and one Bush on the gearbox end replaced with a brass Bush I machined out of a barbed fitting ( there wasn’t quite enough space to fit a bearing on the gearbox end )

2 Likes

The central point on the bearing for the shifter handle is 1 cm lower than the original so it will also have less throw. Couldn’t go any more than that because it would end up hitting the tailshaft

Awesome work Michael, really look forward to your updates.

1 Like

My project today was to fab a rear brace to stiffen up the rear body/chassis. It mounts to the rear seatbelt mounts and I think it will do the job nicely. I used some steel water pipe from the hardware store, I think the OD is something like 21mm and a wall thickness of about 3.5mm, cost about 7 bucks each for a 1500mm length . For the mounting tabs I used some flat bar we had lying around, I think it was about 4-5mm thick. I have another length of pipe there I will use to make a front strut brace later after I sort out the intake so I know how much room I have.

IMG_20170812_142434

IMG_20170812_142441

IMG_20170812_142509

6 Likes