Maybe too wide, but I like it 

12 Likes
Very chunky looking!
Love it!
1 Like
You guys in Europe have access to some nice stuff. Can’t wait to hear how it goes.
2 Likes
Looks awesome 
1 Like
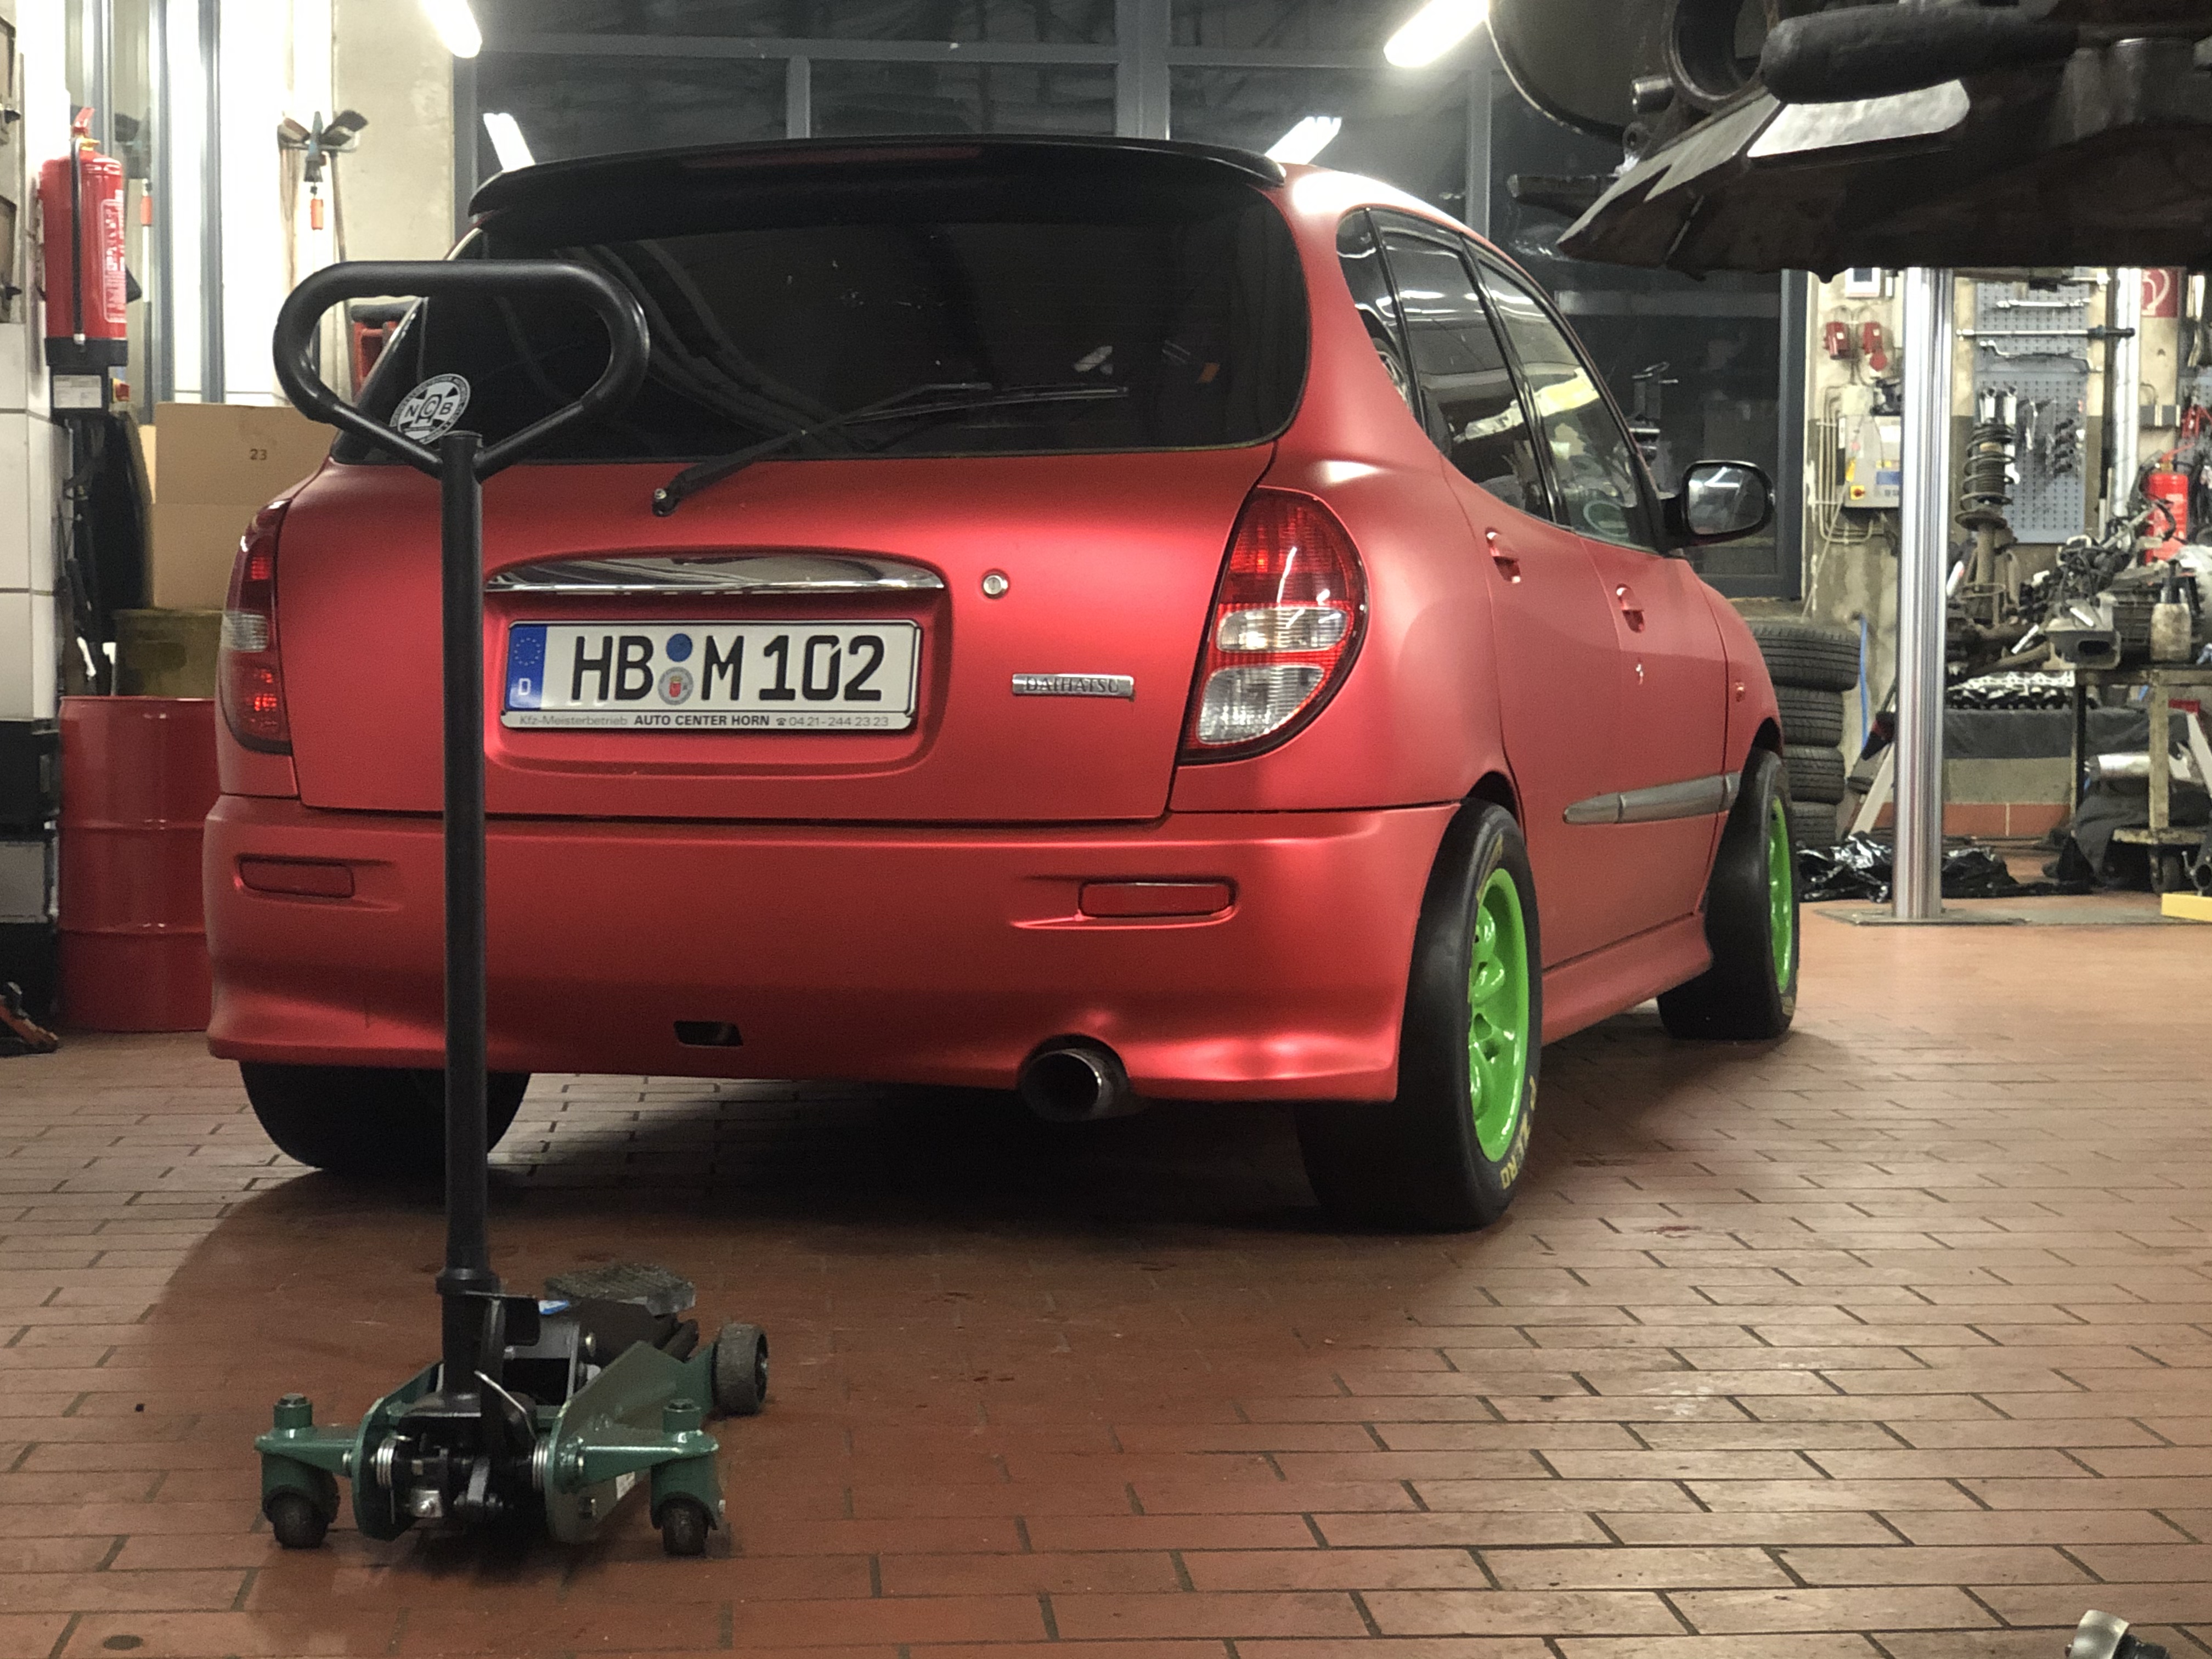
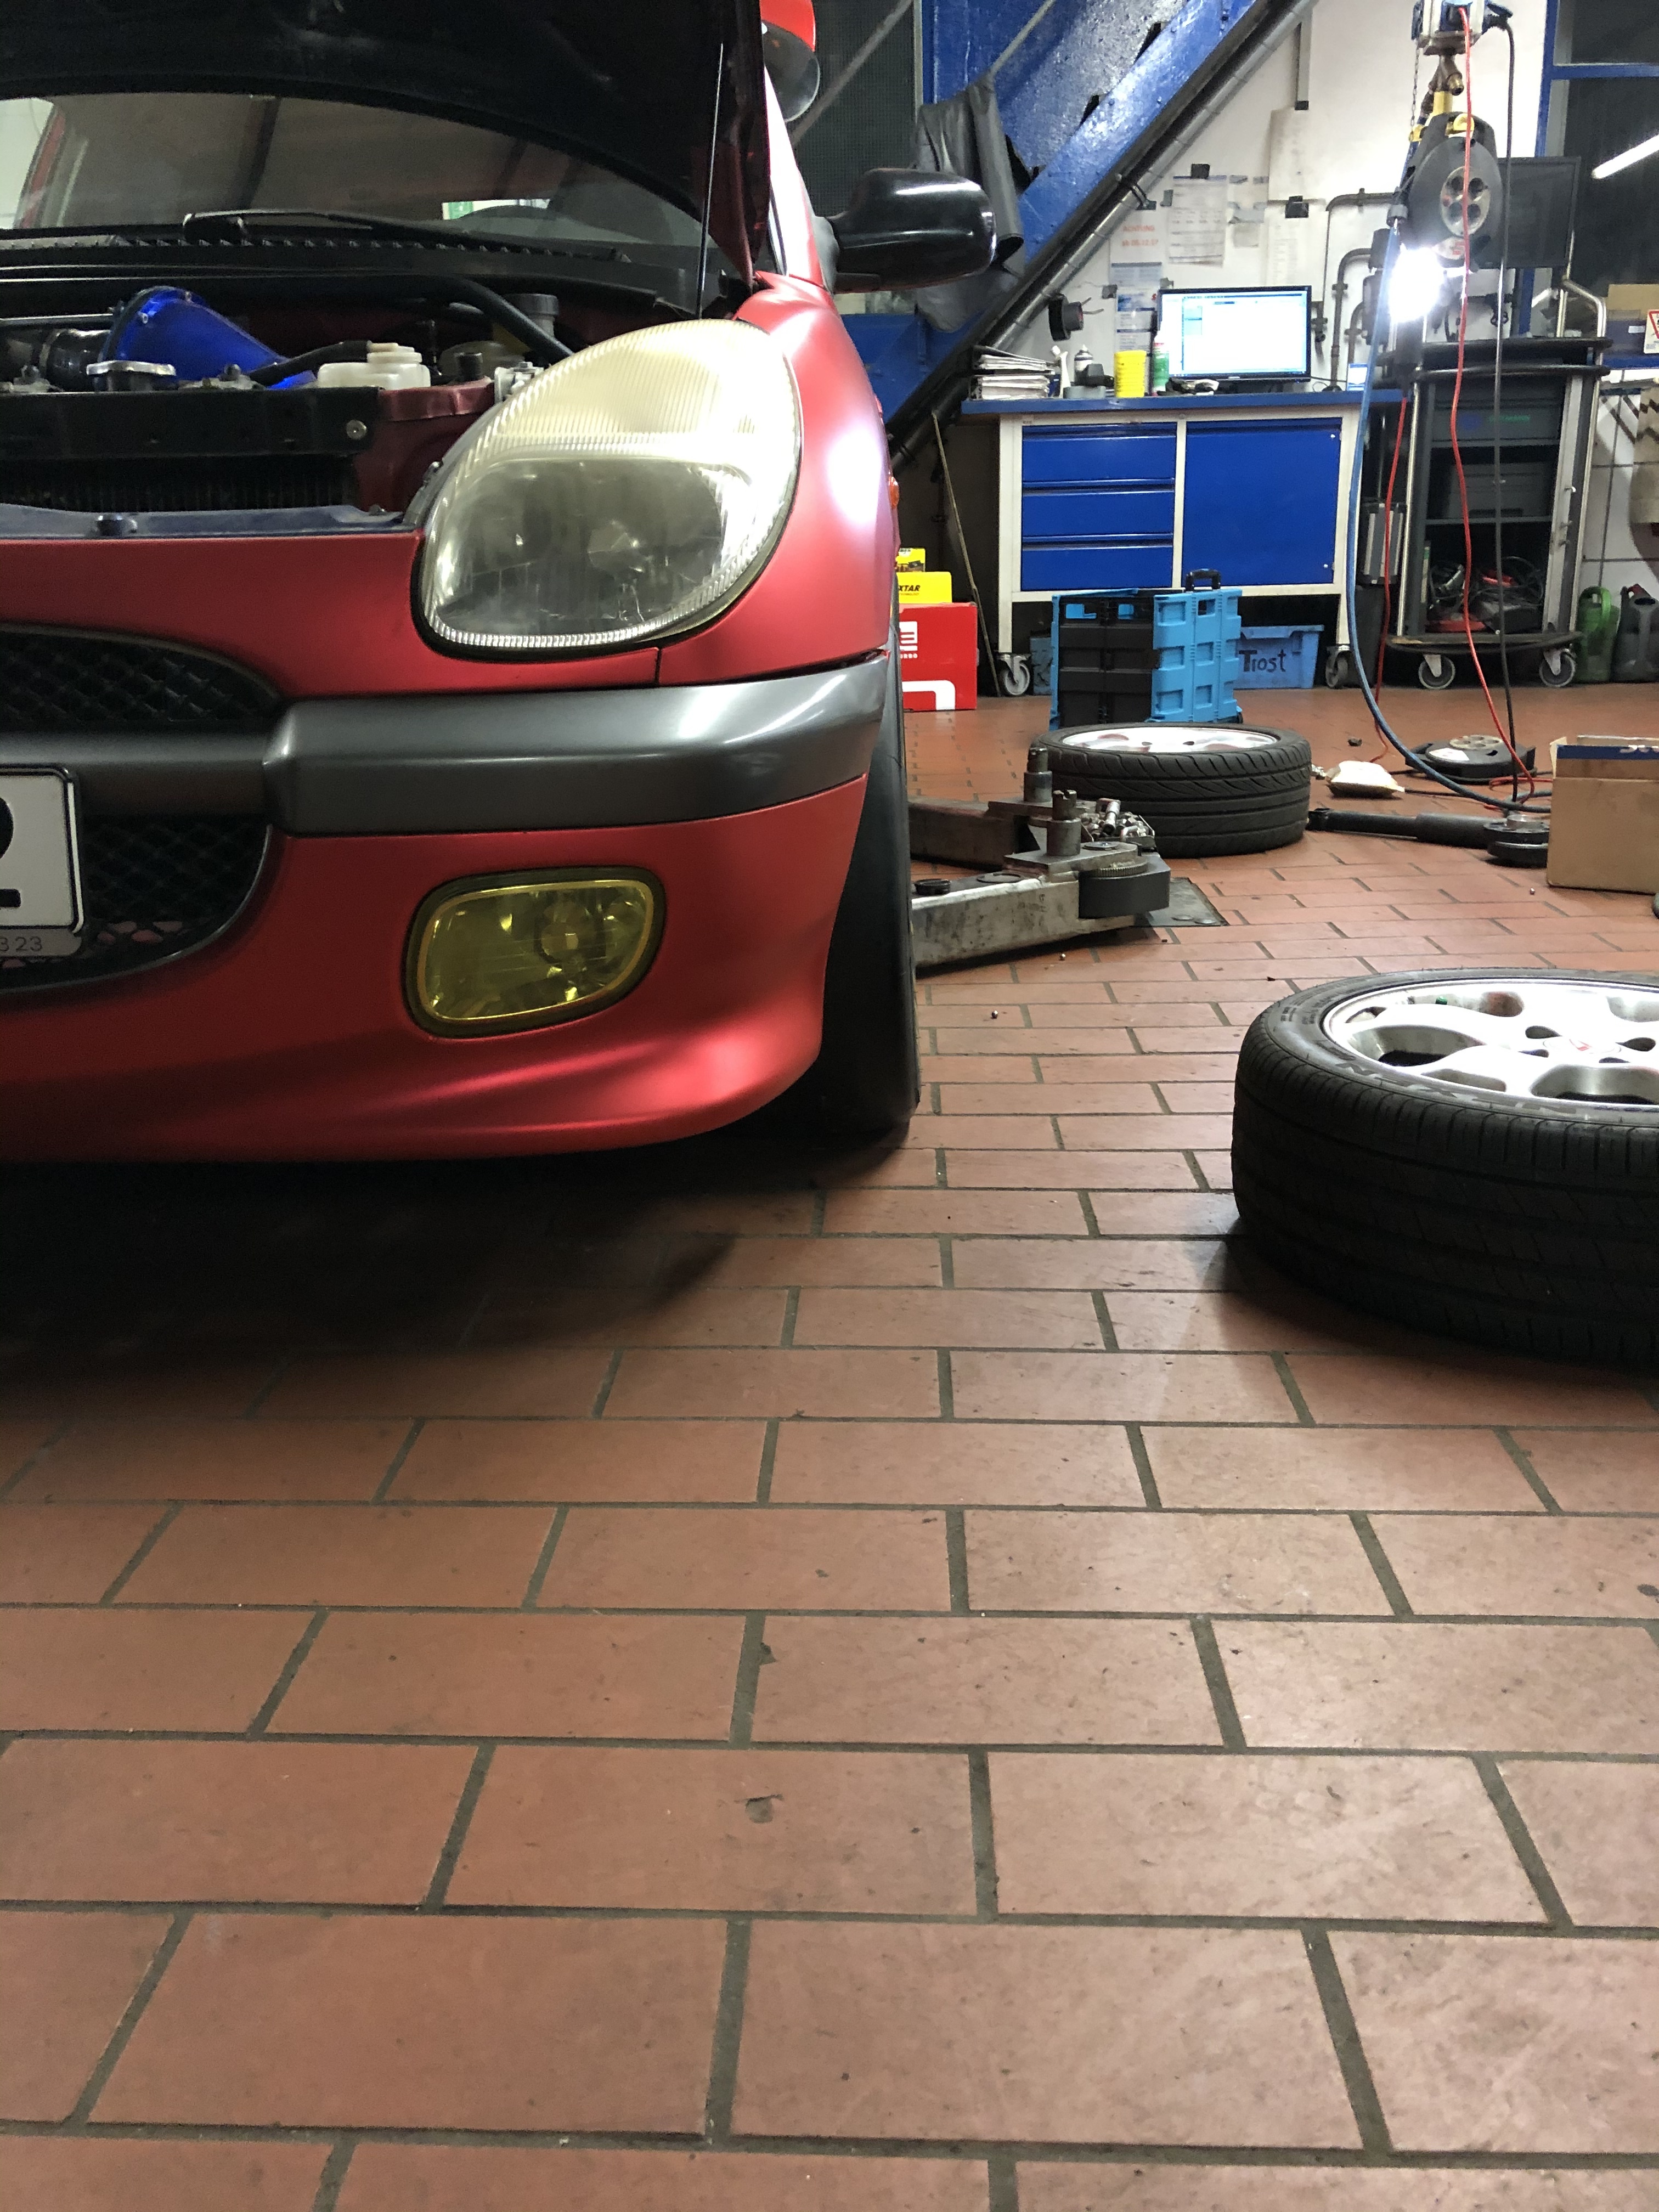
They tyres are formula Renault tyres, got them out of Italy dirt cheap. They’re basically brand new!
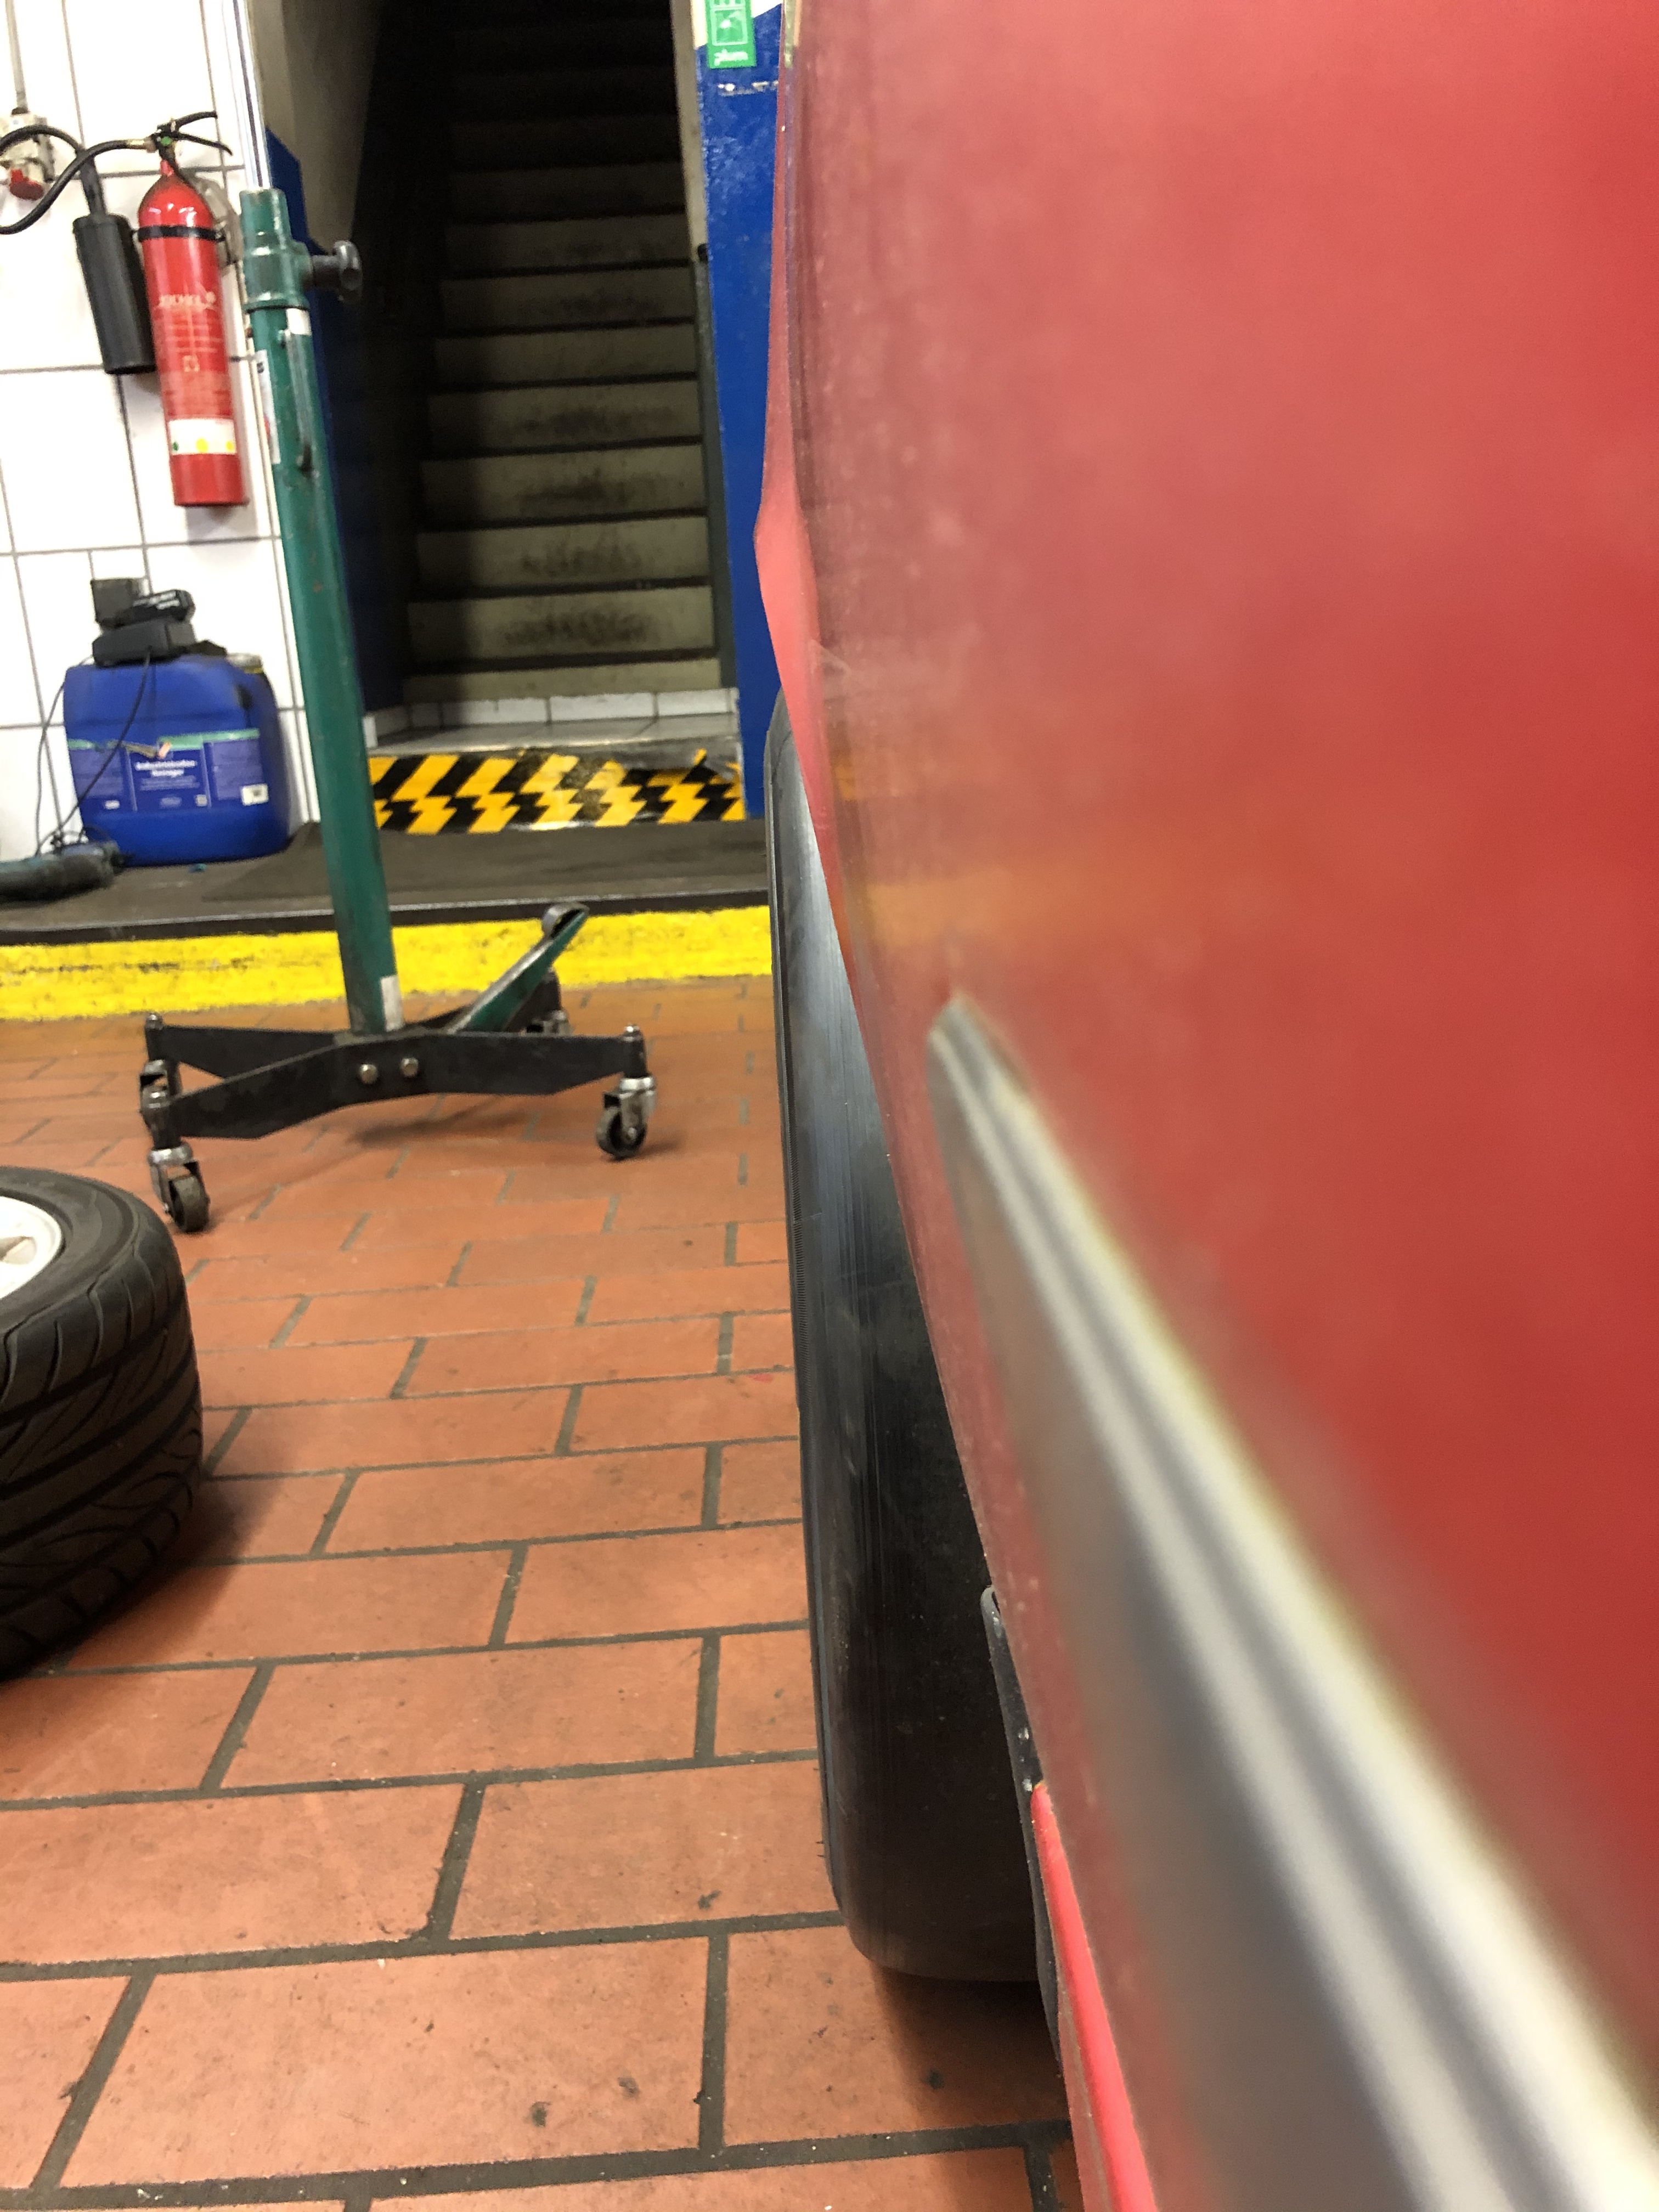
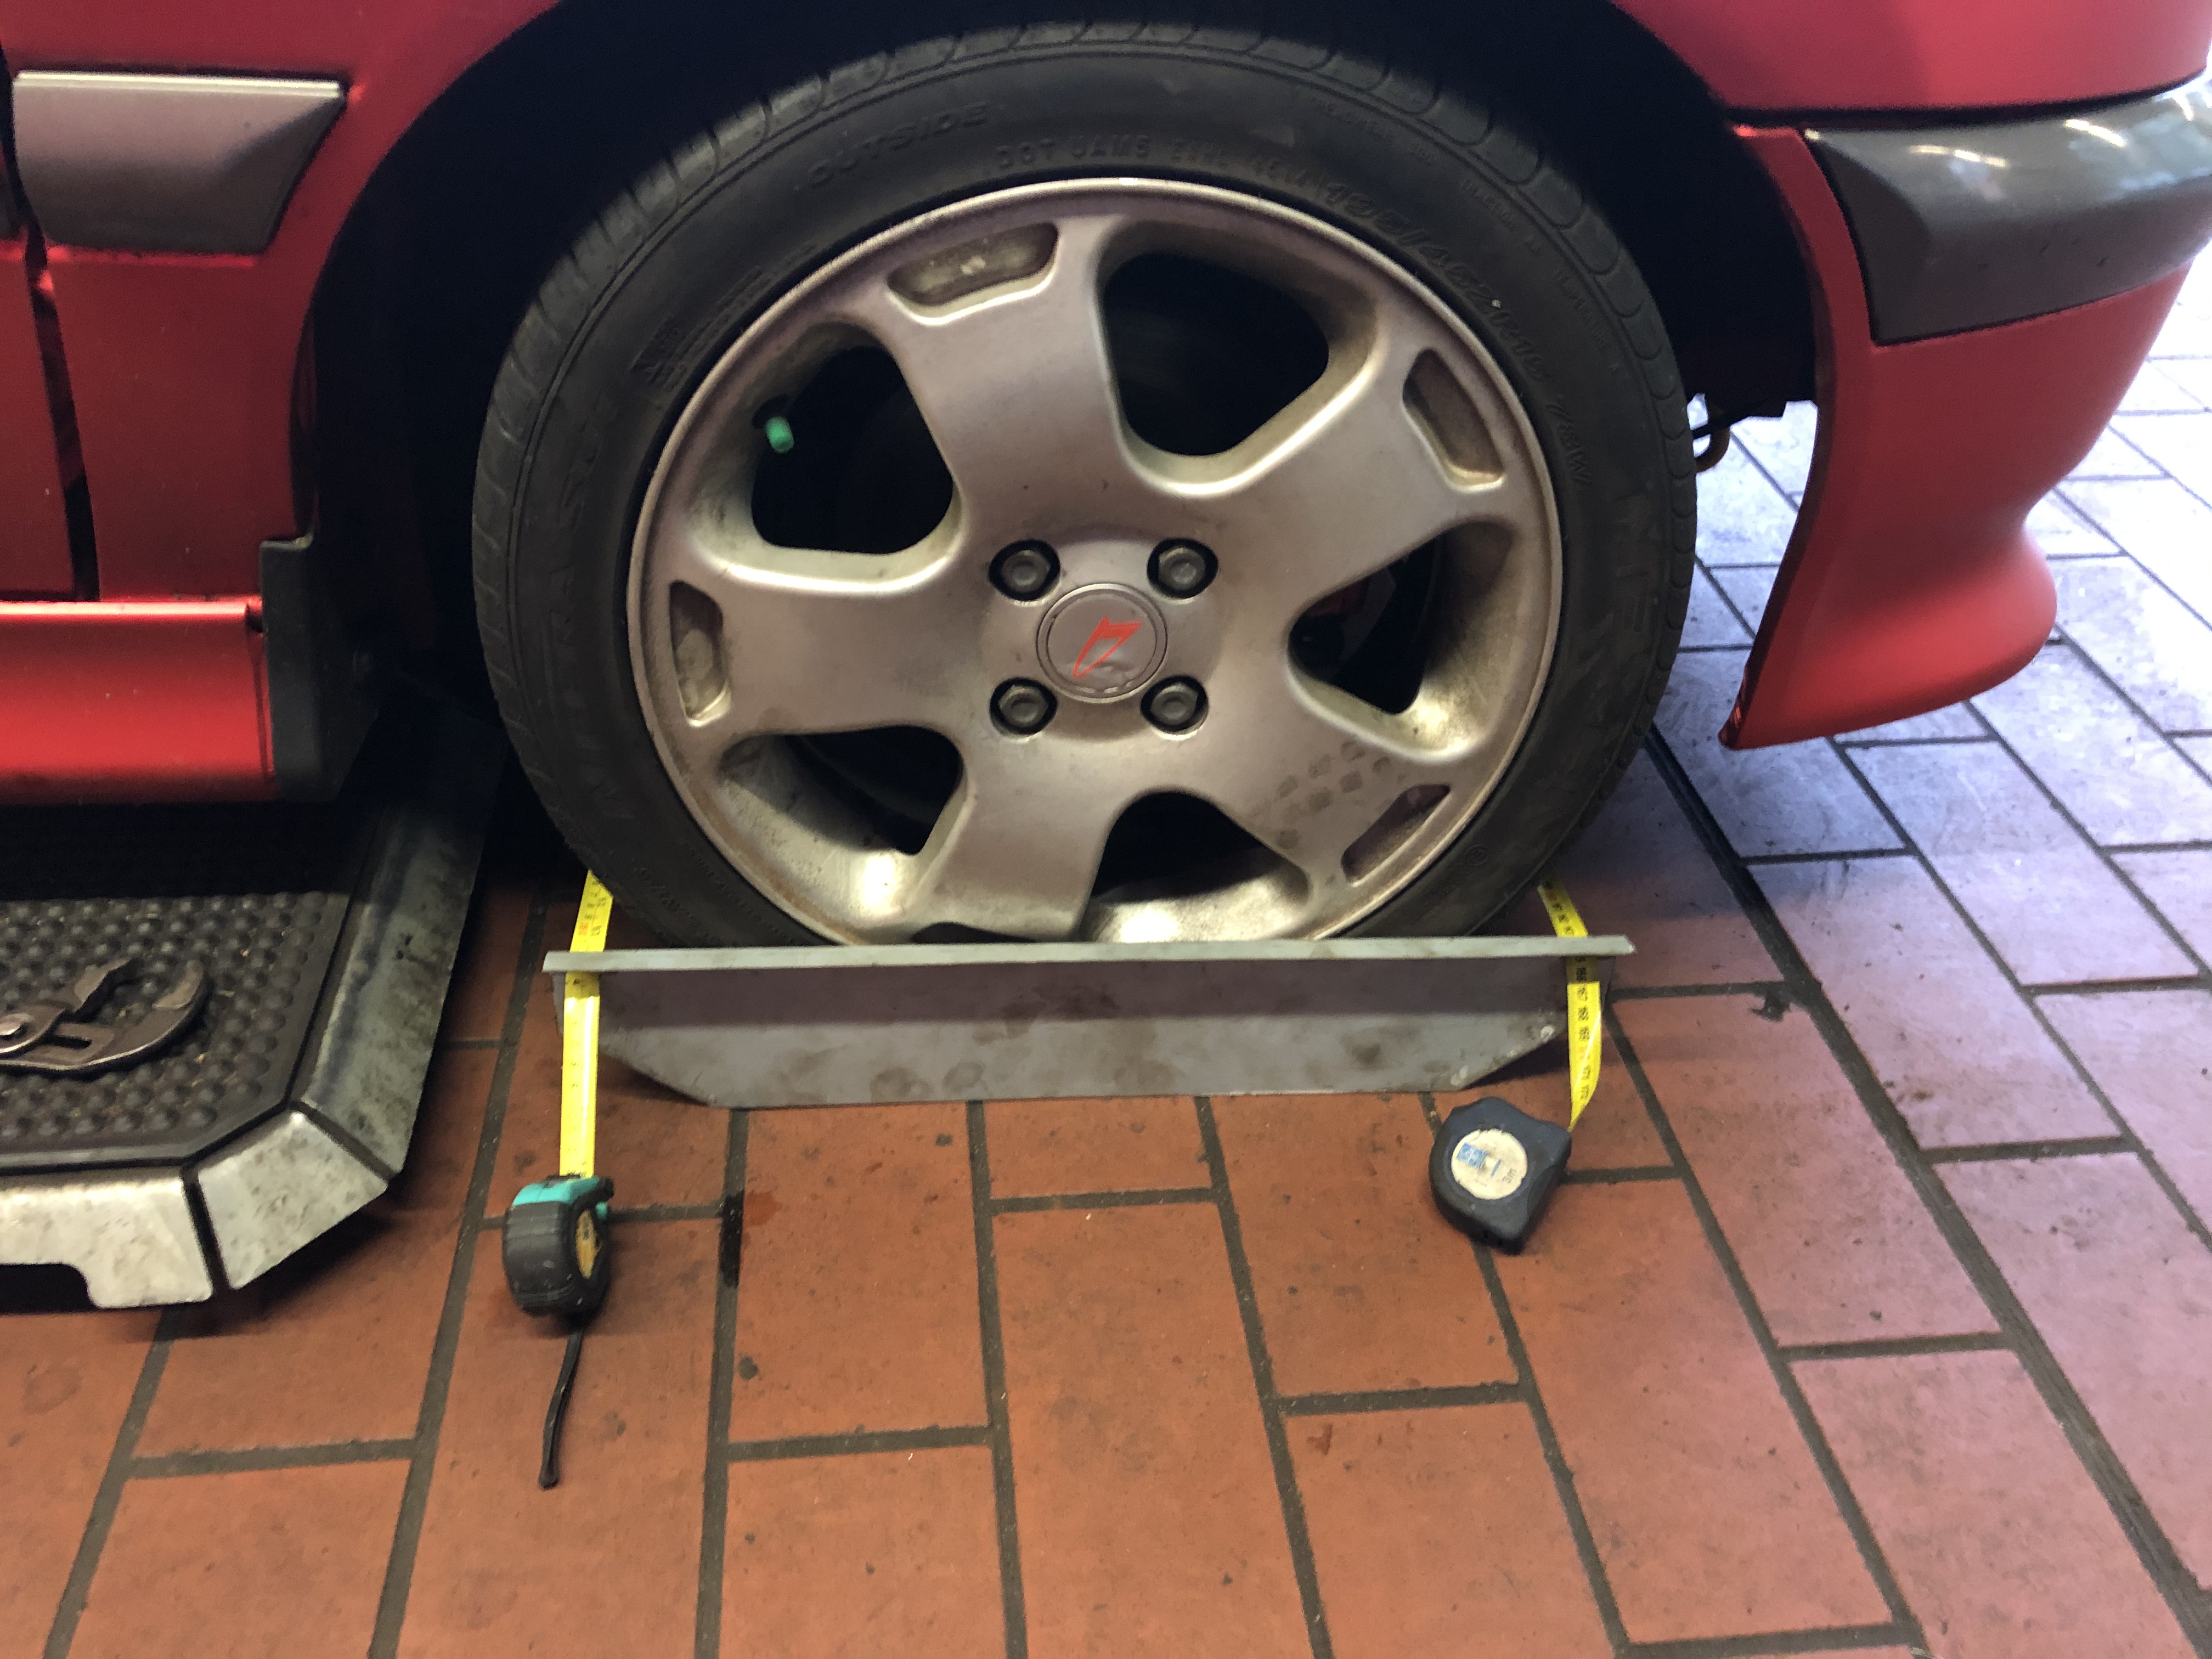
Some bad news, I’ve been speaking with the guy that does our scrutineering and he says the wheels are poking too much  so the wheel spacers probably gotta go
I’m going to try no spacers and some smaller 15mm spacers and play around until it’s as wide as possible but still passable in scrutineering.
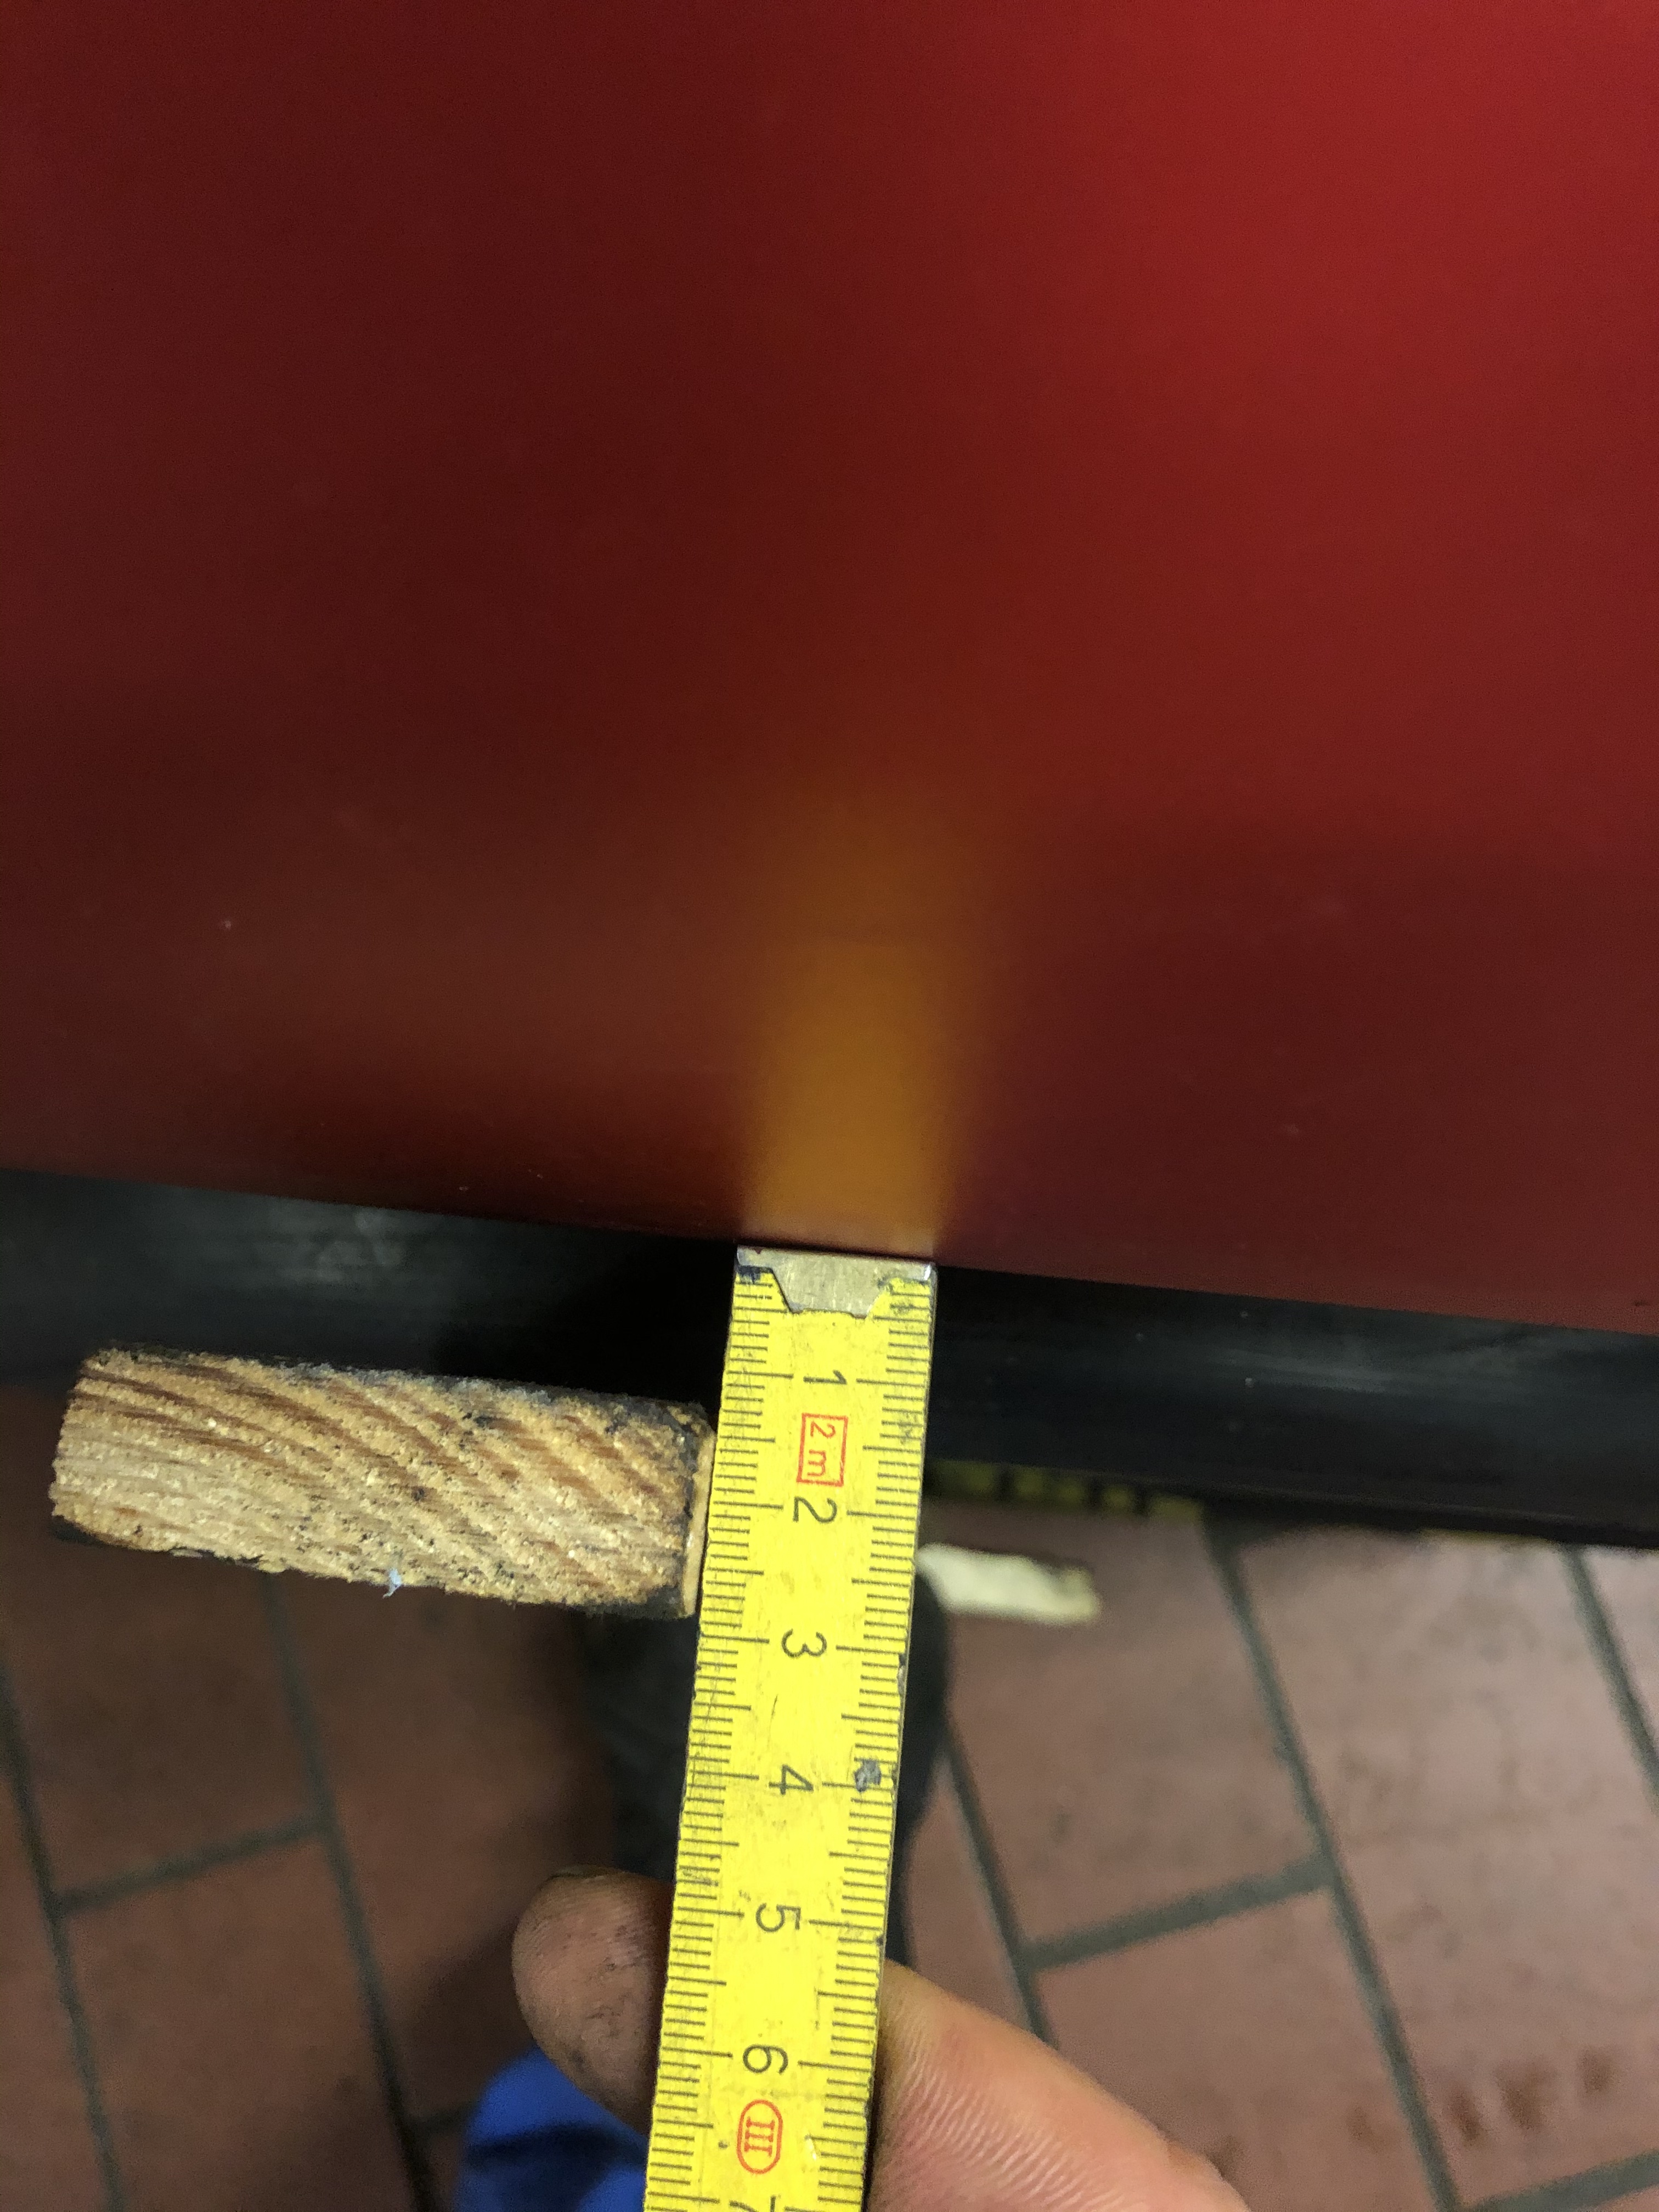
“The tires must be covered at least 30 degrees in the normal position of the car along the circumferential length of the tire”.
Definitely not looking good 
3 Likes
What camber do you have already? The slicks may need more camber. If they are really soft your speeds should be up enough to need it. That is assuming the slicks are radials. I’ve only ever run Avon cross ply slicks. With them the side wall flexs a lot as cross plys do and you run less aggressive camber. Of course more neg camber brings the top of the wheel in
1 Like
At the moment I think it’s around -2° each side. The Italian guy I bought them off works for a formula Renault race team, he reckons -4° Is ideal.
I don’t know if I’ll get that much out of it, I think my max setting is a touch over -3°. But I think even with so much camber I’ll still need to ditch the spacers, but we’ll see, I’ll play around with it over the next week or so and see what I can work out.
It will be interesting to see how the rear behaves with the new tyres…,
Flaring the guards is not on the radar?
2deg is not a lot. - 4 or so would be my guess, even as much as 5 up front. You’re right it probably won’t quite get the tires tucked under.
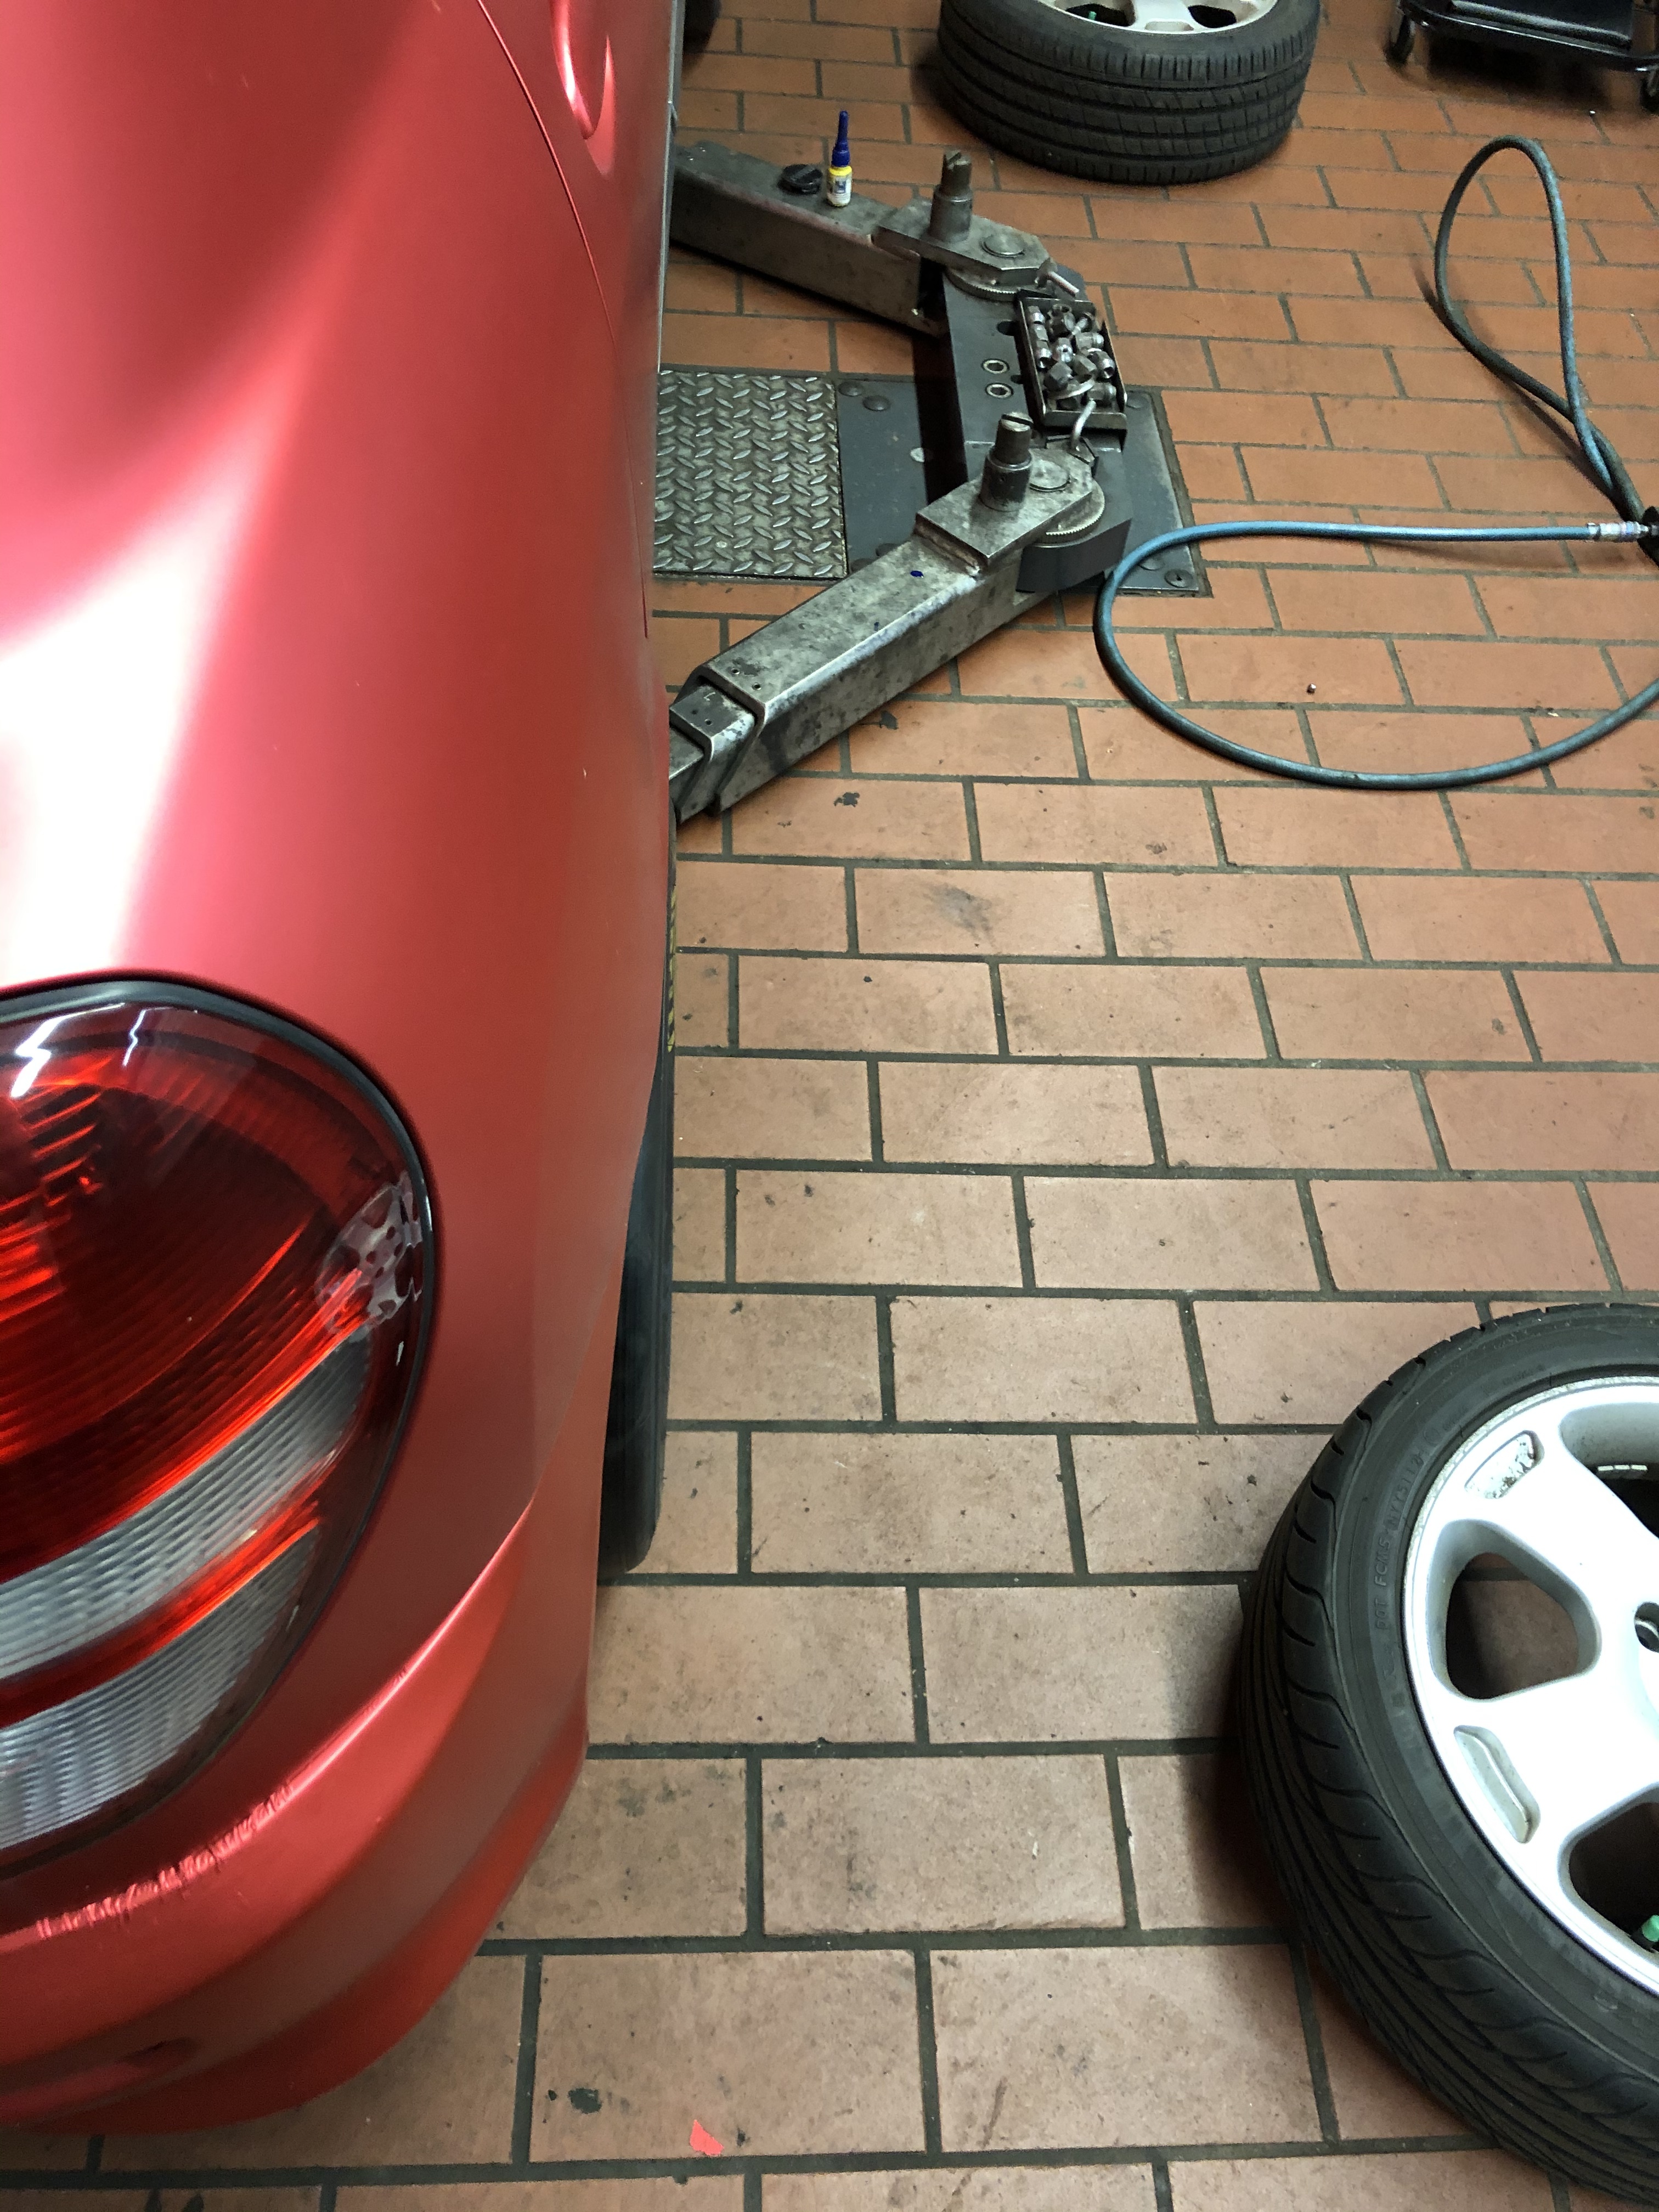
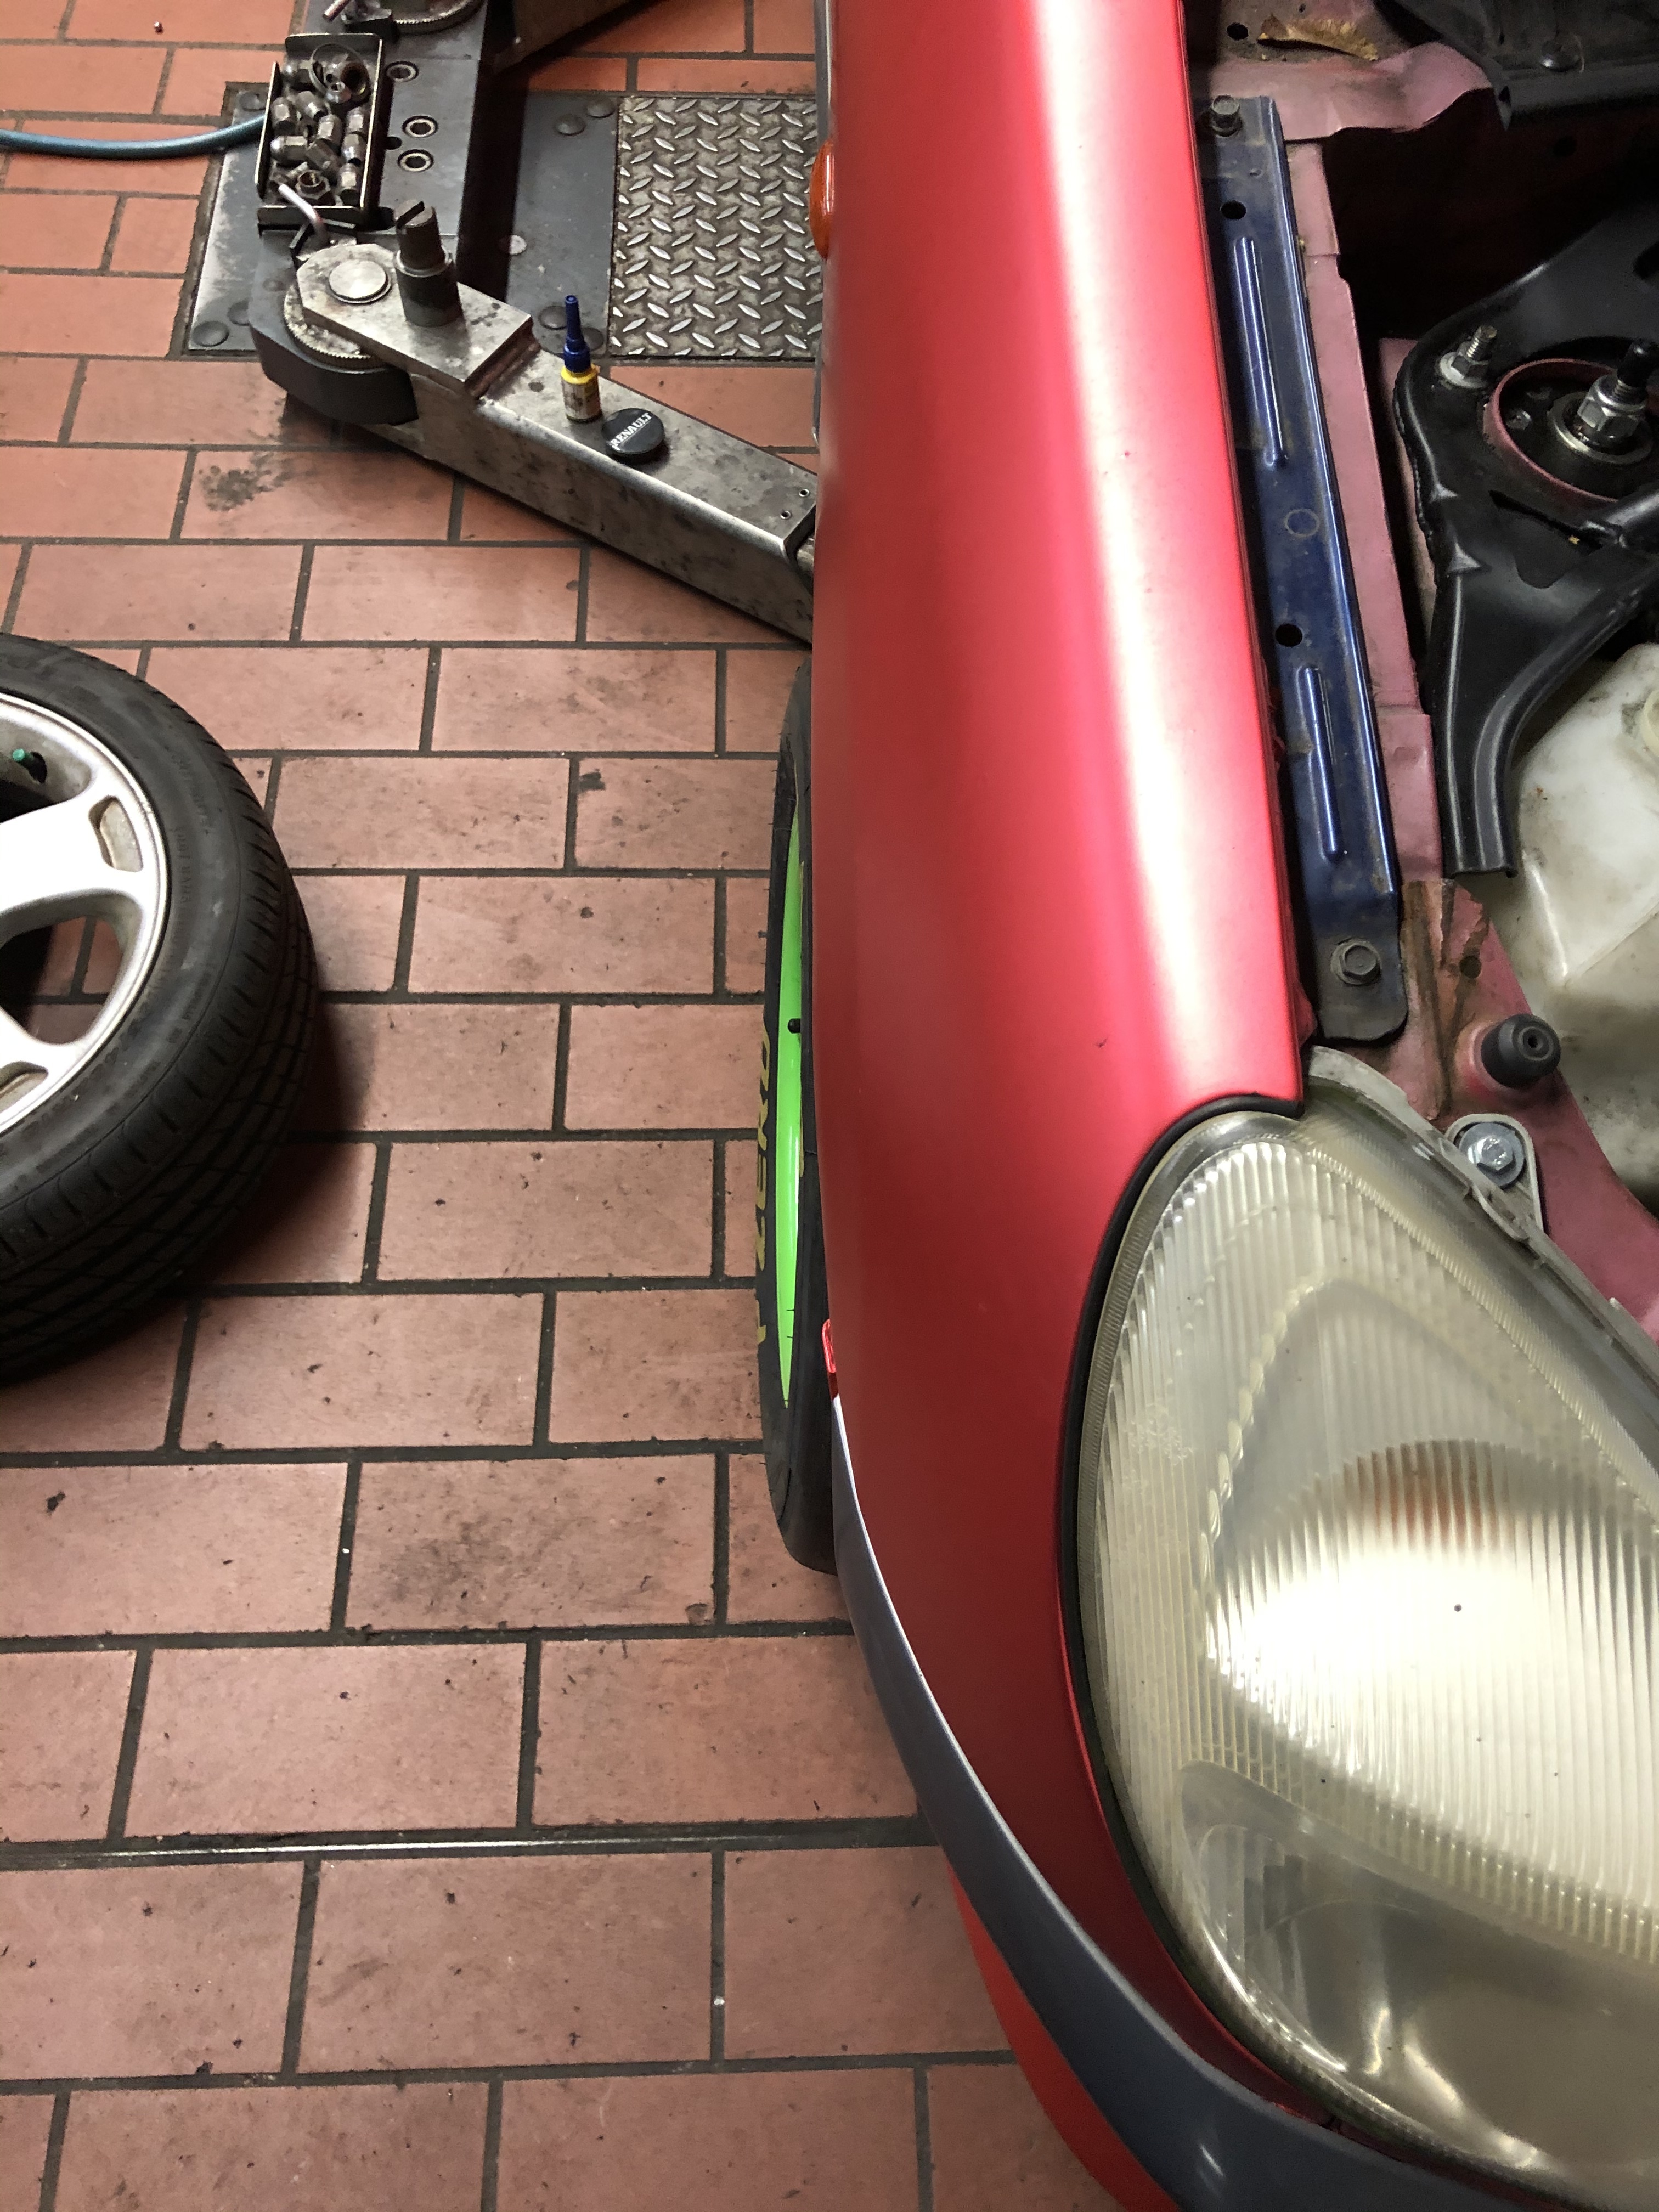
Hi guys, so I’ve been playing around and I’ve found with the new wheels I’ll need 10mm spacers on the front and 5mm on the rear to be as wide as is allowed
This means longer studs will be needed for the front, so this time I’m going all out with 65mm long wheel studs to allow easy changes of spacers for any wheel/tyre combo.
Parts are on the way, I’ll post another update probably next week sometime when everything is there and there’s been some decent progress.
5 Likes
This Sirion just becomes more and more awesome every time I read the thread! Those slicks look like serious business. Does the current batch of mods change the class you are in?
3 Likes
@b_hoves thanks, I’ll still be in the under 1600cc open class hopefully just a bit quicker. I want 1st place this year!
5 Likes
Awesome work @Mick!!
This is why I love this place, a year and a half of documenting the build of this beast!
6 Likes
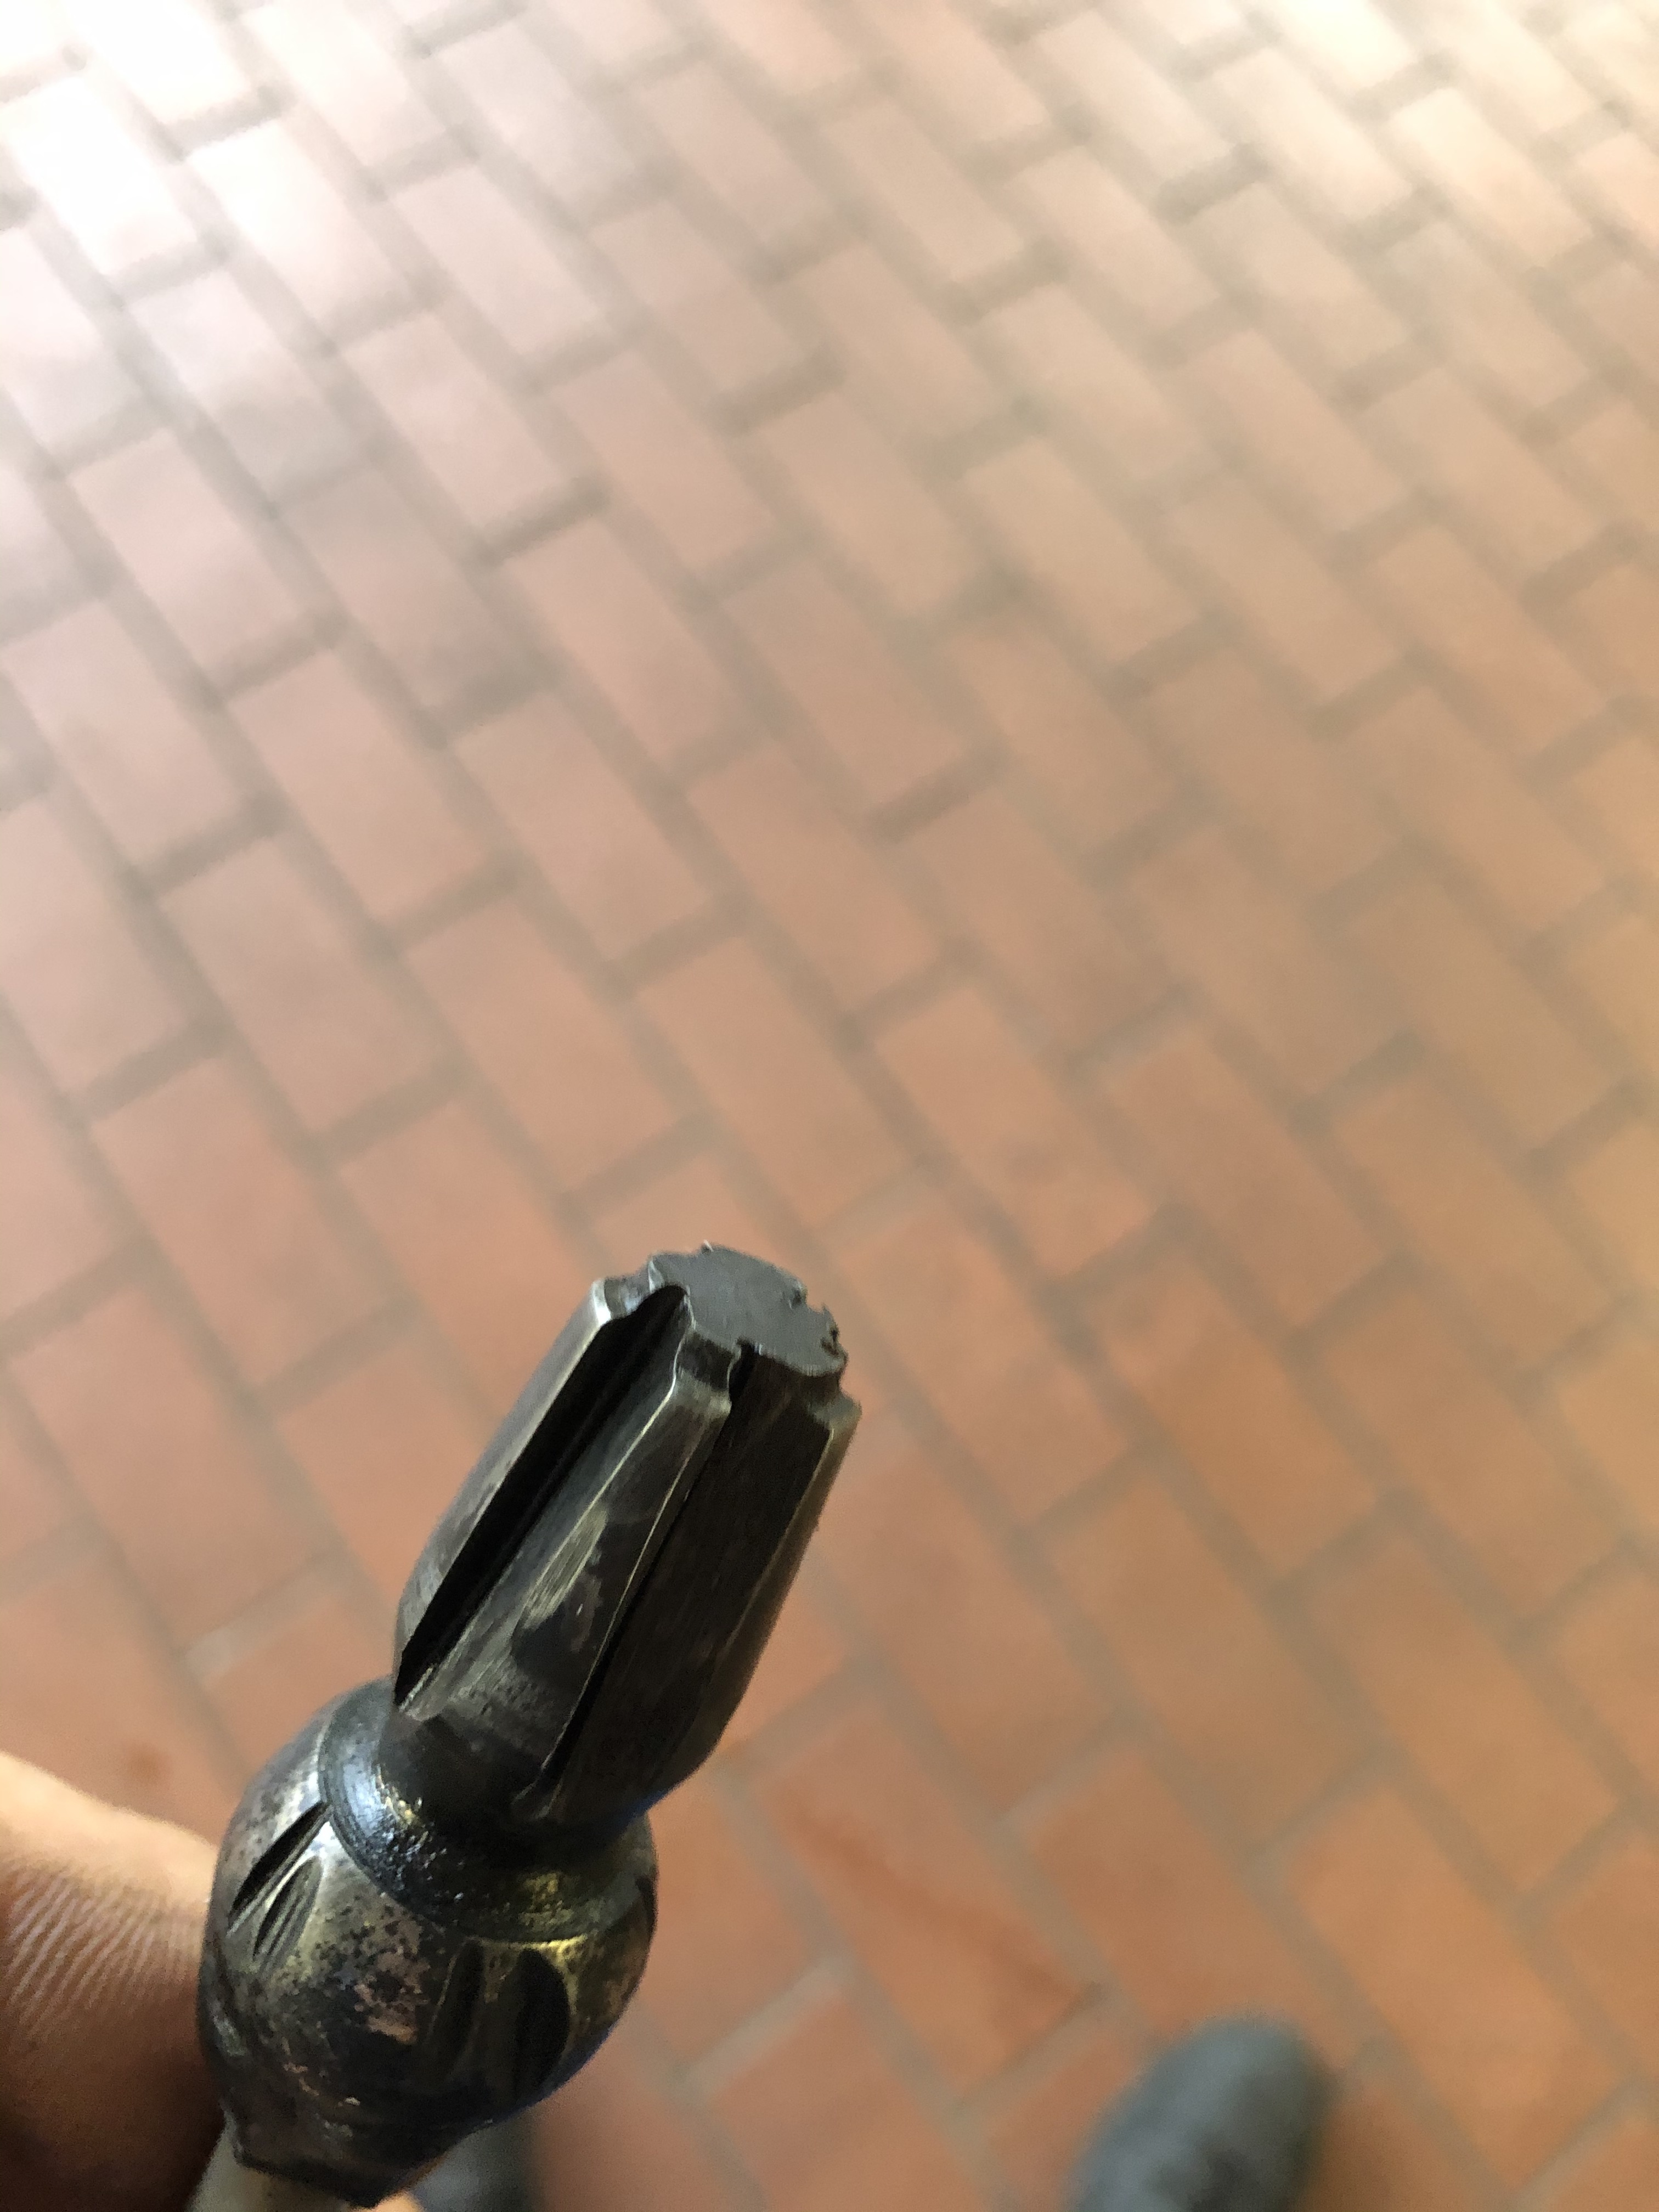
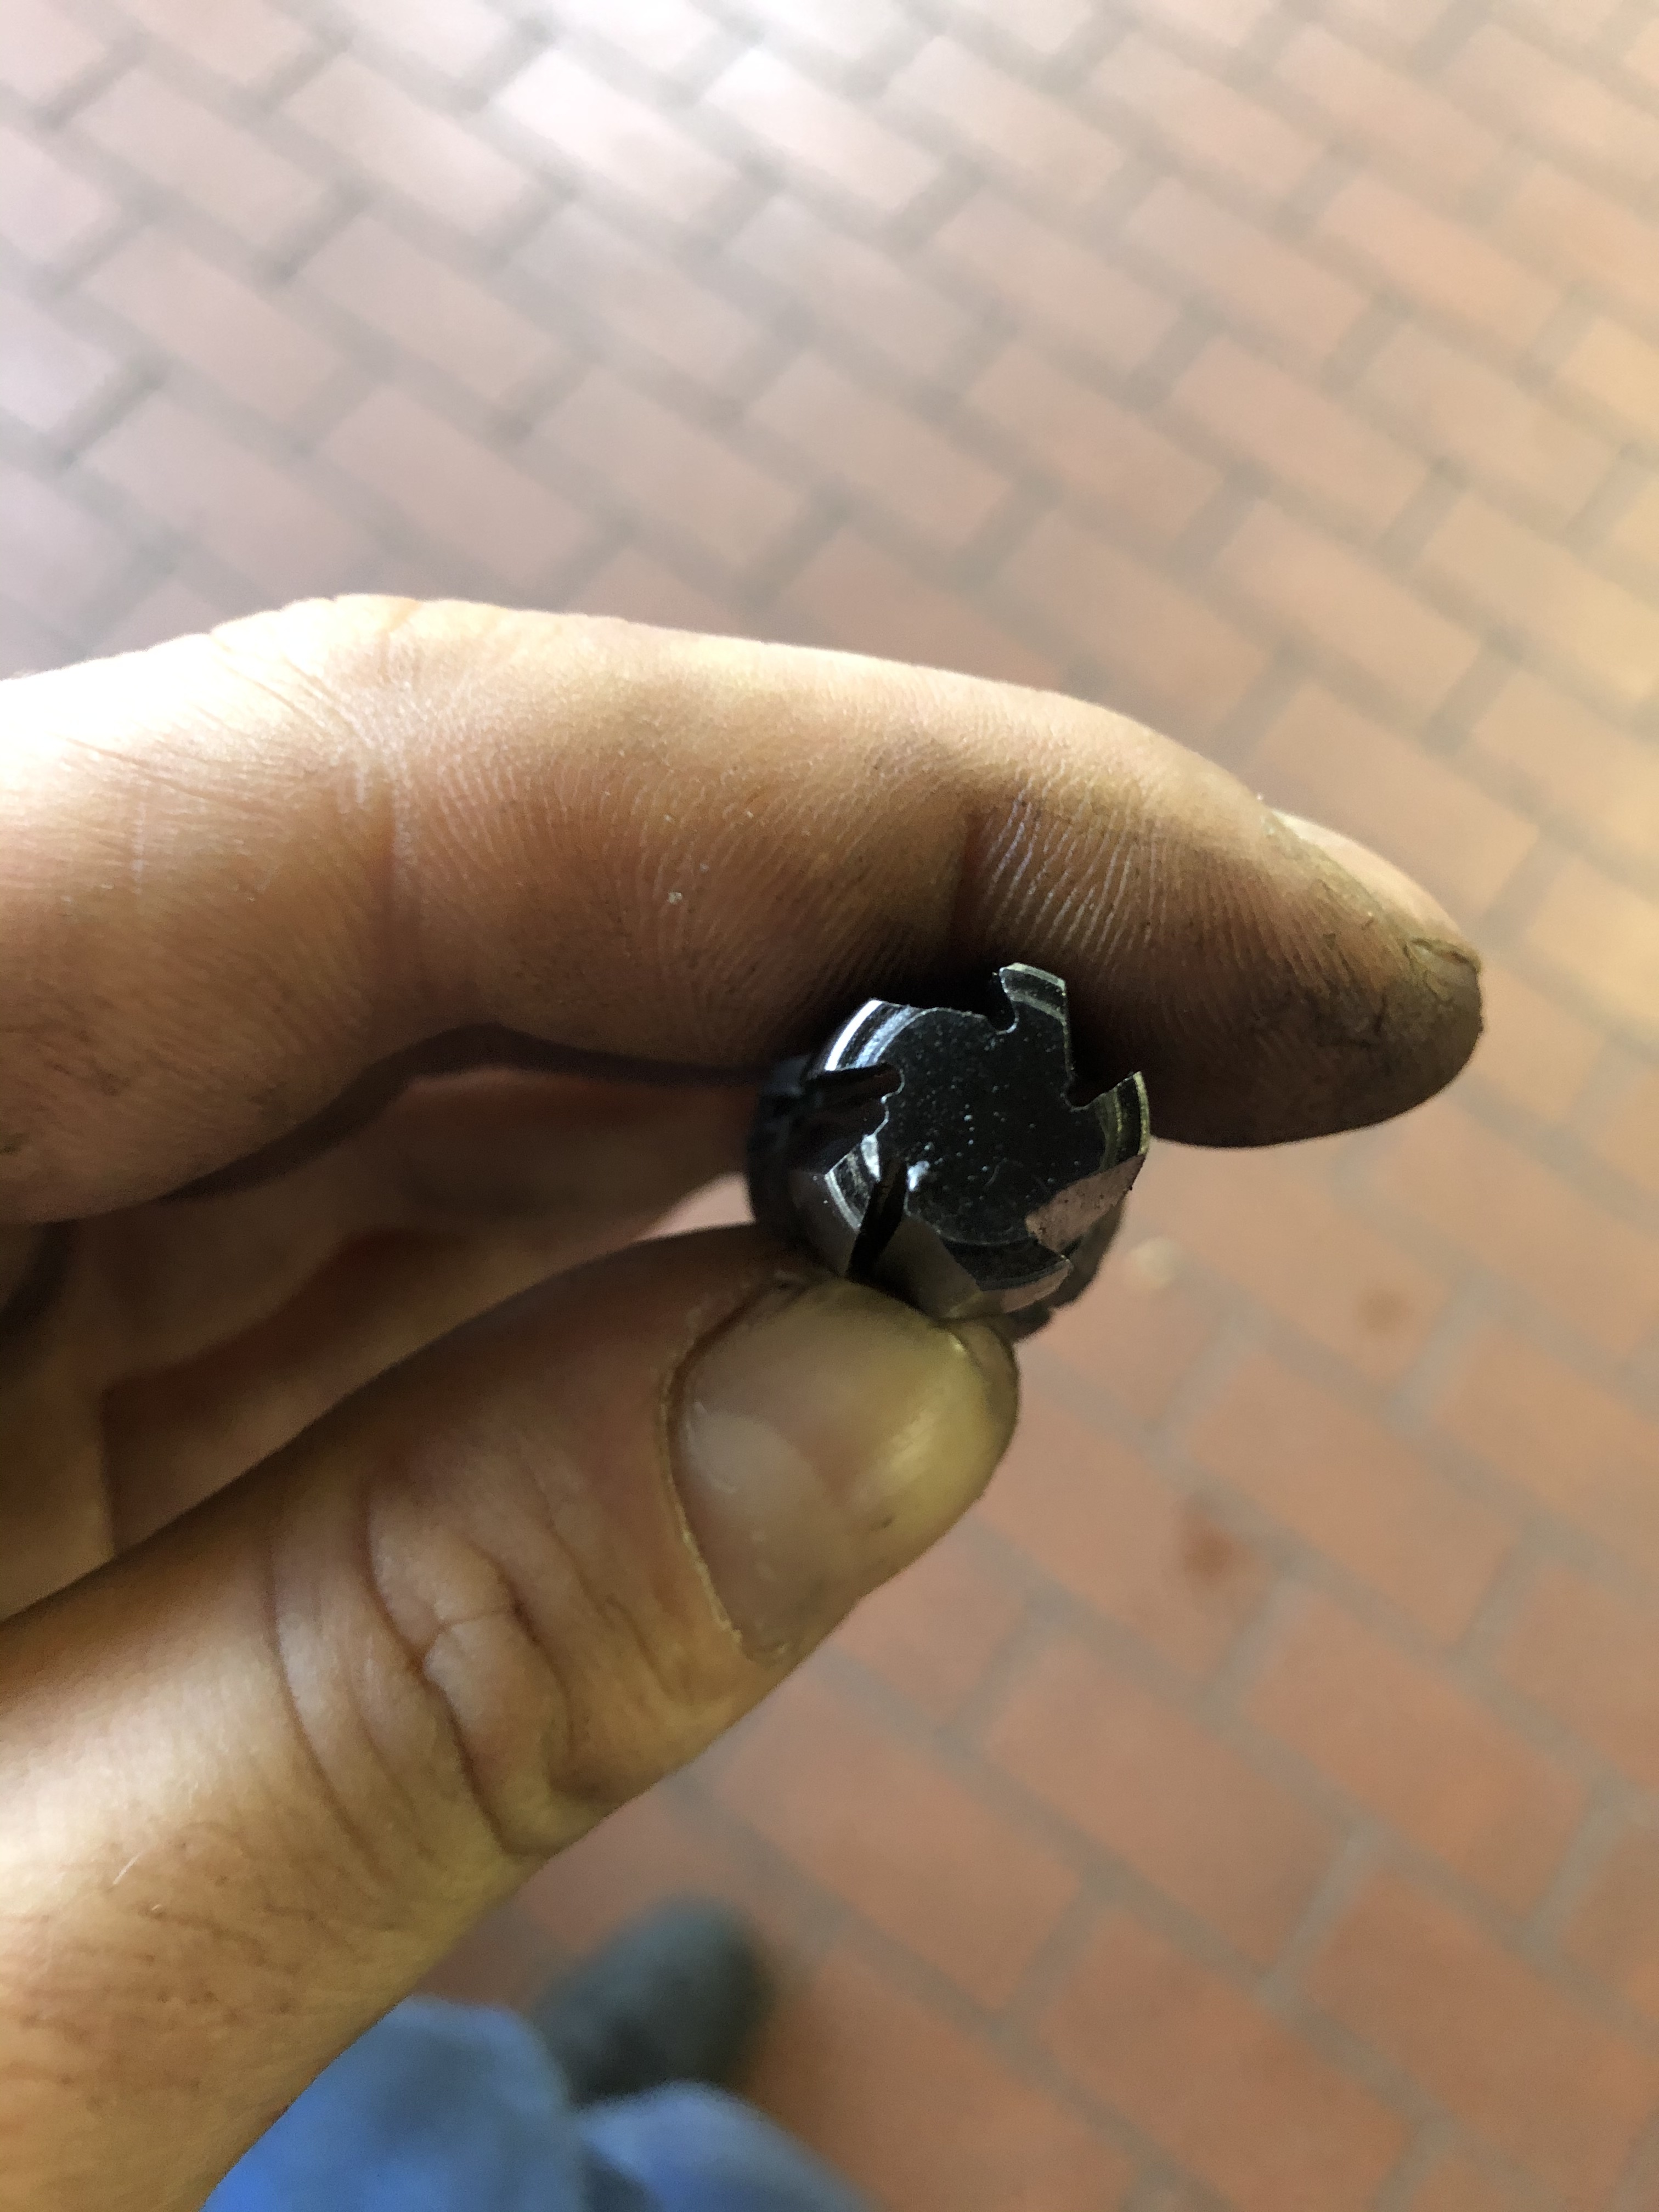
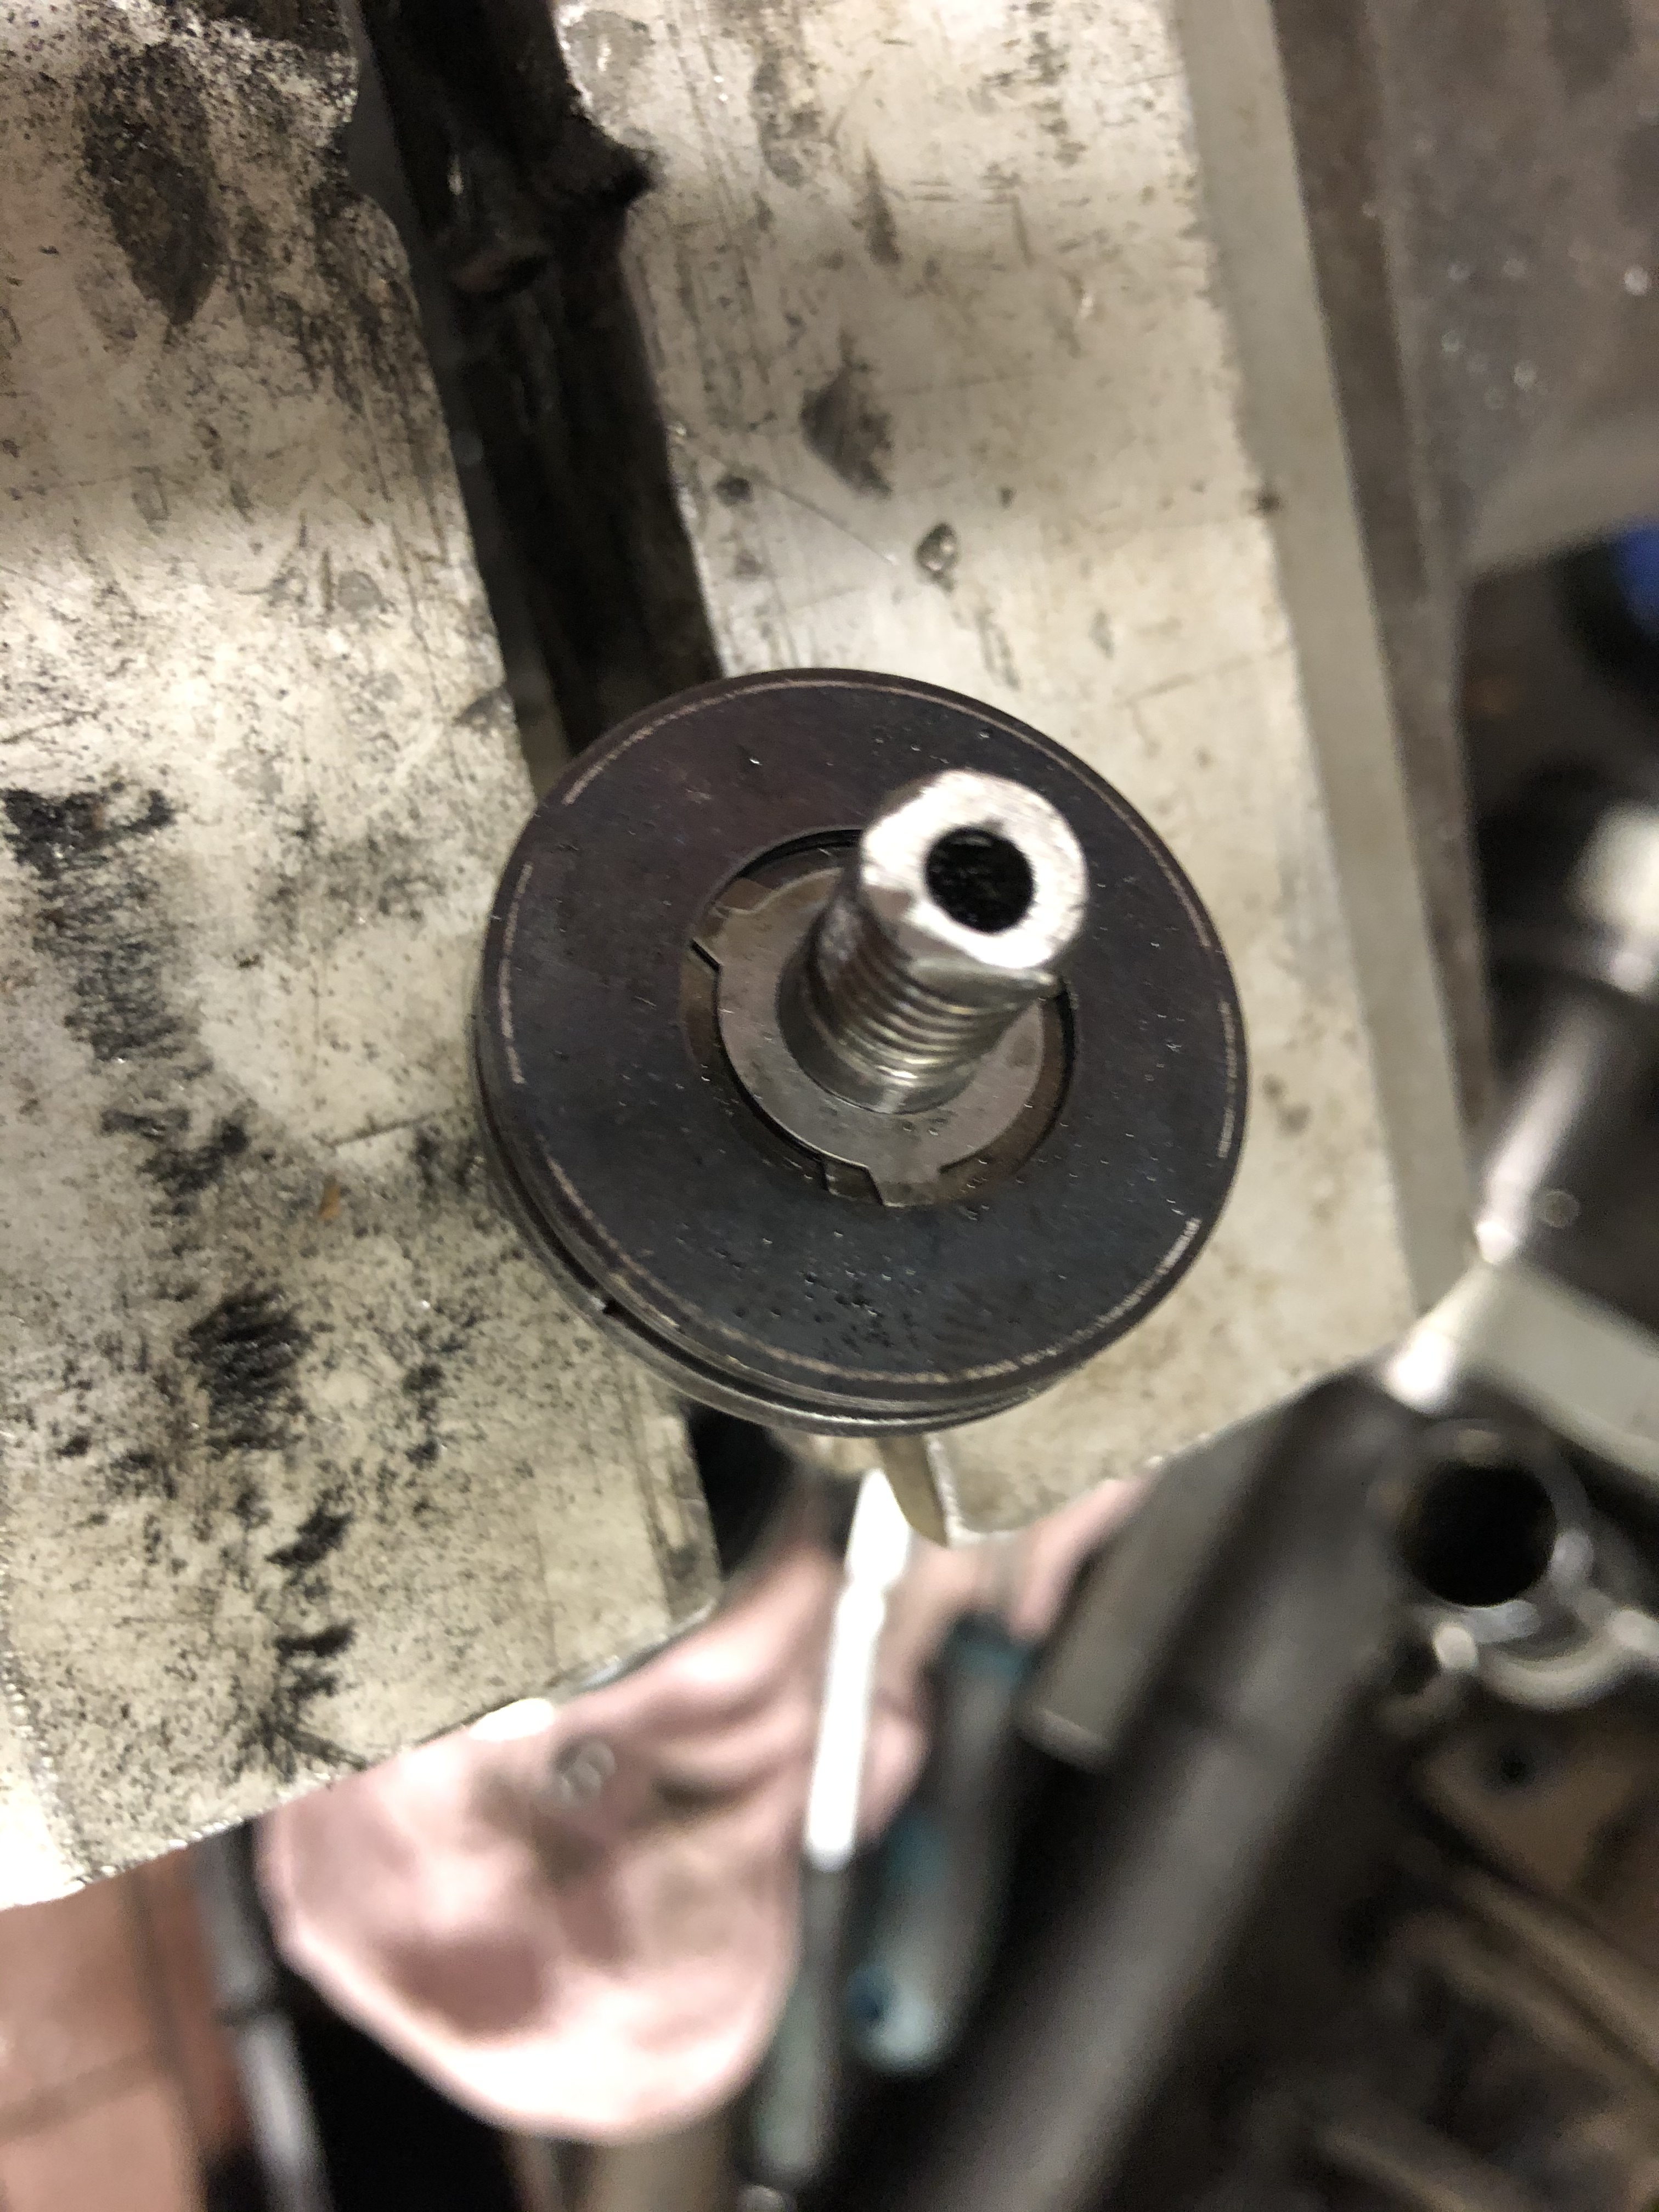
Next piece of the puzzle is here, here’s a pic of the new studs in comparison to the longer smart studs I had previously installed

Now I’m just waiting on some front wheel bearings as the front hubs need to be pulled down to install the studs which will result in the current bearings being damaged.
We have a test and tune coming up next month, I’m very excited to get everything set up and have a drive! 
5 Likes

Hi guys, got to mucking around on Saturday and managed to get a few things done.
Front wheel bearings


Longer studs are in

Messed up my eye in the process 

Slicks are now as wide as possible according to scrutineering guidelines (in the photos camber is maxed)
Some more stuff is coming soon, I’ve ordered braided brake lines all round, some better shocks for the rear are on the way (basically the same as I have now, but from the newer GSX 1400, fully rebuildable) and I’ve been looking at possible solutions for bump steer (in the lowered state the rack ends are no longer parallel to the ground) I may have found a work around using off the shelf parts, will post more soon.
Peace 
9 Likes
Ahh, taper reamer for lowering rack ends?
1 Like
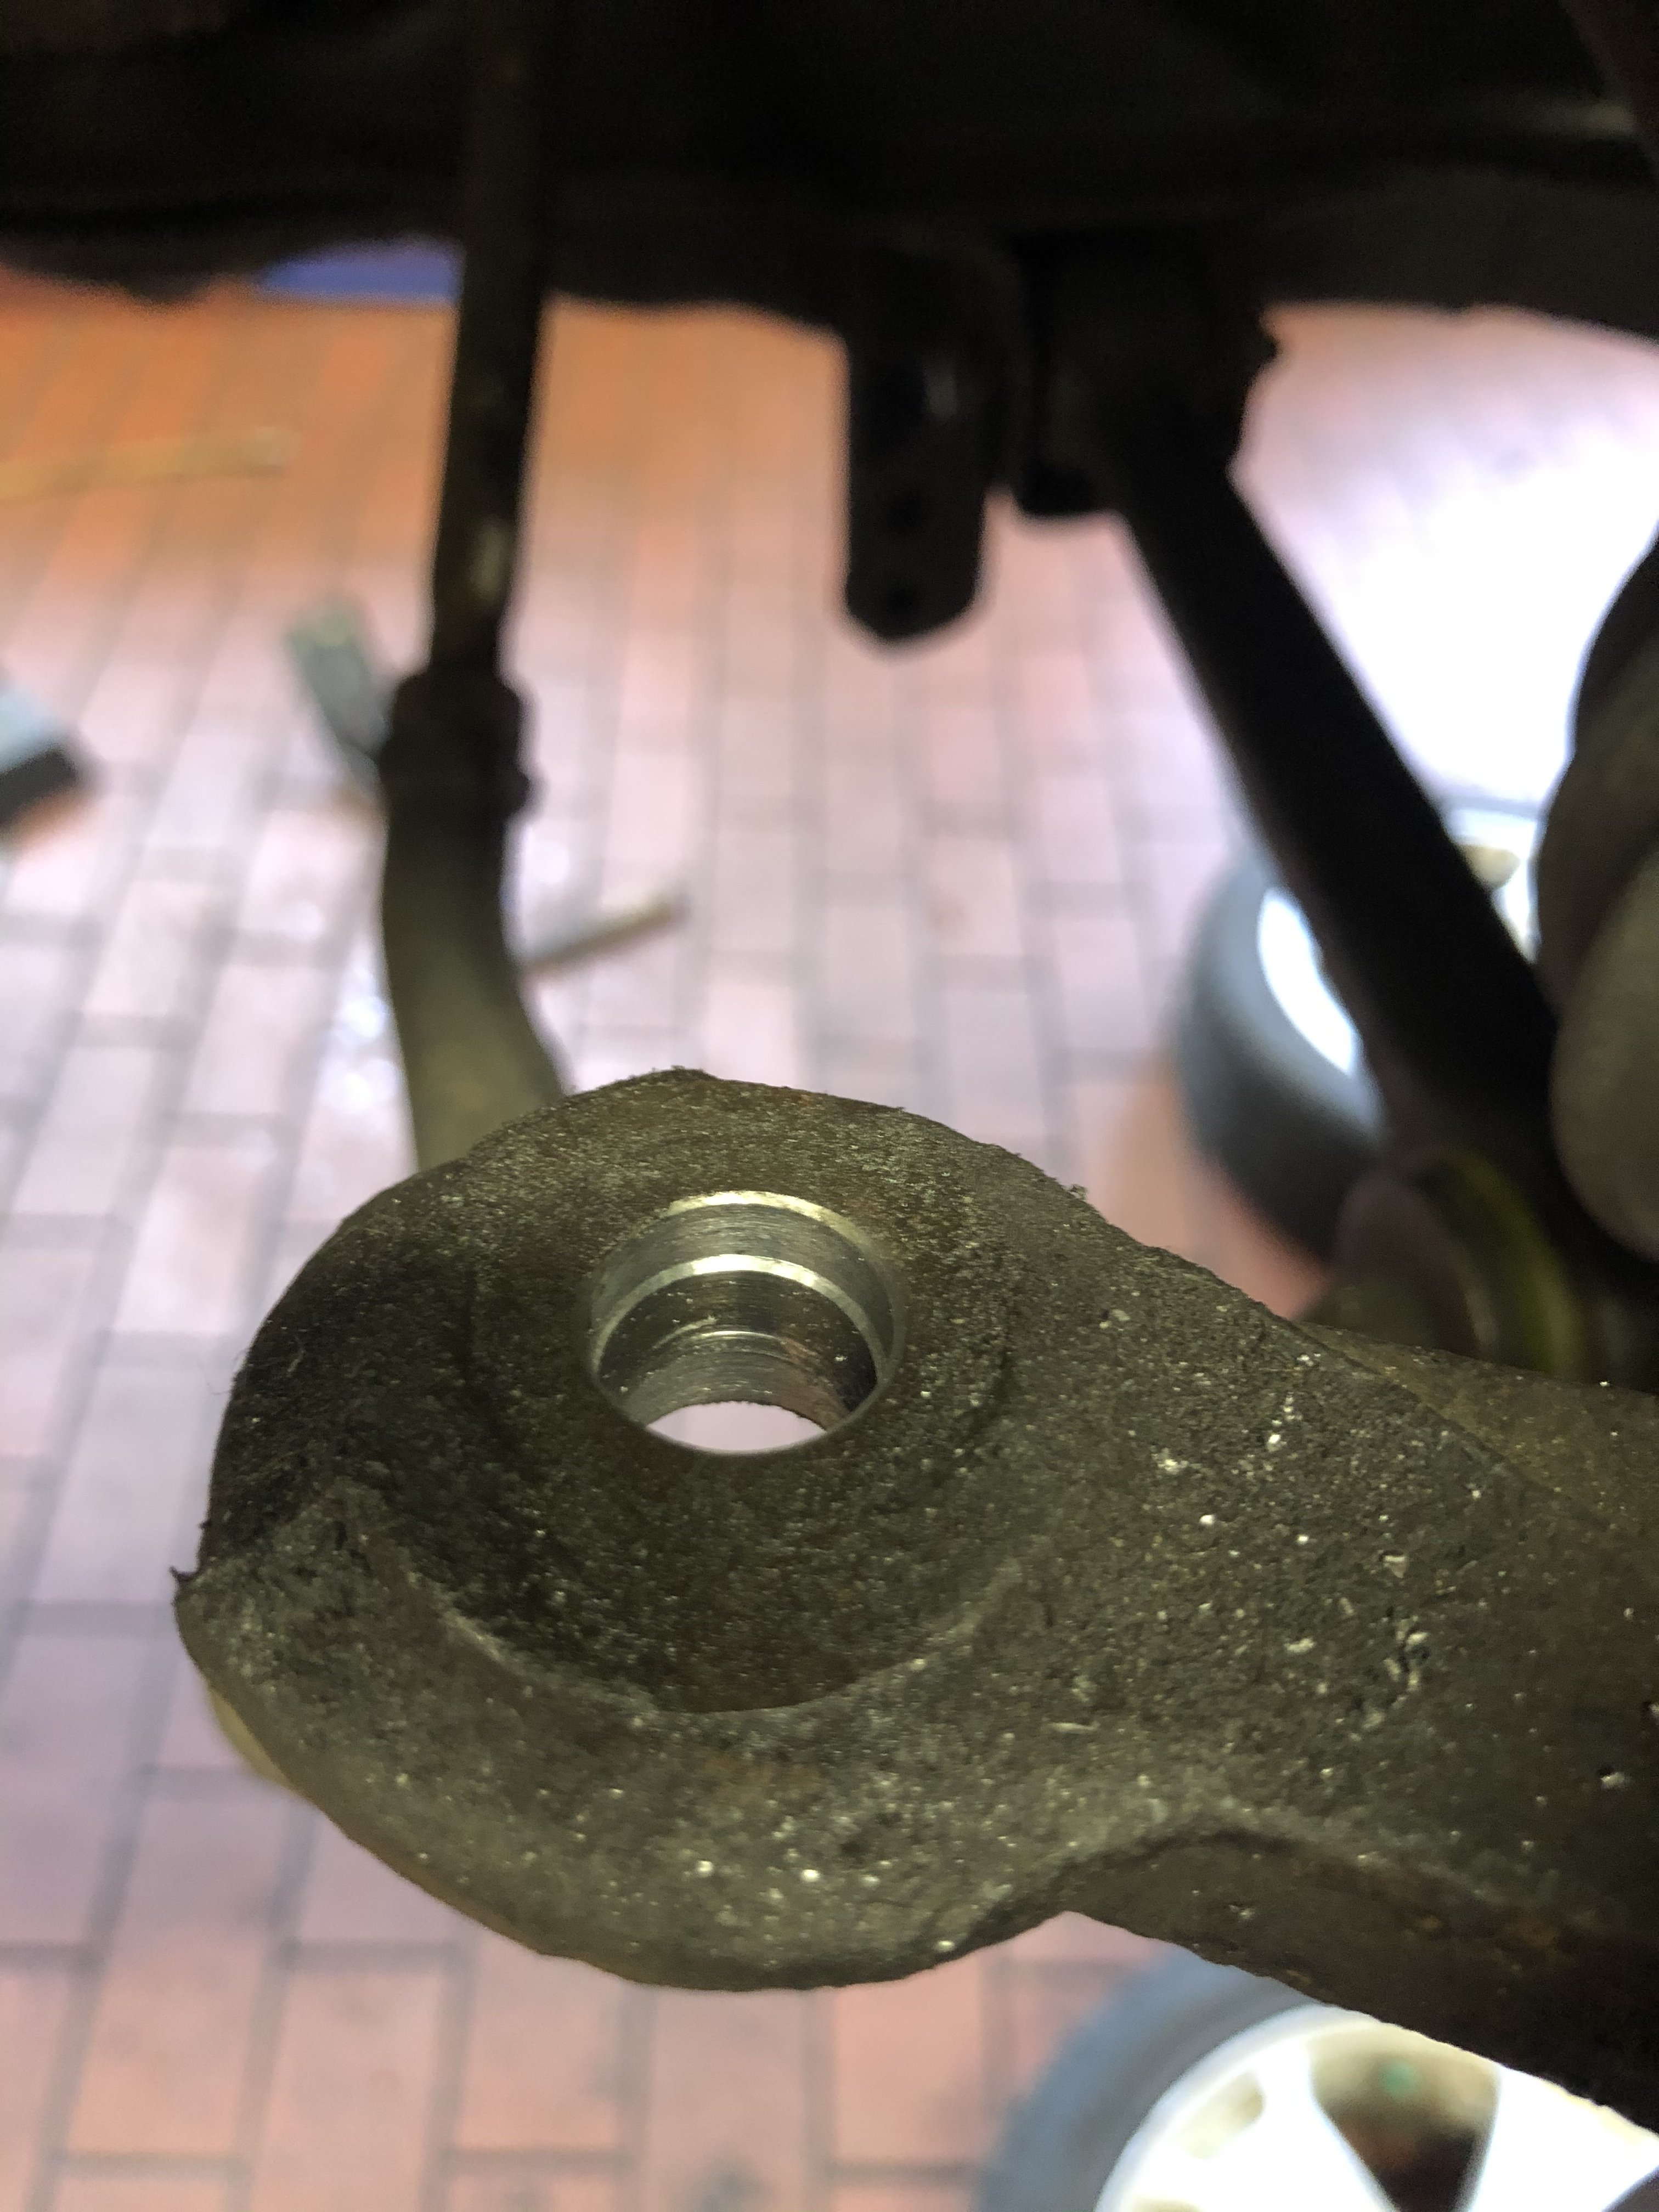
The plan was to use tie rod ends from a Mazda 3 as they have the same 1:6 taper with an M10 stud, and in the photos it looked like they would lower the tie rods by a good cm or so, then they would be much straighter and bump steer would be reduced.

After ordering one and taking many measurements the different would be minimal (<1mm). Now the new plan is to install the standard tie rod ends from underneath, that’s why I was asking about the reamer. I think I’ll make a reamer myself from an old tie rod end, just cut some flutes into it and harden it.
I mean cast steel is relatively soft on the scale of things and before I use it I can get the taper roughed out with different drills and maybe a die grinder and afterwards I’ll give it a lap with another tie rod end taper and some valve lapping paste. It will take a bit longer but I’ll save myself 100 euros or whatever the reamer would cost, and it should work just fine.
5 Likes
so today I had some time so I took an old tierod end from the scrap heap with the correct taper and made a reamer

I heated it with an induction heater red hot and quenched it in oil to harden.
I then drilled the tops out to 14mm to accept a press fit reducer for the top half

I then roughed our the taper from underneath and finished it off with the reamer
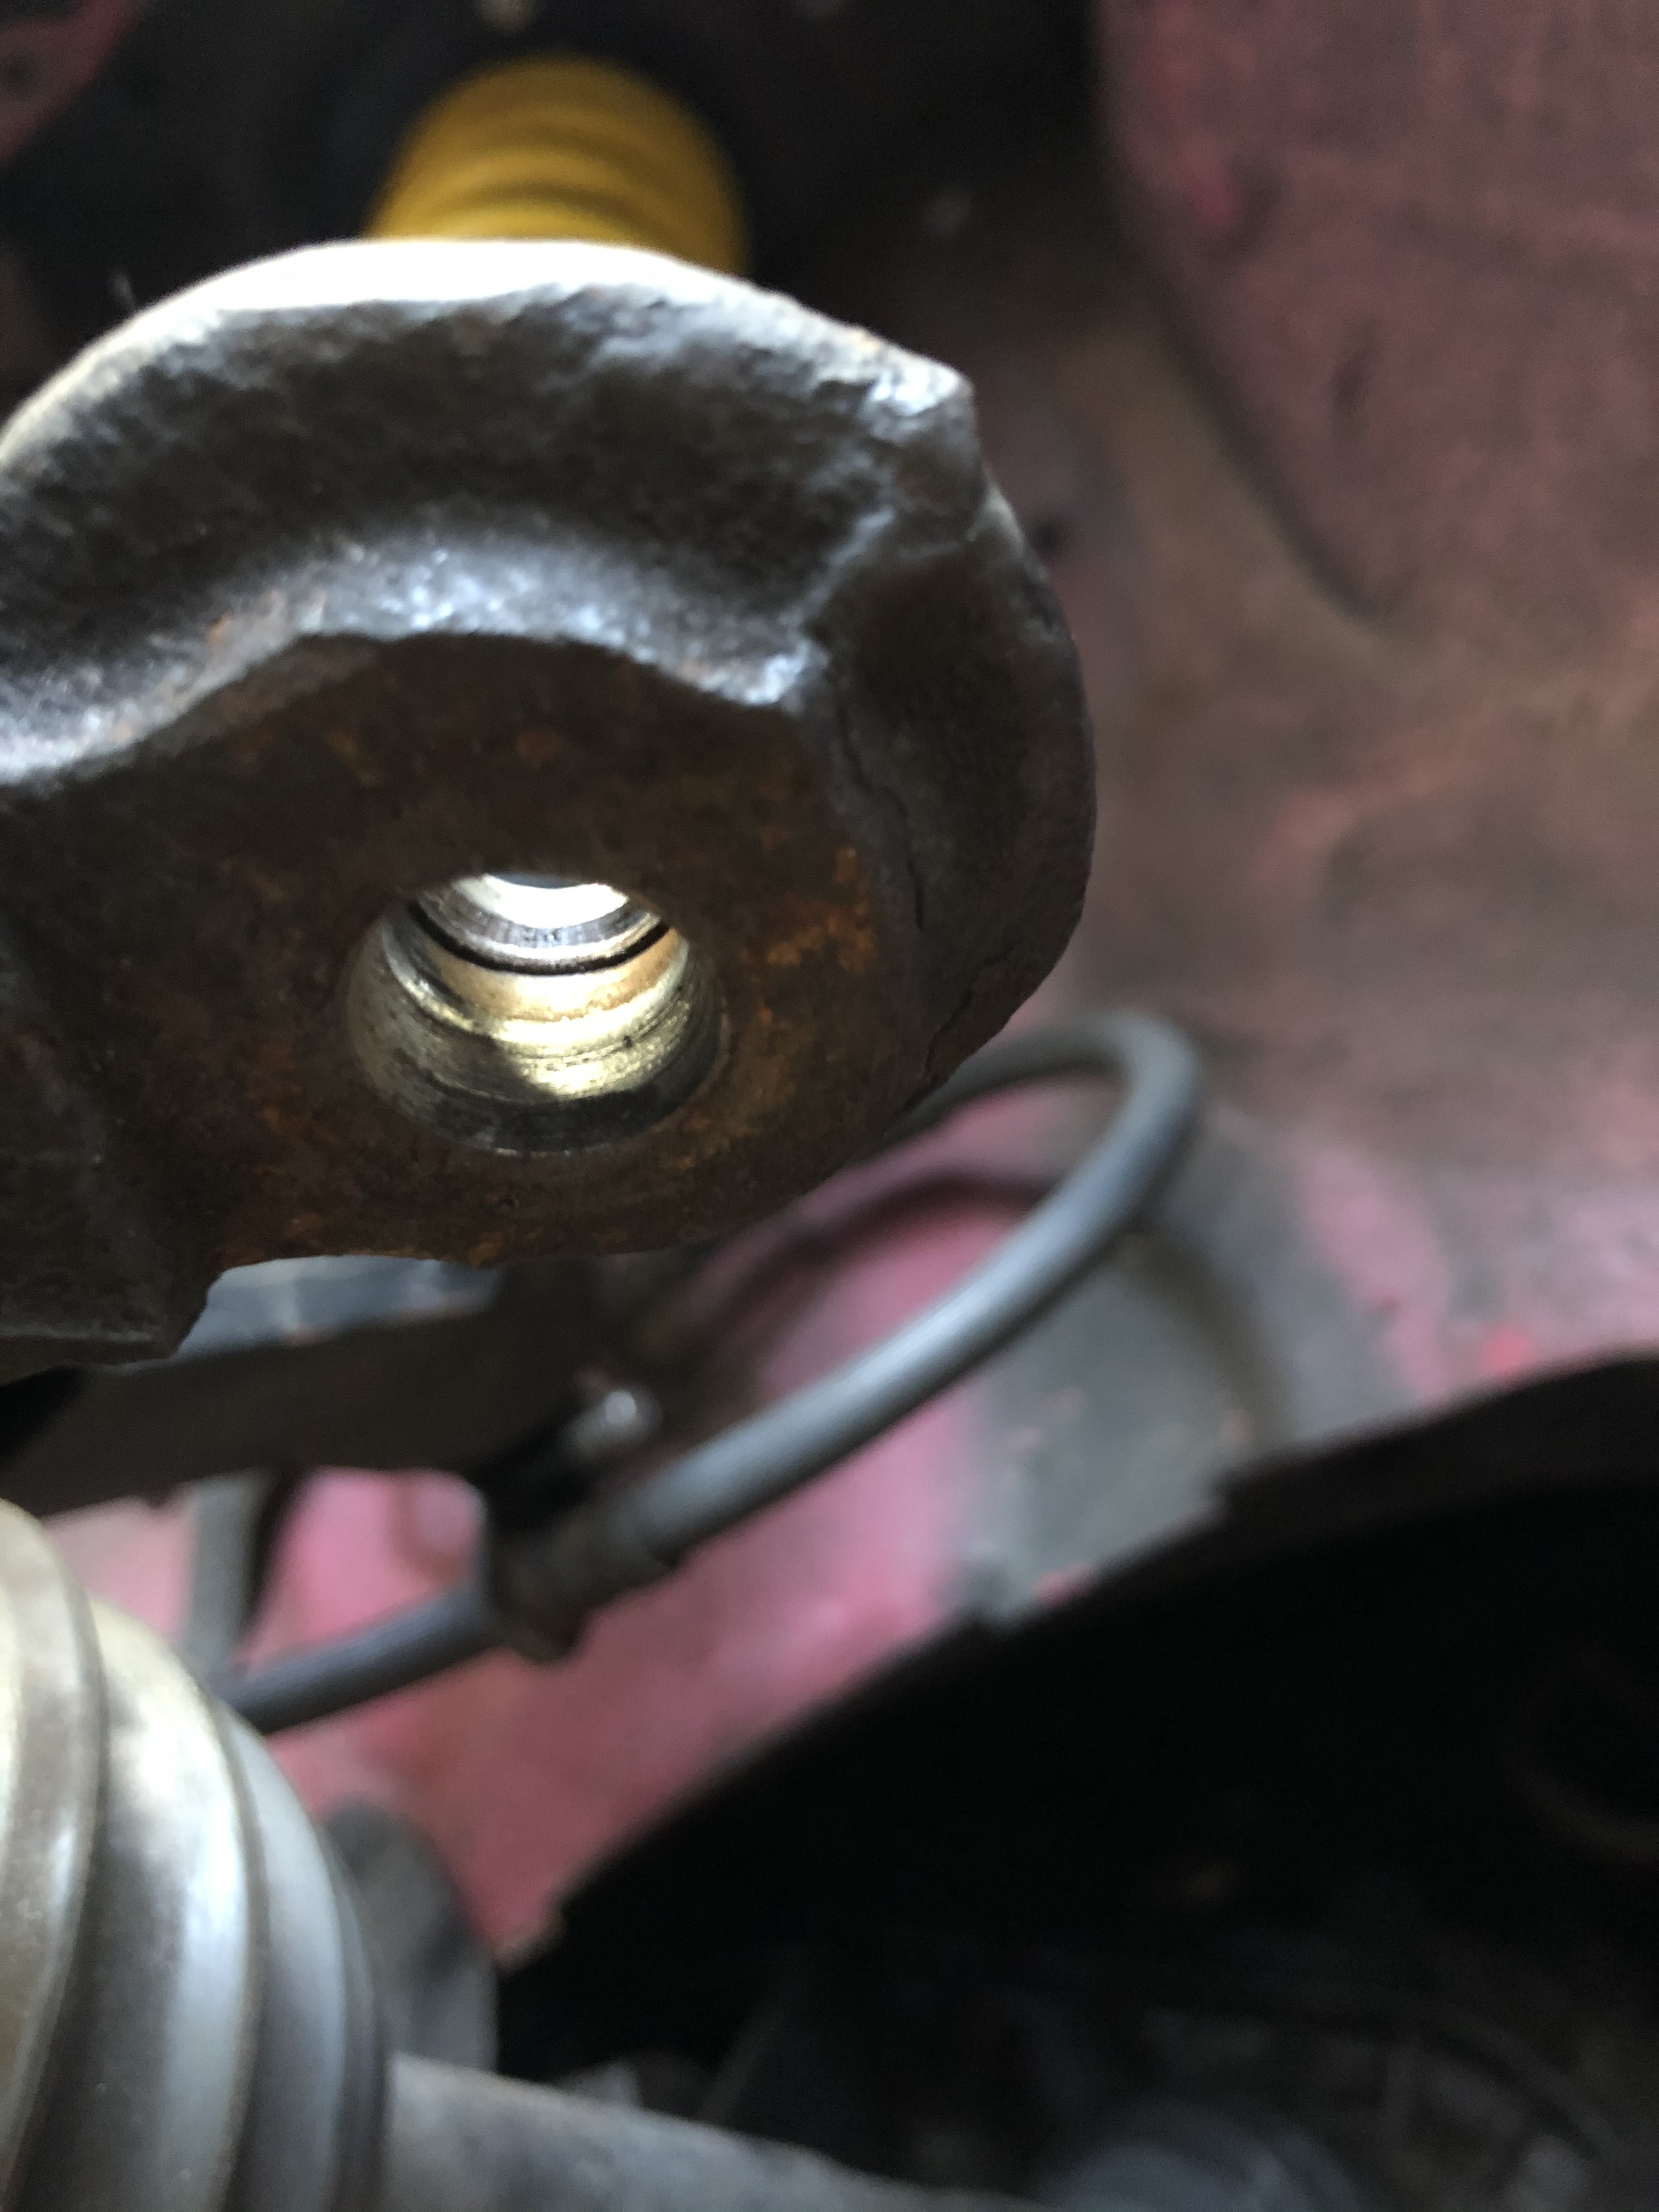
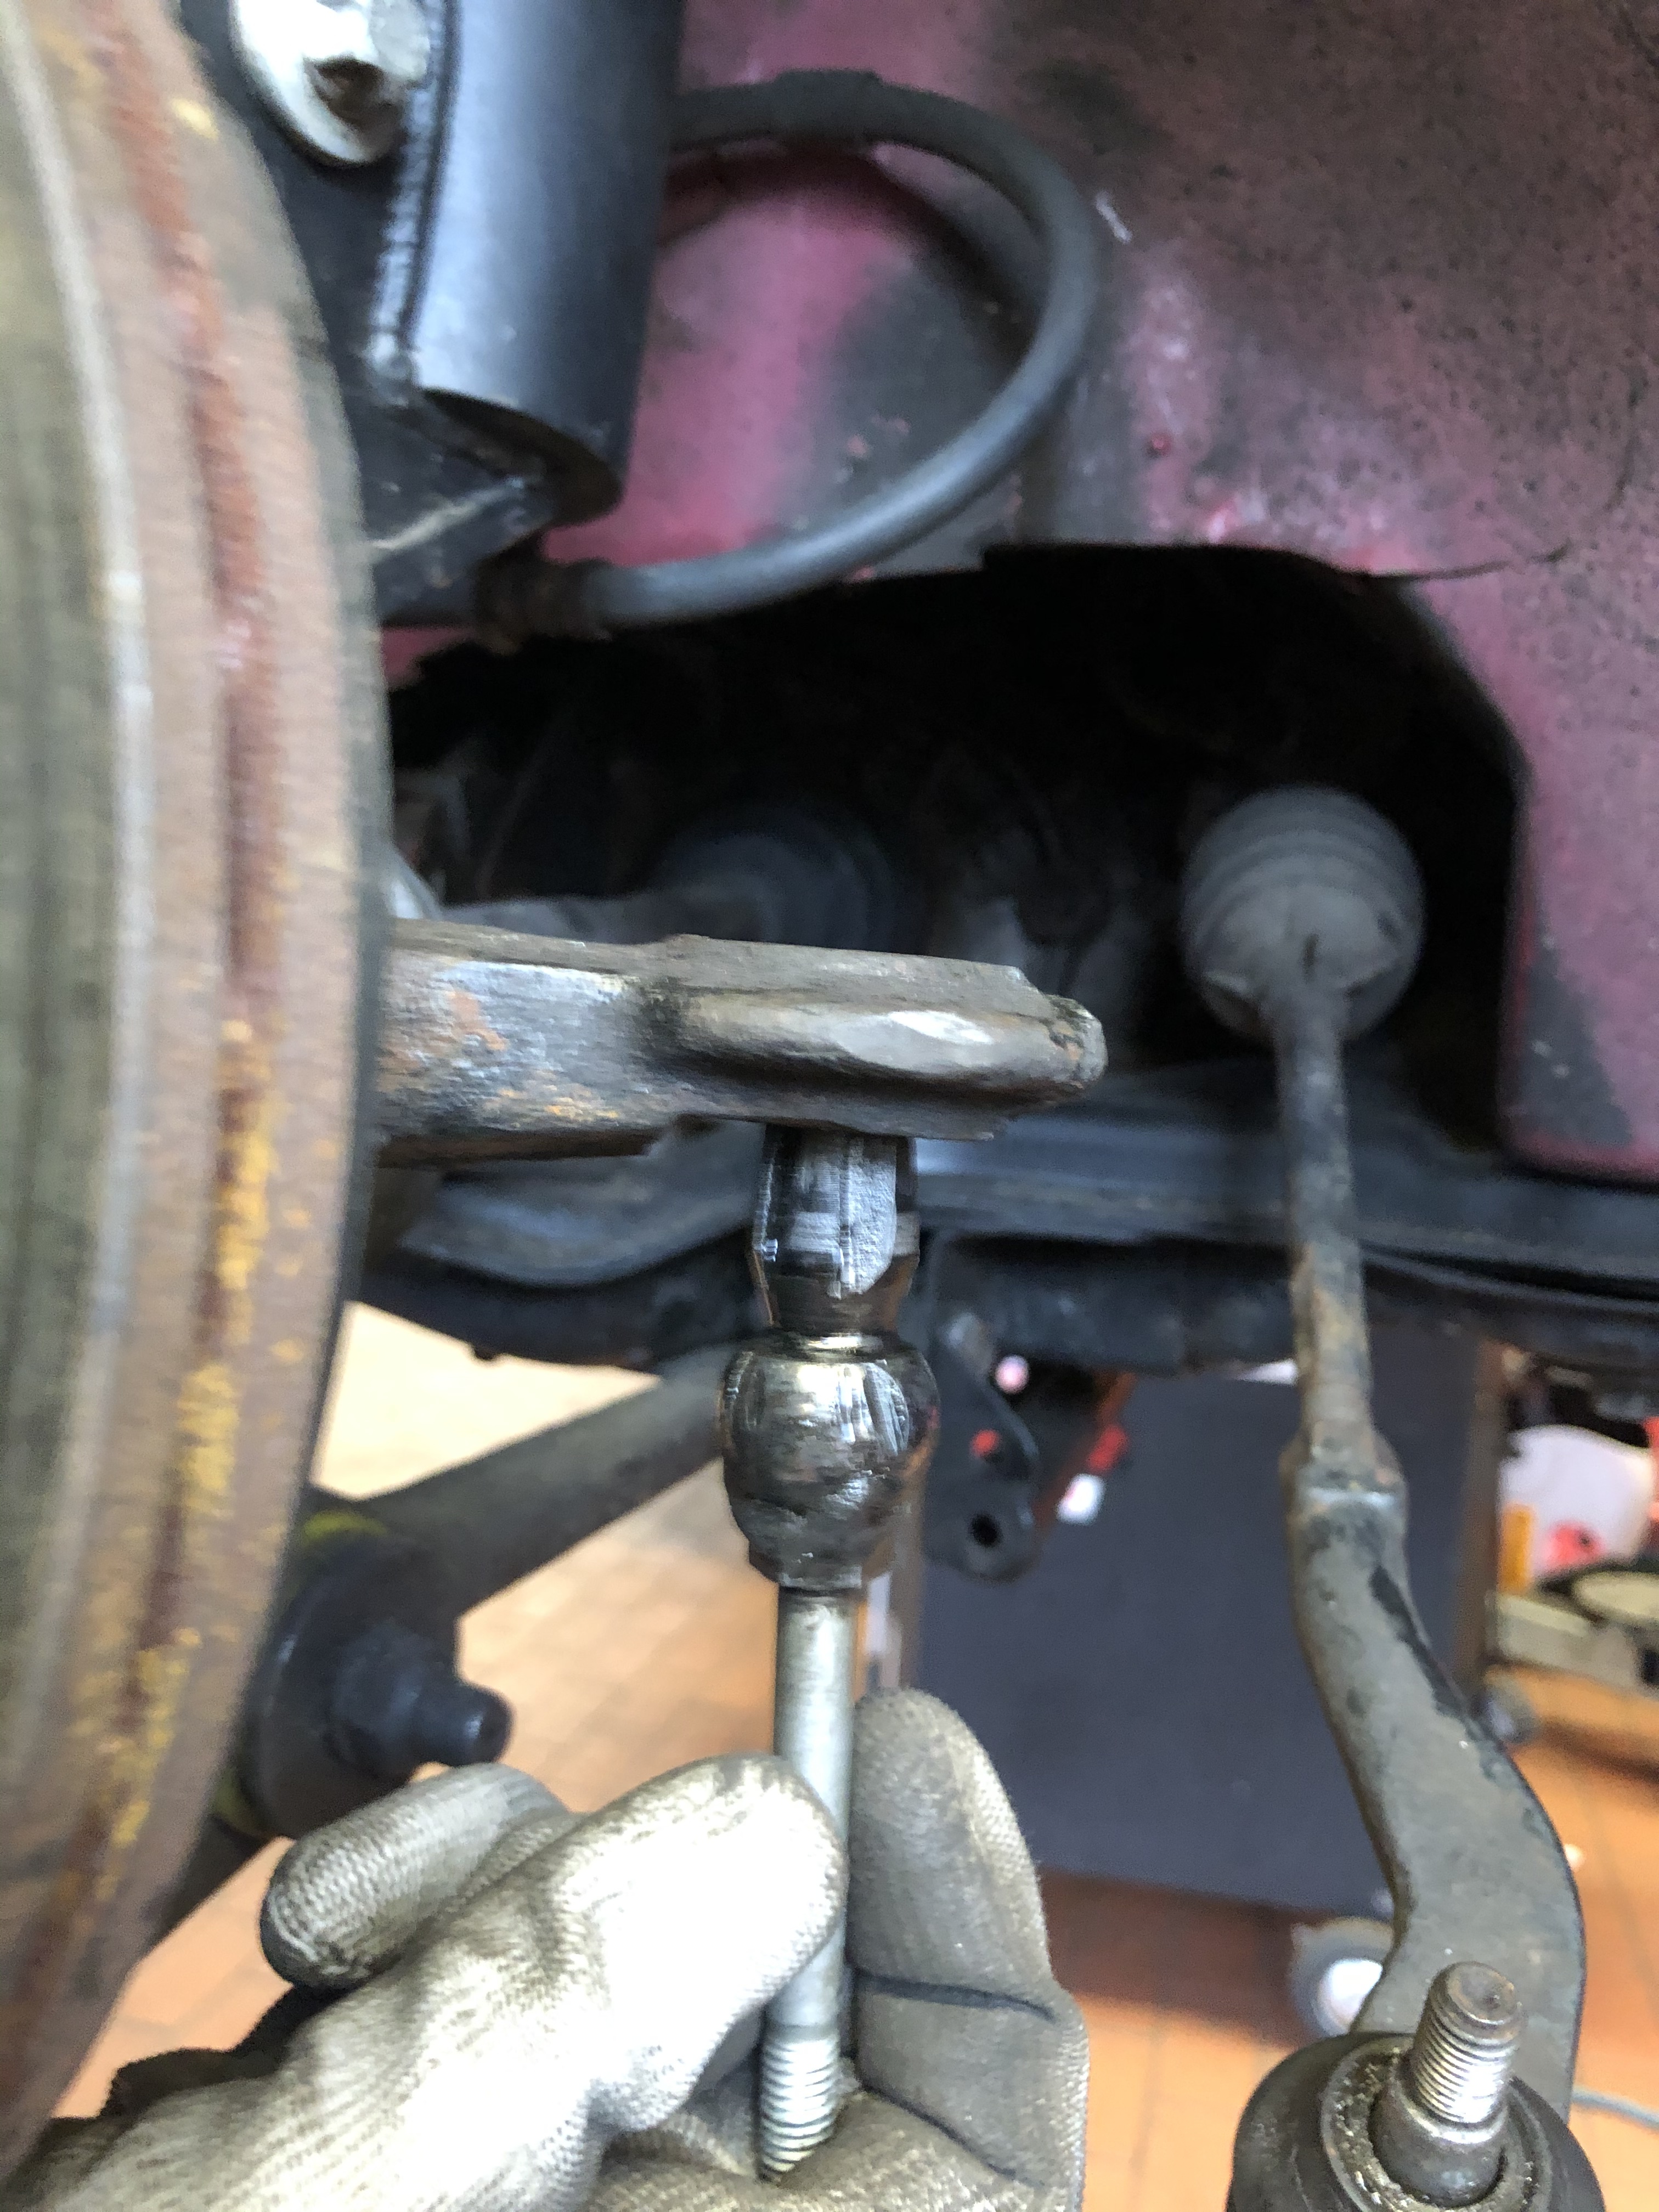
Job done, everything fits nicely, tierod ends swapped from left to right and fitted from underneath, the steering geometry is now much much better, much closer to original, and bump steer should be greatly reduced.

Now I’ve adjusted the toe to 0 ready for the test and tune next month

Camber is maxed, unfortunately only a tad over 2° each side, so I’ll have to compensate for tyre temps by adjusting the toe. Anyway that was all I got done this weekend, still waiting on some parts to arrive.
Peace
11 Likes
@Mr_Gormsby I can just add an extra spring washer and centering ring from my spare shocks here (they are the same) to increase the bump dampening yeah? Anything I need to be aware of?


3 Likes